8. Molding and casting
we learn how to do molding and casting by using different type of materials and making the milled process by a specific machine for this purpose.
group works
the group assignment was about testing different type of materials used for molding and casting.
Resin-clear cast epoxy
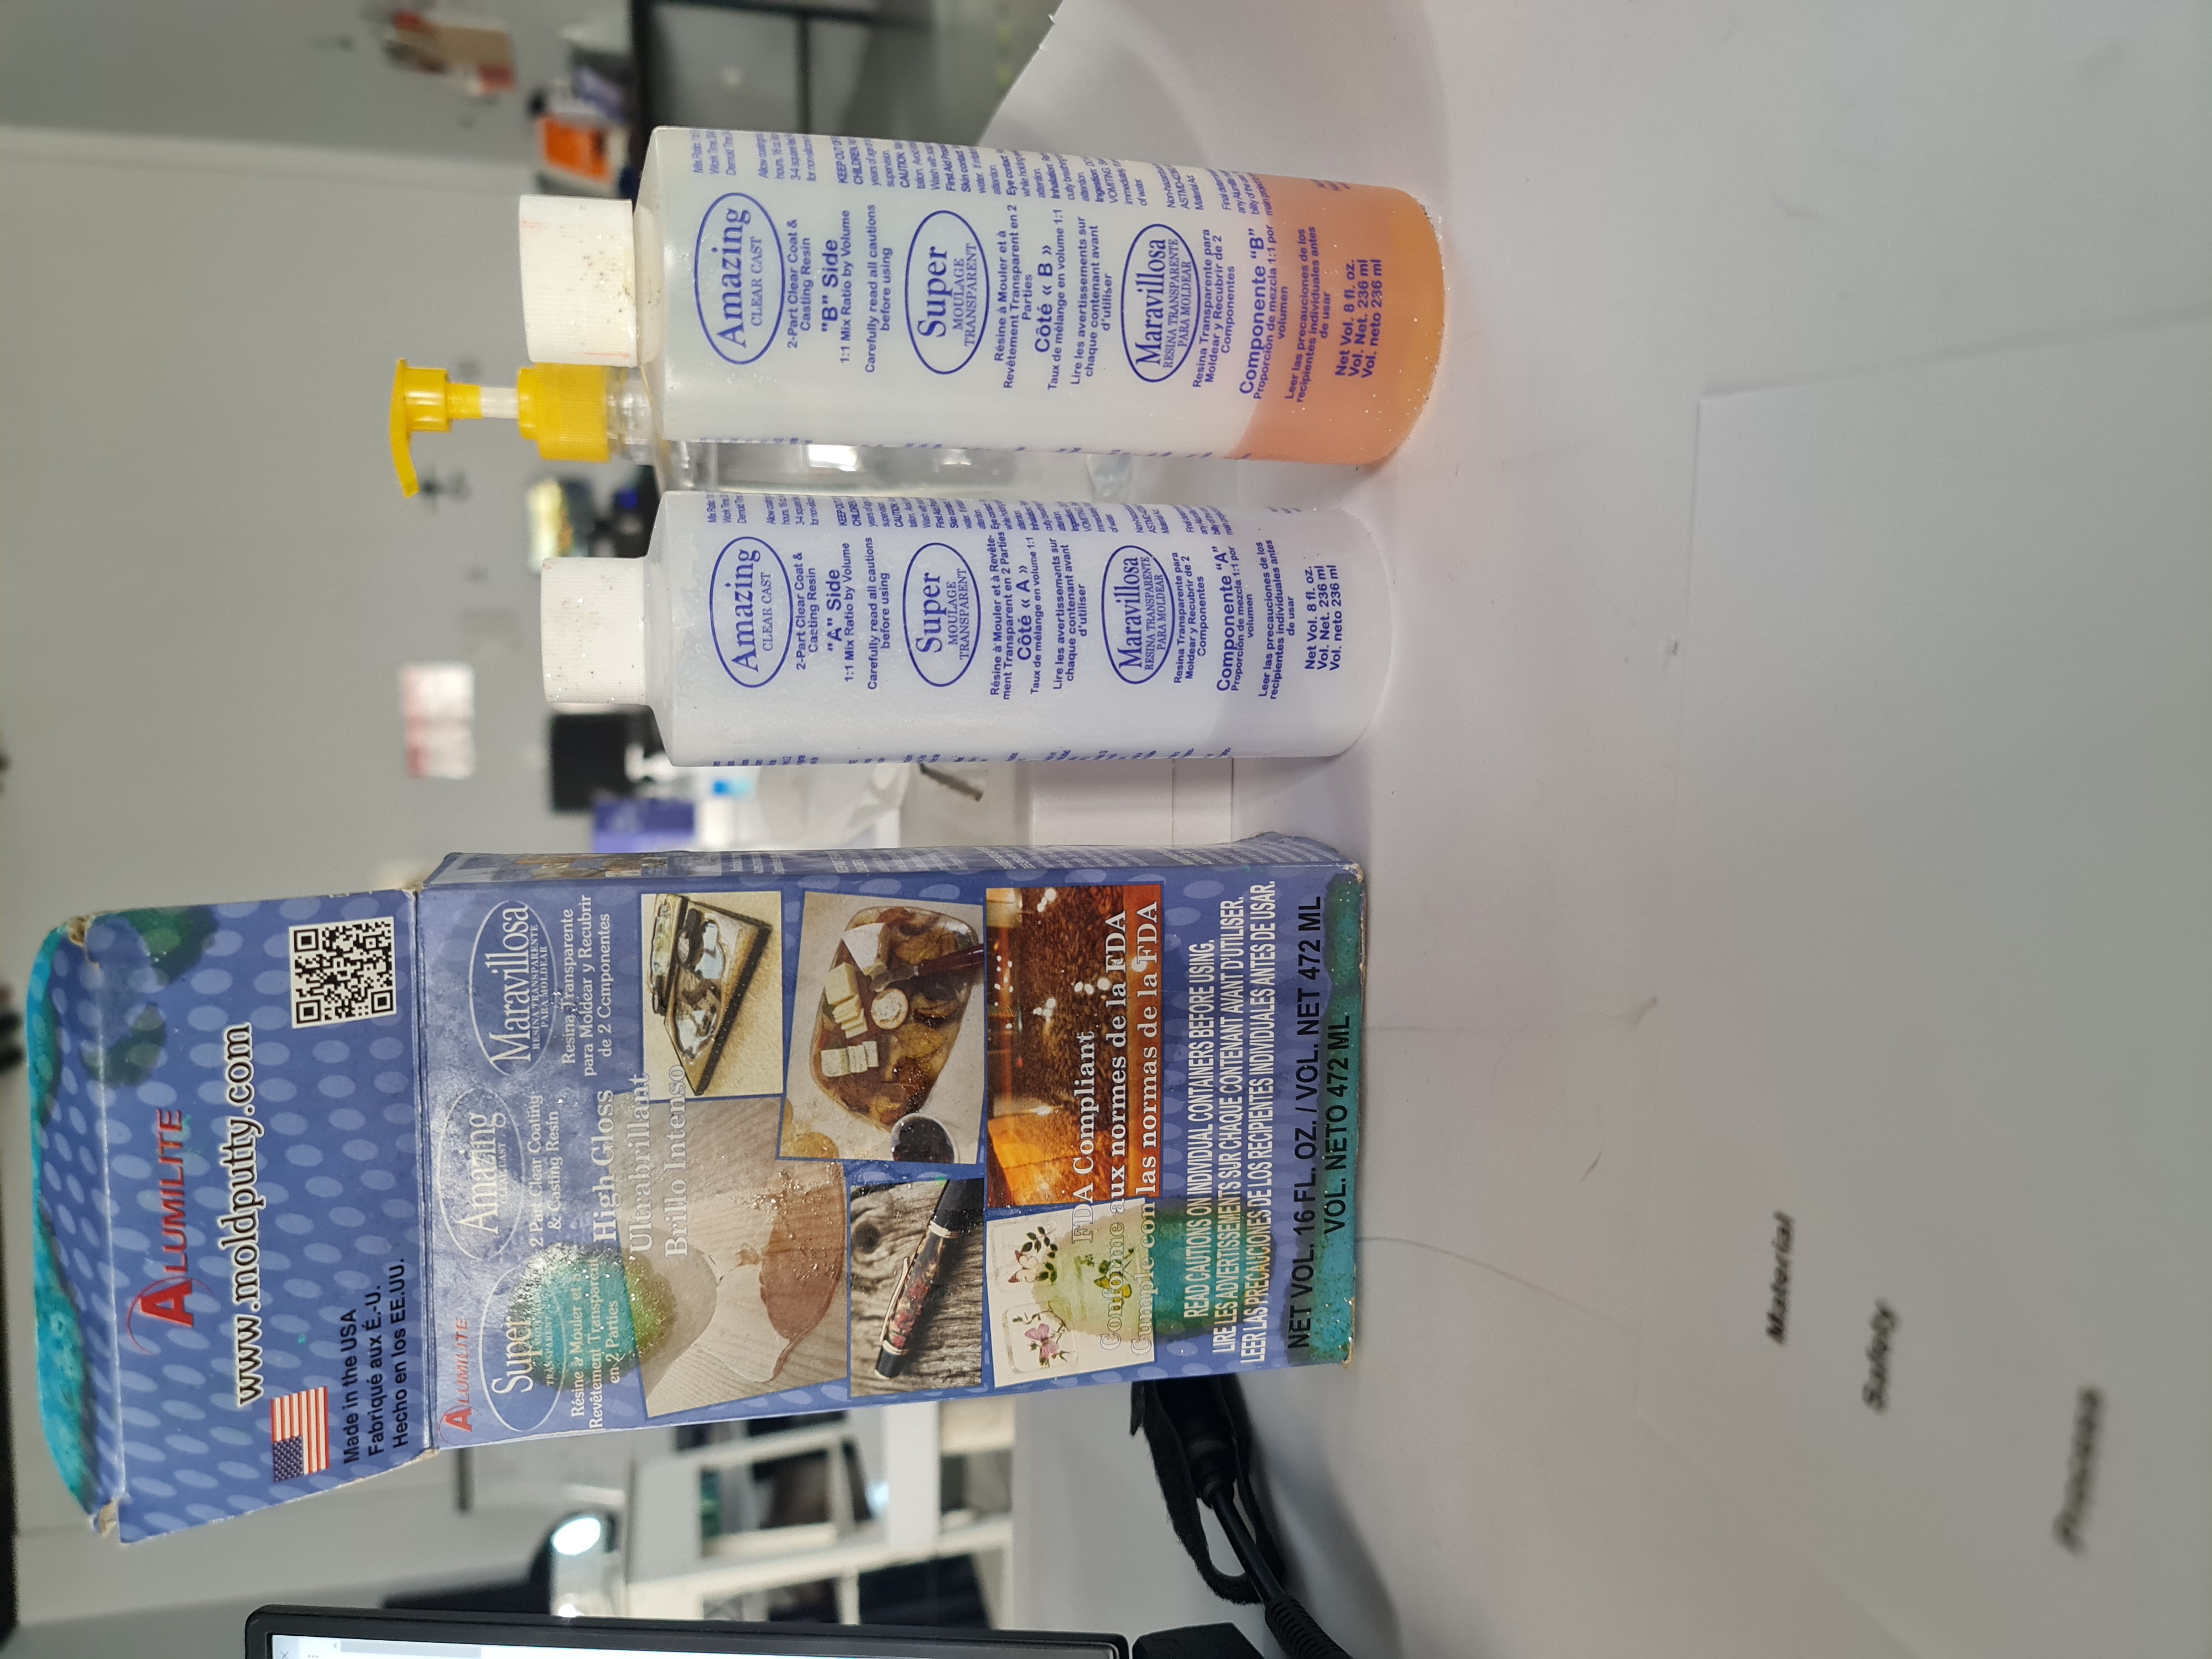
this is the material that I tested. the product that I used produced by a company called (Alumilite). it is an American company specialist in this type of products - click here to visit company website.
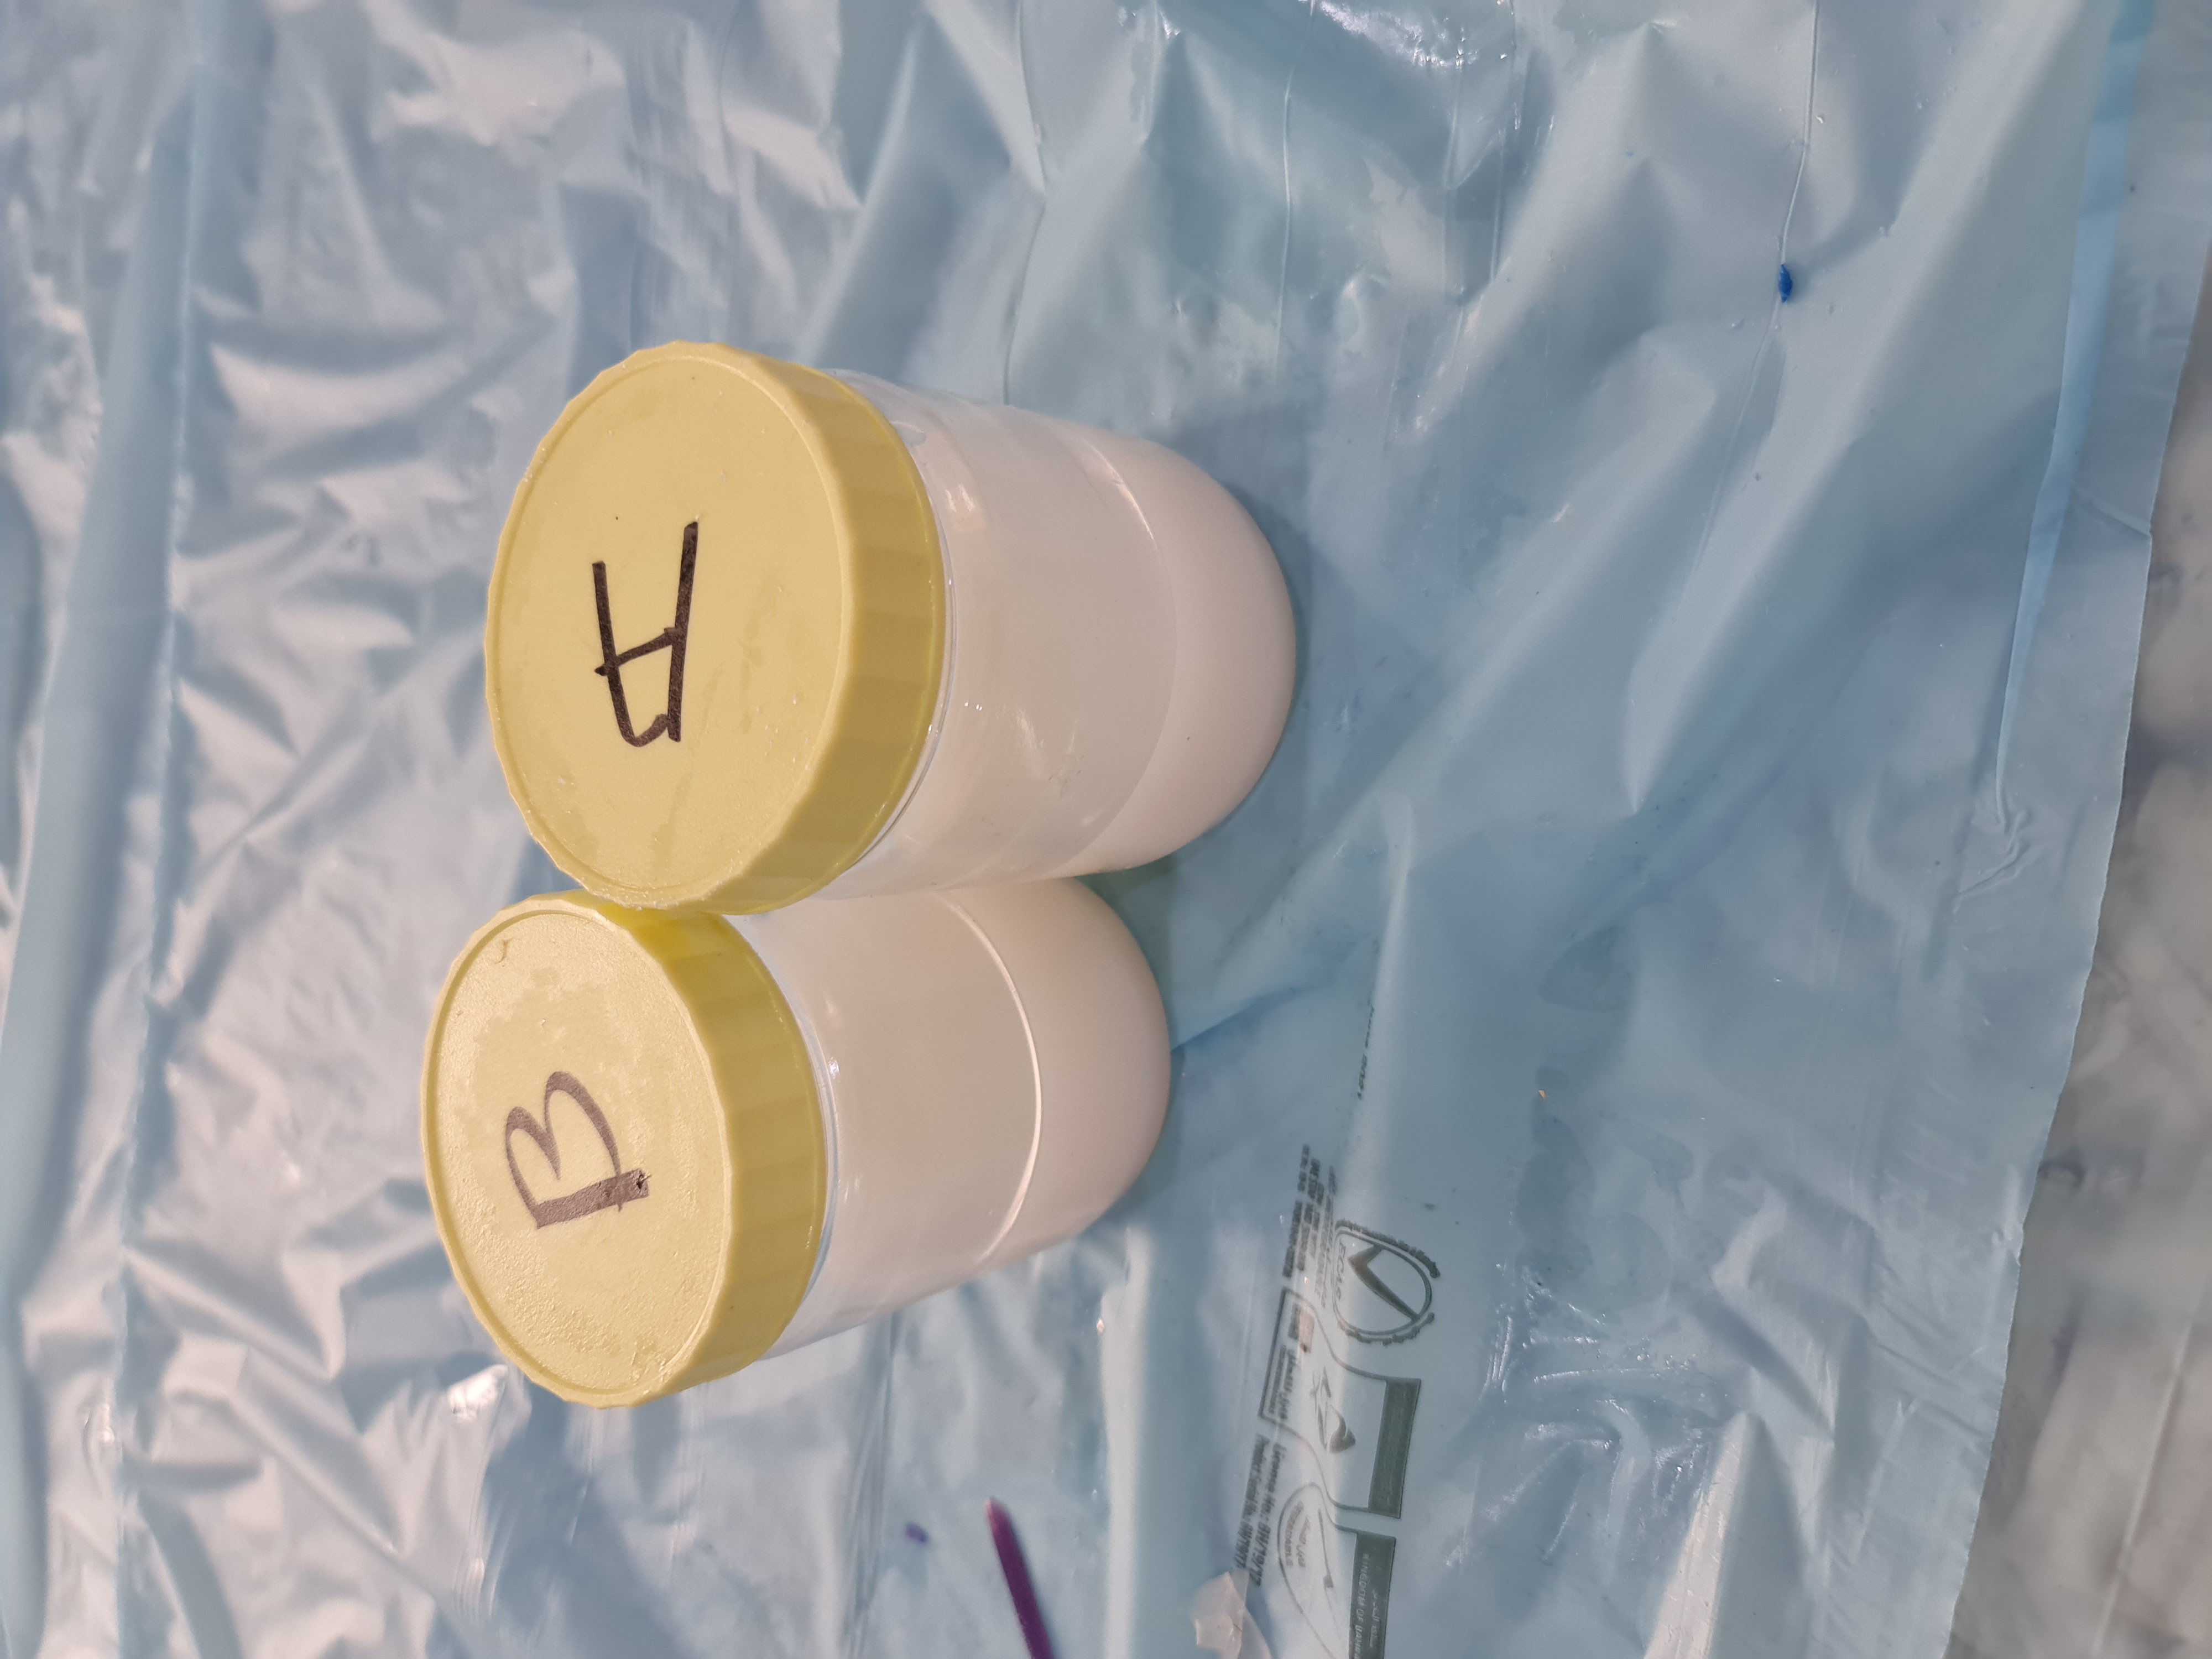
this product contains of 2 bottles (A-B)
there are some safety guides you should follow and know before using this product
- safety data sheet.
to start use this product there are some things you should know to get the best result of the product: - Curing time will take from 24-48 hour - working time from 30-40 minutes - mix ratio is 1:1 from (A & B) - the final cured state is hard, clear finish and glossy
Other Materials
check the following pages of my groupmate:
work process
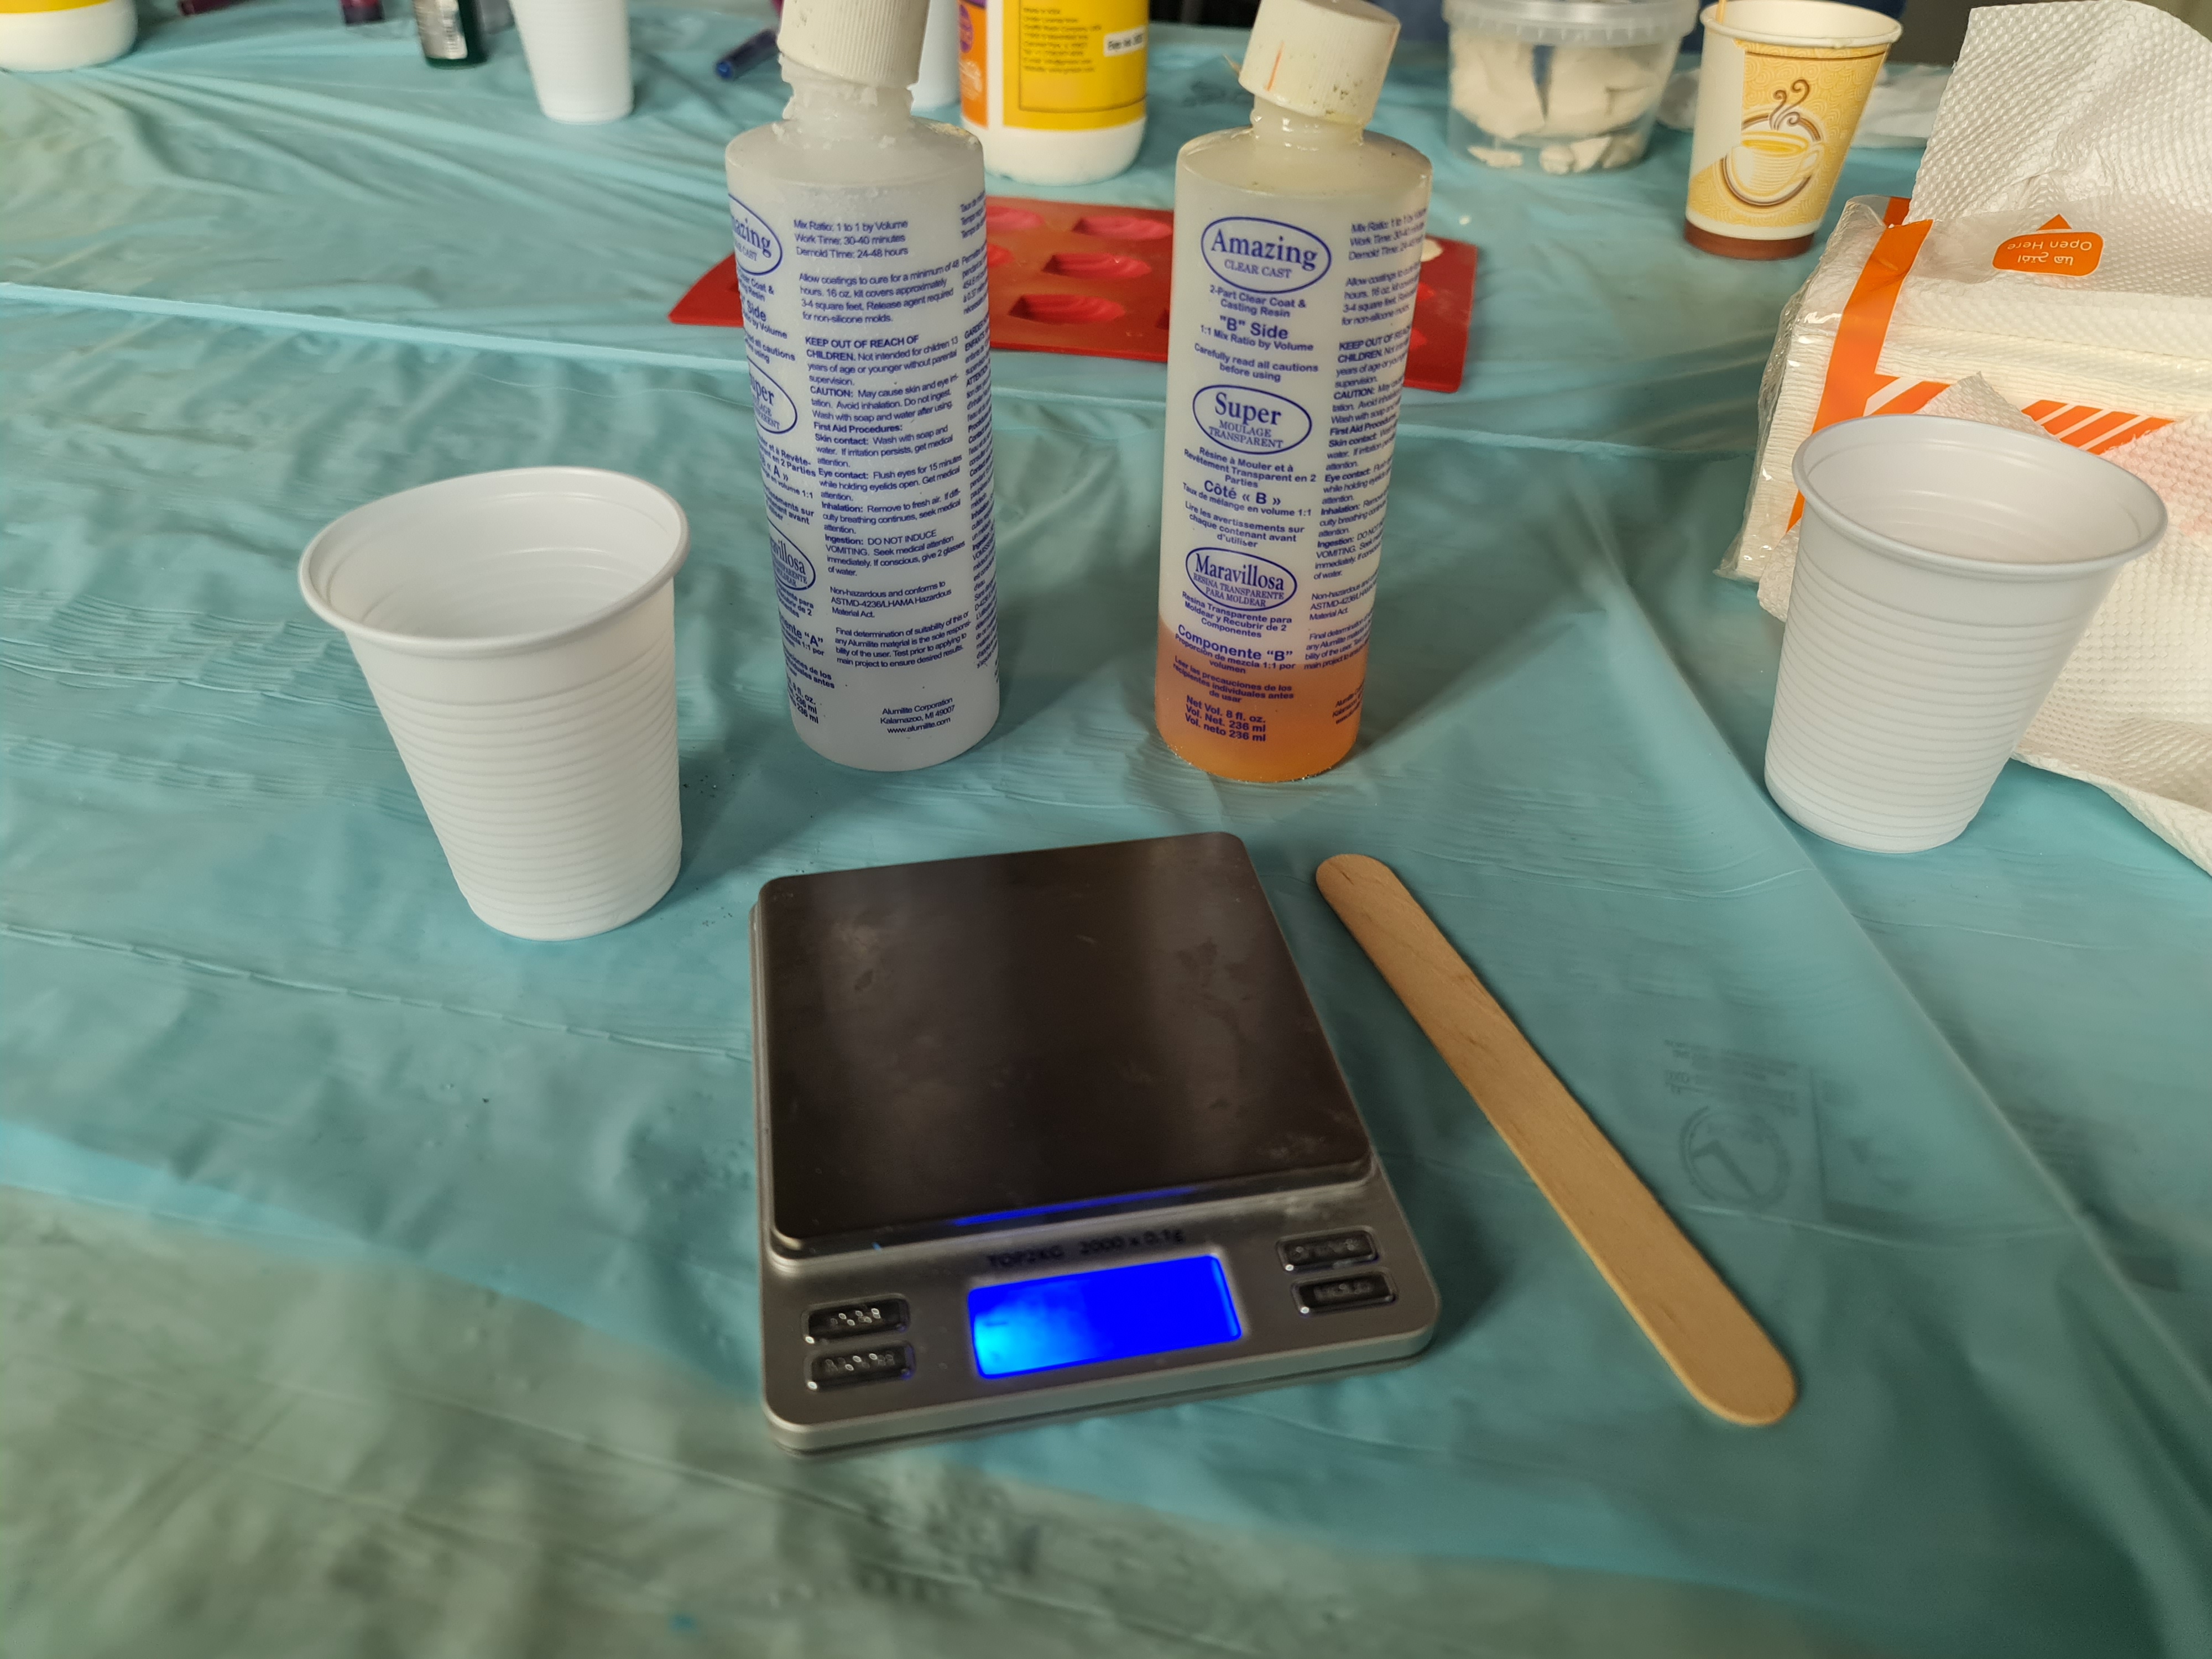
fir bring all the needed equipment and put them on the table front of you. wear gloves to work safely.
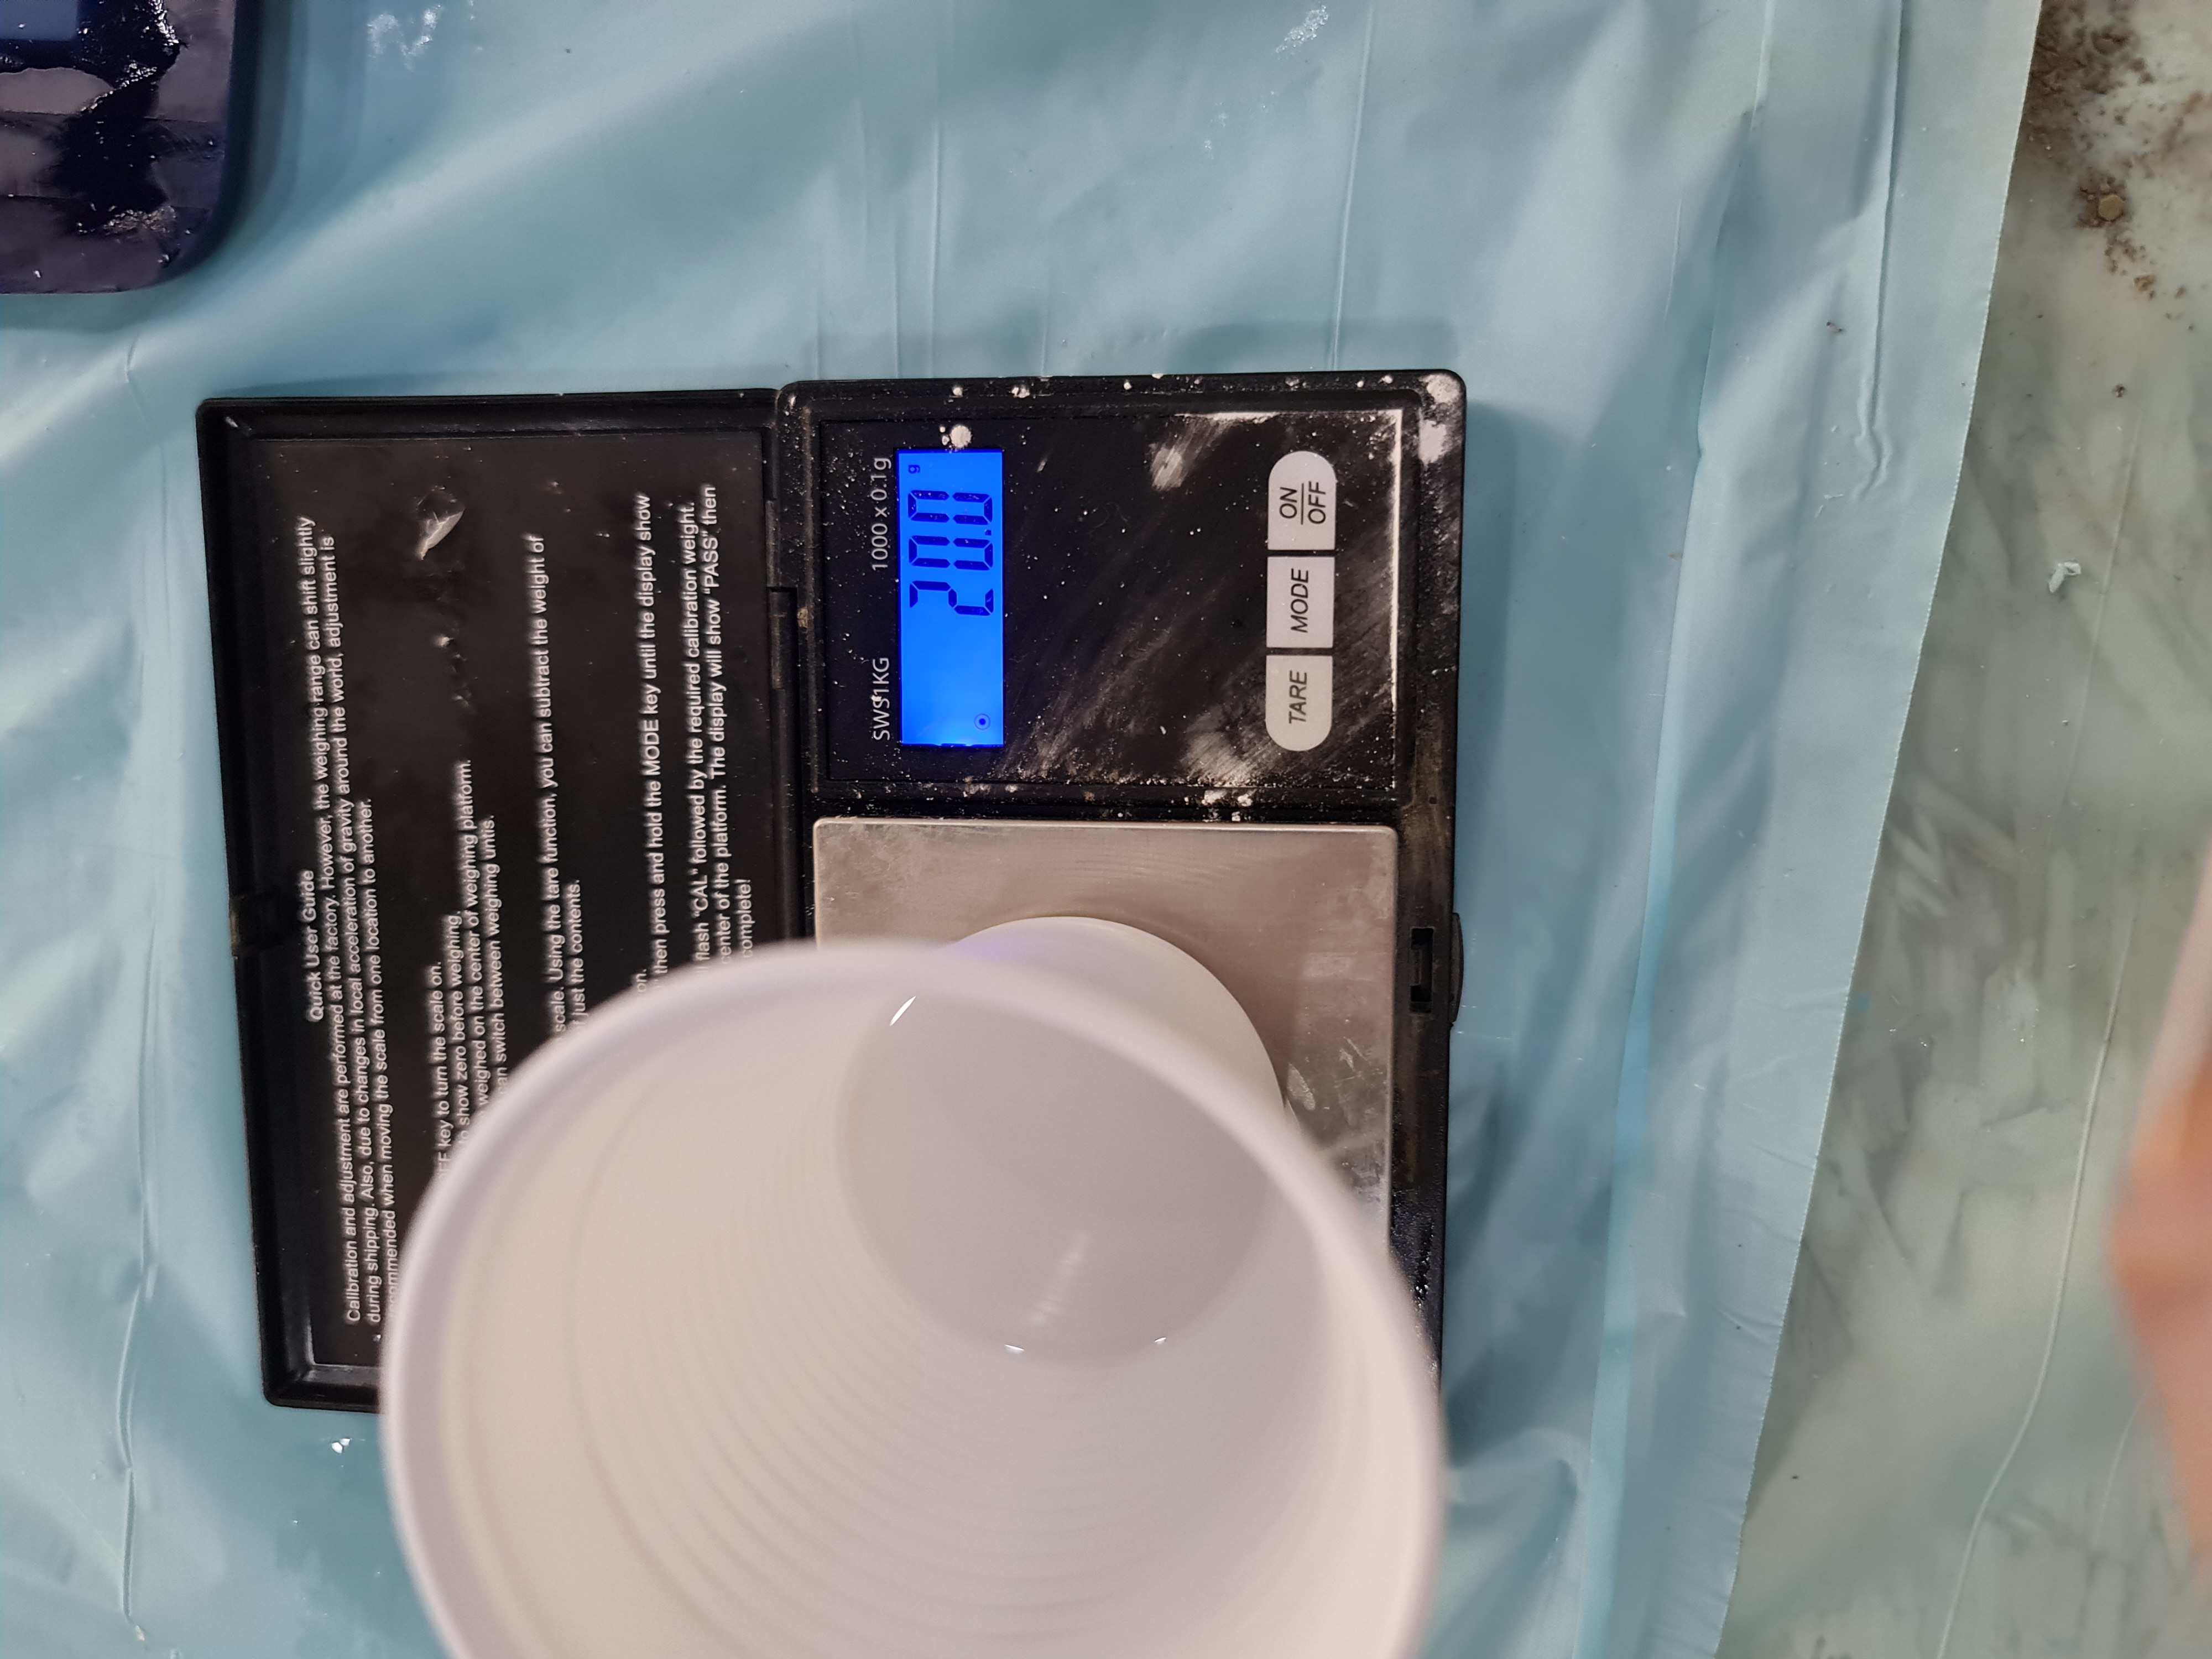
- bring an empty clean plastic cup
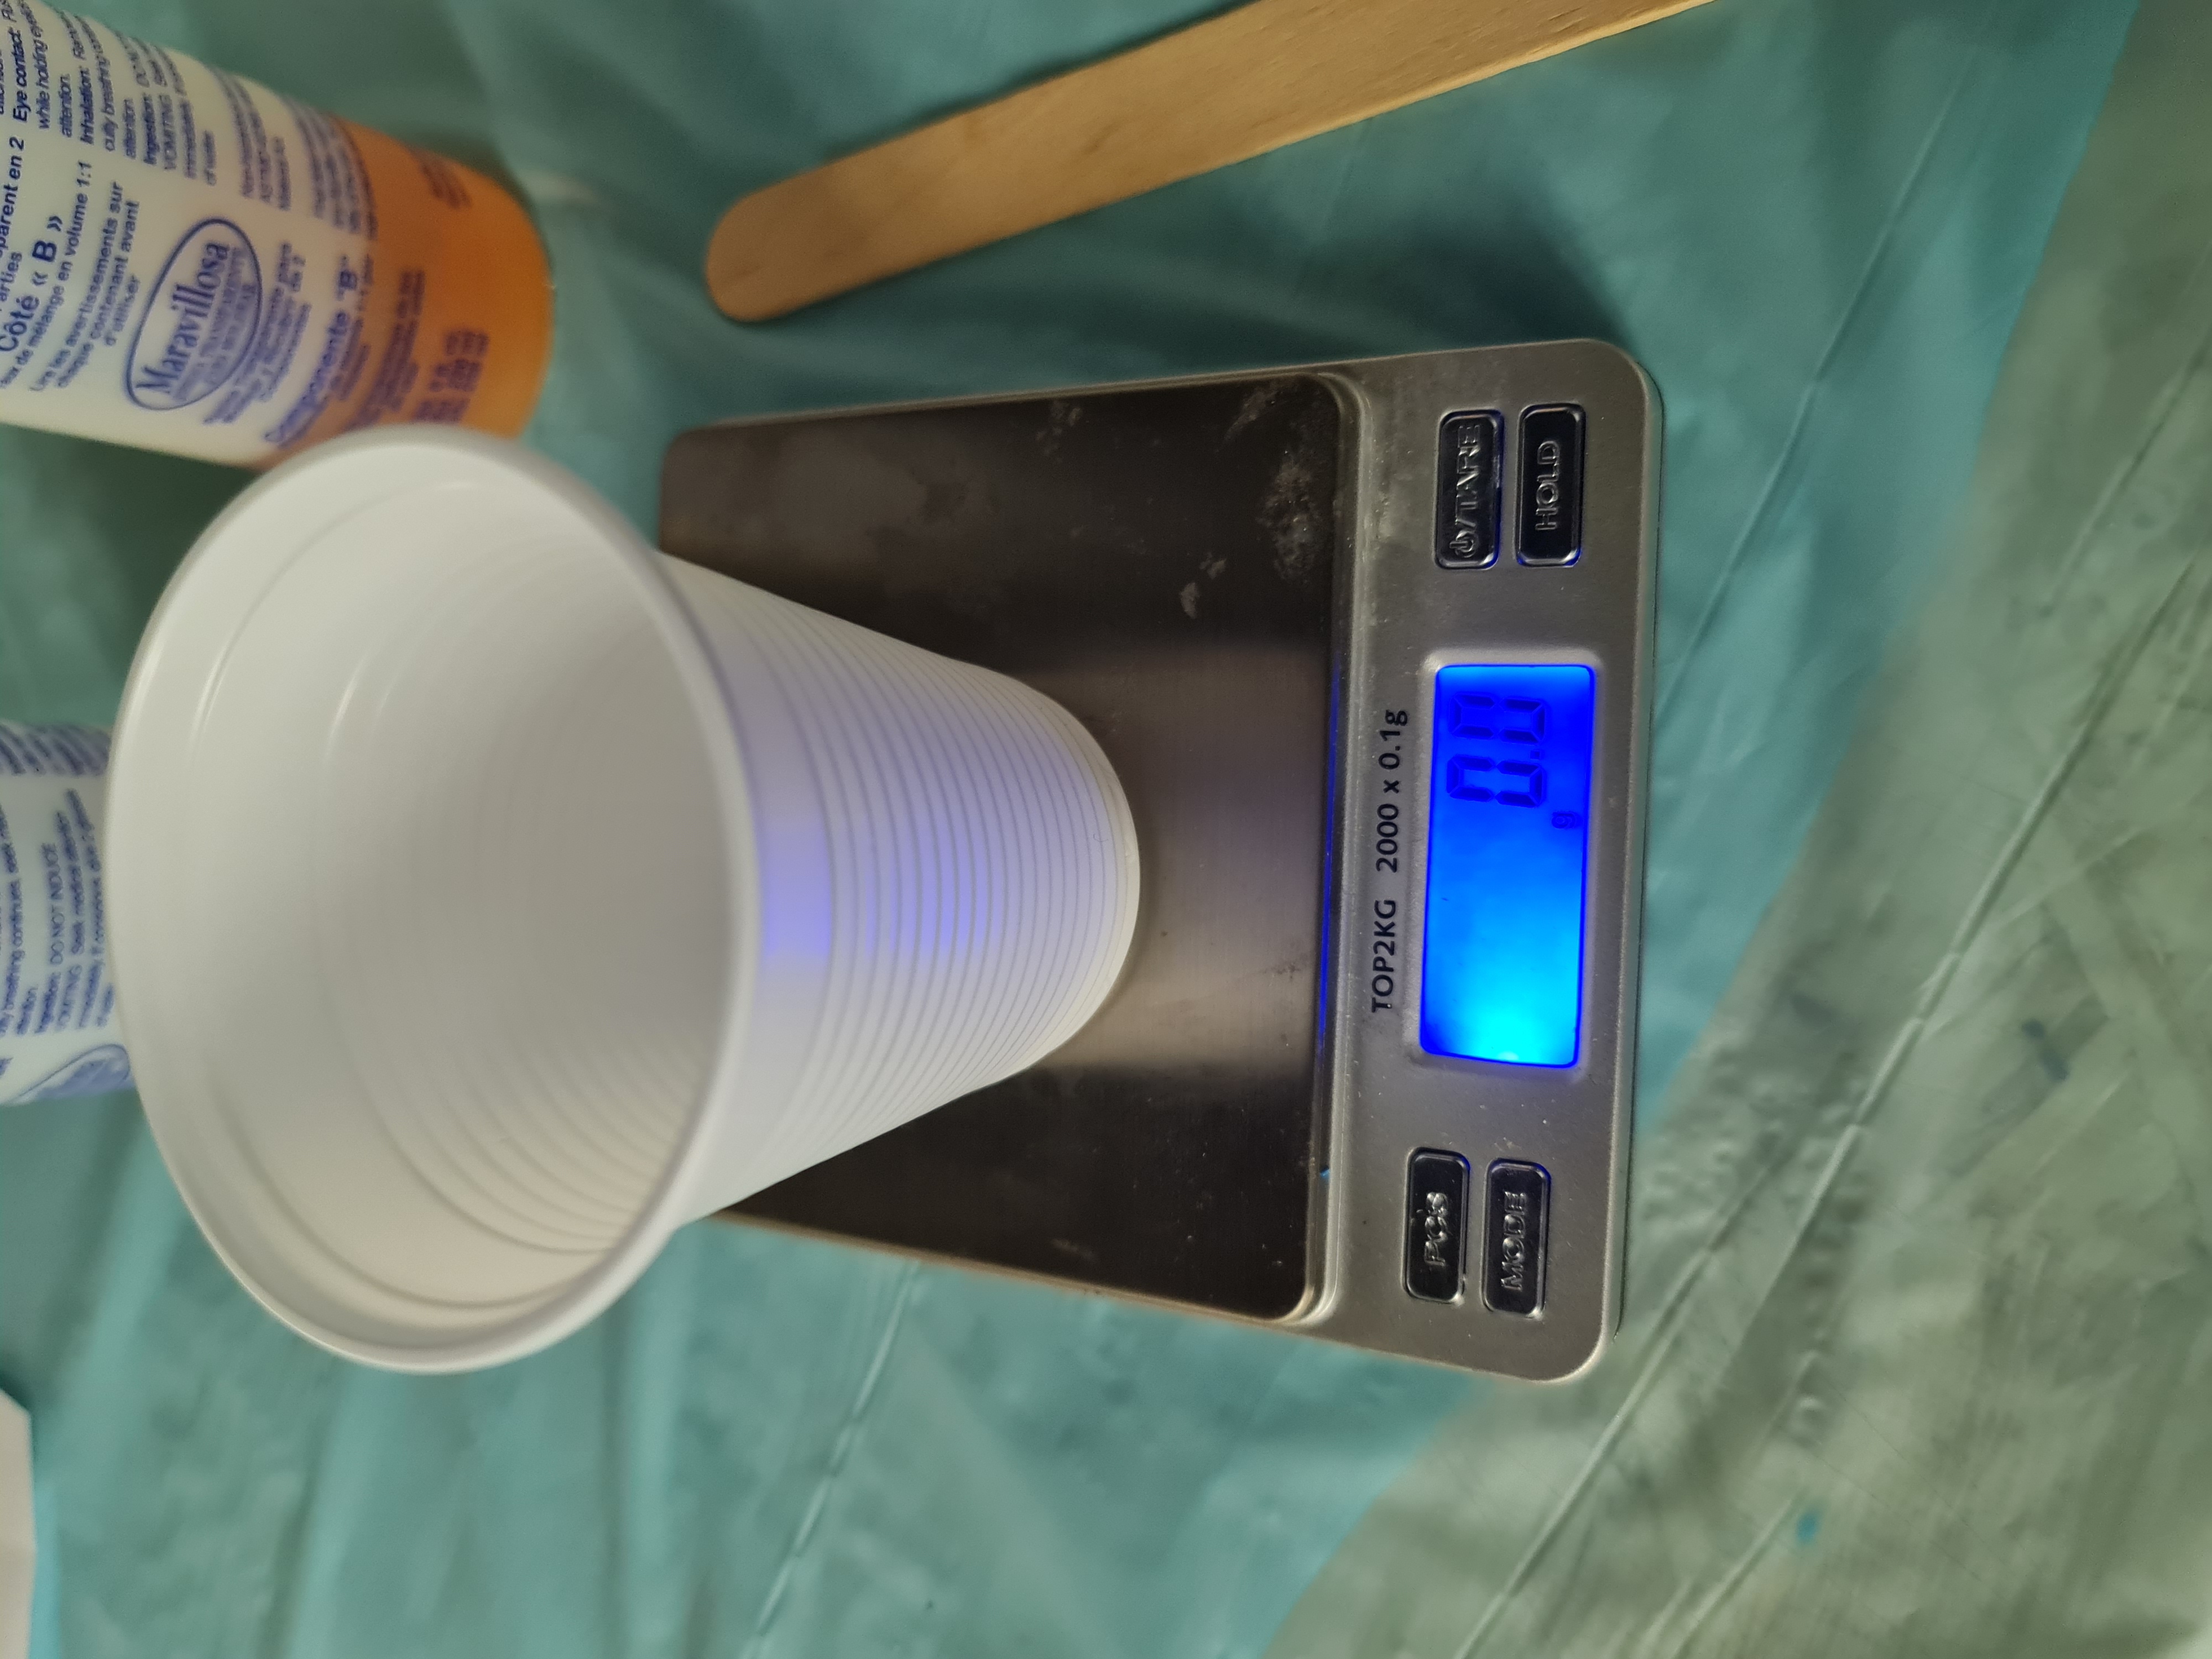
- put it on the electronic scale
- zero the scale to deduct the cup size.
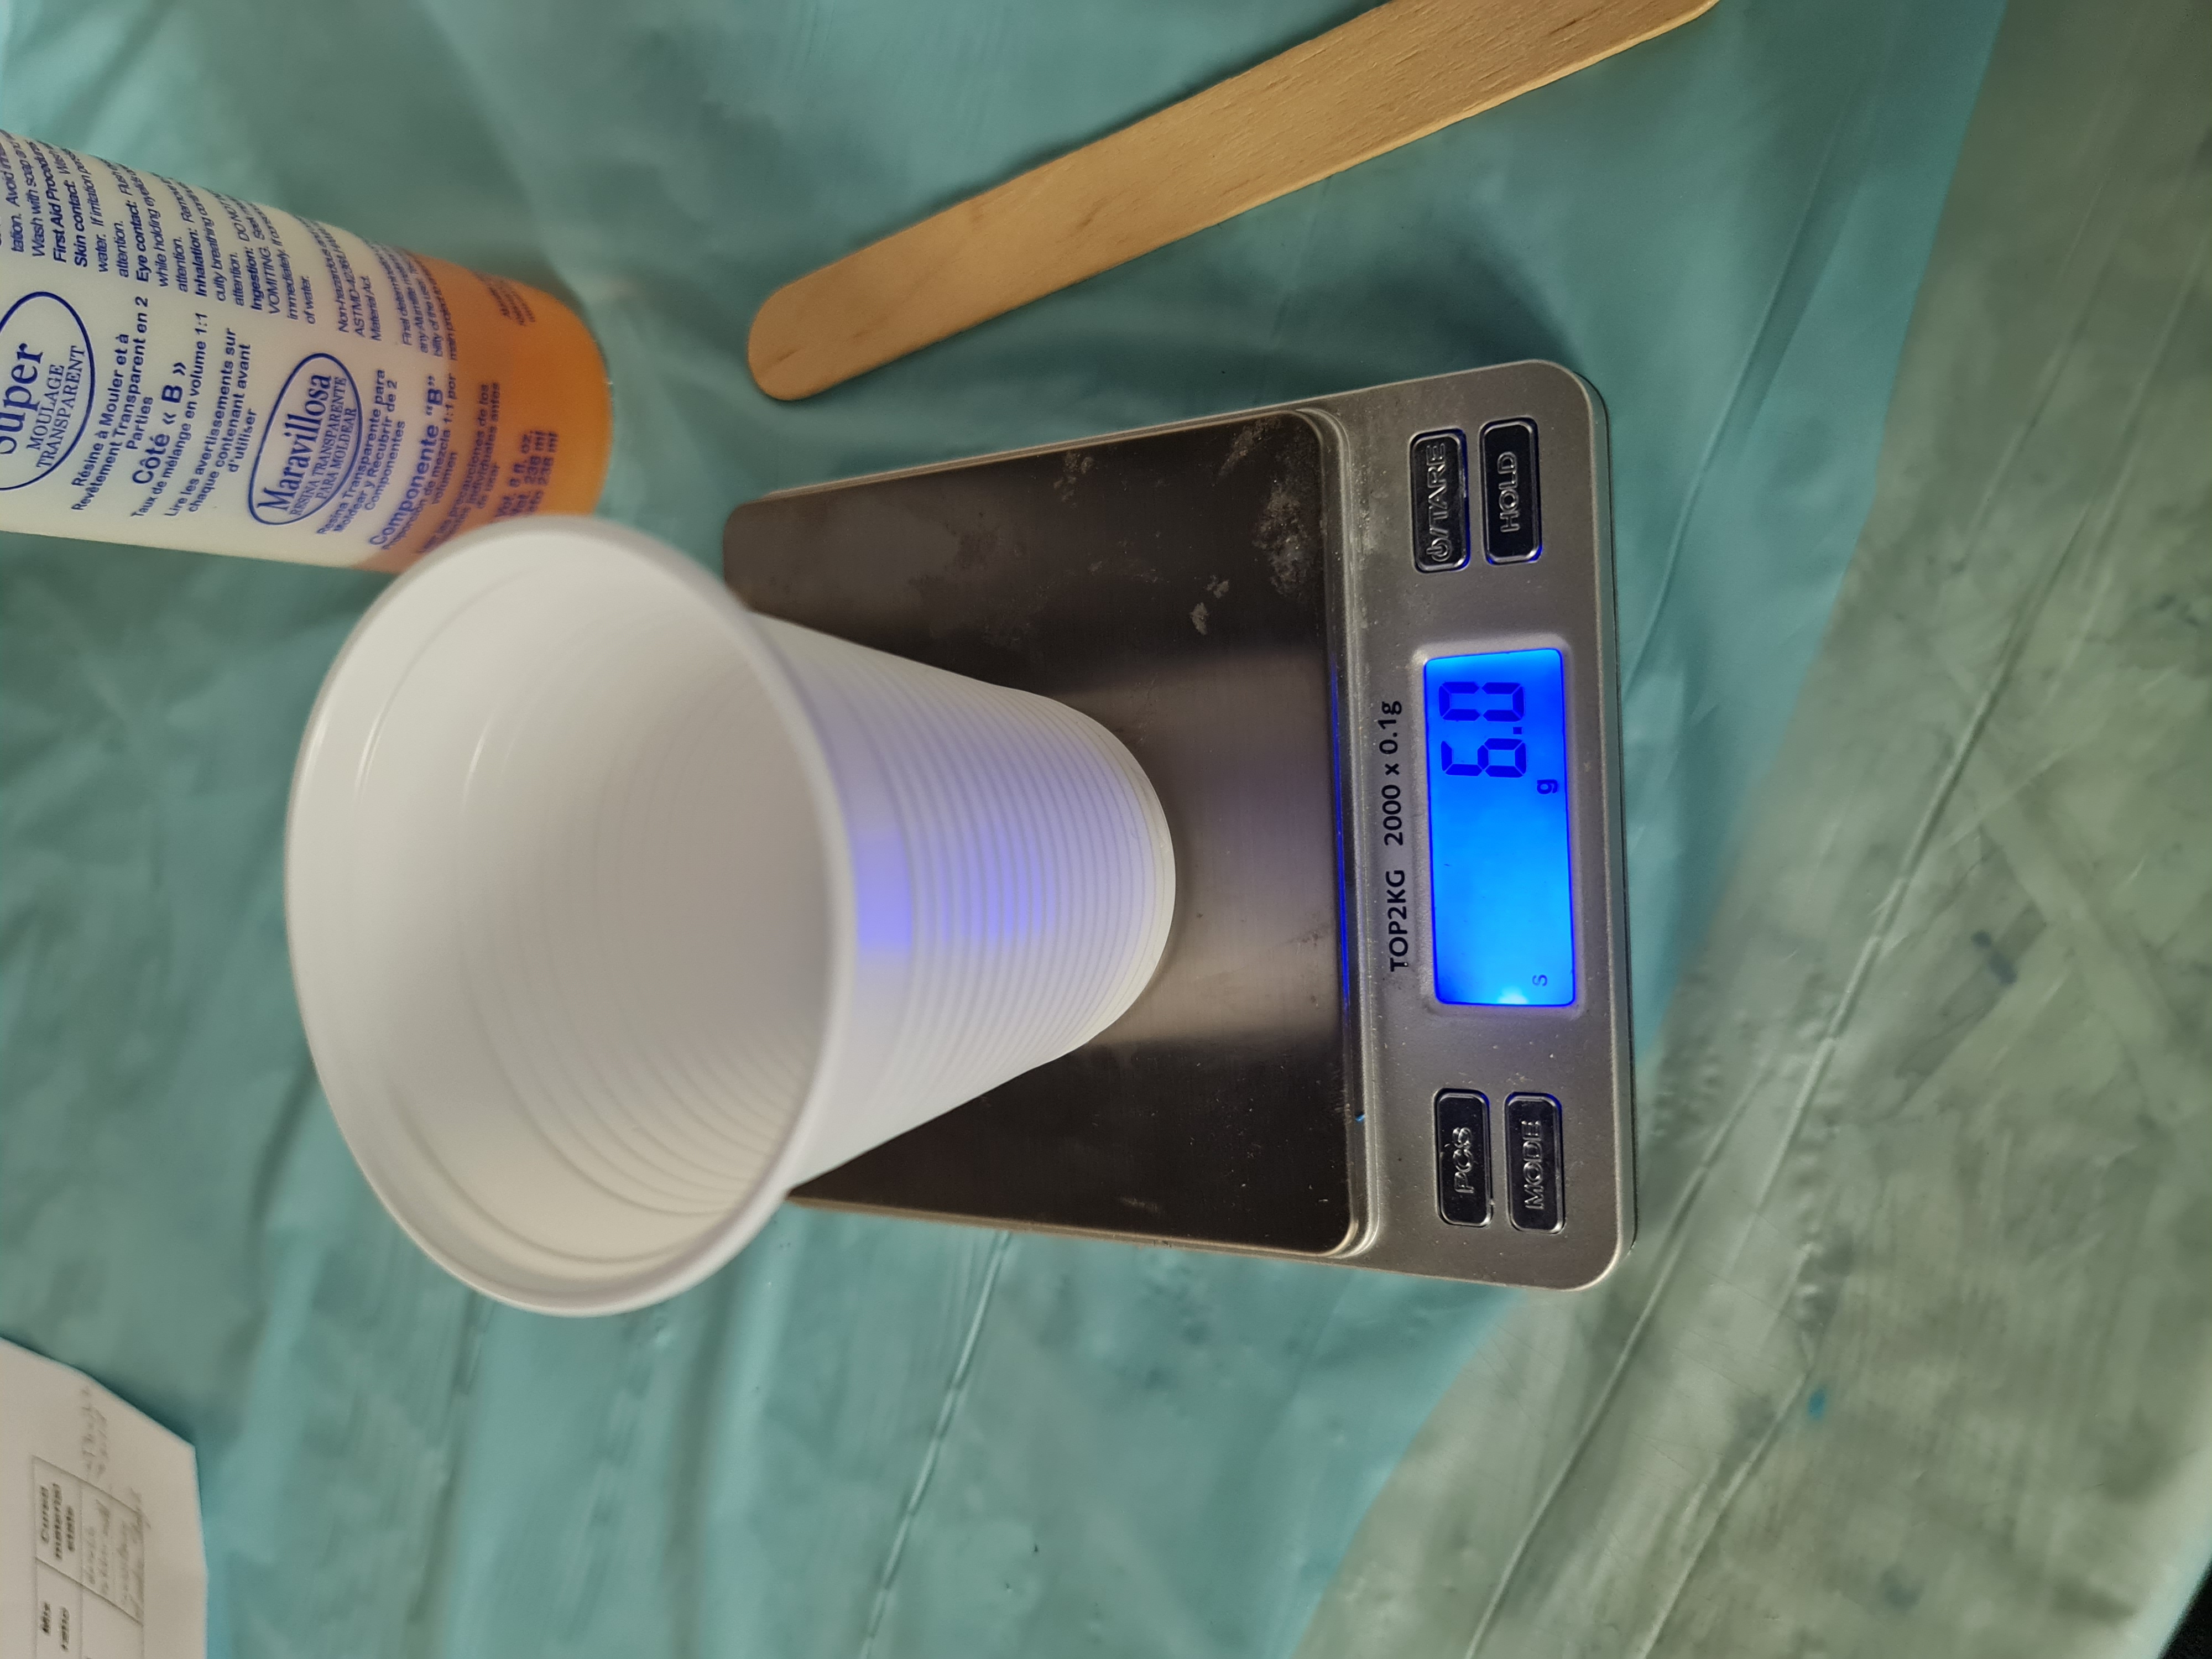
start add the resin to the cup with 1:1 ratio to get the best final result.
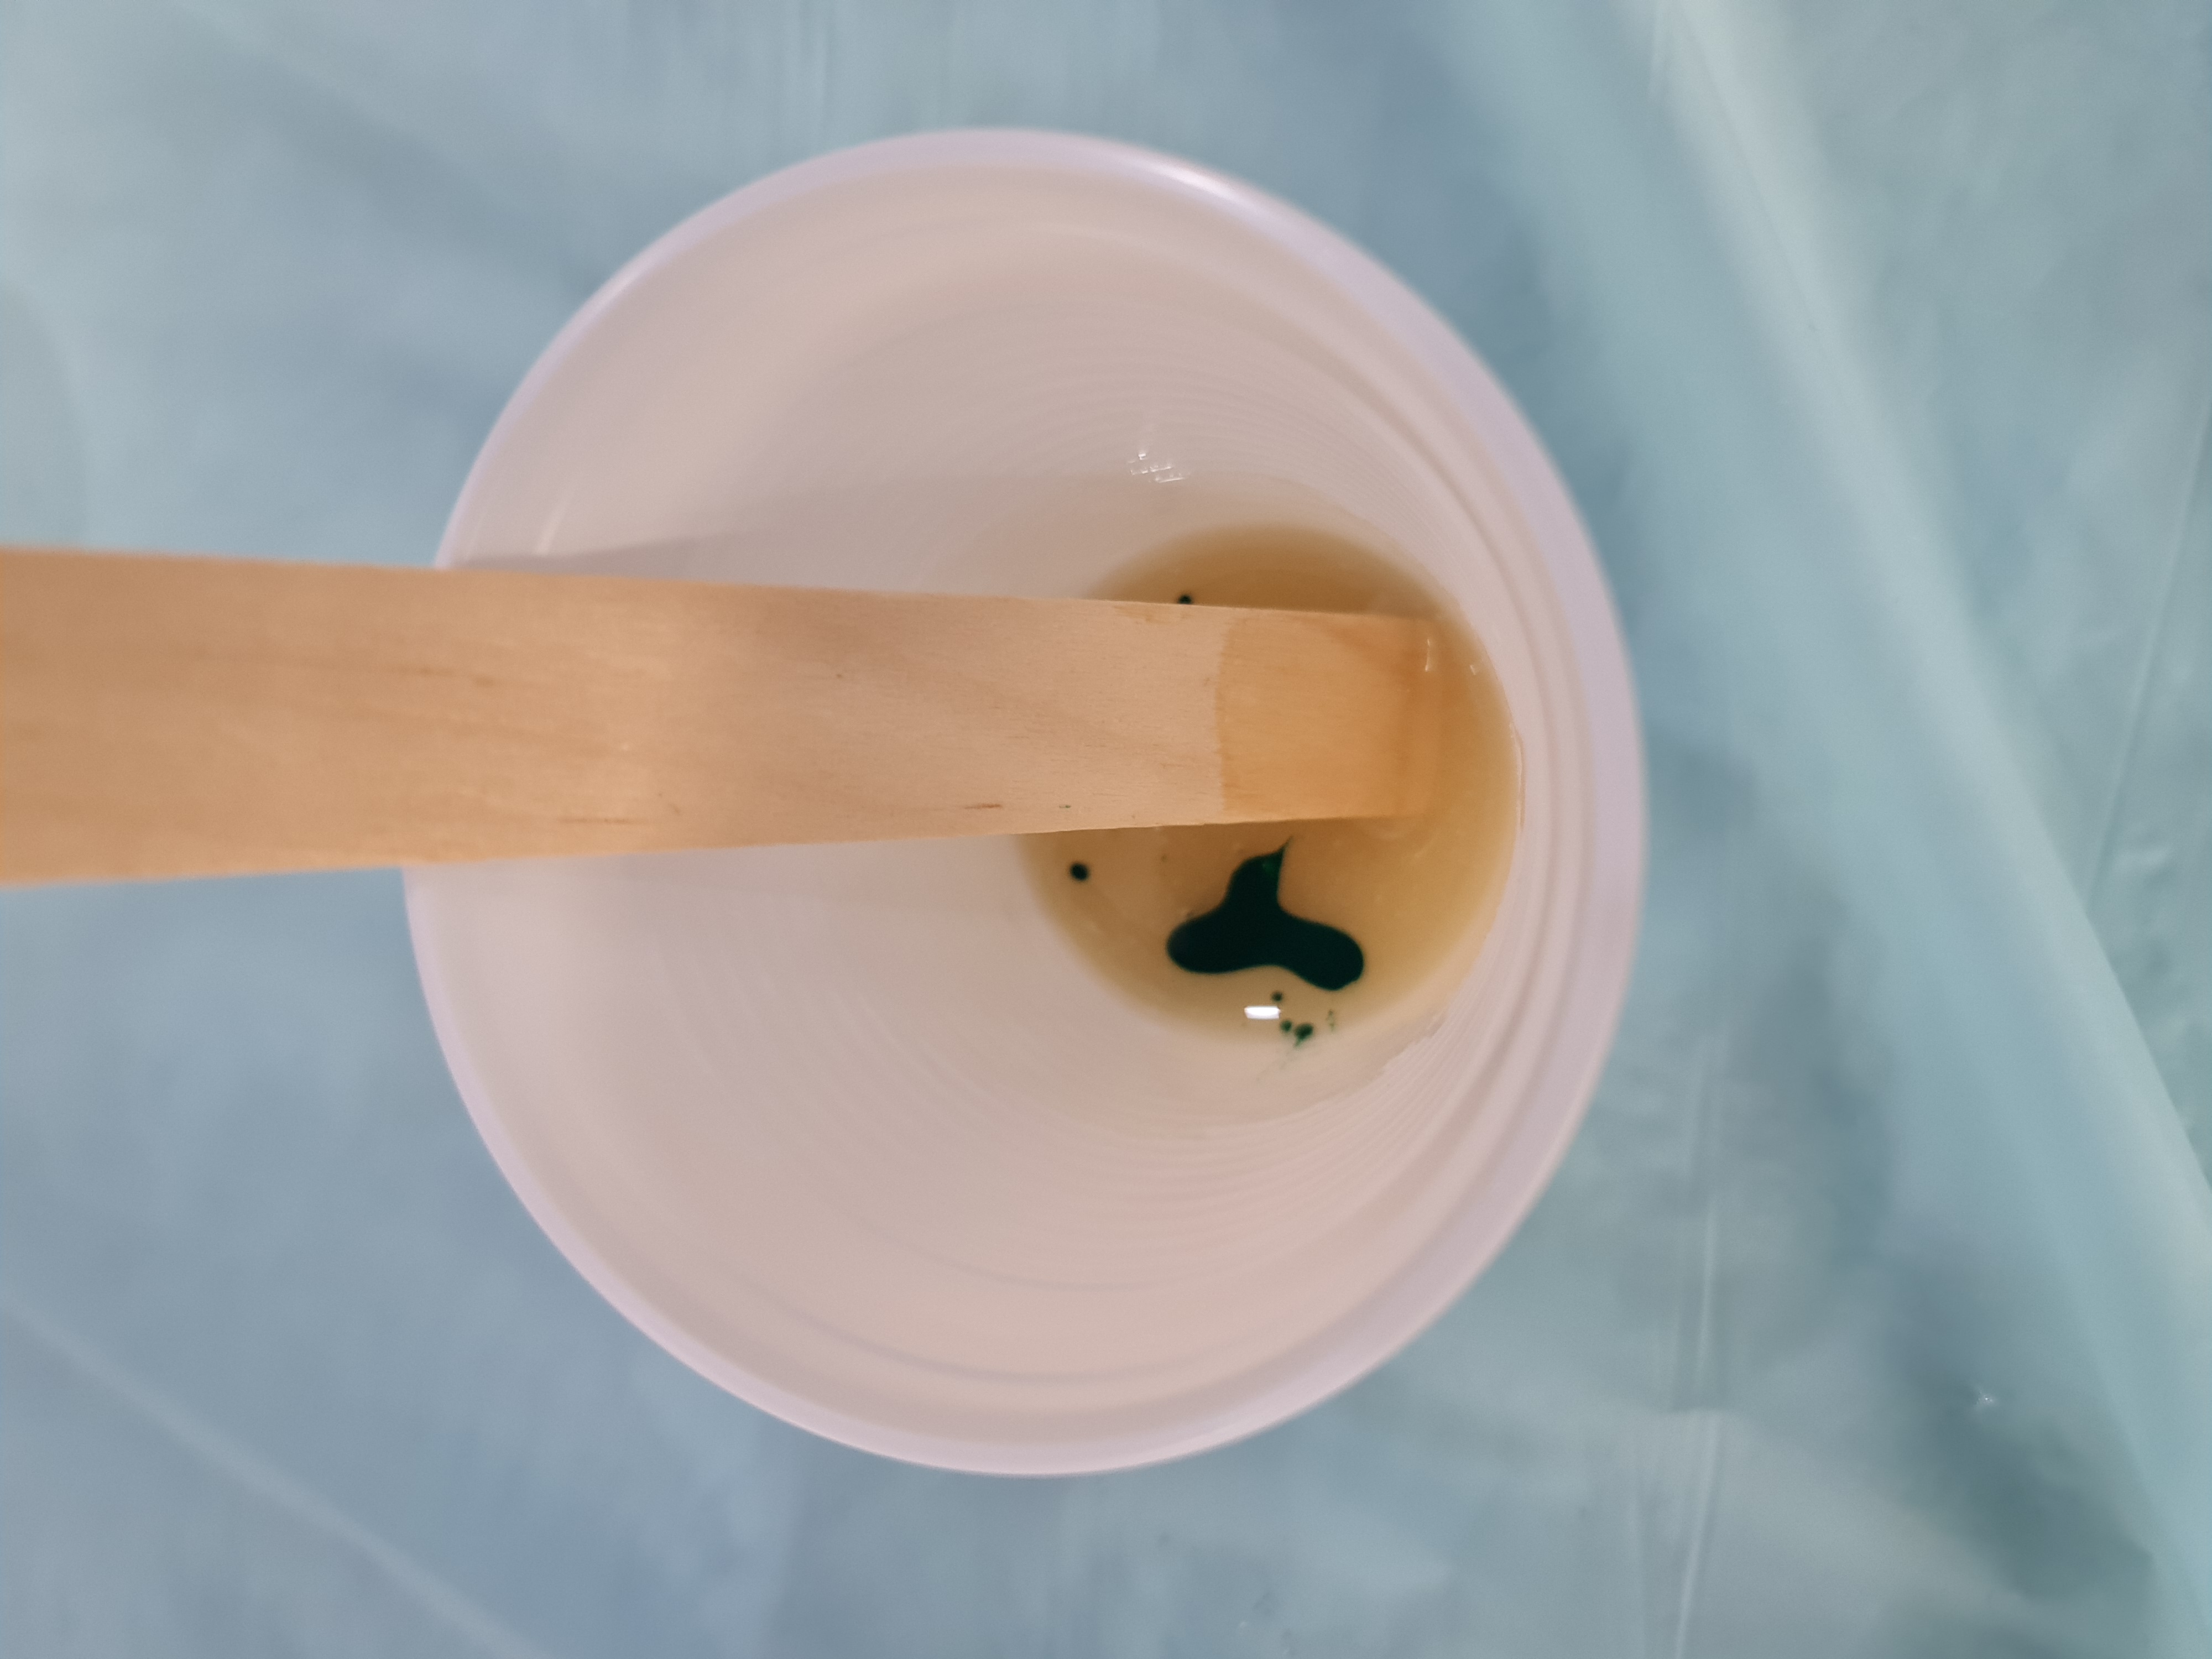
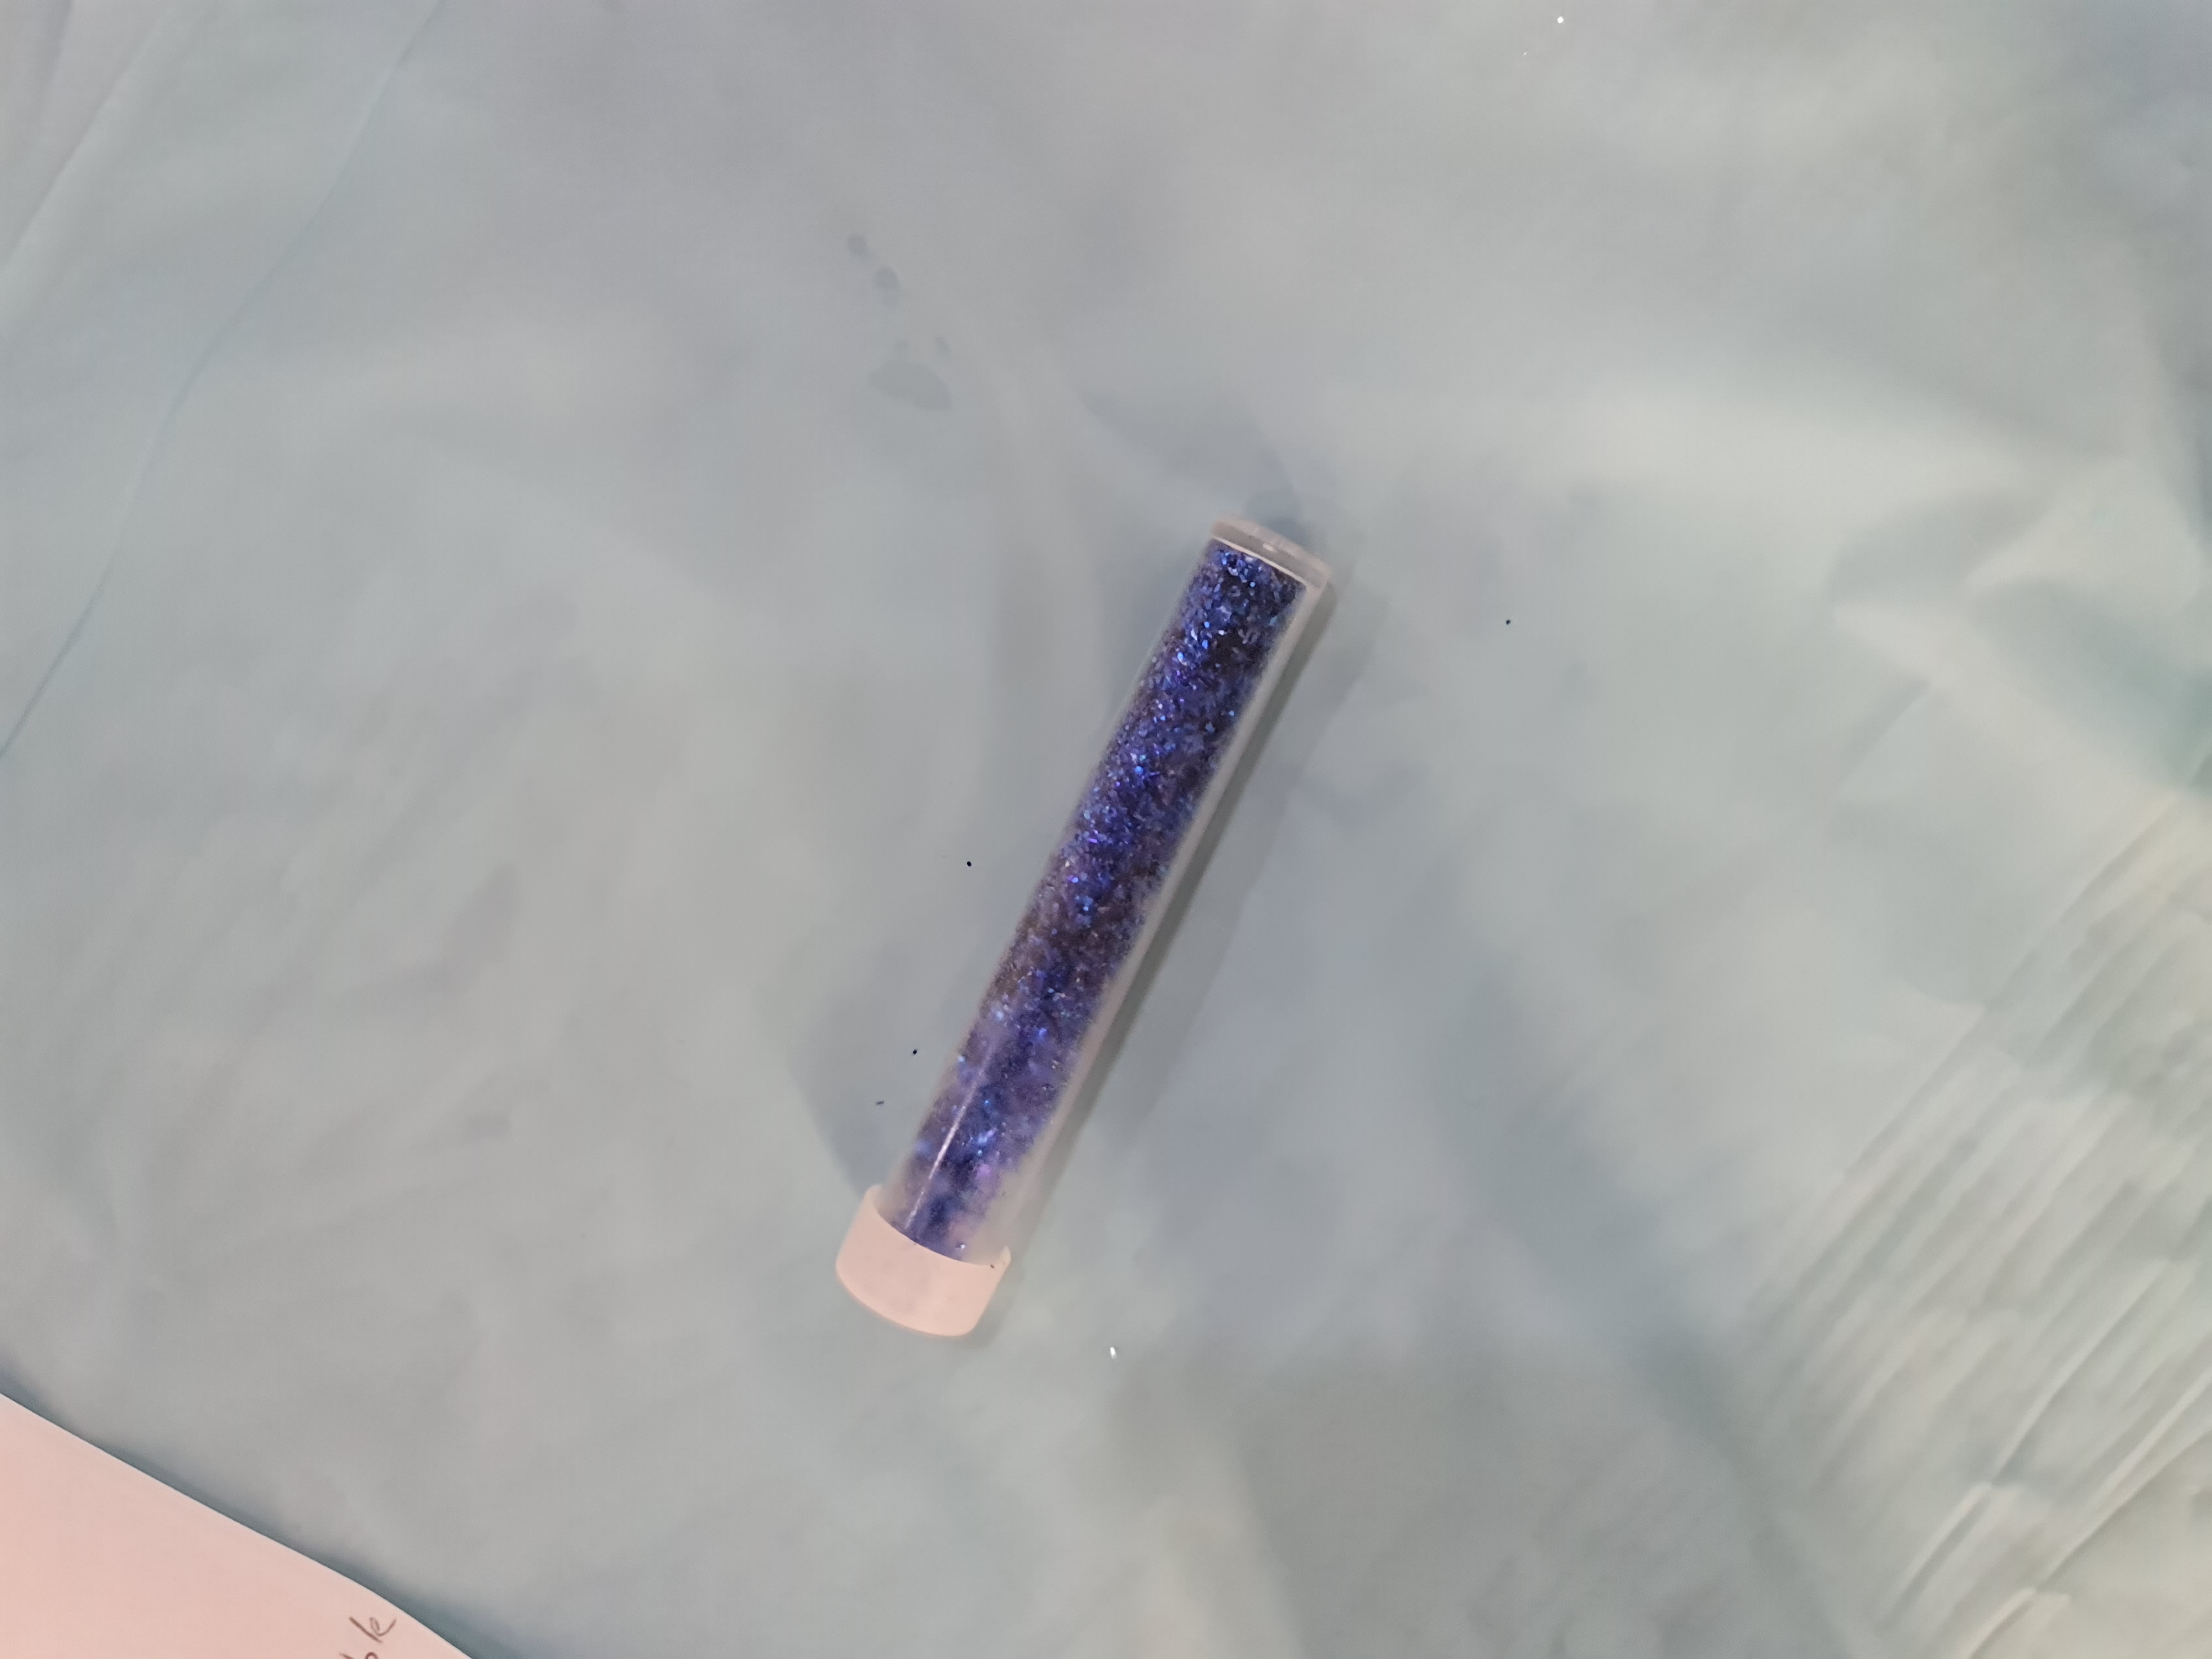
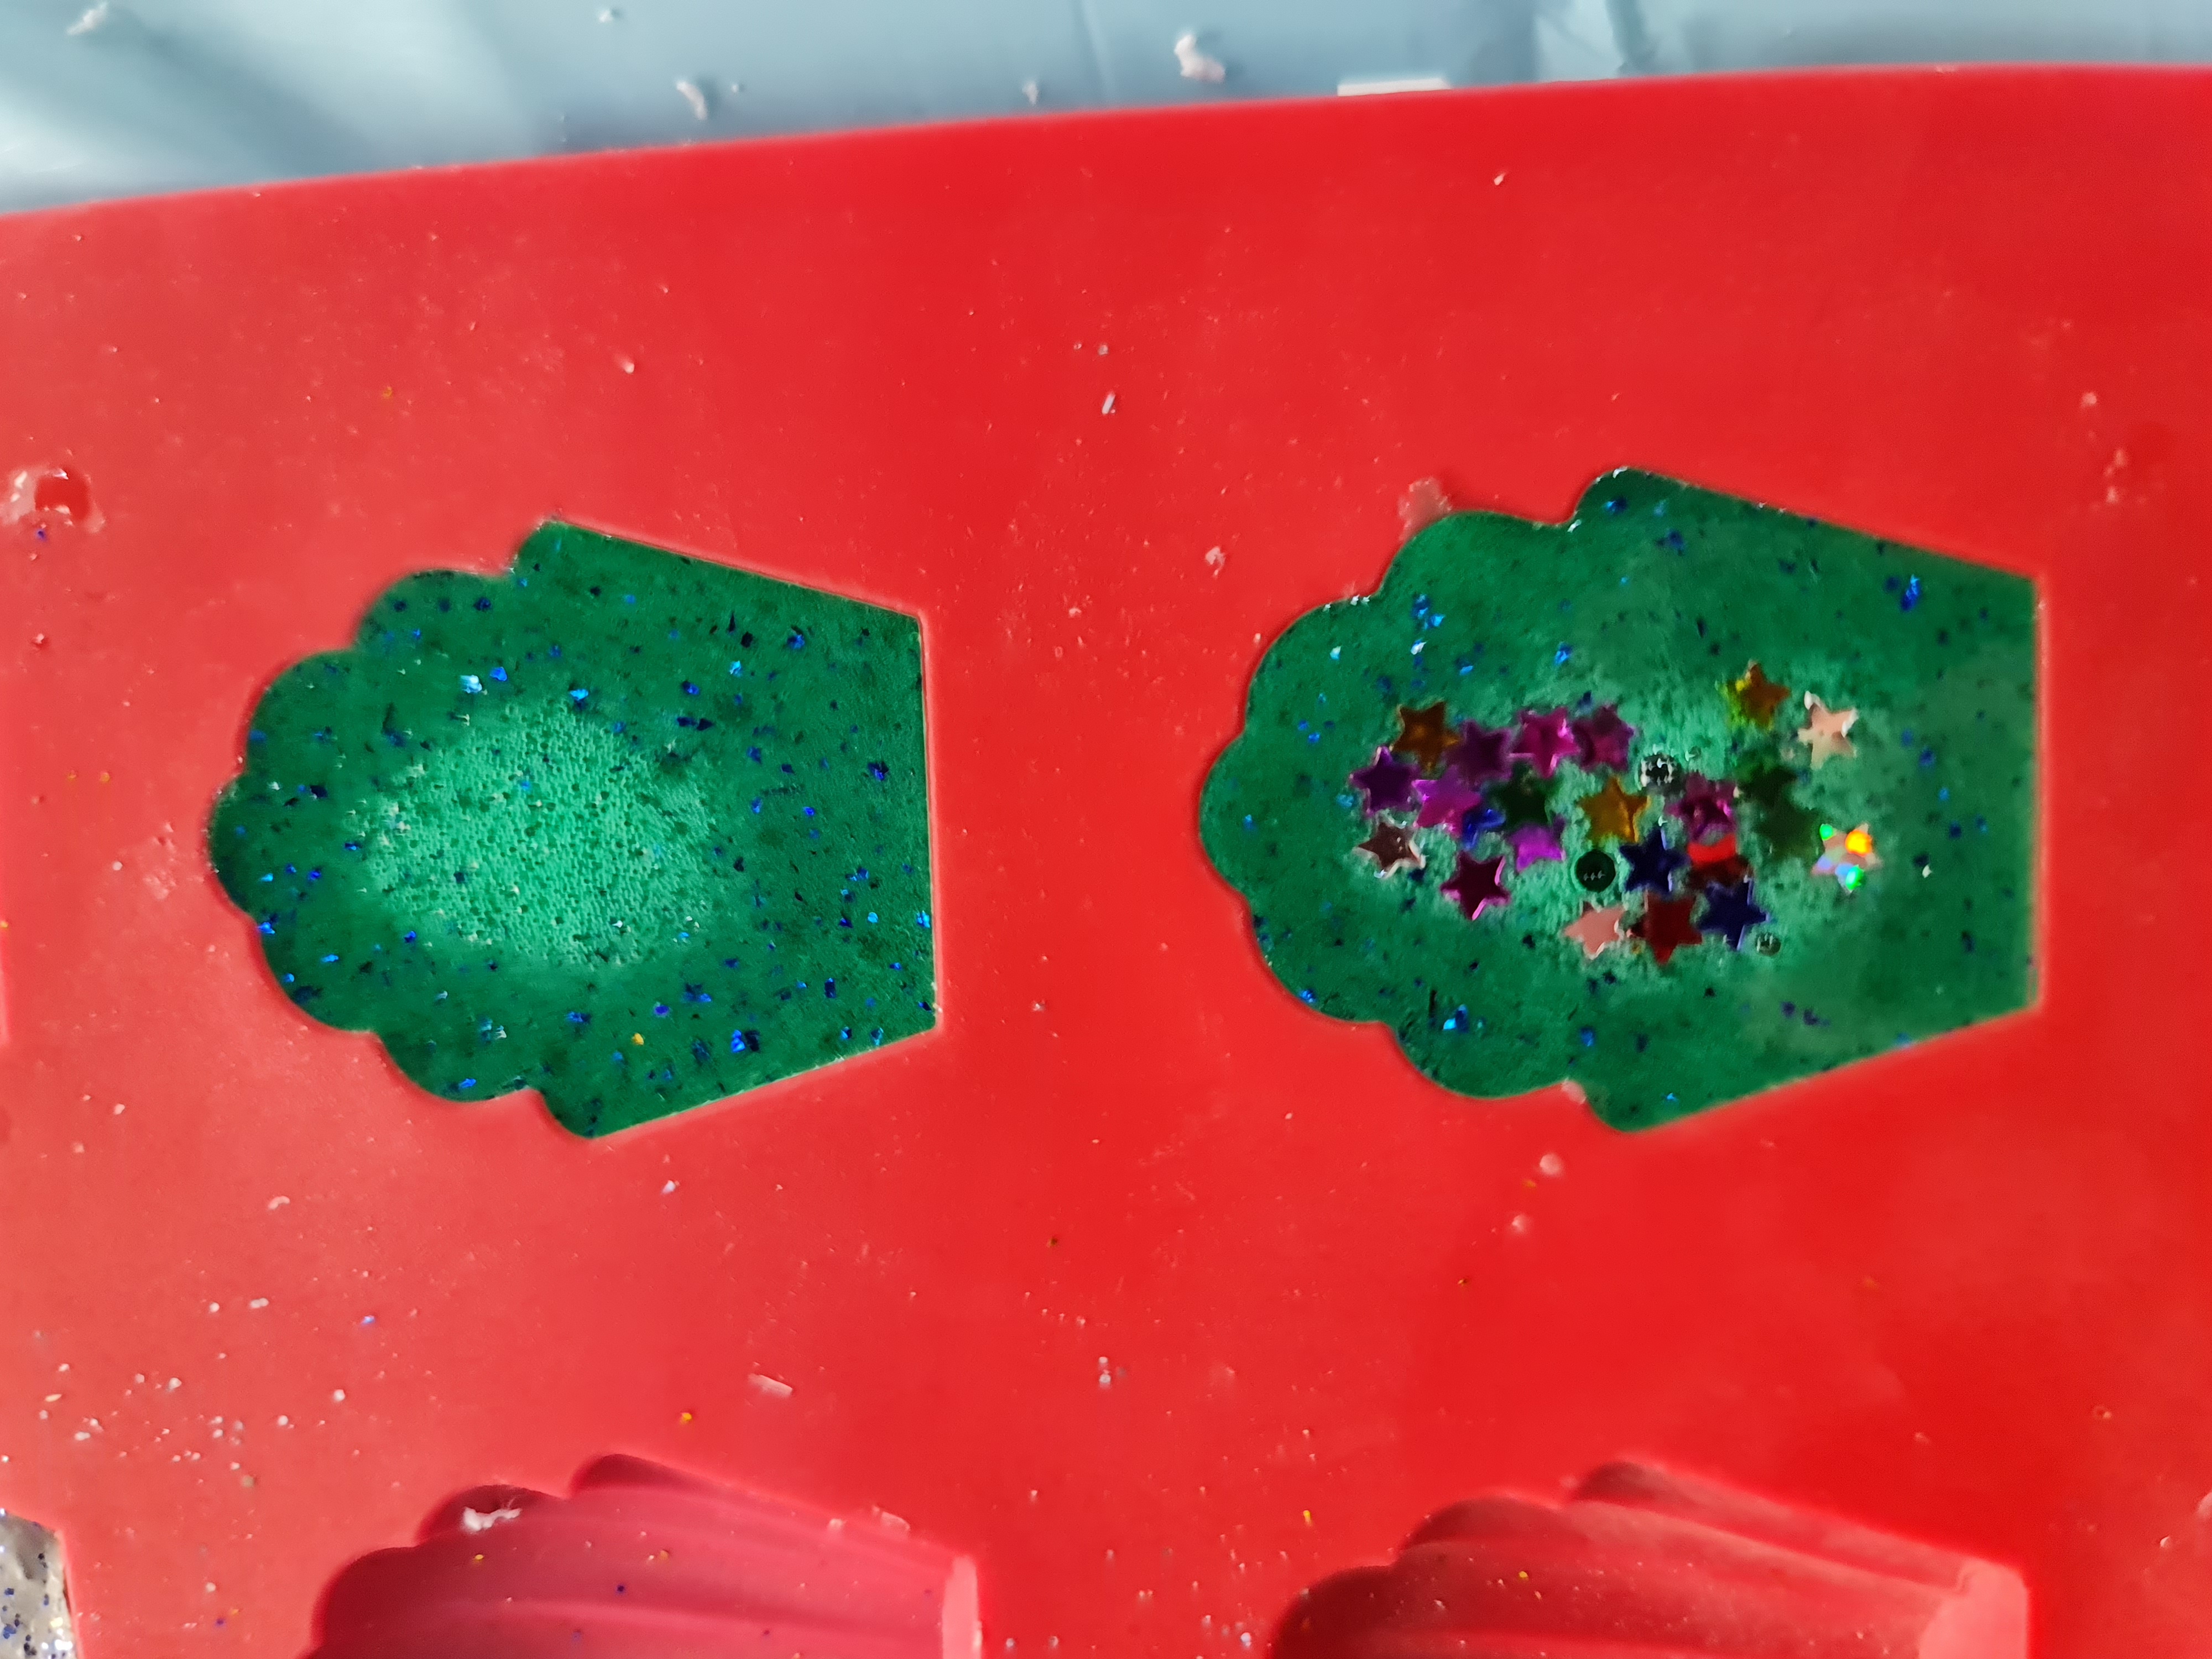
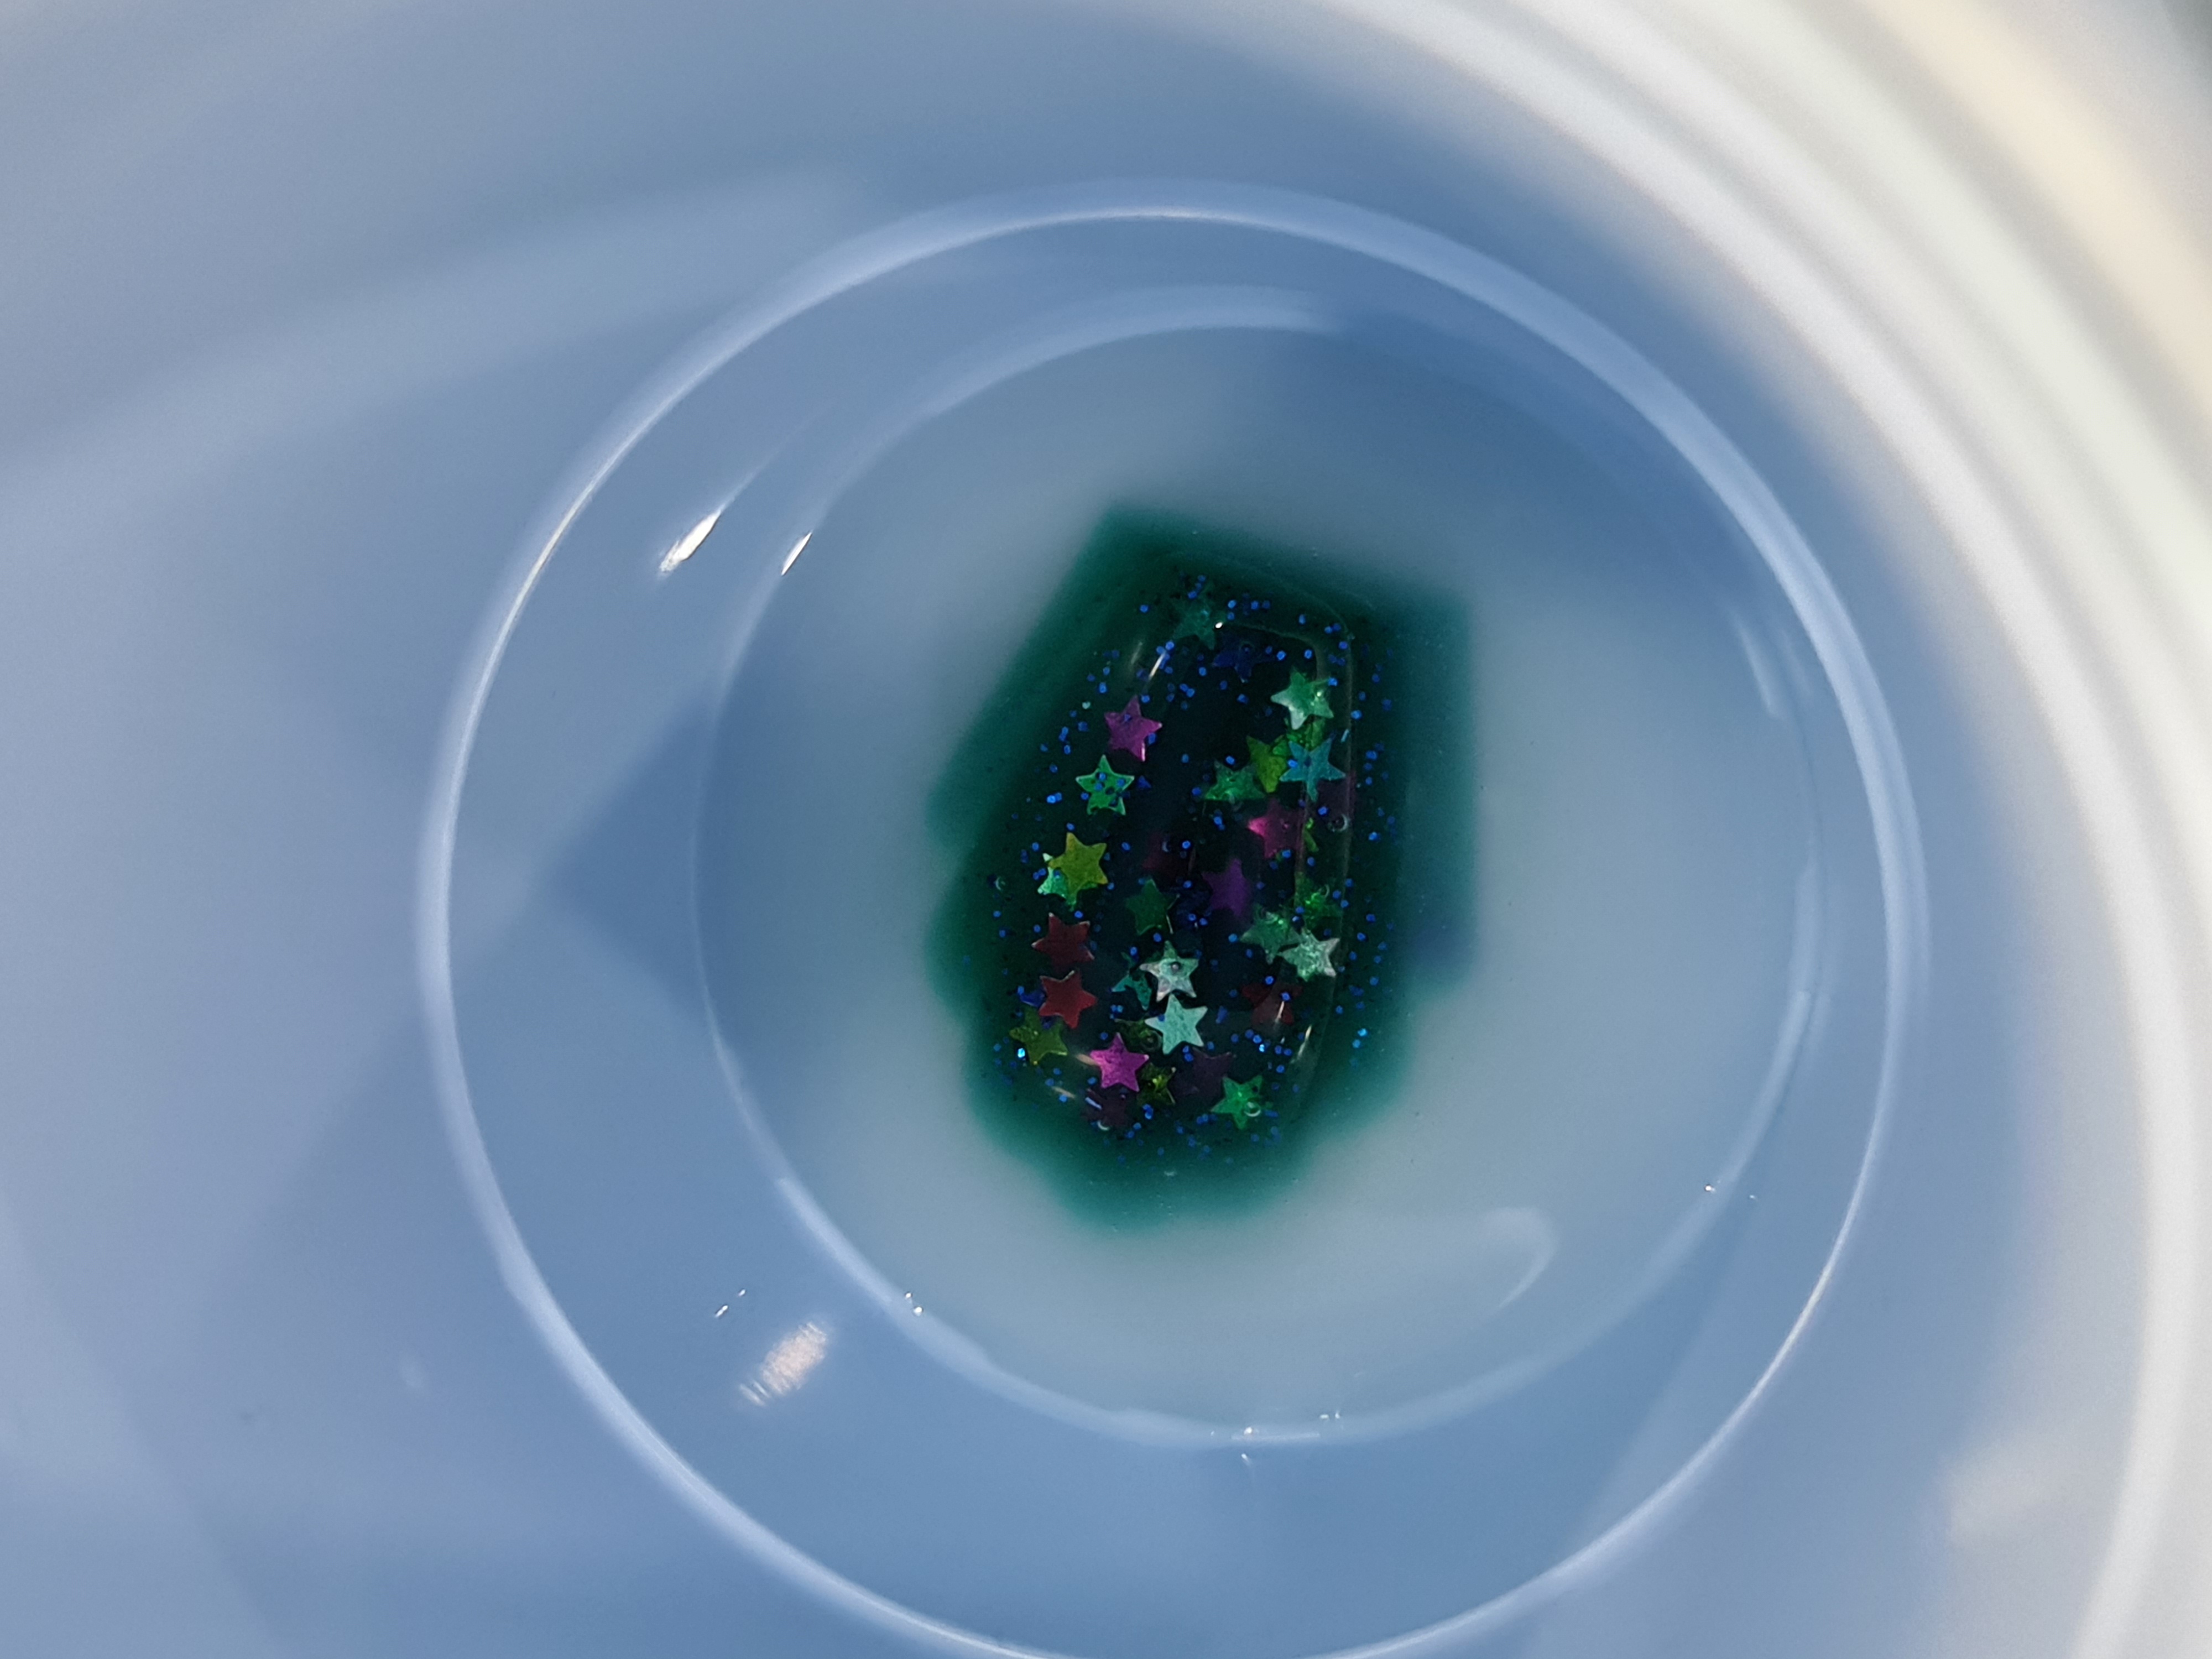
I add a color & a small shining pieces to the resin.
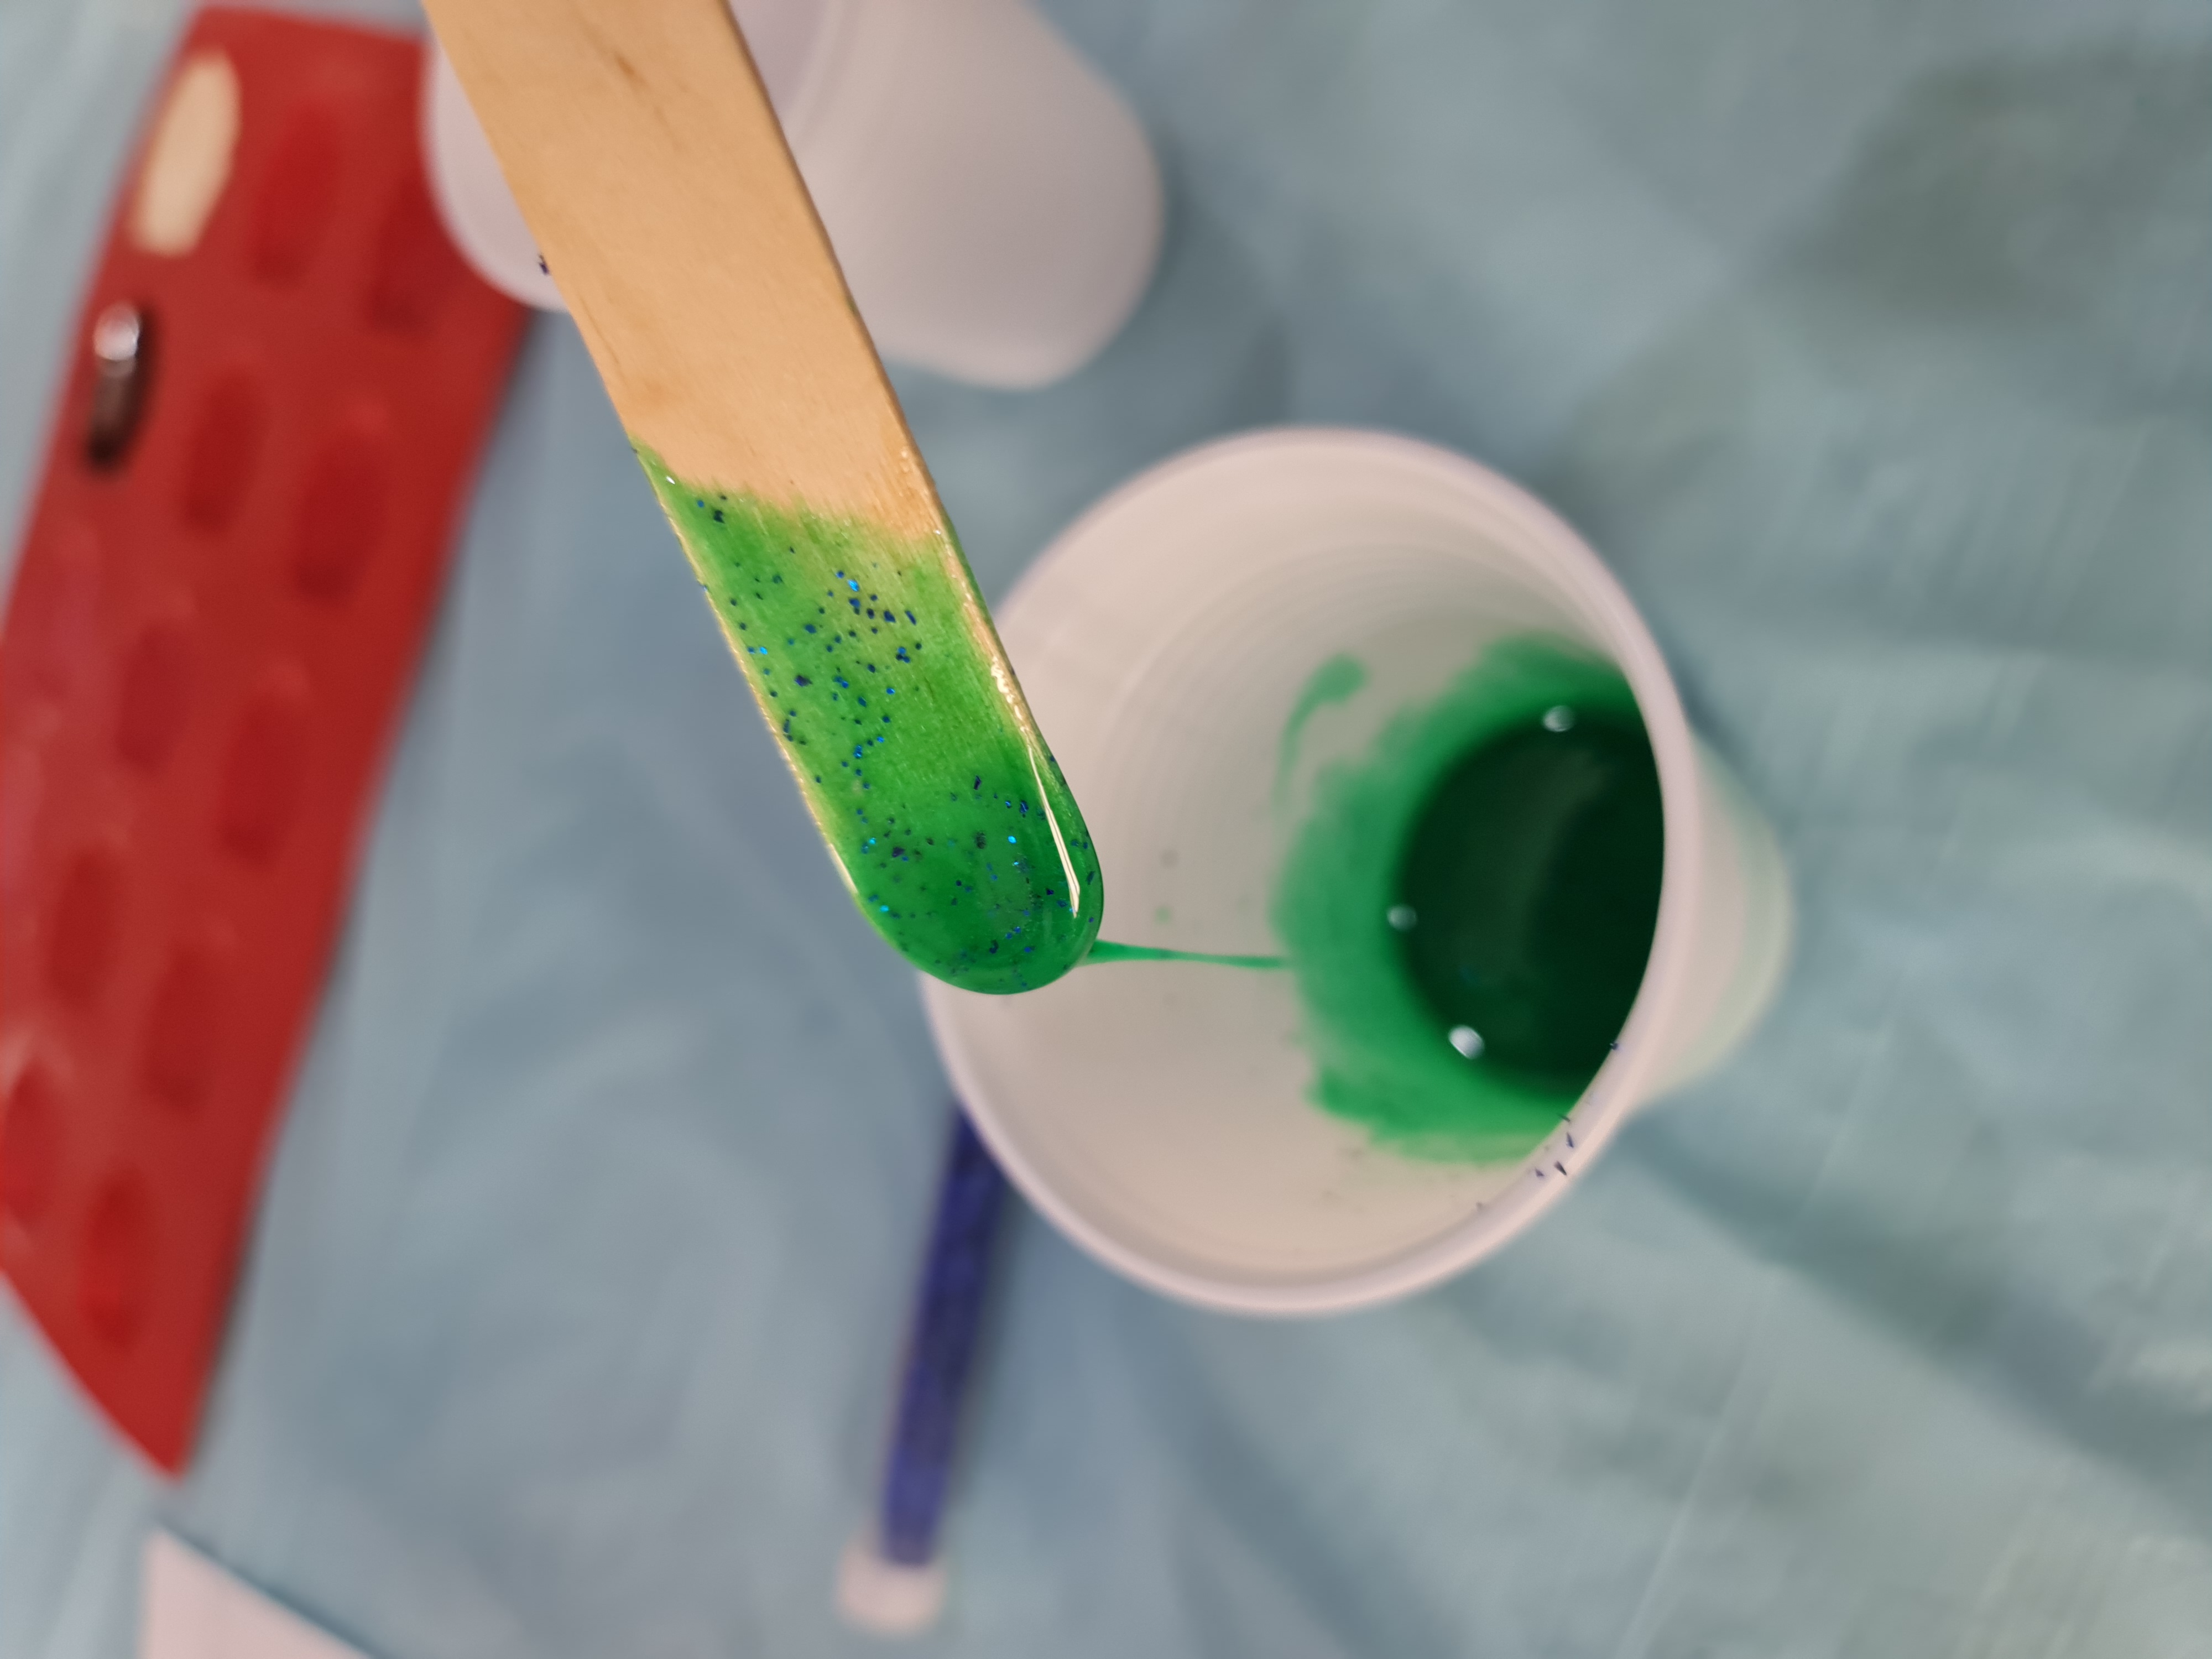
mix them well by using a plastic or wooden stick. when they are well mixed you can start put the mix on the test plat.
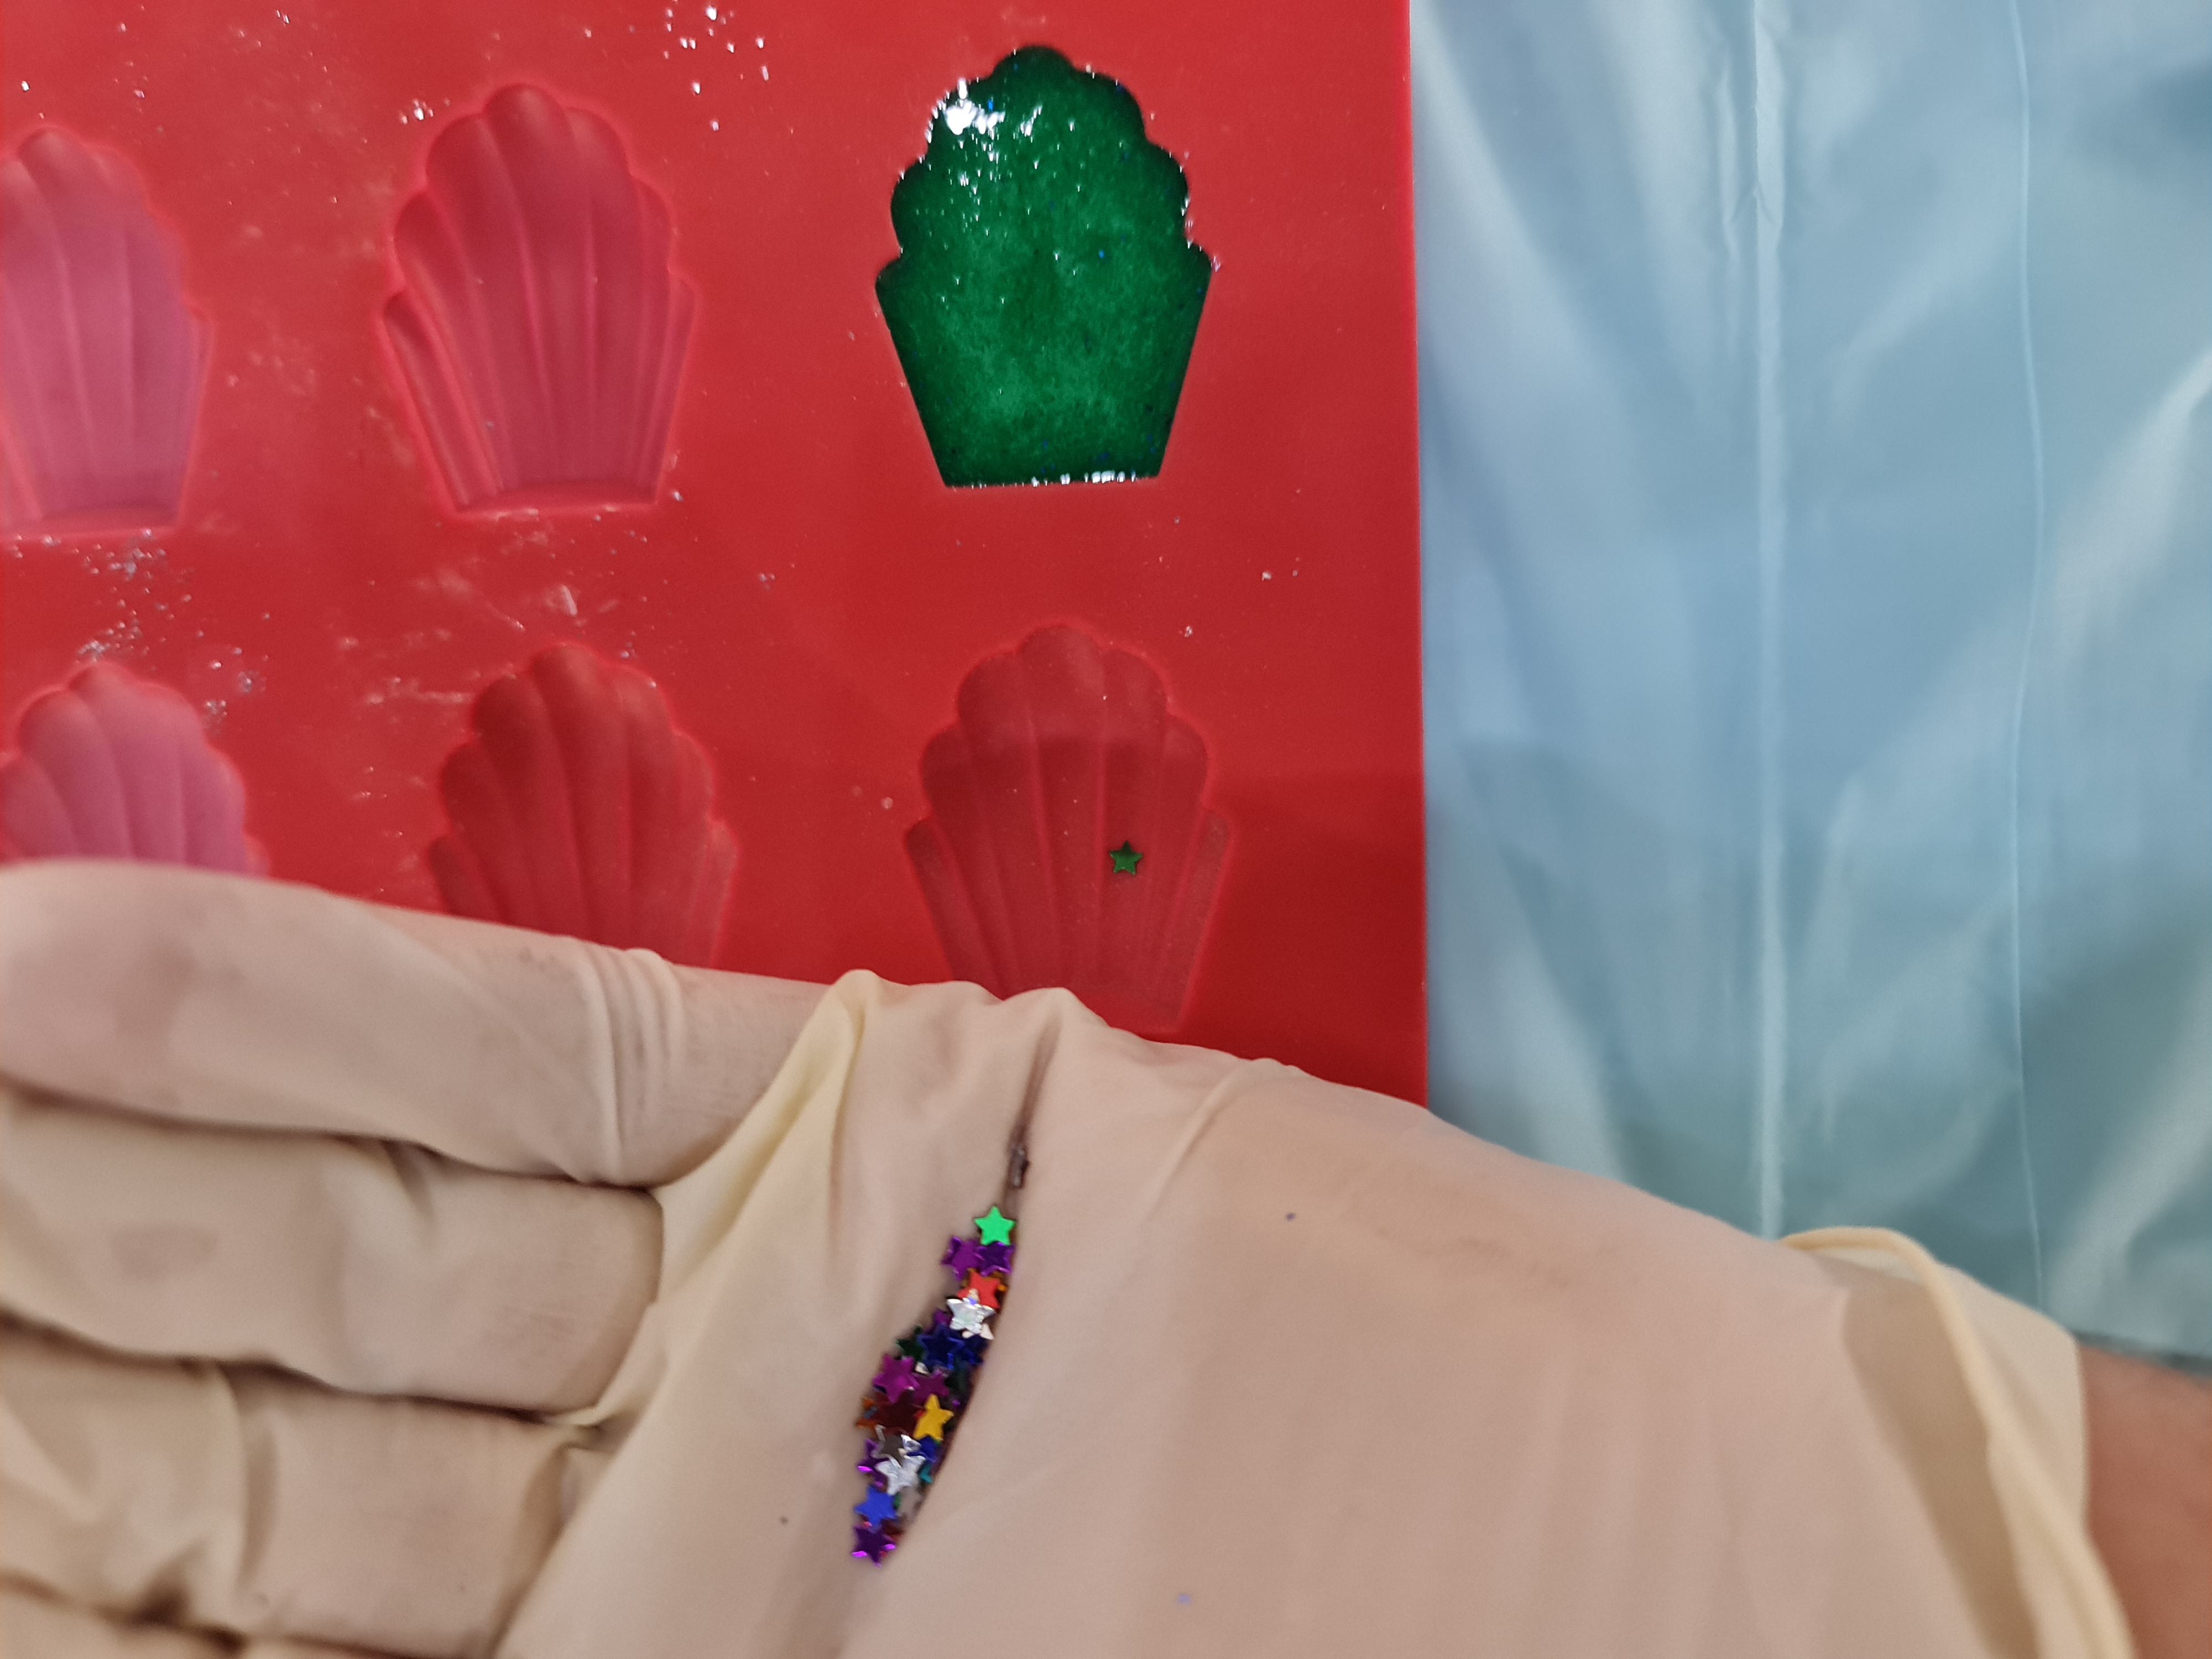
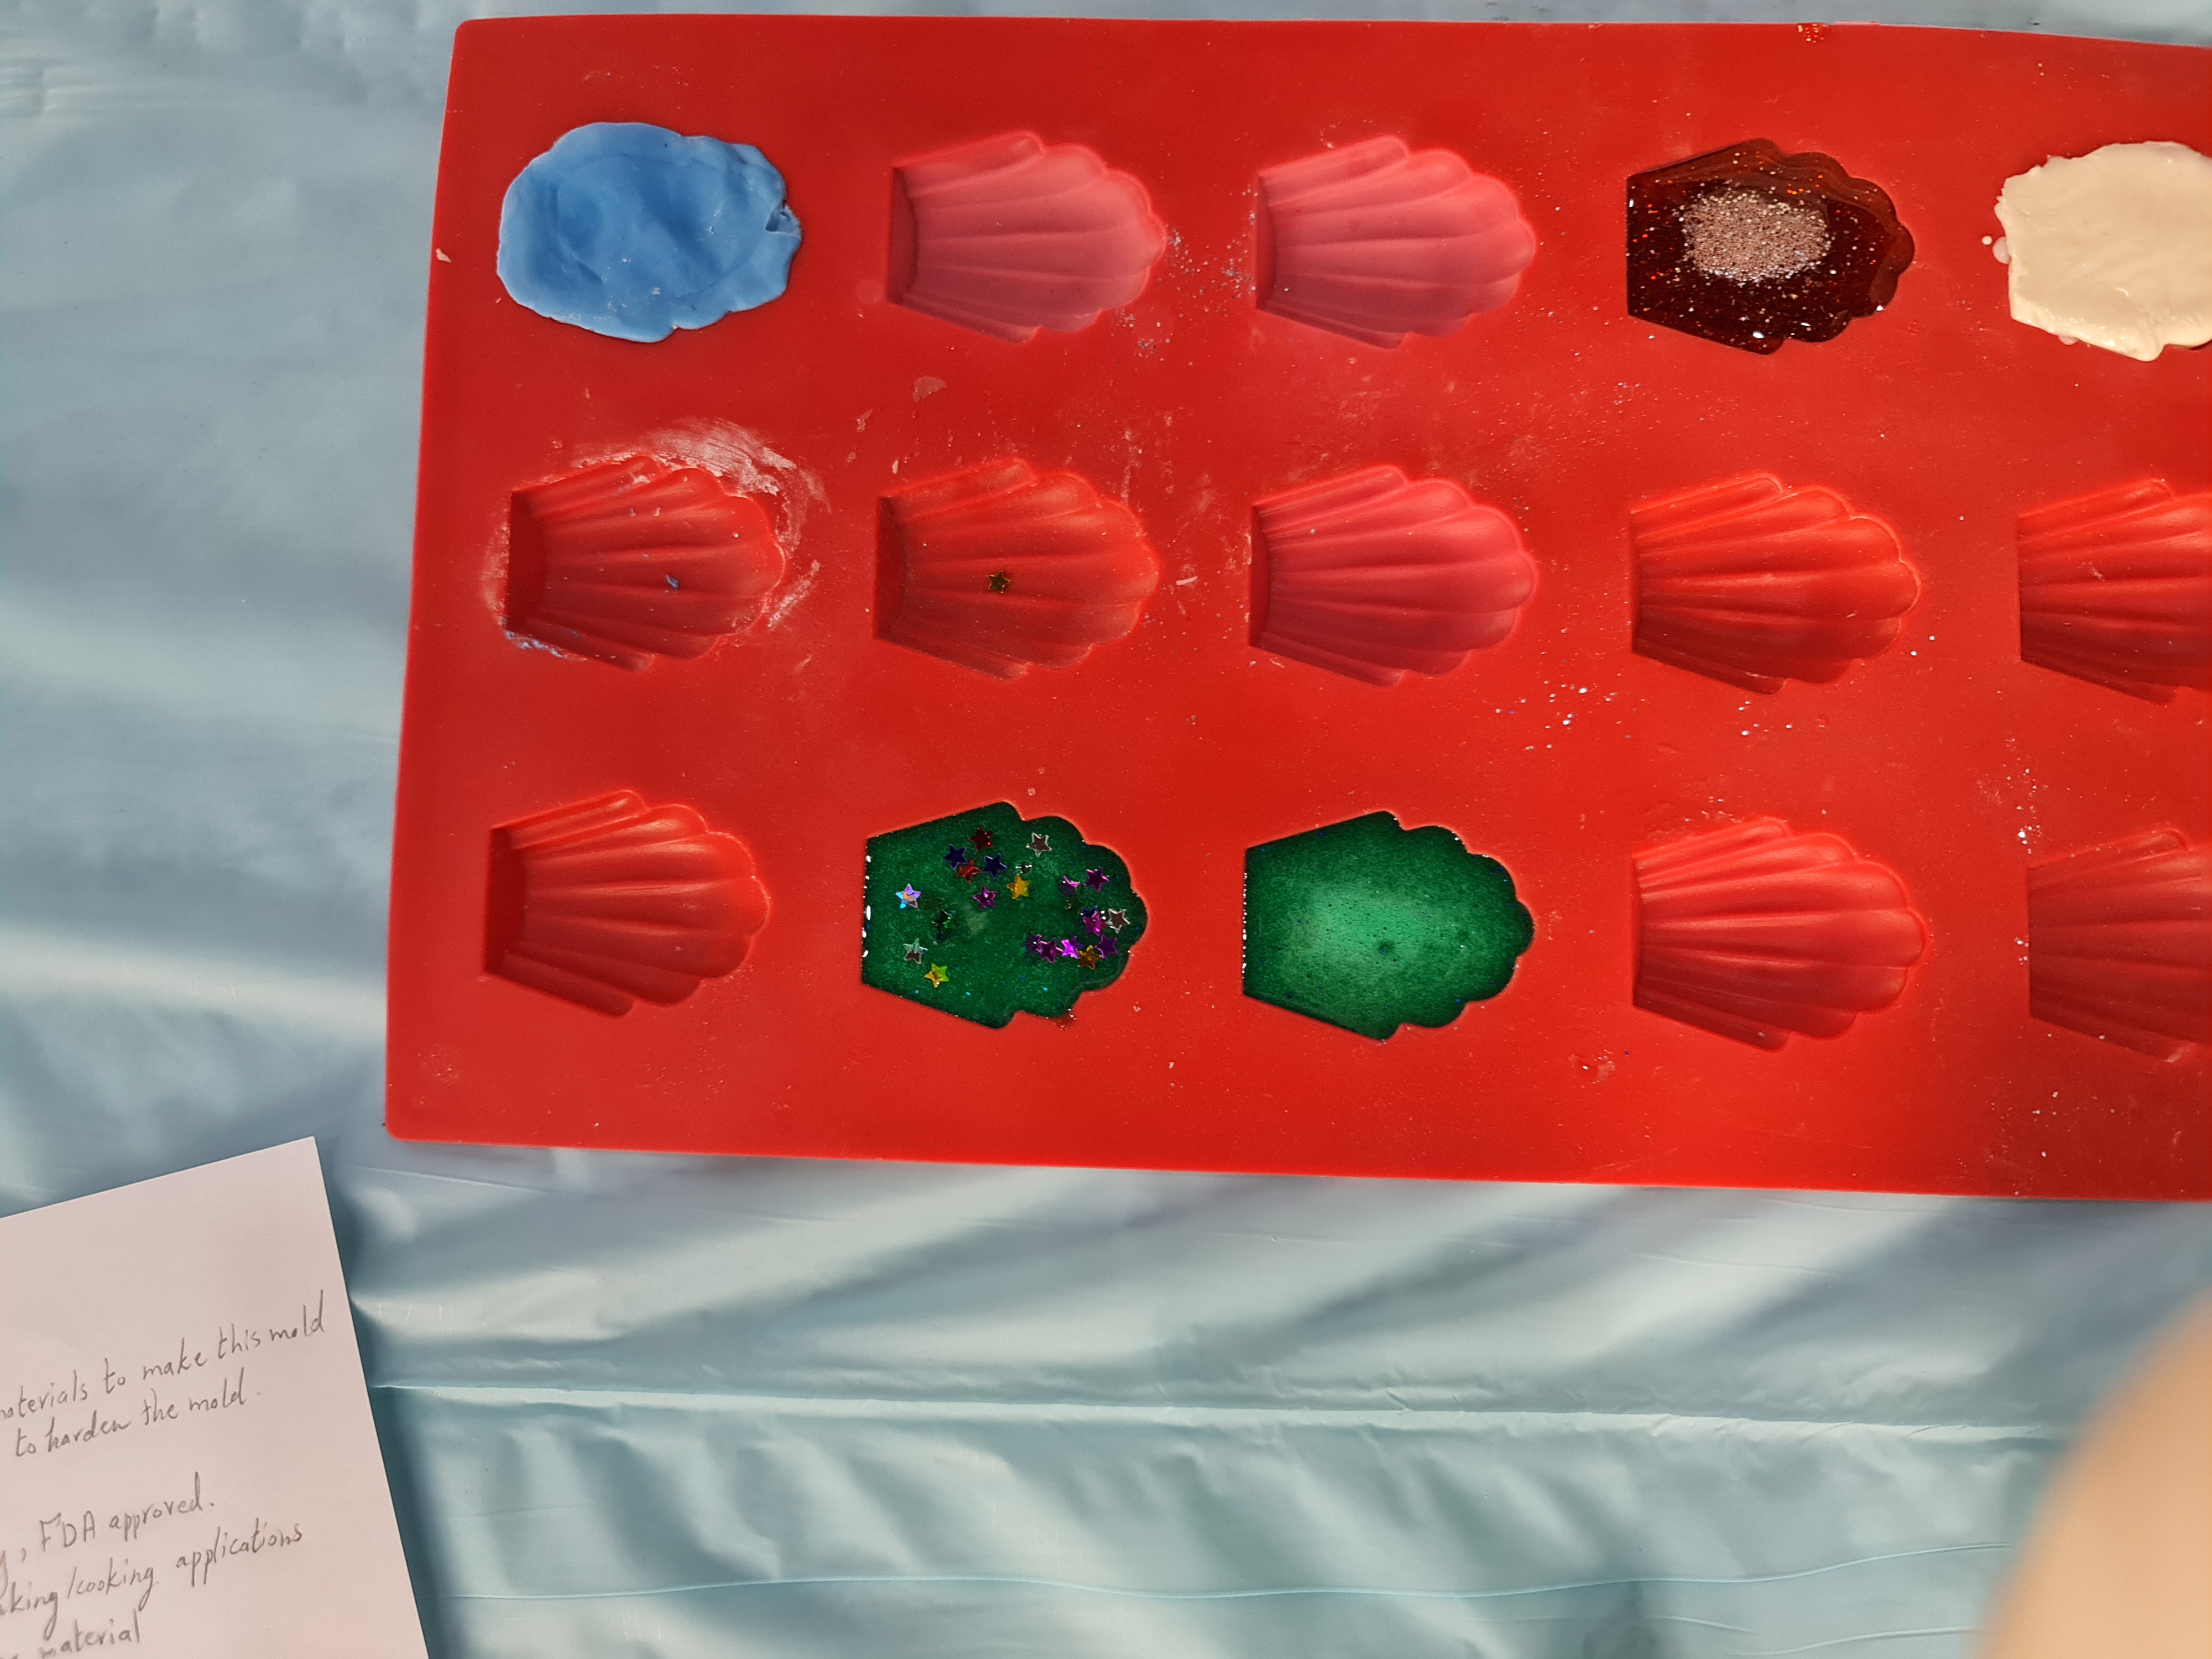
I put some stars under the mix then I spilled it to the plate, then let it until get fully dried.
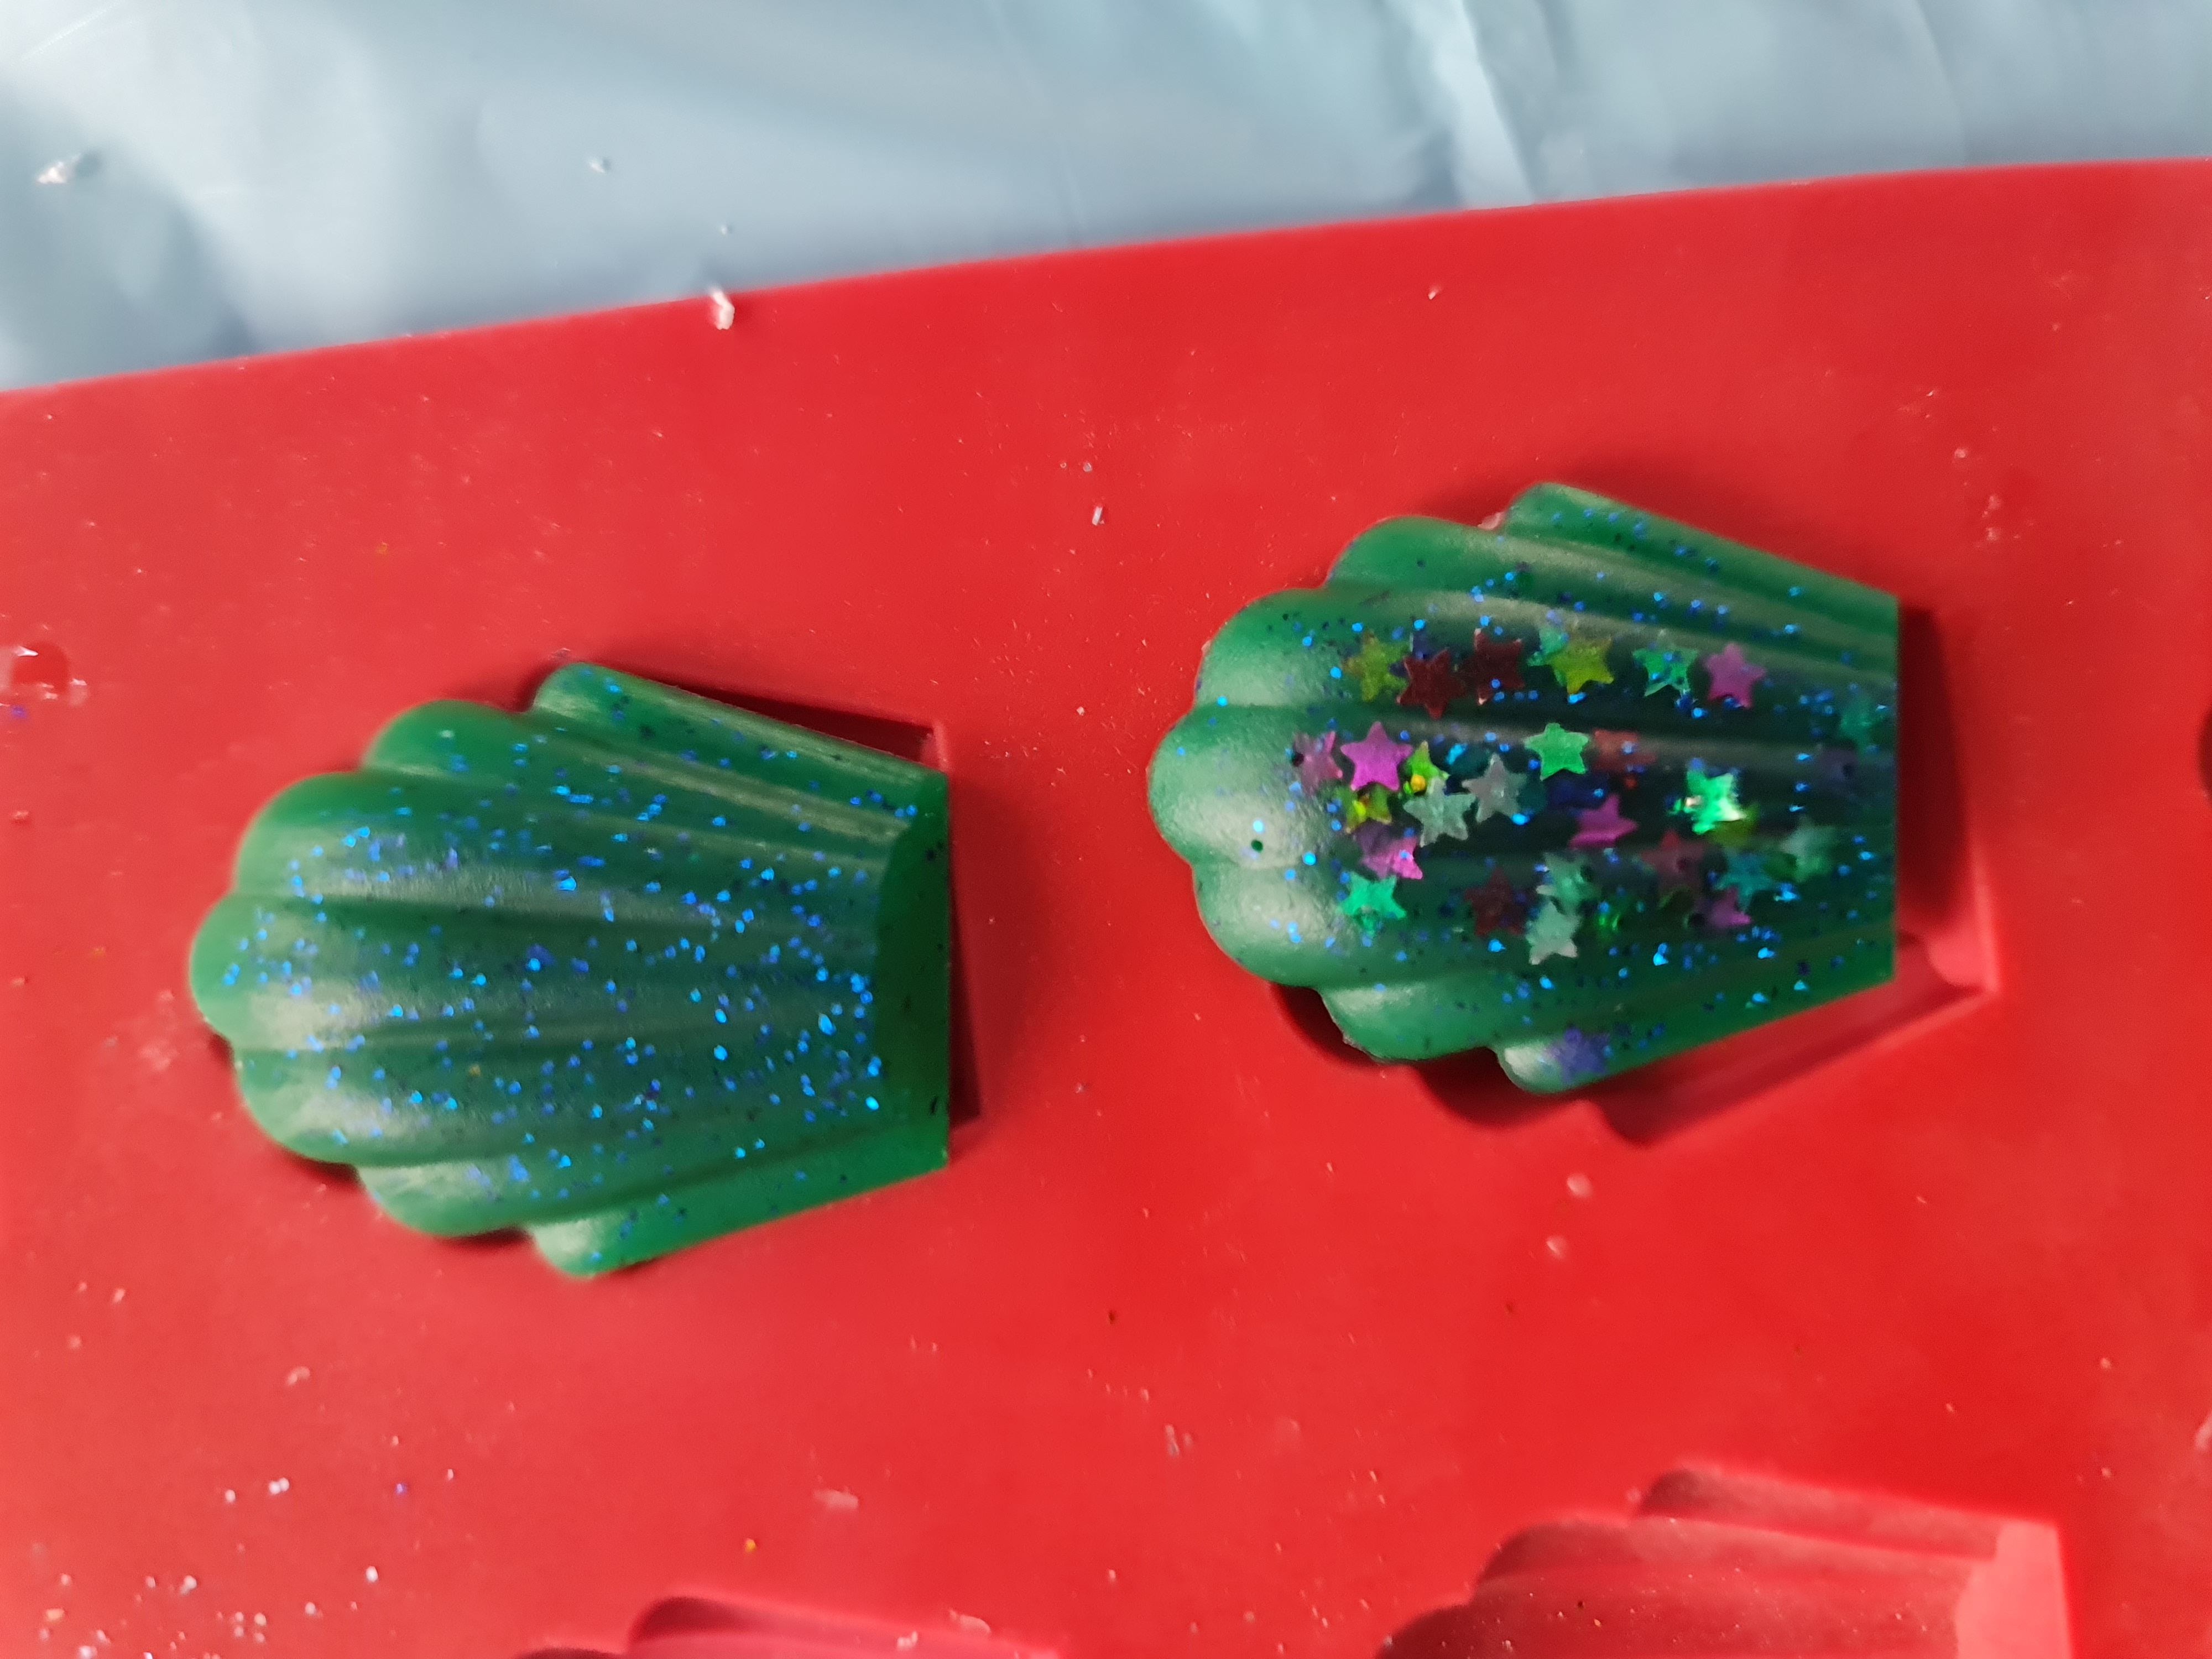
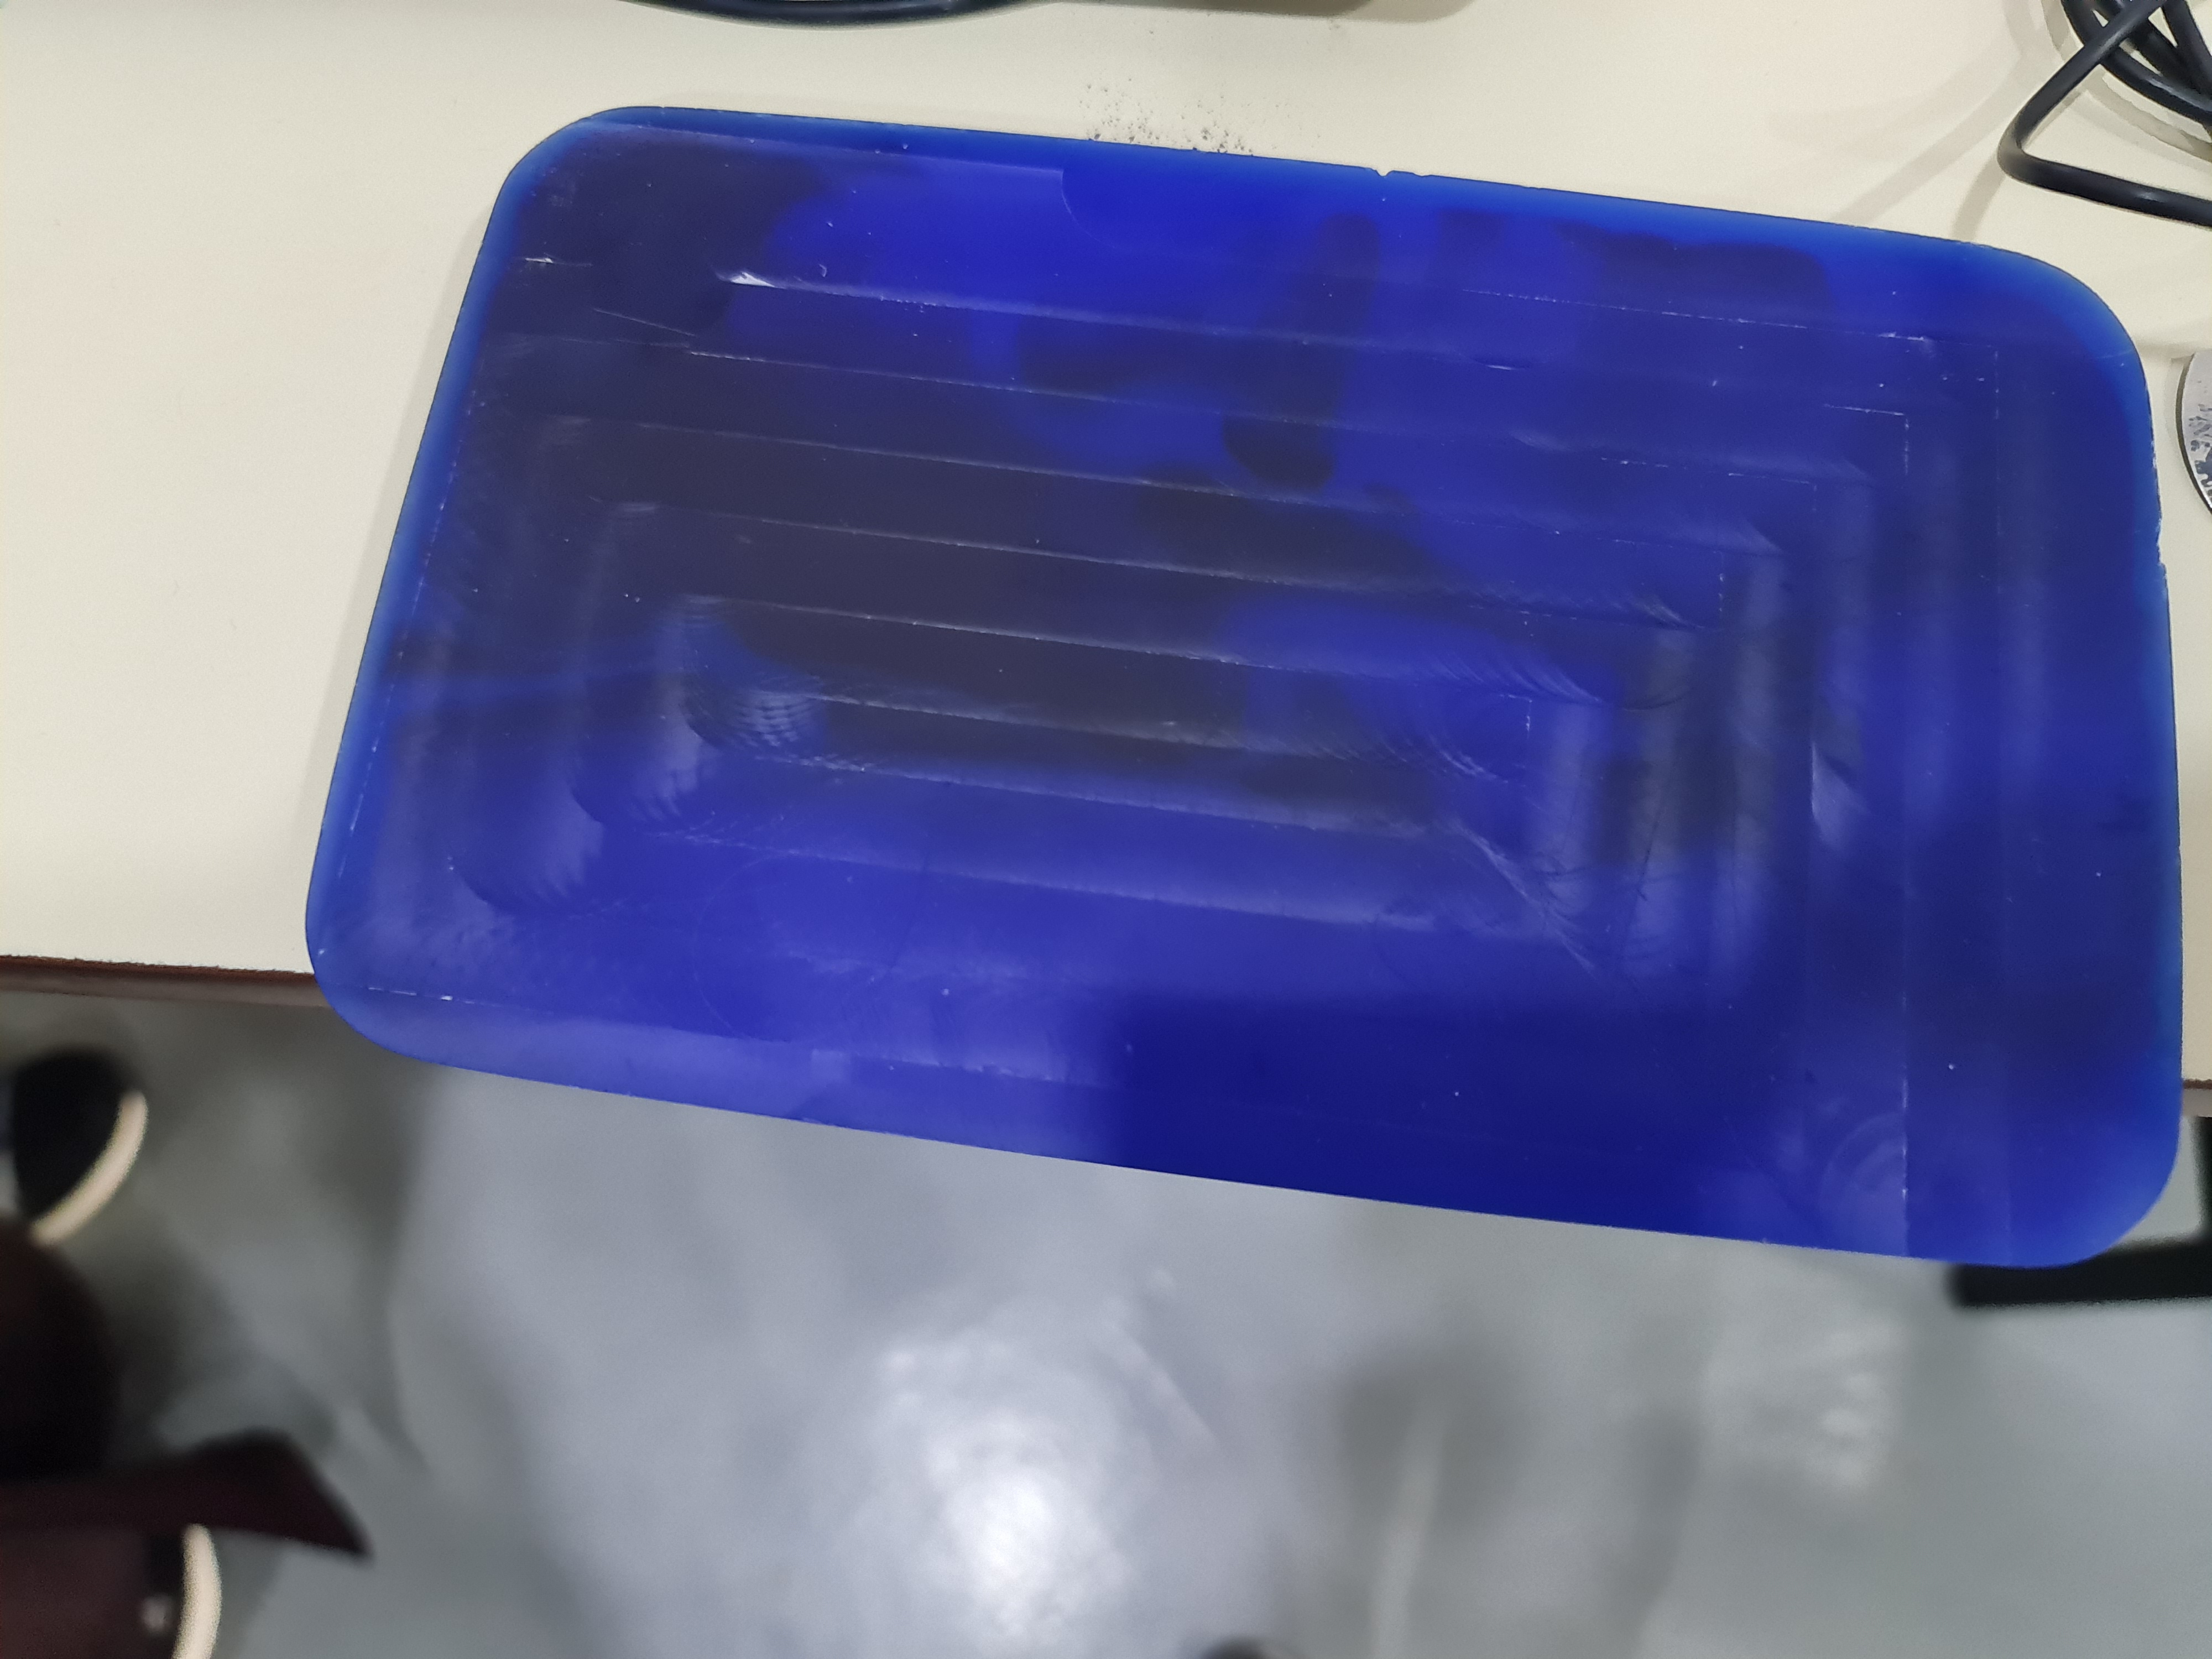
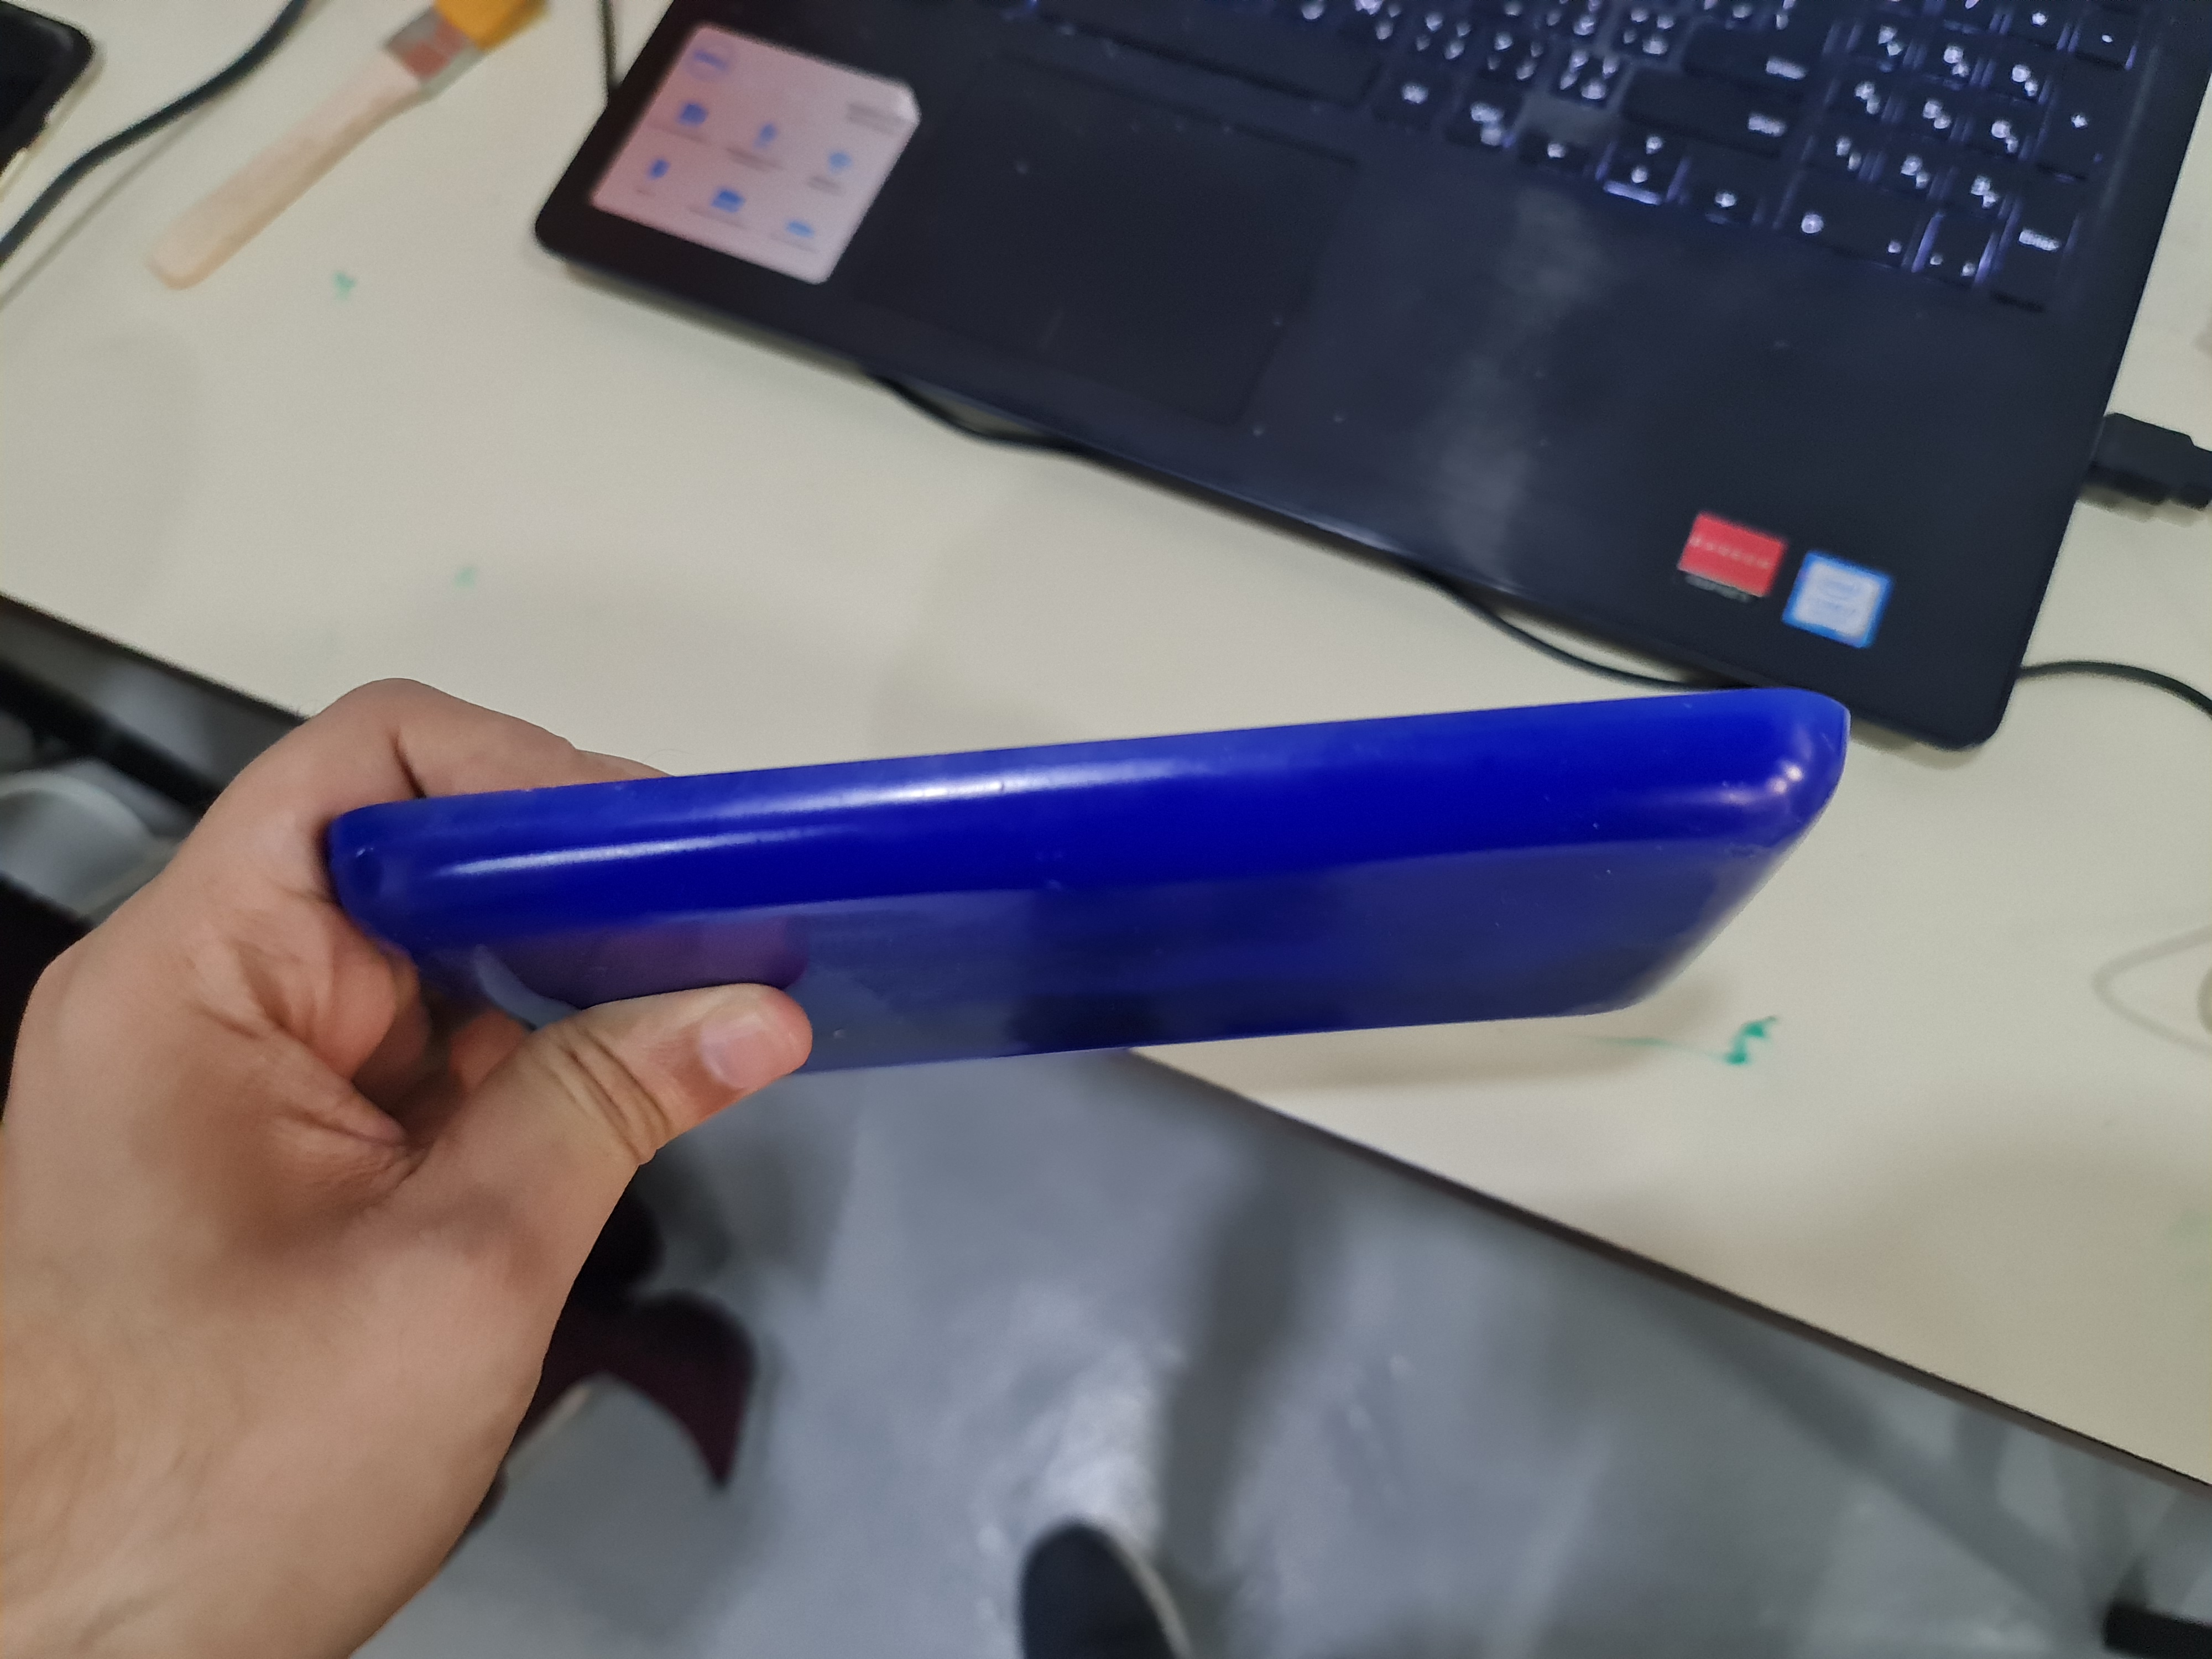
this is the final result. beautiful, hard and clear shape.
individual work
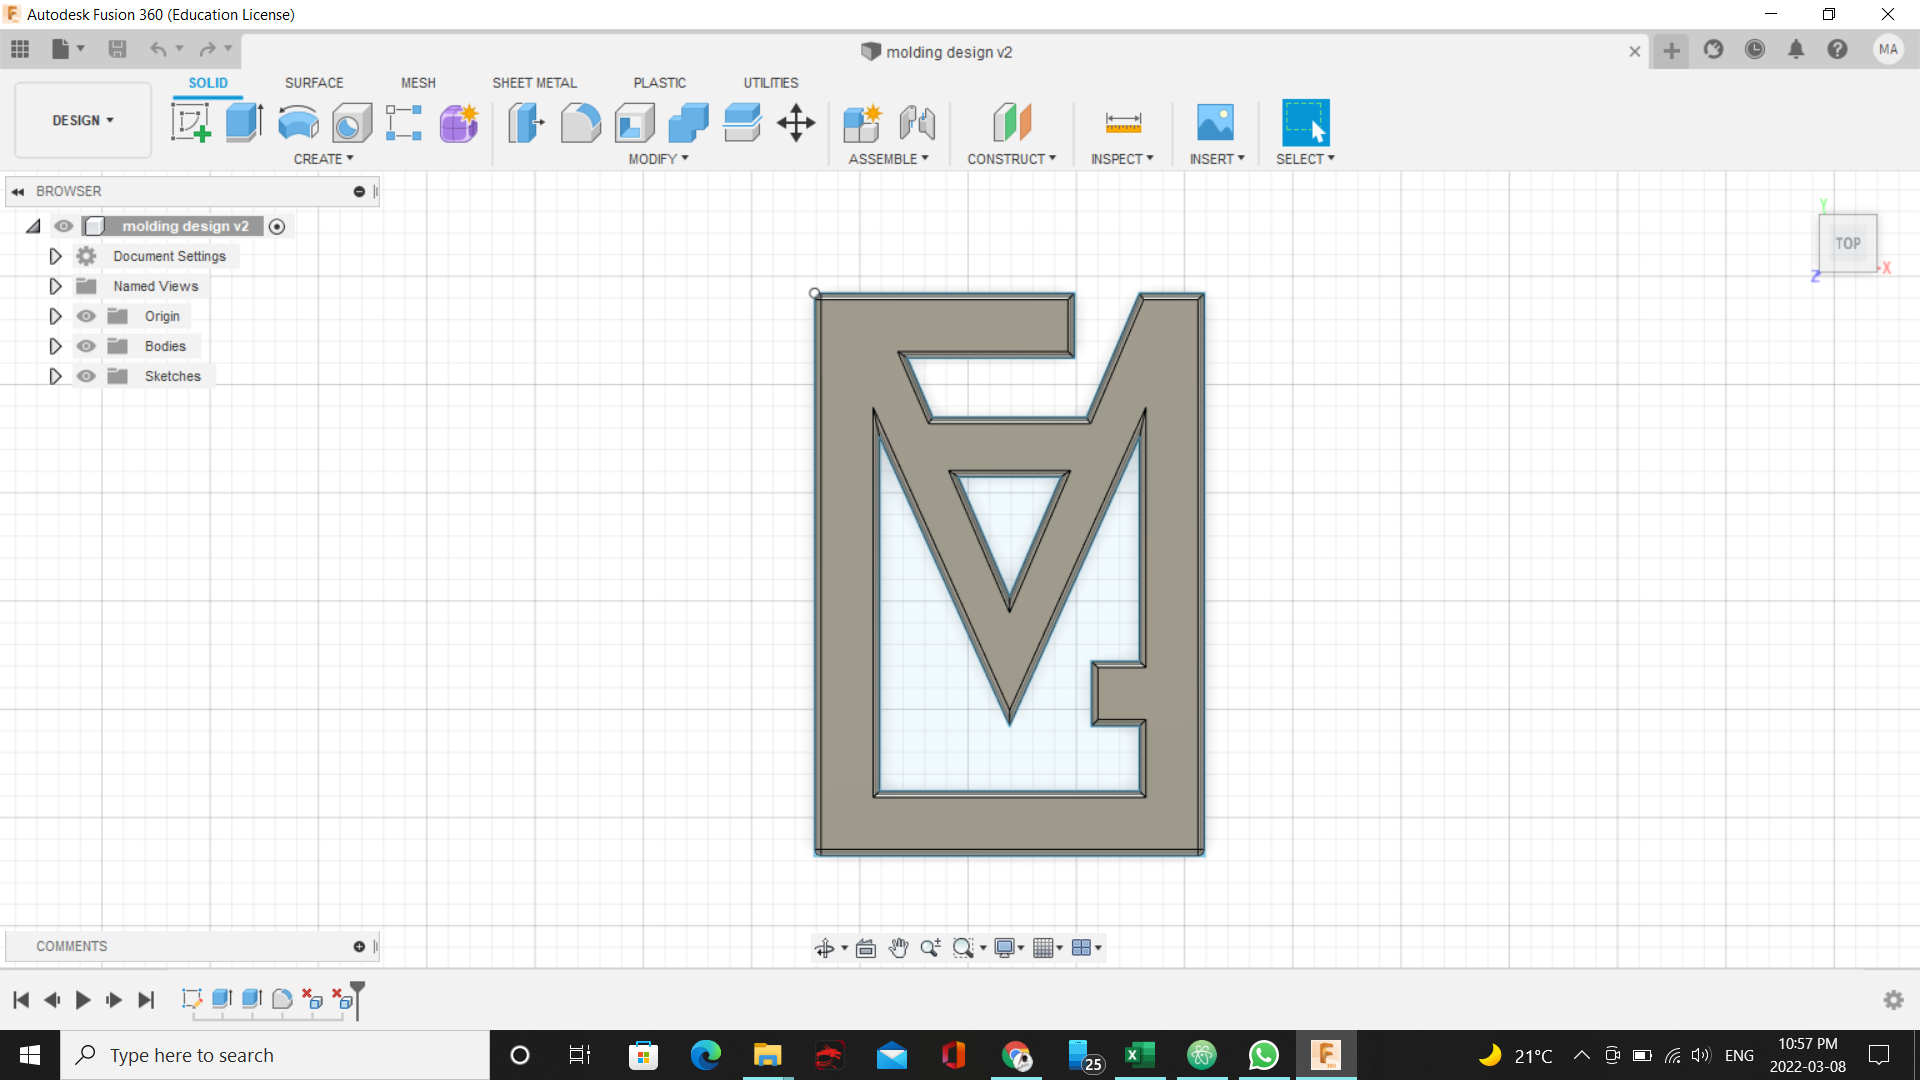
I prepared the design that I want to milled and cast it. I used Fusion360 to do it
milled process
this process is about designing the final shape in 3d software then send the design to the machine to create the milled design, this milled design is the first step of the final design. the final result should be as same as this milled design. this process is to create design to molding another material on it to be as your design’s boundary
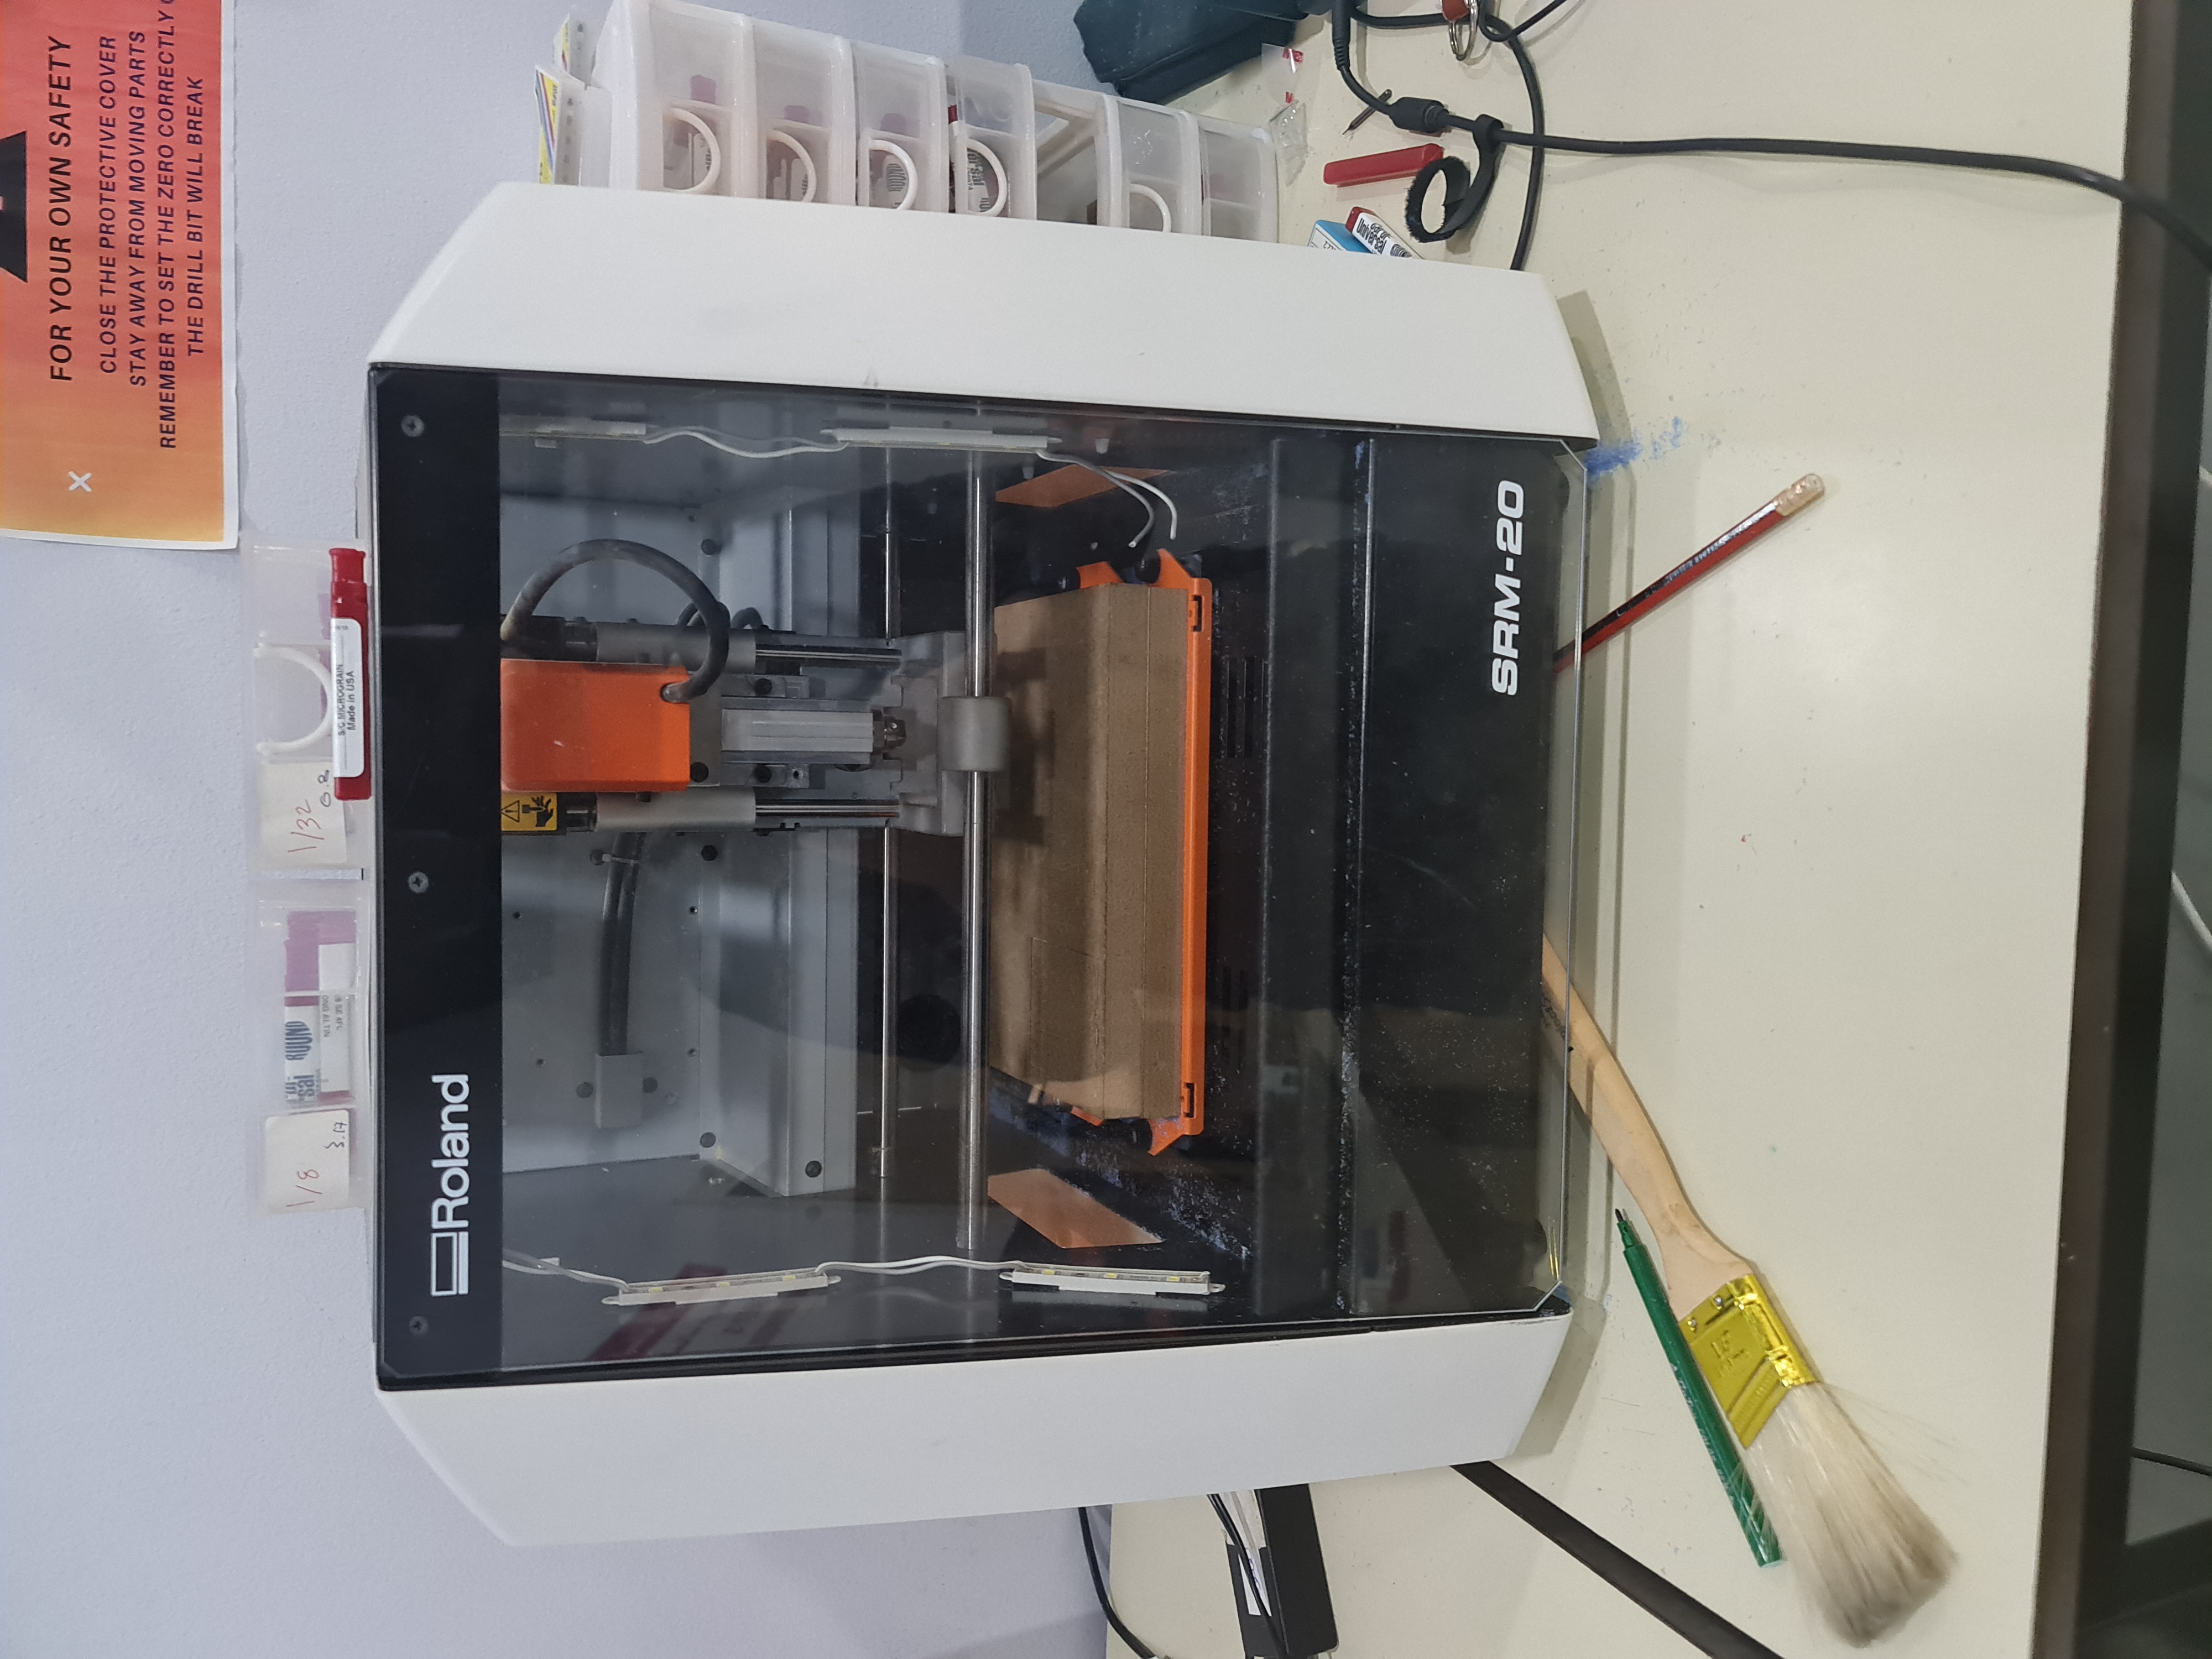
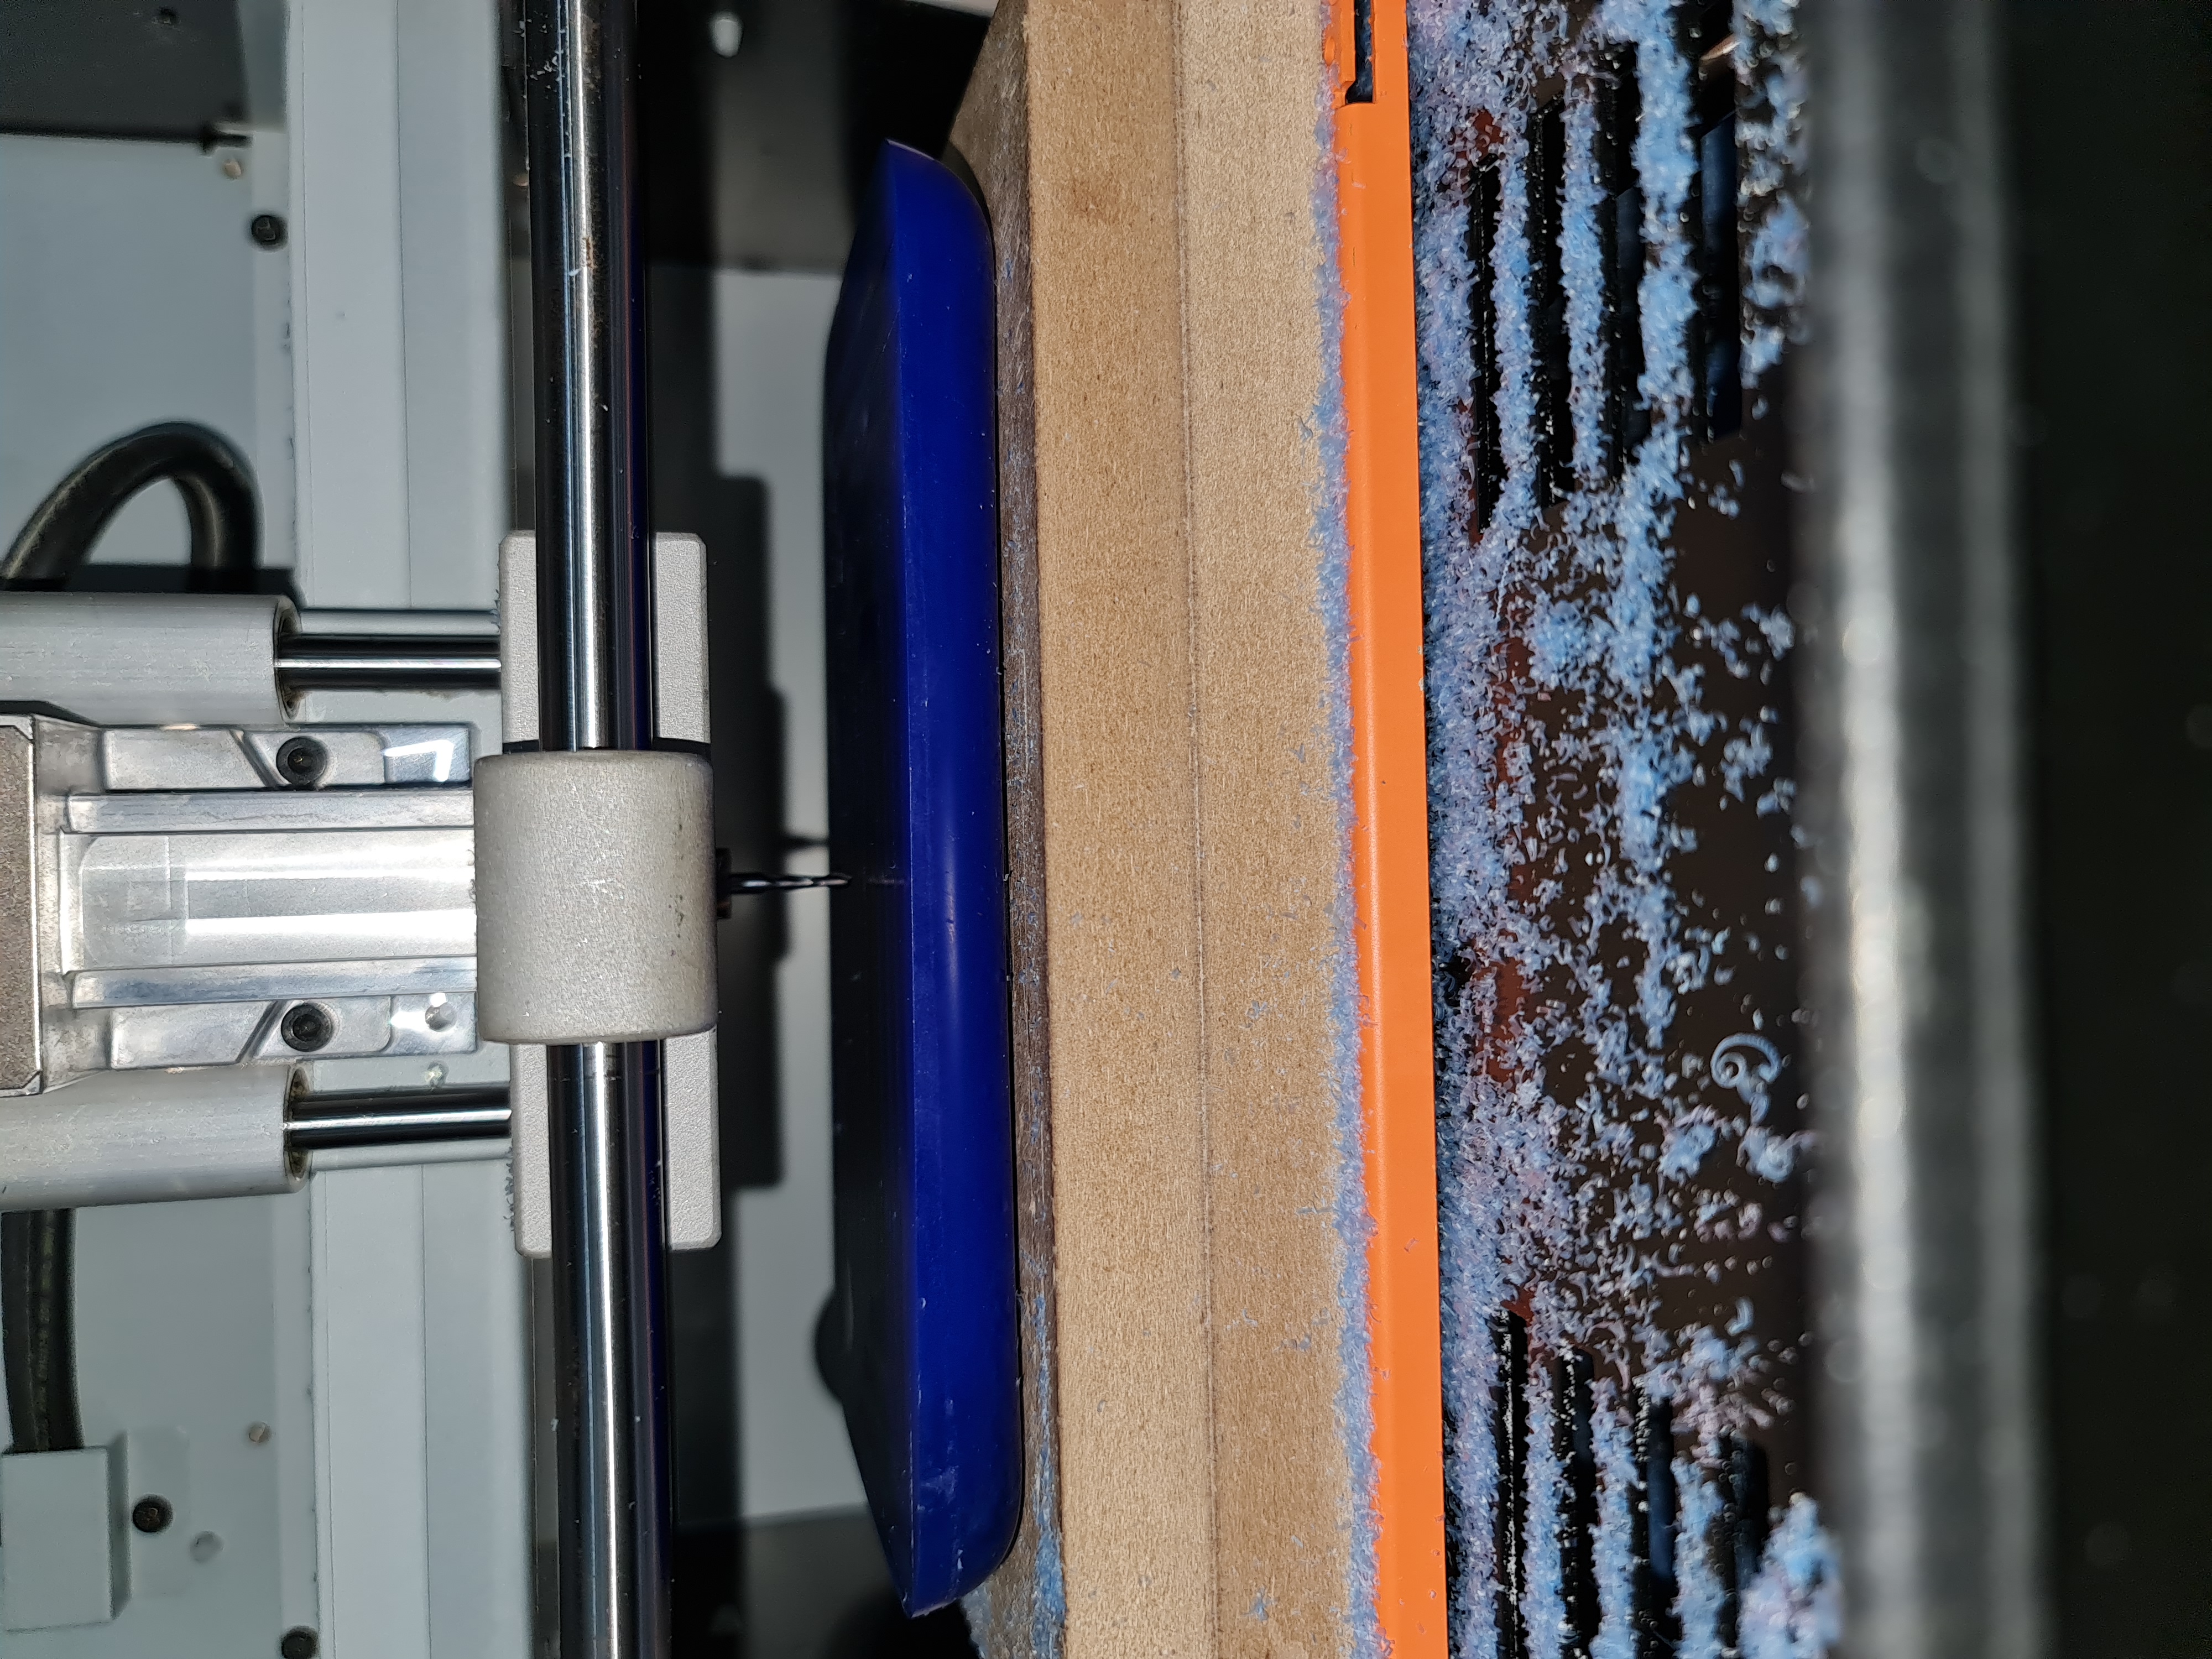
this is the plate that we used to do the milled process on it and cut the design on it by using a machine called (Roland-SRM-20)
we have to coordinate the center of the milled material we used, because the Centre of it is determined as the origin where the machine start cutting.
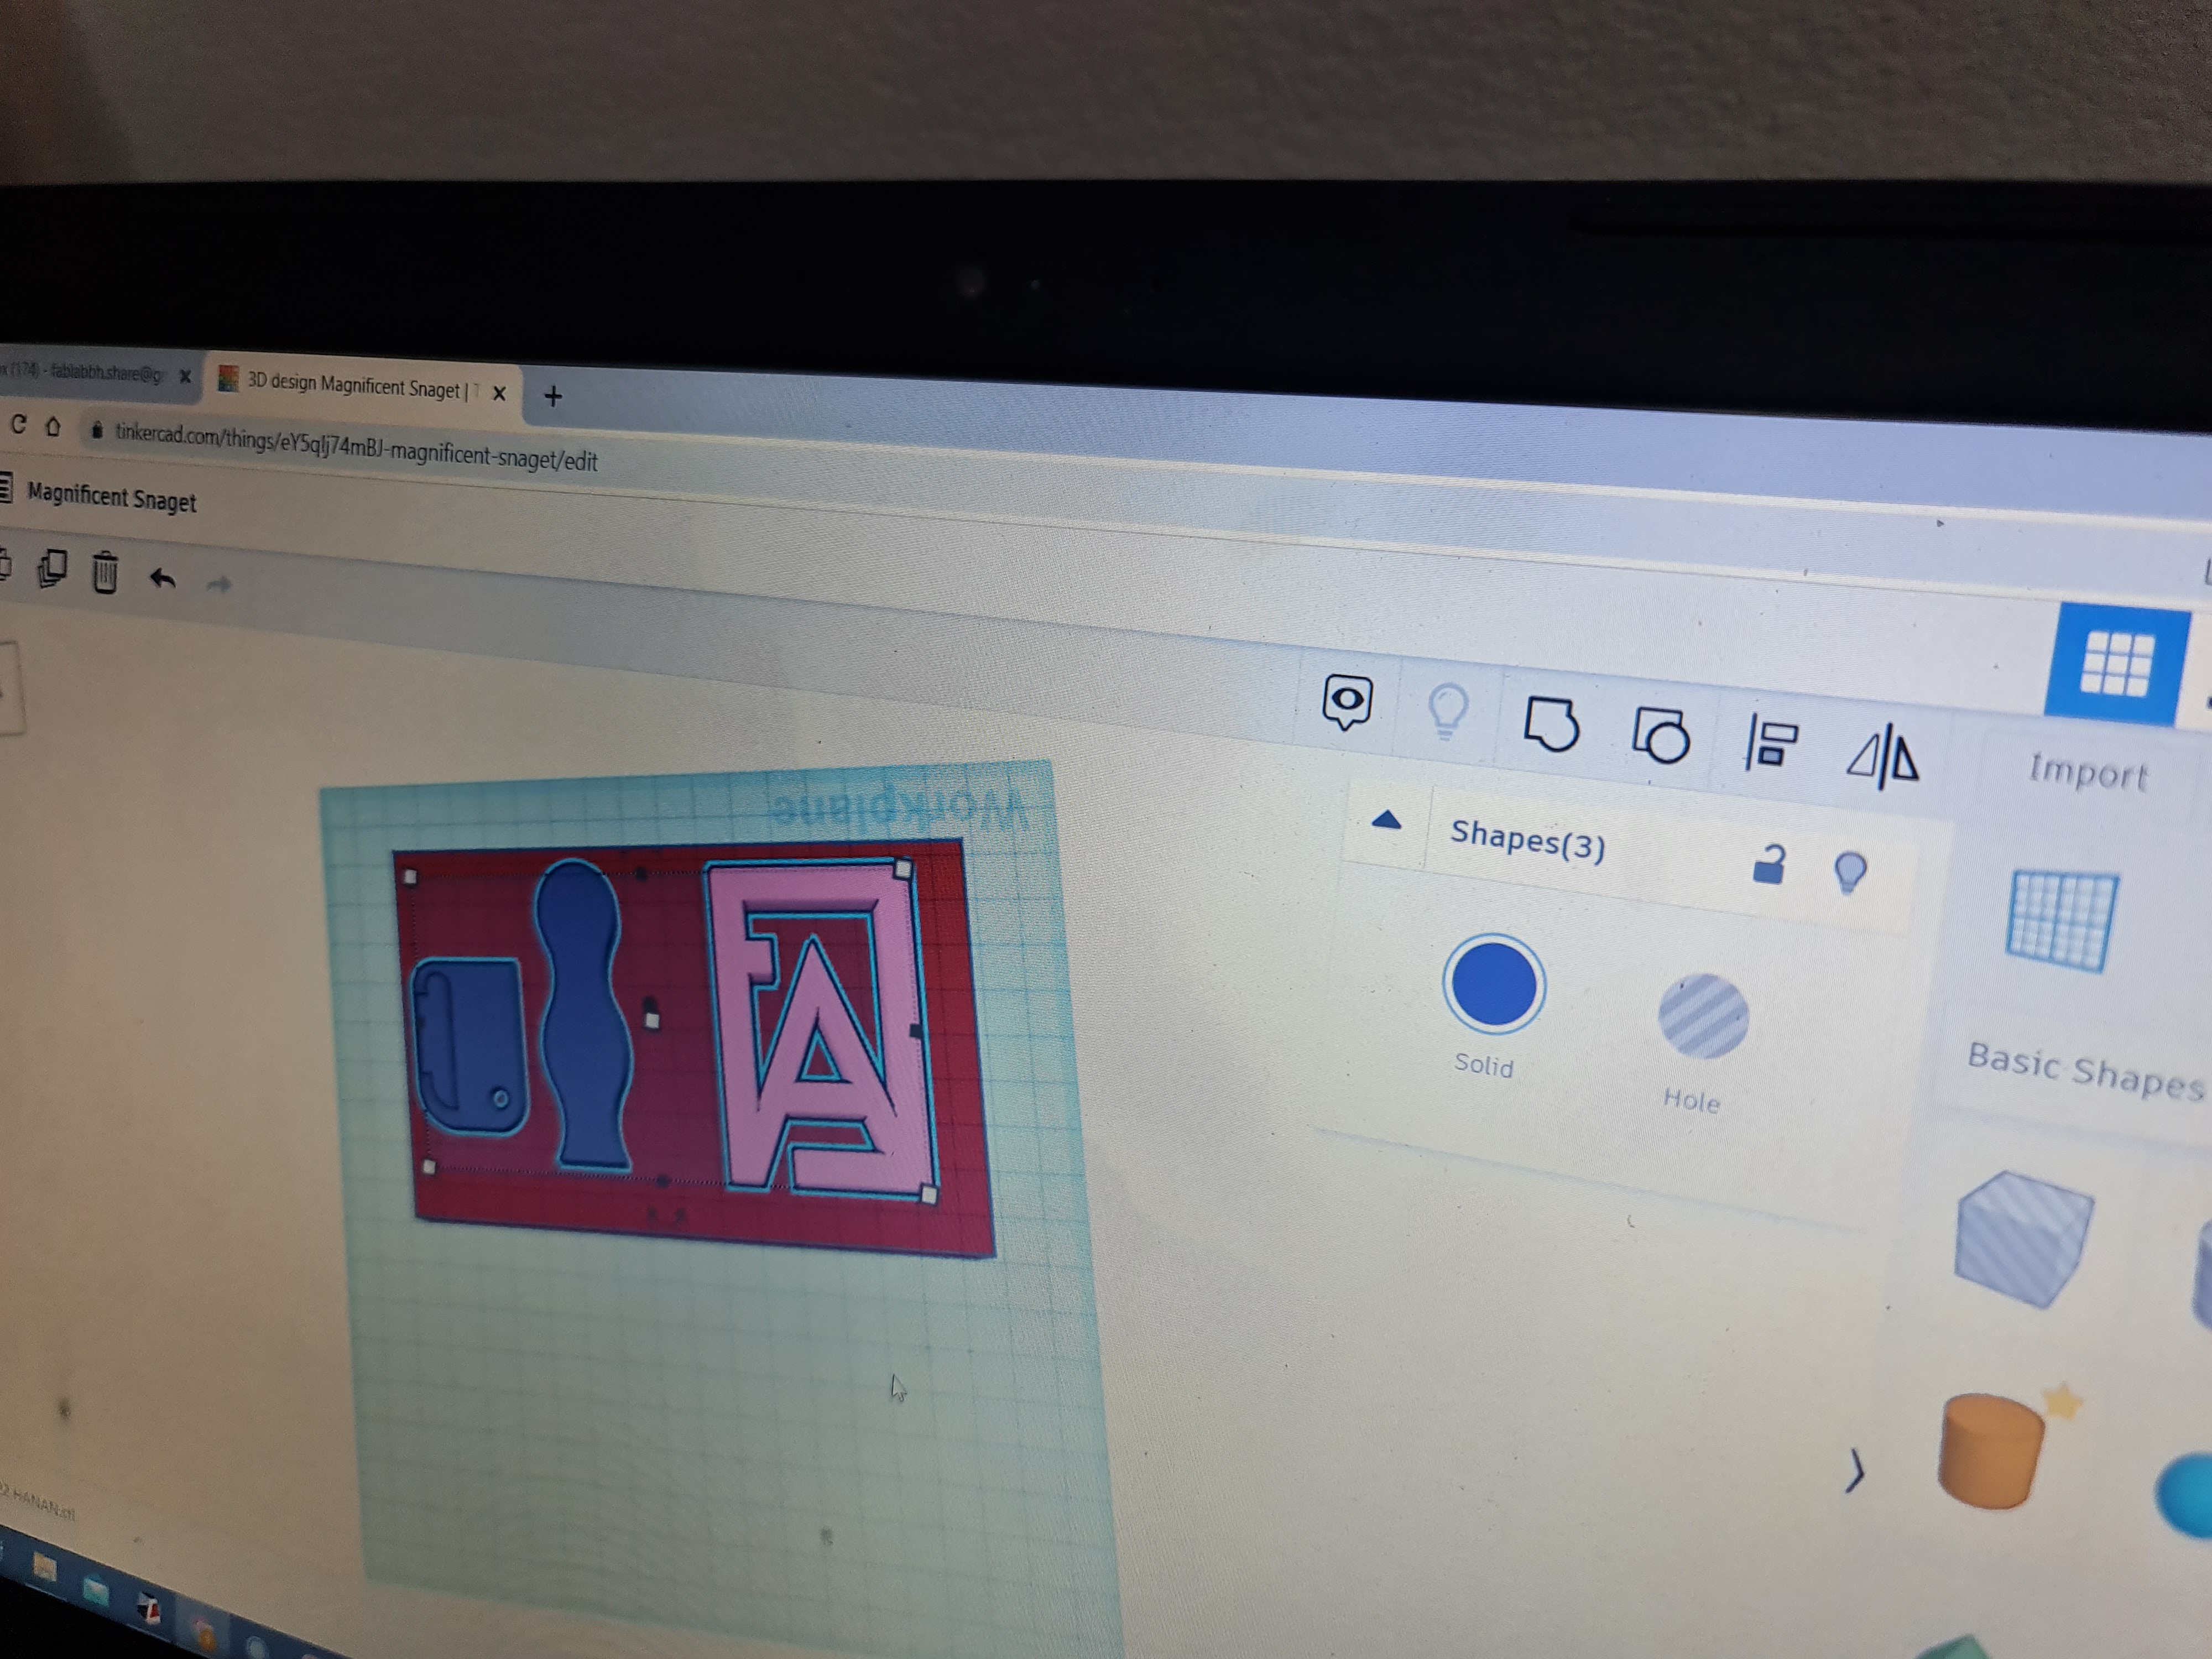
we used Tinker CAD to put more than one design together. so, we do not waste time and material. also we draw a rectangle below our designs to stimulate the plate that we are gonna cut on it.
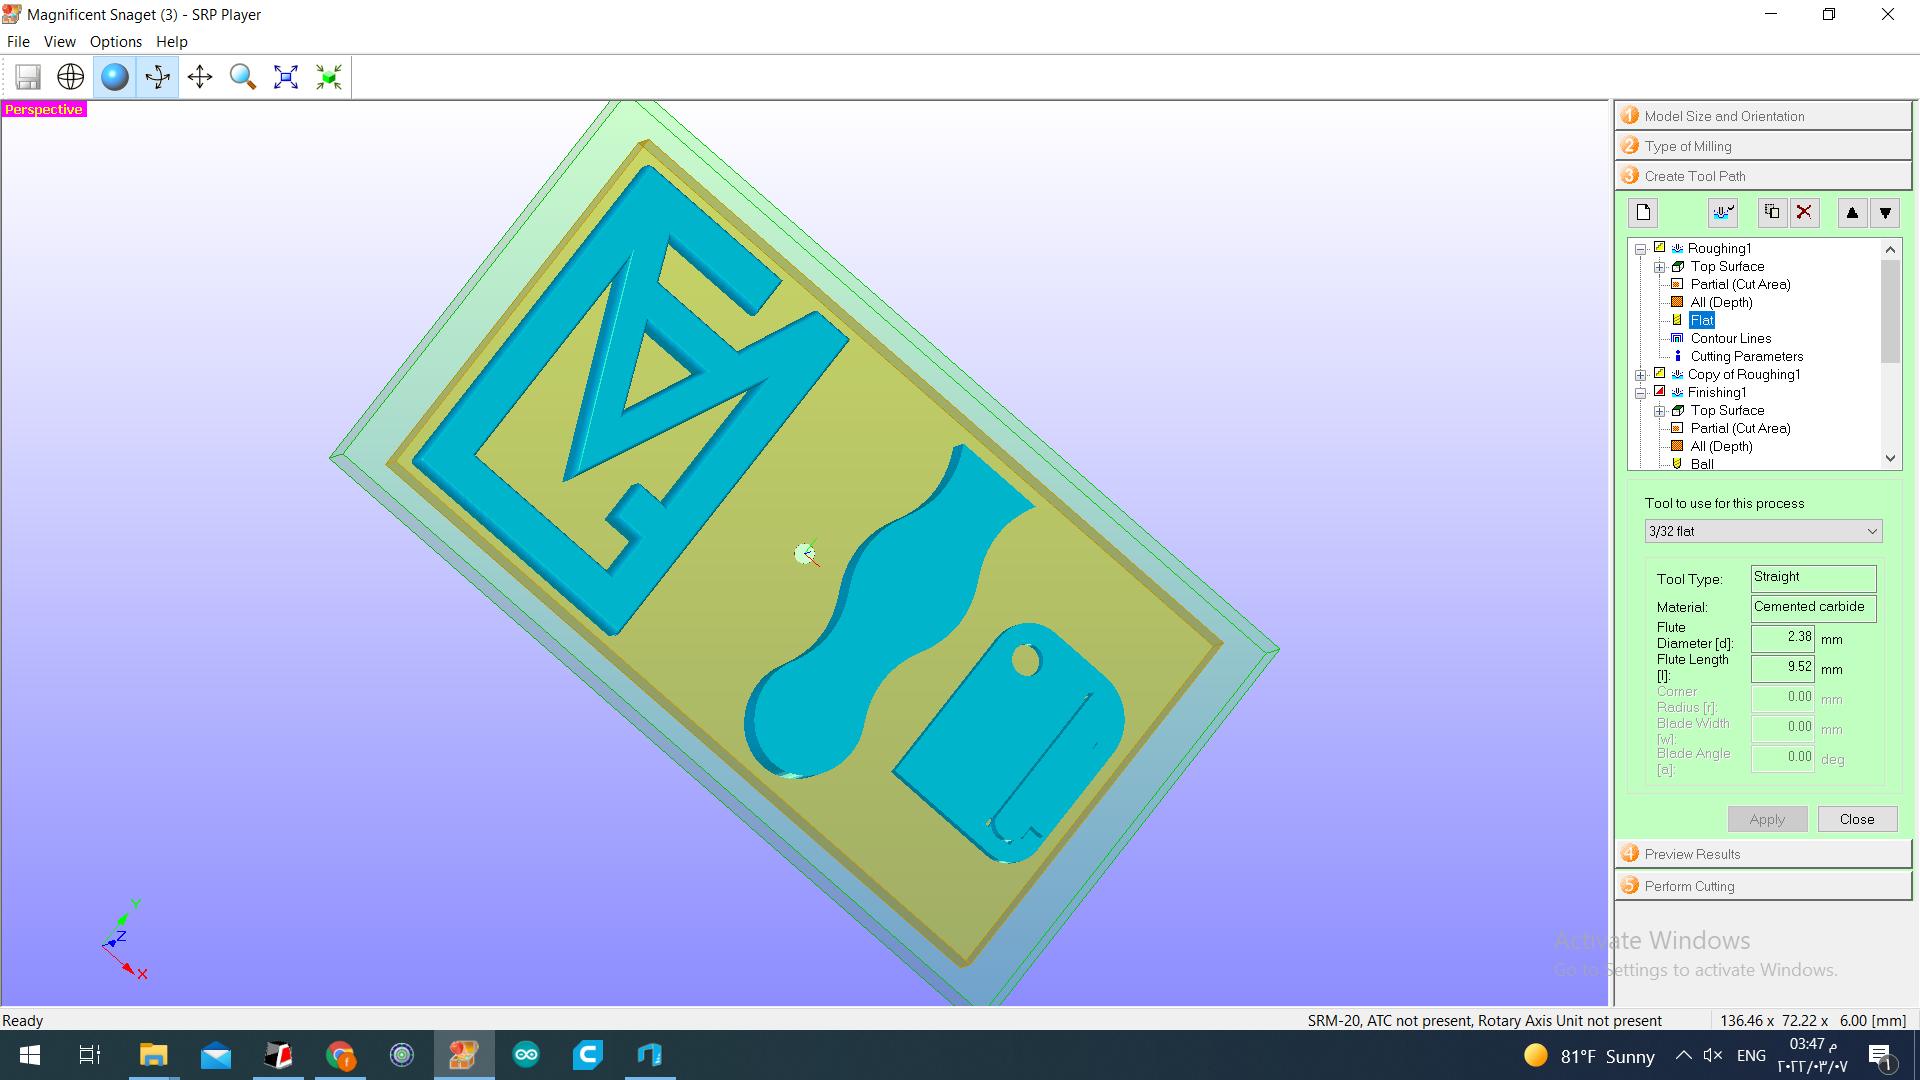
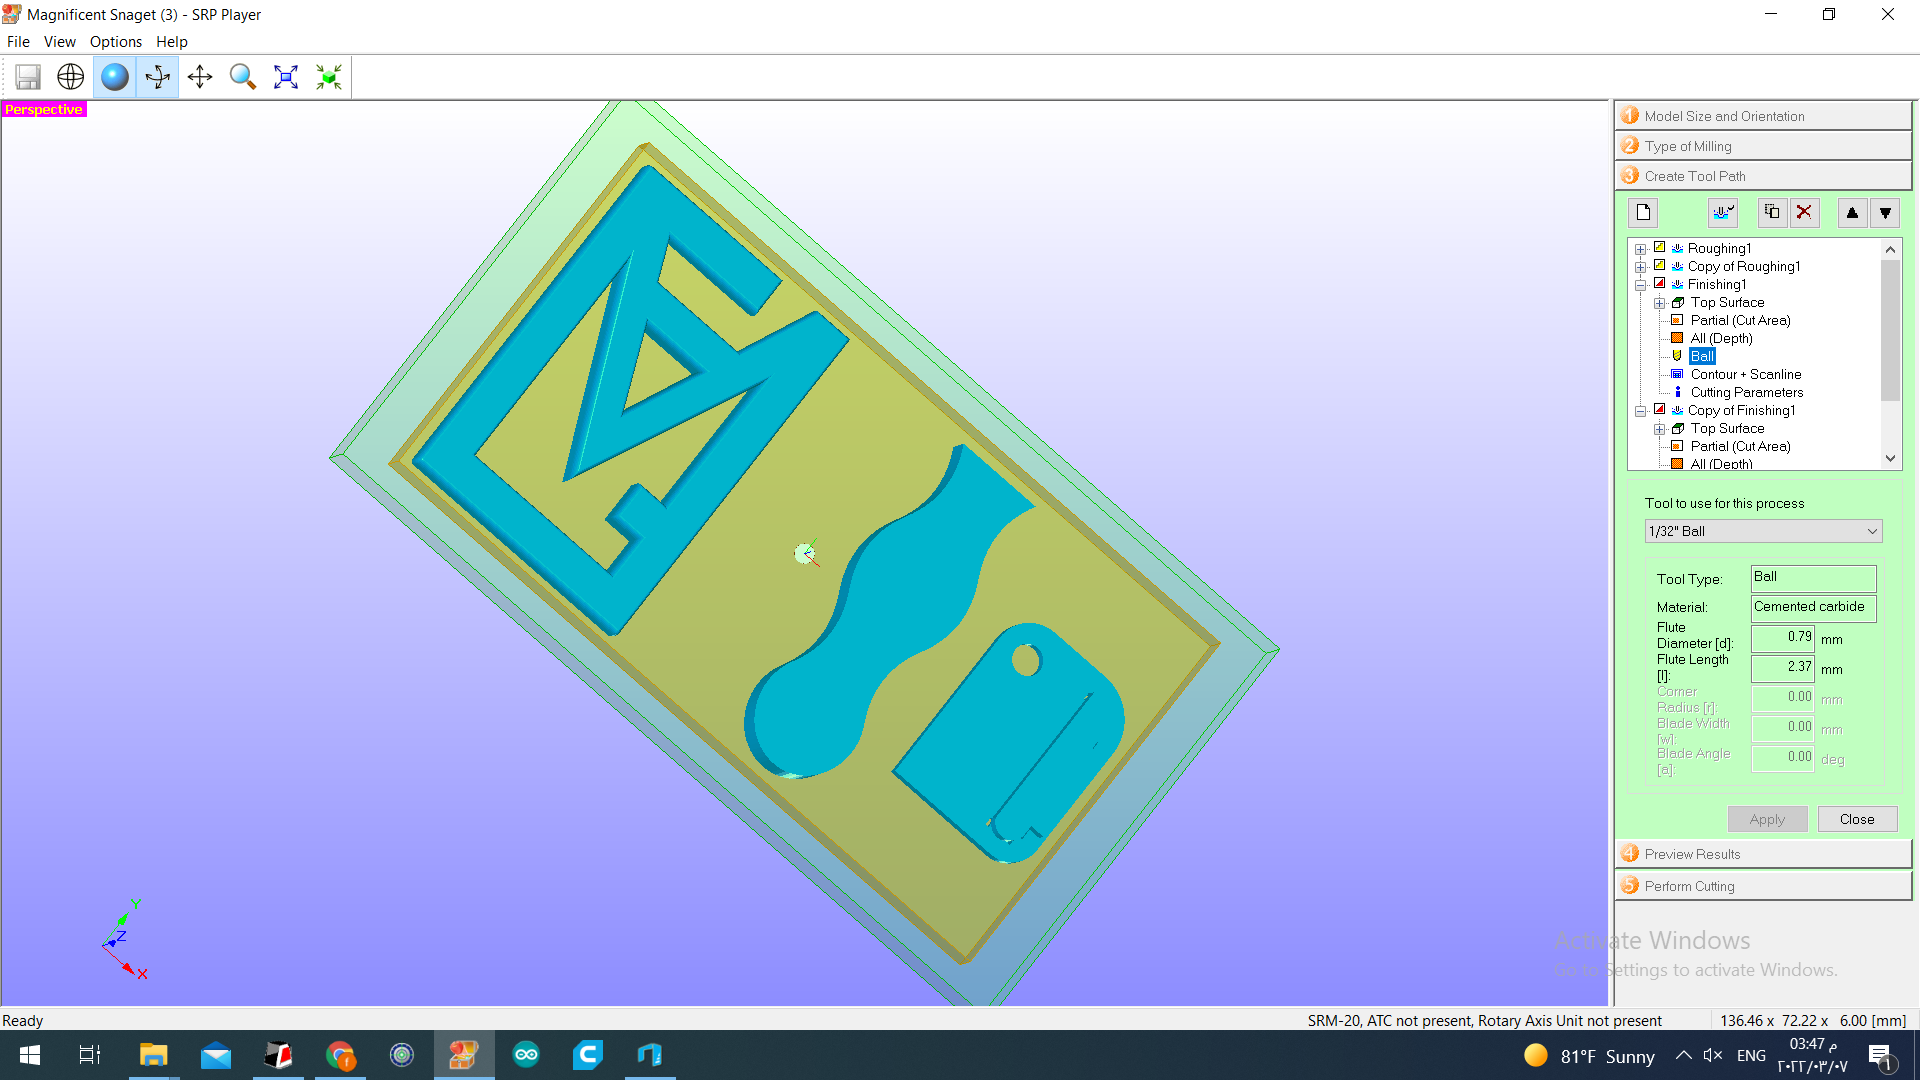
then we opened our design on a program called (magnificent). this is the program of the machine.
there are 5 steps in this program we should checked before start milled process.
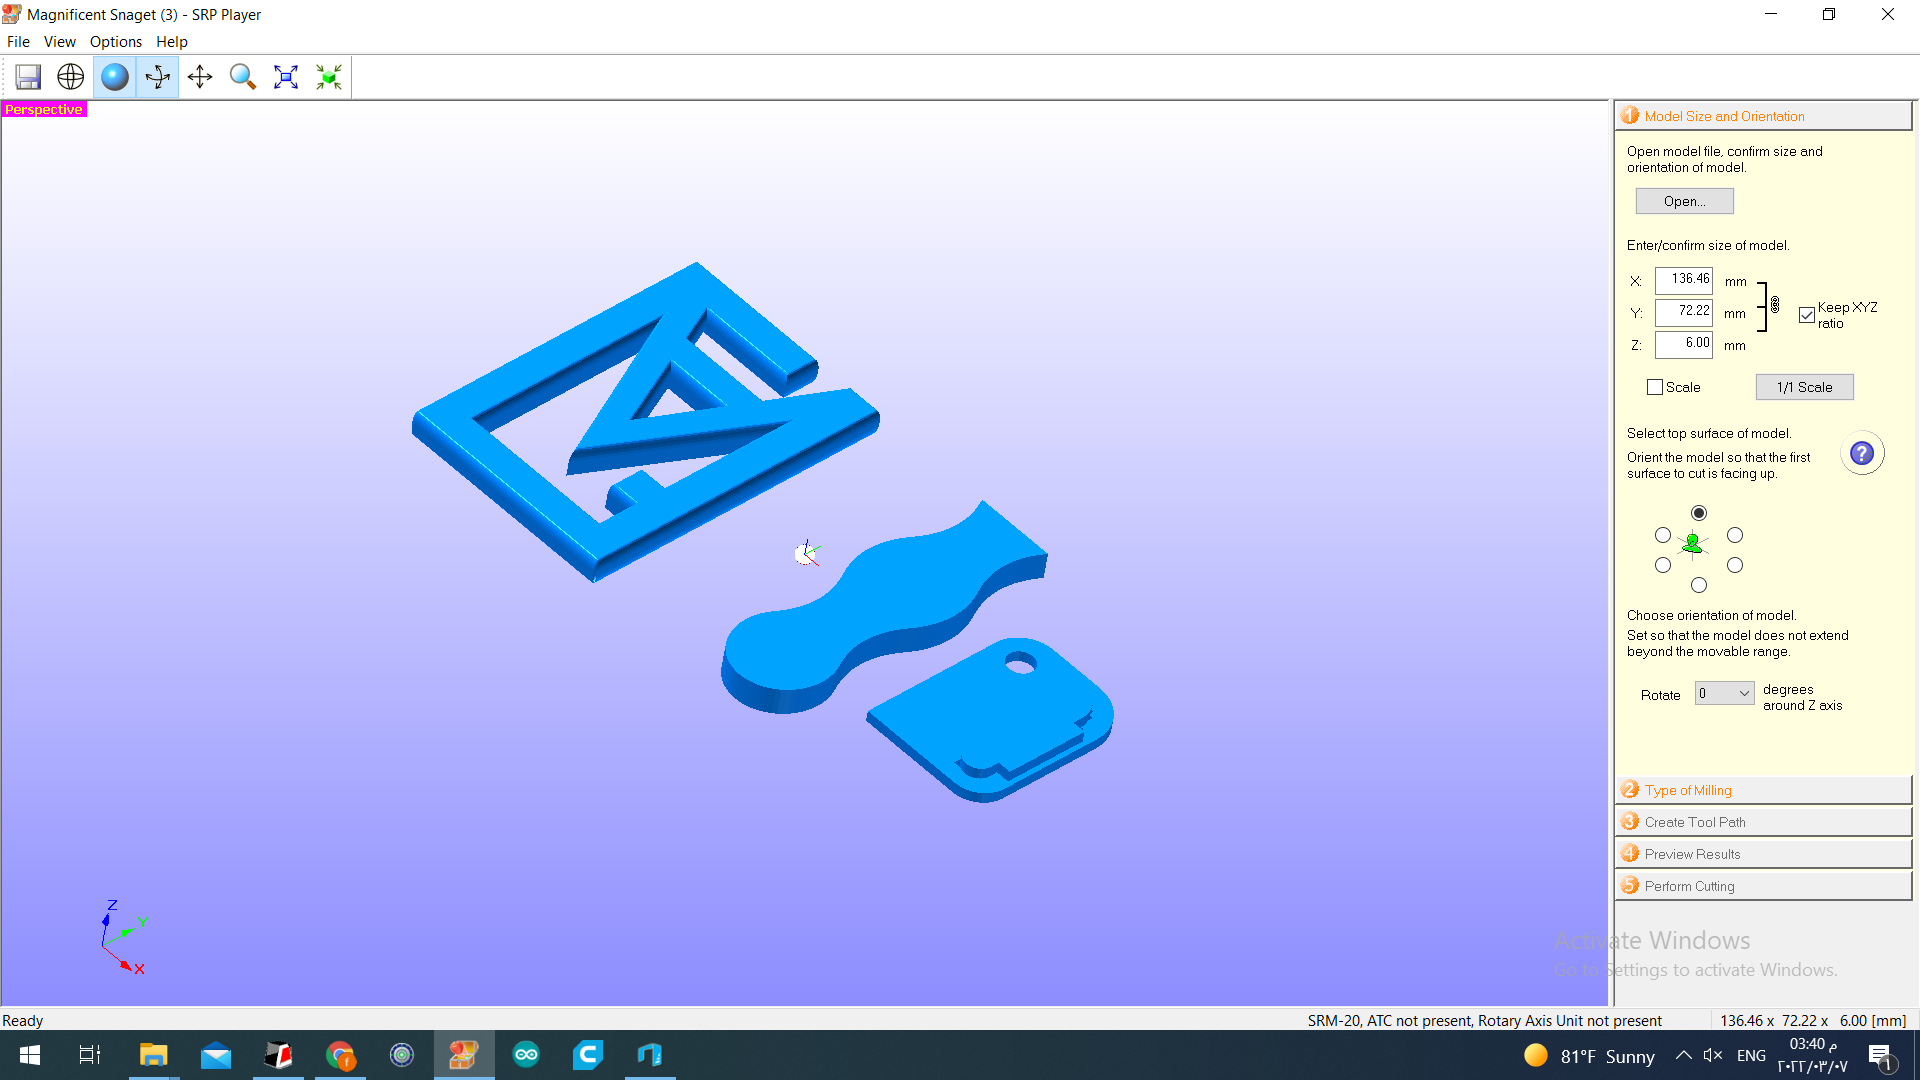
- the first step is to check the size, dimensions and orientation of the design and confirm it to the program.
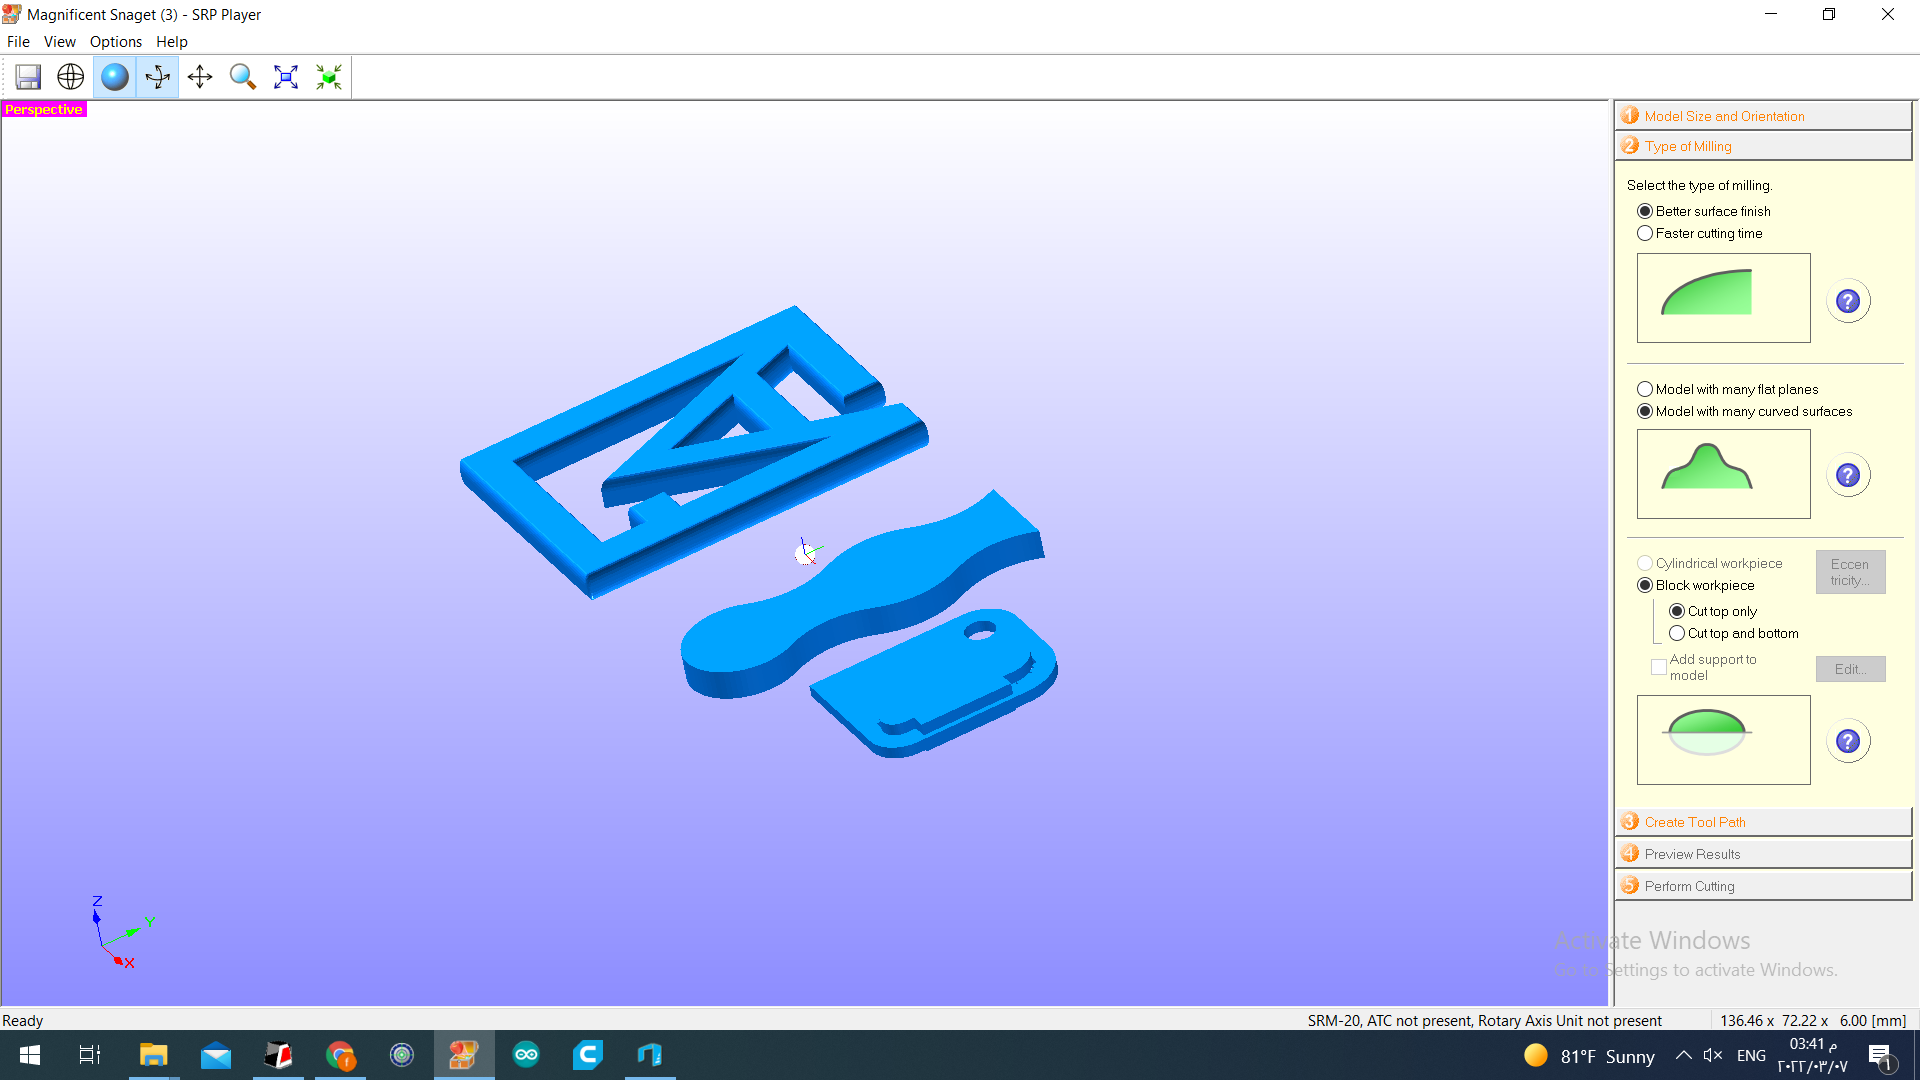
- step 2 is about the milling type. we choose a fine finish surface, with many curved surfaces and cut from top only.
-
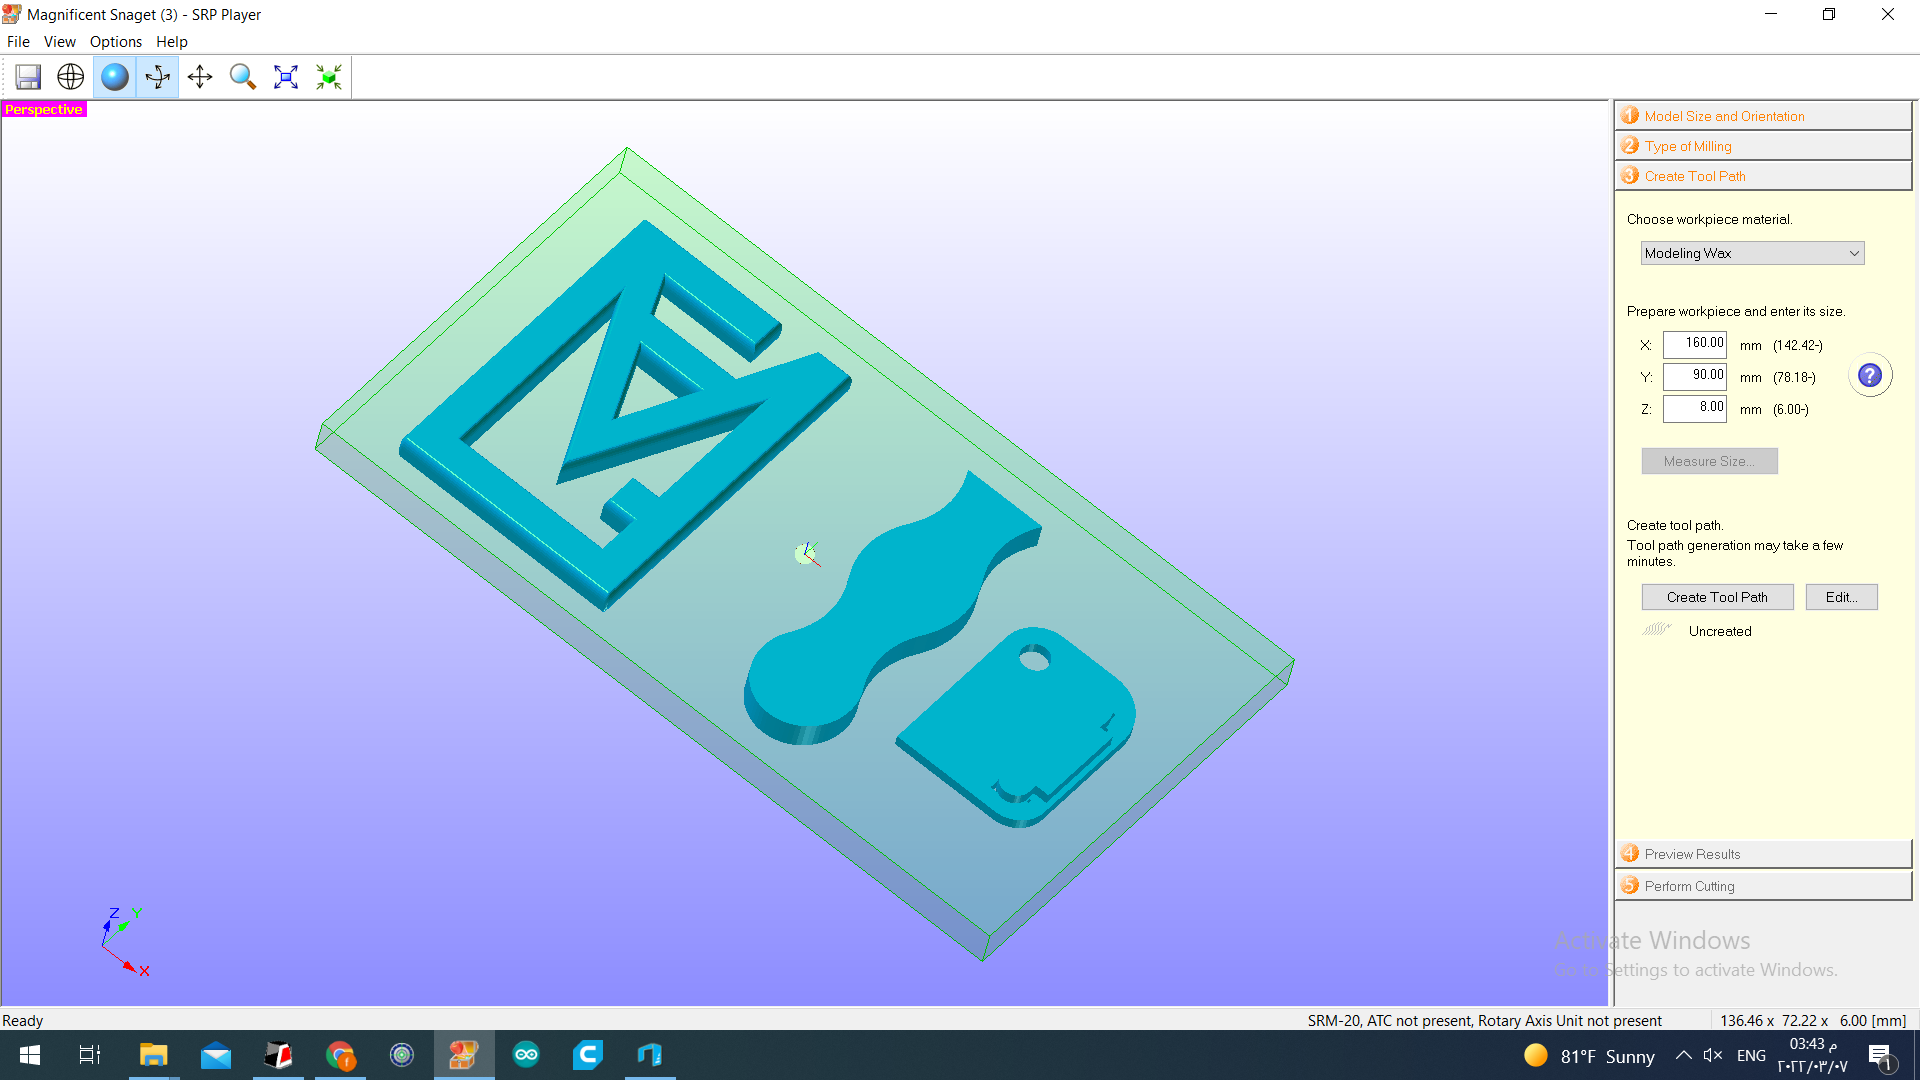
step 3 we create Paths for cutting process. because we have 2 designs cutting in the same time we have to split the cutting process. so, every design cutting separately.
-
step 4 is all about preview the final result how it looks like.
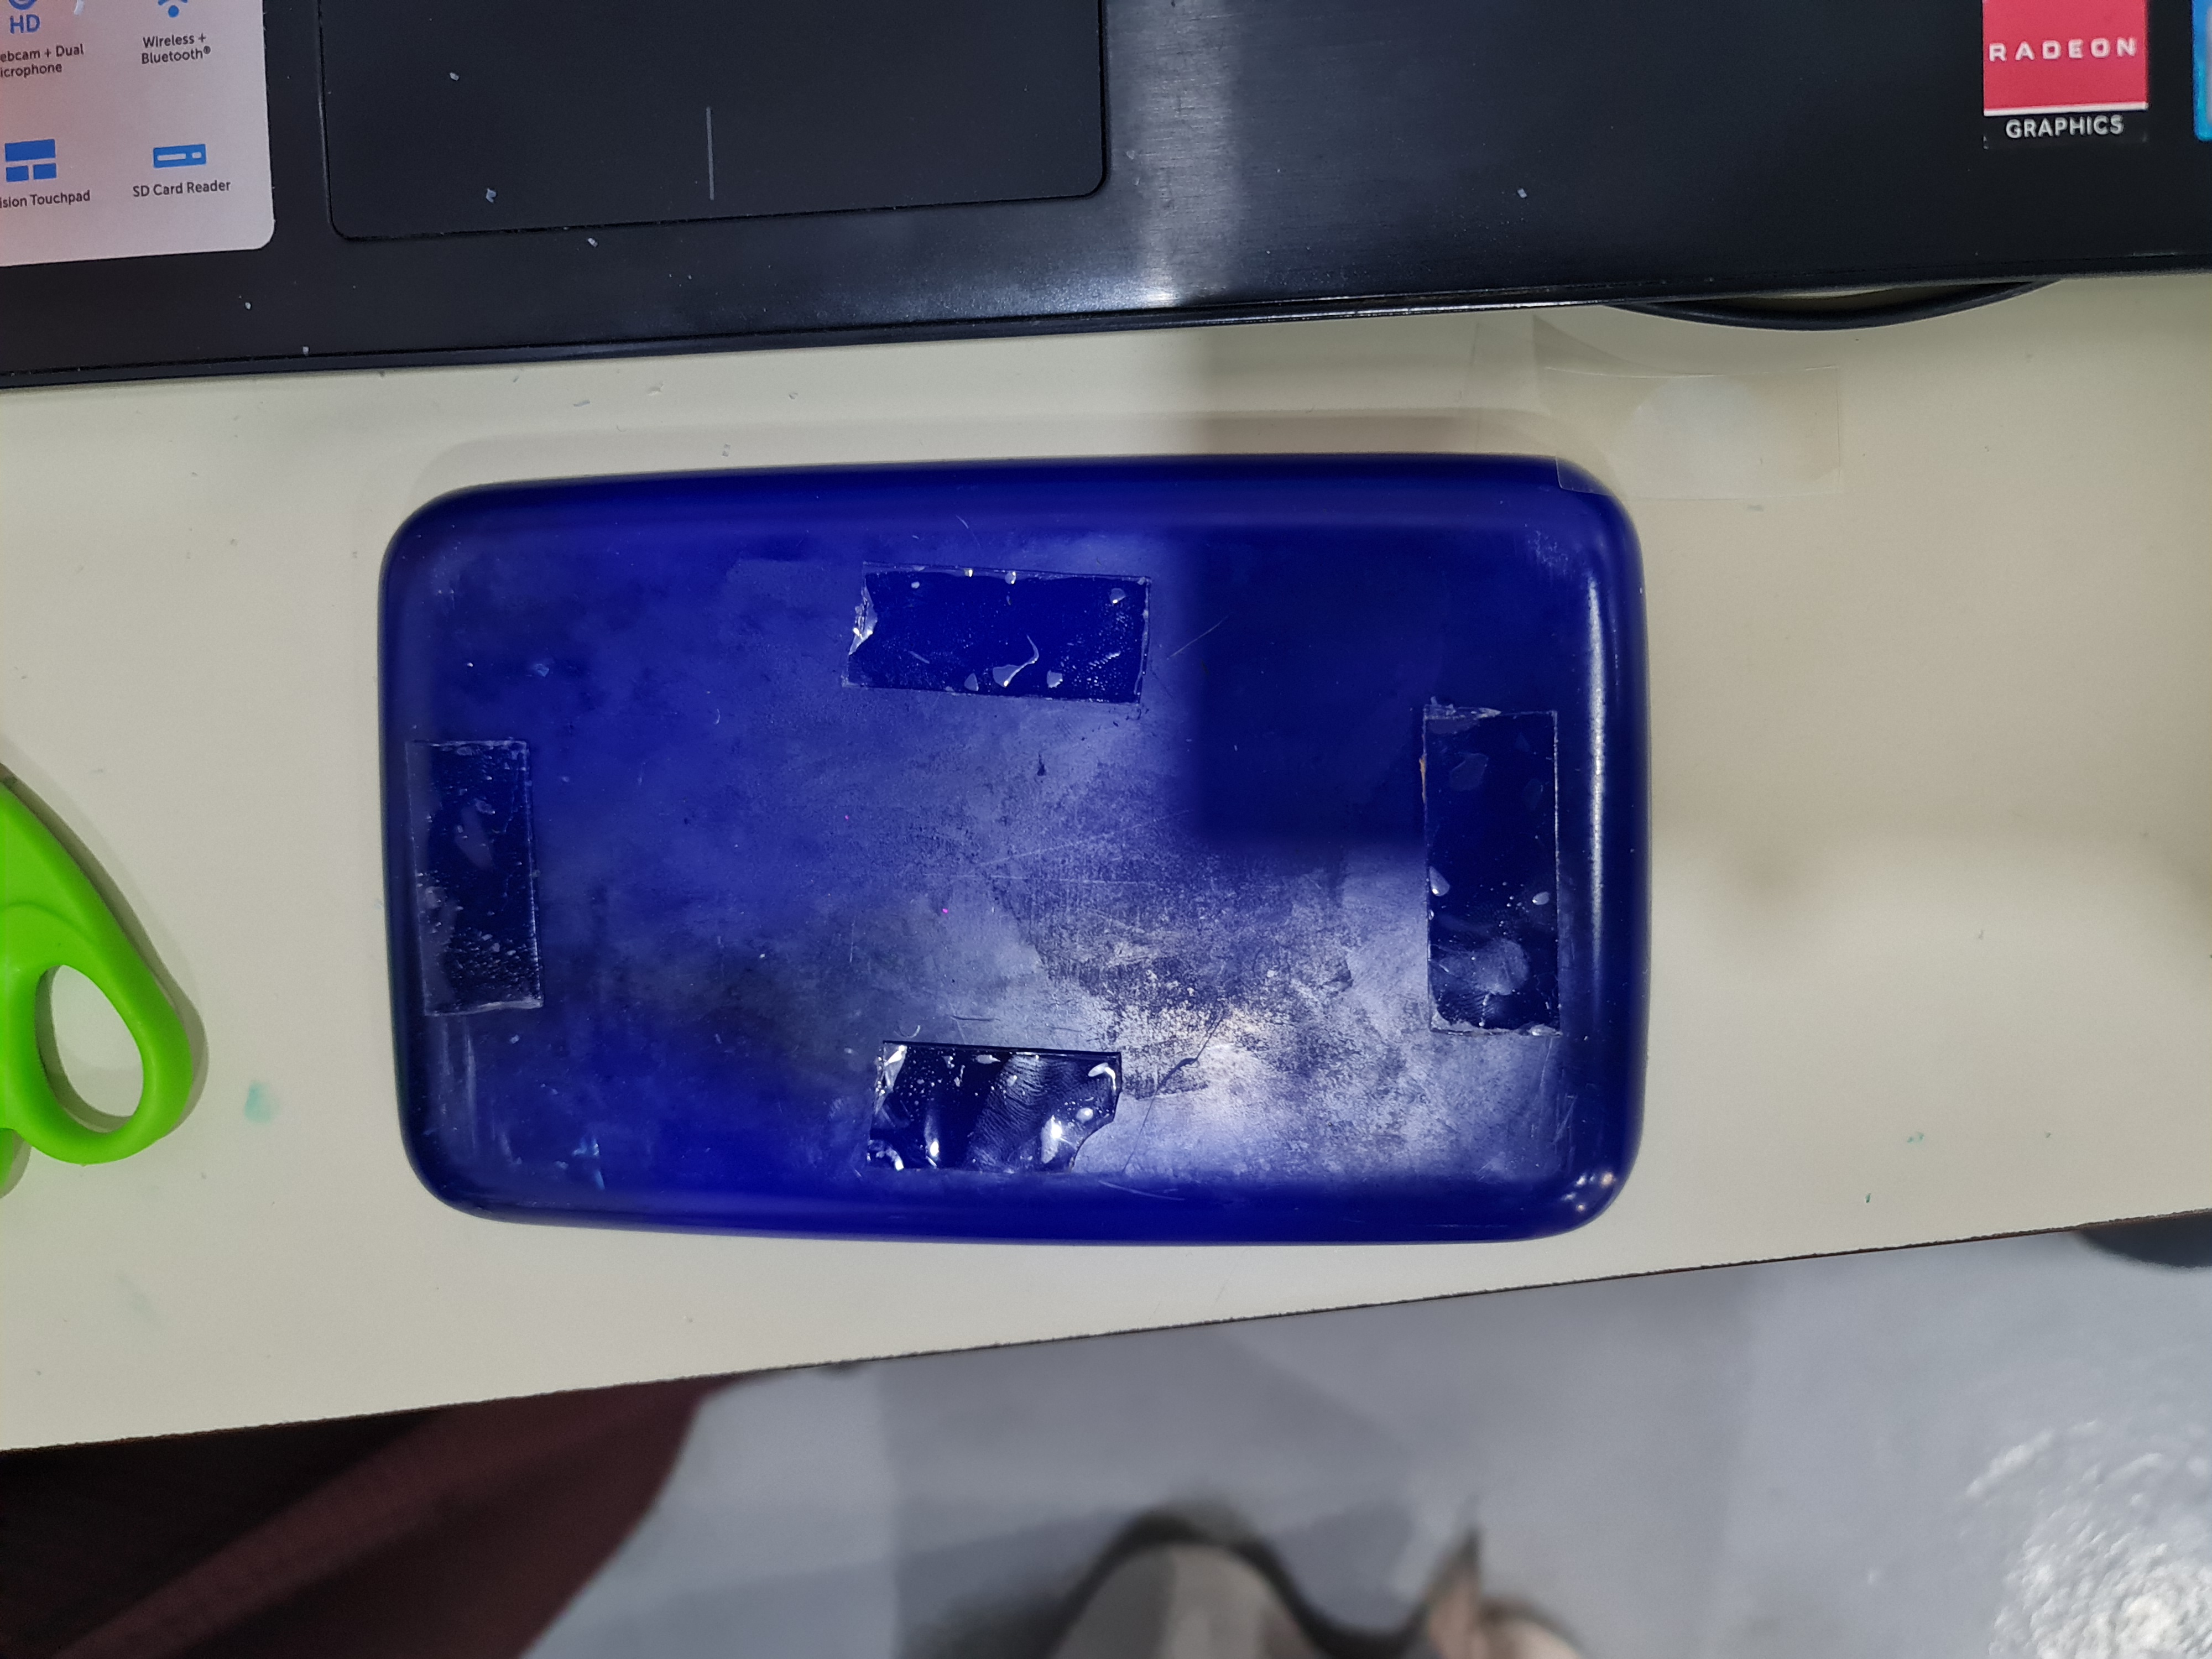
- step number 5 we should: 1- first, but double side tape on the bottom side of the cutting plate along the 4 edges to prevent it from moving during cutting process and to insure that all sides are equal.
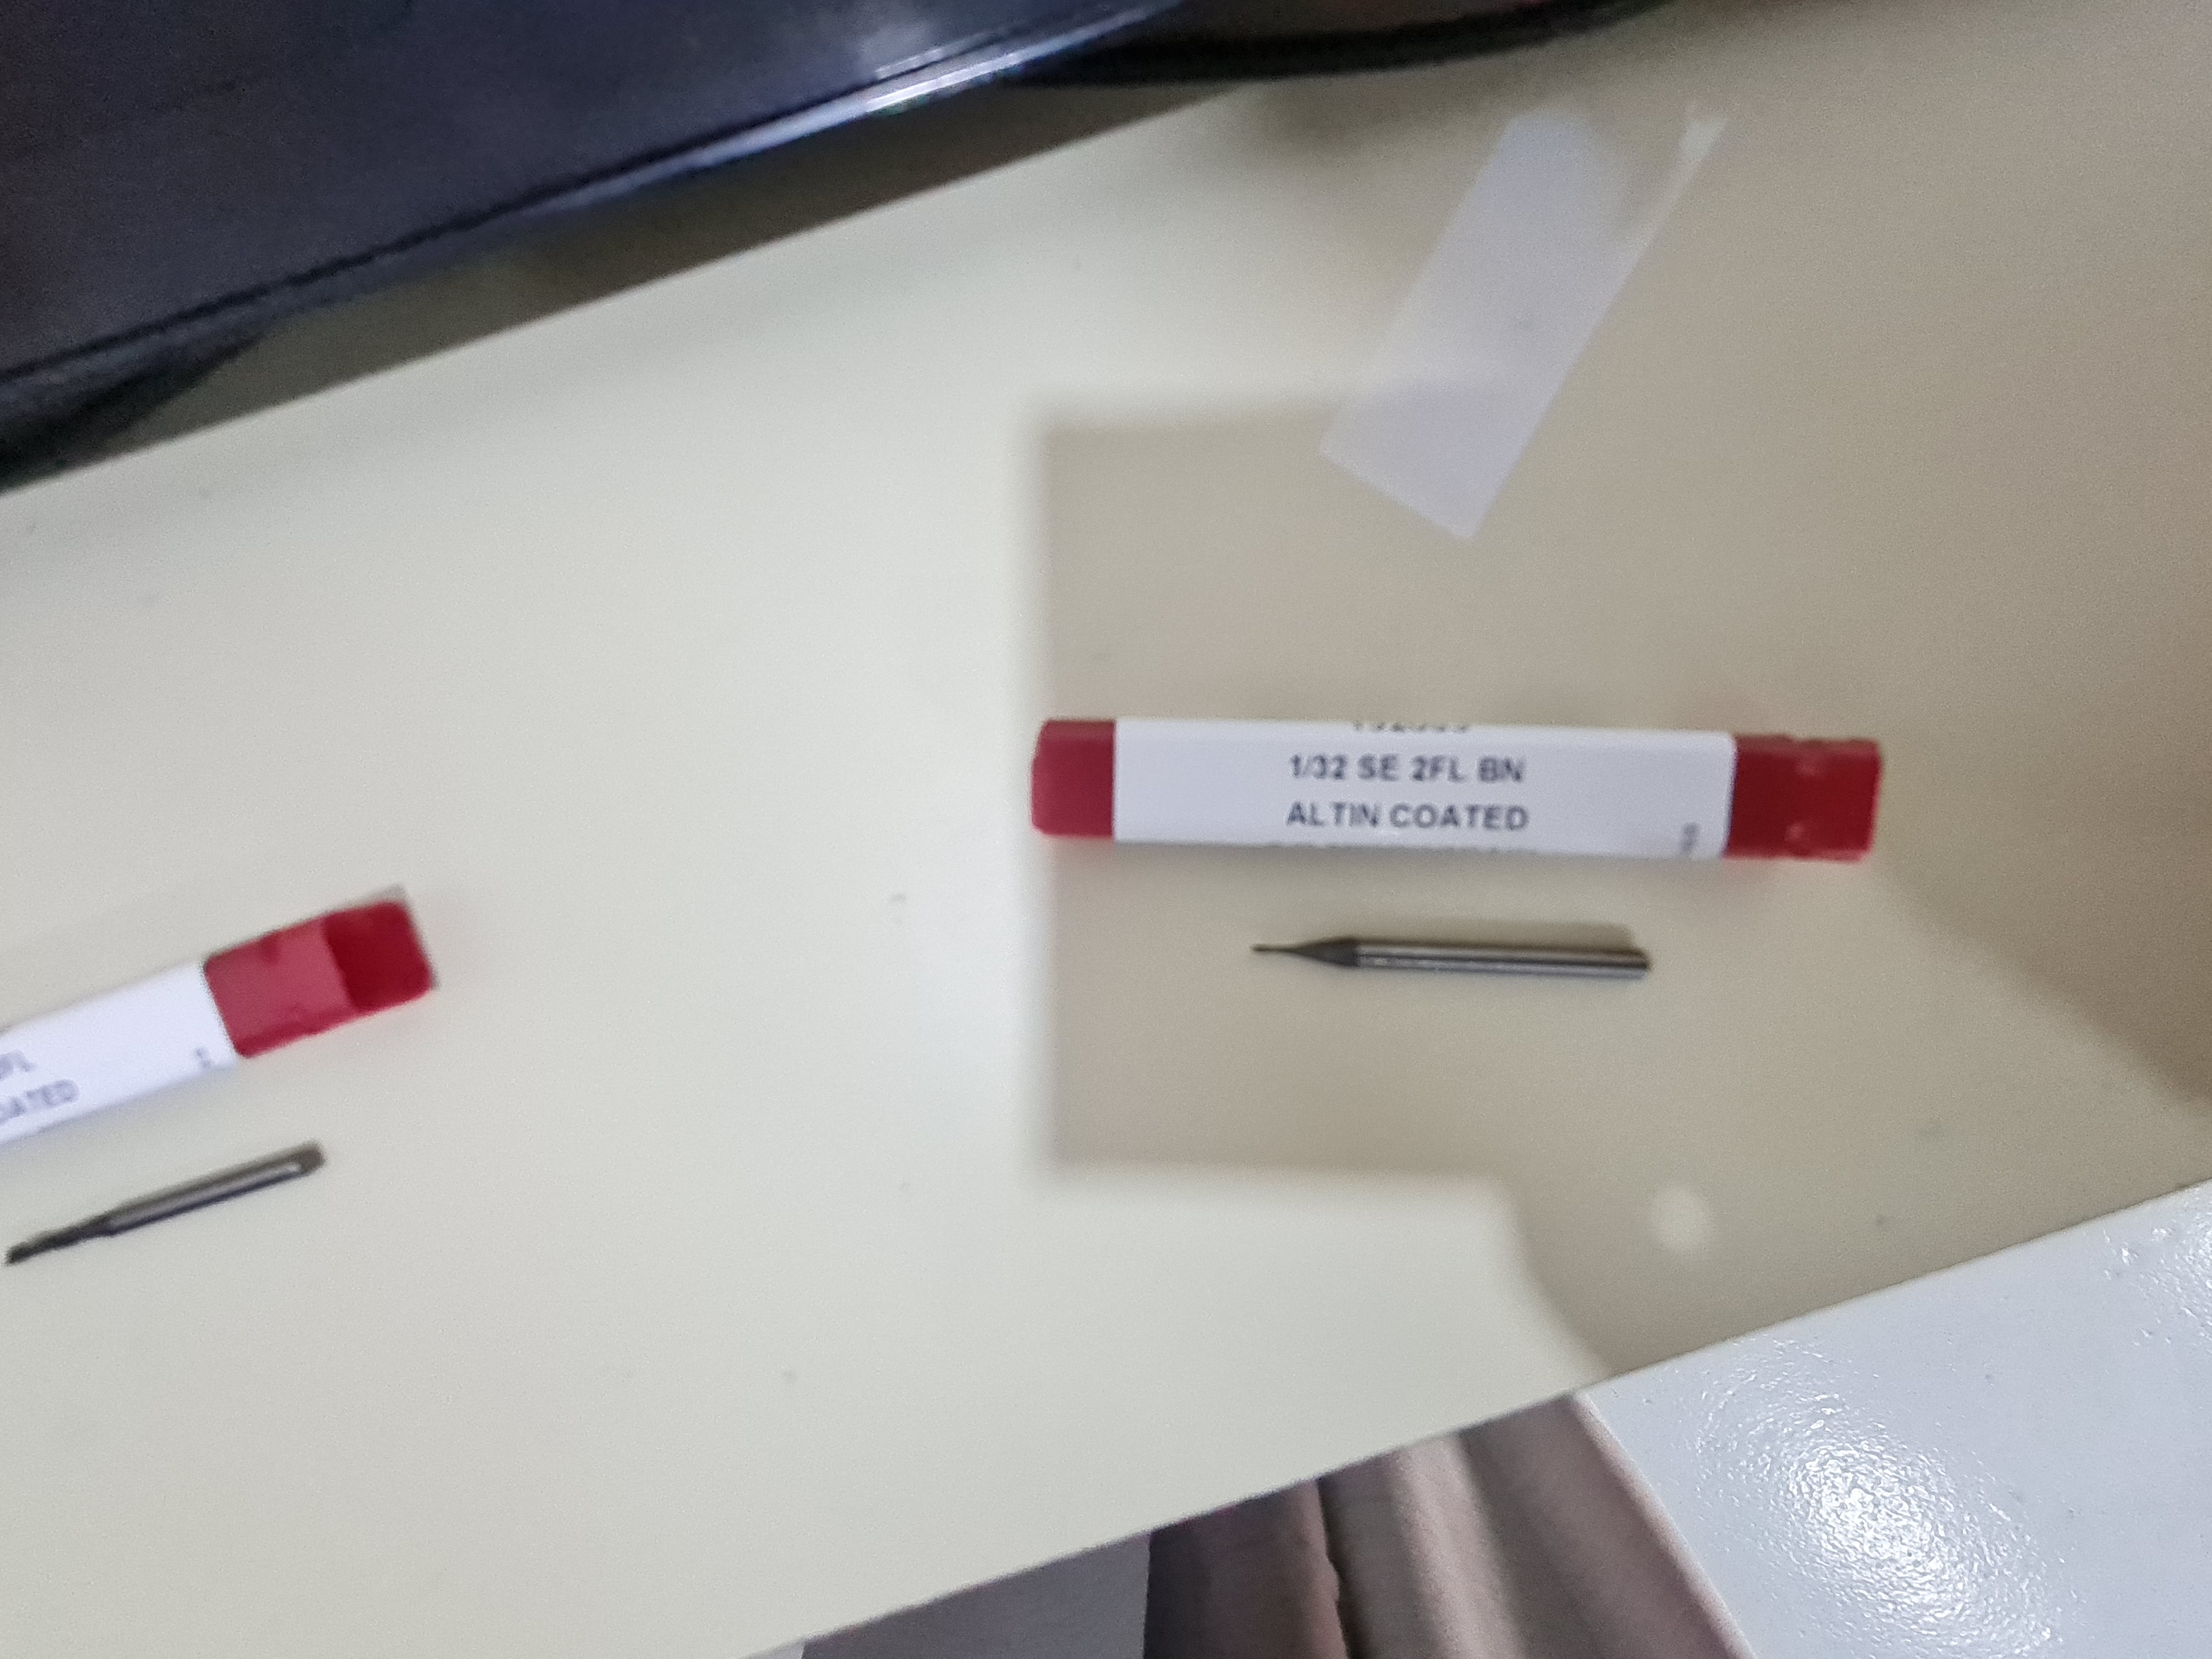
2- then choose the cutting nail.
3- set the origin of the machine to the center of the cutting plate.
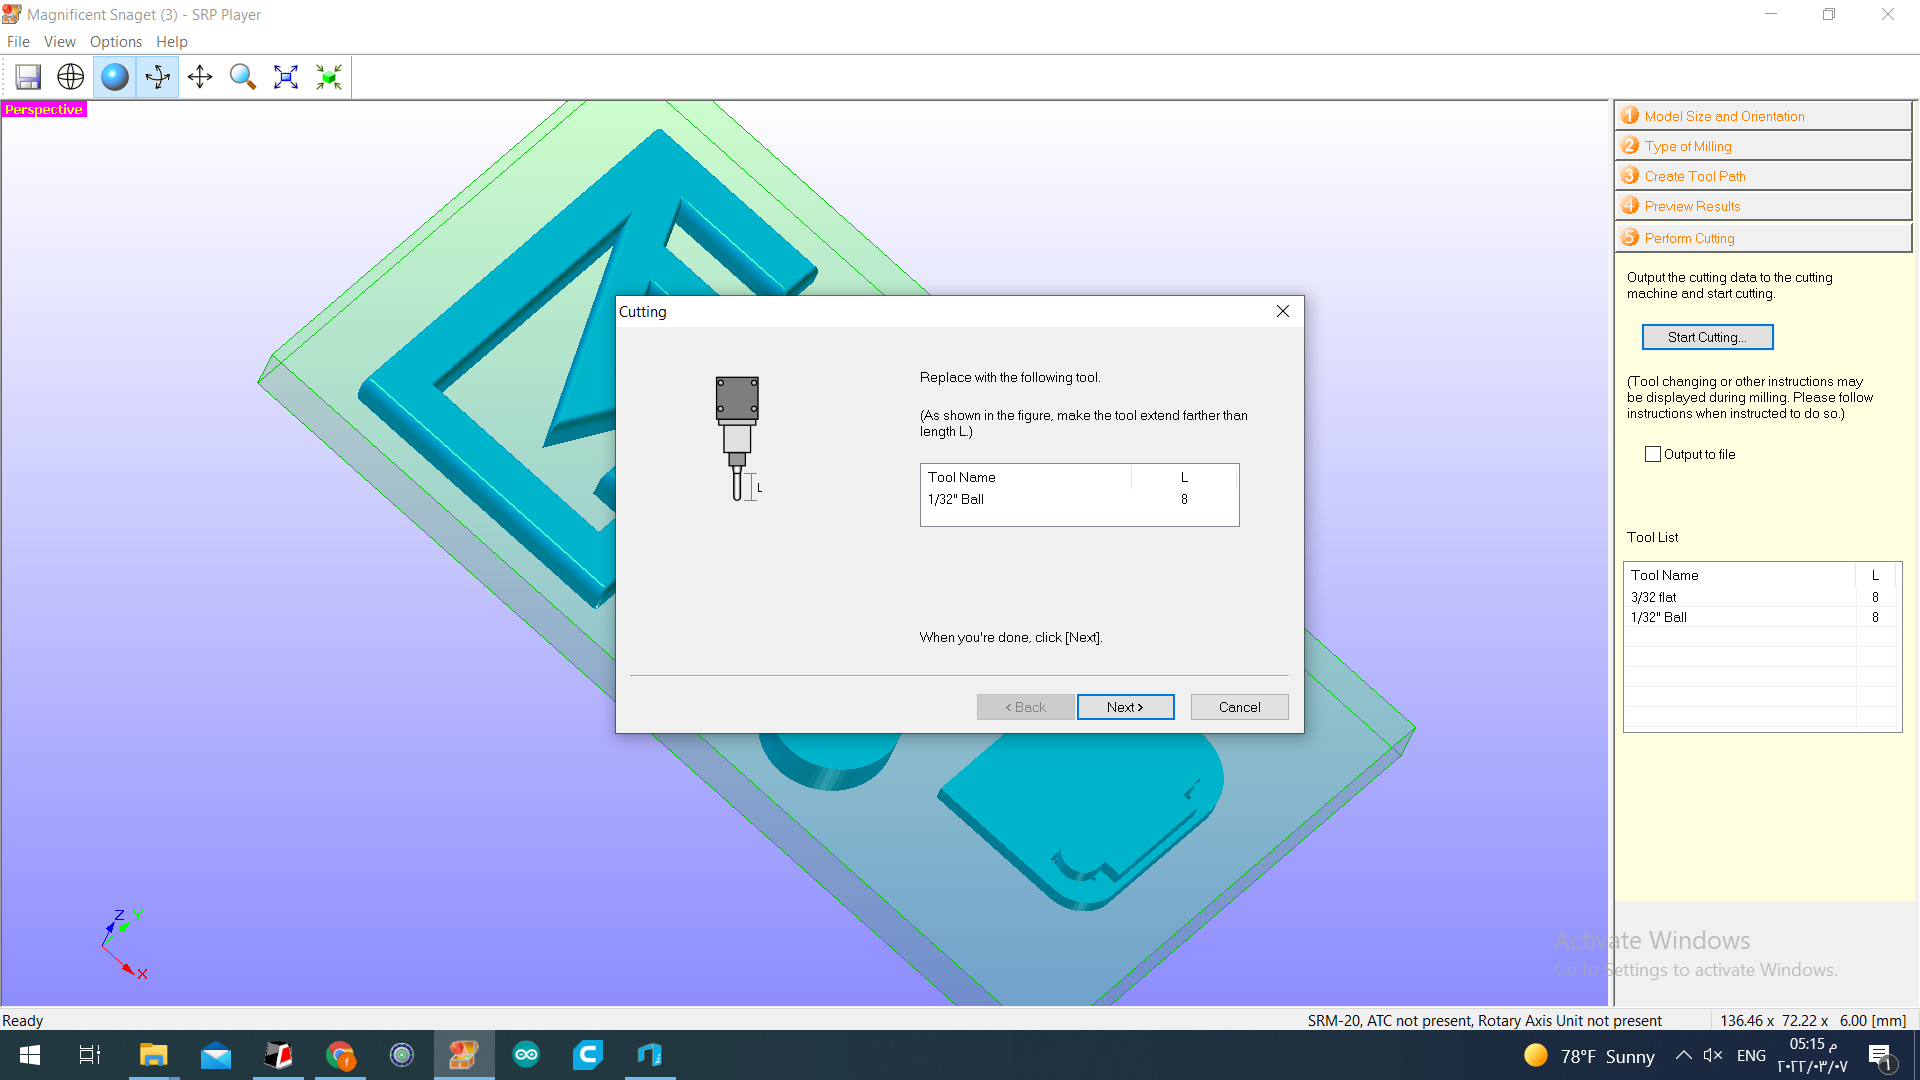
depend on the design and the options we choose the program will let us know which tool is perfect to use to milling our design.
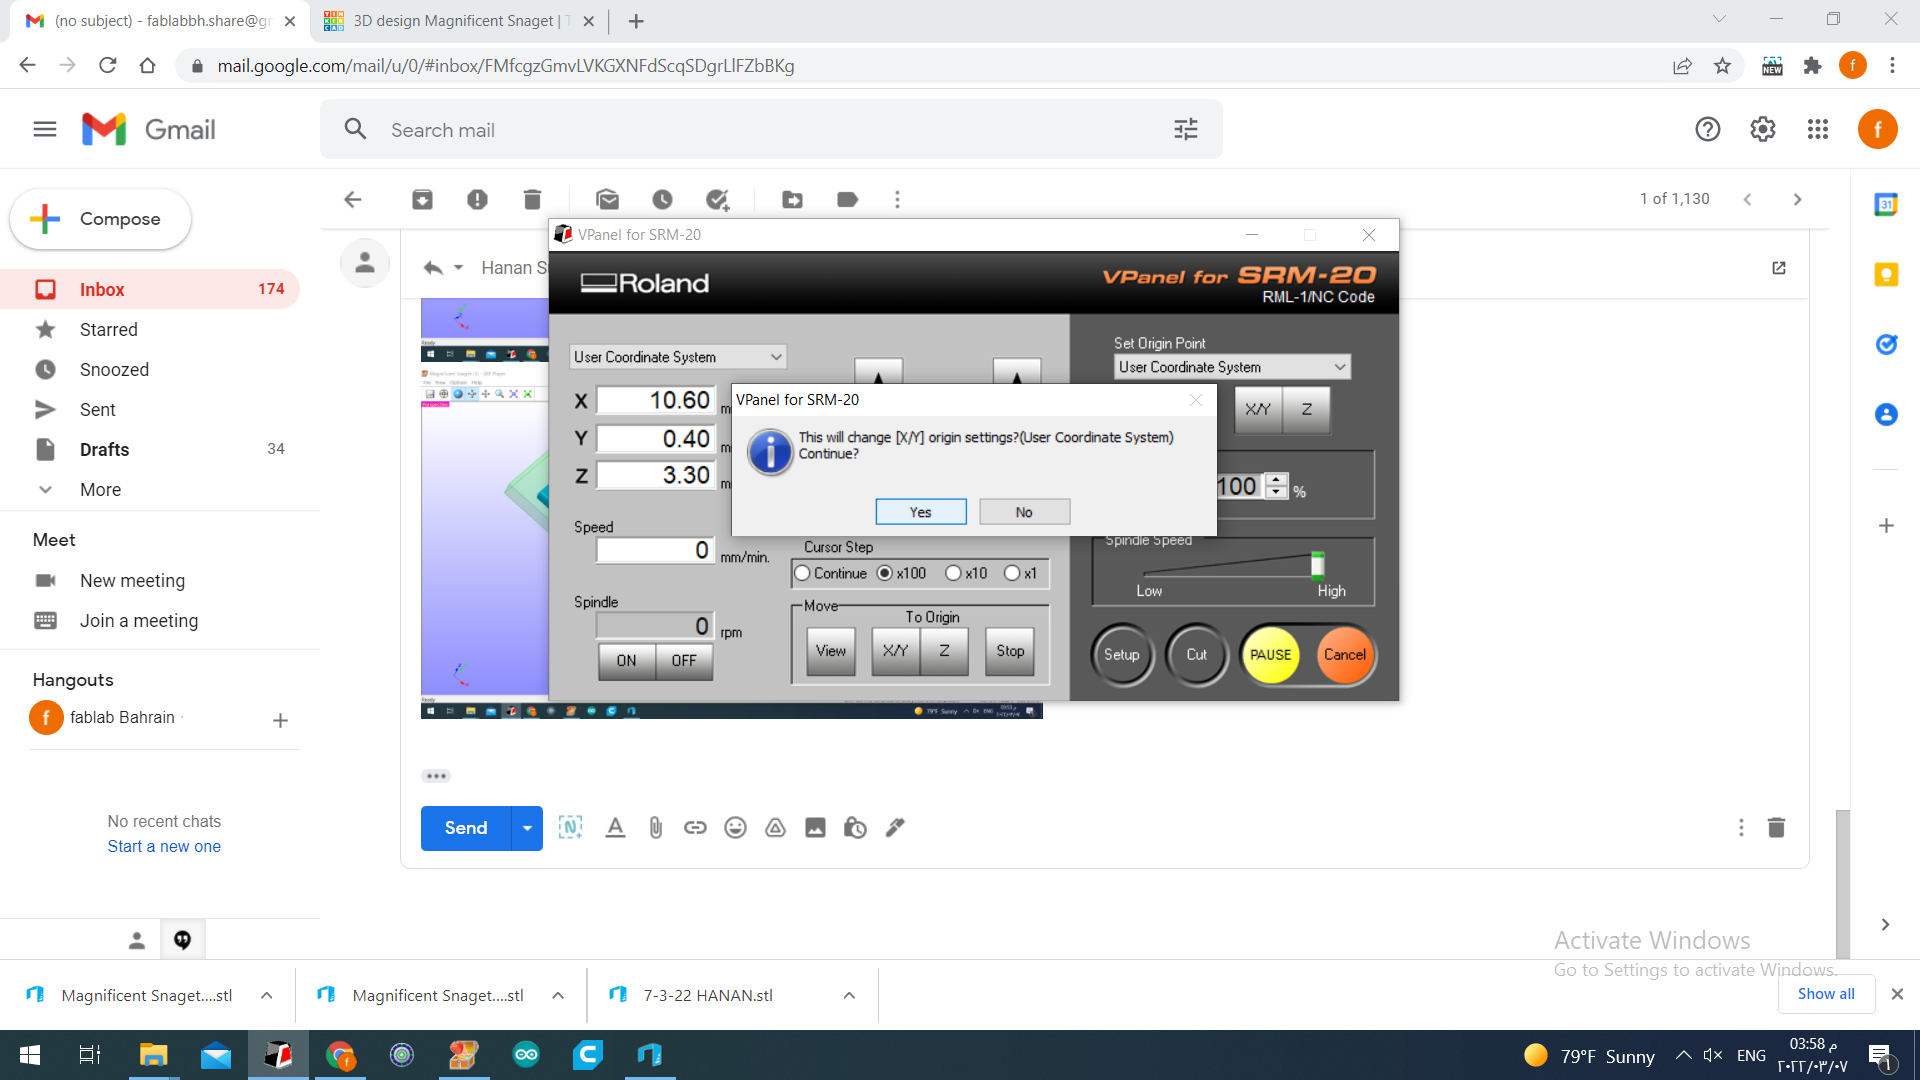
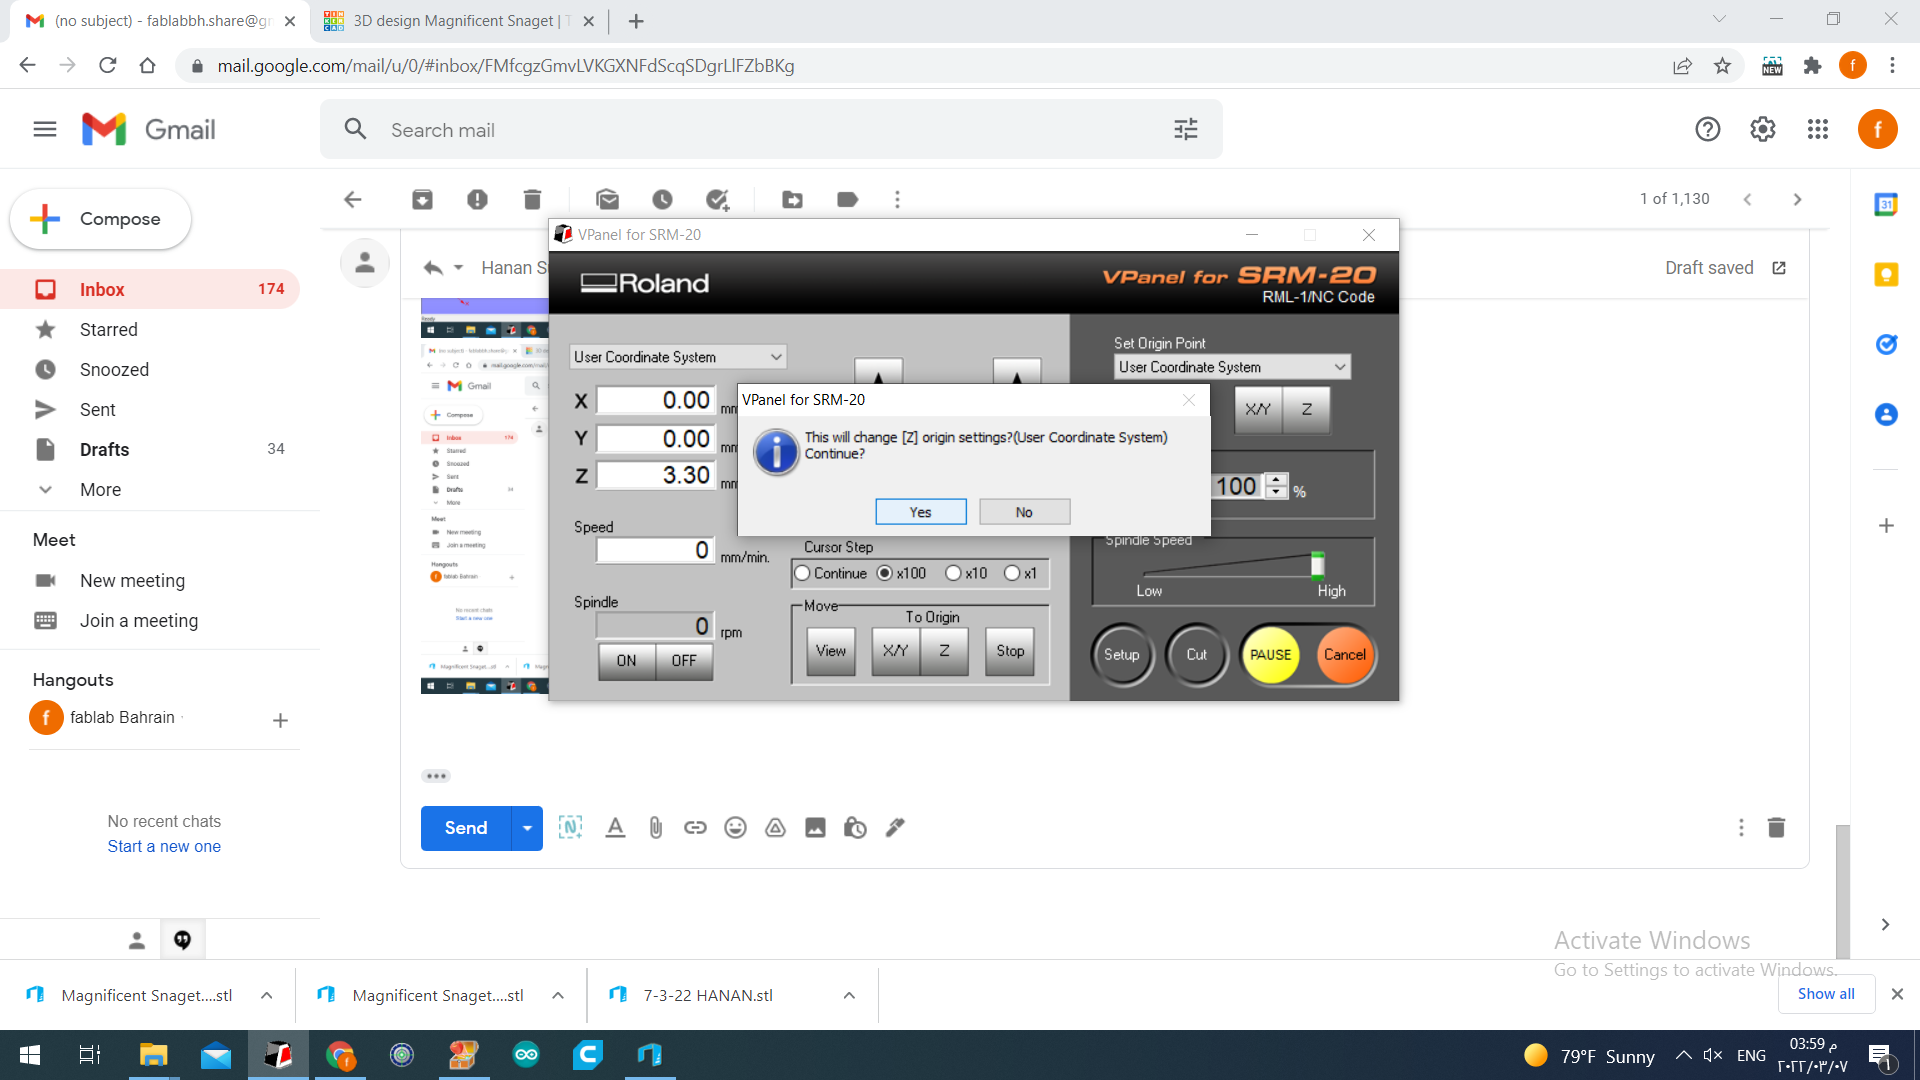
we have to update the origin coordinate by changing the (XYZ), then confirm the changes. when the origin numbers set all to Zero that’s mean we are ok and we can start cutting. after that click on start cutting.
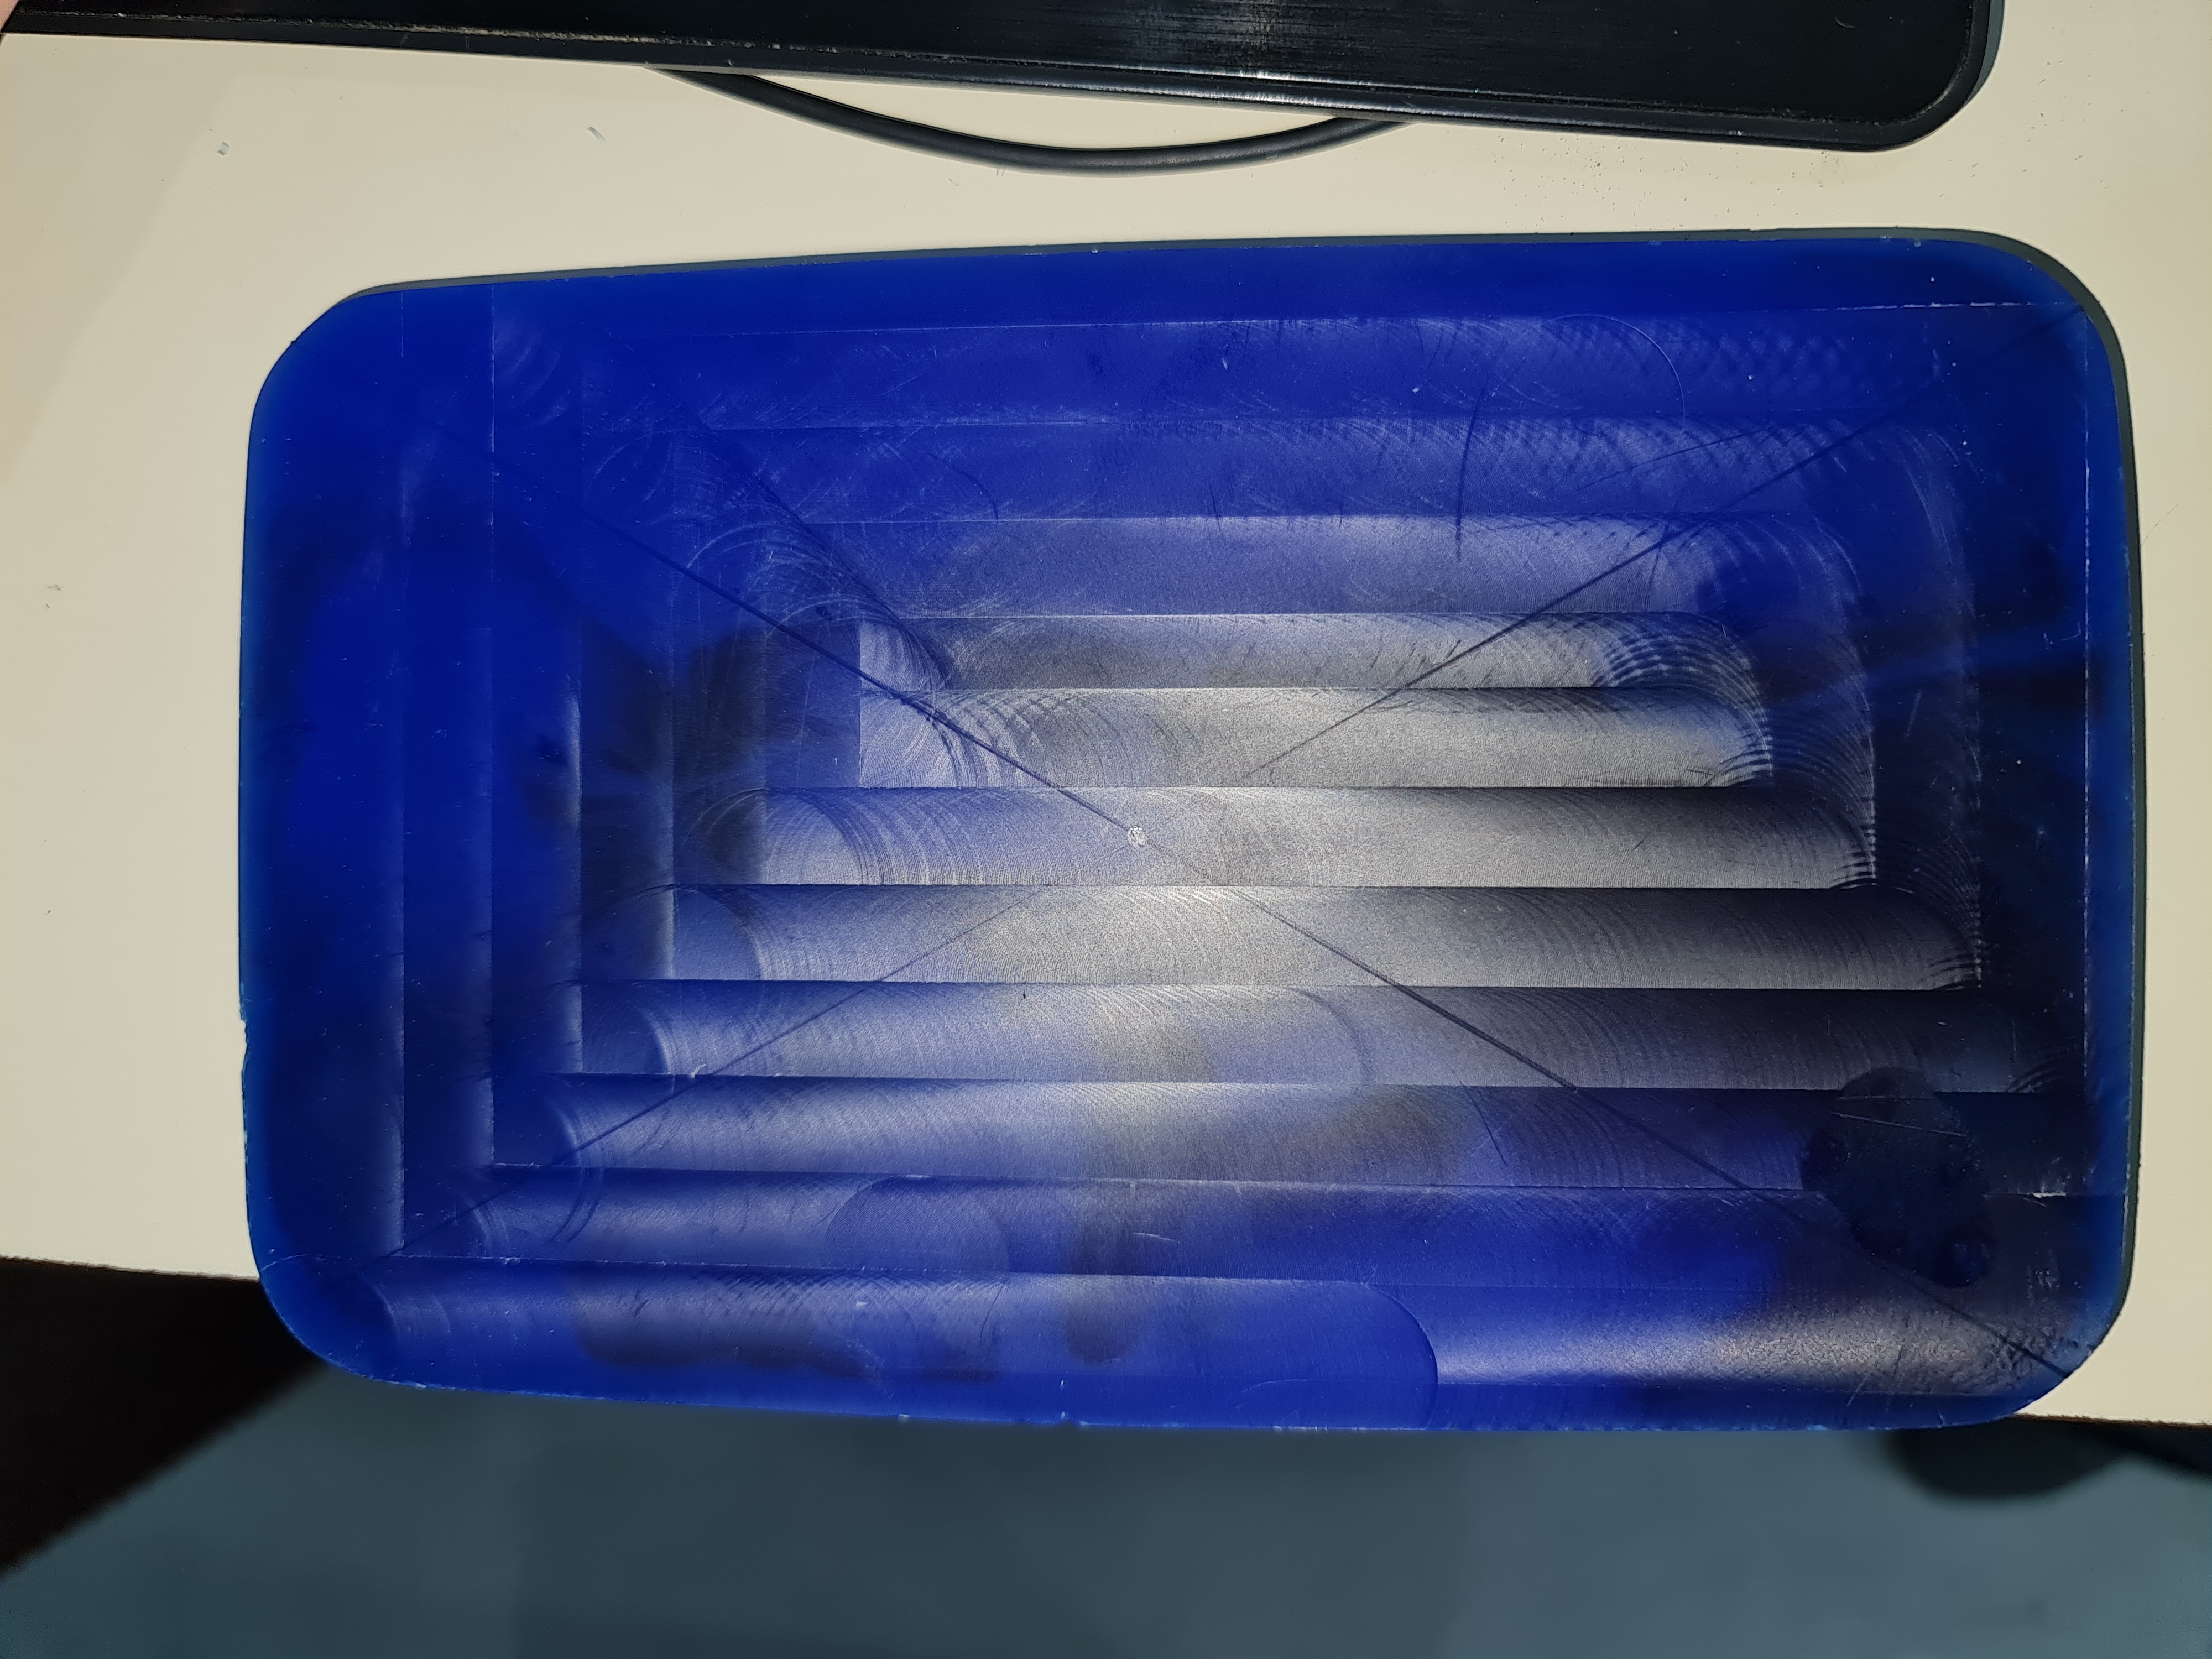
these is after 1 minutes of the cutting process started. it start cutting the design roughly then make it soft surface.
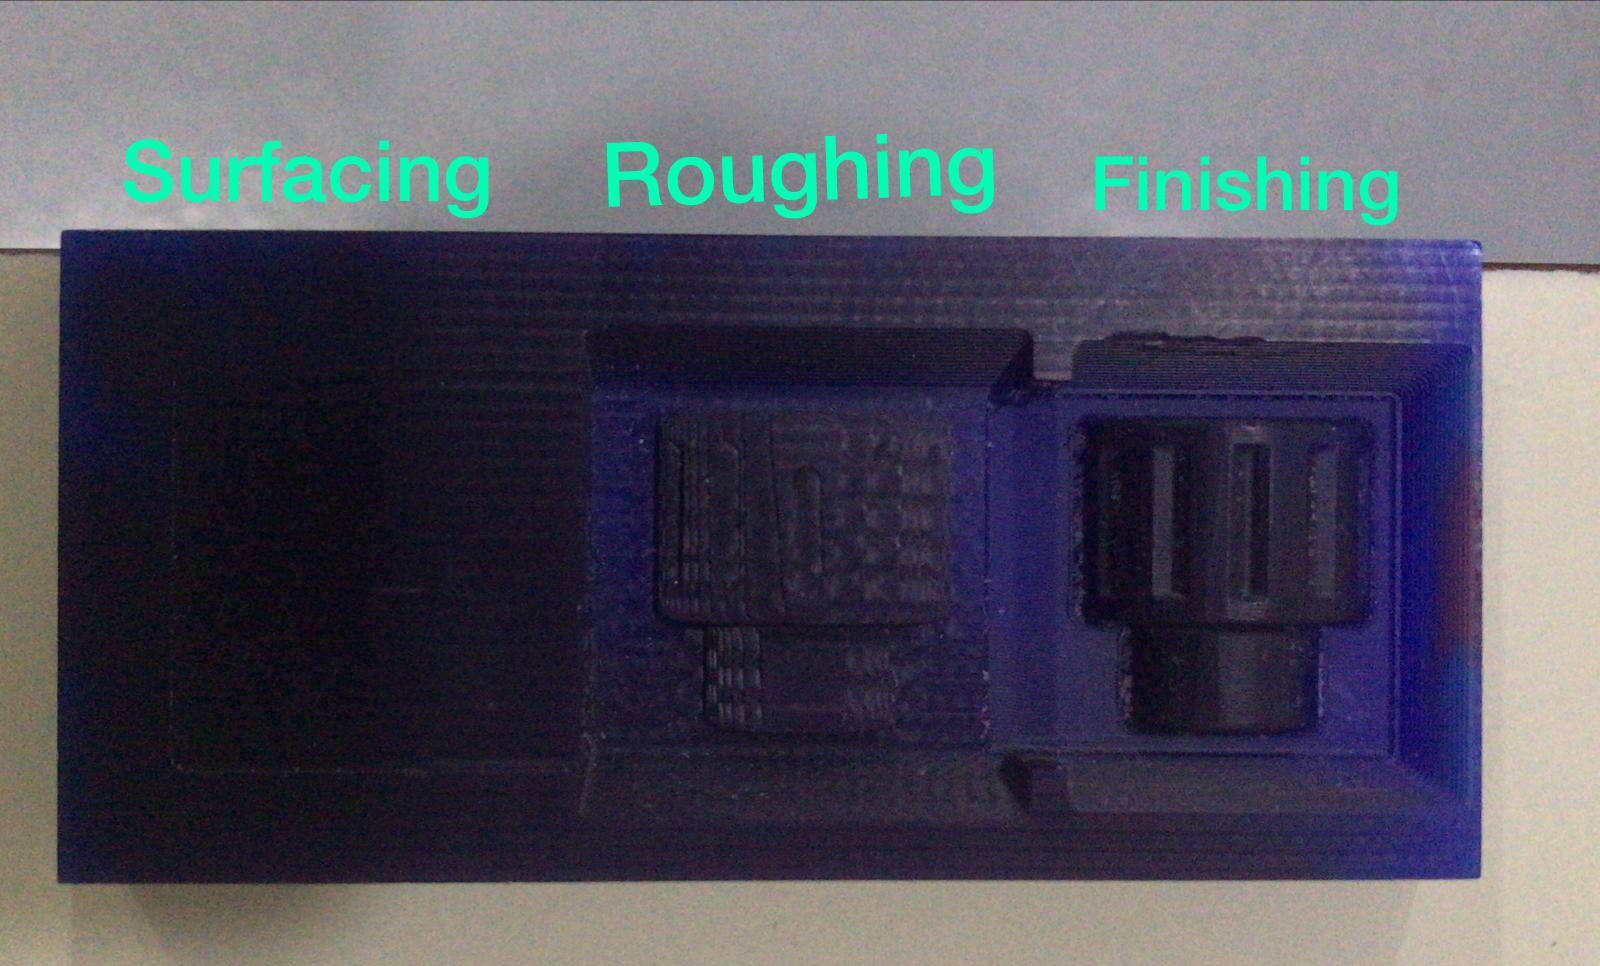
this is an example of the milling process. it starts cutting the shape as layers called (rough) the make it soft surface finish.
molding process

this was the final result of milled process. now we can start the next step which is molding
I used silicon as a molding material.
I spilled the silicon on the shape and letting it dry for around 12 hours
- after I finished from molding there were some silicon remaining. so, to prevent wasting any thing I put one of the test shapes that I did previously and spilled resin on it.
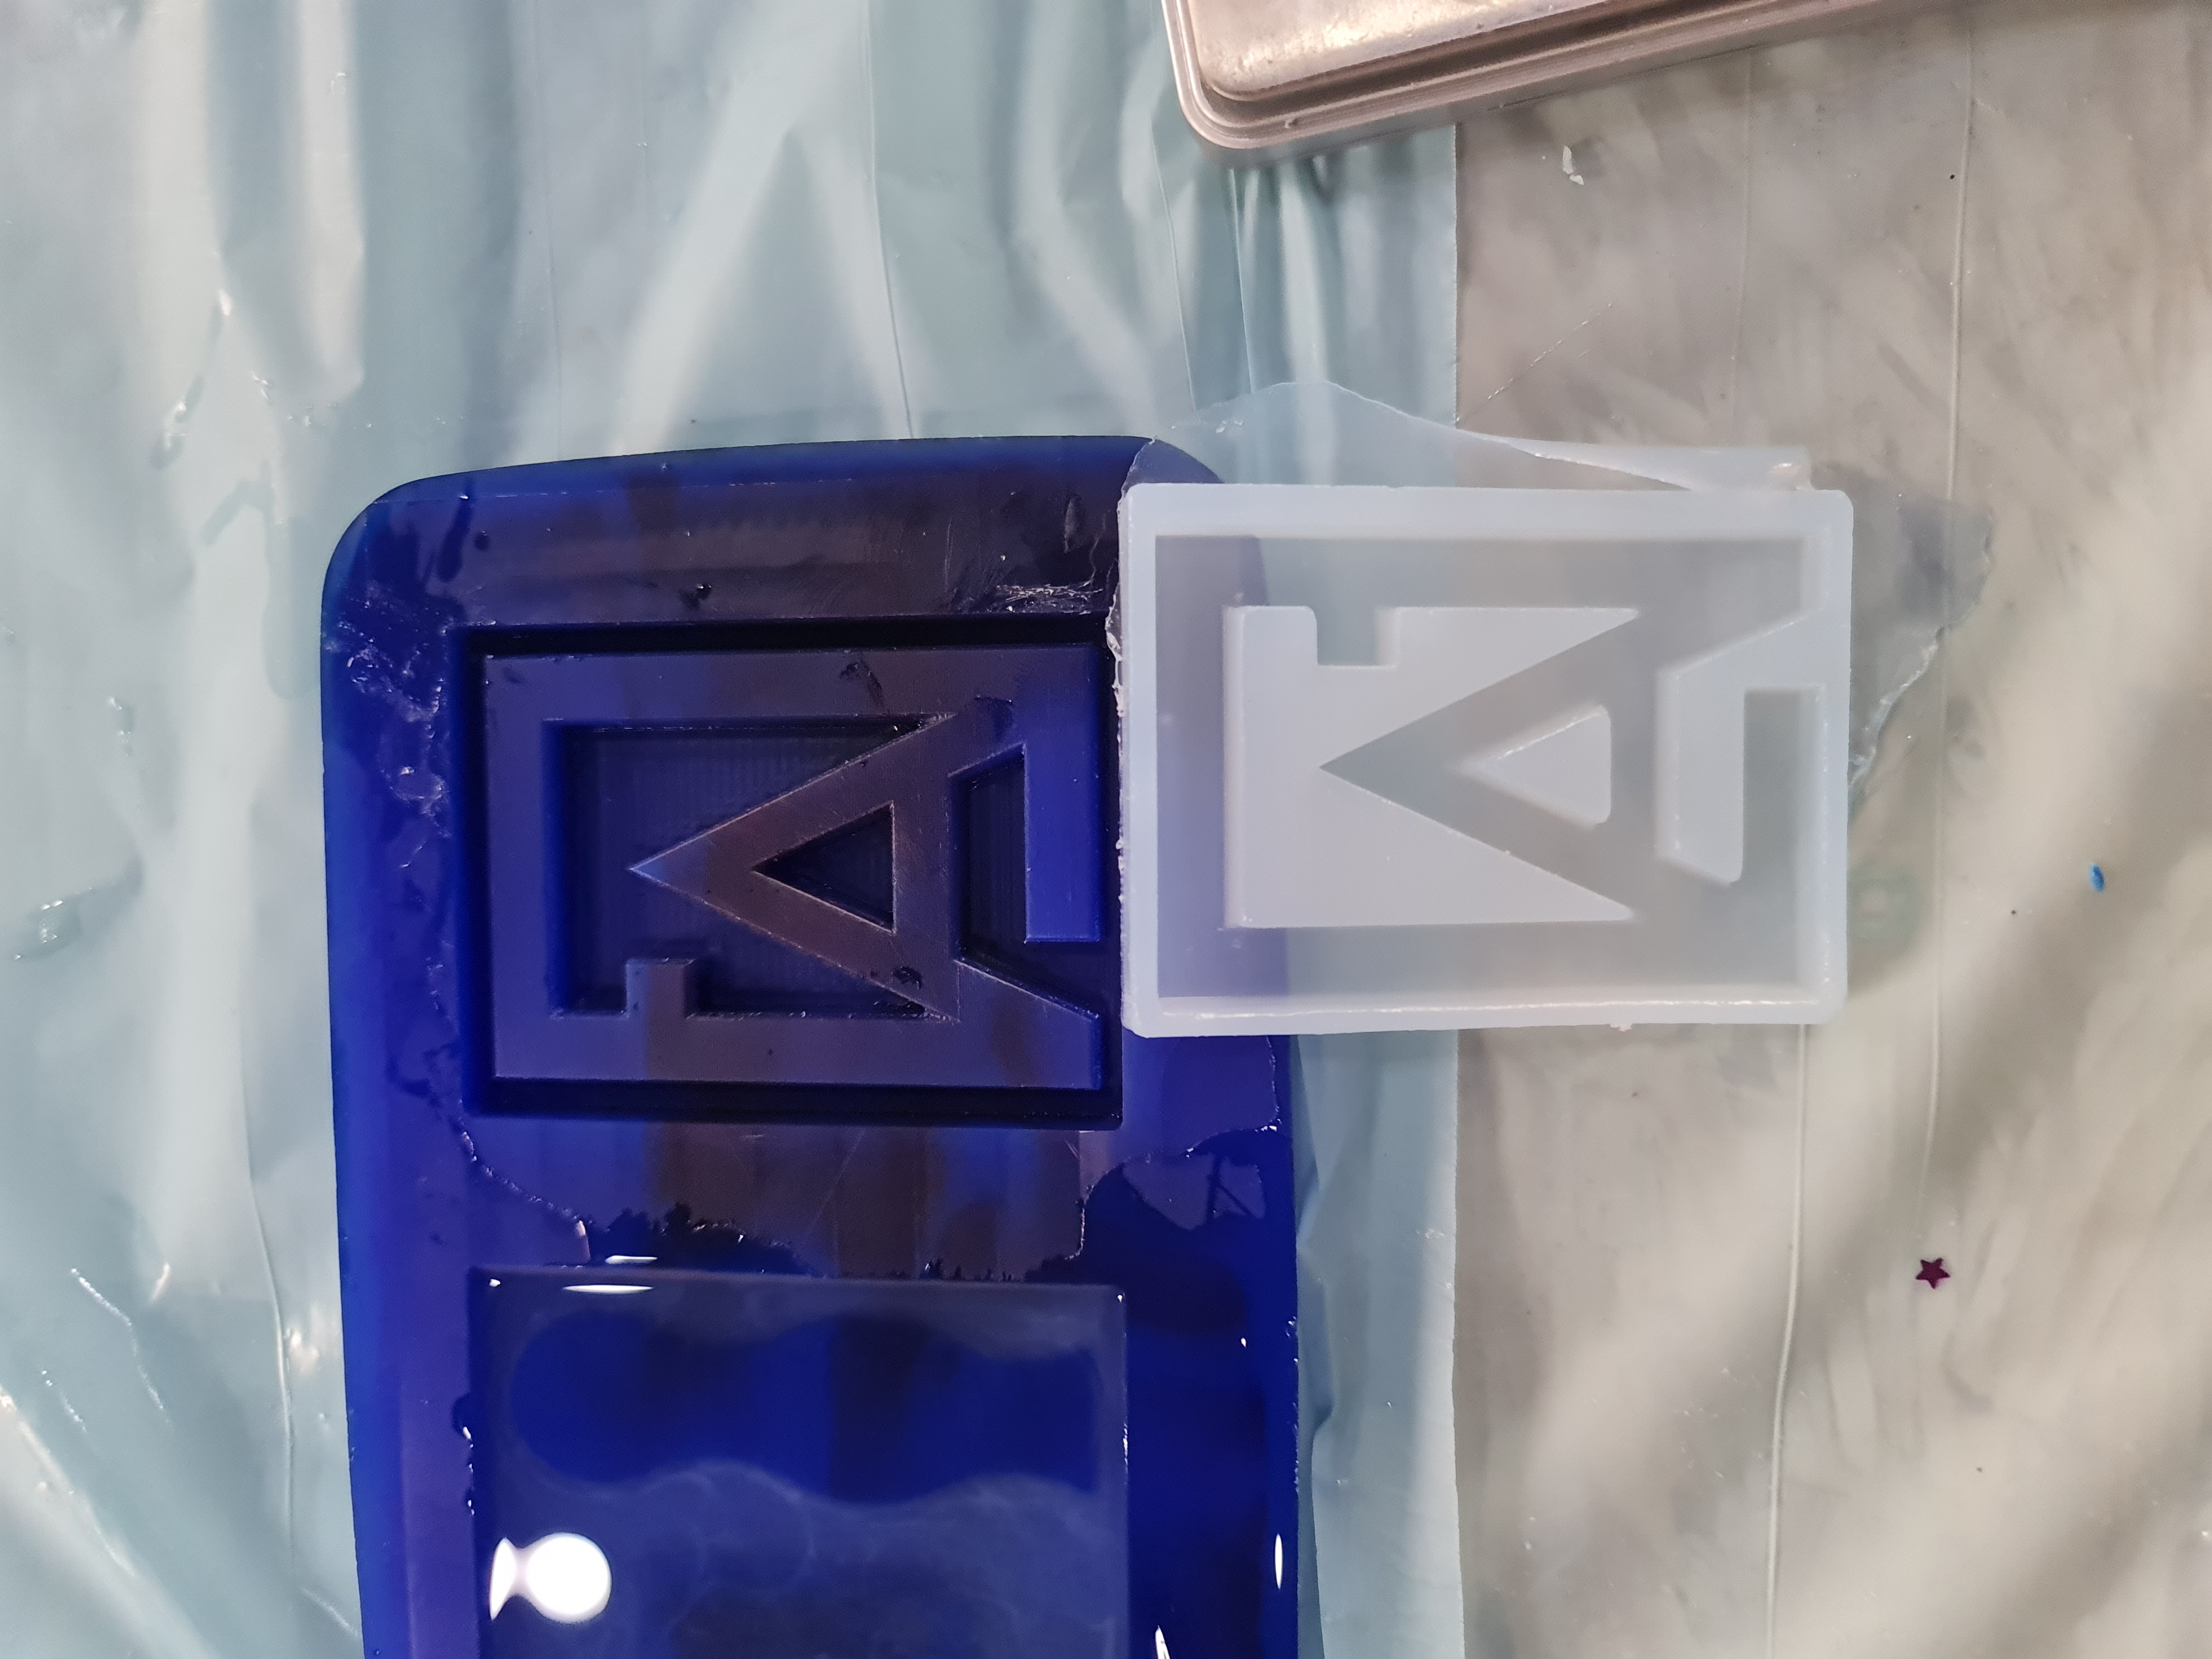
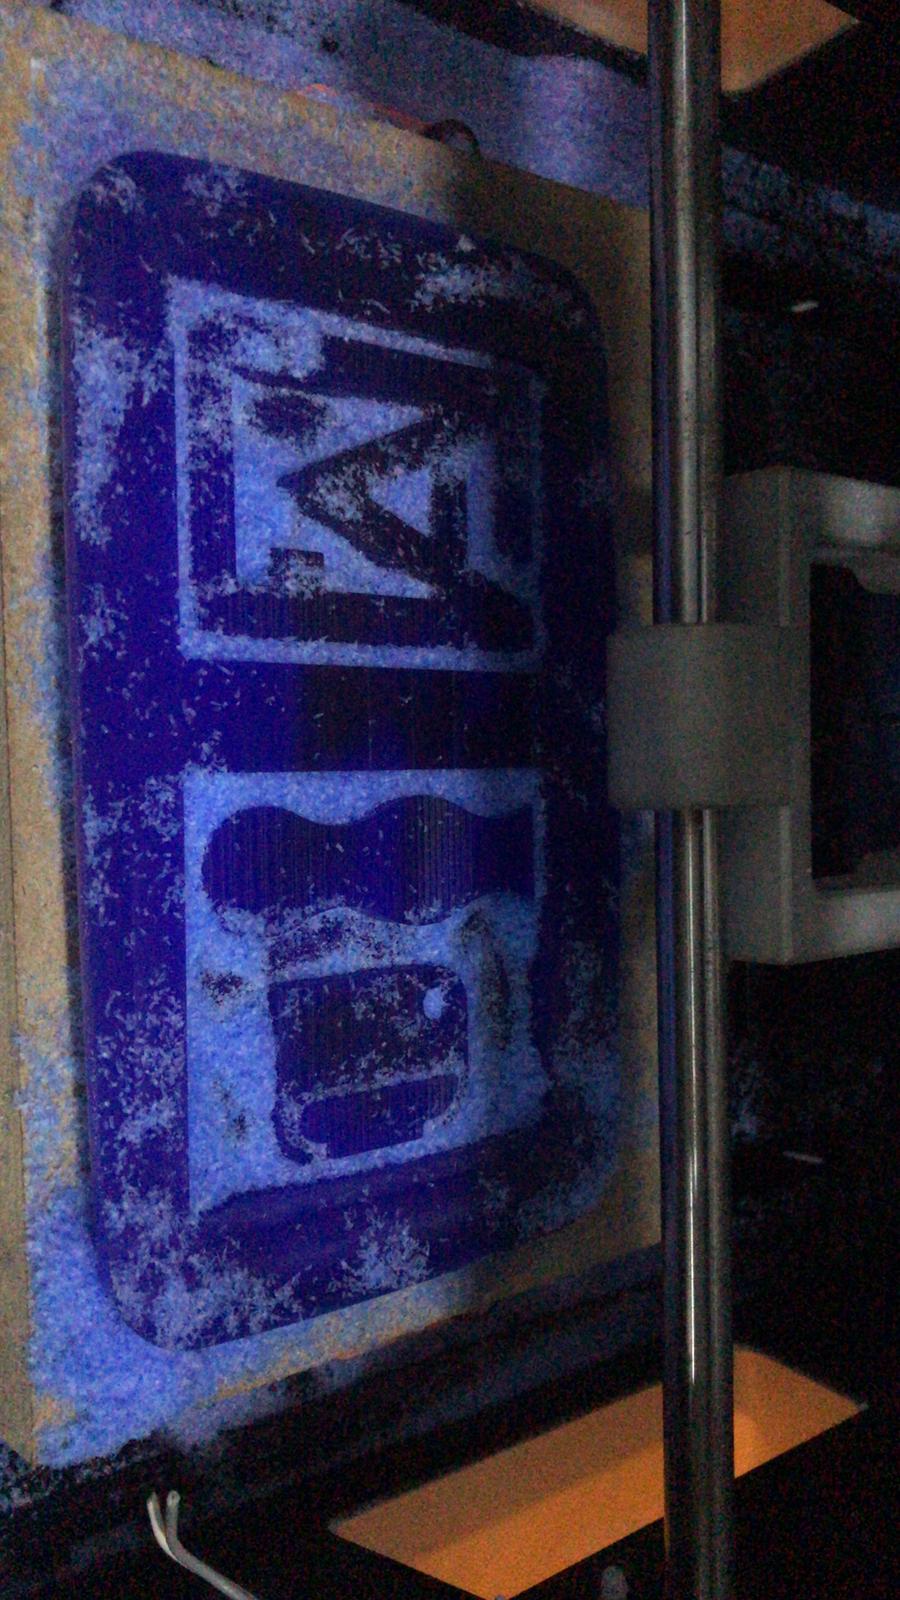
this is the final result of the molding process, clean and neat. now it is ready for the last step.
Casting process
Now we can choose the final material of the design I did, I used Resin. Resin is a good finishing material, it has a smooth finish texture and a clear finish.
-
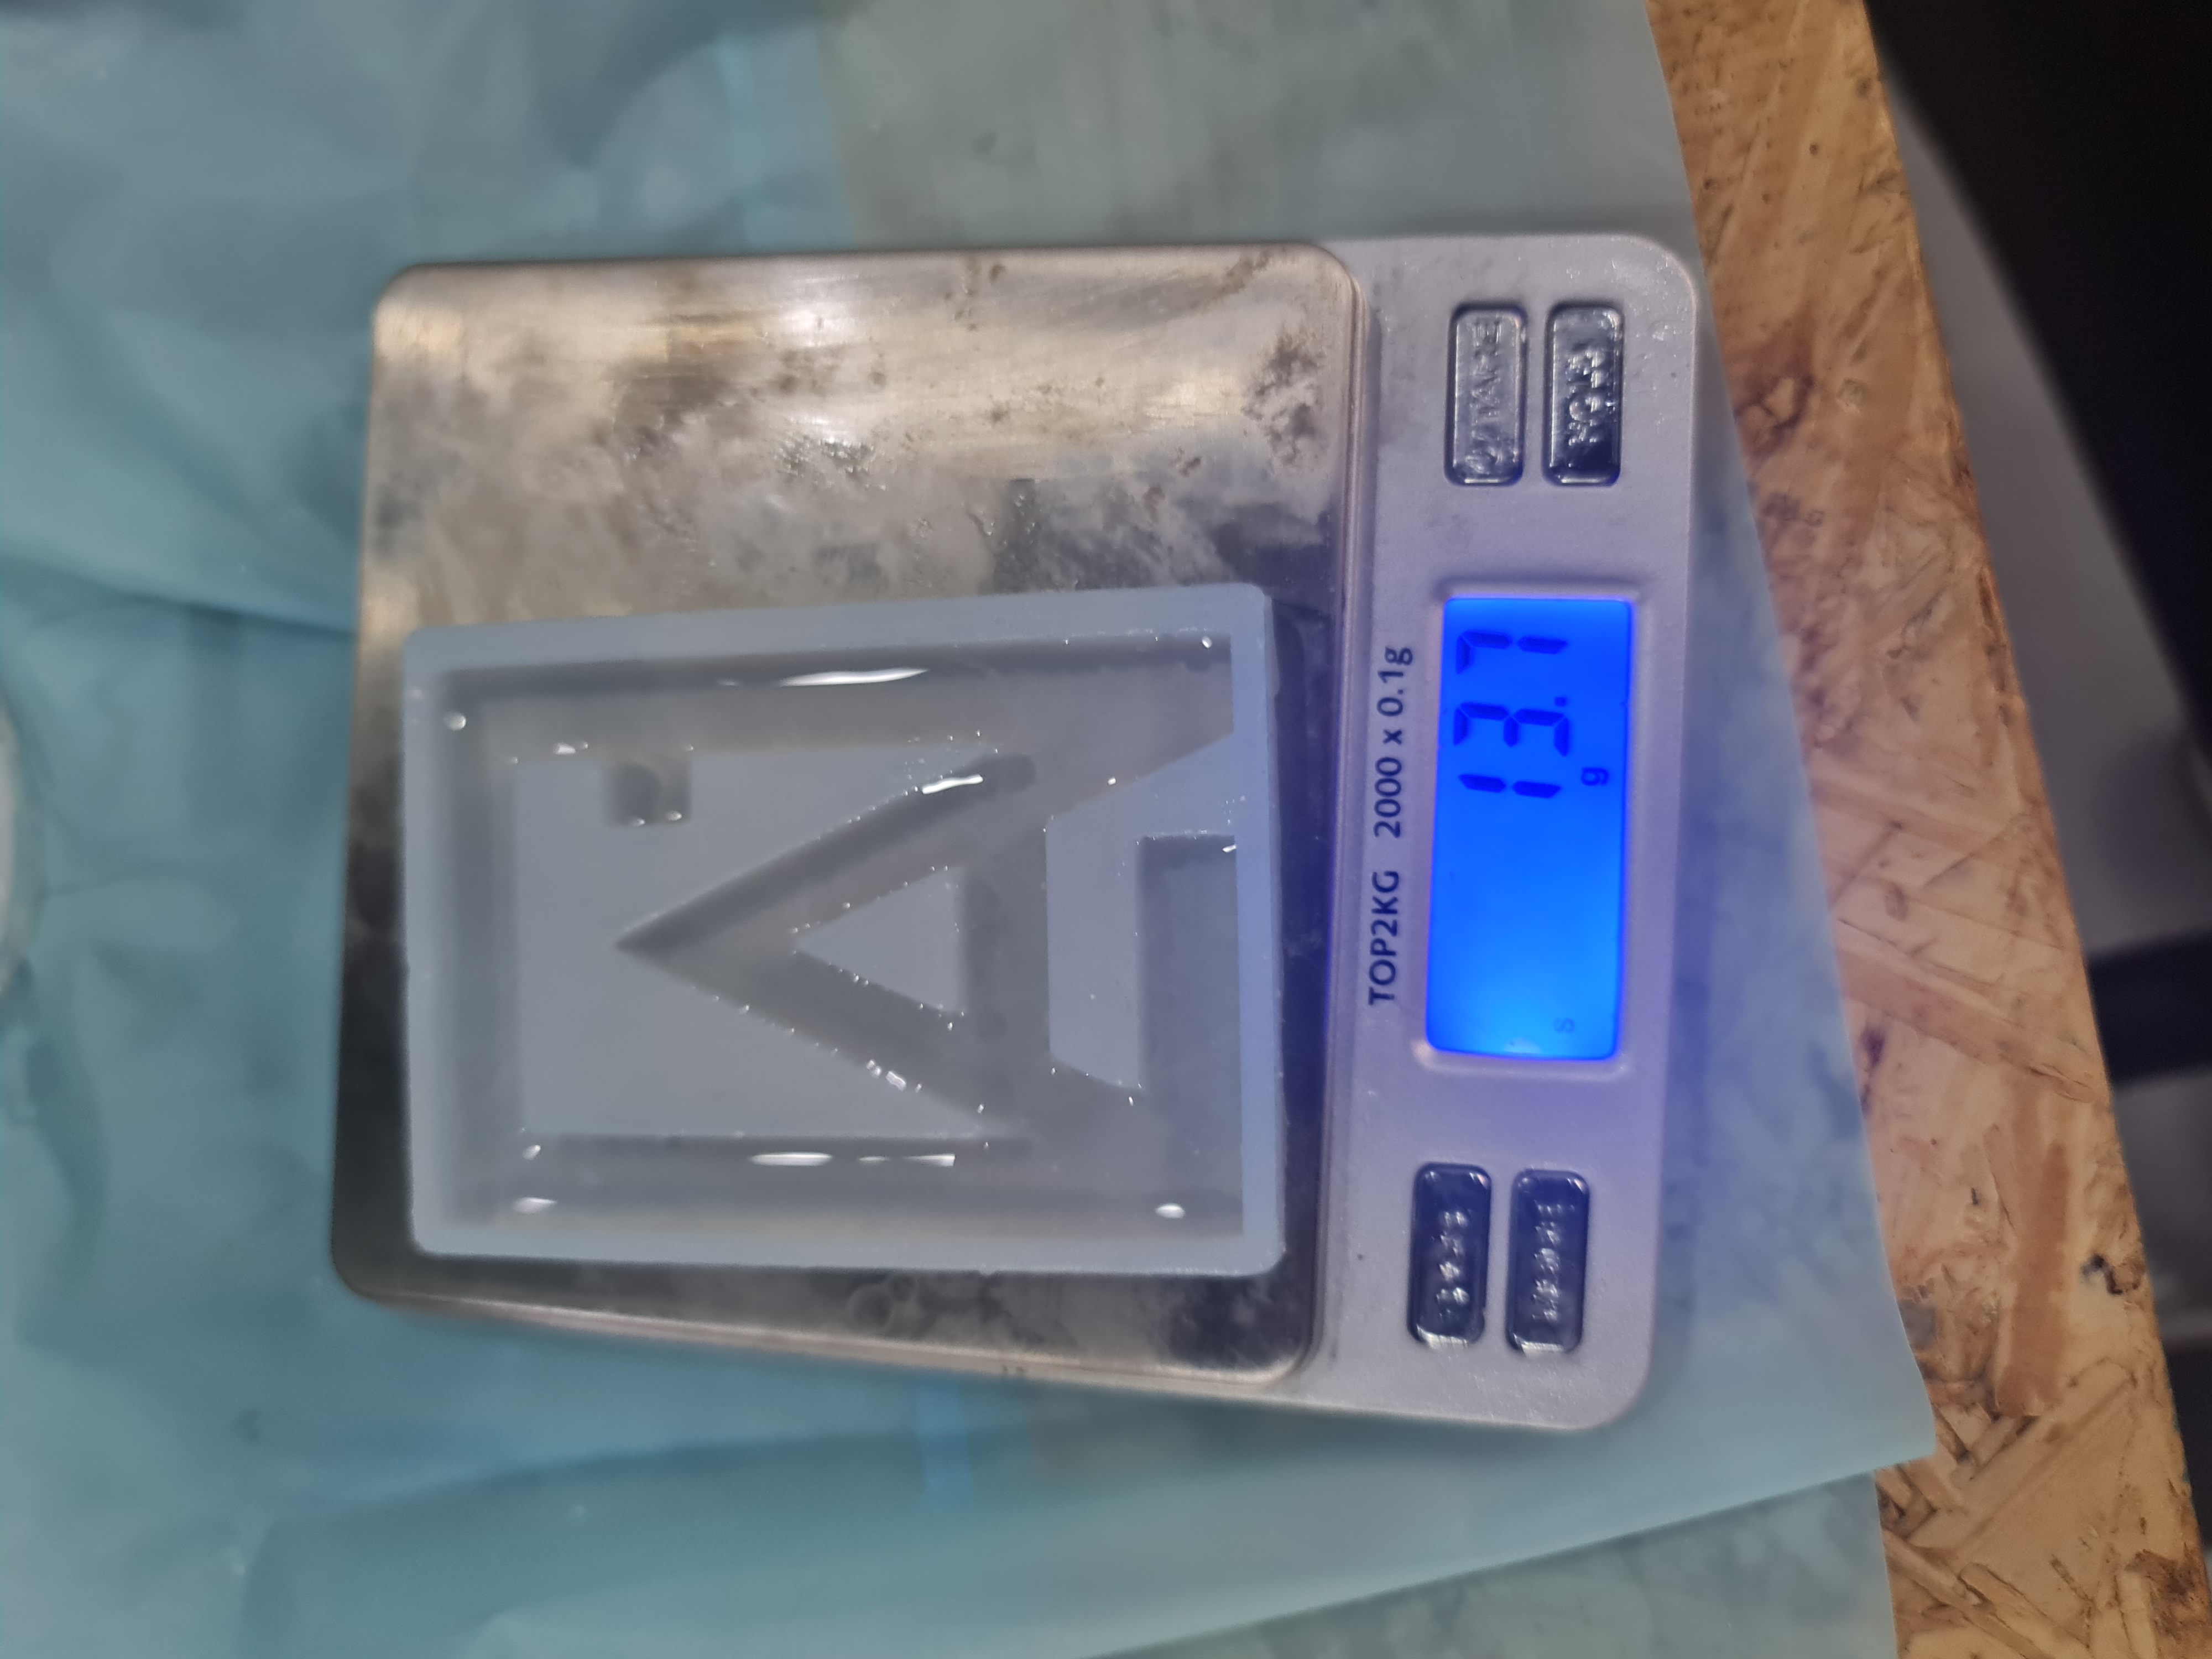
To know the amount of Resin we need to use, I put the shape on a sensitive scale, then I zero it to deduct the weight of the shape. so, we can know exactly the amount of the filling material with out need for any calculation. I fill the shape with water to know exactly how much we need resin.
-
when I get the exact amount I bring the Resin and start mix it based on the Ratio that mentioned in the material use steps.
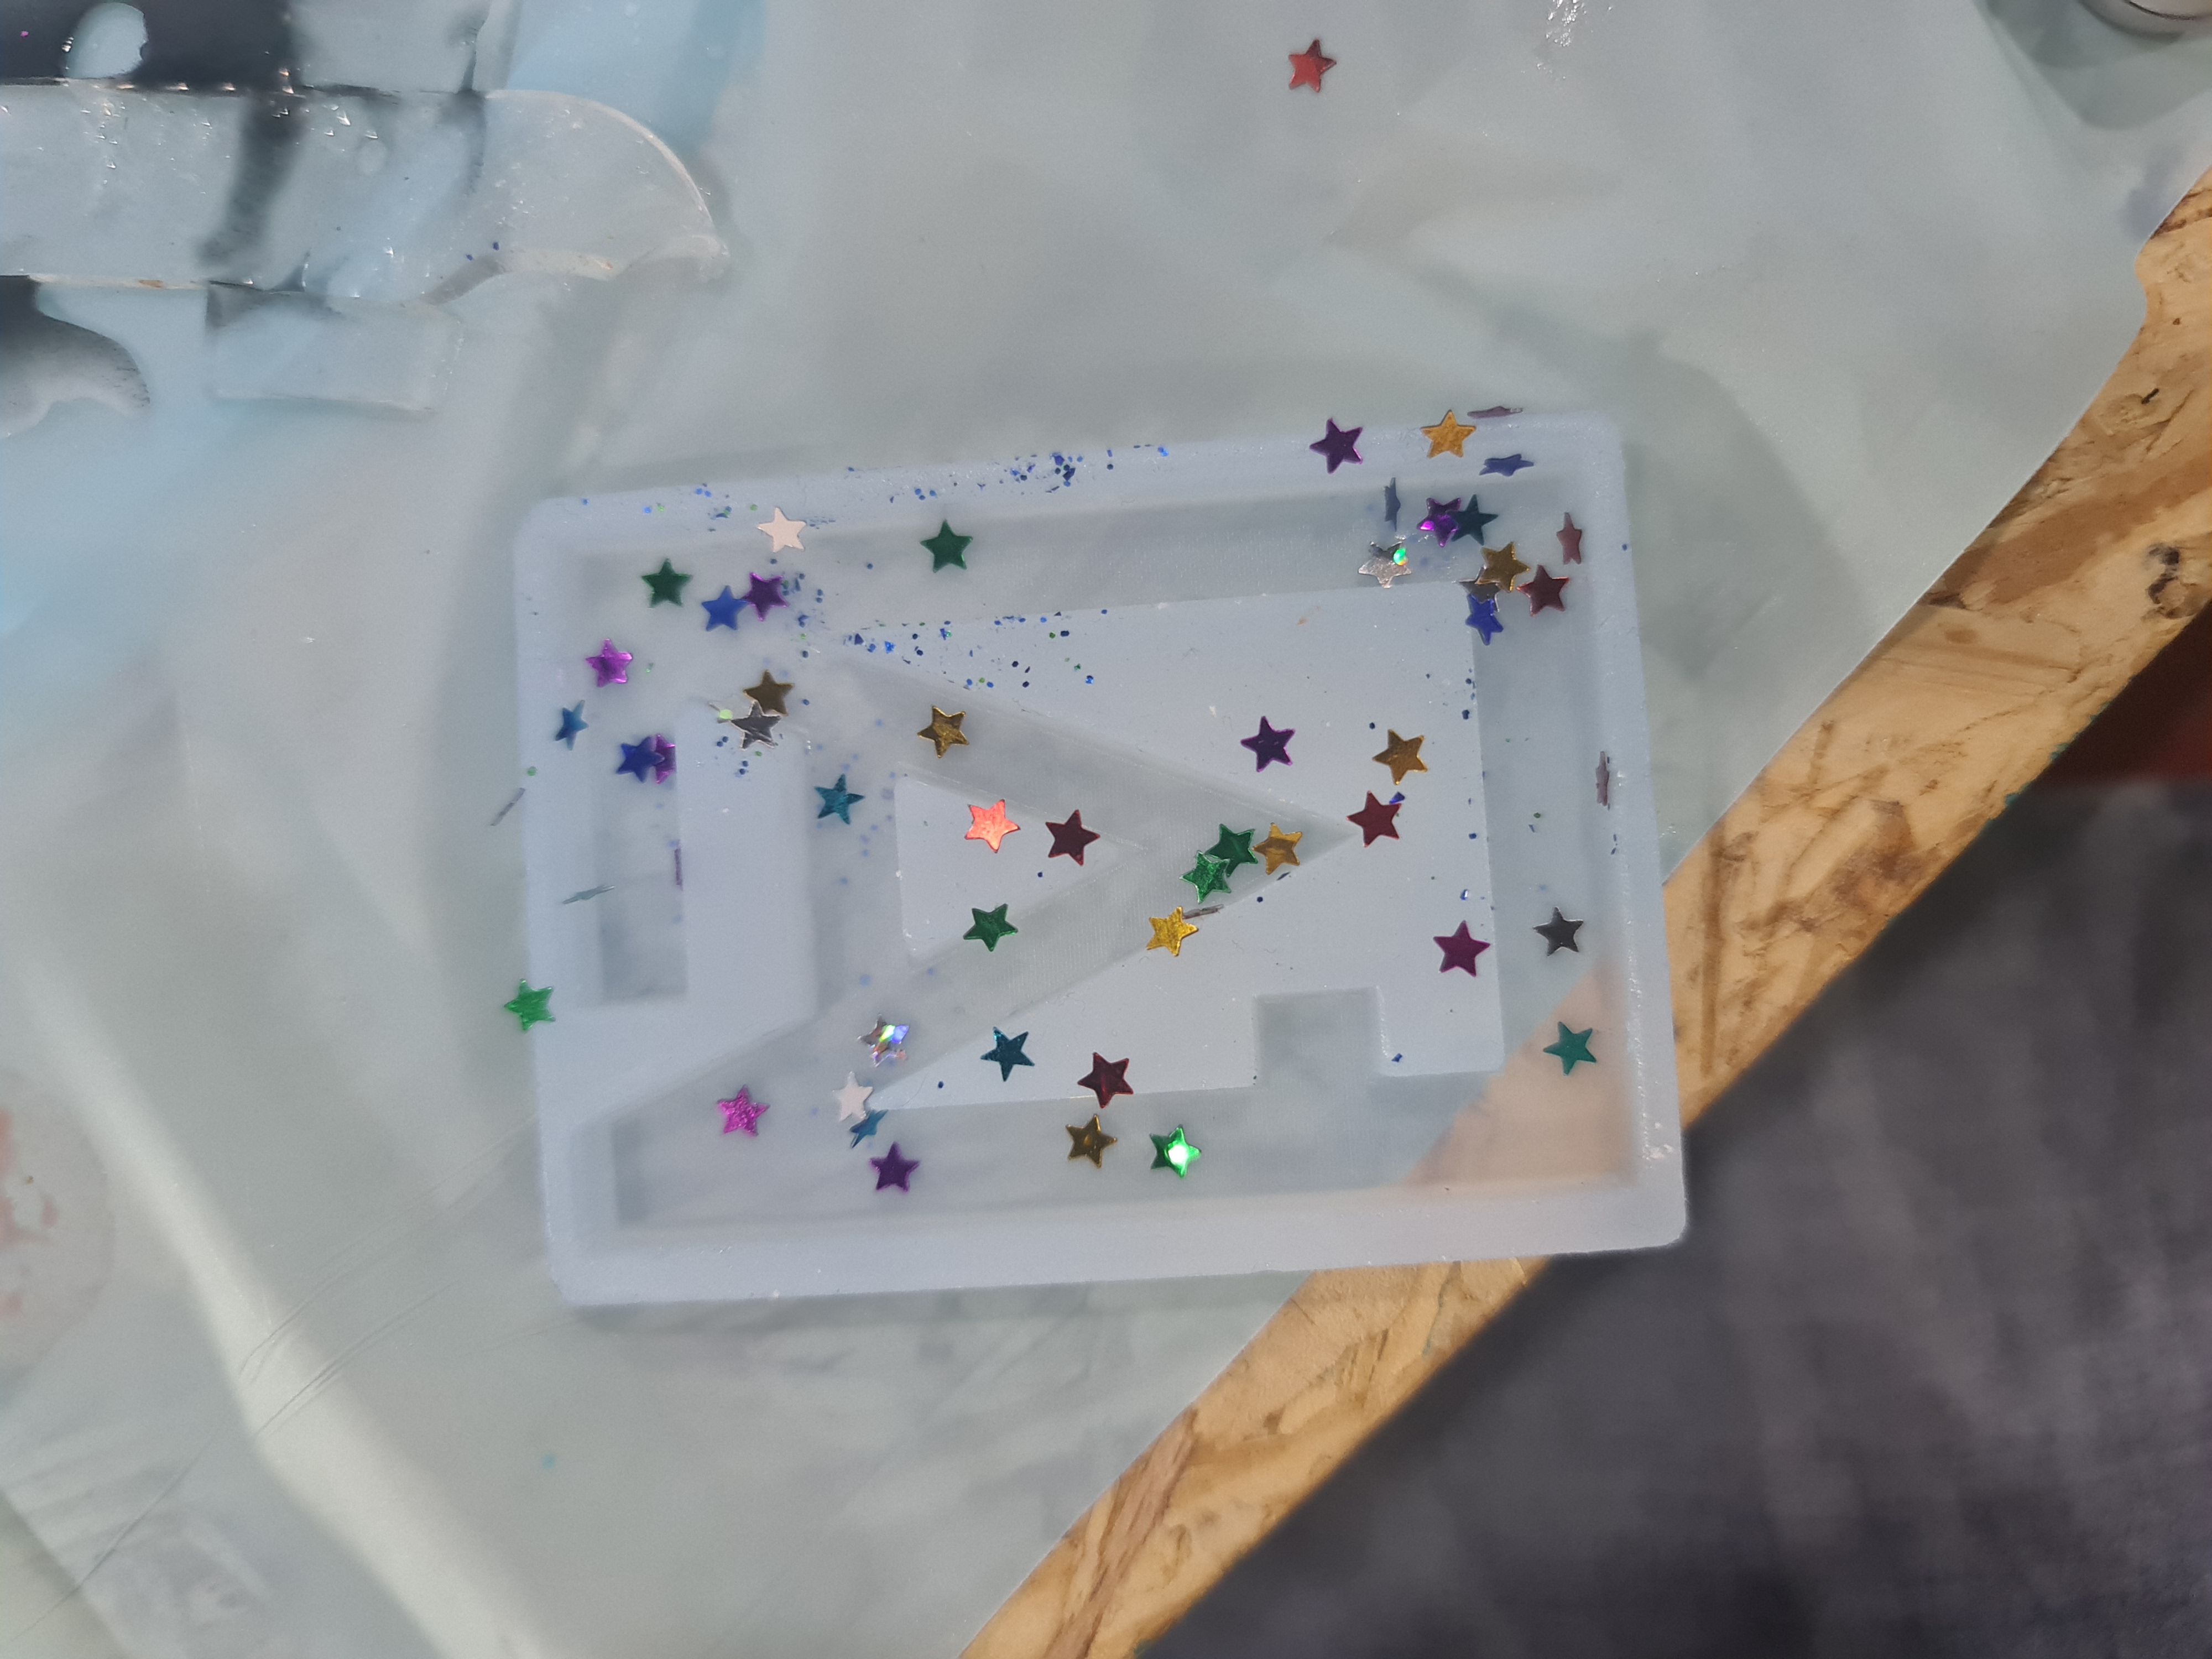
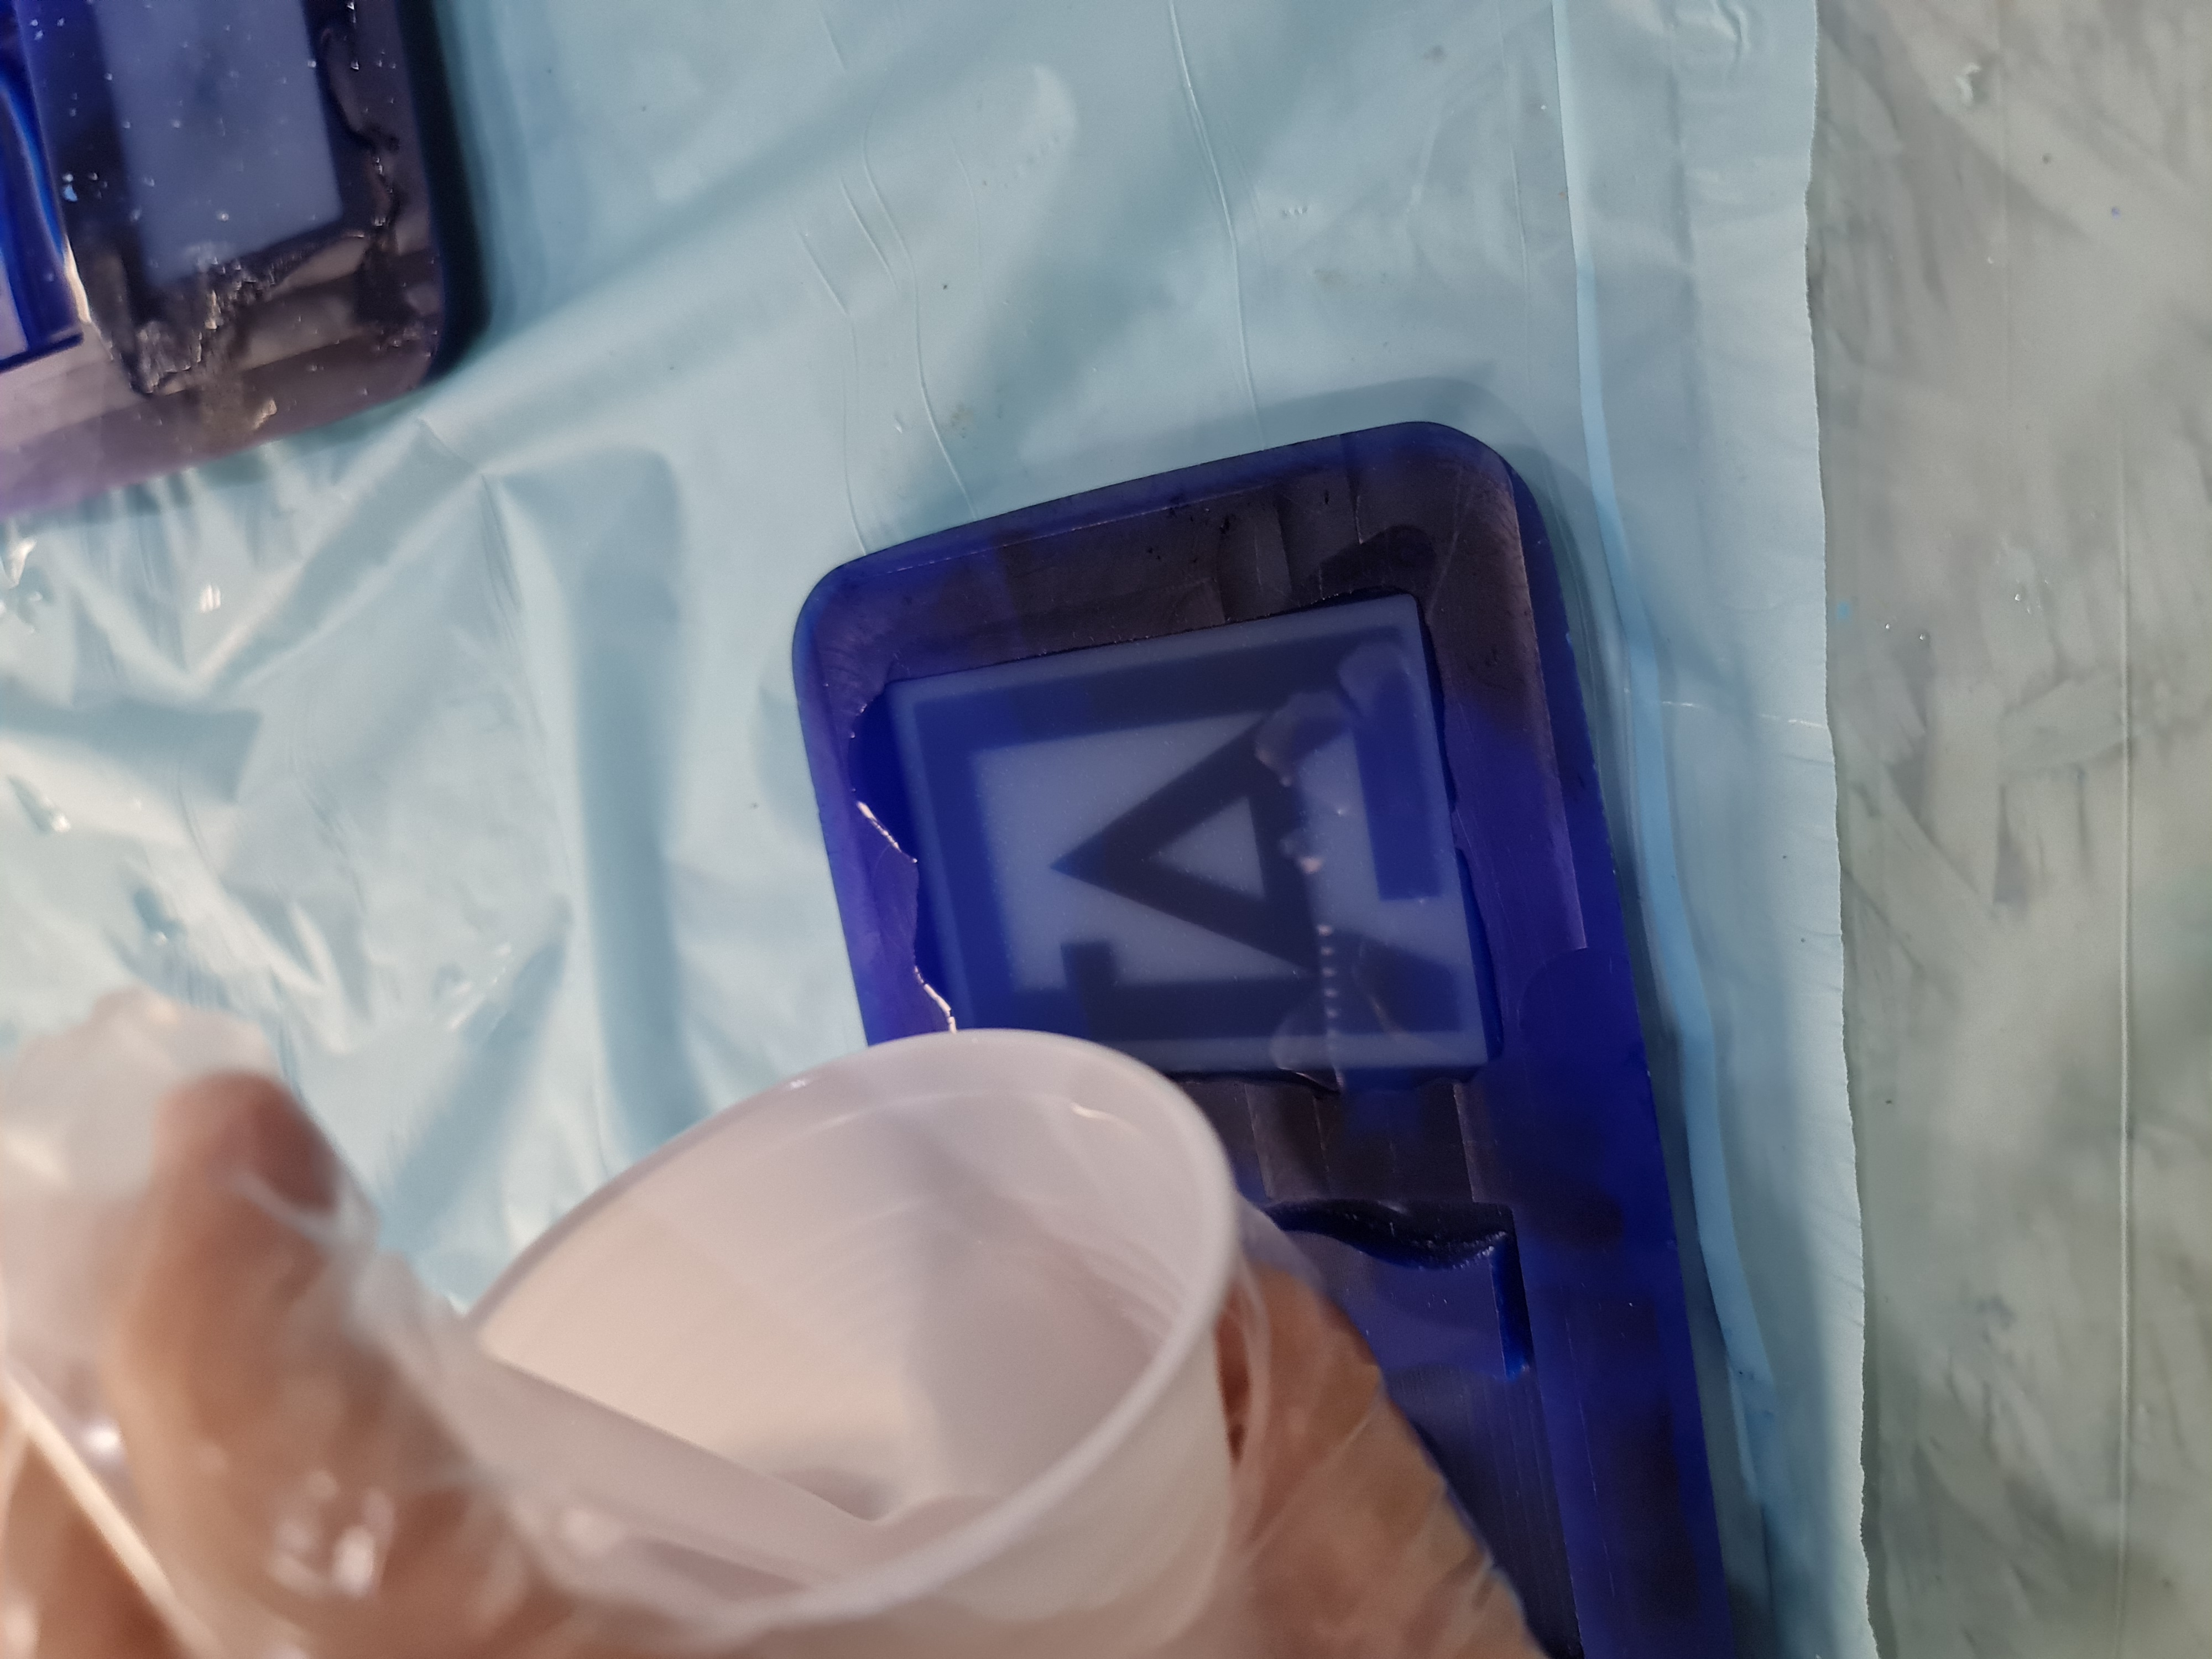
I add some start to decorate my shape, I sprayed them randomly, to make it more aesthetic and delightful for eye.
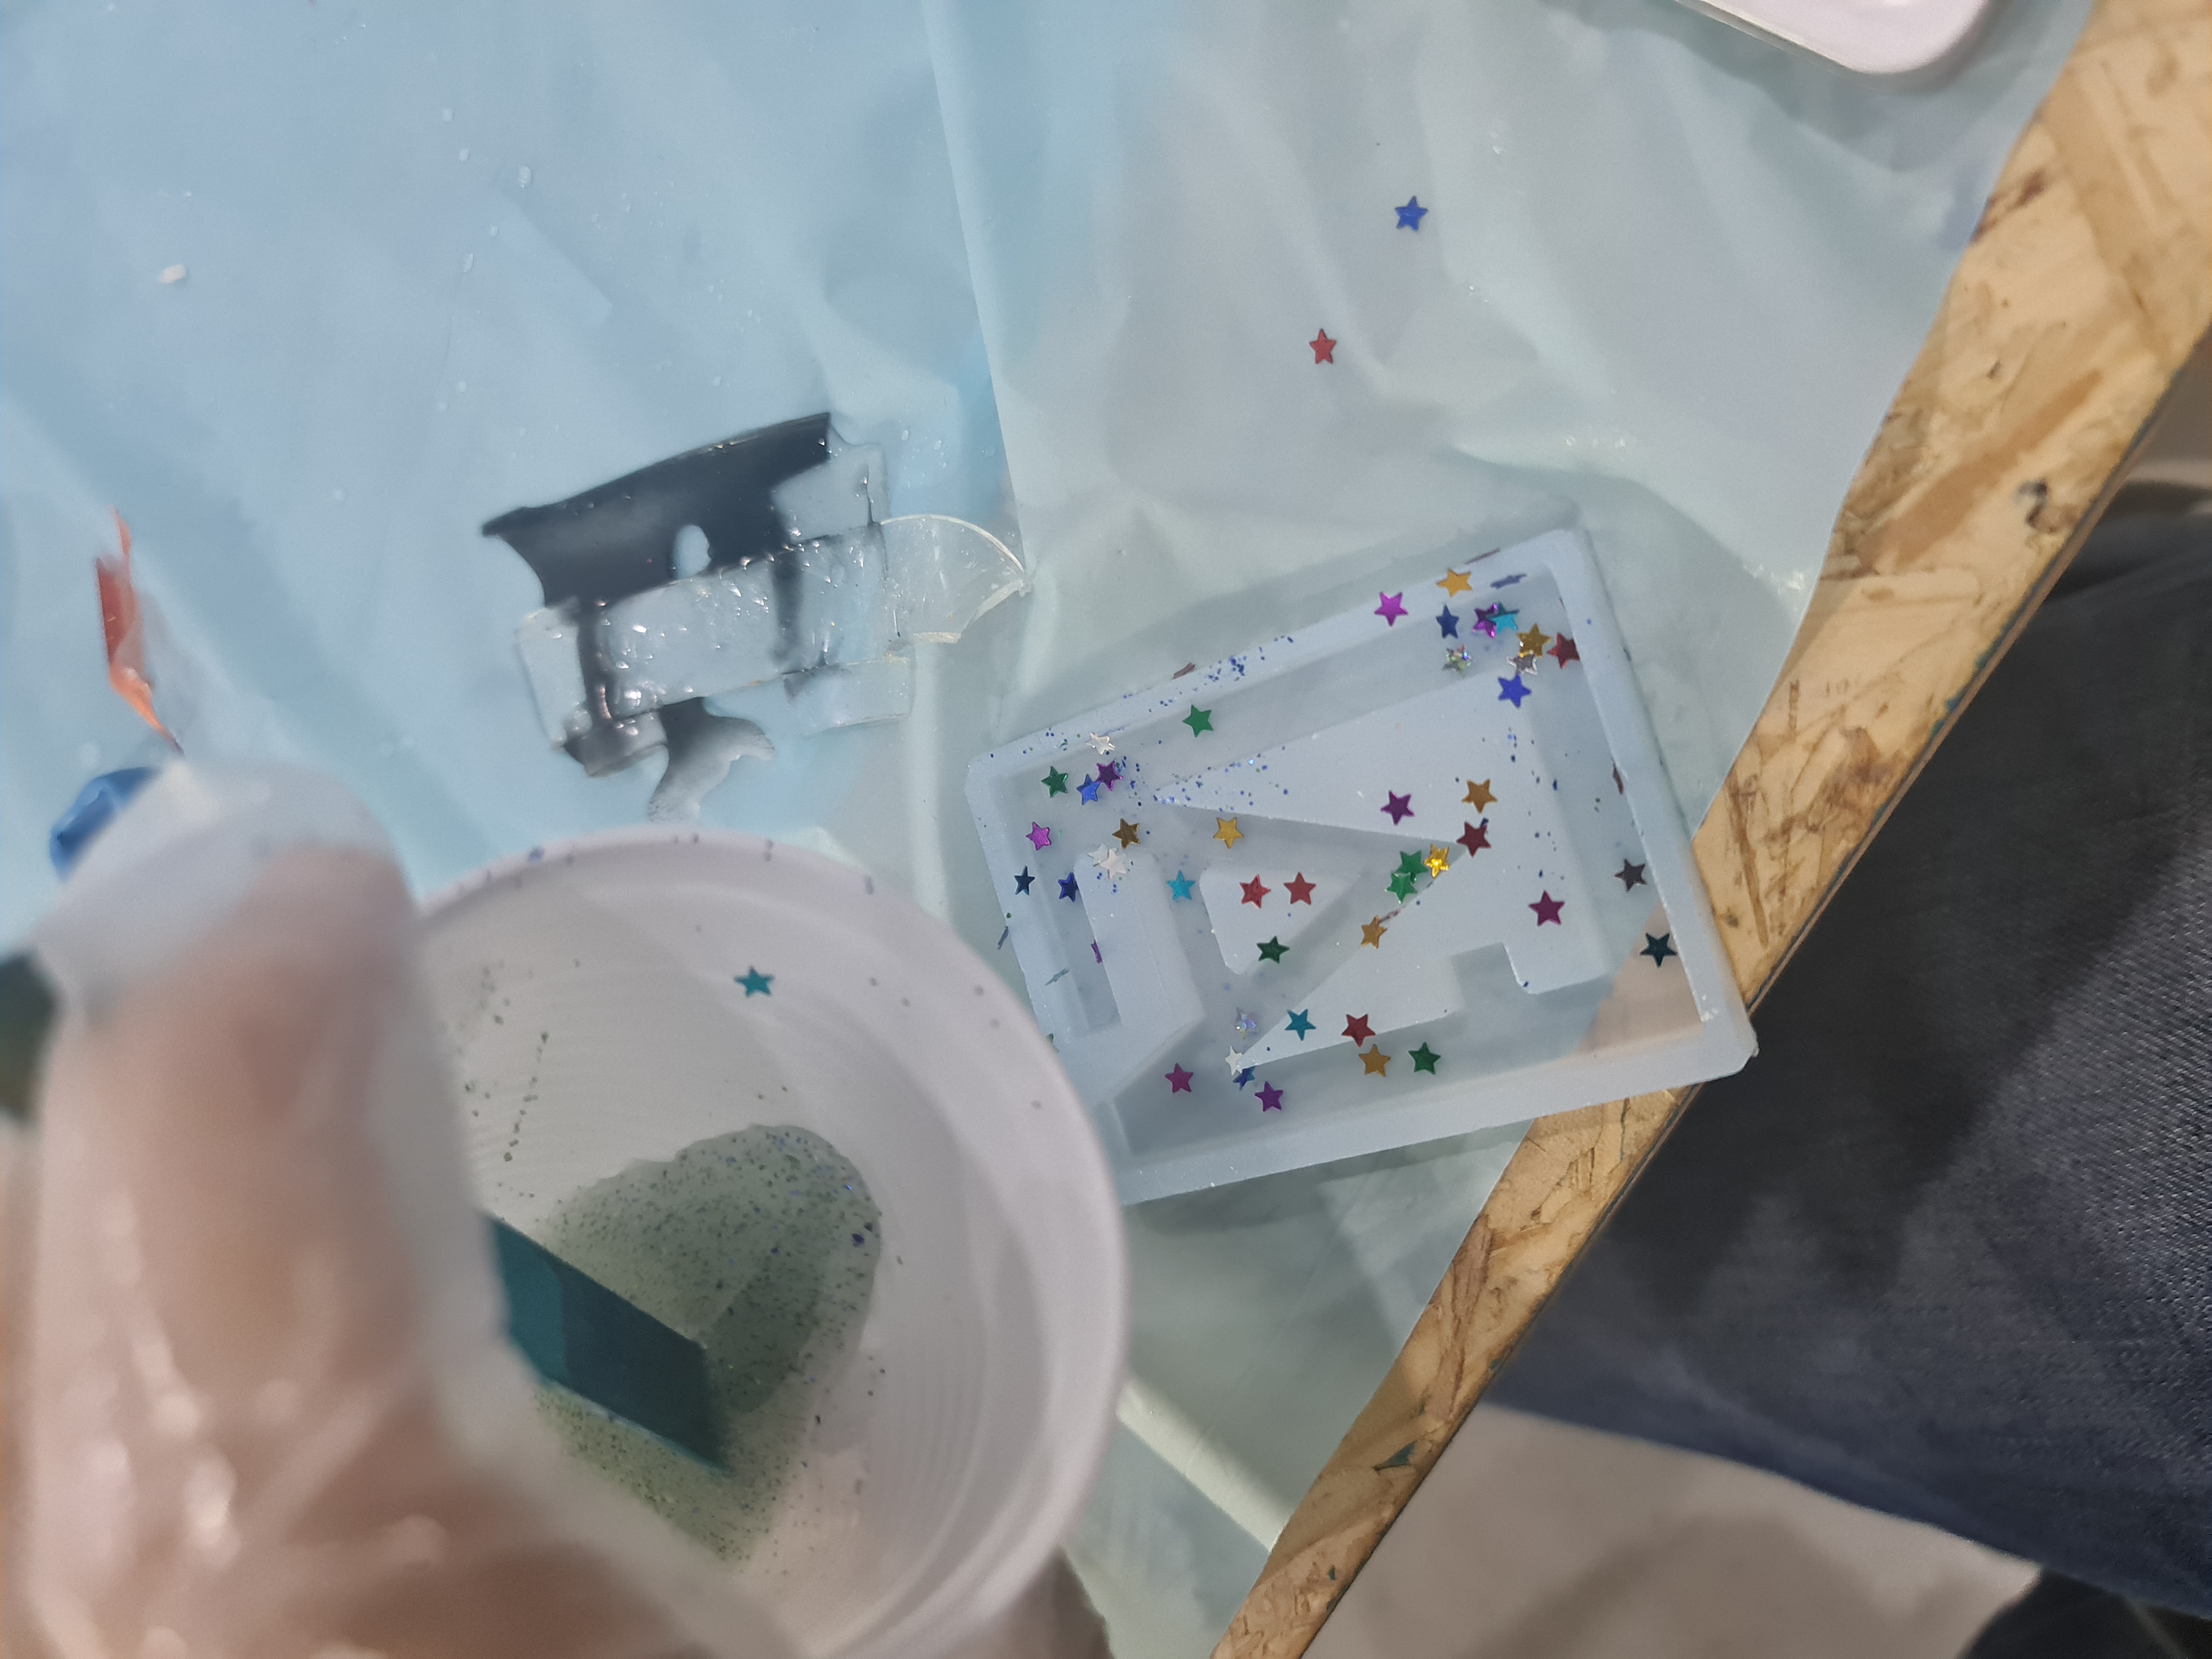
I start filling the shape with the Resin after I mixed it very well. we should start filling the shape from the corners to prevent having any gapes. also we need to vibrate the shape so, any air bubbles goes away.
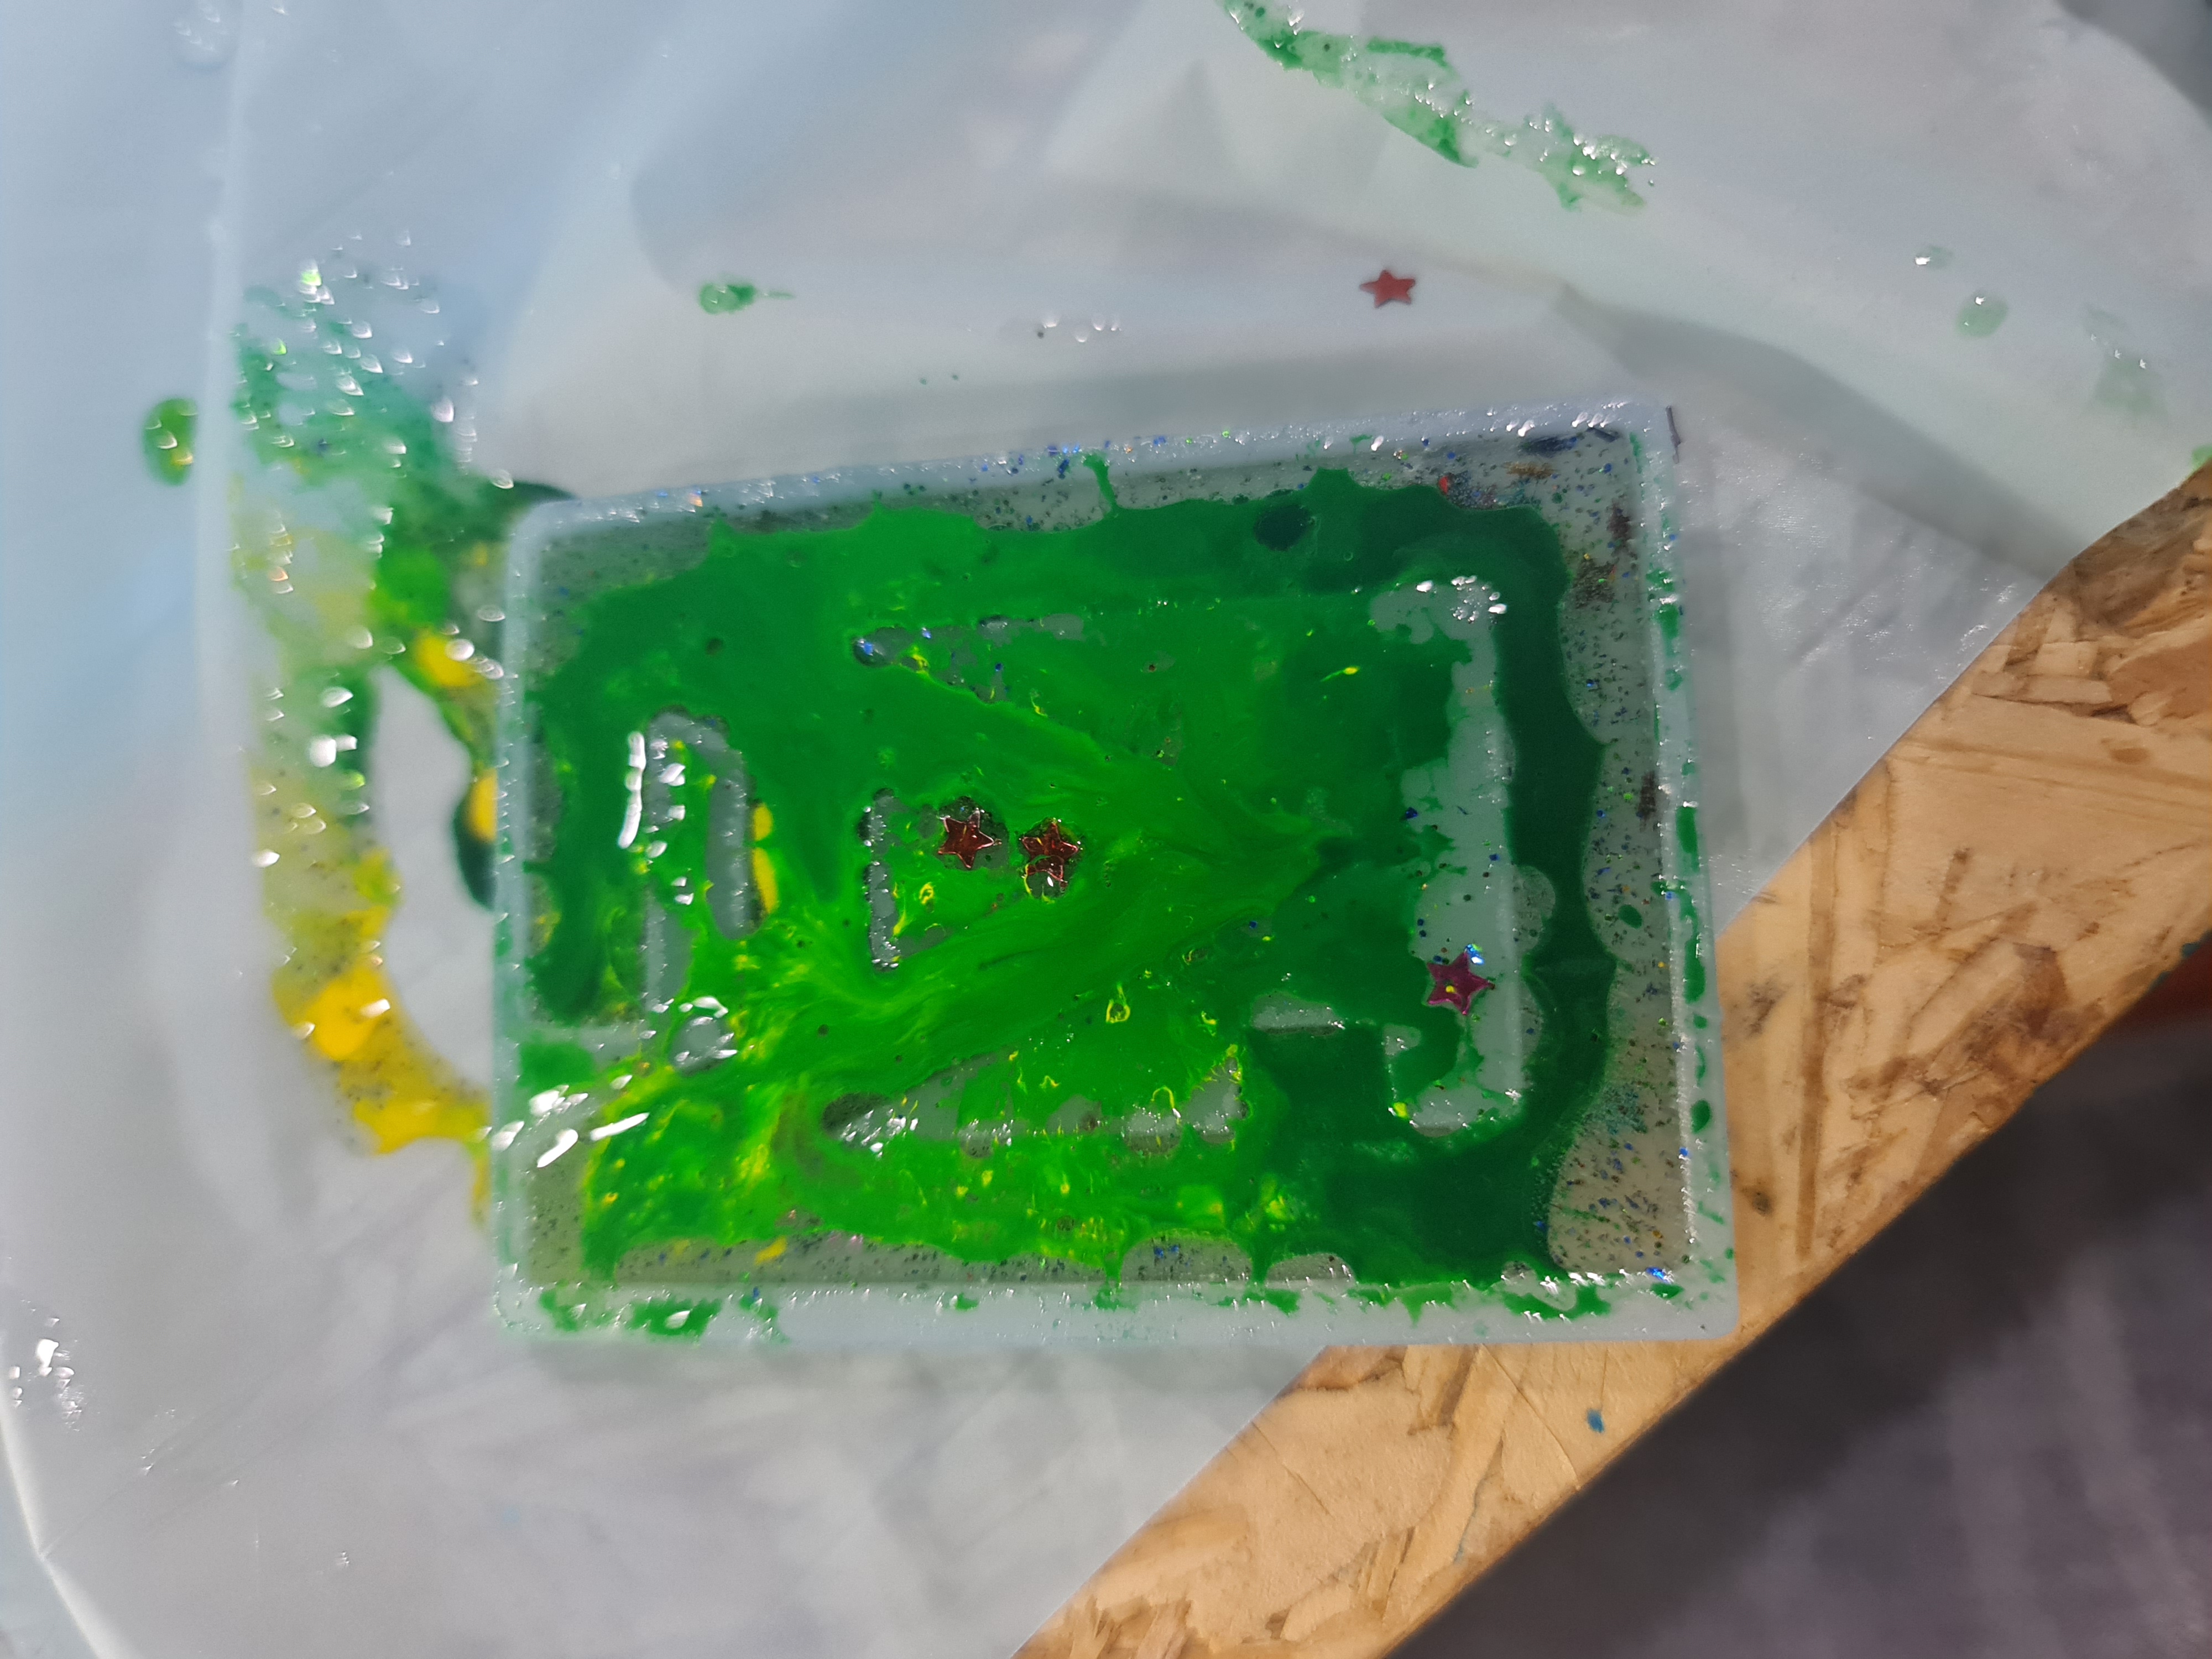
I add some color the back of the shape, to make nicer.
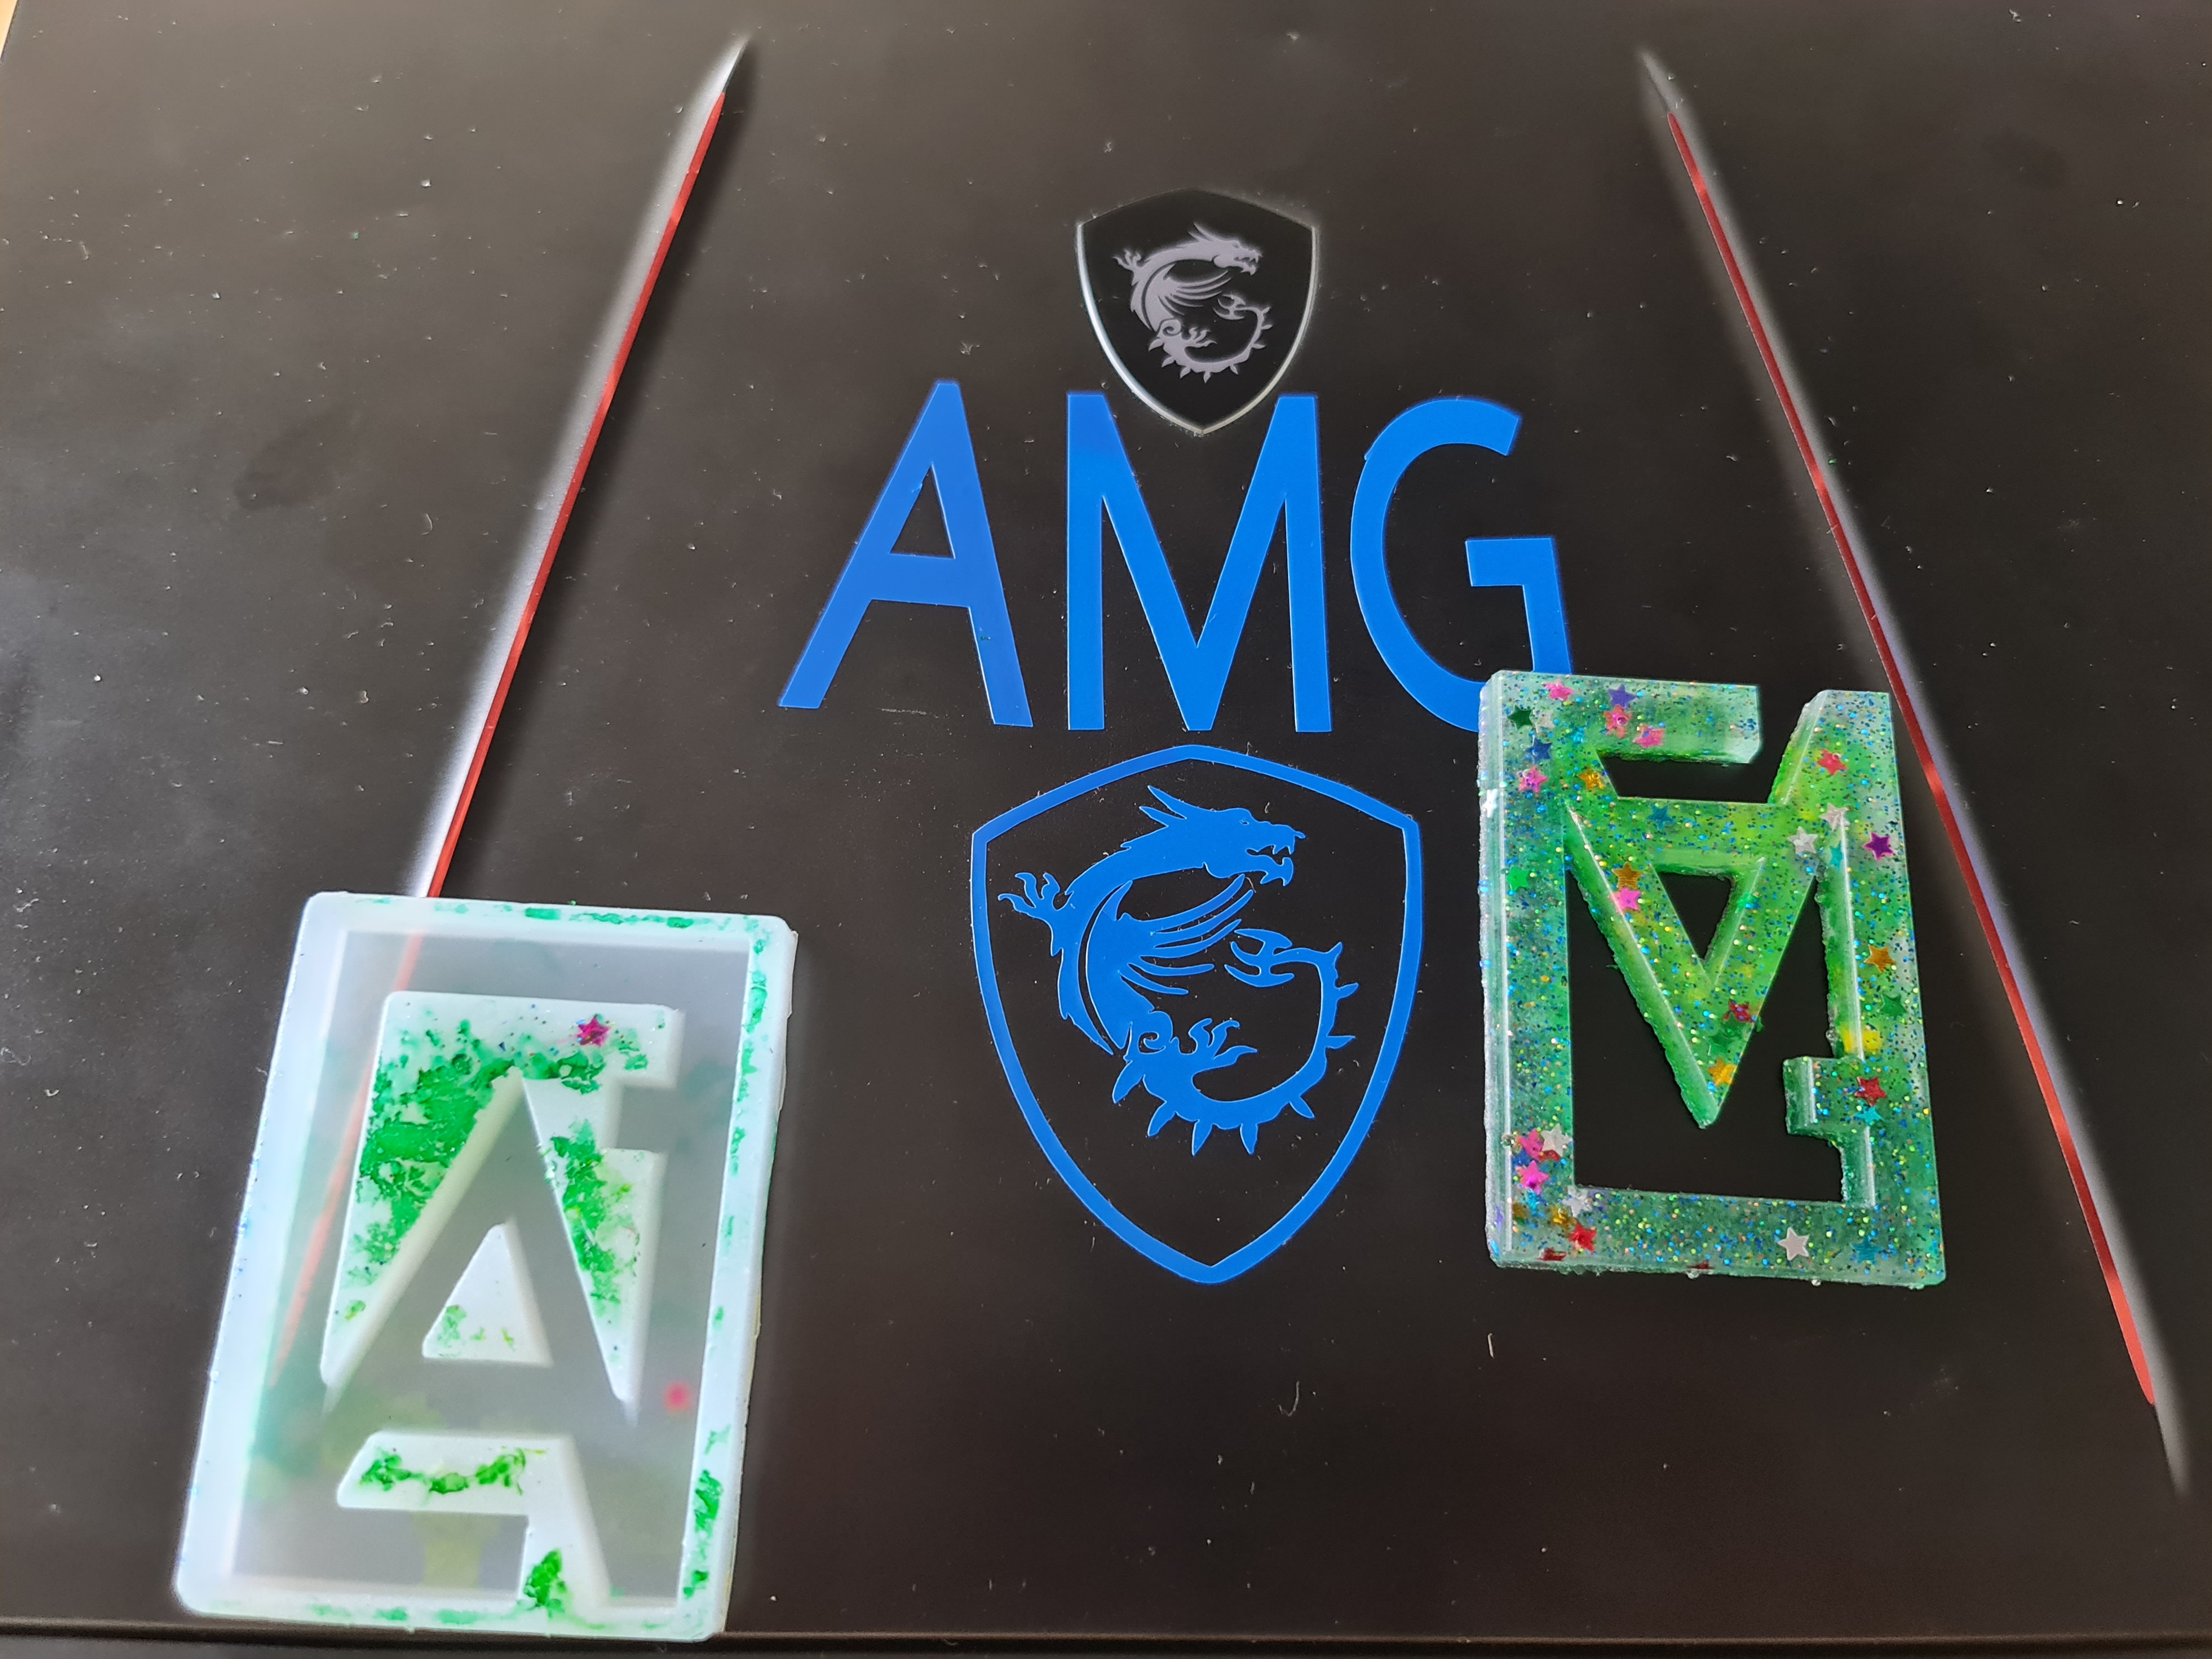
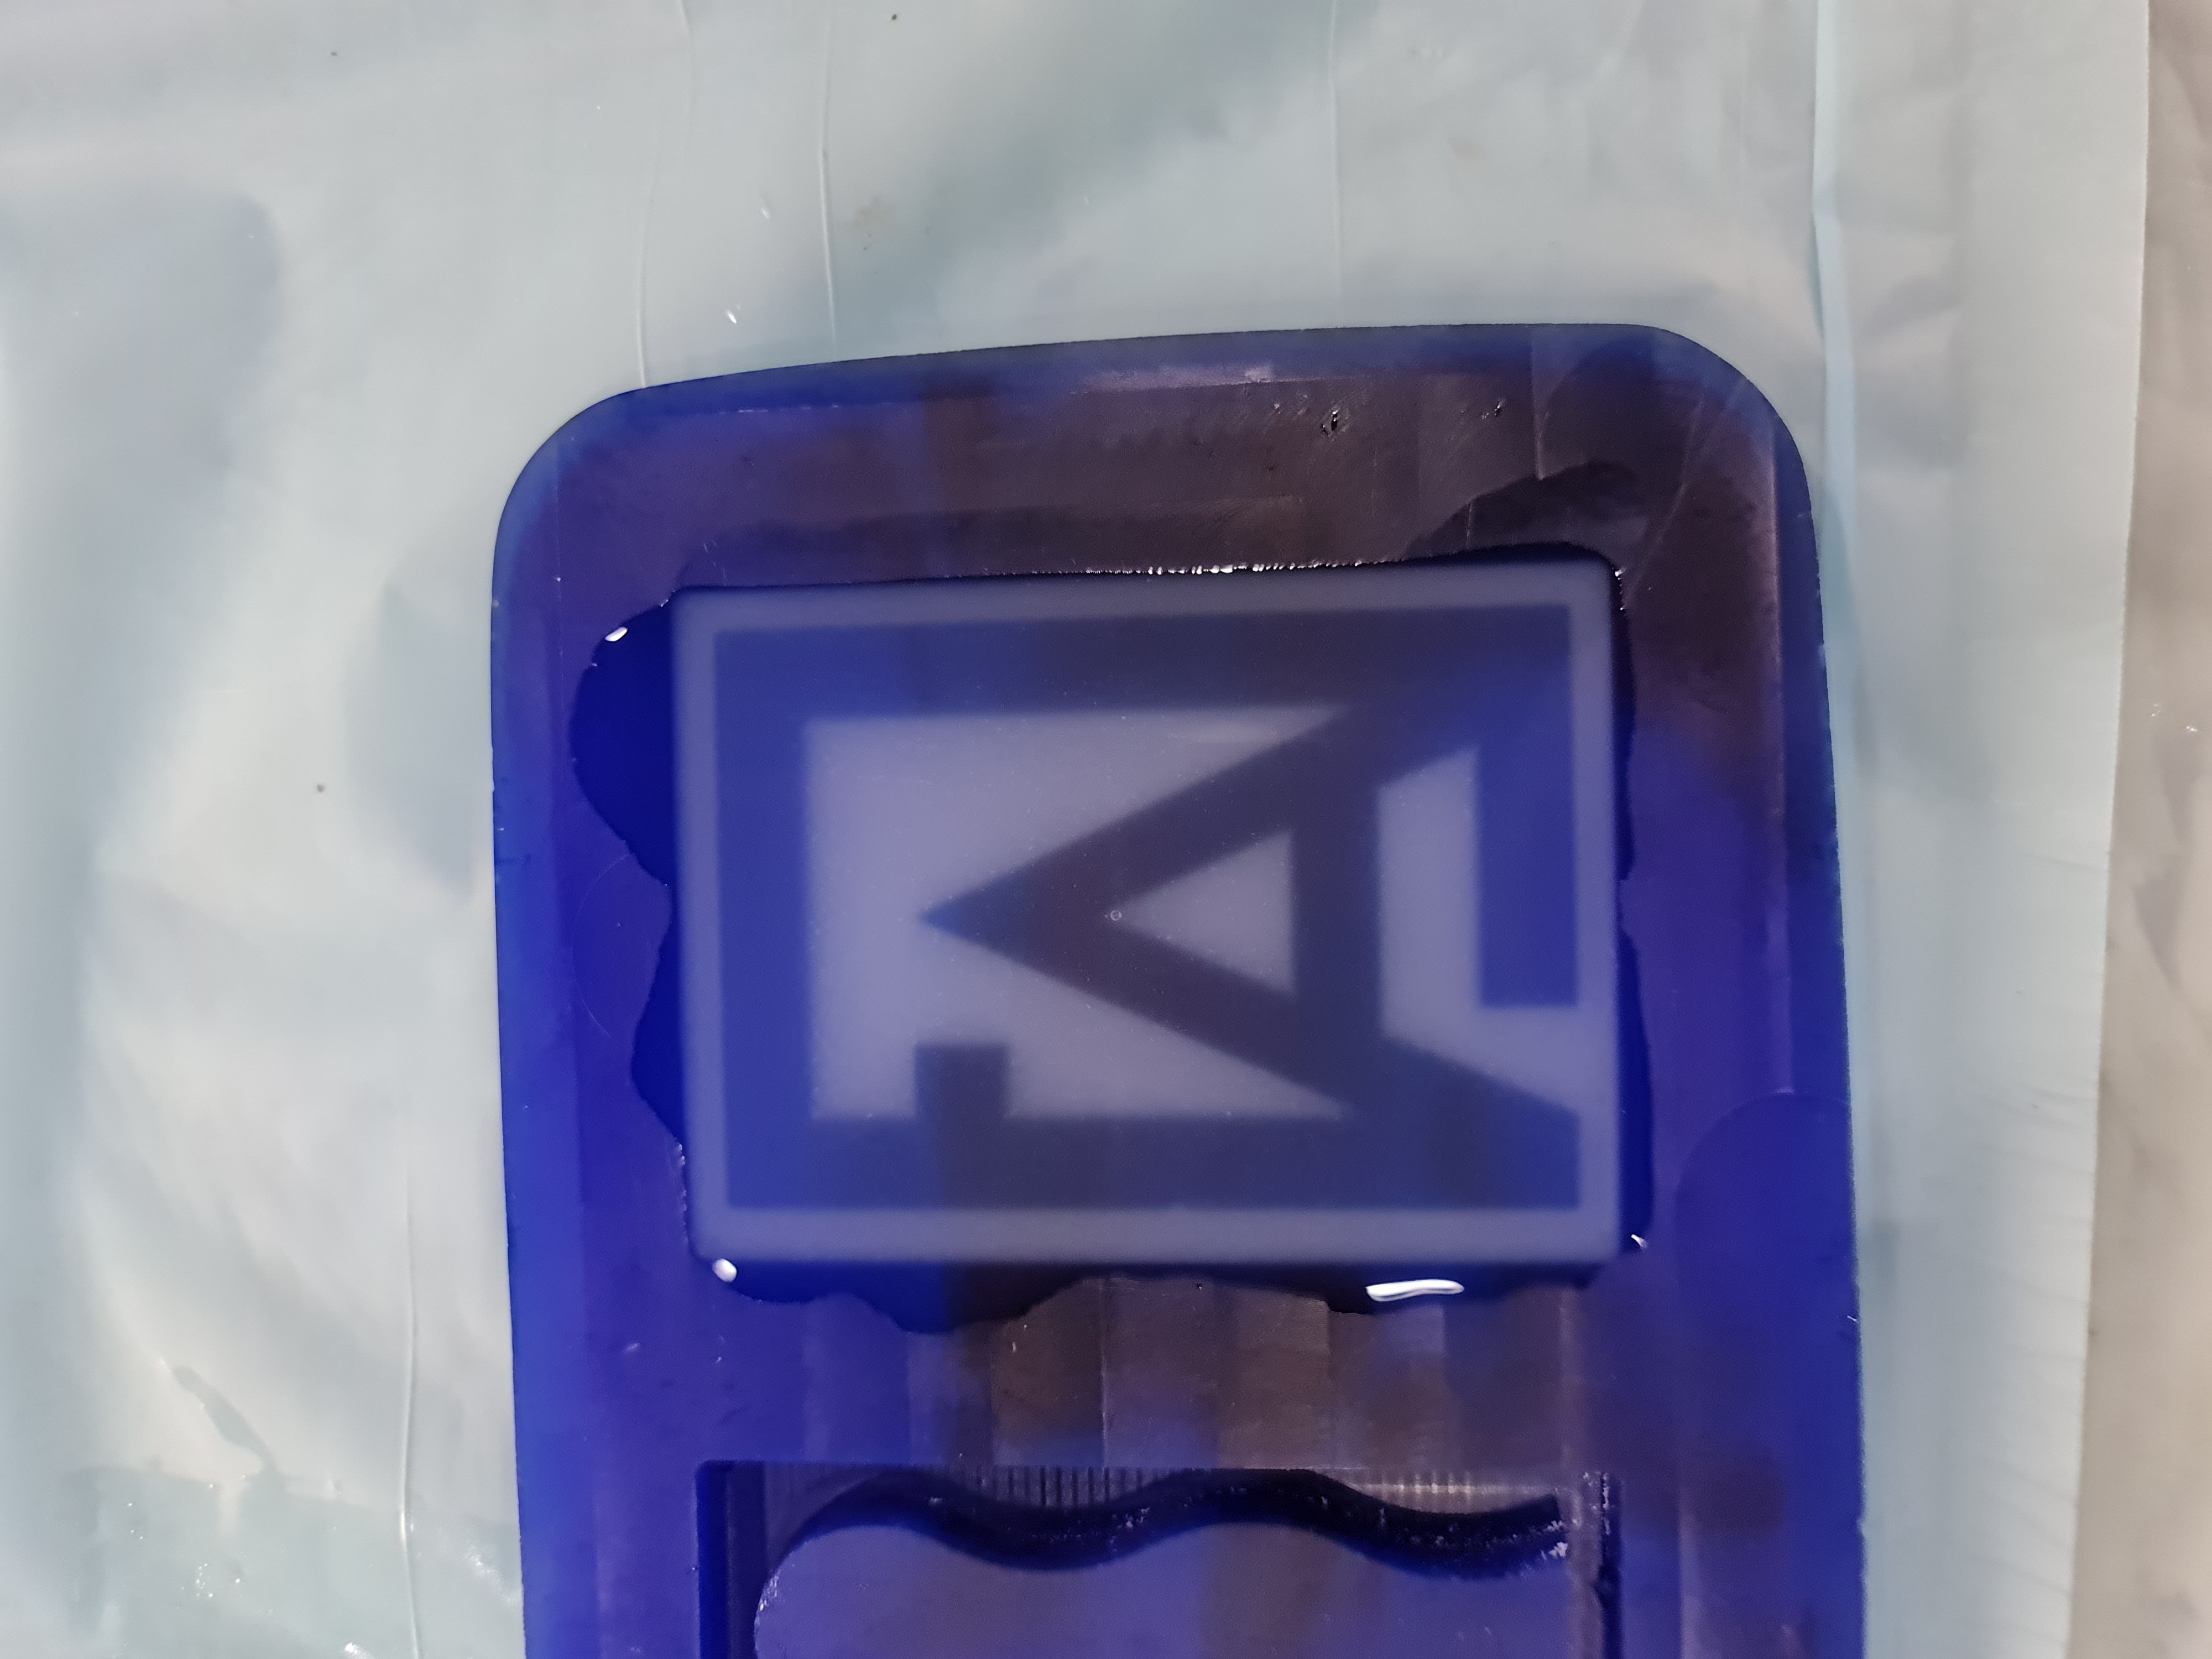
this is the final result after the Resin fully dried.
For Safety
you have to care about your safety because the material that we use is not good for the human skin. so, do the following;
- wear gloves
- cover your Mouth and Nose
- use disposal material once only
Useful links:
Click here to download my design, AutoCAD file
Click here to download my design, Fusion360 file