8. Moulding and casting
This week, I start working on a design that will be used for casting and molding. This model was created utilizing a CNC milling machine to create the shape on wax, which was then needed to make the silicon mold. The mold was prepared and then cast using several materials to test the differences.The way the material is used in the process makes a big difference between molding and casting. While molding concentrates on plastics, casting added back metal. Both times, the molten substance is poured into a die or mold to produce the final shape.
Group Assignment
We were divided into groups, each group researching and working on a different material. All the details are collected in this link.
In my opinion, all the results were good, so the choice of material will be according to the thing to be done.
Individual Assignment
The goal in this assignment is to design a 3D model within specific dimensions and then print it to be used as a magnet on a board.
1. 3D Design
I used ThinkerCad to design my object(Batman).
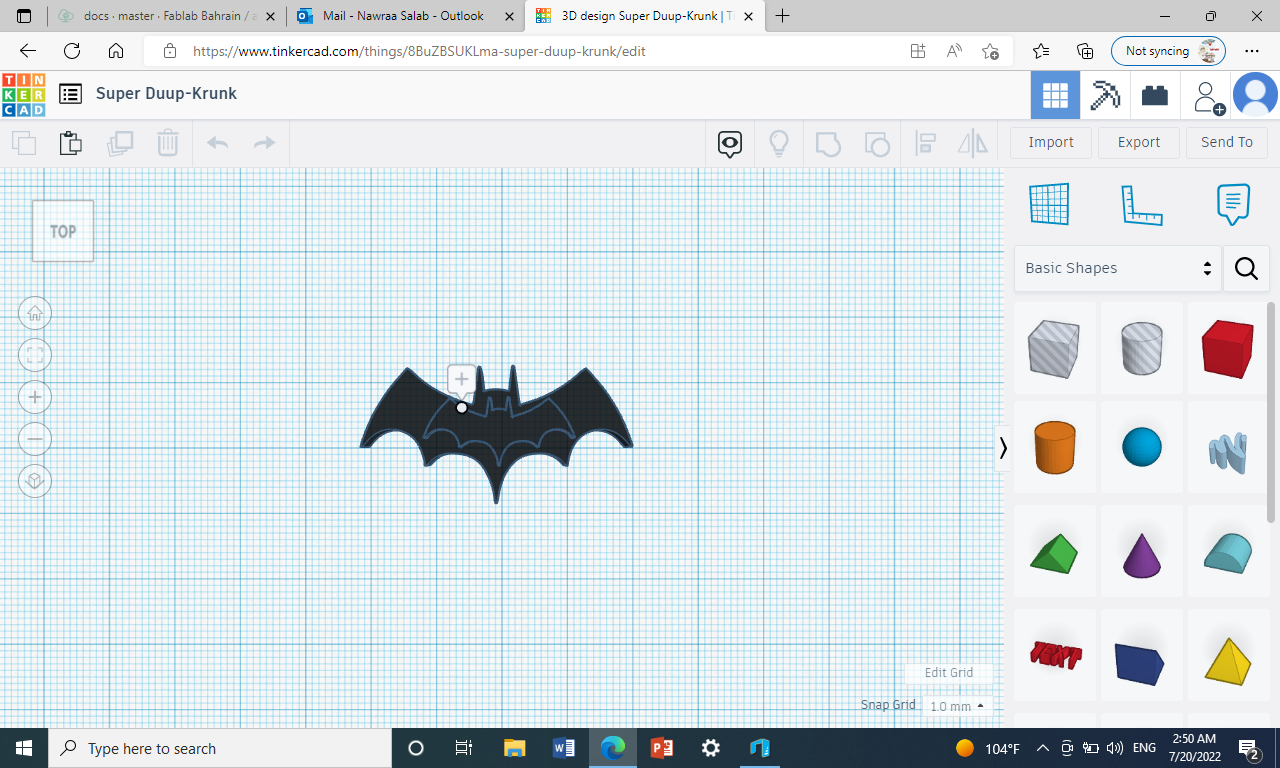
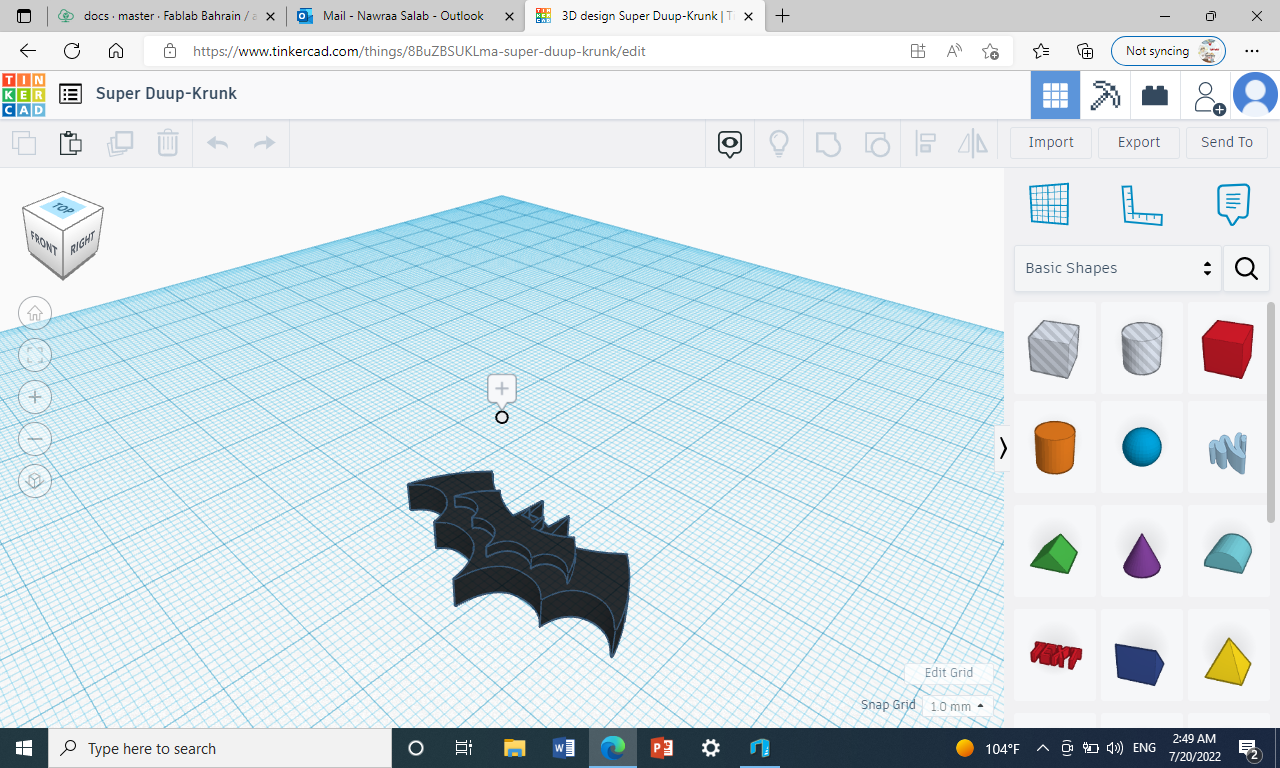
In 3D model:
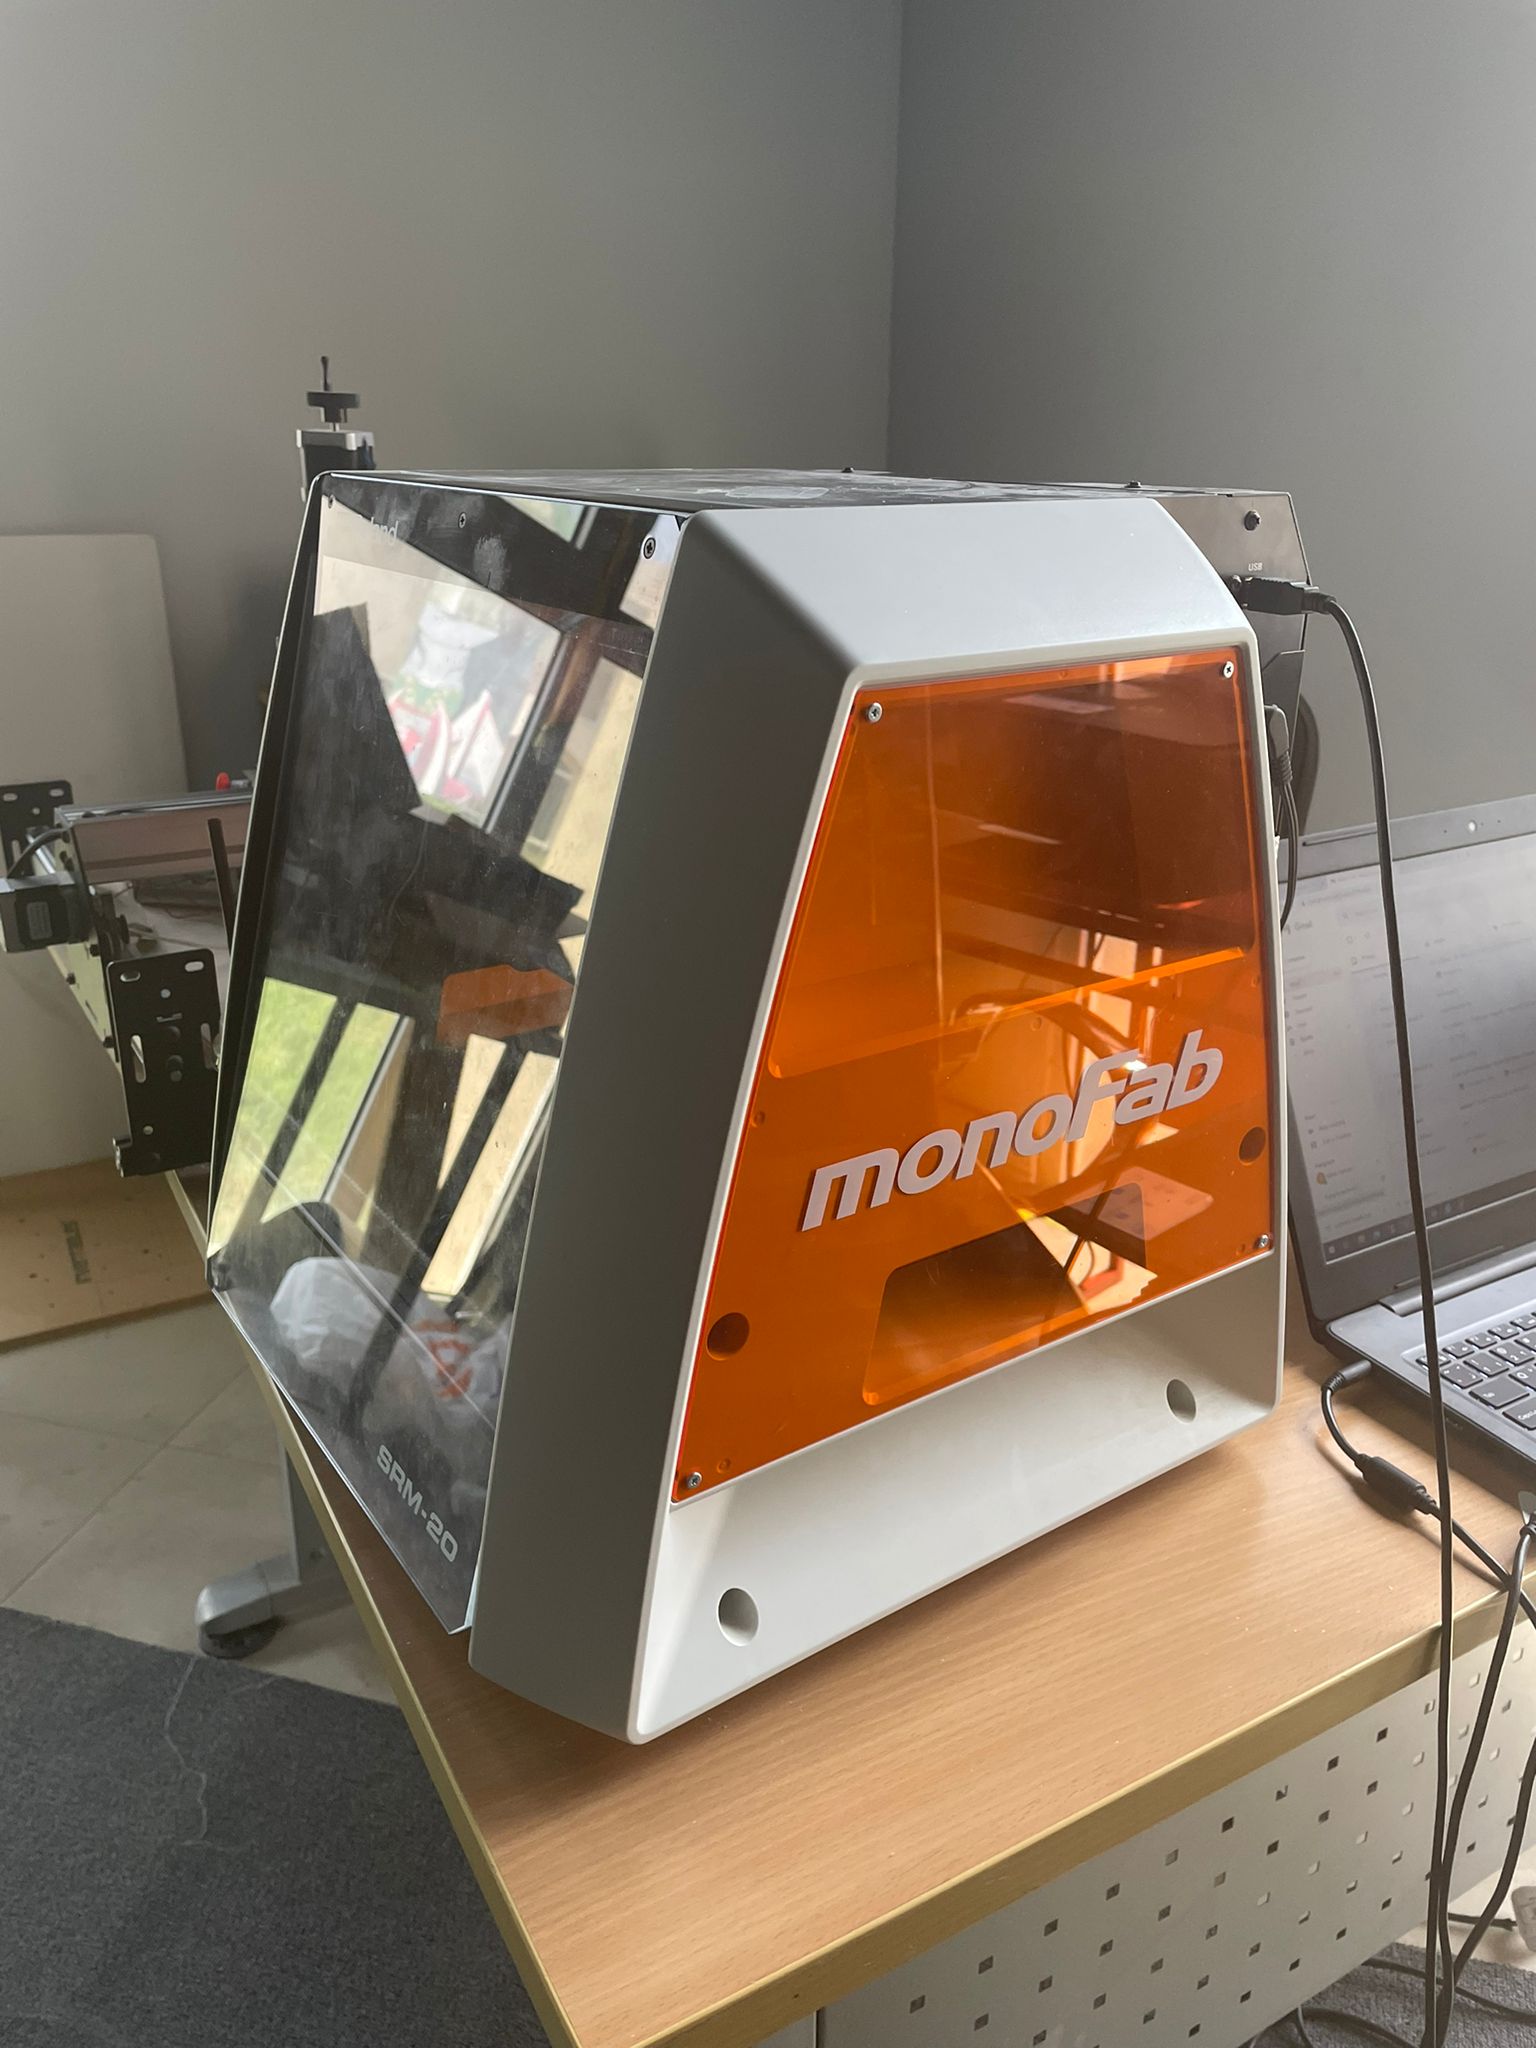
2. CNC milling machine
The ThinkerCad design was transmitted to the CNC milling machine in a stl format so that it could be etched in a wax block that would then be used to create the mold and the cast.
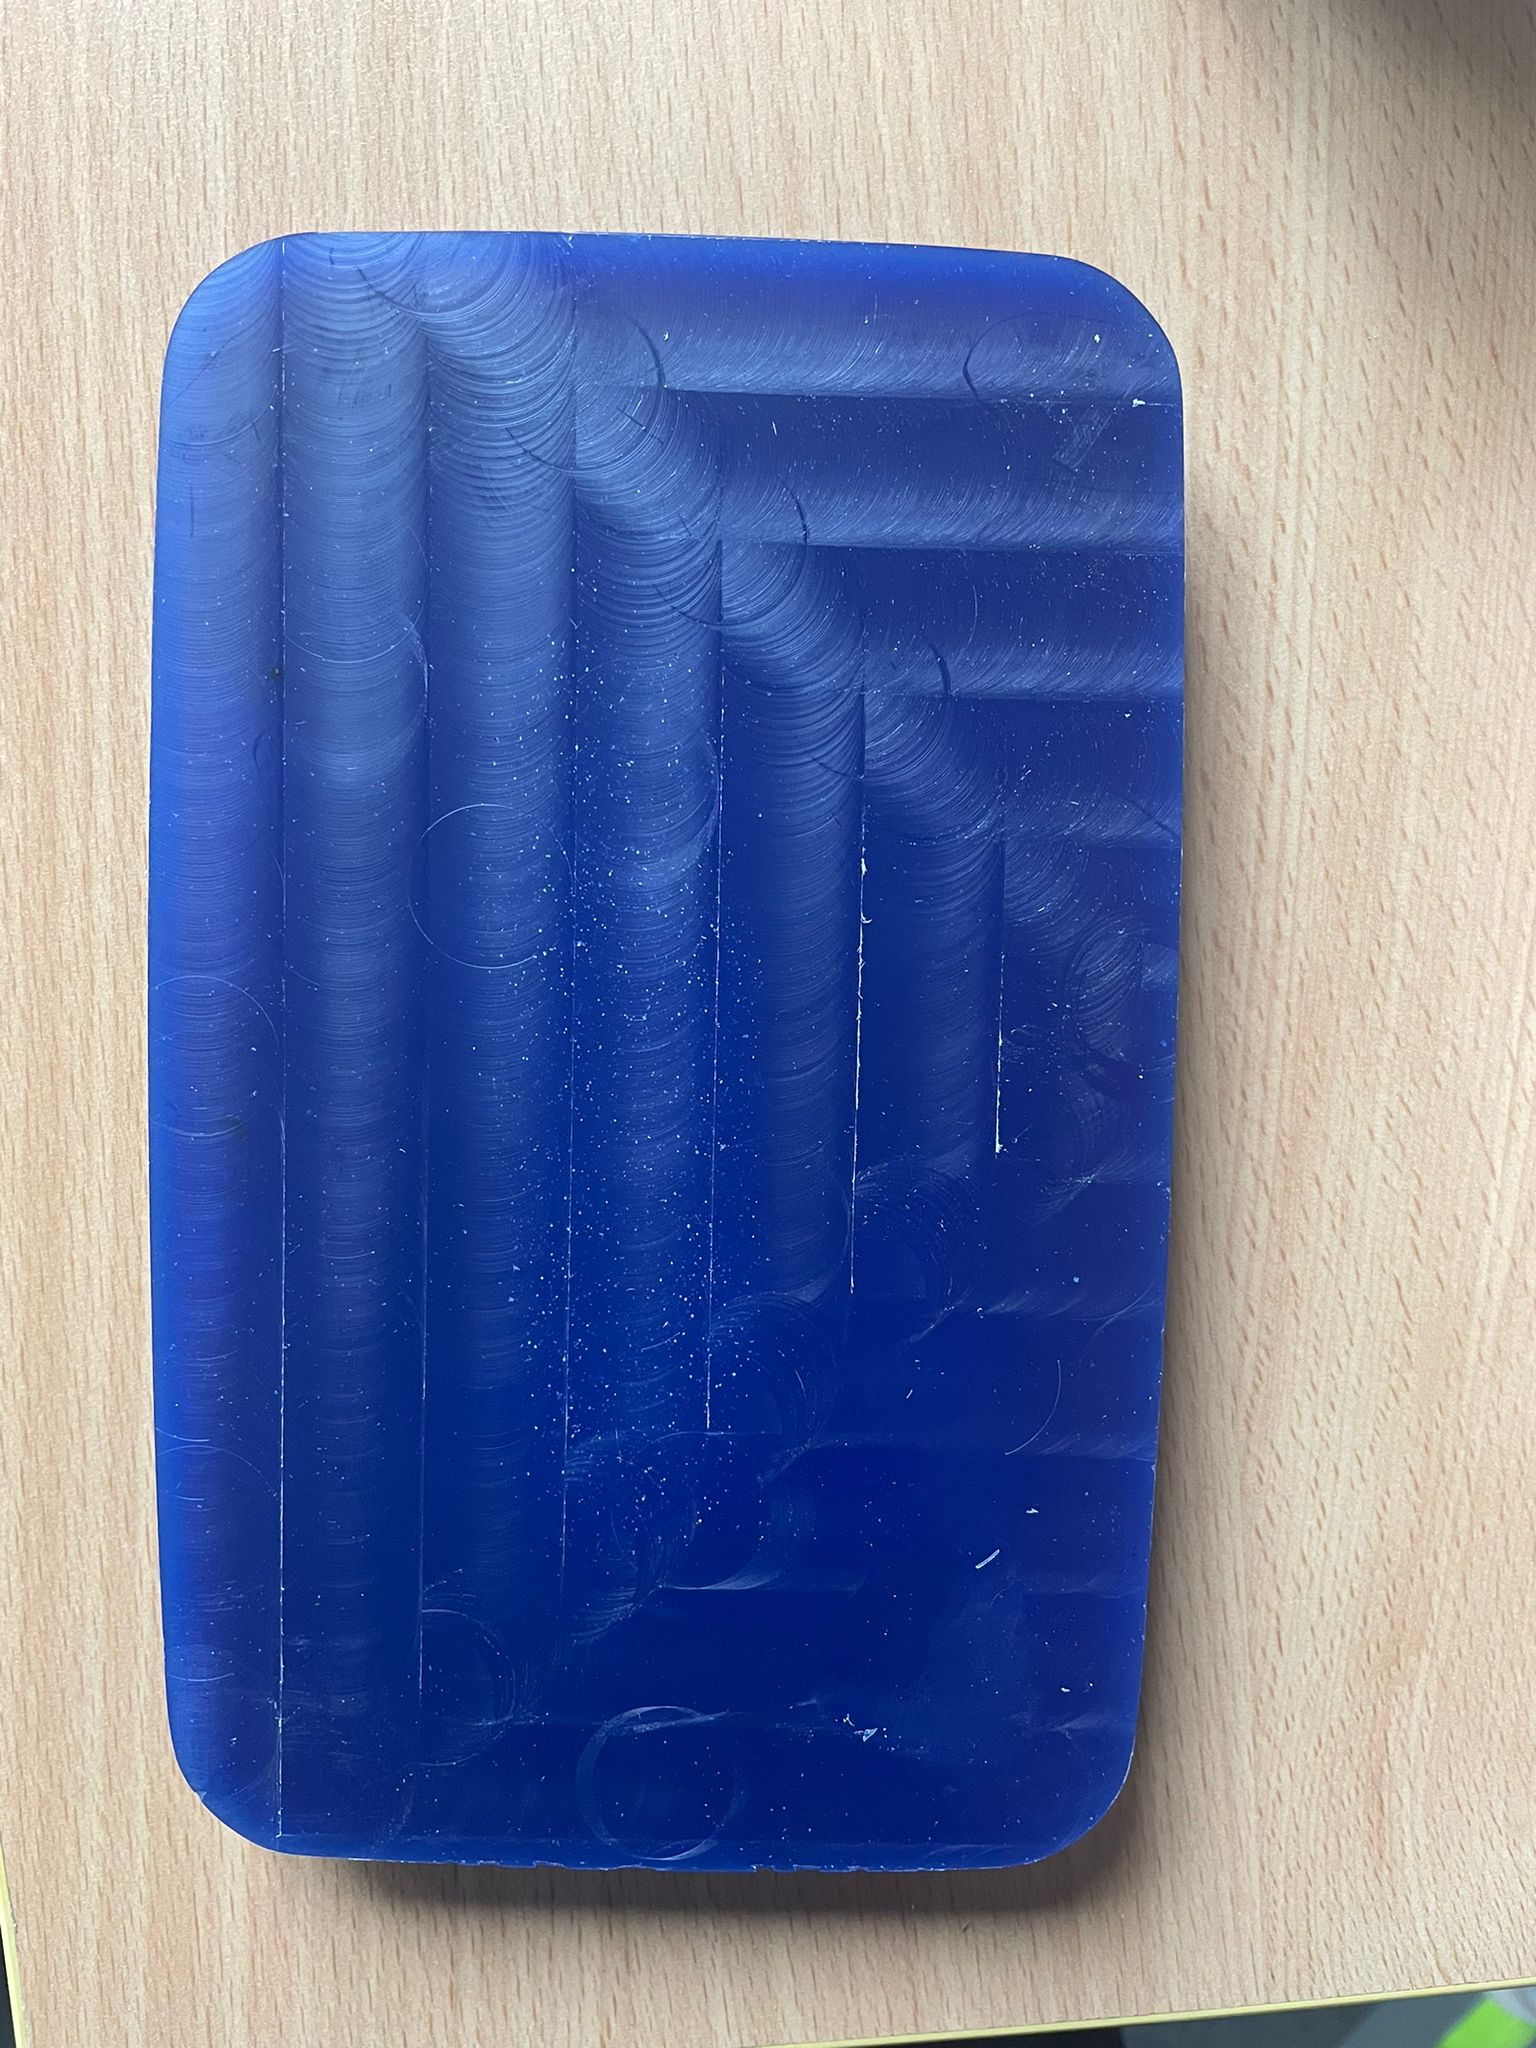
Two designs were created on the same wax block for reduce use wax material , resource conservation, and time savings. The stl file containing the designs was initially imported into the software for the CNC milling machine.the figure below show the blue wax block and the CNC milling machine .
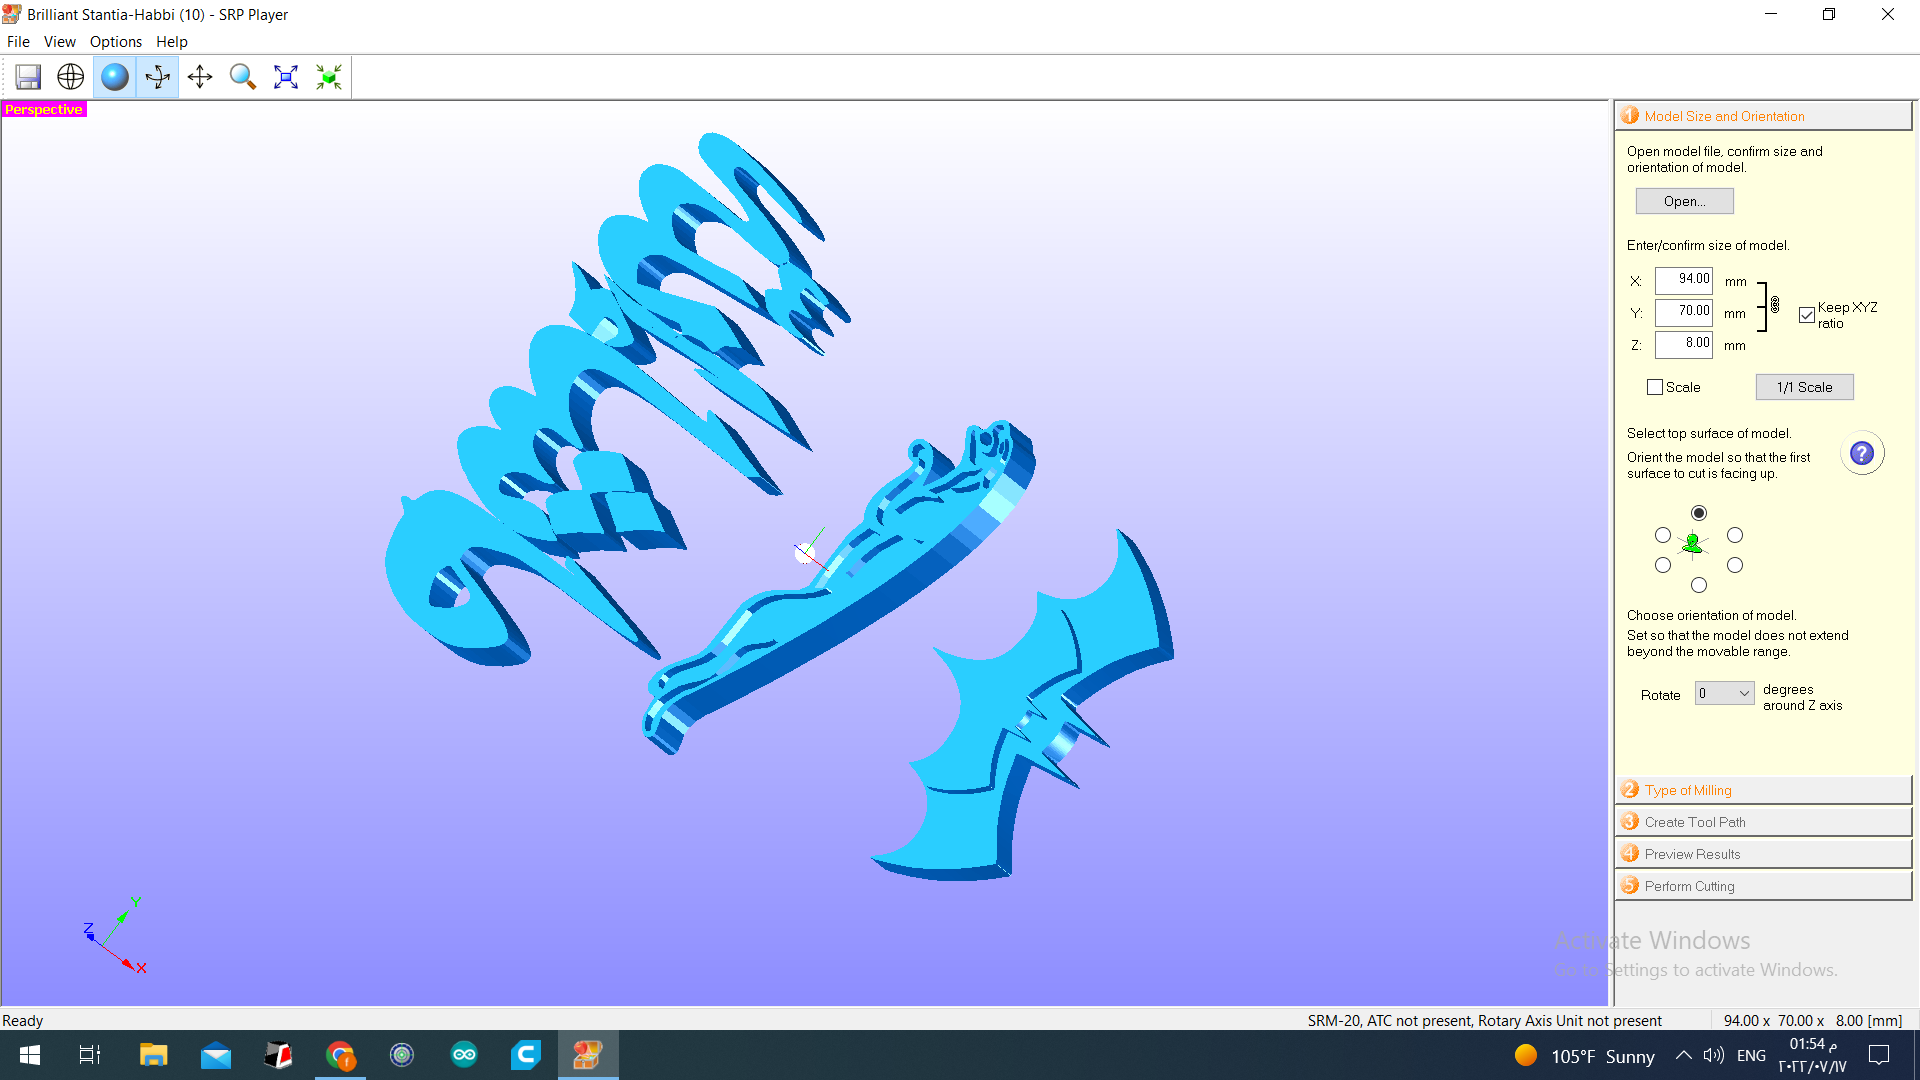
The following page will appear after the design is imported, indicating the first step in setting up, which is Model Size and Orientation. Here, you must enter the design’s dimensions length, width, and height in the appropriate sections.
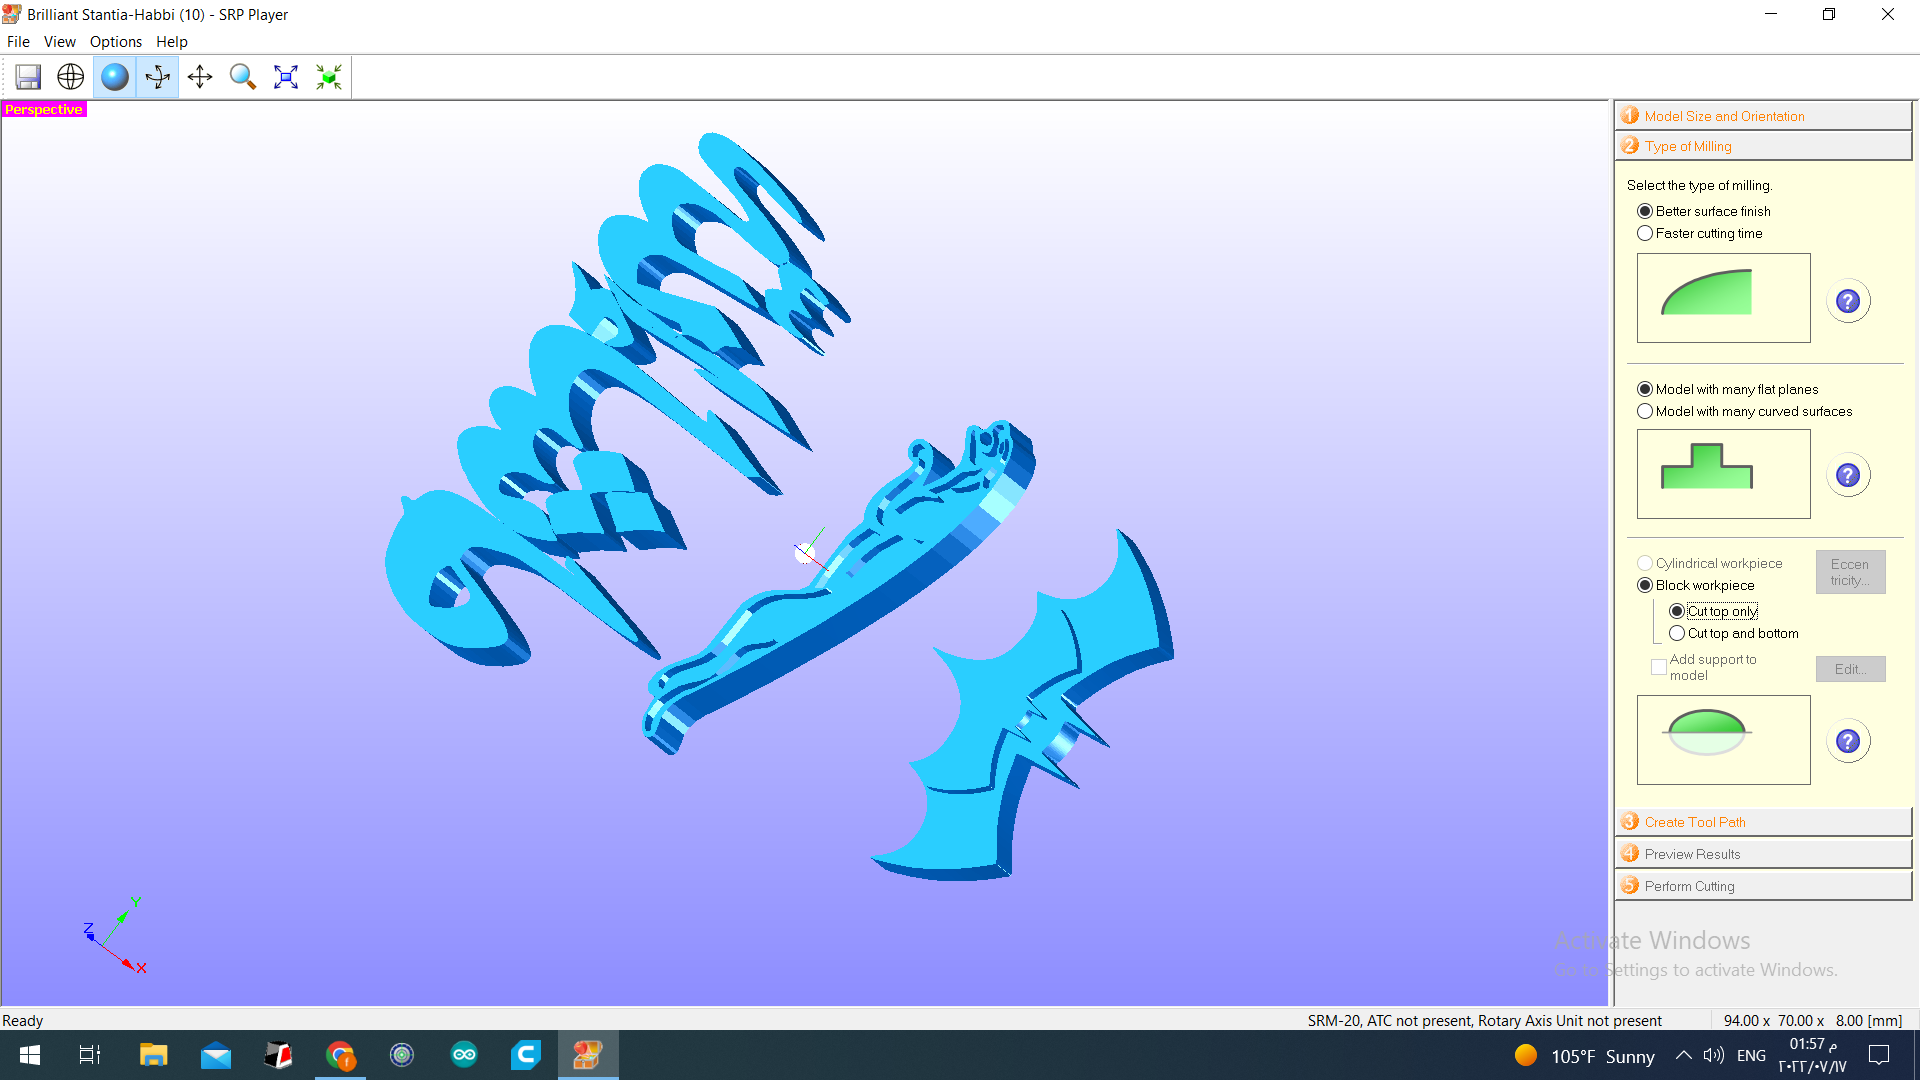
Then, type of milling.In order to reach the most accurate and precise results, as shown in the image below, the first option is selected to be Better surface polish. If the faster time-saving option is chosen, this may result in some mistakes and the omission of some important design aspects. In order to ensure superior milling process outcomes, the first option is chosen. The alternate option is Model with many curved surfaces. This is done to take into account the numerous curves included in the designs and enable the milling machine to complete the necessary curves in the designs with the highest degree of accuracy. However, because our design does not have a lot of carving, we are choosing the first option. for final choosing The wax block’s rectangular shape led to the decision to use a block workspace with only the top cut in order to prepare the wax for holding the molding material inside to create the mold rather than cutting the designs separately from the block, which would make it impossible to contain the molding material because the design would not be confined.
Next,The wax board’s size will be set in the Create Tool Path sector. A wax board should have a size that is greater than or equal to the design dimensions.
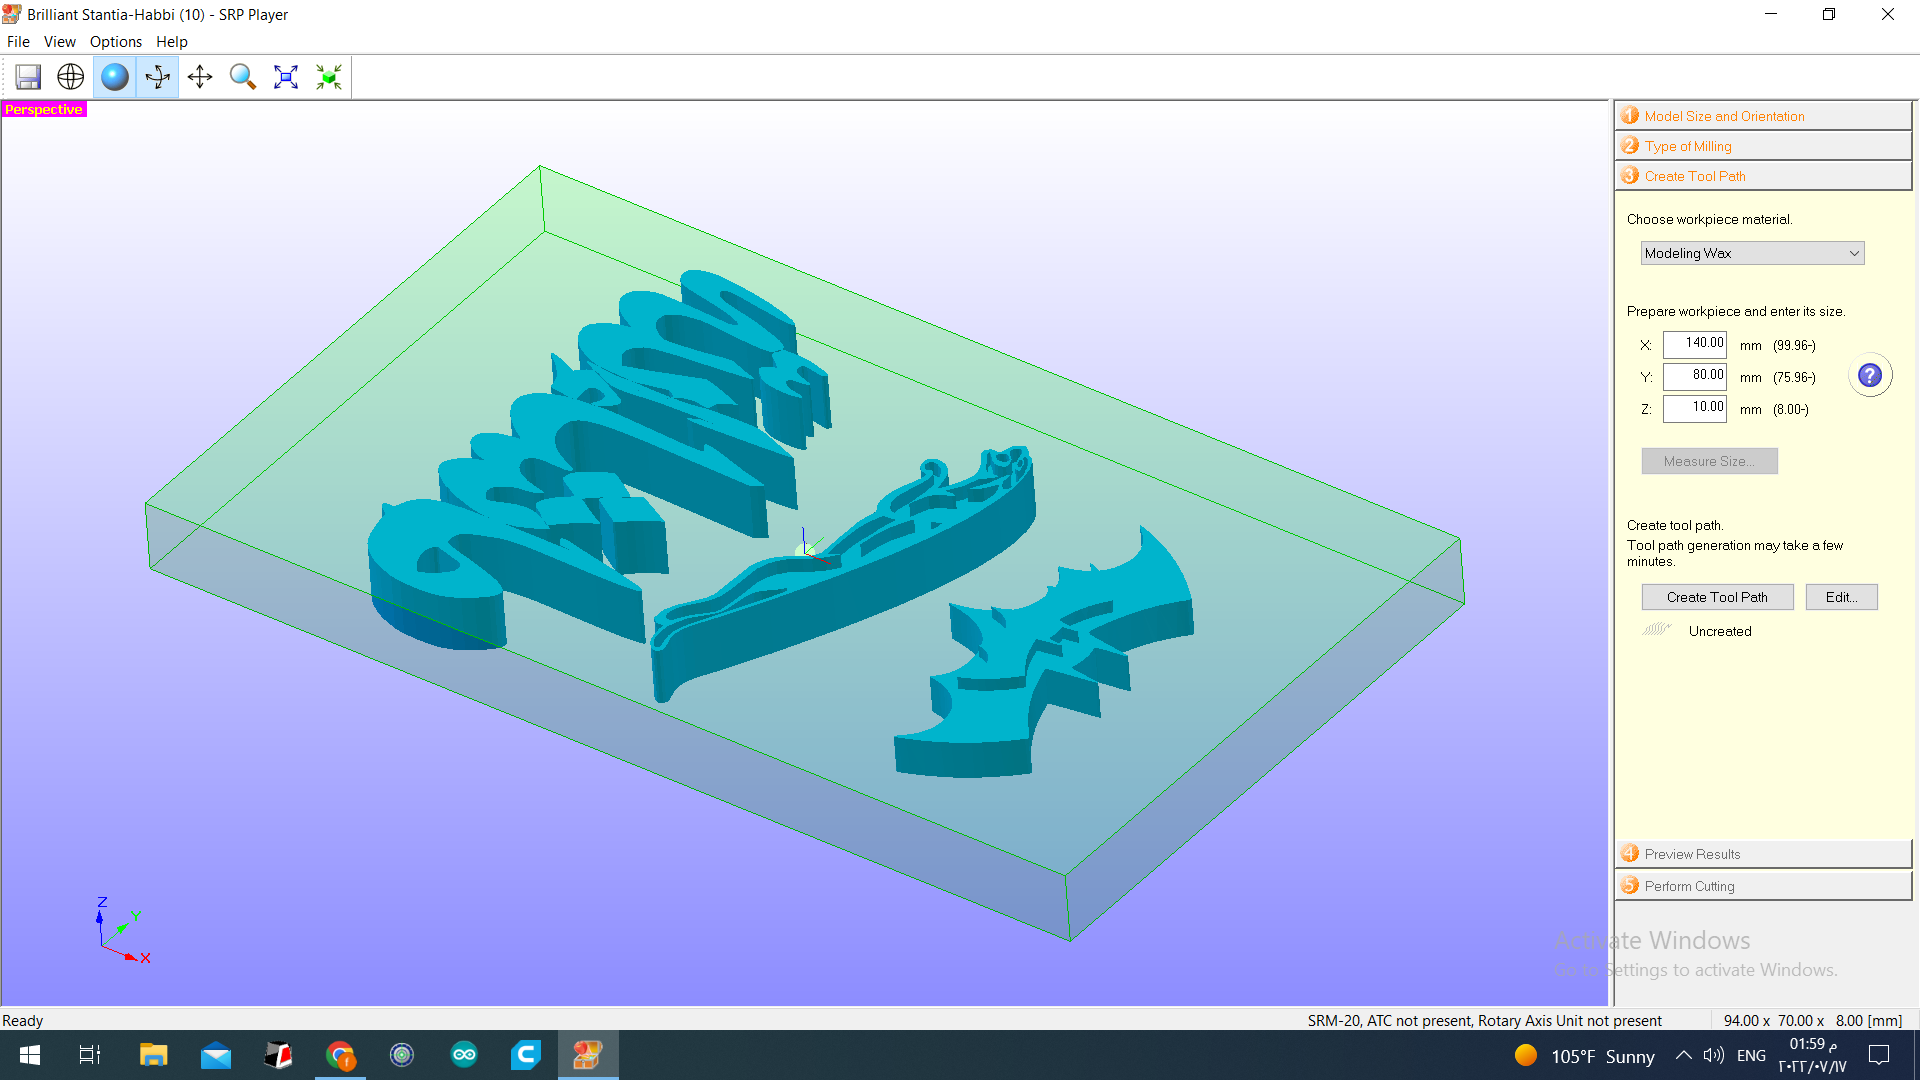
Also, the mid point on the wax board was defined as it will be needed fot setting the origin of the drilling bit. This mid point will be used as the origin point of the drill bit.
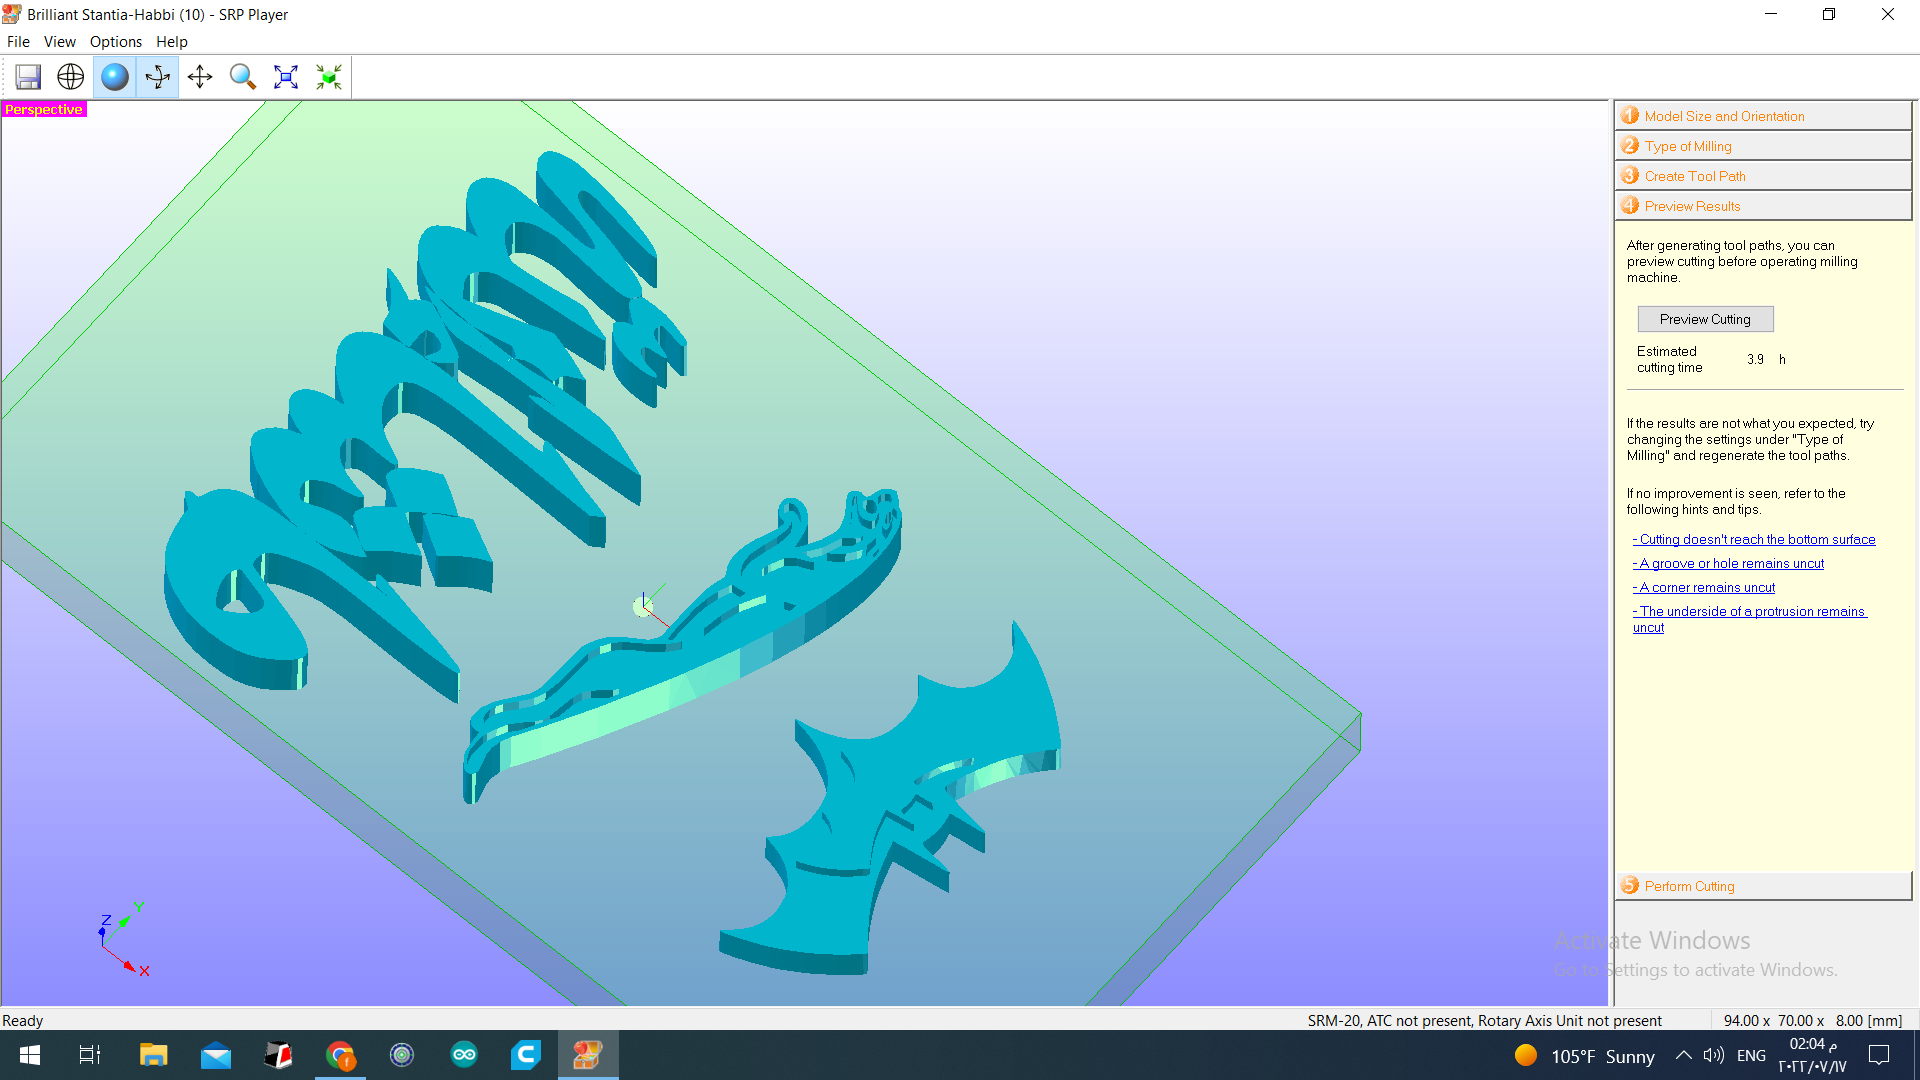
In the Preview Results the required duration to complete the milling will show up as shown.
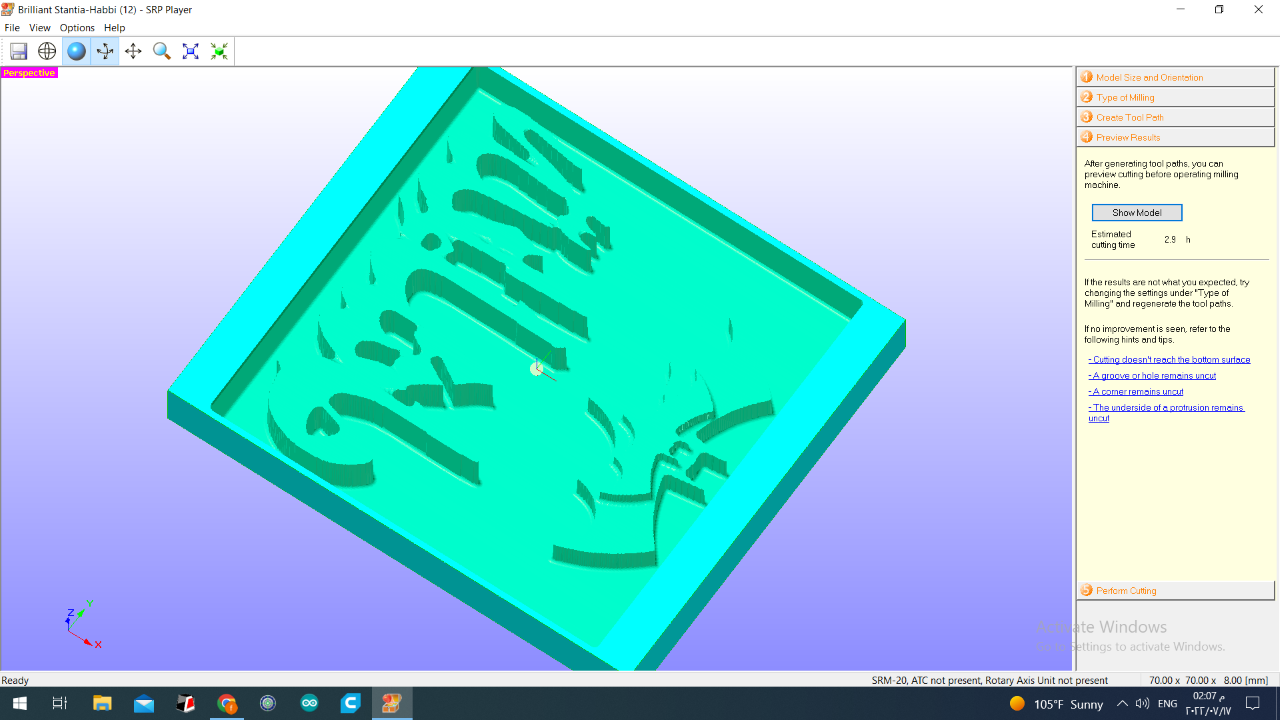
Start cutting. After the milling is done,the wax board.
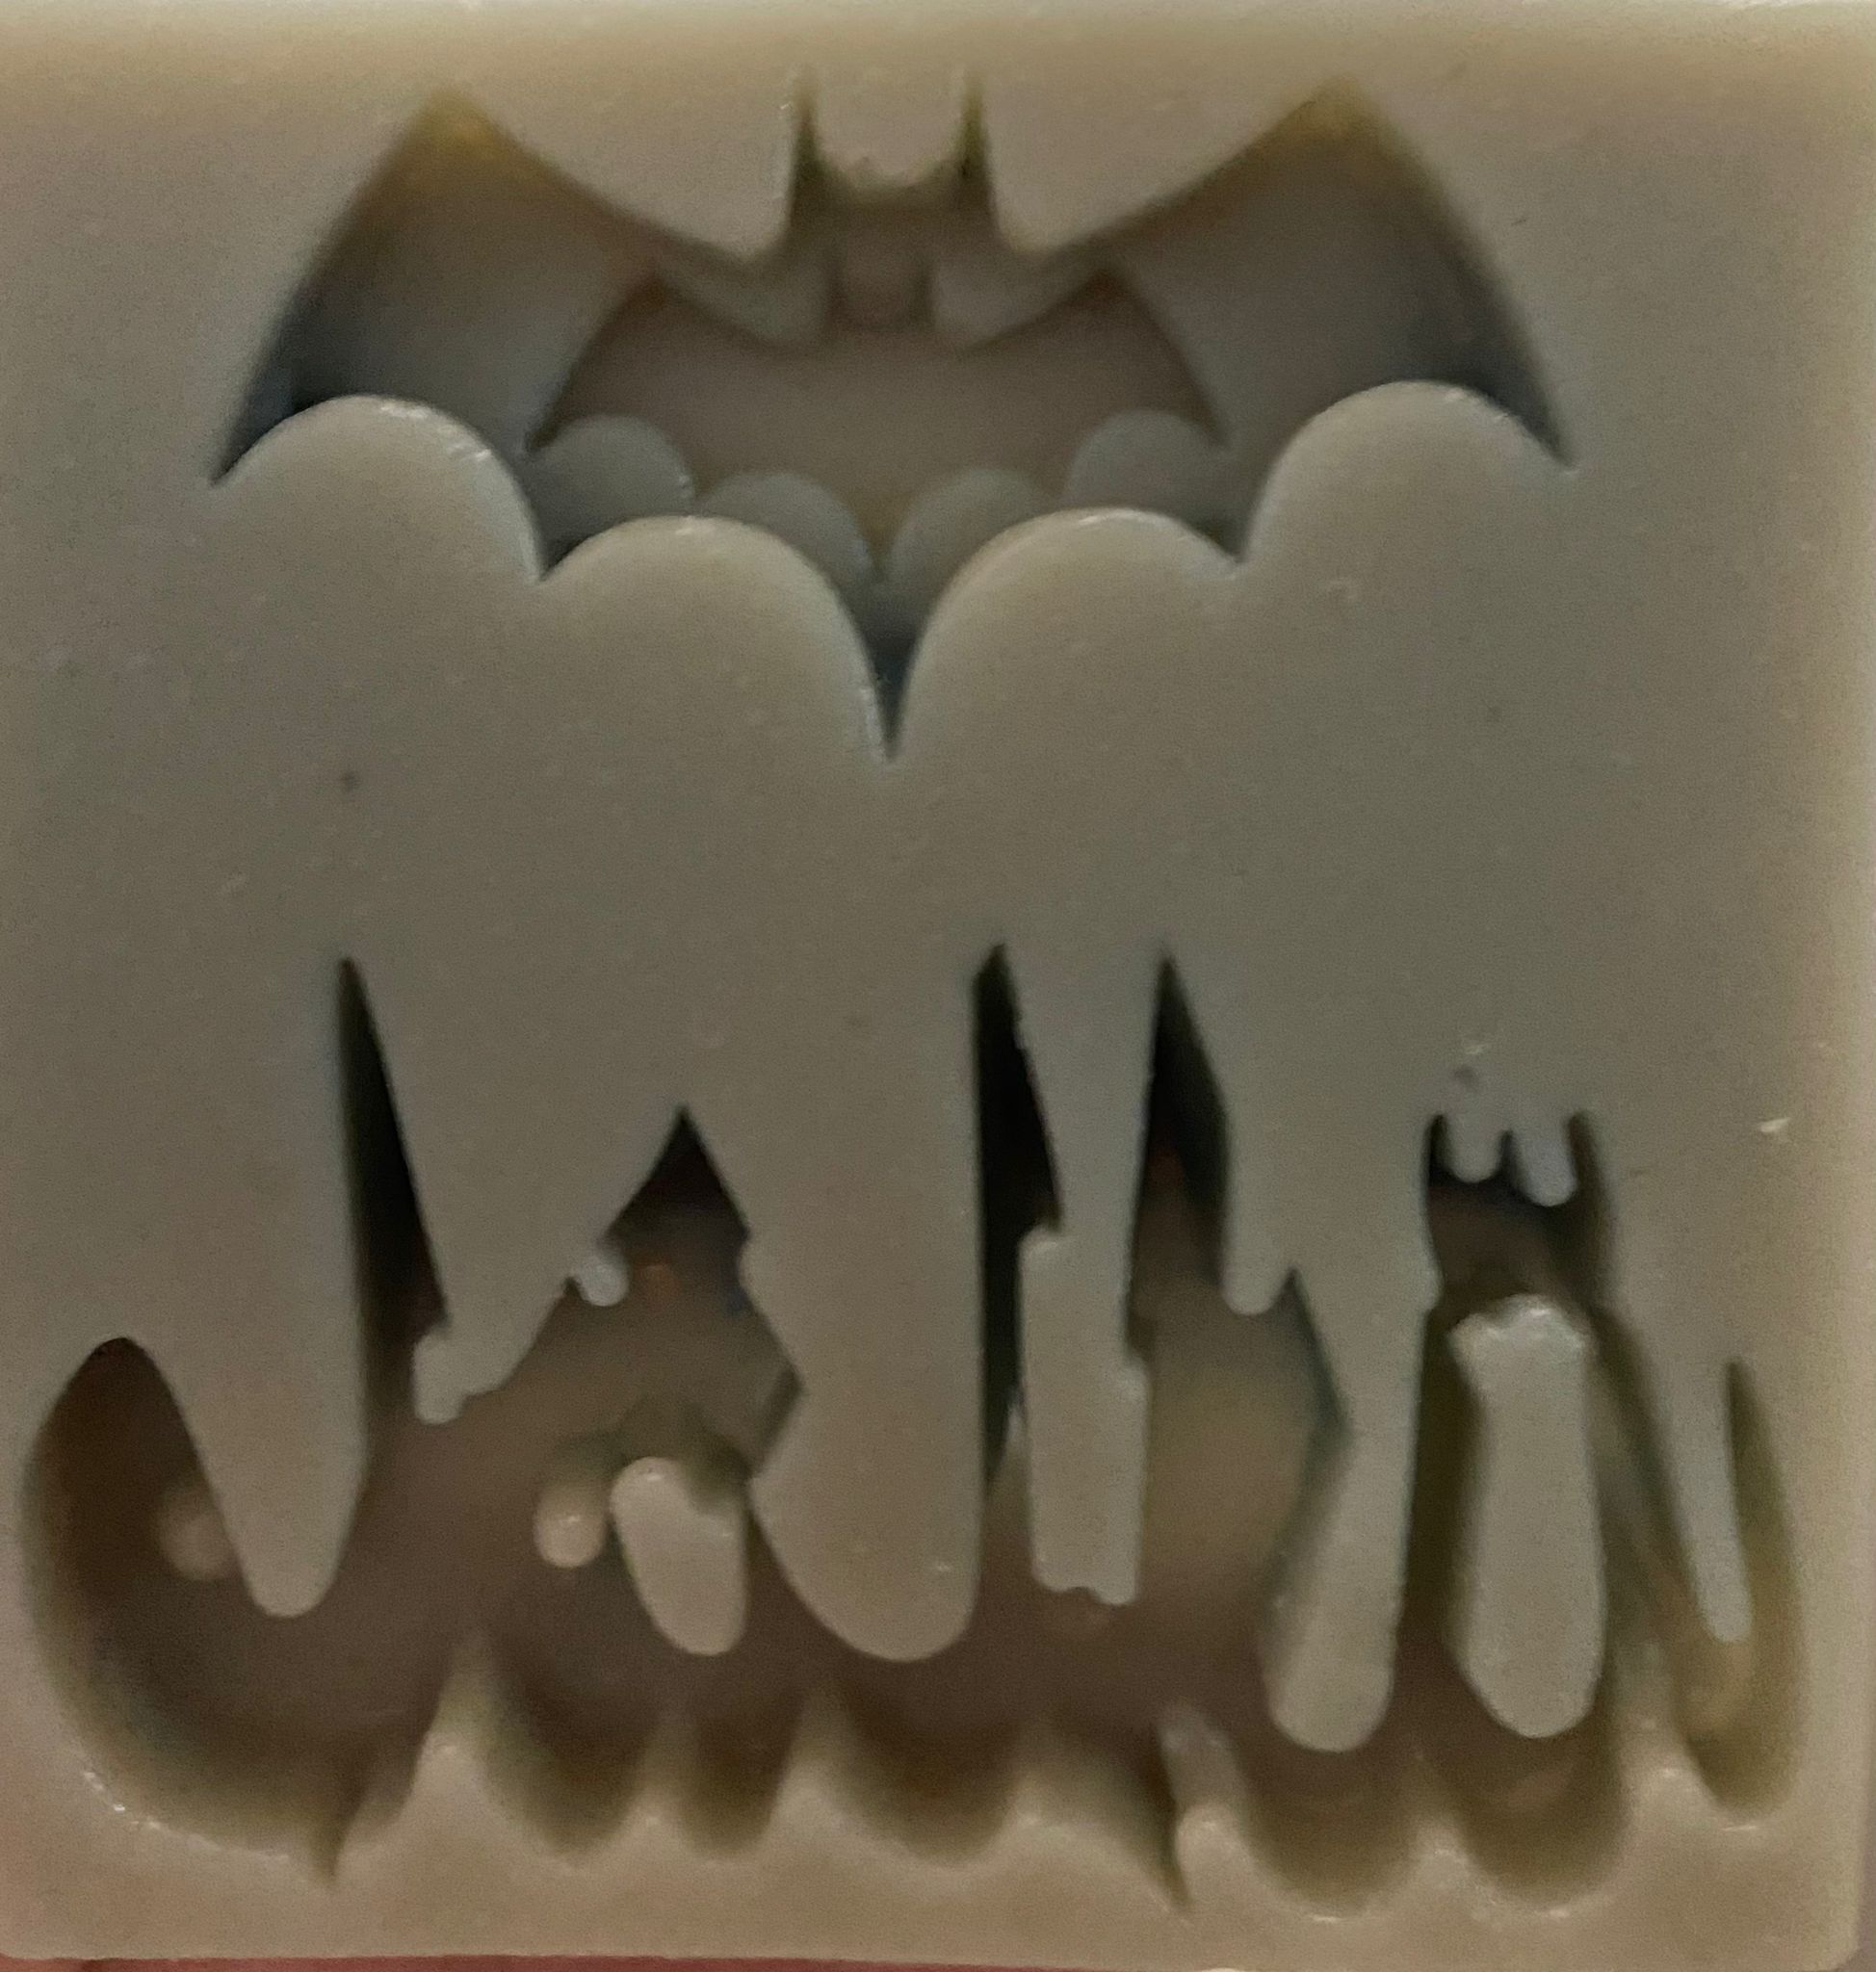
3. Moulding
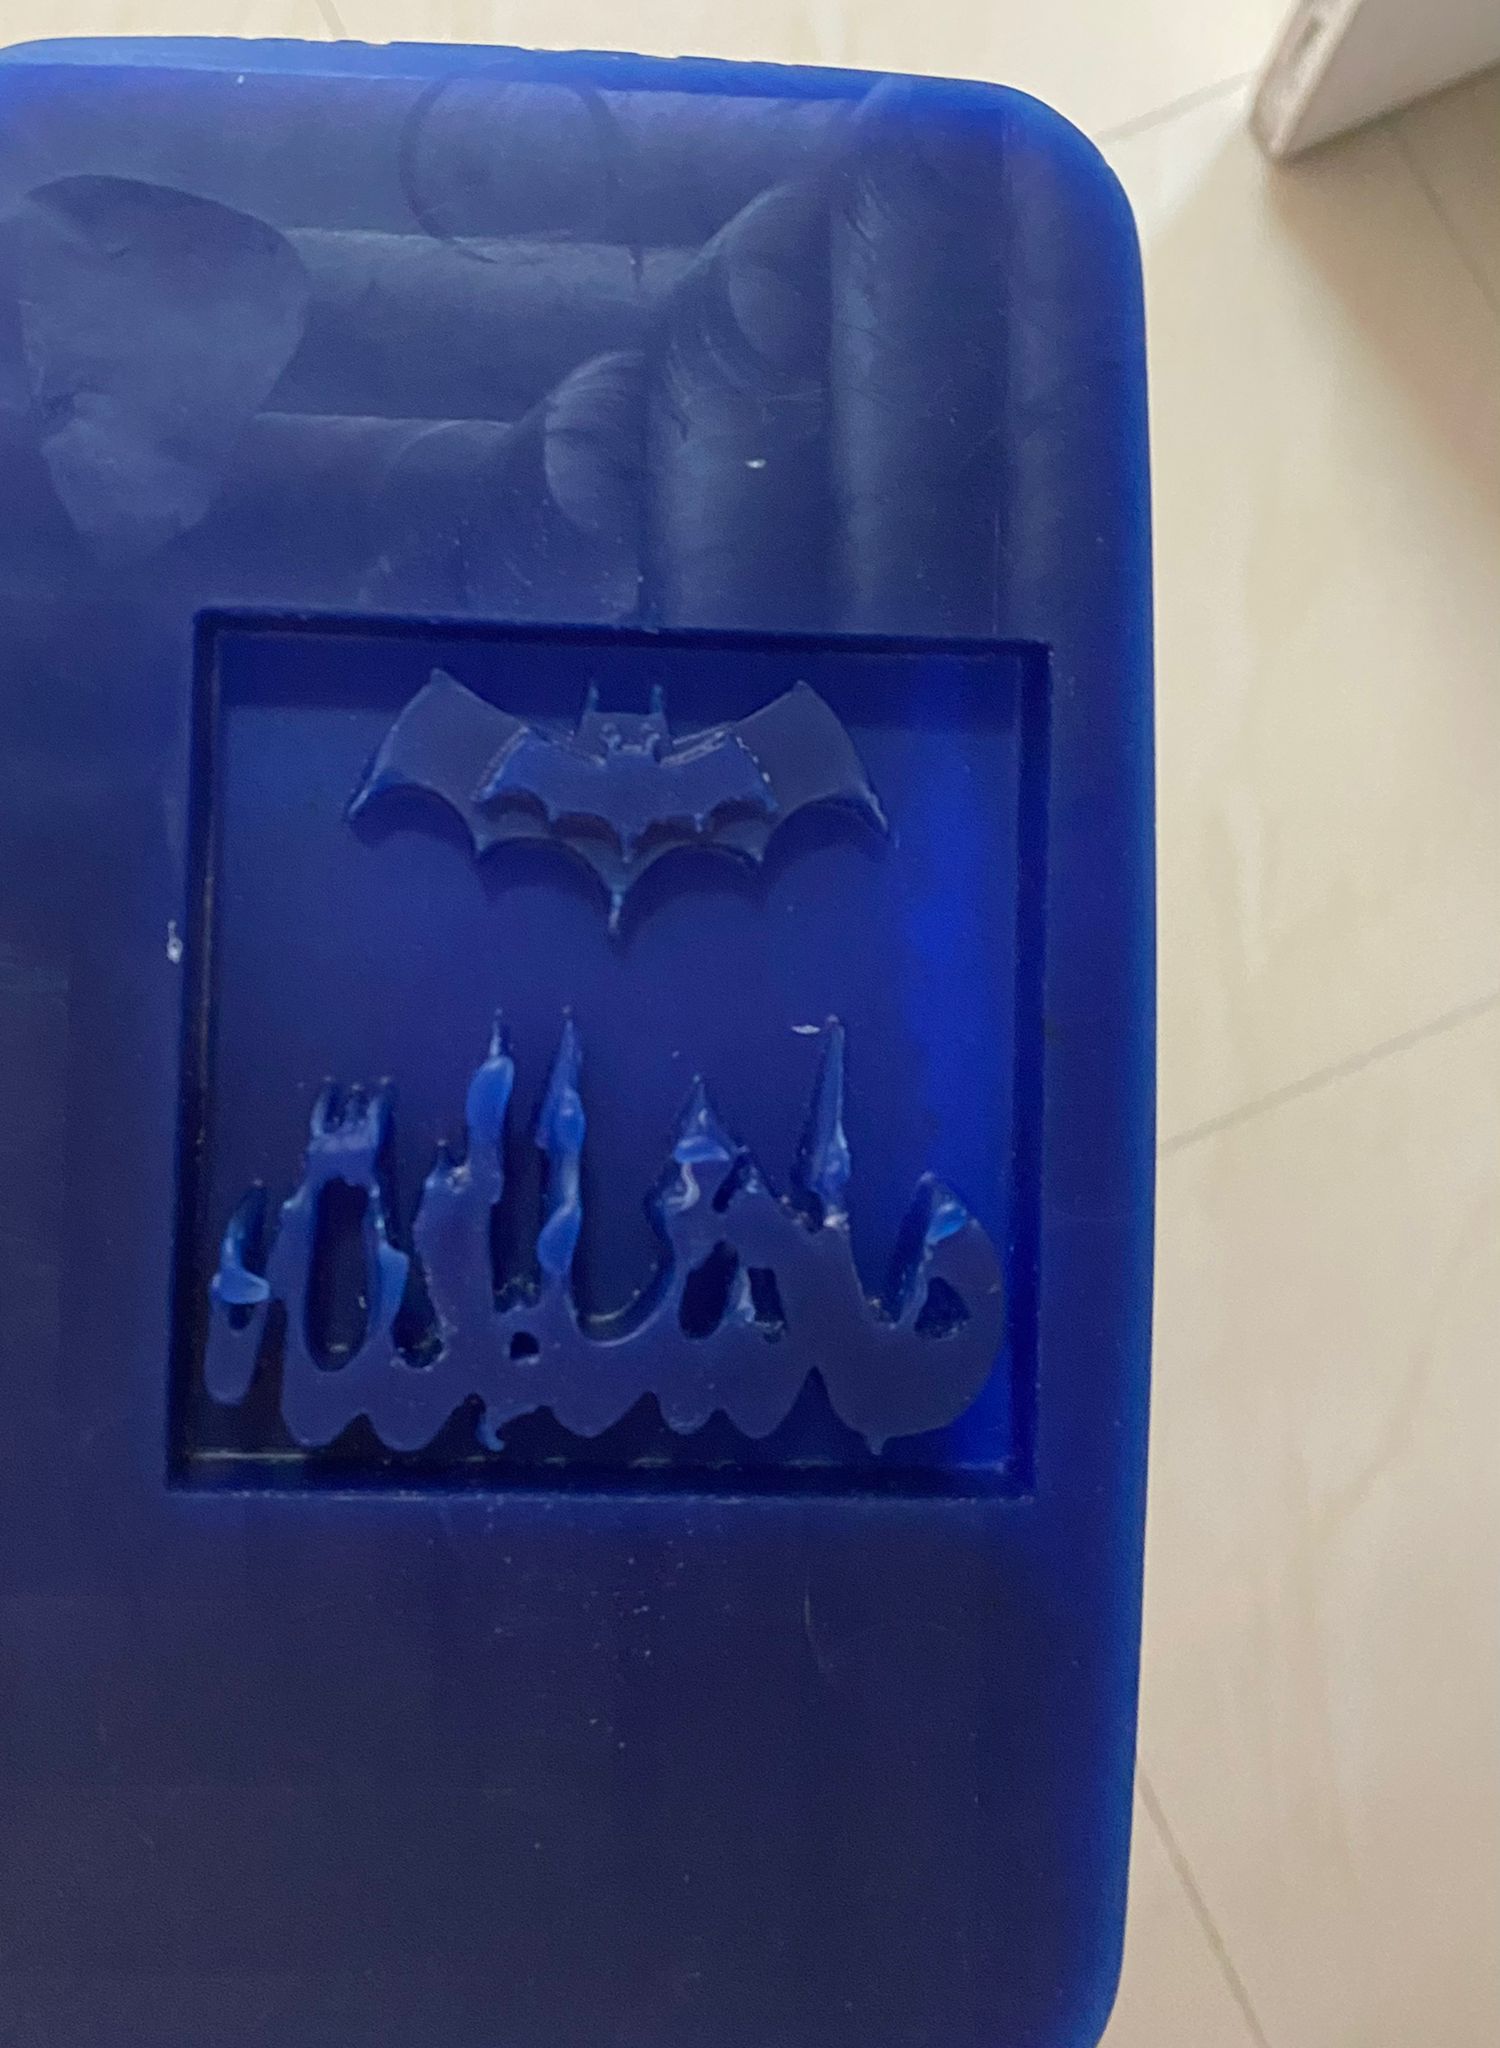
For the molding, the prepared wax board was utilized in order to make the mold which would be used later for casting the design.The silicone was heated at a certain temperature and when it became a liquid it was poured onto a wax mold.

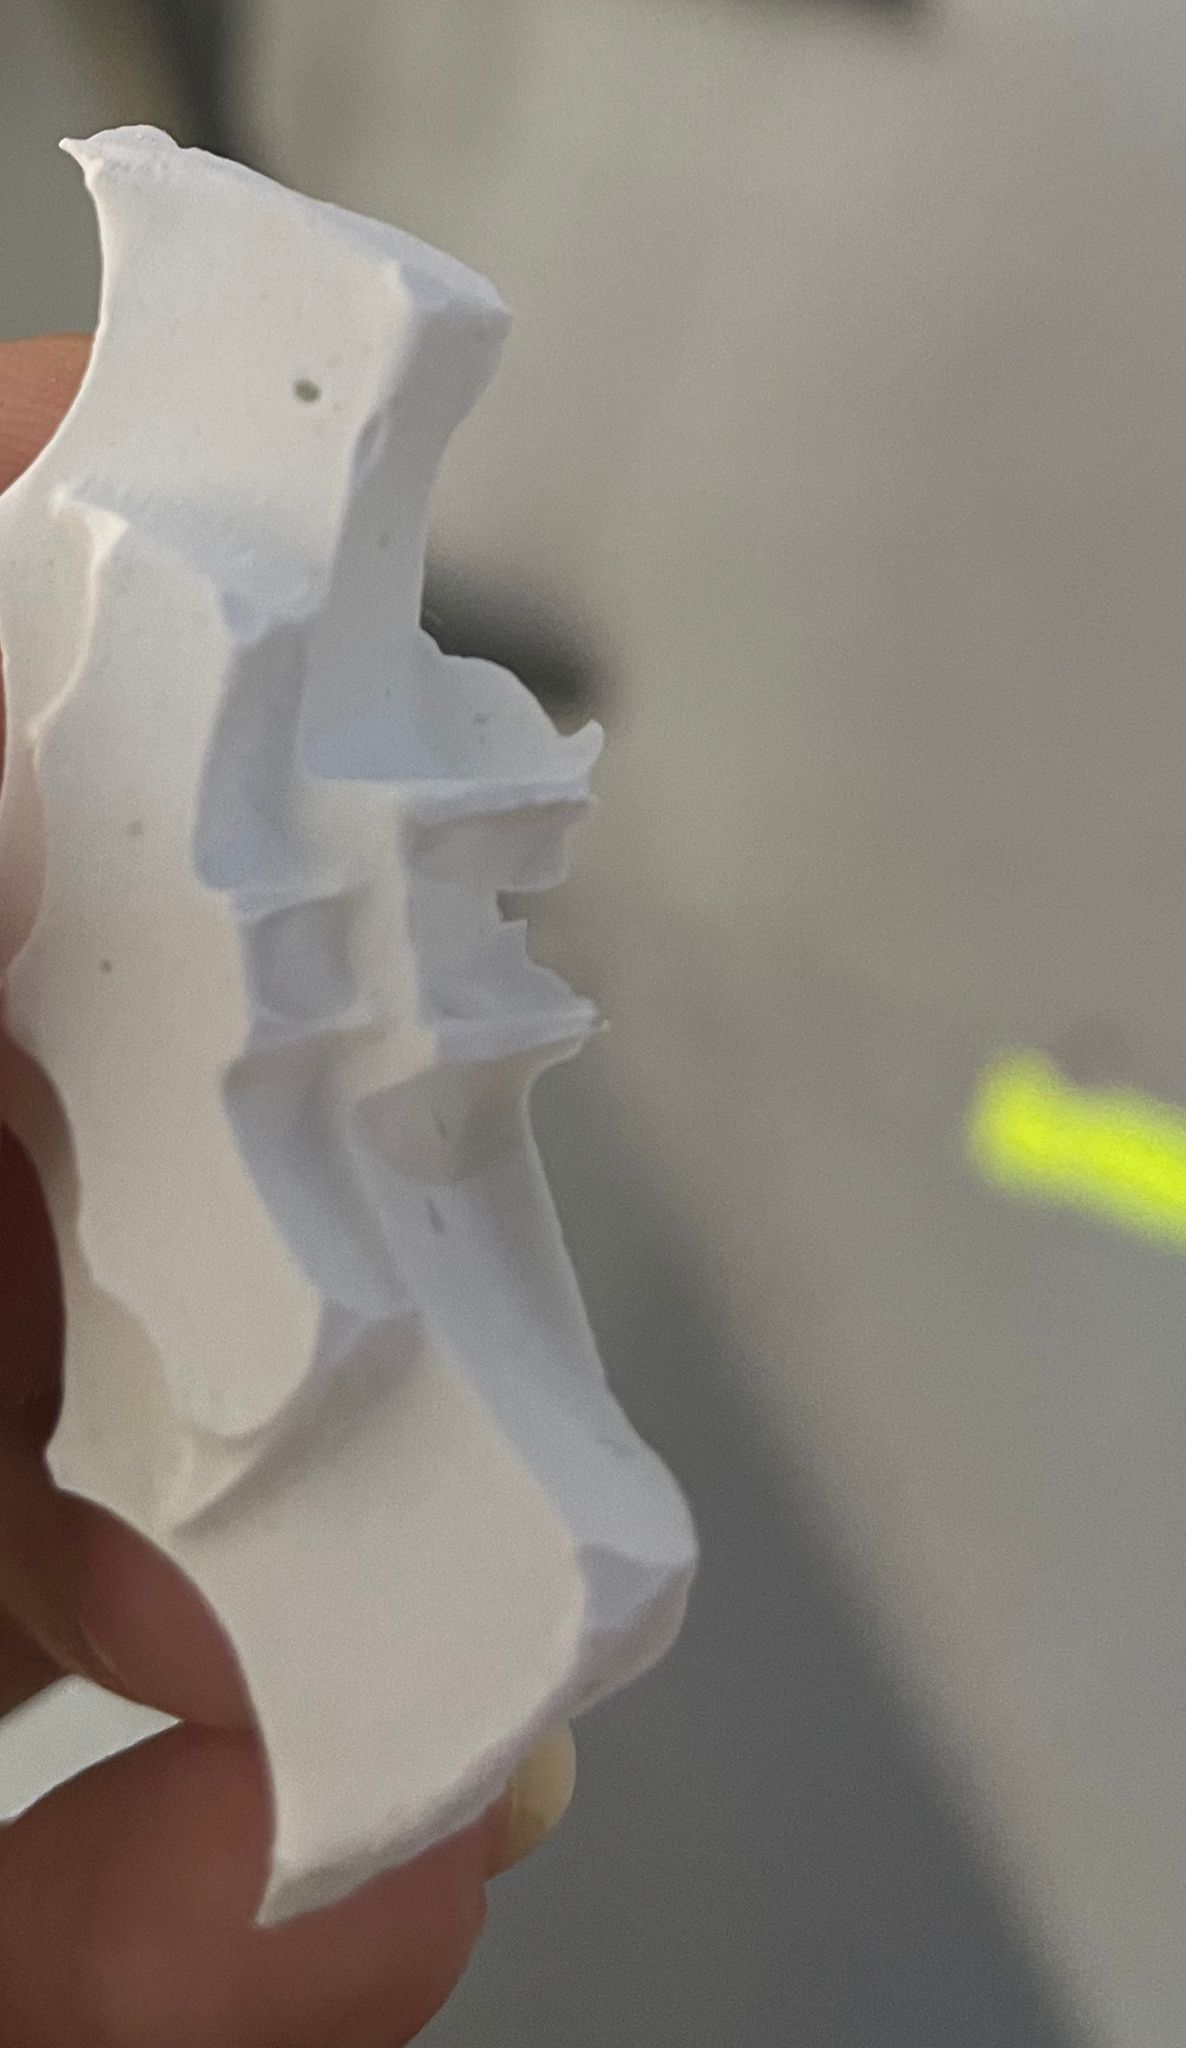
The final result for molding
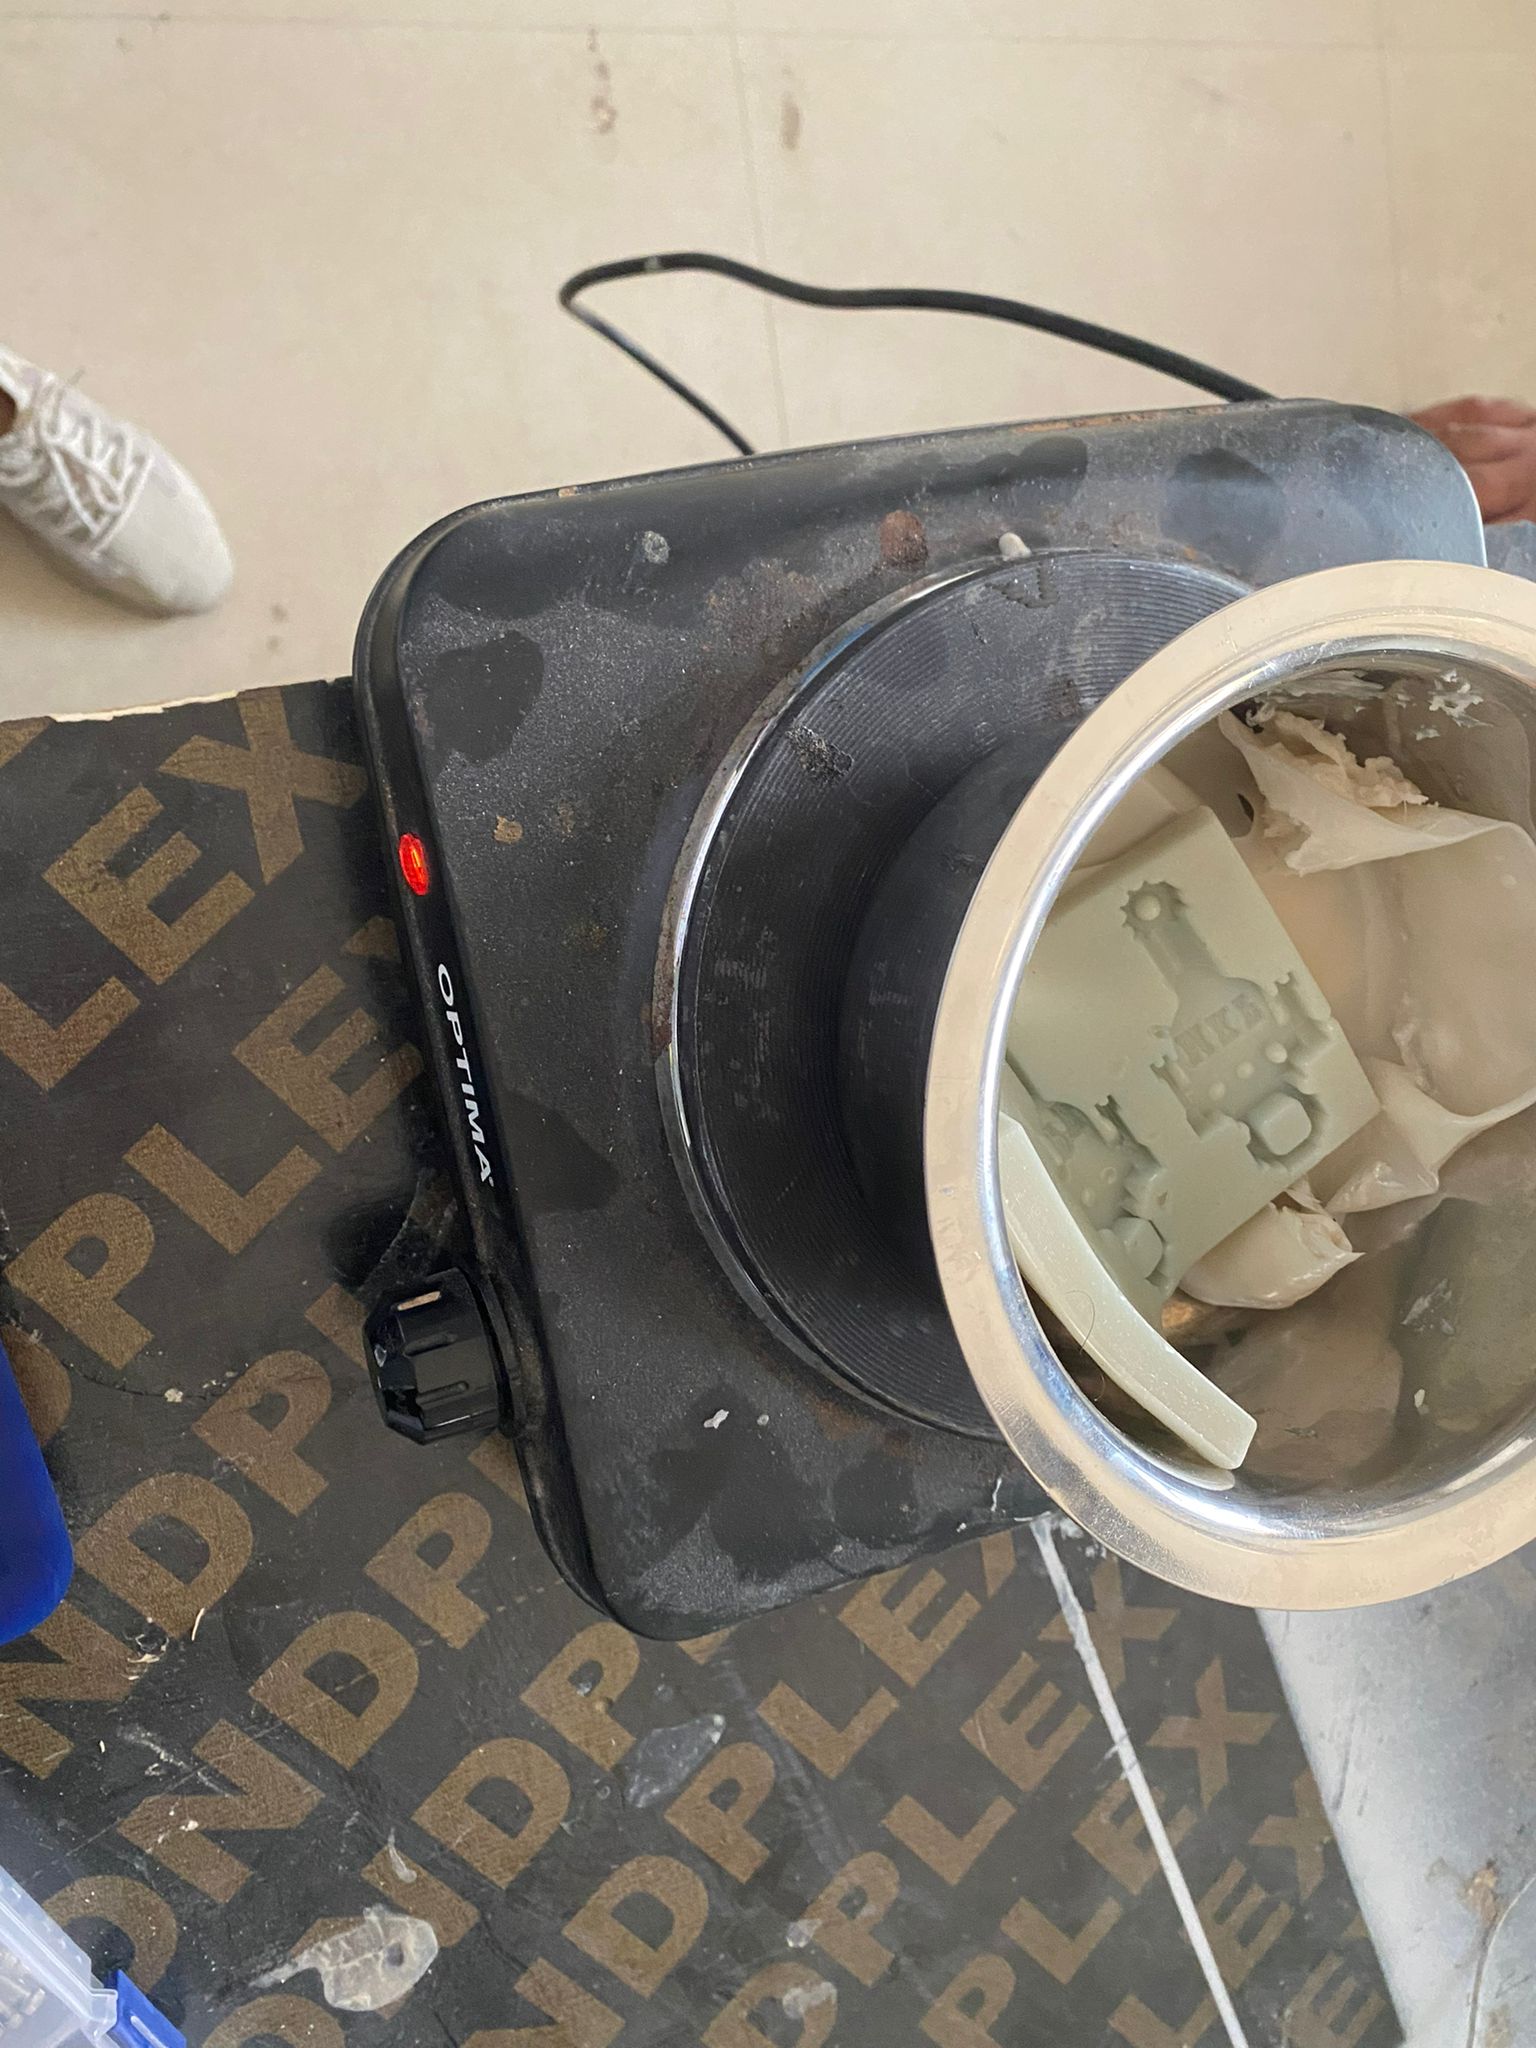
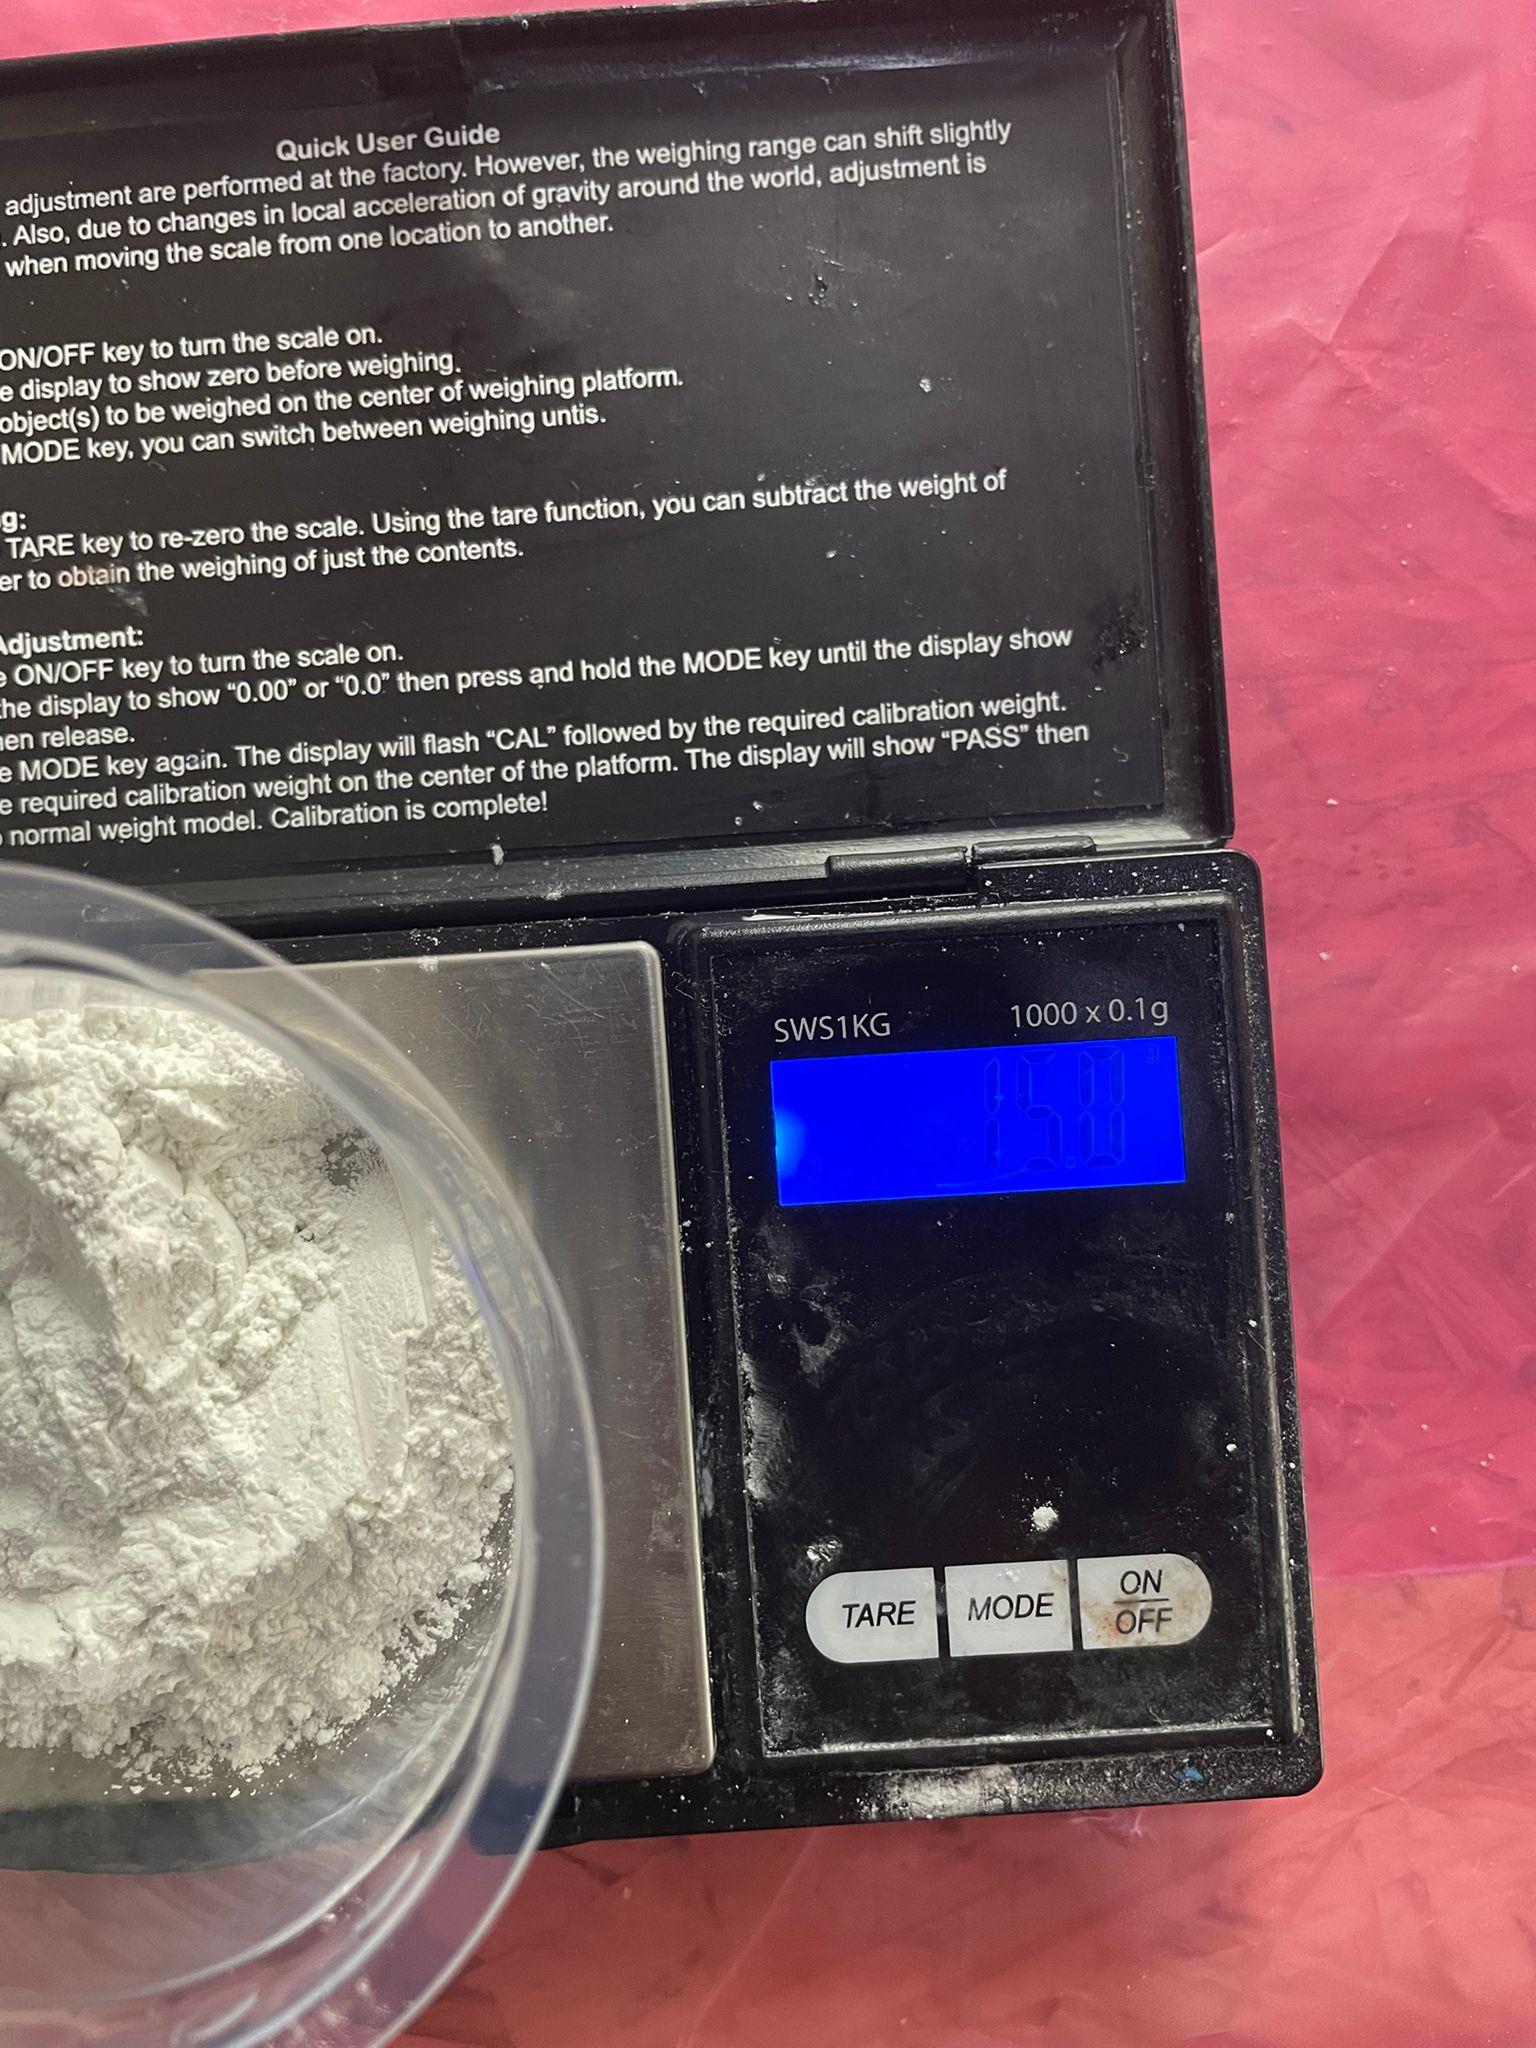
## 4. Casting
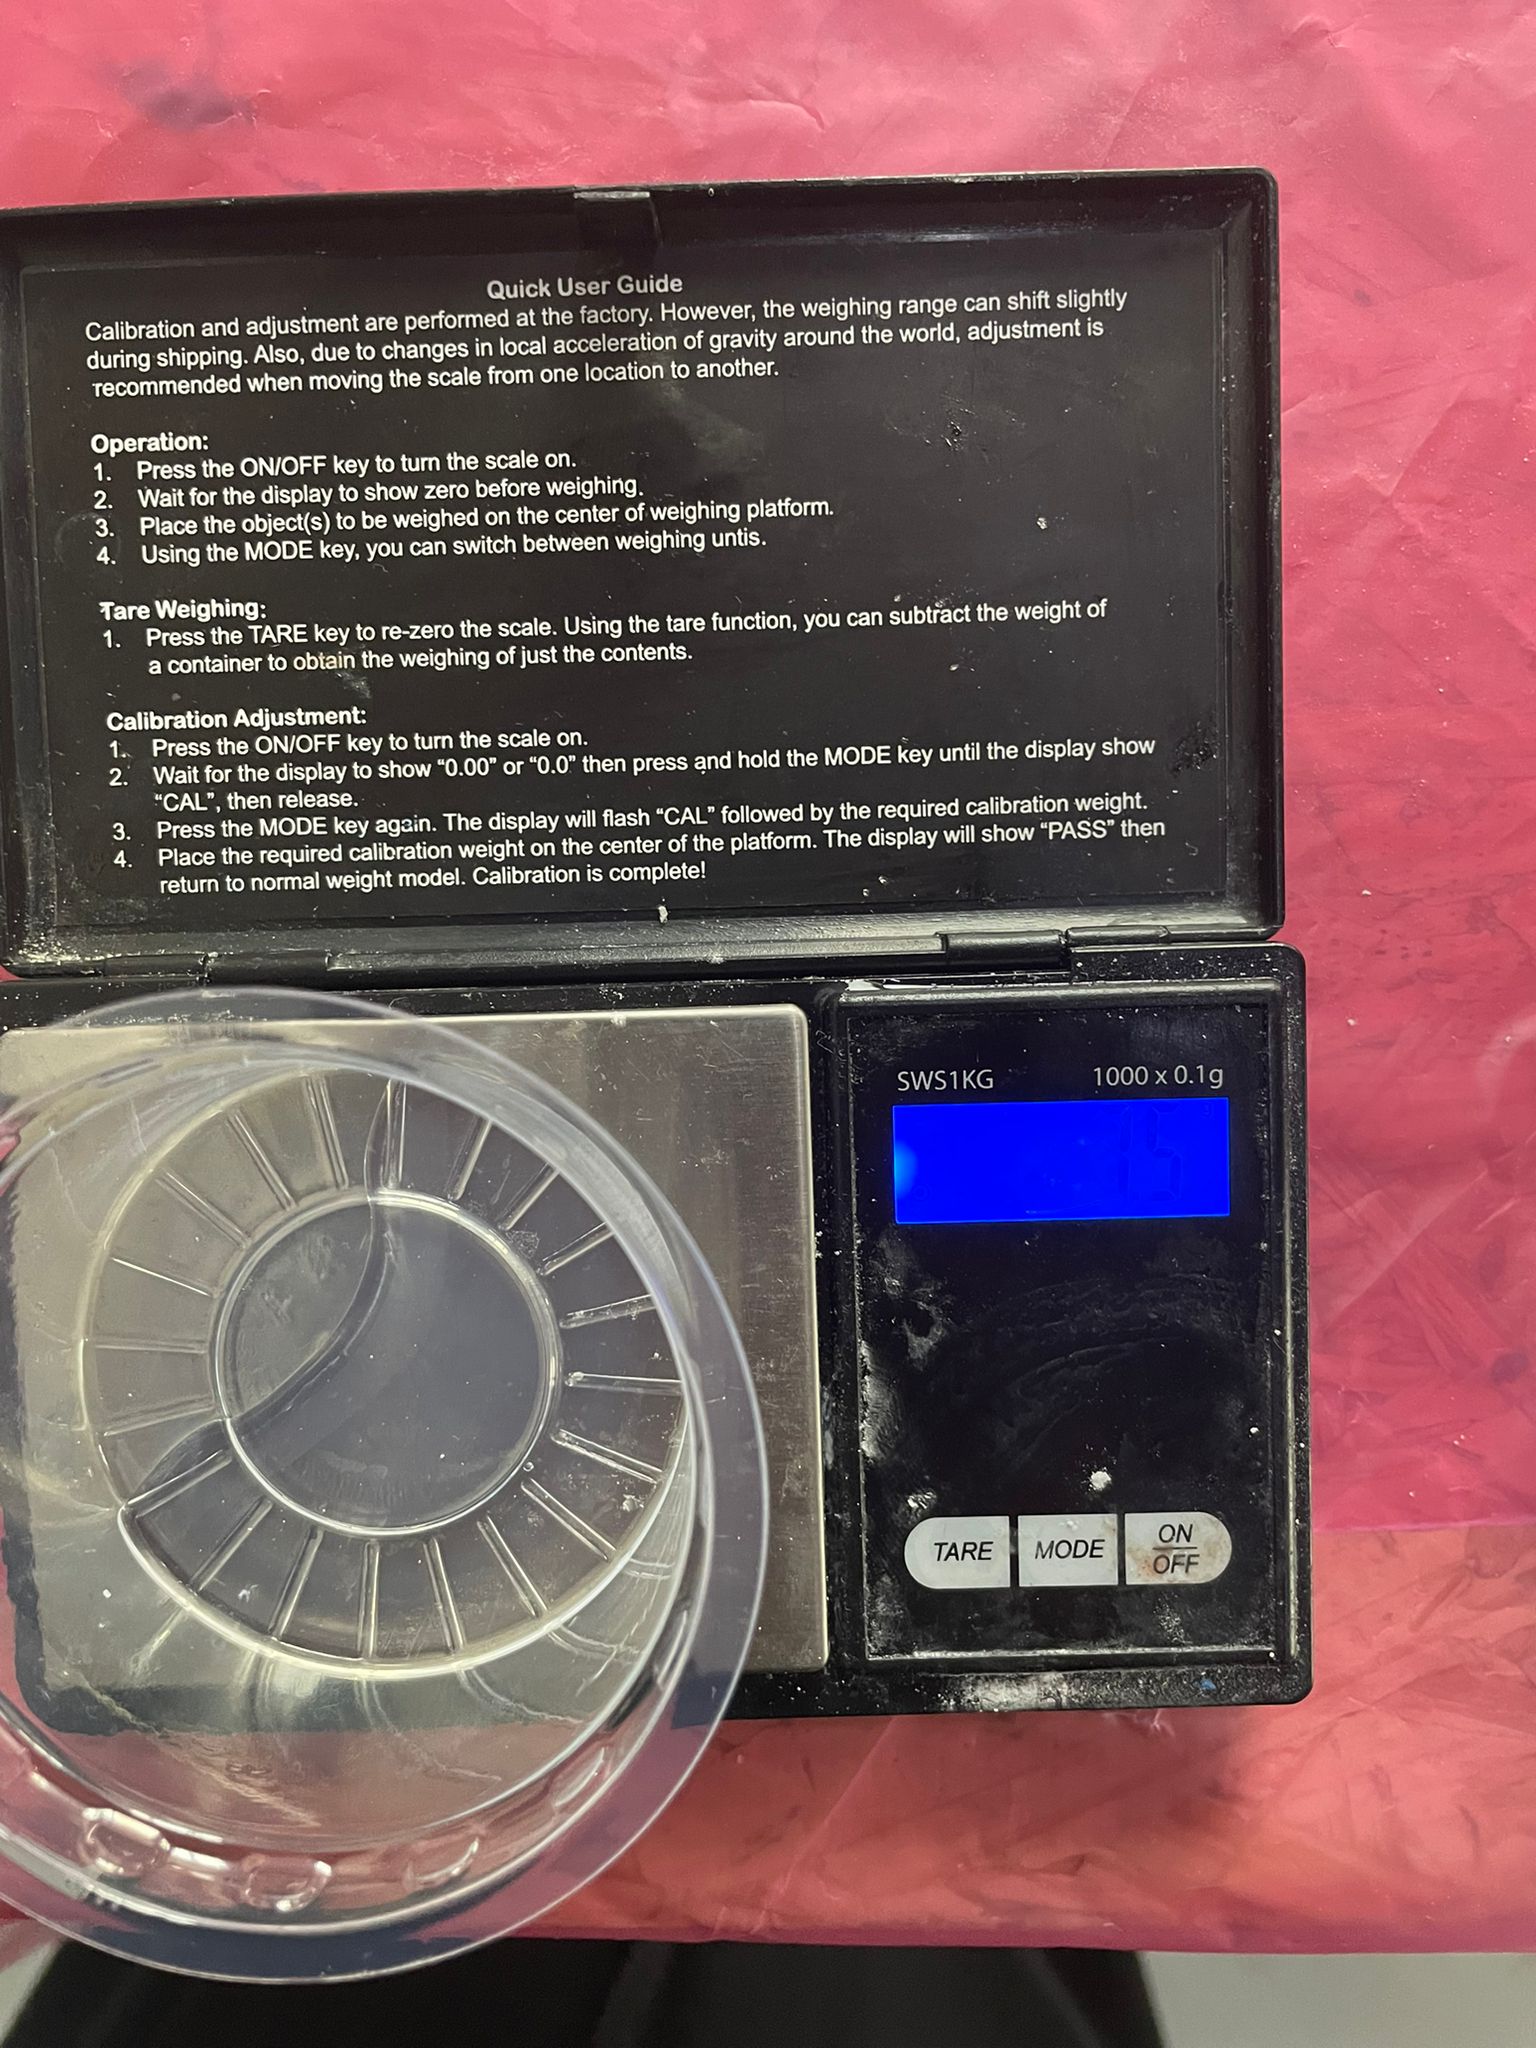
In order to create the casting, chose the dry putty material ().first step , used the digital scale and put 15 grams of dry putty and 5 grams of water.
After that ,mixed them together, then I waited 5 minutes and mixed again.
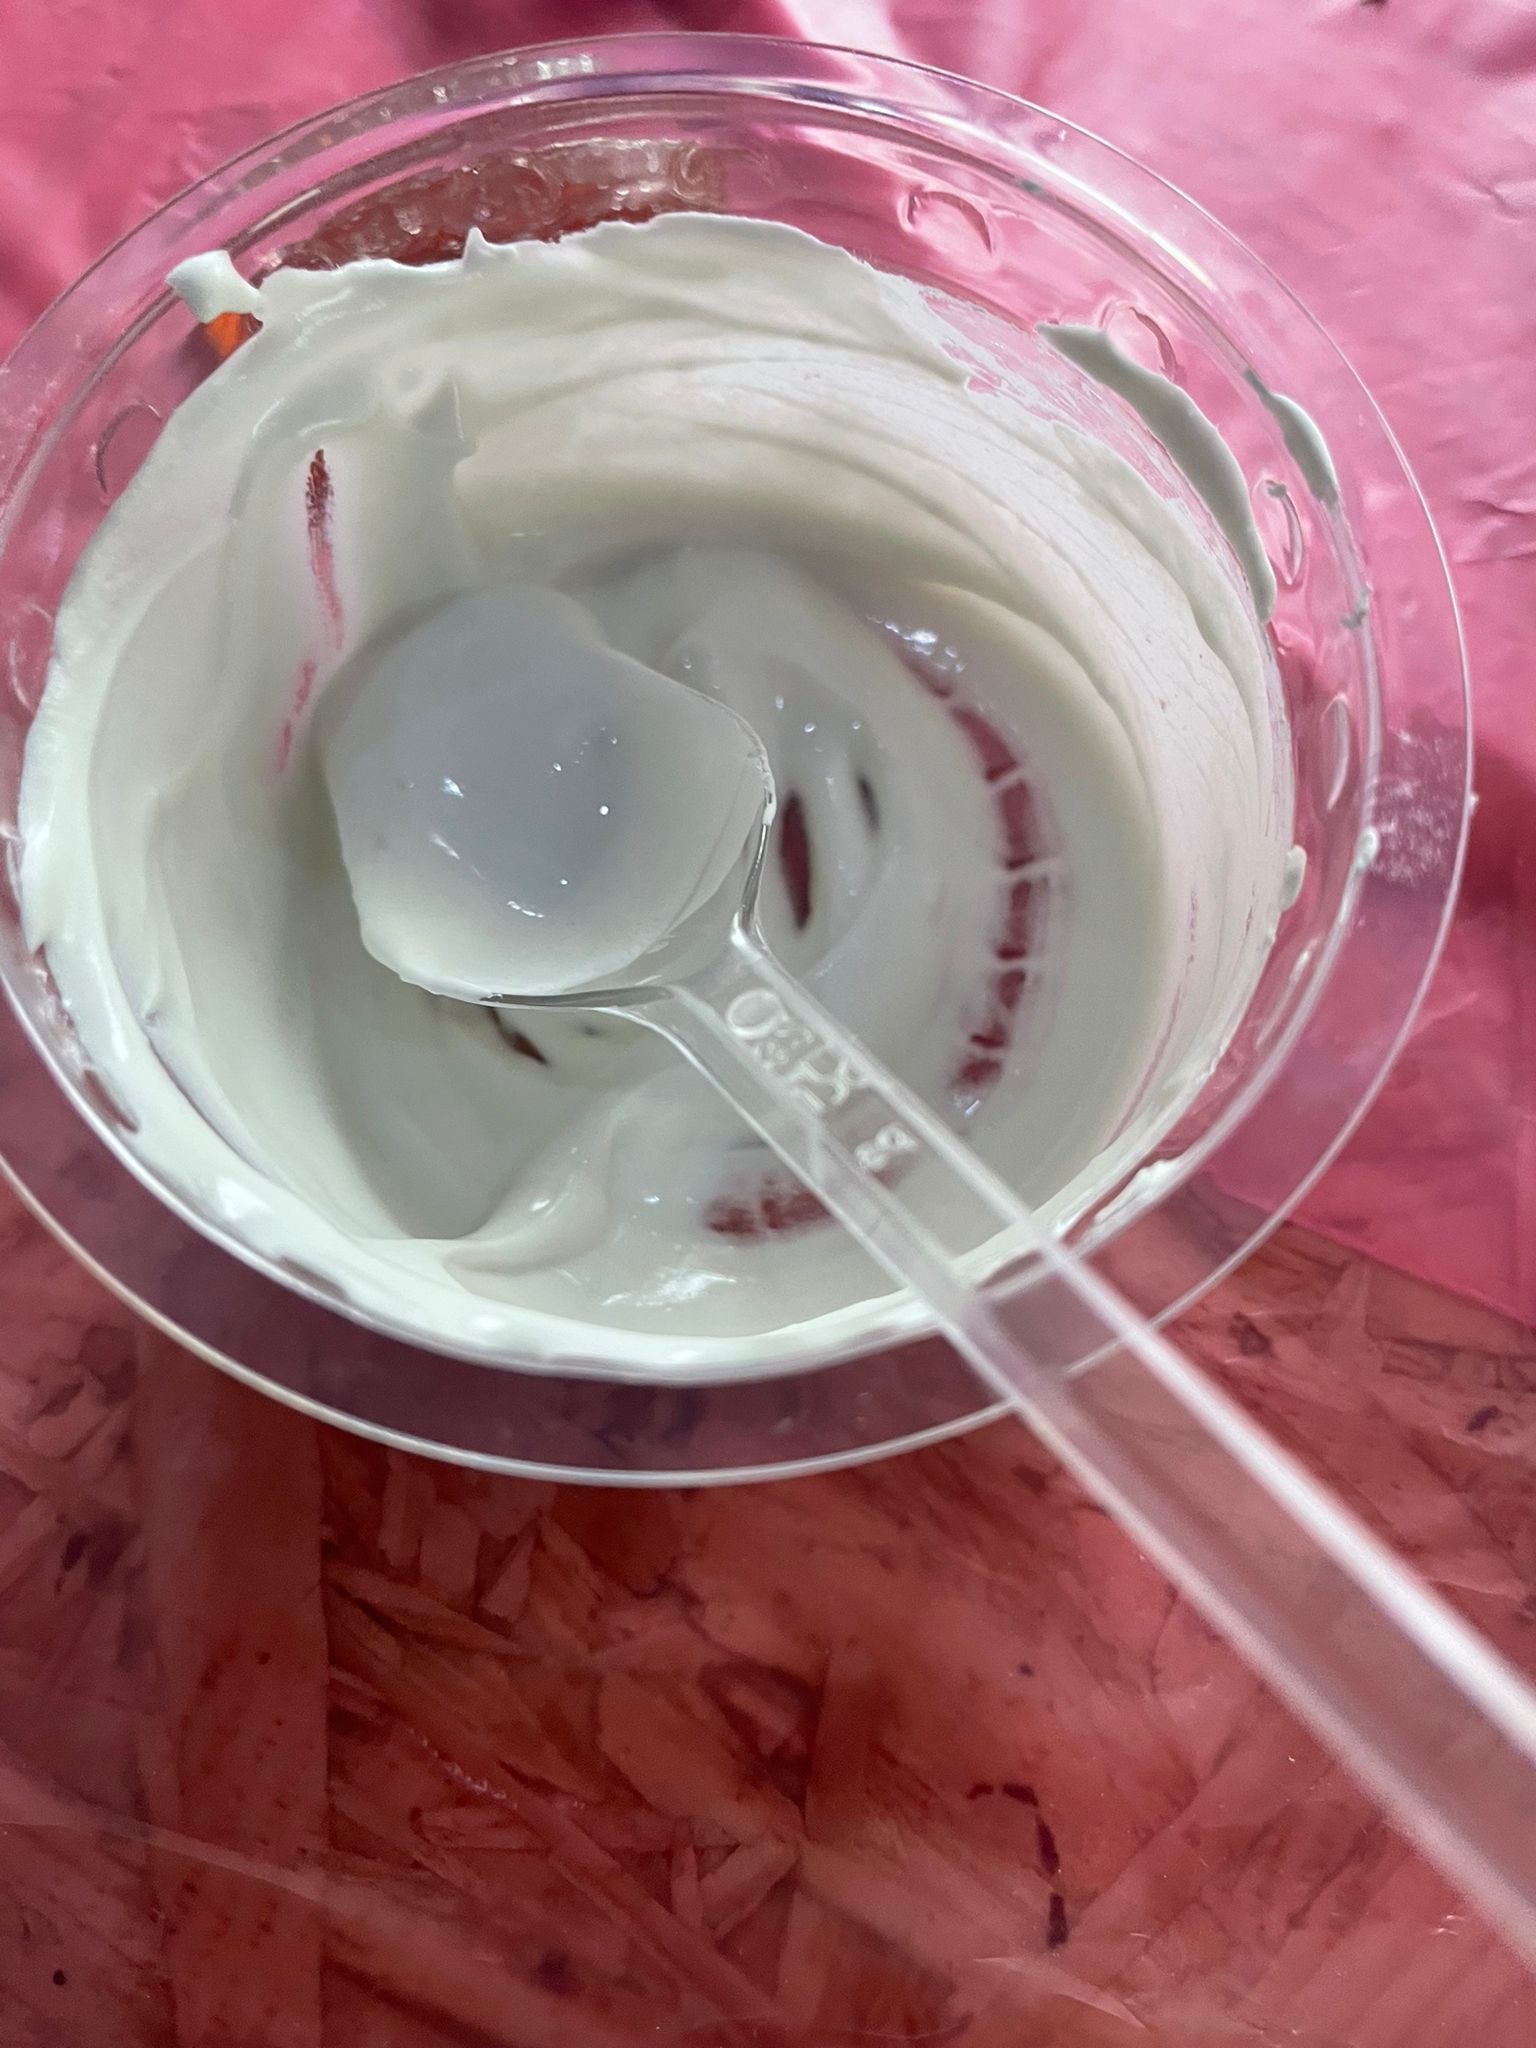
Then, I put the mixture in a silicon mold.
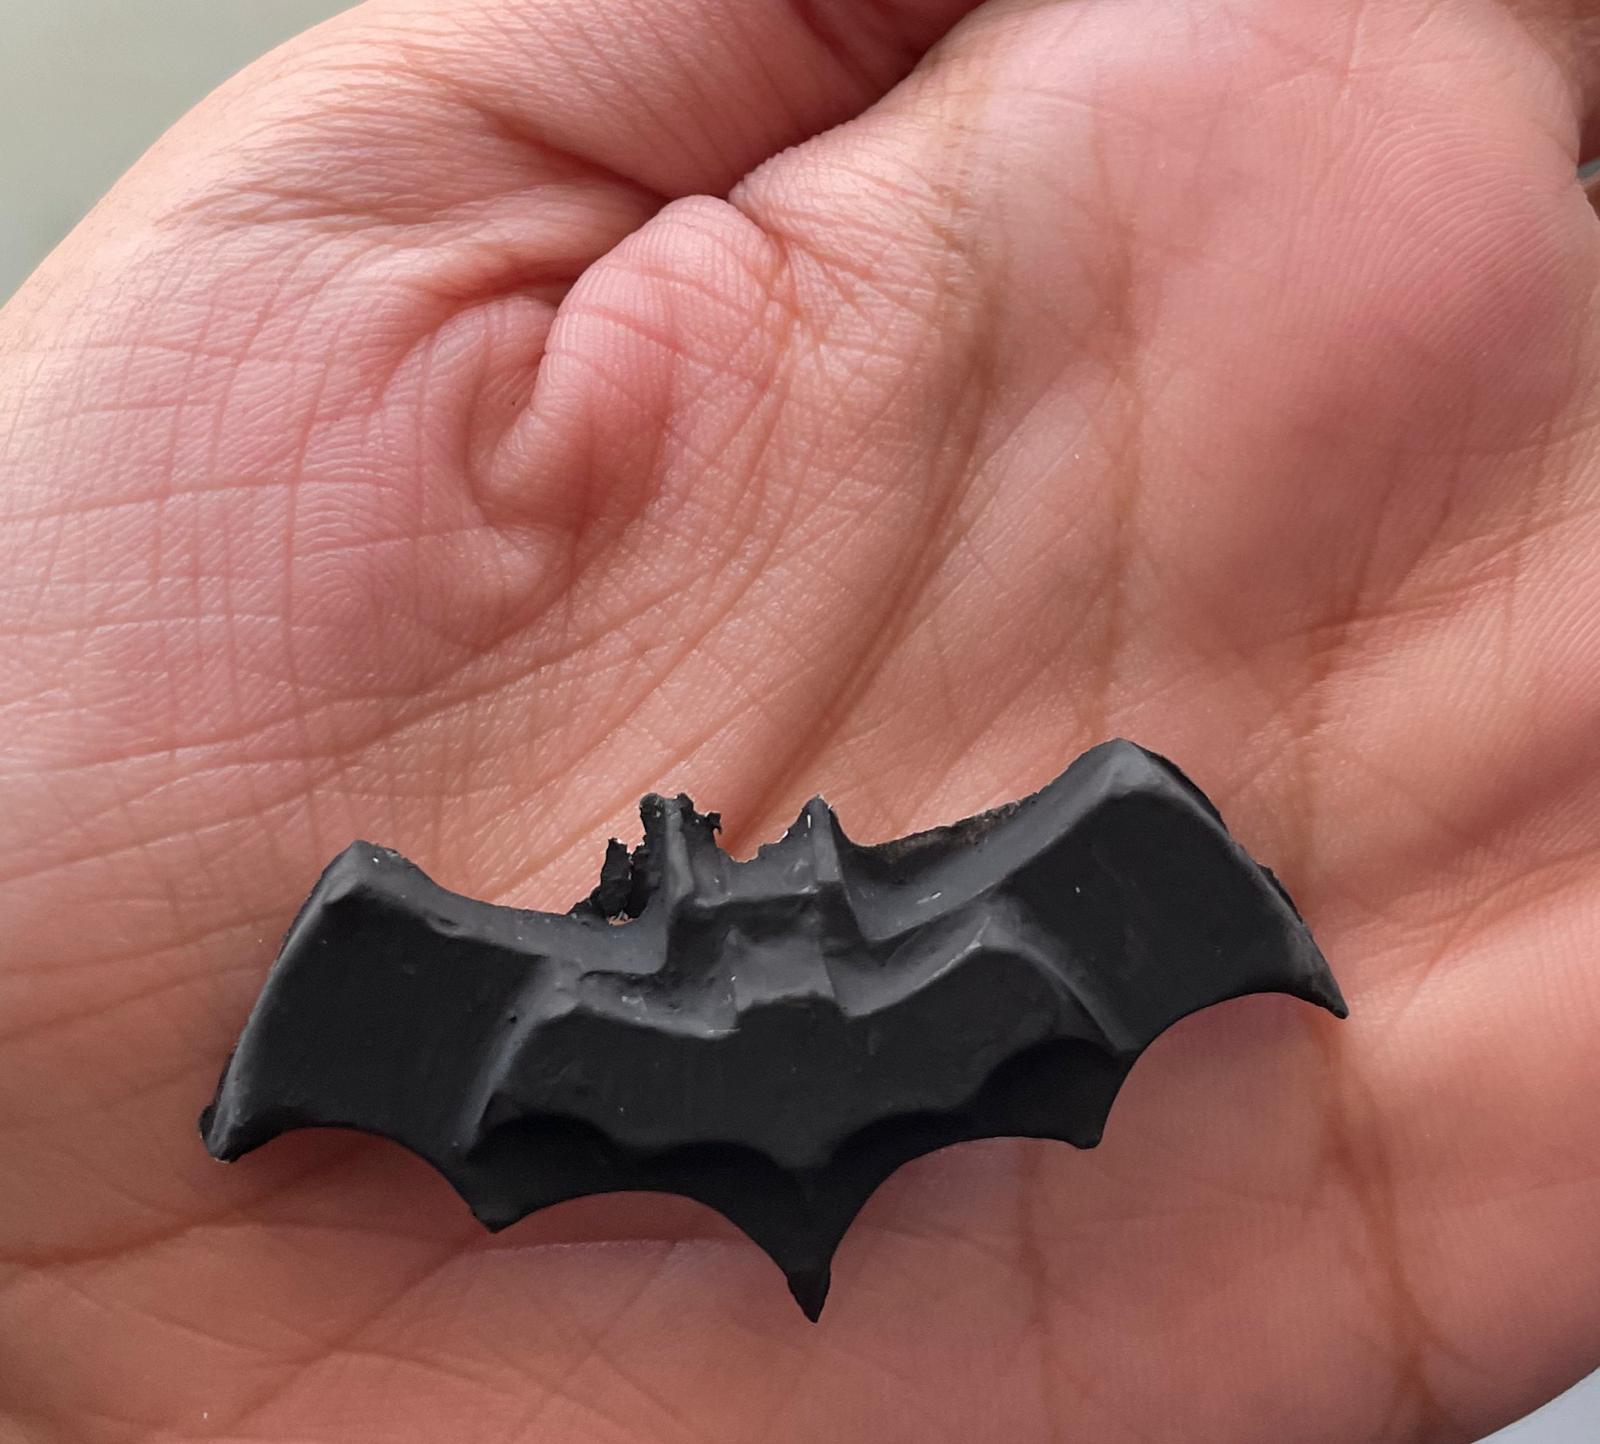
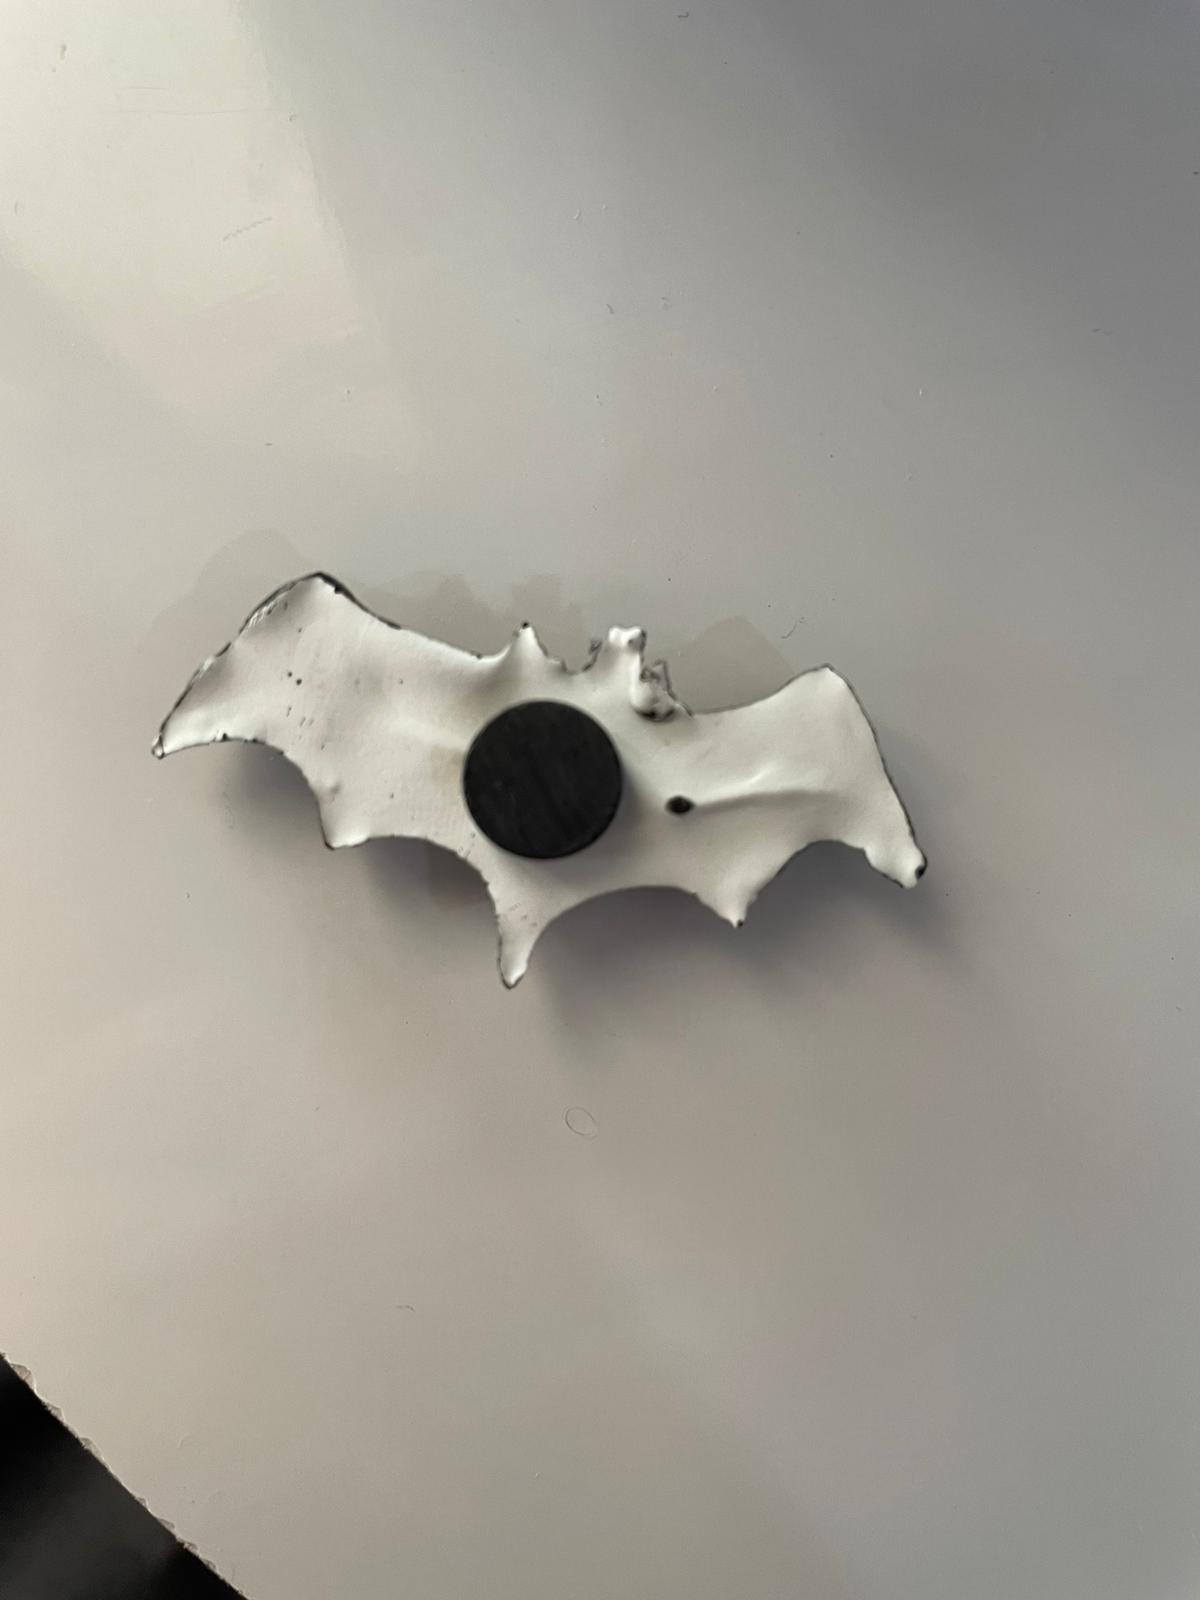
The final outcome.

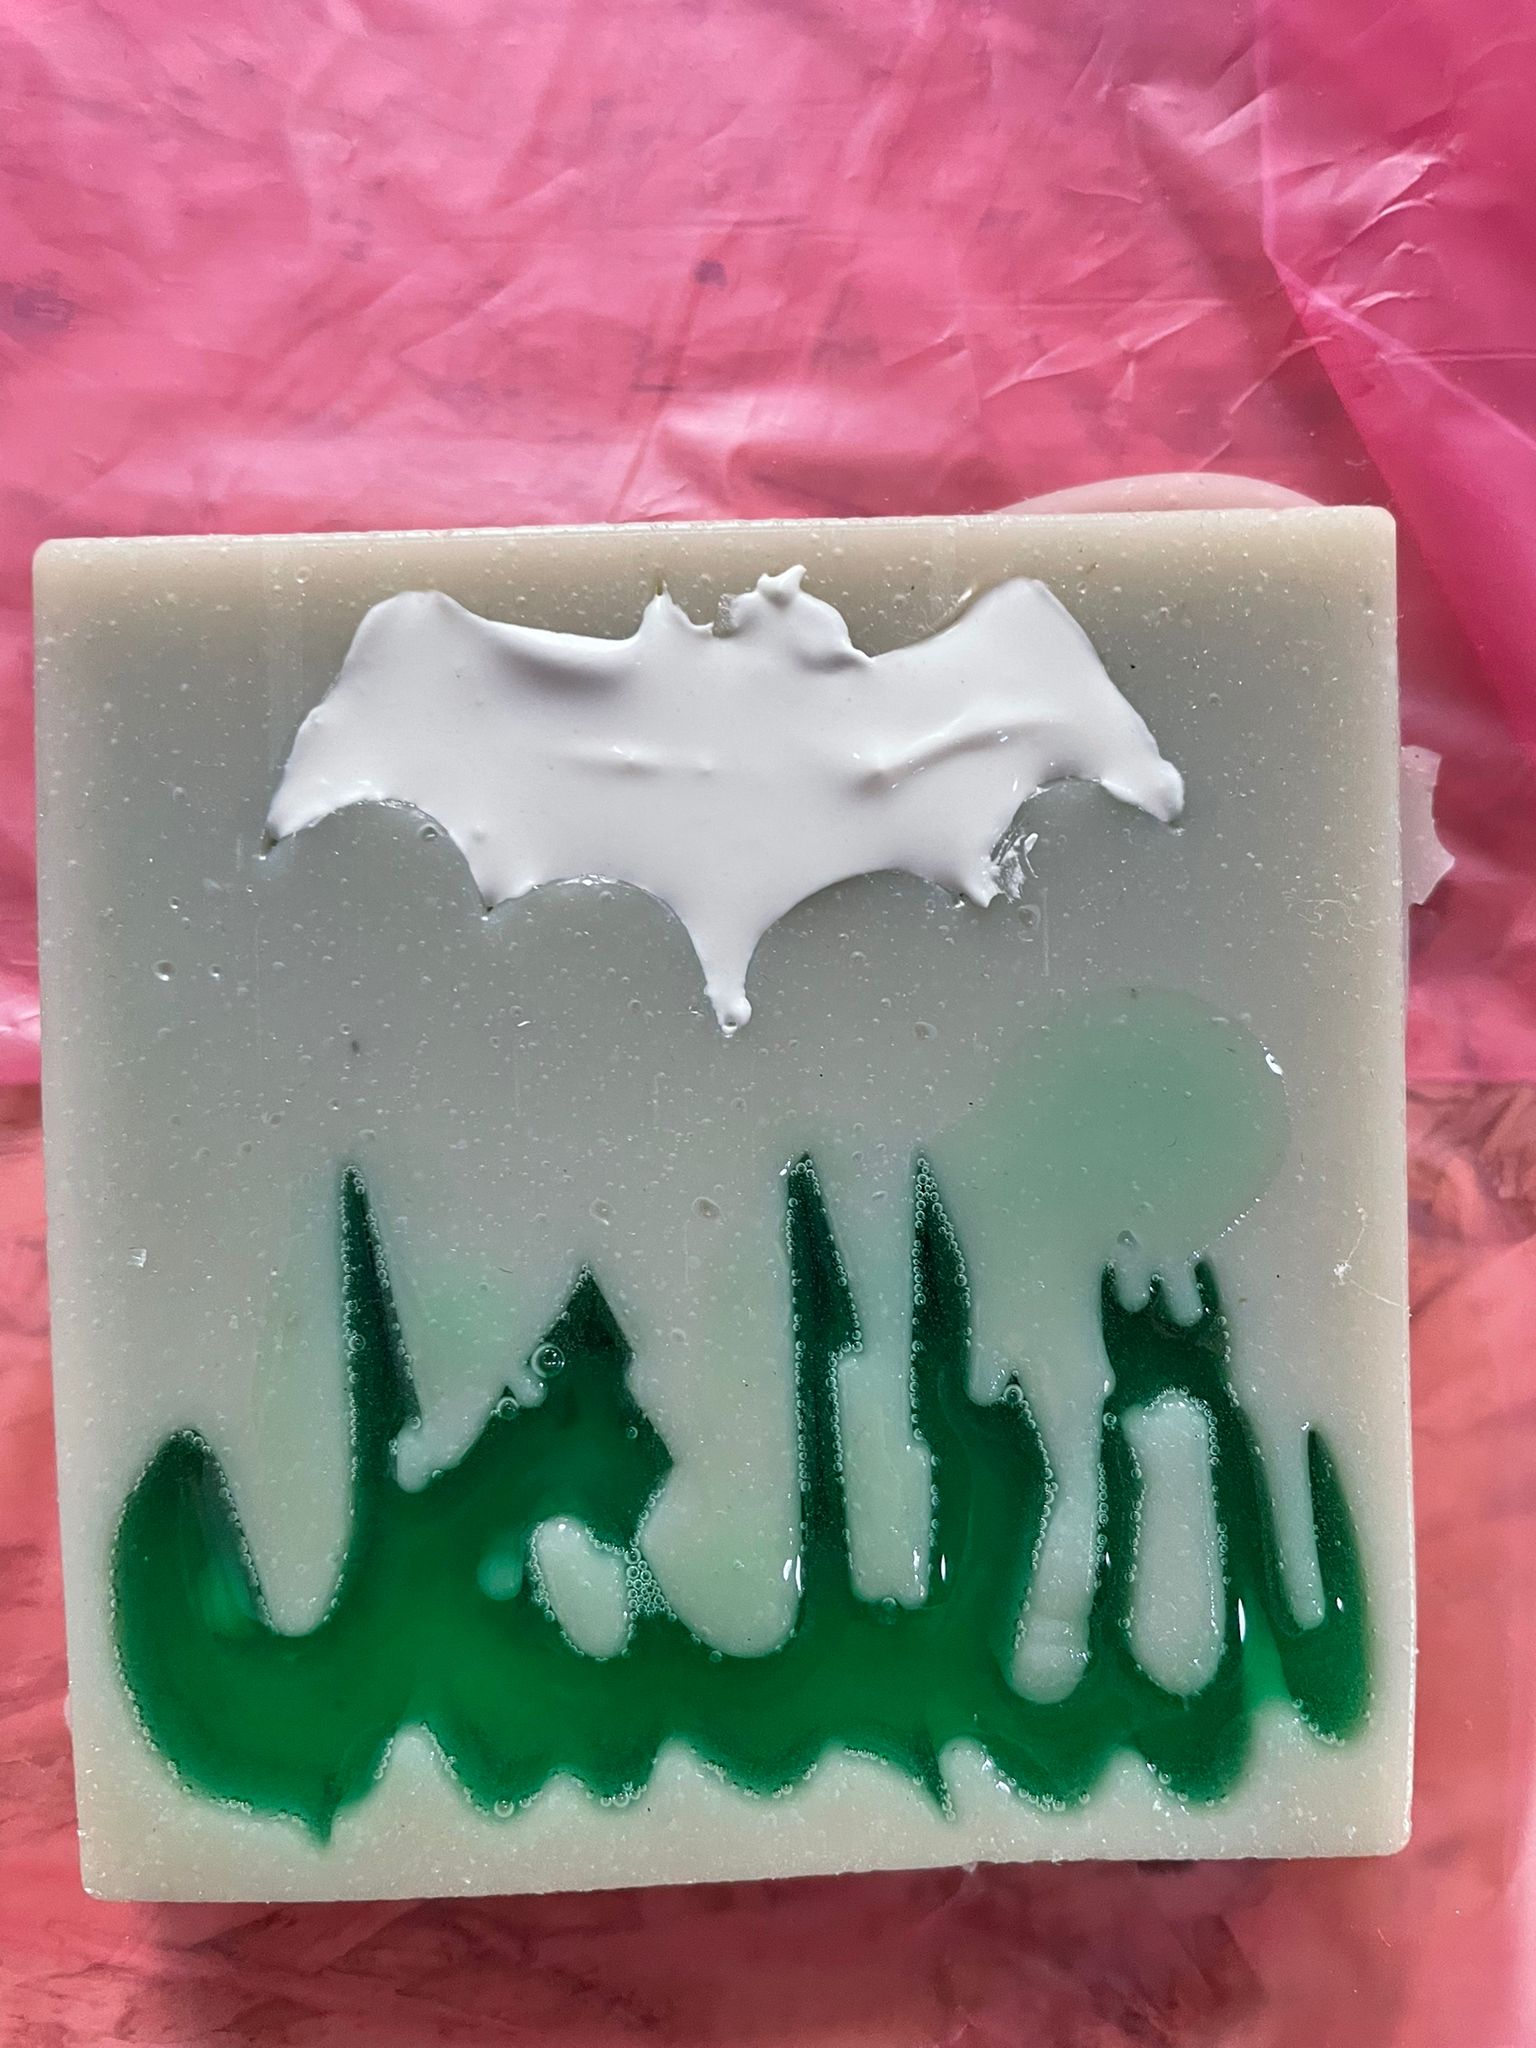
Final Result
the final result after coloring.

My opinion
This week was very simple and easy, but it needs a lot of waiting.