3.Computer Controlled Cutting
This week, we learned about digital fabrication and the machines that go with it. Fiber laser cutters and CO2 laser cutters are two examples of laser cutters. However, the laser cutter that is available in the lab and that we will handle is known as the CO2 Laser Cutter.The CO2 Laser Cutter can be seen in this figure below.the machine has a Laser Tube that holds a gas mixture that produces a Laser Beam.This laser cutter can cut a various materials, including acrylic, cardboard, paper, and MDF.The second machine is Cricut machine by using vinylcutter to create a sticker.
Group Assignment
We have to test the Laser Cutting Machine as part of the task group before using it. We wanted to see how modifying the speed and power influenced the material’s printing.All the details are on my colleague’s page in this Link.
Individual Assignment
Each student had to create small bits that could be cut with the laser machine as an individual assignment, and the parts had to be designed in such a way that they could be joined together. To do so, I created a simple sketch with Cuttle.com program. The diagrams below show how I went about drawing.
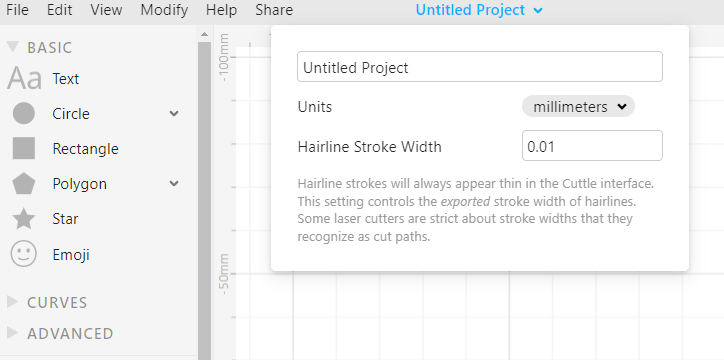
1.From untitled project I chenged the sizes to milemeters.
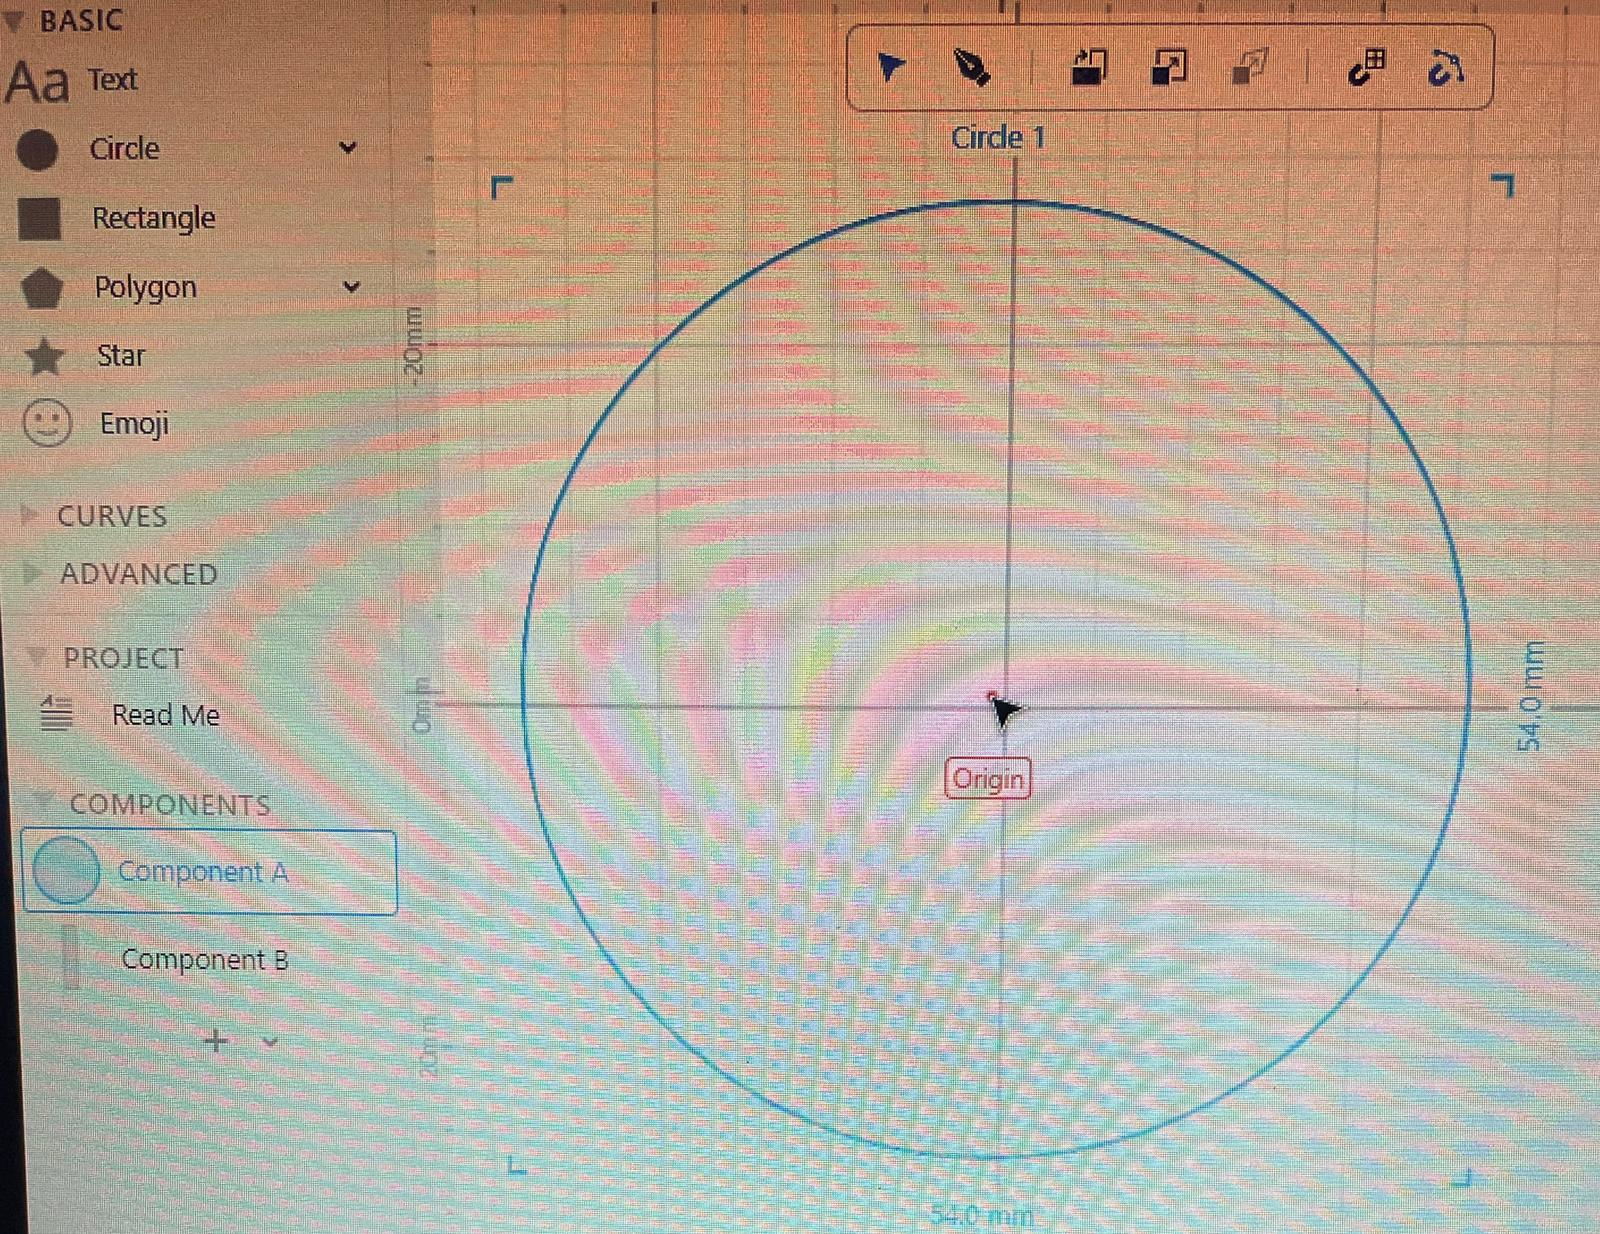
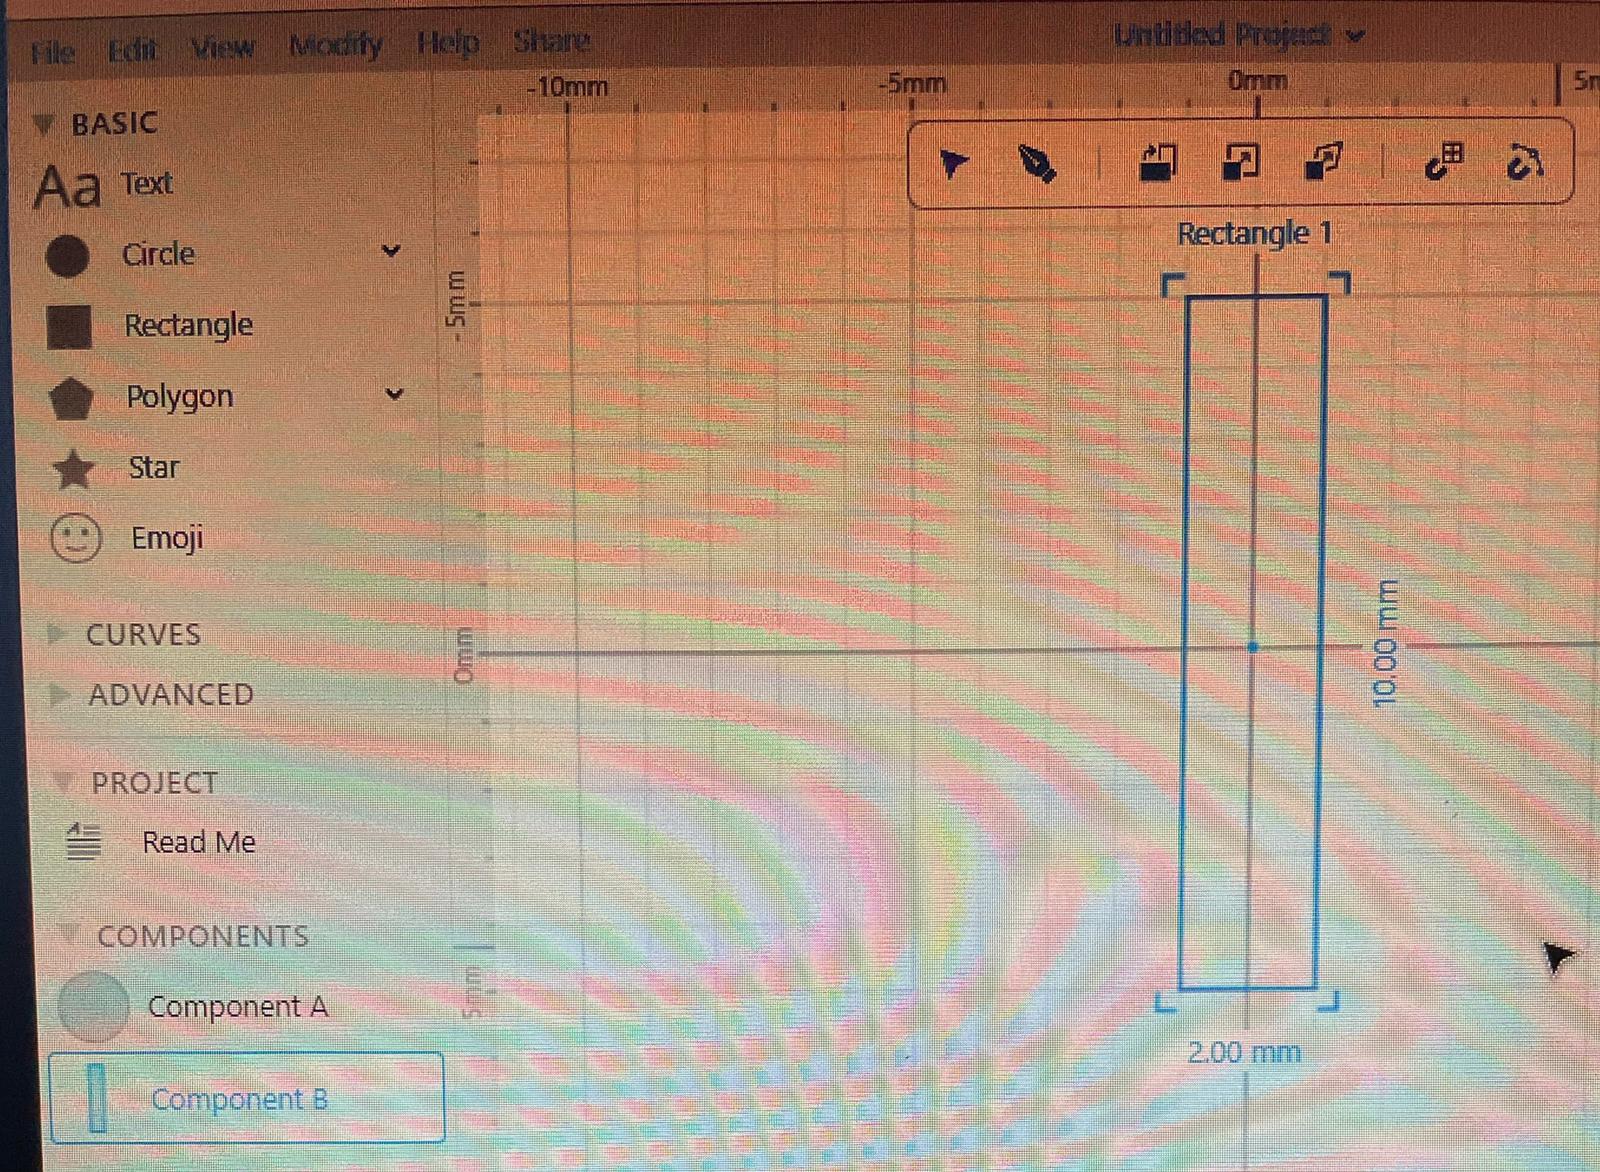
2.I chose the shape of the circle and the rectangle and drew them in different items.(compenant A and B).
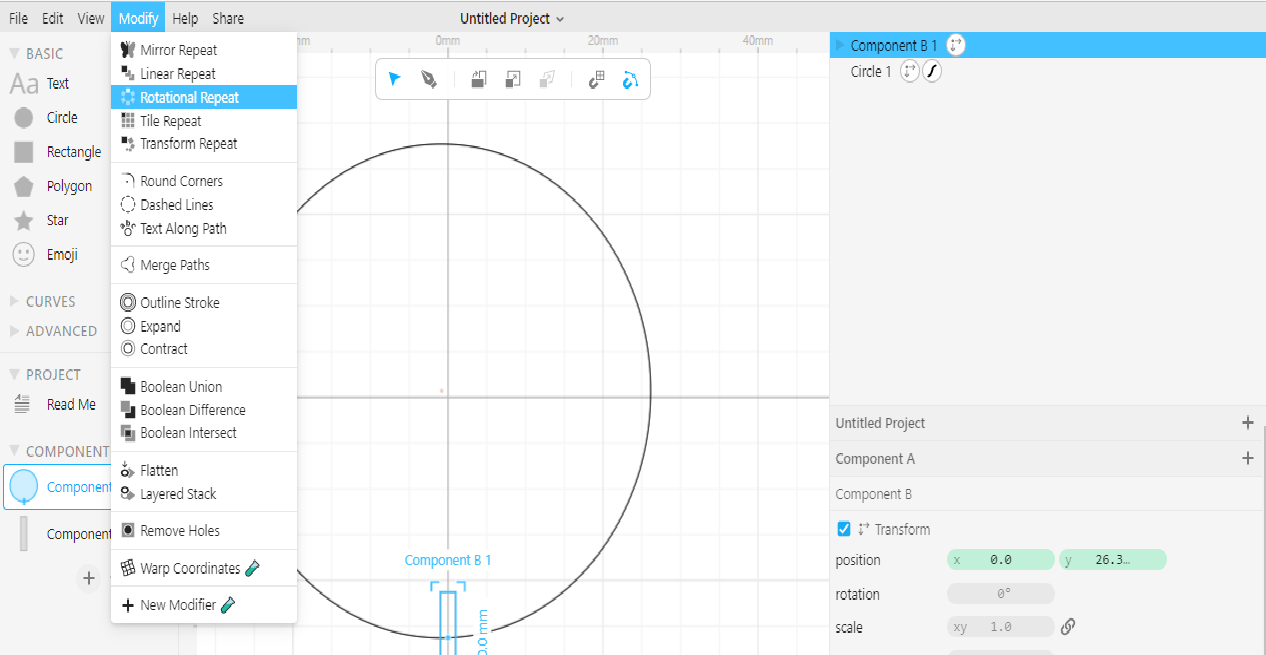
3.Put compenant B in compenant A and do the rotational repeat for the rectangle.** when i change the size of compenant B also the size of rectangle in compenant A will be change because it is parameteric.
4.Select all to boolean difference.
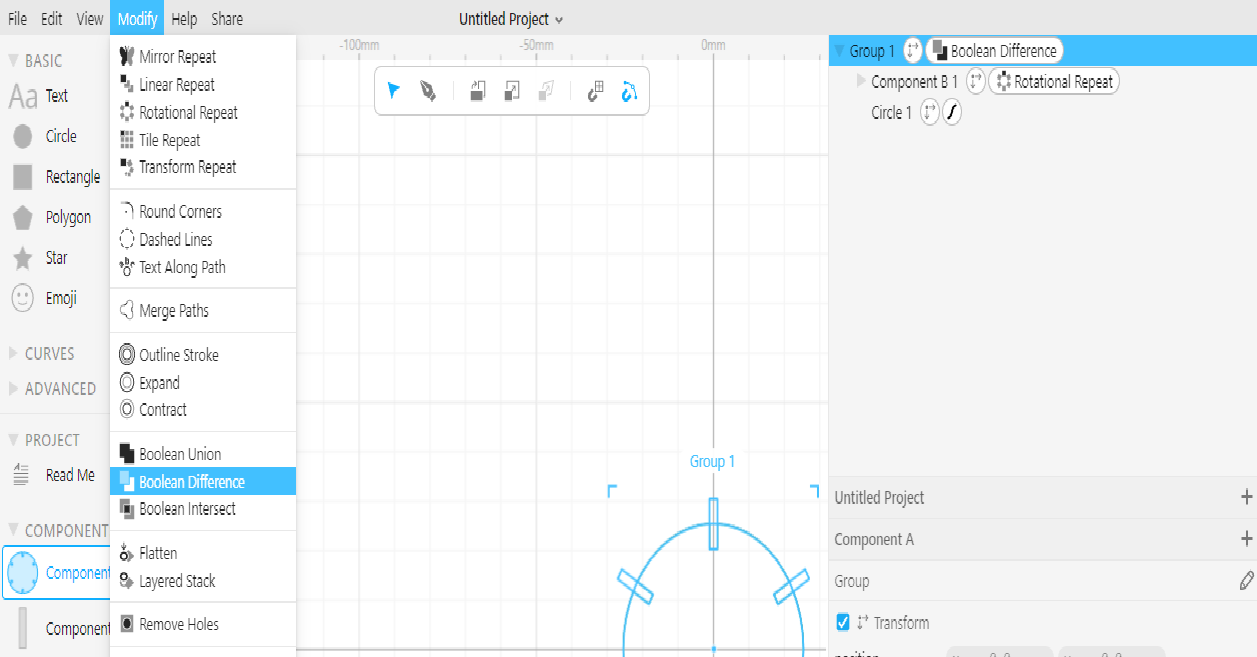
5.save it. Cuttle design
6.To convert the file to dxf, open inksvcape then save as dxf14.
7.Dawnload in the software and check the sizes again by using measure tool. The speed should be 70 and power is 50 .
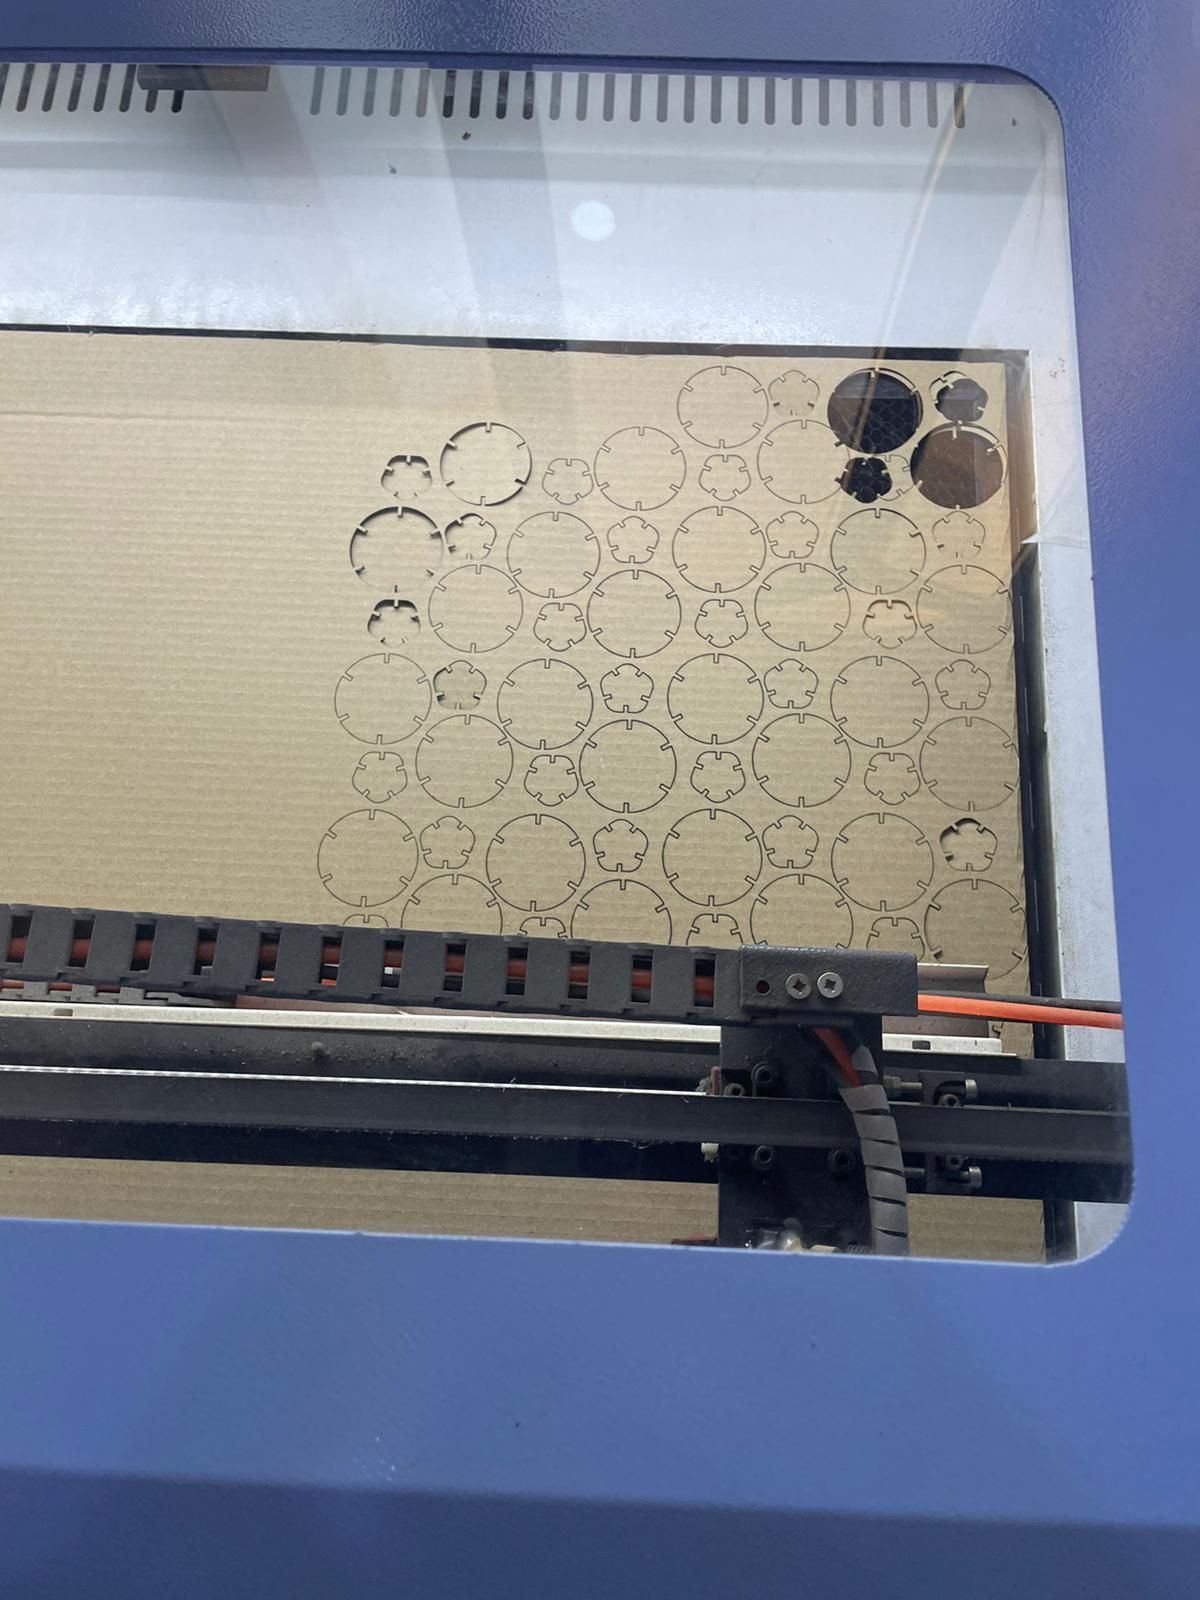
8.Print
NOTE:Before start printing,To begin with, when operating the CO2 laser cutter, all safety procedures must be followed. For instance, the user should be prepared and have access to the blanket needed to cover the machine in the event of a fire during the cutting process. To guarantee that the vents complete their work of emptying the machine of the remnants of cutting, the user should also be aware not to raise the top of the machine before waiting a suitable amount of time after each cutting step.
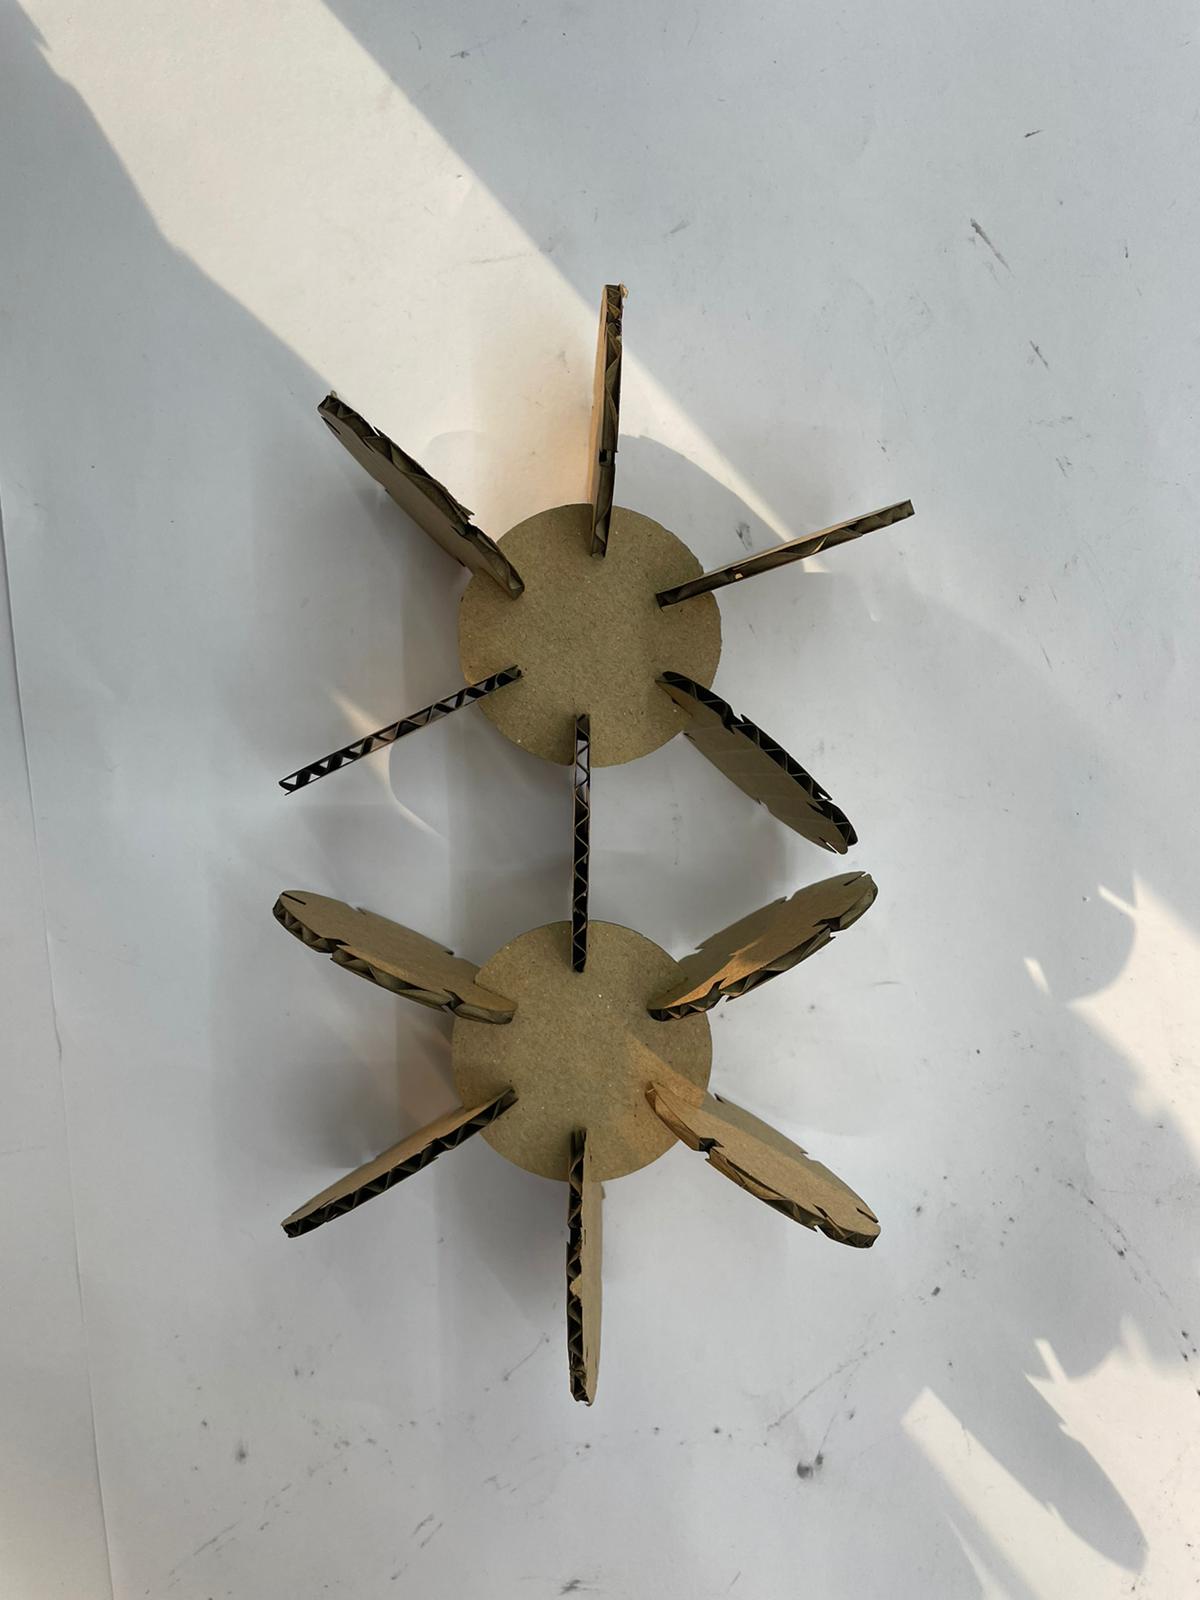
At first, only two pieces were printed to make sure of the measurements, the measurements were accurate.
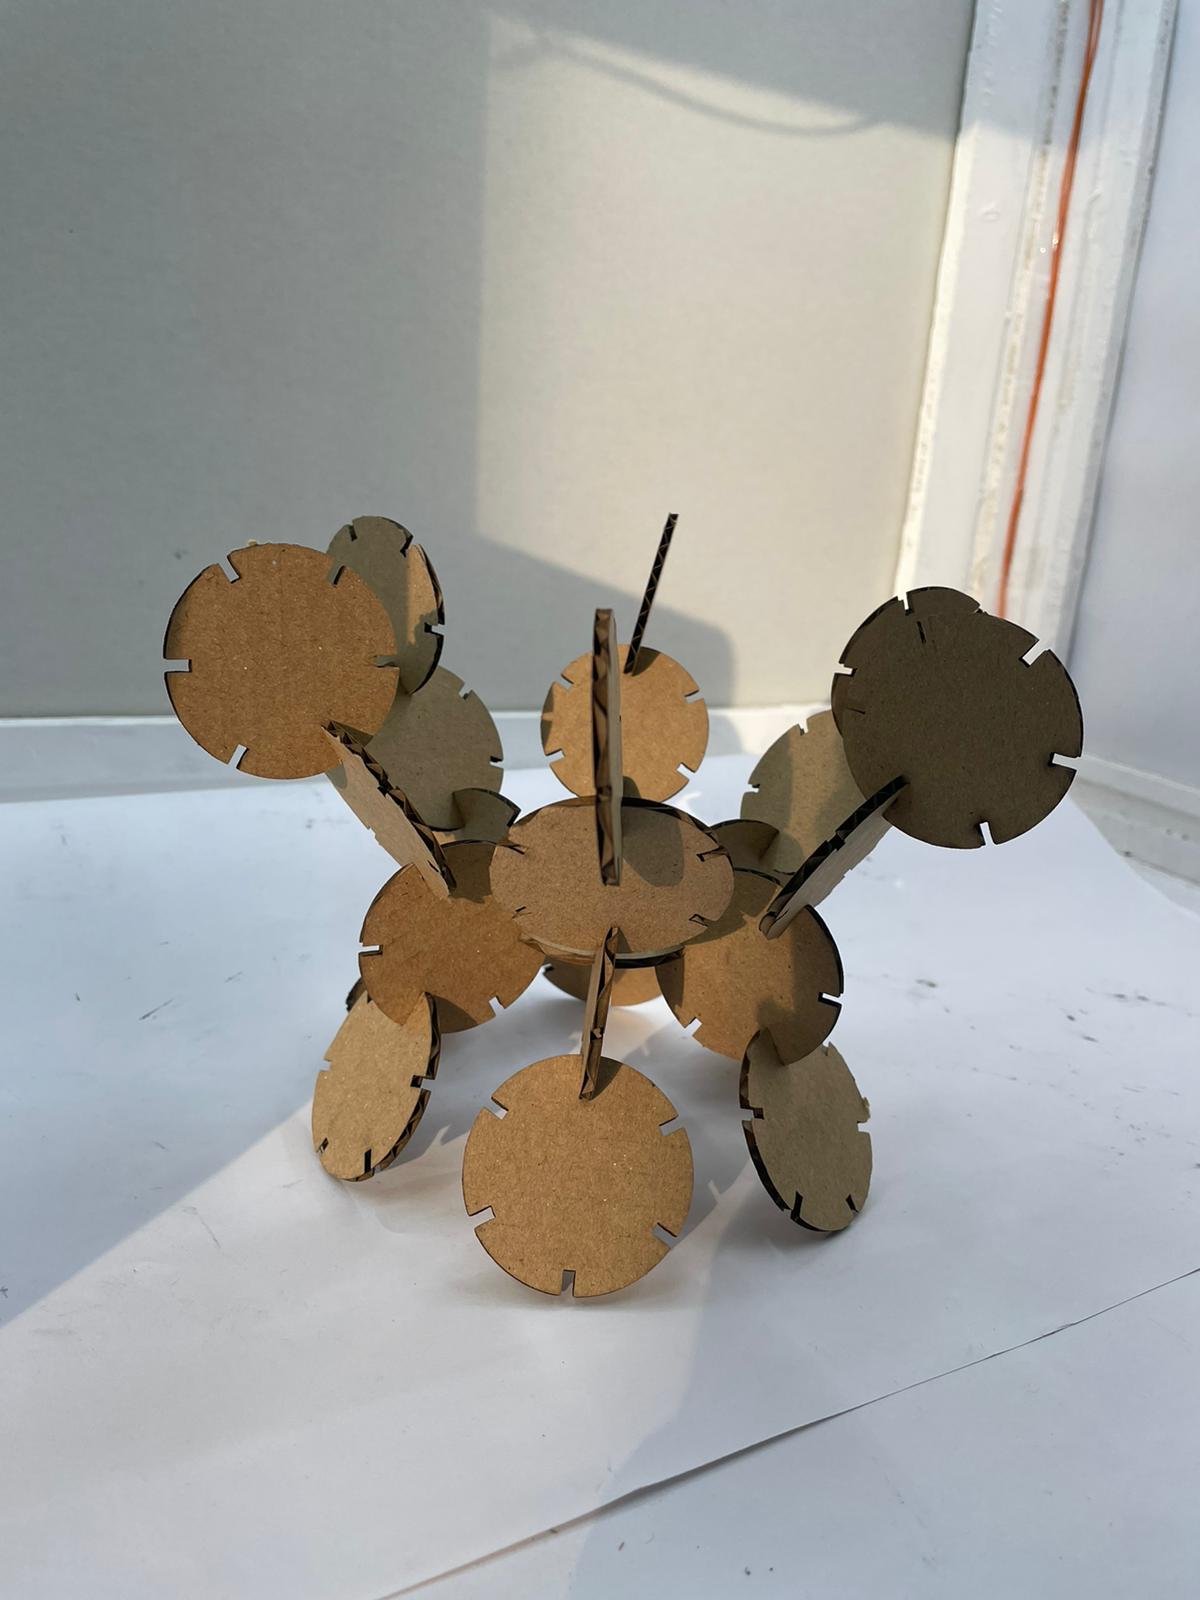
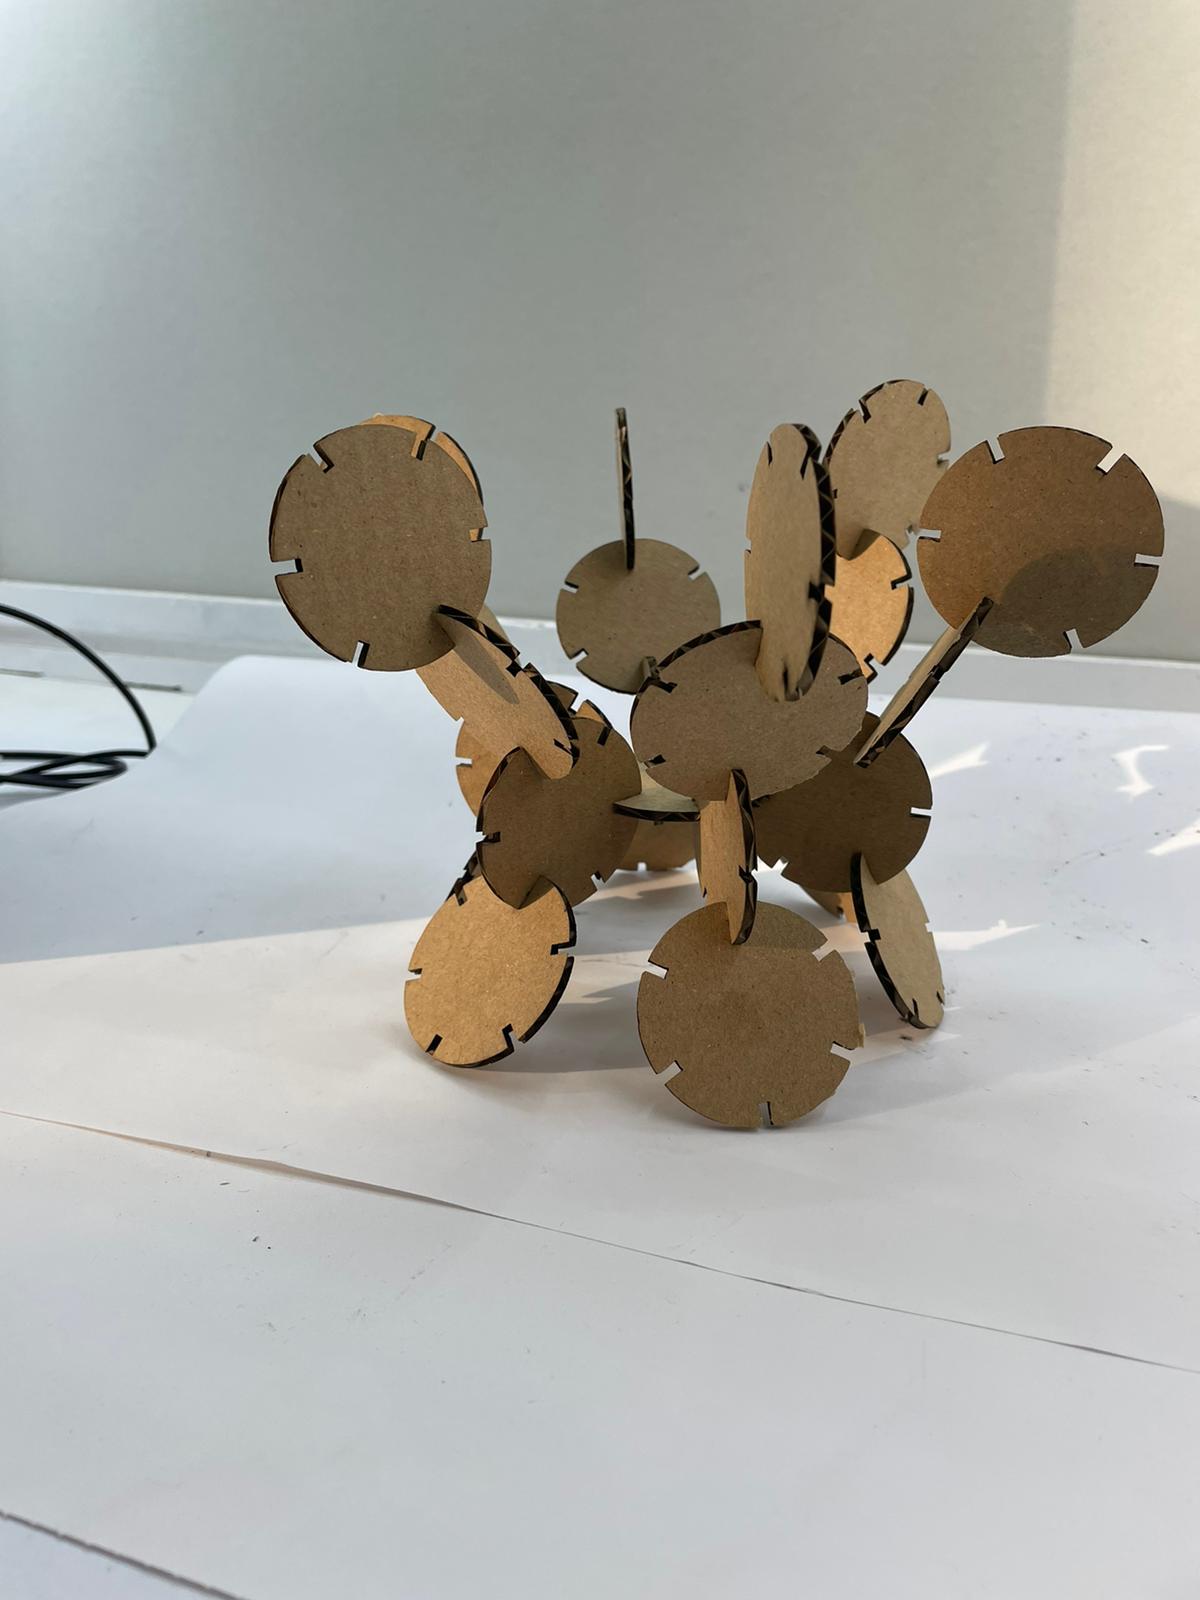
9.Final look
Vinyl Cutter
The goal is to know the operation of the machine and create a Sticker.Here, the vinyl cutter was mostly used to turn 2D artwork into stickers that could be used for a variety of things. To neatly and creatively cut the imported pattern on the adhering sheet, the vinyl cutter employs blades with a command from a certain program. The vinyl cutter appears as follows:
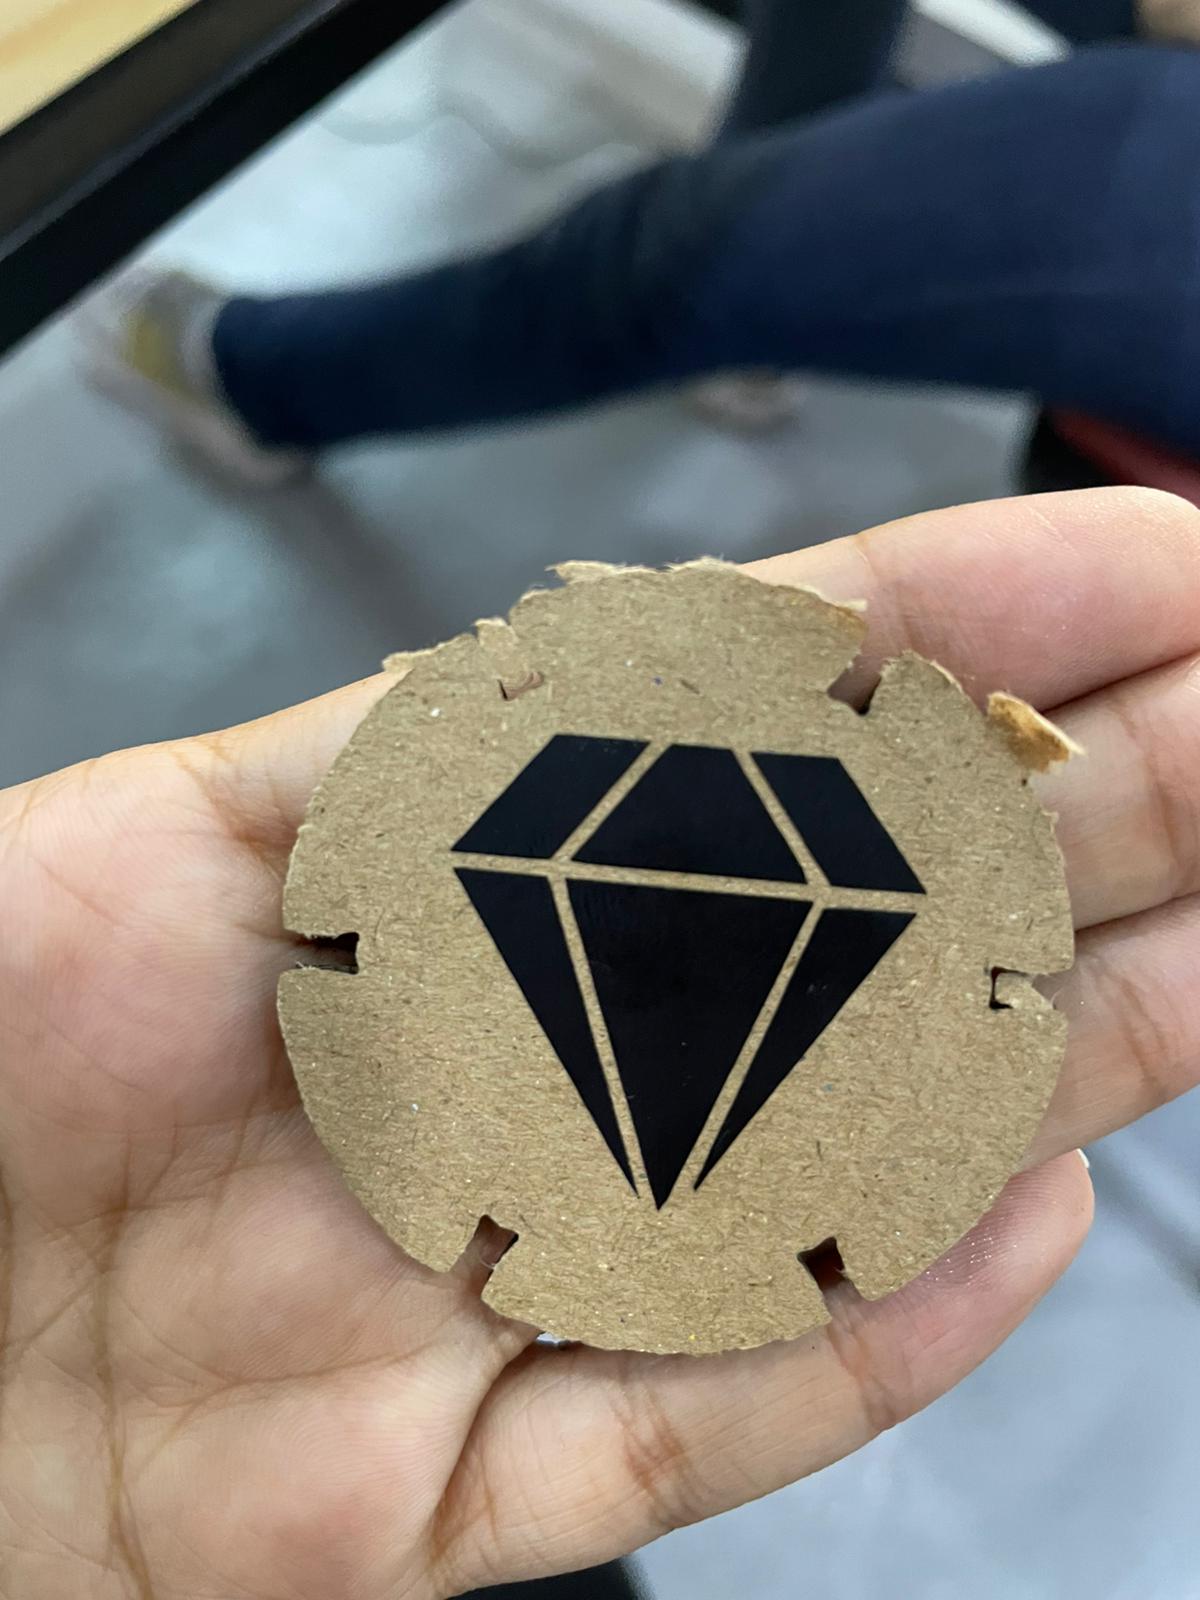
1.There is no design in this part. Choose a two-dimensional image from the Internet (the image link is below), I chose the diamond shape.

2.Uploud image

3.the design would be adjusted based on the location of the sticky sheet used


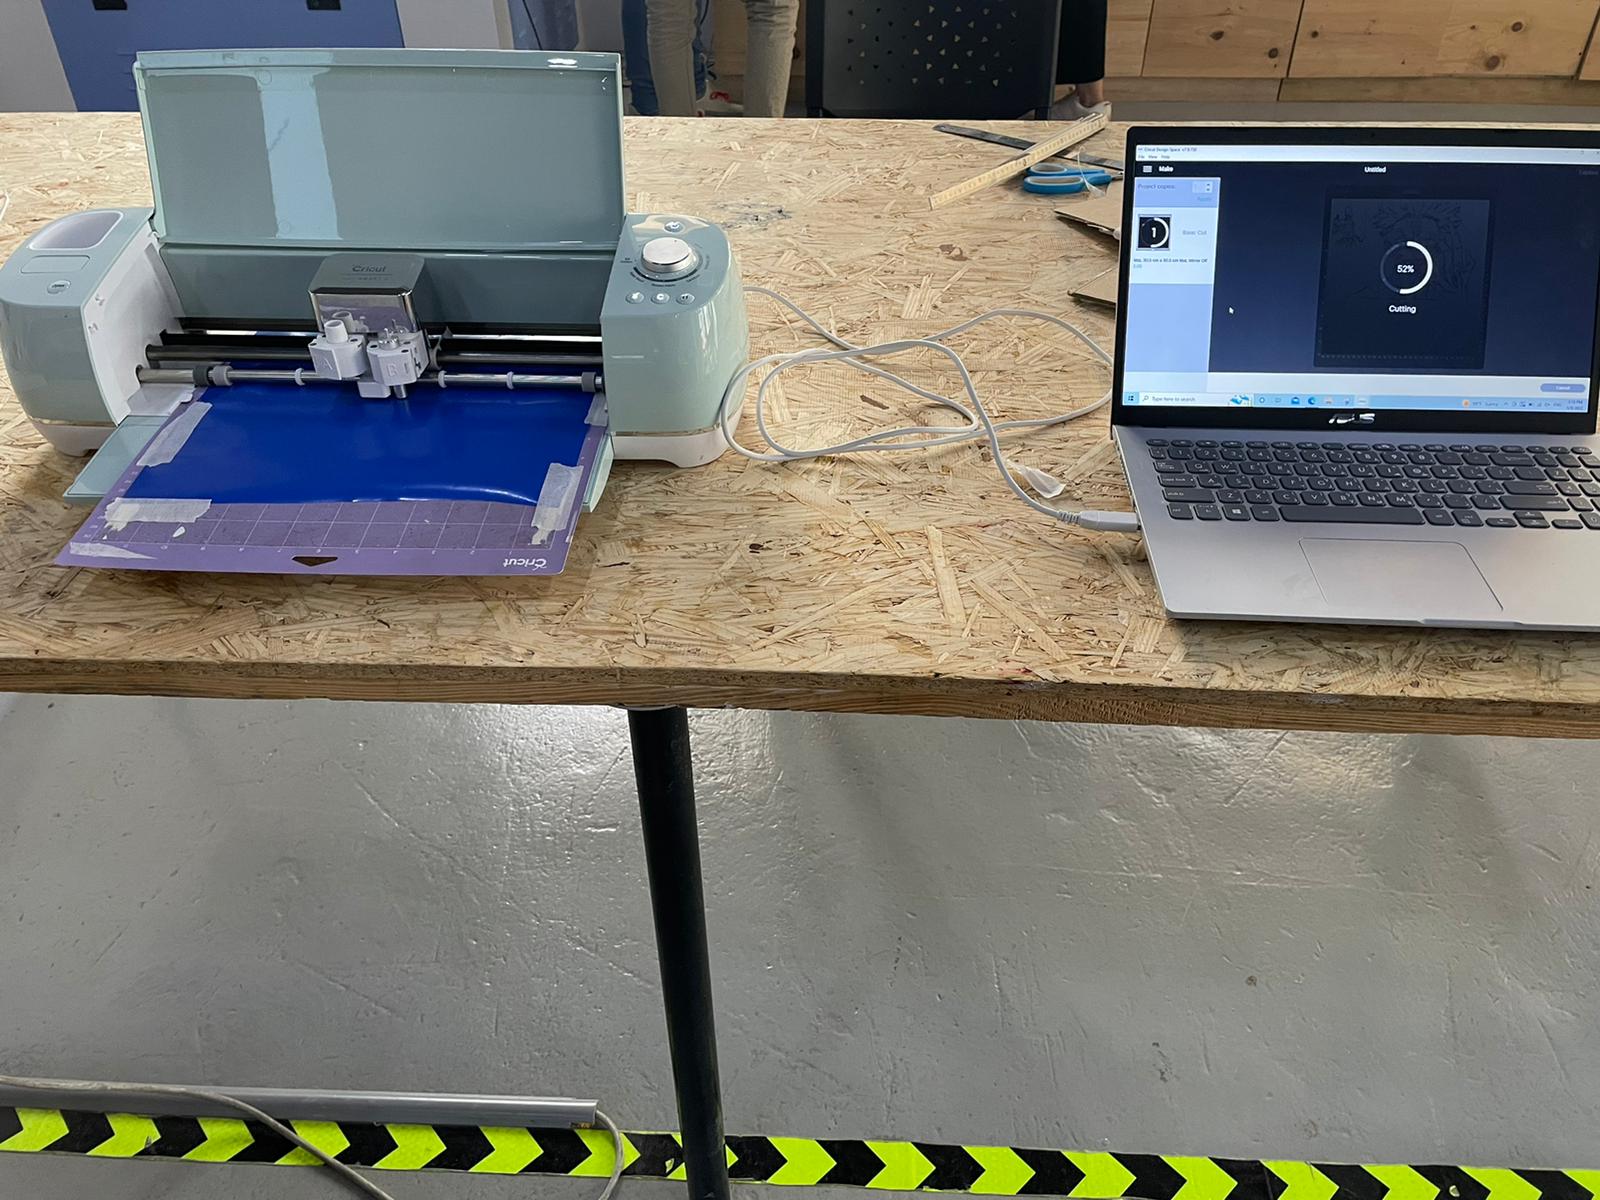
3.To ensuring that the cutting process is successful and the sticky sheet does not go off the edges, it is modified based on the design’s measurements with an additional offset. Later, this sticker is placed on the vinyl cutting sheet.The sheet is then fitted into the vinyl cutter to make room for it inside the device and ready it for cutting.
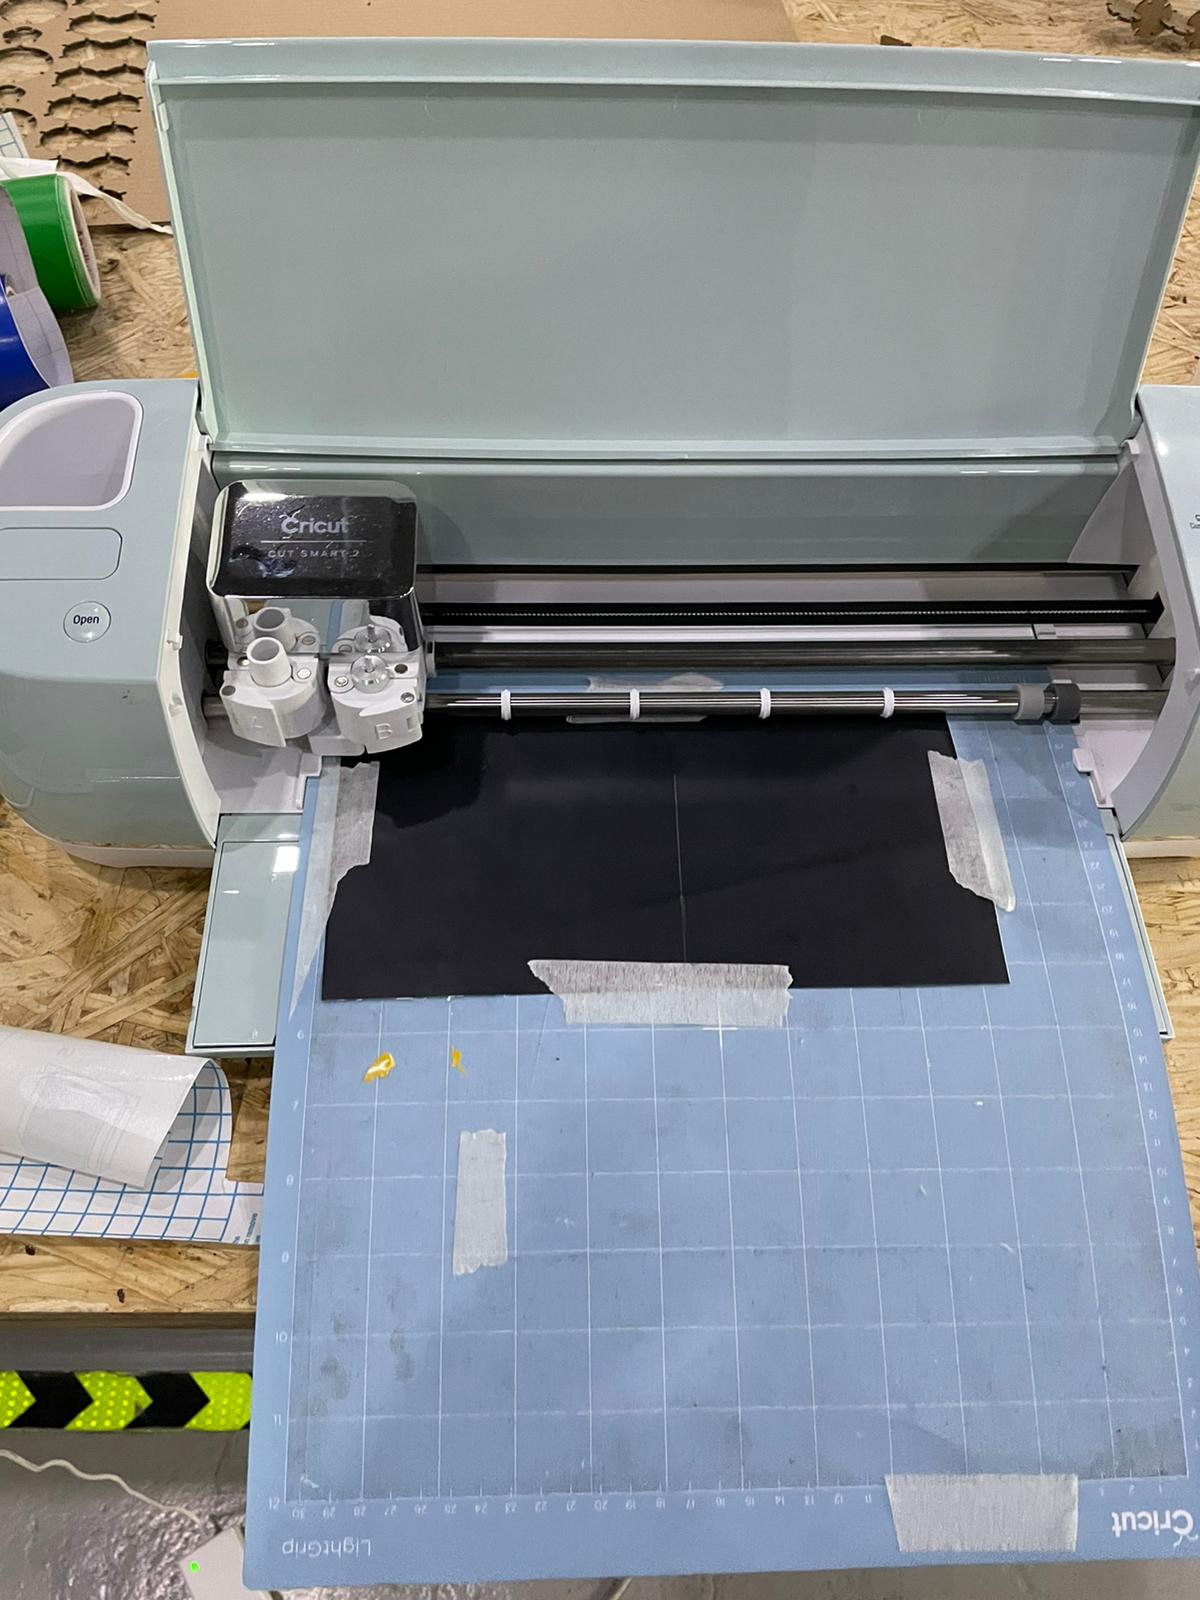
4.When it flashes, we should press it later to fit the sheet into the vinyl cutter.
 6.As soon as you finish placing the design on the sheet, a page containing information on the vinyl cutter’s operation will appear.
7.To begin the cutting procedure, click the following button.

9.When the cutting is finished, this will appear to let you know to unload the sheet; pressing the same button that was used to fit the sheet will remove it.
10.The Final look
My Opinion
It was very fun and easy too, but it worked quickly so I couldn’t photograph all the details of the process.