4.3D Printing and Scanning
It is a manufacturing technique, where parts are manufactured by dividing designs.The 3D layer is cut into very small layers using computer software and then manufactured. Using a 3D printer by printing one layer over the other until a molding is formed the final form.This week ,I created a design to be put into use on the 3D printer, and I used the 3D printer.For this week we are used two programs Fusion 360 for design and ultimaker for copying the designs into a usb drive.
1.Group Assignment
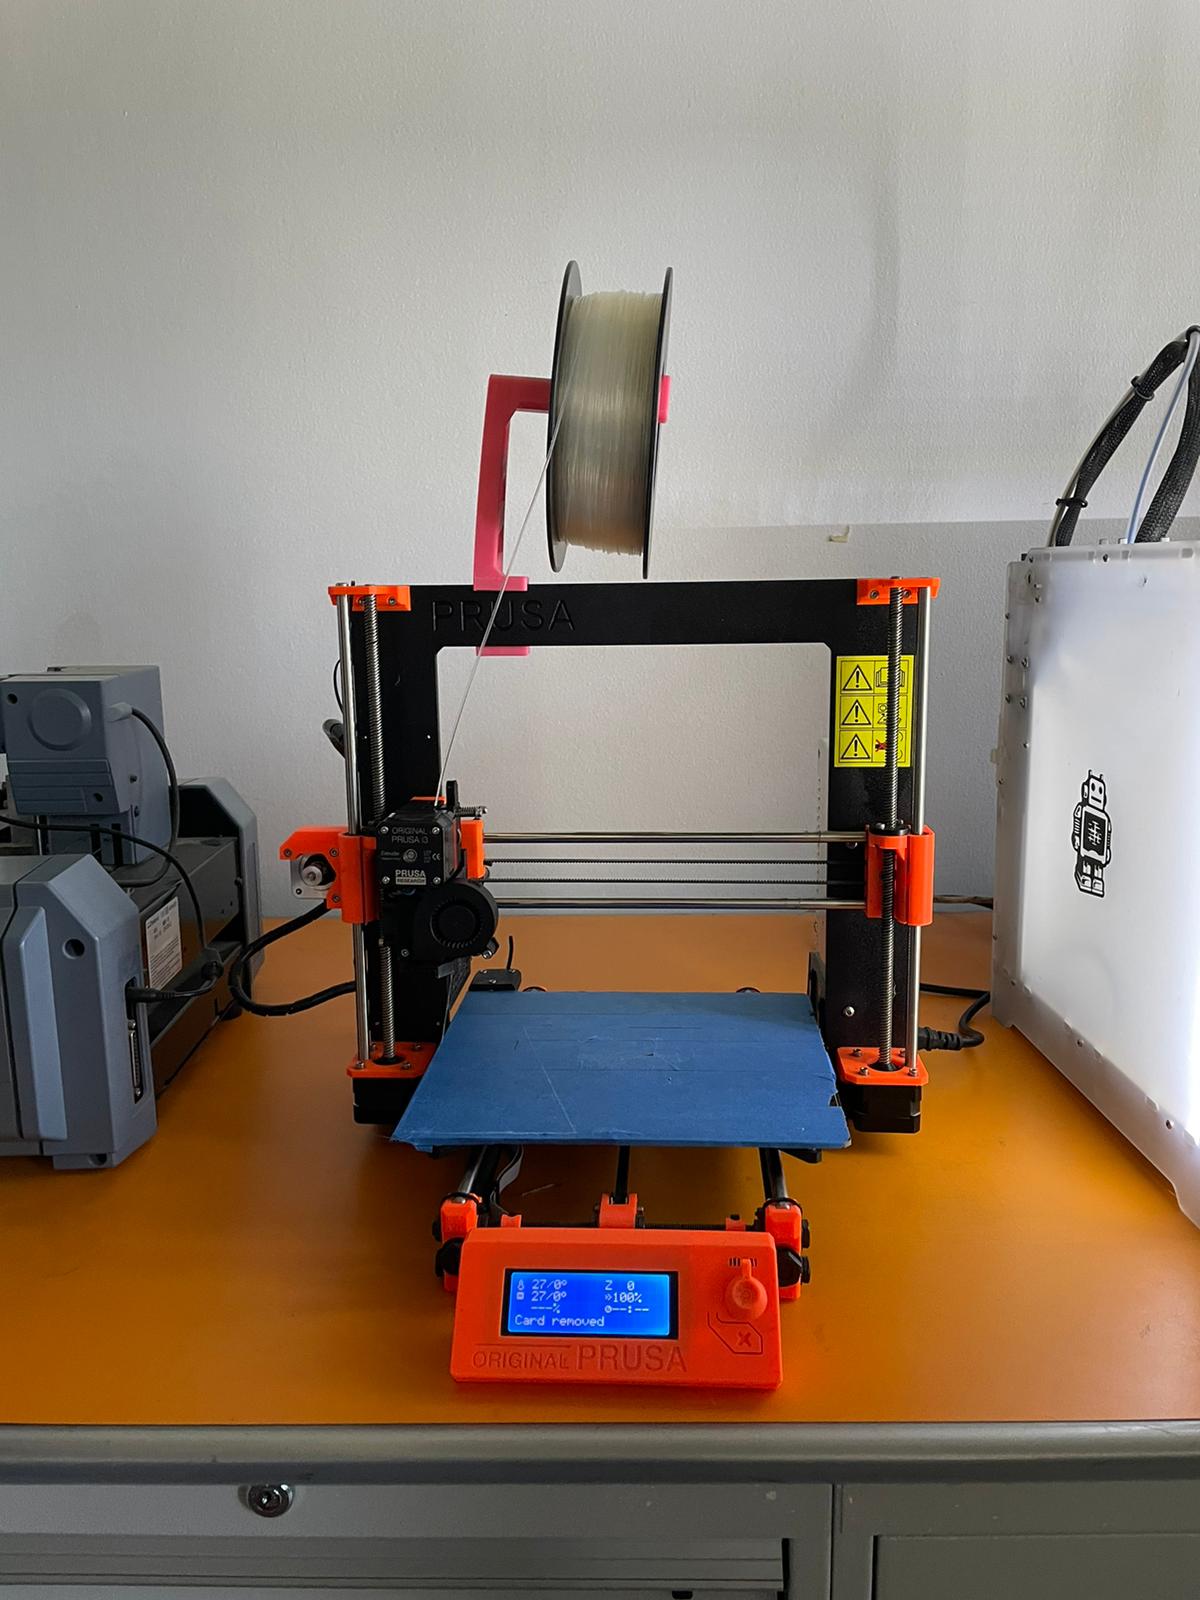
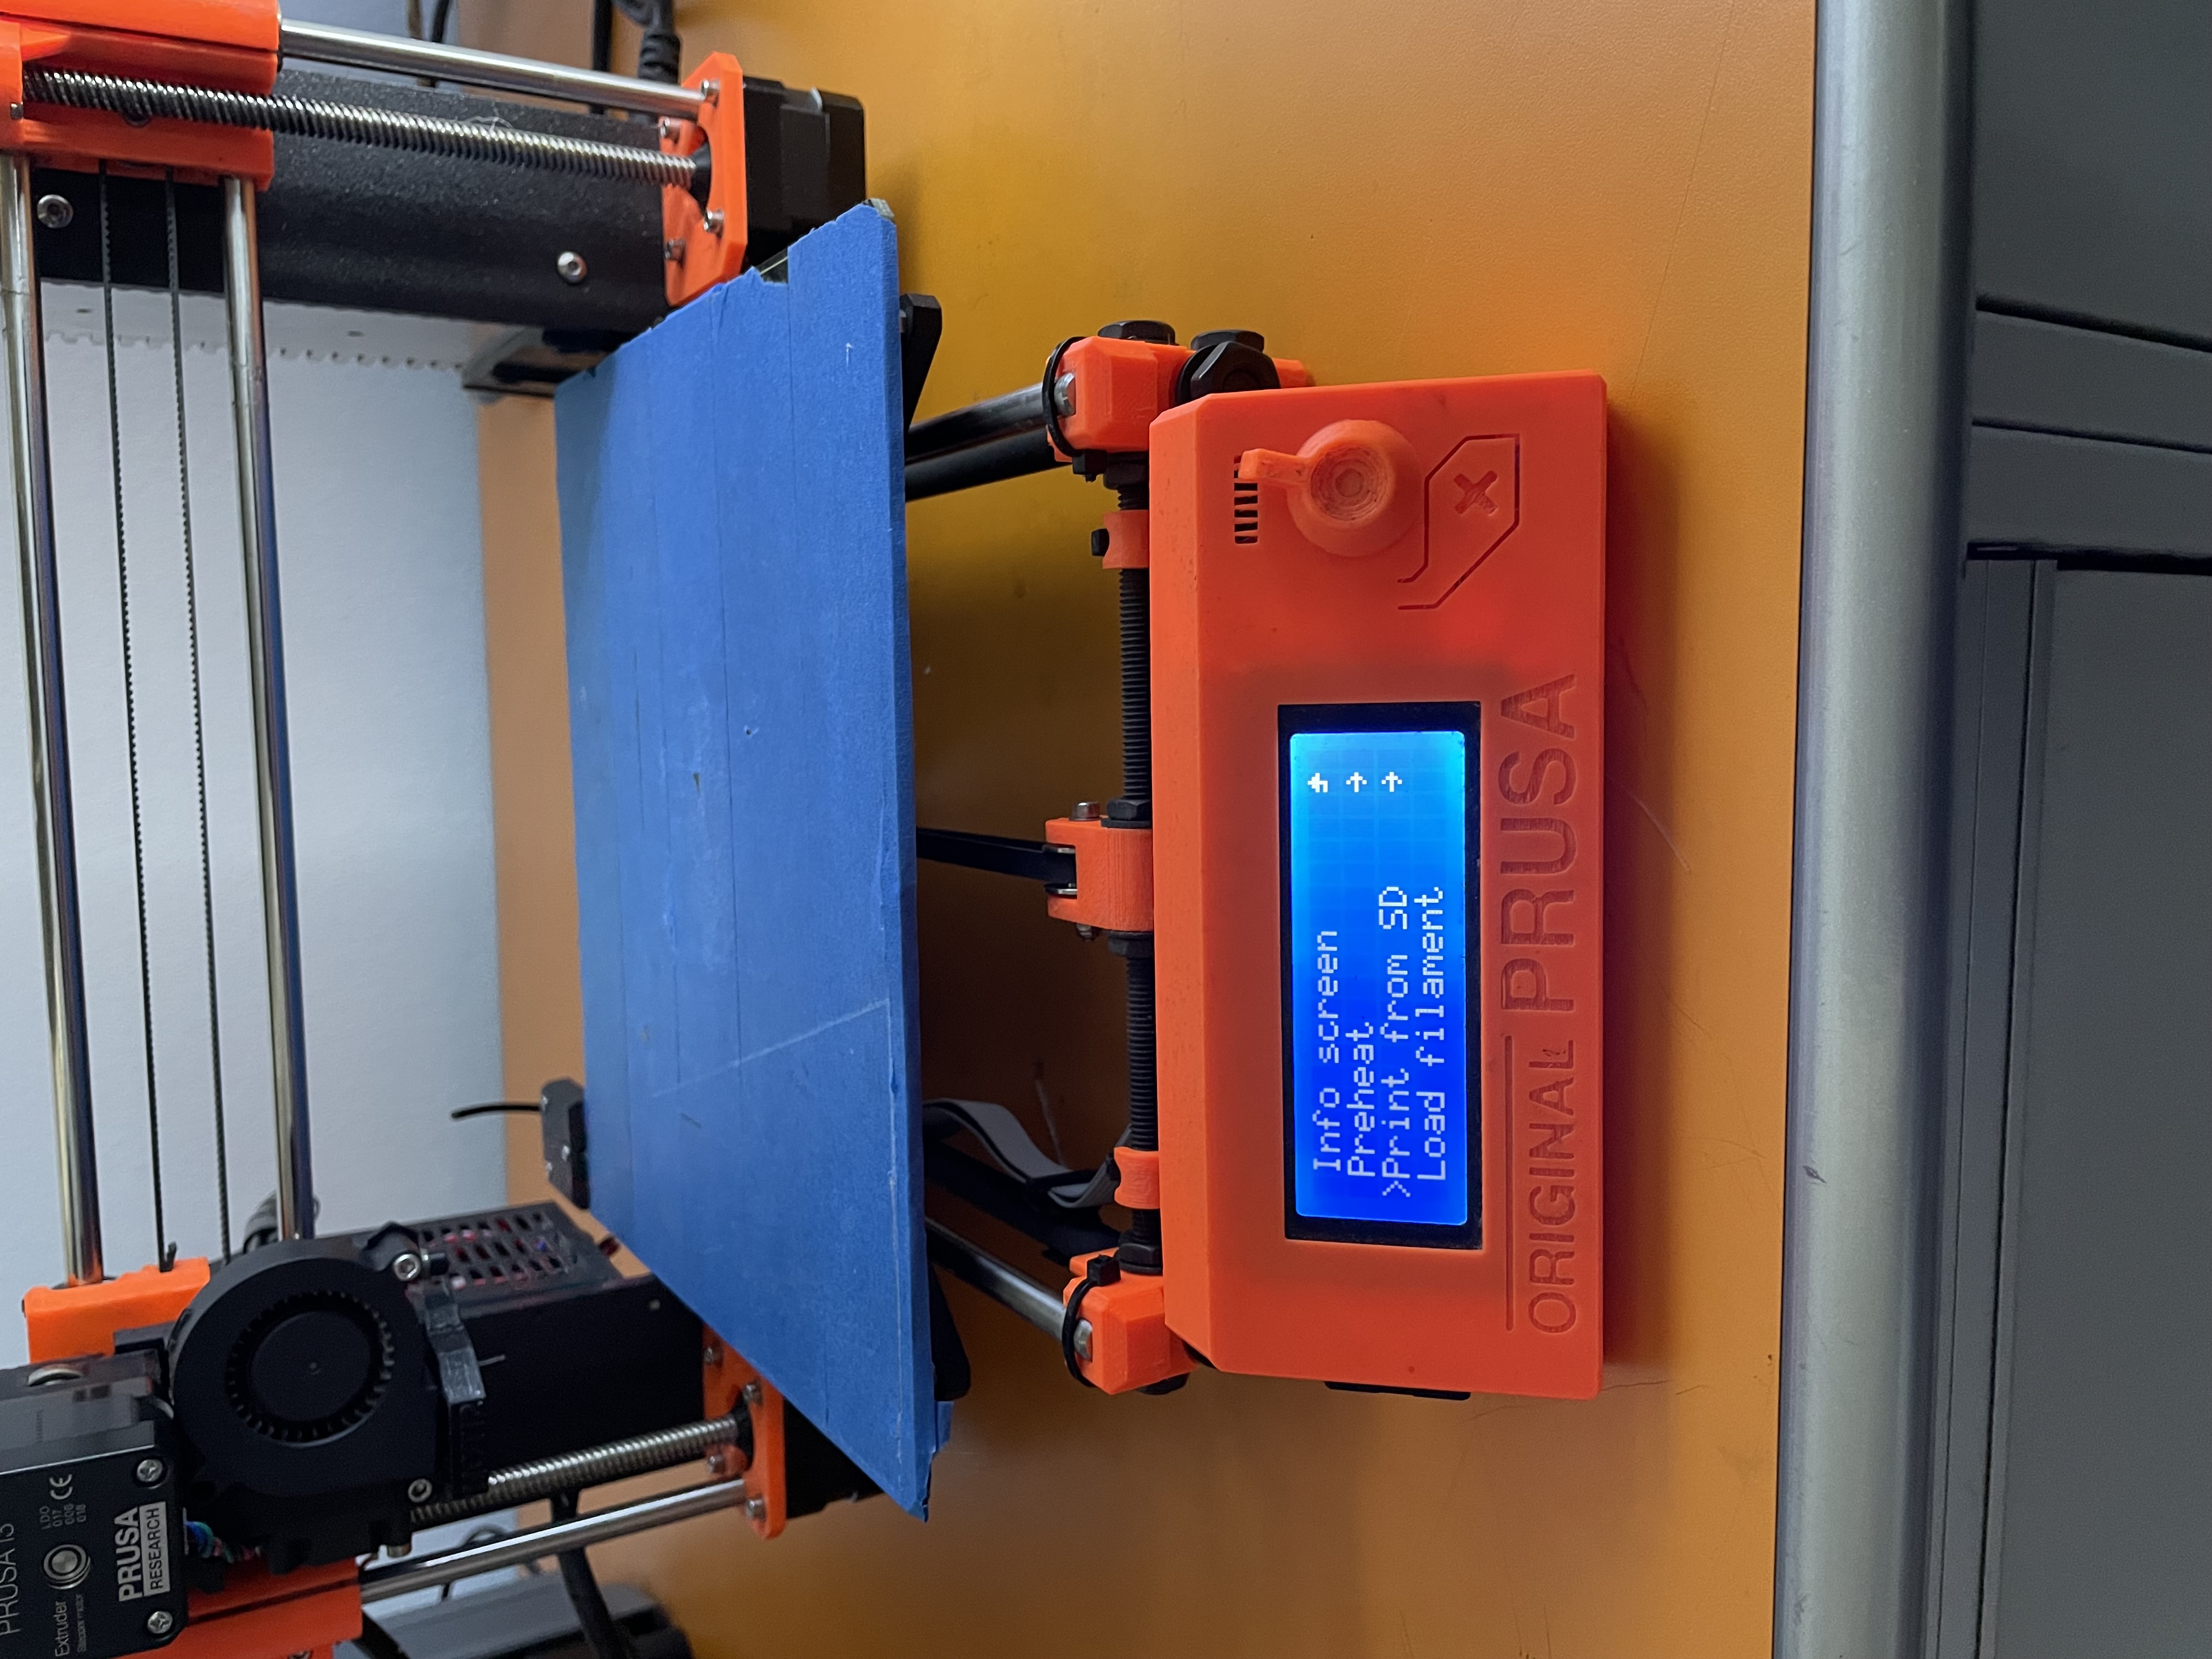
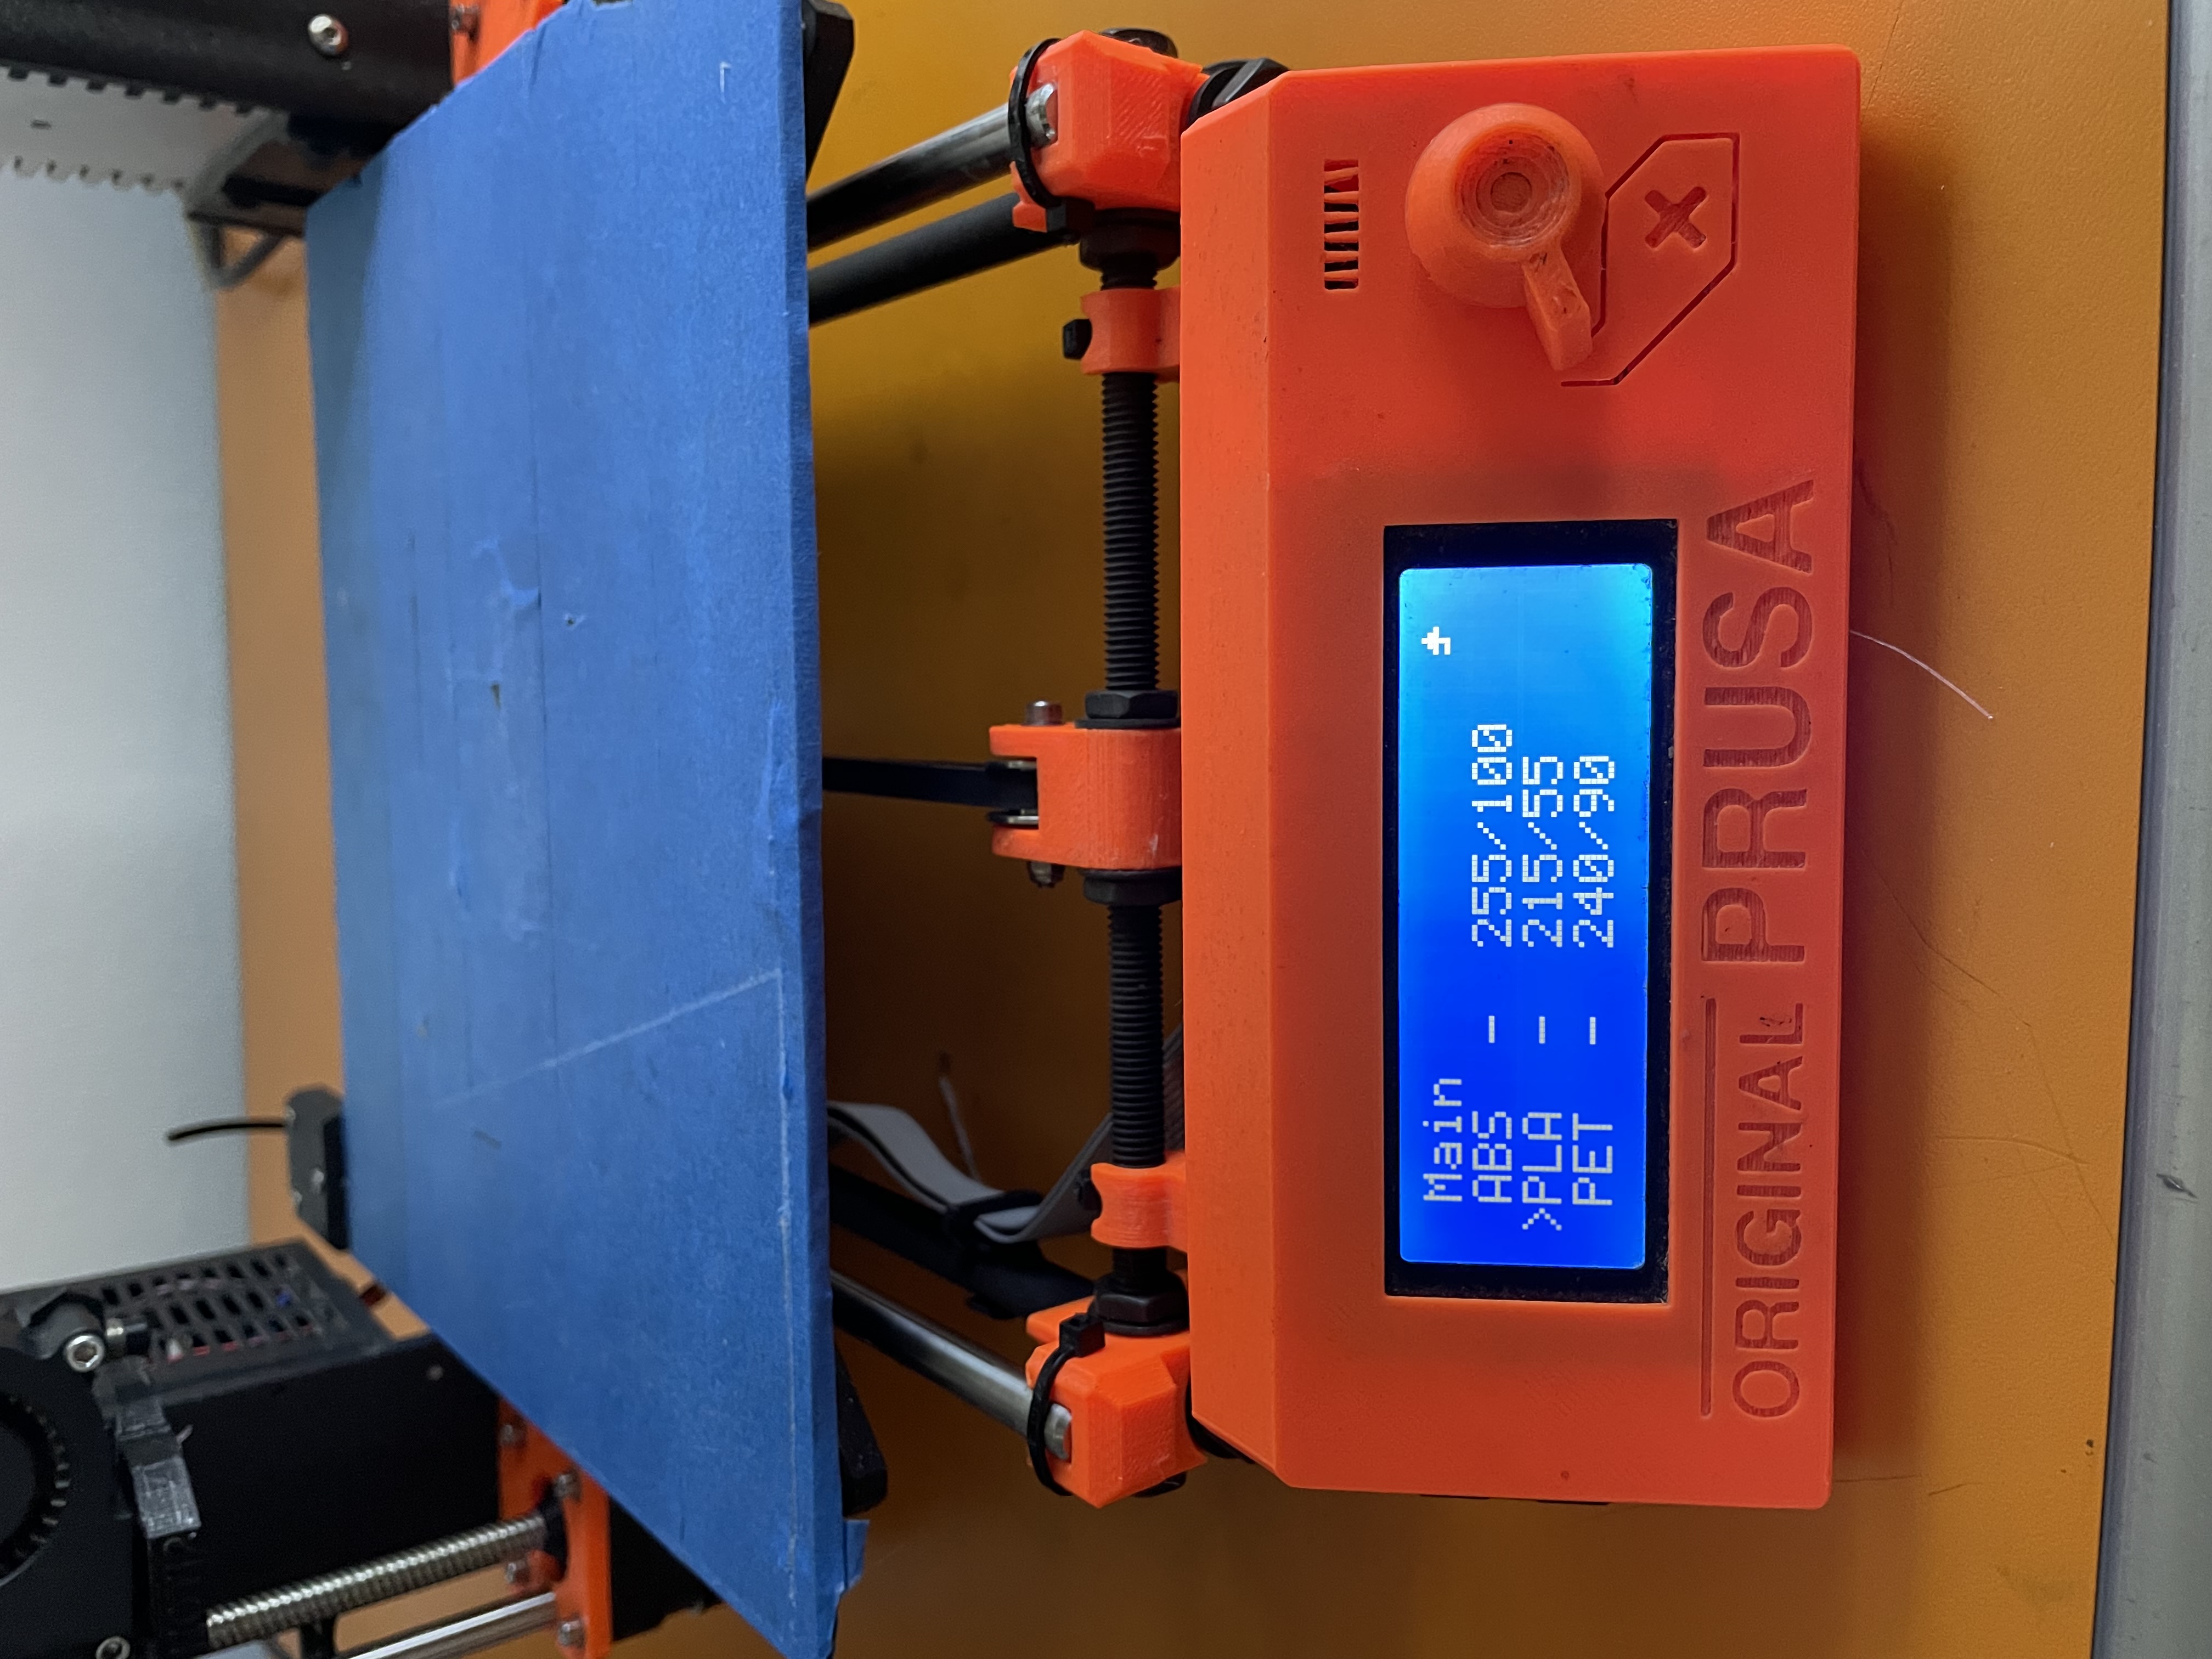
All details are on my friend’s page(Click here). Here are the pictures of the 3D printer and how to operate it.

Out of the three 3D printers: -Pursa was able to precisely identify the minute marks and cuts in the tester piece. -Ender’s tester design was the poorest. -Ultimaker produced the clearest tester with the strongest exterior.The best option was the Ultimaker. It was possible to have a subpar sturdy testing piece with the most of the minor components in place.
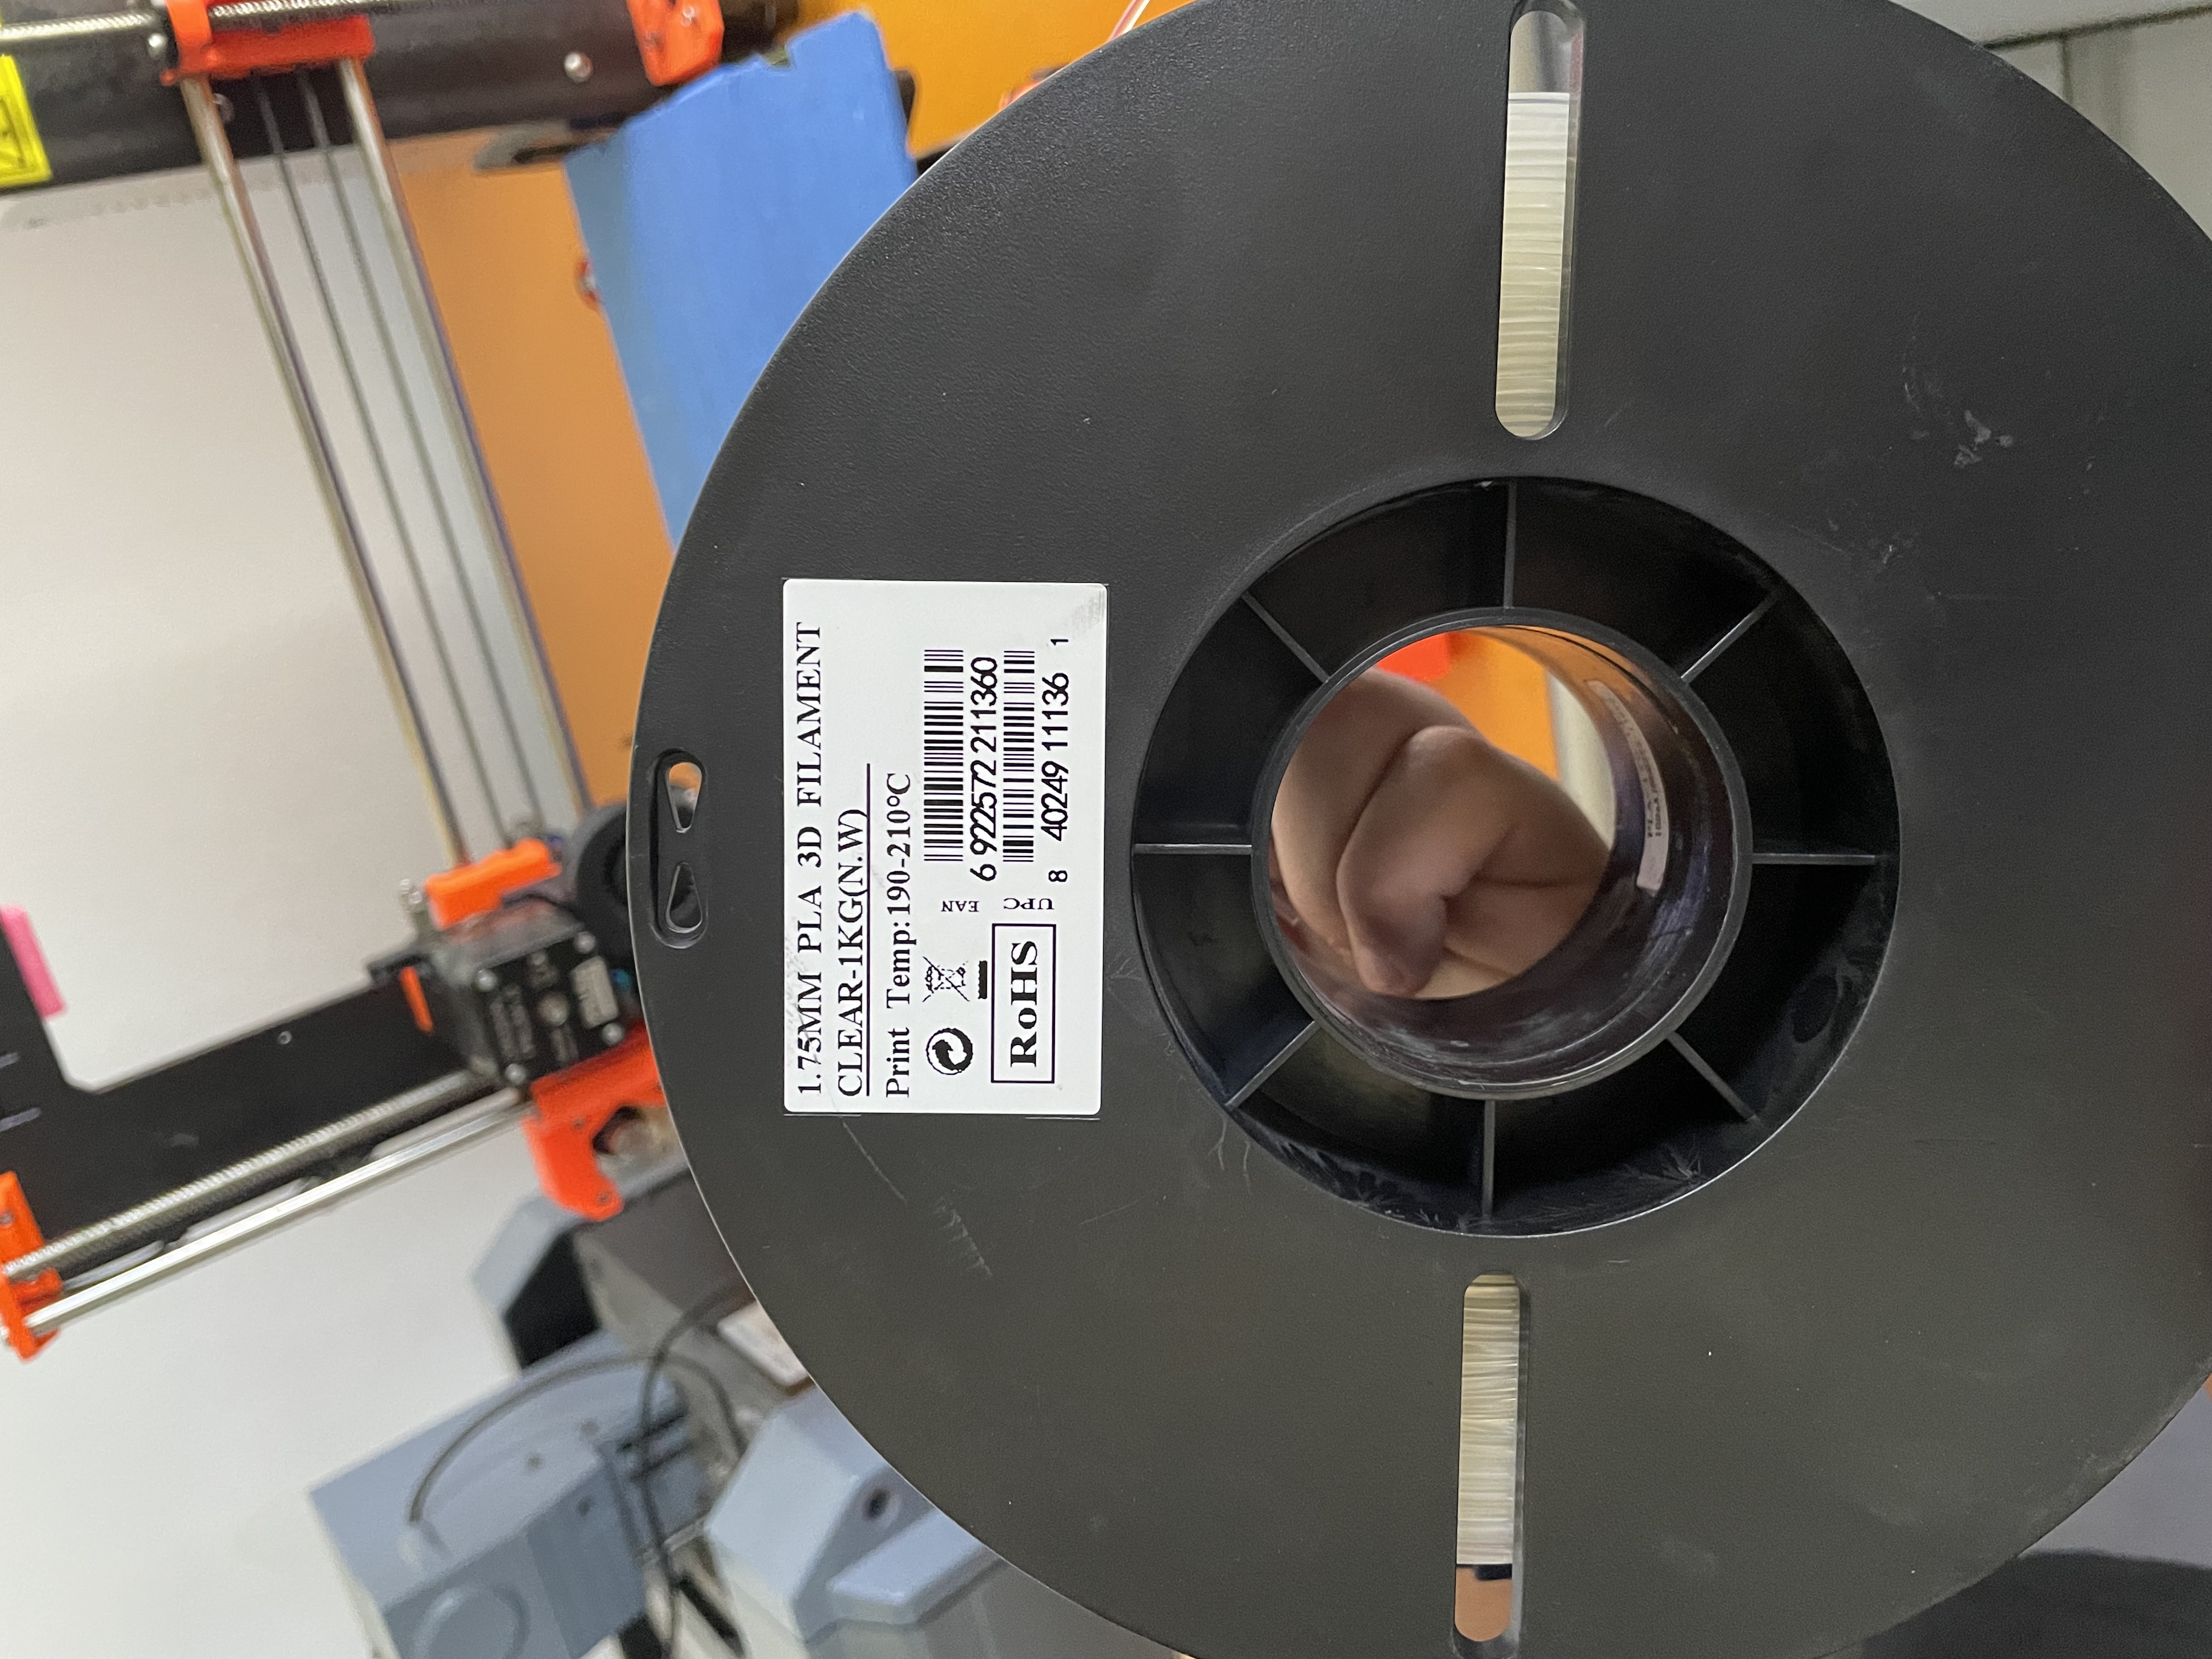
I learned by testing different 3D printers.The printing process can be significantly prolonged by different speeds and melting temperatures, but Parafilms is available in a wide range of colors, sizes, and costs.
2.Individual Assignment
The goal is to design anything I want to design in 3D. In YouTube there are a lot of videos to be inspired by. I put the video of my inspiration below and I made it my way. I used Fusion 360 for my design a small lampshade.
PART 1 : 3D printing
The design steps :
1.I drow three main lines for my lampshade.Then I contacted the bottom left with the top left with spline tool.
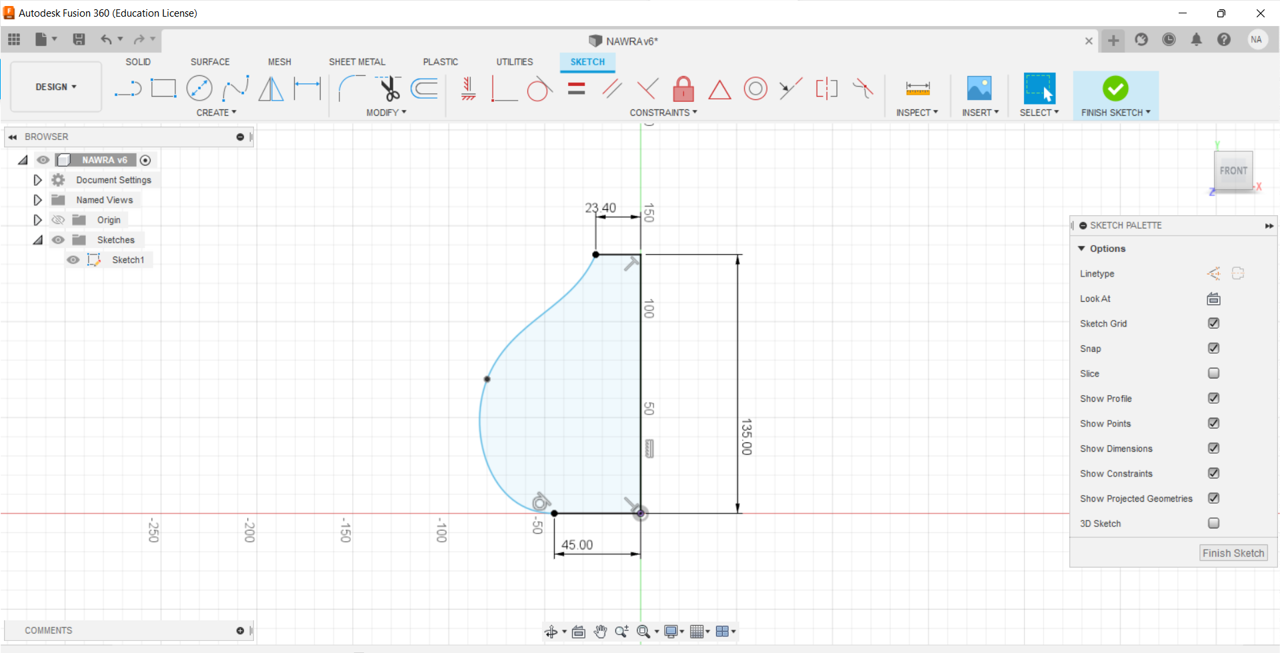
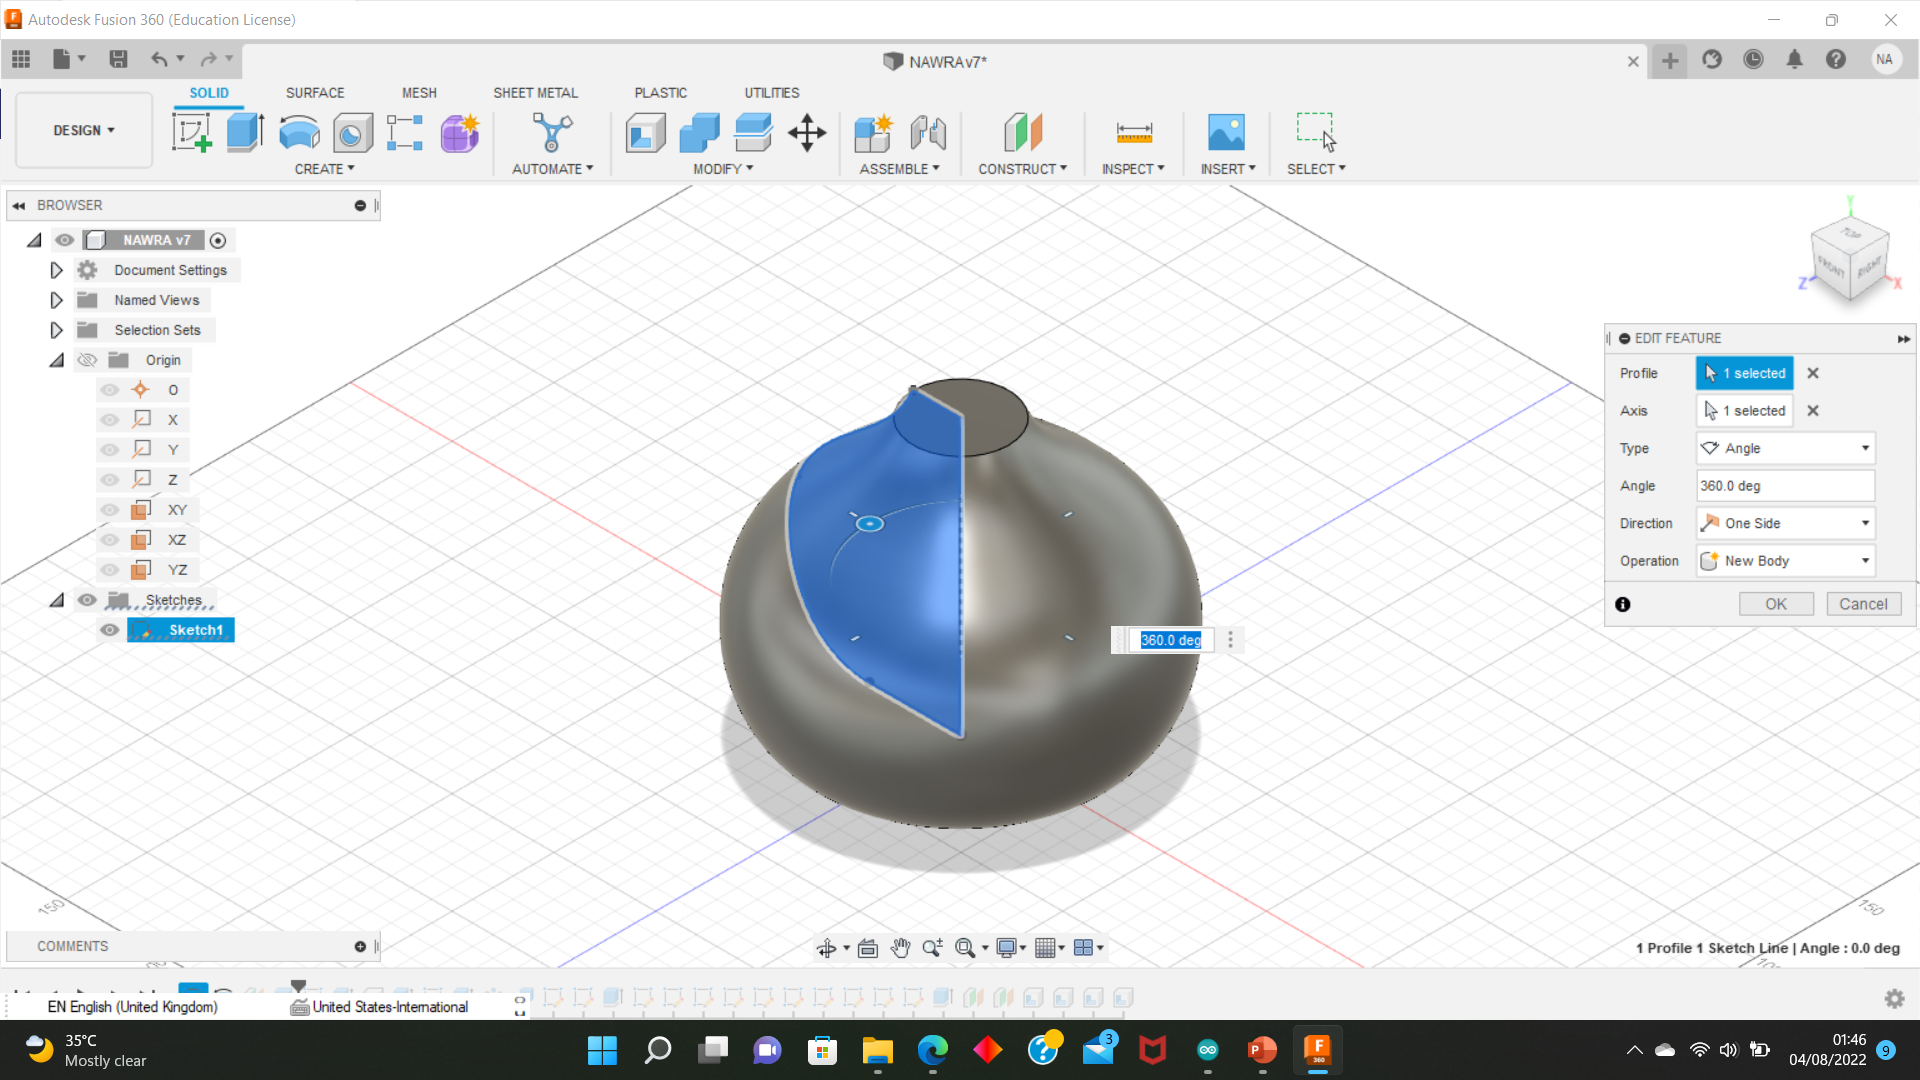
2.Next ,From the create menu i choose revolve for the profile i select the sketch and for the axis i choose the virtical line. **NOTE:Keep all the other settings just as they are.
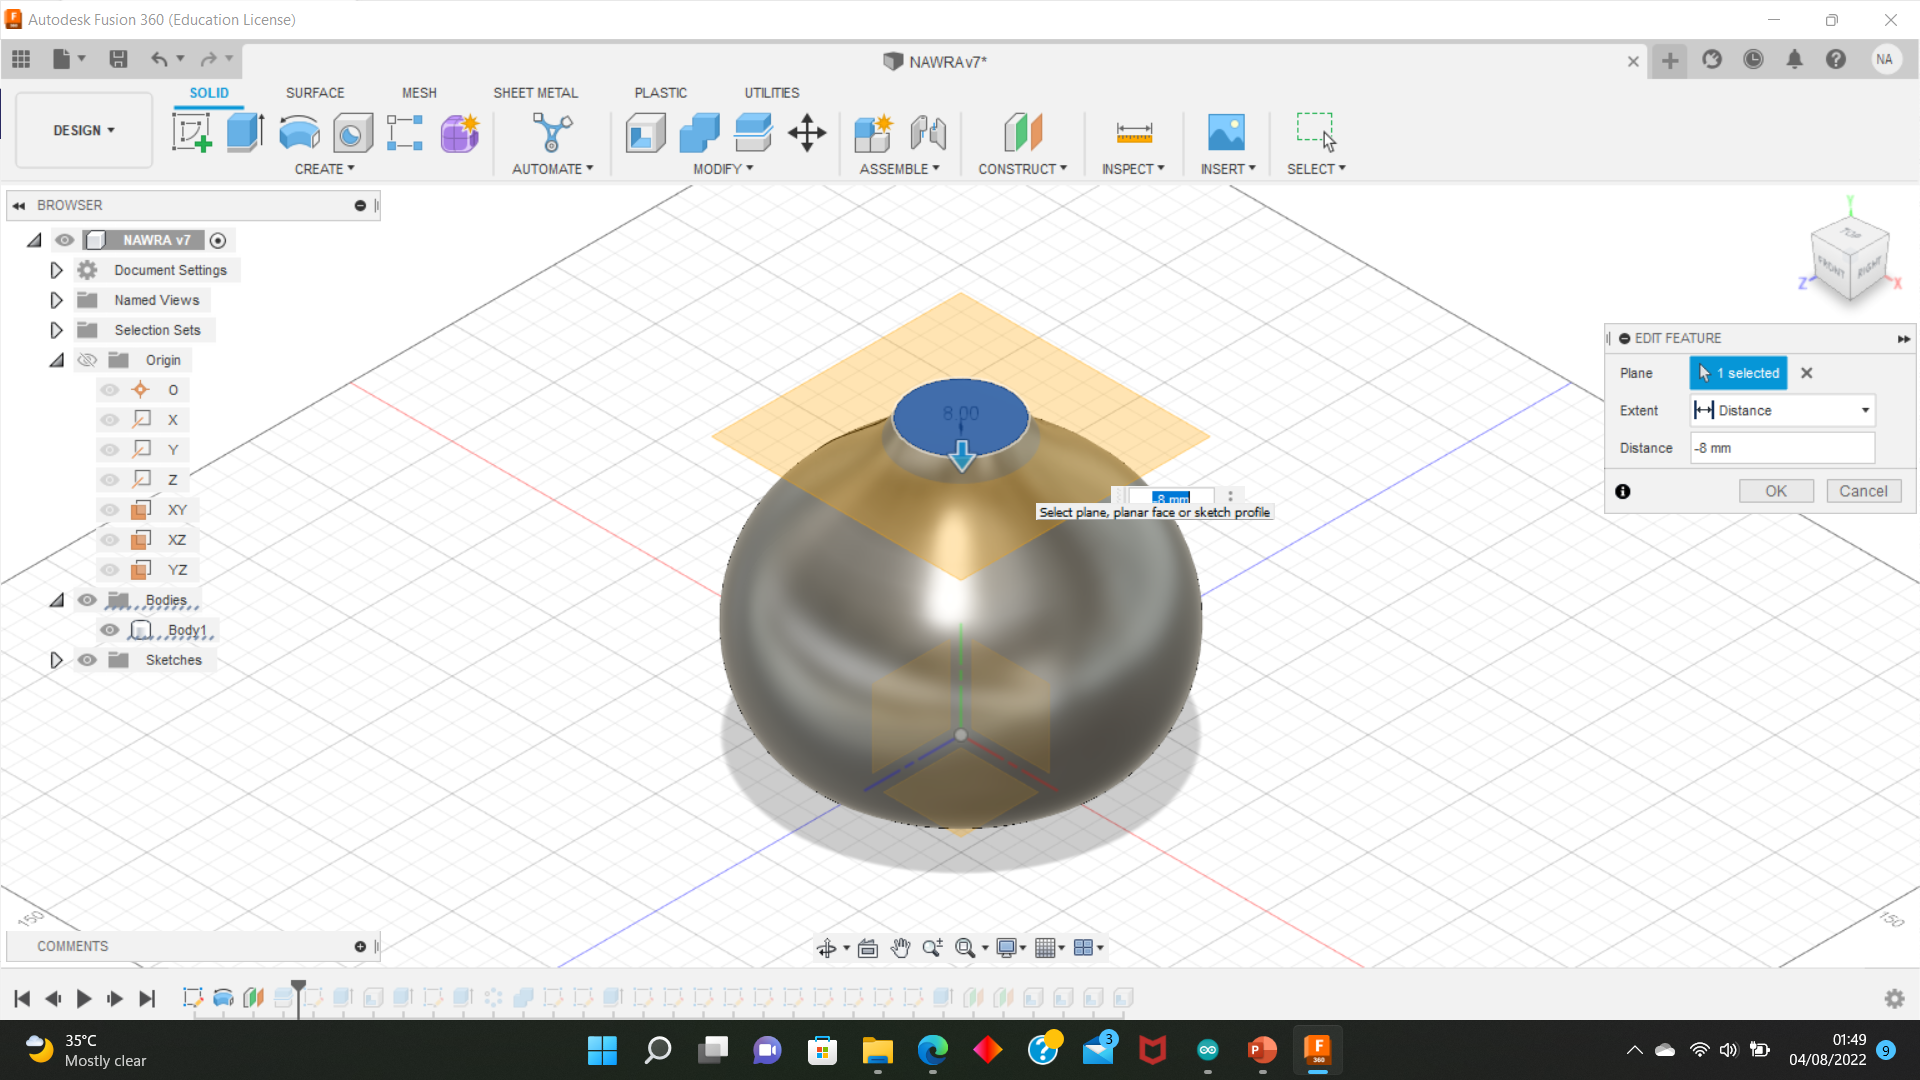
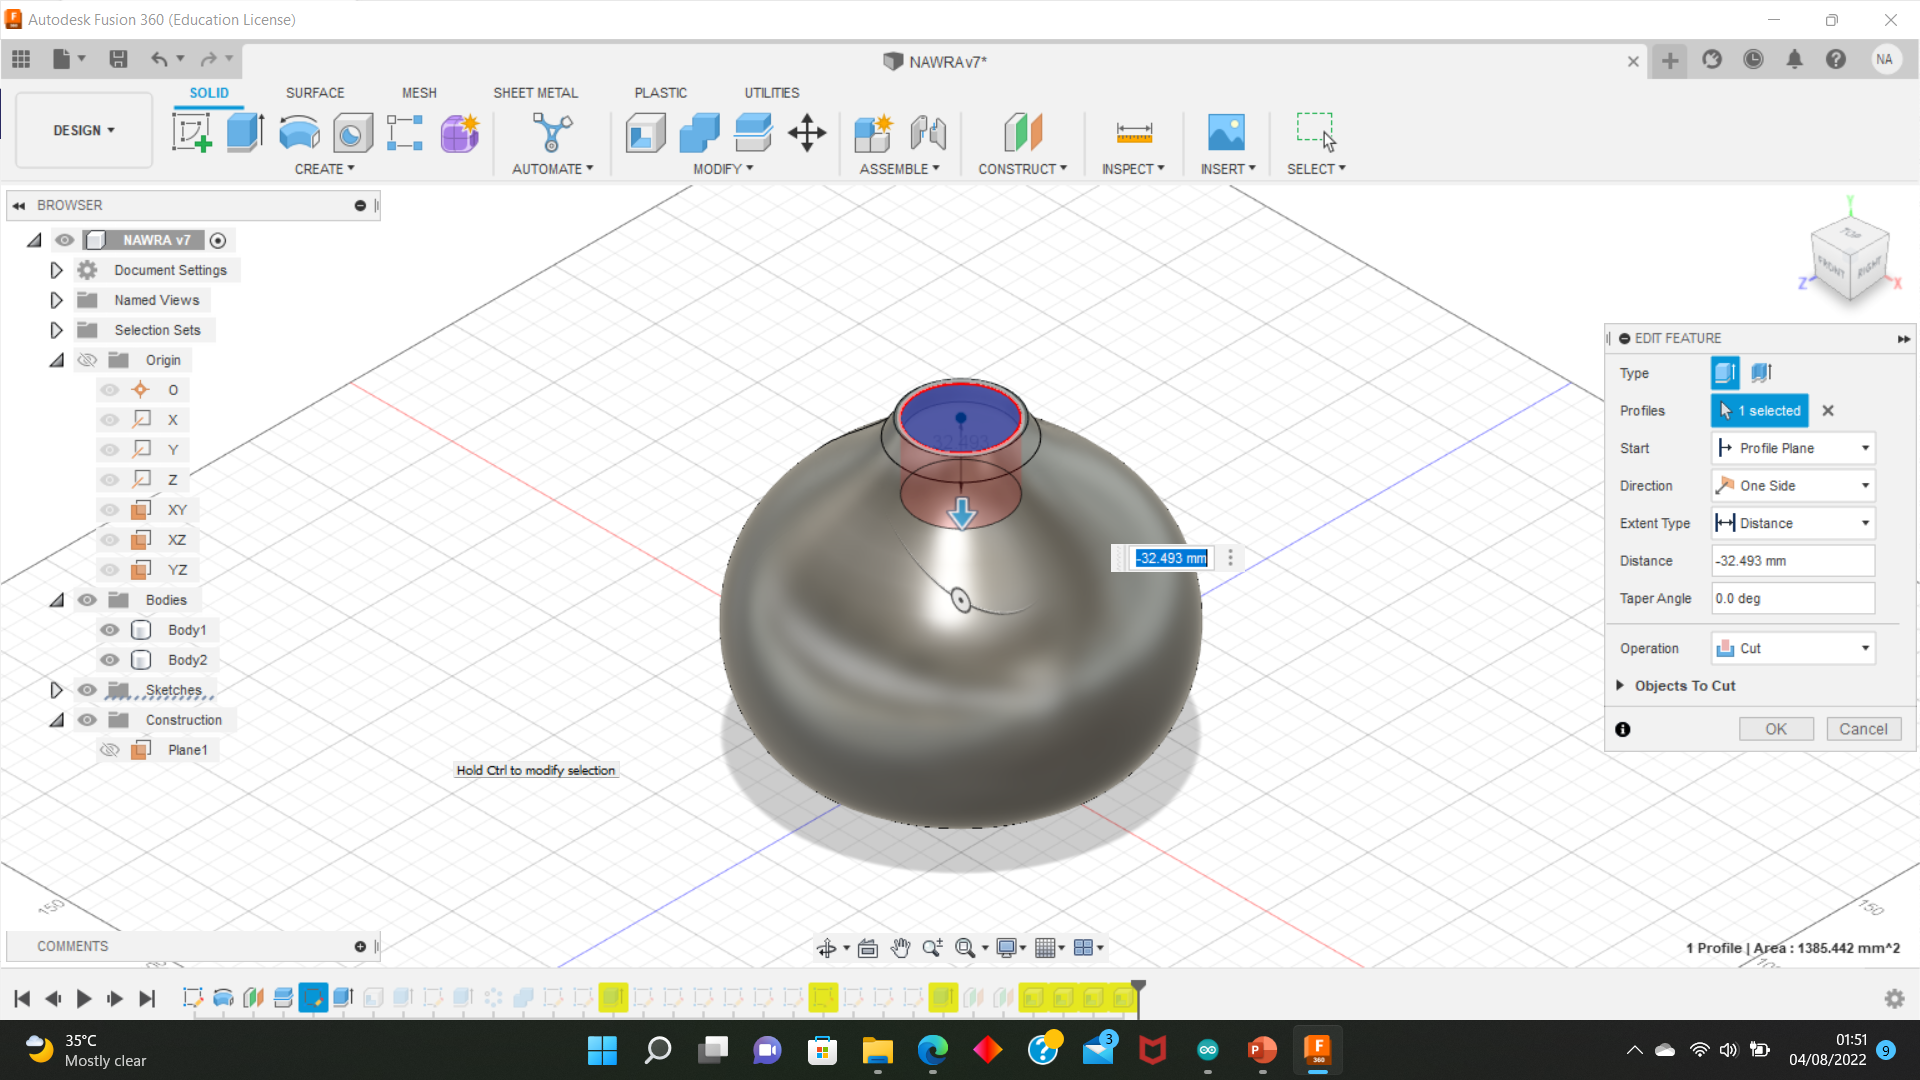
3.From construct menu > offset plane.Specify the flat surface to offset down by 8 mm.
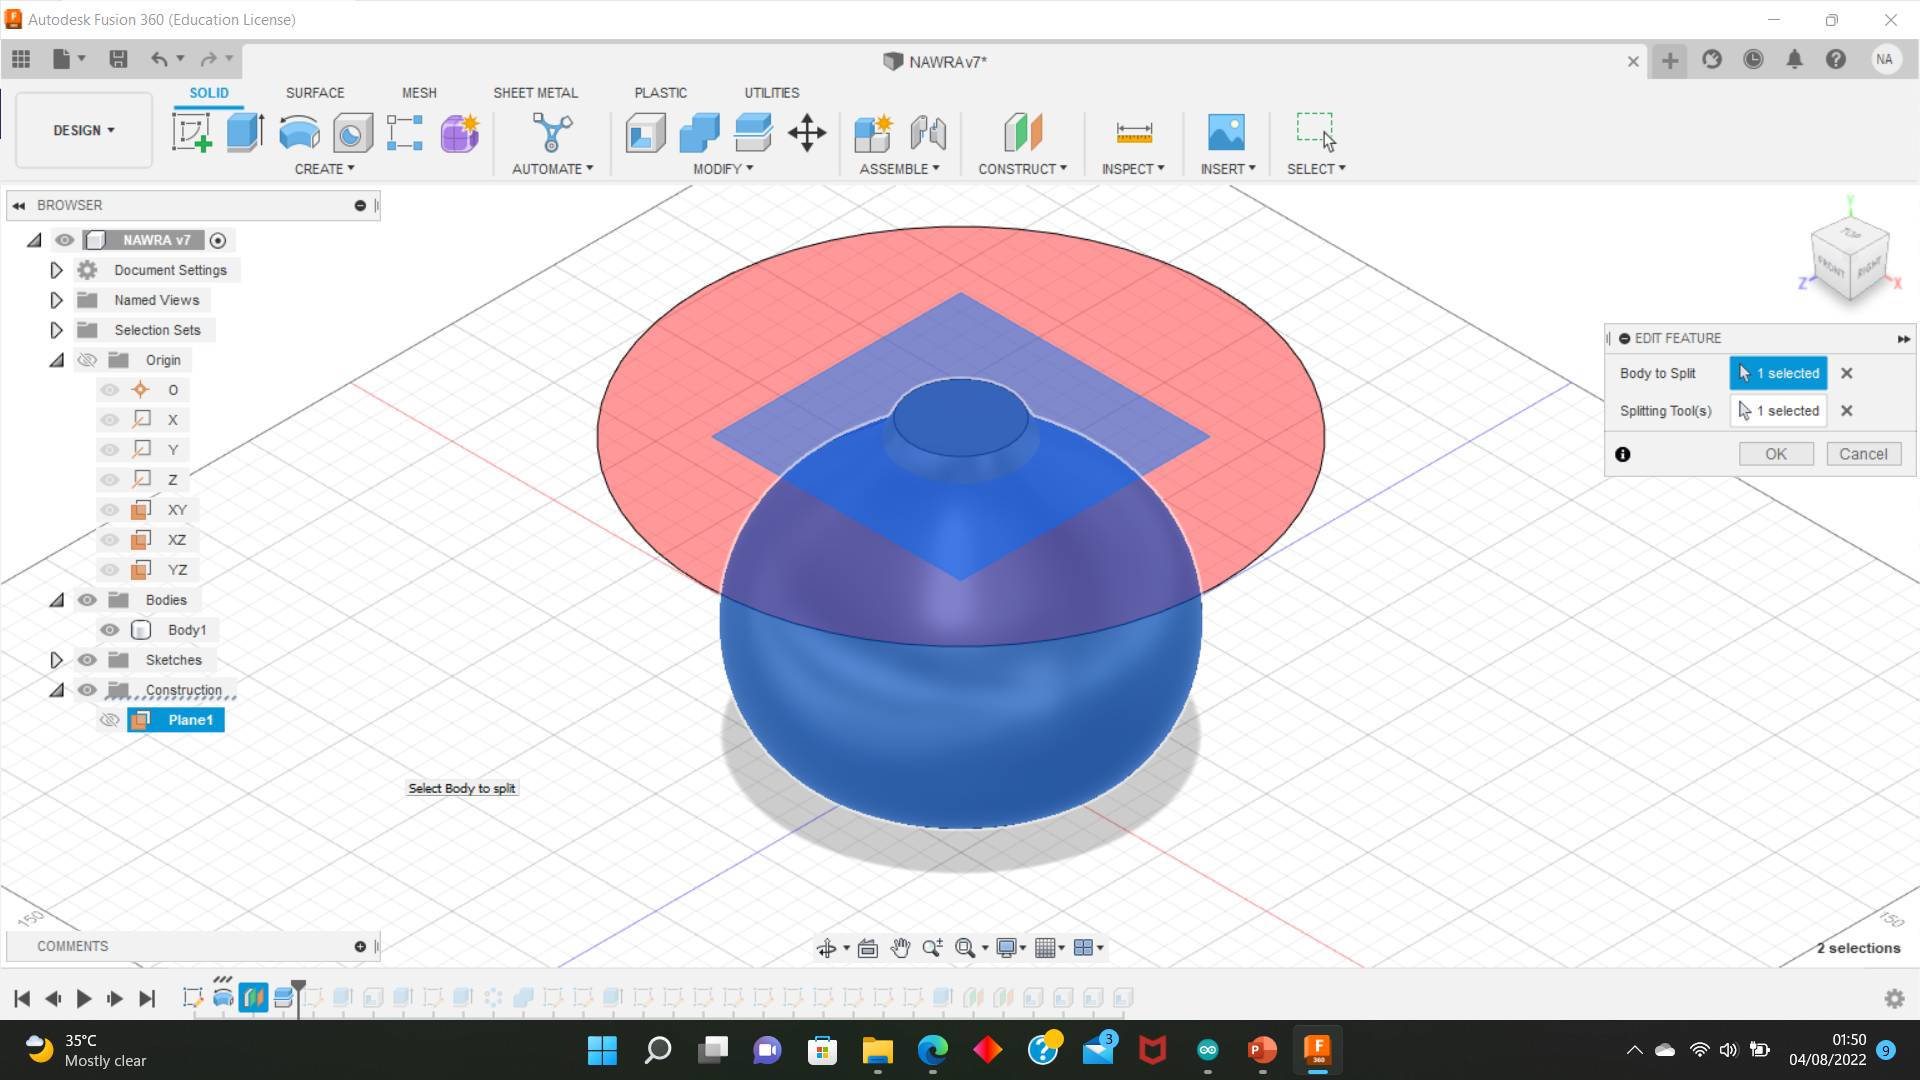
4.Now Split body ,from modify > split body. I select body to spilt and for splitting tool i select the construction plane.
5.Hide the bottom portion.
6.After, create a hole in the main portion of cord to fit through the top of the lampshade. From sketch > create sketch and select the top face , from the center diameter circle i place the center of the circle.Then , create > extrude and i select the inner profile ang drag.
7.hide the top.
8.create new sketch and select the plane.After that , sketch > project > selection filter i change it to bodies and i click to my body.
9.From line tool i place two line from top to bottom.
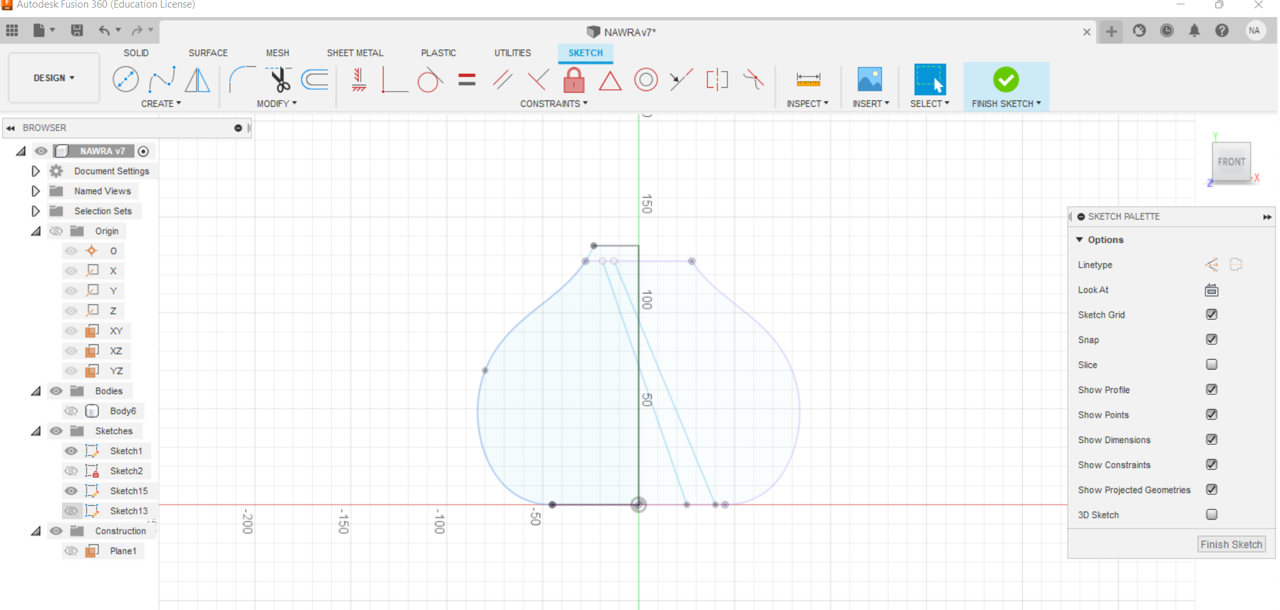
10.From sketch drop down menu i choose sketch dimension to select the distance between the two lines.
11.turn on the body.
12.Next, from create menu > extrude > i select the profile i sketch in step 9 and i drag it all the way through and change the direction from one side to symmetric to make sure the extrude will be through both sides.And the change it to intersection.
13.create menu > pattern > circular pattern > change the pattern type to bodies , for the object i select the intersection ,the axis z-axisand the quantity is 22.
14.final look and convert the flie to stl.
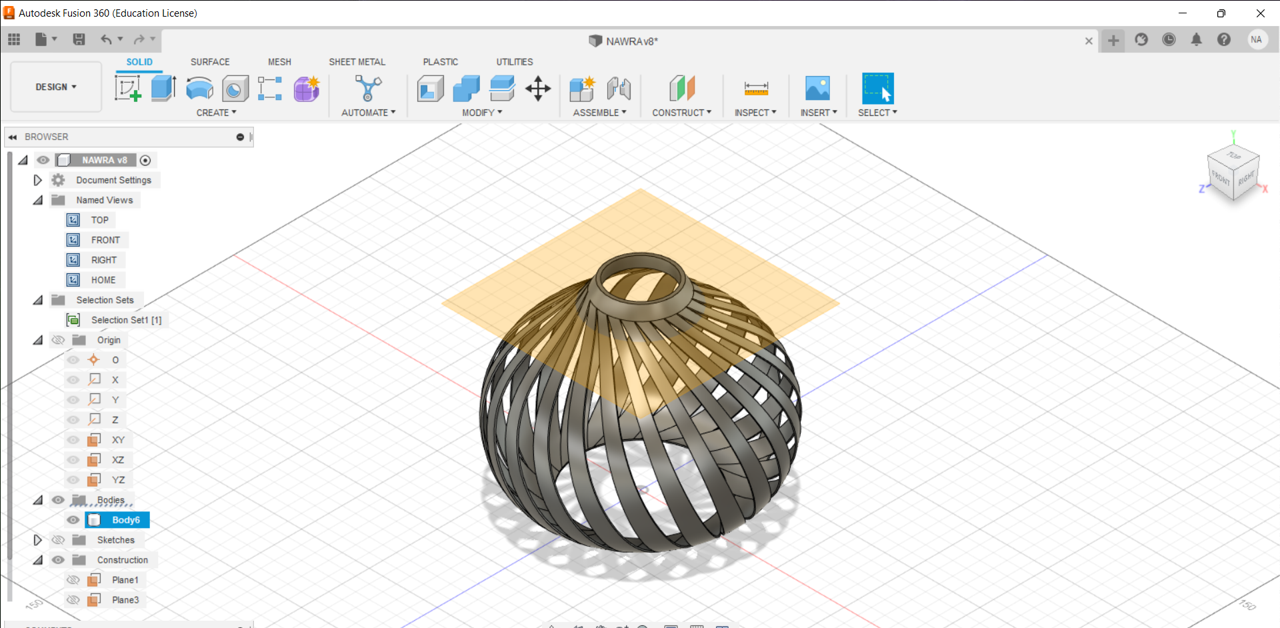
14.link for lampshade design click here
15.In 3D model.
Printing 3D machine
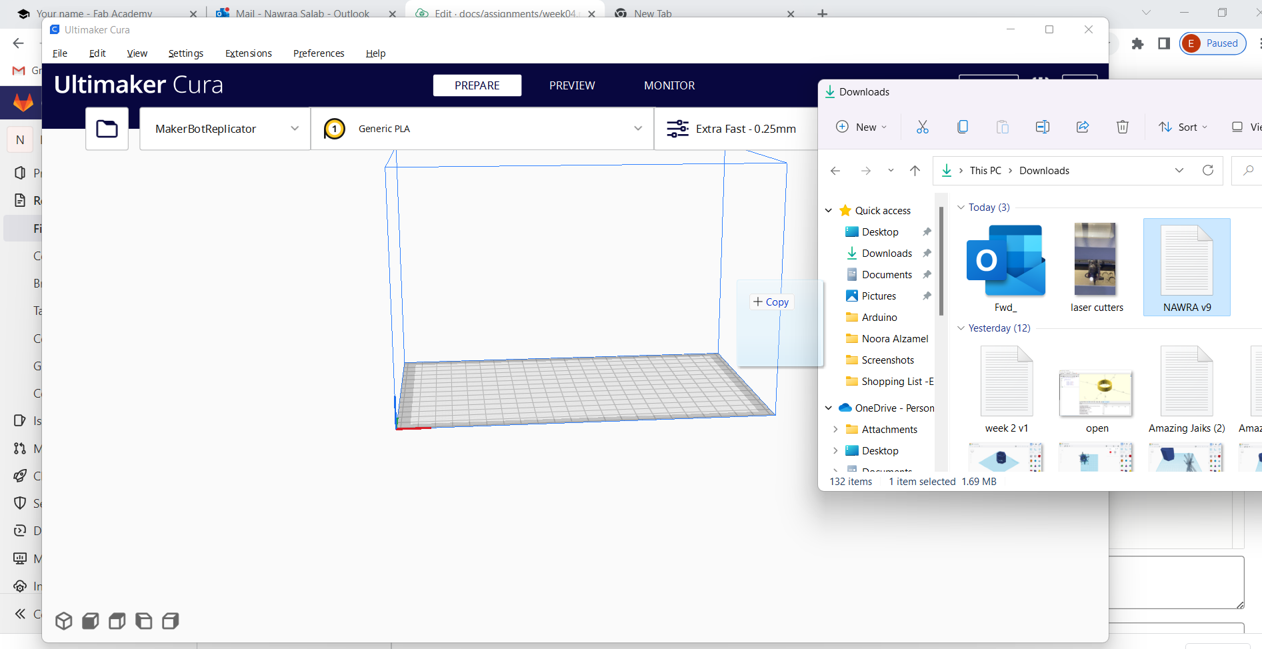
To print my design i download Ultimaker-cura to put my design in it and edit the setting of the printer.Then , seve it and Make a copy in the flash memory. This is for a flash placed in the 3D printer.
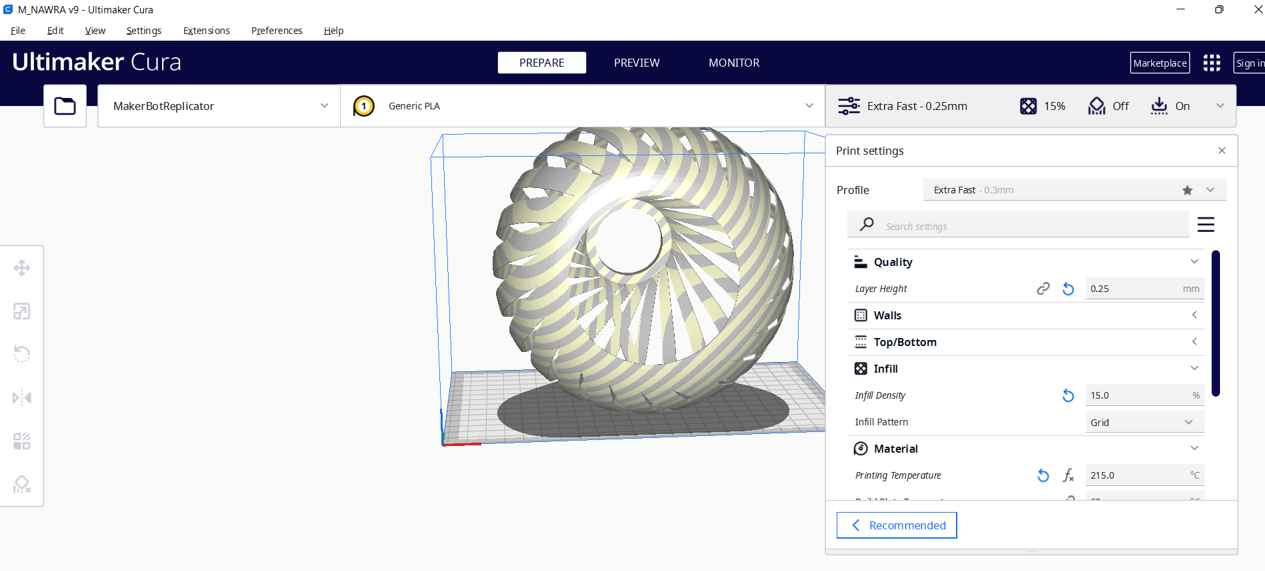
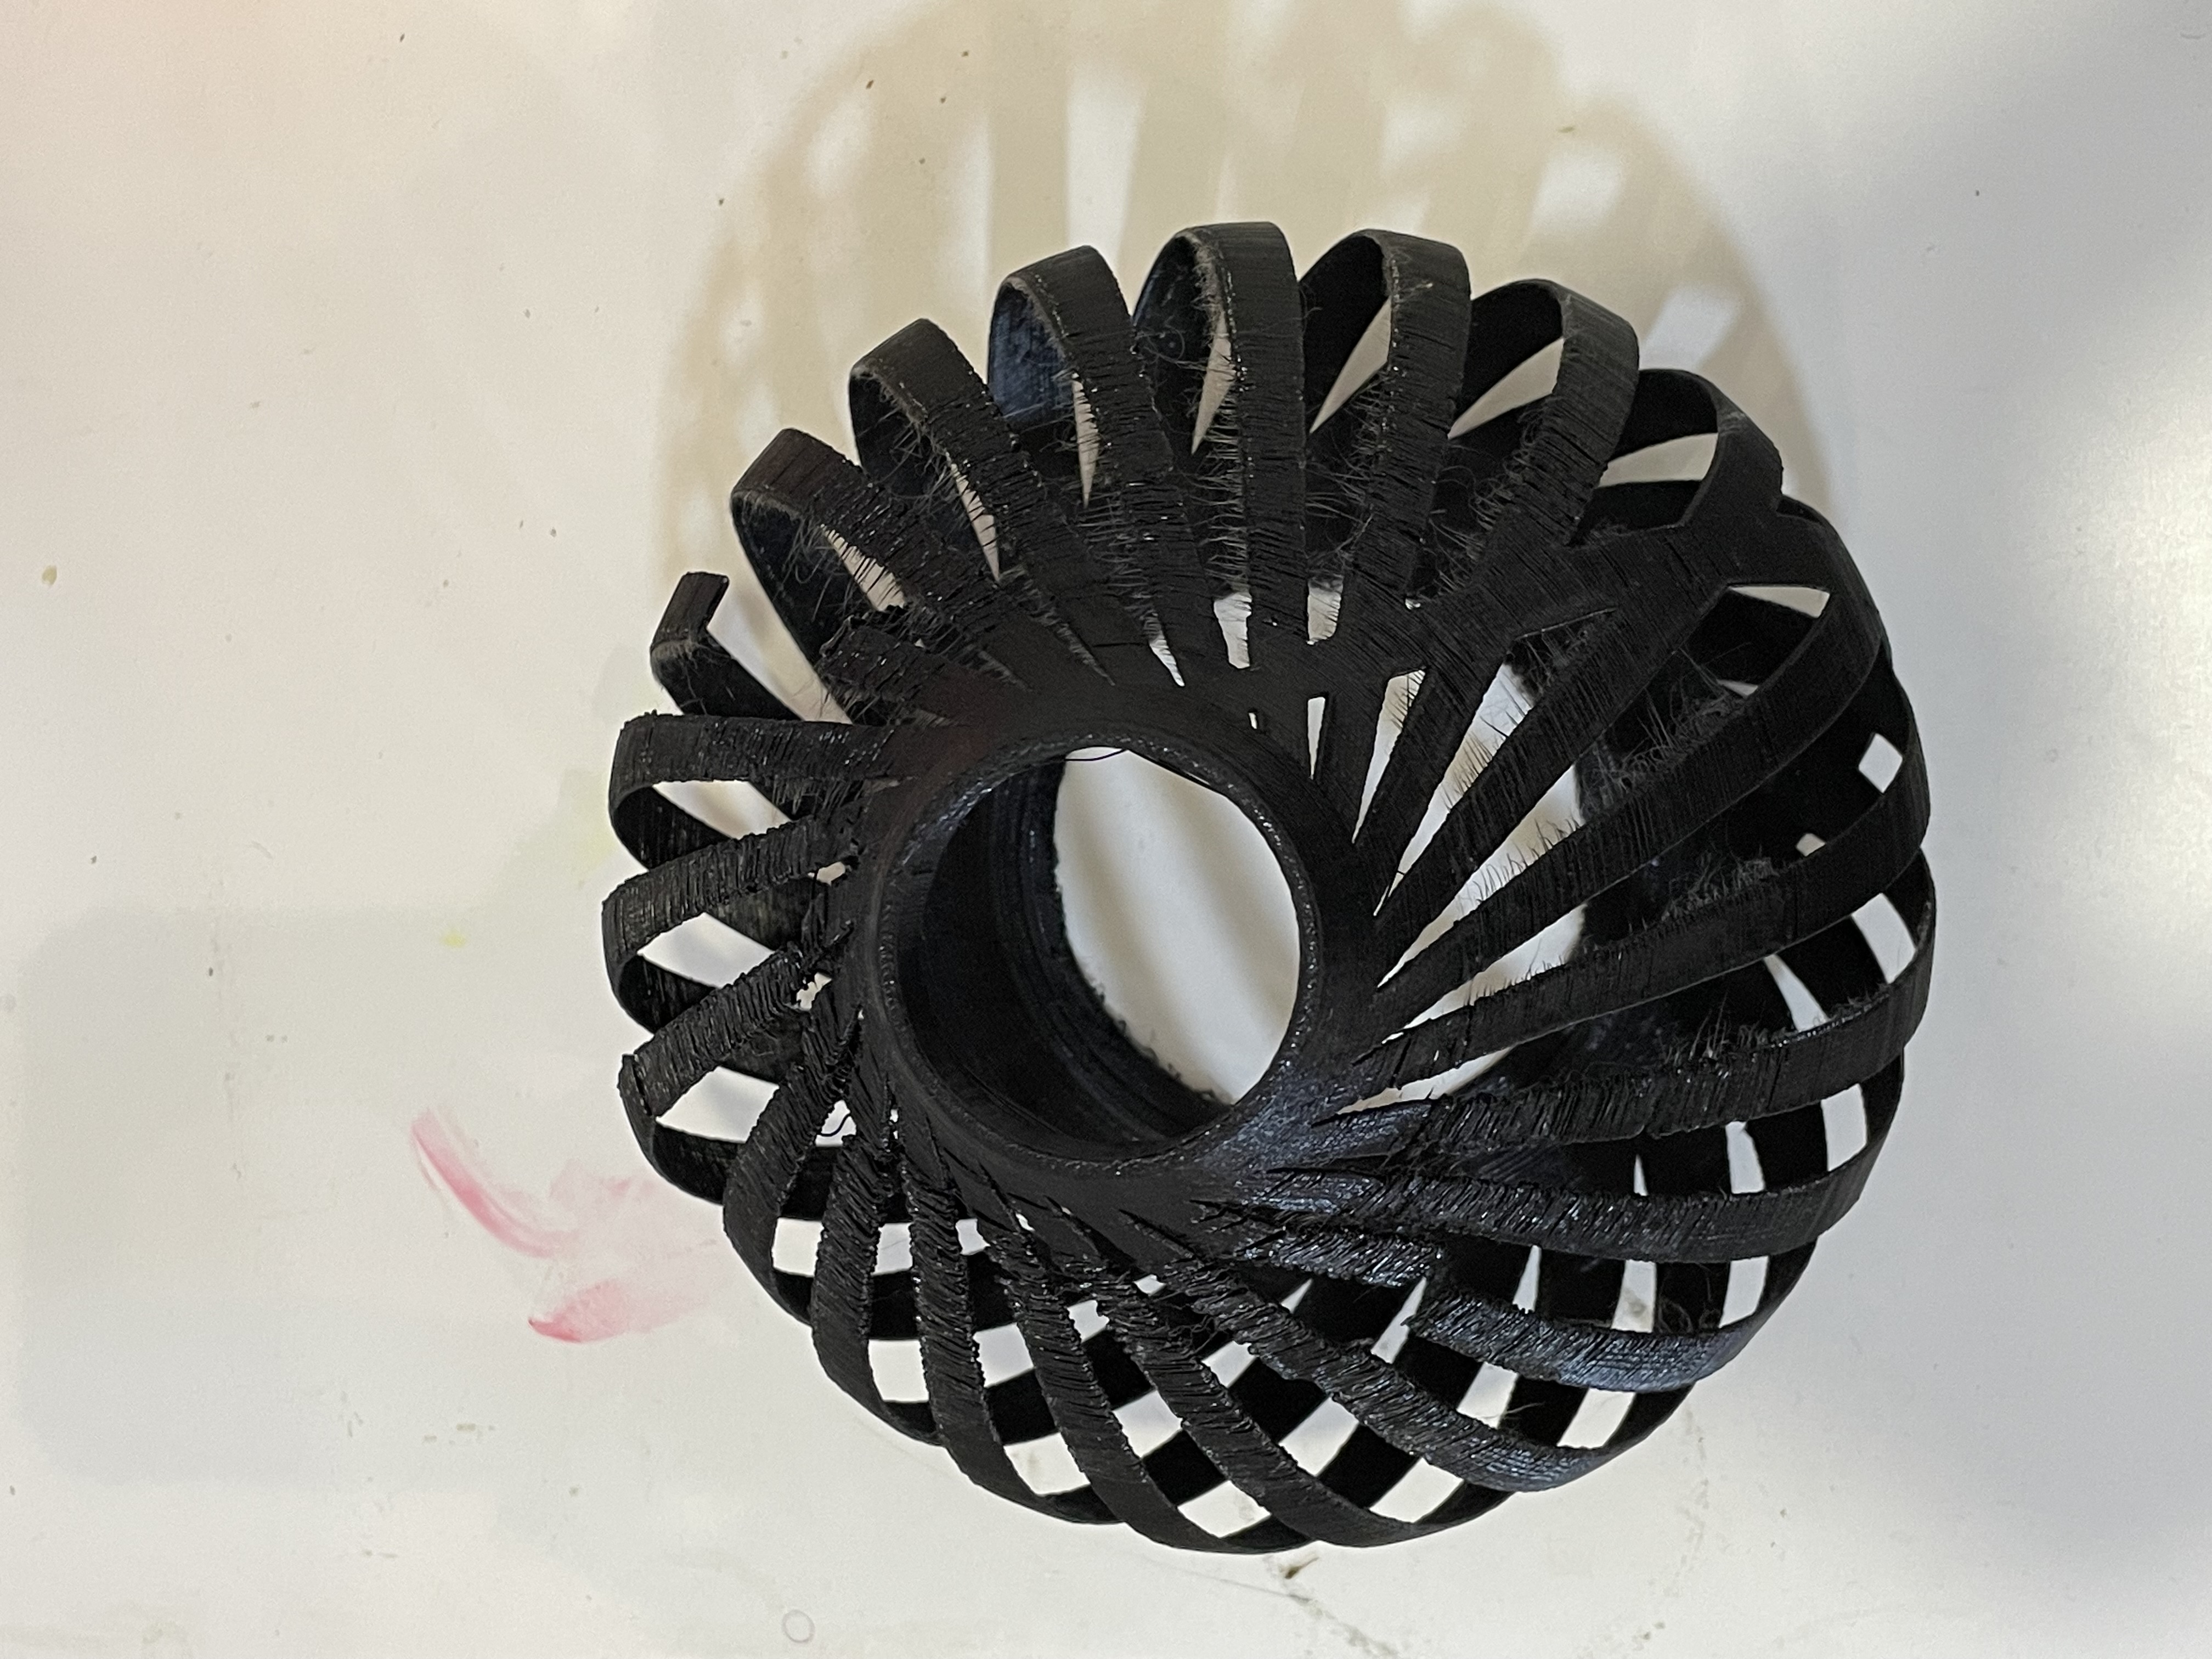
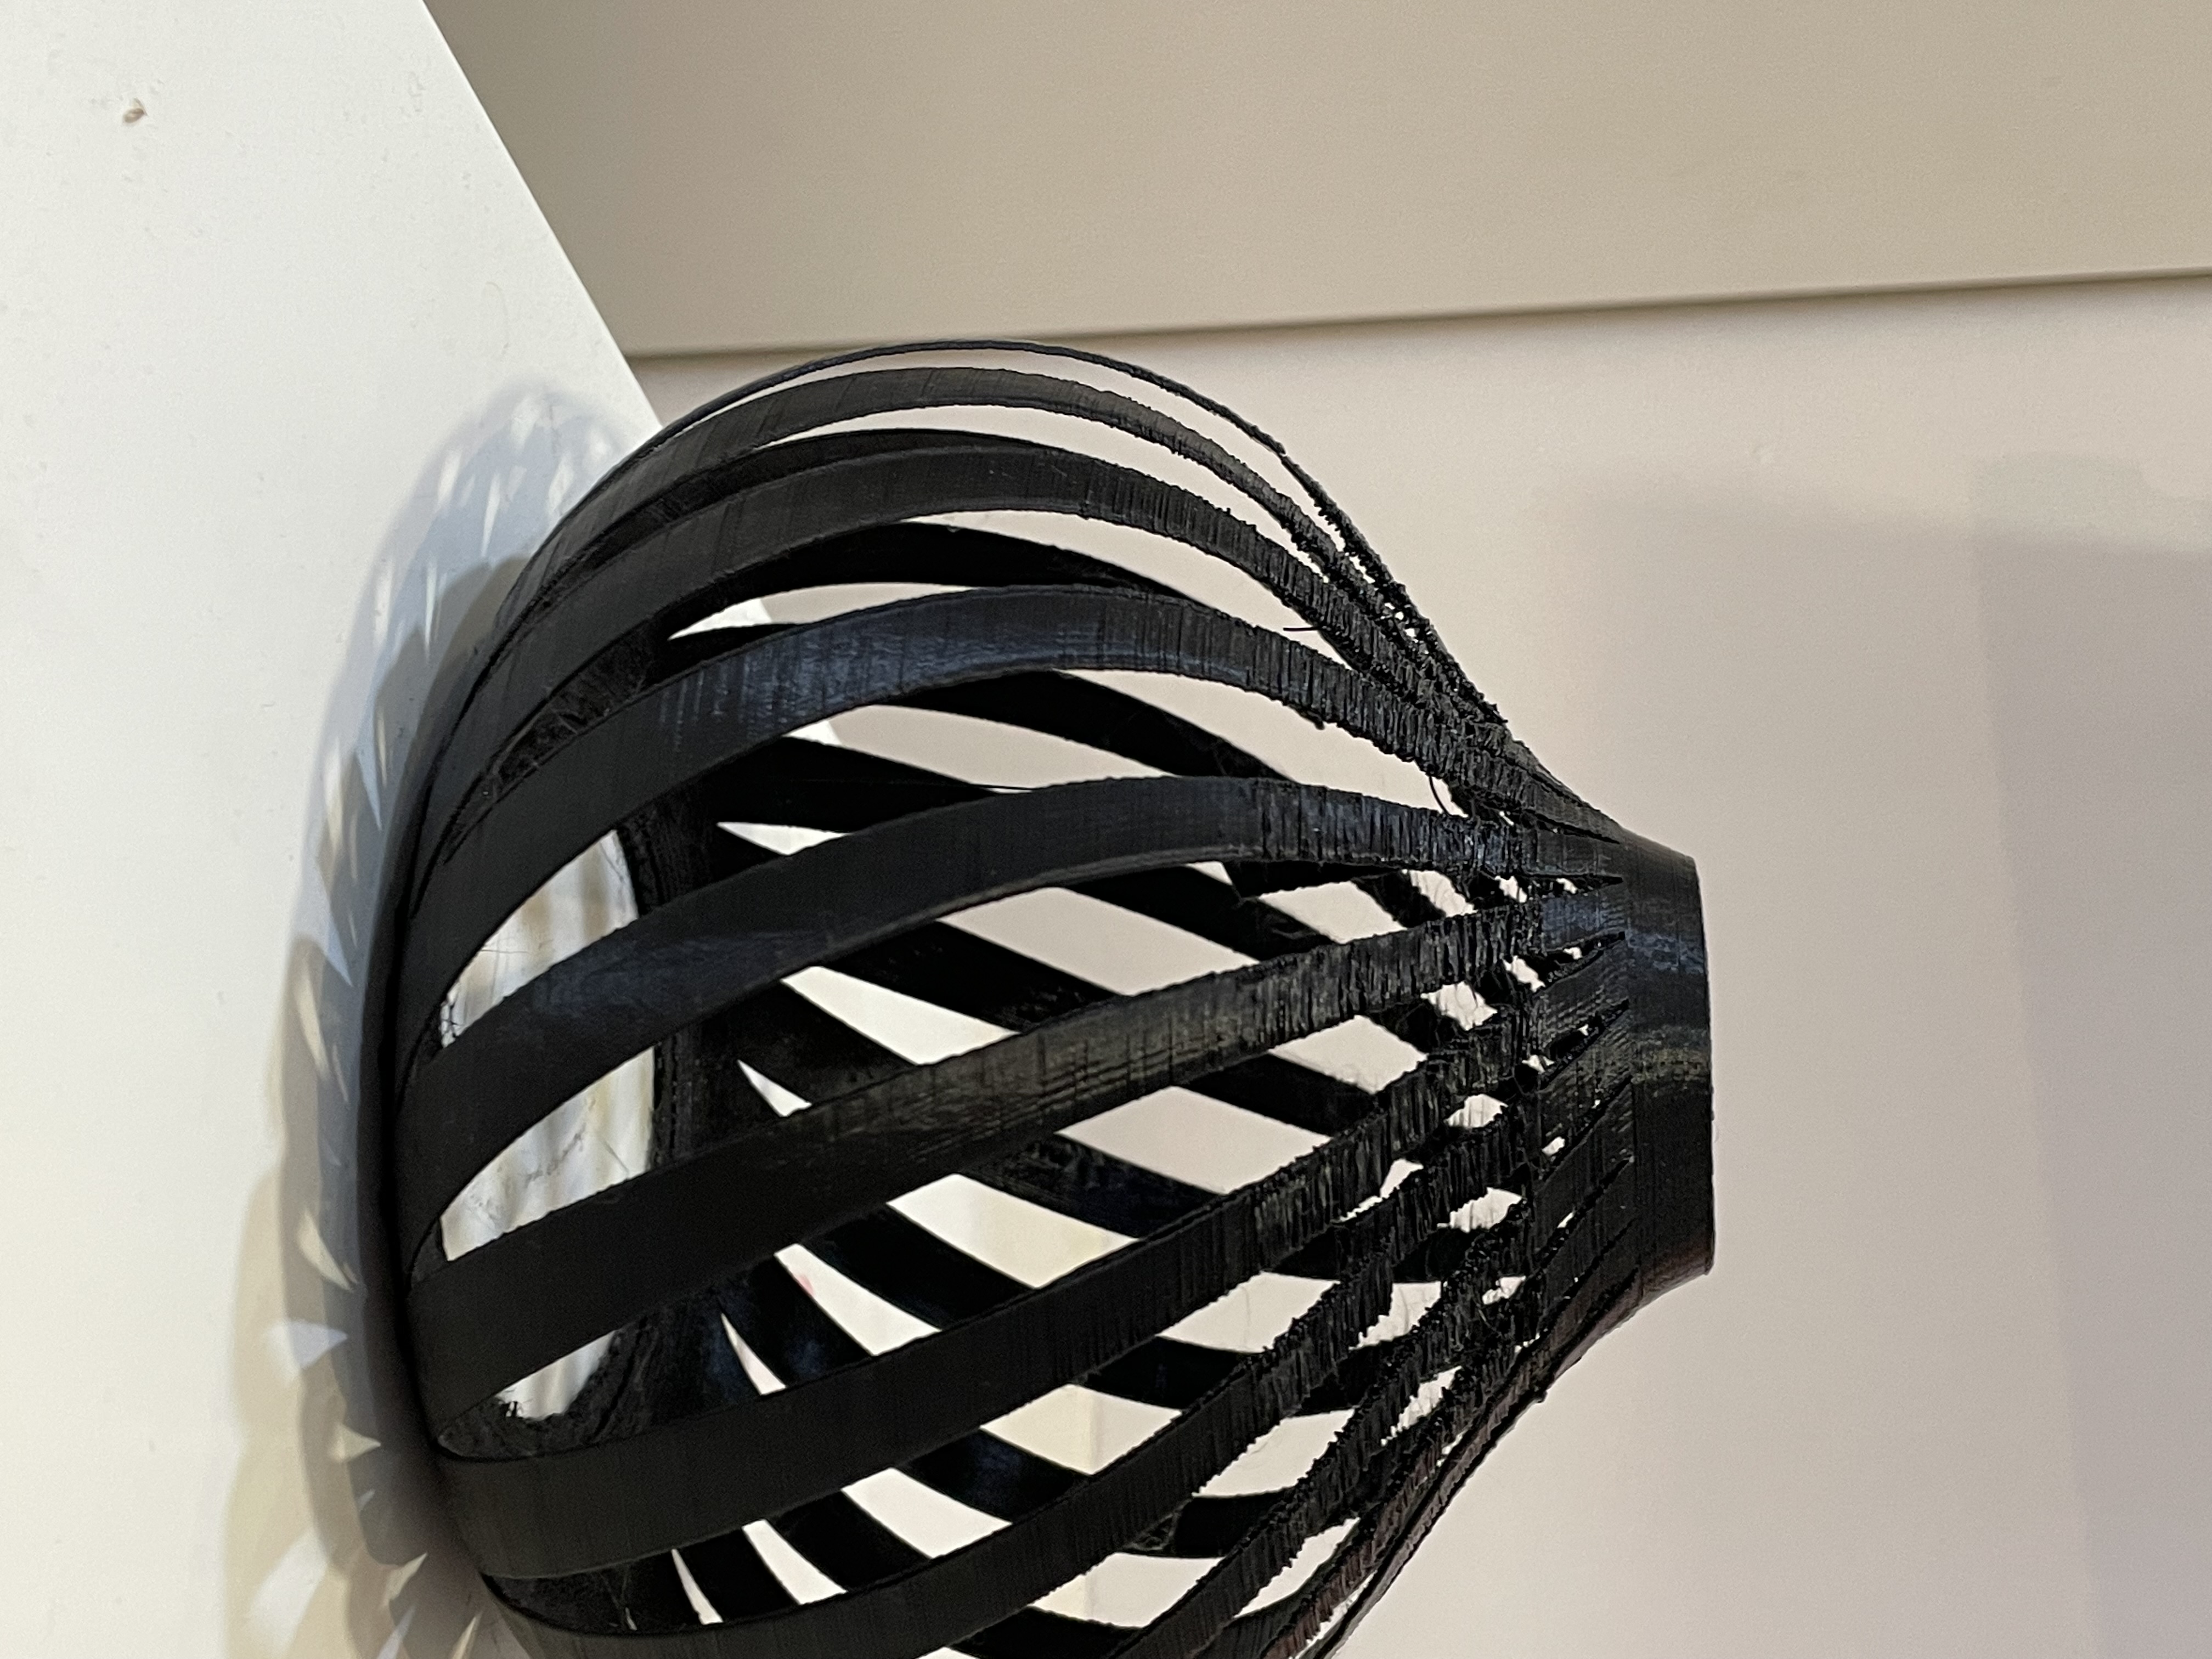
lampshade in final look

PART 2: Qlone Application
The item created in the 3D printer prepared by the kinect was 3D scanned using the Qlone program. On the mobile device, the Qlone application was first downloaded. The application was run when the download was complete, and it was used to scan the item as previously mentioned. The application asks you to scan the item in a 360-degree motion on particular levels such (low, high, top, and in the middle) 1.I choose 3D model
2.put it in paper
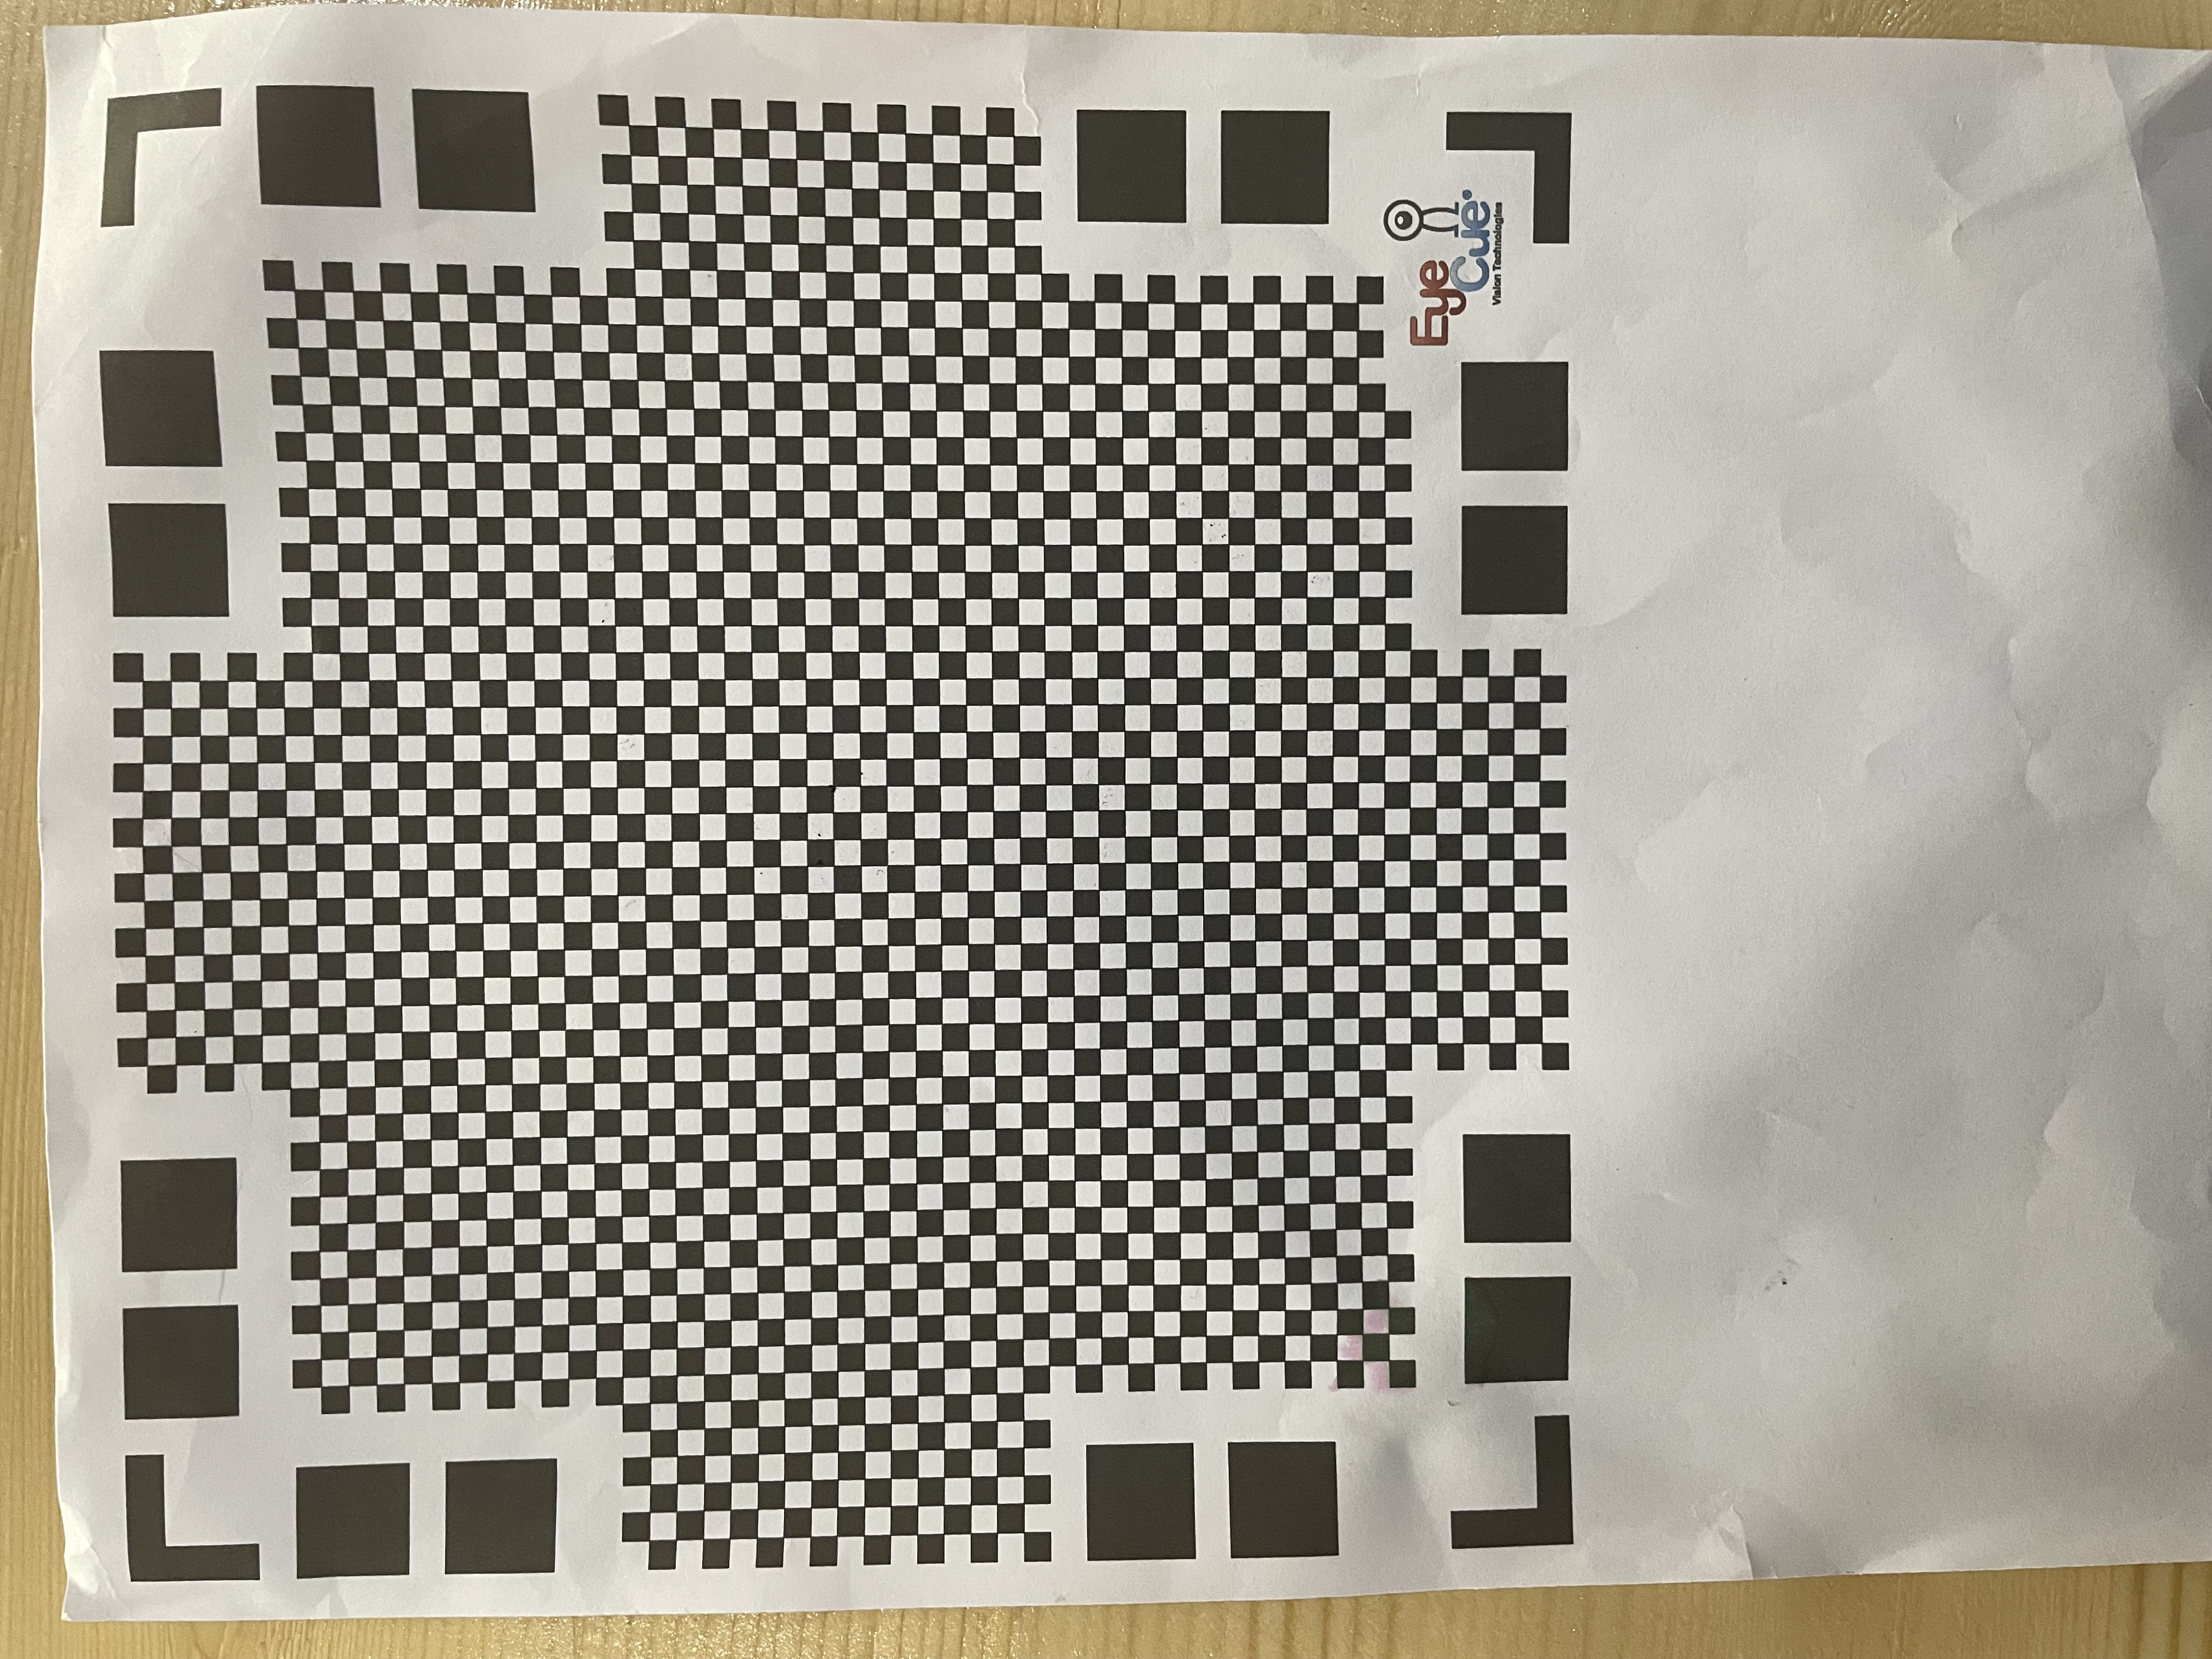
3.Oppen the application and start
4.The final result
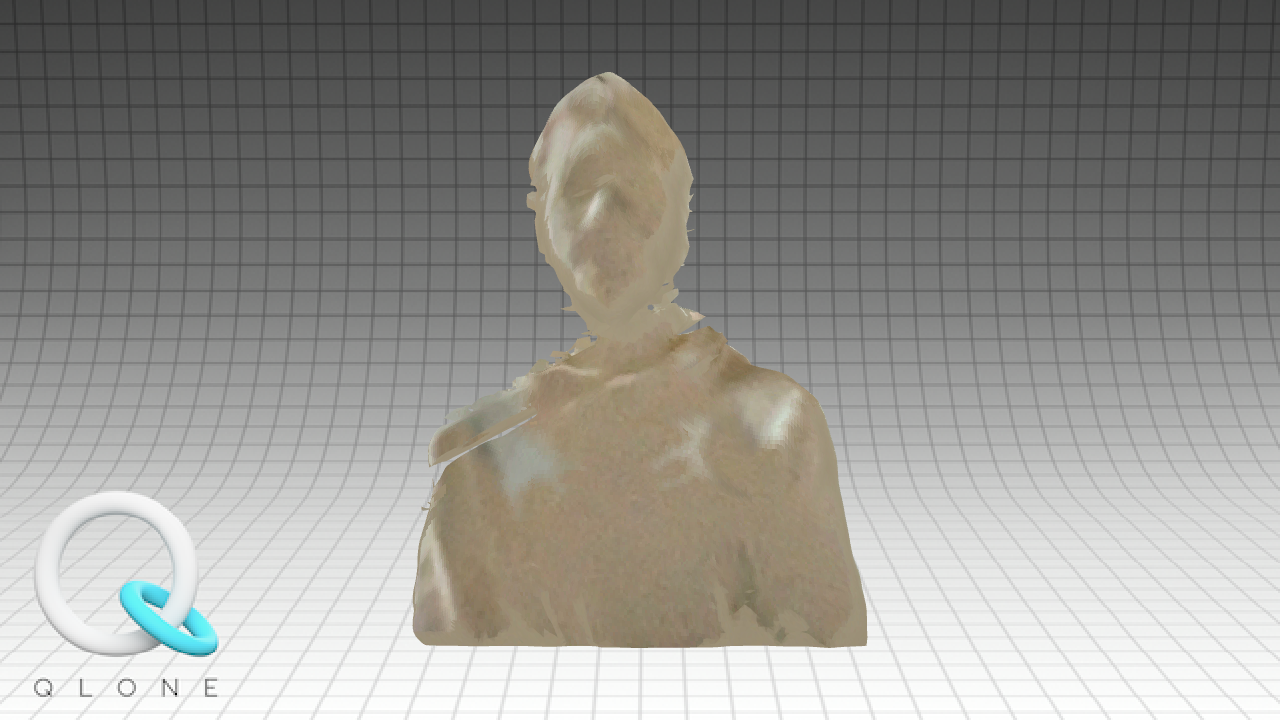
5.In 3D model .
My opinion
I enjoyed this week and learned more how to use Fusion 360.I like the final result of lampshade.