8. Moulding and casting
This week I learnt about the processes of moulding and casting. I learnt what is it good for and what are the limitations. In addition, we tested different materials for casting. Finally, we created our own designs to be milled, moulded and then casted.
Moulding vs. Casting
Moulding is the act of creating the cavity that carries a negative or reverse impression of an original model. Moulds can be made of a rigid material, such as plaster or more commonly, a flexible material such as rubber.
Casting is the act of pouring liquid material into the cavity of a mould. After a period of time, this liquid will cure via chemical reaction or cooling. The solidified part is also known as a casting.

-
Why casting and moulding? We have different materials to use unlike 3D printing It is good for producing large quantities of the same thing
-
Limitations:
- We cannot do undercuts.
- The precision is limited to the instrument (cutter diameter).
- The depth is also limited to the instrument length.
Group Assignment
In the group assignment we were divided into 4 groups and each group had to test a material. The materials were: Gypsum, silicon and 2 types of resin. You can find the details of the group assignment here
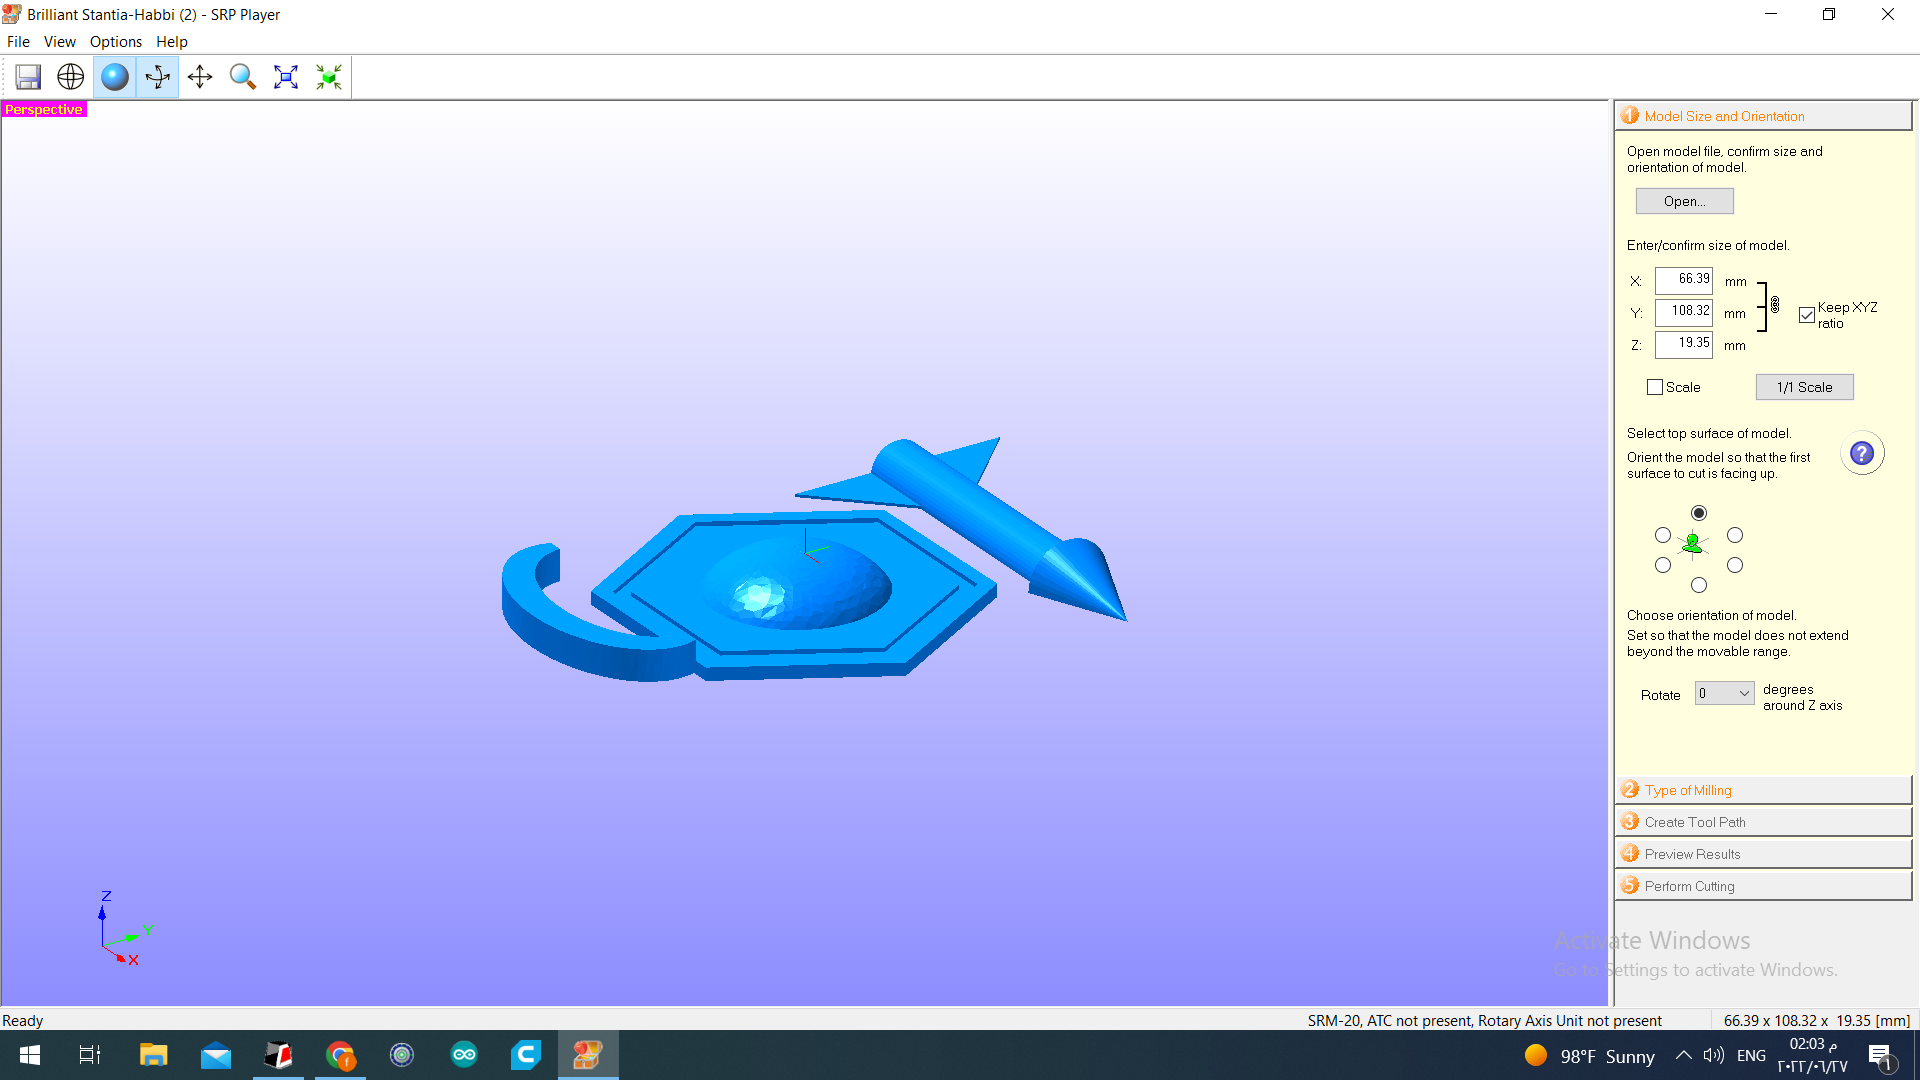
Design
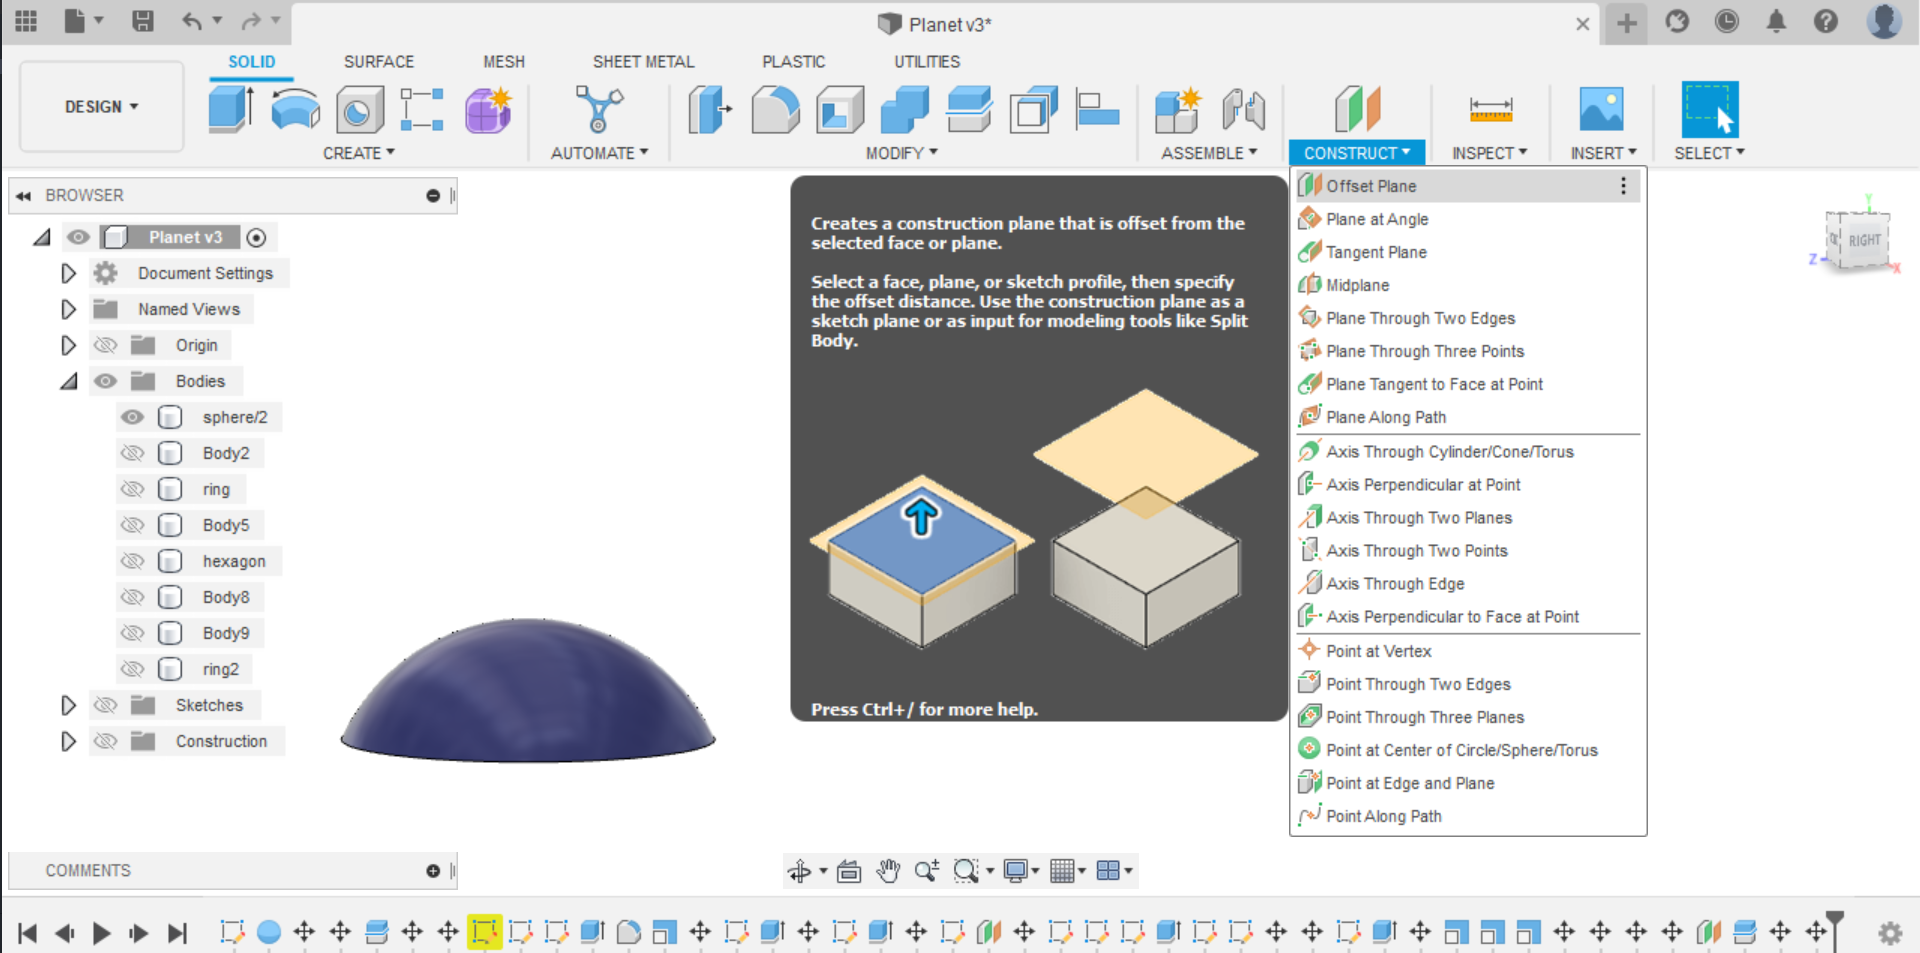
I wanted to create a little planet so I made a sphere and sliced it using offset plane
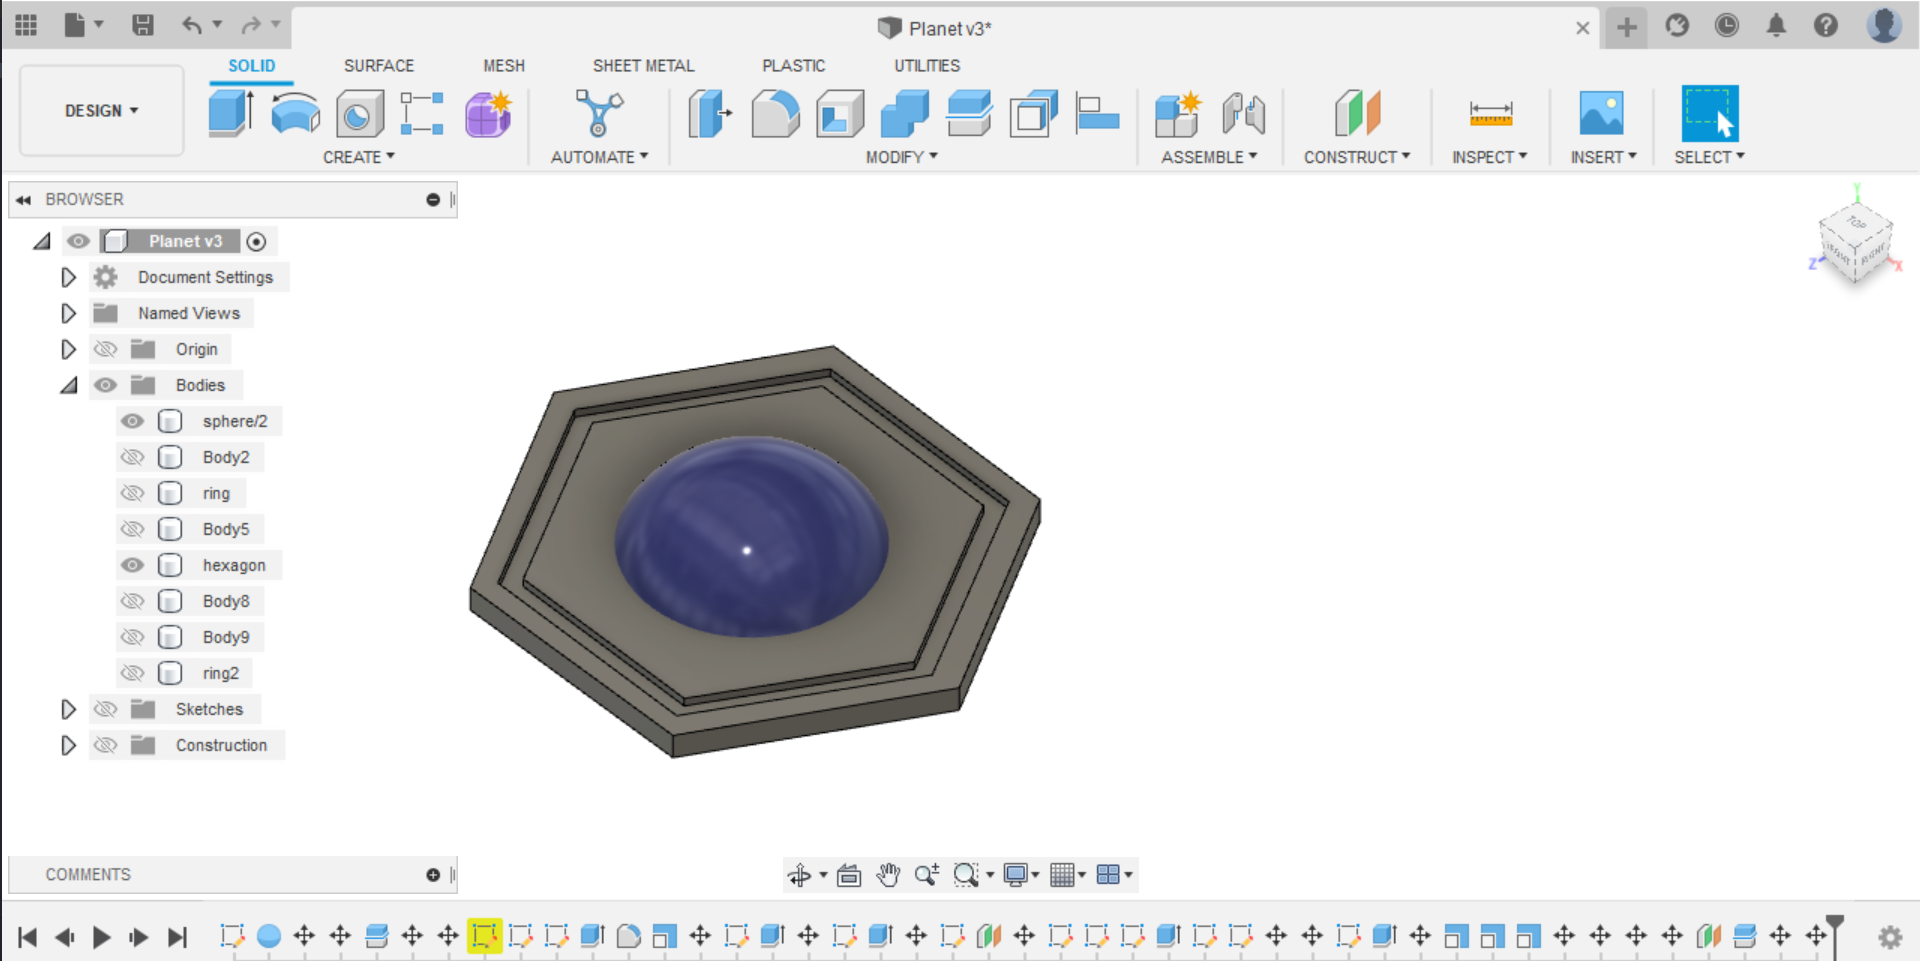
Then I created a little background behind it in the shape of hexagon.
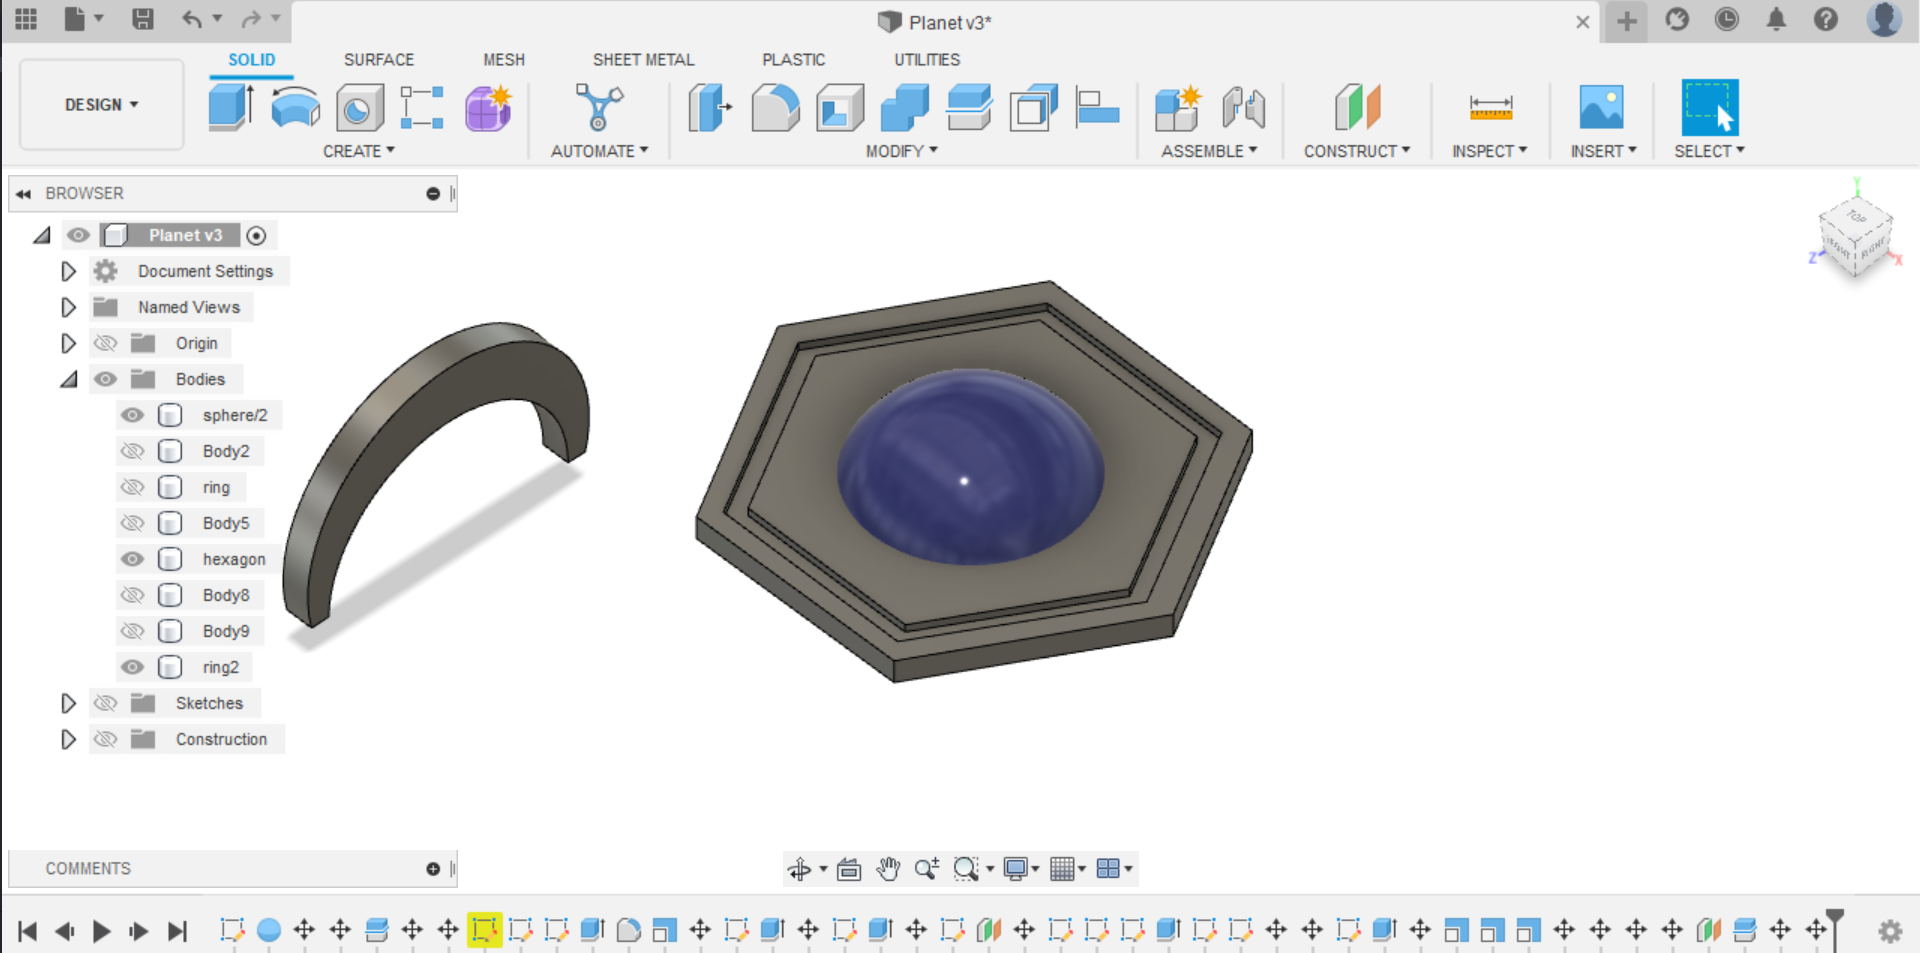
Finally I made a ring
You can download the design here
Later on, I had to change the ring because it was longer than what the machine could mill on the z axis.
Three-Step Process
Milling
After importing the design to the software, we modified the settings. First, we set the size of the milling space to fit our designs.
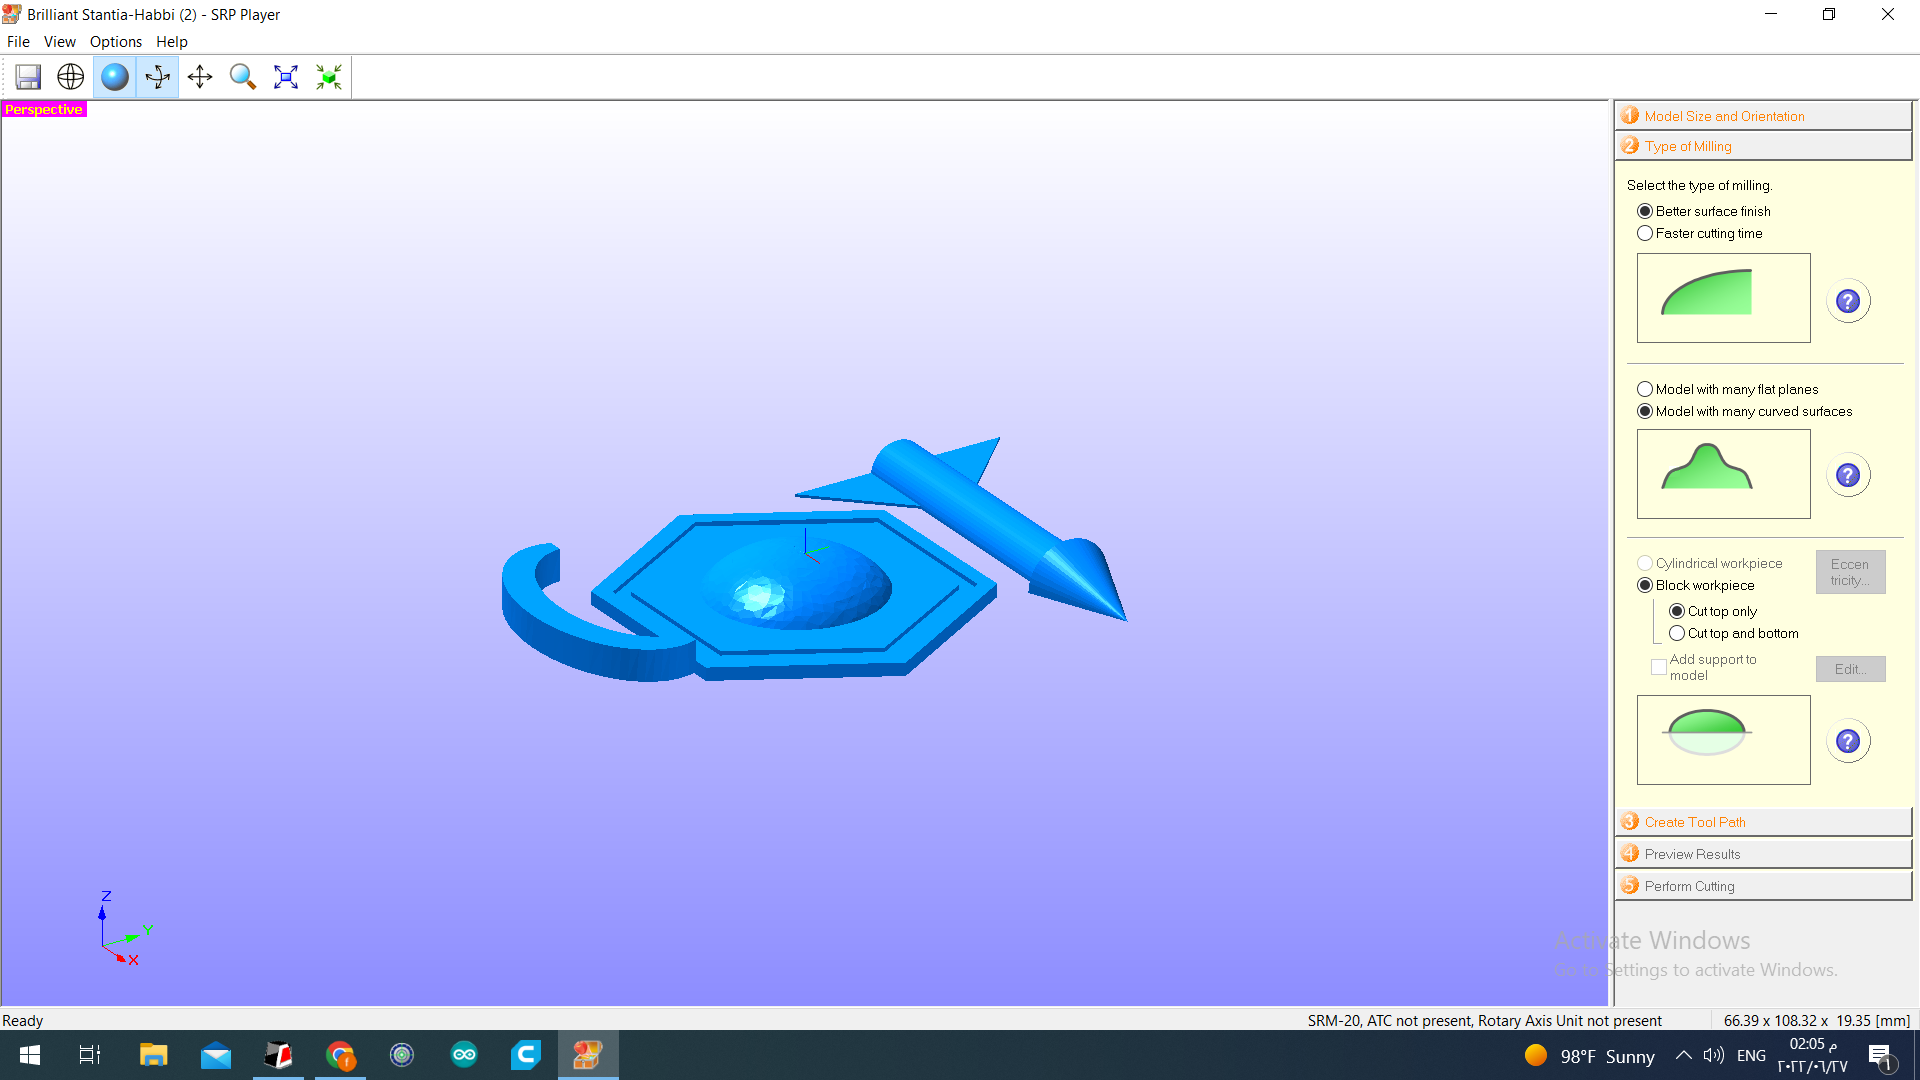
Then, we chose the type of milling as it appears from the picture which suits our design that has curves in it.
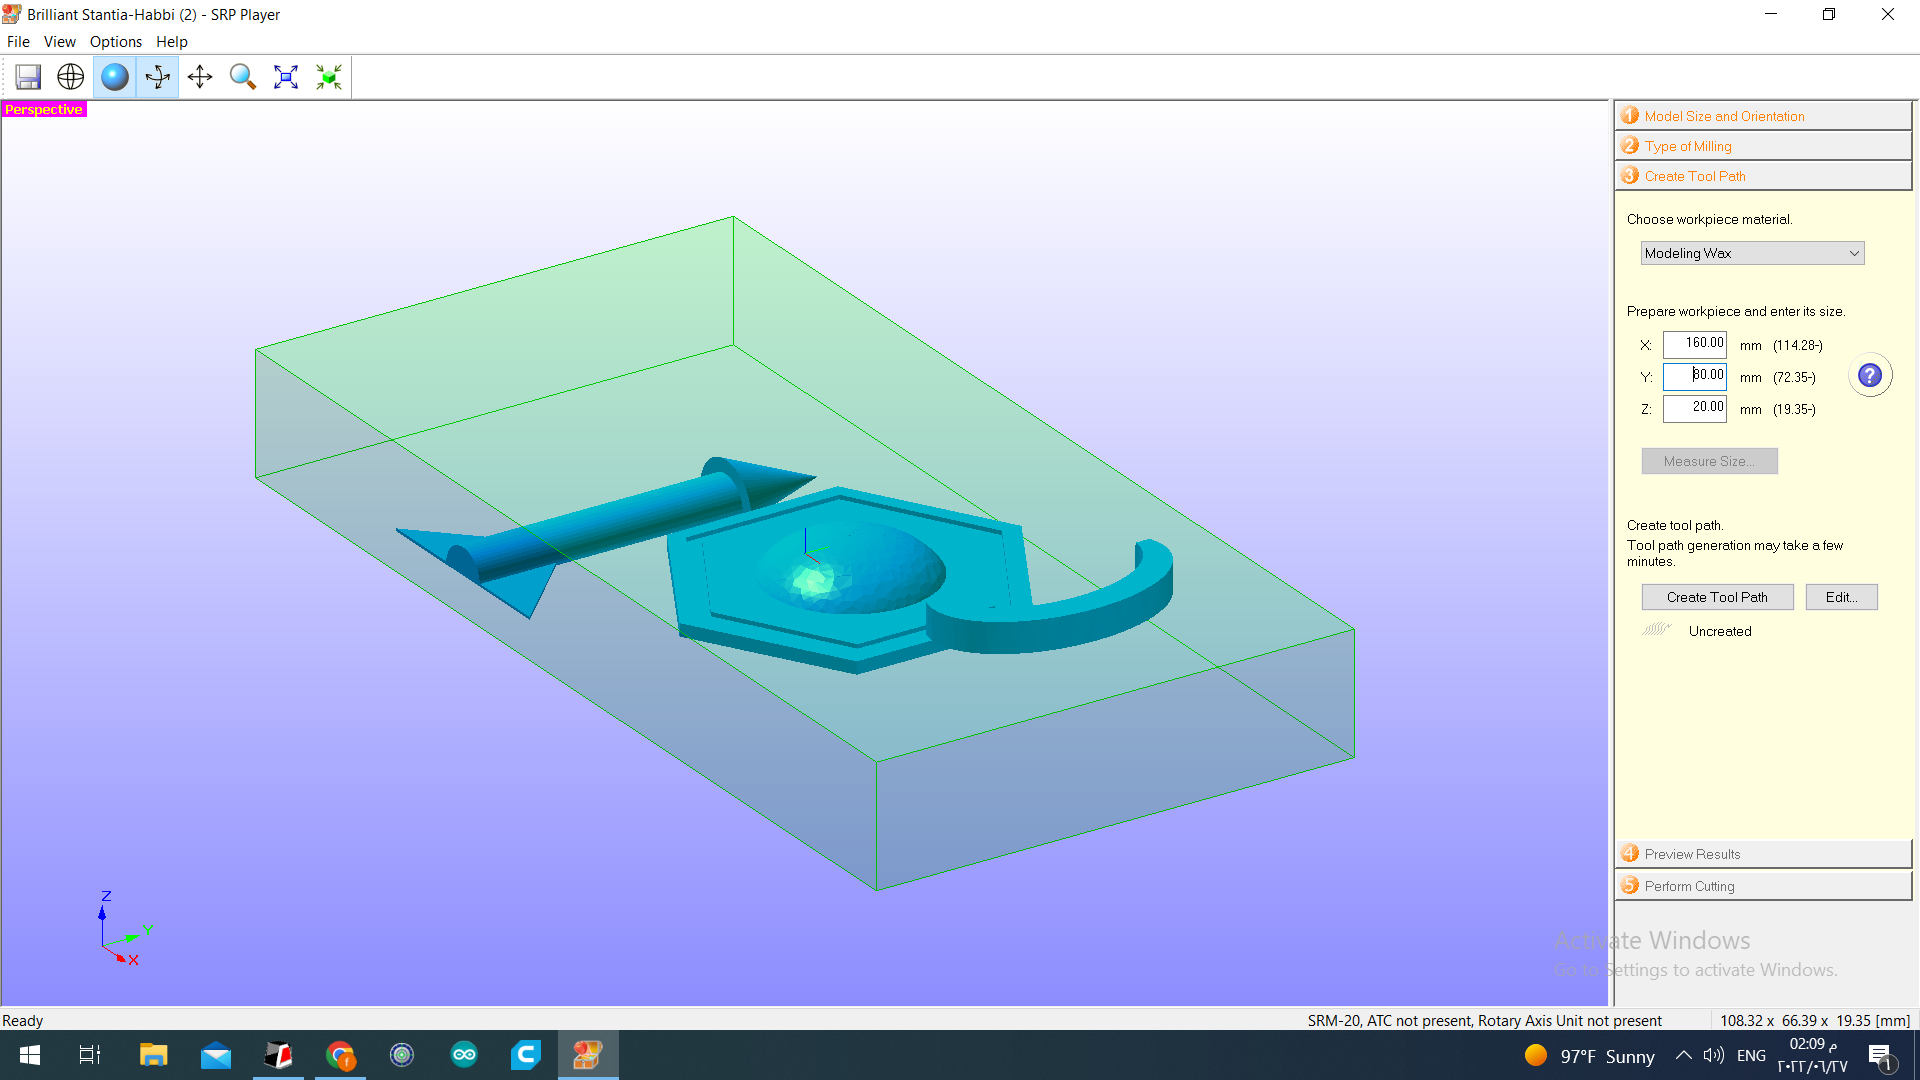
We set the toolpath
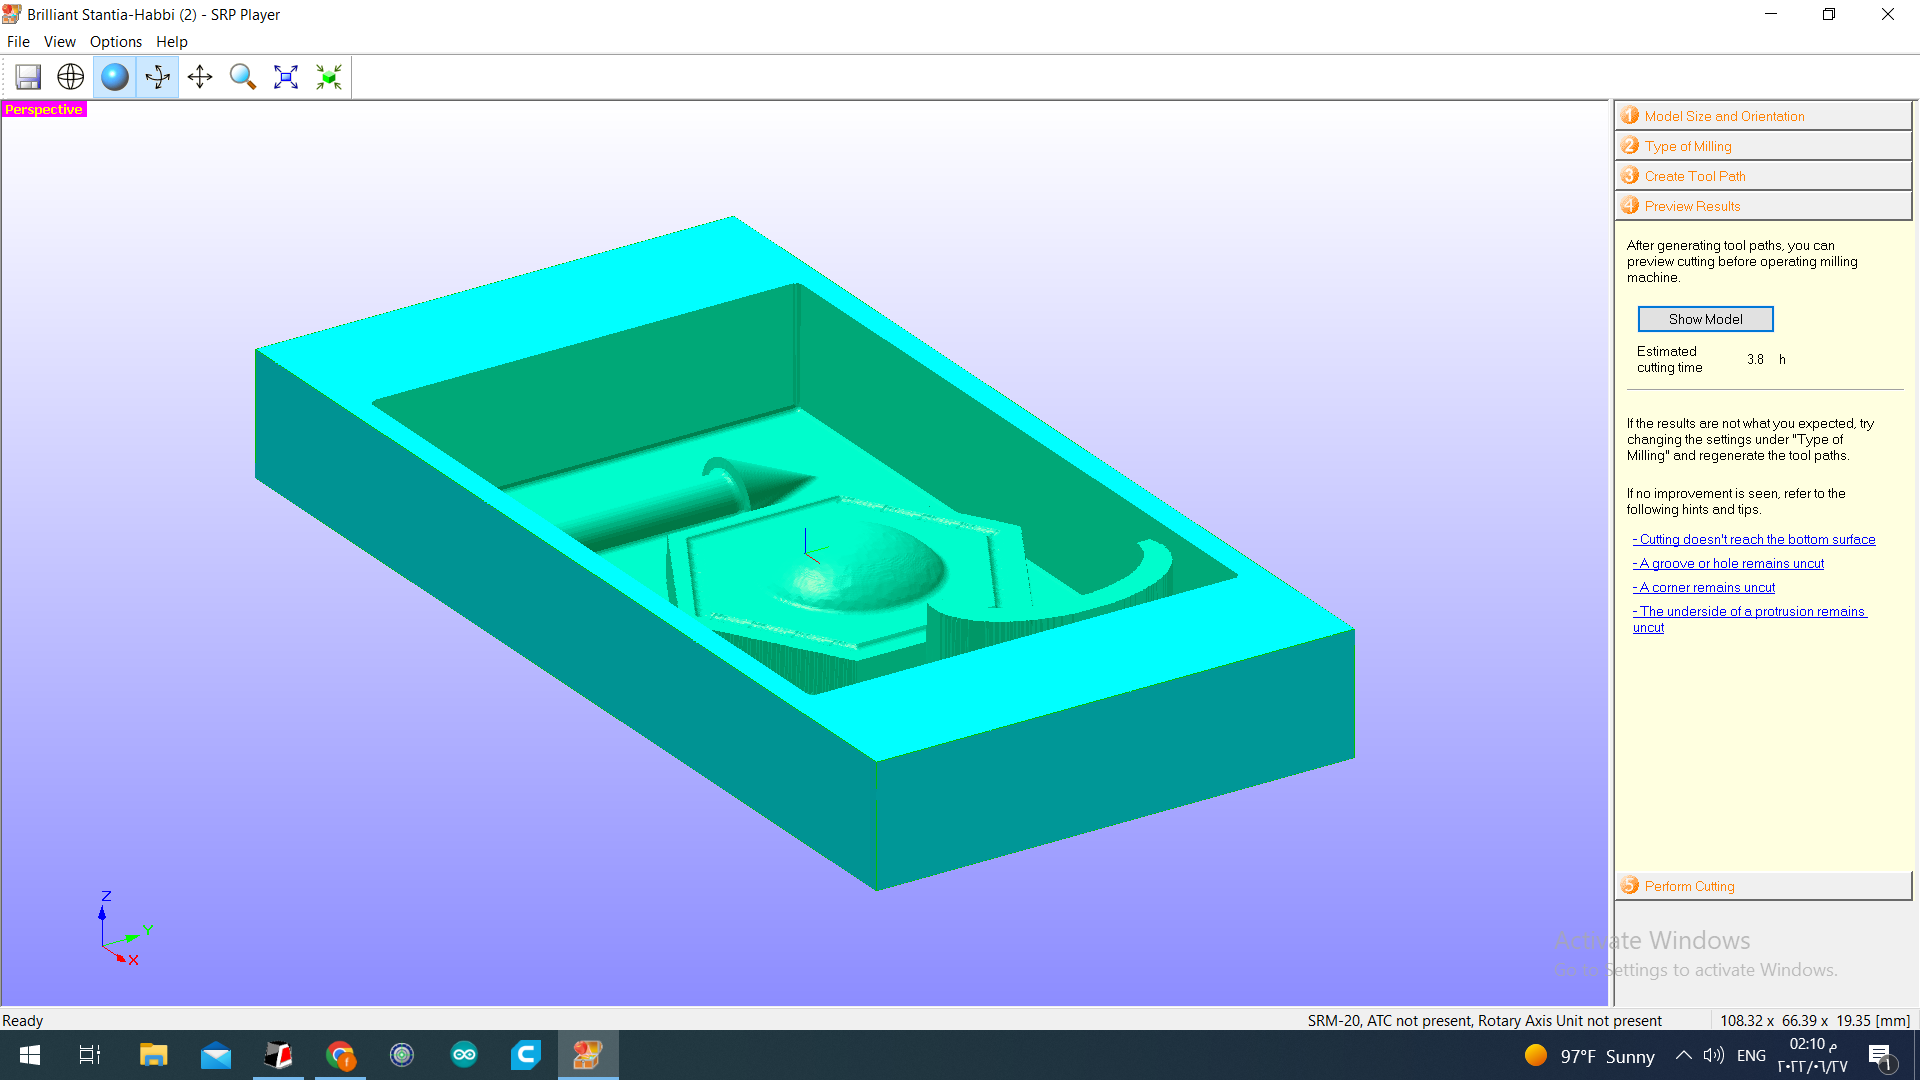
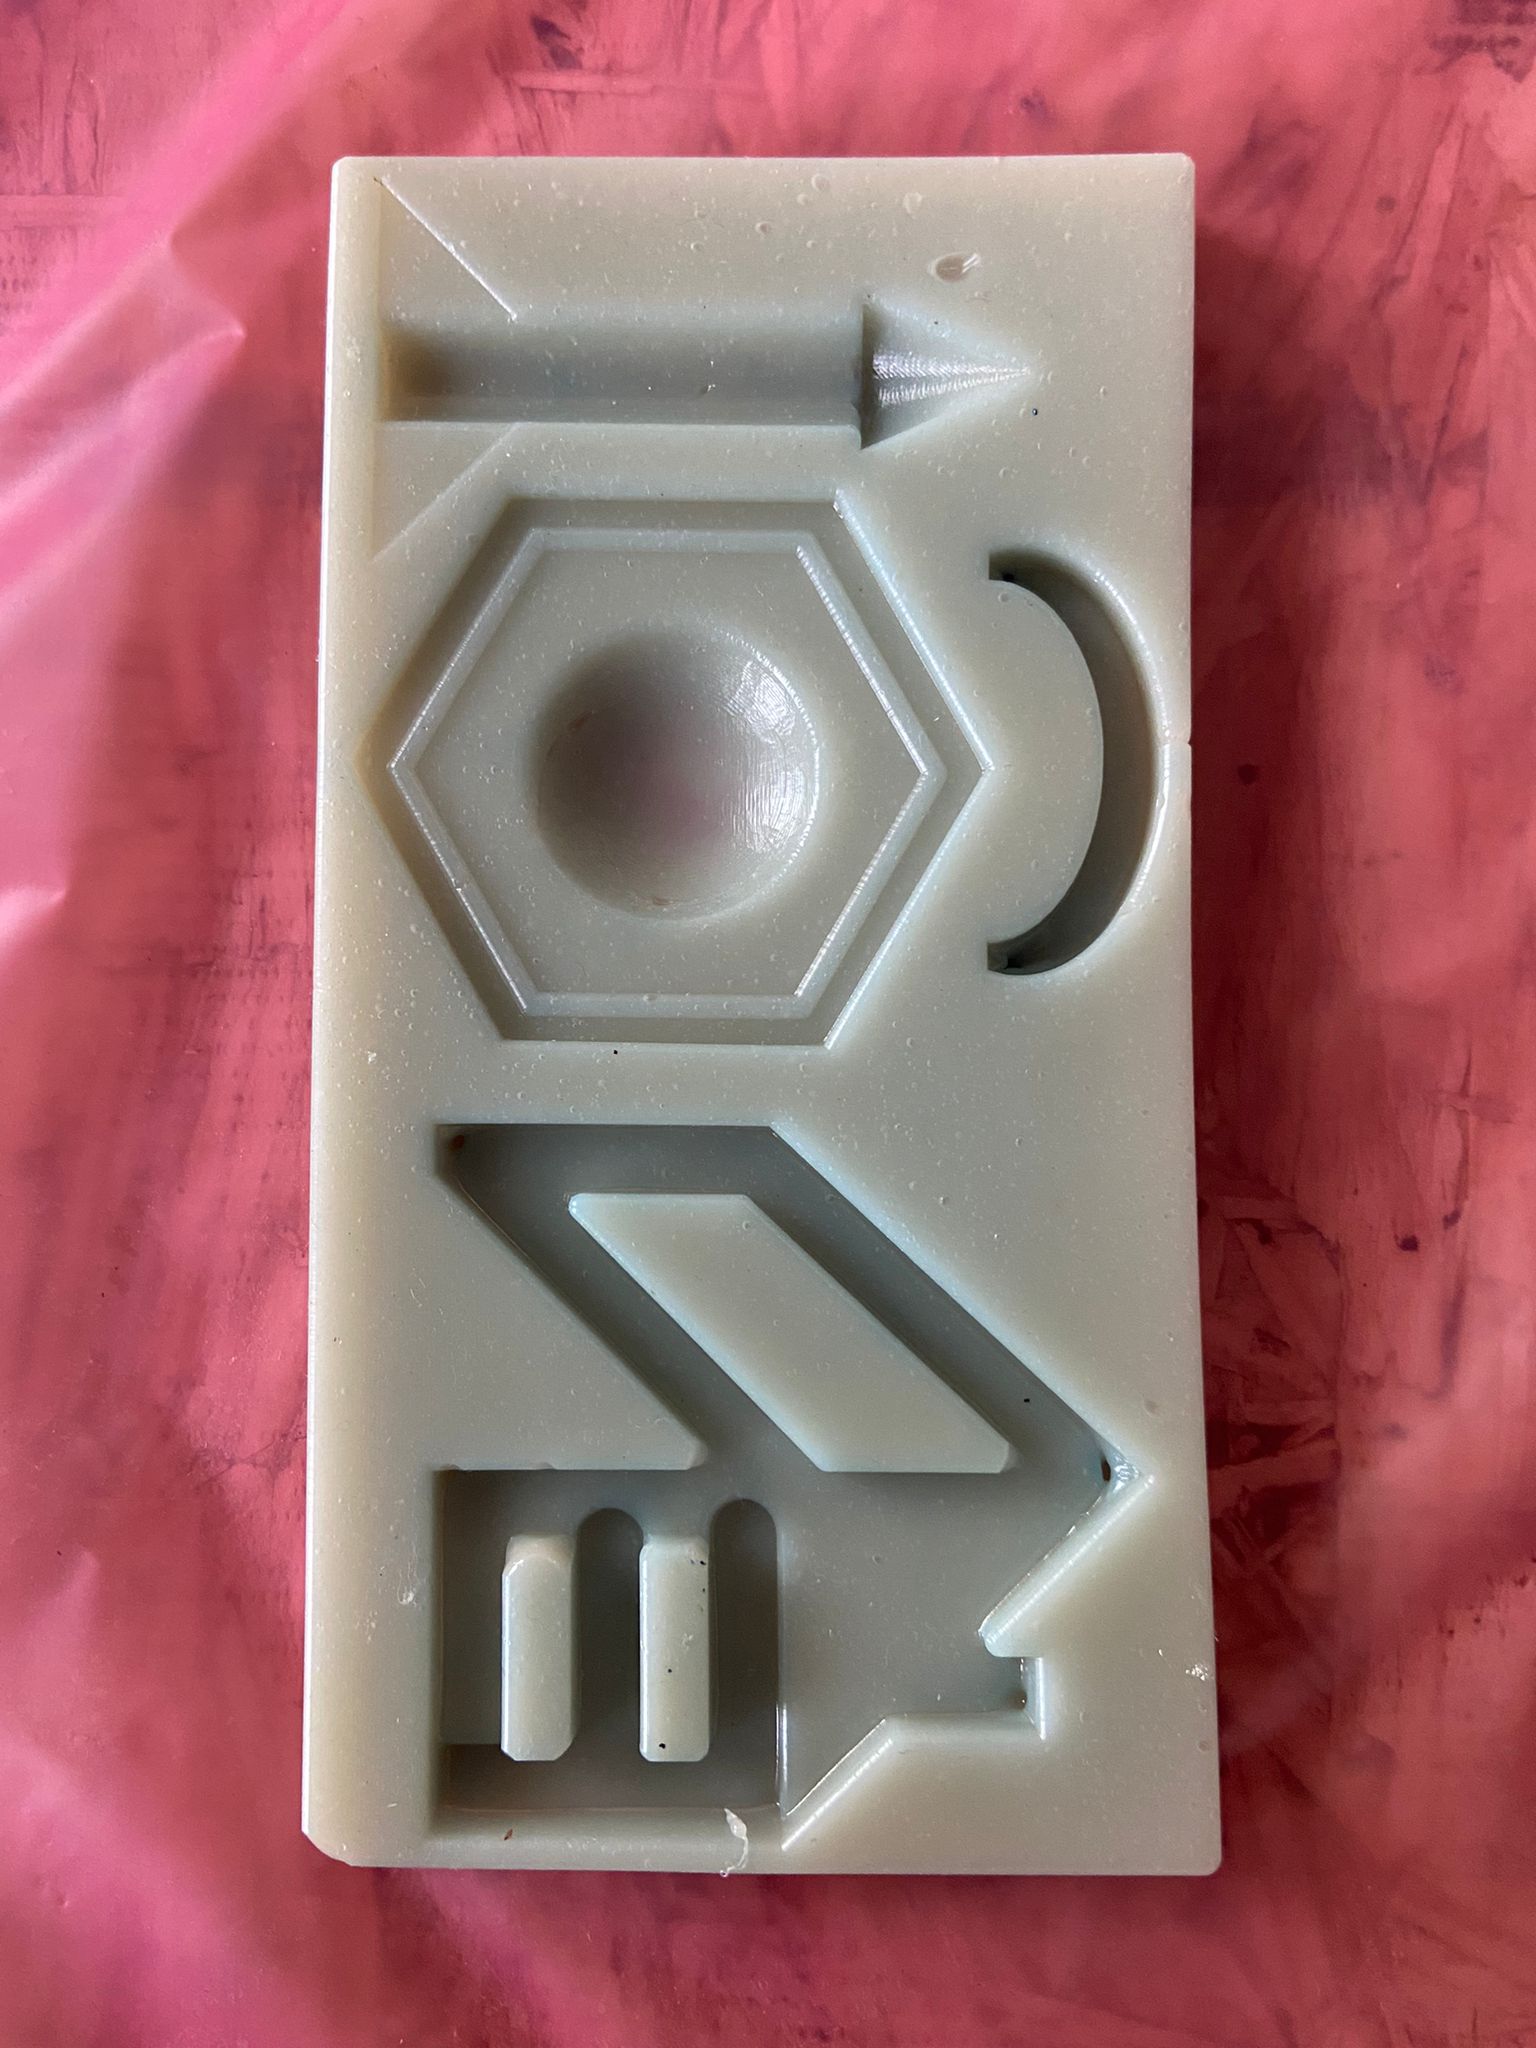
Finally, we checked how the wax brick will look like after milling
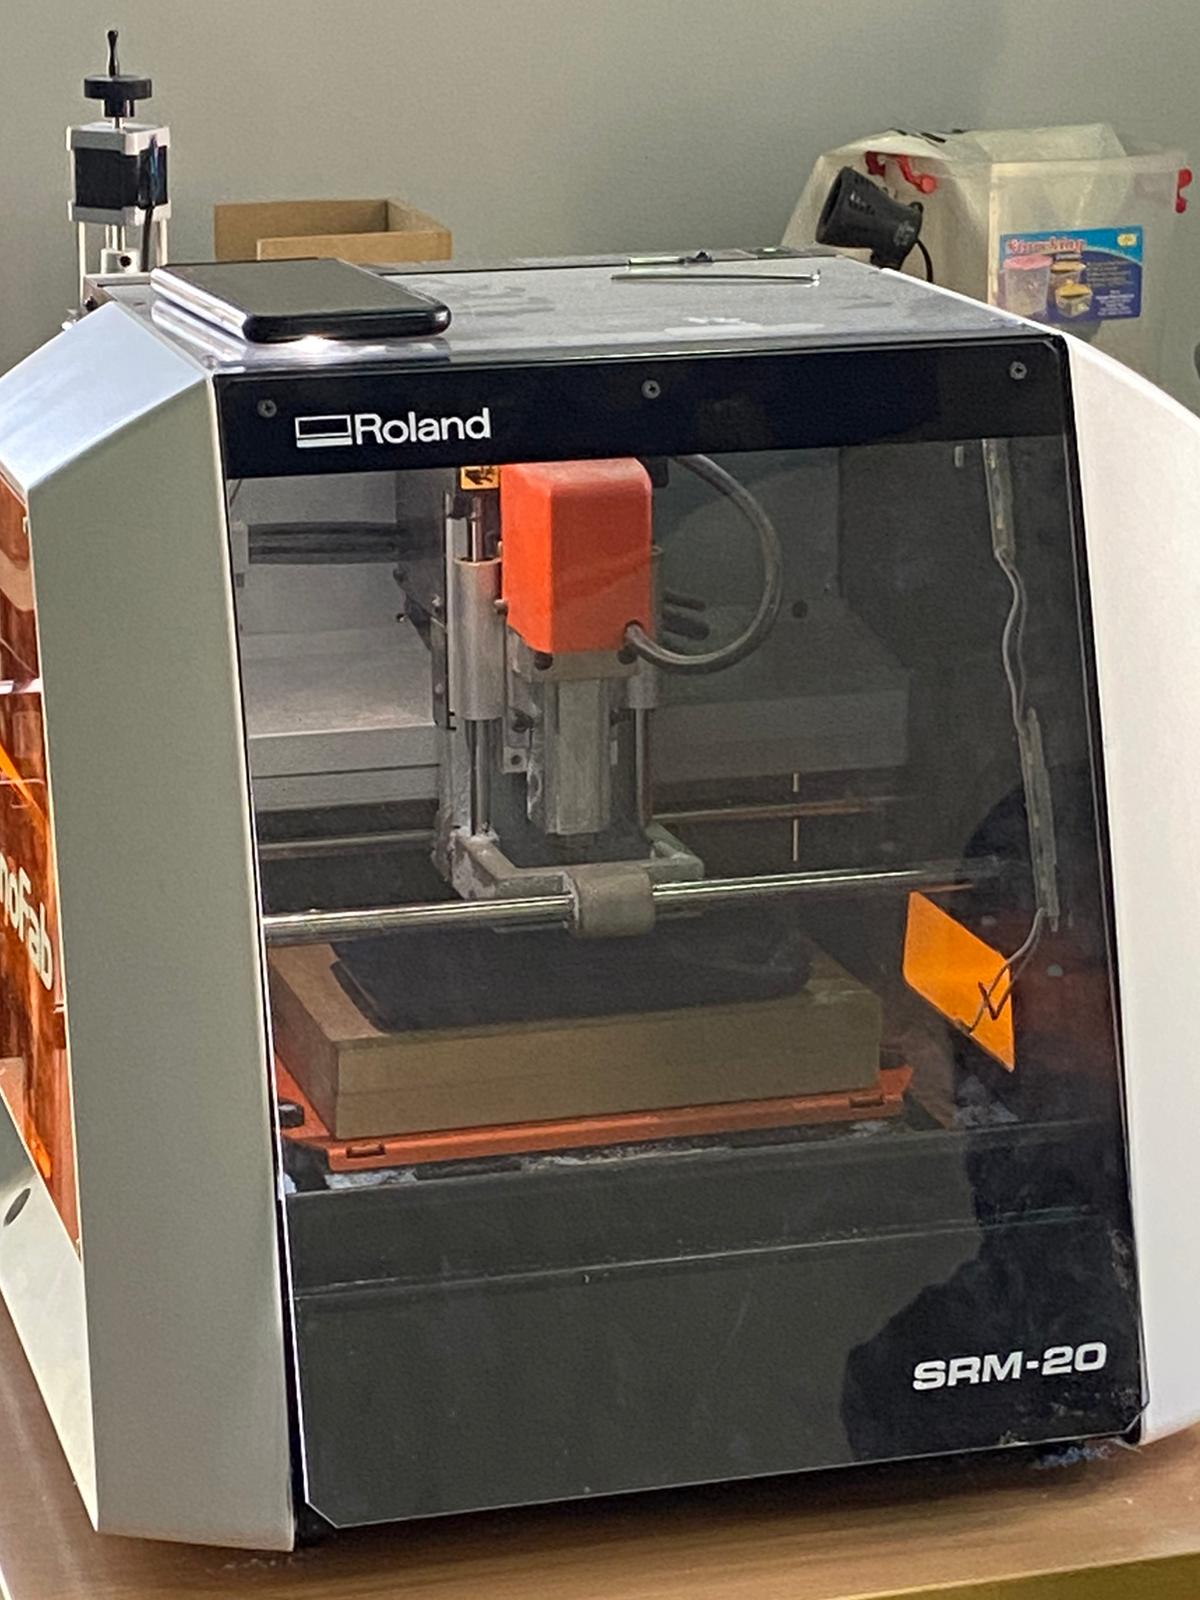
Then, we put the wax brick in the CNC milling machine shown in the picture and we adjusted the height of the miller.
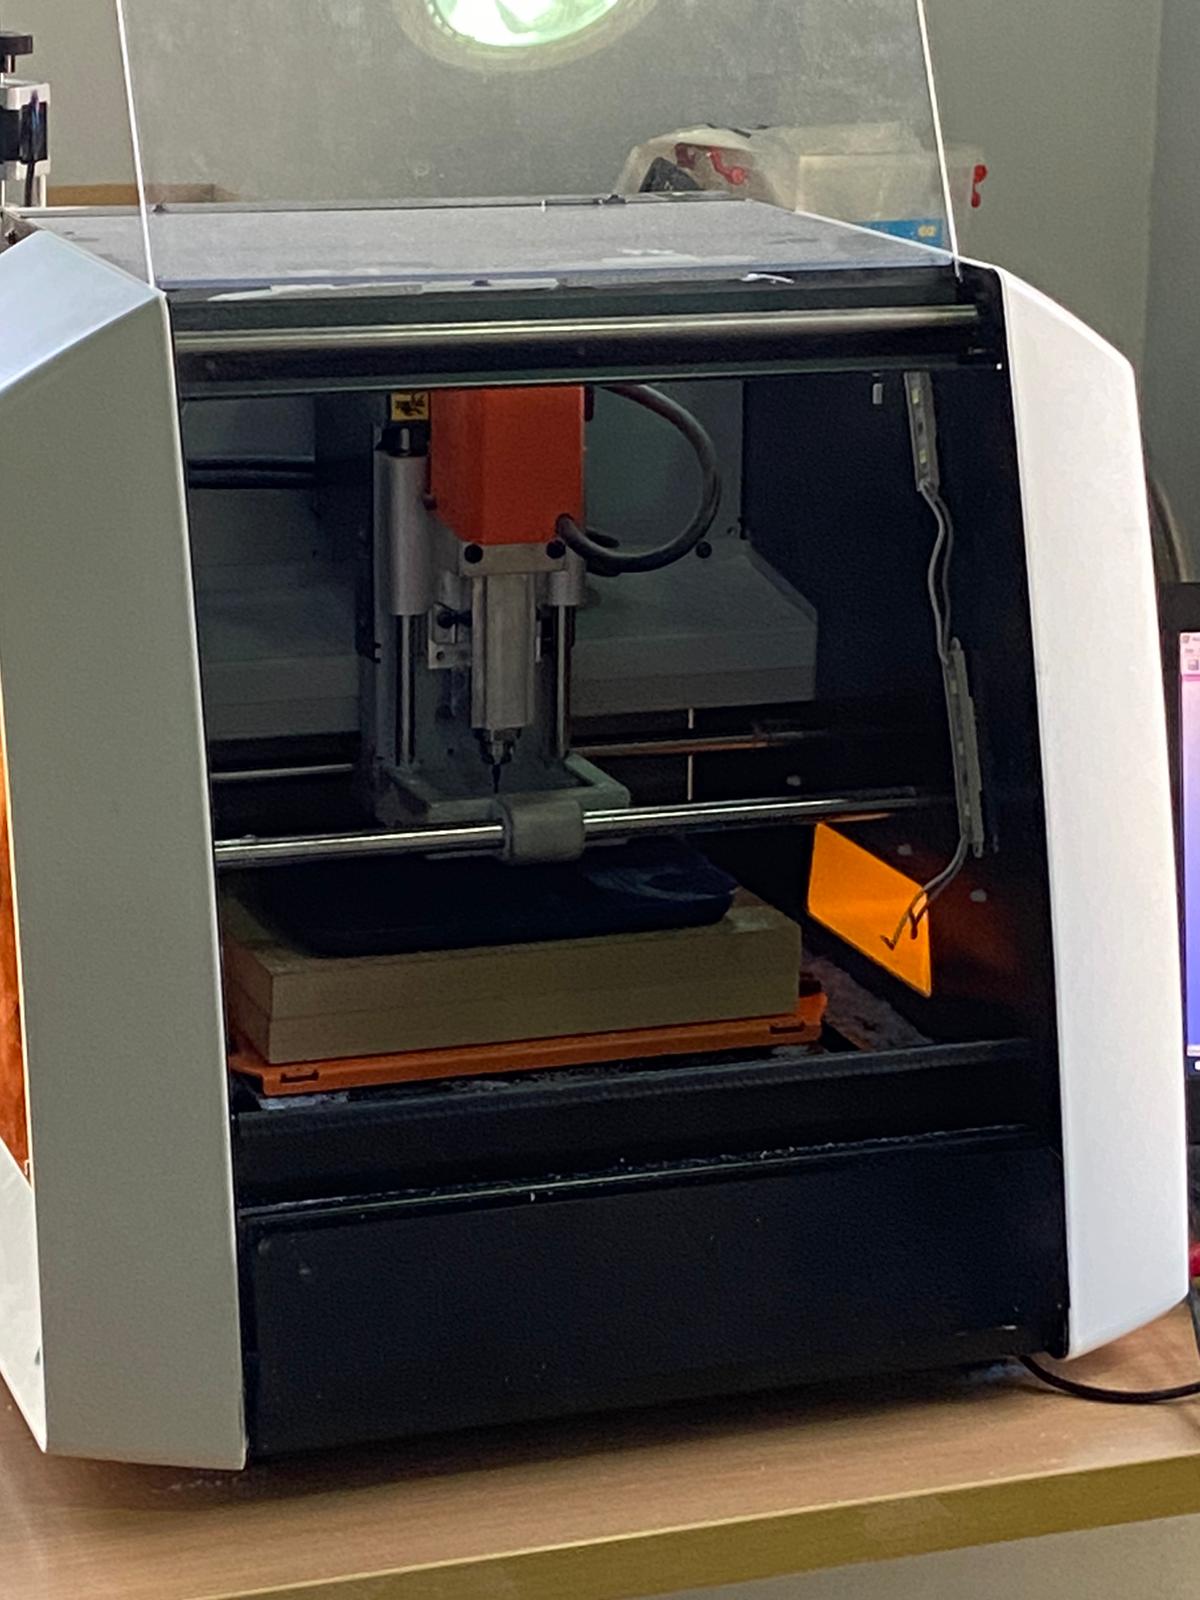
After making sure that everything is ready, we closed the clear door of the machine and the milling process started.
A few hours later, the mould was ready.
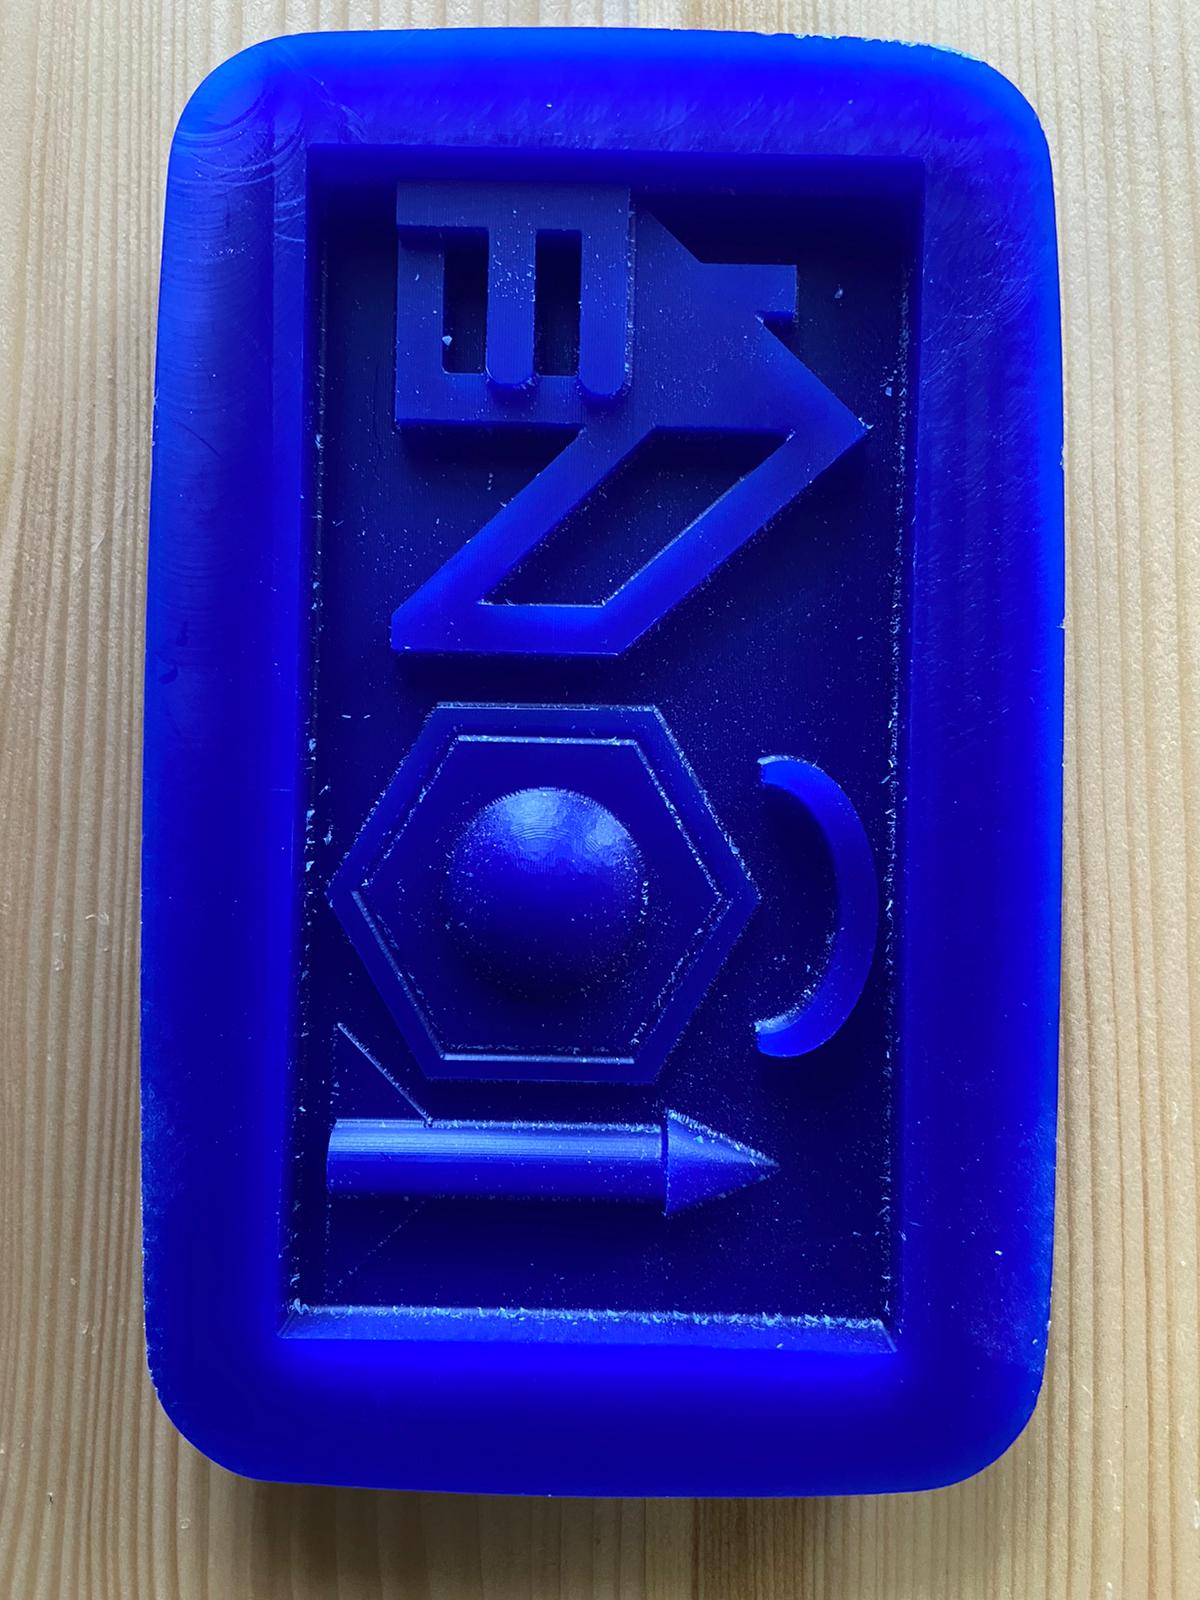 Note: Not all the designs on the mould are mine, some are my colleagues’
Moulding
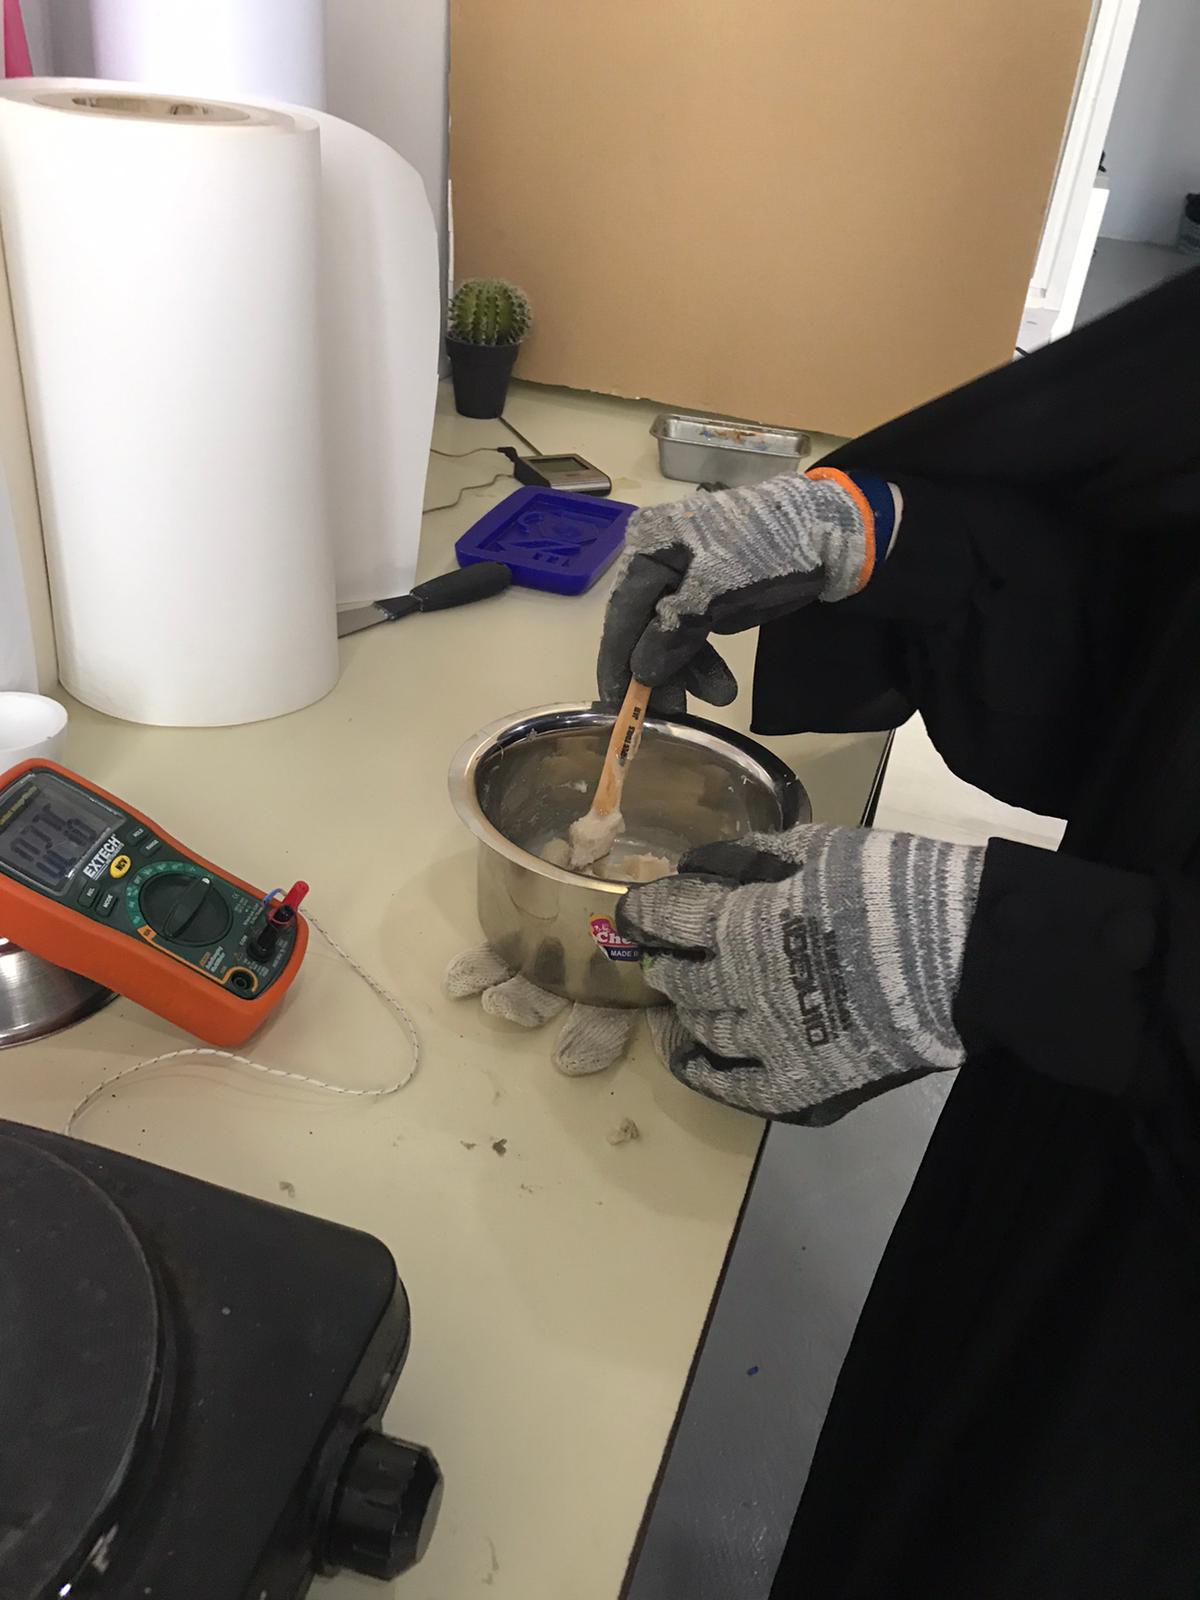
Now that the wax mould is done we have to prepare the silicon mould. First, we followed the instructions by cutting the silicon into small cubes (around 2x2x2cm). Then, we wore gloves and goggles for safety purposes. We put the diced silicon in a pot then we started heating the electric hot plate to the silicon melting point. We kept the temperature in check using a digital thermometer because we don’t want to end up with burnt silicon.
As the temperature kept rising, we stirred the silicon thoroughly.
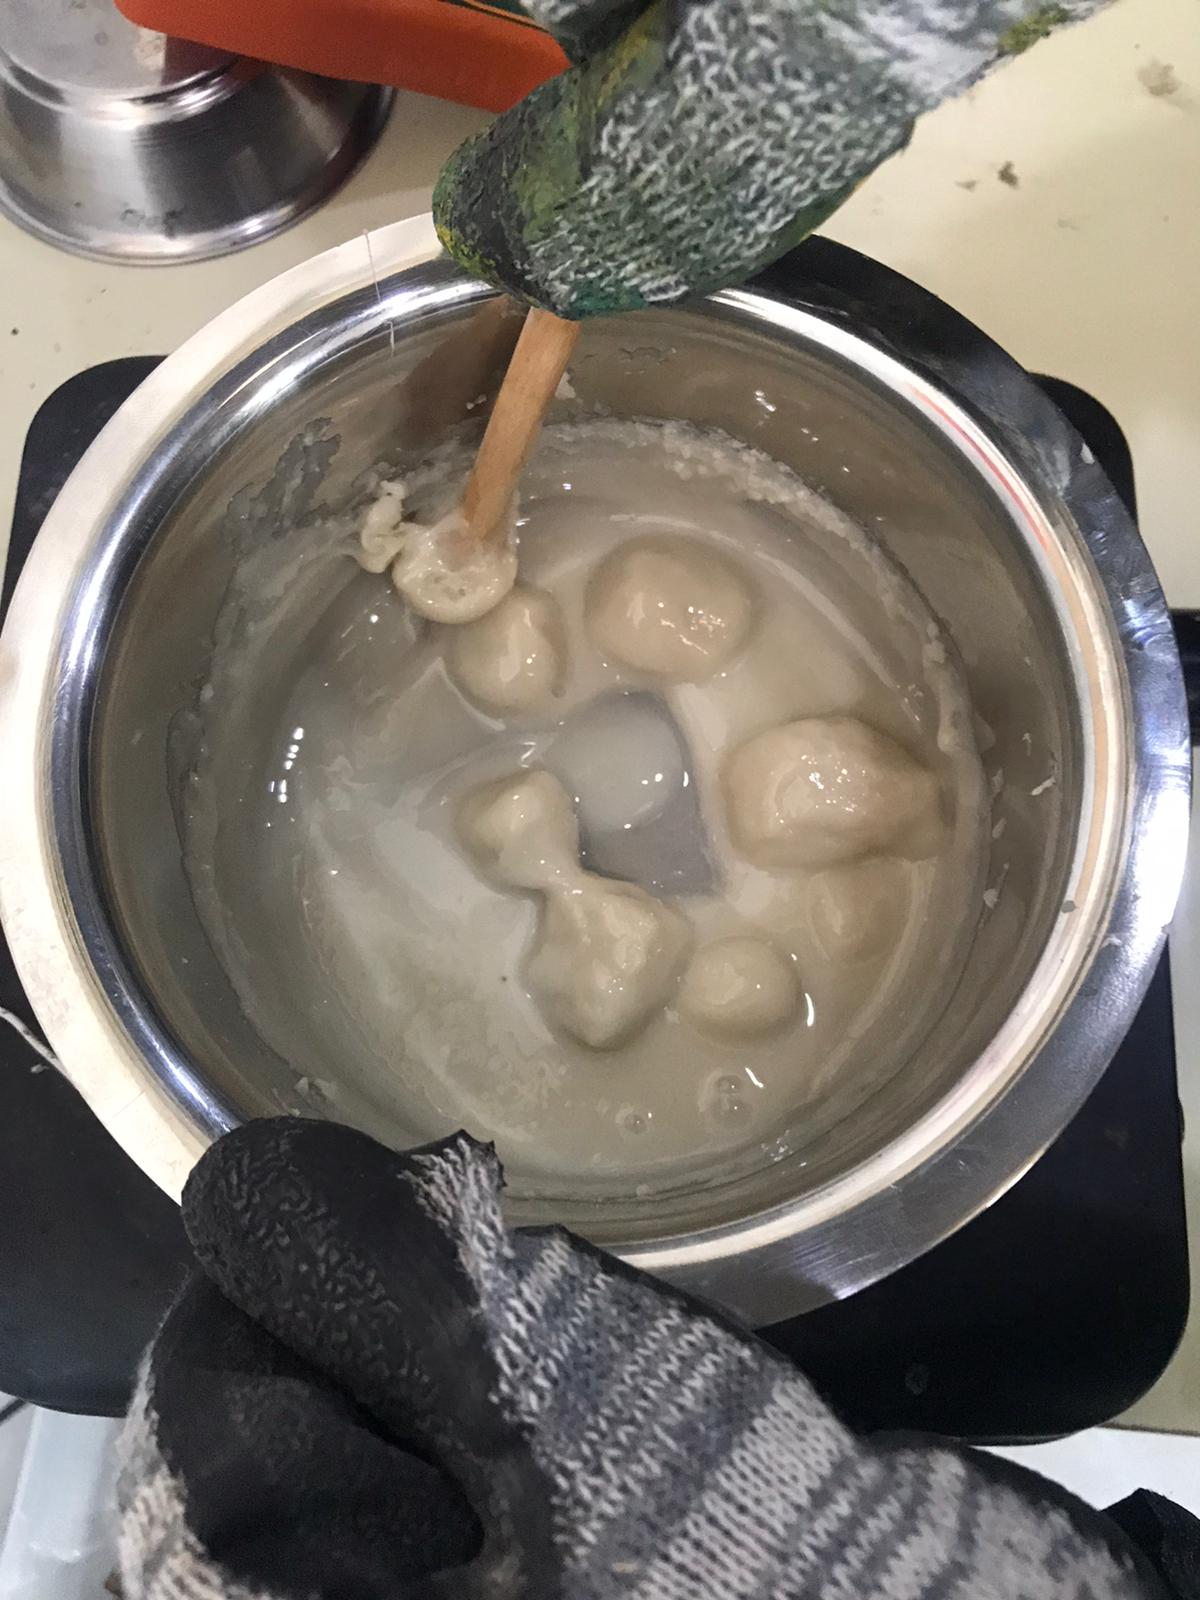
When the temperature got too high we took the pot off the hot plate and switched it off. While we wait for it to cool a bit, we continued stirring.
When the silicon was completely melted with no lumps in it we poured in into the wax mould. We started pouring from the corner slowly but steadily to decrease the number of bubbles.
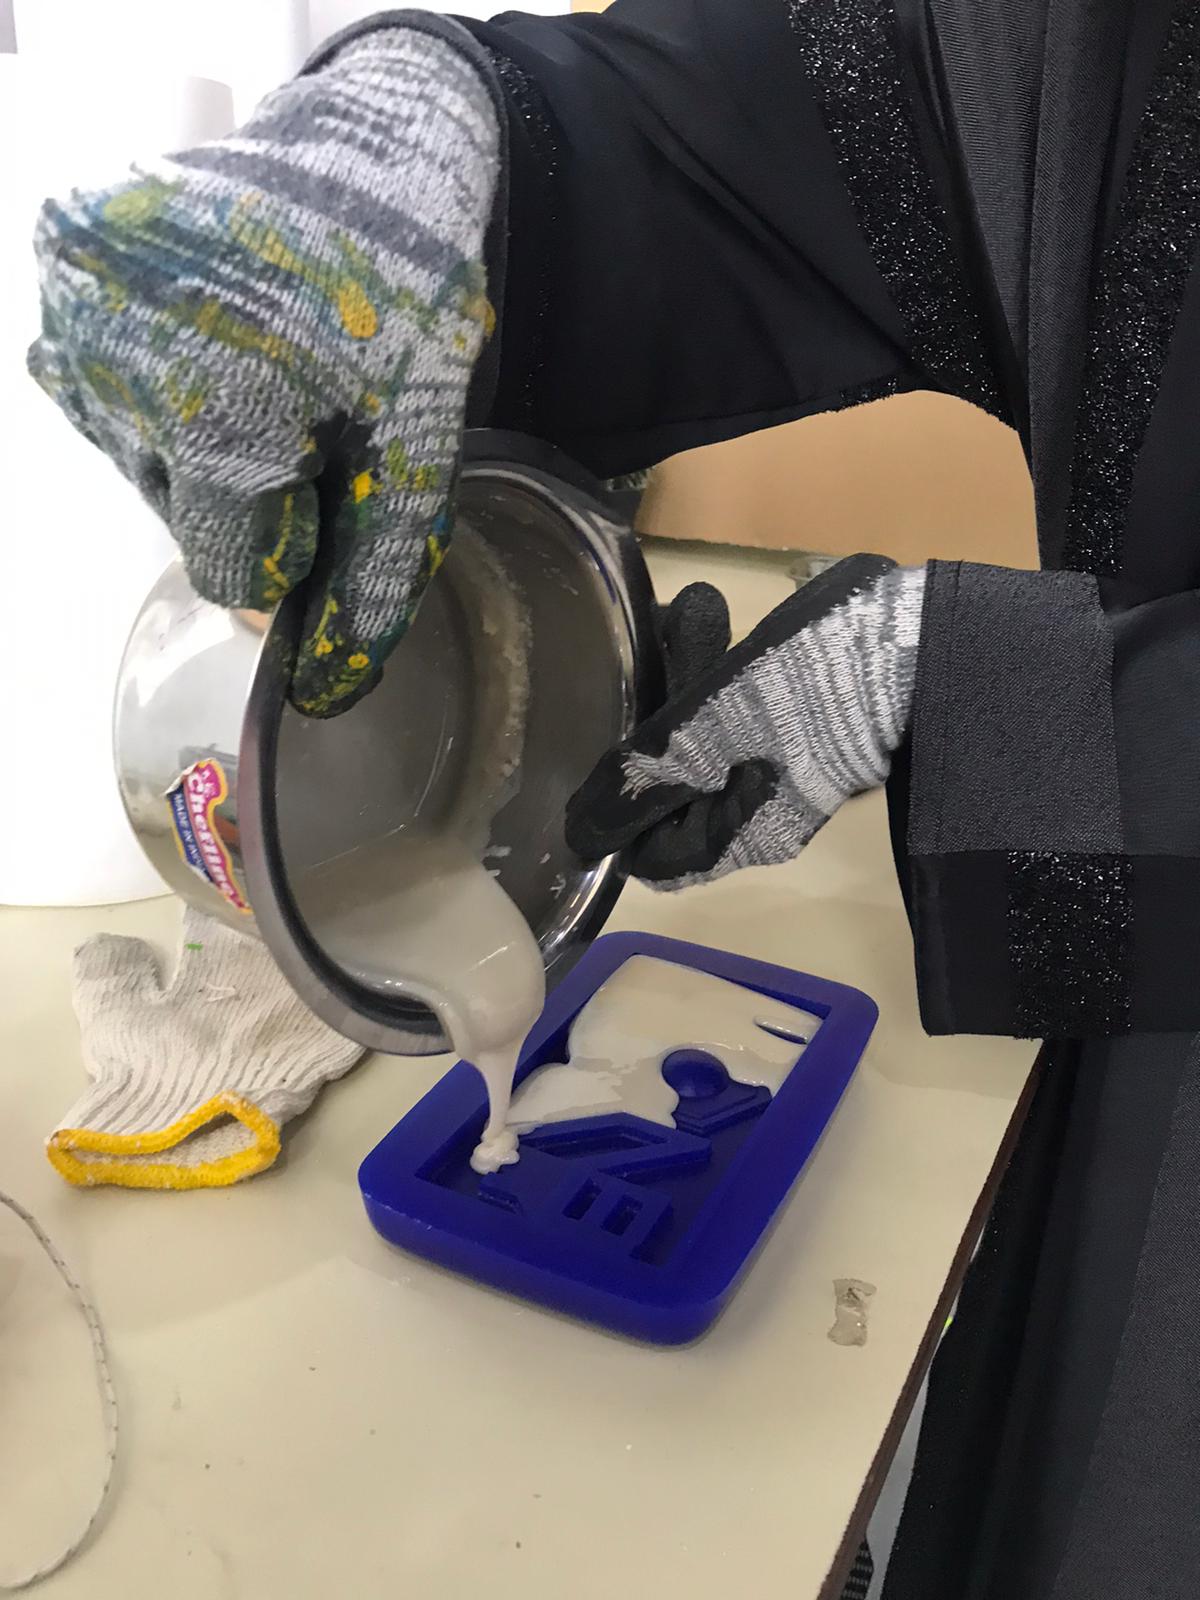
Unfortunately, we poured the silicon a bit too slow so it solidified before we got to cover the designs in silicon. We fixed this problem by removing the solid silicon from the wax mould and chopped it again to small cubes then melt it once more.
This time we poured it quicker and we succeeded at covering the designs in silicon.
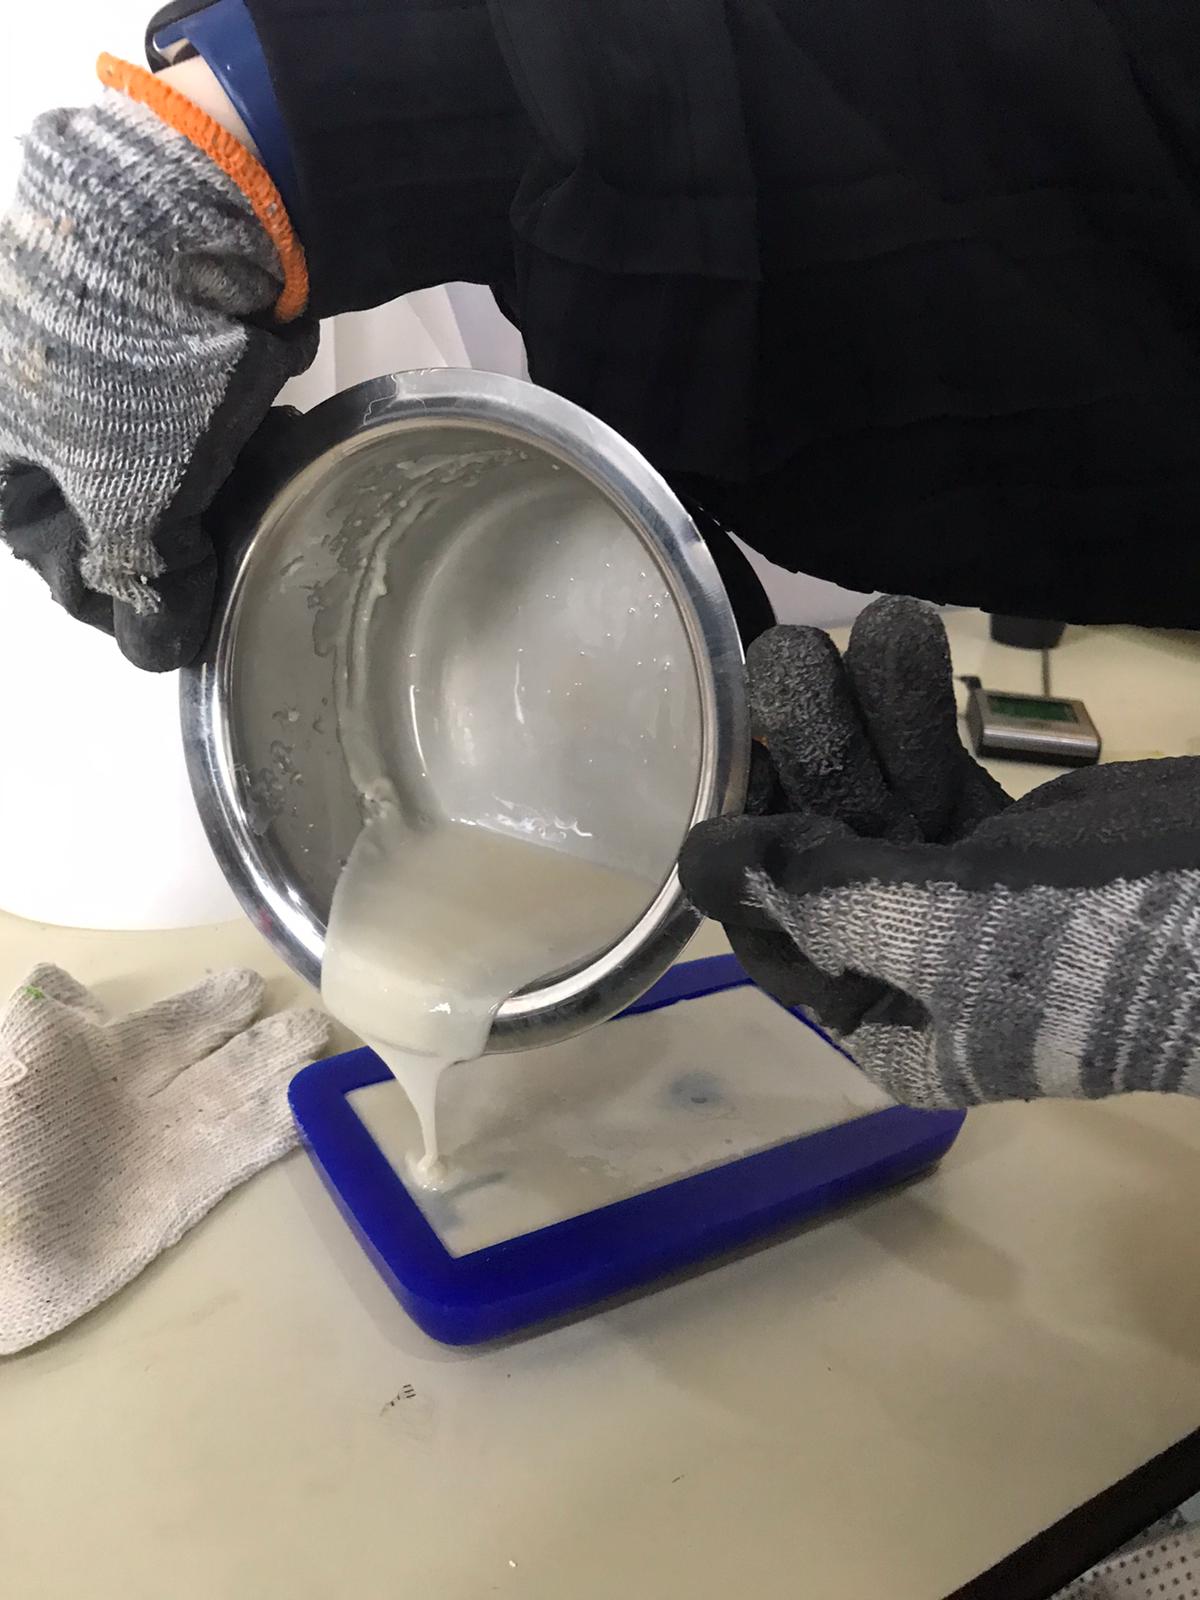
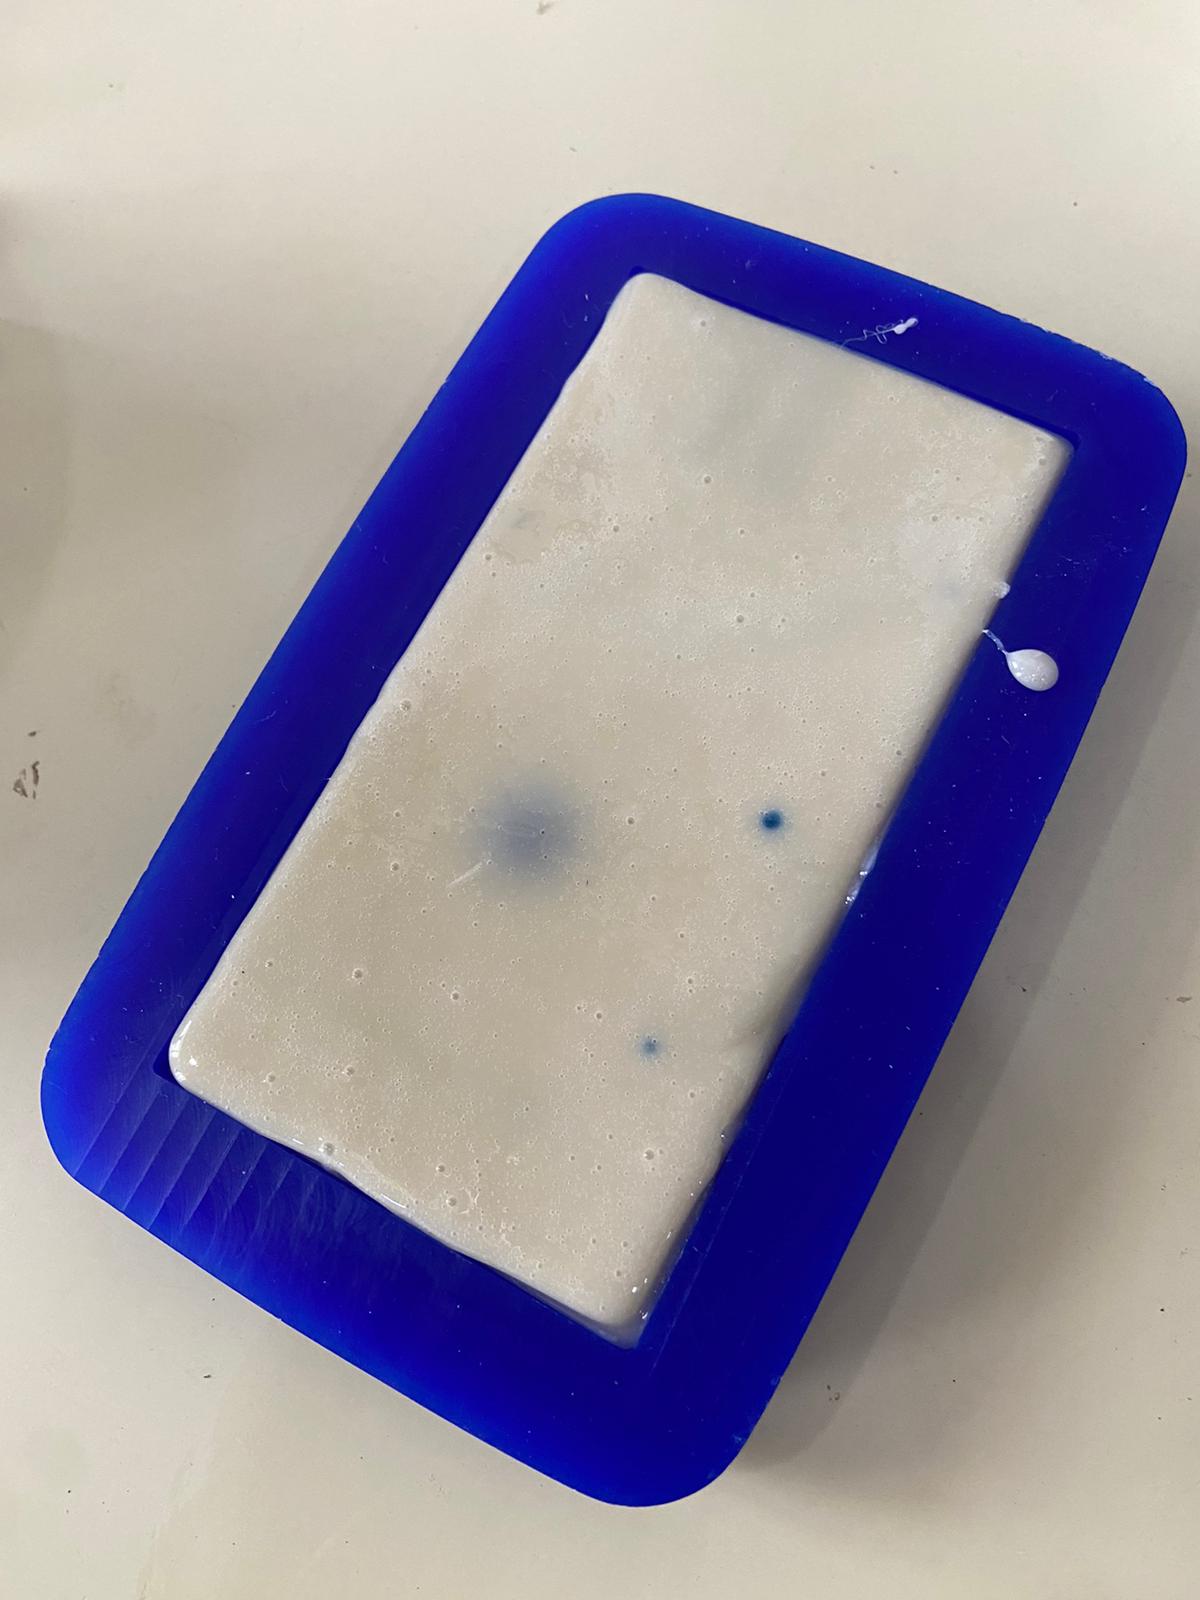
We let it set and solidify. The mould was slightly damaged and had bits of the blue wax in it. The reason probably was that the silicon was very hot when poured. However, it was still good and this is what the silicon mould looked like.
Casting
I chose resin to use with my mould. I followed the instructions of making the resin and I used and electric balance to weigh the needed amount.
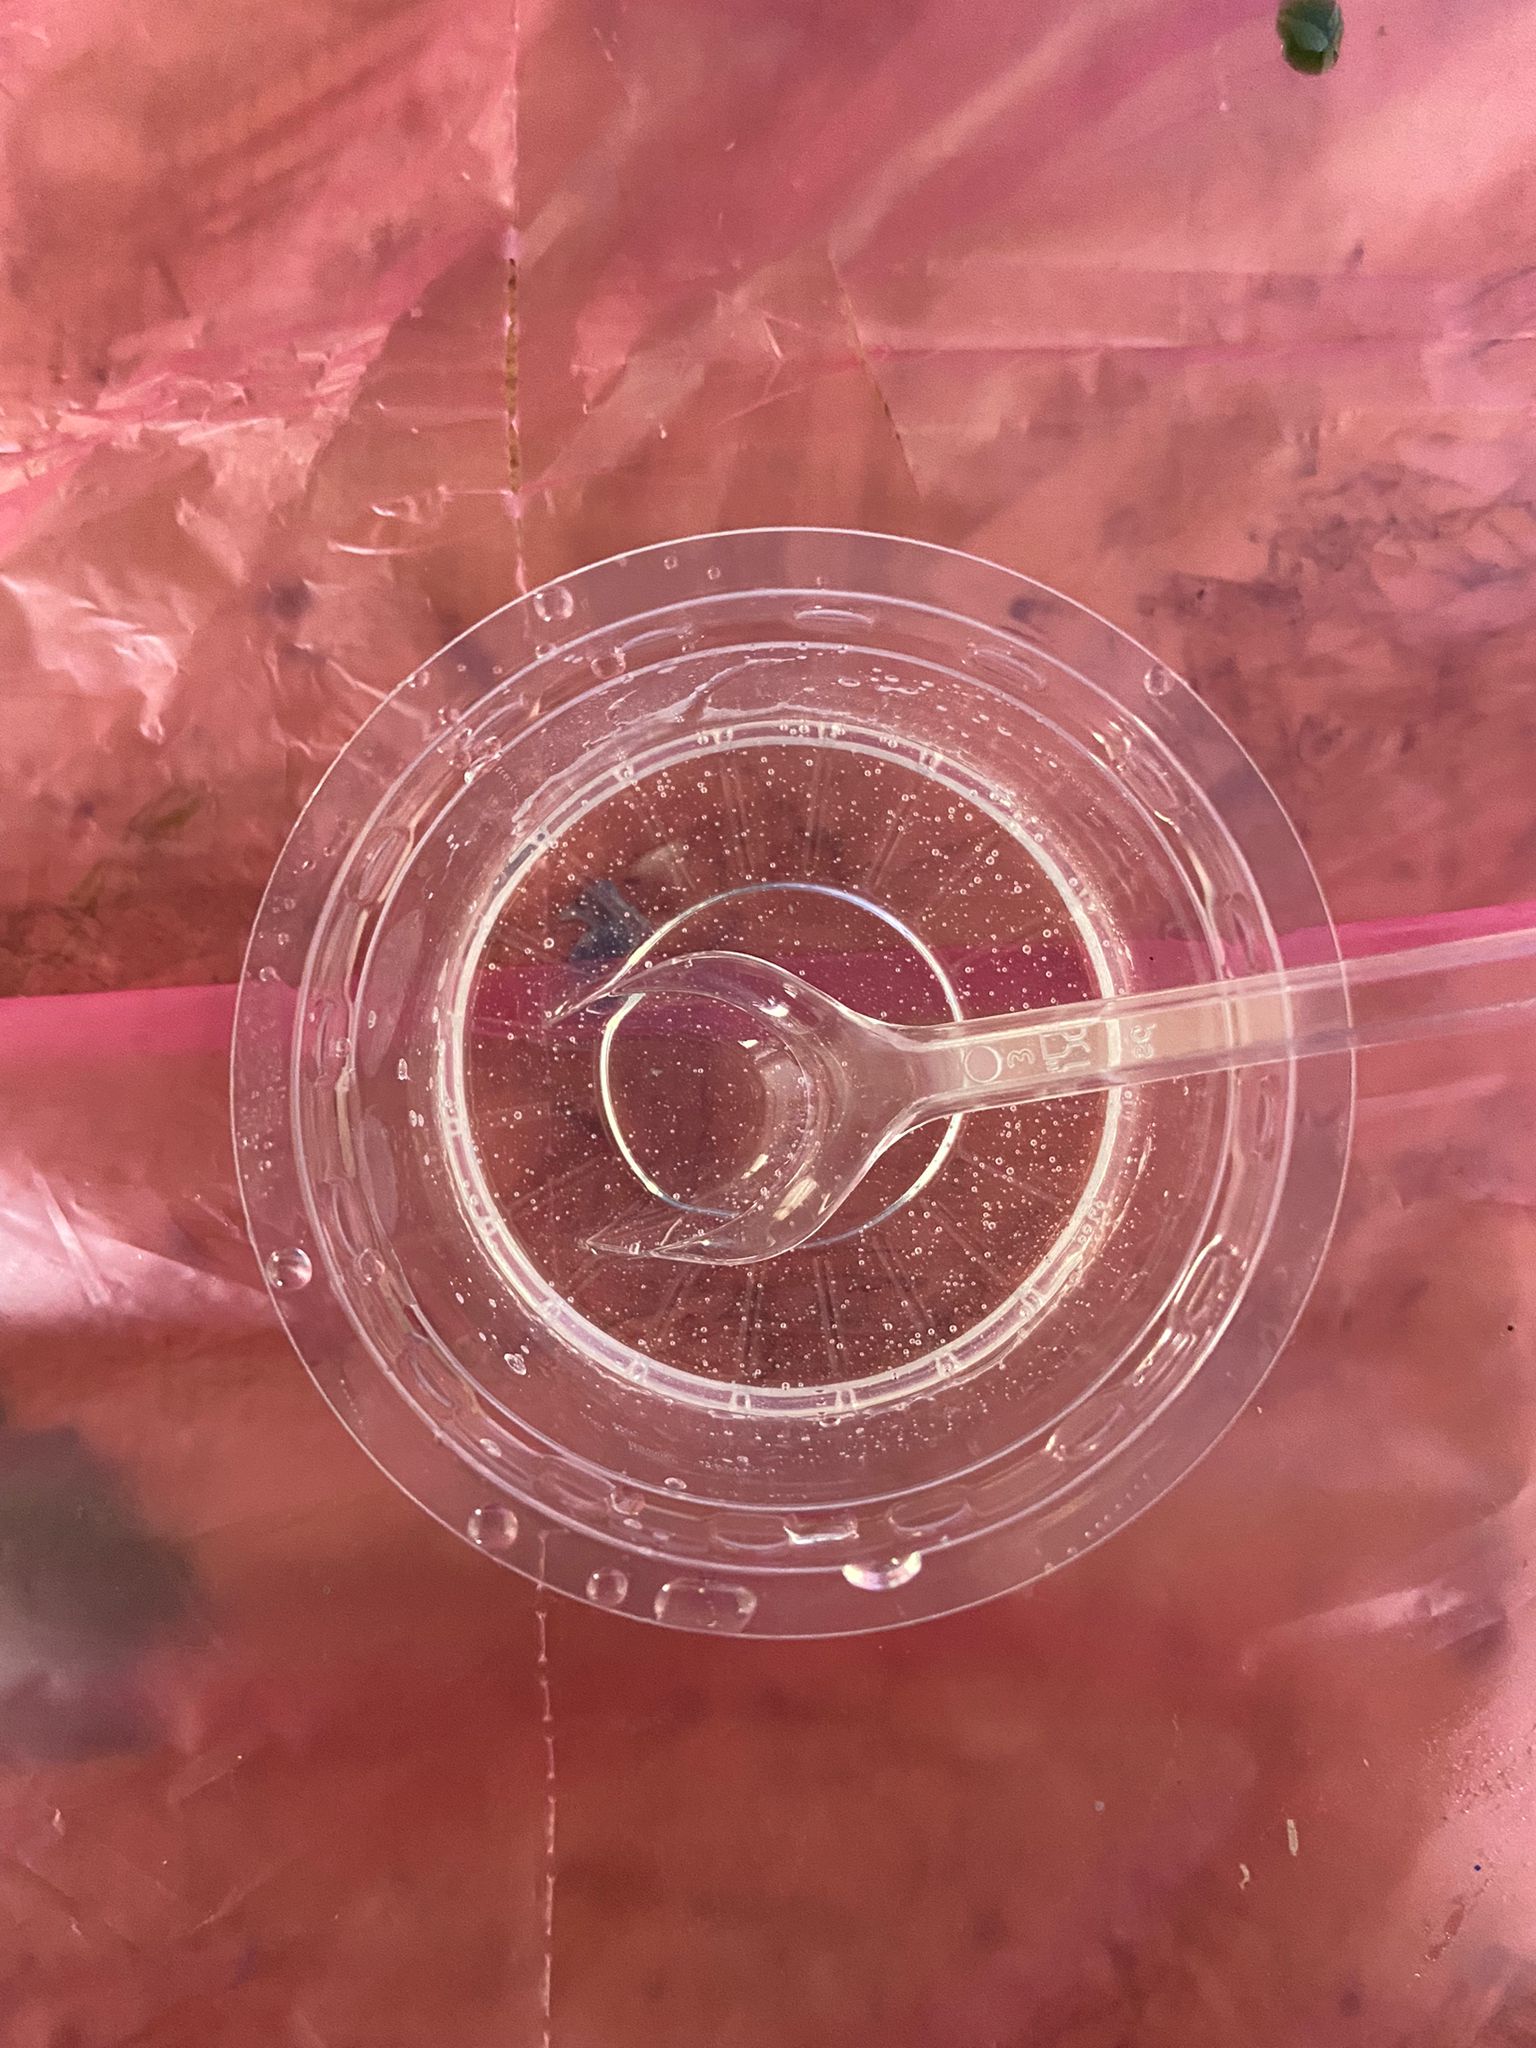
I added glitter to the clear resin
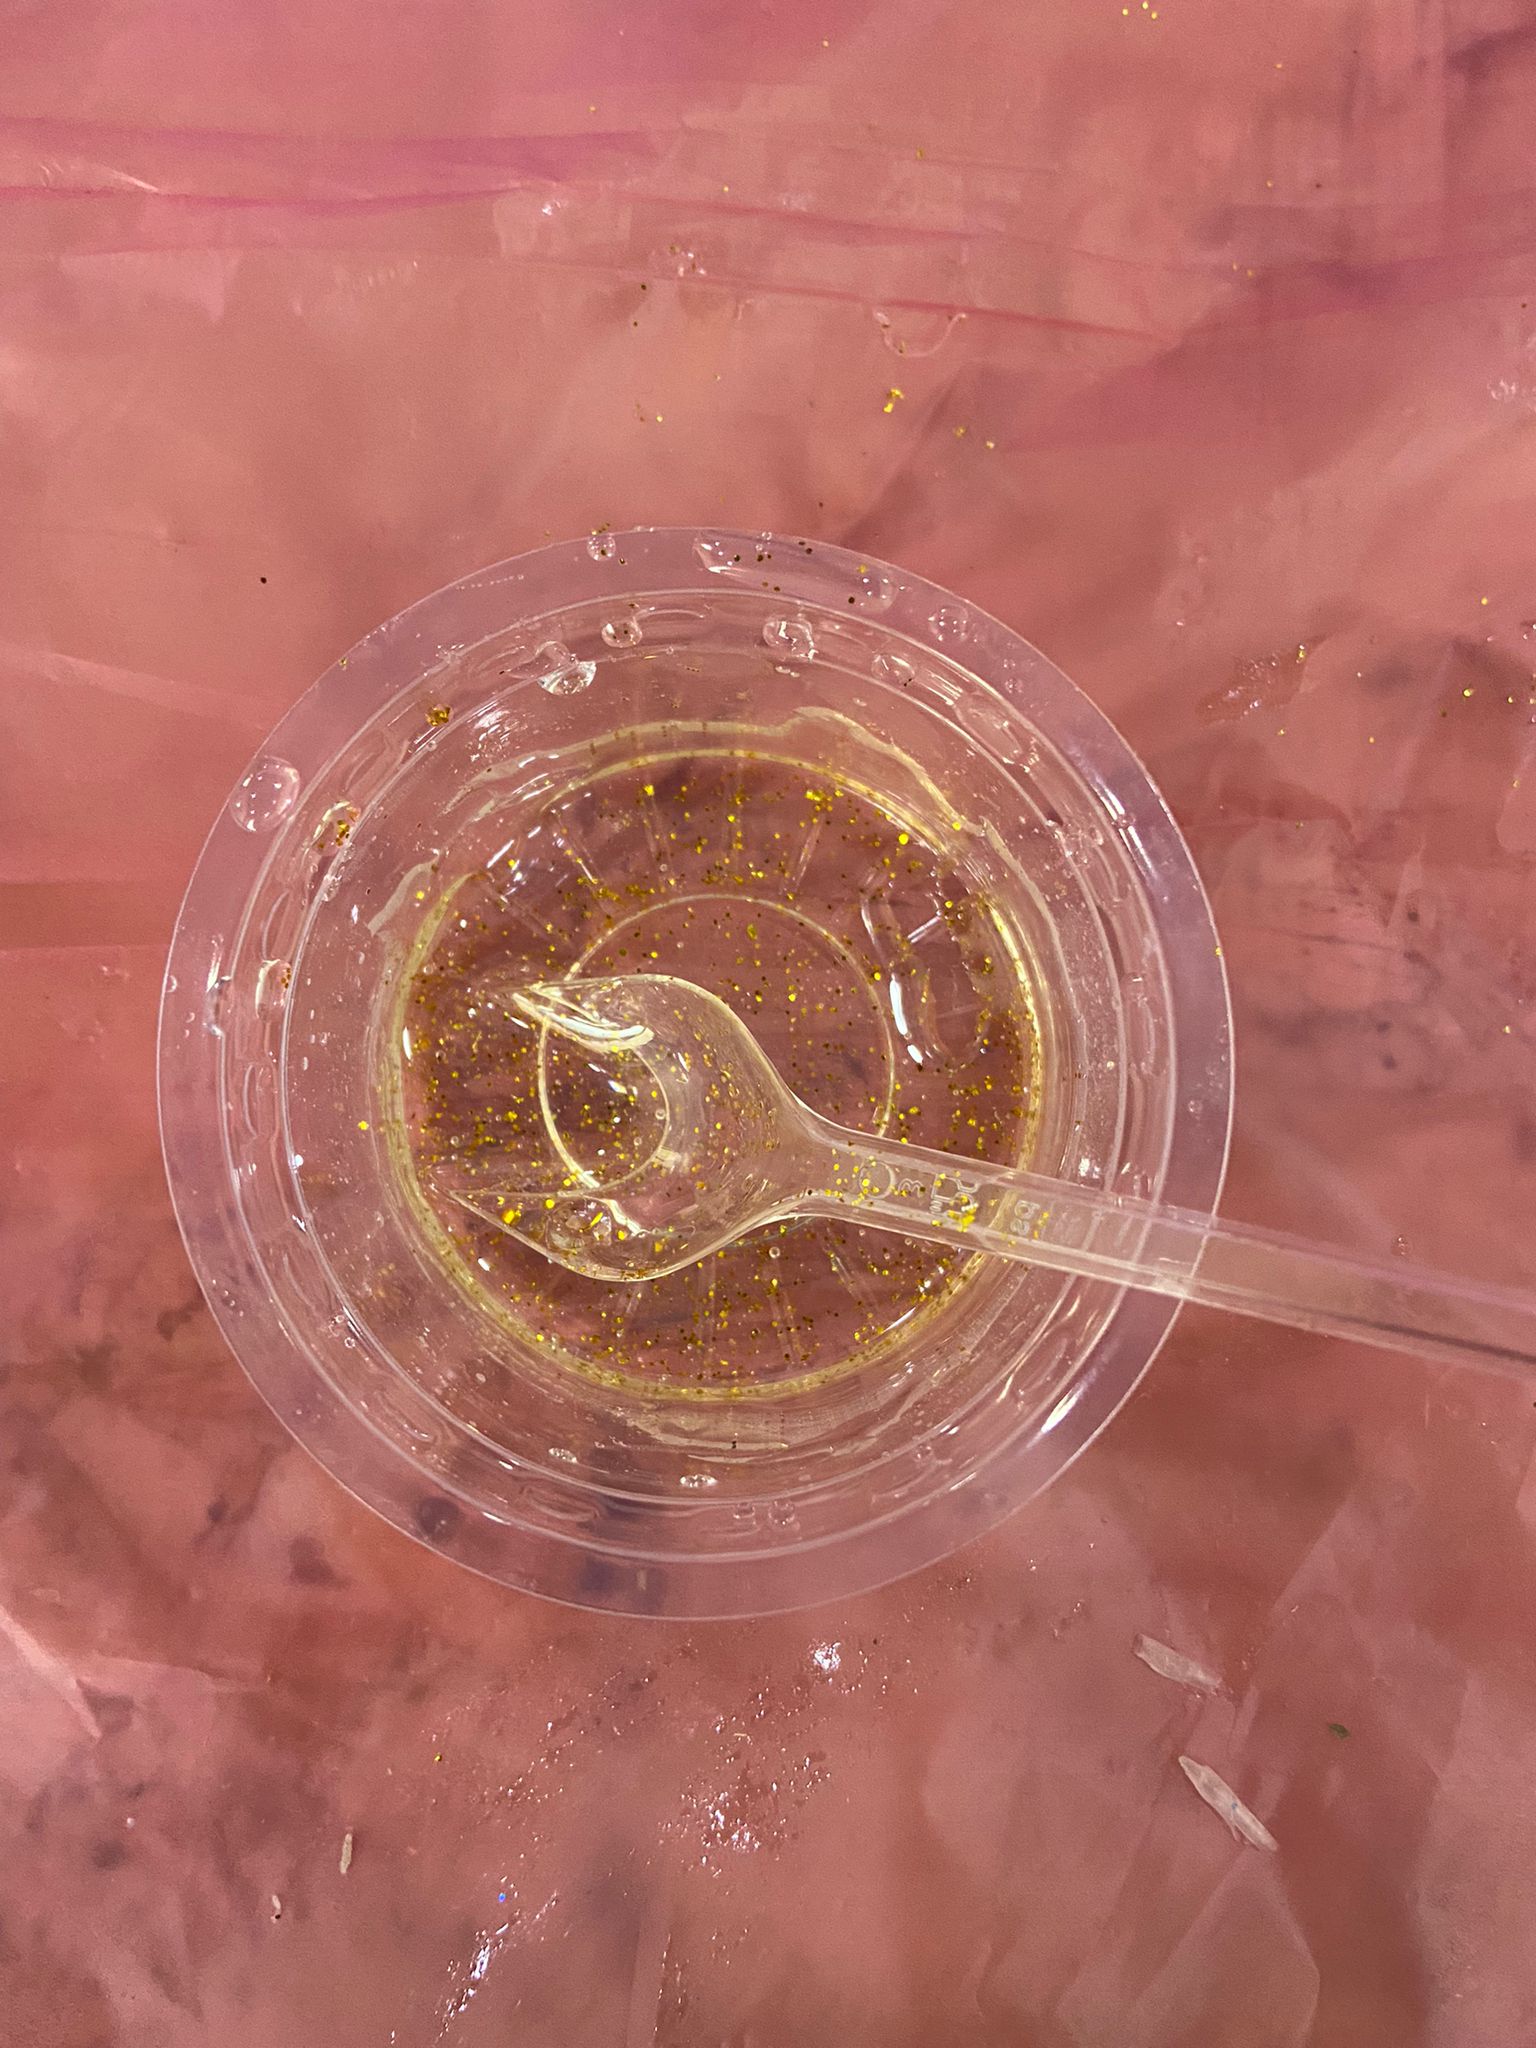
I stirred the mixture then I poured it into the mould
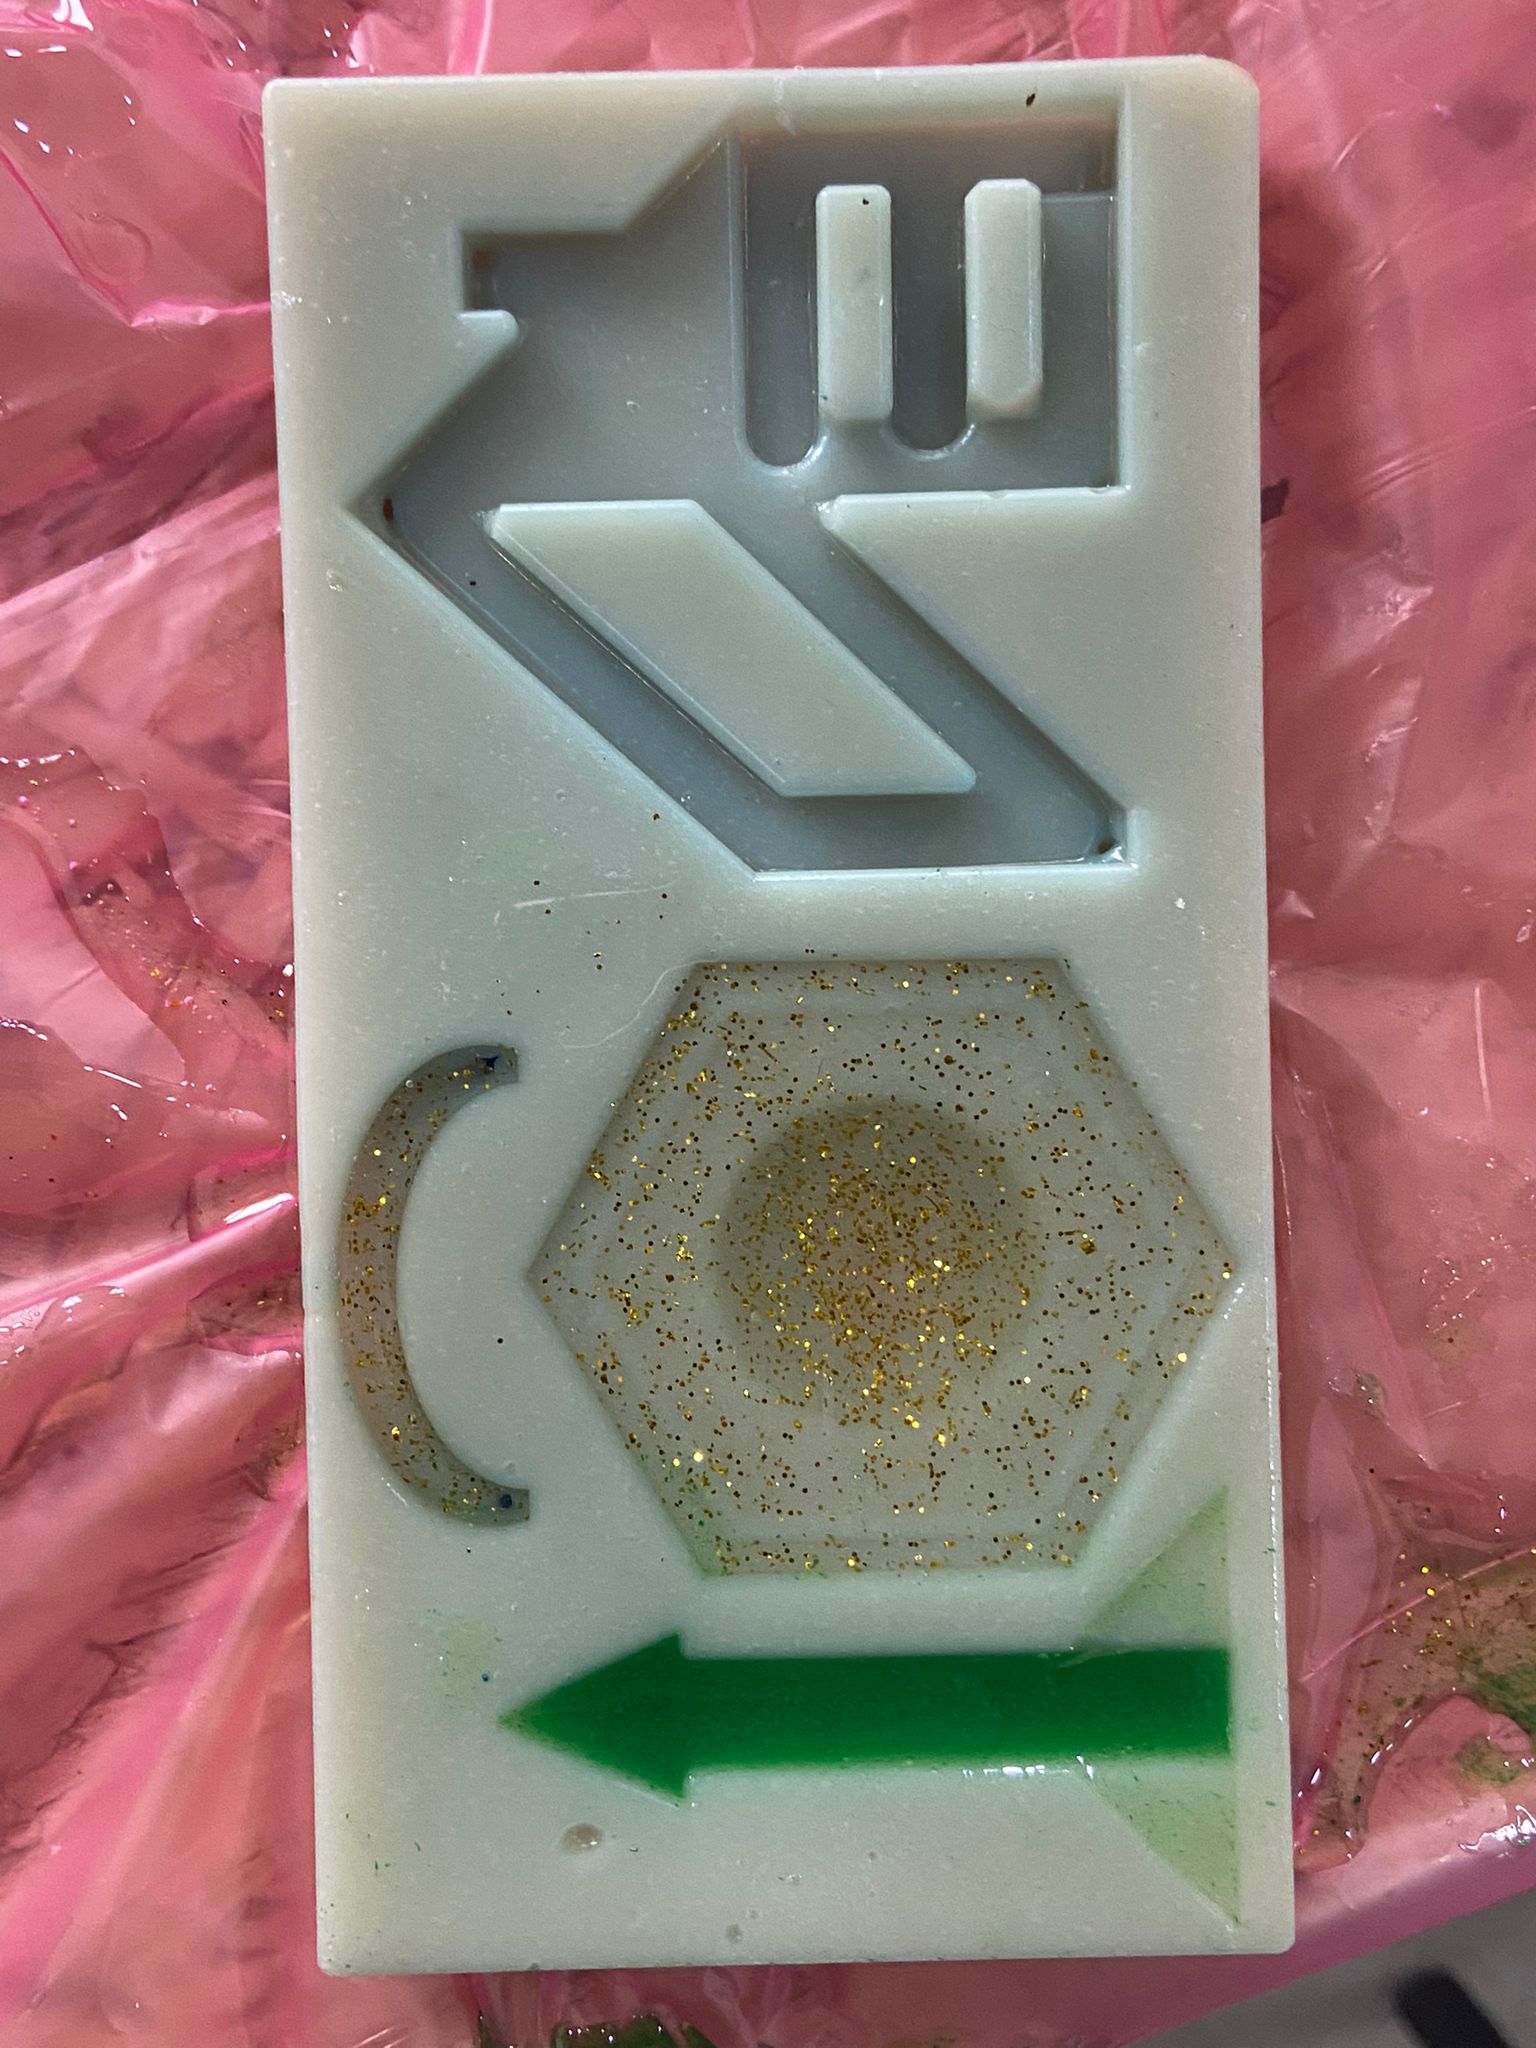
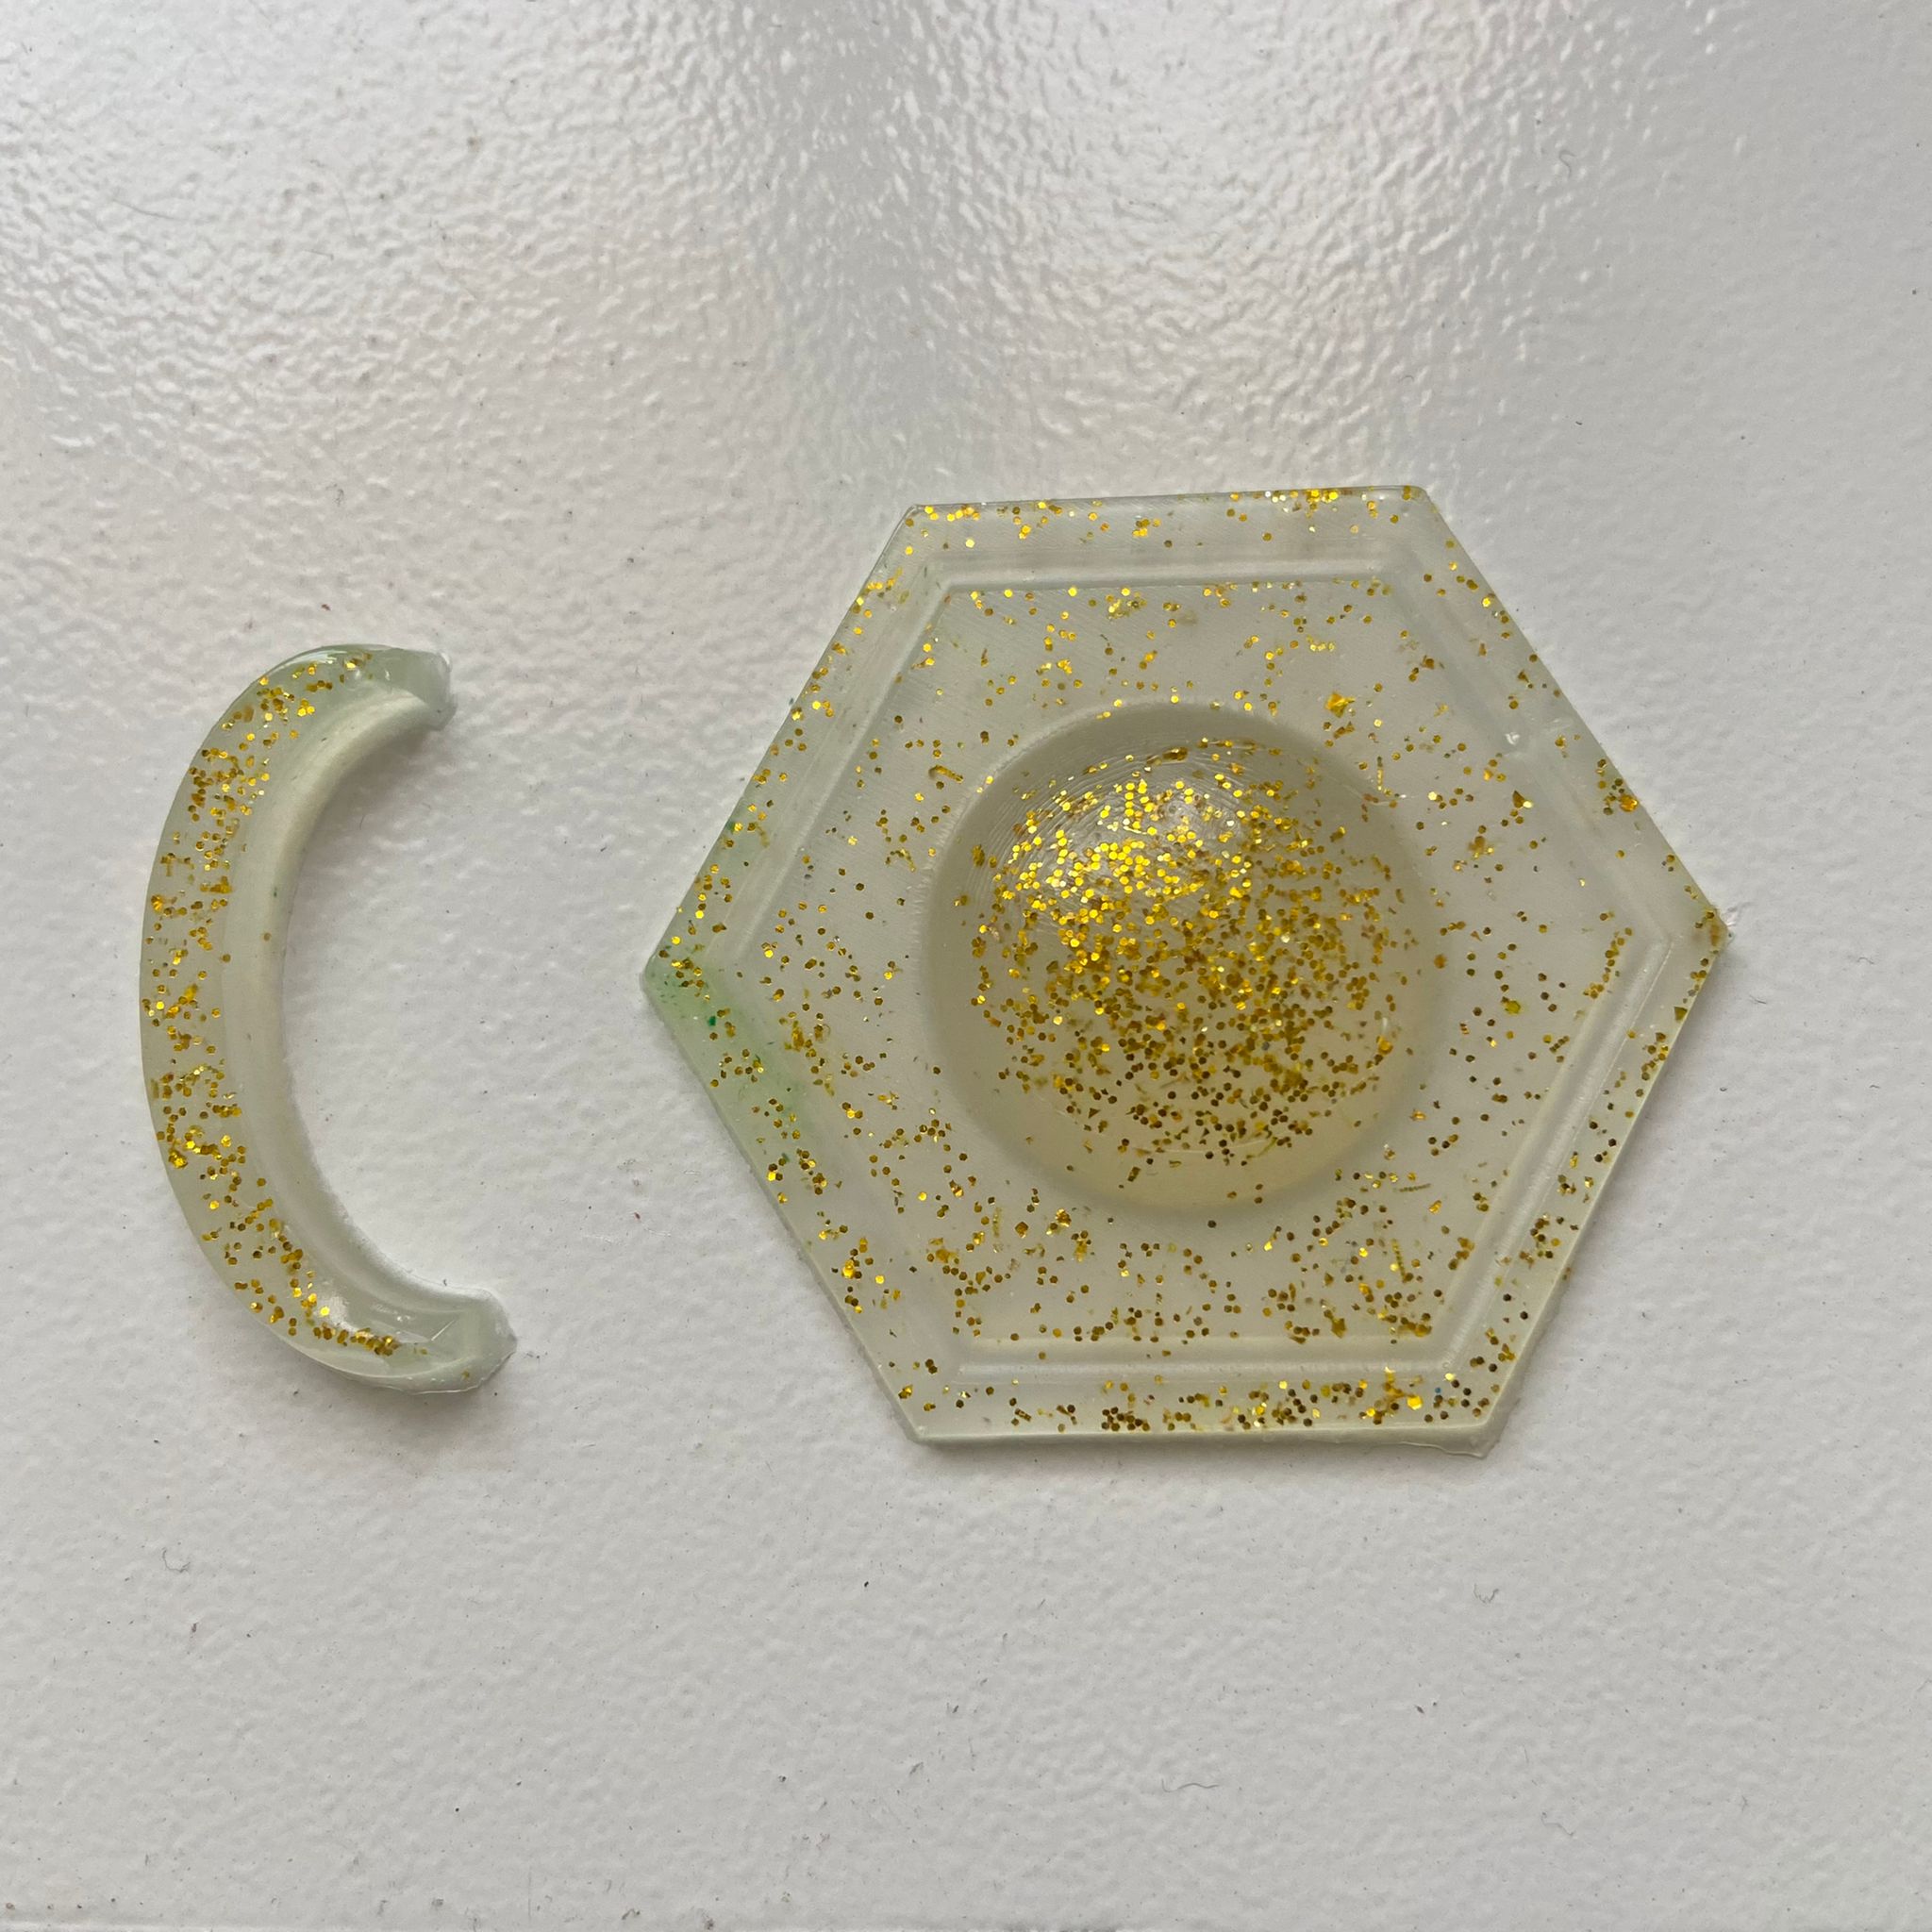
Result
After leaving the resin to cure for a few days this is the final result!