5. 3D printing and scanning
In this assignment, I have learned the basics of 3D scanning & printing.
3D printing is an additive process first commercially introduced by Chuck Hull in the late 80s/ early 90s, the first printer was called SLA-1, named after the printing process “Stereolithography”, which uses a UV laser head that hits a resin surface and cures it, making the desired shape.
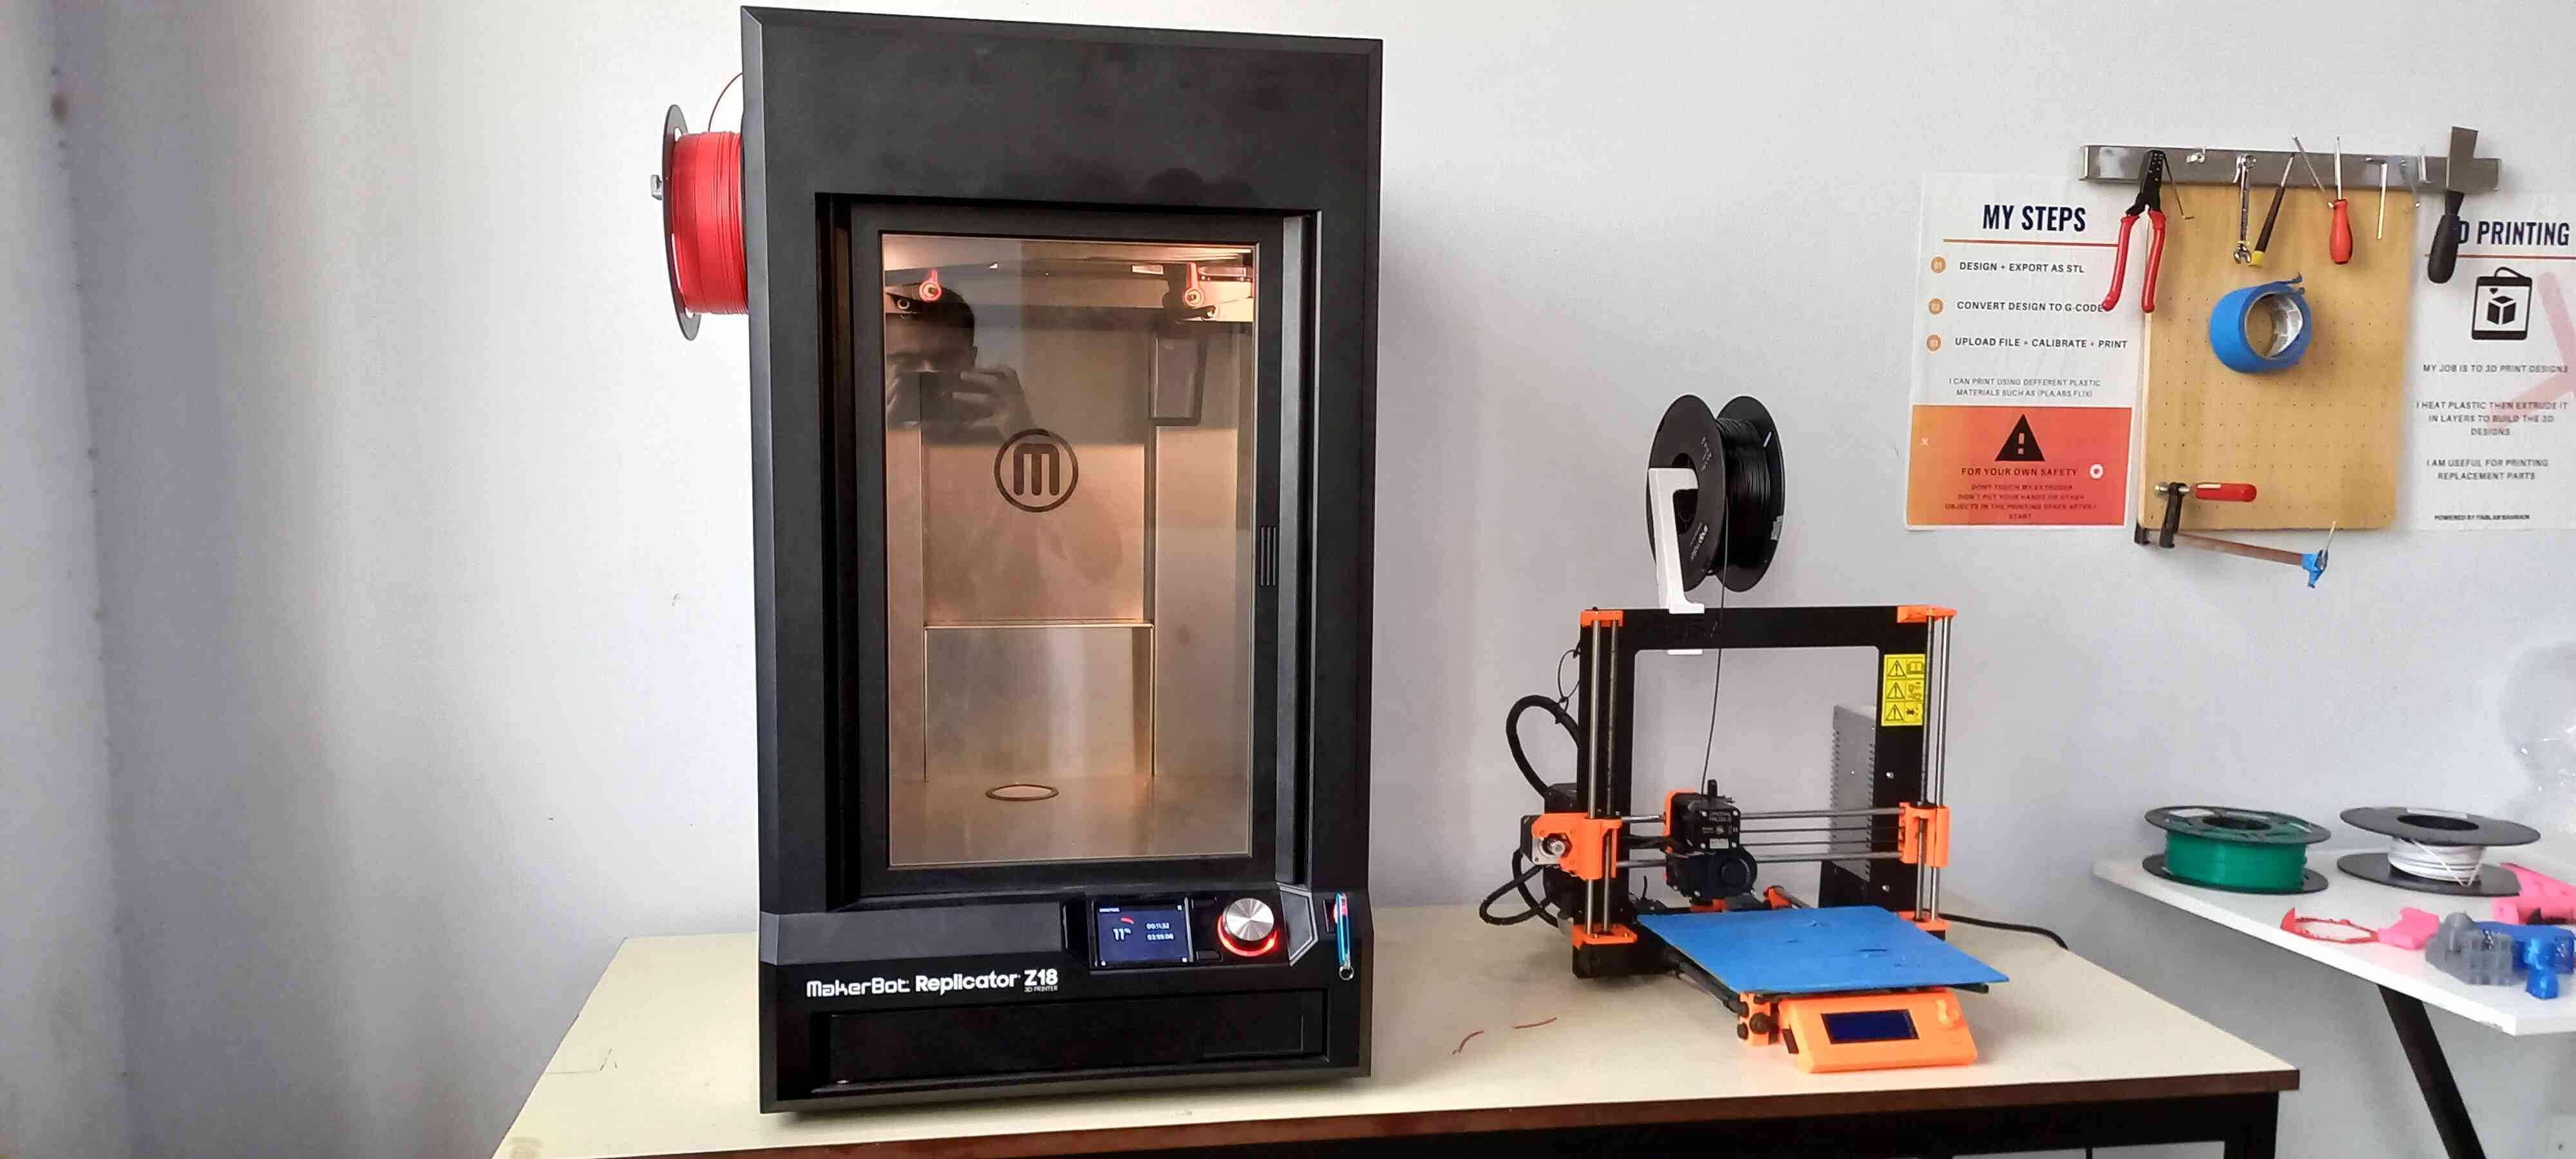
In Fab Lab Bahrain, the printers we have are FDM printers, which are:
- Ultimaker
- Prusa
- Creality
- Makerbot
3D Printing
In Fab Lab Bahrain, the type of 3D printers that we have are FDM (Fused Deposition Molding) printers, which means that:
-
The filament (Thermo-plastic) is heated just above the melting point
-
It goes through an extruder, which then extrudes the plastic to the bed (surface of the printer).
-
The plastic then solidifies completely when exposed to ambient air or cooling fans.
What do you need to start printing?
What you will need is:
-
CAD software (if you want to design your model)/ or go to thingiverse.com and download a model
-
Slicer software: It slices the CAD model into horizontal layers so that the printer can understand it and move accordingly & it converts the file to G-code
-
Filament
What are the best Slicer softwares?
-
The most common software is Cura
-
For Prusa printers use PrusaSlicer
-
For Makerbot printers use Makerbot slicer
These are the most common slicers, me personally, I prefer using PrusaSlicer for my 3D printer, even though my printer was custom made I can still add it to the slicer by adding the printer information (Bed size, Max height, Nozzle size etc..).
You can also add some printers that are supported, such as Creality and Ultimaker.
On the other hand, Cura can support most printers and it is more user friendly.
What is the best filament?
The most commonly used filament types are:
- PLA
- PETG
- ABS
| Type | Description | Pros | Cons | Uses |
|---|---|---|---|---|
| PLA | Polylactic acid commonly has corn-starch as its base raw material. | Easy to print | Not as durable | For aesthetic prints |
| ABS | Acrylonitrile butadiene styrene | strong, tough, durable and resistant to UV light | Releases toxic fumes while printing | For parts that require fairly better mechanical properties |
| PETG | Polyethylene terephthalate glycol | A mix between the looks of PLA and the properties of ABS | Harder to print | For parts that require fairly better mechanical properties |
How to start 3D printing?
-
Design a CAD model
-
Export it as .stl
-
Run the file in a slicer software and choose your preferred print settings
-
Slice the stl file
-
Export the file as G-code
-
Transfer the G-code file into the printers
Then the mainboard of the printer will read the G-code file and will start the print.
Group Assignment
Check out Hamad’s documentation for our group assignment
Individual Assignment
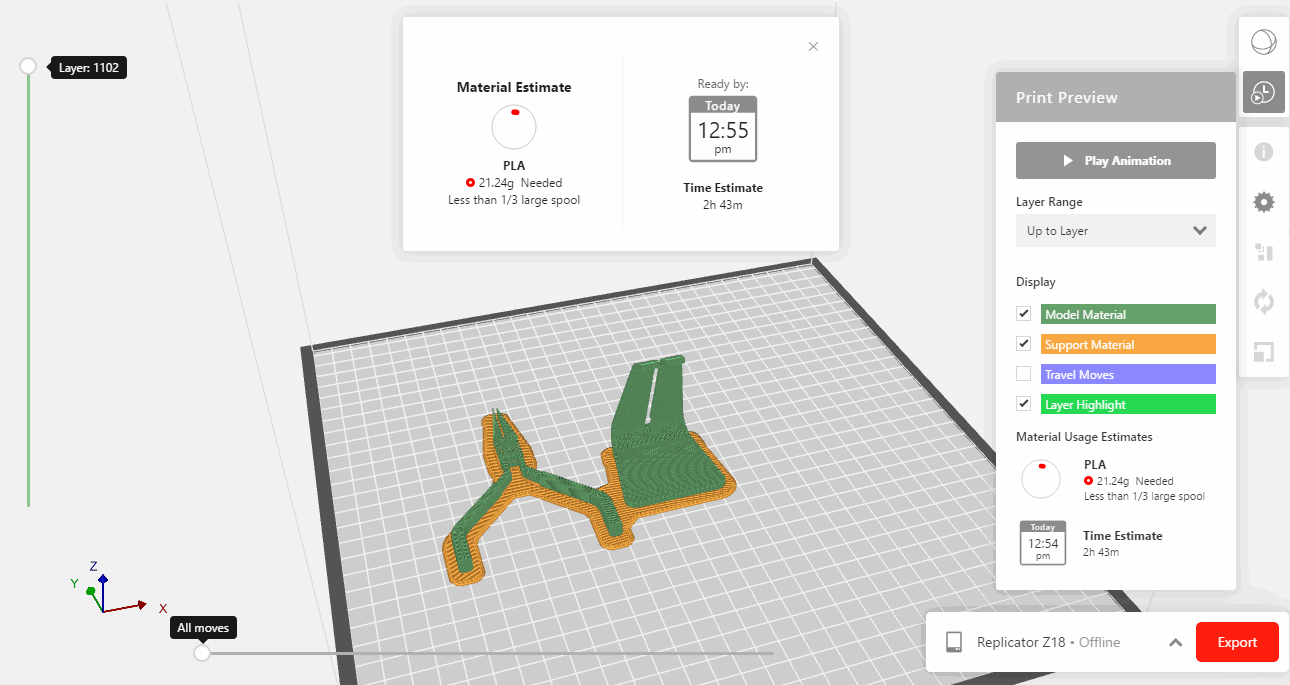
Following the steps mentioned above and the settings used in the slicer in our group assignment:
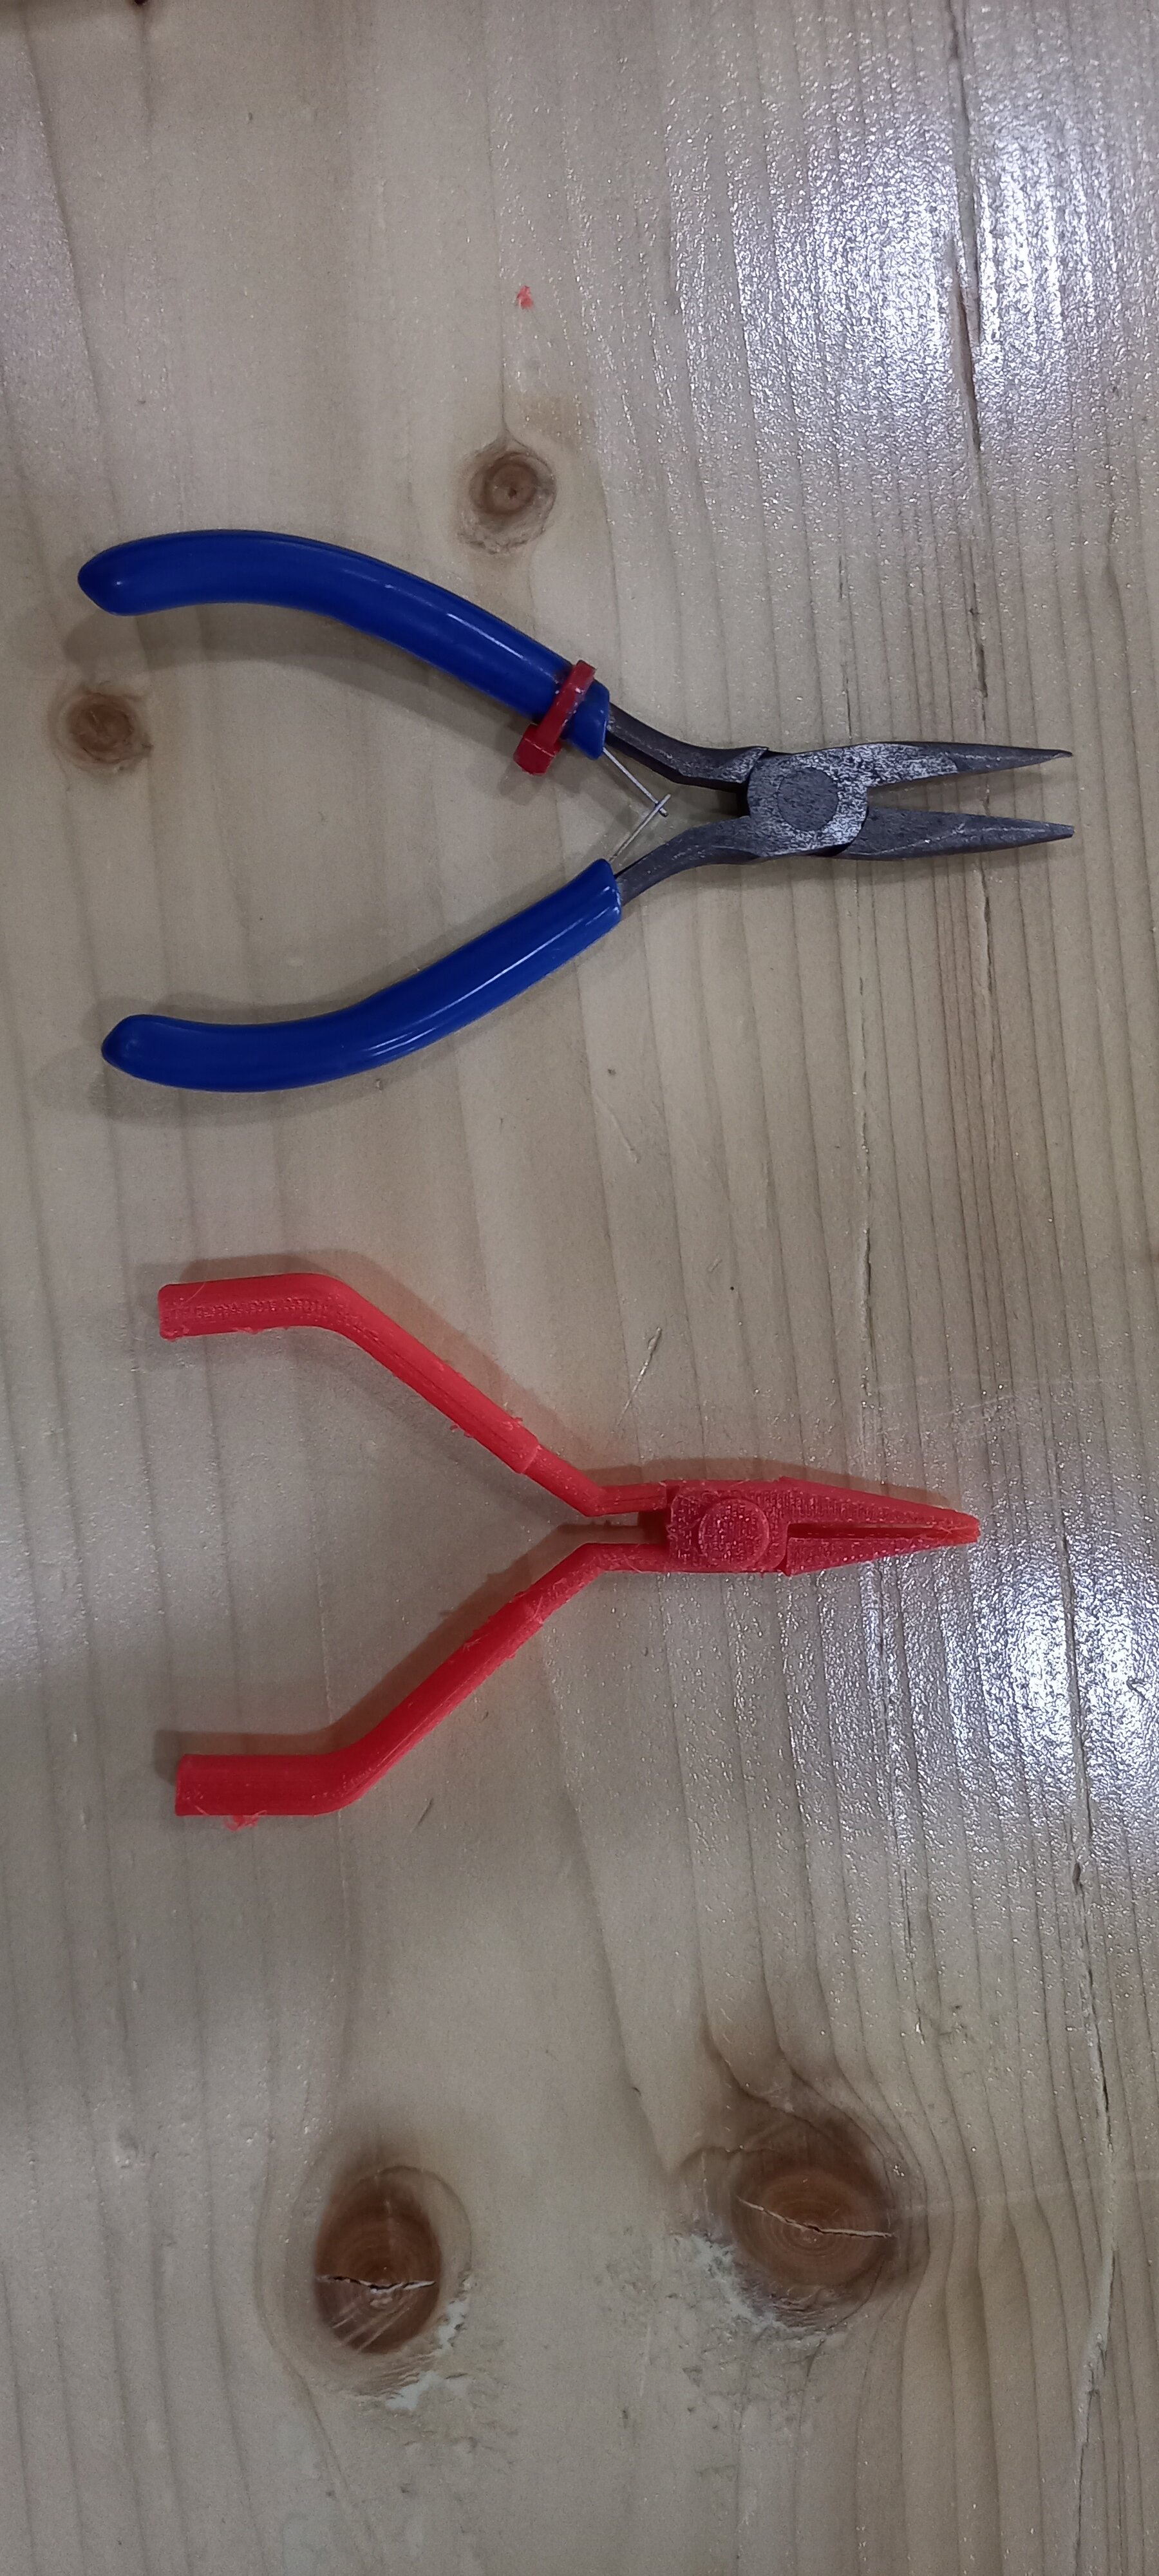
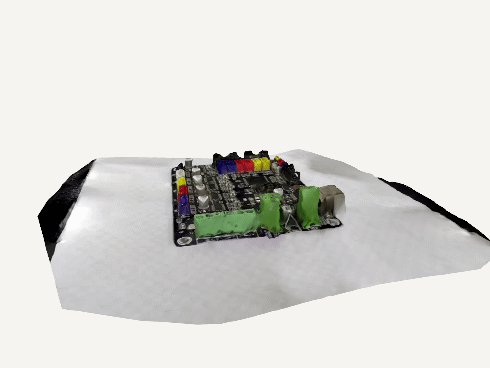
- I used the CAD model that I have made in assignment 2
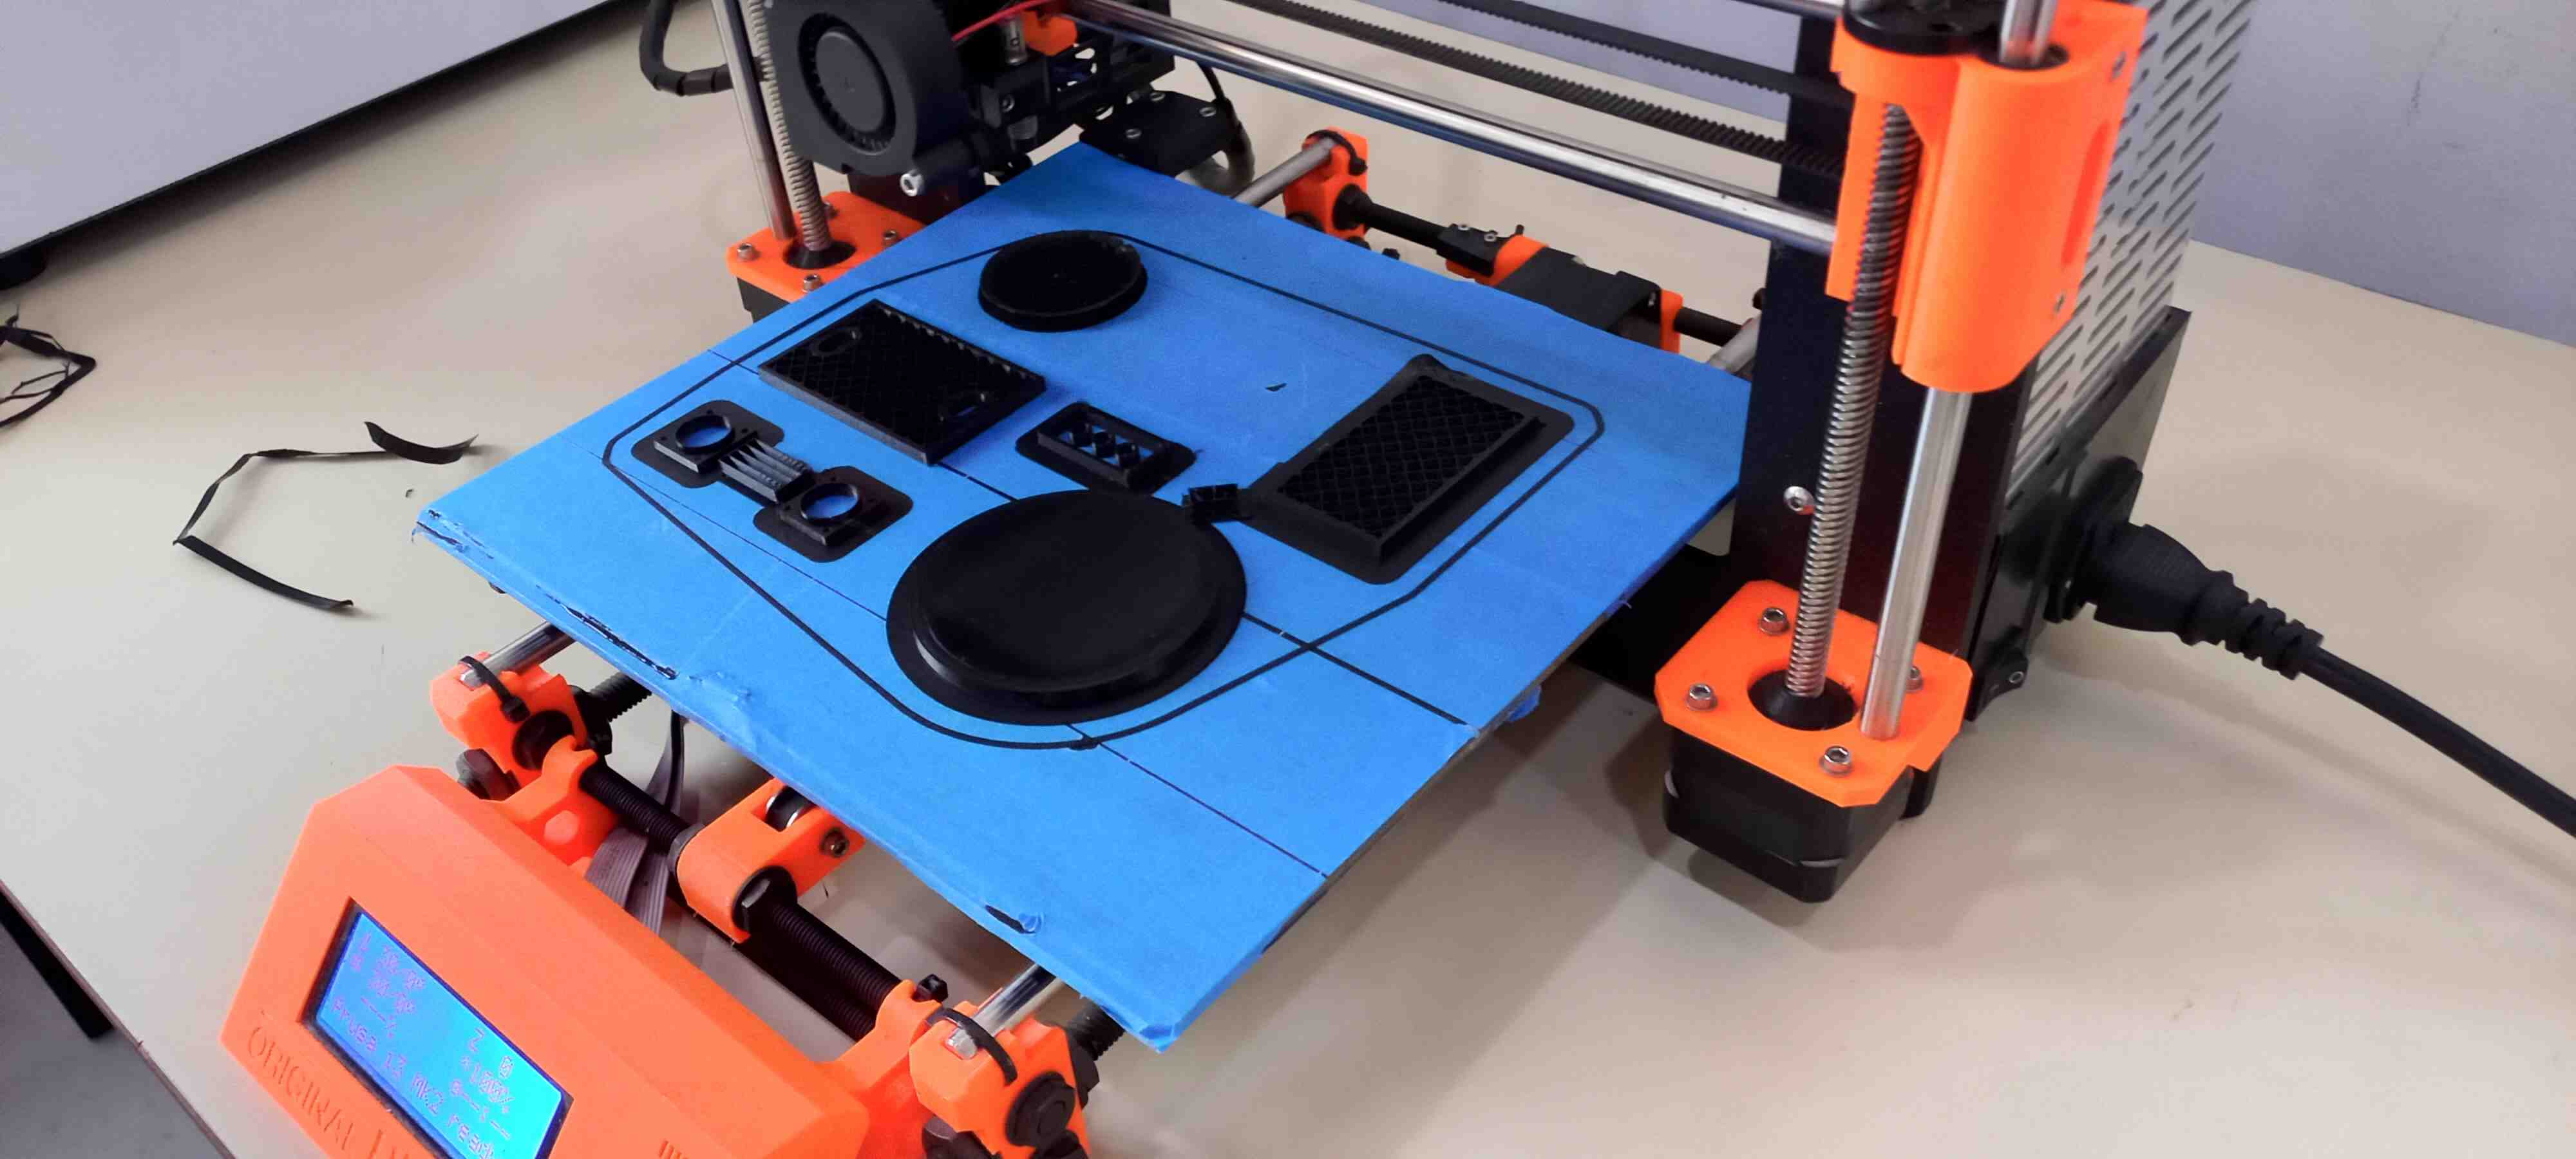
Prusa i3 MK2S
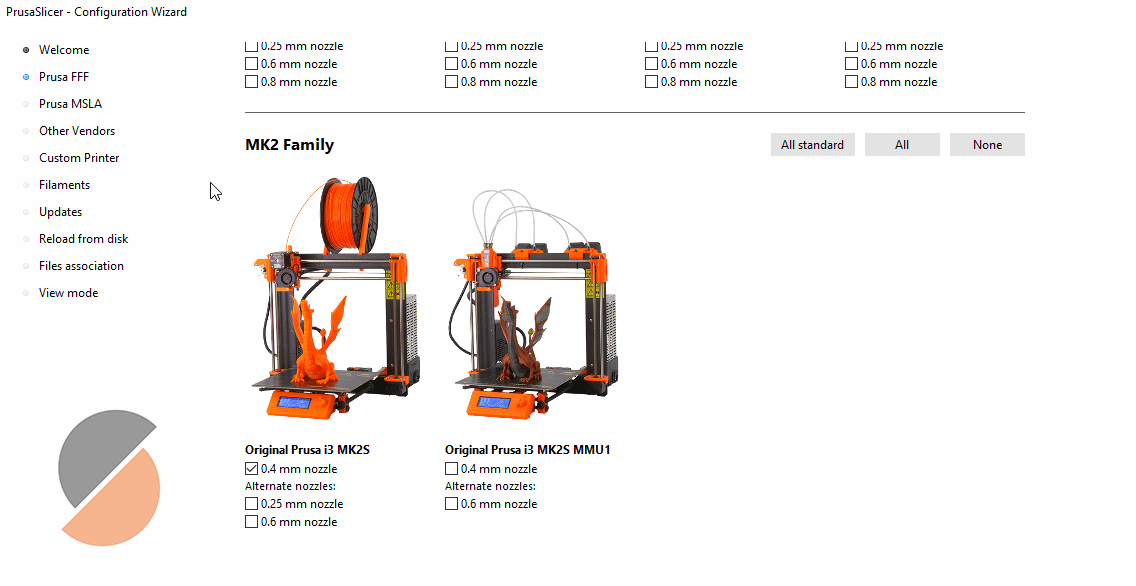
- The slicer I used is PrusaSlicer
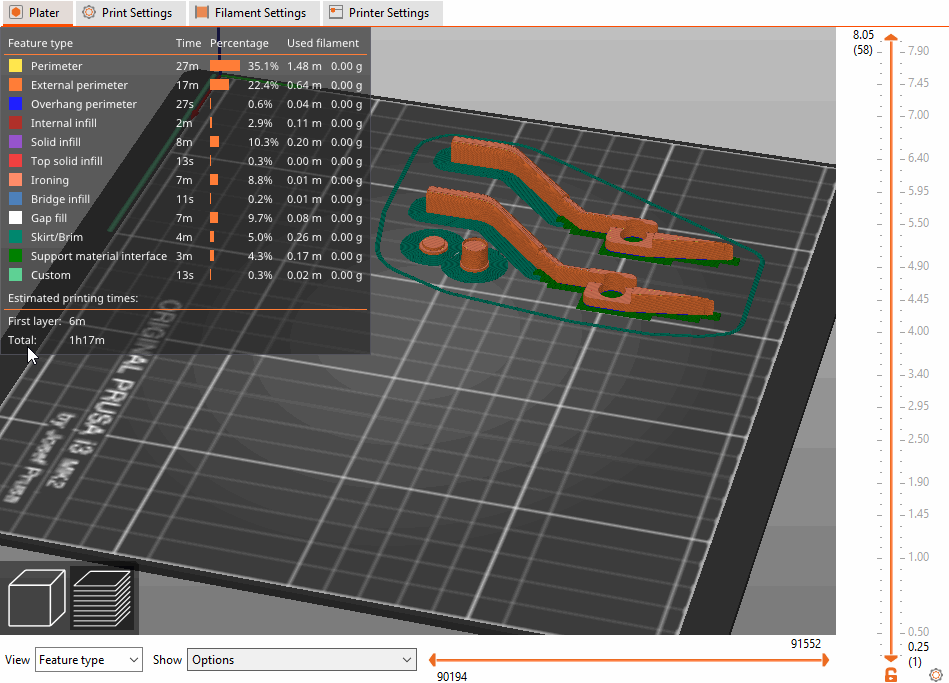
The number of layers are 58.
- The Printer I used is the Prusa i3 mks2, nozzle diameter 0.4 mm
- The filament I used is PLA black color
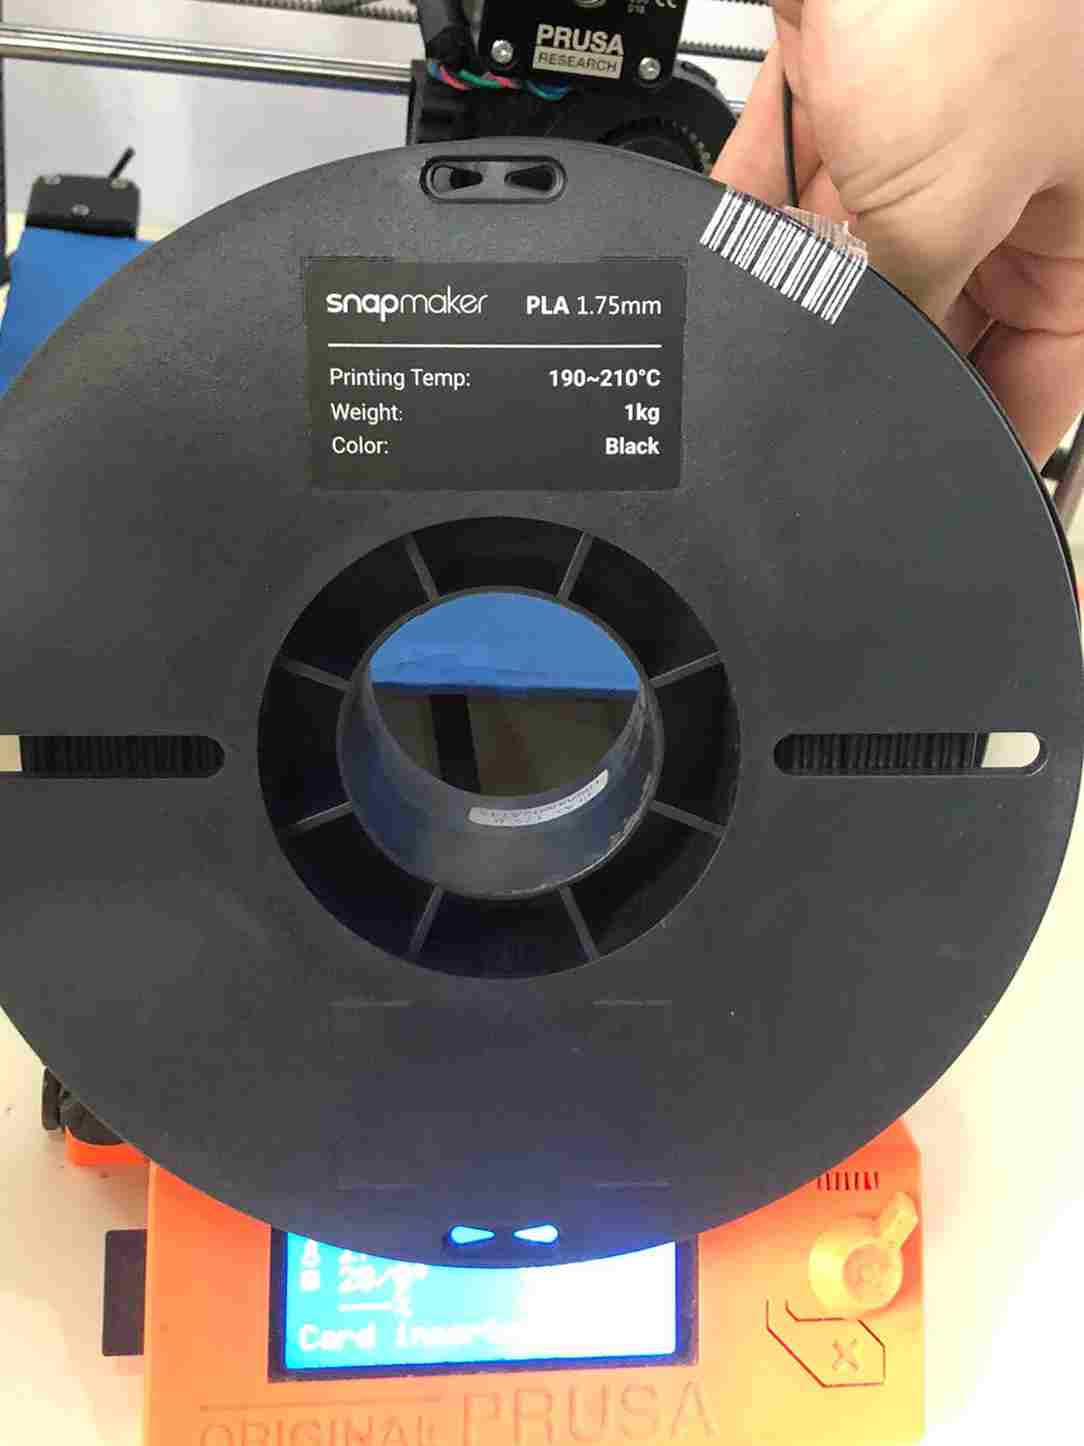
Note: Always stick to the temperature mentioned by the manufacturer to avoid print fails and/or nozzle clogging, in my case, the nozzle temperature should be between 190-210 Celsius and the heated bed temperature should be between 60-70 Celsius.
The Result
The printer failed to print the CAD models for our group.
- Trial 1:
The nozzle and or the extruder stopped extruding the filament after several layers of the print
The initial diagnosis of this problem was that the filament has been jammed in the nozzle due to excess cooling and rapid cooling rate, weather it is from ambient air (room temperature was around 24 Celsius) or from the part cooling fan (the fan that blows air directly at the filament when it is being layered on the bed)
After this assumption, we managed to unload the filament from the extruder and we re-printed the models with higher nozzle temperature (220 Celsius) and the bed is (60 Celsius).
- Trial 2:
The printer has stopped extruding exactly at the same layer in the first trial.
This time, the filament was burned in the inside of the nozzle and at the end of the heat sink (a chamber that the filament travels into it, from the extruder to the nozzle/hot-end).
We again took out the burned parts and started another print, this time the nozzle temperature is (215 Celsius) and the bed temperature is (55 Celsius).
- Trial 3:
The same problem occurred, meaning that it might be the slicers fault, but unfortunately I couldn’t download Cura Slicer because of some errors for my laptop.
But I tried to print at home using PrusaSlicer on Anet A8 printer and the problem occurred, which further solidifies the assumption that it is indeed the slicers fault, whether it needs an update or whether it is a users fault is still unknown to me.
Makerbot Replicator z18
After several print fails from Prusa, I have decided to print my model on the Makerbot printer.
- The Slicer I have used is Makerbot Slicer
-
The printer I have used is Makerbot Replicator z18
-
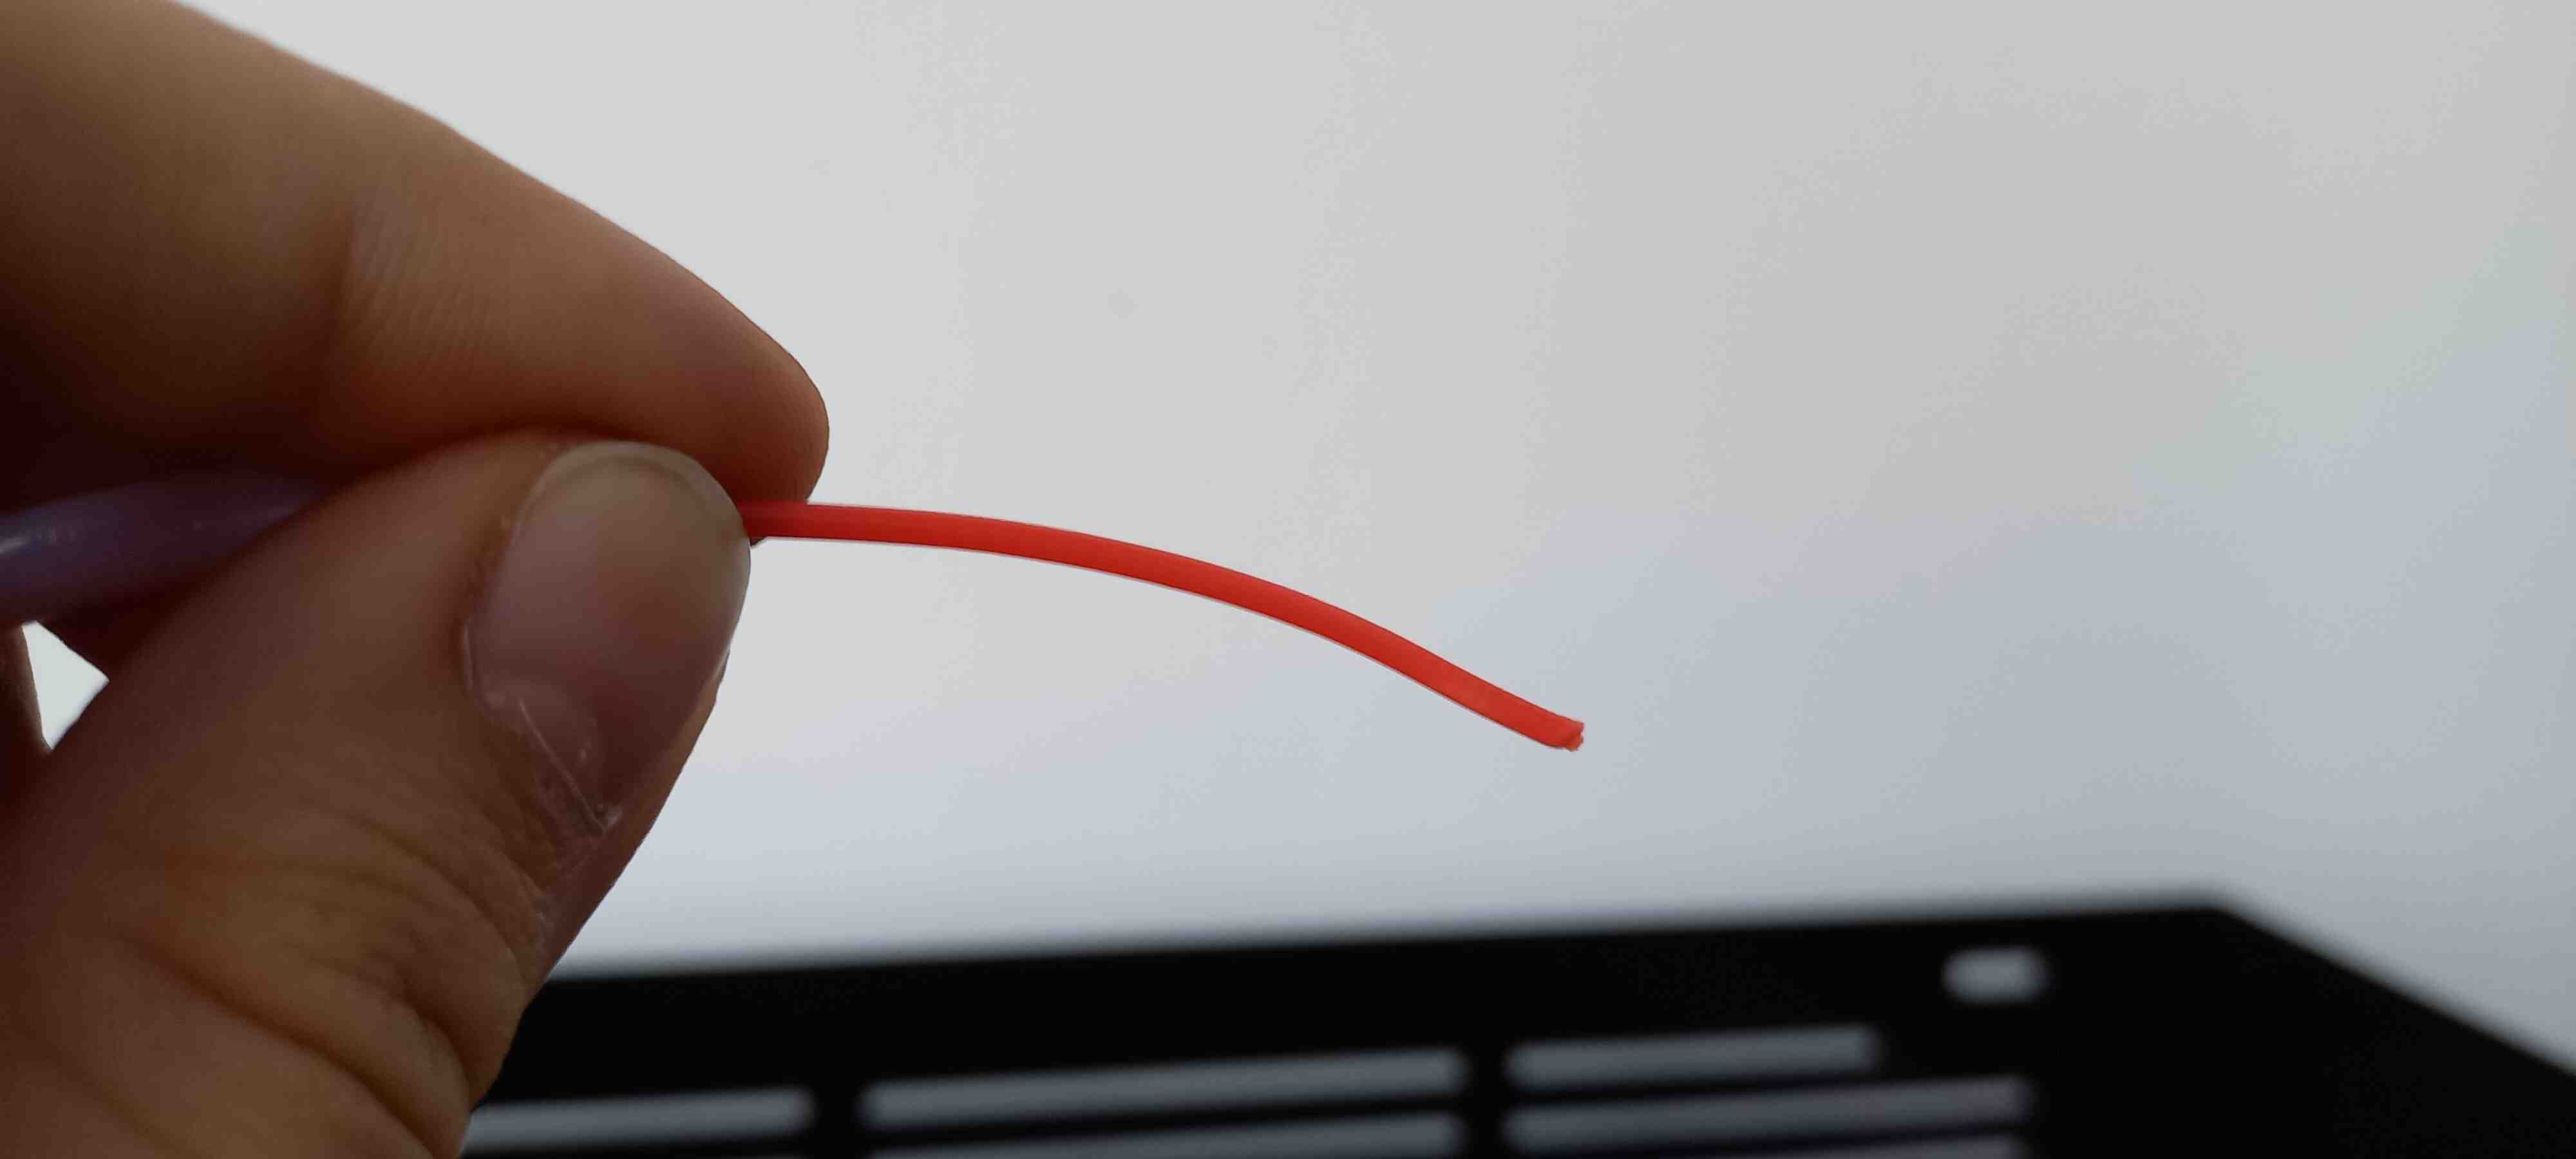
The filament I have used is PLA like the one I have used on the Prusa, but the color is red.
-
The Result
-
Trial 1:
When I first started the print, there was an error message saying “filament slip”, meaning that the extruder couldn’t pull the filament in.
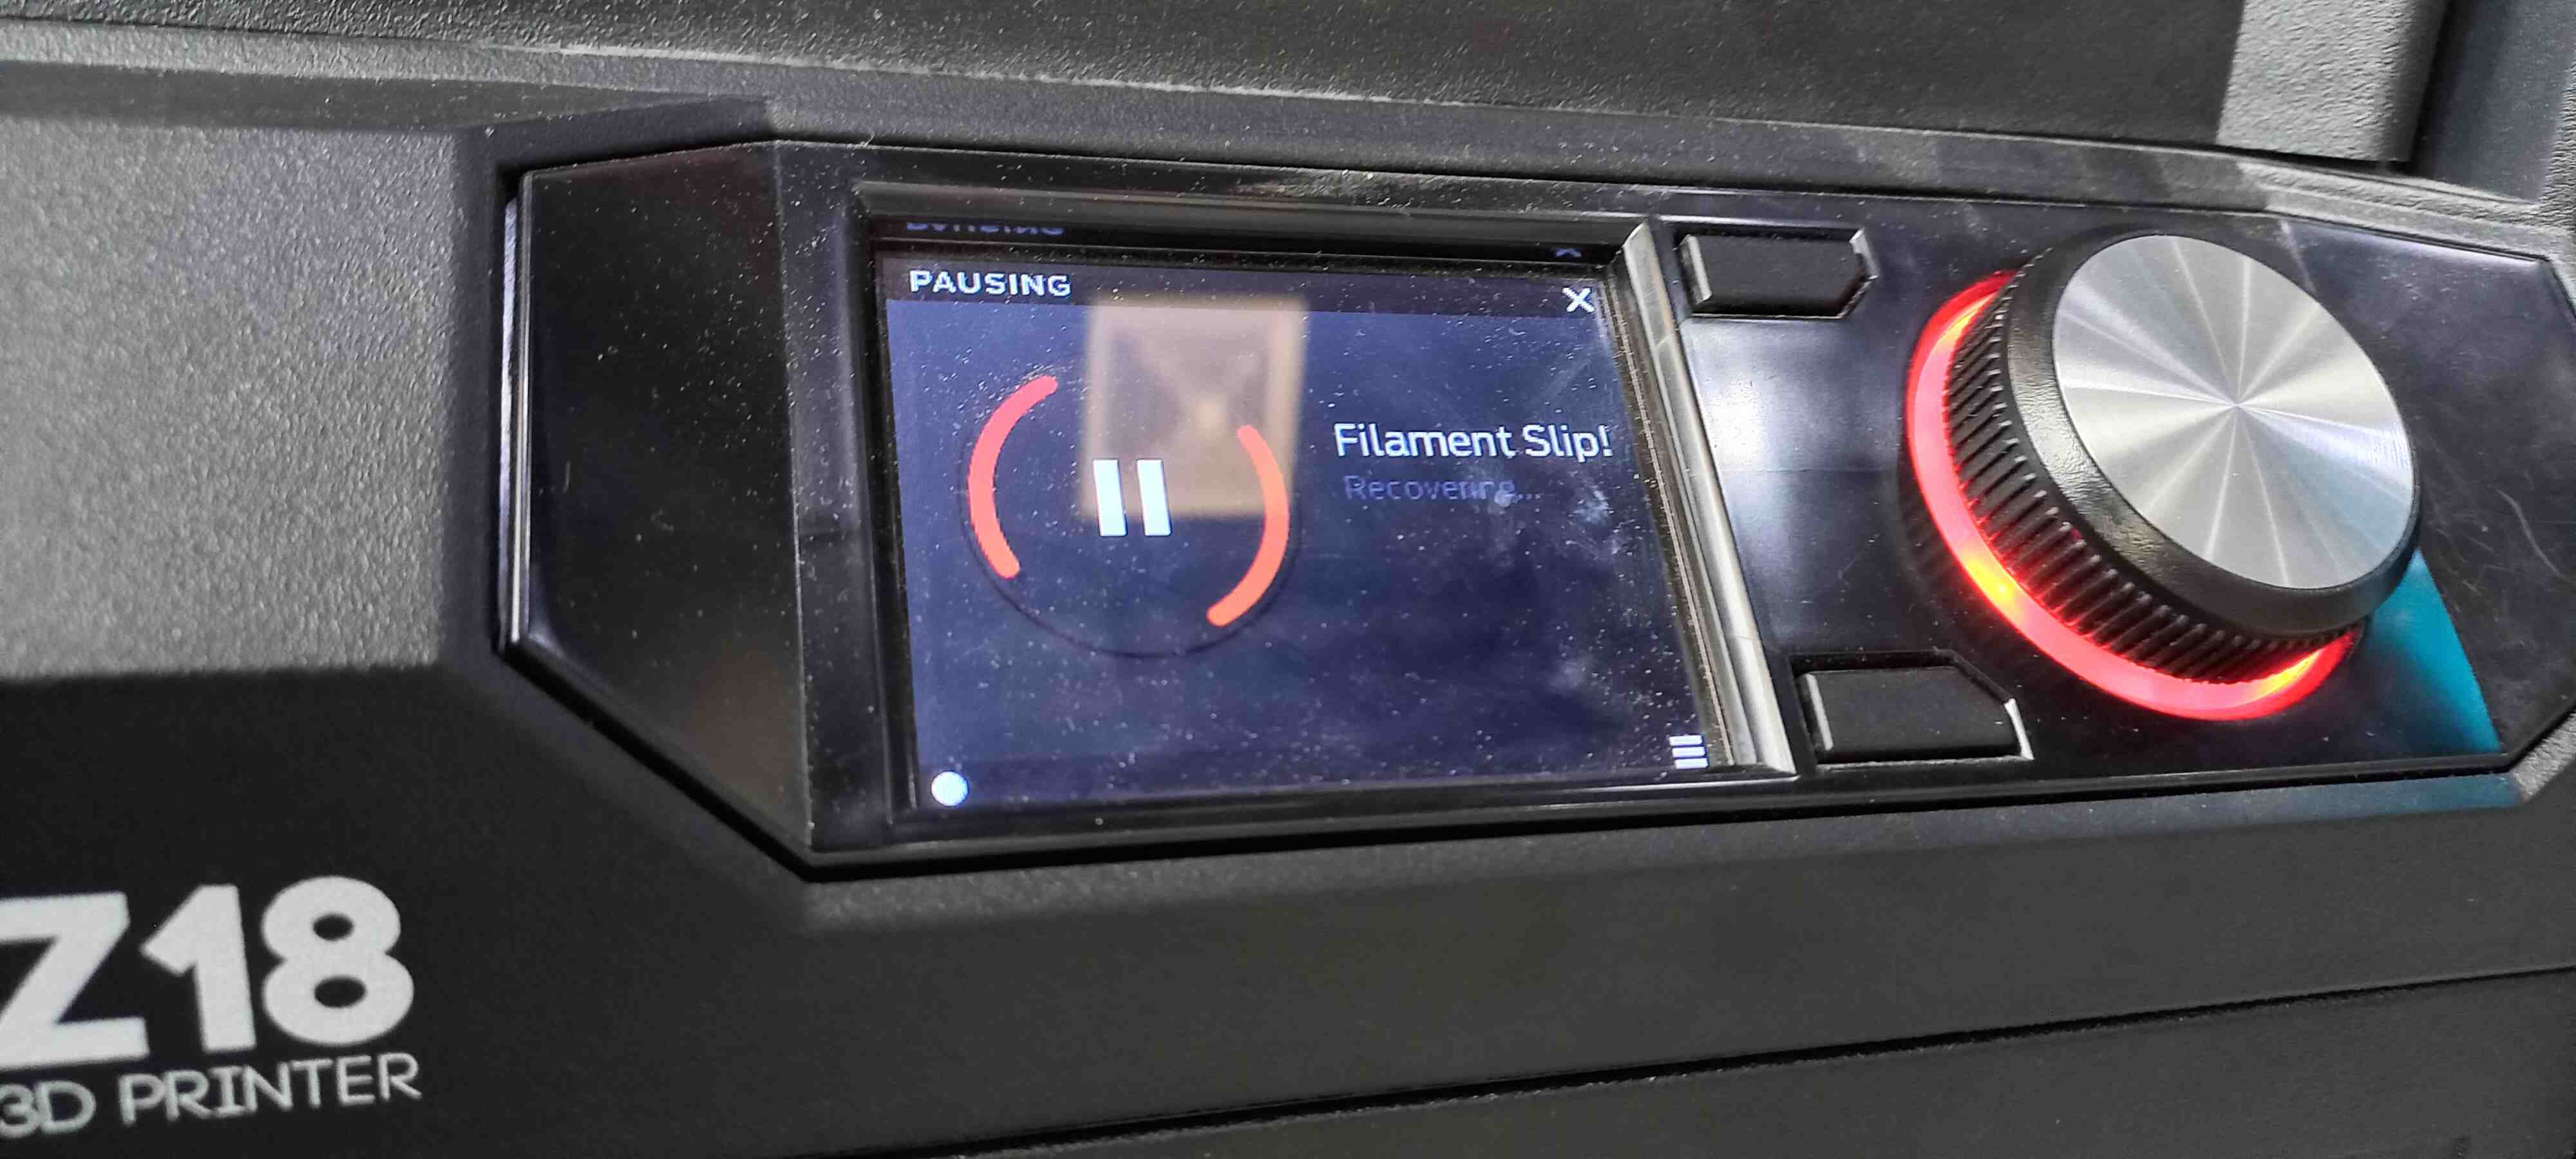
after some help from my supervisor, the solution for this problem is fairly simple:
Firstly: Pull out the filament from the extruder
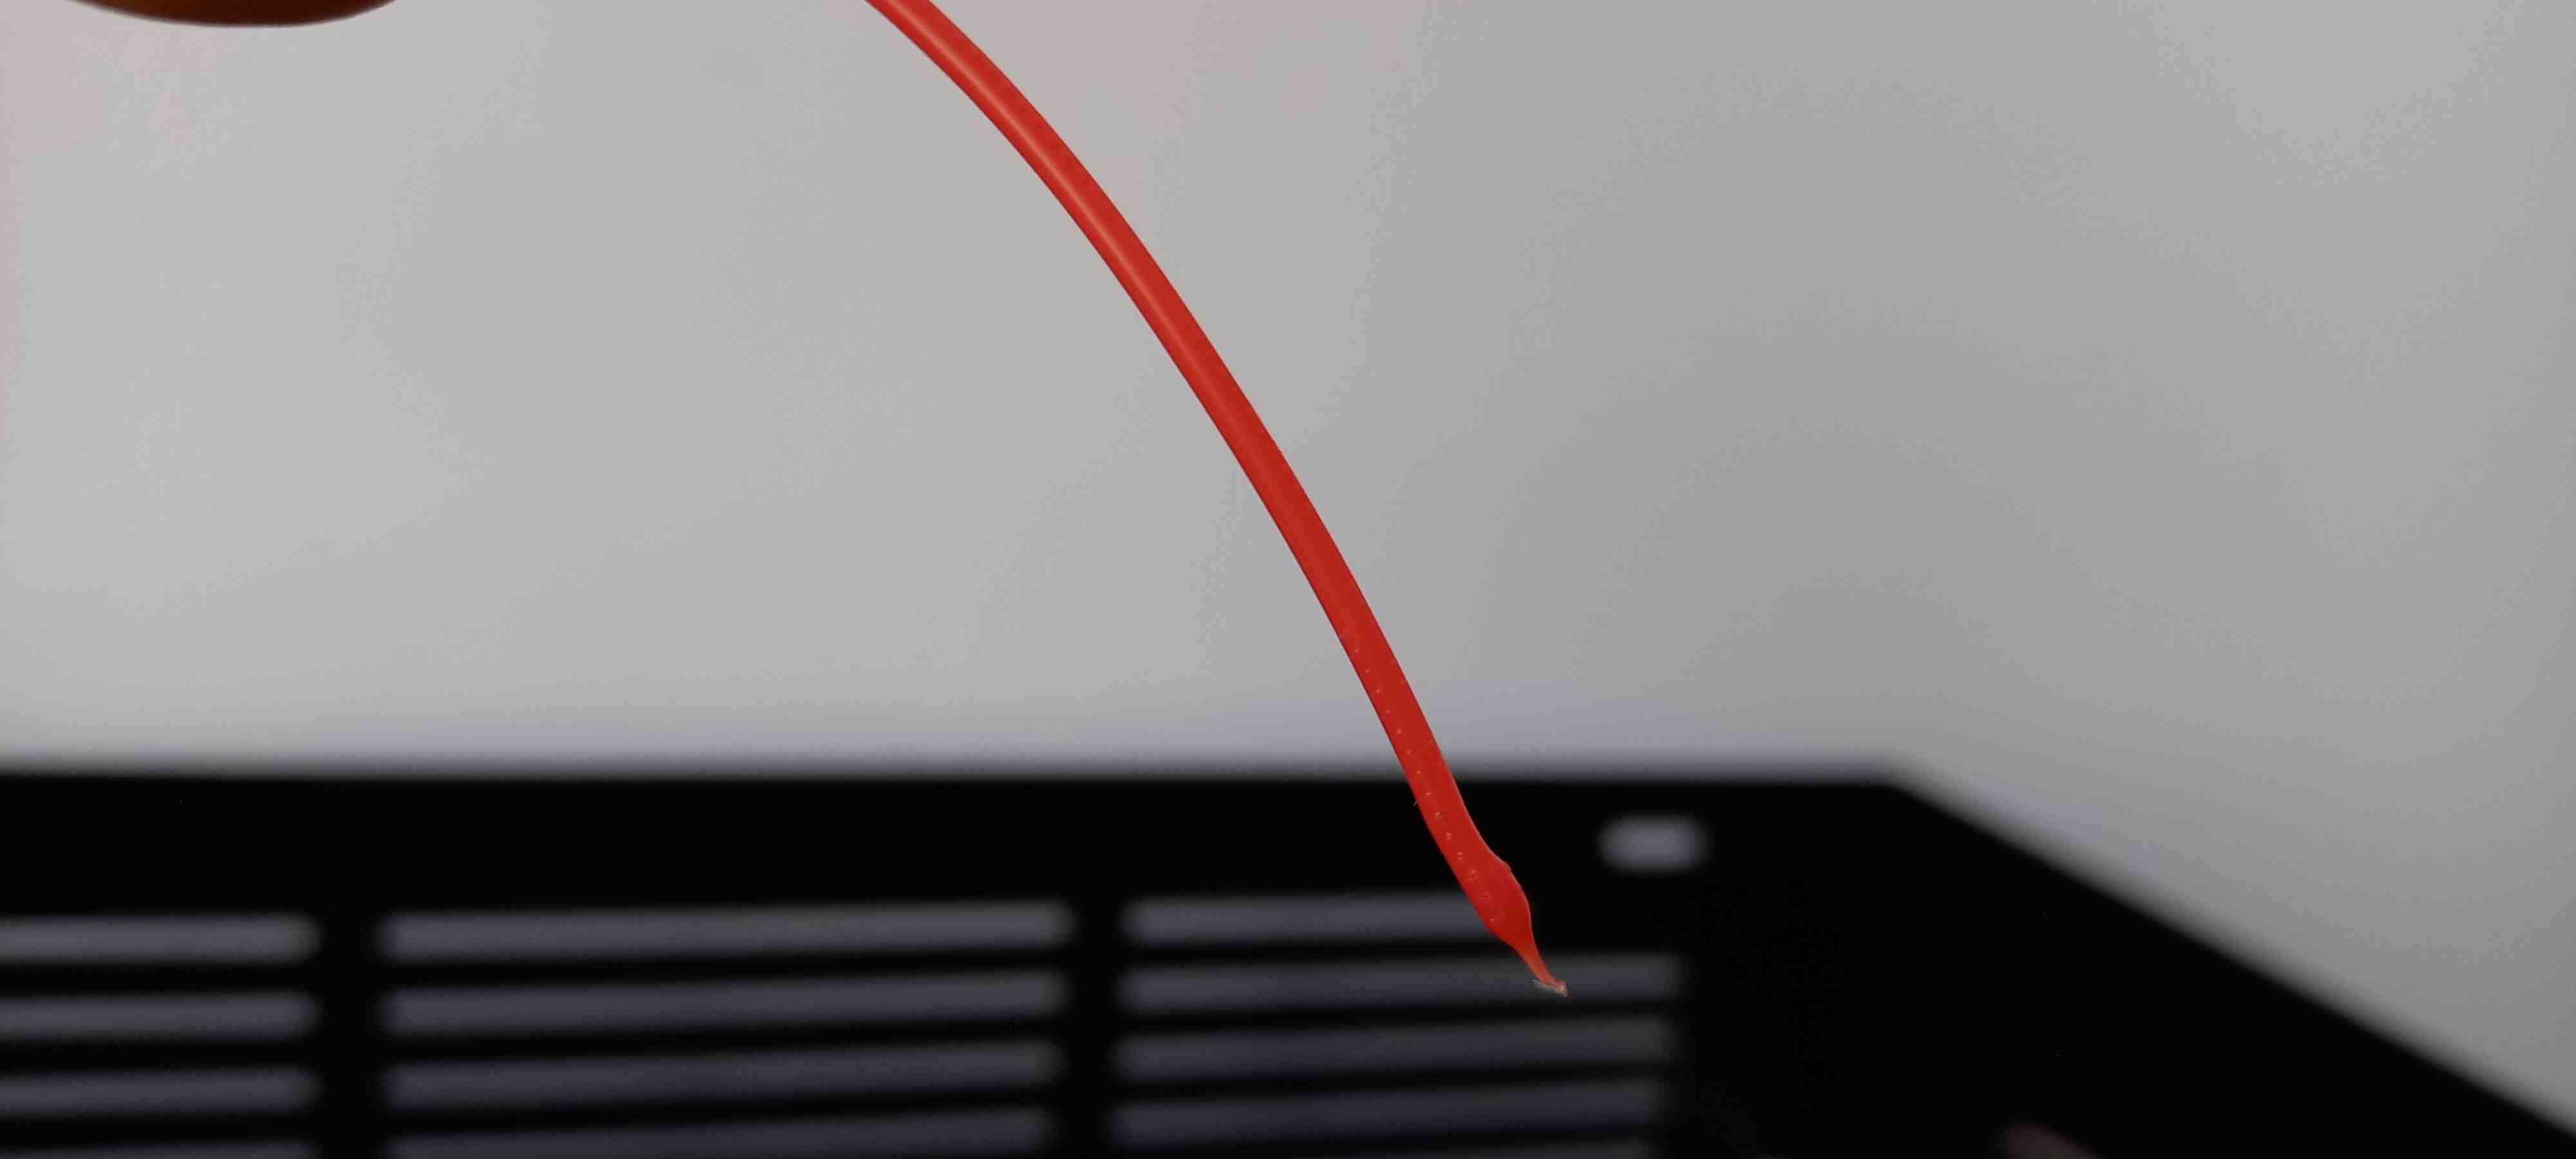
Secondly: Cut the burned/melted part of the filament
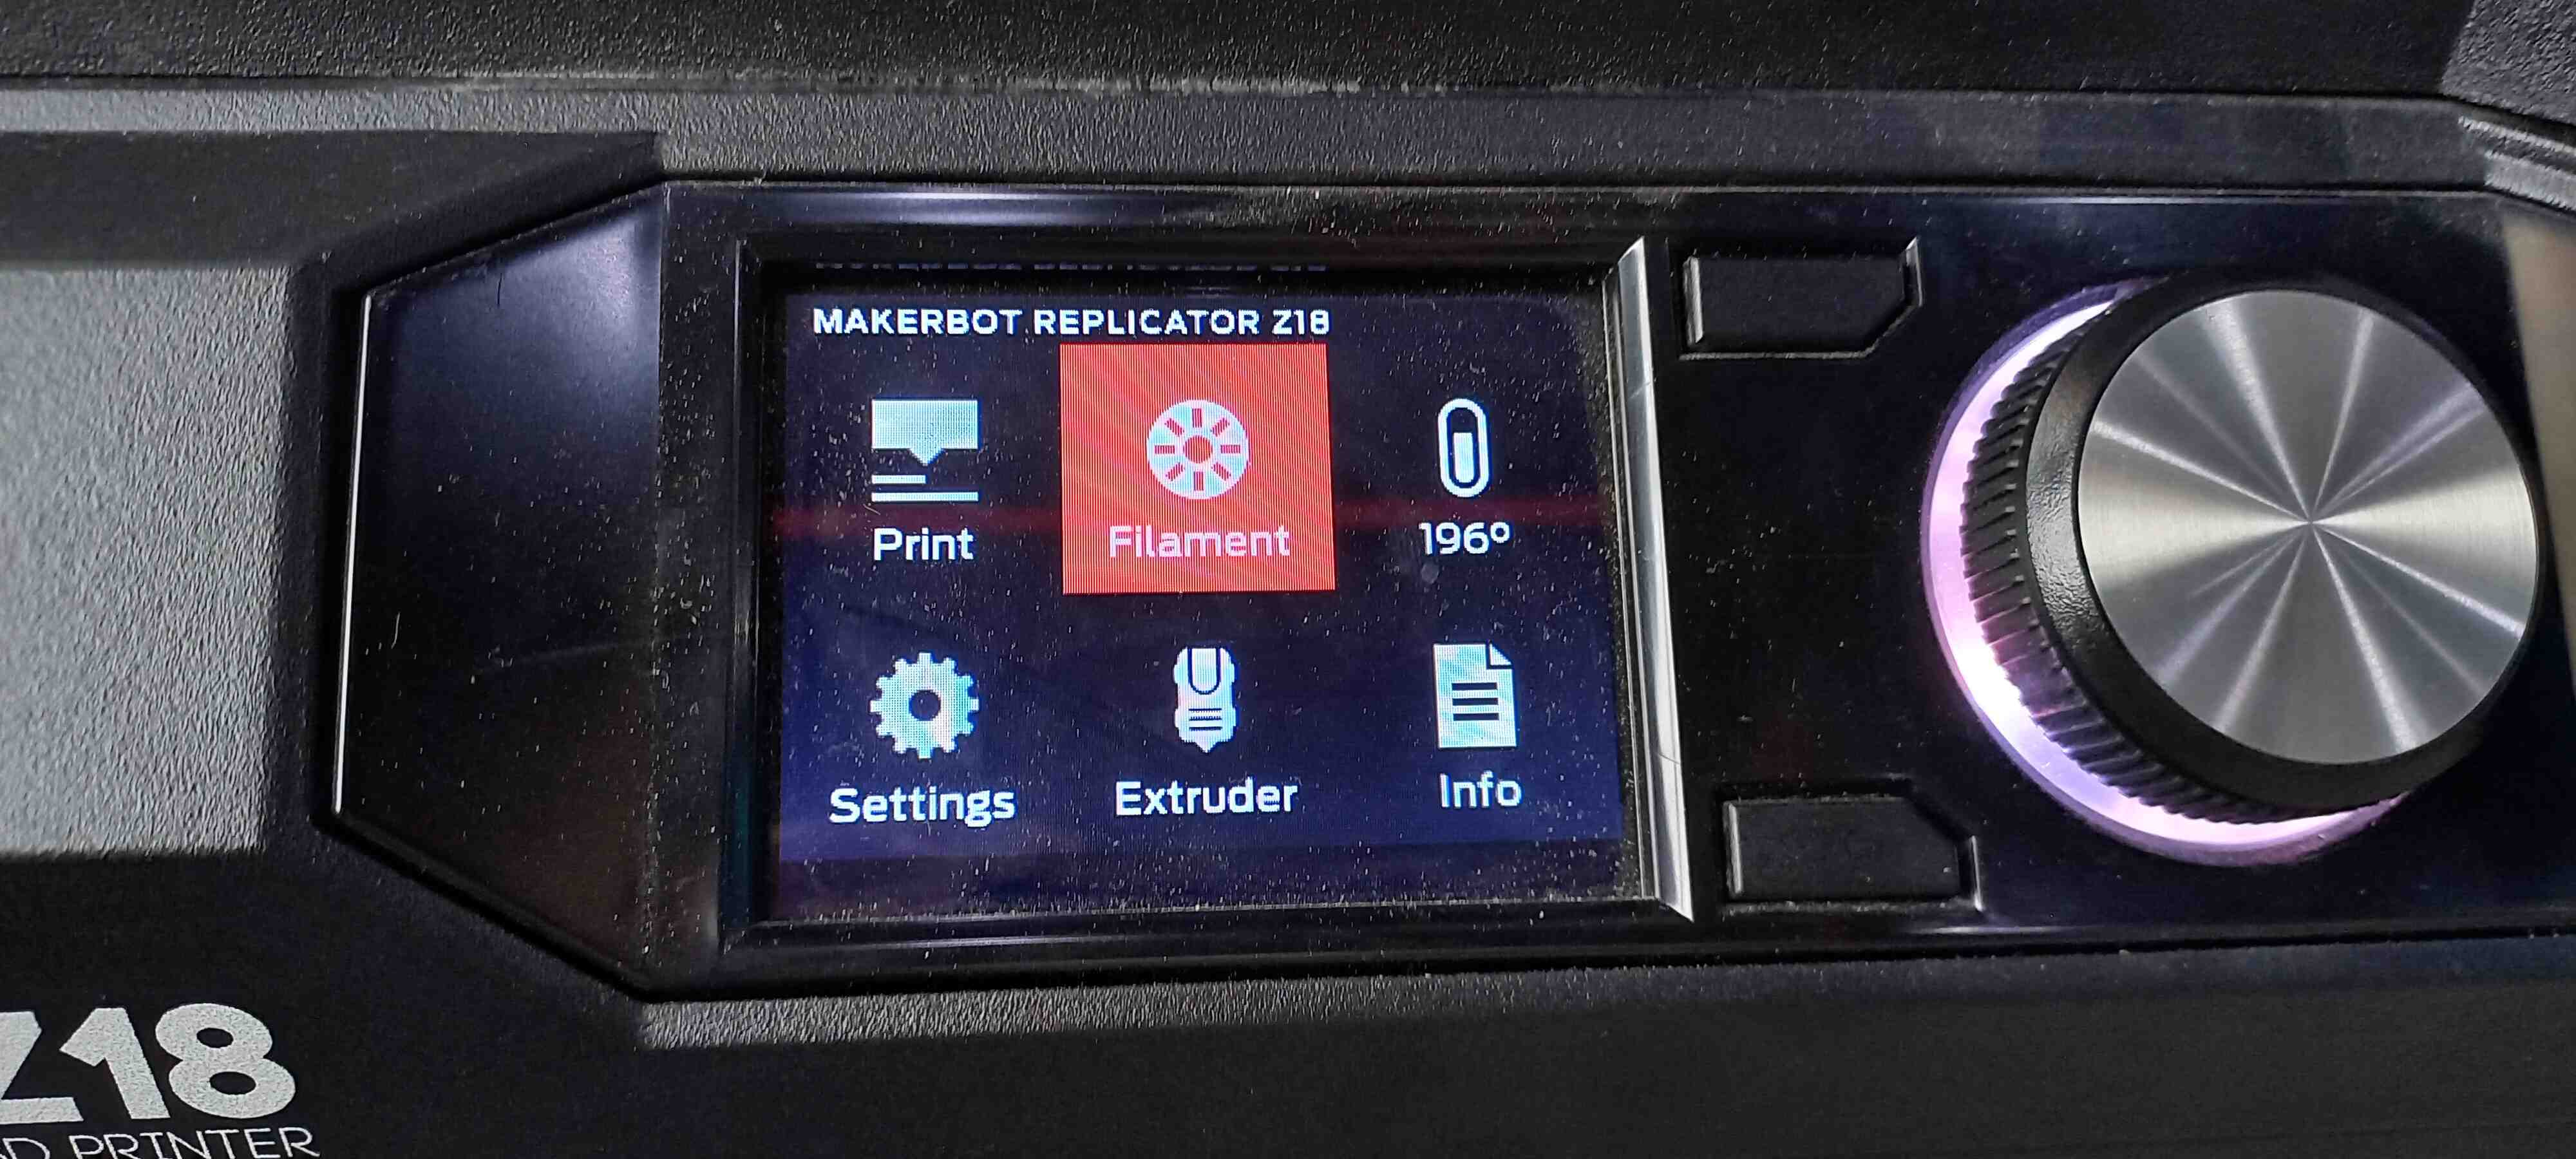
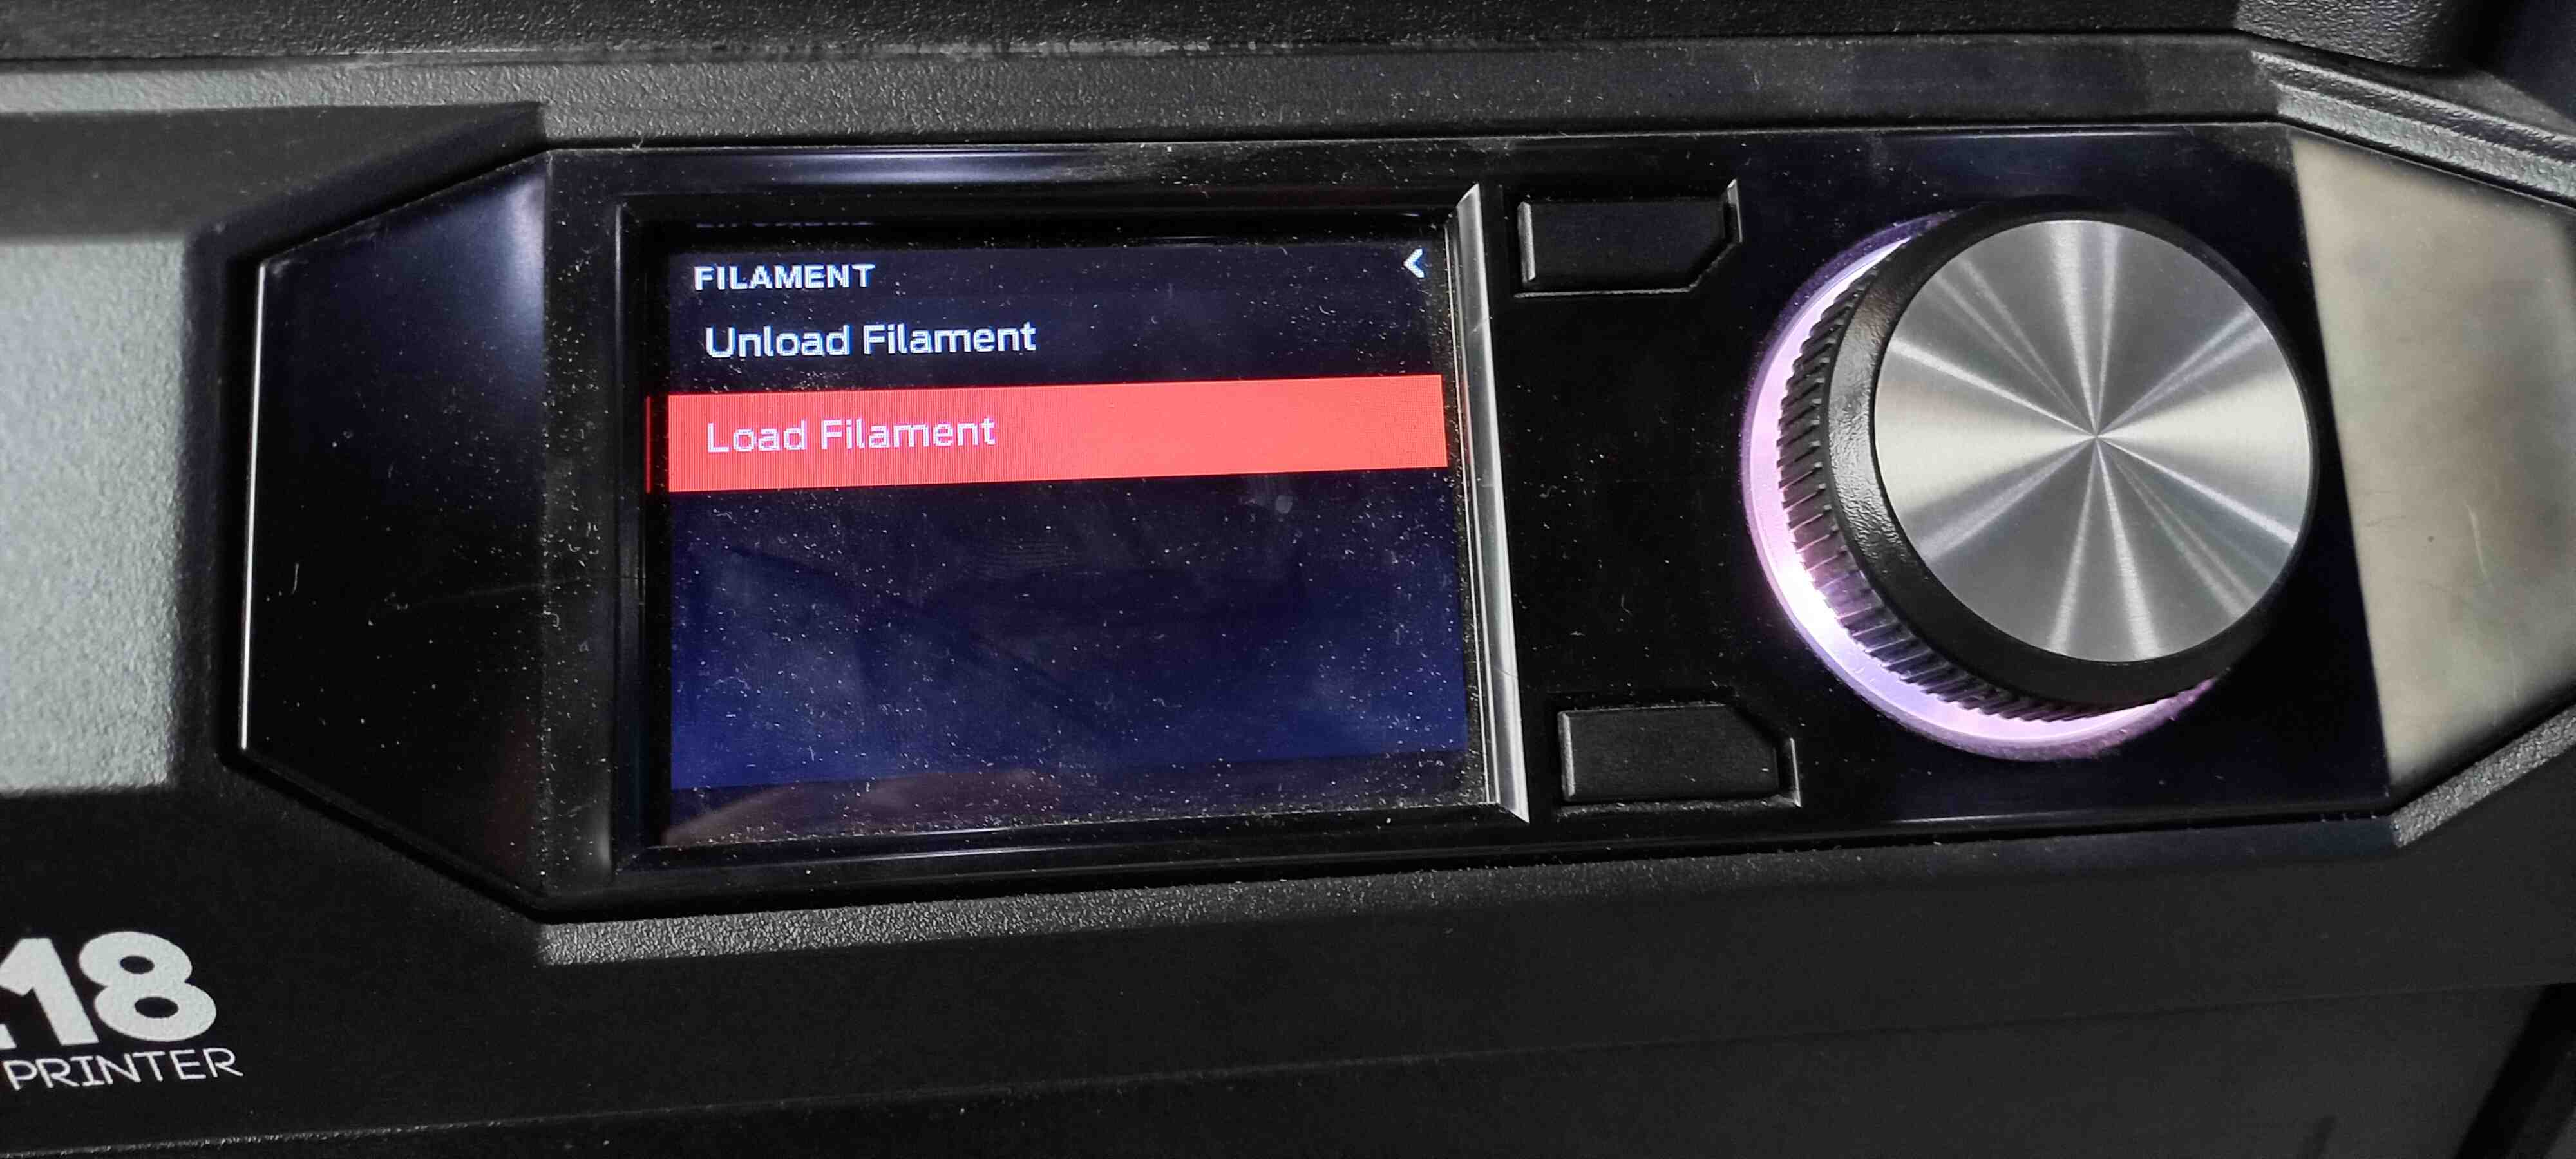
Thirdly: From the menu go to Filament > Load Filament
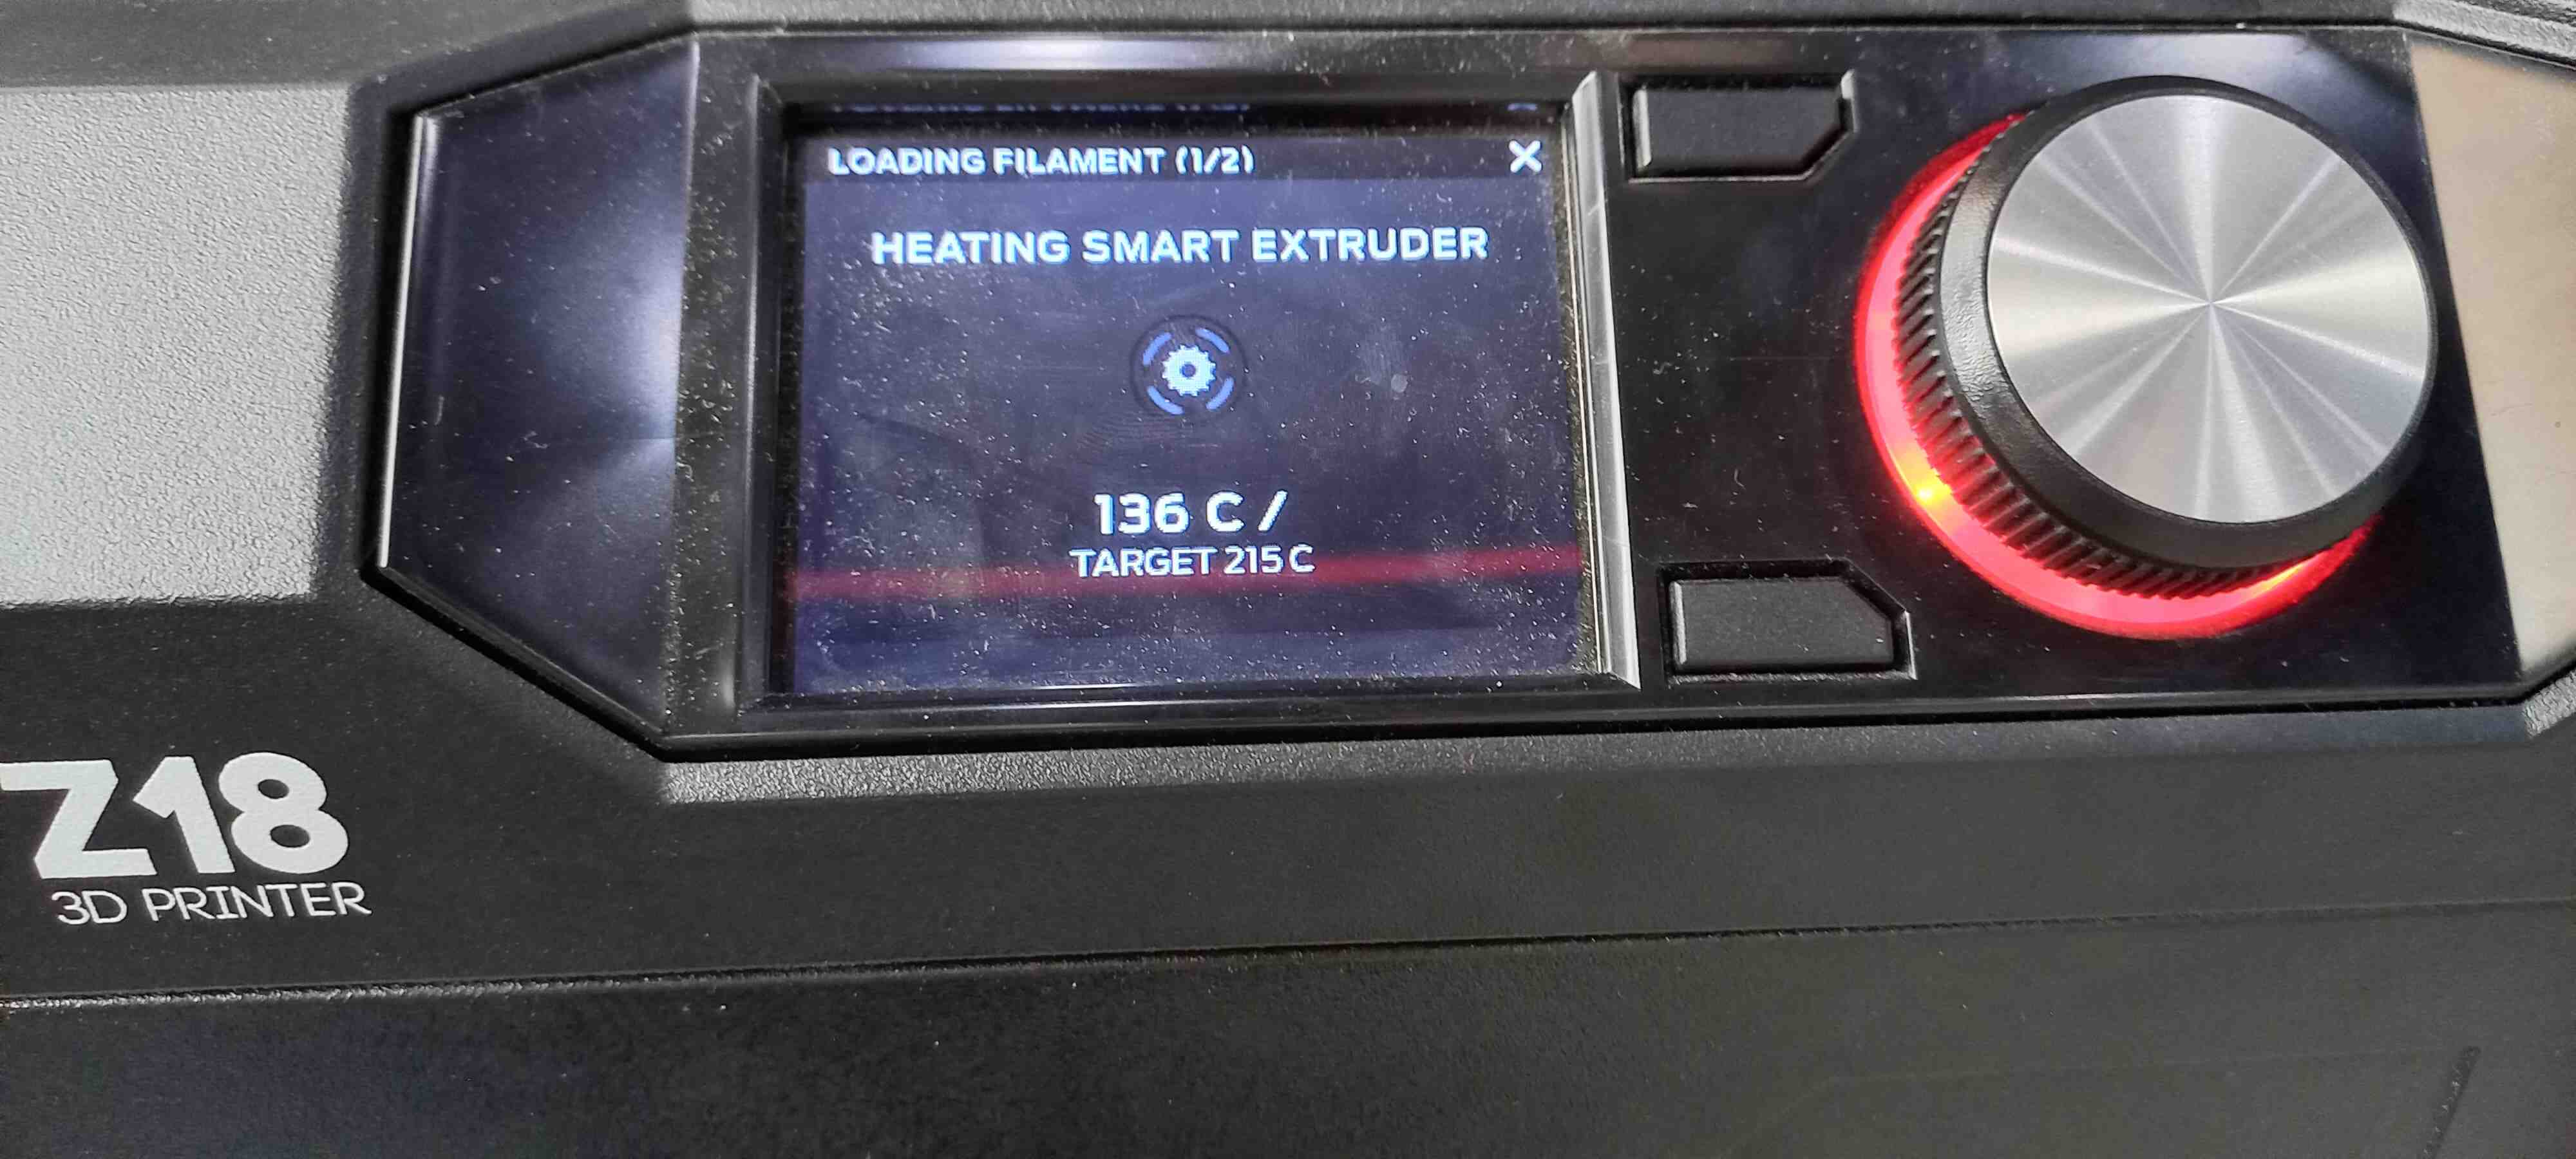
Fourthly: Wait till the nozzle is heated, then push the filament in manually till you feel the filament is being pulled
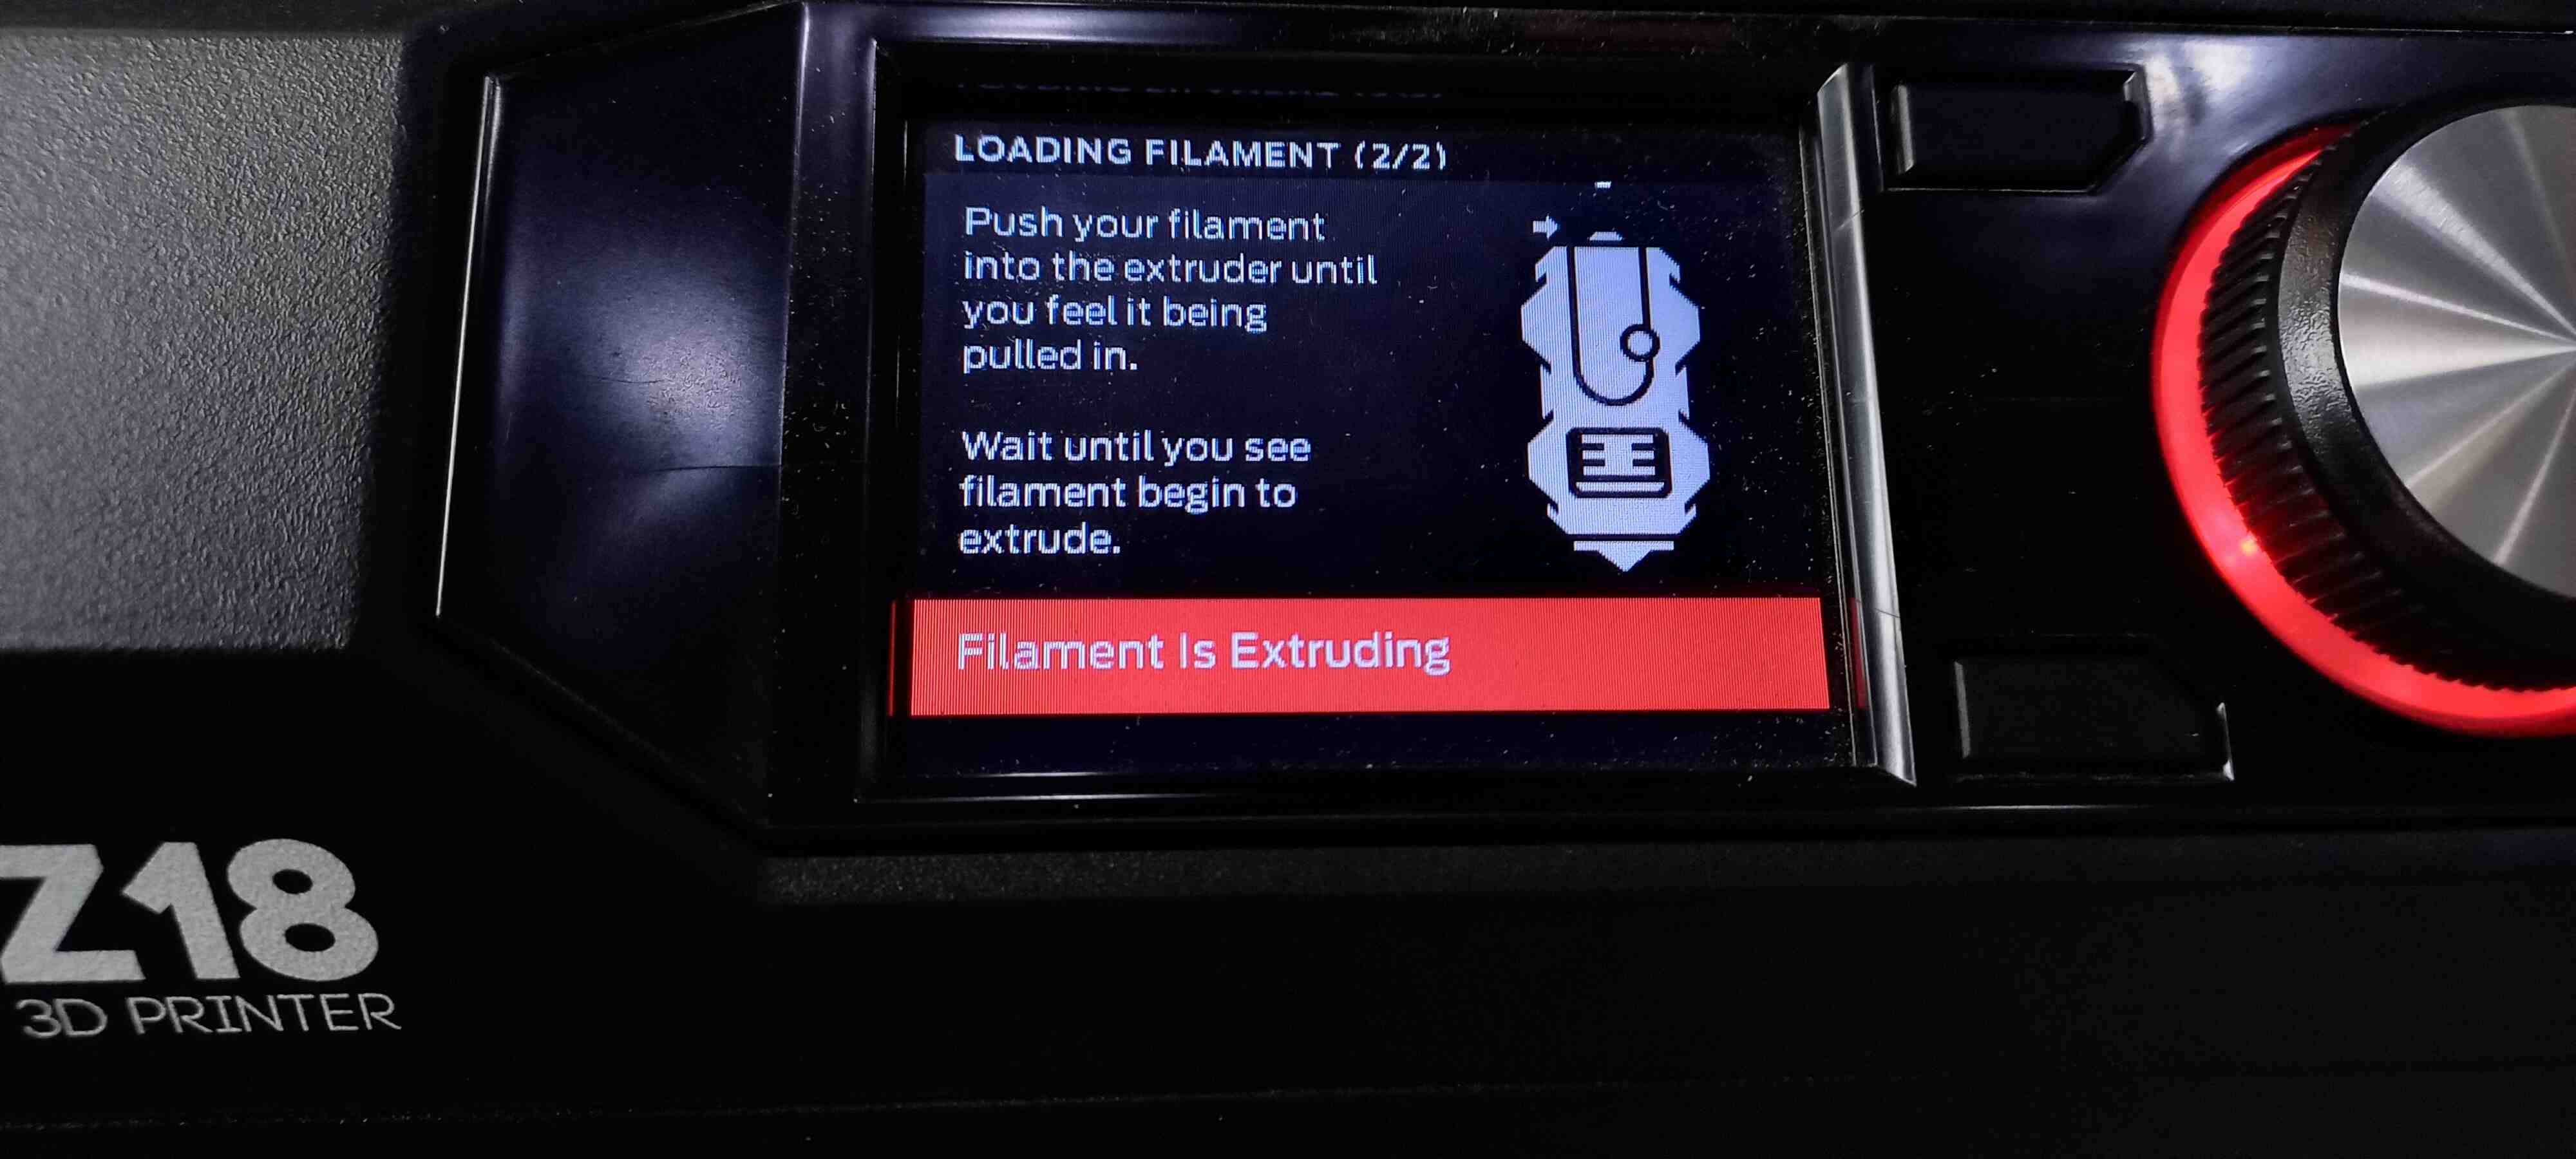
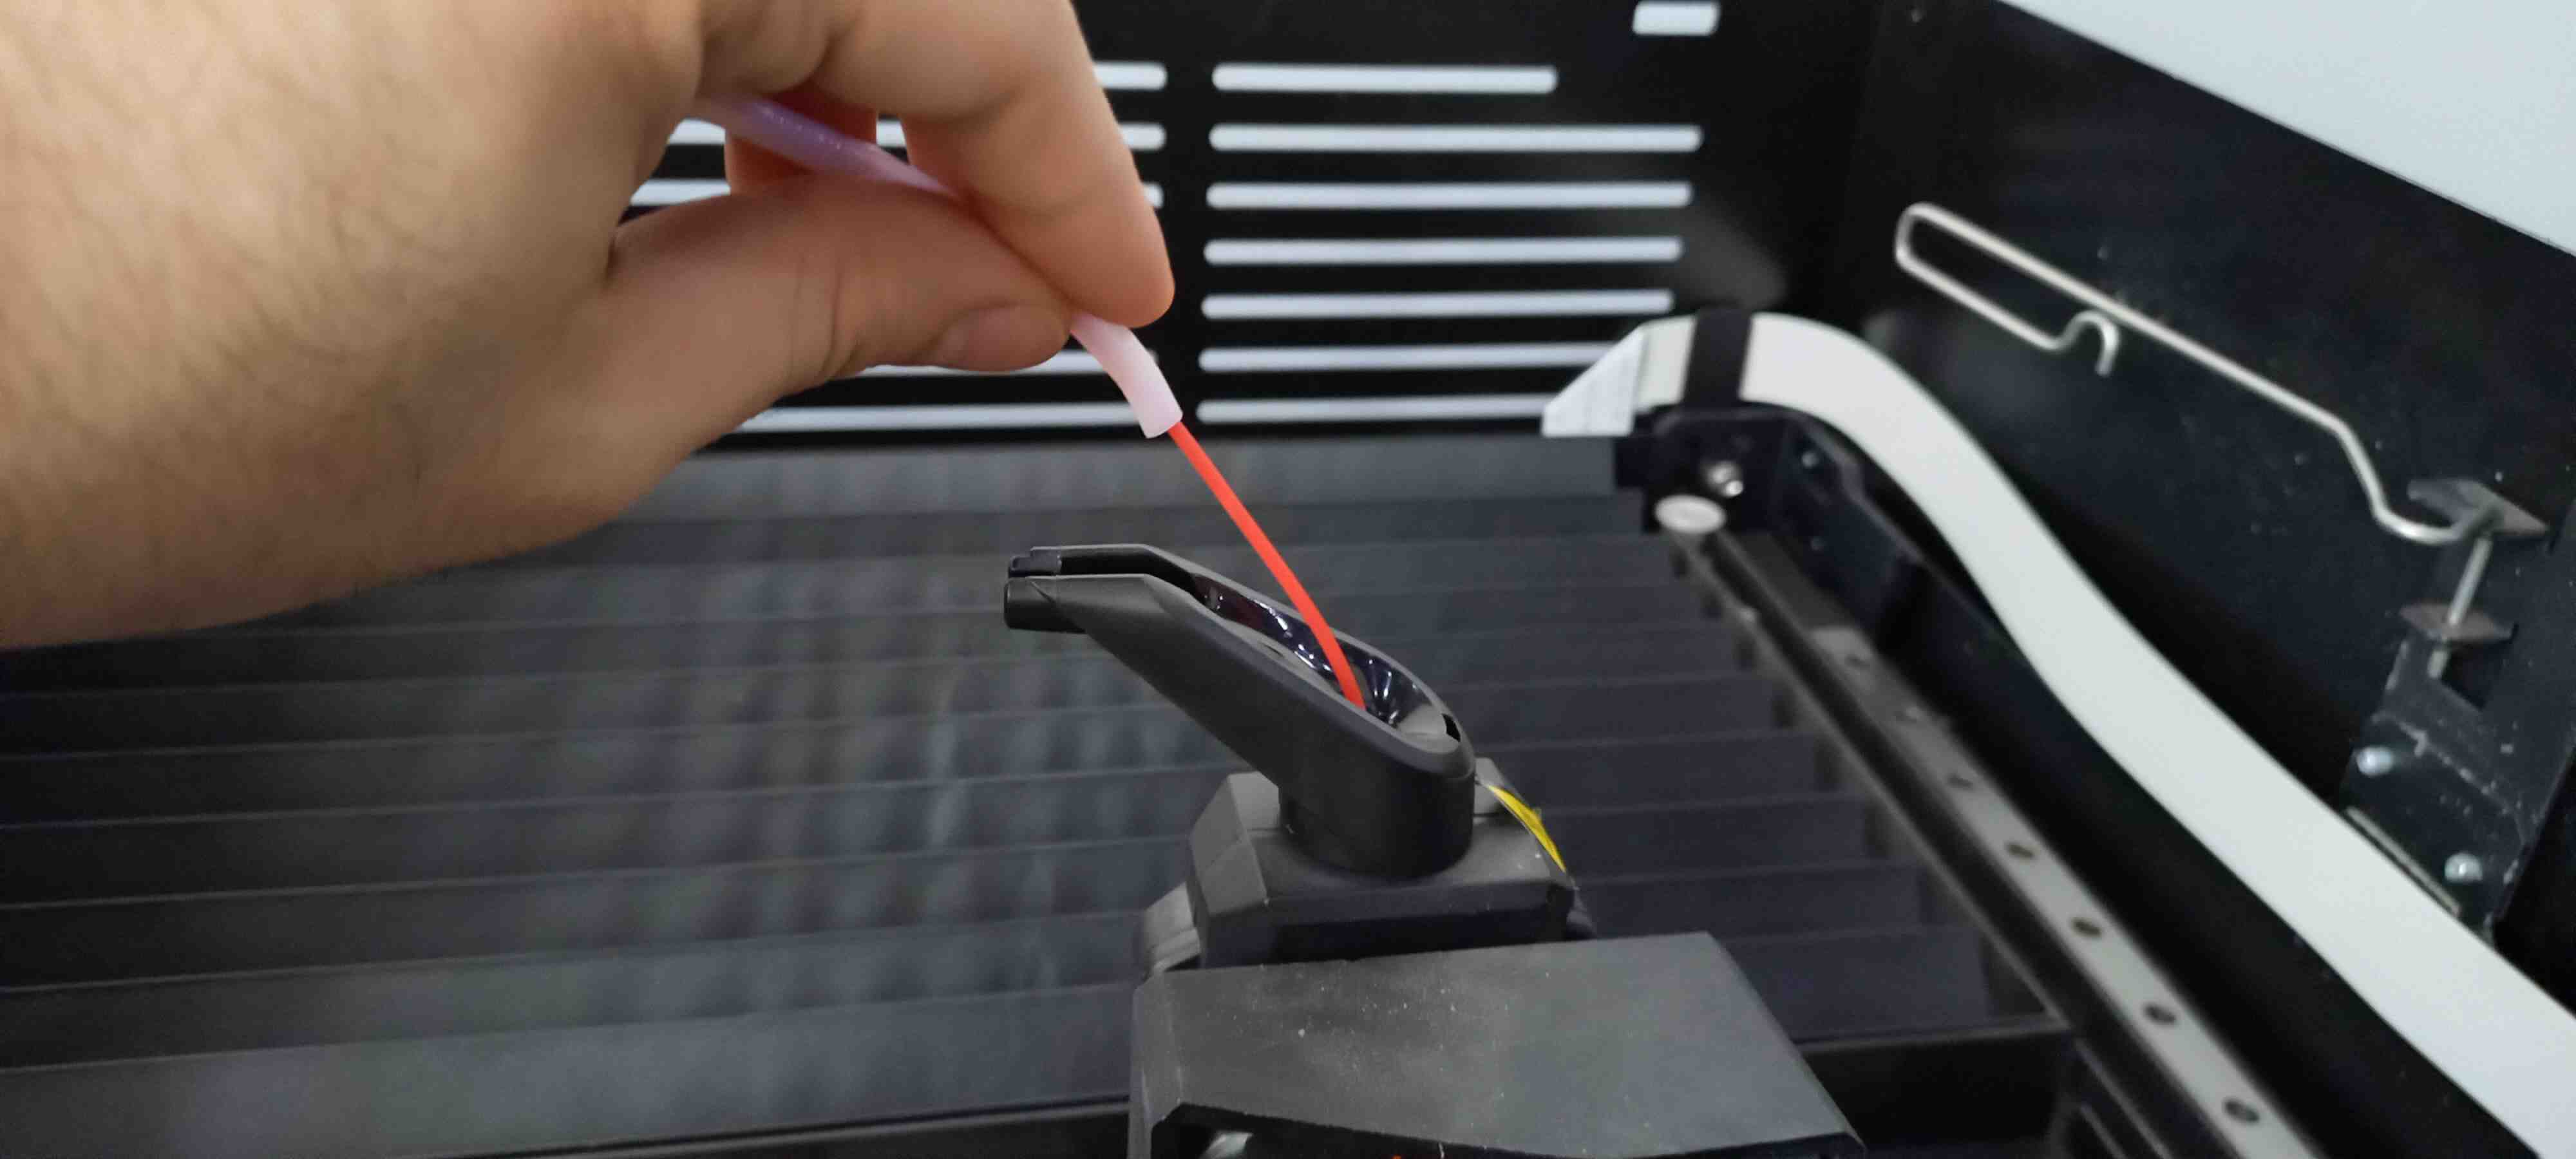
And after the filament has been extruded, you’re all set
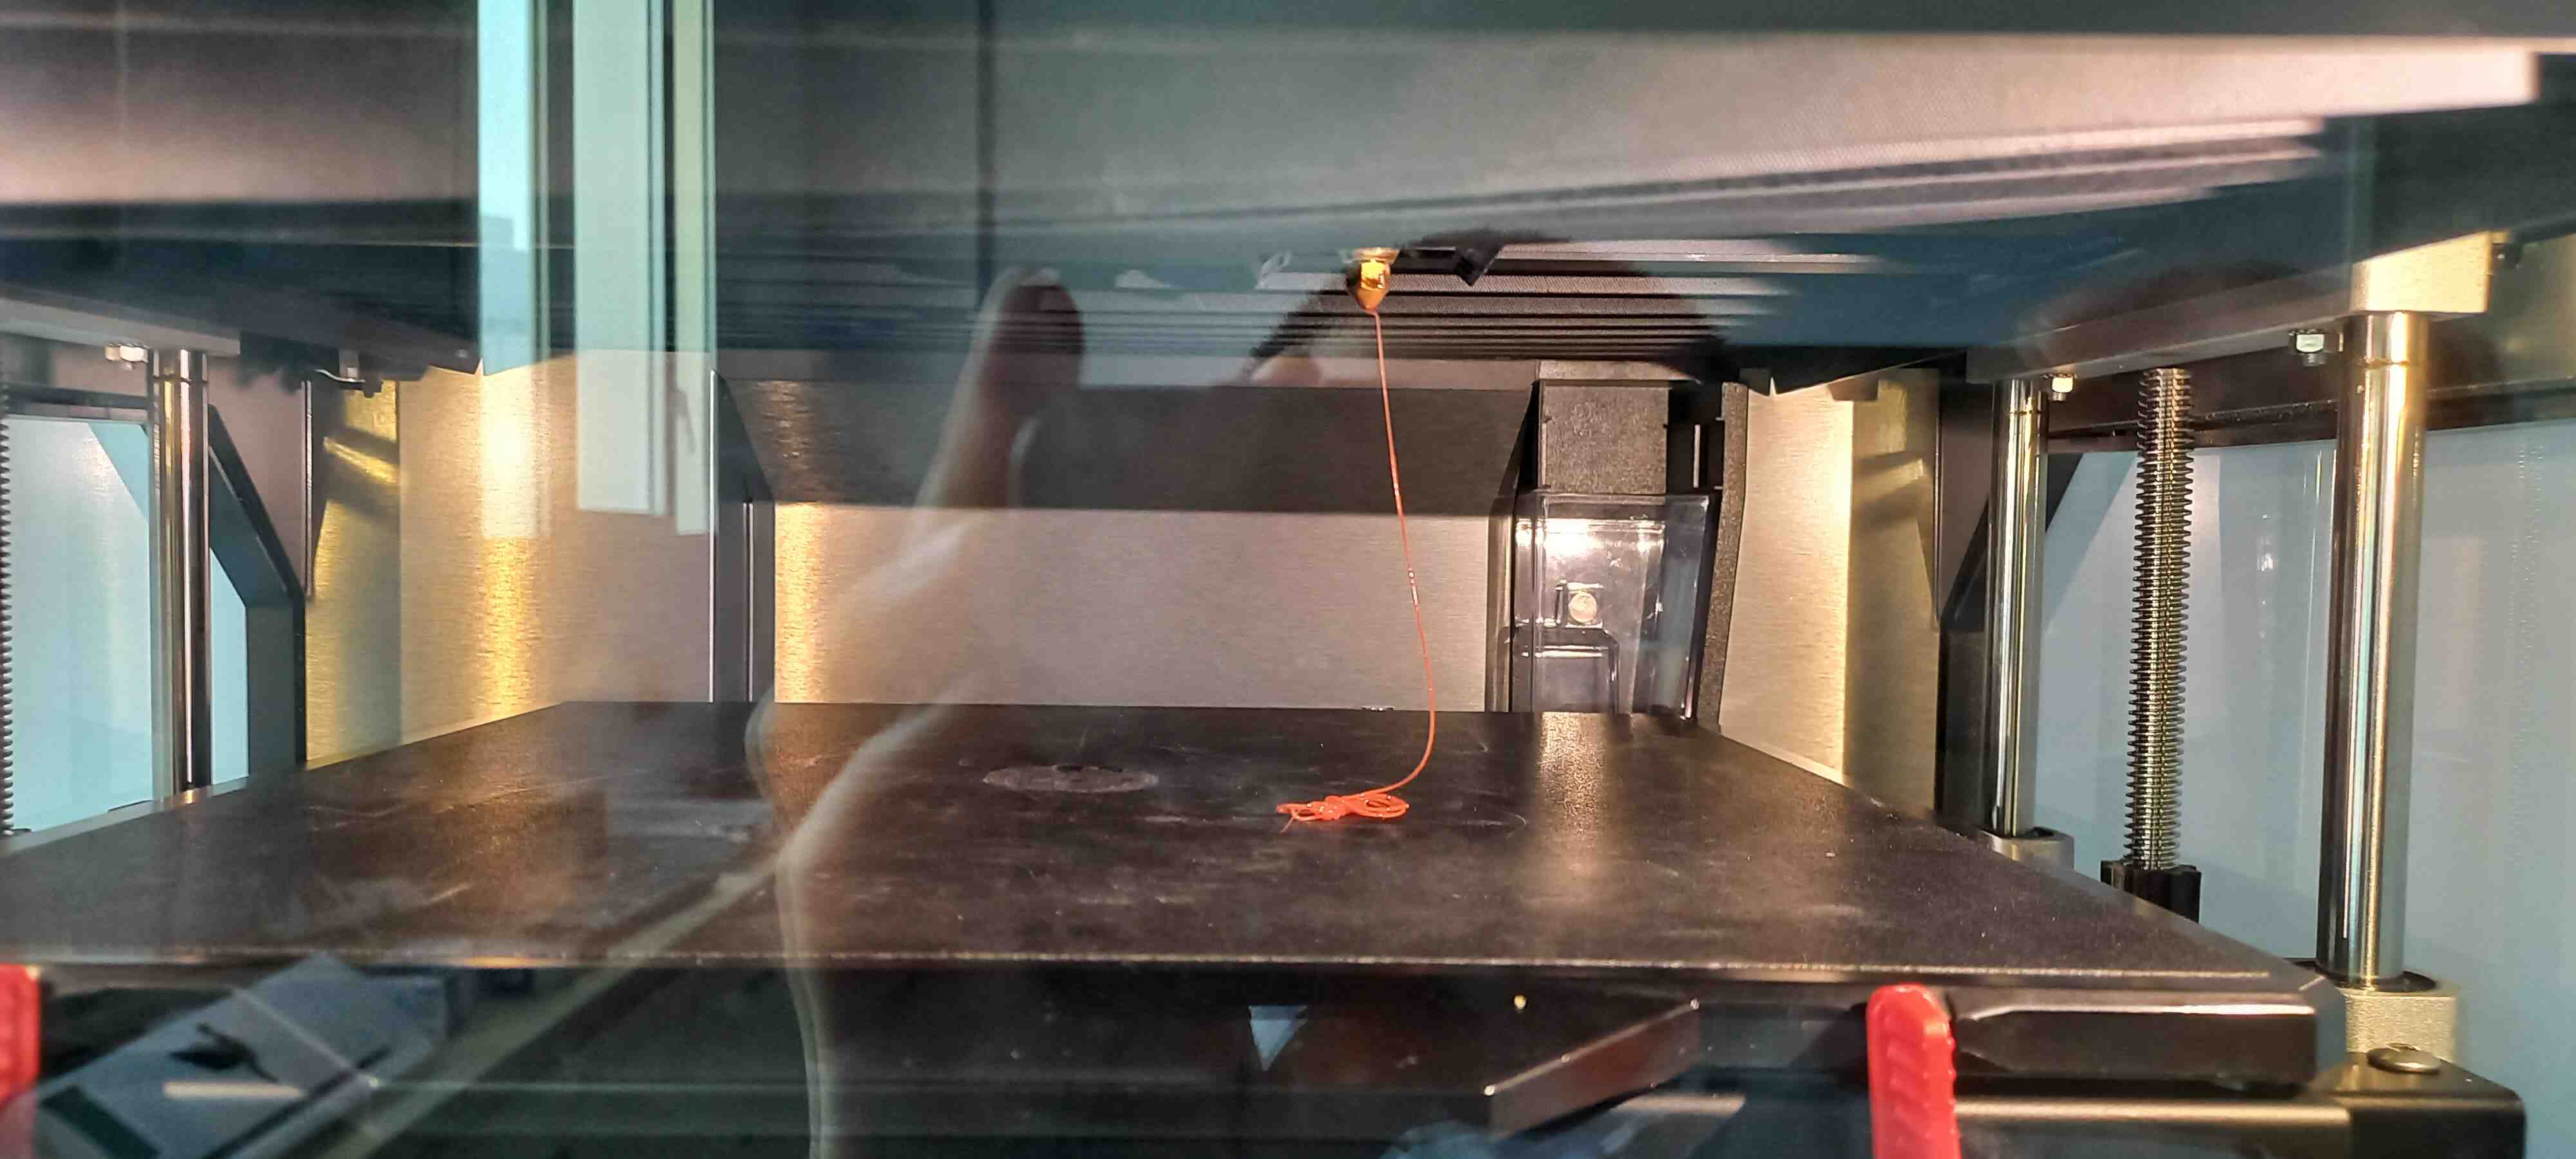
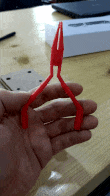
This is the finished print:
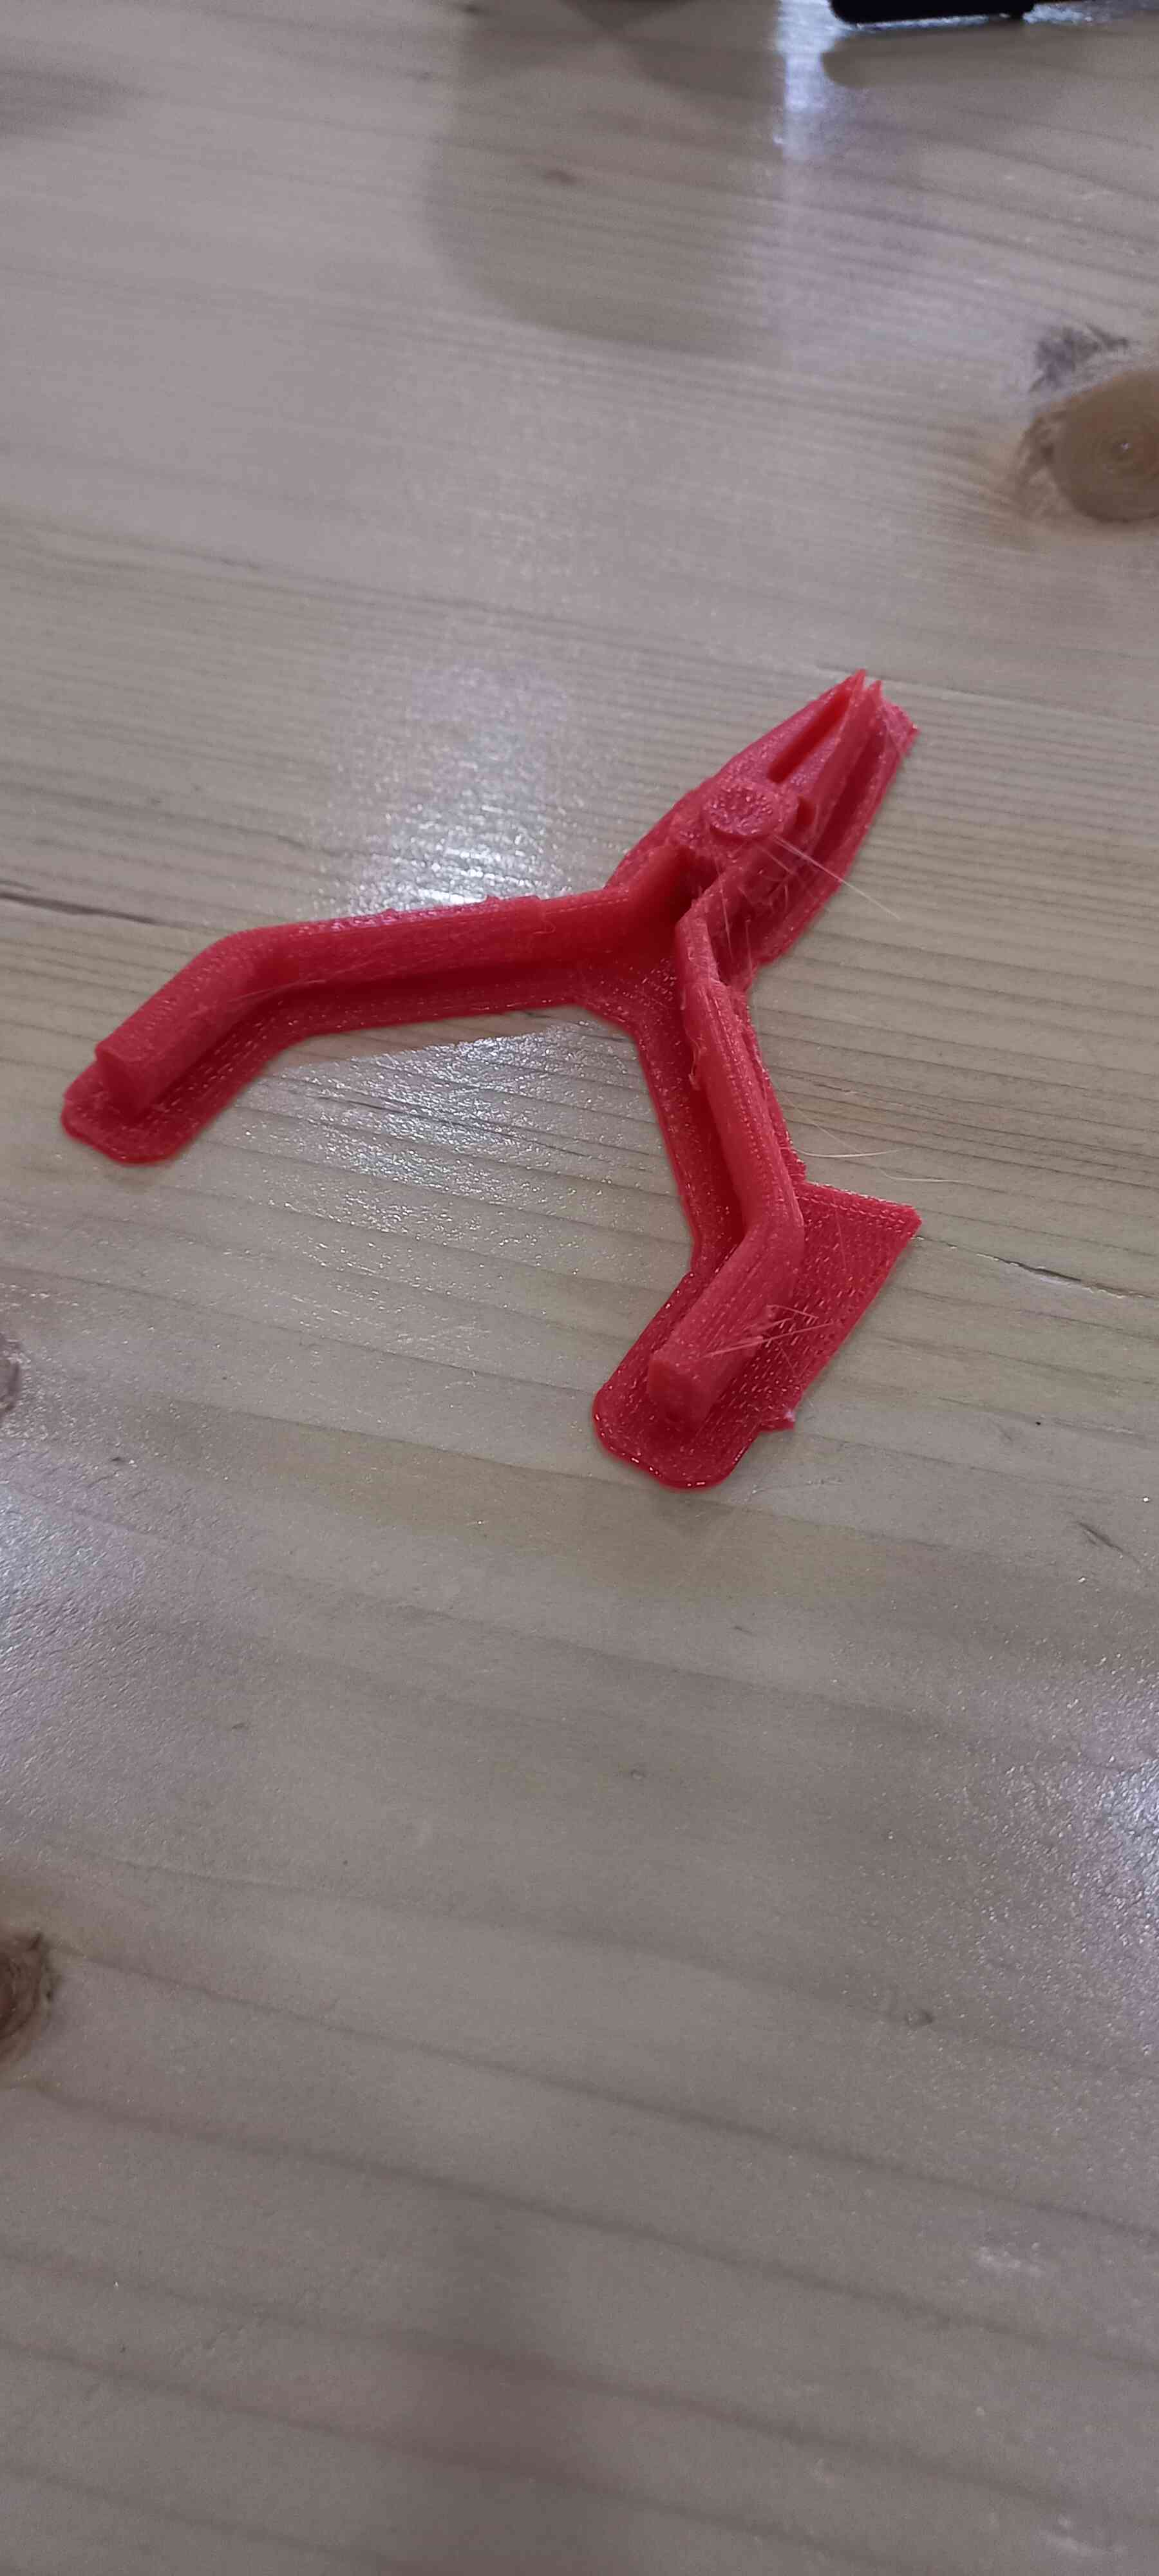
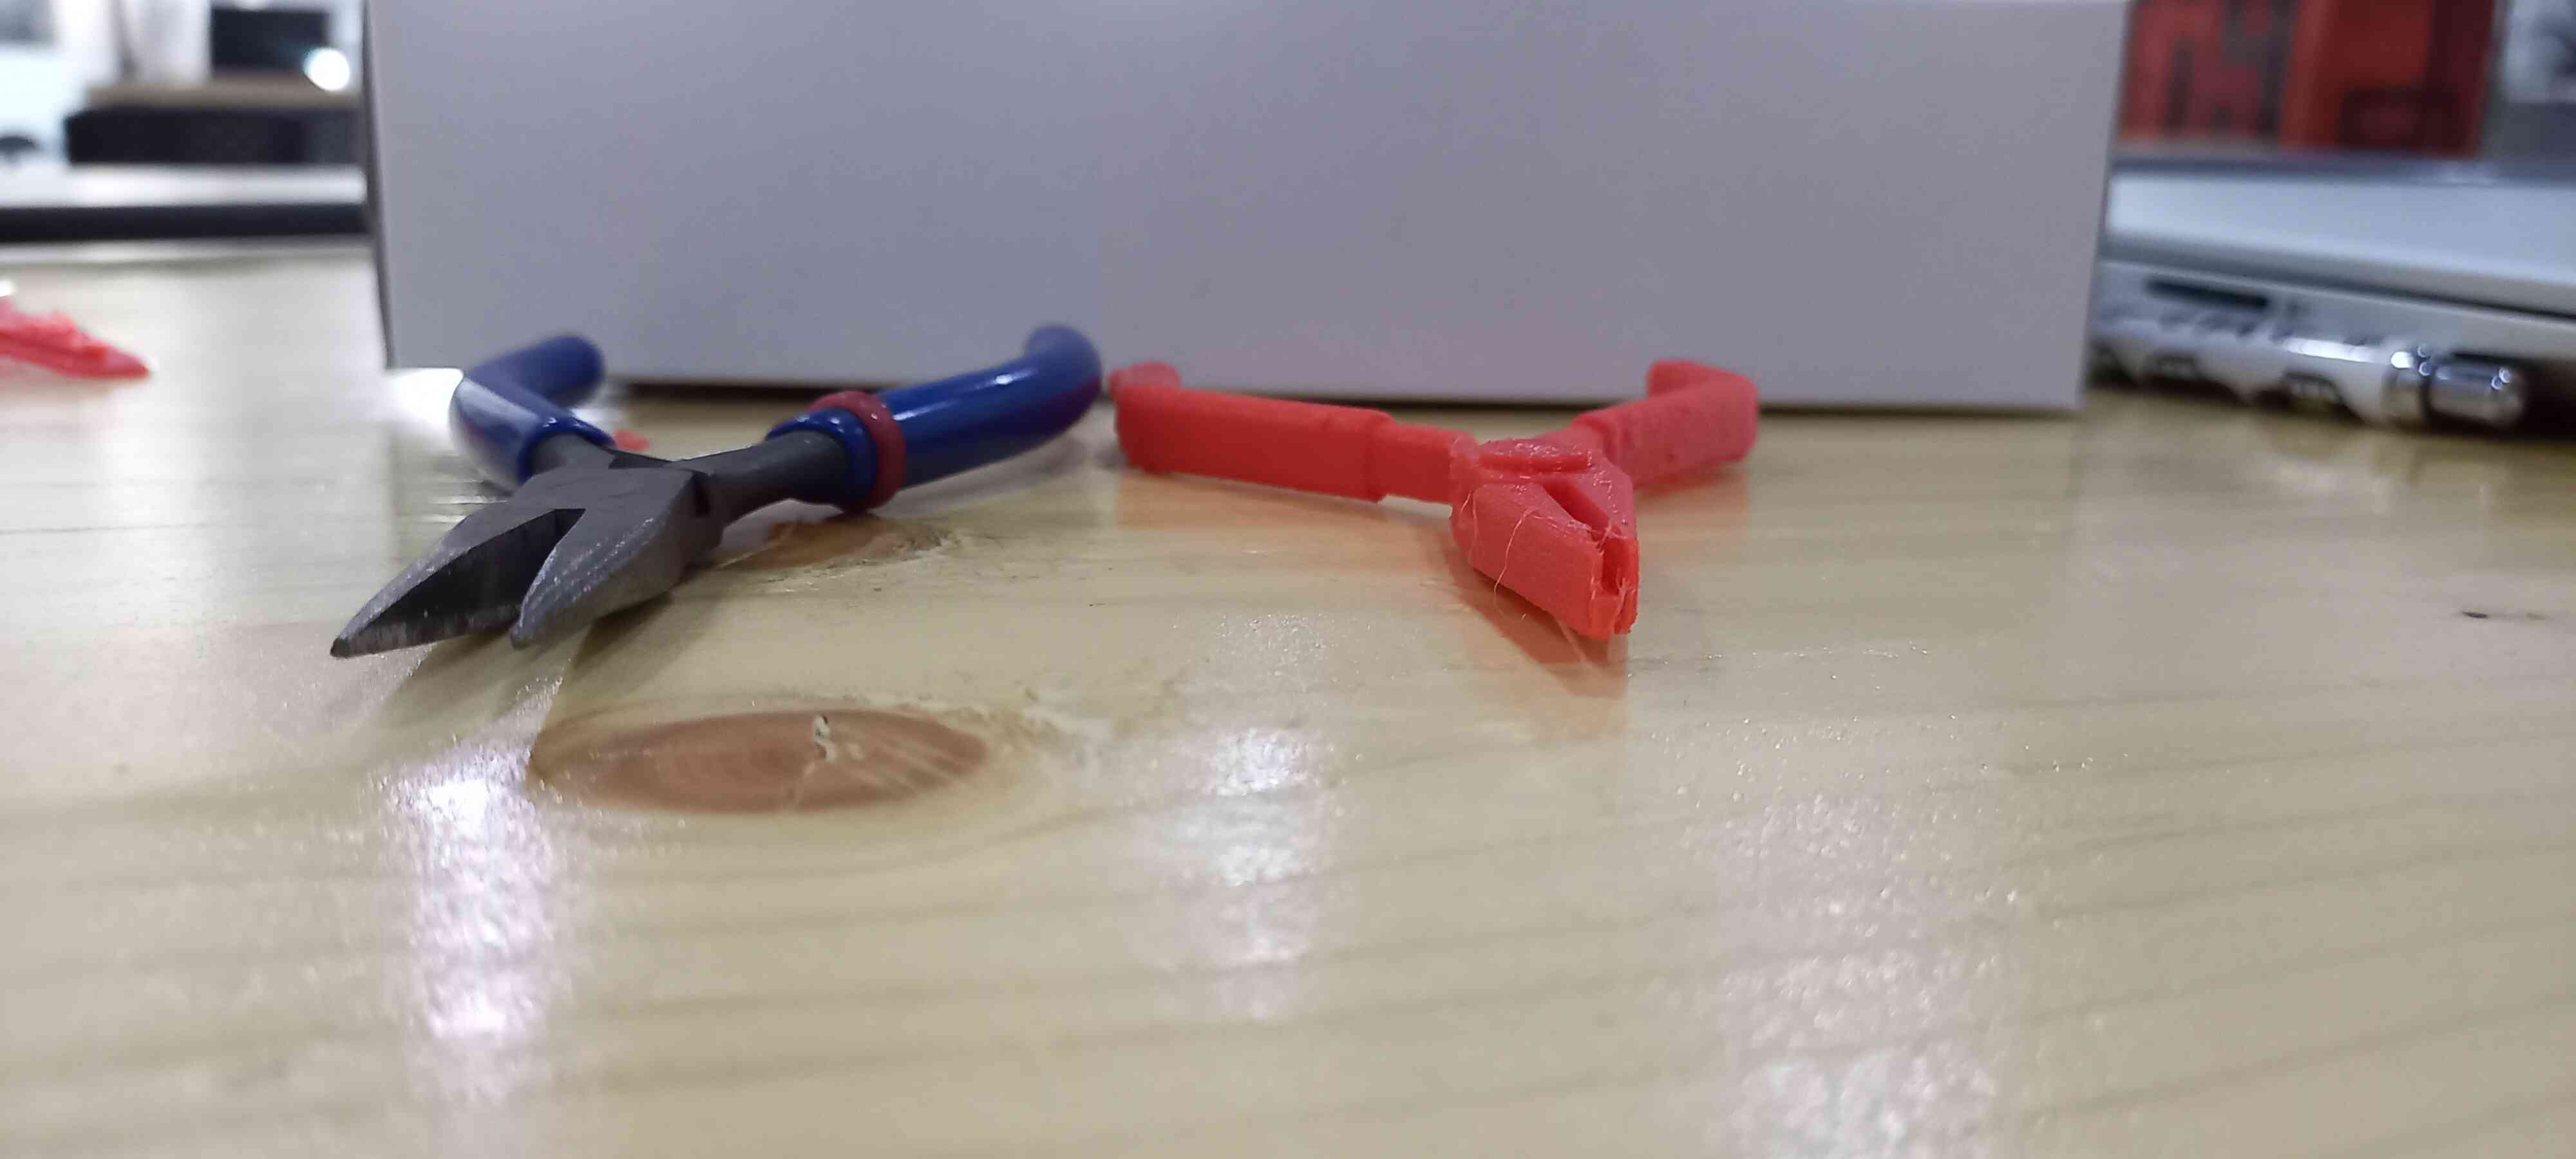
Unfortunately the design that I have made was supposed to move, but my clearances and tolerances were wrong (0.25 mm clearance between joints and moving parts)
Final Thoughts
3D printing is definitely an important technology in terms of not only rapid prototyping but also in a wide range of applications, ranging from printing complex shapes and geometries to aesthetic and decorative shapes.
In my experience using FDM 3D printers in Fab Lab Bahrain and in my day to day life, Prusa i3 mk2s is the best in terms of layering (layer height is precise, which makes the surface finish of the print look smooth), but to be objective I will point out the pros and cons between Prusa i3 MK2S and Makerbot Replicator z18:
| Printer | Pros | Cons |
|---|---|---|
| Prusa i3 MK2S |
|
|
| Makerbot Replicator z18 |
|
|
3D Scanning
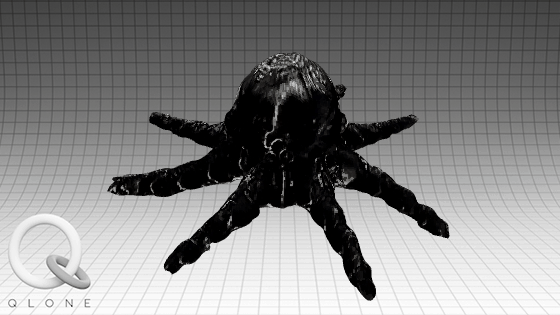
To scan an object in 3 dimensions, you can use your phone camera to achieve this by downloading a 3D scanning software.
Qlone software
It scans real objects using your camera phone, then turns them into 3D objects in your phone.
Pros:
-
Converts objects in a fairly decent quality.
-
Fast processing time.
Cons:
-
Android users cannot download the app for free, unless they download it from third party websites.
-
If you manage to download it for free, it does not let your share your scanned objects as 3D objects, instead, it allows you to share it as .gif or as an image or video.
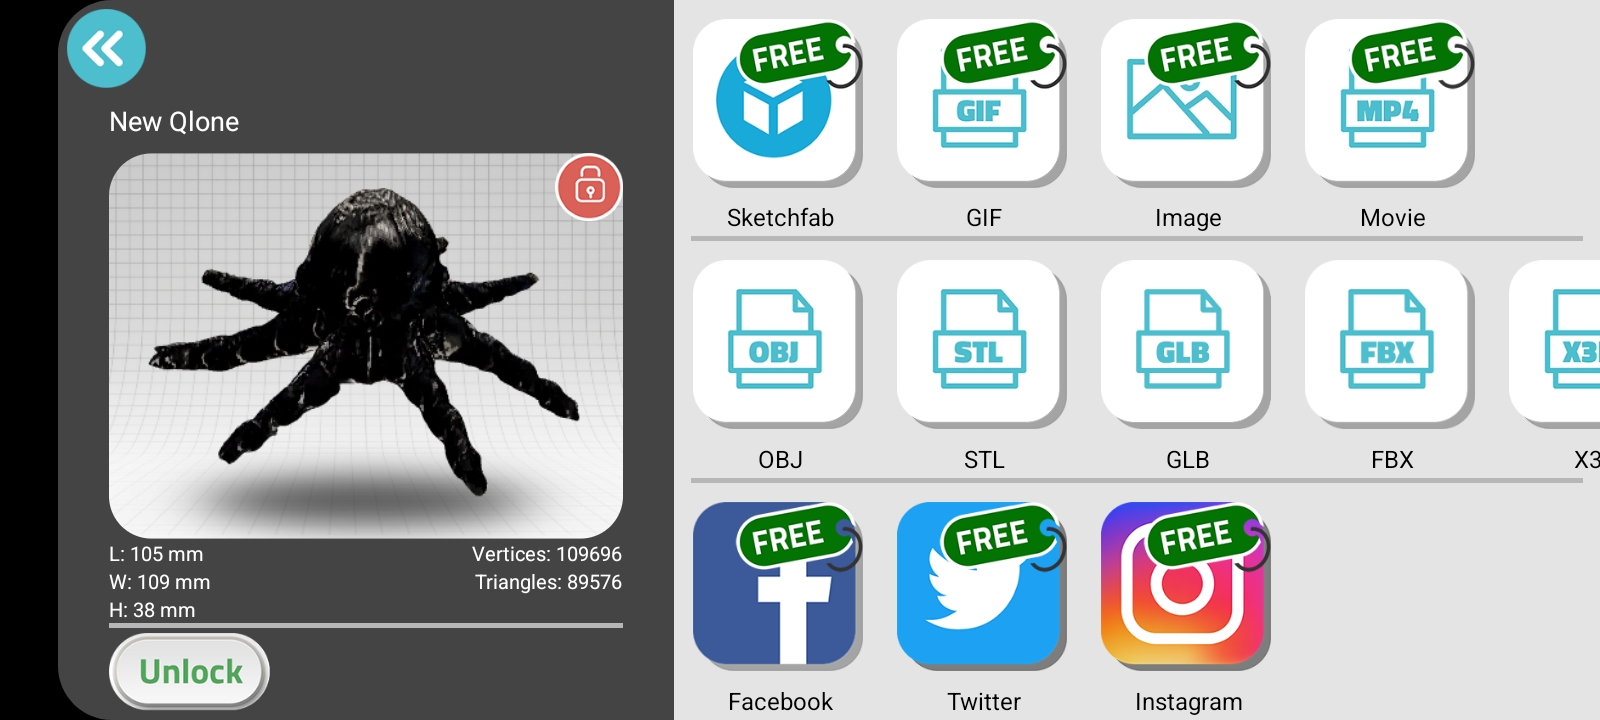
- It does not allow you to share the object to SketchFab, even though the option is there.
Polycam
It is a phone application just like Qlone, it allows for 3D scanning of real objects
Final thoughts
The two phone applications require paid subscription to fully make use of your scanned objects, in the free version you cannot export the files as 3D objects or stl, instead, it lets you export it as MP4 or gif.
In terms of scanning quality, Qlone is better than Polycam.