2. Computer Aided design
This week’s content revolved around design programs, which we can then use throughout the course to design all pieces and projects we need to accomplish.
What is computer aided design (CAD)?
Computer-aided design (CAD) is the use of computer technology for the design, modeling, analysis, and documentation of a product or structure. It is a type of computer-aided engineering (CAE) that uses specialized software to create detailed 2D and 3D models of physical objects. CAD is commonly used in architecture, engineering, and product design, and can be used to create both 2D and 3D renderings, as well as technical drawings and blueprints.
Autocad, Cuttle XYZ, Fusion 360, SketchUp, Inkscape, and Blender are all computer software programs used for different purposes in the field of design, engineering, and art. Here’s a brief overview of each software’s purpose, uses, and ease of use:
| Software | Purpose | Uses | Ease of Use |
|---|---|---|---|
| Autocad | 2D and 3D design and drafting | Used by architects, engineers, and construction professionals | Steeper learning curve, not the easiest for beginners |
| Cuttle XYZ | 3D printing software | Provides an end-to-end solution for 3D printing, easy to use | Generally considered very easy to use, especially for those new to 3D printing |
| Fusion 360 | 3D modeling software for design, engineering, and manufacturing | Used by engineers, product designers, artists, and hobbyists | Can be more complex than some other design software, but has a large community and resources for beginners |
| SketchUp | 3D modeling software | Used by architects, interior designers, and product designers | Known for ease of use and intuitive interface, may not be as precise as some other design software |
| Inkscape | Vector graphics software | Used for creating and editing illustrations, logos, and other graphics | Known for ease of use, often recommended for beginners or those looking for a free alternative to other graphics software |
| Blender | 3D creation software for modeling, animation, and rendering | Used by professionals in the film, video game, and animation industries | Robust features and high level of customization, but has a steeper learning curve than some other design software |
| Tinkercad | Web-based 3D design and modeling tool | Used by educators, students, and hobbyists for simple designs and projects | Designed to be very easy to use, with a drag-and-drop interface and simple tools |
In summary, each of these software programs has a specific purpose and is used by different professionals in various industries. Some are easier to use than others, with options available for beginners or those who are new to a specific field. Ultimately, the choice of software depends on the individual’s needs, preferences, and level of expertise.
After seeing the differences between all softwares, I decided to go with four programs, two for 2D design, and two for 3D designs.
2D softwares
Cuttle
The first 2D software I experimented with was Cuttle xyz, which is an online software that can be easily accessed here.
I experimented with two different designs in Cuttle, since it was very straightforward, and I wanted to try something new.
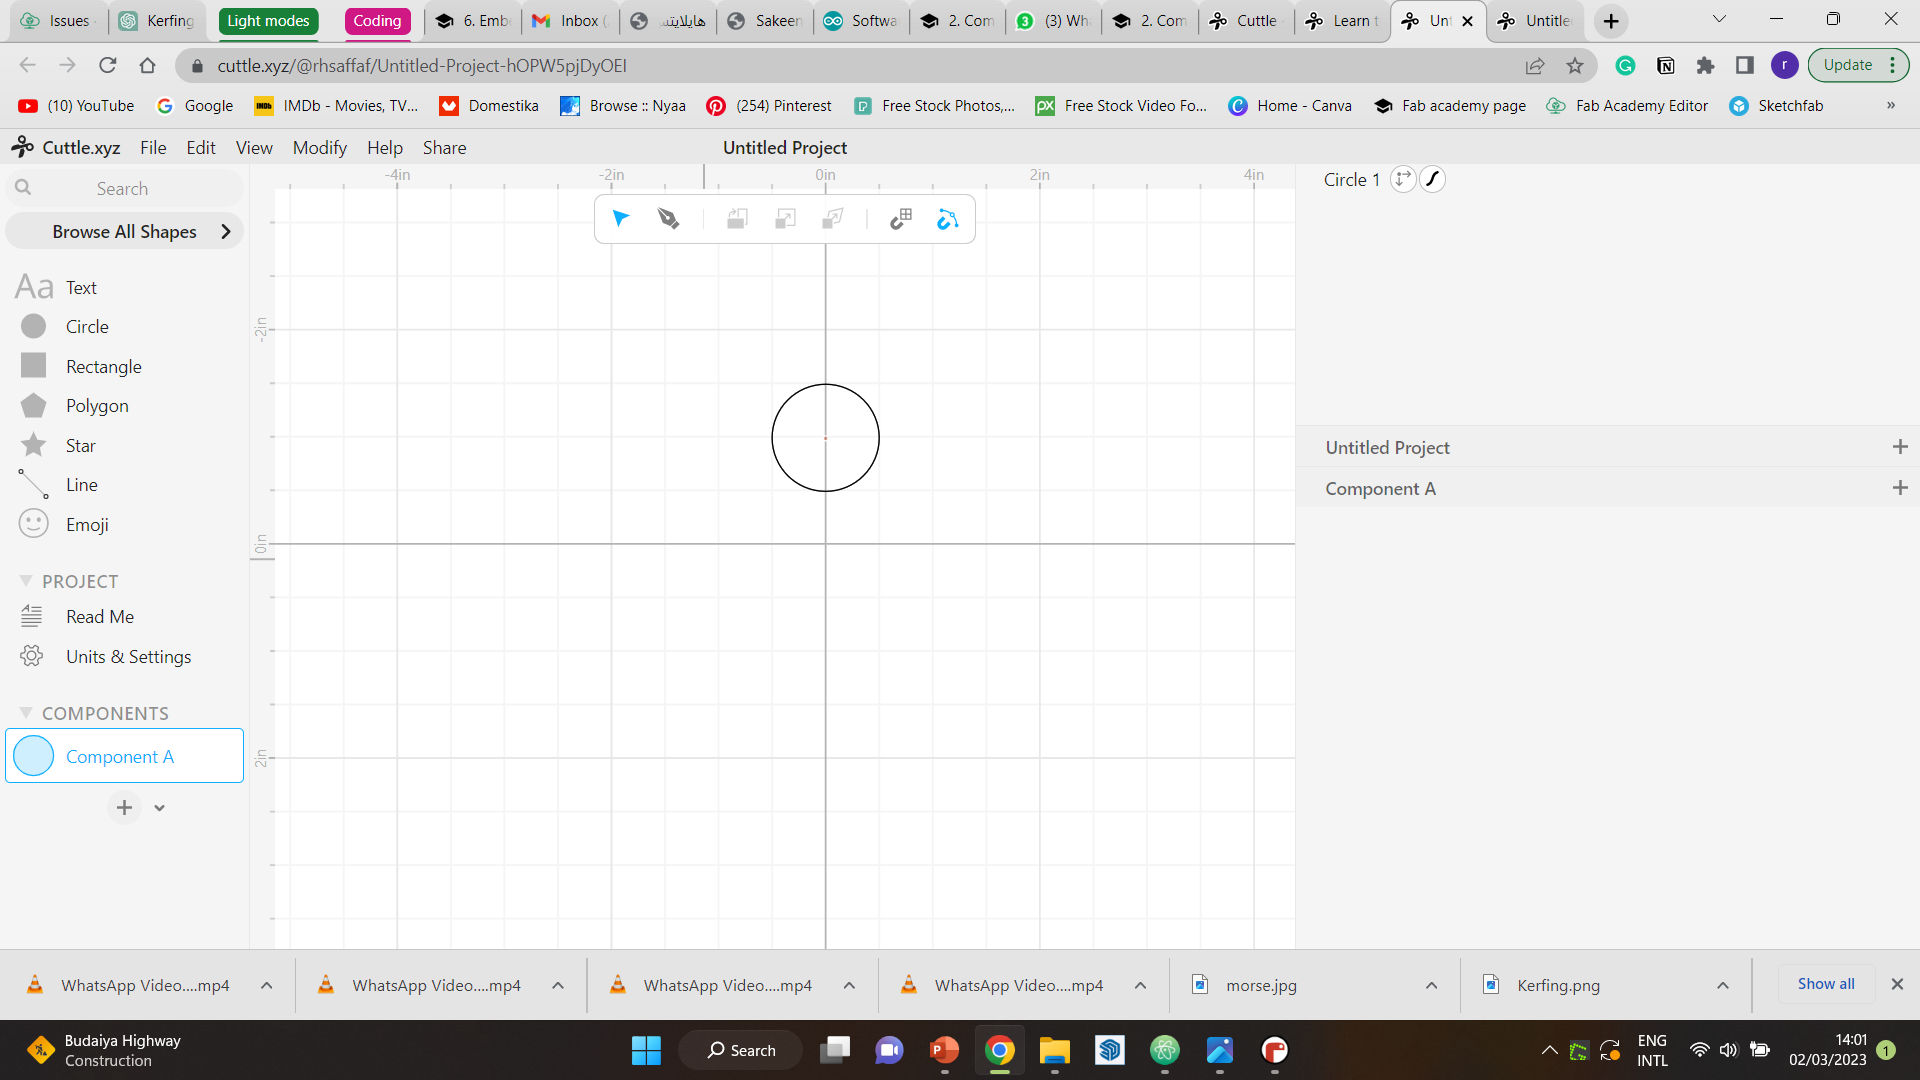
My first design looked somewhat like a flower.
Step 1 was to create a circle, simply by choosing it from the bar on the left.
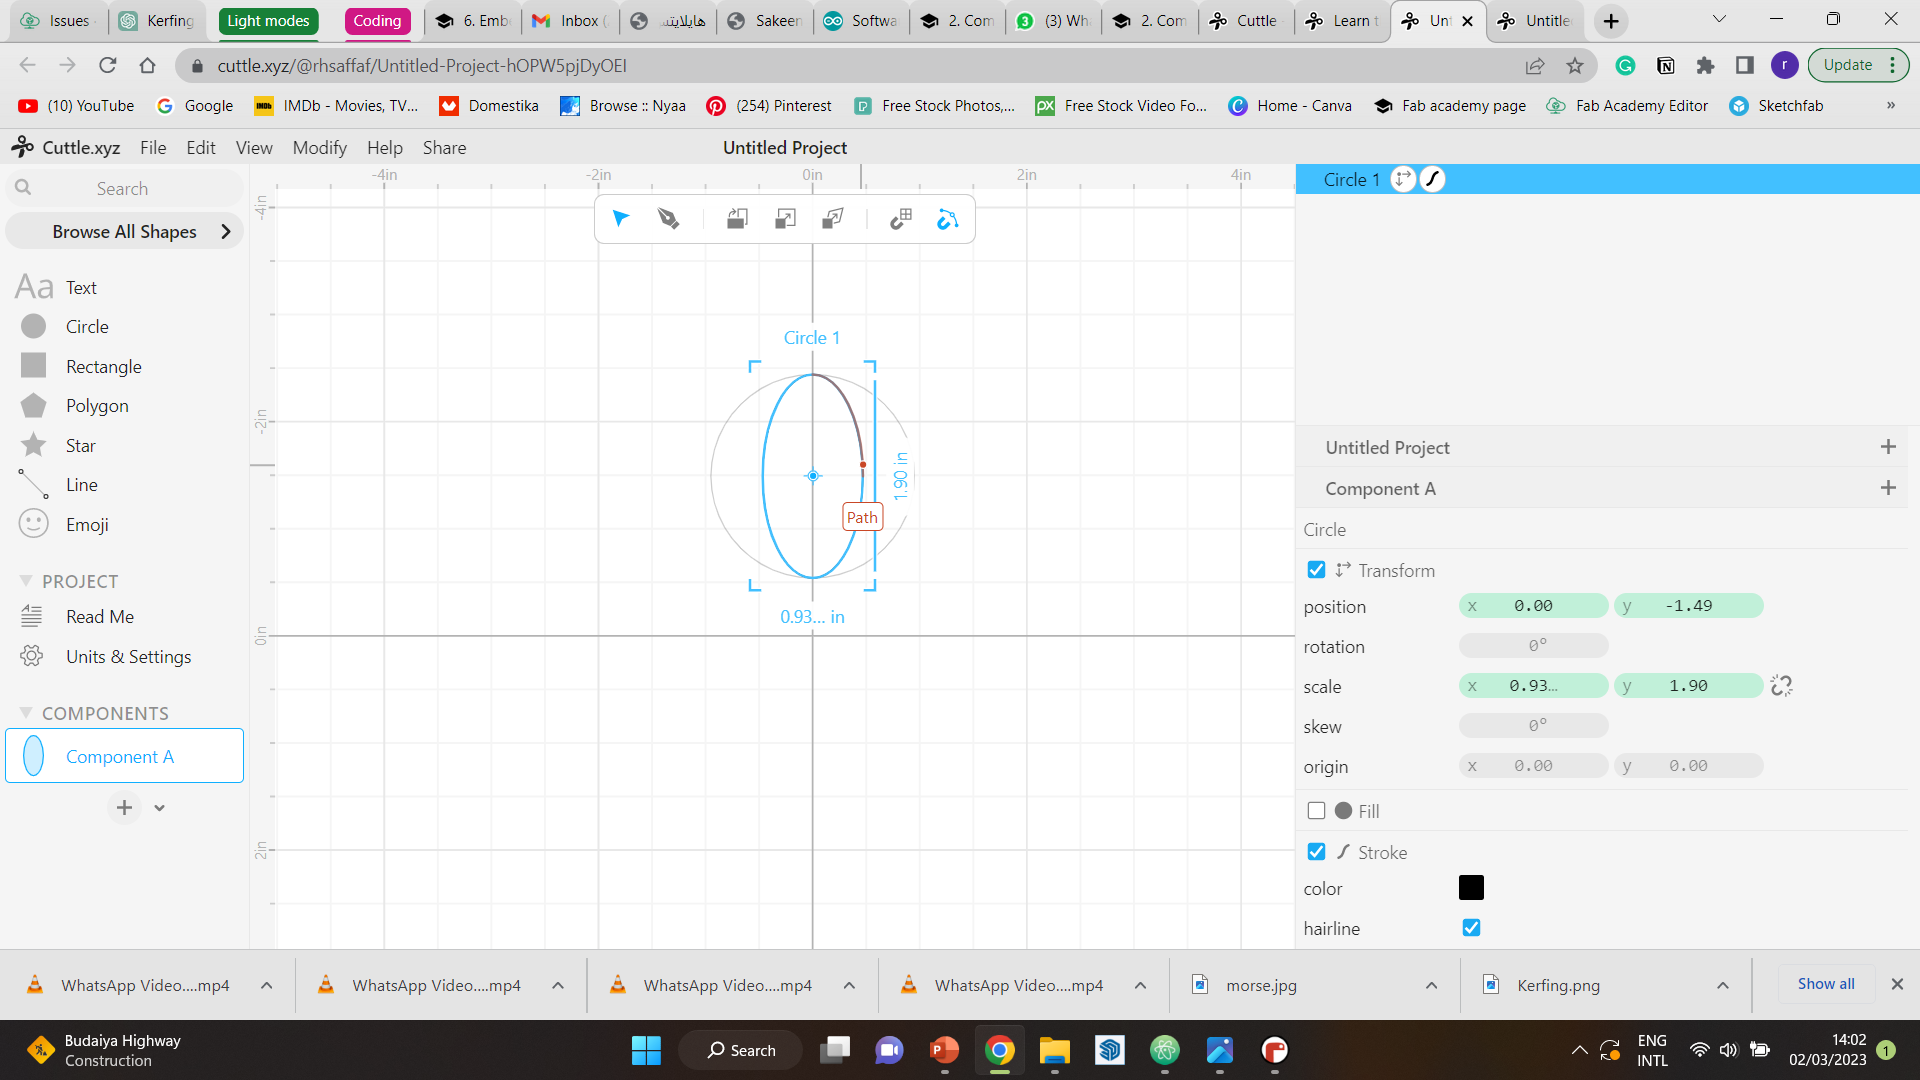
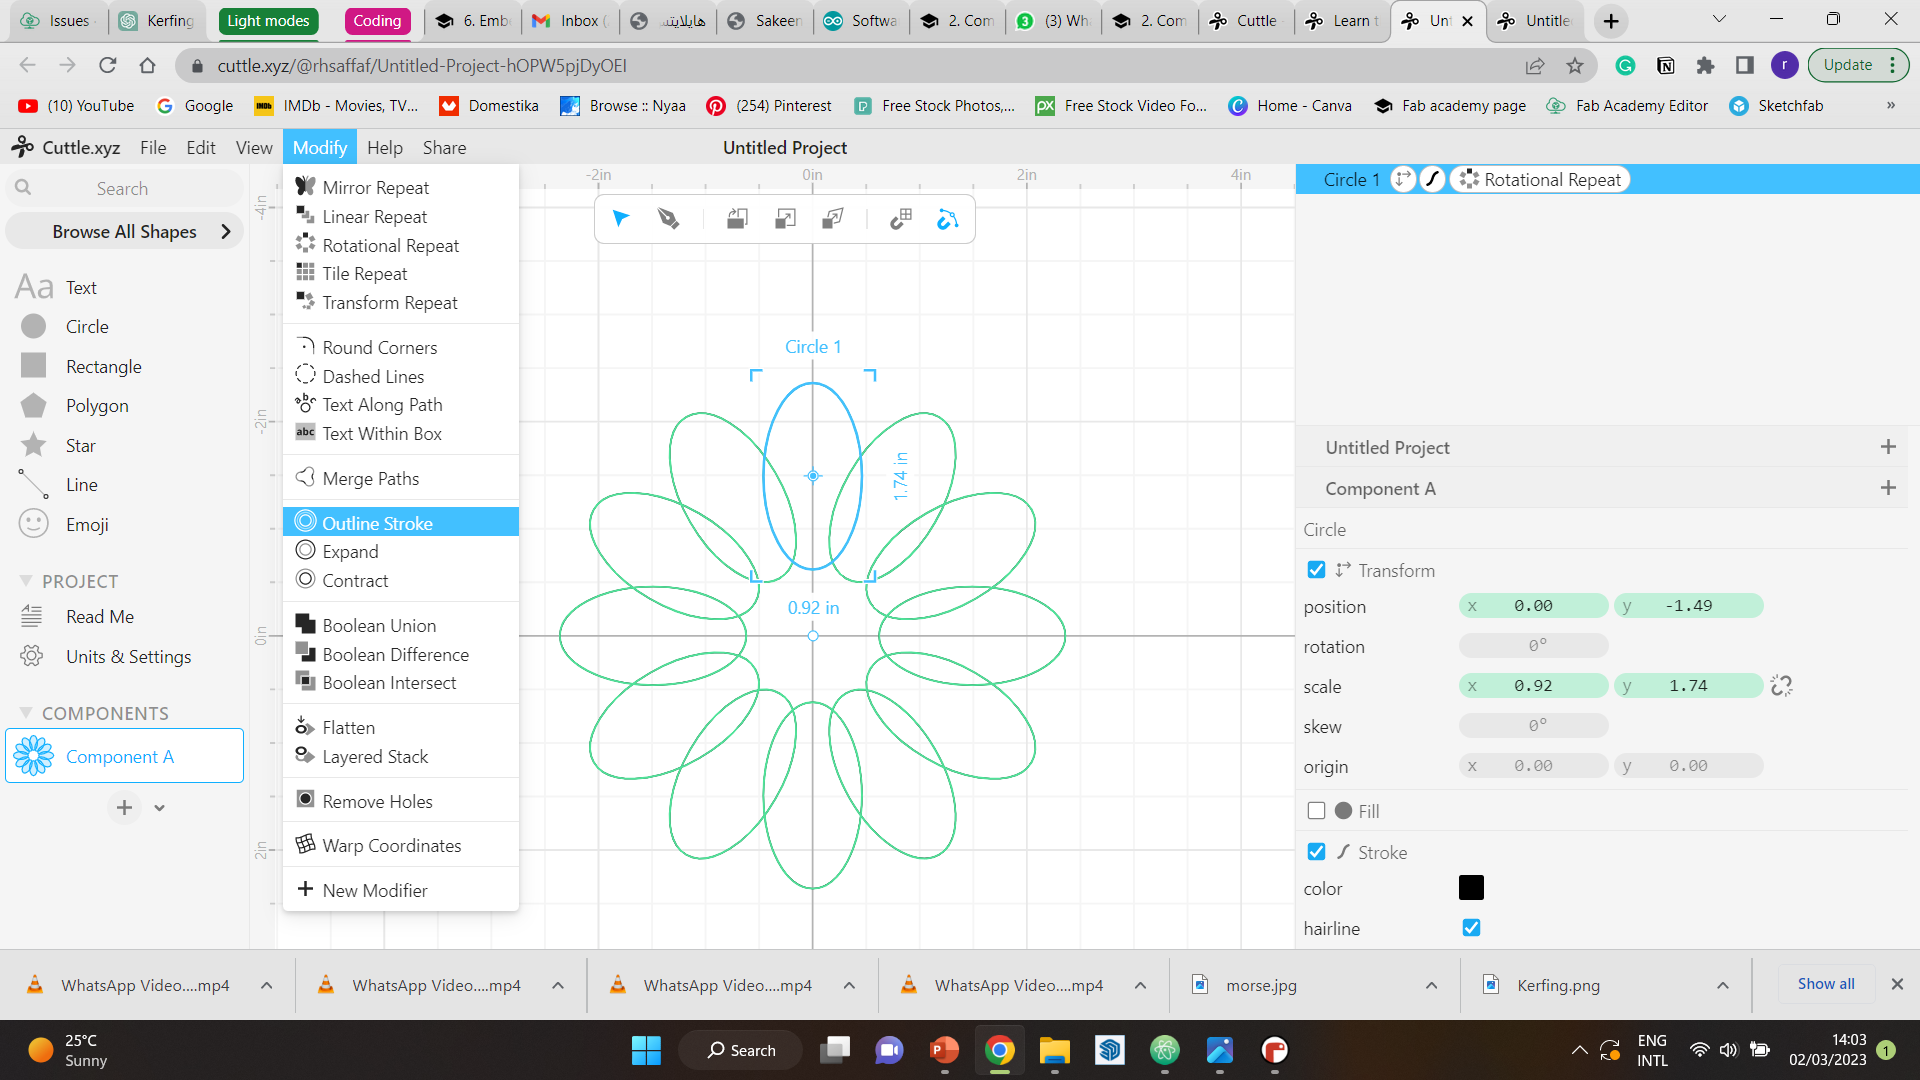
Step 2 I changed the shape of the circle, to make it a little bit more of an oval.
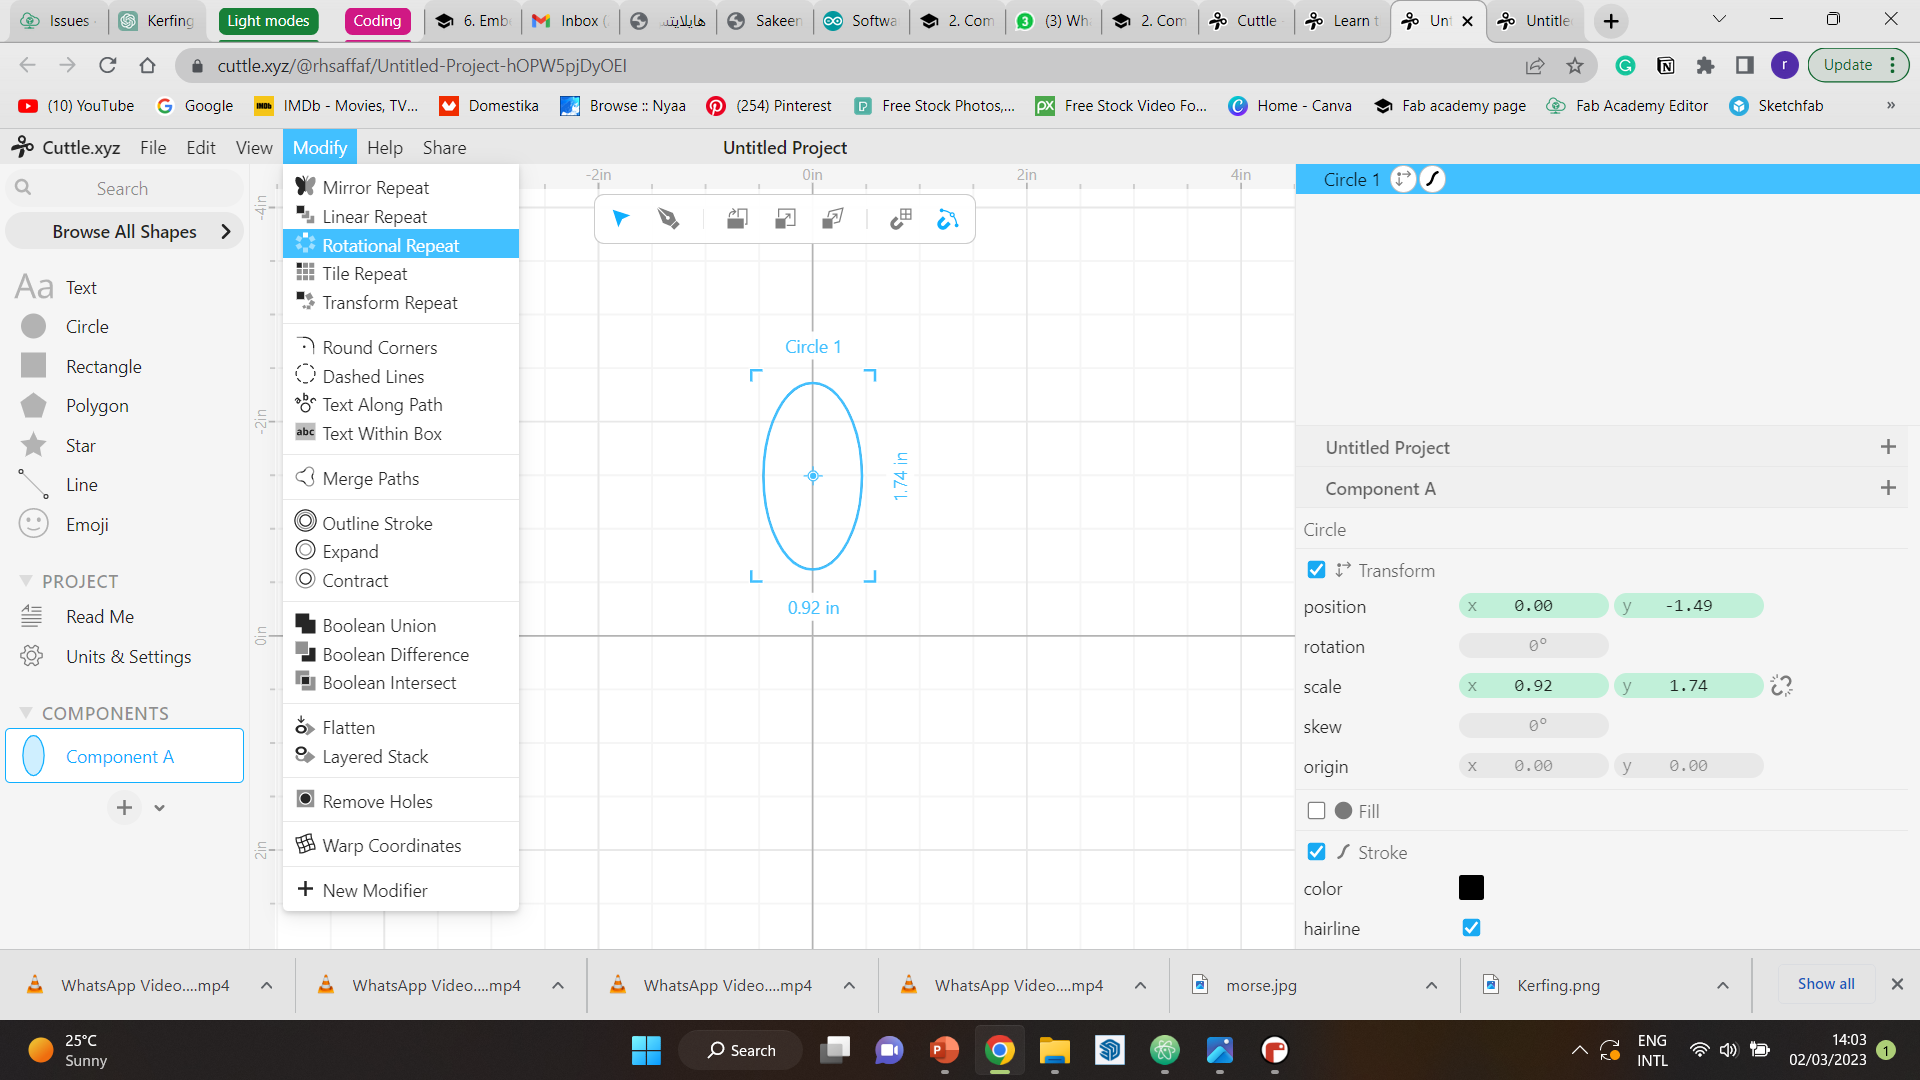
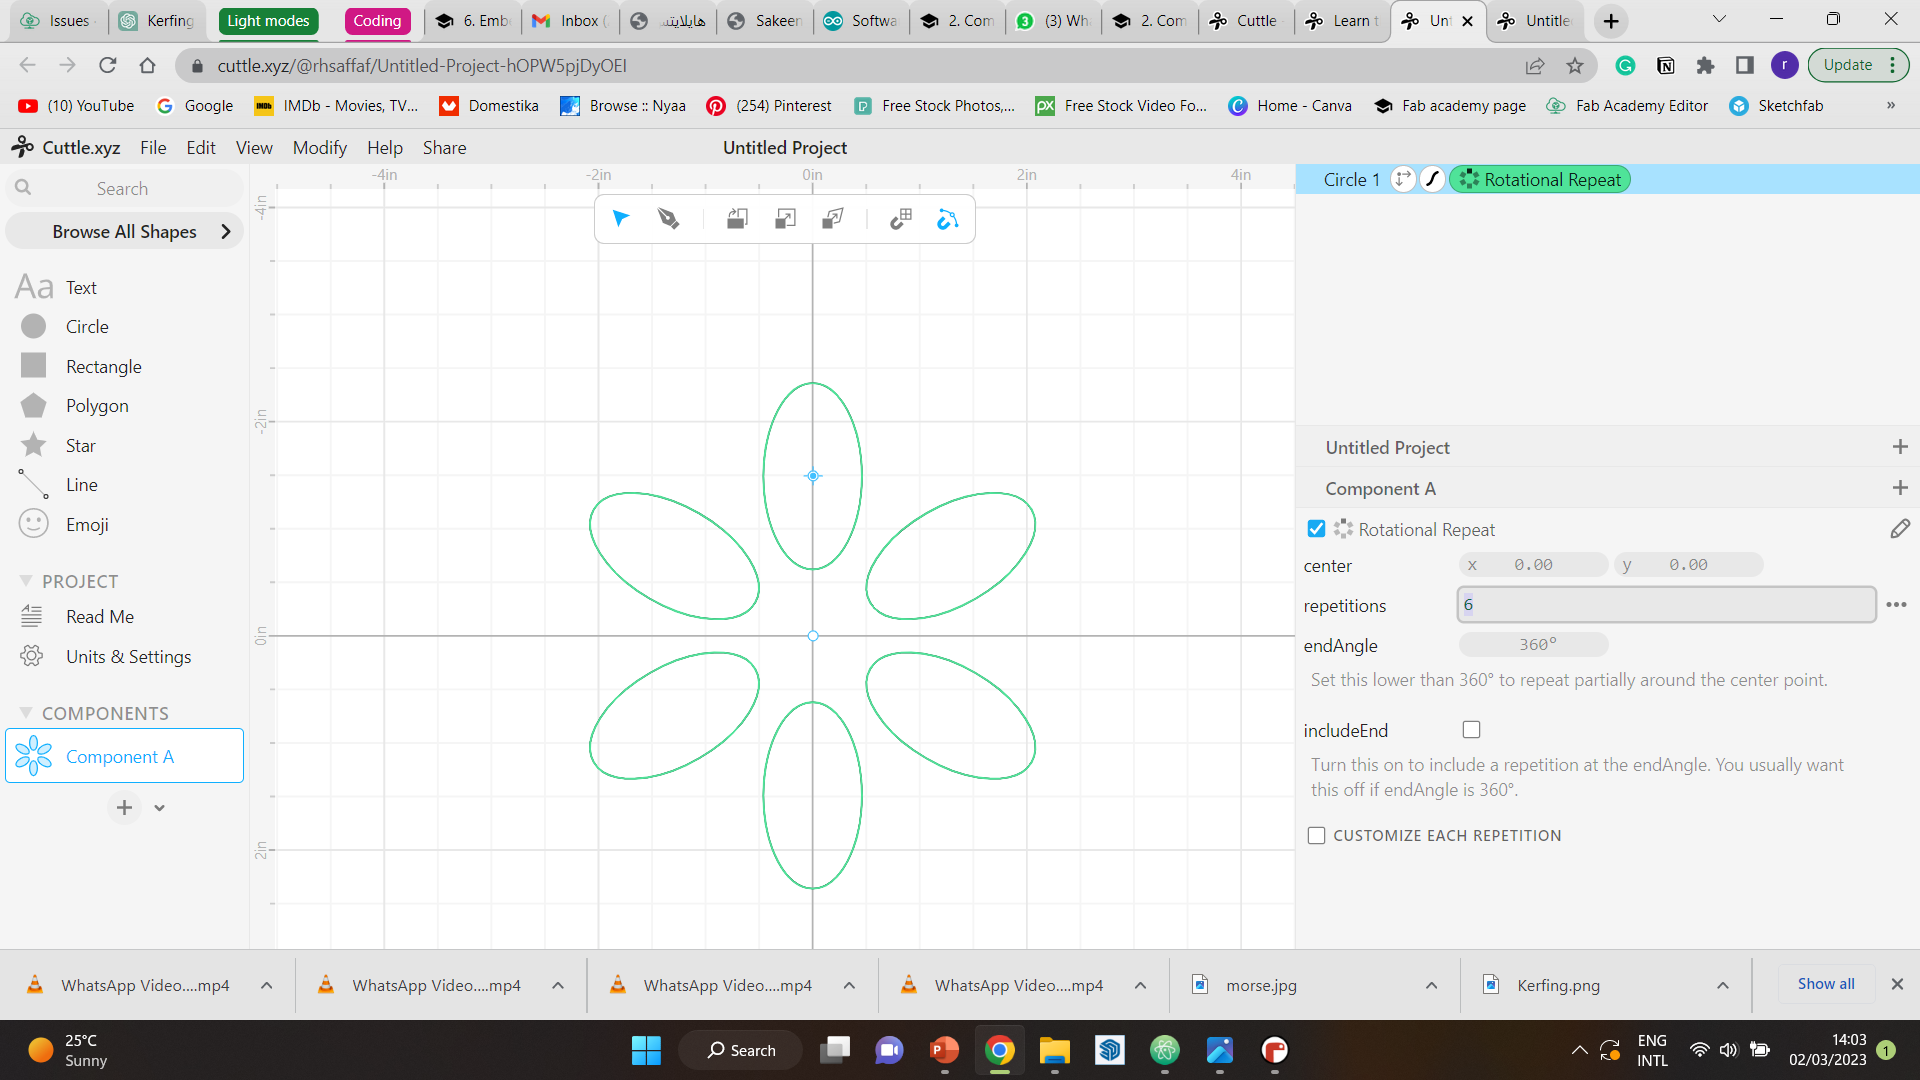
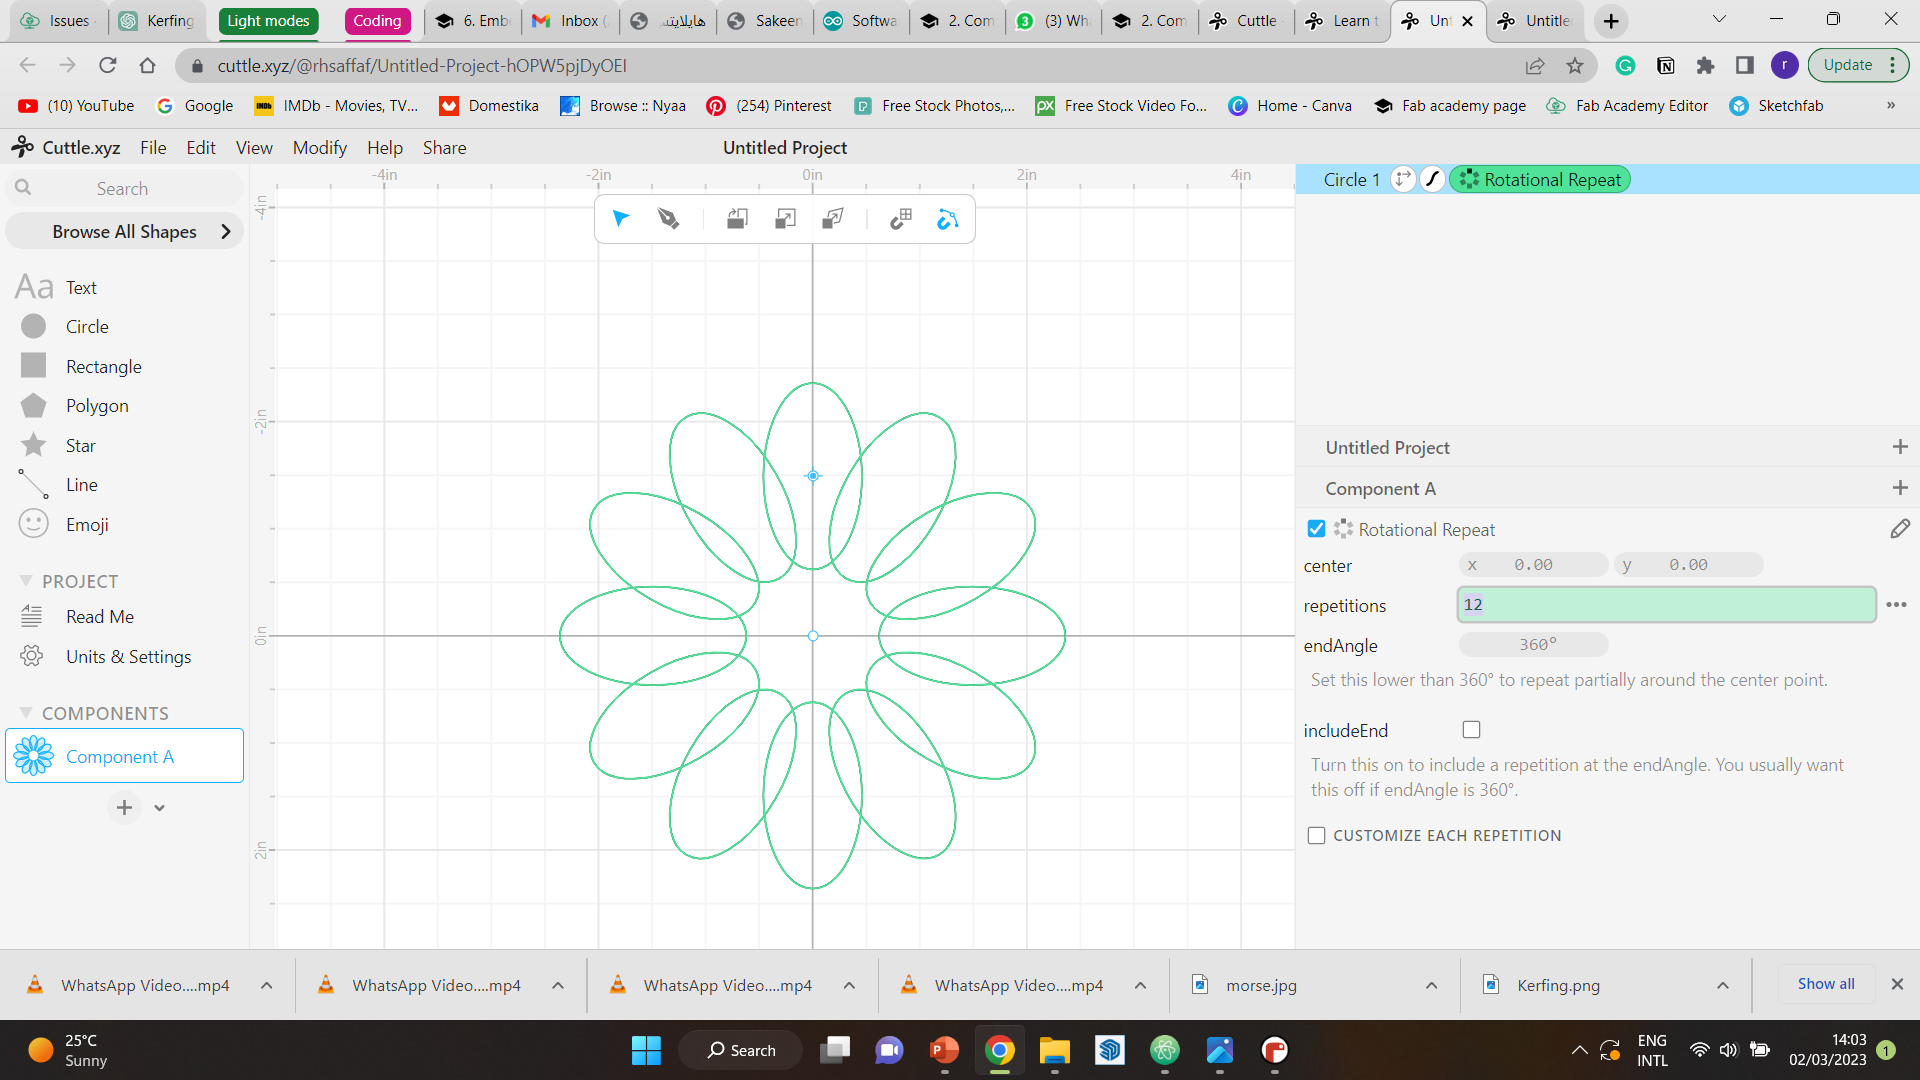
Step 3 Then, I chose rotational repeat from the modify drop-down menu, and changed the number of repetitions till I was satisfied.
Step 4 Lastly, I chose the outline stroke option from the modify tab, and chose the width I saw was suitable.
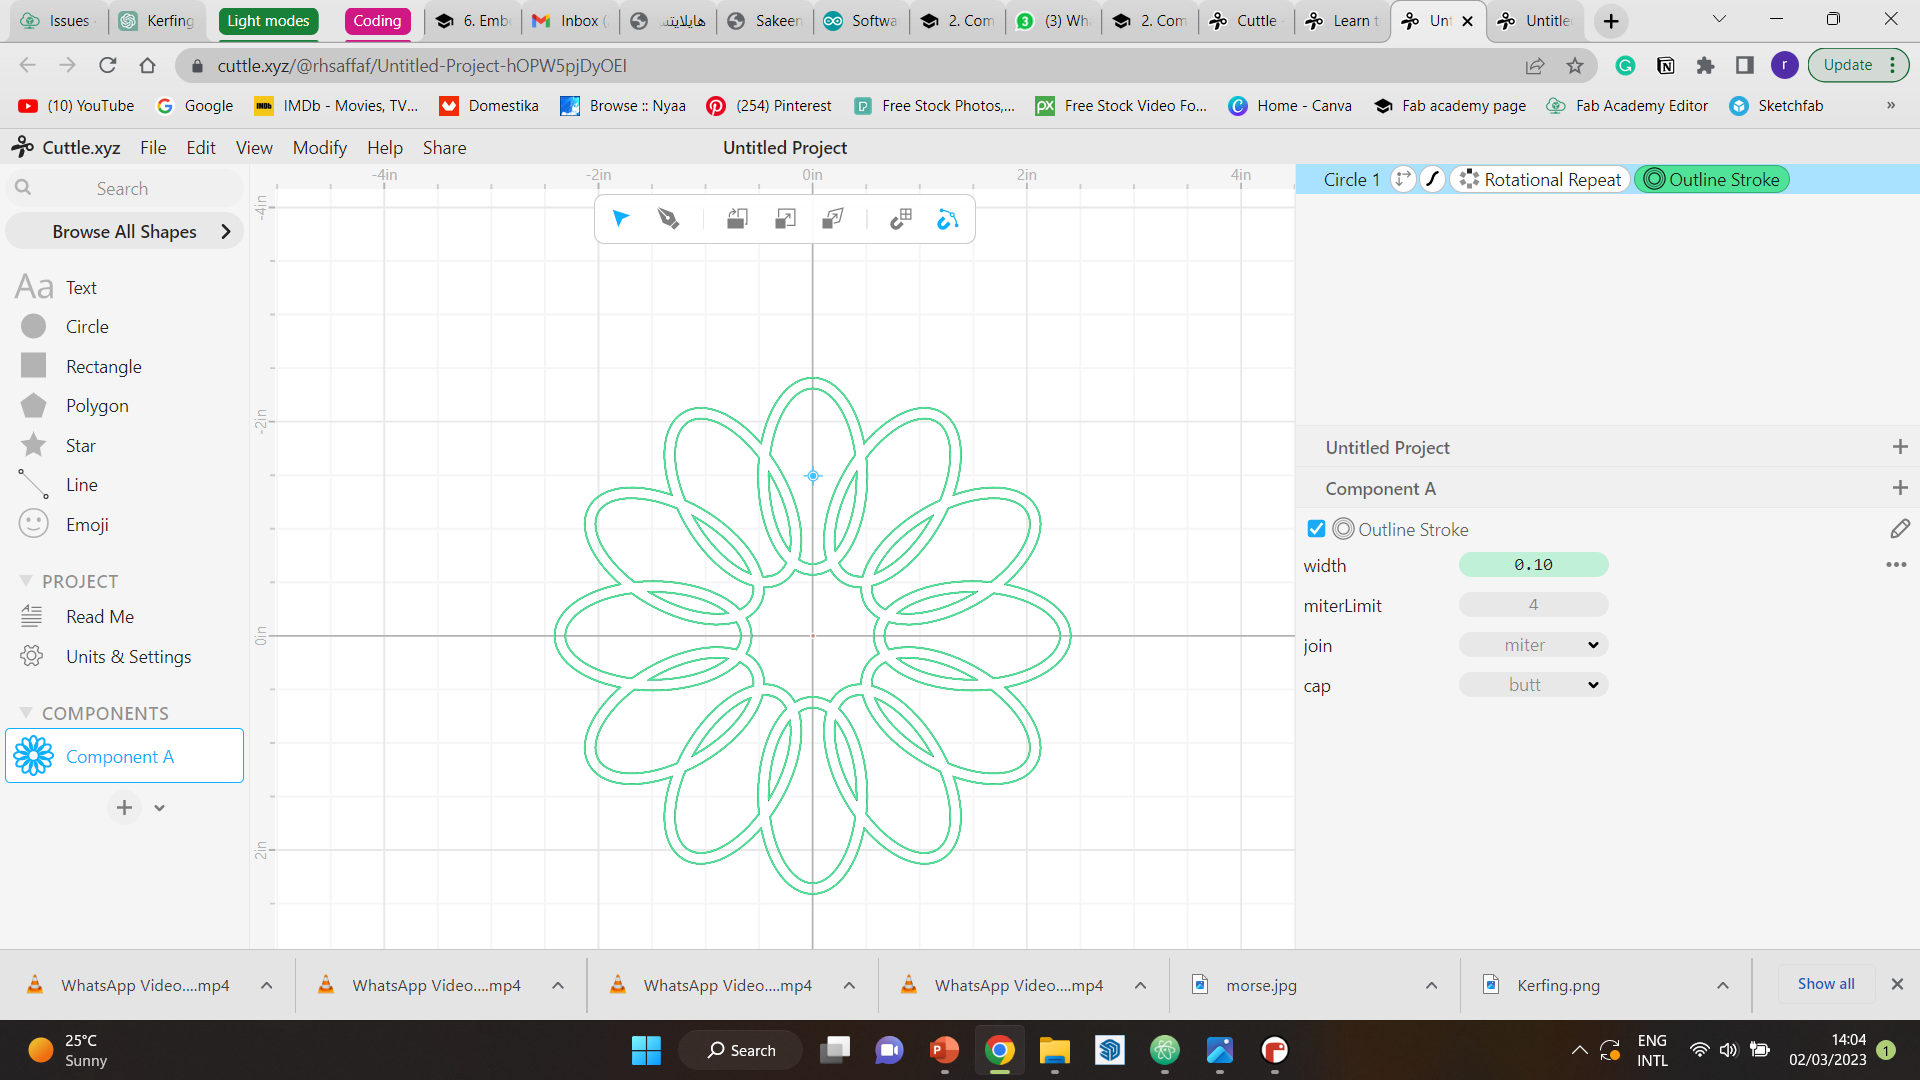
This was the final result.

The second design was of a butterfly.
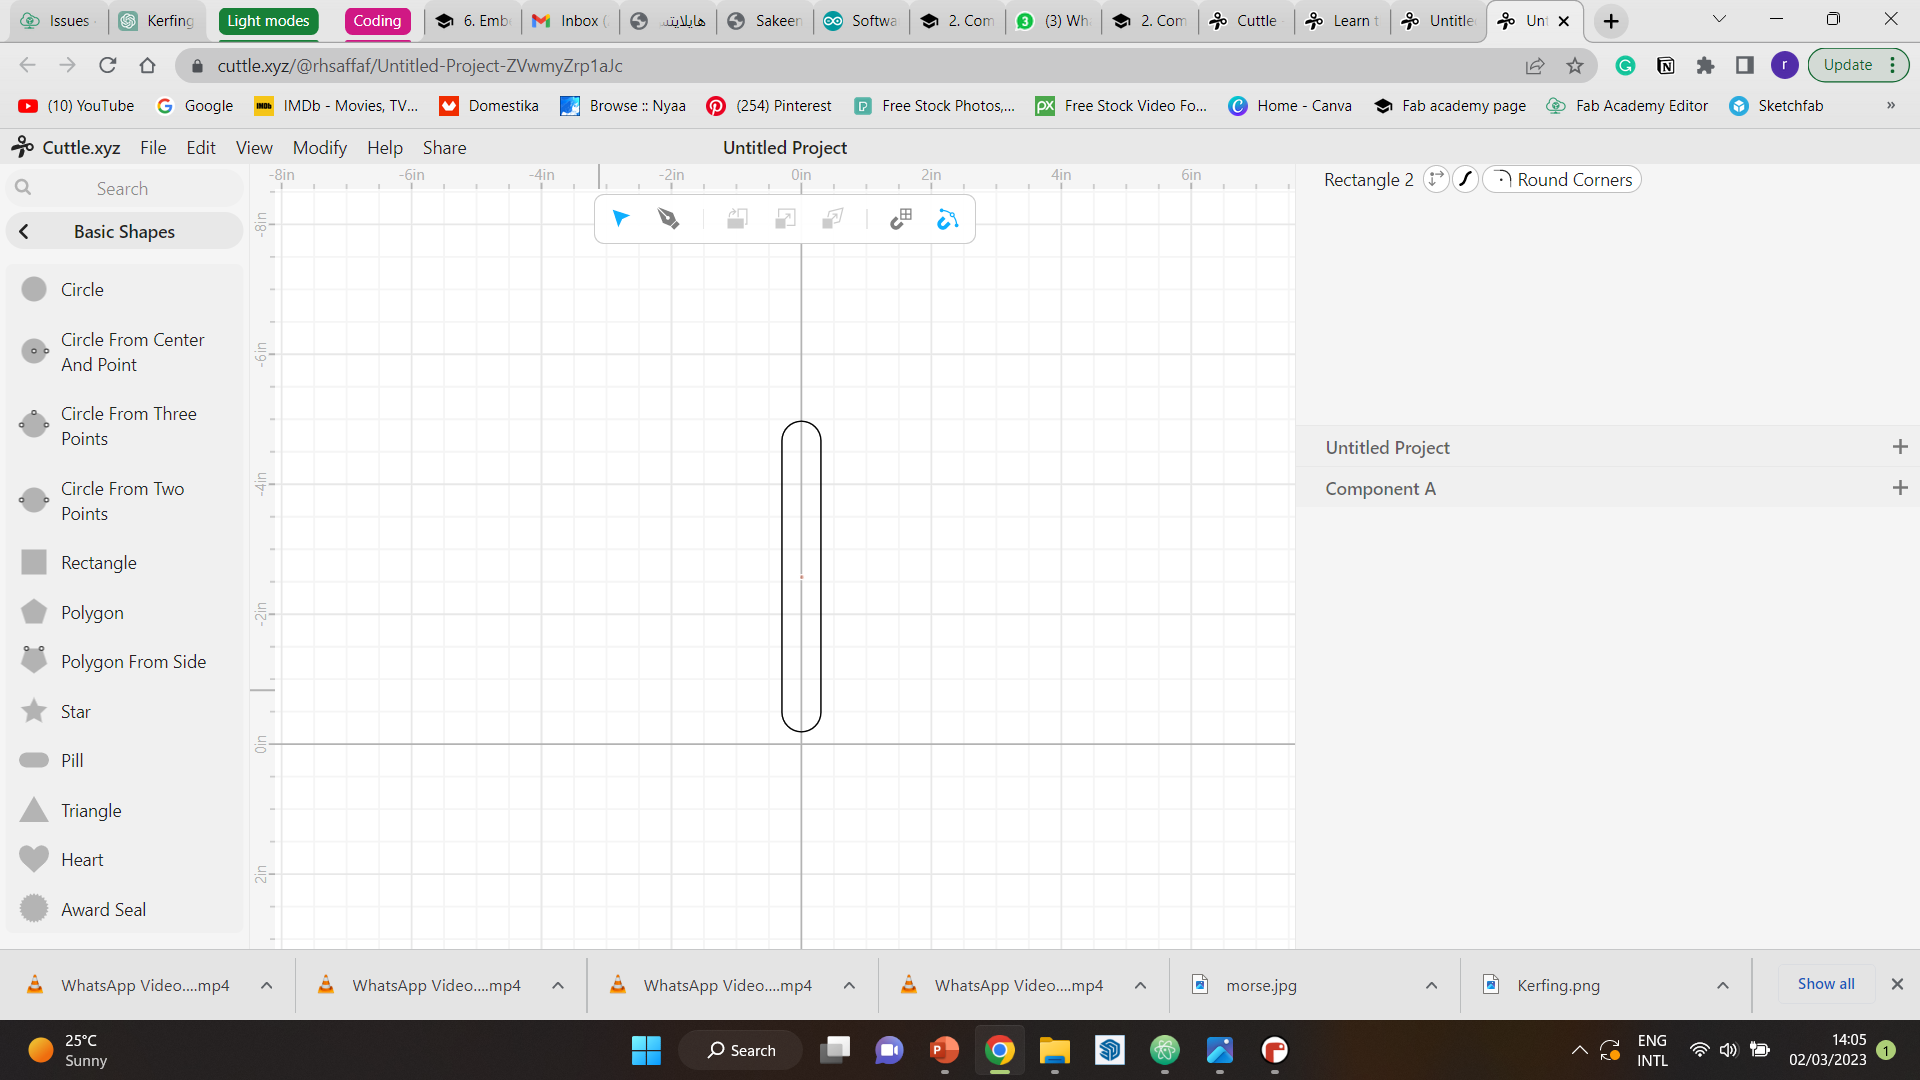
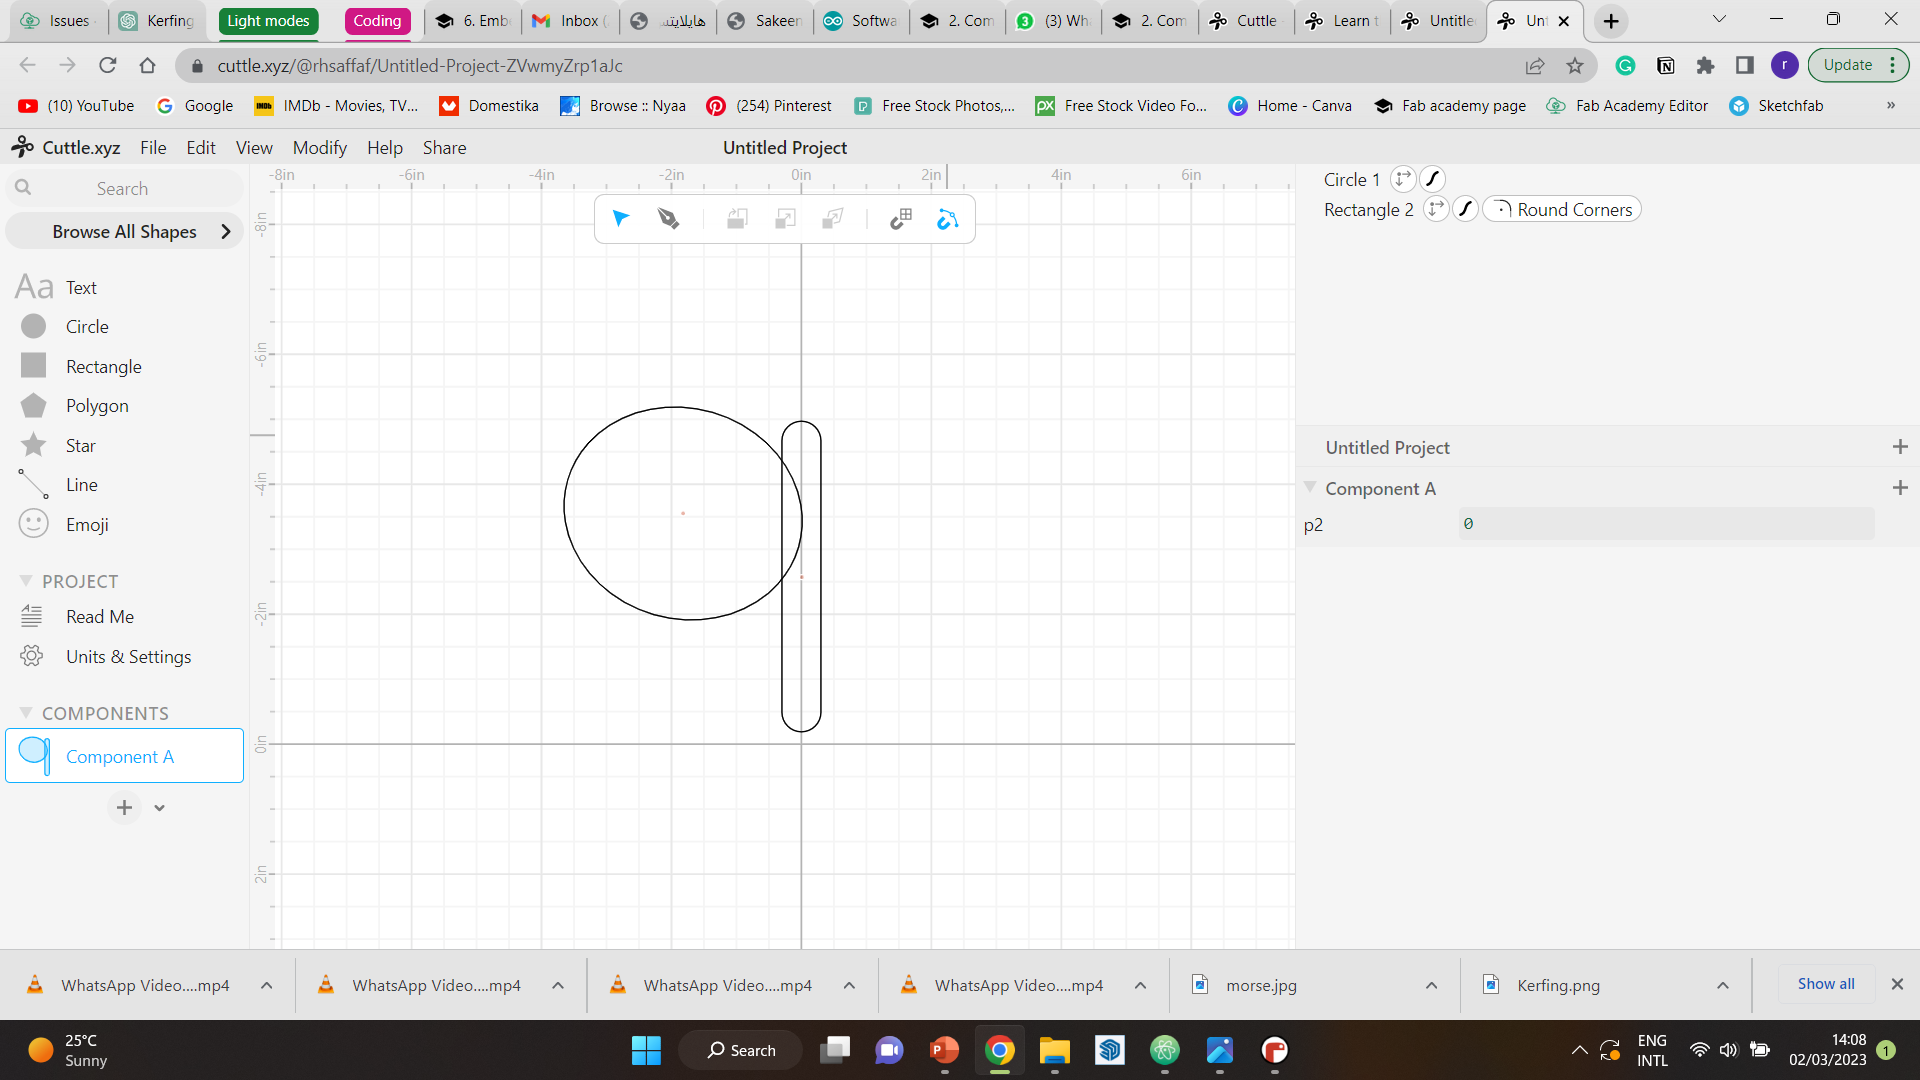
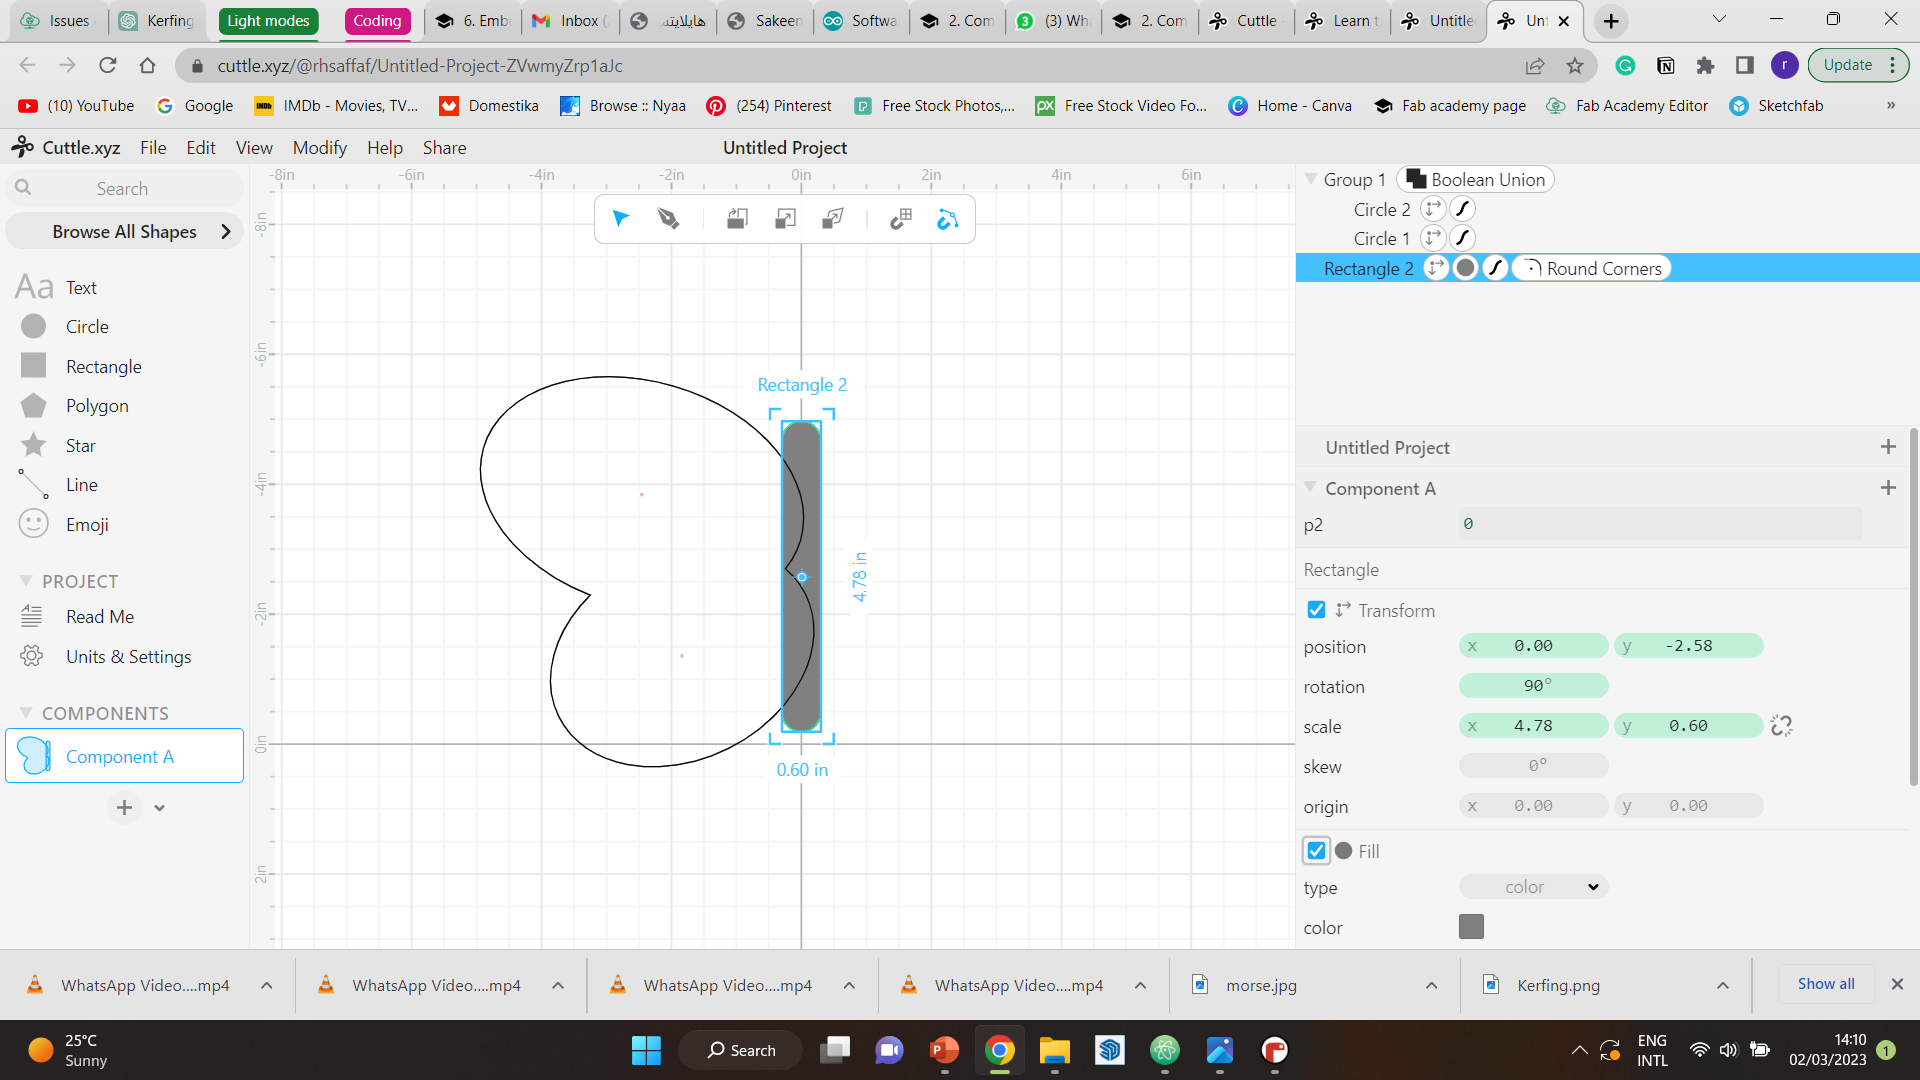
Step 1 I chose the pill shape, which can be found within the extra shapes in the program. I used this for the body of the butterfly.
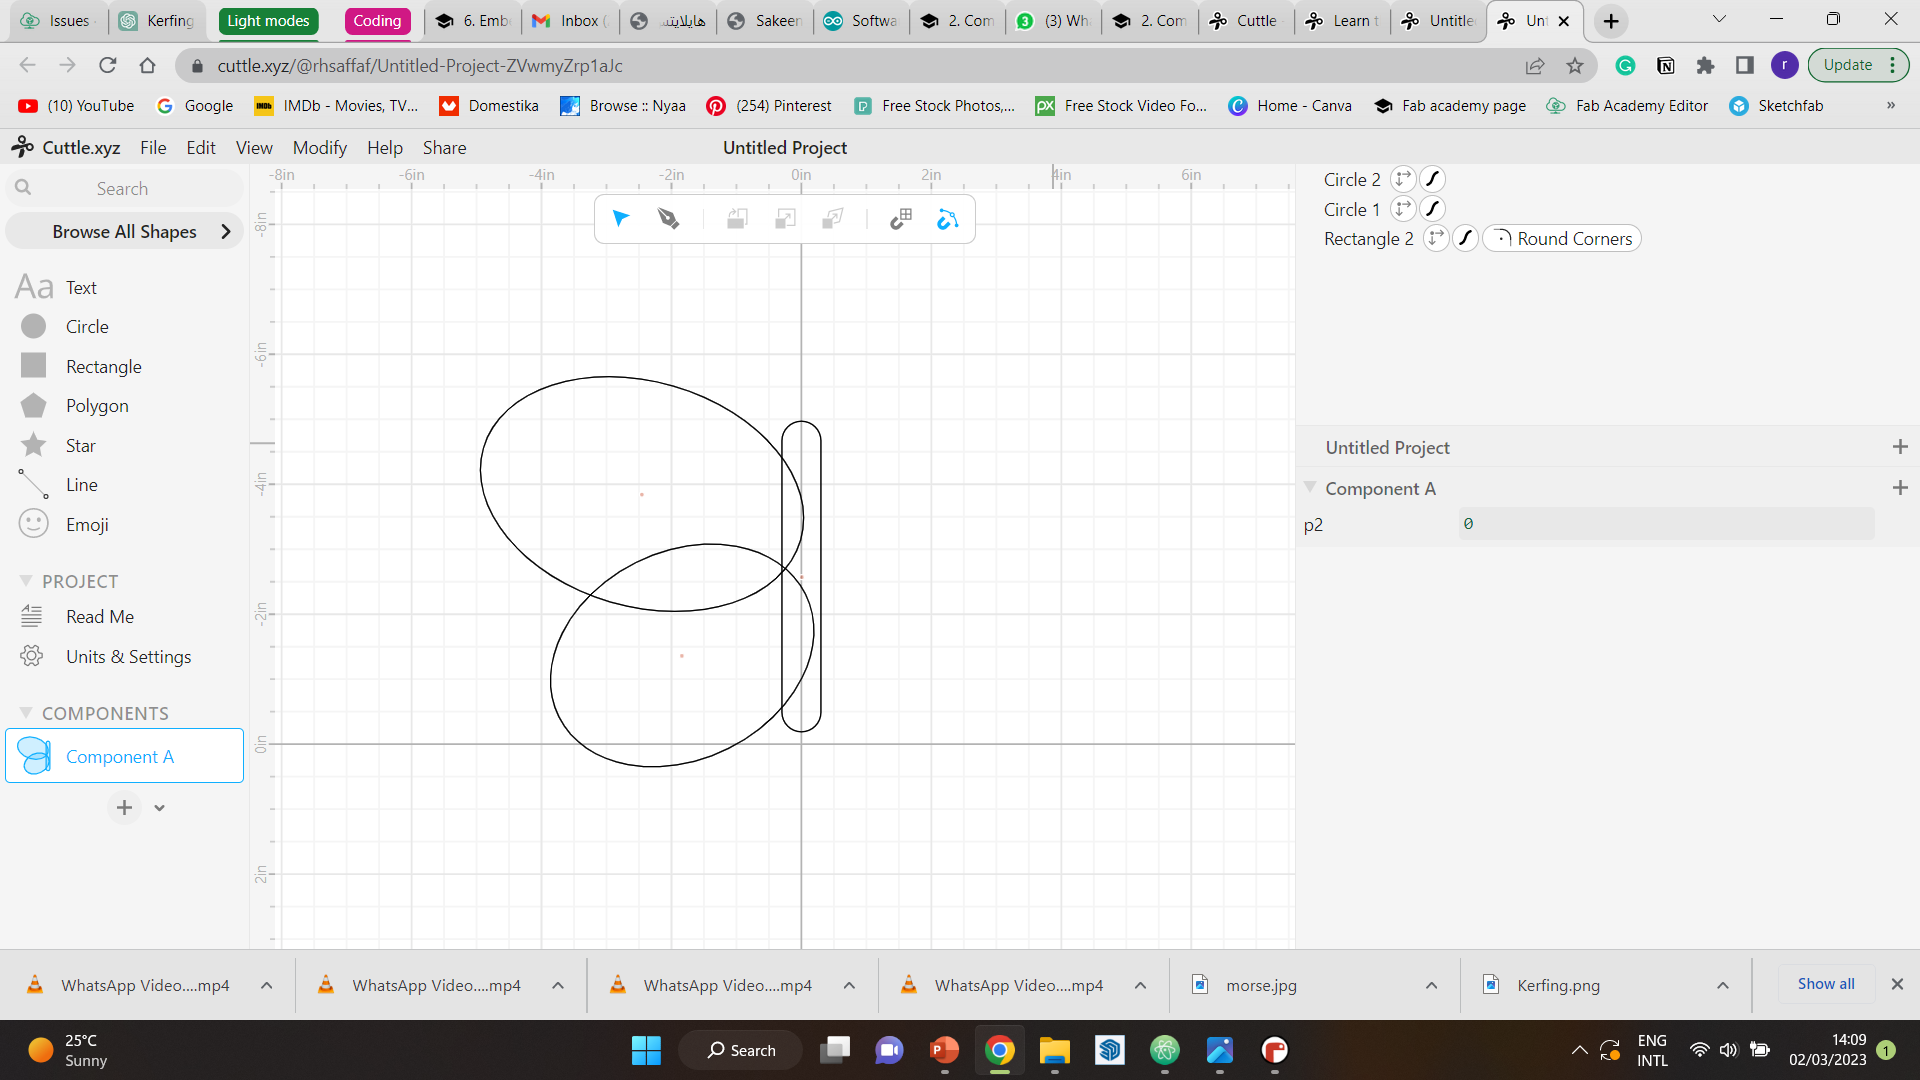
Step 2 To make the wings, I drew two circles, then changed their shape slightly and rotated them, to make them look like wings.
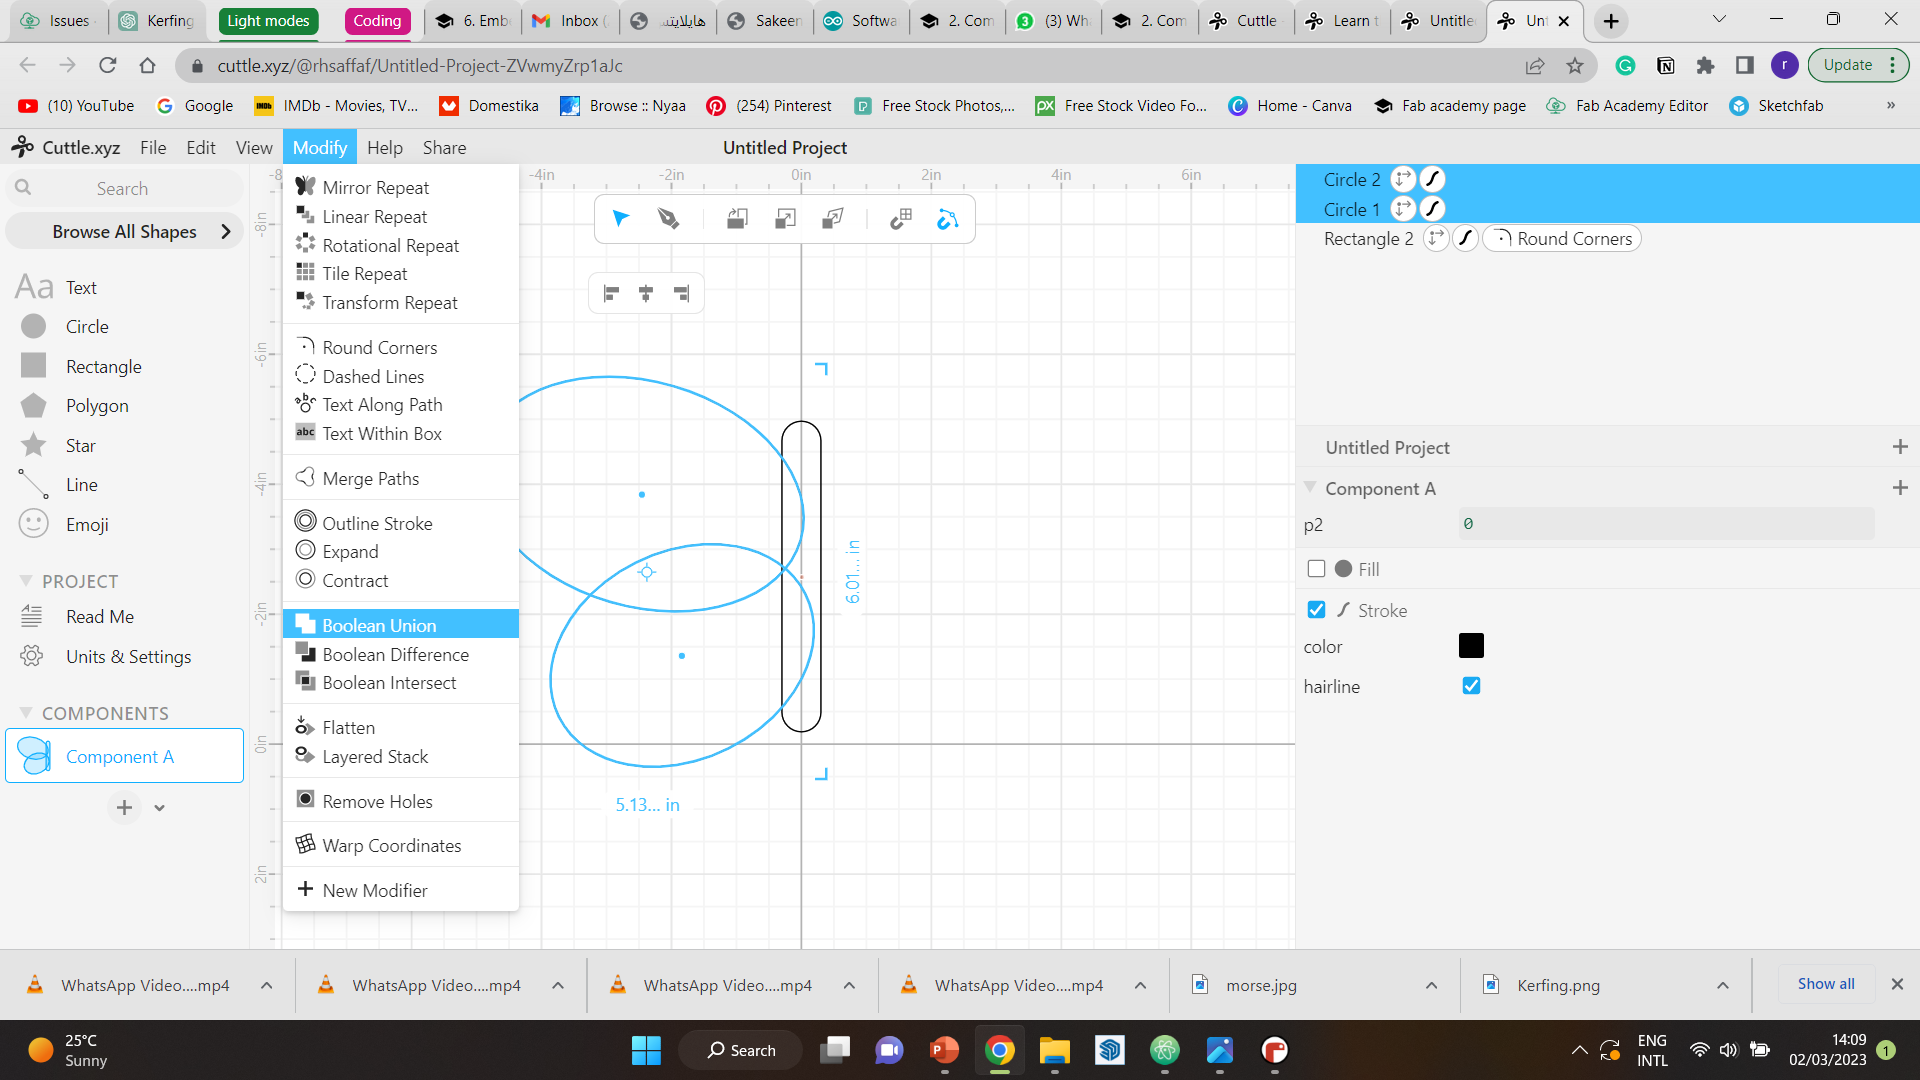
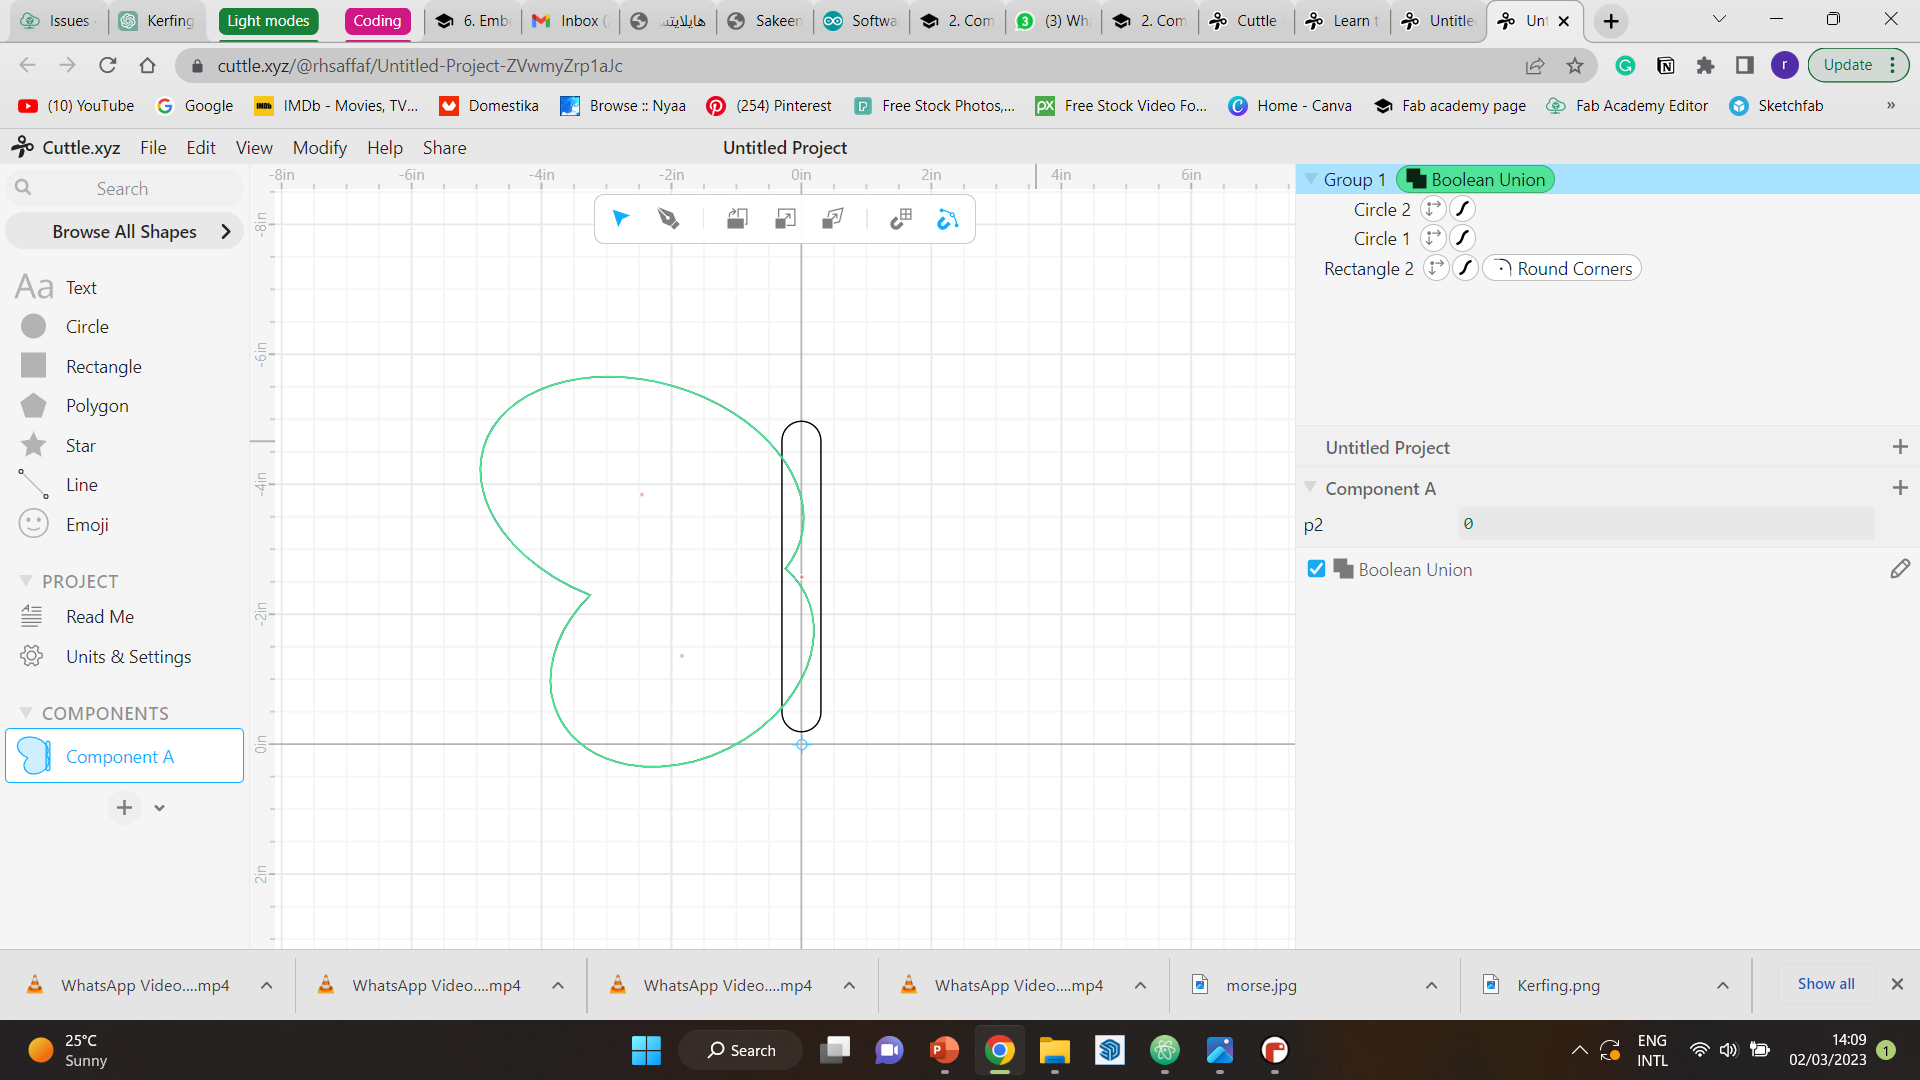
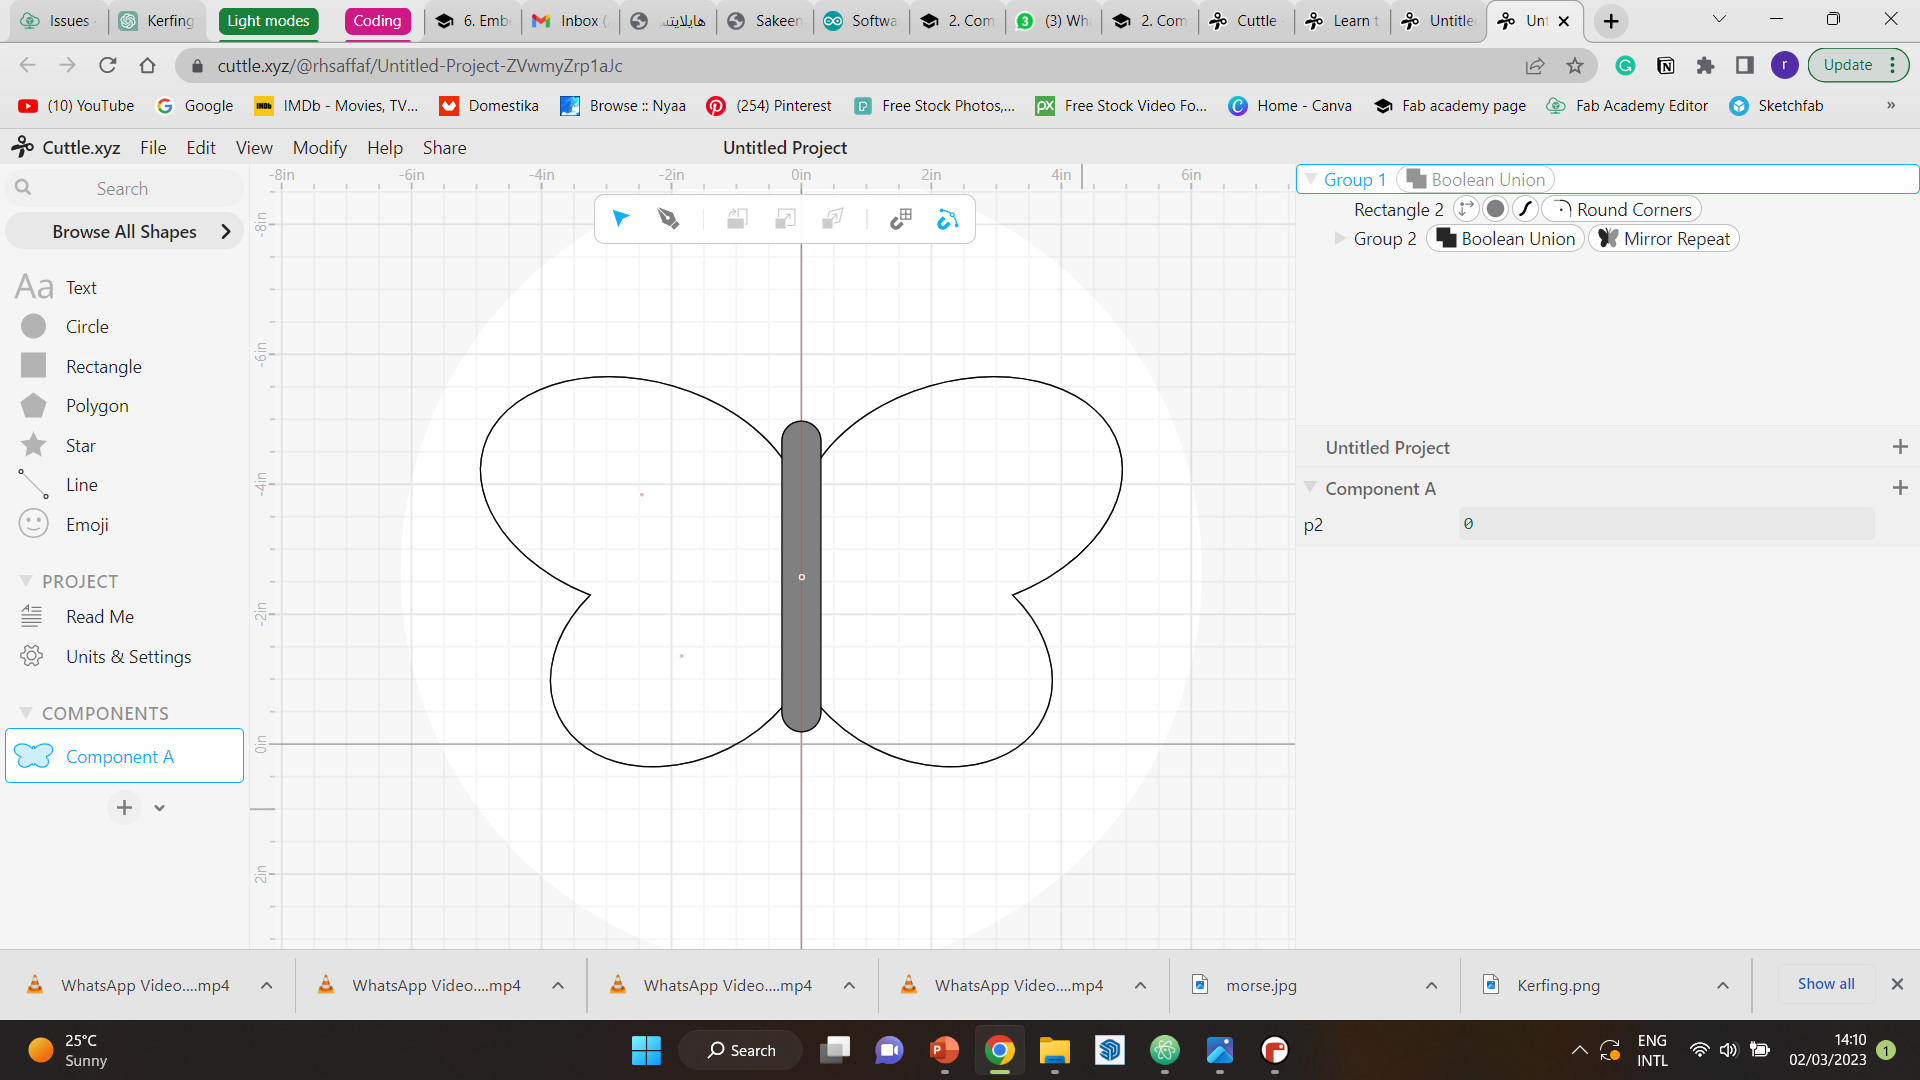
Step 3 When it looked correct, I used the boolean union in the modify tab to join them together.
Step 4 To hide the extra lines behind the butterly, I filled the body of the pill shape, and brought it forward.
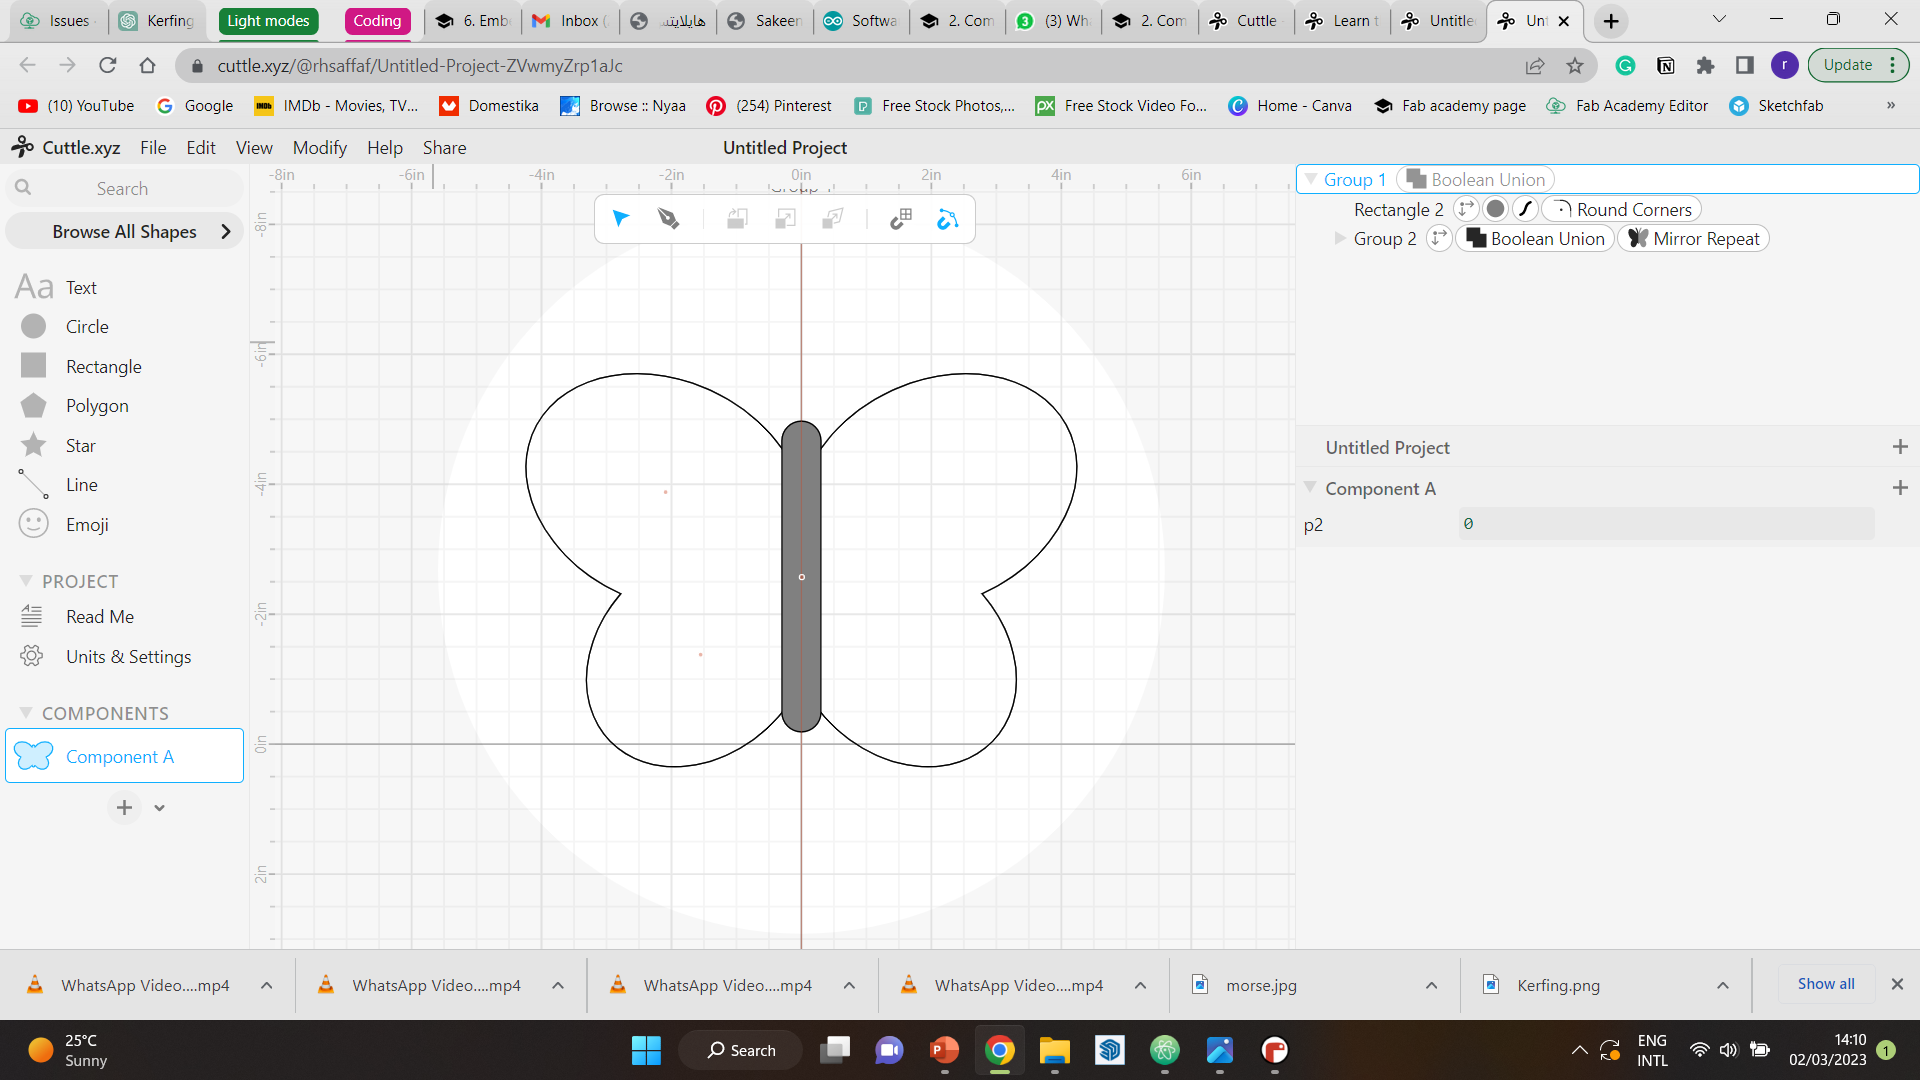
Step 5 After one wing was done, I mirrored it to the other side. Then, I fixed it a little to make it look more proportional to the body.
Step 6 Lastly, just as with the first design, I created an outline for the wing.
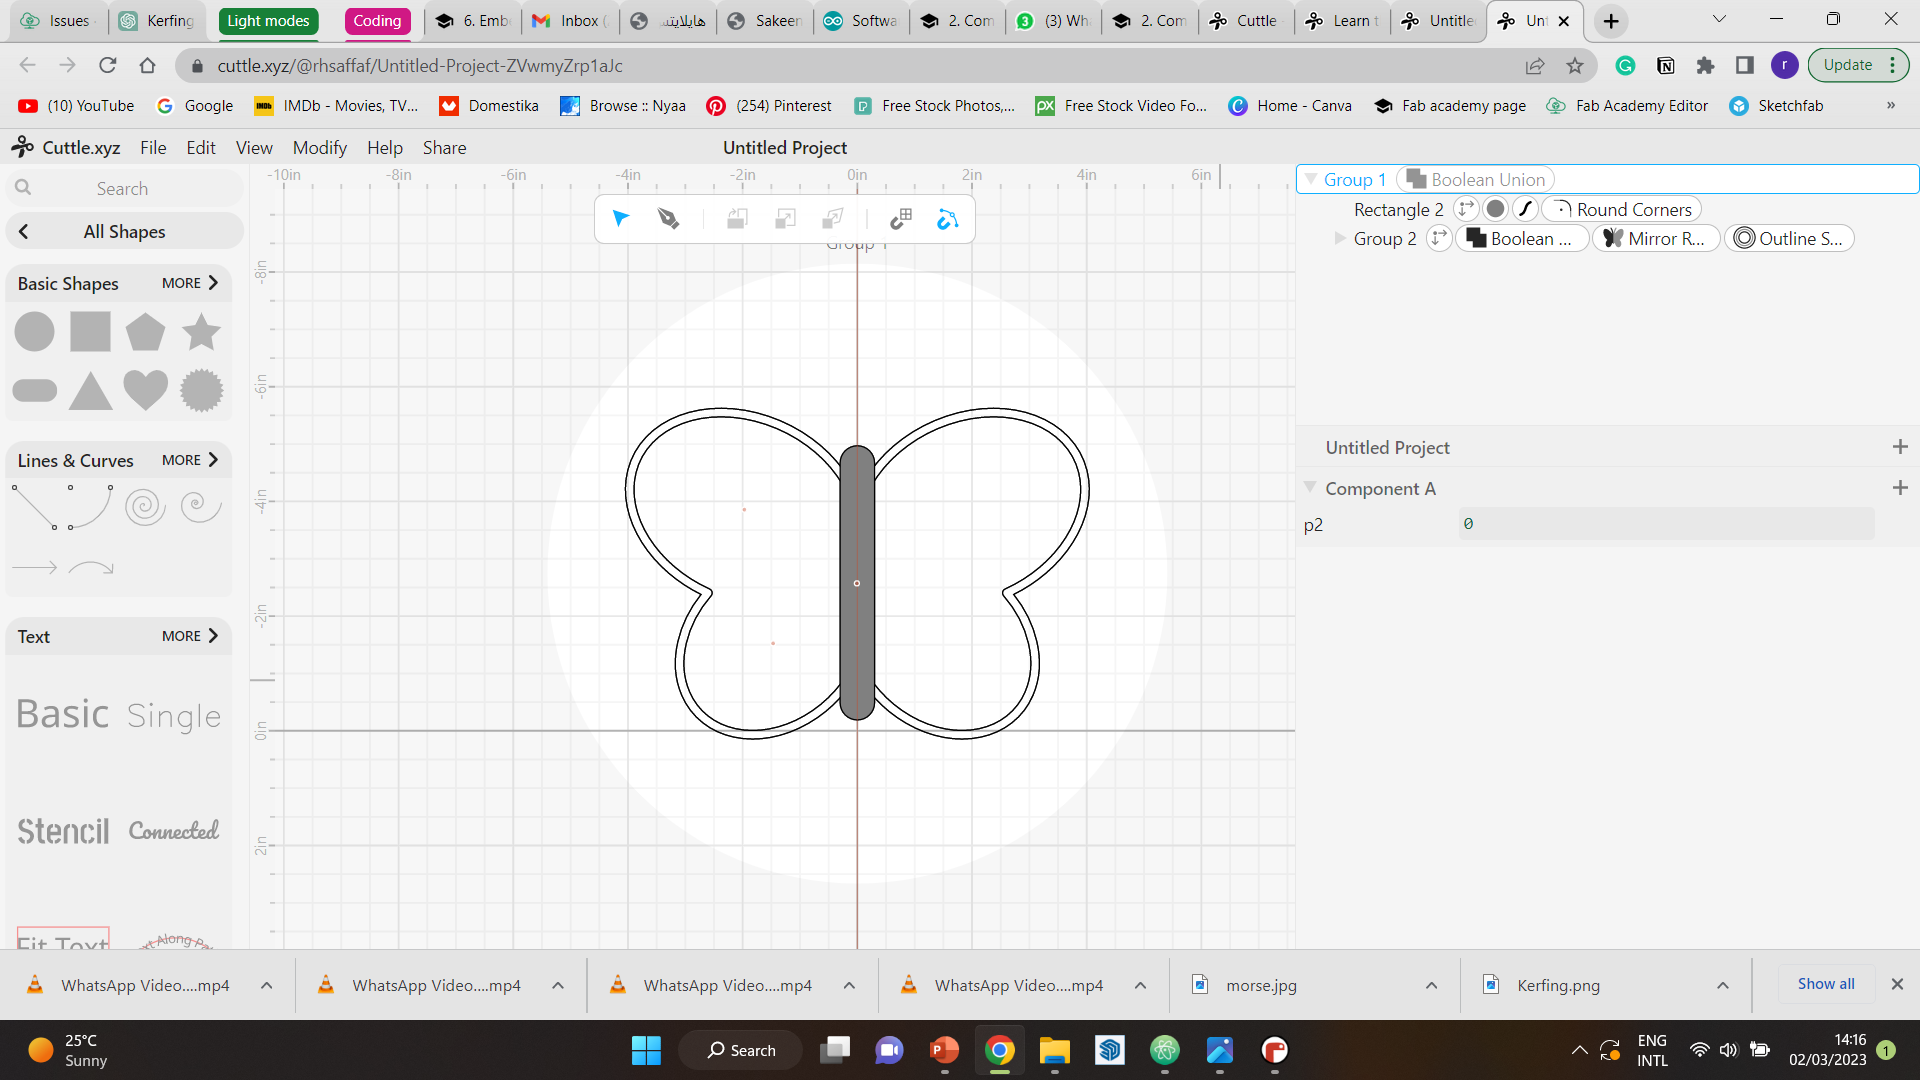
This was the final result of the drawing.

Inkscape
The second software I decided to try for 2D is inkscape, which can be downloaded by following this link. Since I already have experience with photoshop and illustrator and can use them fairly well, I wanted to try a new program that I haven’t tried before.
In this software, I created a rocket logo by following a youtube tutorial, which can be seen down below.
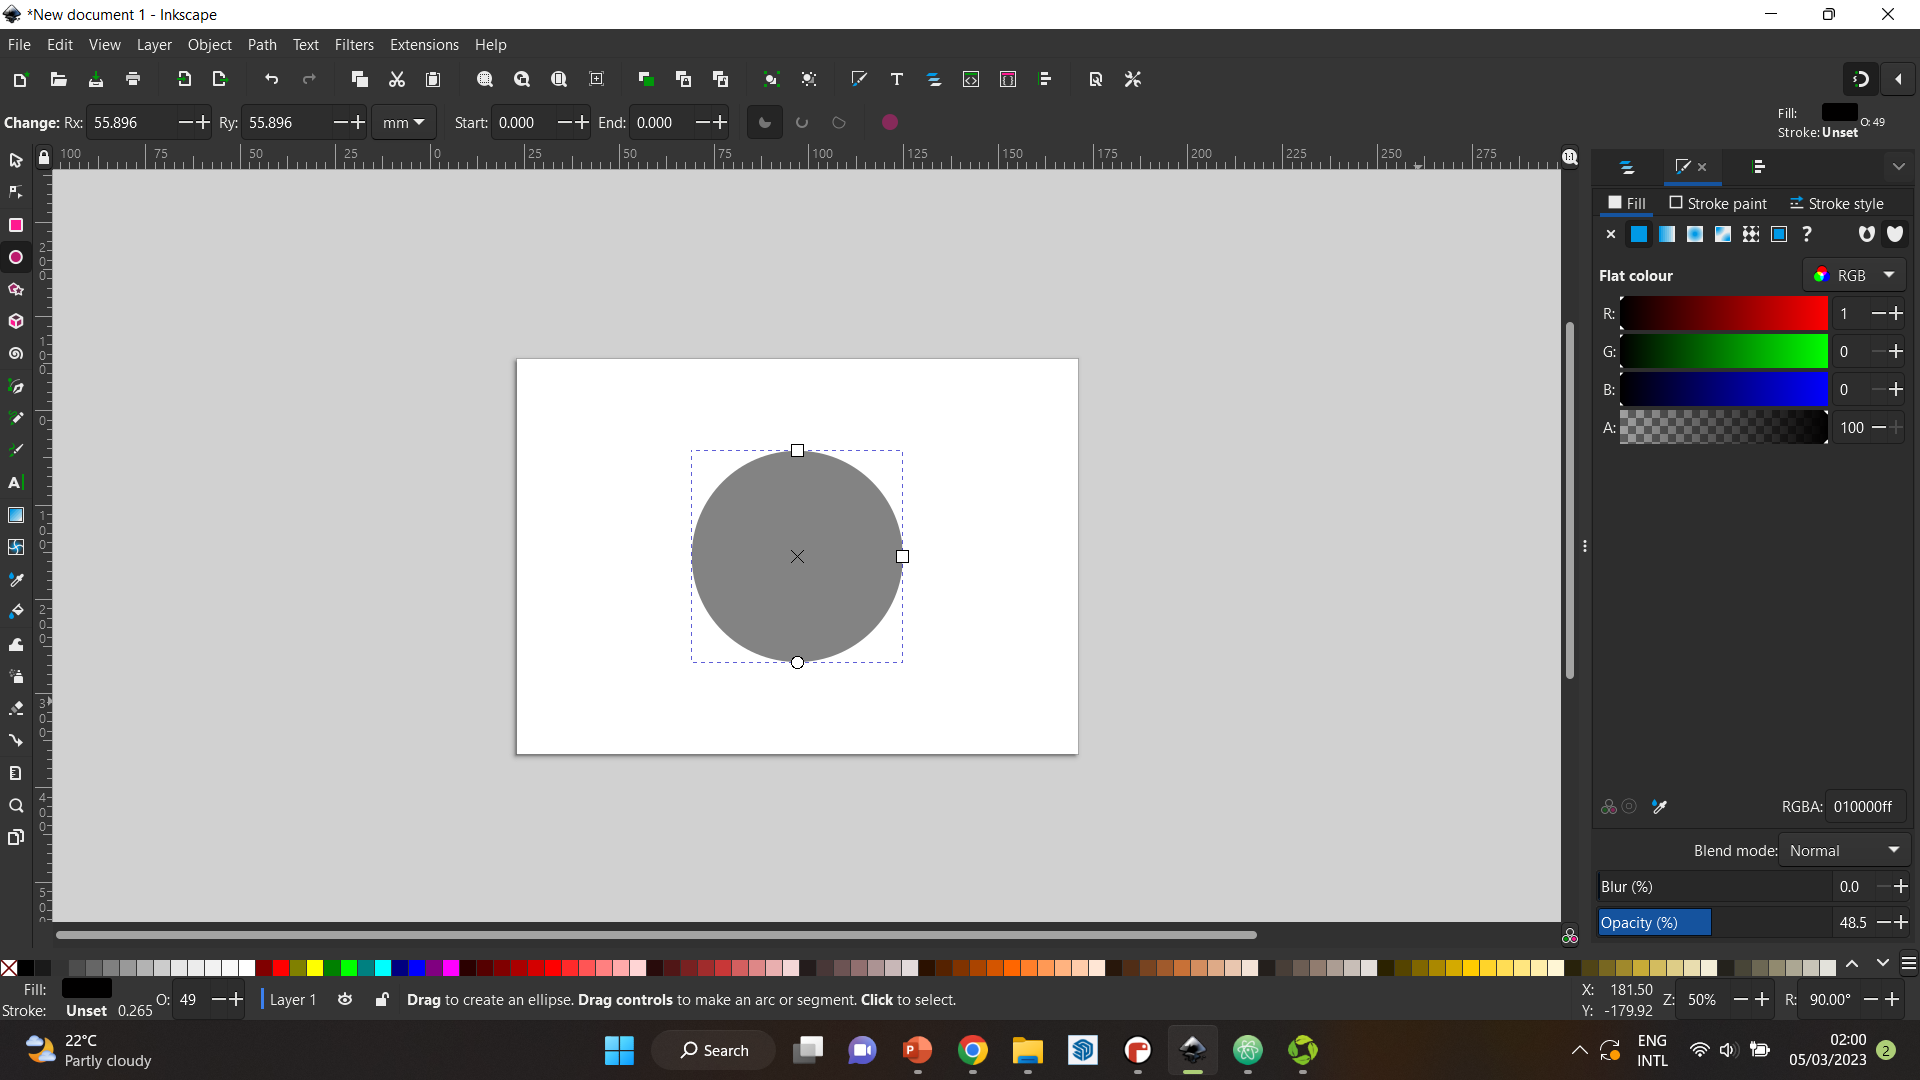
Step 1 First, I worked on creating the background. I drew a circle and reduced the opacity so I can see all intersections while working throughout the whole process.

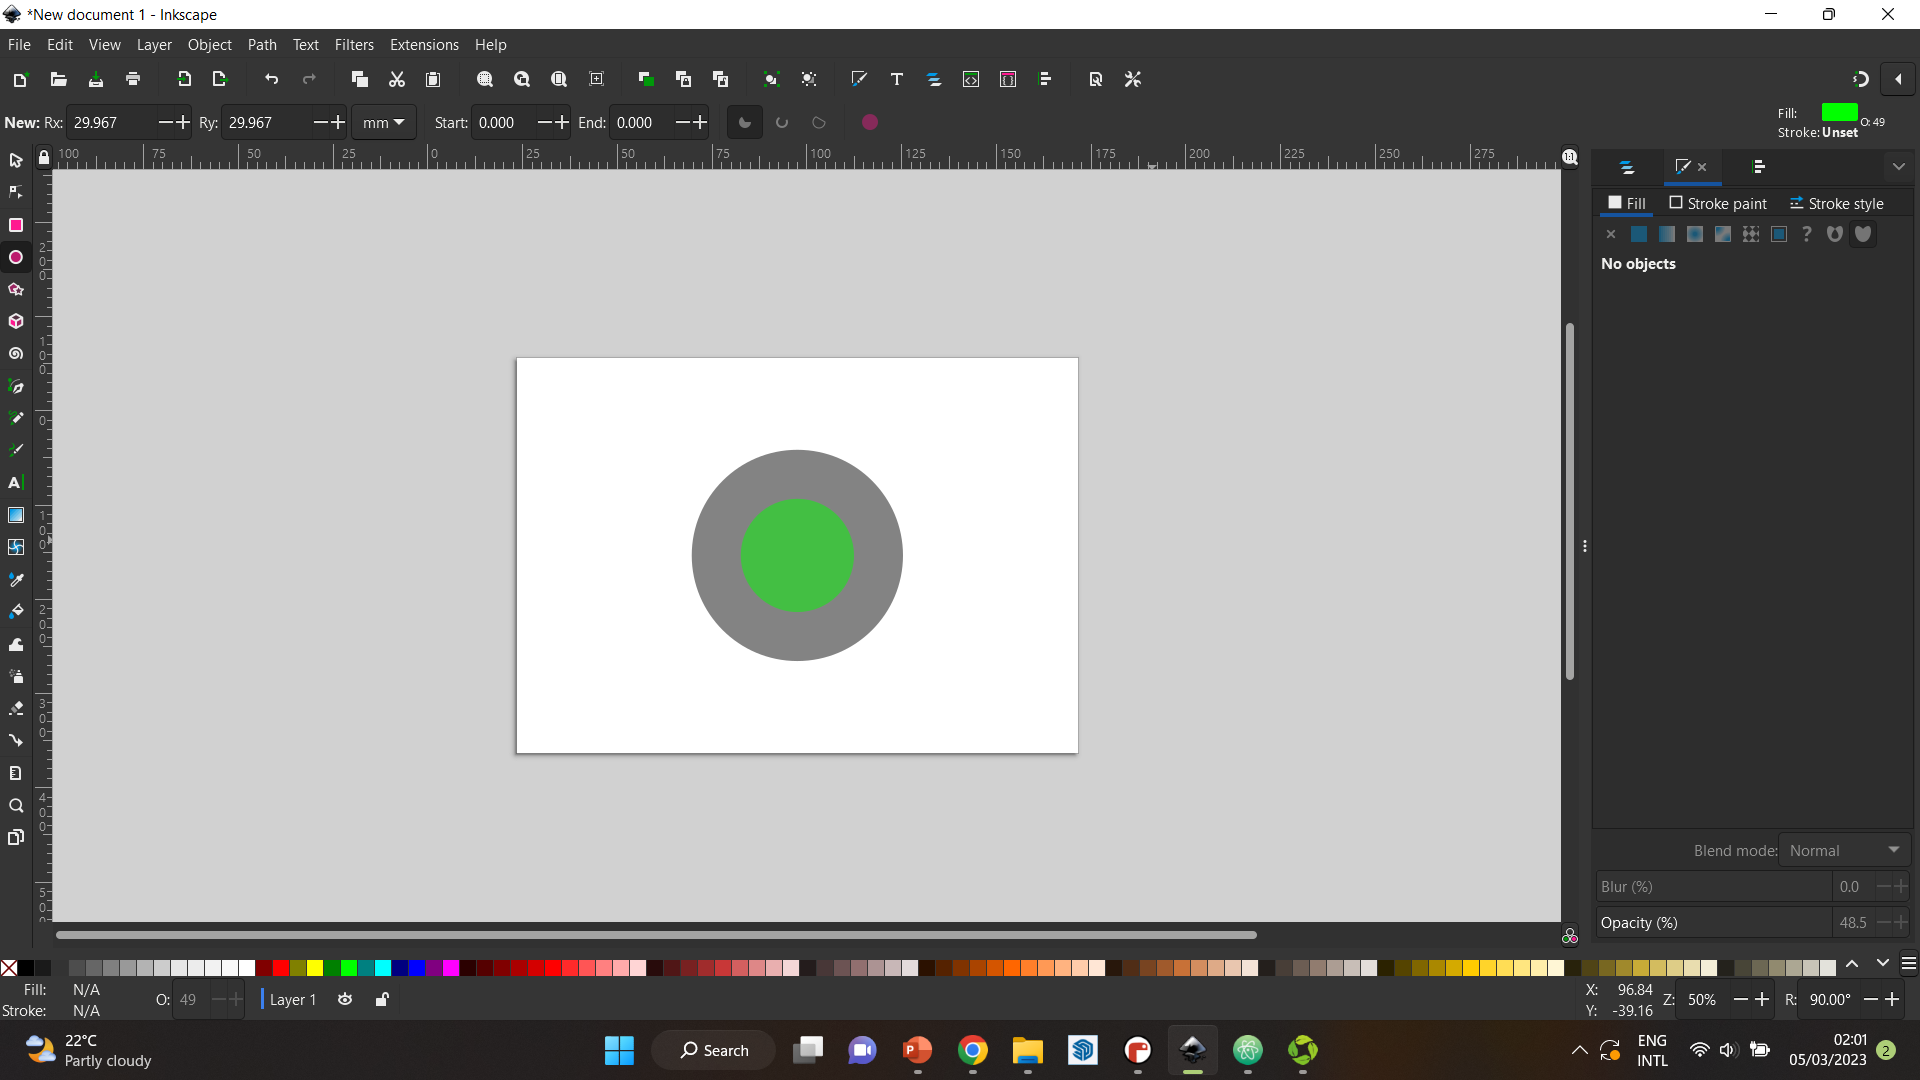
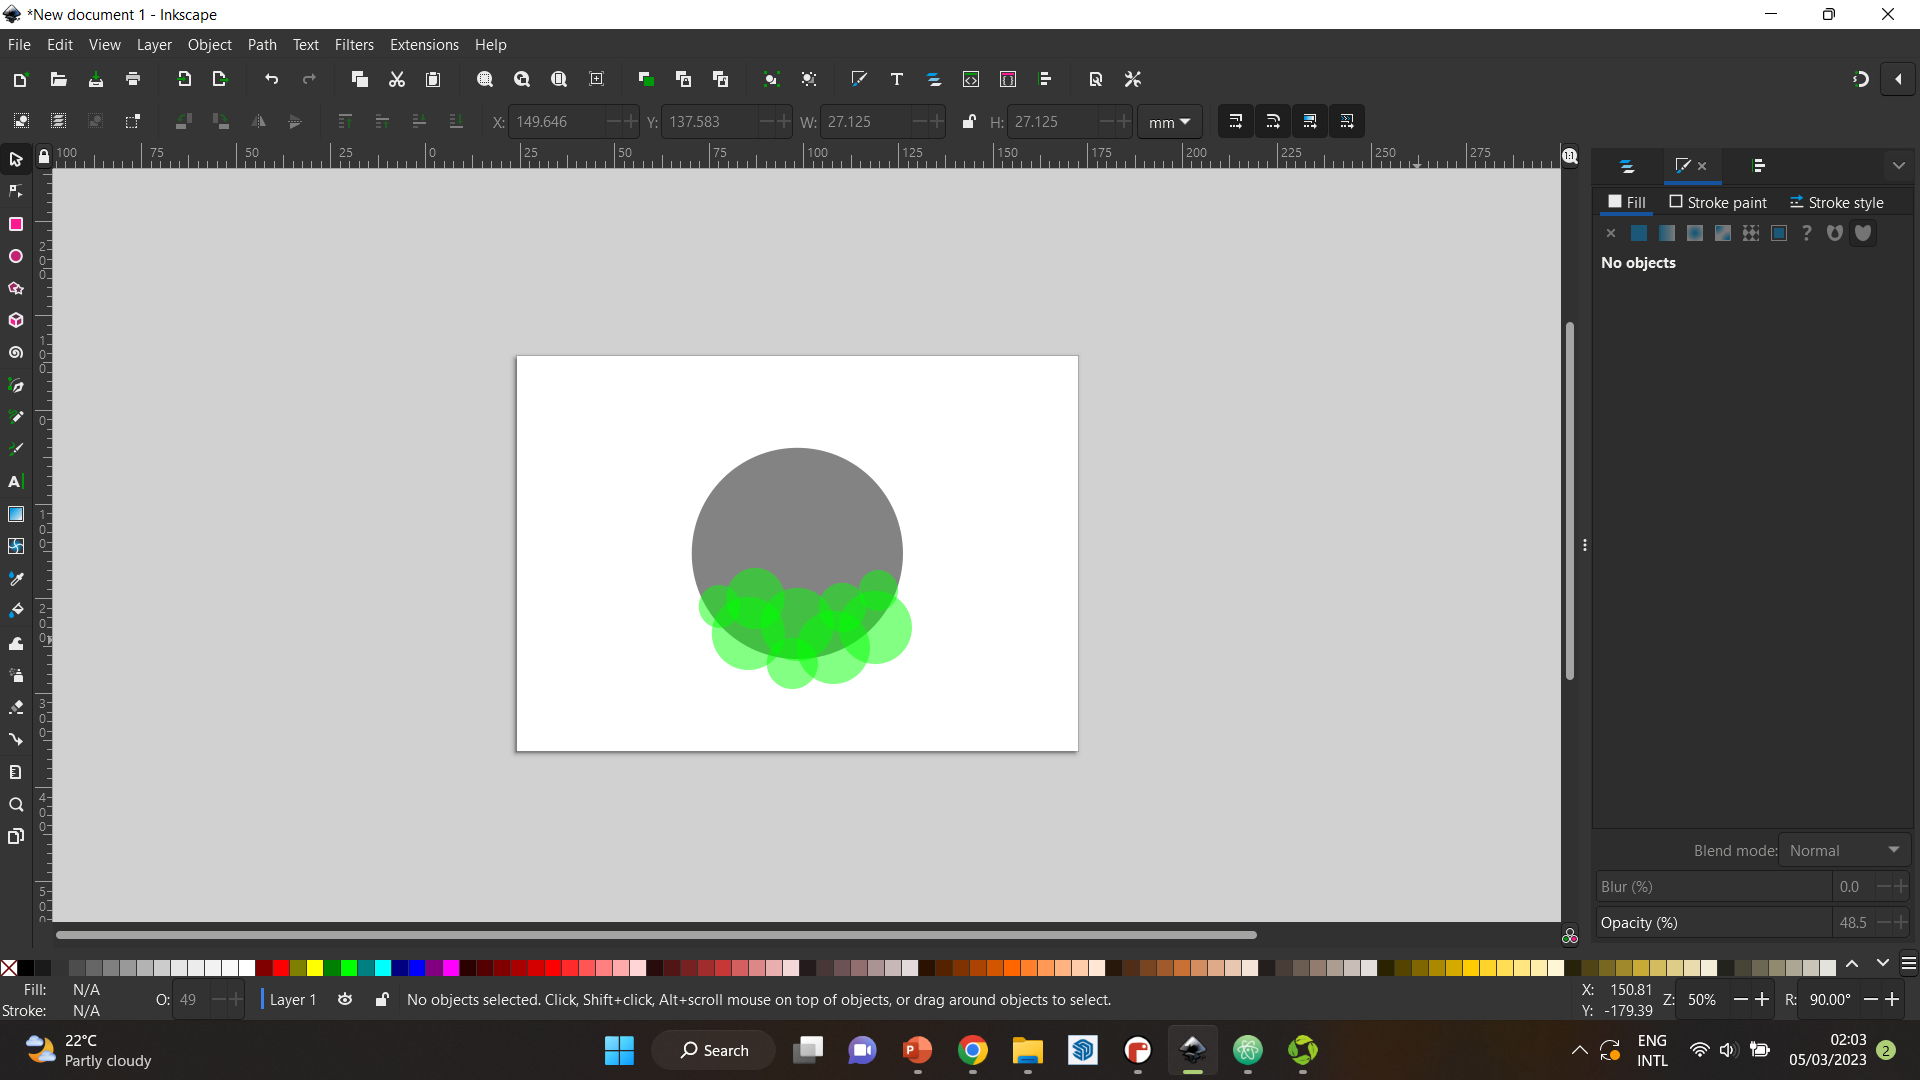
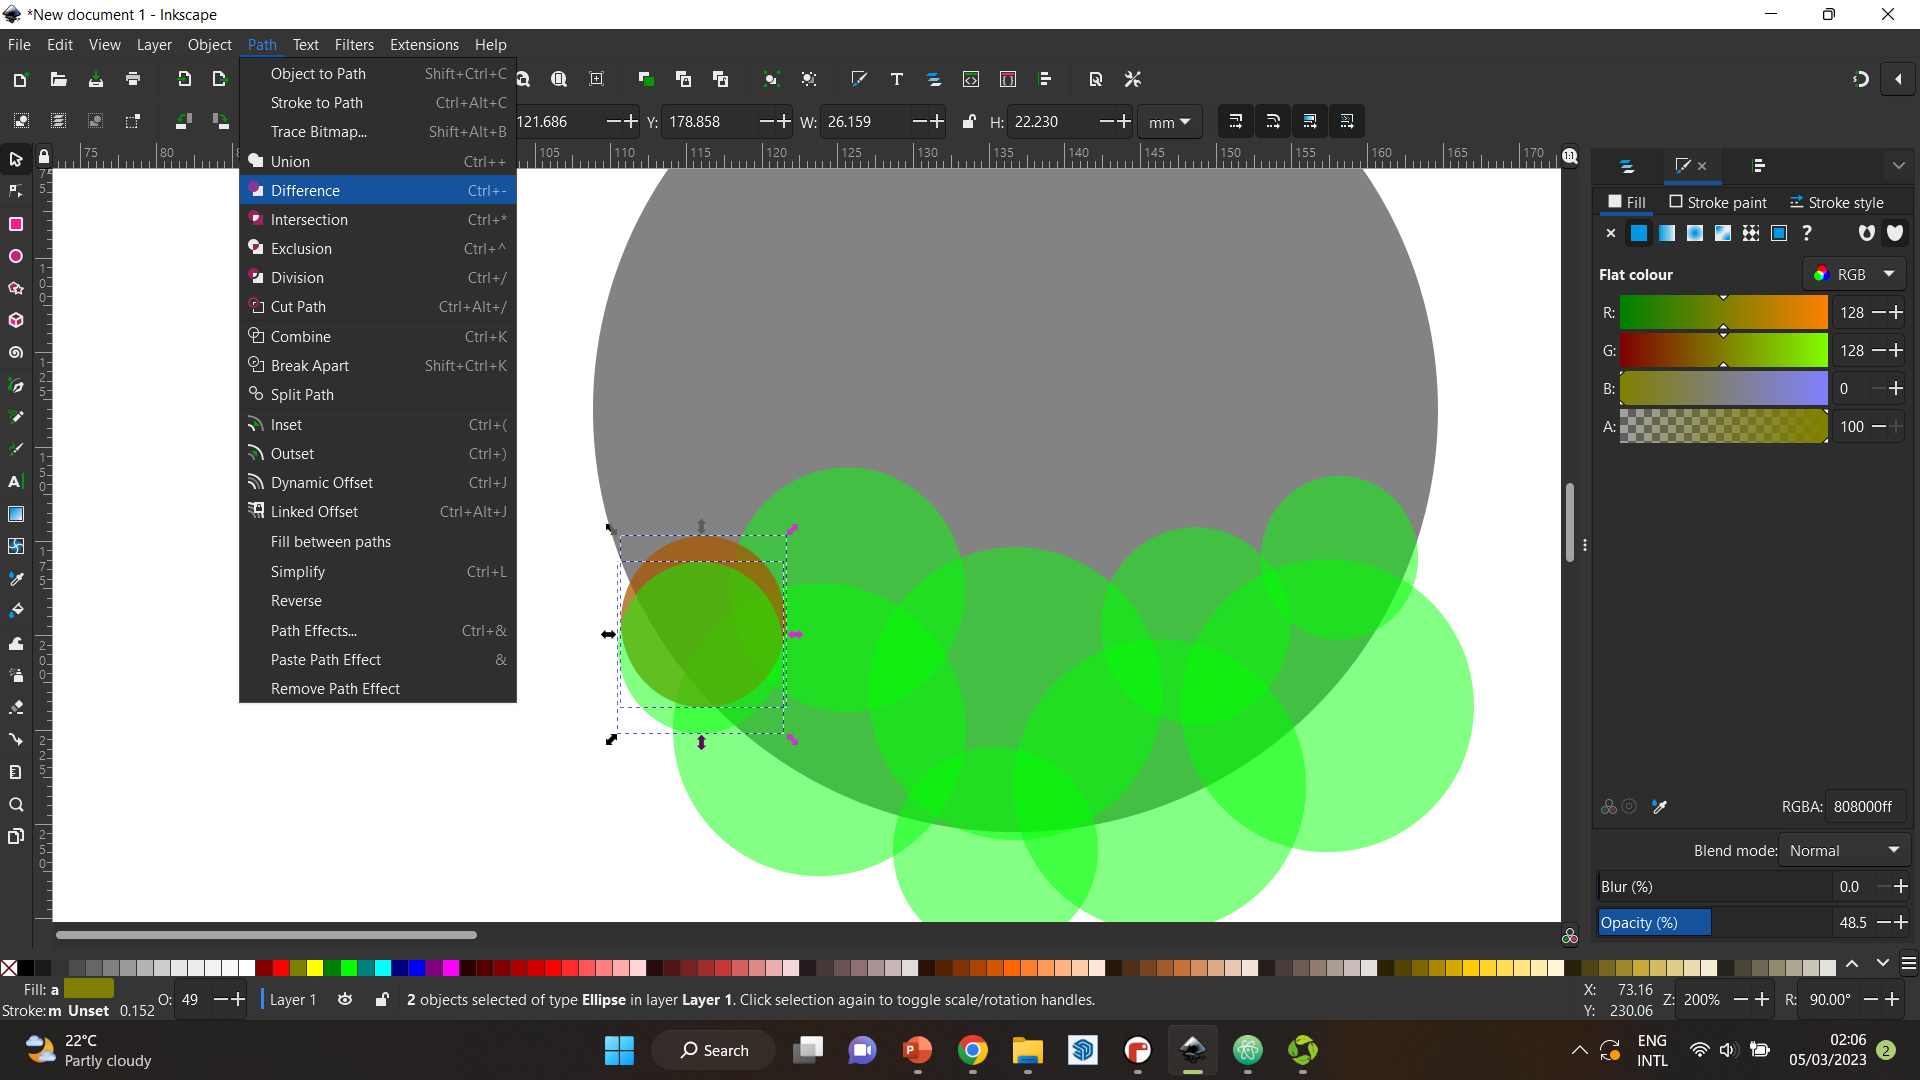
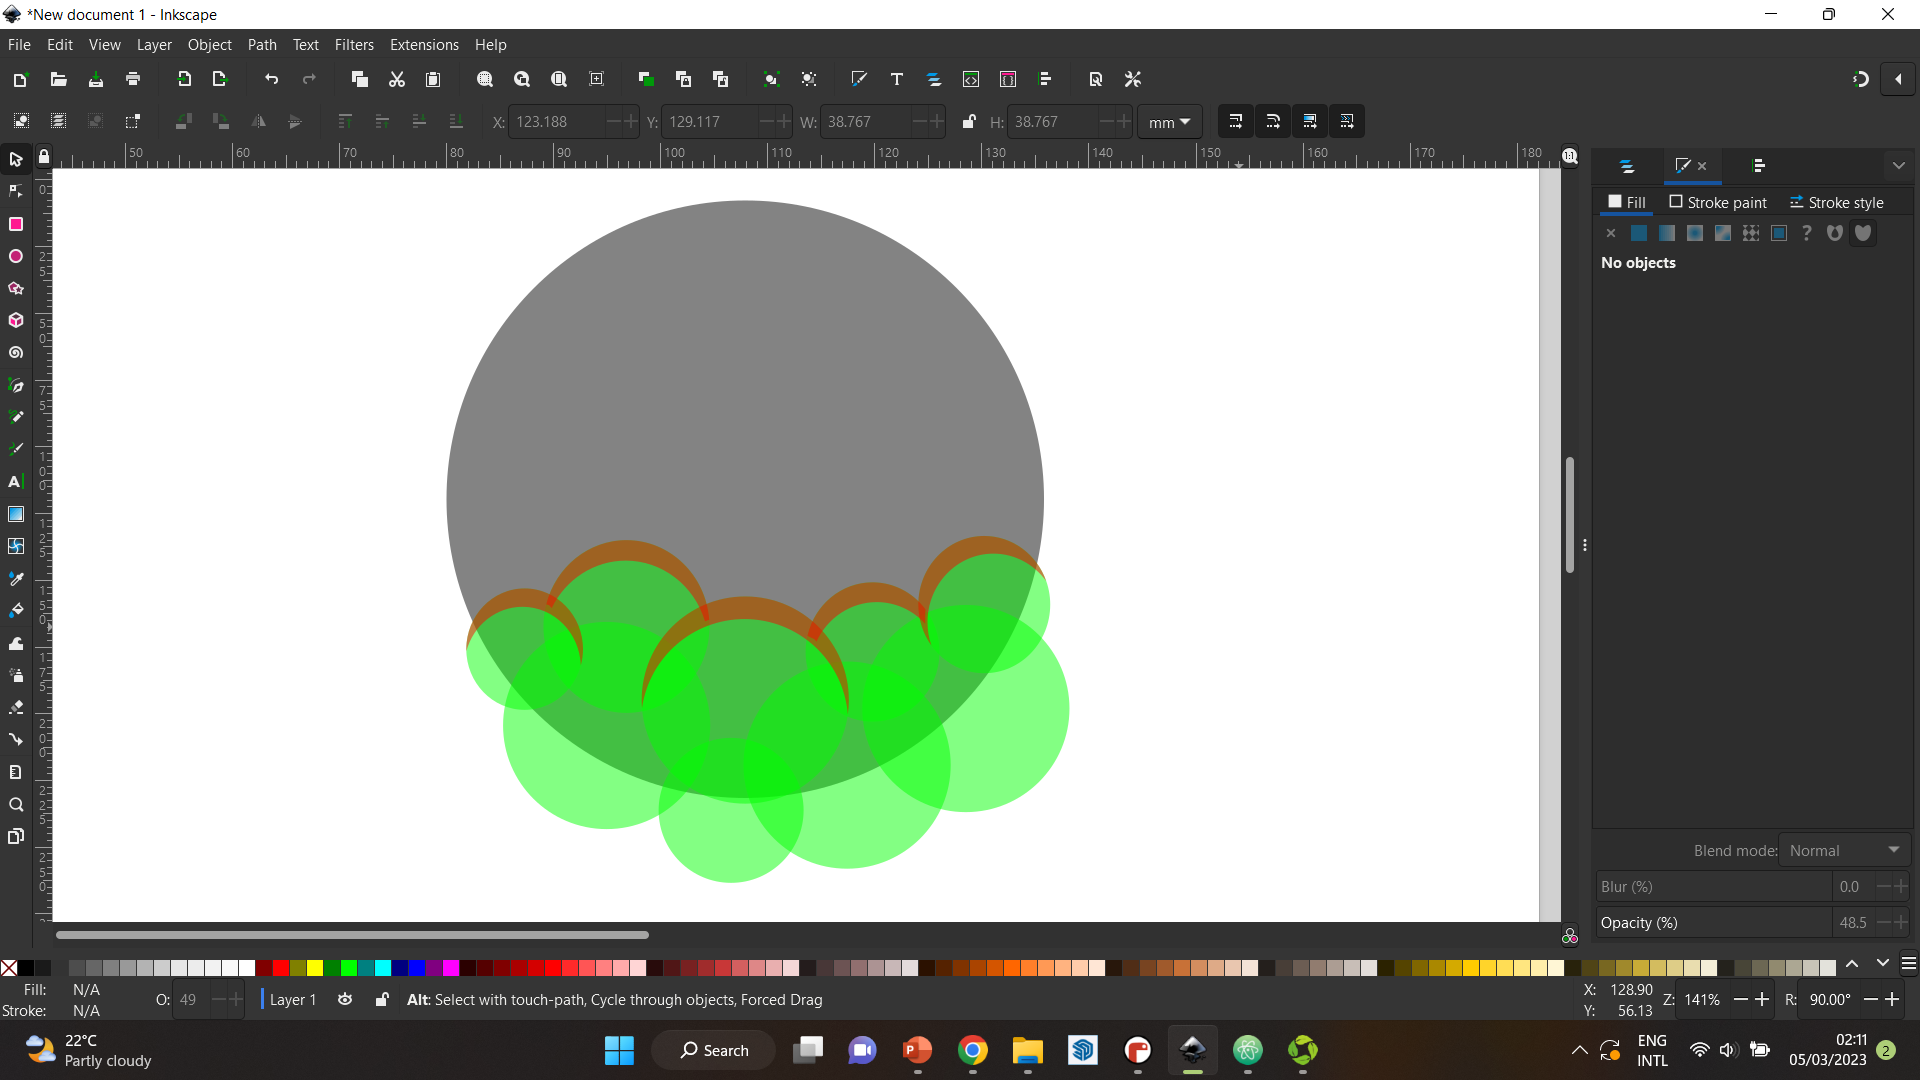
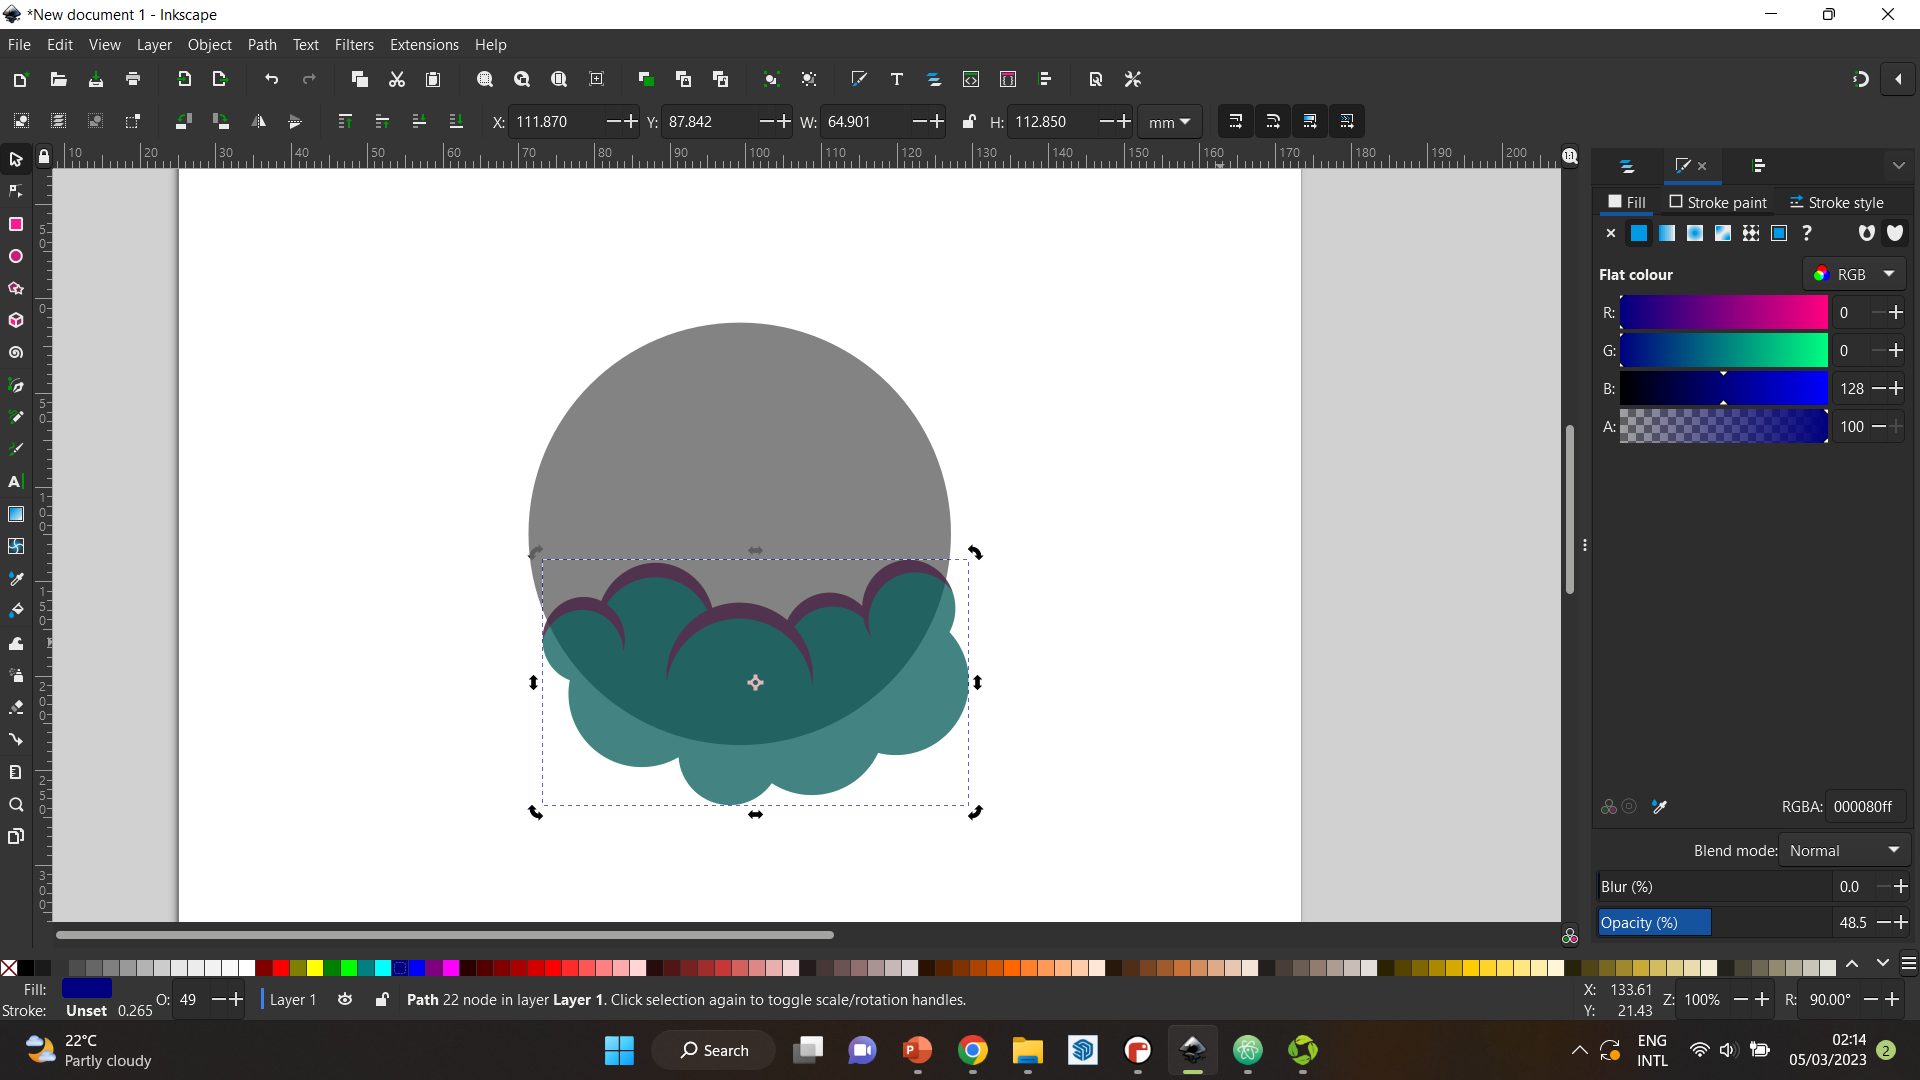
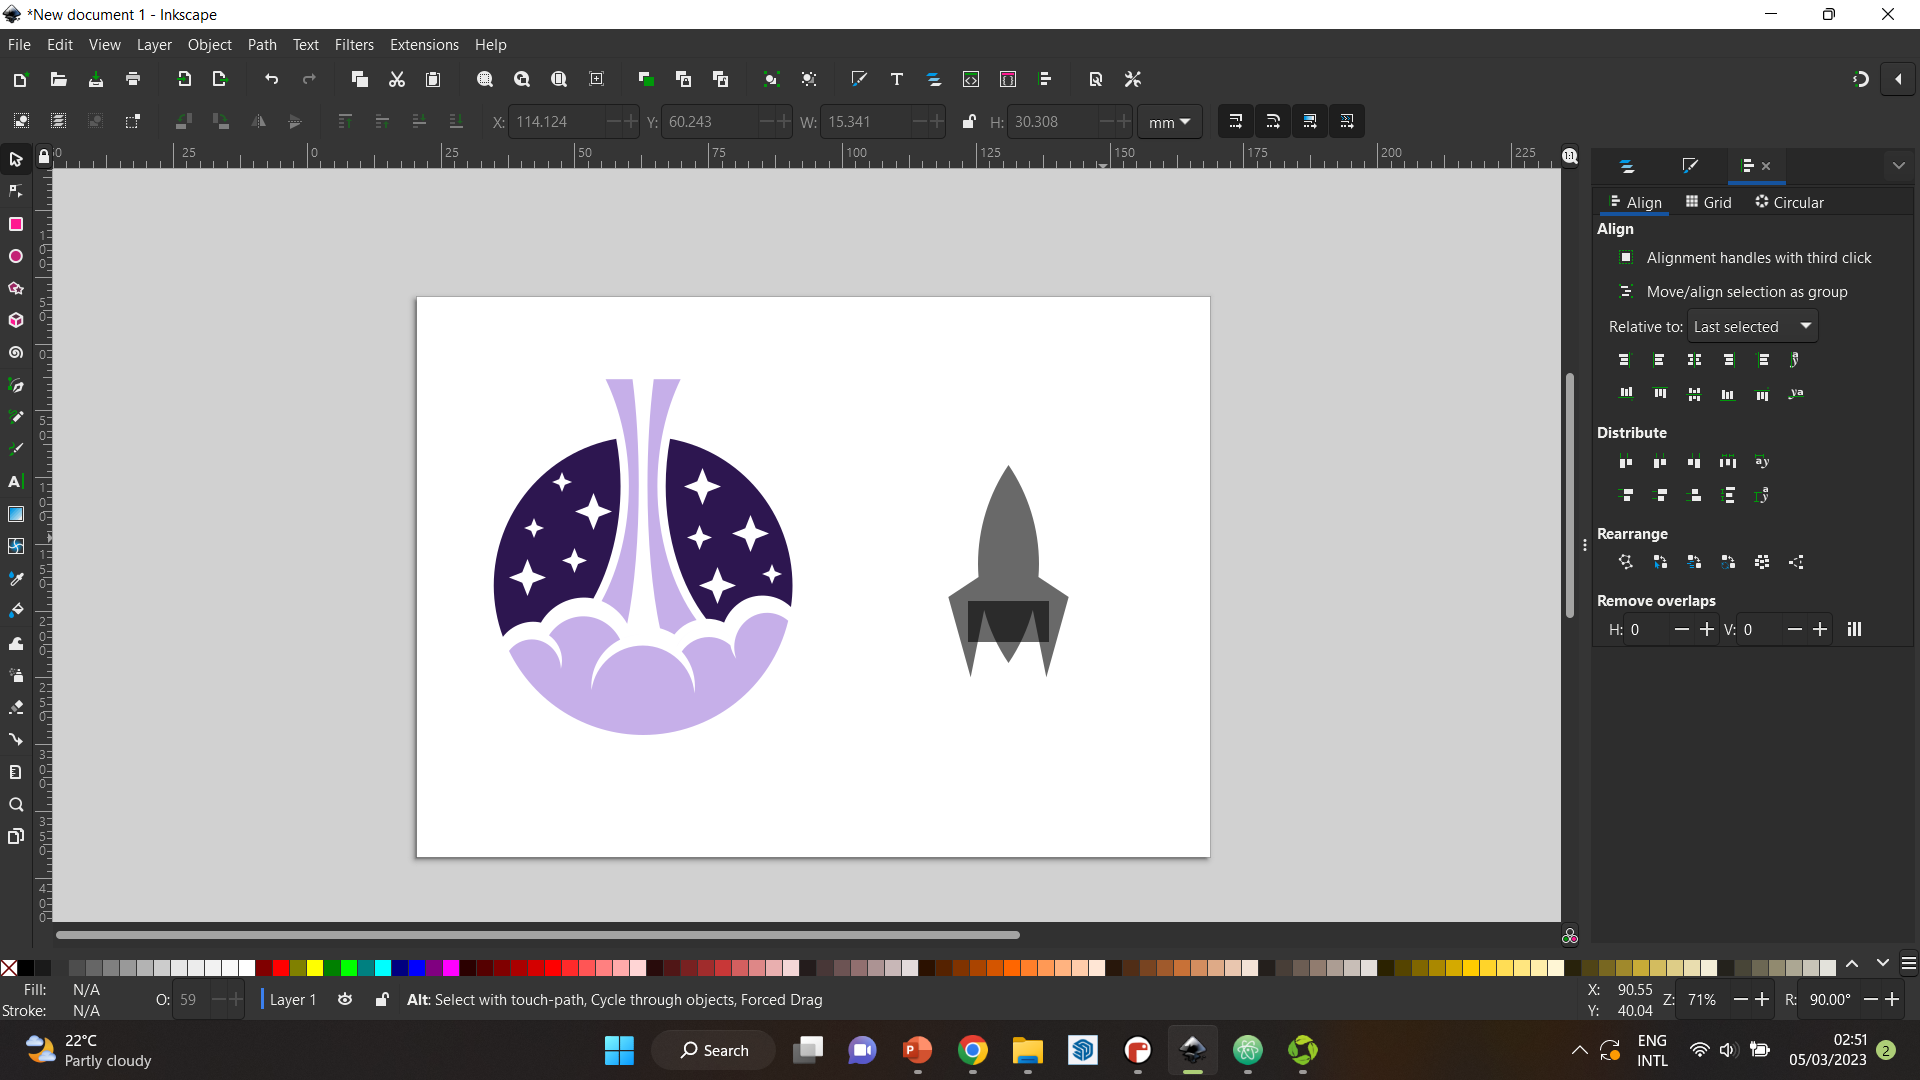
Step 2 Then, I worked on created the smoke which is coming out of the rocket. I used more circles and distributed them in a way I liked. I changed their color to green so I can see the difference.
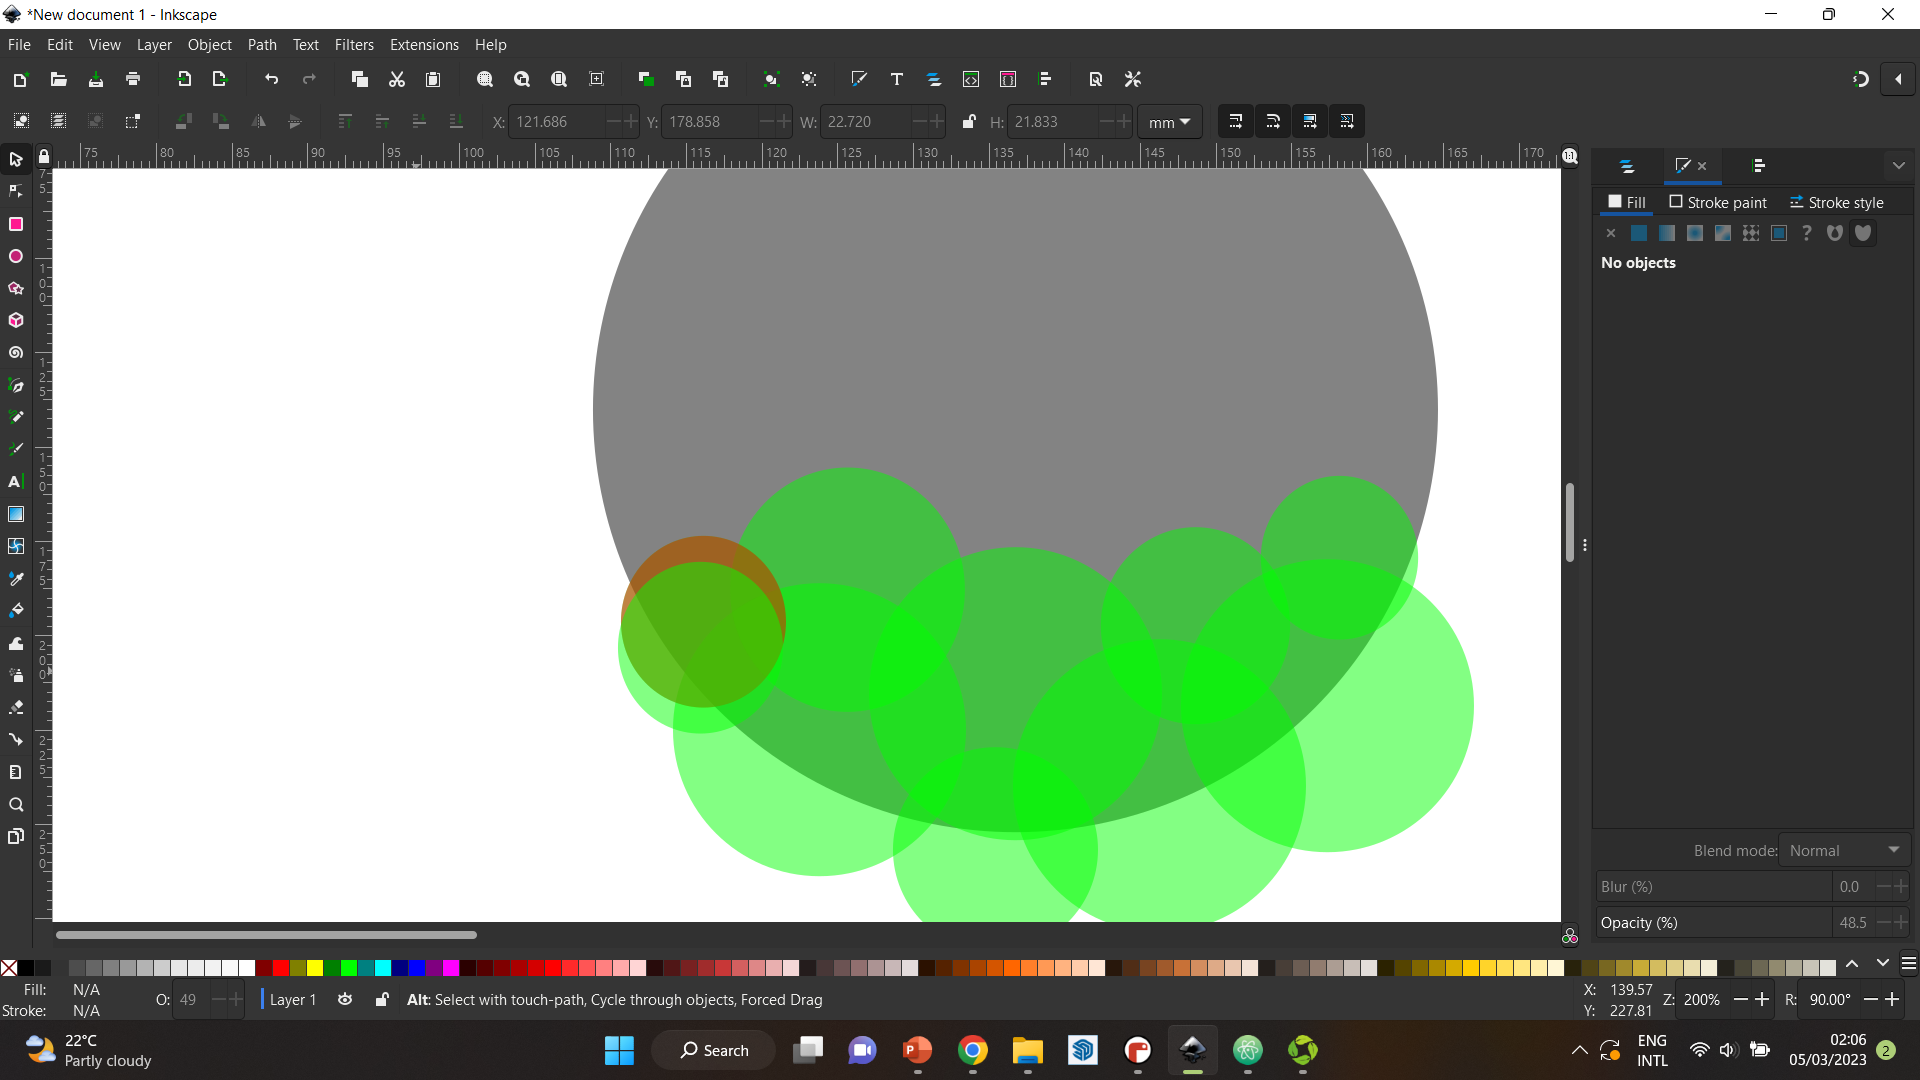
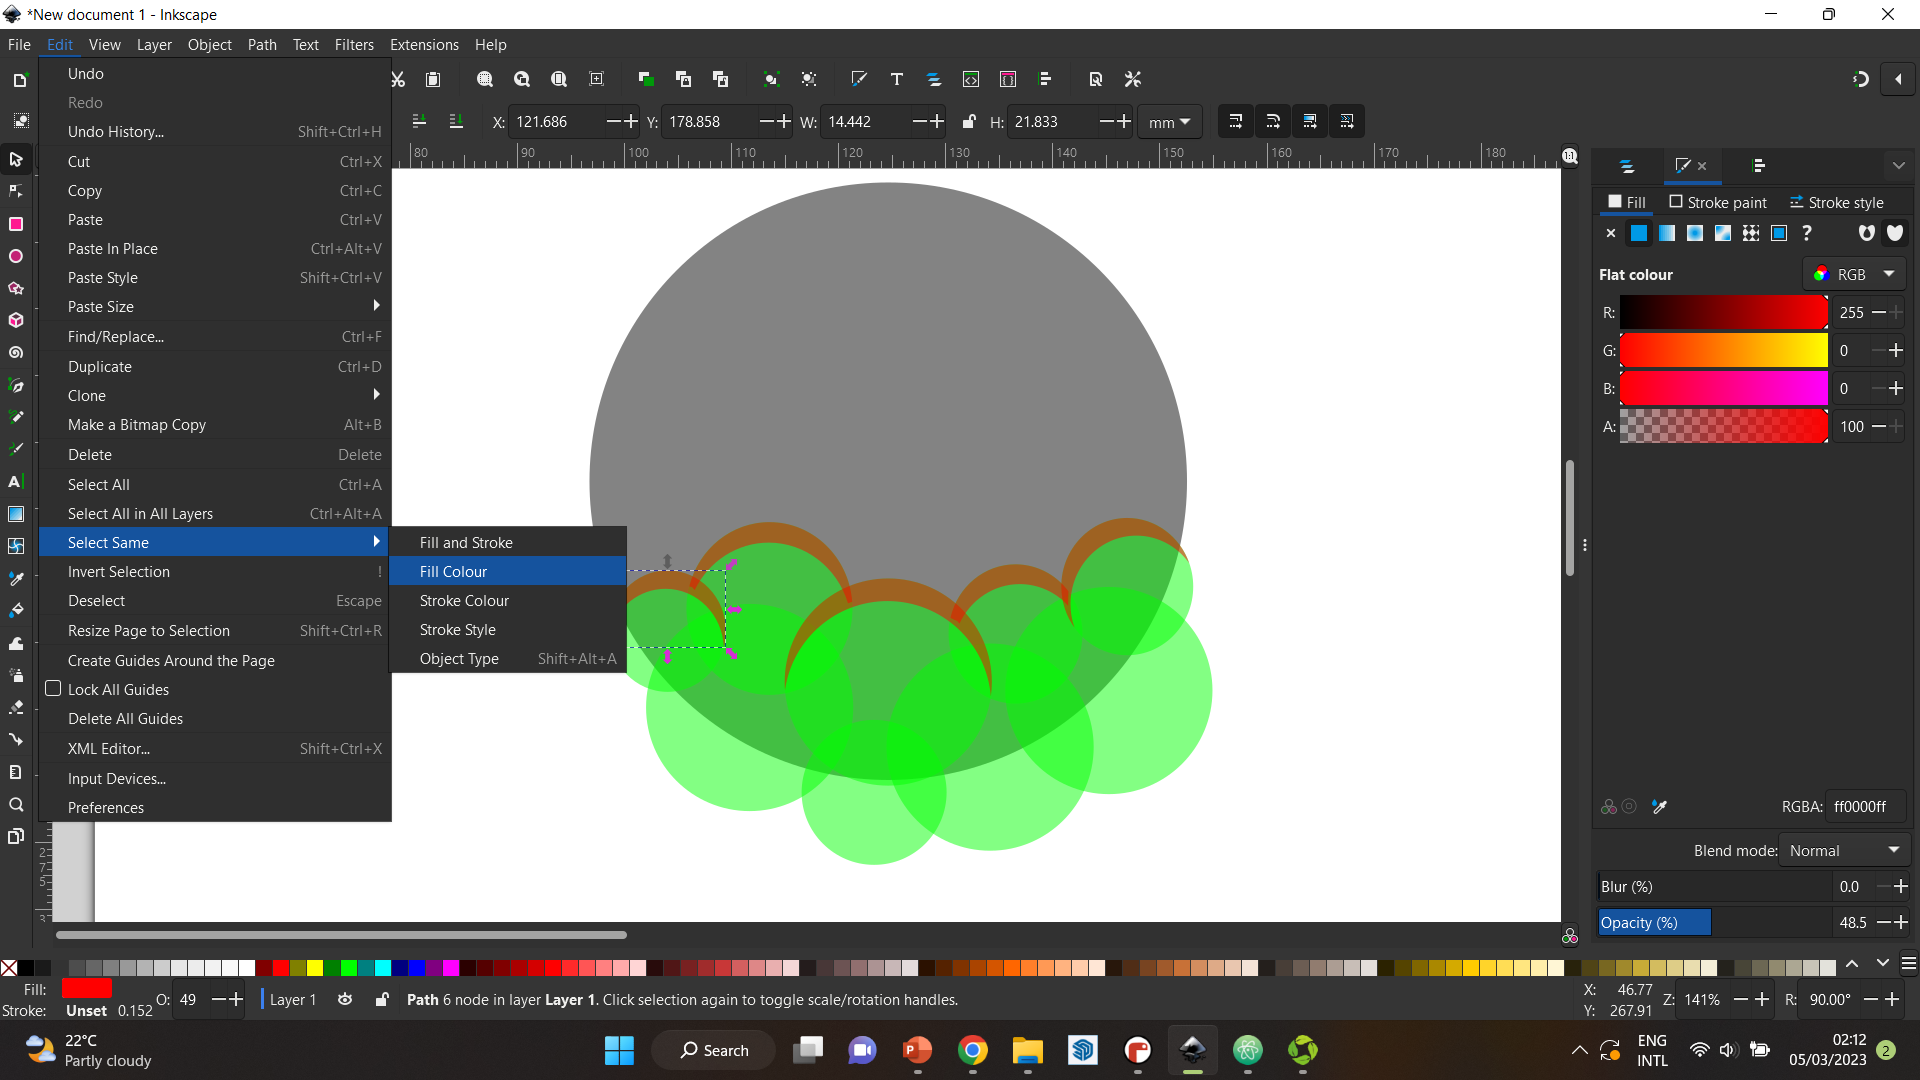
Step 3 I wanted to create an outline for the smoke to make it look more cartoon-ish. So, I duplicated all the top circles in the smoke twice, and moved them in a way that allowed me to have a red line all accross the top.
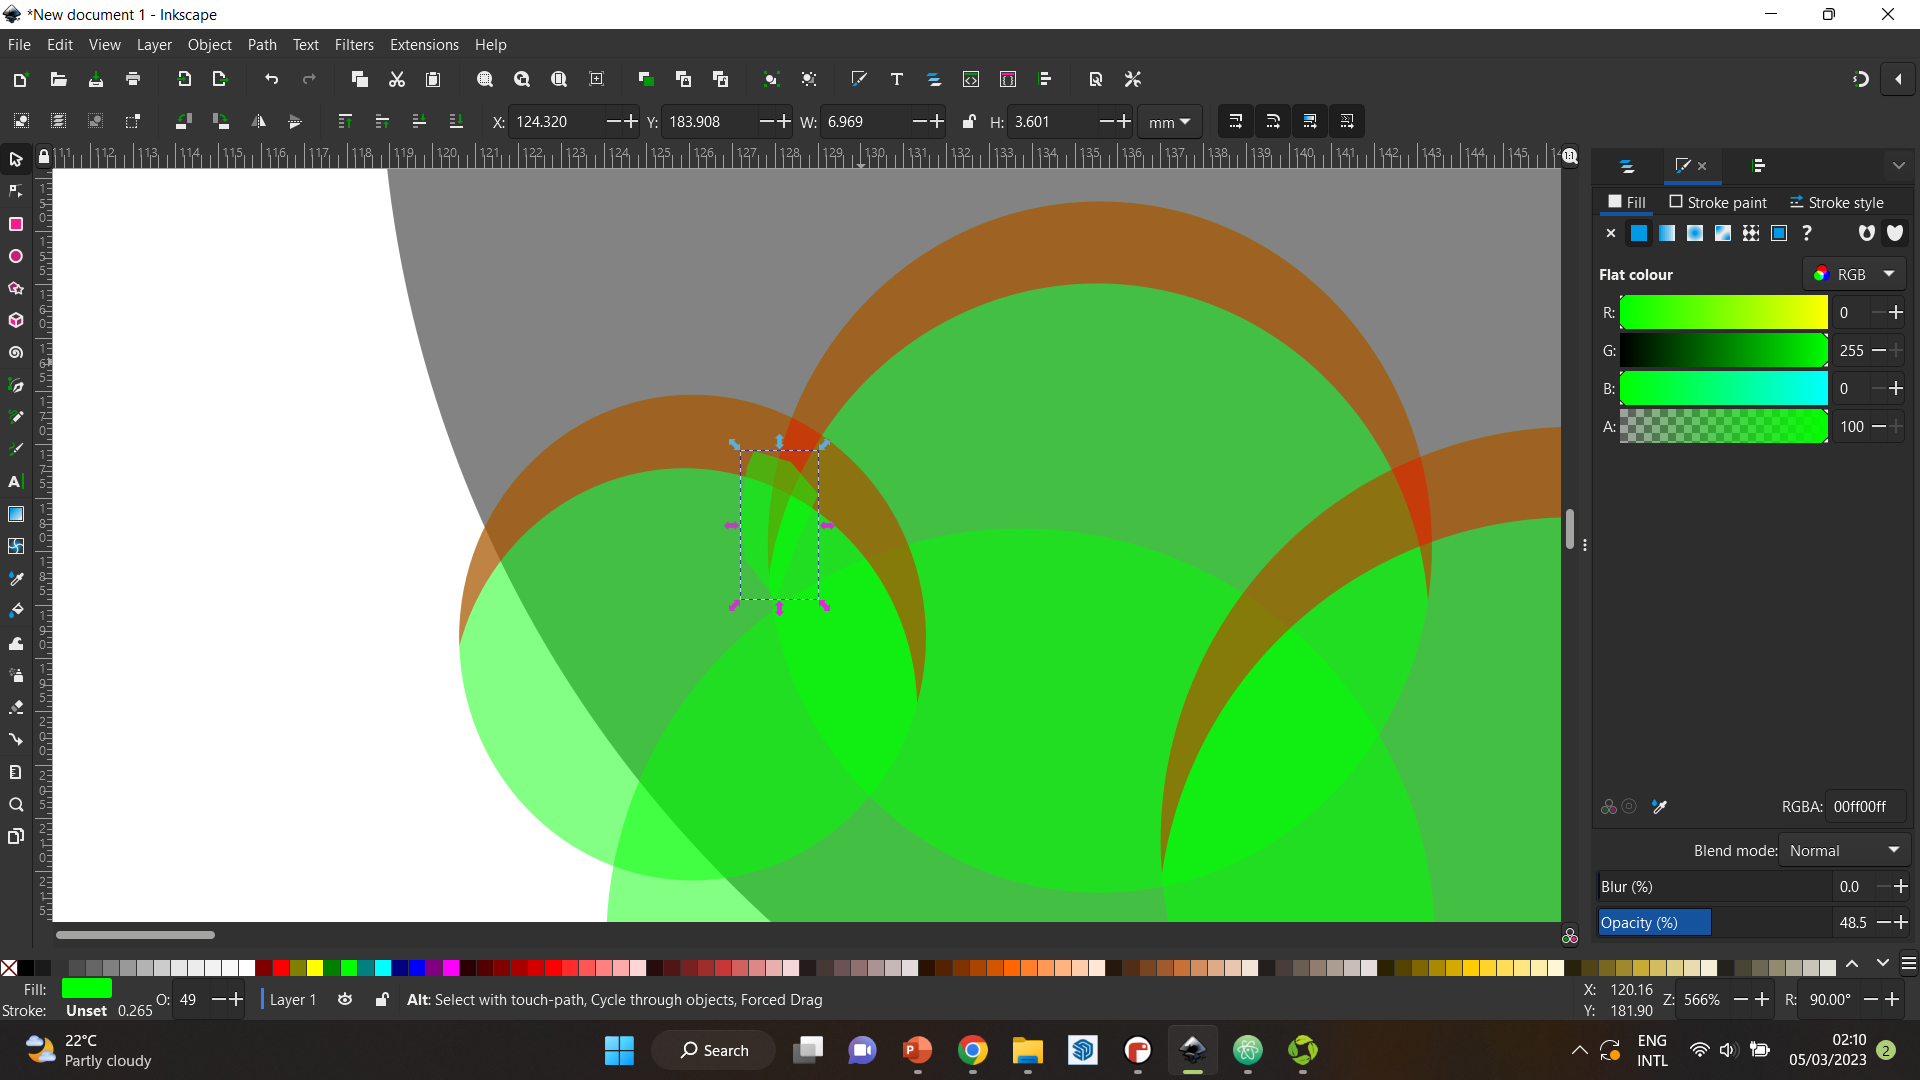
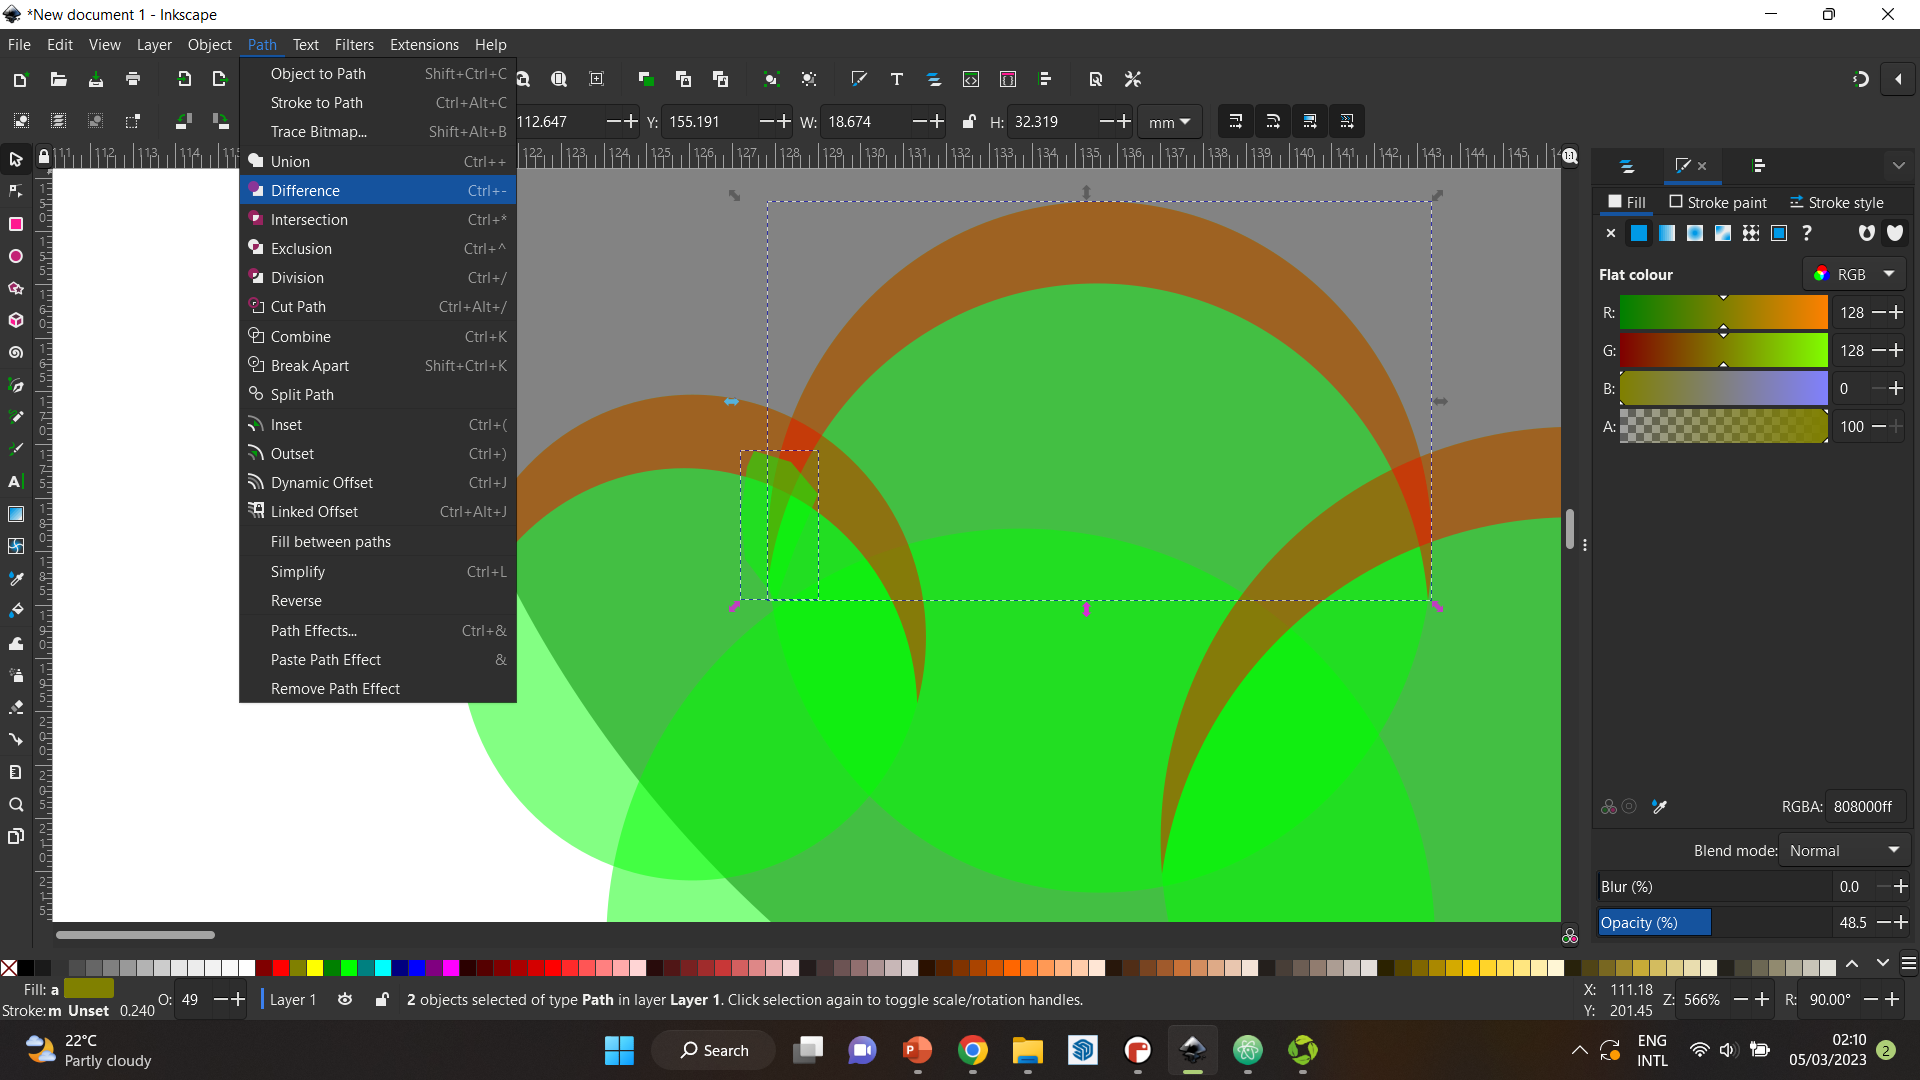
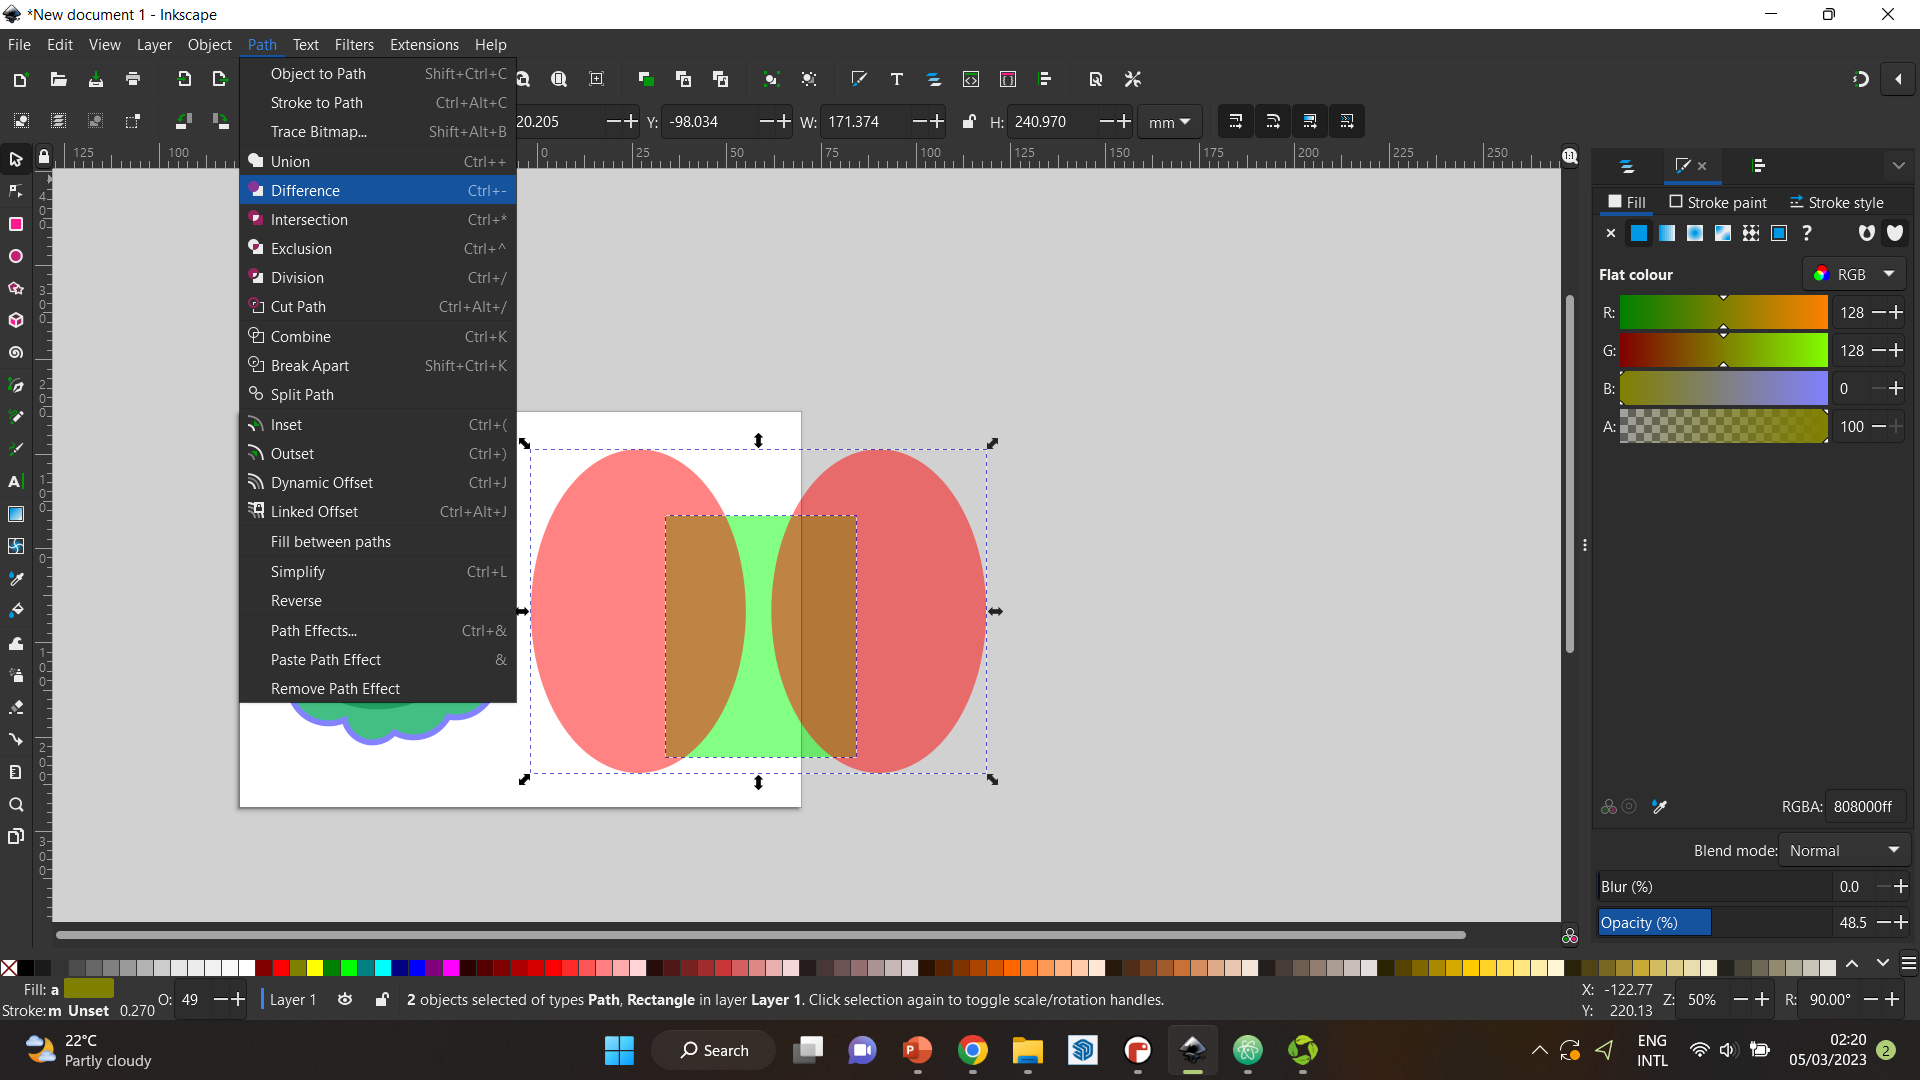
Step 4 After that, I used the pen tool to clean out the extra edges. I used the path editing tool “difference” to achieve that.
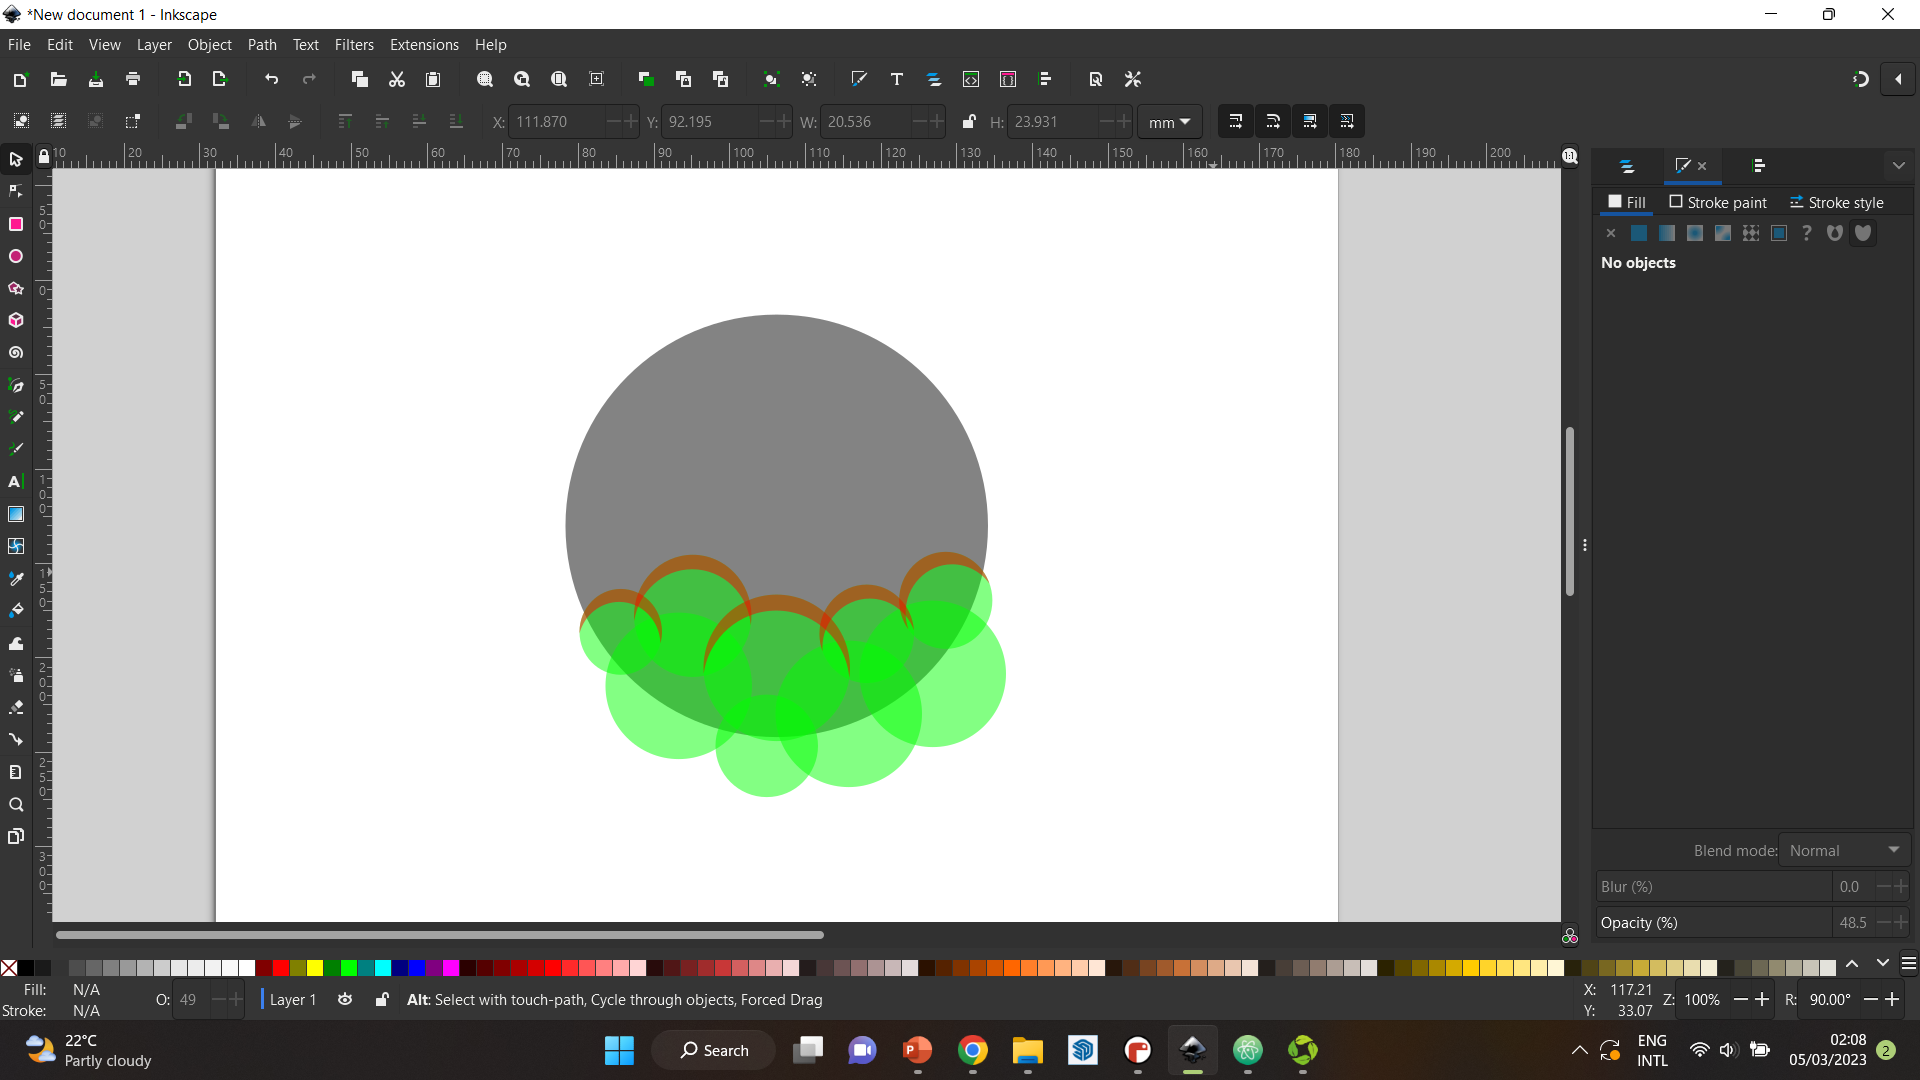
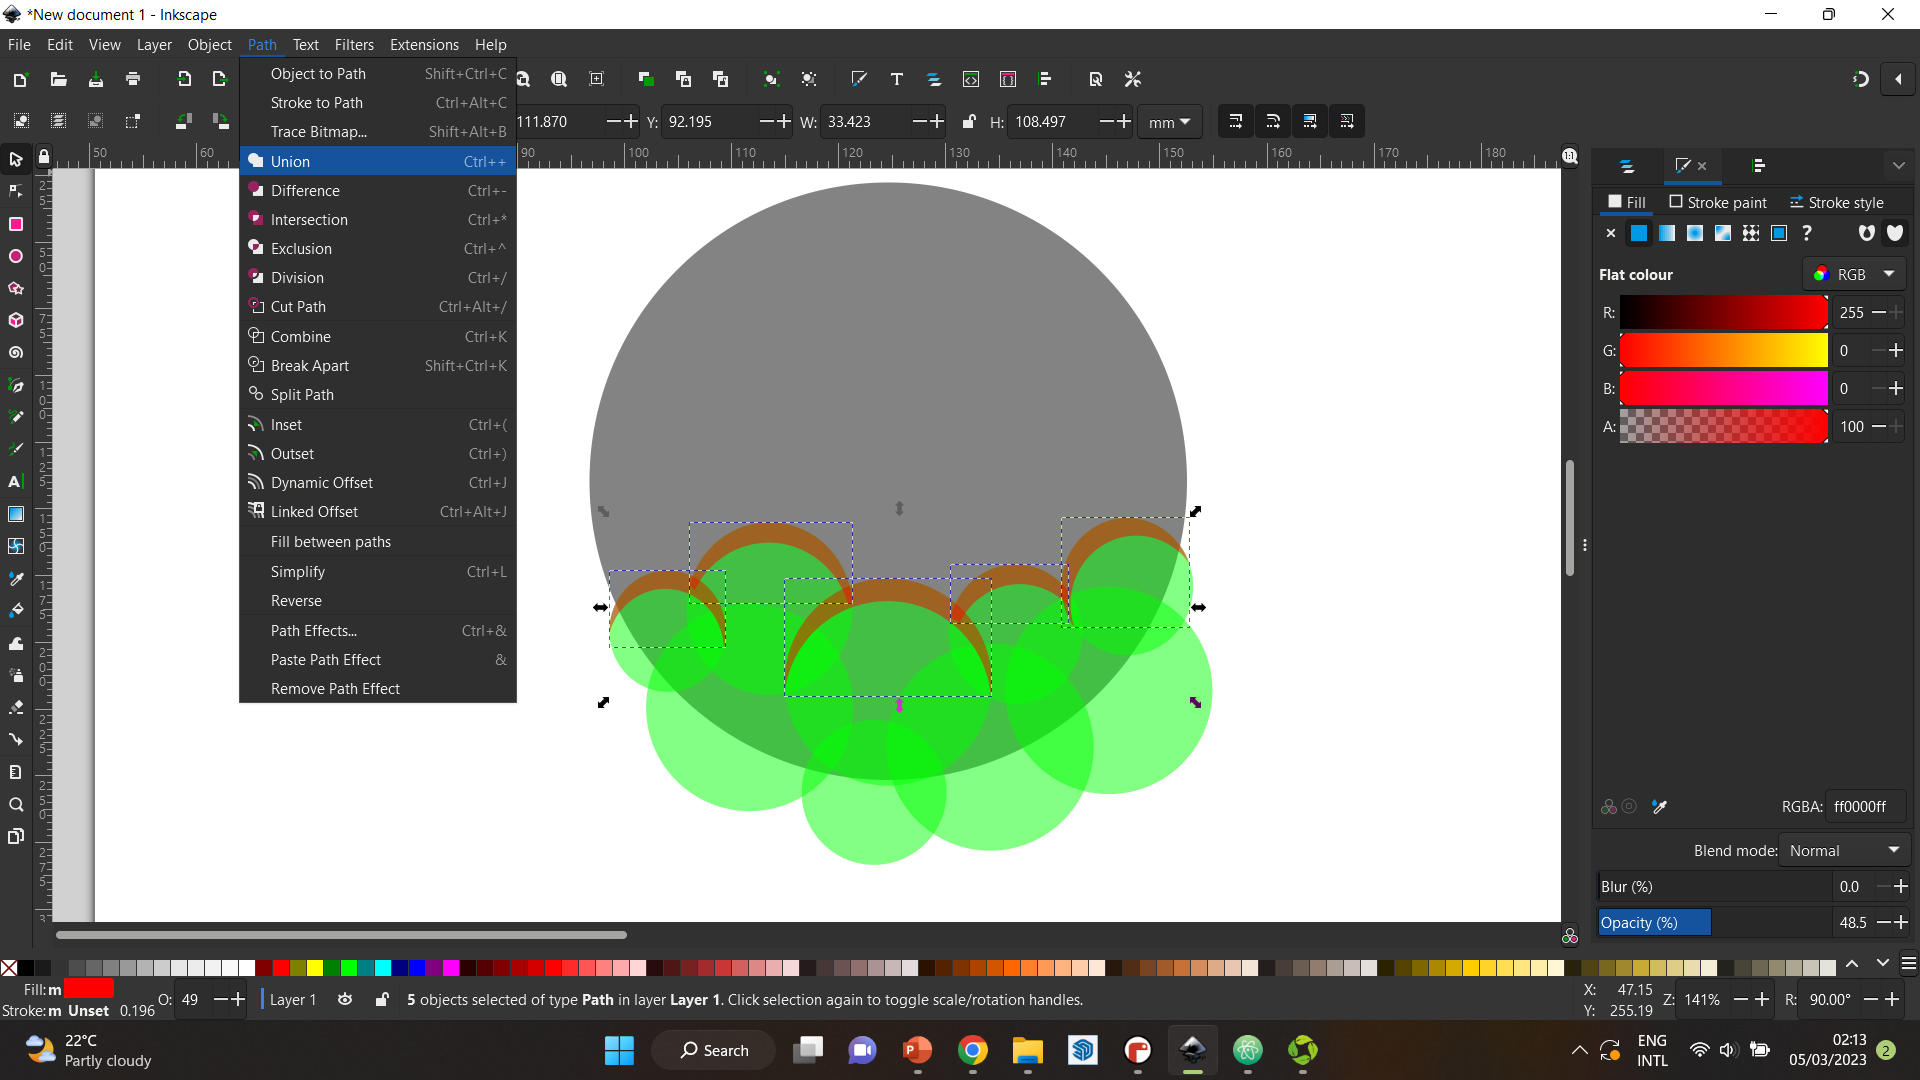
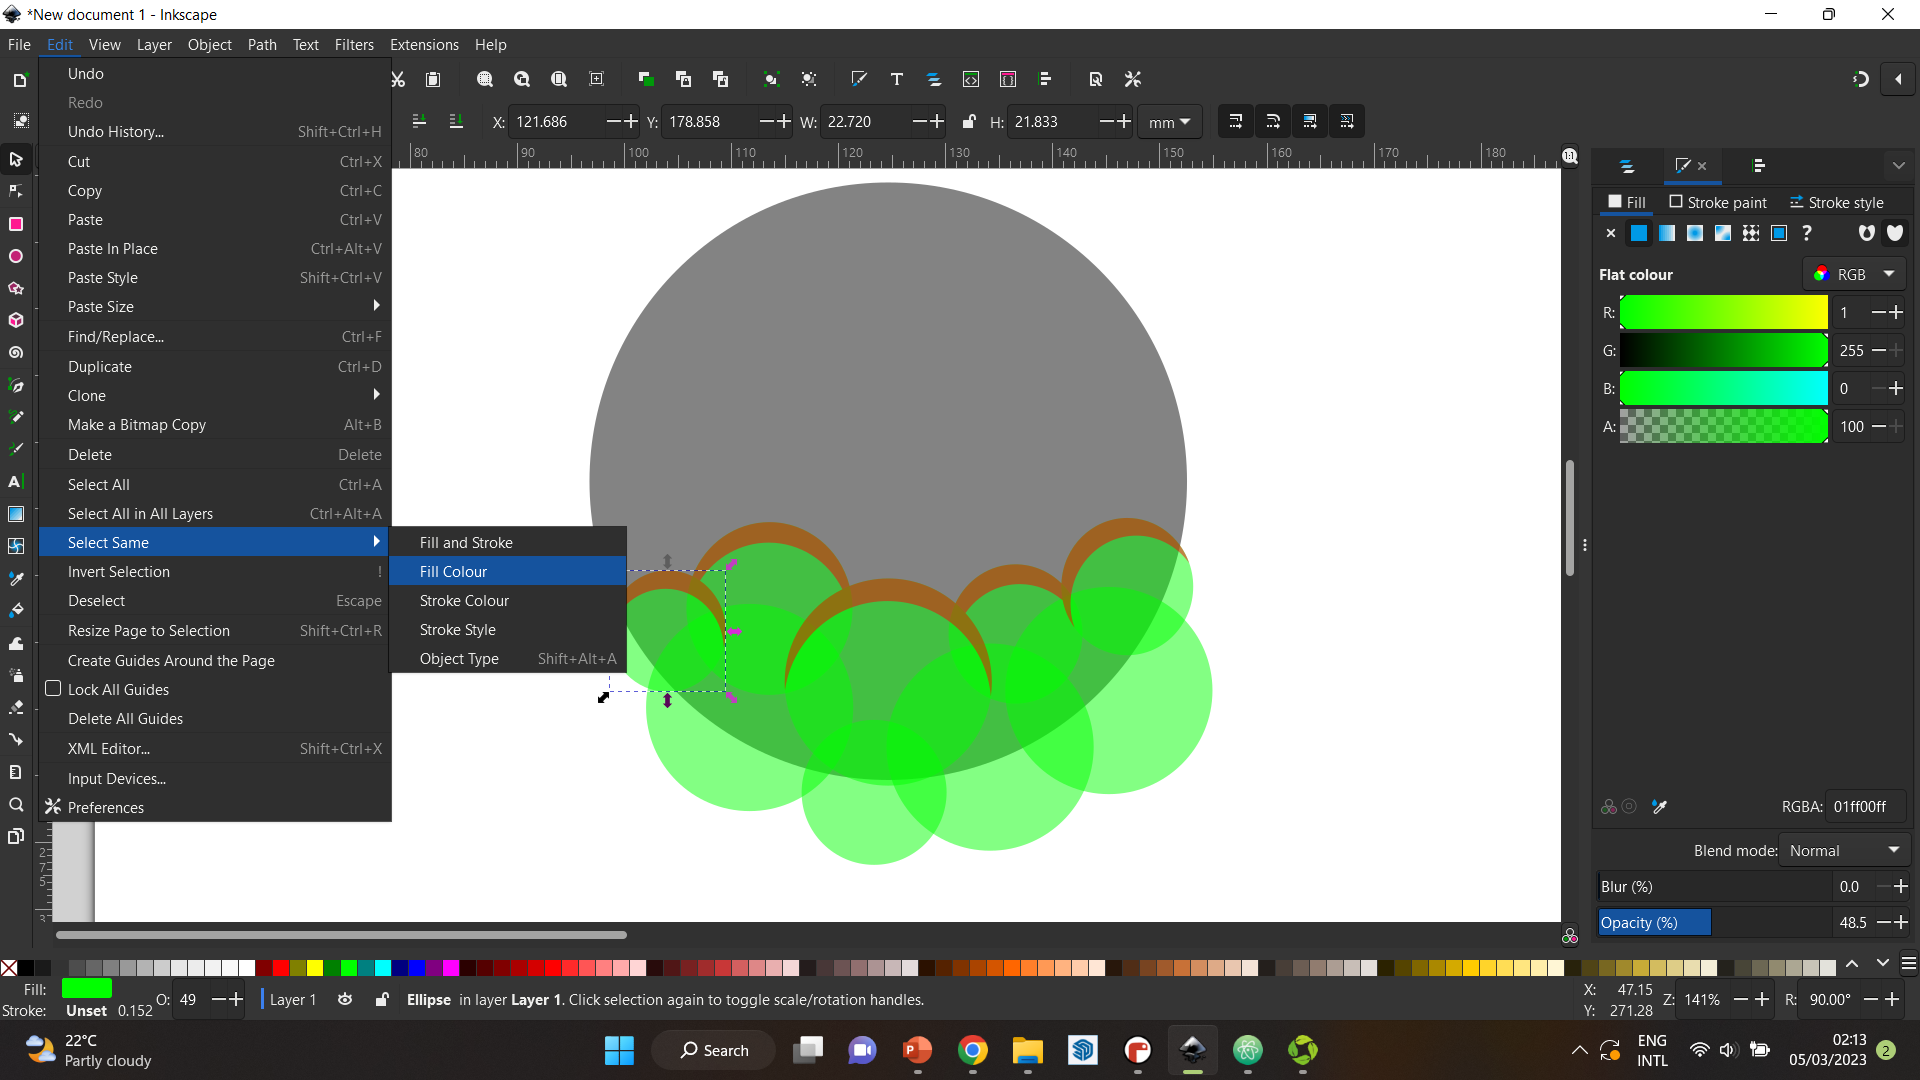
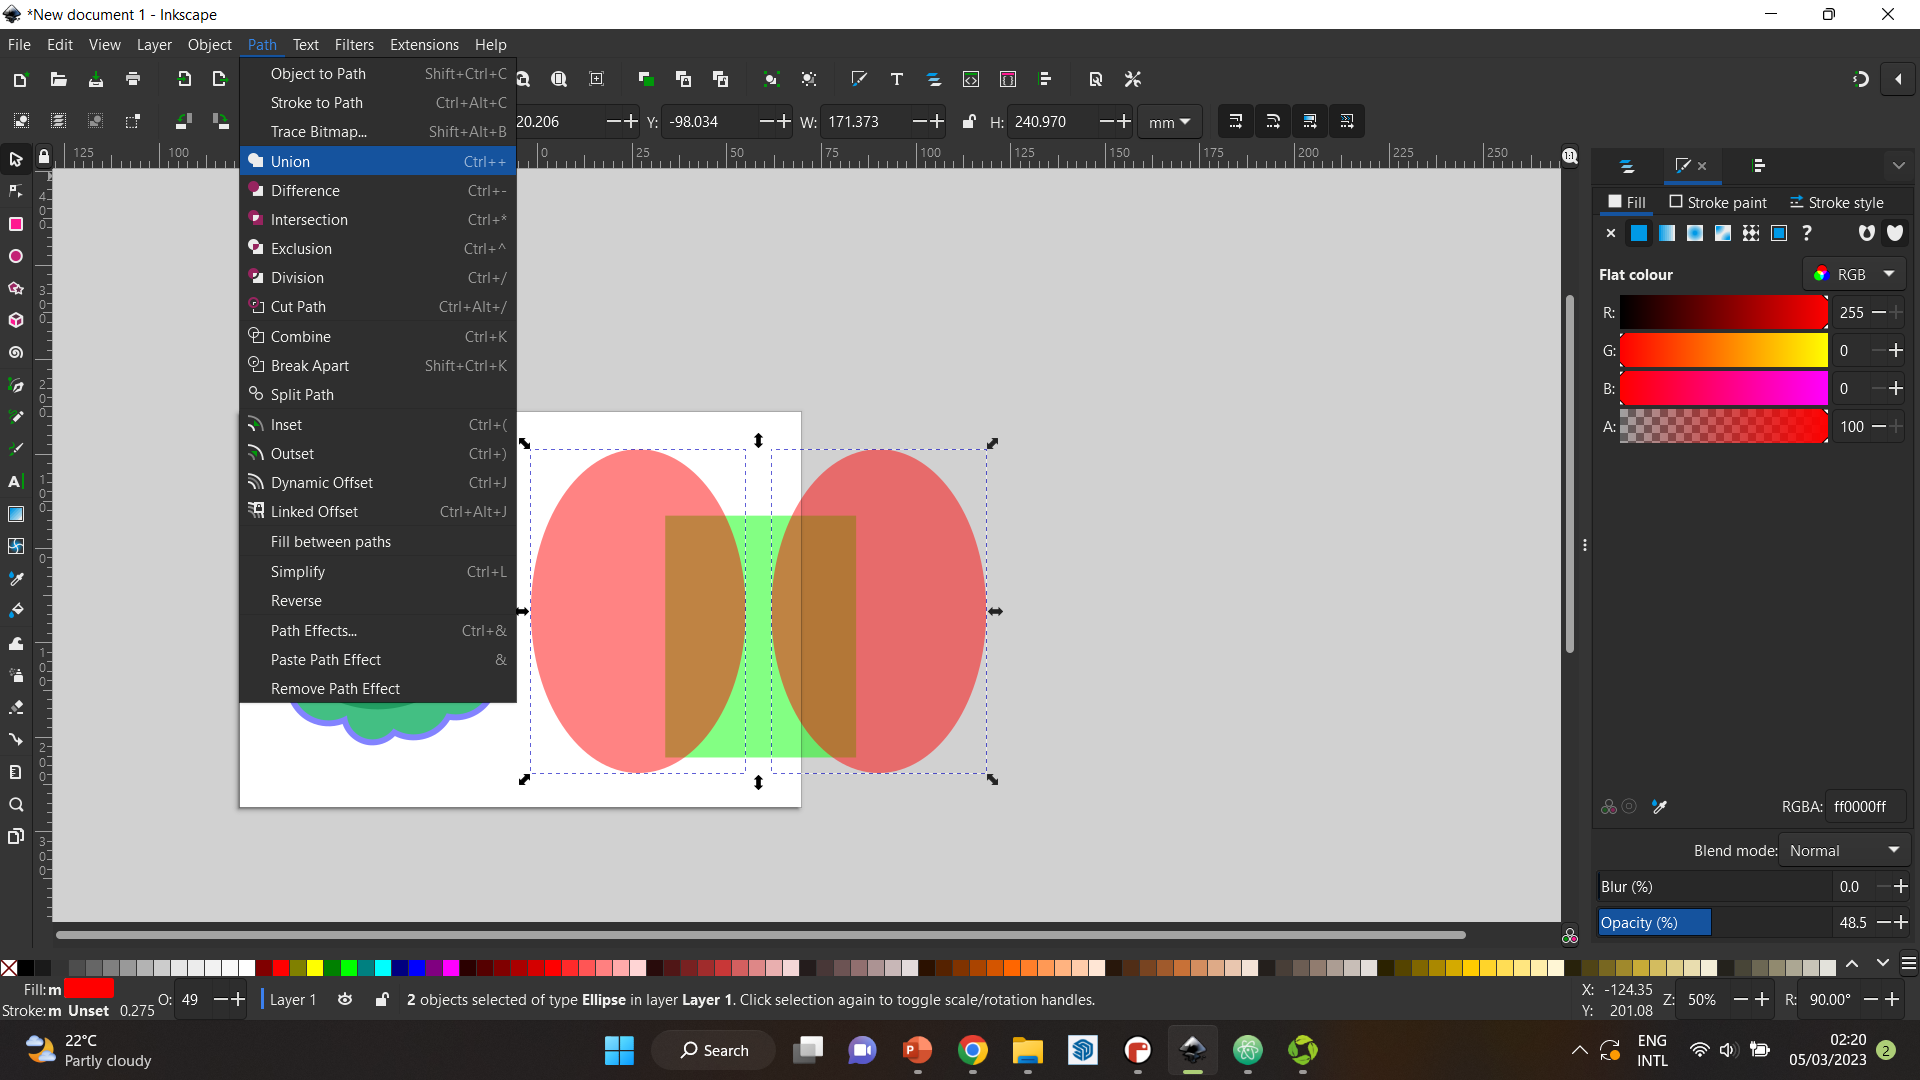
Step 5 I chose all the red outlines as shown below, and selected “union”. Then, I did the same for all the green circles.
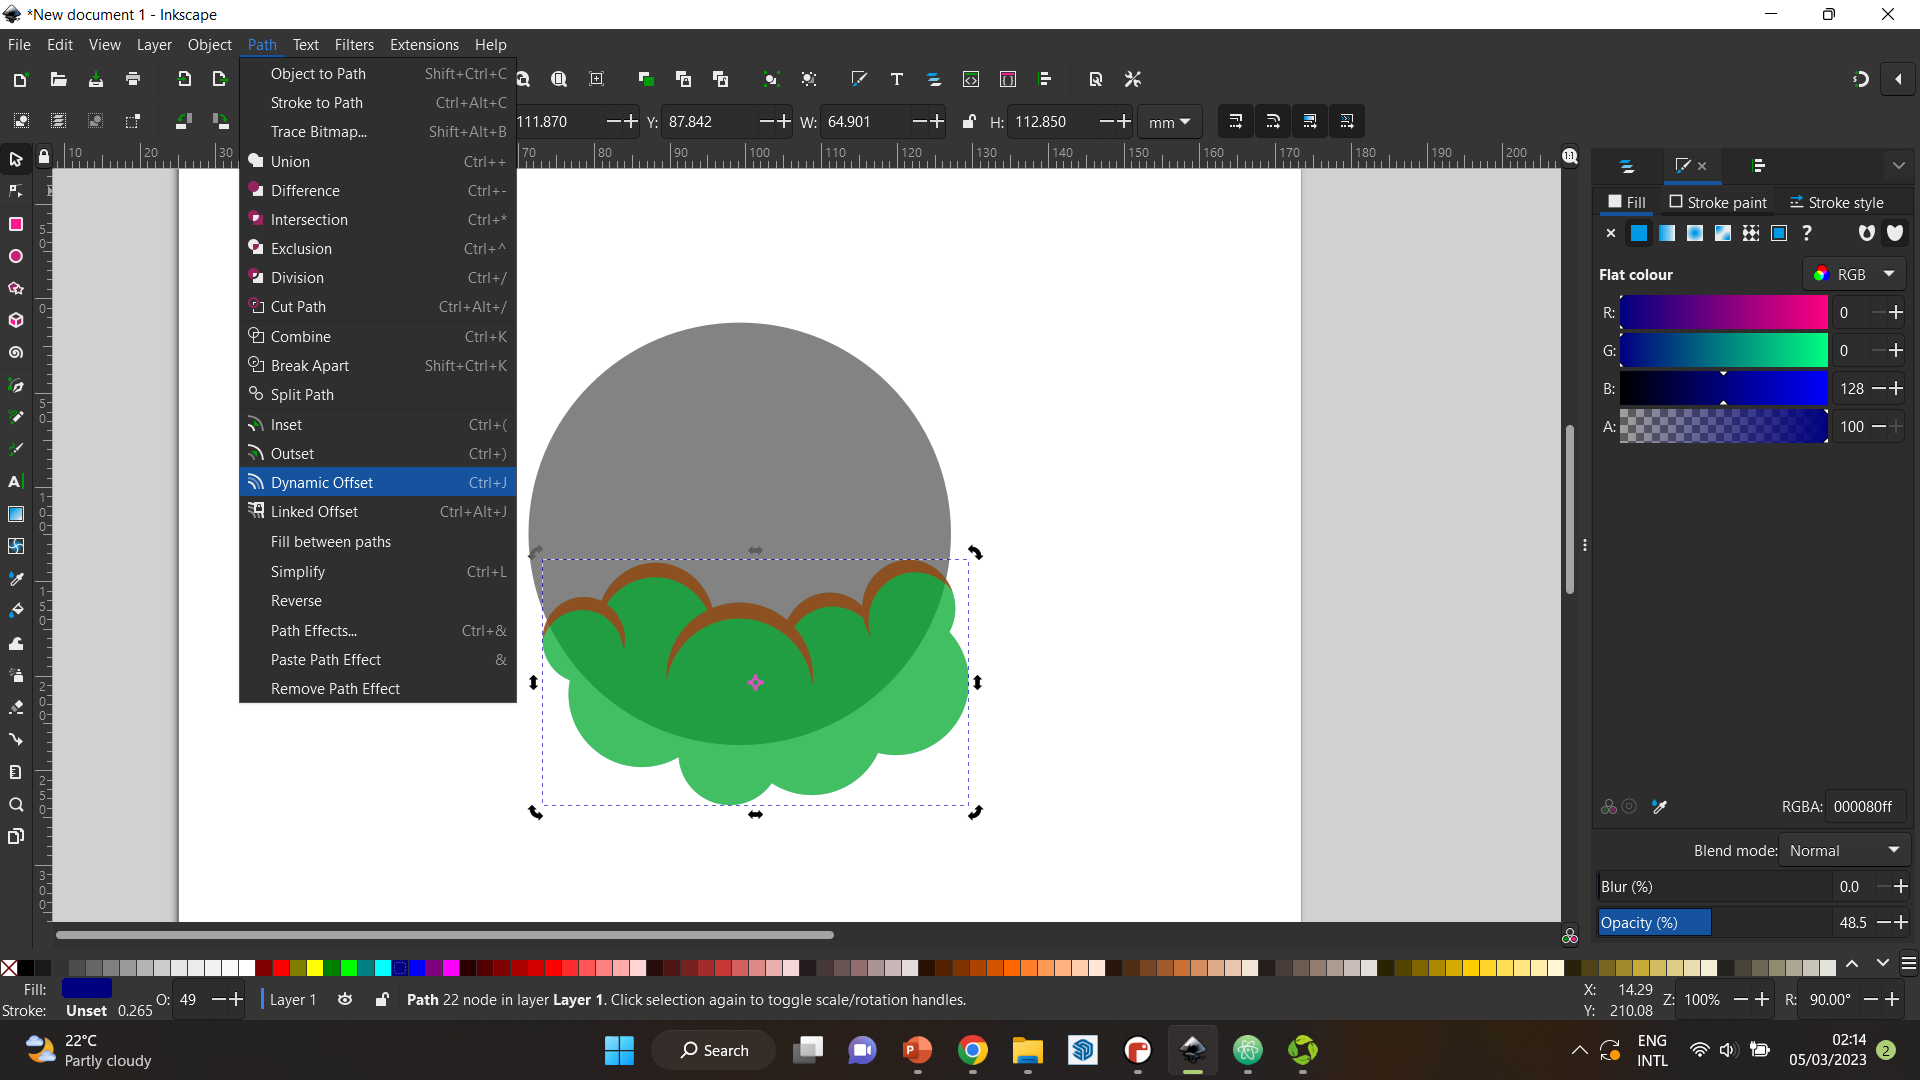
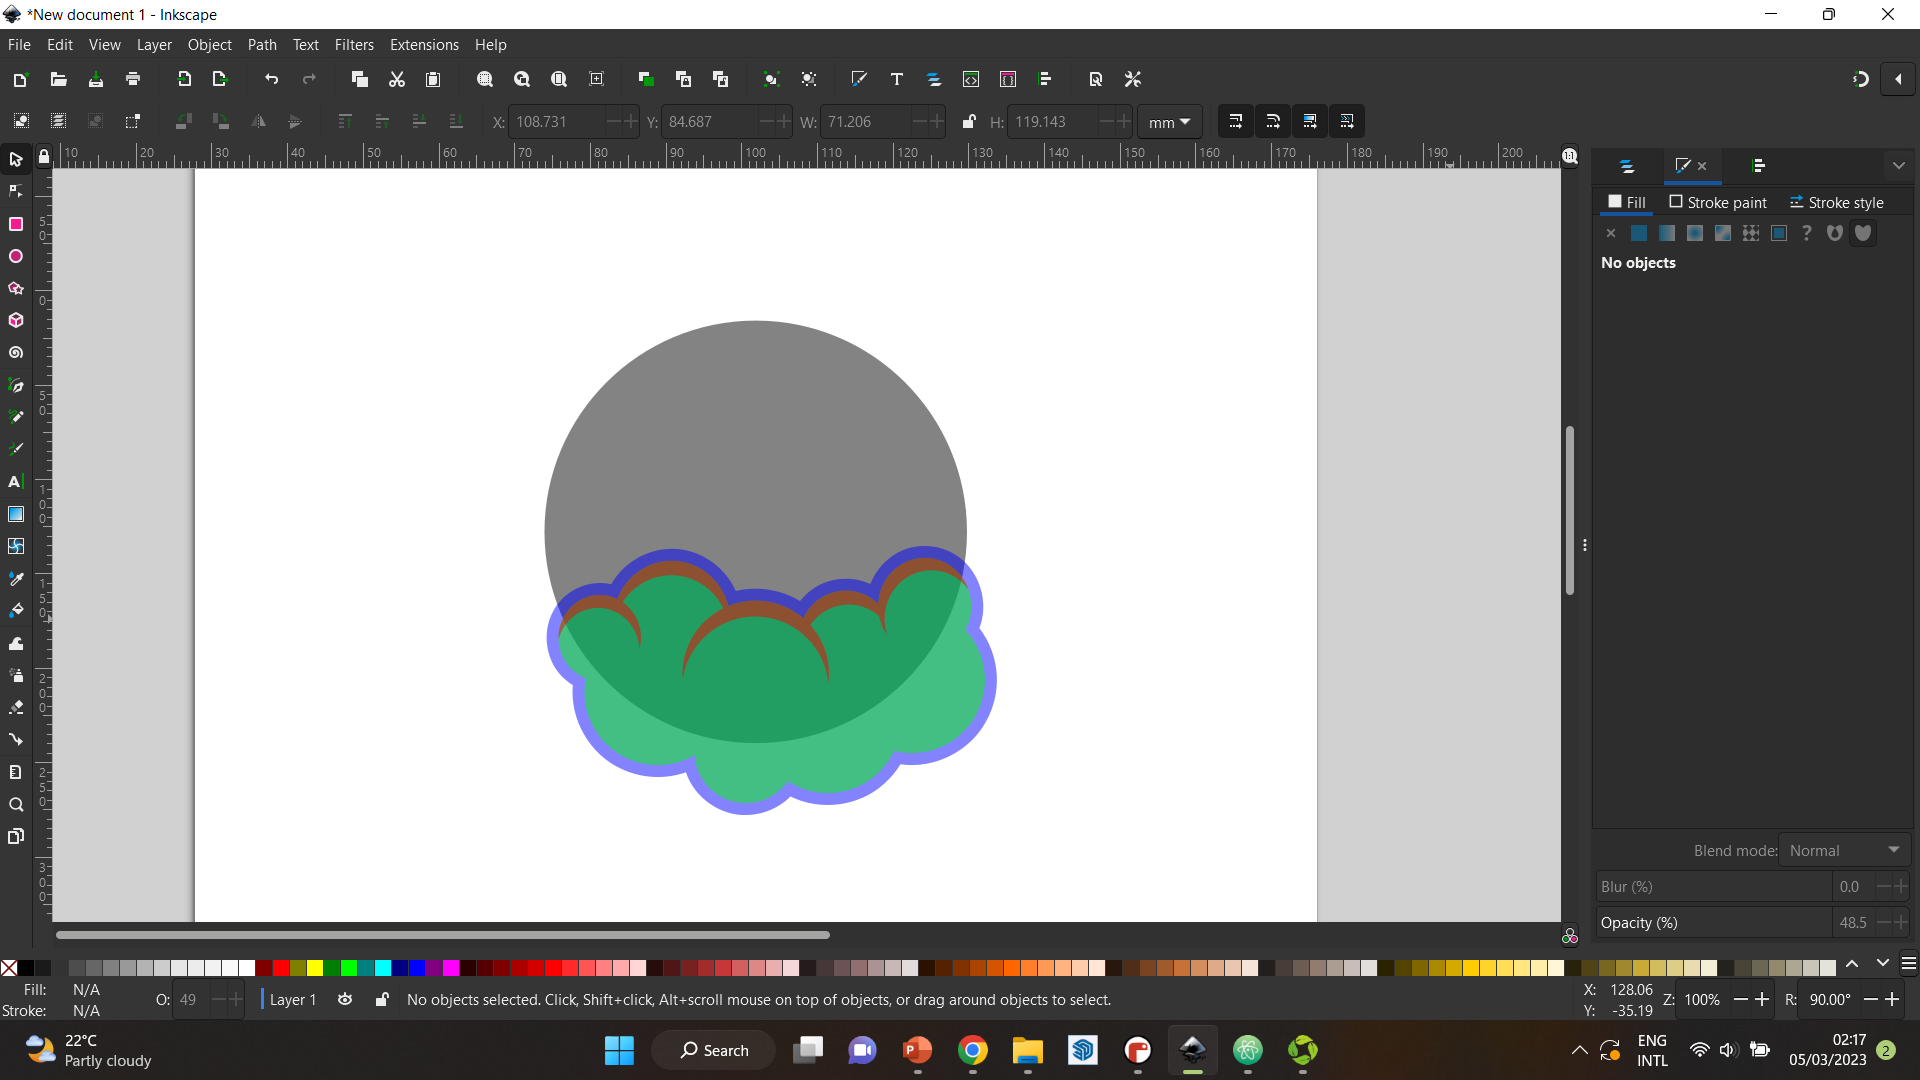
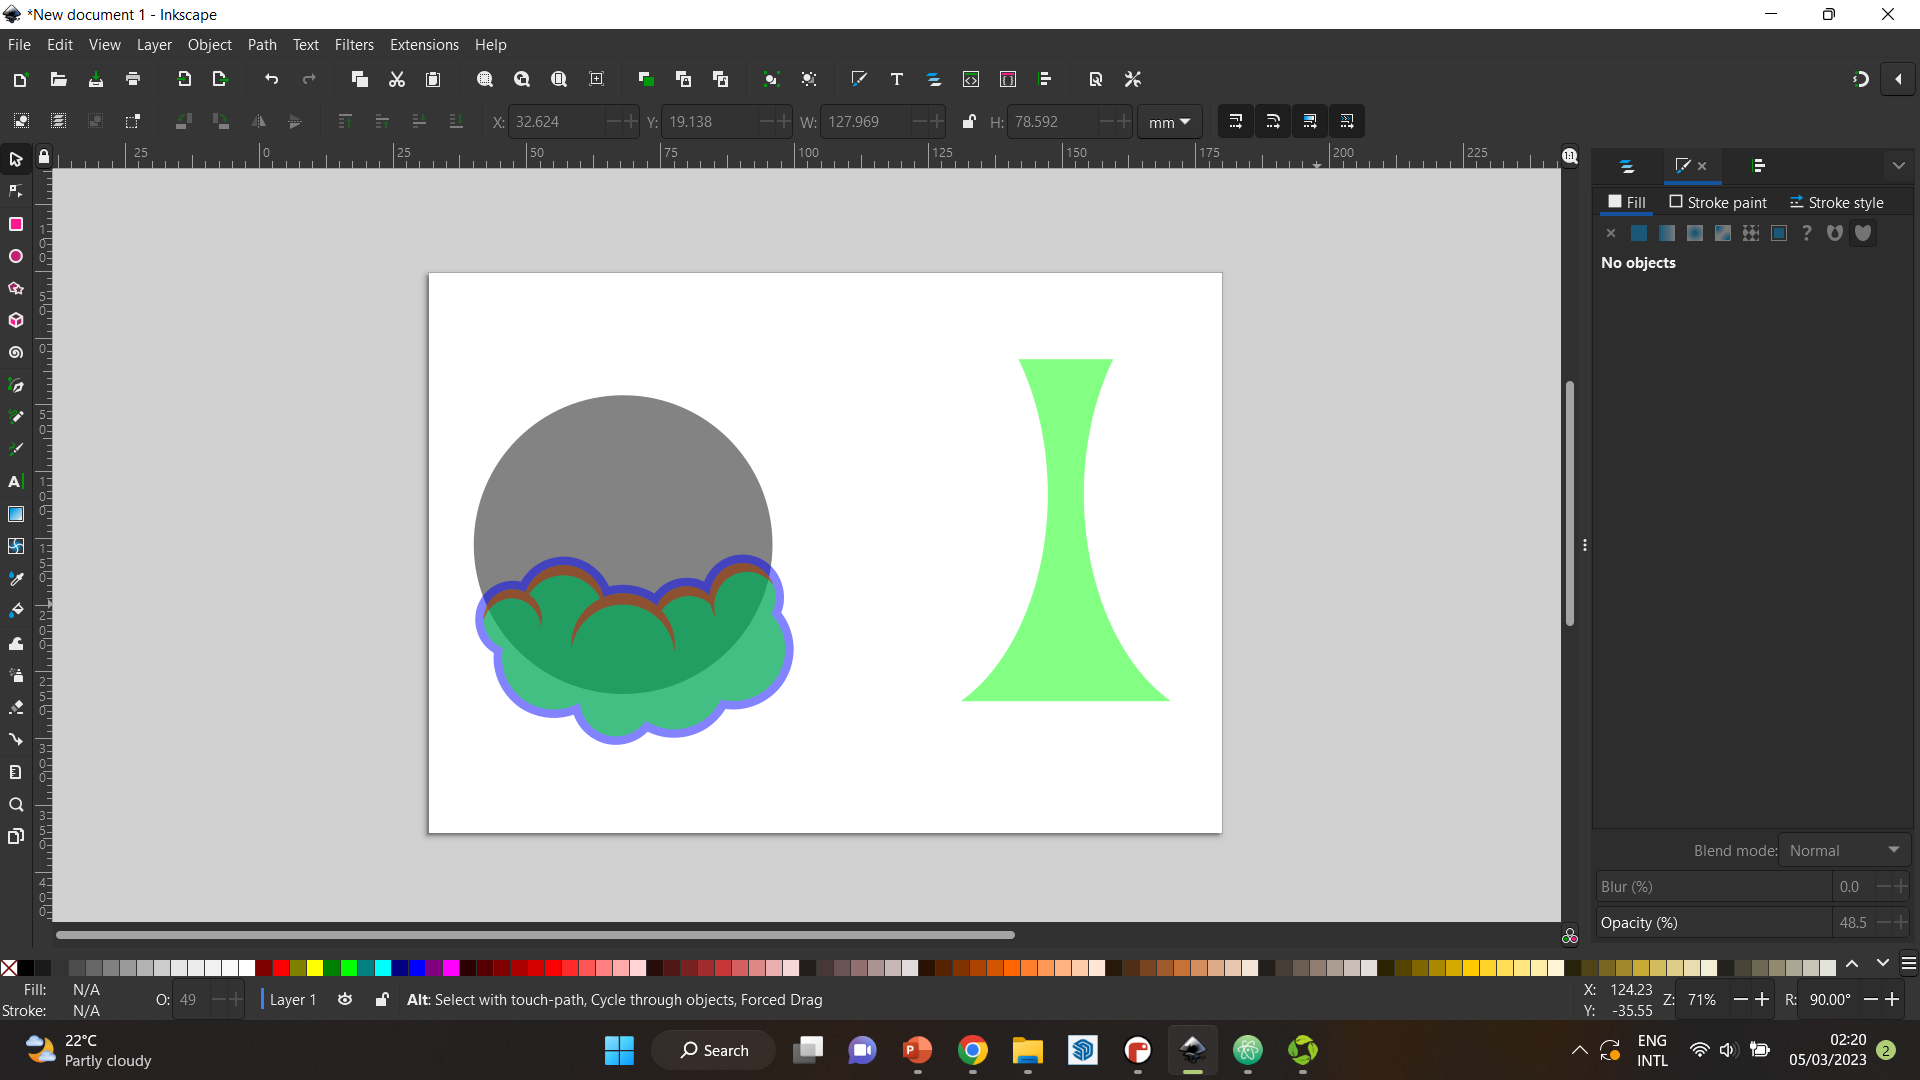
Step 6 Then, I duplicated the green cloud, and created an offset using “dynamic offset” tool in paths.
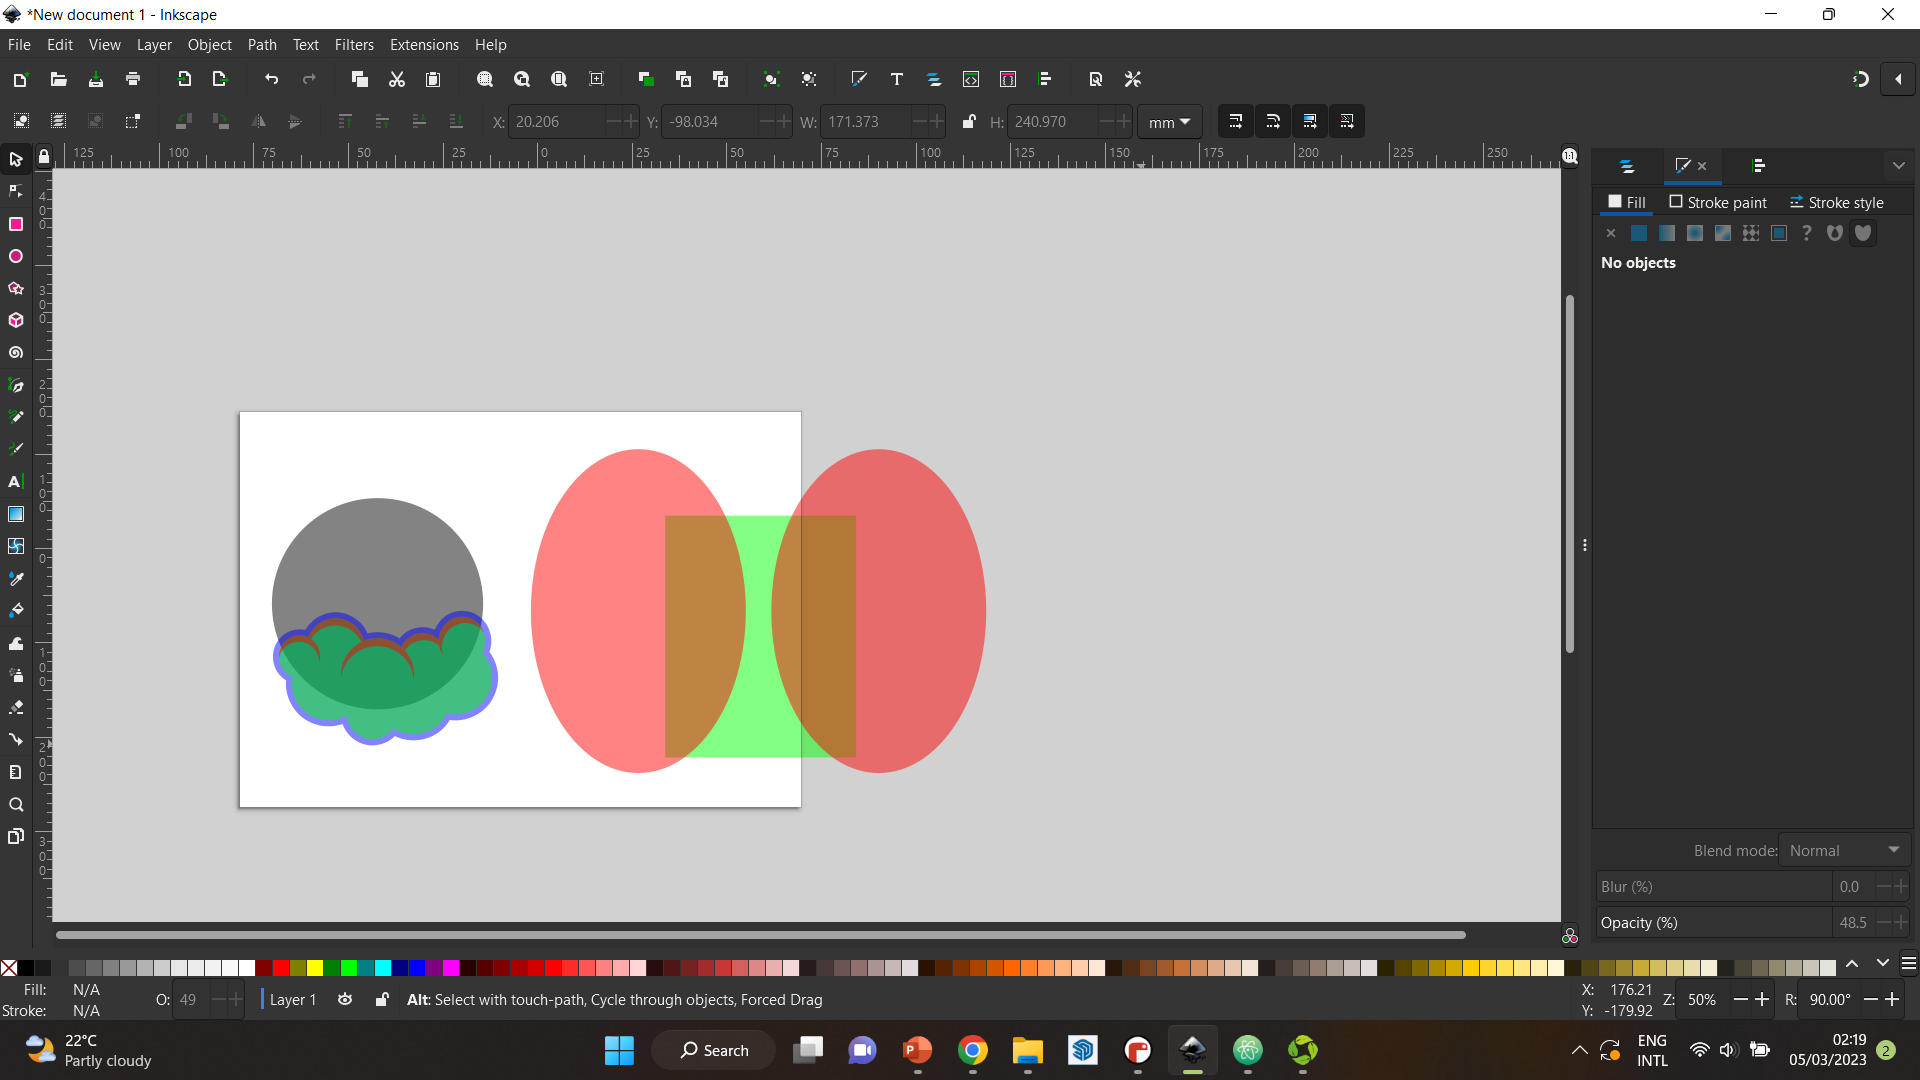
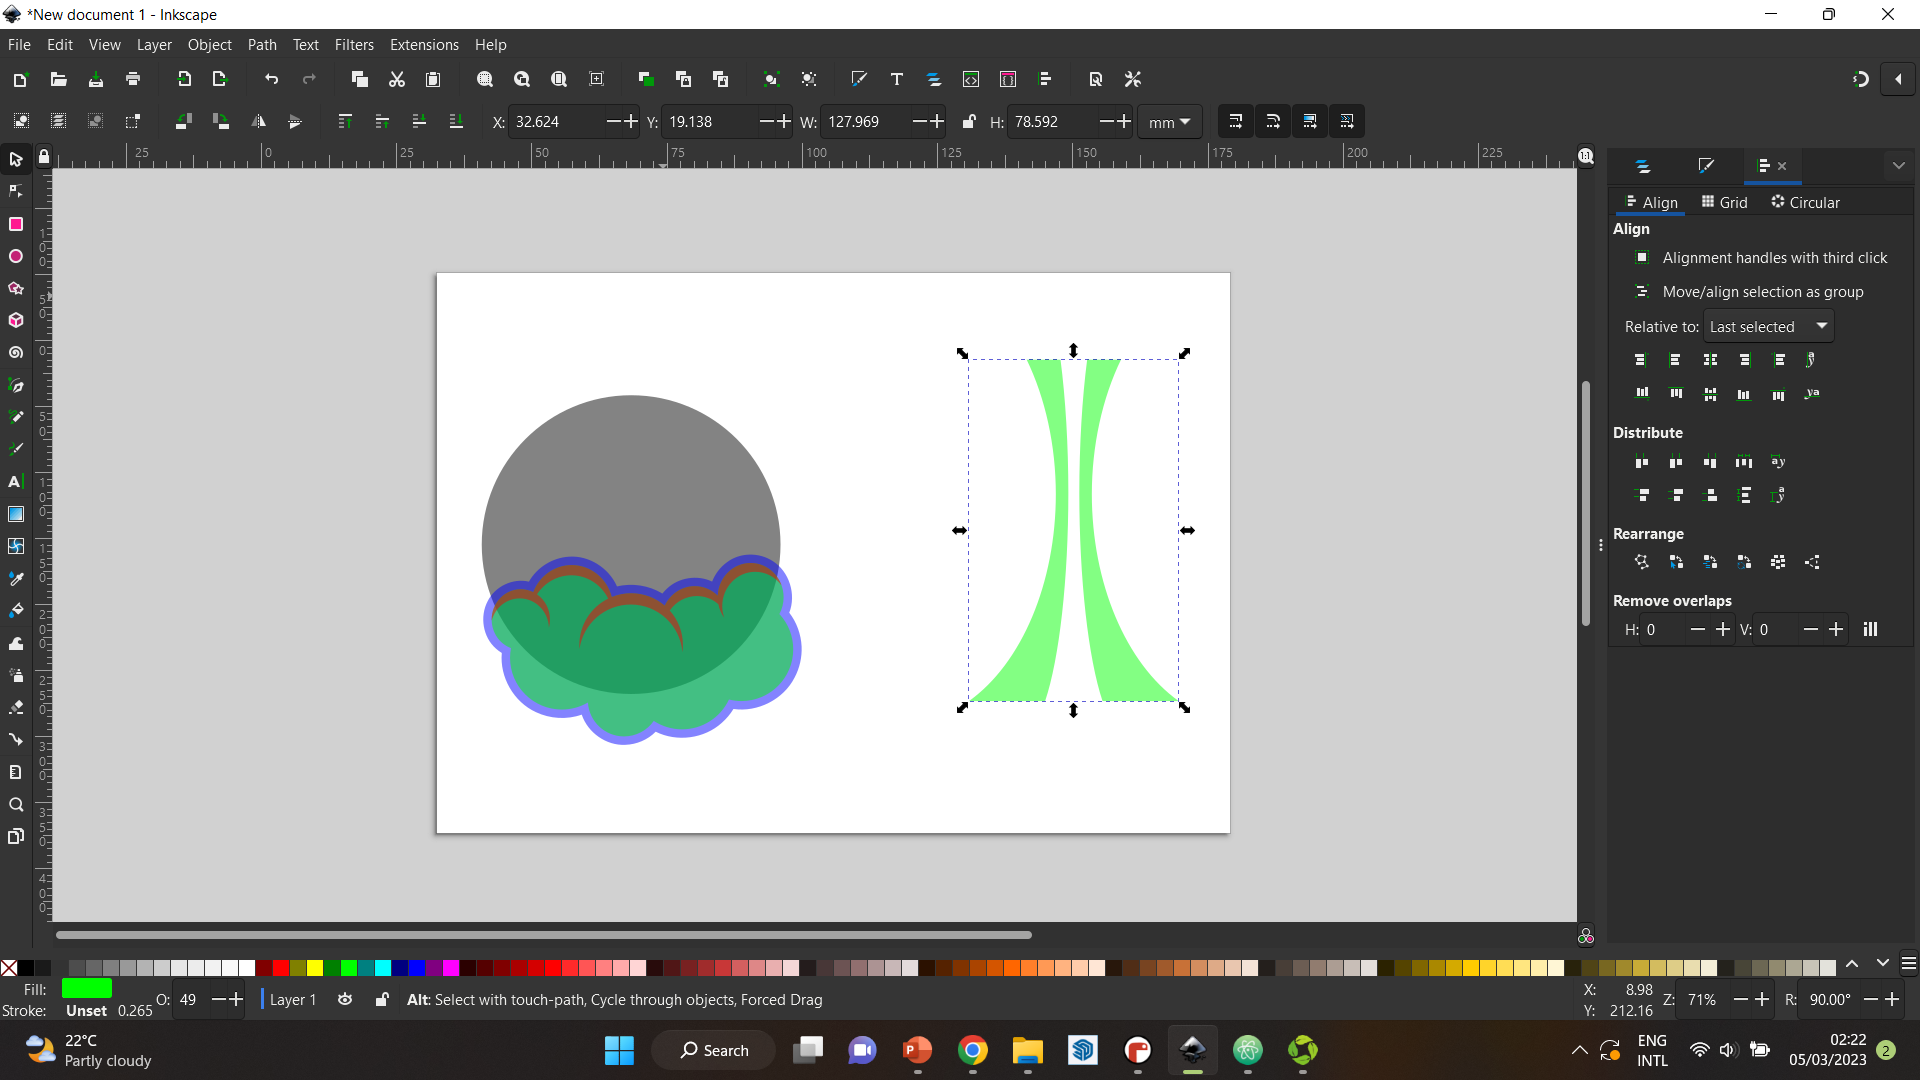
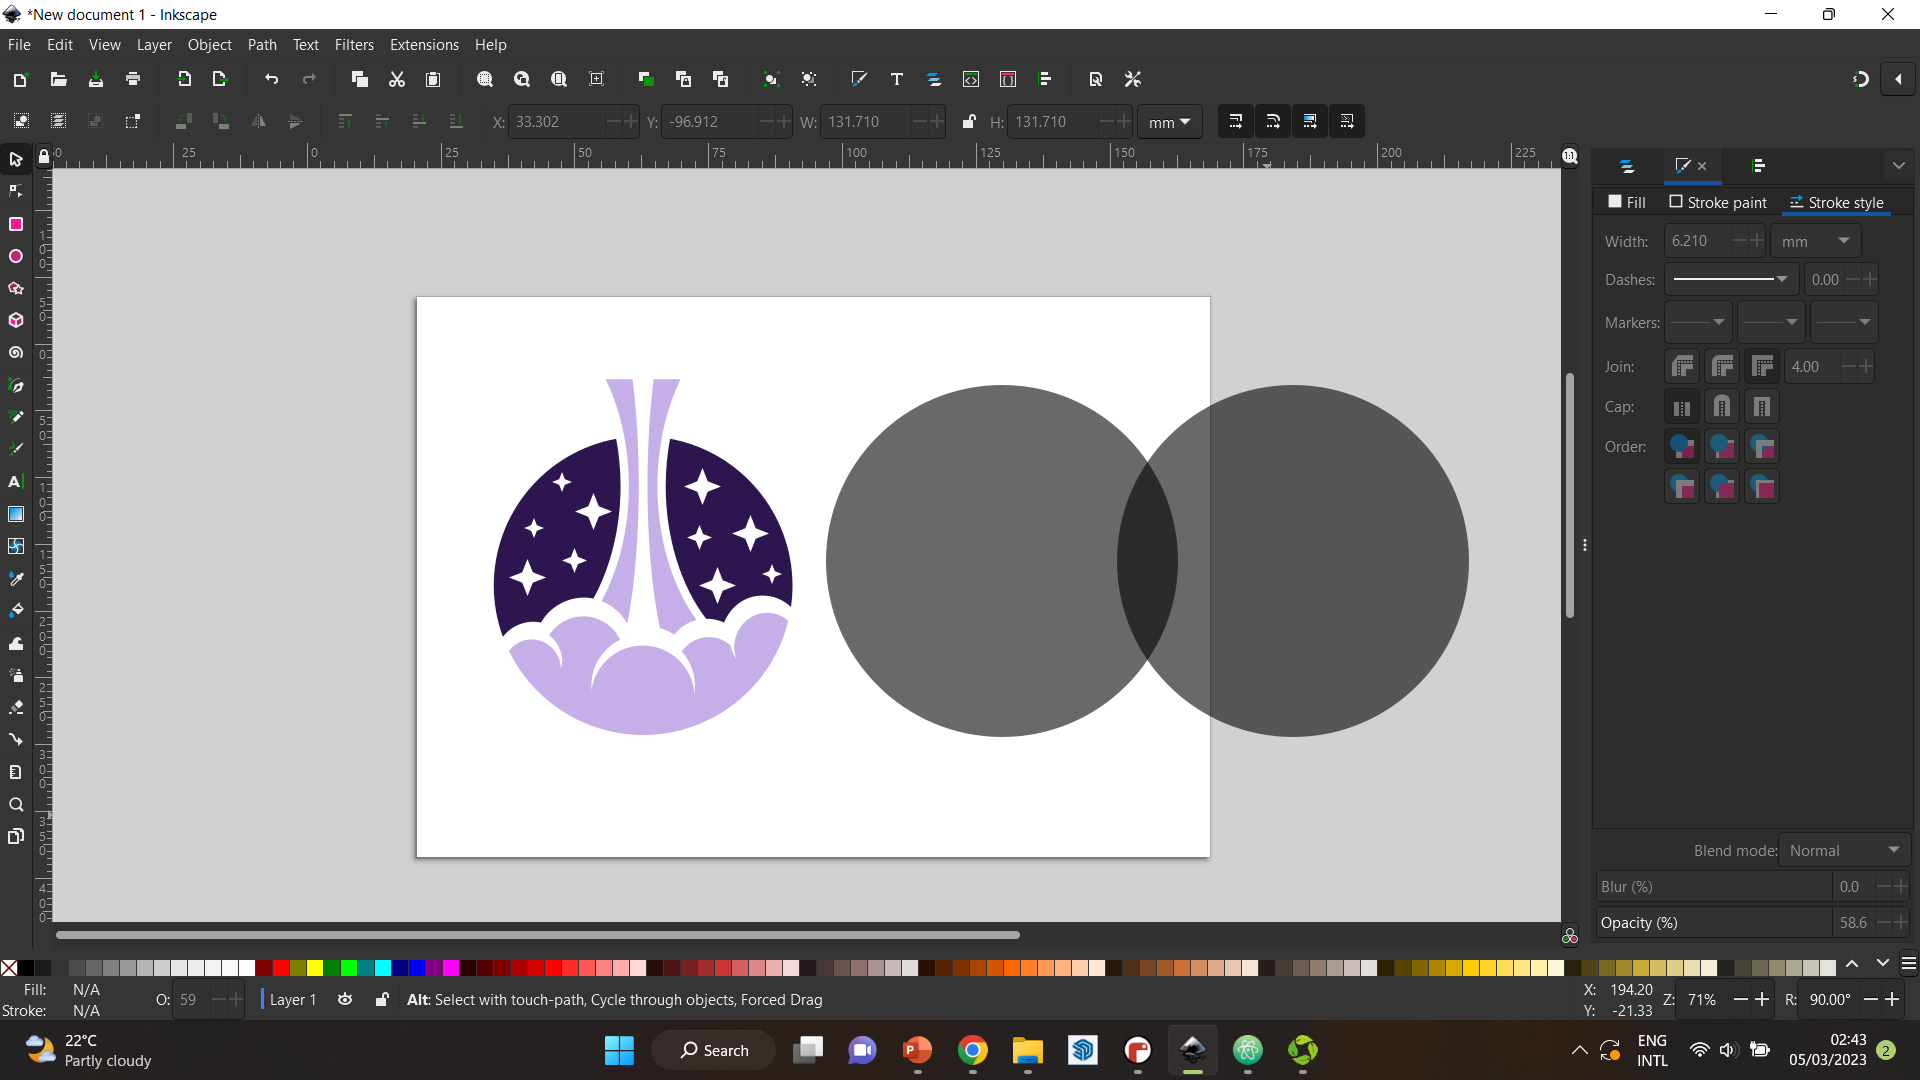
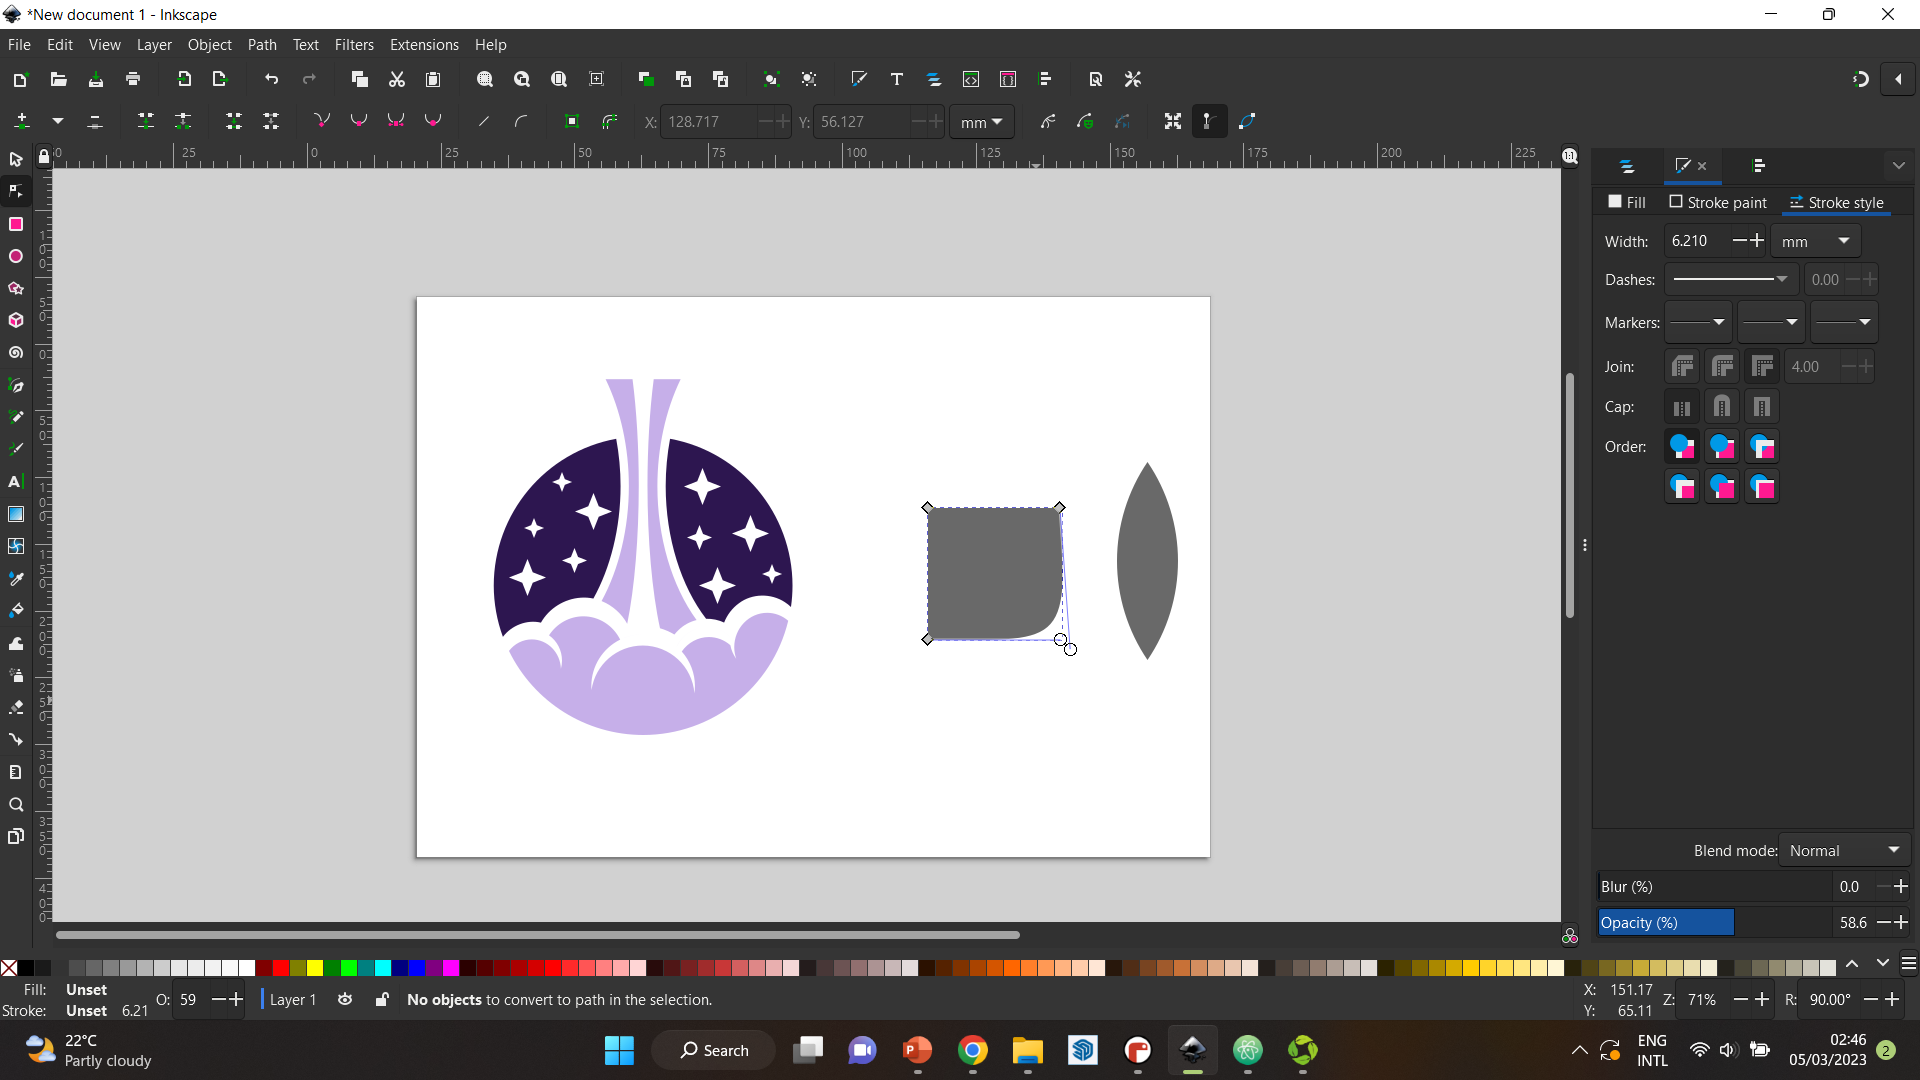
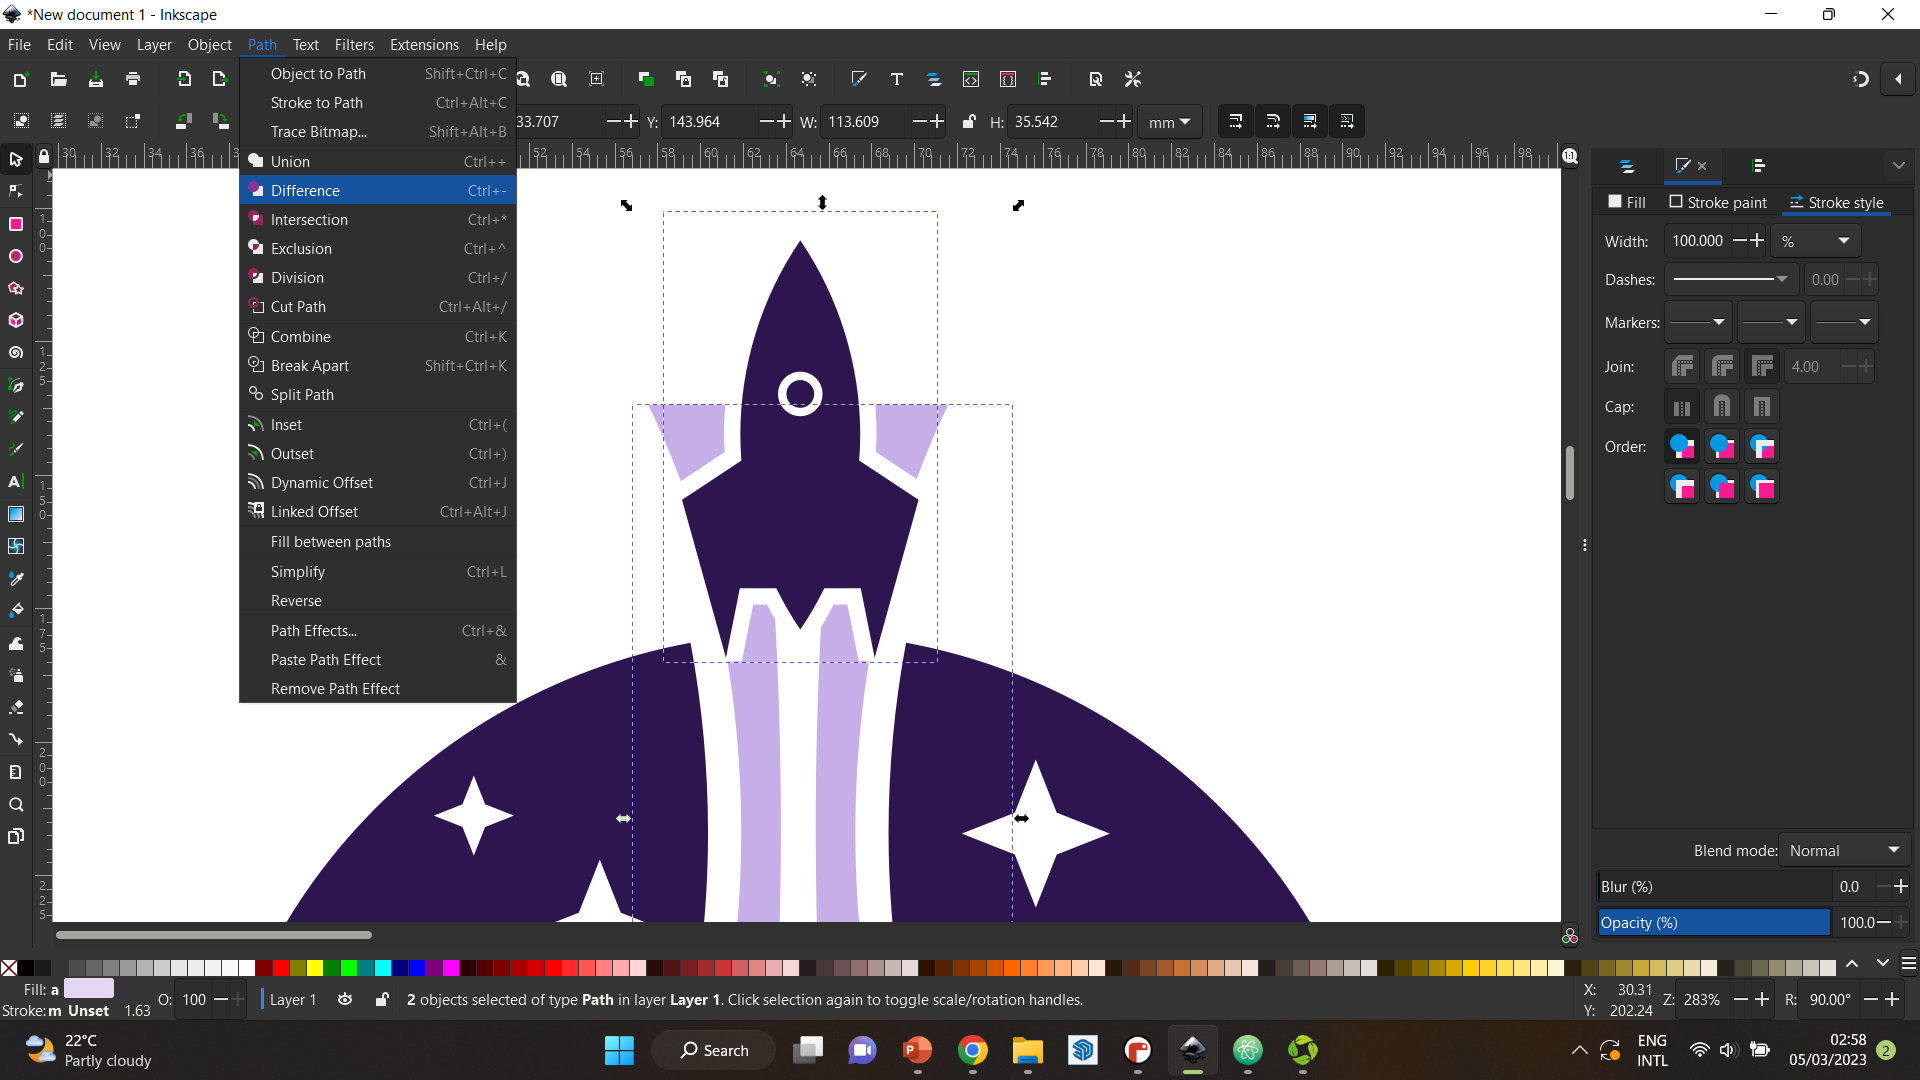
Step 7 When that was done, it was time to create the smoke stream coming directly out of the rocket. To do that, I used a rectangle and two circles, then took the difference between them to achieve the shape I wanted.
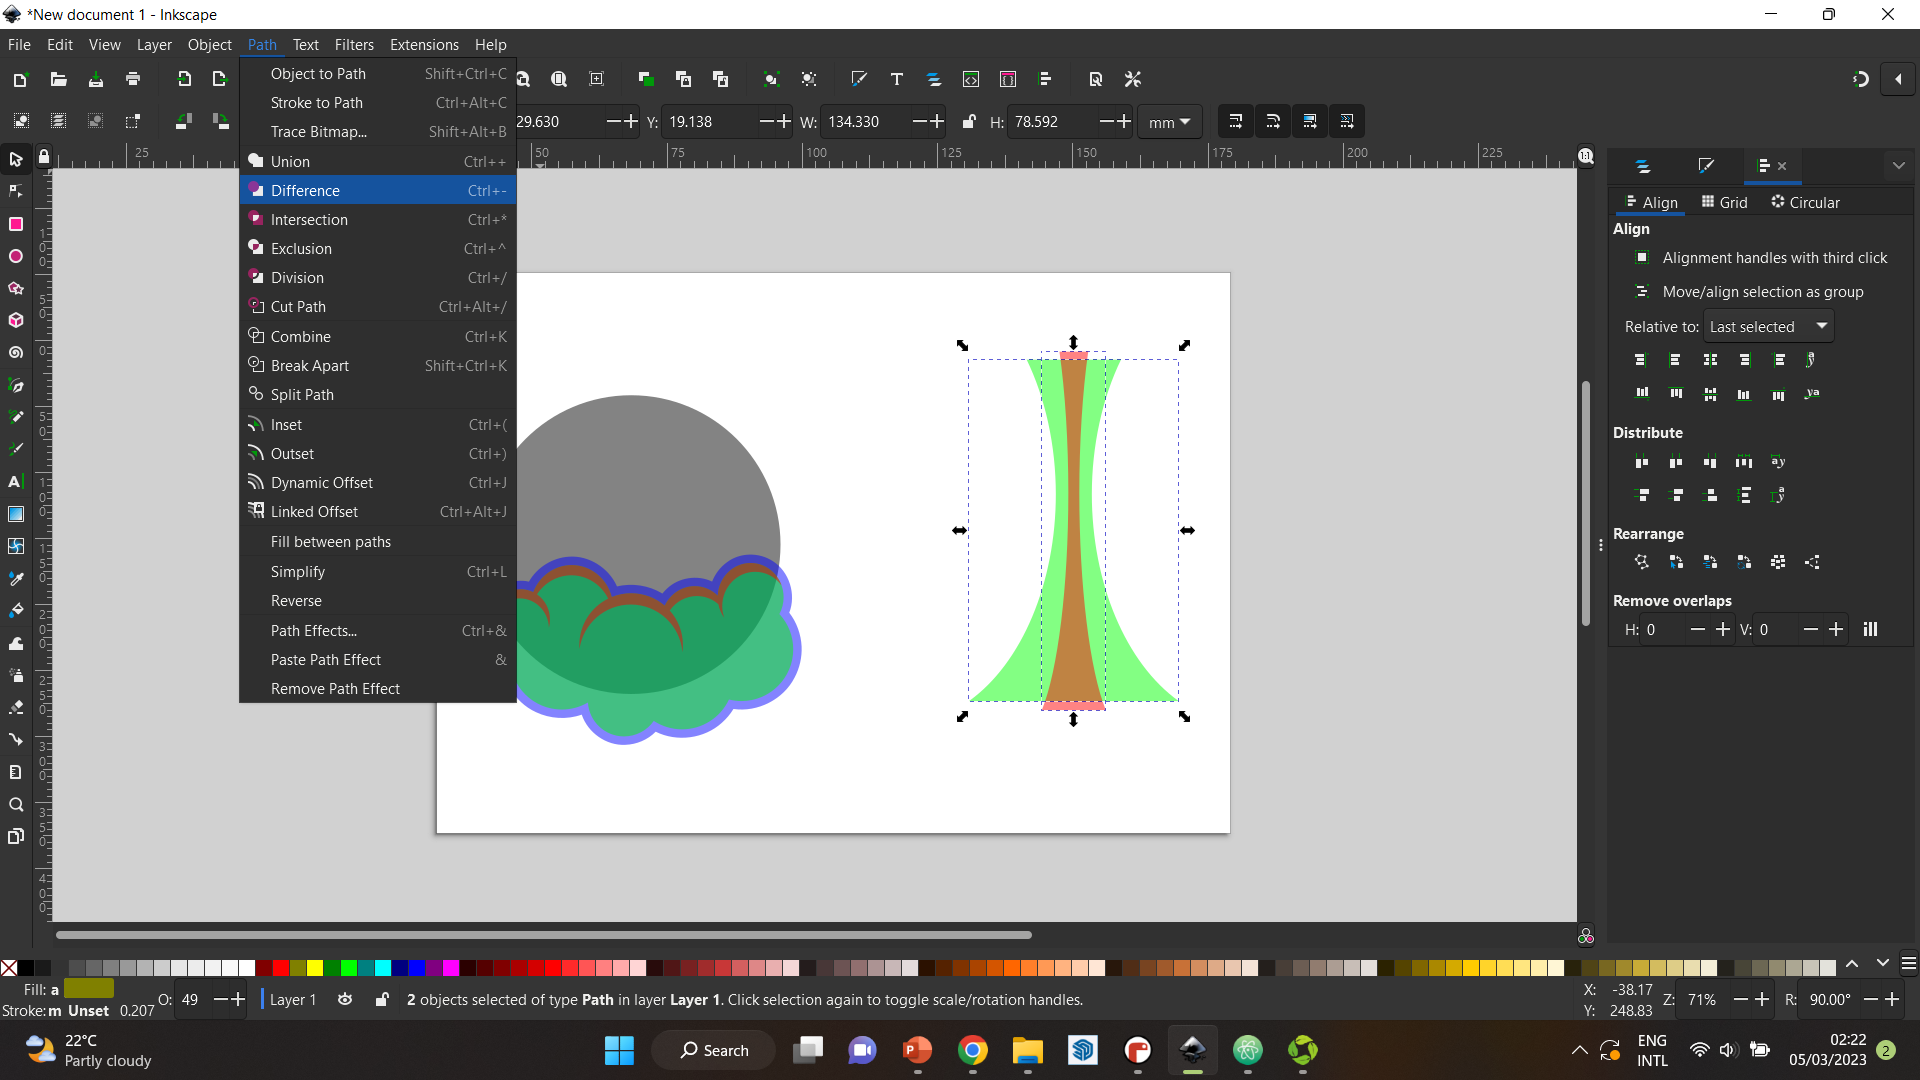
Step 8 Next, I duplicated it and made it narrower, then placed it in the middle. I then subtracted it from the original one to get the look I was trying to achieve.
Step 9 I placed it in its correct place, and gave it a stroke to make an outline around it that matches the smoke at the bottom.
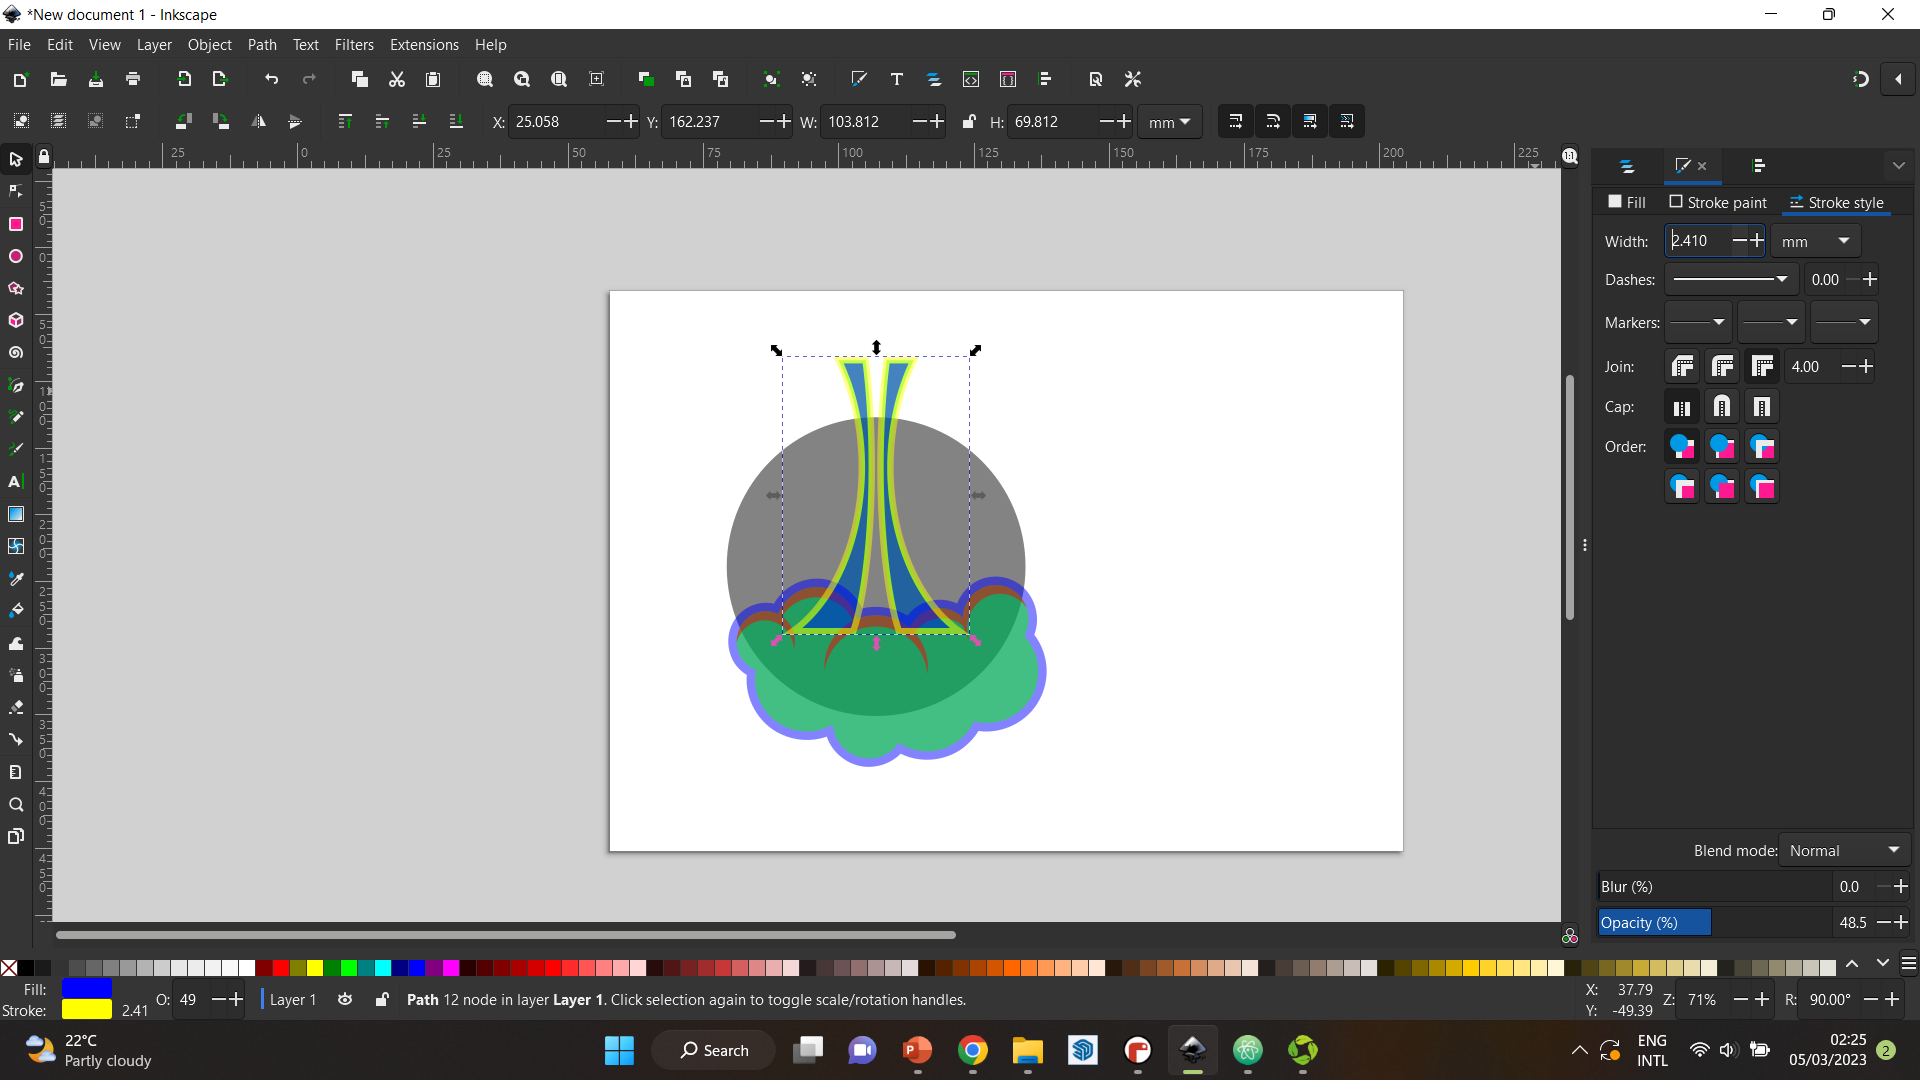
Step 10 After that, I cleaned out the logo using the same techniques I’ve been using throughout the design, and changed the colors to match each other and look aesthetically pleasing.

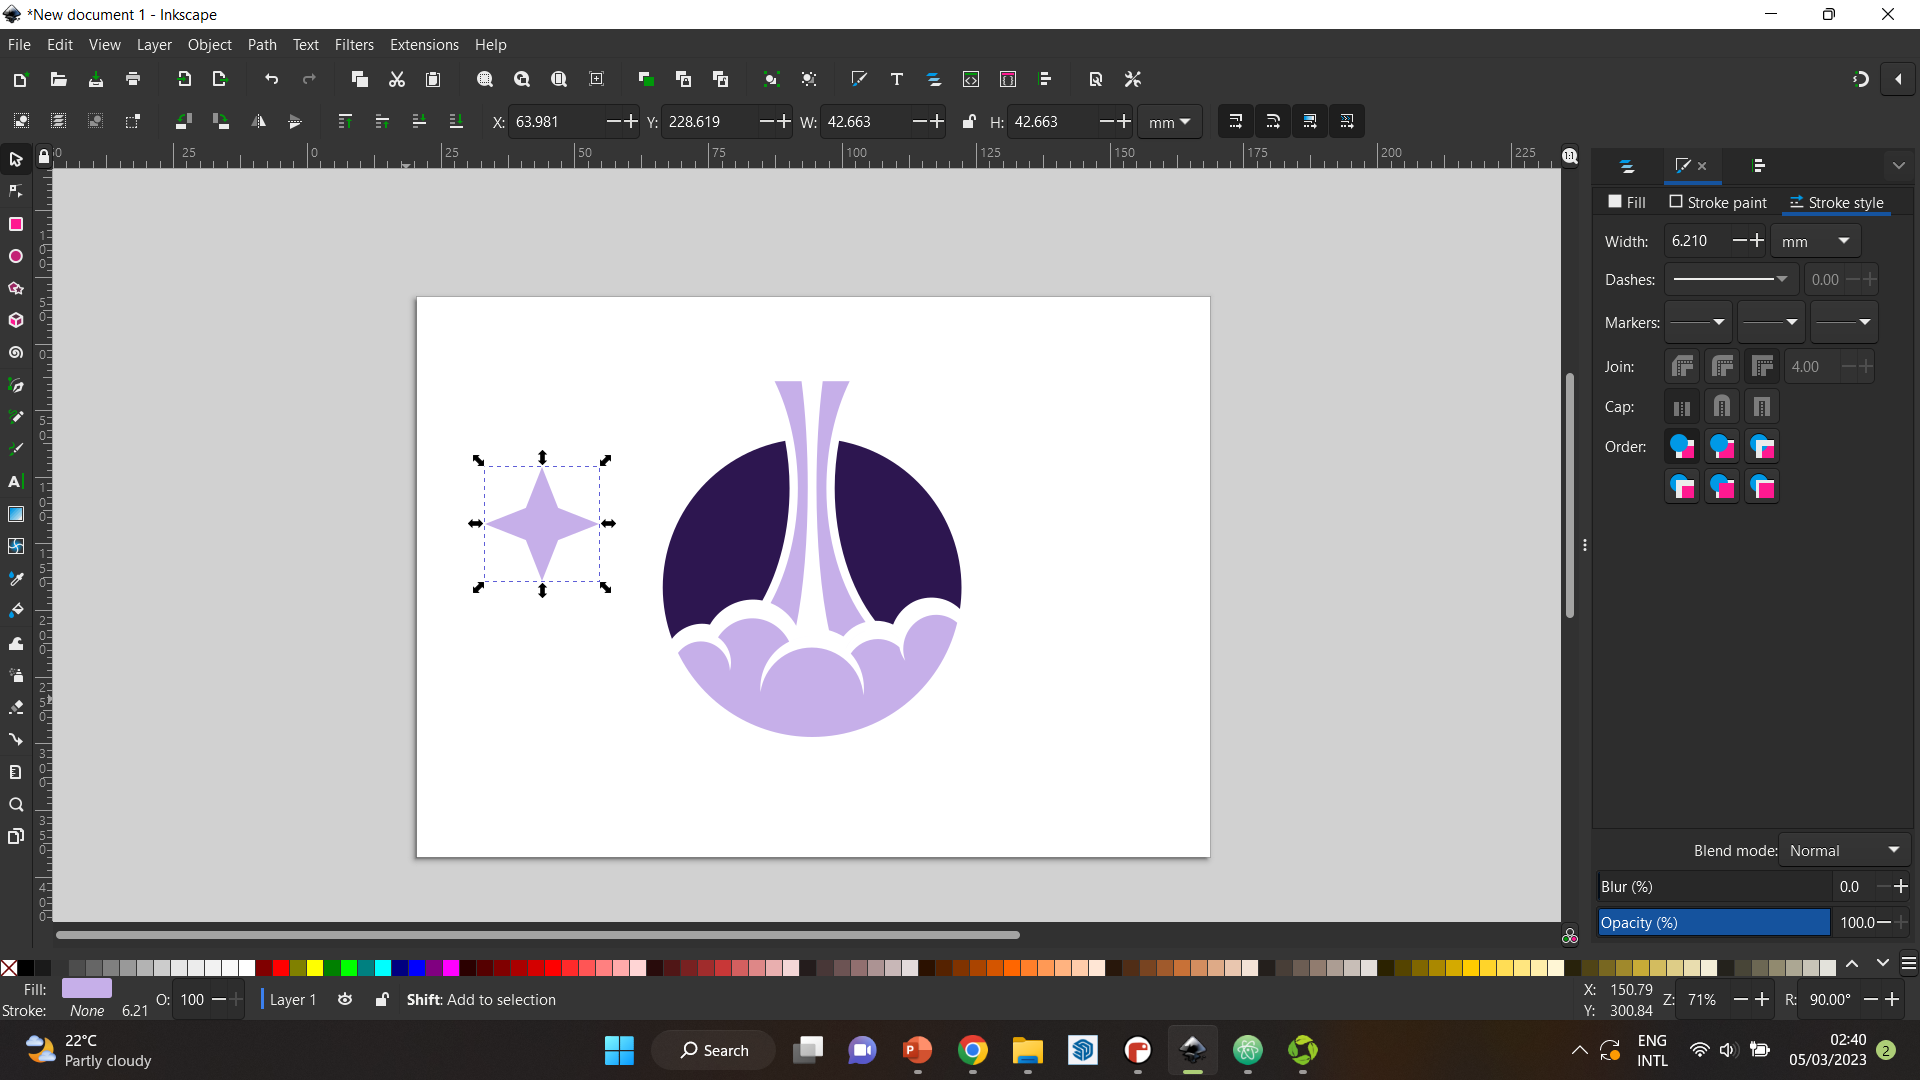
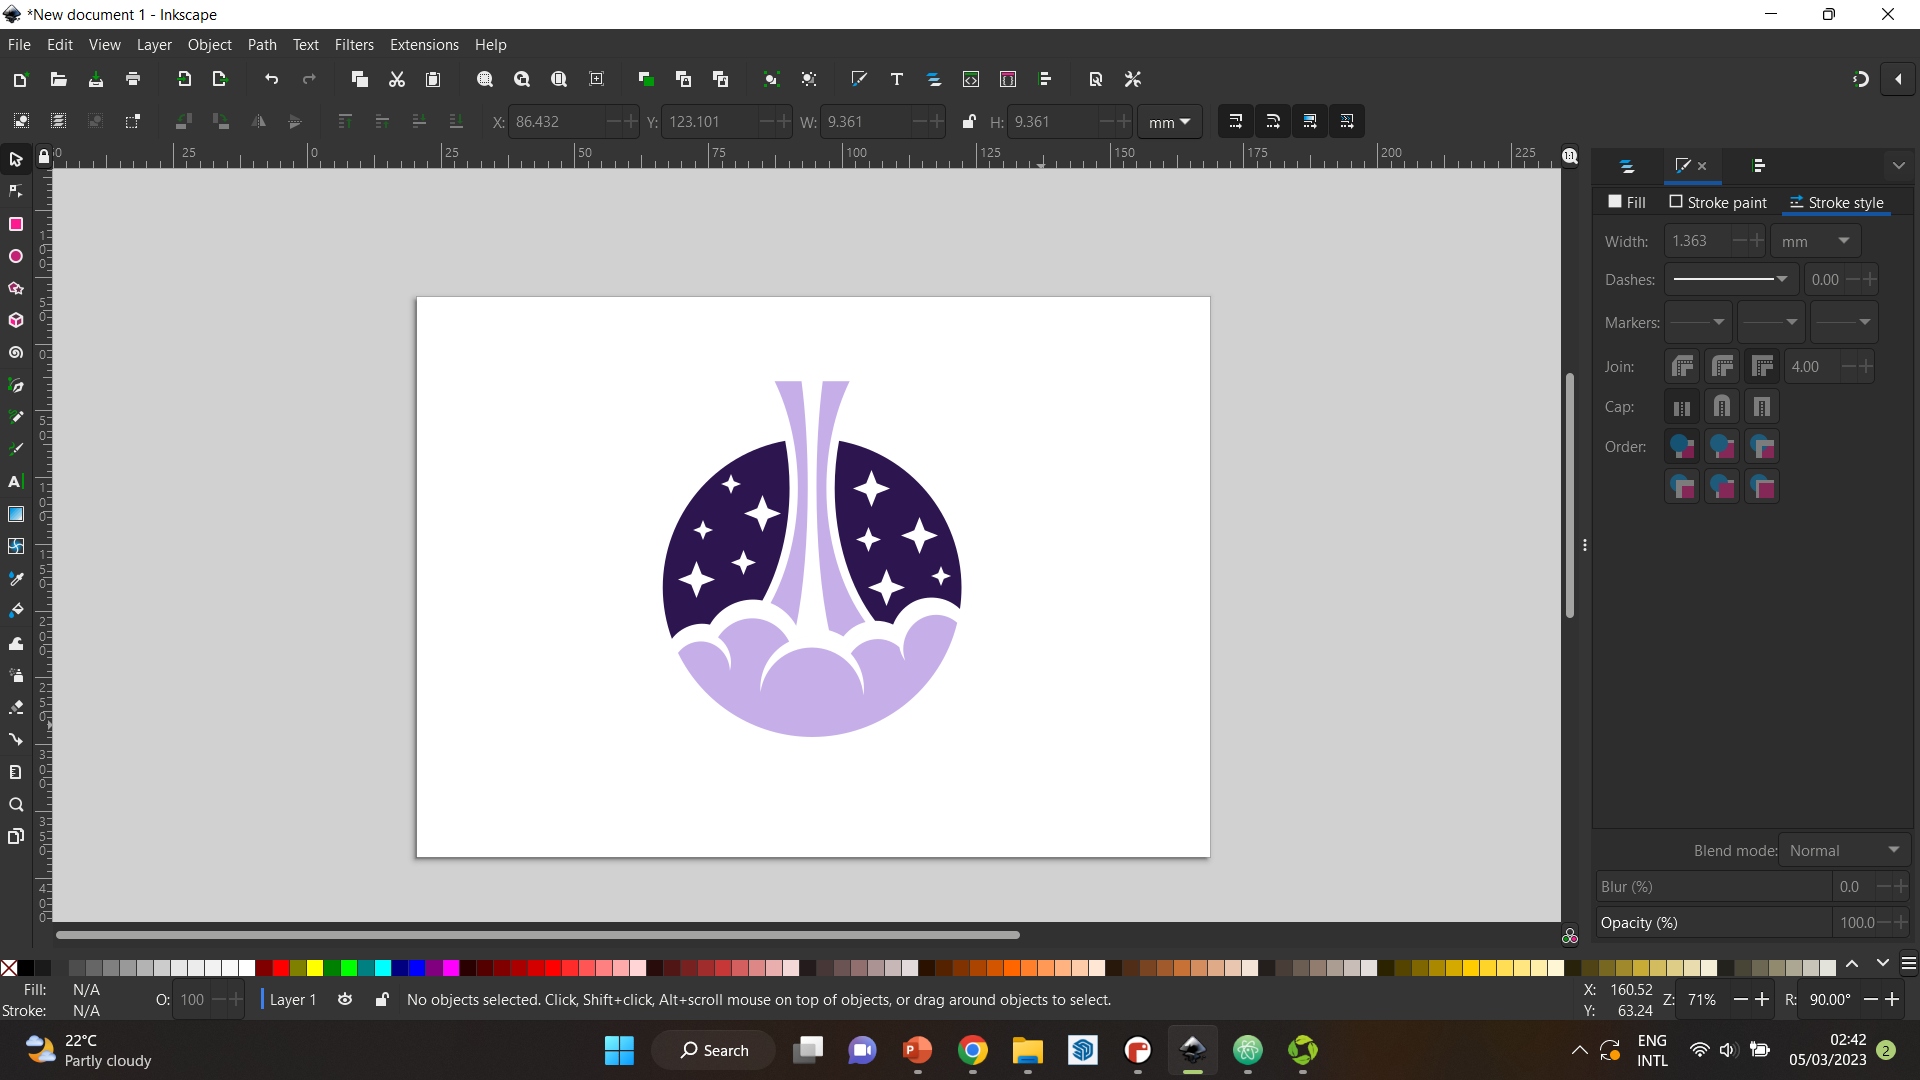
Step 11 Then, to make the background look more like a sky and space, I added little 4 sided stars.
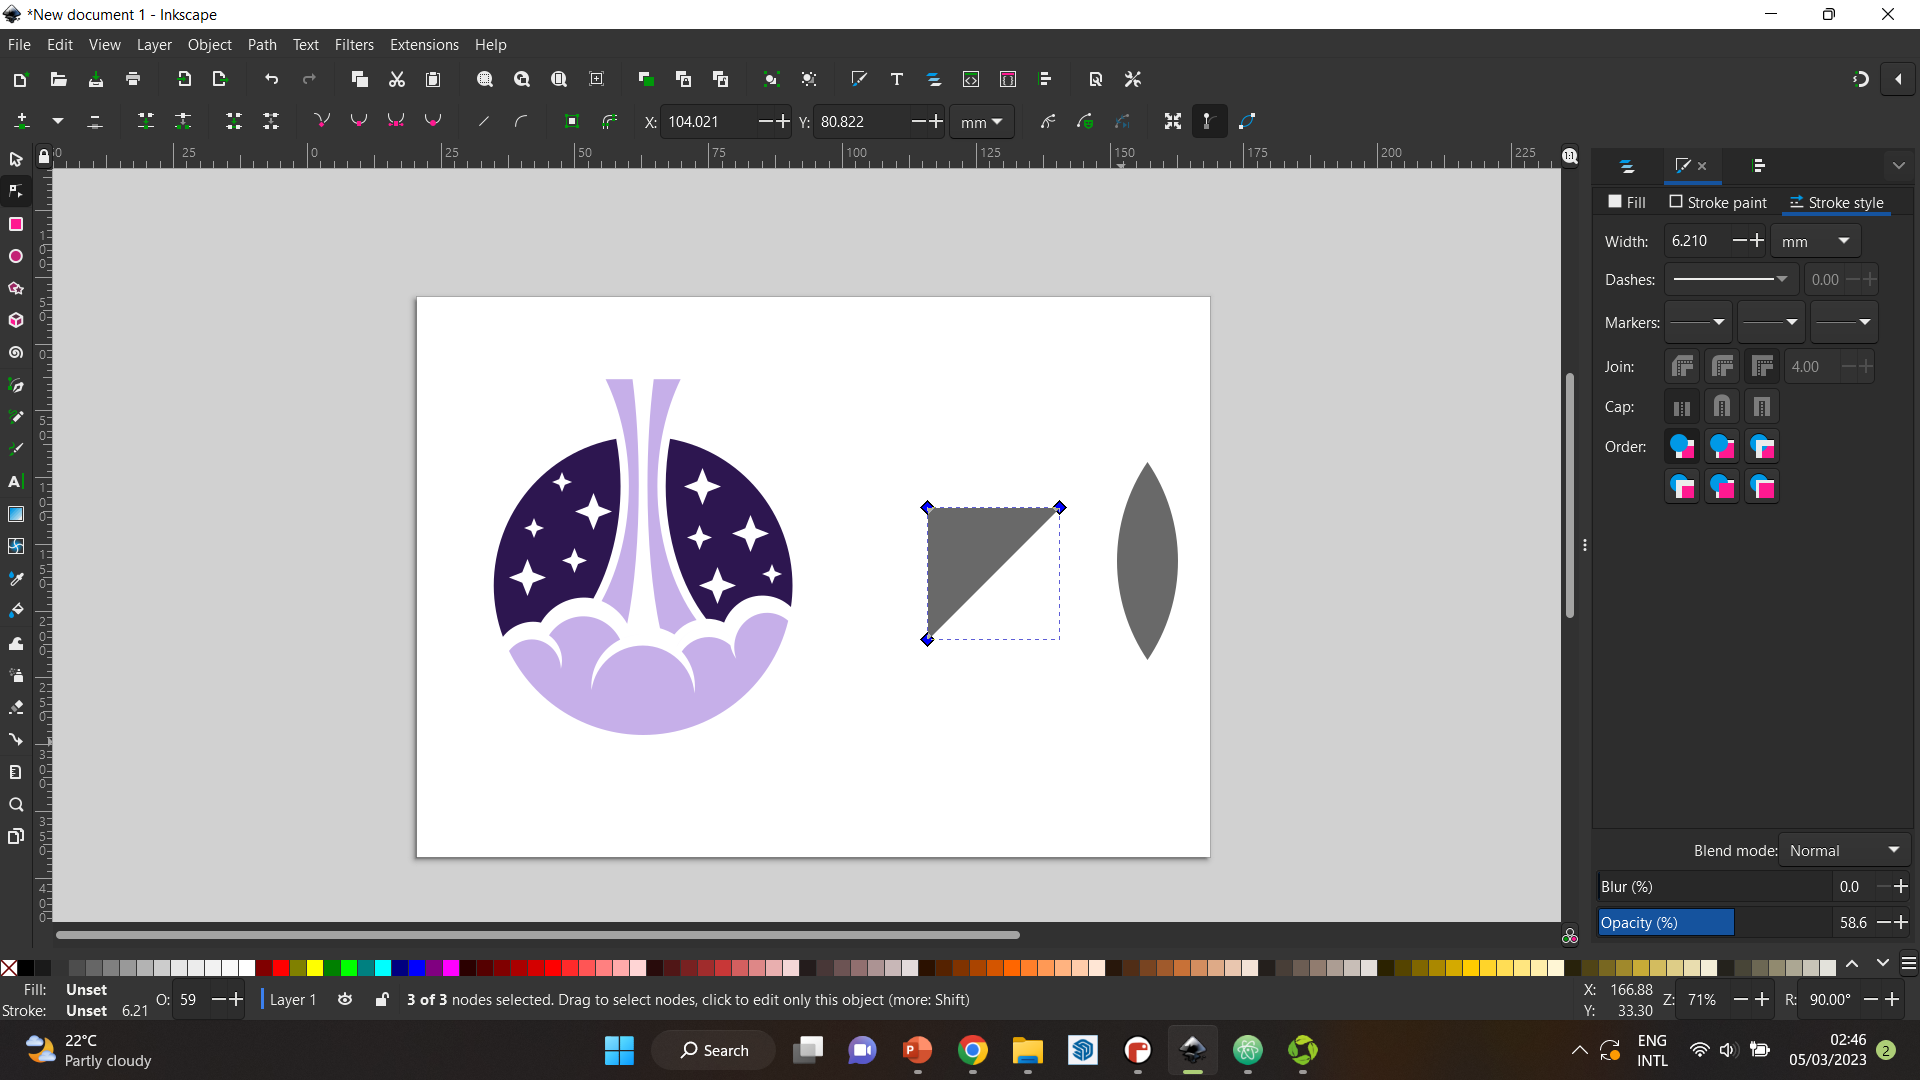
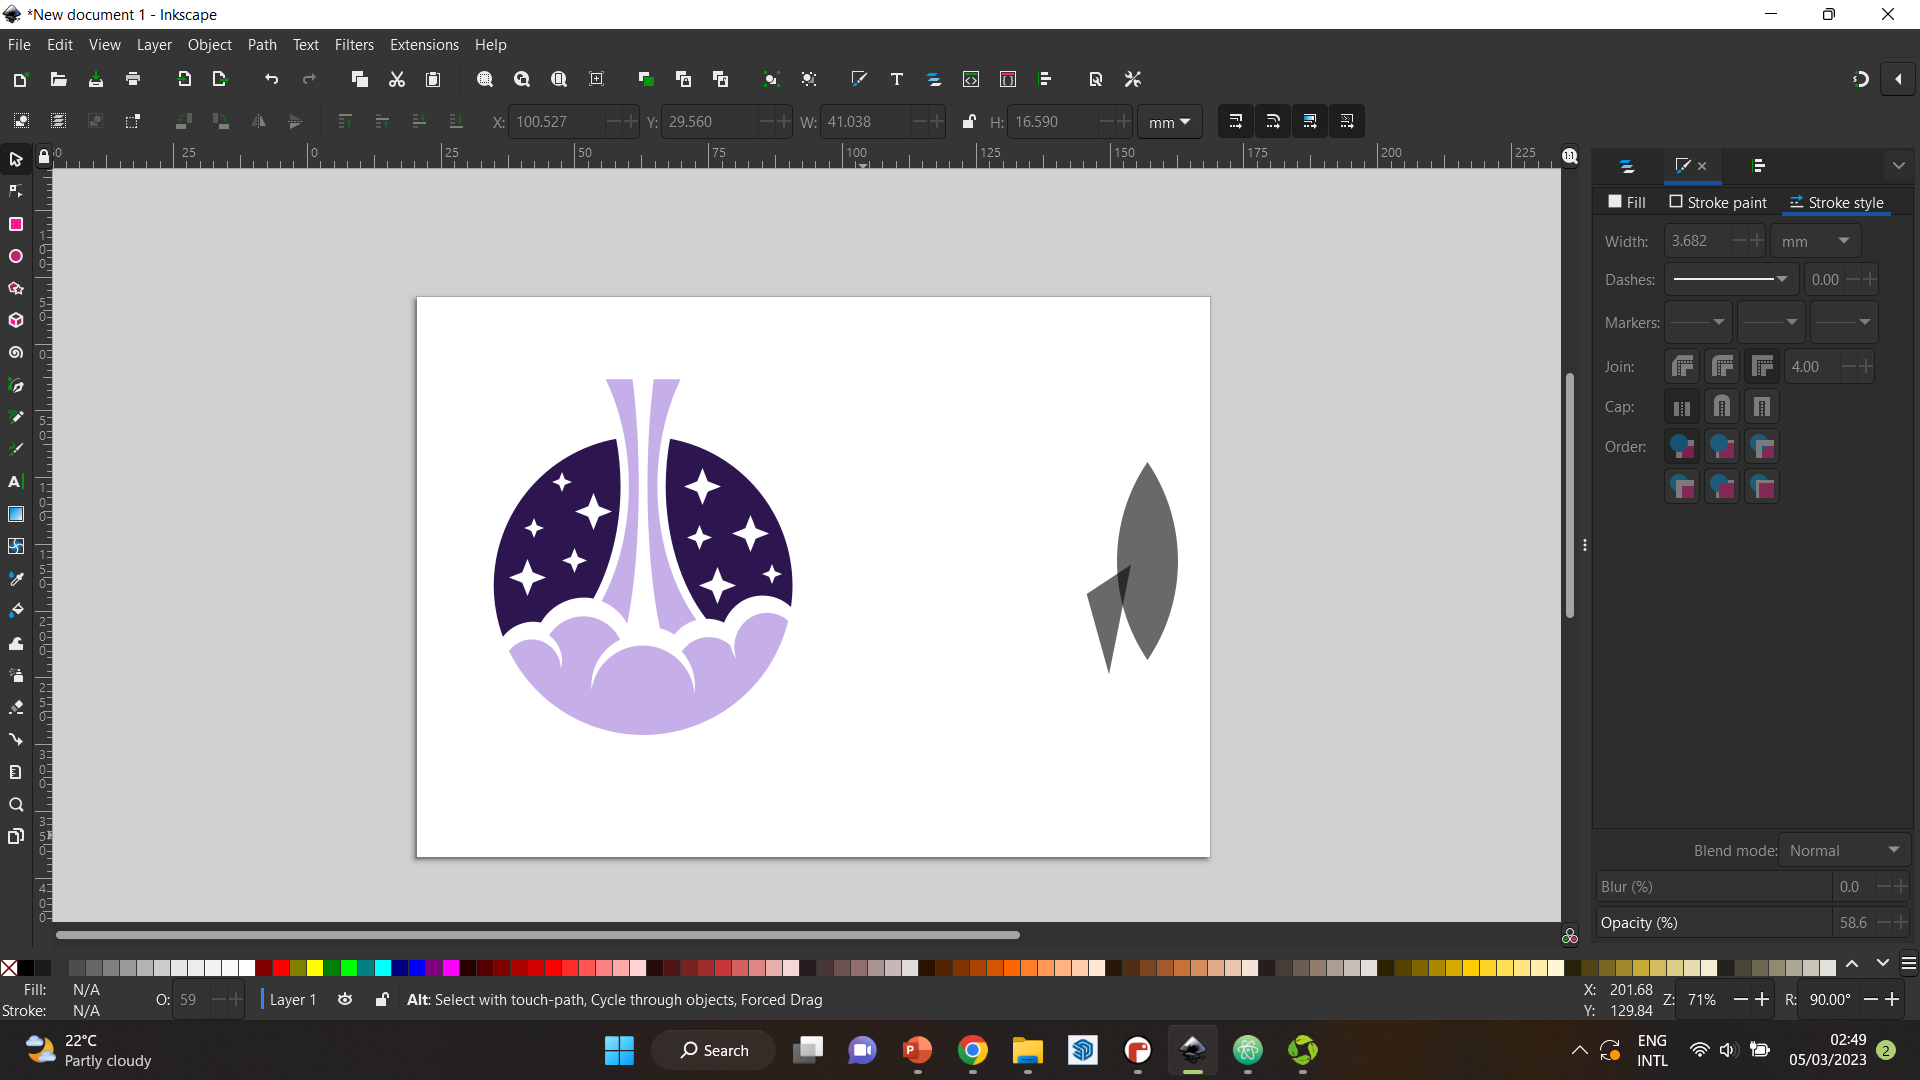
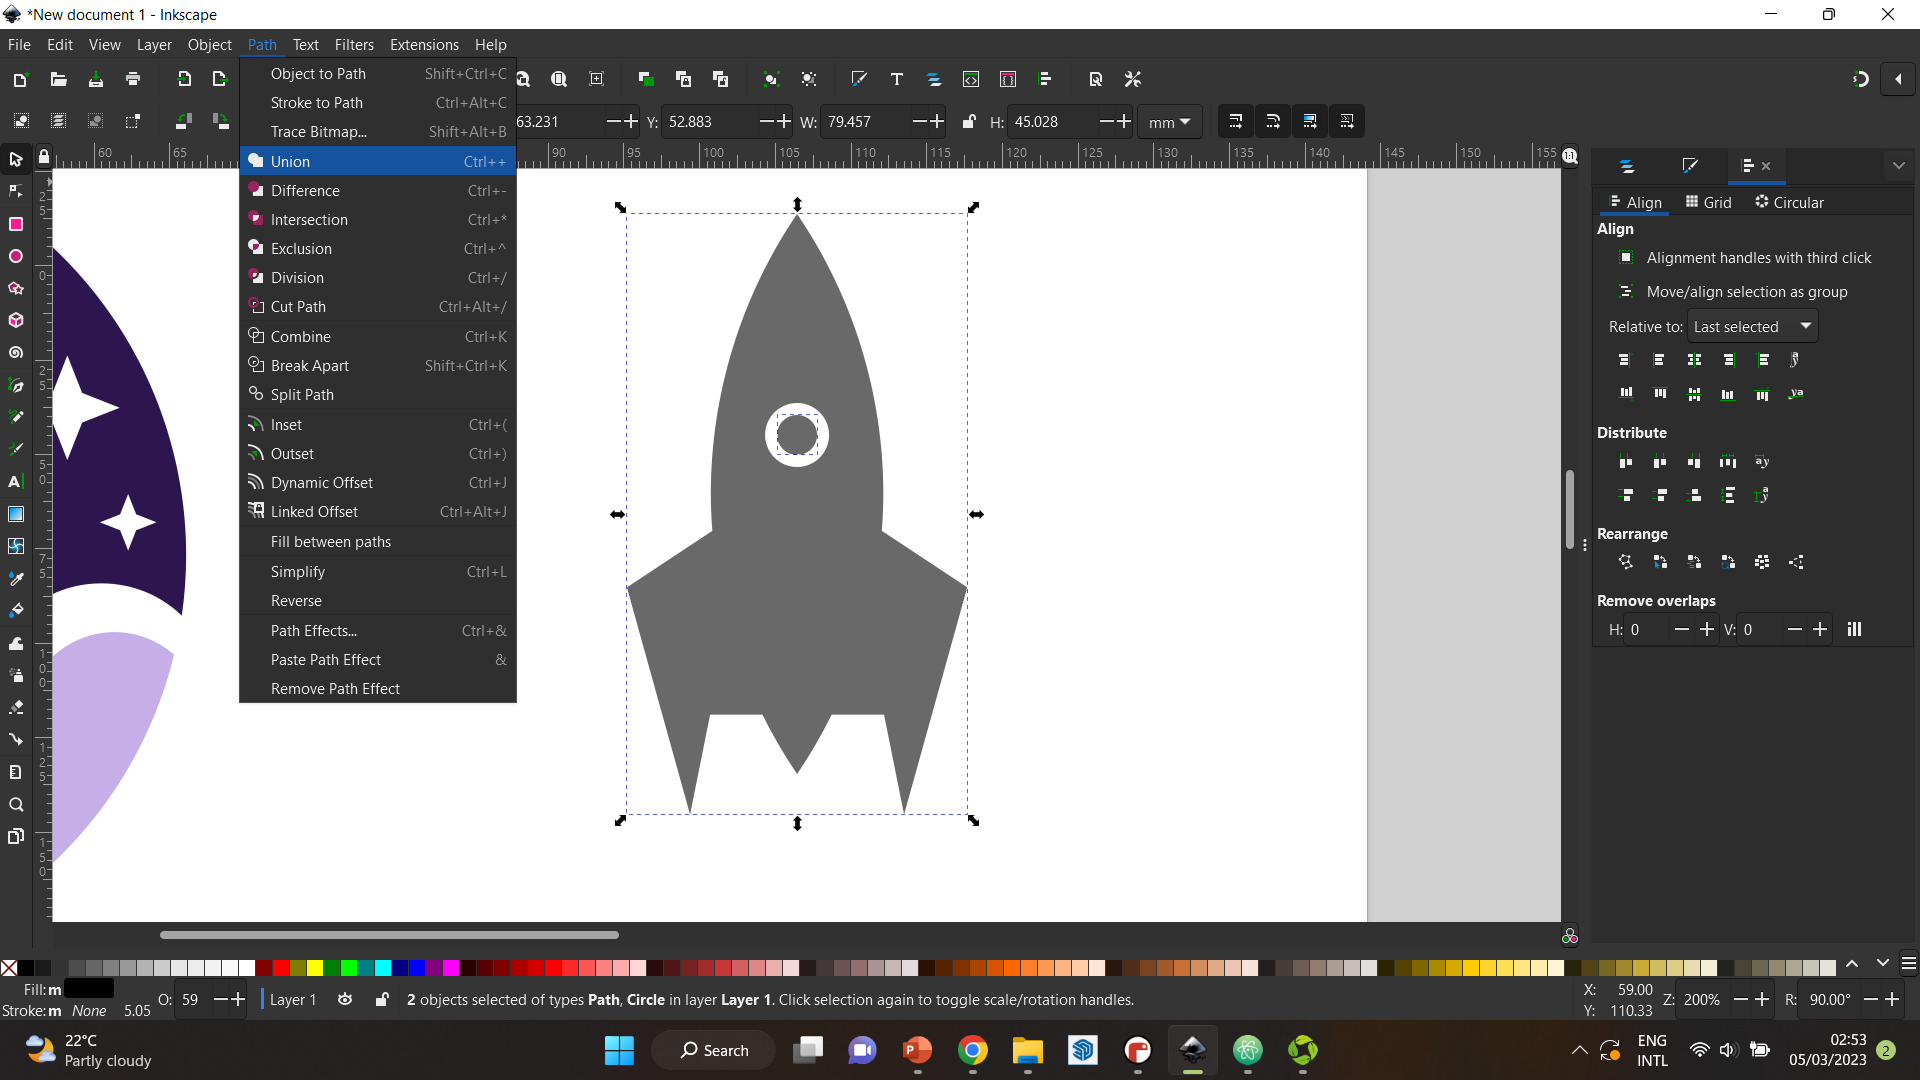
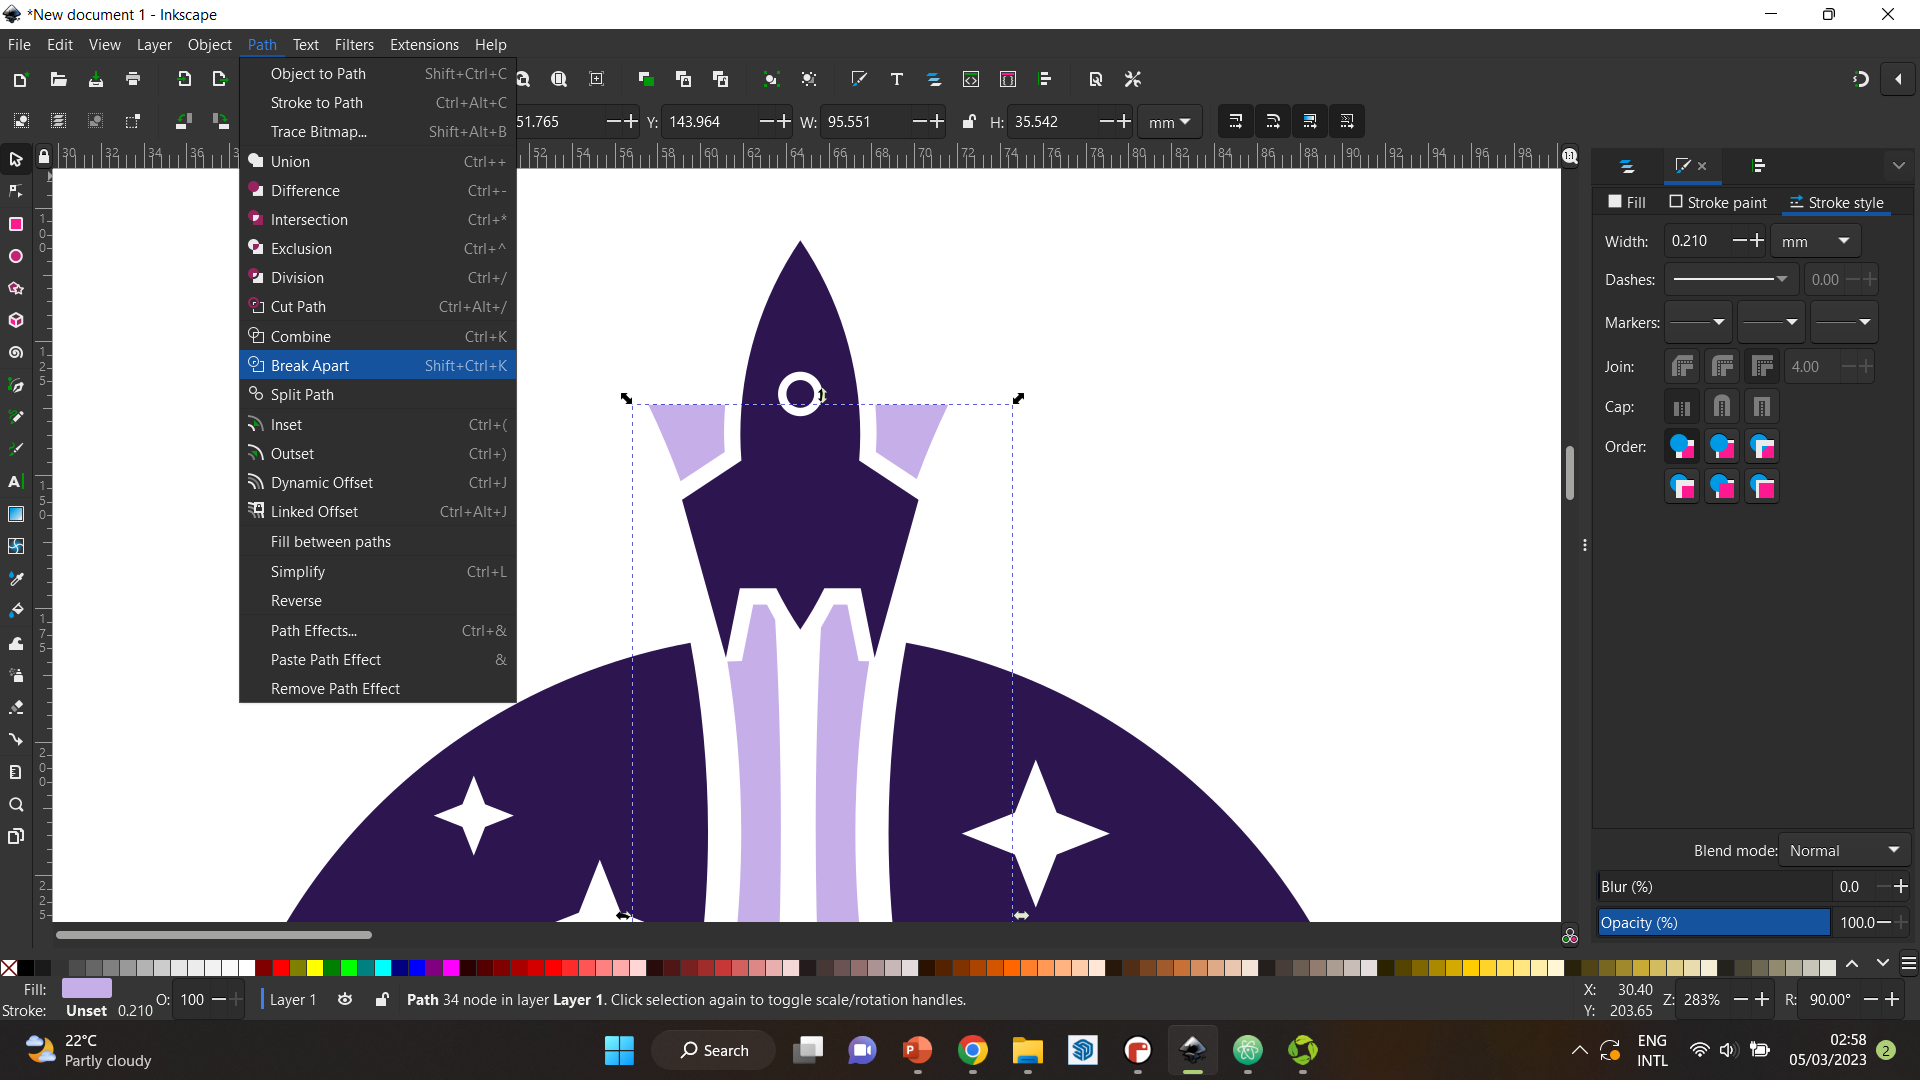
Step 12 is to make the rocket. I used two circles and took the intersection between them to give me the main body of the rocket. Then, I used a square and edited the nodes to make a triangular-like fin on the side, that I duplicated and flipped to the other side. Additionally, I added a small rectangle and joined all the shapes together.

Step 13 To make the rocket look a little bit more realistic, I added a small round window on the top. Again, I used both union and difference options to achieve the final look of the rocket.

Step 14 Finally, I placed the rocket where I wanted it to be and fixed its size. I gave it a stroke to match the rest, and cleaned up the whole logo by removing any extra parts.

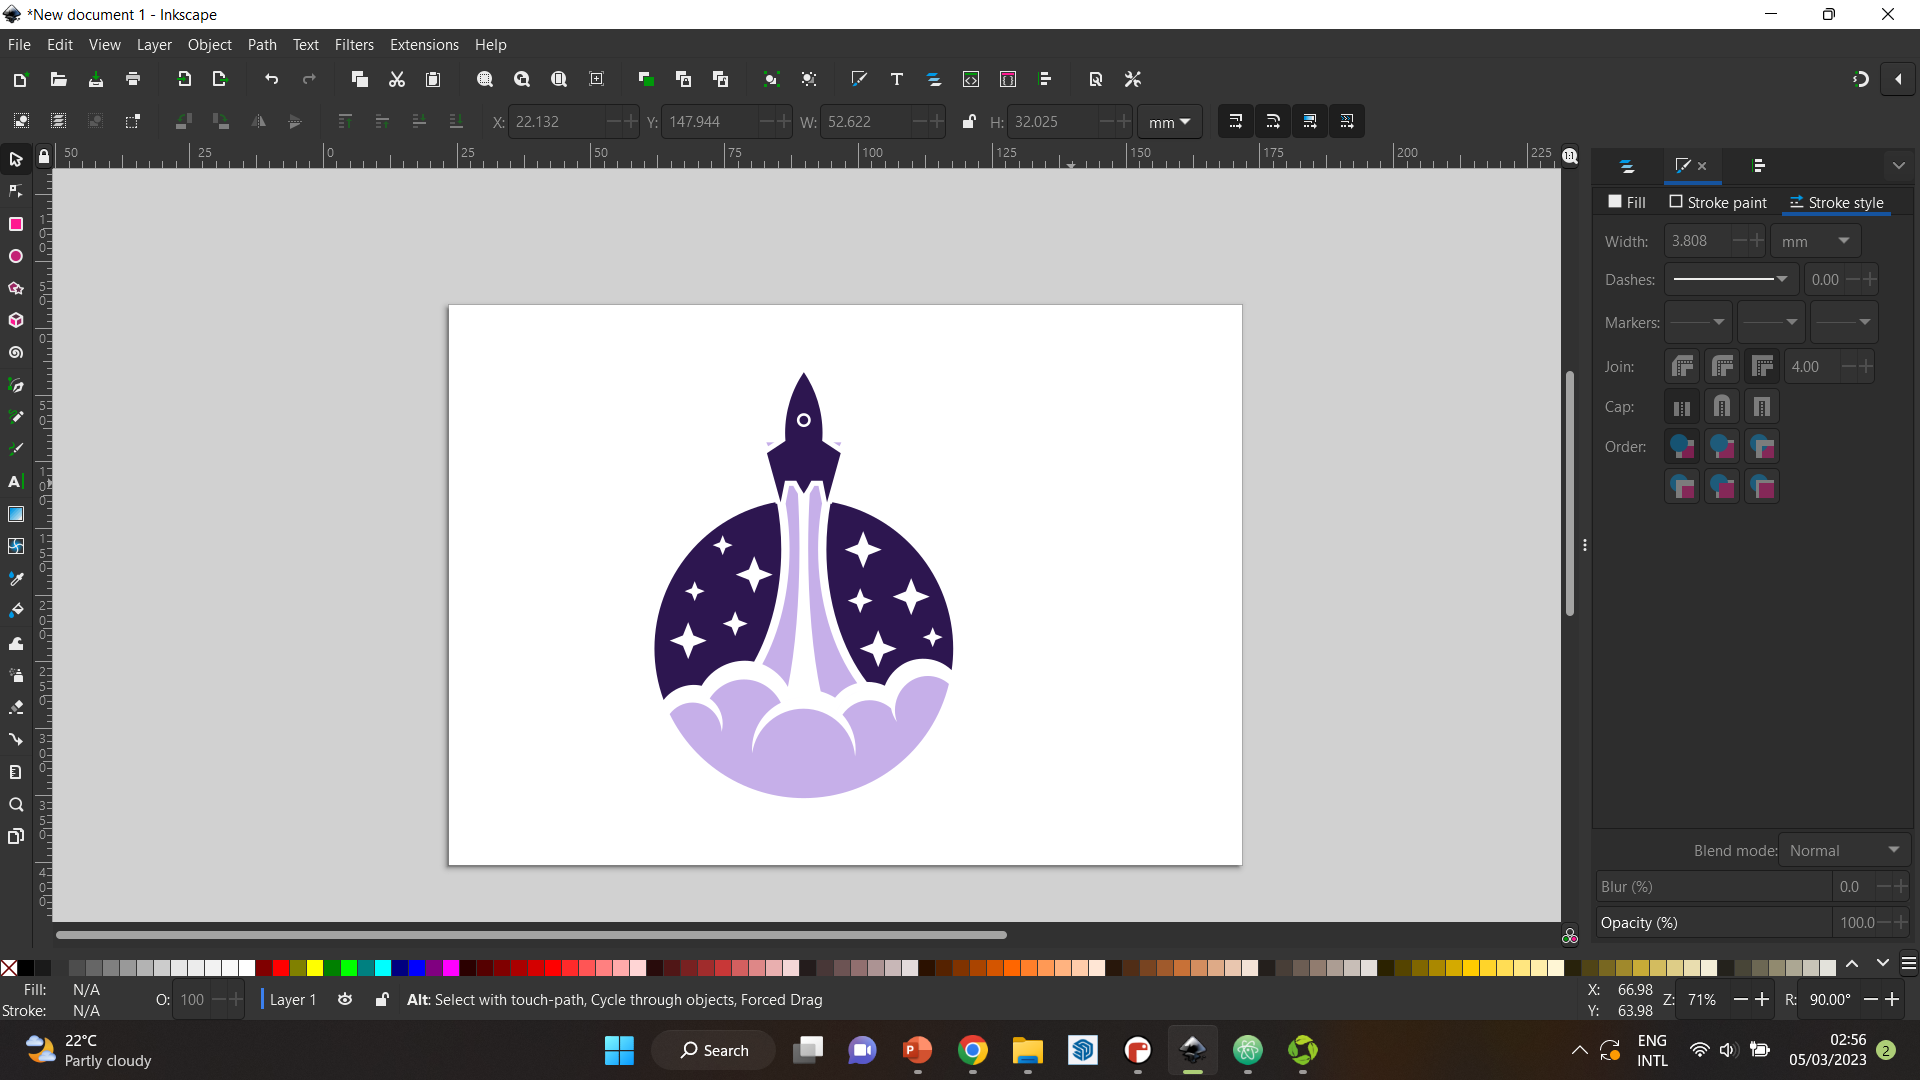
In the end, this was the final look of the logo.

3D softwares
Fusion360
The first 3D software I tried was fusion360, which can be downloaded here.
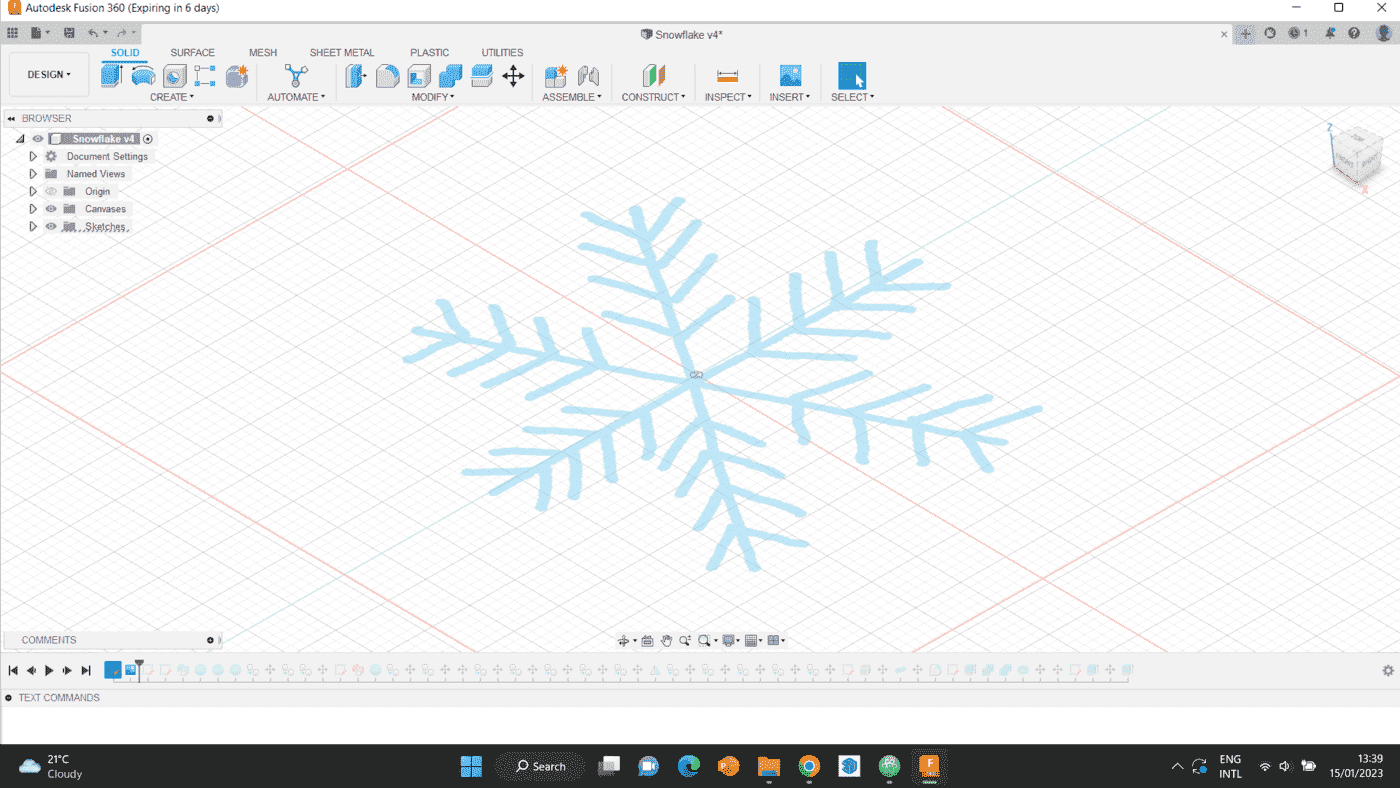
When trying fusion360, I decided to make a 3D snowflake.
Step 1 Before drawing out the design, I picked a picture from the internet that outlines the same design I was loking for. Then, I added it as a canvas in the Fusion file so I can trace over it. I also added circles to specify the diameter of the object.
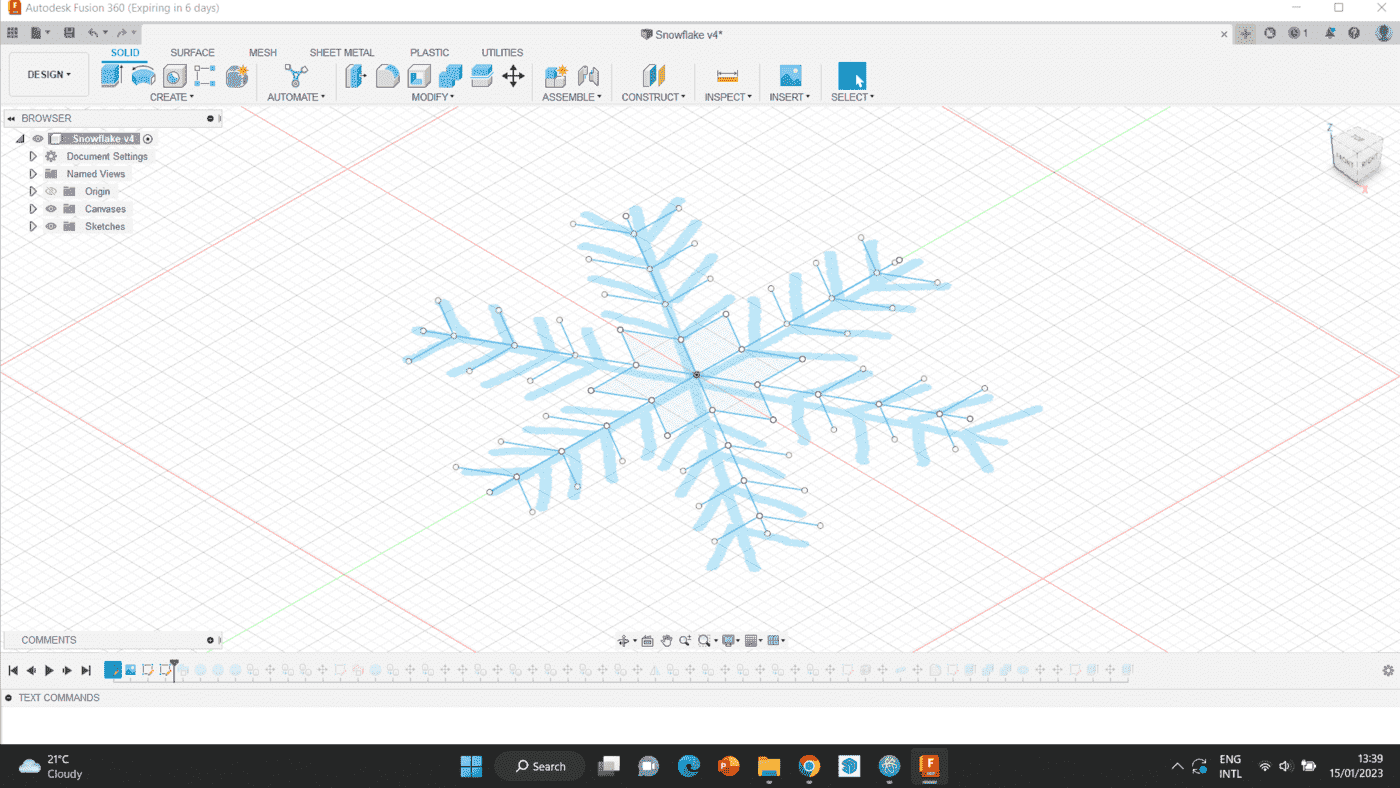
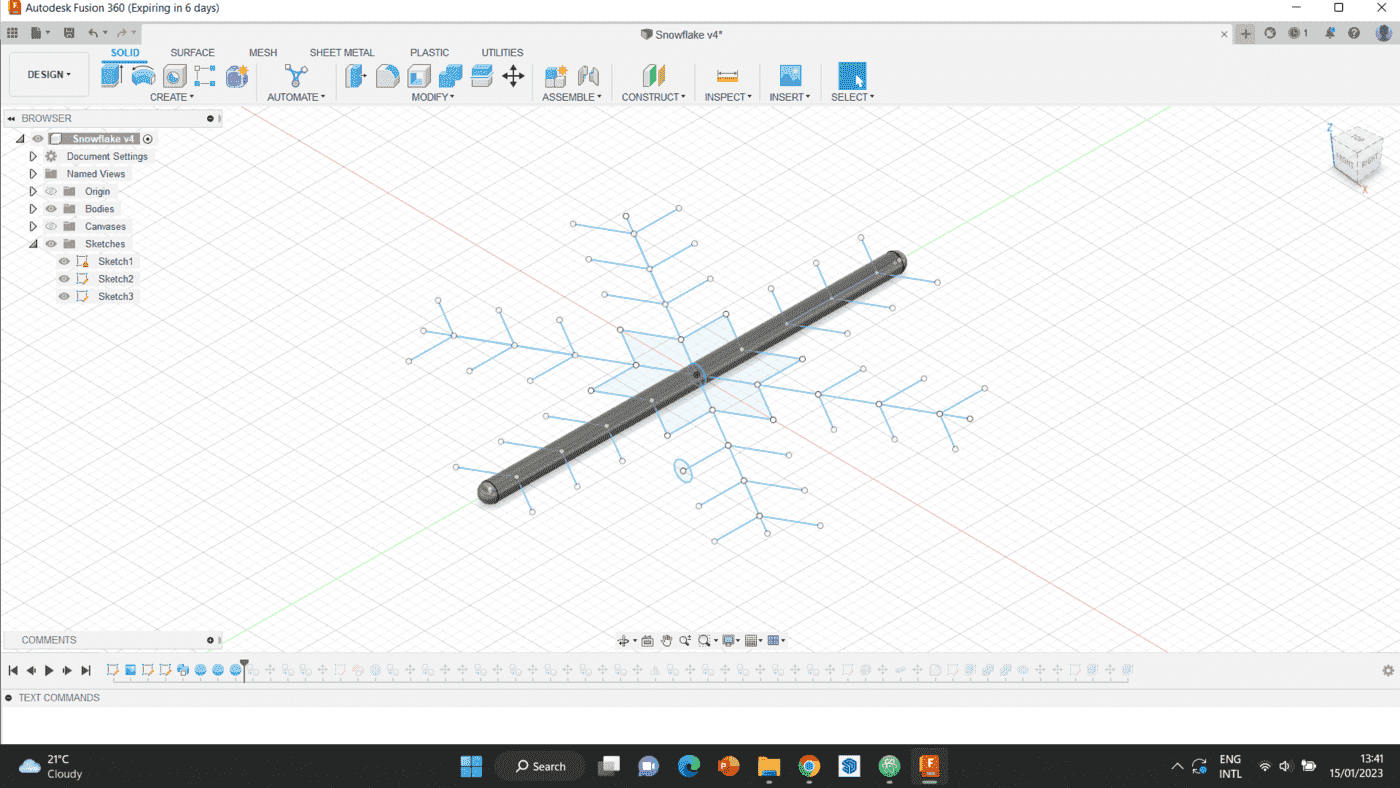
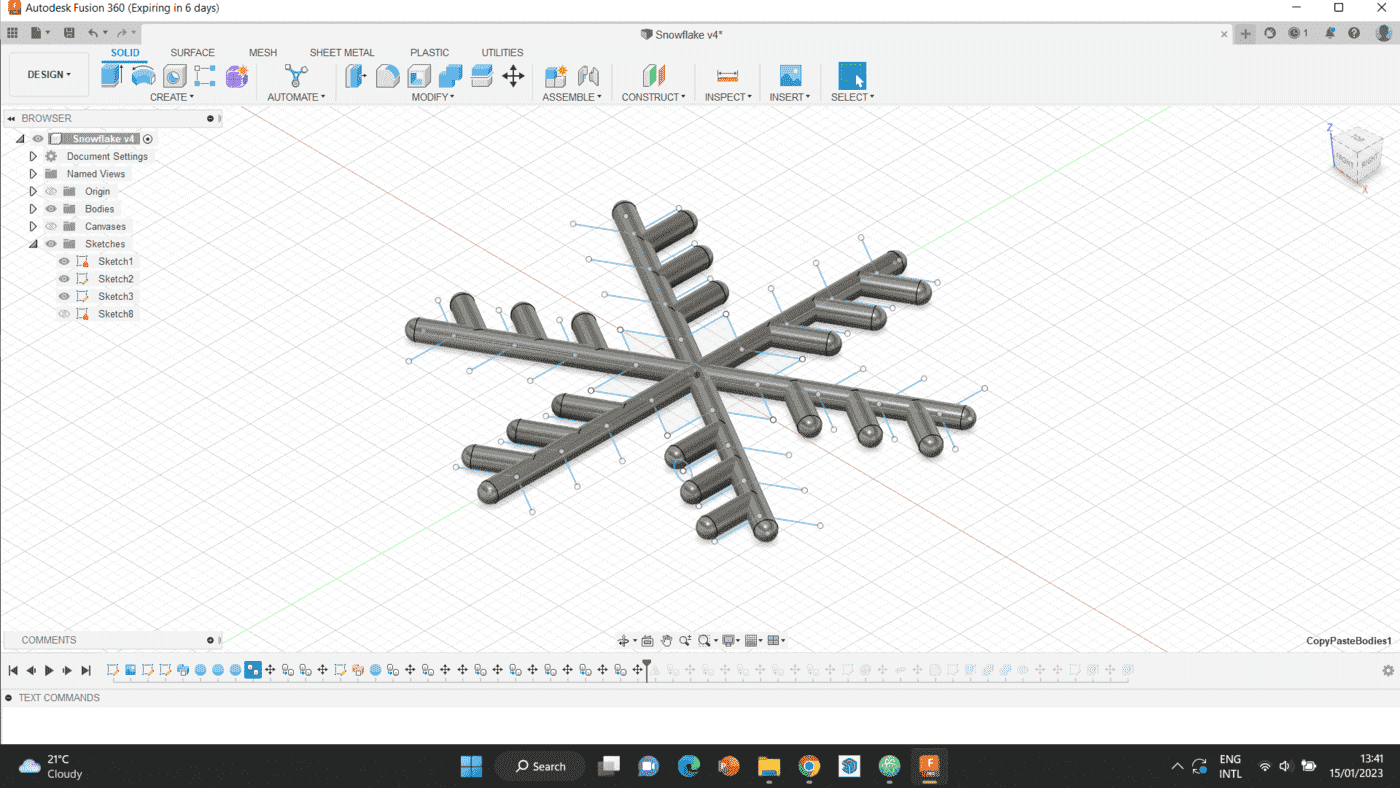
Step 2 After that was done, I sweeped the circle over the line on one of the main lines.
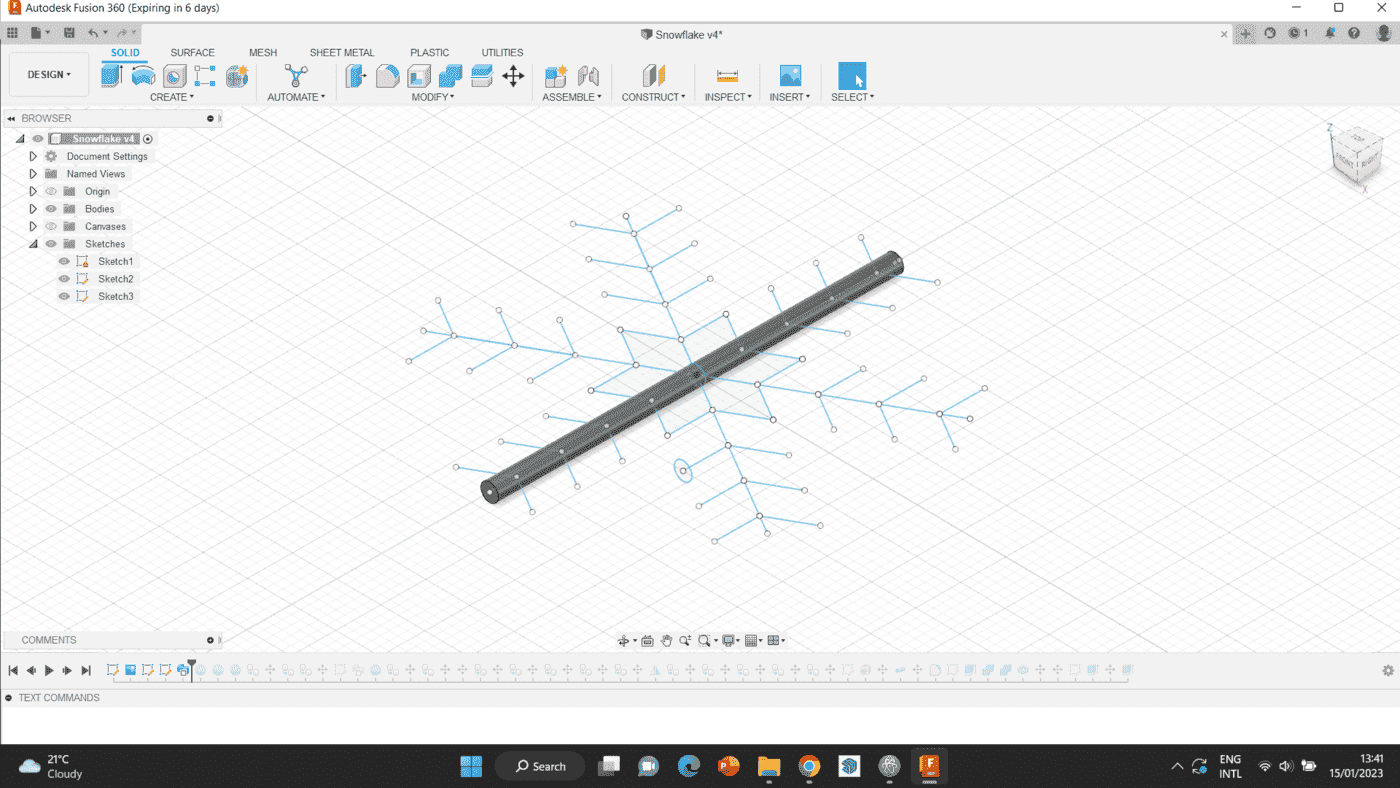
Step 3 To cover the sides of the pipe i created, I added two spheres on both sides of the pipe, and joined all three bodies together.
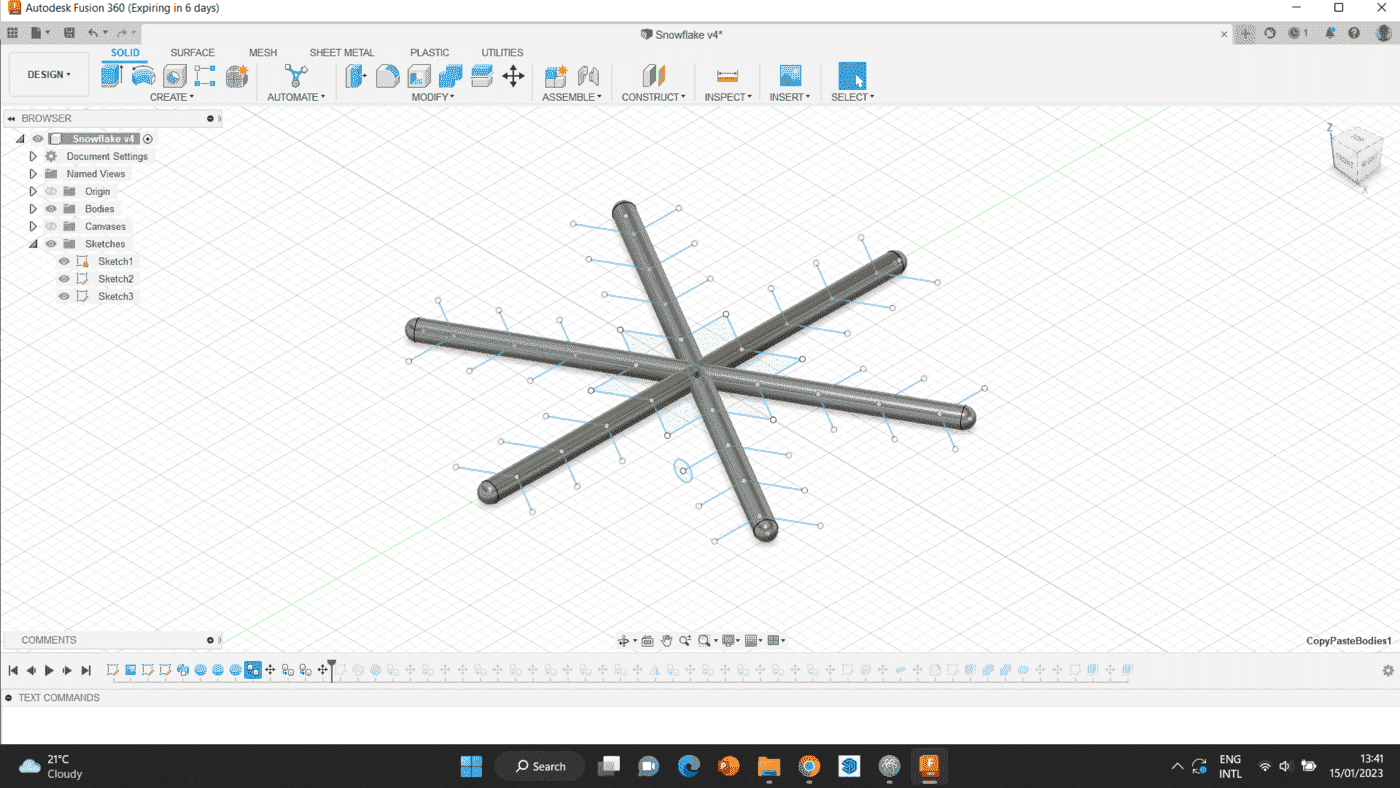
Step 4 To make the rest of the main parts, I duplicated the joined body and rotated them into place.
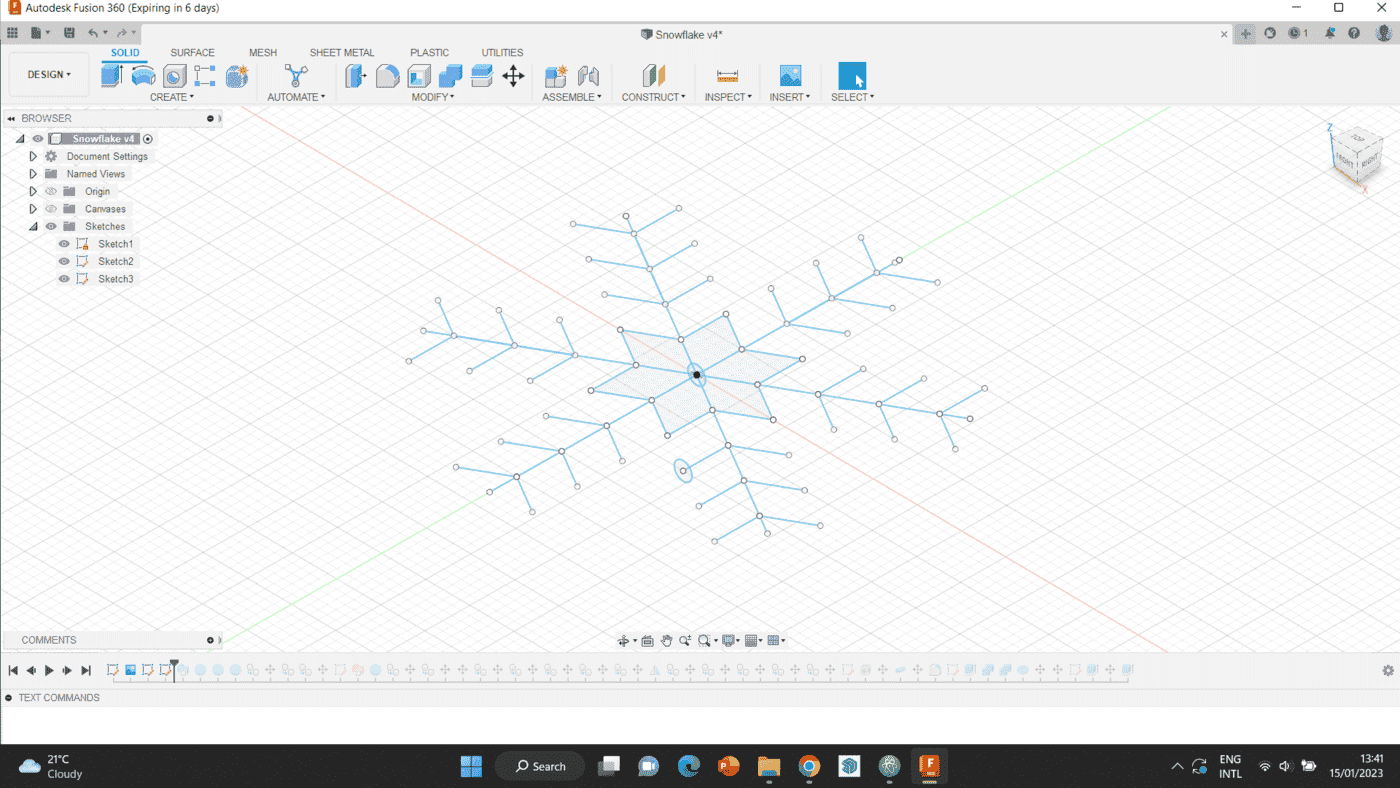
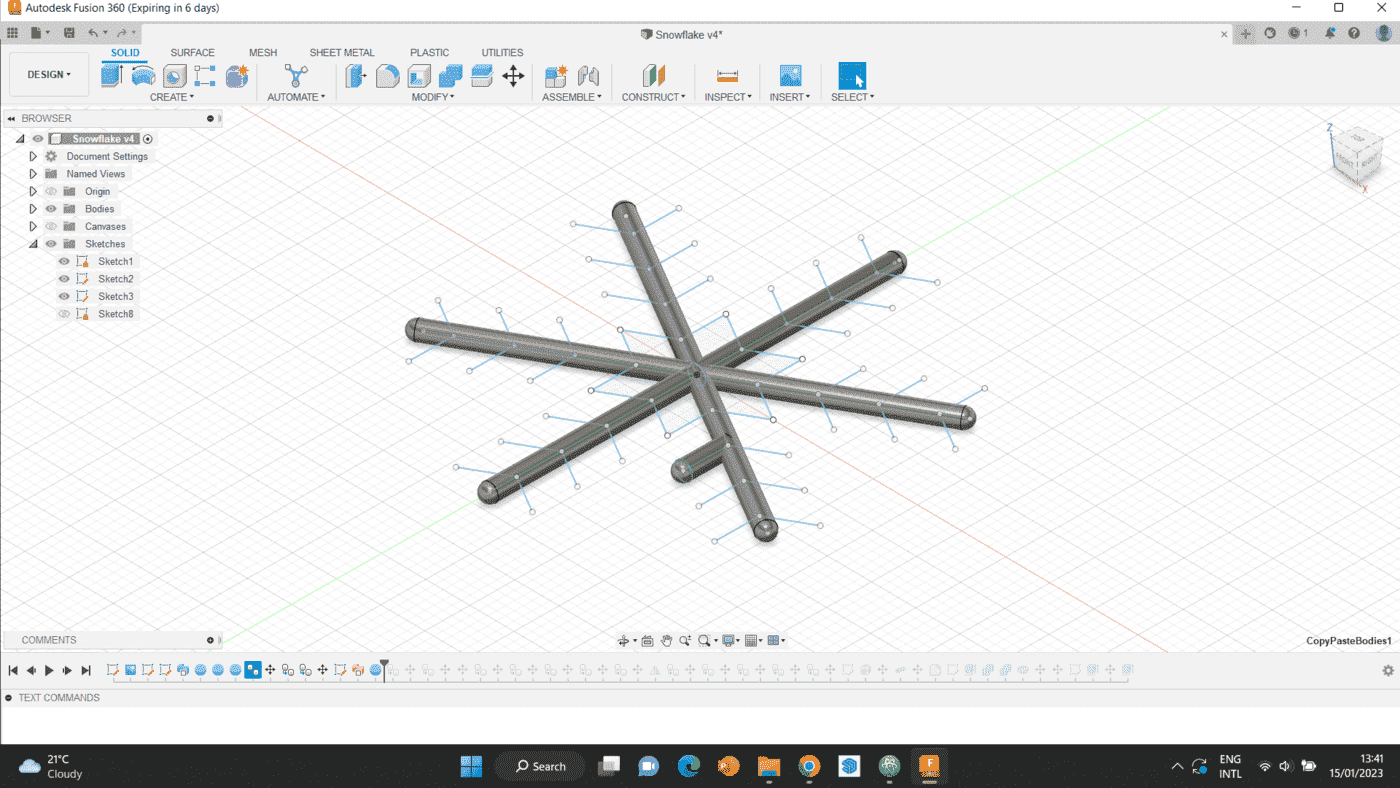
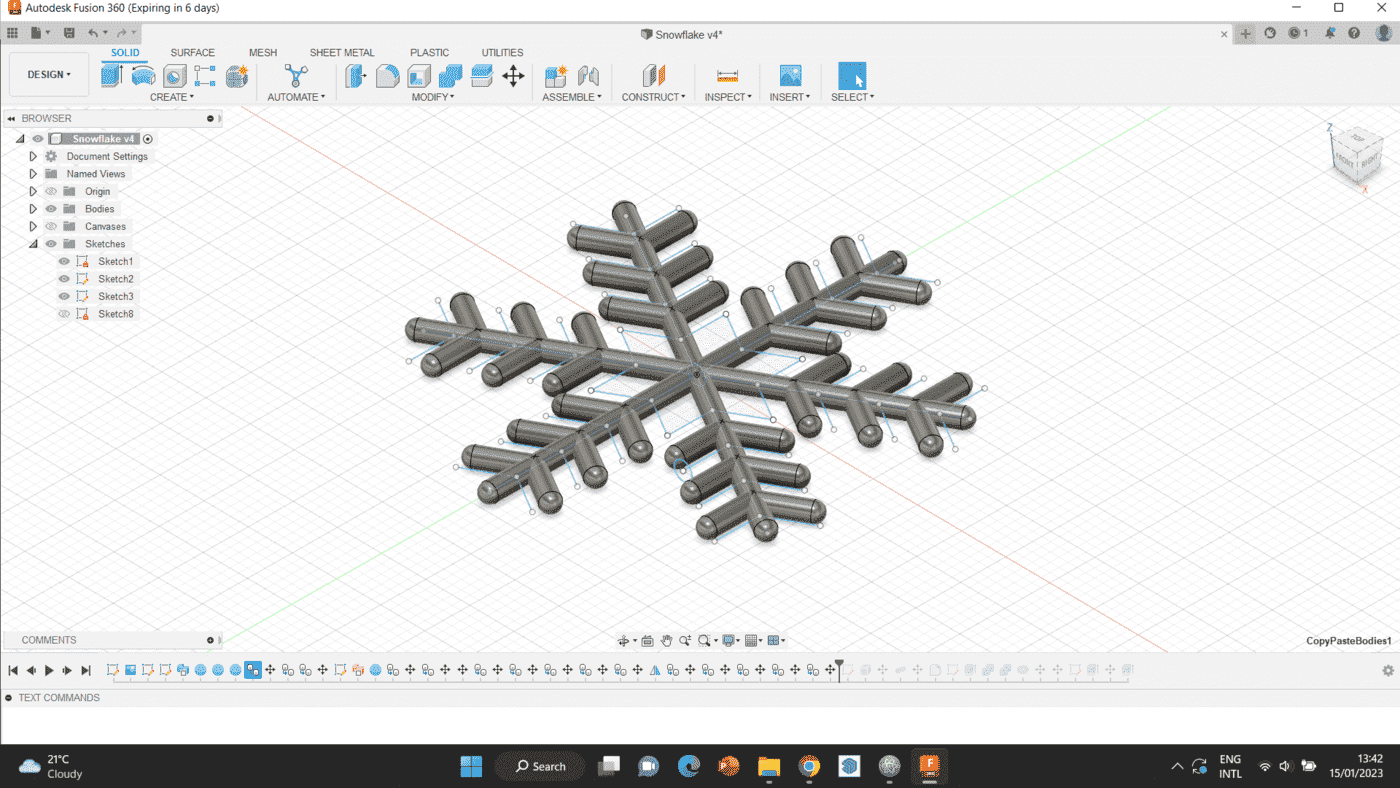
Step 5 When the main part was done, I repeated the same sweeping process on the smaller limbs, and added a sphere to cover the sides. The body was then copied and mirrored on all the smaller limbs in the form.
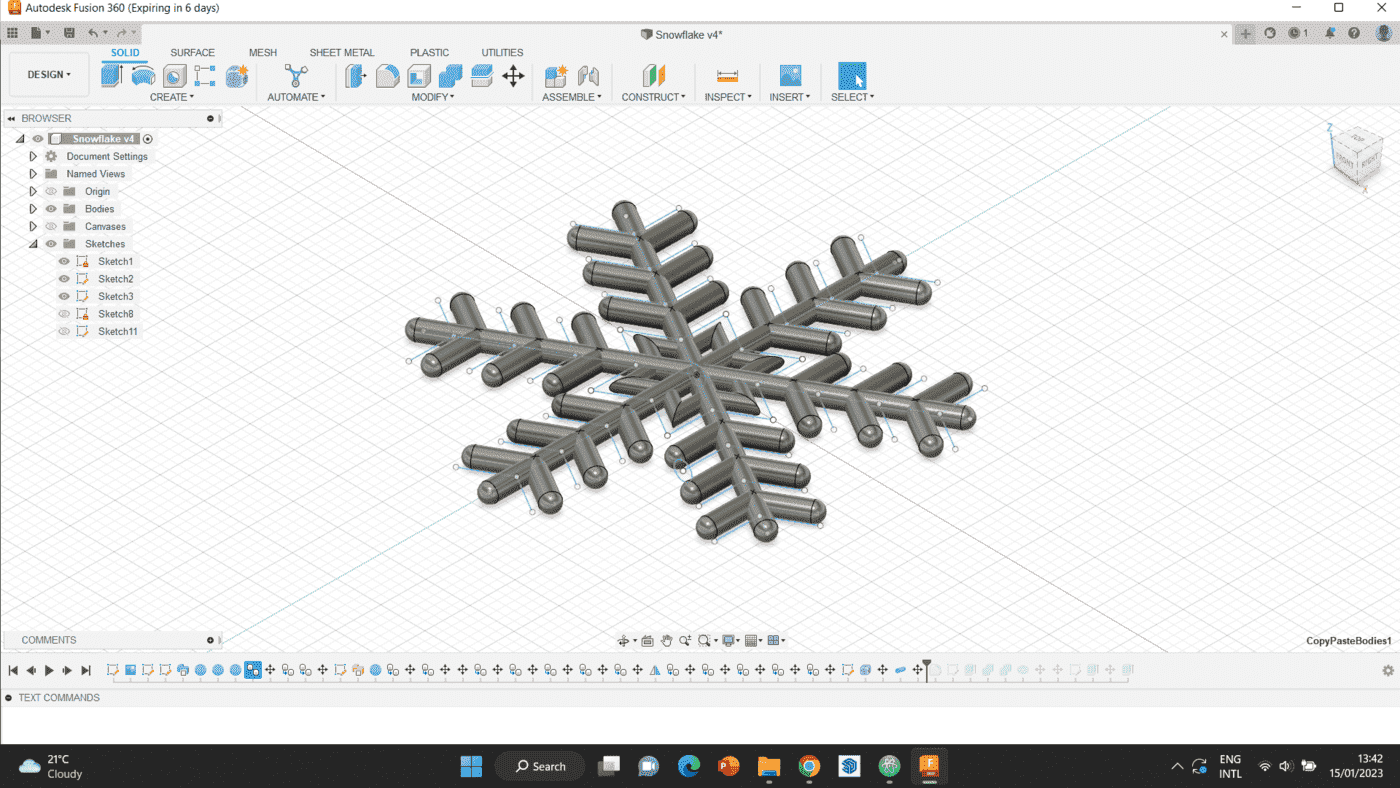
Step 6 To strengthen the design, I designed the star in the middle and filleted its edges to smoothen it out.
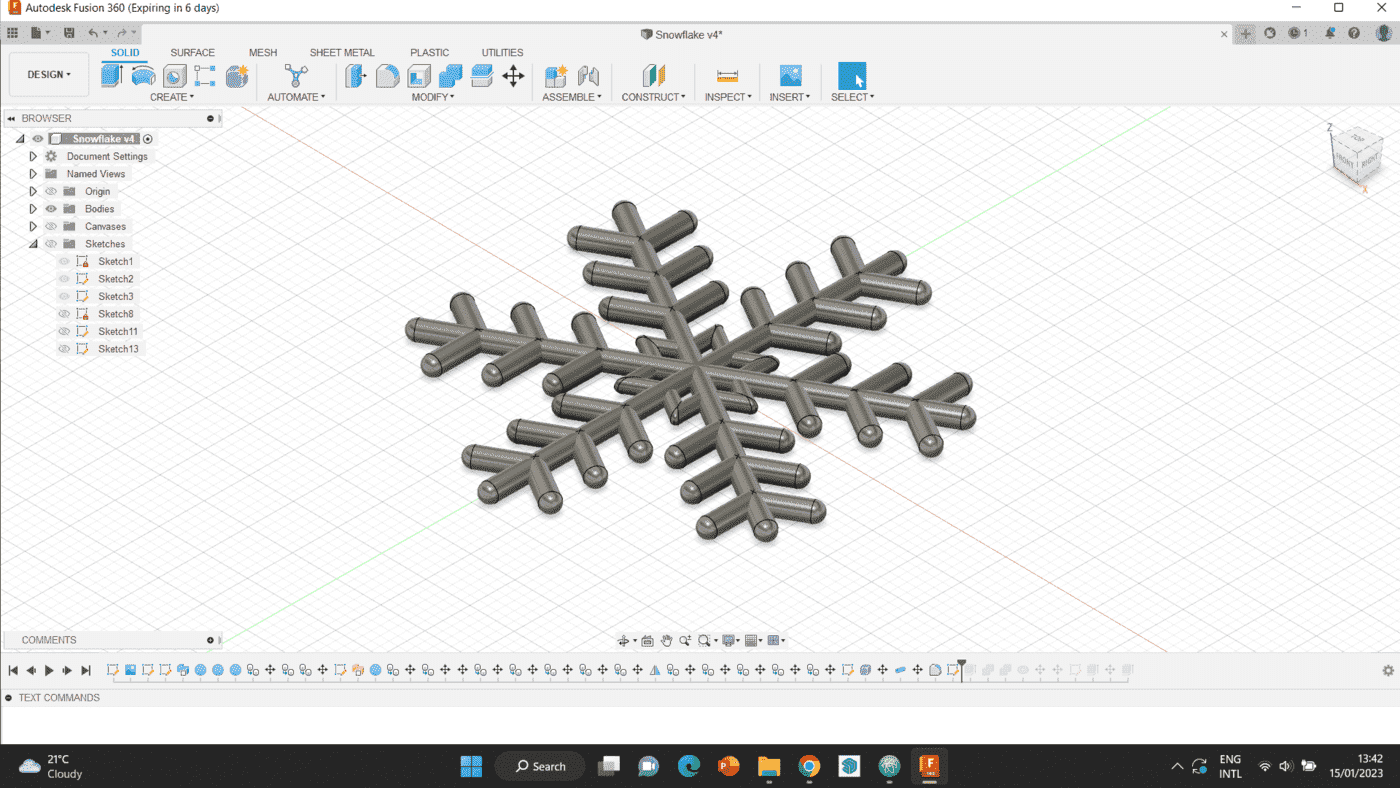
When all the steps were done, the design was complete.
The downloadable file can be accessed below.
Tinkercad
Finally, I tried tinkercad for my second choice of 3D design platform. It is an online platform which can be easily accessed with this link.
For this try, I decided to try designing a simple house, by following one of their ready tutorials step by step. And then, at the end, I tried adding a little bit more features than the tutorial to experiment further.
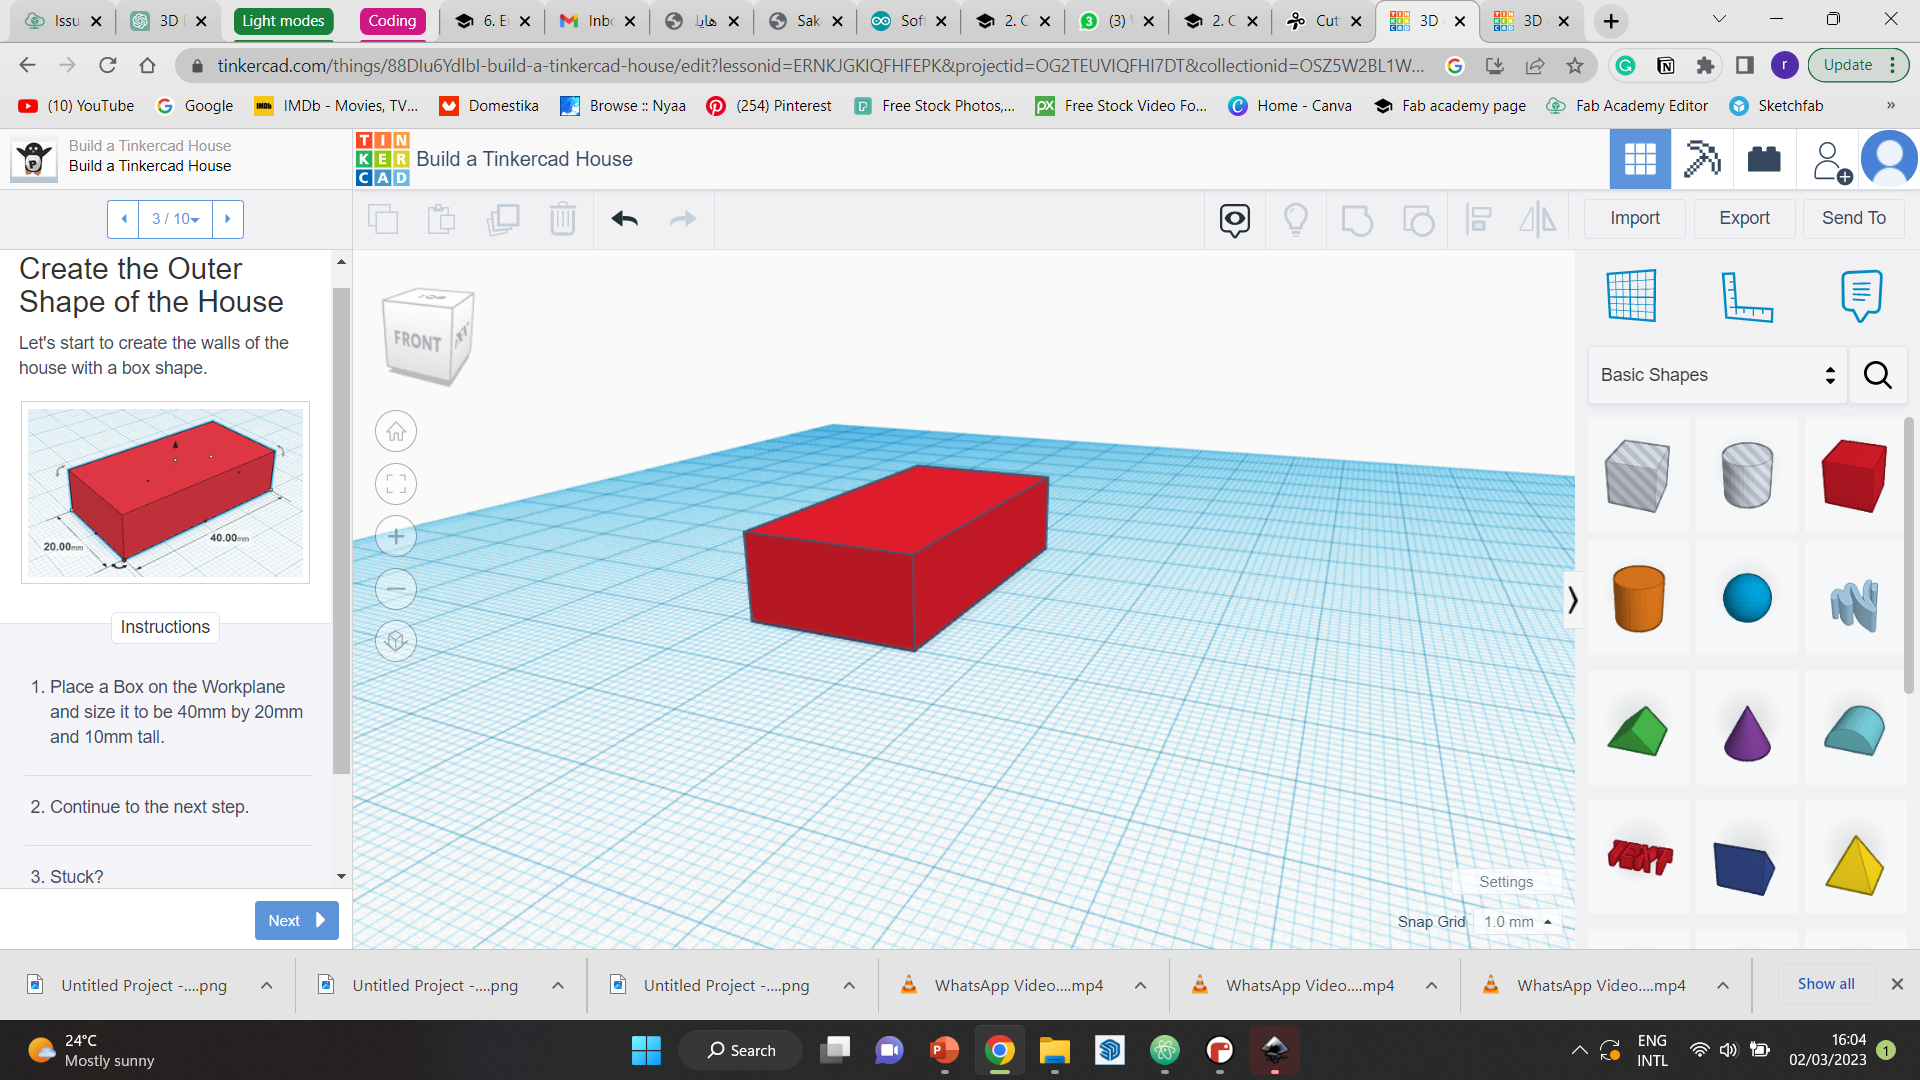
Step 1 is to create a rectangle, and fix the size to what I want.
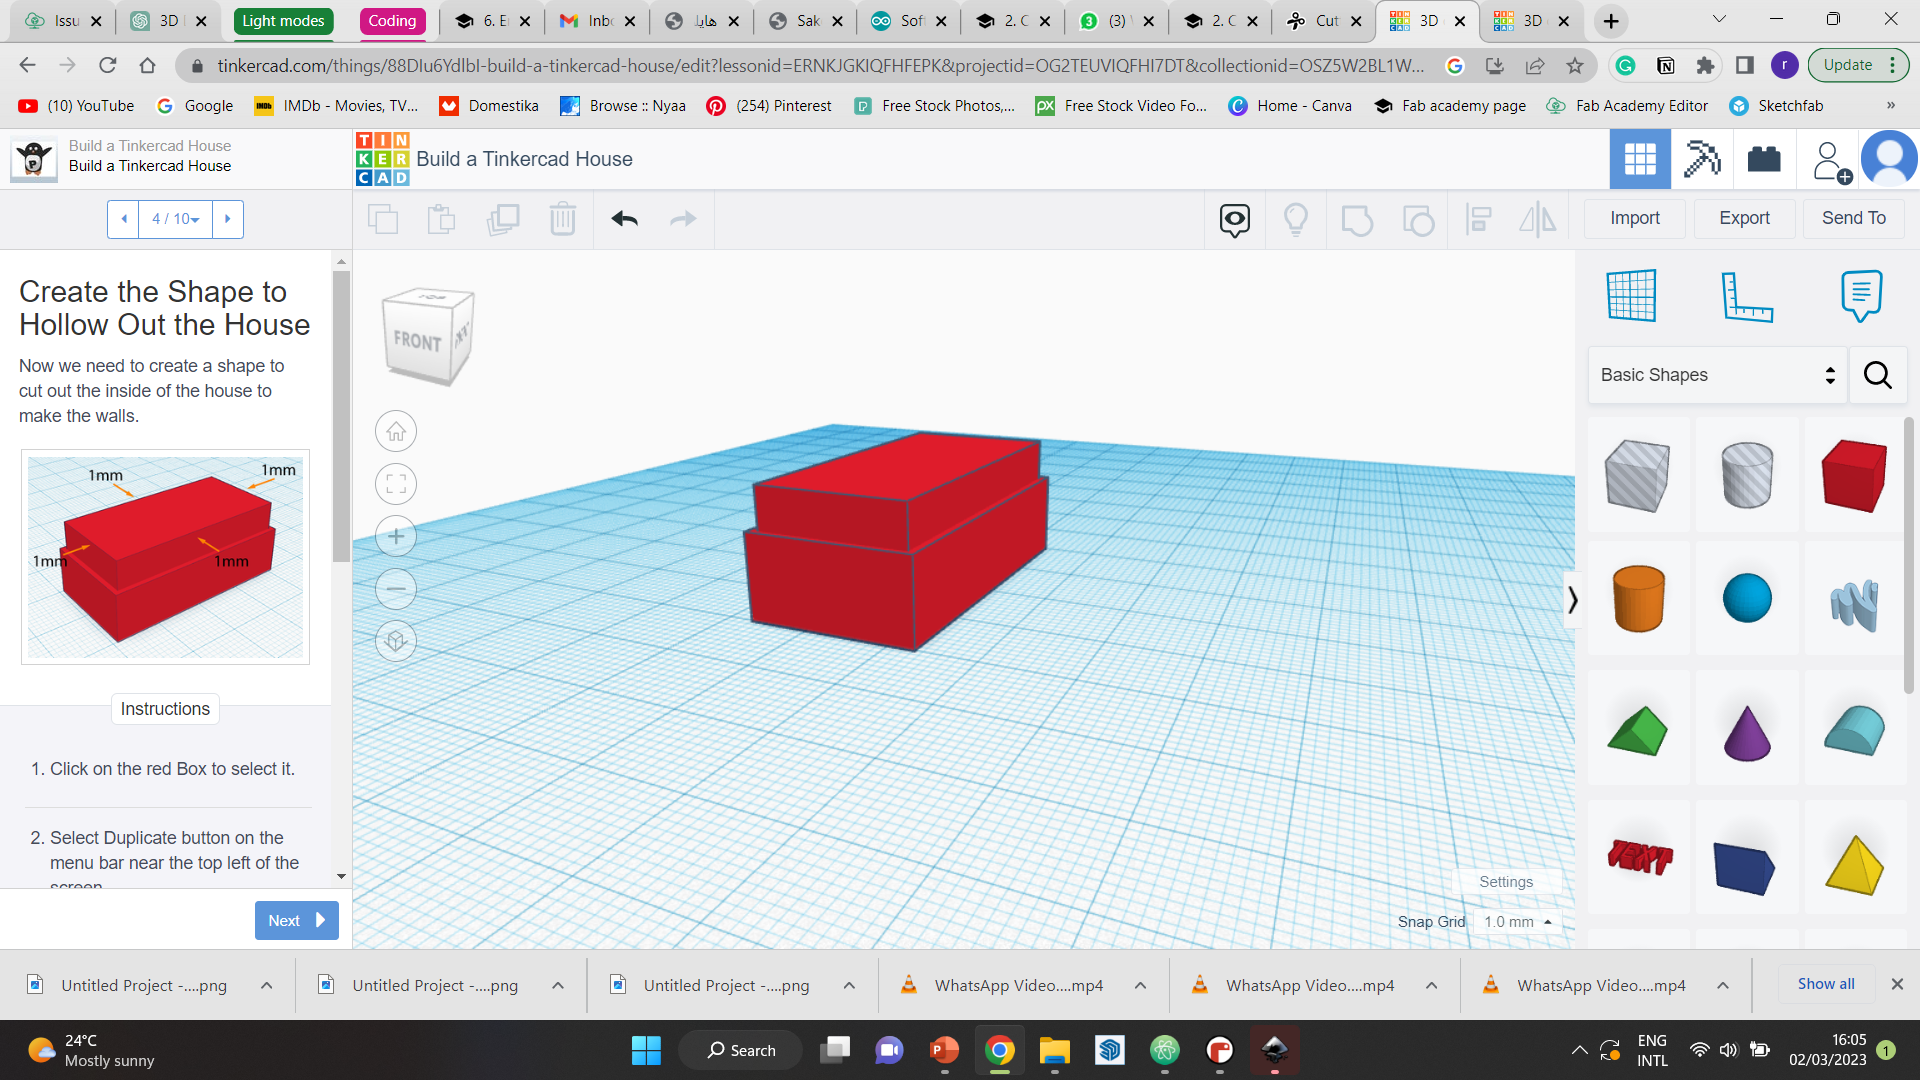
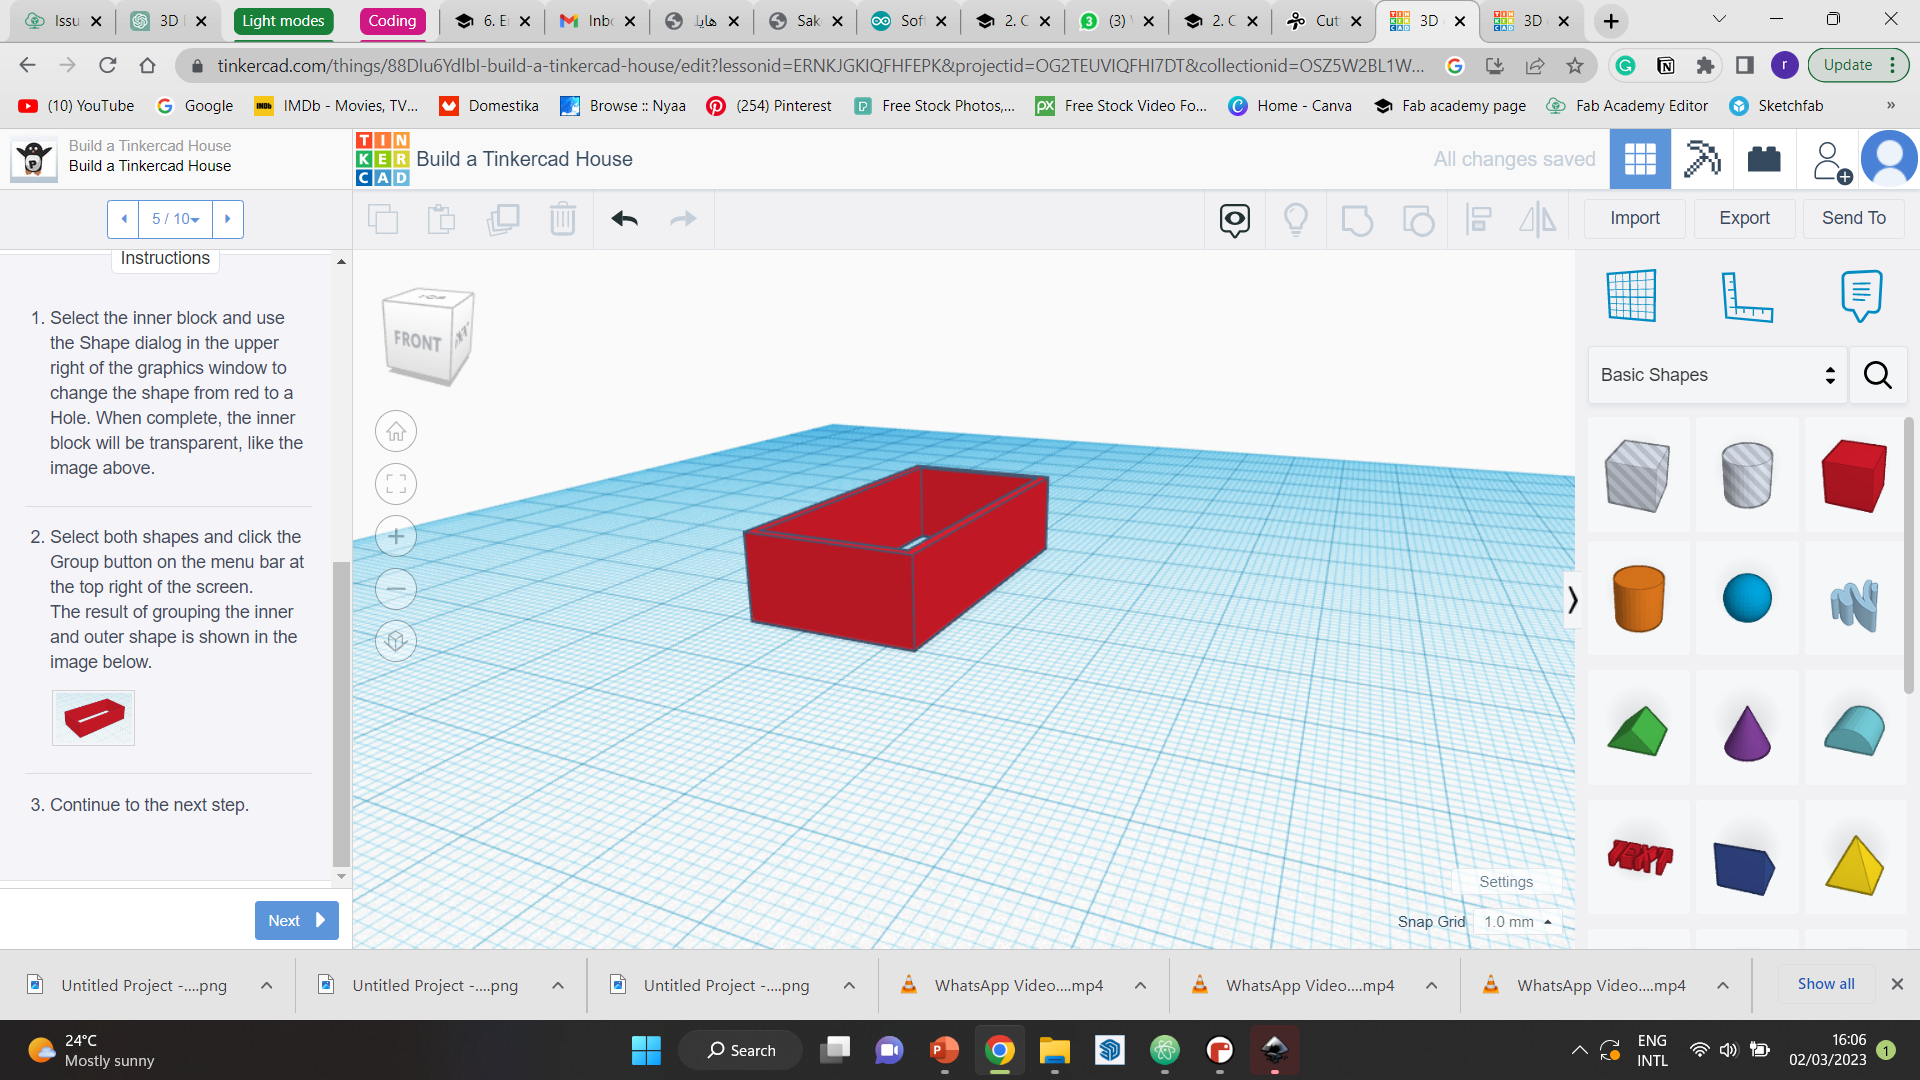
Step 2 Then, I duplicated the rectangle, and made it 1mm smaller on each side. I then raised it a little to be able to differentiate between it and the previous shape. After that, I grouped both shapes together, which made the first shape look like it had an offset.
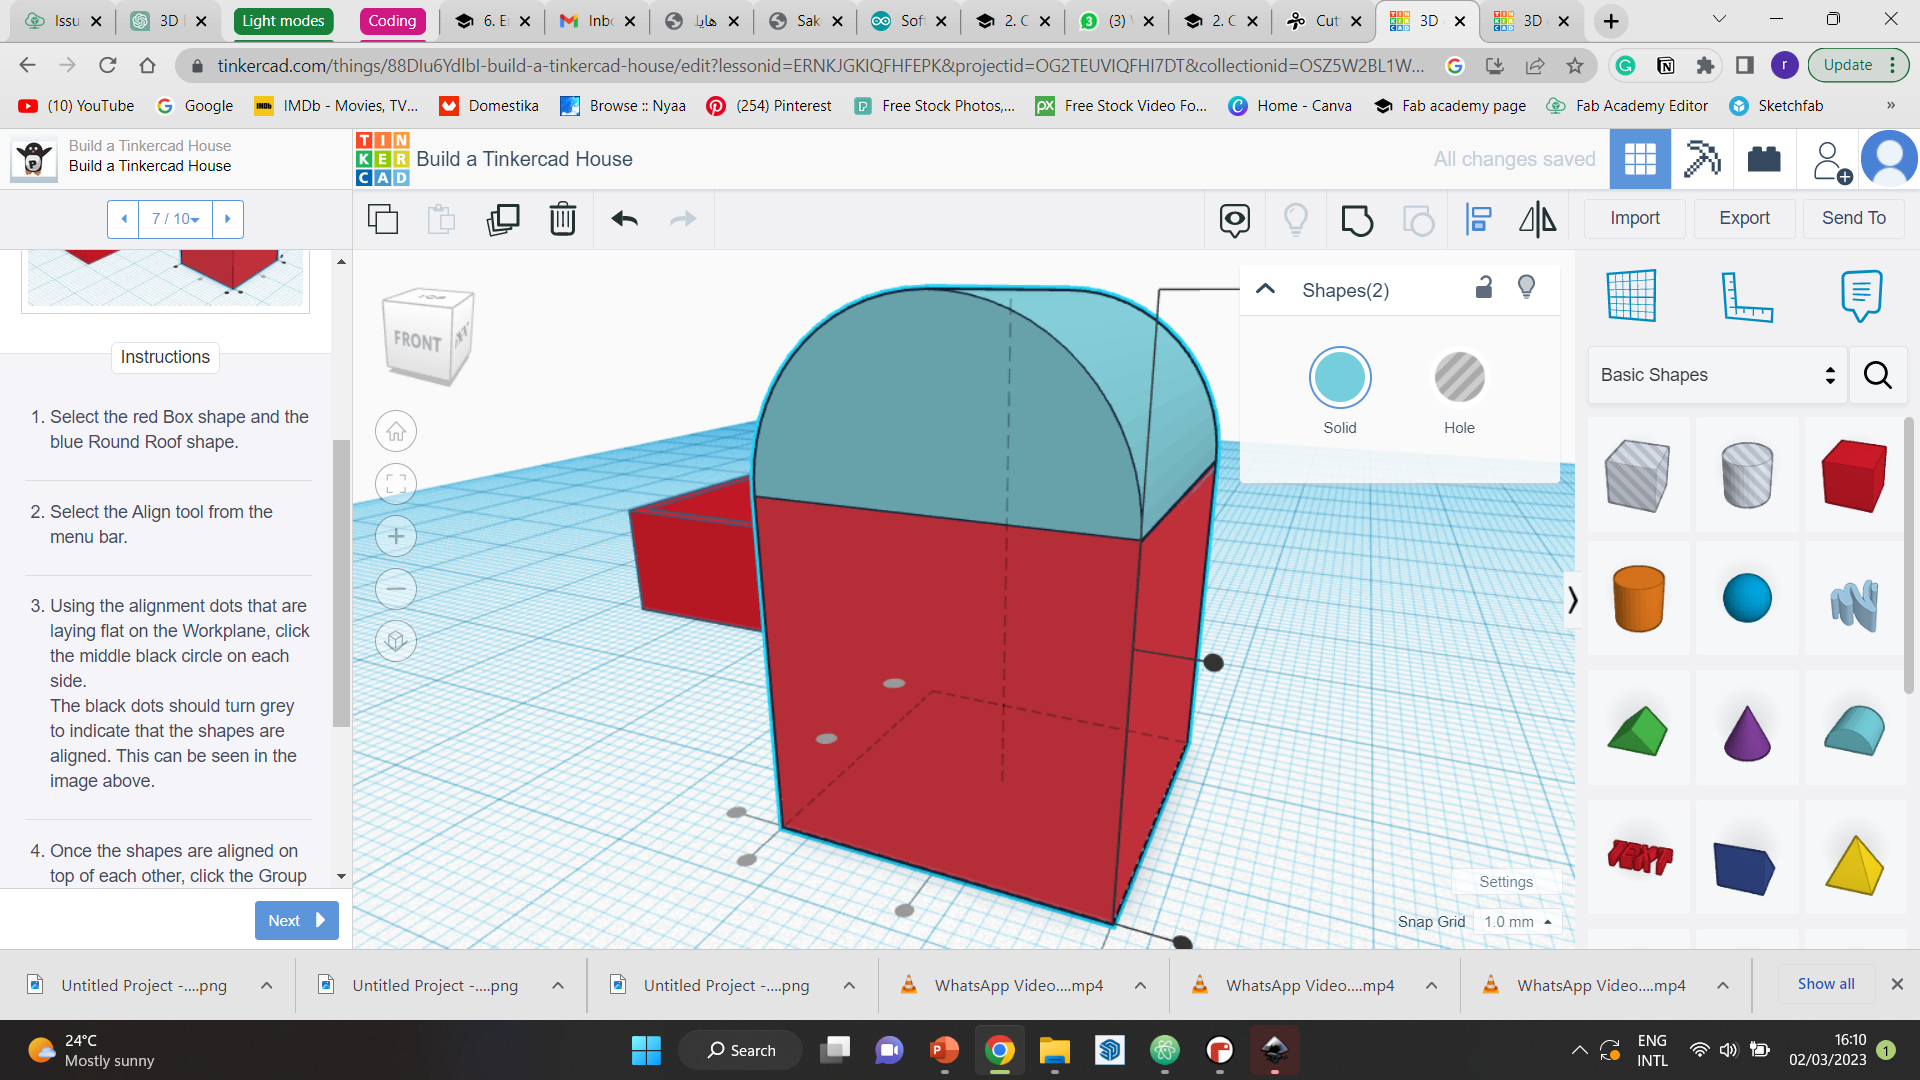
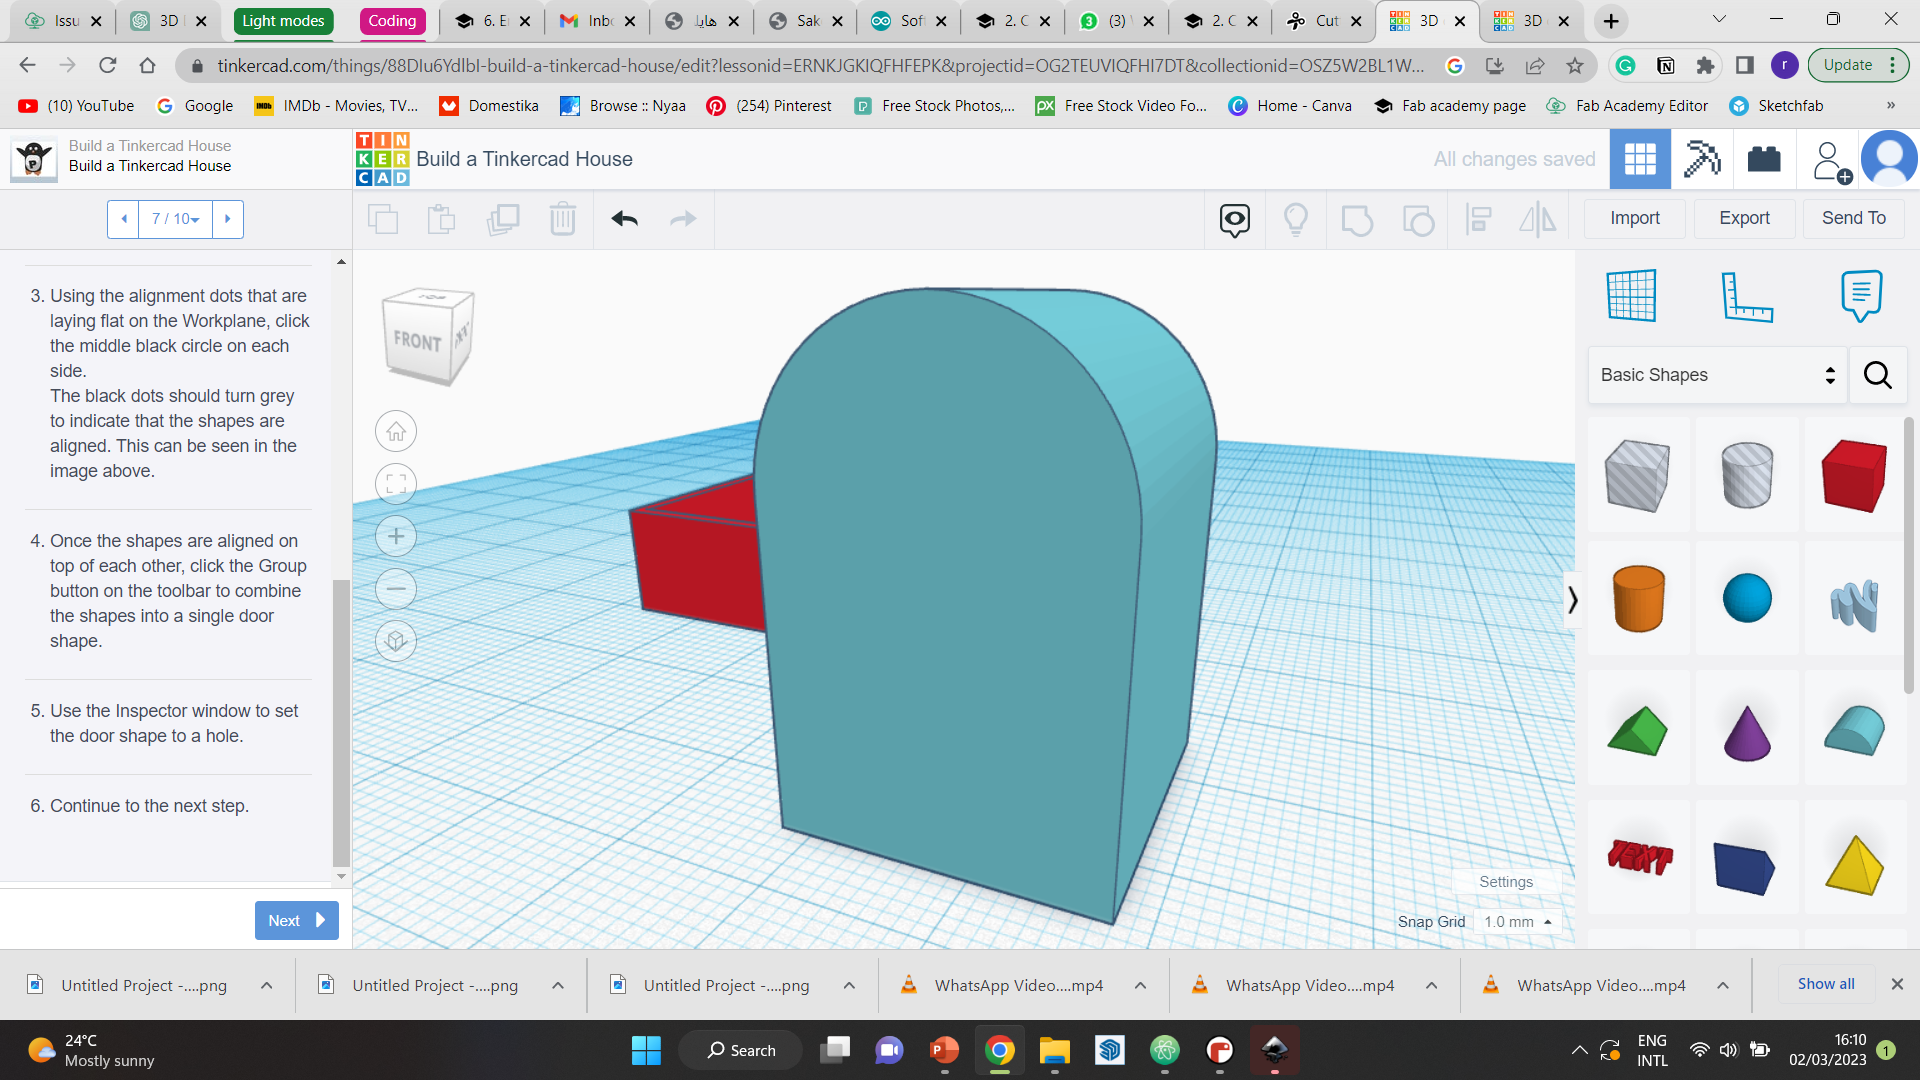
Step 3 Next, I created the door. I wanted it to be an archway, so I used both shapes shown in the picture below. I used the (align) tool to make them exactly on top of each other, then grouped both together to make it into one shape.
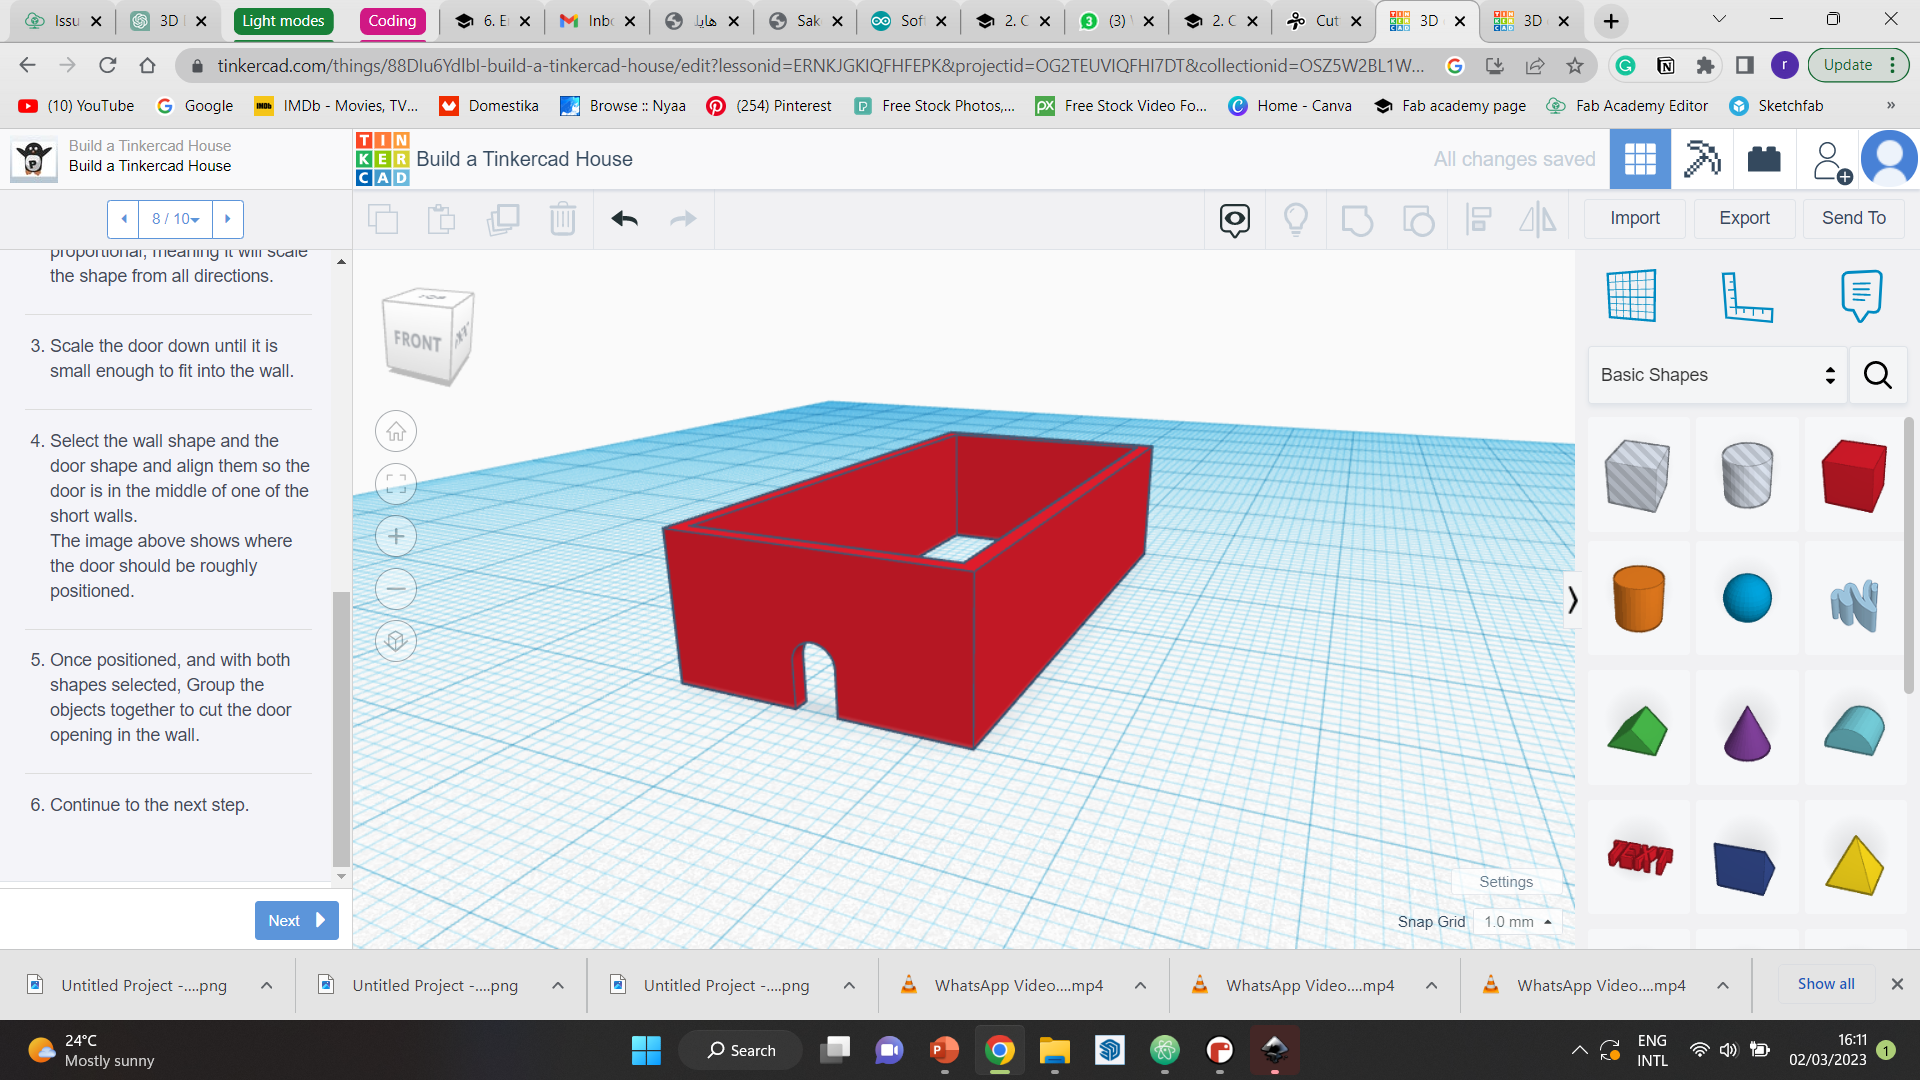
Step 4 is to make it smaller, and place it in the correct place. Then, I grouped them together again to make the cut-out of the door.

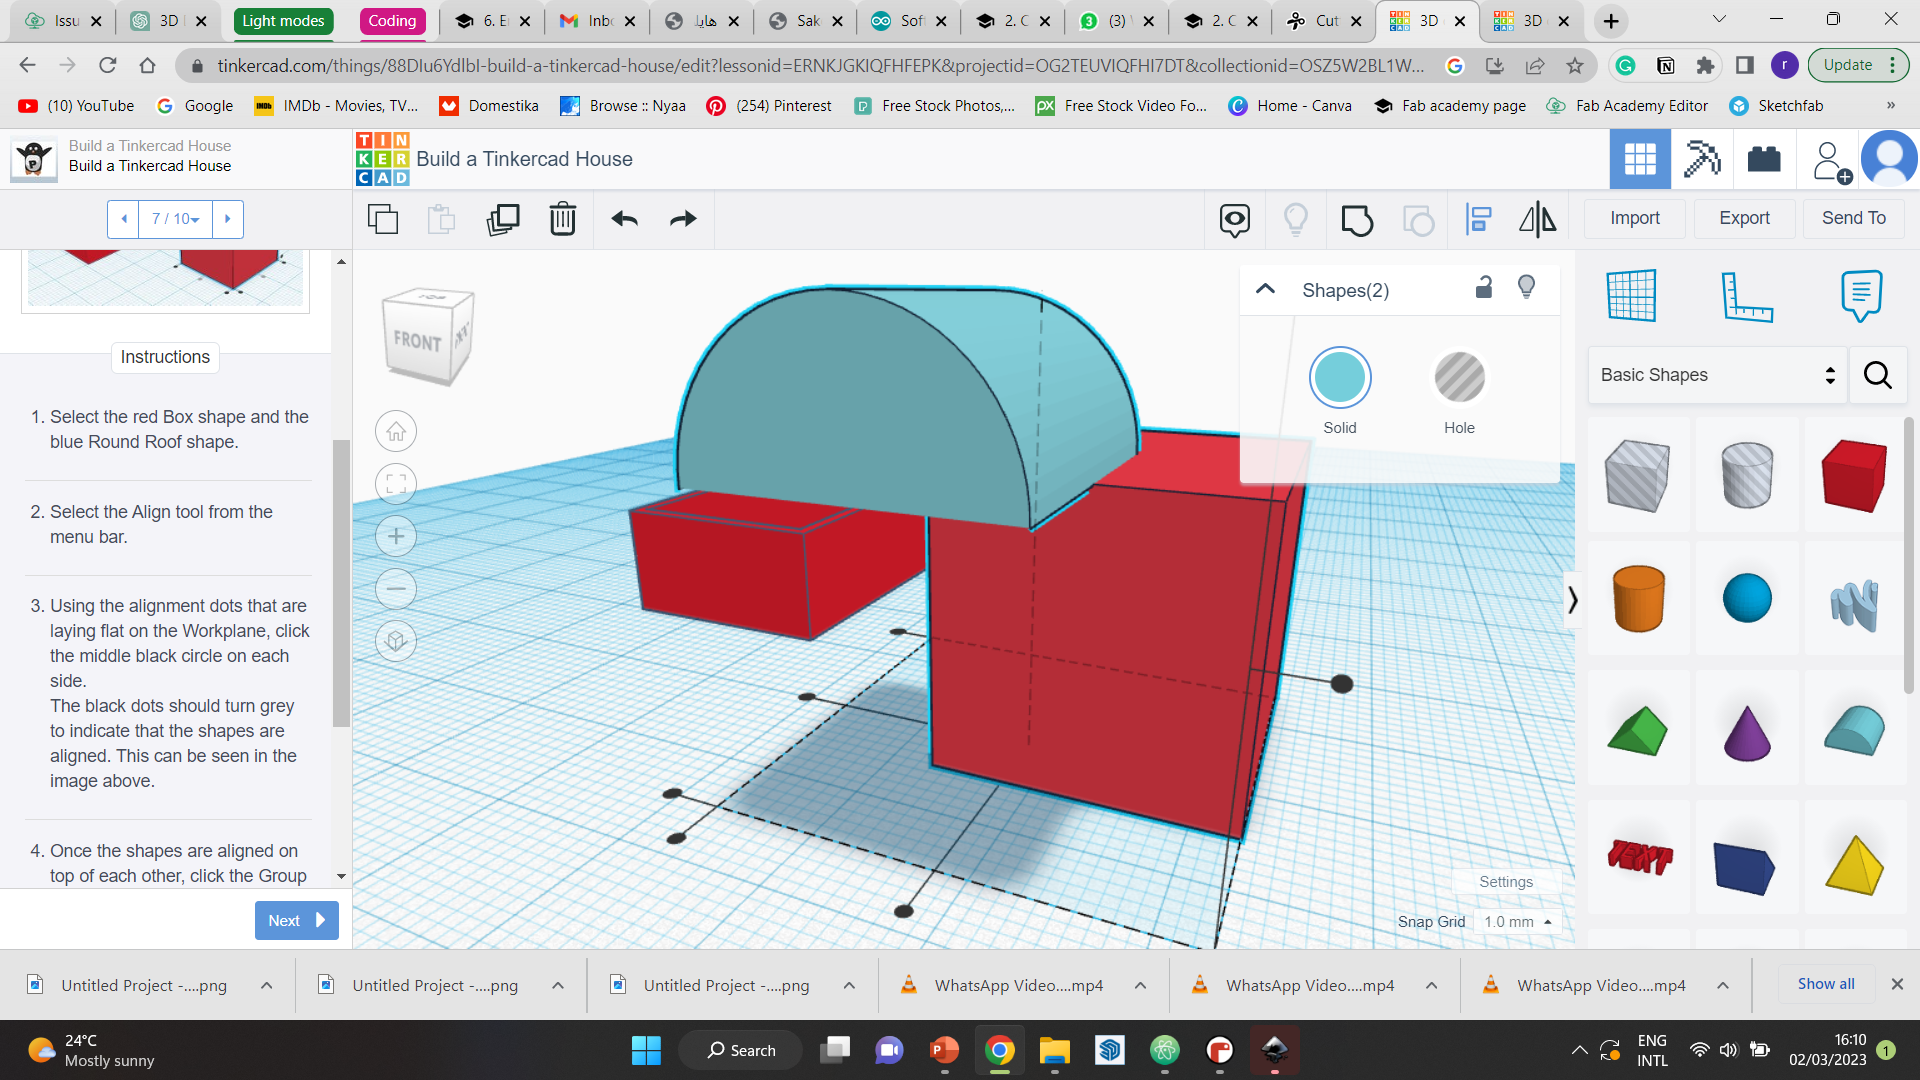
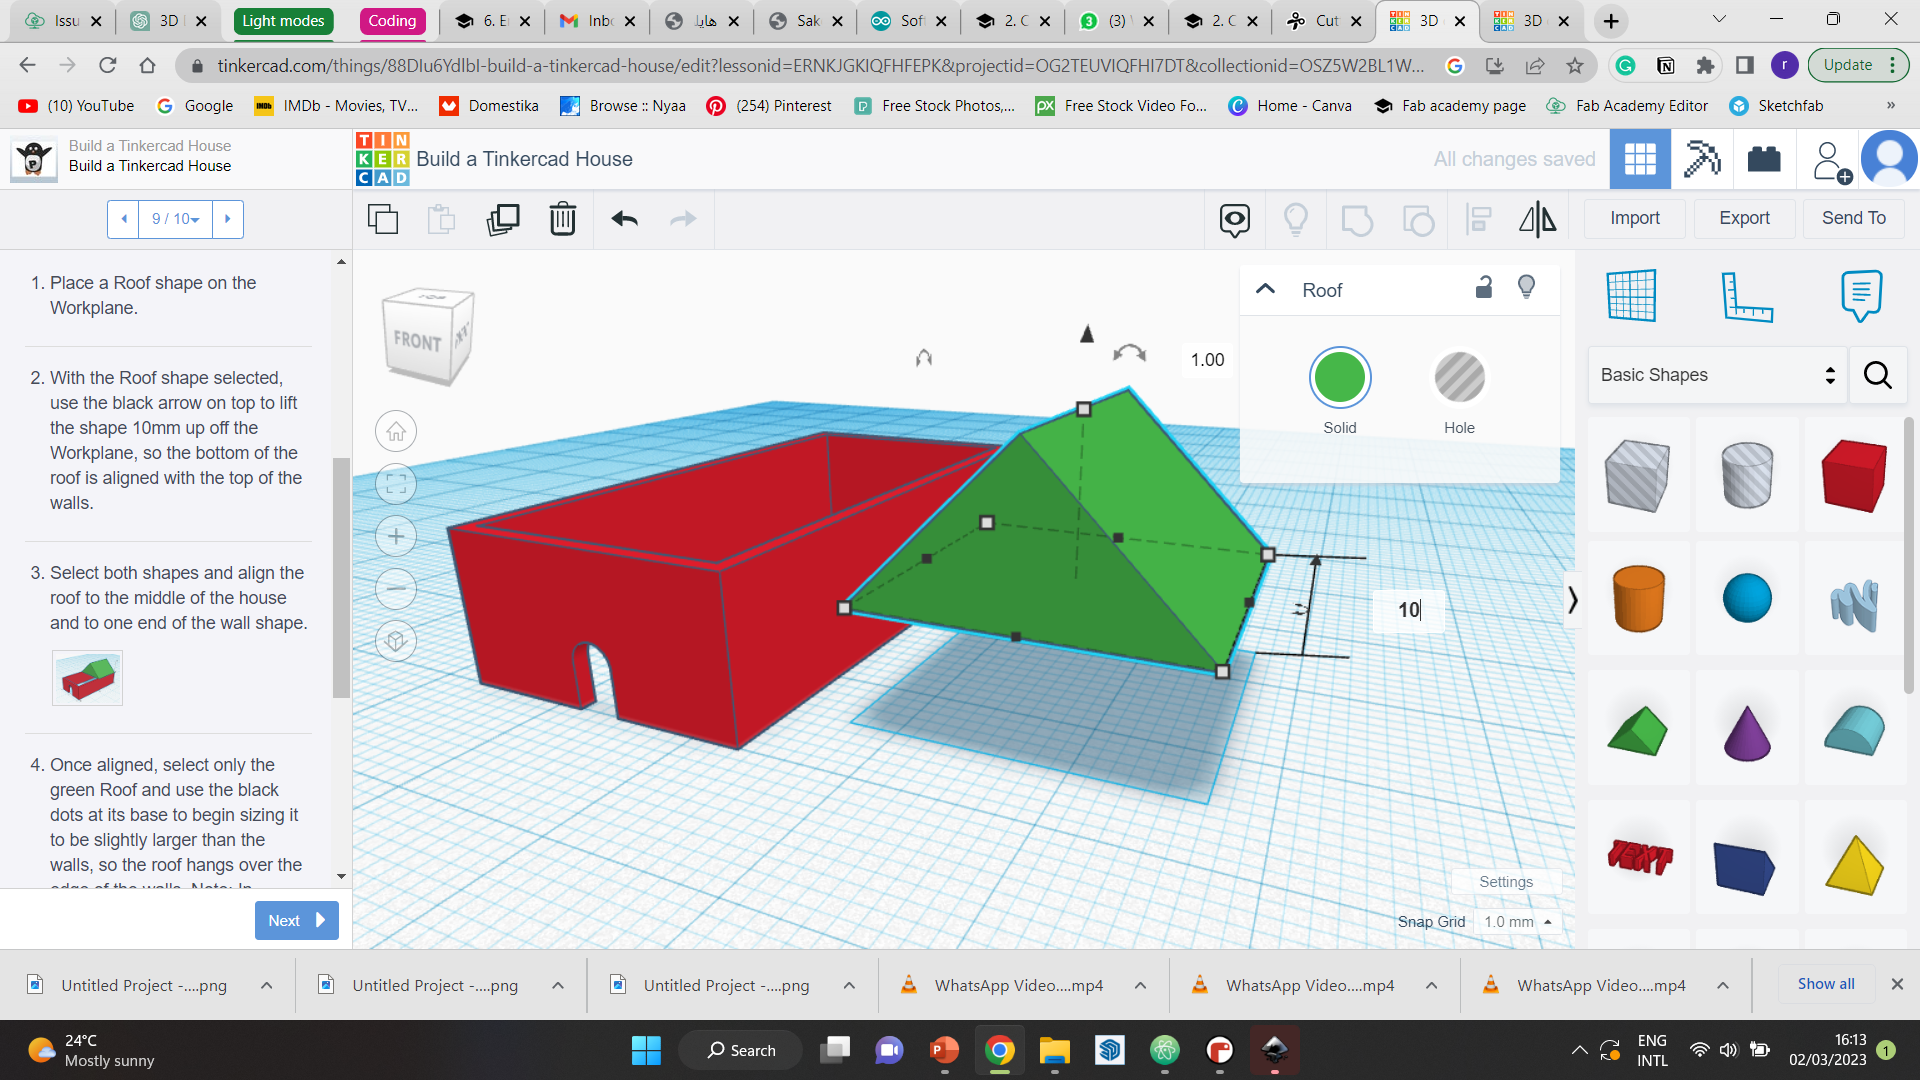
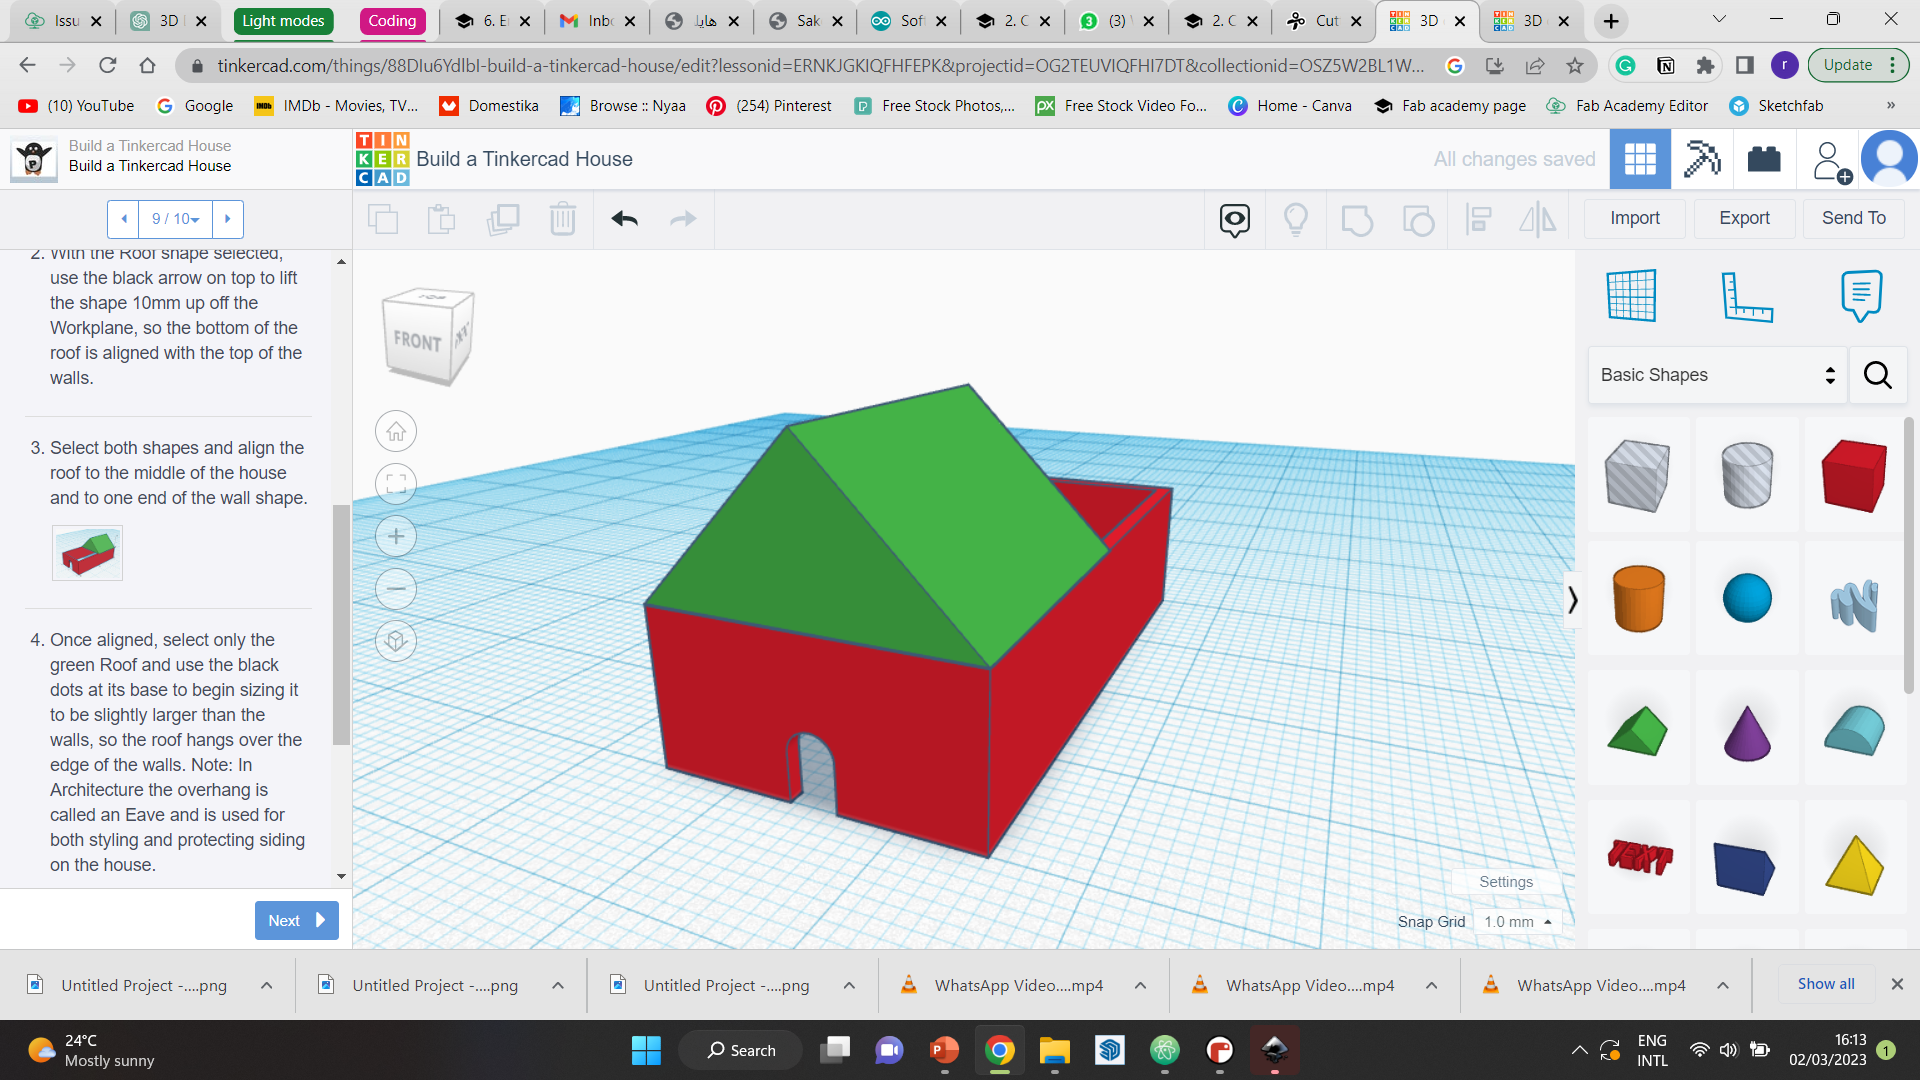
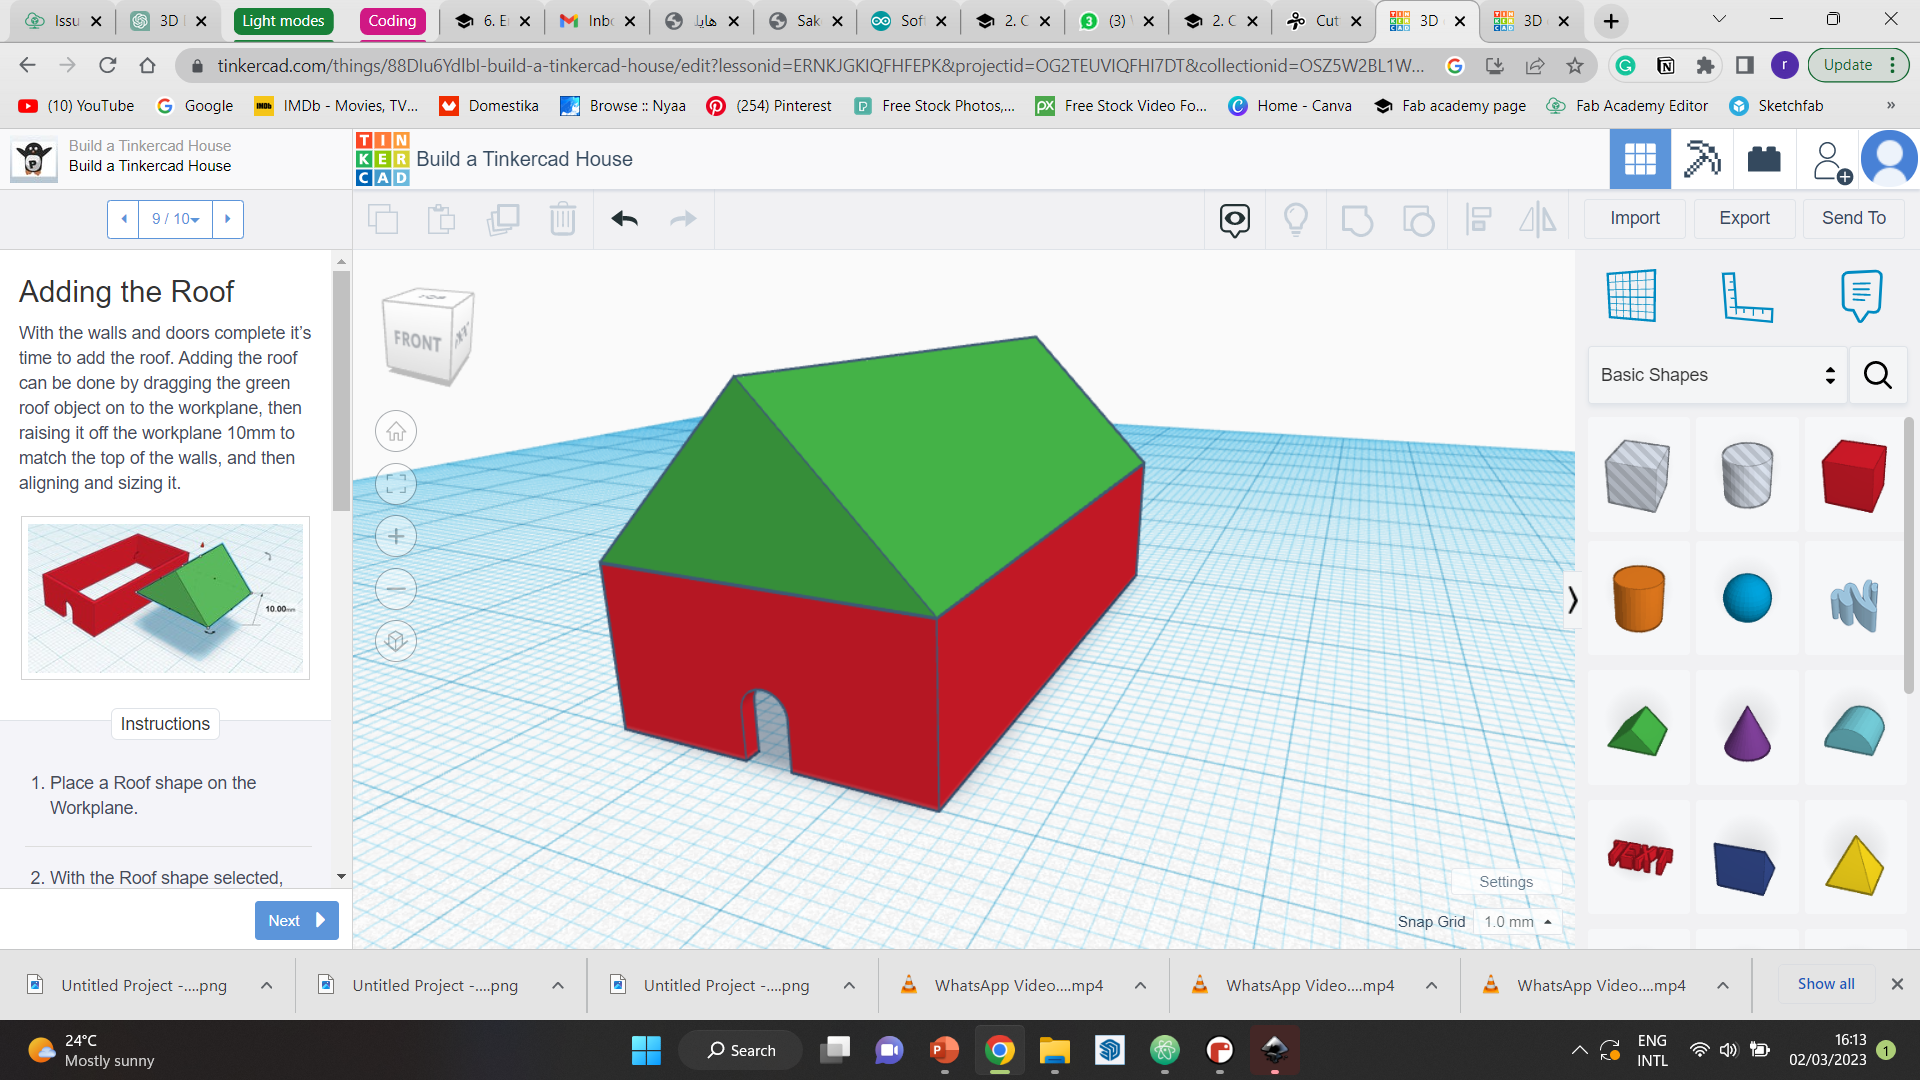
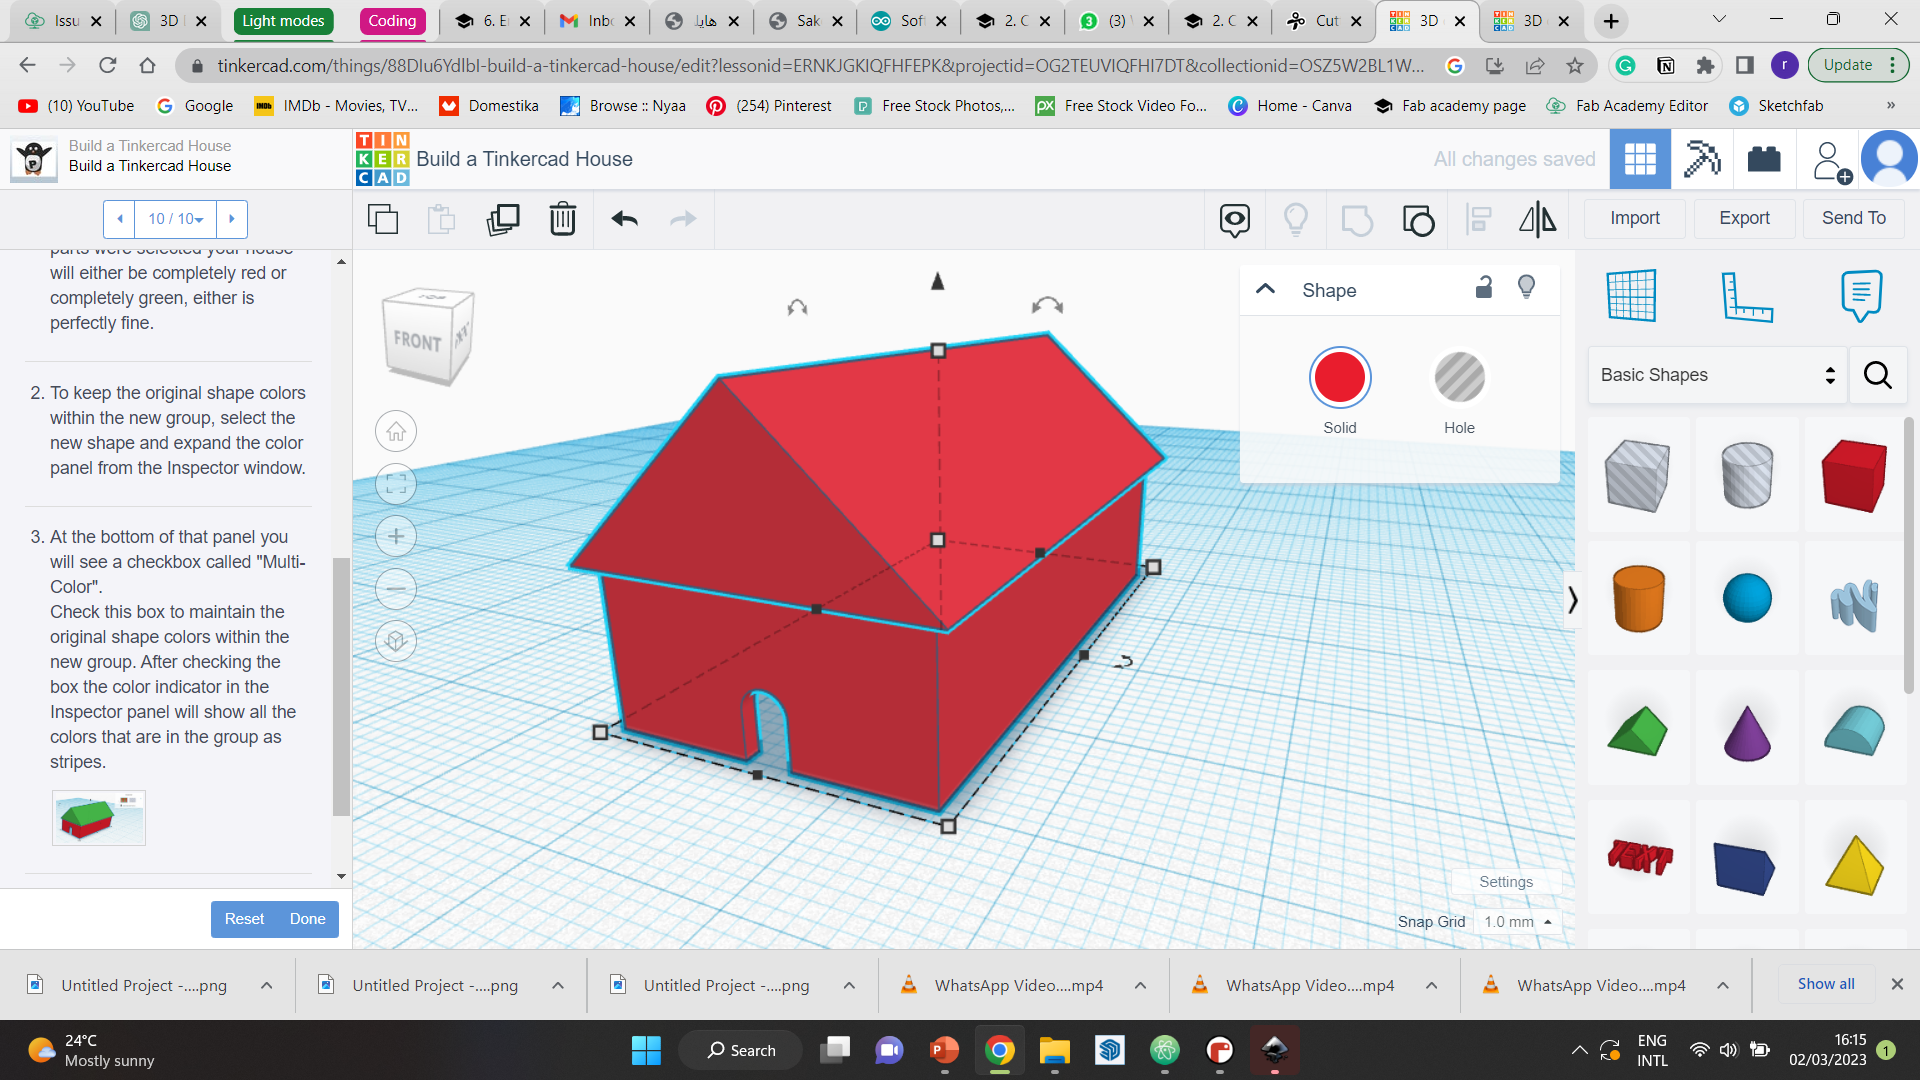
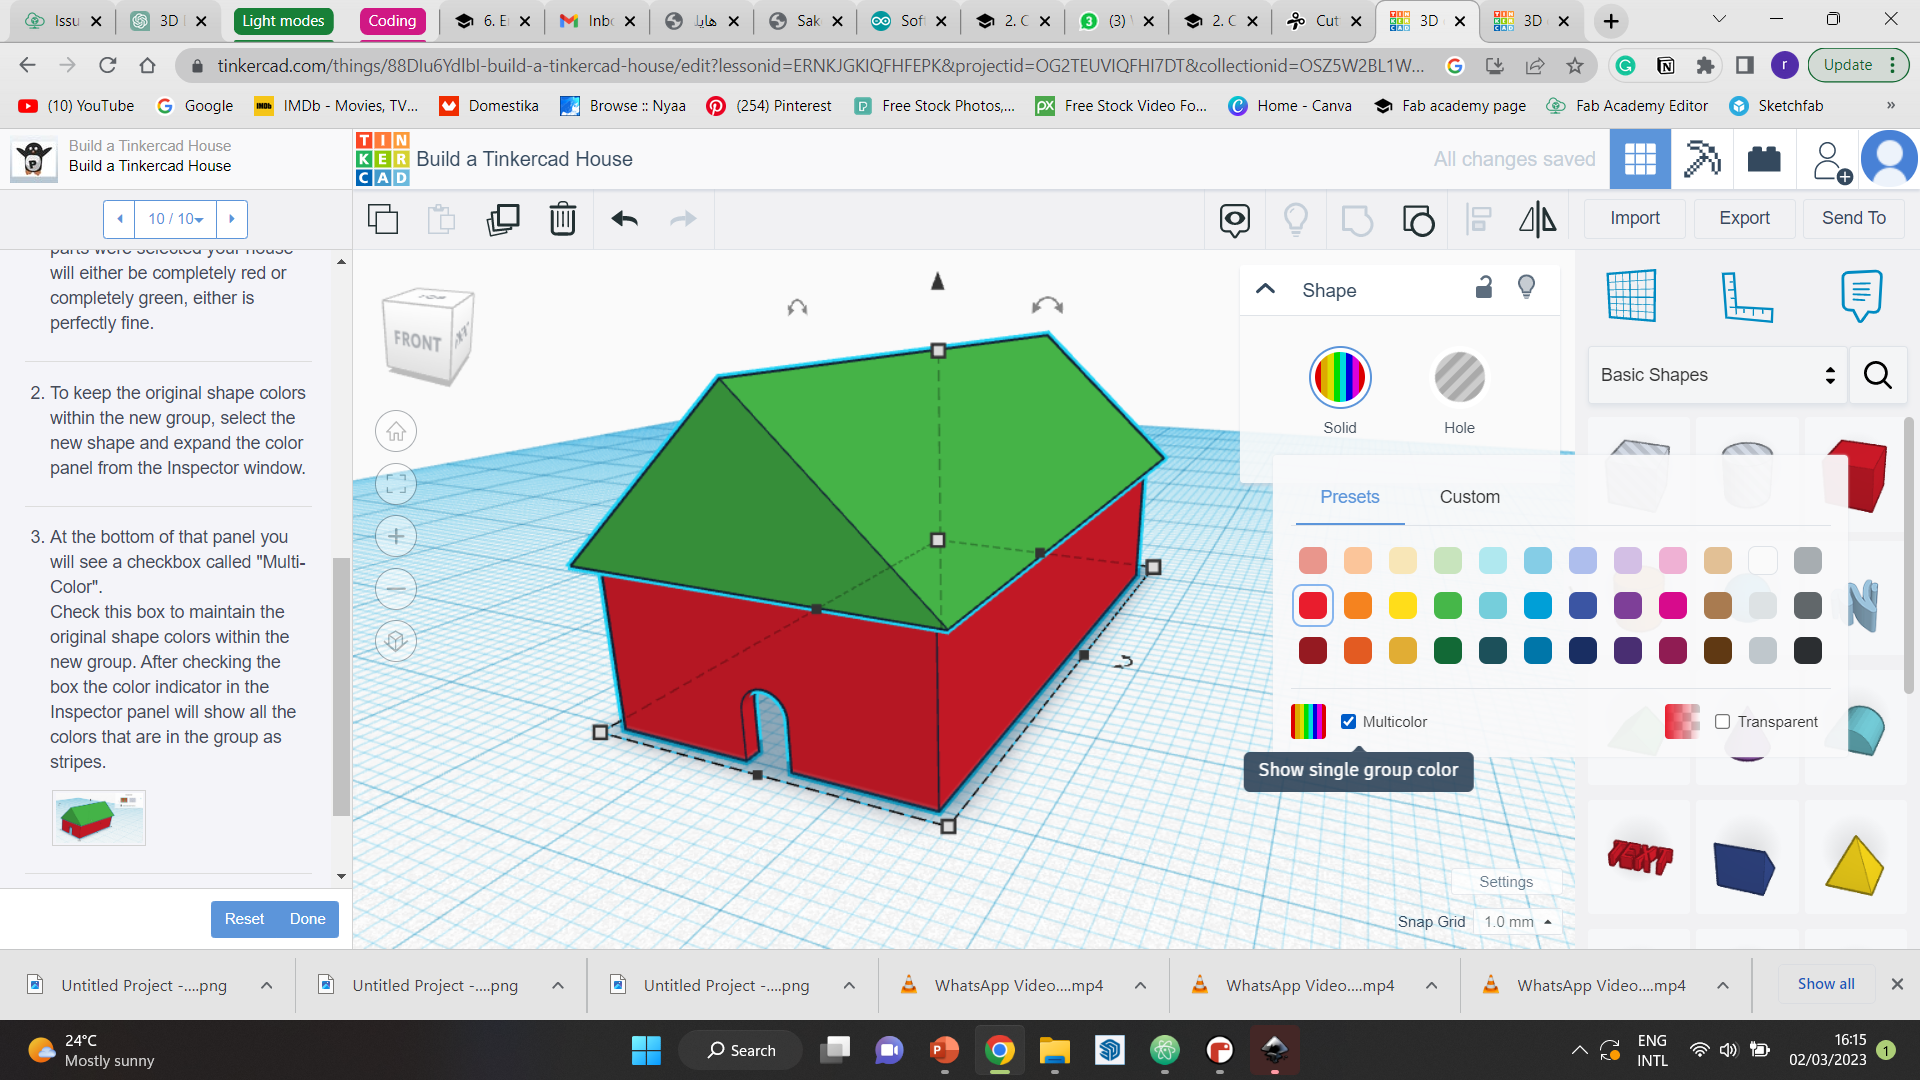
Step 5 After that, I created the triangular roof of the house. I used the align tool again to place it correctly. Then I resized it and grouped it. Since the grouping technique causes the whole thing to become a unified color, I had to change that. So, when I clicked on the shape, I chose the option which says (multicolor). This reverted it back to its original colors.
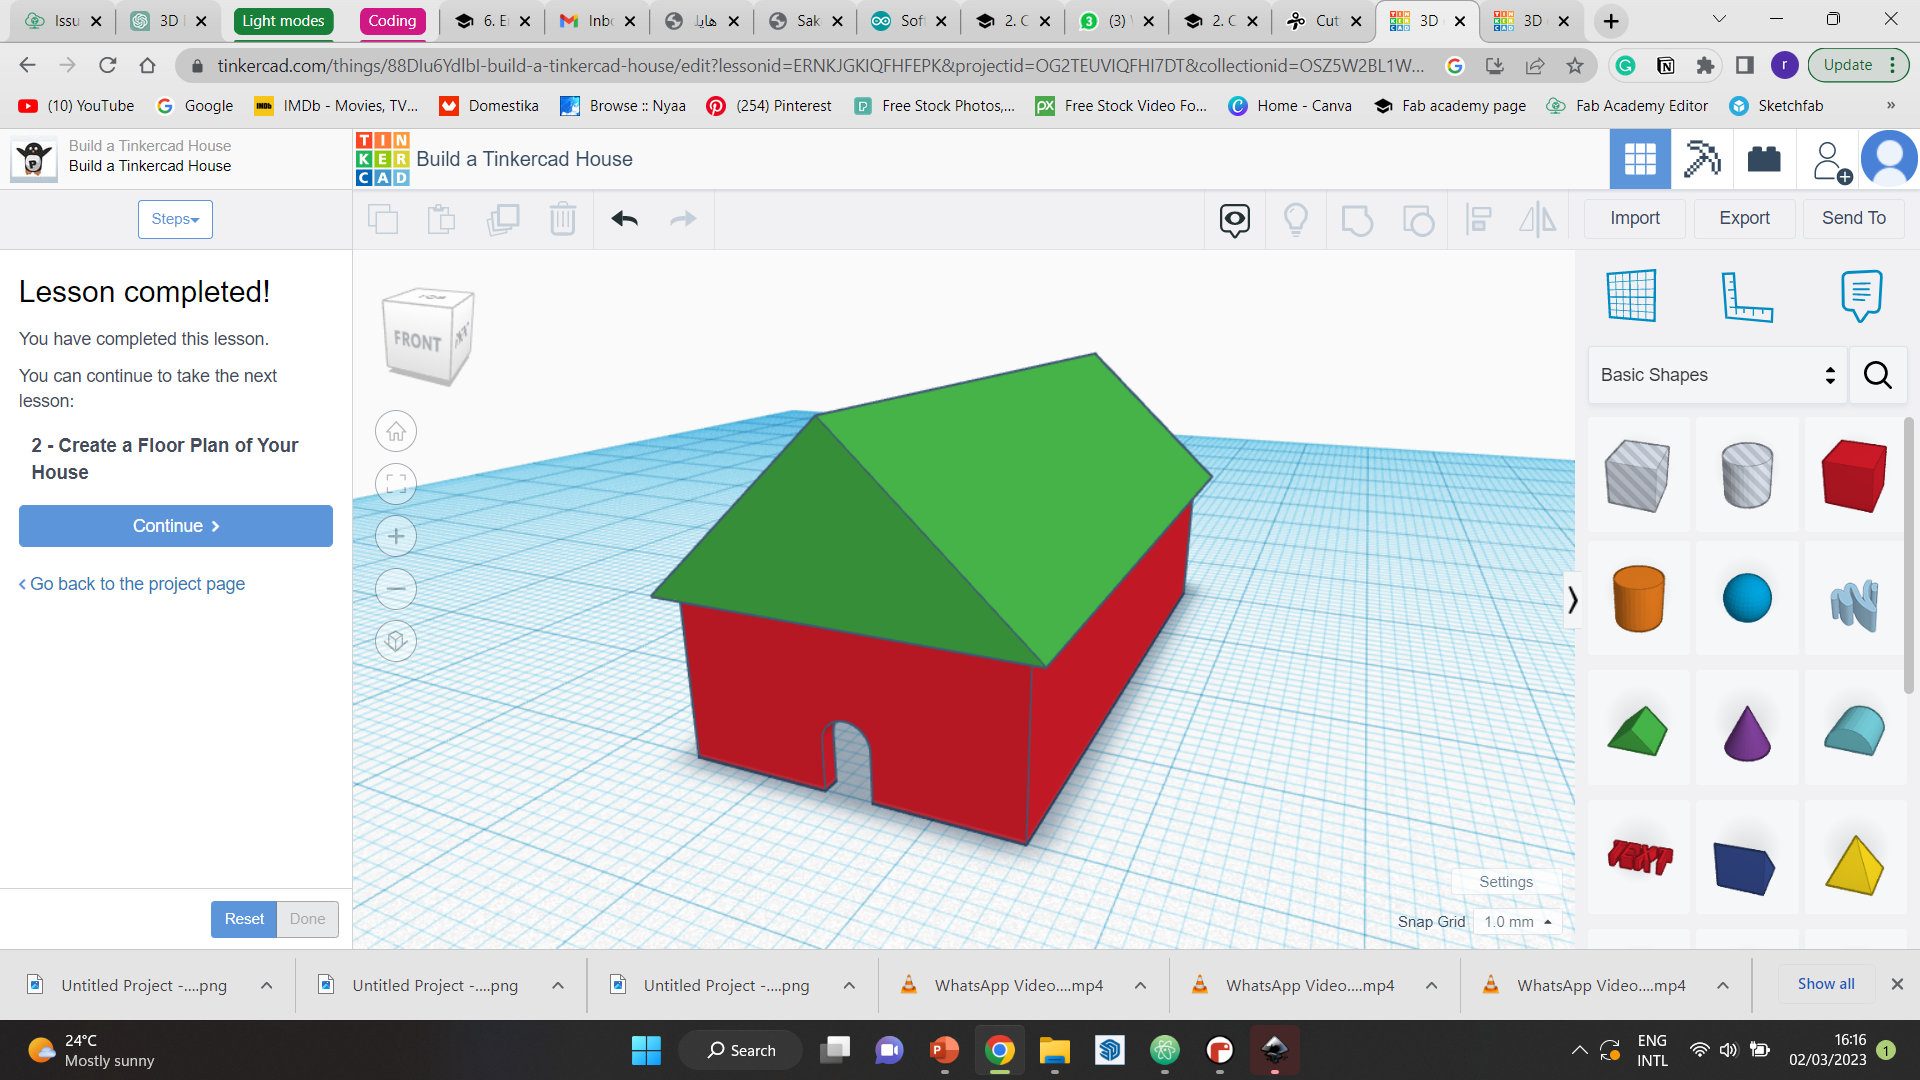
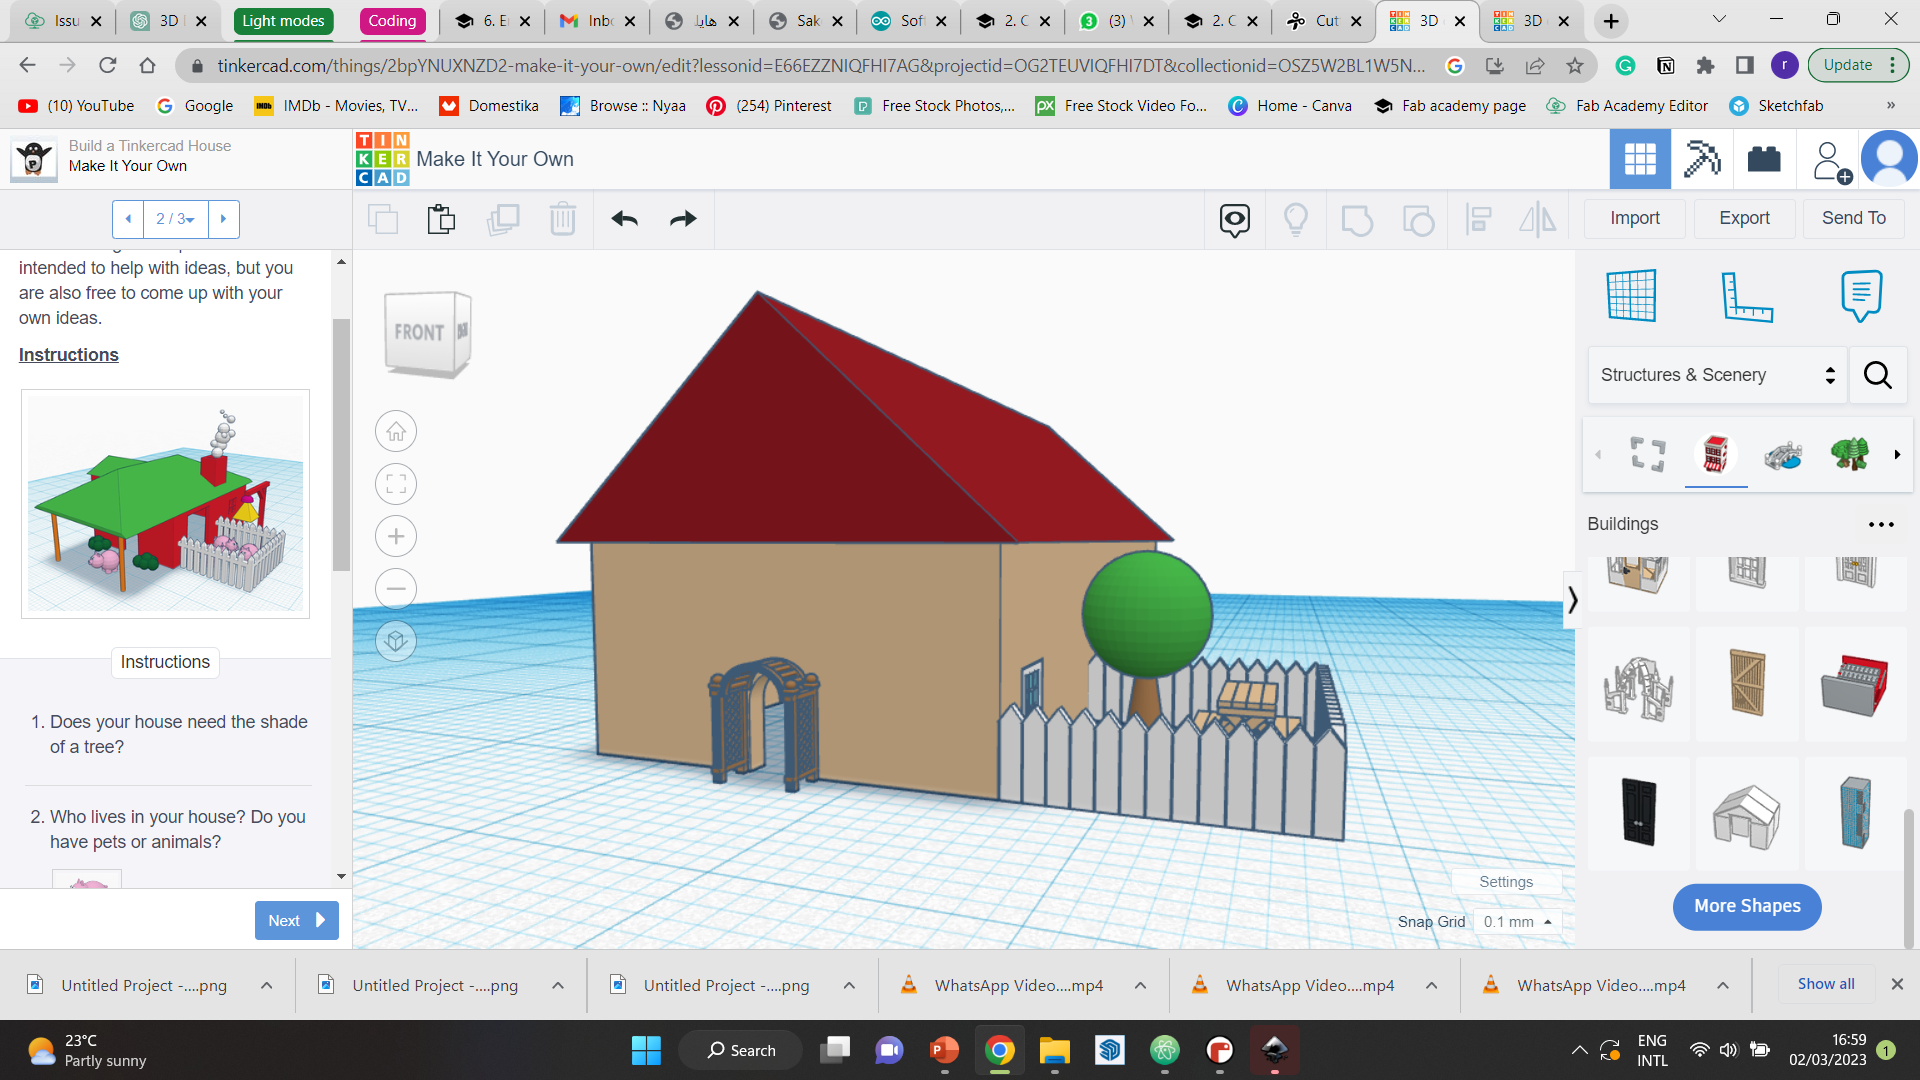
Step 6 Finally, I experimented a little bit more with the program, and tried to make the design a little bit more customized. This was the outcome.
Below is the downloadable STL file.