5. Large format CNC (computer controlled Machining)
During this week, we worked with CNC cutting. This week’s work was similar to week 3 (laser cutting) but our product had to be much larger.
CNC explained
CNC (Computer Numerical Control) machine cutting is a manufacturing process in which a computer-controlled machine uses cutting tools to remove material from a workpiece to create a desired shape or finish. CNC machine cutting is precise and efficient, as the computer can control the movement of the cutting tool with great accuracy. There are various types of cutting tools that can be used in CNC machine cutting, including end mills, drills, and lathes, and the choice of tool depends on the material being cut and the desired finish. CNC machine cutting can be used to cut a wide range of materials, including metals, plastics, and composites, and it is often used in industries such as automotive, aerospace, and medical device manufacturing.
For this week’s group assignment, we tested several aspects of the machine, including alignment, speed, rotation, feeds, and toolpaths. We also talked about safety measures that we are supposed to follow when using the machine. All the information can be found here.
Designing on Fusion360
For this week’s design, we had to create a piece of furniture. The most important condition for this week’s project was the use of joints ONLY. We were not allowed to assemble the result with screws or use glue, and should rely solely on joints we make using the wood itself. This requirement came with a set of challenges in my project, since I was designing a children reading chair.
I had to make sure the seat is comfortable, while still being sturdy and strong enough to carry the weight of the user, since I wanted it to carry up to atleast 10 years old.
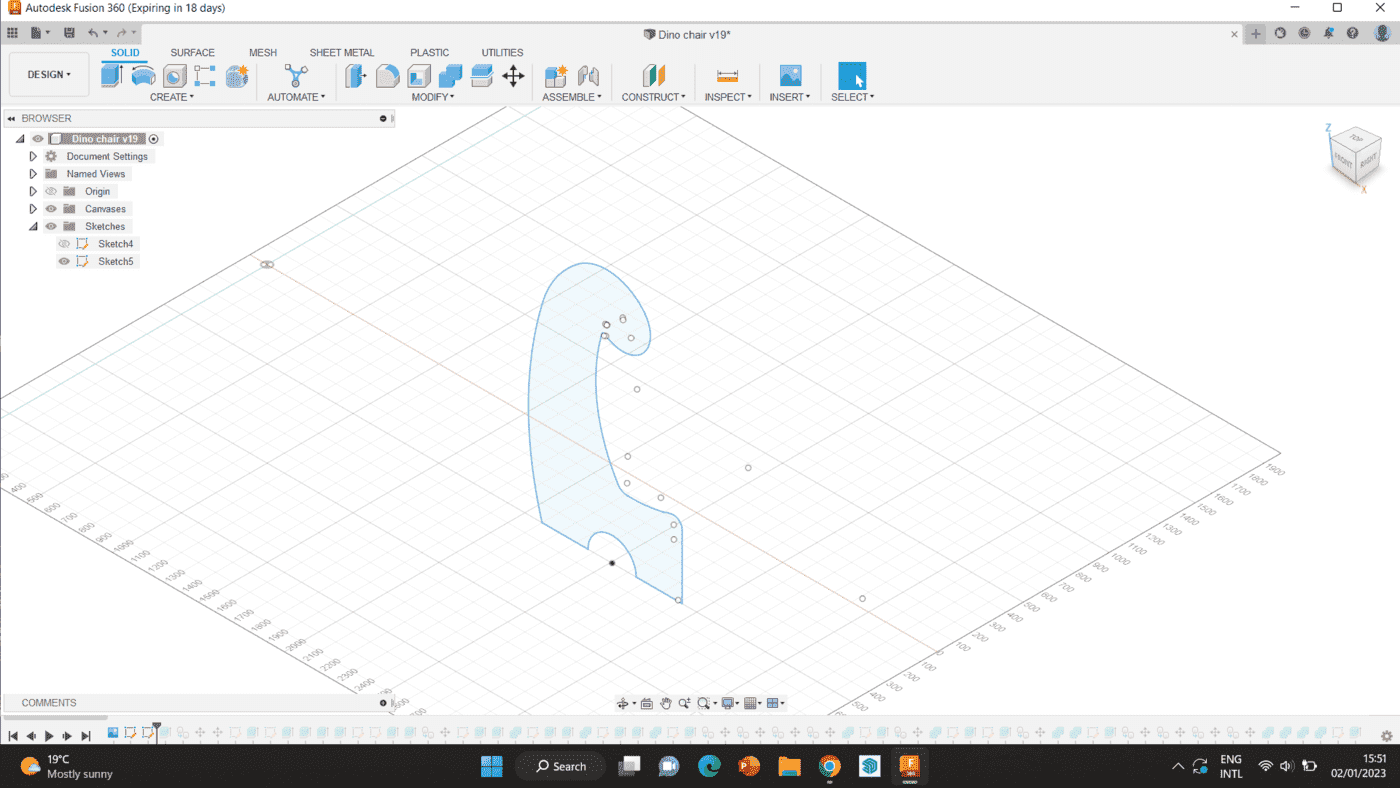
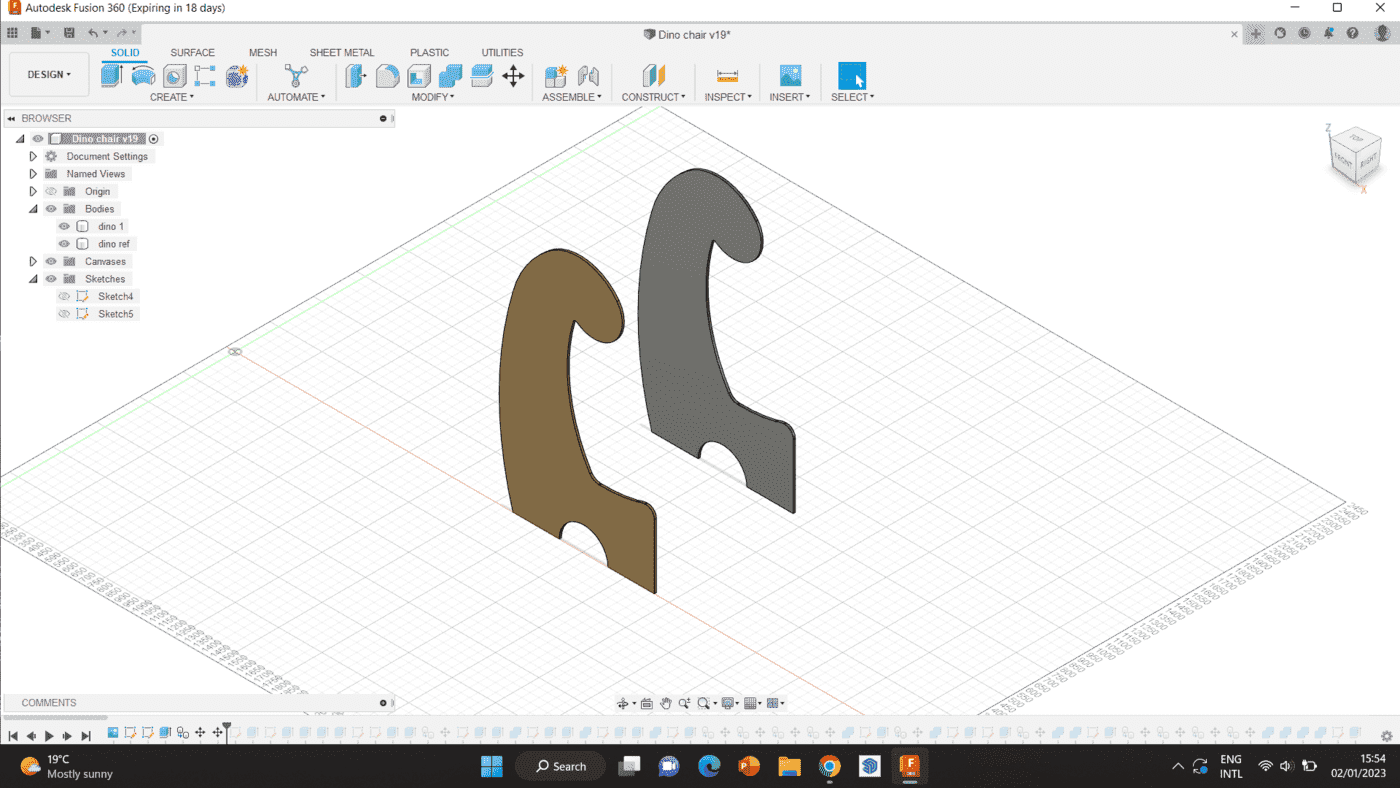
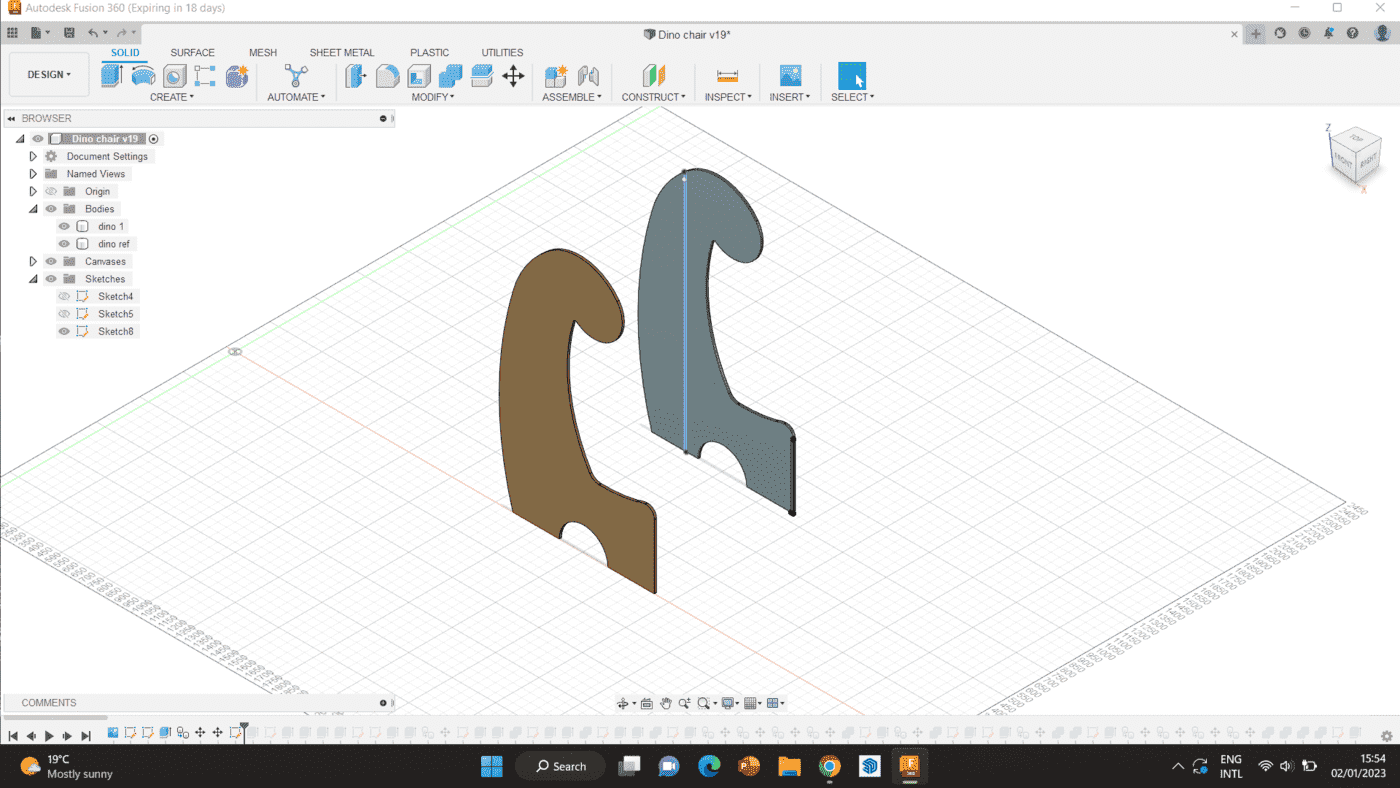
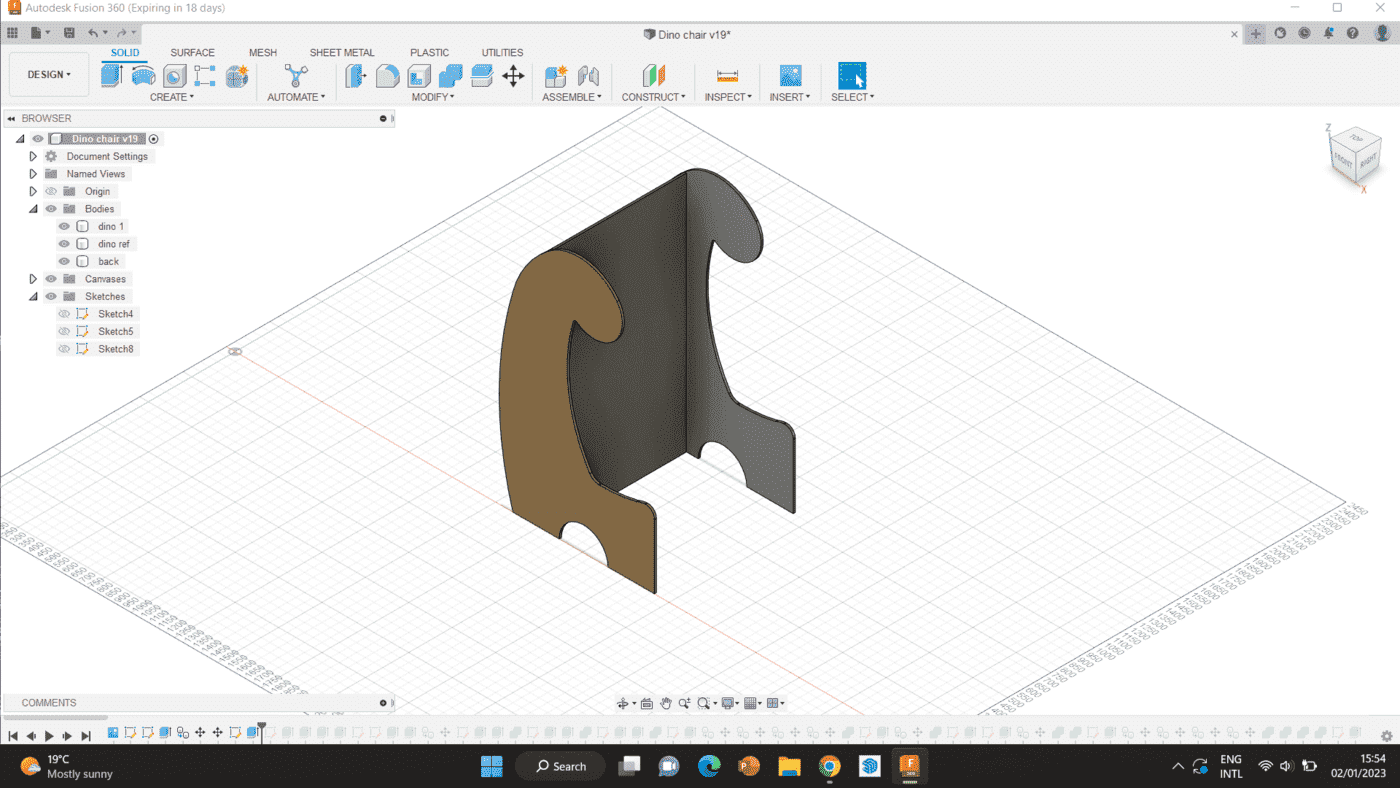
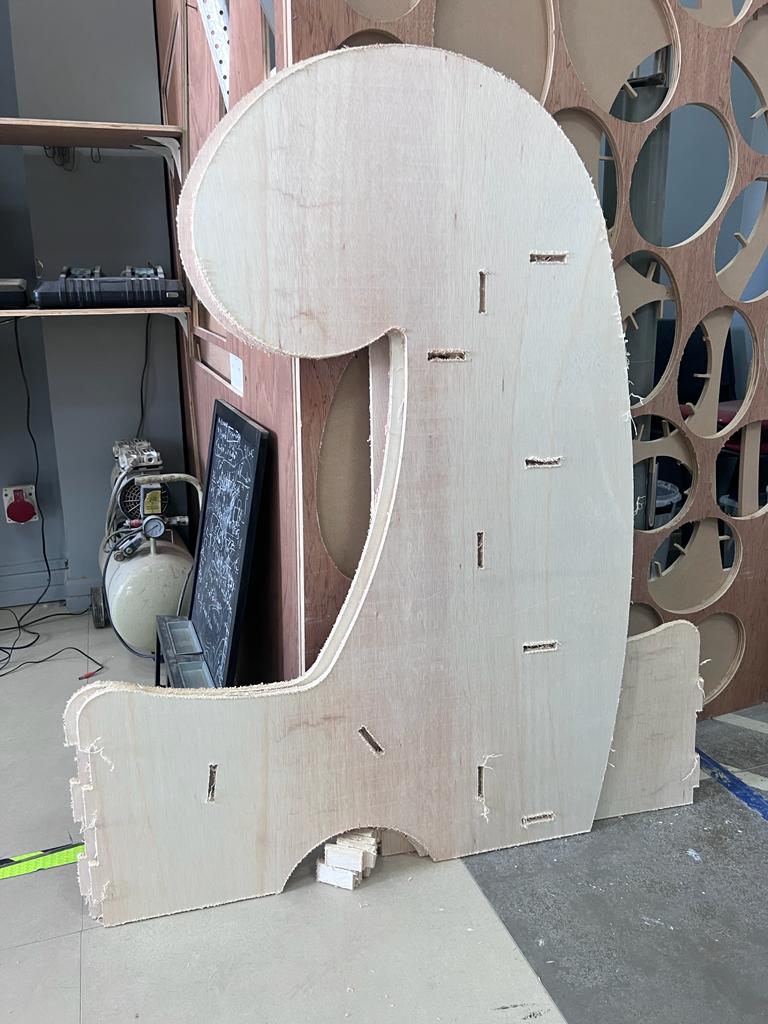
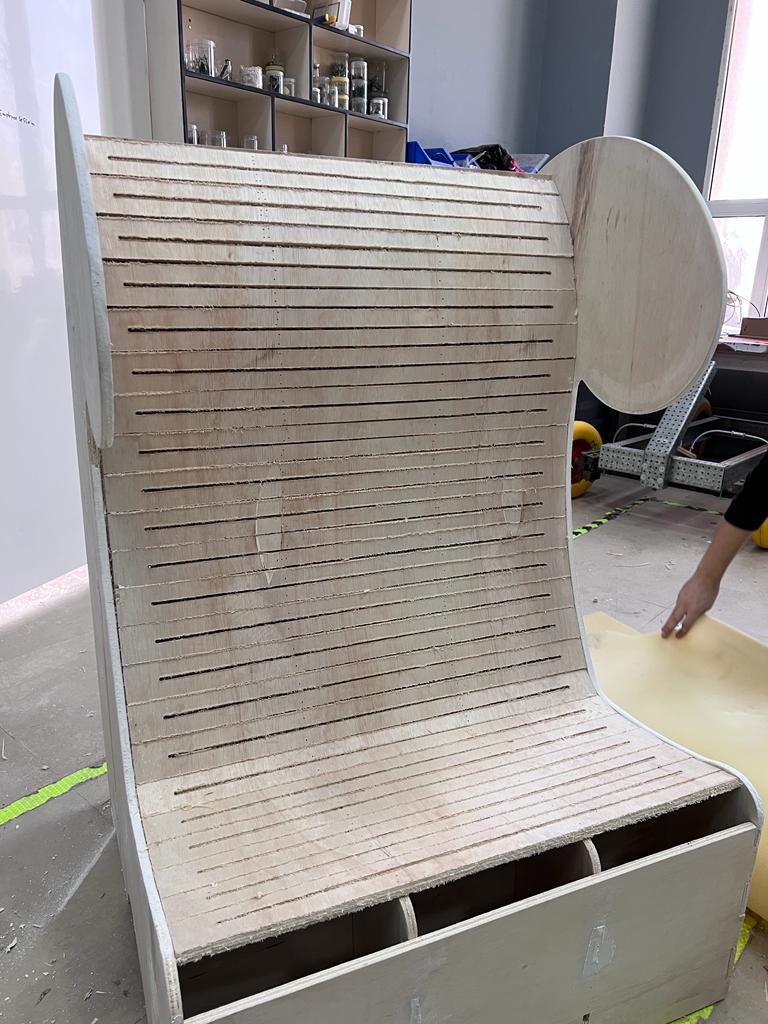
Step 1 First, I drew the outline of the chair’s side, which I wanted to resemble a dinosaur. I then extruded it, duplicated it, and moved it around 80 cm away from the original one, to create the width of the chair.

Step 2 Then, since I wanted two different functions on the front and back of the chair, I created the piece that will divide between both parts.
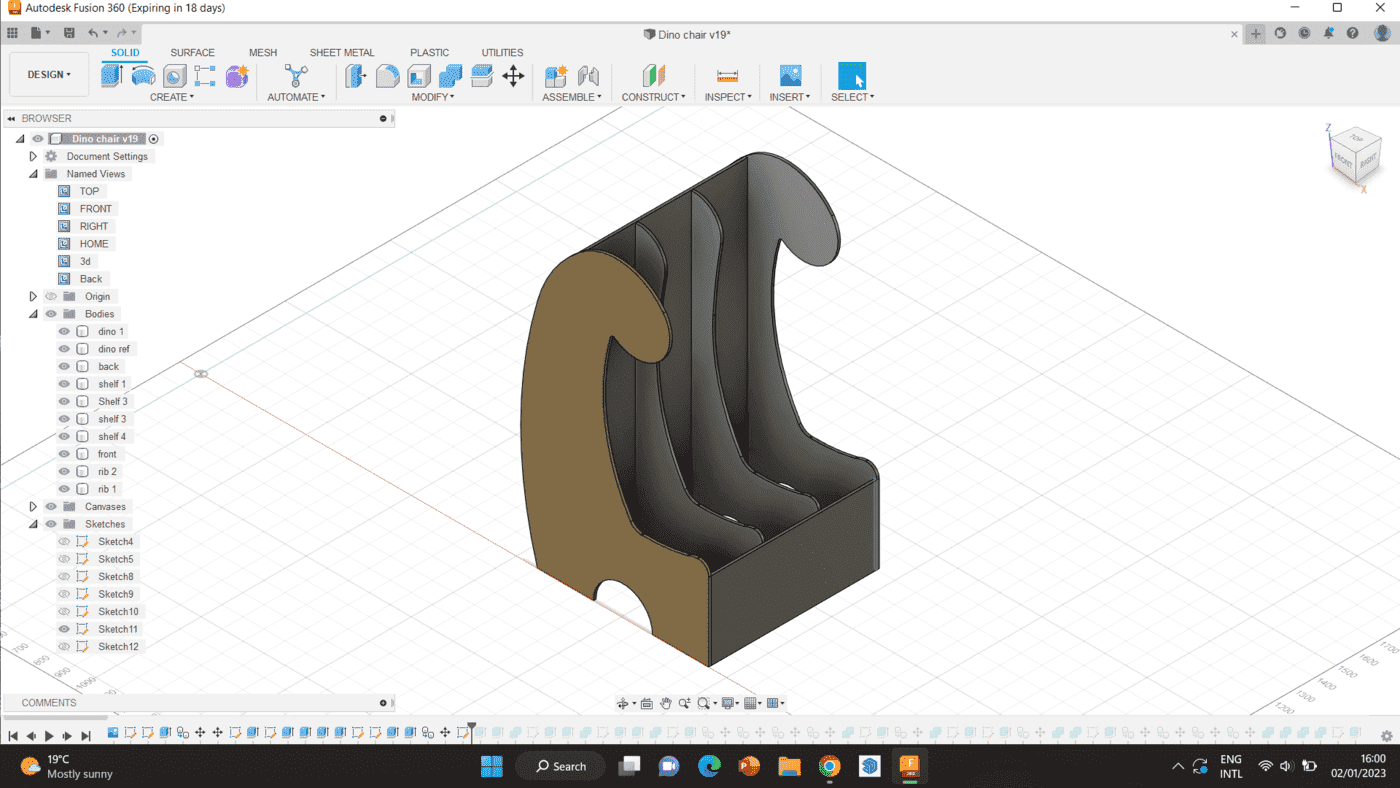
Step 3 Next, I created the shelves that will be placed in the back.


Step 4 After that, I came back to the front side. I had to create the front piece, as well as the supports that will carry the curved part of the seat. The supports were made by replicating the sides, and adjusting it to make it slowly smaller, so the kerfing would fit inside the sides and not over.

Step 5 was to create the pieces that will connect the supports together. I created two pieces on the bottom, since that part will carry most of the load. However, in the back, I only made one, since it was meant to connect only, not carry the load.
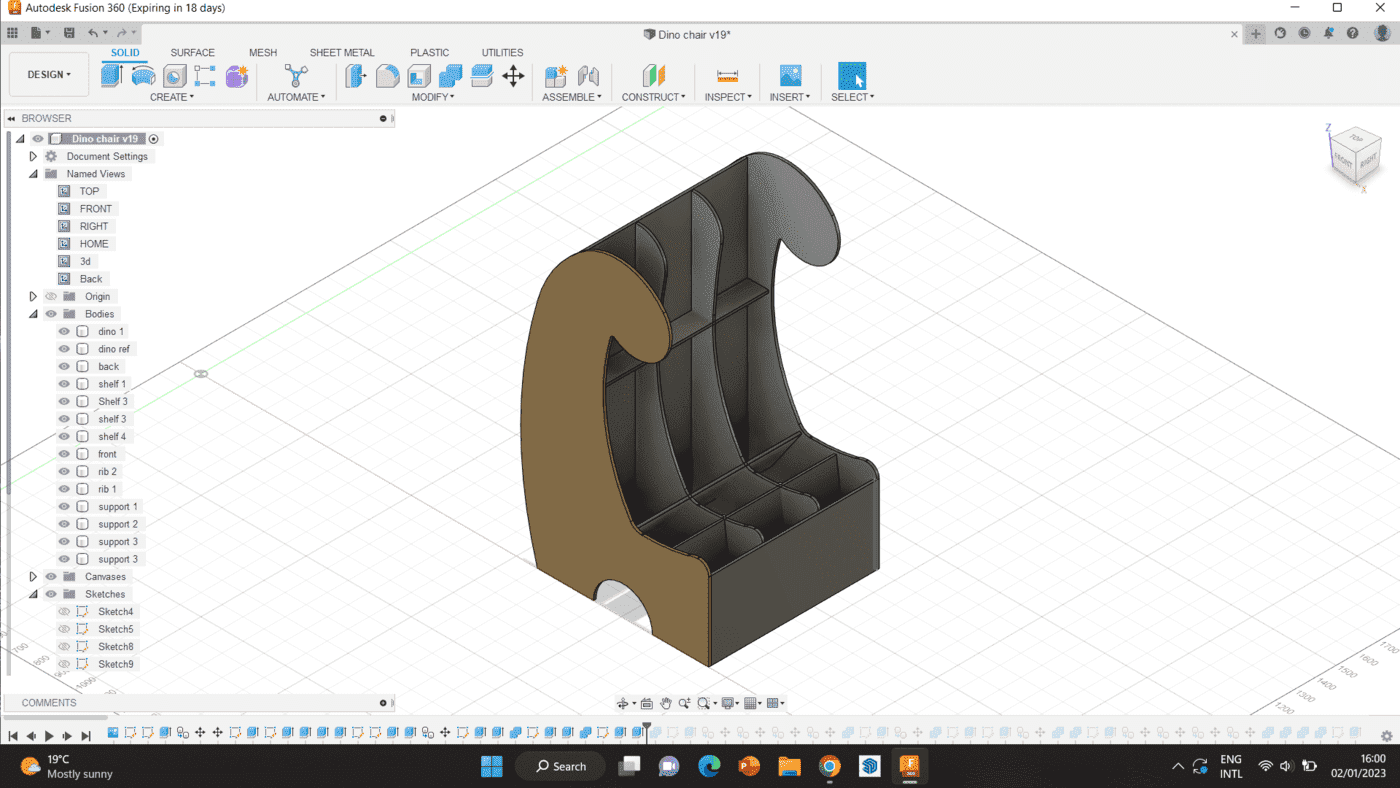
Step 6 Finally, after that was done, I created the joints that should hold the pieces together. I used several different joints including pocket, finger and press-fit joints.


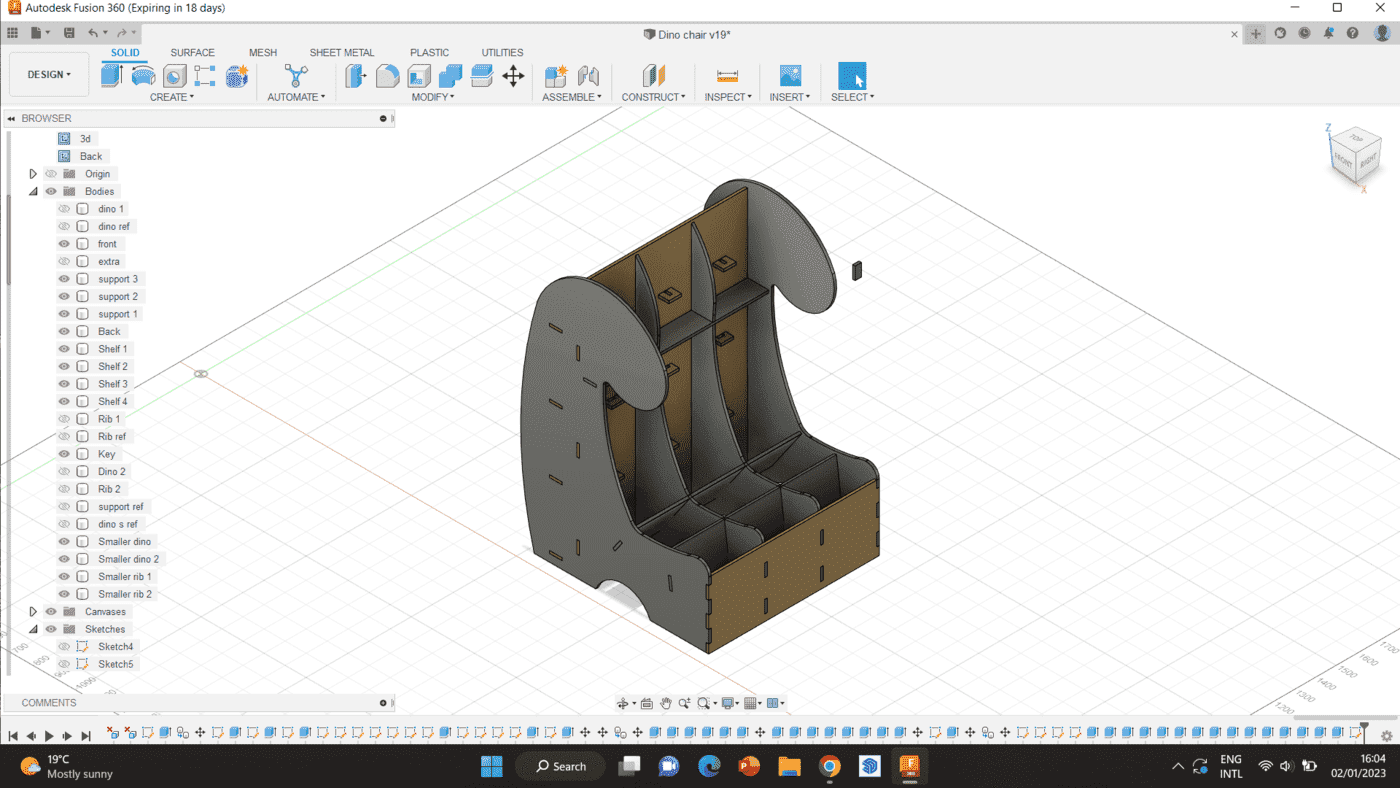
After the design was ready and I exported it into DXF files, we noticed that the design was way too big for the assignment. Therefore, I used the same design with some adjustments to make a smaller version out of it. The picture below is the chair after being minimized.
The 3D model and downloadable file can be seen below.
Cutting the design
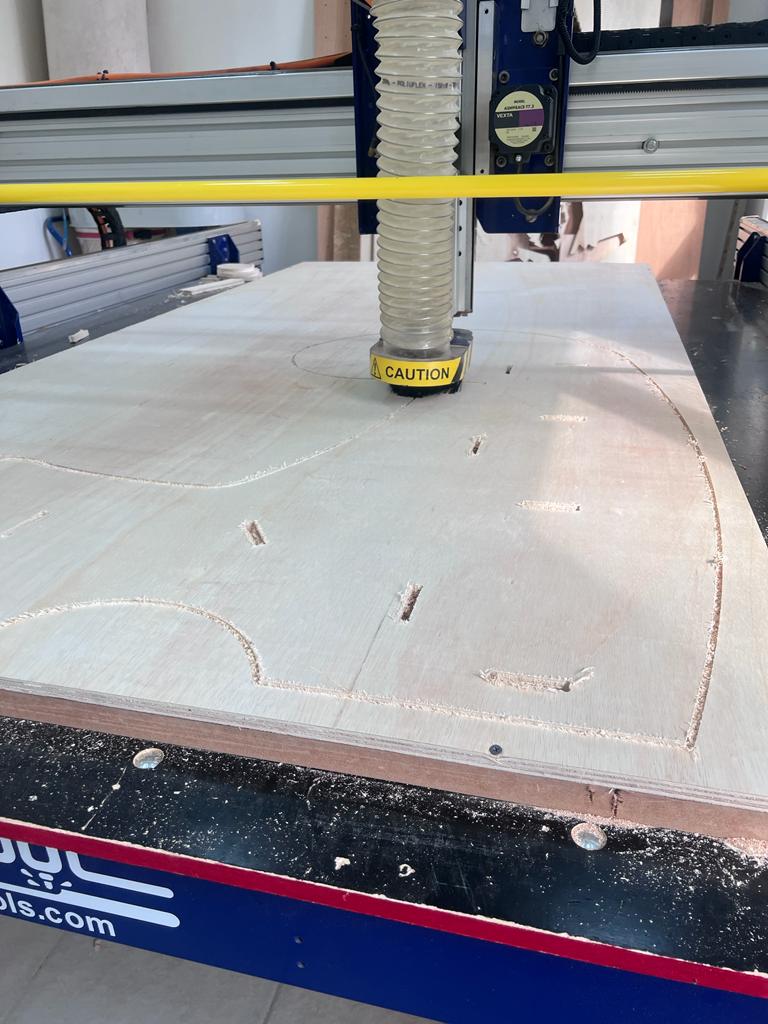
After te design phase was complete, I proceeded to cut the pieces individually. For that, we used the VCarve program, which can be downloaded here.
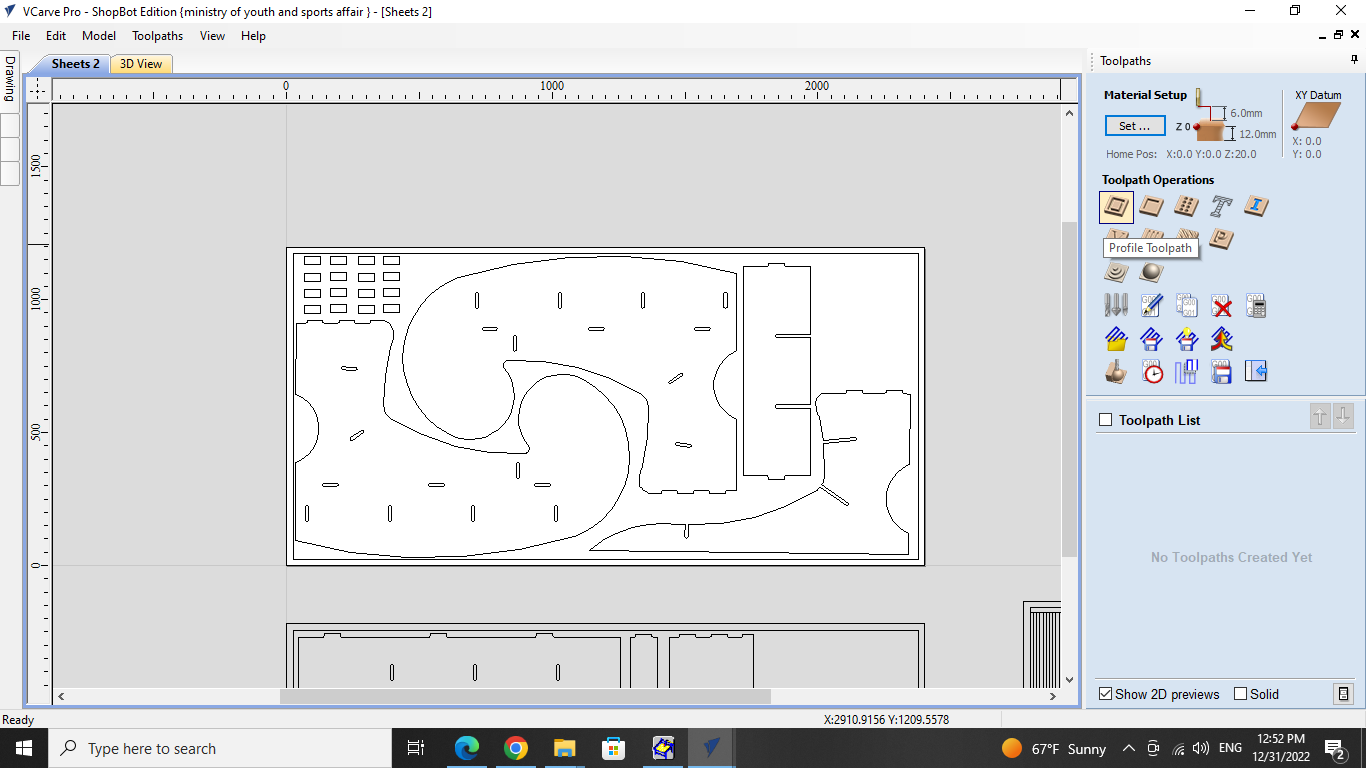
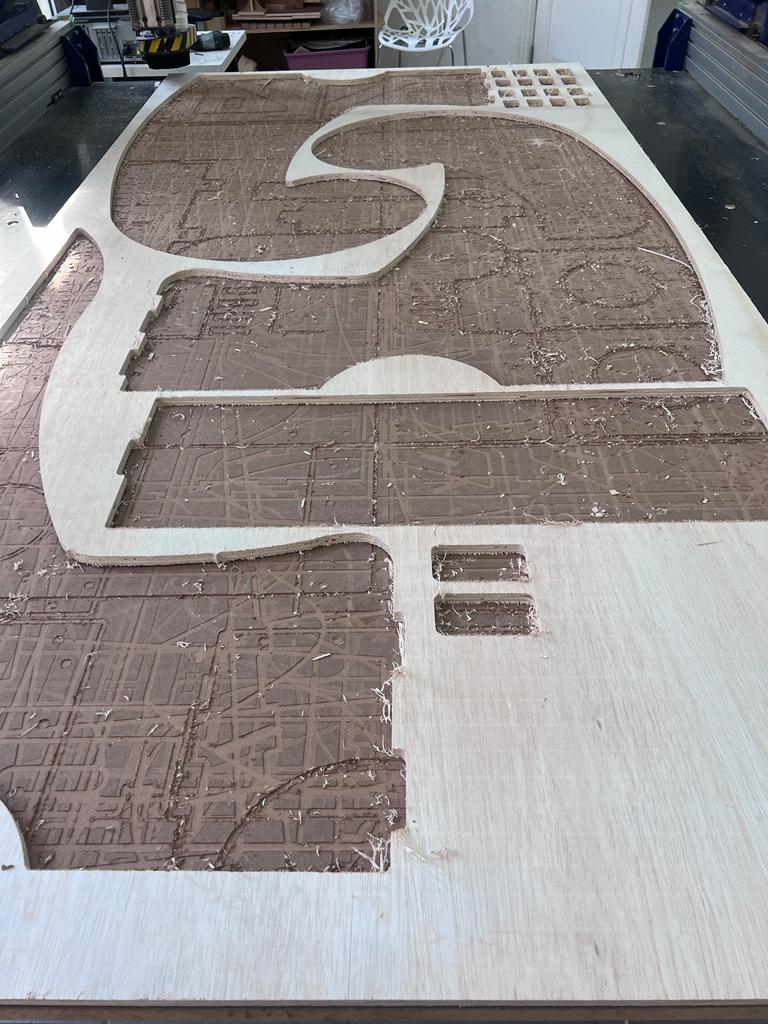
Step 1 was to create the sheet according to the size we had, and arranging all elements to ensure minimal material waste. I also created a 25mm offset around the page, which is the space where the screws will be placed to serure the sheet to the bed of the machine.
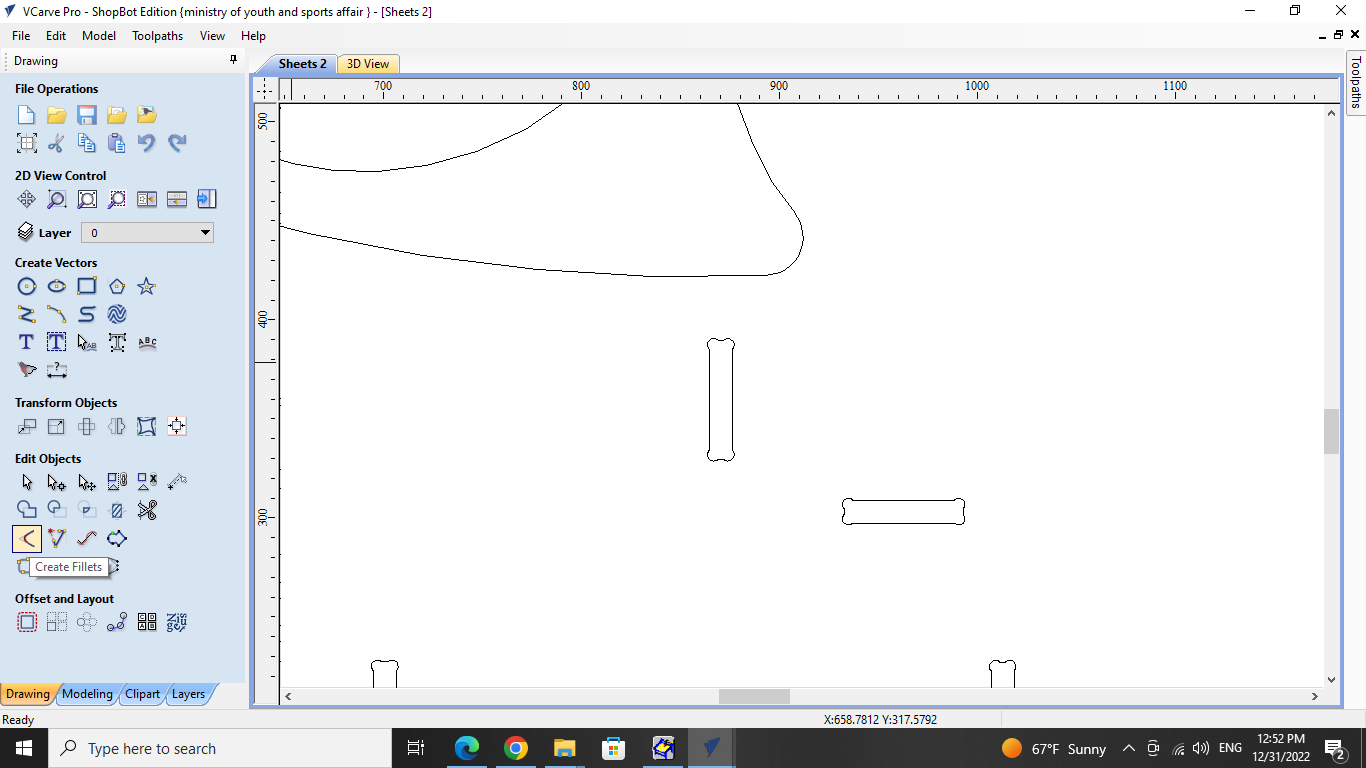
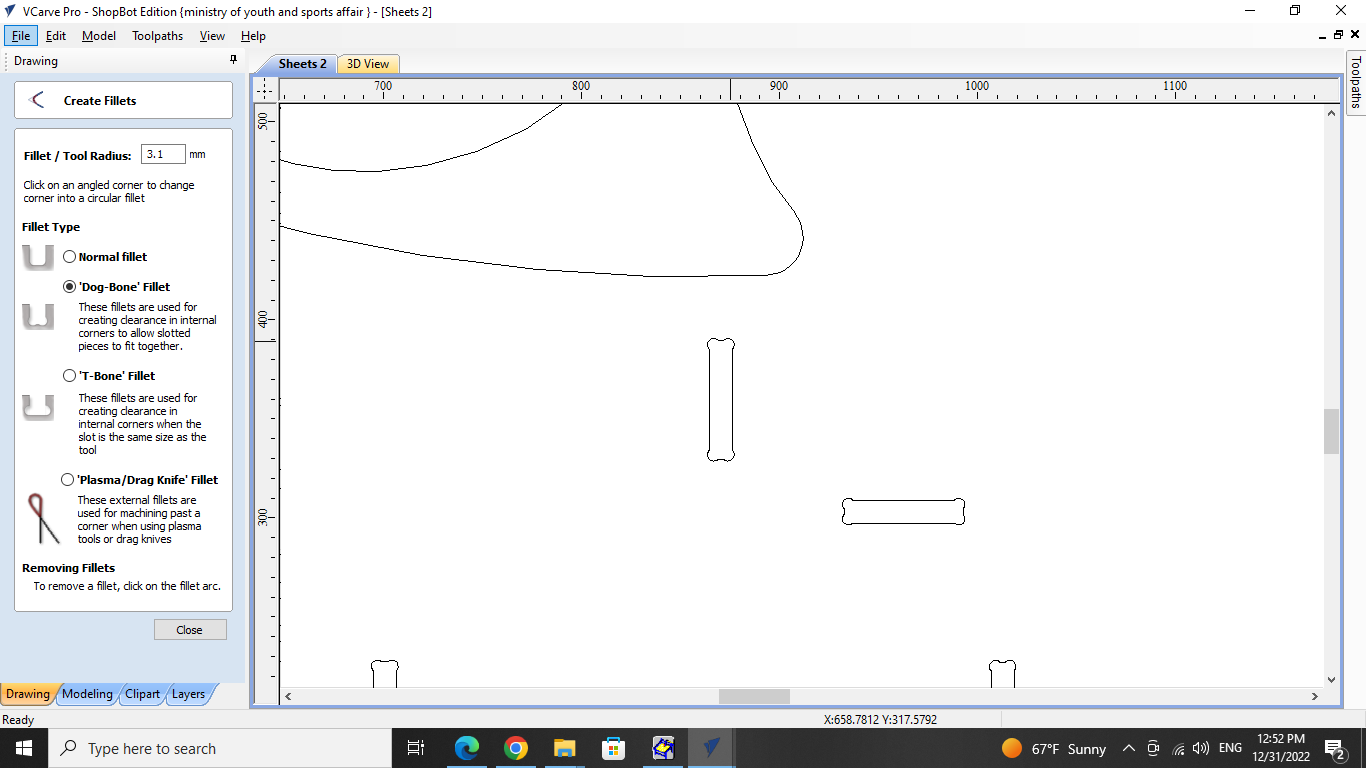
Step 2 Since the machine drillbit has a circular section, the sharp edges of the joints are not possible to make. Therefore, we had to fillet the edges and add and extra “curve” to the joints, which allows the clearance space to be exactly what we need. We do that by pressing on the fillet icon, and choosing what type of fillet we want to use specifically.
Step 3 After all of the fillets are done and elements are placed correctly on the sheet, I fixed the setting of the machine by choosing the correct drillbit, and deciding the number of passes to be used.

Step 4 Then, I created tabs, which will allow the piece to be cut all the way around without moving. After all the pieces are cut, I had to break off the tabs and remove the piece, which was not hard to do.

Step 5 Finally, before proceeding to cut, I checked the toolpath and how the pieces would look after being cut.

Step 6 When I was sure everything looks good, I saved it over the (All) folder in the desktop, turned on the machine and vaccum, and started cutting.
Kerfing
For the back of the chair, which will be laid on the supports, a kerfed piece needed to be used.
Kerfing refers to the process of creating a small groove or notch, called a kerf, along the length of a material, typically wood, in order to allow it to bend or flex without cracking or breaking.
The kerf is made by cutting a thin, shallow slot into the wood, typically using a saw blade. The width of the kerf depends on the thickness and type of the material being cut, as well as the desired amount of flexibility.
Kerfing is often used in woodworking to create curved or rounded shapes in furniture, musical instruments, and other decorative objects. By strategically placing kerfs along the length of a piece of wood, it can be bent into complex shapes without breaking, allowing for greater design flexibility and creativity.
There are several types of kerfing, shown in the picture below.
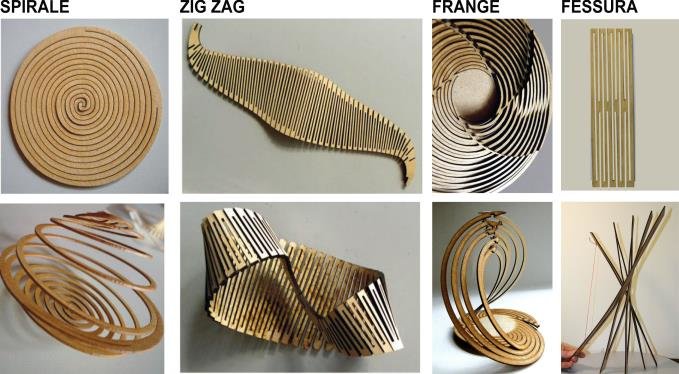
In this project, the zigzag kerf was used. This piece will be shown in the assembly below.
Assembly
When the design was done and cut, I proceeded to the assembly stage, which came with several different issues. Before explaining the issues and how I dealt with them, I will talk about the main assembly steps.
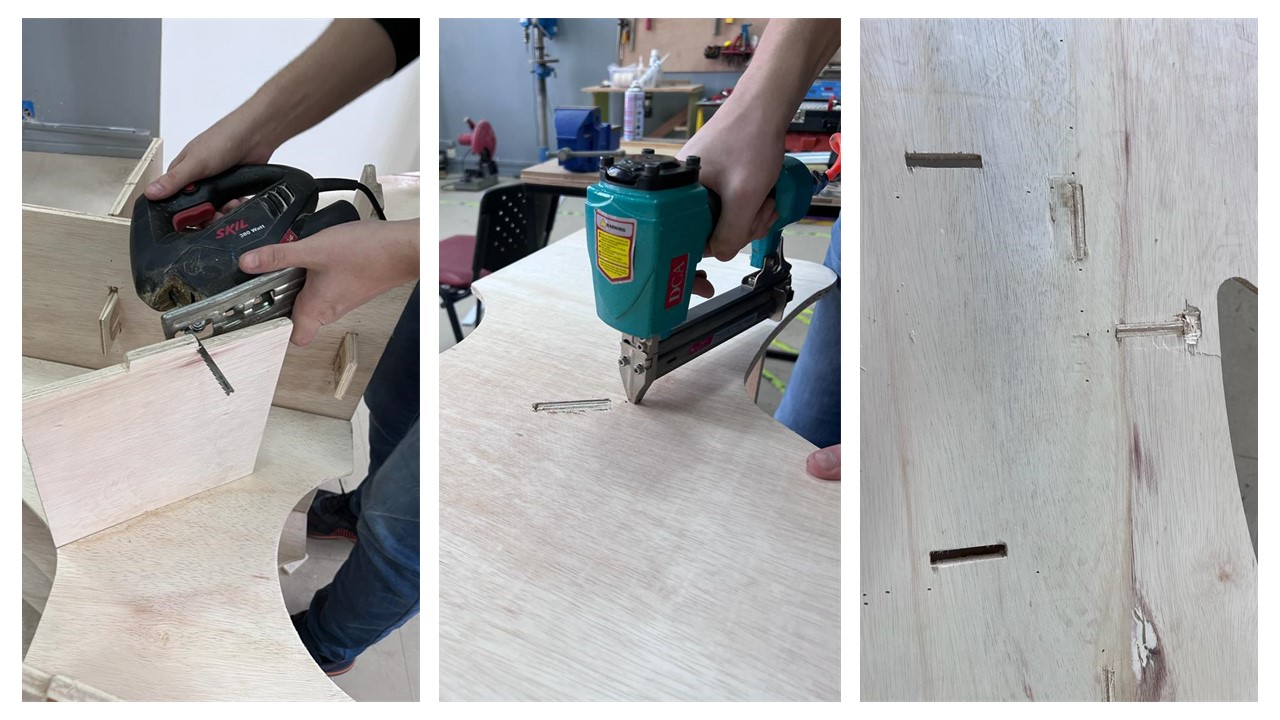
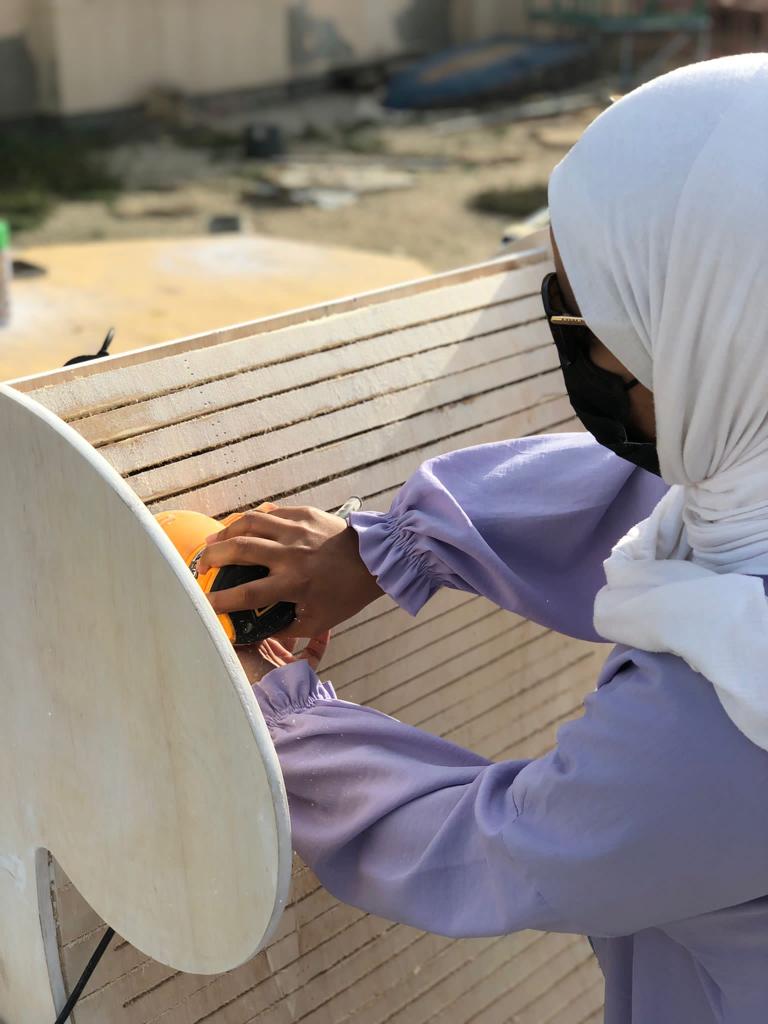
The first step was sanding, which was very much needed due to the large amount of wood fly-a-ways that was a result of using the CNC. Since my pieces were very large in size, this stage took a very long time, which postponed my work. You can see in the pictures below some of the pieces and how much sanding they required. This process was done both for the outer edges of the pieces, as well as the smaller joints inside.
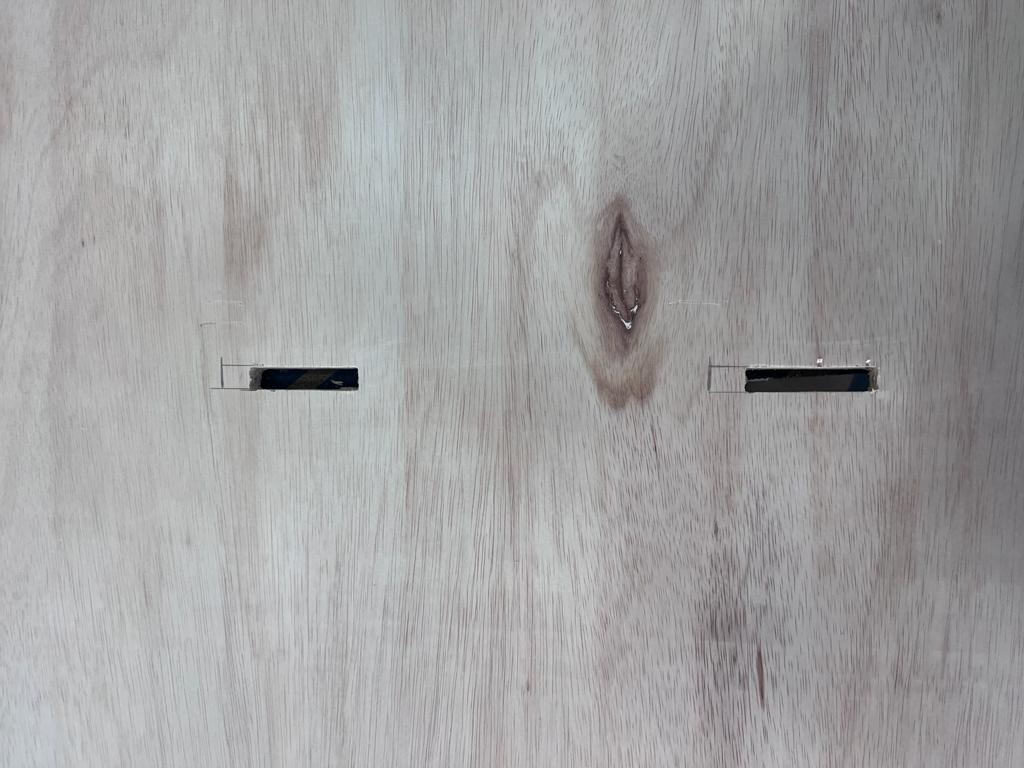
After that was completed, it was time for assembly. However, because of some issues with the cutting and the arrangement in the program itself, the joint placements were not correct for some of the pieces. We dealt with this issue in two different ways depending on the situation.
The first way, which we followed for the joints that only changed places sideways, is to cut more of the pocket to the side, so the piece can be fit correctly.
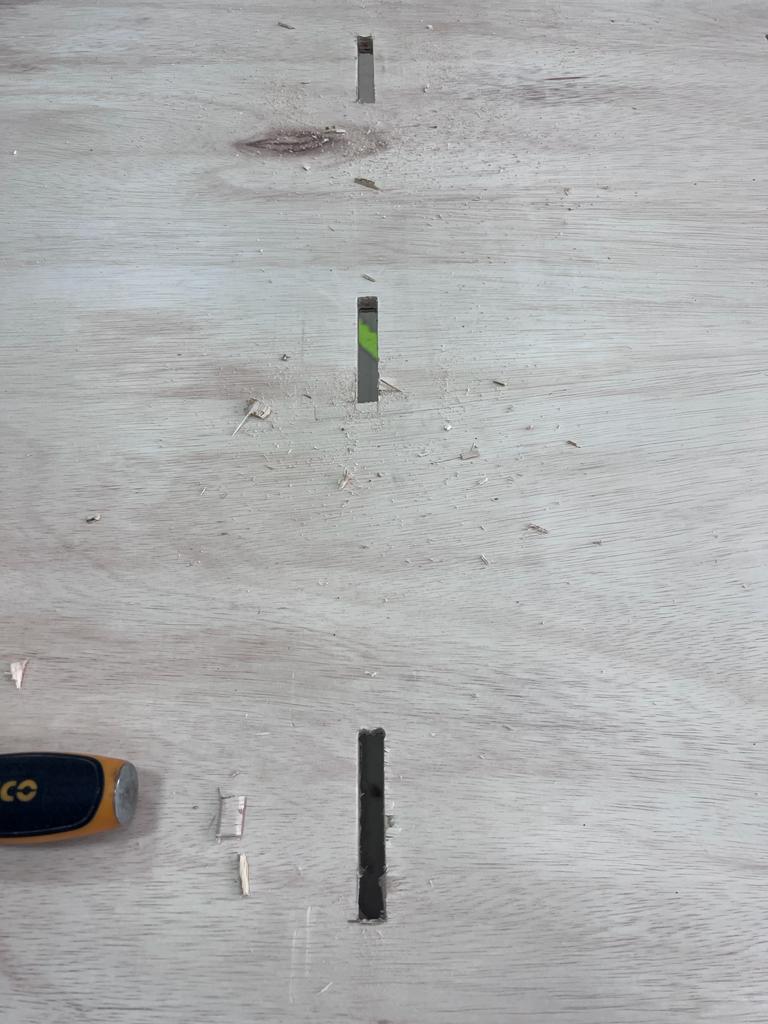
The second way, which was done for the pieces that were very far from the pocket placement, was to remove the whole joint and attaching them together with a nail gun instead. The pieces that were cut off were then placed back into the empty joint to fill in the space.
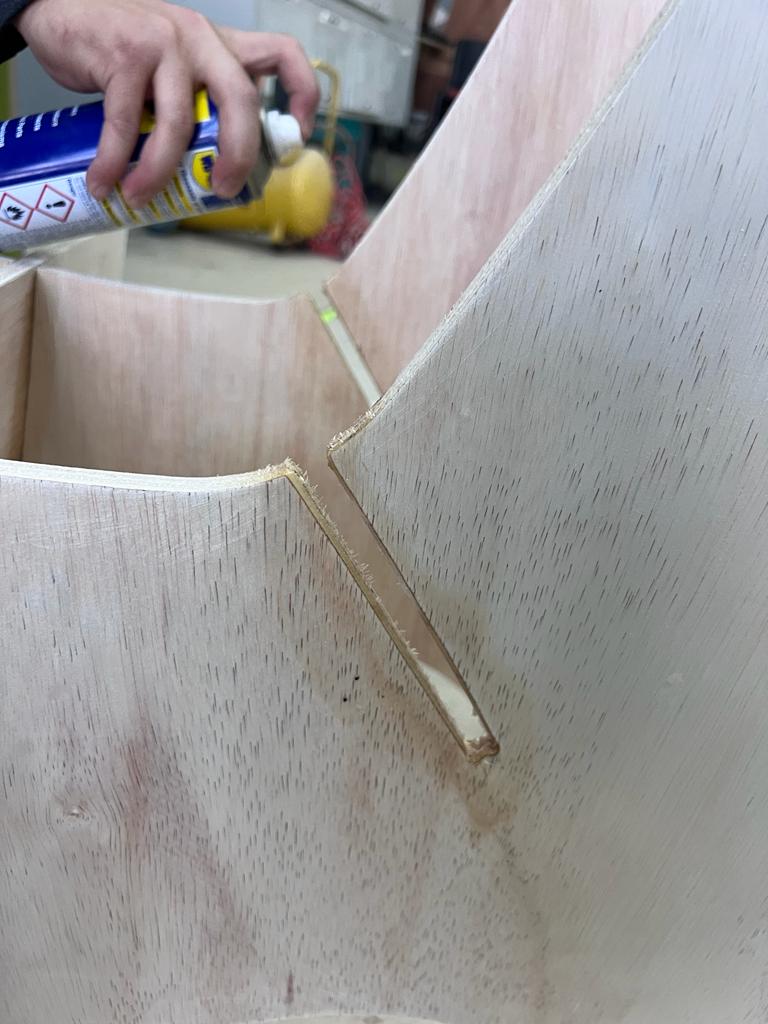
On the other hand, other joints were working just fine, especially the press-fit joints used in the skeleton. However, since the fit was a little bit tight, and to prevent it from breaking, a little bit of WD40 was sprayed on it. This made them fit together easier and without any issues.
After all of them were assembeled, the kerfing piece used for the back was fit using the nail gun. This piece was then sanded to make it smoother.
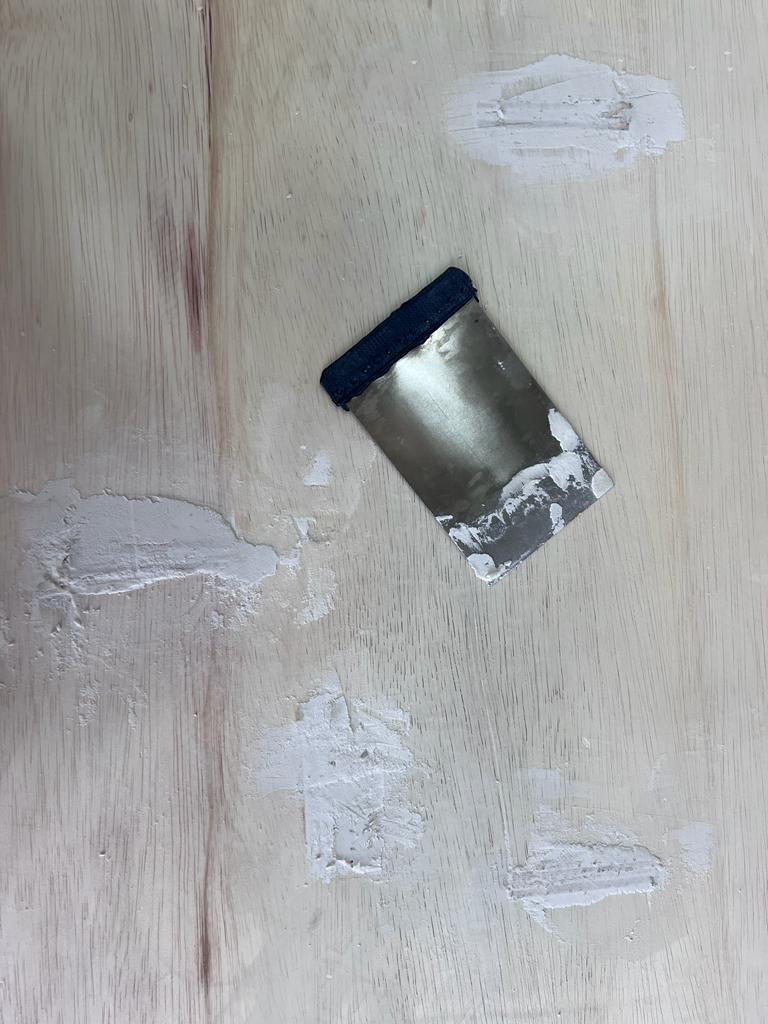
Finally, before moving on to the finishing, I added a filler to all the joints and on the sides, to prevent fly-a-ways, and to give it a cleaner final look.
Finishing
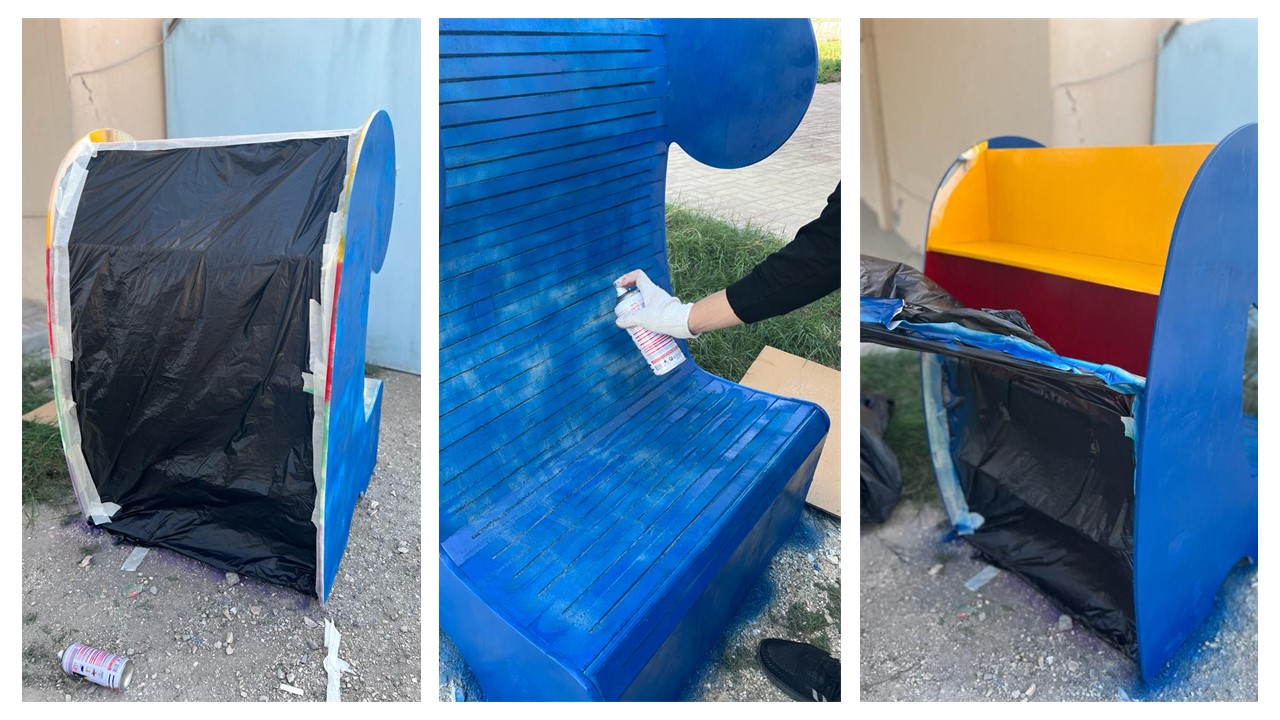
After the chair was assembeled, and the filler was put and sanded to make it smoother, it was time to paint the chair.
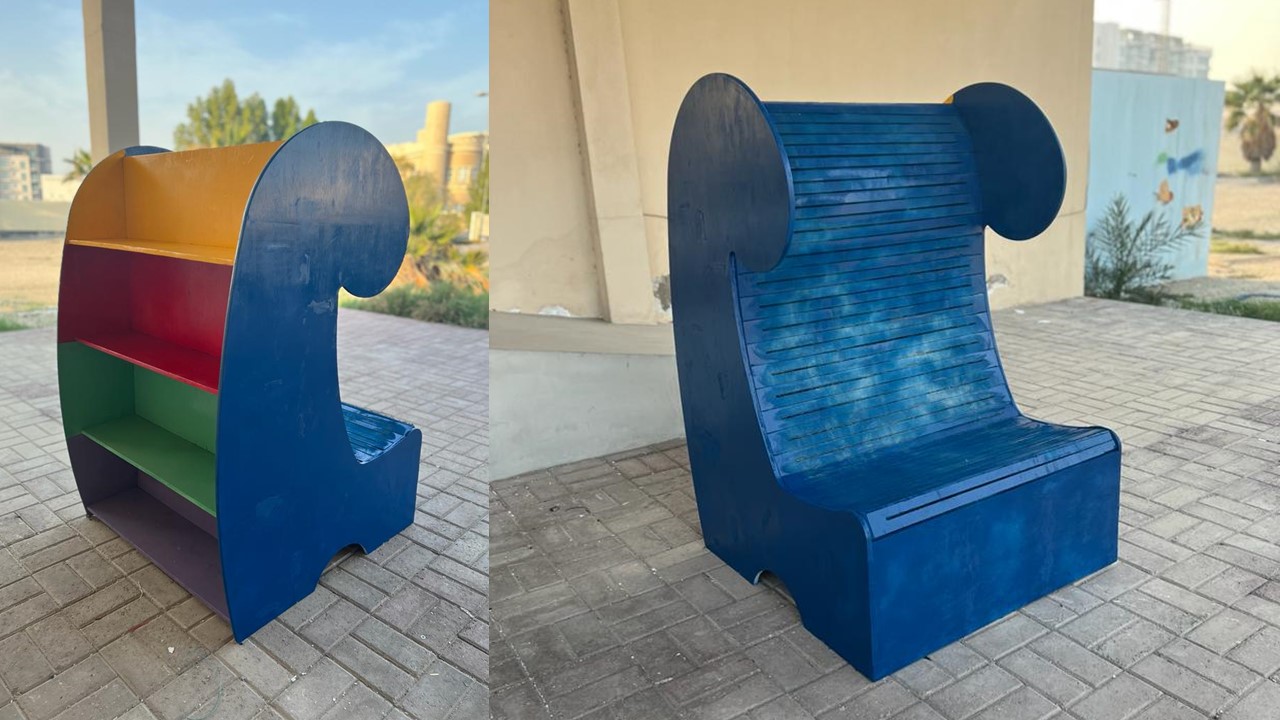
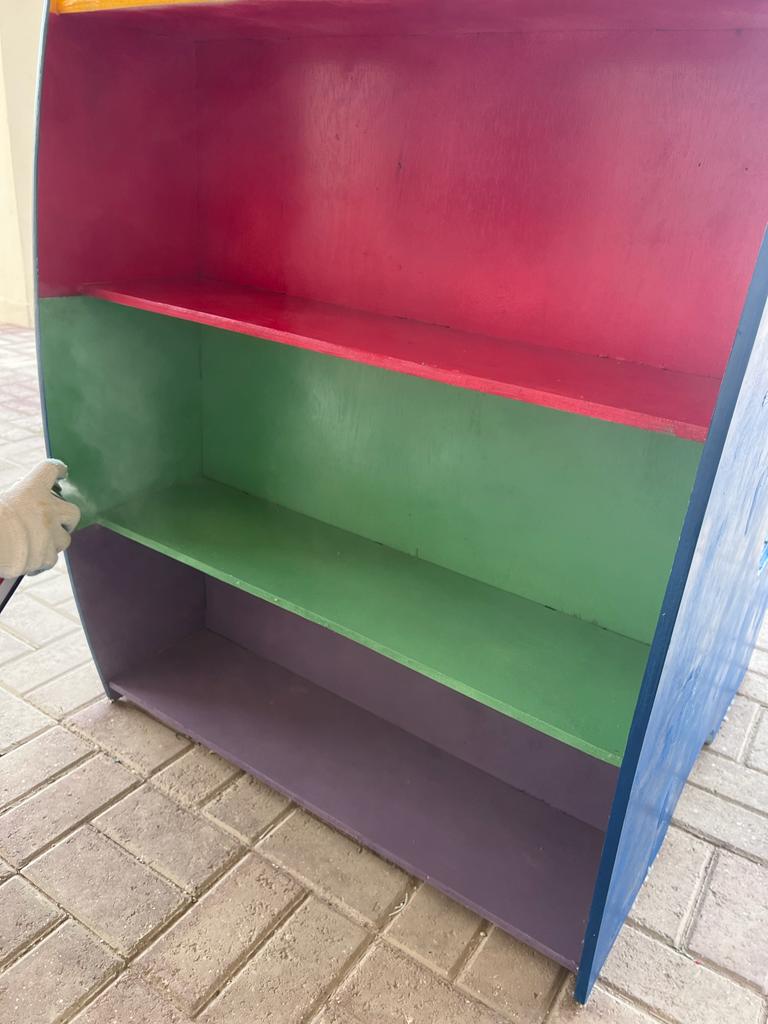
The main color used was blue, for the dine sides. For the shelves, however, several different colors were used to make it more colorful and fun, since it will be used by a child.
This picture shows the first coats that were done.
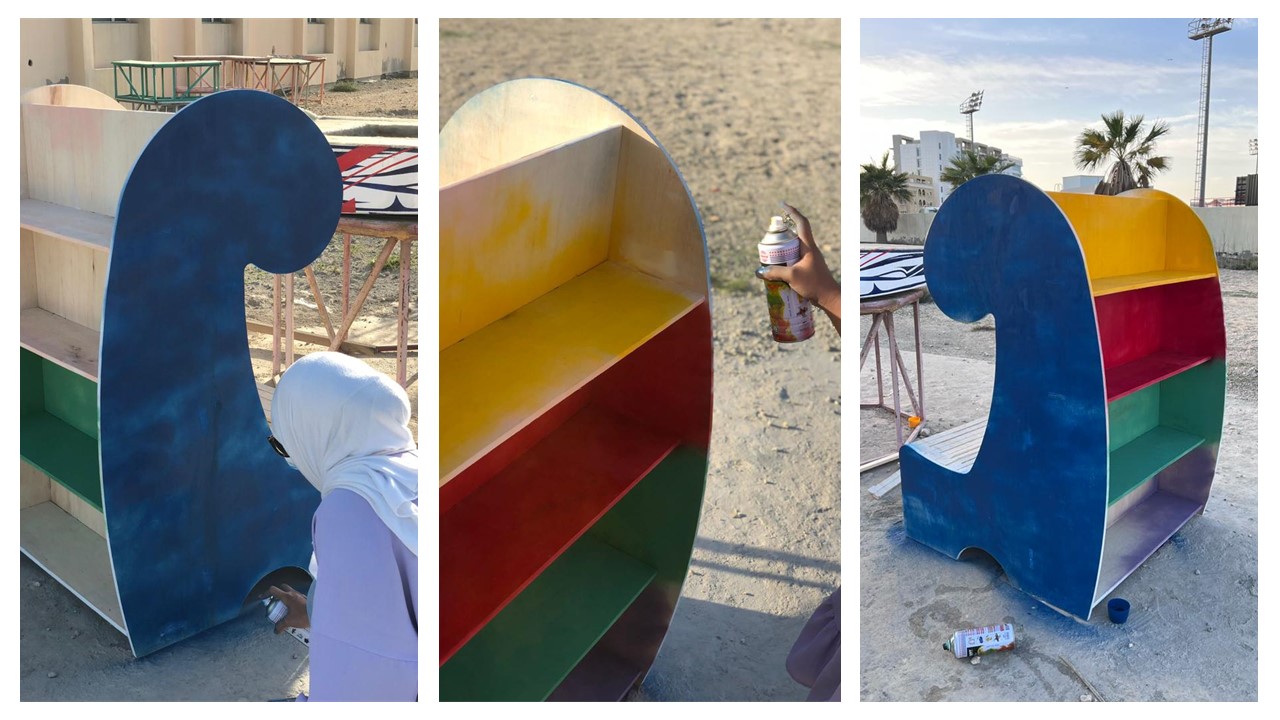
After the first coat dried, the second coat was applied with a bit more caution. We made sure to get sharp clean lines, and so we covered whatever were not painting. This gave us a much more clean look.
Finally, after the second coat was dry, we added the clear coat to make it look shinier and to seal everything together.
The final look is shown below.