4. Embedded programming
This week we worked on embeeded programing. We programmed a microcontroller.
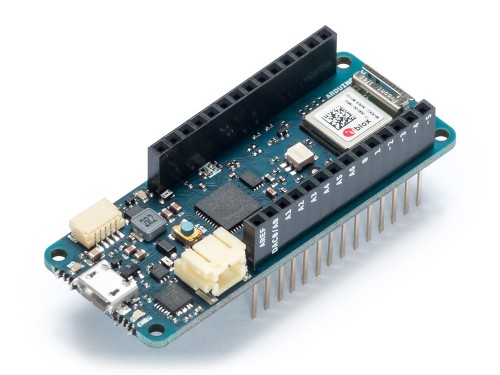
A microcontroller is a very small computer with diffrent functionality than a normal computer. what we were given is an Arduino, Arduino MKR 1010 wifi . which is a board with a microcontroller in it with some extra things.
The board contain the microcontroller, a wifi and blutooth chip, reset button, micro usb port, usb to serial chip for PC interface, built in led and some other components, see the datasheet.
downloading software
To programme the board we downloaded arduino ide. And then we download the board drivers in the ide by opening the ide.
Then open the board manager from tools>board>board manager and search by writing the board name.
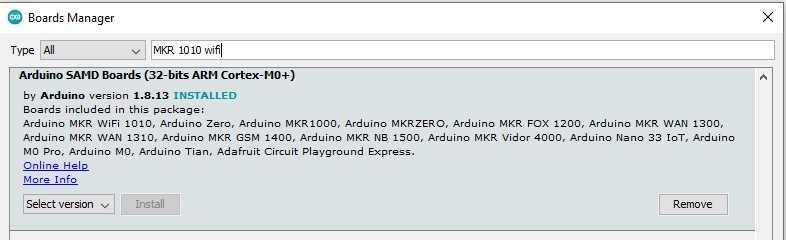
after downloading we have to select the board since we downloaded a package of boards.
to do that open tools>boards>arduino SAMD>arduino MKR 1010 wifi
then select the port the board connected to from tools>port>COMX and you should get something like this:

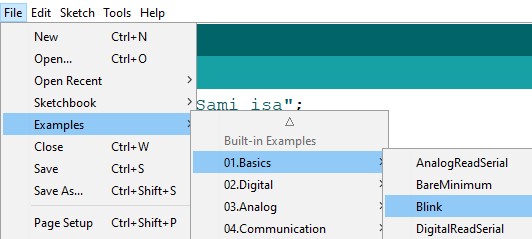
Now the ide is ready to upload the program.go to file>examples>basics>blink
codes
this is the example it will blink the built in led on the arduino board
// the setup function runs once when you press reset or power the board
void setup() {
  // initialize digital pin LED_BUILTIN as an output.
  pinMode(LED_BUILTIN, OUTPUT);
}

// the loop function runs over and over again forever
void loop() {
  digitalWrite(LED_BUILTIN, HIGH);   // turn the LED on (HIGH is the voltage level)
  delay(1000);                       // wait for a second
  digitalWrite(LED_BUILTIN, LOW);    // turn the LED off by making the voltage LOW
  delay(1000);                       // wait for a second
}
We were given three tasks:
1.Blink in random delay: use function ‘random(min,max)’ that generate random number between the specified min and max numbers
code:
int t;
void setup() {
  pinMode(LED_BUILTIN, OUTPUT);
}

void loop() {
  t = random(100,1000);
  digitalWrite(LED_BUILTIN, HIGH);
  delay(t);
  digitalWrite(LED_BUILTIN,LOW);
  delay(t);
}
2.Blink in morse code: The code converts a char array into morse code letter by letter and then morse code get converted to on/off delayes for the led.
code:
char text[] = "This is morse code";
String code = " ";
int onDelay,offDelay;


void setup(){
    pinMode(LED_BUILTIN,OUTPUT);


  for(int i = 0;i<sizeof(text)-1;i++){
    switch ( text[i] )
    {
      case 'a':    code+= "._";       break;
      case 'b':    code+= "_...";     break;
      case 'c':    code+= "_._.";     break;
      case 'd':    code+= "_..";      break;
      case 'e':    code+= ".";        break;
      case 'f':    code+= ".._.";     break;
      case 'g':    code+= "__.";      break;
      case 'h':    code+= "....";     break;
      case 'i':    code+= "..";       break;
      case 'j':    code+= ".___";     break;
      case 'k':    code+= "_._";      break;
      case 'l':    code+= "._..";     break;
      case 'm':    code+= "__";       break;
      case 'n':    code+= "_.";       break;
      case 'o':    code+= "___";      break;
      case 'p':    code+= "_._.";     break;
      case 'q':    code+= "__._";     break;
      case 'r':    code+= "._.";      break;
      case 's':    code+= "...";      break;
      case 't':    code+= "_";        break;
      case 'u':    code+= ".._";      break;
      case 'v':    code+= "..._";     break;
      case 'w':    code+= ".__";      break;
      case 'x':    code+= "_.._";     break;
      case 'y':    code+= "_.__";     break;
      case 'z':    code+= "__..";     break;
      case ' ':    code+= ' ';    break;
    }
    Serial.println("index " + String(i) + "is letter " + text[i] + " code become" + code );
  }

int len = code.length();
char charA[len];
code.toCharArray(charA, len+1);
Serial.println("code is "+ code + " and charA is "  + charA);

for(int j = 0;j< sizeof(charA);j++){

  if(charA[j]=='_'){
    onDelay = 1500;
    offDelay = 500;
    Serial.println("index " + String(j) + " is " + charA[j] + " dash");
    }else if(charA[j]=='.'){
      onDelay = 500;
      offDelay = 500;
          Serial.println("index " + String(j) + " is " + charA[j] + " dot");

      }else if(charA[j] == ' '){
        onDelay = 0;
        offDelay = 2500;
            Serial.println("index " + String(j) + " is " + charA[j] + " space");

        }

  digitalWrite(LED_BUILTIN,HIGH);
  delay(onDelay);
  digitalWrite(LED_BUILTIN,LOW);
  delay(offDelay);


  }
}


void loop(){

}
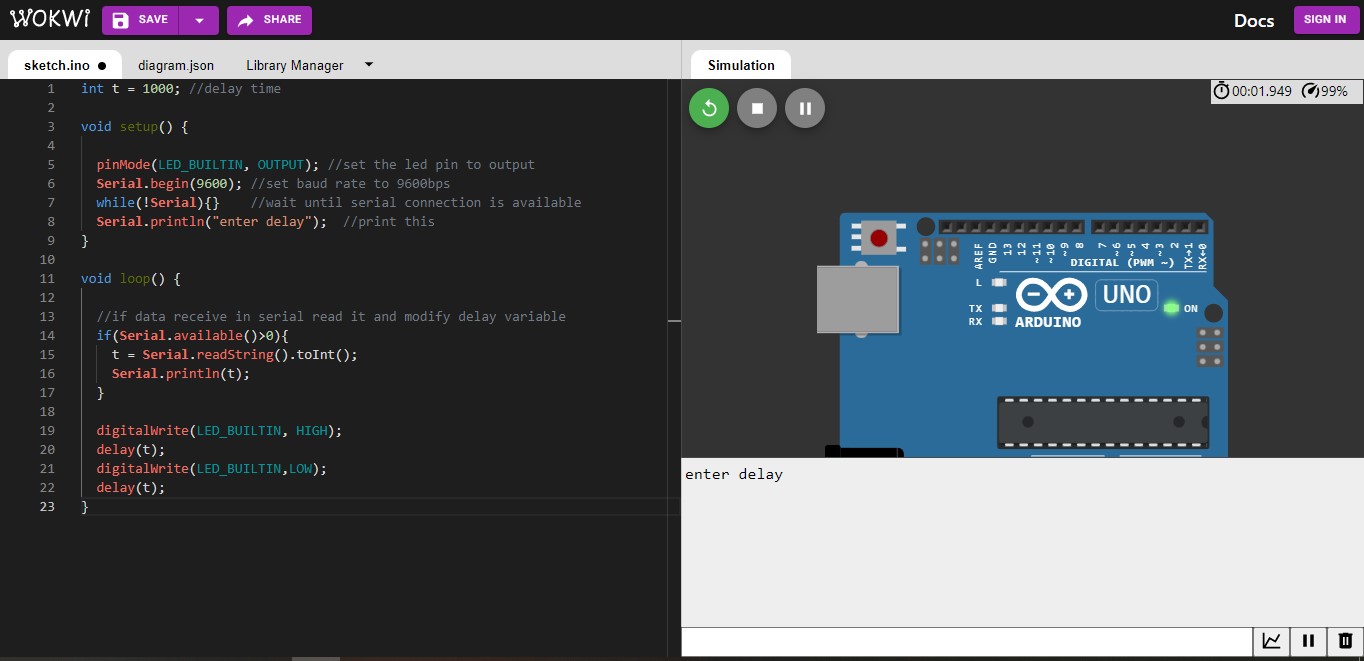
3.Blink the led and send delay through serial:
int t = 1000; //delay time

void setup() {

  pinMode(LED_BUILTIN, OUTPUT); //set the led pin to output
  Serial.begin(9600); //set baud rate to 9600bps
  while(!Serial){}    //wait until serial connection is available
  Serial.println("enter delay");  //print this
}

void loop() {

  //if data receive in serial read it and modify delay variable
  if(Serial.available()>0){
    t = Serial.readString().toInt();
    Serial.println(t);
  }

  digitalWrite(LED_BUILTIN, HIGH);
  delay(t);
  digitalWrite(LED_BUILTIN,LOW);
  delay(t);
}
Since I have a background in programming microcontrollers I didnt face any diffeculties in this assignment.
simulation in Wokwi
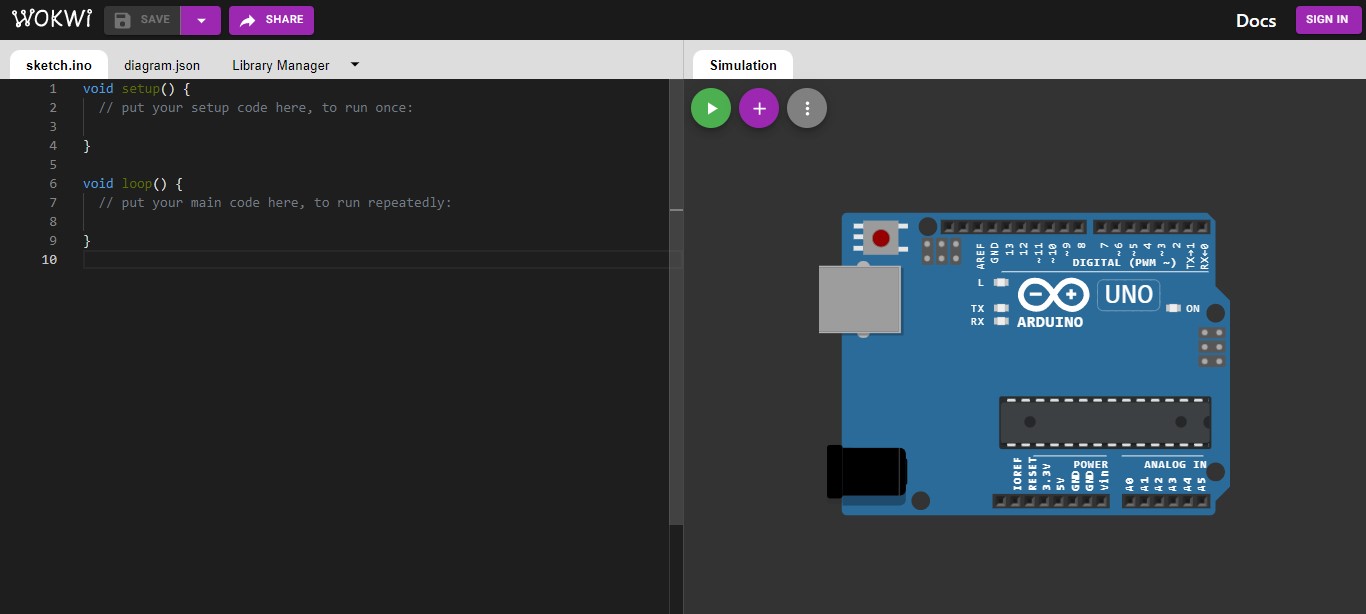
Wokwi is an online Electronics simulator. it has few boards available like arduino uno and esp32.
In the website I choosed arduino uno board.
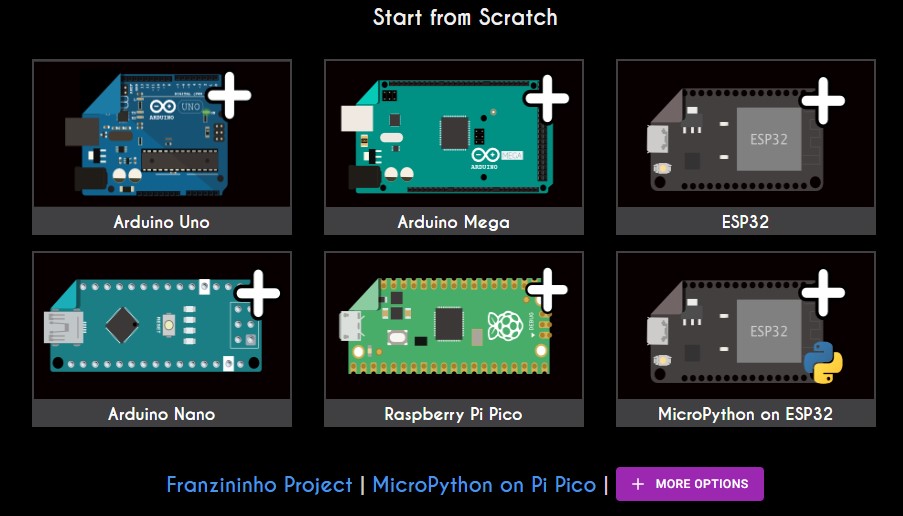
A code region showed and an arduino board to connect cicuits to it.
I pasted the code I wrote before and started the simulation by pressing on the green button. Note that there is no button to open the serial monitor so I have to print something to open it automatecally.
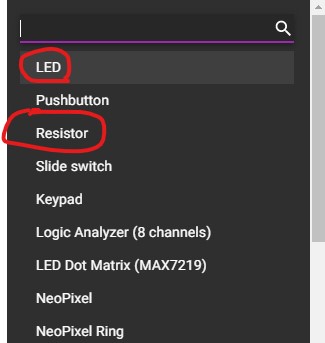
Also for circuit connections I clicked on the plus button and graped an led and a resistor to connect them. The resistor in essintial to limit the current going to the led and avoid killing the arduino.
after that I modified the code to blick the led connected to pin 9 as shown.