6. Large format CNC (computer controlled Machining)
This week I made a shelves unit form plywood using a CNC machine.
group assignment
In the group assignment we did a fitting test for the joints in this link.
Design
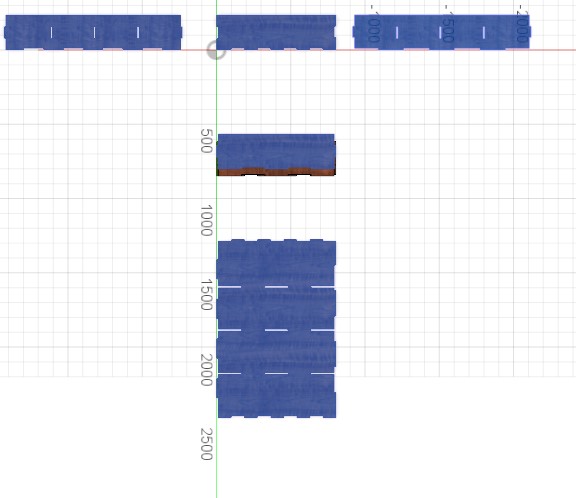
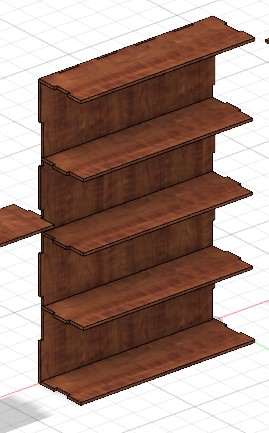
Using fusion360 I designed a simpol shelves unit as shown
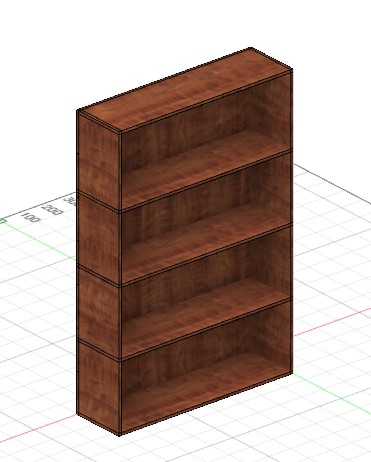
and this is the original fusion360 file
Also dxf file is in this link
designing and adding the joints tool
to make the shelves I followed the tutrial in this link.
Also to make the joints using this tool.
I downloaded the tool and followed the instrucion in the page
first navigate to this directory %AppData%\Autodesk\Autodesk Fusion 360\API\AddIns
and unzip and place the tool files there.
after that in the utility tap, click on ADD-INS icon and then create the tool and name it.
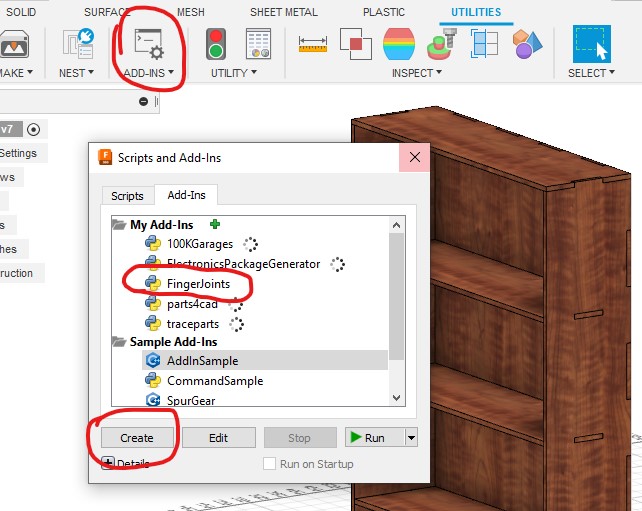
After that the tool will be available in the solid tape with the modify tools.
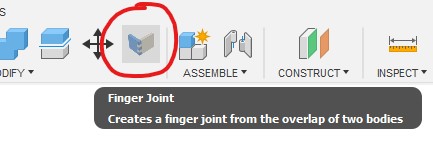
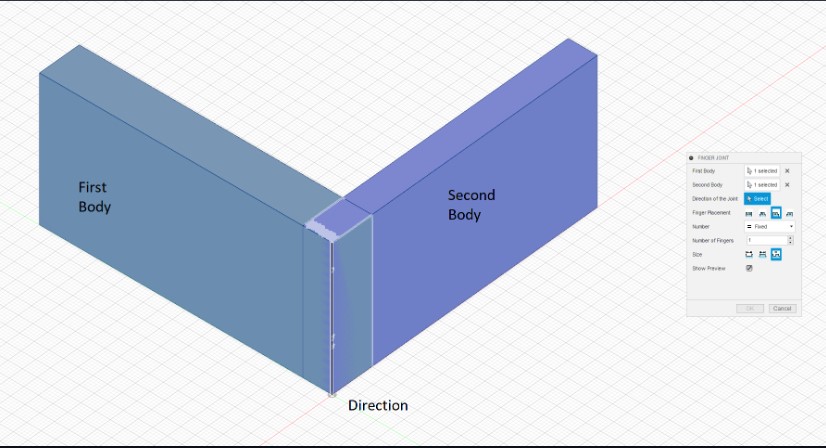
using the tool is stright forawrd just select the two bodies and the one edge, set the setting you need and press ok. joint finished
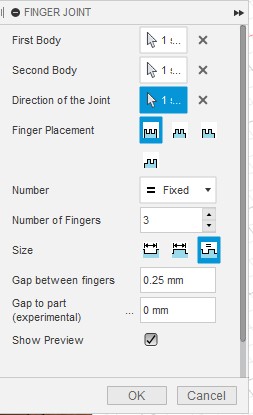
This is the settings for my joints. make sure to set the ‘gap between fingers’ region to the tolerance from the fitting test.
exporting
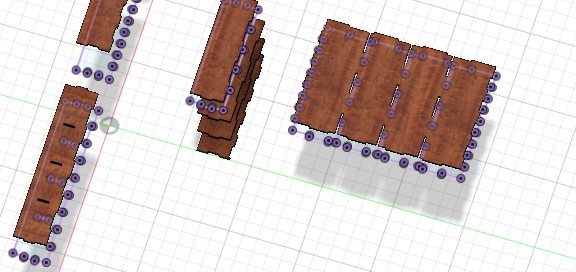
after making all joints it is time to export the design. first I unassembled the unit like this
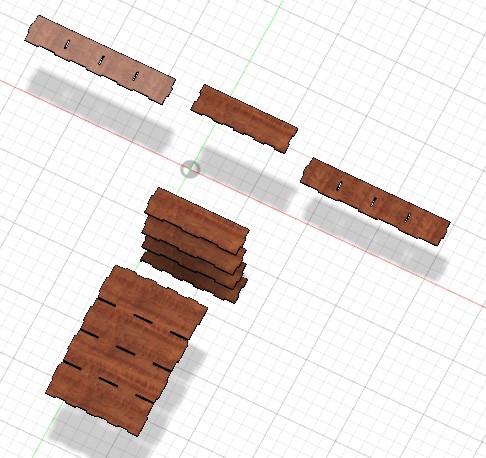
press p and select the bodies to cut
and then finish the sketch
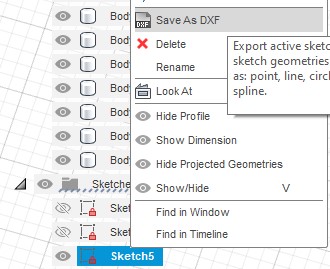
After that save the sketch as fbx file
Cutting
I opened the dxf file in vcarve software and usign the transform tool I rearranged the pieces to make minimum waste possiable.
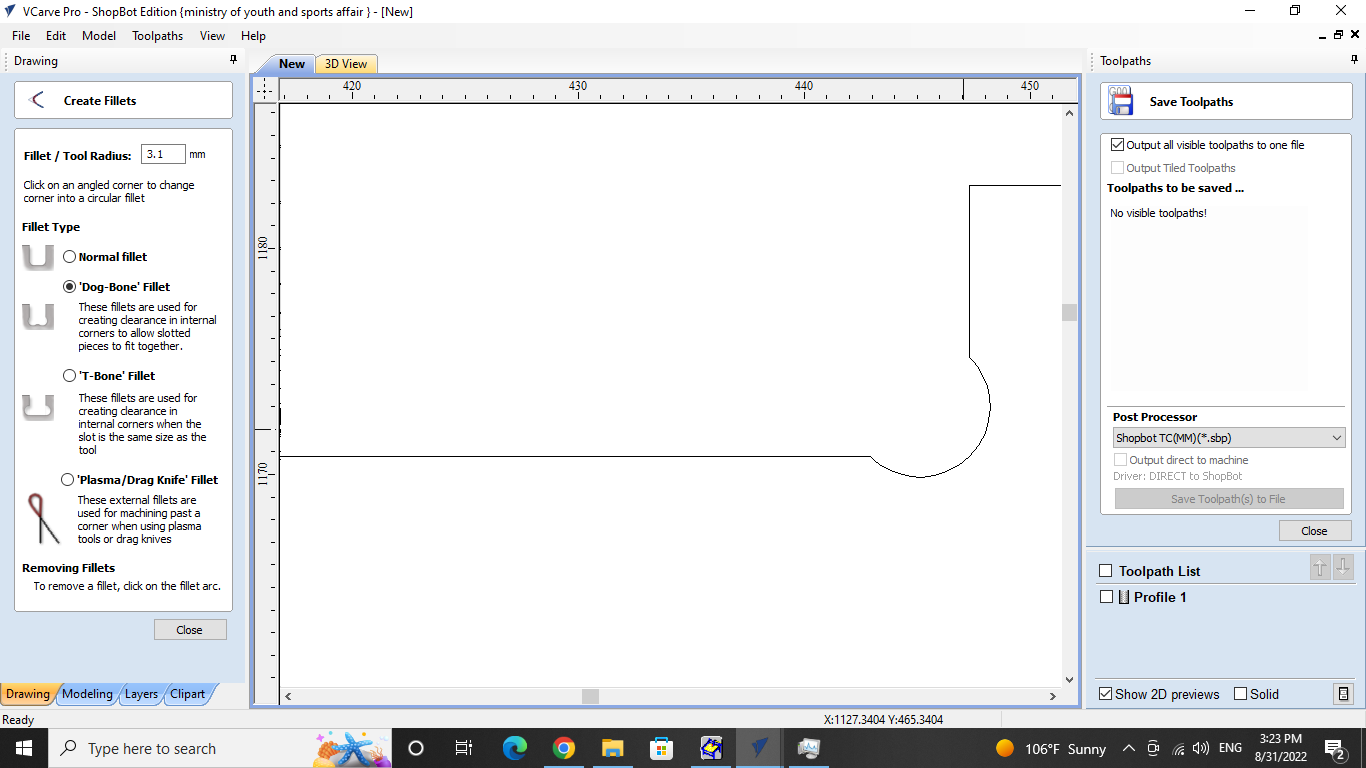
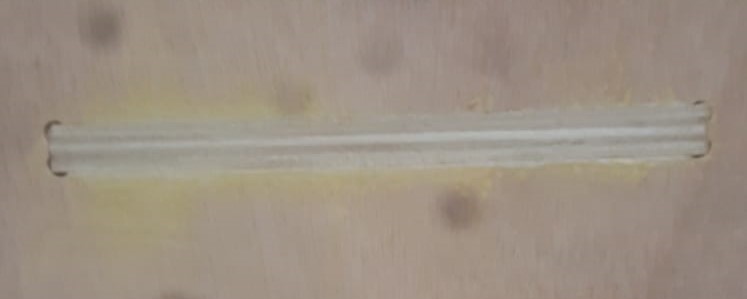
I modify the joints to make it like this it is called a dog bone joint. The design have to modified since the miiling machinr cant do the inner corners cuts at 90 degrees because the milling bit is big.

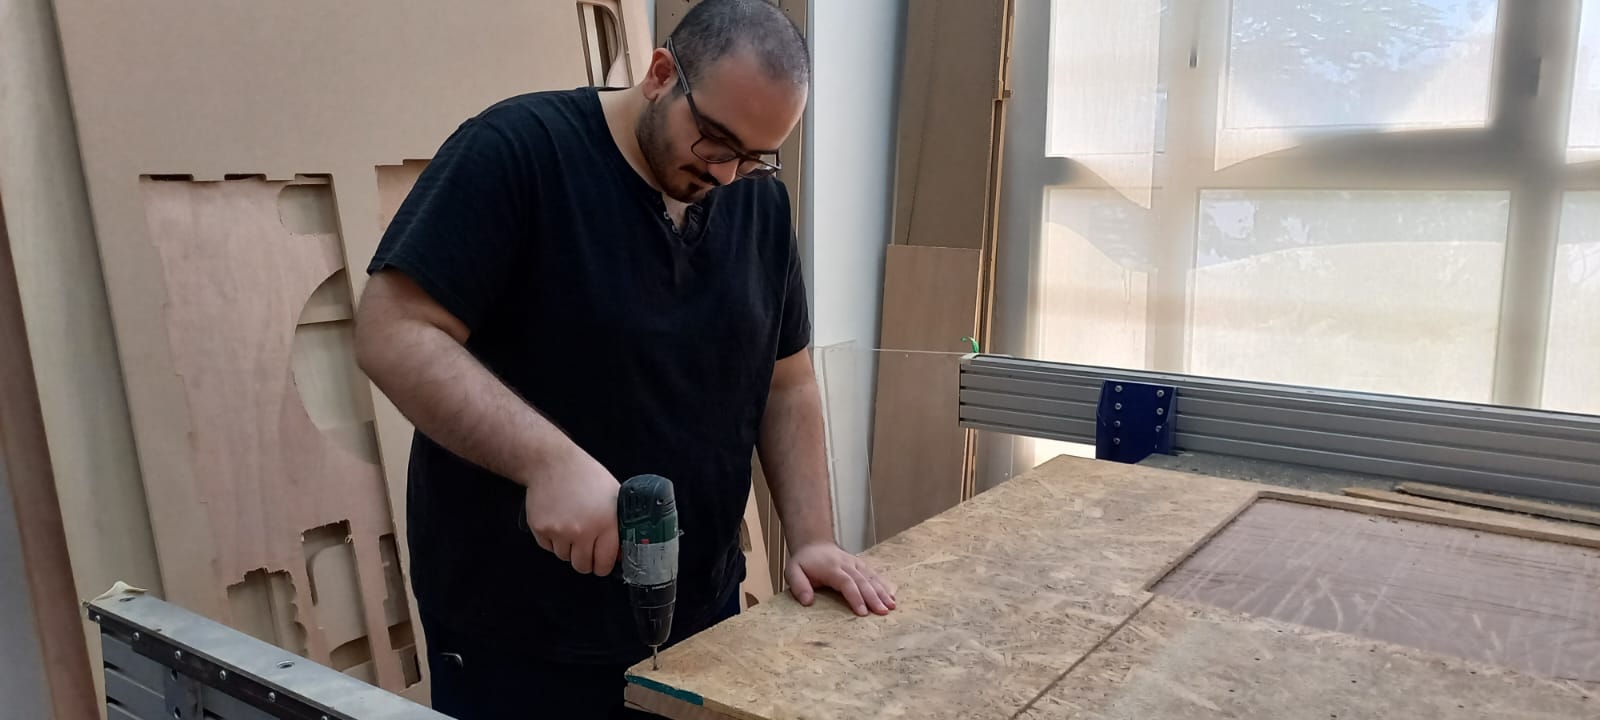
Next I fixed the plywood into the machine with screws.
After that I set the cutting depth to 13mm, it is 1mm more than the thickness of the plywood to enssure it is cutting all the way.
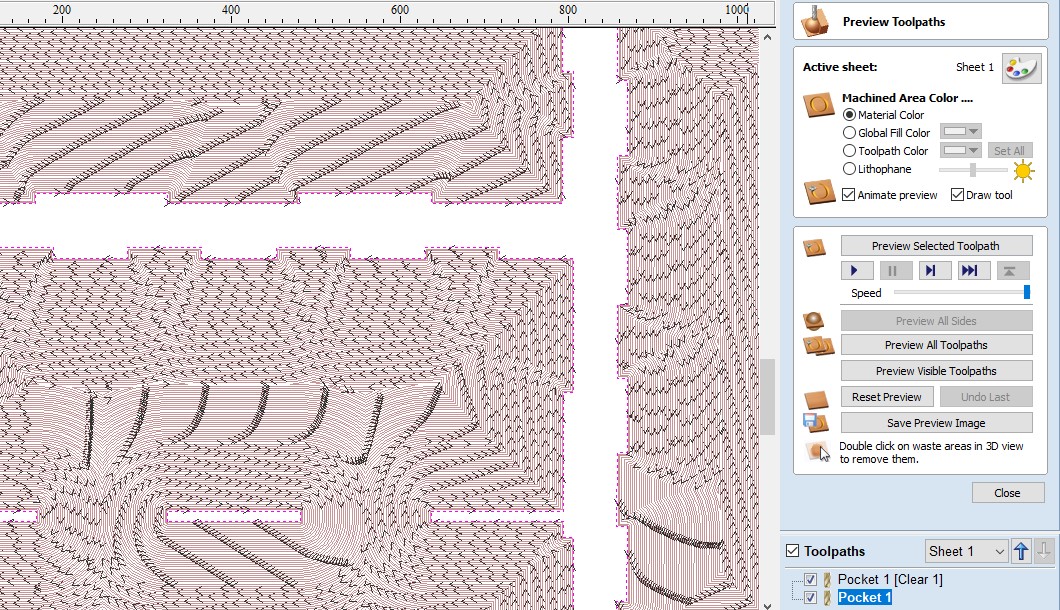
then I generated the toolpath which is the path the cutting tool will go in. To do that I selected the pieces and then I clicked on the ‘Pocket toolpath’ button.
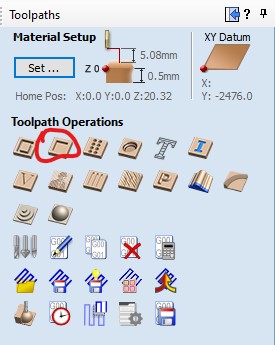
After that I clicked on the calculate button and the toolpath has been generated.
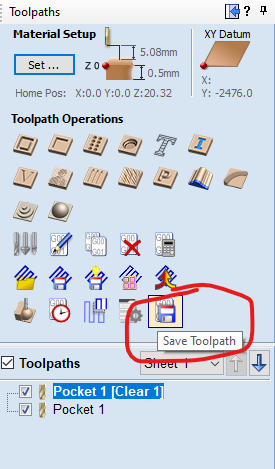
To save it I clicked on the save toolpath button.
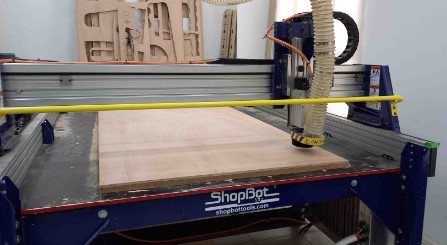
Next step was to send the toolpath file to the machine,I opened shoopboteasy program and choosed my toolpath file and clicked the start button.
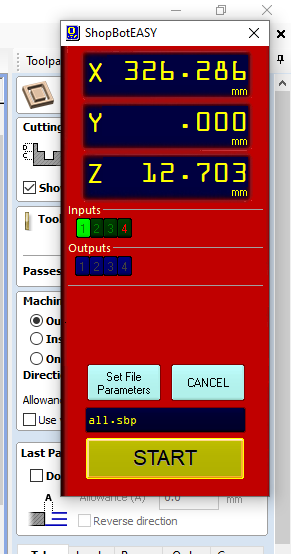
Then the machine started cutting.
Then I go to the lap for assembly and finish. Note that it have to be assembled this way.
and this is the finished result
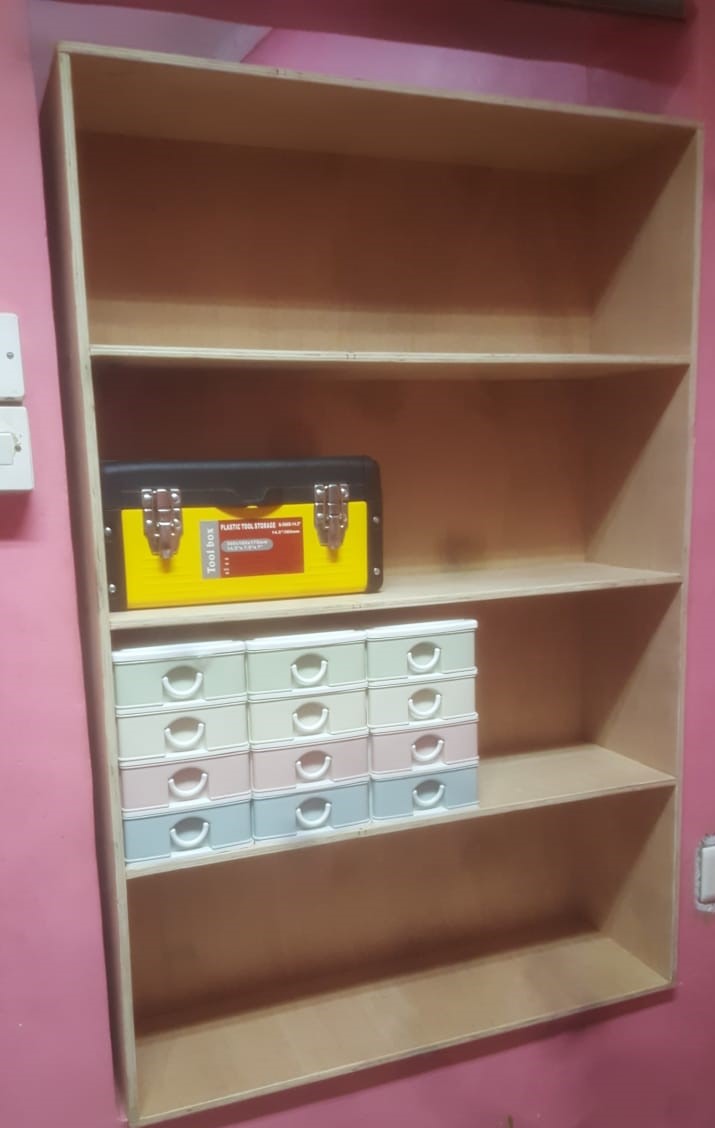
Not that All waste and taps must be removed by a file or sanding paper for easy assembly and good look.
bad
good