5. 3D printing and scanning
This week we worked on 3d printers and 3d scanning.
3D scan
Scaning is process of storing detailed information of a physical object like pdf scan and 3d scan. There is a multiple ways to 3d scan 3d objects. Some devices uses ultra sonic, lasers or even just a camera in my case.
For 3d scanning I used a mobile app called Revo scan. It uses photogrammetry to form a 3d objects by using multiple images. In this method the dimentions of the object is determined from the angle diffrence of the images.
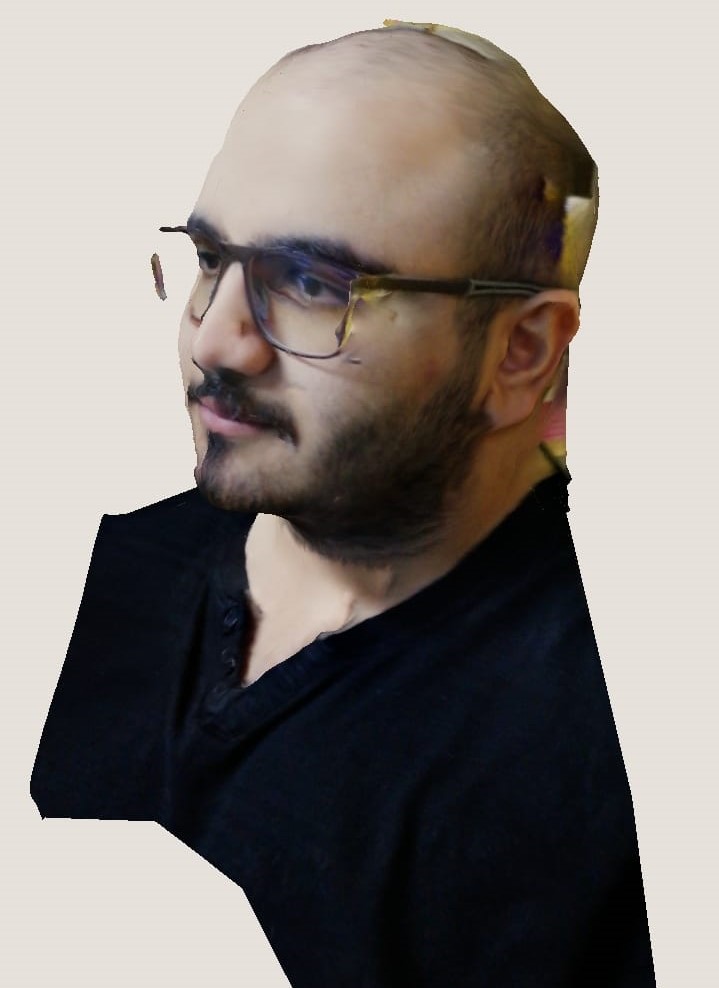
The app is very easy to use and the instructions are very detailed. The app just need images of multiple angles. here I scanned my self
unfortunatly exporting a 3d object required payment.

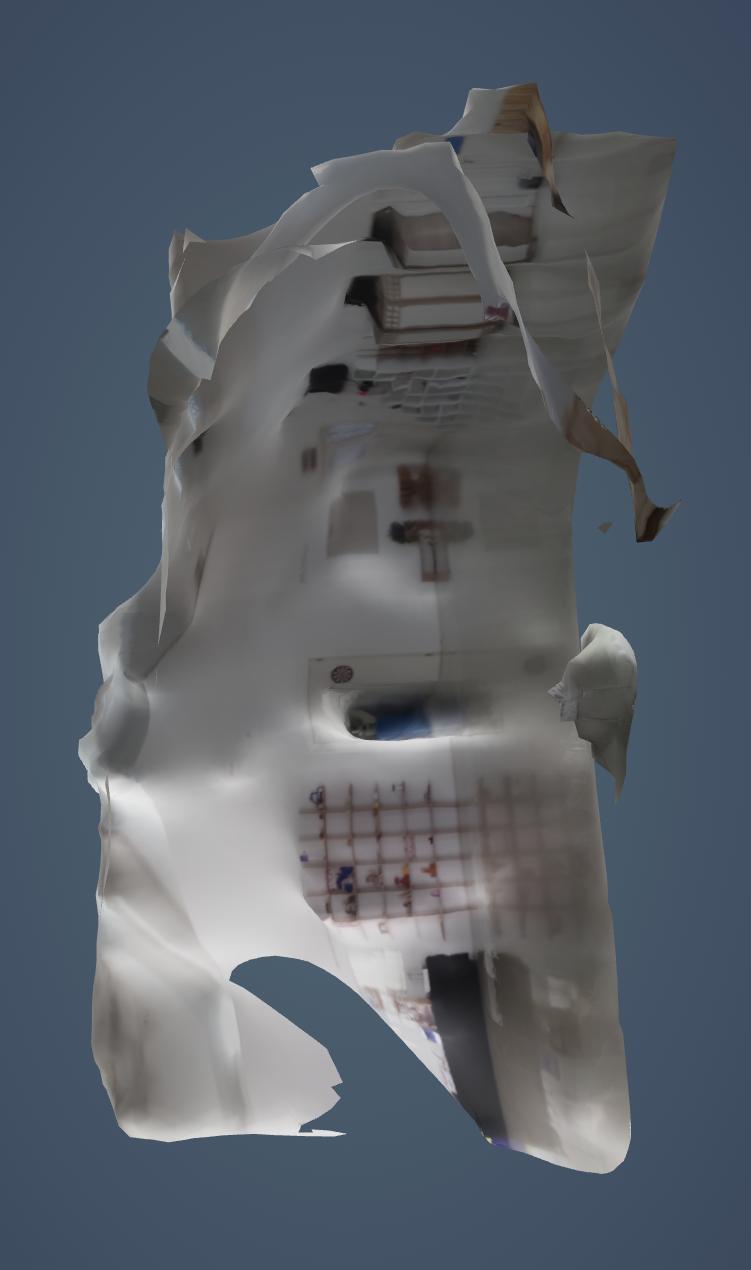
Second app I used is called xperie.nz and it uses the same scanning methode as the first one. this time I scanned a chair. unfortunatly the chair was white, same color as the hall I scan in. The app couldnt identify the object and it made a 3d model of the hall.
To scan an object tap on the plus button.

Name your project.
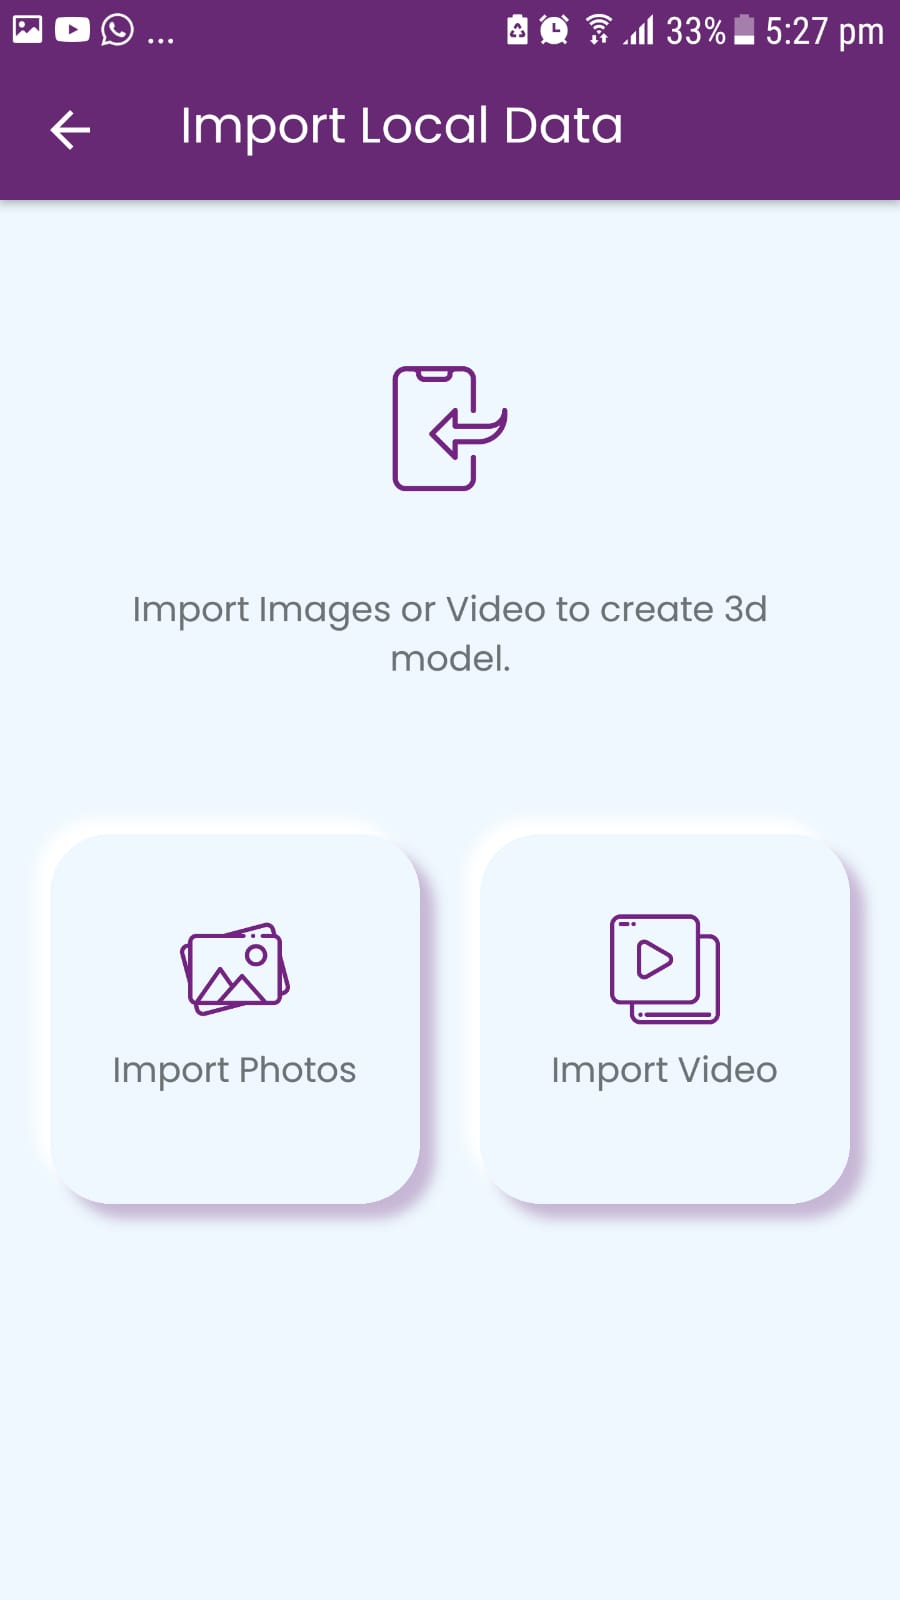
choose where to get the photos from.
select a video or a group of images
Submit.

also this app required payment for export the model.
Both apps are good but Revo scan did better. However, xperie.nz has very cool feture where the images is processed in a server instead of the phone which is very nice if you have slow mobile.
3D printing
3D printer are extreamly precise cnc machines with a print head that places plastic layer by layer to form an object.
A slicer is a software that generate a gerber file from a 3d model.
gerber file is a file that contain g-codes which is instructions for the cnc machine.
group assignment
In group assignment we printed a two diffrent files and expermented with settings and prusa printer. see group assignment
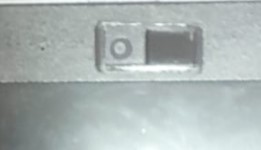
First thing I did is to design what I want in fusion360. Which is a laptop camera cover. It is very hard to make one subtractively since the cutting tools cant reach some areas,Also the design is very small and has narrow details and cannot be done in any machine. The 3d printning is the sutable methode for this job since it is very persize.
design
This is the process of designing it

and this is the design in fusion360
I designed it to be as thin as possiable to allow the laptop to close, it doesnt. Also I left tolerance of 0.1 mm and it was perfect. However, the cover was little thick for the lapteop to close so it sould be thinner.
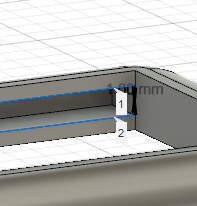
for gettig the cover insde the trackI catted small pice of it to allow pushing it inside and doesnt fall.

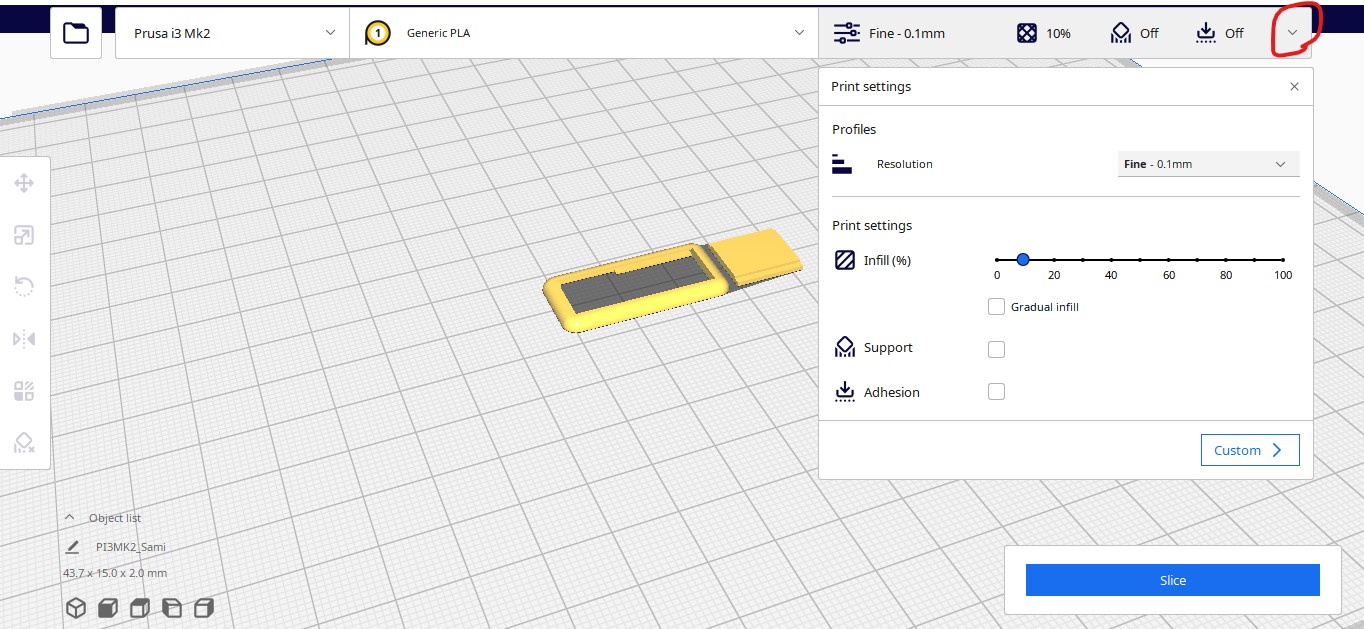
I exported the design as stl file and Then I placed the design in the cura slicer. Since it was very thin and small design
3d printers
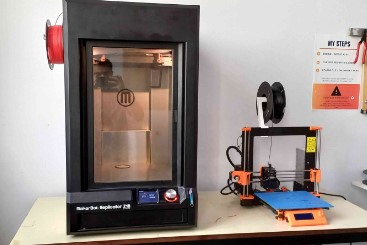
There were 2 printers in the lab prusa and makerbot Replicator Z18 The print area of the makerbot printer is almost 4 times bigger than the prusa printer. Also, makerbot printer has an enclosure to contain the fumes. However, it is very big and heavy, while prusa printer is small, light wight and compact.
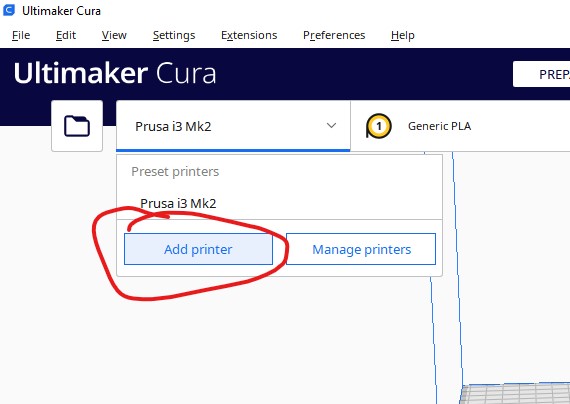
The printer we are using is prusa i3 mk2 3d printer so in cura slicer I navigated to add printer and selected the printer I am using.
after that I clicked on slice to export the g-code file for the printer to the sd card. Also a preview is available with estimation time of 7 minuts.

preview

The material we used is called PLA which is common for 3d printing

after that I placed the sd card in the printer and using the know to select and the pushing it for ok I navegated to my file and printed it

When the printing fineshed I sticked it into my laptop with a glue gun.