3. Computer controlled cutting
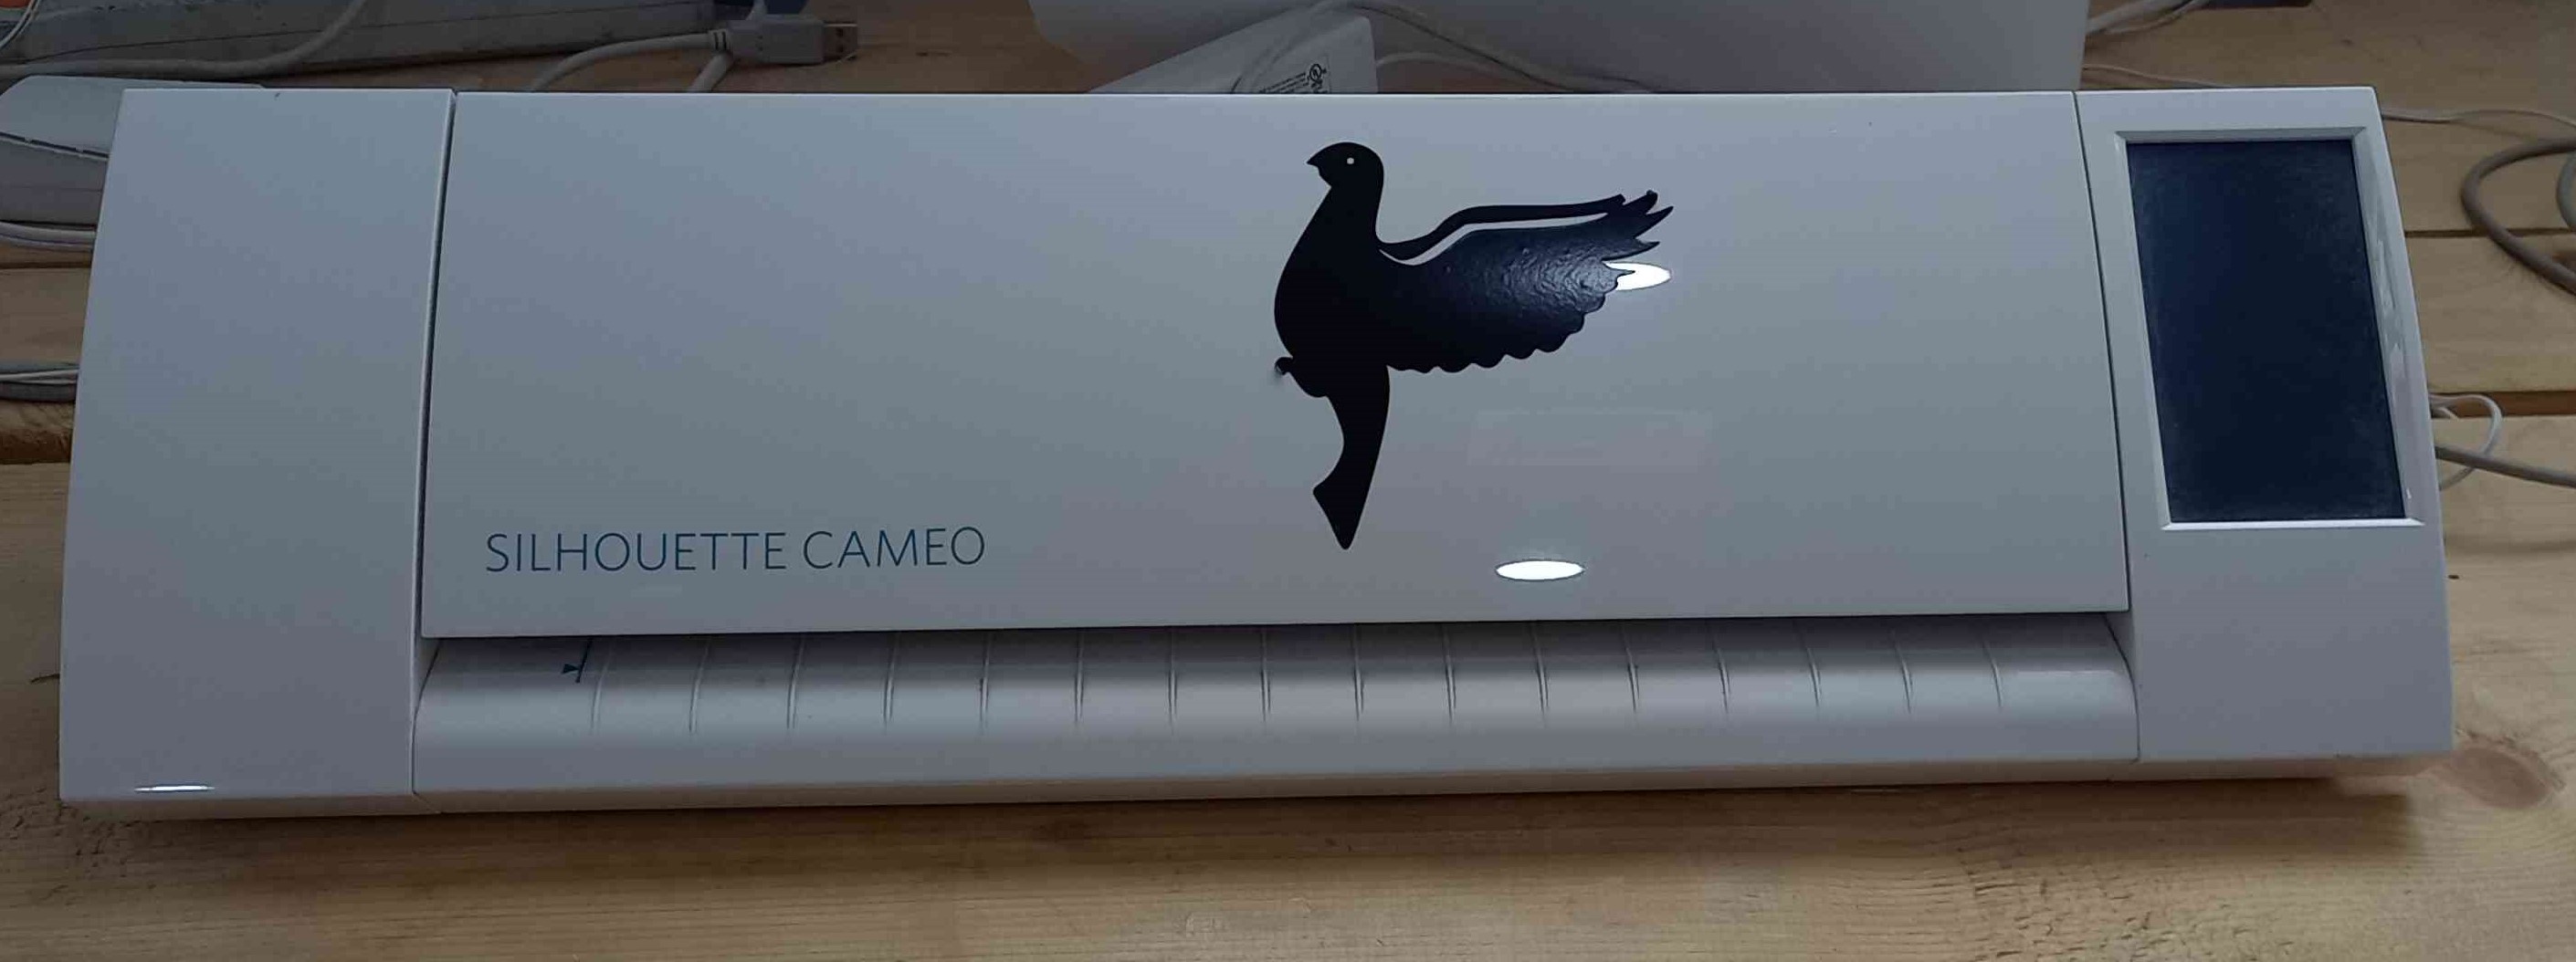
This week I worked on a computer cutting machine for cutting thin materials such as stickers paper and other thin materials. I decided to make a flexable pcb using cupper tape and a flexable plastic sheet and stick it onto it.
flexable PCB
Steps:
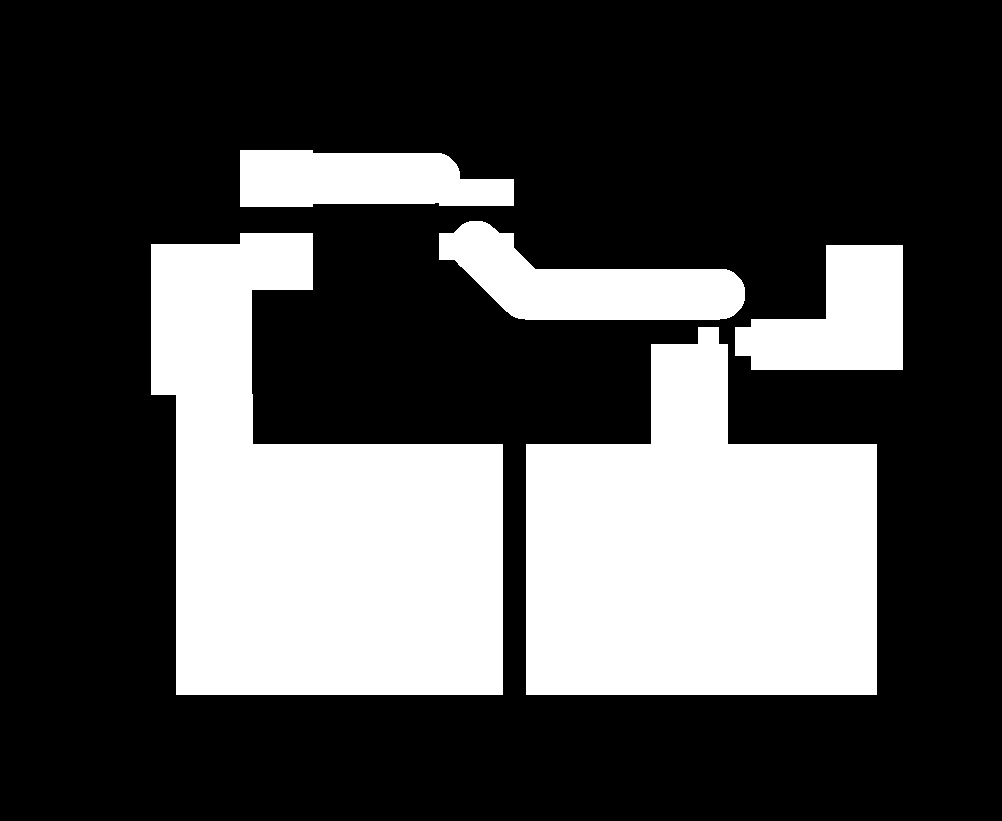
Step1 I downloaded eagle for pcb design and then I constructed a simpol touch switch circuit as shown:
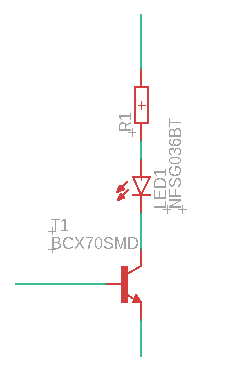
the circuit is very simpol it is just a transistor oprate as a switch when very small current pass through the base the transistor turn on and pass current and let the led turn on.
Step2
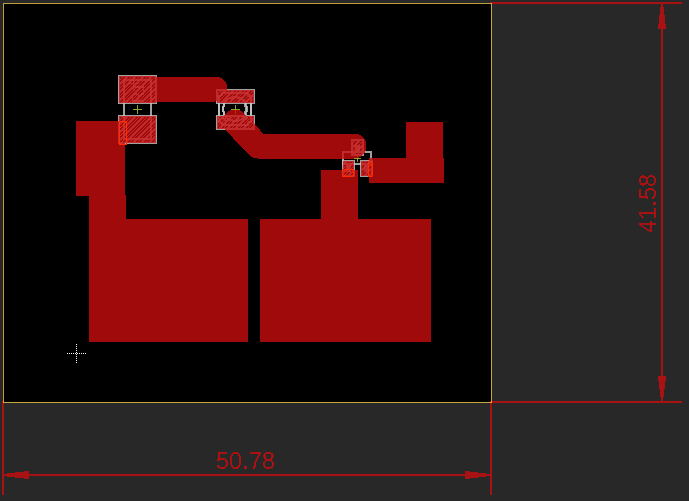
after I maked the circuit diagrame I converted it to a pcb by pressing the diagram/pcb button. I resized the board then I placed all the component and connected them using the traces.
I also added the pads for power and the touch area. After i finished I exported it as a png image to use it on the software of the cutting machine.
Step3
I downloaded Silhouette Studio for the cutting machine, created new project and then added the picture of the pcb. since there is no setting for a cupper tape I tried multiple times to get it right while each time I vary the force and the plade length. Also using slower speed made the cuts cleaner. settings was plade is 4 and speed is 7 and 18 force.
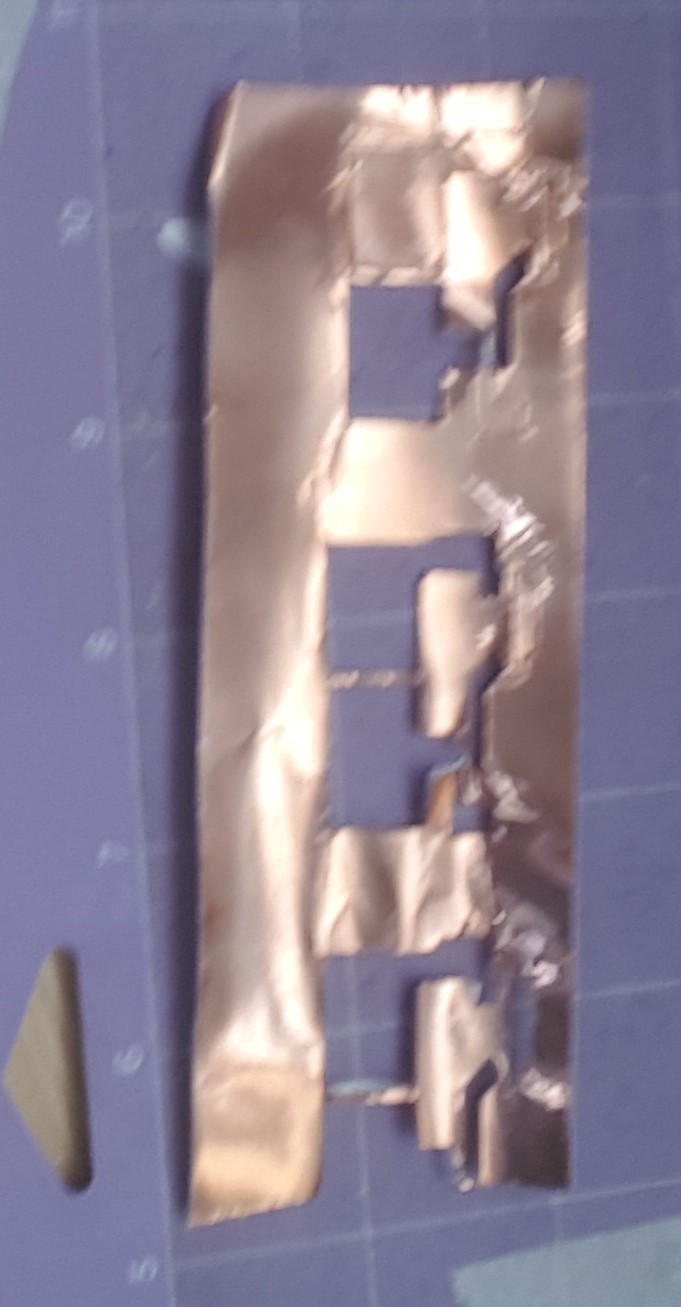
Step4
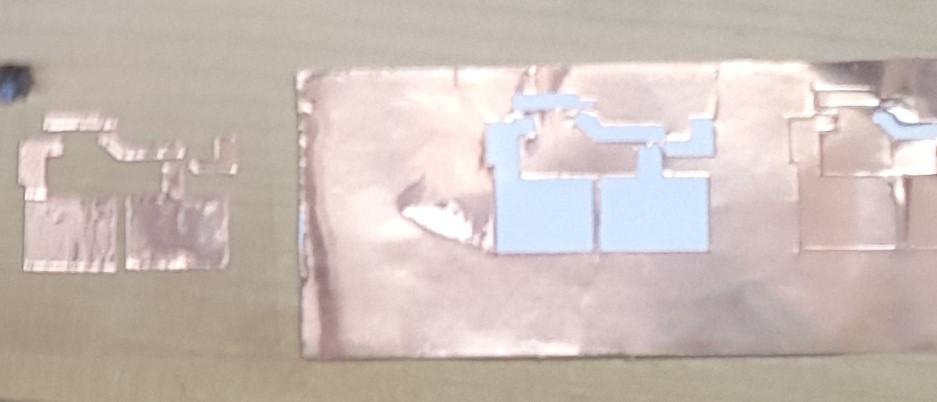
After cutting the cupper tape it is time to transfer it to the flexable plastic. so I cut a sqpuare piece and carefully transfered the cupper carefully to it.
Step5
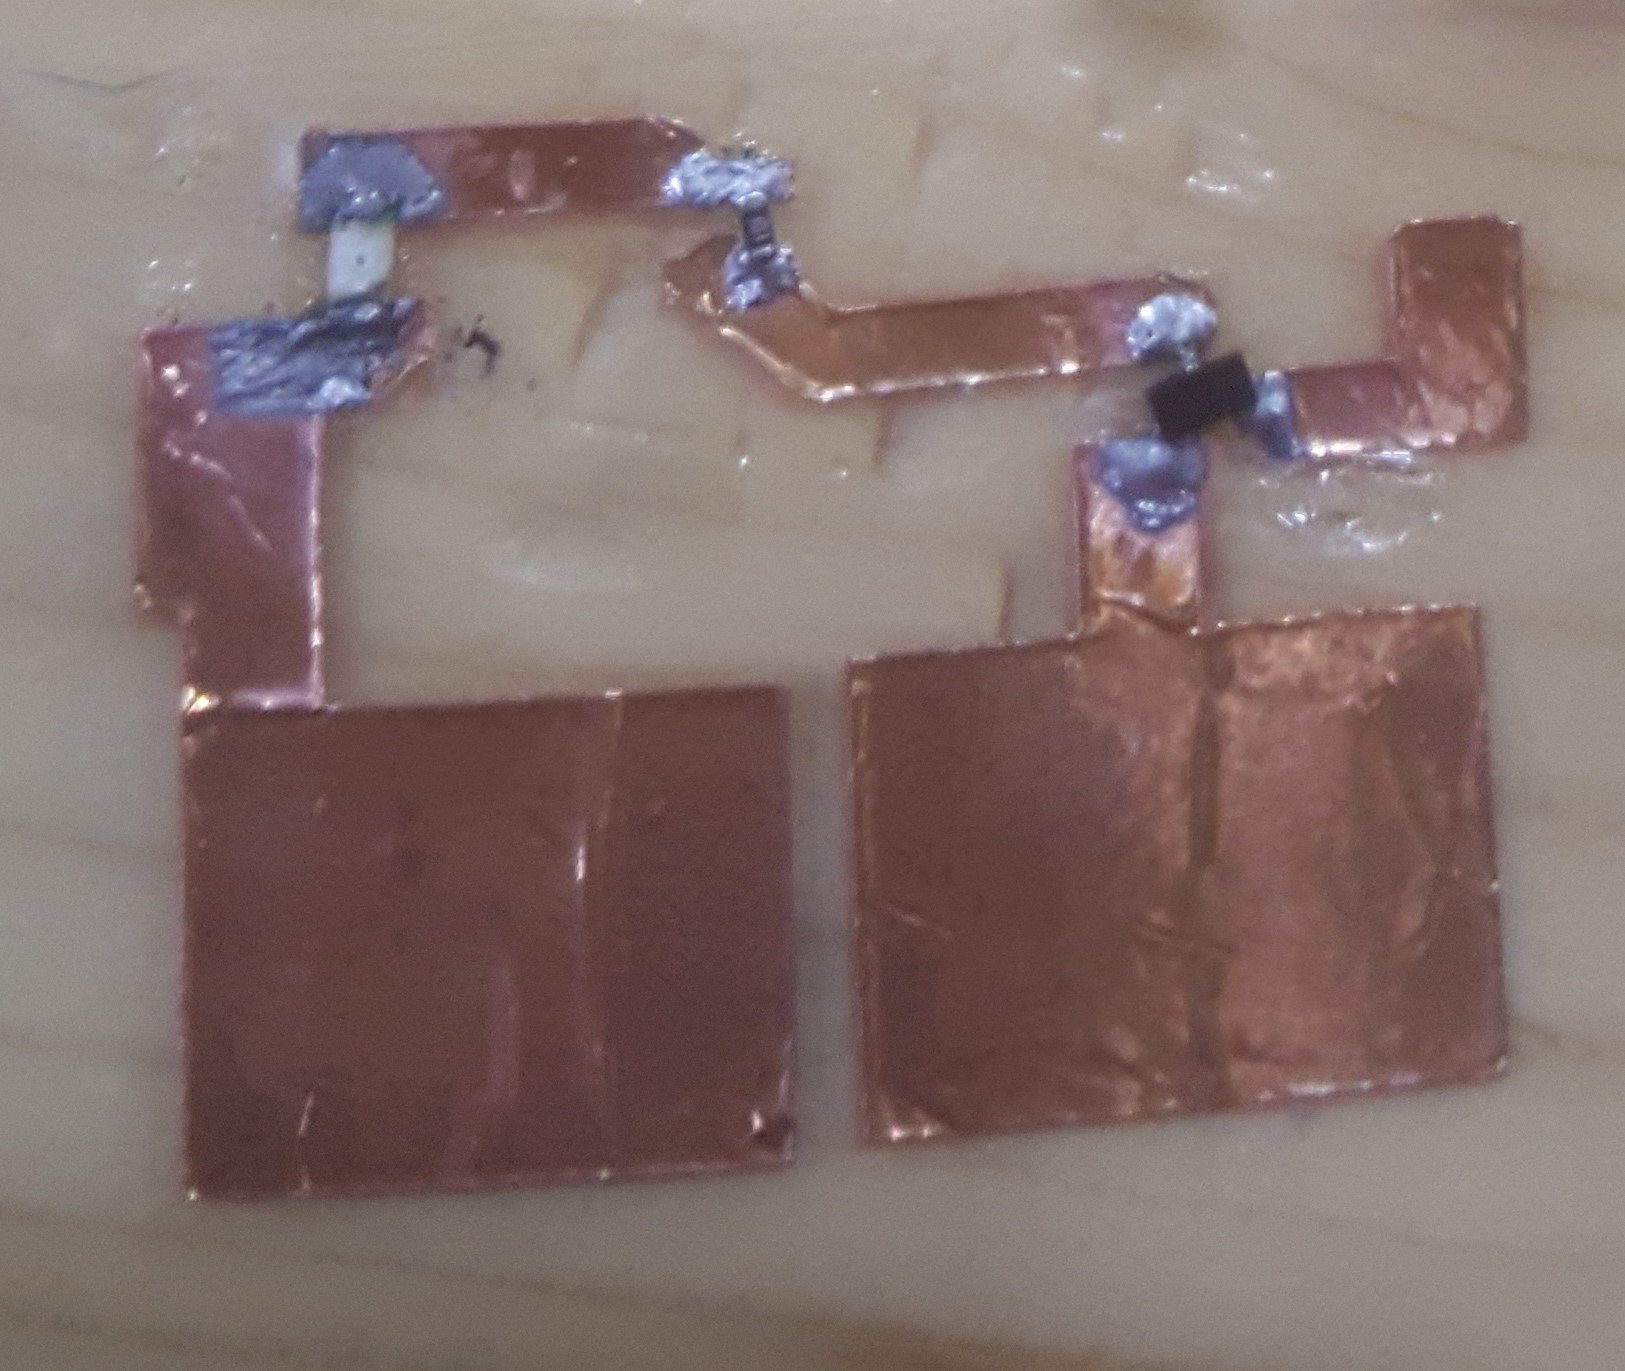
I soldered the SMD component onto the cupper and it was very hard not to melt or burn the plastic so I got some of cold joits.
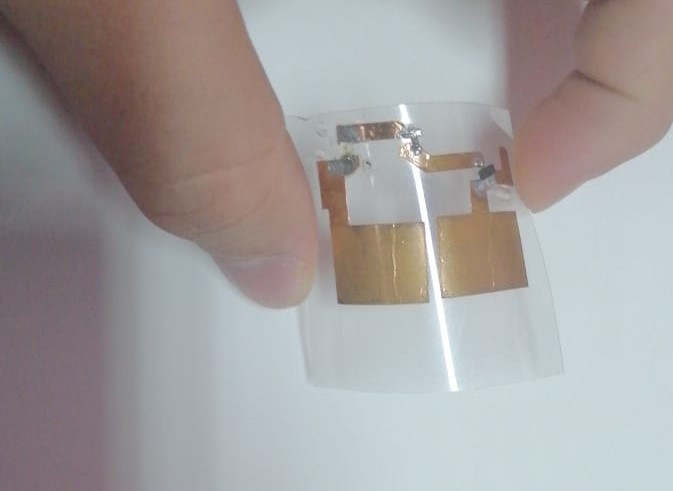
I finished the circuit, connected by clips to power supply set to 3v and it works very well.
original PCB design
Laser machine
group assignment
see fetting test group assignment
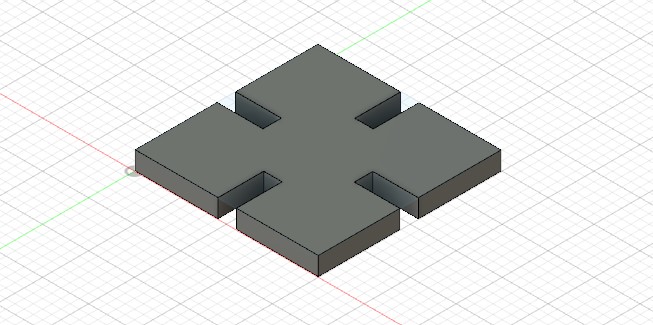
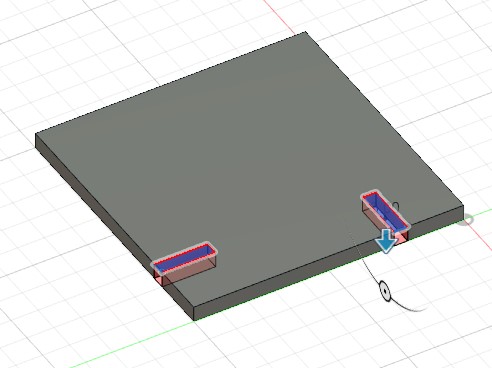
first I opened fusion360 draw a square, extruded it and cutted some cutts for the joints. Also I made the design parametric for easy and fast modifications.
to create a parameter I clicked on the modify tap and choosed change parameters.
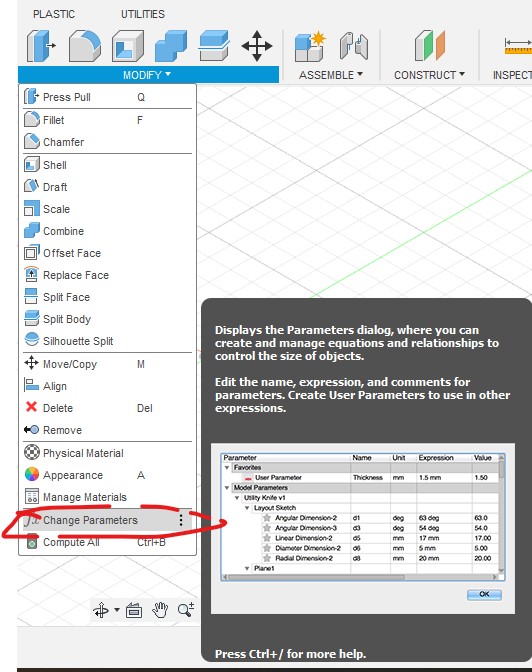
a window opened and I clicked the plus sign to create a parameter. I created two parameters one is the width and other is hight, it is the dimentions of the joint. Now changing the parameters will modify all joints instead of changing it one by one like in case of using other materials.
While creating the sketches for the joints I wrote the parameter name instead of the actual size, Then the parameter replaced automatecly with its value.
We worked on the laser machine in a group assignment where we determine the parameters of the piece we will cut and the laser cutter parameters see the link for the rest of the group assignment.
Designs
This is the design in fusion360.
After that I edited my design of and sent it to the computer connexted to the laser machine and then we calibrated it and cut same as we did in the group assignment.
“assembly
for the assembly I collected all my squares and started thinking what I am going to do with it.
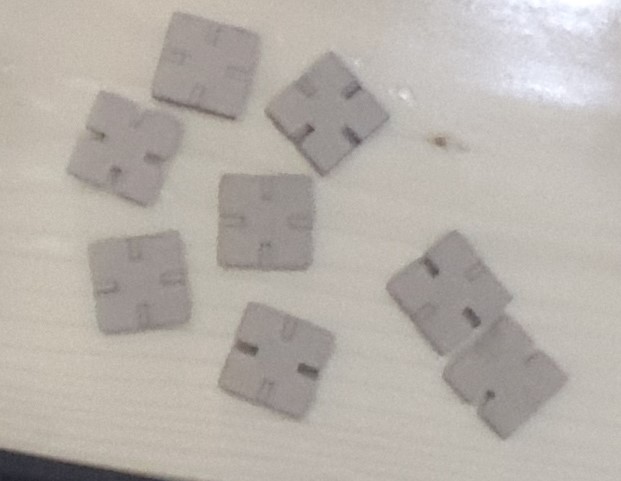
Half of the cutted joints were cutted poorly because I make them too small so they moved from thier place while cutting.However the successful cutts are enough to make what I decided to do.
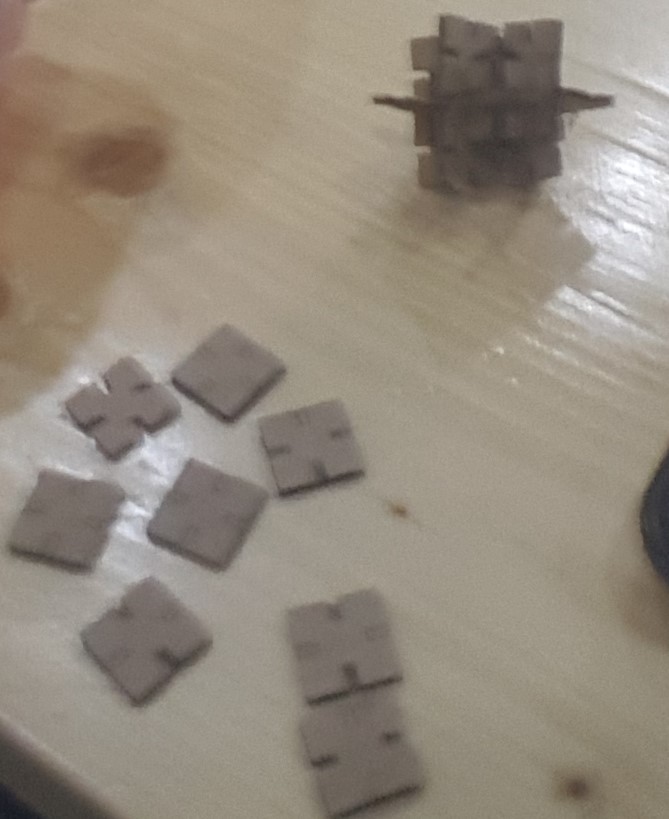
I assemblesd the squares into a dice and then wrote the numbers on it. I was satisfied with the result since it is holding it self and wont fall apart.
However, I didnt pass the assignment so I made another design.
design2
These are the design files
Fusion360 file
cutting the design
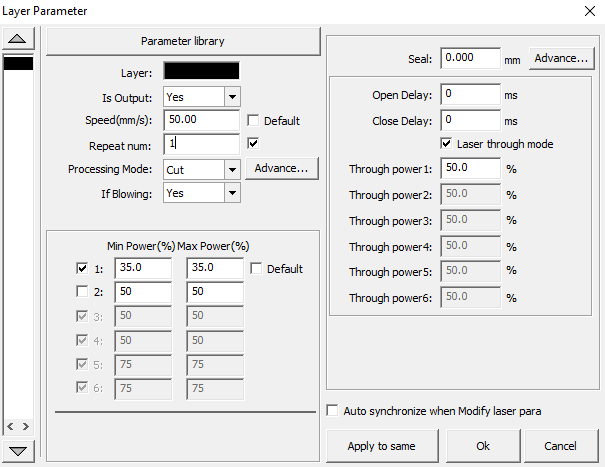
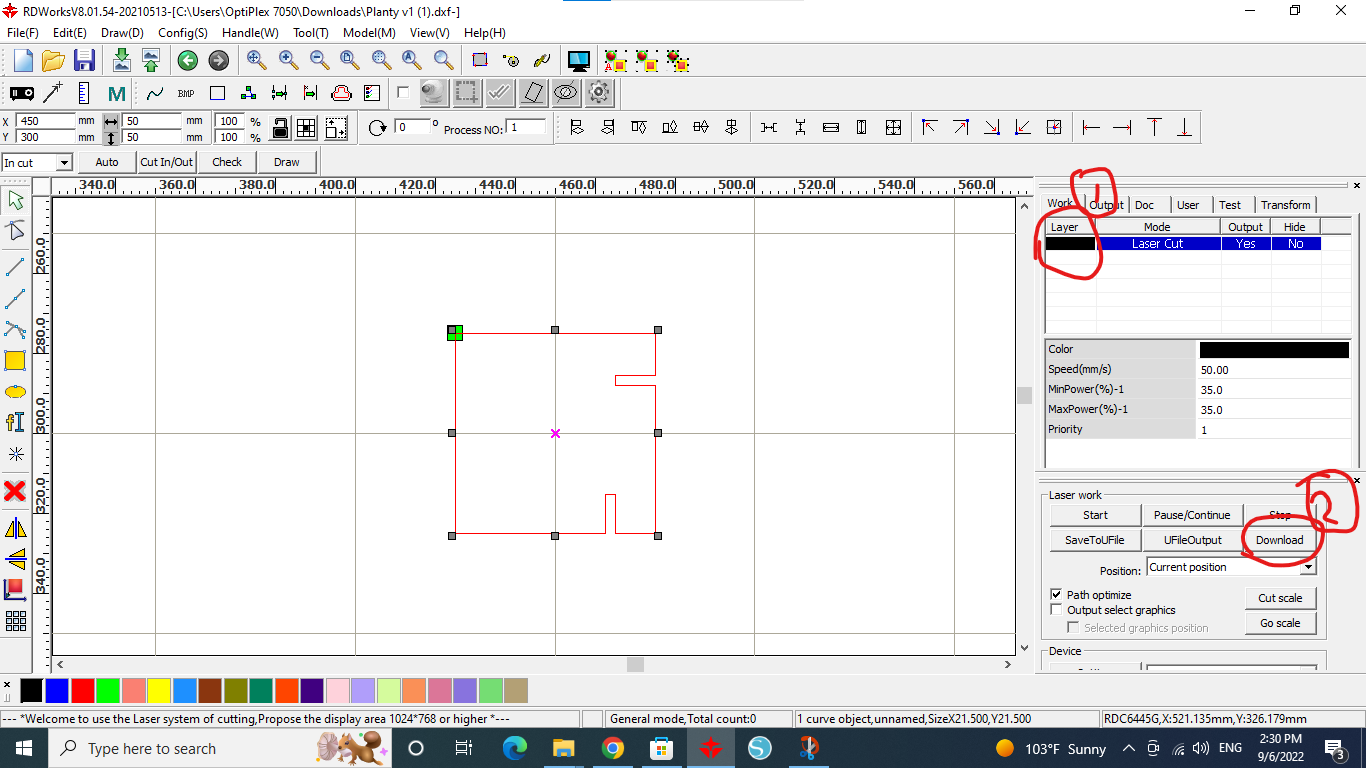
I opened my design using RDworks. to change the the power and speed to the ones optained in the group assignment I clicked on the black square(1) and adjusted the speed to 50 and max power to 35 and pressed ok. After that I clicked download to send the file to the machine.
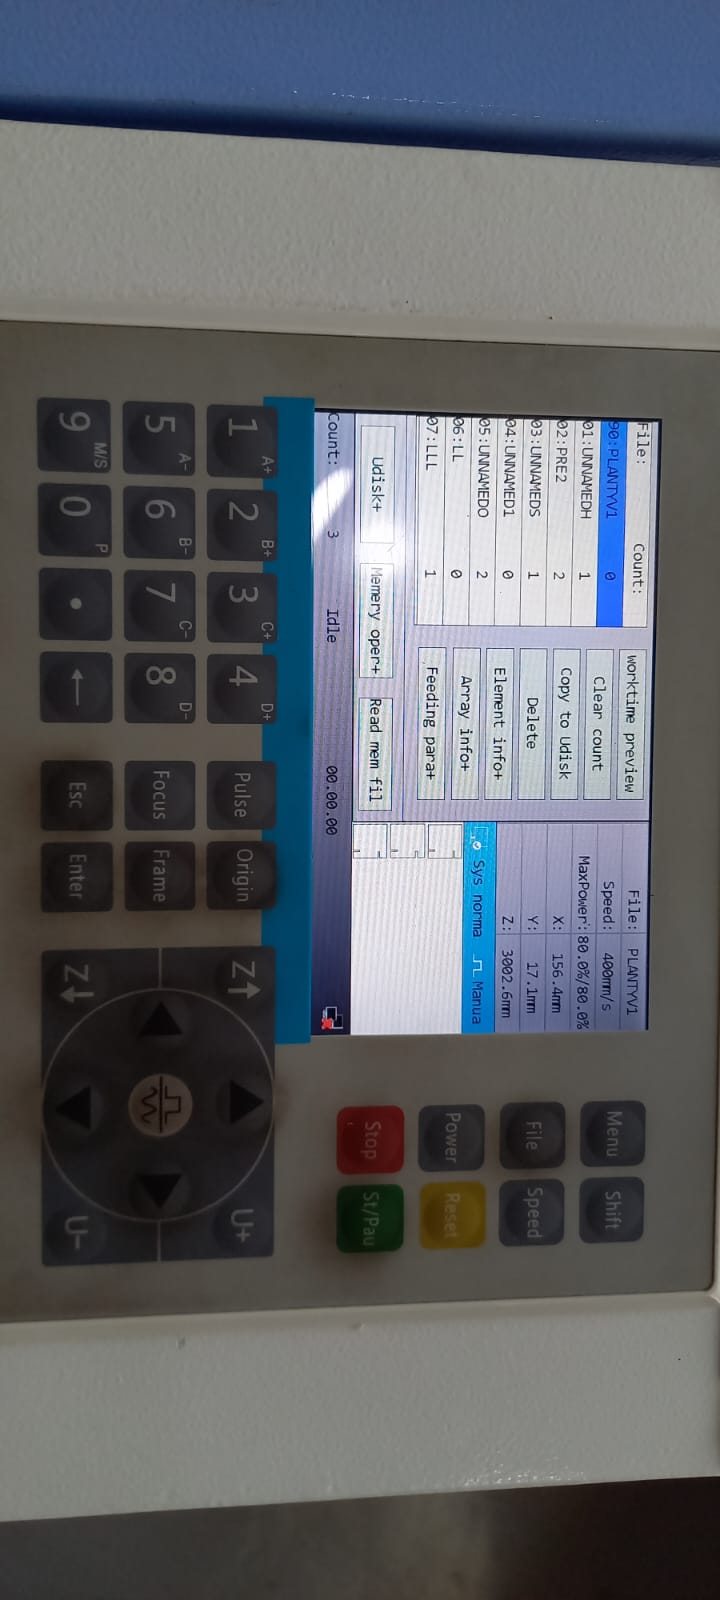
In the machine screen I navigated to my file and pressed the frame button to ensure there is no holes in the area I am cutting into.
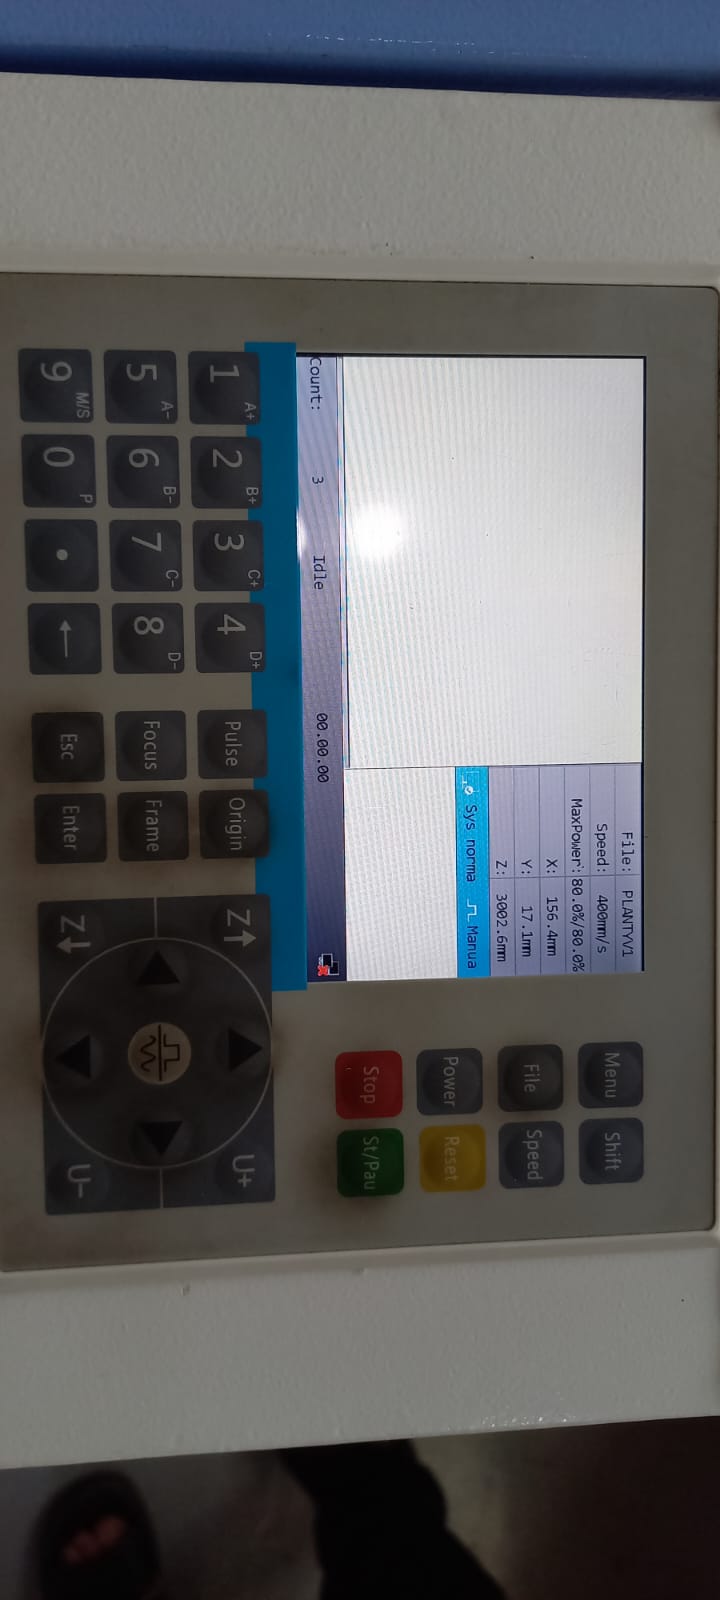
After that I pressed on start to start cutting the cardboard.
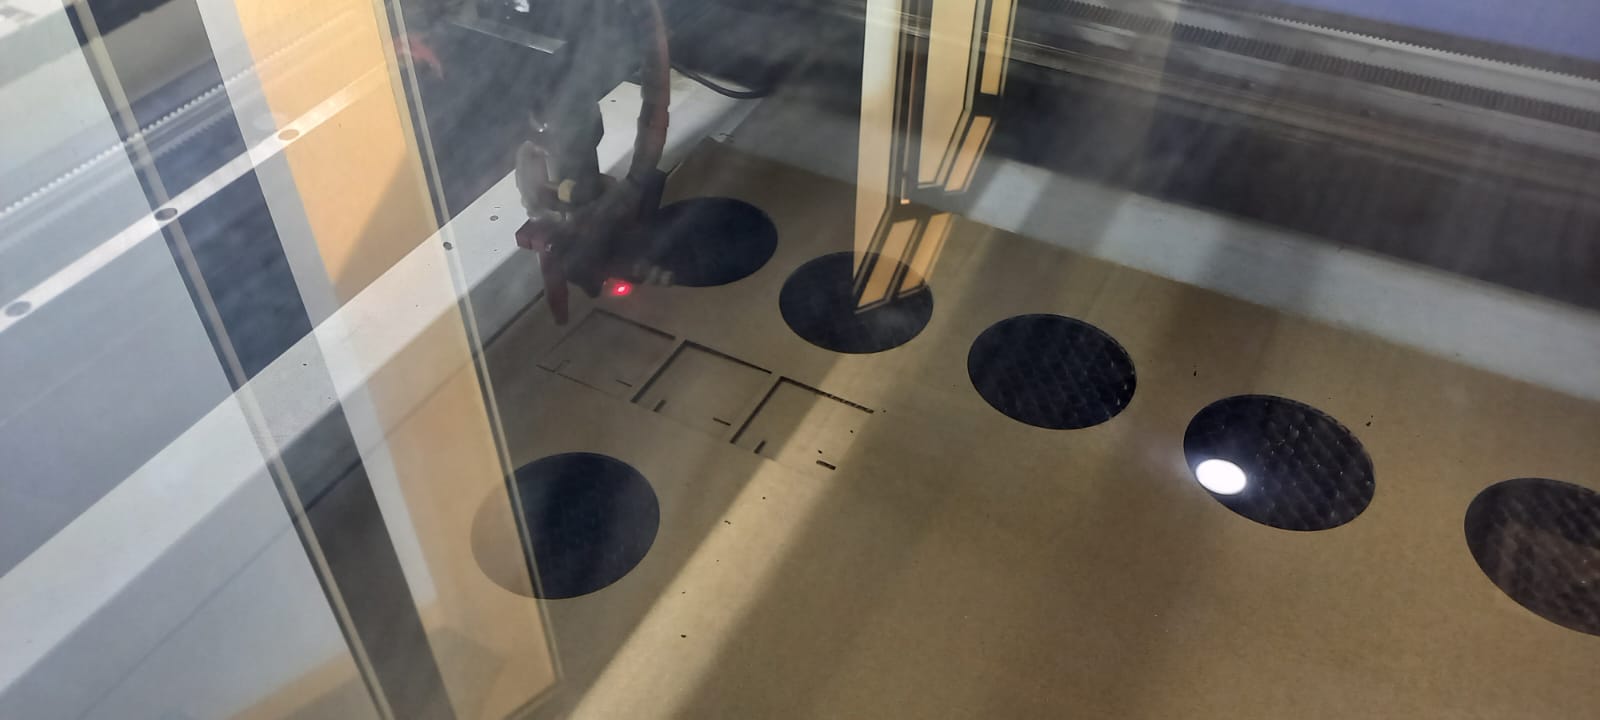
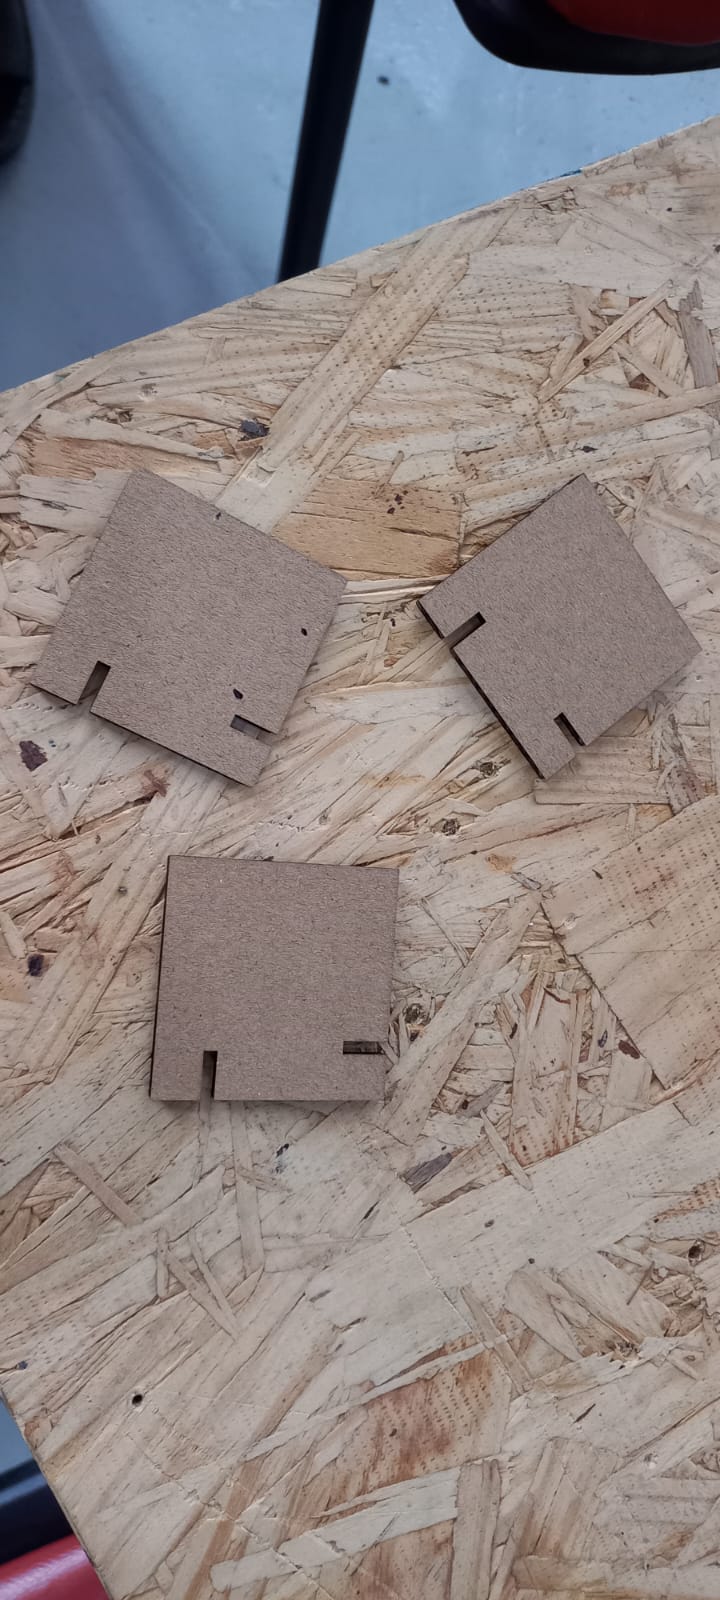
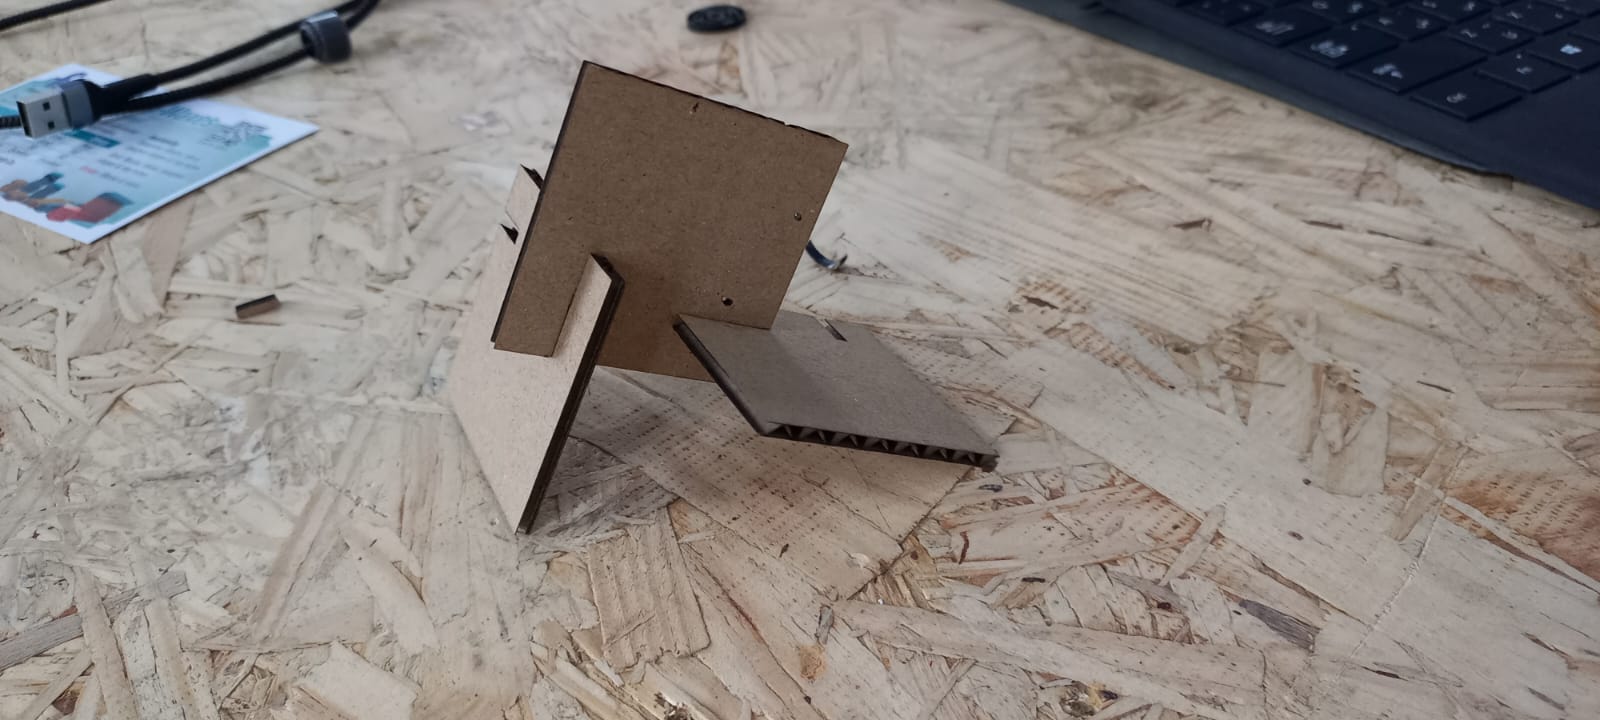
results
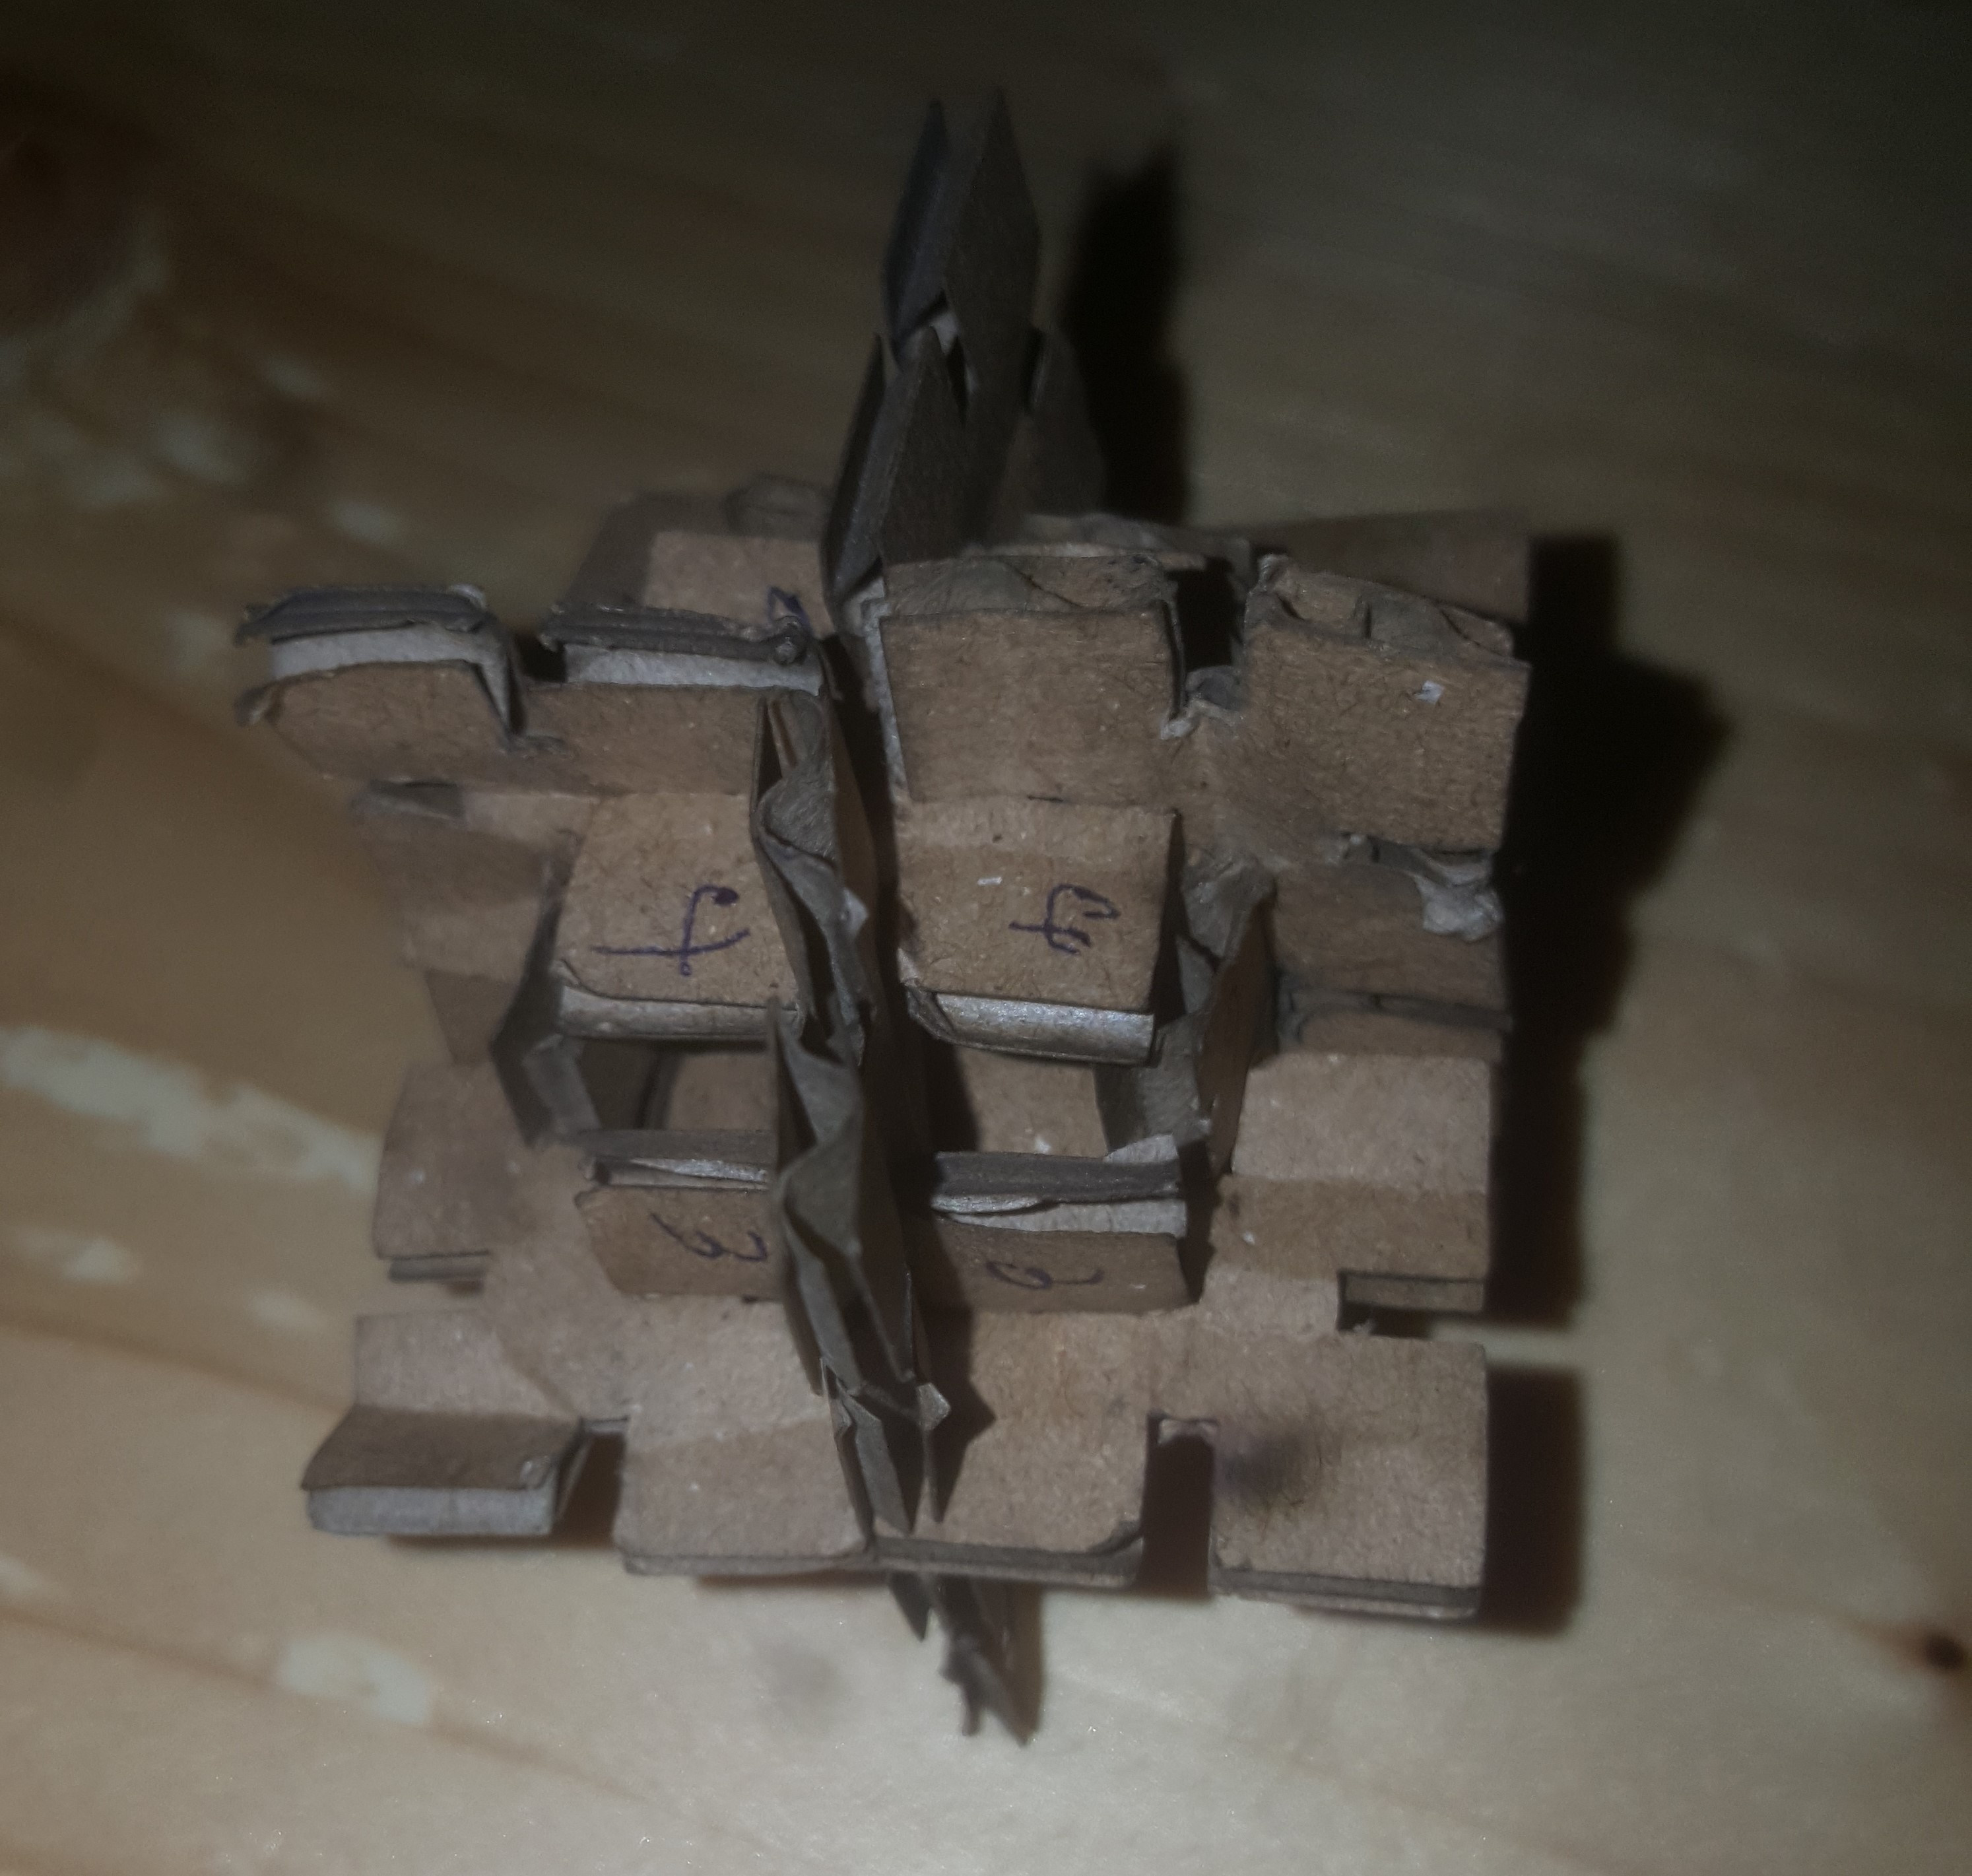
The cuts was clean and has bad smell. I made three copies and assembled them this way.
 finish