Craft vinyl is a flexible and versatile craft material that you can use to make a huge variety of craft projects, including decorated mugs, tumblers, stickers, and decals. While you can cut vinyl by hand, cutting craft vinyl with a Cricut machine allows you to make precise cuts and intricate design .
Applications
You can apply adhesive vinyl to many different surfaces. It works best on smooth, non-porous surfaces like glass, plastic, glazed ceramic, and even painted walls.
Materials Needed Adhesive vinyl. You can purchase vinyl by the sheet or by the roll.
A cutting mat
I like either the blue LightGrip mat or a green StandardGrip mat for cutting vinyl.
Weeding tool
Use this hand tool to remove the unwanted pieces of vinyl from the cut design. You can use a hook-shaped tool or a needle-shaped tool.
Transfer tape
The transfer tape will help you remove the vinyl design from its paper backing, and apply it to the surface of your project. For most types of vinyl, choose regular strength clear transfer tape. For glitter vinyl, choose strong grip transfer tape.
GROUP ASSINMENT
step 1
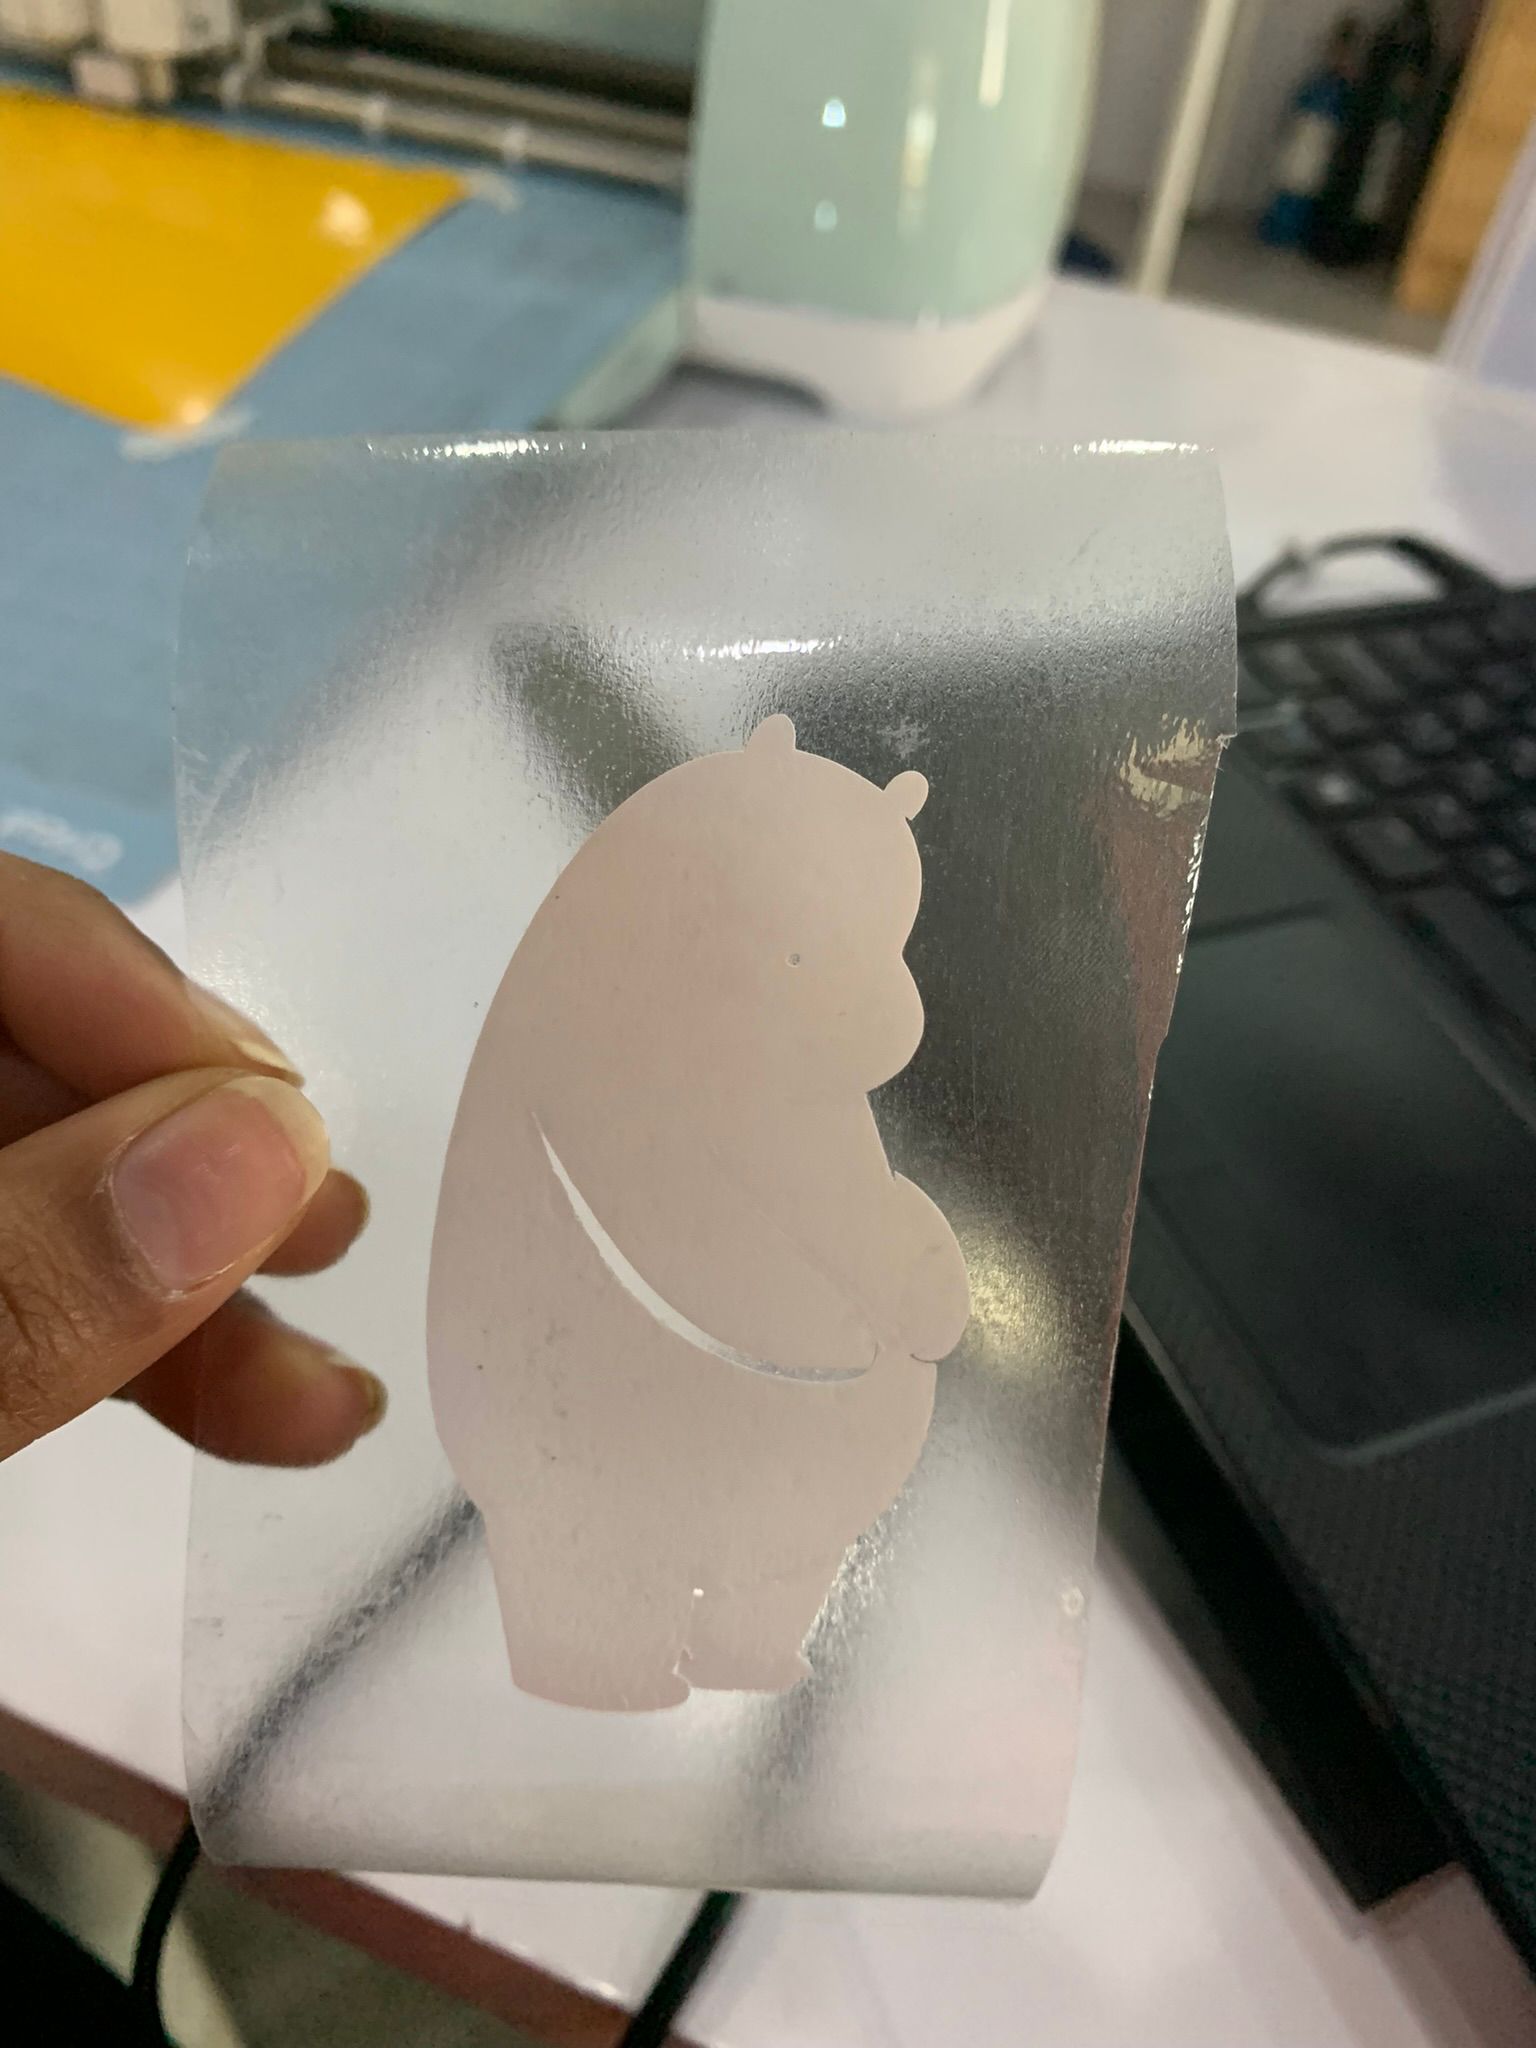
choose a design
 the design has ben chosen
Make sure your project surface is clean dry. Carefully place the Transfer Tape with vinyl images onto your surface as you would like them to appear.
the design has ben chosen
Make sure your project surface is clean dry. Carefully place the Transfer Tape with vinyl images onto your surface as you would like them to appear.
Now burnish Transfer Tape onto the surface, starting in the center and moving out toward the edges. Use a craft stick or Cricut Scraper.
Peel the Transfer Tape away from the vinyl at a 45-degree angle. If the vinyl sticks to the Transfer Tape, simply burnish the vinyl onto the surface again. Then continue to peel the Transfer Tape away from the vinyl.
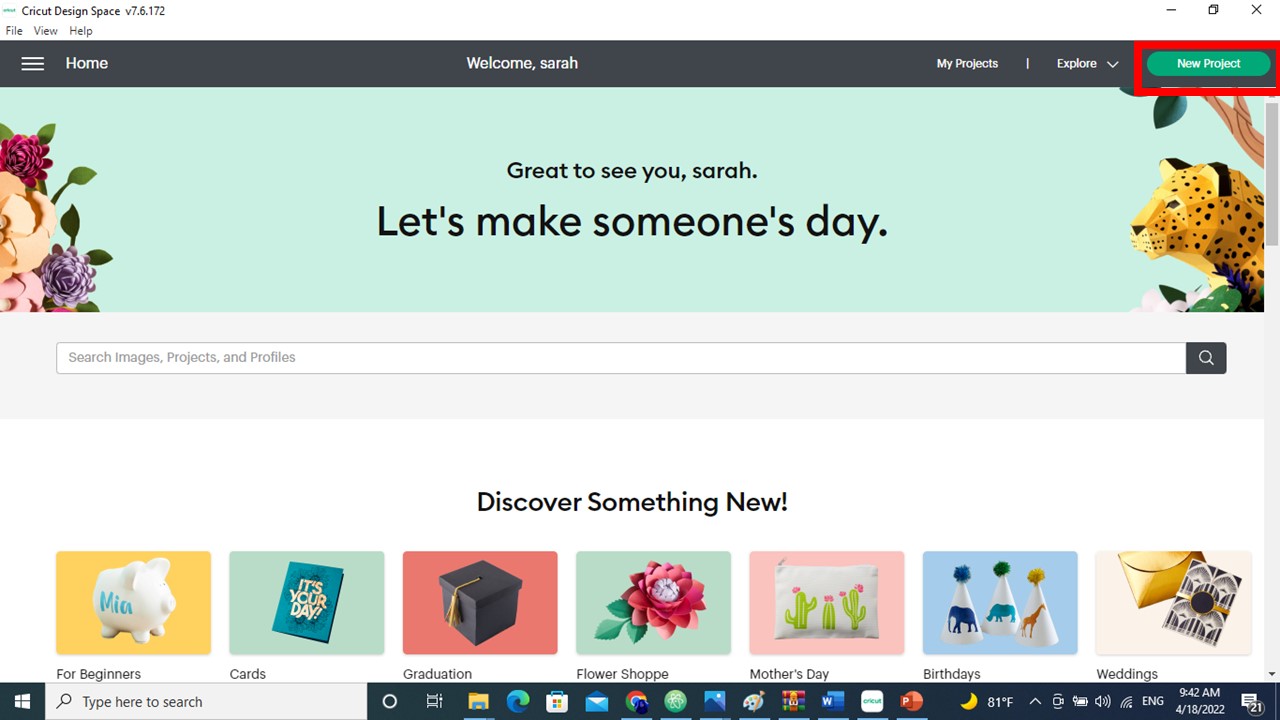 open cricut program in the pc
and open it
open cricut program in the pc
and open it
New project
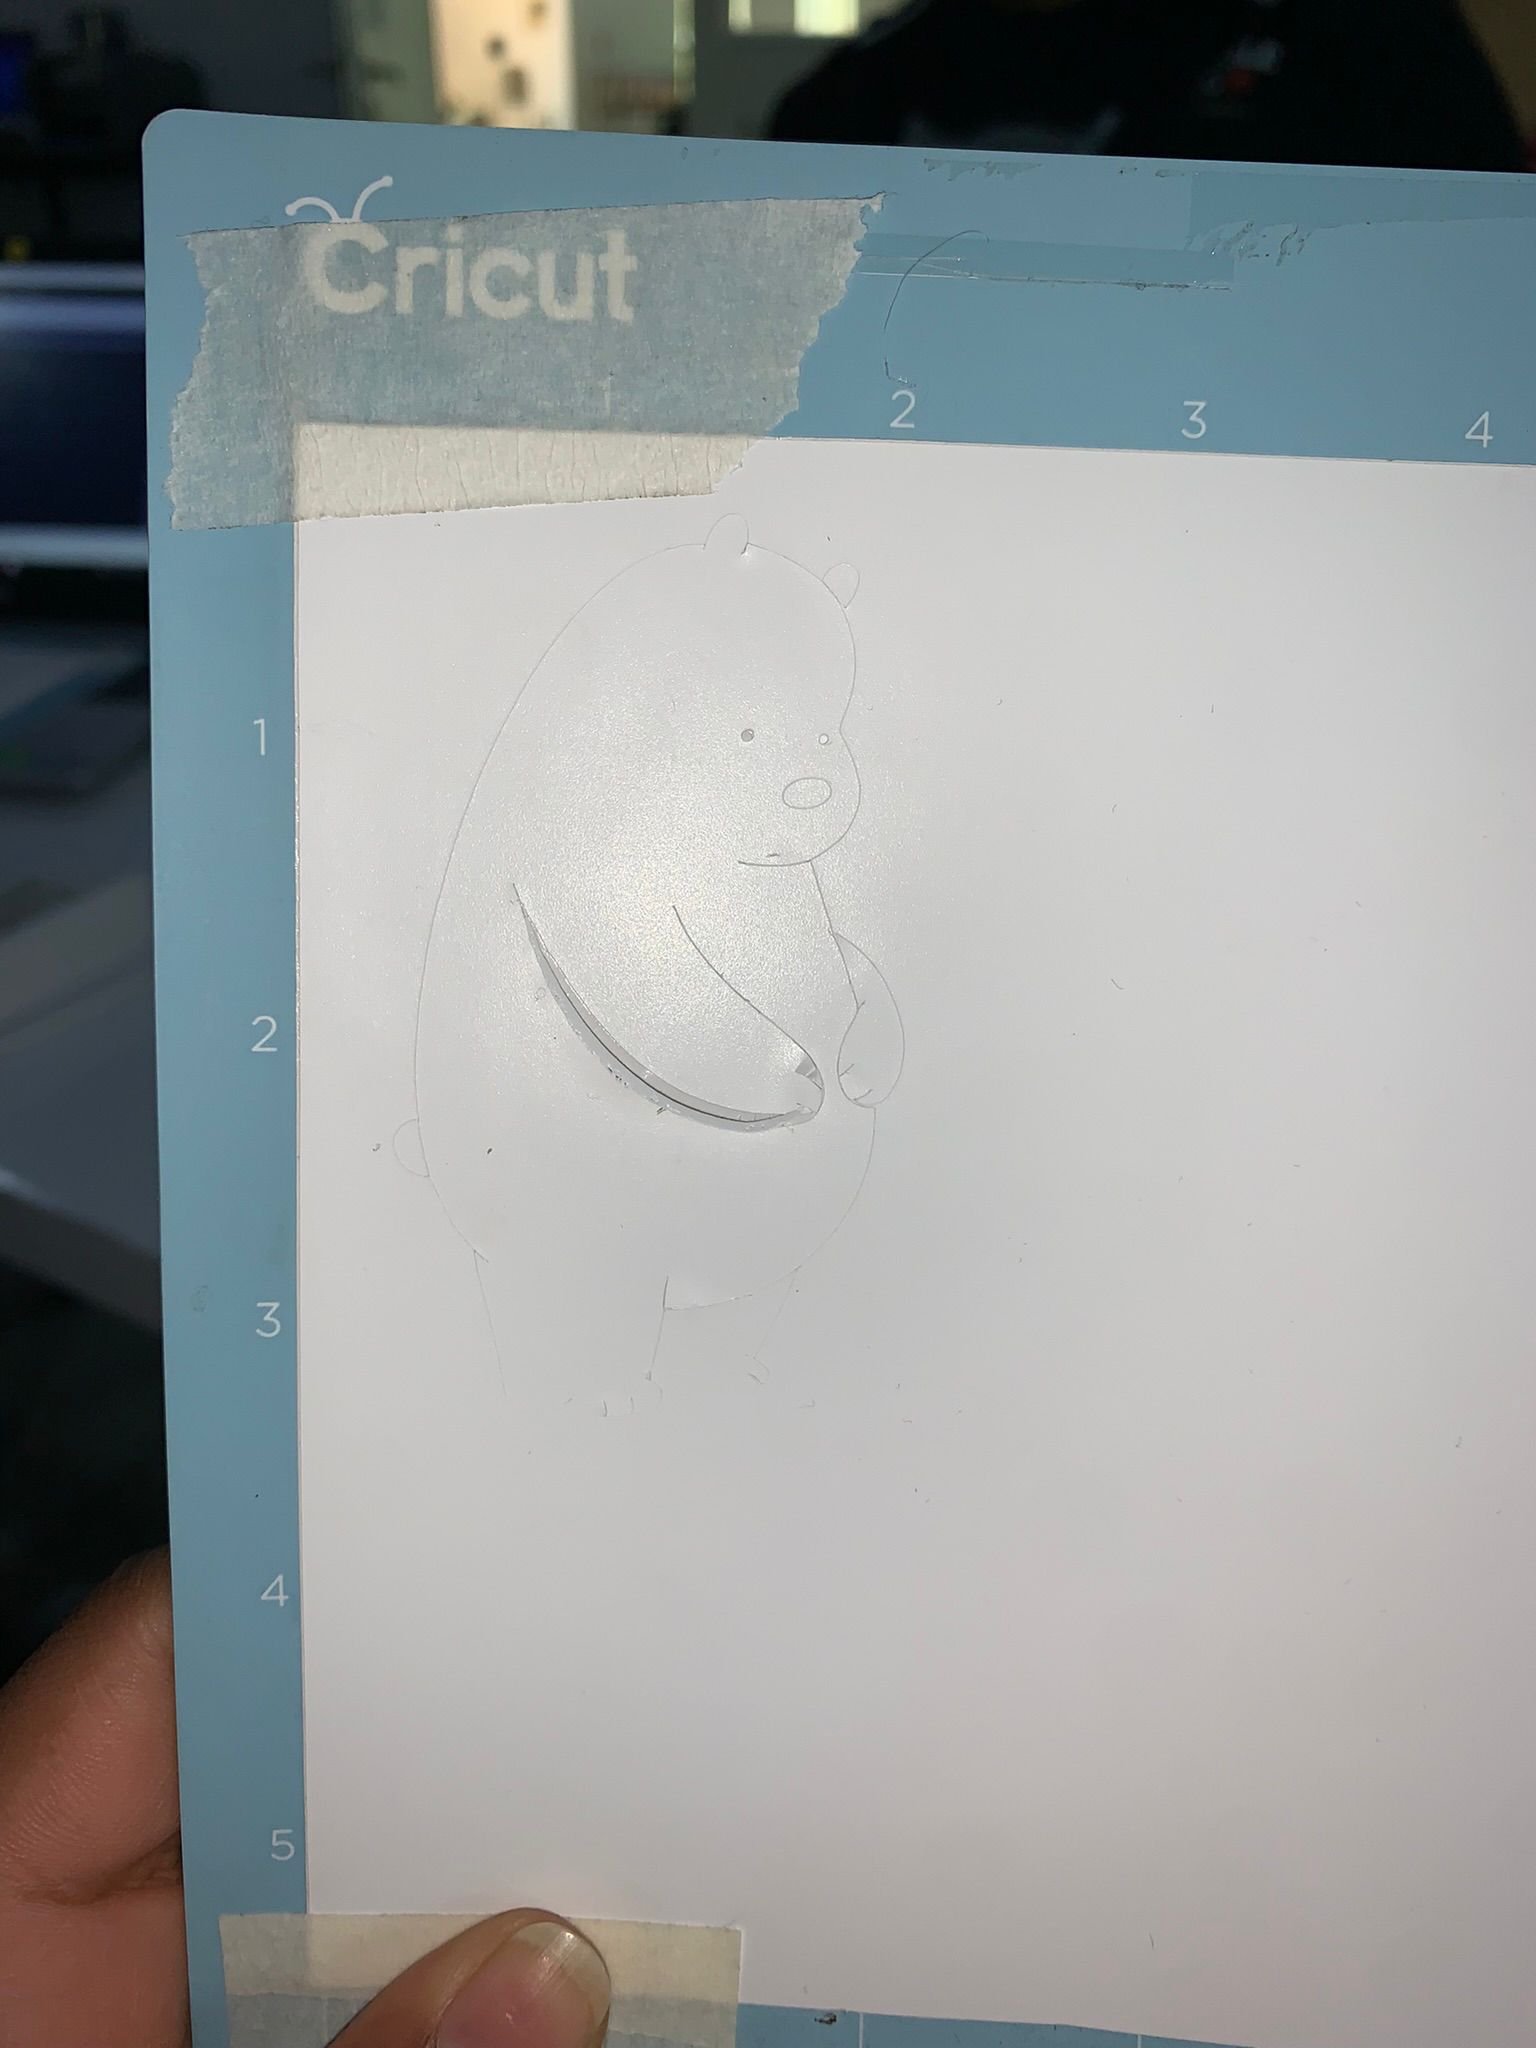
 upload the photo and upload image
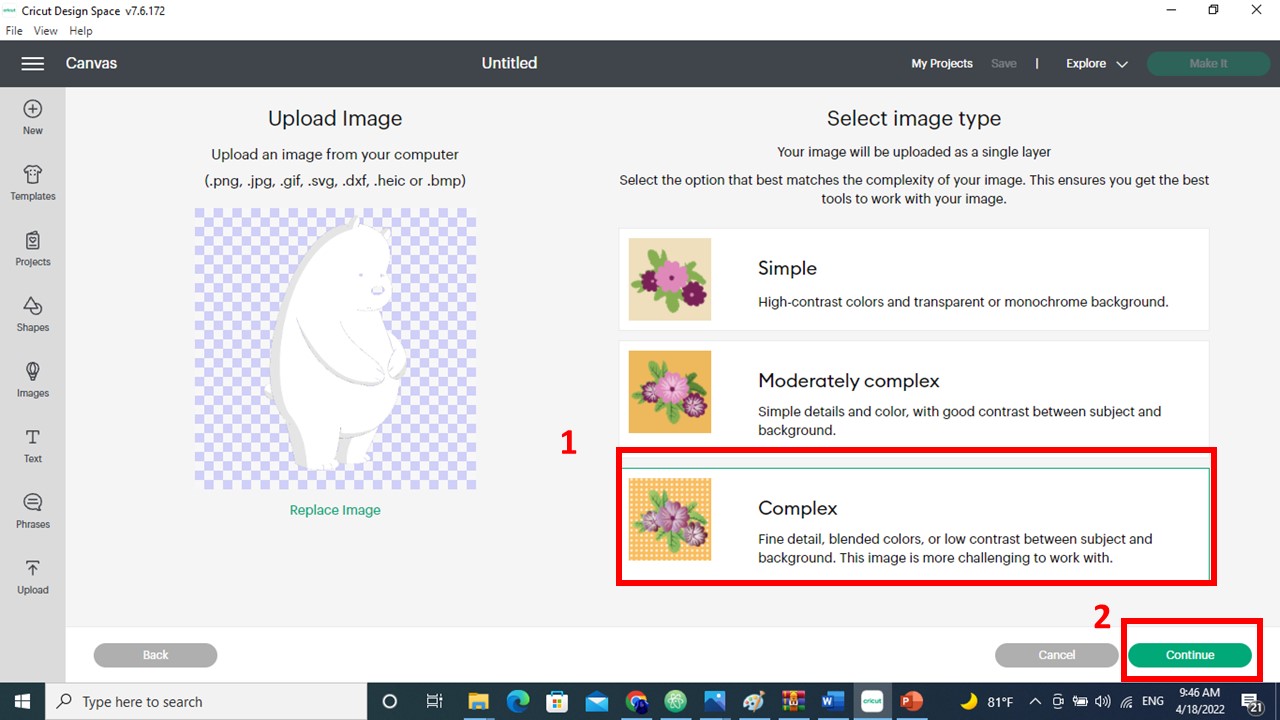 select complex to choose the cuttings space and continue
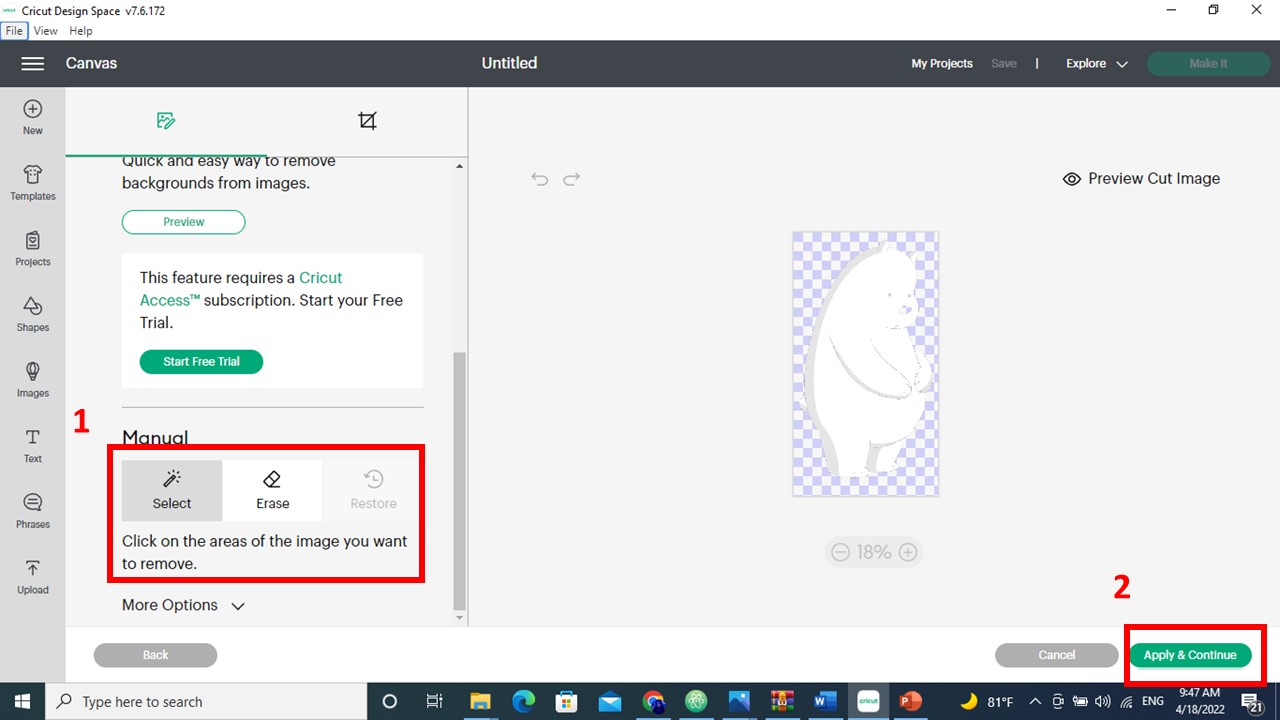 select manual the and upload
 choose cuttings selection
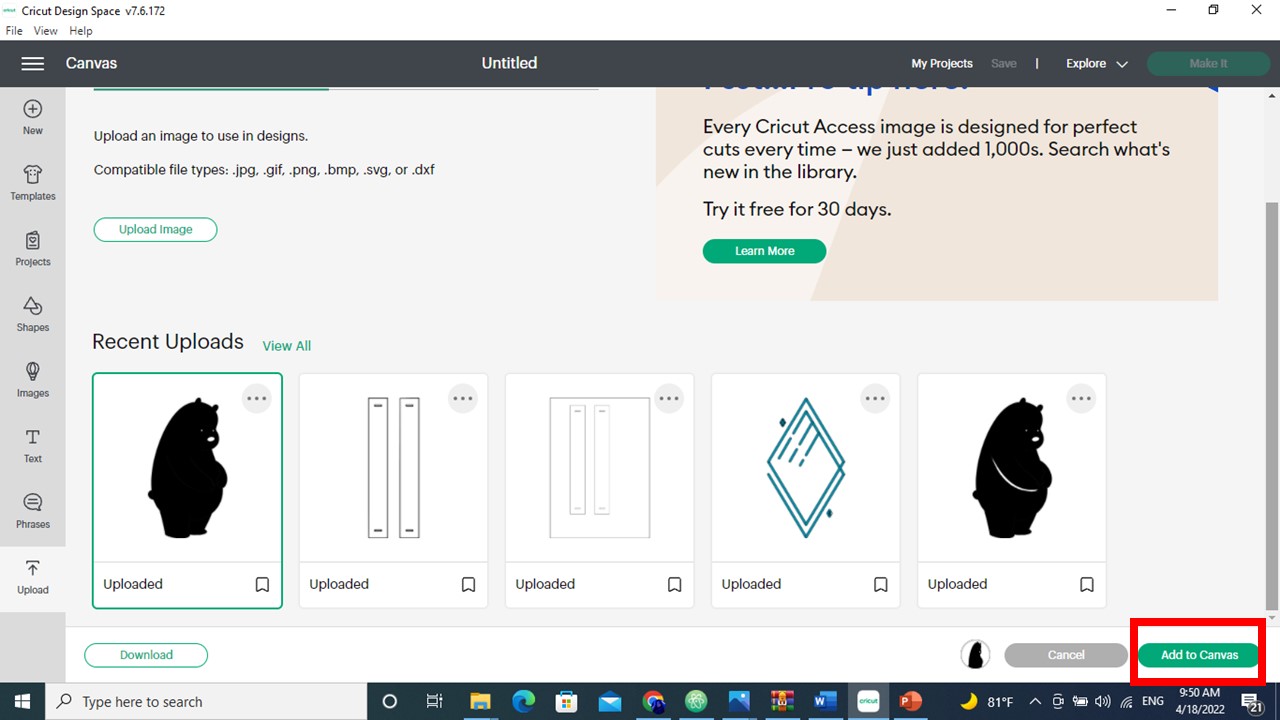 and select the object and add to the canvas
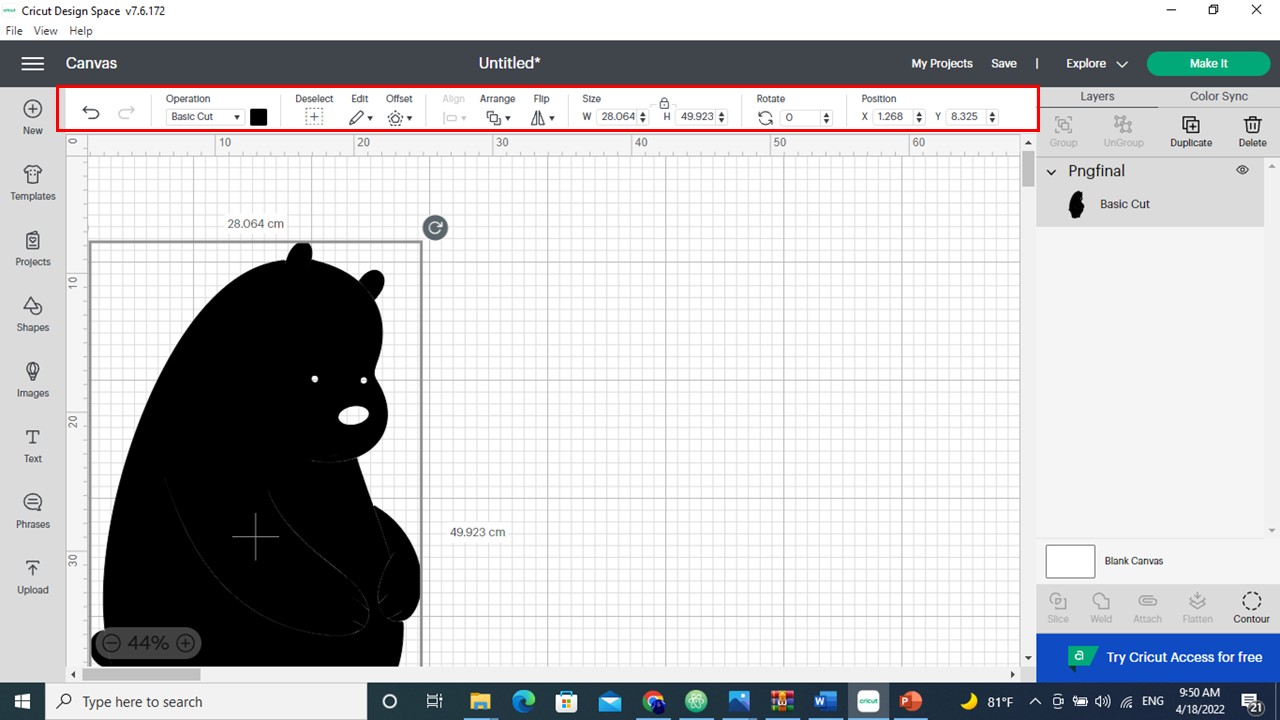 used the tool part to adjust the size and flip
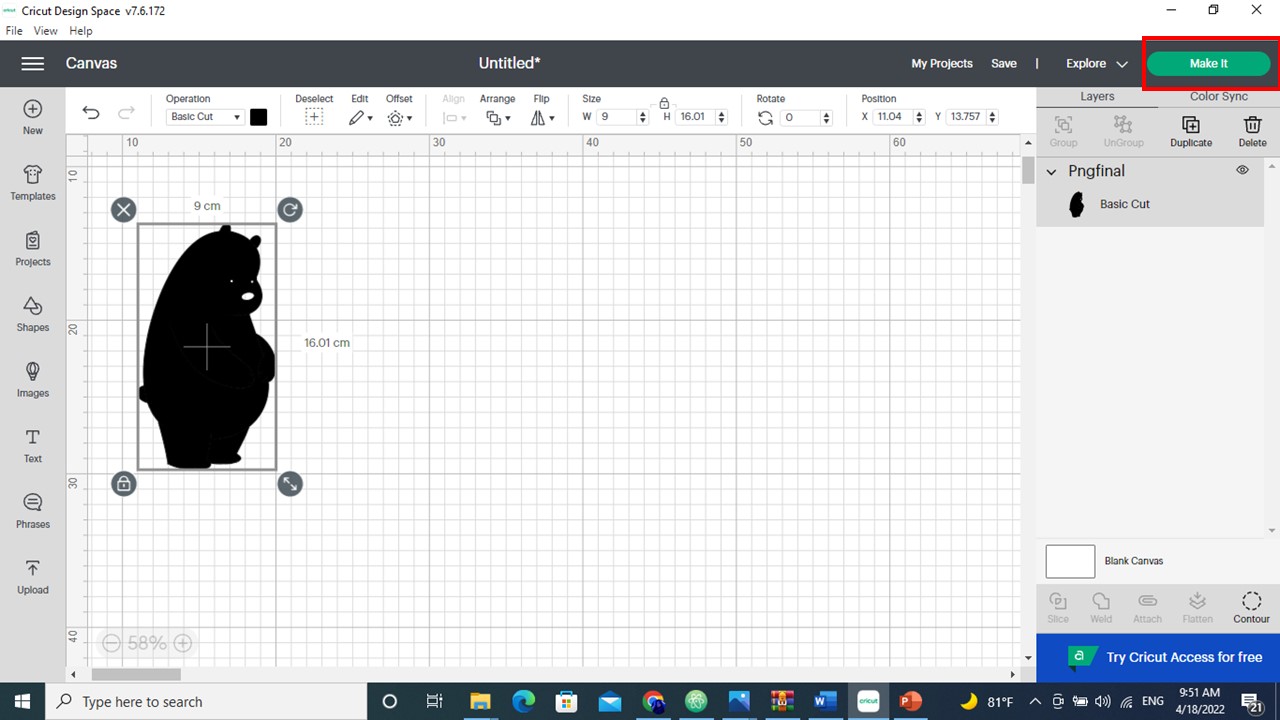
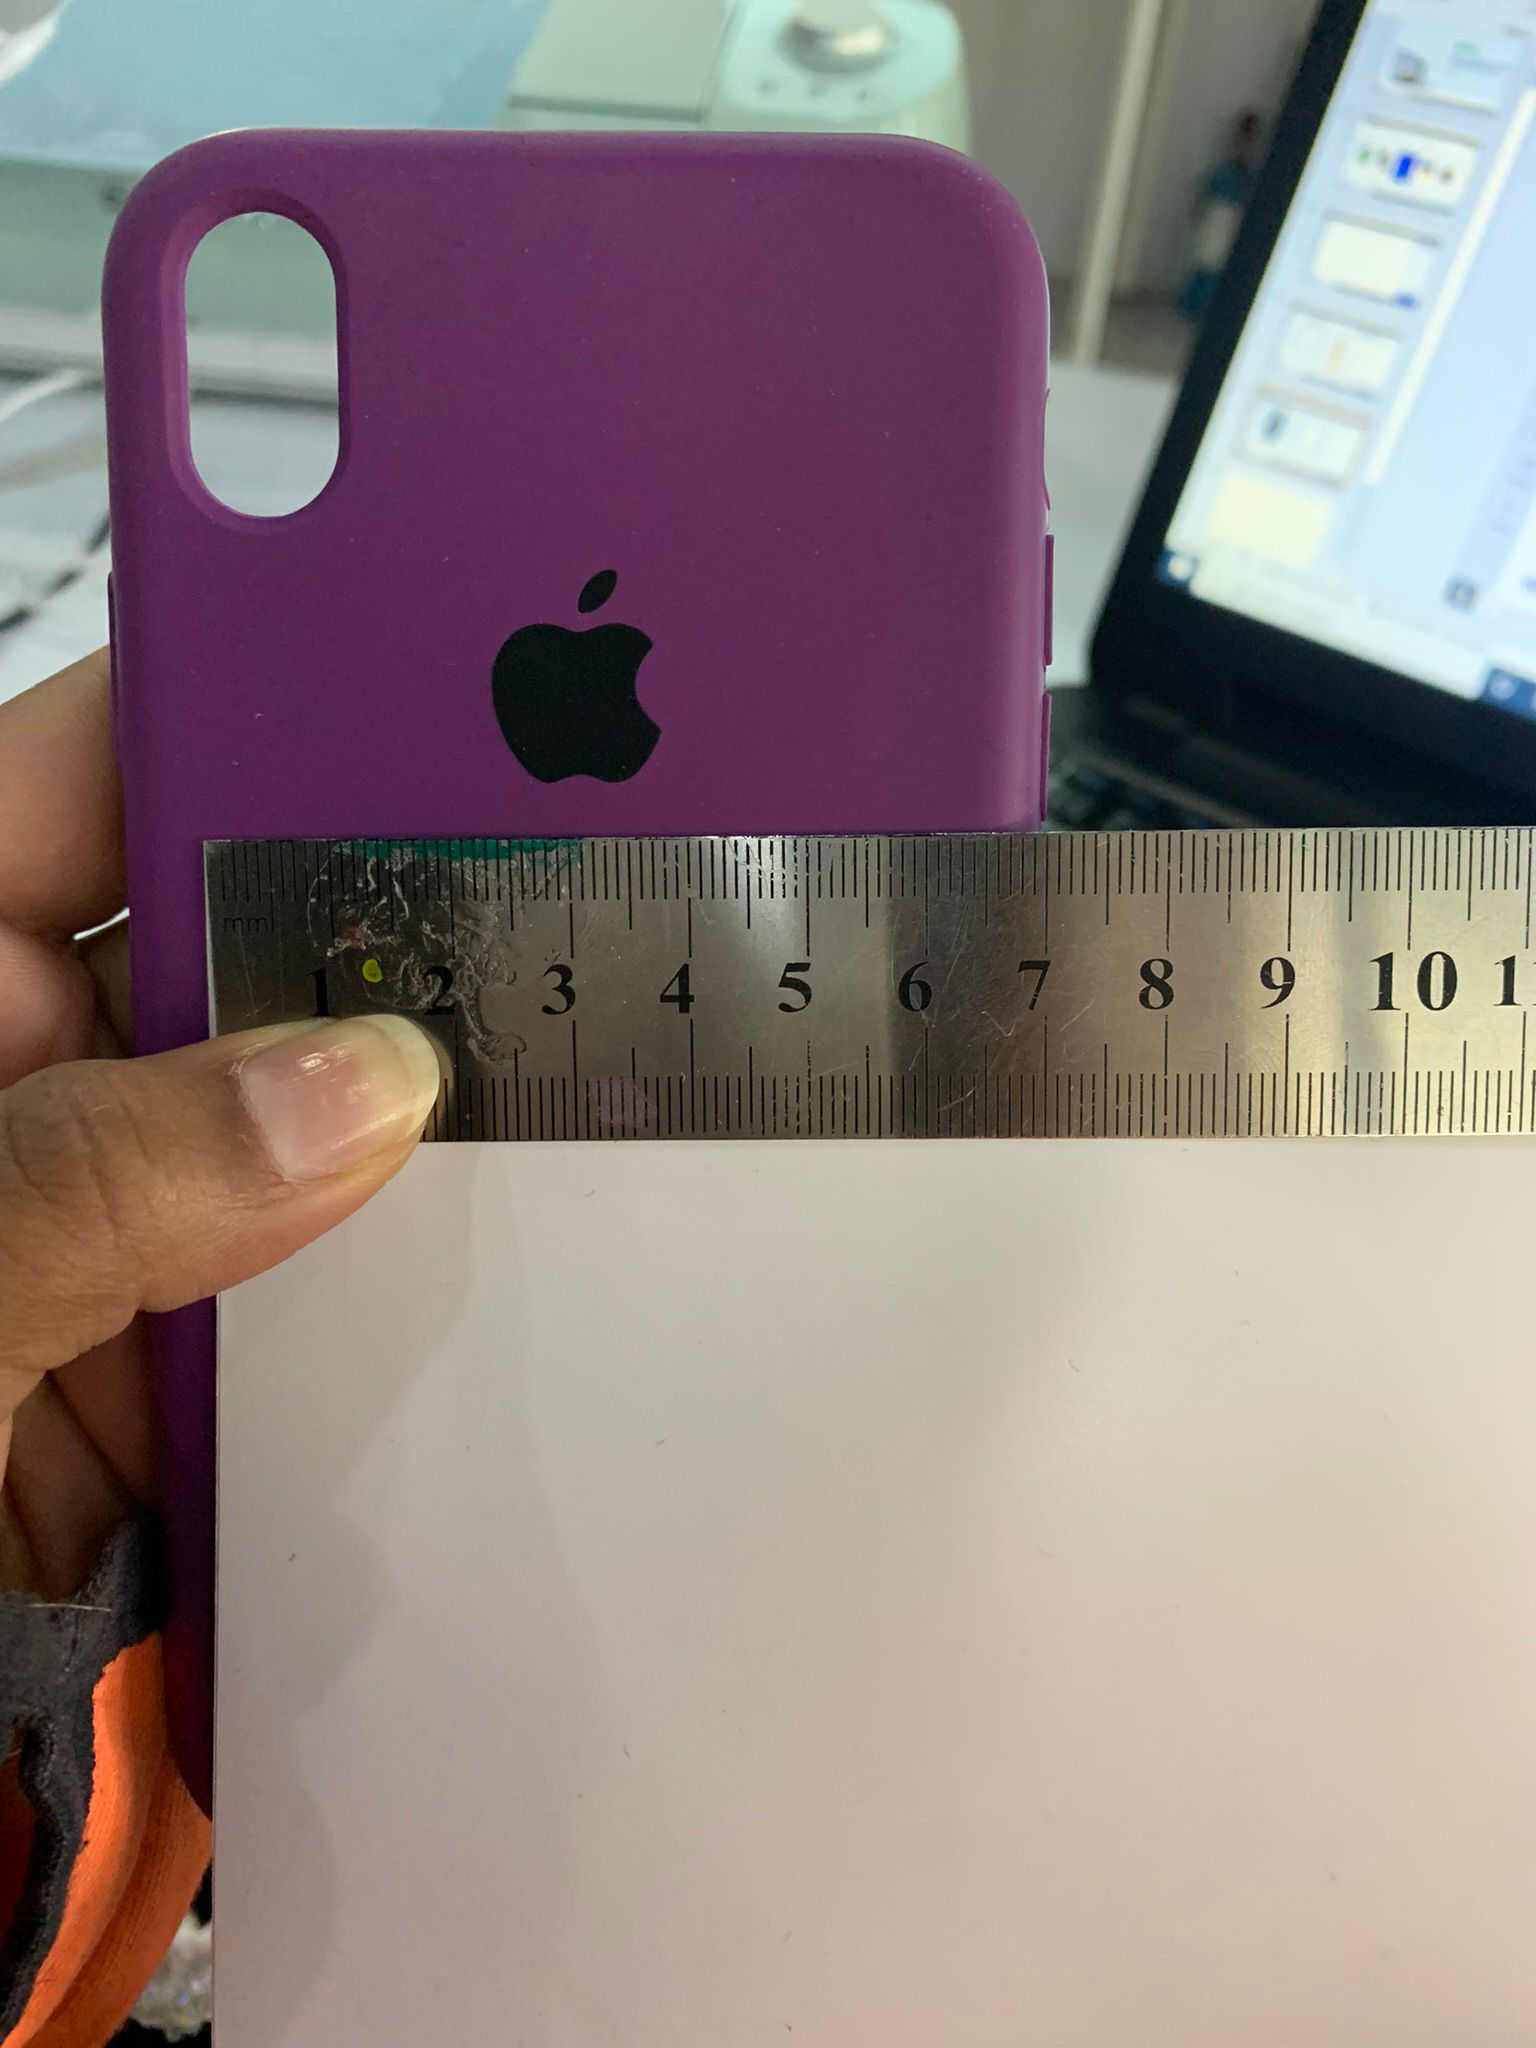 choose the size to phone case size
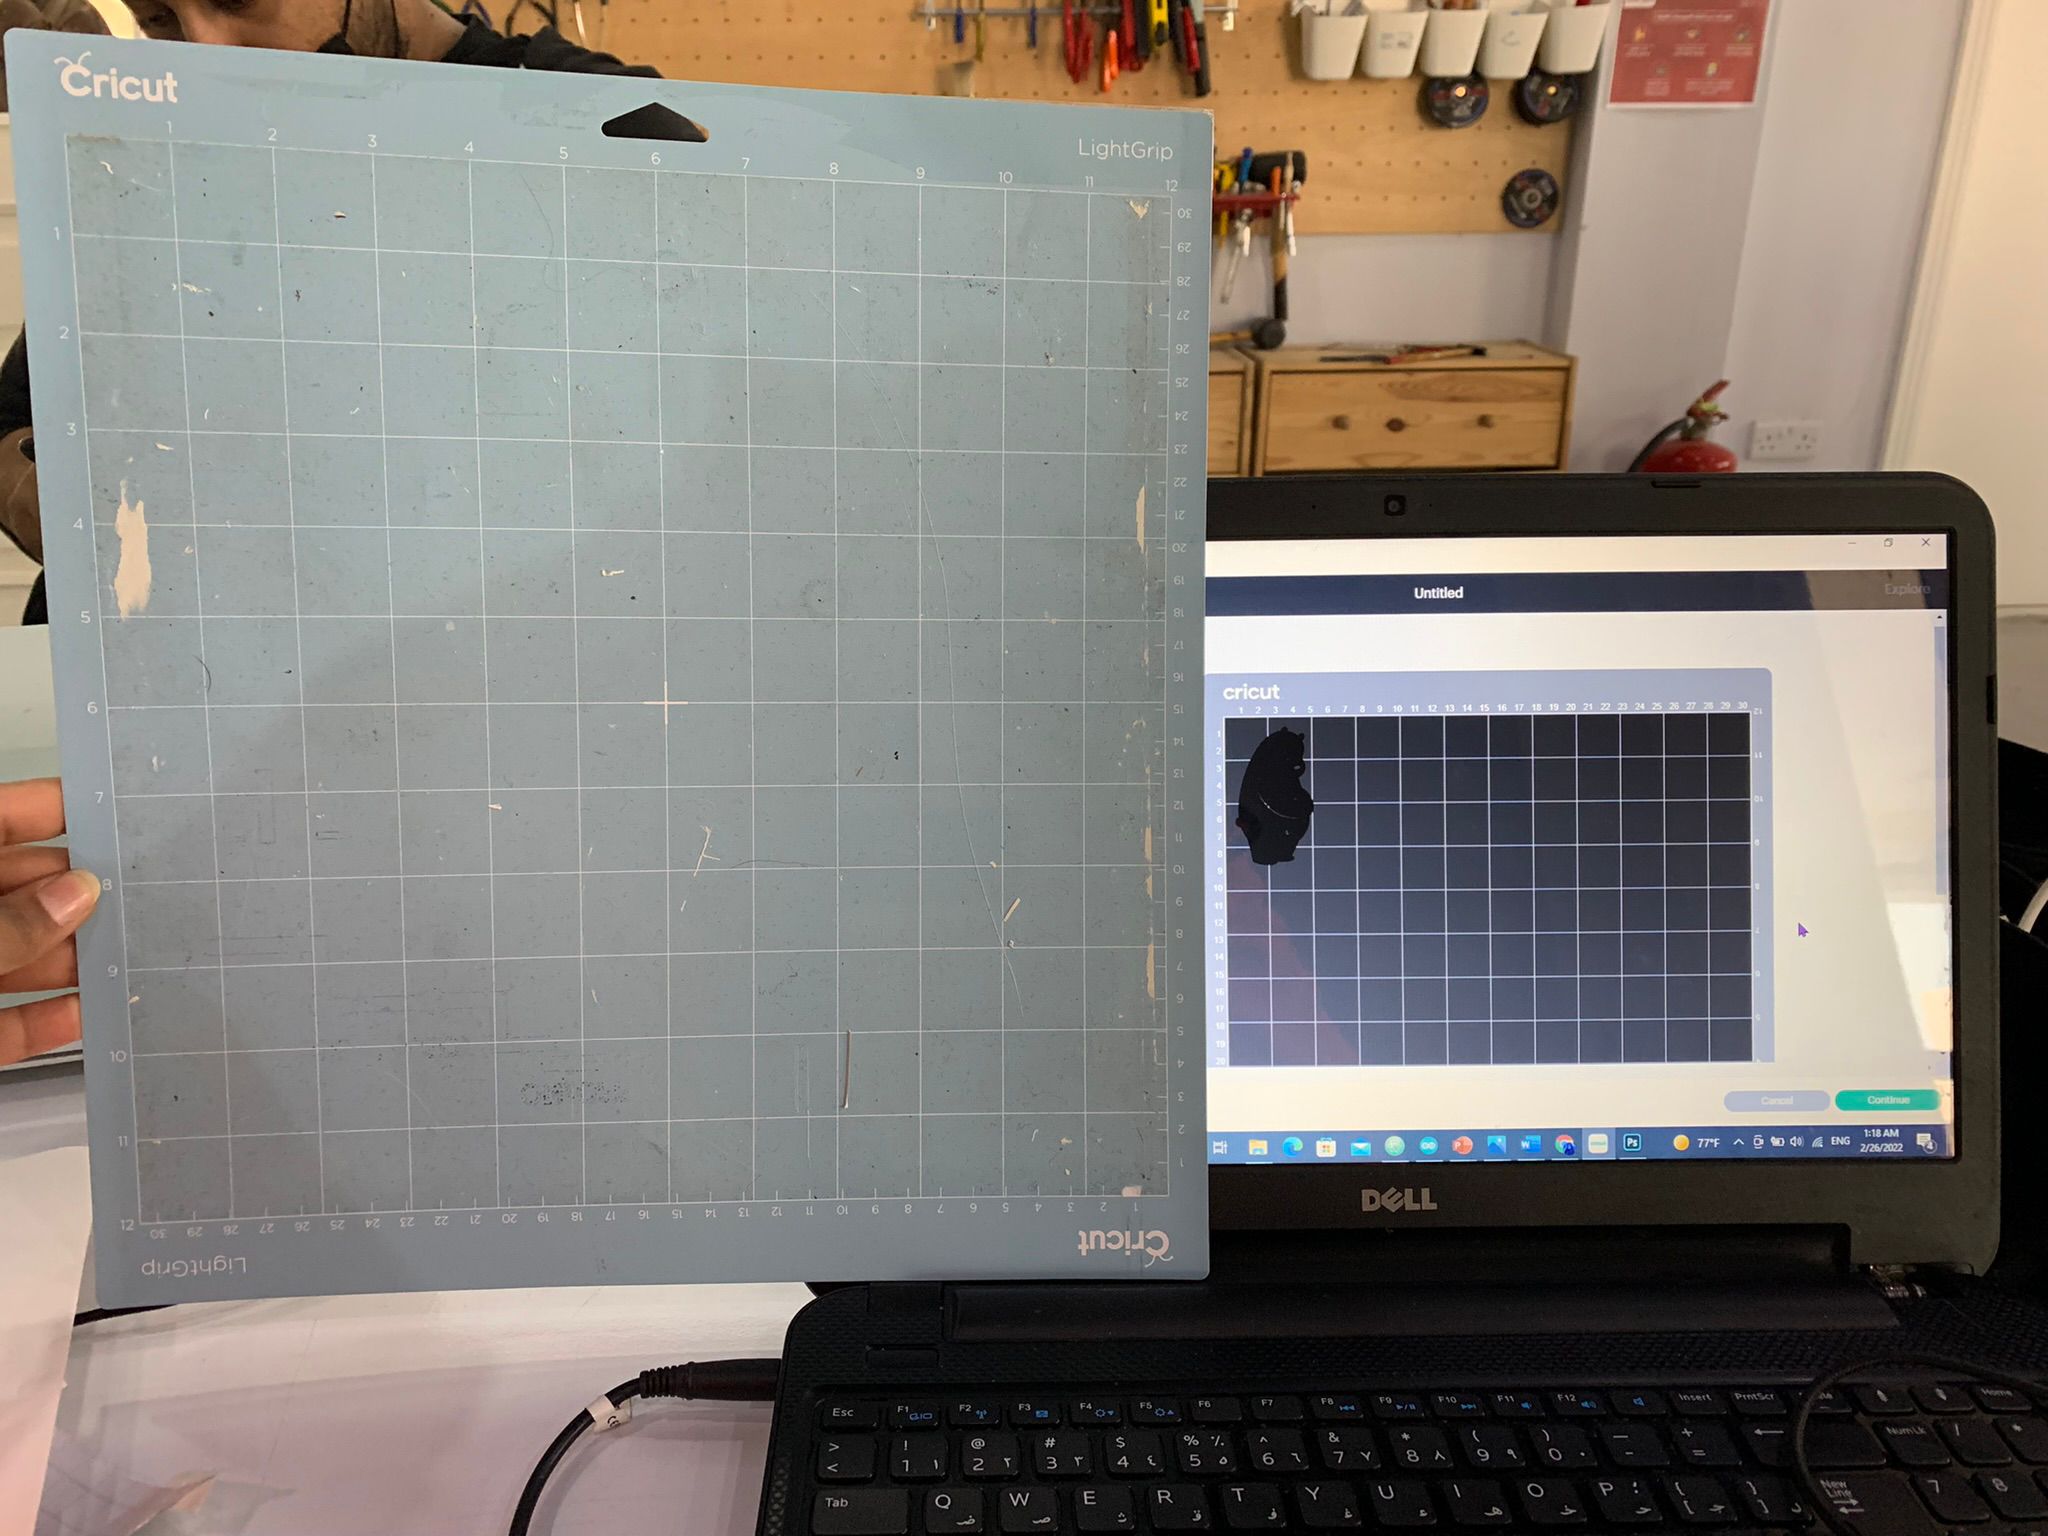 using the mat board
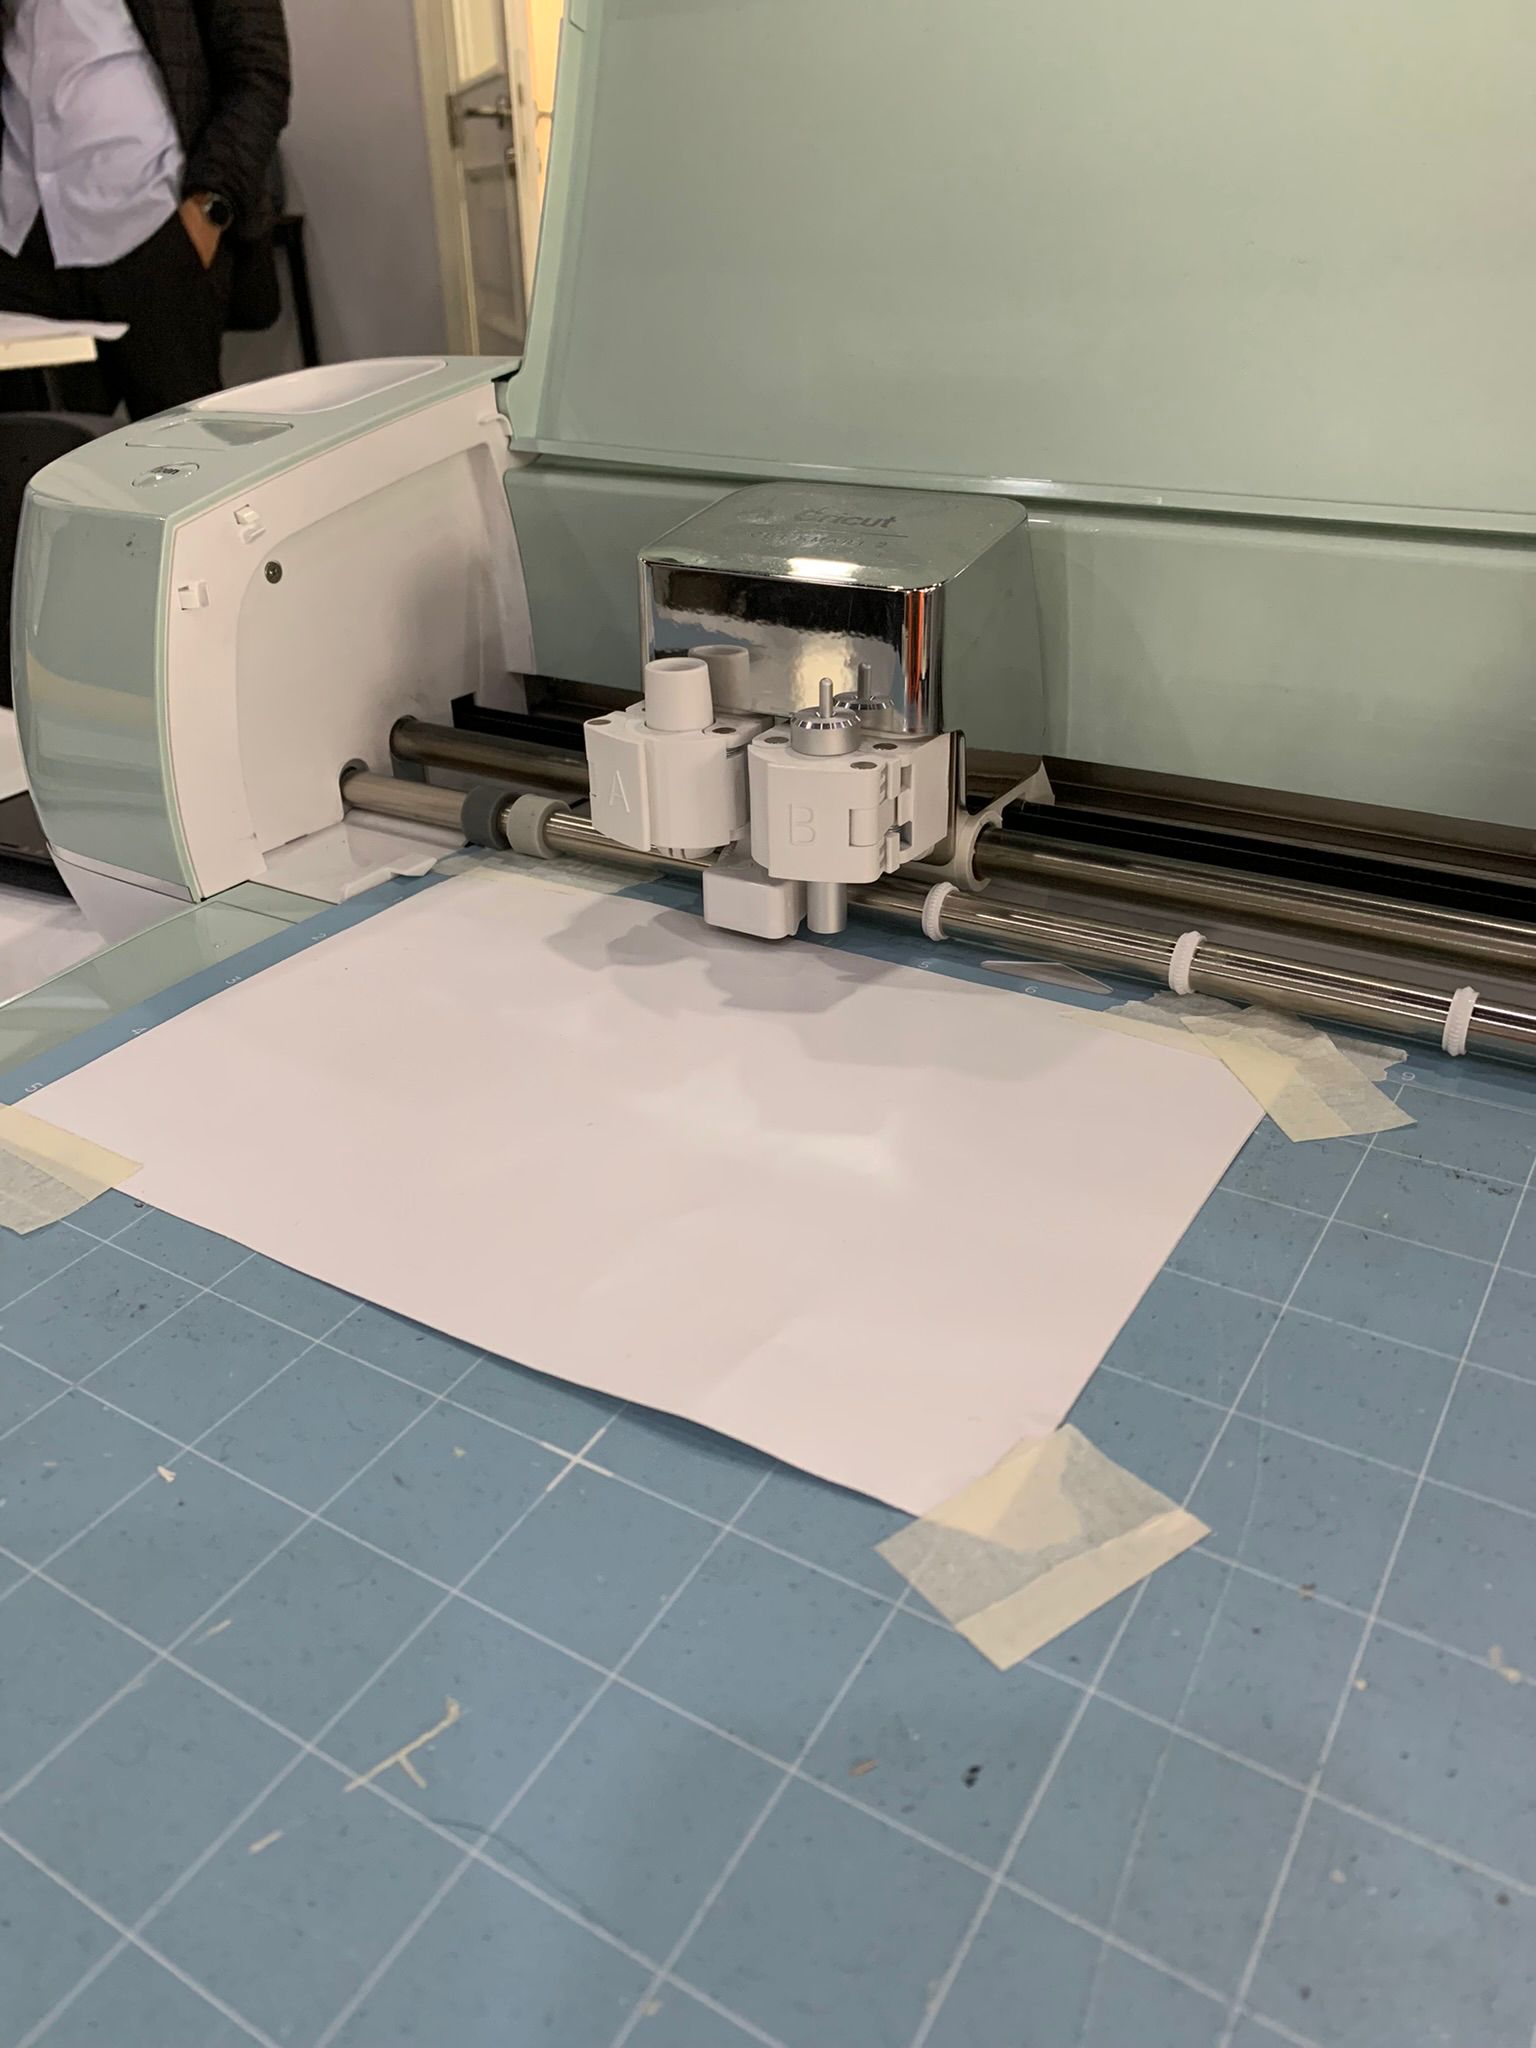
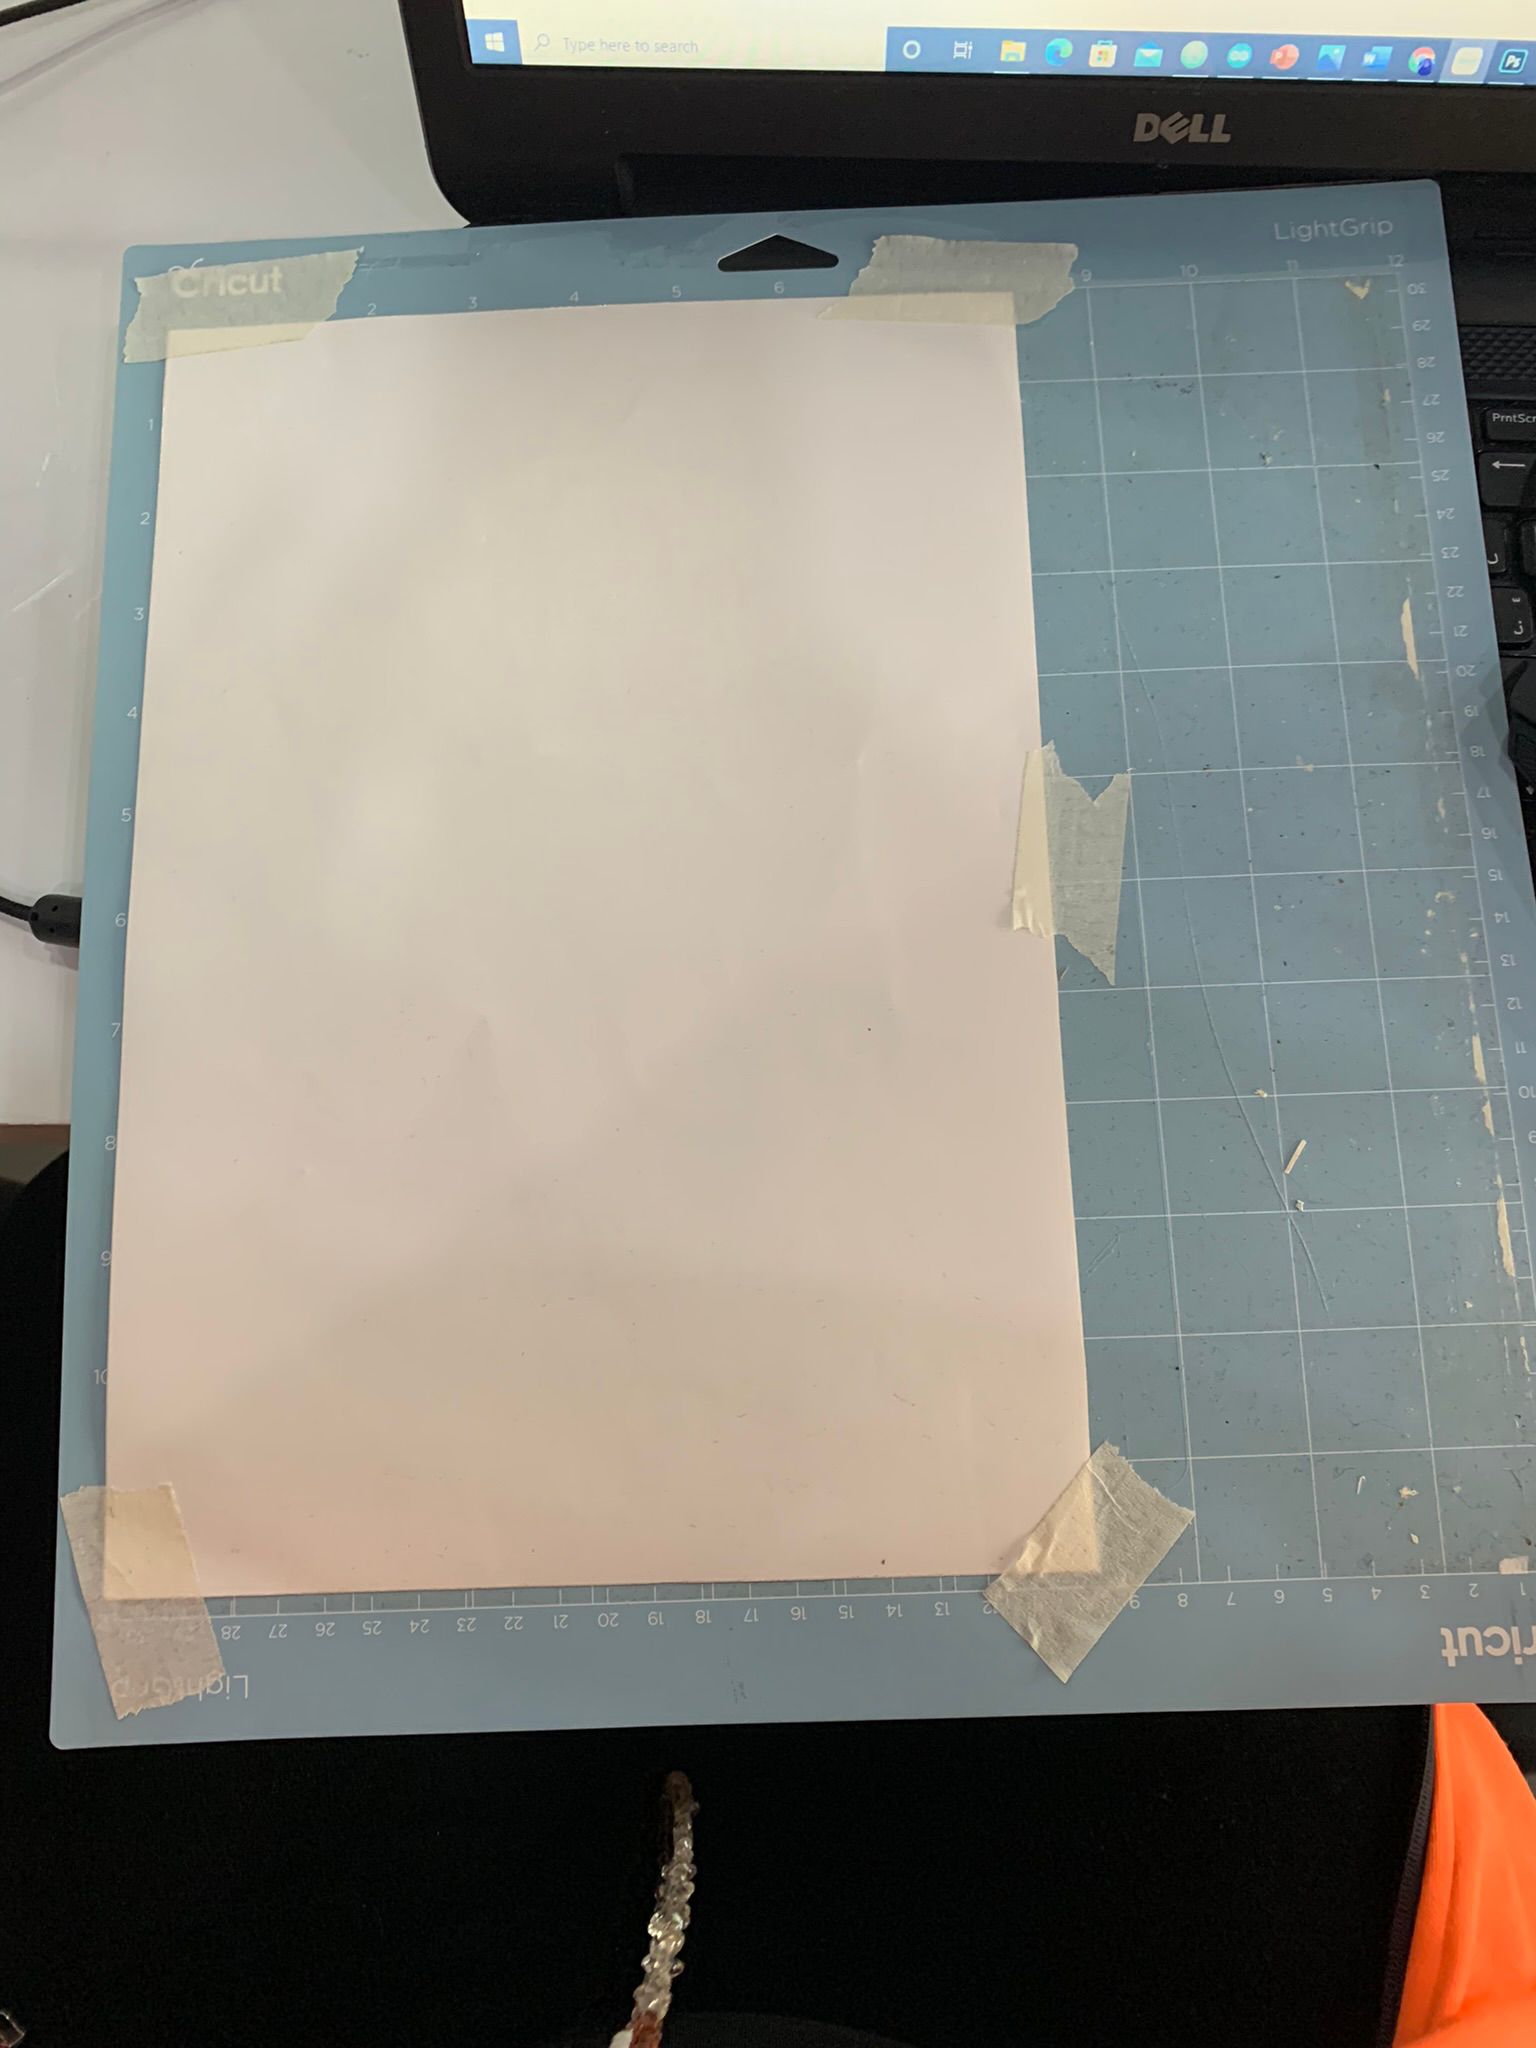 and stick on the material on the mat
 and but it on the machine
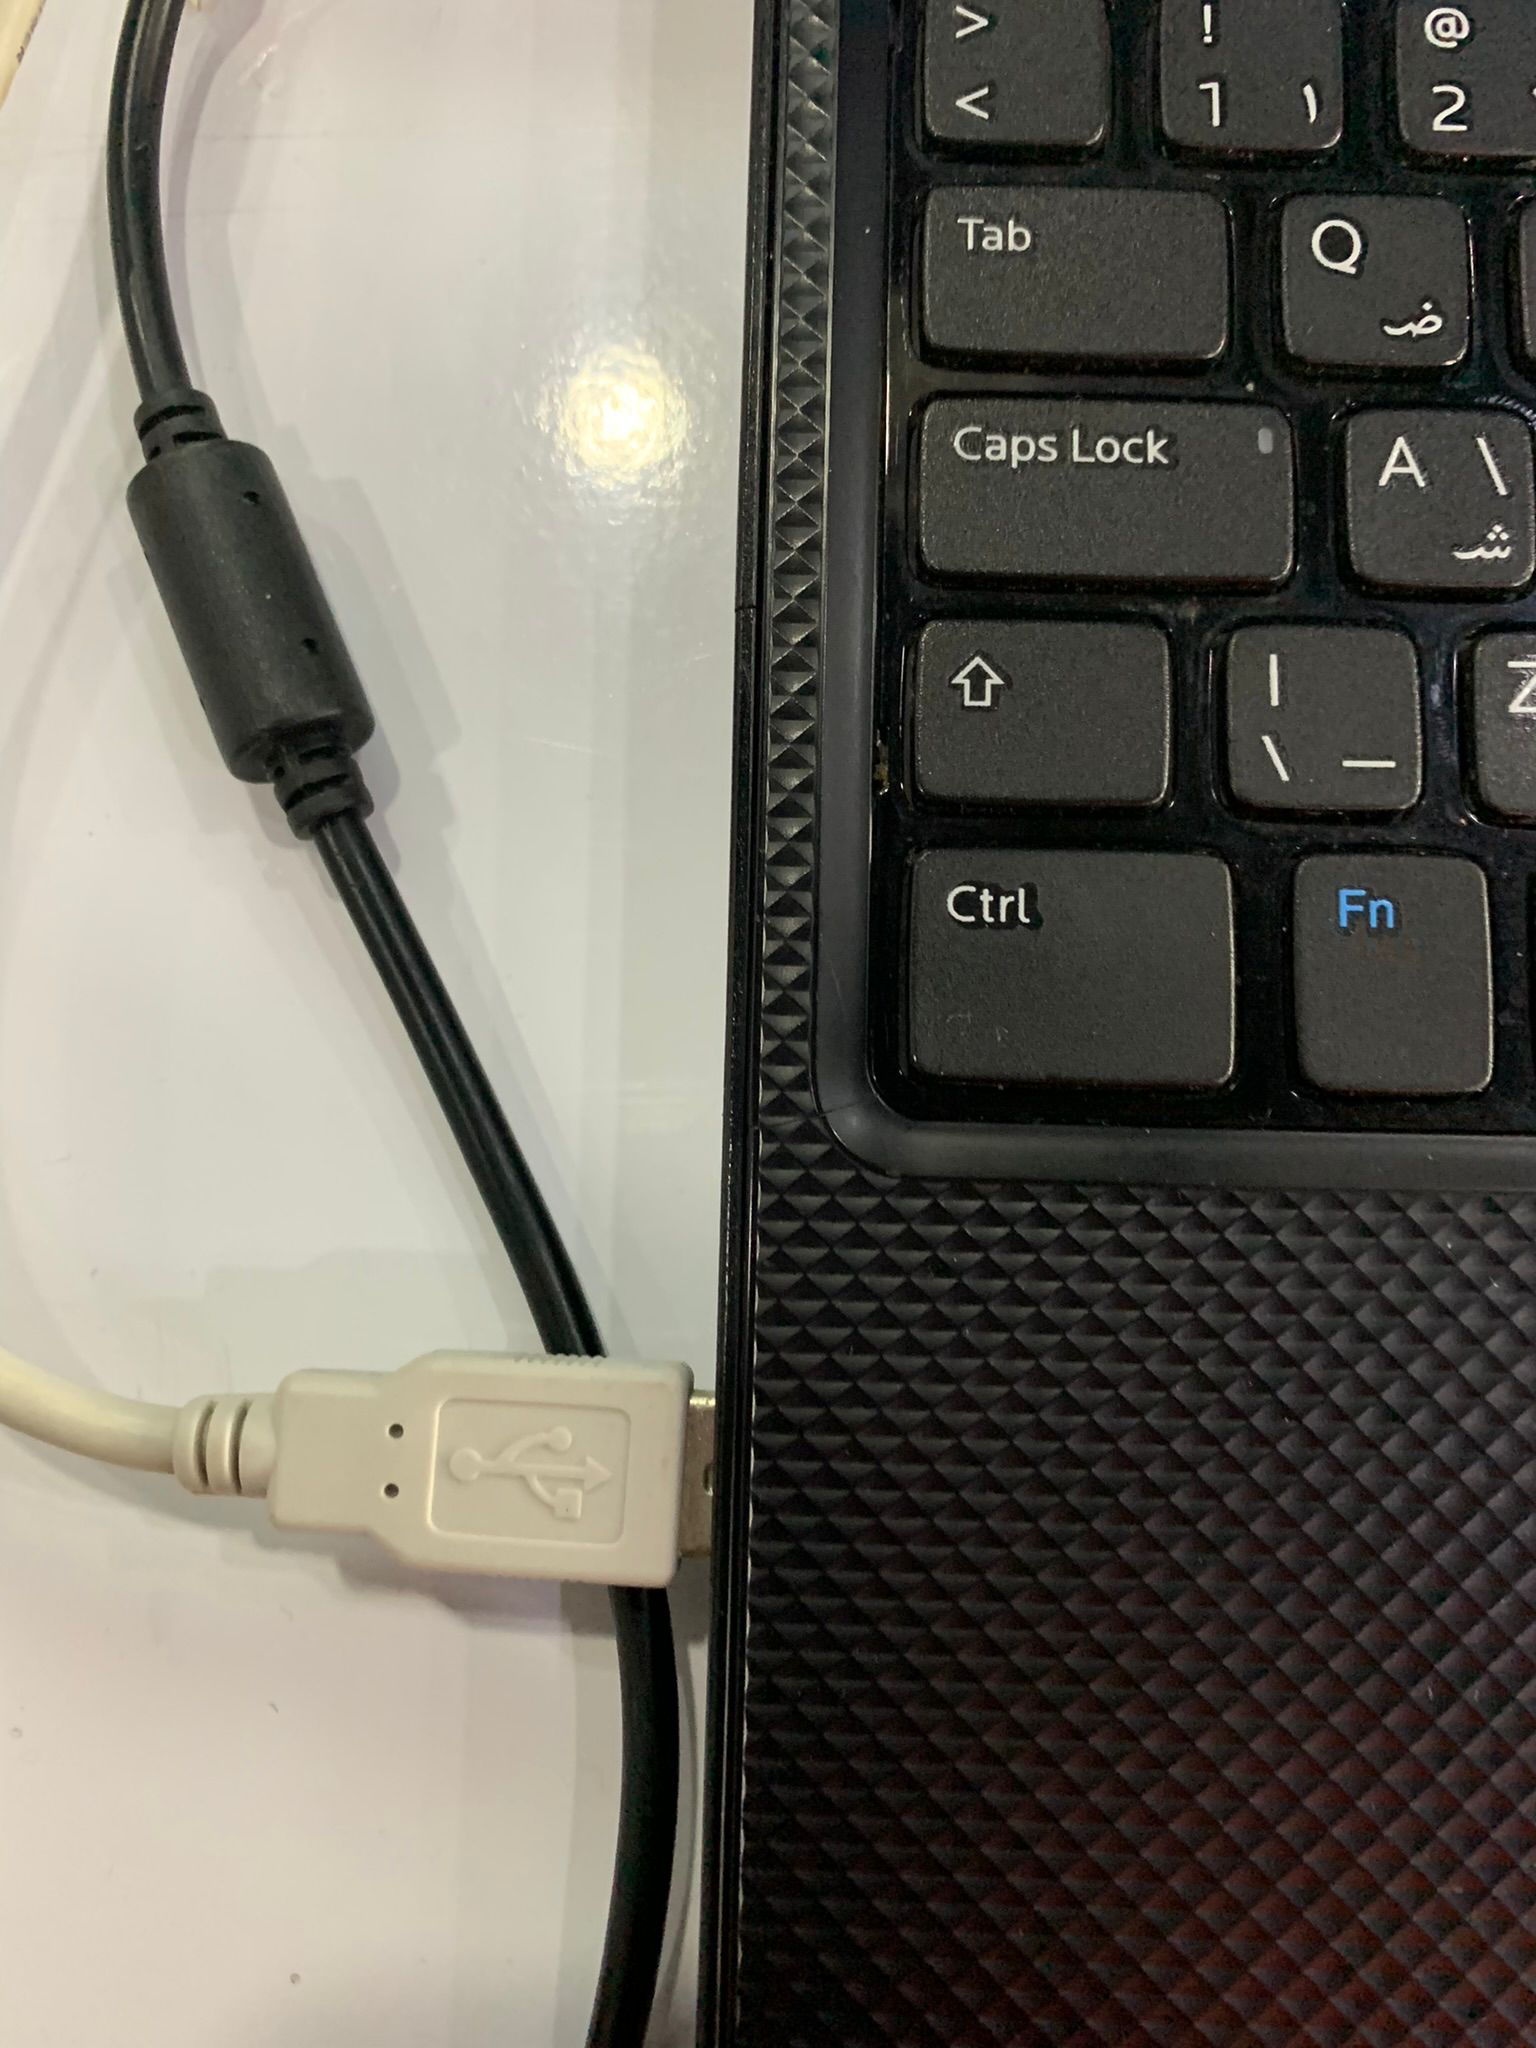 ad USB
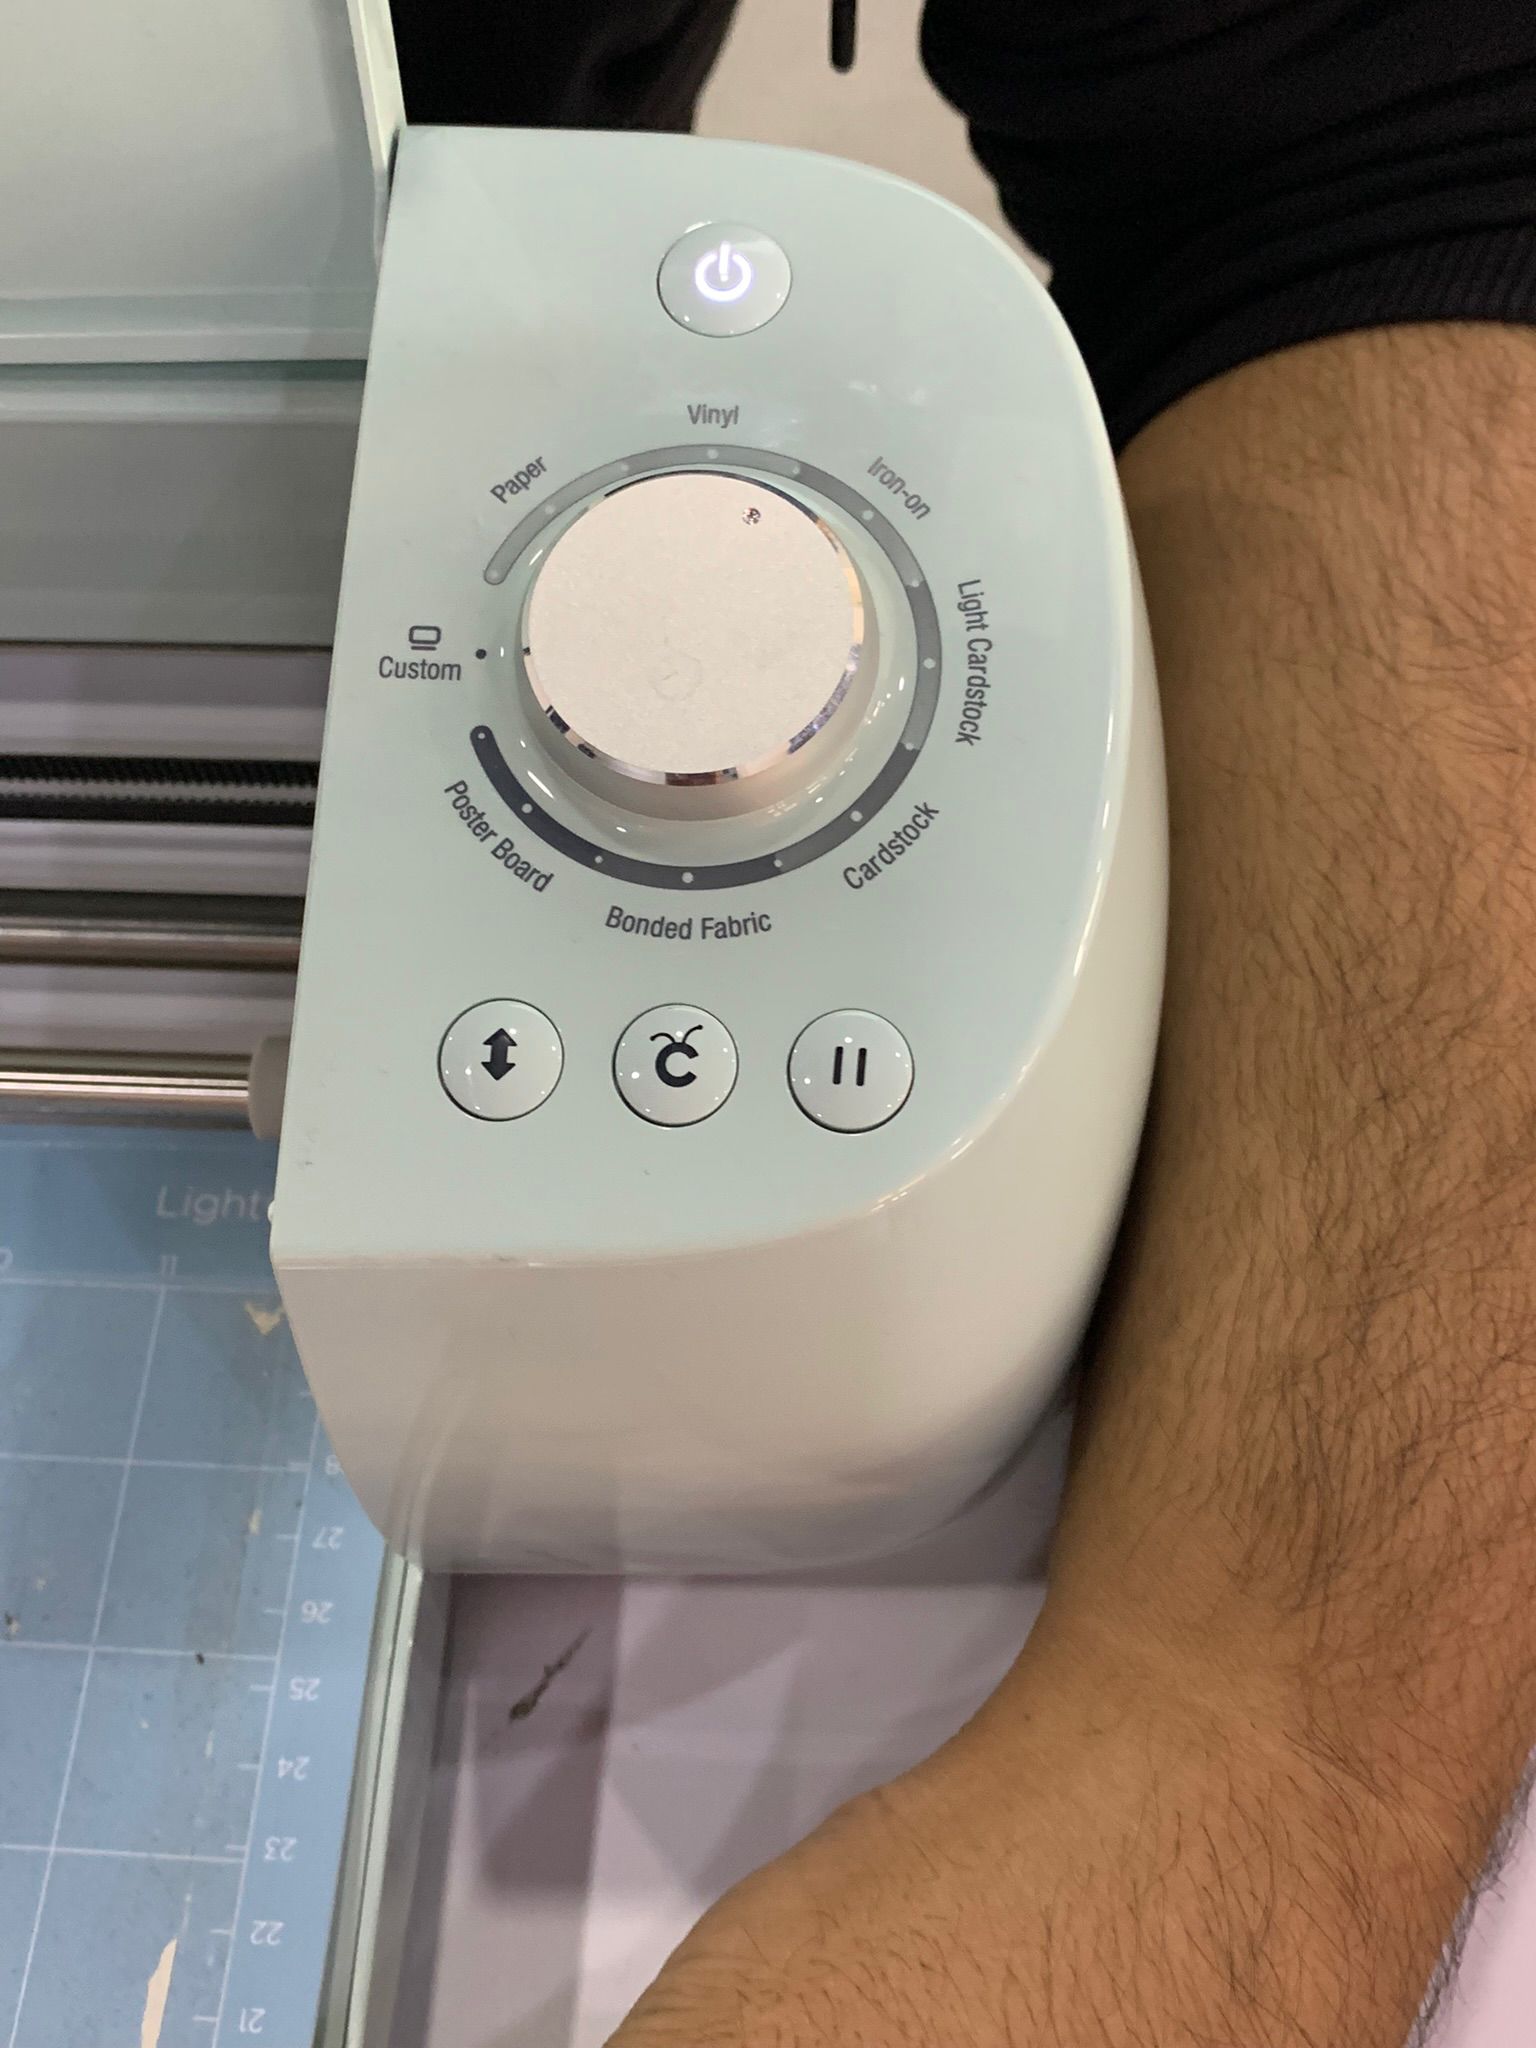 and chose the material and the arrow to add the mat on the printer

and loading
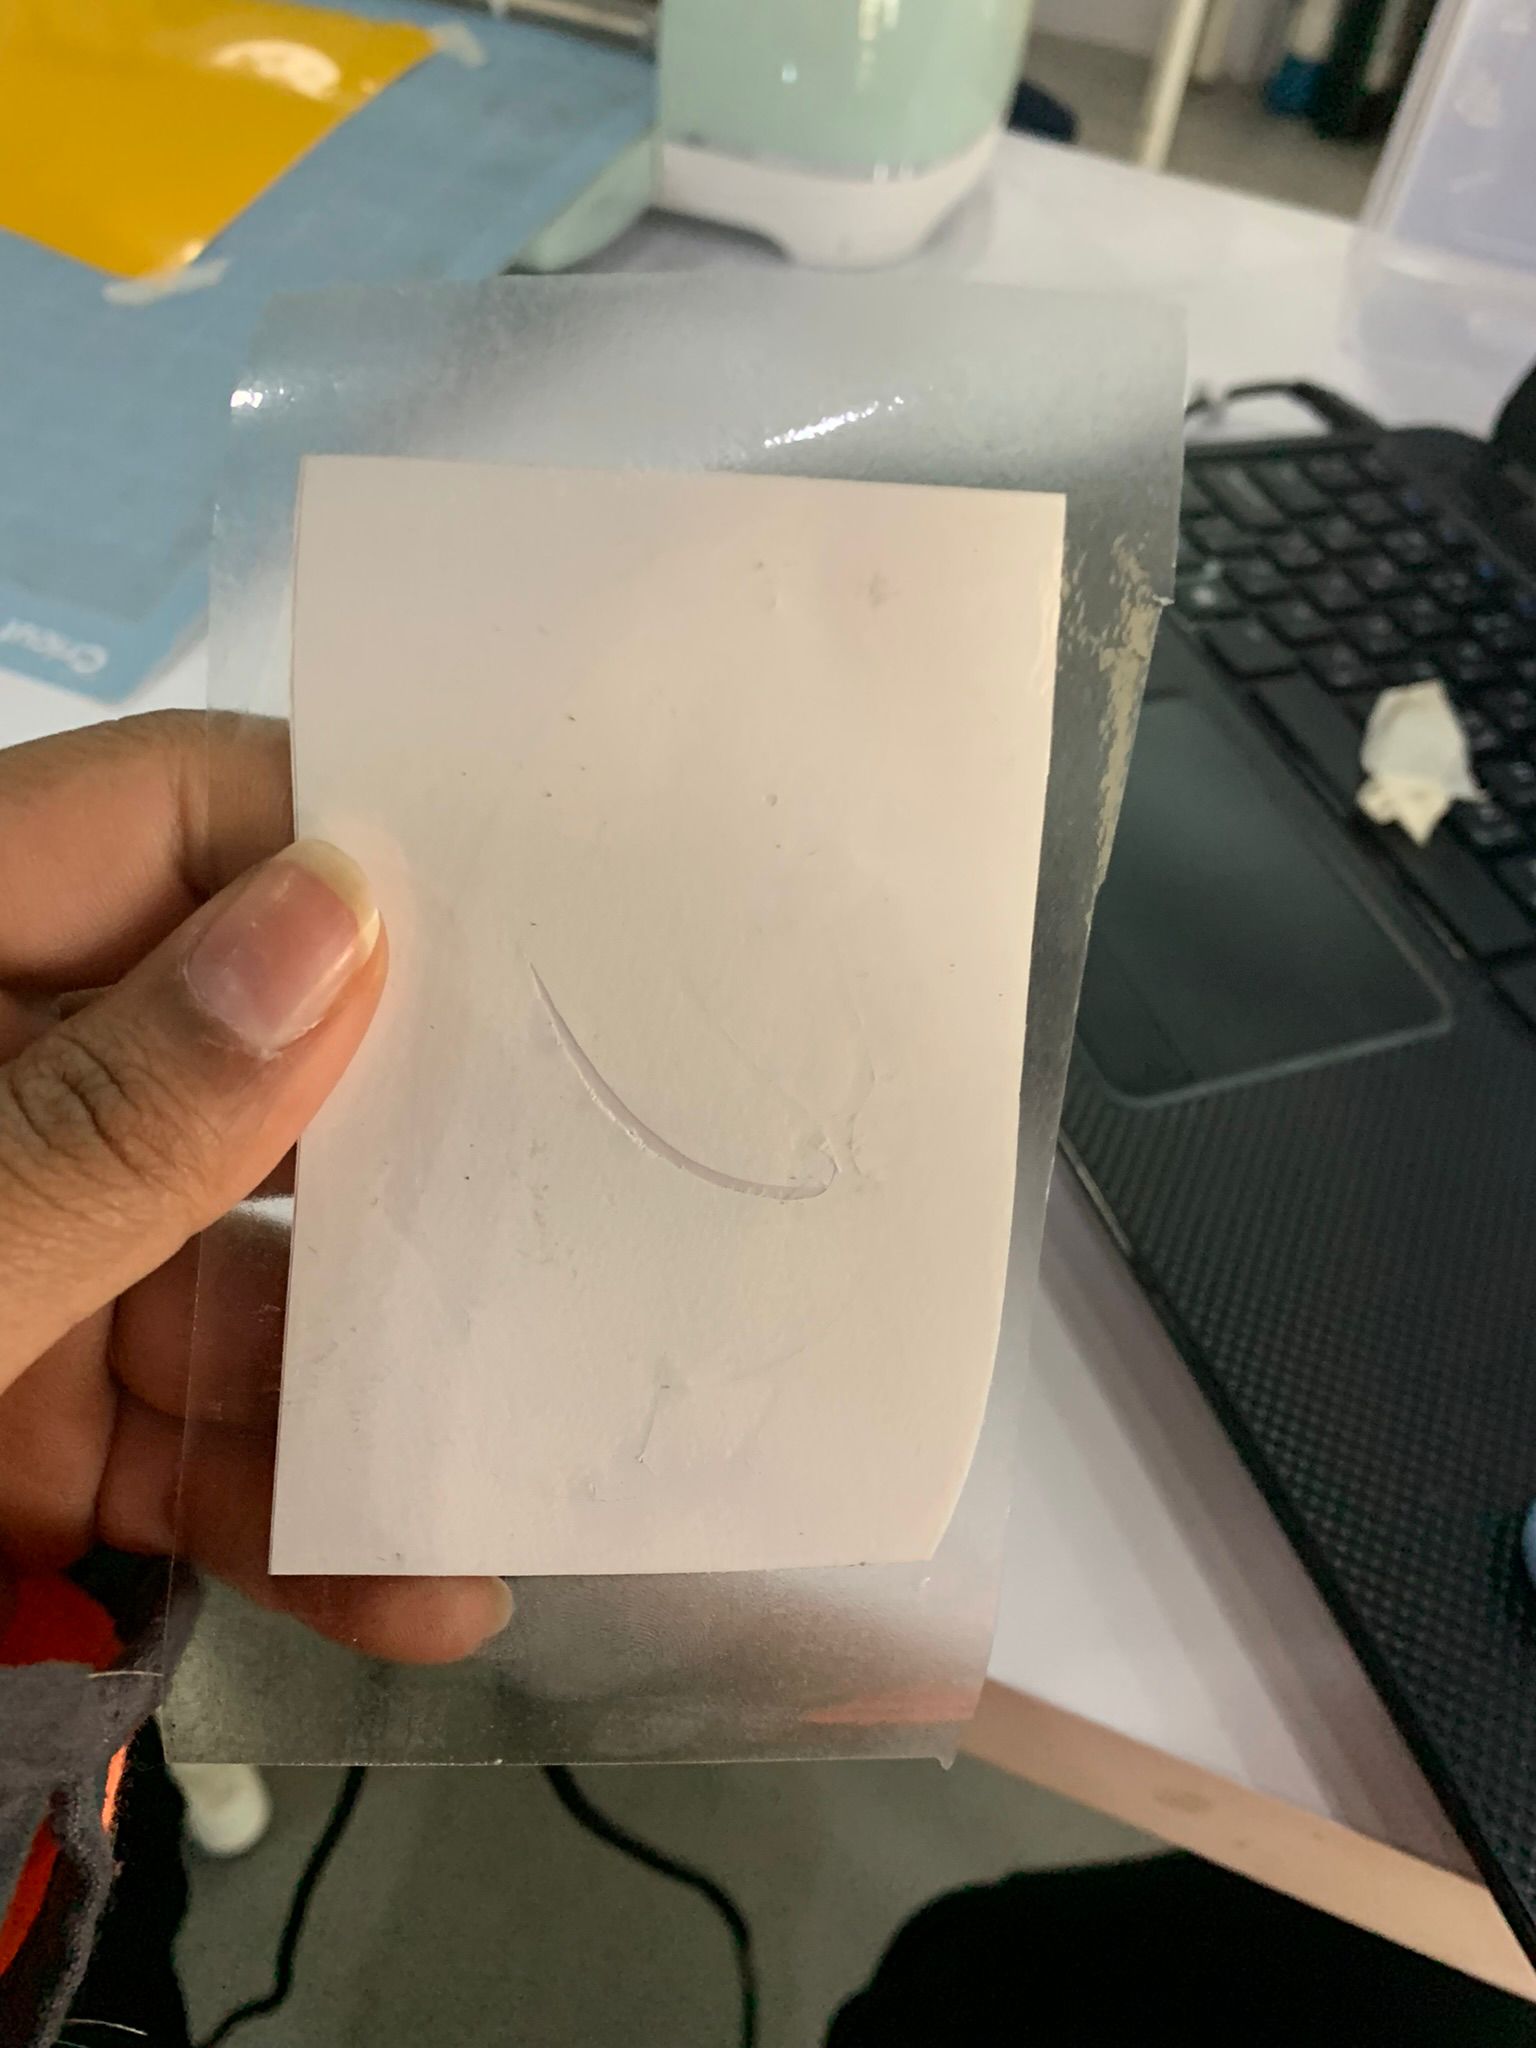
 the result
 add the plastic and remove the outer material
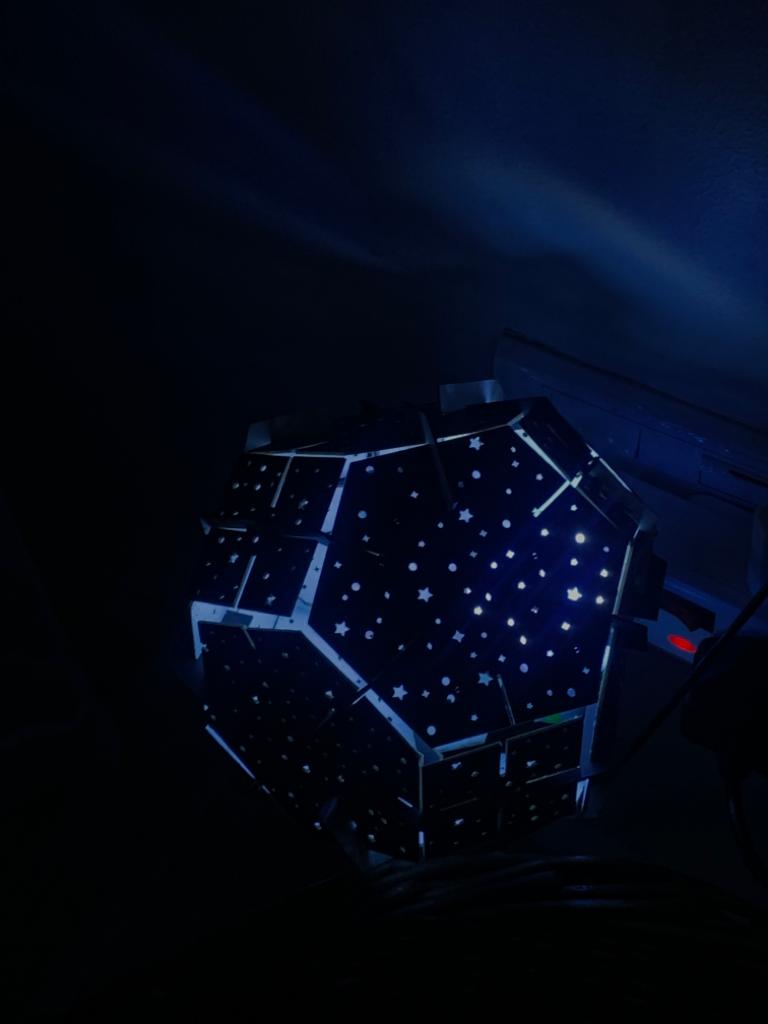
 final result
laser cutting
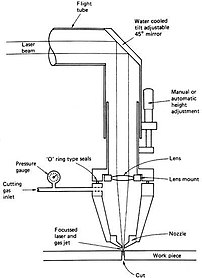
Laser cutting is a technology that uses a laser to vaporize materials, resulting in a cut edge. While typically used for industrial manufacturing
applications
it is now used by schools, small businesses, architecture, and hobbyists. Laser cutting works by directing the output of a high-power laser most commonly through optics. The laser optics and CNC (computer numerical control) are used to direct the material or the laser beam generated. A commercial laser for cutting materials uses a motion control system to follow a CNC or G-code of the pattern to be cut onto the material. The focused laser beam is directed at the material, which then either melts, burns, vaporizes away, or is blown away by a jet of gas, leaving an edge with a high-quality surface finish.
safety measures
testing
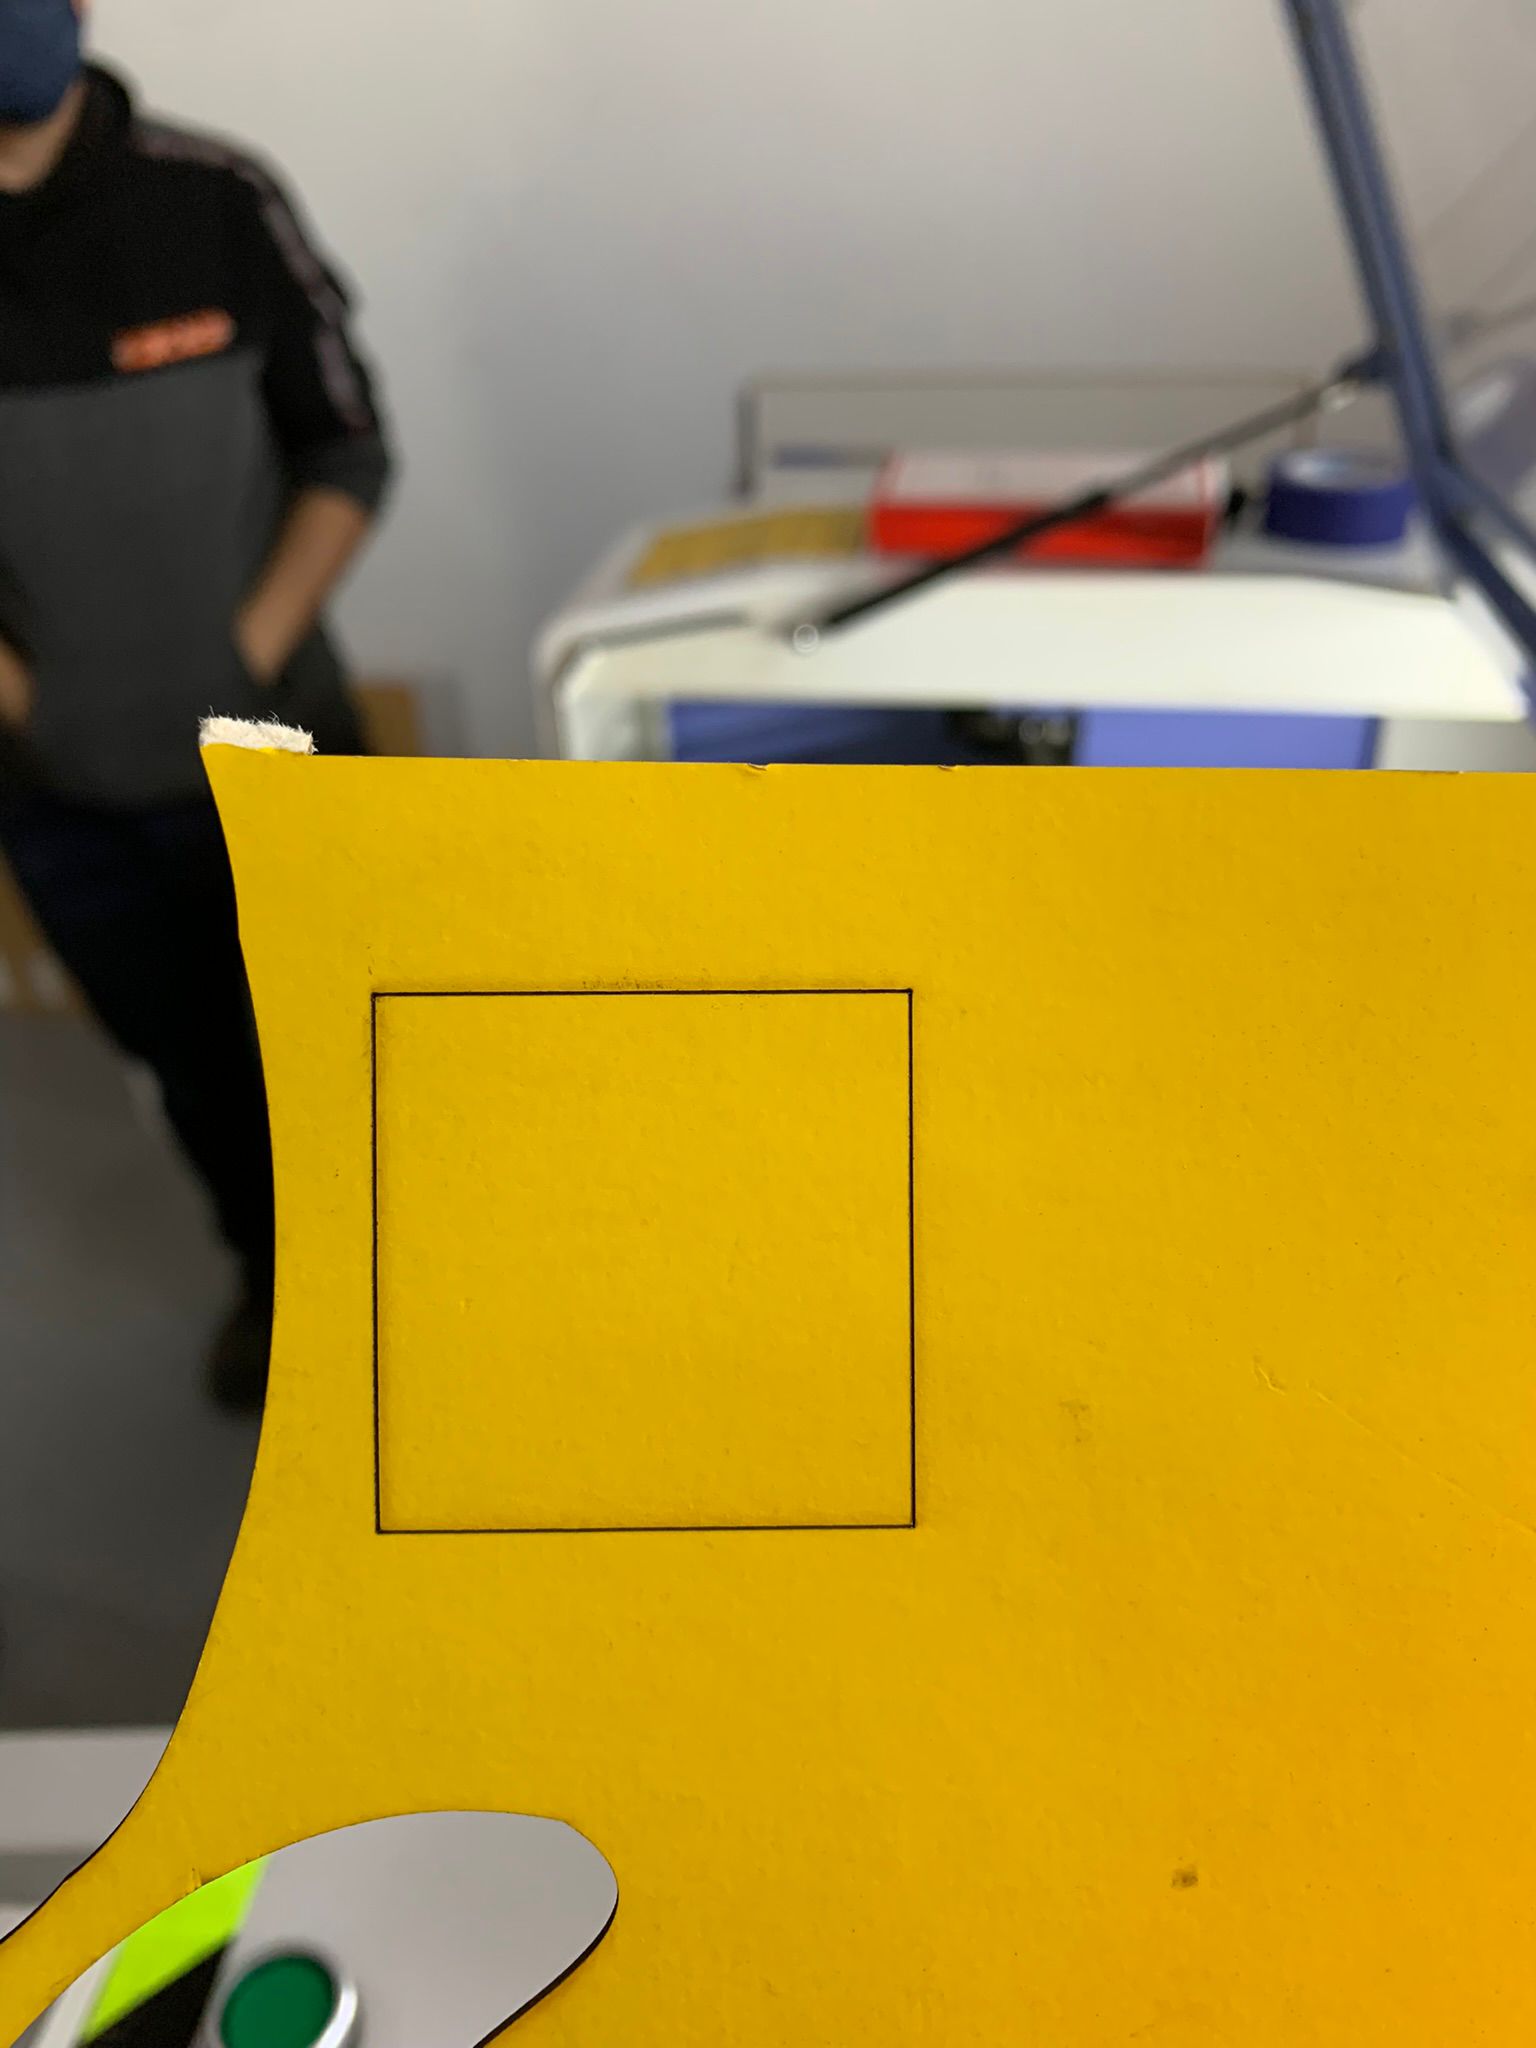 the first test is this
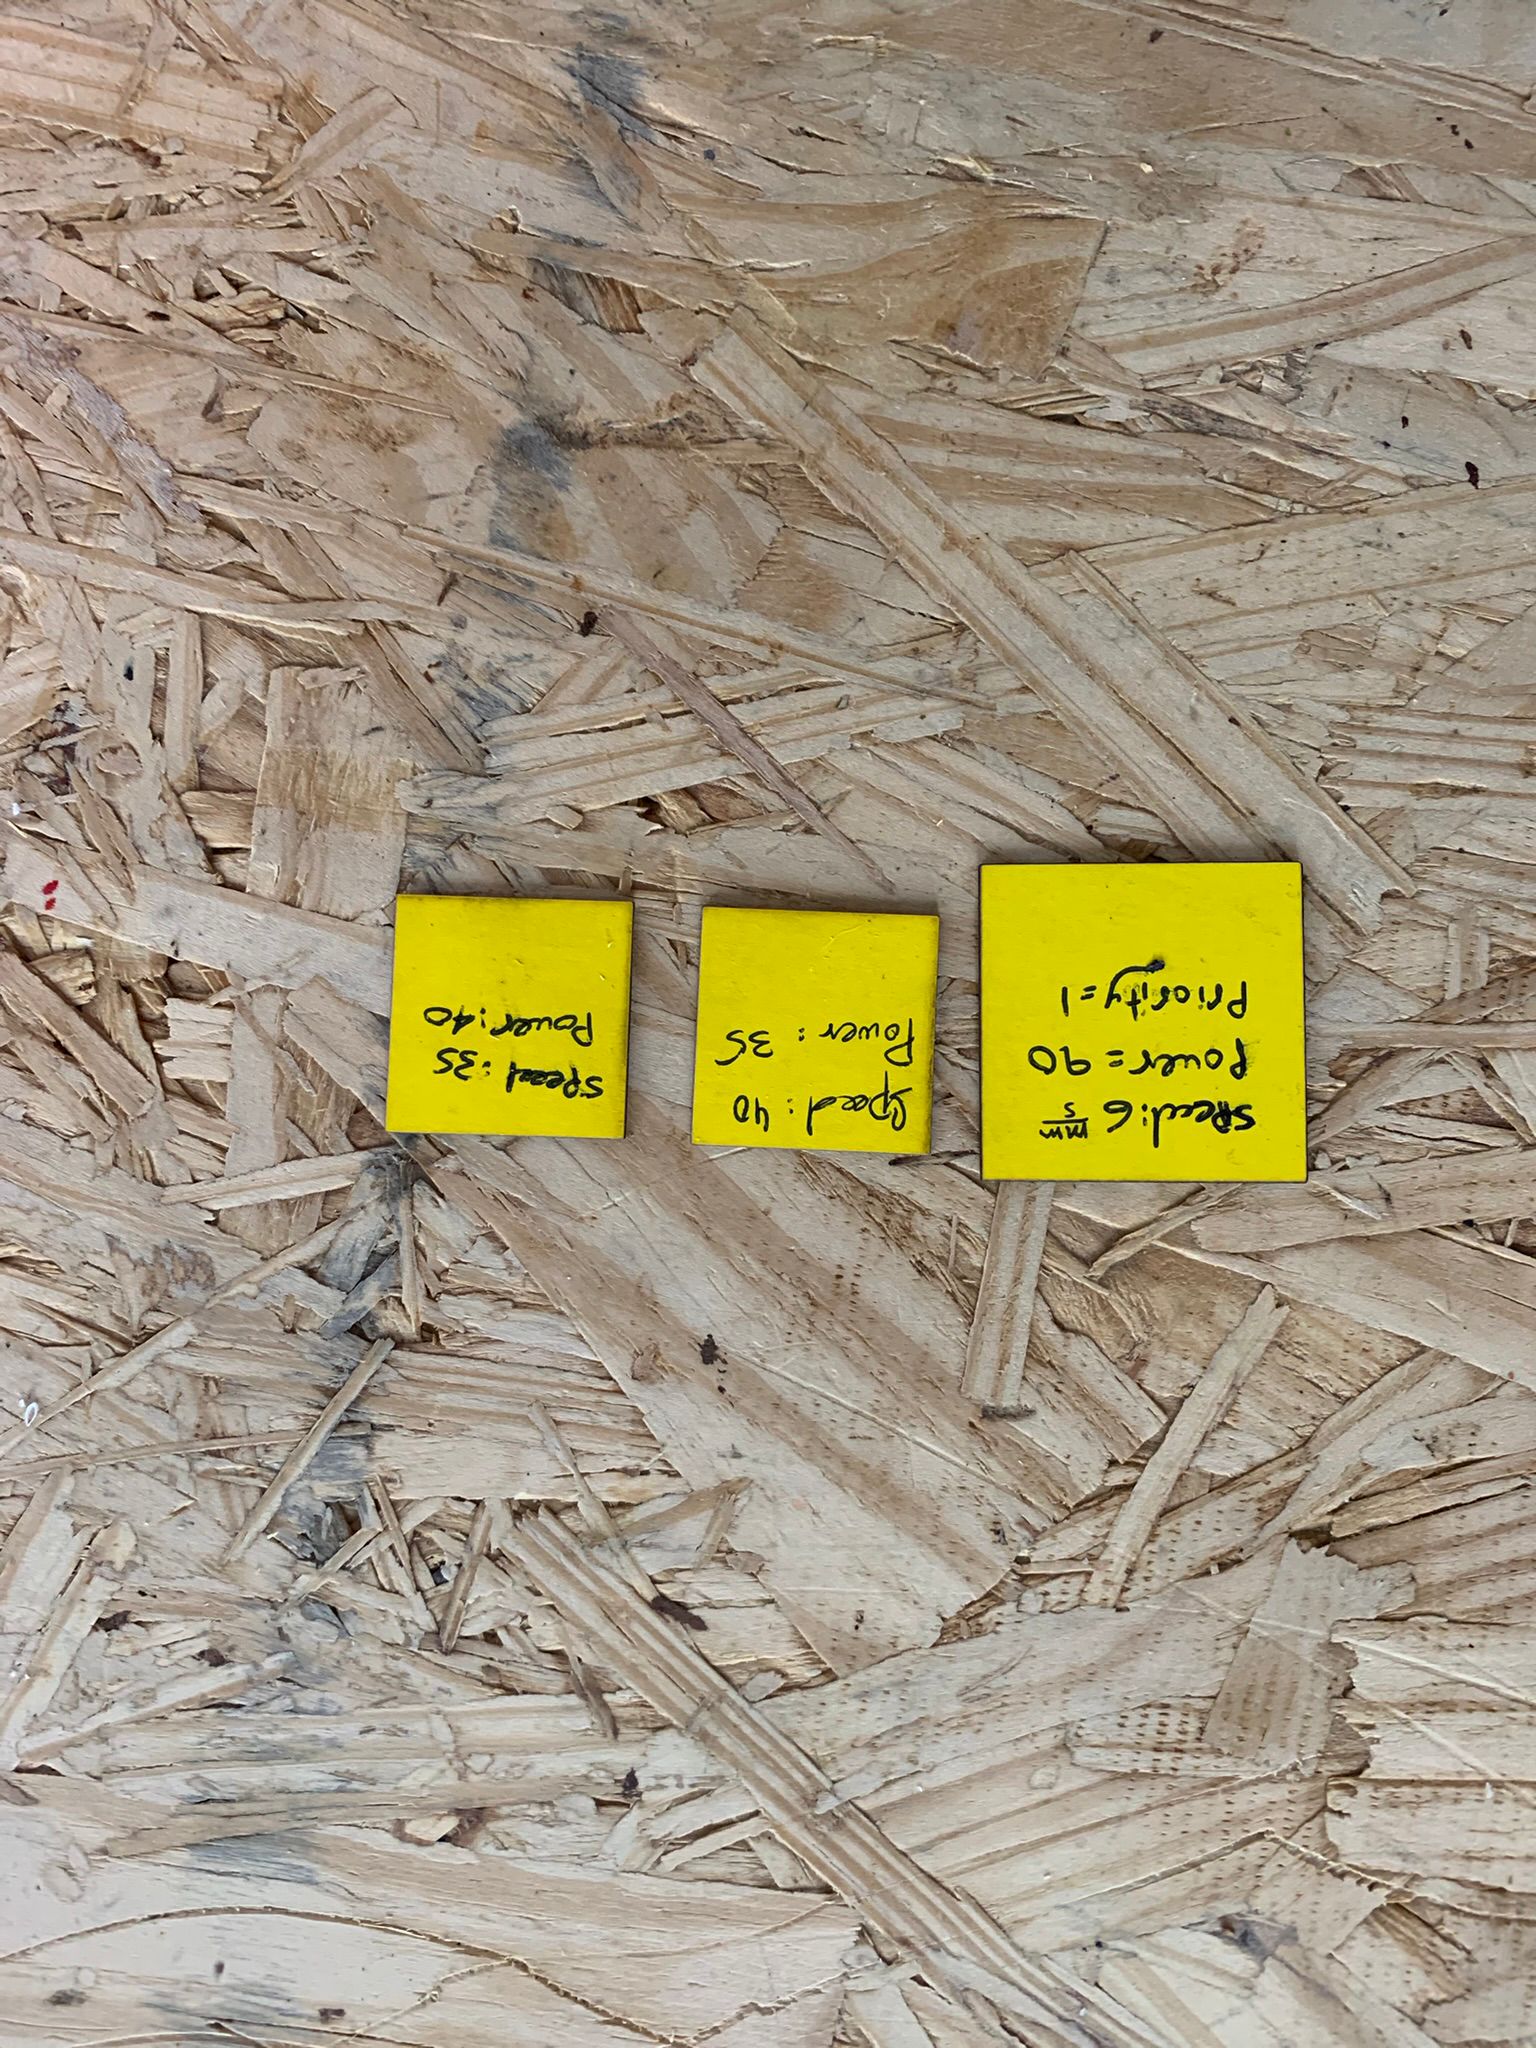
 But the speed was low and the power is low and it has burning
40 speed
60 power
But the speed was low and the power is low and it has burning
40 speed
60 power
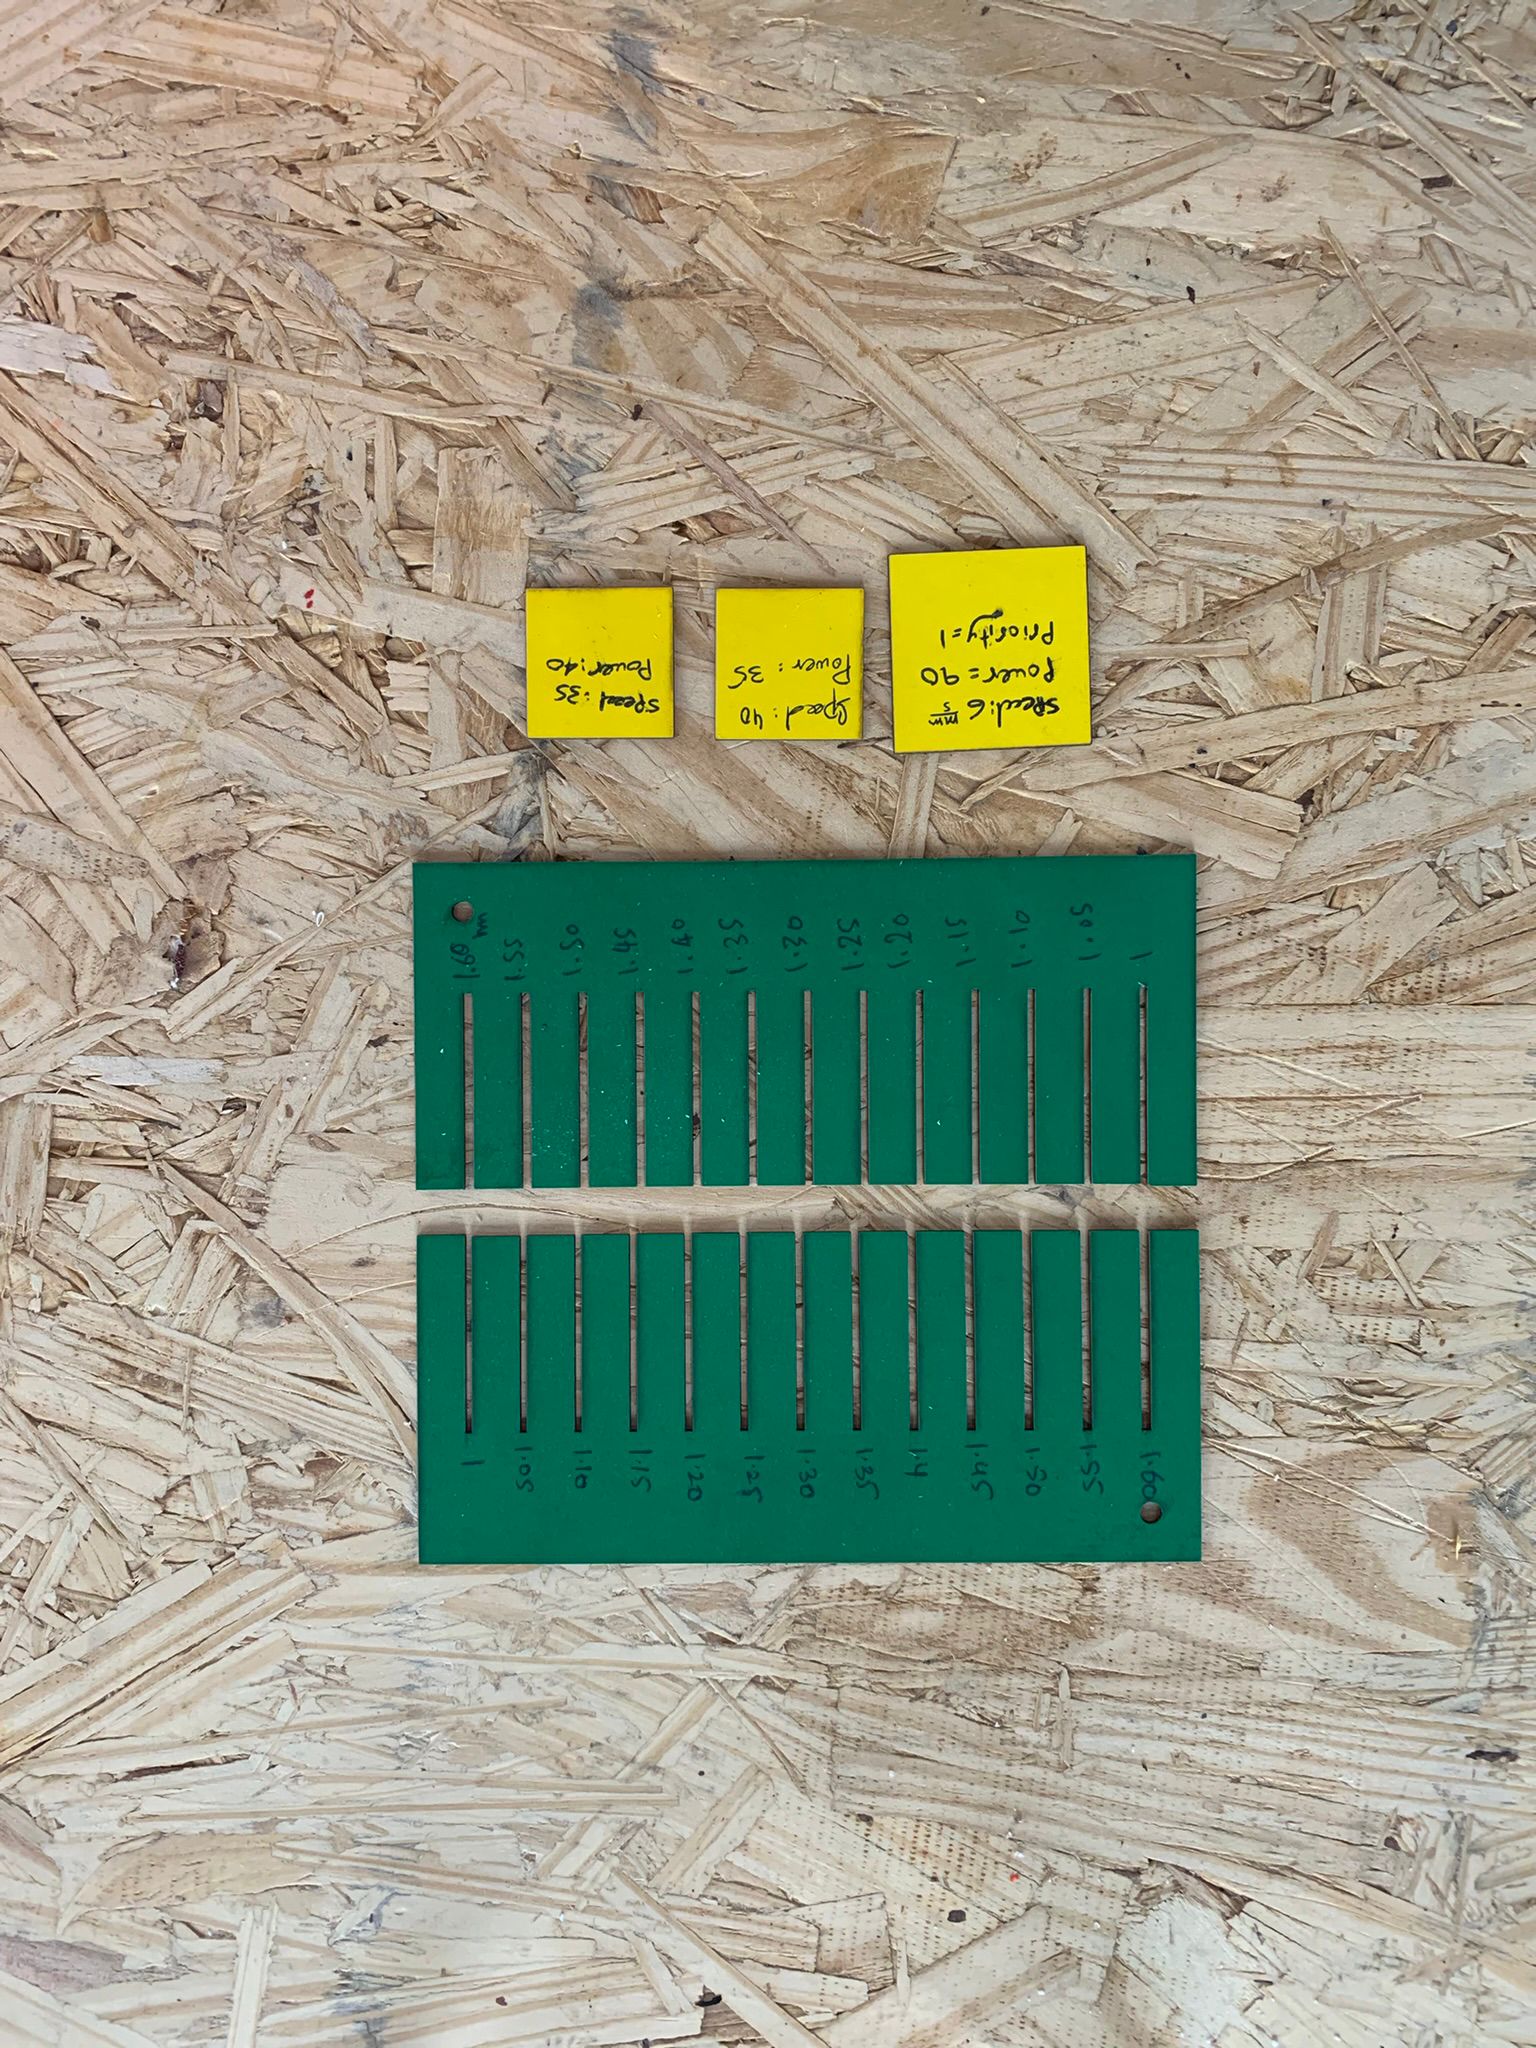 a deferent speed and power
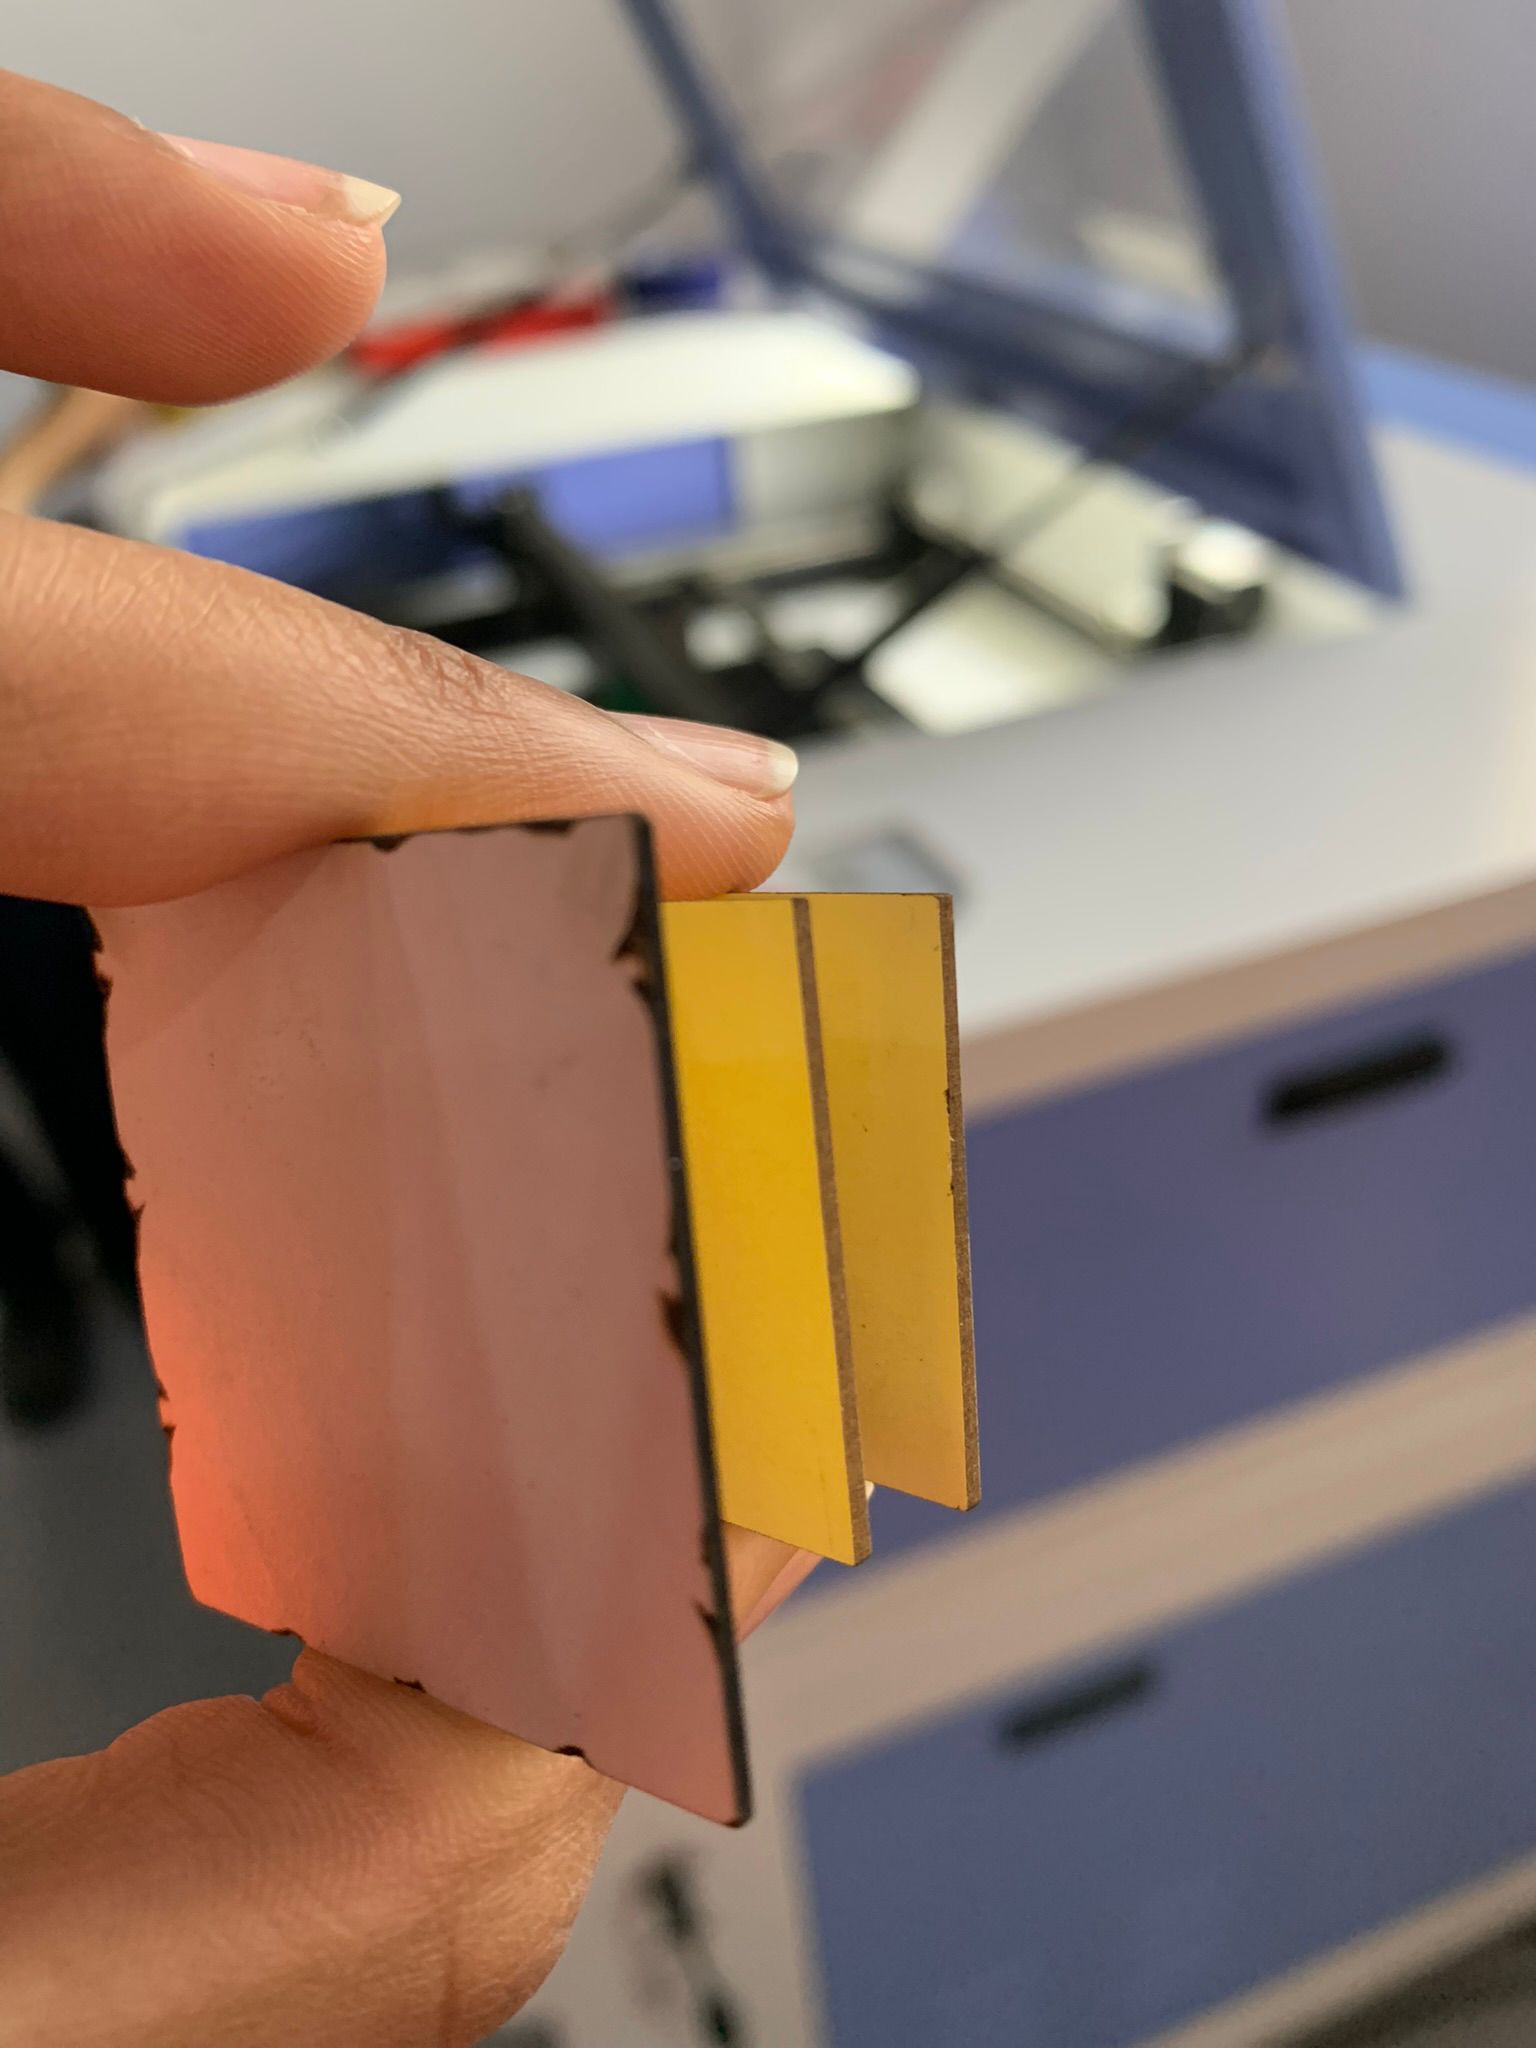
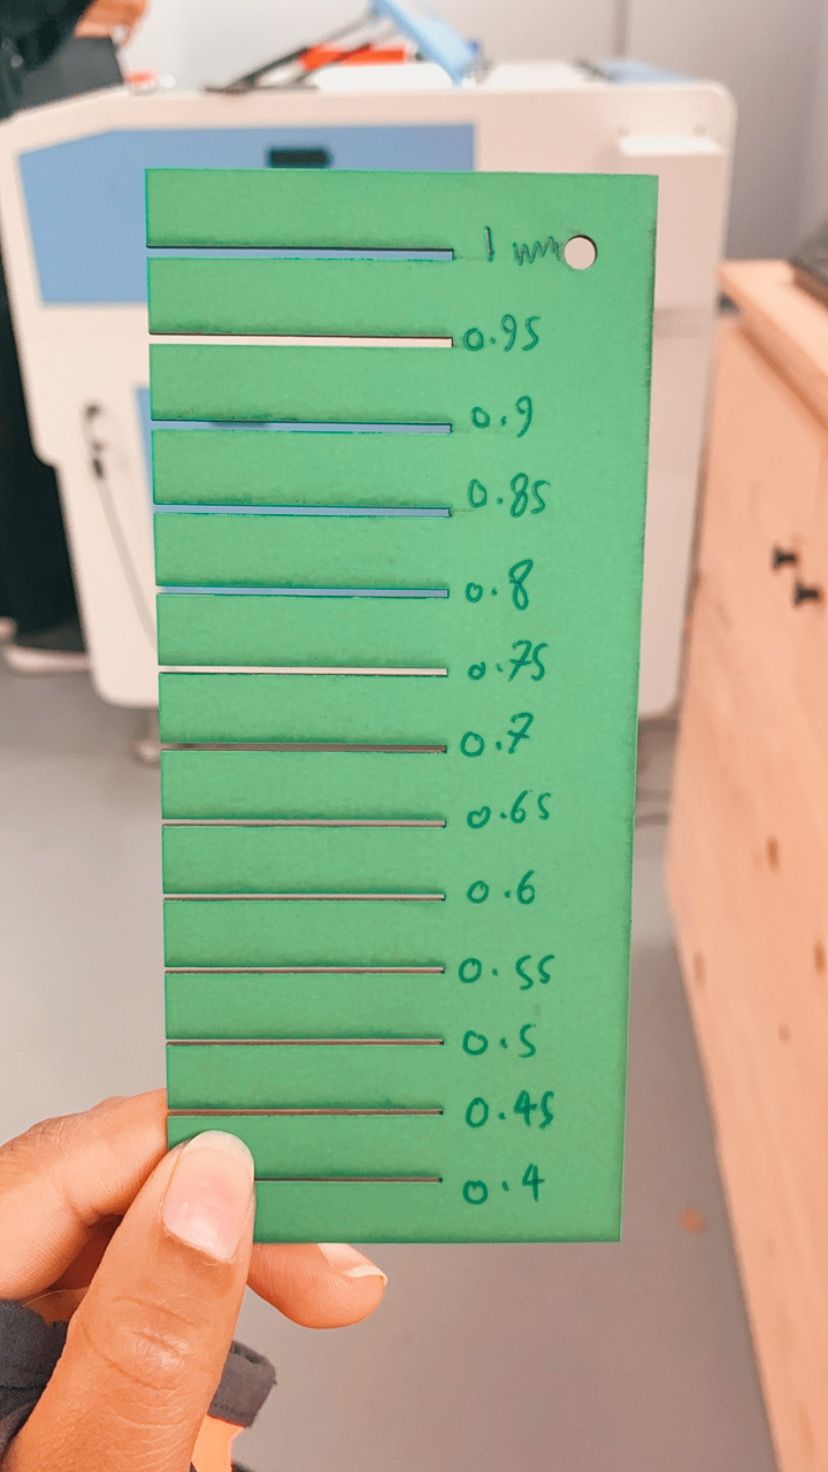 and these is the fitting test that can be test batter
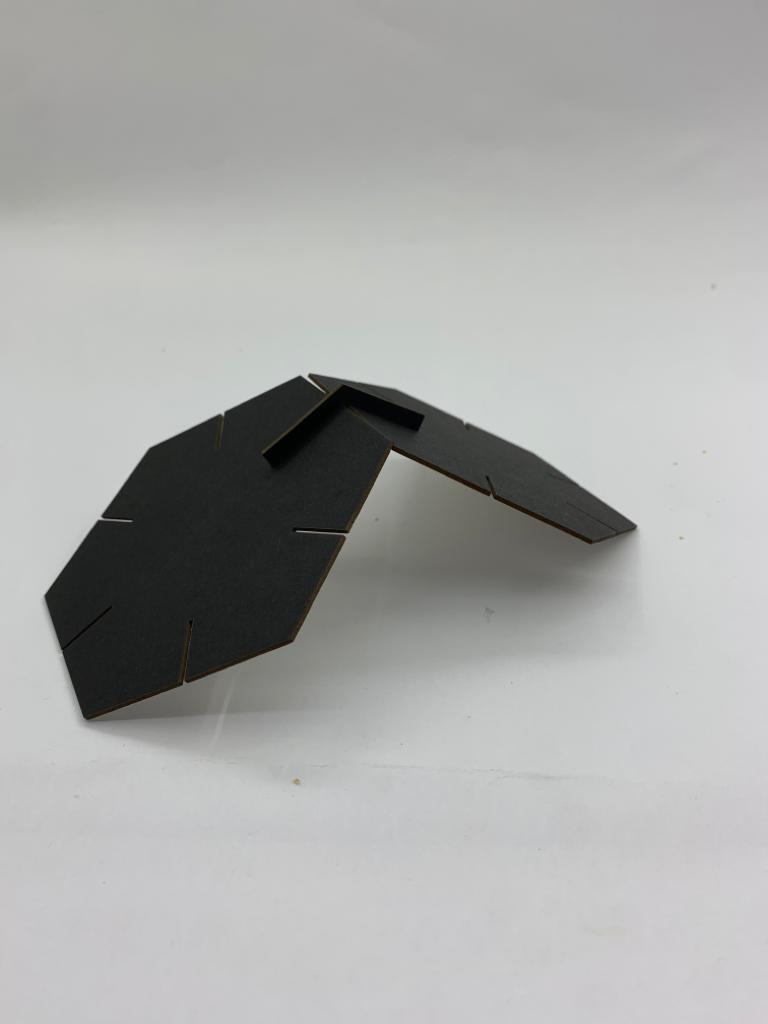
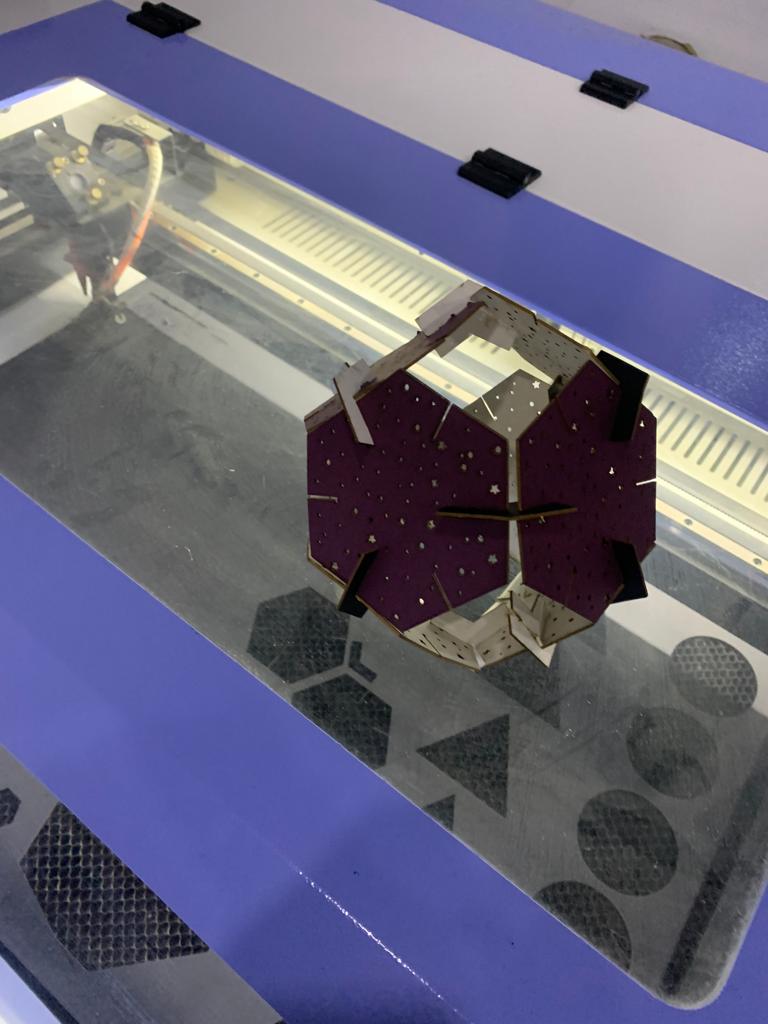
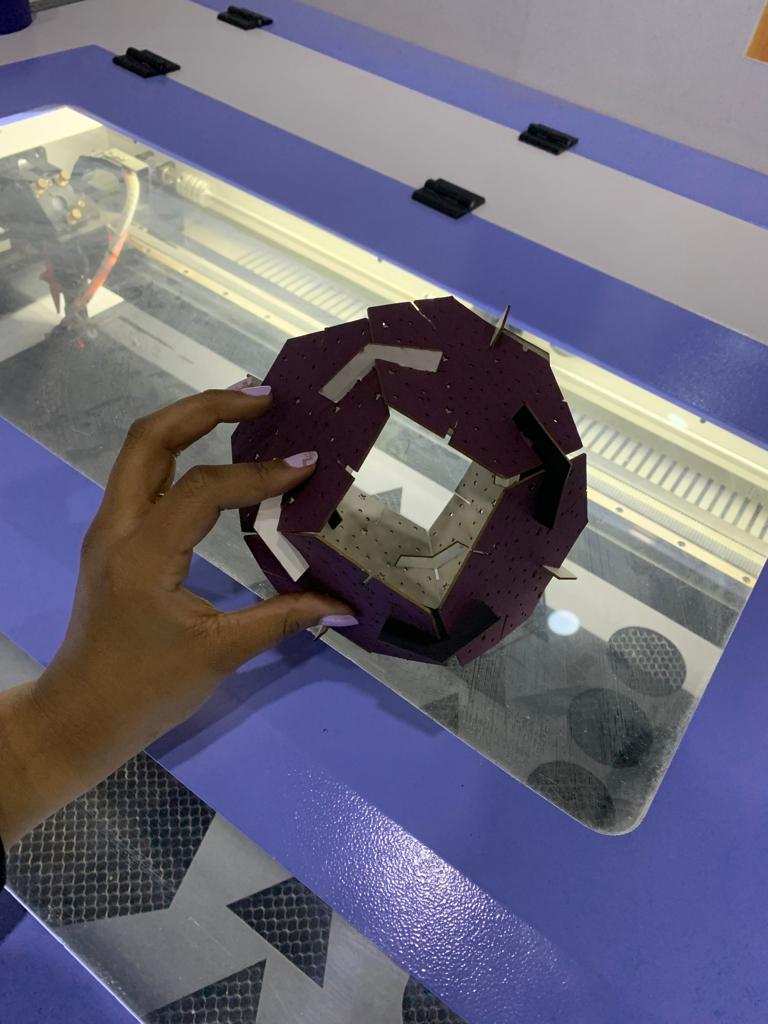
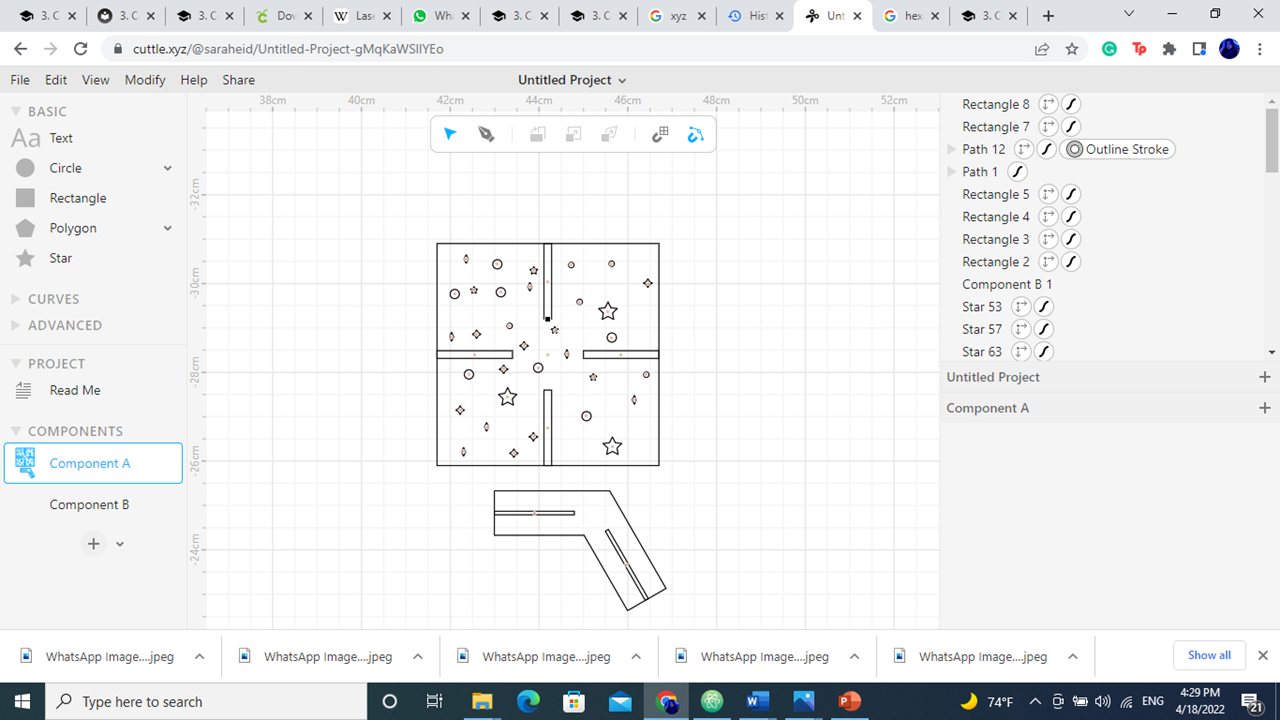
first we design
for the parametric design using two component of the shape the rectangles is for the joints

 and if change the rectangle diminution all of the same component will be adjusted automatically
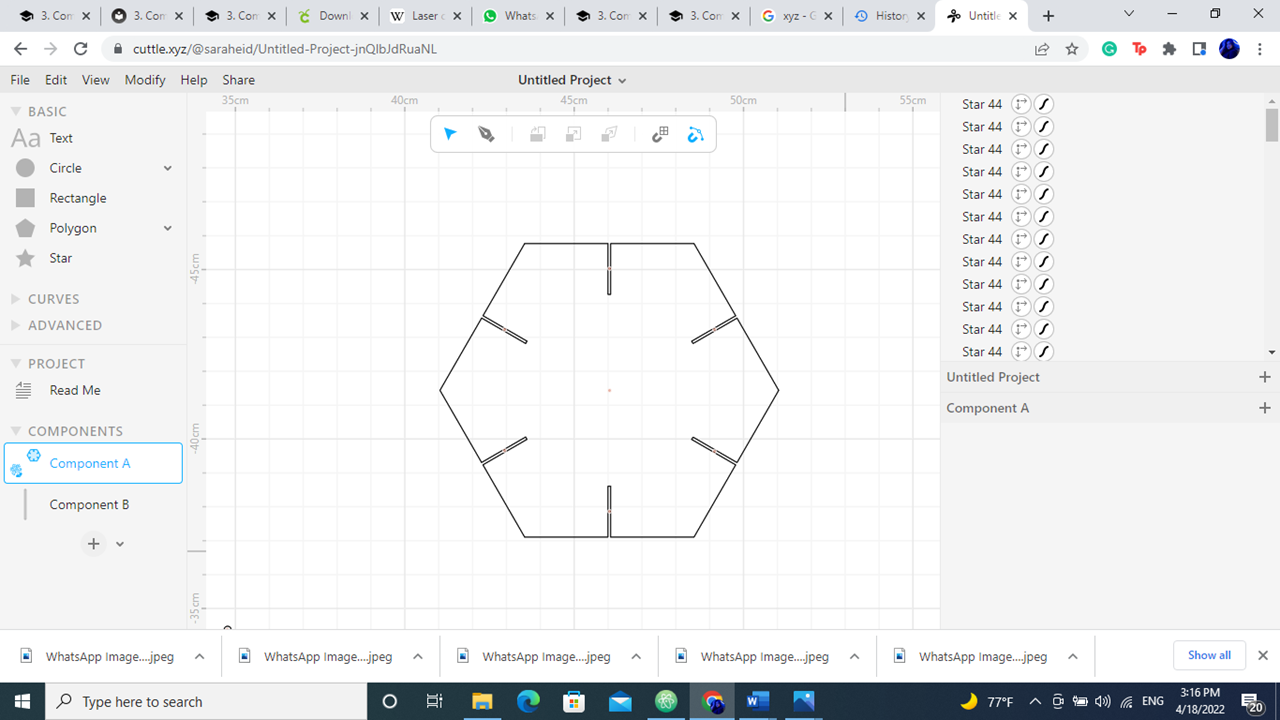
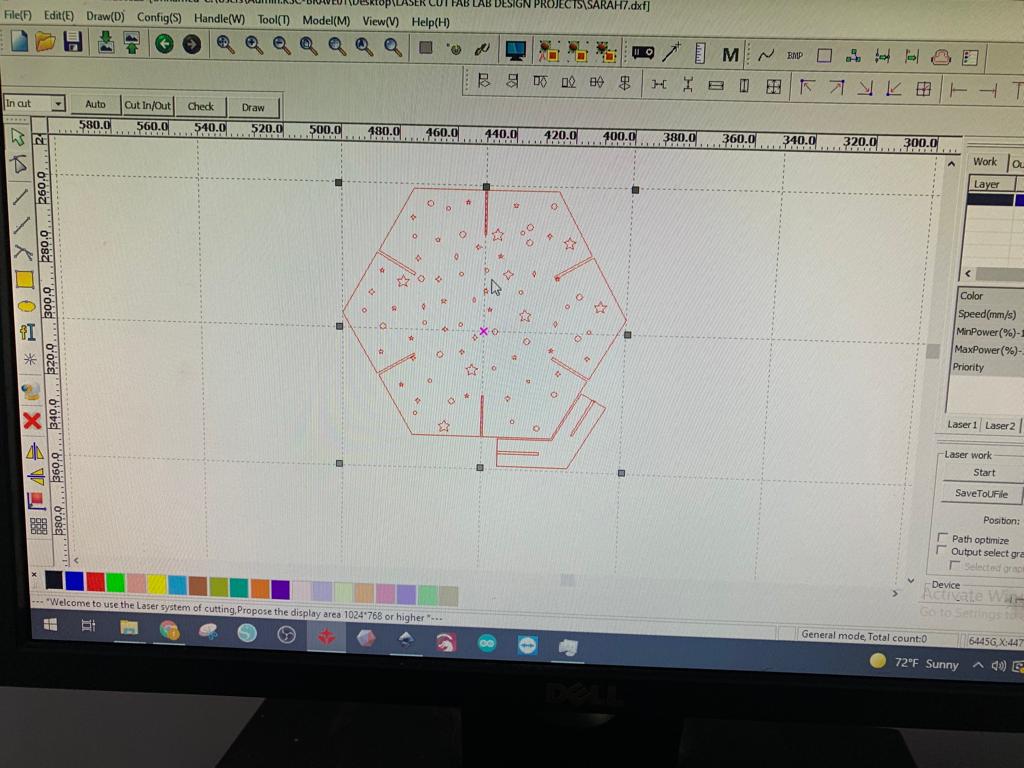
first draw hexagon
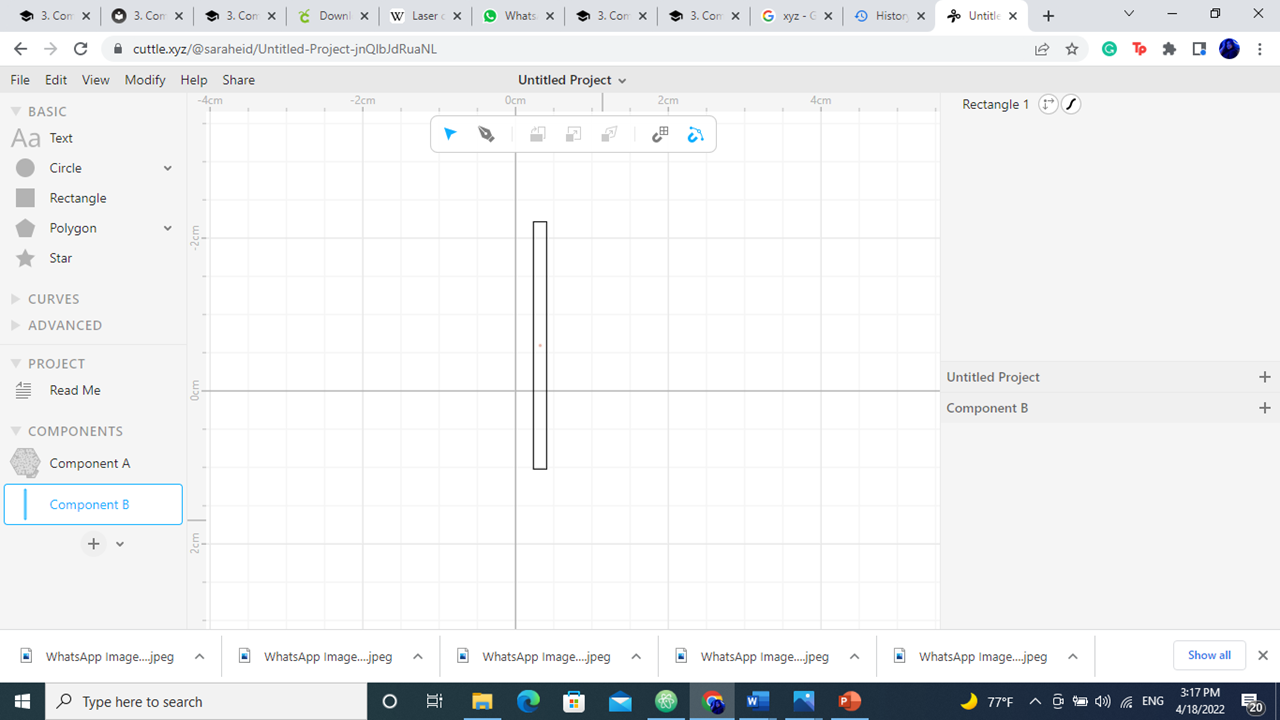 and rectangle of the component and subtract using the boolean different tool from the modify tap

it from the hexagon
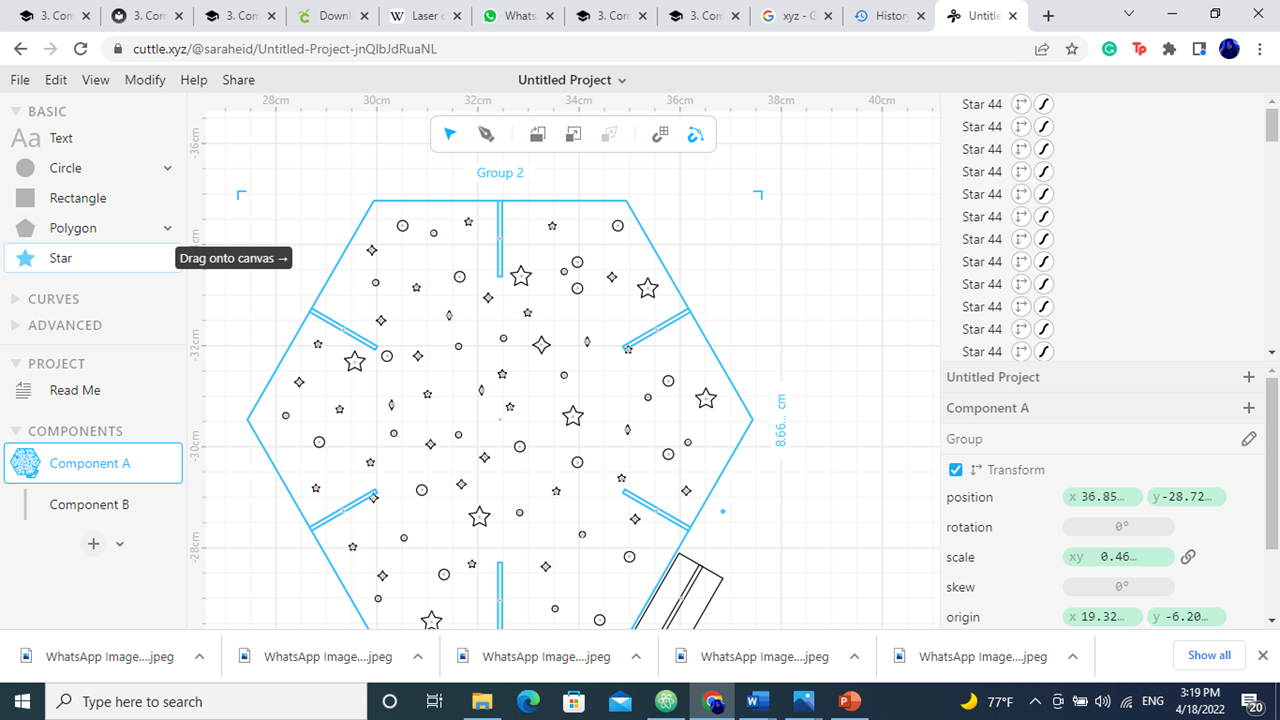
added the stars and caraculs and add the joint
save it in STL
 add it RDwork apps
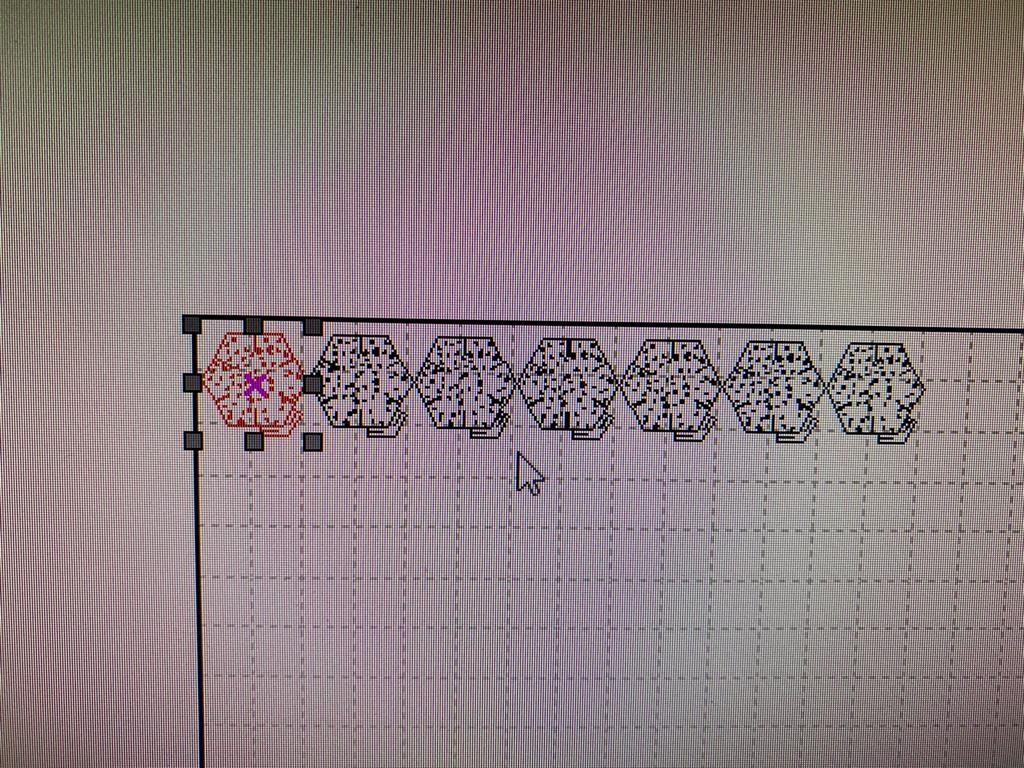
 choose the multi to multilabel the object
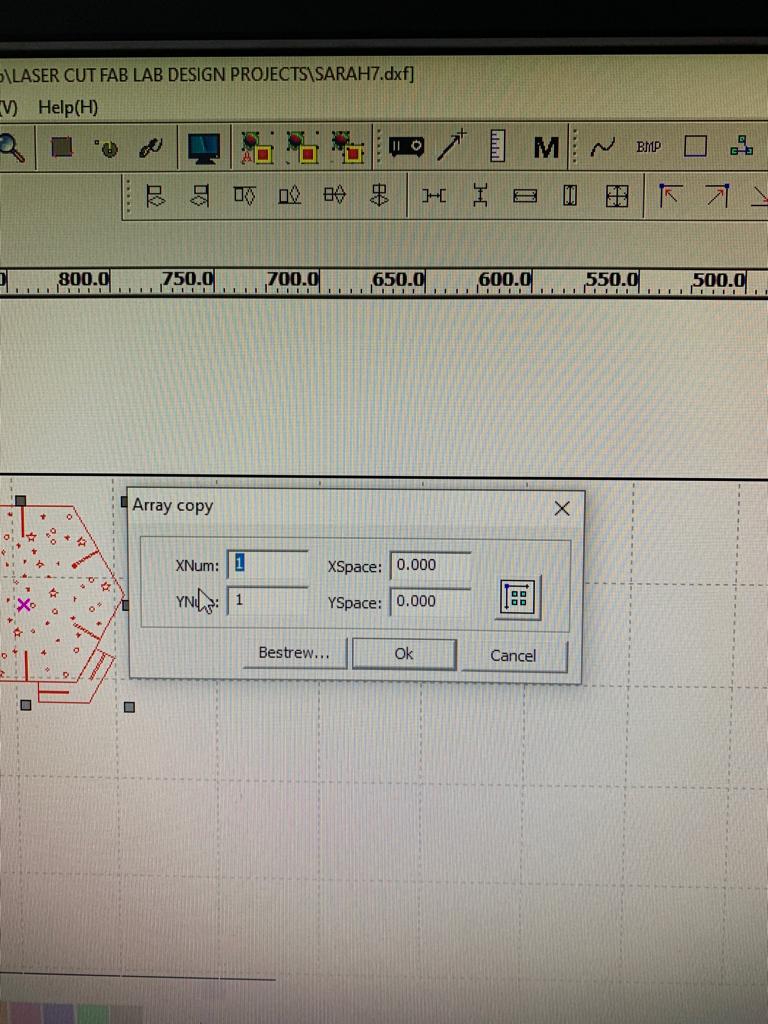 chose the number of the column and row


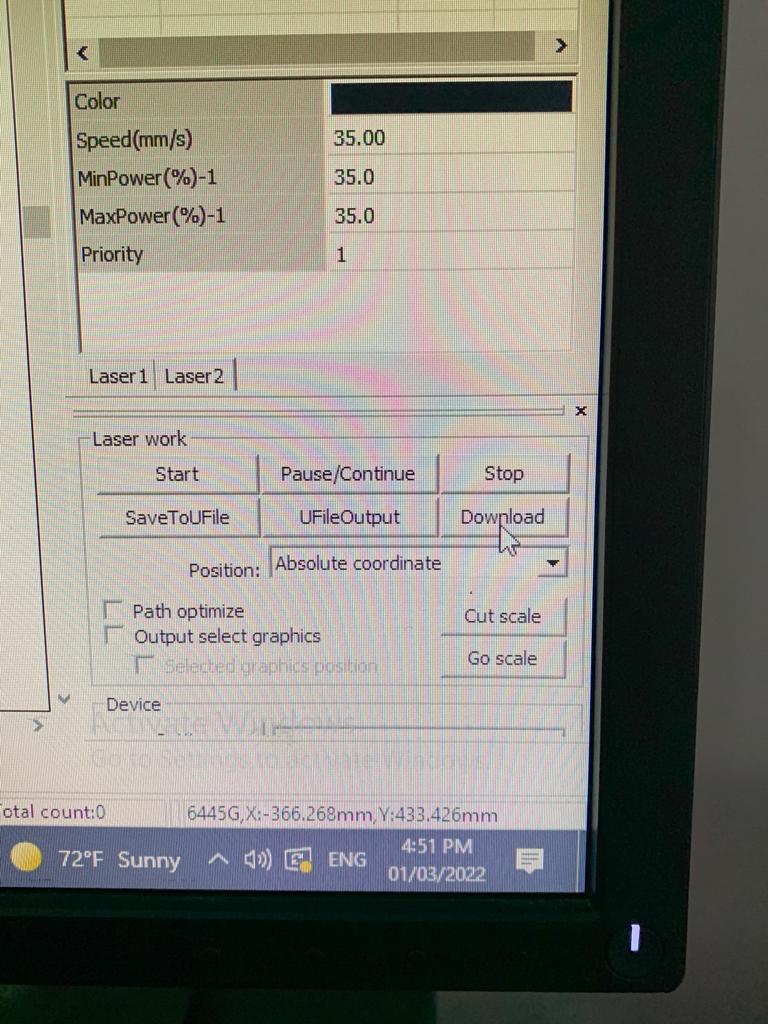 choosing the speeds and power
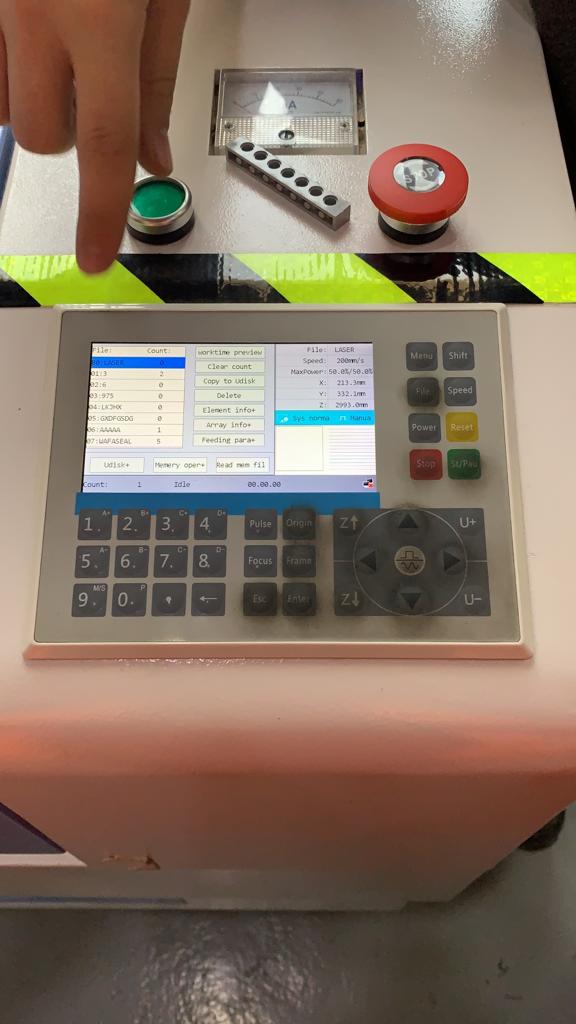
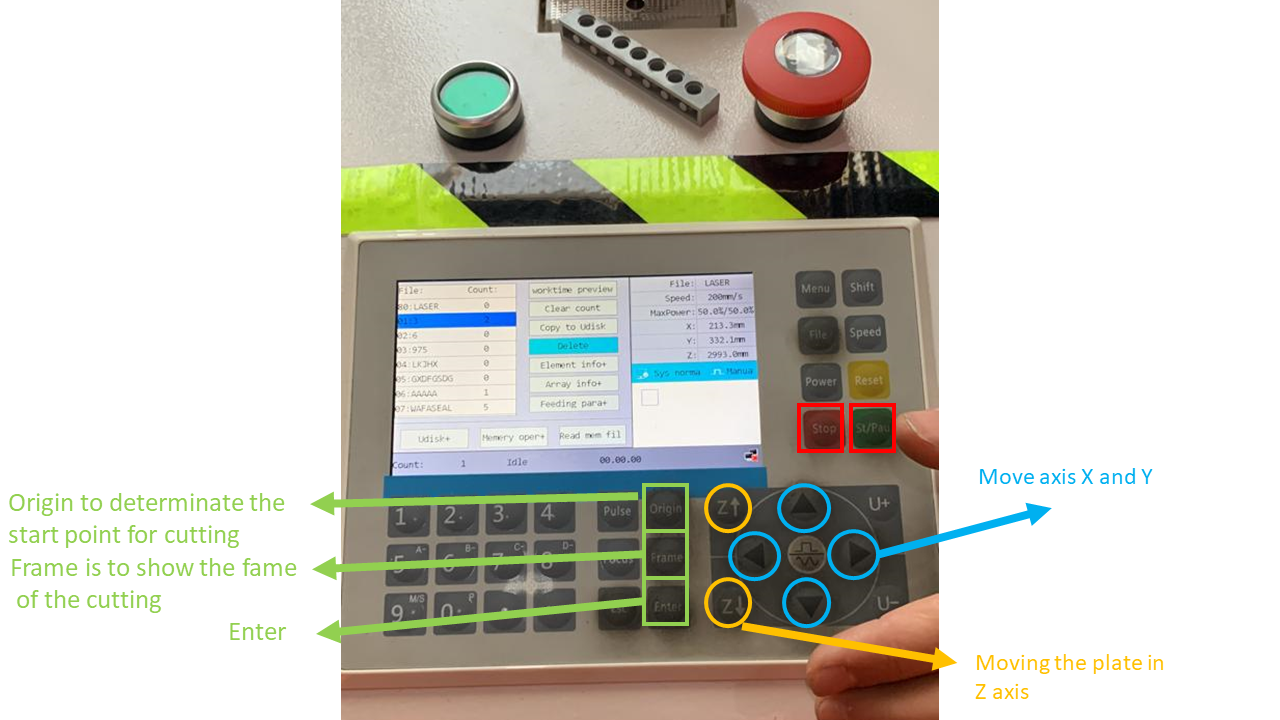
 Download it to the laser cuttings
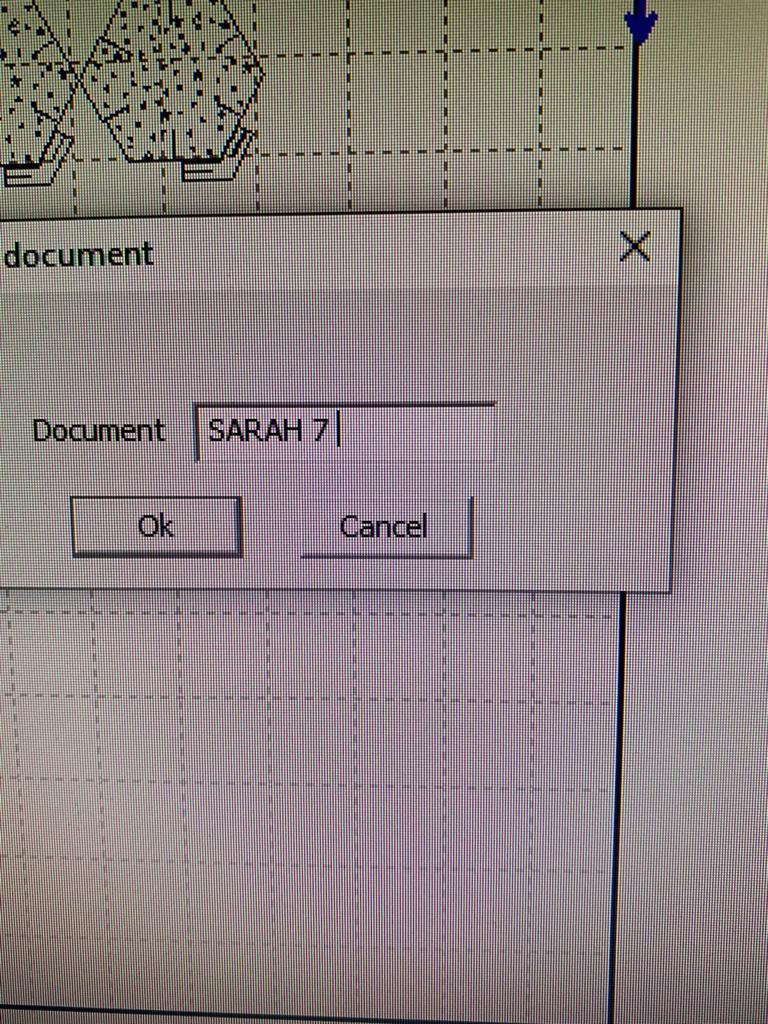
select the file

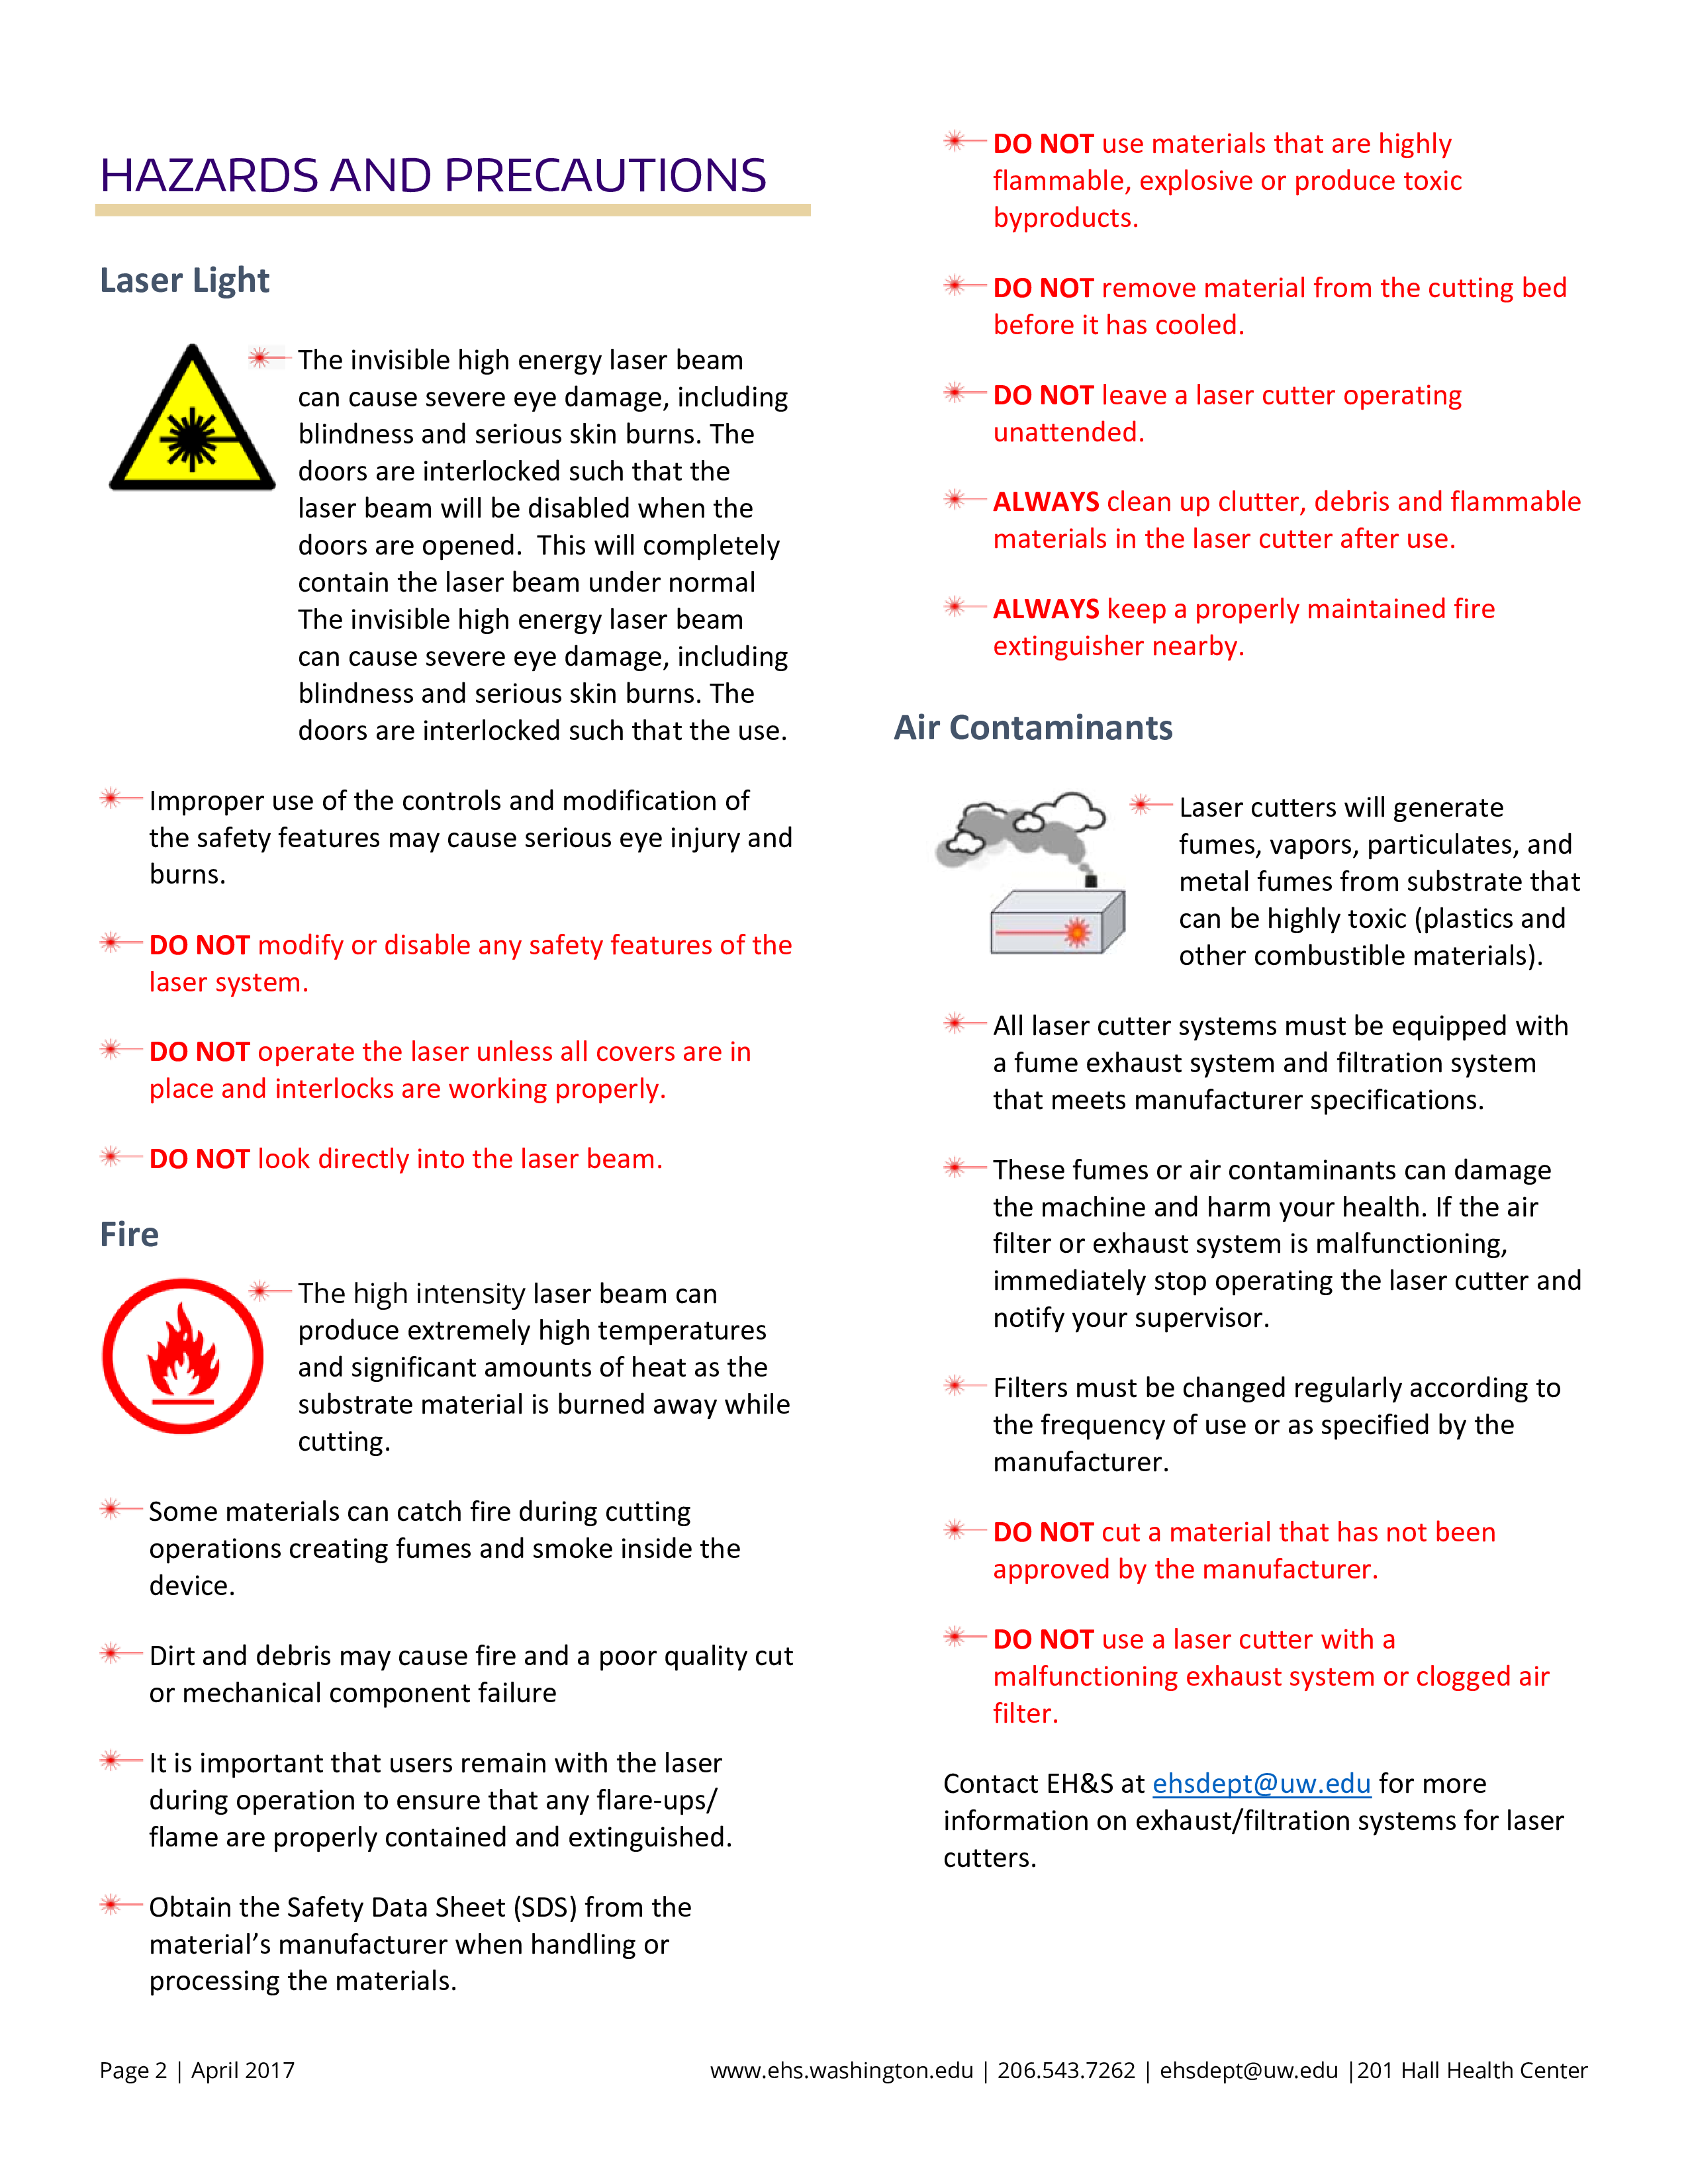
 after finishing the fixing there is some part is missing the squared one
 and cuttings it again
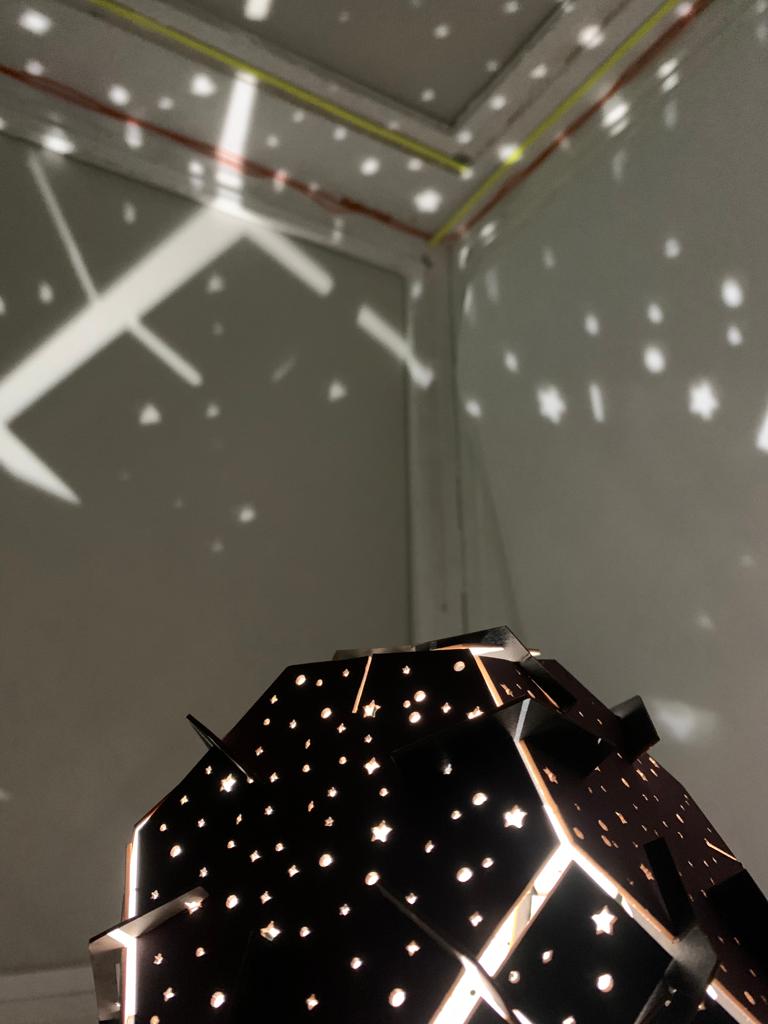 the final resule
to design file downlead the file
## hero shot