8. Moulding and casting
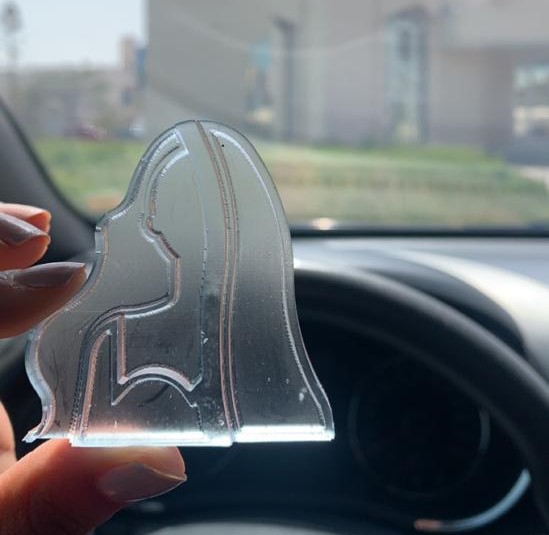
Included ‘hero shot’ of the mould and the final object
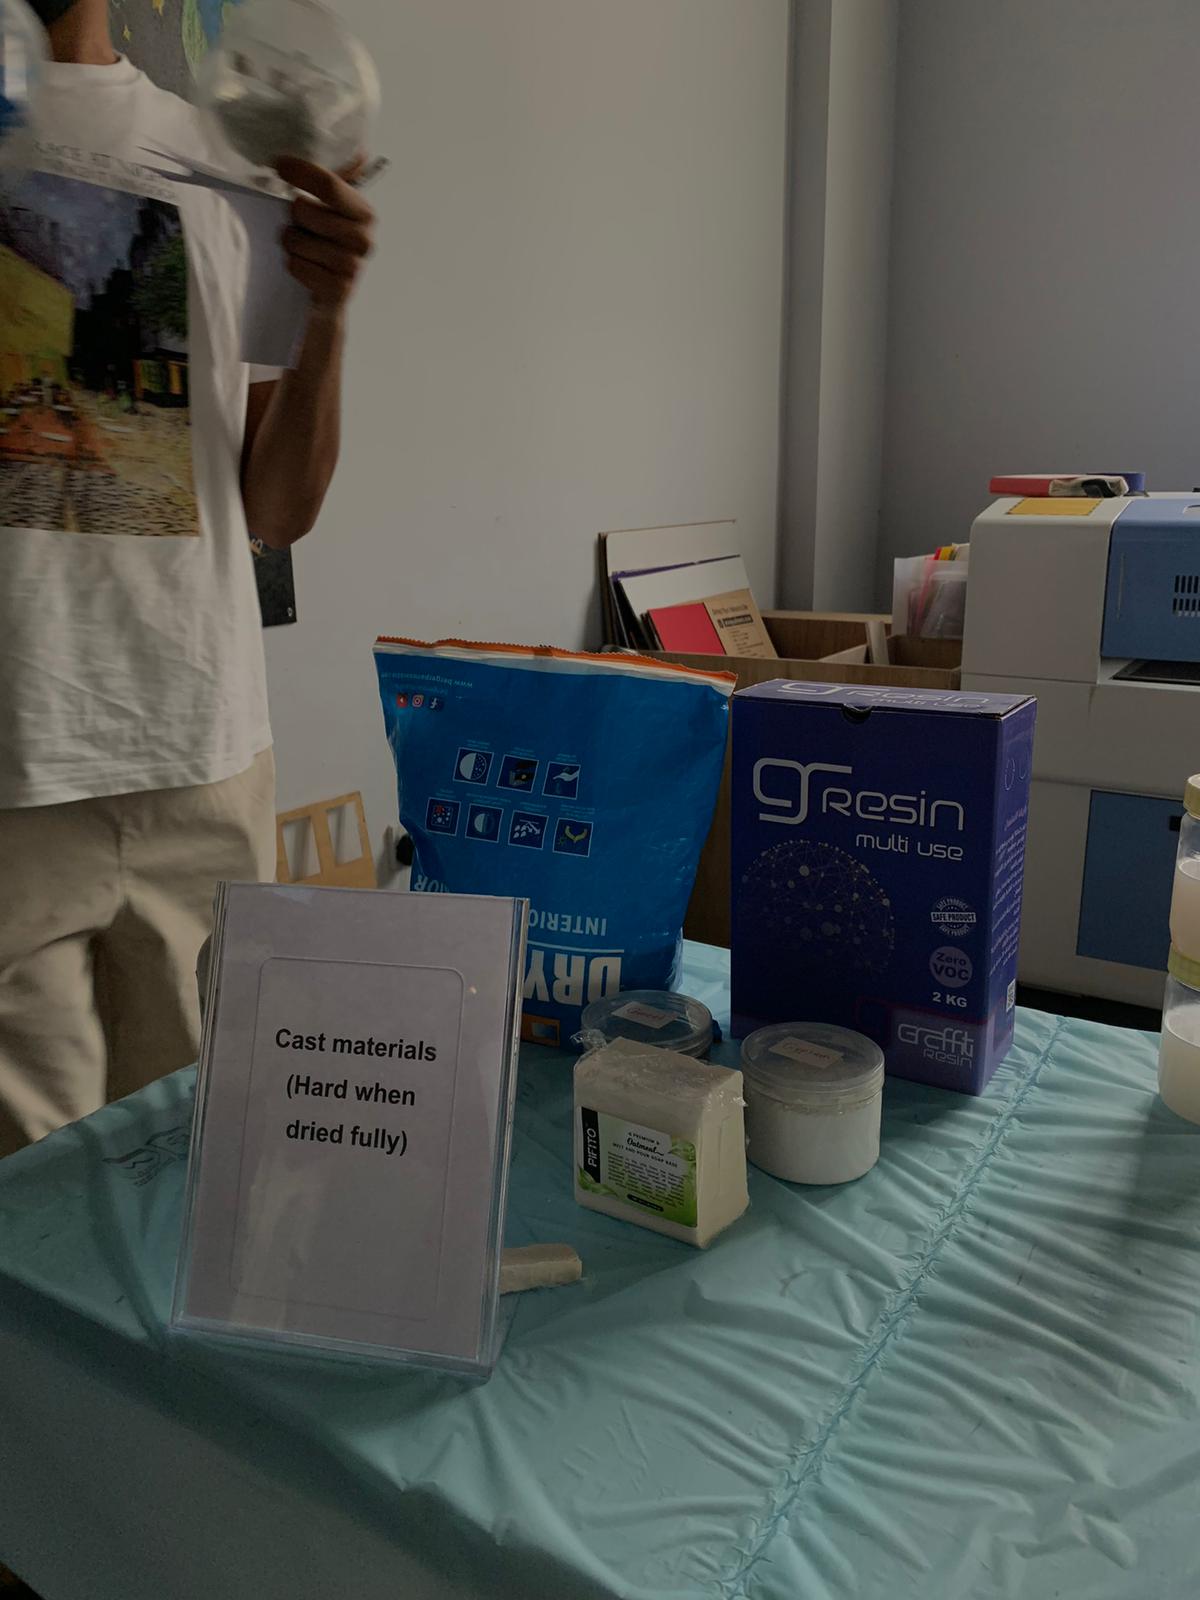
Linked to the group assignment page where you reviewed the safety data sheets for each of your molding and casting materials, then made and compared test casts with each of them
Documented how you designed your 3D mould and created your rough and finish toolpaths for machining, including machine settings
Moulding and casting
is a technique that implementing a design to a create a mold that can be fill and tack the shape of the mold by creation of the combination of the negative and positive area as an solid and void theory .
molding
id usually using a flexible material as rubbery material to take its shape in designing the molding usually we inverts the design in the Void and Solid ti the next stage

casting
for casting there is variation of the material that can be use and it mostly using a harder material to take its shape such a
epoxy
resin
concrete
gypsum
Usually using the molding and casting method is to replicate the design that the mold will be the same and can be create the many copy of the deign by the same mold that been create
Group Assignment
individual assignment
material using for testing
the assignment is to search and get the knowledge and test if the materials by choosing one of the molding or casting material and test it and search about its general information and name , safety precautions, mixing ratio, work time, cure time . ##### resin
| about | description |
|---|---|
| cure time | 24h to 72 h |
| work time | 15 min |
| mix ratio | 10 gram of resin and 6 gram of hardener |
| cured material state | Solid |
Food Safe after 72hours – full cure Zero VOC
odorless / Less Smell Low Viscosity
Meets the requirements of the relevant FDA listing and therefore when fully cured ideal to be used in contact with food
 material can be using
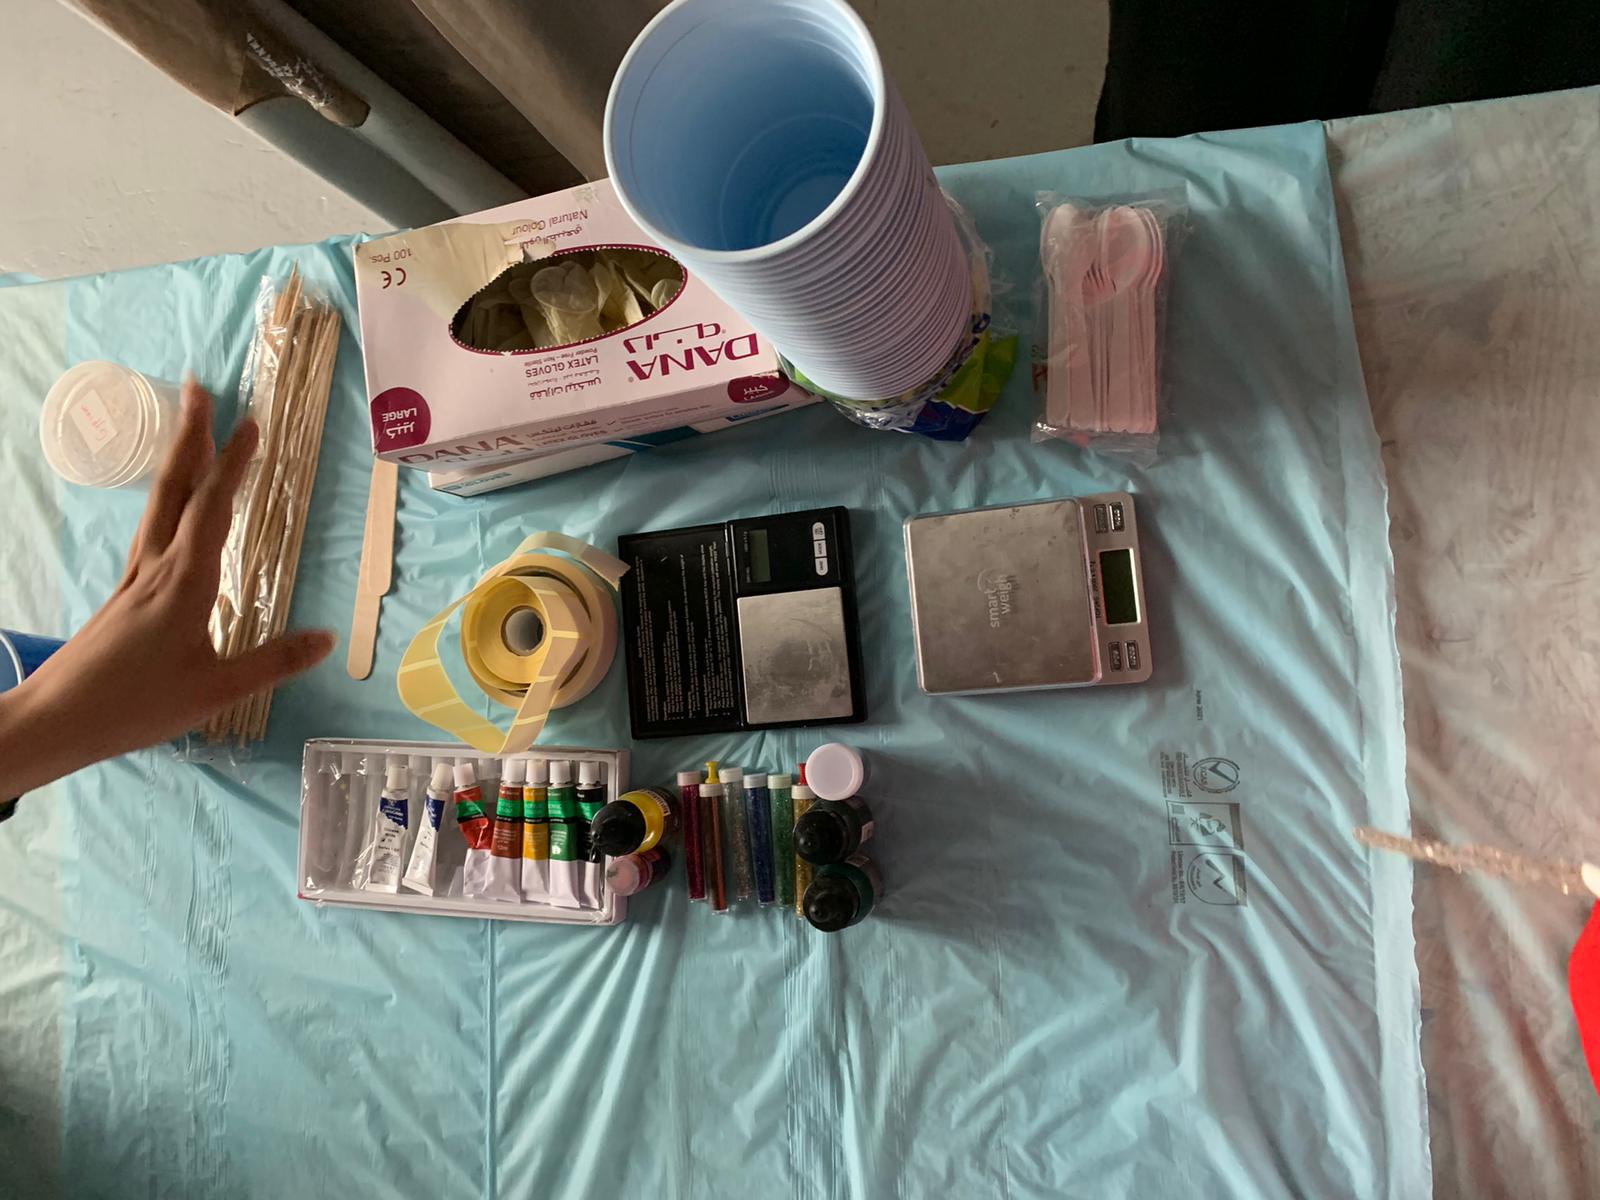
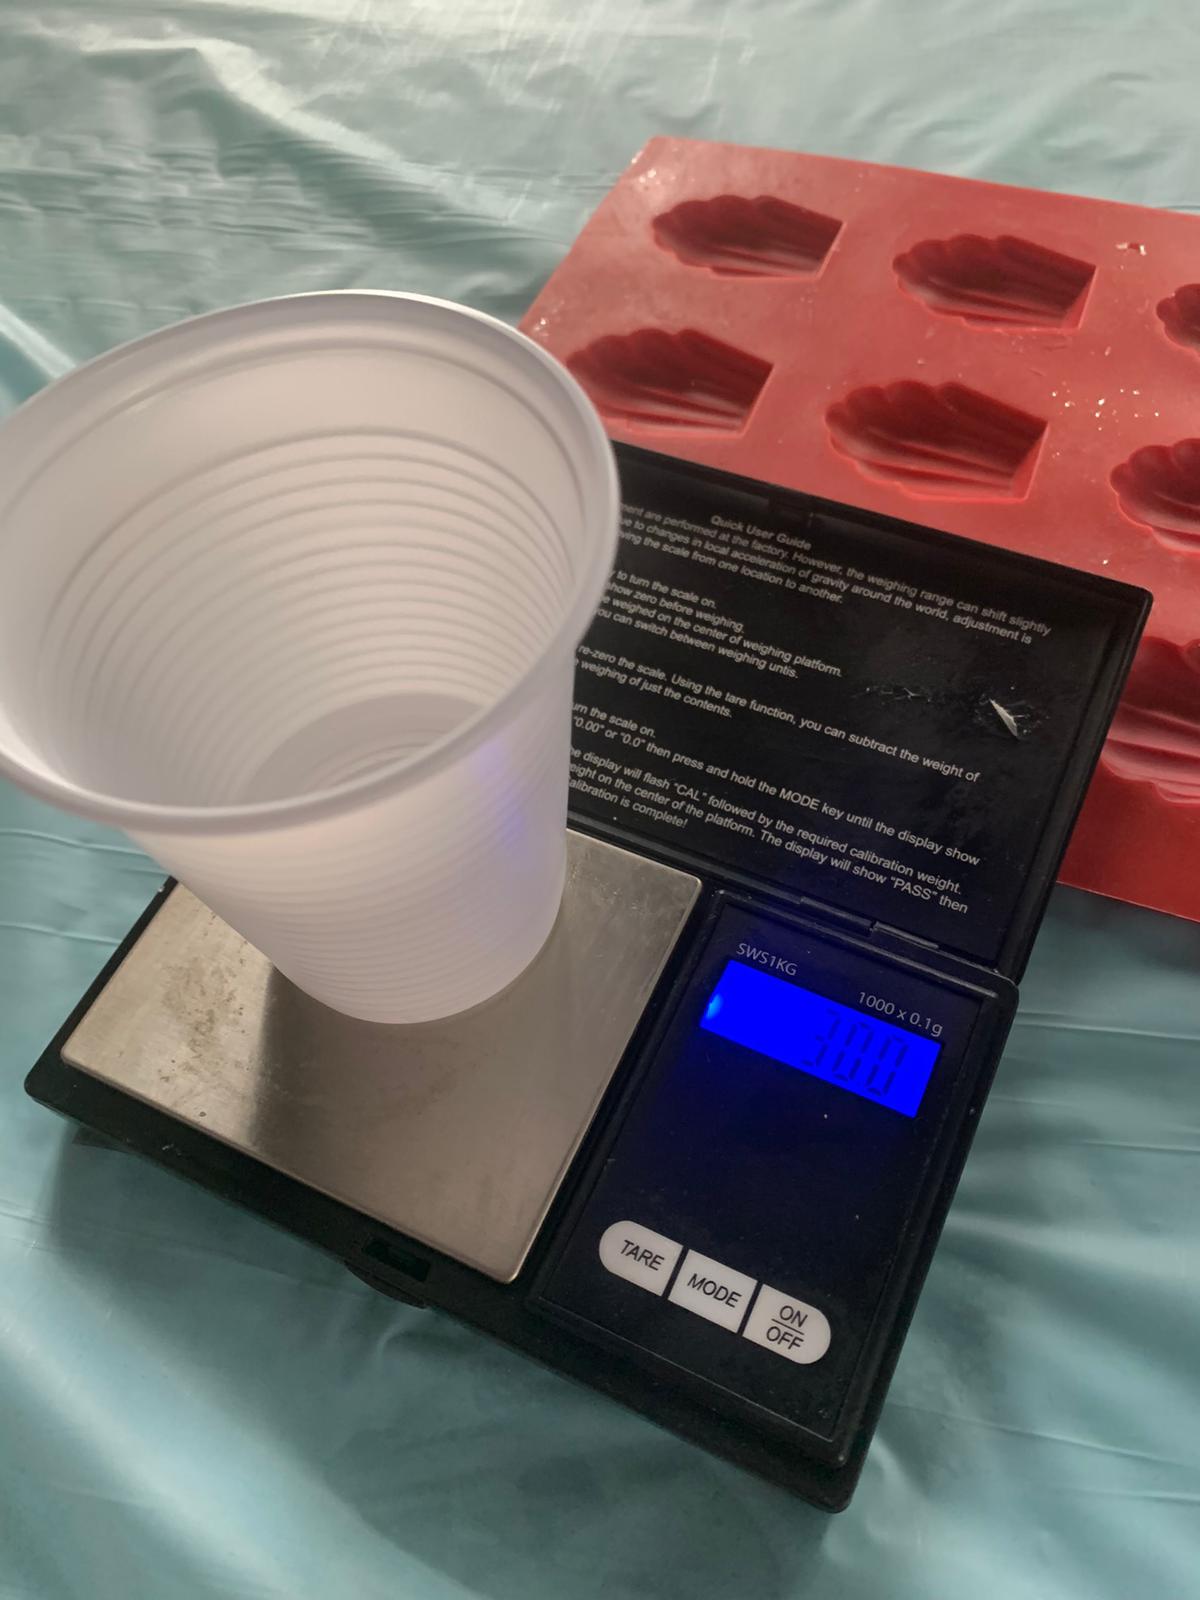
cup - colors - glitter - weighting scale - wood stick or plastic spoon for mixing and gloves for safety
material can be using
cup - colors - glitter - weighting scale - wood stick or plastic spoon for mixing and gloves for safety
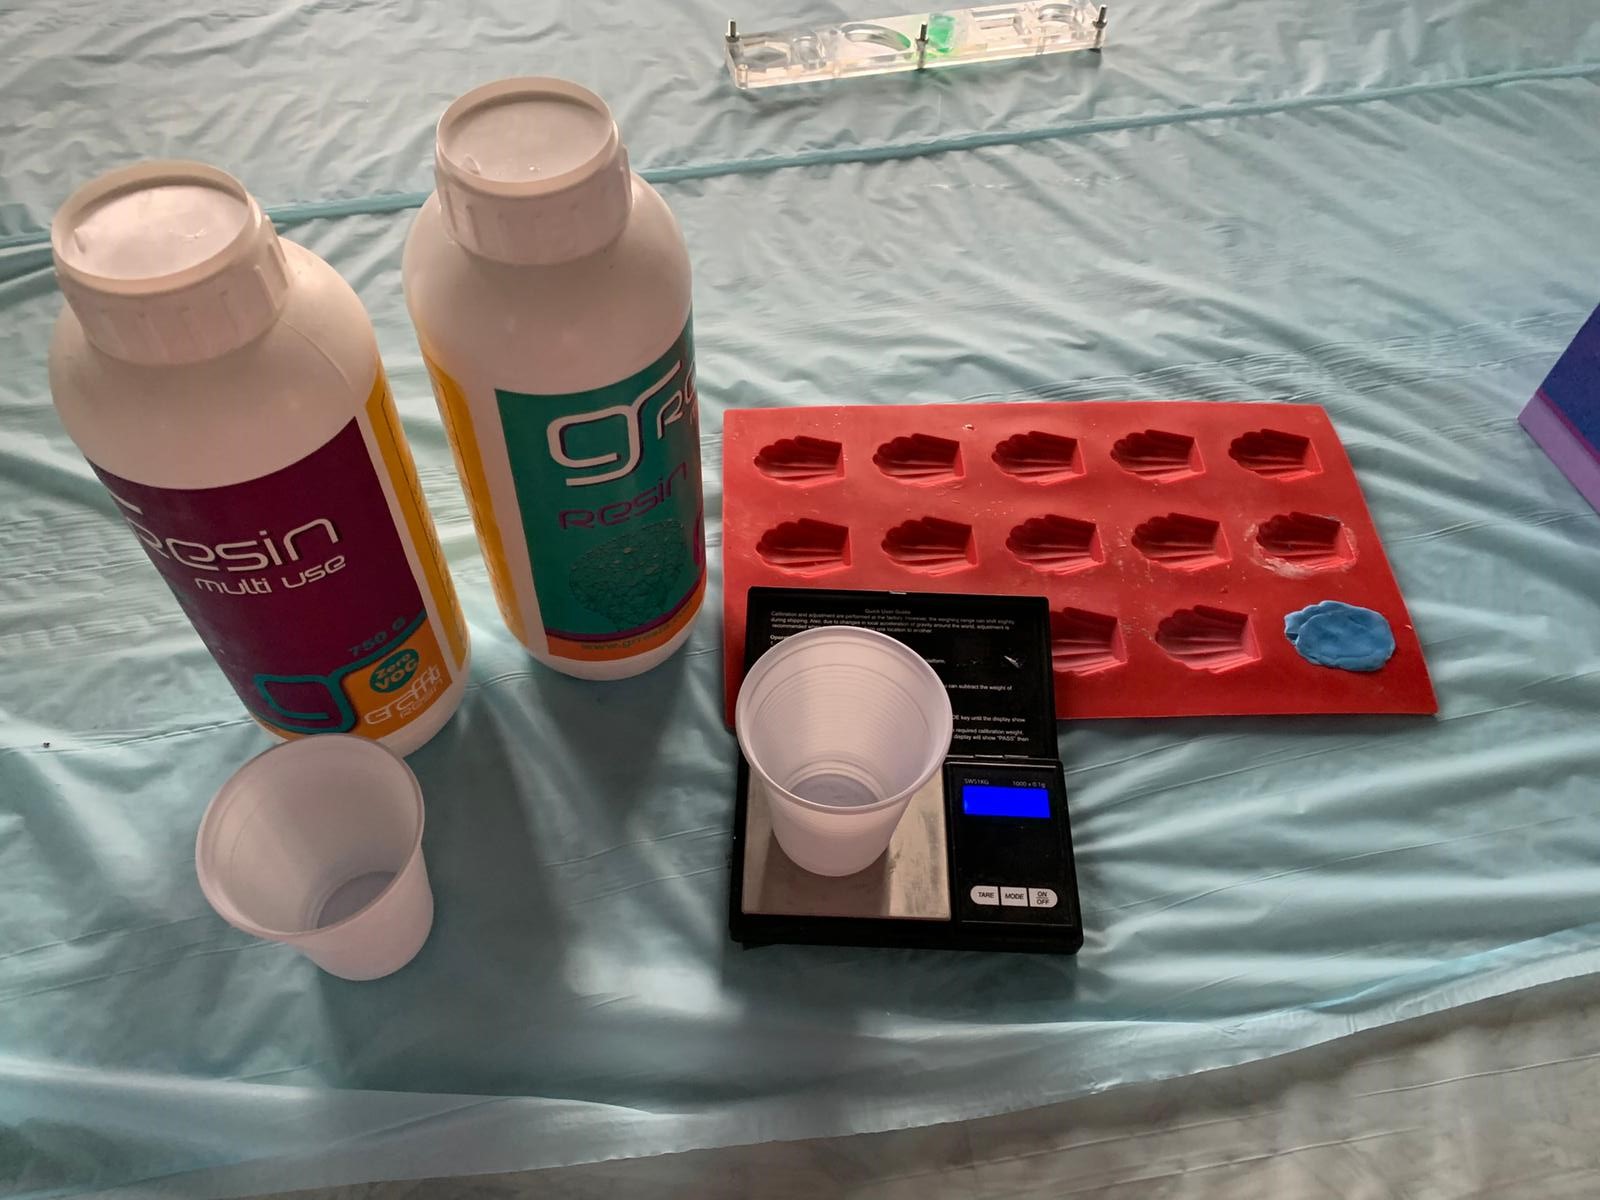
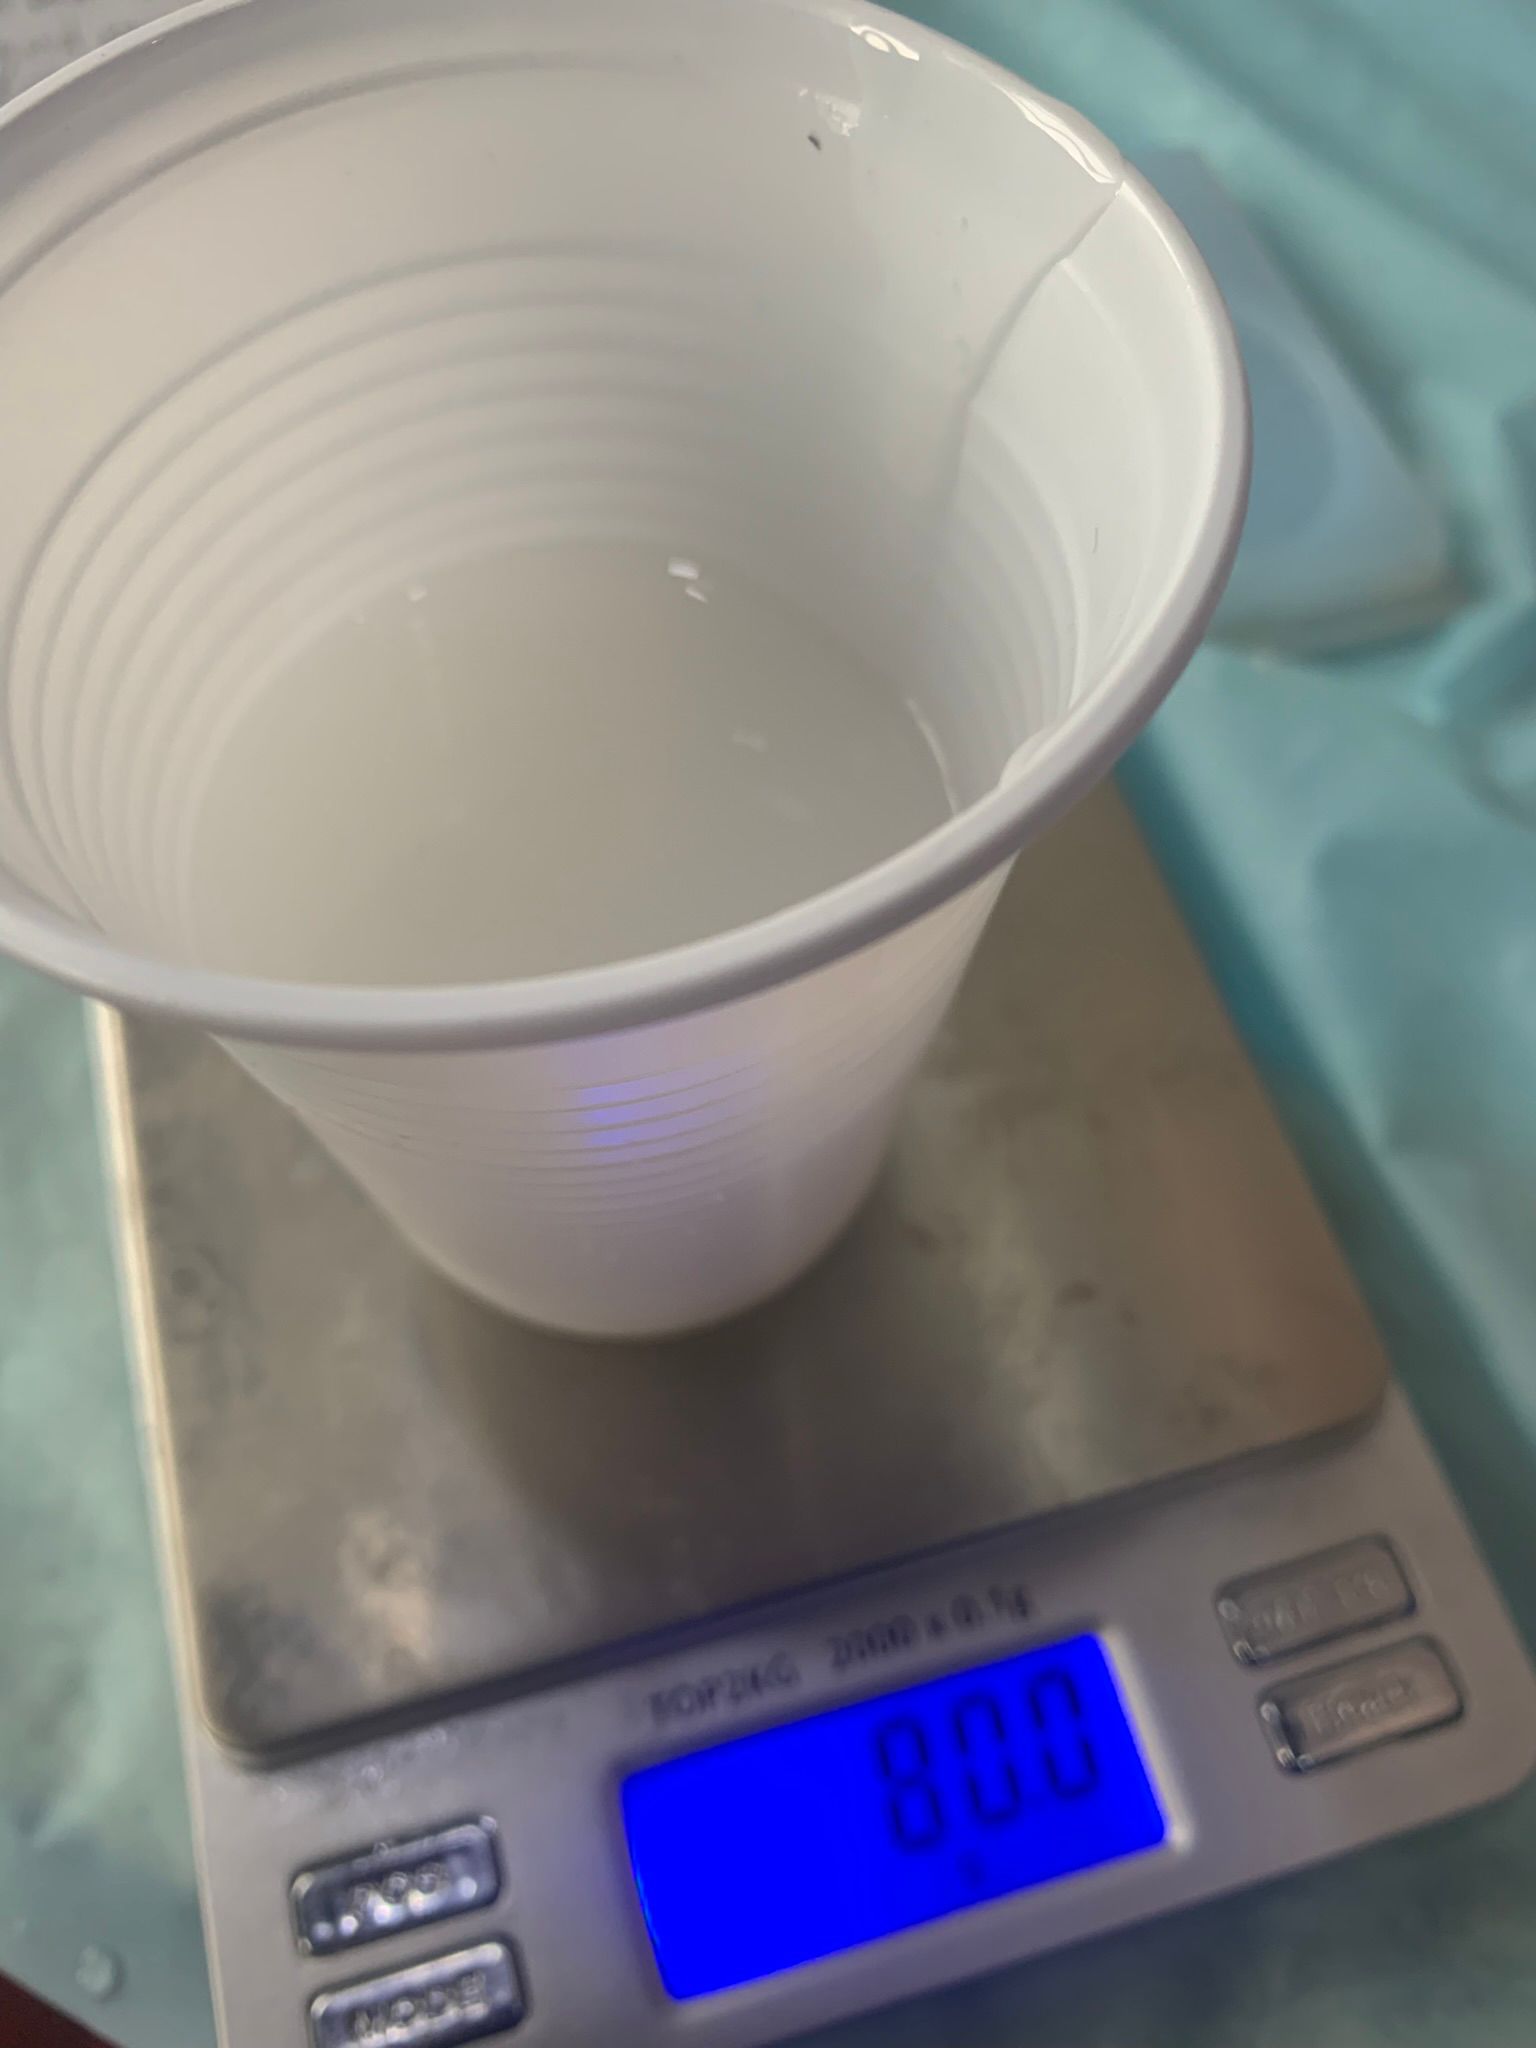
step 1 : adding the quantity want to use by that ratio 10 gram of resin and 6 gram of hardener
step 2: add any color or decoration
step 3: mix the micture for 10 min
step 4: poring on the mold
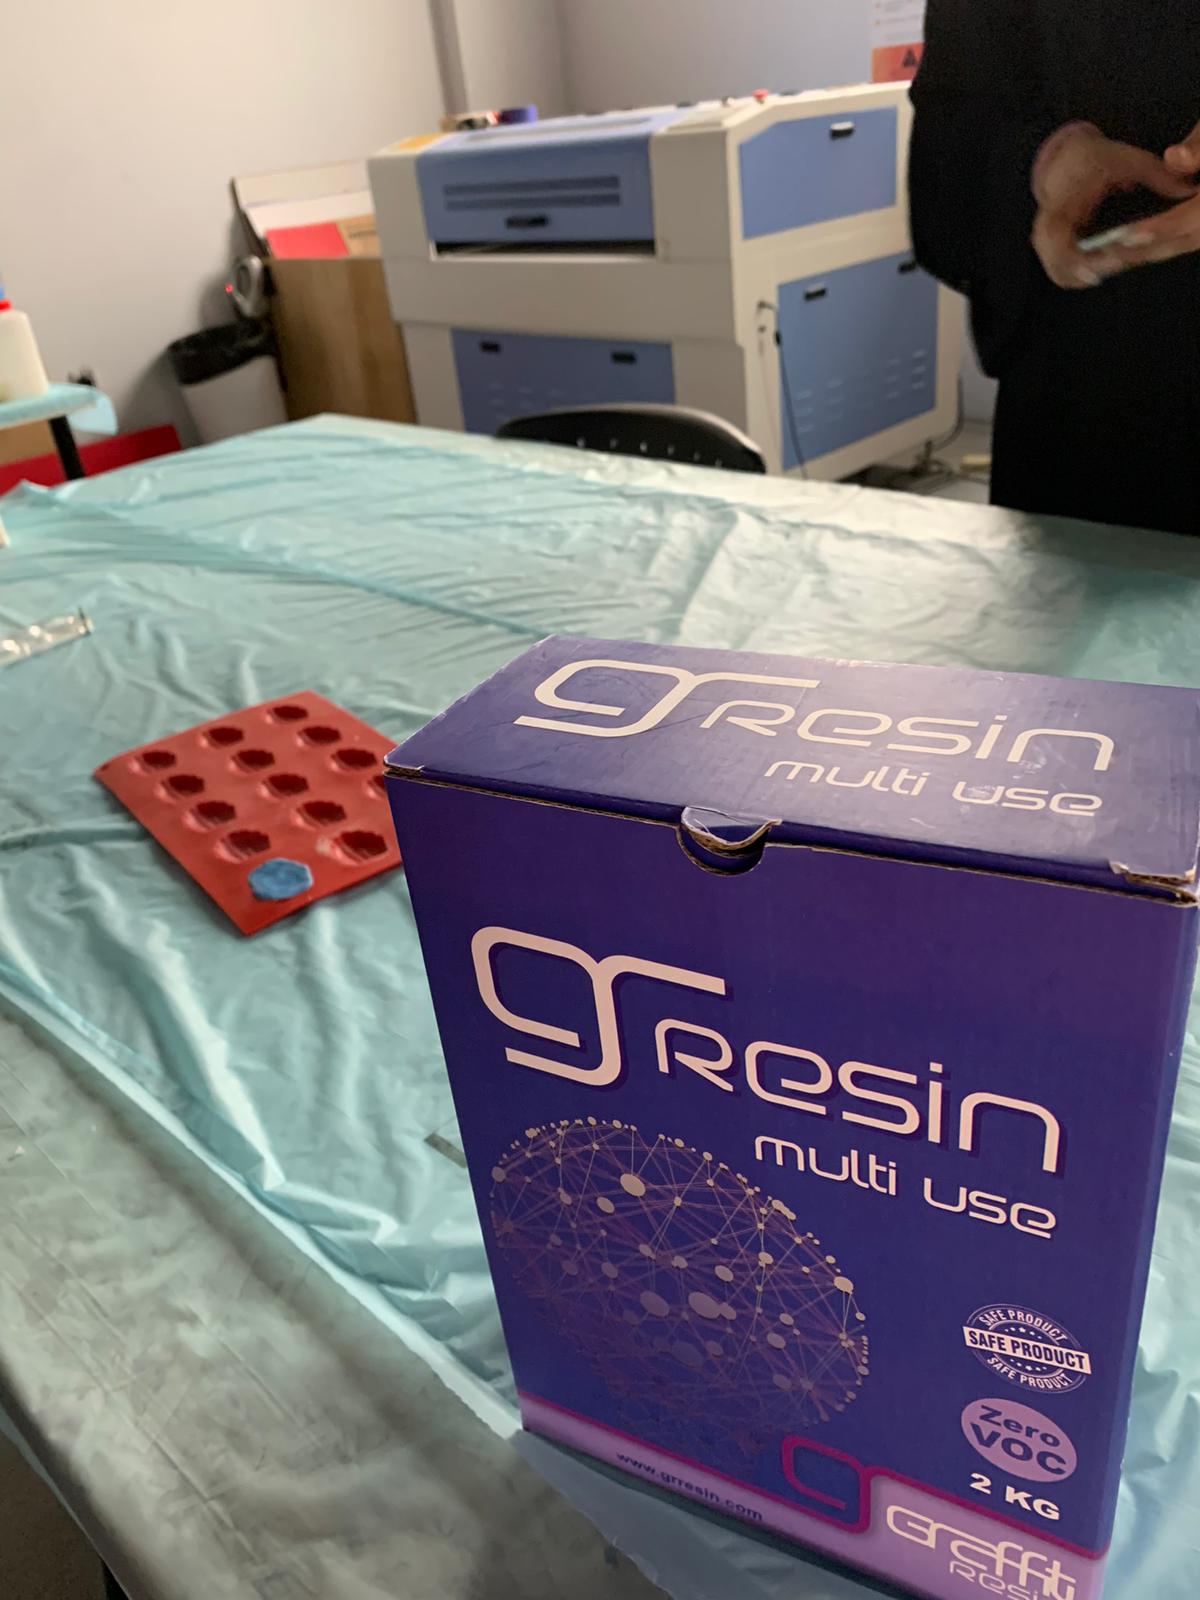
## making the mold #### CNC Milling Machines
As a small milling machine, the SRM-20 offers compact size and powerful functionality at an affordable price. Production of realistic parts and prototypes is made simple and convenient with a device that fits into any office, home, or classroom environment. For users looking for advanced milling capabilities without the need for expert operating skills, the SRM-20 is the easiest and most precise CNC mill in its class.
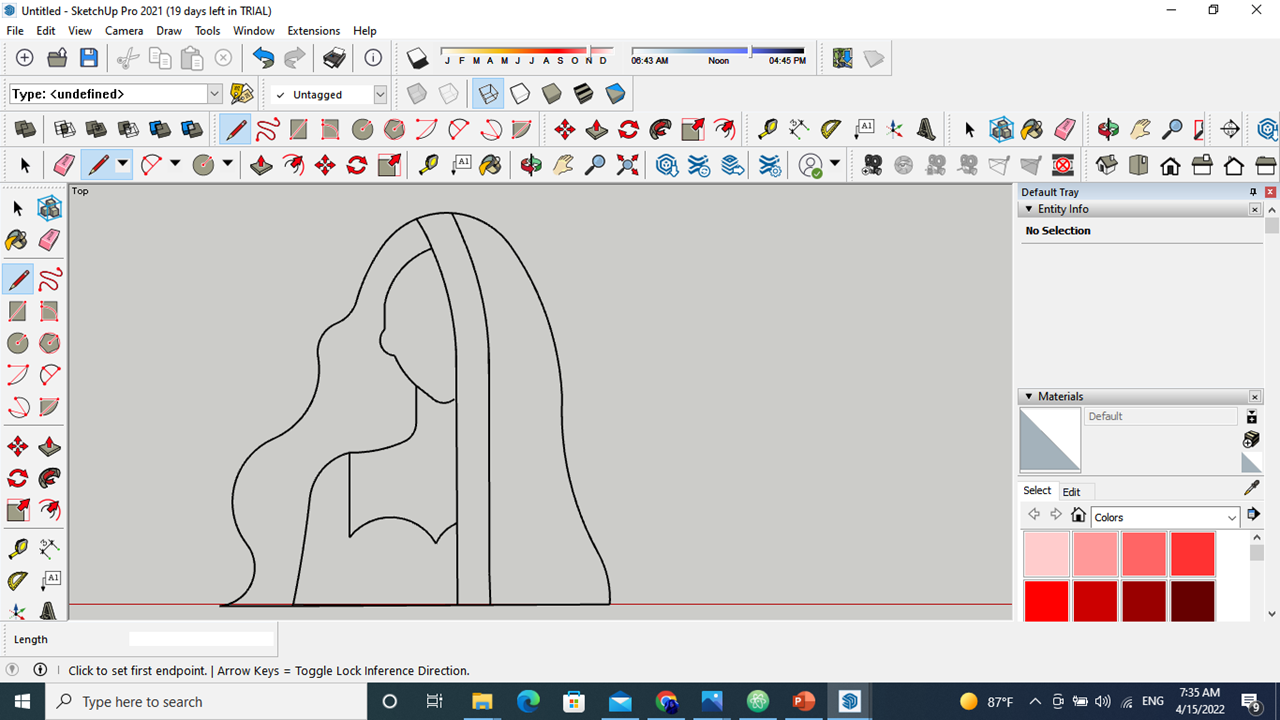
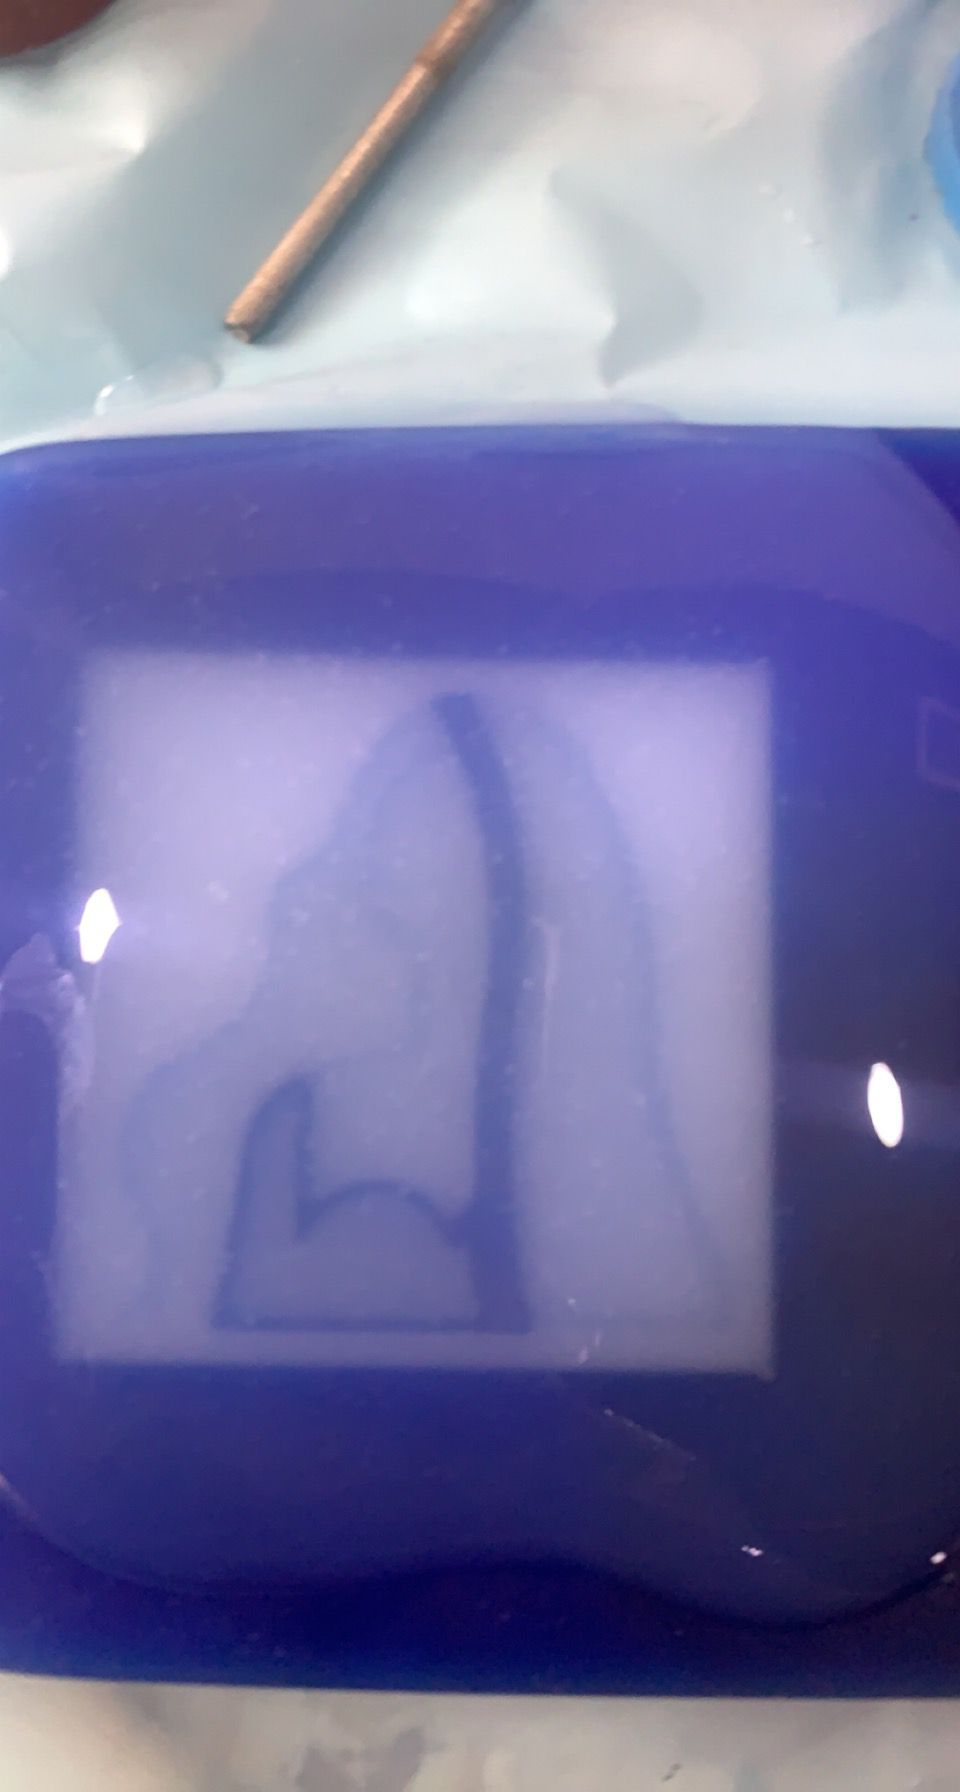
starting of making the mold need a design and for my design i design a traditional woman that wear a traditional clothes
in SketchUp
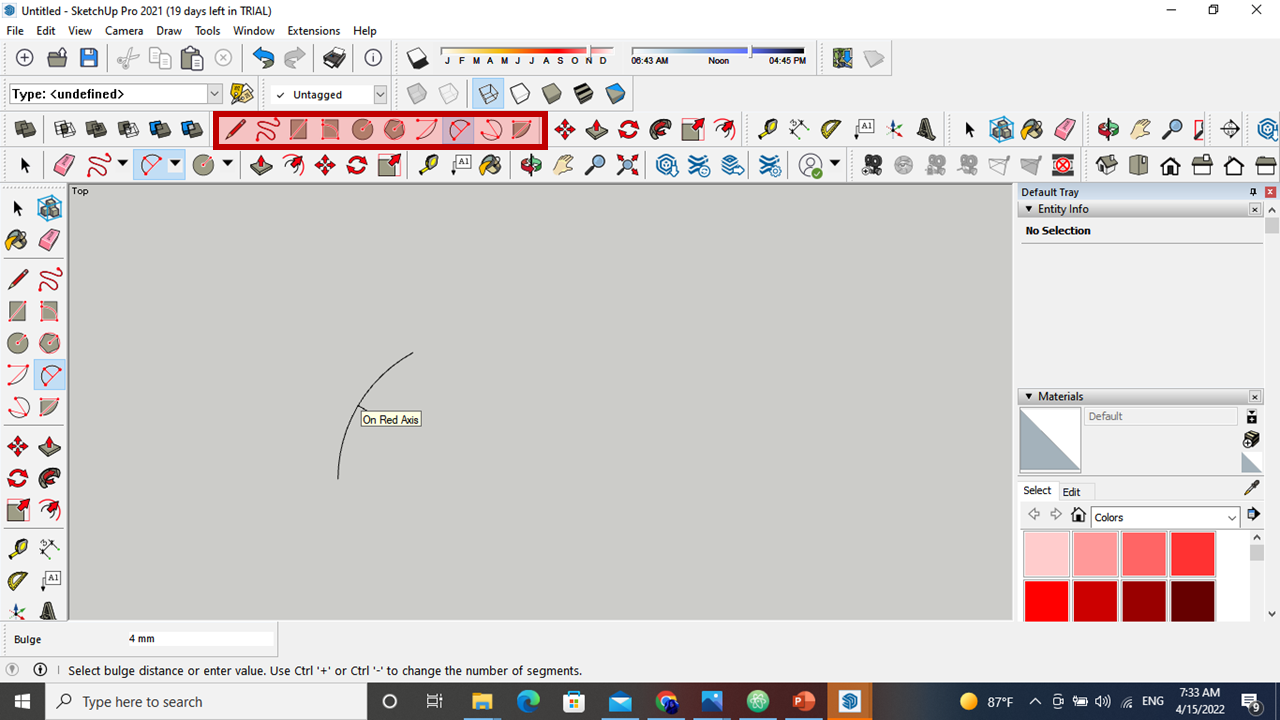 draw the form using the drawing tools that show in the toolbar
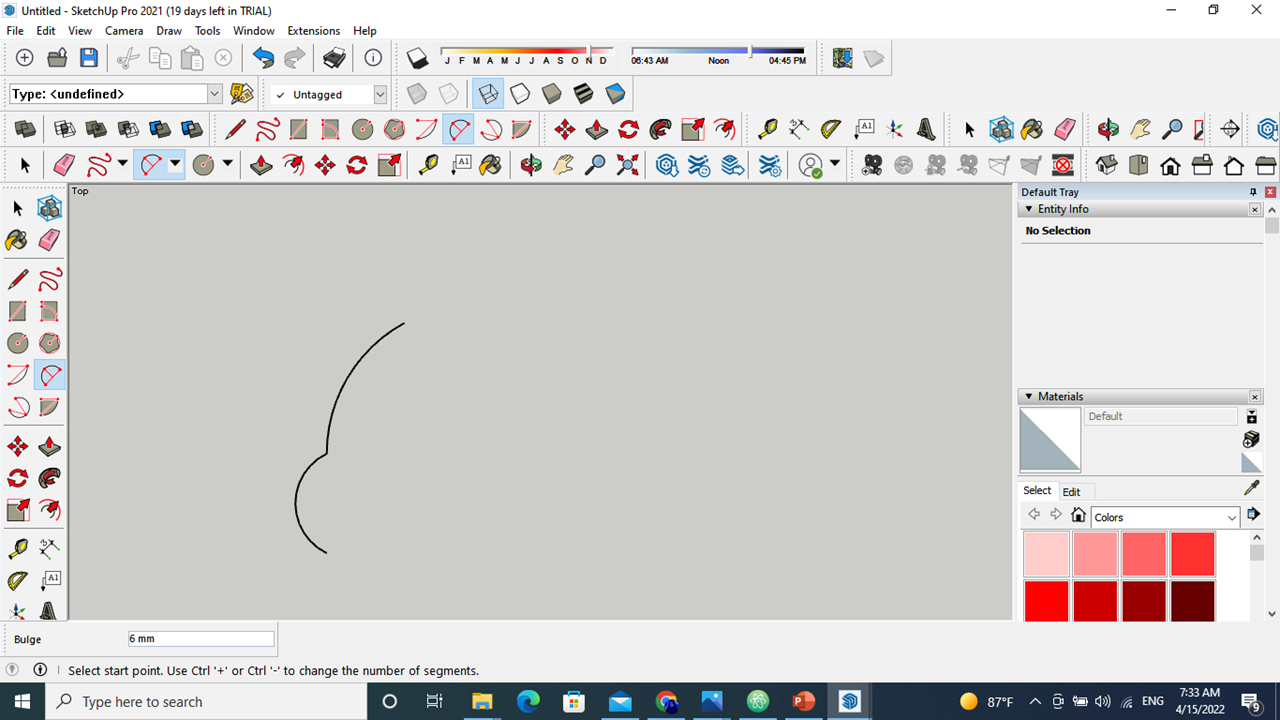

 after finishing the outline drawing
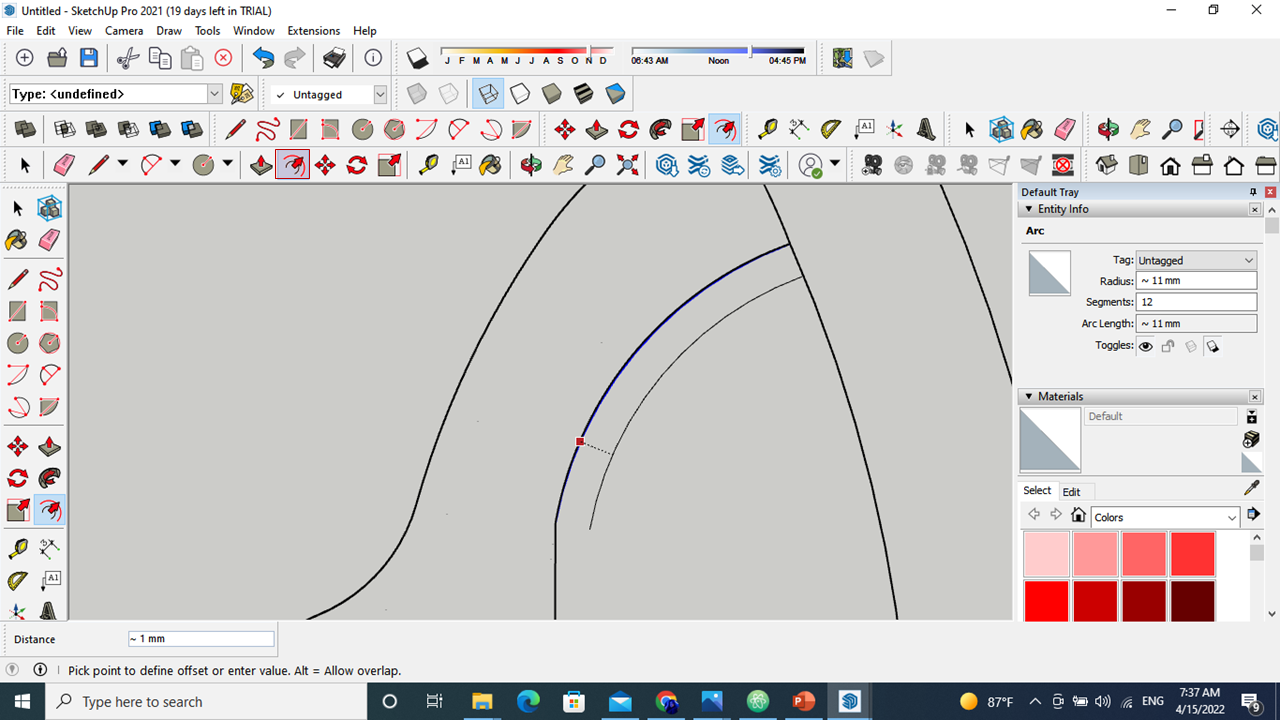 choosing the lines to make an offsite from the line to have a thinness for the form
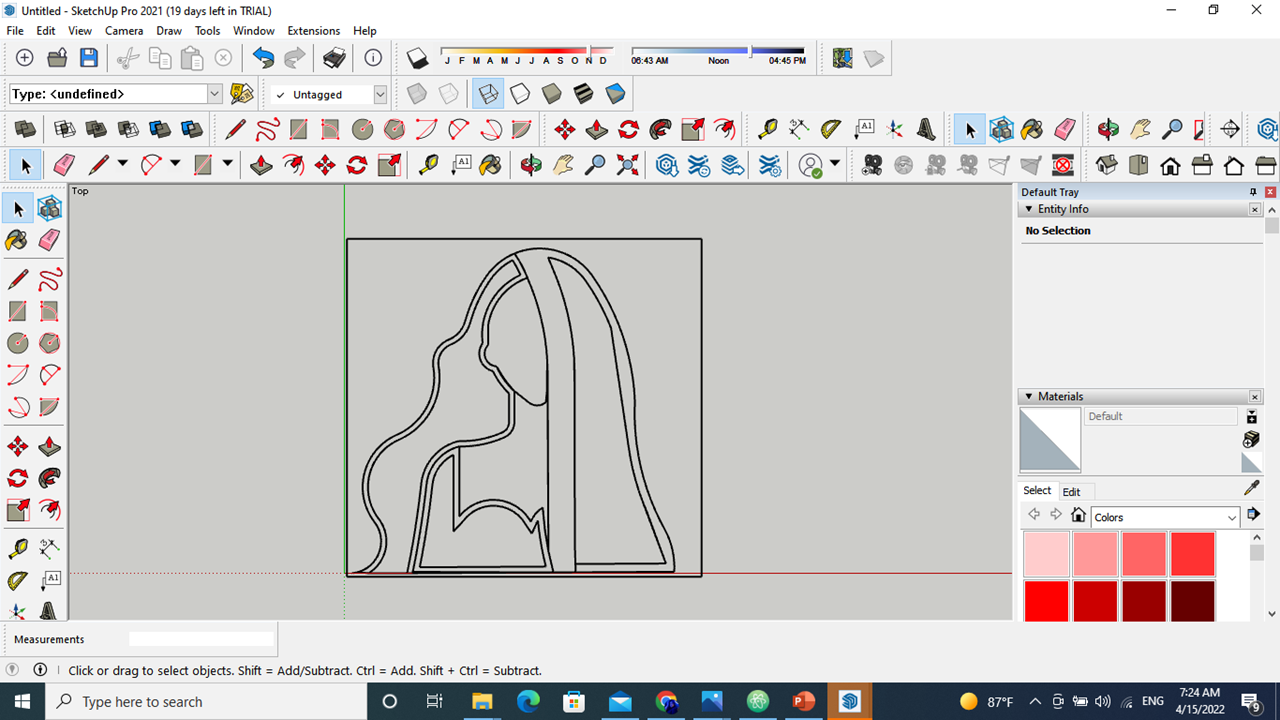 the result
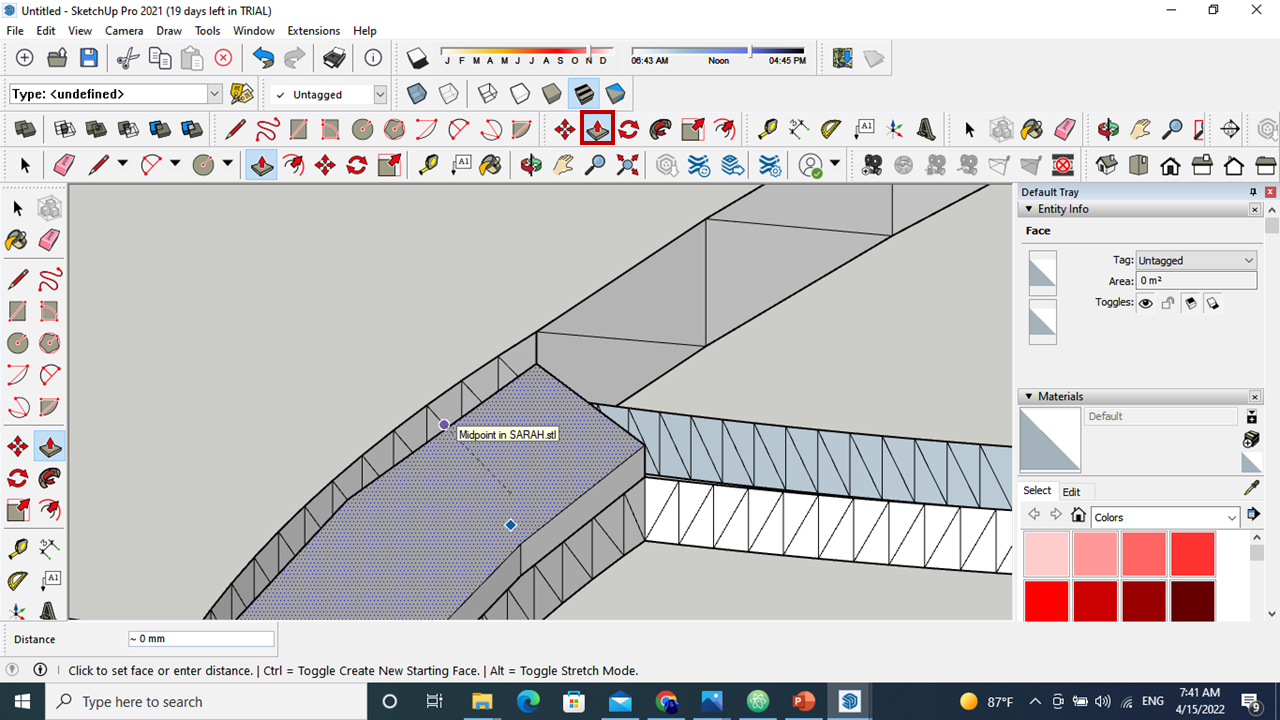 using extrude to extrude the parts to have a deferent Hight in the mold and casting
and save the file in STL file
using extrude to extrude the parts to have a deferent Hight in the mold and casting
and save the file in STL file
 the final result
1
add it in the software that was used to edit the settings of the miling machine before cutting. called (0Robo-Albar)
2
as the settings bar showed in the right side of the program there is some option to sit it first is the dimension of our models in the following settings
 3
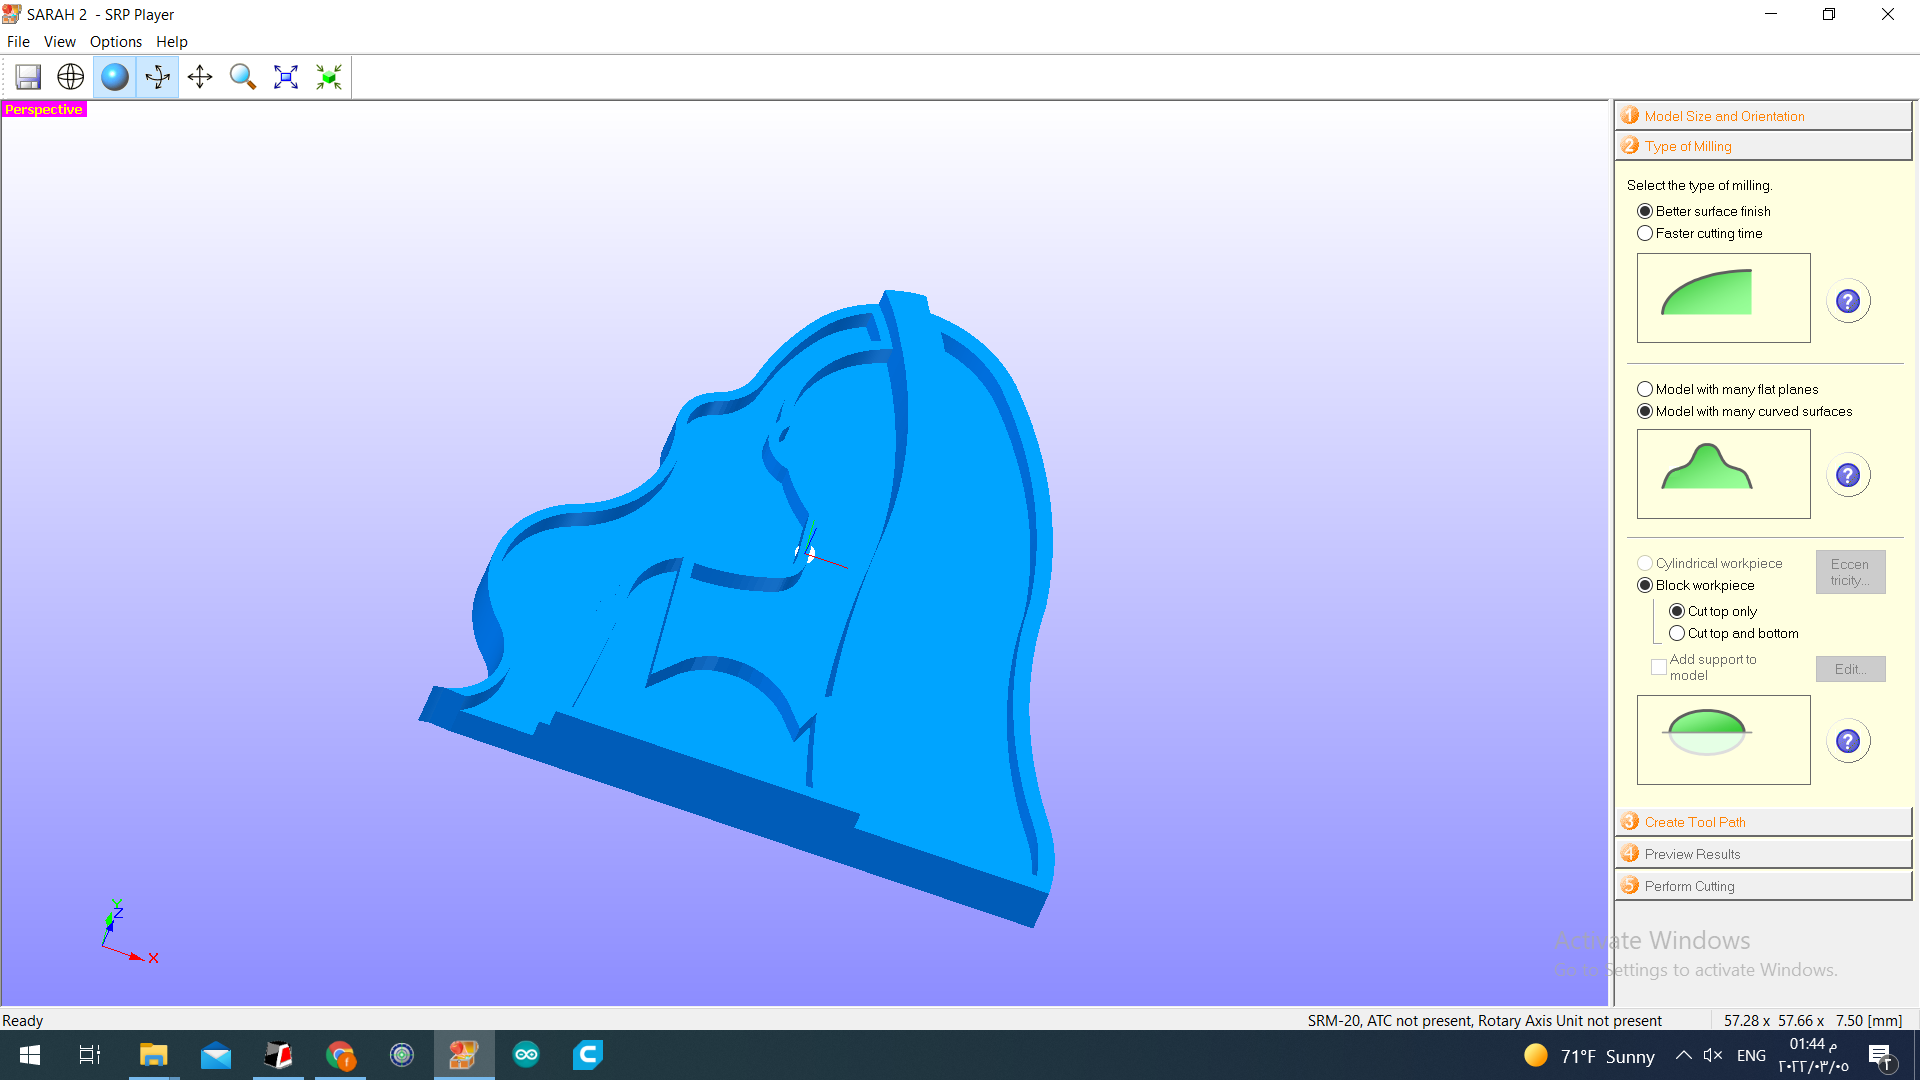
type of milling
selecting butter surface finish
for the edge finishing
and we have a we have a curve finishing we chose the many curve surface
and choosing to cuttings direction that is on the top or bottom
3
type of milling
selecting butter surface finish
for the edge finishing
and we have a we have a curve finishing we chose the many curve surface
and choosing to cuttings direction that is on the top or bottom
 as you can see on the deferent finishing
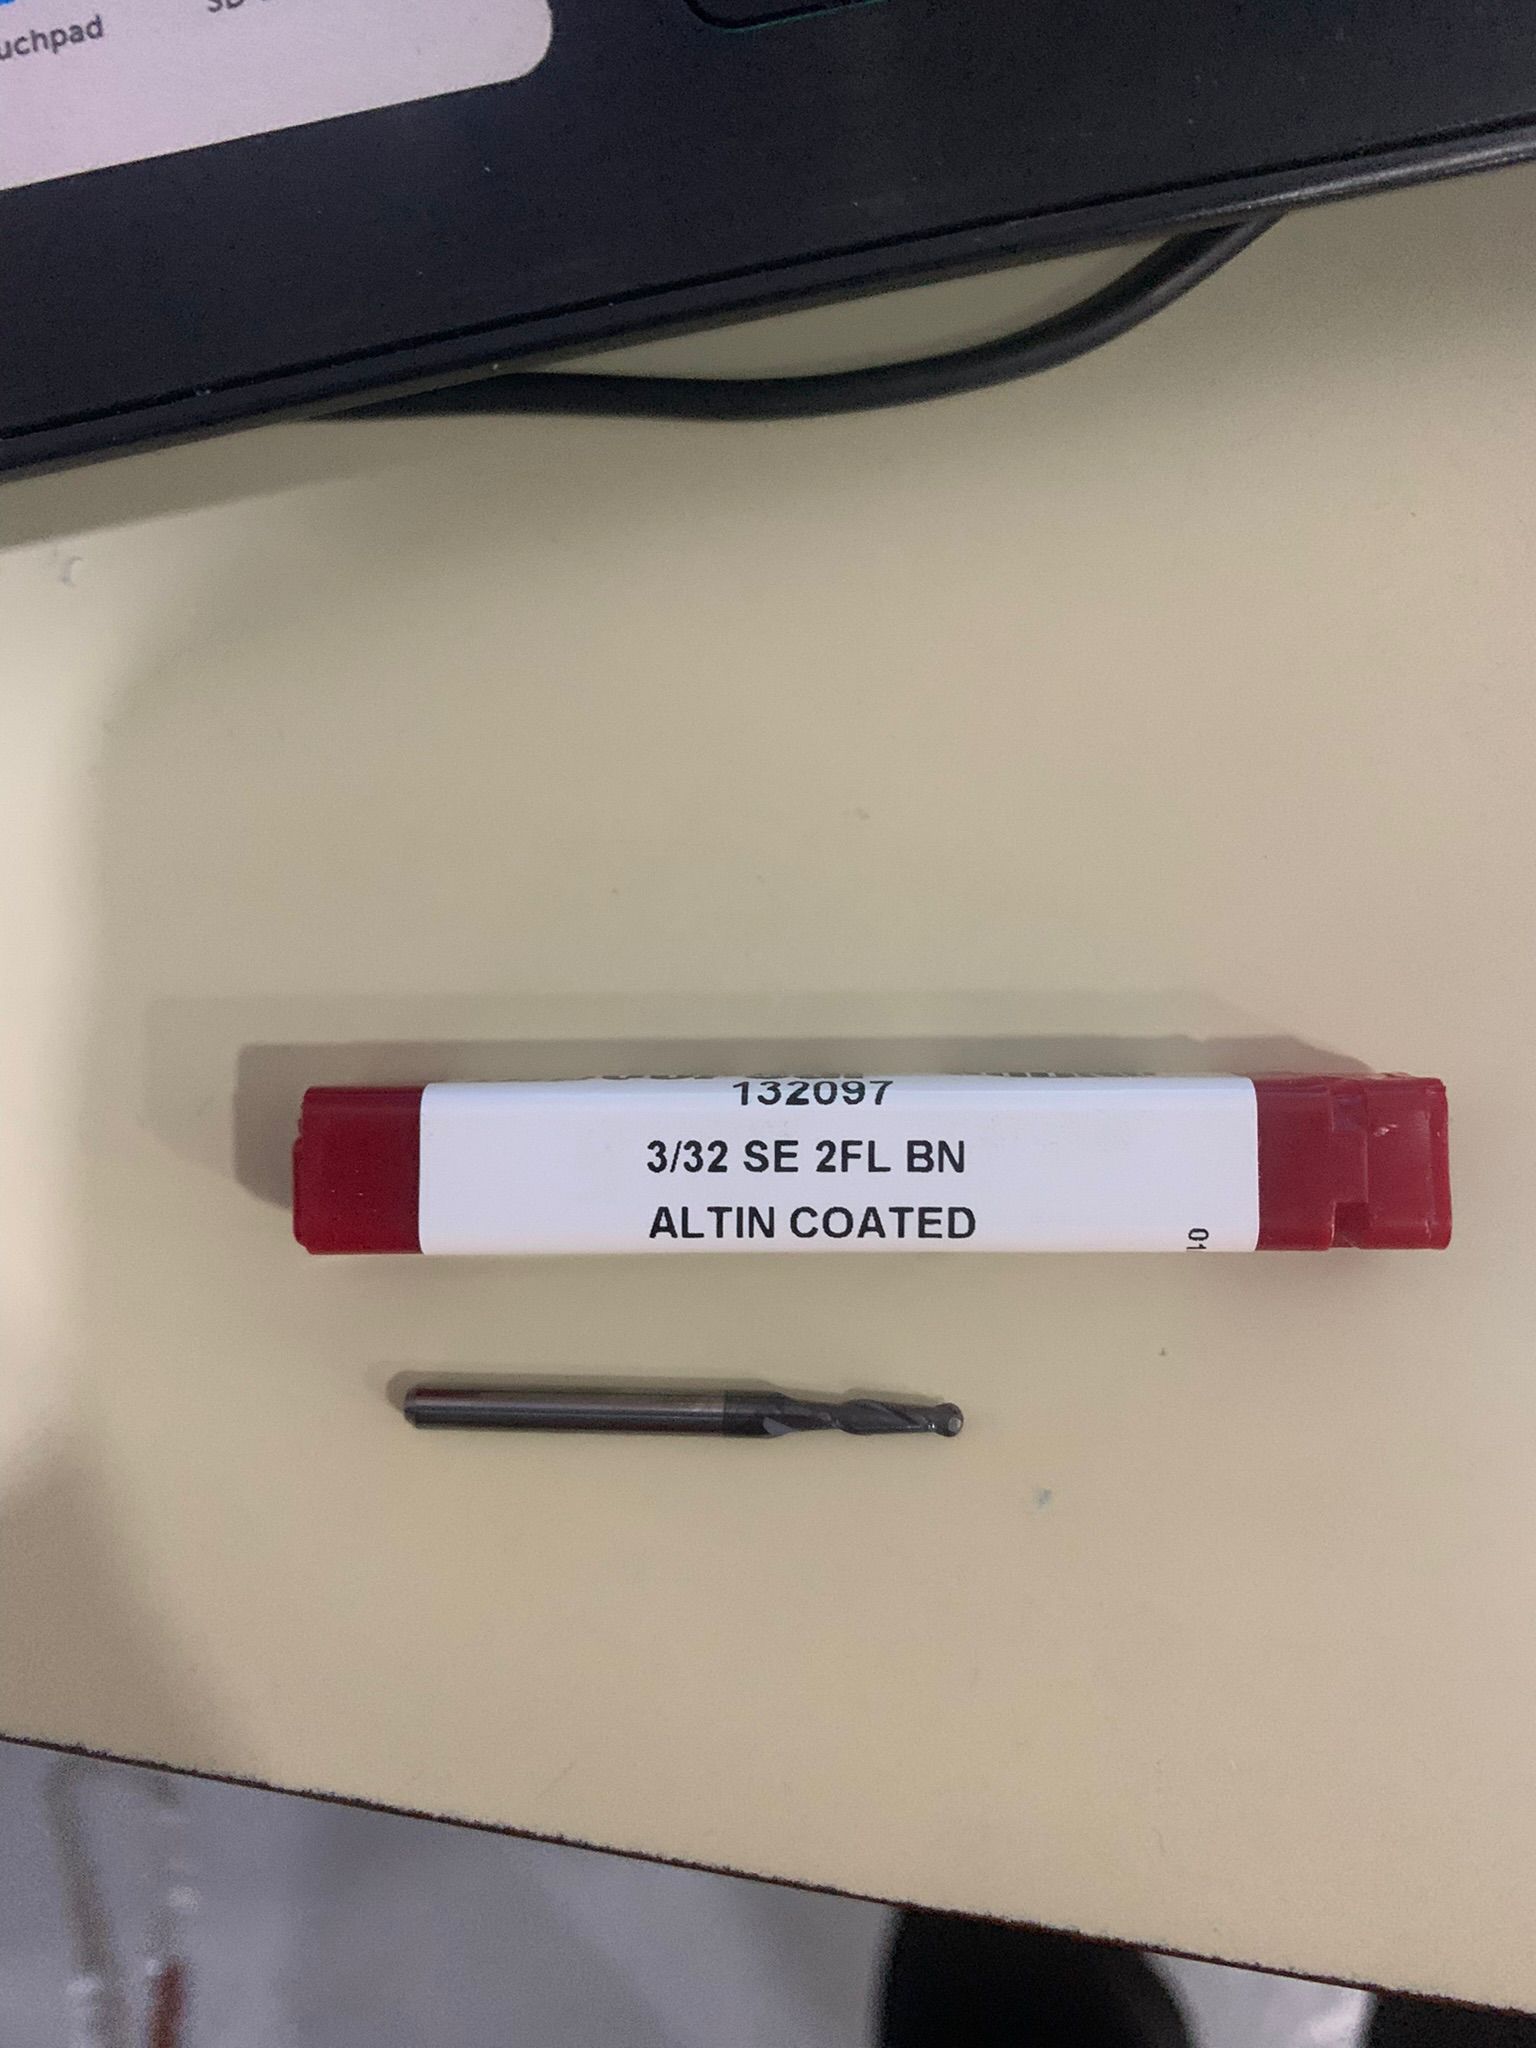
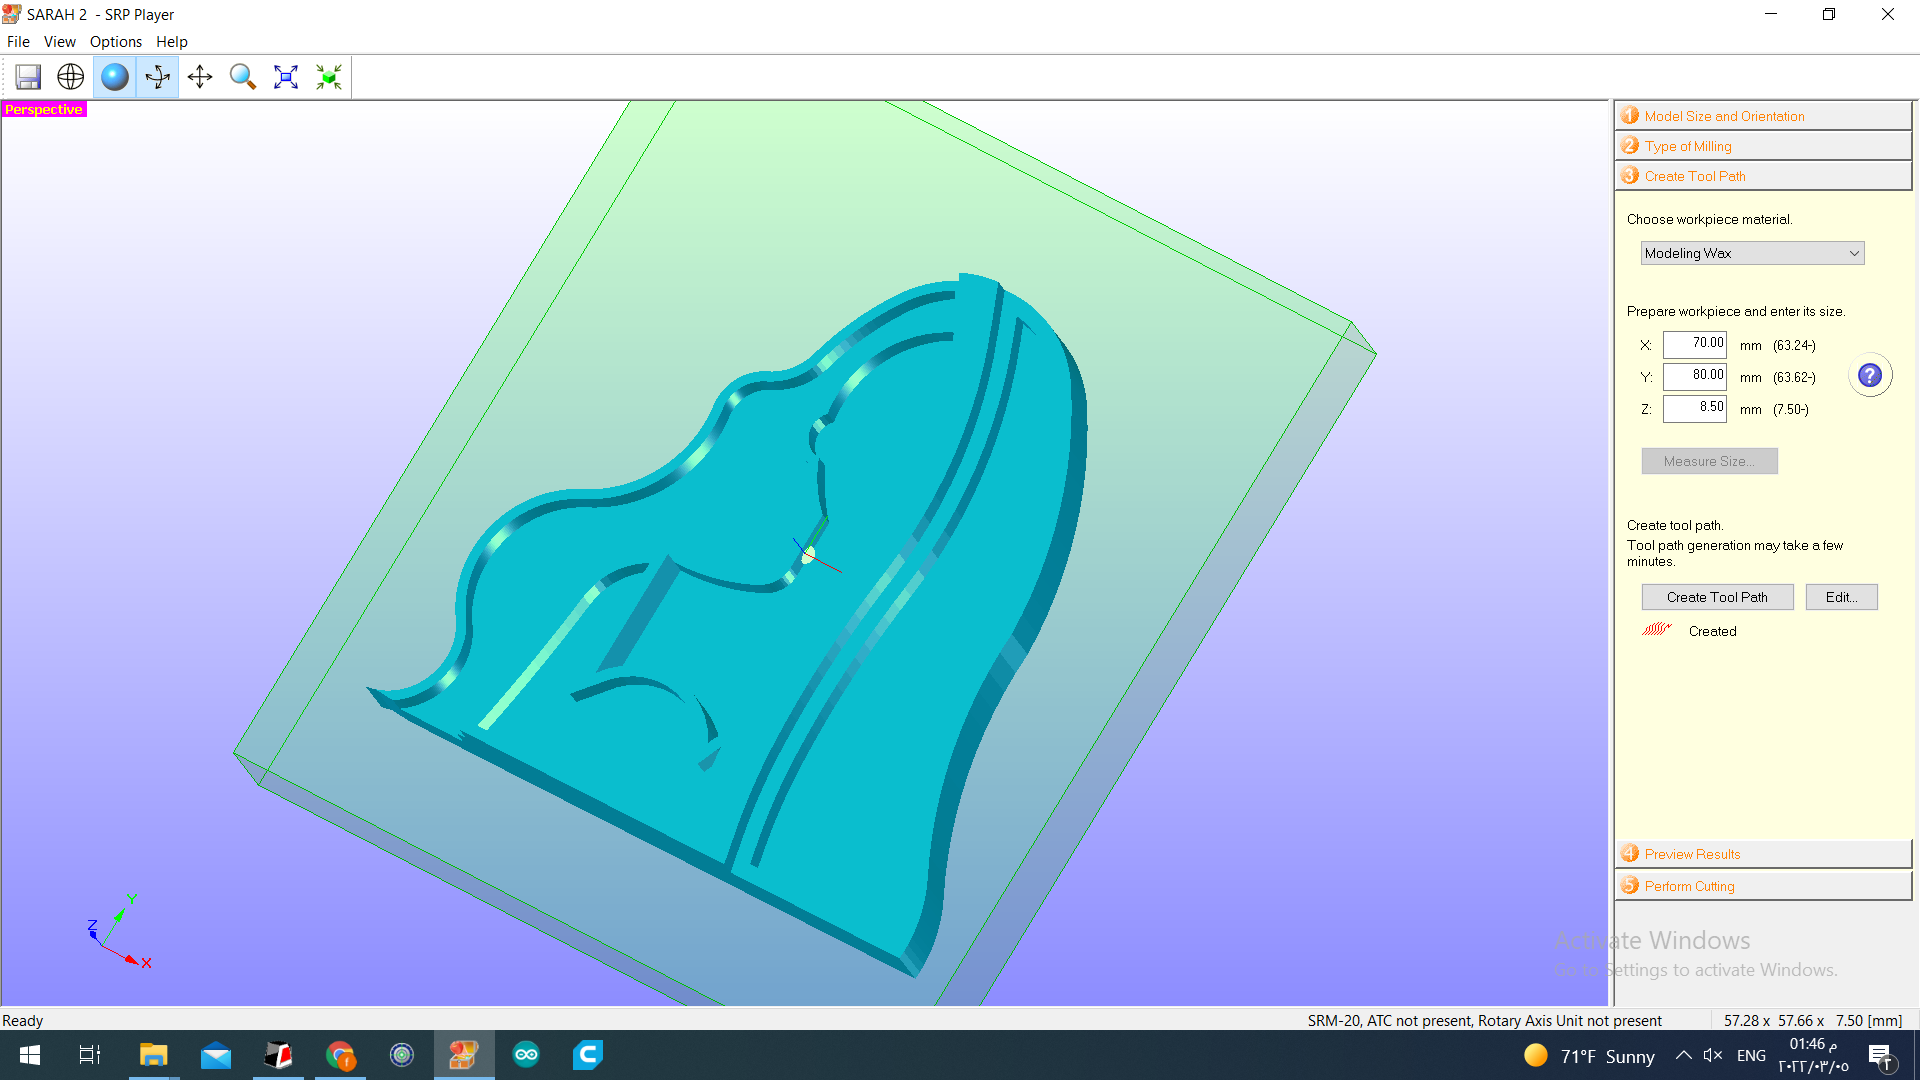 choosing the material type that we will be used which is the wax
 the material that used
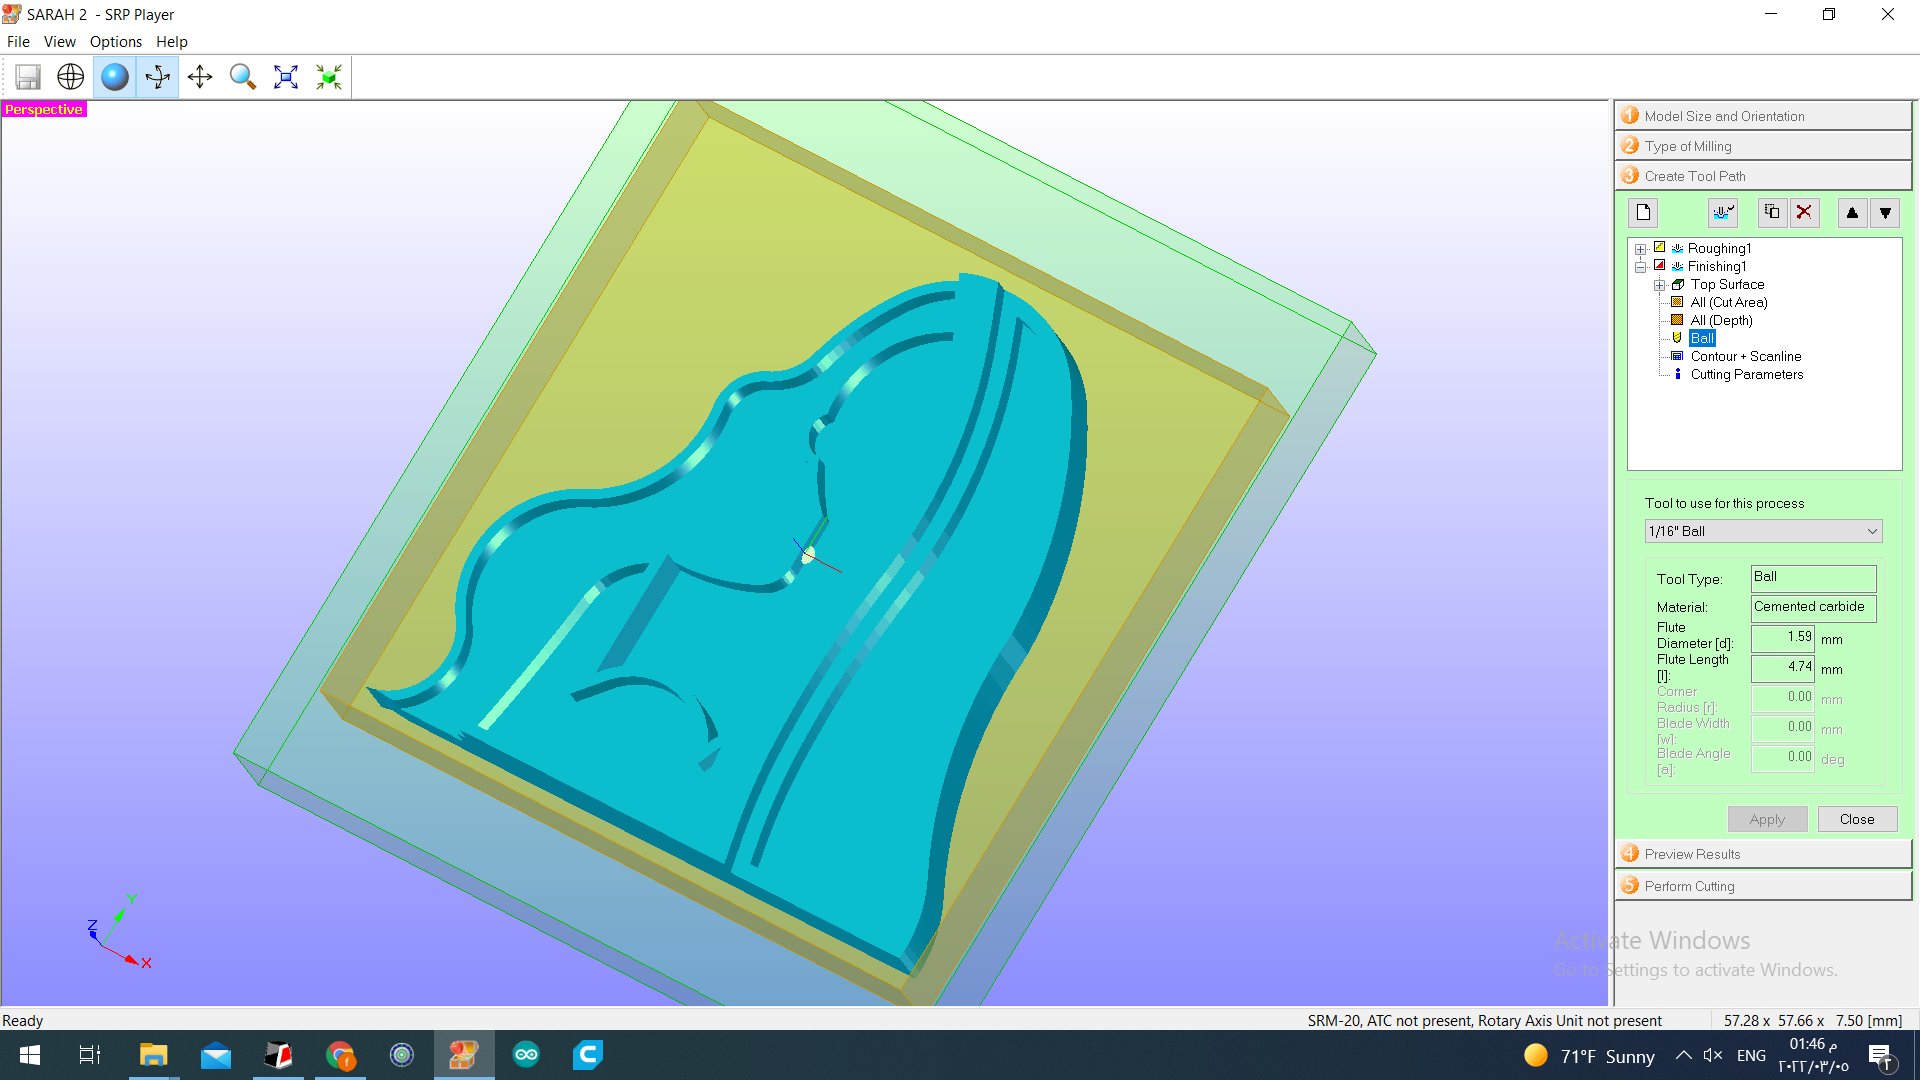 the toolpaths sitting is about the balling like the speed of the balling and the ball size .
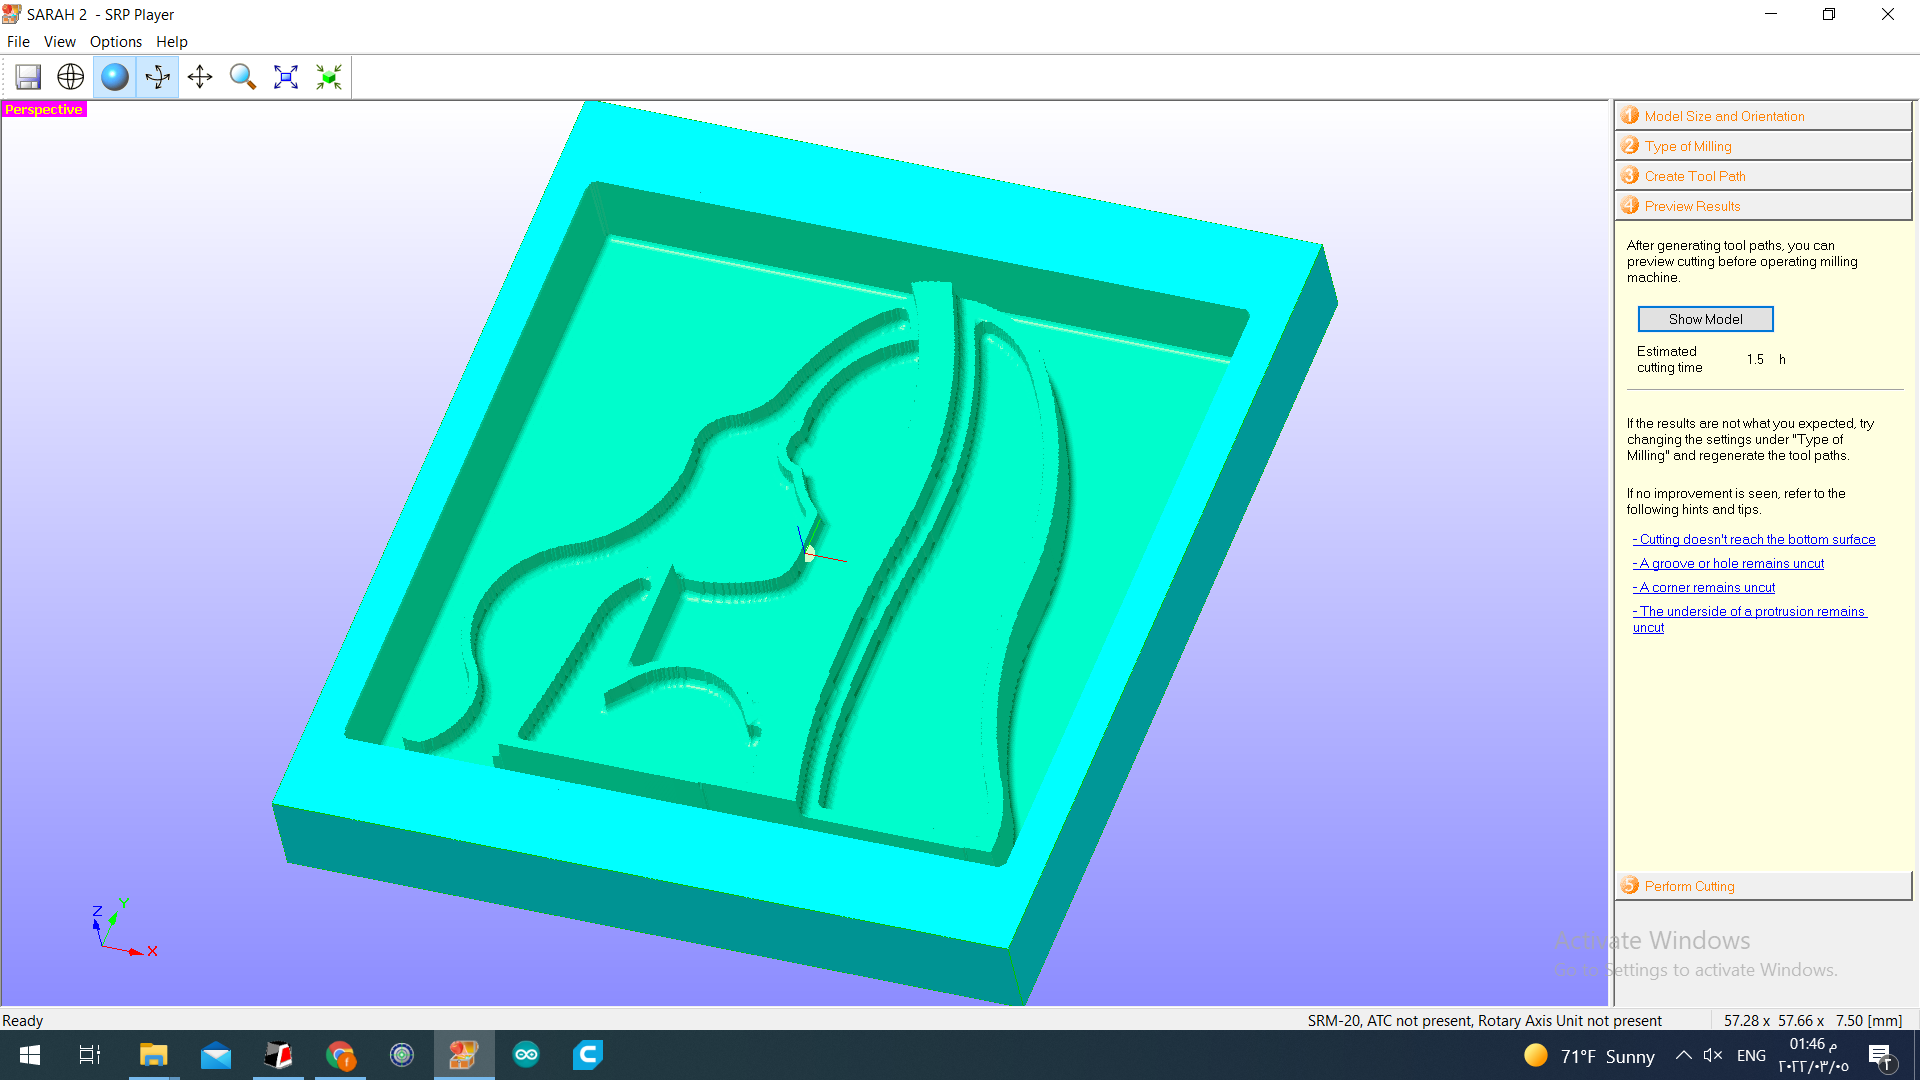 showing the estimation result time for the cut
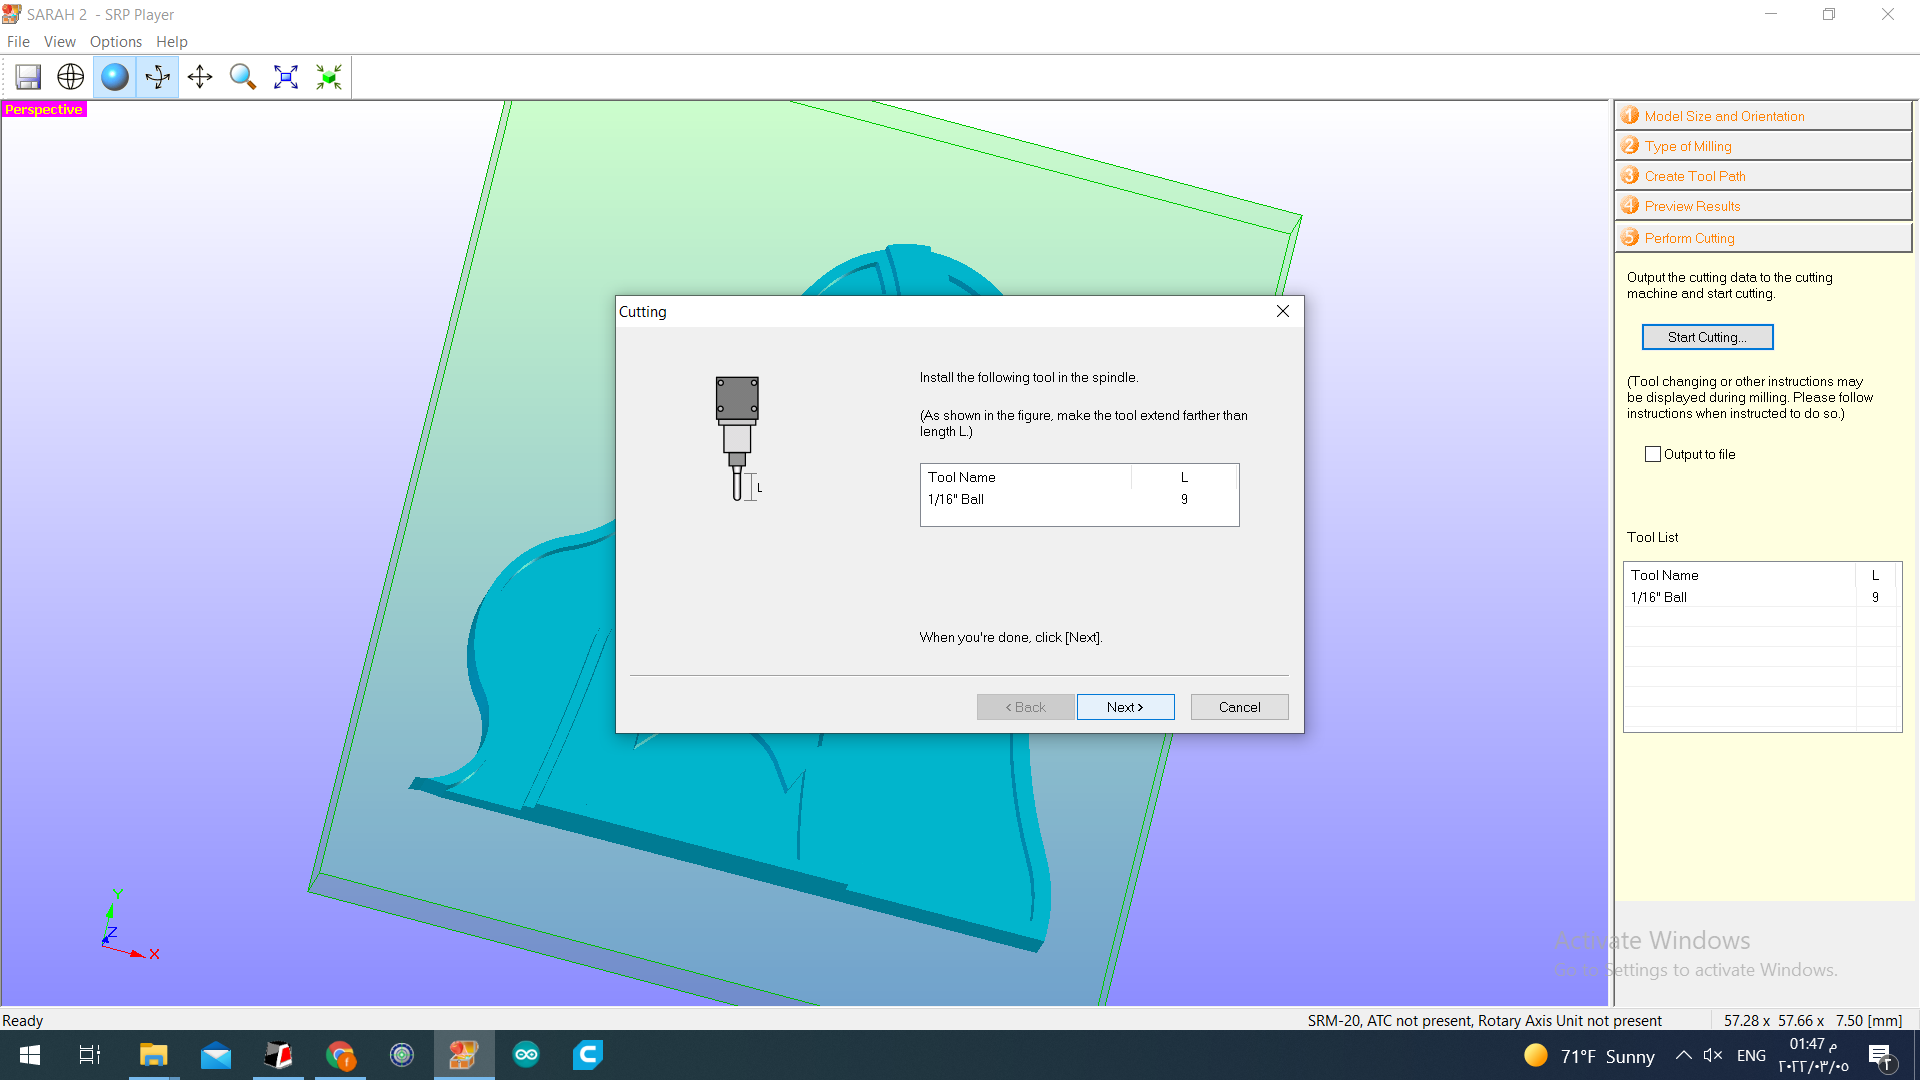 installing the balling
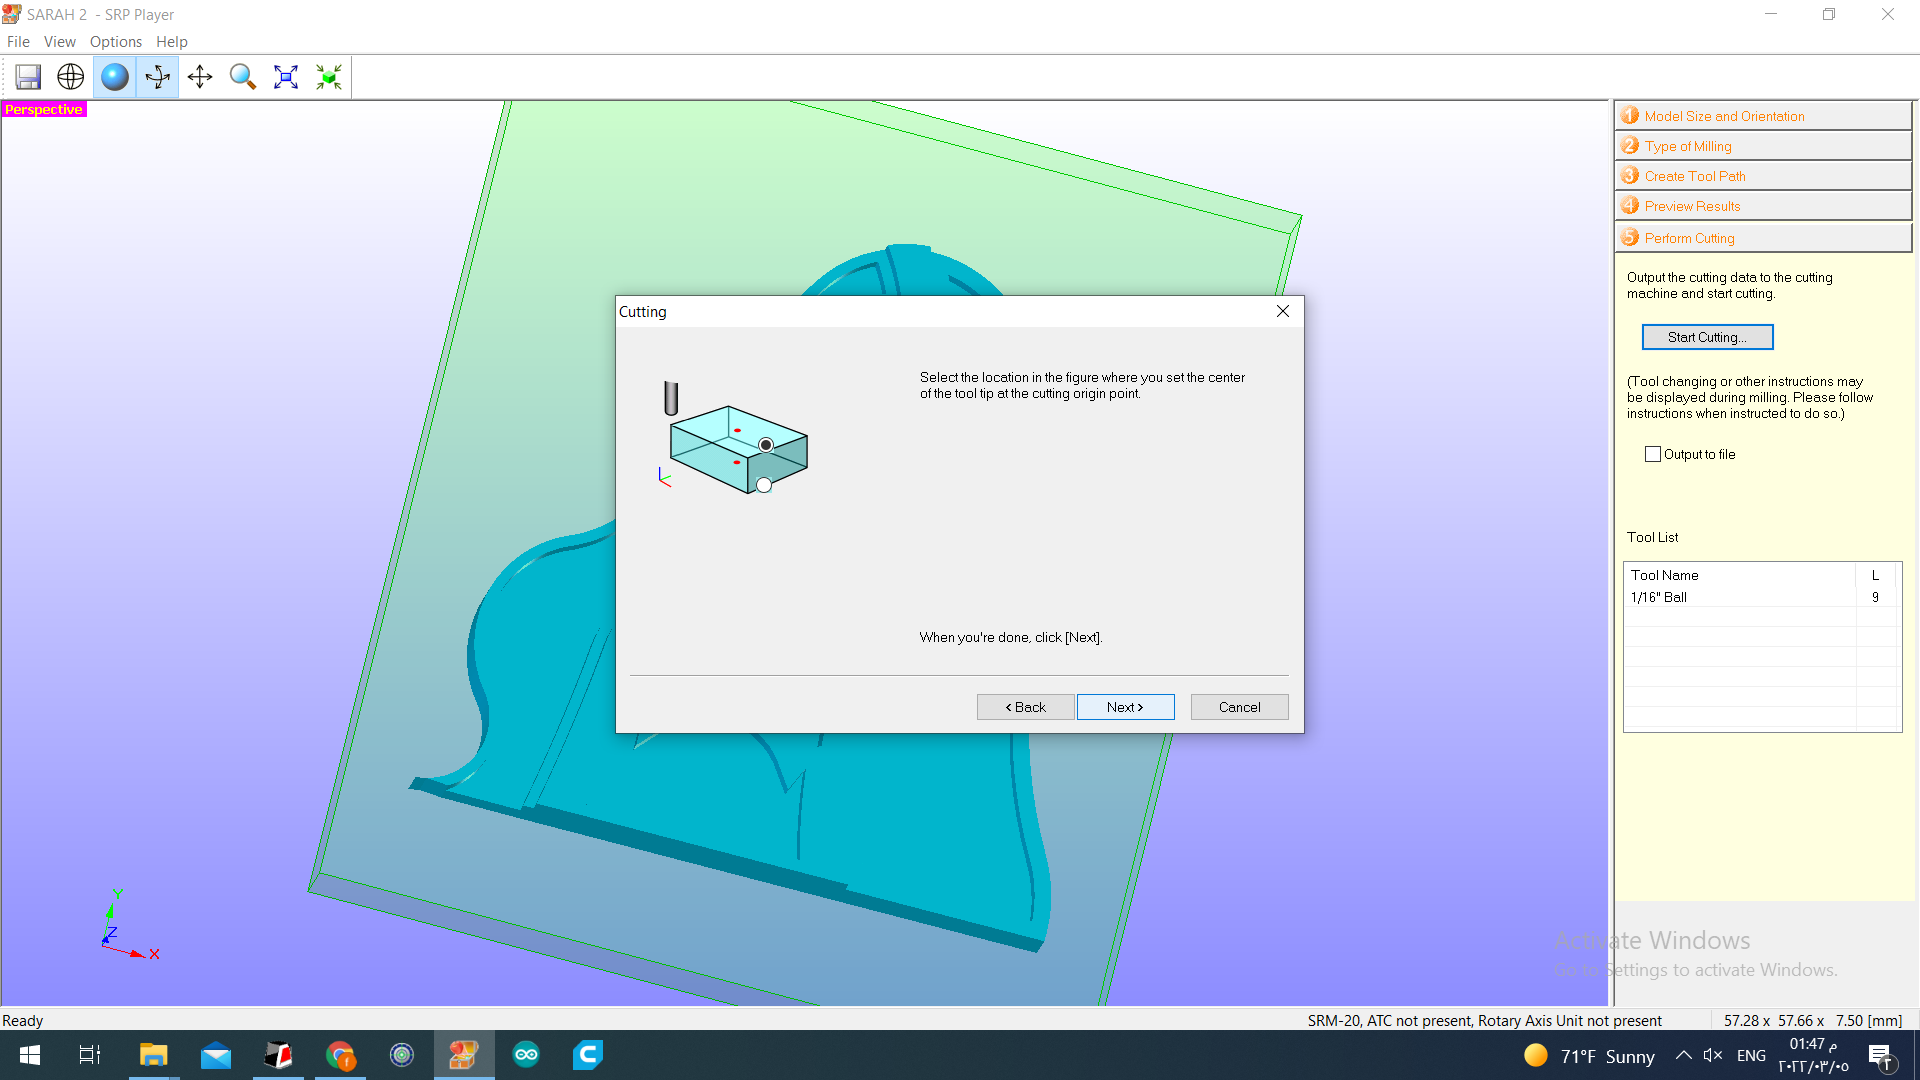 selecting the location of the center of the tool tip at the cutting origin point
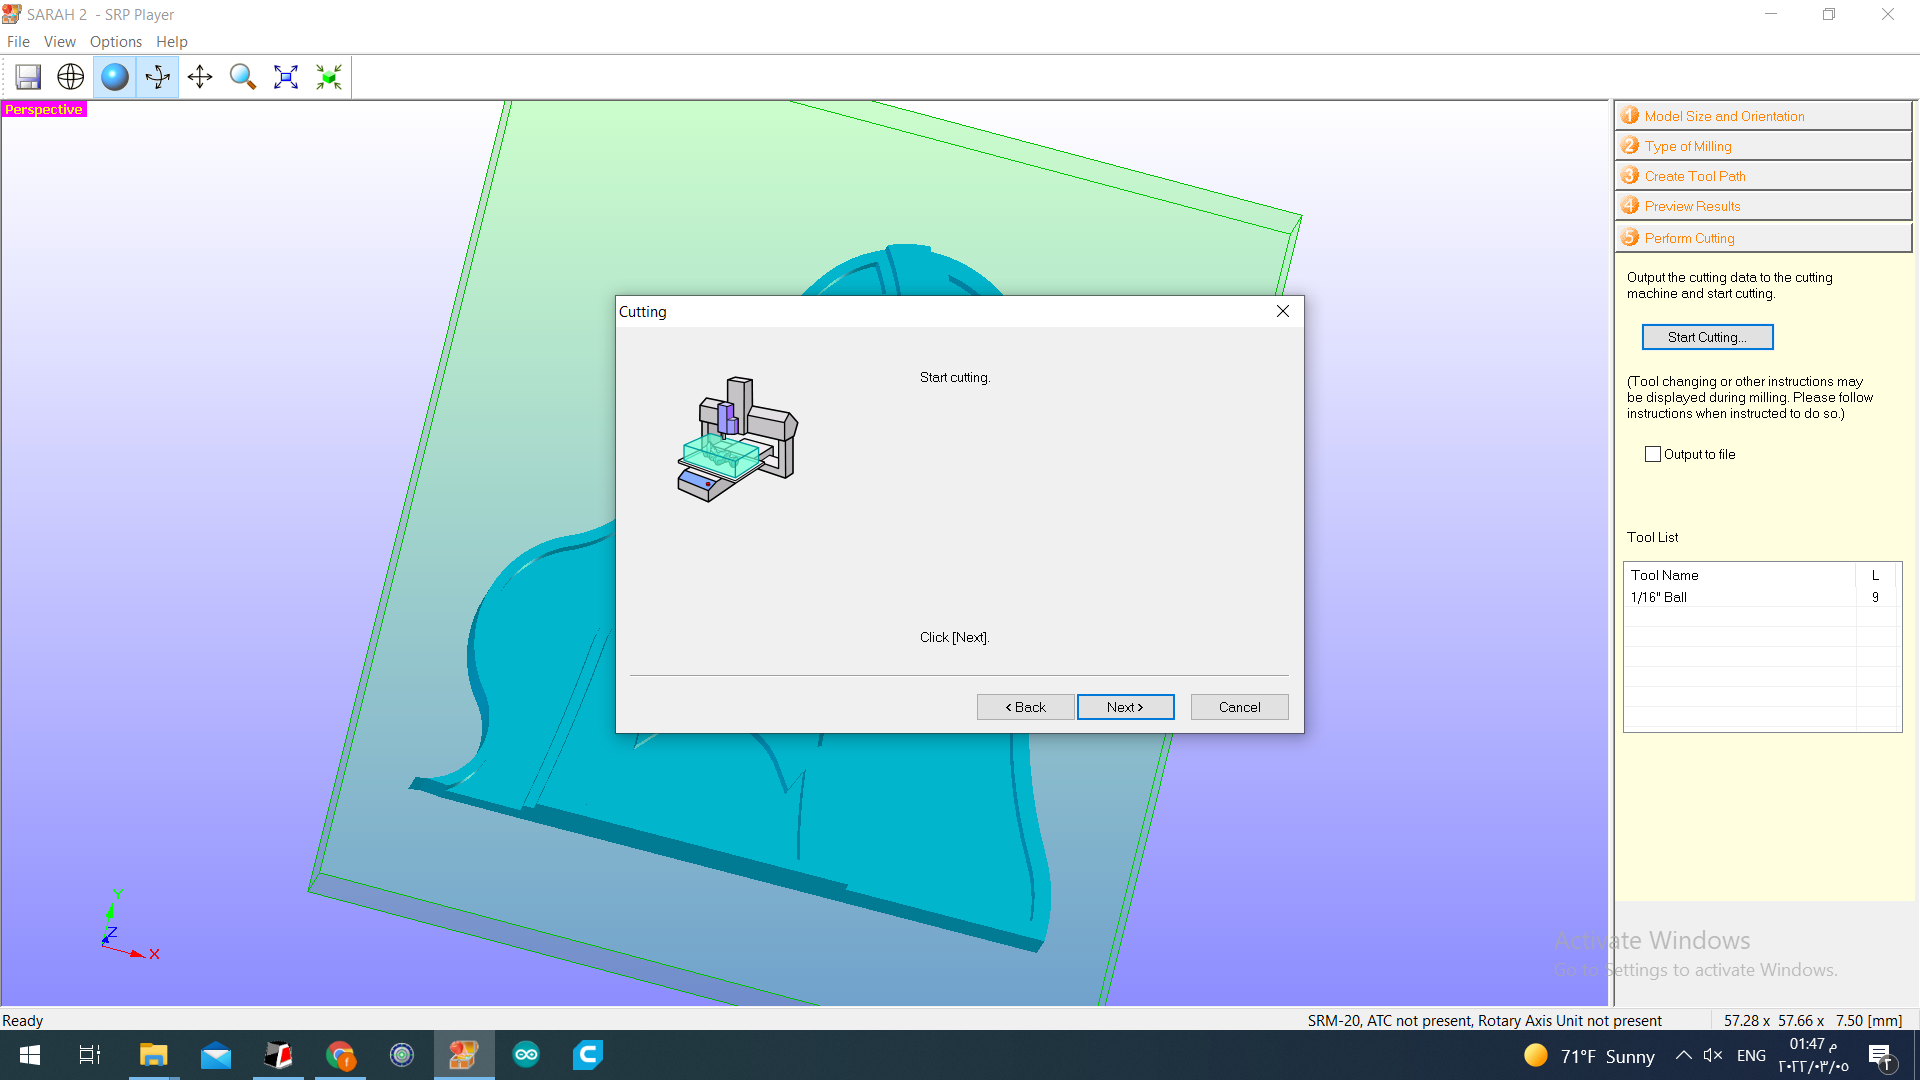 and start cutting
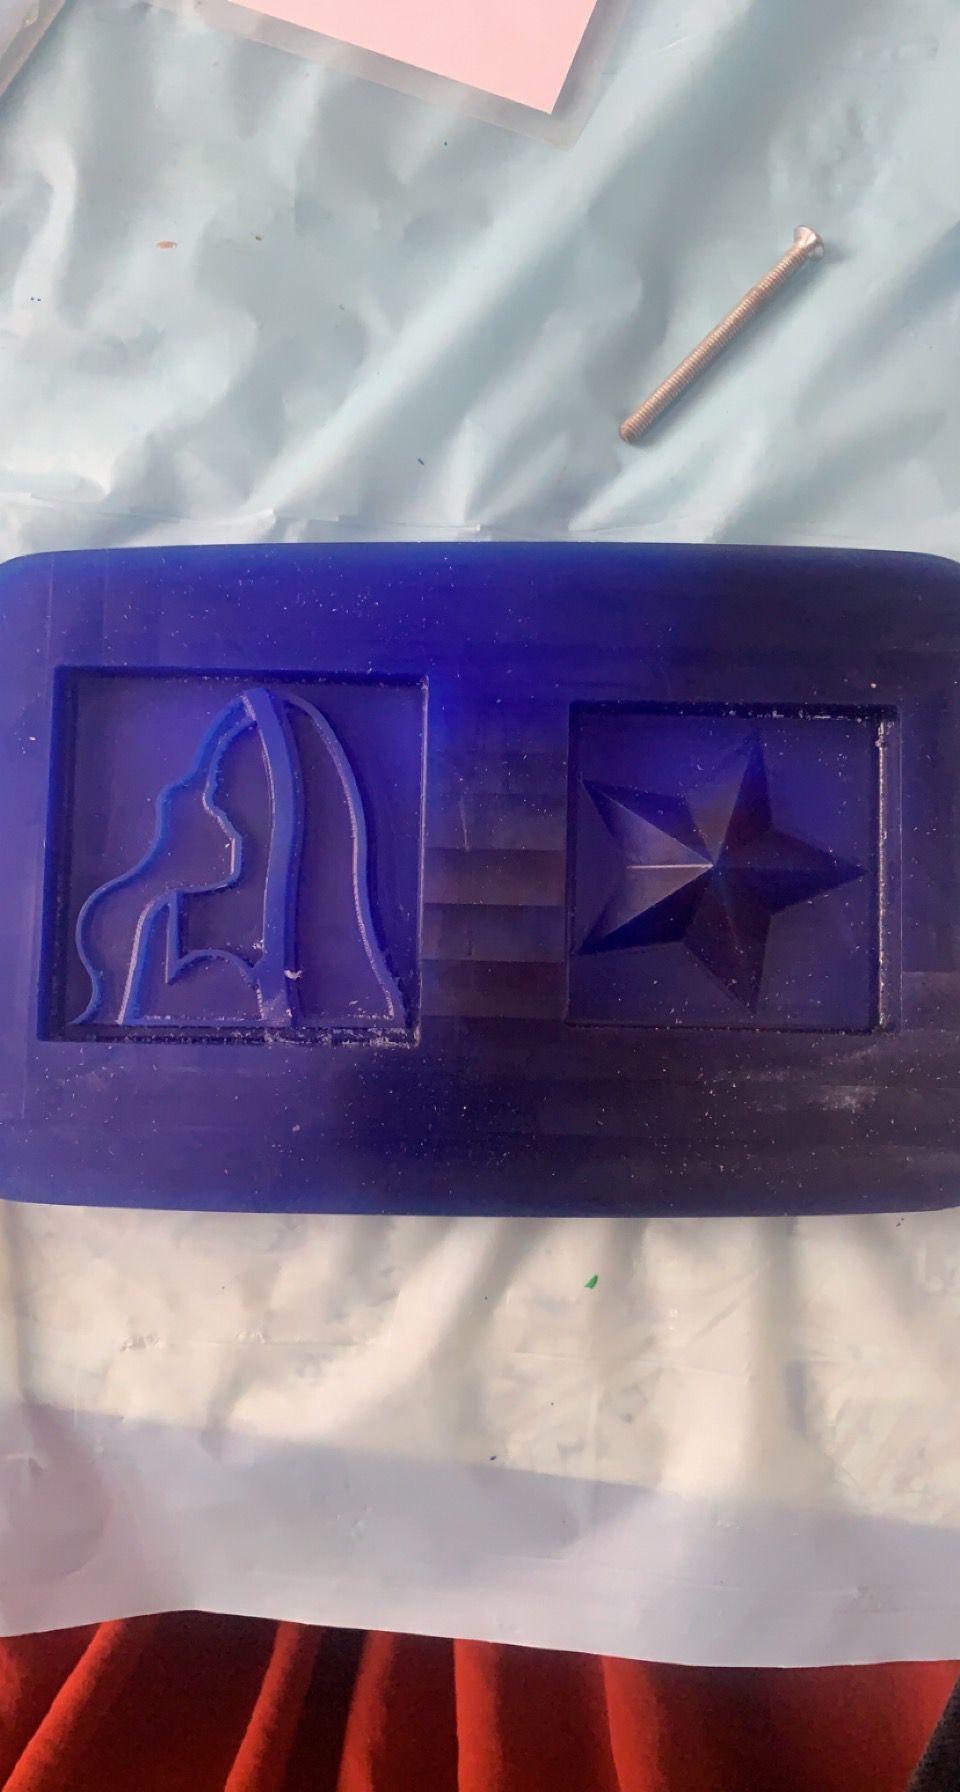
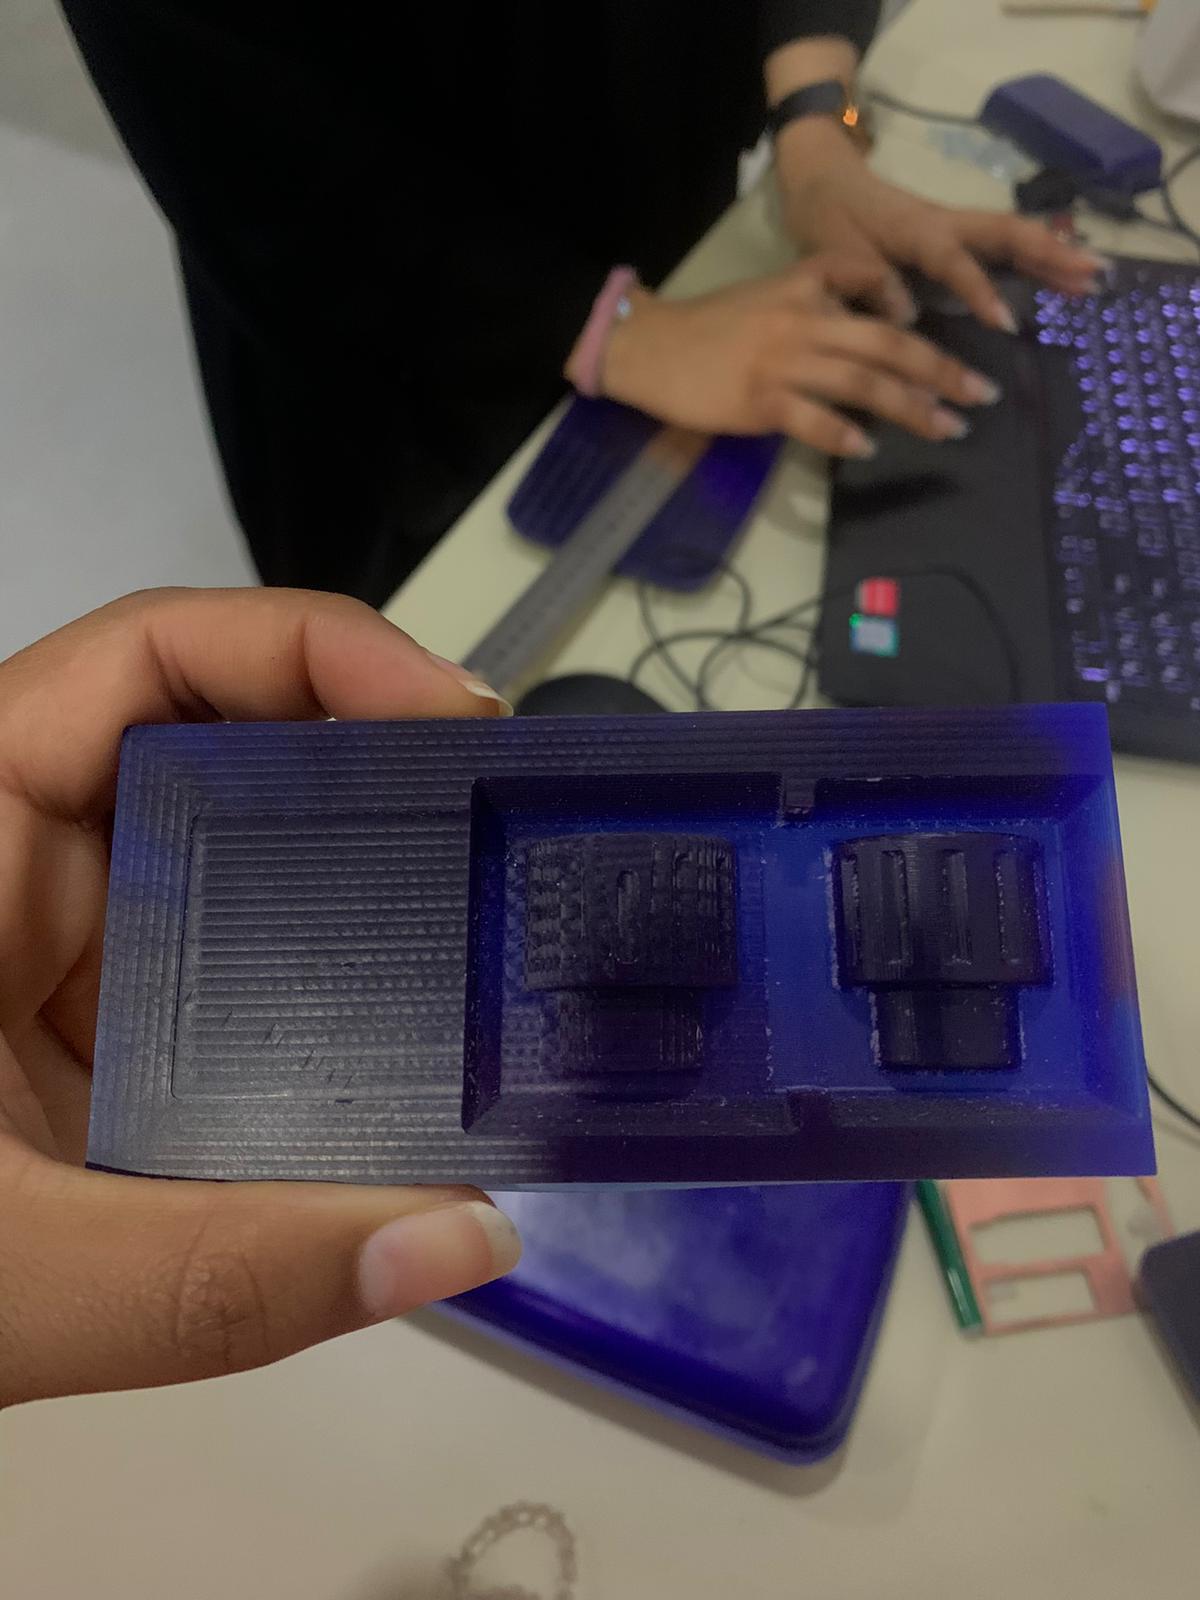
the final result
start with to create the silicon
| about | description |
|---|---|
| cure time | 2h to 10h |
| work time | 15 min |
| mix ratio | 1 to 1 A and B |
| cured material state | fixable |
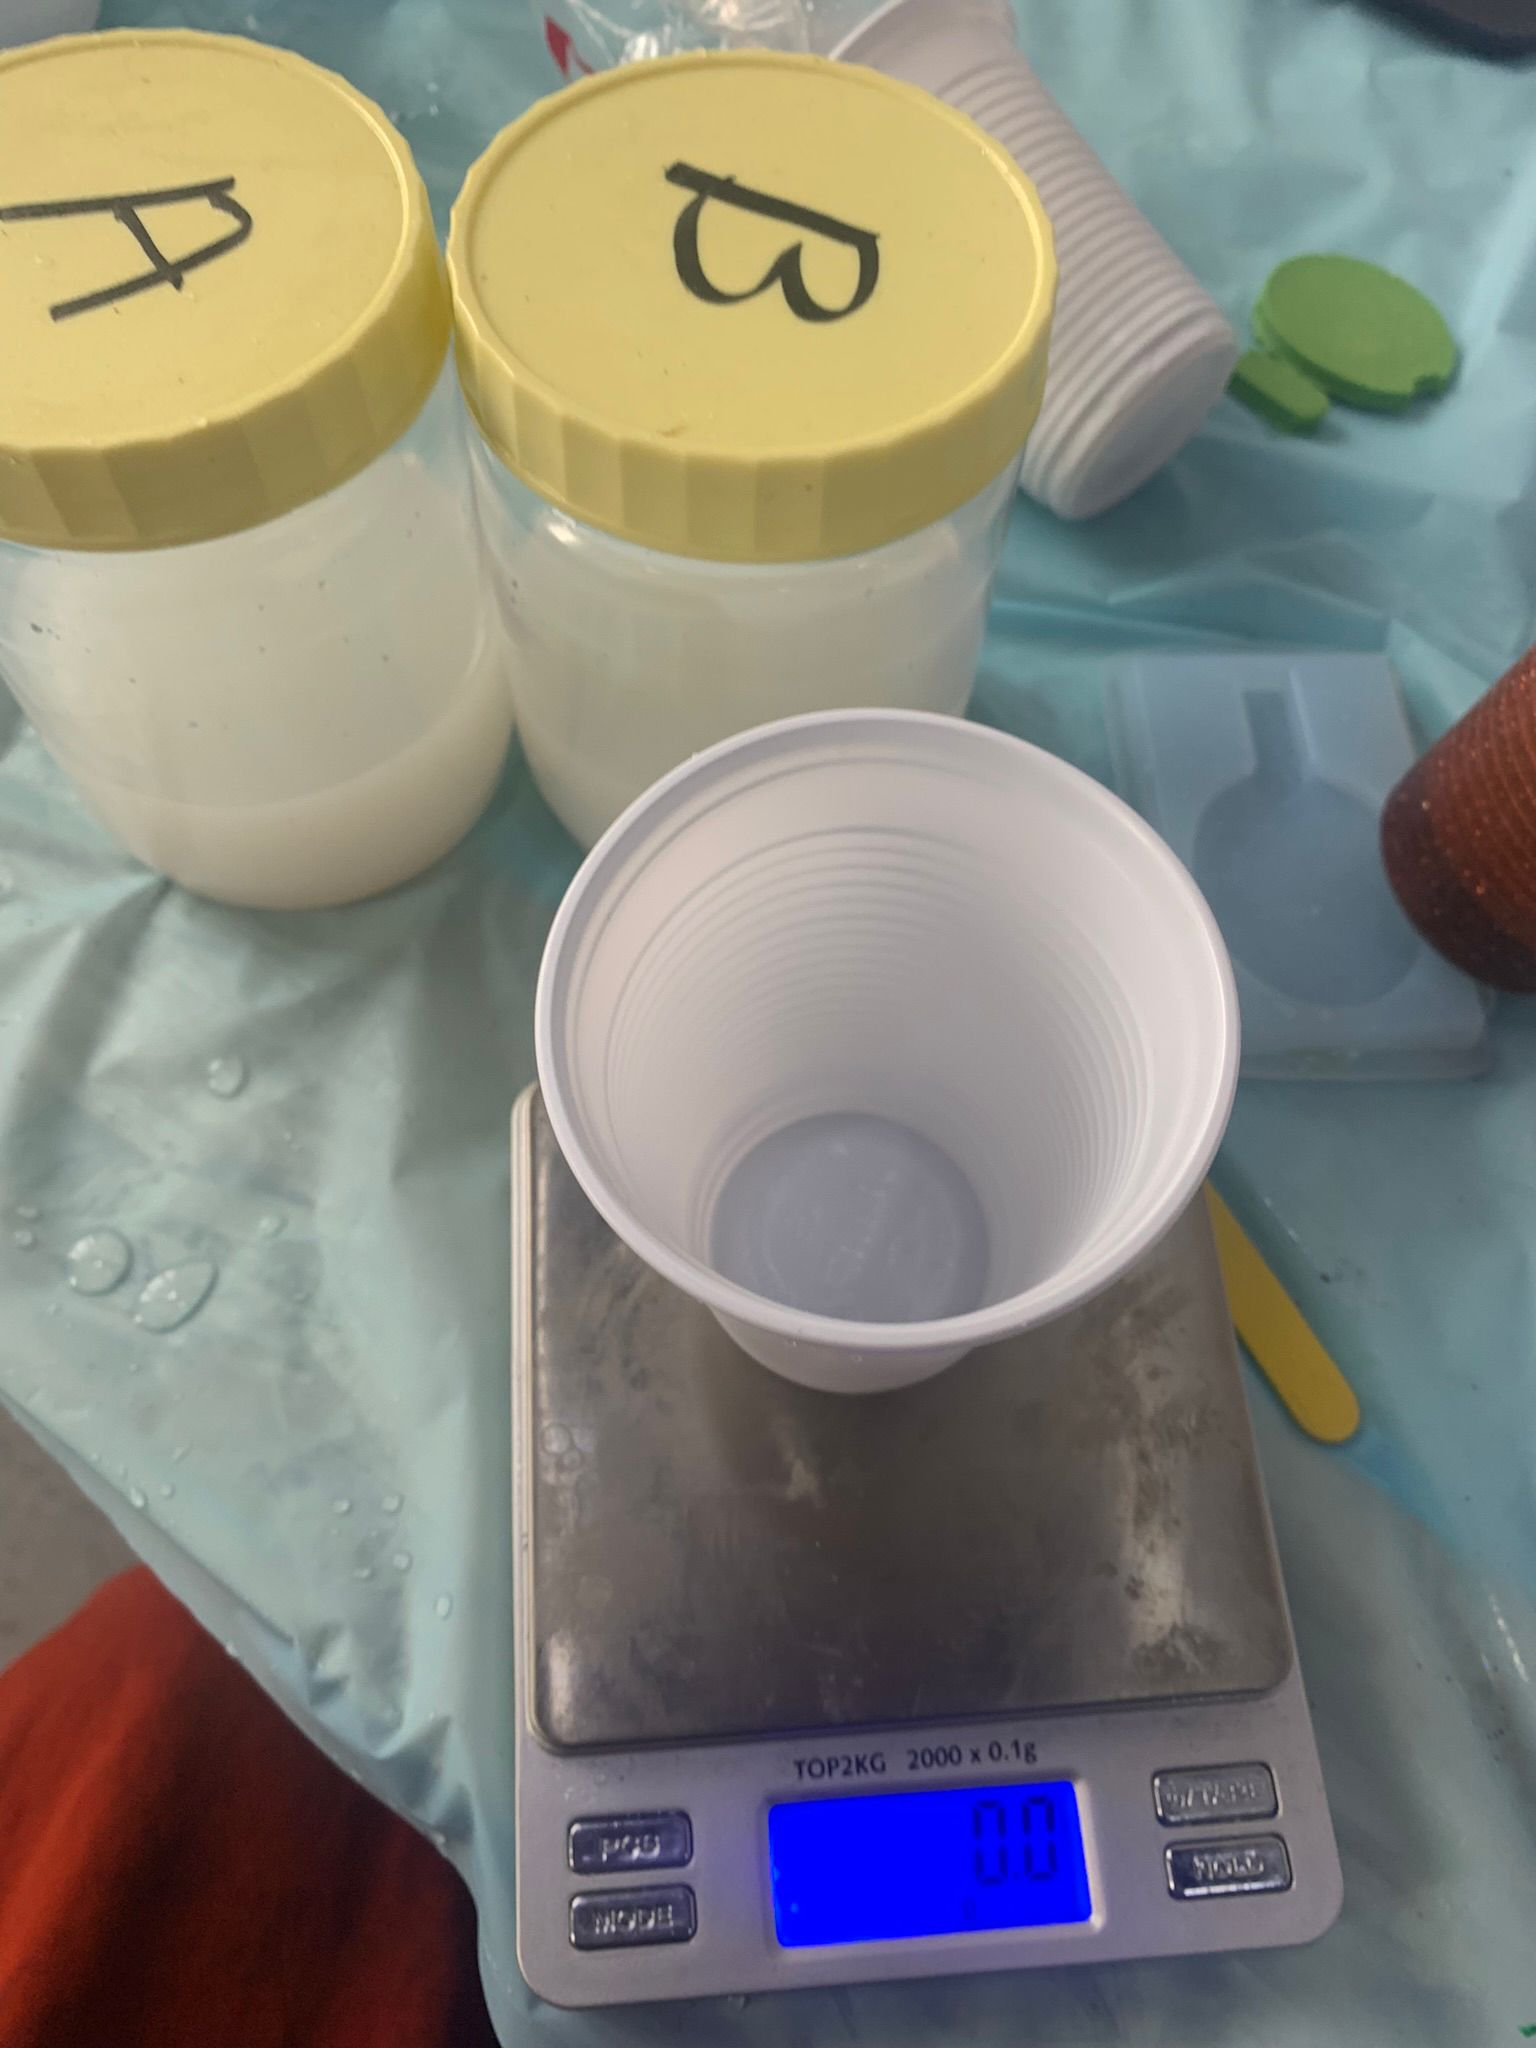
adding 40 gram A and 40 gram B
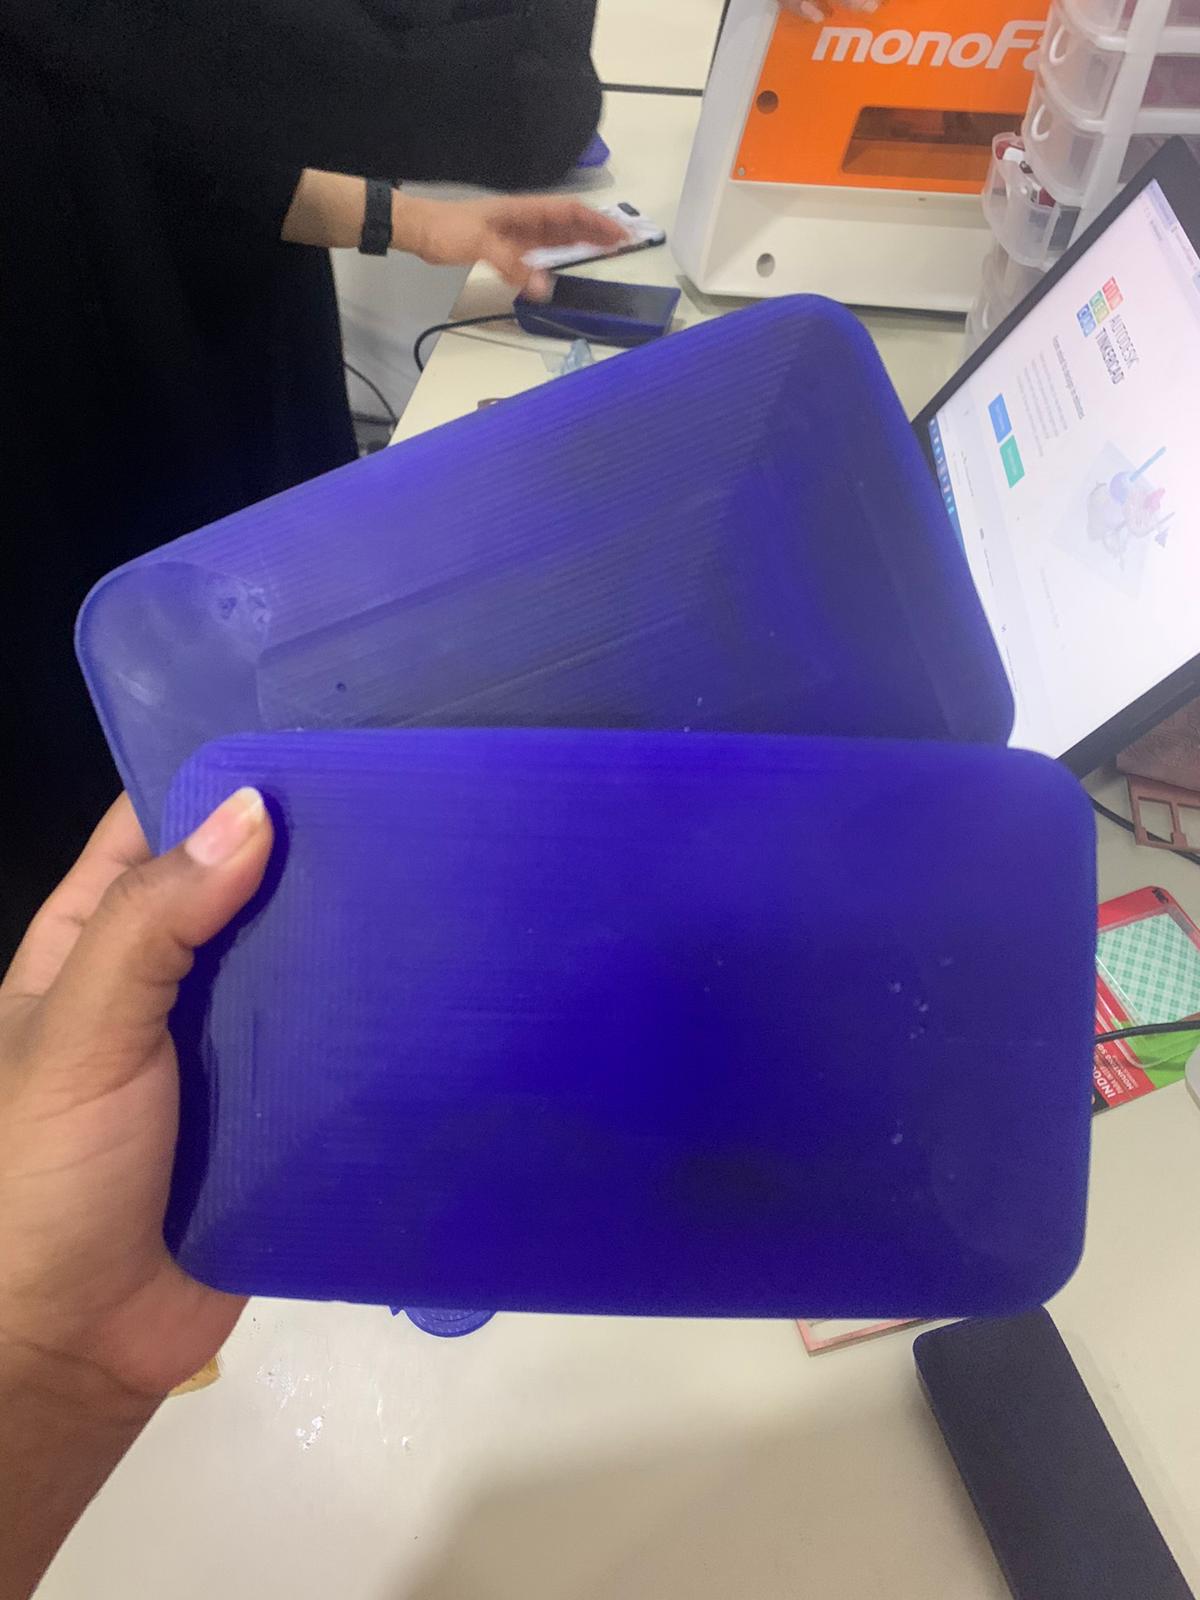
 and pure it on the mold
 after its get dry
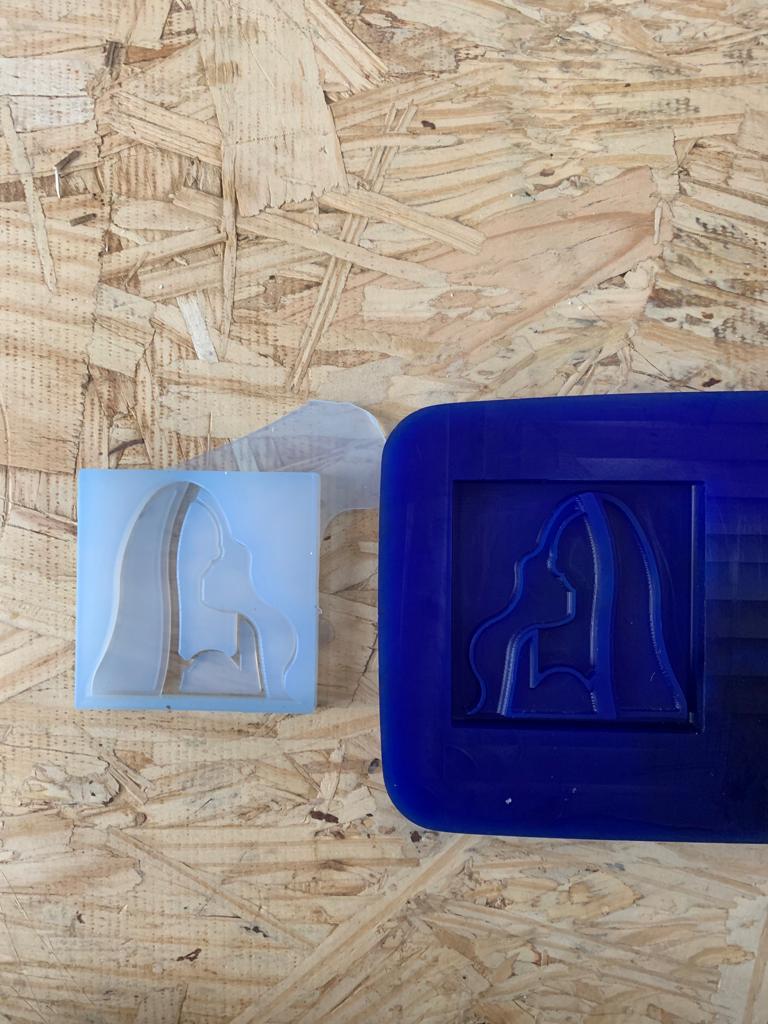 the final result
## casting
using the resin
| about | description |
|---|---|
| cure time | 24h to 72h |
| work time | 15 min |
| mix ratio | 10 gram of resin and 6 gram of hardener |
| cured material state | Solid |
Food Safe after 72hours – full cure Zero VOC odorless / Less Smell Low Viscosity Meets the requirements of the relevant FDA listing and therefore when fully cured ideal to be used in contact with food
material can be using
cup - colors - glitter - weighting scale - wood stick or plastic spoon for mixing and gloves for safety
step 1 : adding the quantity want to use by that ratio 10 gram of resin and 6 gram of hardener
step 2: add any color or decoration
step 3: mix the micture for 10 min
step 4: poring on the mold
from Youtube
hero shot