2. Computer Aided Design
The second week is one of the most important weeks in Fablab. In this week we were guided on how to navigate different CAD softwares. Some were to model 2D shapes, whille others were for modelling 3D shapes.
- What is Computer Aided Design (CAD)?
The use of computers to assist in the creation, modification, analysis, or optimization of a design is known as computer-aided design. This program is used to improve the designer’s efficiency, the quality of the design, communication through documentation, and the creation of a database for manufacturing.
- In my opinion, the best software for 2D designs was ‘Inkscape’, on the other hand, the best software for 3D designs is ‘Fusion 360’.
click here to download INKSCAPE click here to download FUSION 360
- I will now guide you through Inkscape, in order to design any 2D shape or logo! ( I chose to design a donut)
STEP ONE: Open the ‘align and distribute’ and ‘fill and stroke’ properties colomn (as shown in figure 1) which can be found in the task bar. ( as shown in figure 2 and figure 3)
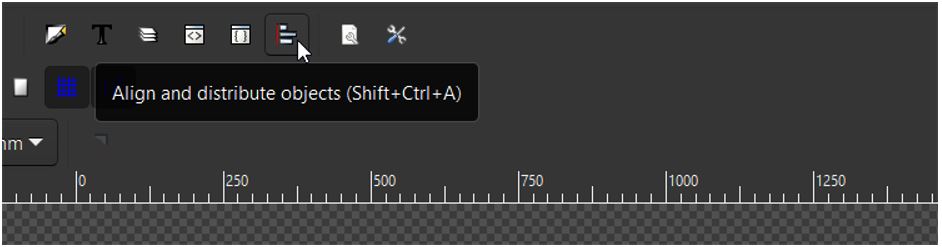 figure 1:
 figure 2:
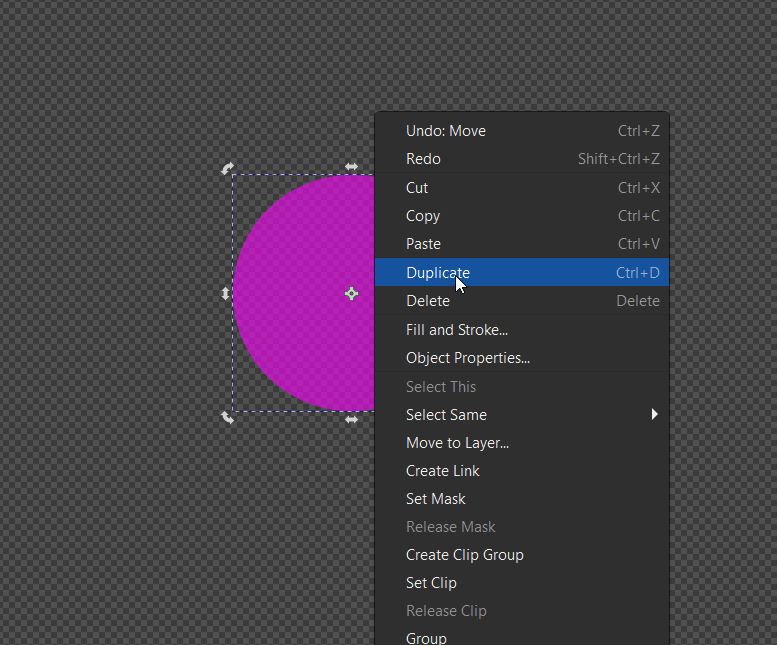 figure 3:
STEP TWO: Add a circle, then right click the shape and select ‘duplicate’. (as shown below)
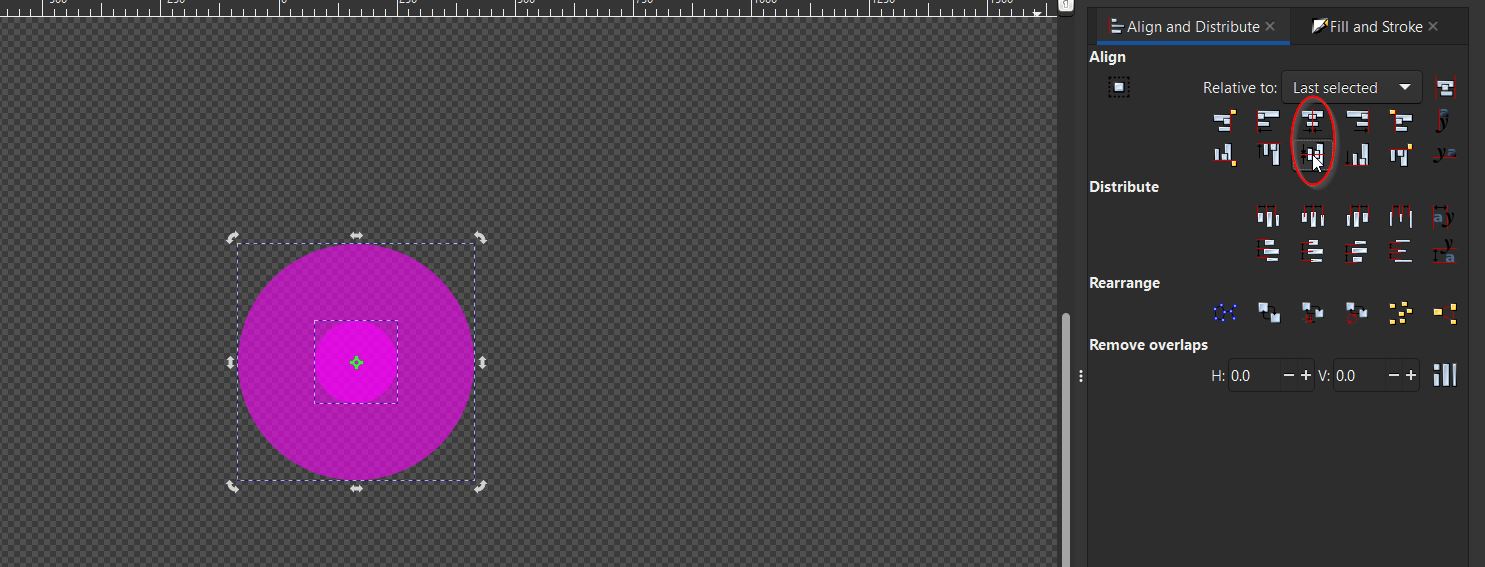 figure 4:
STEP THREE: Make the circle smaller by using the handles and position it in the middle of the larger circle. Select the smaller and larger circle while holding the ‘shift’ key on your keyboard and press on the ‘centre on vertical axis’ and ‘centre on horizontal axis’ option in the align and distribute properties coloumn. ( as shown below )
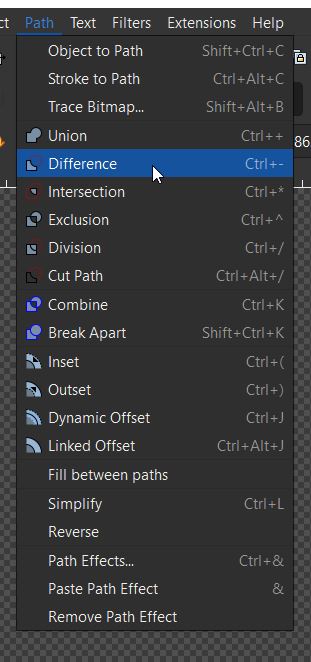 figure 5:
STEP FOUR: select both the shapes while holding the ‘shift’ key and go to ‘path’ and then select ‘difference’. (as shown below)
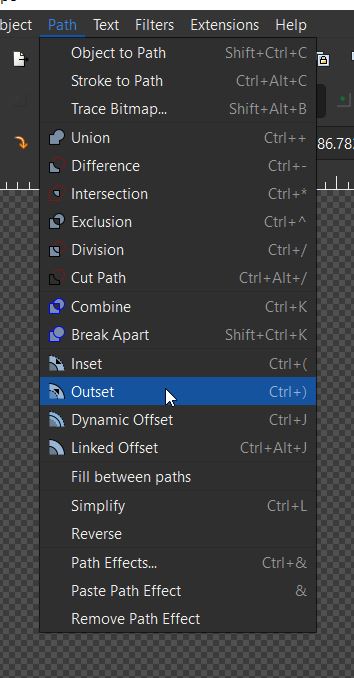 figure 6:
STEP FIVE: Add a rectangle which covers half of the donut.(as shown below) and then repeat ‘STEP FOUR’ to remove the difference between the rectangle and the donut.
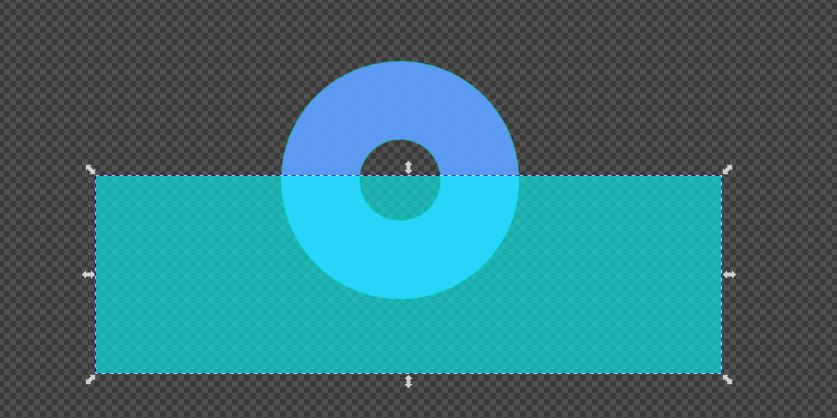 figure 7:
STEP SIX: select the shape and then select the ‘edit paths by nodes’ option. Then play with the strutcture using the nodes as much as you like.
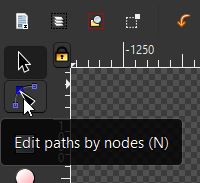 figure 8:
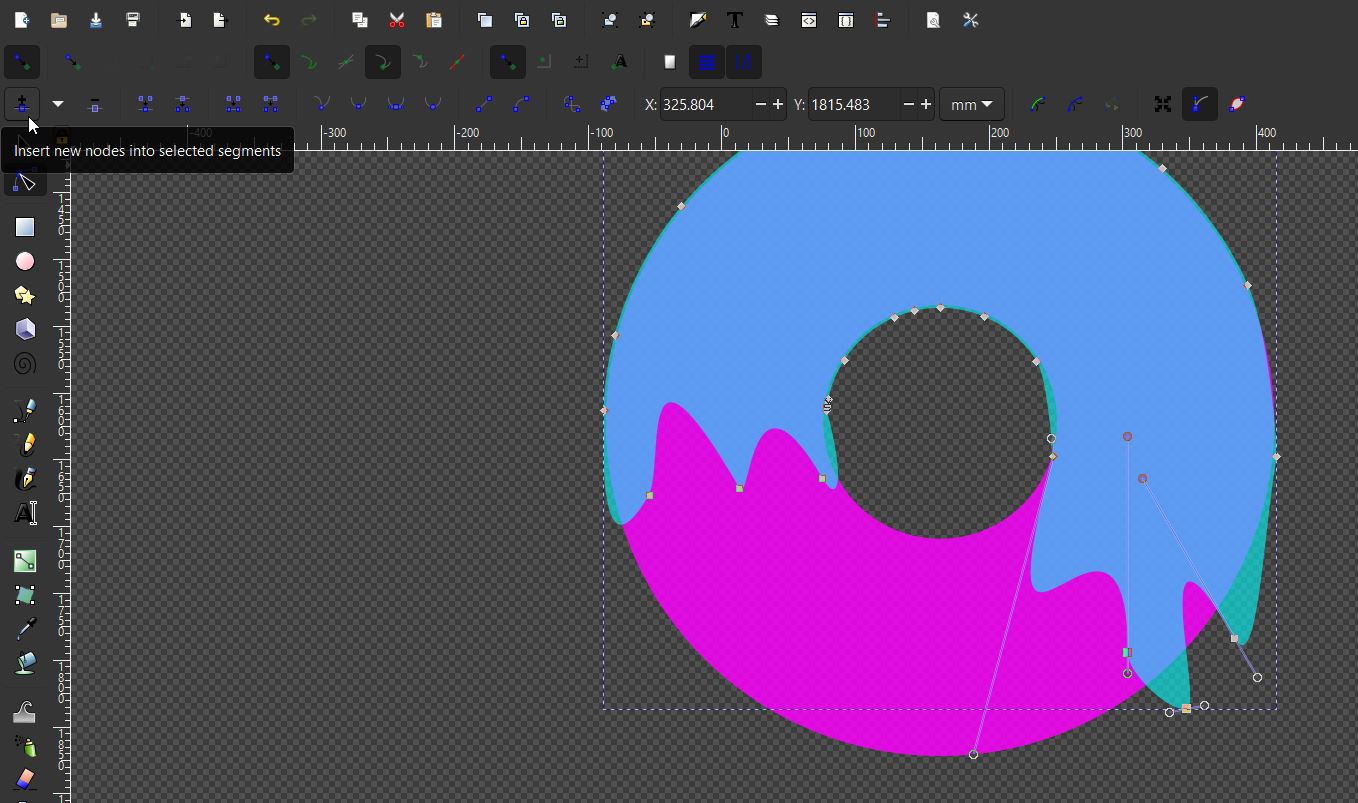 figure 9:
- Now you know the tips and have a clear idea on how to design a donut logo. So lets see whether you can beat the logo I designed!
 figure 10:
Click here to download the design
- I will now guide you through cuttle and how to make a keychain, which is used for 2D designs.
-
Open cuttle website or click here
-
Click on new project.
 figure 1
 -
Click and drag the ‘text’ option. Then use the bottom right square to edit the text, font, fill colors etc.
 figure 2
 -
Duplicate the text. (as shown below)
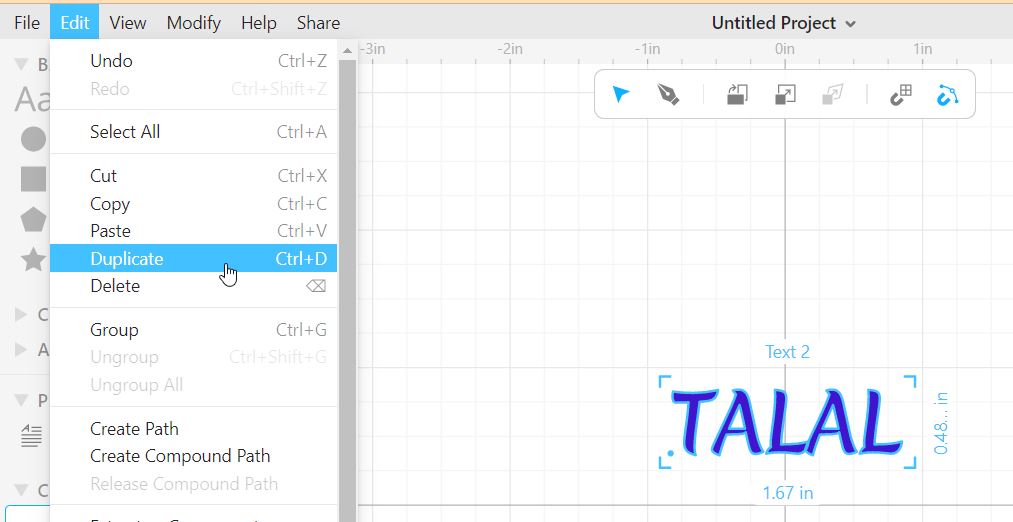 figure 3
 -
modifiy the duplicated text, and use the bottom right corner to edit the perimeters etc.
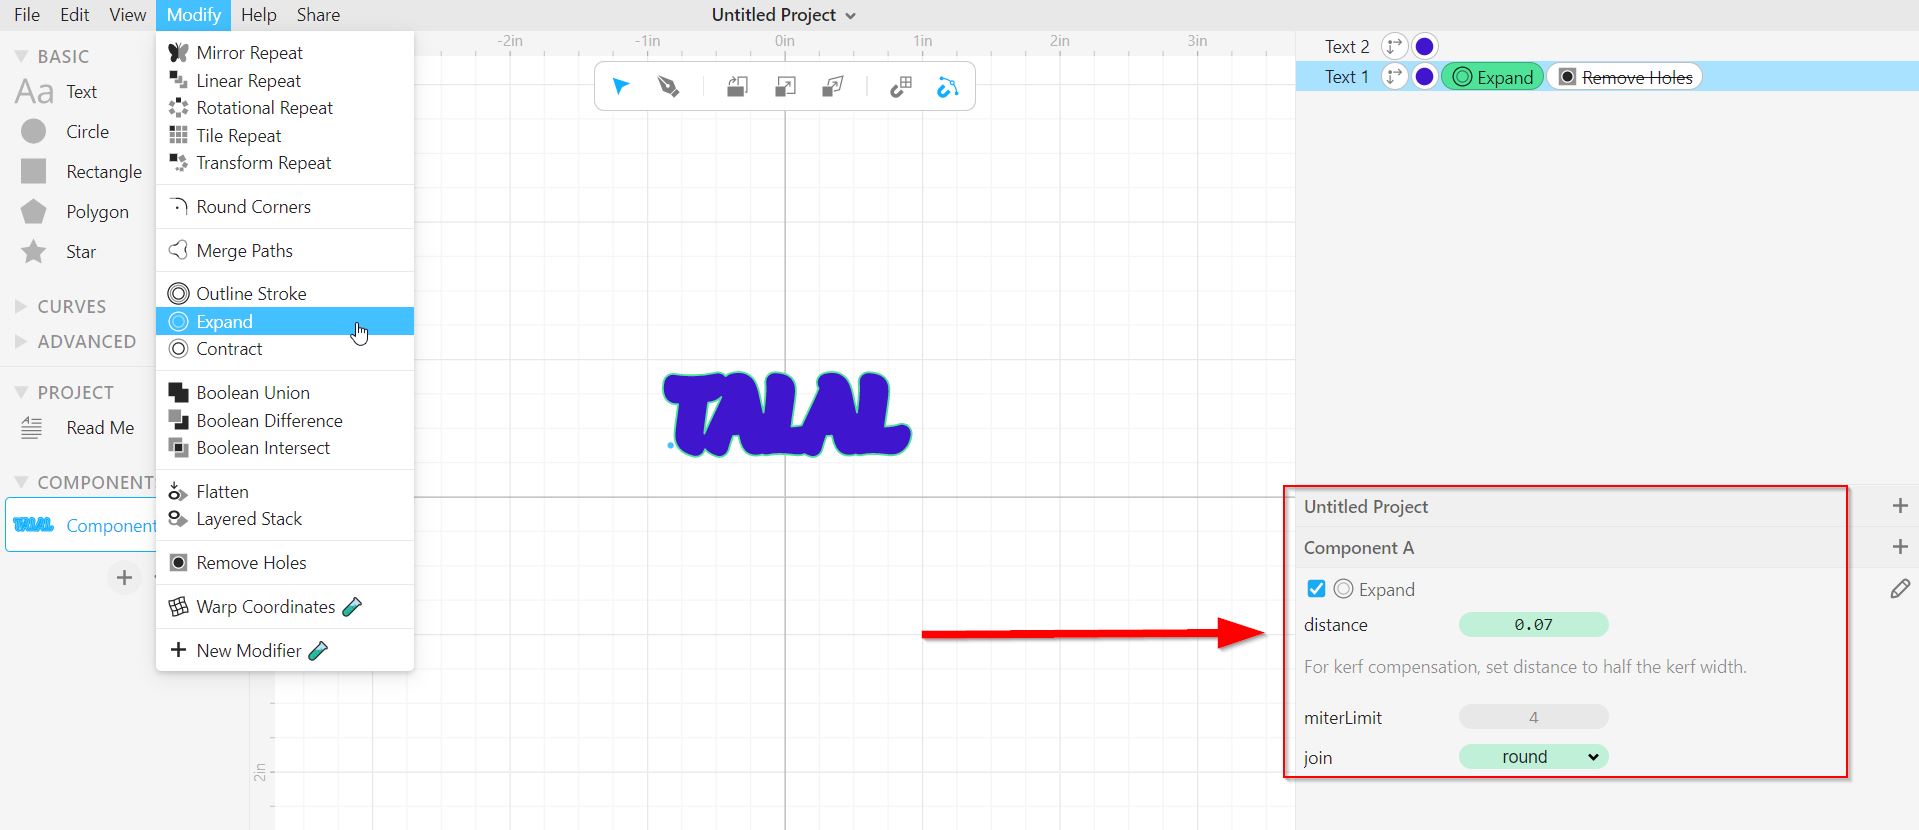 figure 4
 -
Insert a circle to be used as the keychain hole following the previous steps and it will then look like this.
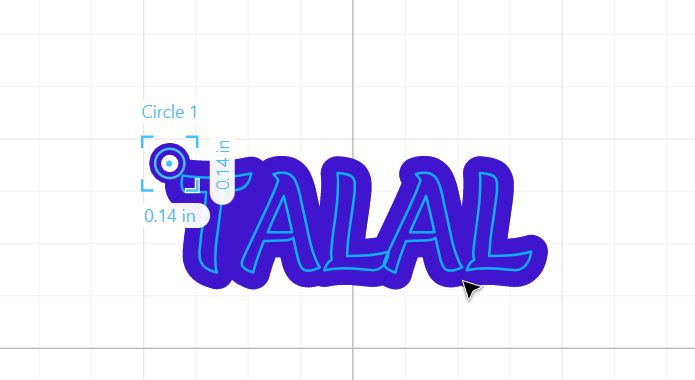 figure 5
- I will now guide you through the software ‘fusion 360’, which is used for 3D designs. Follow the steps below to create a diamond.
-
Download the software using this link
-
Create a new design following the steps below.
 figure 1
 -
Create a new sketch and select one of the planes
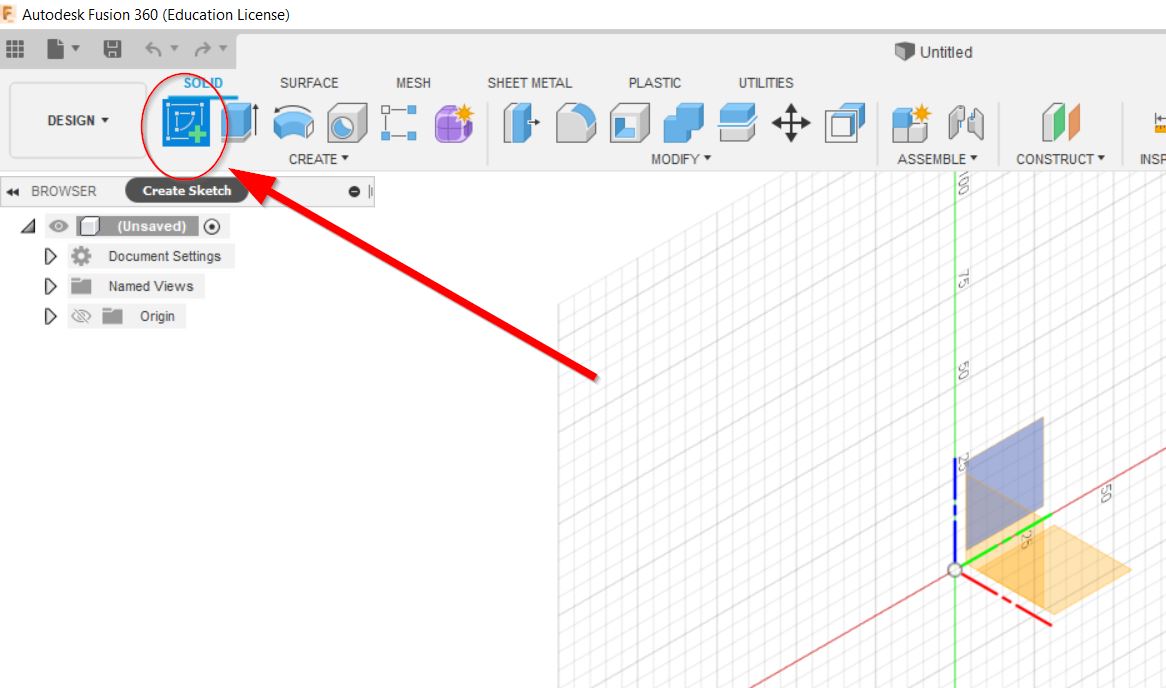 figure 2
 -
Create a circumscribed polygon, edit the number of sides and lengths and then click on ‘finish sketch’
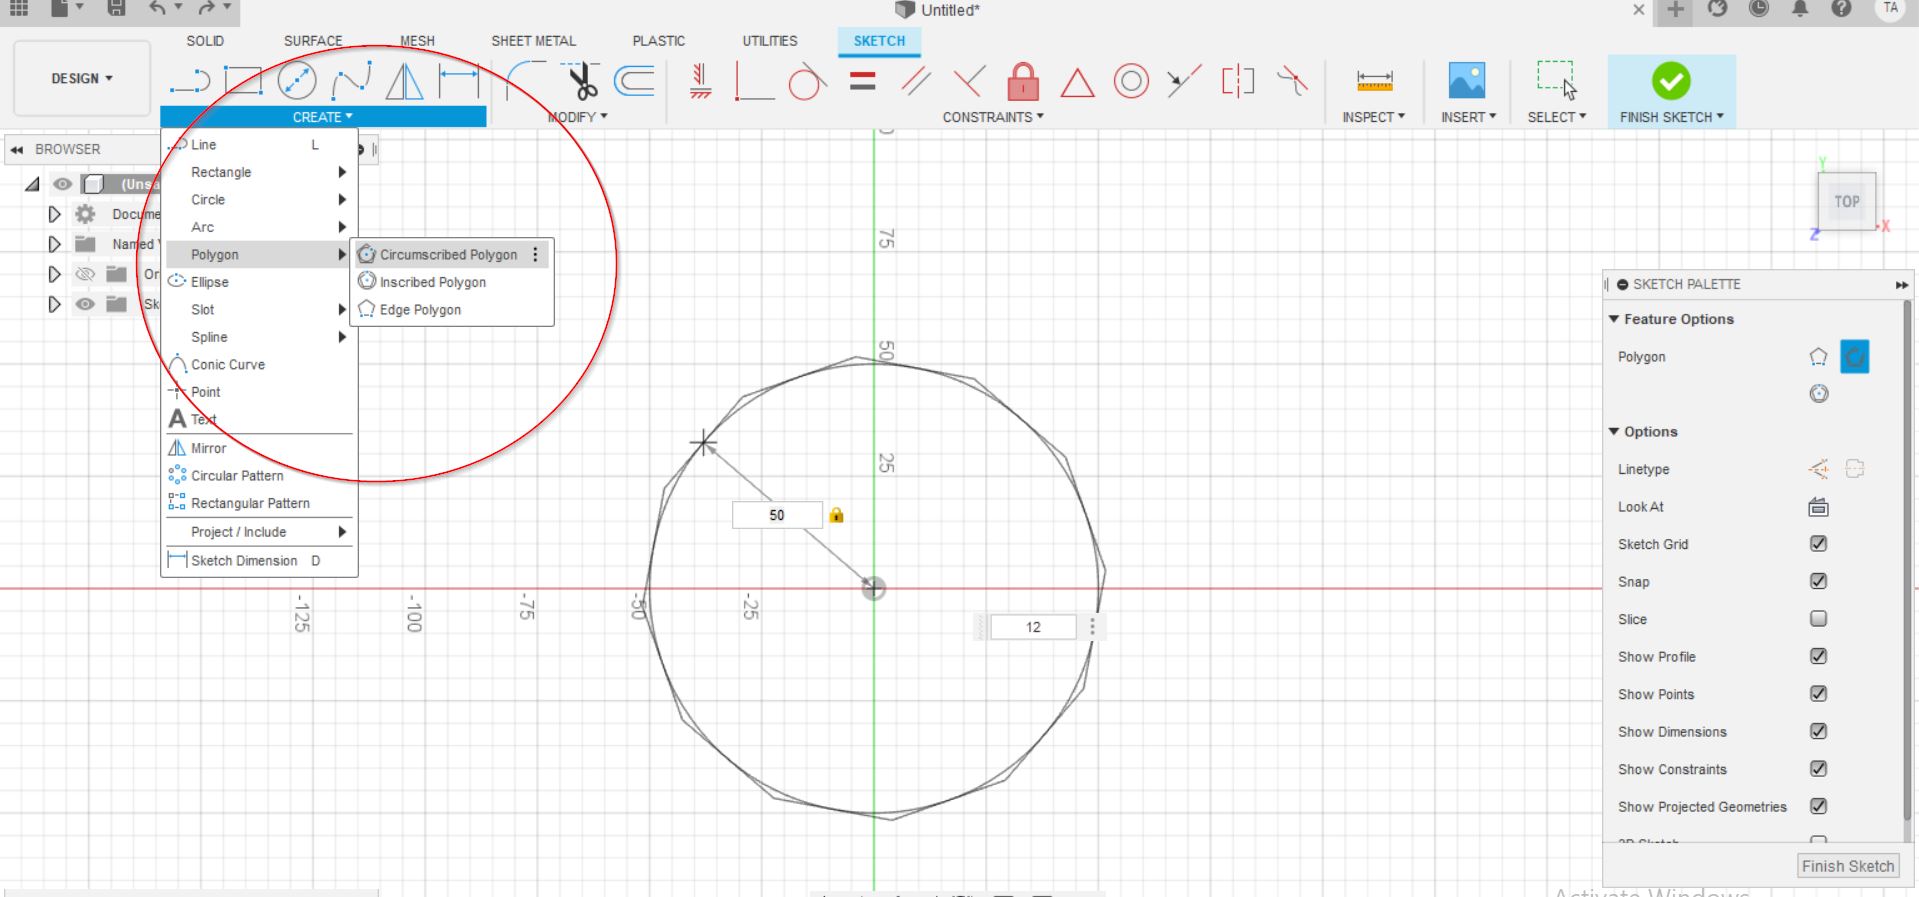 figure 3
 -
Extrude the shape downward at an angle of -45.5deg, until a sharp edge is formed.
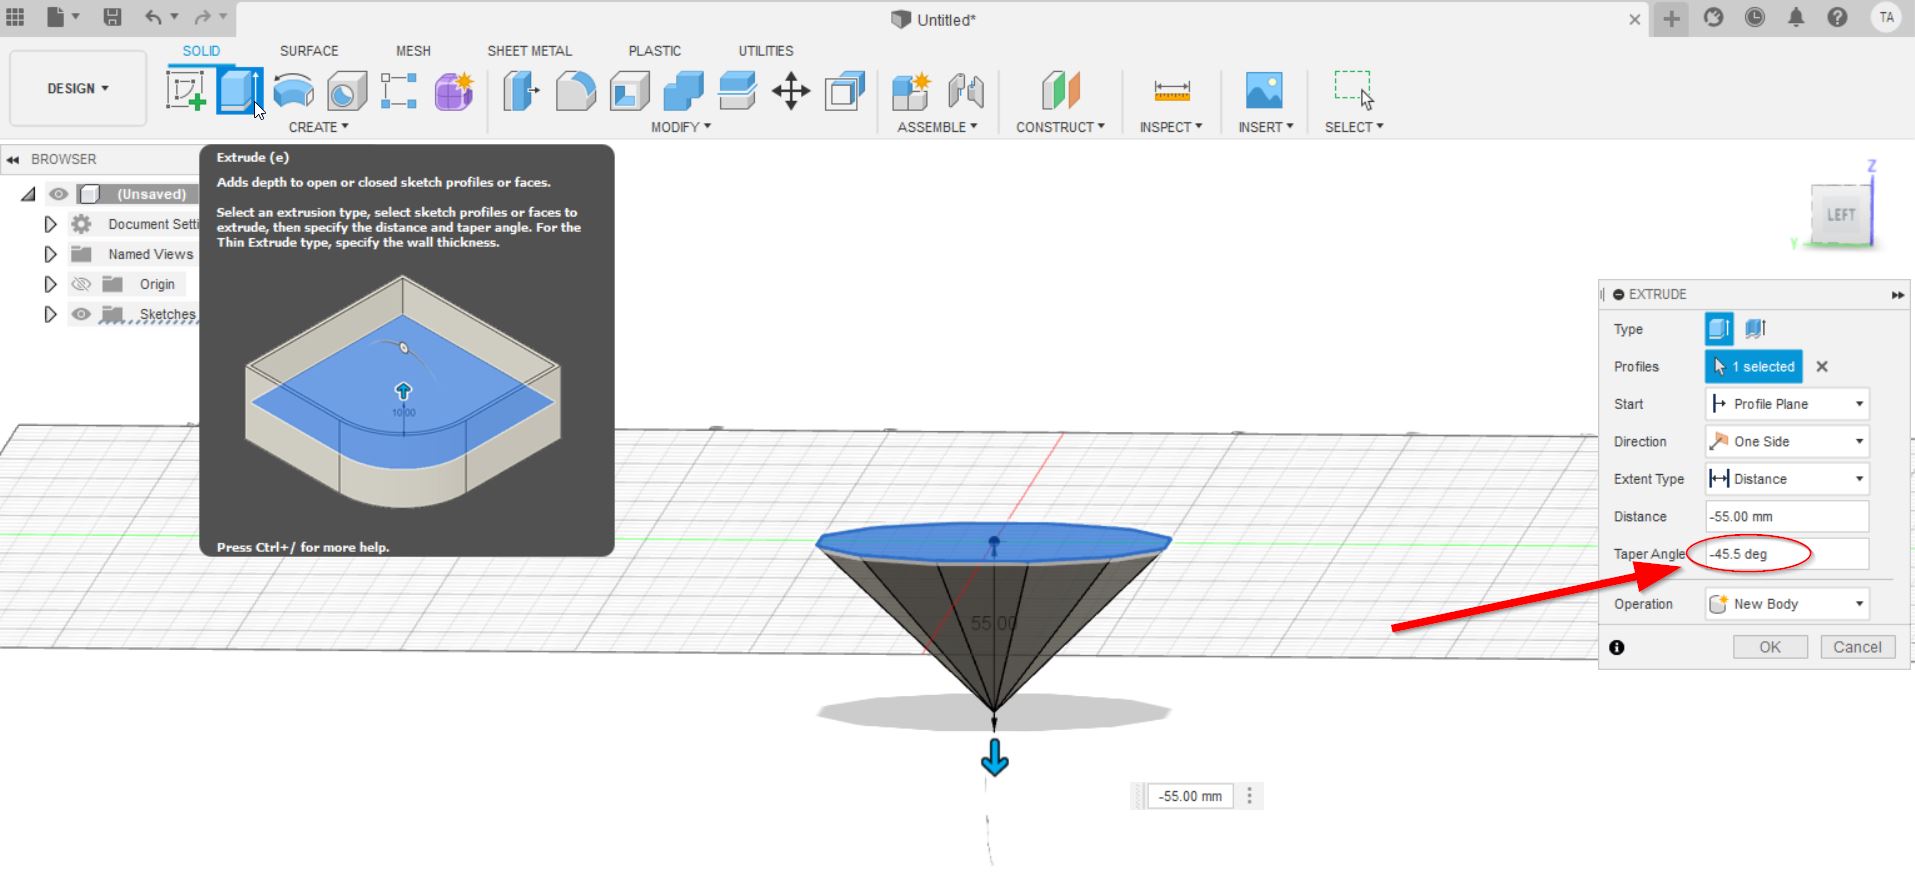 figure 4
 -
Repeat the previous step, but this time extrude the upper surface at an angle of -50.5deg for a distance of 1.25cm.
-
Construct a plane through 3 points.
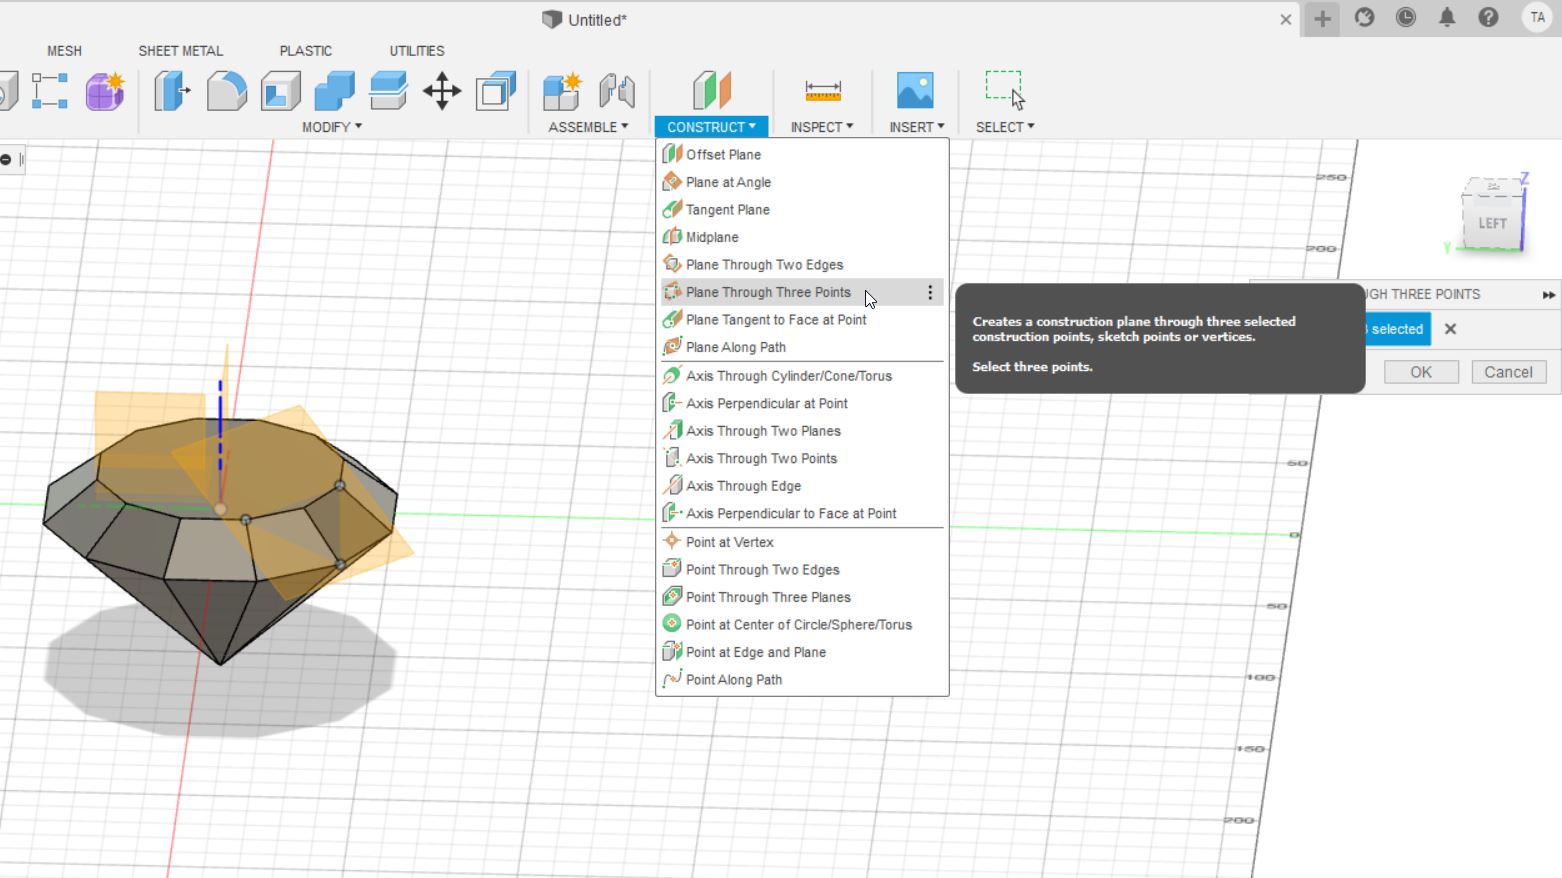 figure 5
8.Create a sketch on the previously constructed plane and draw 3 lines as shown in the figure below. Then click on finish sketch.
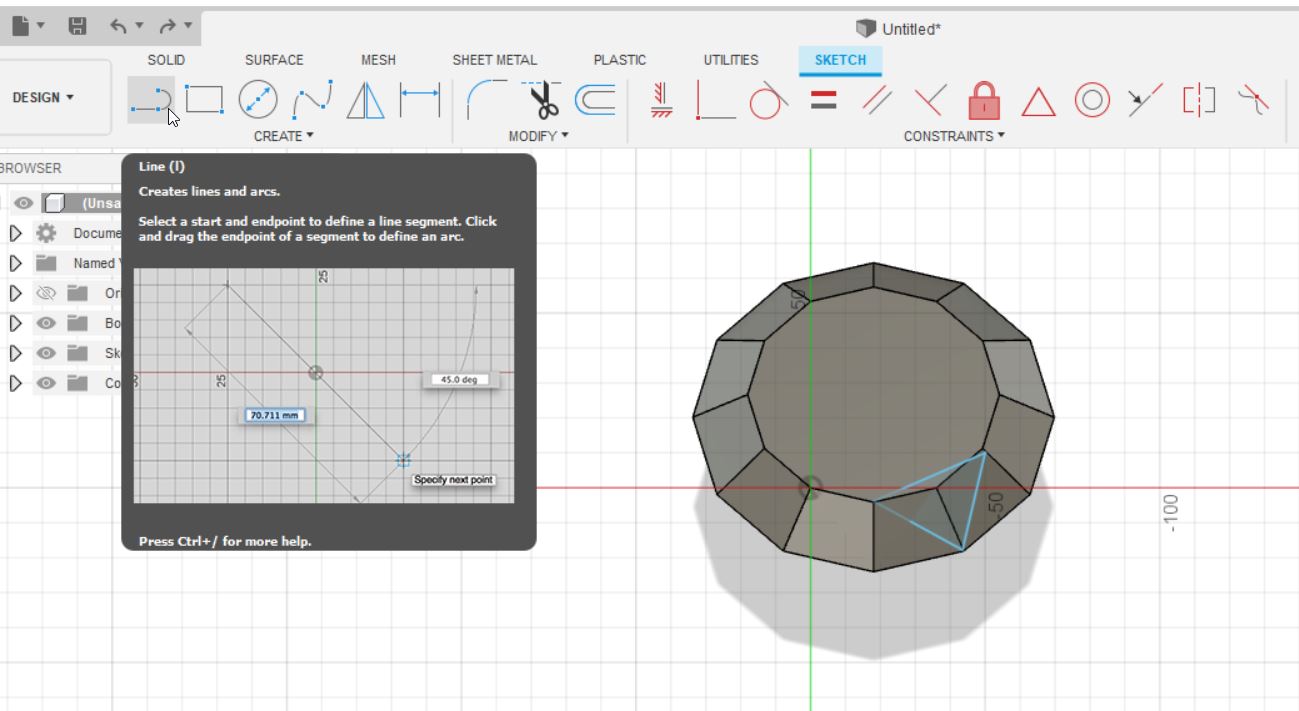 figure 6
-
extrude the shape you just drew upward in order to cut it.
-
Apply circular pattern to clone the drawn shape 6 times. Follow the steps done in the figure below and make sure to edit the required setting in the ‘circular pattern’ as shown in the figure below.
 figure 7
 -
Press on ‘A’ in the keyboard. Then select the desired material type and drag it onto the model.
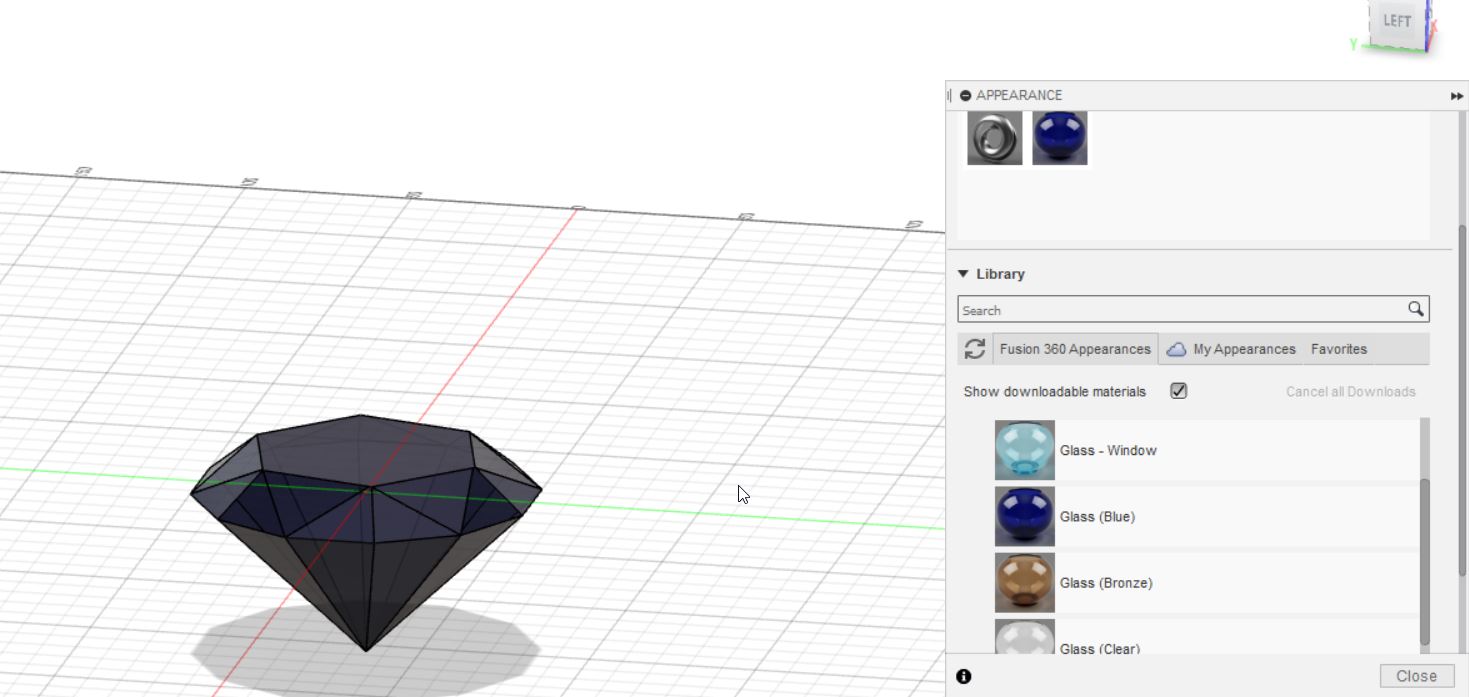 figure 8
- I will now guide you through tinkercad and how to make a mug, which is a 3D design.
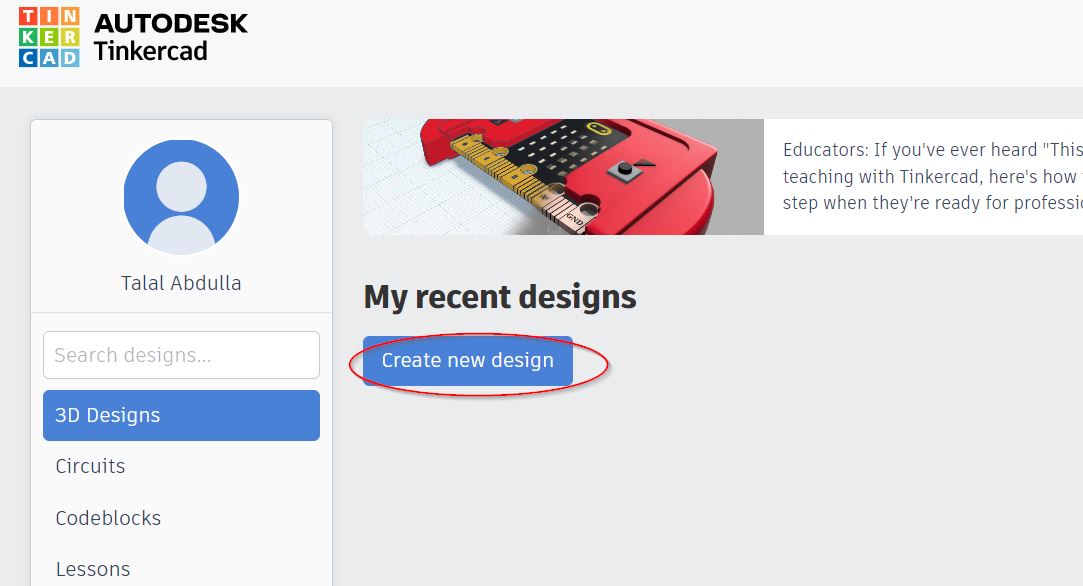
First you need to enter the website and create an account. Click here
Then, click on new design.
Grab a cylinder onto the mat.
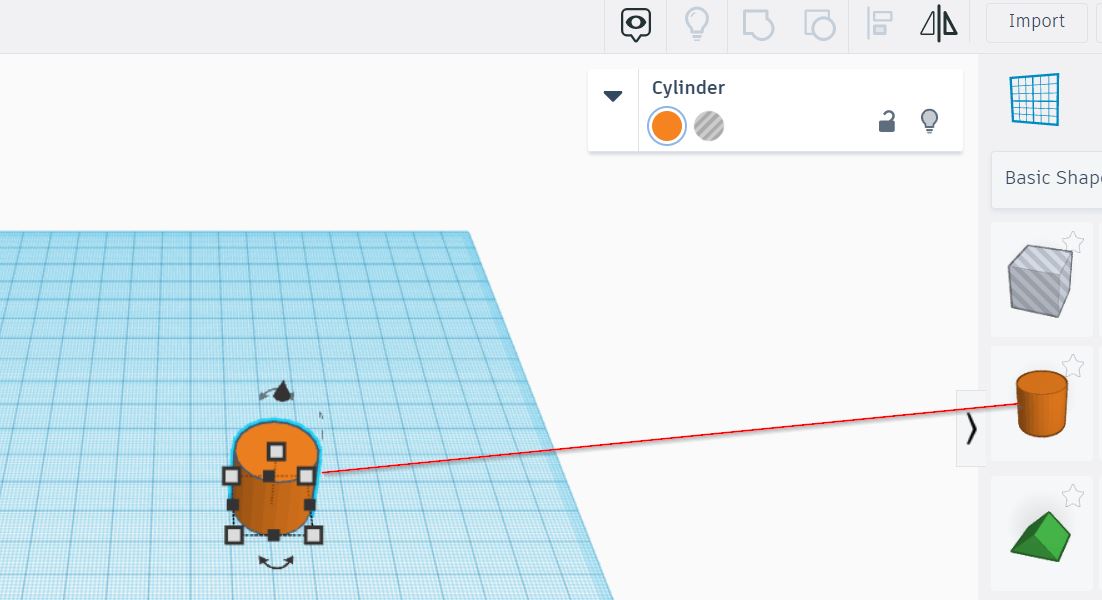
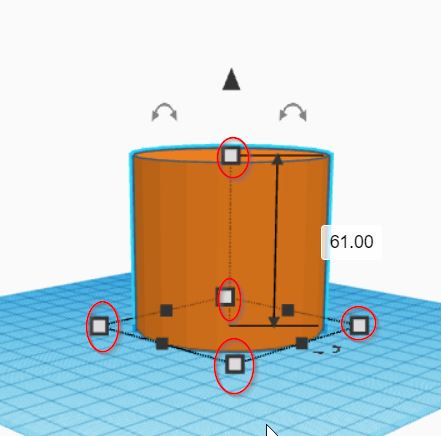
Use the square corners to adjust the scales into the desired measurements.
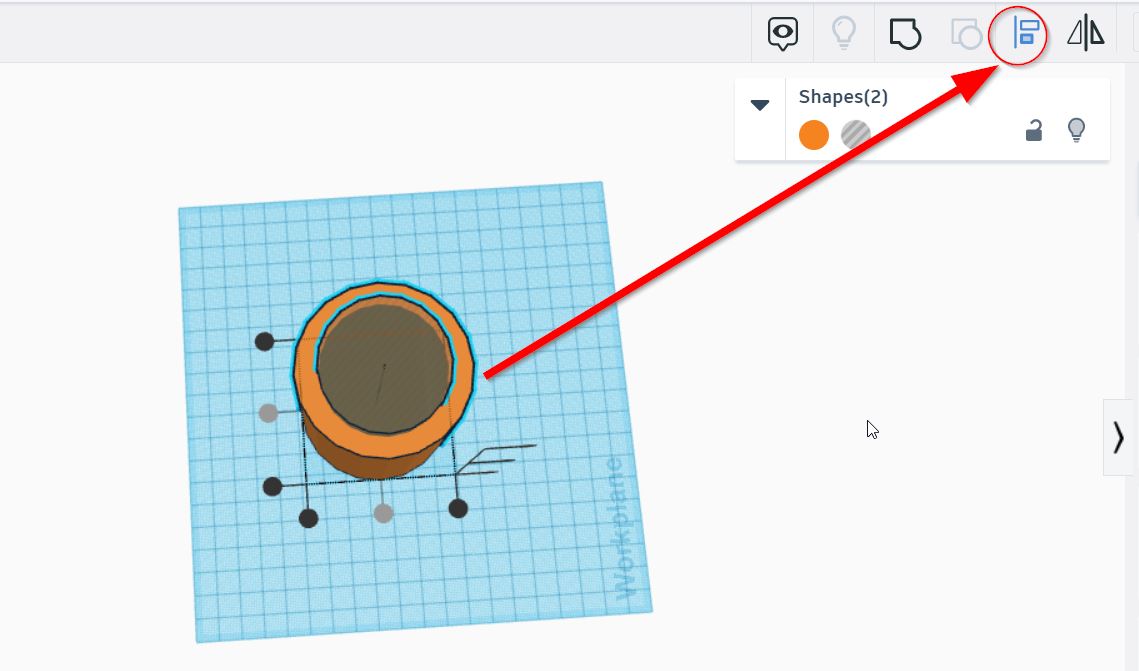
Grab another cylinder hole.

Select both shapes and use the alignment tool to align them as shown below.
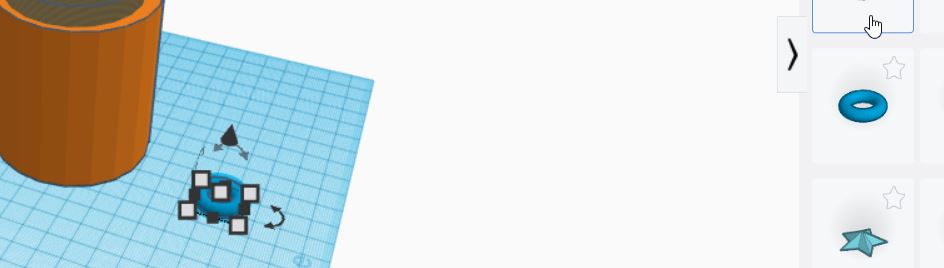
Then grab a torus which will be used as the mug’s handle.
Align the handle to the desired position and then select all 3 shapes and click on the group feature.
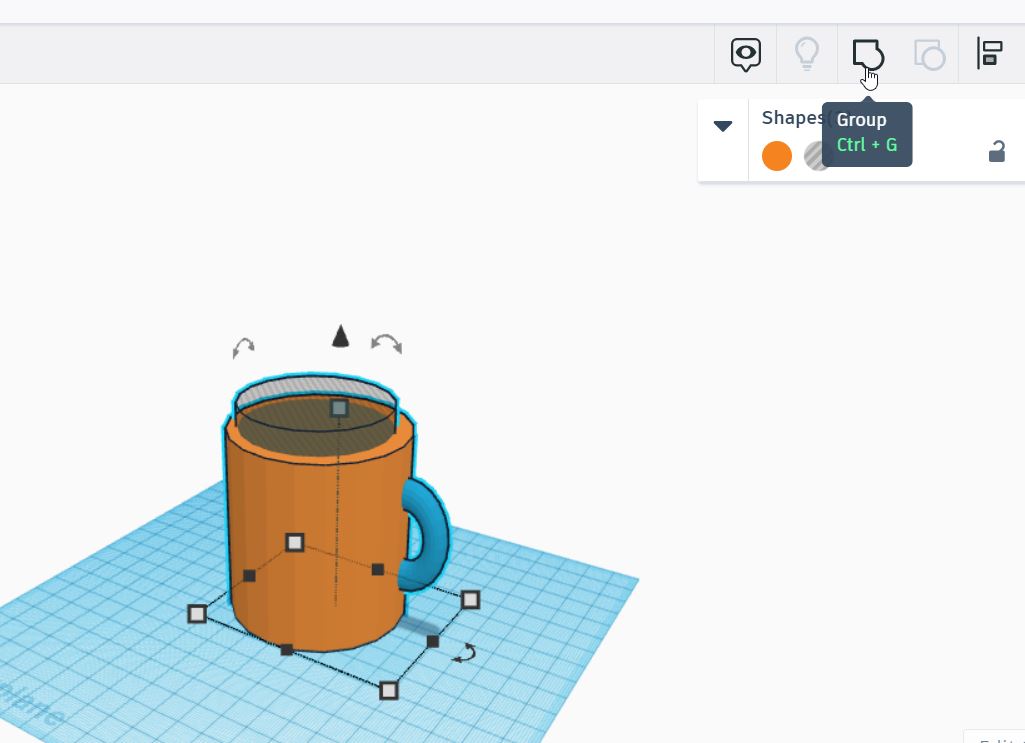
You can also change the color of the shapes as shown below.

Here is the final design.
Click here to download the design.