8. Moulding and casting
This week molding and casting was done.
Group assignment
Click here for the link of the group assignment which explains with details on all types of materials that can be used this week.
Group assignment
I searched about the
Research
Each of us were given a task of searching about a specific material. Mine was Epoxy. To find out more about epoxy read the information below.
Material
Epoxy
Safety
Put on goggles, safety glasses, gloves, a respirator, and proper protective clothes for the job. Gloves, eye protection, and protective clothes are required when working with epoxy. Use a respirator with an organic vapor cartridge to protect yourself against epoxy vapors
Process
MEASURE, with gloves on, pour 100A:33B MIX, stir really well for at least 3 minutes. Scrape the sides and the bottom to make sure you’re being thorough (unmixed material will leave you with sticky spots that just won’t cure). Once you put the resin and hardener together, you’ll have about 45 minutes of working time before the resin thickens and cures. POUR, after making sure your piece is level, go ahead and pour it over your work. Don’t be scared! It’ll start to level on its own, and you can spread it around into place. Let the resin run over the edges and then just use a brush to tidy it up. You’ll notice bubbles will begin to rise to the surface. Many of these will pop on their own, but you can also pop them yourself WAIT, it needs to sit for several hours in a dust-free space while it cures. In about 8 hours it will be tacky but you will be able to pour a second coat if necessary. In about 12 hours it will be dry to the touch, and within 24 hours it will be 95% cured. It will be fully cured within 48 hours.
Cure Time 48 hours
Source https://www.artresin.com/pages/how-to-apply-artresin https://entropyresins.com/safety/epoxy-safety-tips/#:~:text=Wear%20goggles%2C%20safety%20glasses%2C%20gloves,with%20an%20organic%20vapor%20cartridge.
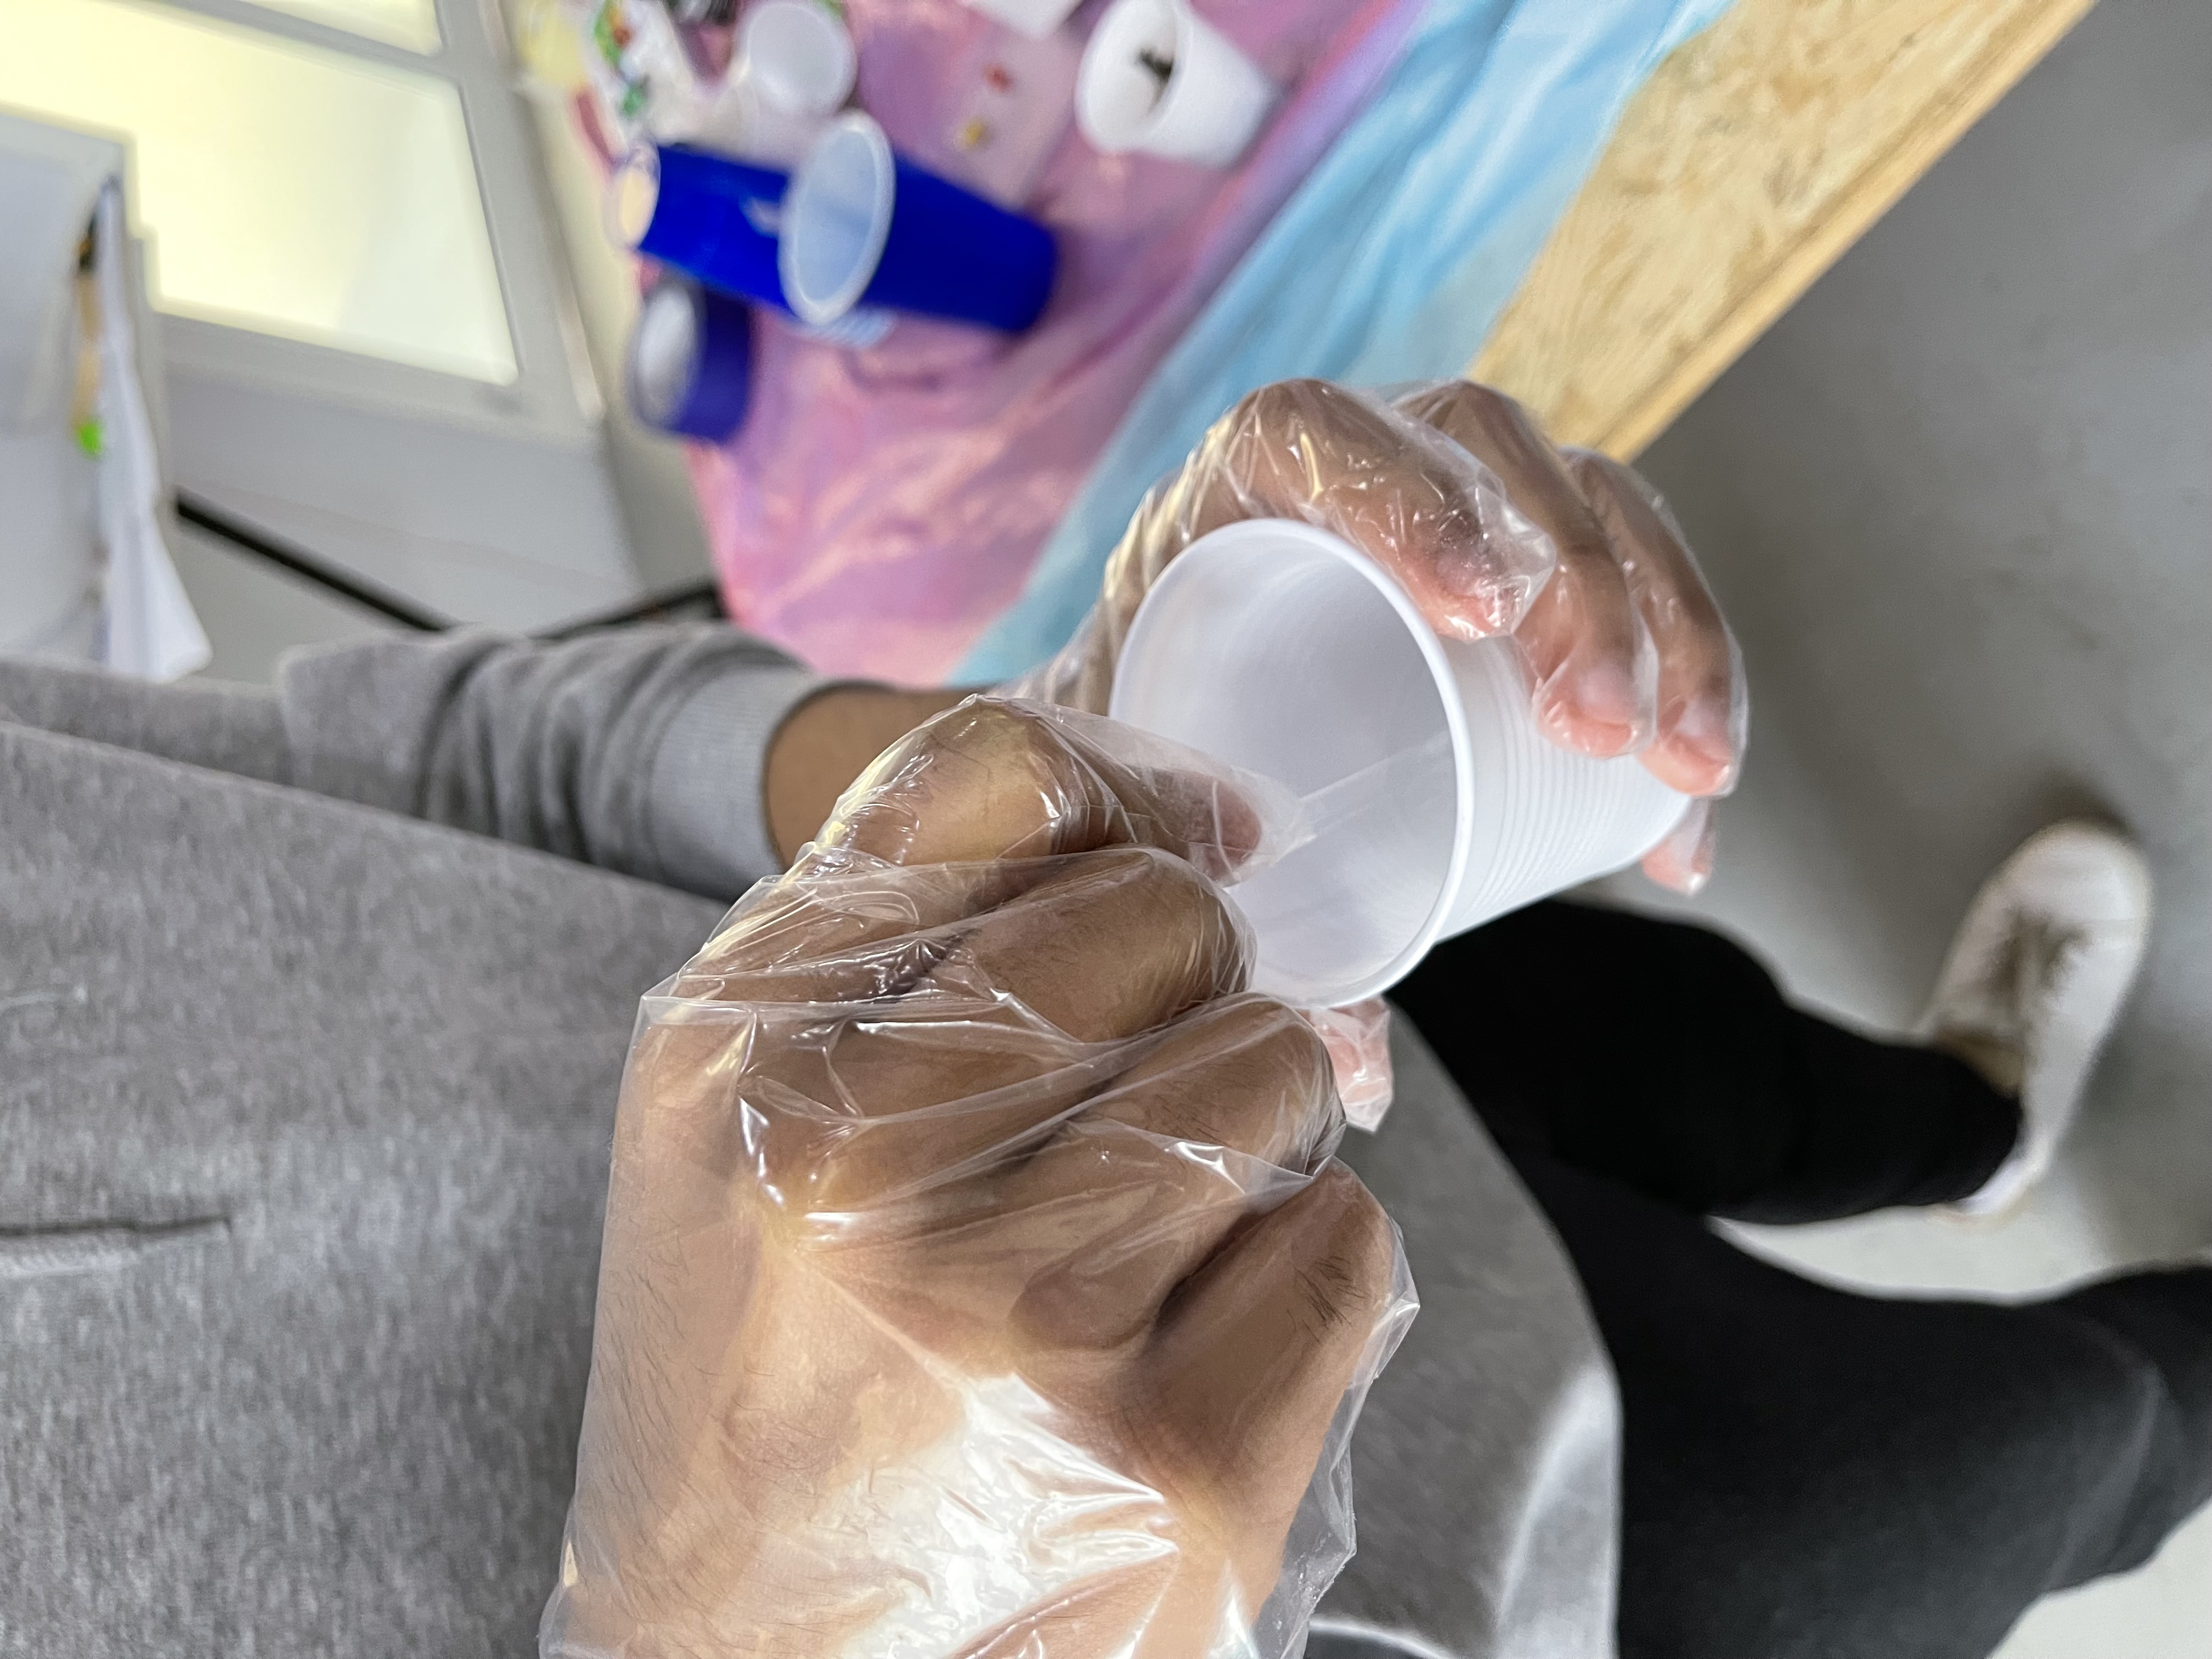
epoxy casting
following the procedure written above, I made the cast material and then poured it onto the mold. Below are some pictures of the process.

Individual assignment
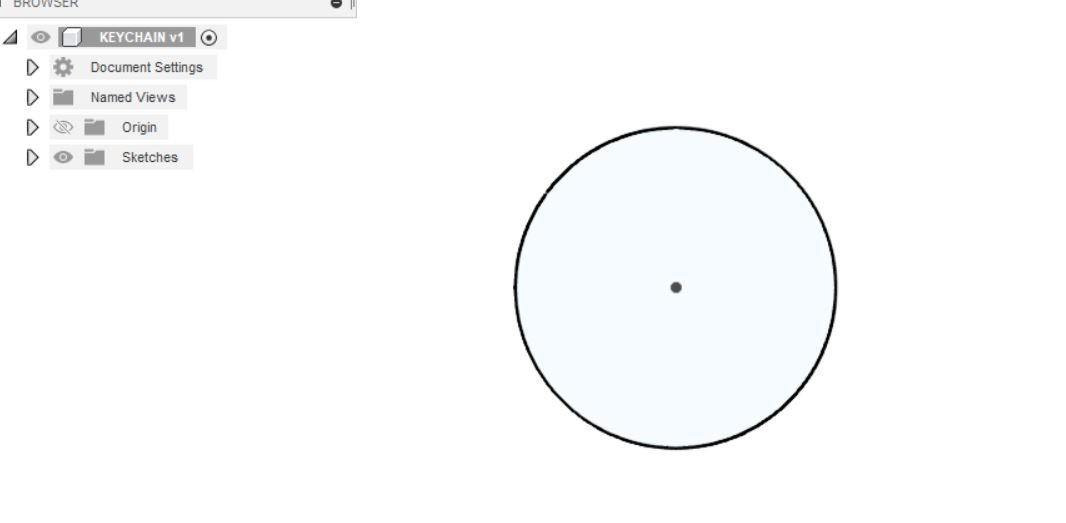
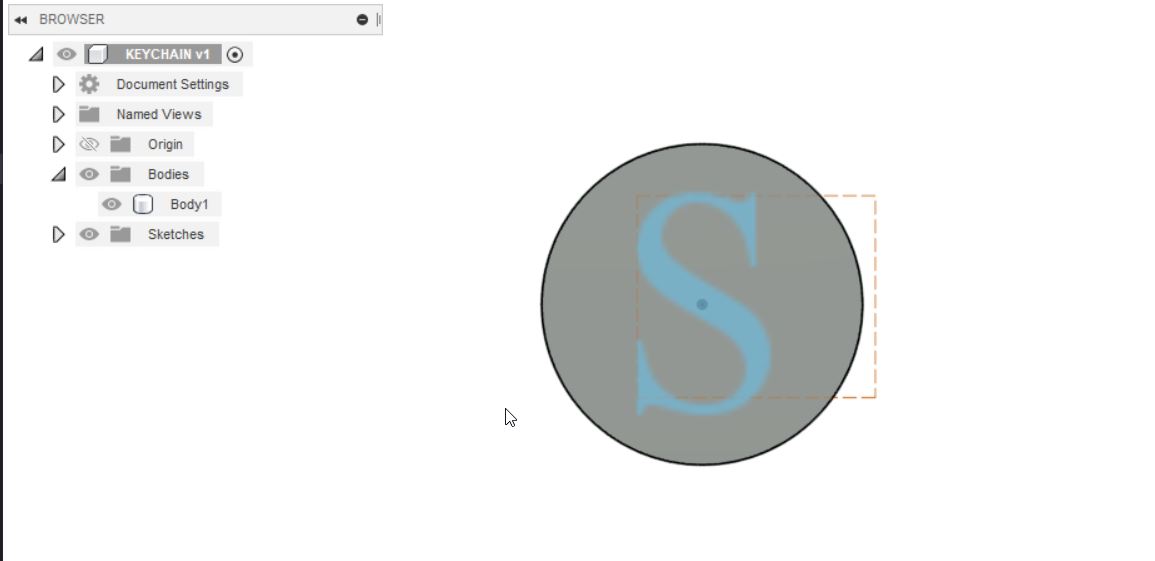
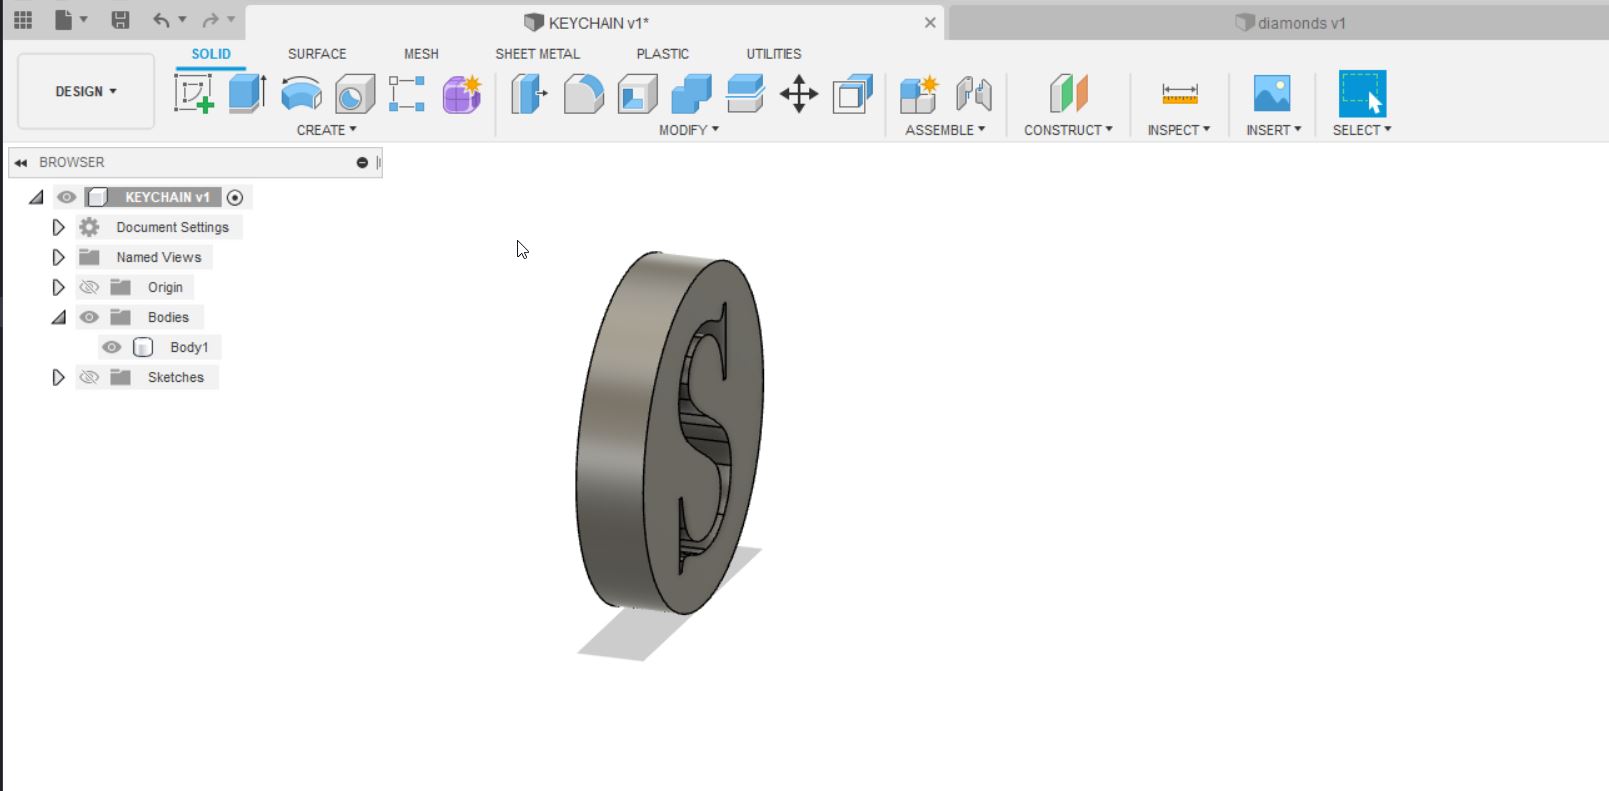
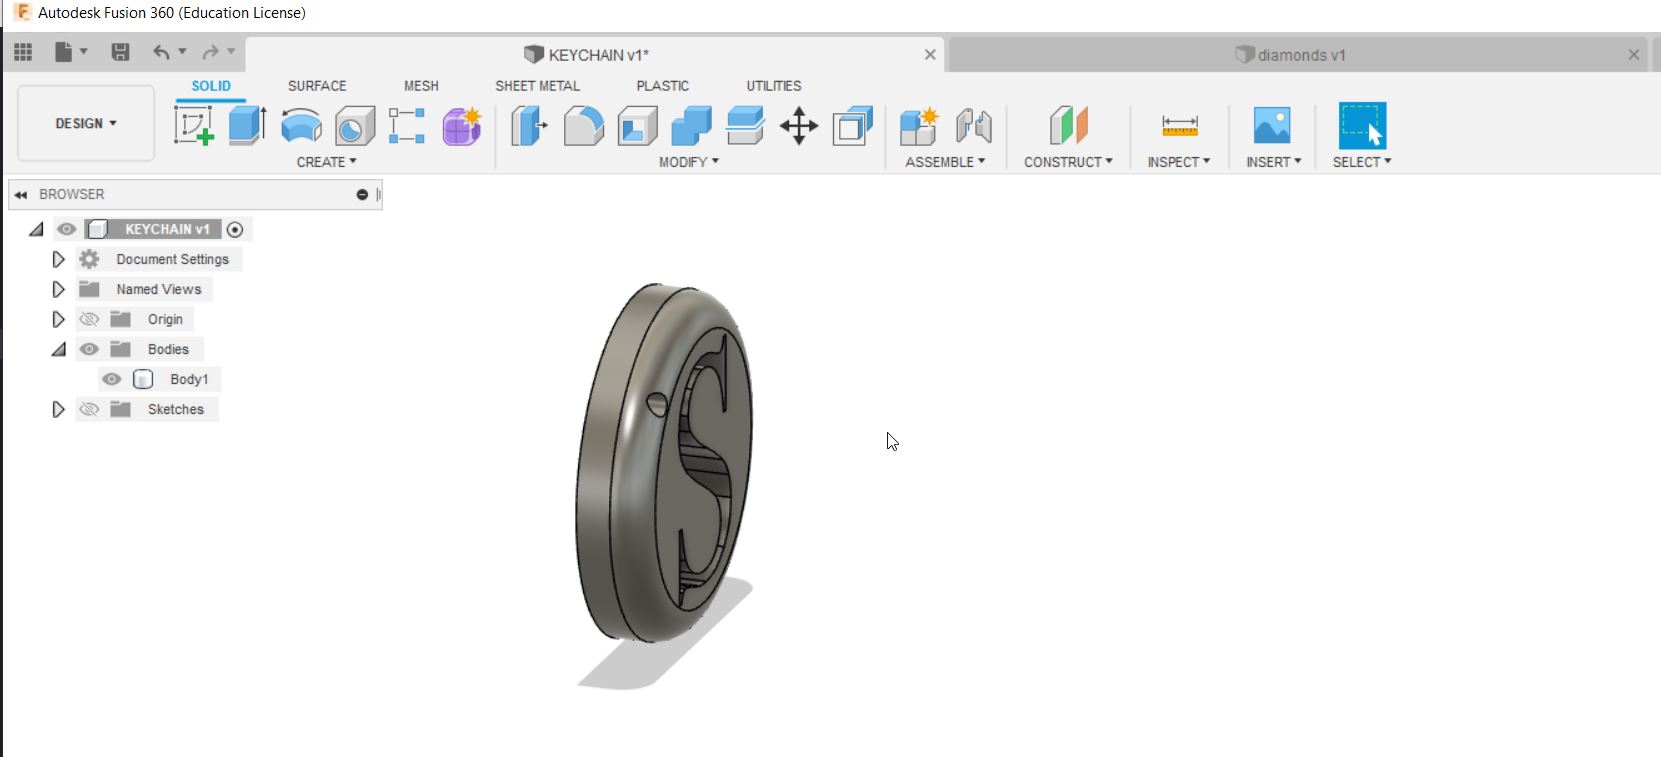
I began by designing a keychain using fusion360.
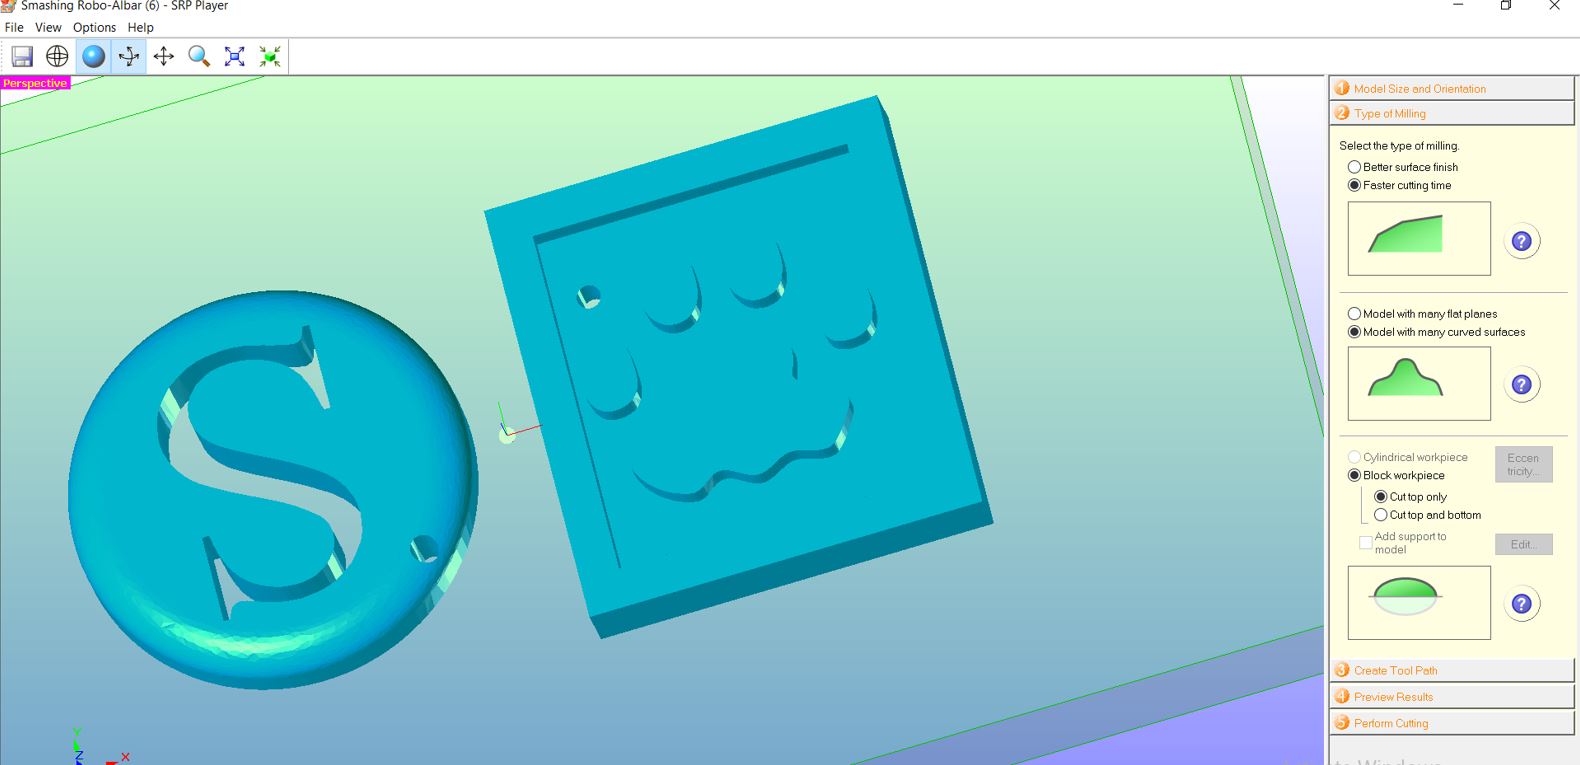
Then, i saved the body part as STL, and imported it into a software called ‘smashing robo-albar’.
The design files can be downloaded from here
Next step was to change the settings of the type of milling to the new desired settings.
Finally, I created 2 toolpaths. One for the roughing and the other toolpath had different setting for the finishing.


Then, a problem was faced as the cutting machine was not responding.
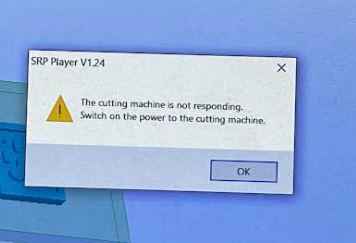
So I had to use a software called Vpanel and imported the saved files of toolpaths into Vpanel.

Then, 4 scotch tapes were applied to the wax and it was stuck on the bed of the milling machine.
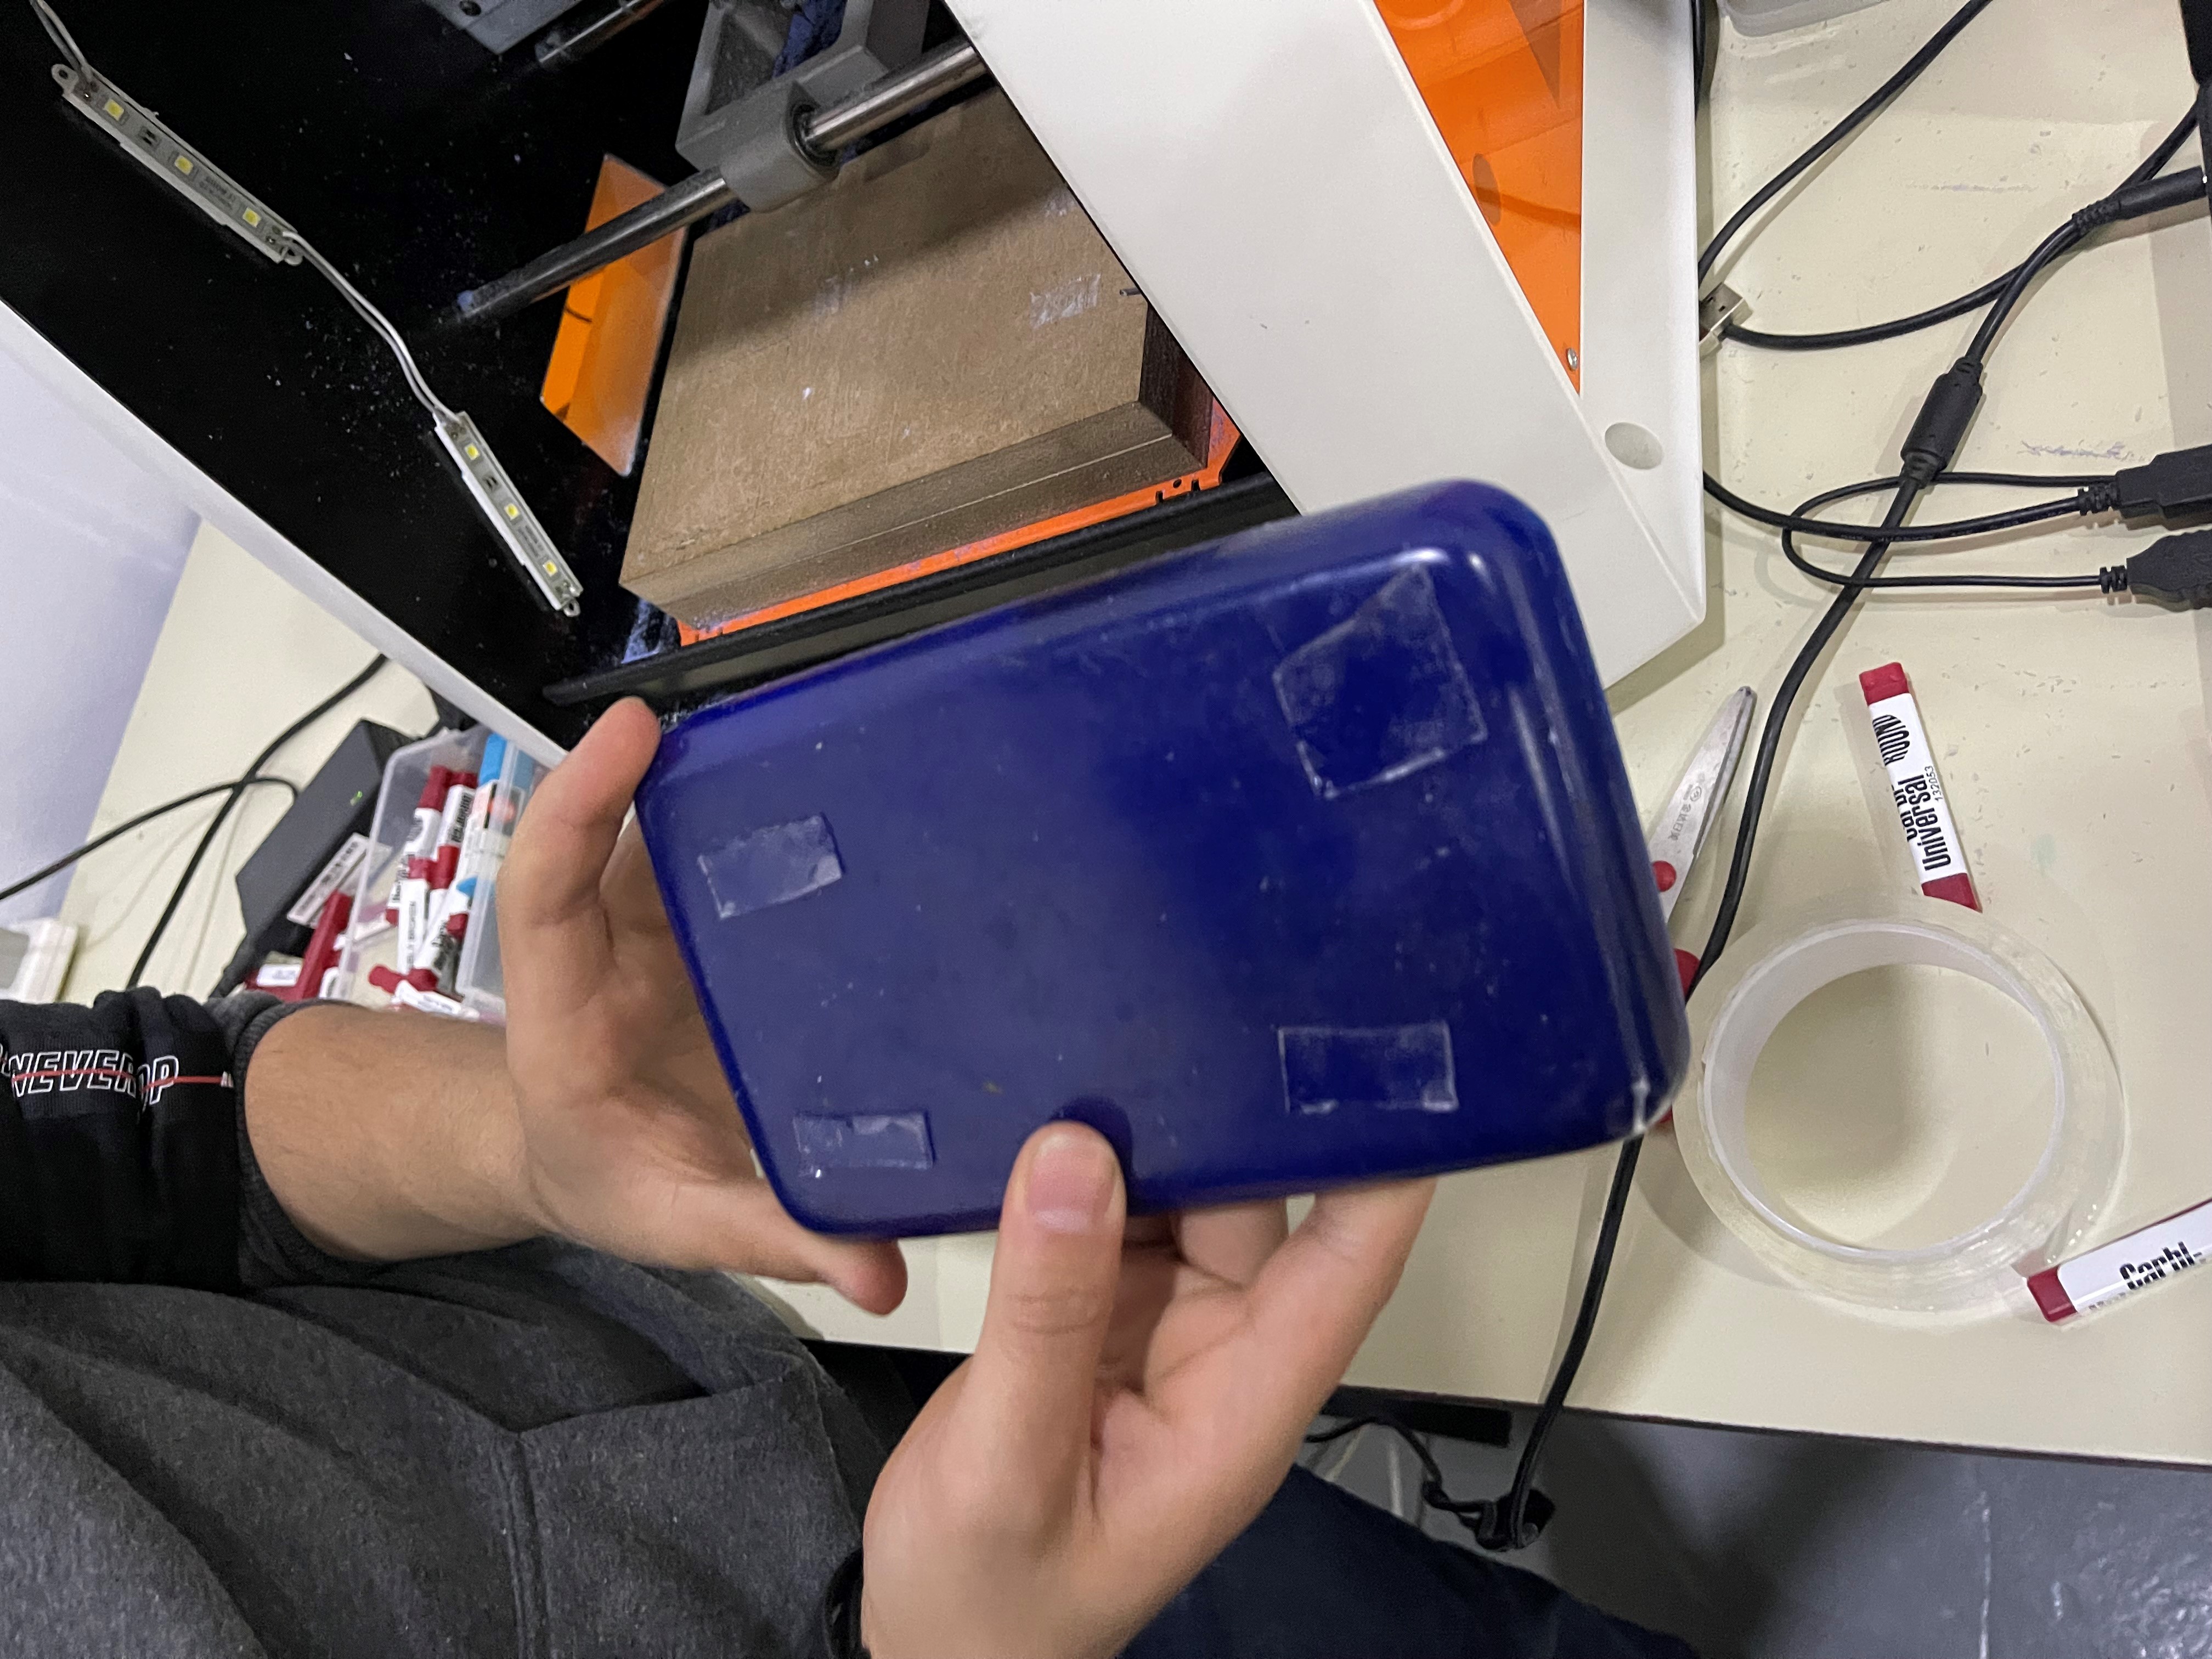
Then, a drill bit of 3/32 was fixed into the drill part of the milling machine and the machine was started.

Next step was to draw 2 diagonal lines on the wax mold to find the centre point and calibrate the X,Y and Z axis.

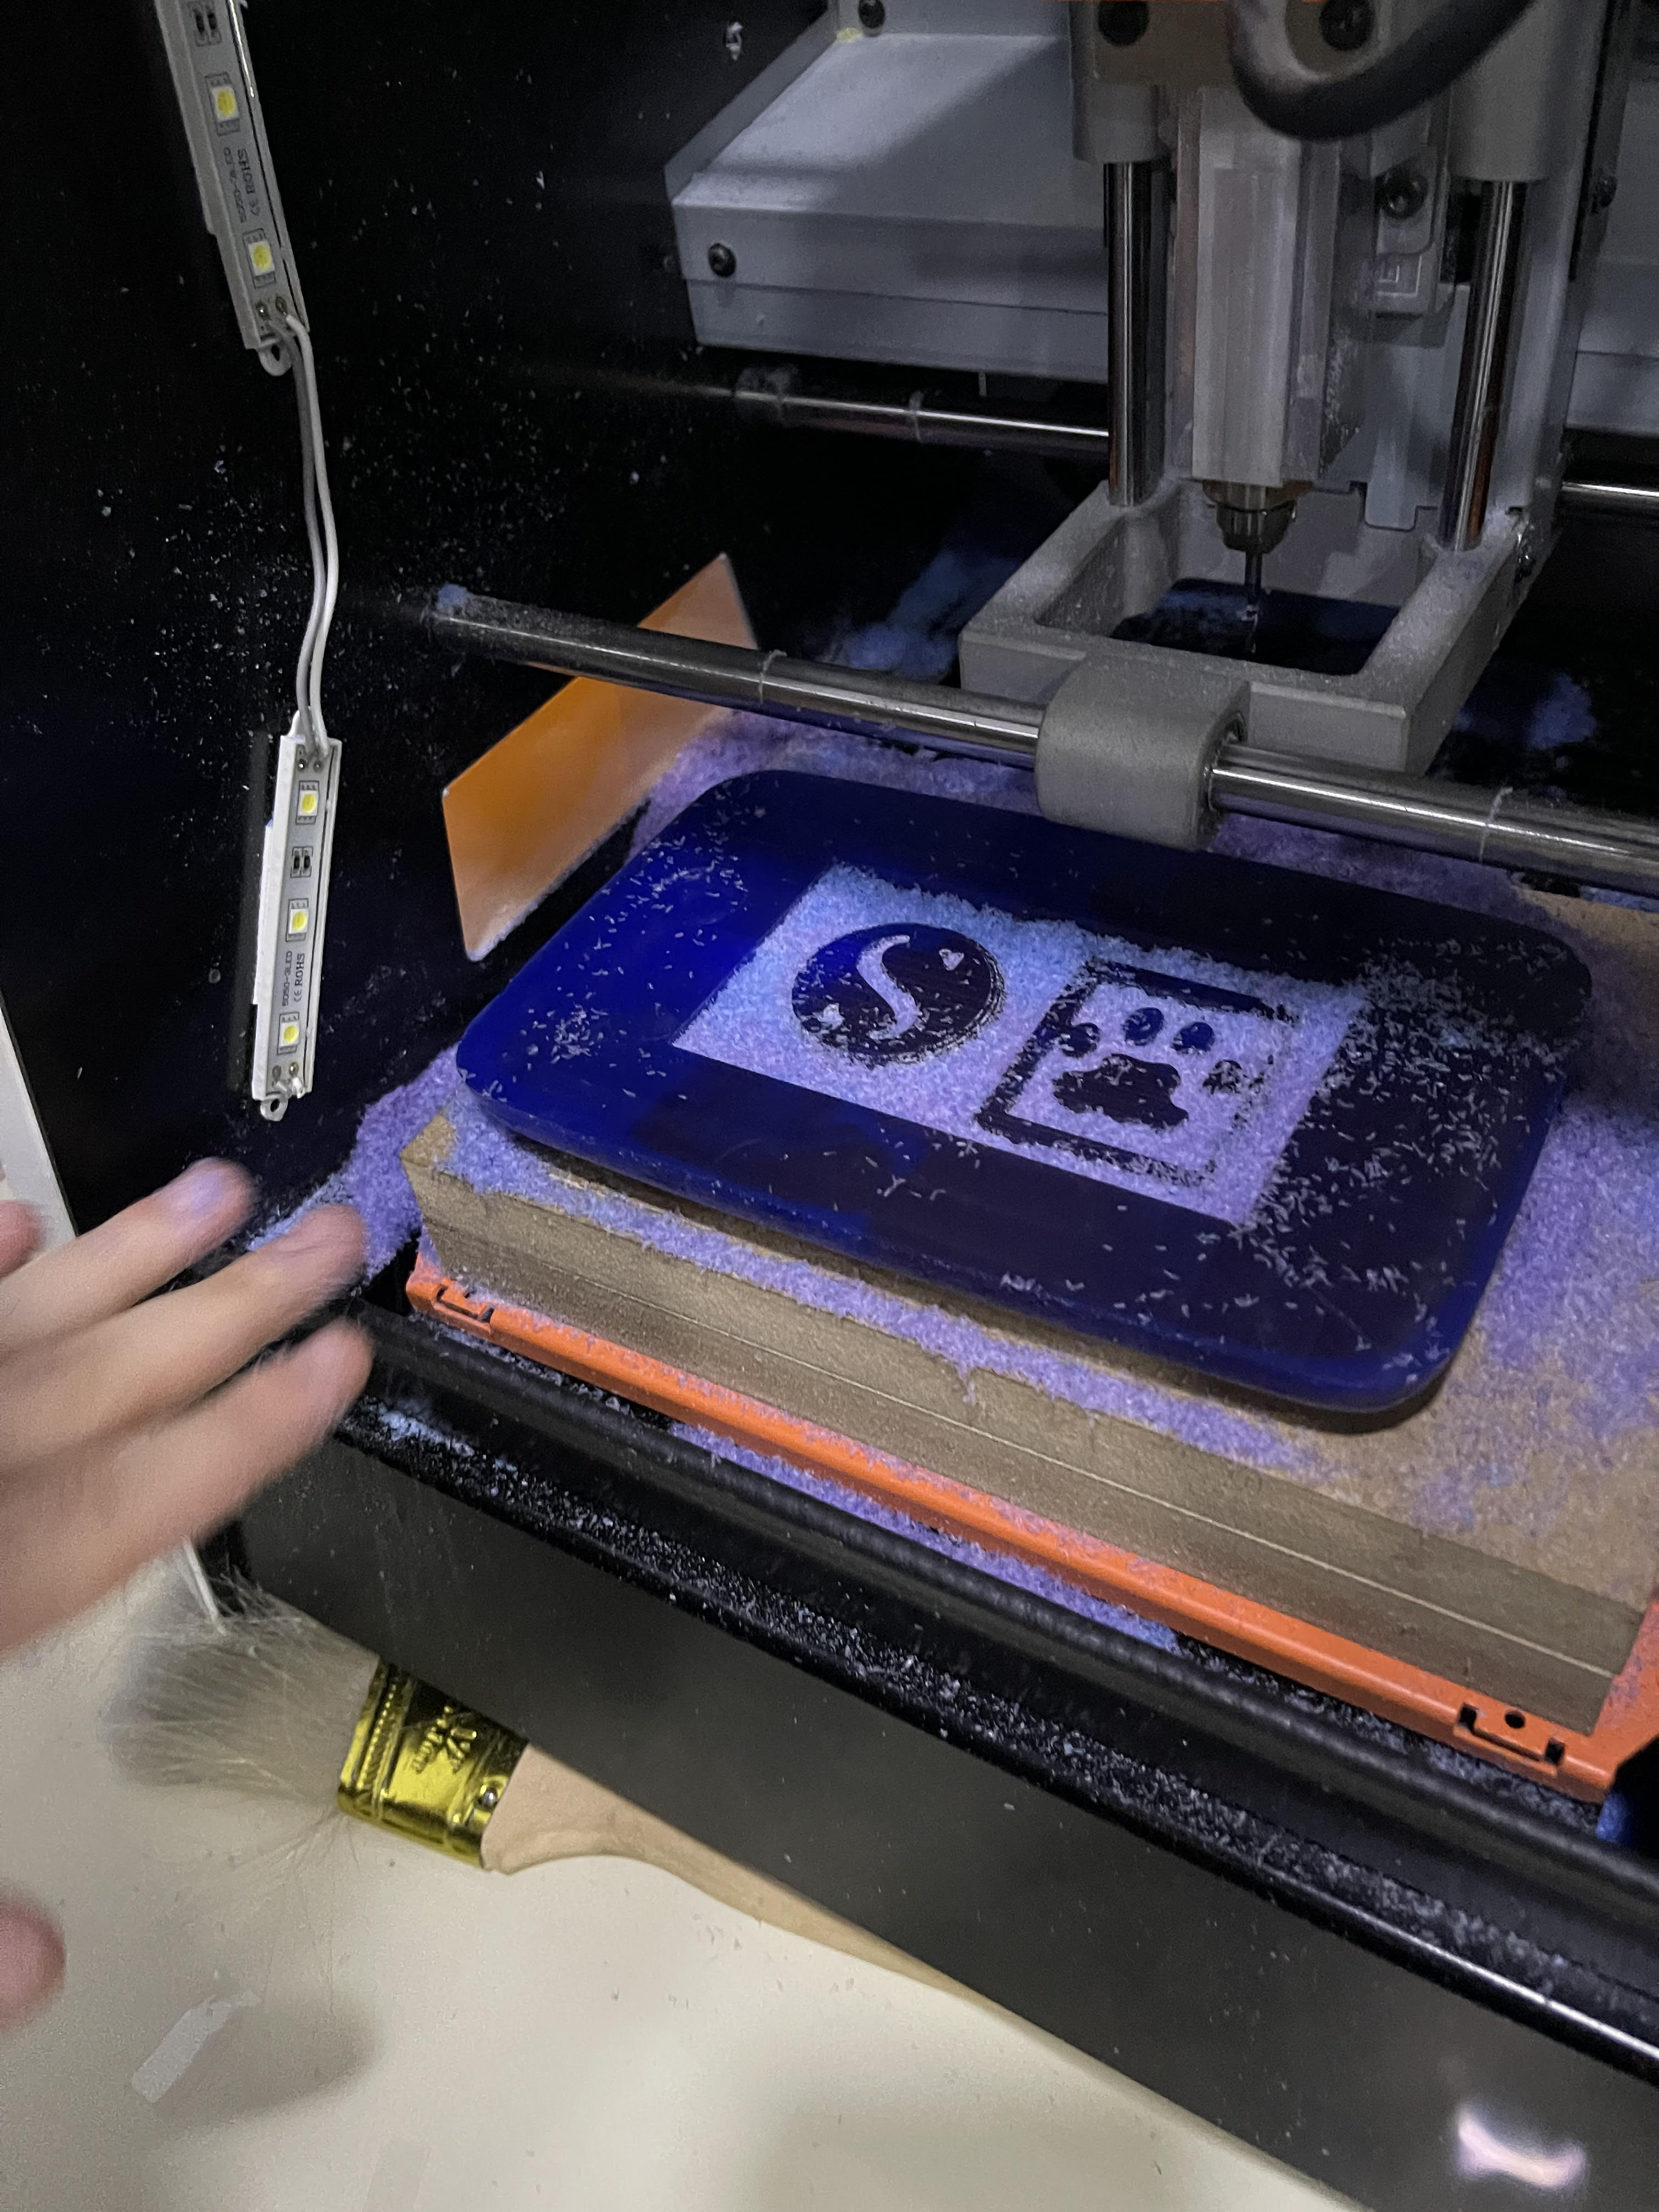
Then, the milling machine started with the roughing process.
When the roughing process is finished, the wax looked like this.
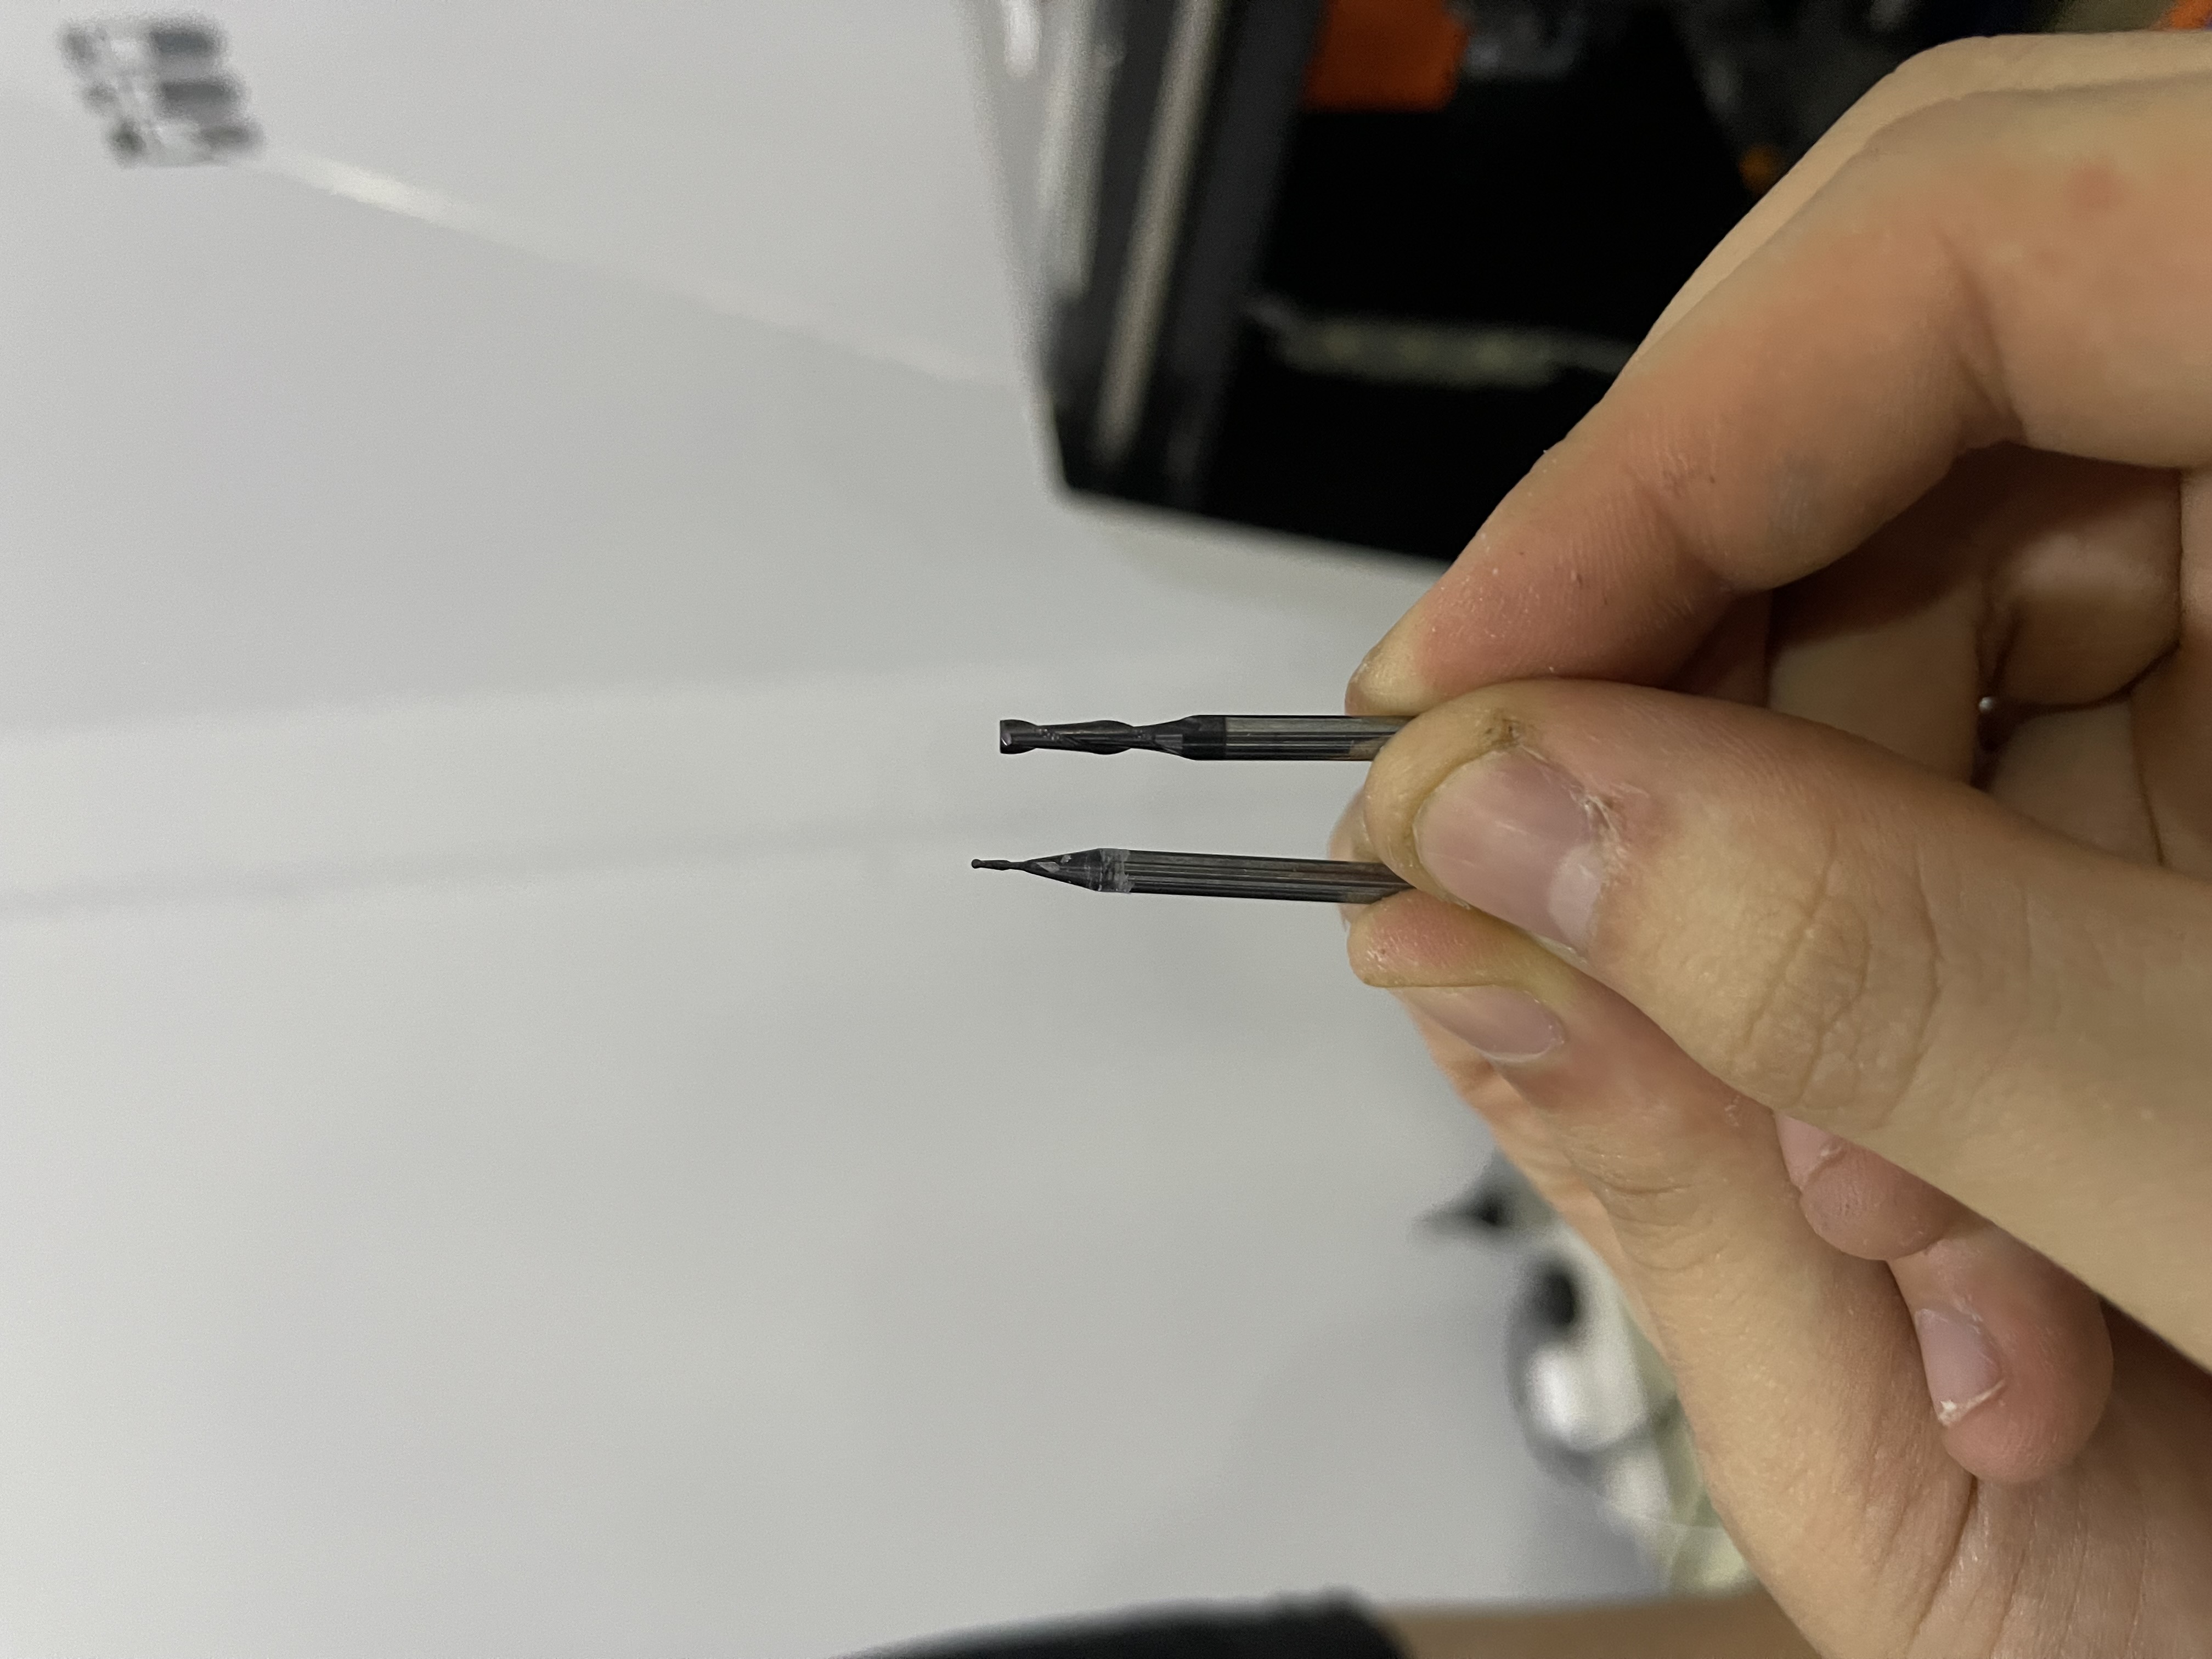
Then, the drill bit was changed to a 1/32 drill bit which is used for the finishing stage. (below is the difference between the drill bits sizes)
Finally, calibrate the Z axis of the milling machine once again and start the machine.
Then, the milling machine started with the roughing process.
When the roughing process is finished, the wax looked like this.
Then, the drill bit was changed to a 1/32 drill bit which is used for the finishing stage. (below is the difference between the drill bits sizes)
Finally, calibrate the Z axis of the milling machine once again and start the machine.
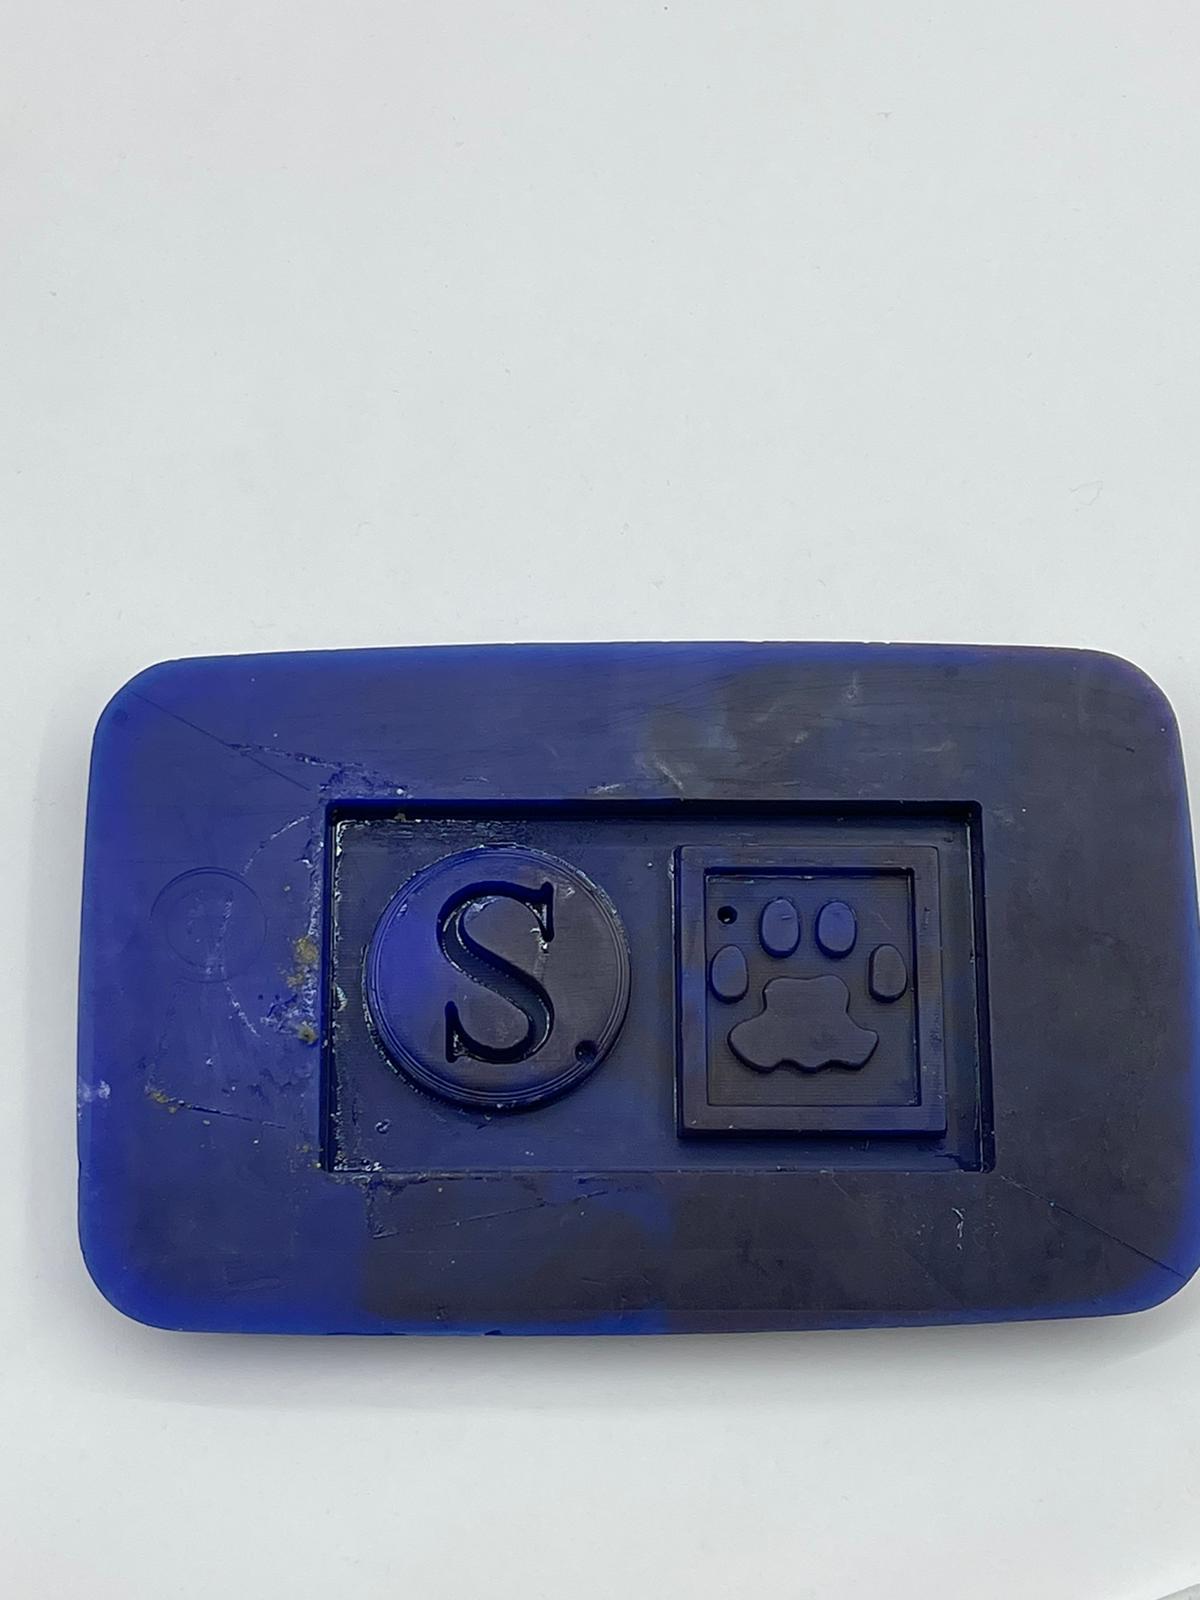
Then the milling part will be ready.
Here is a picture of the ready wax.
Then the molding process. I utilized two different silicones for this project (Silicone-A and Silicone-B). One silicone dries rapidly, while the other takes 24 hours to dry. The mixing ratio was one-to-one. Gloves, two silicon bottles, a weight balance, a spoon, and cups were all needed.
Then following the steps in the group assignment, I created a the mixture and then poured it into the wax
The videos below demonstrate how the silicon mixture was made.
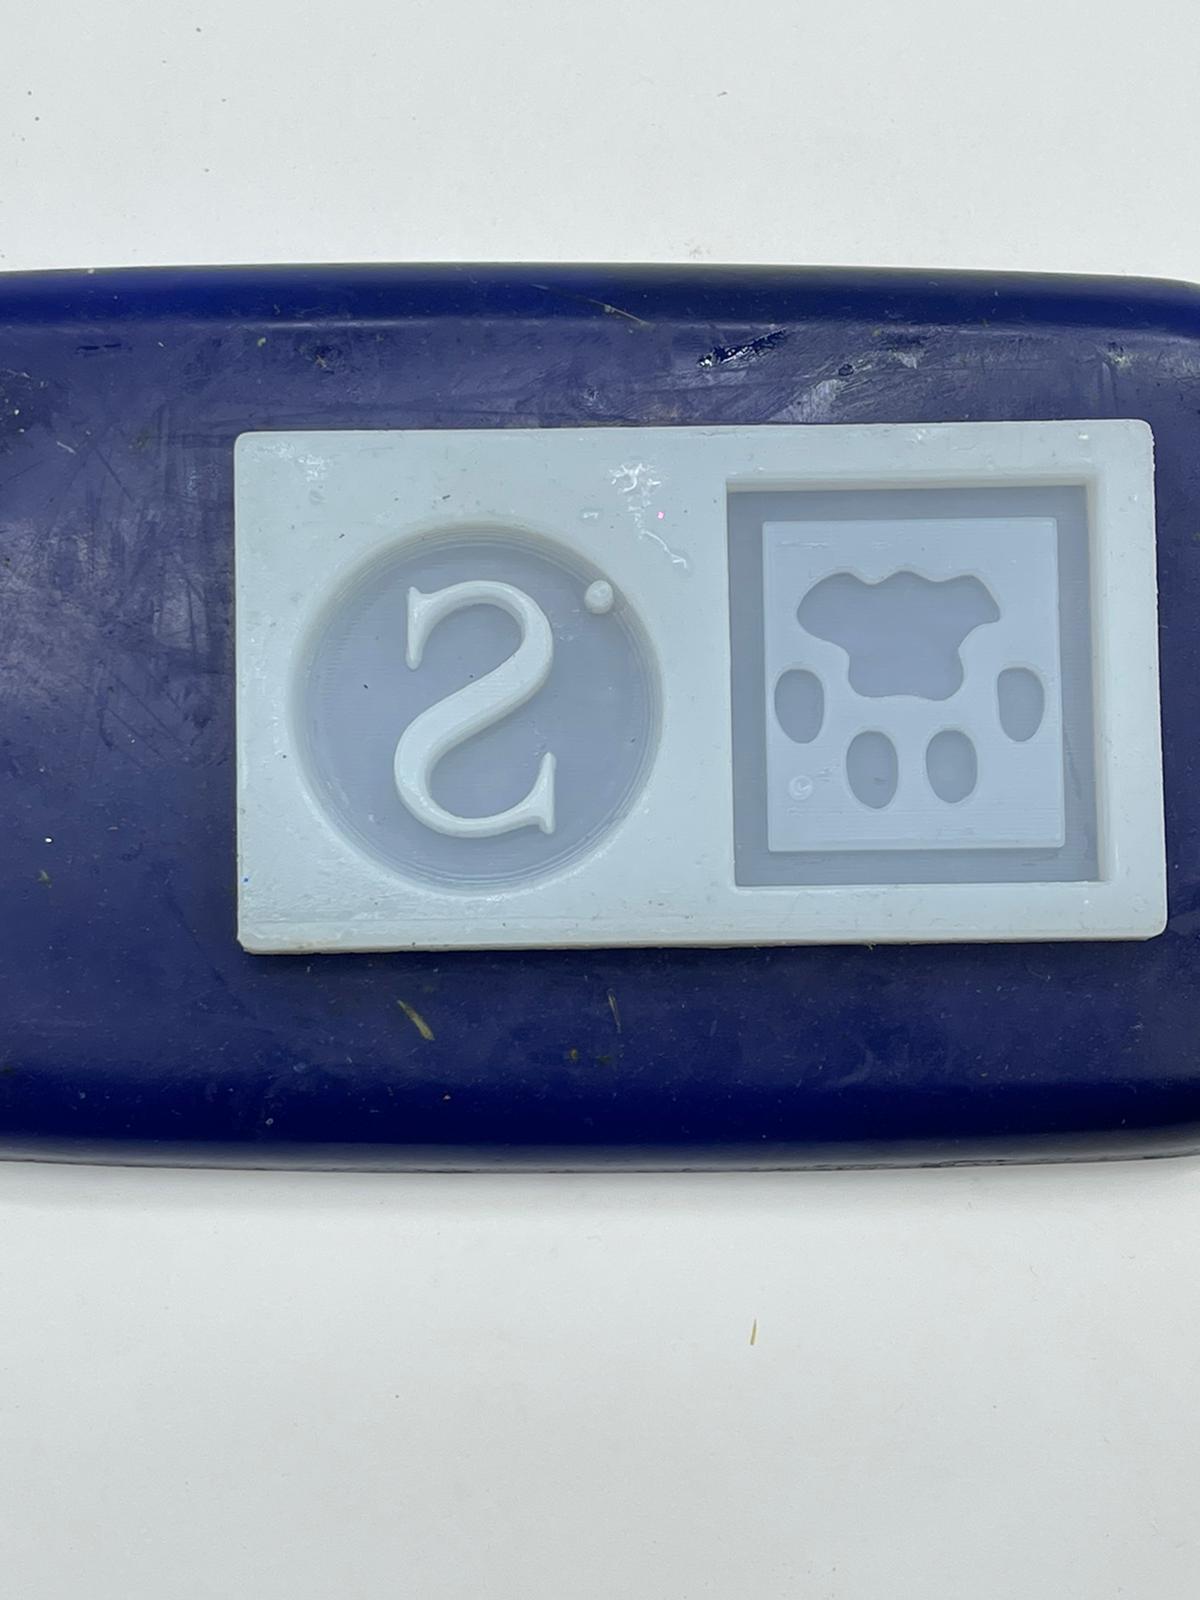
Here is a shot of the mould.
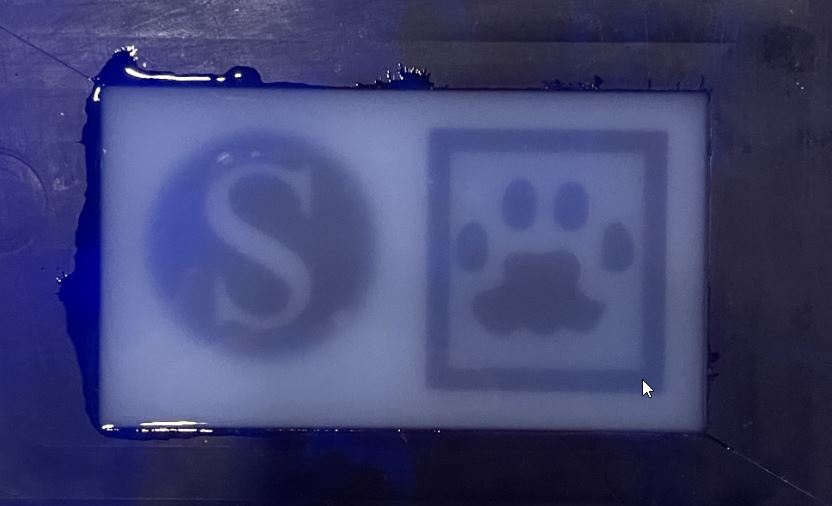
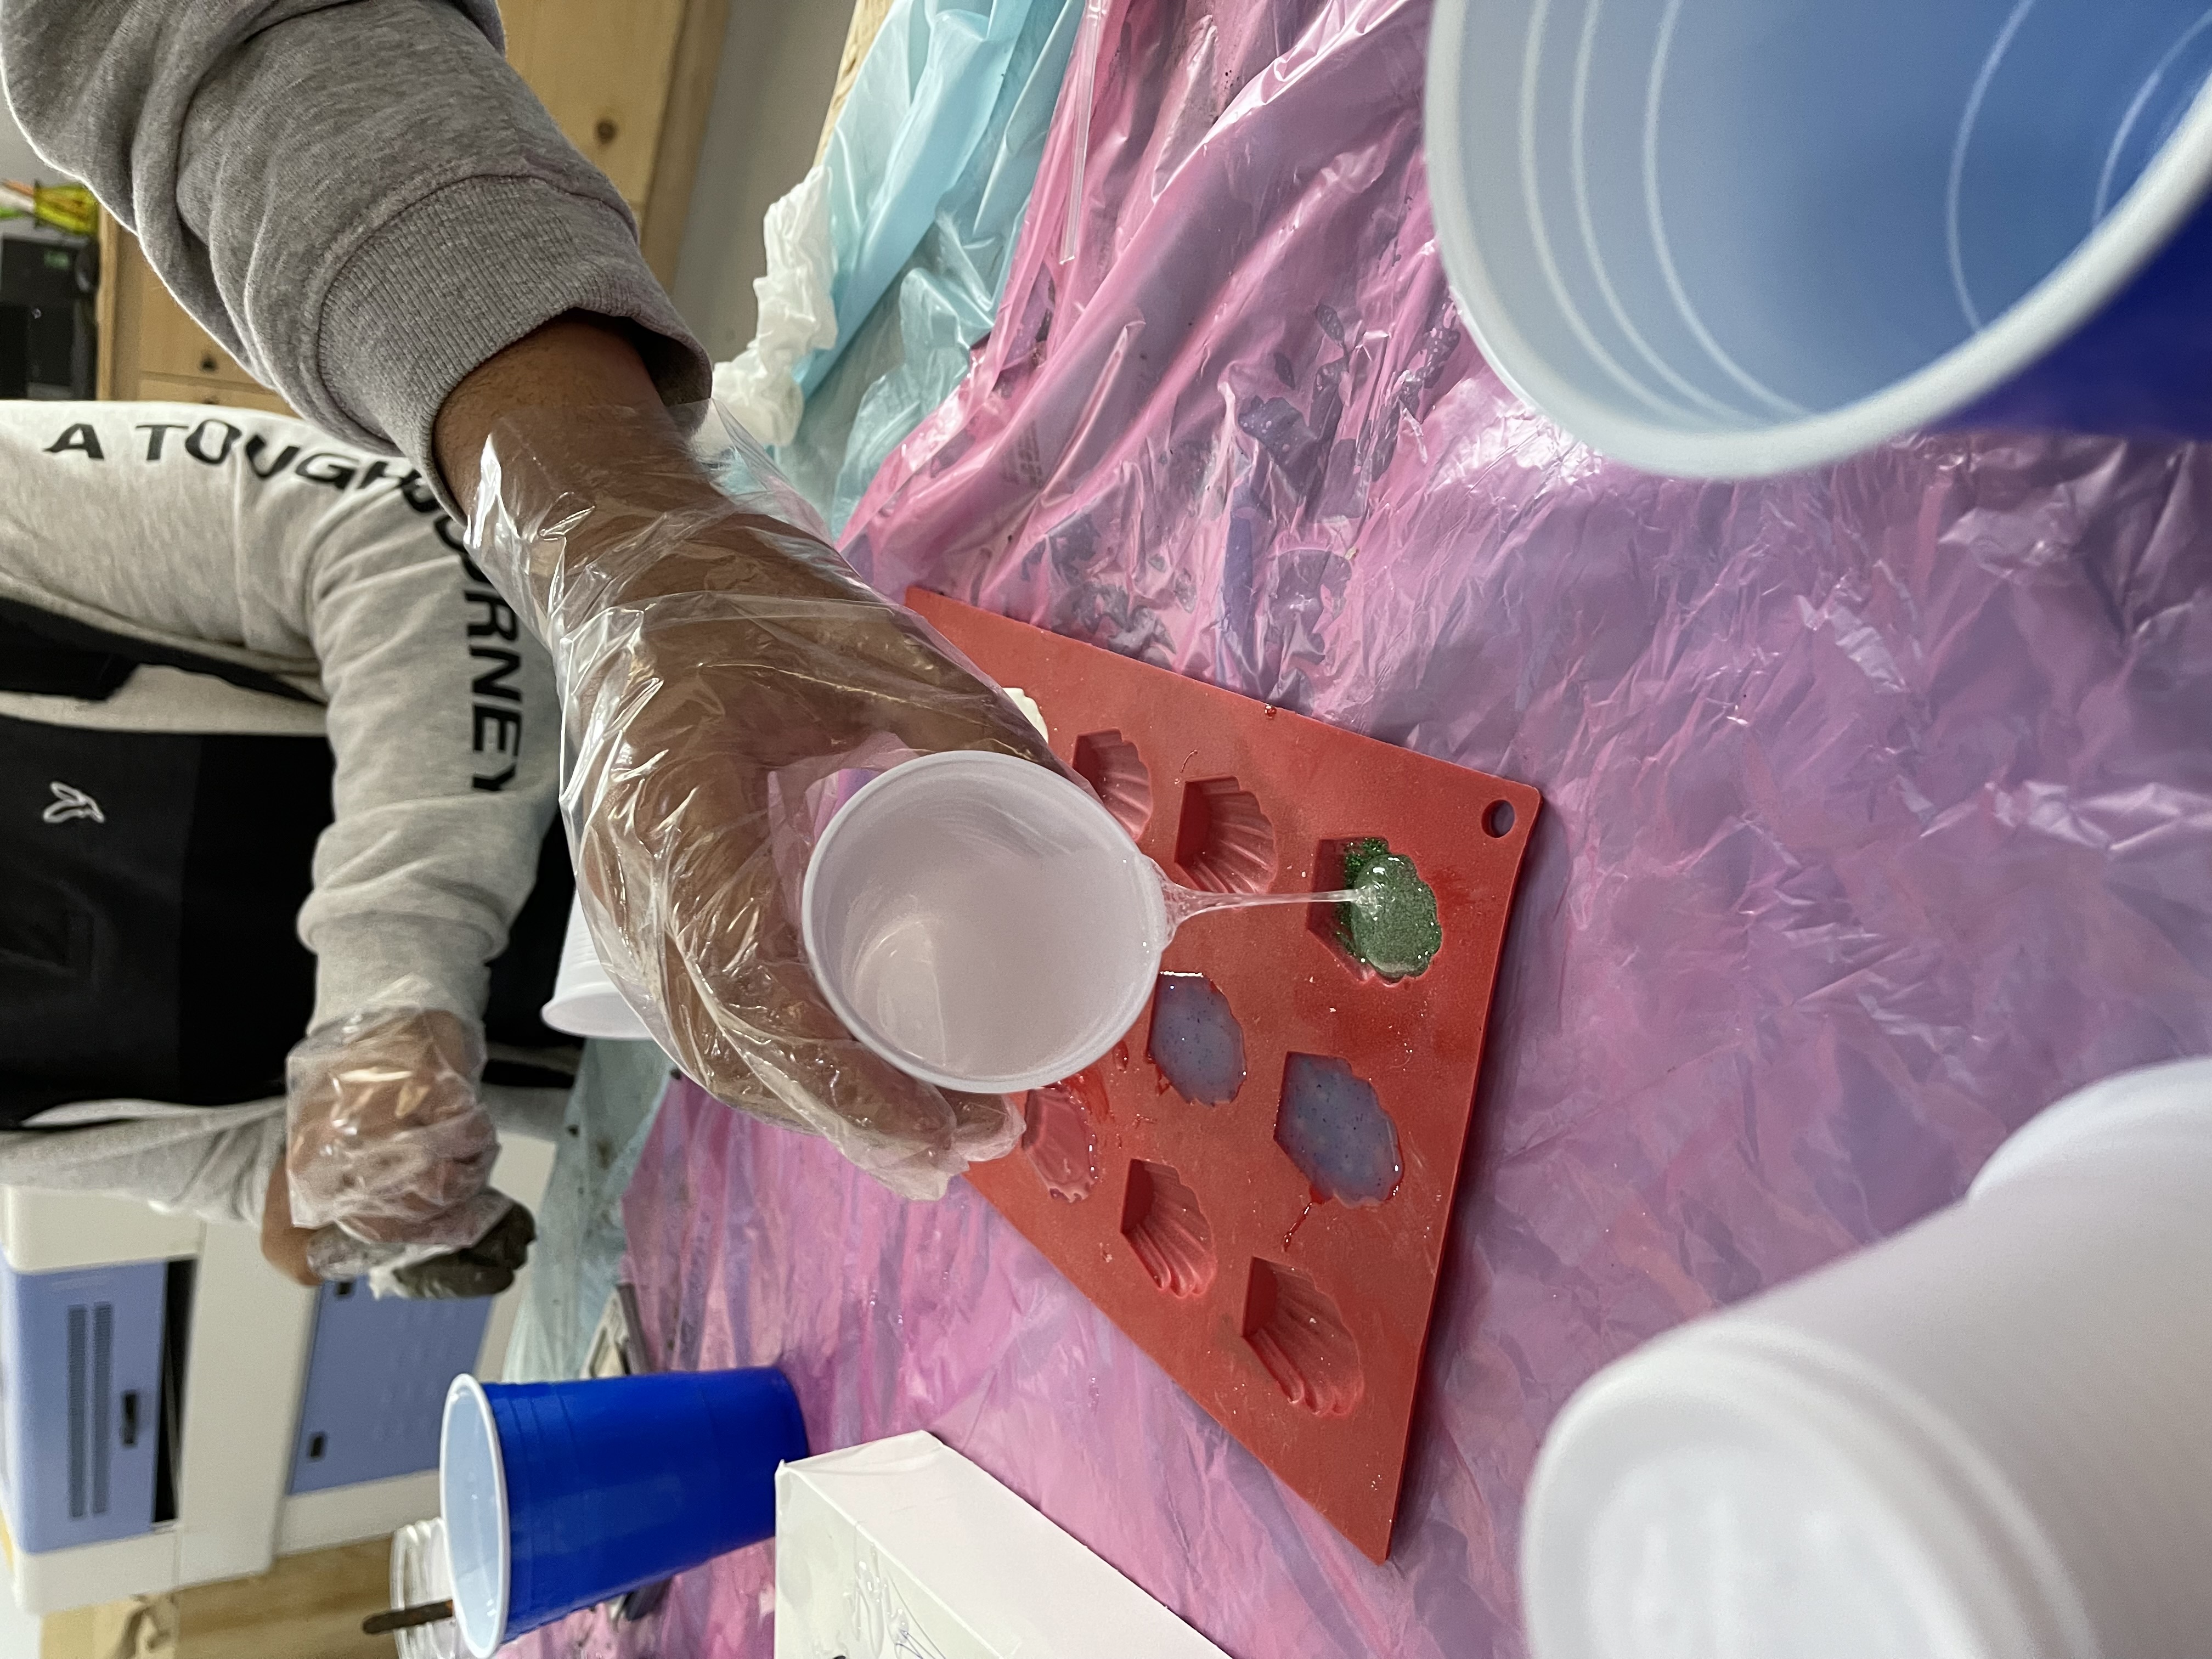
The casting processed Following the details on how to use resin material I created the resin mixture as shown in the videos below.
Then pour the mixture into the mold and after drying up, you will get the results you wanted.
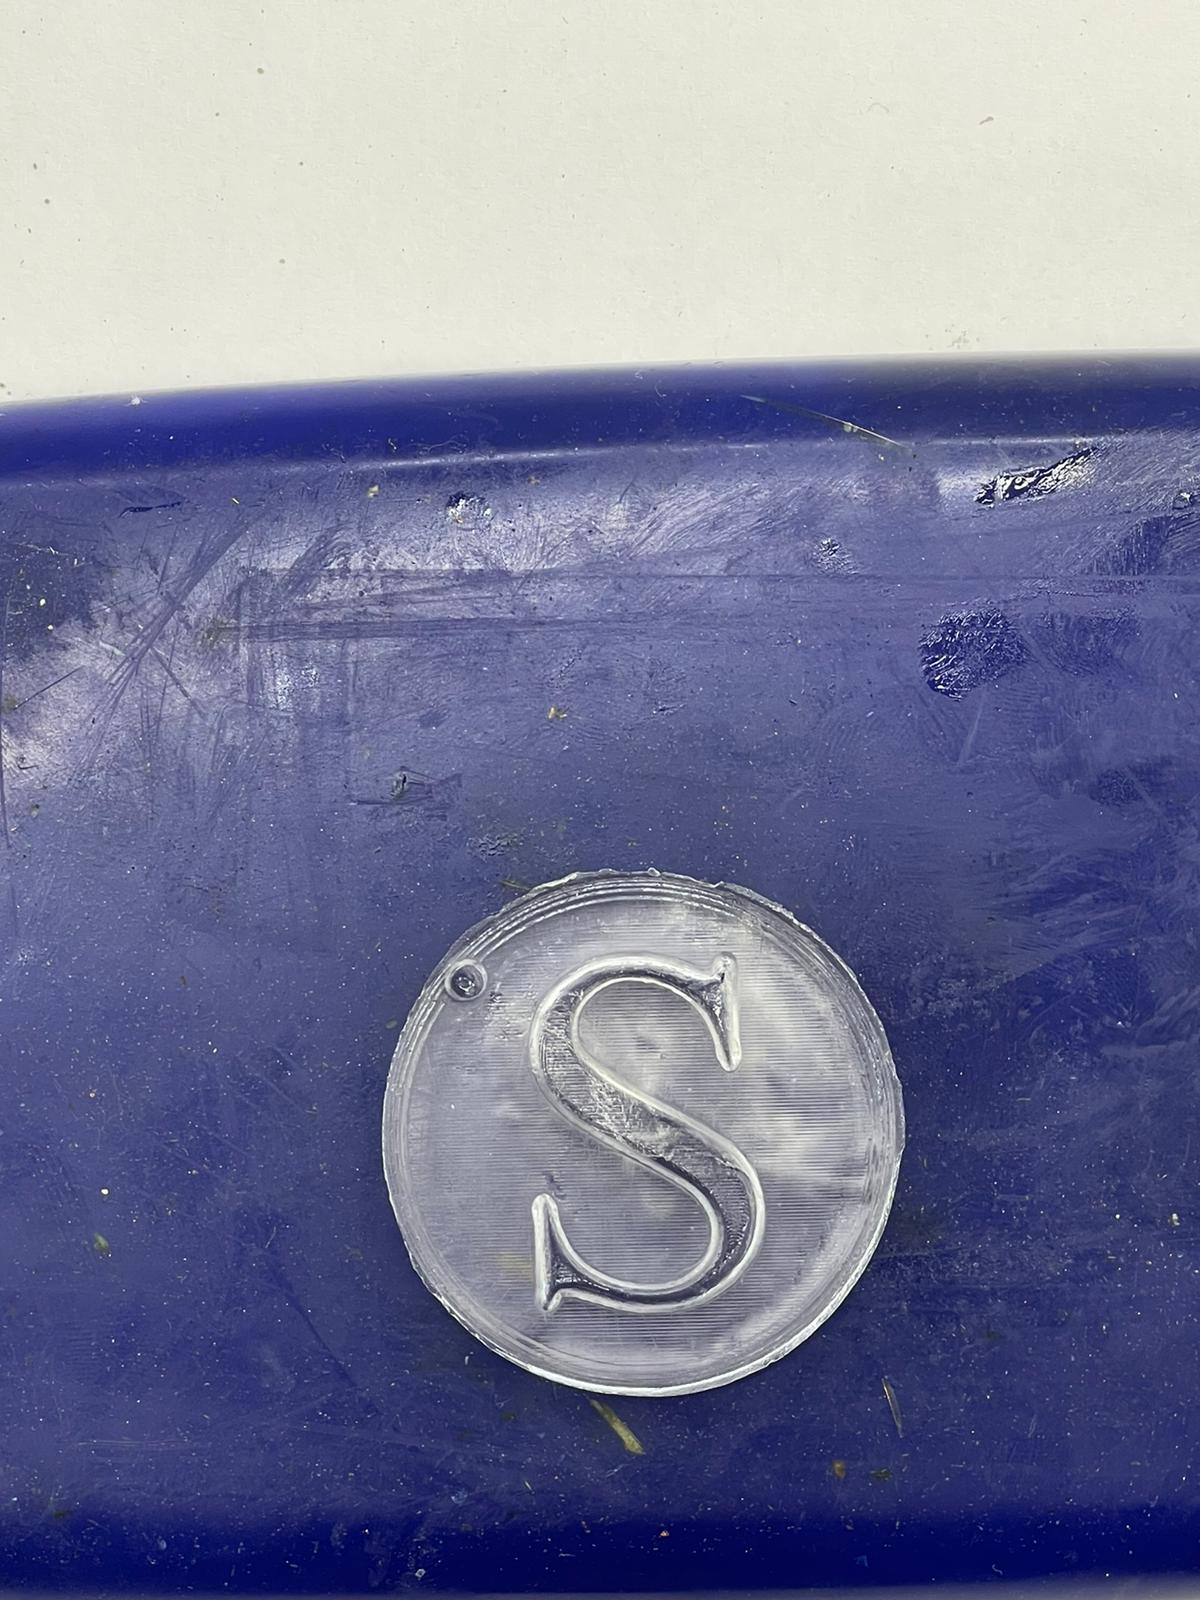
Here is a hero shot of my design
Things went wrong:
As shown below, the mold didnt dry well because the steps were followed carelessly.
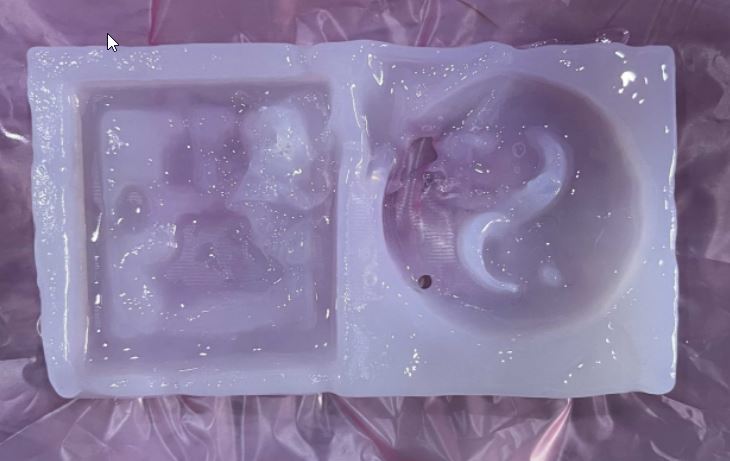
To avoid this mistake from occuring, please follow the instructions carefully.