3. Computer controlled cutting
This week I designed a 3D parametric design, which was then cut using a laser cutter. I was also shown how to use a vinyl cutter, and then printed a sticker for my laptop. On the other hand, we were given a group assignment first in which we had to determine the focus, power, speed, rate, kerf, and joint clearance of your laser cutter.
- Group assignment
The group assignment documentation can be found in Haider Albasri’s website
- Laser cutting machines
A laser cutter is a CNC (Computer Numerical Controlled) machine, which means it is computer-controlled. A maker can use digital software to design their ideas and then submit them to the laser cutter to be cut. The laser cutter employs a laser beam to cut or etch into the material on the cutting bed after receiving the file. Laser cutters are a versatile tool that may be used to create a wide range of designs. Wood, acrylic, cardboard, paper, and other materials are commonly cut with laser cutters.
Here is the laser cutter i used for this weeks
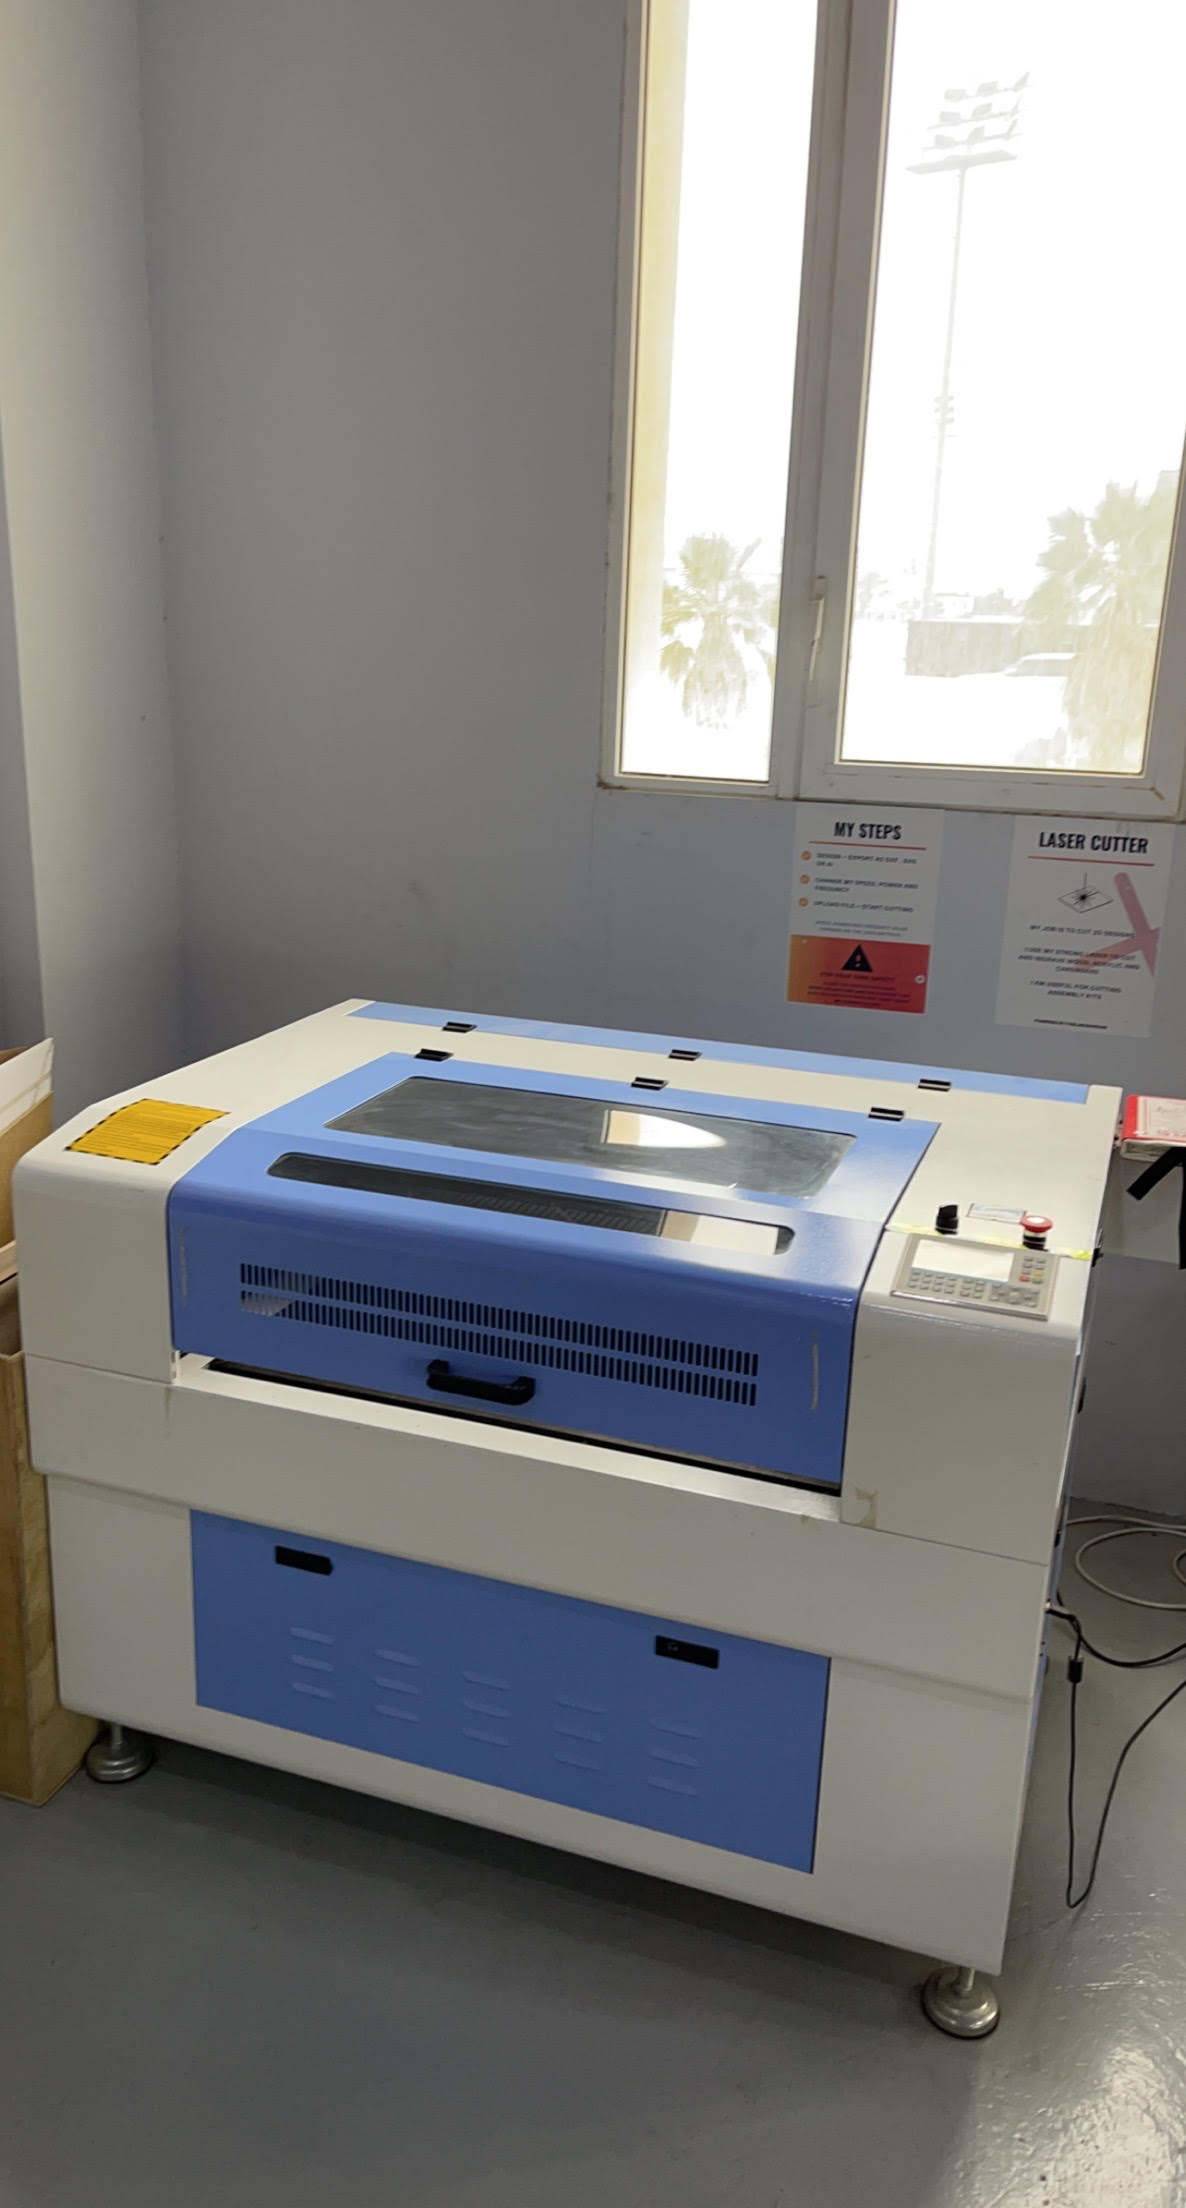
This printer can cut a ply with dimensions of 60x90 and depth of 12mm.
- How my parametric cardboard design was made
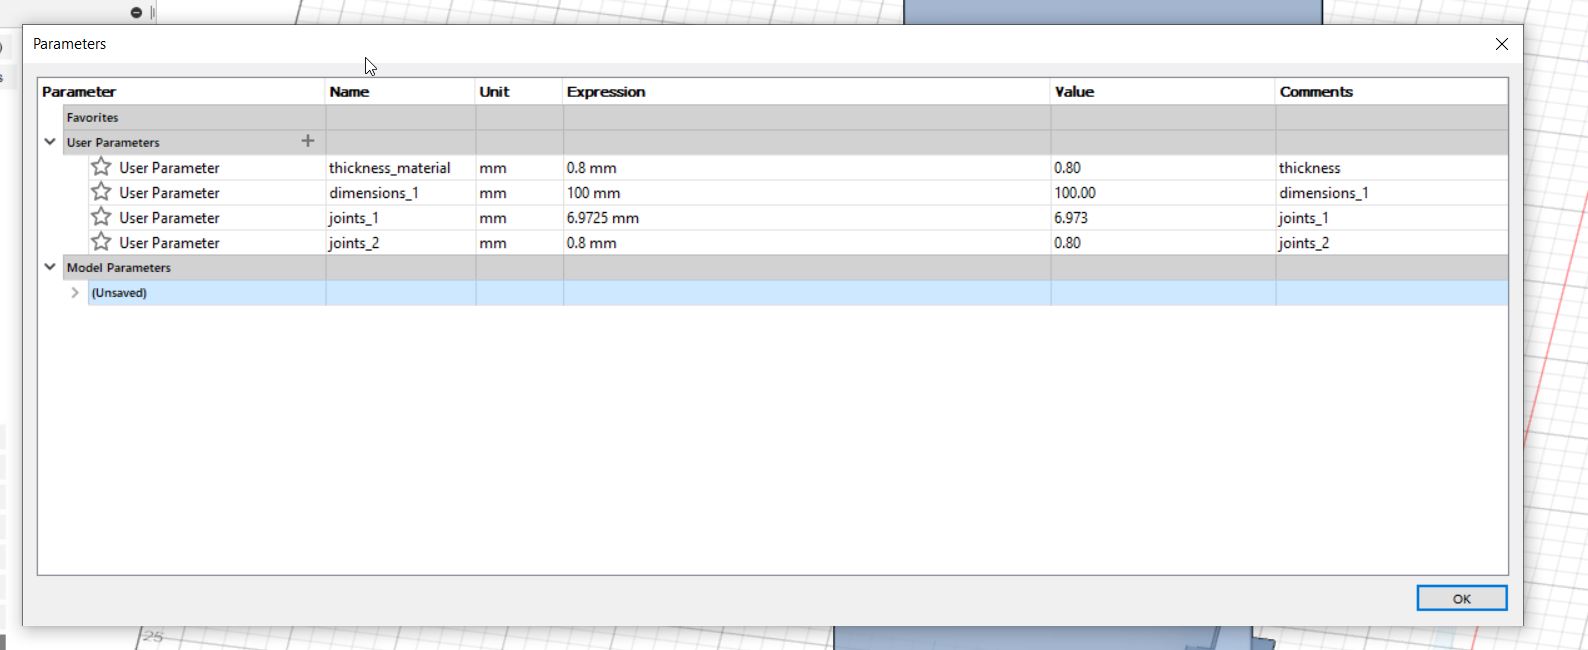
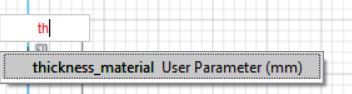
I used fusion 360 to design the needed parts, I also used a parameter table which makes it way easier to design the needed parts. (My parameter table can be shown below)
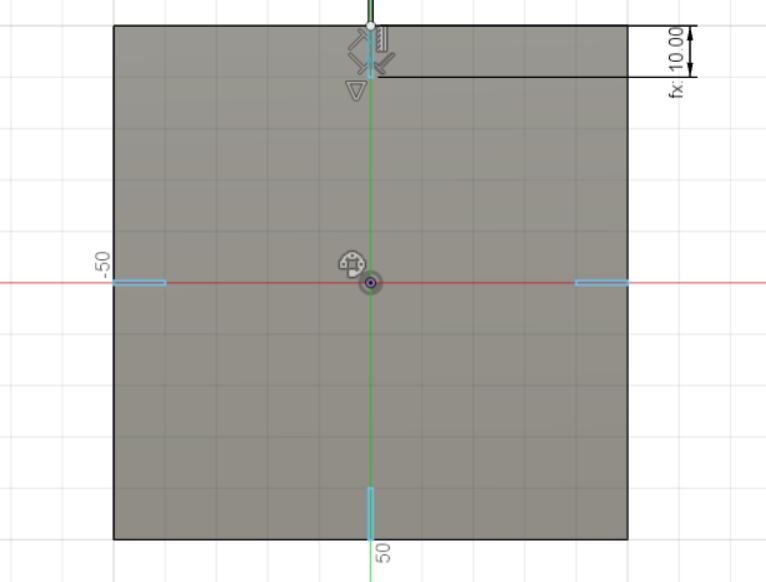
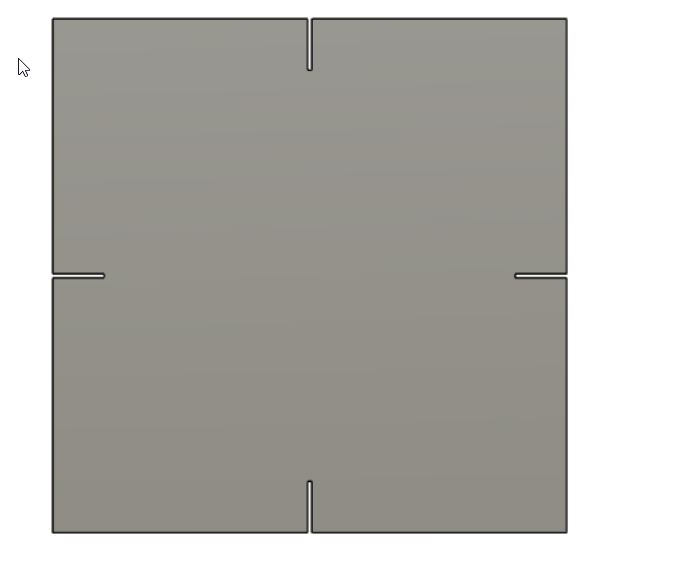
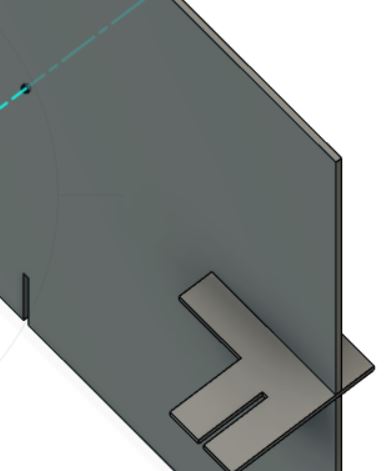
Then I sketched a square, extruded it and then i sketeched 4 rectangles one on each side which act as a joint as shown below.
For the length of the joints I used the parameters which were recently made instead of typing each measuremnet on its own. This way even if you want to change the whole size of the change it would be way easier as you will only need to edit the measurement once from the parameters table.
Then I designed the L part as shown below, and then used the alignment tool to connect them both.
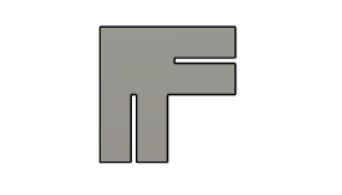
Here is a preview of the sketch.
Here are the 3D designs I did click here to download the models in DXF format
I saved my designs as a dxf file. Then open the software ‘RD Works’ where I uploaded the file by going to ‘file’ then ‘import’ and selecting the desired file. (an image shwoing the steps is shown below)

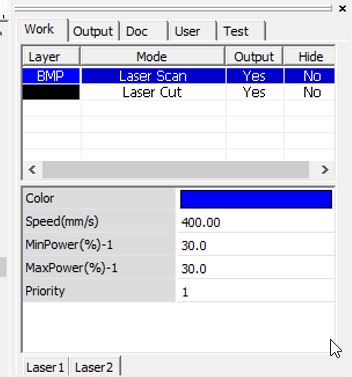
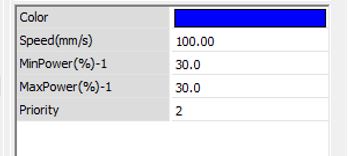
I set the desired powers, speed of the machine while cutting and scanning into the software. (as shown below)
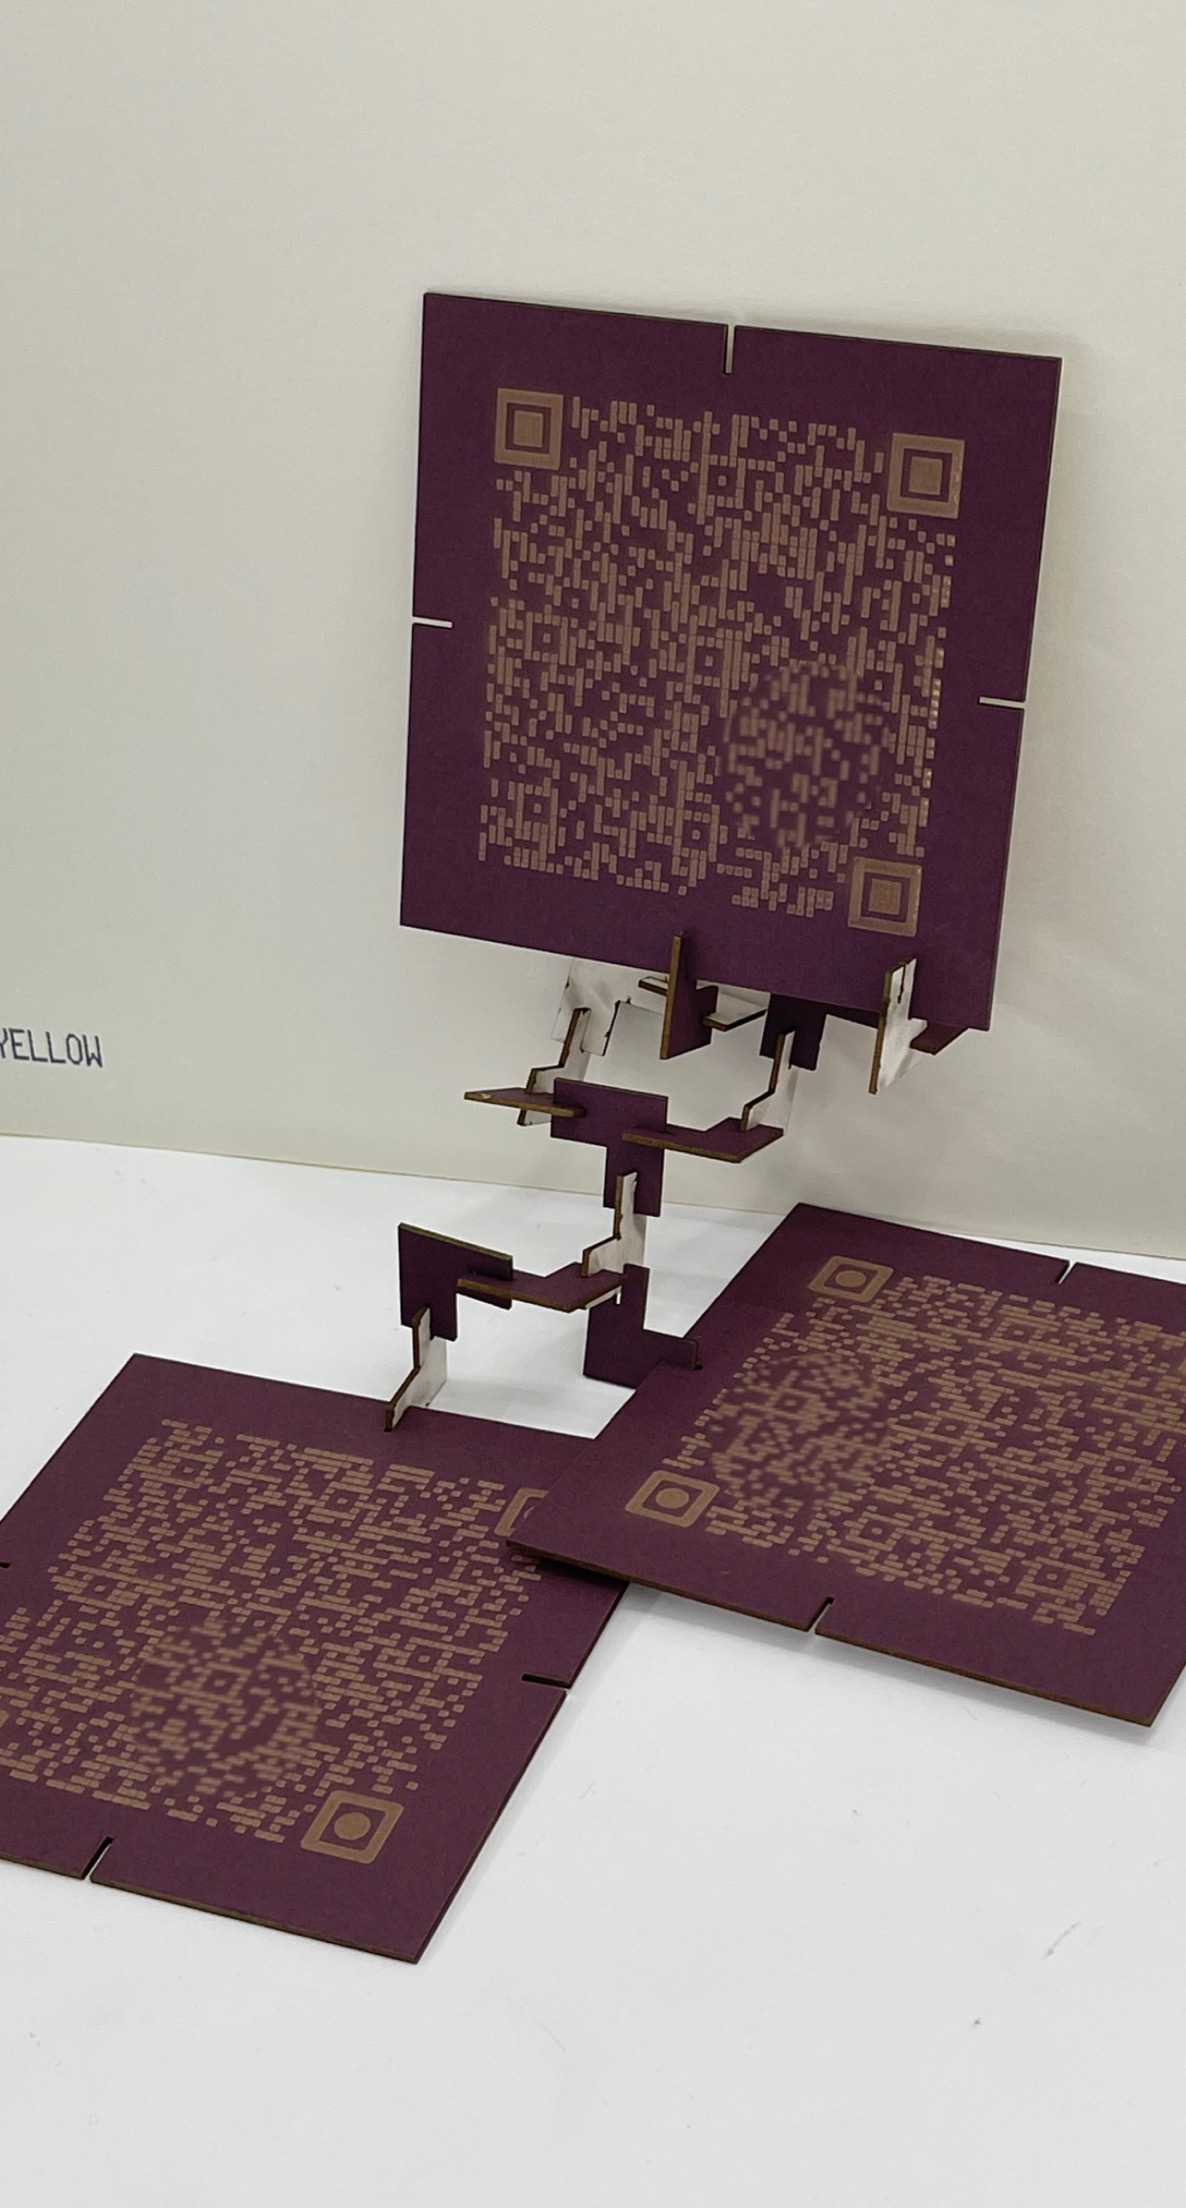
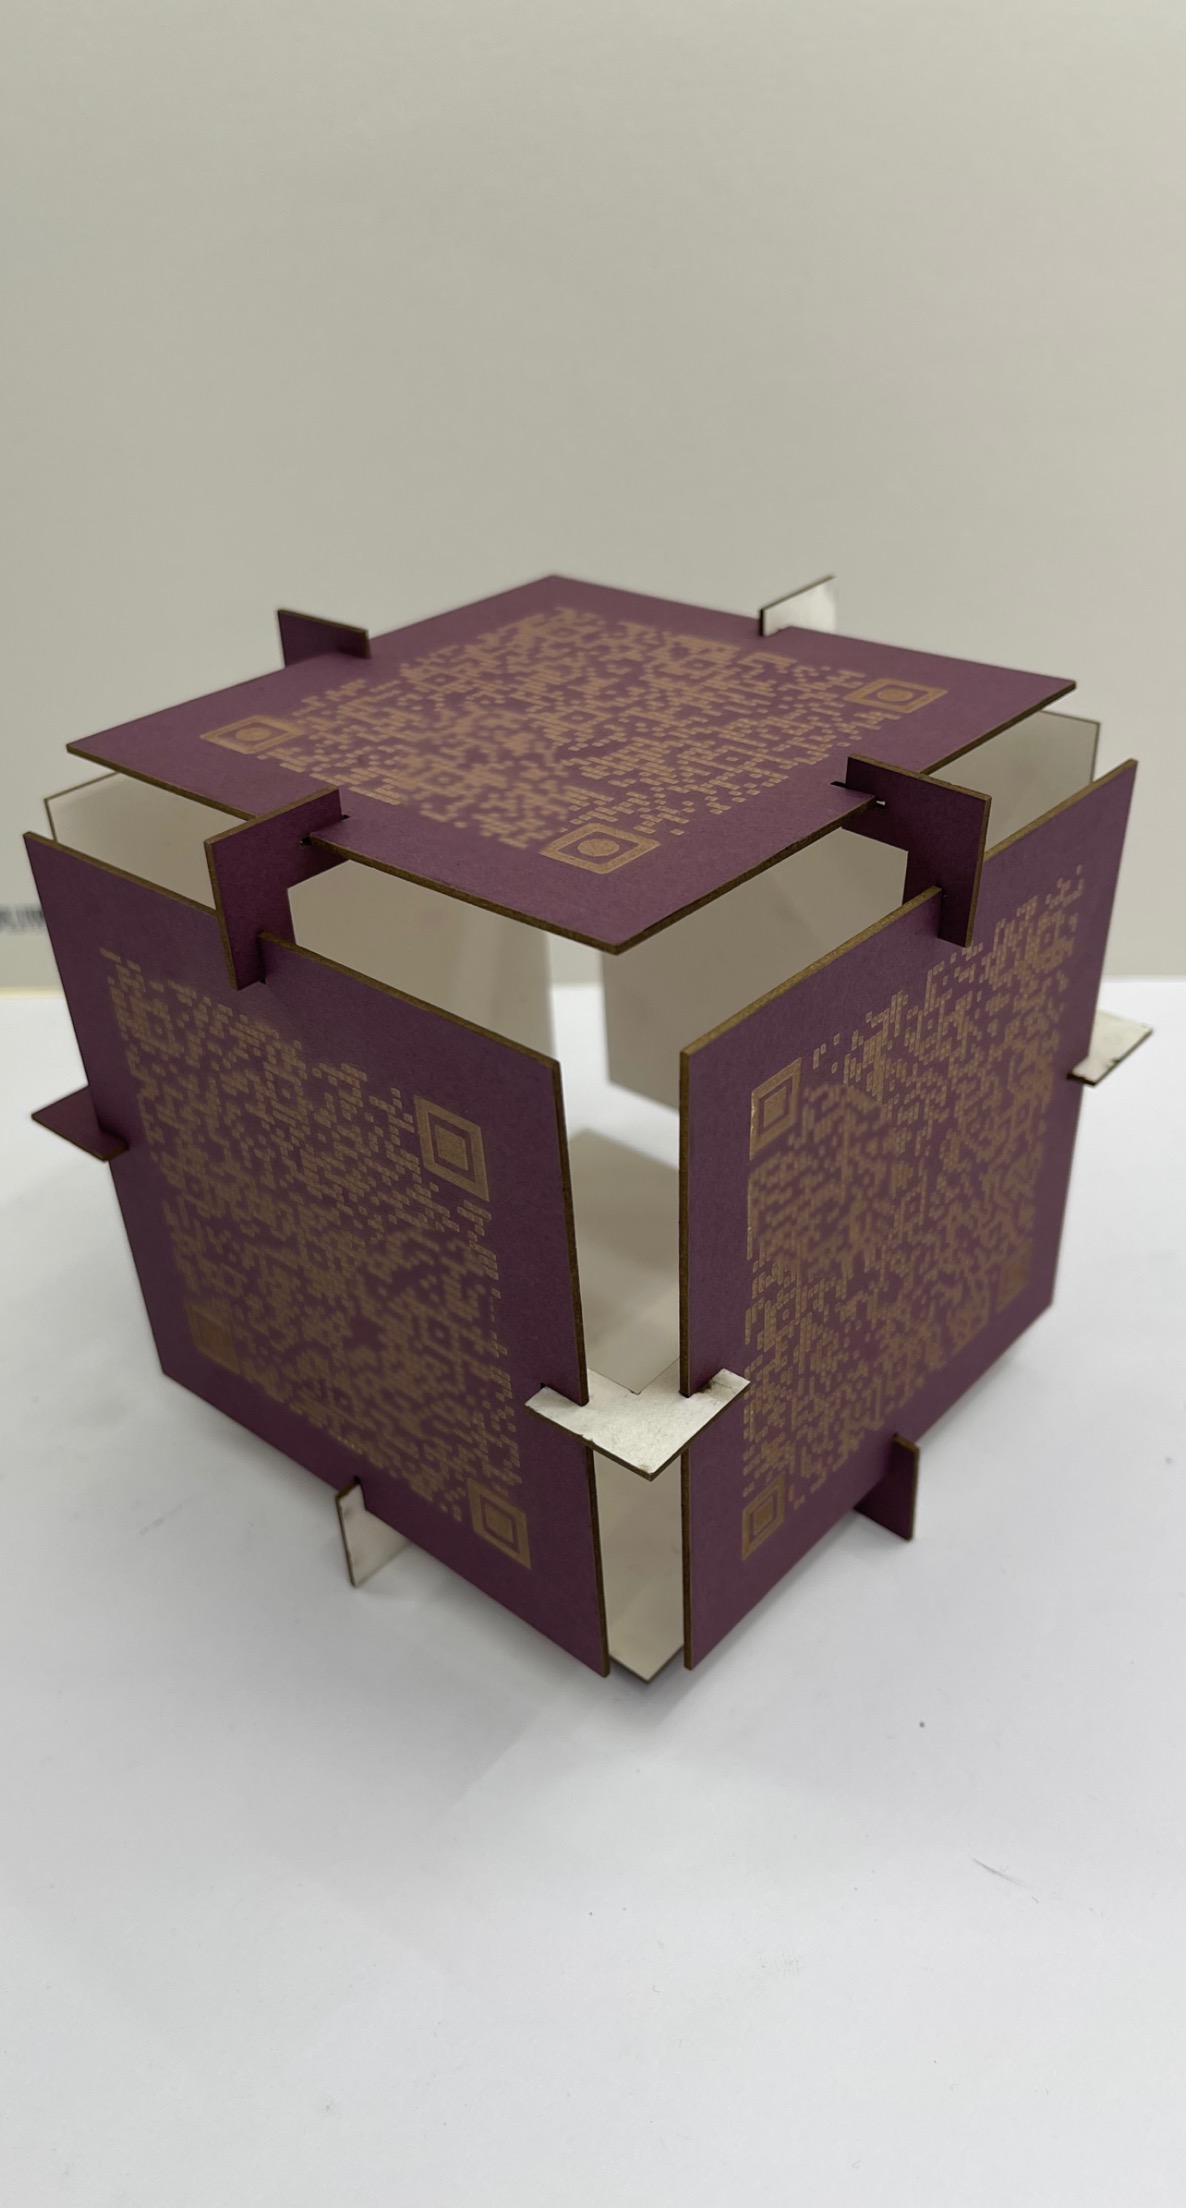
Finally, after printing, I assembled the parts into two different Designs. (as shown below)
- Vinyl Cutter
STEP ONE: First, you need to download cricut. click here to download cricut
STEP TWO: Upload the wanted image into the software. (as shown in the image below)
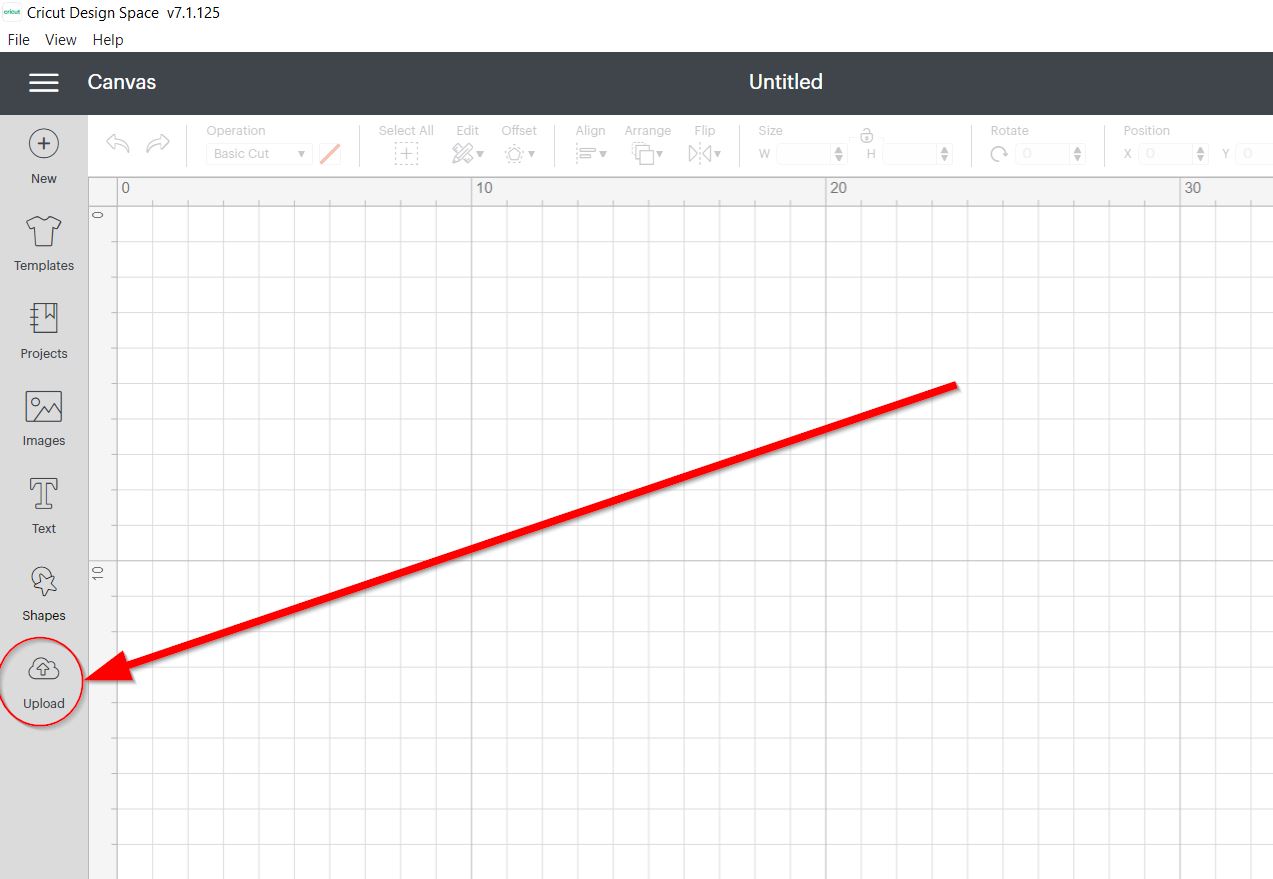 figure 6
STEP THREE: Resize, and remove the unwanted parts of the image (if any).
STEP FOUR: Press on ‘make it’ option (as shown below).
 figure 7
STEP FIVE: Connect a usb cable from the vinyl cutter to your laptop.
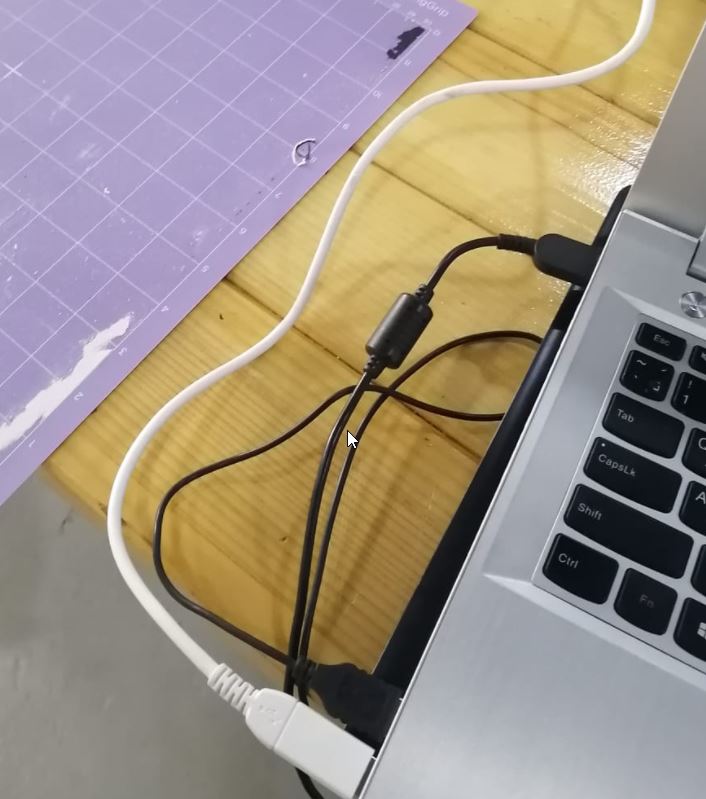 figure 8
STEP SIX: Press on the ‘GO’ button on the vinyl cutter. (as shown below)
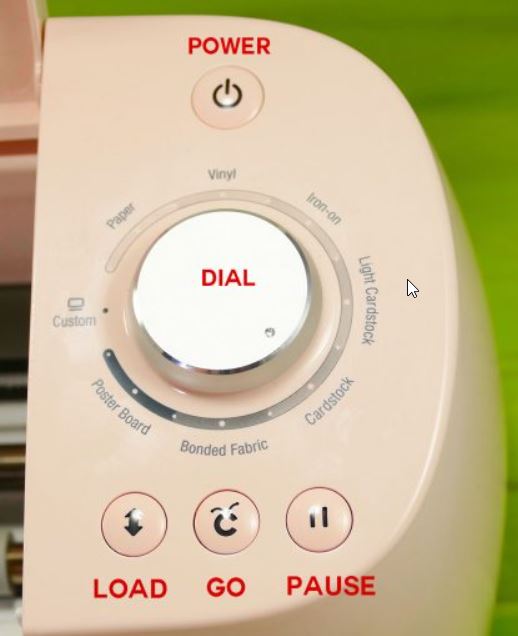 figure 9
STEP SEVEN: After the vinyl cutter is done cutting, press on the ‘load’ button and remove the sticker.
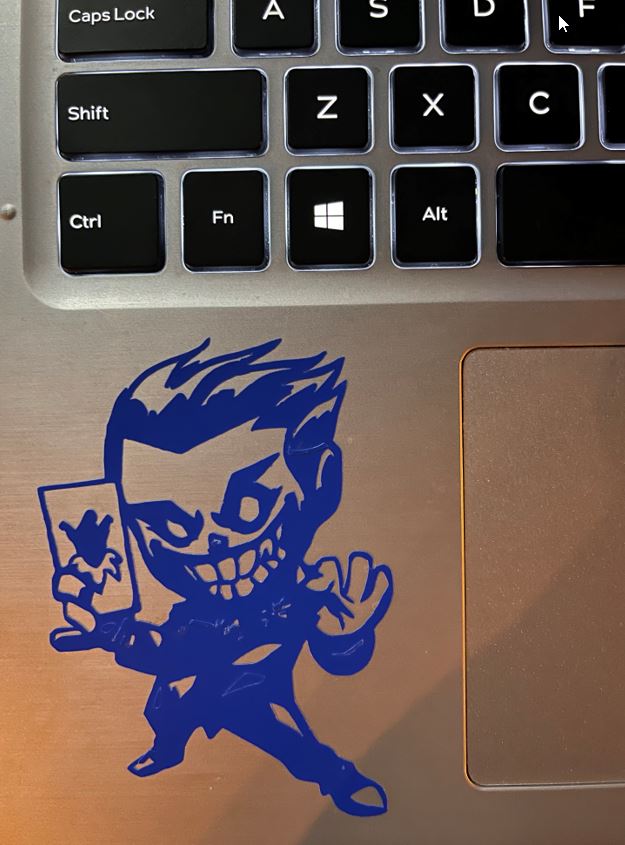 figure 10: This is my sticker, now its your turn to show me yours!!