3. Computer controlled cutting
This week I worked on computer controlled cutting using vinyl cutter and laser cutter.
Vinyl cutter
A vinyl cutter is an entry level machine for making signs. Computer designed vector files with patterns and letters are directly cut on the roll of vinyl which is mounted and fed into the vinyl cutter through USB or serial cable. Vinyl cutters are mainly used to make signs, banners and advertisements.
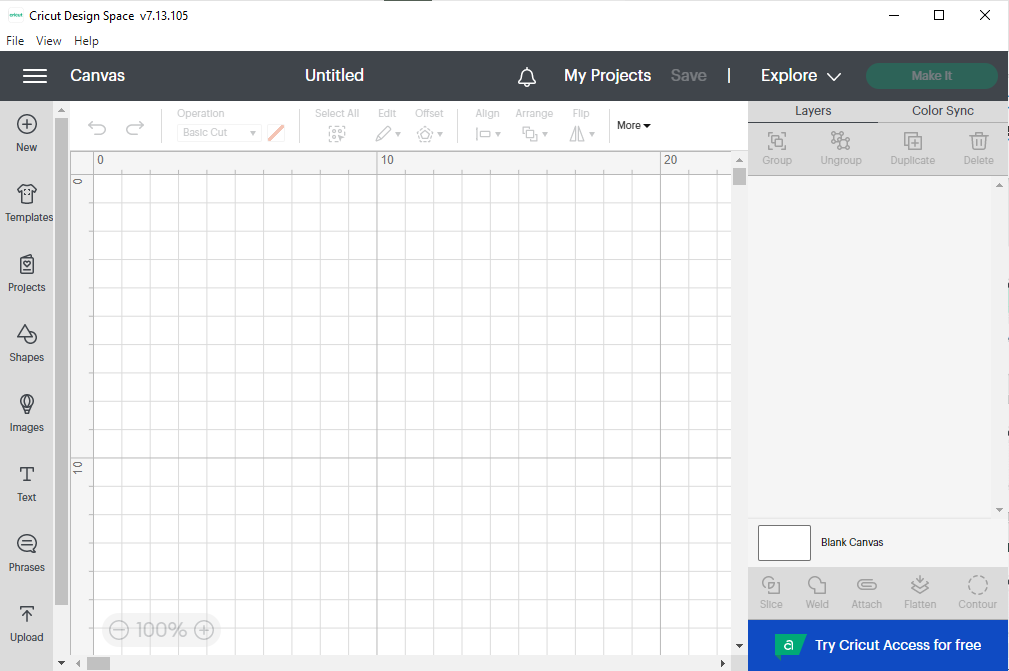
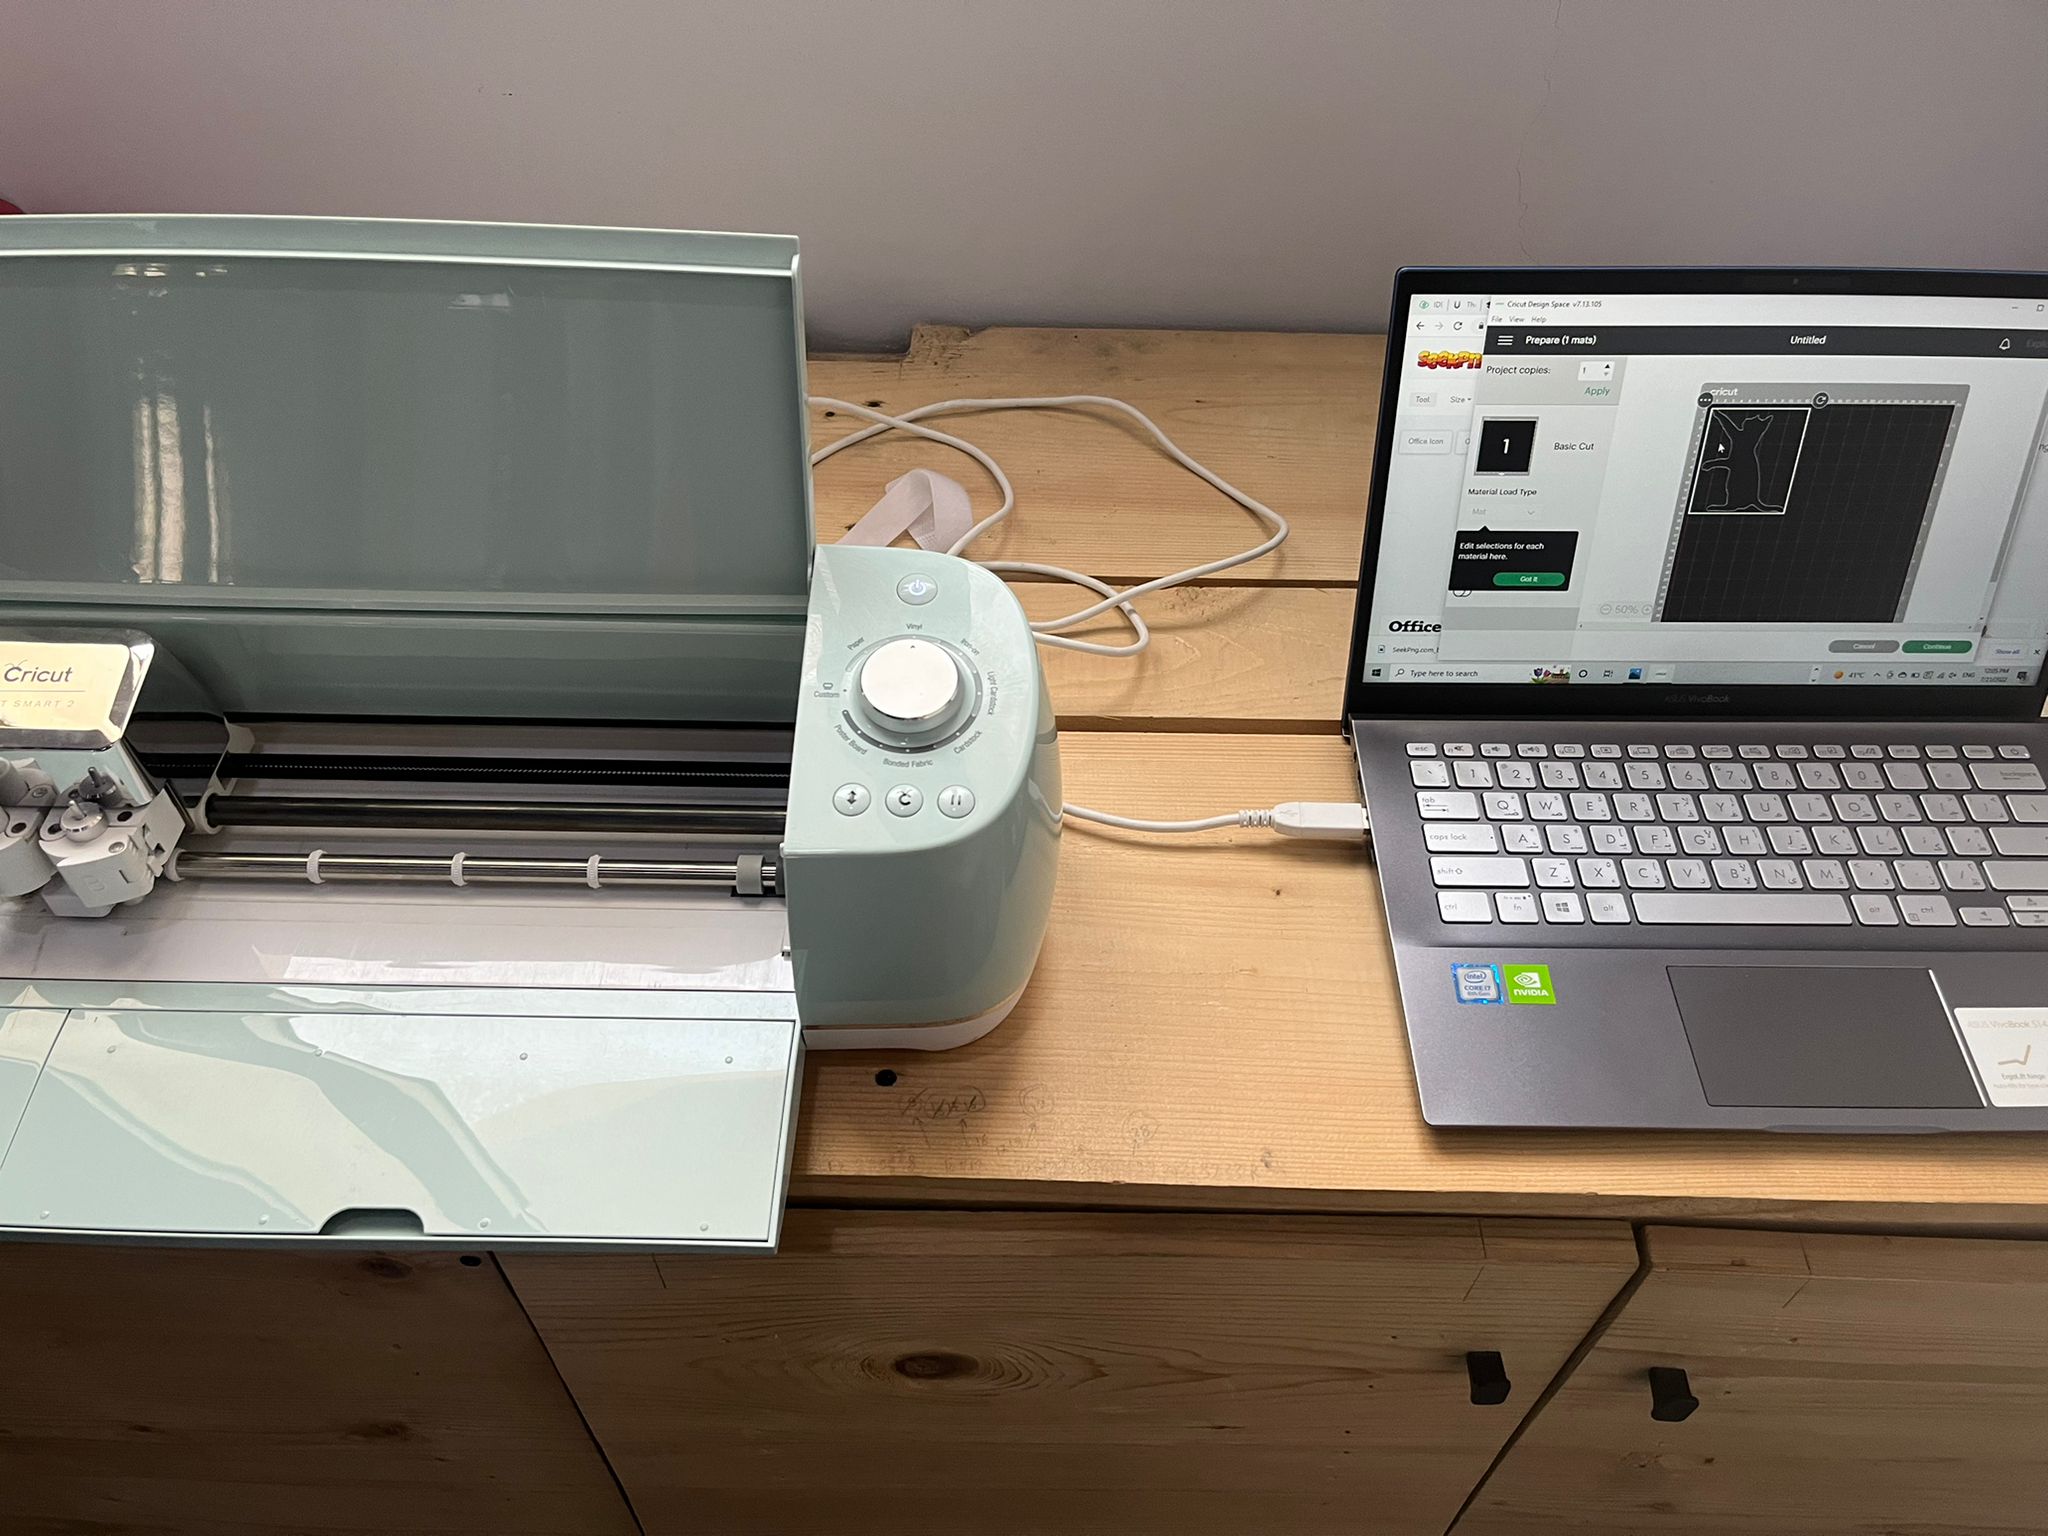
1) After creating a personal acount for cricuit software click on new project

2) Click on upload on the lower left part of the page
3) Click on upload image
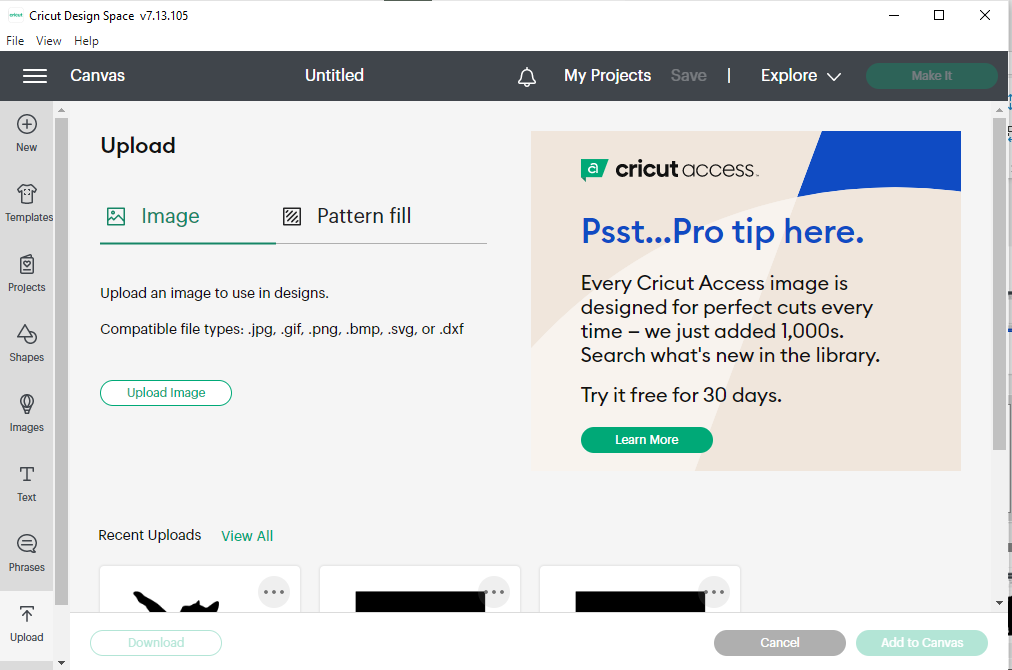
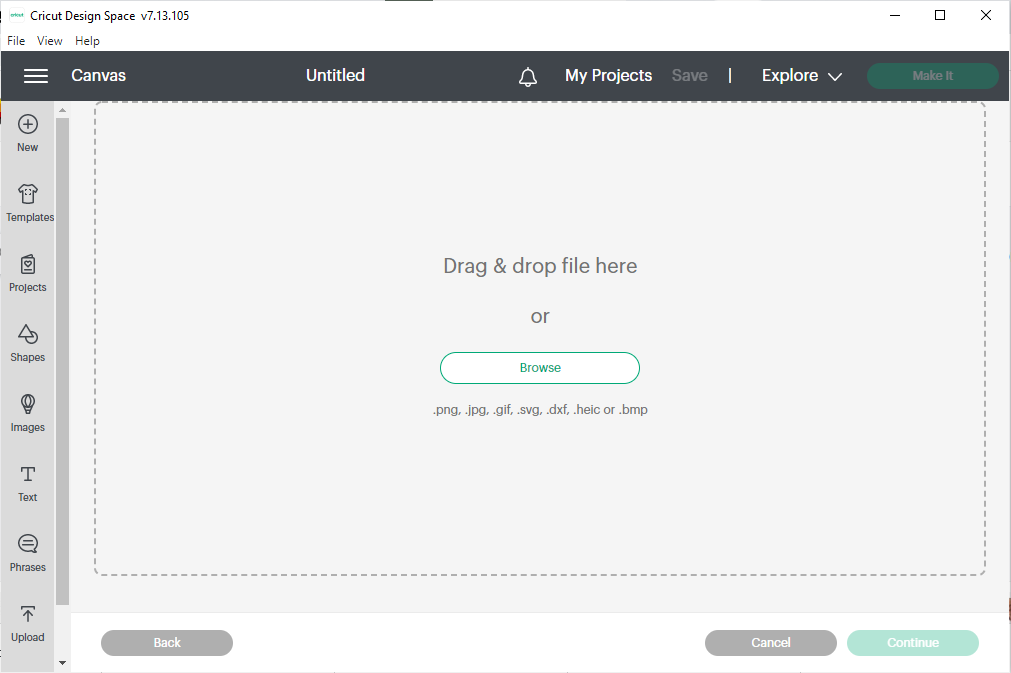
4) Browse for the design in from your local files
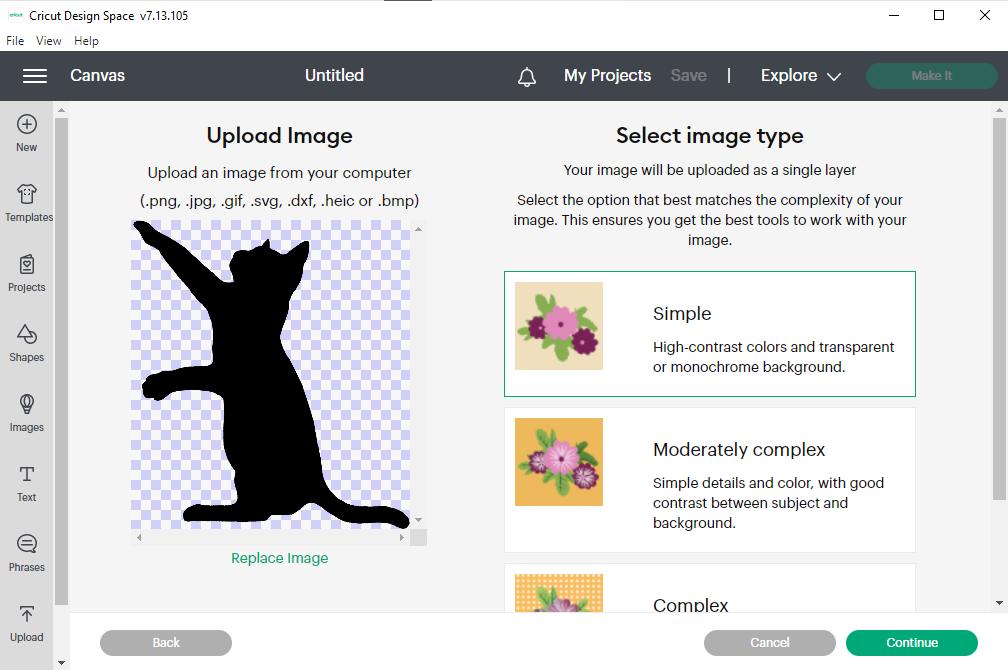
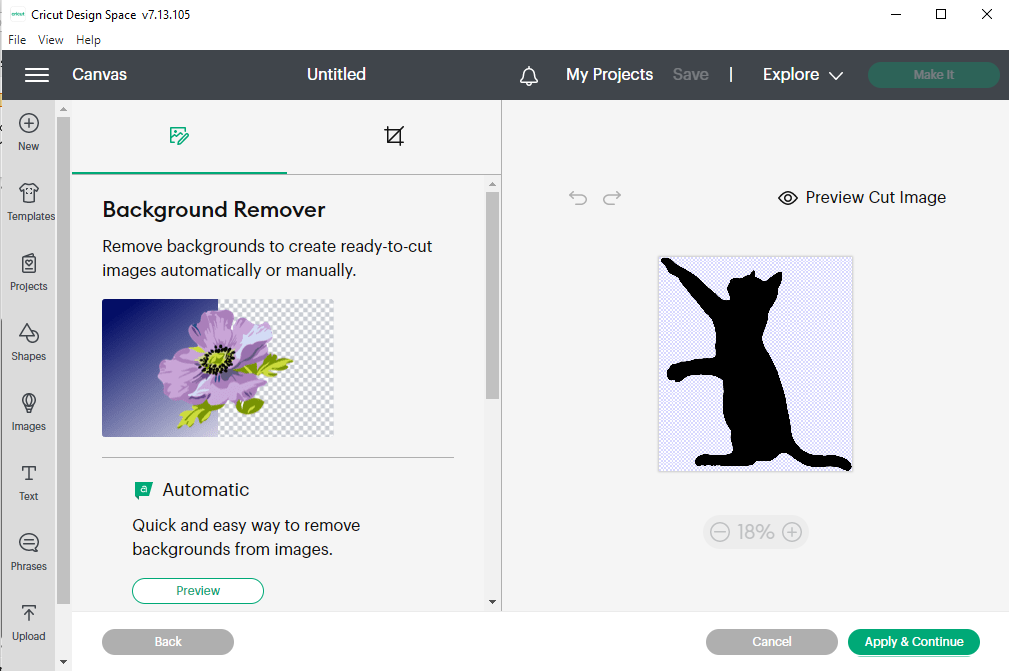
5) I chose to cut a silhouette cat image from seekpng website. Choose the desired option of complexity and click on continue
6) Preveiw the cut image and click apply and continue
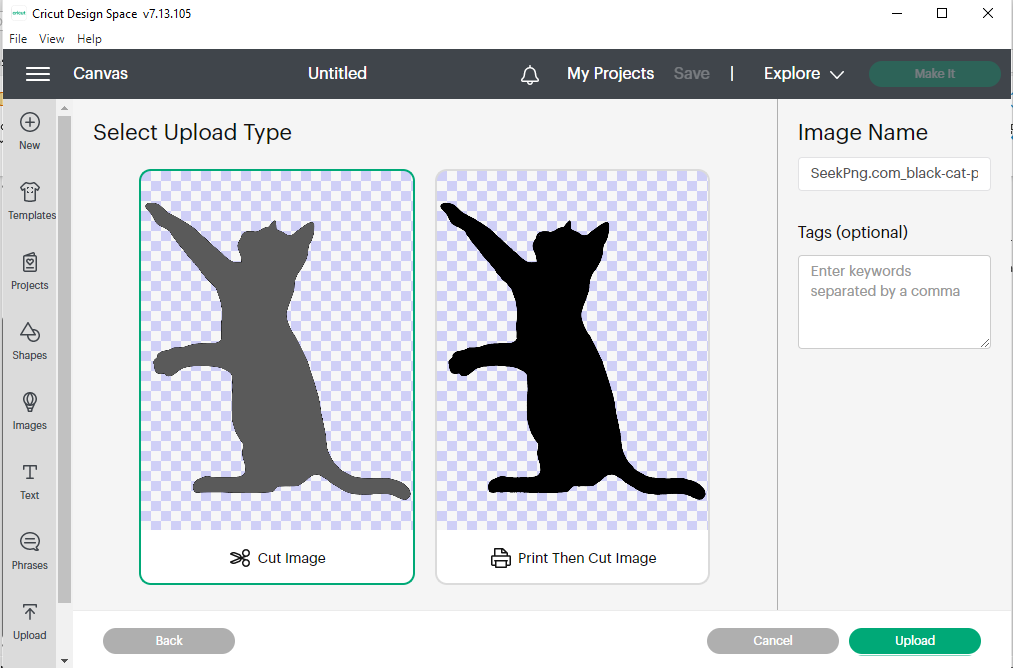
7) Click on cut image and then upload
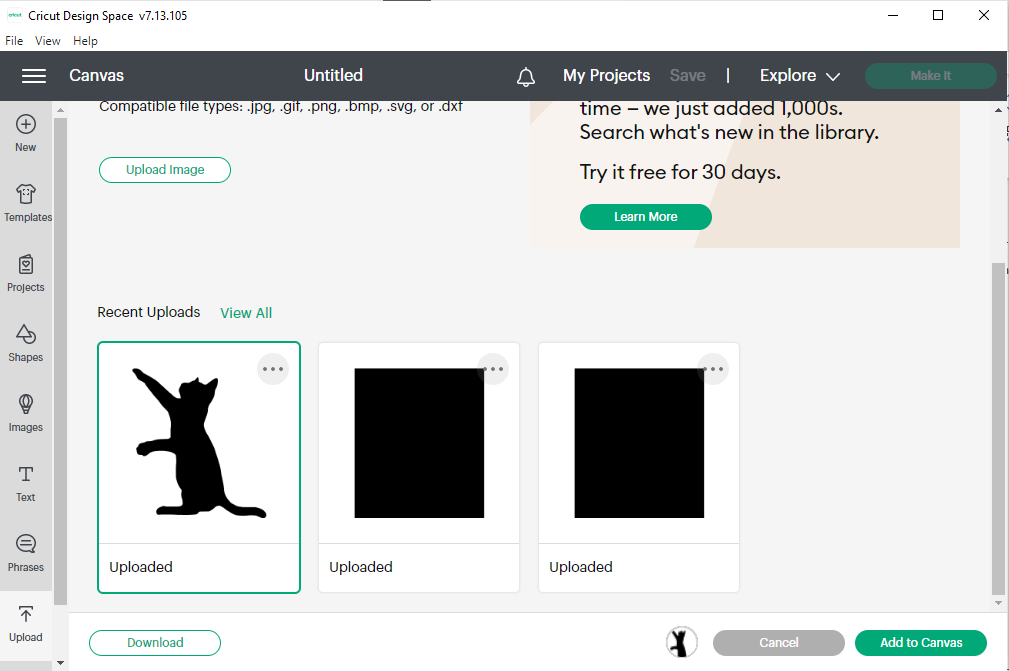
8) Choose the design and add to canva
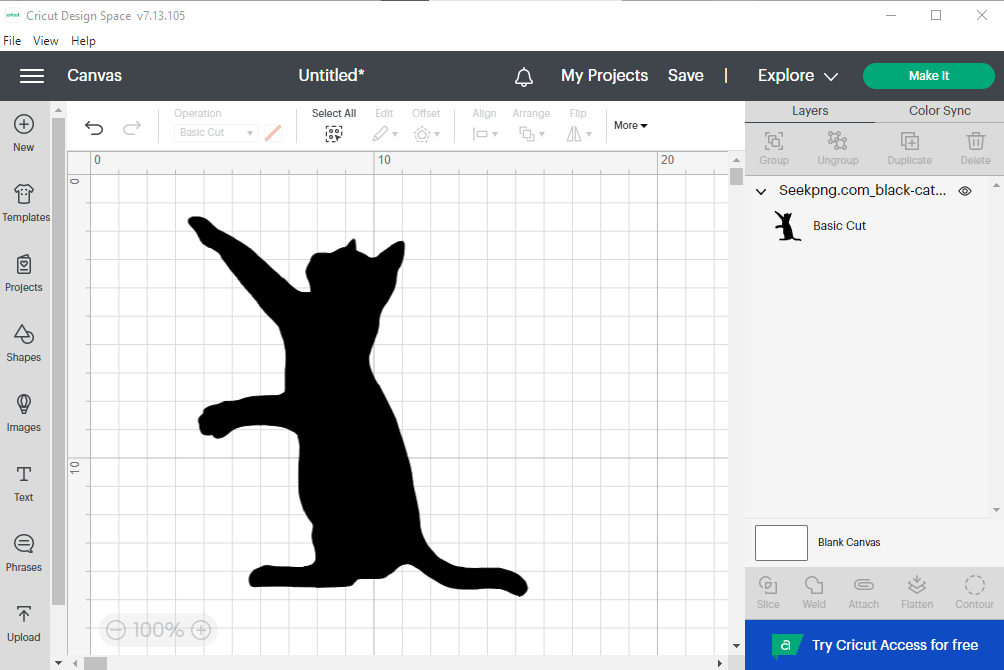
9) Adjust the design size and click on make it
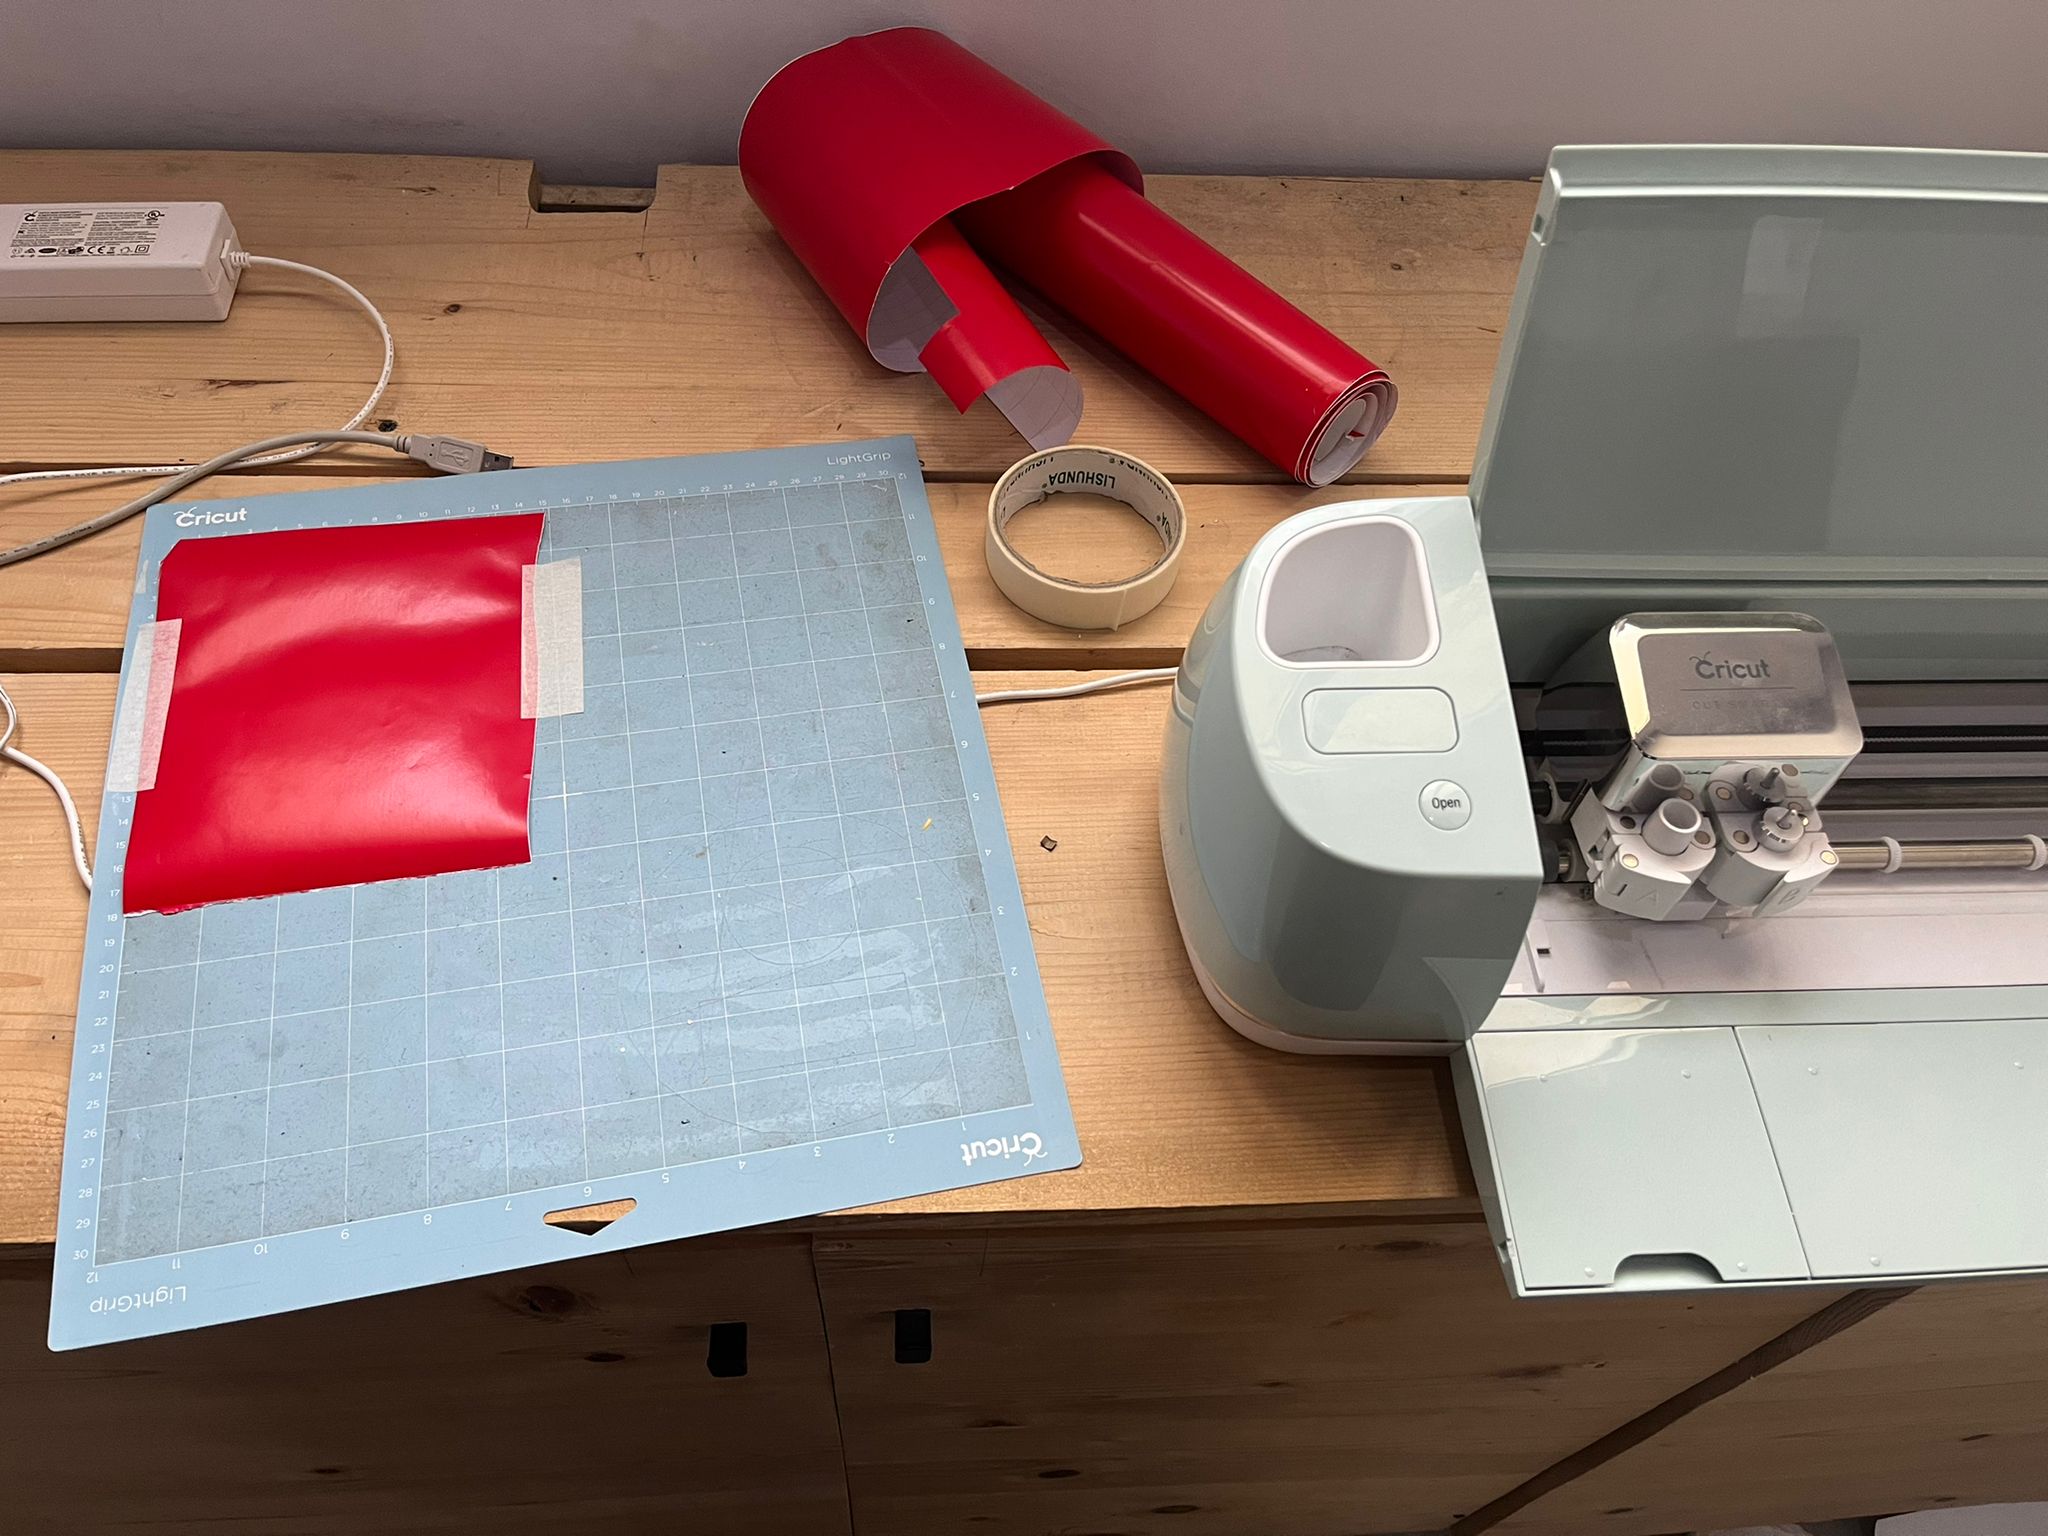
10) The below picture shows the settings for the vinyl cutter
11) Fixing the sticker paper on the cutting board
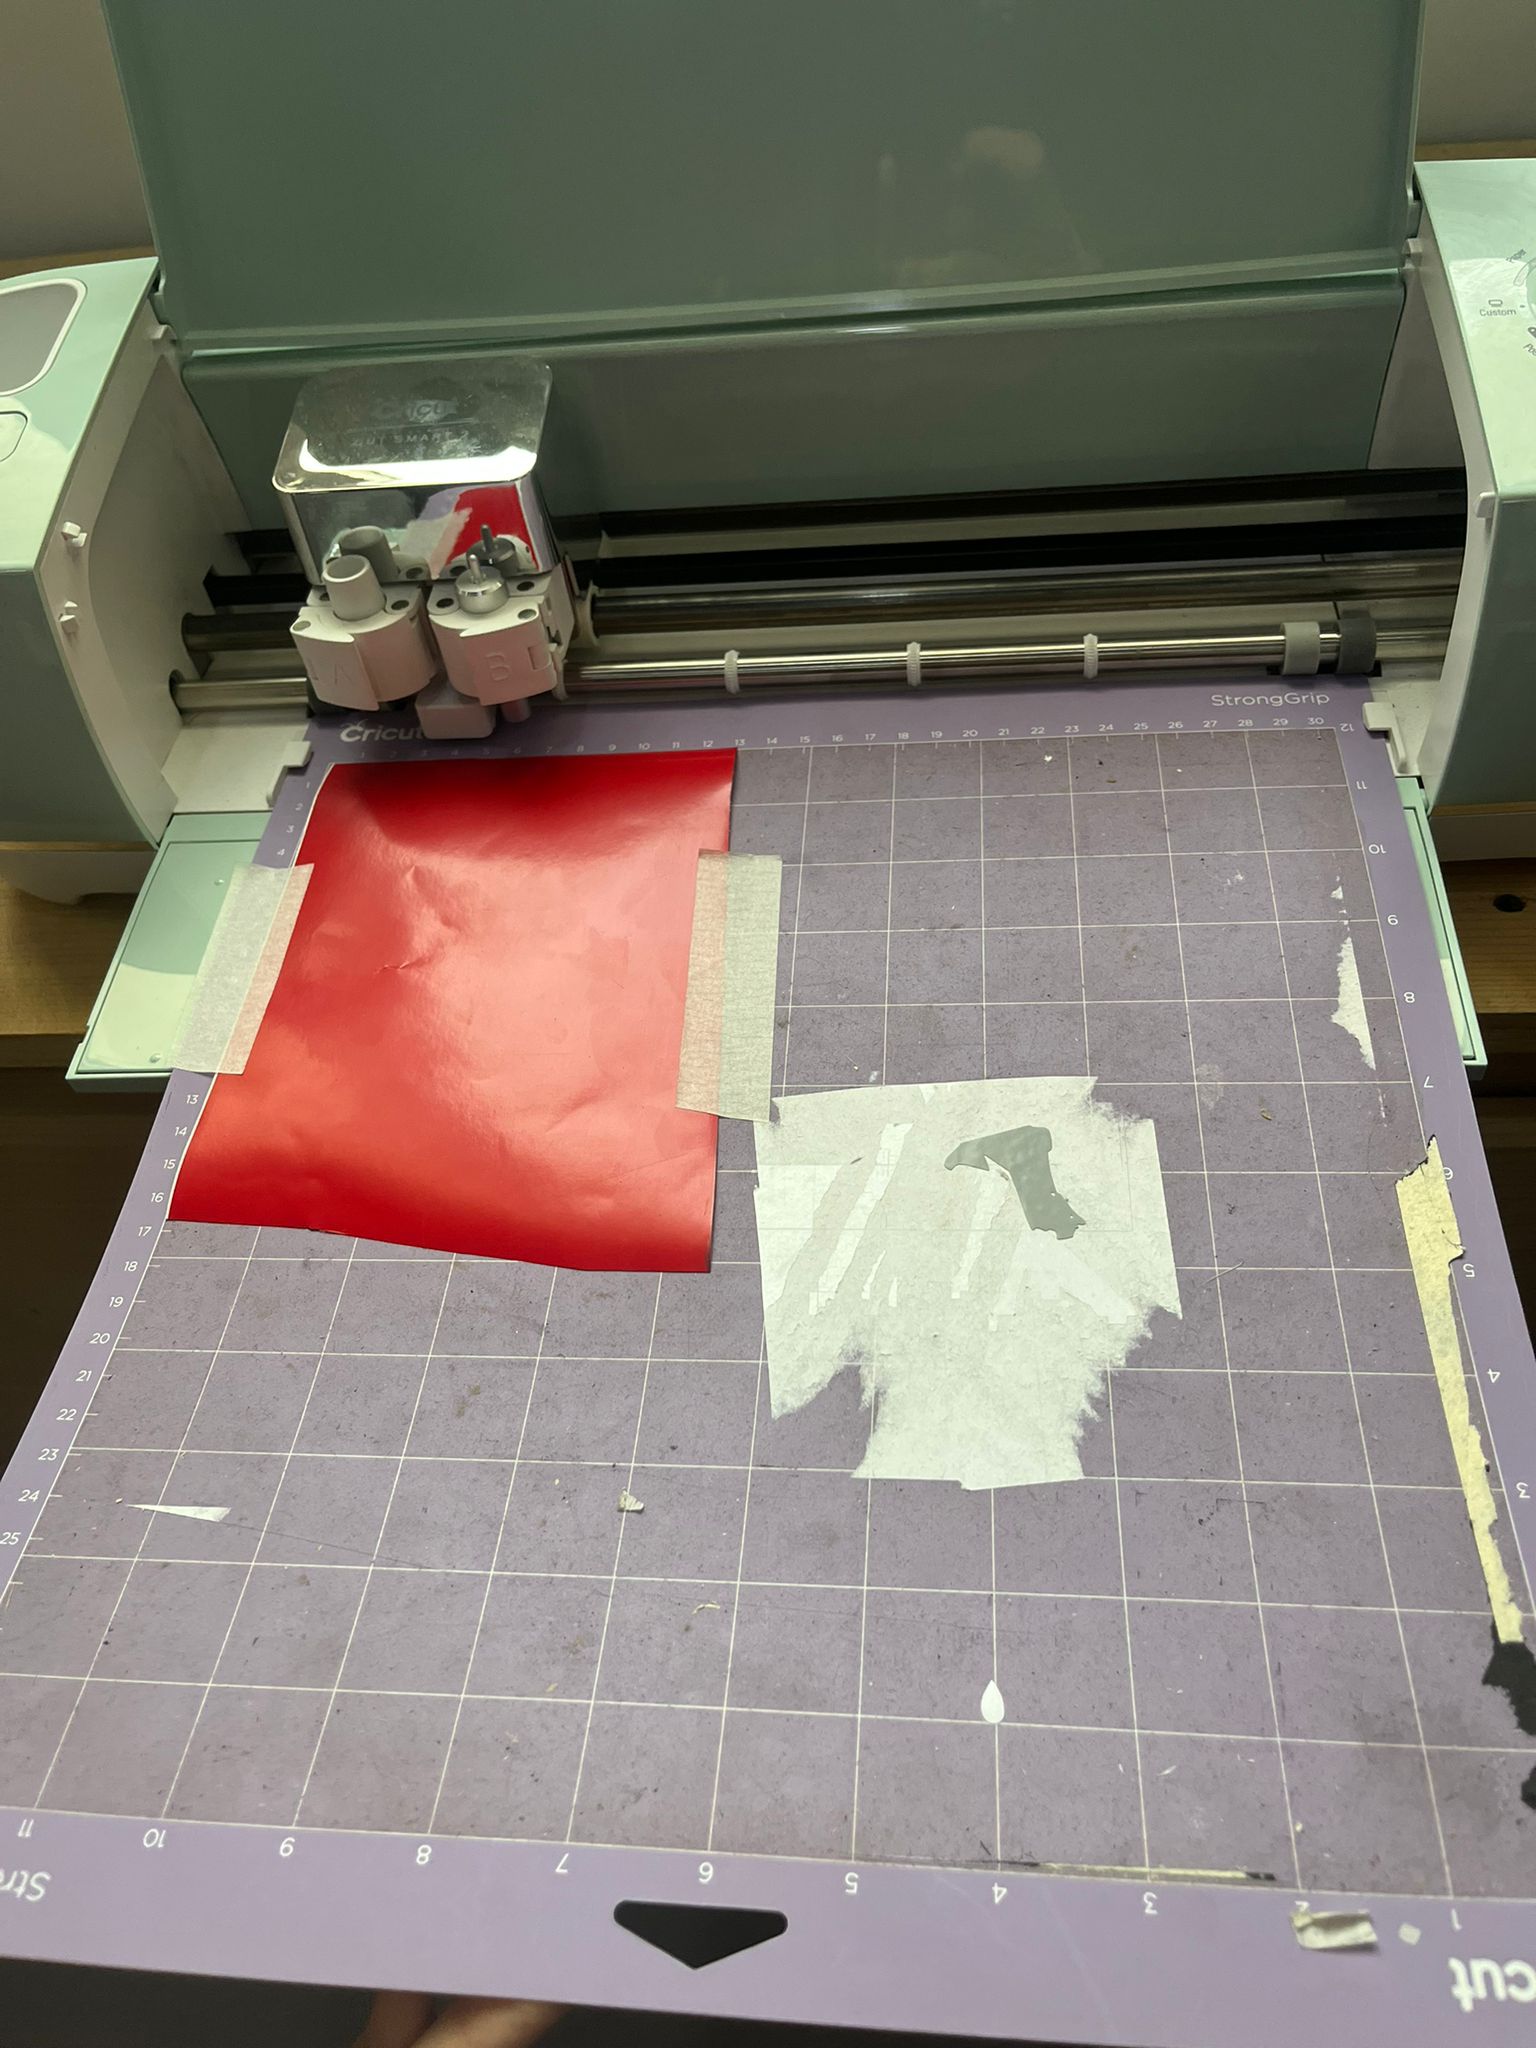
12) The cutting board inserted in the machine
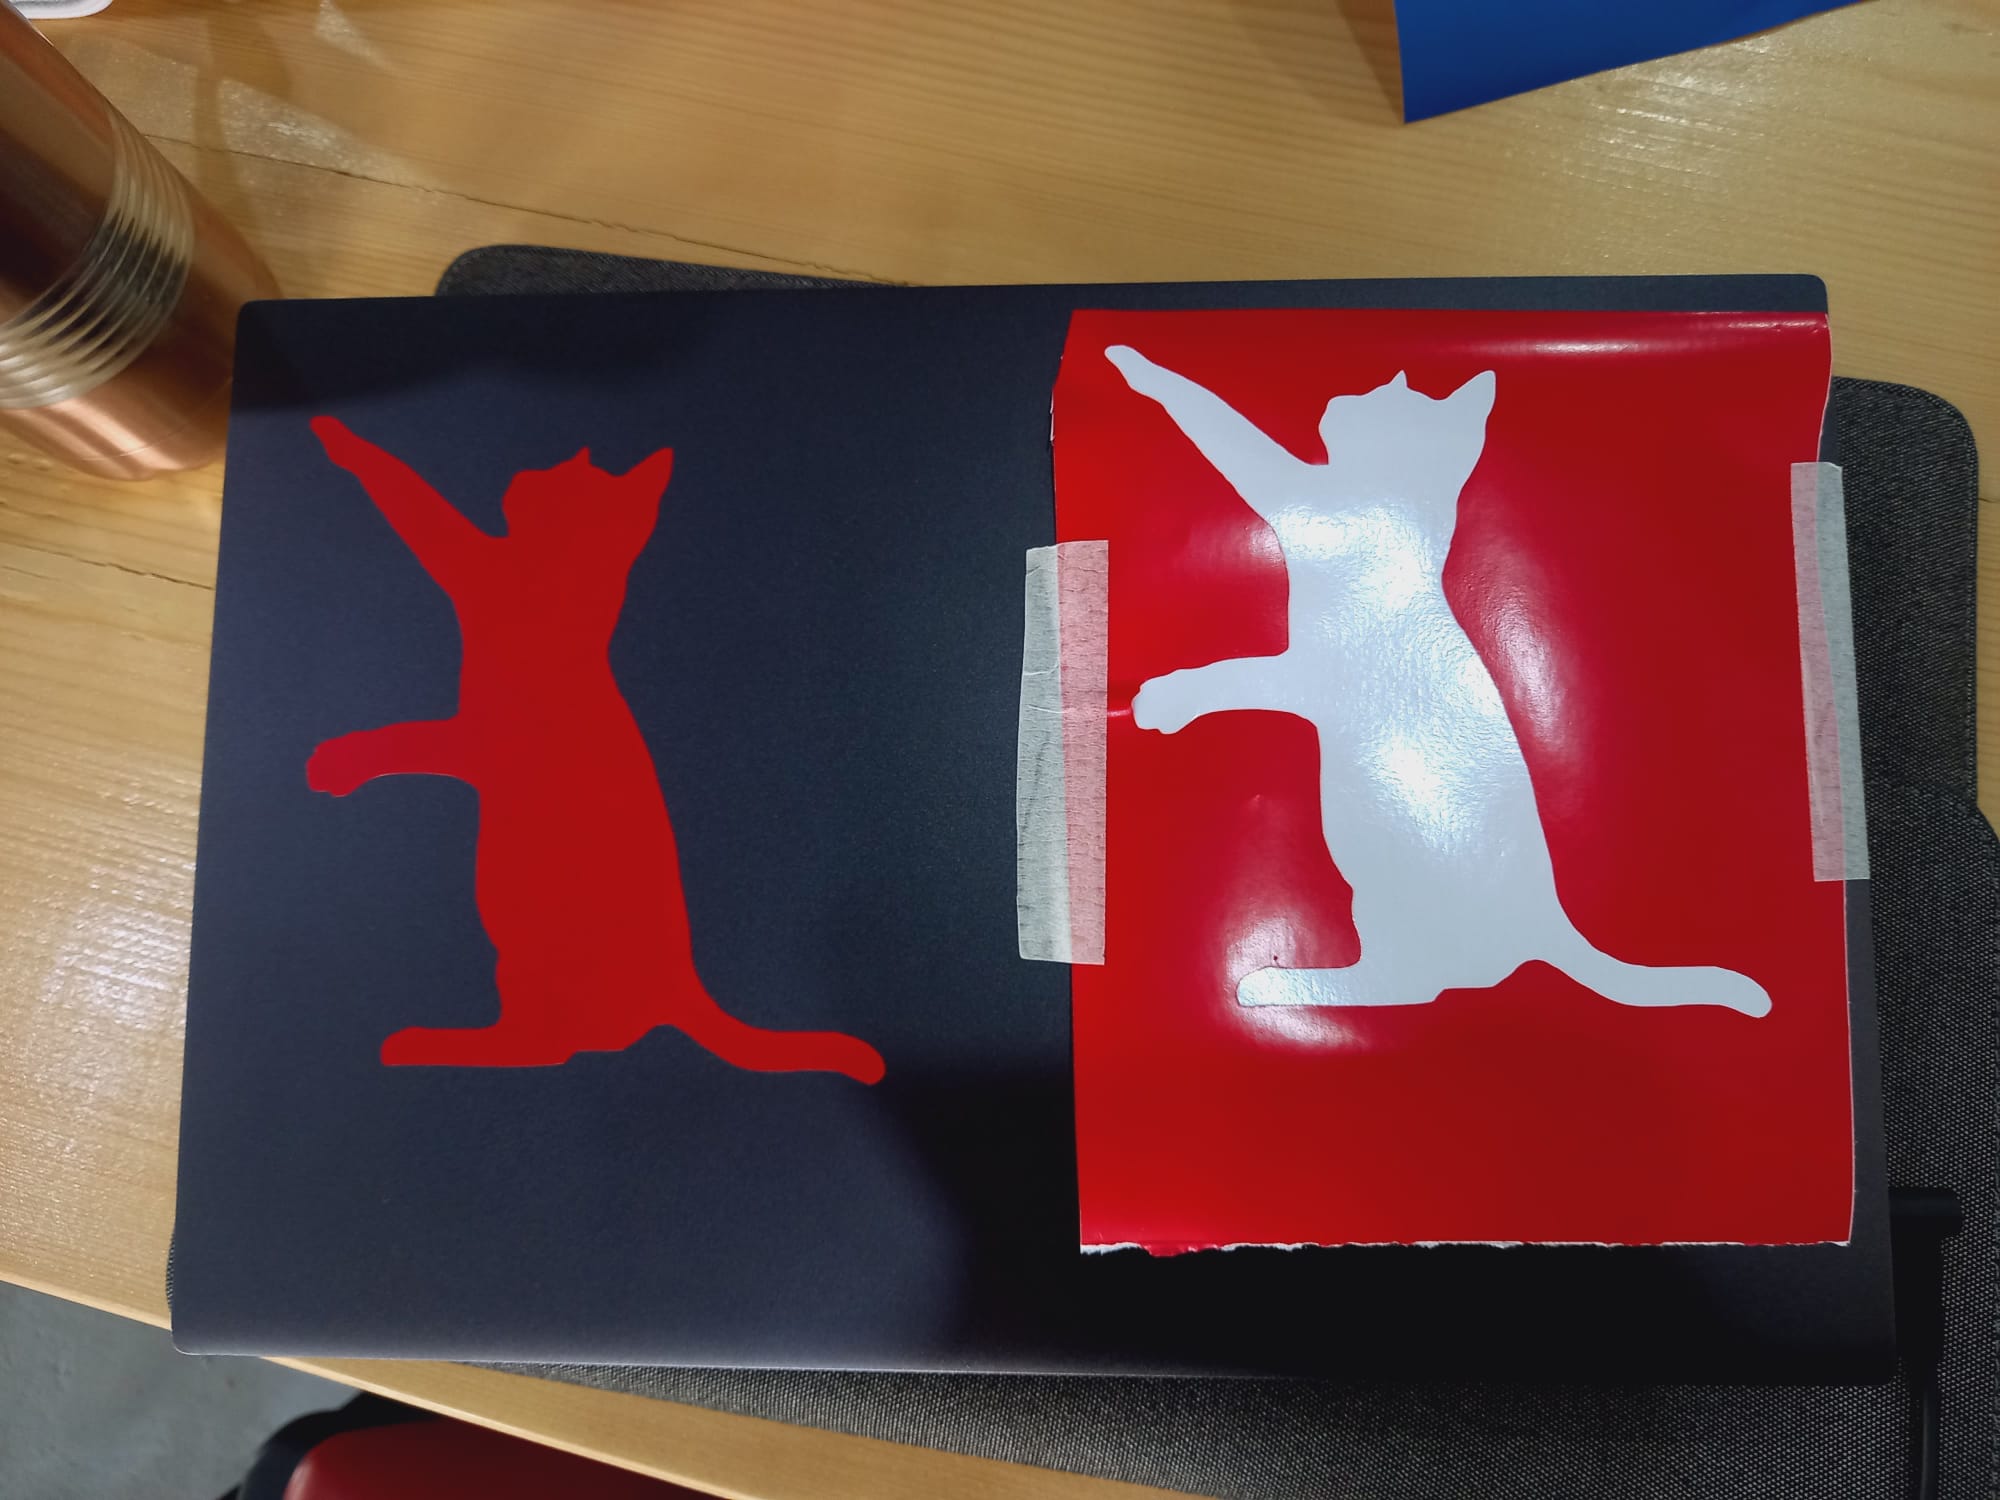
13) The final product
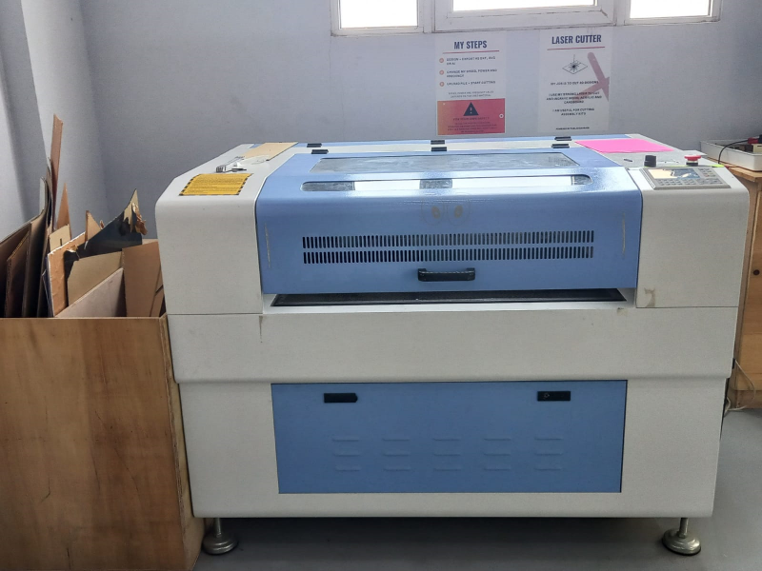
Laser cutter
Laser cutting is a technology that uses a laser to vaporize materials, resulting in a cut edge. It works by directing the output of a high-power laser most commonly through optics. The laser optics and CNC (computer numerical control) are used to direct the laser beam to the material. The CO2 laser type is suited for cutting, boring, and engraving and it’s the kind of laser cutter we used in our assignments.
Group assignment
Our first group work was to explore and test the different features of the lazer cutter. We learned how to operate the lazer cutter, what are the best settings for cutting certain materials including focus, power, speed, rate, kerf, and joint clearance. More details are available on Jenan’s page.
Indivisual assignment
The aim of this project was to design a box by cutting it’s sides with the laser cutter and connecting them with joints. Fusion 360 software was used to design the structure.
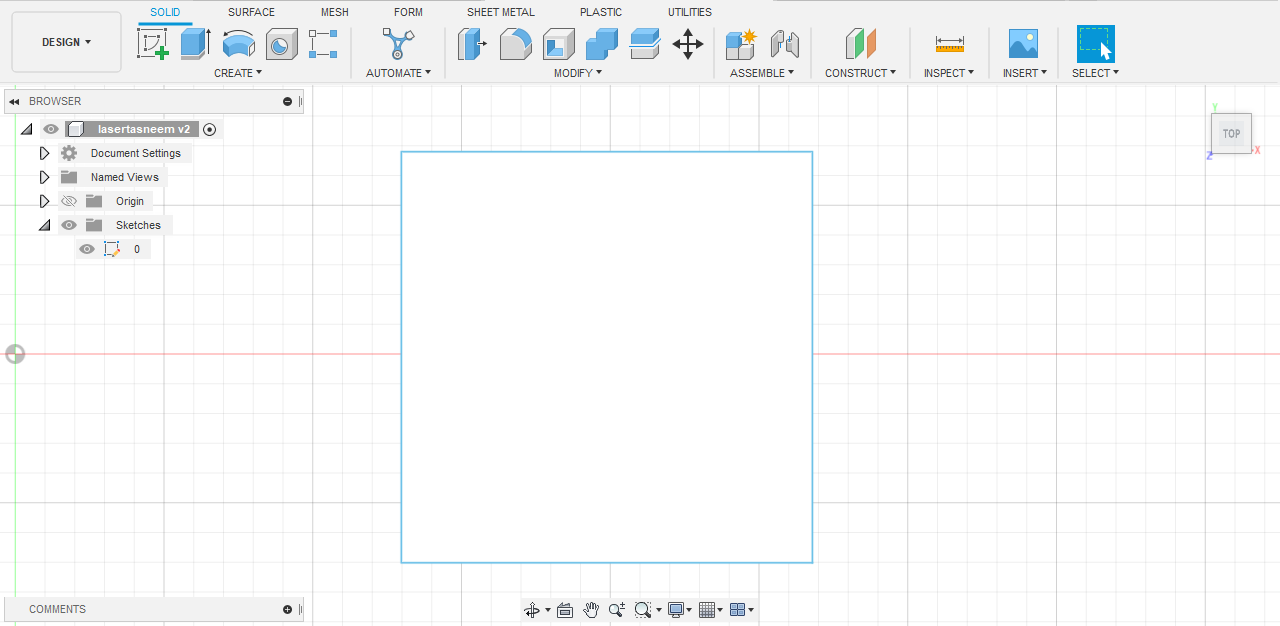
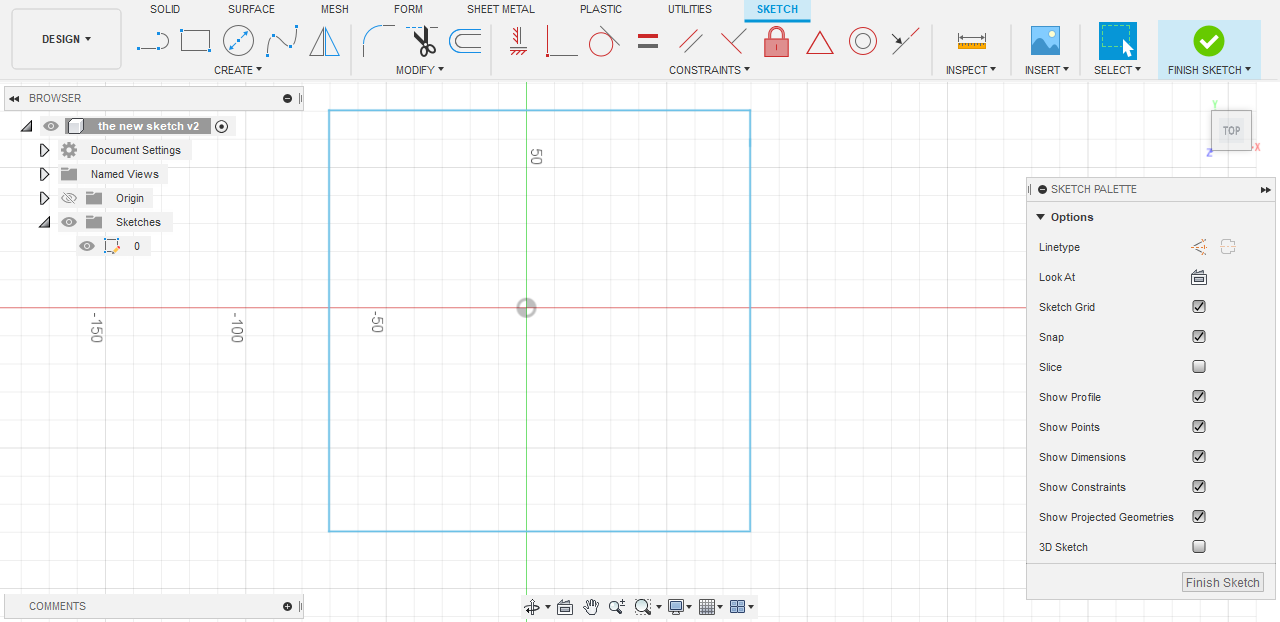
1) First, create a sketch of a square shape for the sides of the box
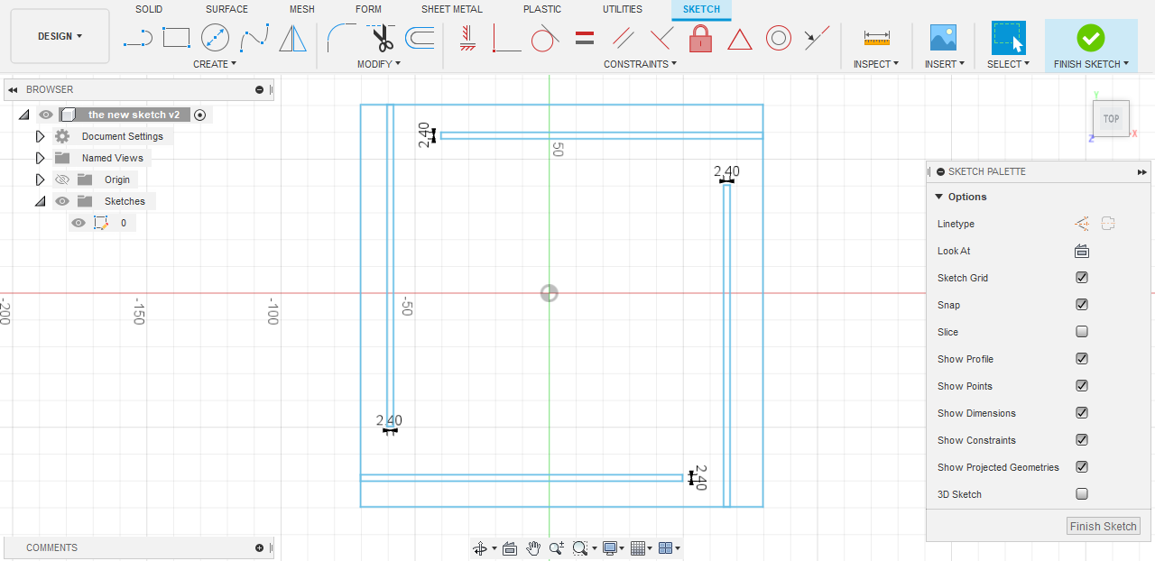
2) Make the joints for the sides

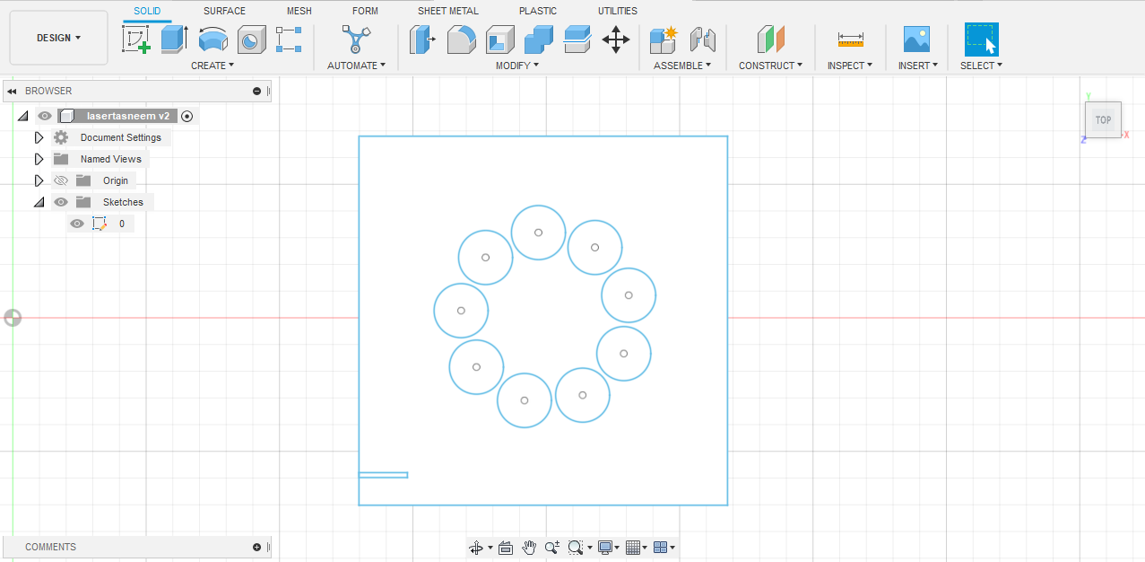
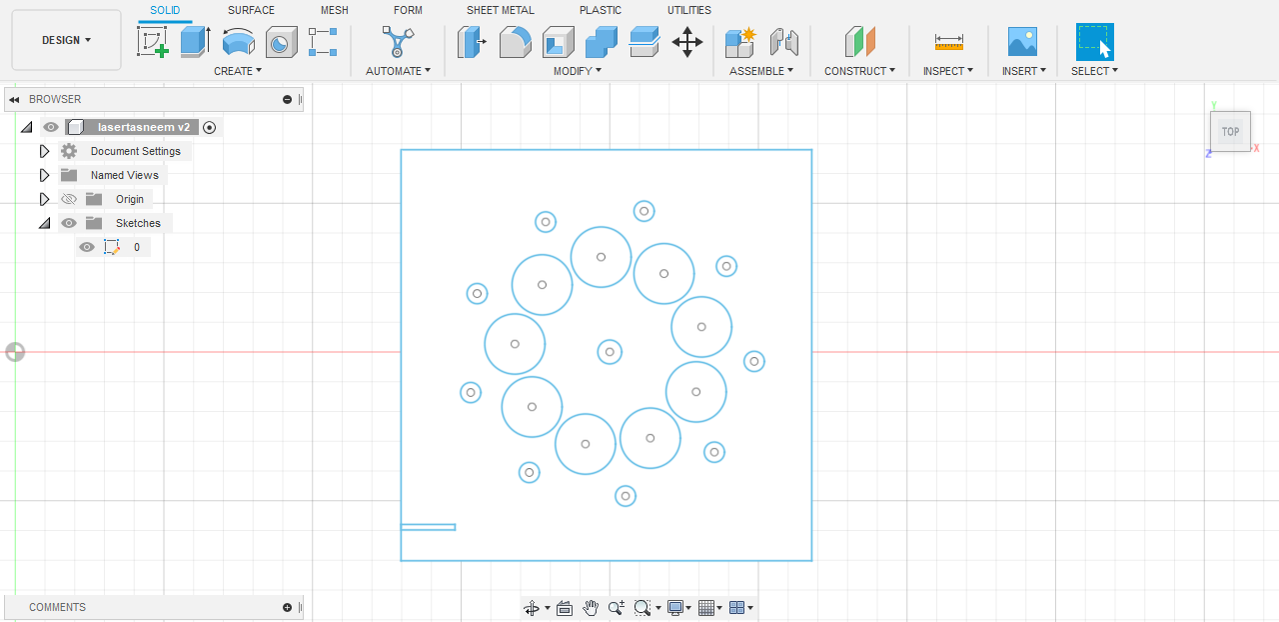
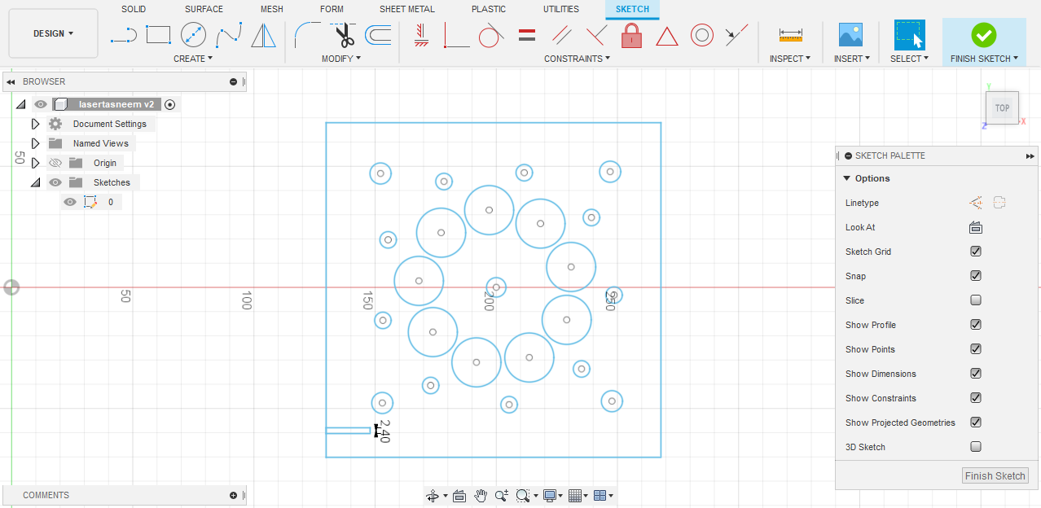
3) Adding circular pattern shapes for the design
4) Making the base of the box
5) Creating the four gaps for fitting the sides of the box
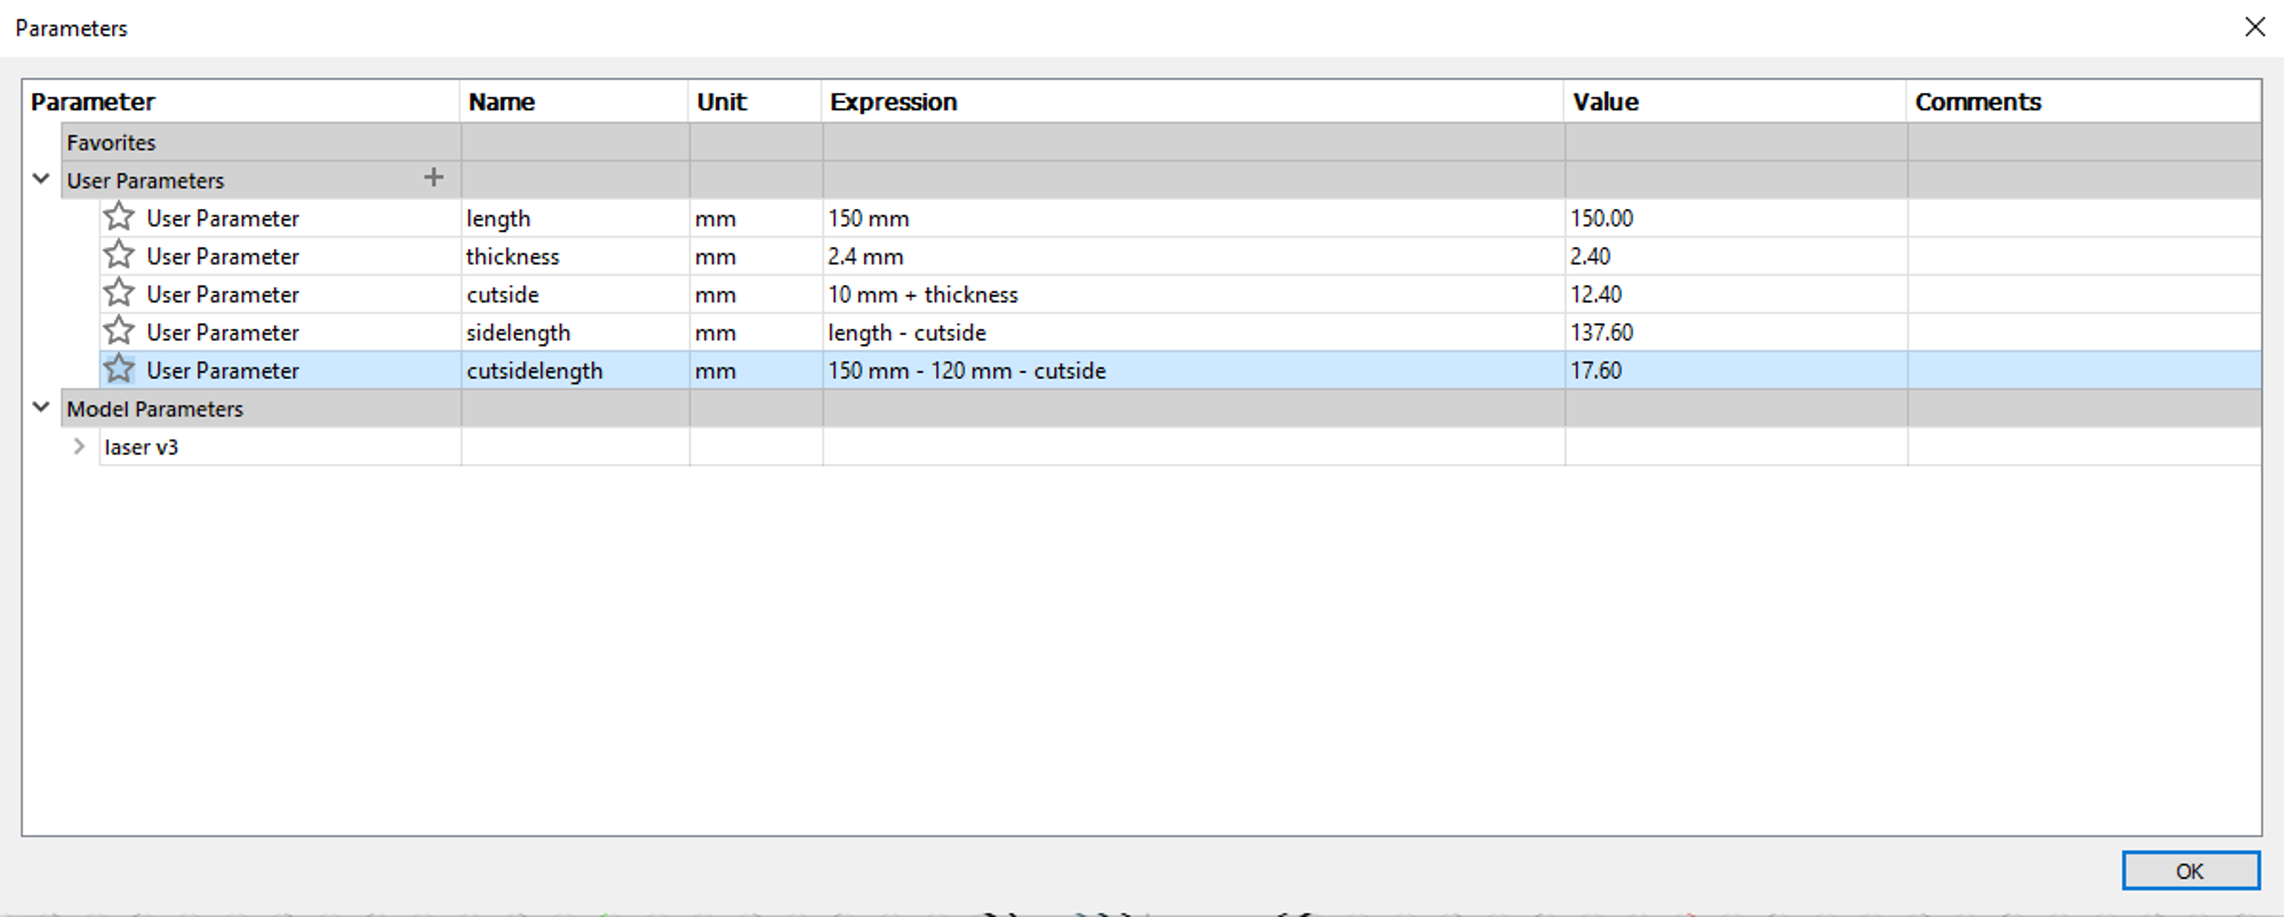
6) The figure below shows the dimensions of the made parametric design
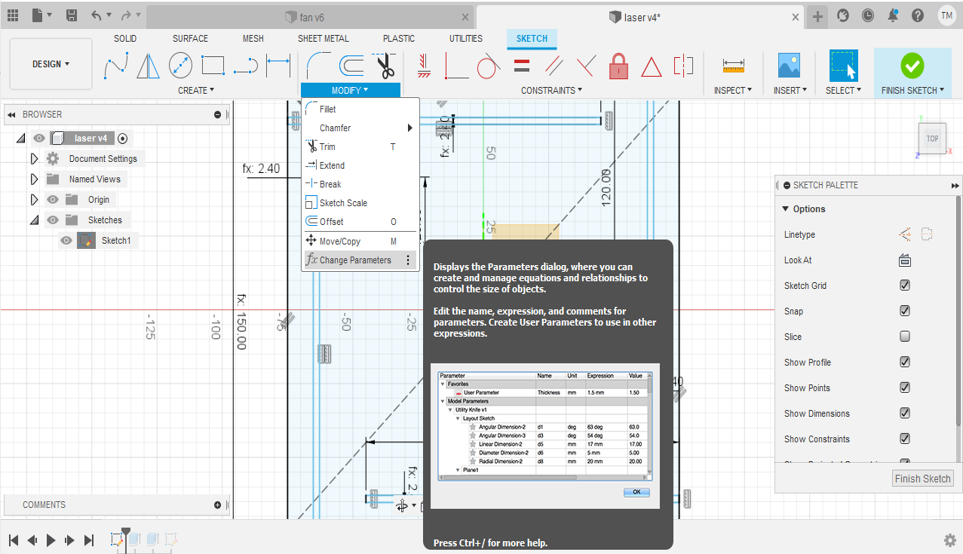
Declaring variables in the parameters table for the sketch dimensions saves a lot of time and efforts as they can be changed by a single click. Relative measurements governed by a certain relation can be done and duplicated in an easier and faster manner.
This feature helped me with the design I made as I had to test for the joints for the base and sides of the box
7) Save the design and open it in the laser cutter software
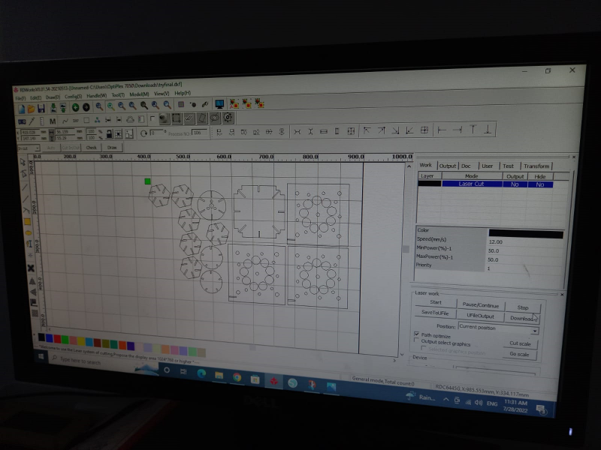
- Press on file to upload your design
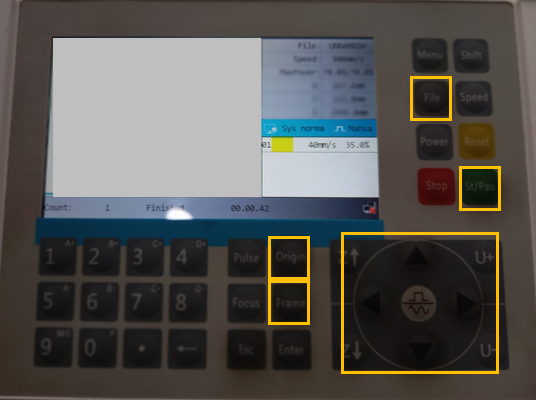
- You can move the laser head by the cursors at the lower right
- Press on origin to choose the start point of your design
- Press on frame to check for the boaders of your design
- Press on start to start cutting
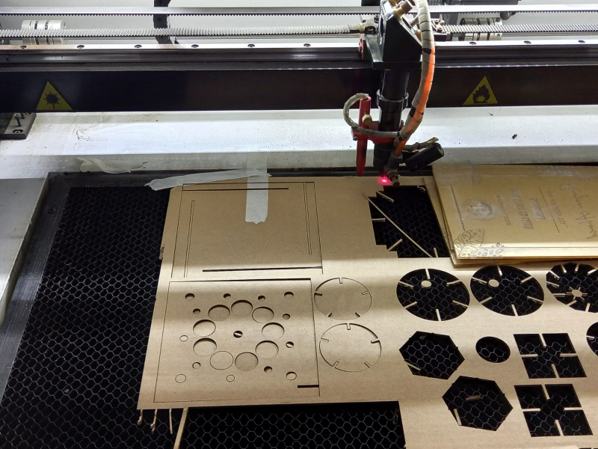
9) The cutting process
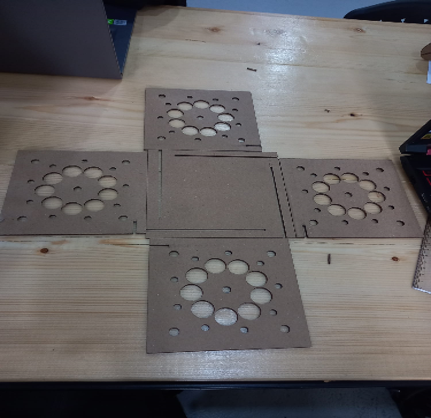
10) The faces of the box
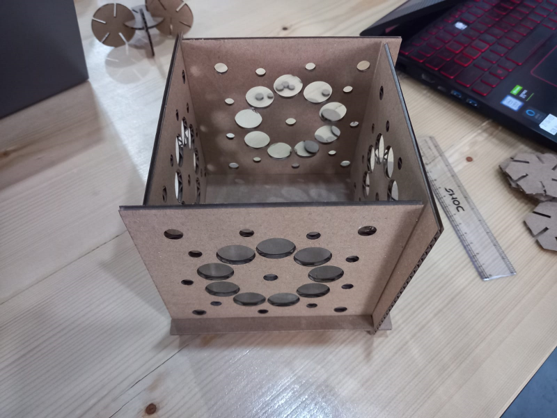
11) Assembeling the box

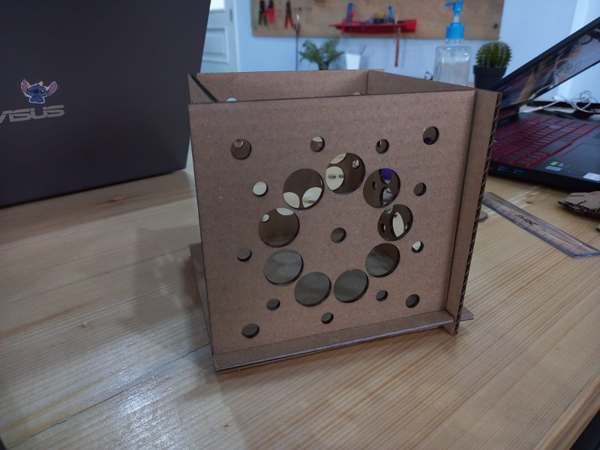
12) The final product
You can find the stl files in the links below:
You can find the CAD files in the links below:
You can find the DXF files in the links below: