Final Project
As part of the shell project I worked on designing and making the shelf structure.
Introduction
Our project was to make a smart shelf that looks just like a normal peice of furniture, and inside it host multiple sensors that send information about the surrounding environment.
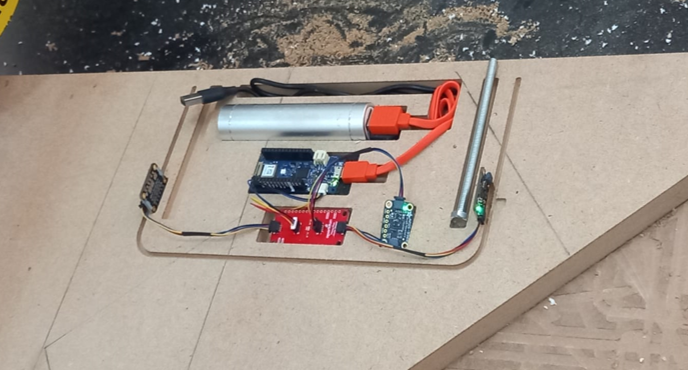
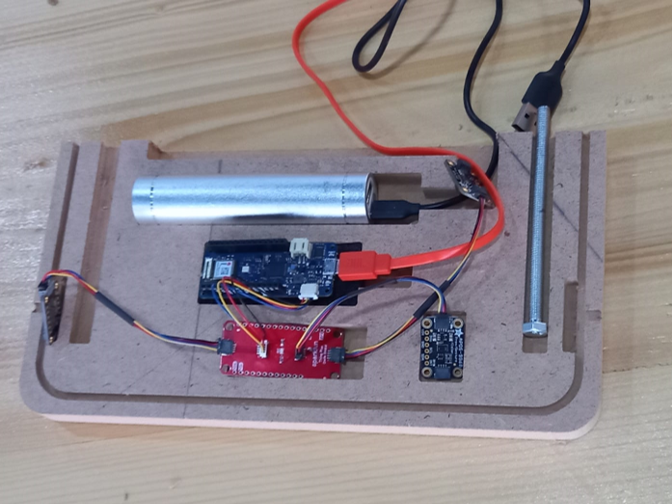
MPU6050 Accelerometer and Gyroscope Module, APDS9960 Proximity, Light, RGB, and Gesture Sensor and SHT40 temperature and humidity sensor are used to collect and send data by the aid of MQTT protocol to make use of the data.
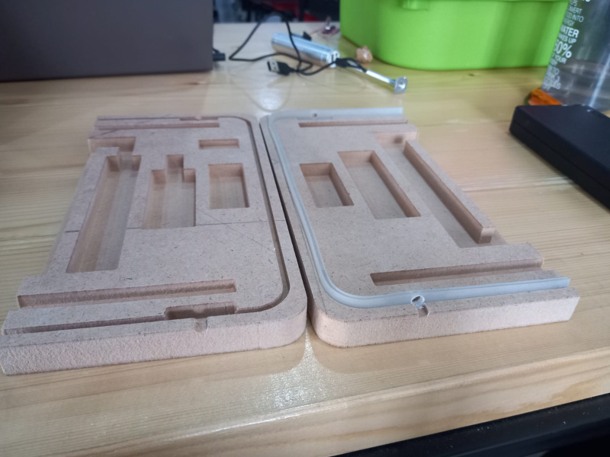
The Idea in designing the shelf was to create Two enclosed layers of MDF material with a thin stripe of silicon in between. The shelf was made to secure the electronic peices in place.
Acrylic design
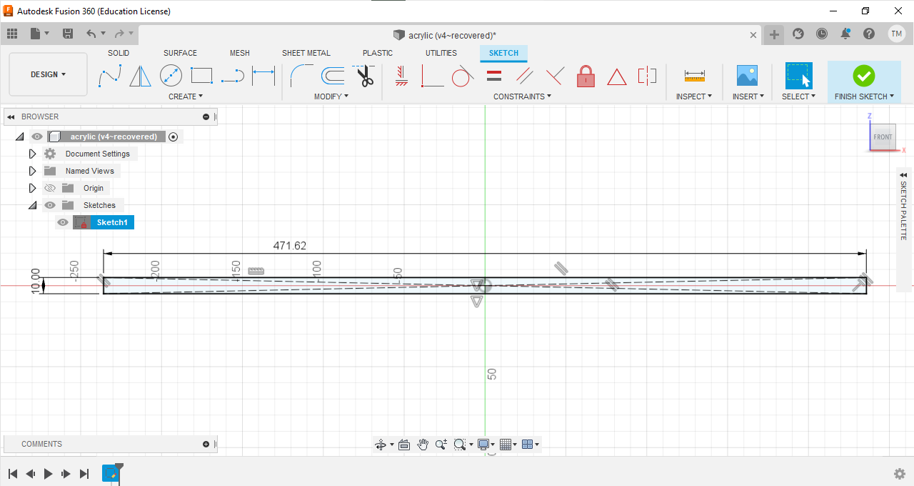
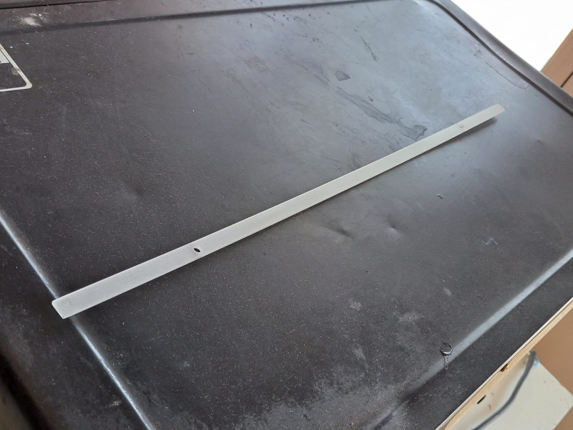
The silicon stripe has a rectangular shape with two holes at the two ends for the sensors interface.
First insert a 471.62x10mm rectangle
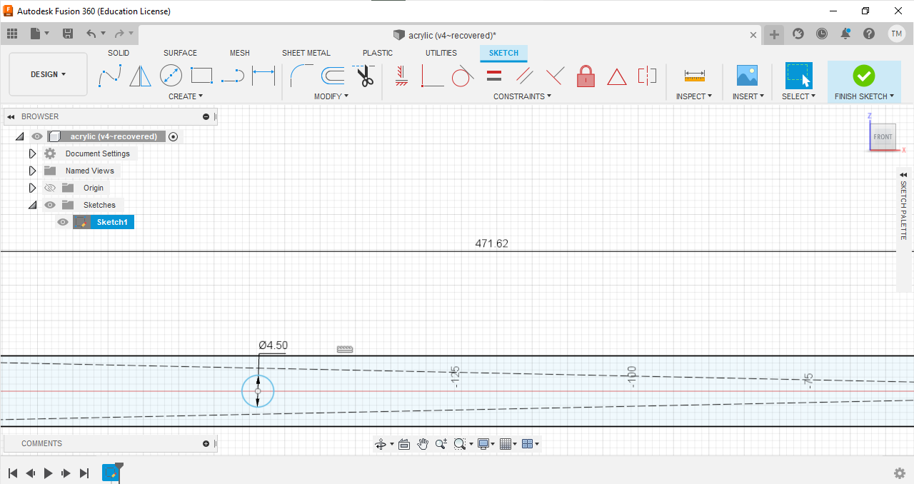
Create a 4.5mm diameter circle
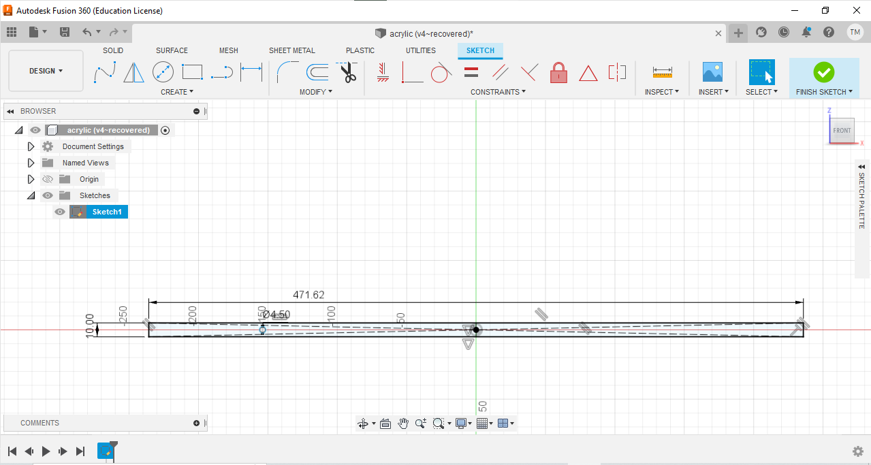
Use mirror to make the circle at the other end

Click here to download the design DXF file
Laser cutting
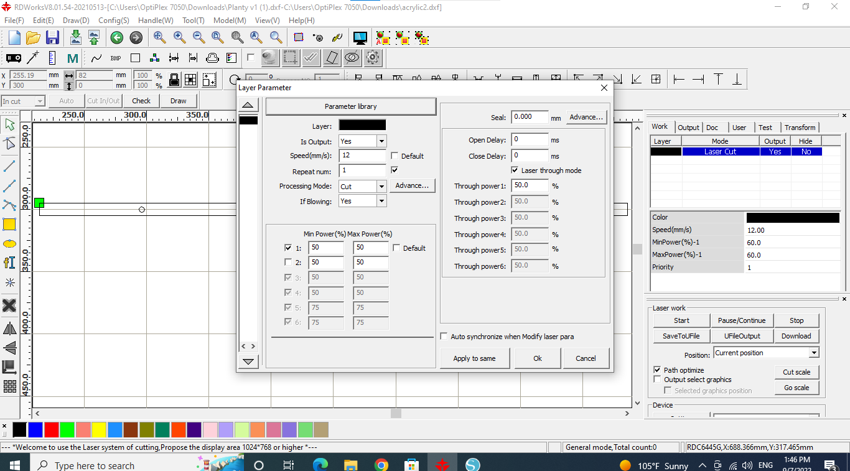
Import the Acrylic design to the laser cutter
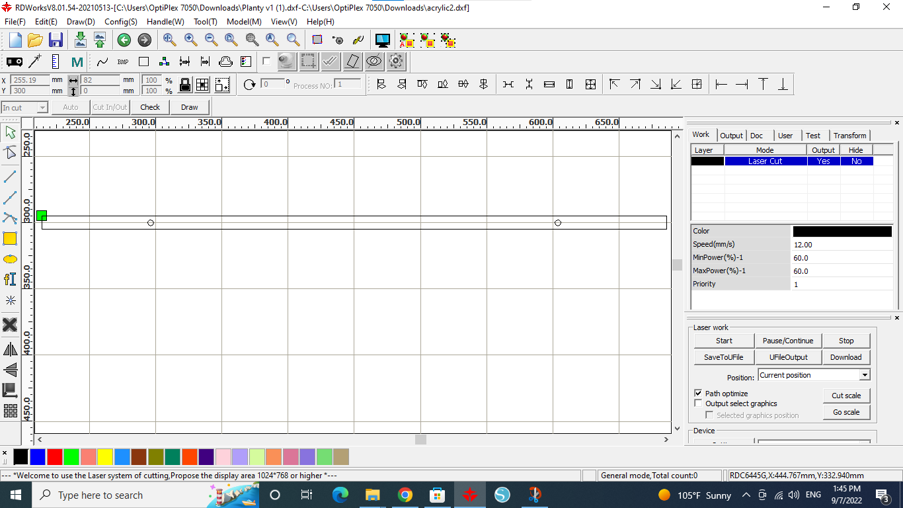
Use the speed and power for the 3mm acrylic found in the parameter library
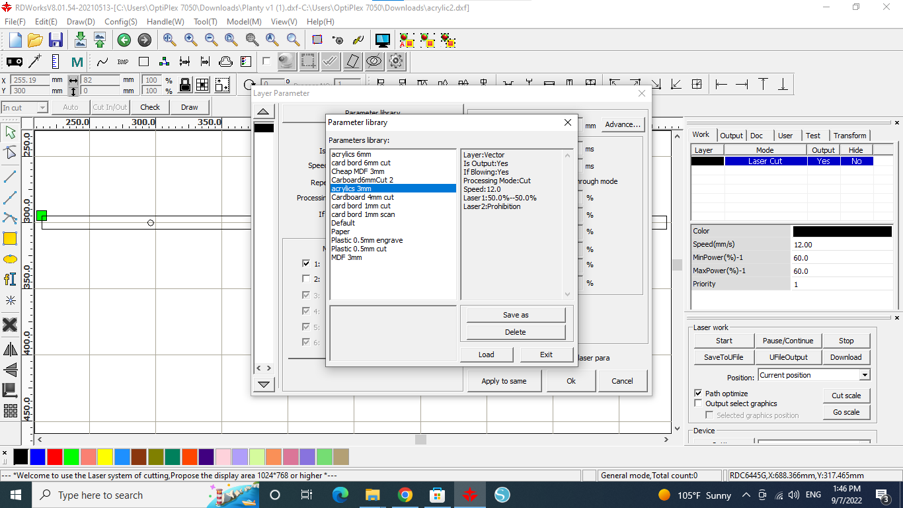
Load the settings and download the file to the machine for cutting
The laser machine cutting
The acrylic after getting cut
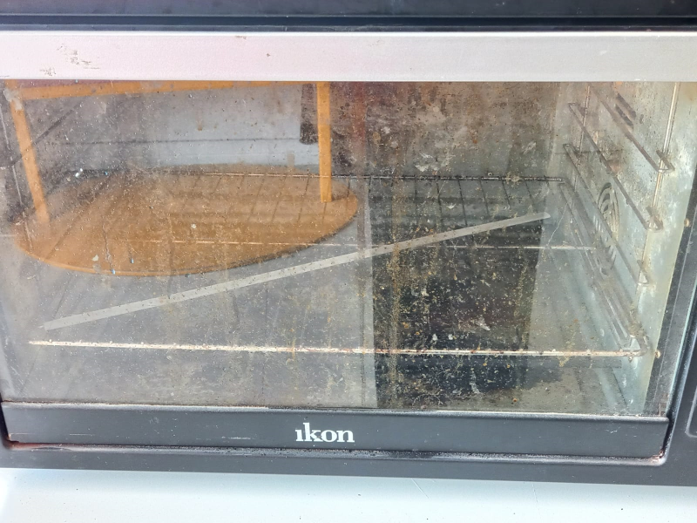
we heated the acrylic in the oven so we can bend it afterwards
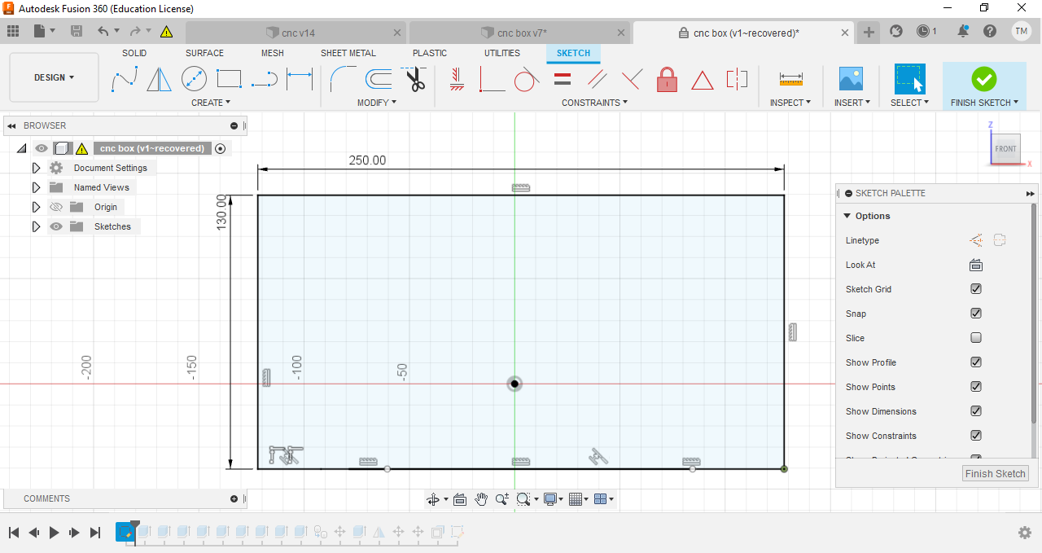
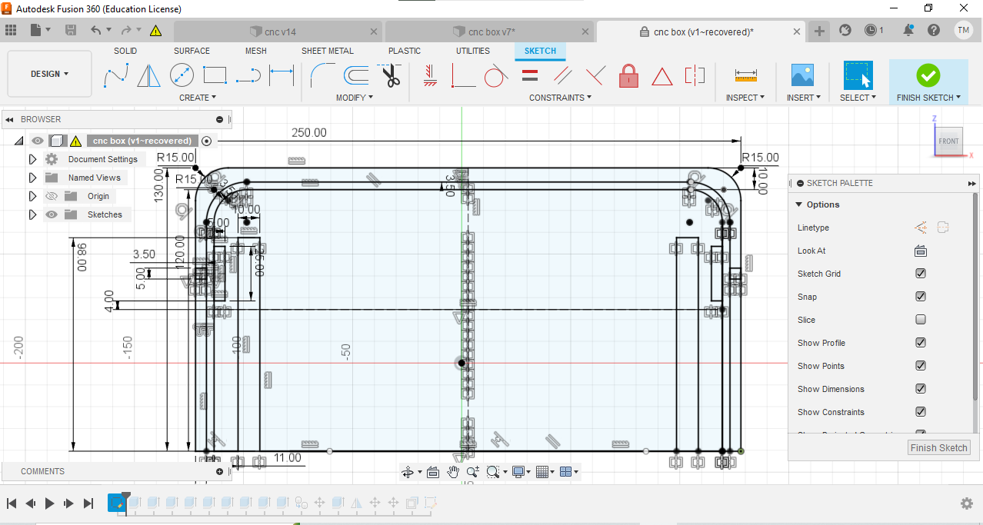
The shelf design
The base for the two layers 18mm of MDF material with 250x130mm size
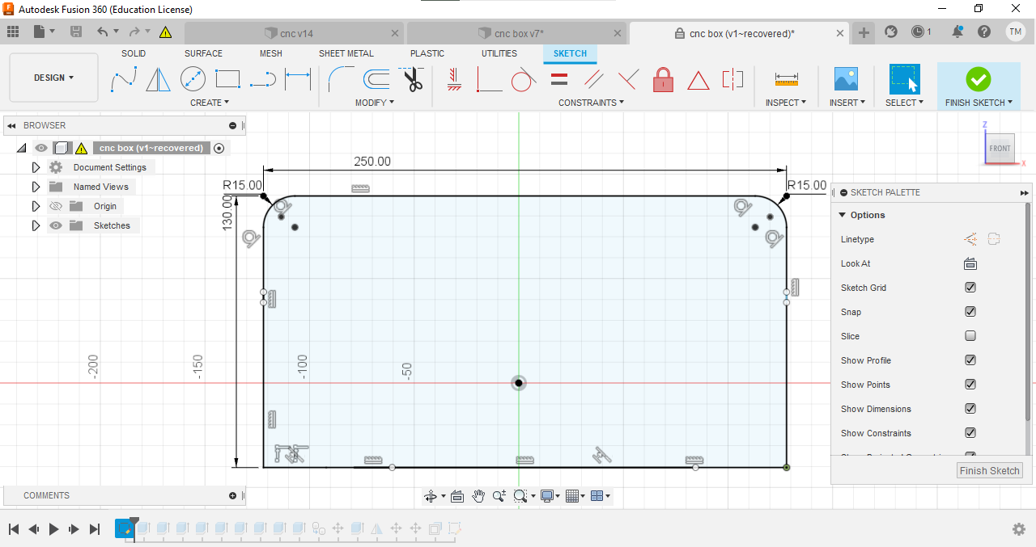
Fillet the corners
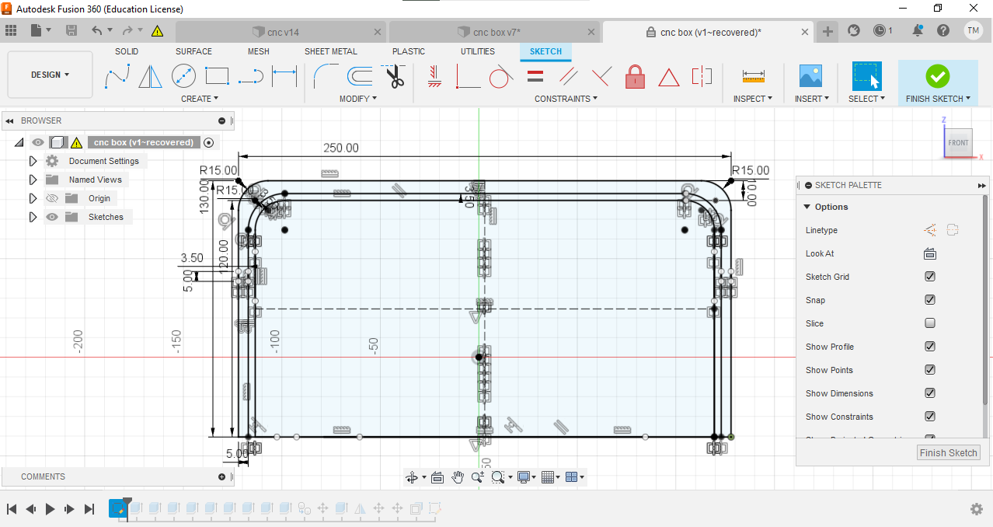
Add the groof of 3.5mm width for inserting the silicon
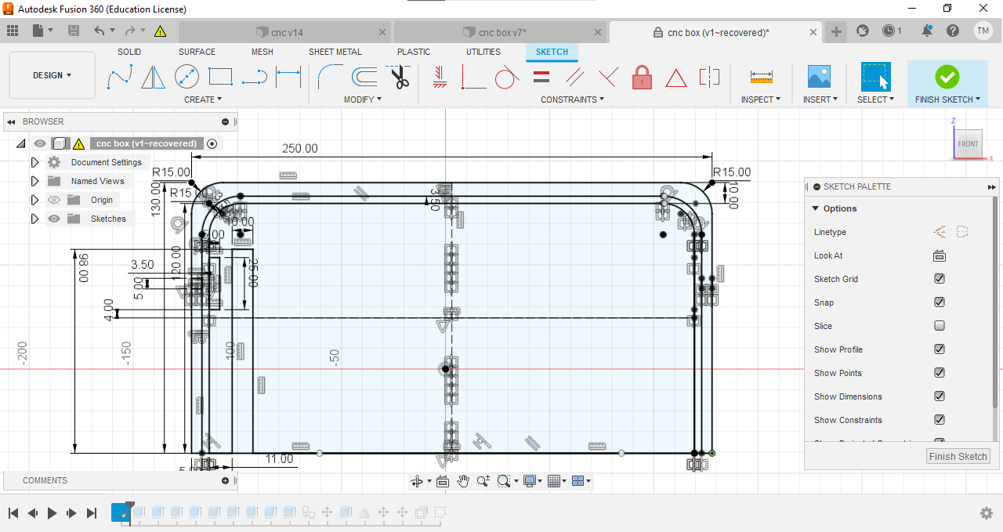
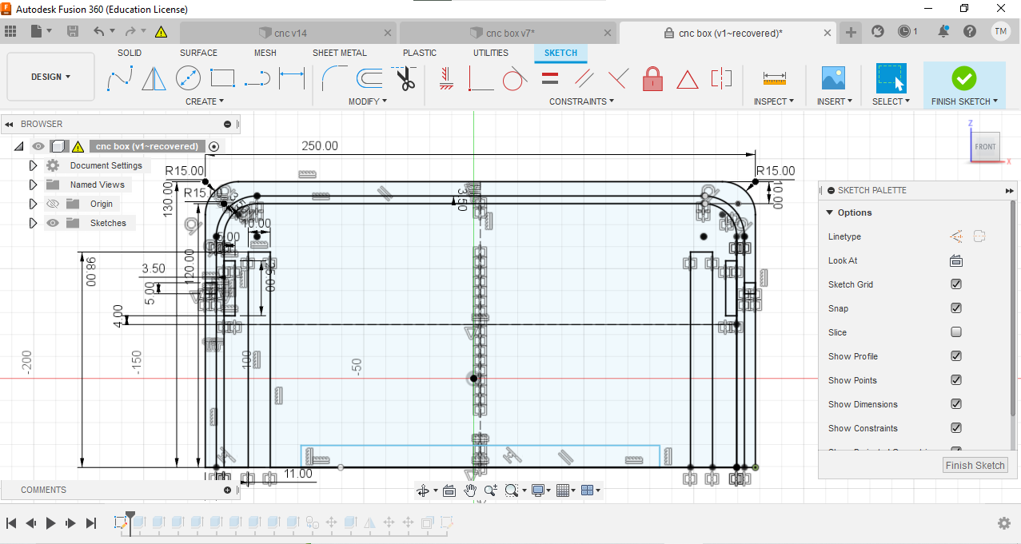
The sensors place and the stands for one side
Create mirror image around the y axis
Add the power bank space

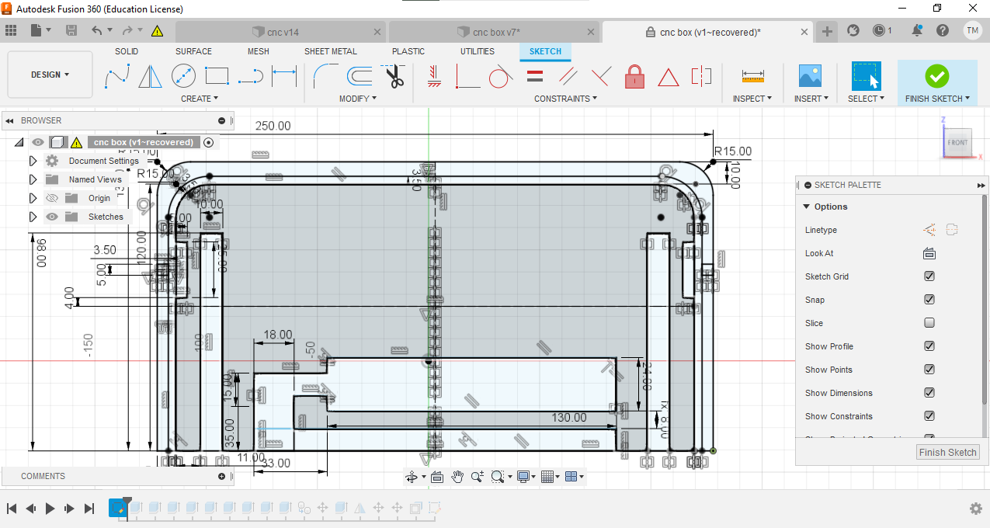
Followed by the microcontroller
And the accelerometer sensor
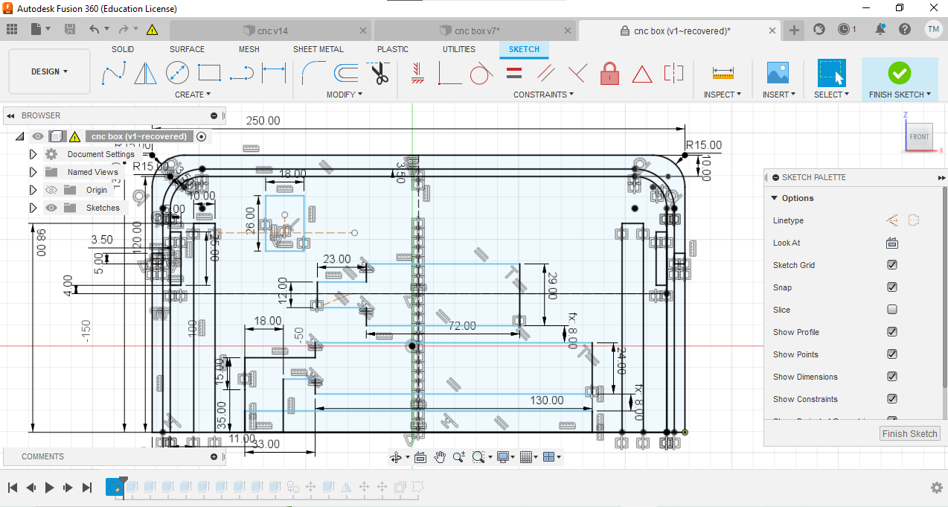
Lastly the I2C board place
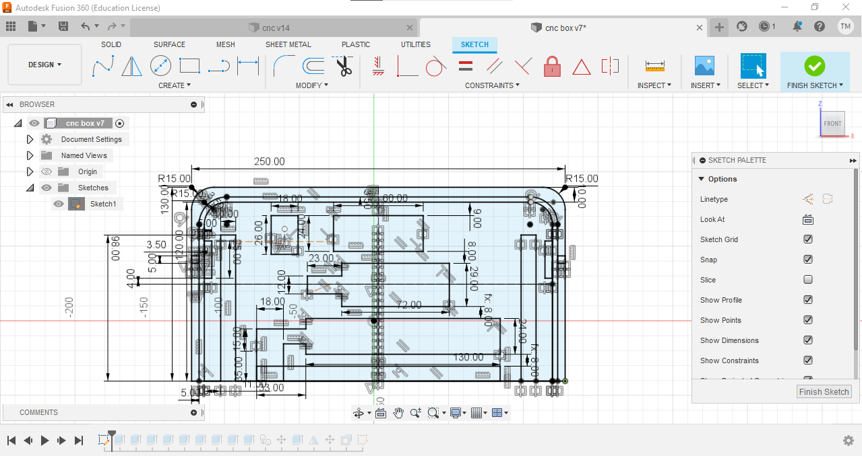
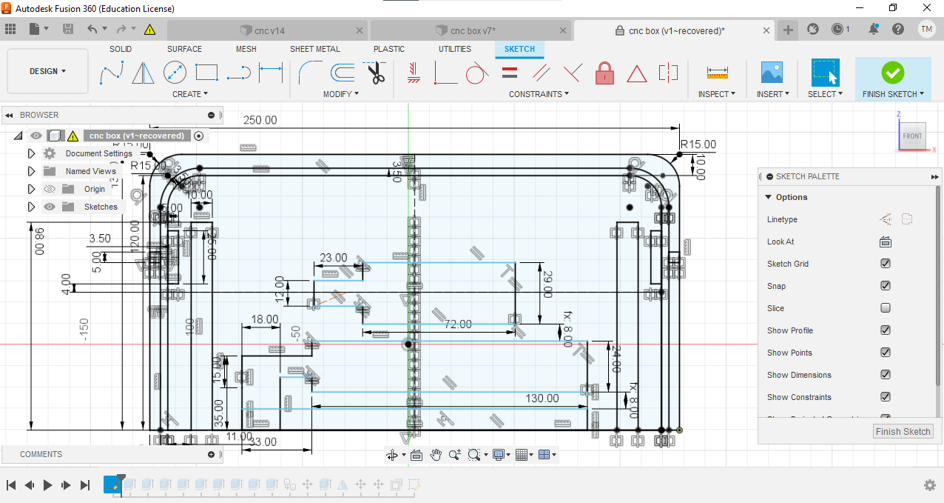
Extrude the Places with the proper heights


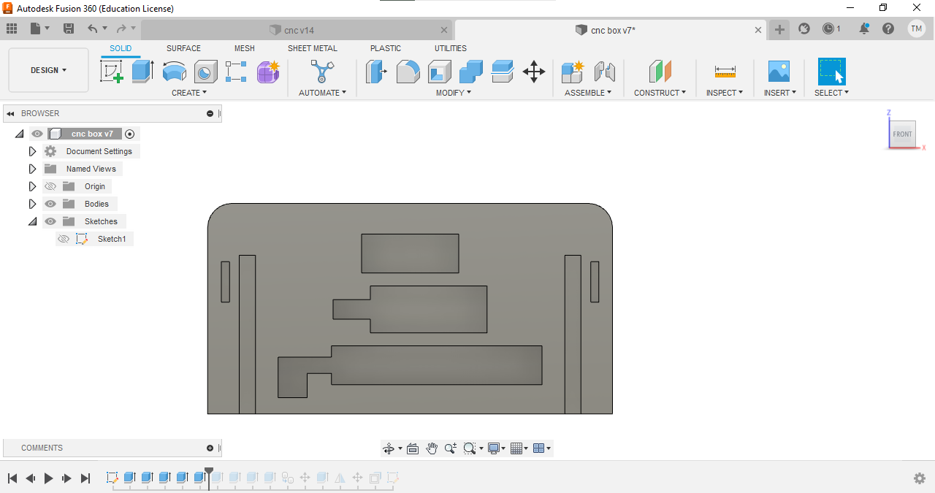

Duplicate the model

The design CAD and STL files are found in the links below
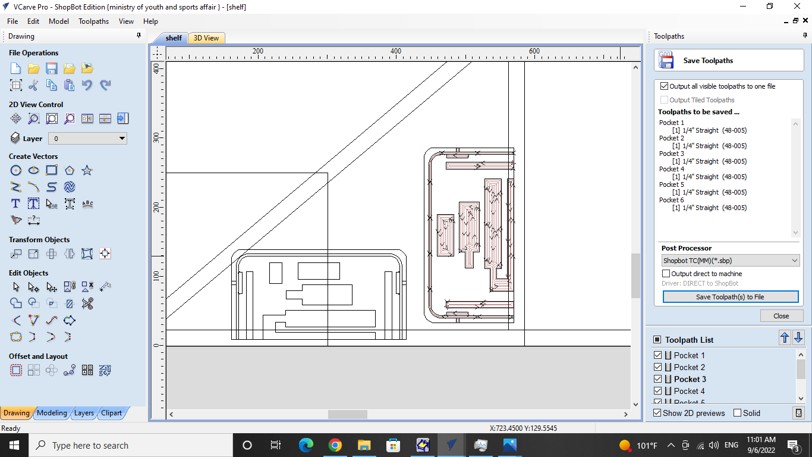
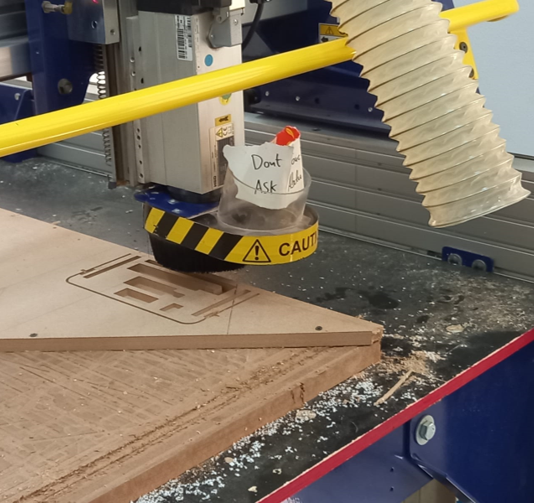
Shelf cutting and assymbling
The shelf was cut using the CNC machine, from the toolpath operations tools choose: * Pocket to ingrave the electronics places * Profile to cut the shelf
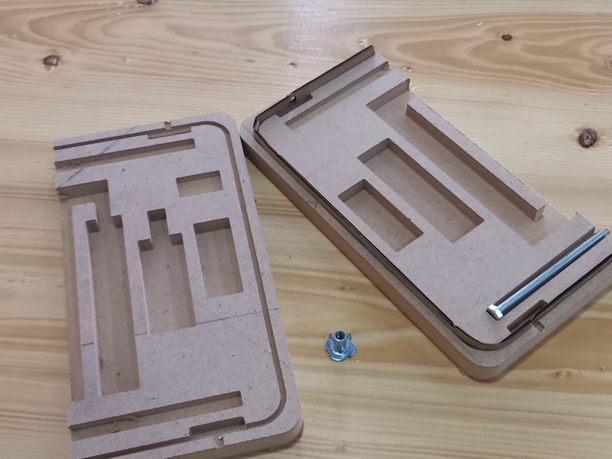
After cutting one side of the shelf
Testing the places for the electronics
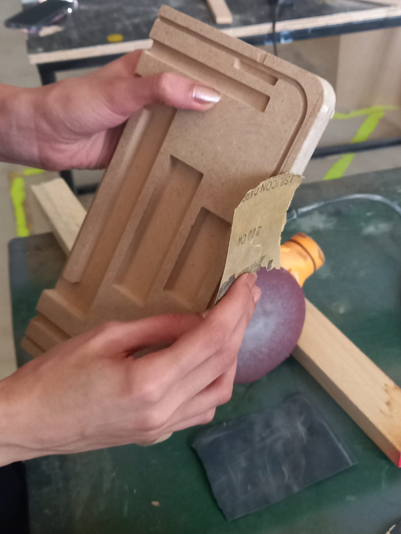
Scraping the shelf with sand paper
The shelf after getting cut by the CNC machine
Putting the devices in the correct place
The shelf when closed

The other steps for making the project are available in this Link
The final result

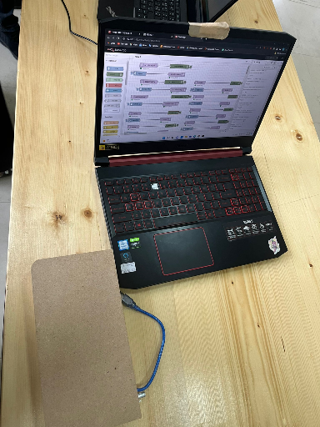
The shelf sending data to node-red