8. Moulding and casting
This week I worked on creating molds and casts for making objects with different materials.
Introduction
Milling is the process of machining using rotary cutters to remove material by advancing a cutter into a workpiece. This may be done by varying direction on one or several axes, cutter head speed, and pressure.
Molding is a process that takes the negative reflection of a model and creating a cavity. Molds can be made of a rigid material, such as plaster or plastic resin or more commonly, a flexible material such as rubber.
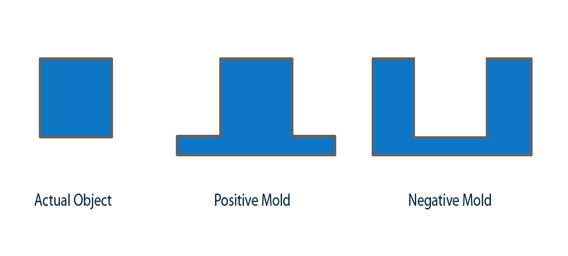
Image source
Casting is the act of pouring liquid material into the cavity of a mold. After a period of time, this liquid will cure via chemical reaction or cooling. The solidified part is also known as a casting, which is ejected or broken out of the mold to complete the process.
Group Assignment
In this group assignment we were introduced to four casting materials like silicon, dry putty, standard plaster and resin. We went through the safety instructions for each material, the process steps, the mixing ratio and other informations like the Work time and Cure time. You can access more information in the This link.
Indivisual Assignment
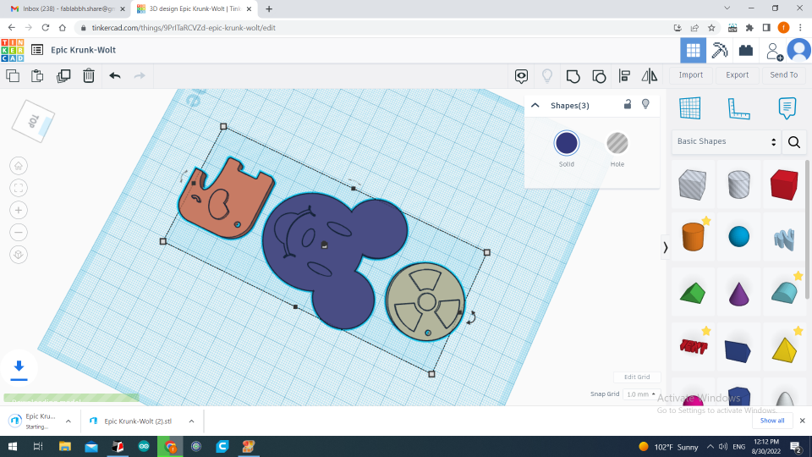
Designs
Two models were designed using fusion 360 tool, saved as STL files and sent to the milling machine for making the first positive mold from wax.
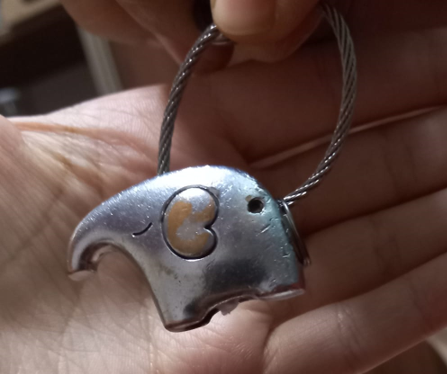
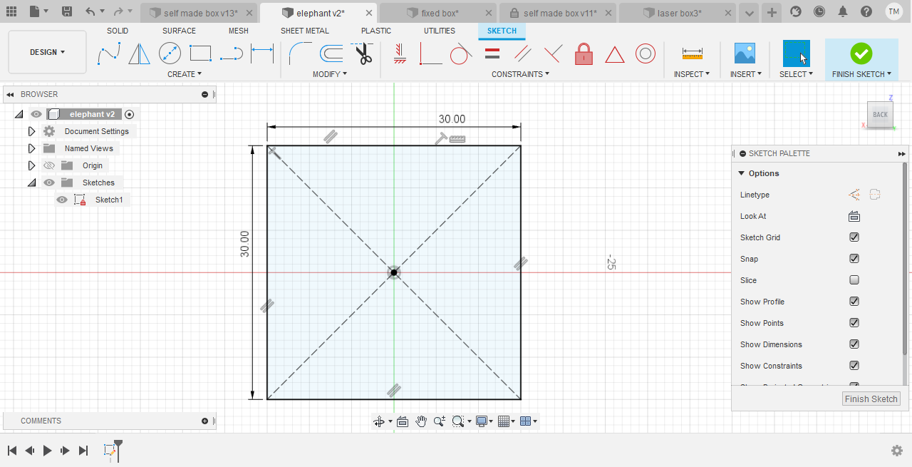
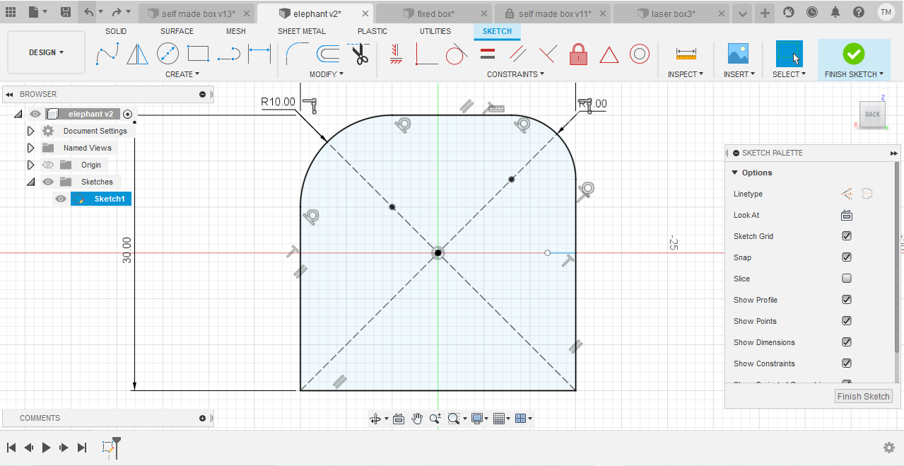
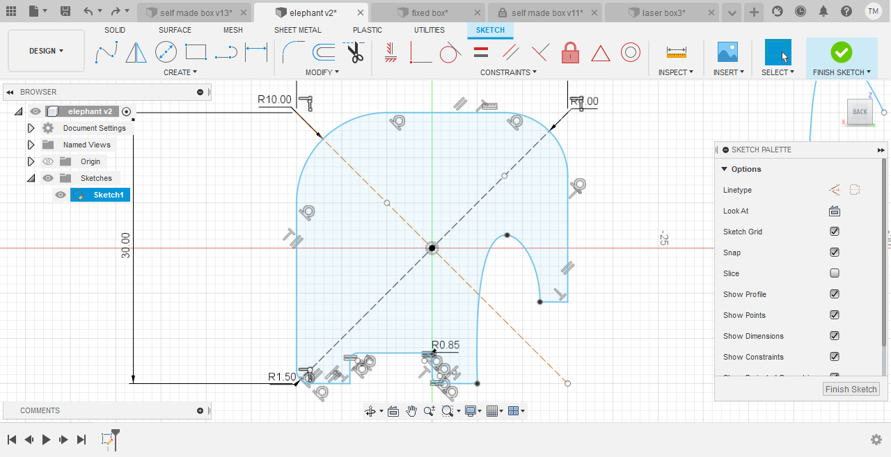
Elephant design
The first design is an elephant. The below picture shows the medal from which I got inspired.
First create the base for the elephant body
Fillet the corners
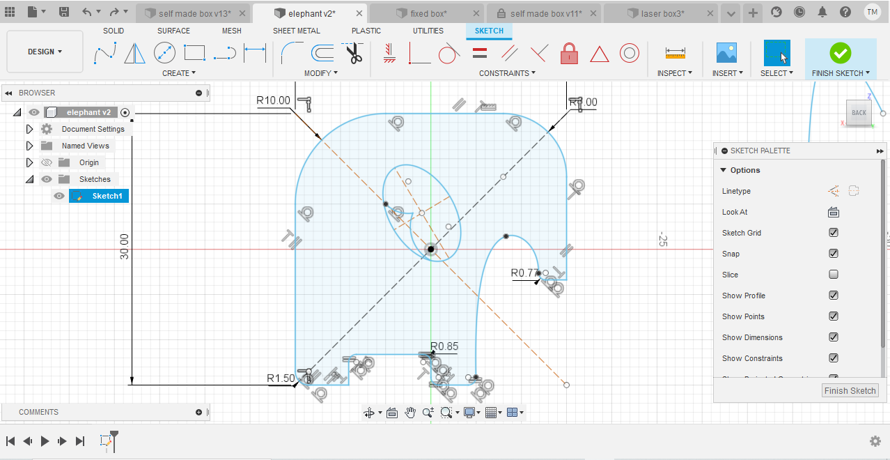
Make the borders for the elephant body


Draw the details for the ear and eyes
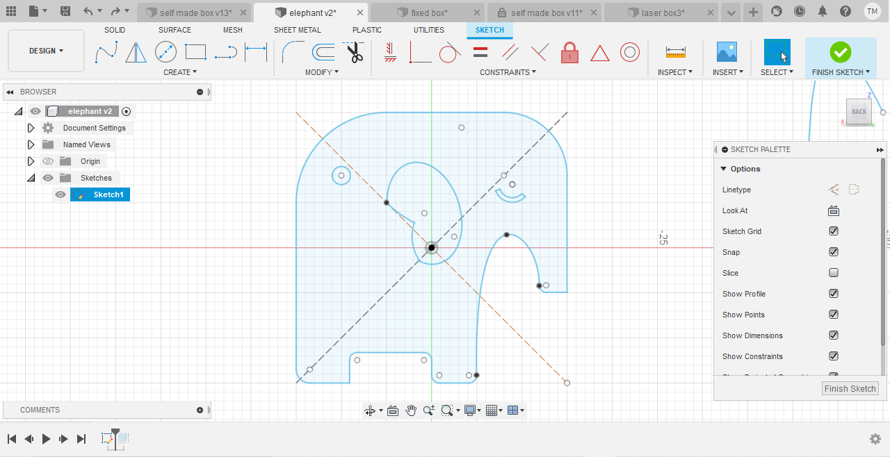
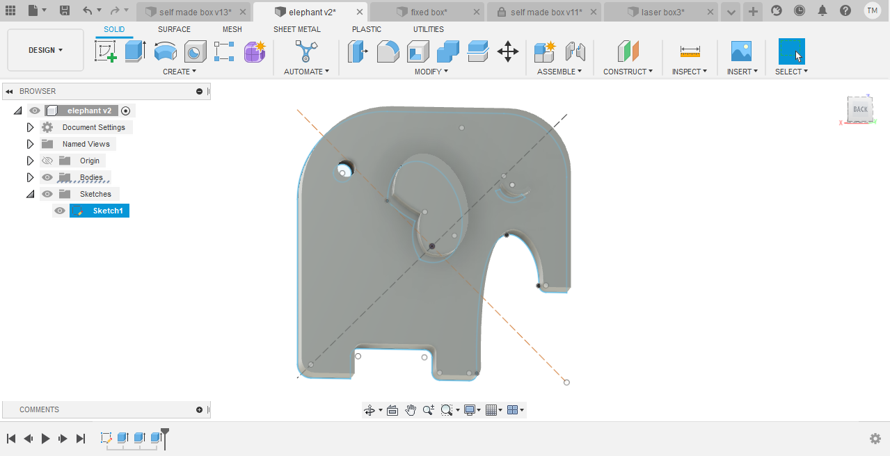
Extrude The surfaces
Click Here to download the stl file
Click Here to download the CAD file
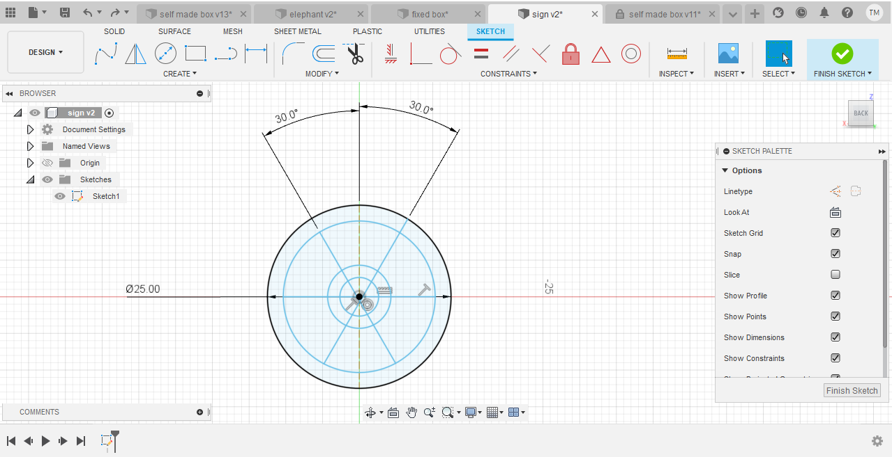
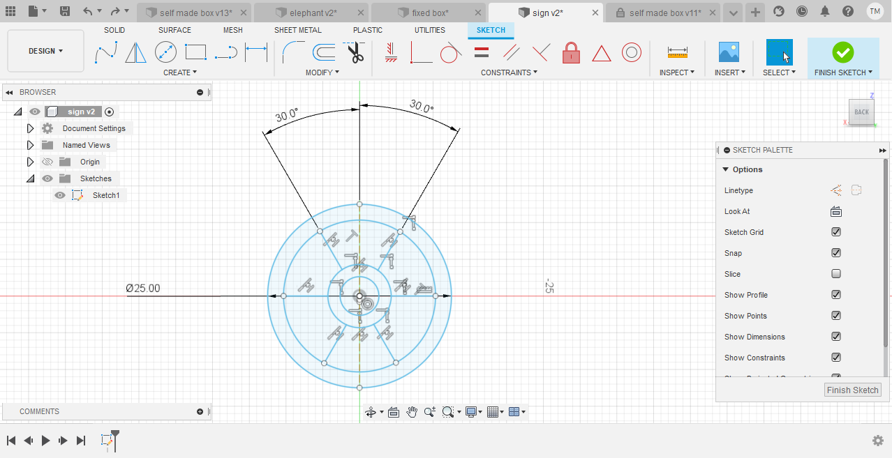
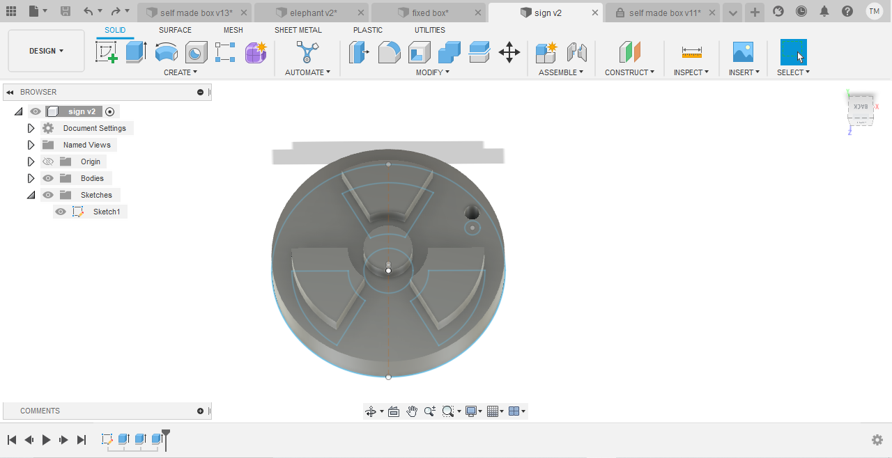
Ionizing radiation sign design
Create four concentric circles

Draw two lines each on 30 degrees
Cut the extra lines
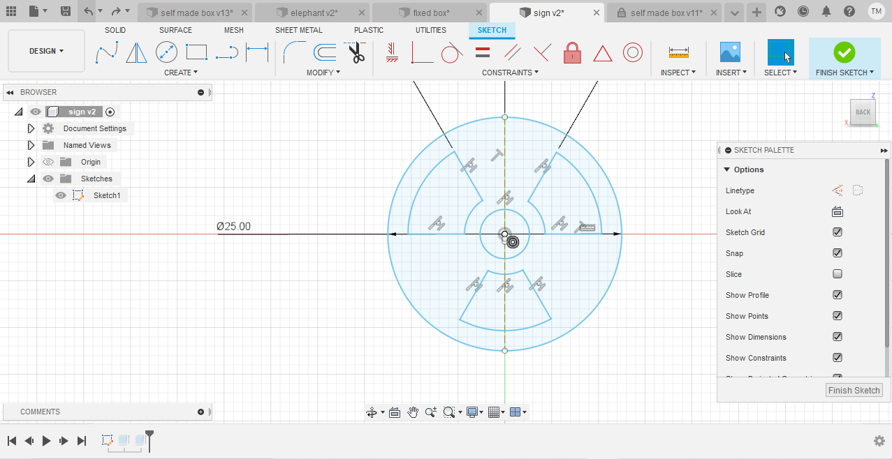
Extrude the surfaces
Click Here to download the stl file
Click Here to download the CAD file
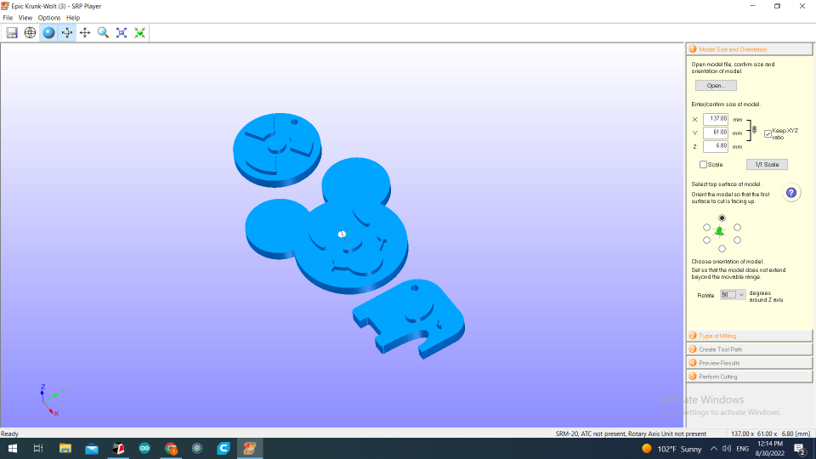
The milling machine settings
Later are the settings for the milling process.
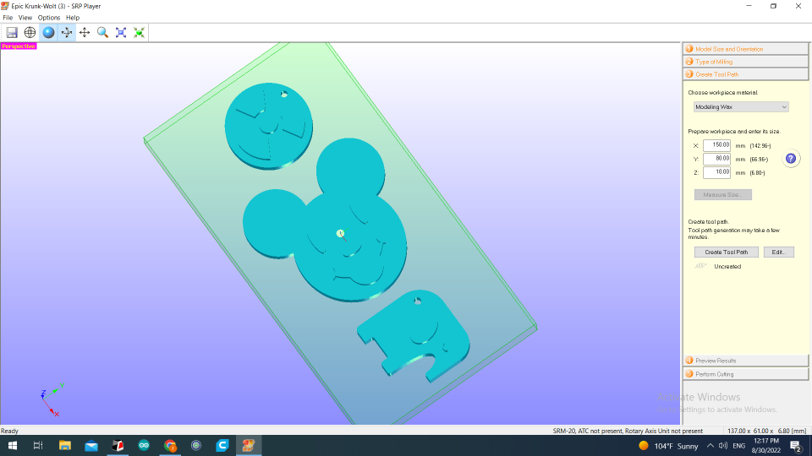
Prepare the models with the proper sizes
Choose the total dimensions of the models
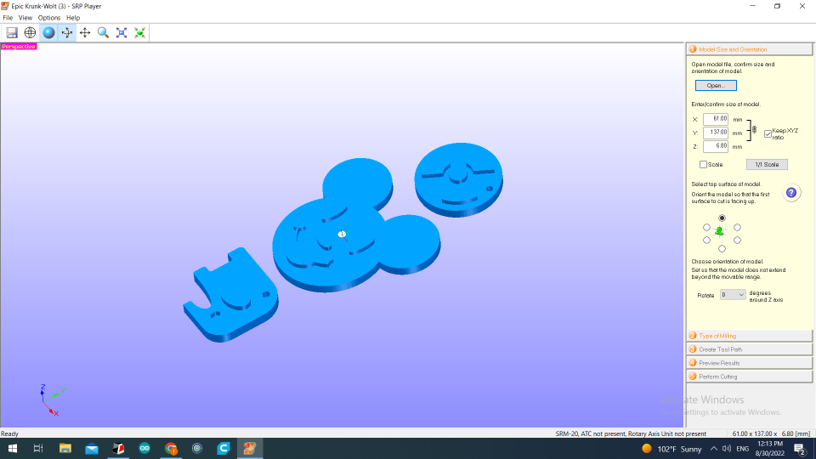
choose the rotation degrees around the z axis
Select the type of milling
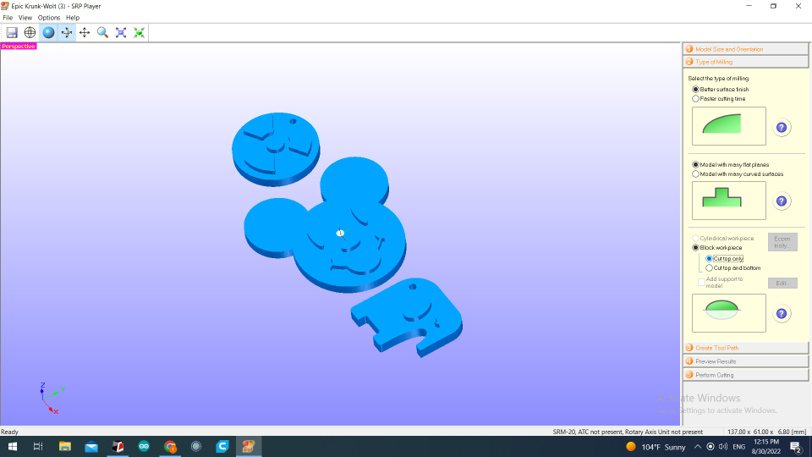
Prepare the workplace size
Preveiw the results
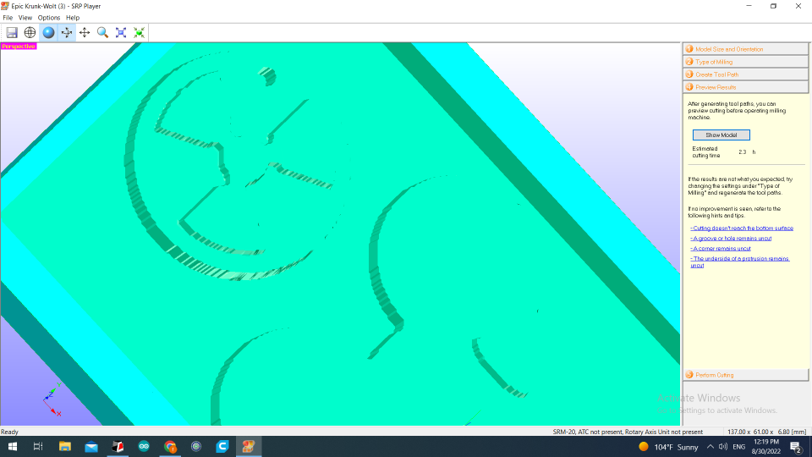
The sign model details were linked together as the milling precision chosen was not enough for them to be done.
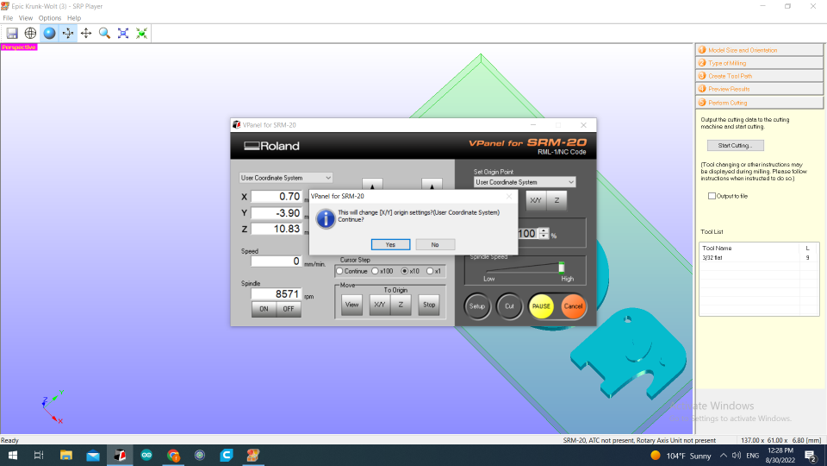
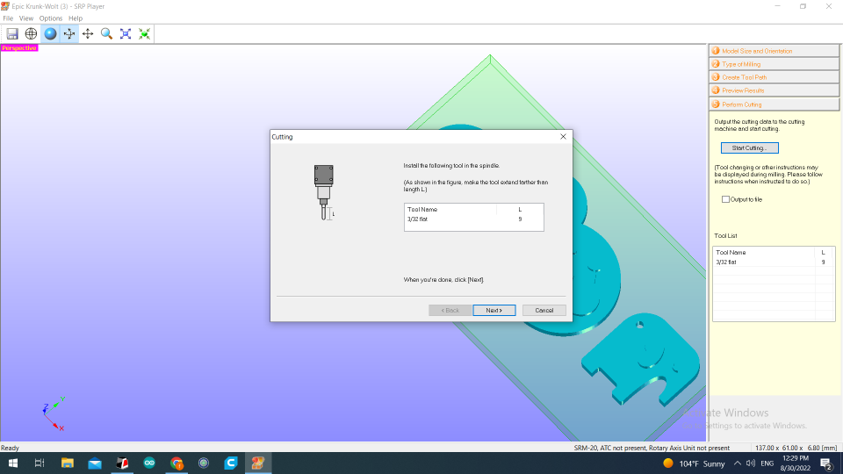
Now the milling pin has to be placed at the center of the wax bar and directly in touch with it.
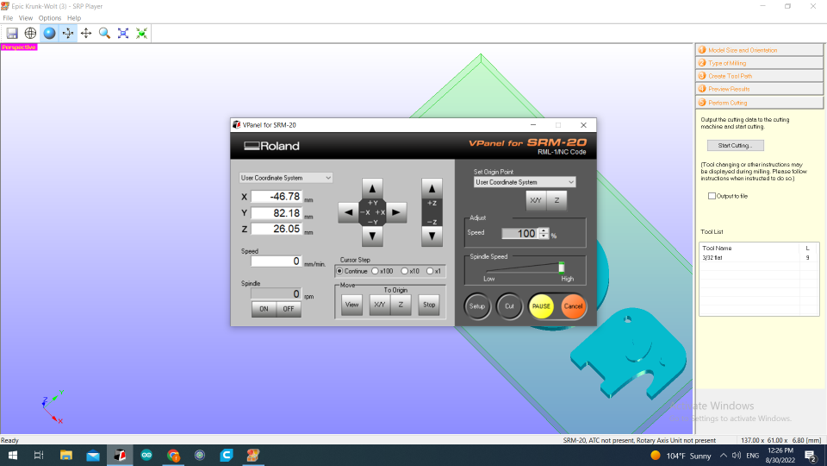

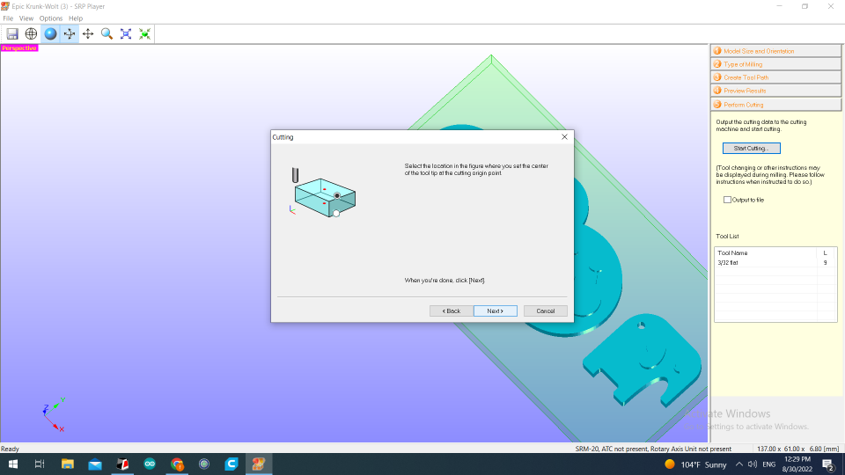
The suitable pin size that matches the precision of the model will be shown
Creating the wax base for the positive mold
In this project we used monoFab SRM-20 Desktop Milling Machine
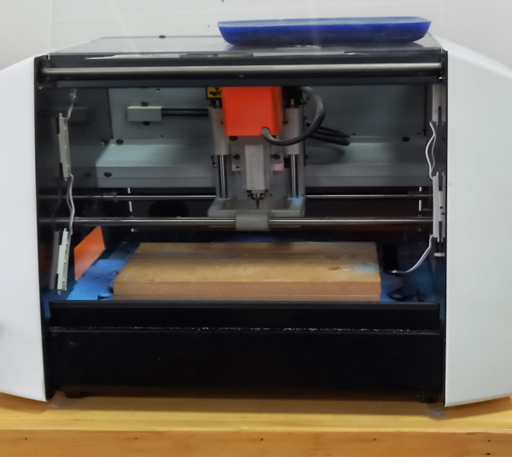
The wax bar
Fix the wax bar with bouble sided sticky tape
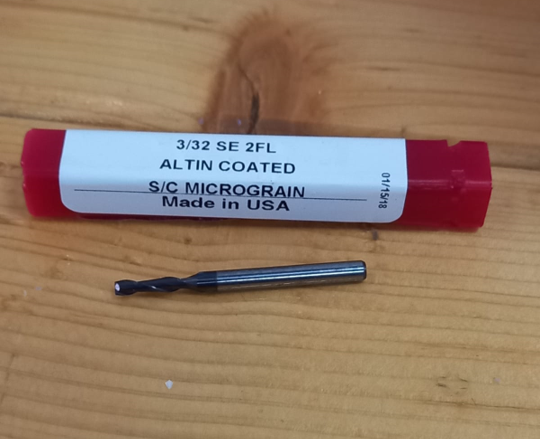
The milling pin used
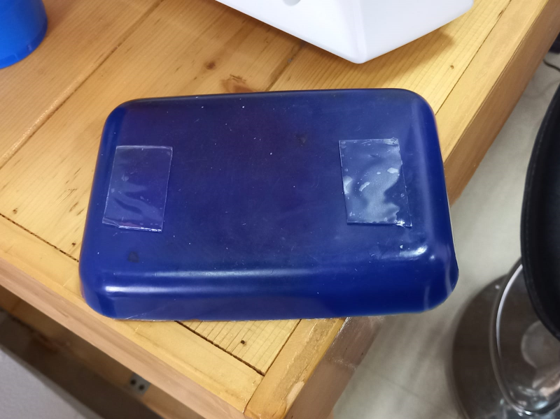
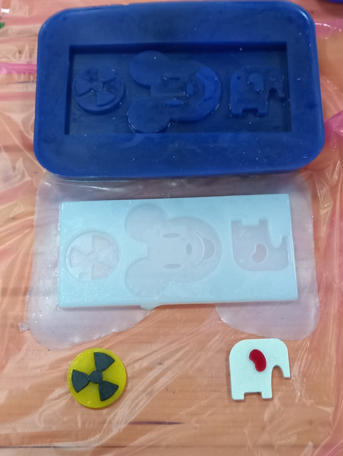
The Positive mold
Creating the silicon mold
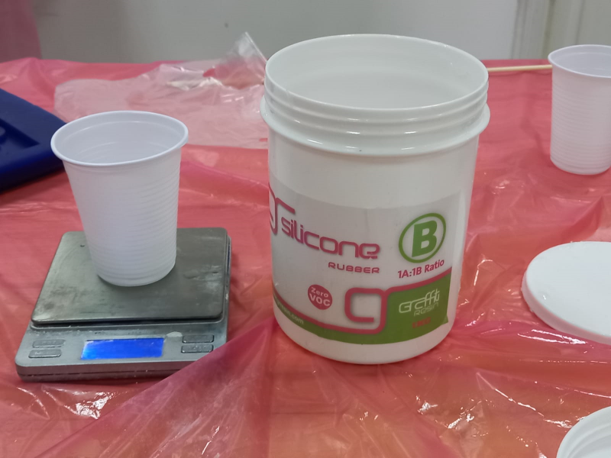
In this part we used silicon, we already tested it in the group assignments for Safety Don’t ingest, inject and absorb silicone in your body.
To make the silicon mold first weigh the wax bar

Fill the cavity with water. Add 10 grams on the water weight this creates the total weight of the silicon mold

Put half the total weight from material A
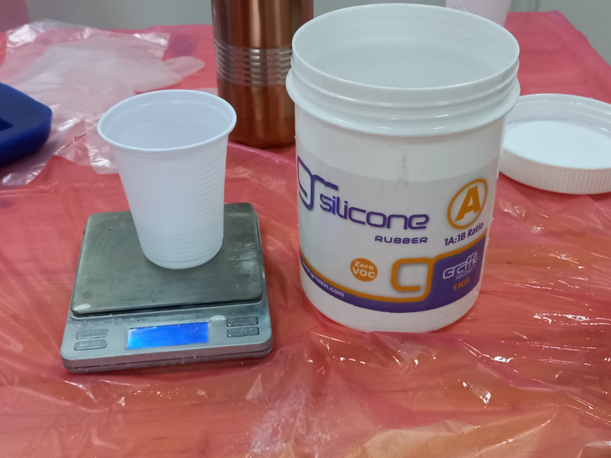
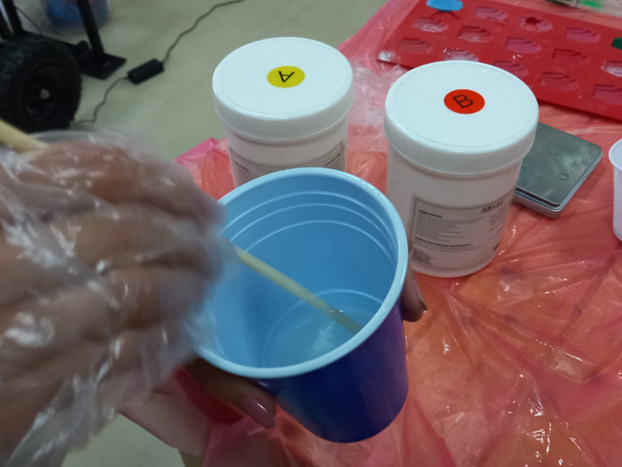
And the other half from material B
Mix them well
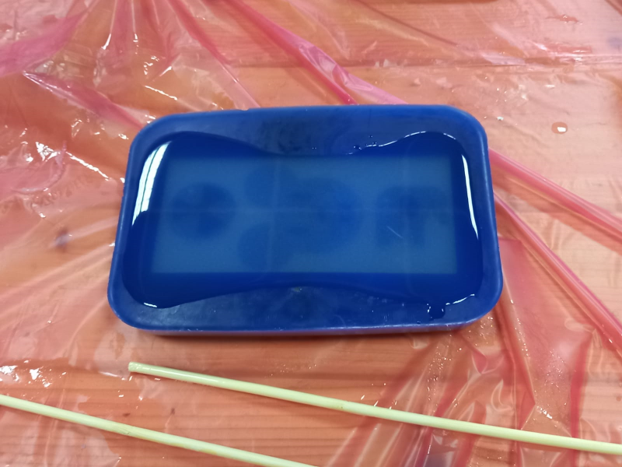
Pour them is the wax mold
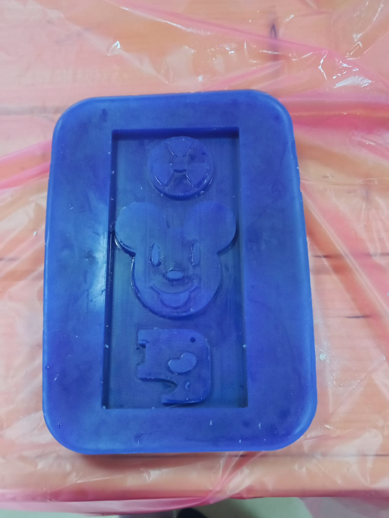
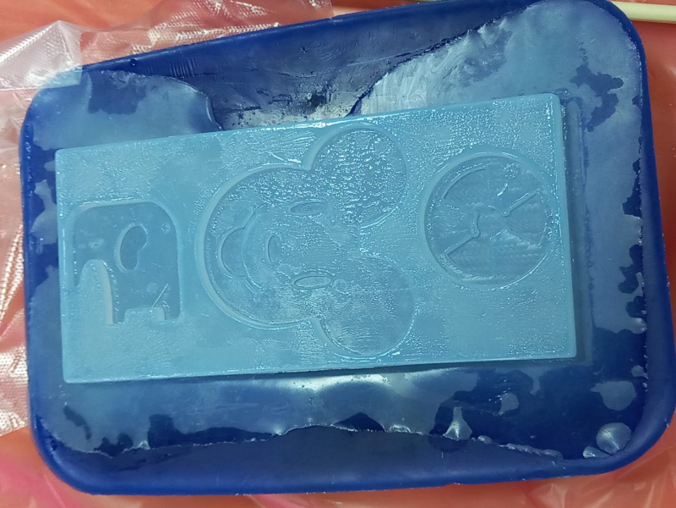
The silicon mold after getting dried
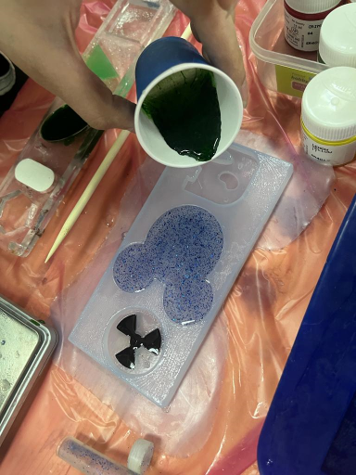
Making the cast
I chose to use resin as the material for the cast. for safety:
-Make sure to keep away from kids.
-Should be stored in a dry place. Preferably in the sealed original container, at a temperature between 20c & 25c.
-Wear face masks for pregnants when using the product.
-Wear protective gloves when you use the product.
-Do not swallow. If you swallowed the resin, call a doctor immediately.
-In case the product comes in contact with eyes : rinse cautiously with water for several minutes.
-Caution it may cause an allergic skin reaction.
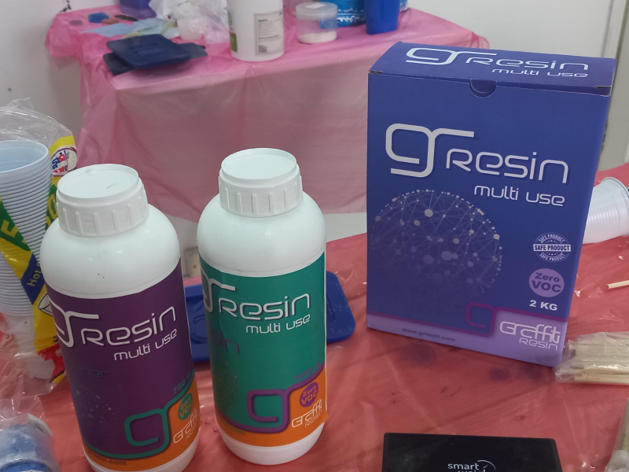
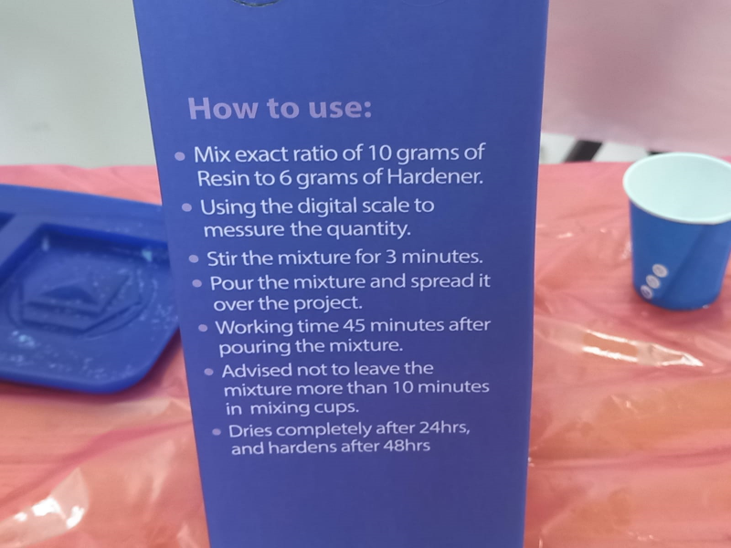
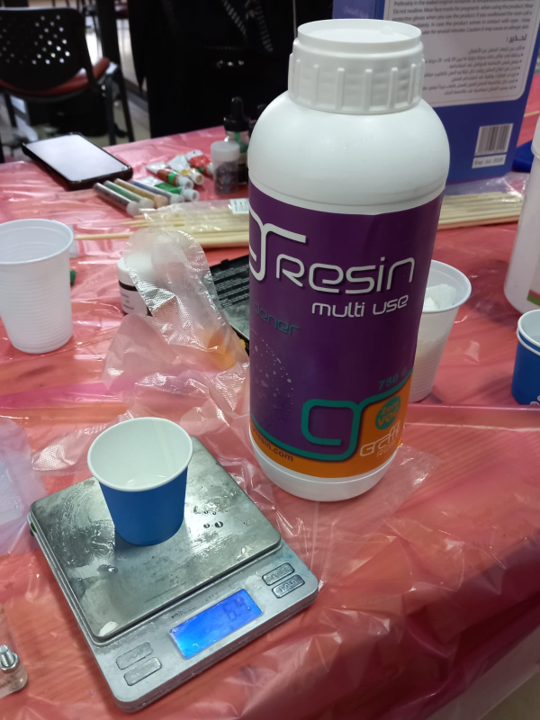
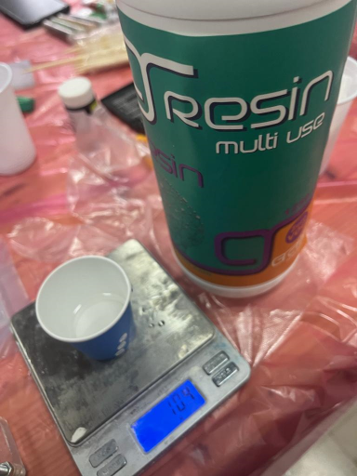
Add a ratio of 6g the hardener to 10g of the resin and mix for 3 min
Pour the colored mix in the mold

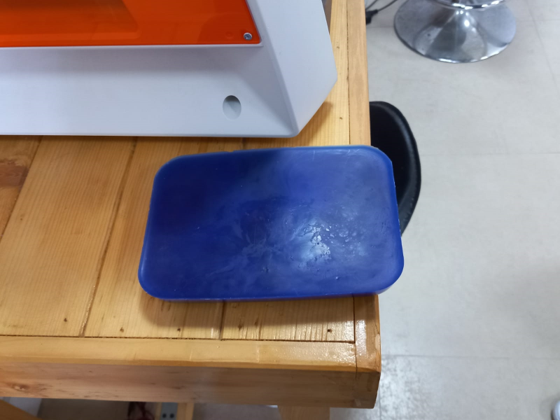
The casts after drying
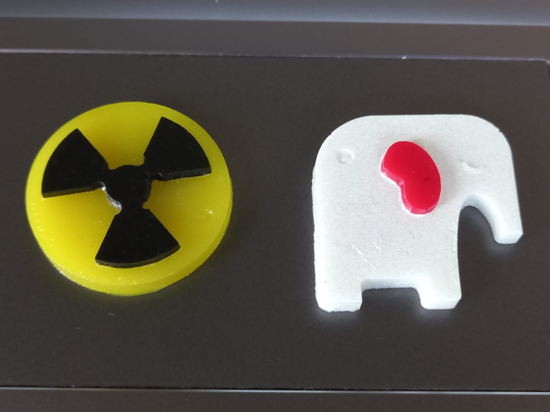
The three steps of creating the casts
Problems and challenges
The Silicon mold mixing ratio was a bit off so it’s structure was not perfect (not completely solid) so the surface was stained with fingerprints which appeared in the final cast. To avoid that from happening follow the mixing ratio precisely and give the mixture enough time to dry without touching it.
Useful links
-What is the difference between molding and casting?