2. Computer Aided design
# 2. Computer Aided design
This week we learned about 2D and 3D design, and you’ll see simple tutorials for each app illustrating a short journey I’ve had this week There are plenty of websites and apps to create 3D and 2D models
2D models
adobe illustrator
Adobe Illustrator is the industry standard design app that lets you capture your creative vision with shapes, color, effects, and typography. Work across desktop and mobile devices and quickly create beautiful designs that can go anywhere—print, web and apps, video and animations, and more.
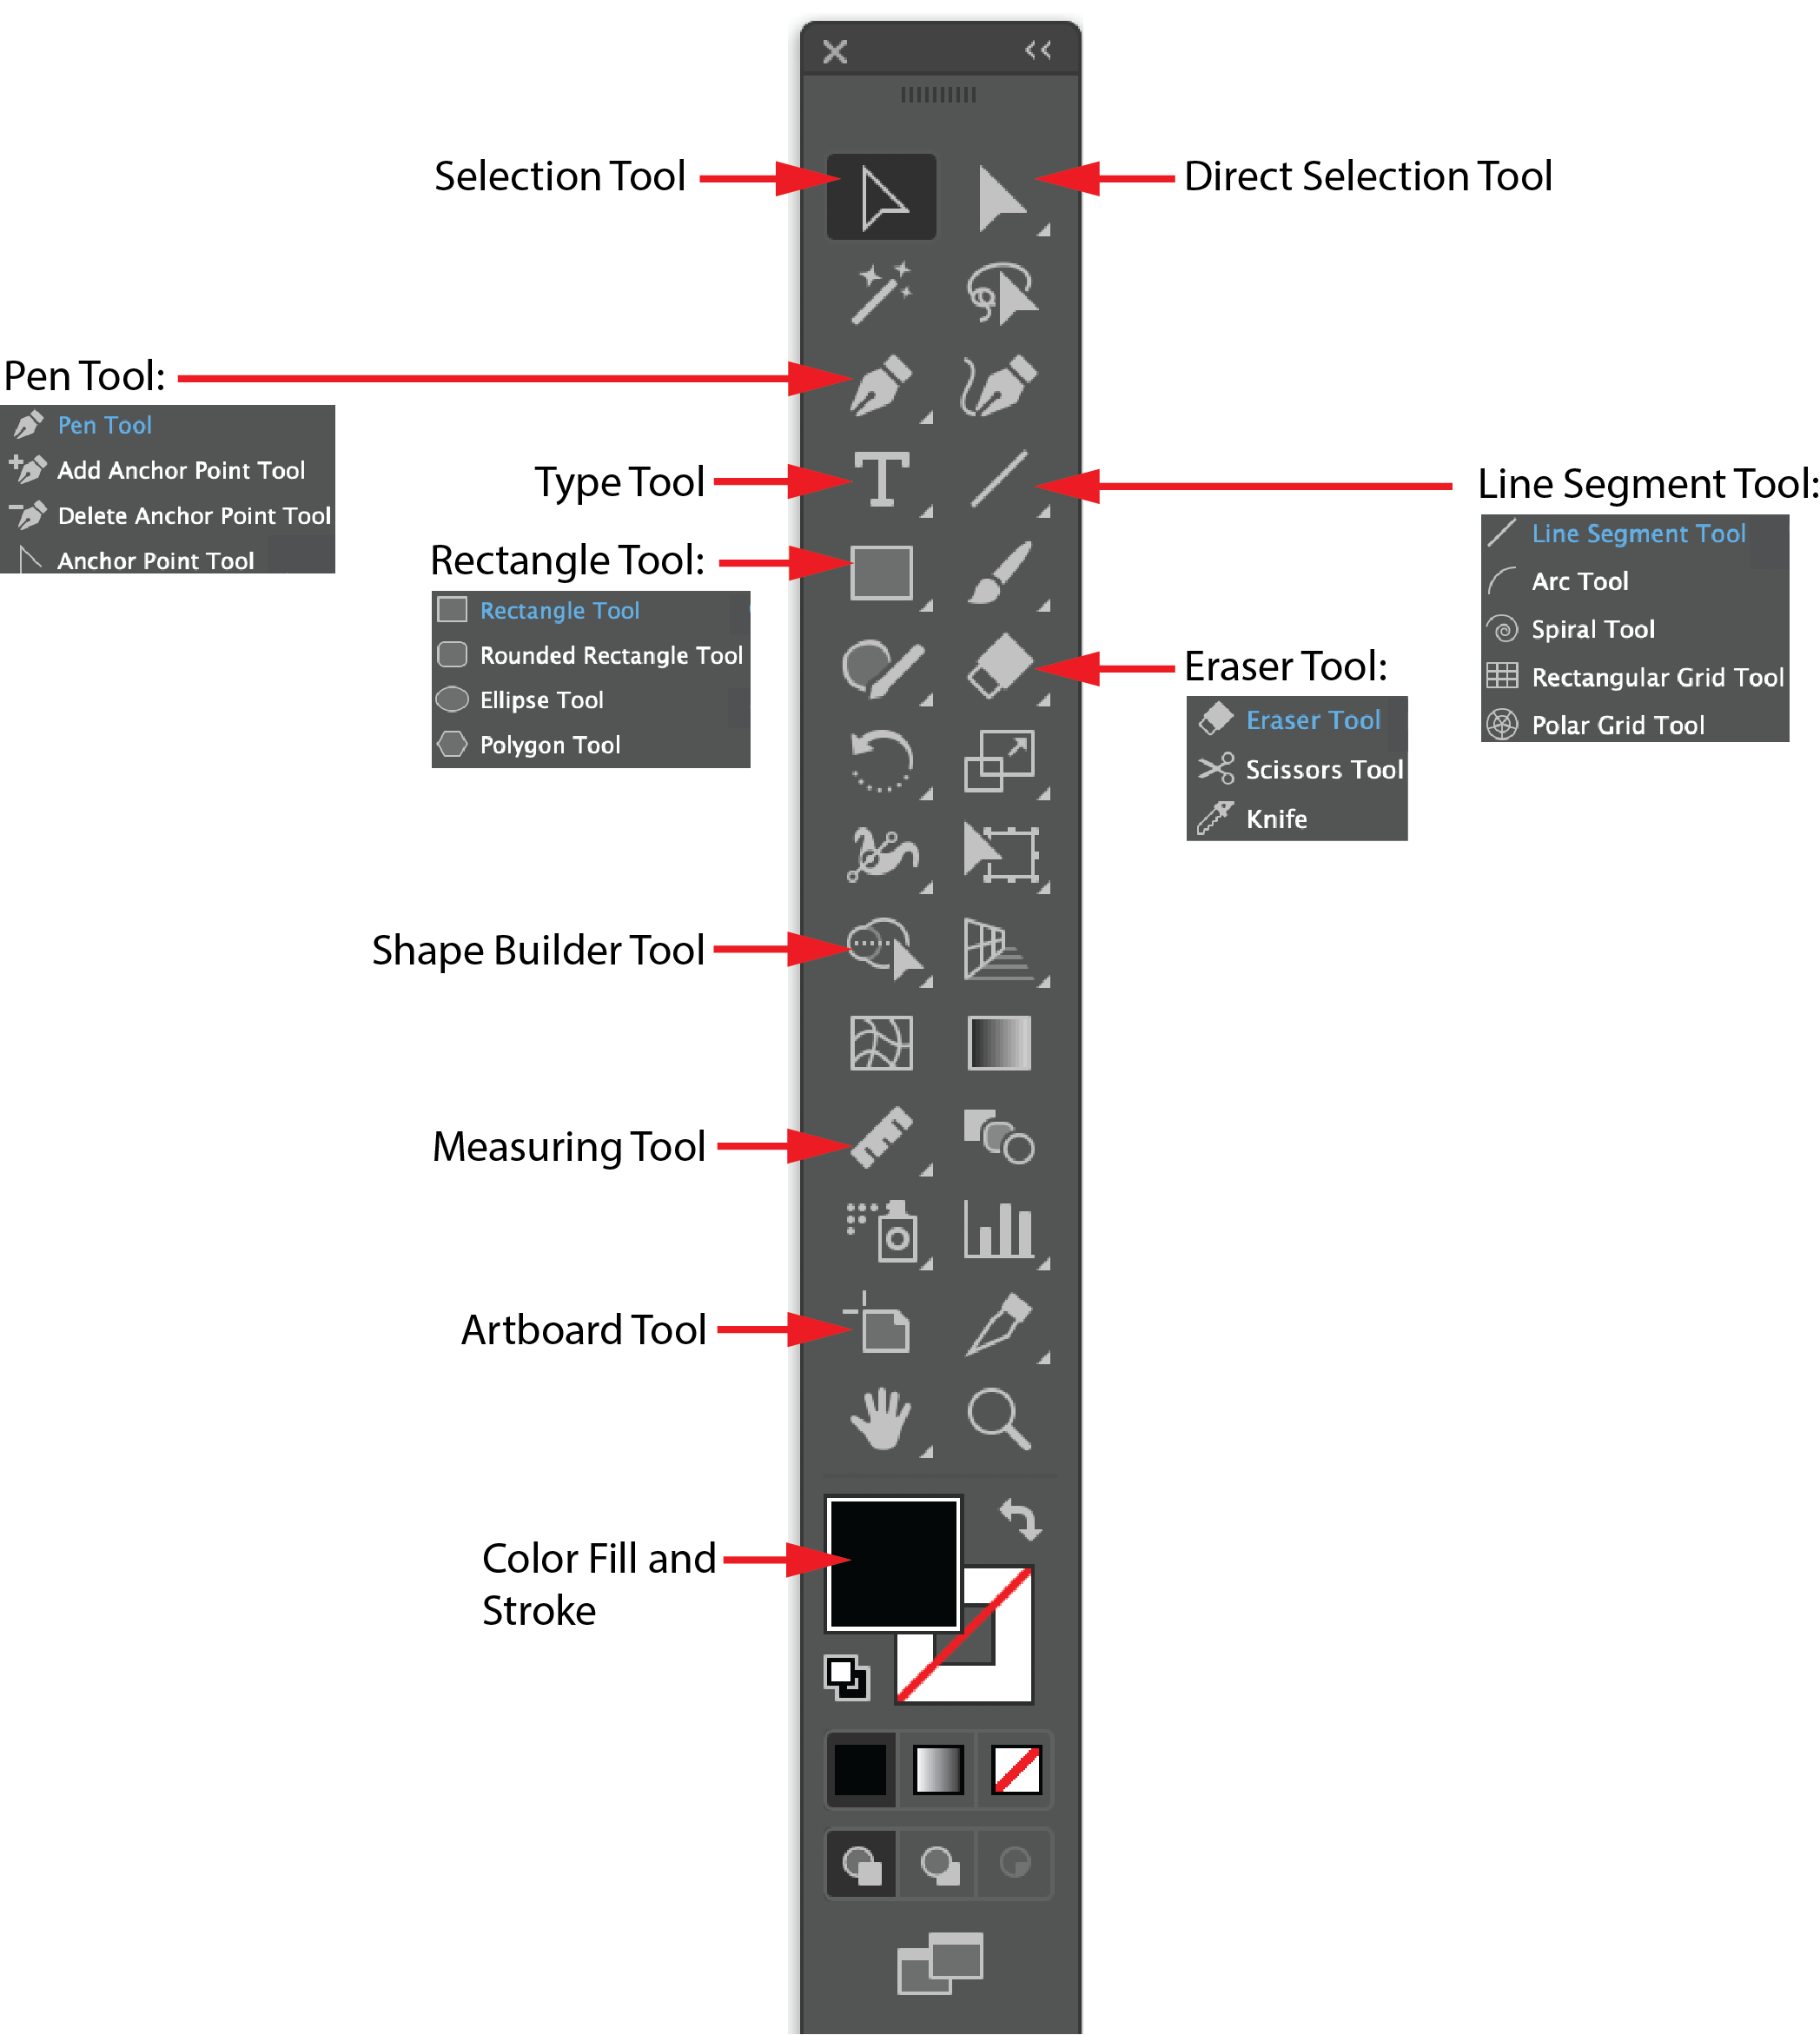
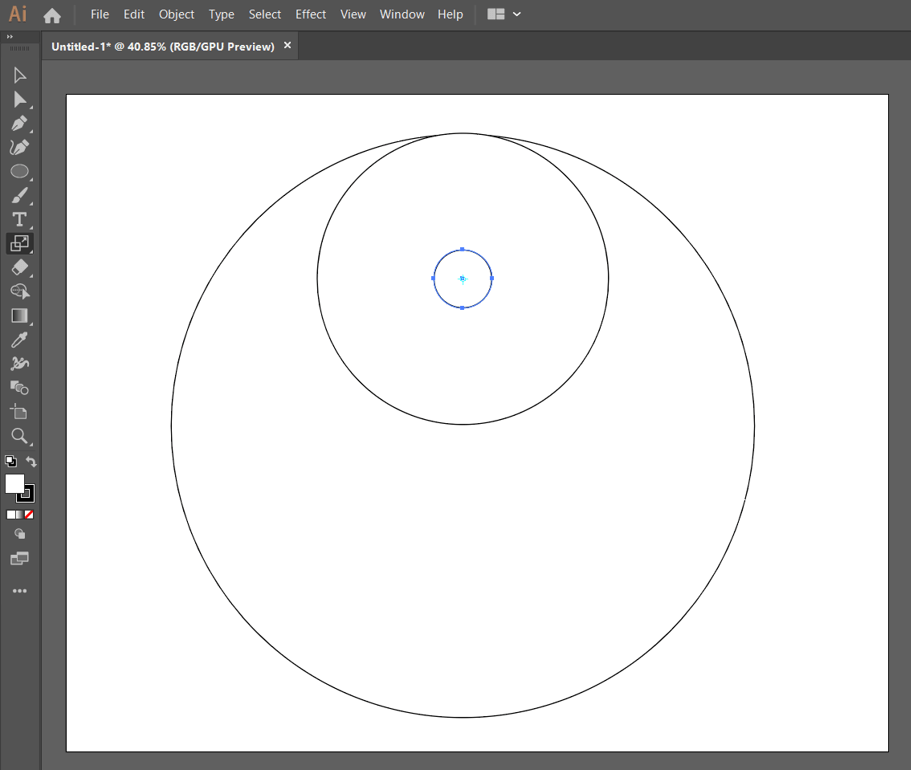
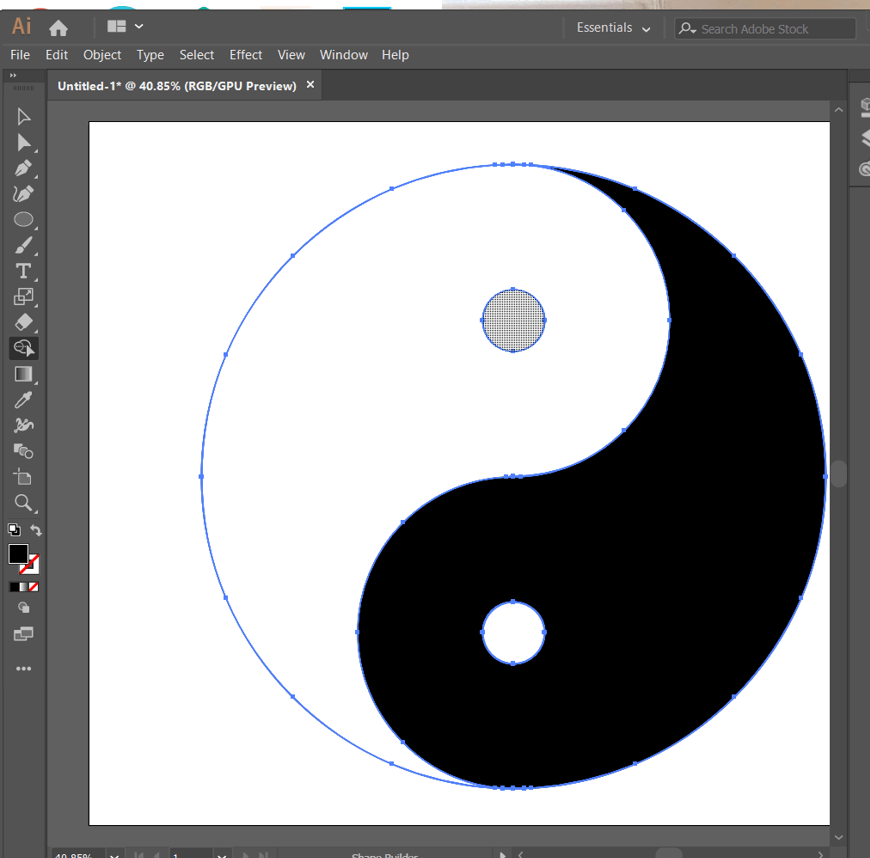
lets create a yin & yang symbol  1. from the toolbar choose ellipse tool
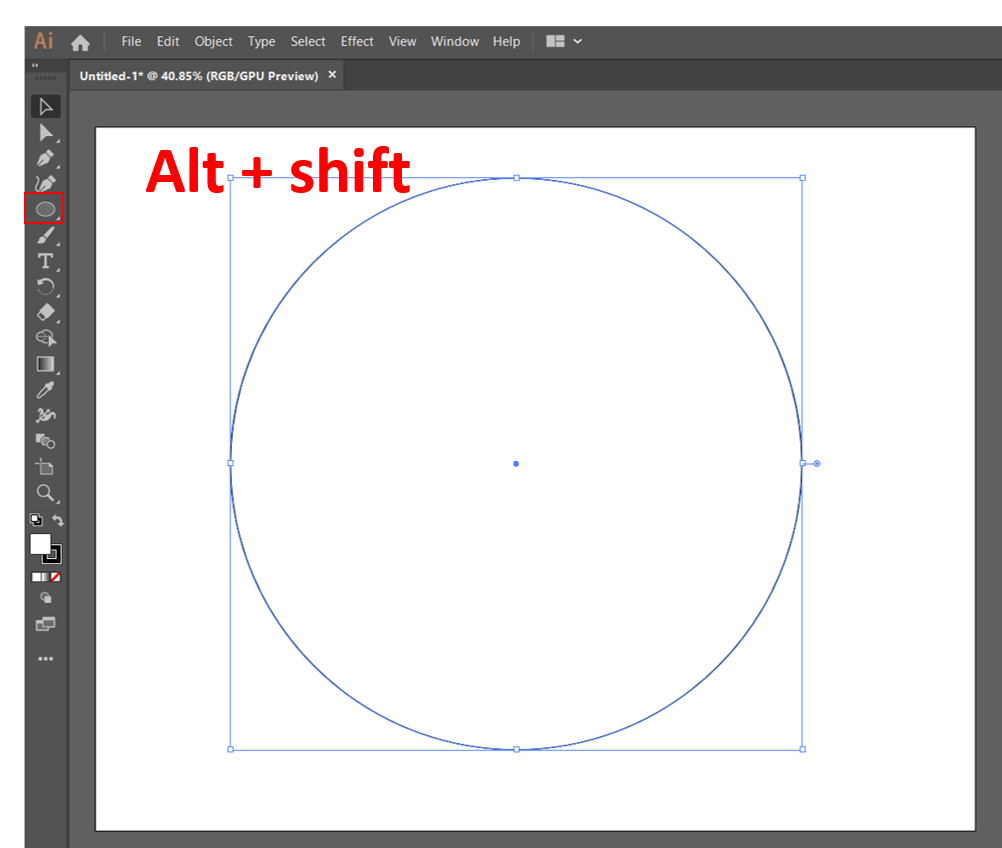
 2. click alt+shit to create an even circle
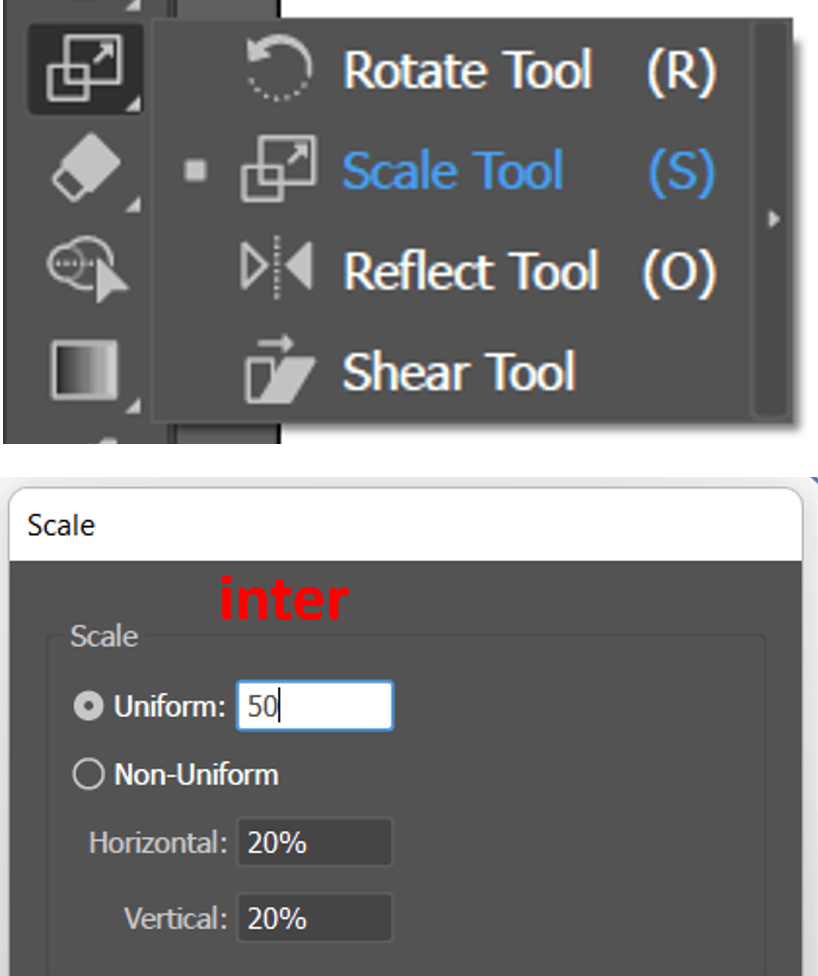
 3. copy the shape and use scale tool , inter , type 50% as the shown picture
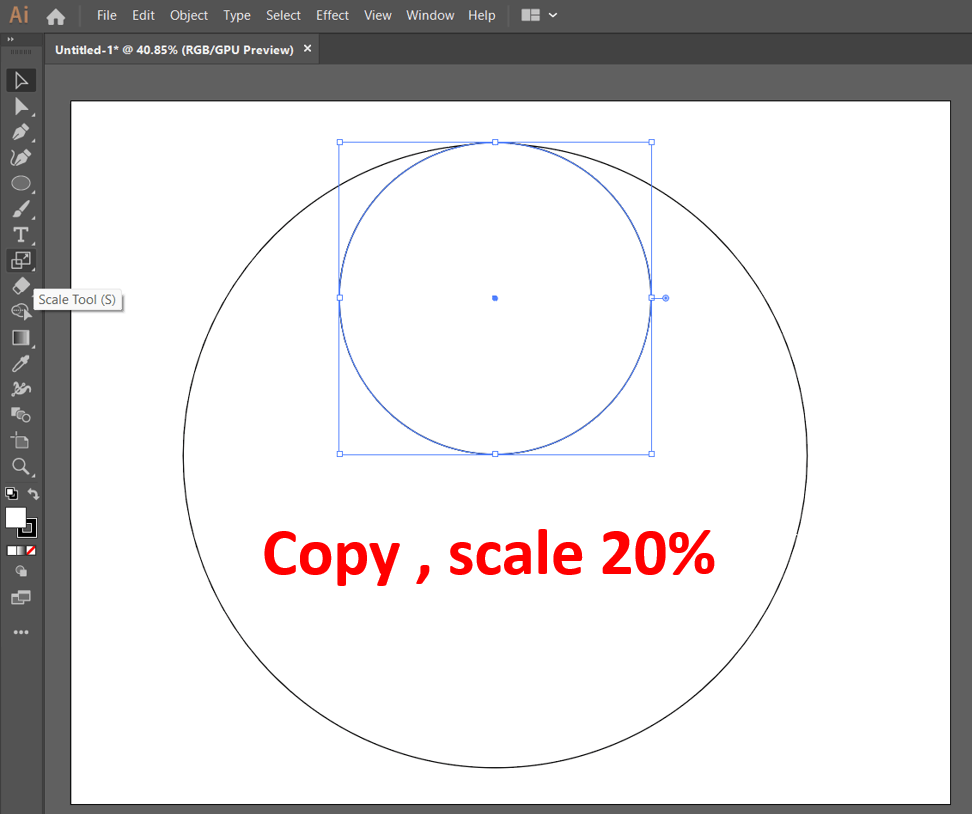
 4. copy the smaller circle again and scale 20%
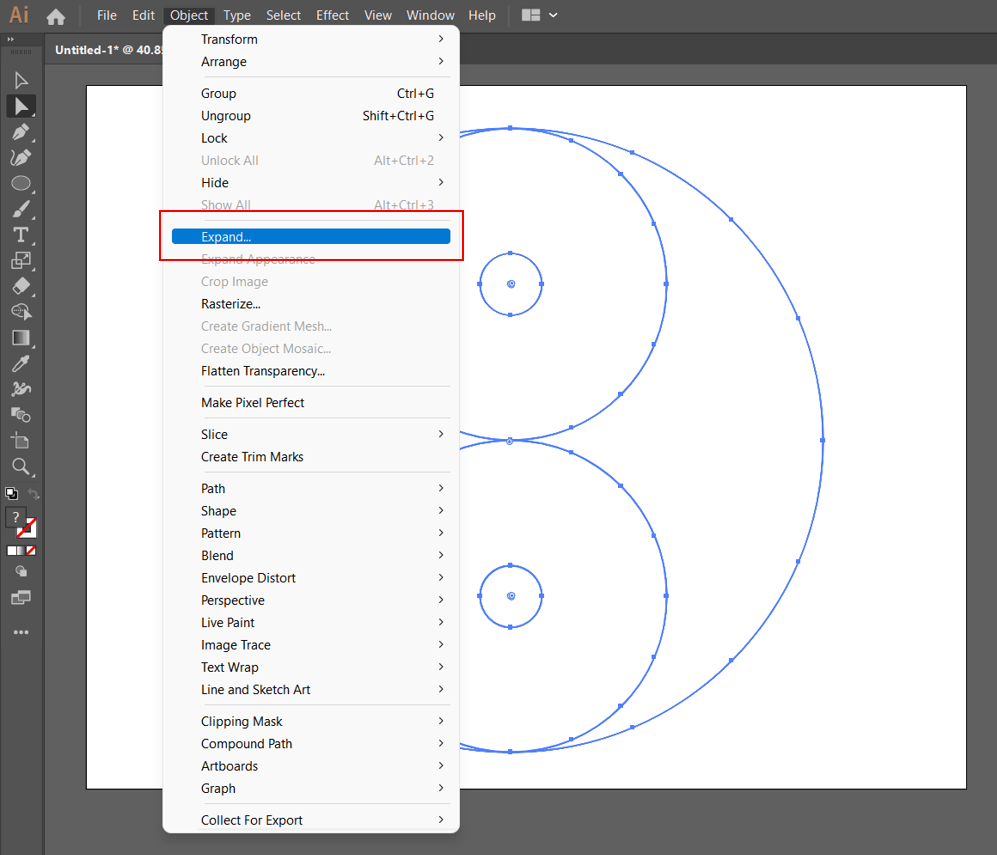
 5. select the both circles , duplicate shapes select all , on object tap expand
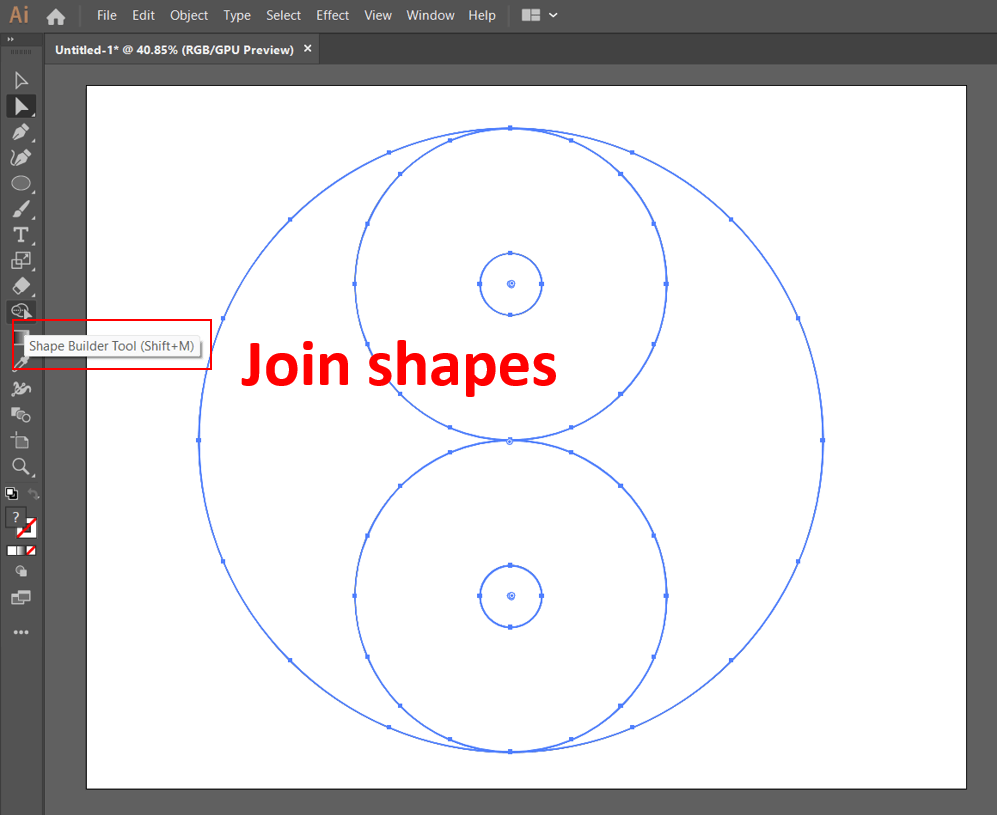
 6. use shape builder tool to join the shapes
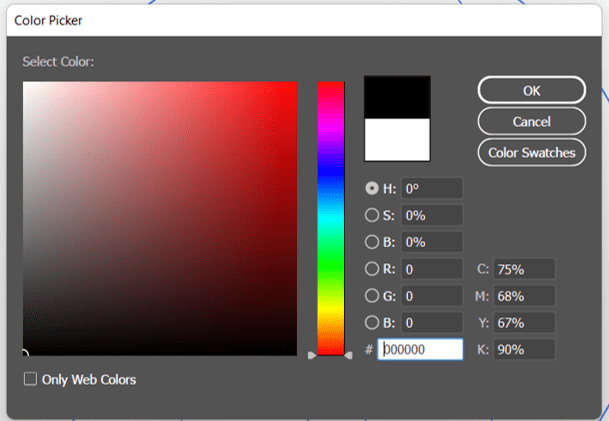
 7. change the color to black and join the other half
 click here
cuttle
A vector editor with features for cut design like live modifiers, parameters, reusable components, scripting, the nice thing about it is that it is online, so you don’t need storage space to download it
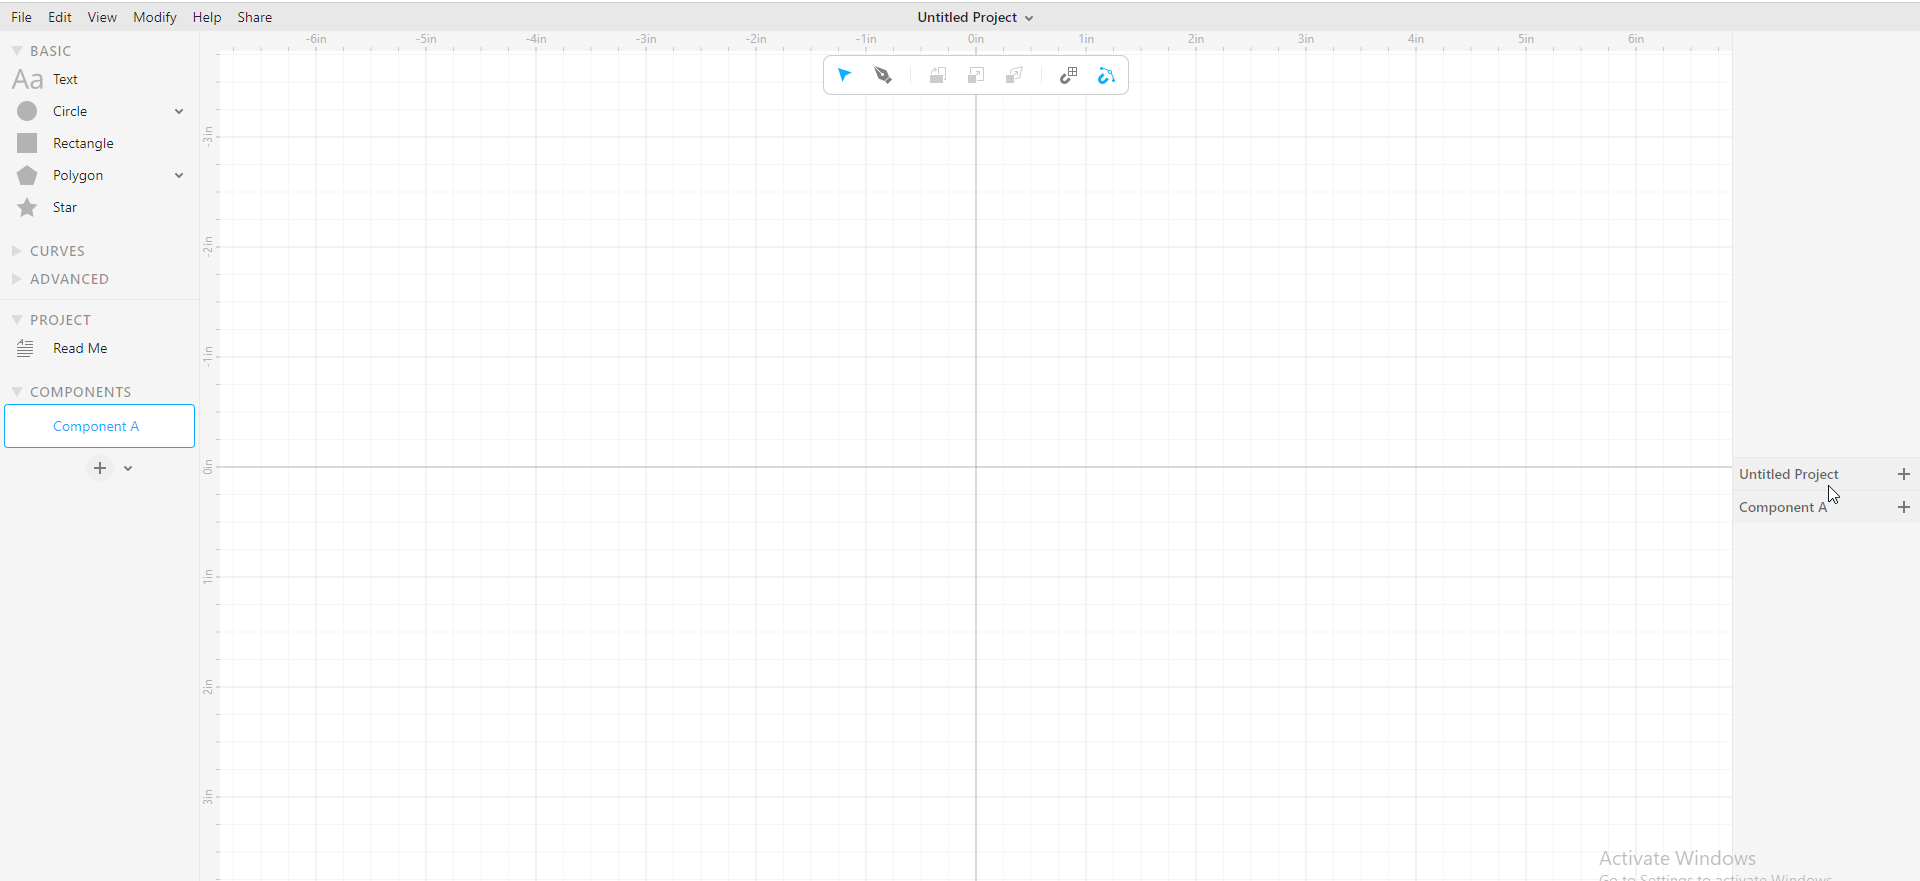 Let’s start with the interface
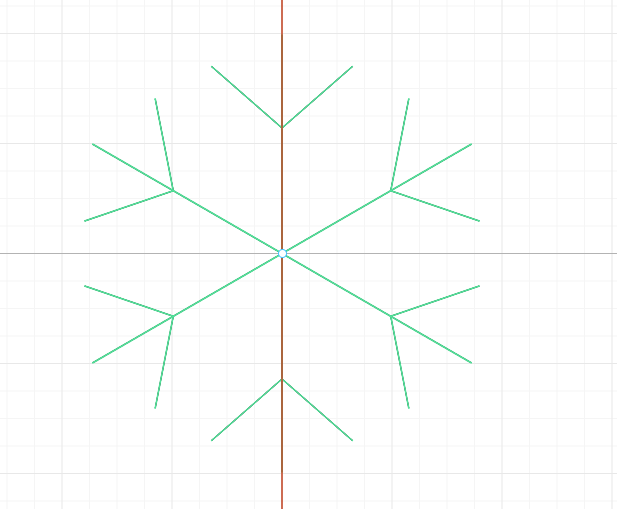
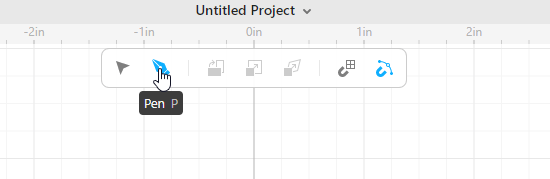 To draw lines, use the Pin Tool
Mirror Duplicate is a good tool for duplicating identical shapes
To draw lines, use the Pin Tool
Mirror Duplicate is a good tool for duplicating identical shapes
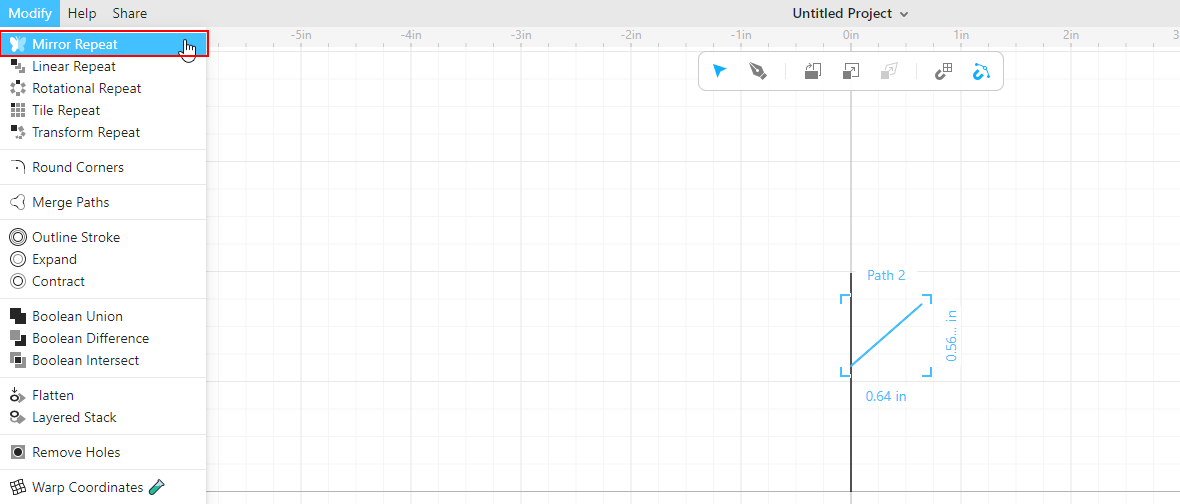 Now we can define the shape and apply the rotation rate
After applying the rate
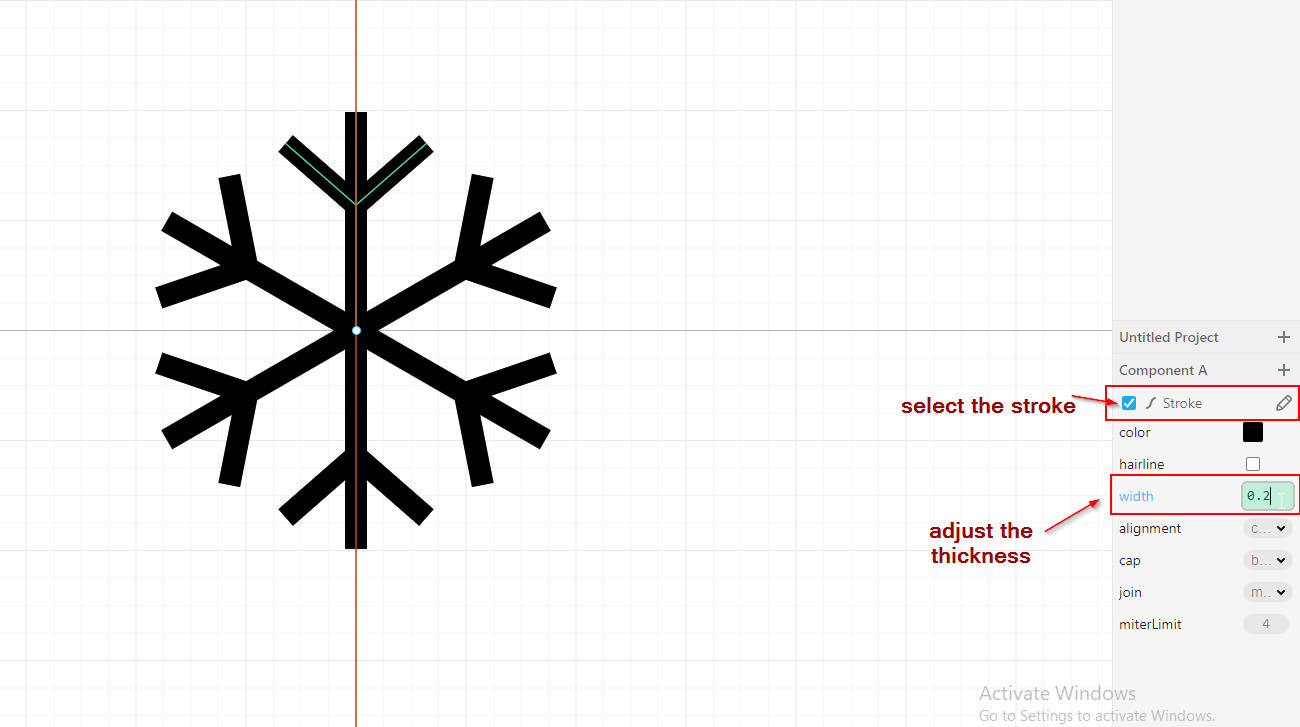
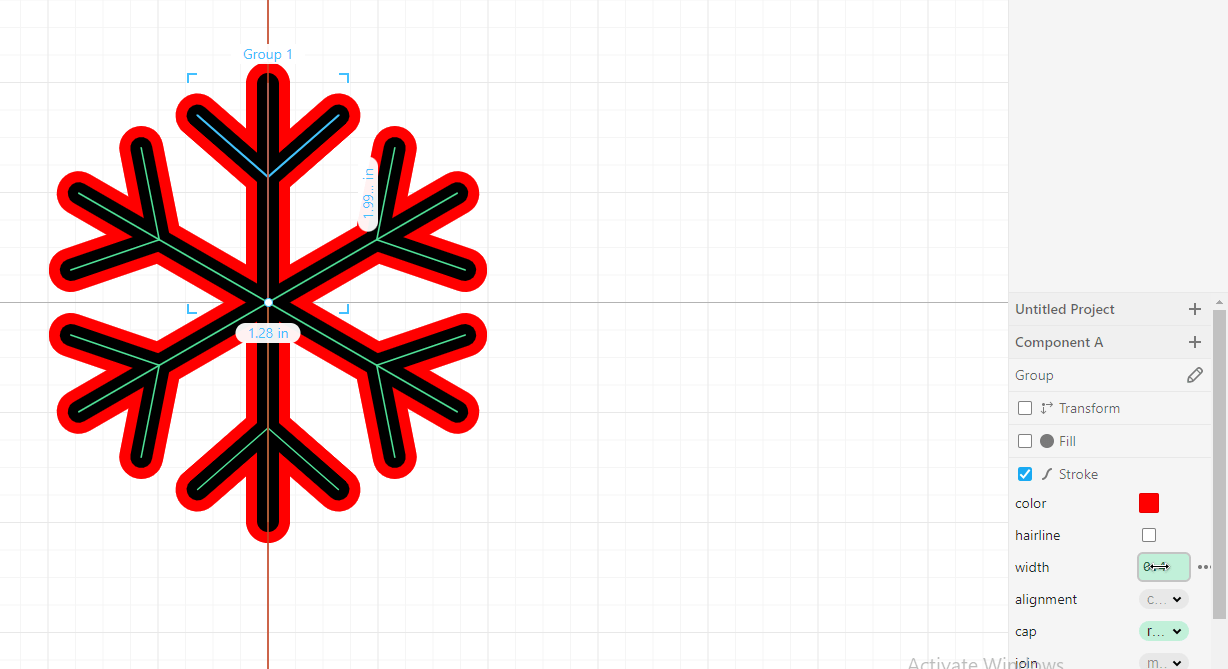
To give the lines some thickness, select the stroke
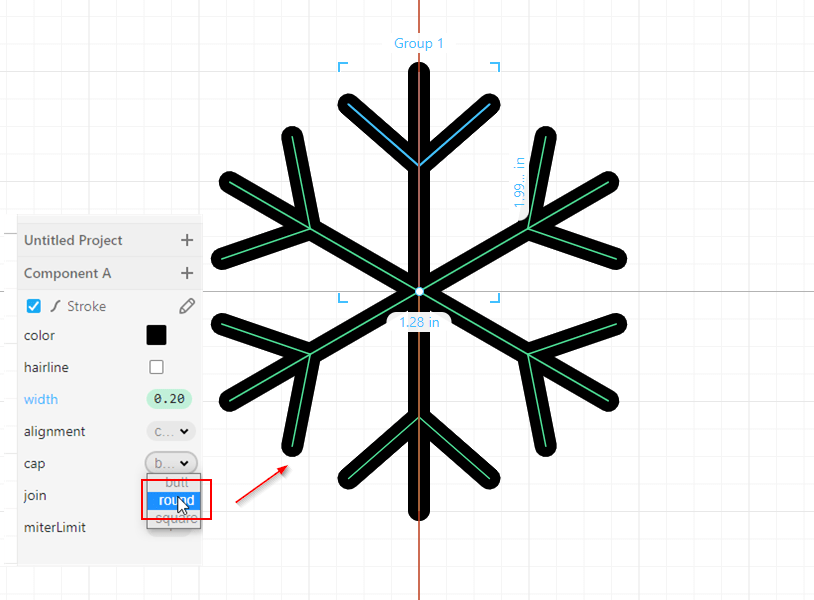
You can choose cap stroke (round / butt / straight)
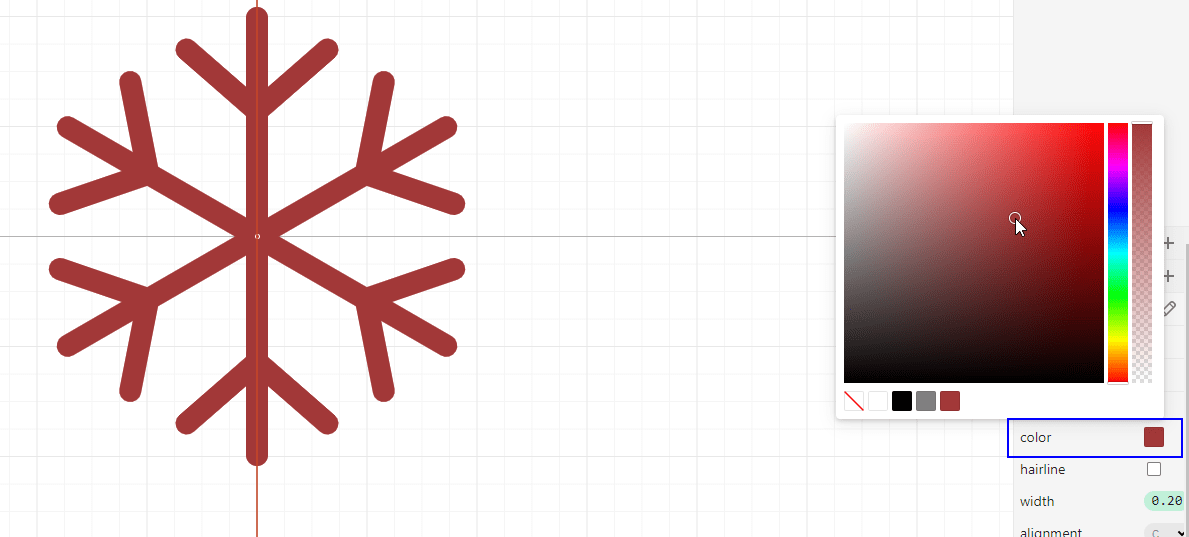
to change colors
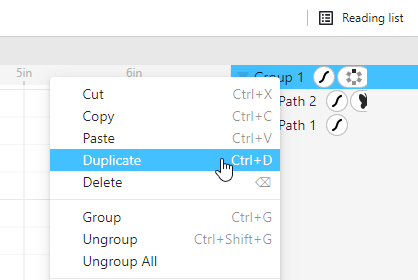
Sometimes a project needs more than one layer so you can duplicate and add layers as you like
 Change the color to your favorite
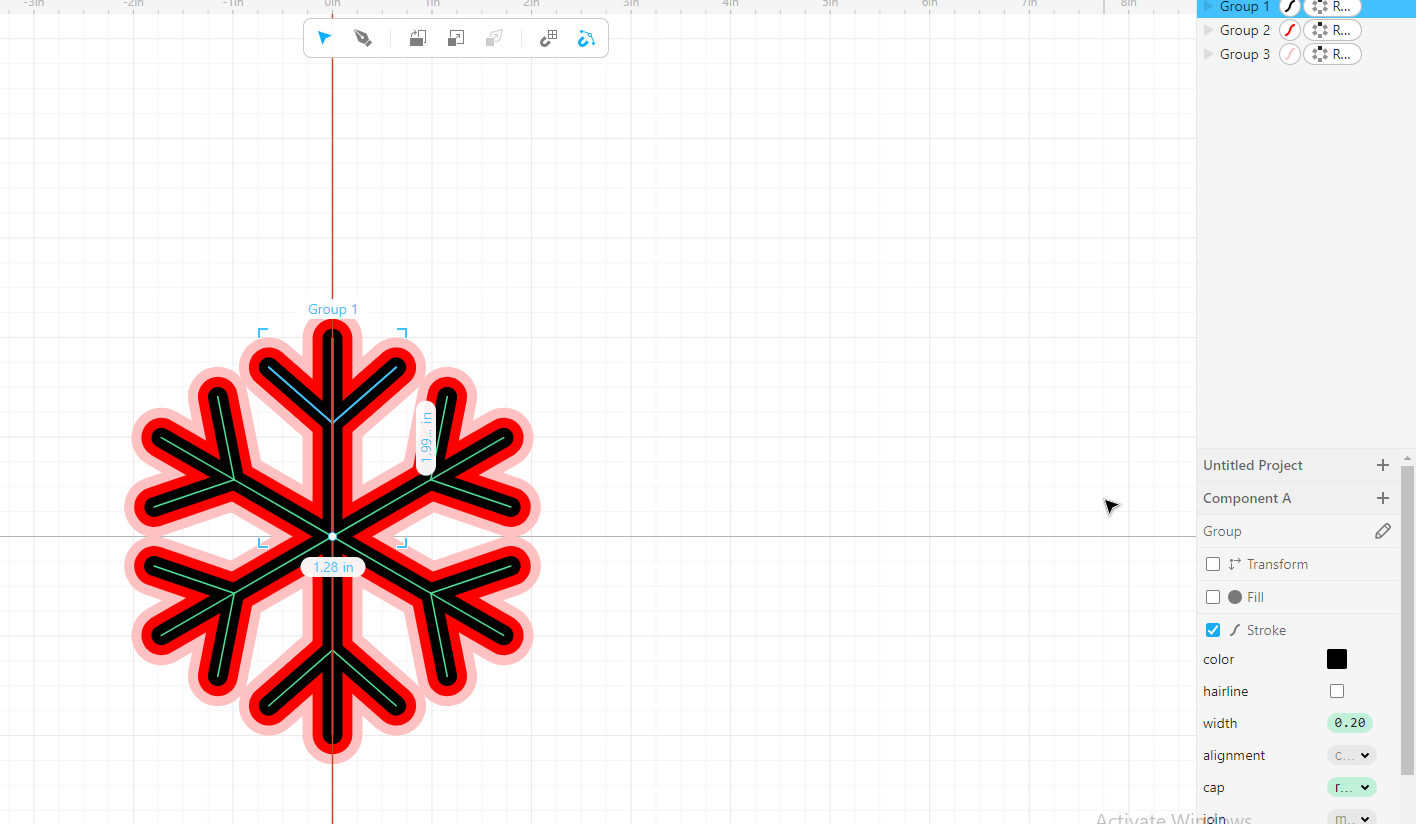 And add another layer
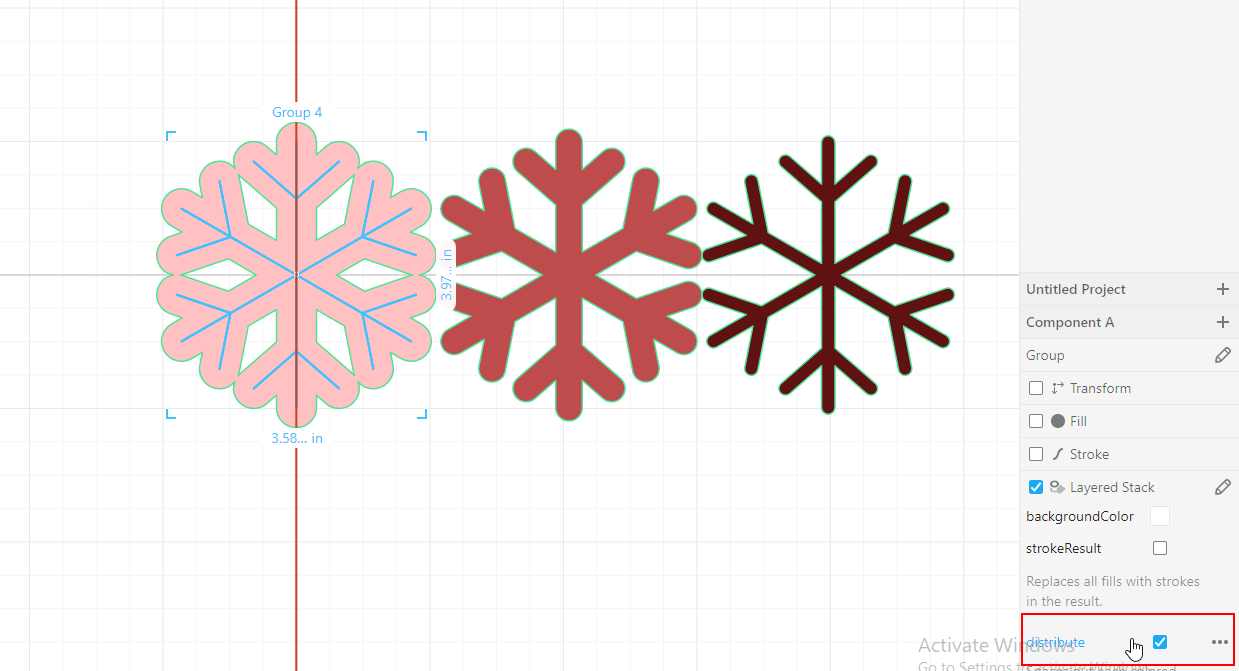
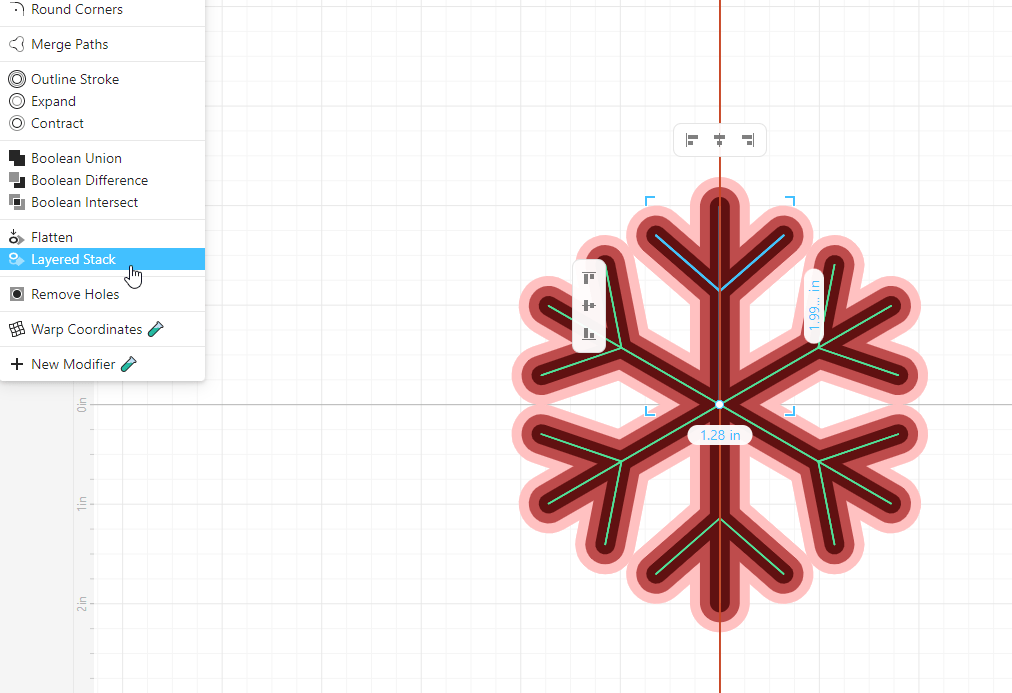 Need to print your work? Use the layerd stack modifier
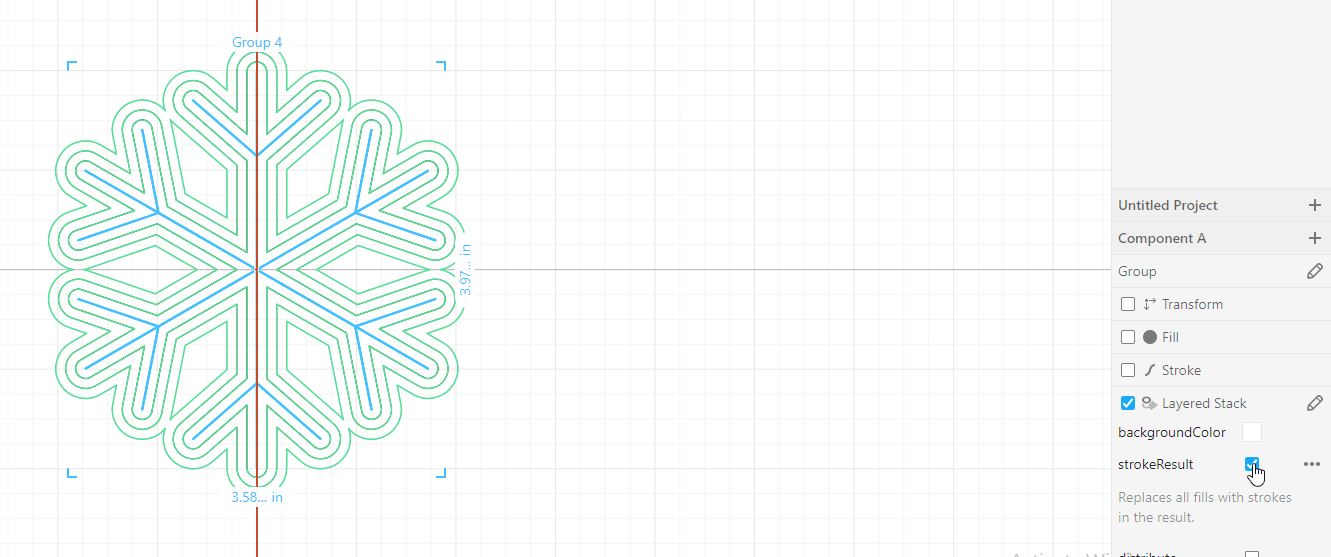 So you will only get the outline of the strokes
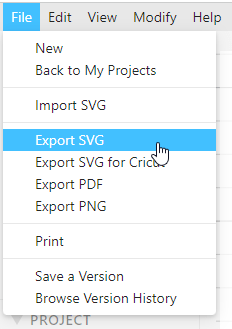 for lasser cutting export the file as svg
click here
for lasser cutting export the file as svg
click here
3D models
fusion 360
To start fusion 360 is an insanely complex, stupendously powerful program. That makes it a little hard to approach and even harder to master.
Despite this, it is powerful and useful, so it is important to learn to use it
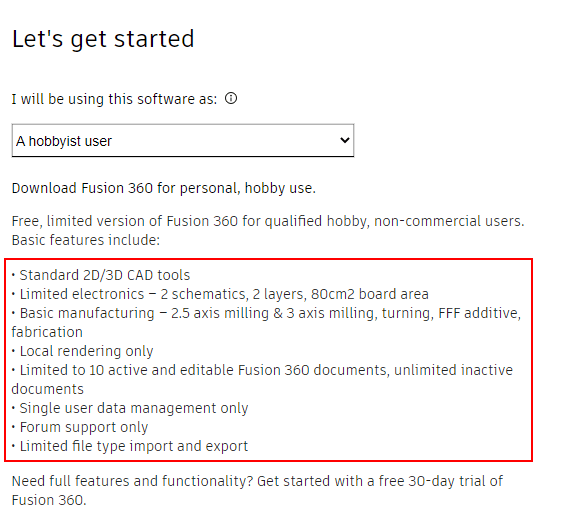 When I tried to download Fusion 360 for education license it didn’t work for me so I switched to the second option with an amateur user but it is a limited edition so there are features excluded,
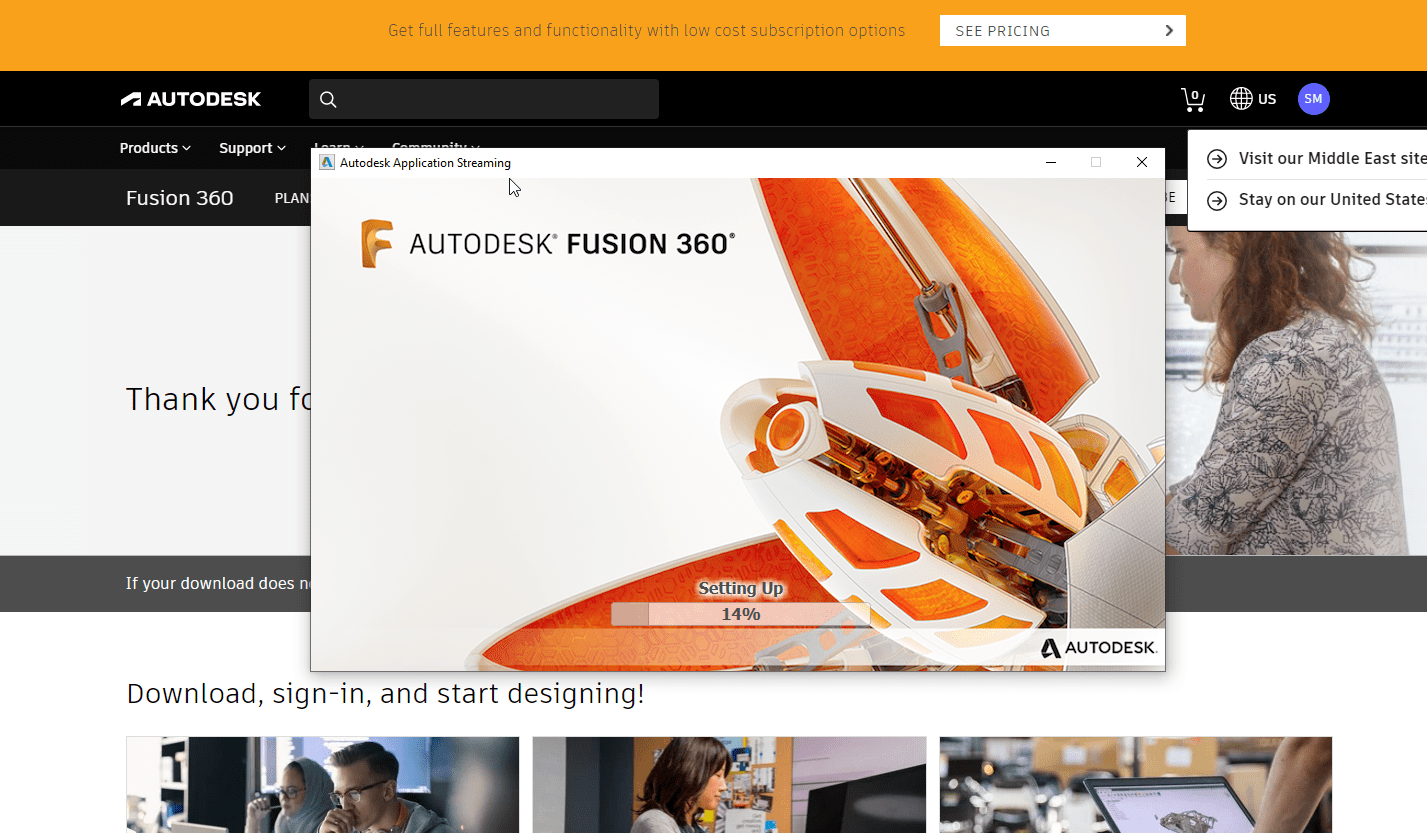 The impressive thing is that it downloaded very fast
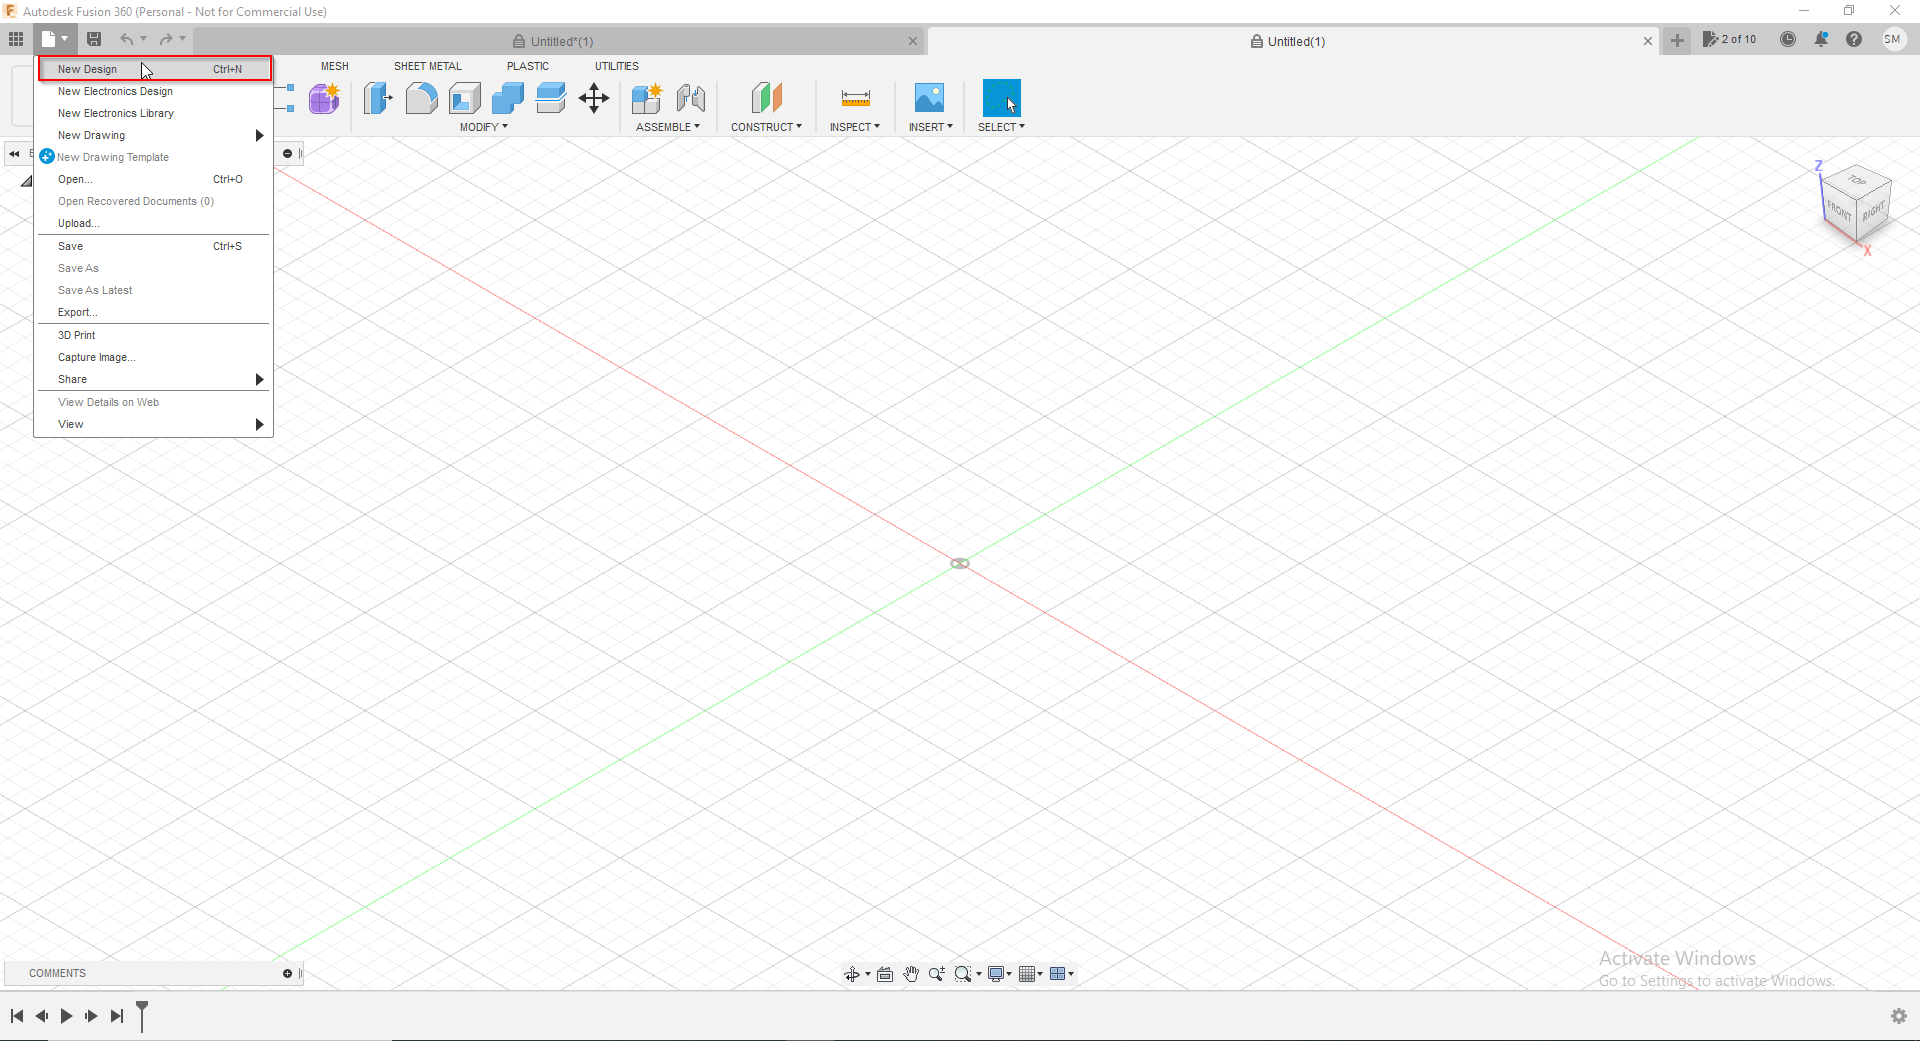 This is the interface of Fusion 360, to start creating a new design click on the file
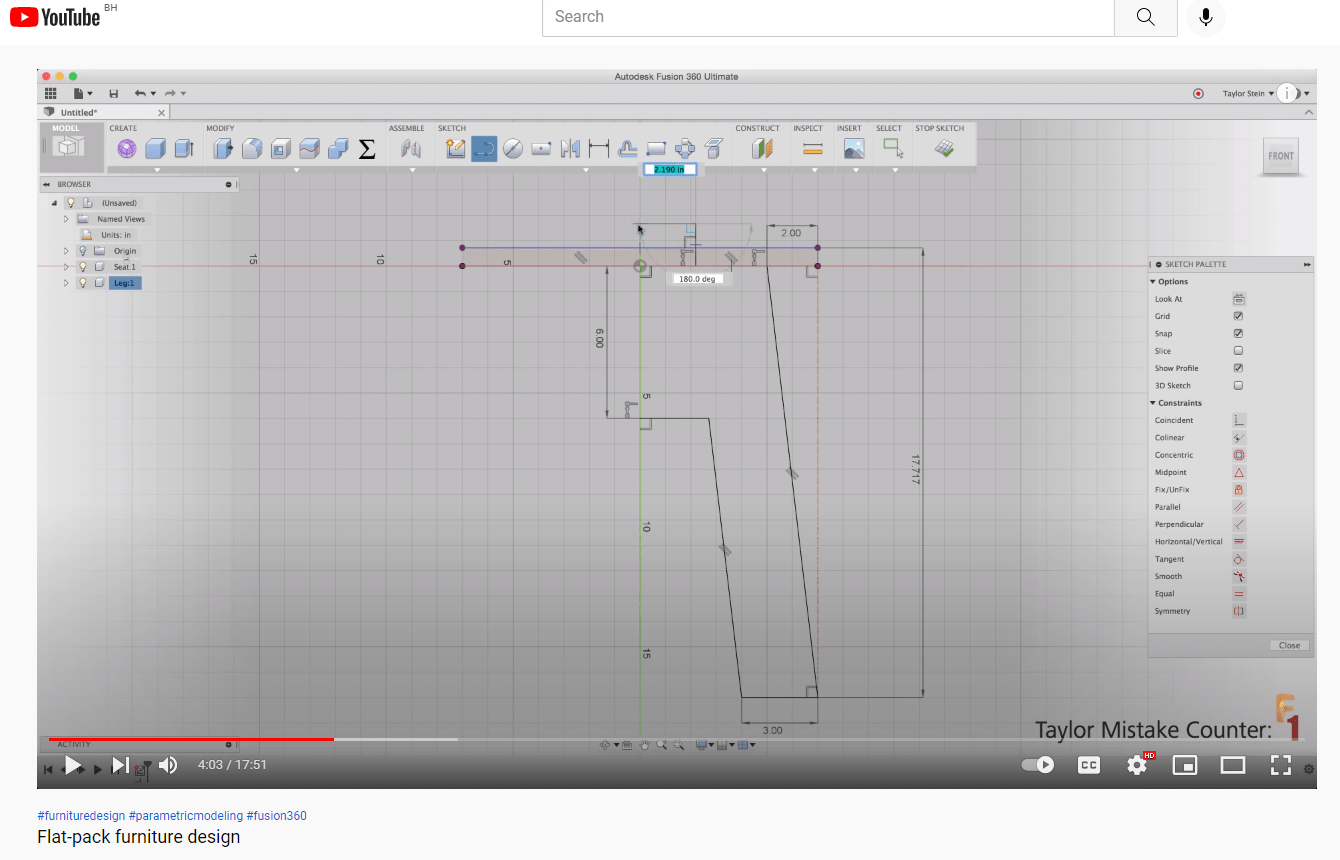 One of the mistakes I made for learning fusion 360 was that I jumped too high without learning the basics, I was trying to make flat furniture but it took a lot effort, I was copying it without knowing what to do
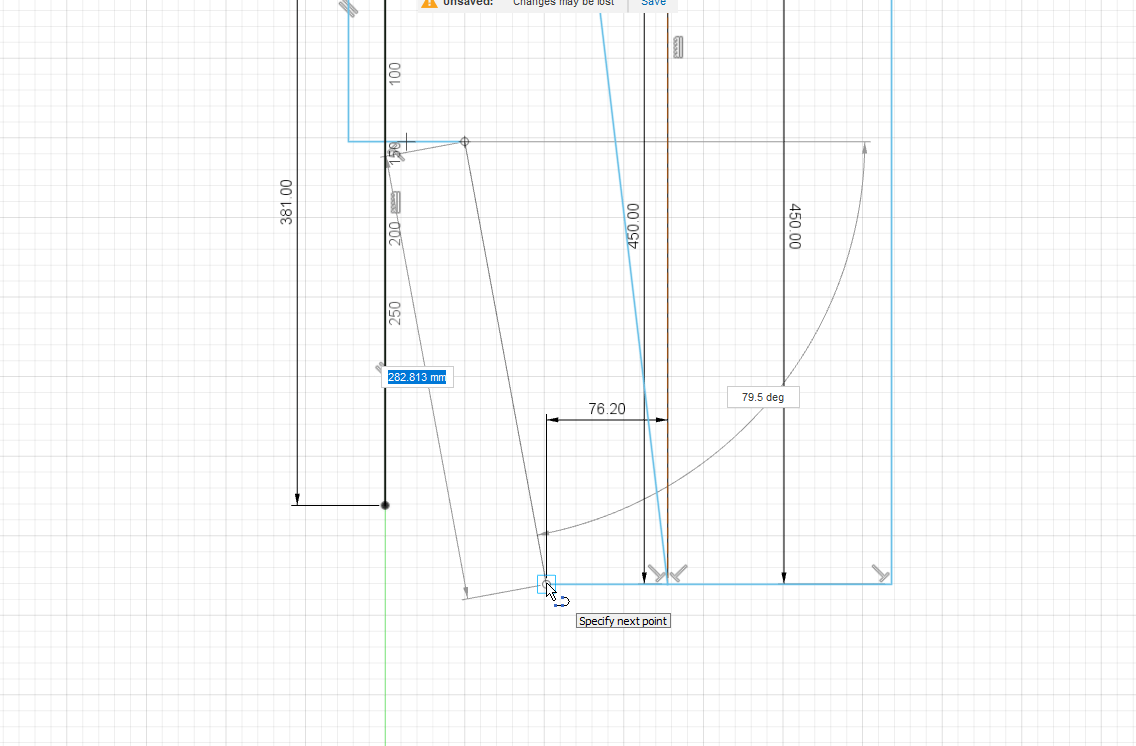
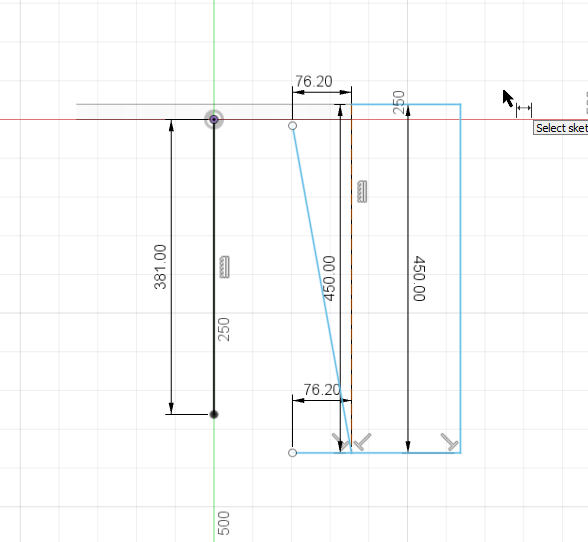
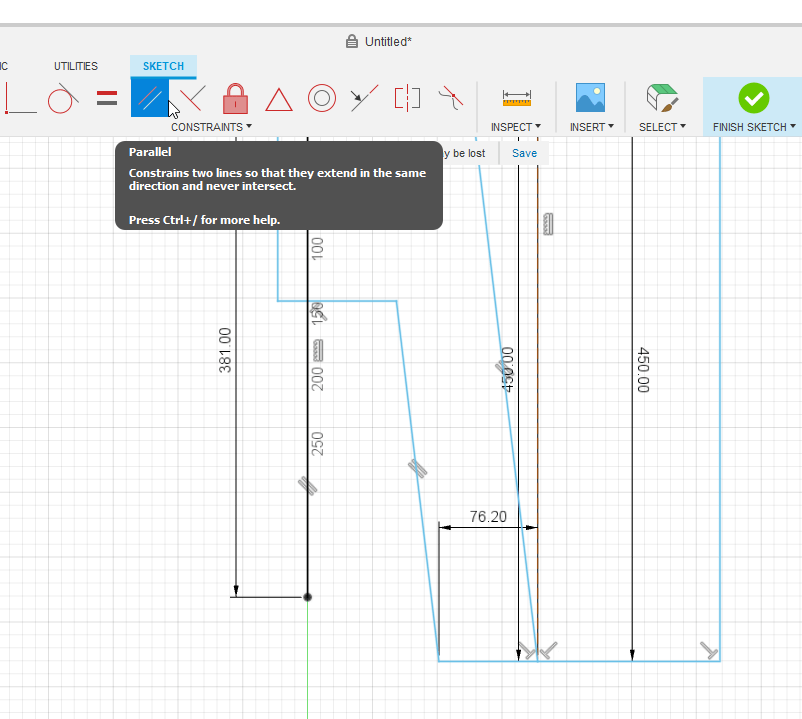 Even it was a wrong thing to do , I have learned new cool things like the parallel tool that constrains two lines so that they extend in the same direction and never intersect.
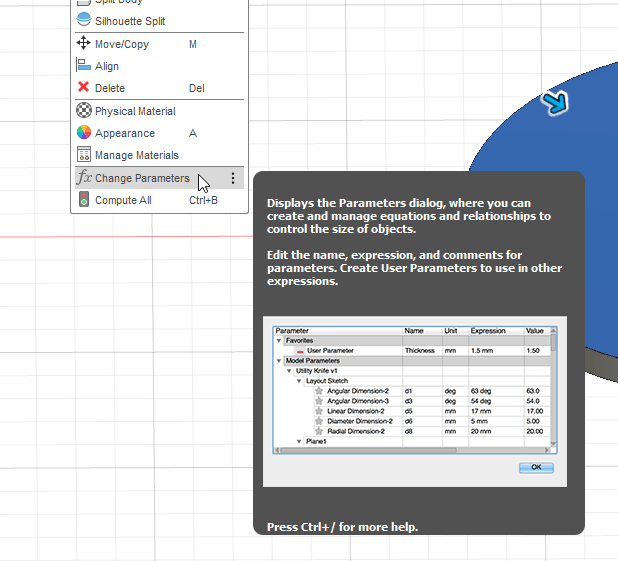 I also learned about parameters to create and manage equations and relationship to control the size of objects
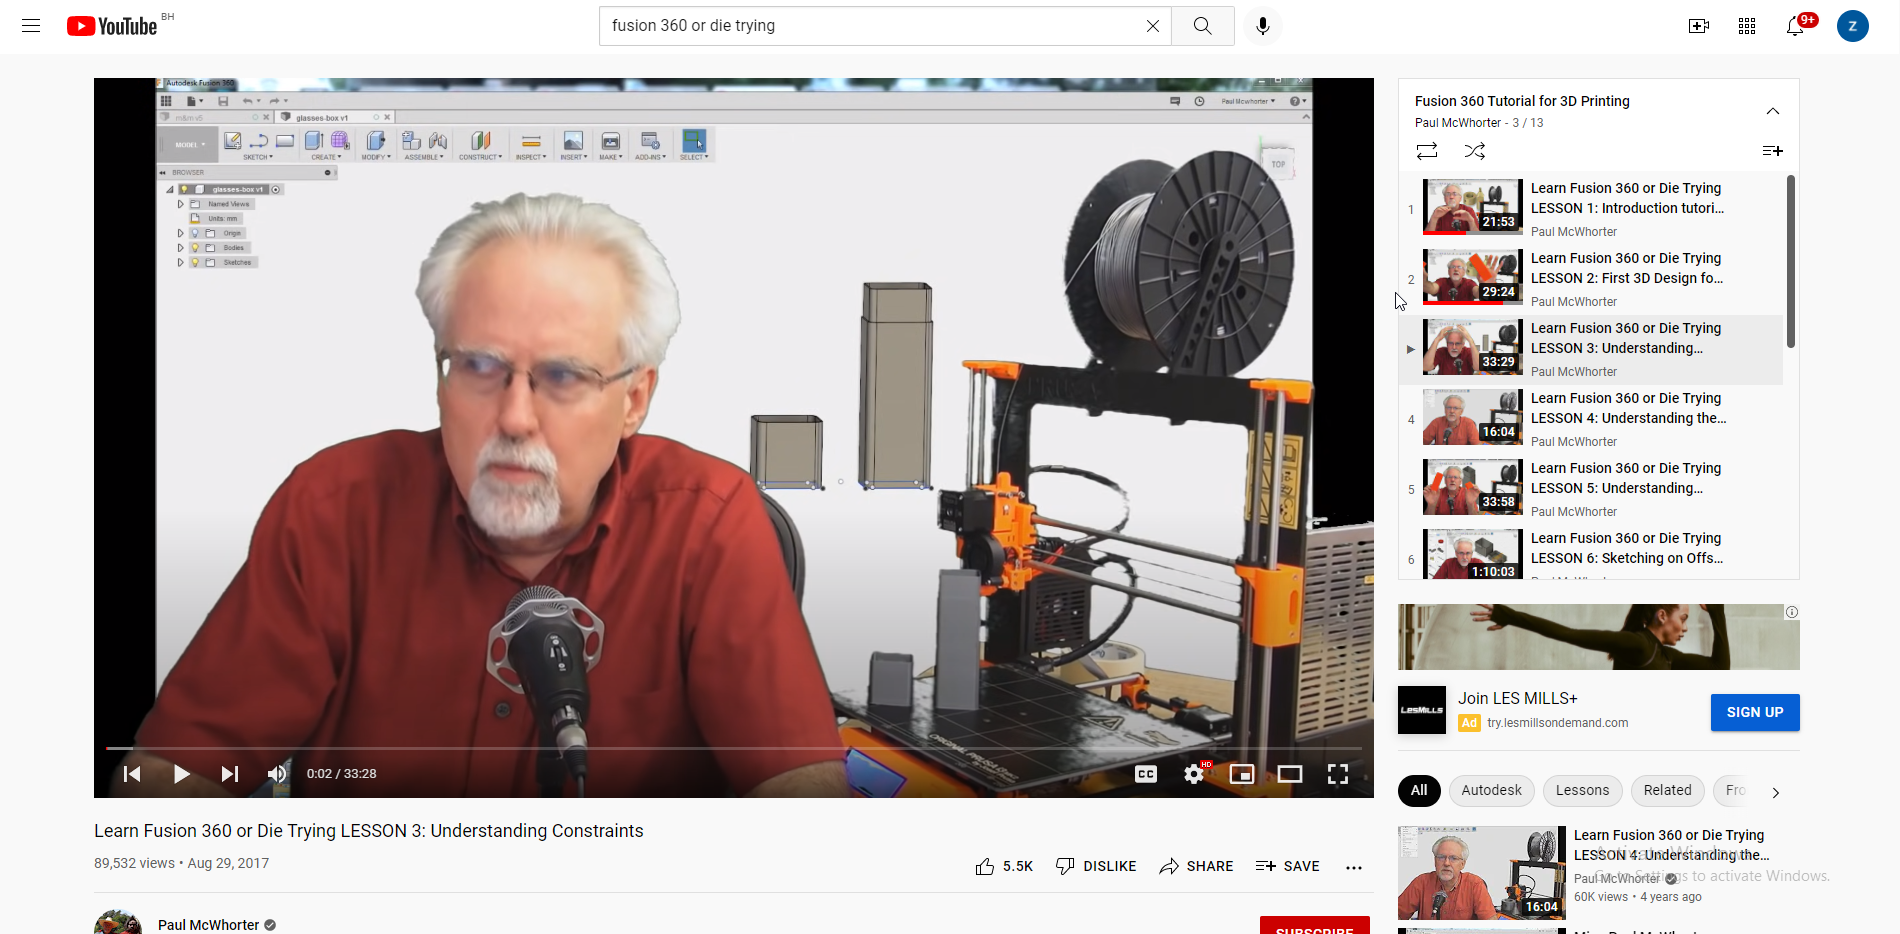 After searching on google, I found a great guy who teaches Fusion 360
His method of teaching is very simple and shows you everything step by step
After searching on google, I found a great guy who teaches Fusion 360
His method of teaching is very simple and shows you everything step by step
link to the playlist
In the first lesson of the playlist the task was to practice (fusion 360) to create 3*3 in specific size rectangles with a distance of 25 mm
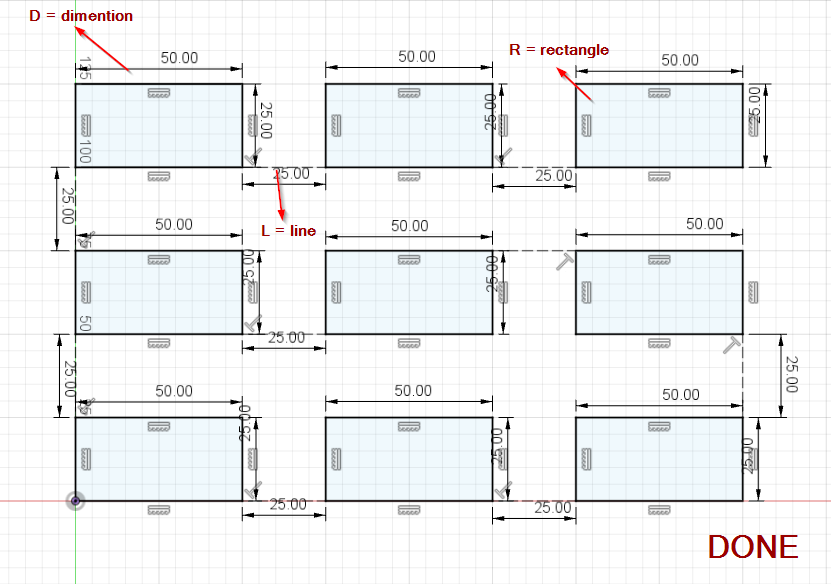 As Paul Mcwhorter said the first key to success in fusion is be mindful of your ribbon you have to sort tell it what to do then do it
Useful shortcuts to work easier
As Paul Mcwhorter said the first key to success in fusion is be mindful of your ribbon you have to sort tell it what to do then do it
Useful shortcuts to work easier
(d=dimension)(r=rectangle)(l= line)(c=circle)(t=trim)(m=move) (x=construction)
In the second lesson I tried to make a cover that can be used for glasses, pencil or anything else
We start with a rectangle and dimensions of 42 * 32 mm
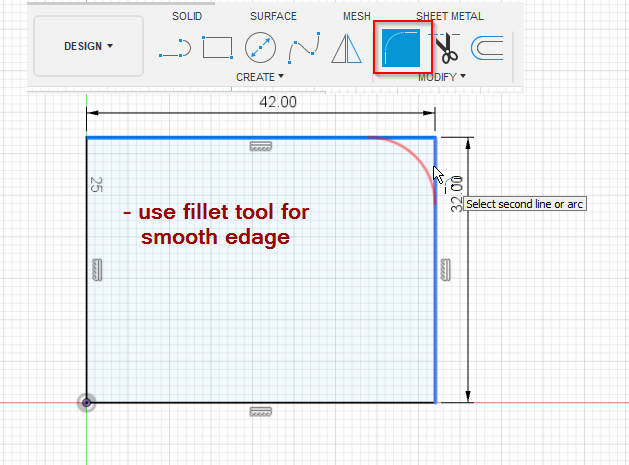 I used the fillet tool to smooth out the edges by creating an arc in the edge and you can measure the radius of the arc.
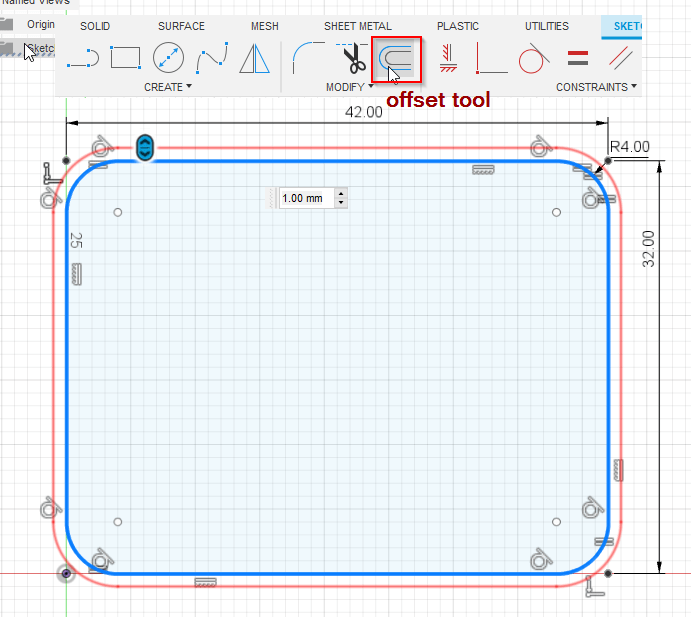 Another tool, the offset tool, was used to copy the drawing at a specified distance from the original object
I set the deminsion to: -1mm and: -2mm so I got 3 parts
Another tool, the offset tool, was used to copy the drawing at a specified distance from the original object
I set the deminsion to: -1mm and: -2mm so I got 3 parts
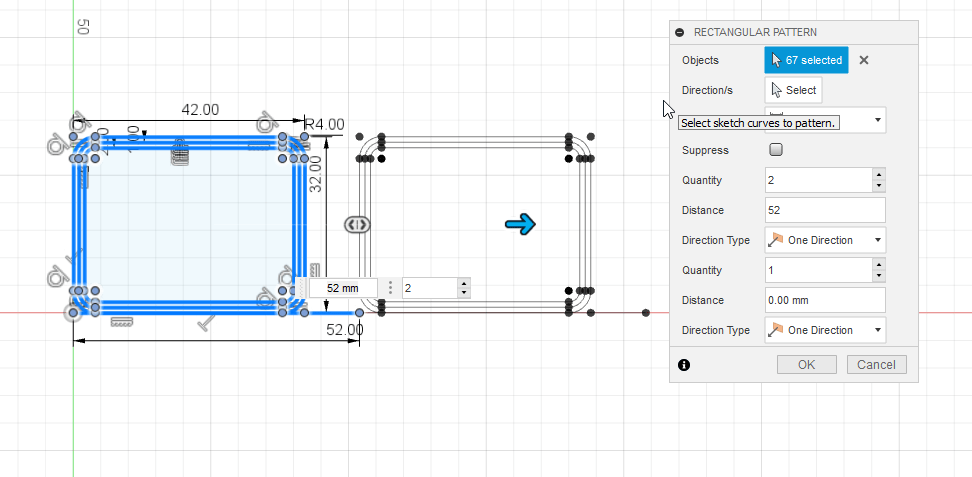 If you want to copy the entire object instead of copying and pasting it, you can use the rectangular pattern, which allows you to choose the quantity in rows and columns and the distance to be copied based on the information typed
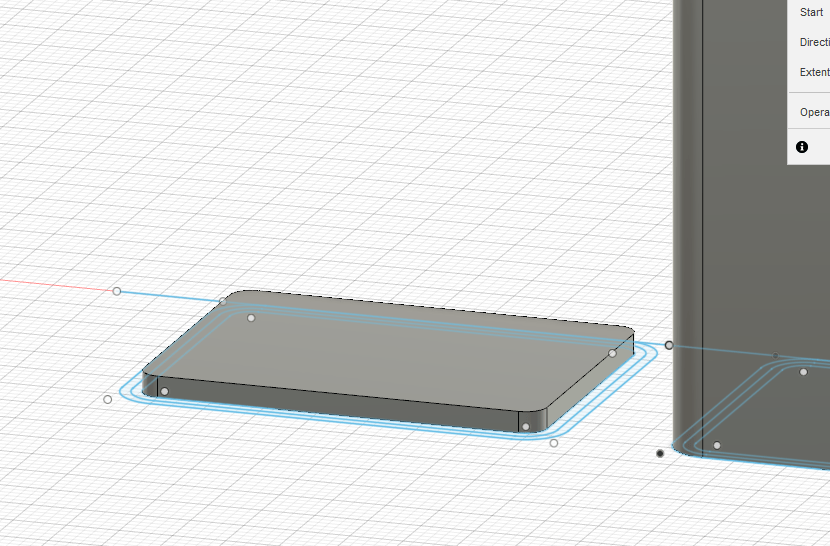
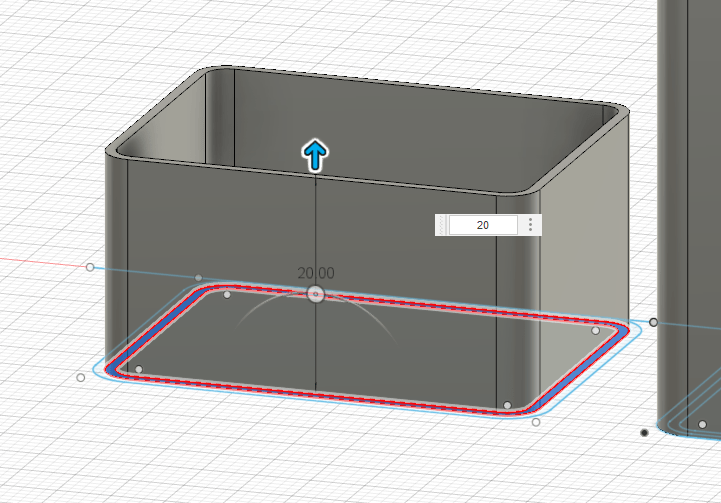
 To turn this 2D shape into a 3D object, we can add depth using the extrude tool
I add 3 different lengths to each part to be able to close the case
To turn this 2D shape into a 3D object, we can add depth using the extrude tool
I add 3 different lengths to each part to be able to close the case
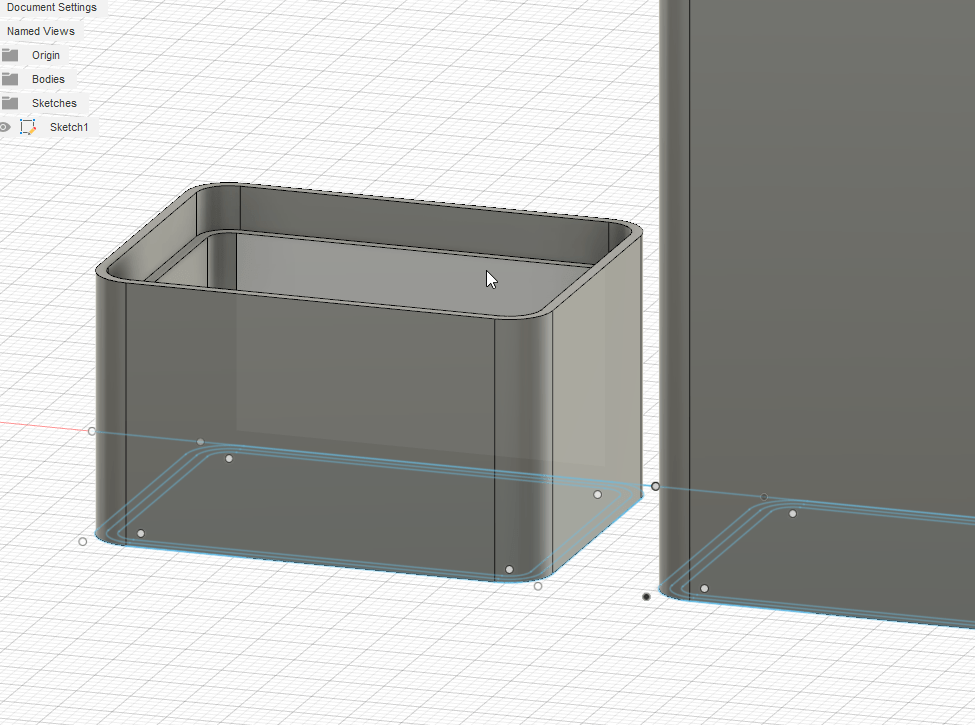
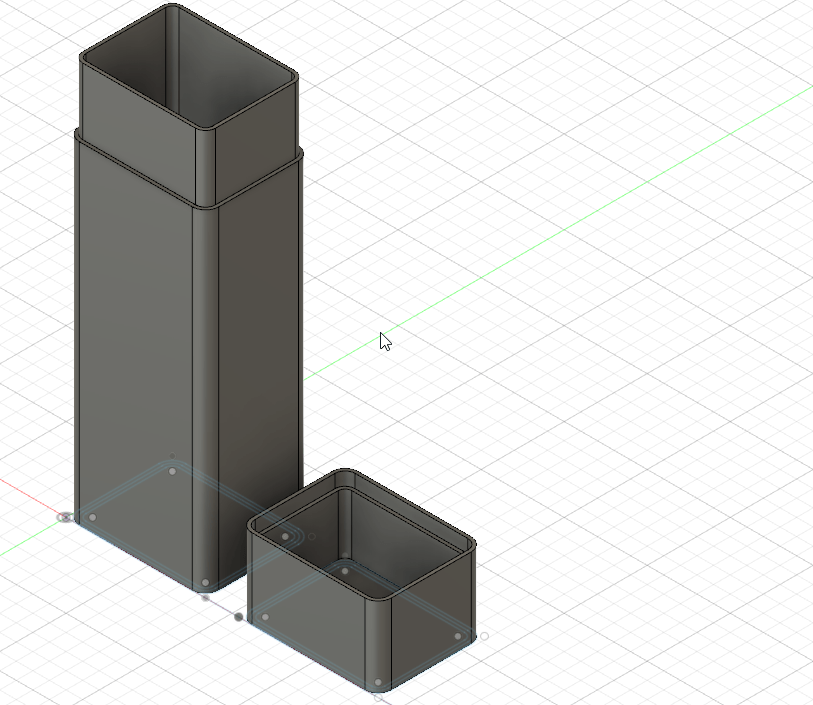 This is the final look
final design
click here
tinkercad
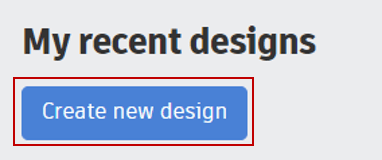
Tinkercad is a free online collection of software tools that help people all over the world think, create and make. it’s the ideal introduction to Autodesk, a leader in 3D design, engineering and entertainment software. 1. After registering, tap on Create New
- There are a lot of options in the toolbar to make it easier to use

- Rotate the cube so you can see the object from all sides

- One of the tools is the Scribble tool that allows you to create a 3D shape just by drawing. picture

It wasn’t perfect because I’m using a mouse but I think it would be better on touch screens
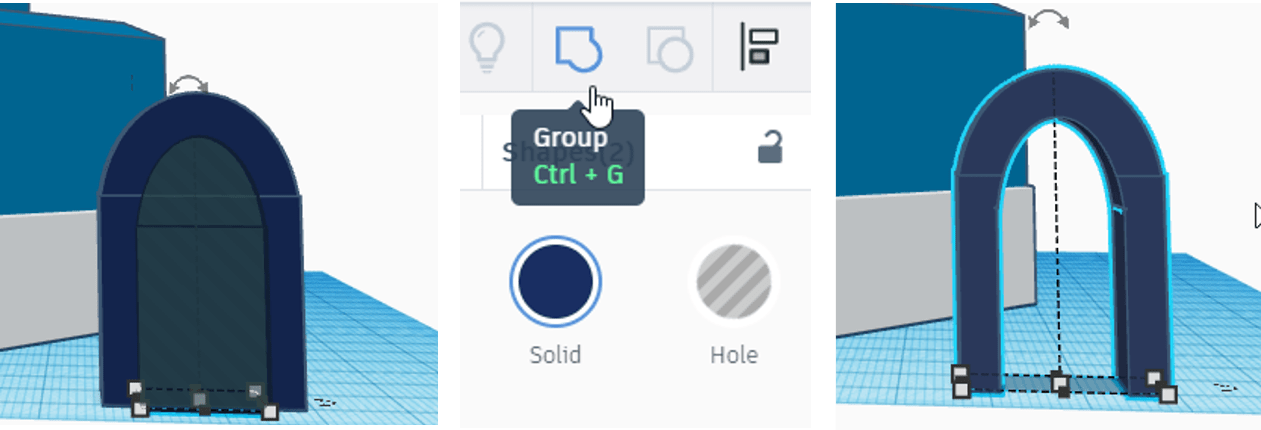
- To create a hole in a shape, assemble a solid shape and a hole shape
- To download your project, click Export and choose the file format

7. Final design
click here
At the end of the second week, I didn’t make great designs but I learned a lot of great skills.