7. Input & Output device
This week I worked on defining my final project idea and started to getting used to the documentation process.
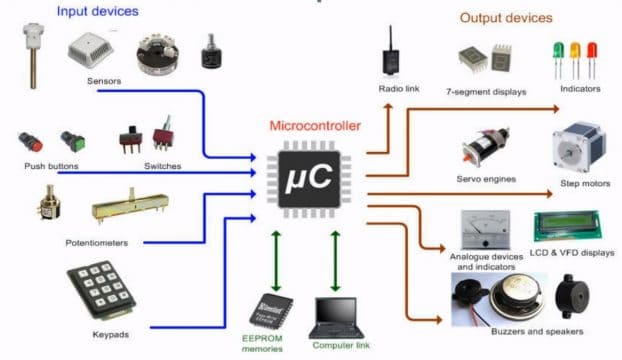
Input and Output definition:
- Input : Is any data we send to computer for processing
- Output: Is the result of the processed data the we see through some devices.
- these are some examples of the Input & Output device:
Breadboard
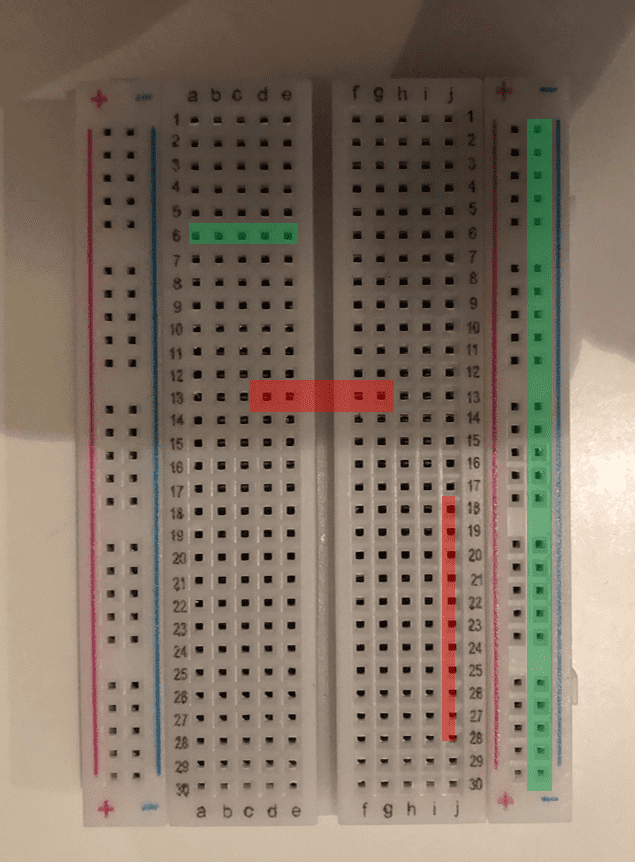 - The green holes are connected .
- the red holes are not connected .
- The green holes are connected .
- the red holes are not connected .
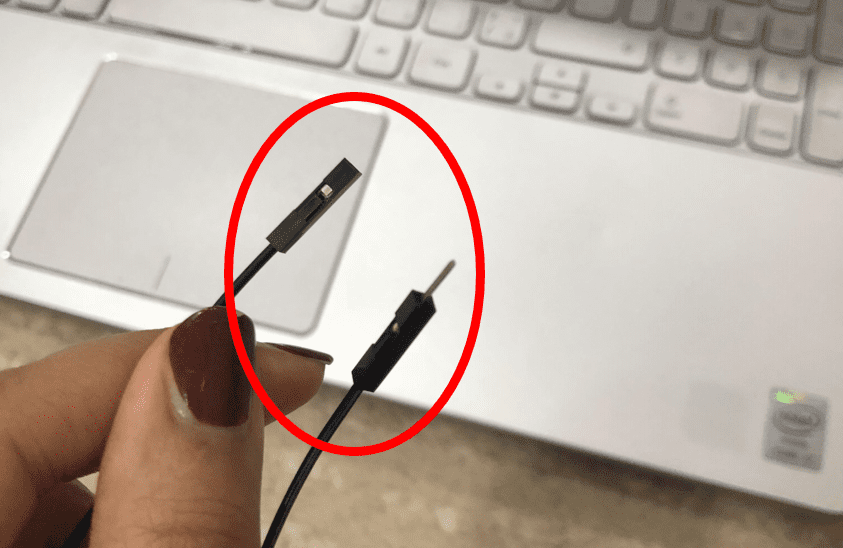
Wires
- there are two types of wires to connect in the Breadboard
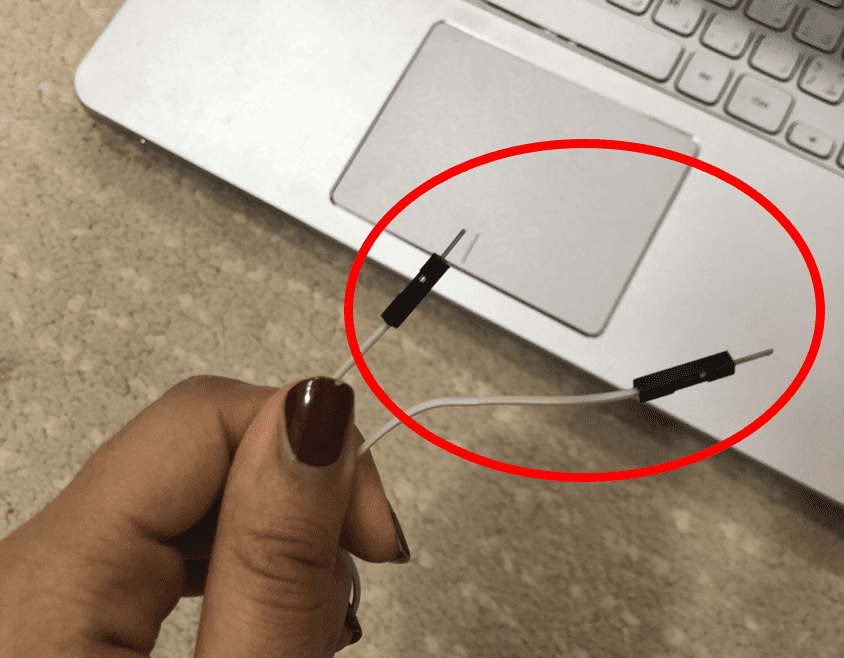
- the other type is to connect between the adafruit andthe Breadboard.
LED
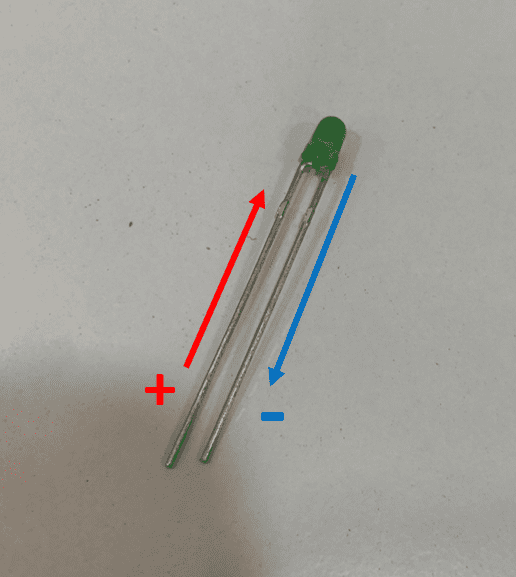 - The longer lead in the led is the anode (+)
- the shorter lead is the cathode (-)
Electricity flows from the positive to the negative slit , so we should insert the positive part in the direction of the electrical current .
- The longer lead in the led is the anode (+)
- the shorter lead is the cathode (-)
Electricity flows from the positive to the negative slit , so we should insert the positive part in the direction of the electrical current .
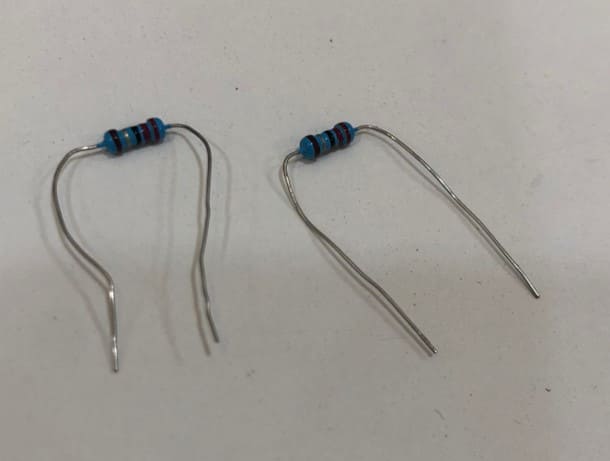
resistor
Turn LED on & off using push button :
- For this Project we need LED , resistor , Breadboard , some wires and the adafruit .
- I followed the a YouTube tutorial but there was some mistakes on the connections and the instructor solved these mistakes .
- I tried a second try at home and the problem was in the connections the LED was on and it turns off when pressing the pushbutton.
- I checked the connection and I figure out my mistake .
last check and the problem is solved.
This is the final code :
#define LED_PIN 9
#define BUTTON_PIN 12

void setup() {
pinMode(LED_PIN,OUTPUT);
pinMode(BUTTON_PIN,INPUT);

}

void loop() {
  if(digitalRead(BUTTON_PIN)== HIGH){
    digitalWrite(LED_PIN,HIGH);
  }
else {
  digitalWrite(LED_PIN,LOW);
}
}
Temperature sensor
- Go to this website their you will found Adafruit Feather nRF52840 Sensor examples
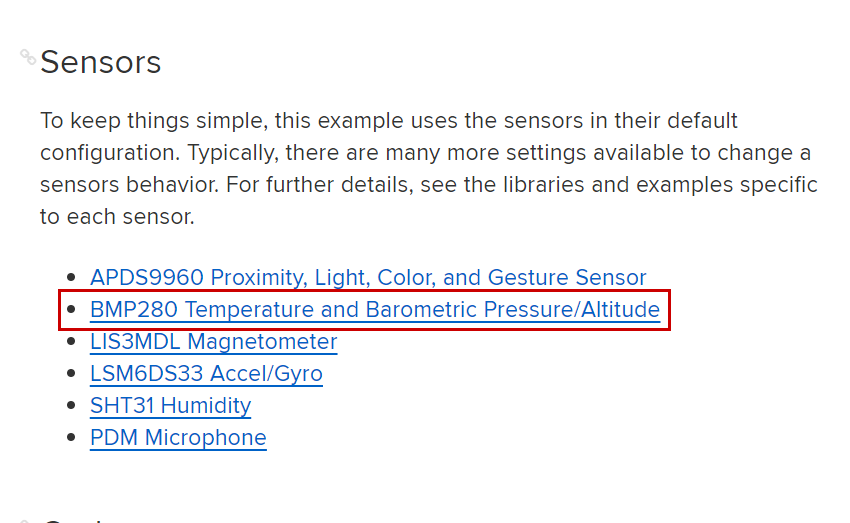
- then I checked the sensor and it worked perfectly
- NOW it’s time for including an output My small project was something like a Thermometer , when your Temperature is high the red light and the buzzer will turn on and if your temperature is normal the green light will turn on .
#include <Wire.h>
#include <SPI.h>
#include <Adafruit_BMP280.h>
Adafruit_BMP280 bmp; // use I2C interface
Adafruit_Sensor *bmp_temp = bmp.getTemperatureSensor();
Adafruit_Sensor *bmp_pressure = bmp.getPressureSensor();
const int LEDg = 11;
const int LEDr = 9;
int buzzer = 10; // Pin Defined

void setup() {
  pinMode ( buzzer, OUTPUT);  // Buzzer set as OUTPUT
  pinMode (LEDg, OUTPUT);
  pinMode (LEDr, OUTPUT);

  Serial.begin(9600);
  while ( !Serial ) delay(100);   // wait for native usb
  Serial.println(F("BMP280 Sensor event test"));

  unsigned status;
  //status = bmp.begin(BMP280_ADDRESS_ALT, BMP280_CHIPID);
  status = bmp.begin();
  if (!status) {
    Serial.println(F("Could not find a valid BMP280 sensor, check wiring or "
                     "try a different address!"));
    Serial.print("SensorID was: 0x"); Serial.println(bmp.sensorID(), 16);
    Serial.print("        ID of 0xFF probably means a bad address, a BMP 180 or BMP 085\n");
    Serial.print("   ID of 0x56-0x58 represents a BMP 280,\n");
    Serial.print("        ID of 0x60 represents a BME 280.\n");
    Serial.print("        ID of 0x61 represents a BME 680.\n");
    while (1) delay(10);
  }

  /* Default settings from datasheet. */
  bmp.setSampling(Adafruit_BMP280::MODE_NORMAL,     /* Operating Mode. */
                  Adafruit_BMP280::SAMPLING_X2,     /* Temp. oversampling */
                  Adafruit_BMP280::SAMPLING_X16,    /* Pressure oversampling */
                  Adafruit_BMP280::FILTER_X16,      /* Filtering. */
                  Adafruit_BMP280::STANDBY_MS_500); /* Standby time. */

  bmp_temp->printSensorDetails();
}

void loop() {

  int pushed = digitalRead(10);
  sensors_event_t temp_event, pressure_event;
  bmp_temp->getEvent(&temp_event);
  bmp_pressure->getEvent(&pressure_event);

  Serial.print(F("Temperature = "));
  Serial.print(temp_event.temperature + 10);
  Serial.println(" *C");

  Serial.print(F("Pressure = "));
  Serial.print(pressure_event.pressure);
  Serial.println(" hPa");

  Serial.println();
  delay(100);

  if (temp_event.temperature  < 33) {
     digitalWrite(LEDr, LOW);
     digitalWrite(LEDg, HIGH);
    noTone(buzzer);
      delay(1000);

  }
  else if (temp_event.temperature + 10 > 39) {
    digitalWrite(LEDr, HIGH);
    digitalWrite(LEDg, LOW);
    tone(buzzer, 100, 1000); // (pin, frequency, duration time)
    delay(1000);

  }


  }
The problems you I faced.
- This is one off the ways of programming any sensor but UNFORTUATLLLY It does work in my case.
- I tried lots of way to make it work but I couldn’t. These was the first steps :
- install the library
click here to download the DHT library
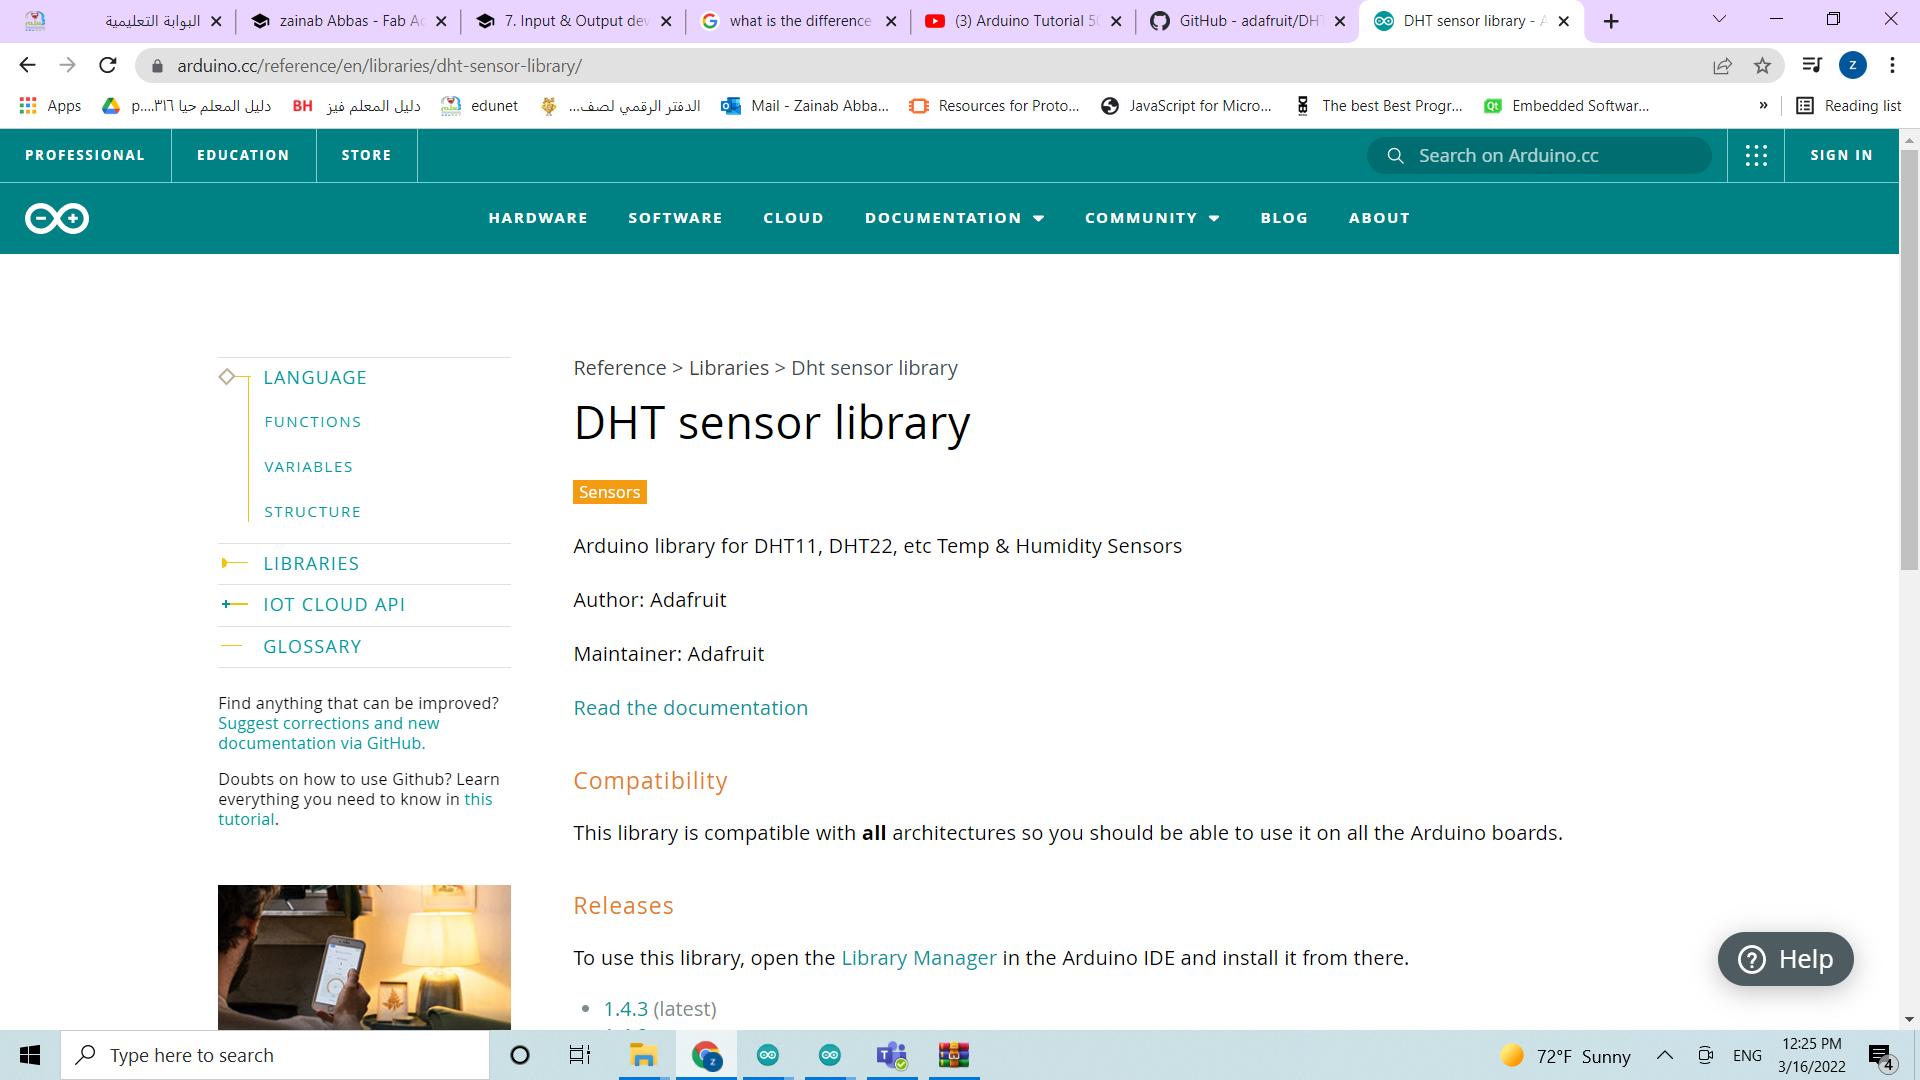
I solve this problem by using the method I explained above.
Last update:
April 20, 2022