3. Computer controlled cutting
This was the first non-virtul class at Fab Lab Bahrain
 In this week we’ve been introduced to 2 interesting machines ,the vinyl cutter and the laser cutting machine .
Let’s start with the vinyl cutter
vinyl cutter
 The vinyl cutter is an entry level machine for making signs. Computer designed vector files with patterns and letters are cut directly onto a vinyl roll that is attached and fed to a vinyl cutter via USB or serial cable. Vinyl cutters are mainly used to make banners and advertisements. Ads that appear on cars and trucks are often created with letters cut from vinyl. While these machines are designed to cut vinyl, they can also cut computer papers and specialty papers, as well as thicker items such as thin sheets of magnets.
(according to wikipedia)
The vinyl cutter is an entry level machine for making signs. Computer designed vector files with patterns and letters are cut directly onto a vinyl roll that is attached and fed to a vinyl cutter via USB or serial cable. Vinyl cutters are mainly used to make banners and advertisements. Ads that appear on cars and trucks are often created with letters cut from vinyl. While these machines are designed to cut vinyl, they can also cut computer papers and specialty papers, as well as thicker items such as thin sheets of magnets.
(according to wikipedia)
The instructor showed us the parts of this vinyl cutter machine
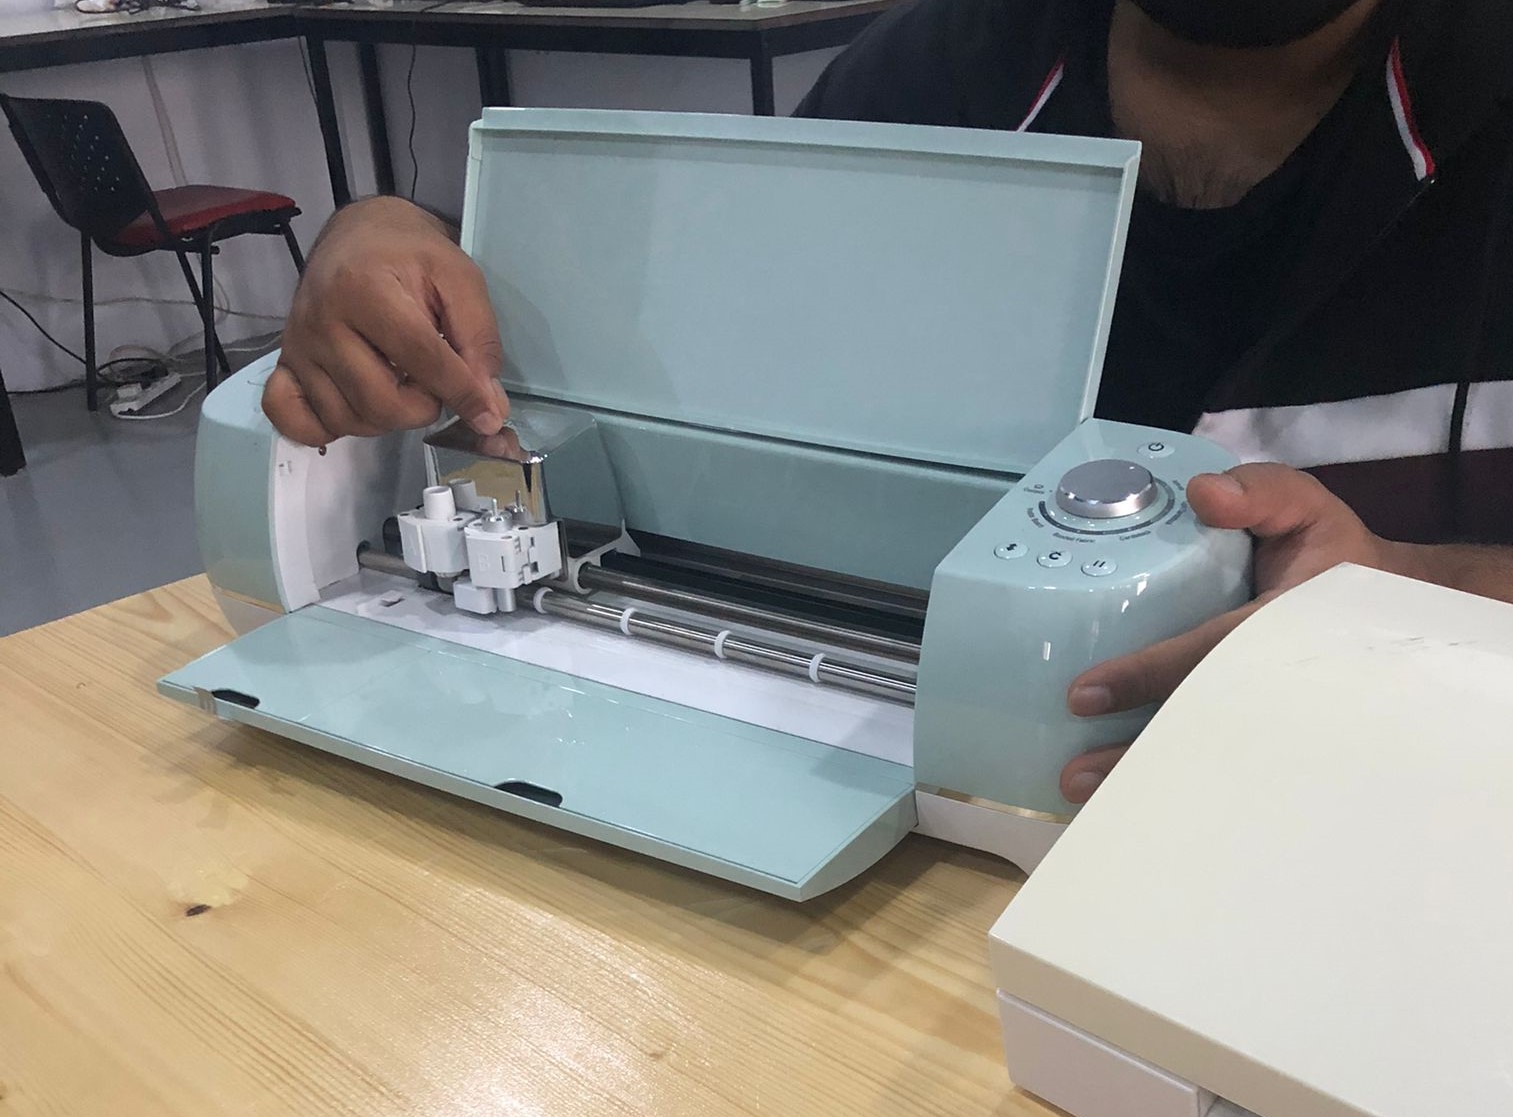 the idea of the machine is simple, it has a secant that moves according to the x and y coordinates.
We can change the cutter with a pen to draw instead of cutting
the idea of the machine is simple, it has a secant that moves according to the x and y coordinates.
We can change the cutter with a pen to draw instead of cutting
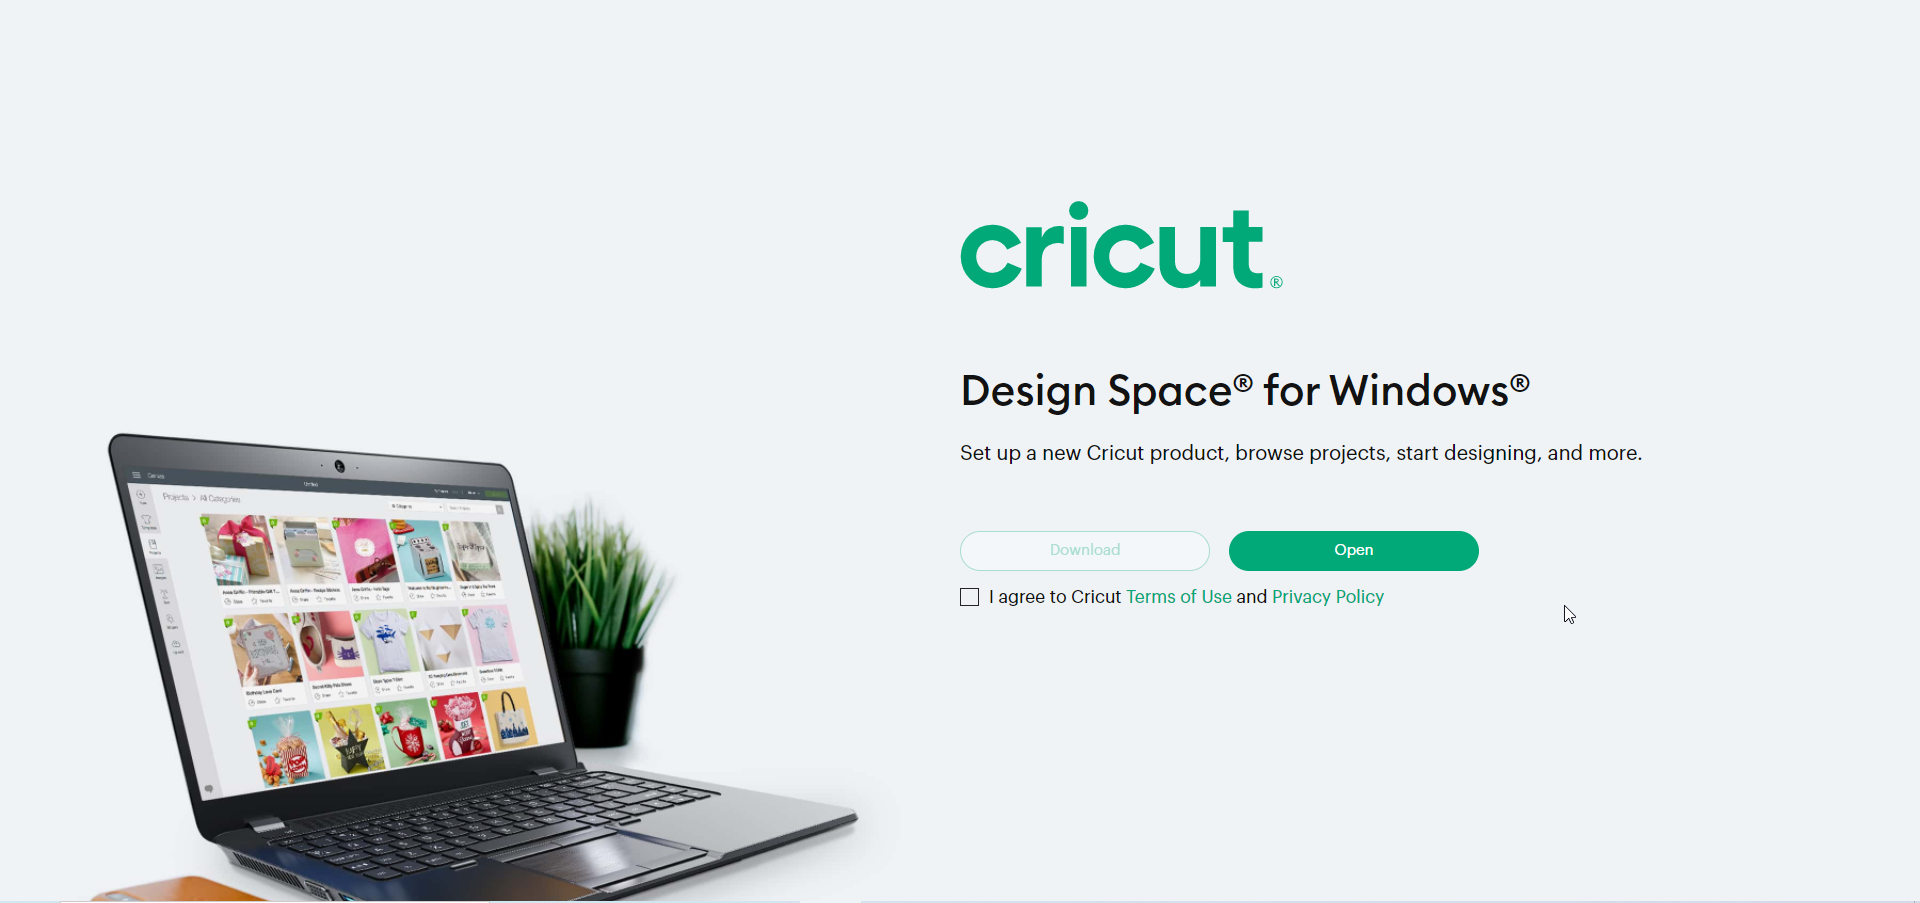 The first step to use the machine is to download cricut design Click here to download
After downloading the app, you will be asked which version of the device you are using , choose the machine version
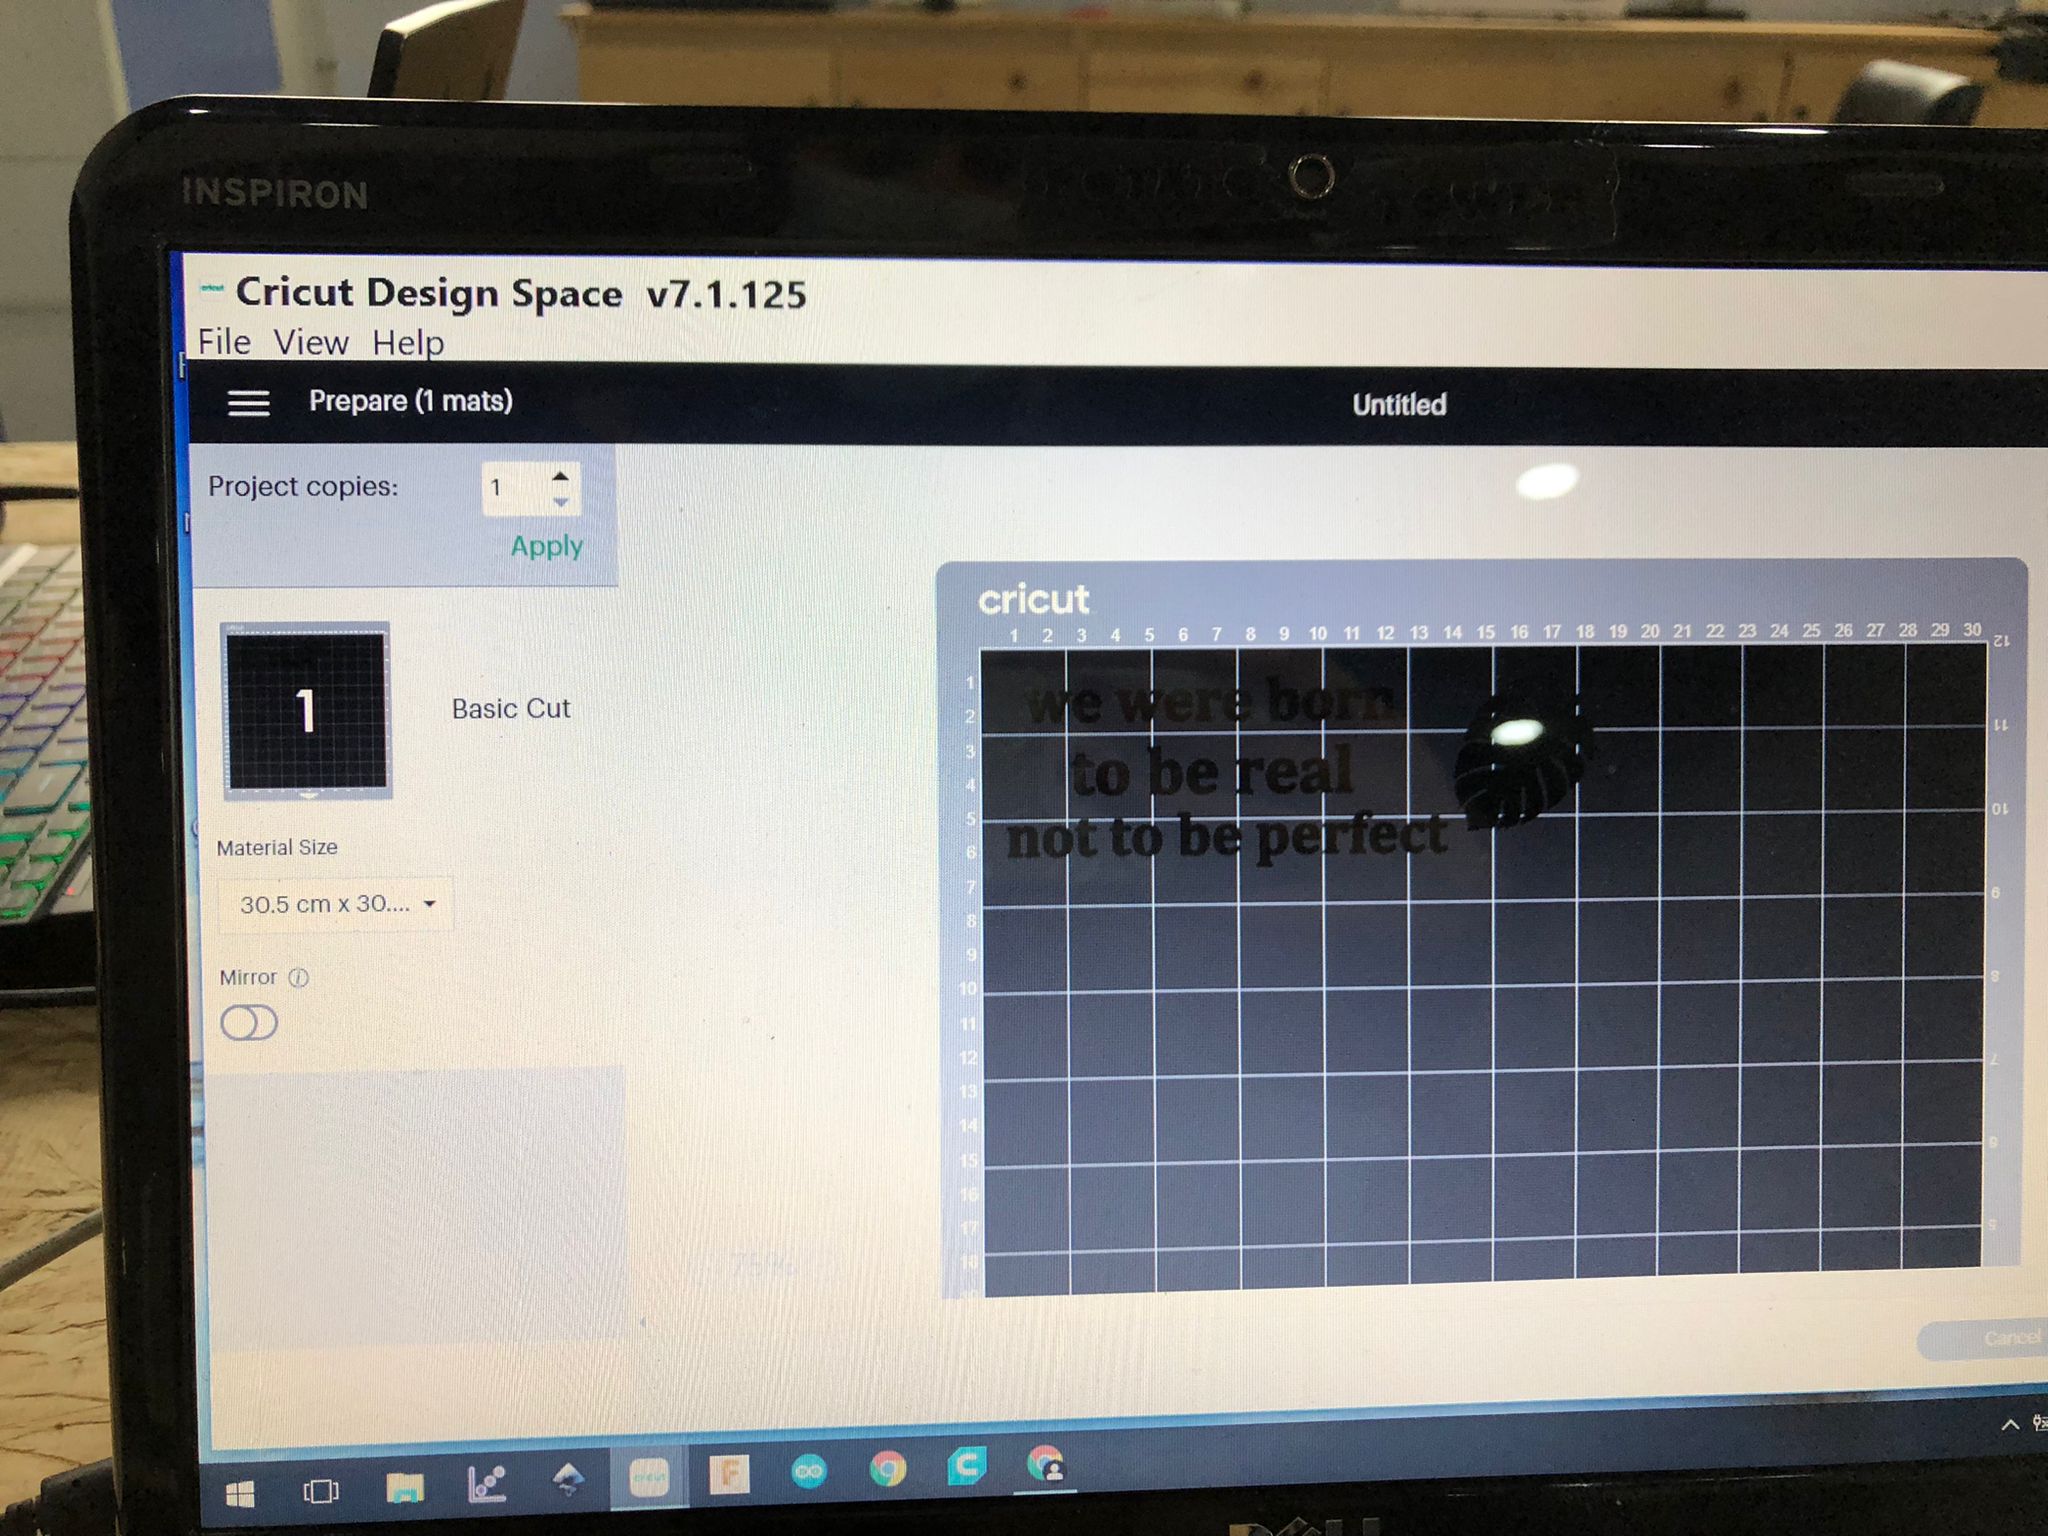
2- The application interface is very simple , you can design or upload other designs on the application
You will feel the limitation while using the app to design, on my opinion I rather using another app and then upload the design
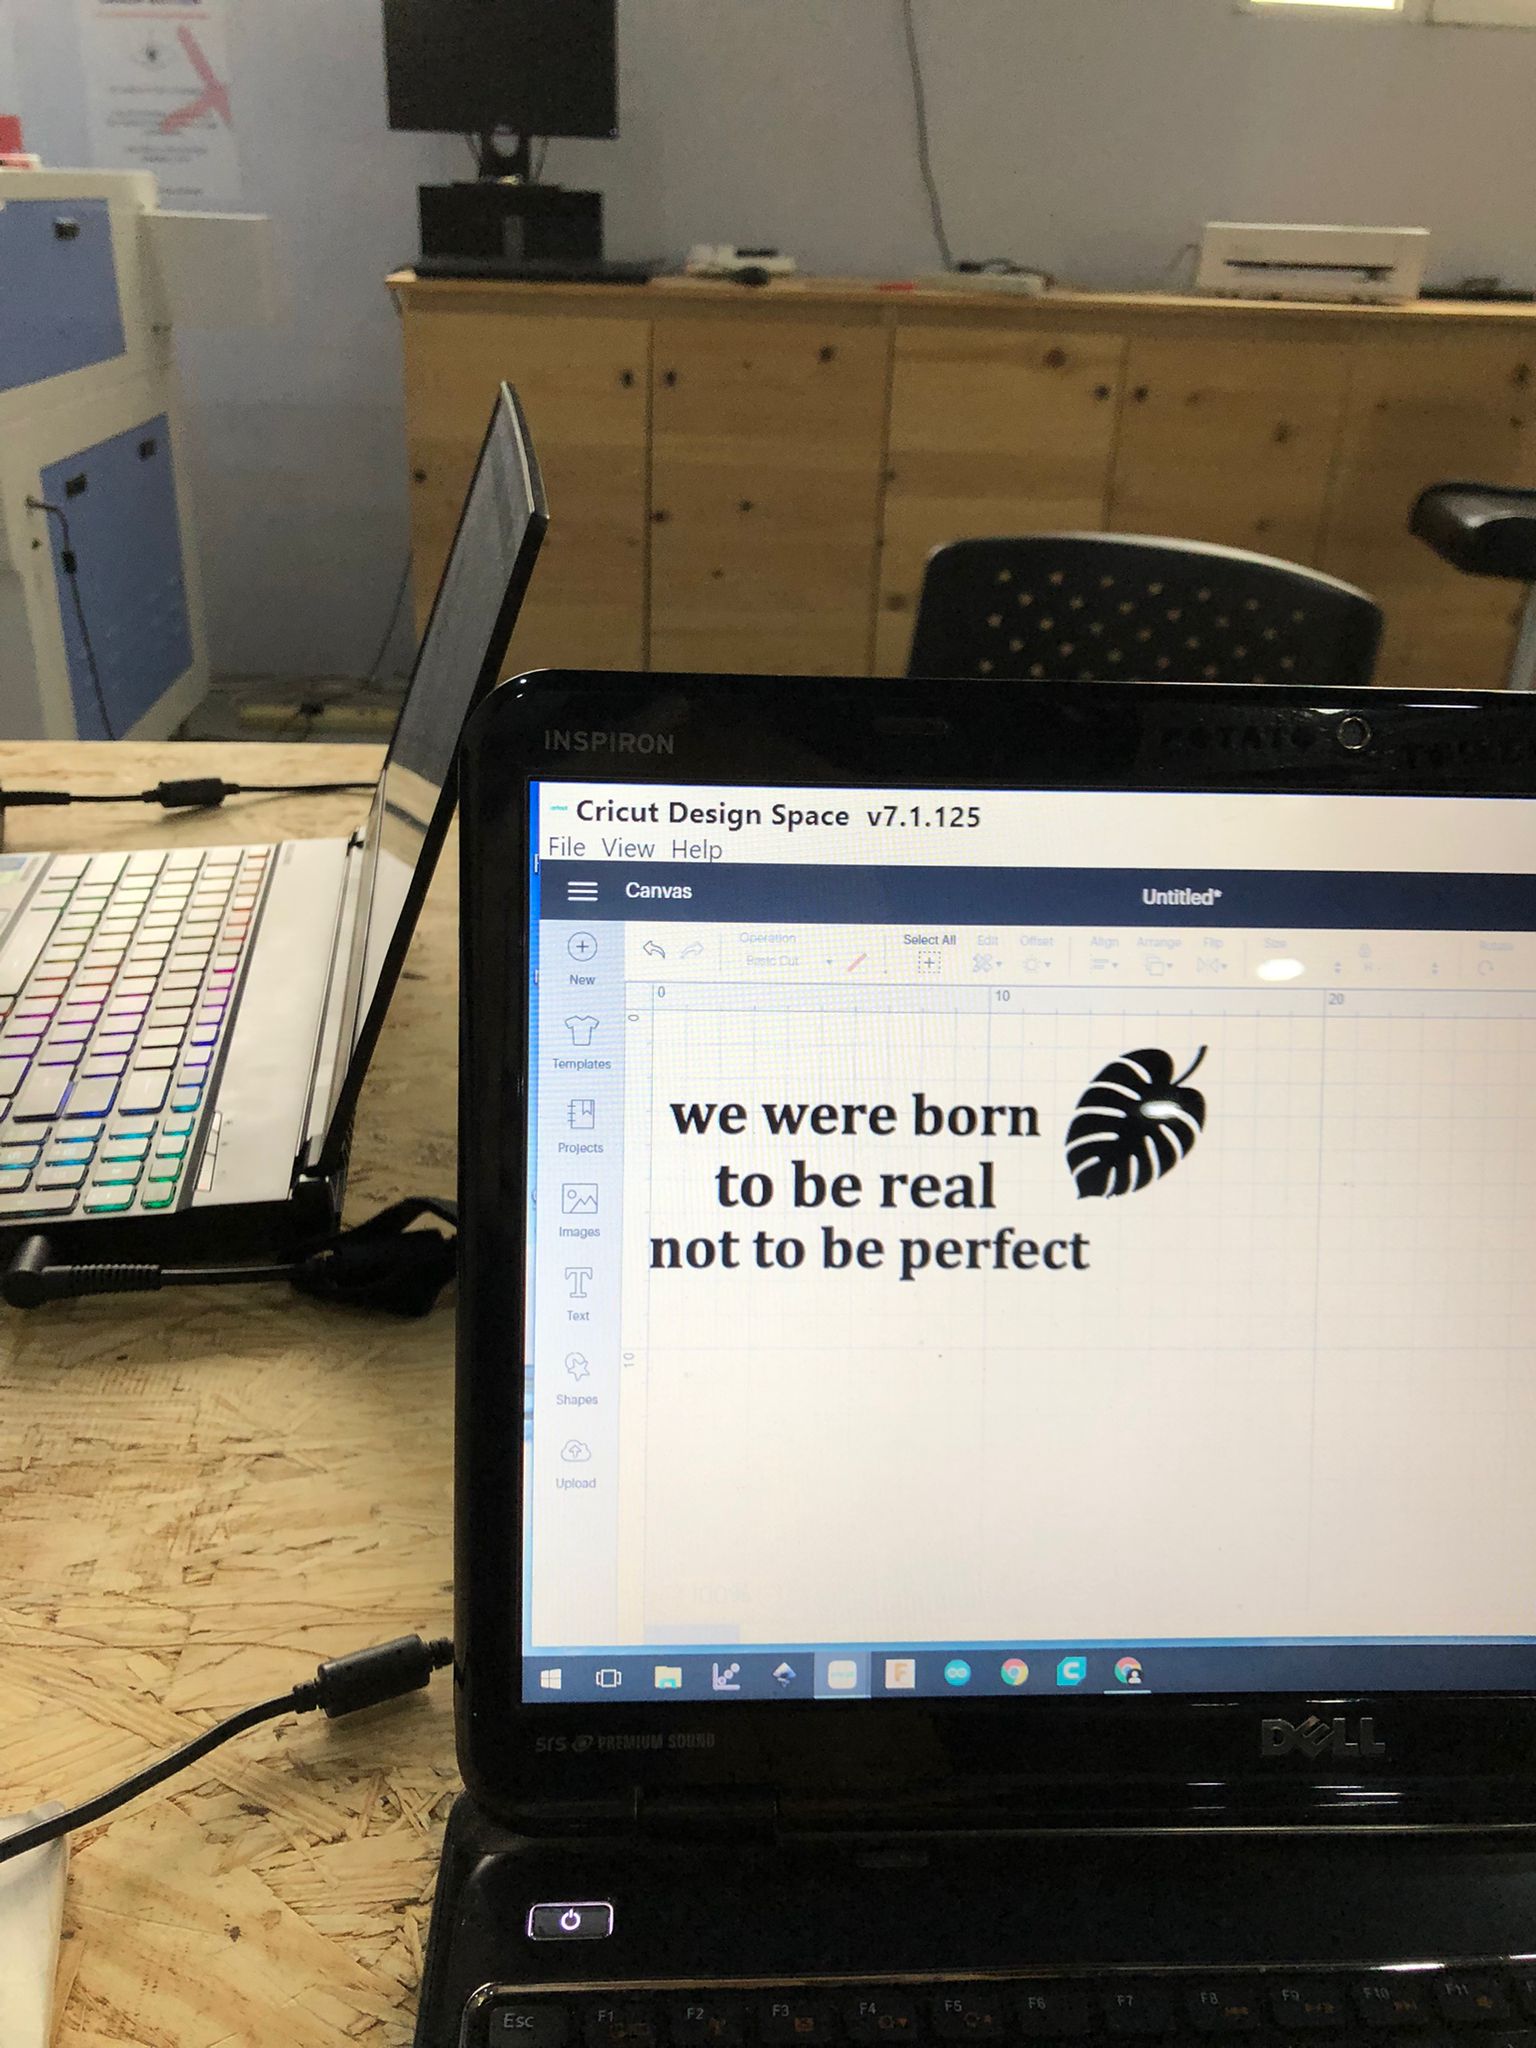 I used text tool and changed fonts till I am satisfied and I add a victor picture online picture link
4- click upload, then choose your files
I used text tool and changed fonts till I am satisfied and I add a victor picture online picture link
4- click upload, then choose your files
5- To prepare the mat on the computer, choose the mat size: 30.5 * 30.5
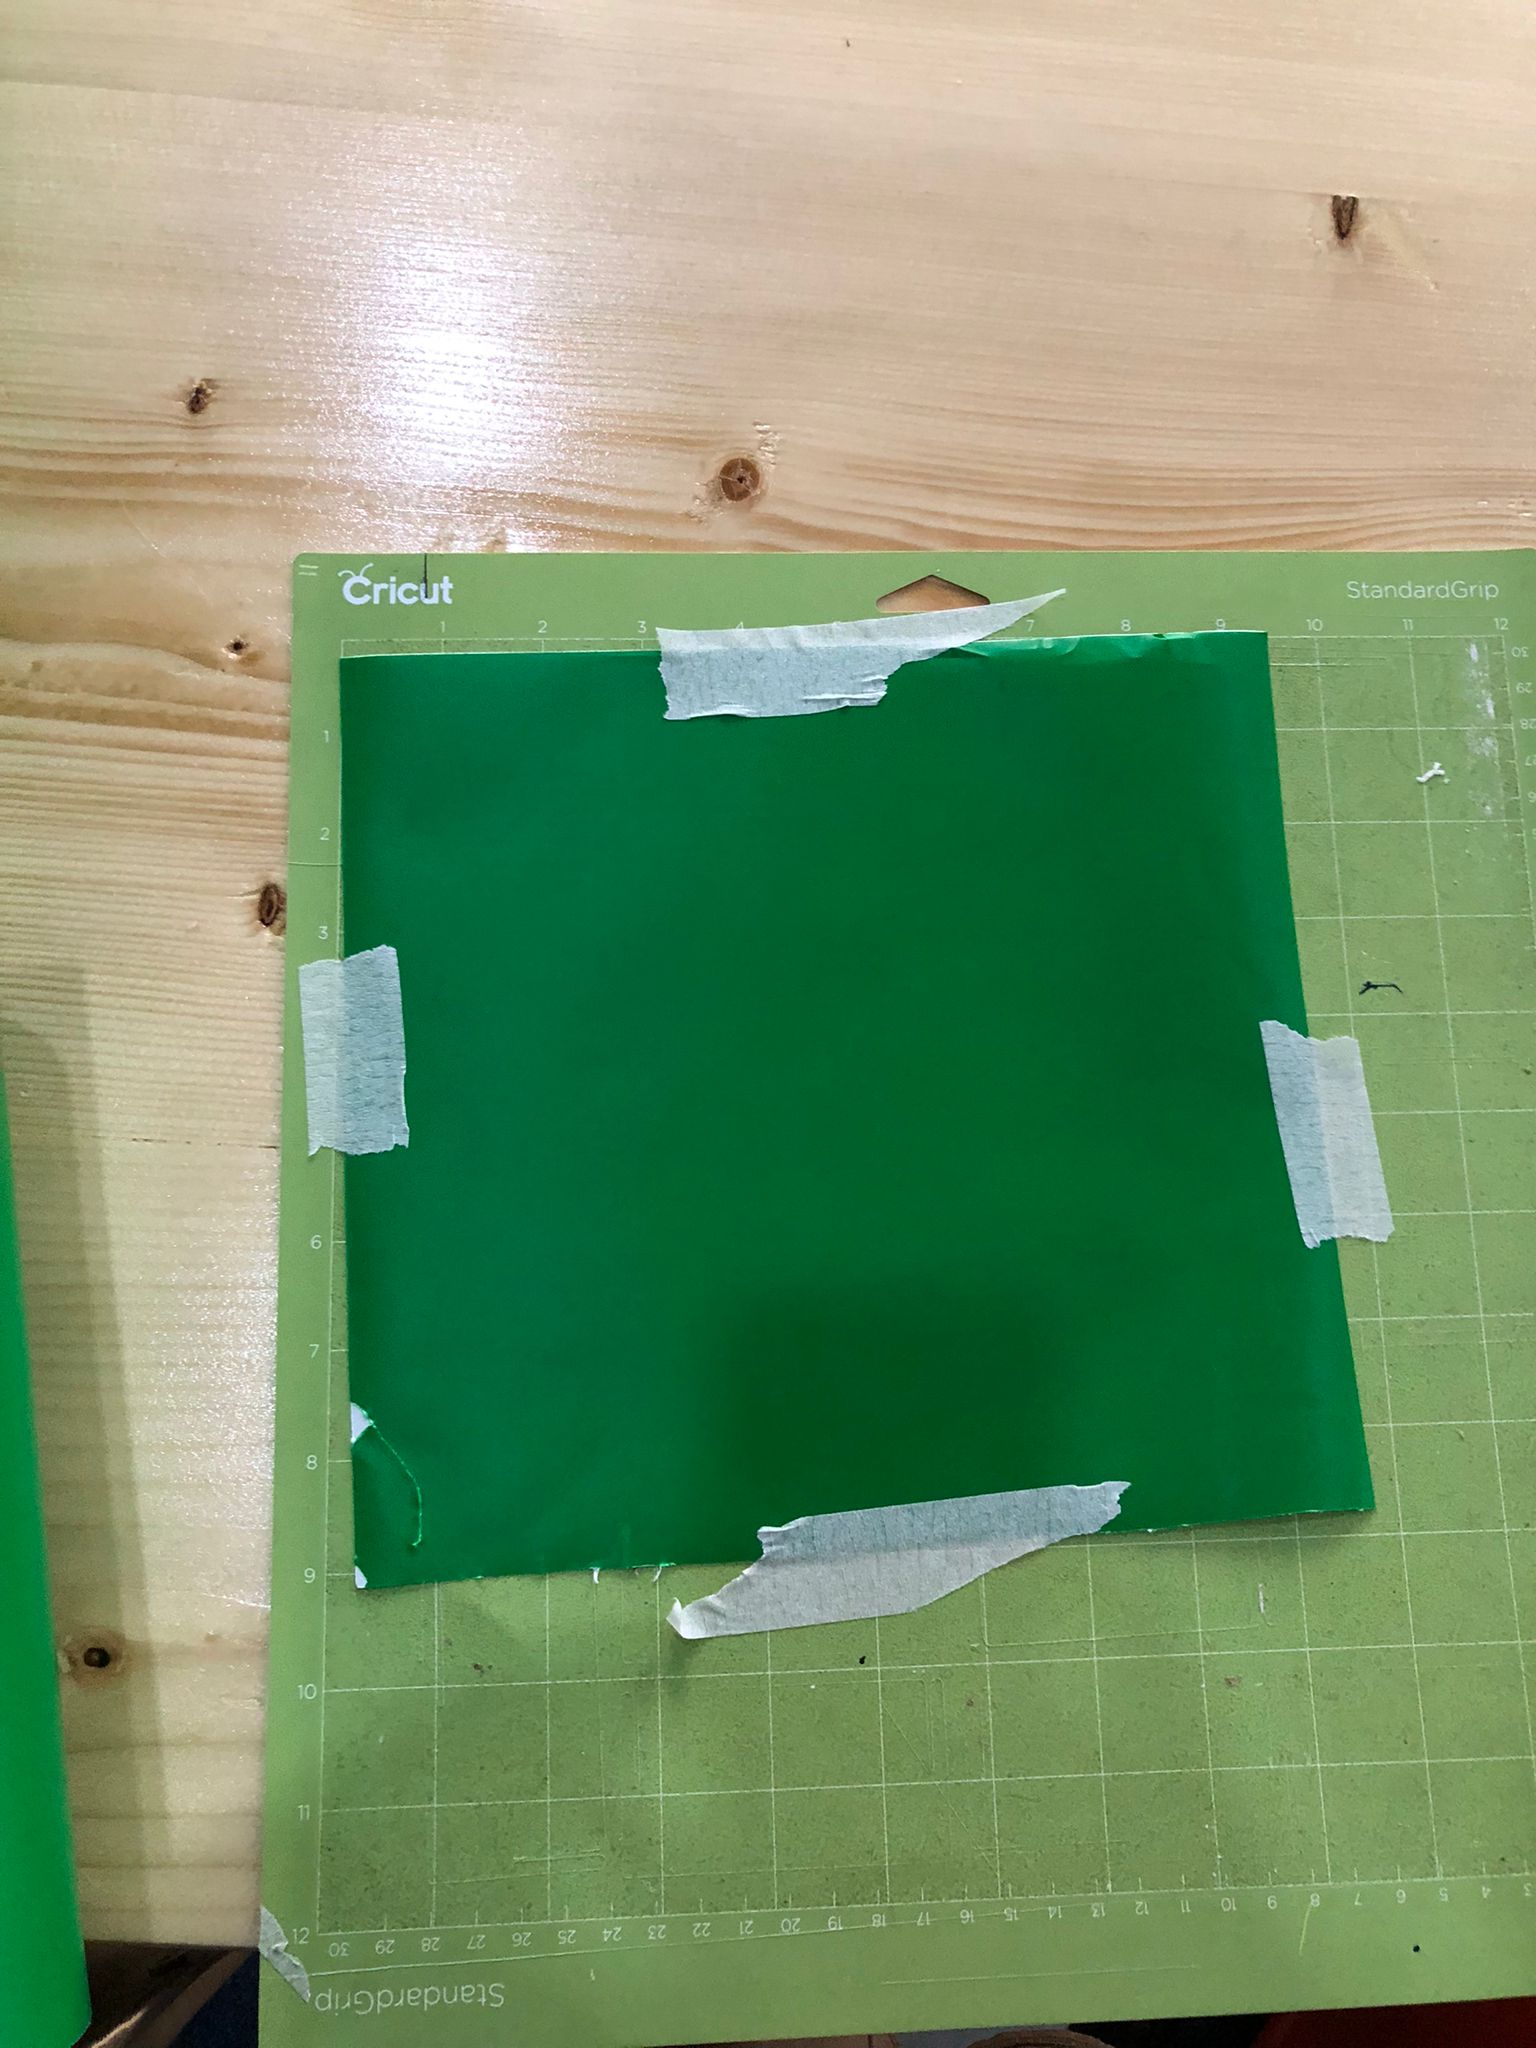
6- To prepare the real mat, place the material to be cut on the mat. If the mat is old and used alot, you can use a tape to keep it in place.
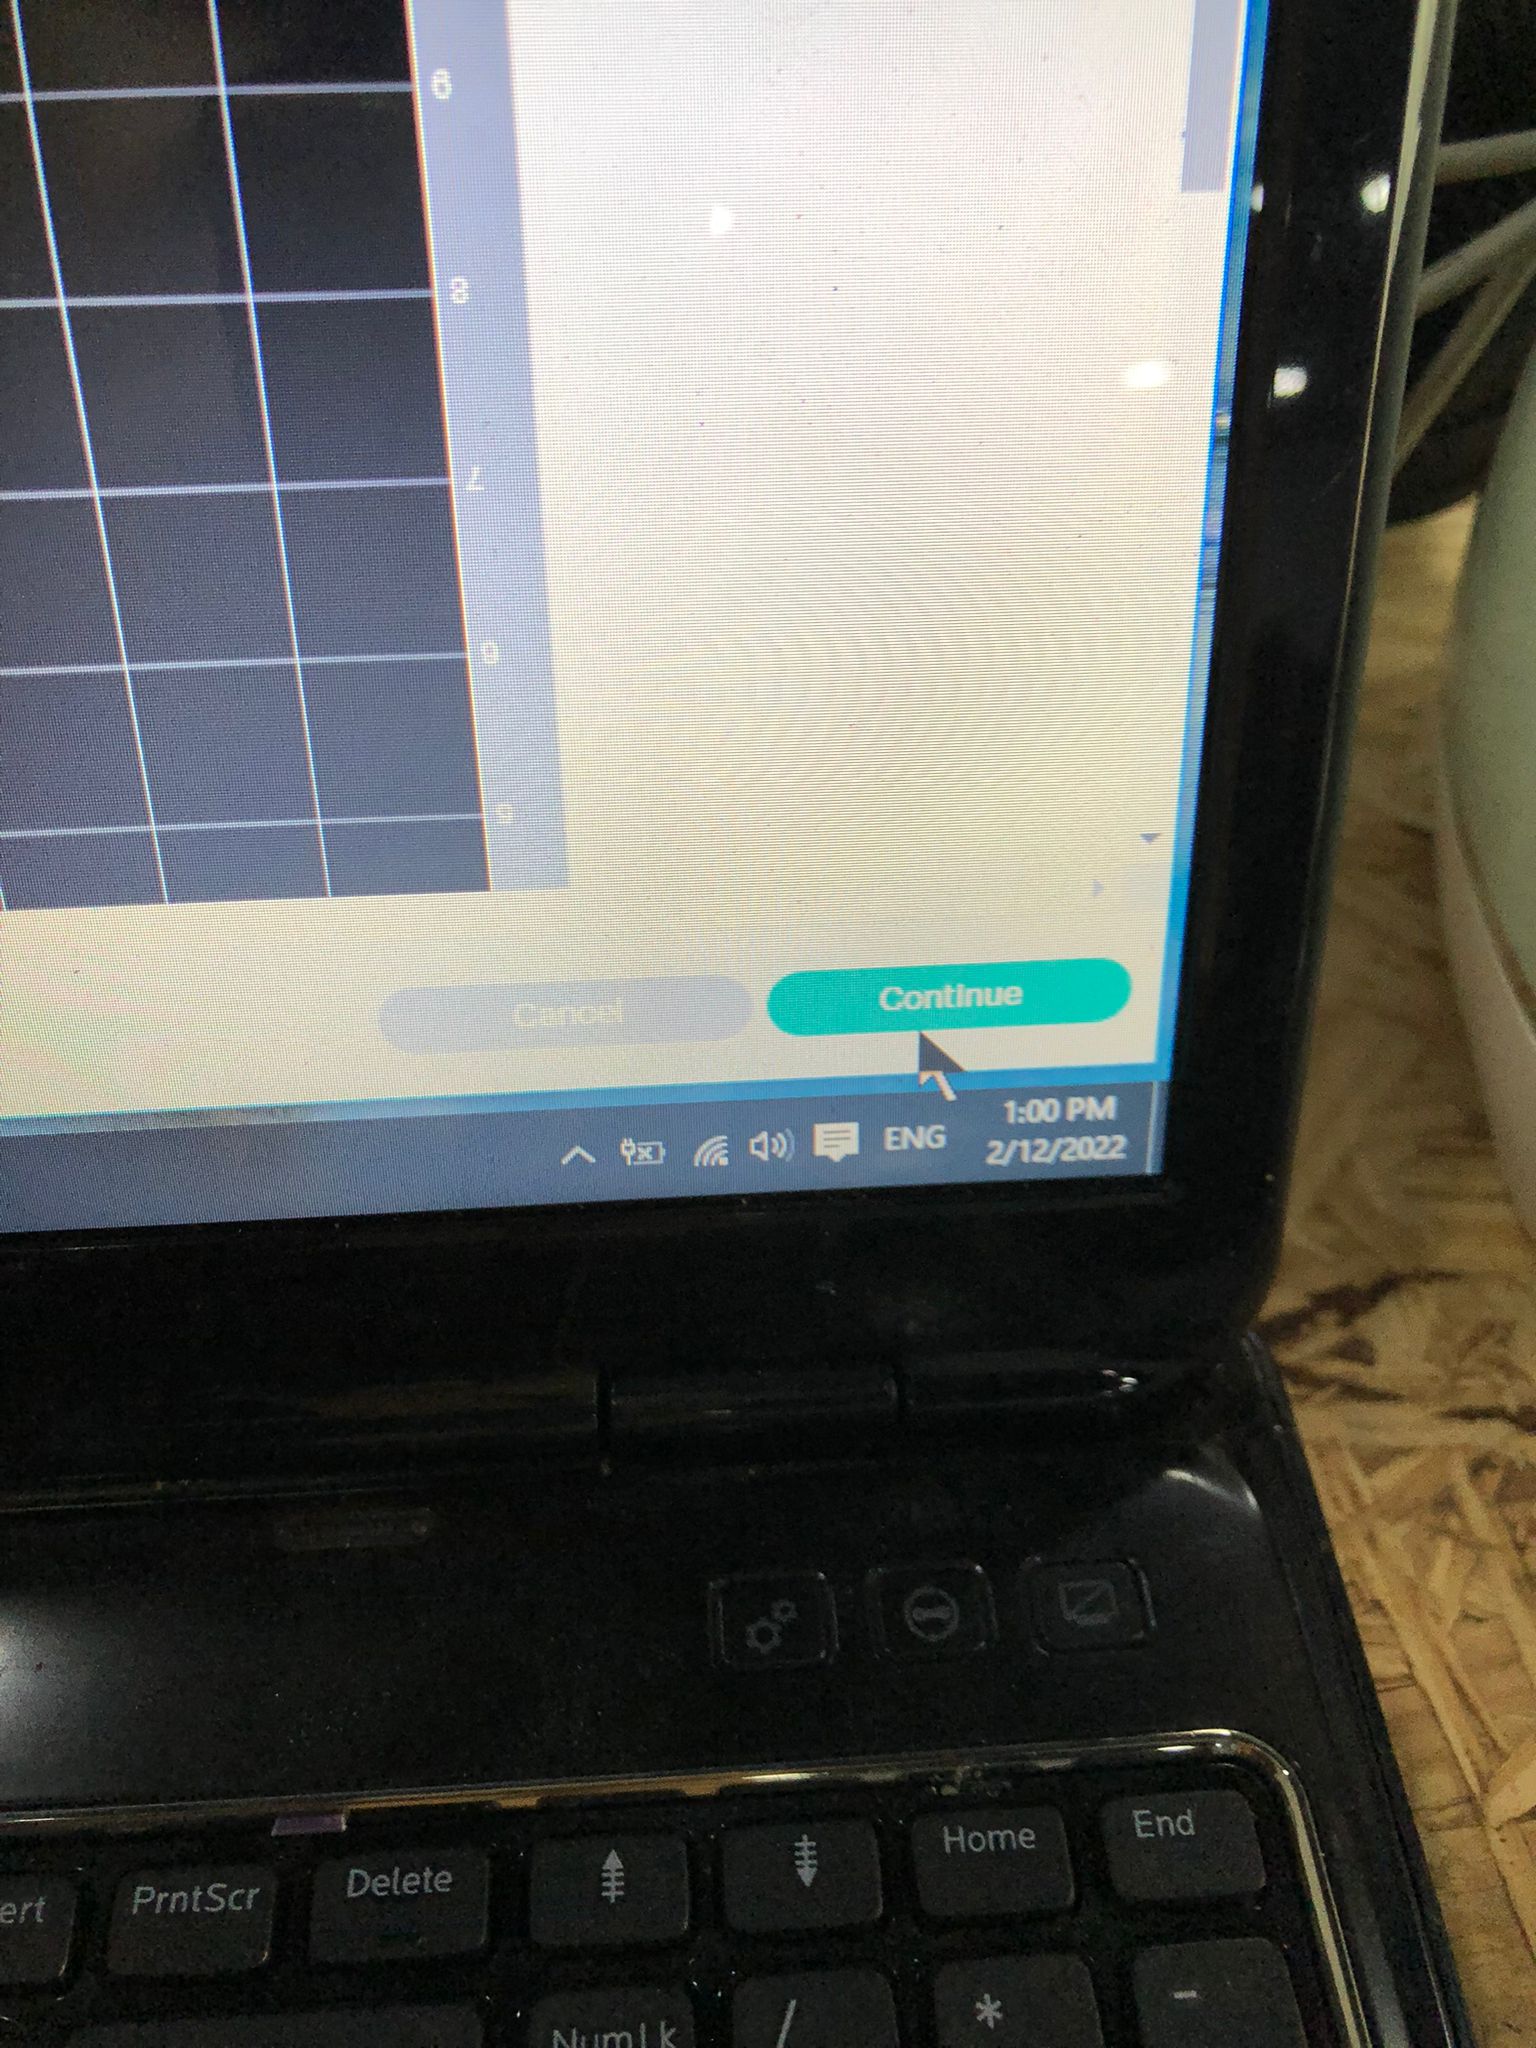 7- Click “Continue” on the computer and press the illuminated button on the machine to keep the mat in place.
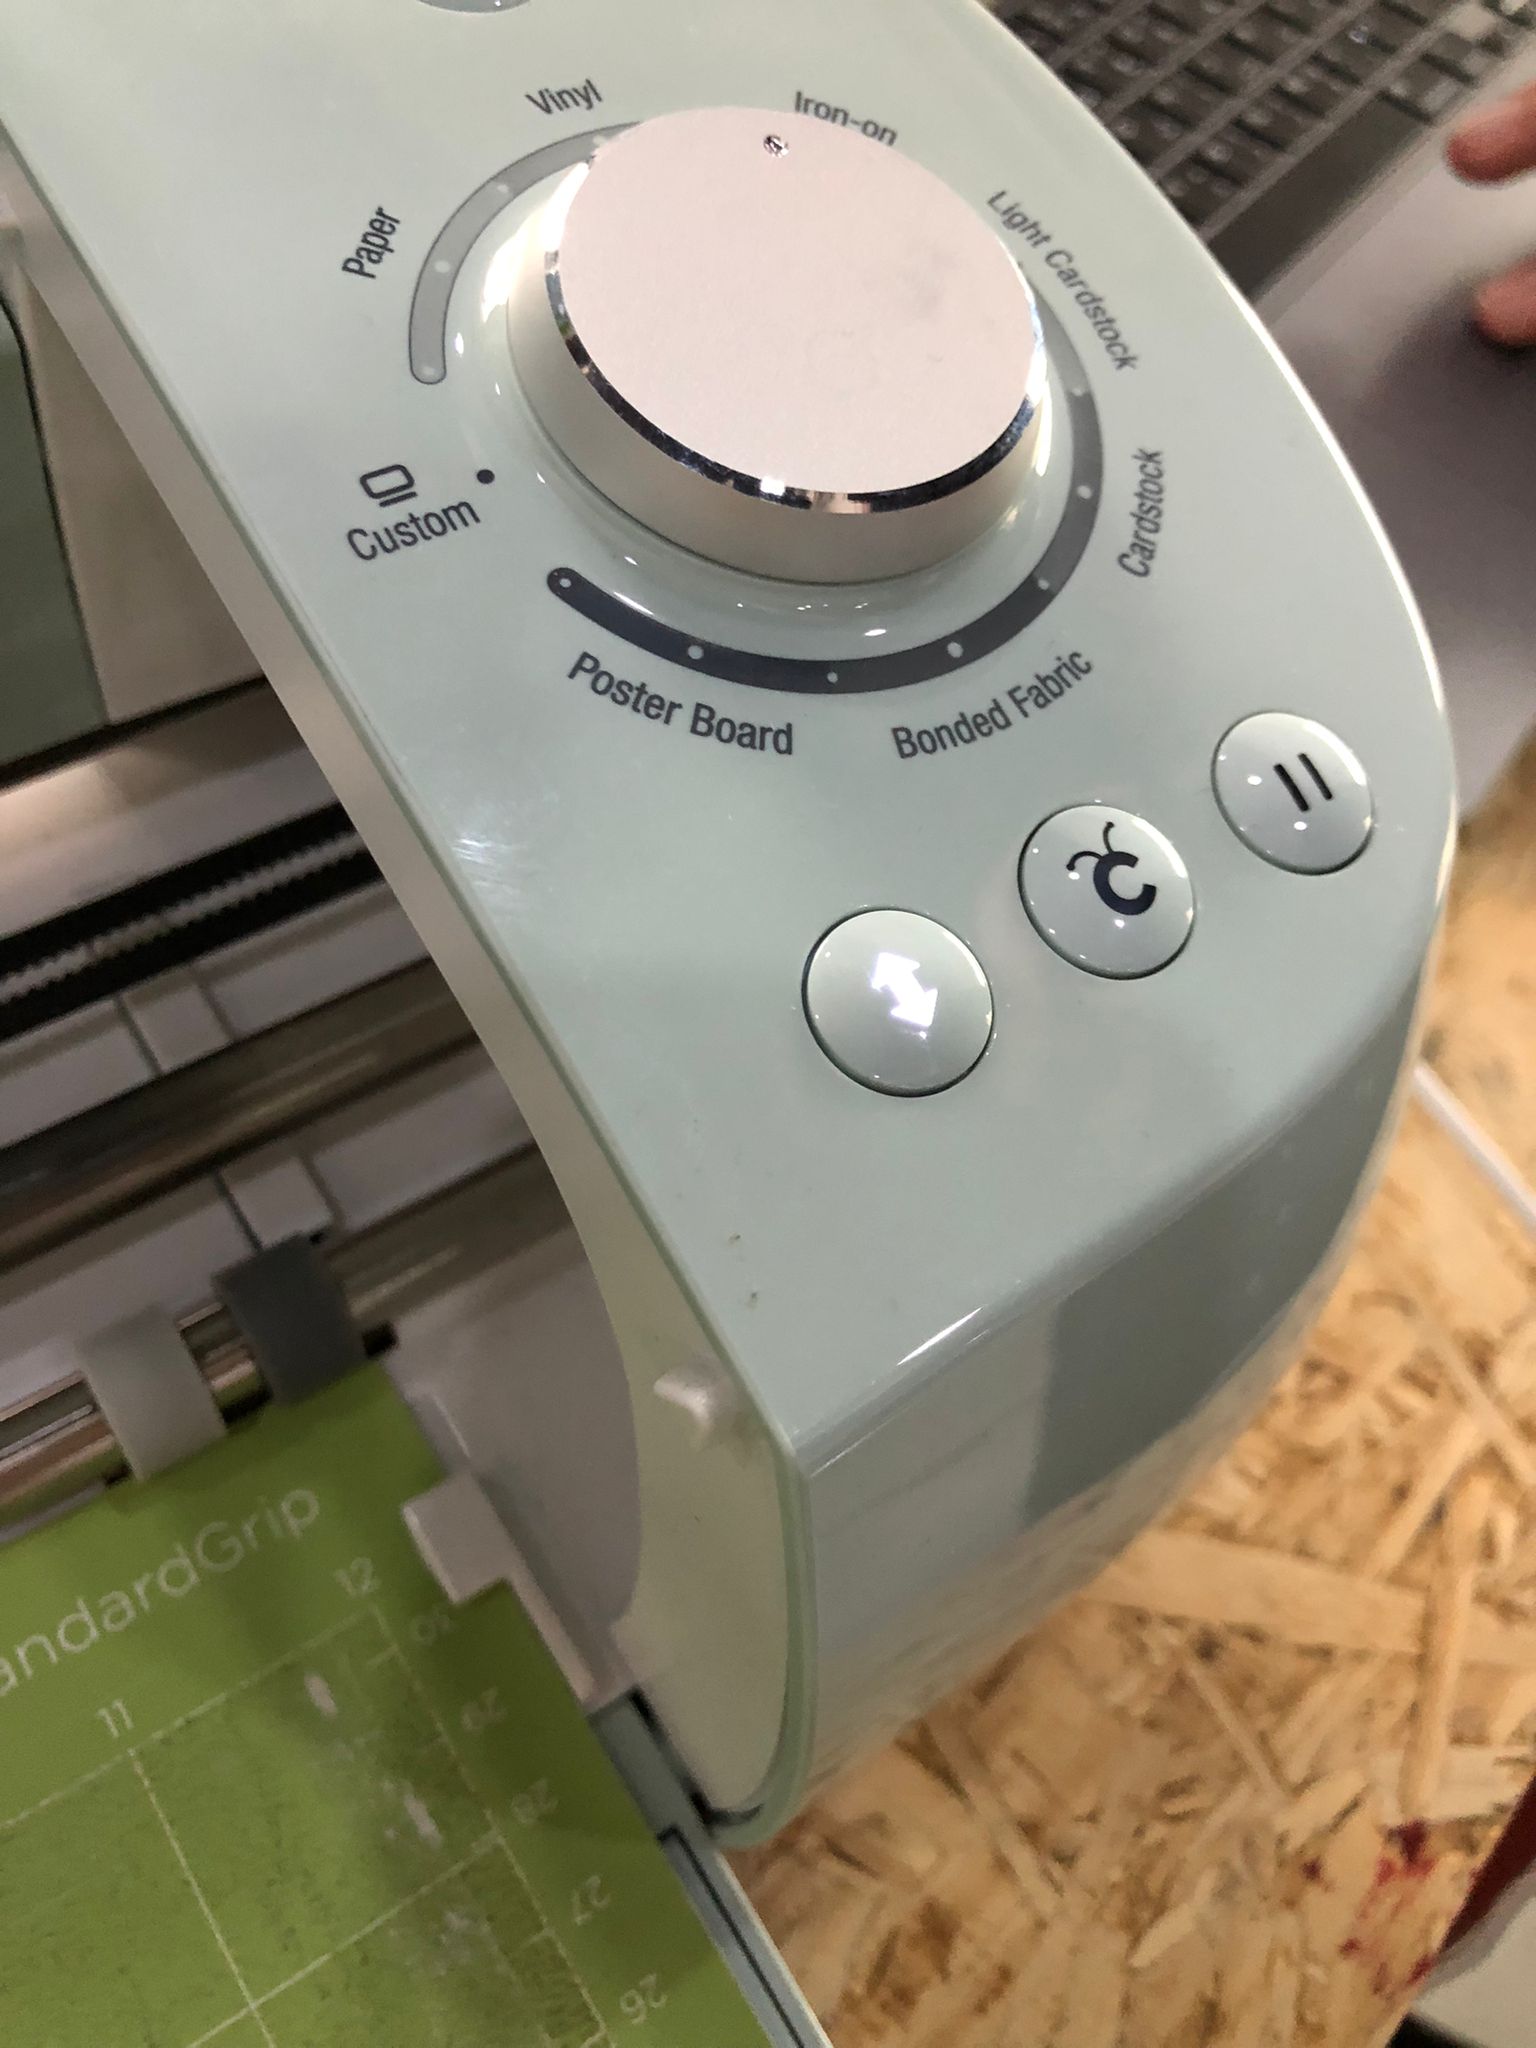 8 - The next button will light up and press it to start the cutting process.
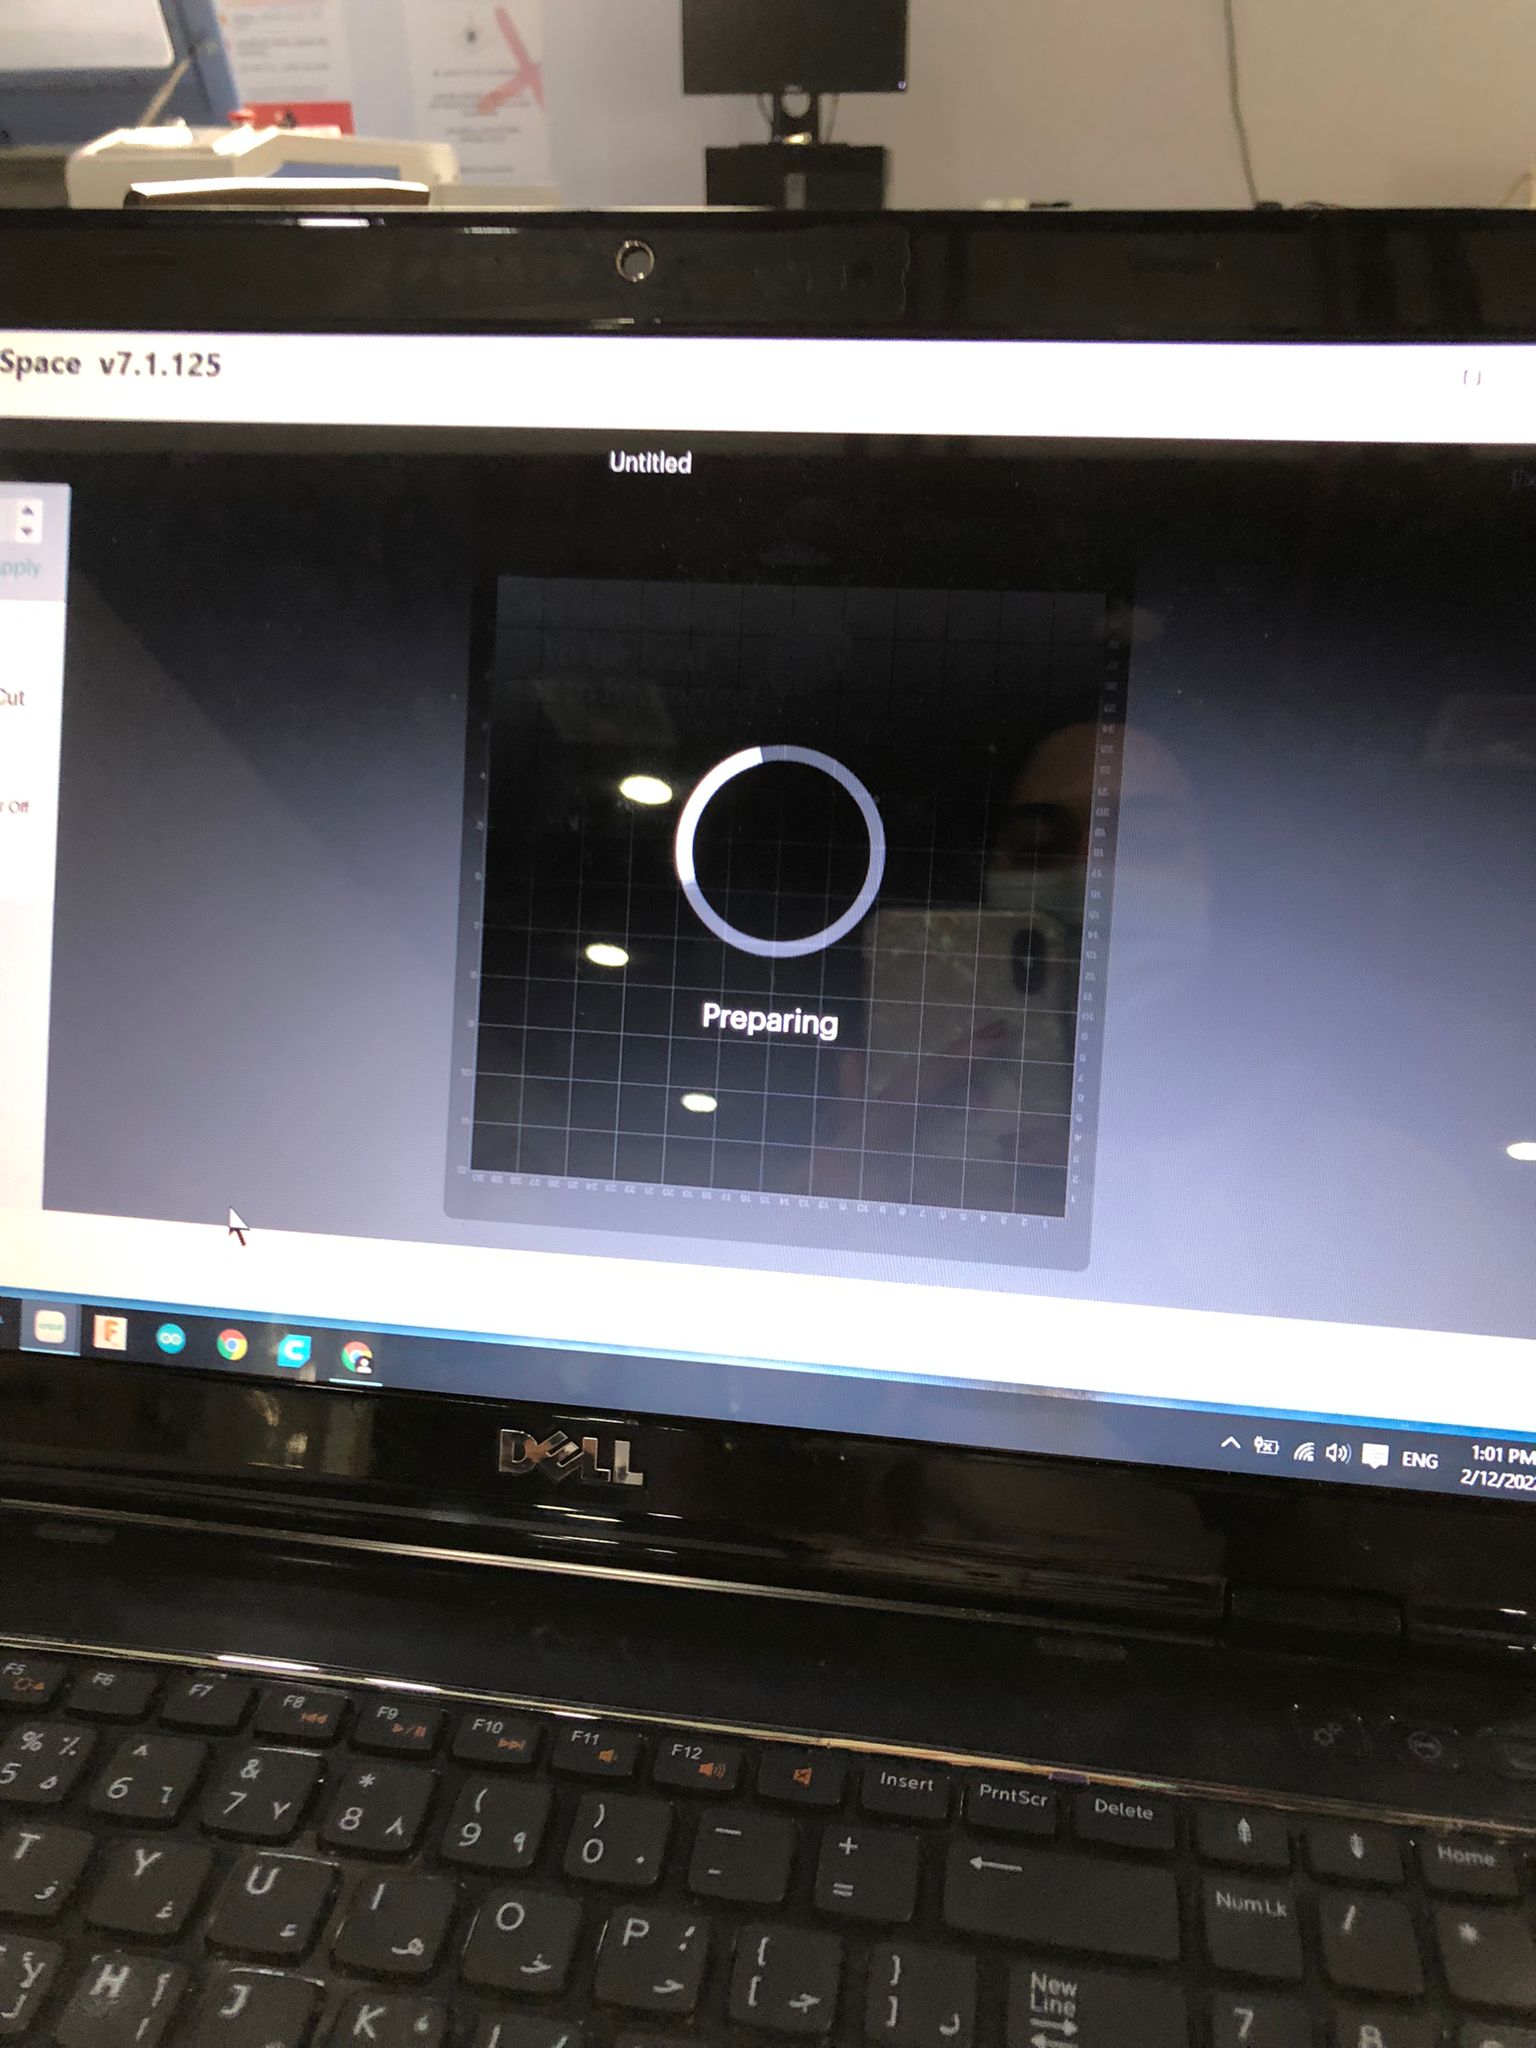 9- Wait for a while and the computer will show a percentage for the cutting process.
 11- If your design contains small details, remove the edges ,then use a clear adhesive roll .
 12 - Finally transfer the stickers to the surface you want to stick on .
vynil cutter video
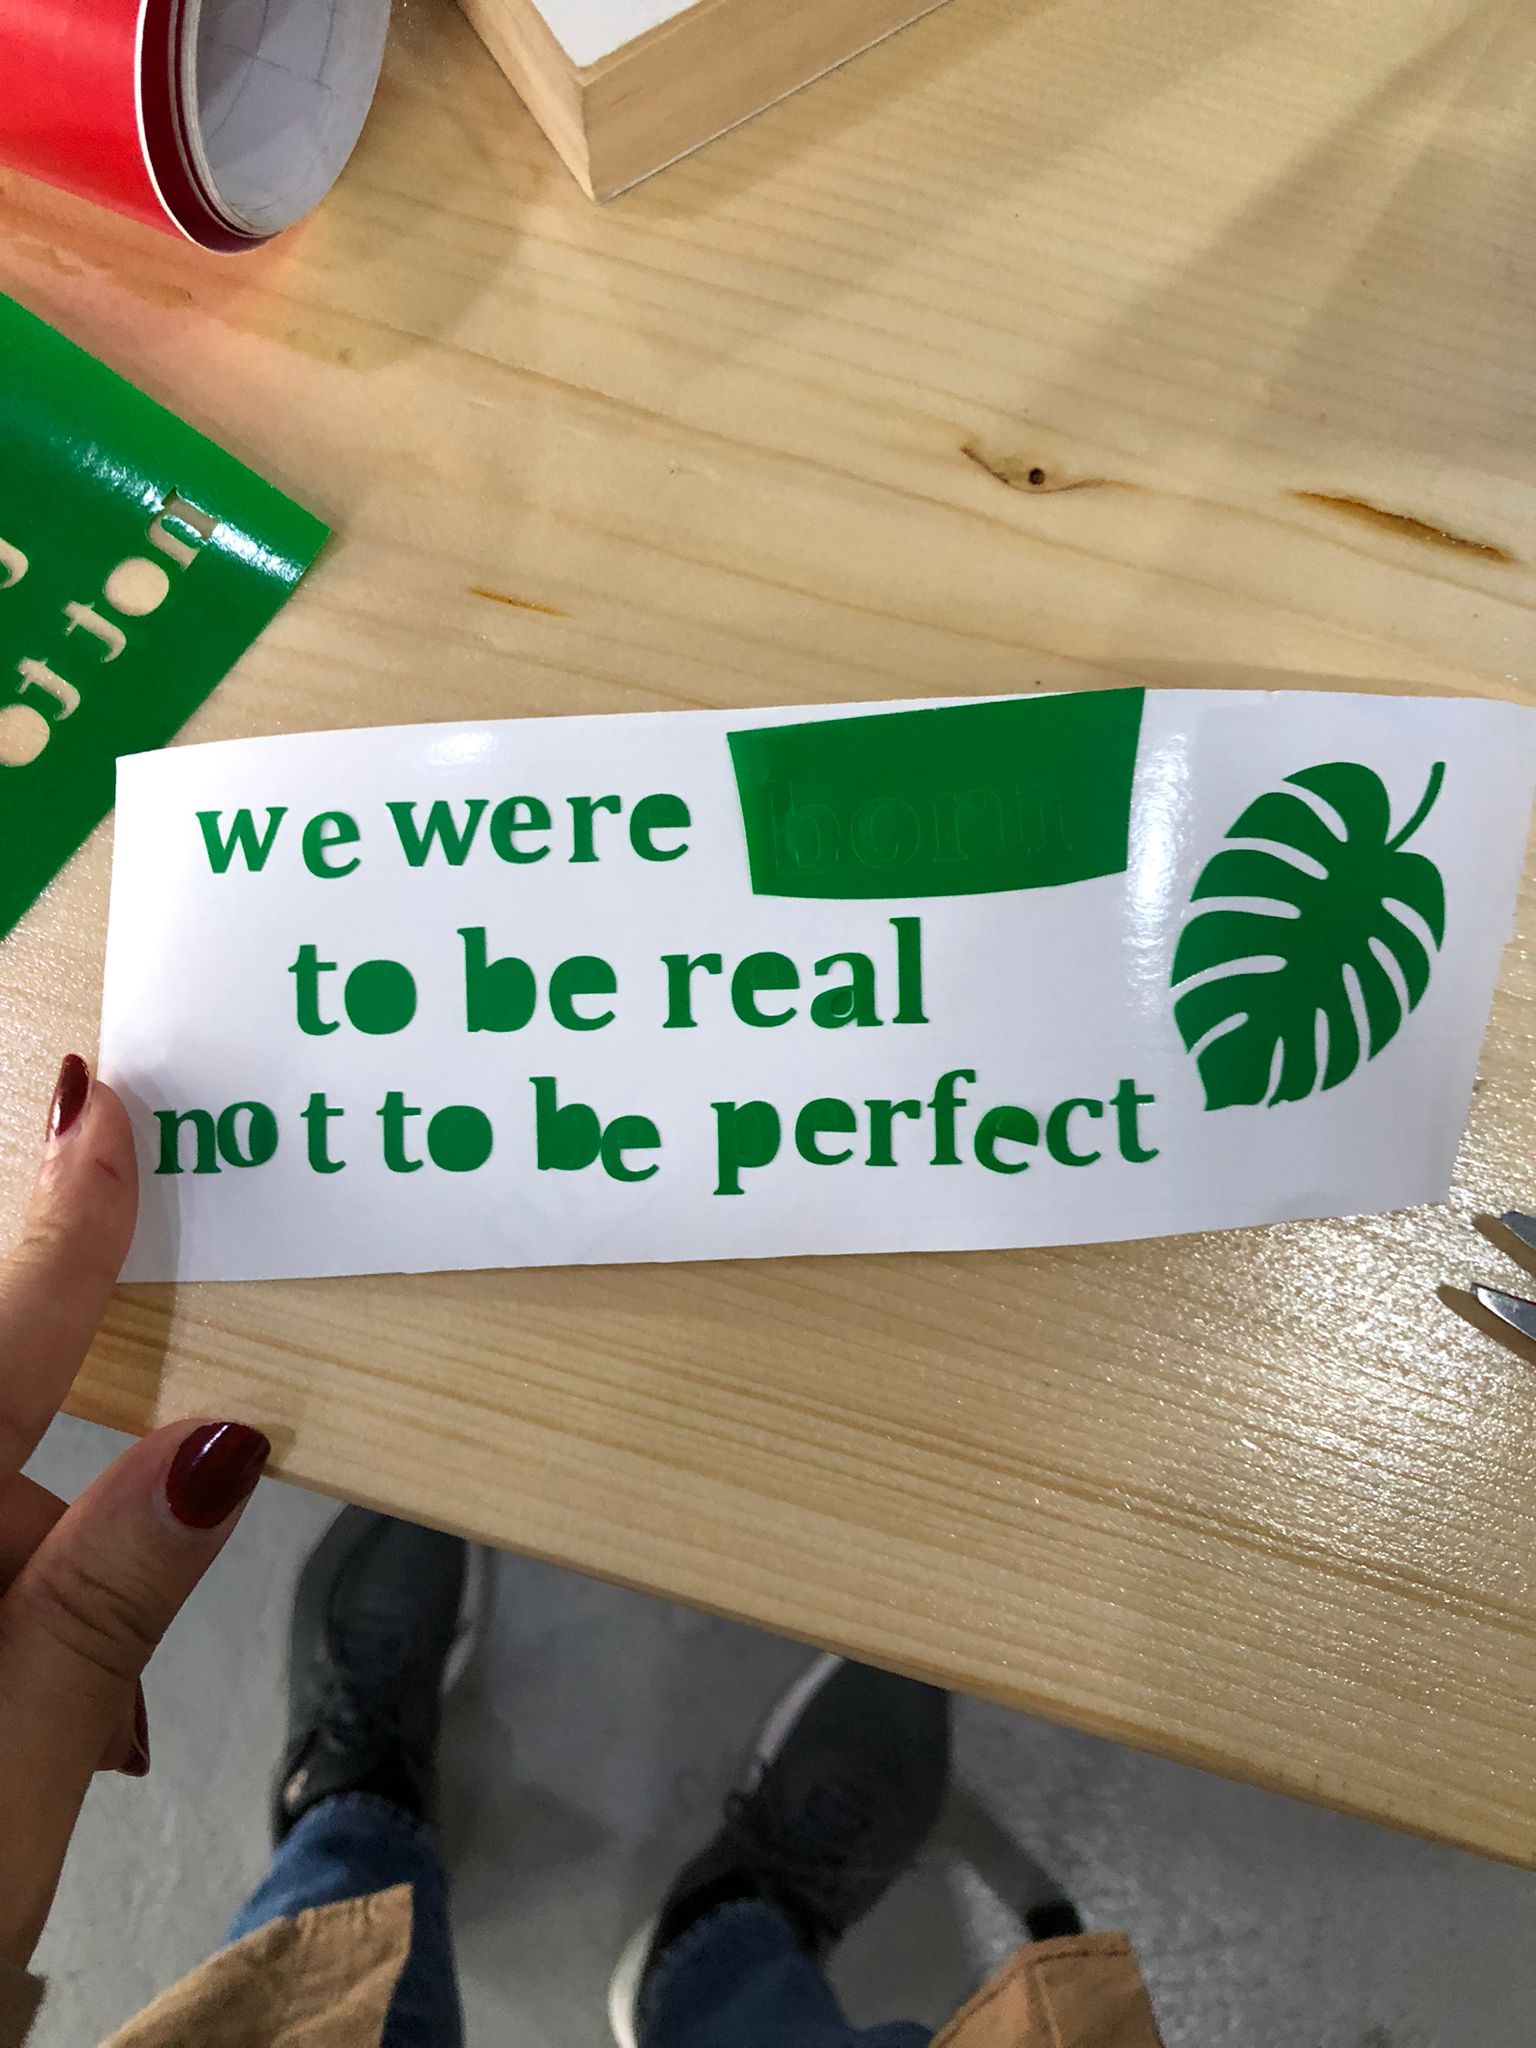
my final design

parametric design
you could choose you favorite application that have the parametric tool to create the design.
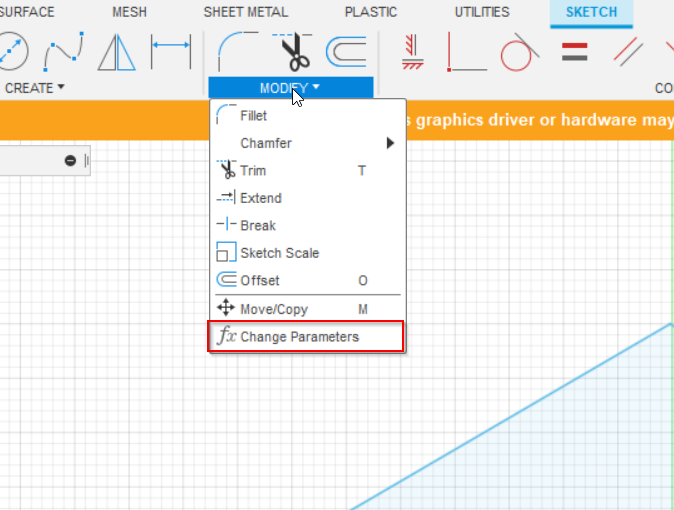
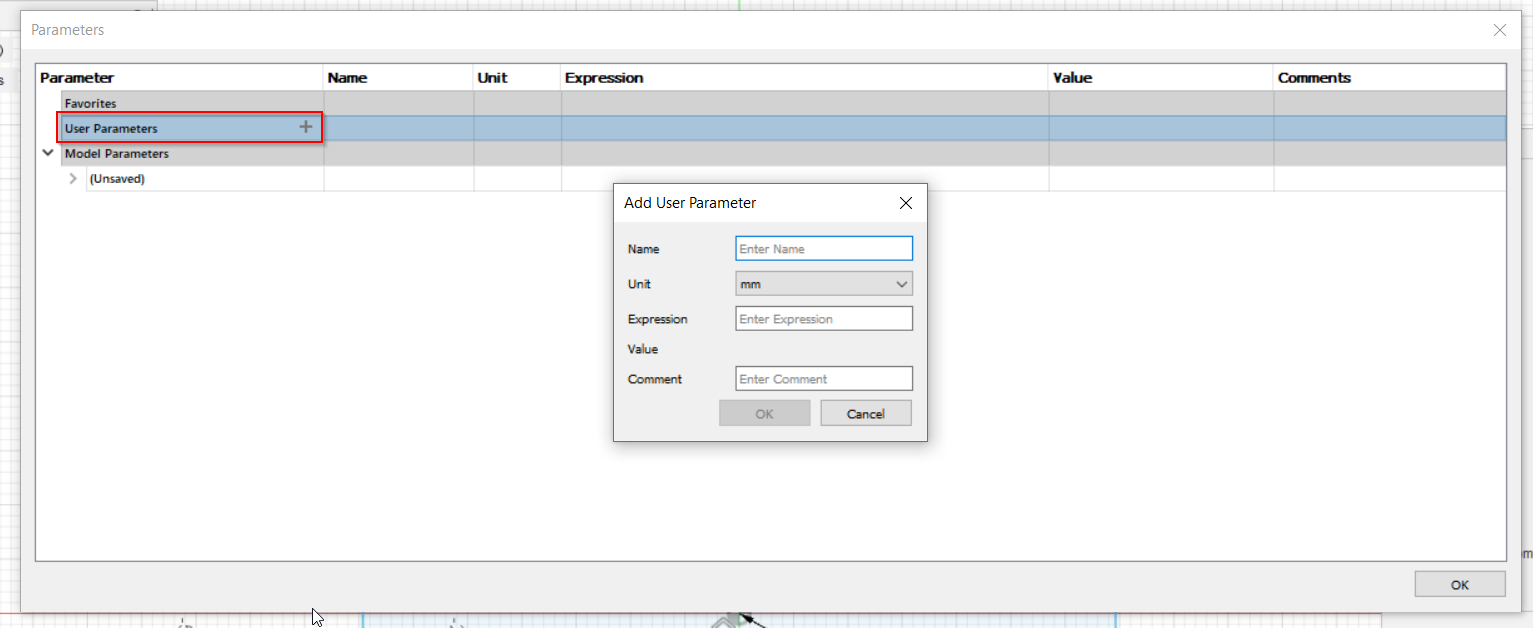
I used Fusion 360 and discovered this new tool which is the Parameters table.
You will find it when you click modifiy and choose the last selection.
A table will appear as shown in the picture
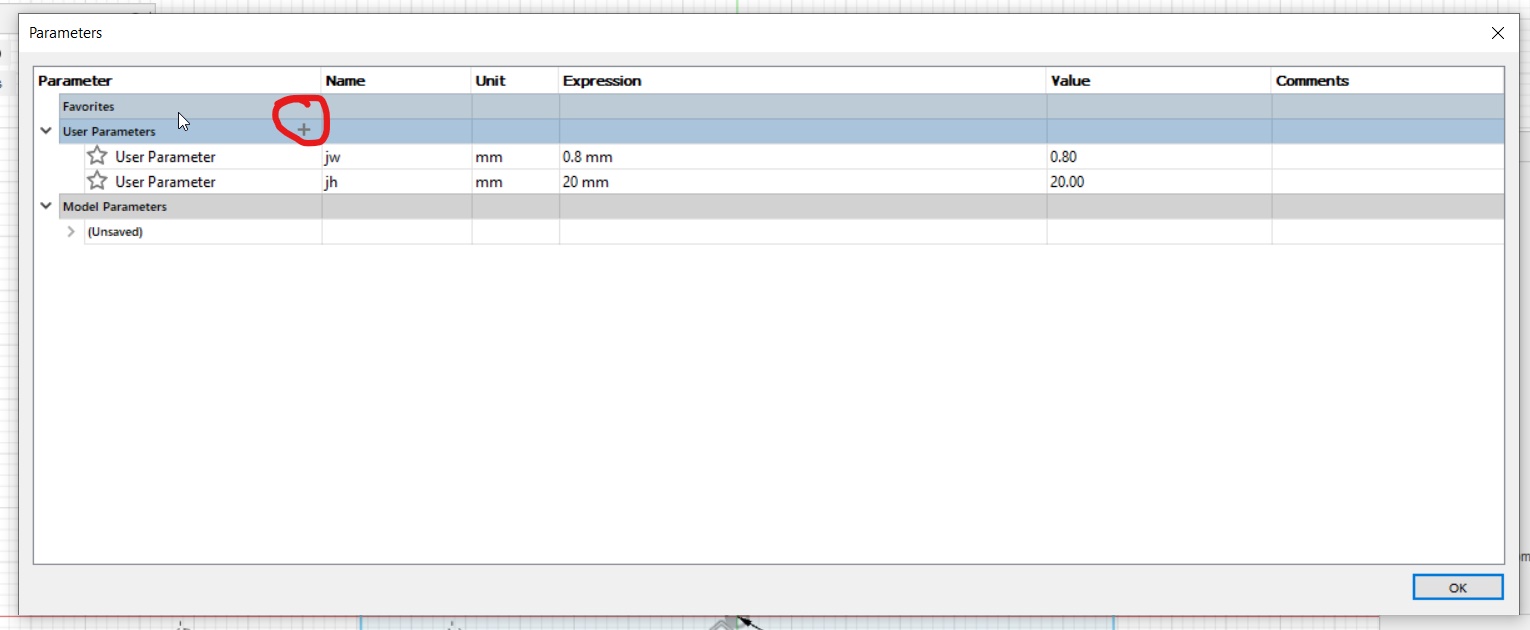
then click start adding new user parameters as shown and edit name, unit and value.
when using the dimension tool instead of adding value , add the name of the parameter.
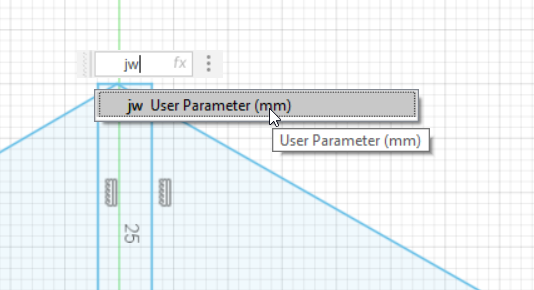 if your dimensions need to edit you can show the table , change the values and all lines with dimension according to the new informations ,everything will be changed in one Click.
laser cutting
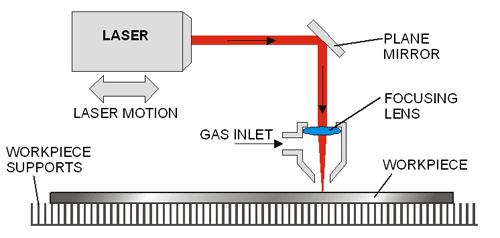
Introduction on the work theory of laser cutting machine.
Laser cutting machine adopts the energy released on the time when laser beam irradiate metal surface. The metal is melt by laser and sinter is blow away by gas. Because laser power is highly focused, only a very little heat effects the other part of metal plate and causes a little or no deformation. Laser can cut any complex shape precisely, which needs no further processing.
Laser source is generally CO2 laser beam high power isolator with operating power of 500~5000W. The power is even lower than that of many household electric heater, and because of lenses and reflectors, laser beams are focused in a very small bit of area. Highly focused energy heat the area quickly and makes the metal plate melted.
Laser cutting machine can cut stainless steal of thickness less than 16mm; when adding oxygen in laser beam, the cutting thickness is 8~10mm but it will generate a thin oxidation film in the cut surface. The maximum thickness is 16mm which leads to larger cutting deviation on the size of components.
 Laser tube is the core part of laser cutting machine. So, below is an introduction of the most popular laser tube. CO2 laser tube.
Laser tube is composed of hard glasses, so it is fragile. It adopts layer of sleeve construction with discharge tube in the most inside layer. However, the diameter of discharge tube is thicker than laser tube, diffraction between the thickness of discharge tube and the size of flare is in direct ratio; the length of tube is in proportion to output power of discharge tube. Laser tube generates a large quantity of heat in the operation of laser cutting machine, which influences the normal work. So cold water machine is needed to cool laser tube, ensuring constant temperature for successful running.
resource
laser cutting advantages
Laser cutting machine is a great machine for many reasons
- The high-efficiency laser cutting machines and replica design are exact copies of each other.
- It requires and consumes less energy to cut panels of all kinds of materials.
- Compared with traditional scissors, laser cutting machines take less time to cut large plates and the result is very accurate.
- The whole process is monitored by computer software
- Highly flexible, it can be used to cut almost all kinds of materials.
- Precise cutting can be obtained in a short time
safety rules
The instructor started by telling us the safety rules because the machine is powerful , and a common danger is a fire due to its power .
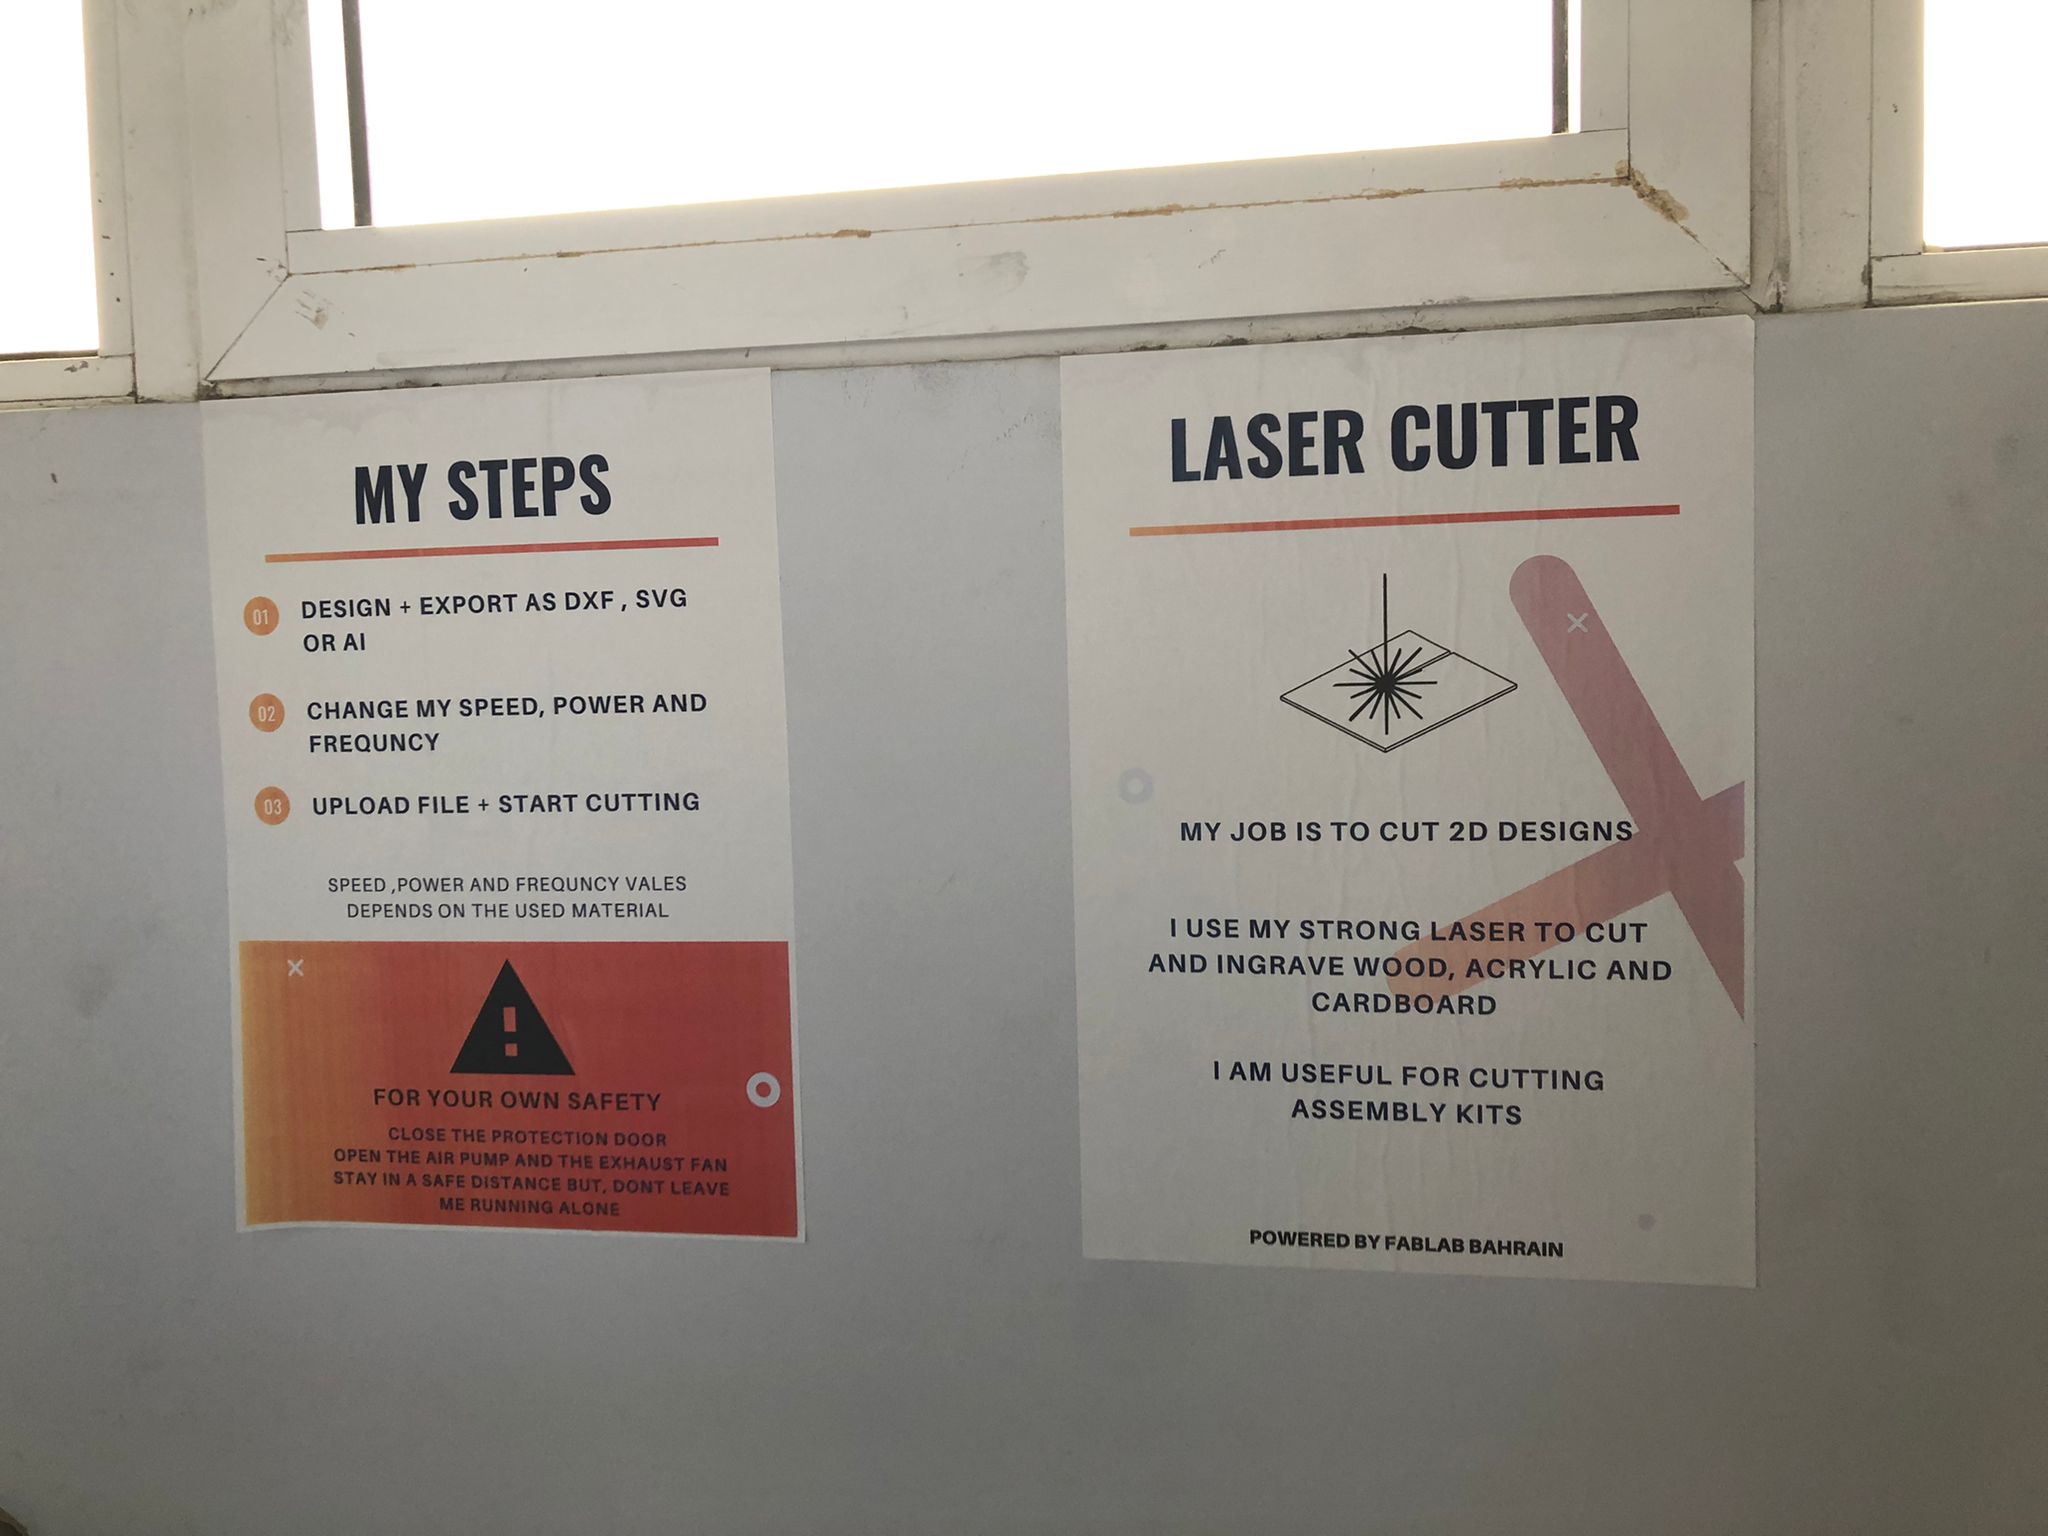 - These are three simple steps to stop the fire, God forbid
1. Turn off the device from the cable (there is an exhaust fan that may cause wind, which leads to an increase in the fire
2. Turn the stop button
3. Use a fire blanket to avoid the ingress of oxygen.
- Tell the instructor before using the machine and make sure to close the protection door
- be cautious about others being near the machine or beside it and wait for moments before opening the security door to avoid smoke.
- These are three simple steps to stop the fire, God forbid
1. Turn off the device from the cable (there is an exhaust fan that may cause wind, which leads to an increase in the fire
2. Turn the stop button
3. Use a fire blanket to avoid the ingress of oxygen.
- Tell the instructor before using the machine and make sure to close the protection door
- be cautious about others being near the machine or beside it and wait for moments before opening the security door to avoid smoke.
setting
To set the laser beam in its origin position, we first drew a circle in the software, then set parameters for the shape we sketched on the grid to ensure everything was in the right measurement , set the distance from the laser bean and the matiral to 0.8 mm using a lego block to move it horizontally and set the power to 60% and speed to 40mm/s on the laser cutting machine’s operating screen.
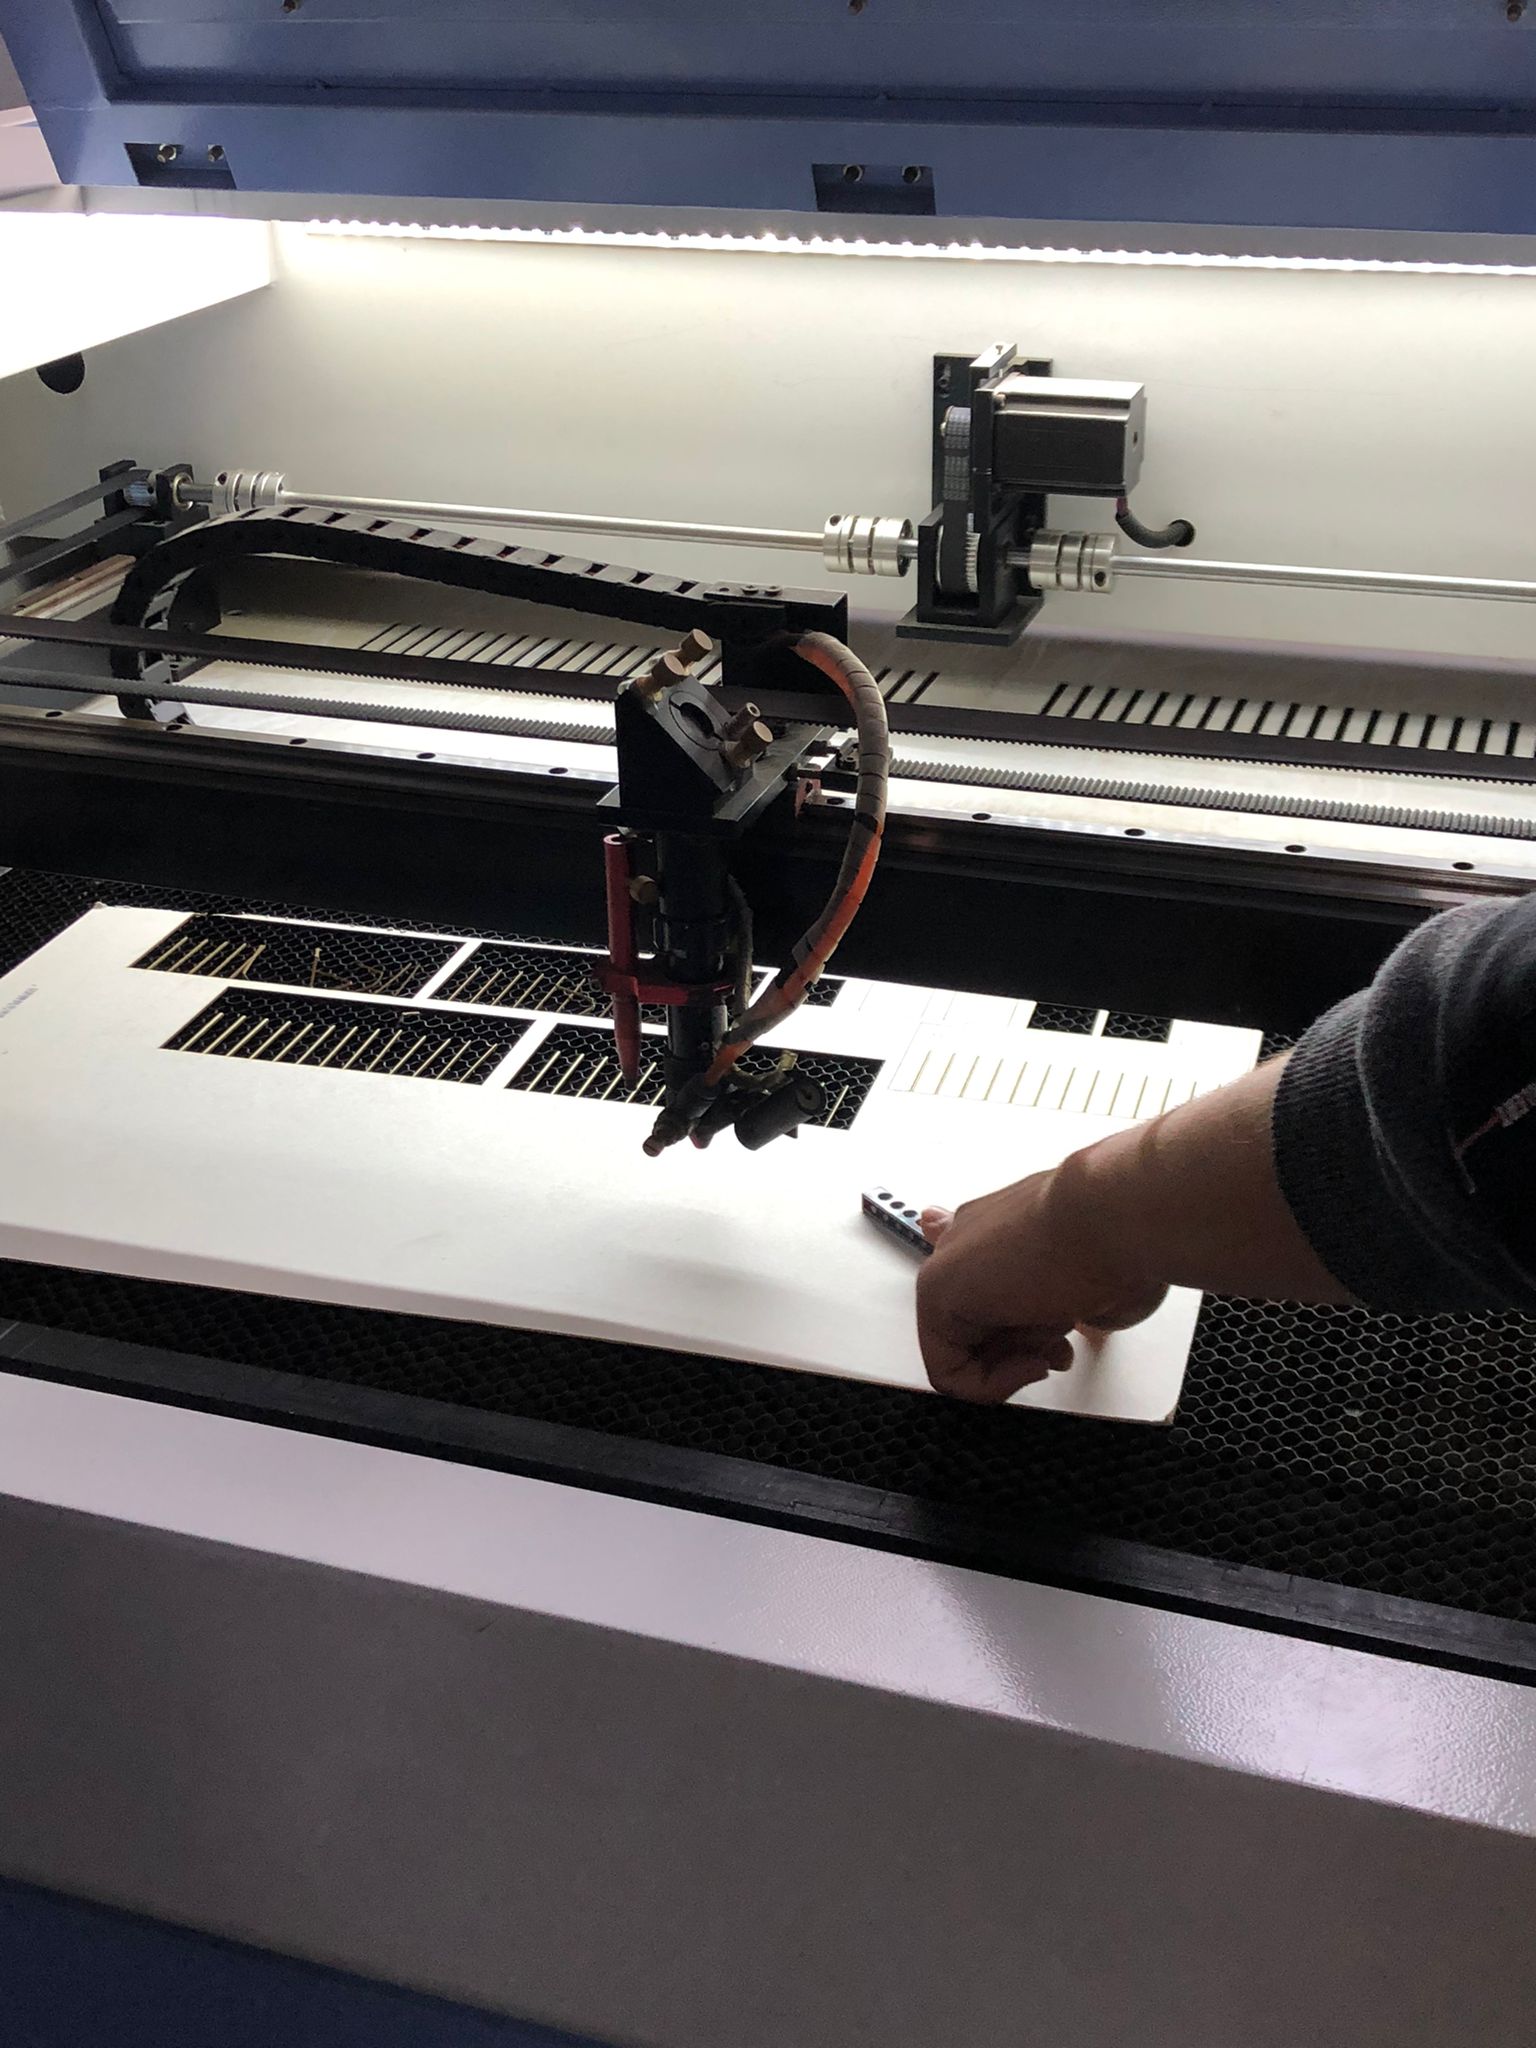

After that,we went to Files> Select the file of the circle we created in the software> Enter> Frame, which frames exactly where the beam will cut>Start to start the cutting process.
Group assignment (power & speed test)
We started by testing power and speed, to find the right balance
IF the power is too high, it may burn the edges, and if it is not strong enough, the material will not be cut
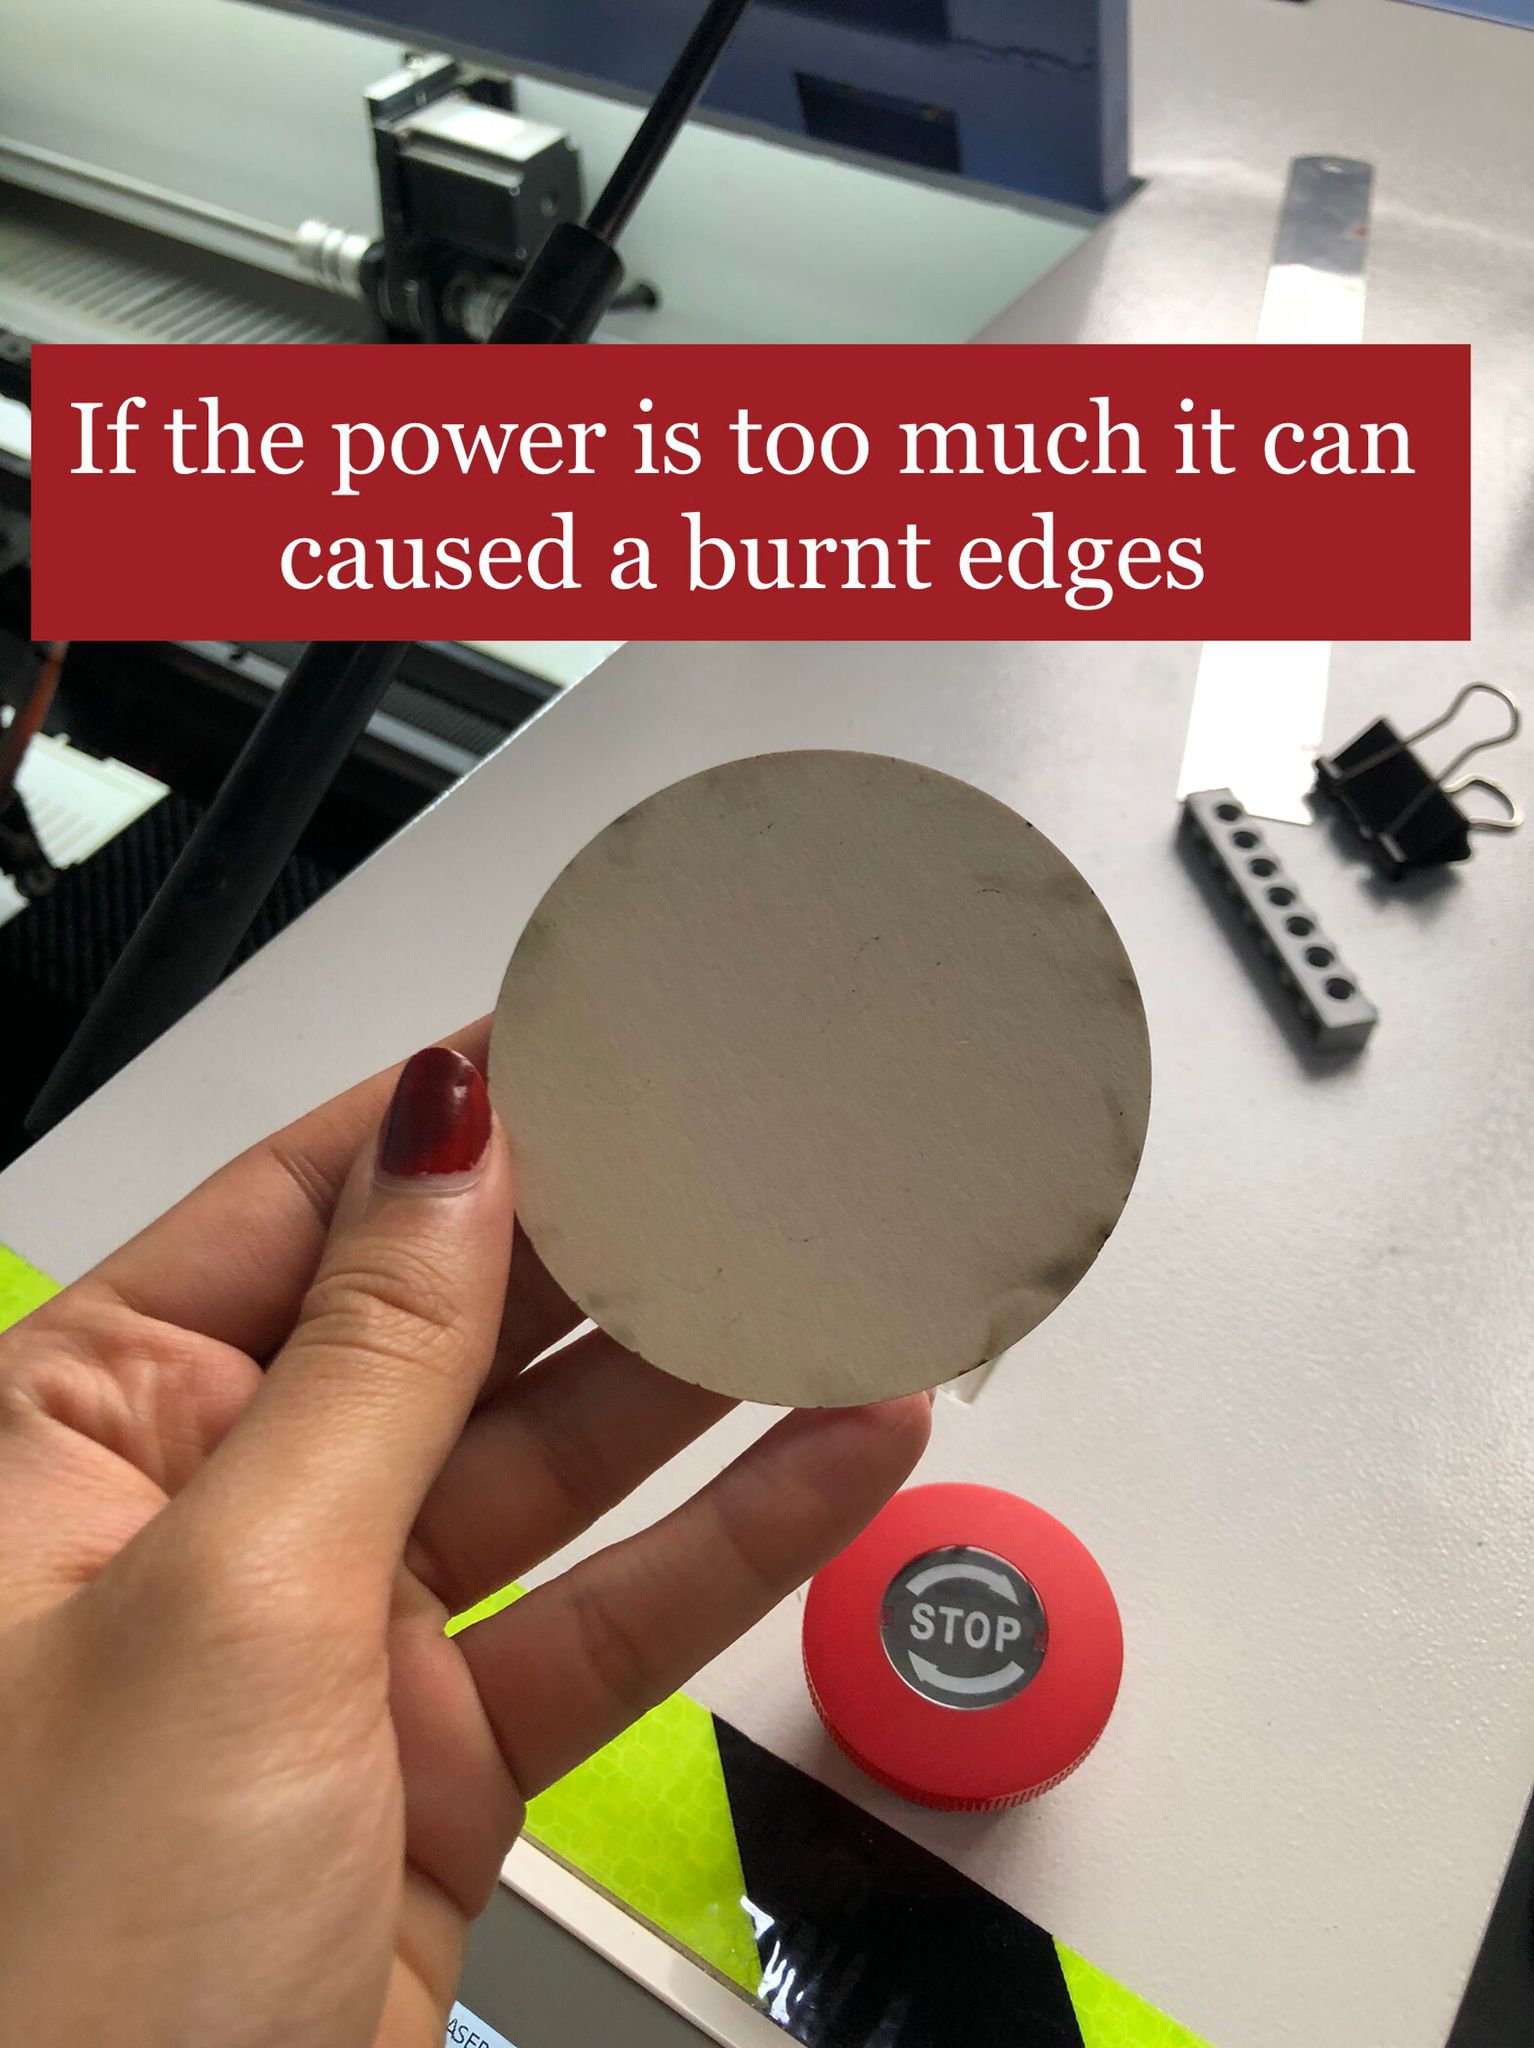
The speed allows the energy to stay more in the same spot that lead to using less power but it will take longer to finish cutting.
For the group assignment. check out my classmate Mohammed’s website where we explain more about the power & speed test
finally we found the ideal power & speed.
fit test kit
After experimenting with the power and speed, we discovered that 30p-35s was ideal for the cardboard we’re using (the values will vary depending on the material)./br> br/> The width of the joint was the next test.
We produced two design patterns: one that starts at 1.55mm and goes down 0.5mm for each step up to 1mm, and the second design starts at 1mm and goes down 0.5mm for each step up to 0.4mm. We should have a pair of each design.
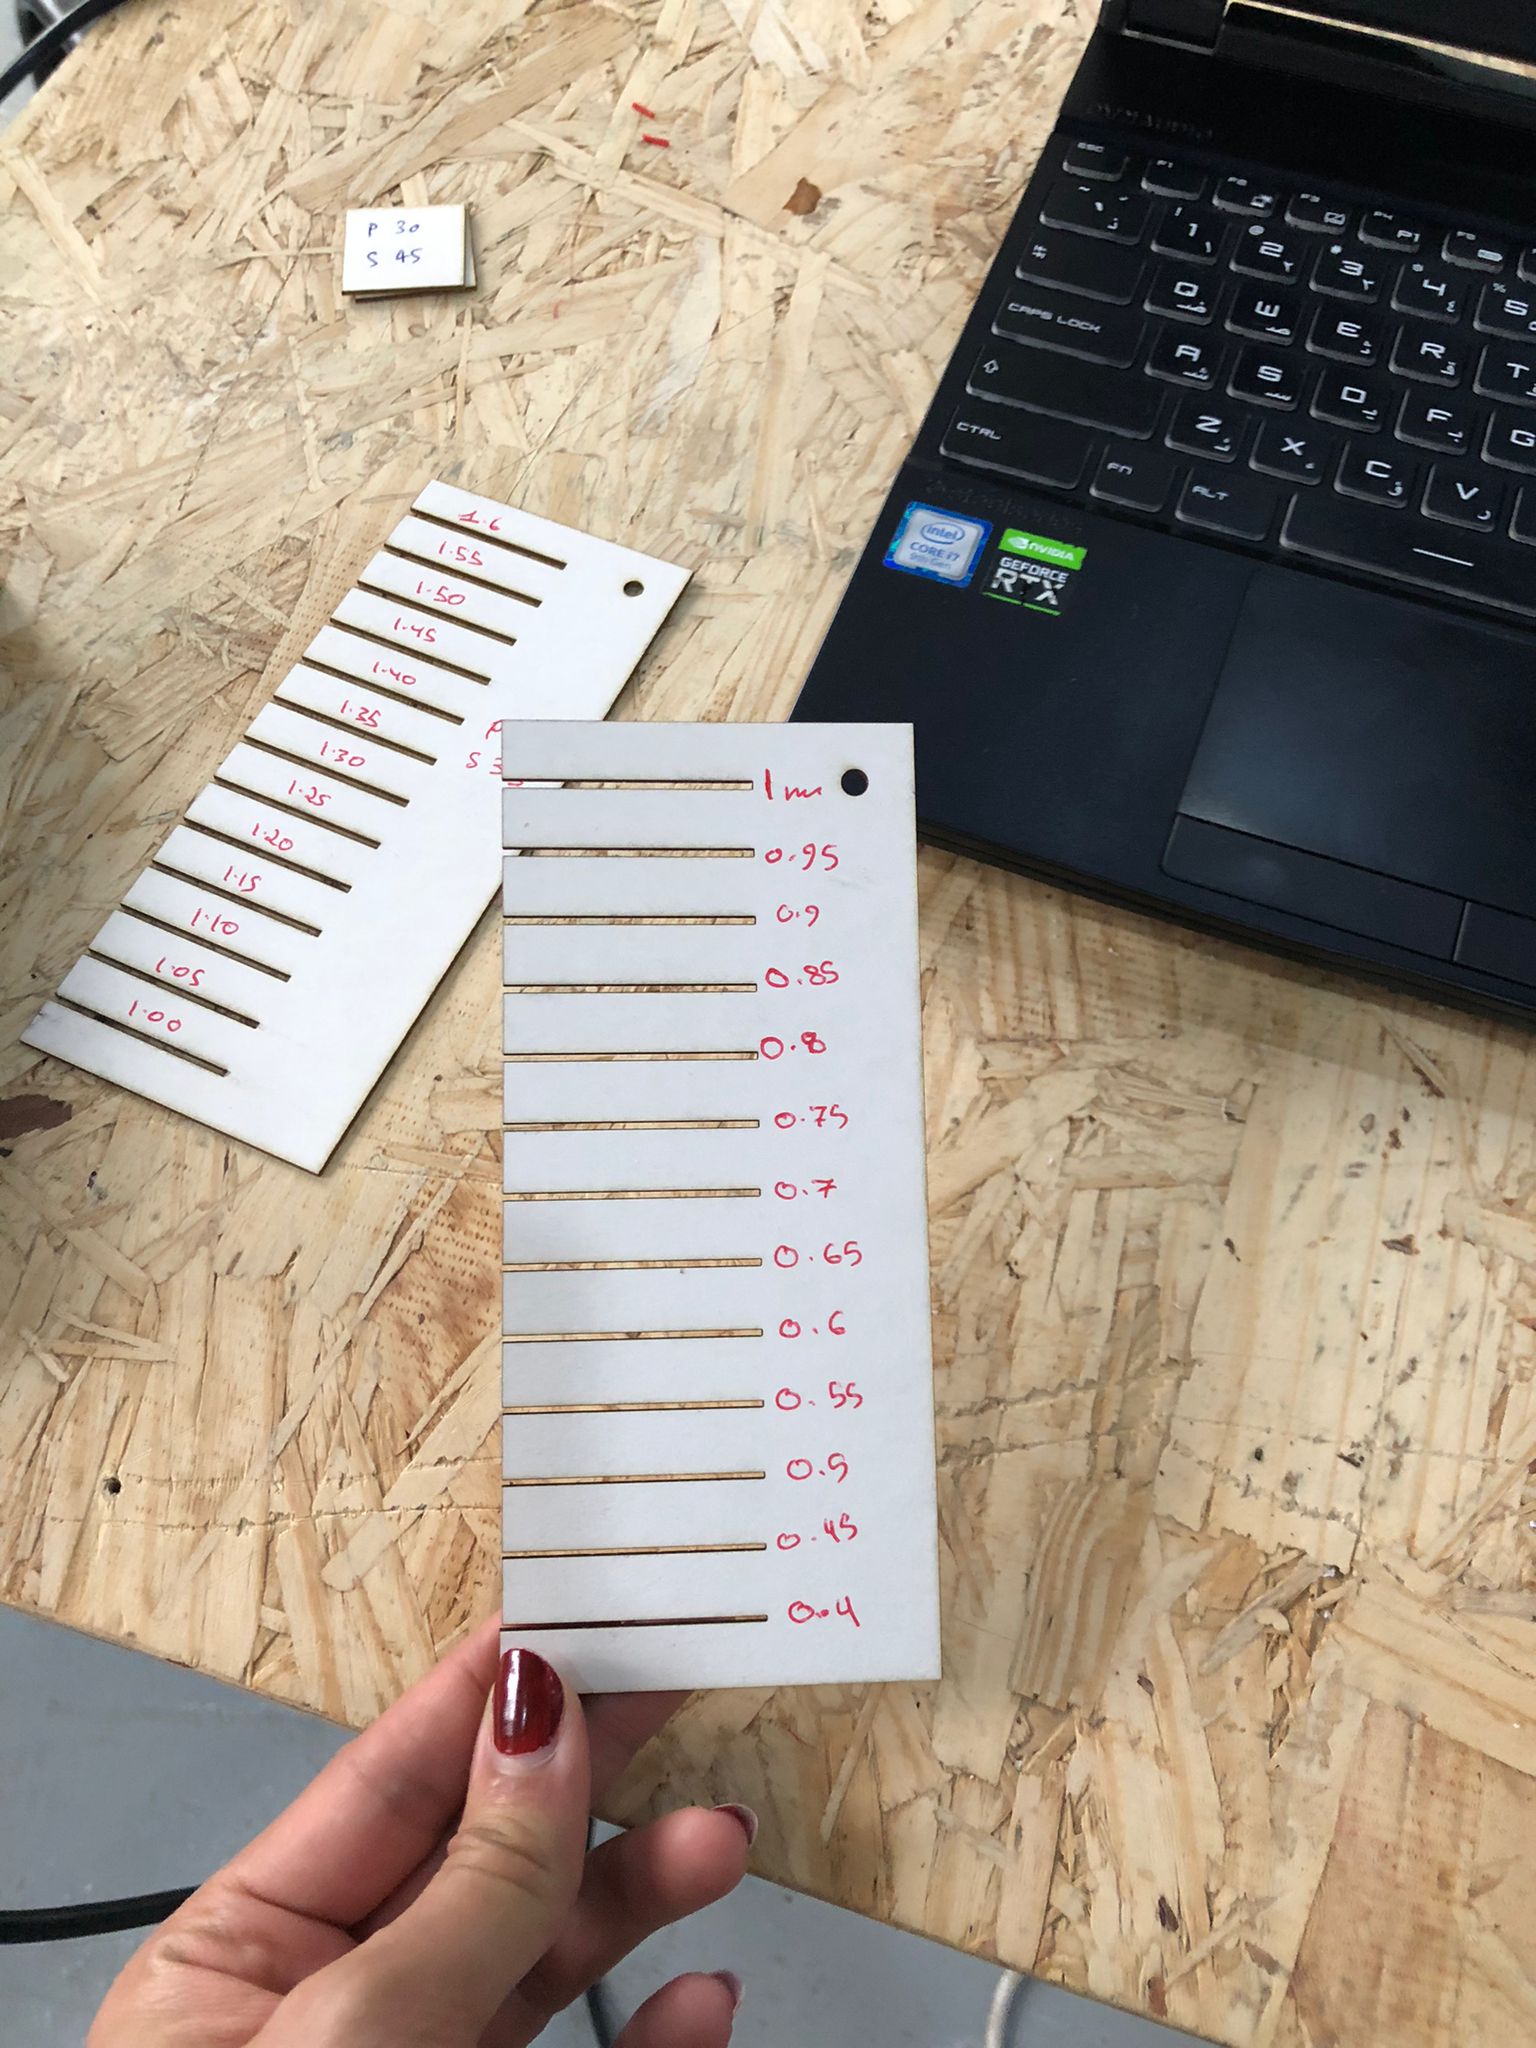
After cutting the design, we’re ready to put it to the test. The goal of this kit is to inspect each joint and determine whether it’s too tight, too loose, or perfect.
finally after multiple tests we found the ideal power , speed and measurement for the joints.
after making the design and the test
- I printed my first design
then I printed more pieces
and this was
my final design

printing video
download the files
dfx file f3d file see you next week