Computer Controlled Cutting: Laser Cutting and Vinyl Cutting

Group Assignment Reflection

Our group assignment this week focused on characterizing our laser cutter and understanding its capabilities. We completed the lab's safety training, emphasizing the importance of safe practices around the laser cutter. The key takeaways from our group work, which is documented here, were:

  • Safety Procedures: We learned the importance of keeping the laser cutter door closed, turning on the air pump to avoid inhaling fumes, using safe materials, maintaining a safe distance, and never leaving the machine unattended. Having a fire extinguisher nearby is also essential.
  • Focus Calibration: We performed a focus test to determine the optimal distance between the laser head and the material for the clearest cuts. We found that a distance of 12.2mm worked best for our cardboard.
  • Power and Speed Settings: Through experimentation, we determined the optimal power and speed settings for cutting cardboard (Power 35, Speed 20). We also noted that acrylic requires different settings (likely multiple passes) due to its different material properties.
  • Kerf and Joint Clearance: We conducted a kerf test to determine the width of the laser cut and the necessary joint clearance for a press-fit assembly. We found a kerf of 0.39mm and a best-fit joint thickness of 1.22mm for our 2mm thick cardboard.

This group work provided a solid foundation for understanding the laser cutter's capabilities and limitations, which was invaluable for my individual assignment.

Laser Cutter Specifications

The laser cutter used was a Thunder Laser Machine. Here's a breakdown of its key components:

Laser Cutting Machine
Item Quantity Purpose
Motion Controller & Panel 1 Controls the movement of the laser cutting machine.
Electrical Control Board 1 Manages power distribution and machine operations.
Stepper Motor and Drivers 2 Drives the motion of the laser head and work table.
Focus Lens & Mirrors 1 set Focuses the laser beam for cutting and engraving.
XY Linear Guide Rail 2 Ensures smooth and accurate movement of the laser head.
Laser Tube 1 Generates the laser beam used for cutting.
Water Chiller 1 Maintains the temperature of the laser tube.
Air Compressor 1 Blows away smoke and debris during cutting.

Laser Cutting: A Parametric Construction Kit

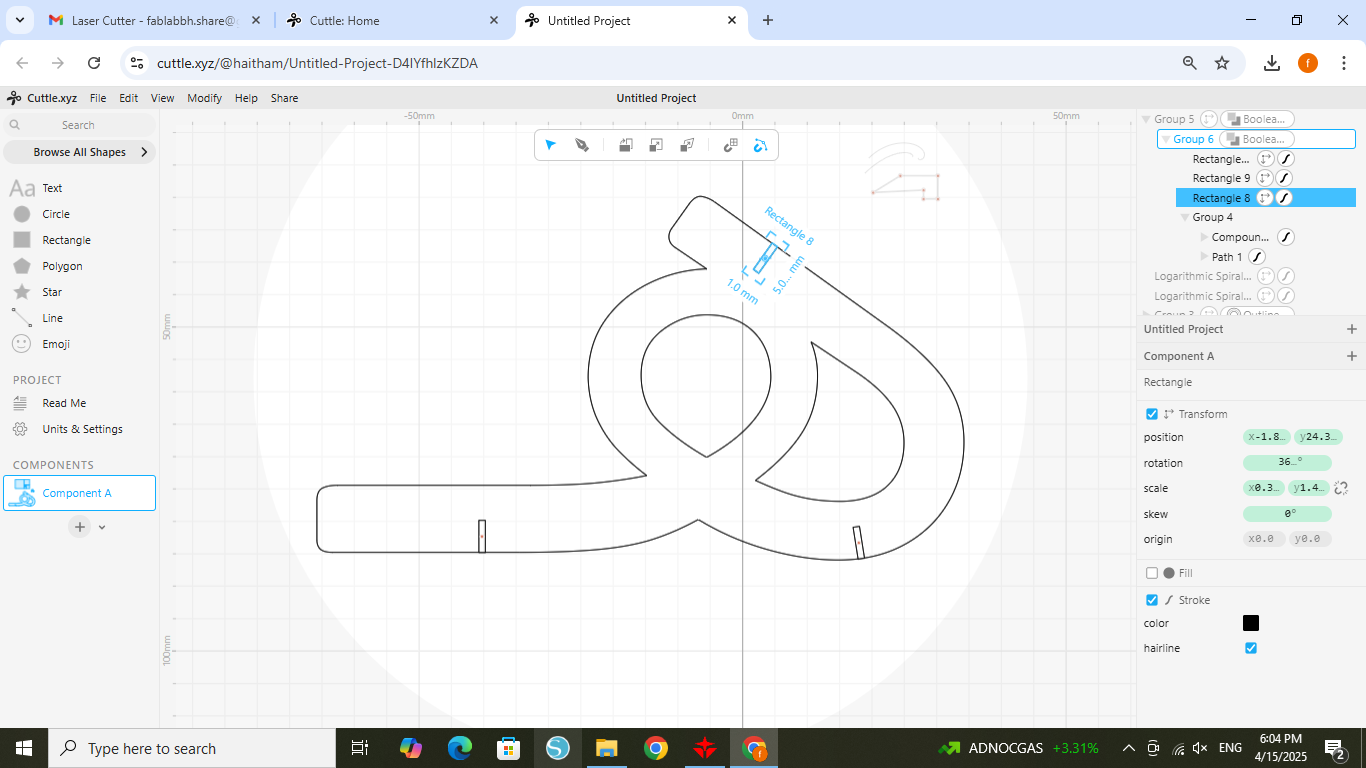
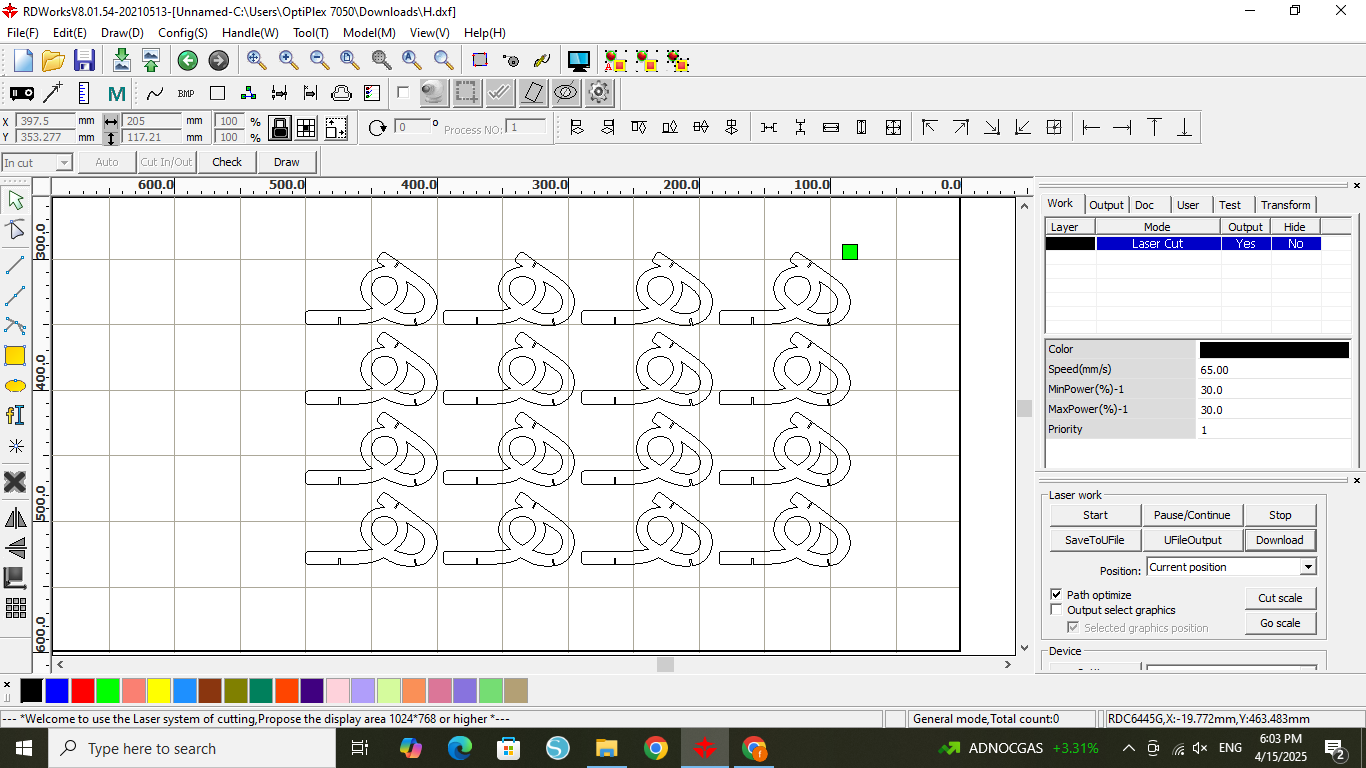
This week's assignment was to design, laser cut, and document a parametric construction kit. The kit needed to account for the laser cutter kerf (the width of the cut made by the laser) and be assemblable in multiple ways. I decided to create a kit of interlocking pieces based on a simple repeating design. This allowed me to explore parametric design principles and test the precision of the laser cutter.

I designed the kit using [Cuttle.xyz]. I chose this software because of its intuitive interface and its ability to easily create parametric designs. Here's how I approached the design:

  1. Initial Design: I started with a simple shape – a modified Arabic letter "هـ" – that I knew would be strong and could easily be repeated and interlocked. I carefully designed the joints, making sure to account for the kerf of the laser cutter. This is crucial, as the kerf adds to the overall dimensions of the cut, and if not accounted for, the pieces won't fit together correctly.
  2. Parametric Design: I used Cuttle.xyz's parametric features to create a design that could be easily adjusted. This allowed me to quickly create multiple variations of the design with different sizes and numbers of pieces. I could change a single parameter (e.g., the size of the shape) and the entire design would update automatically.
  3. Joint Testing: I created a small test batch of pieces to check the fit of the joints. This allowed me to fine-tune the design and ensure that the pieces would interlock perfectly. I found that a joint size of 1mm worked well with the 3mm cardboard I was using, accounting for the kerf.
  4. Final Design: Once I was satisfied with the joint fit, I created the final design for the construction kit, generating the necessary number of pieces for the desired complexity.

Here are some images showing the design process and the final result:

Parametric Design in Cuttle.xyz RDWorks Settings Laser Cutting in Progress Finished Construction Kit

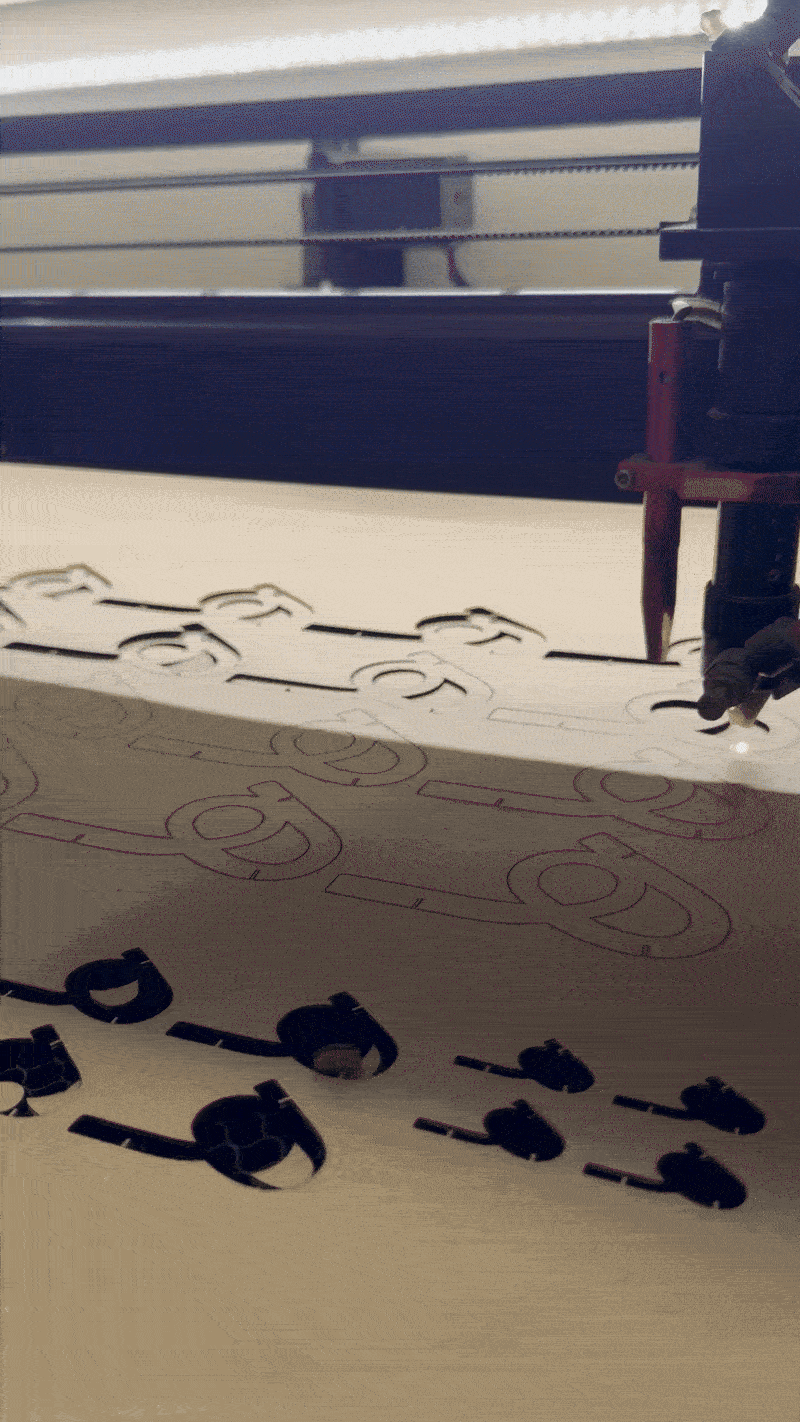
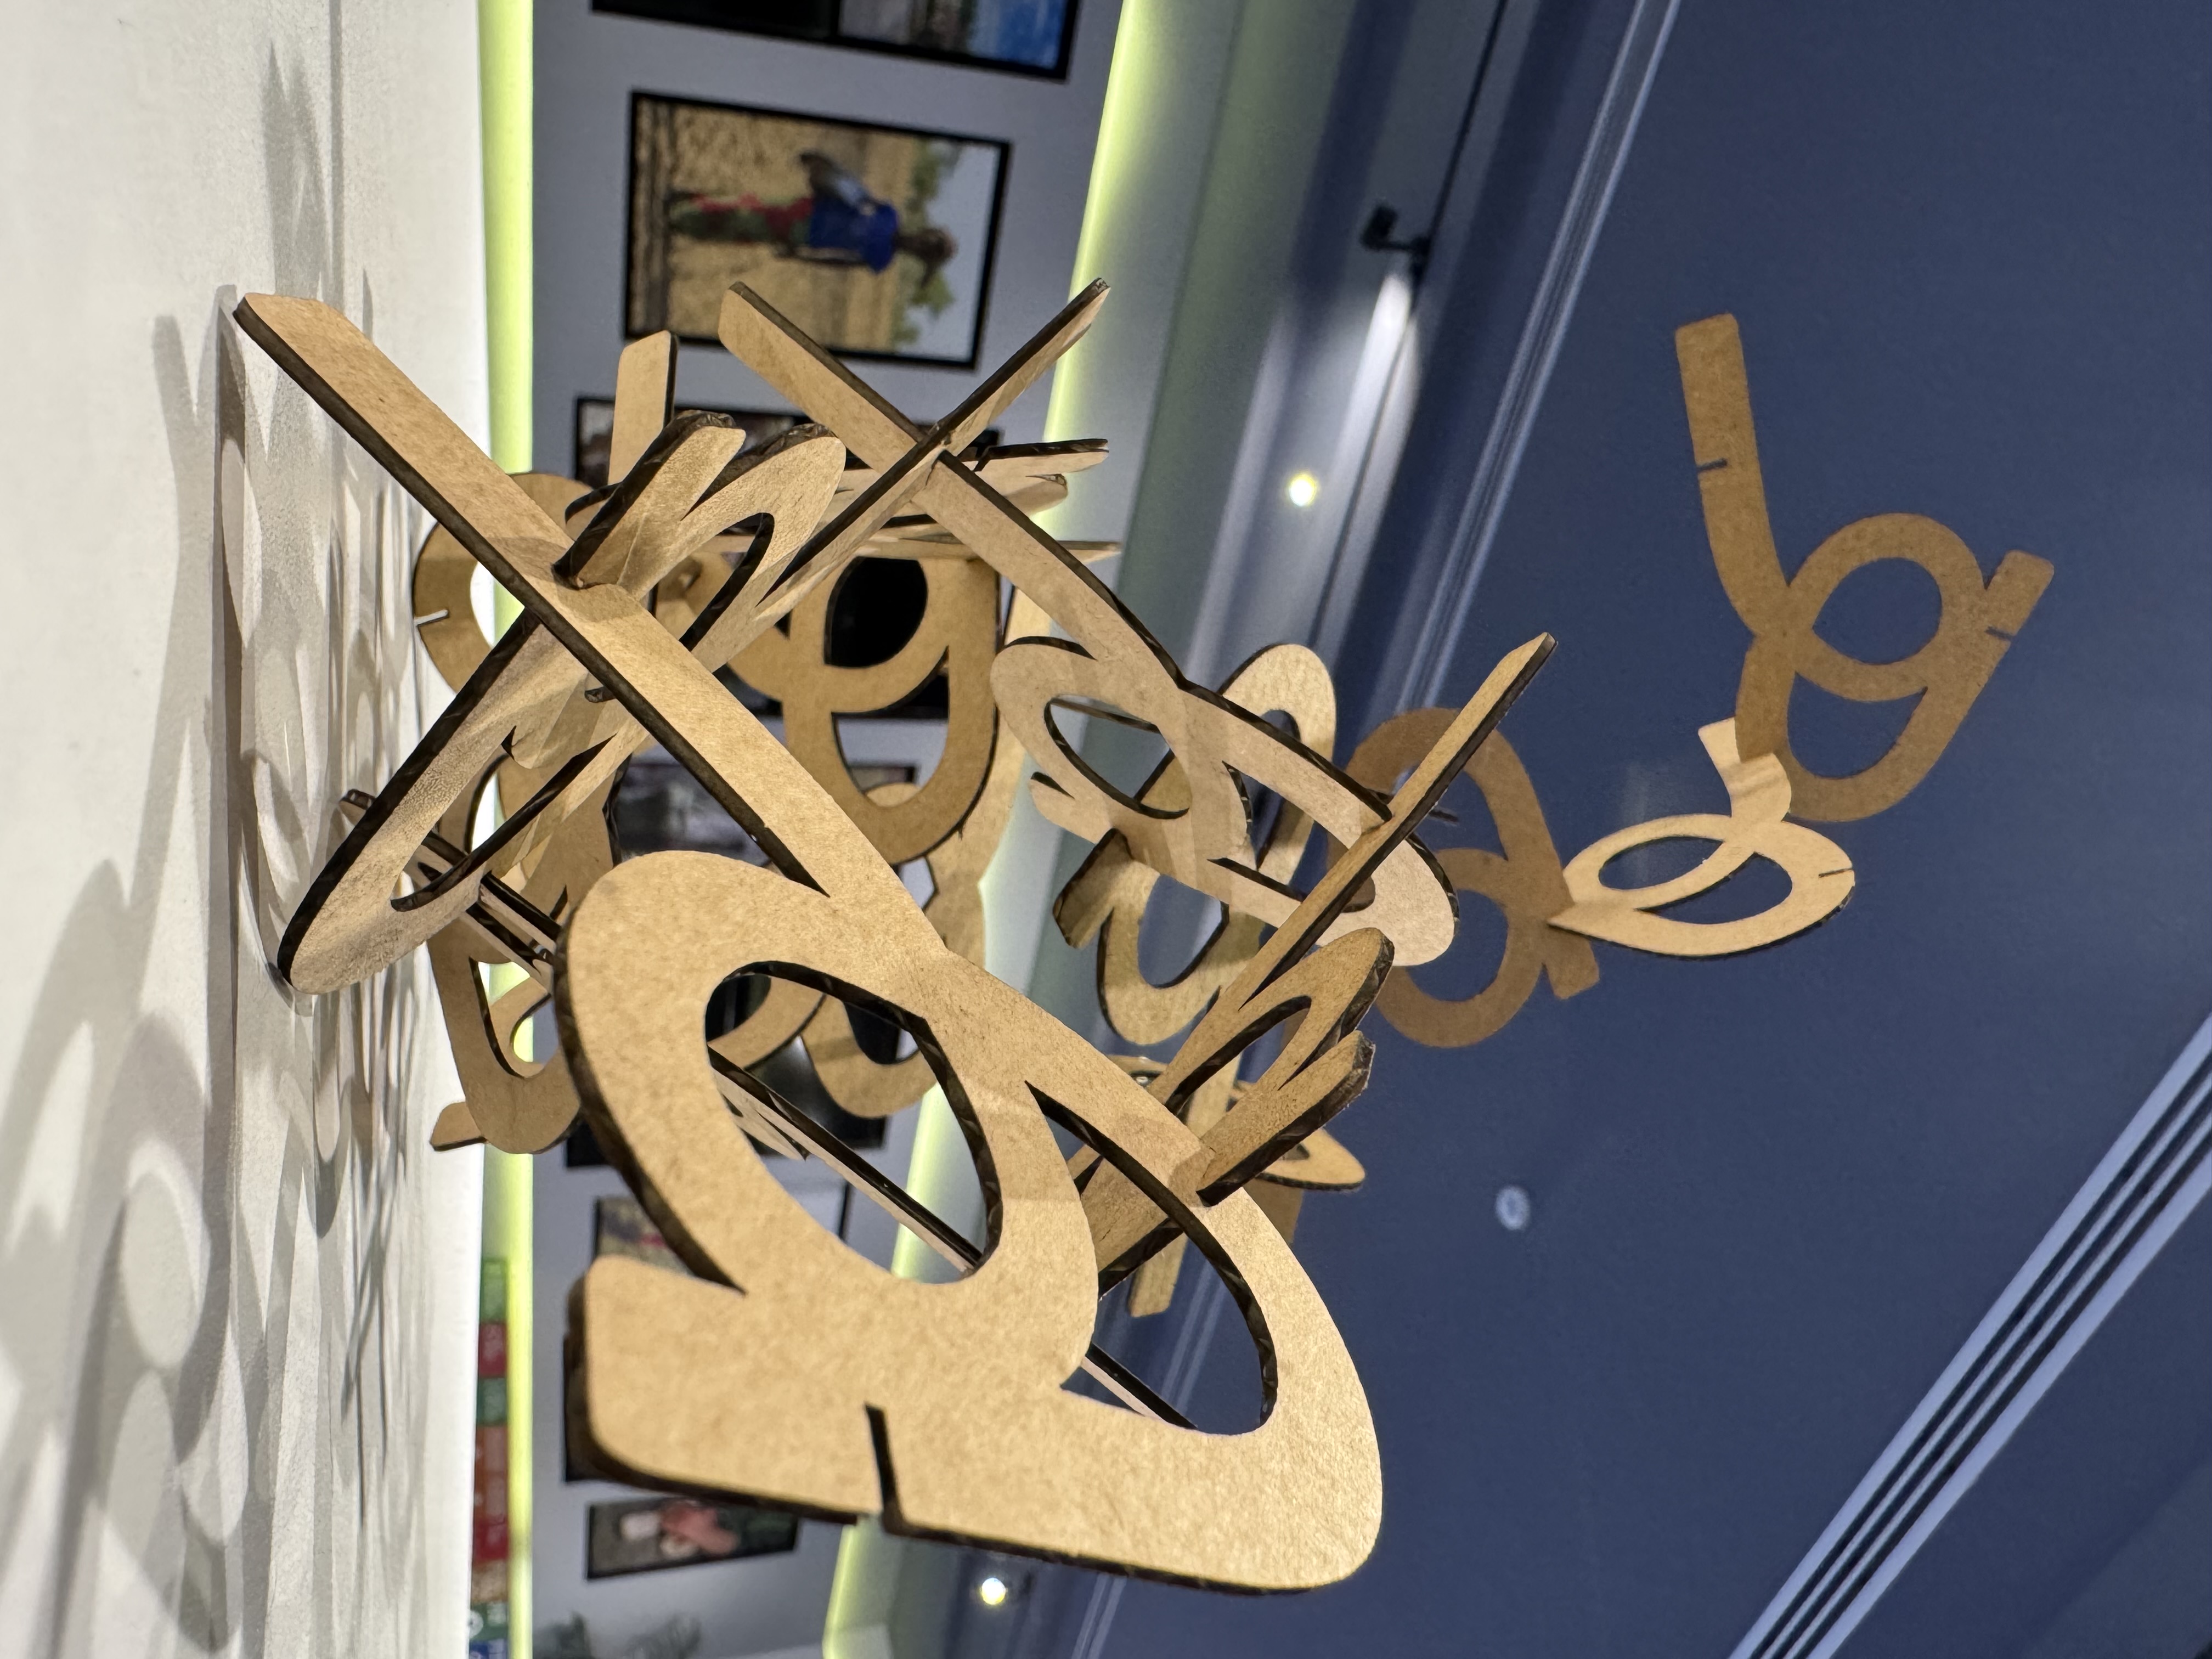
The final result showcases a three-dimensional design made from cardboard. The overlapping elements create an interesting visual effect, emphasizing movement and connection. The 1mm joints provide stability while keeping the design lightweight. This piece combines traditional Arabic script with a modern look, inviting viewers to appreciate its form from different angles. Overall, it effectively blends art and functionality.

Vinyl Cutting: A Simple Design

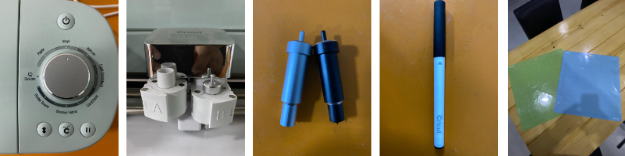
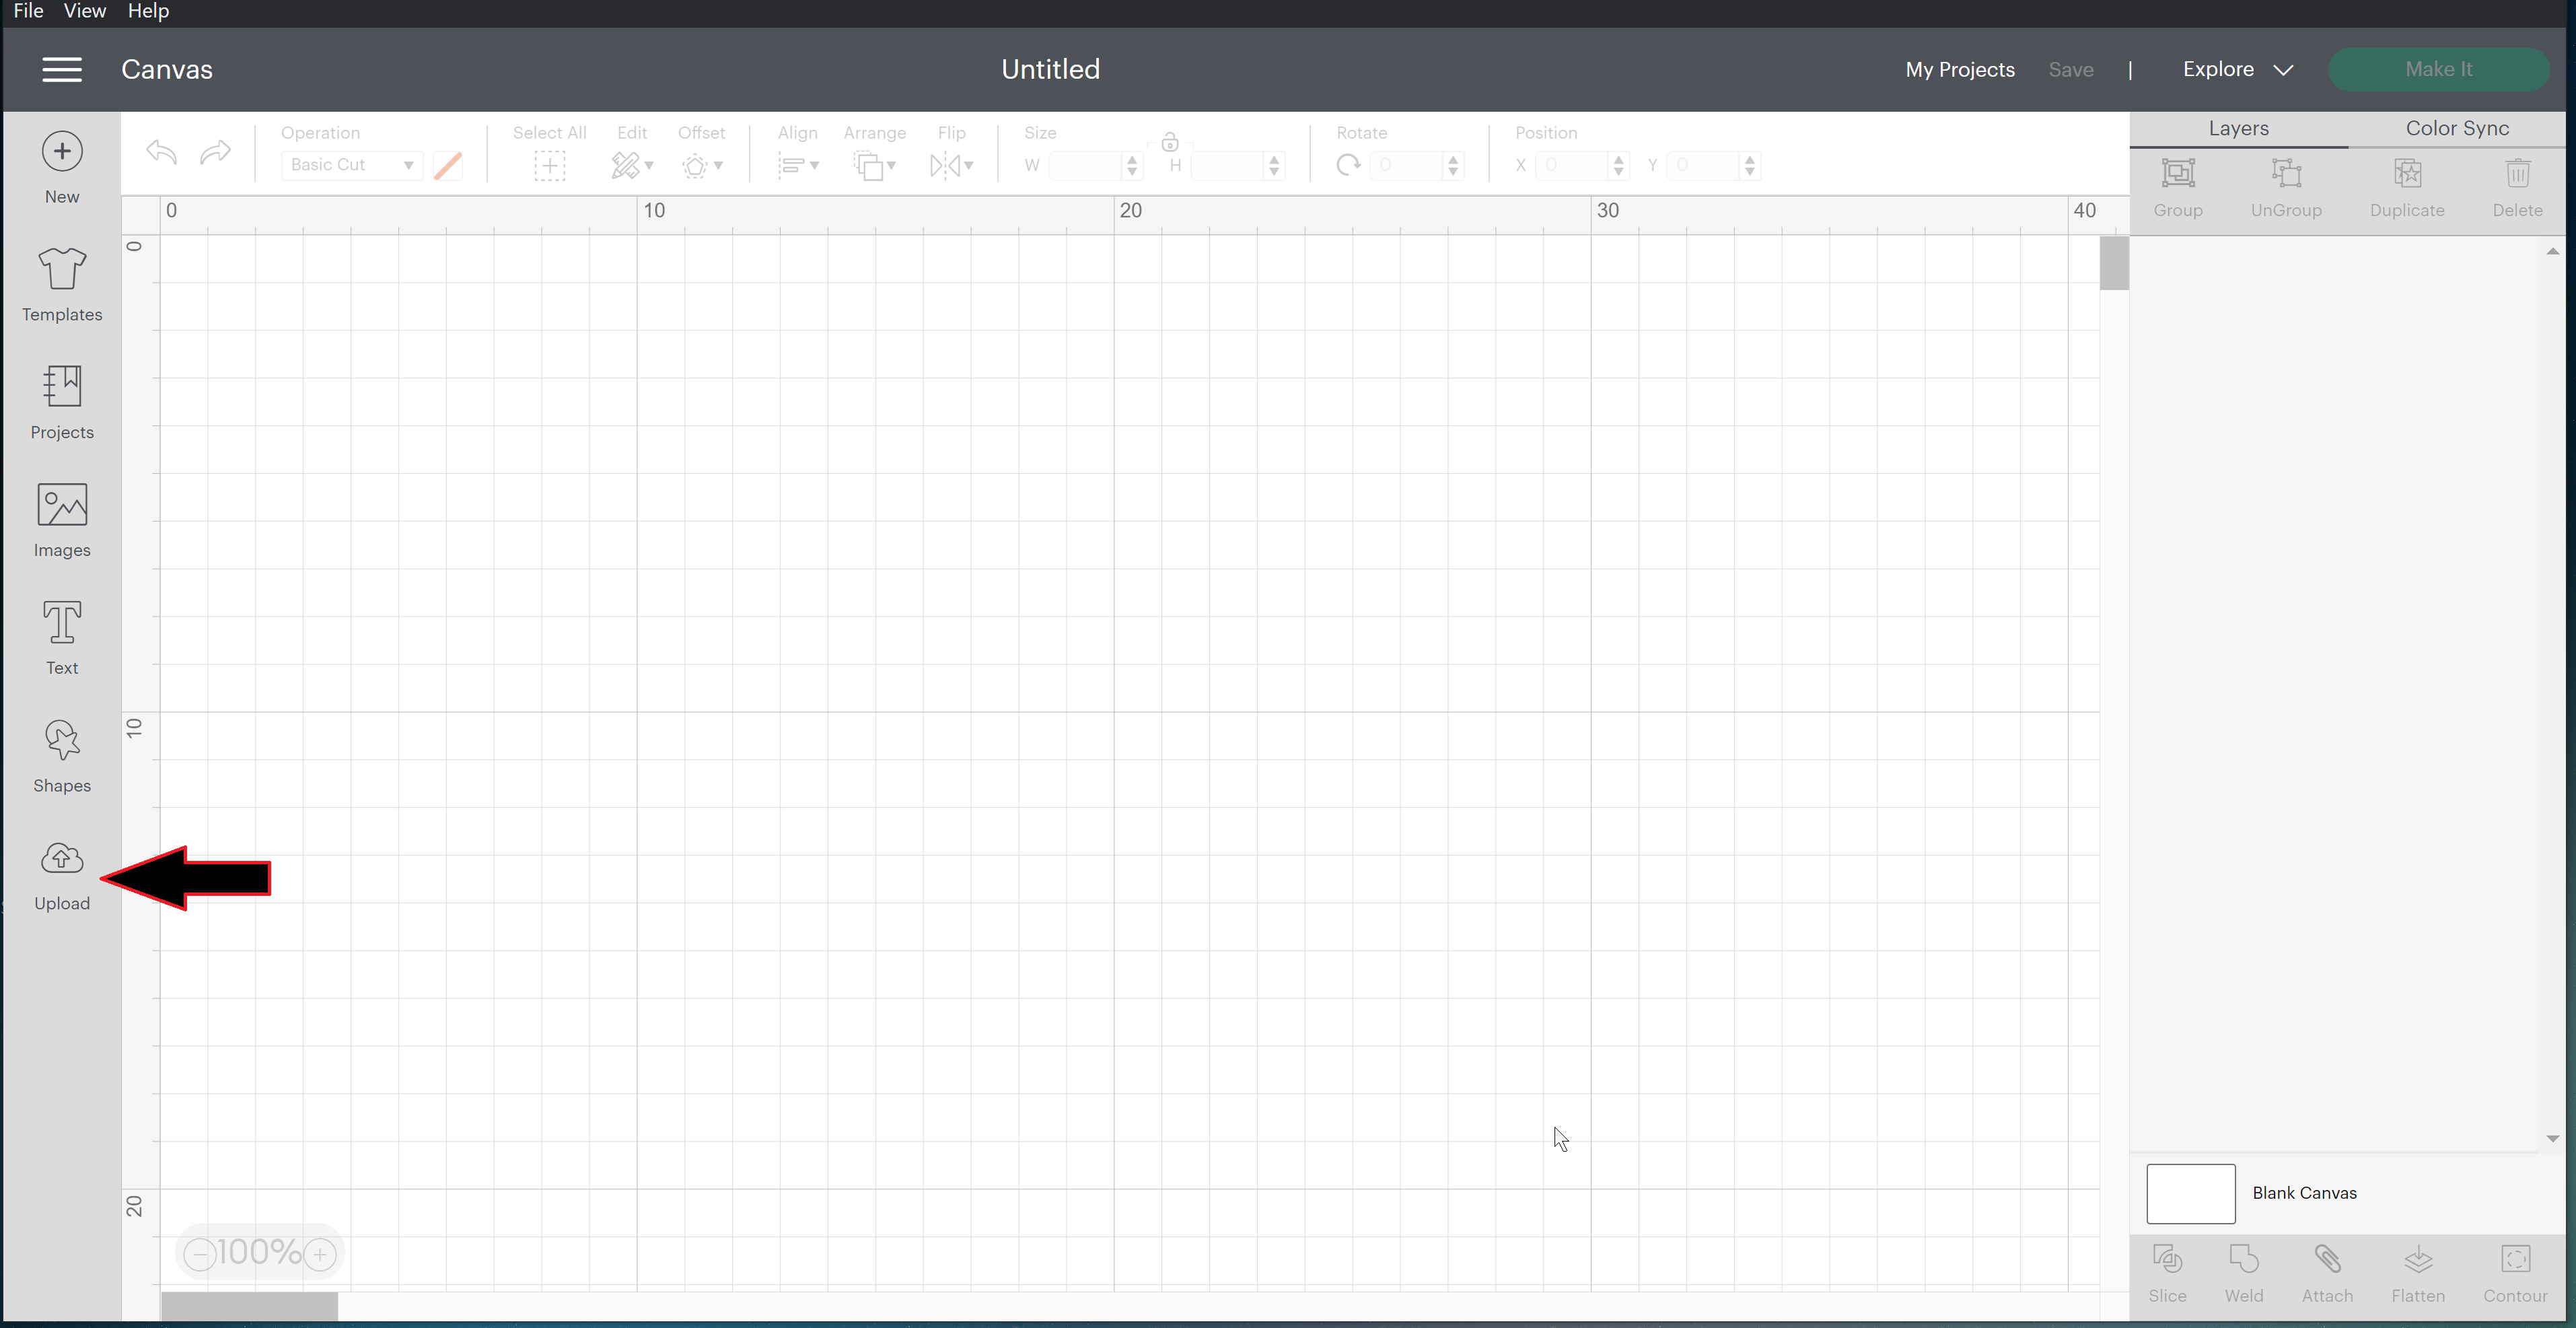
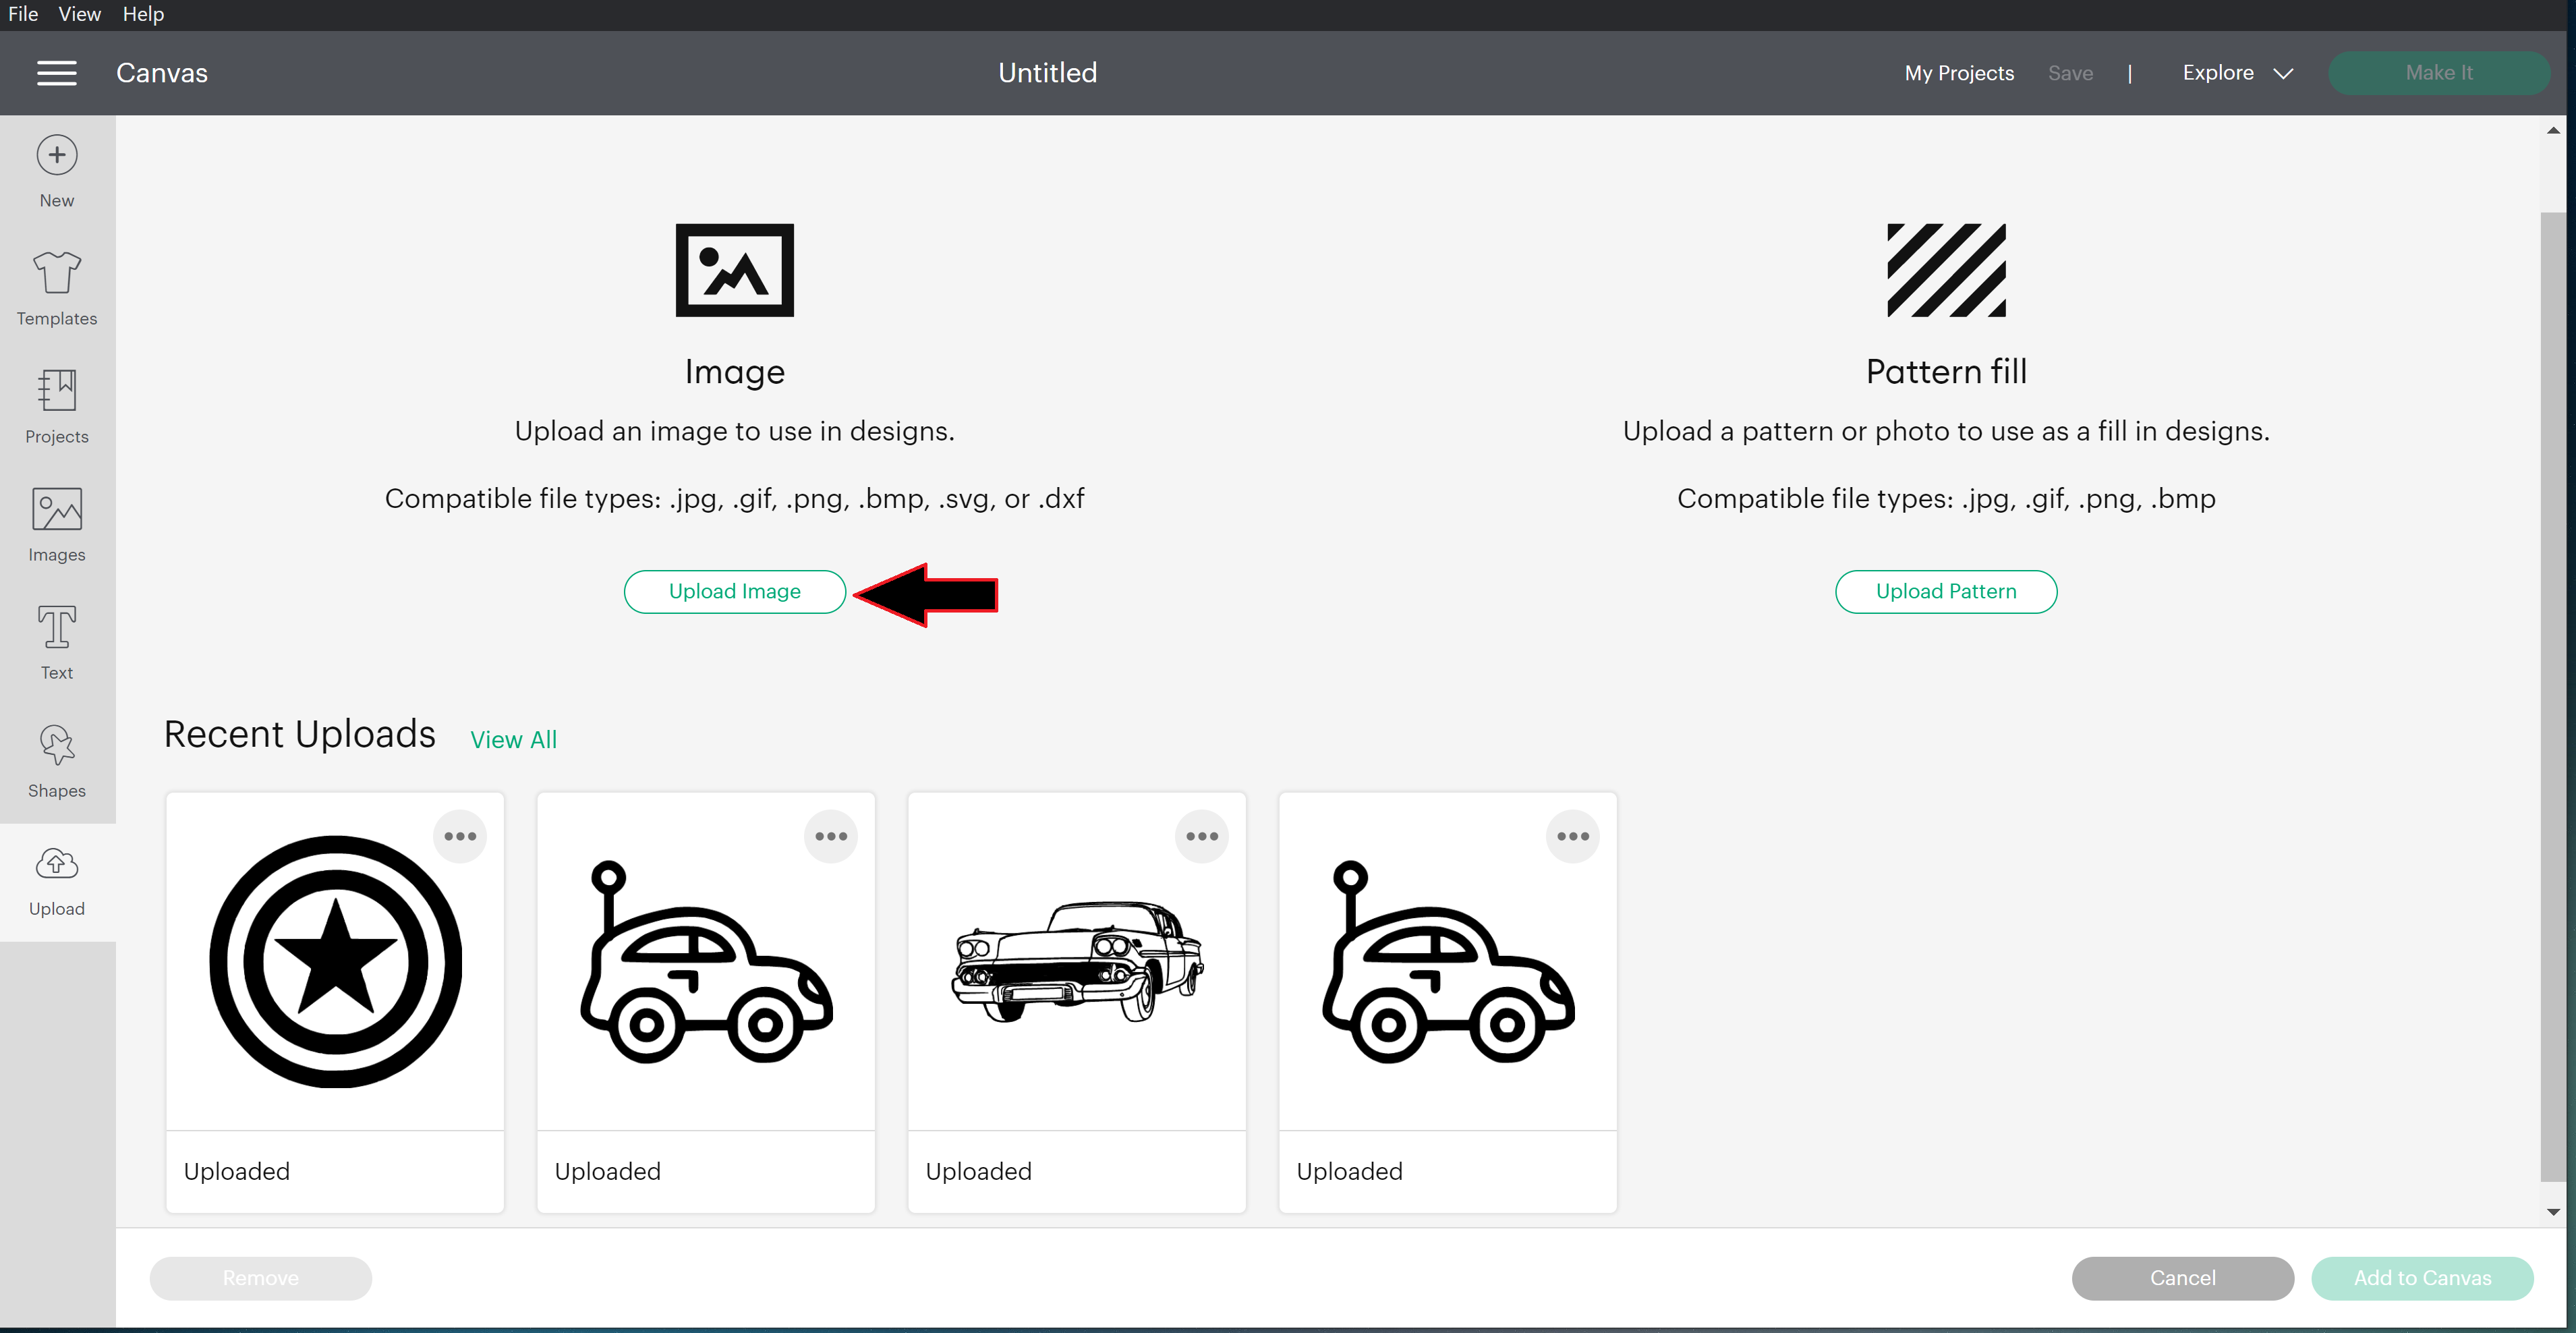
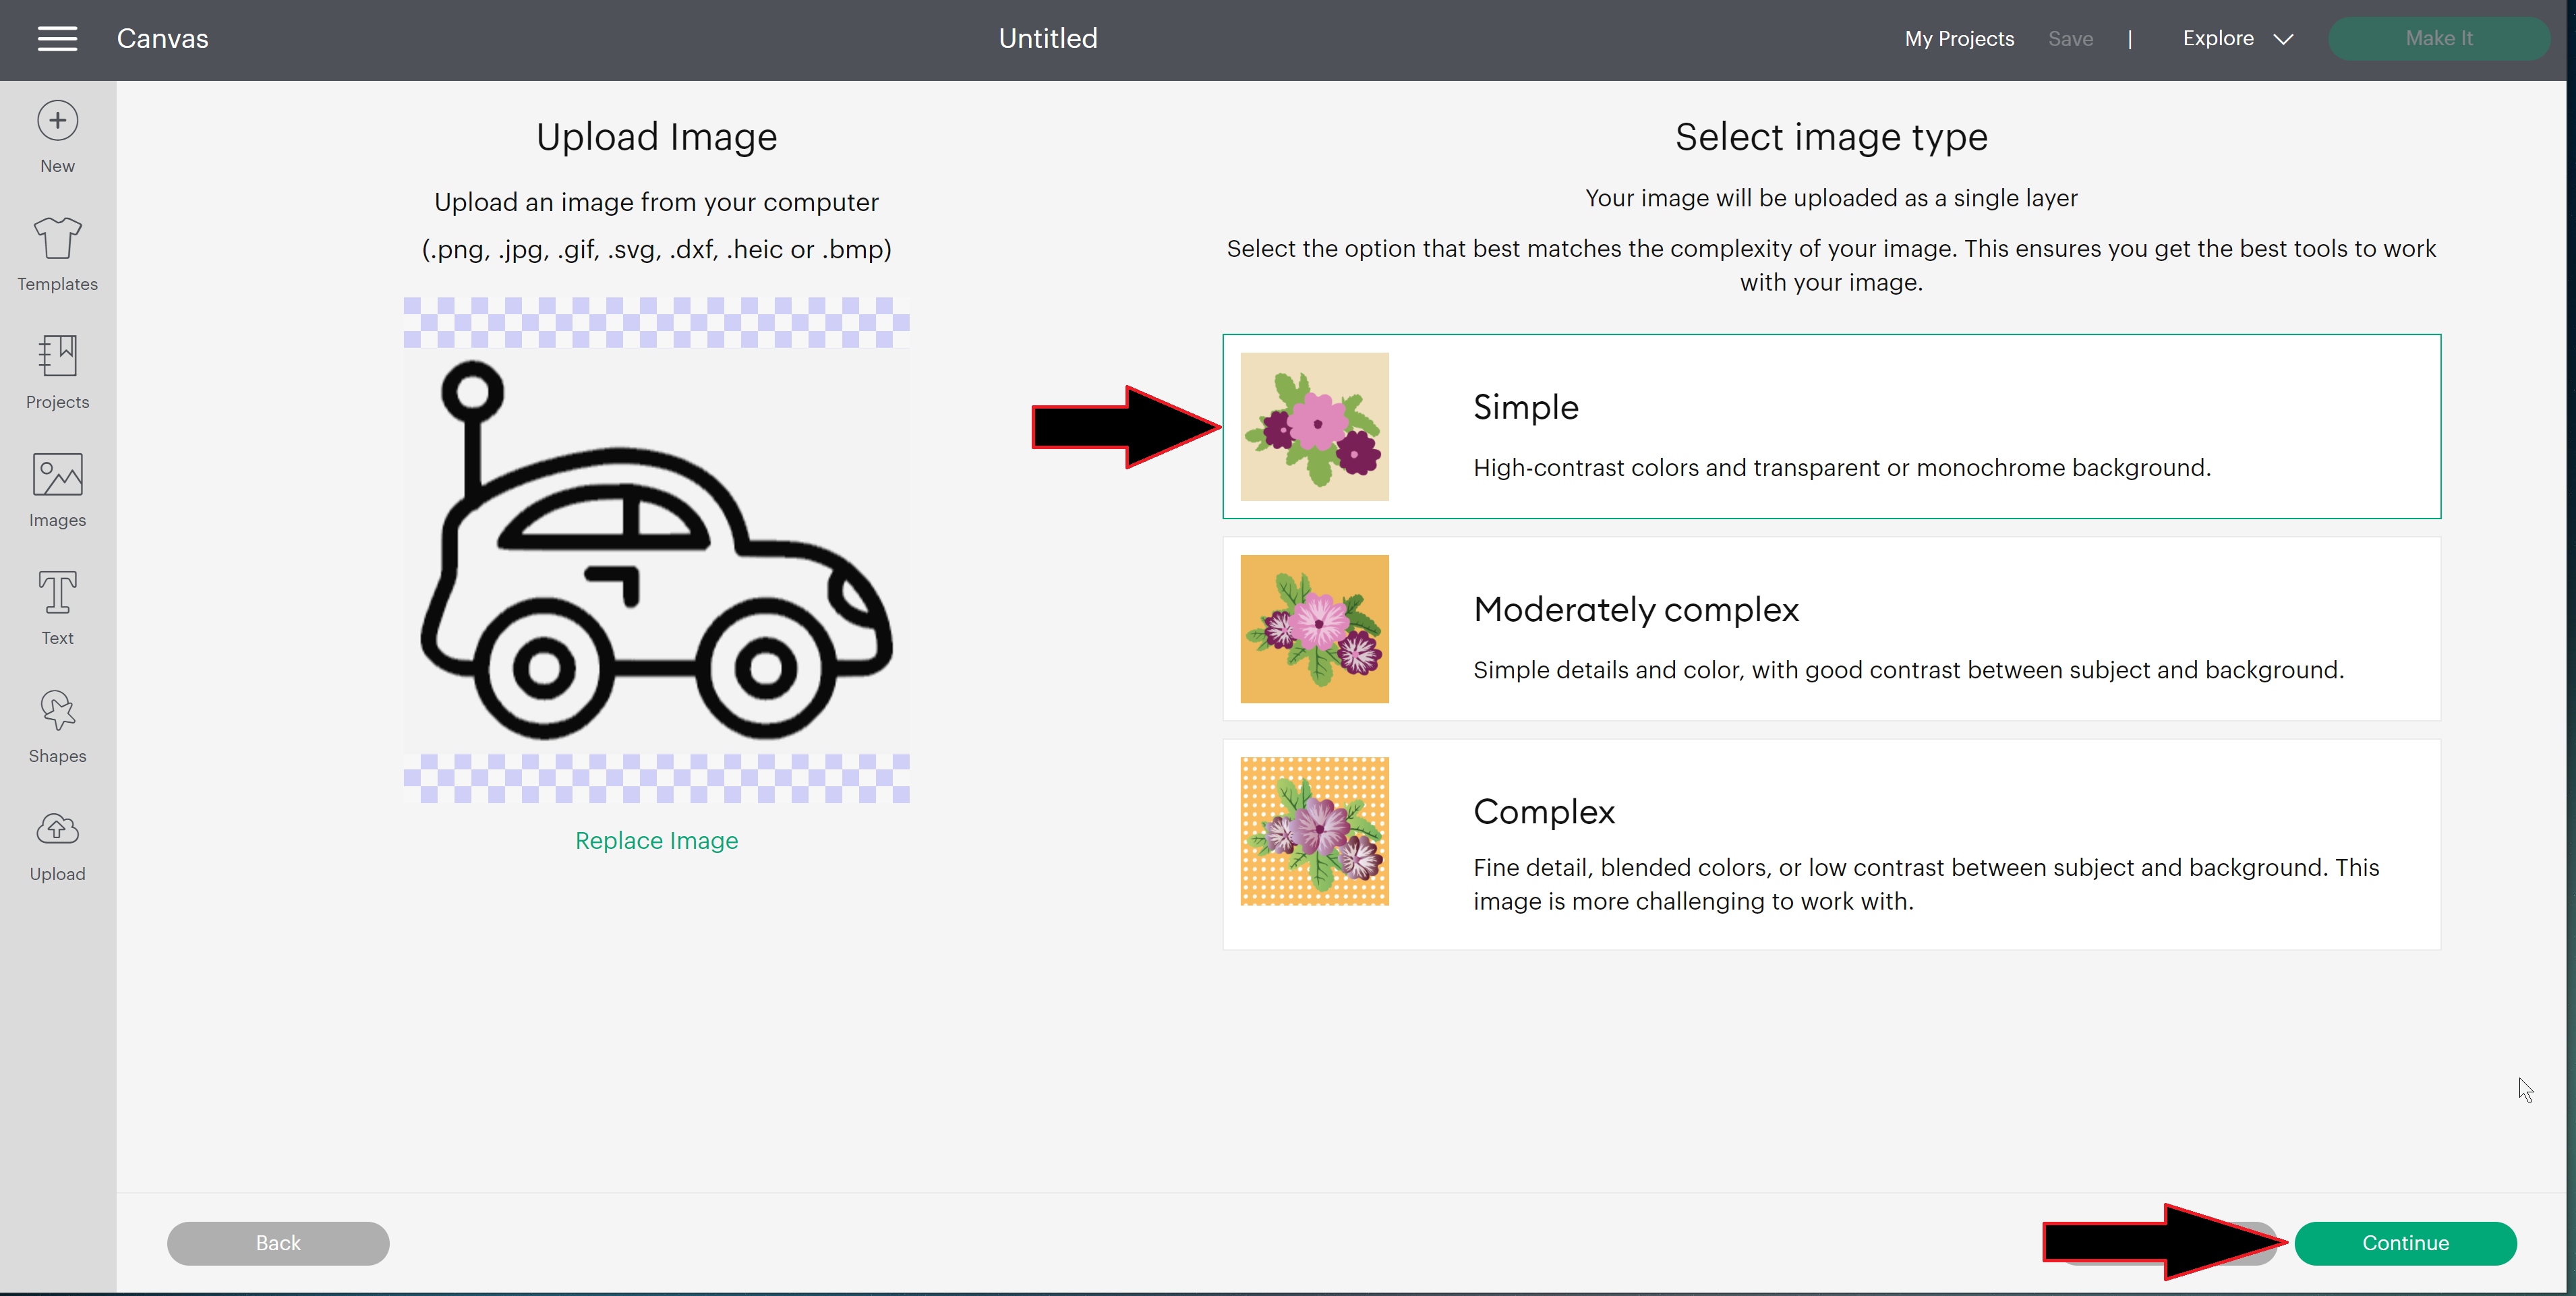
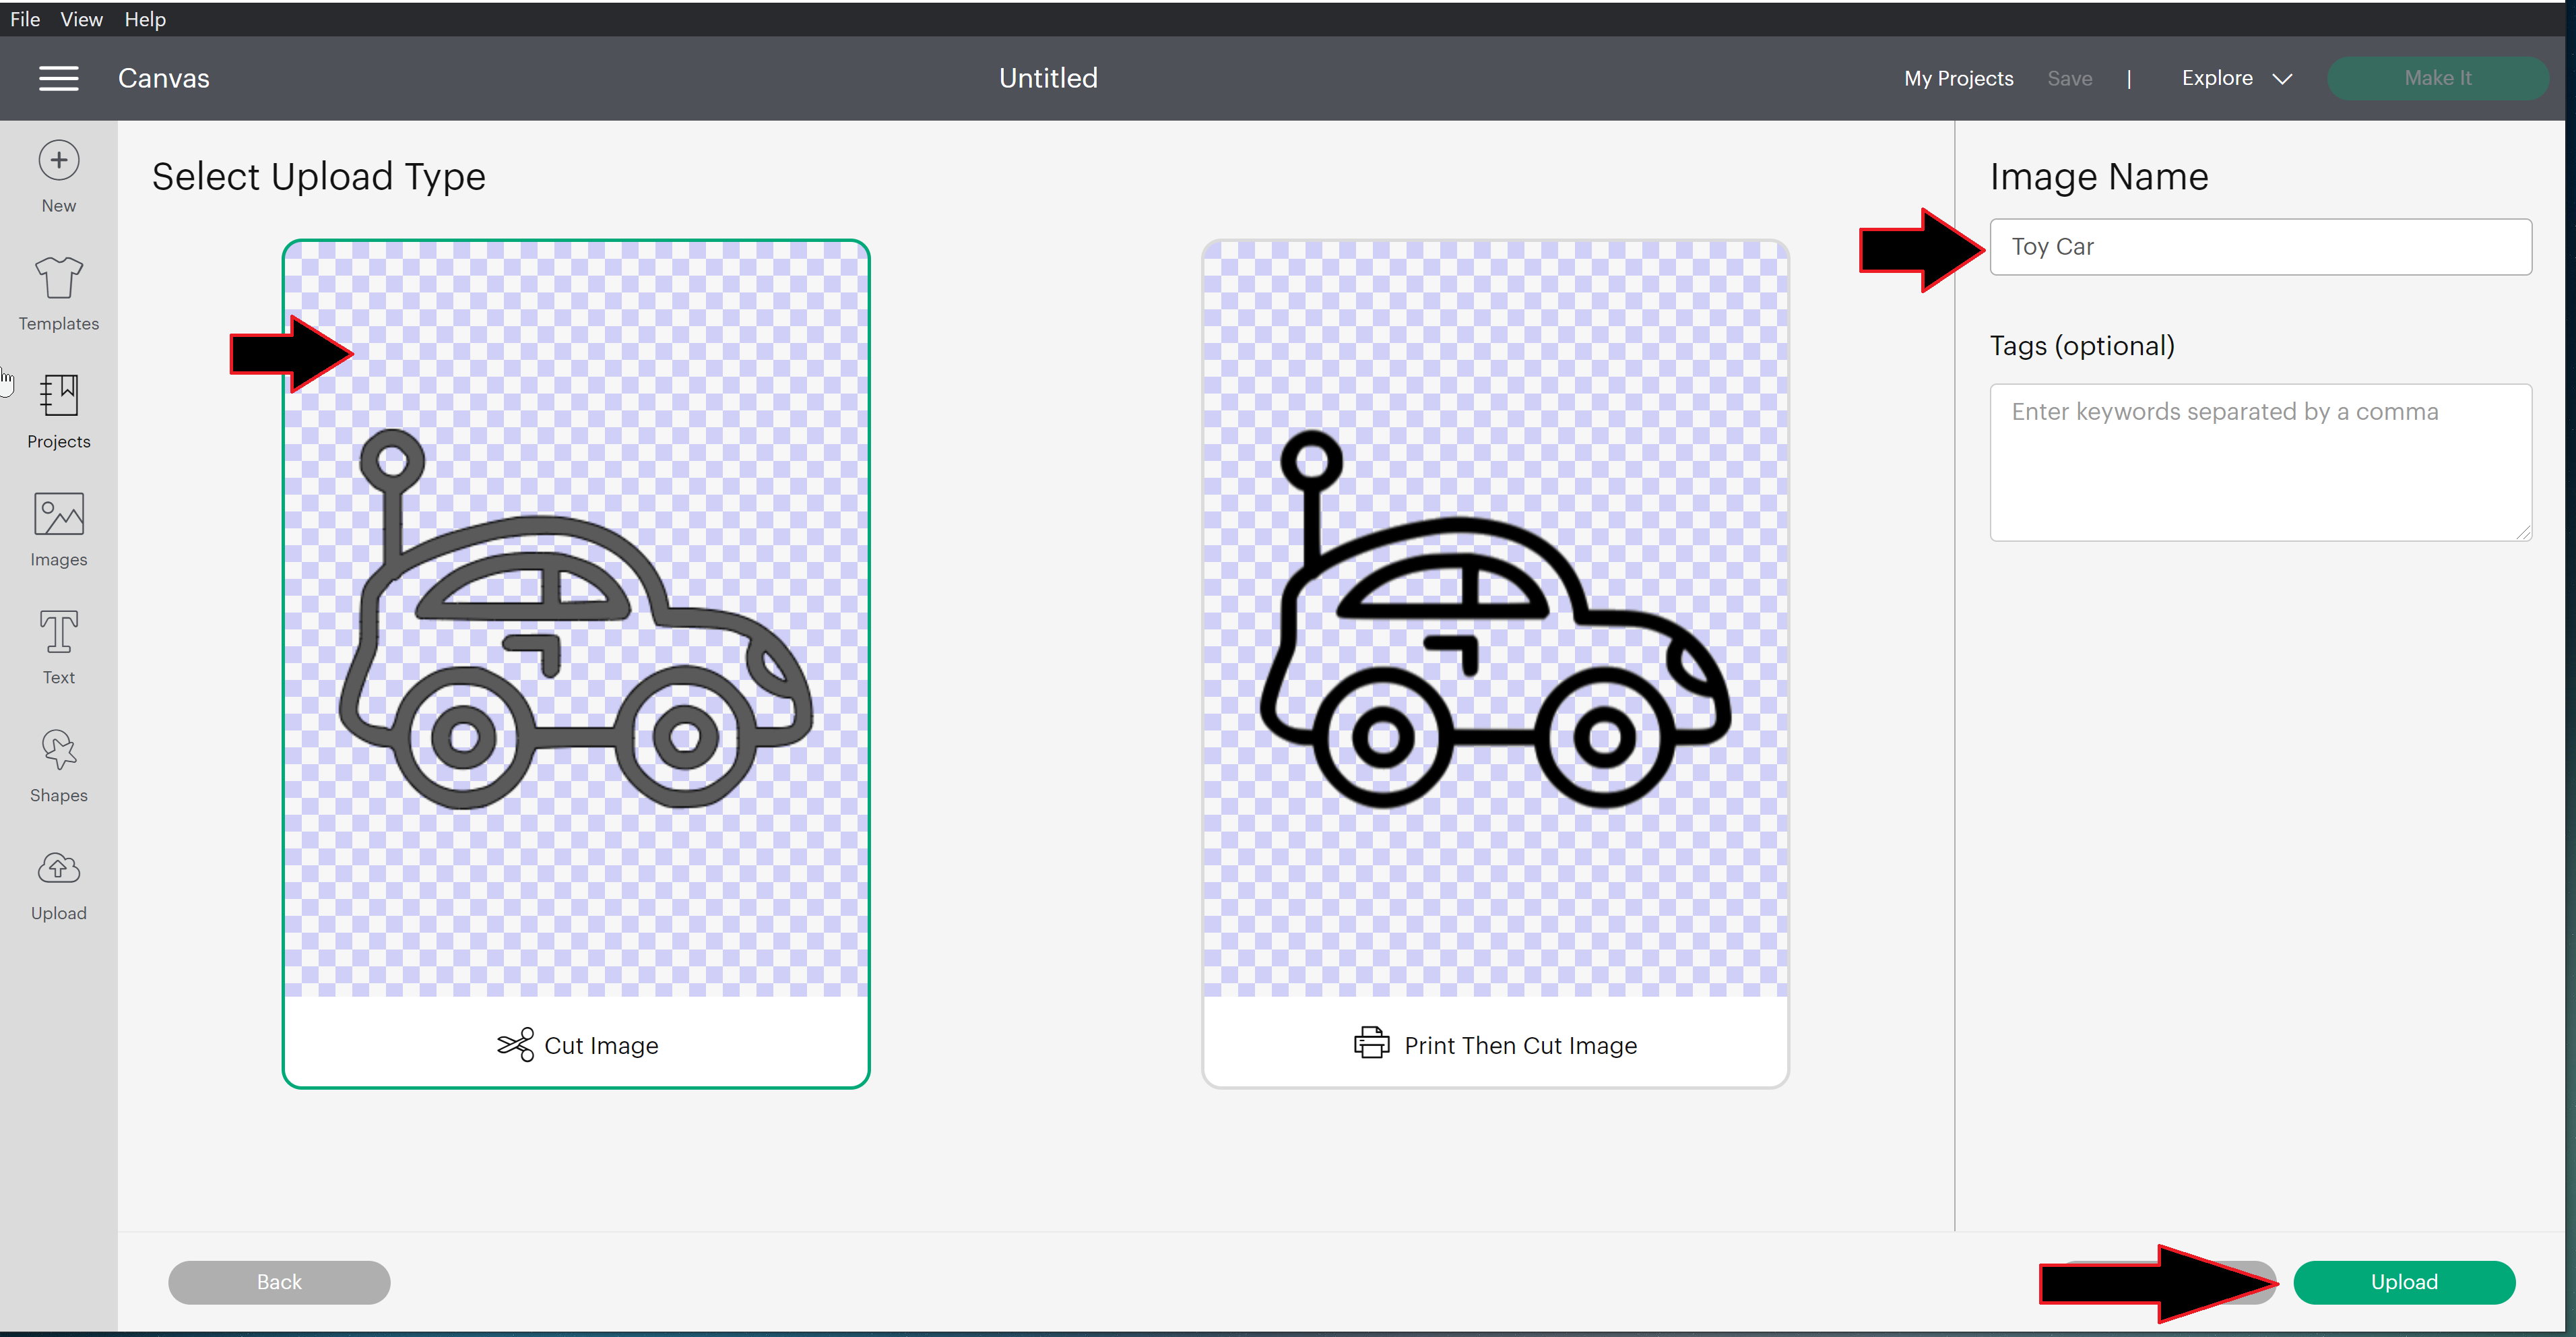
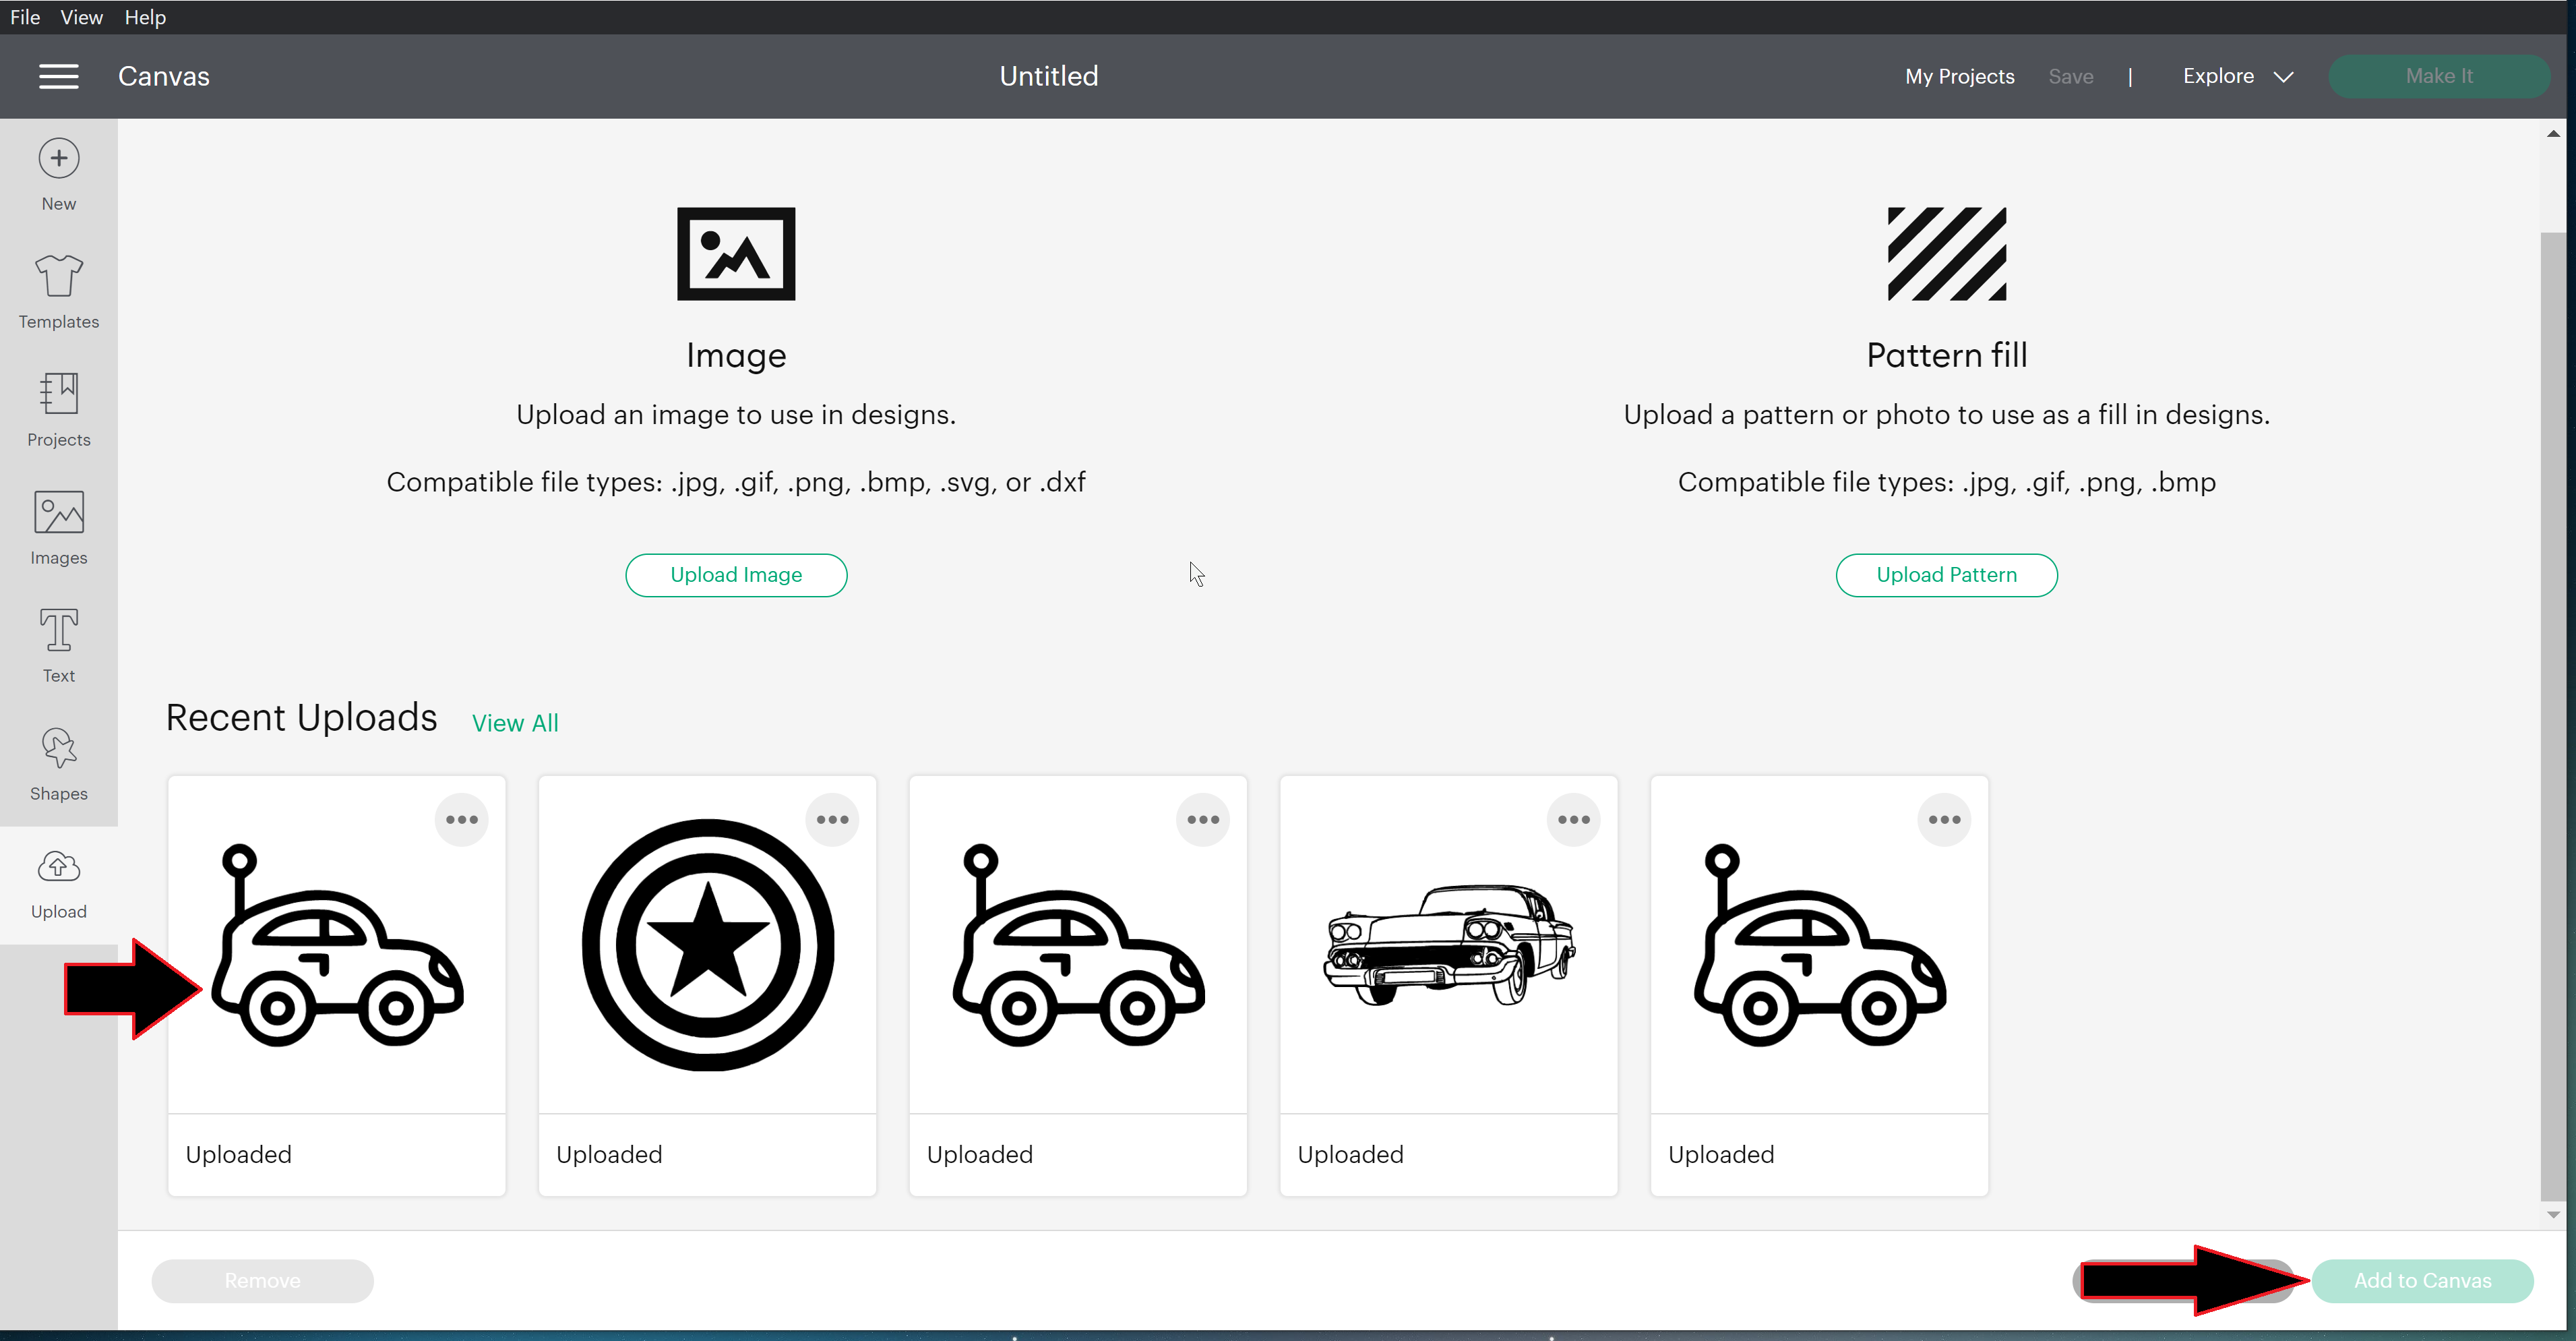
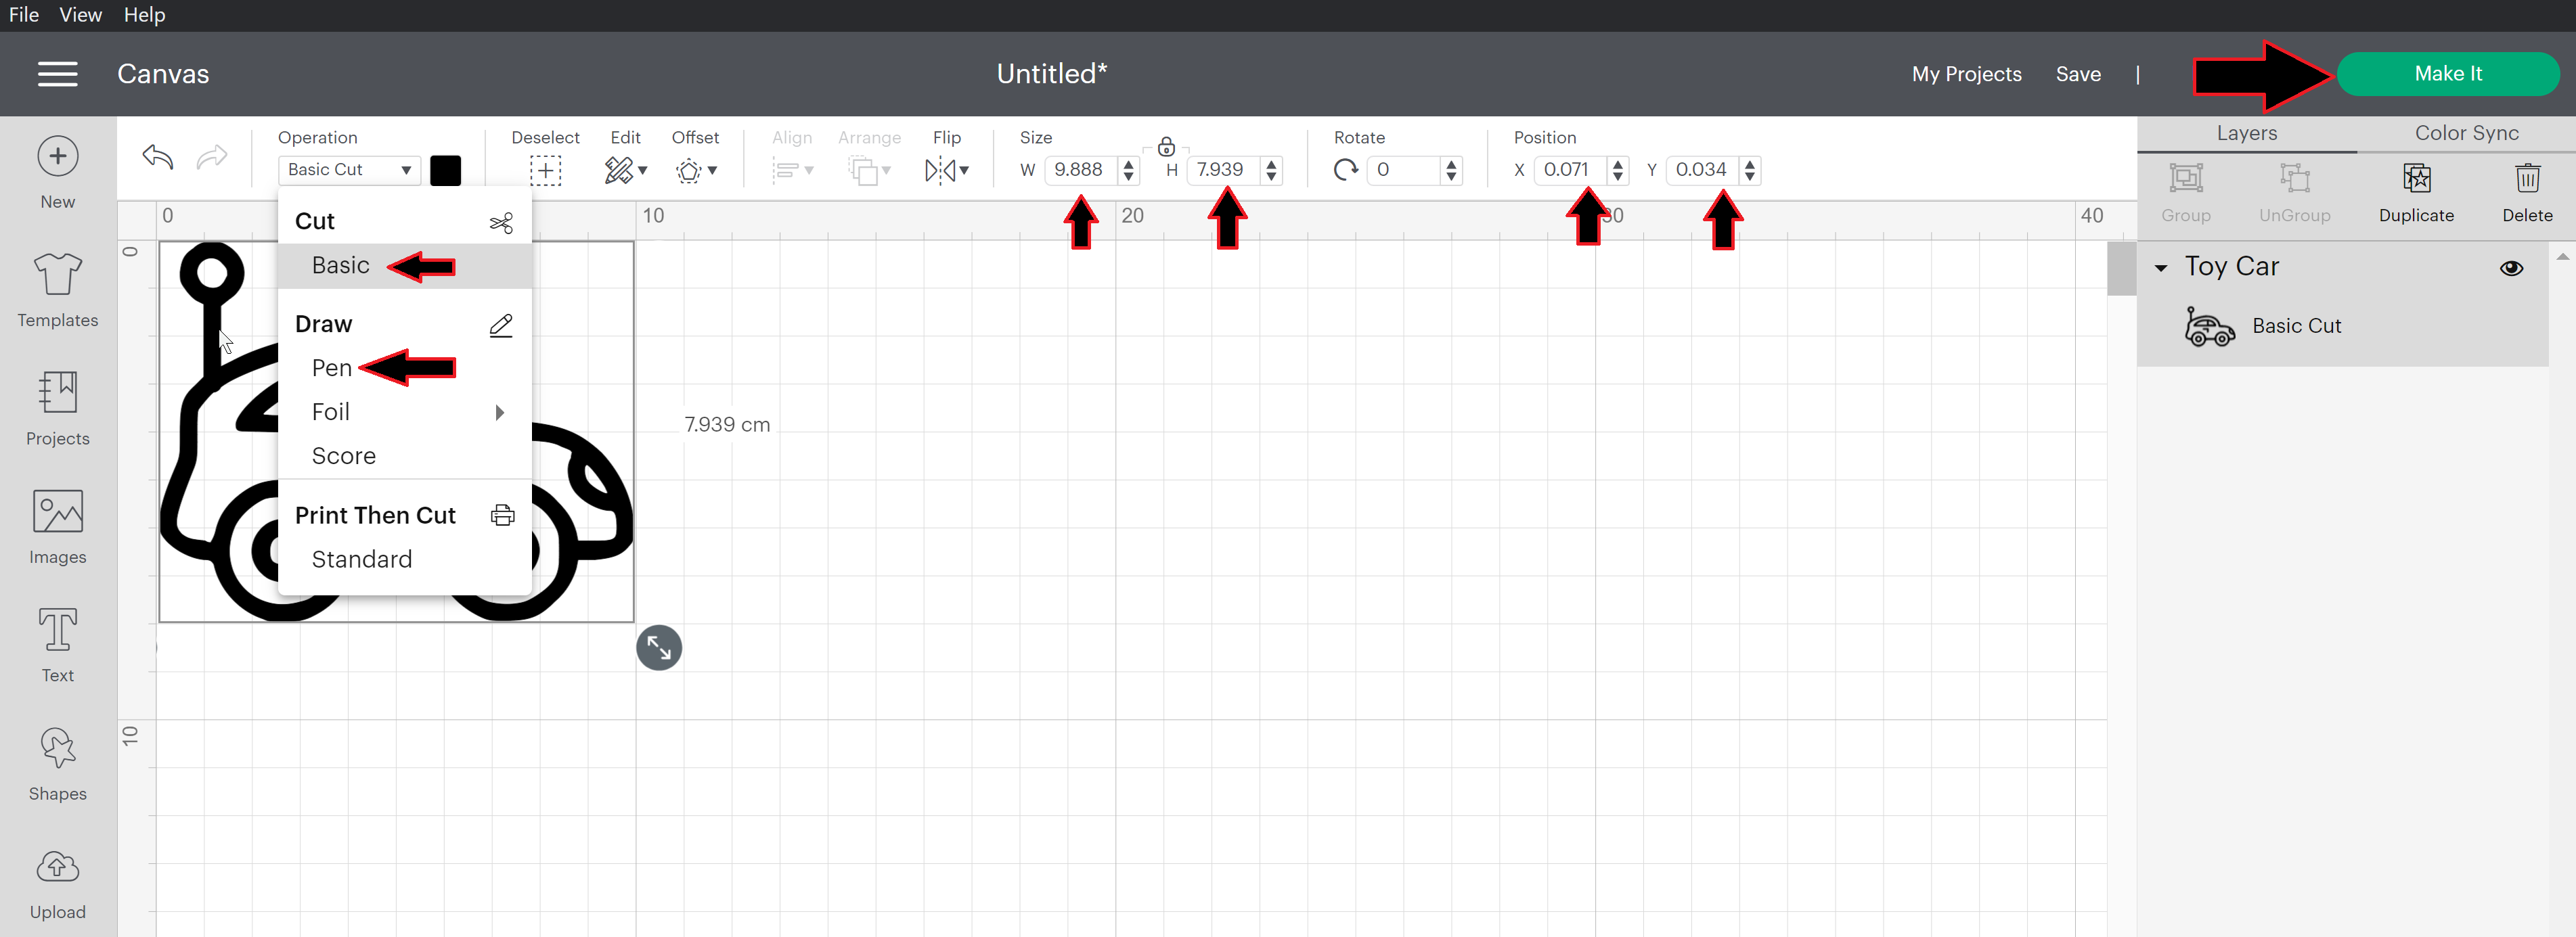
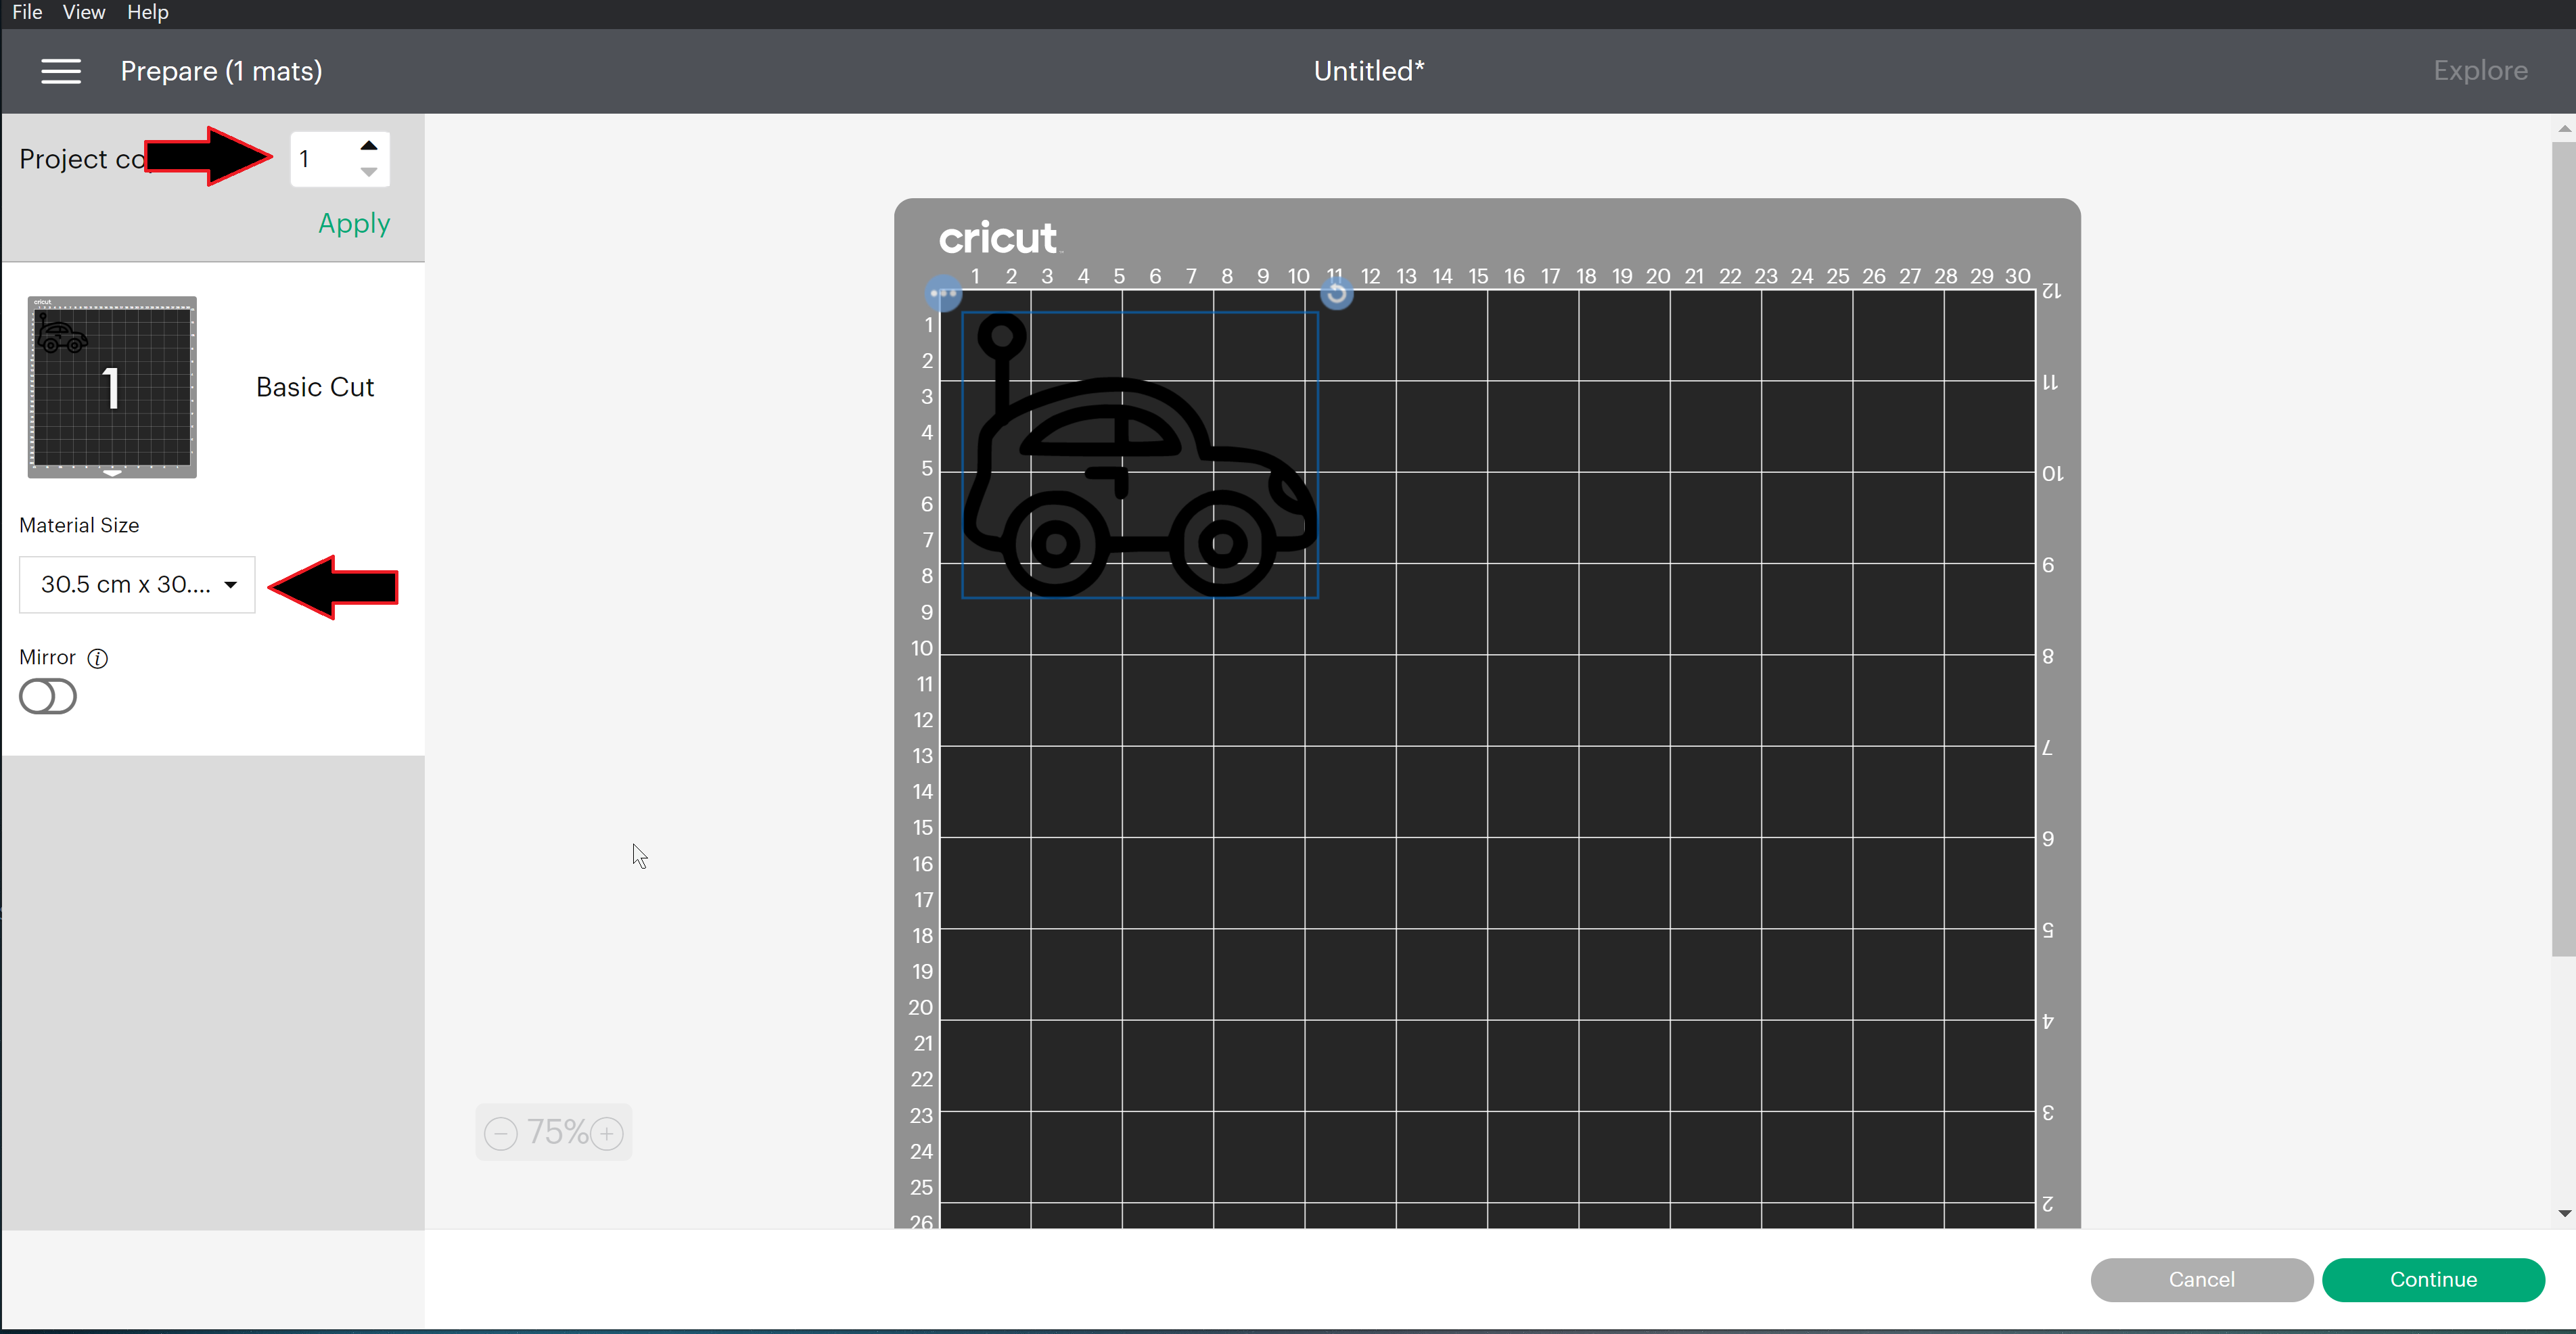
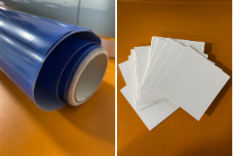
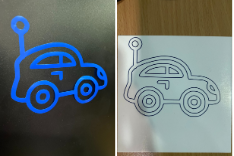
For the vinyl cutter portion of the assignment, I decided to cut out a simple design of a toy car. I used [Cricut Design Space] to create the design, which was pretty straightforward. The process was as follows:

  1. Design Creation: I uploaded a simple image of a toy car into Cricut Design Space.
  2. Background Removal: I used the background remover tool to isolate the car image.
  3. Image Preparation: I sized the image to fit my vinyl sheet and selected the "cut" option.
  4. Cutting: I loaded the vinyl sheet onto the Cricut machine and initiated the cutting process. I used the [Blade Type] blade for this material.
  5. Weeding: After cutting, I carefully removed the excess vinyl, leaving only the cut-out car design.
  6. Application: I applied the cut vinyl sticker onto a [Surface where you applied the sticker, e.g., "black card"] surface.

Here are some images of the process and the final result:

Cricut Machine Cricut Design Space Cricut Upload Cricut Upload Cricut Image Type Cricut Background Removal Cricut Save Cricut Add to Canvas Cricut Cut/Draw Cricut Material Size Cricut Make it Cricut Materials Finished Vinyl Cut

Learning Outcomes

  • Demonstrate and describe parametric 2D modelling processes: I used Cuttle.xyz to create a parametric design, allowing for easy modification and iteration.
  • Identify and explain processes involved in using the laser cutter: I detailed the steps involved in preparing the design, setting up the laser cutter, and executing the cut.
  • Develop, evaluate and construct a parametric construction kit: I designed, laser-cut, and assembled a construction kit that could be assembled in multiple ways.
  • Identify and explain processes involved in using the vinyl cutter: I detailed the steps involved in preparing the design, setting up the vinyl cutter, and executing the cut.

Design Files

You can download the design files for my projects here:

⬆ Top 🏠 Home