

My final project — an interactive board game inspired by Chess, Dark Souls, D&D, and Yu-Gi-Oh! — is still a work in progress, but most of the components are now assembled and beginning to communicate with each other. The idea is to create a tactical experience where players move 3D-printed characters across an LED-lit grid, control actions through joysticks, and receive visual feedback on screens and RGB lights.
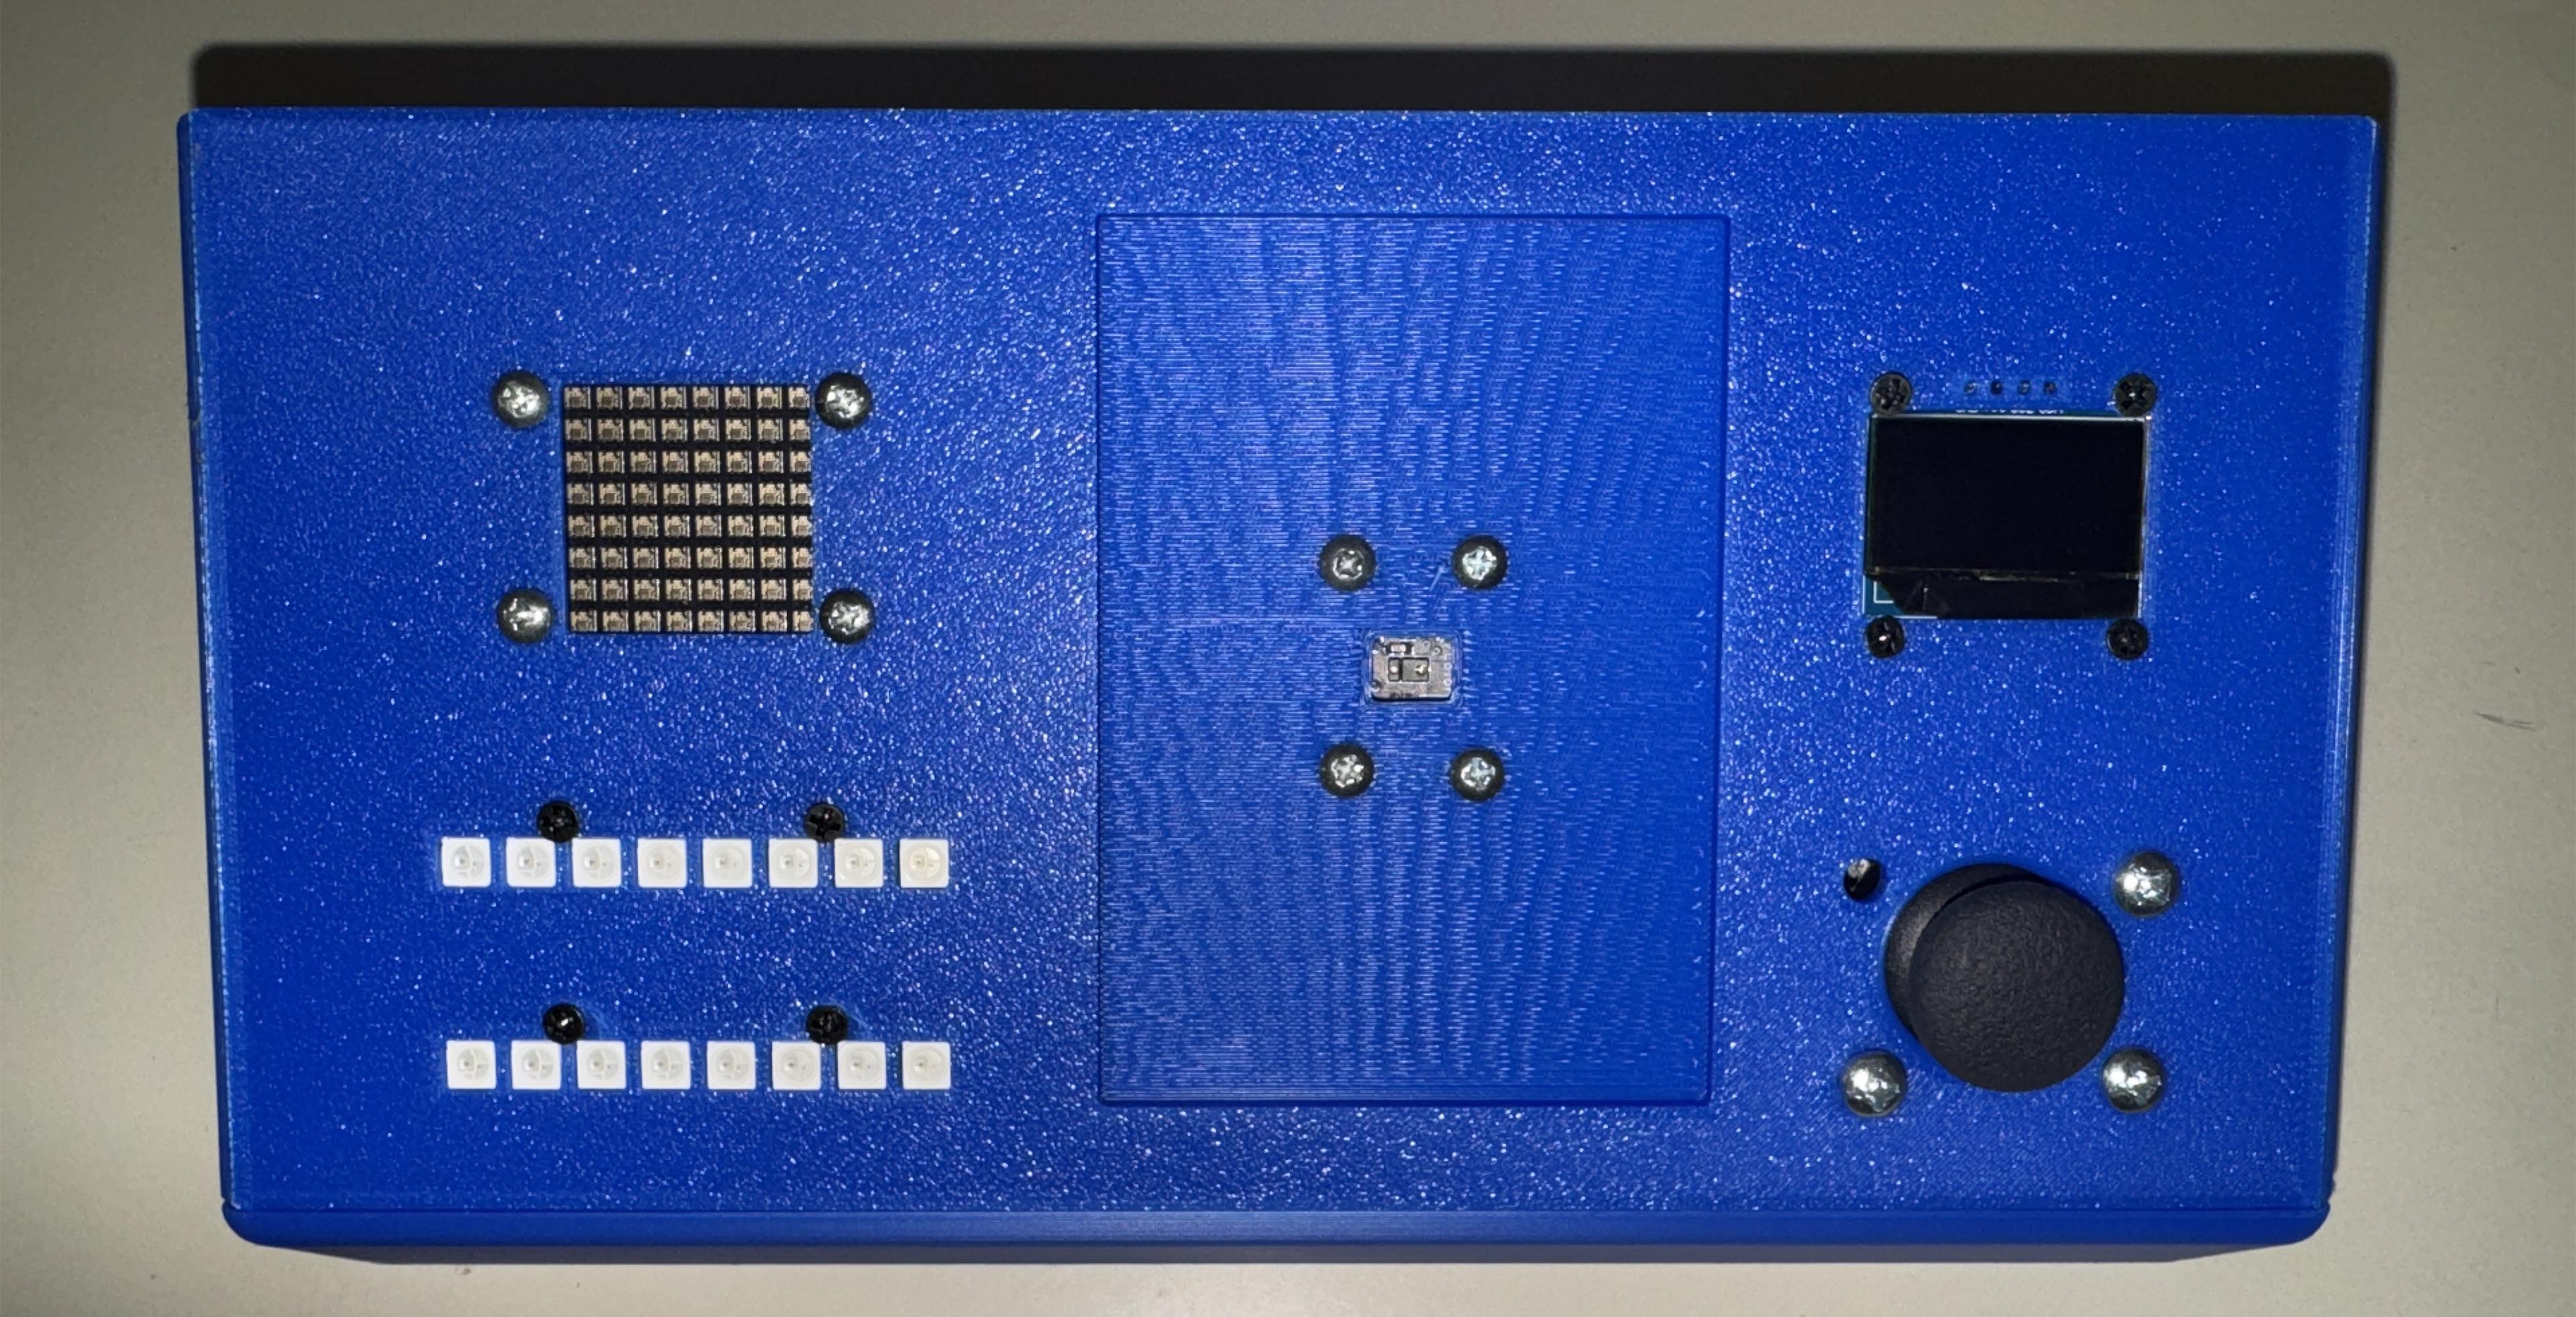
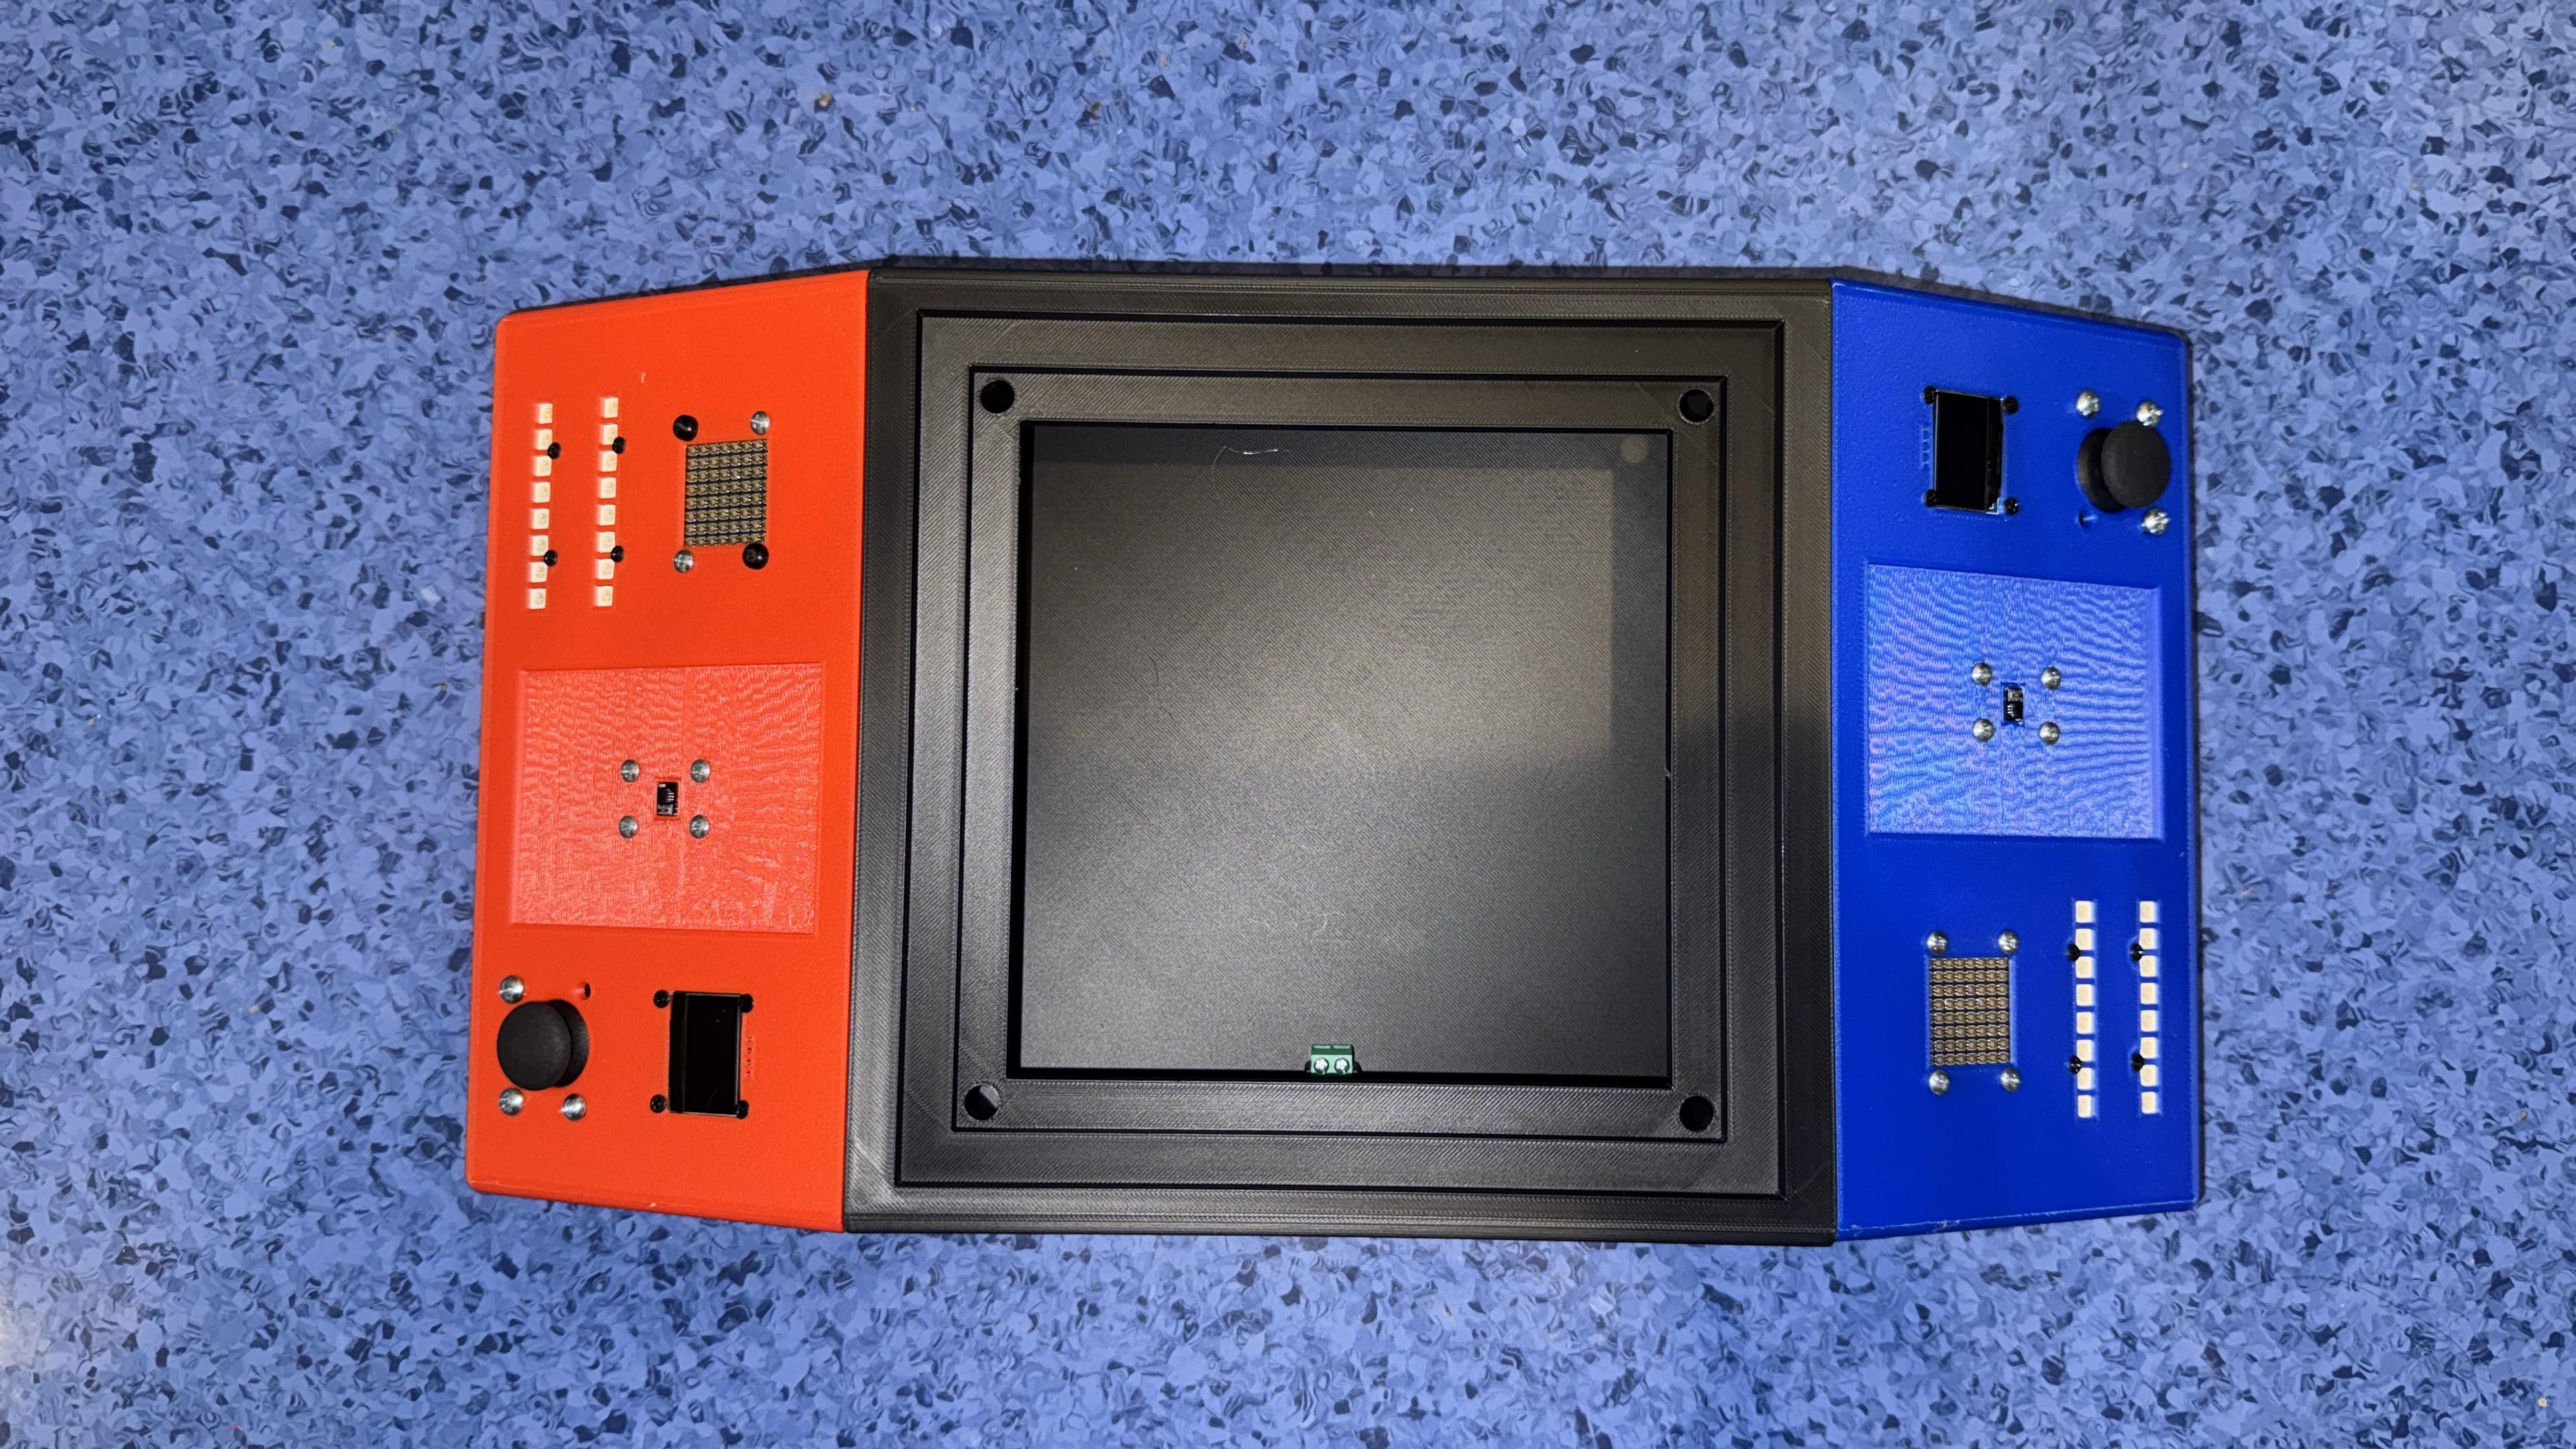
This week, I focused on explaining how all the individual parts — which were built and tested during previous weeks — come together as one complete system. The photo below shows the current progress of the physical assembly:
As of now, I don’t have a single schematic that combines all modules into one diagram. Instead, each board and its connections were documented during their individual development weeks (e.g., Input Devices, Output Devices, Embedded Networking).
Once everything is fully working, I will generate a final schematic and wiring diagram to show how the XIAO ESP32C3 boards, sensors, displays, and RGB outputs are interconnected.
| 🧩 Subsystem | 🔧 Components | 🎯 Purpose |
|---|---|---|
| Player 1 Module | Joystick, APDS-9960, NeoPixels, OLED | Player input and status display |
| Player 2 Module | Joystick, APDS-9960, NeoPixels, OLED | Player input and status display |
| Game Center | Main RGB grid, DotStar 8x8, Central screen | Map animation, player turns, battle feedback |
The outer casing is mostly complete using 3D printed parts in red, blue, and black PLA. The center screen and side modules fit snugly into the design, but I haven’t taken full pictures of the internal assembly yet — that will come once the electronics are 100% mounted.
For now, imagine a plug-and-play setup where each 3D printed section houses one XIAO ESP32C3 and its respective inputs and outputs. Internal cable routing was designed to avoid clutter, using Grove connectors wherever possible to simplify wiring.
I didn’t run a full system-wide test this week — instead, all components were individually tested and documented in earlier weeks. For example:
Once the final wiring is complete, I’ll run a full integration test and document any issues and debugging steps.
This game system includes three XIAO ESP32C3 boards: one for each player and one in the central unit. Here’s how I plan to manage communication between them:
The idea is that players can move and perform actions independently, and the central unit handles the game logic, updates the visuals, and resolves interactions.
The system is visually coming together nicely. While it's not fully wired yet, I mounted all major parts and tested the fit of the 3D-printed enclosures. The goal is to make it feel like a real product — something that belongs on a tabletop or a game café shelf. Below is a recent snapshot of the current look:
This integration process is part of my overall final project, which is being updated here:
📝 Still to do: finalize wiring, run complete integration test, and document the final schematic + full gameplay loop. But the foundation is solid and all the core parts are now functioning individually!