
INKSCAPE
Inkscape is professional quality vector graphics software which runs on Linux, Mac OS X and Windows desktop computers.
This week I worked on evaluating different 2D and 3D designing tools. I designed different project/ project parts ideas.
Inkscape is professional quality vector graphics software which runs on Linux, Mac OS X and Windows desktop computers.

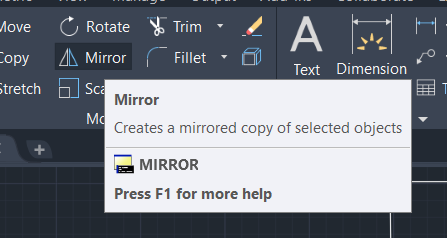
Autodesk AutoCAD computer-aided design software to create precise 2D and 3D drawings.
Autodesk Fusion includes all design and 3D modeling tools, plus a fully featured CAM, CAE, and PCB development platform.
 Download dxf
My experience in design is limited to Adobe illustrator, but I got experienced in different 2D and 3D design software during this week. First I started learning about different software, and following tutorials, and trying them, then I designed pieces for the final project.
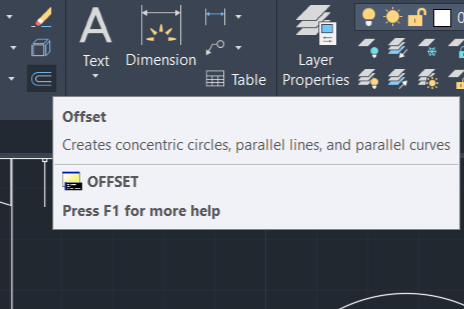
I wanted to try new 2D tools besides illustrator, so I used Inkscape, and tried AutoCAD for 2D design.
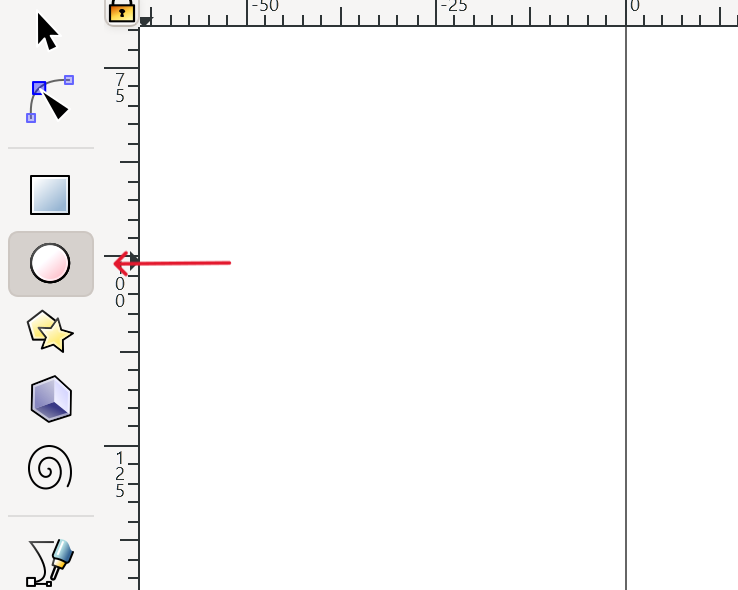
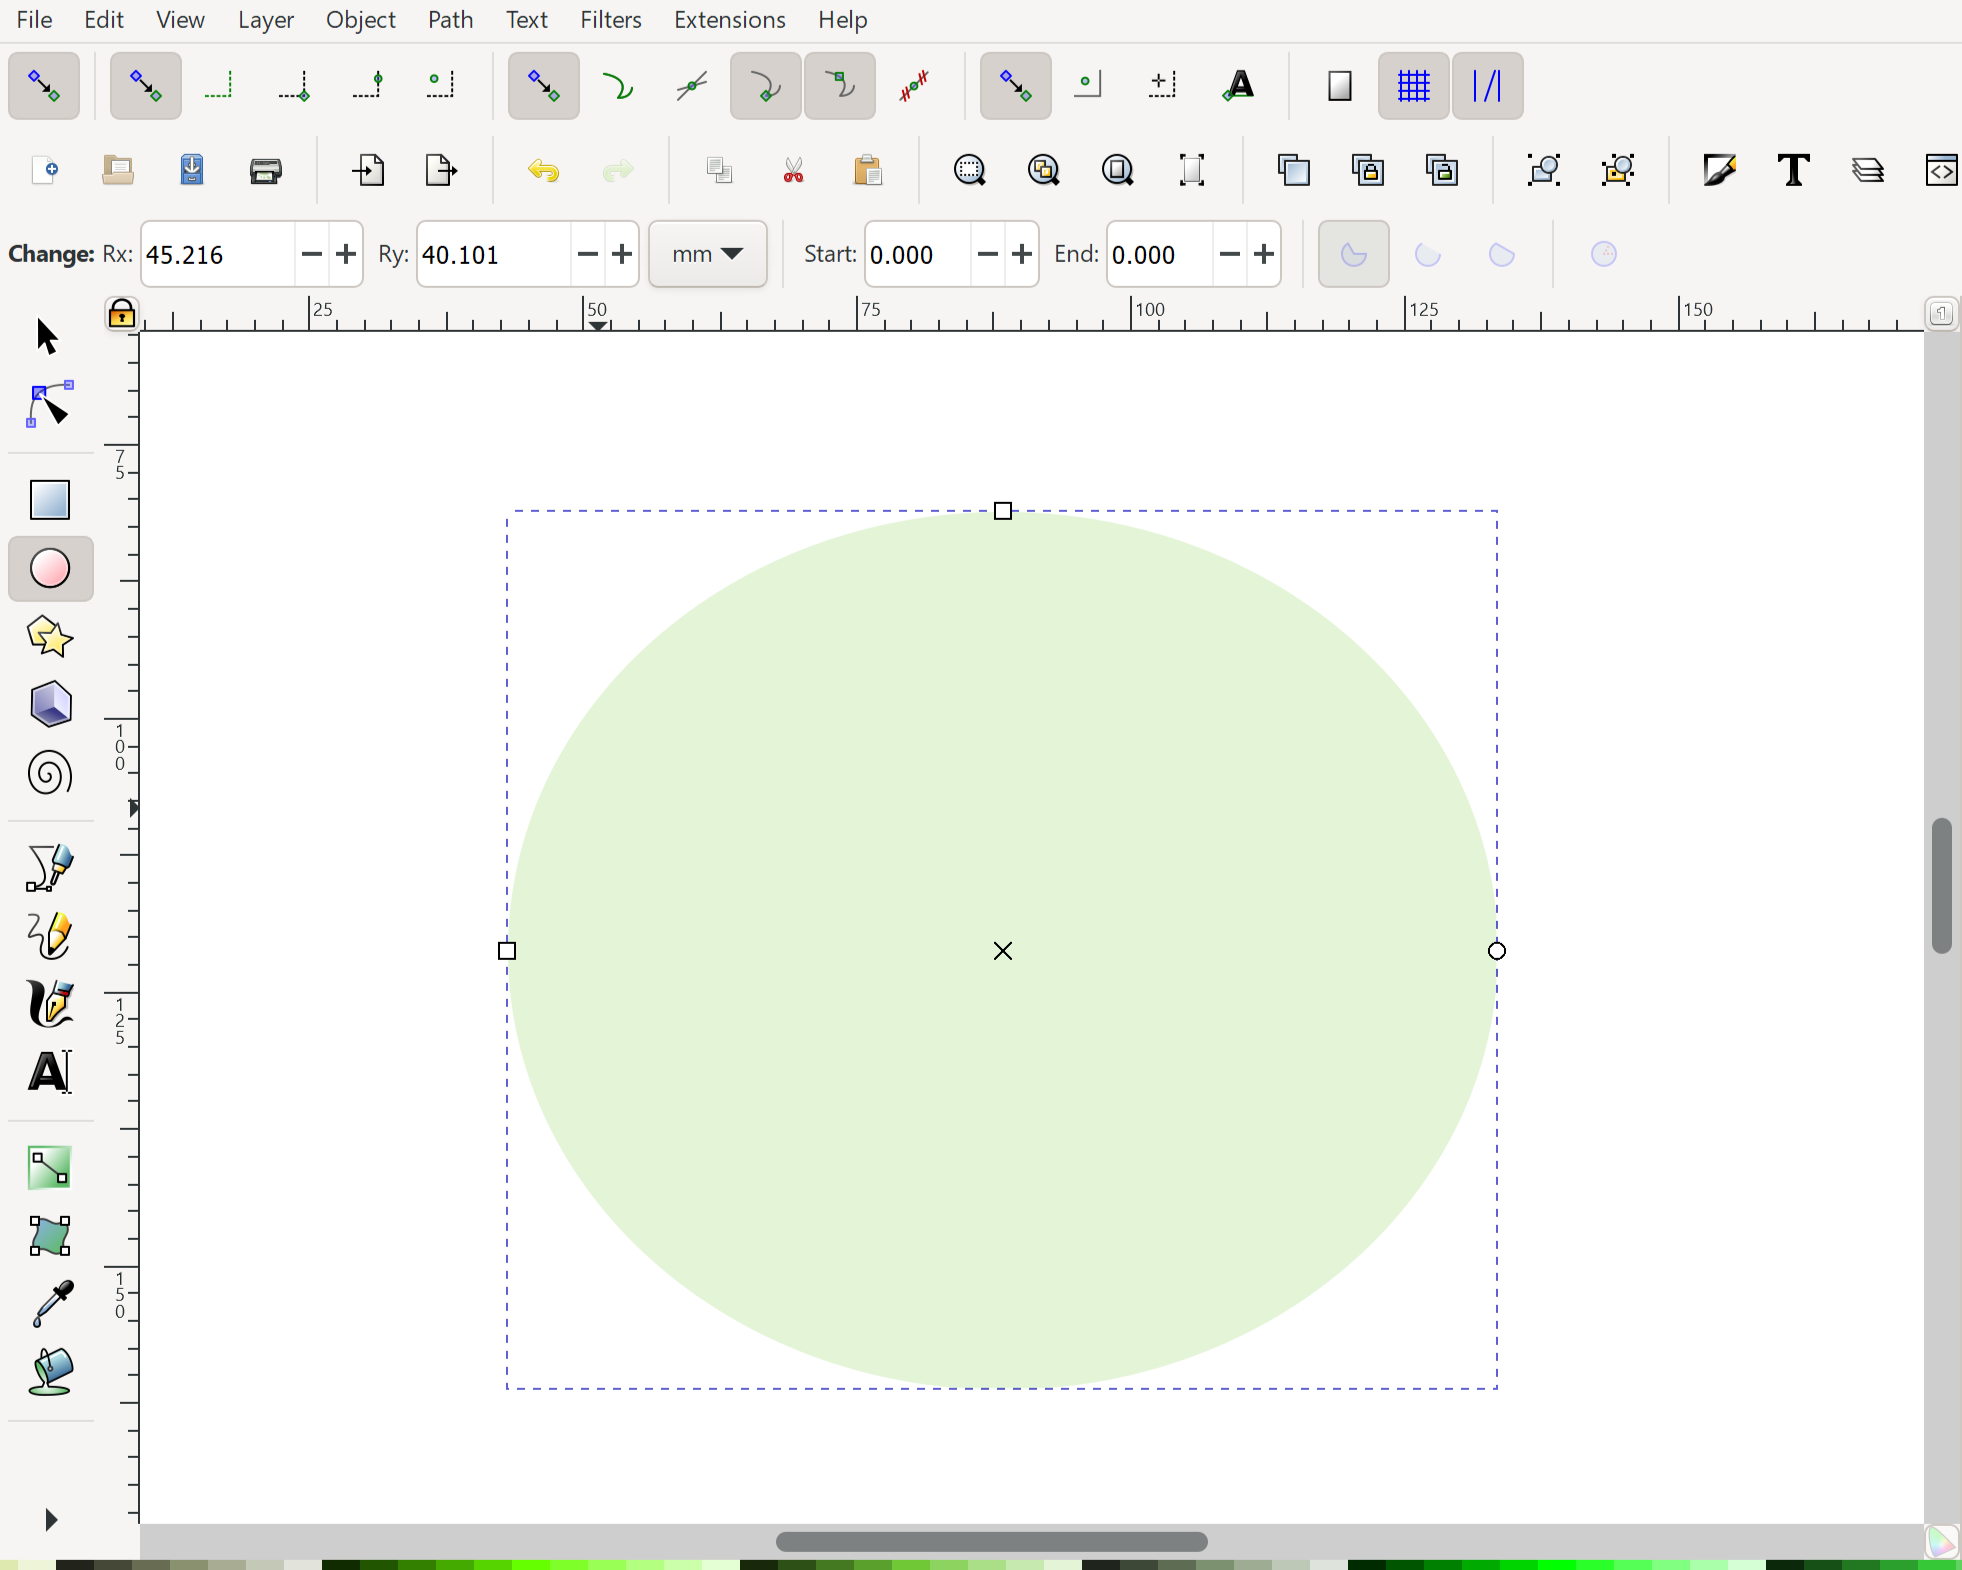
started with downloading the app which was free, it has a simple interface similar to most 2D designing apps.
I started by watching a YouTube tutorial so that I can get to know the tools and possibilities of INKSCAPE, from this link:
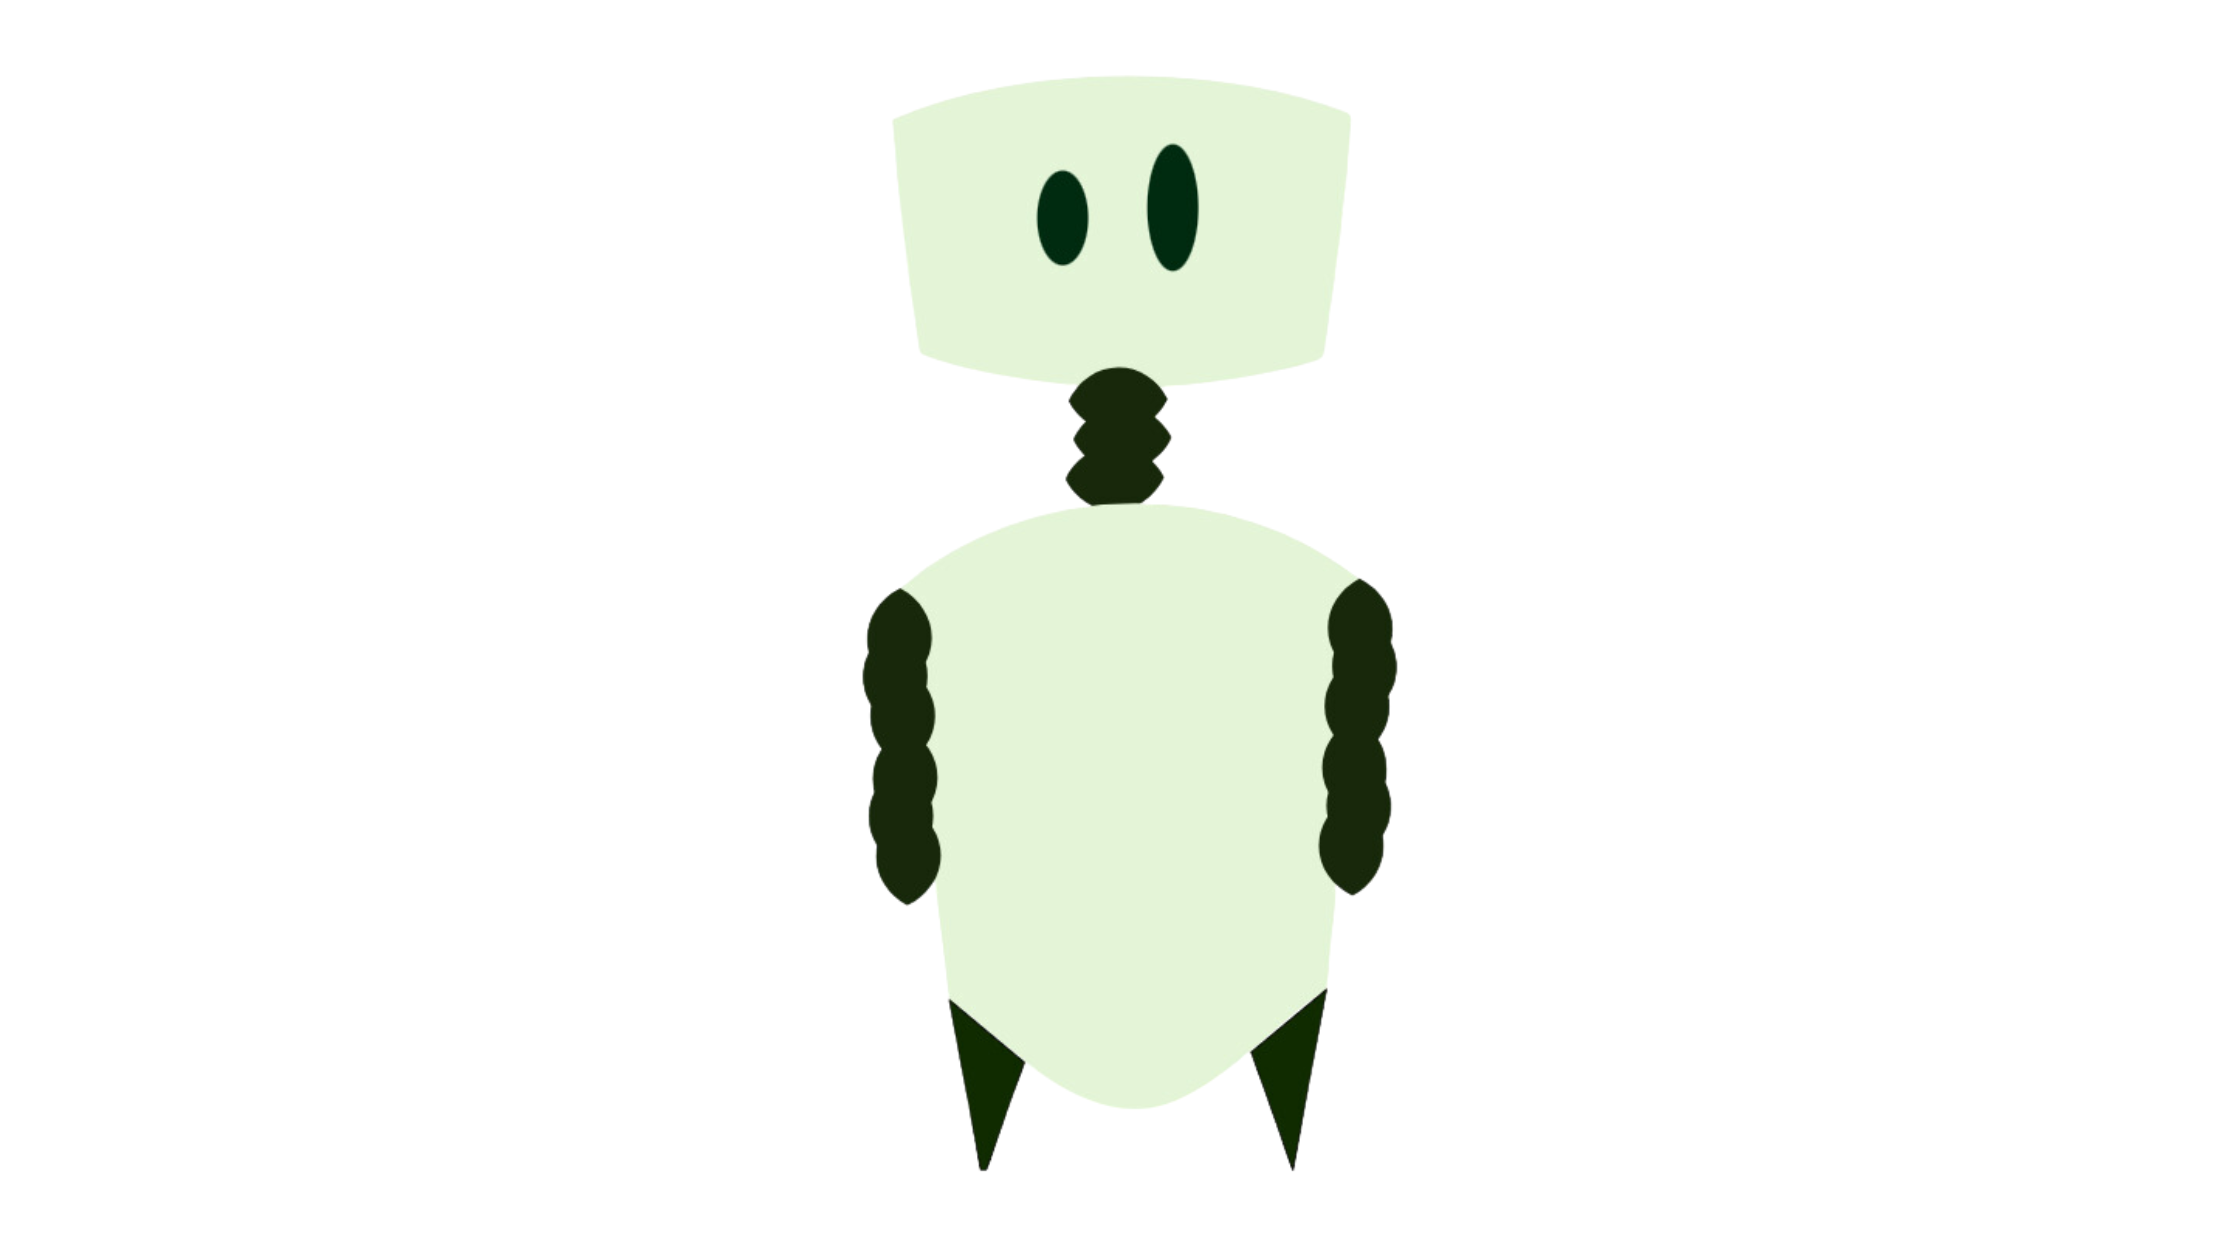
Then I improvised to do my own design, which was a simple sketch of a robot.
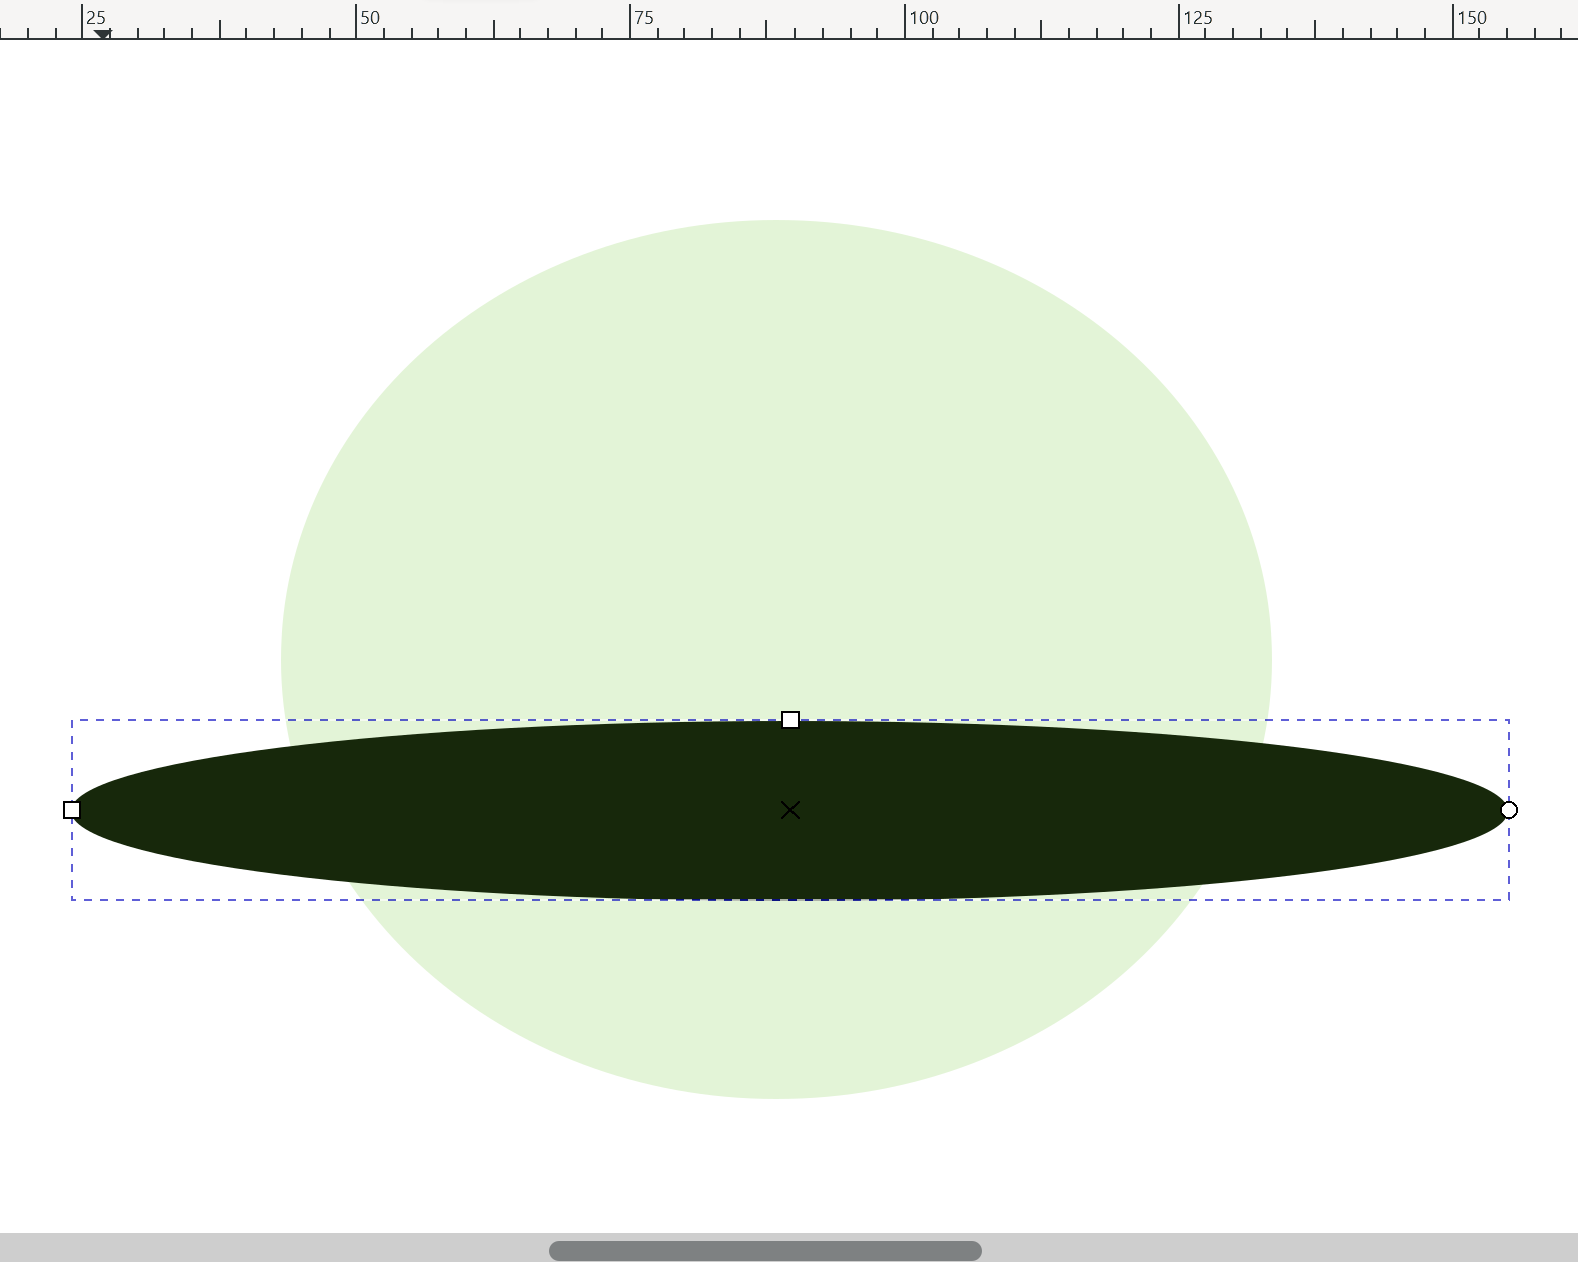

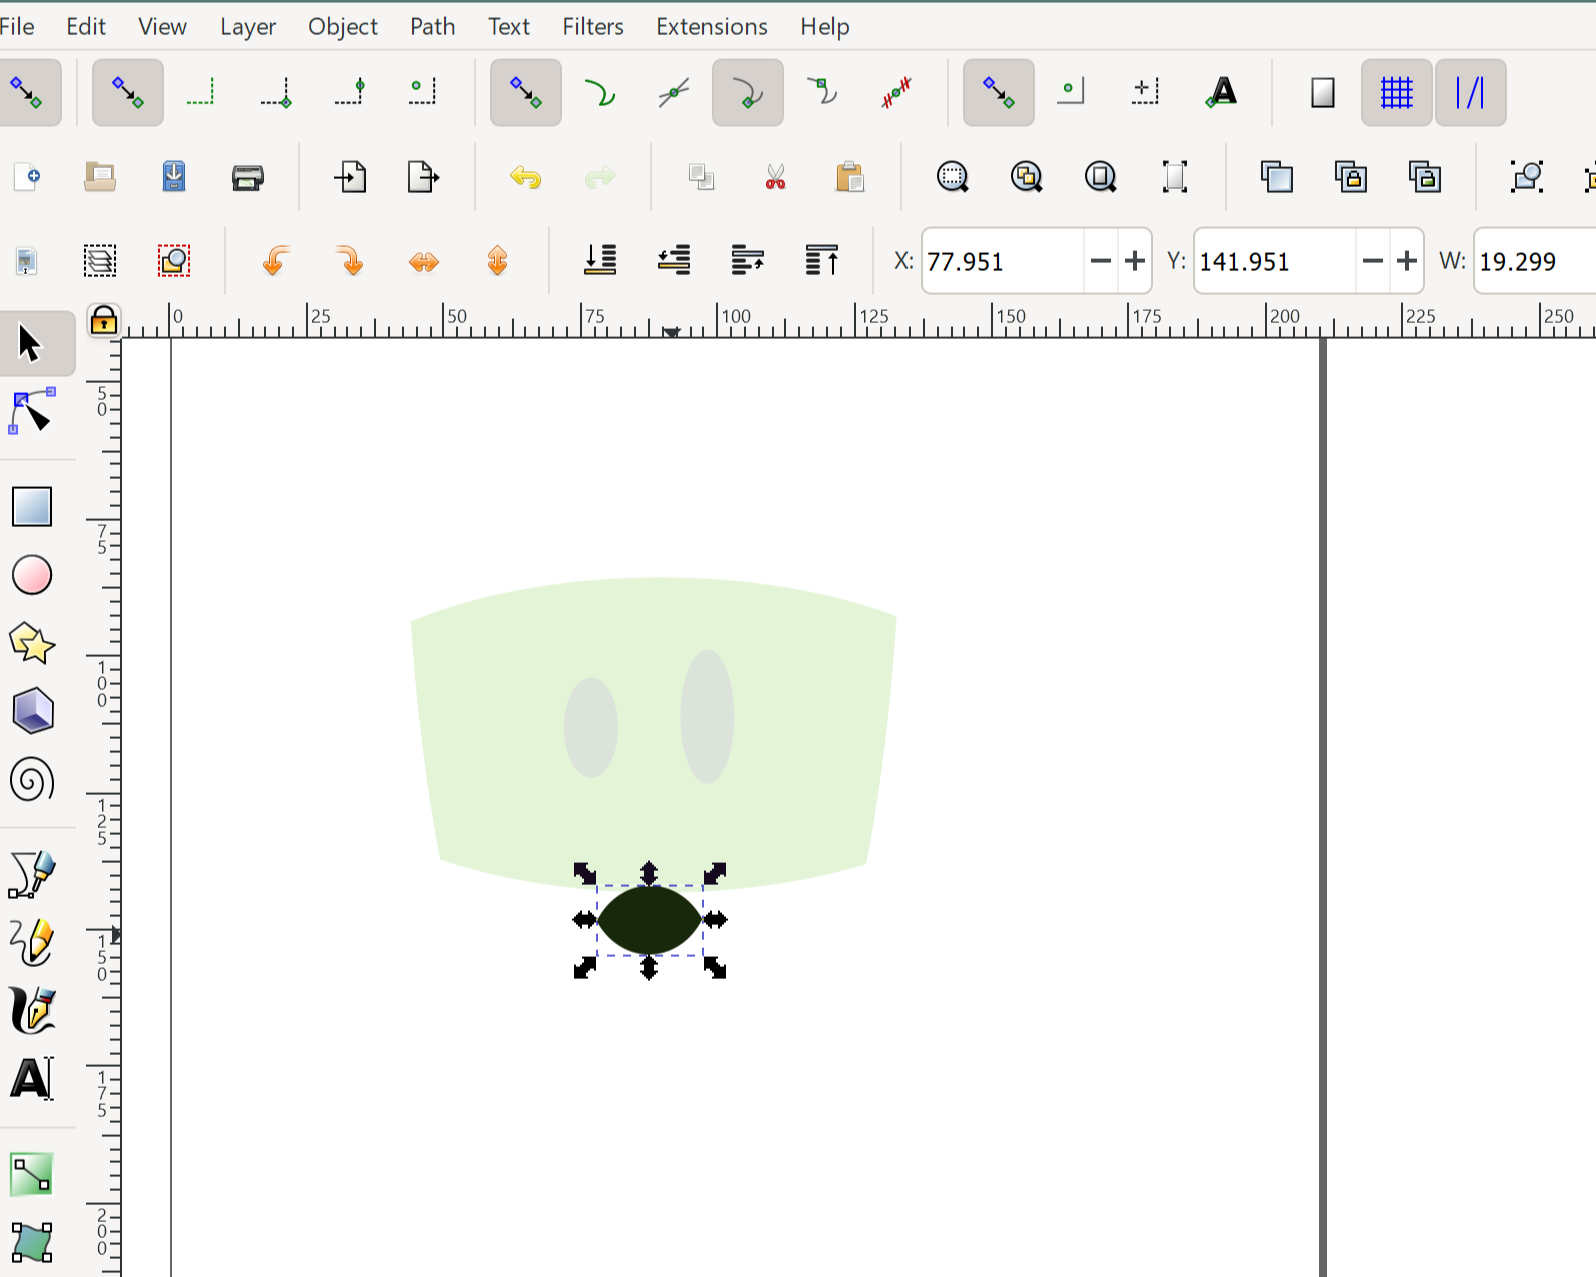
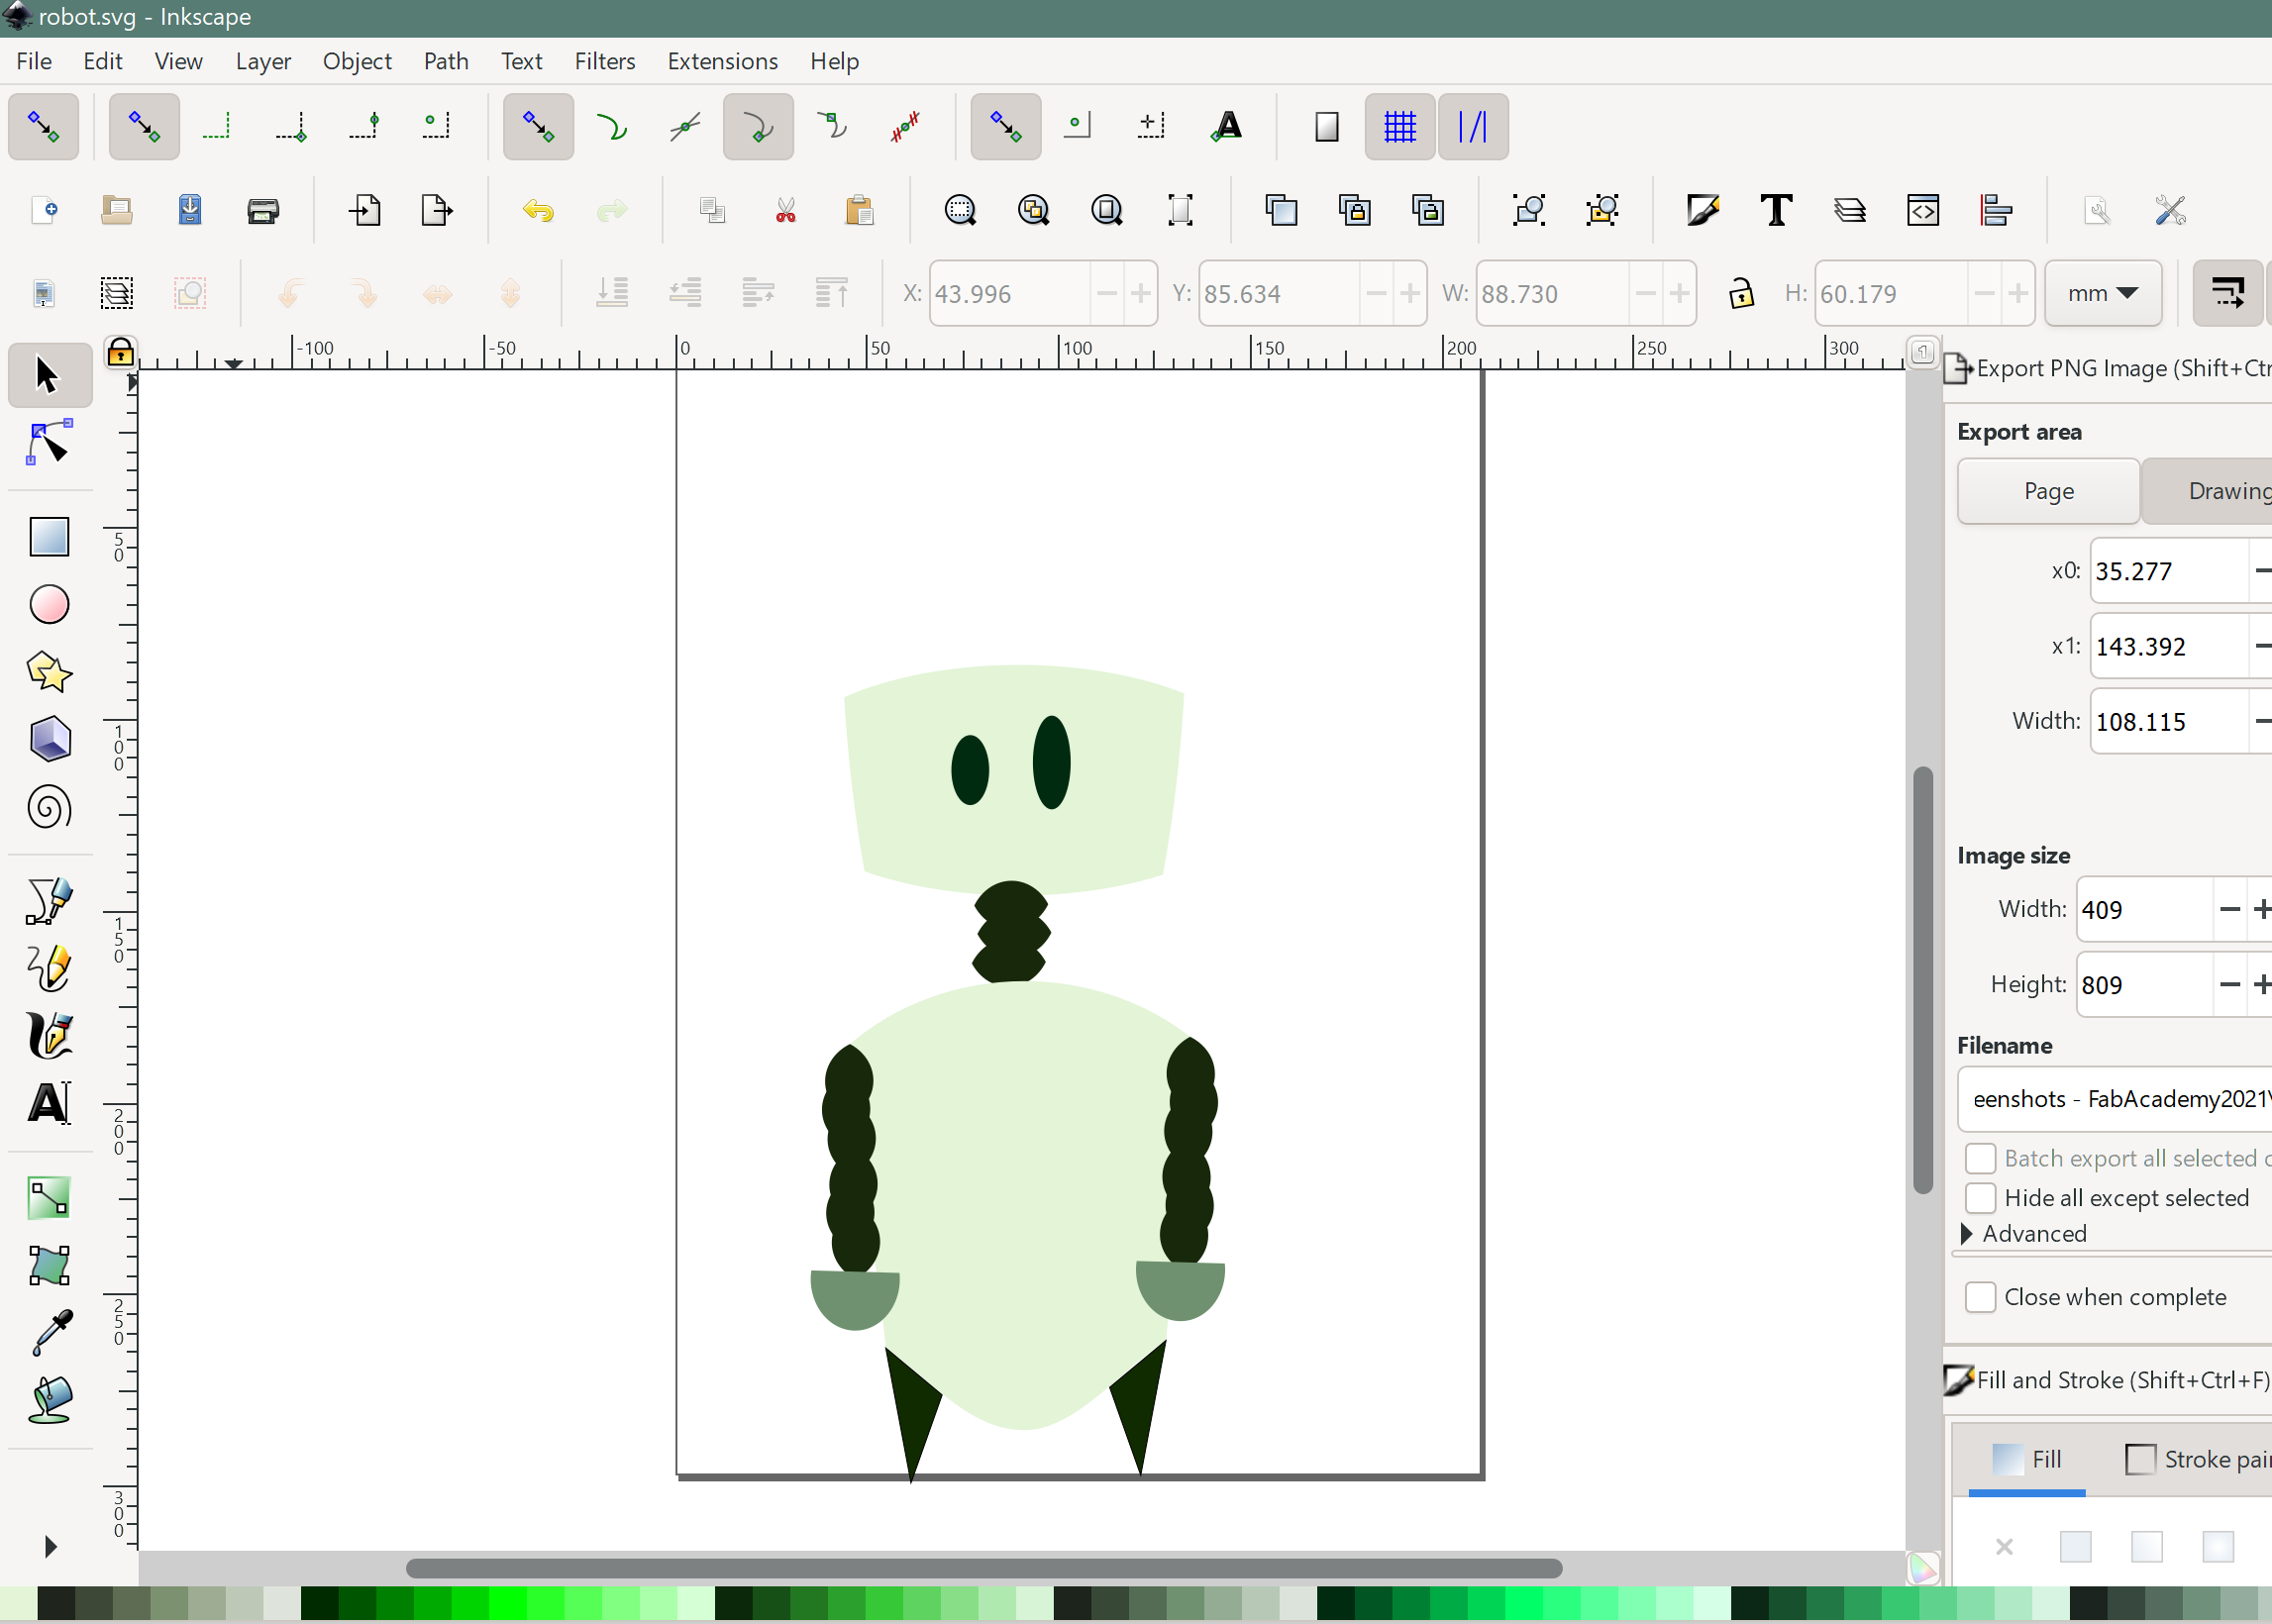
To download the SVG file for the robot Click here
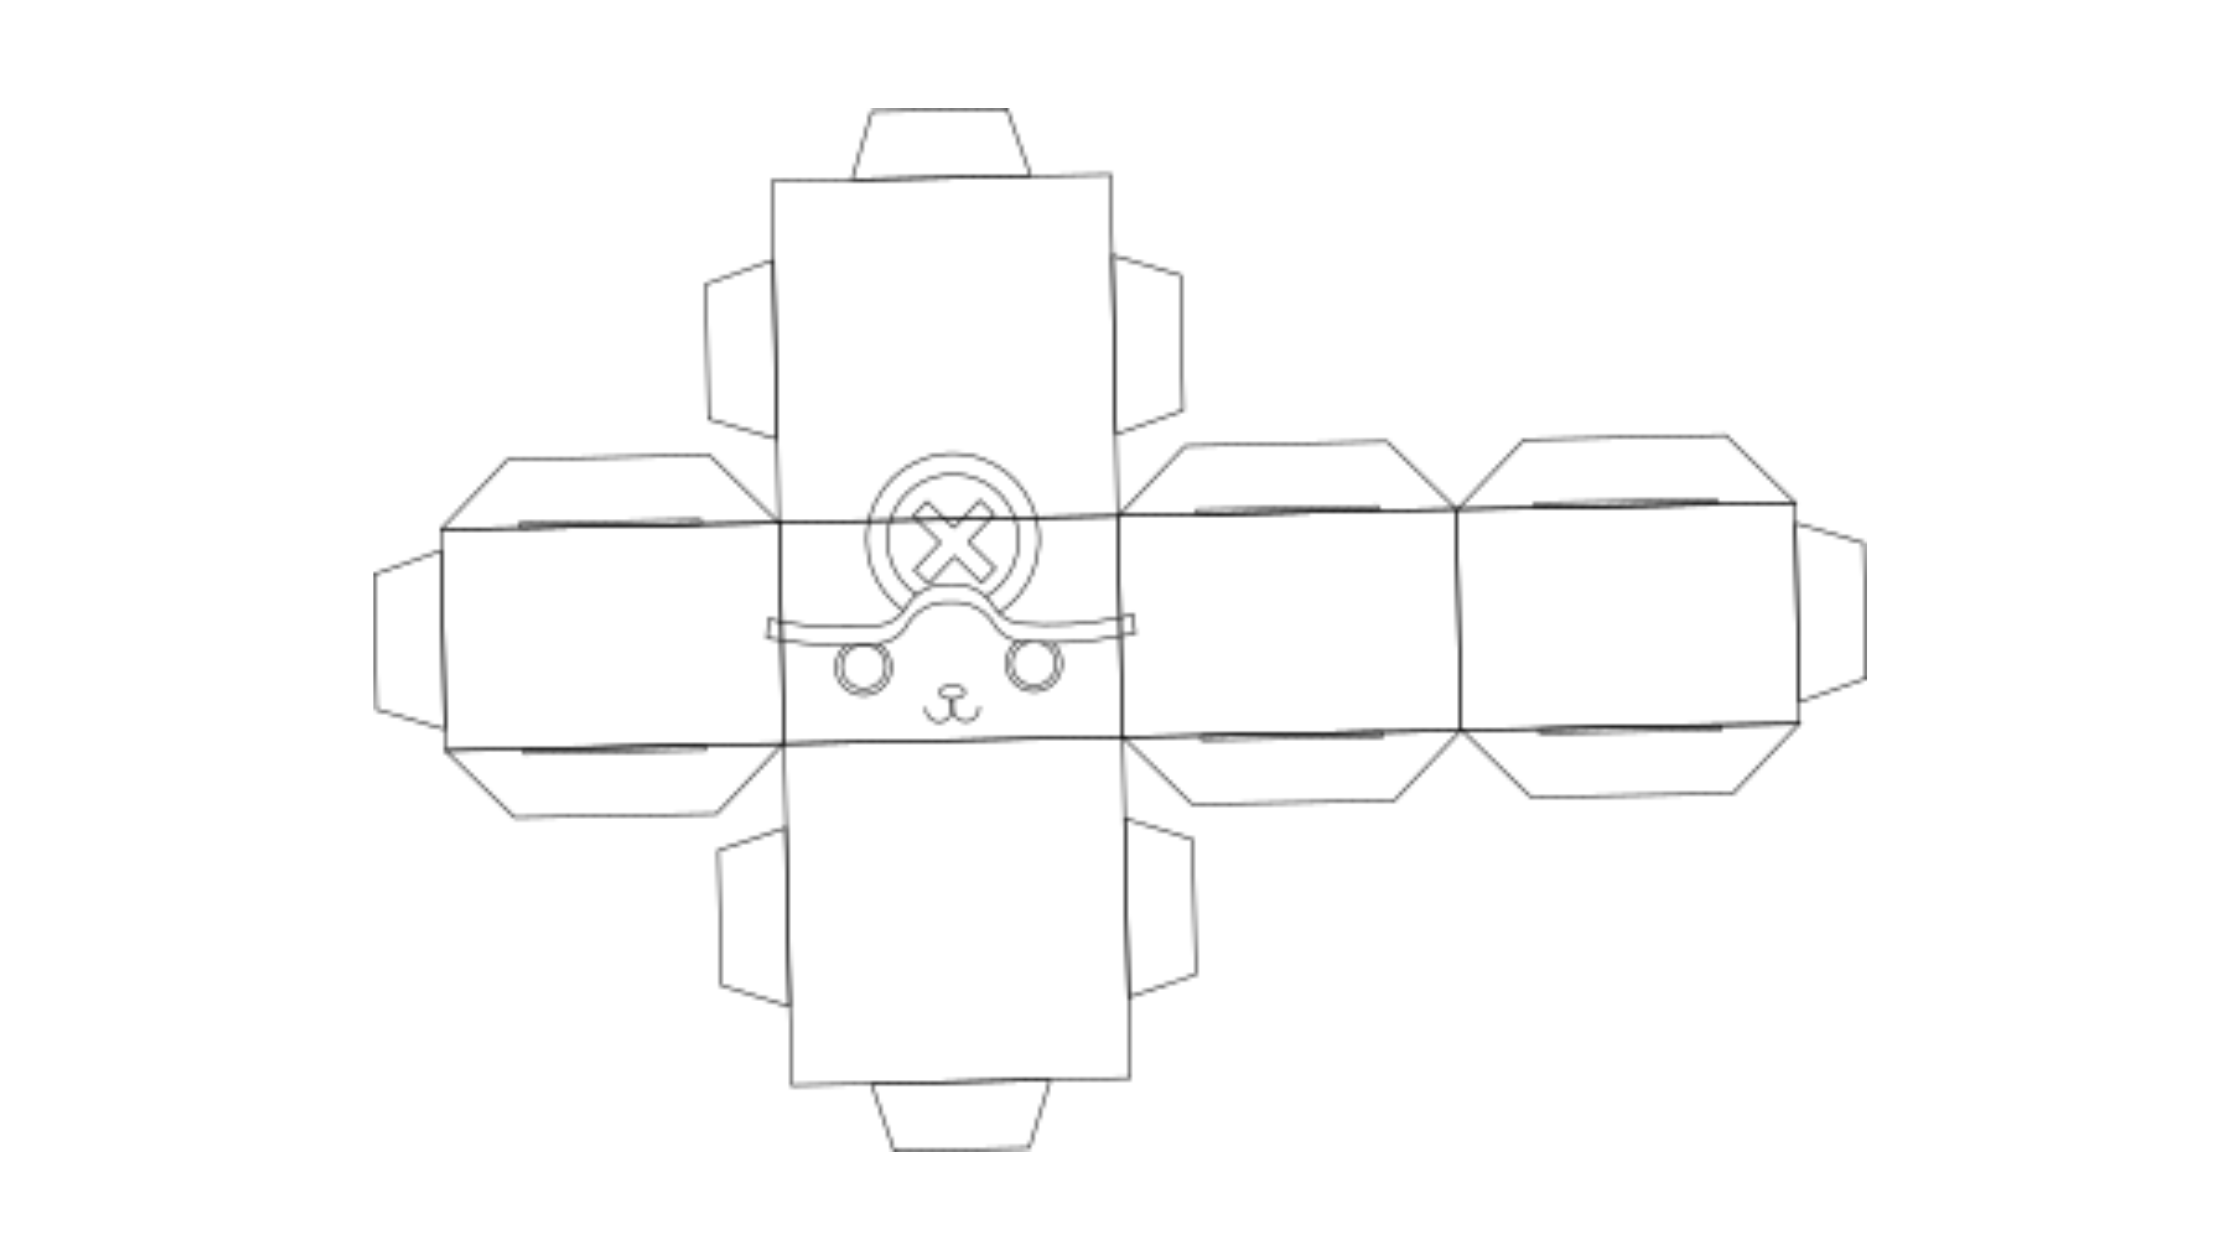
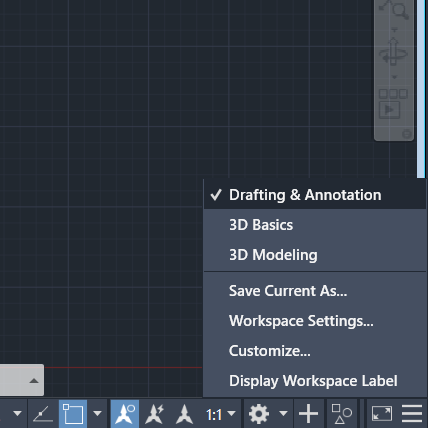
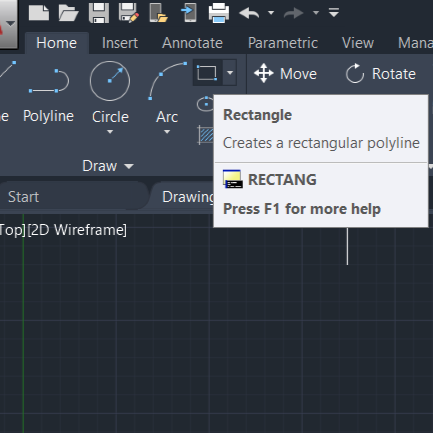
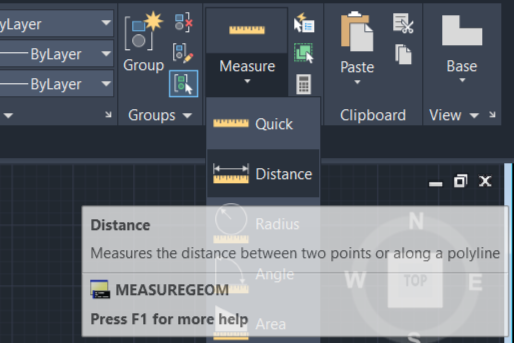
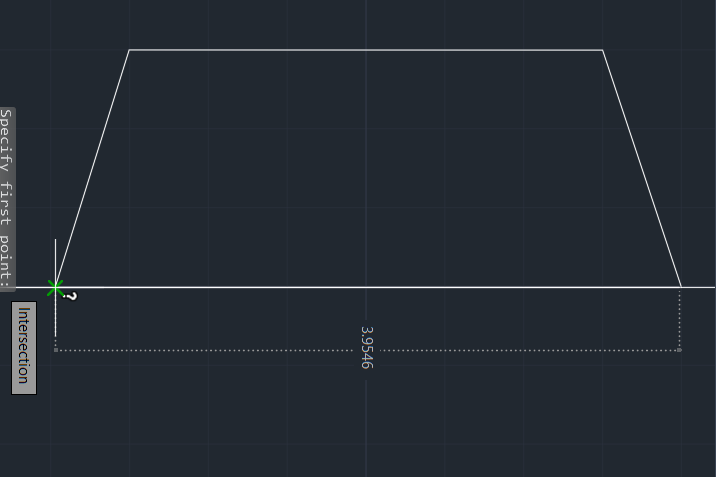
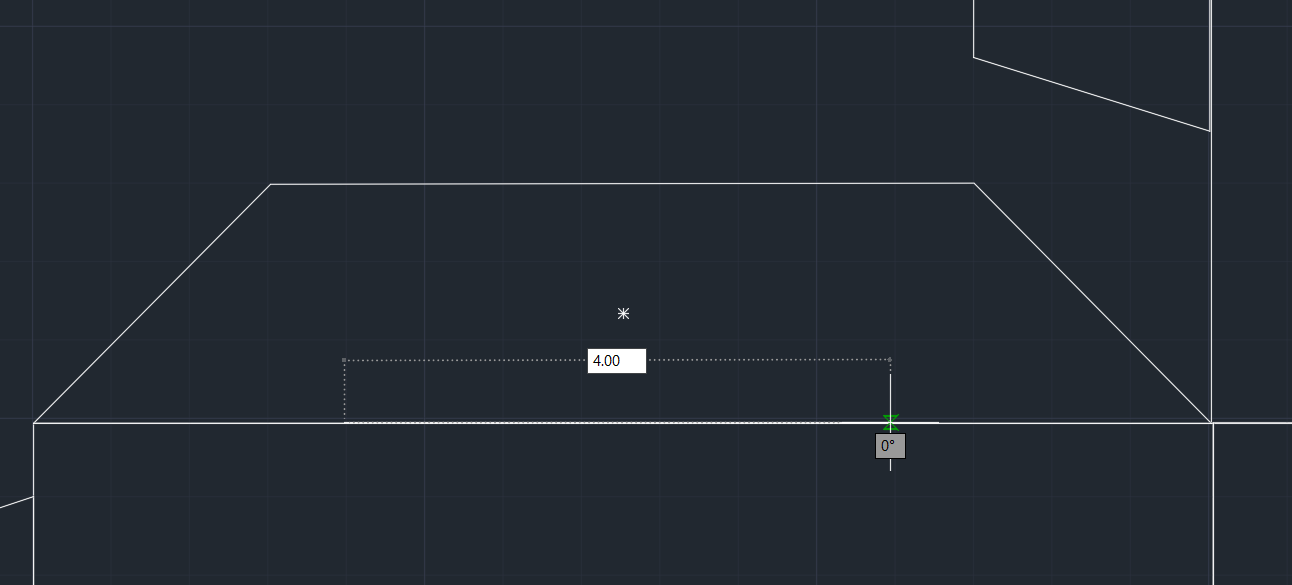
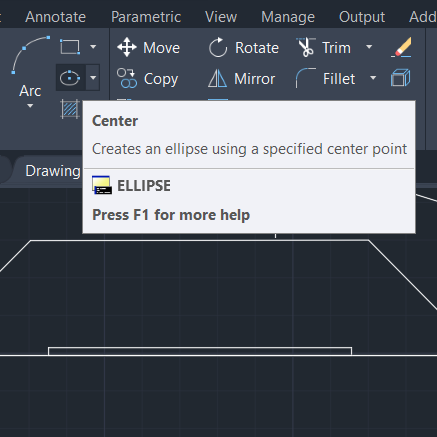
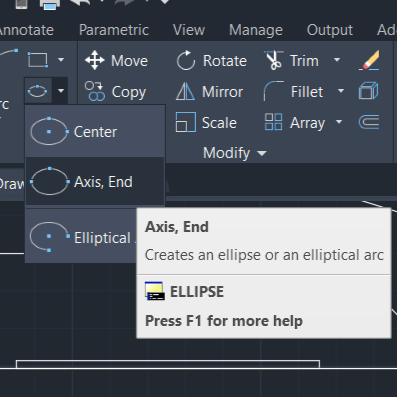
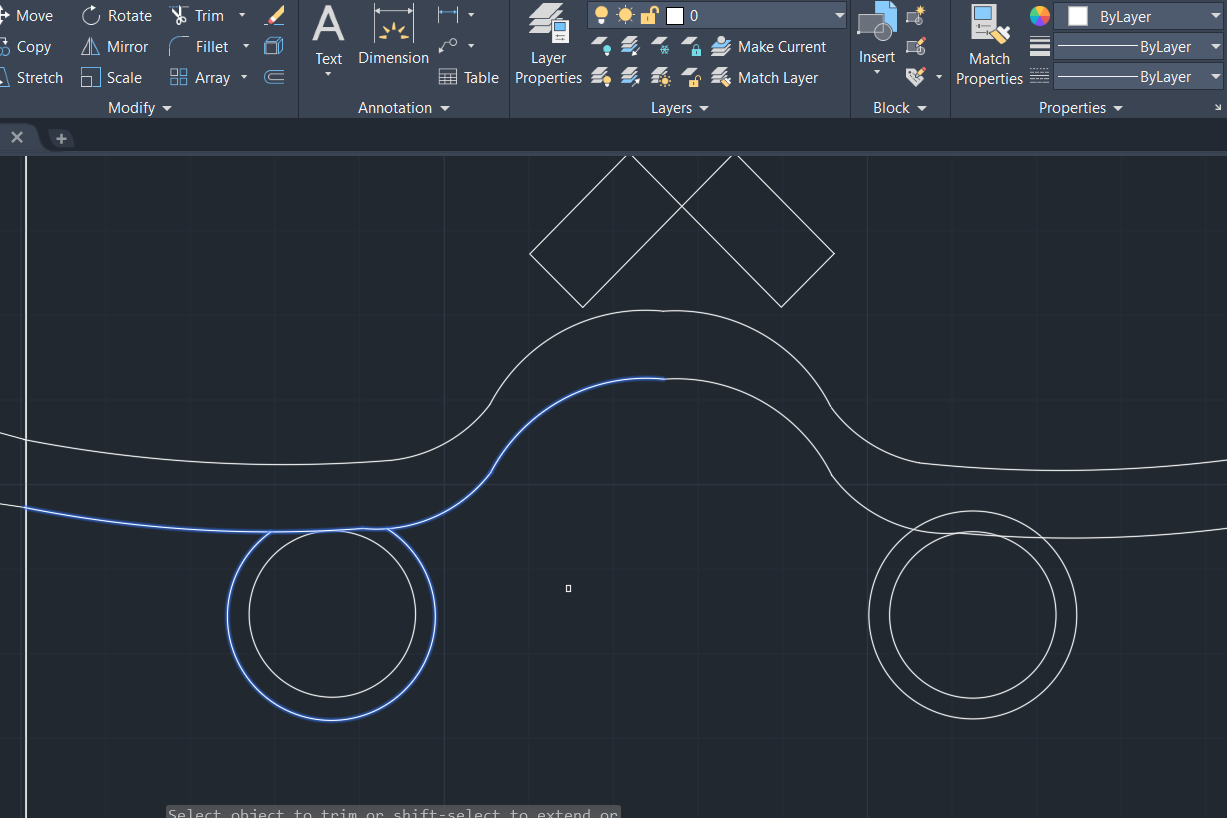
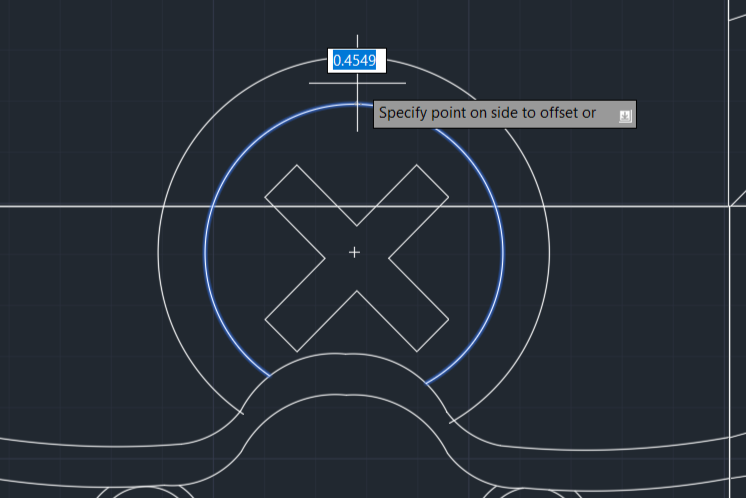
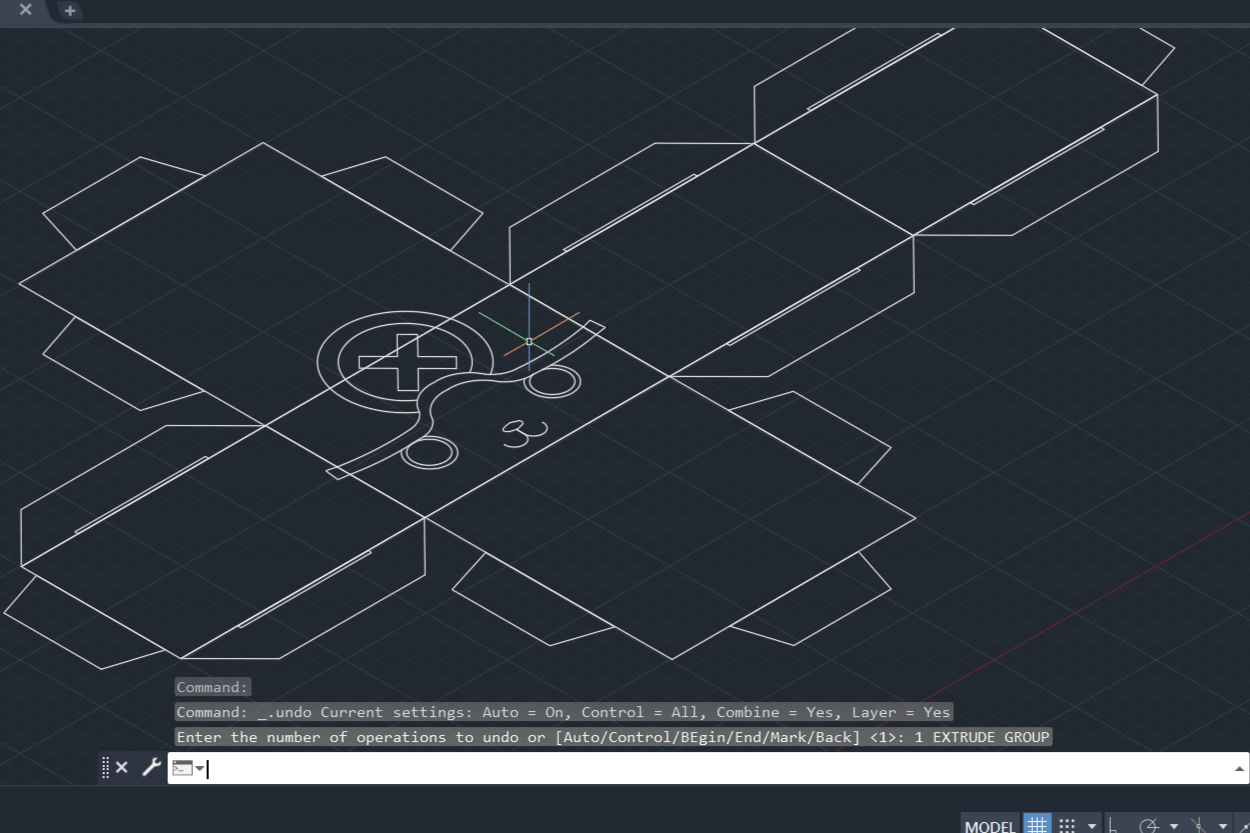
since I know how to use AutoCAD for 3D designs, I wanted to try it for 2D design. I designed a paper cube.

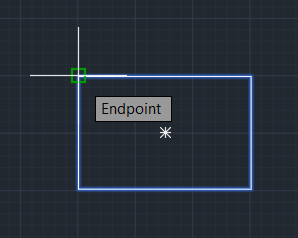

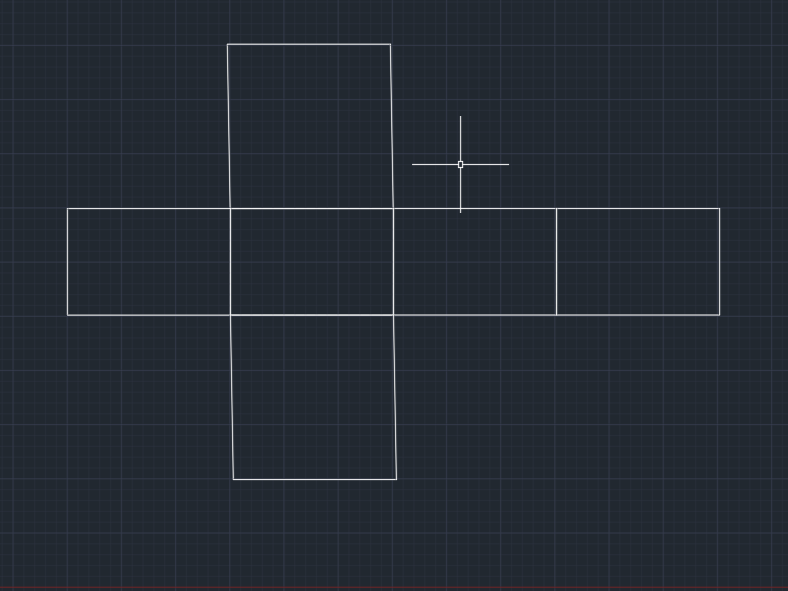
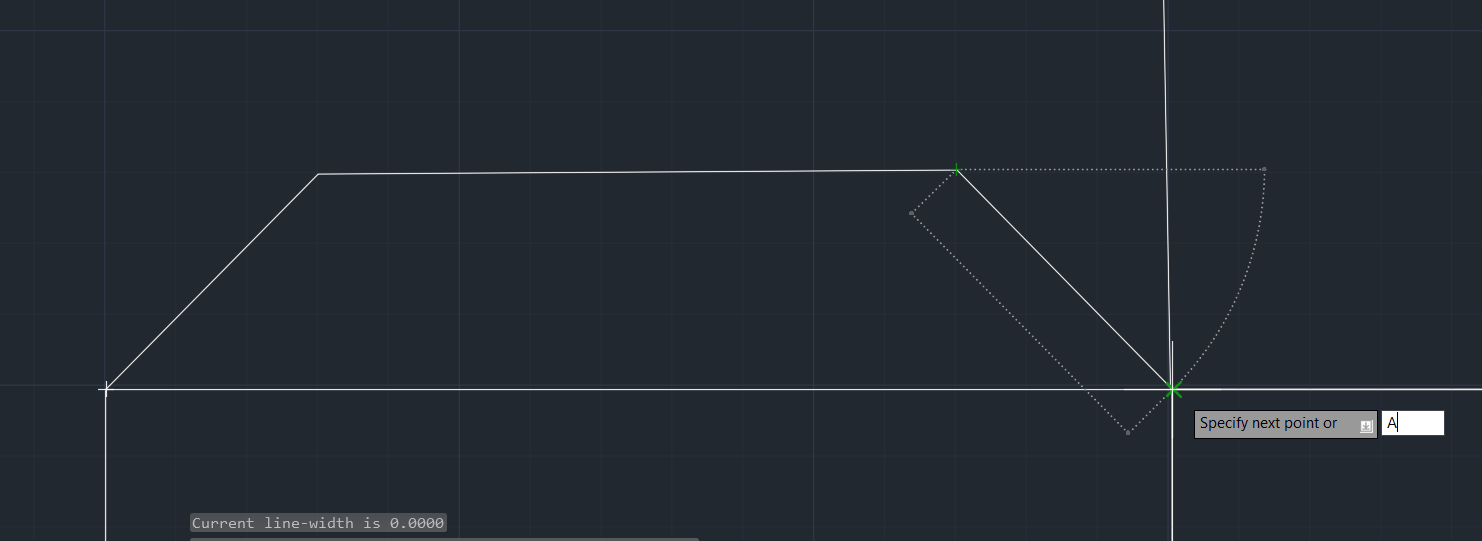
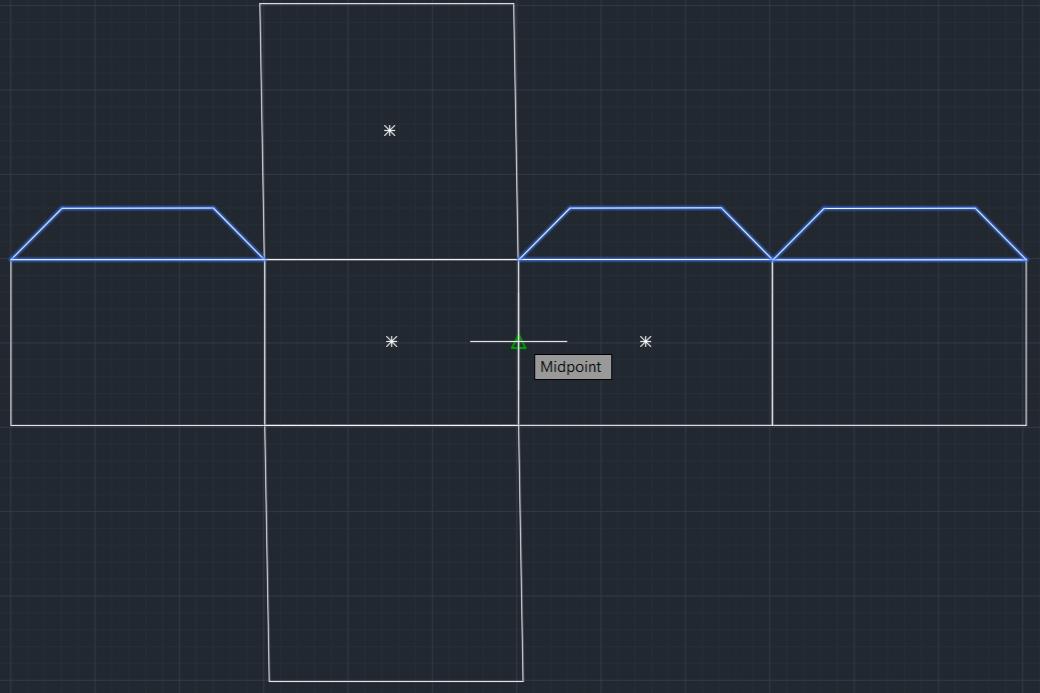
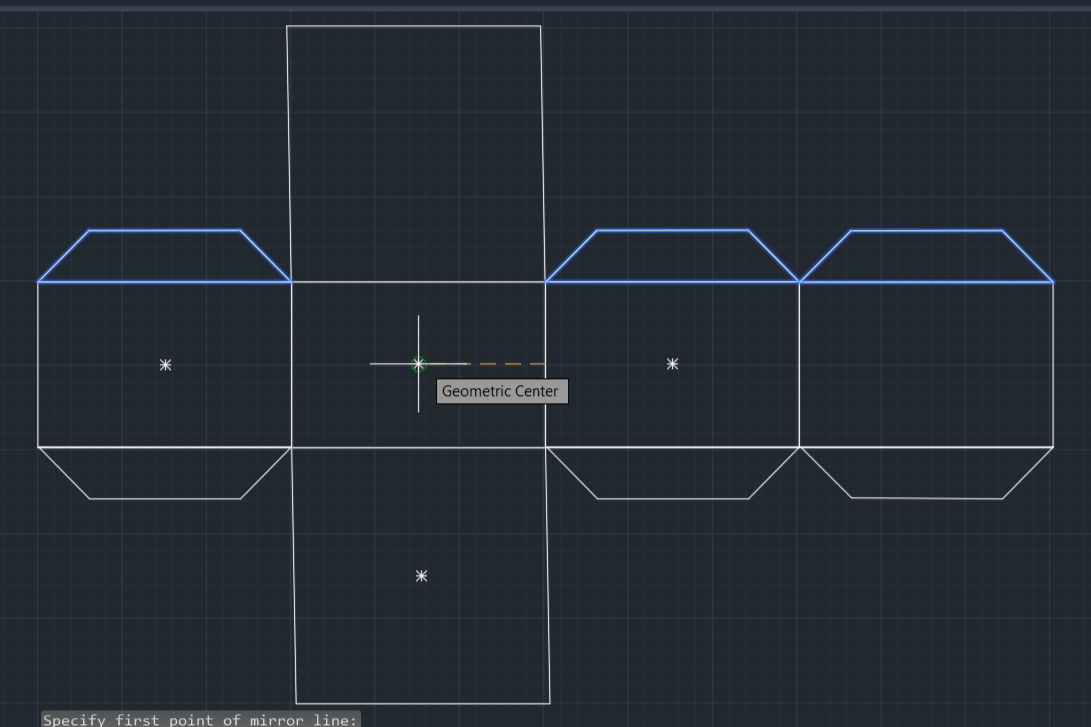
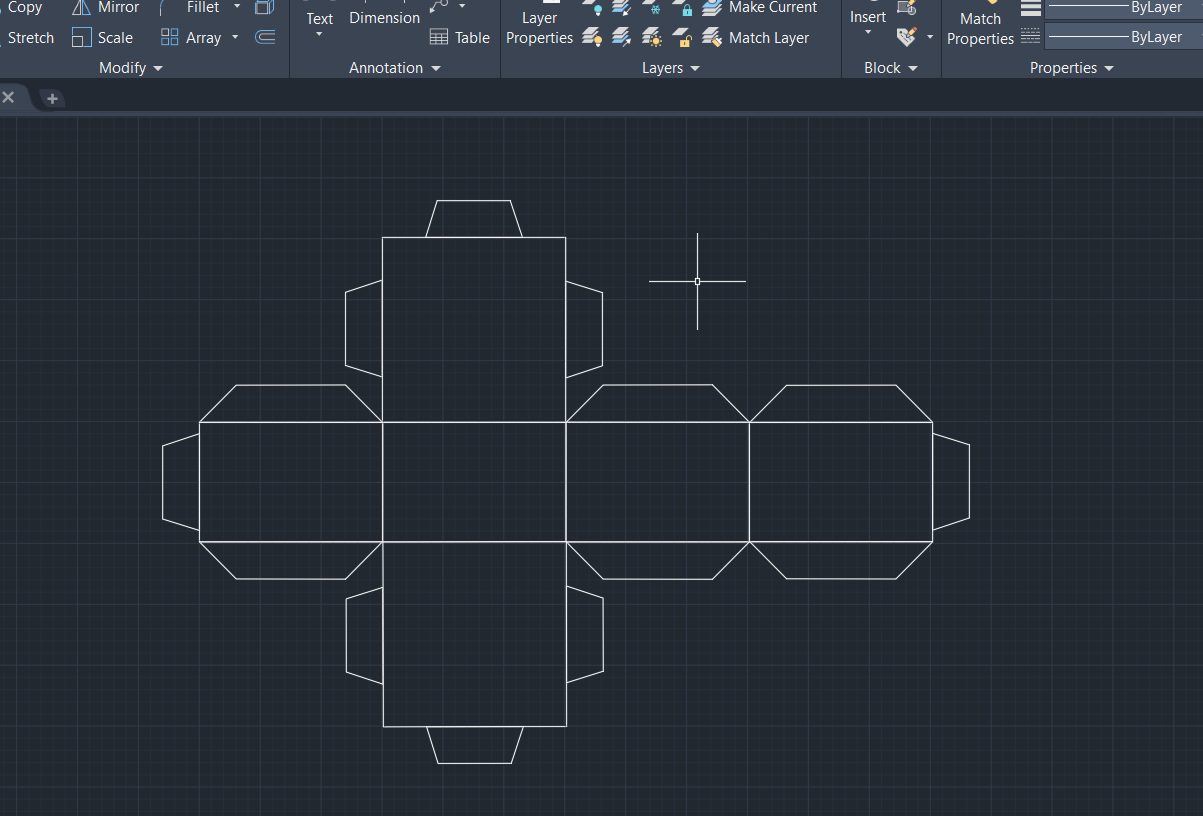
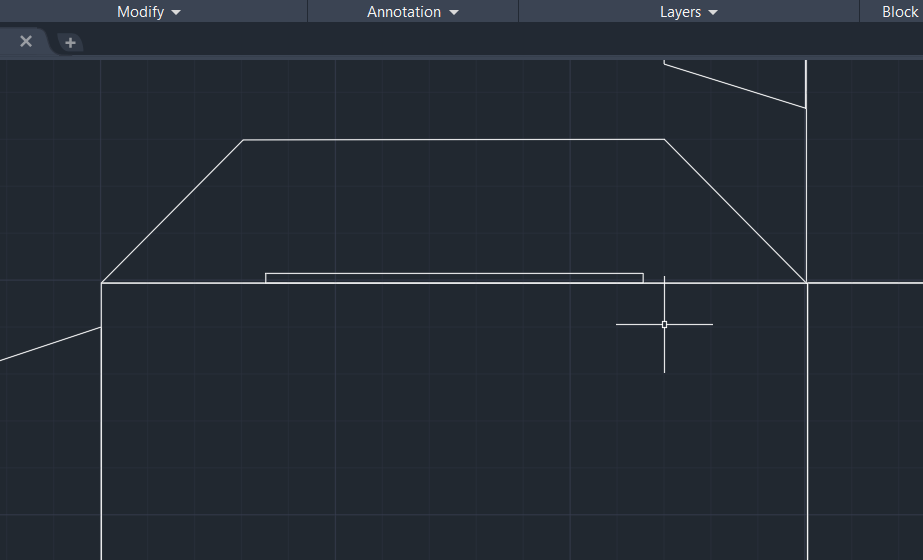
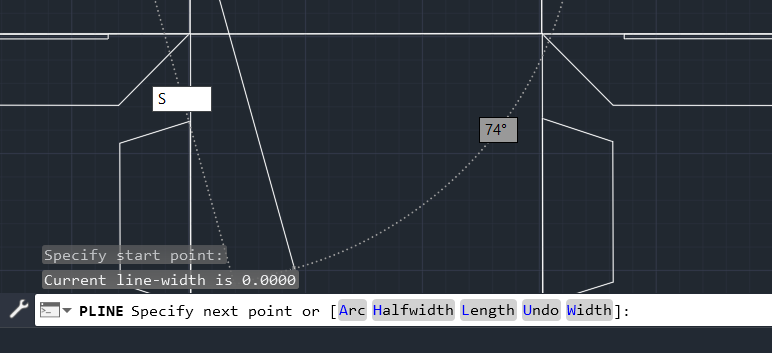

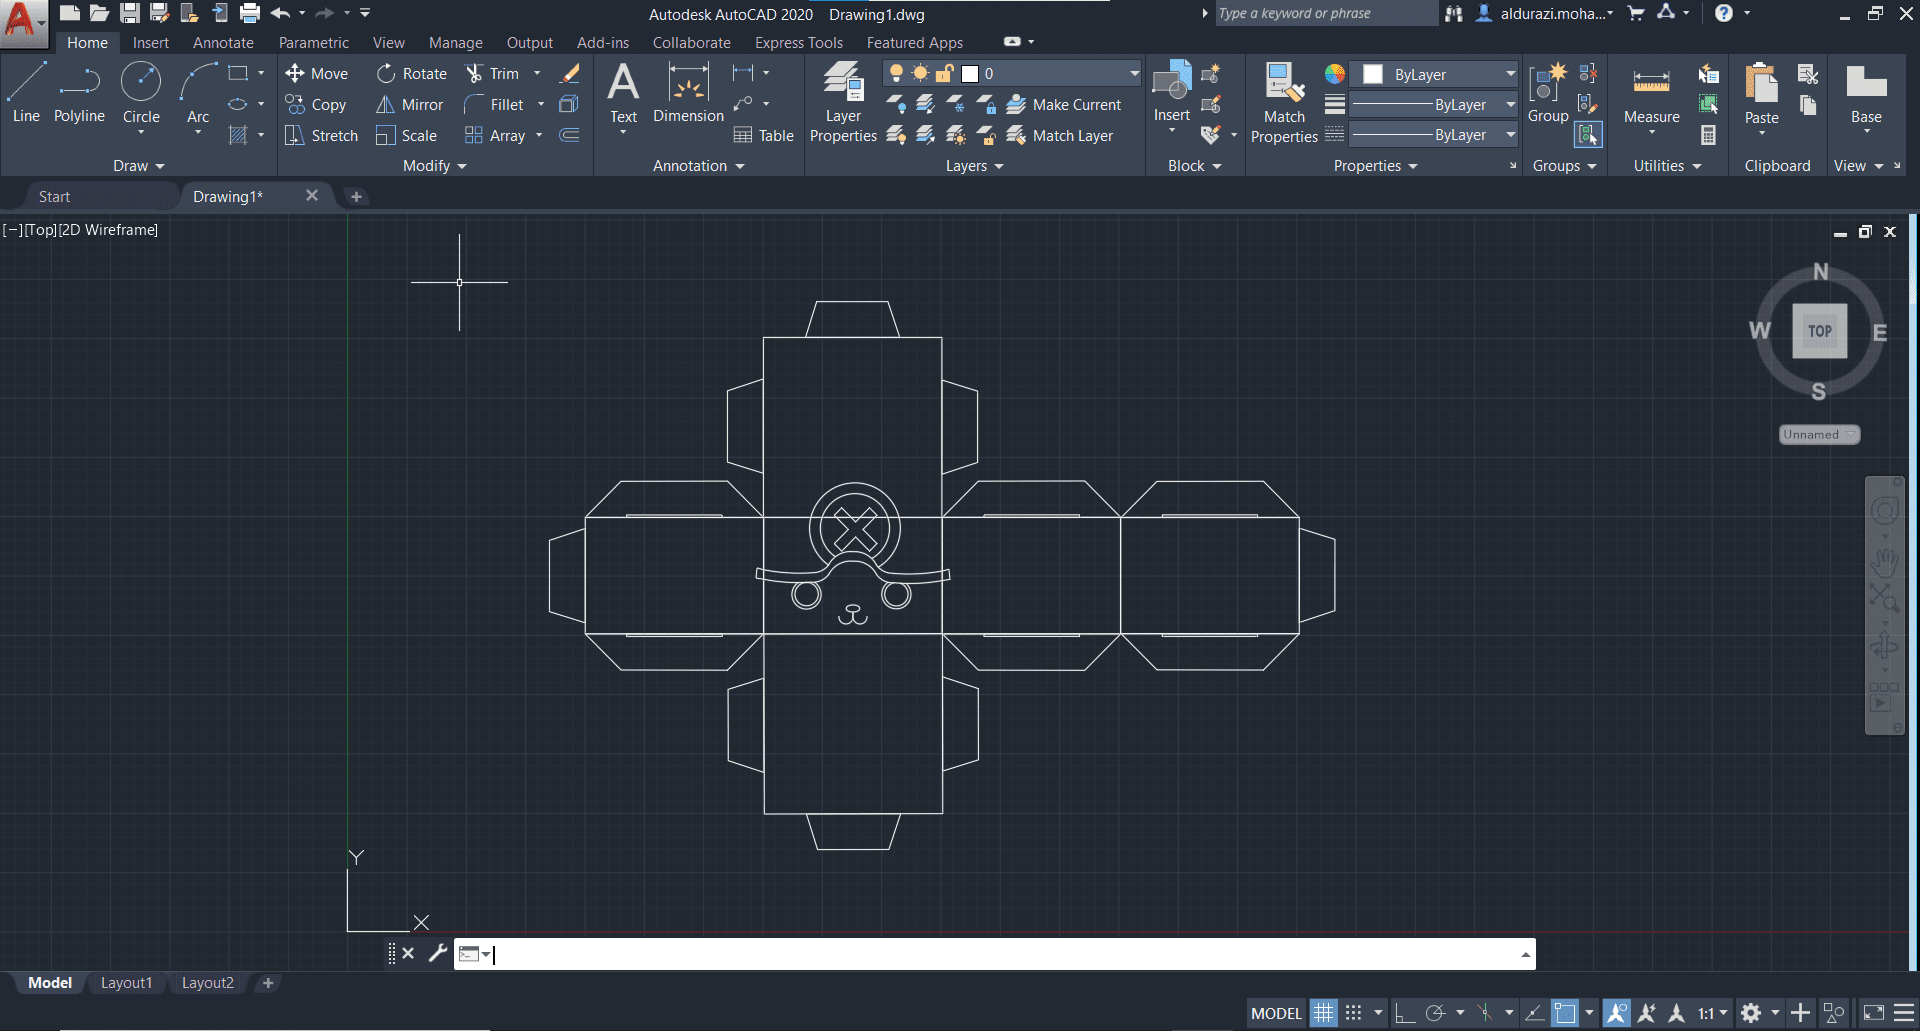
To download the DWG file for the cube Click here.
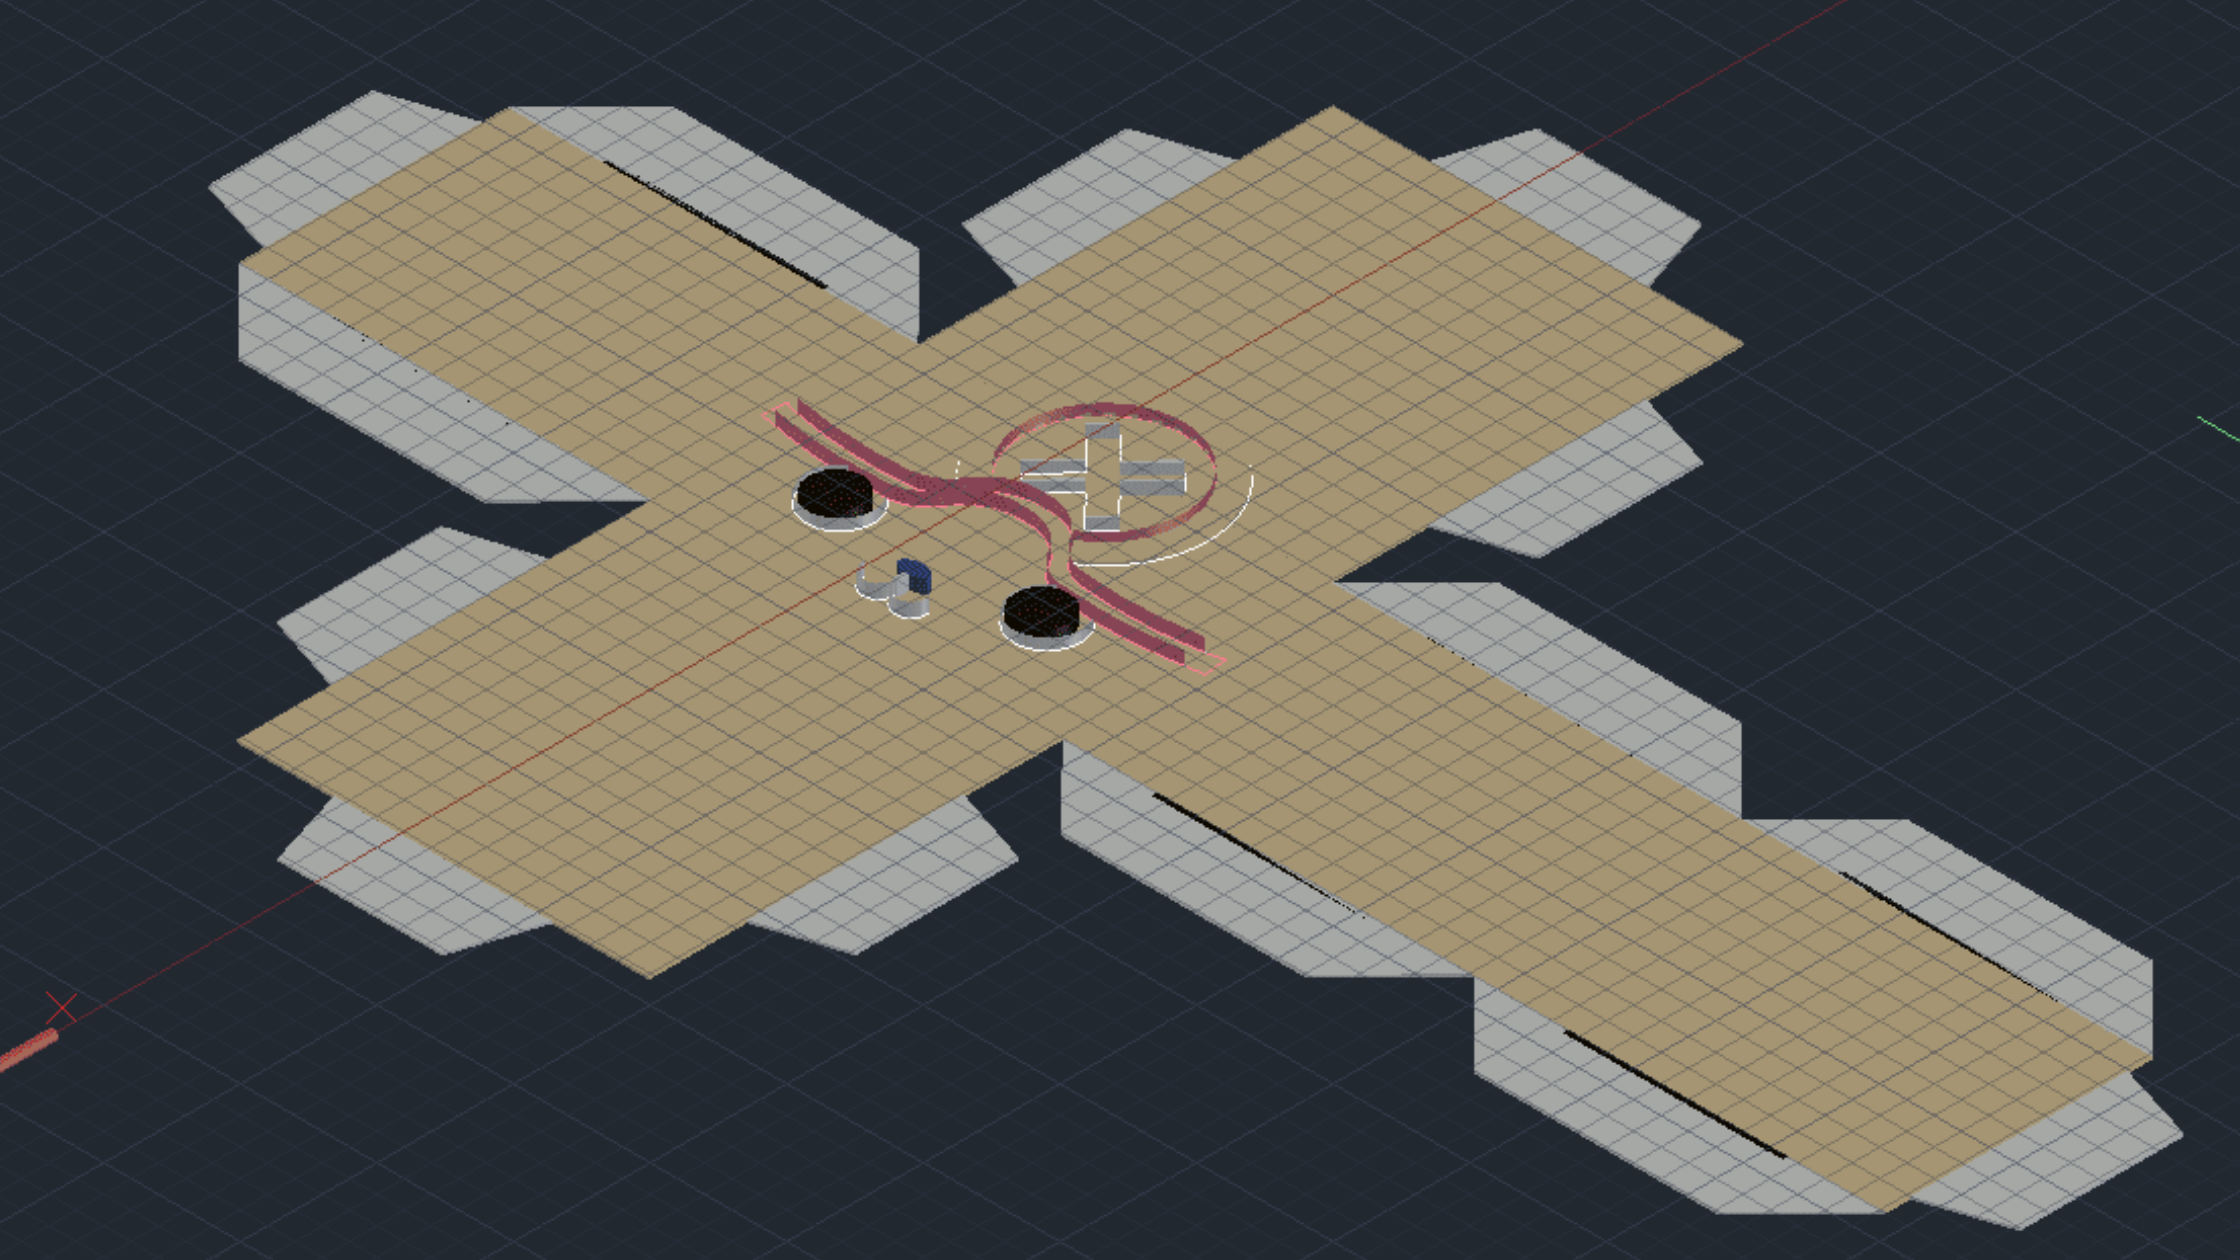
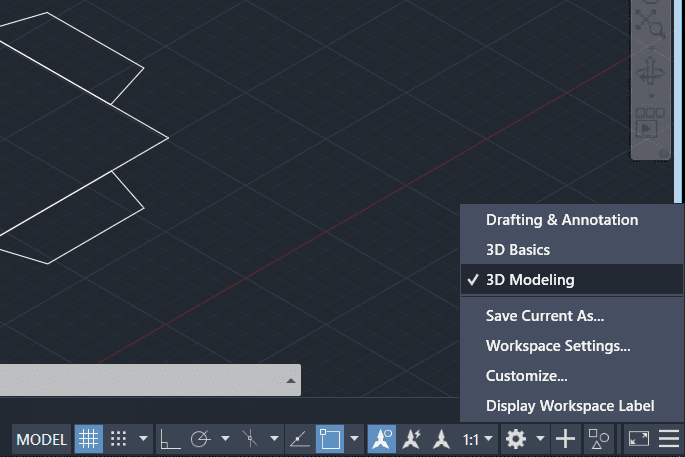
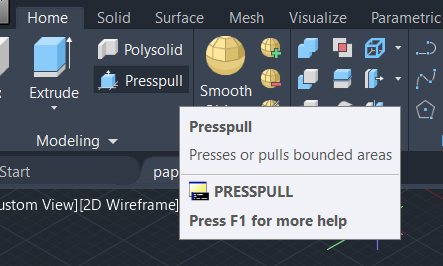
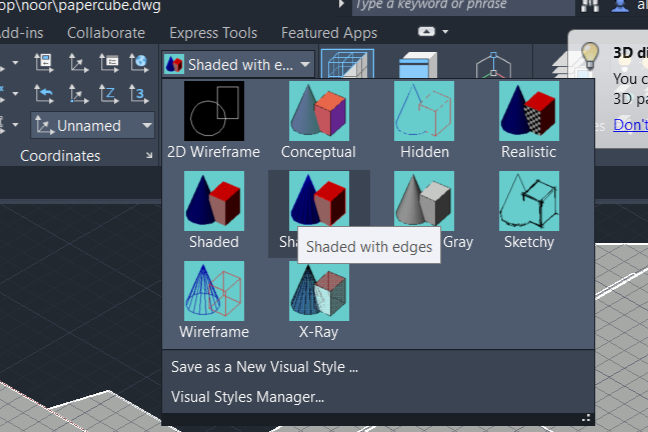
I tried to make the cube as 3D design using AutoCAD. first, switch to 3D modeling from bottom right.
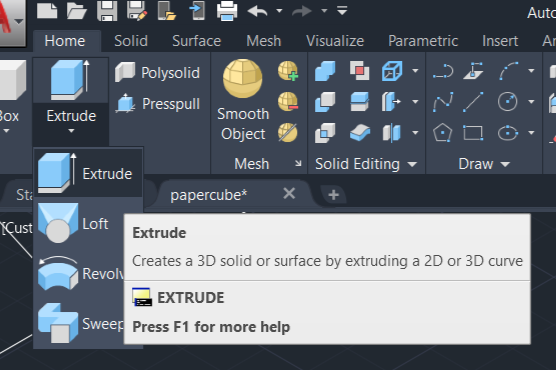
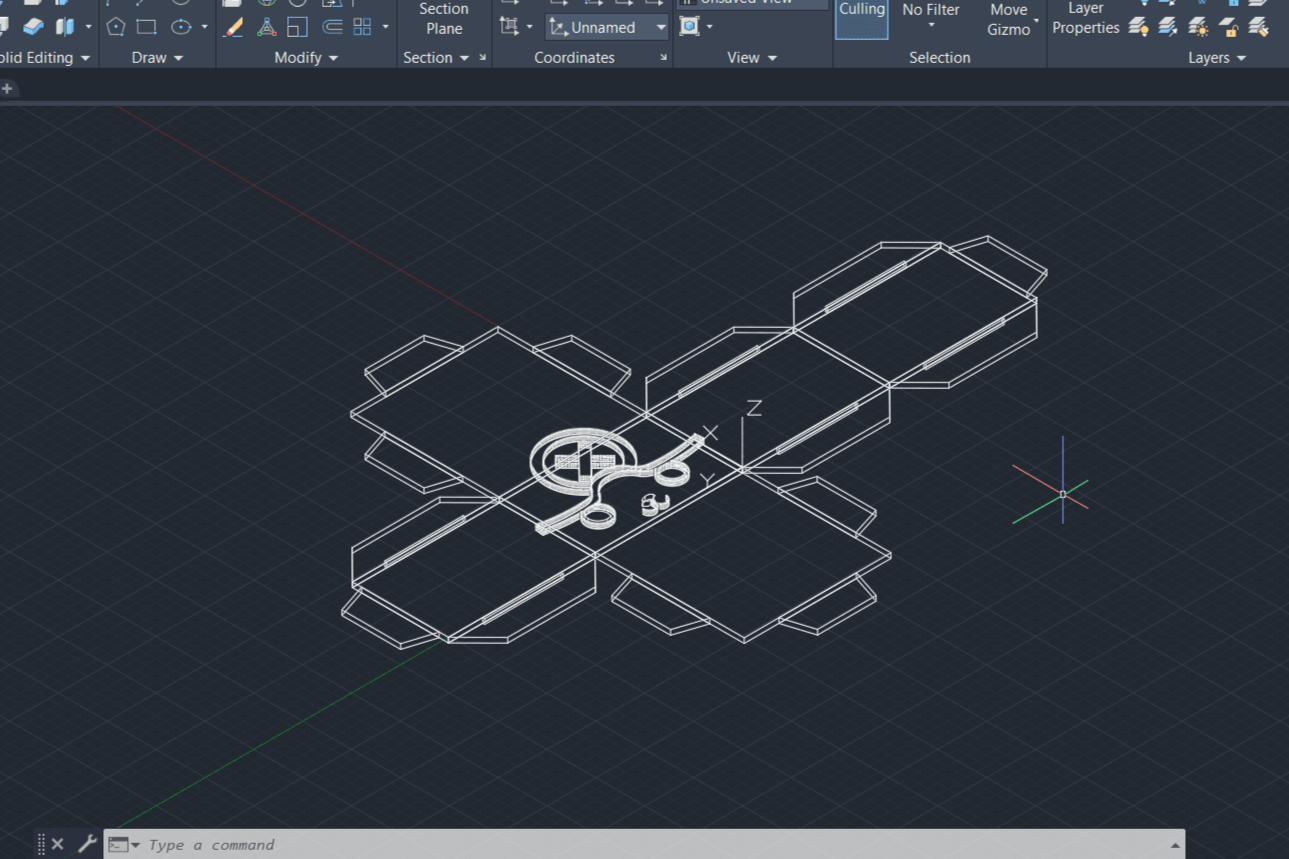


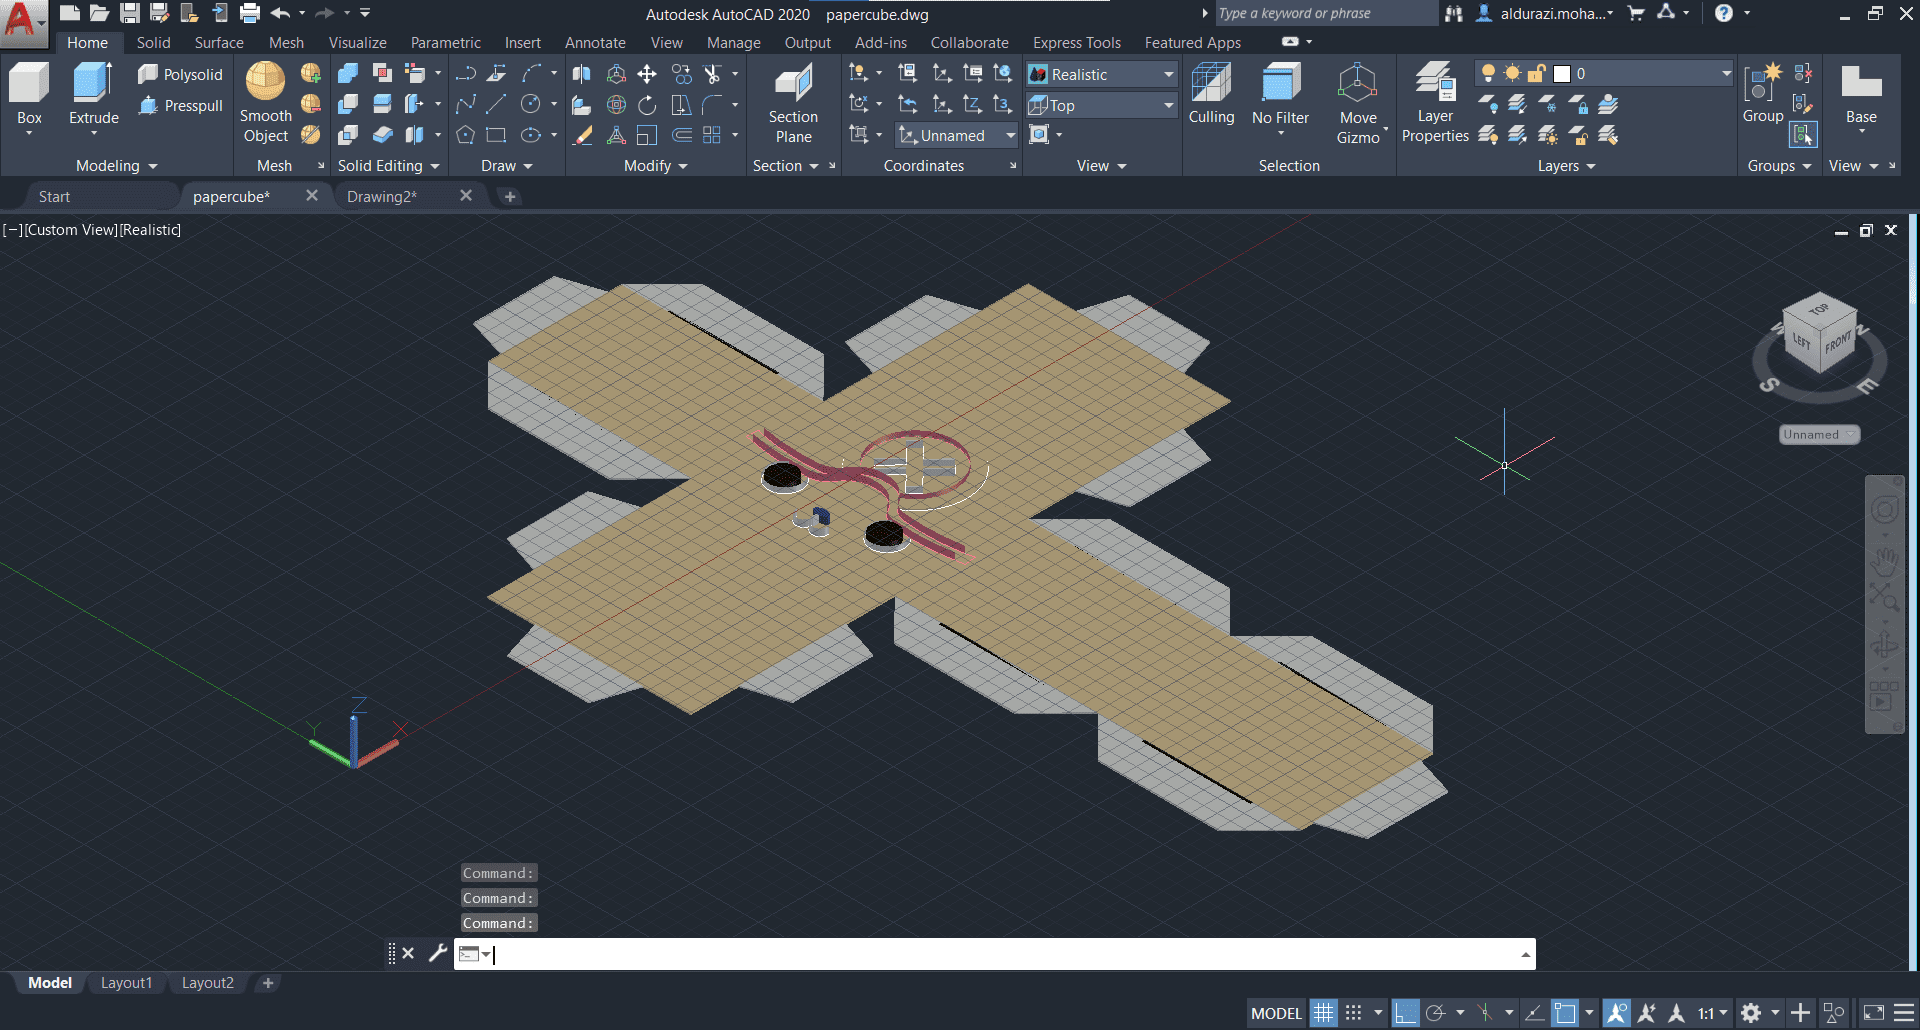
To download the DWG file for the cube Click here.
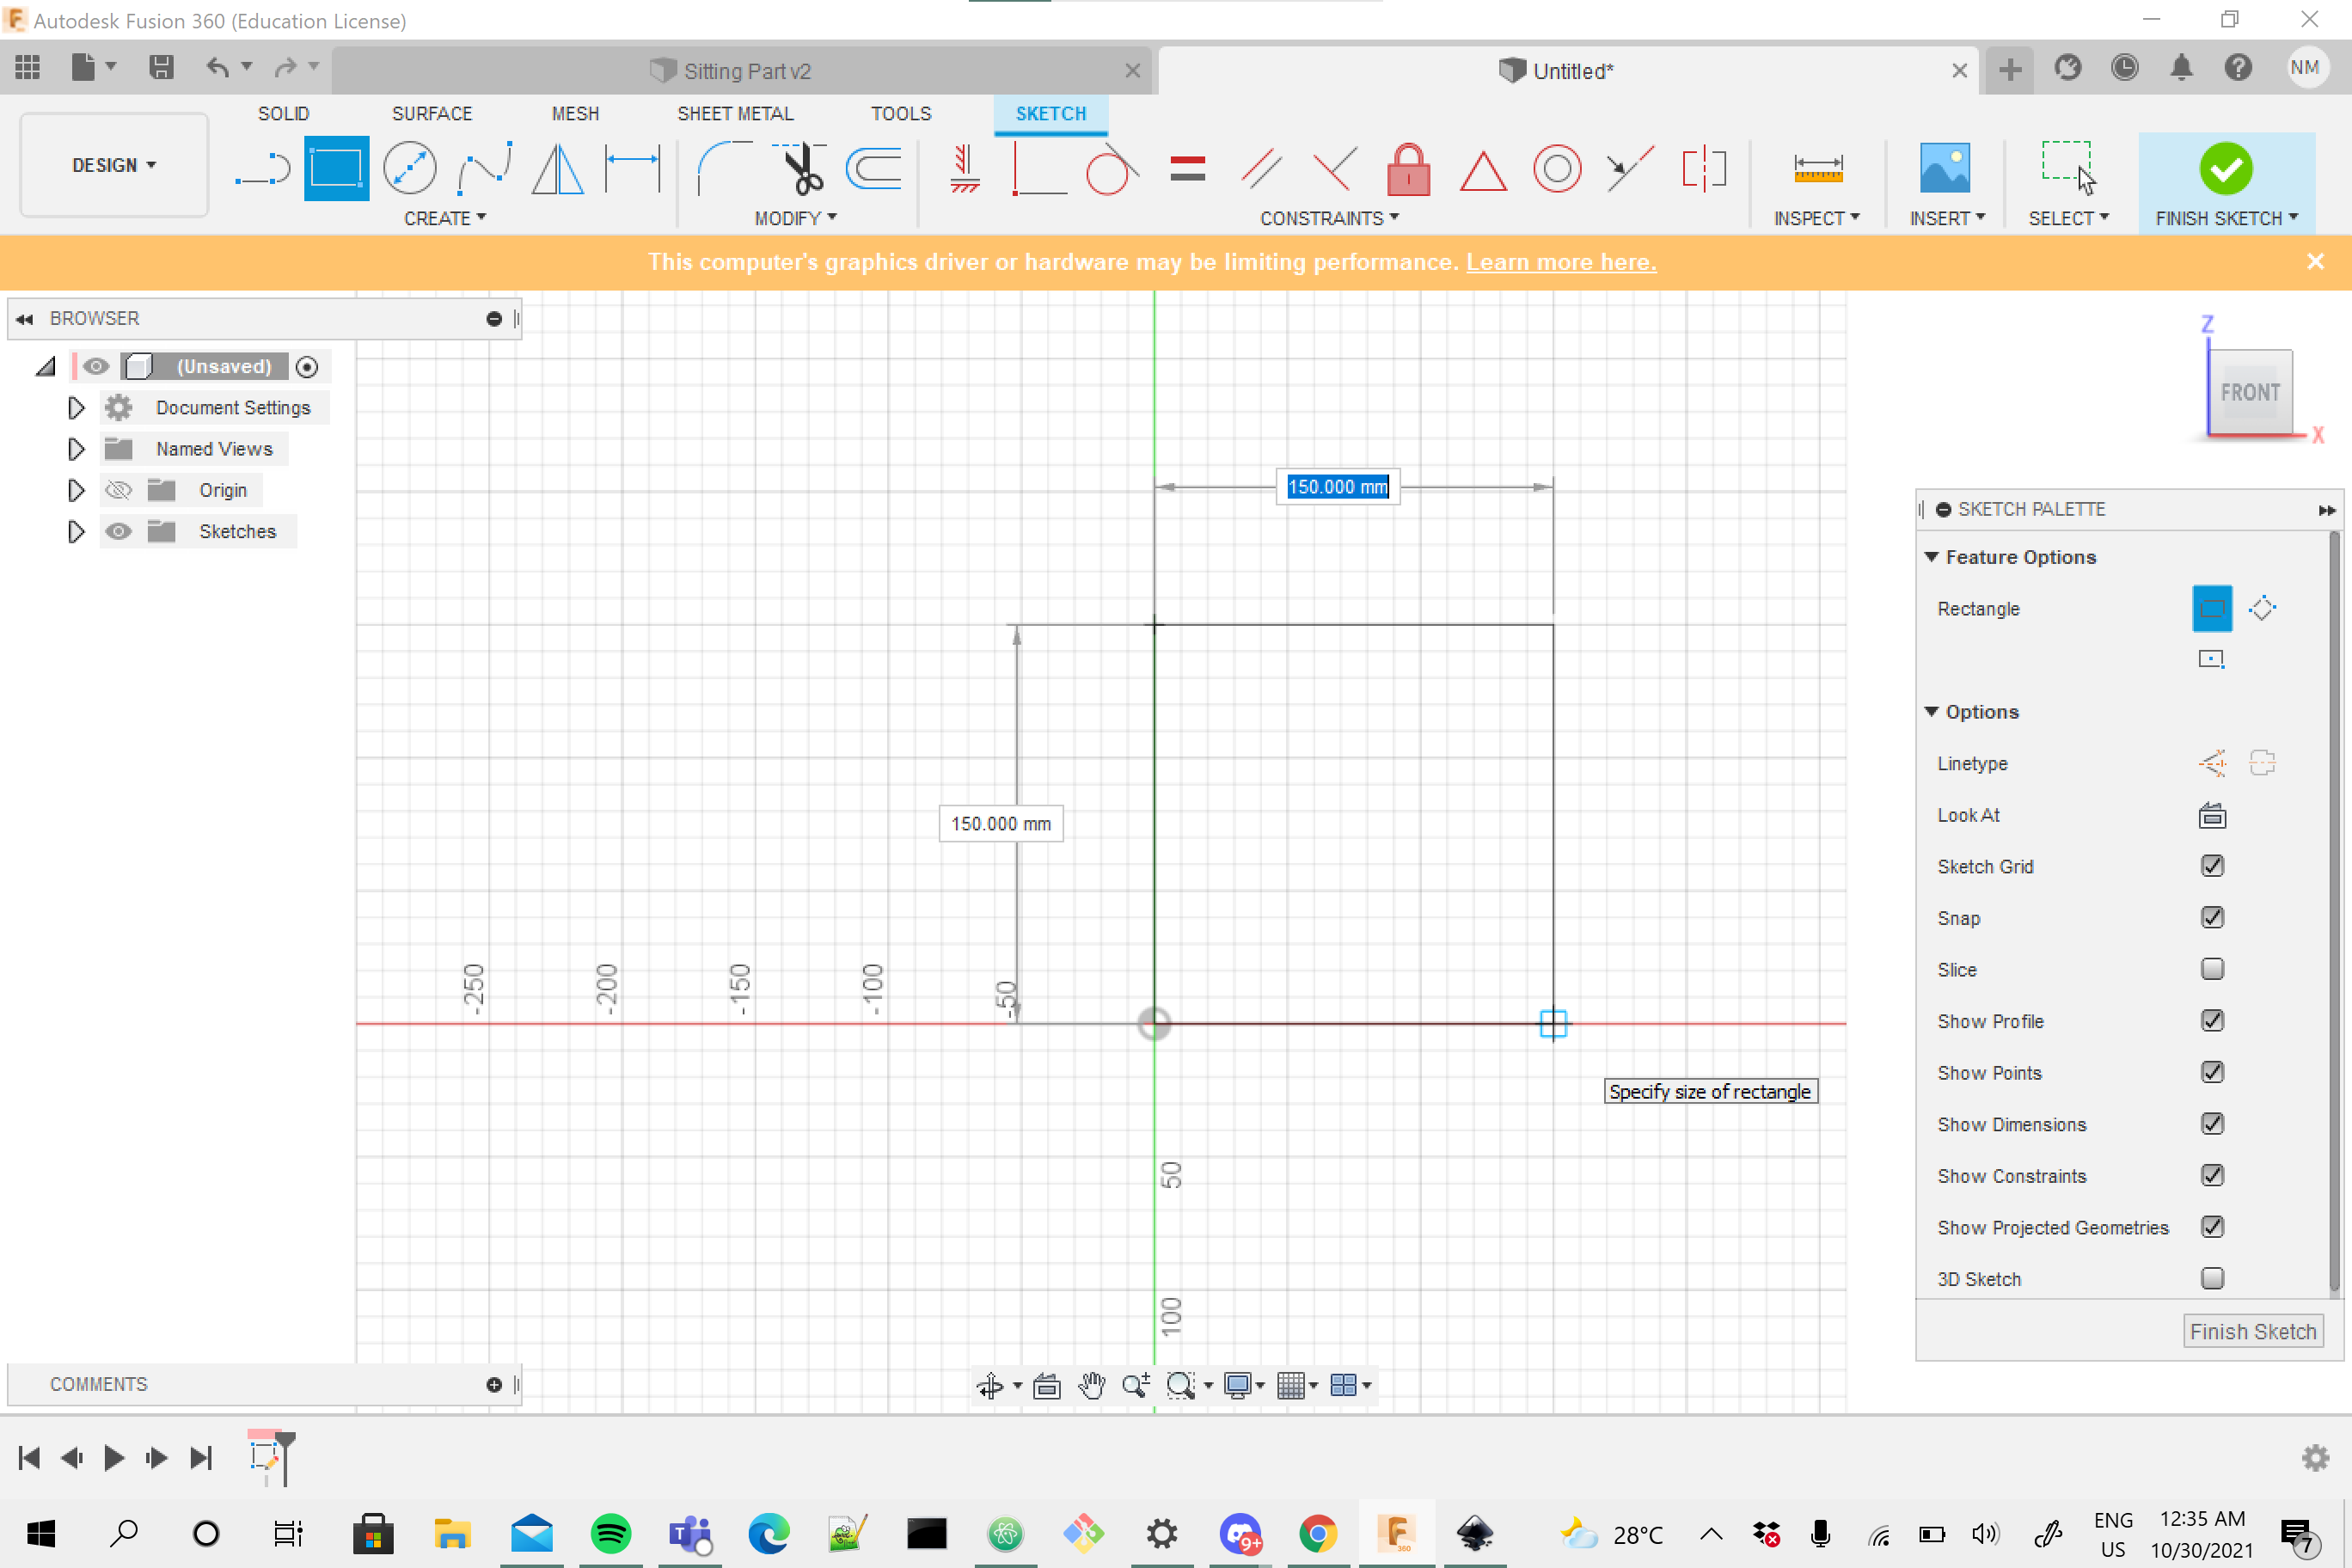
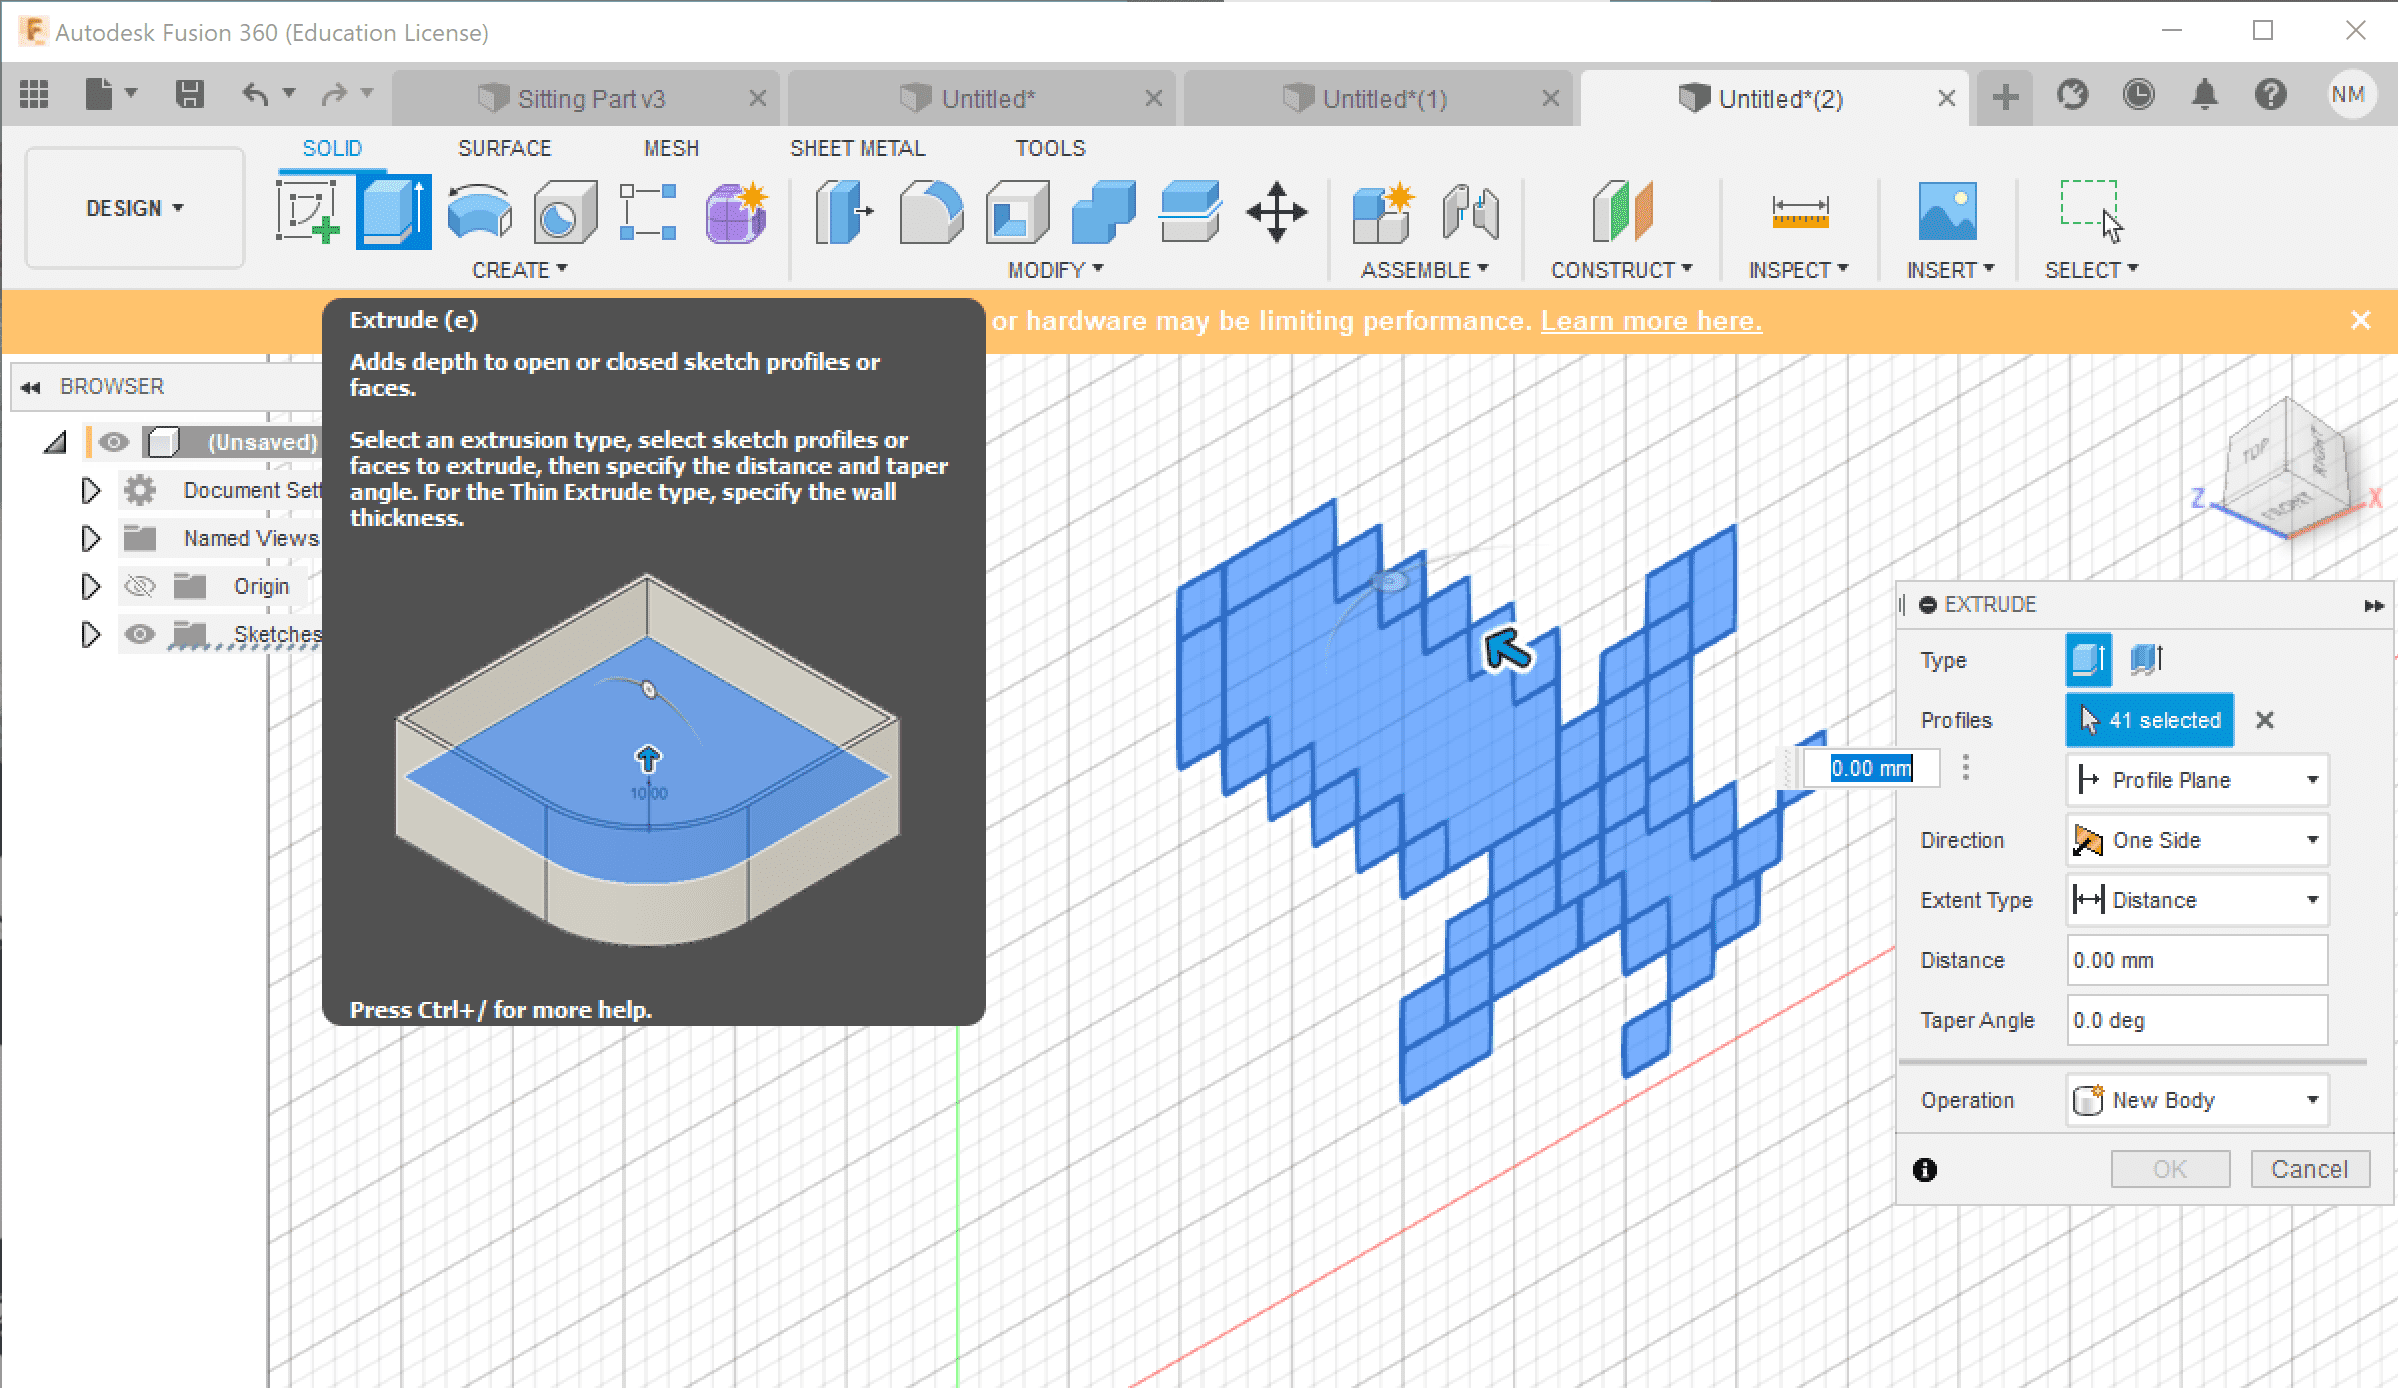
I downloaded Fusion360 using an educational license, which makes it available for 1 year only. I designed two different ideas on Fusion, the first one is a sitting part (similar to a chair), which is a part of a bigger idea for a telescope chair. My second idea was a Minecraft-themed sword, which was simpler.
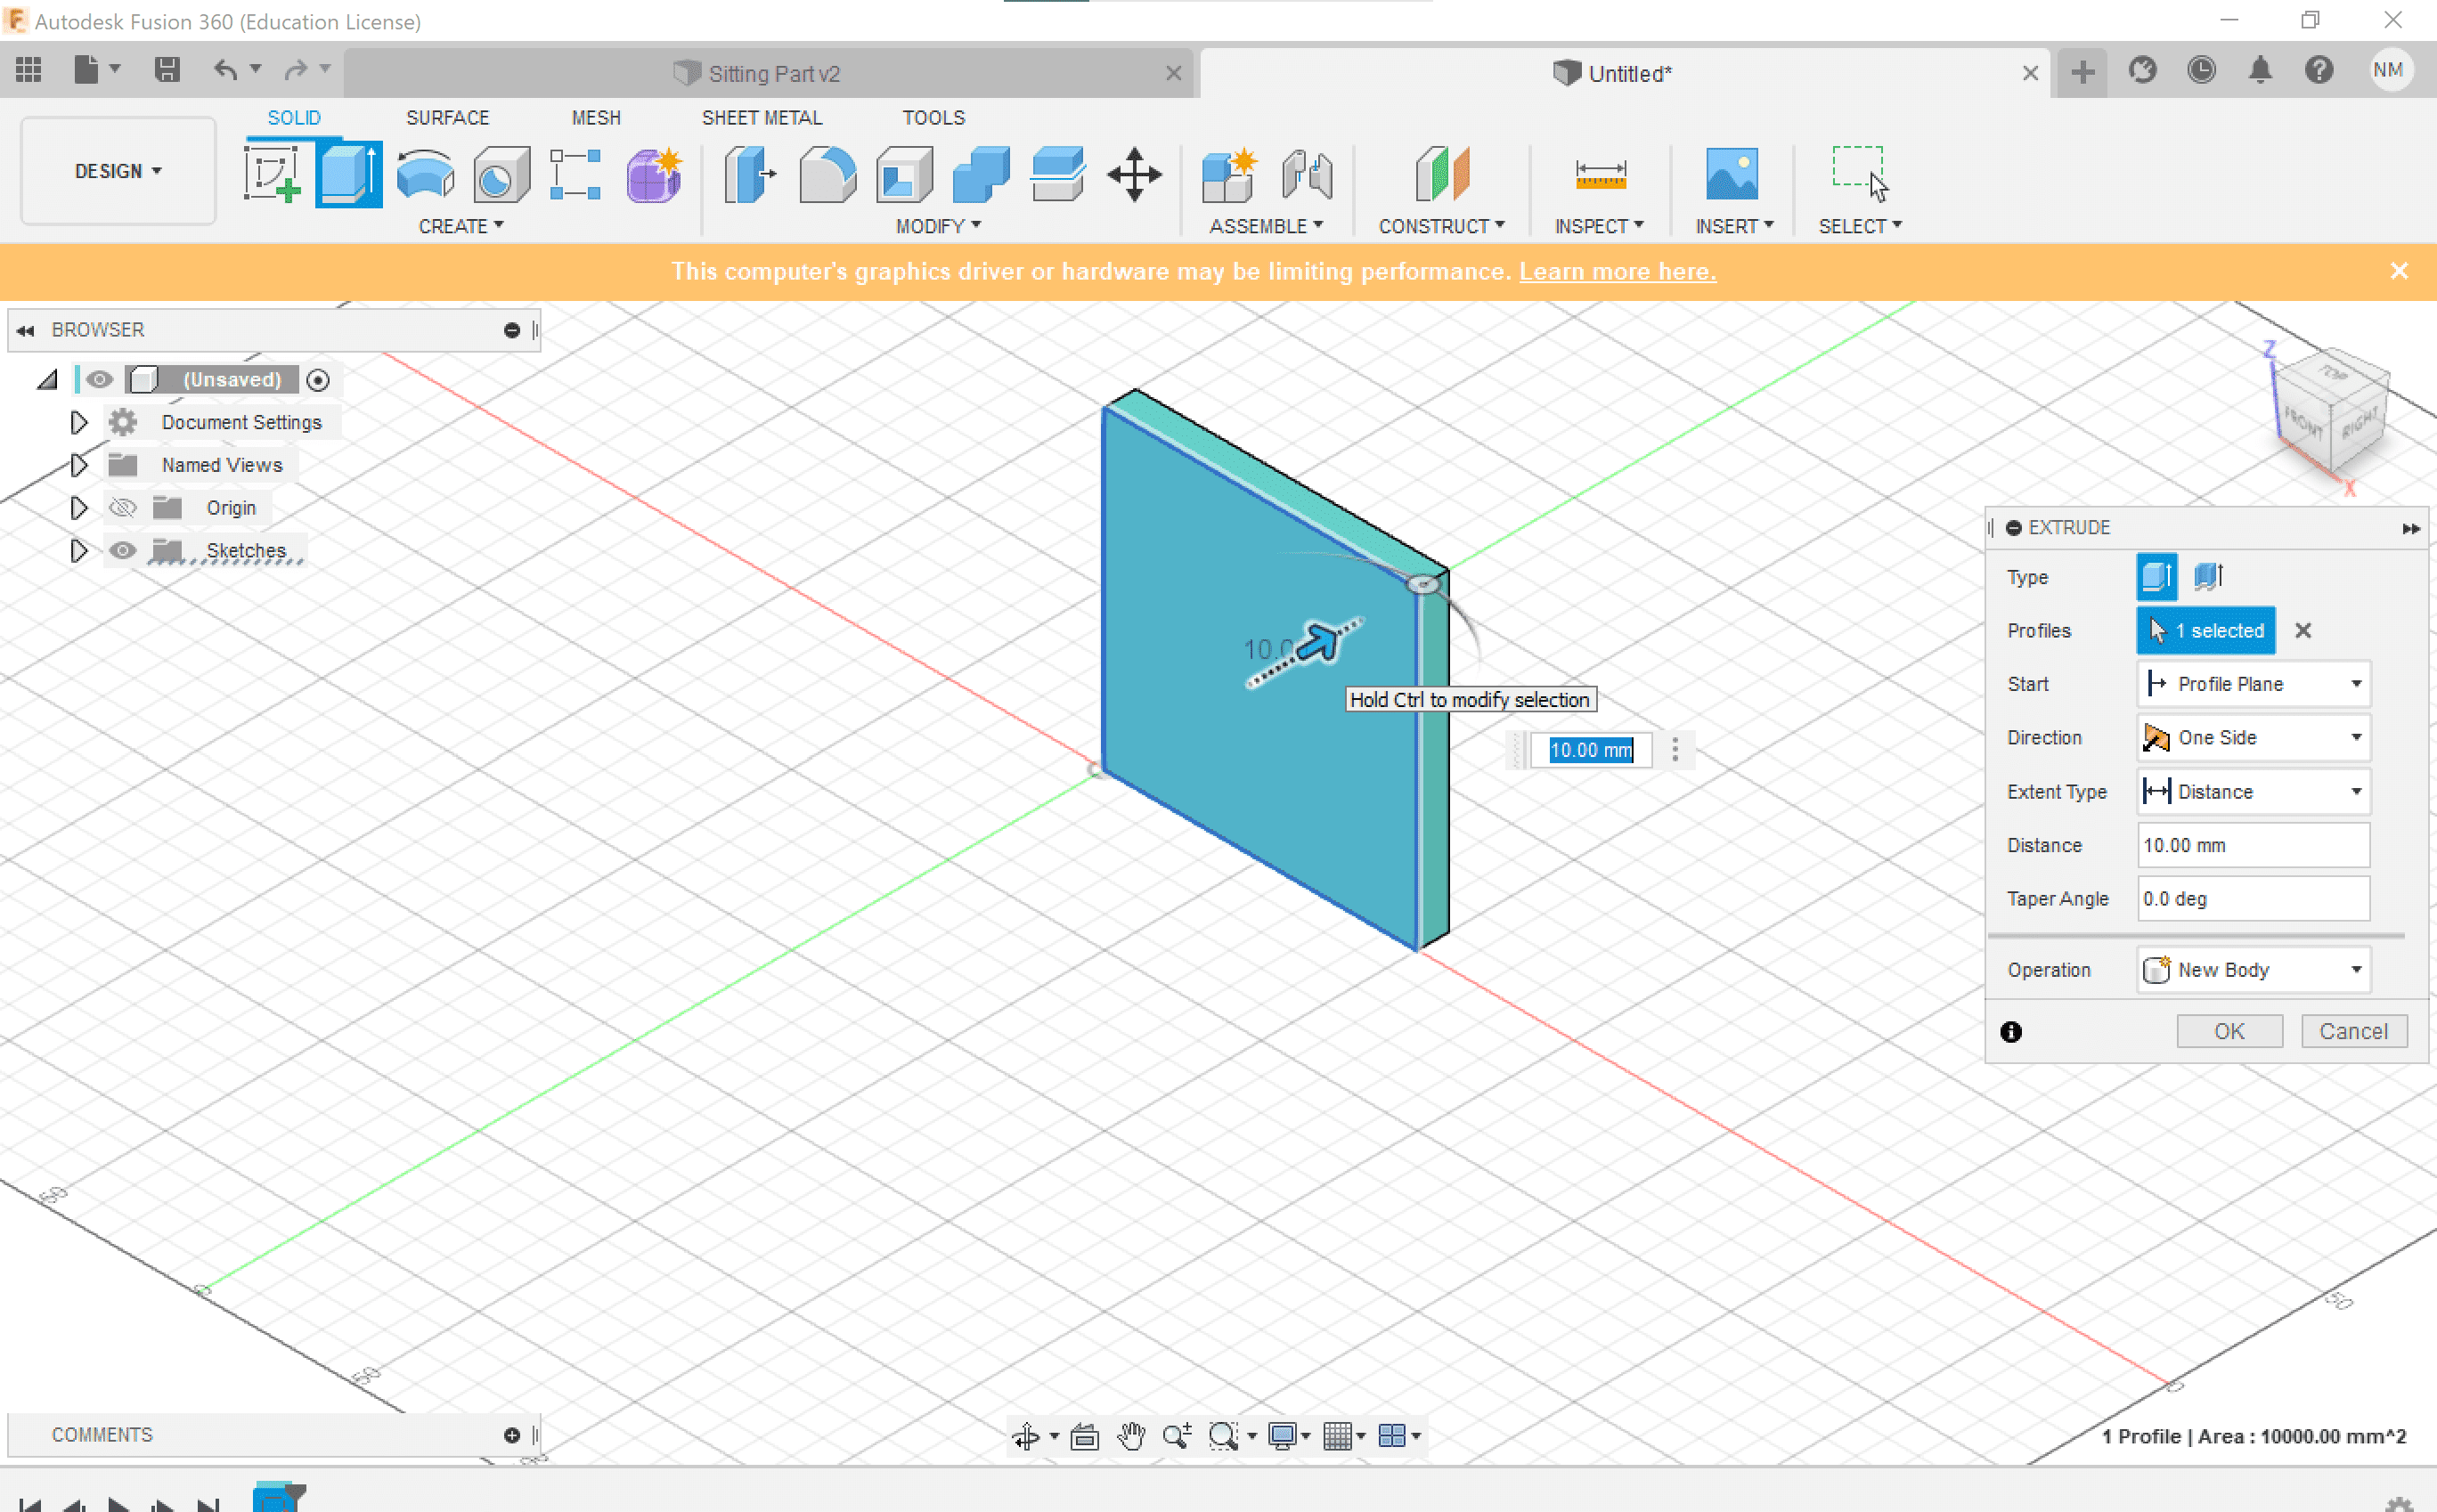
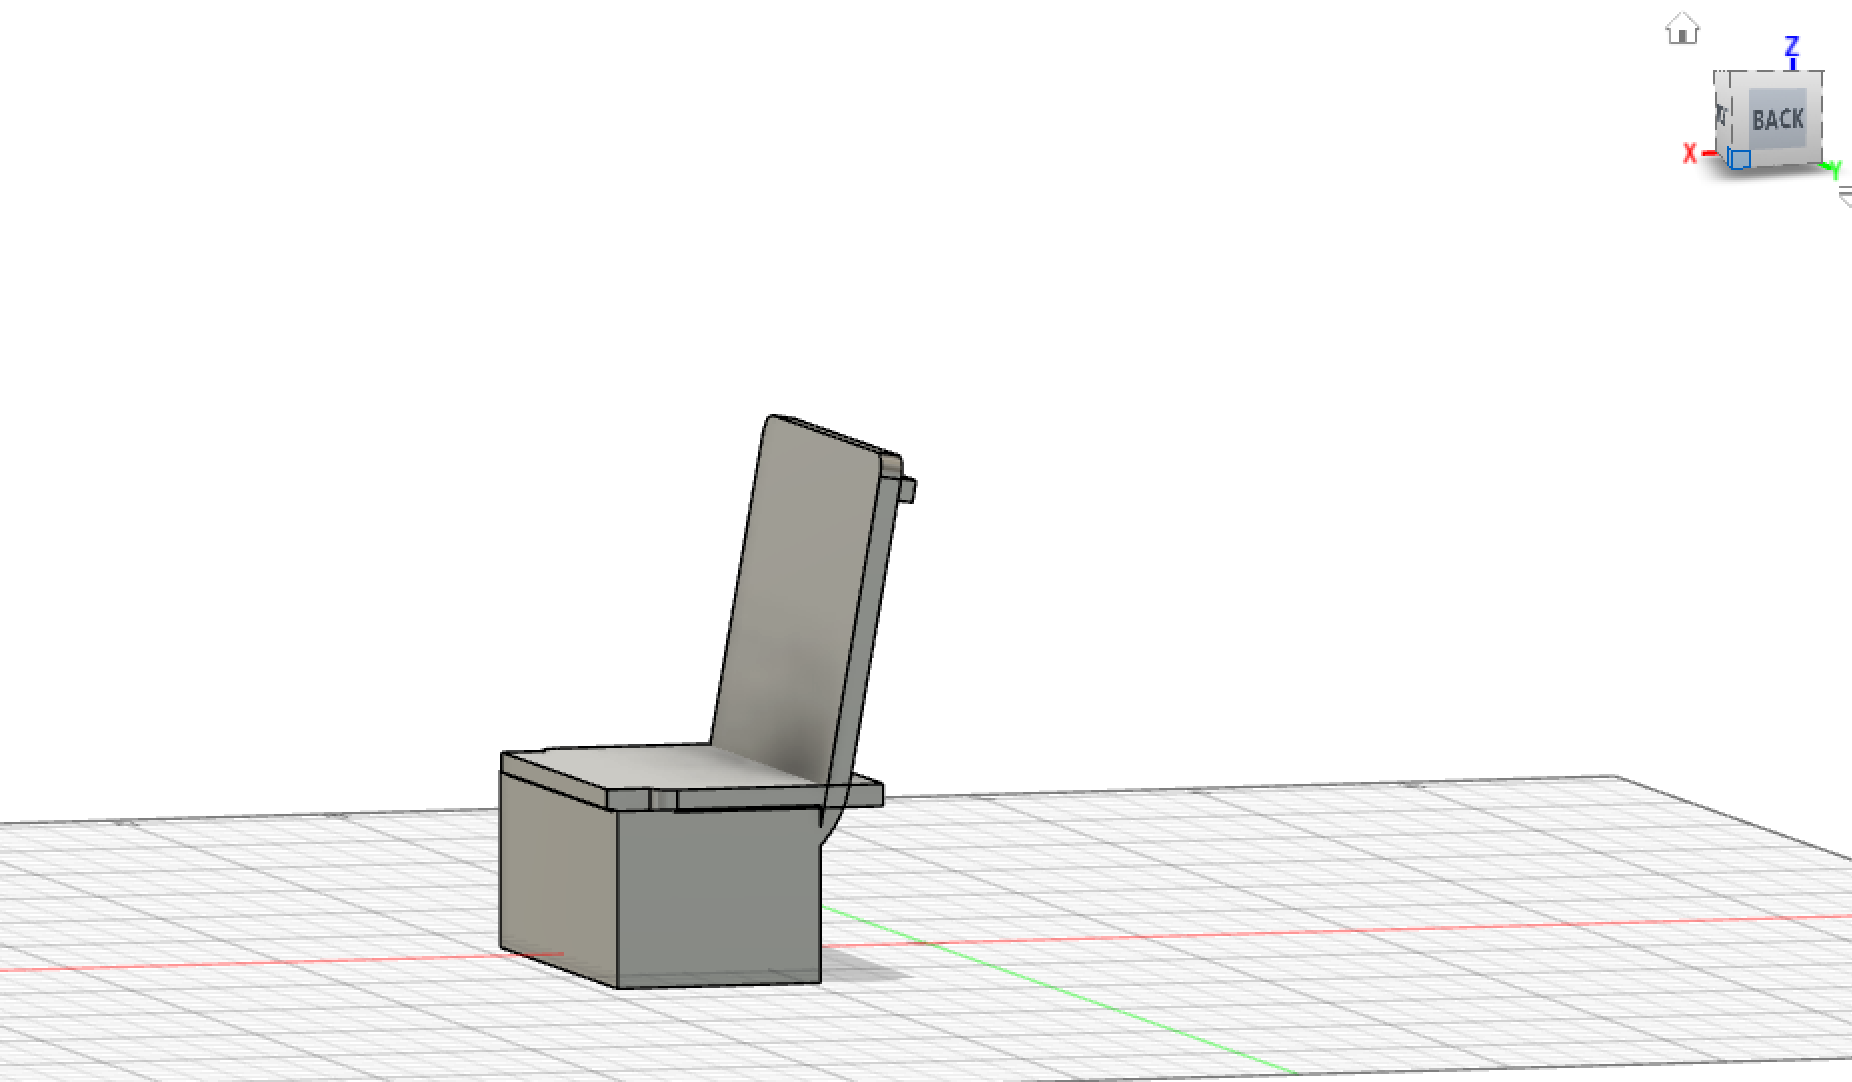
To download the F3D file for the chair Click here.
And this is the final sword after editing the colors.
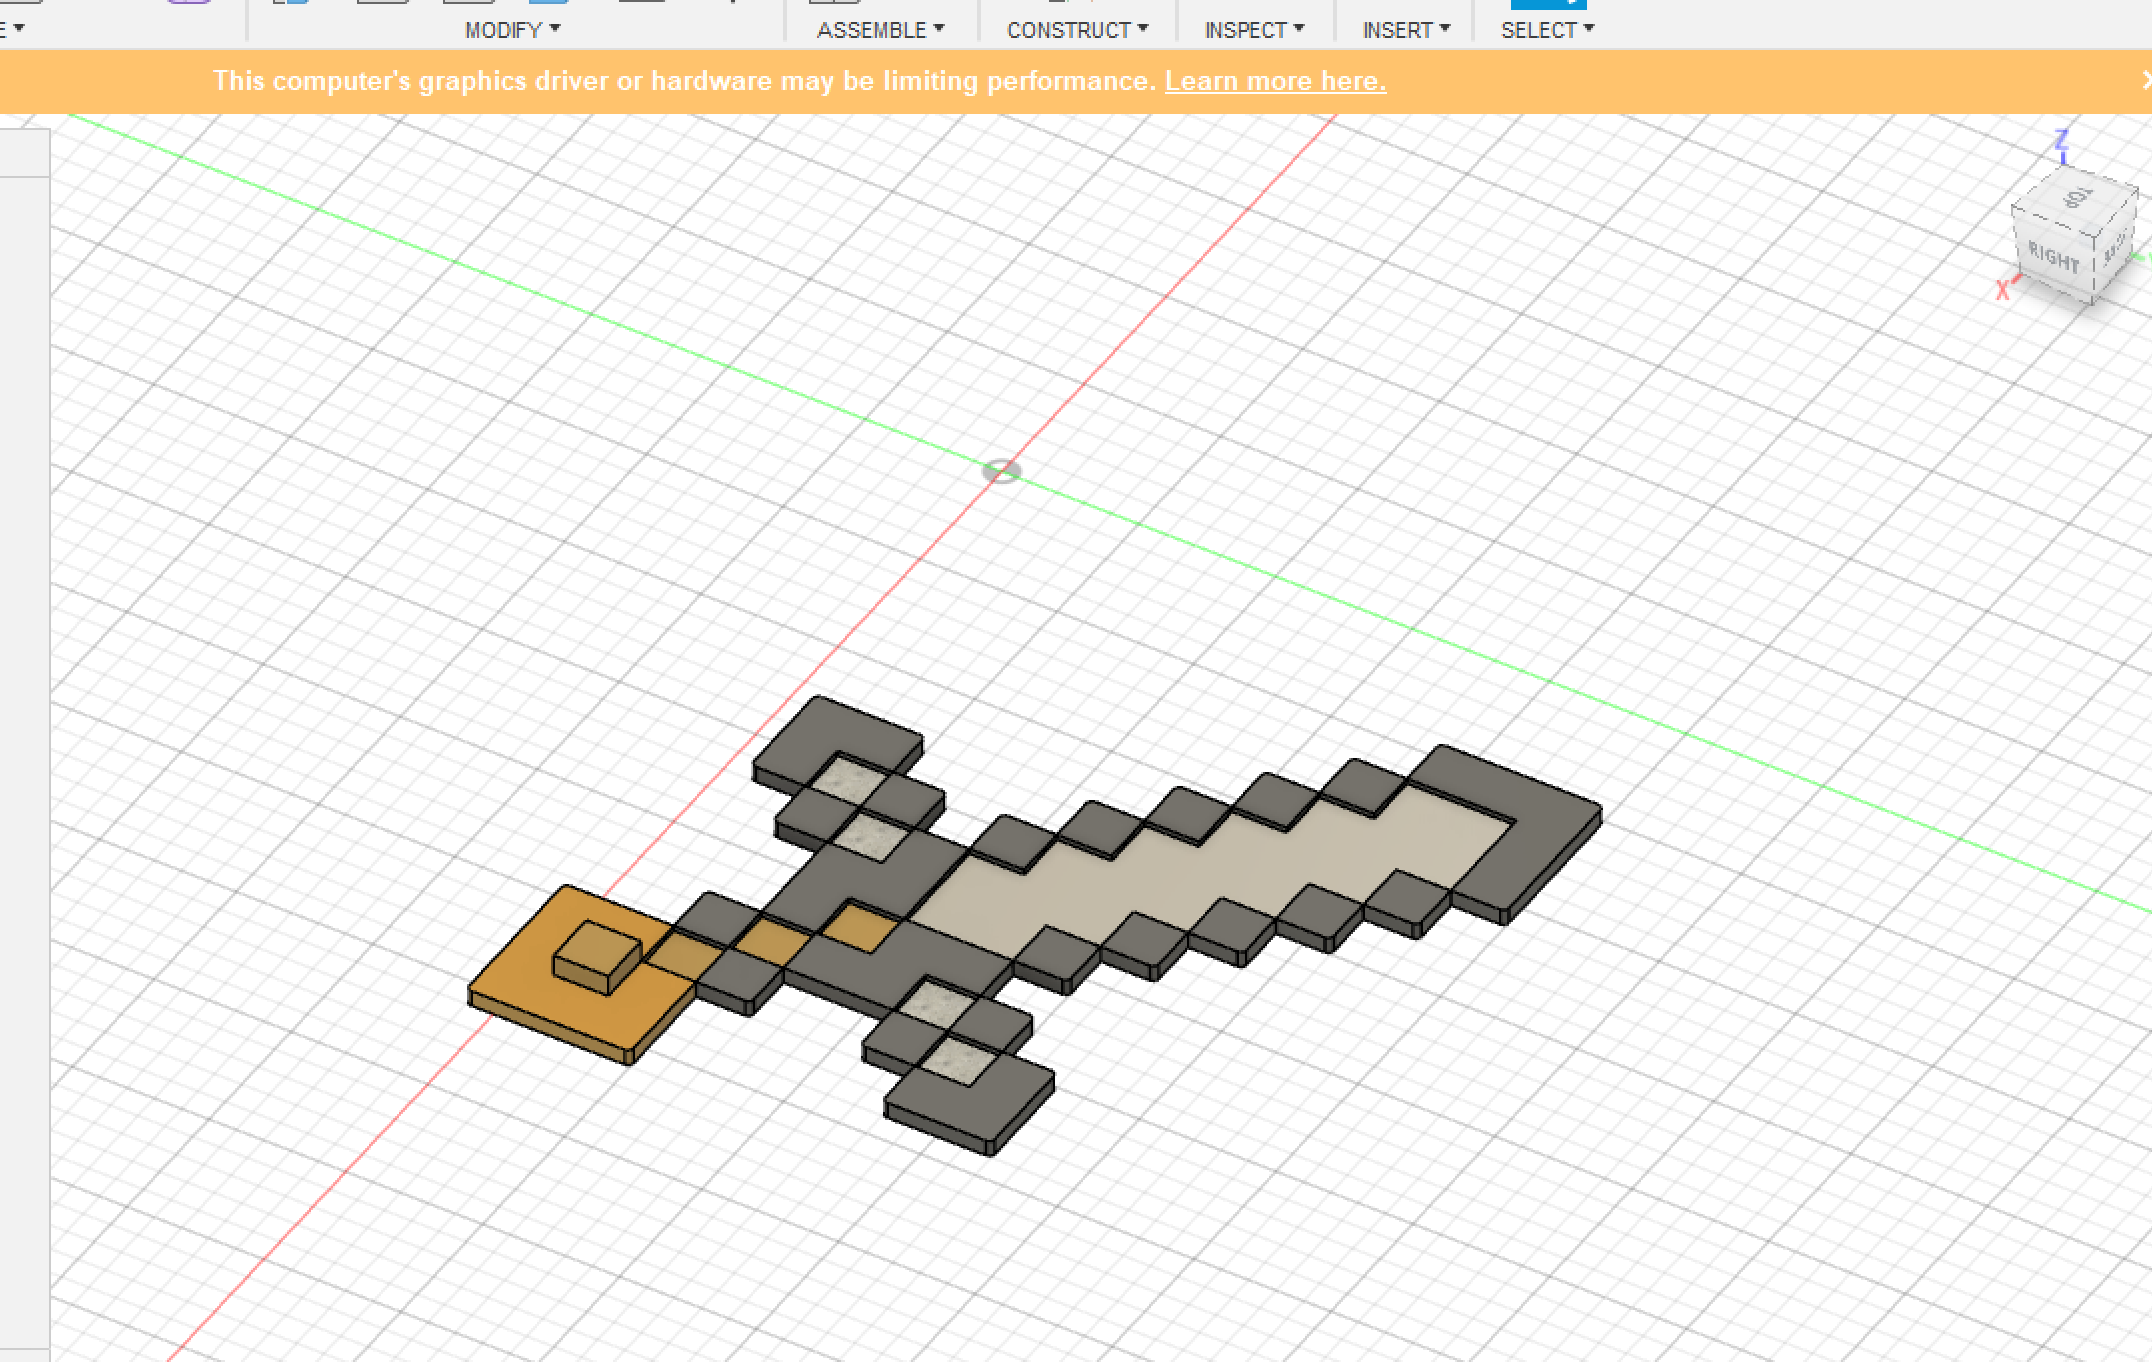
To download the F3D file for the sword Click here.
Comparing AutoCAD as 3D app with Fusion 360, I found them both very similar with alike tools. Nevertheless, I think Fusion 360 is quite easier for 3D design.
For my final project, I am making an educational interactive board game, you can check the idea of the final project here here
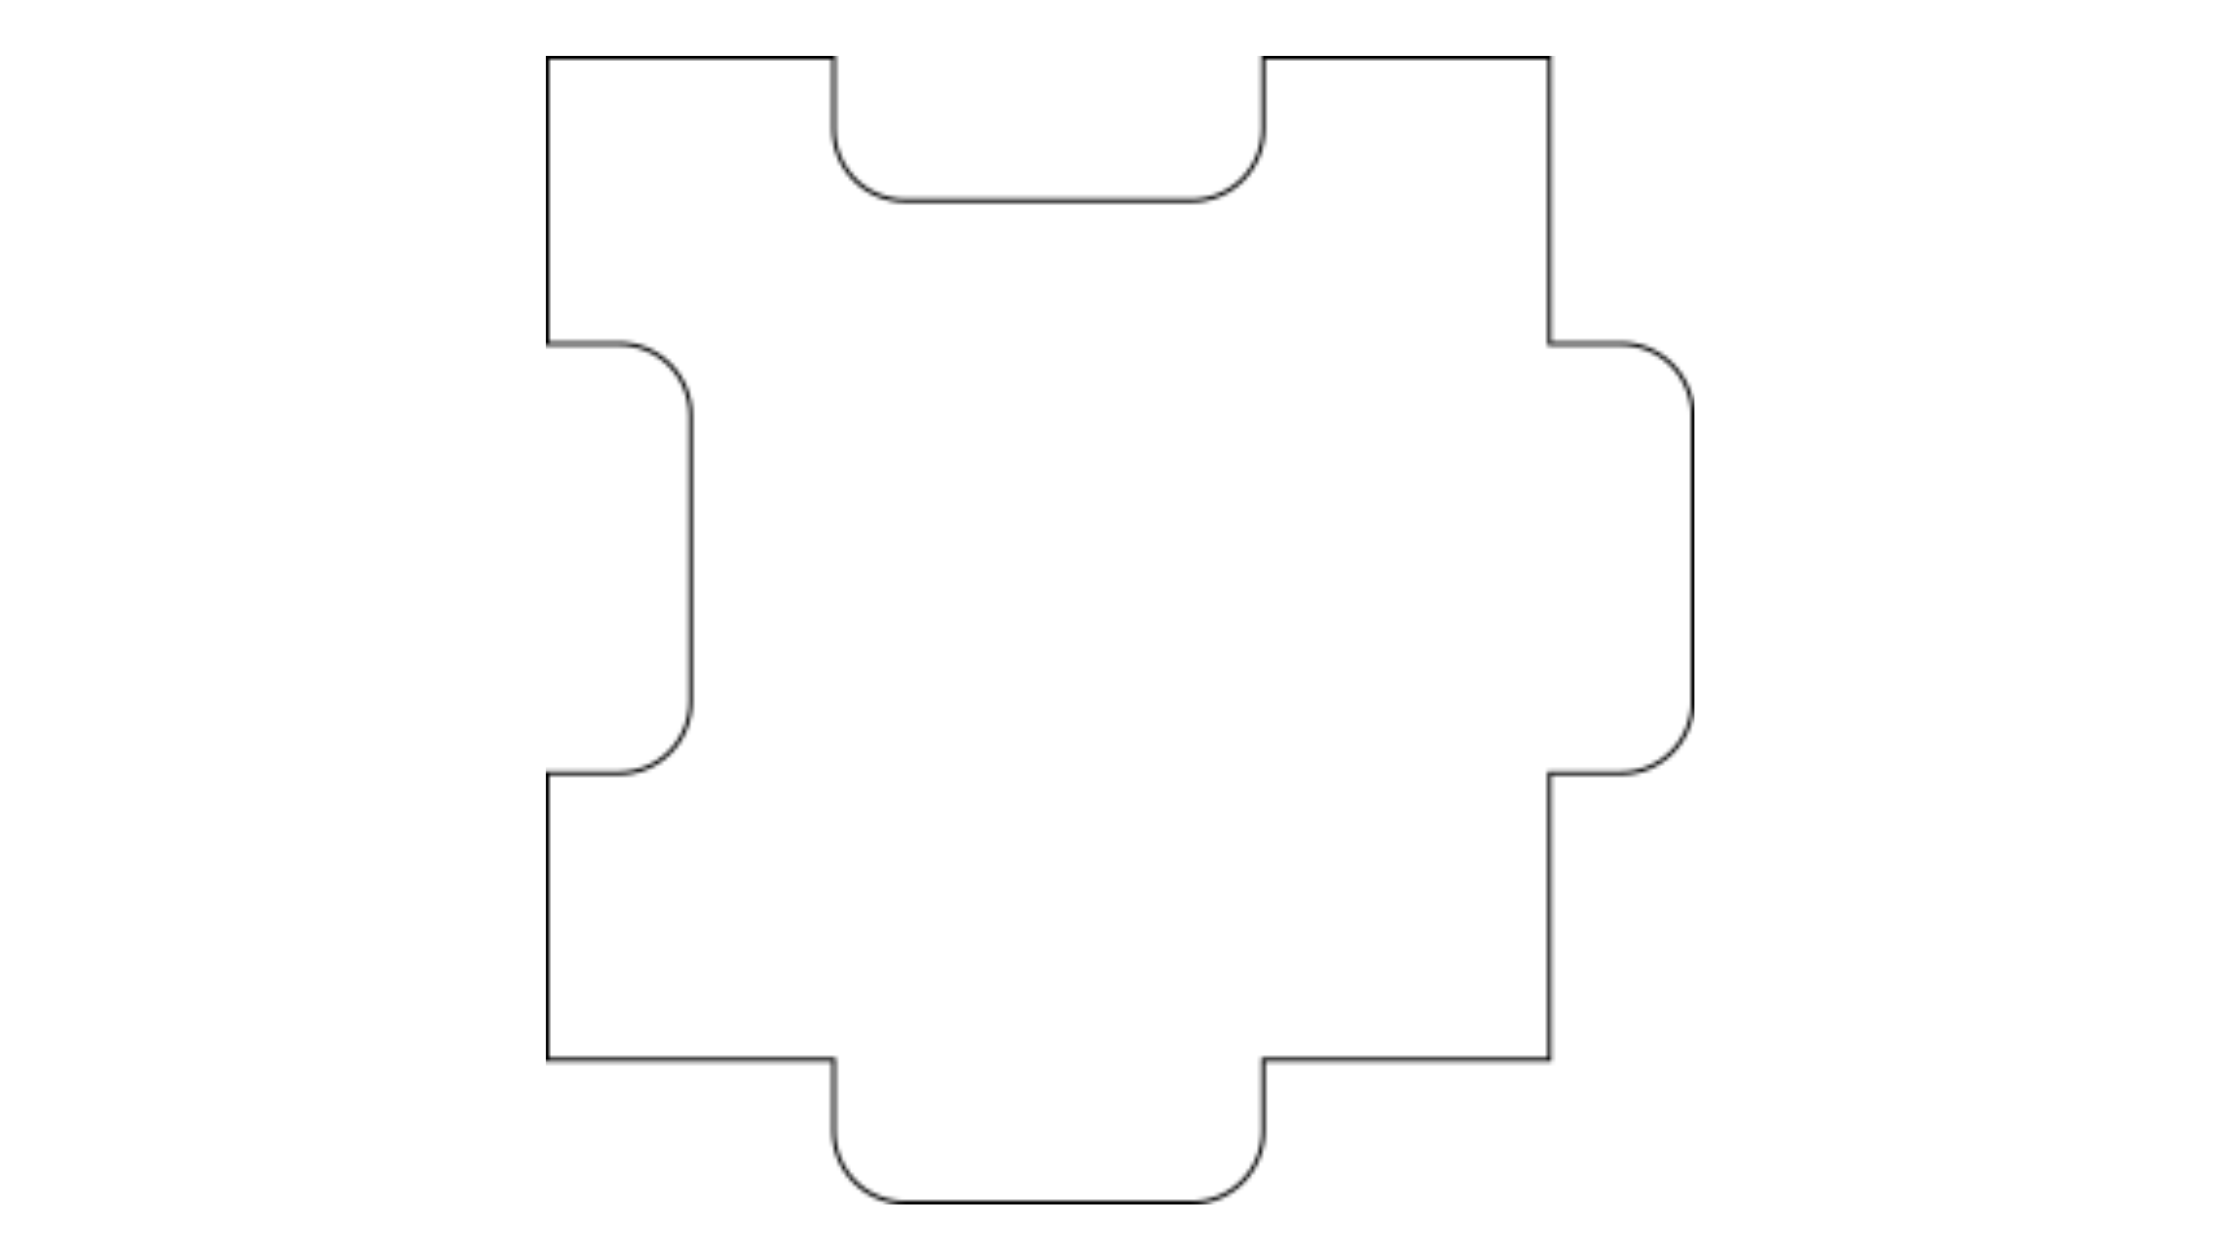
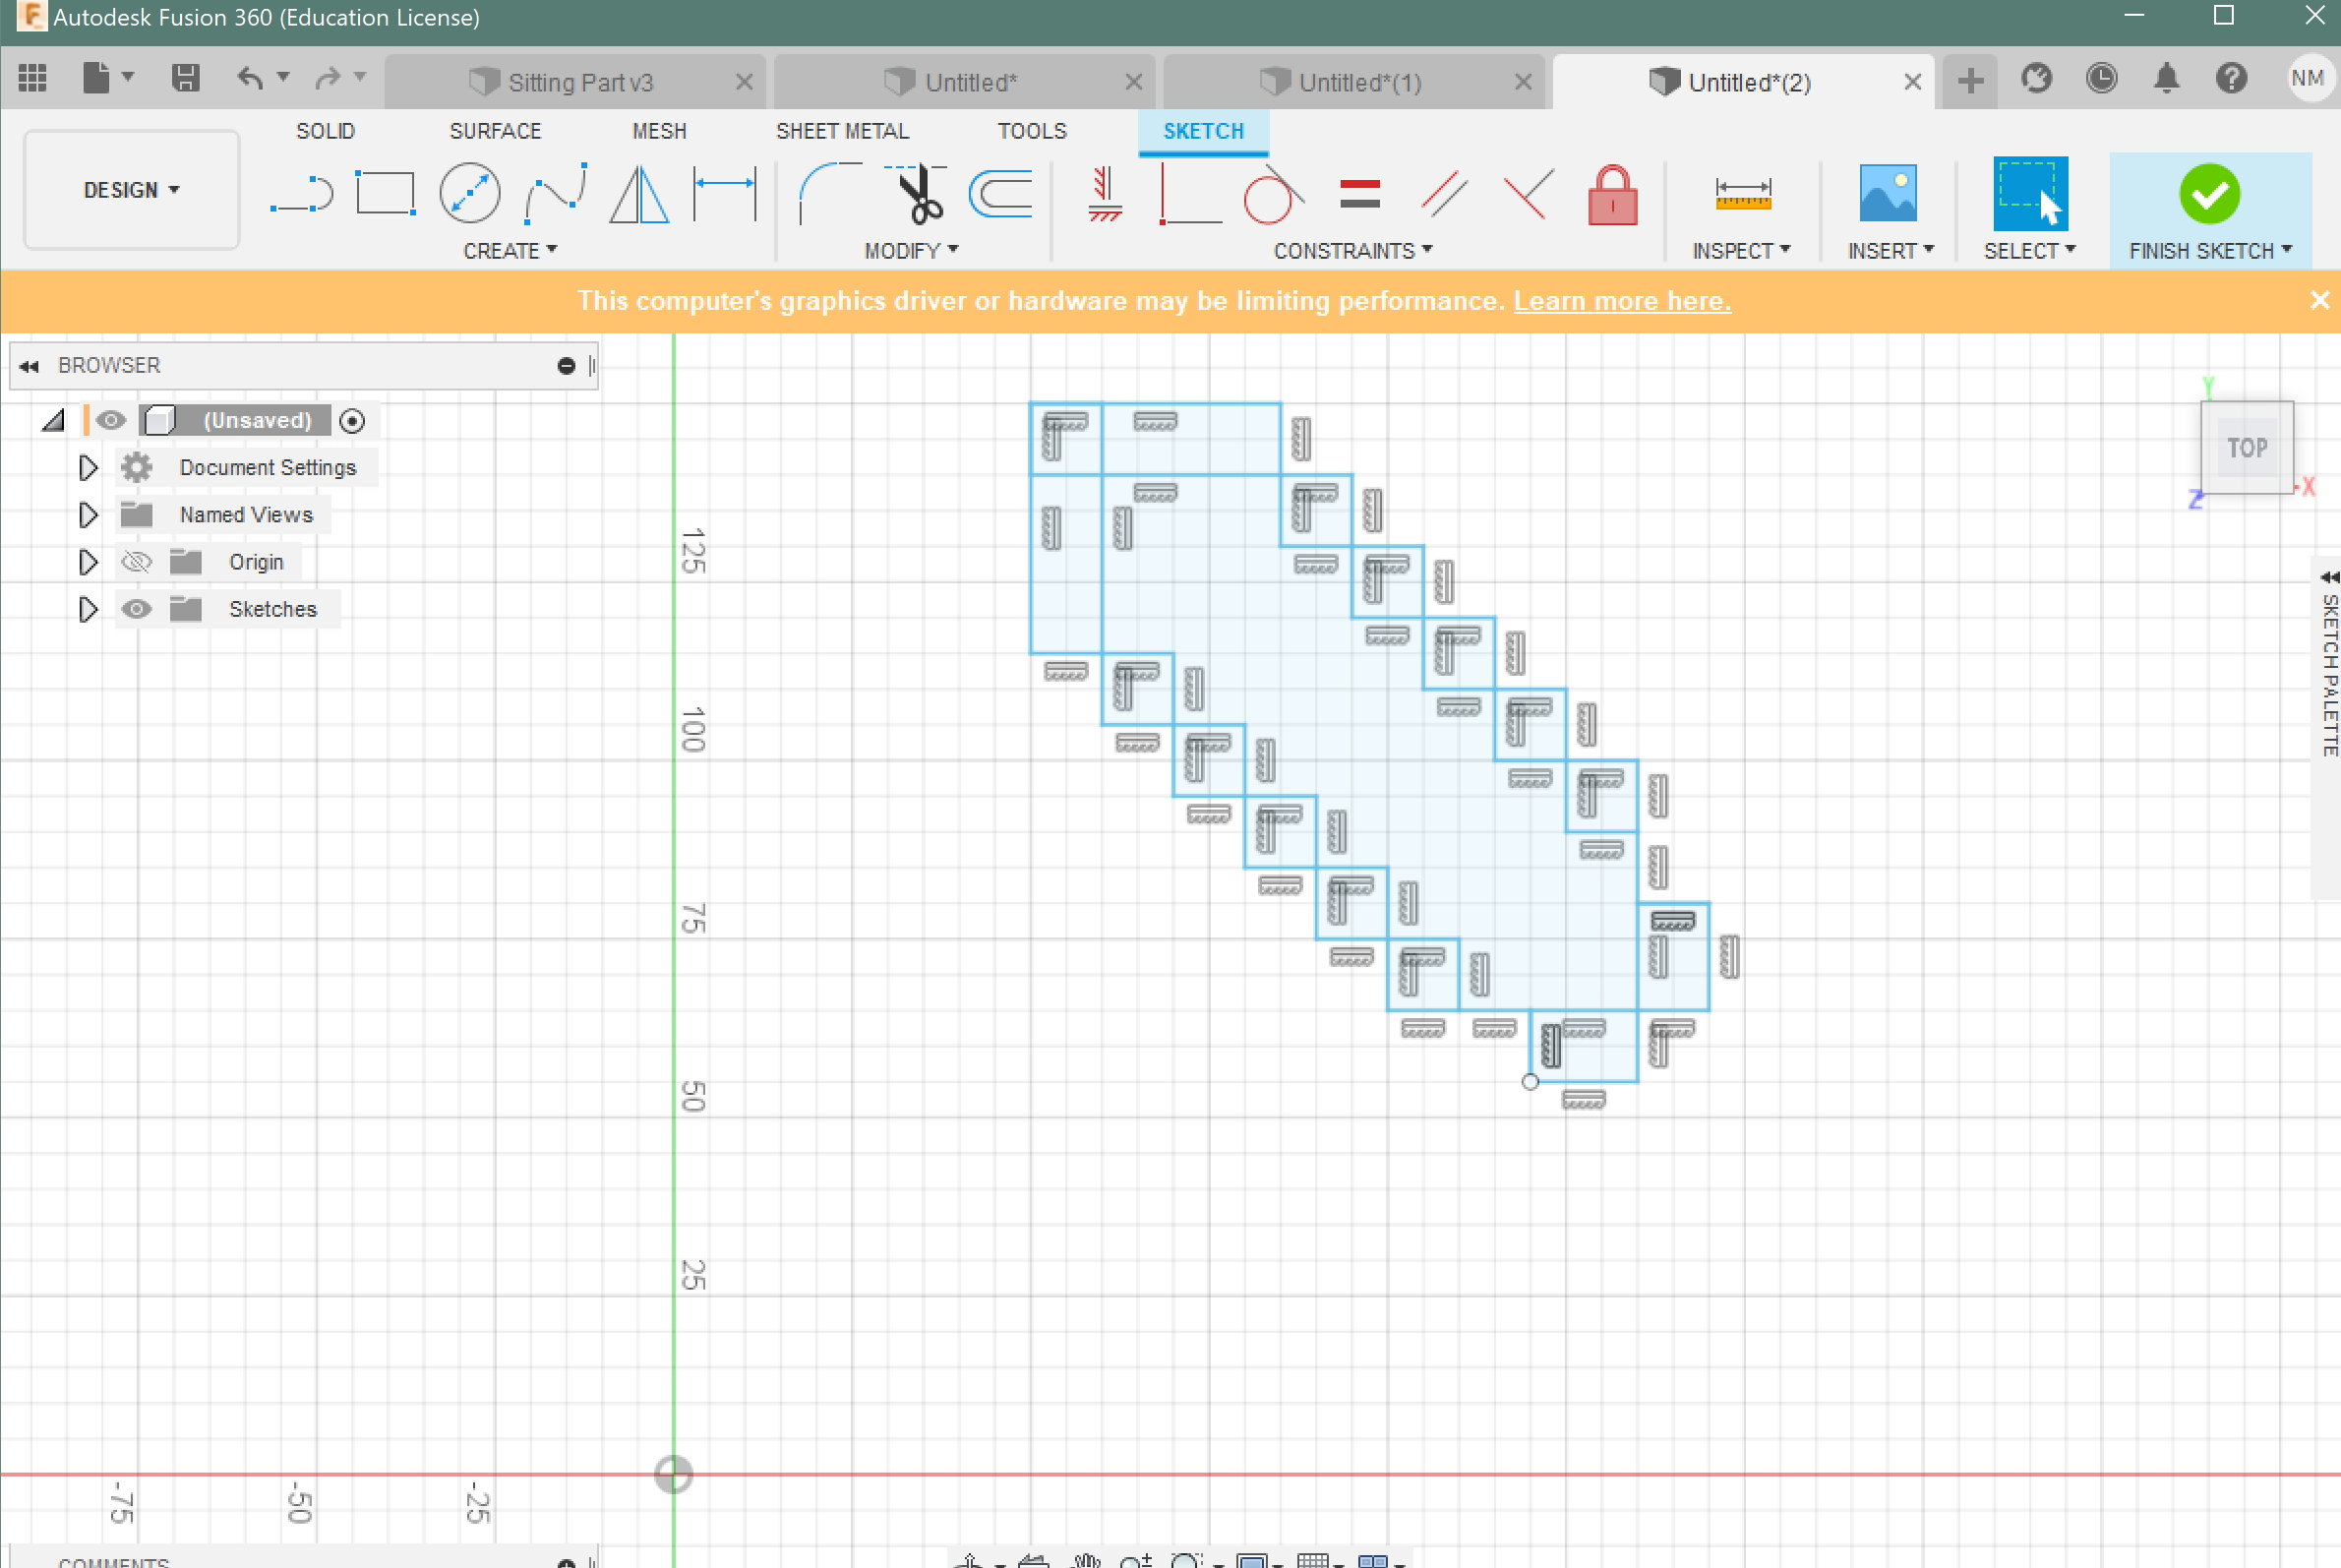
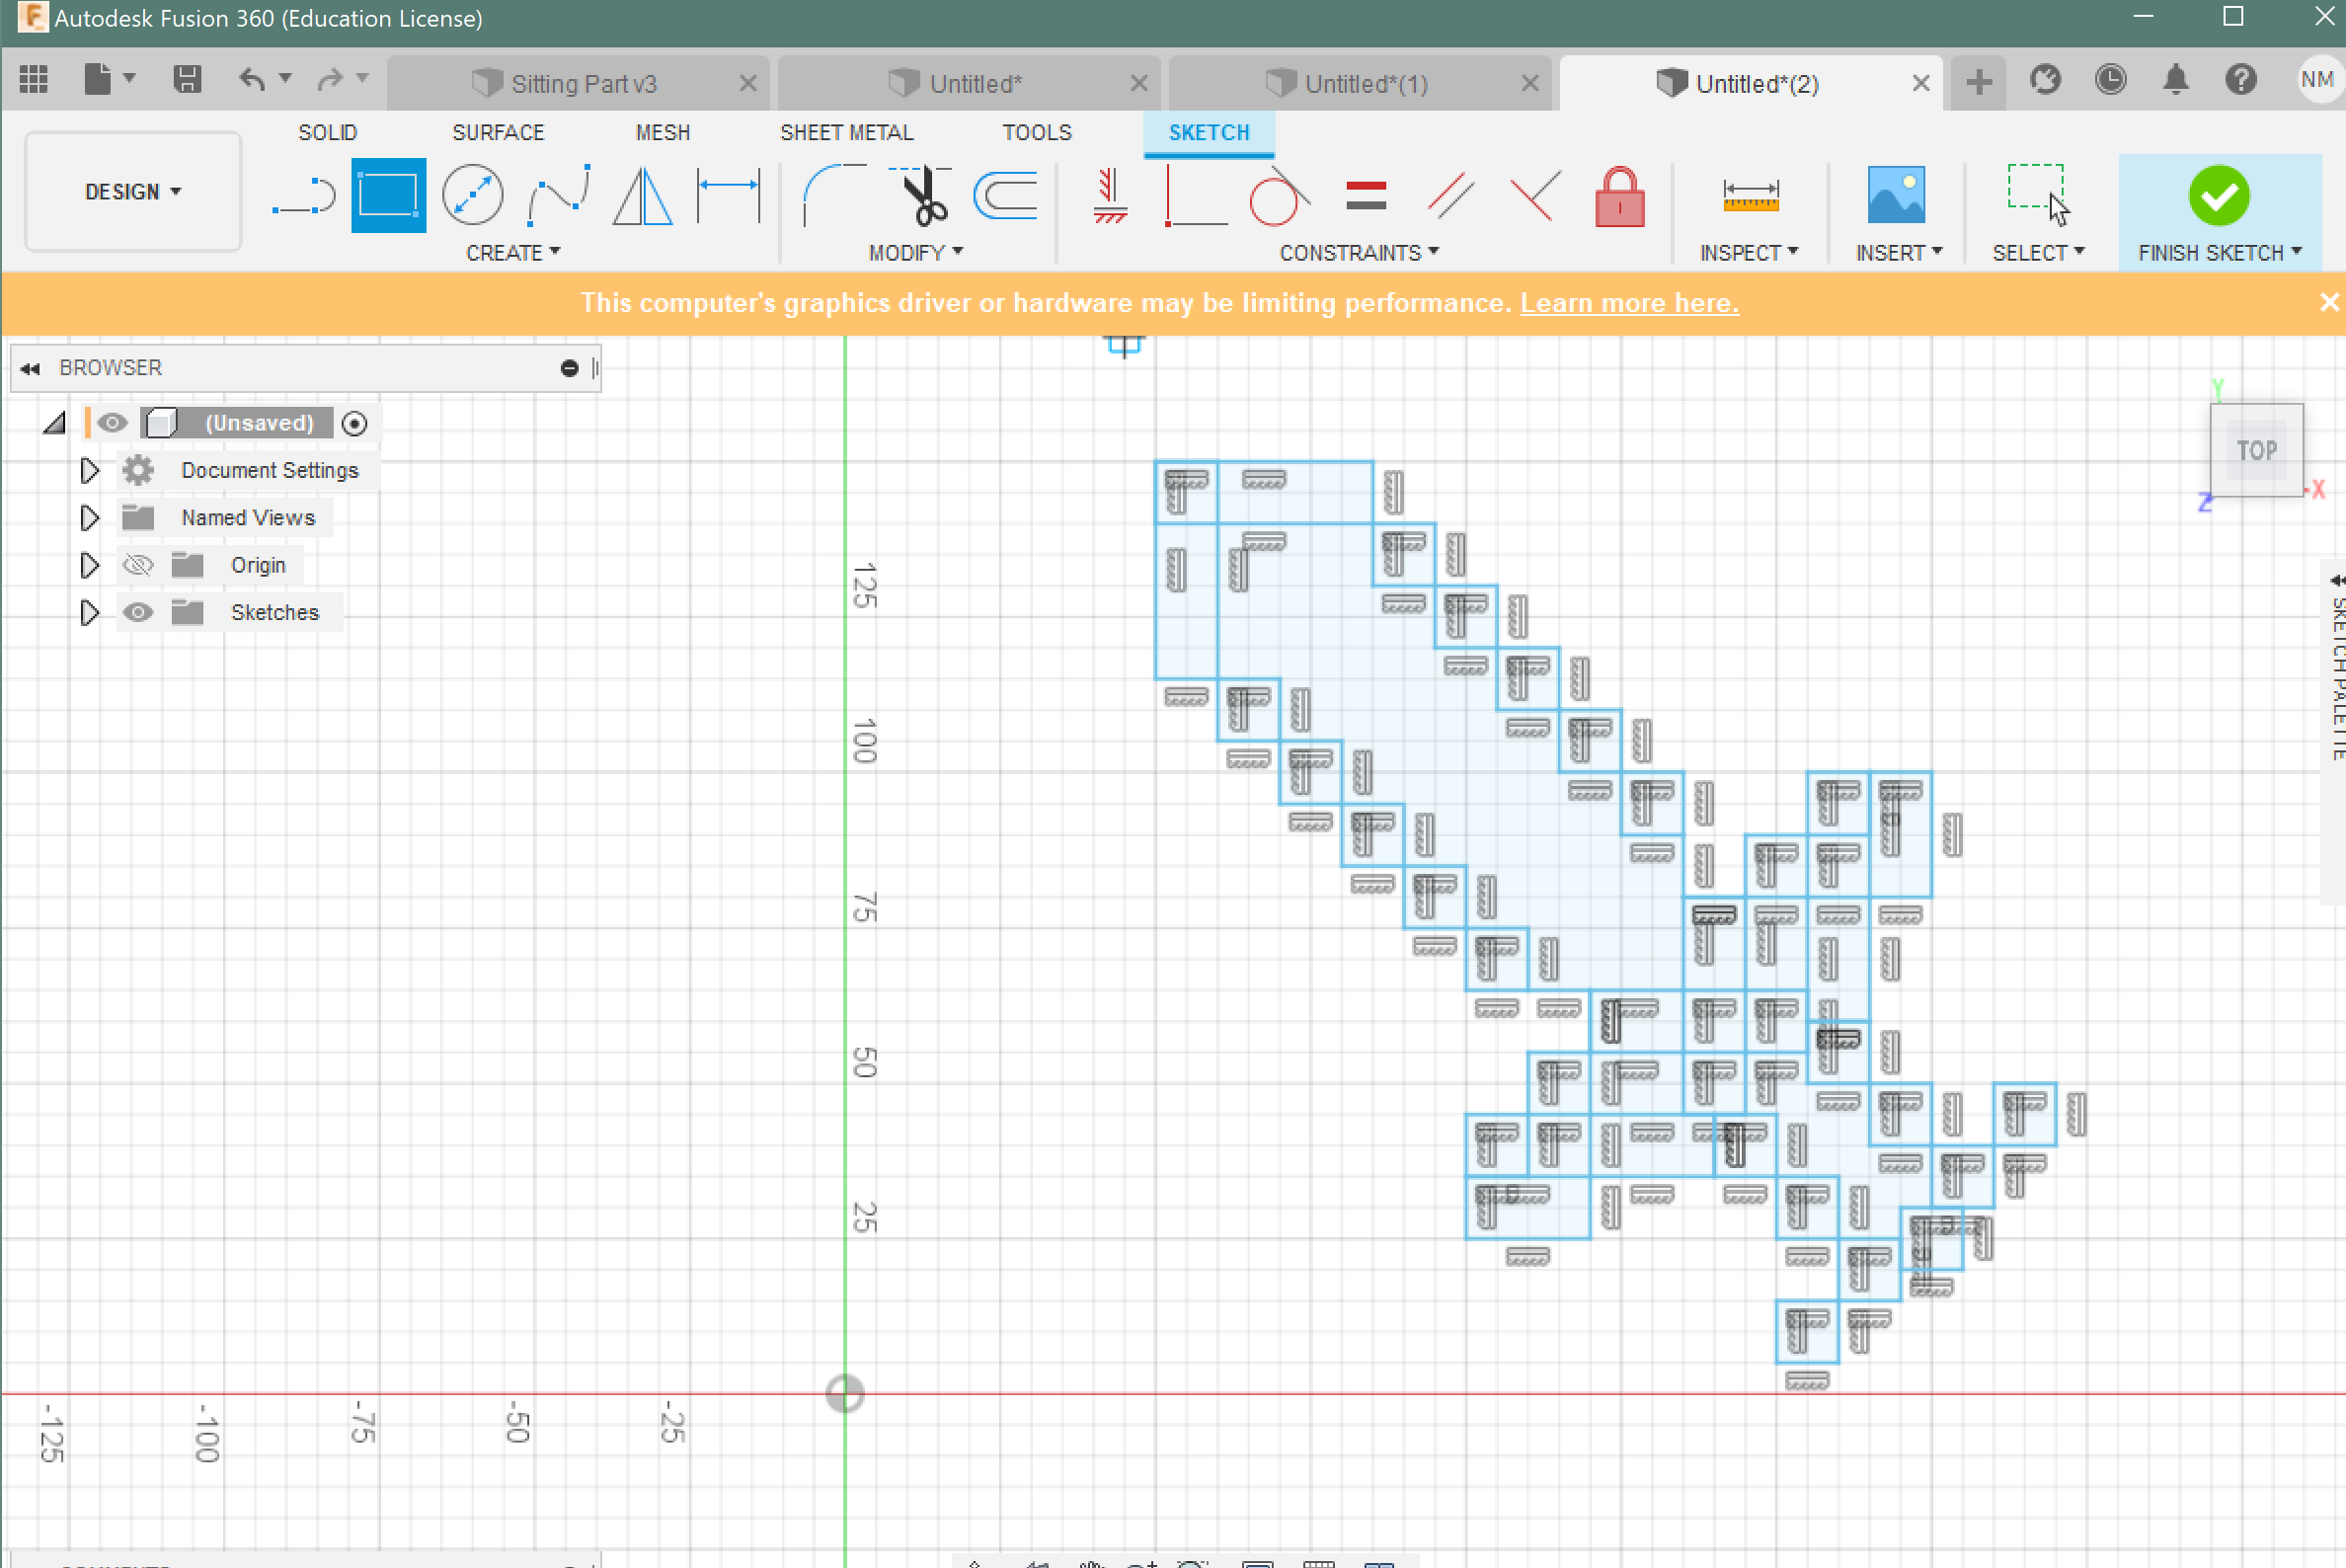
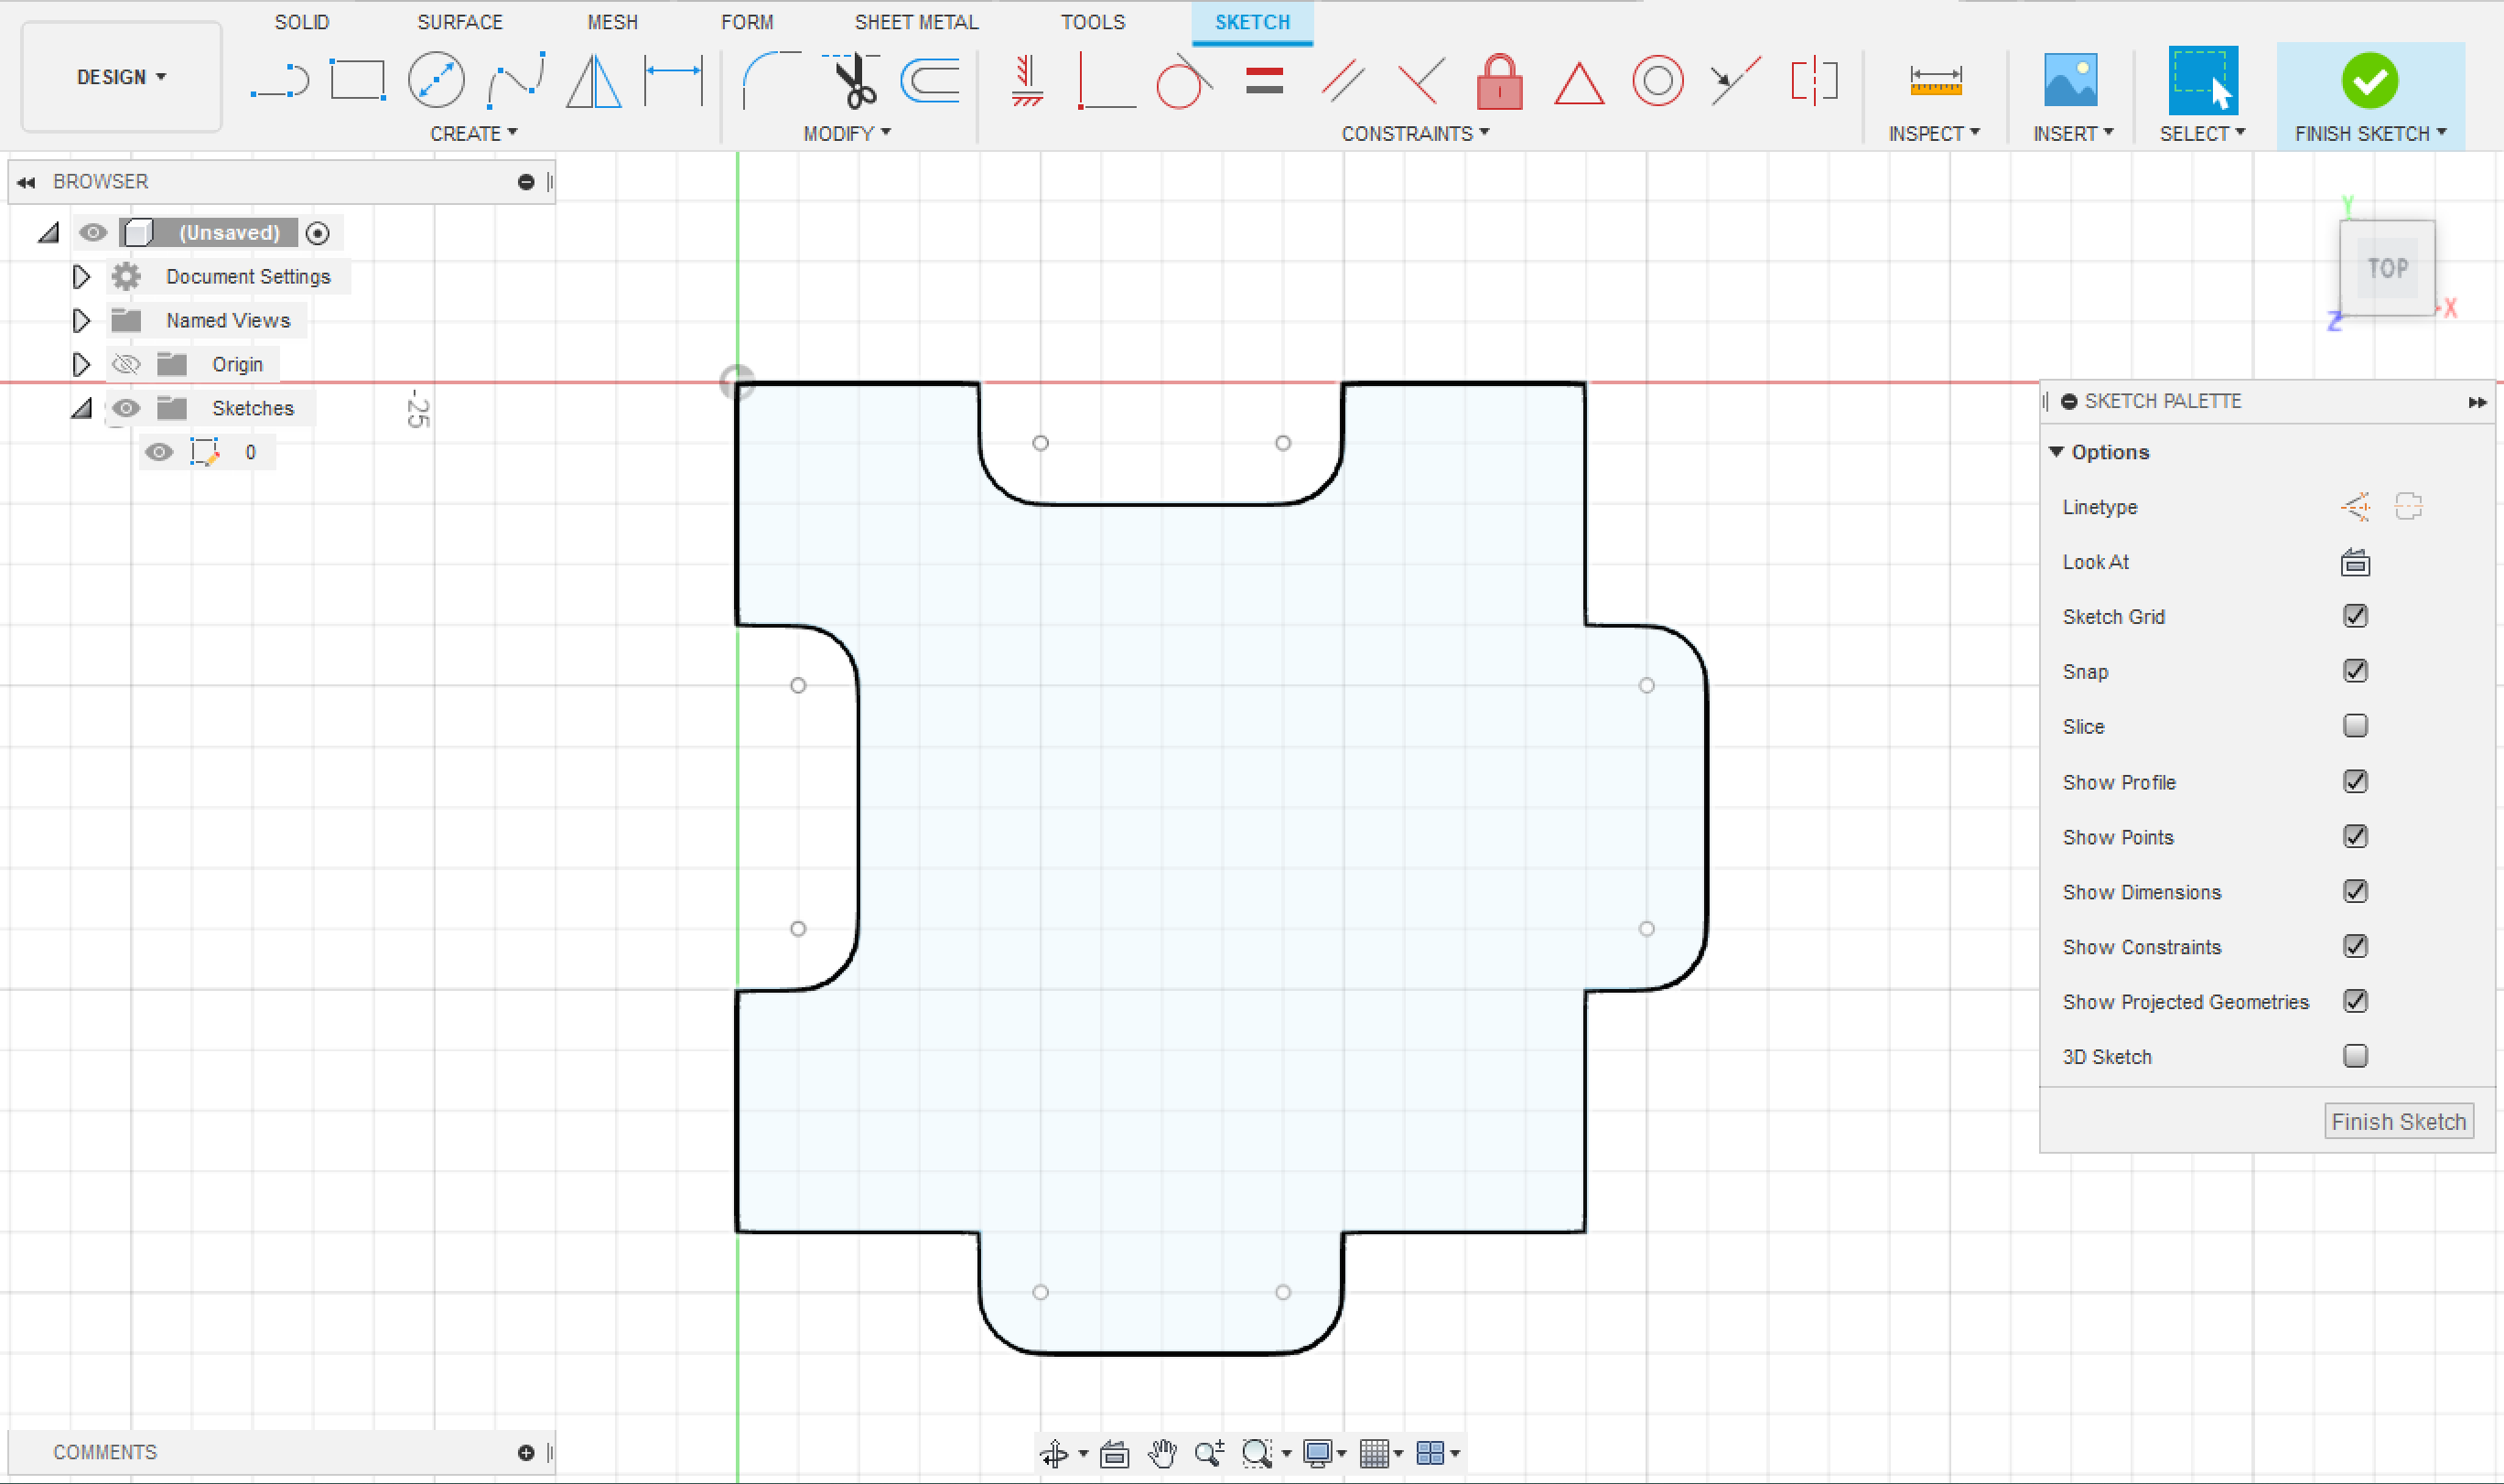
To make the game more interesting and adjustable, The steps were made as jigsaw pieces of different colors. This will allow the players to design their own path, whether it is a short one, or a long path with twists.
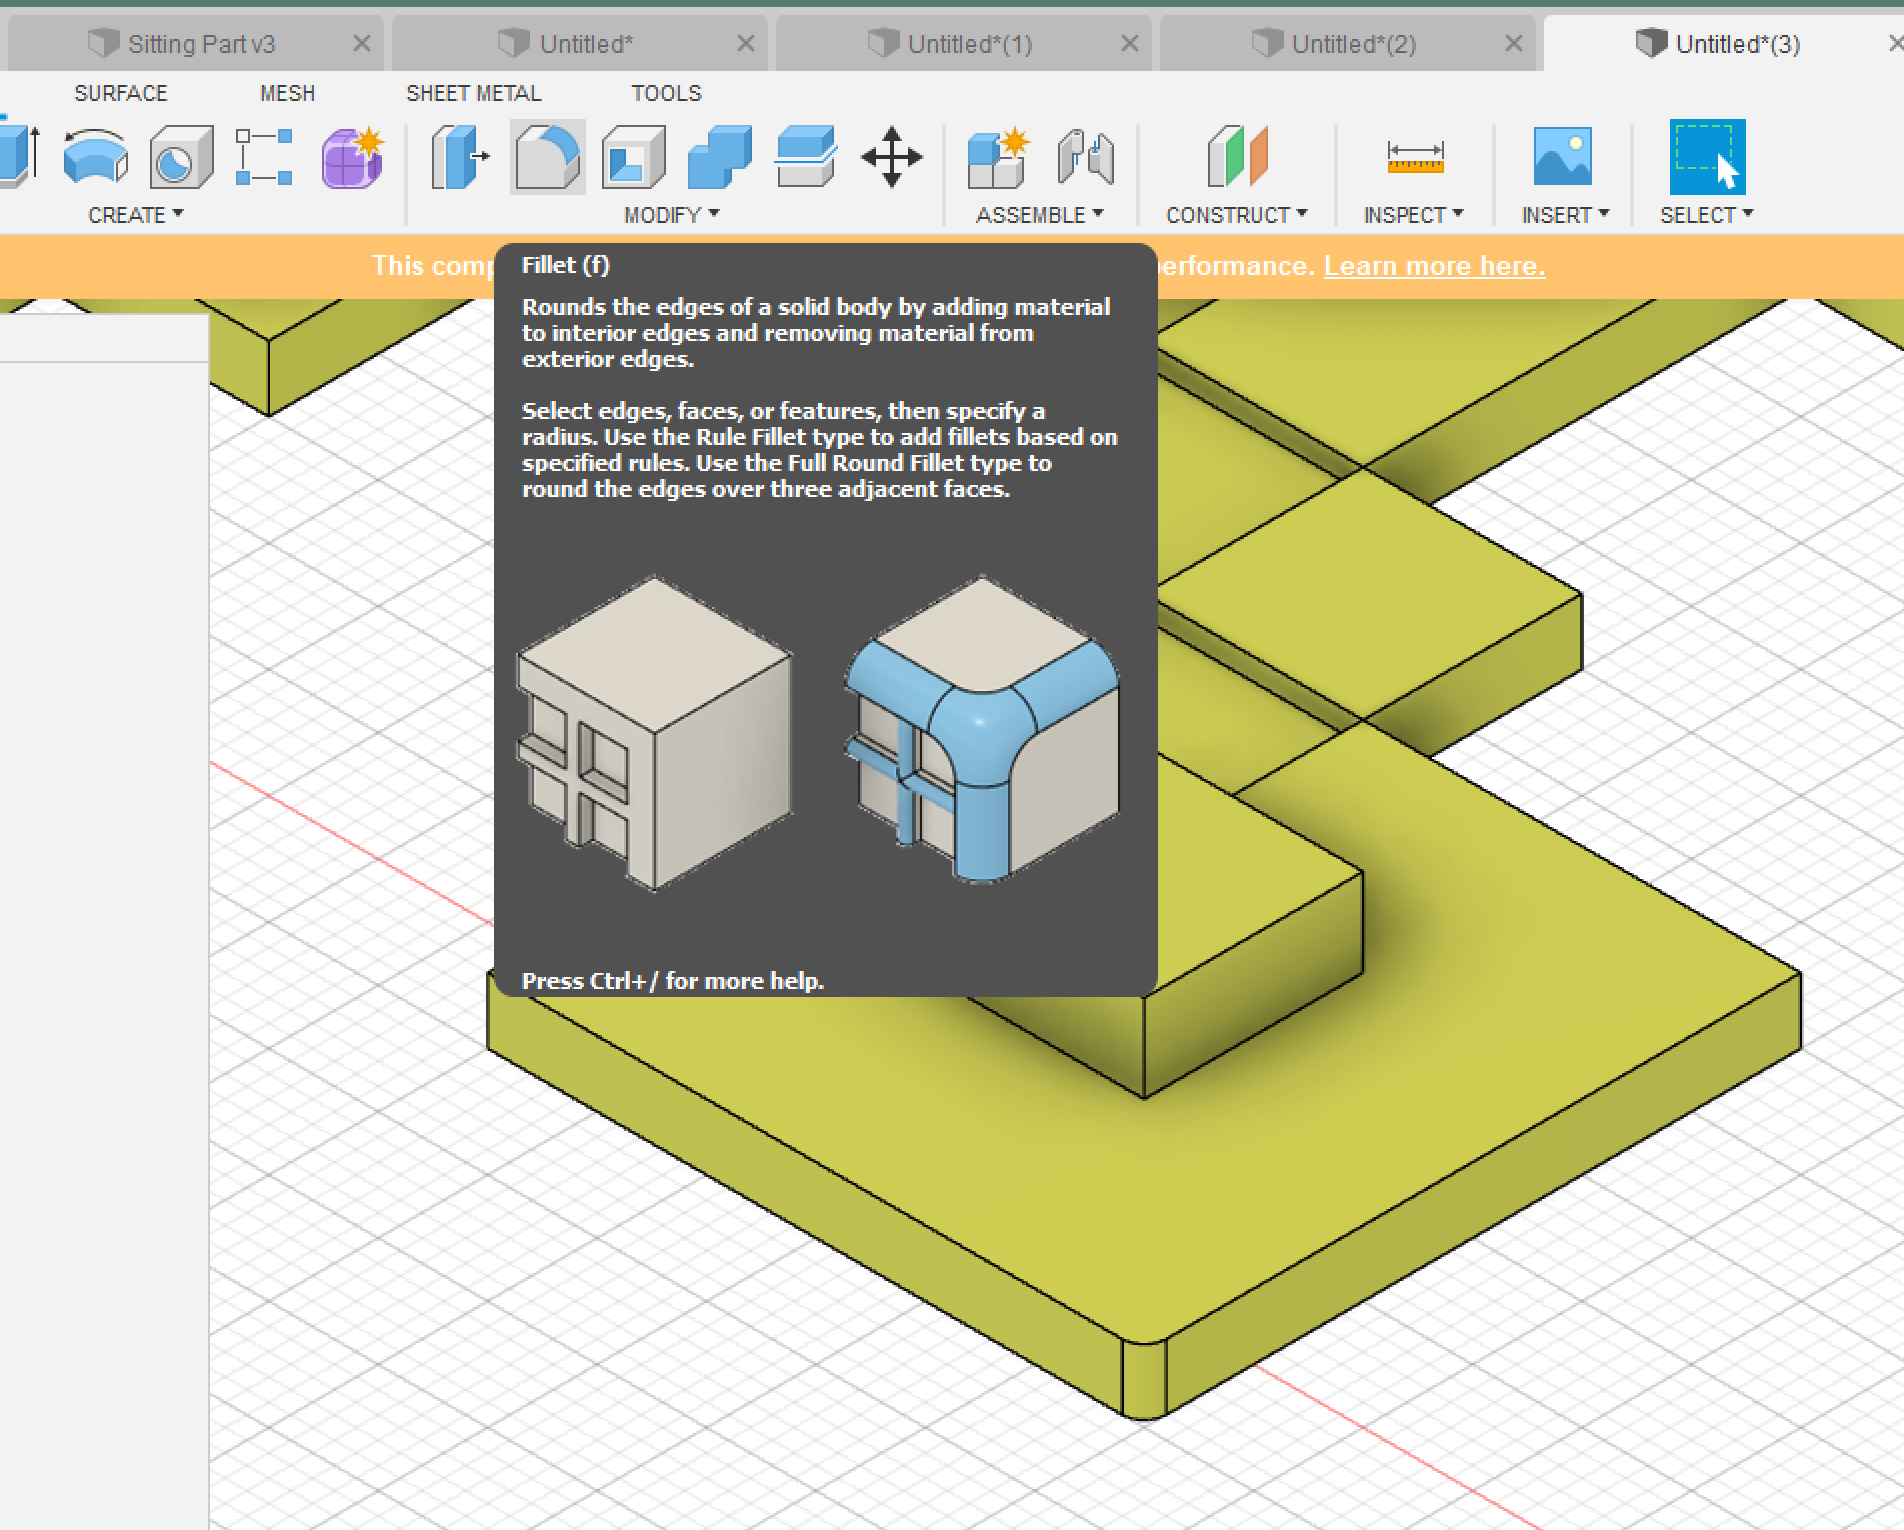
The pieces were designed in Fusion 360.
After knowing everything I need to include in my design for the piece, I then started the process of designing it and printing it.
I used Fuion360 for the design, and I did it from scratch.
The design consists of three parts:
The 1st Base which holds on the Arduino, and it is tighten to the body and the 2nd base. It must have a hole for the USB wire and must be empty for the wires to be connected in the Pinouts of the Arduino.
The 2nd Base which tightens up to the 1st base, and has a placement for LED Strips. It must have a place for the wires of the LED strips to go all the way up and be connected to the pinouts of the Arduino.
The Body which tighten up to the 1st base and basically it is the shape of the piece. It must be empty from the inside.
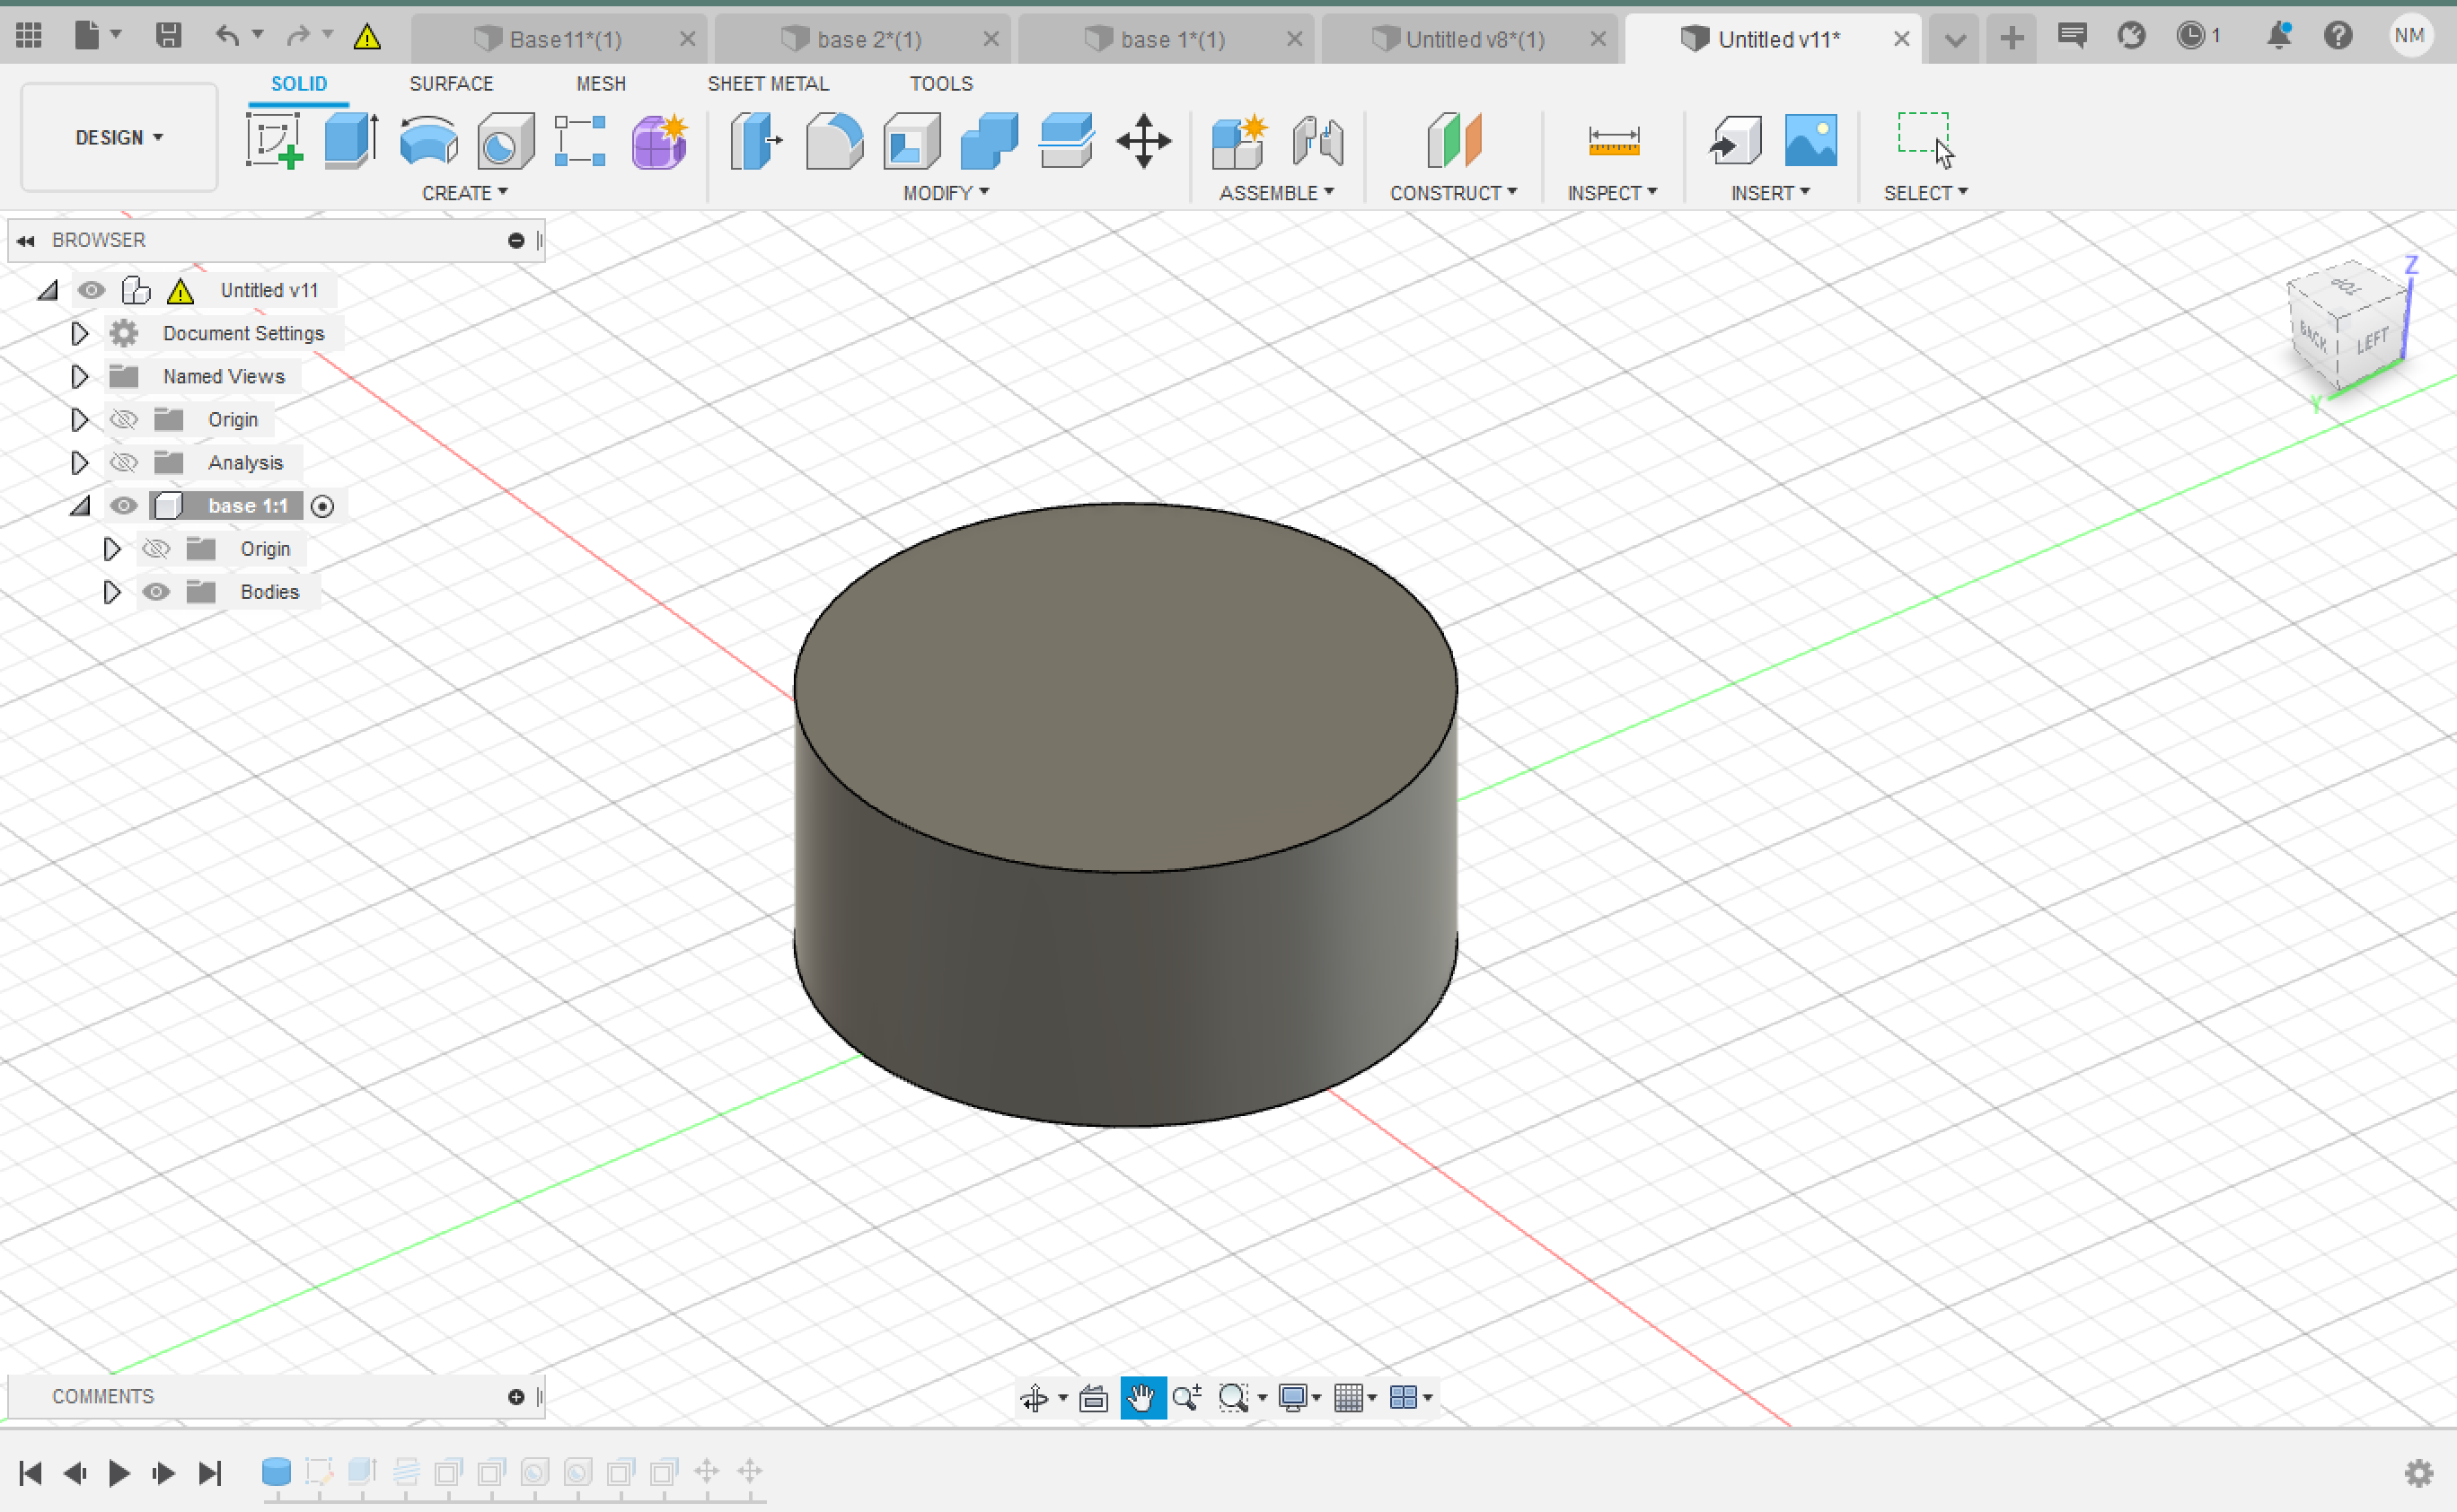
Started with a cylinder of diameter 7 cm.
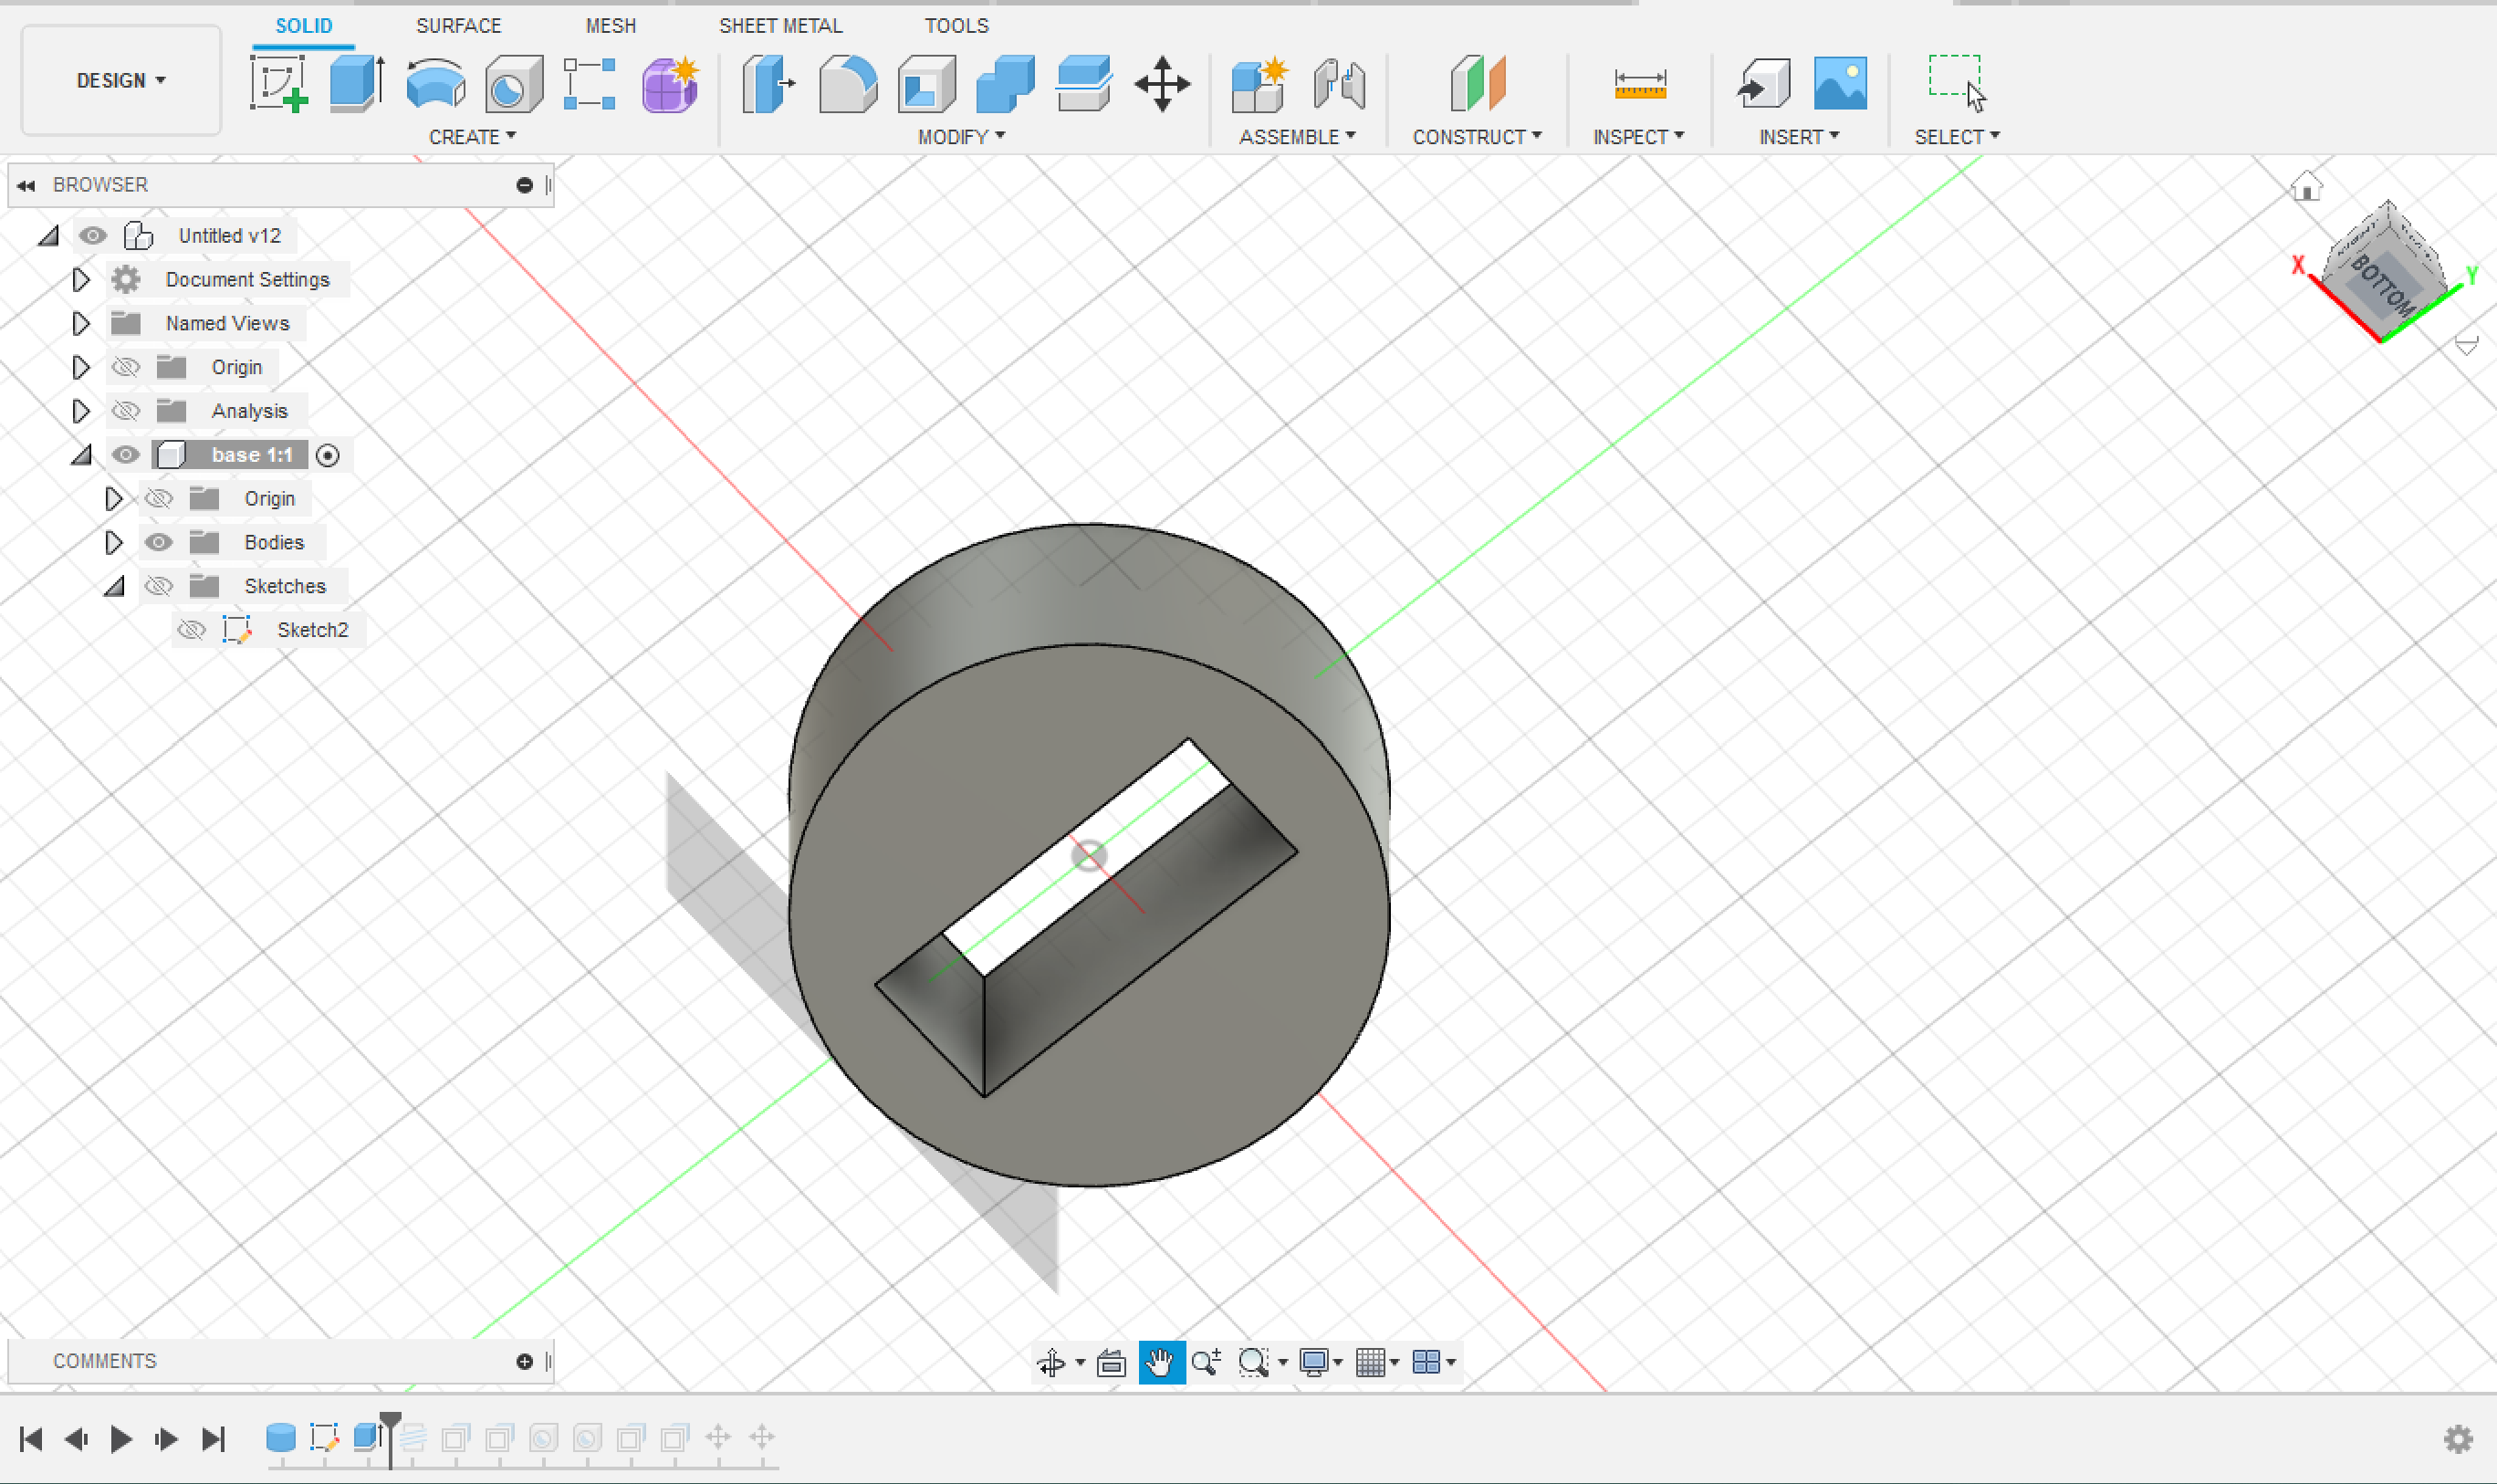
Make a hole of the shape of a rectangular of the same size of the Arduino Nano 33 BLE Sense ( 45x18mm).
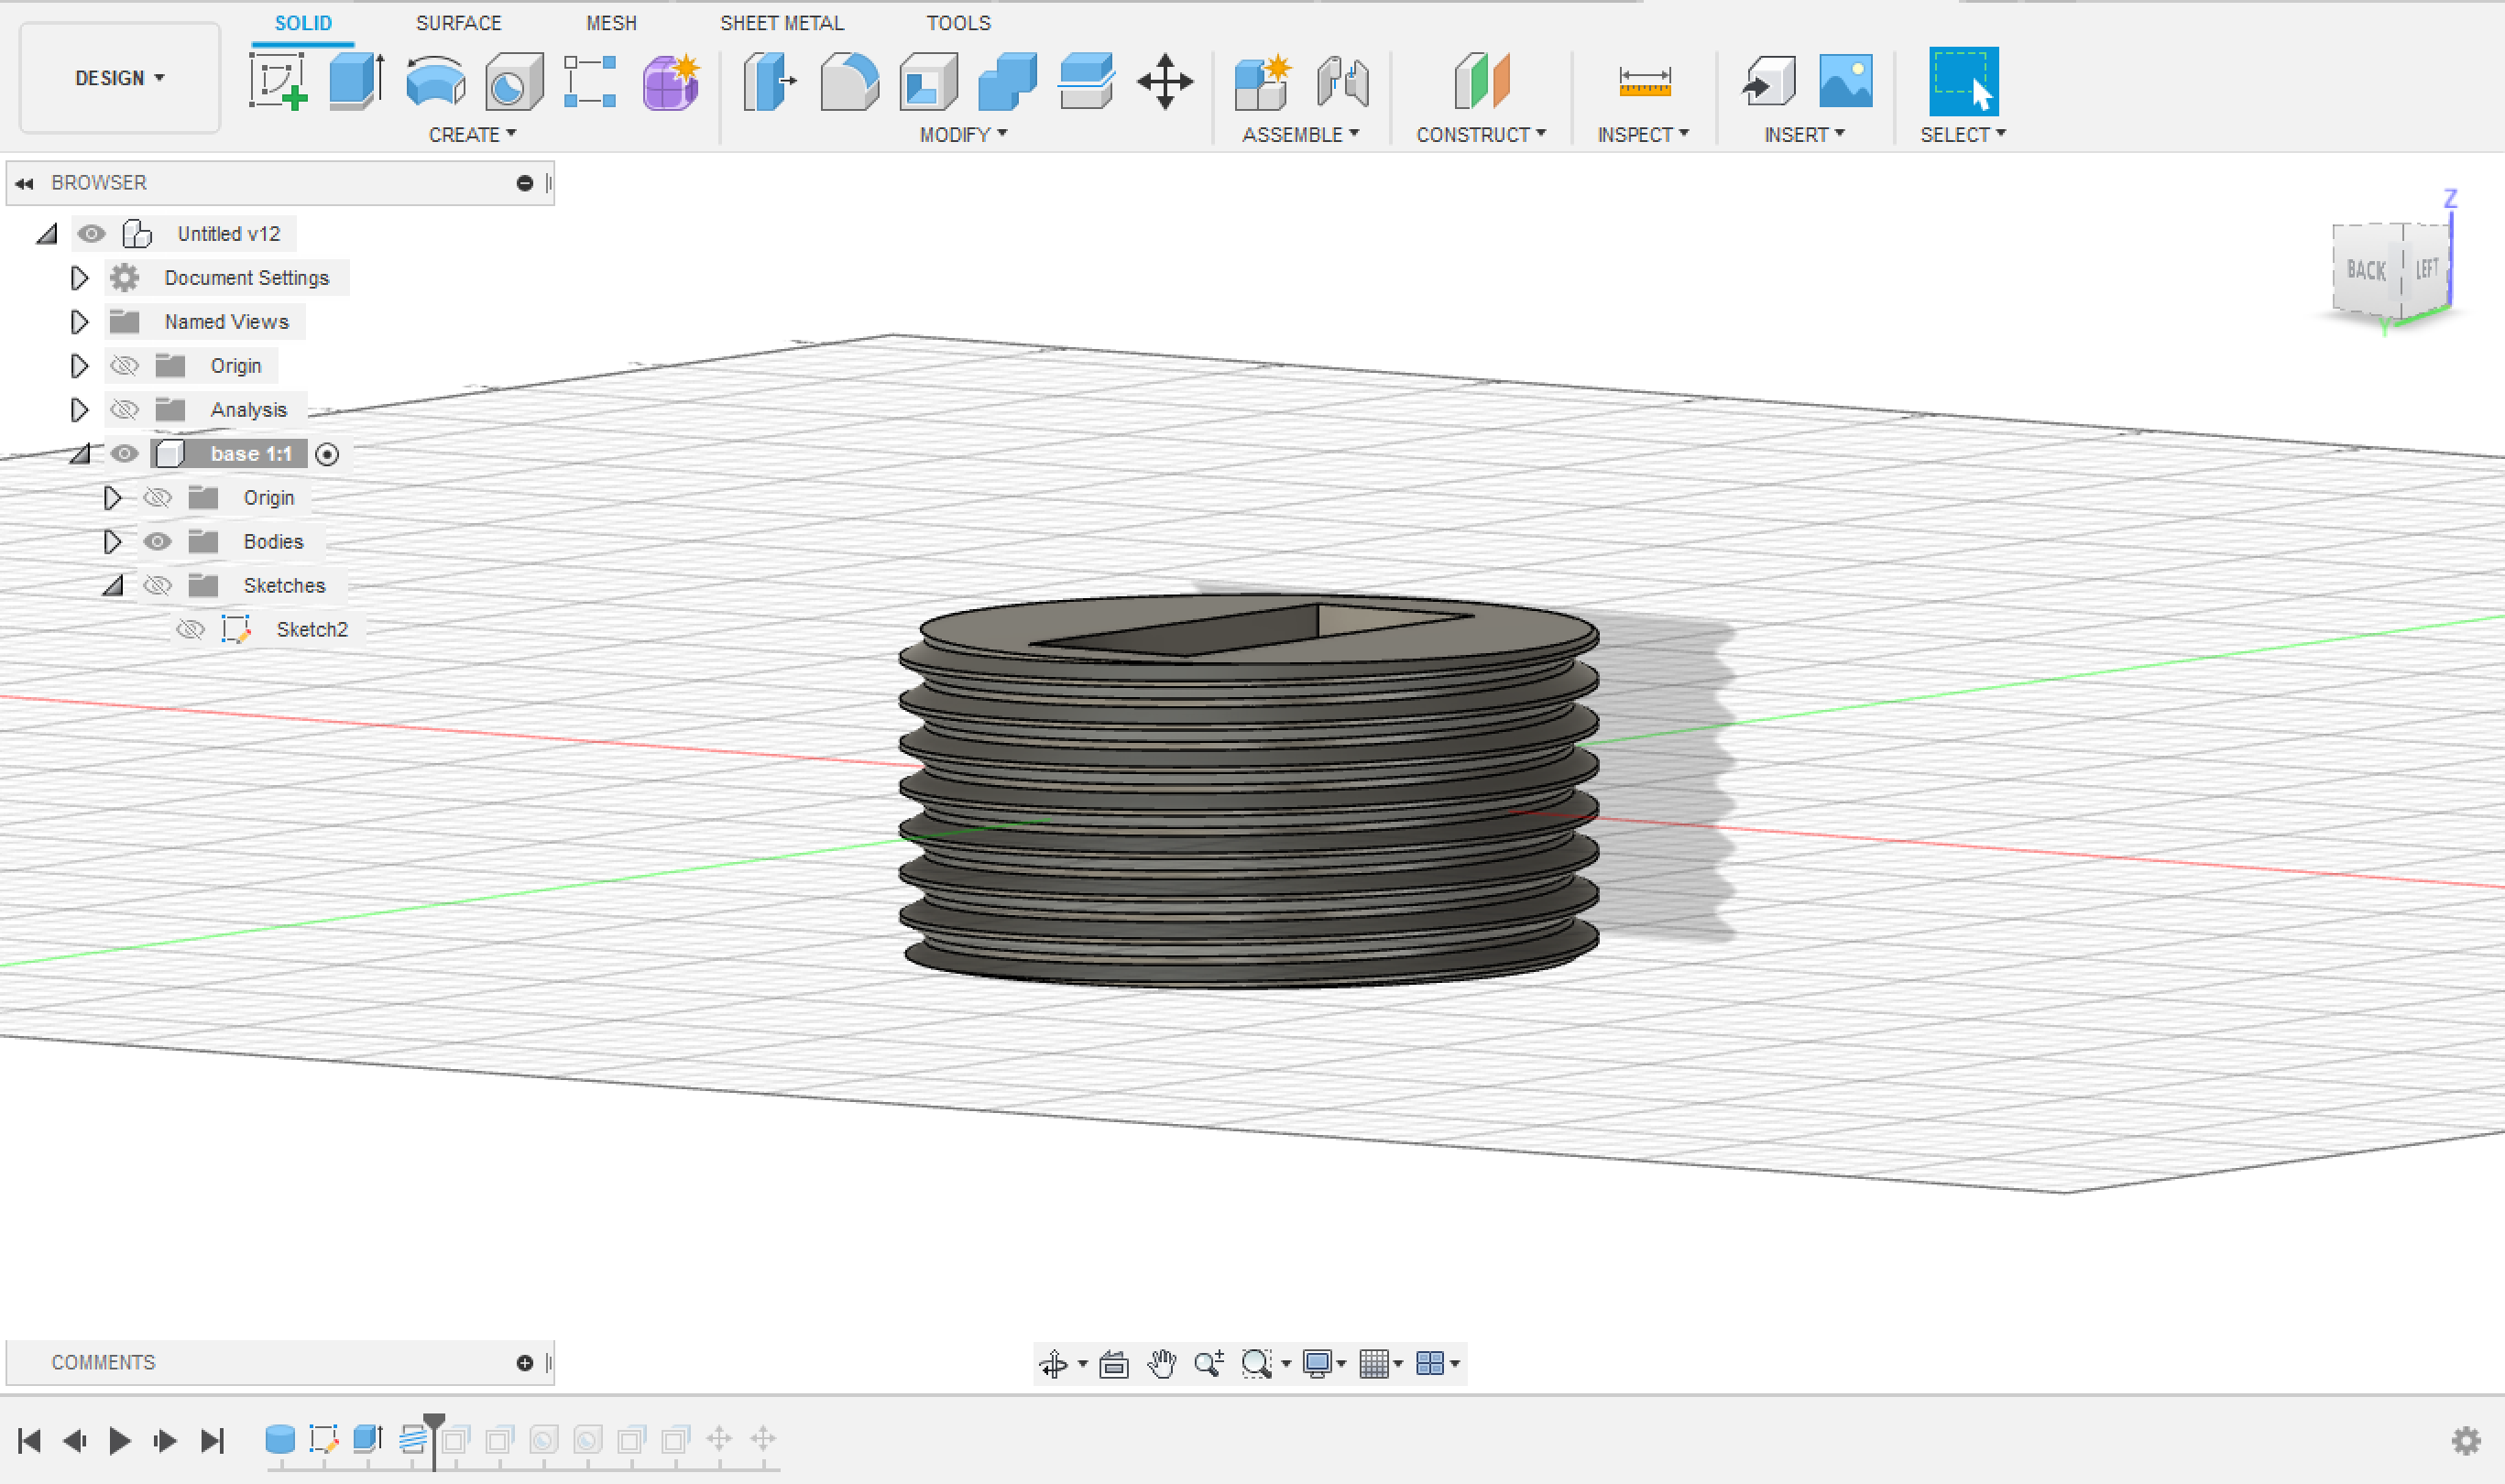
Use the Thread tool to make a thread around the base.
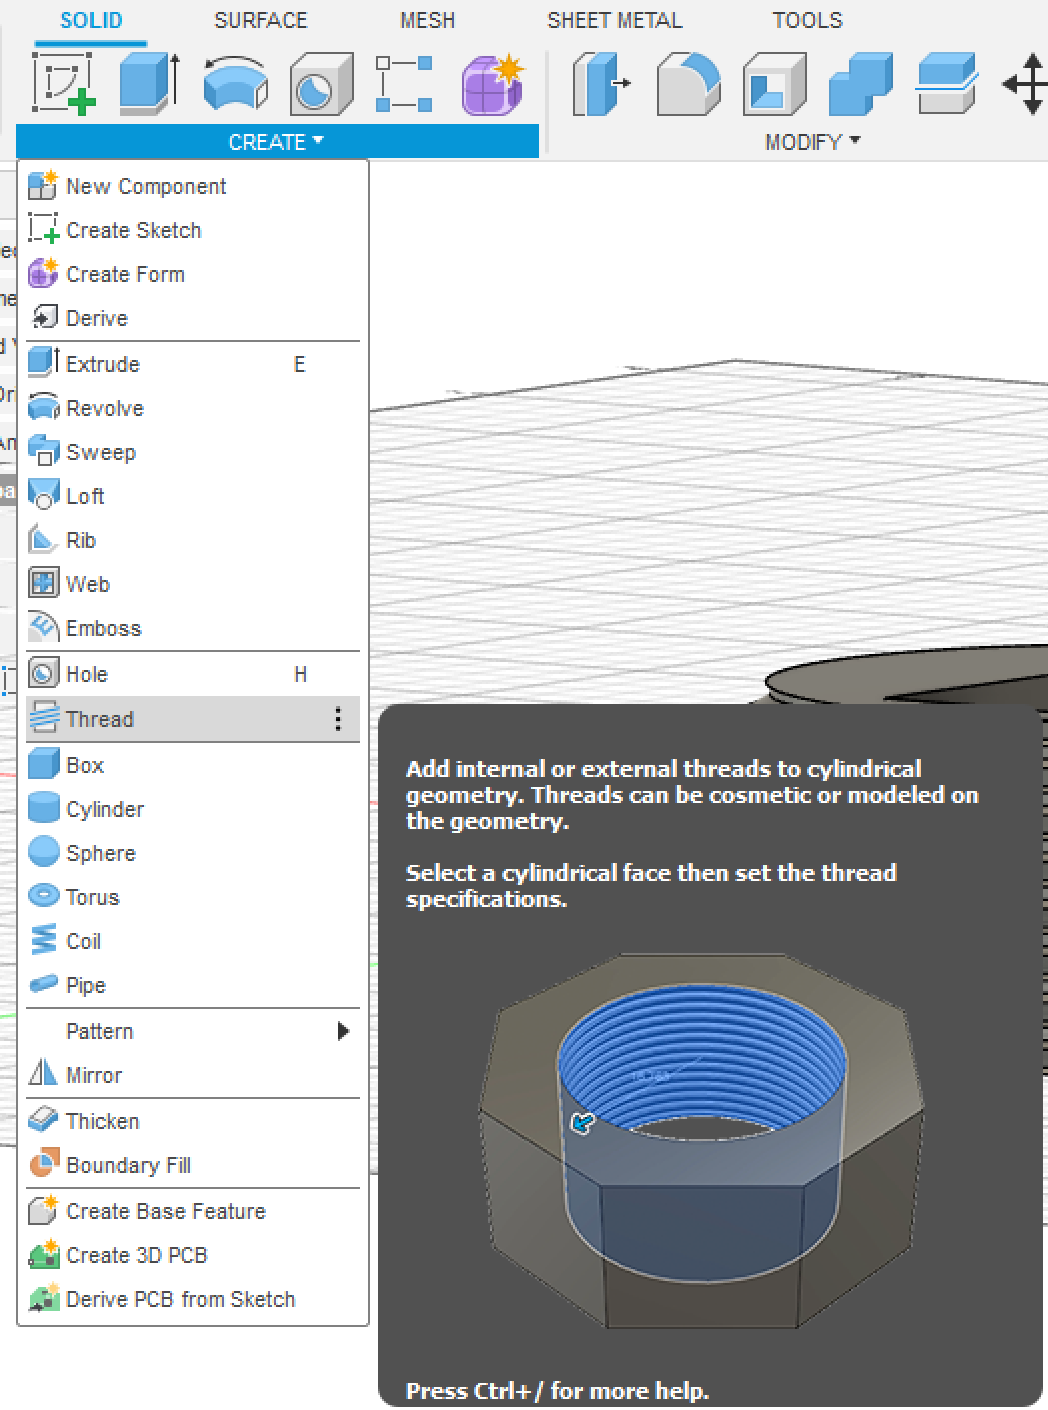
To make a thread that works when 3D printed, I followed this tutorial:
Make a smaller cylinder hole, while keeping the base of the Arduino in the bottom, this will make up the space for all the wires and connections needed.
From one side make a 2.5 cm diameter hole going all the way to the rectangle, which is for the USB wire to connect to the Arduino.
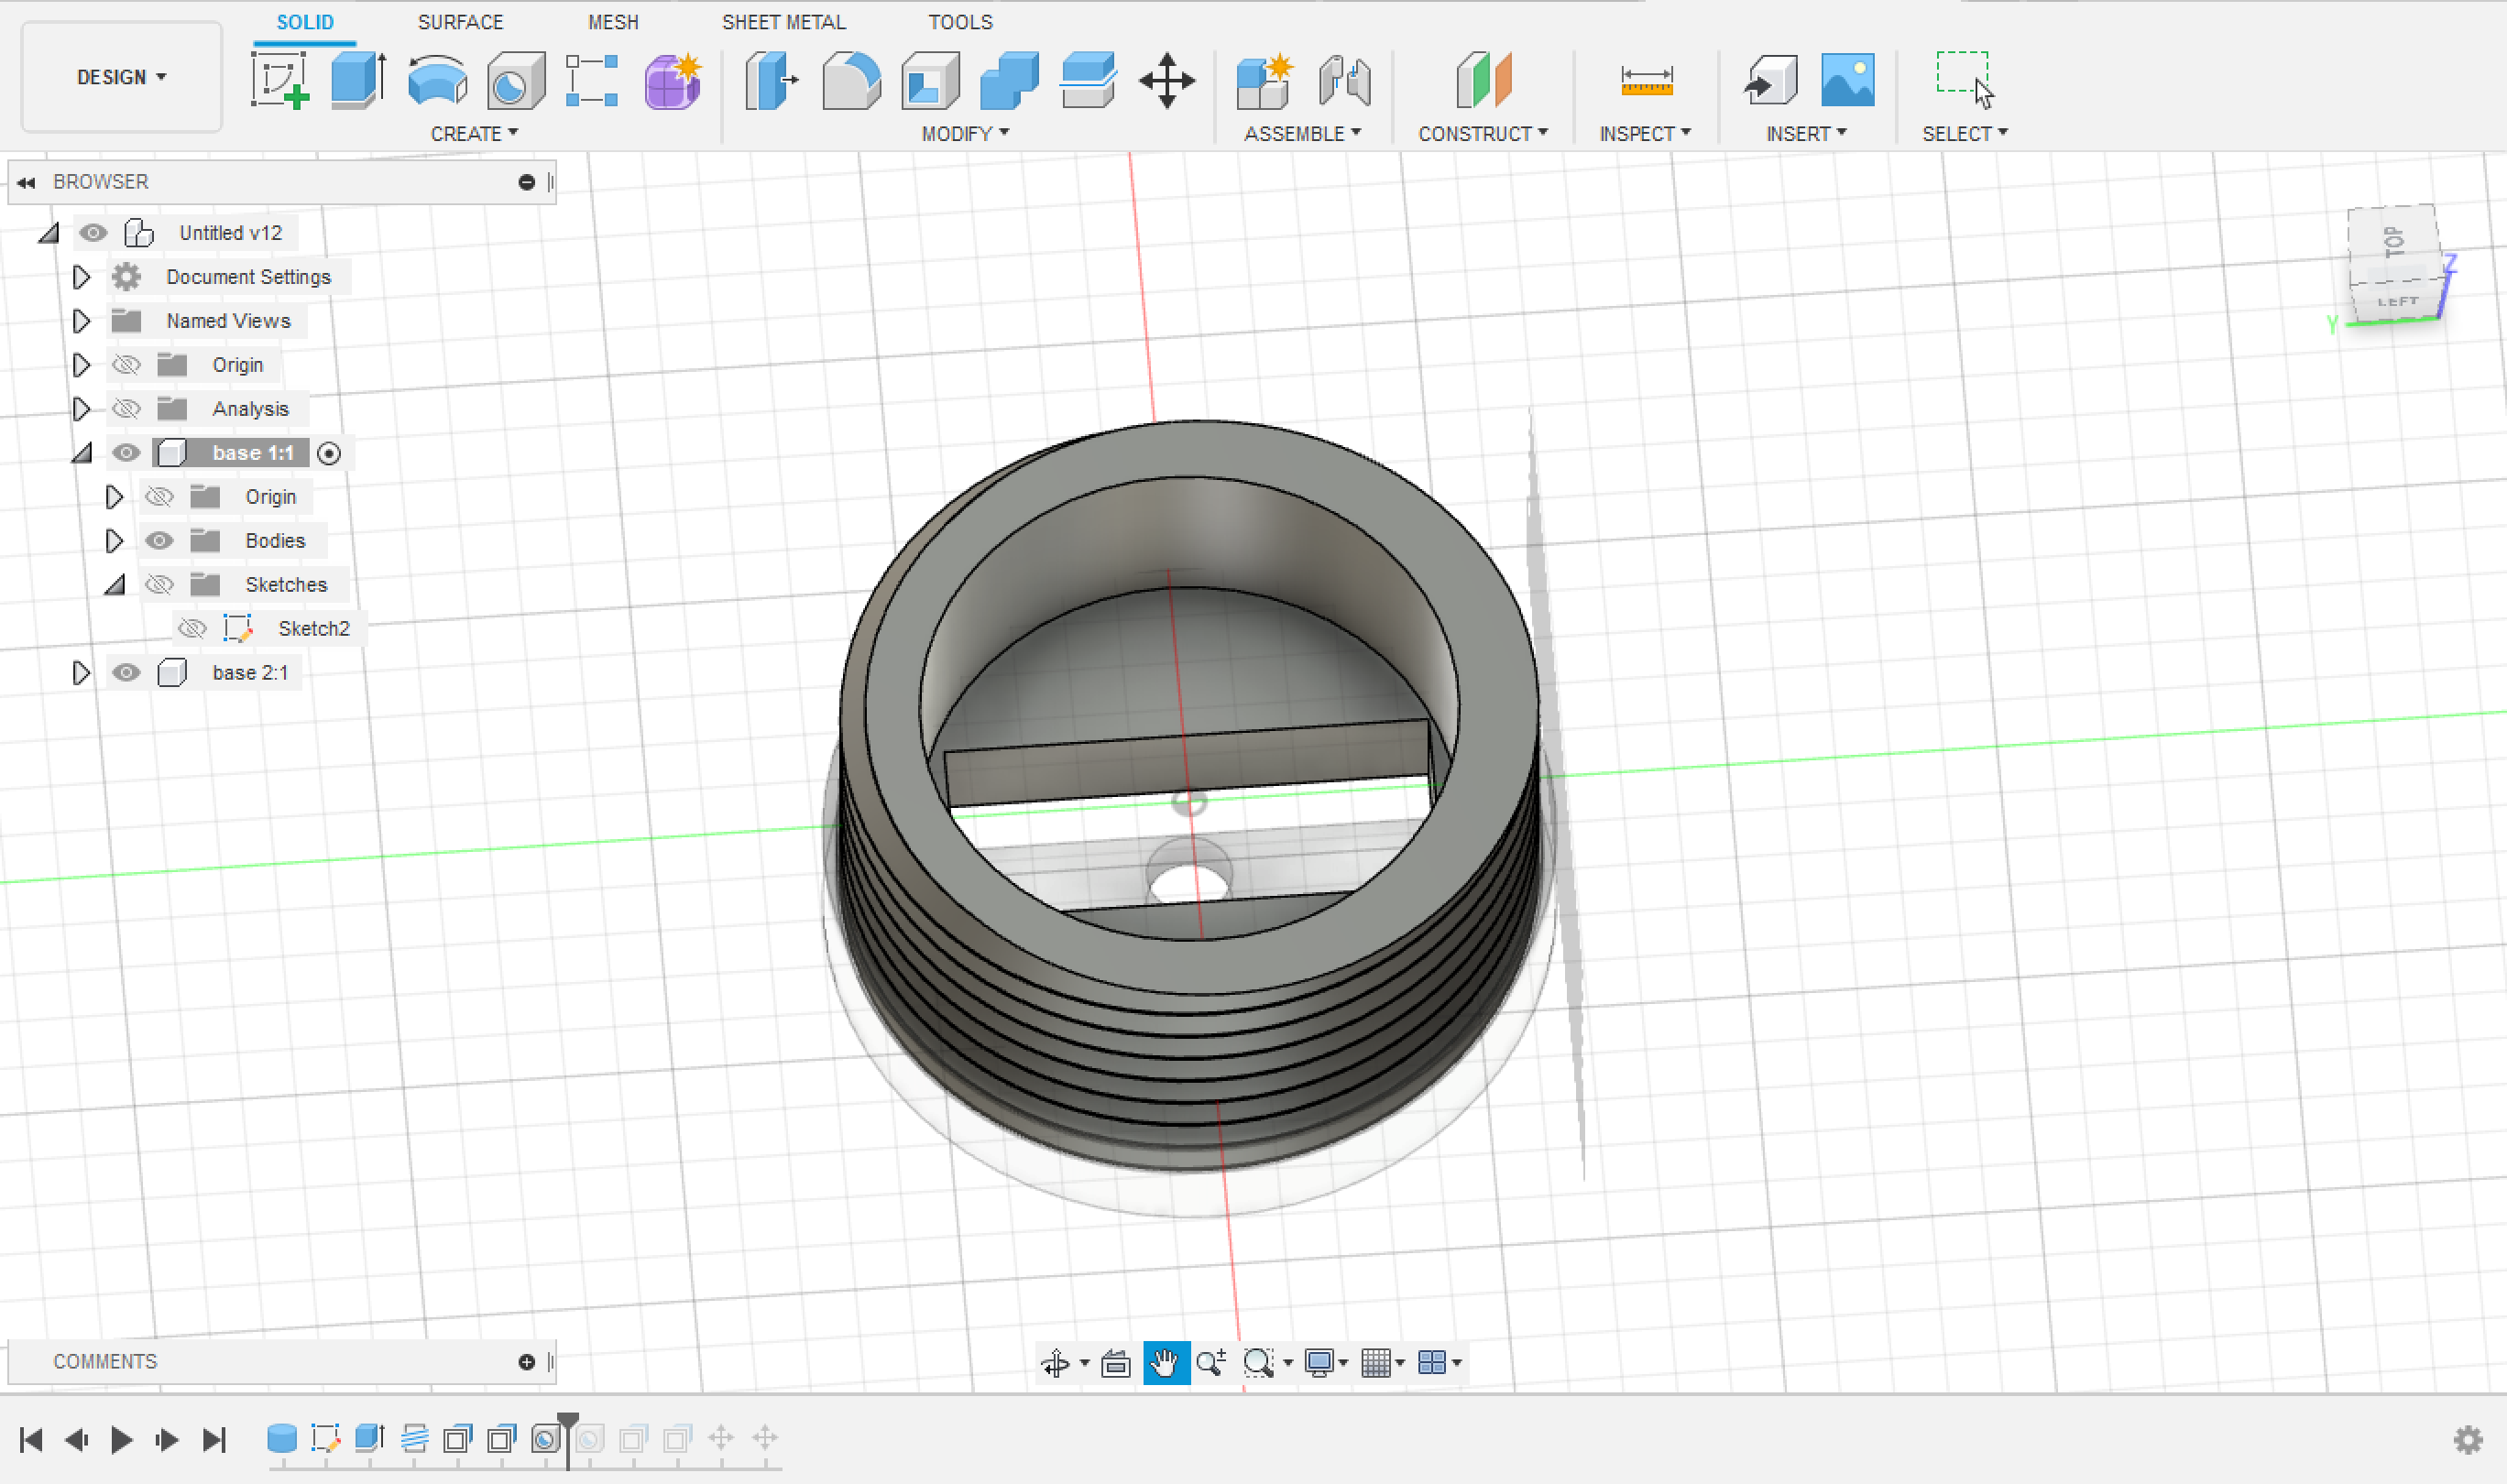
The final result of the 1st Base design is as seen:
Make a new component, and start by drawing a hallow cylinder of height 3 cm.
Make two parallel rectangles of width 1 cm, or depending the LED strips to be placed. Also make a circular hole in the position of the built-in RGB sensor of the Arduino.
Make a thread in the inside of the piece, for it to tighten up with Base 1. Make sure that there is some tolerance so that after 3d printing it, the thread works.
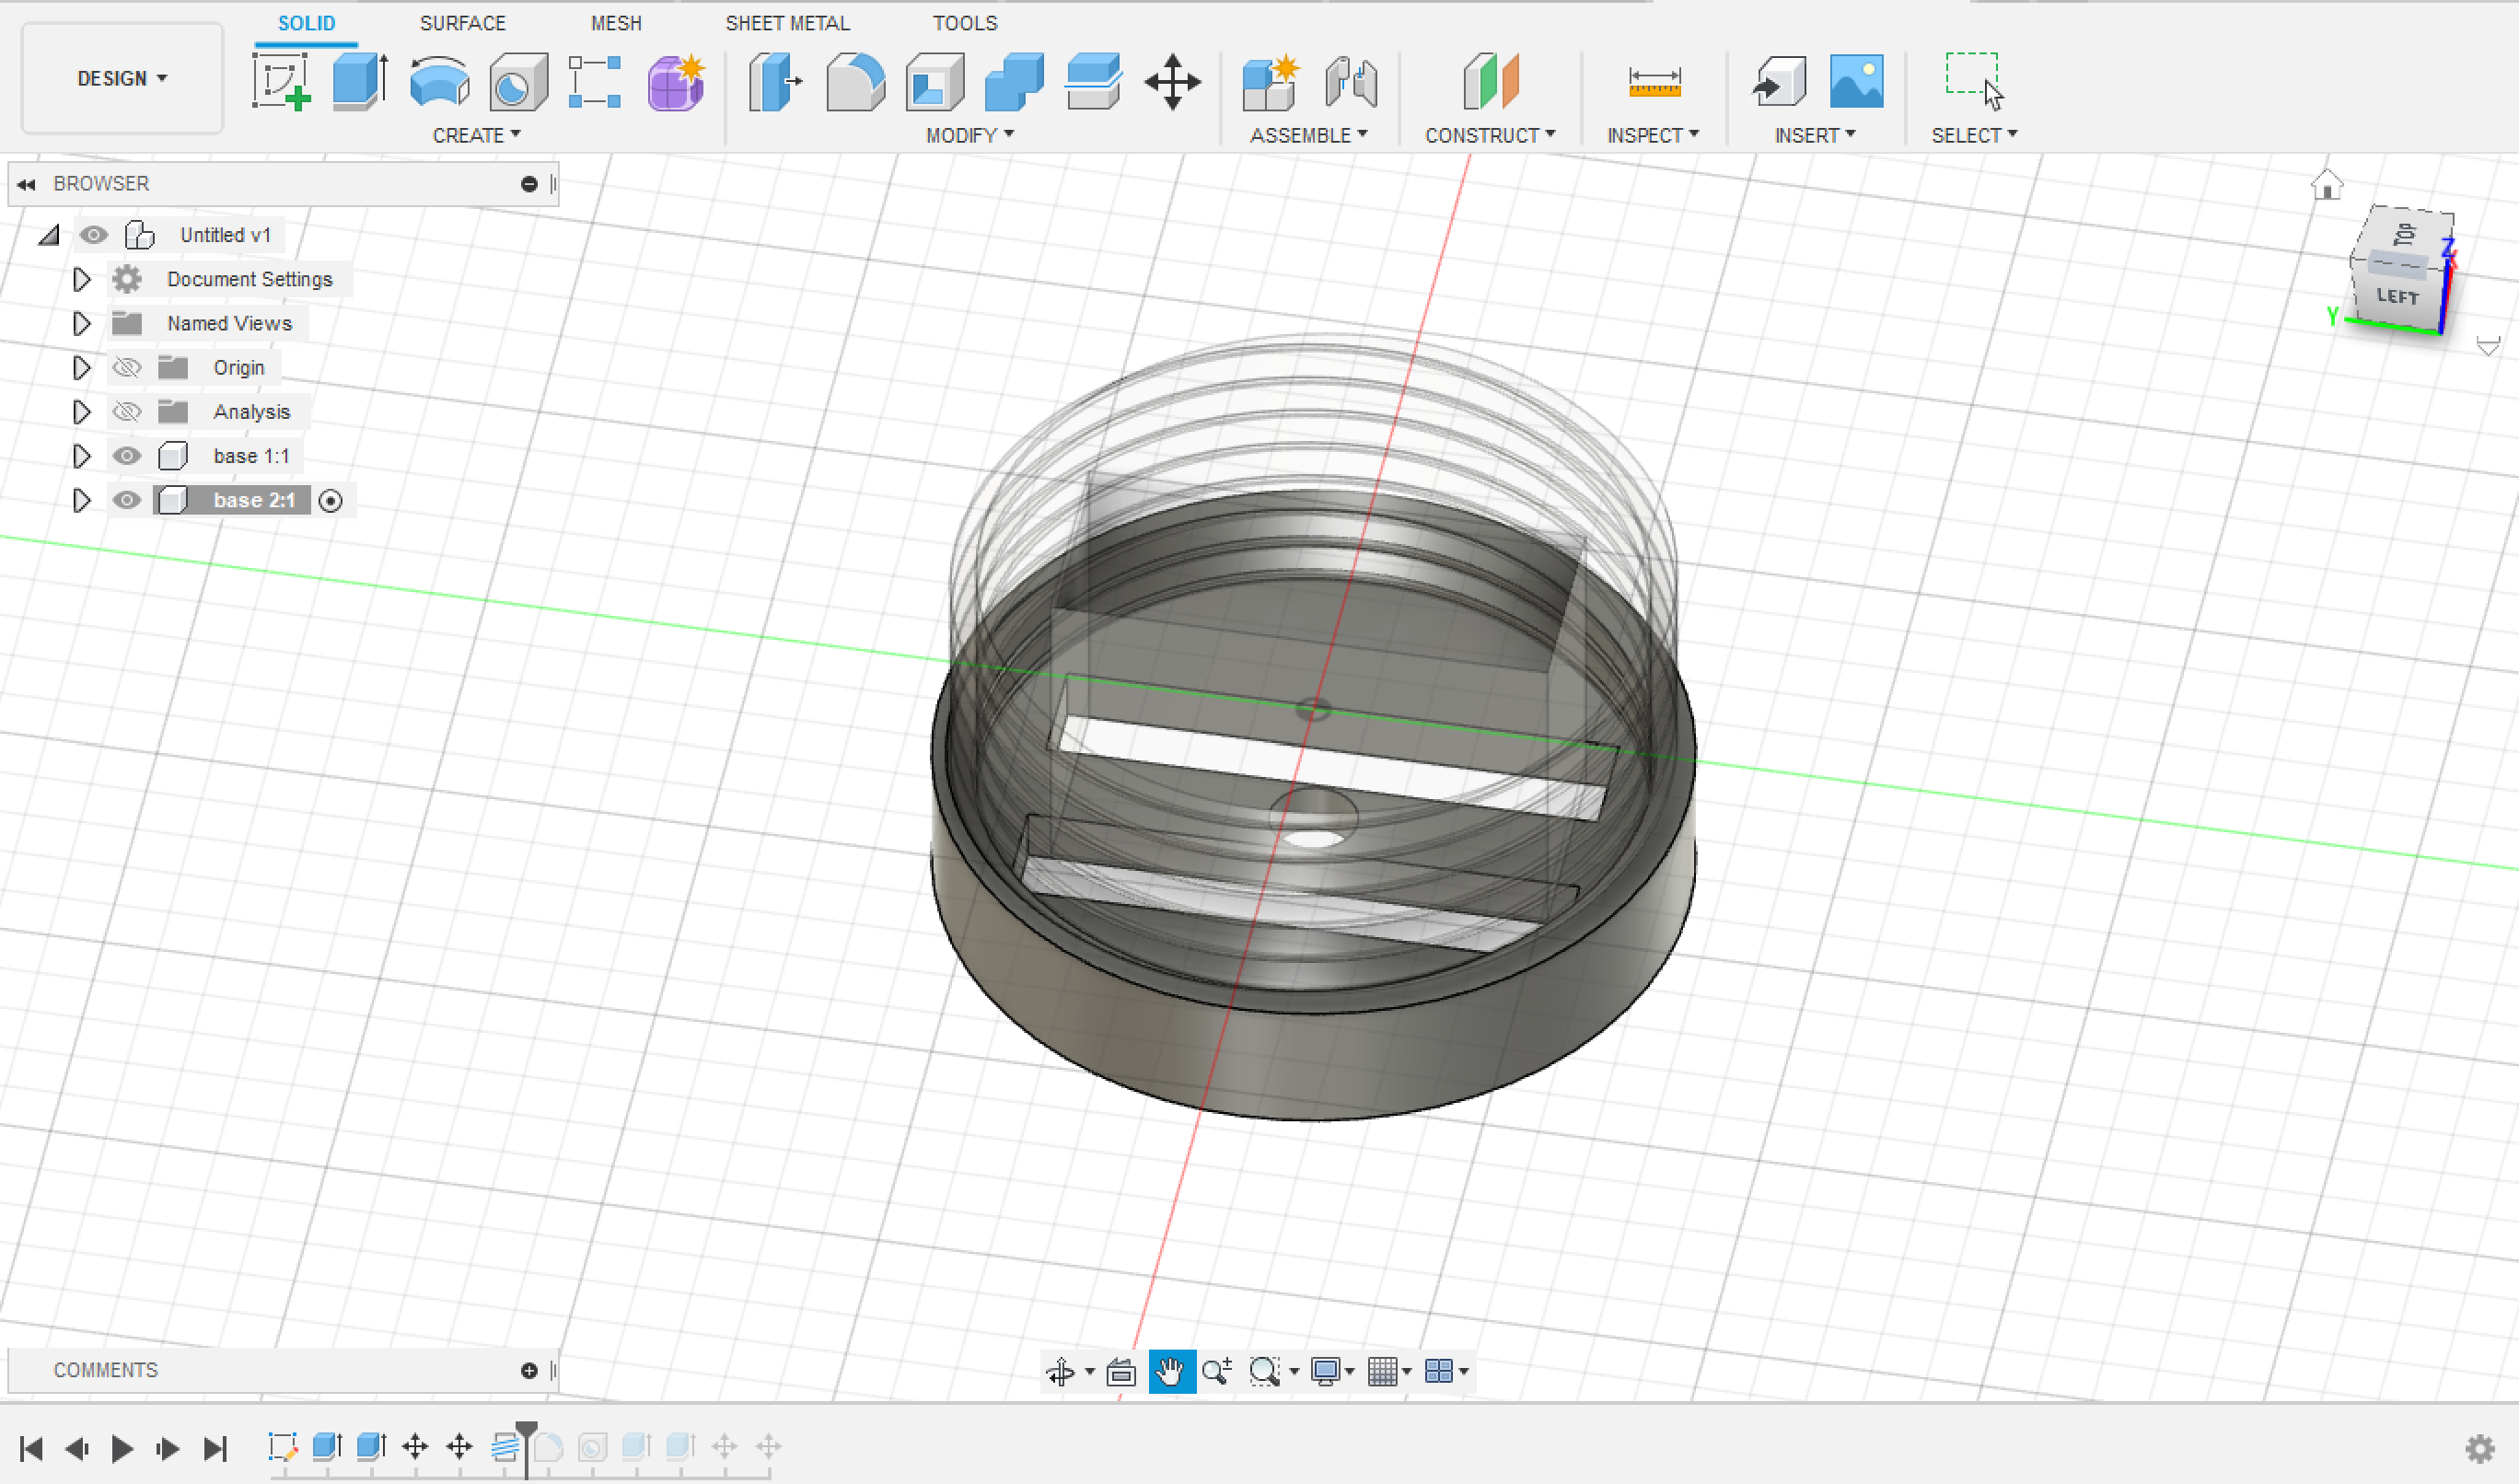
make a hole similar to the one in Base 1 for the USB wire.
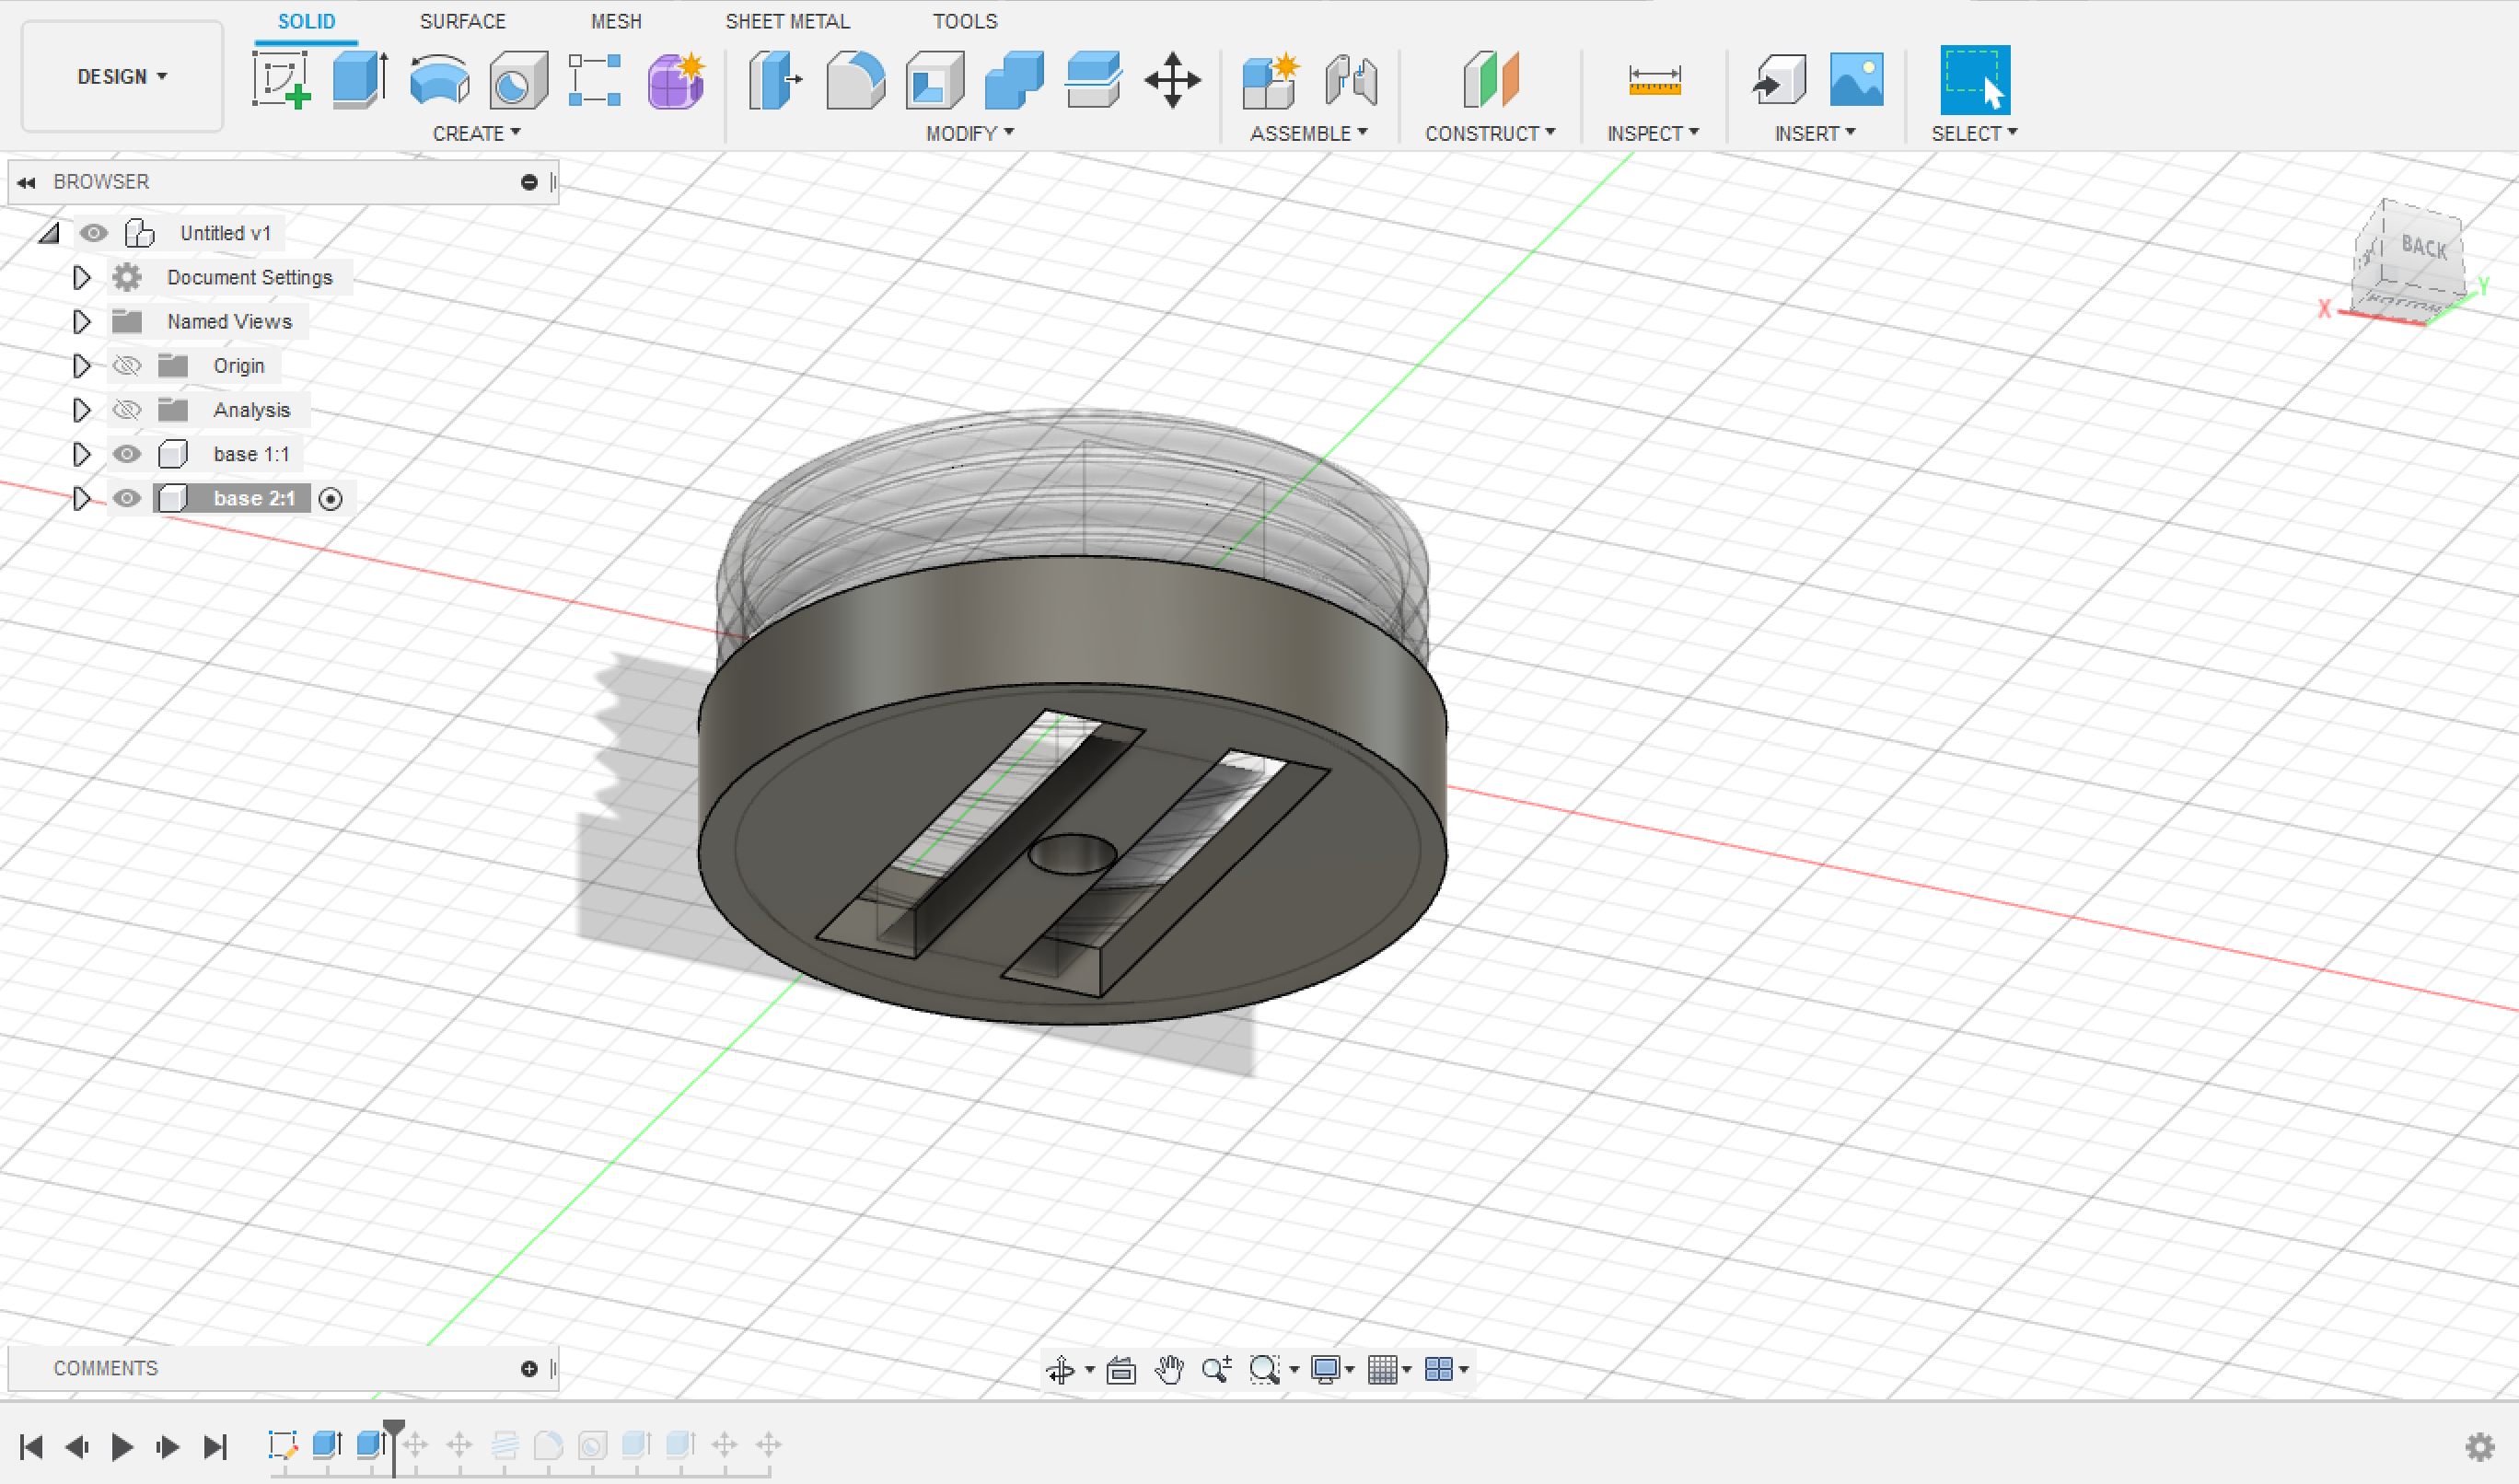
This is how the base look from upper view.
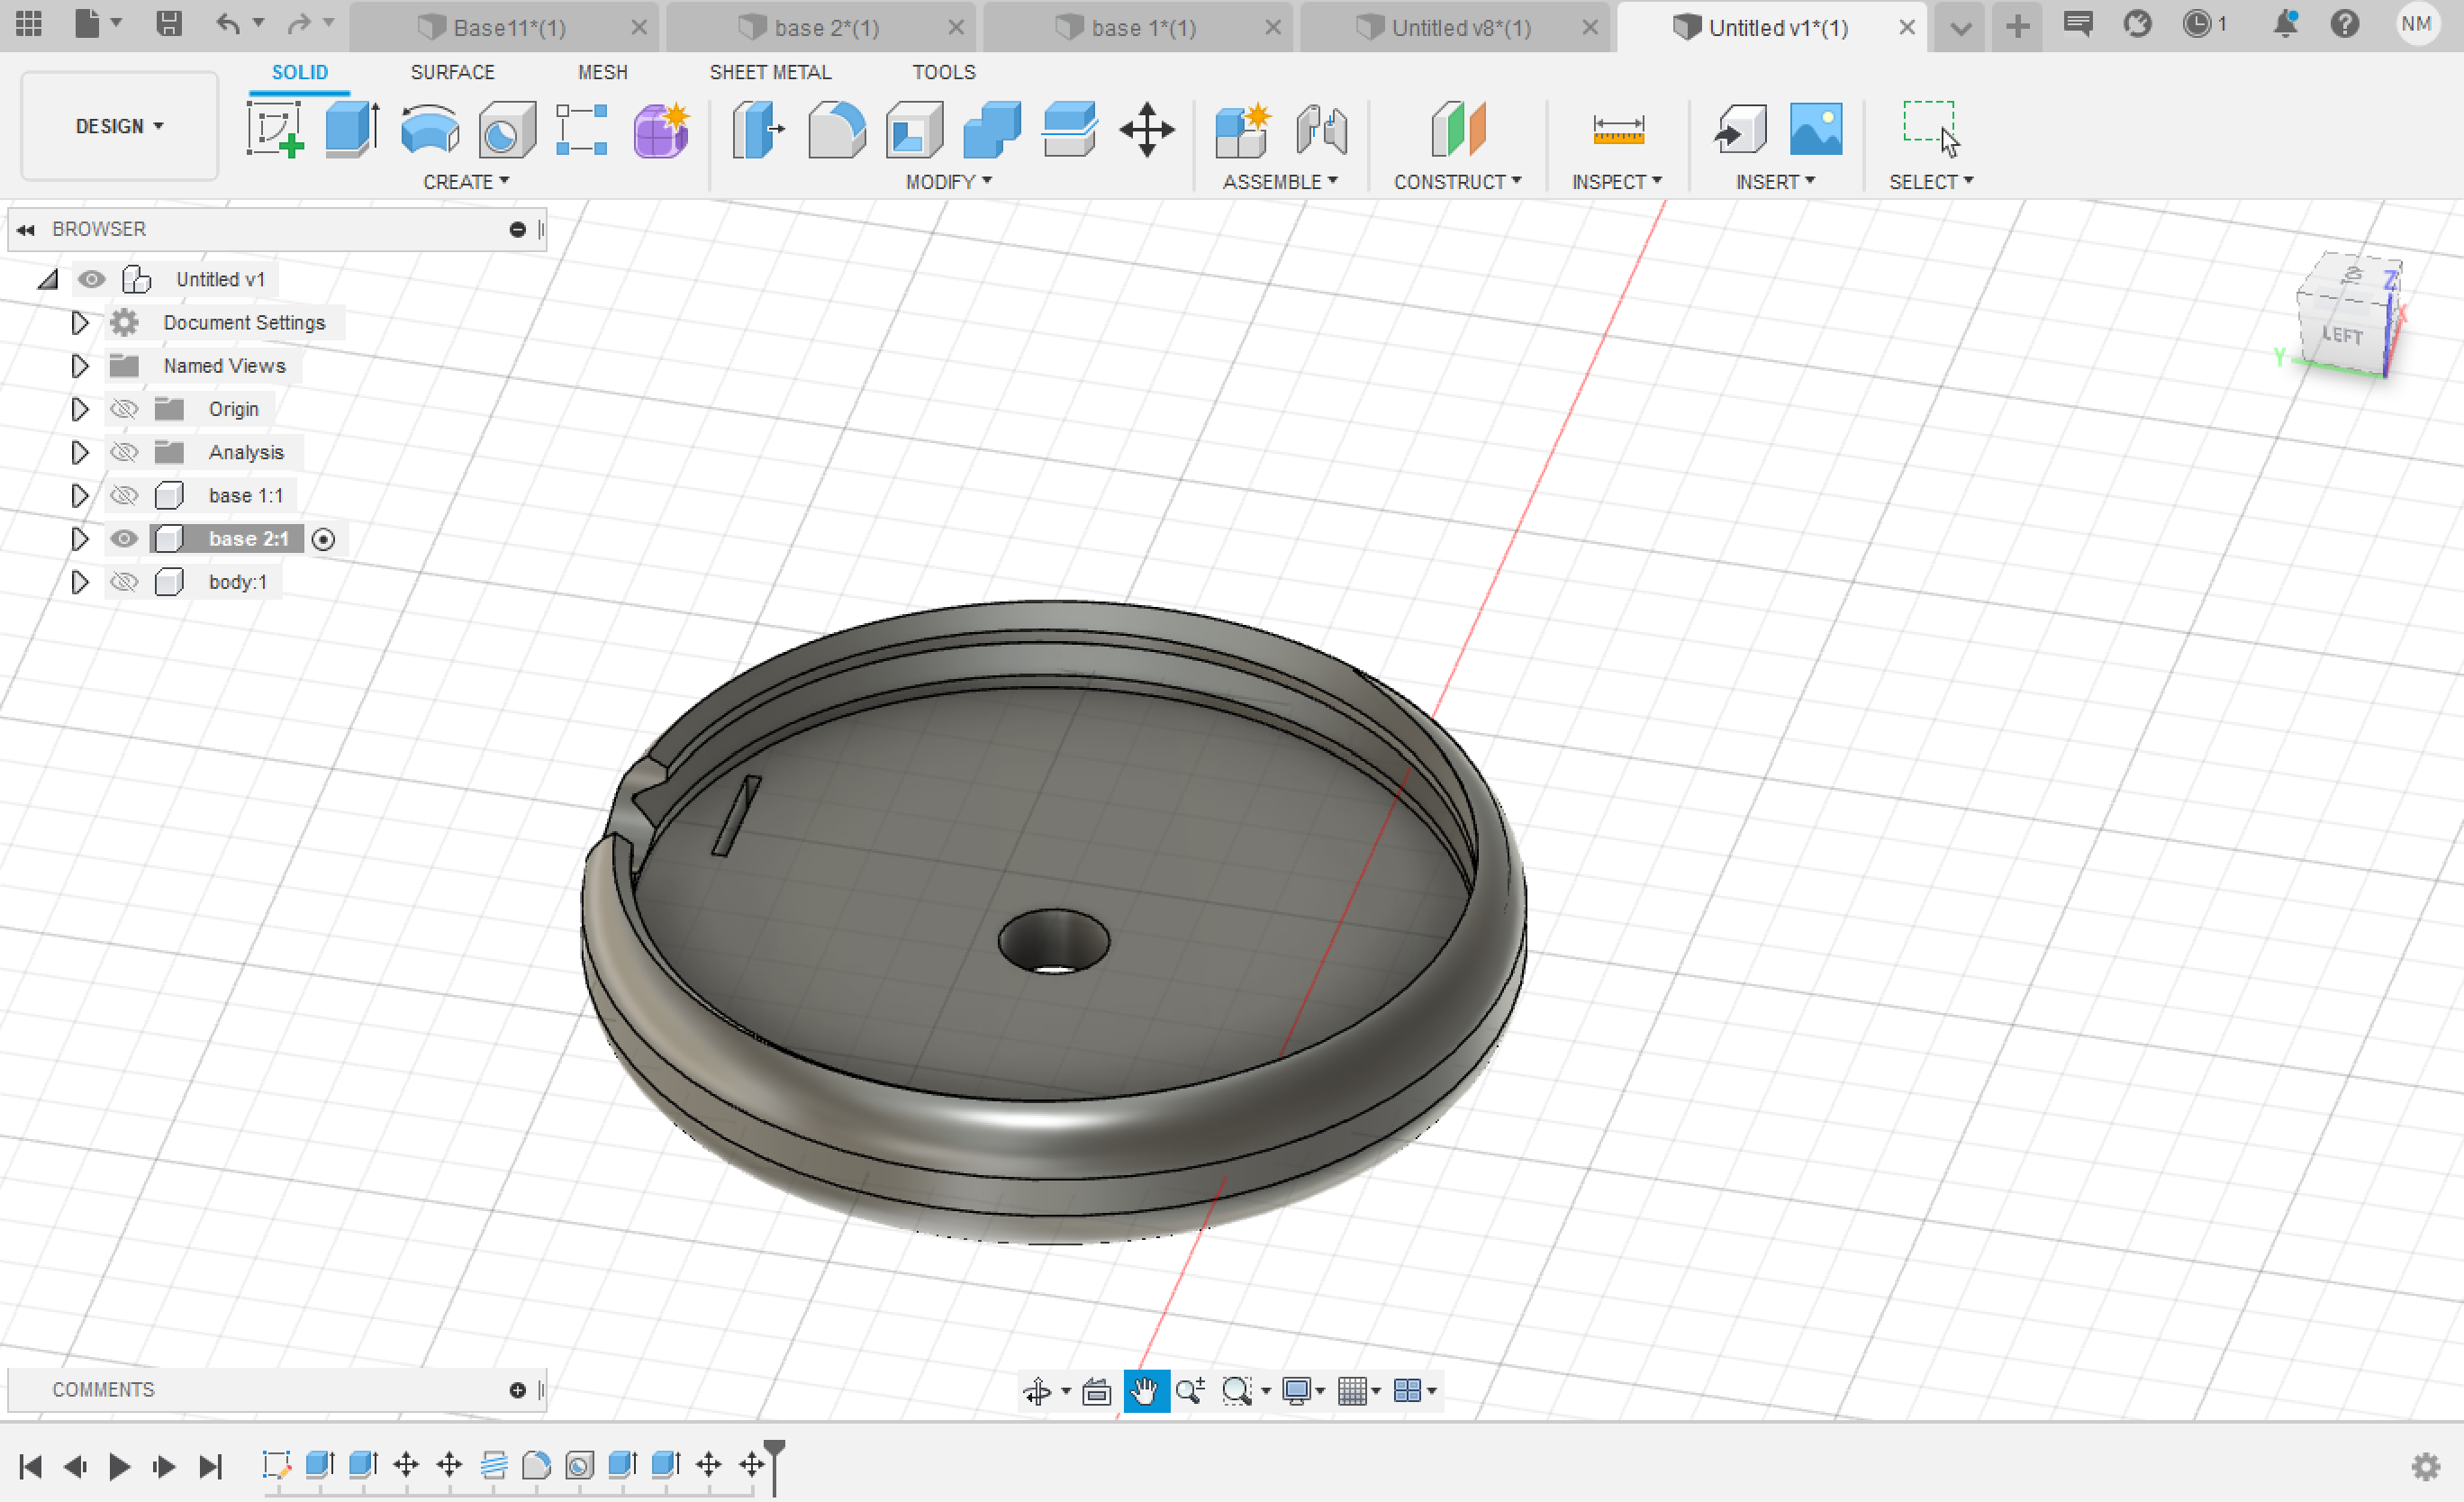
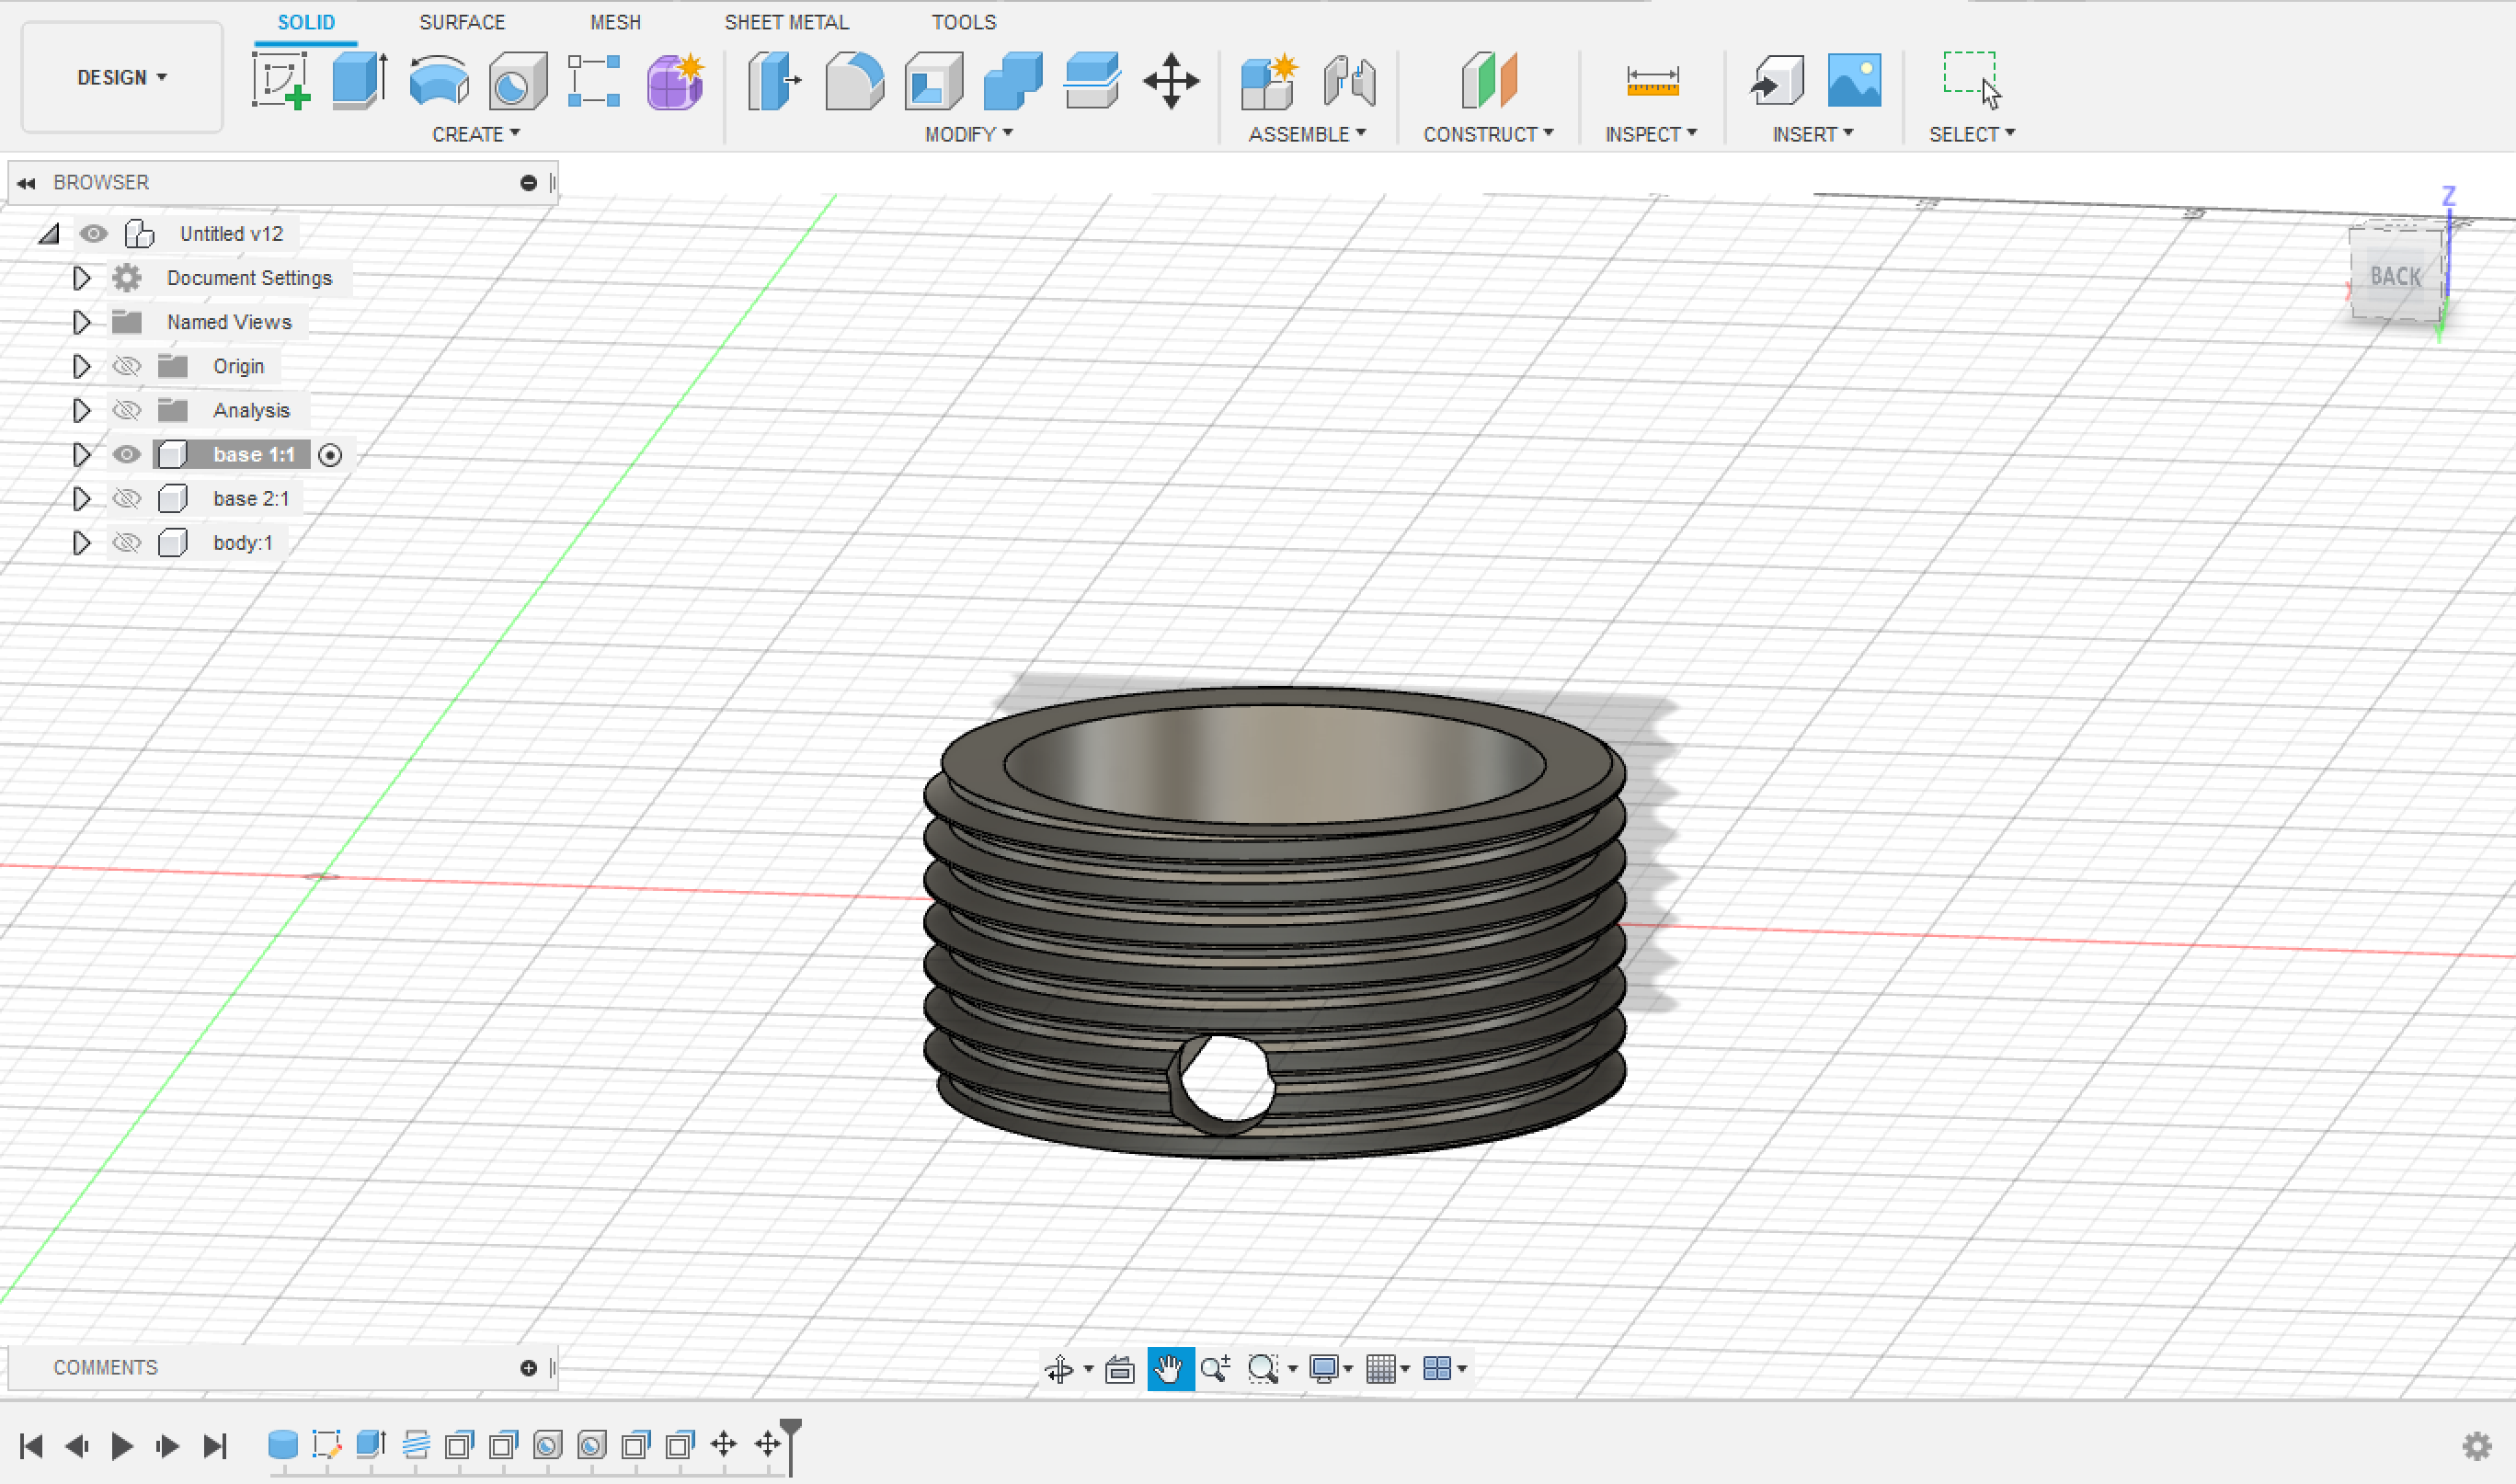
The final design of the 2nd Base is as seen:
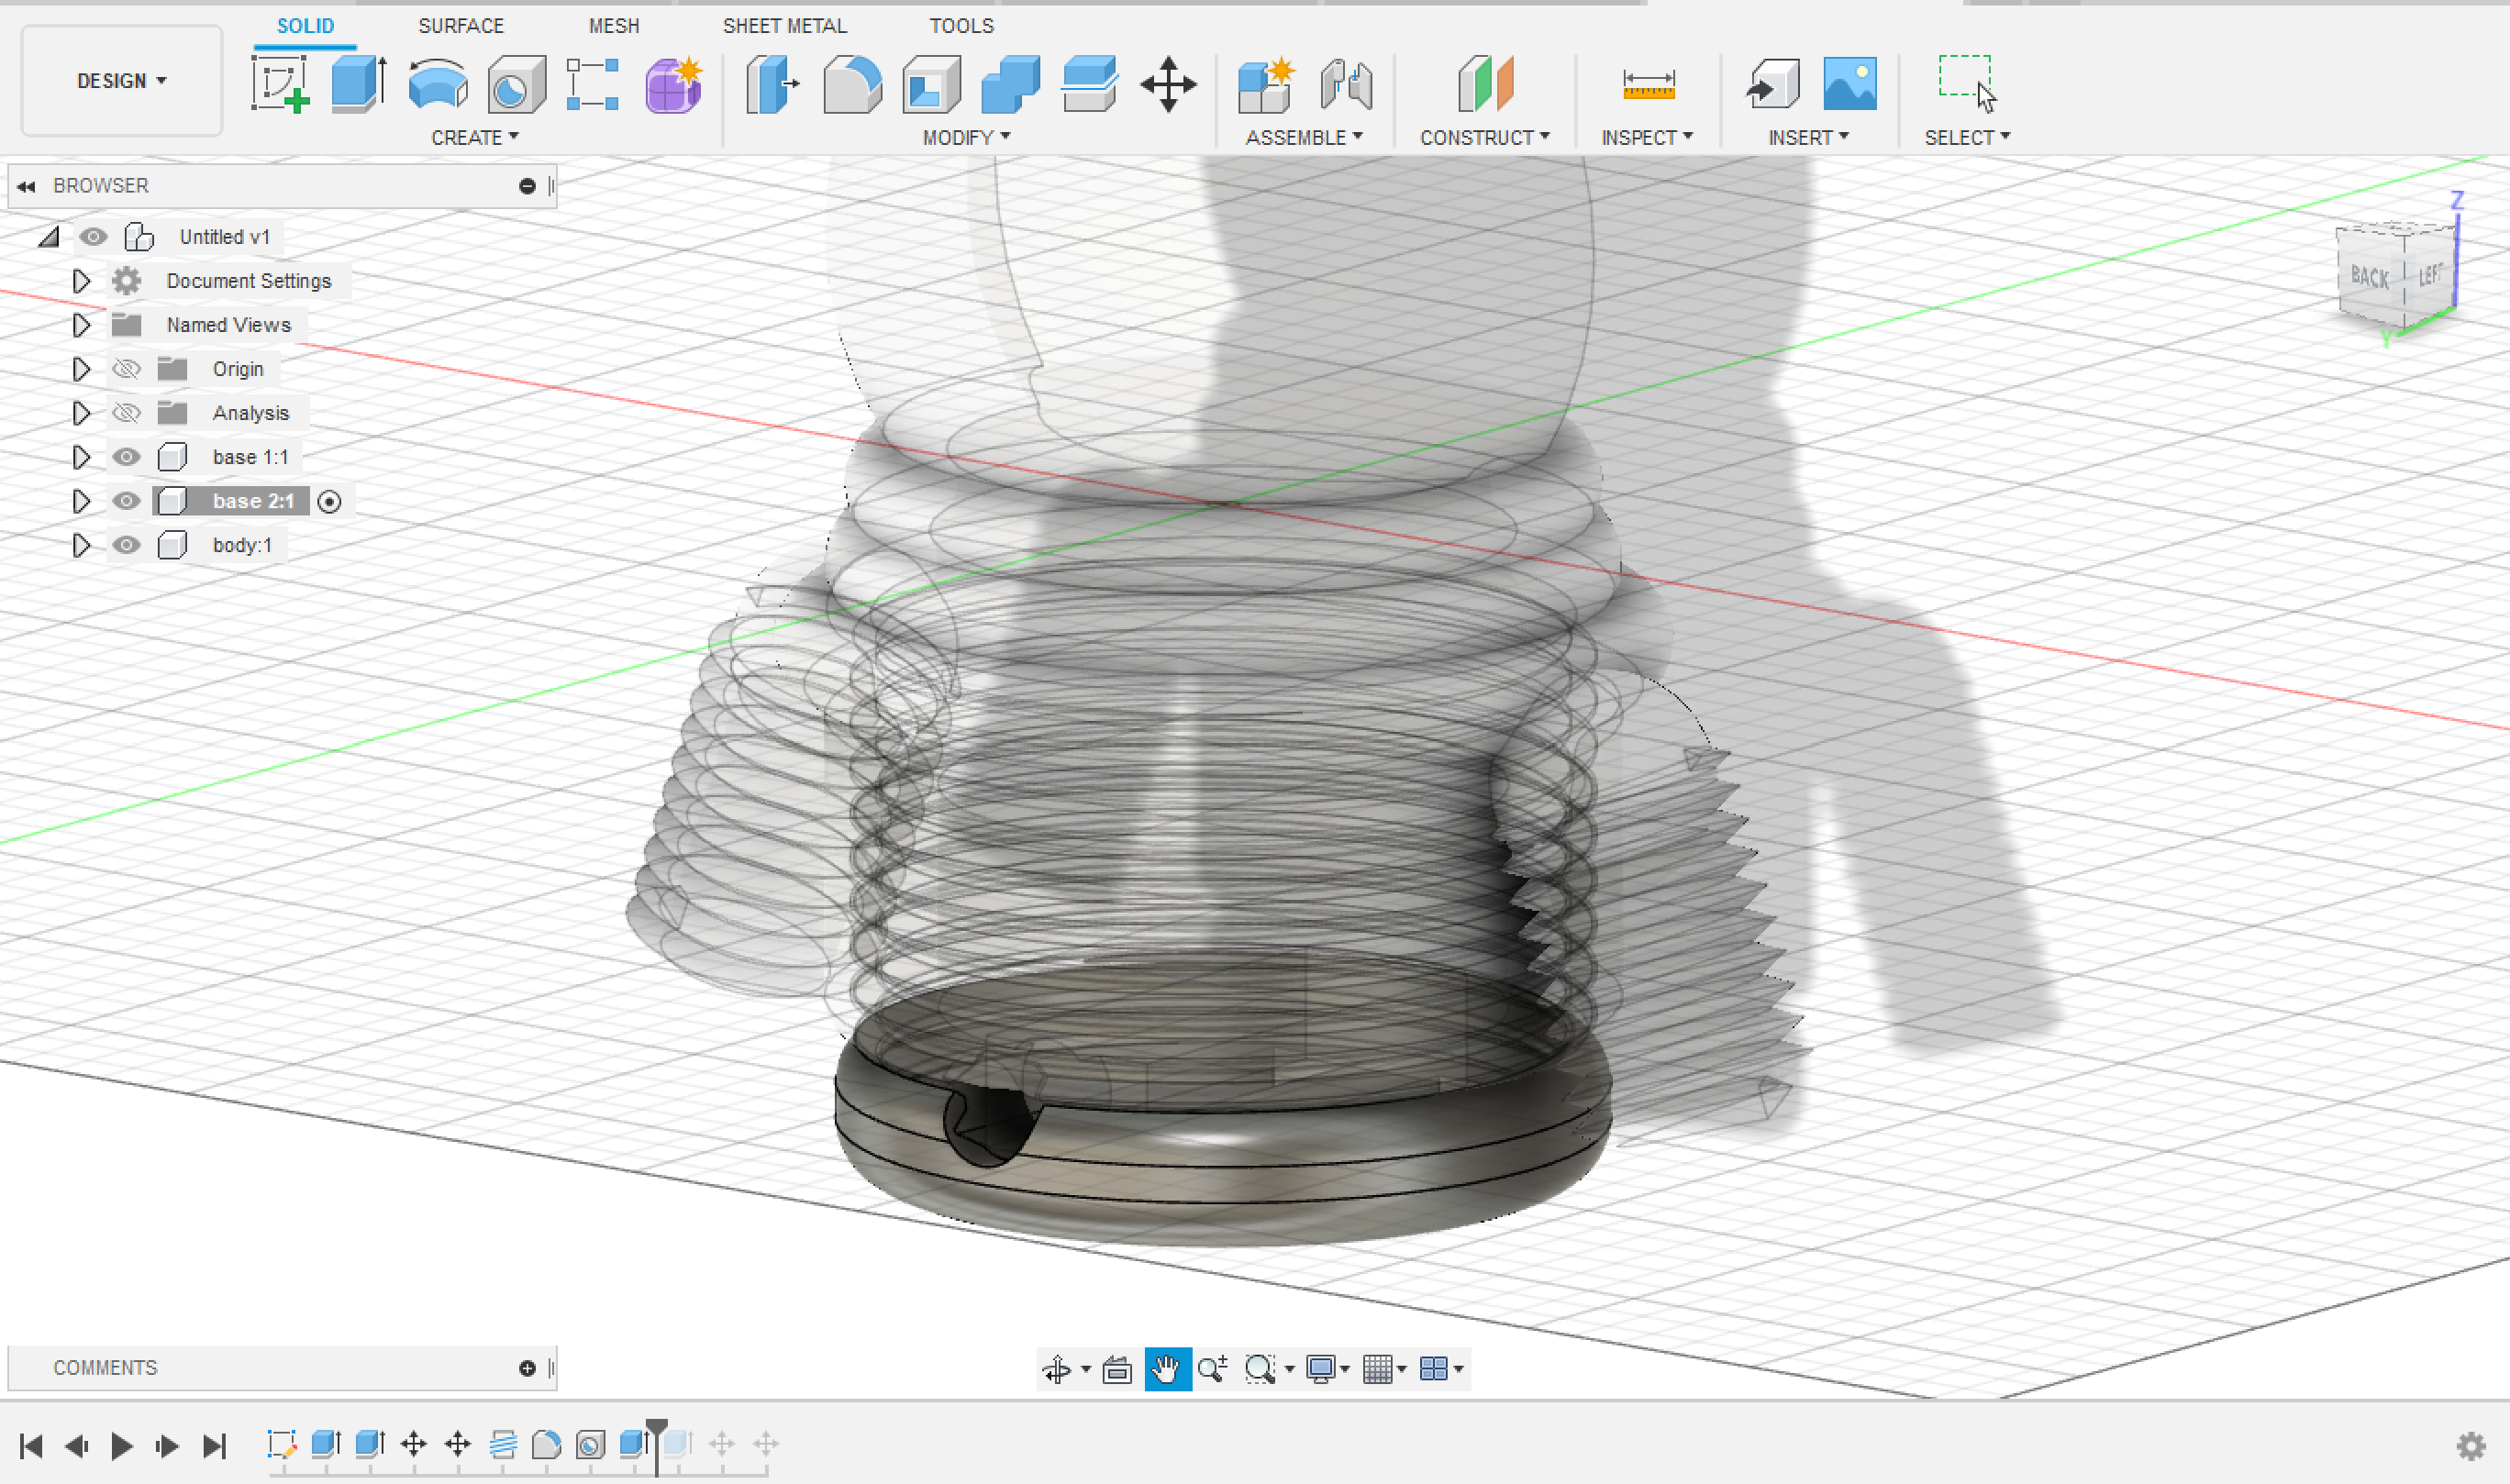
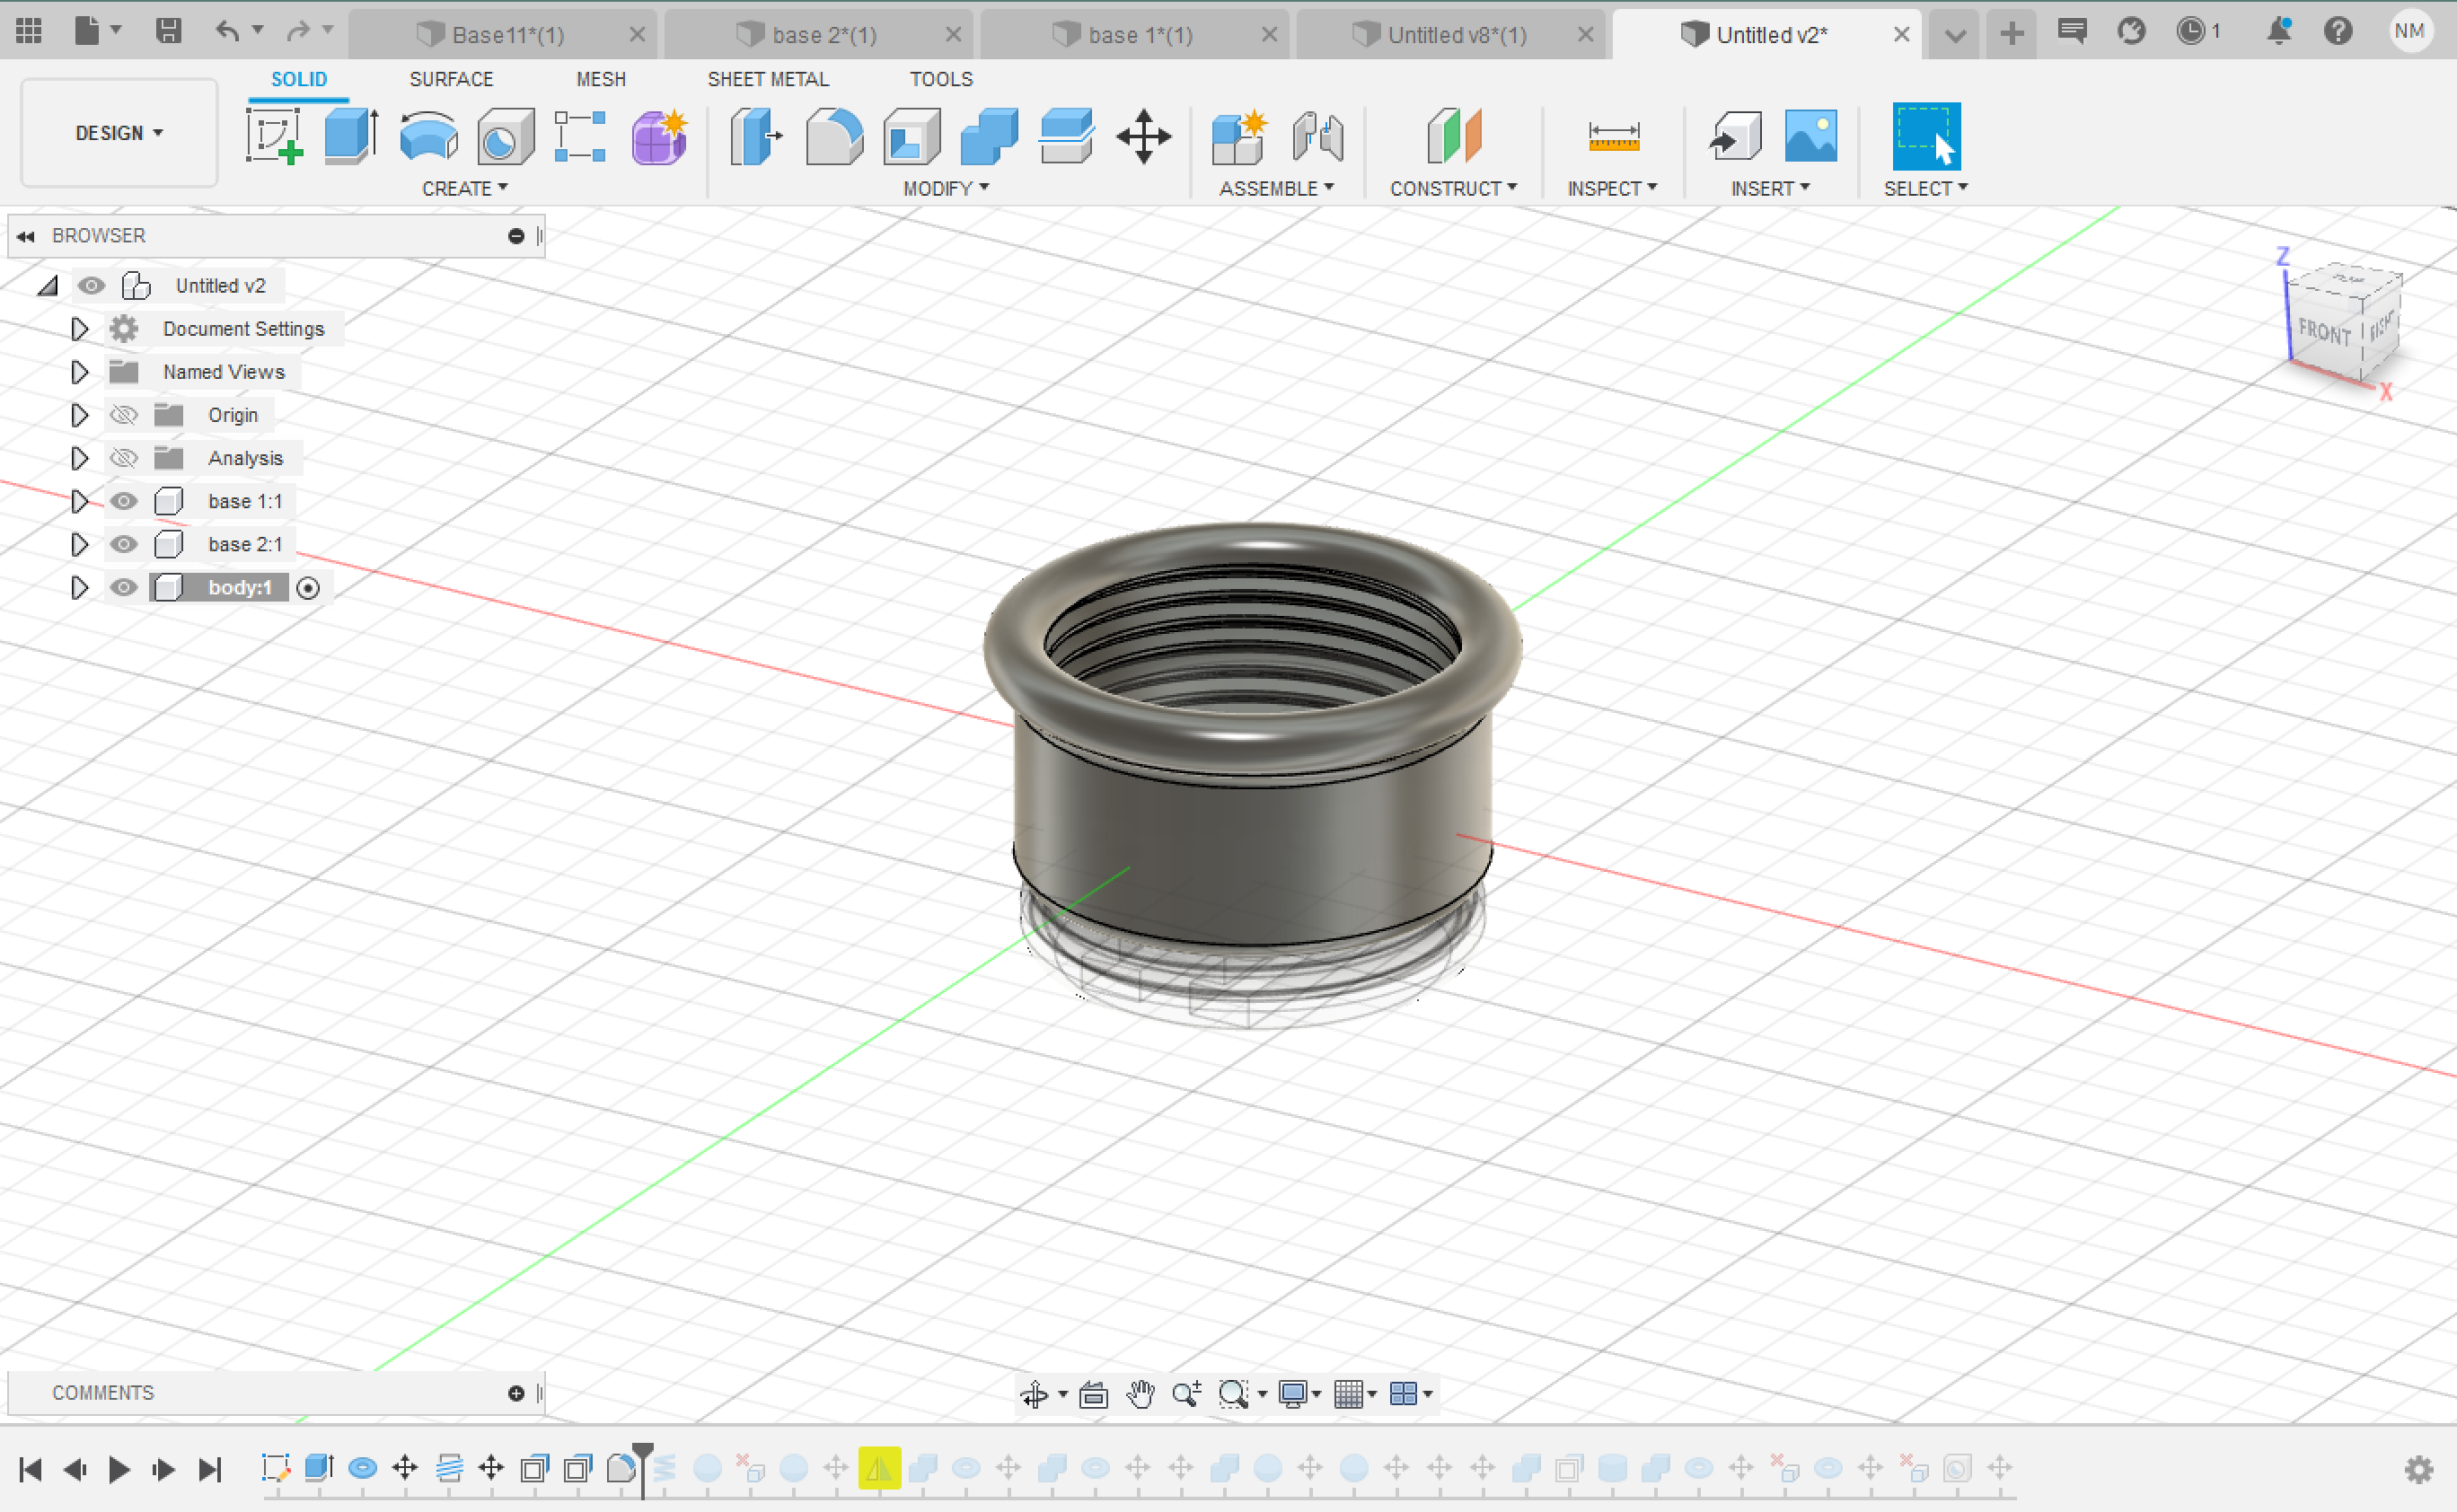
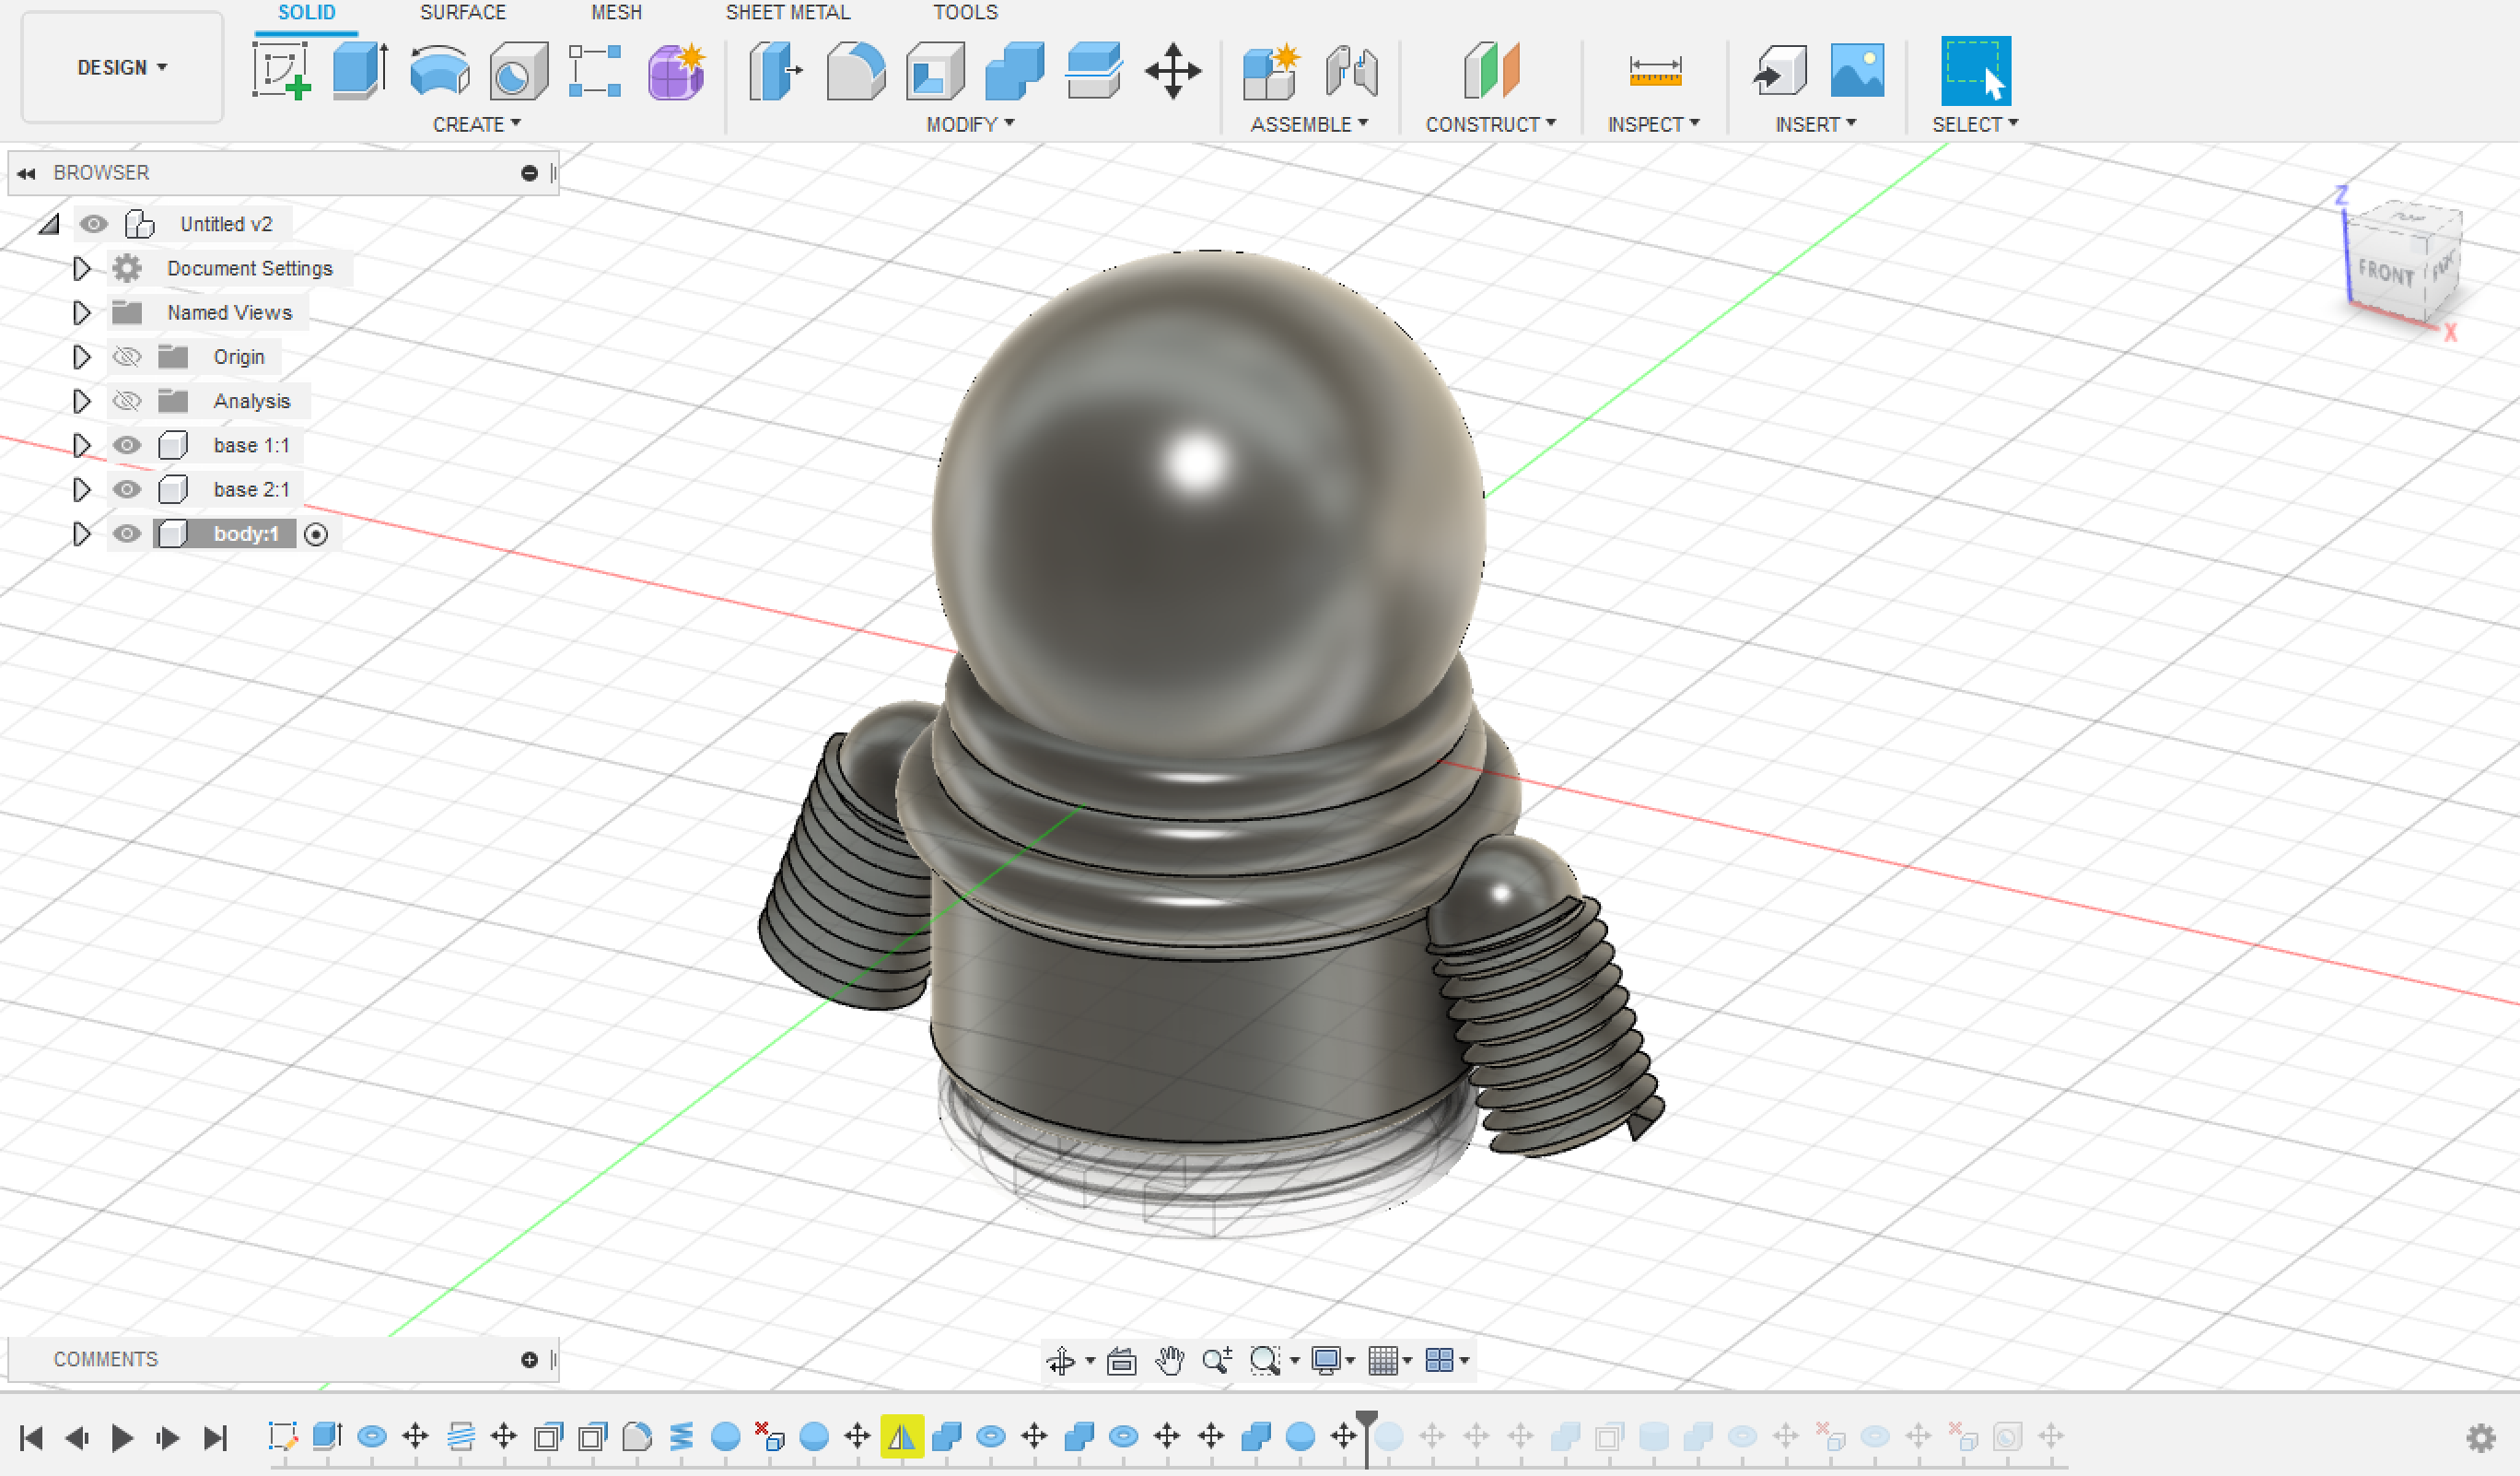
Start by making a third component, make a hallow cylinder slightly bigger than the bases.
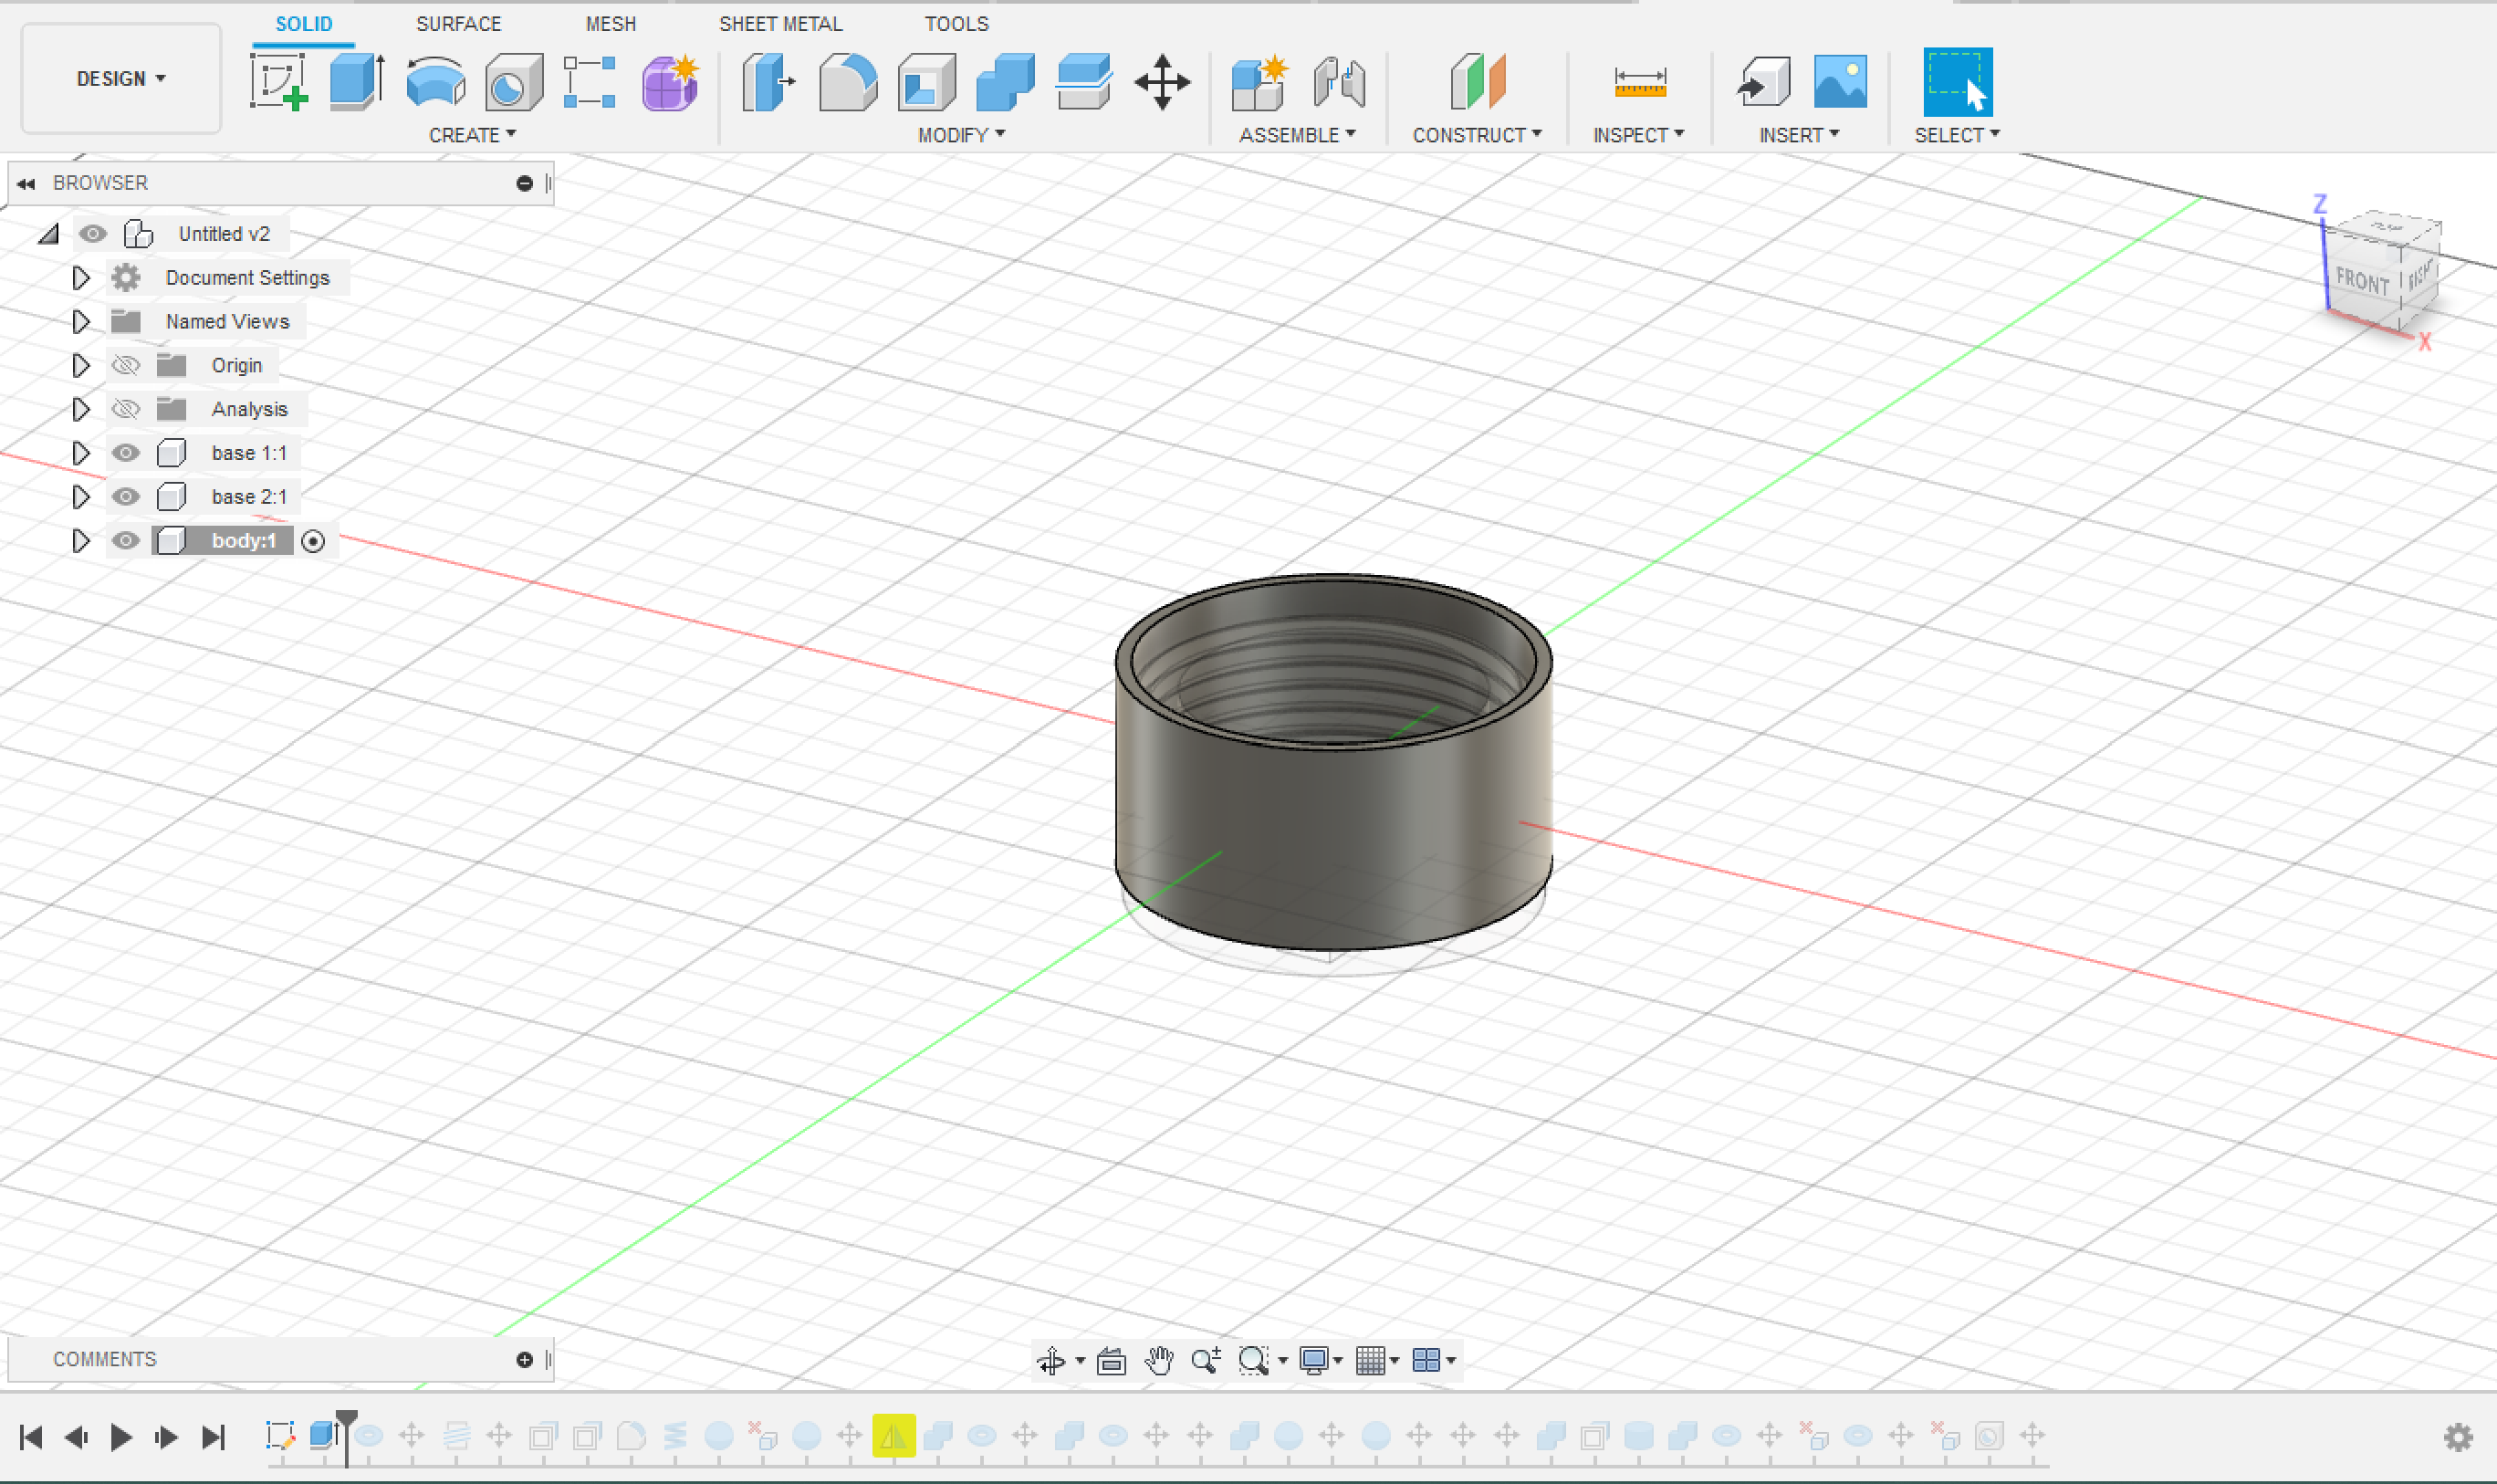
use the Torus to make an upper part on the cylinder. Make threads to be tighten up with Base 1.
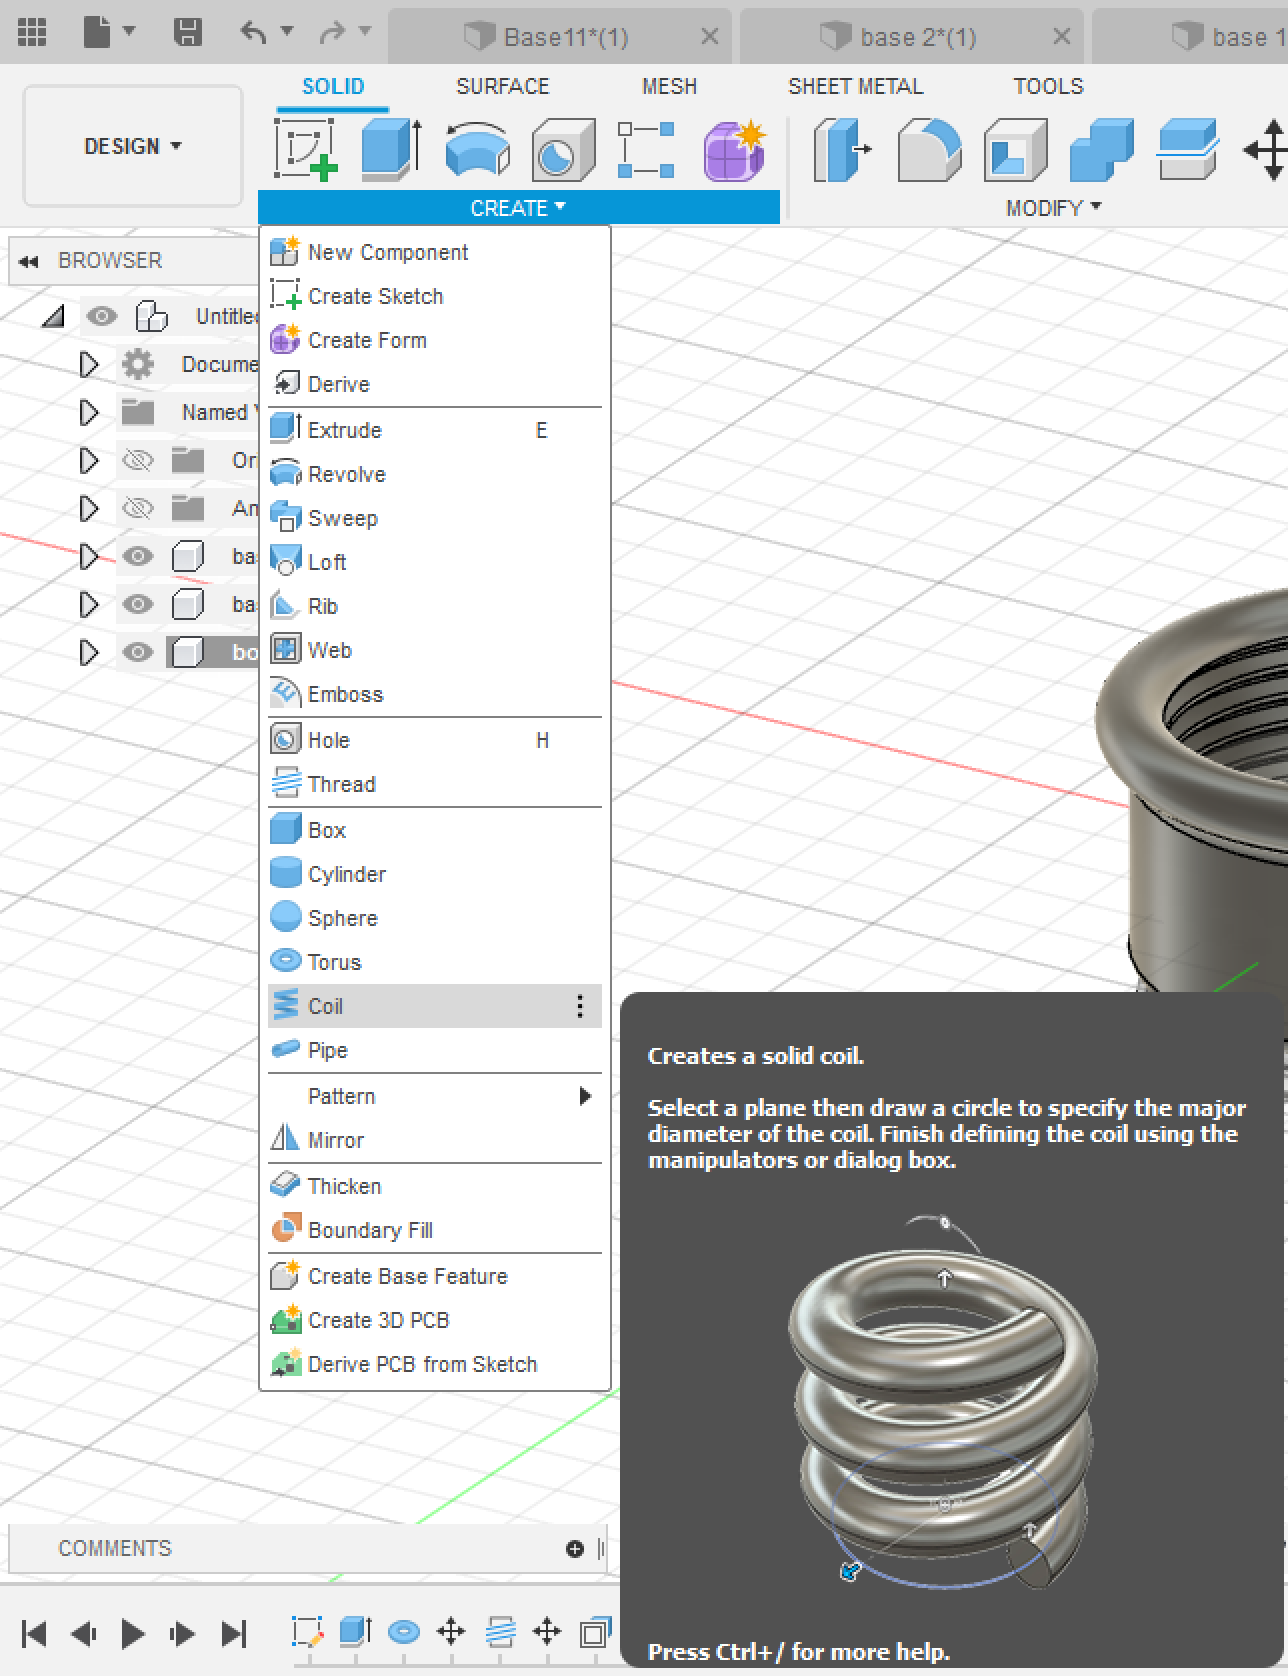
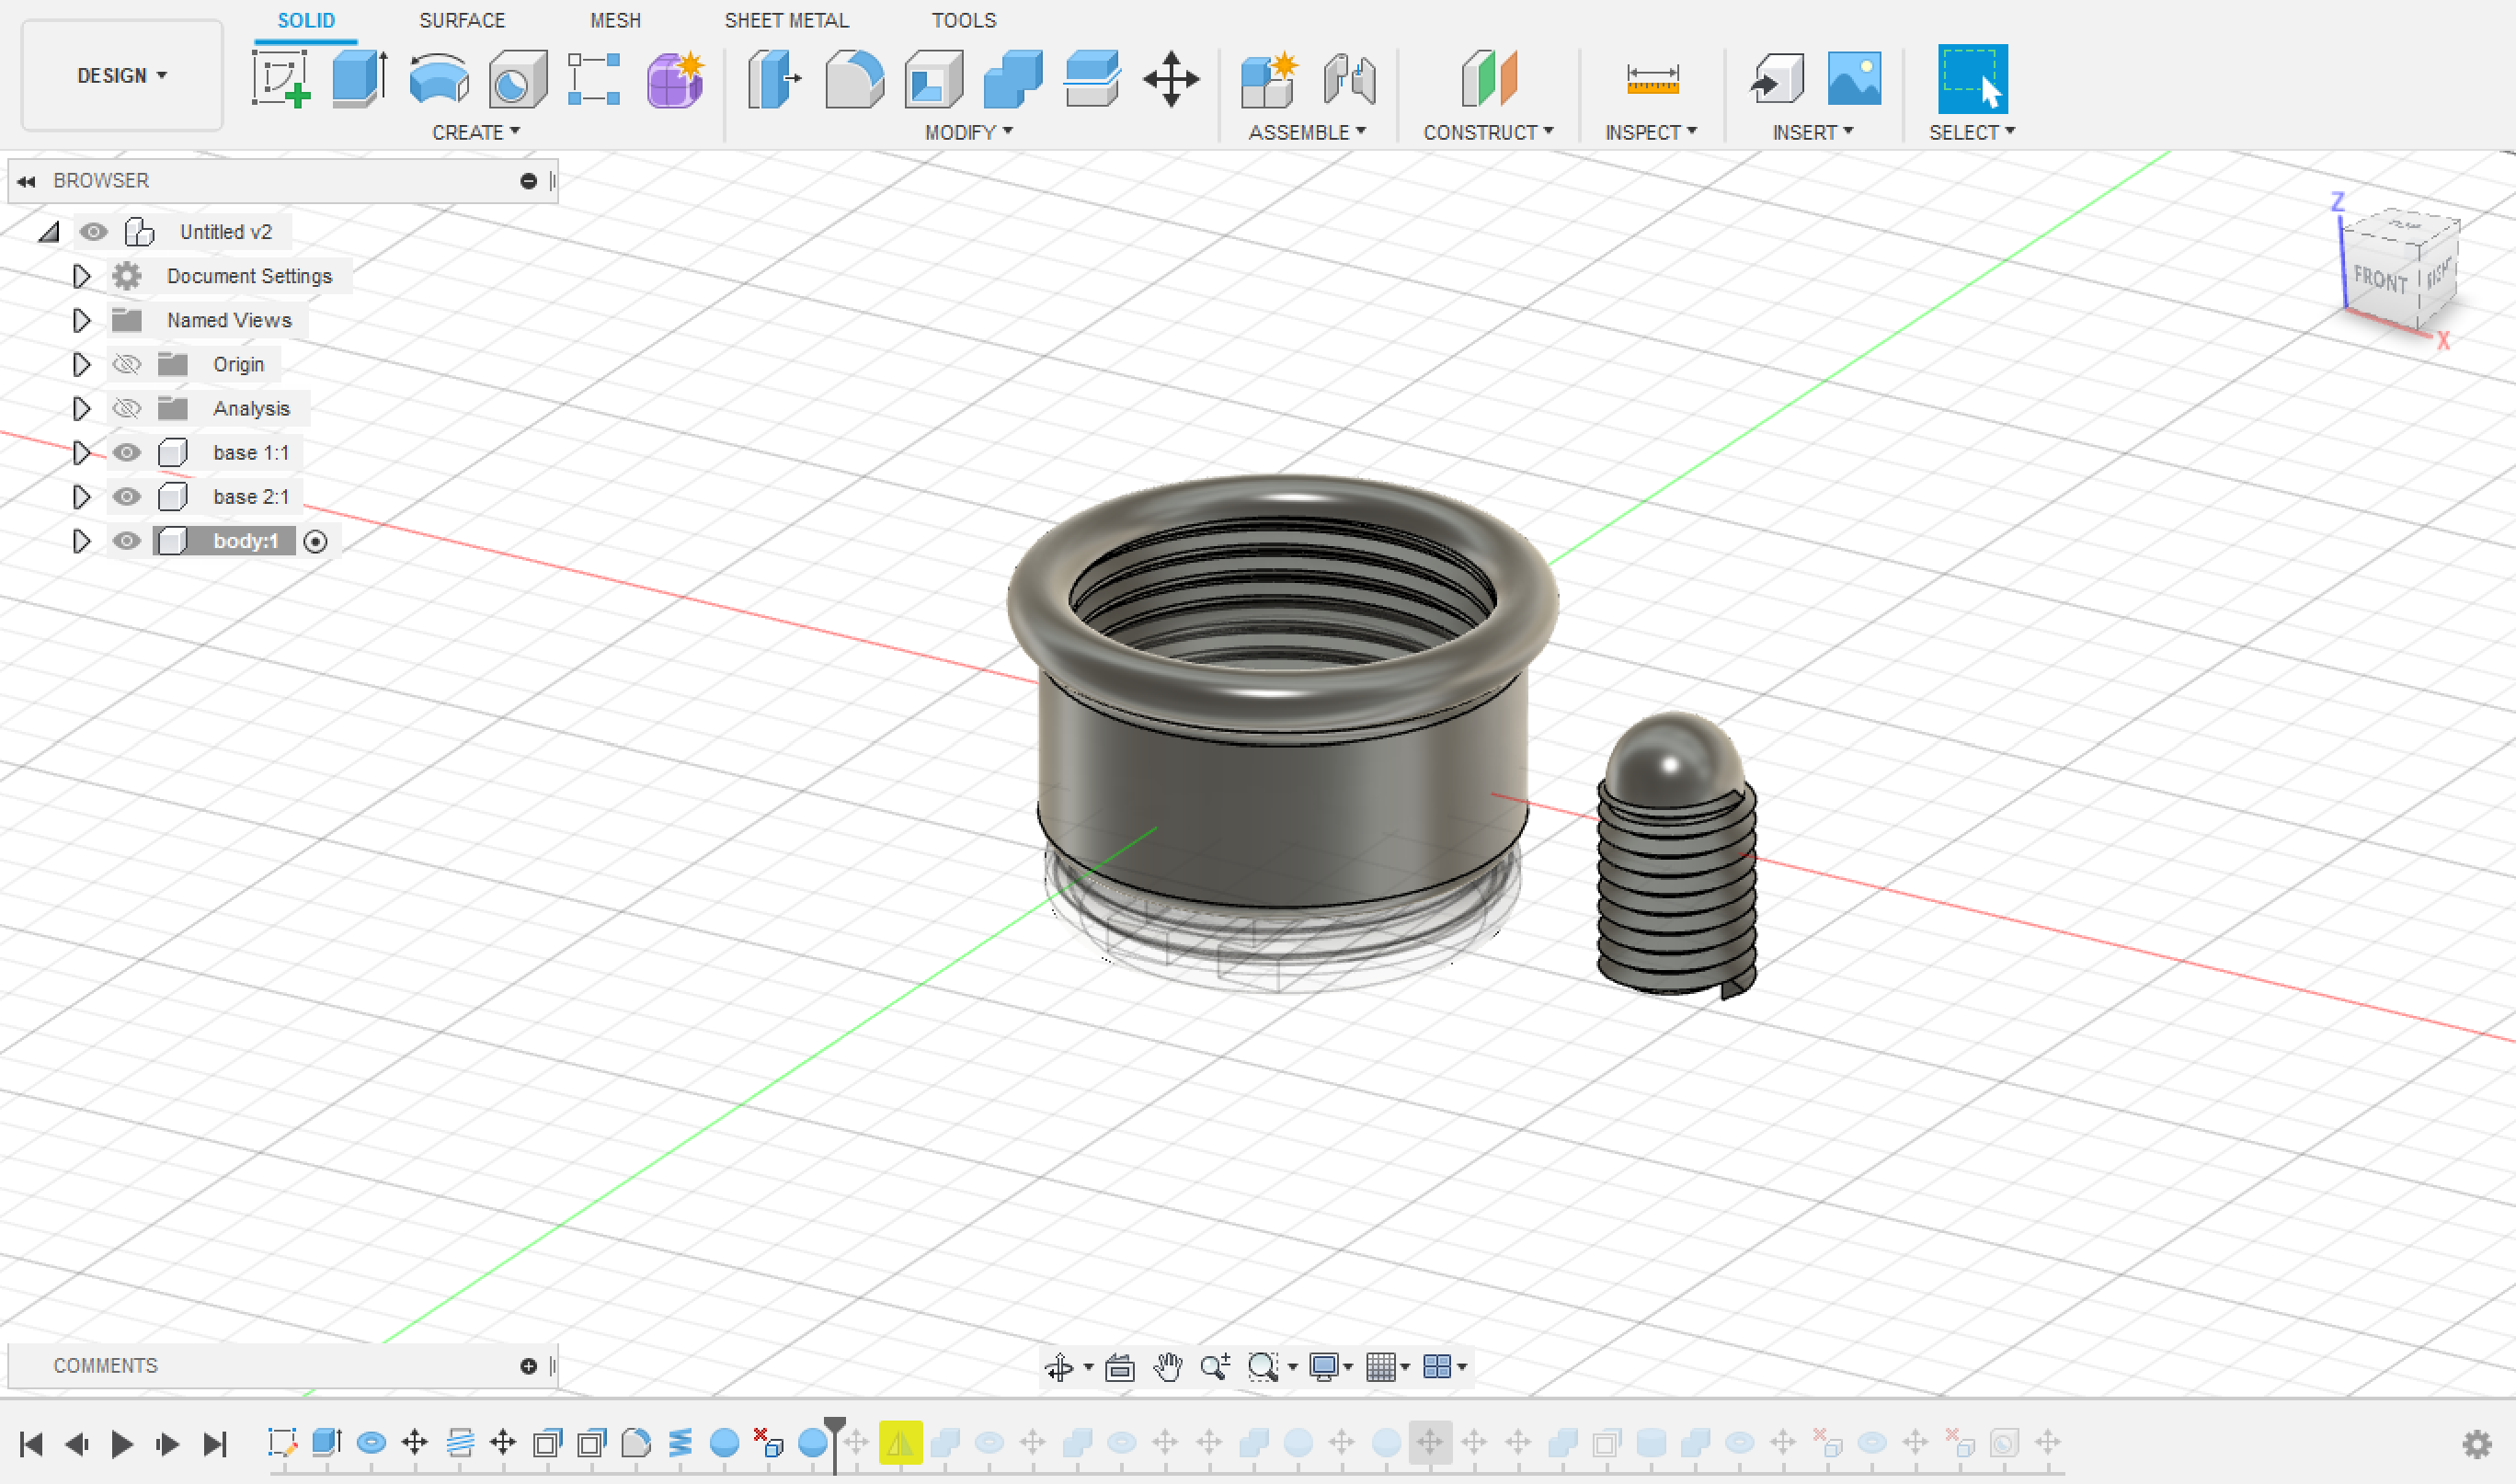
Use Coil attached to a sphere to make the hands.
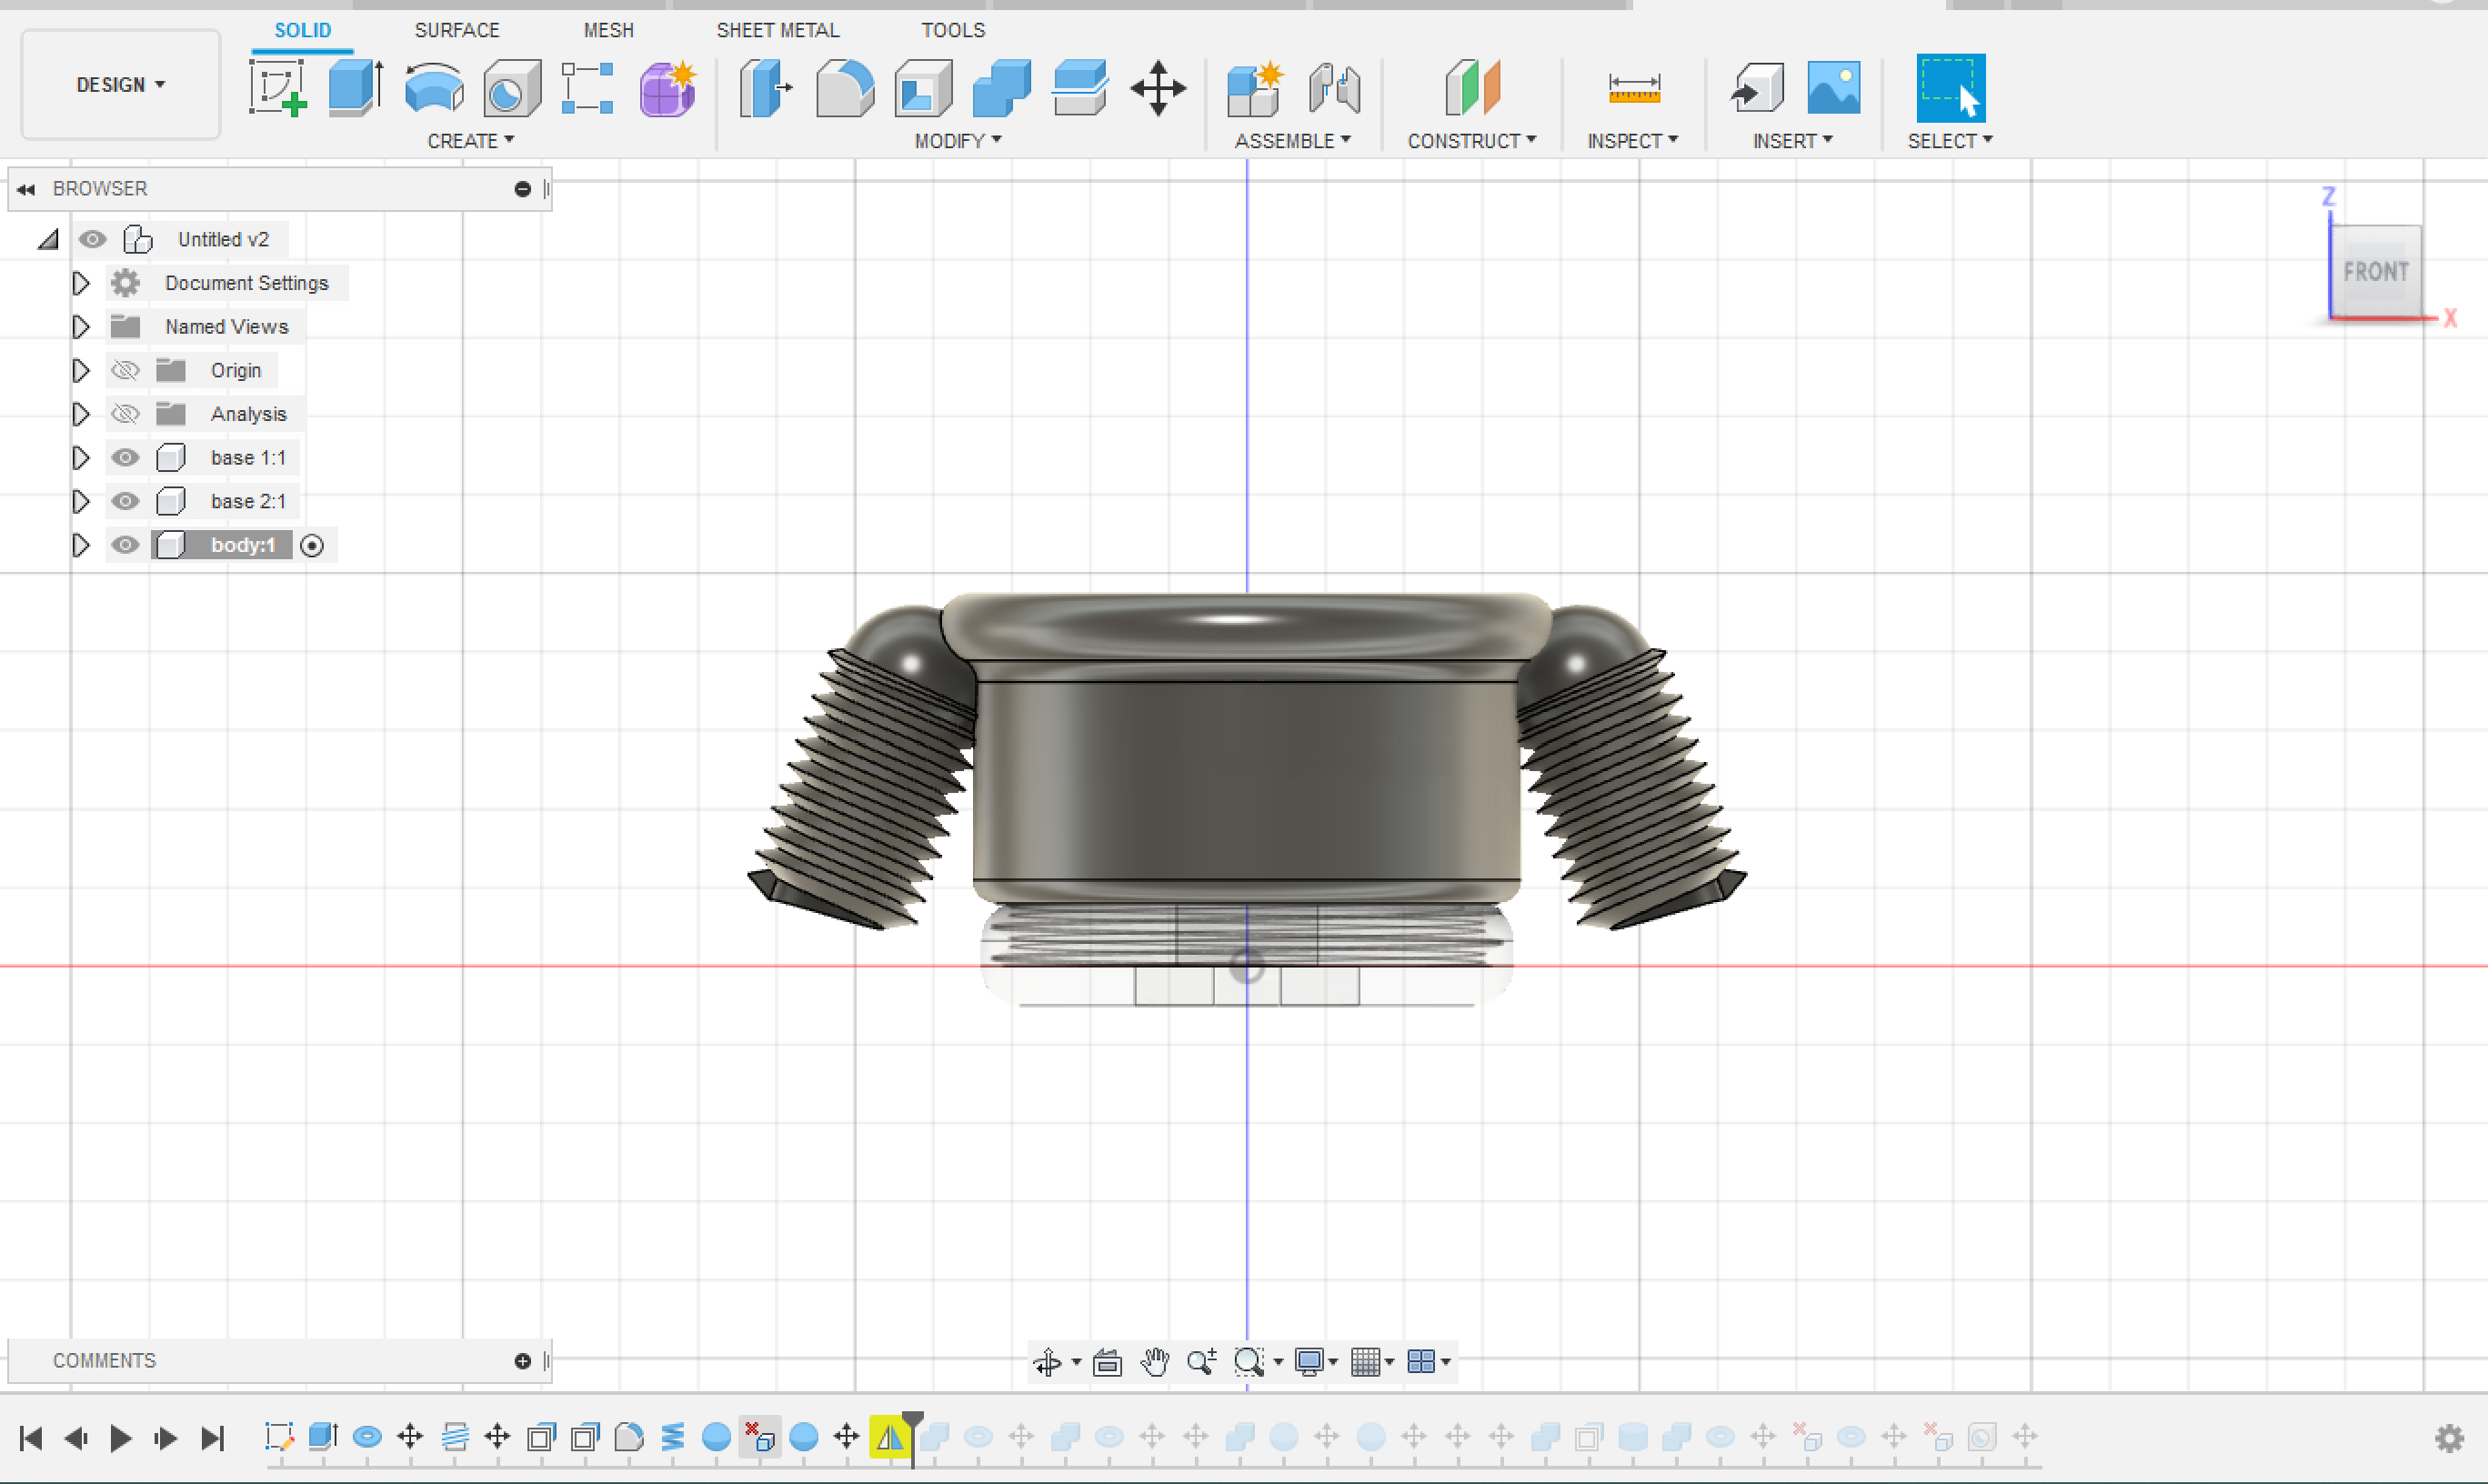
Mirror the hands and attach it to the body.
Add two more torus on top to attach the body to the helmet of the astronaut.

Make the helmet using a sphere.
Make a smaller sphere a little bit coming out from the first one.
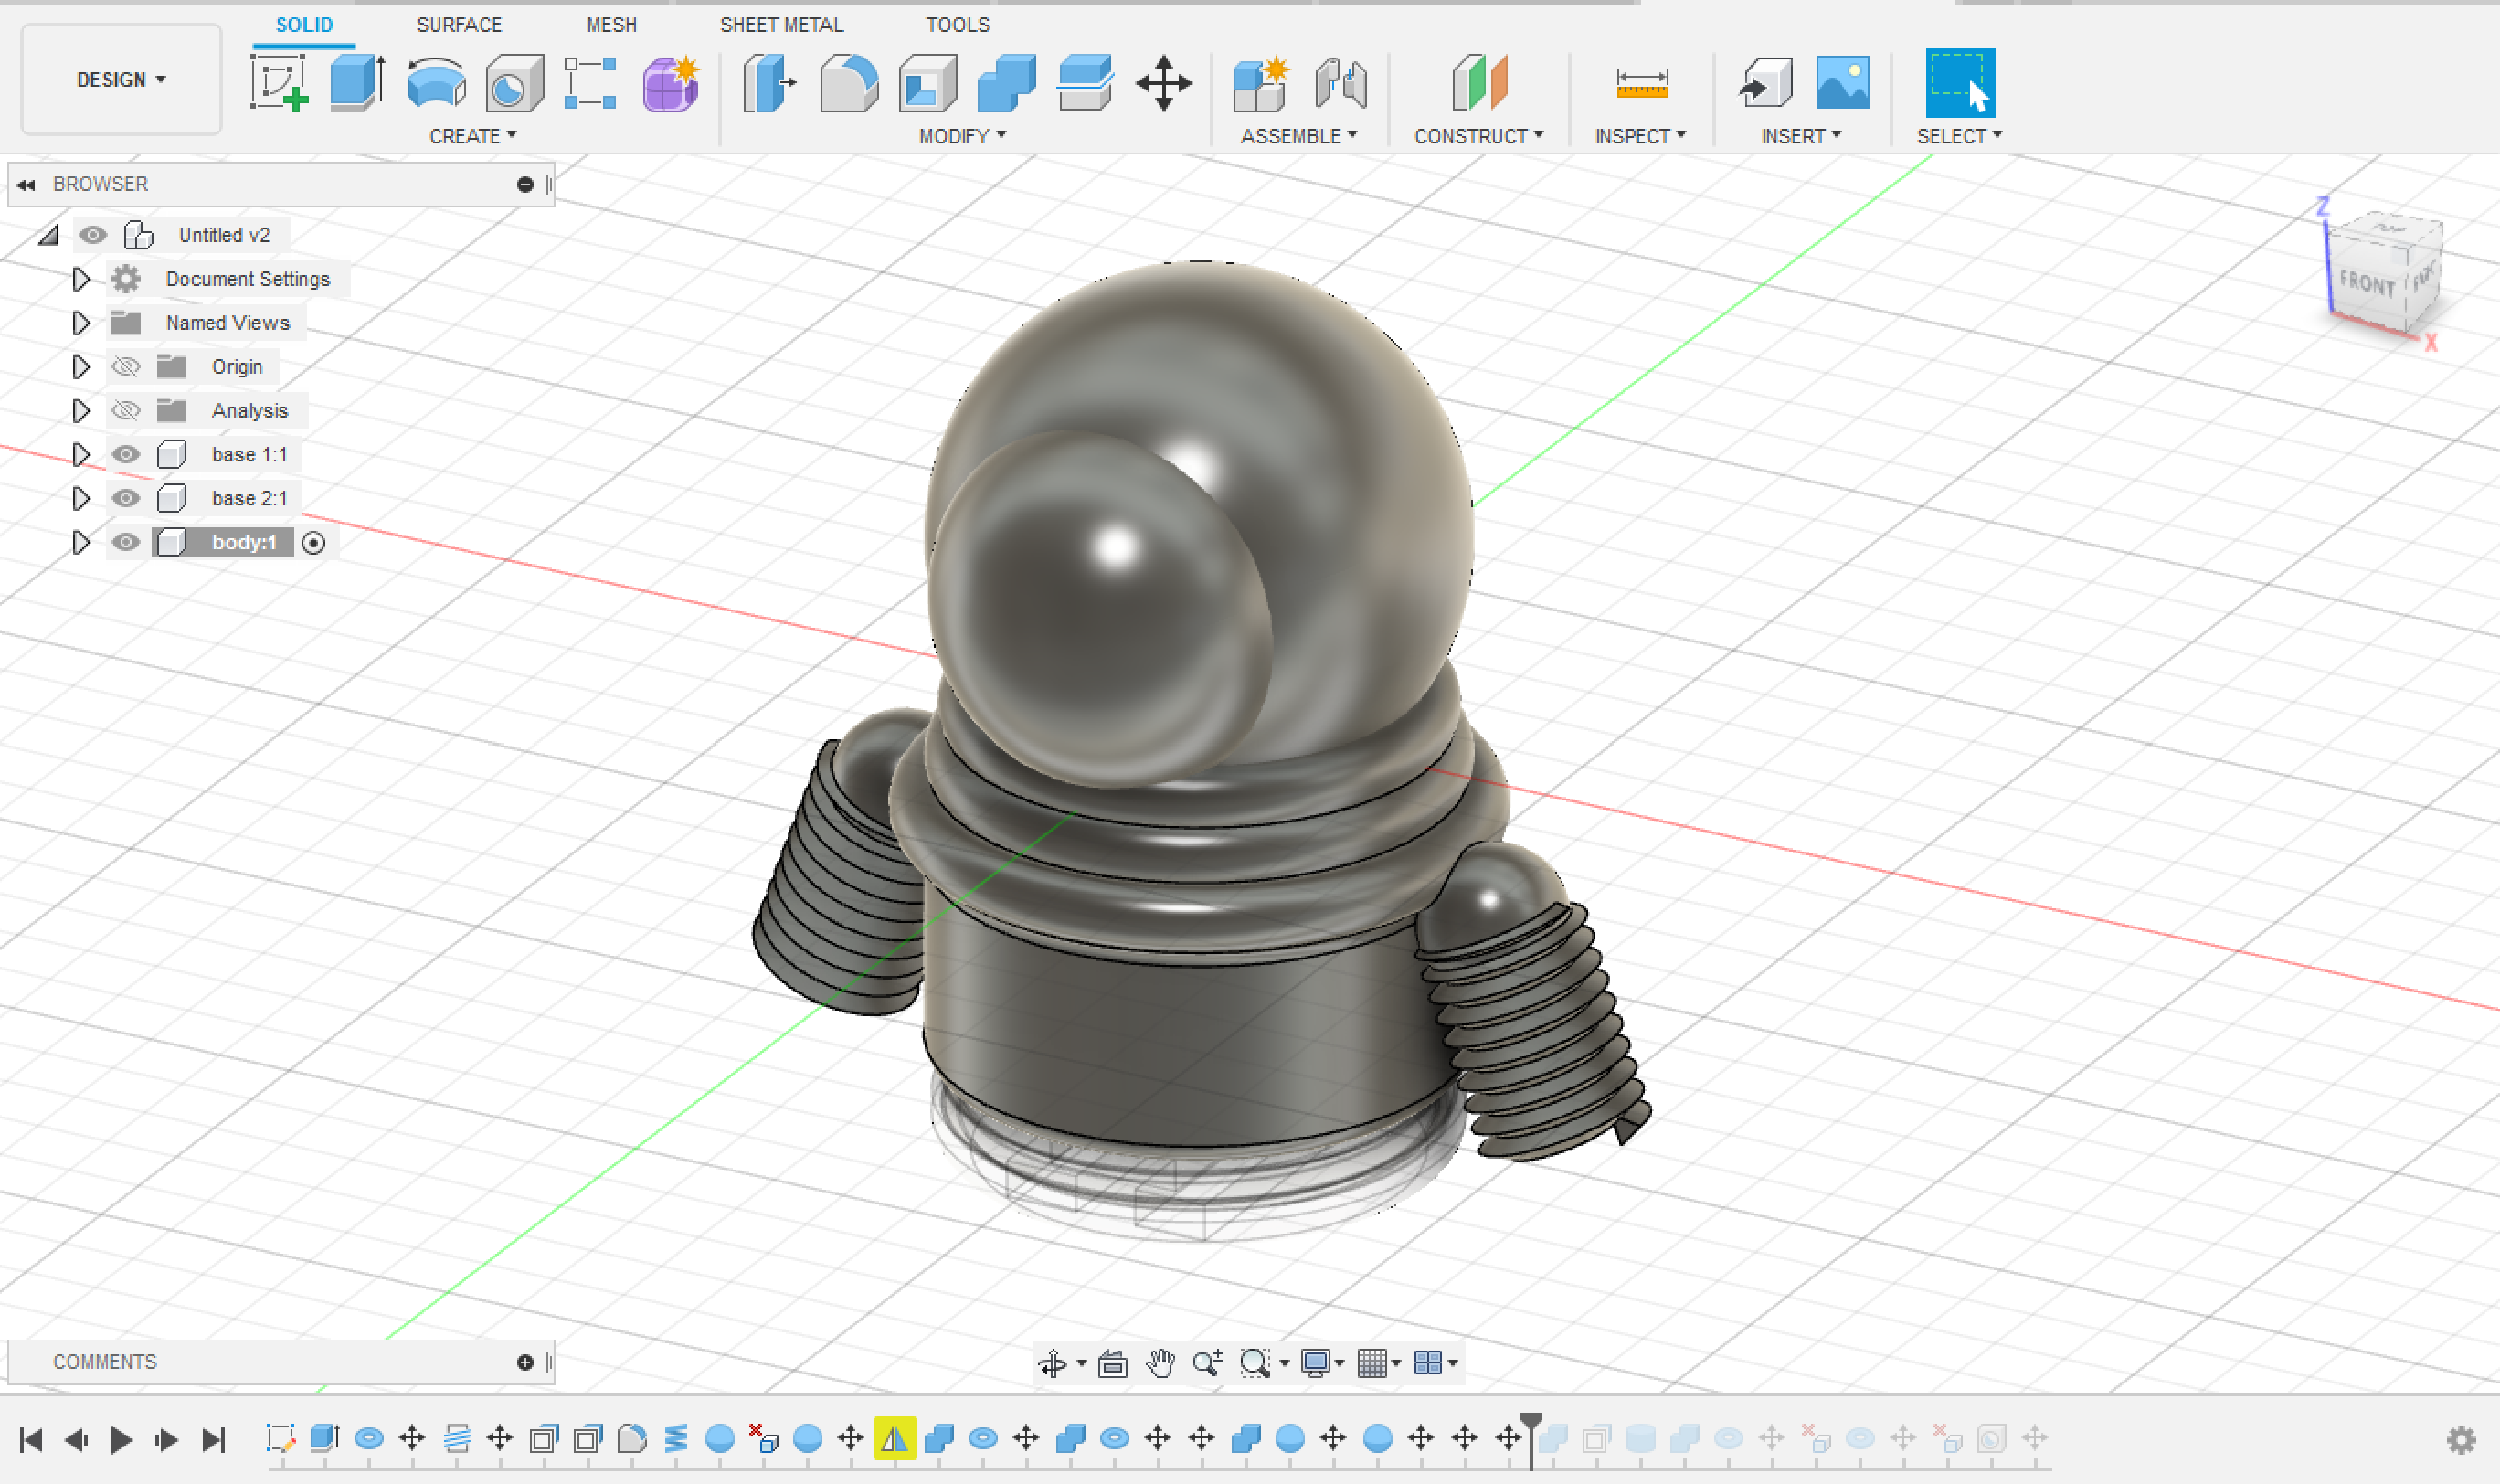
Erase the second sphere from the first one.
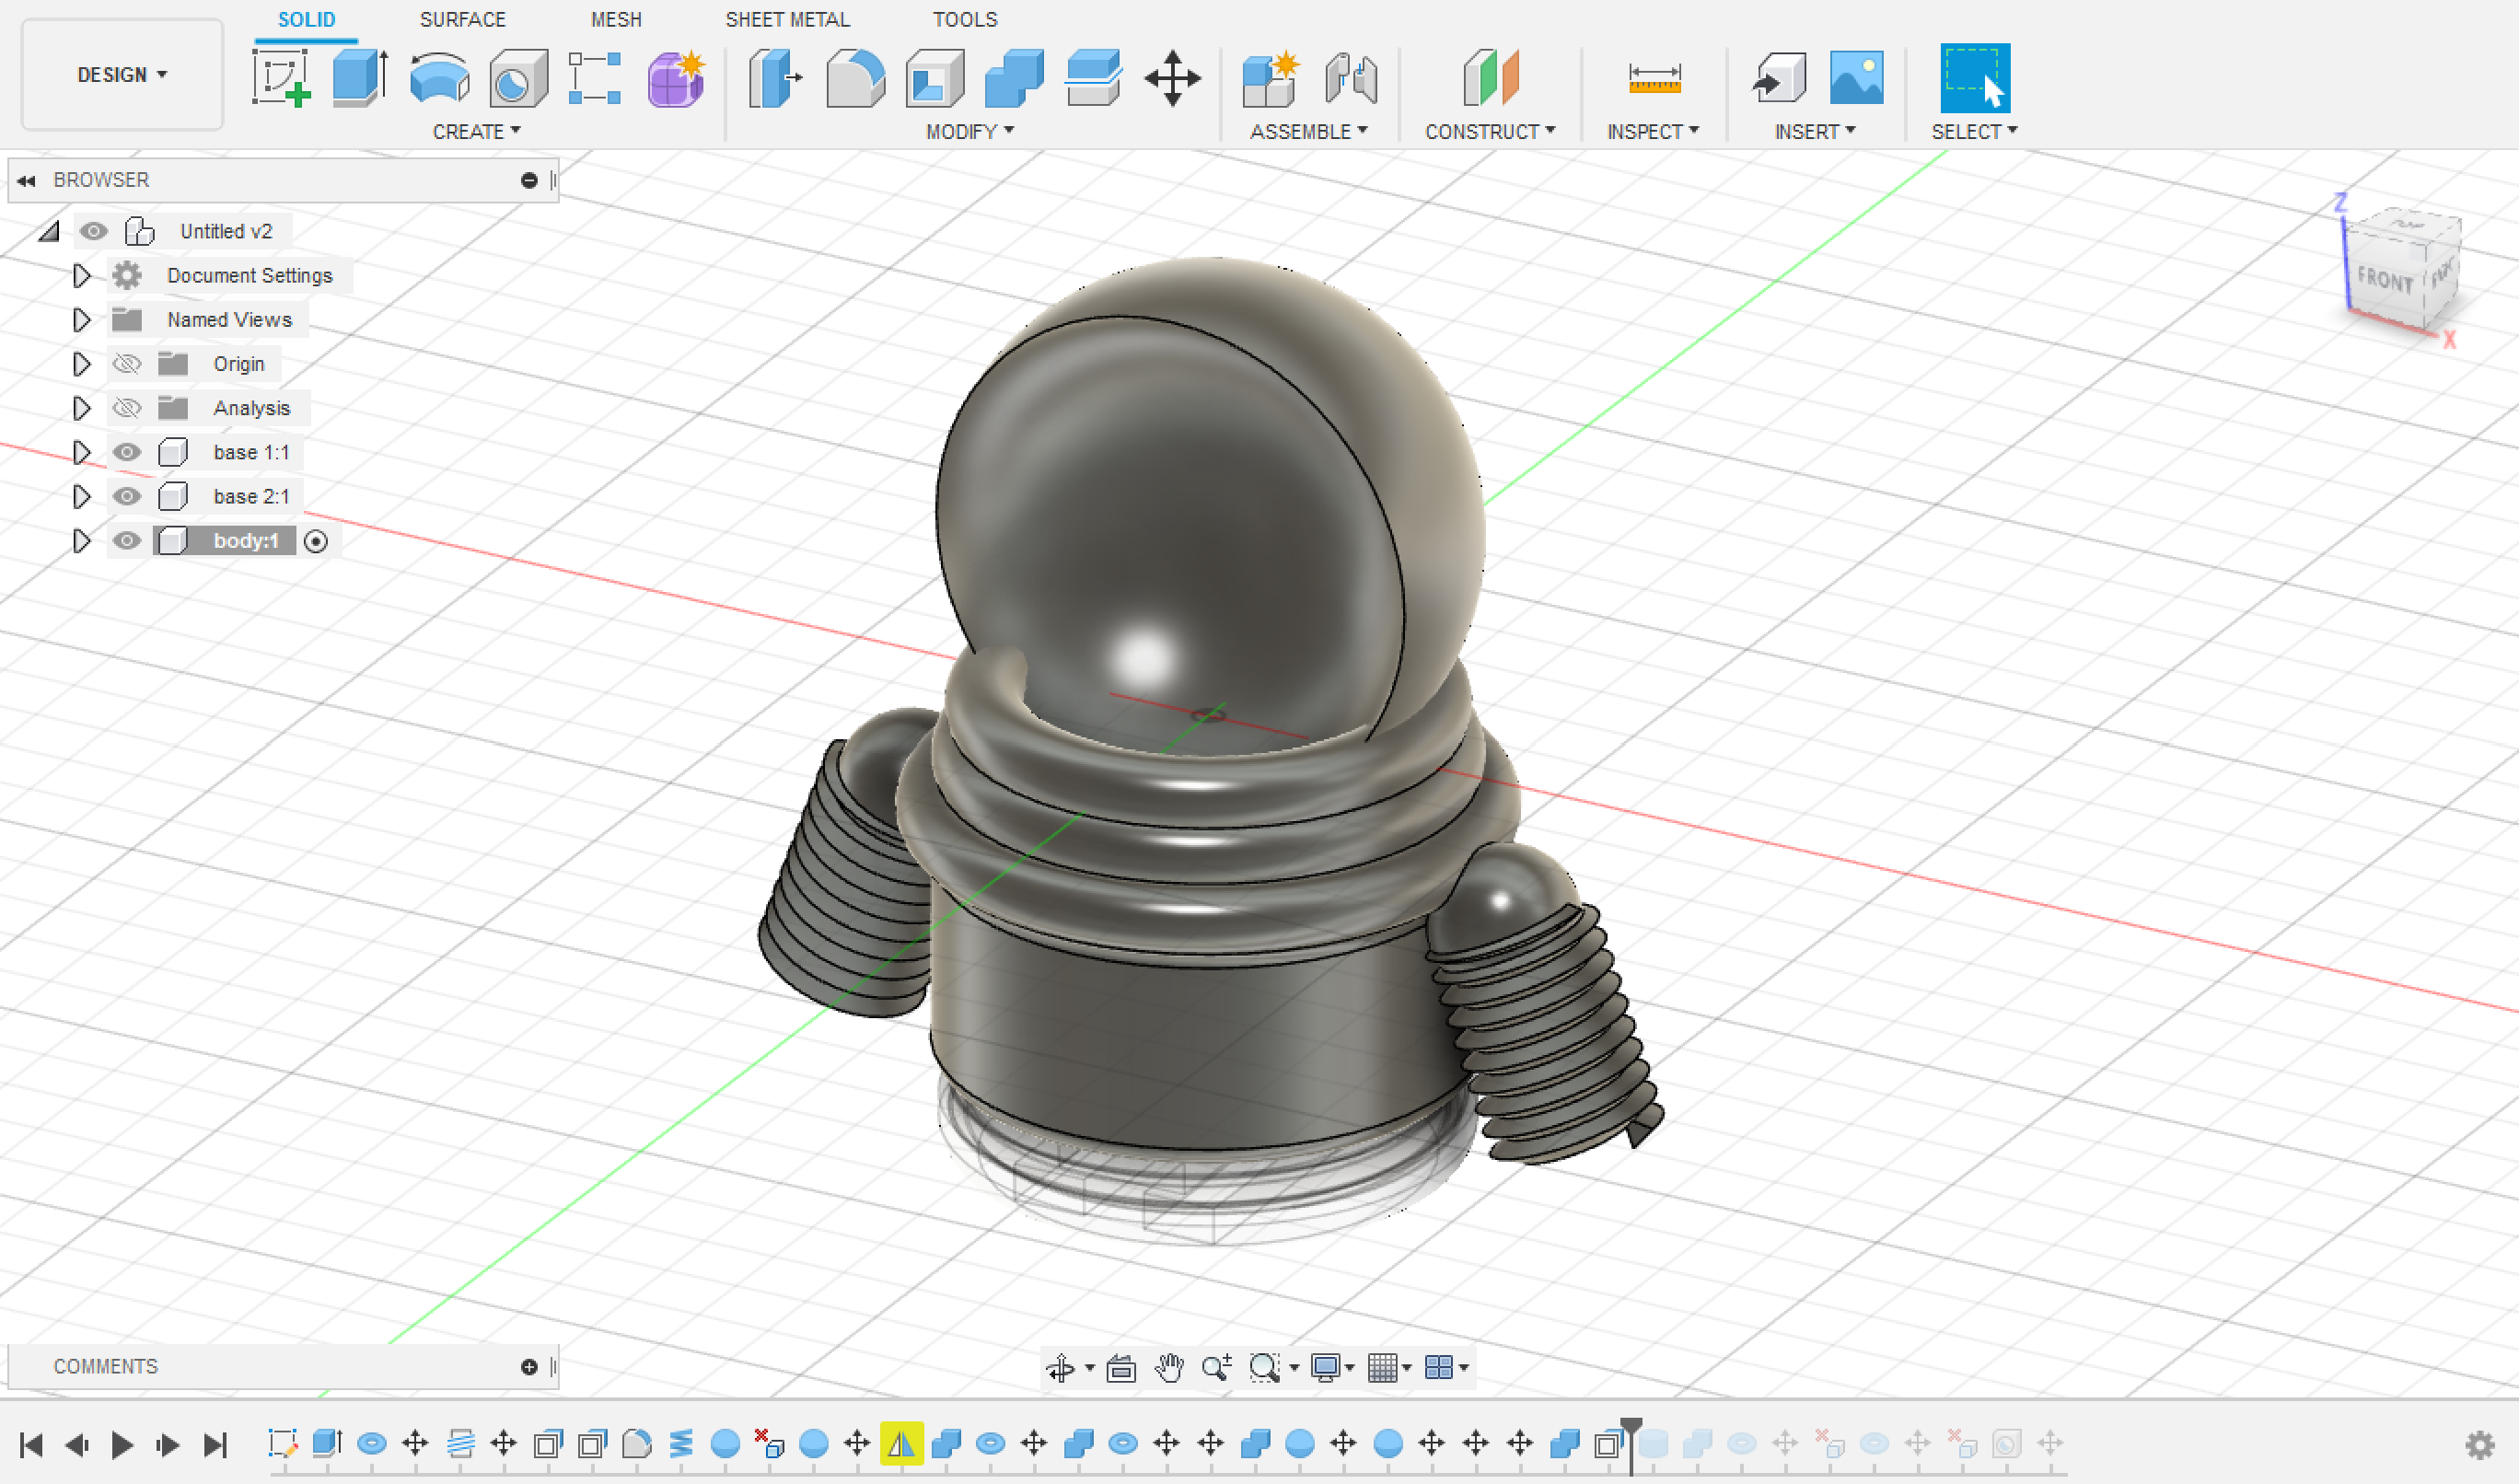
Make sure there is an empty path for the wires all the way from the helmet to down the body.
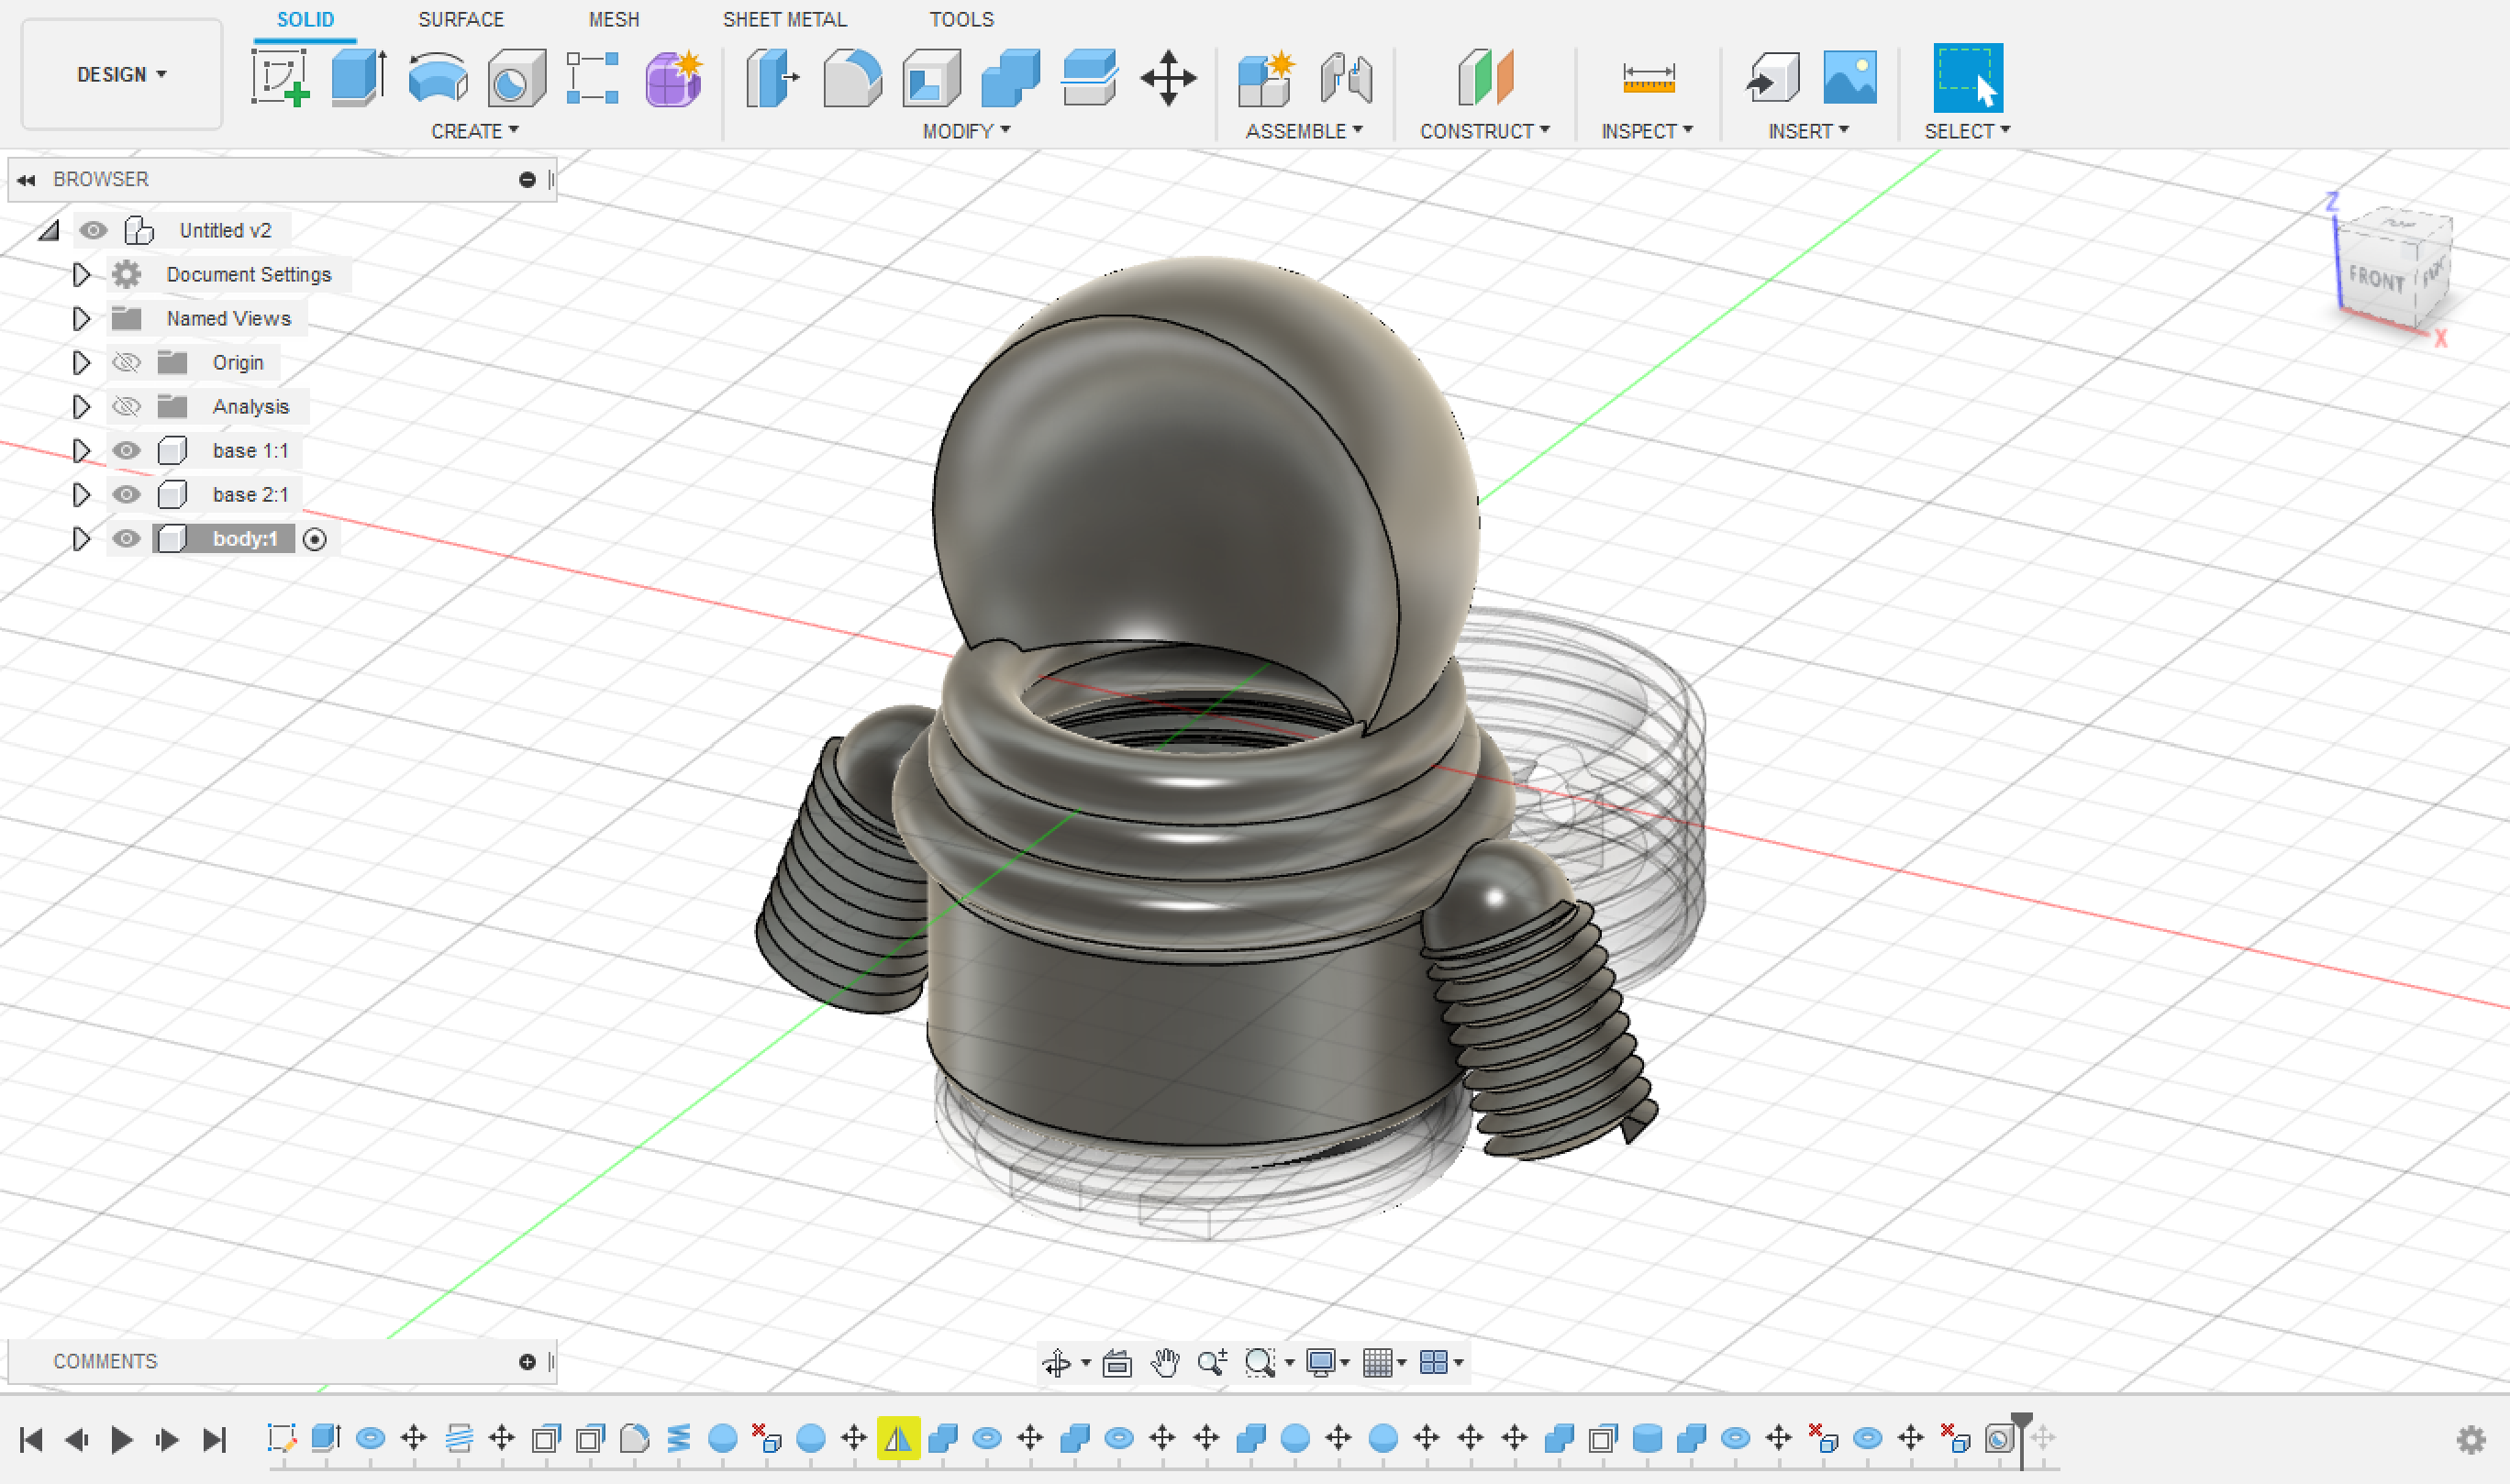
The final Body Design is as seen: