My idea for the individual assignment is to design a big stand for Bakhoor " incense ".
Design
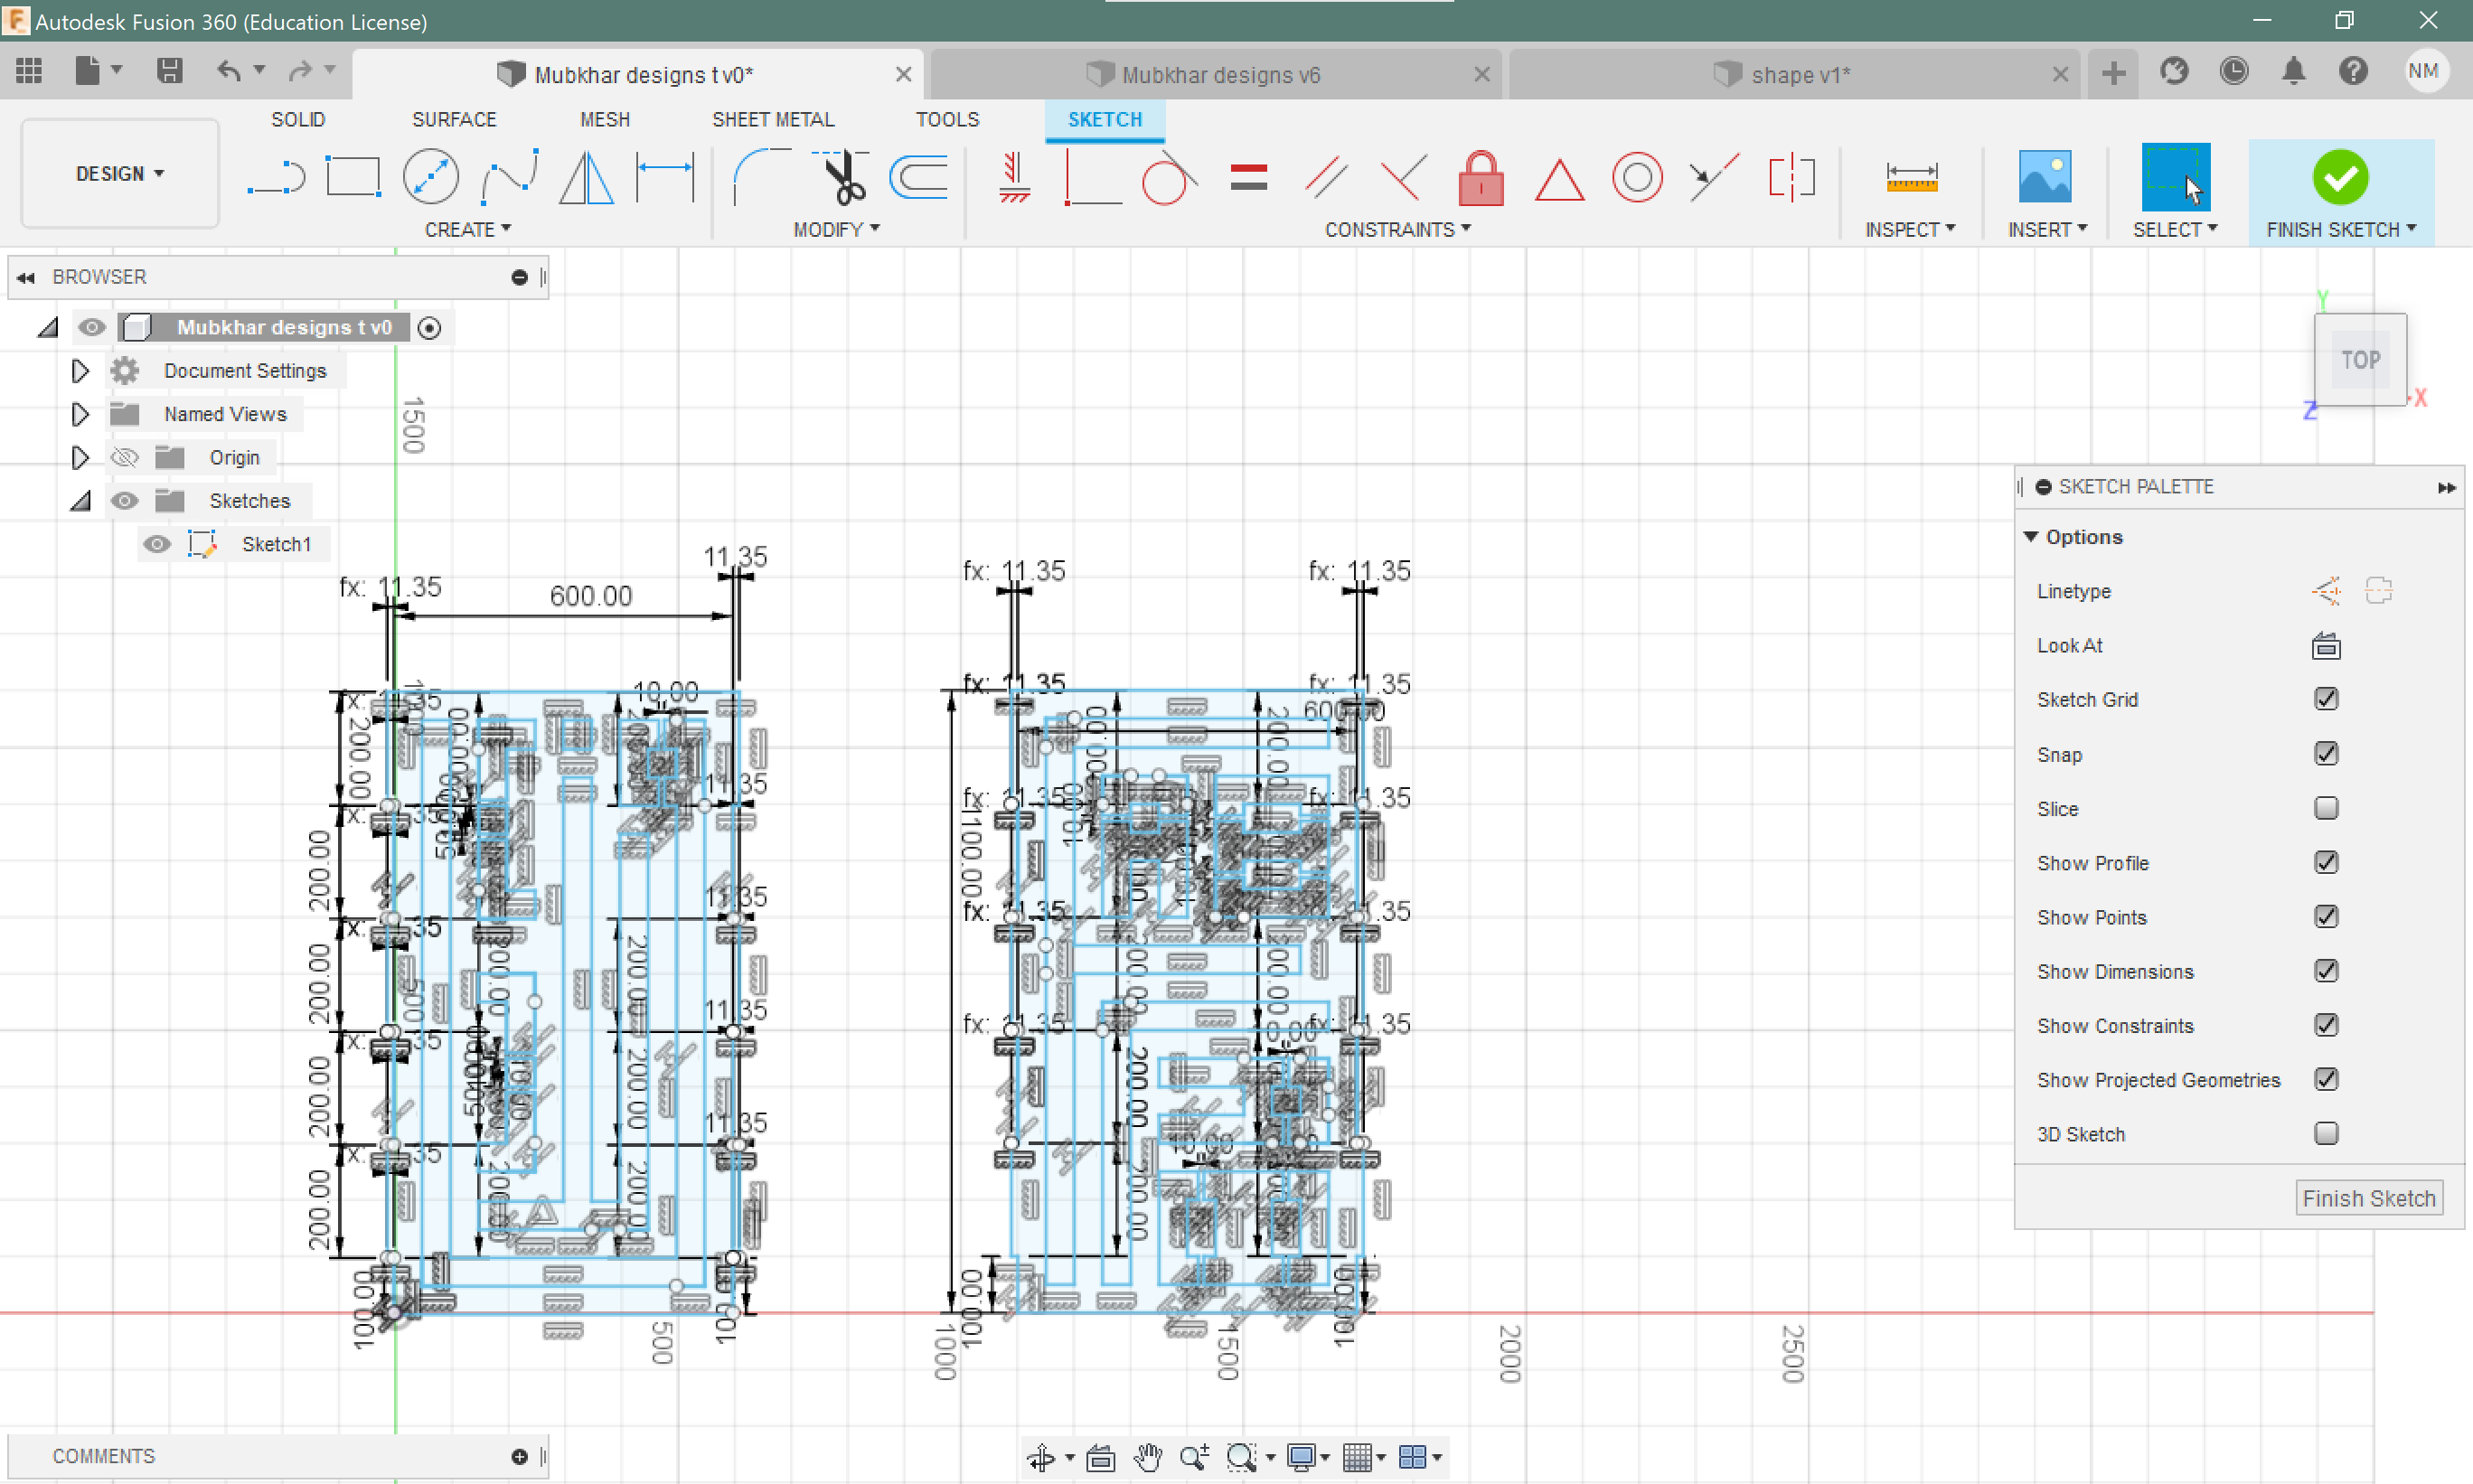
I used Fusion360 to make my design.
Designing the Stand
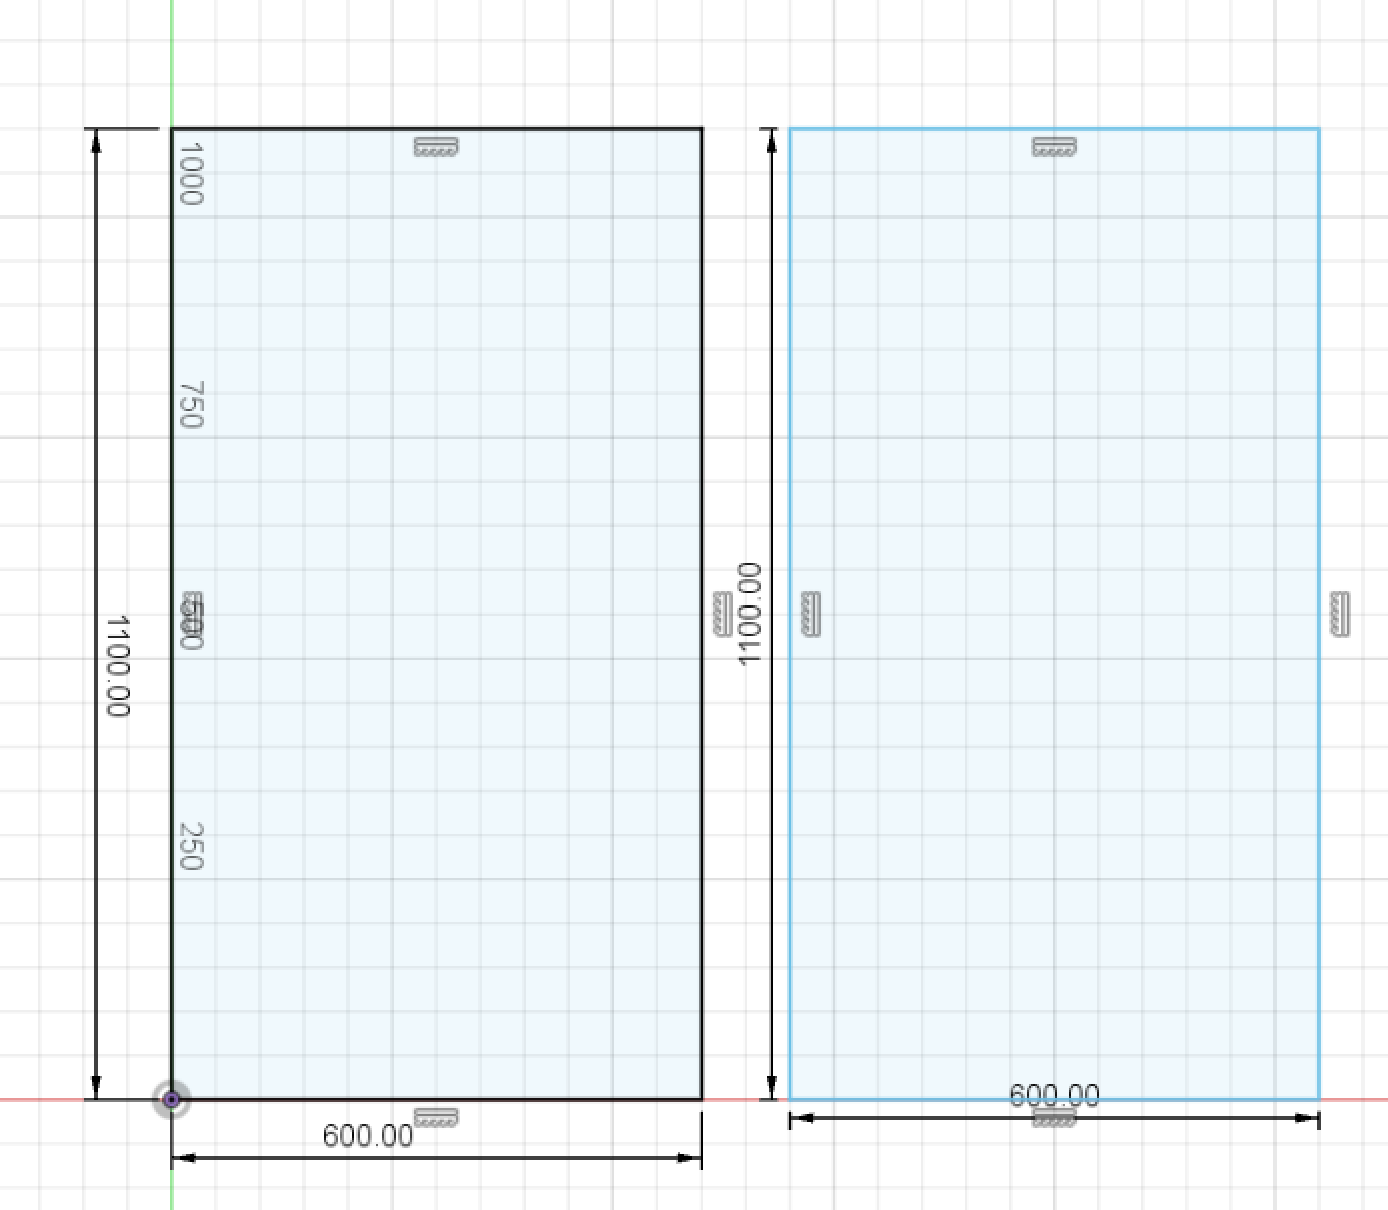
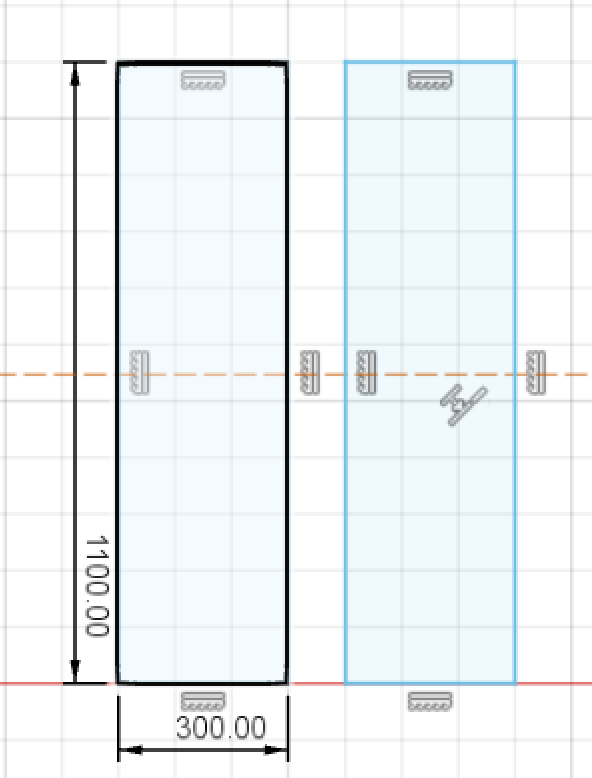
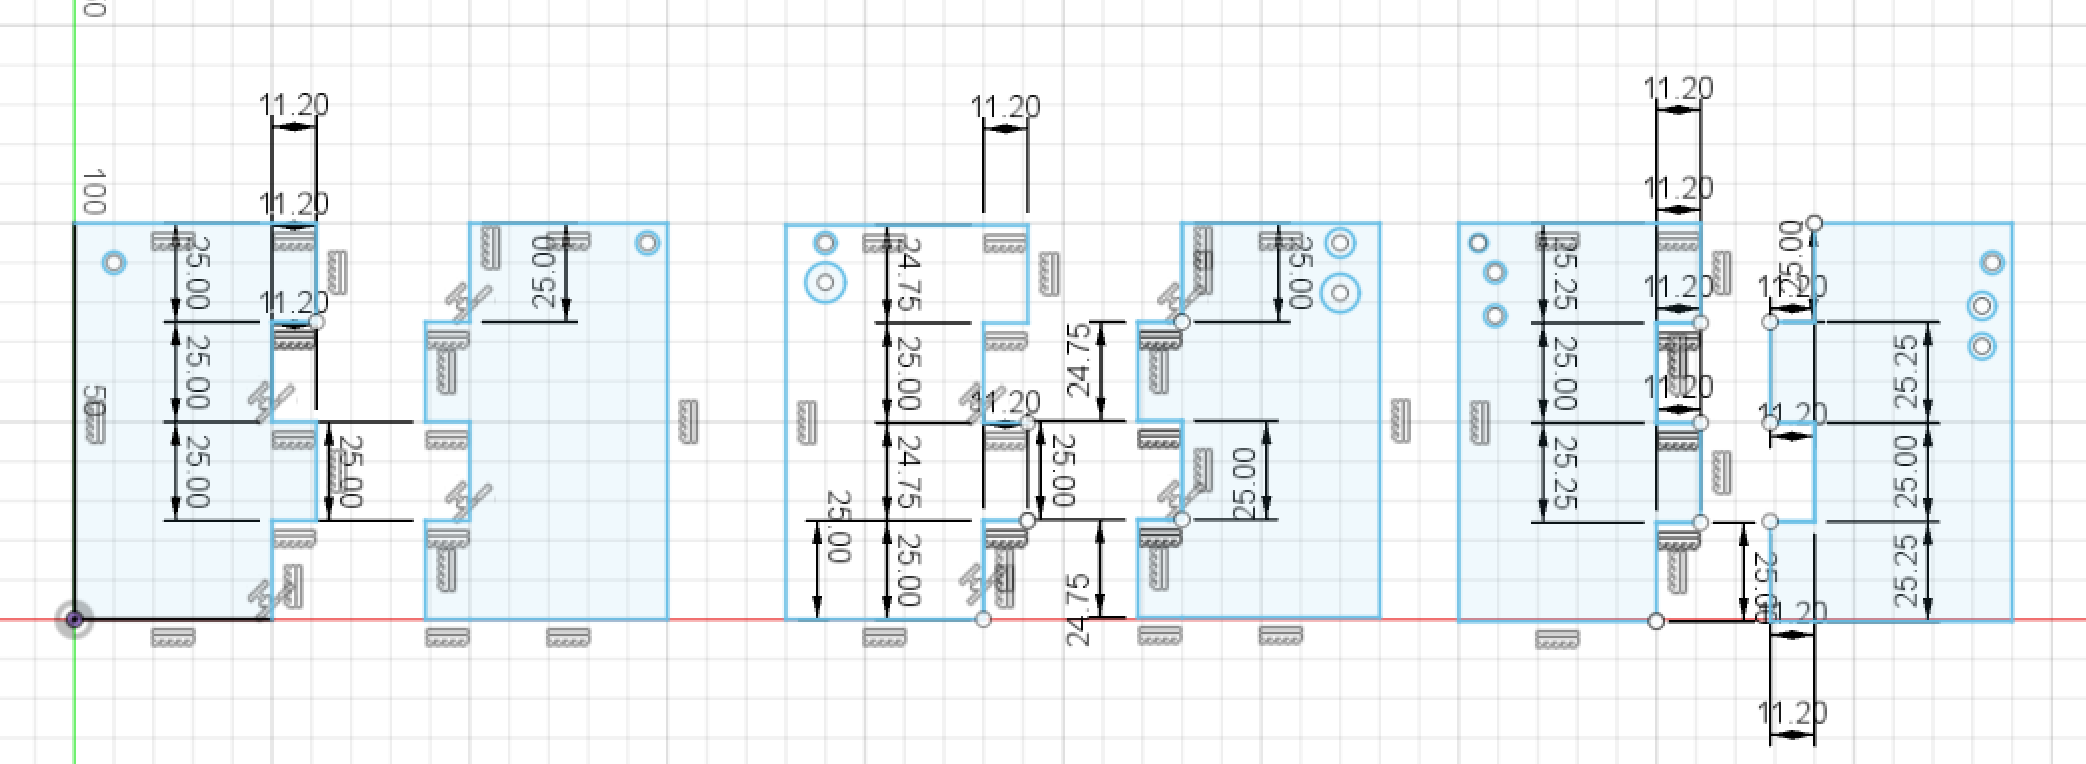
Started with a 2D sketch for two rectangles, representing the sides of the stand. They were 1m 10cm long and 60cm width.
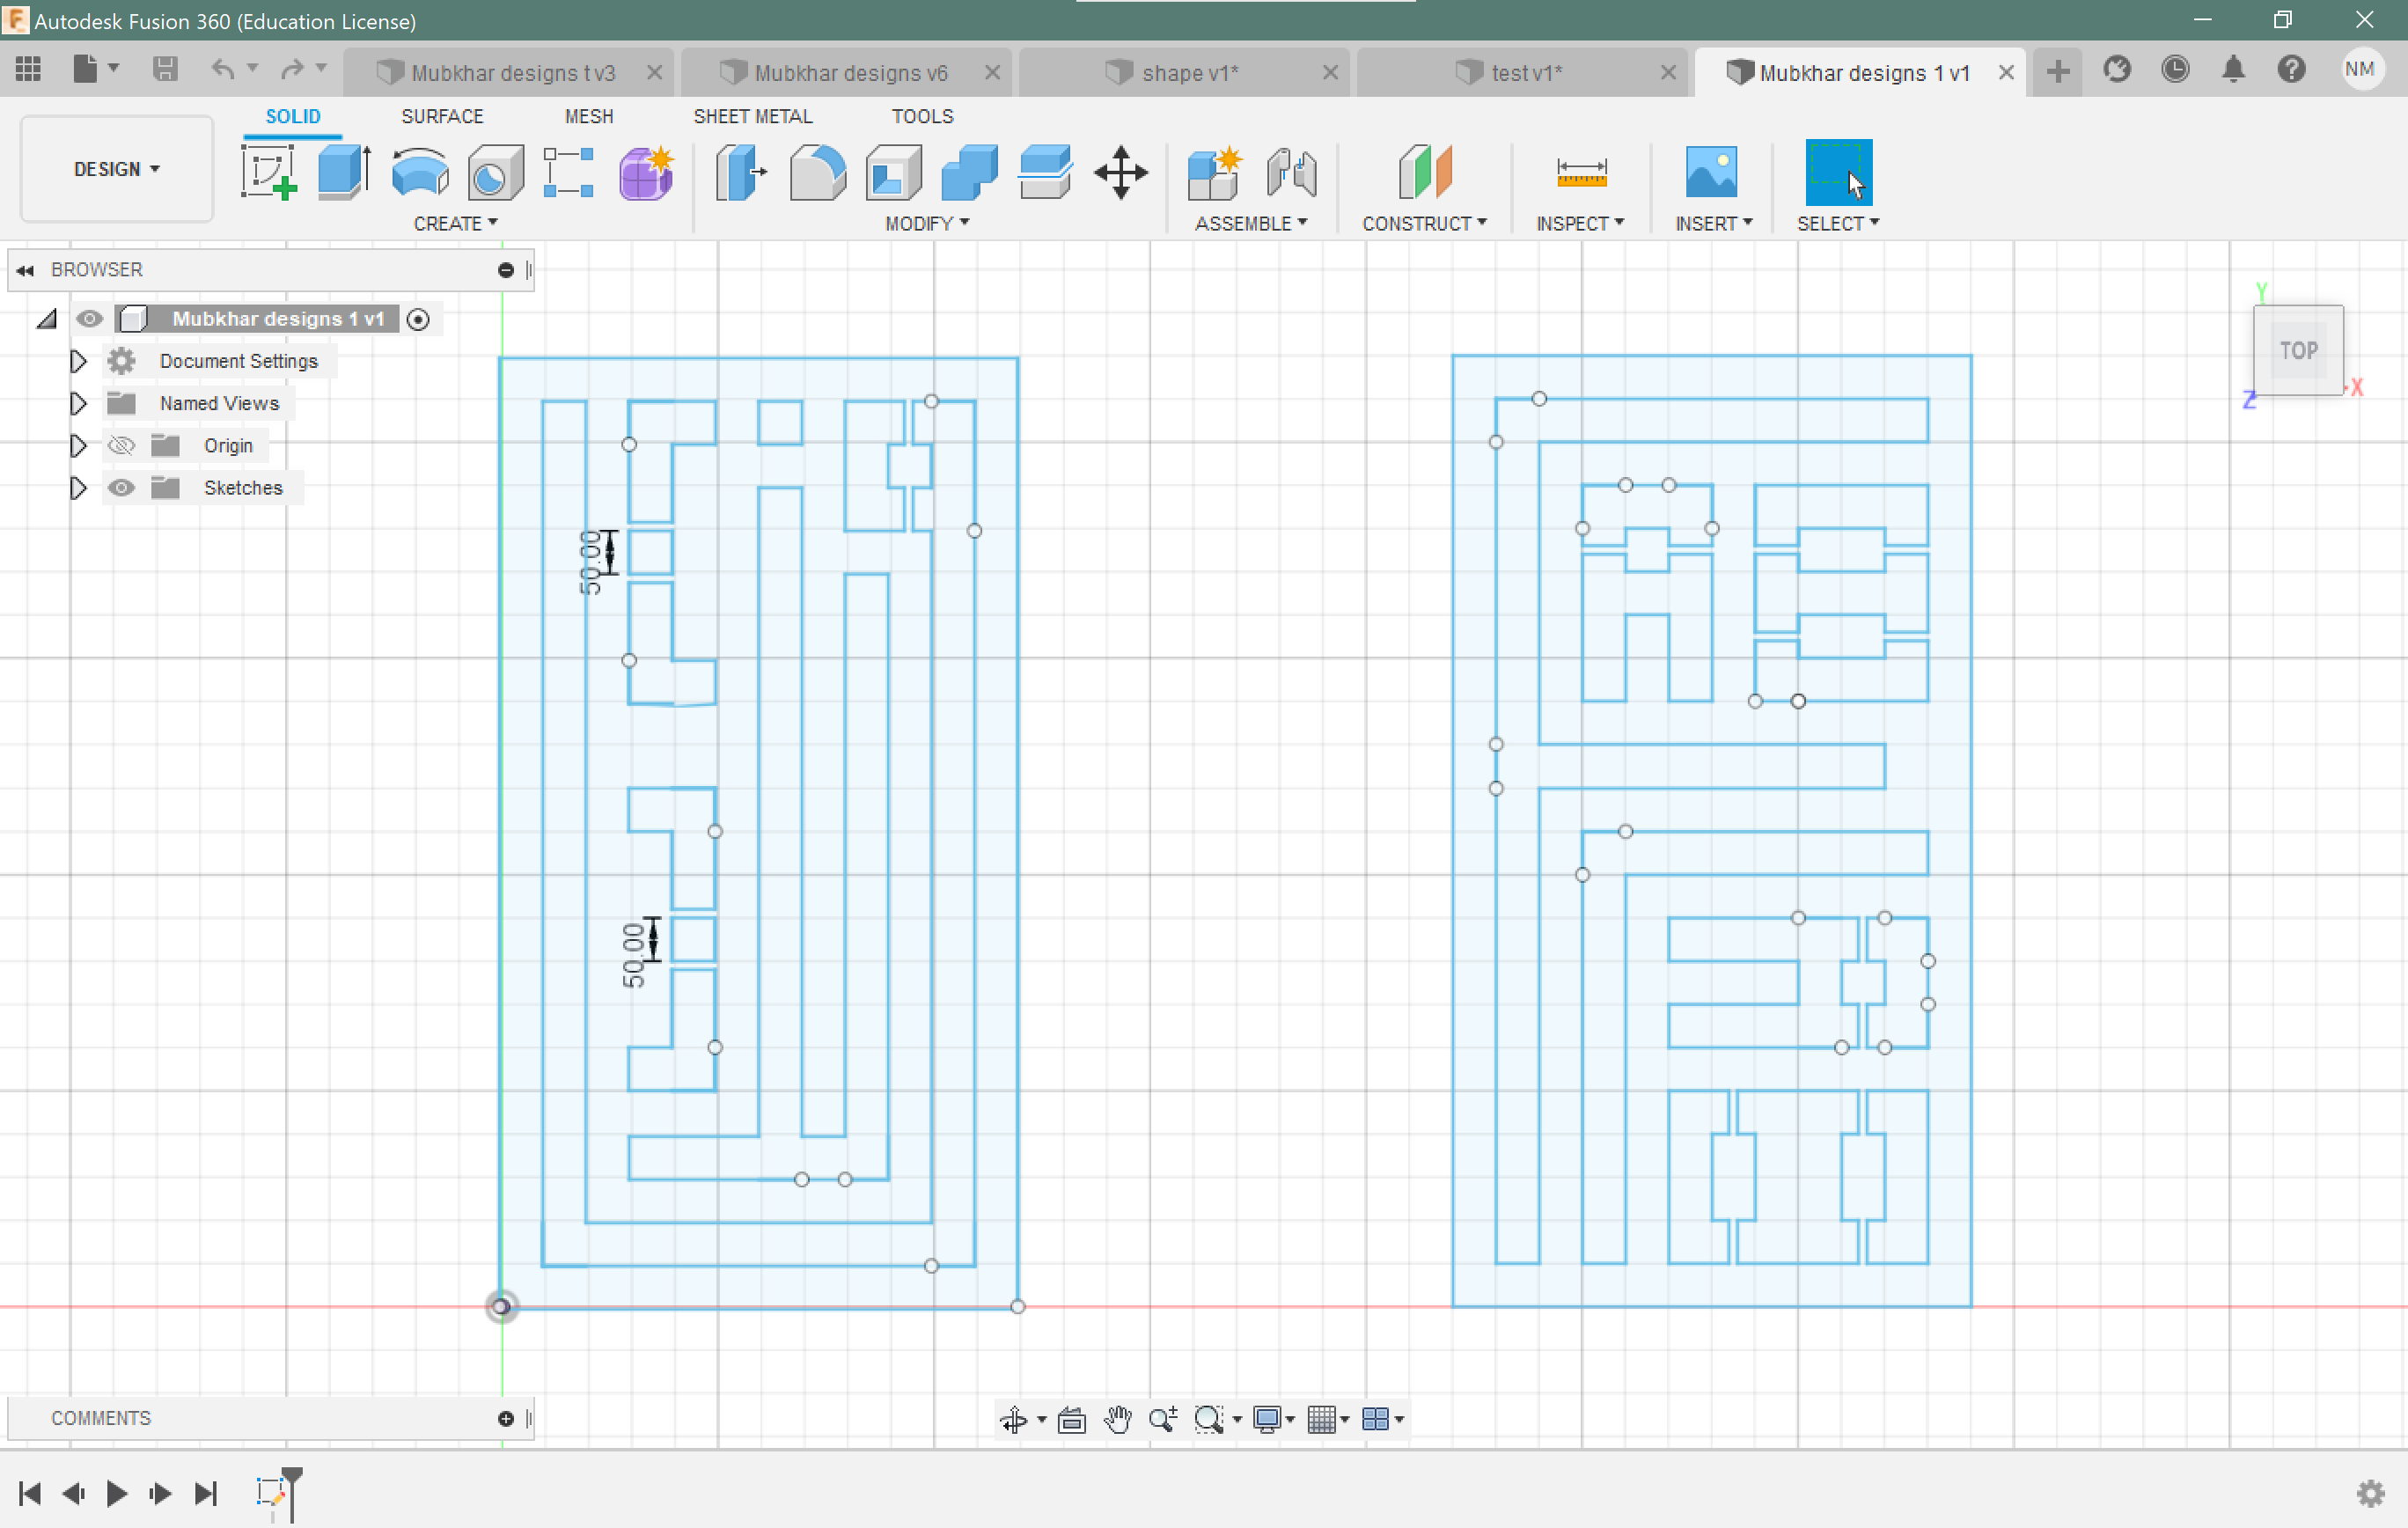
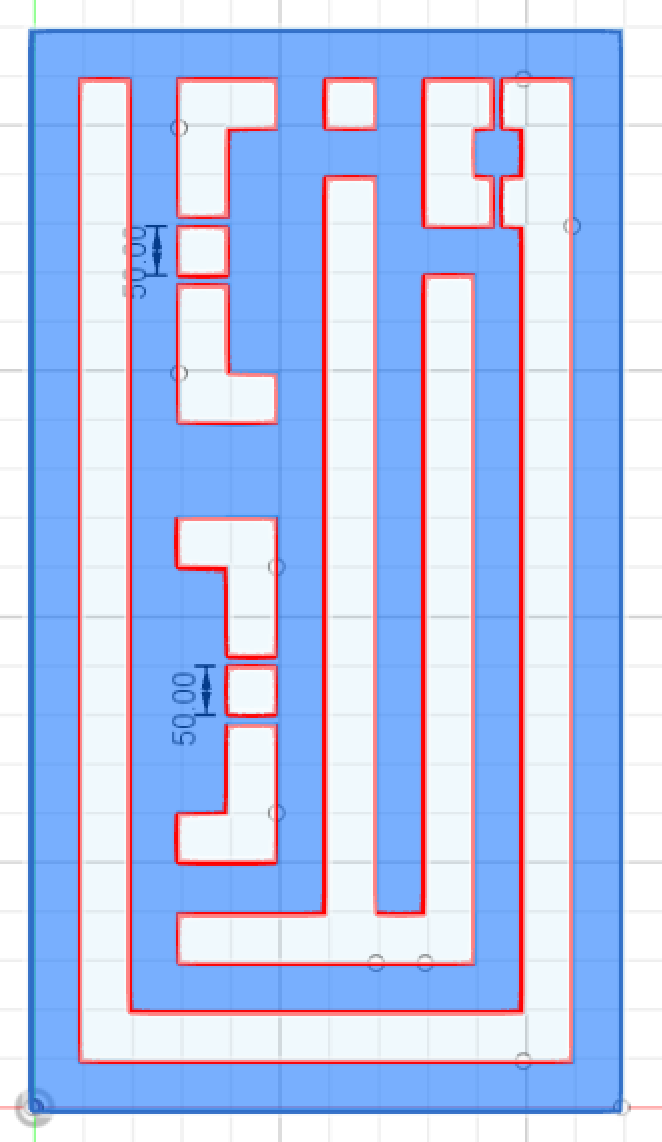
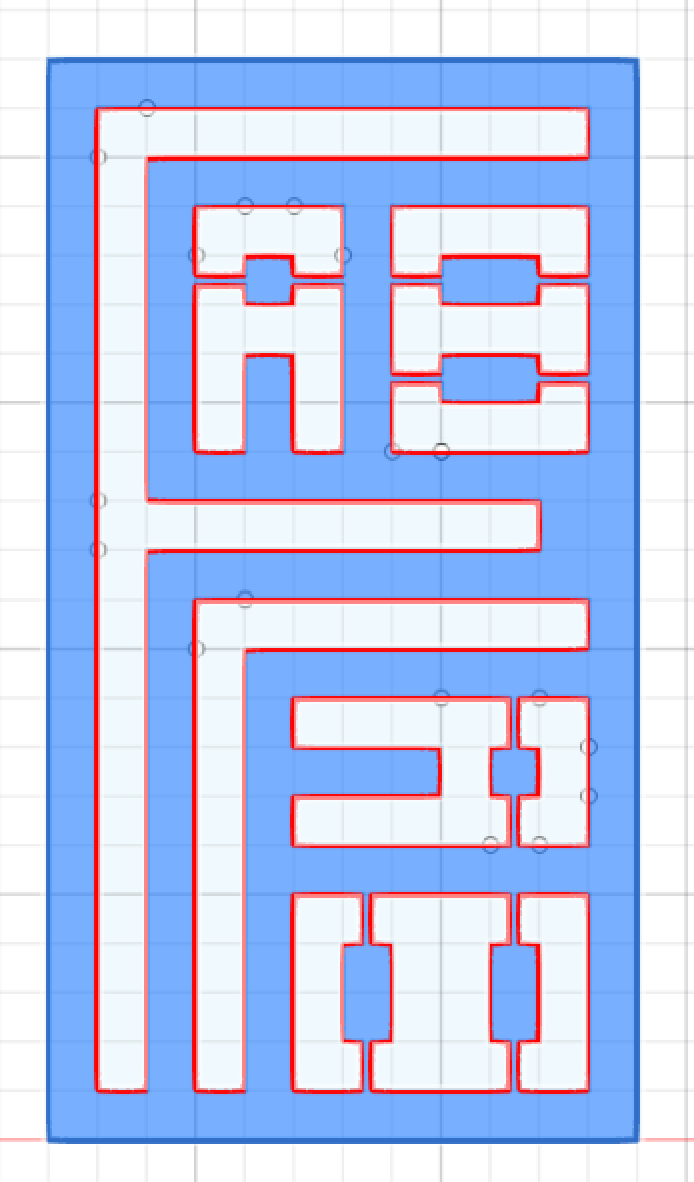
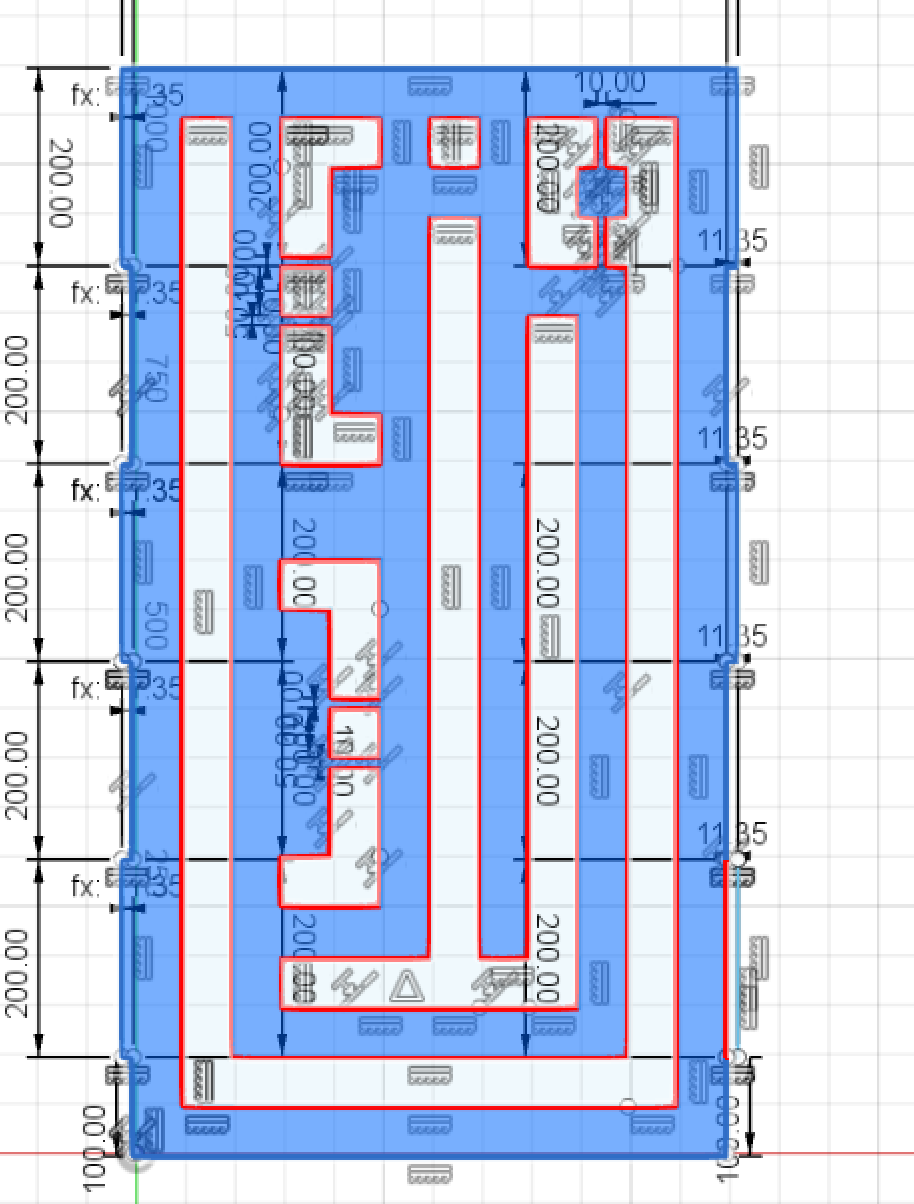
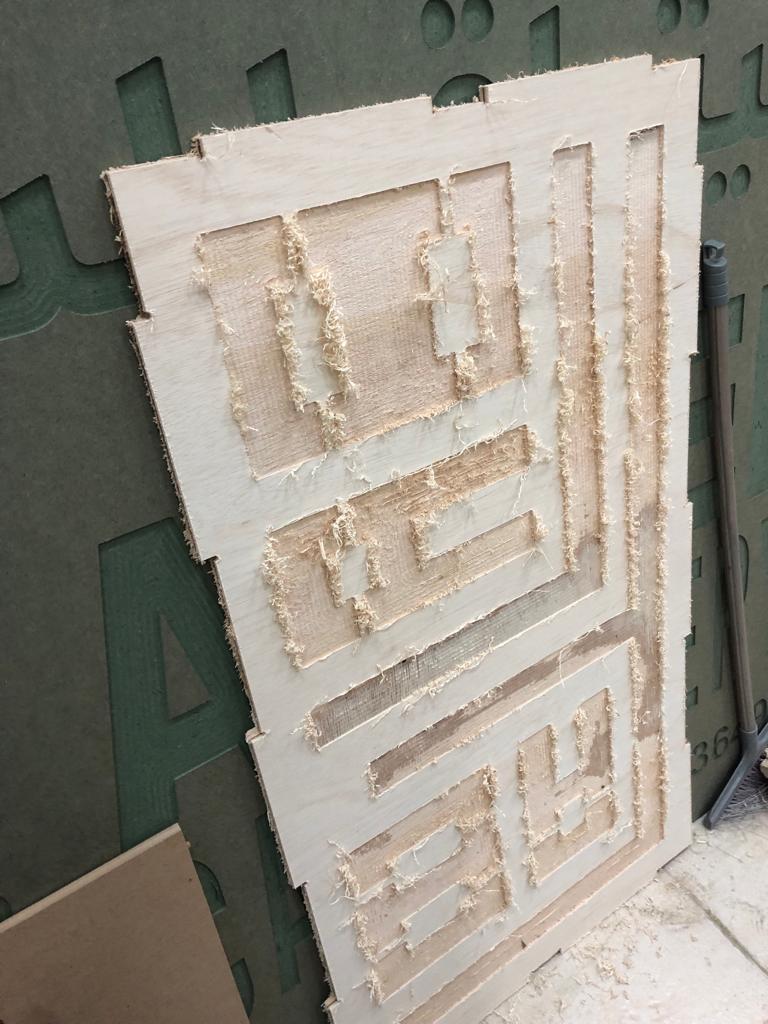
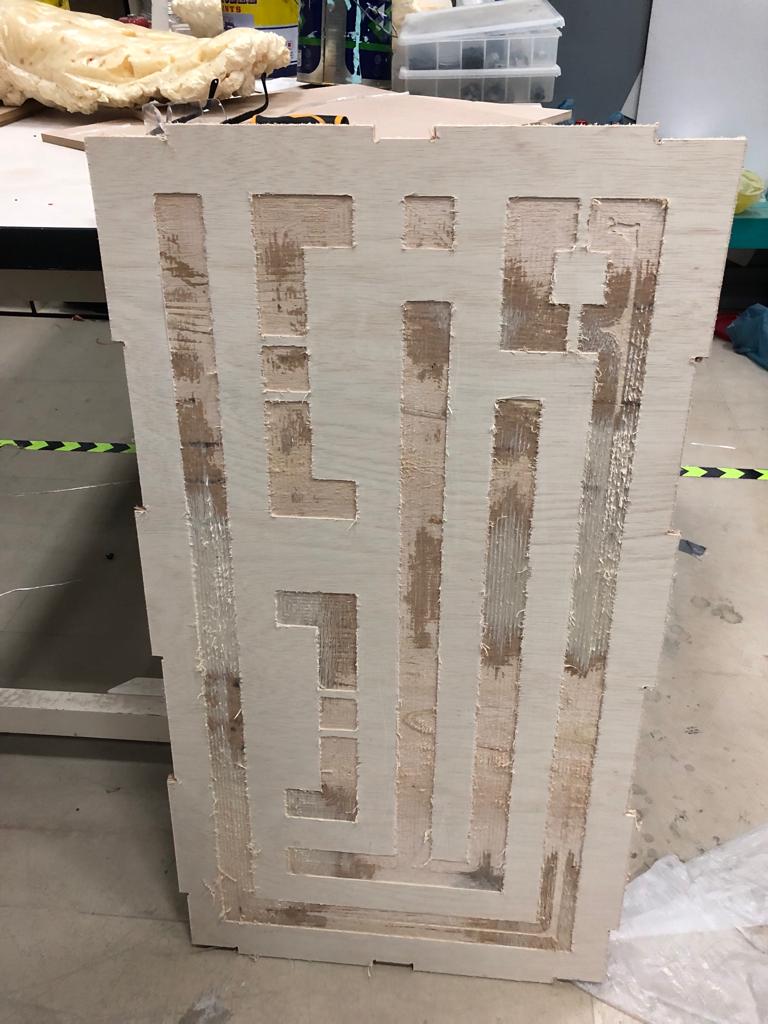
Then I added a little bit of art on them, I designed two words in Arabic & English using "Square Kufic line", the design was so fun to do. I made the Arabic one a little harder to read XD.
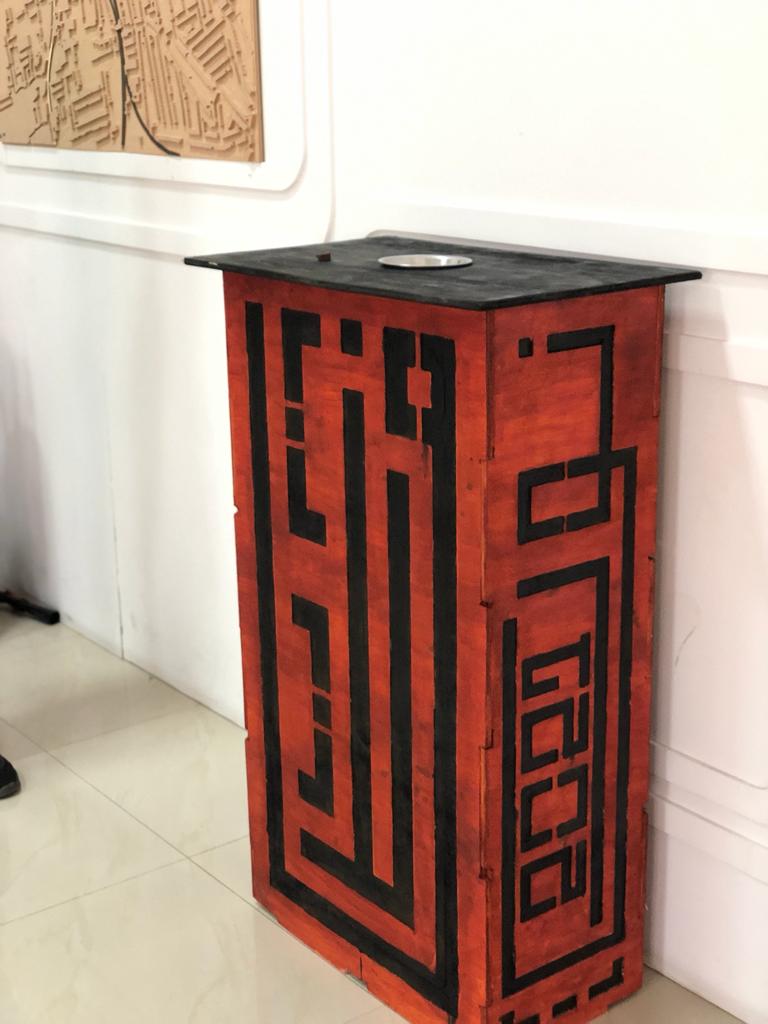
A close up look on the Arabic side.
A close up look on the English side.
Then I designed the other two sides, they are with the same length 1m 10cm but with width of only 30cm.
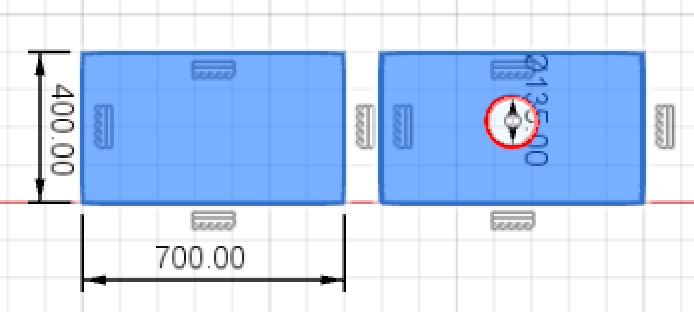
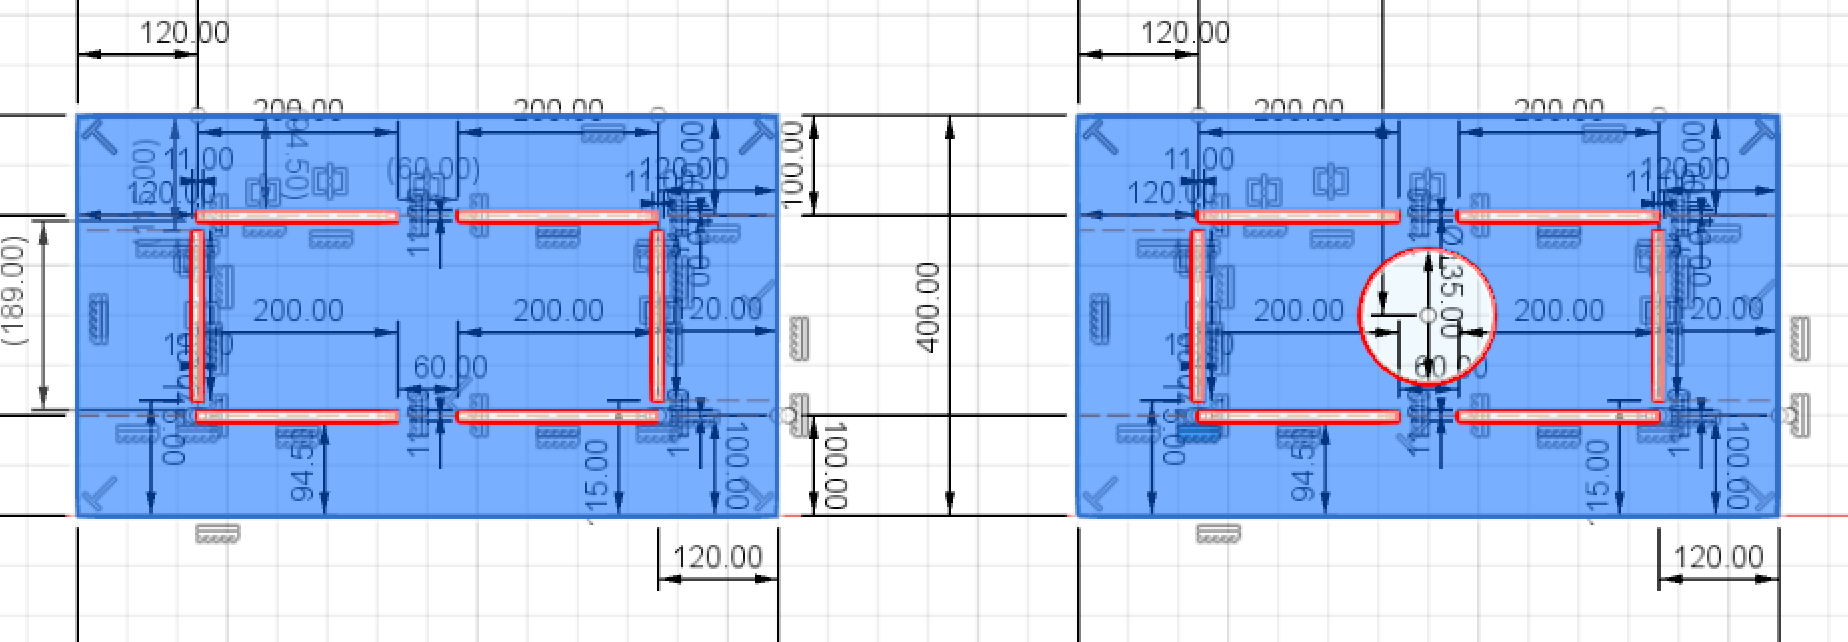
The bases were 10cm longer than the sides of the stands. The upper base has a circular hole with the same diameter as the plate that the Bakhoor will be placed in.
The Joints
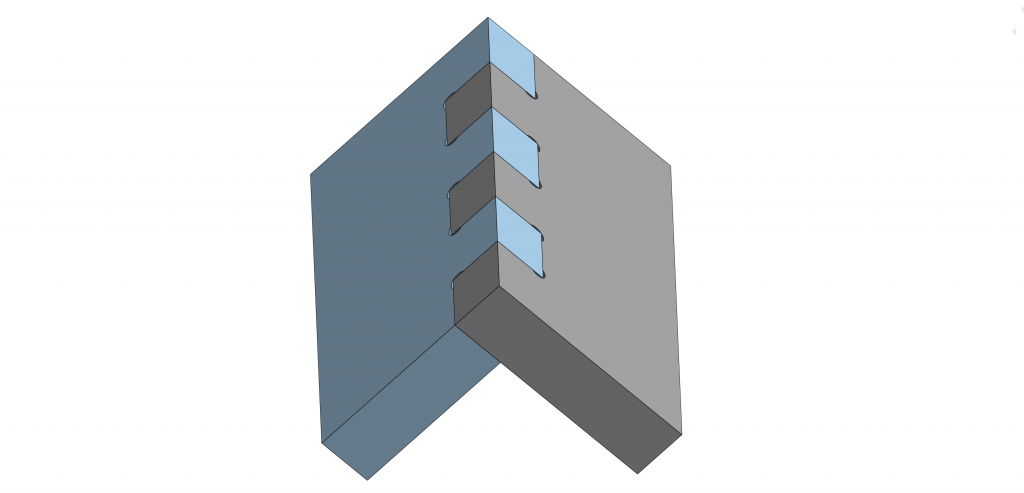
For the joints, the sides will be connected together by finger joints.
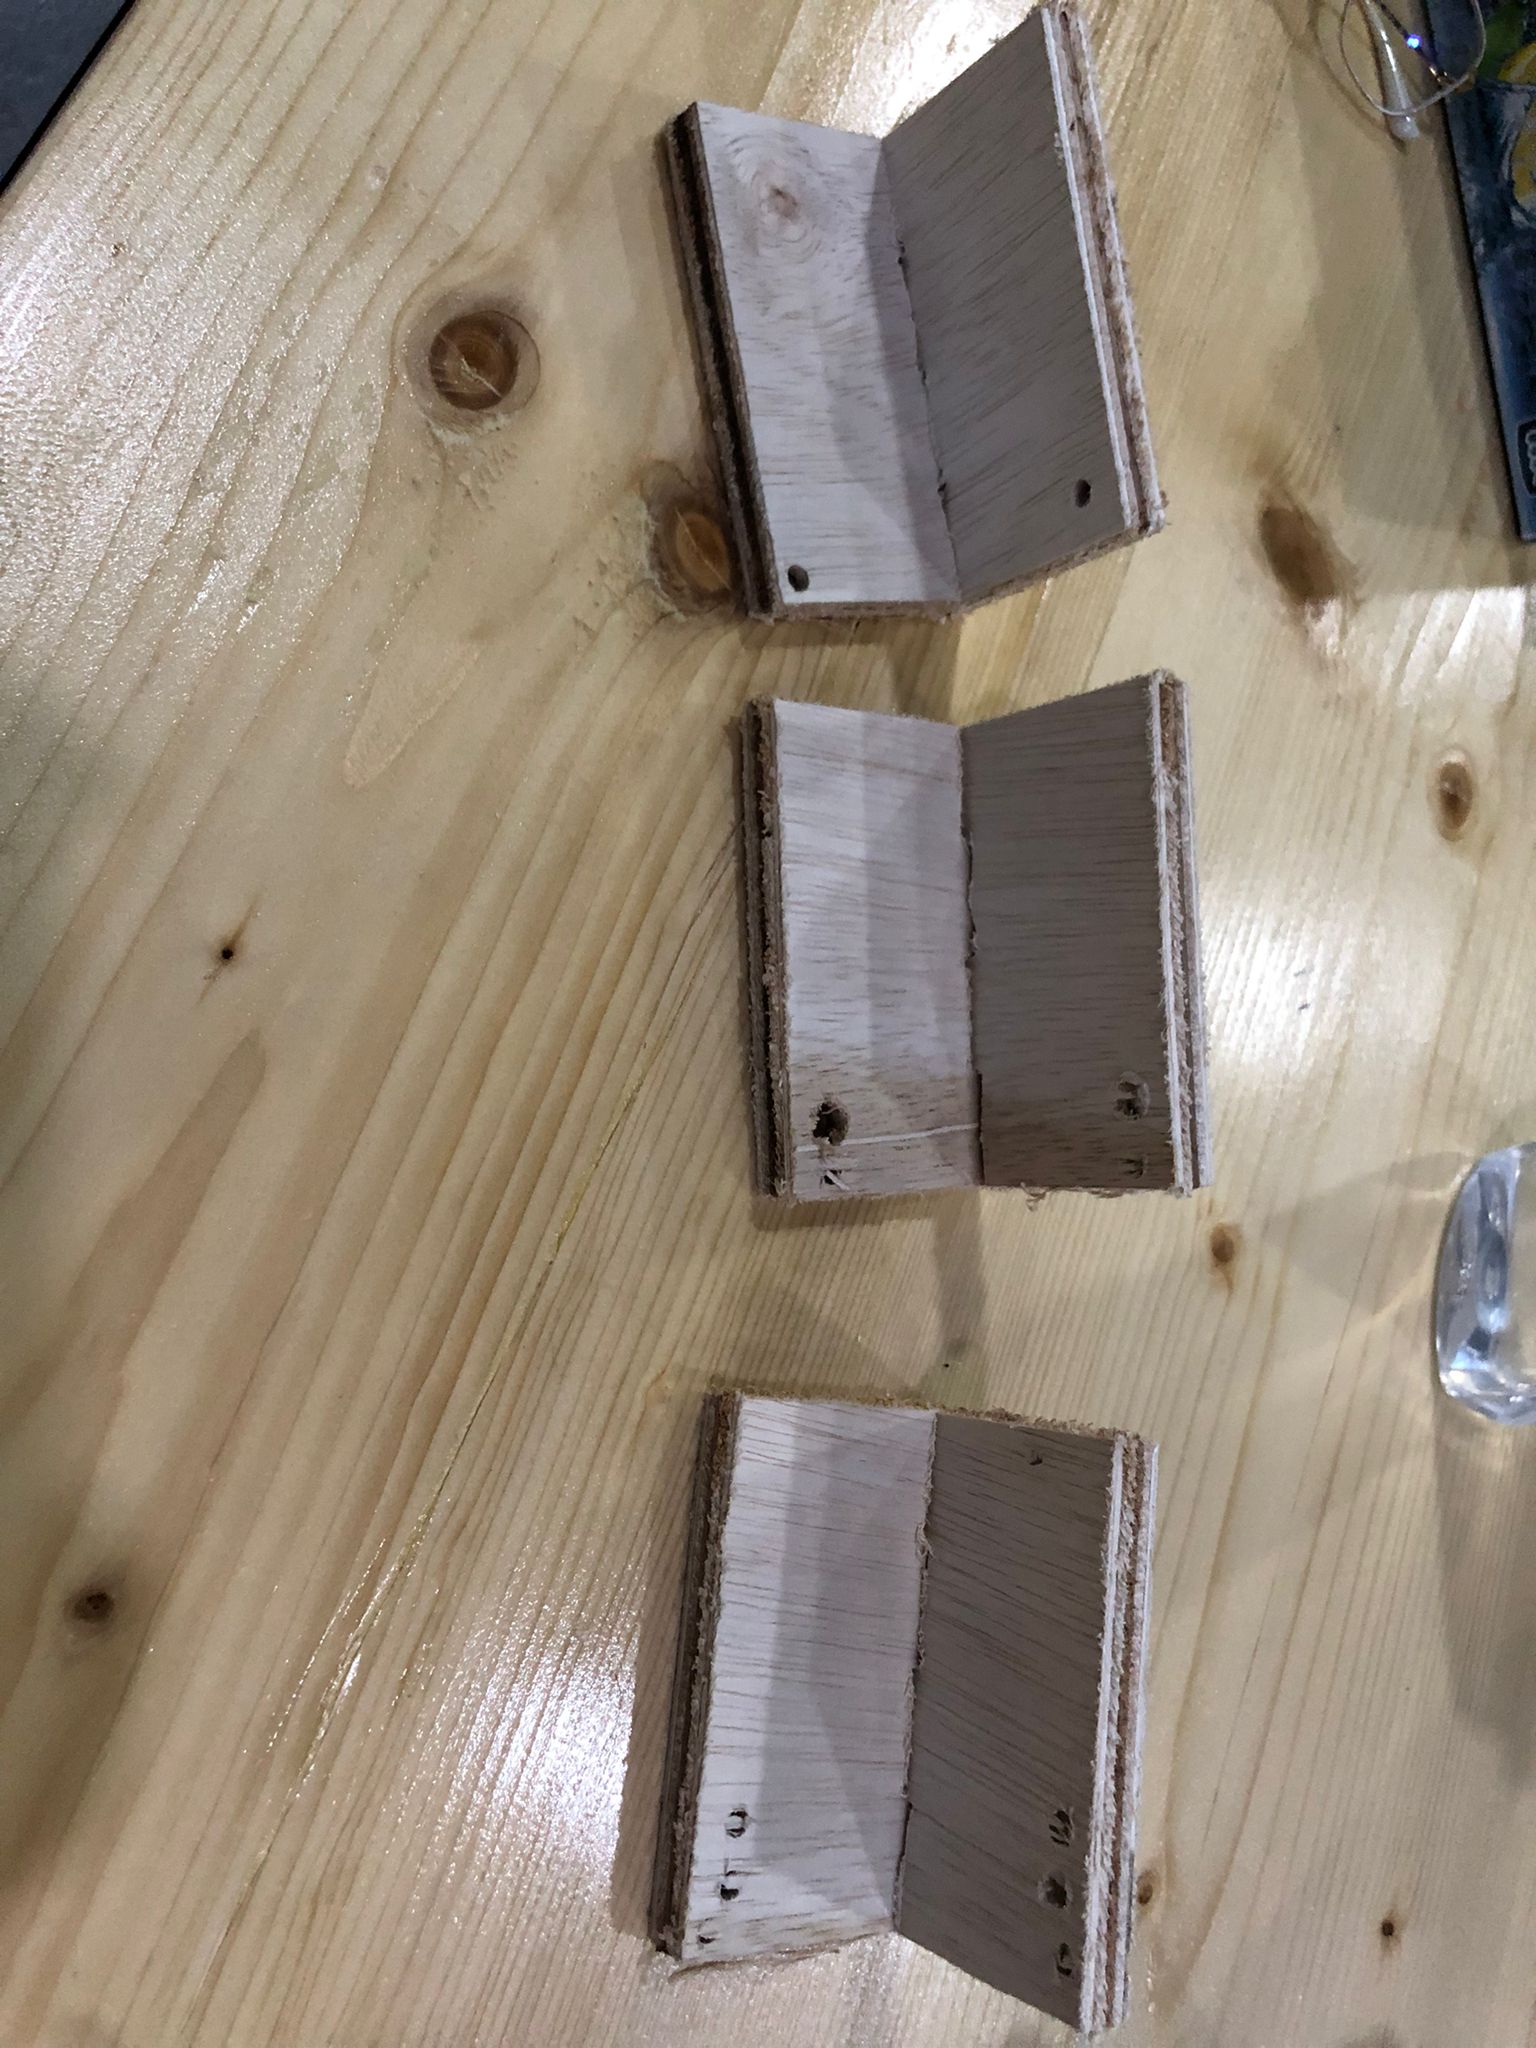
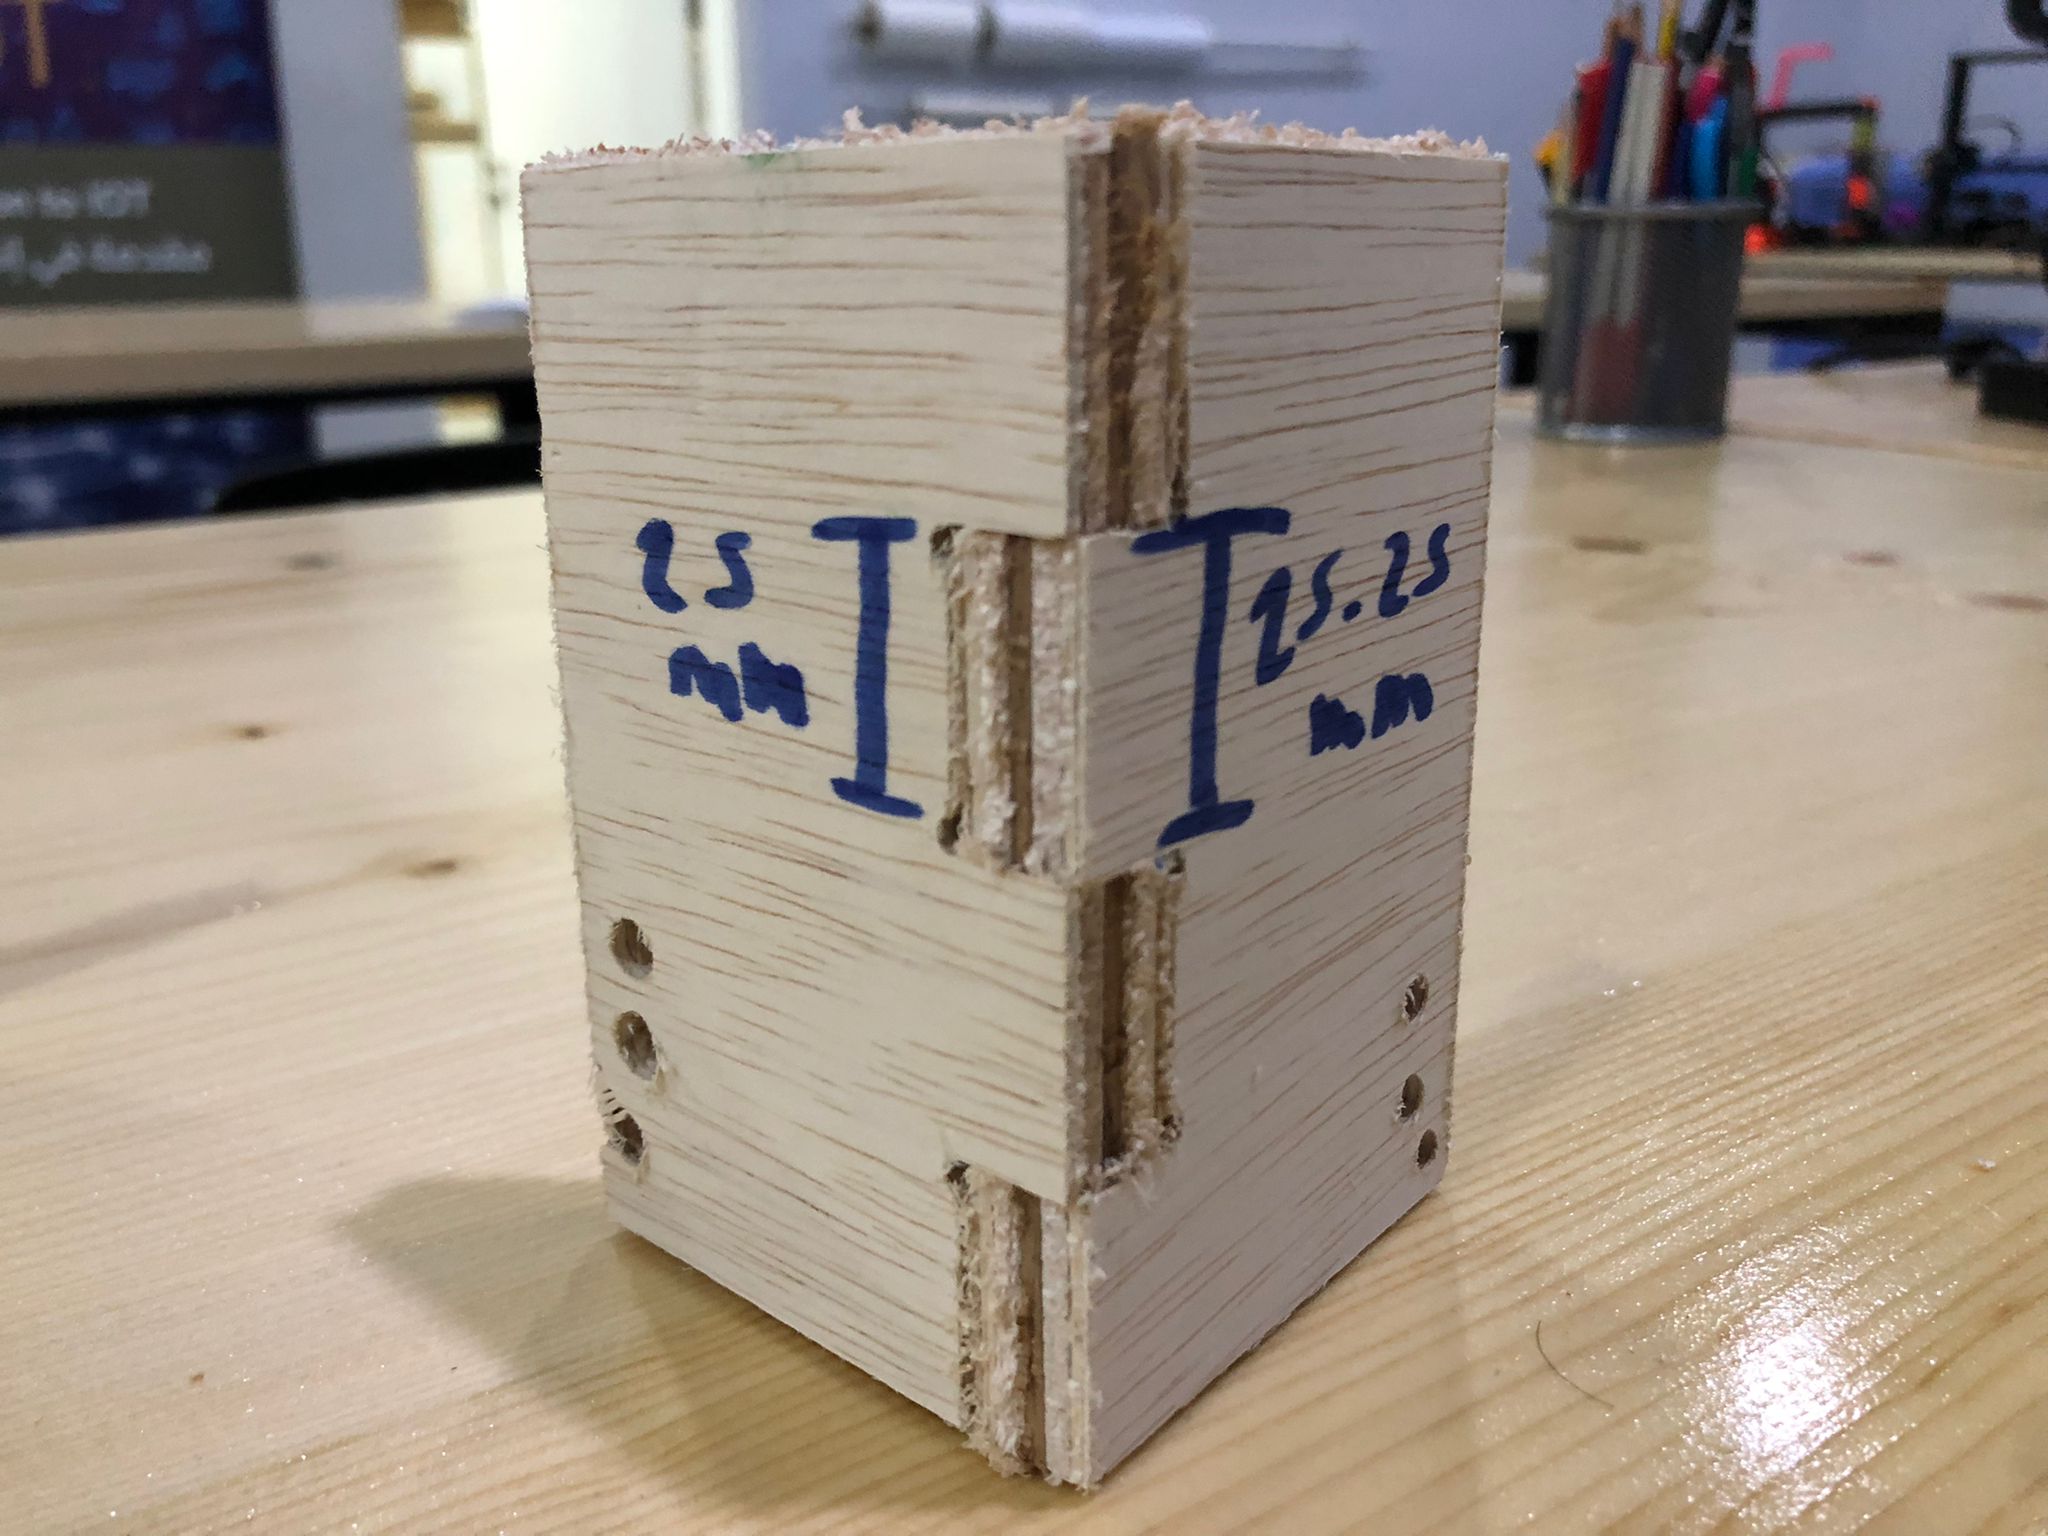
I wanted to test how much the difference between the fingers and the holes should be, so I designed a fitting test.
After cutting the fitting test.
The first one was when the fingers are ~0.25mm smaller than the holes they fit in. It was loose and will not help me in making the stand.
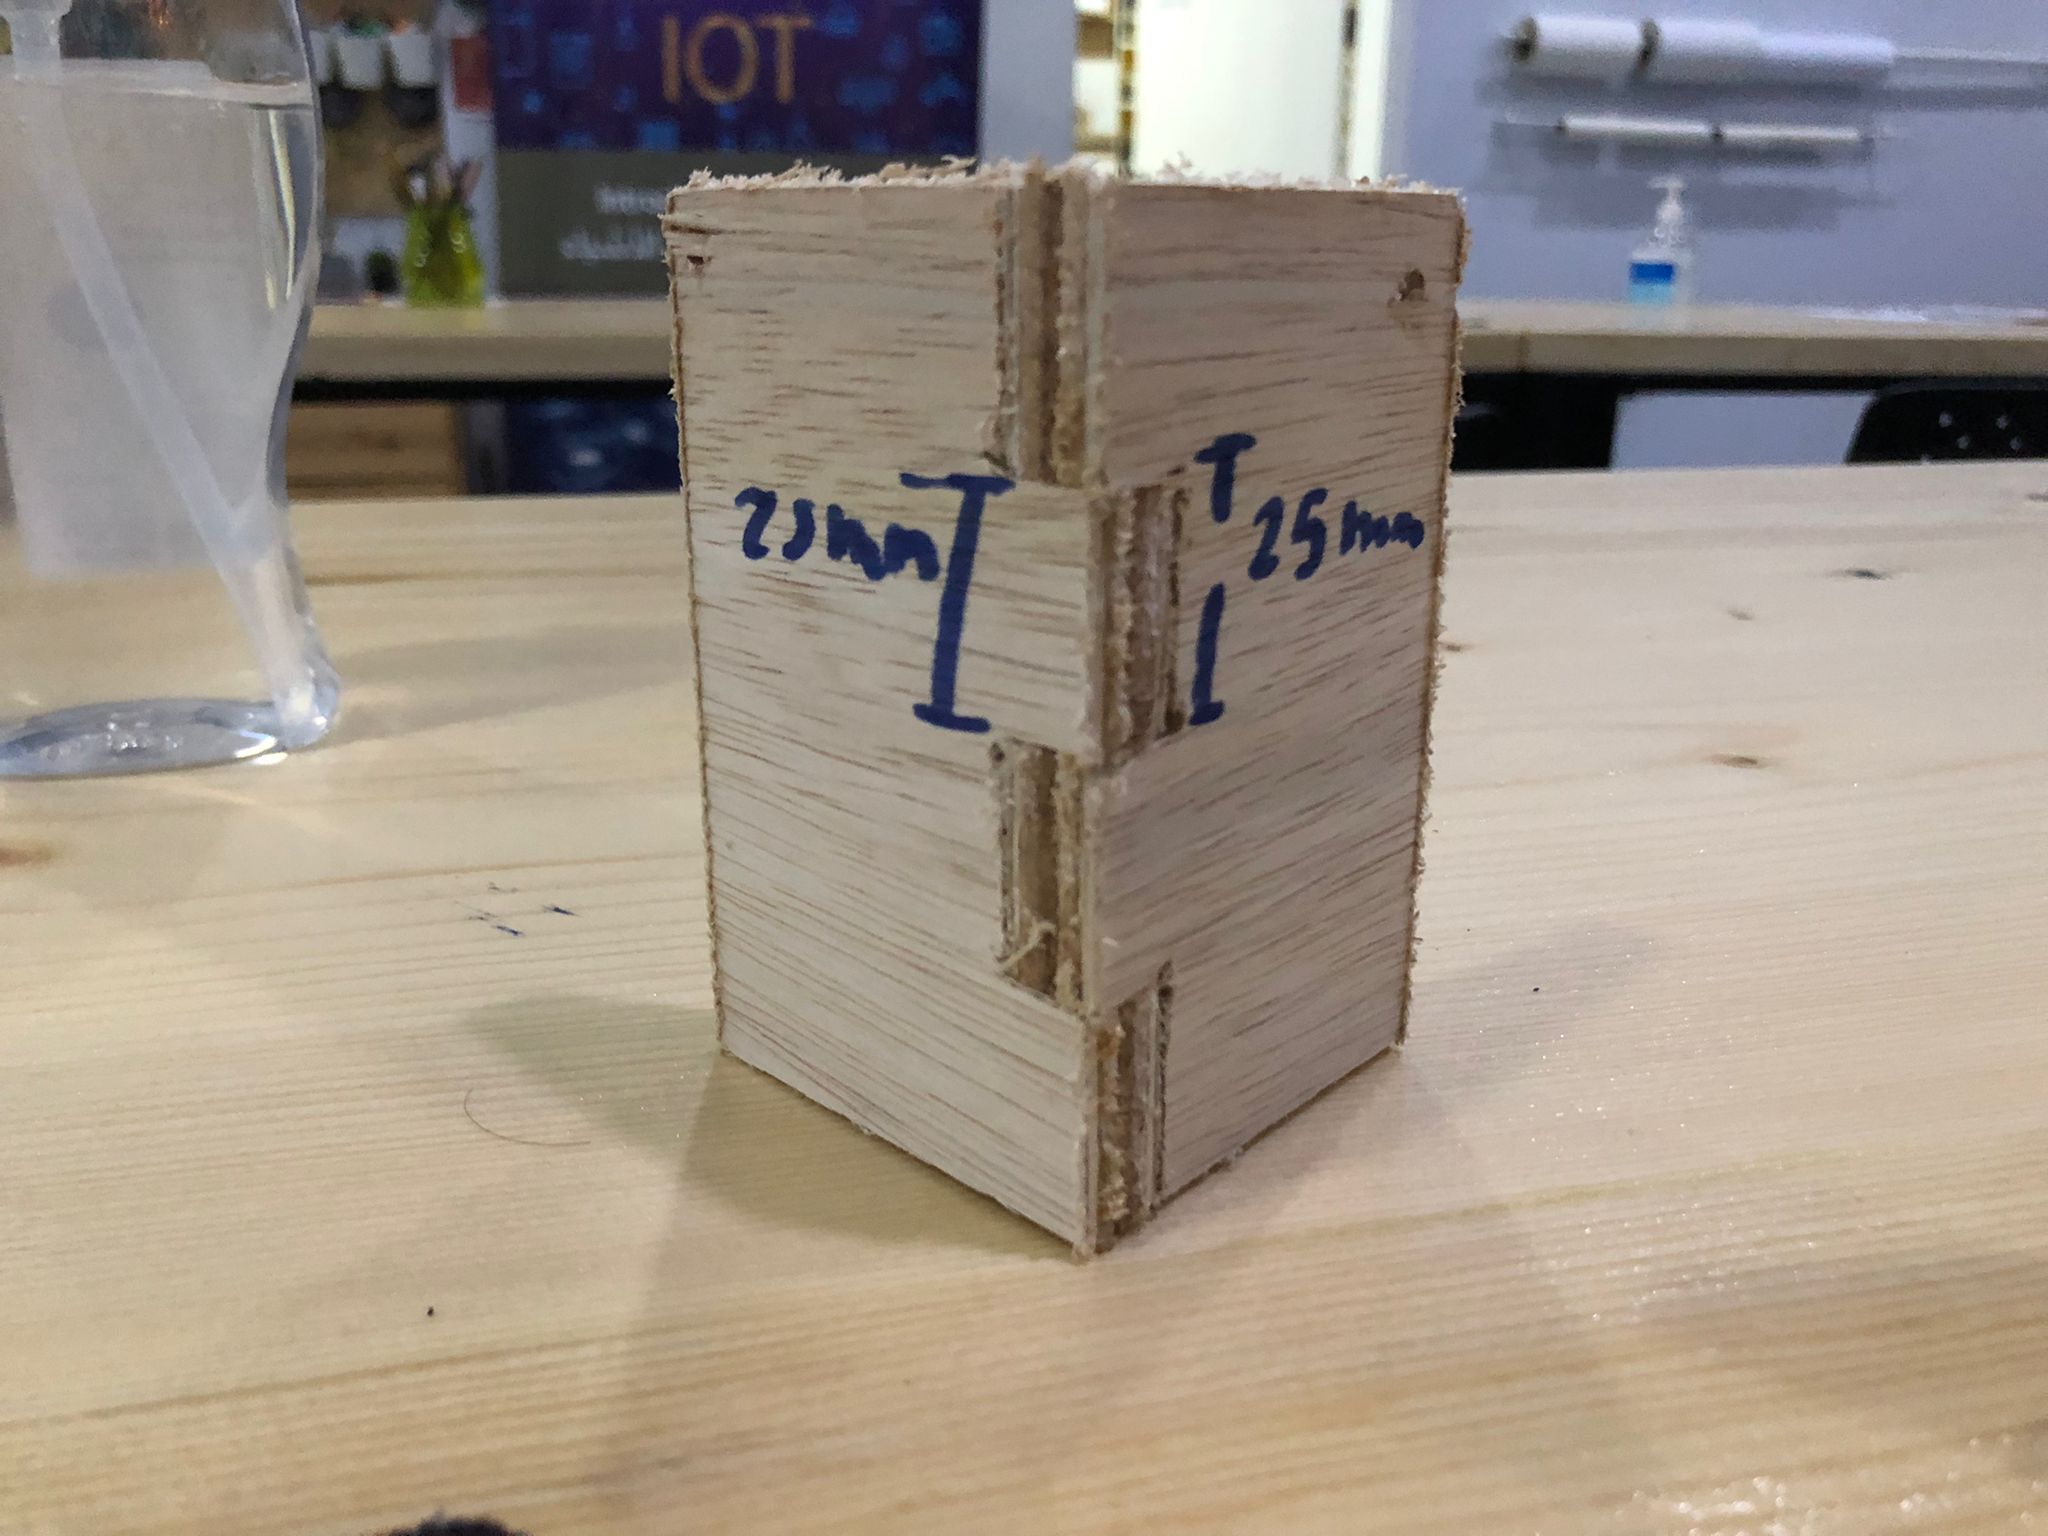
The second one was of the holes and the fingers are both with the same length. The corner fit good.
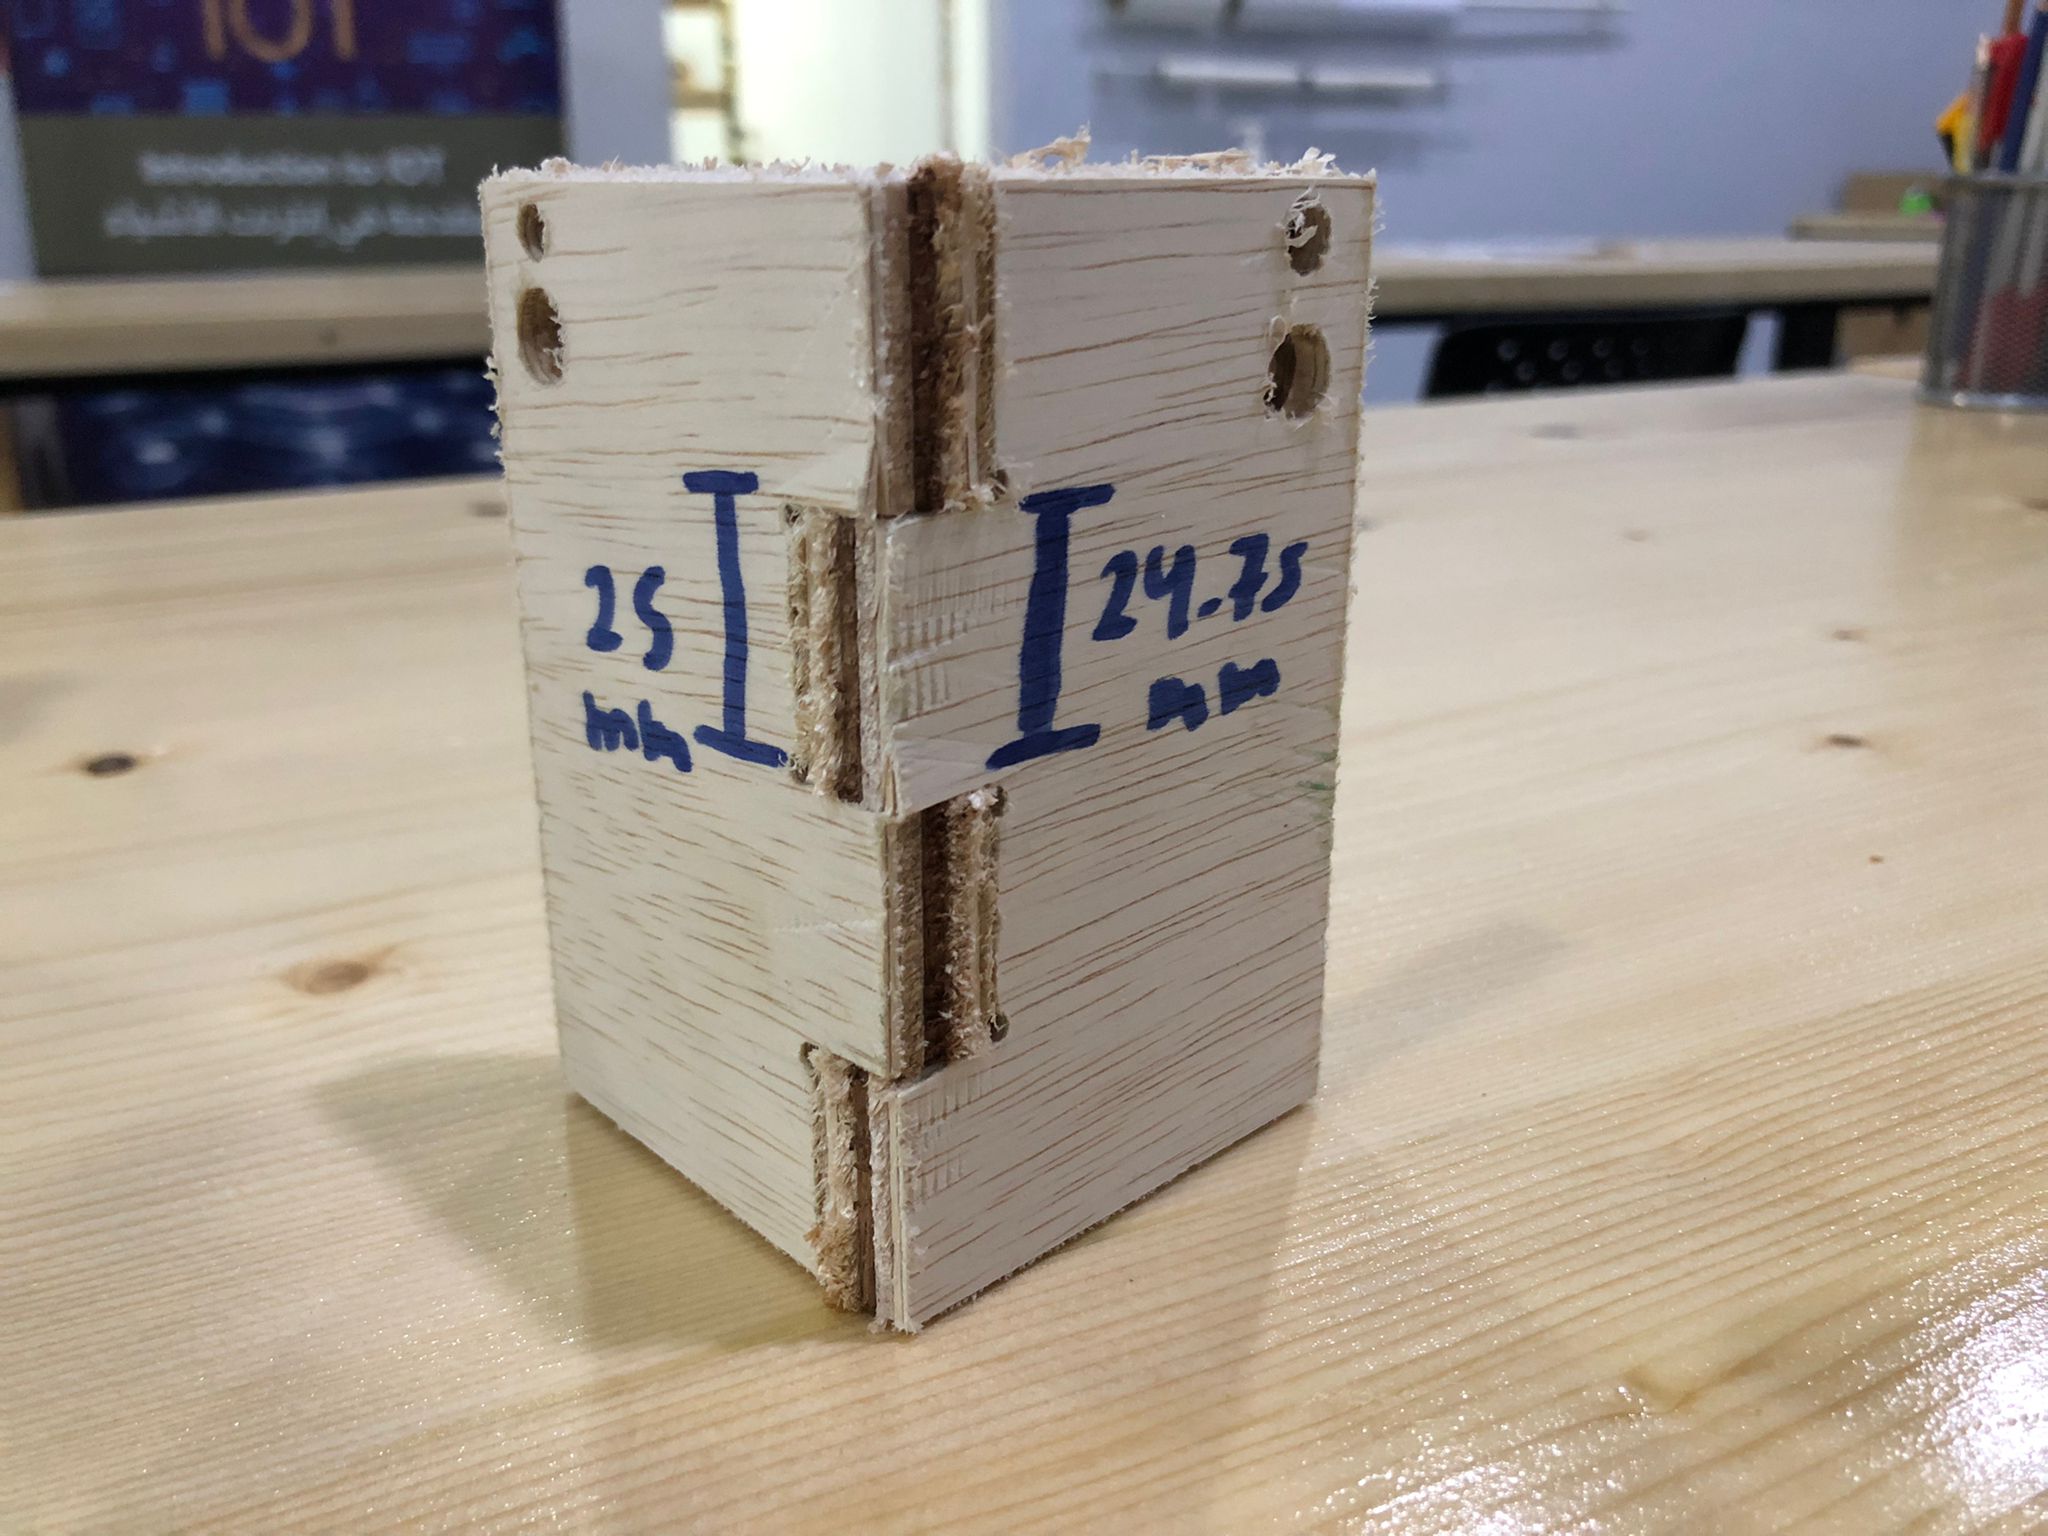
The third one was if the fingers are ~0.25mm longer than their holes, which was the perfect match for me to make the corners of the design.
I went with the third one. To make the joints I drew identical rectangles on the two vertical sides of the 4 side pieces, then used the trim tool to make the fingers with 20cm length each. the width of all rectangles is the same width of the wood which is 11mm.
The thinner sides, I similarly drew rectangles but they were not identical. The fingers were 200.25mm and the holes were 190.25mm. similarly the width of the rectangles is the same as the wood's thickness of 11mm.
For the bases, The sides will fit on them with different type of joints. They were made with fit-in joints. The test for these joints was already made in the group assignment. The width of them was 11mm for them to fit perfectly.
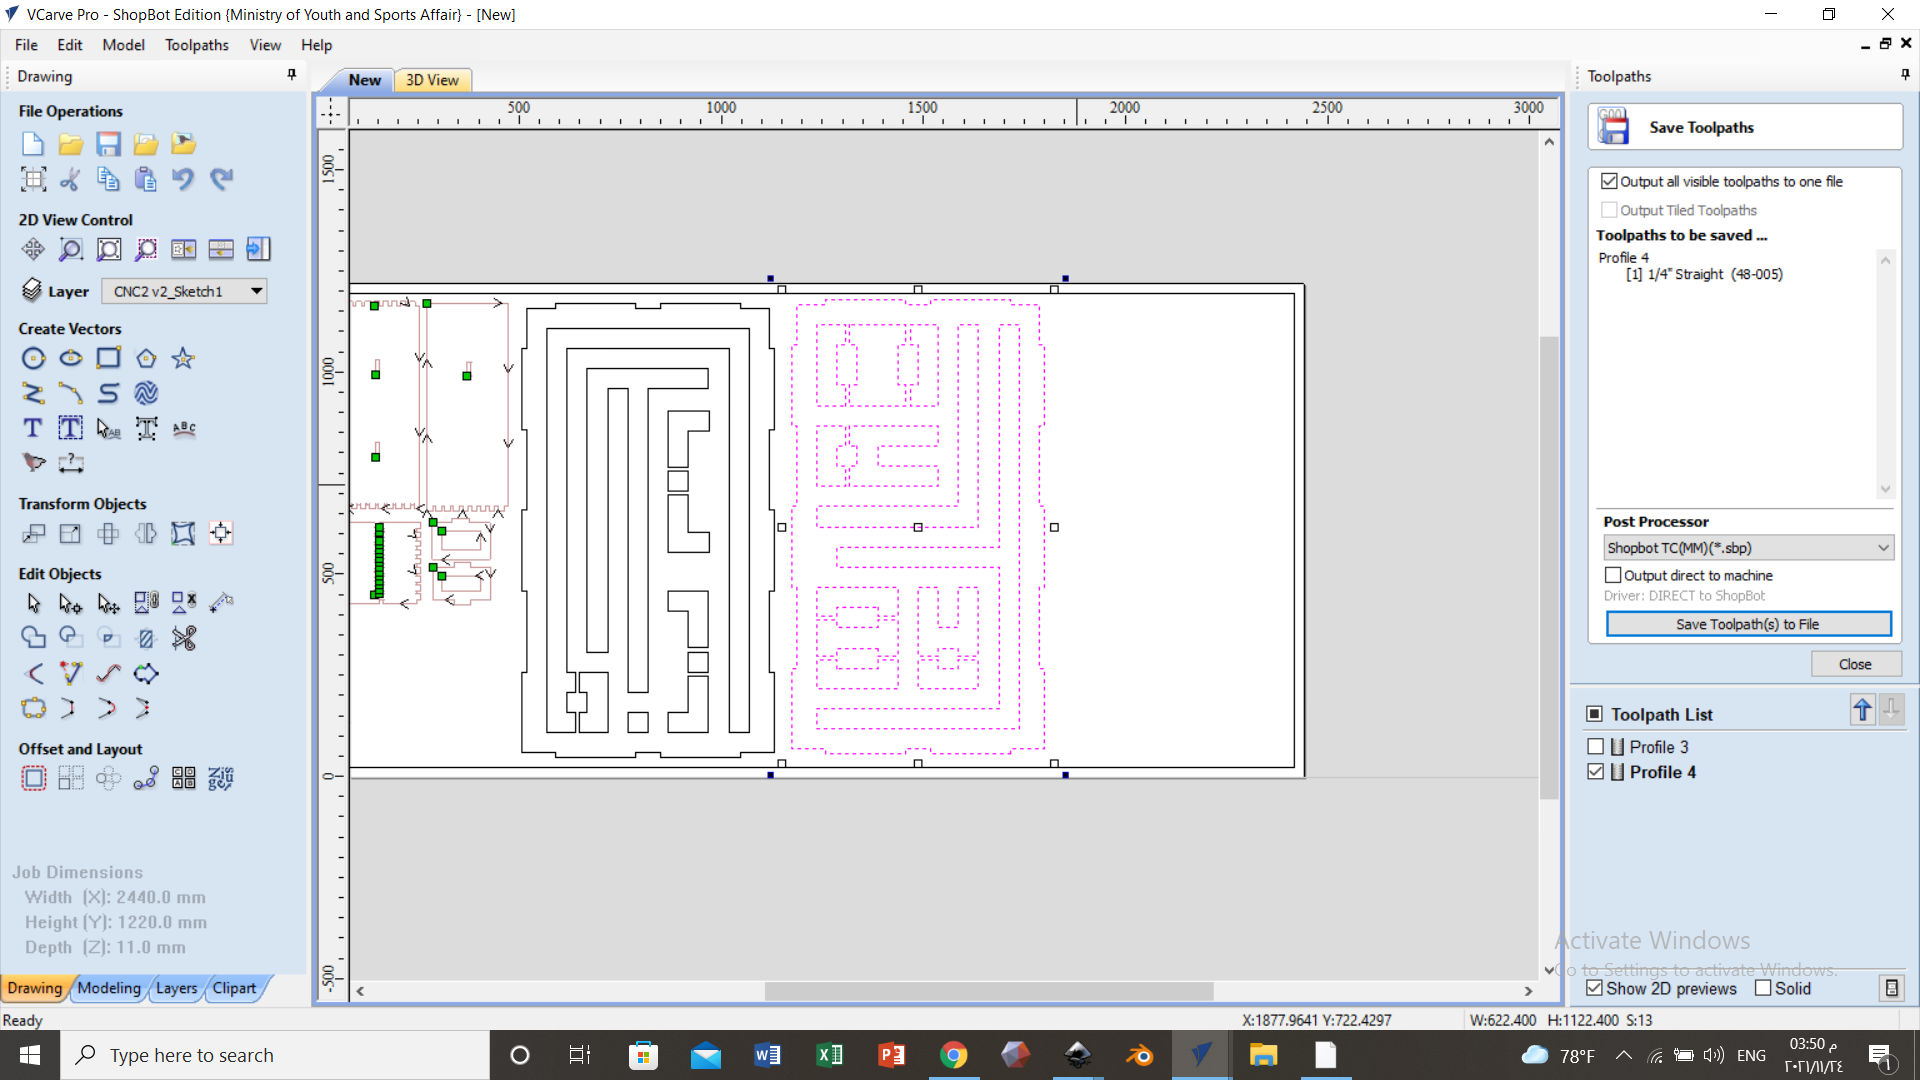
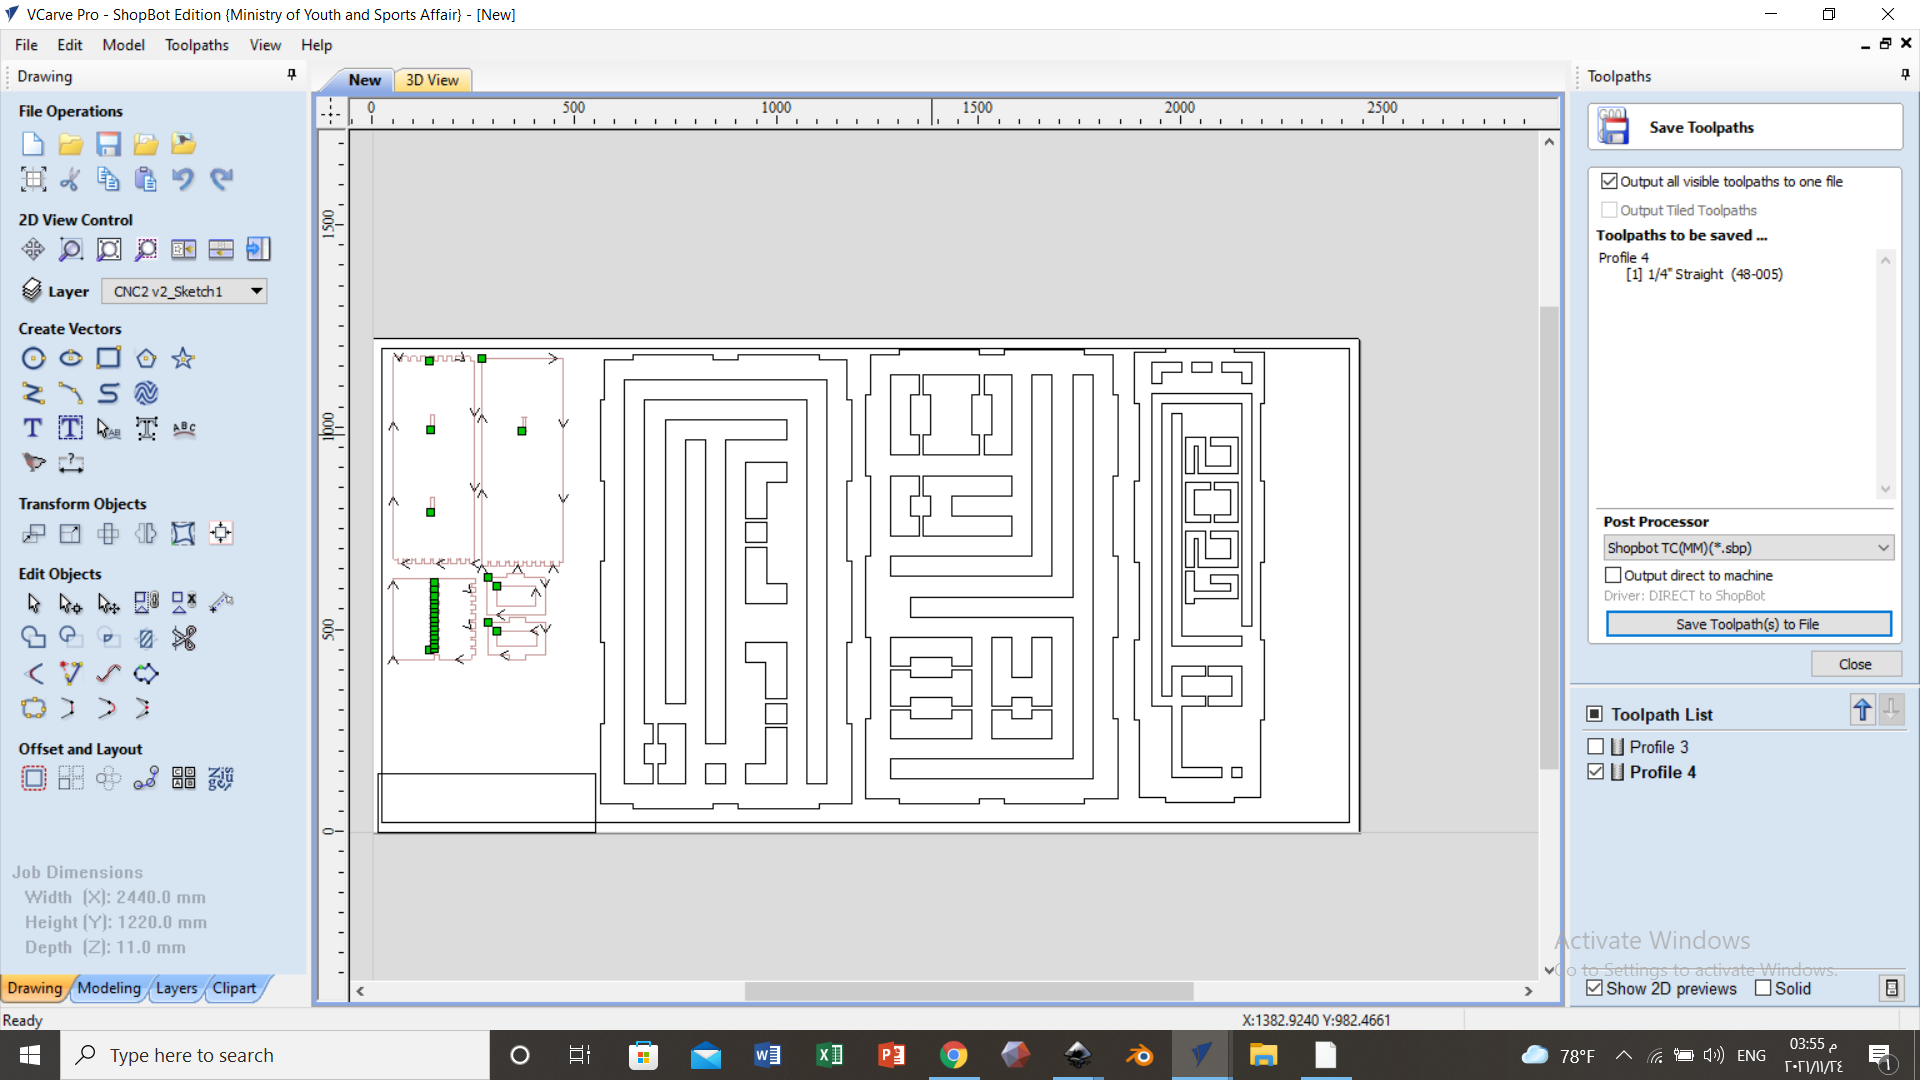
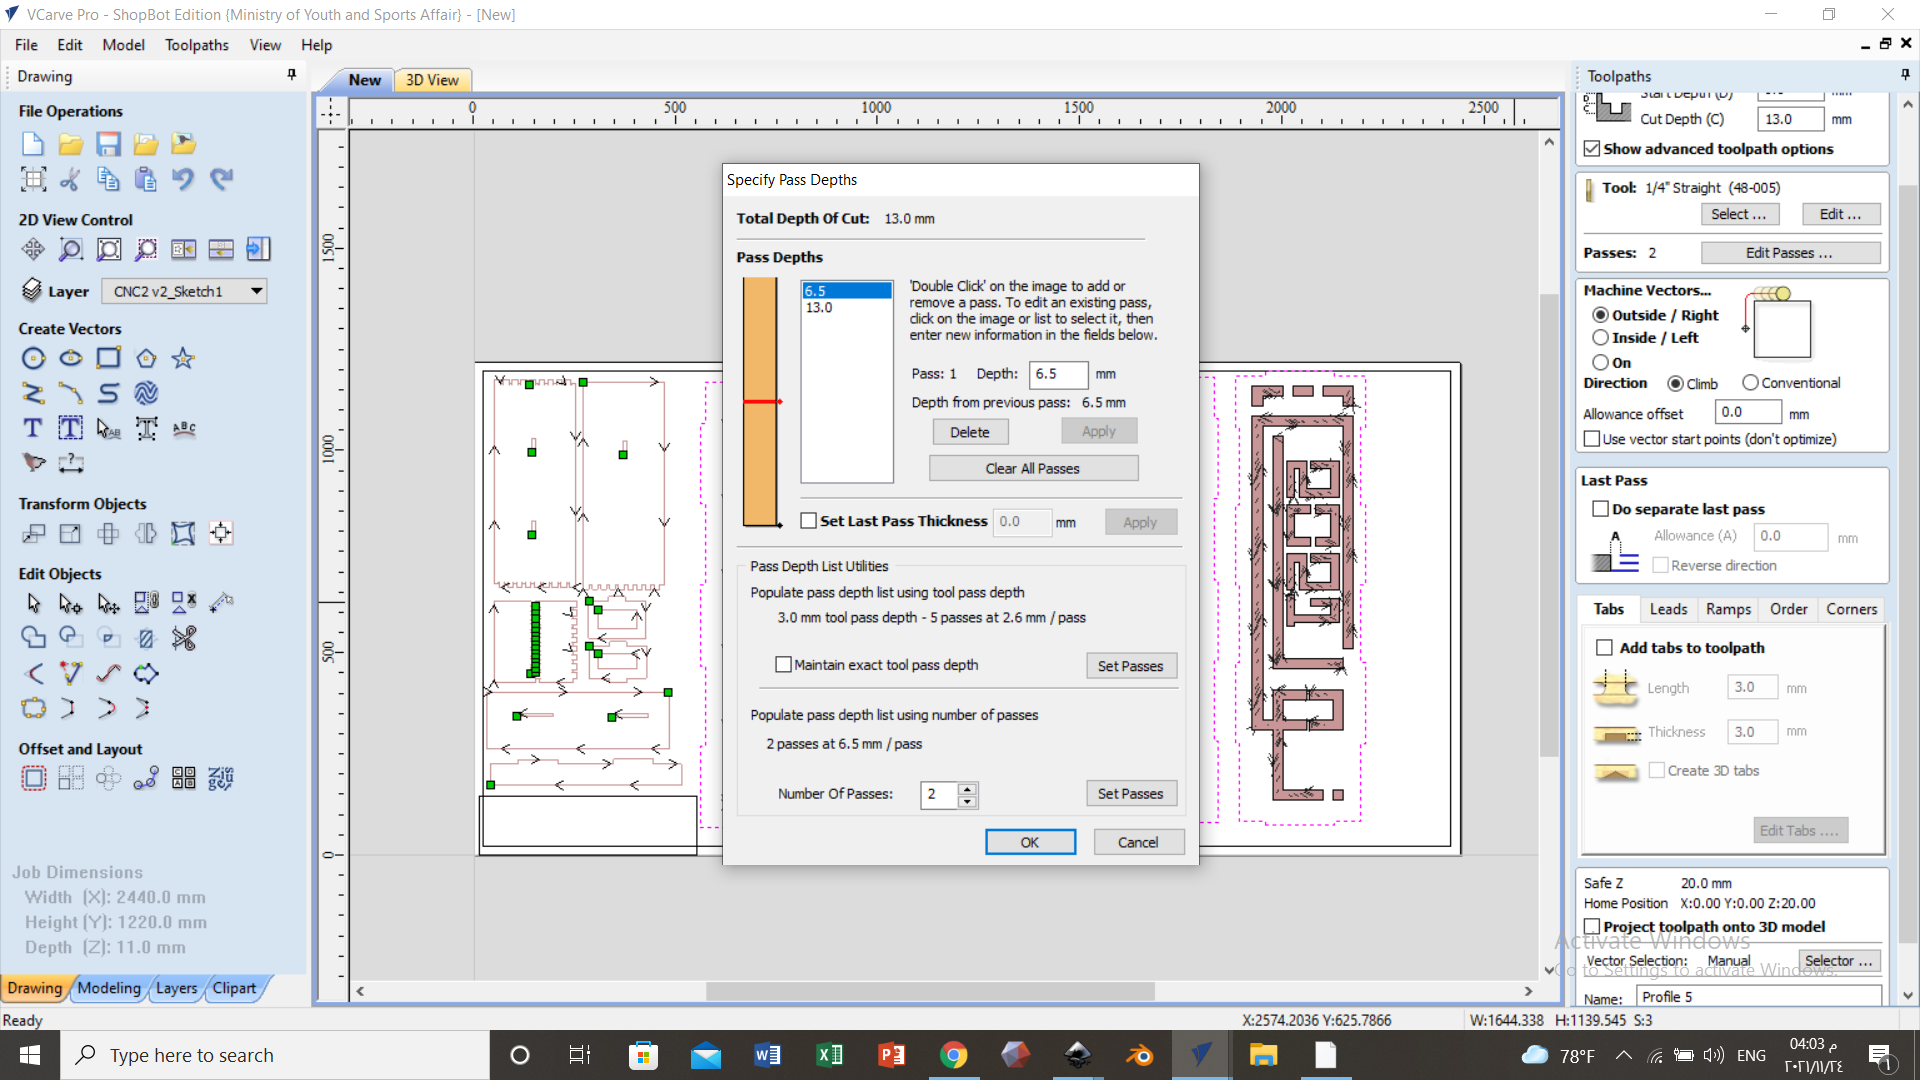
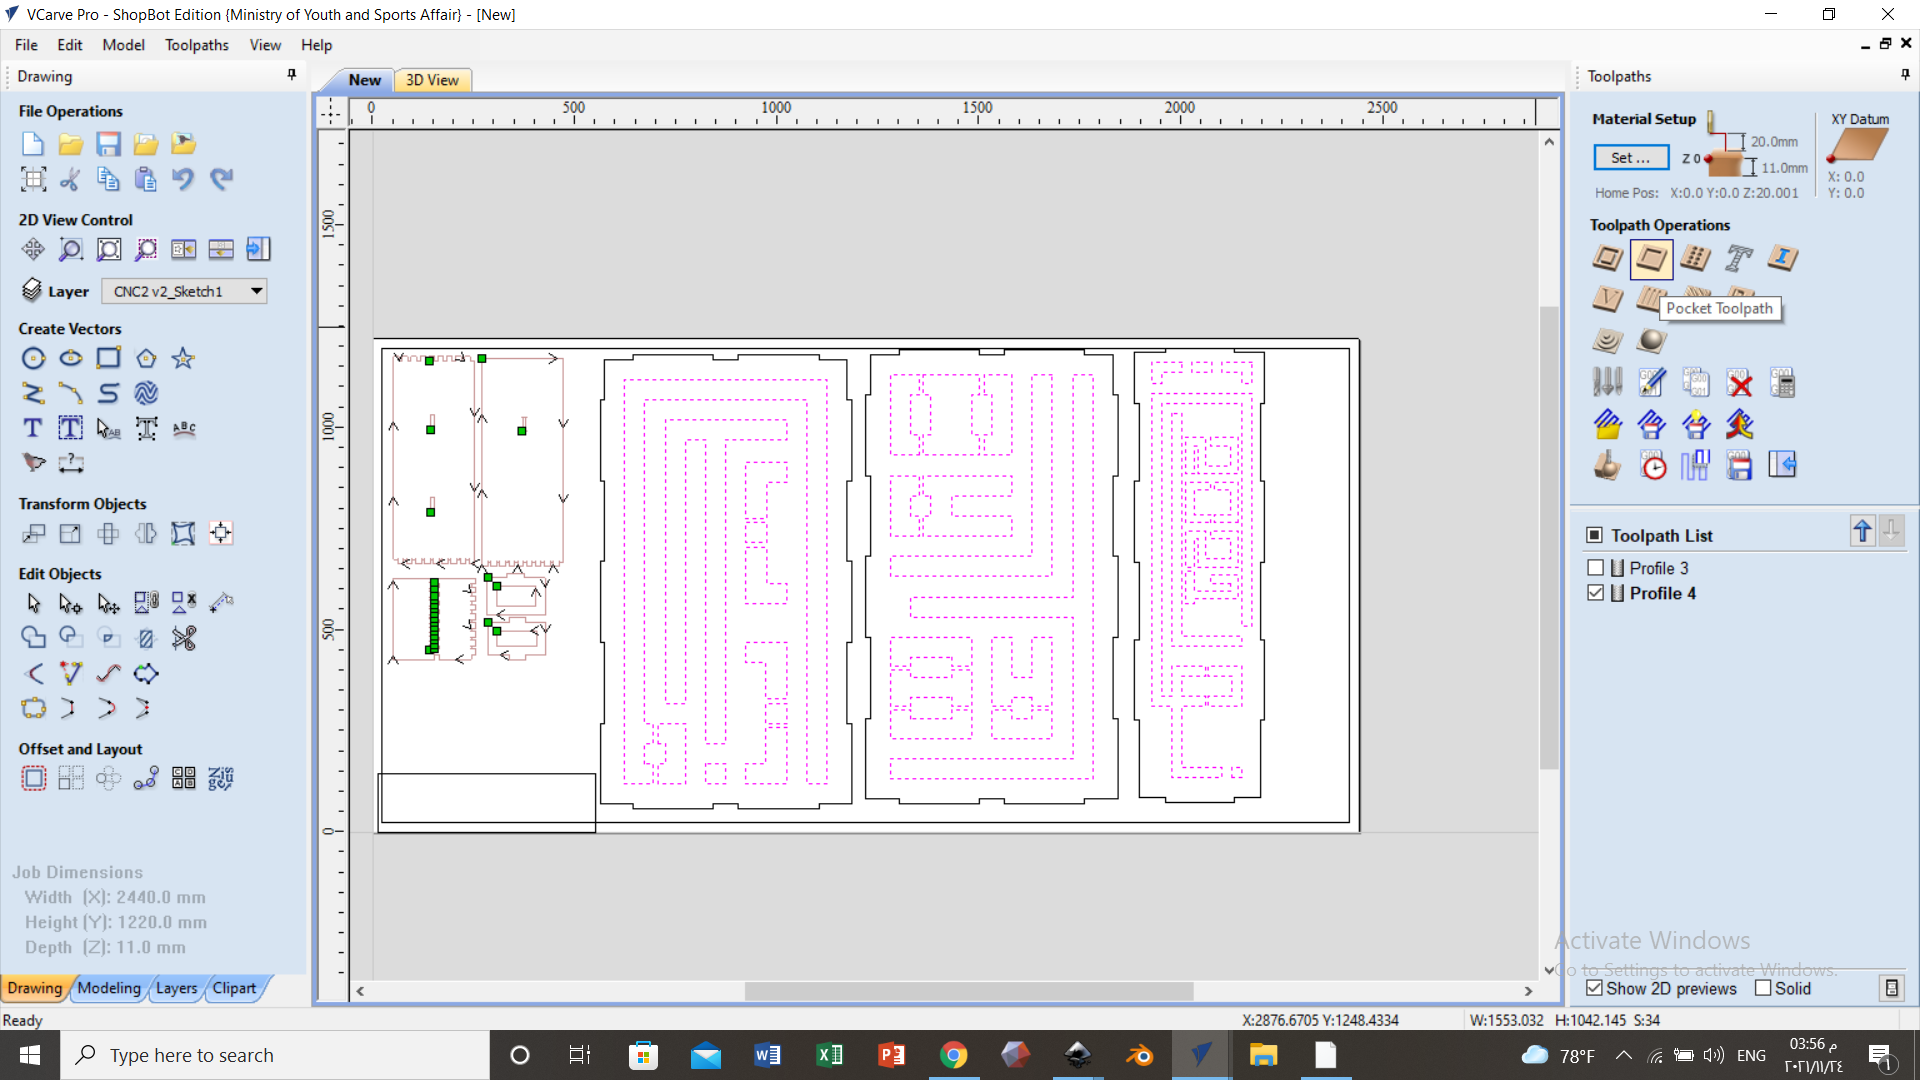
Start with uploading the dxf file to VCarve Pro to make the toolpath.
Make sure that the design does not have double vectors on top of each others or any open vectors.
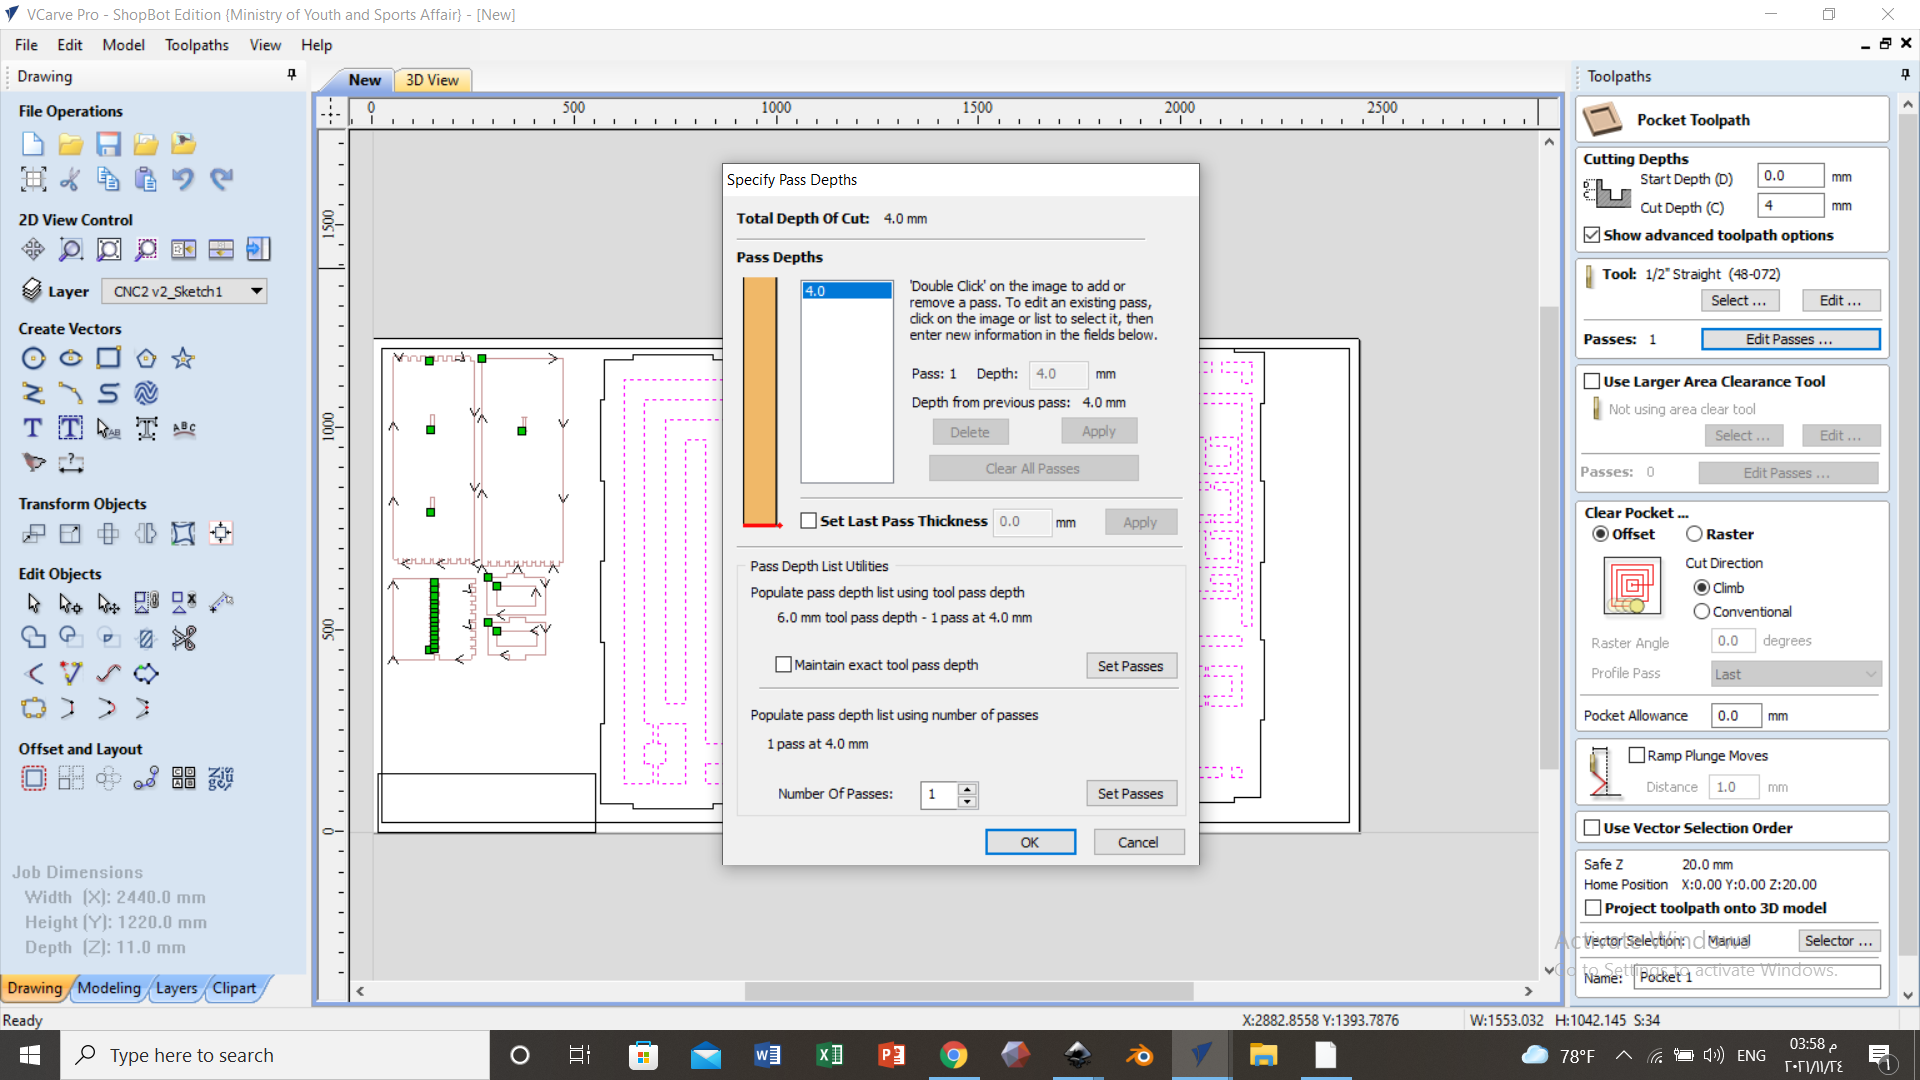
In making the tpplpath, make sure that you start with the pocket first, then the cutting so that the pieces don't move when making the pocket.
As seen, the design on the sides will all be pocket.
The rest will be all Cut, the number of passes; which is how many times the drill will go over the material; was set to two.
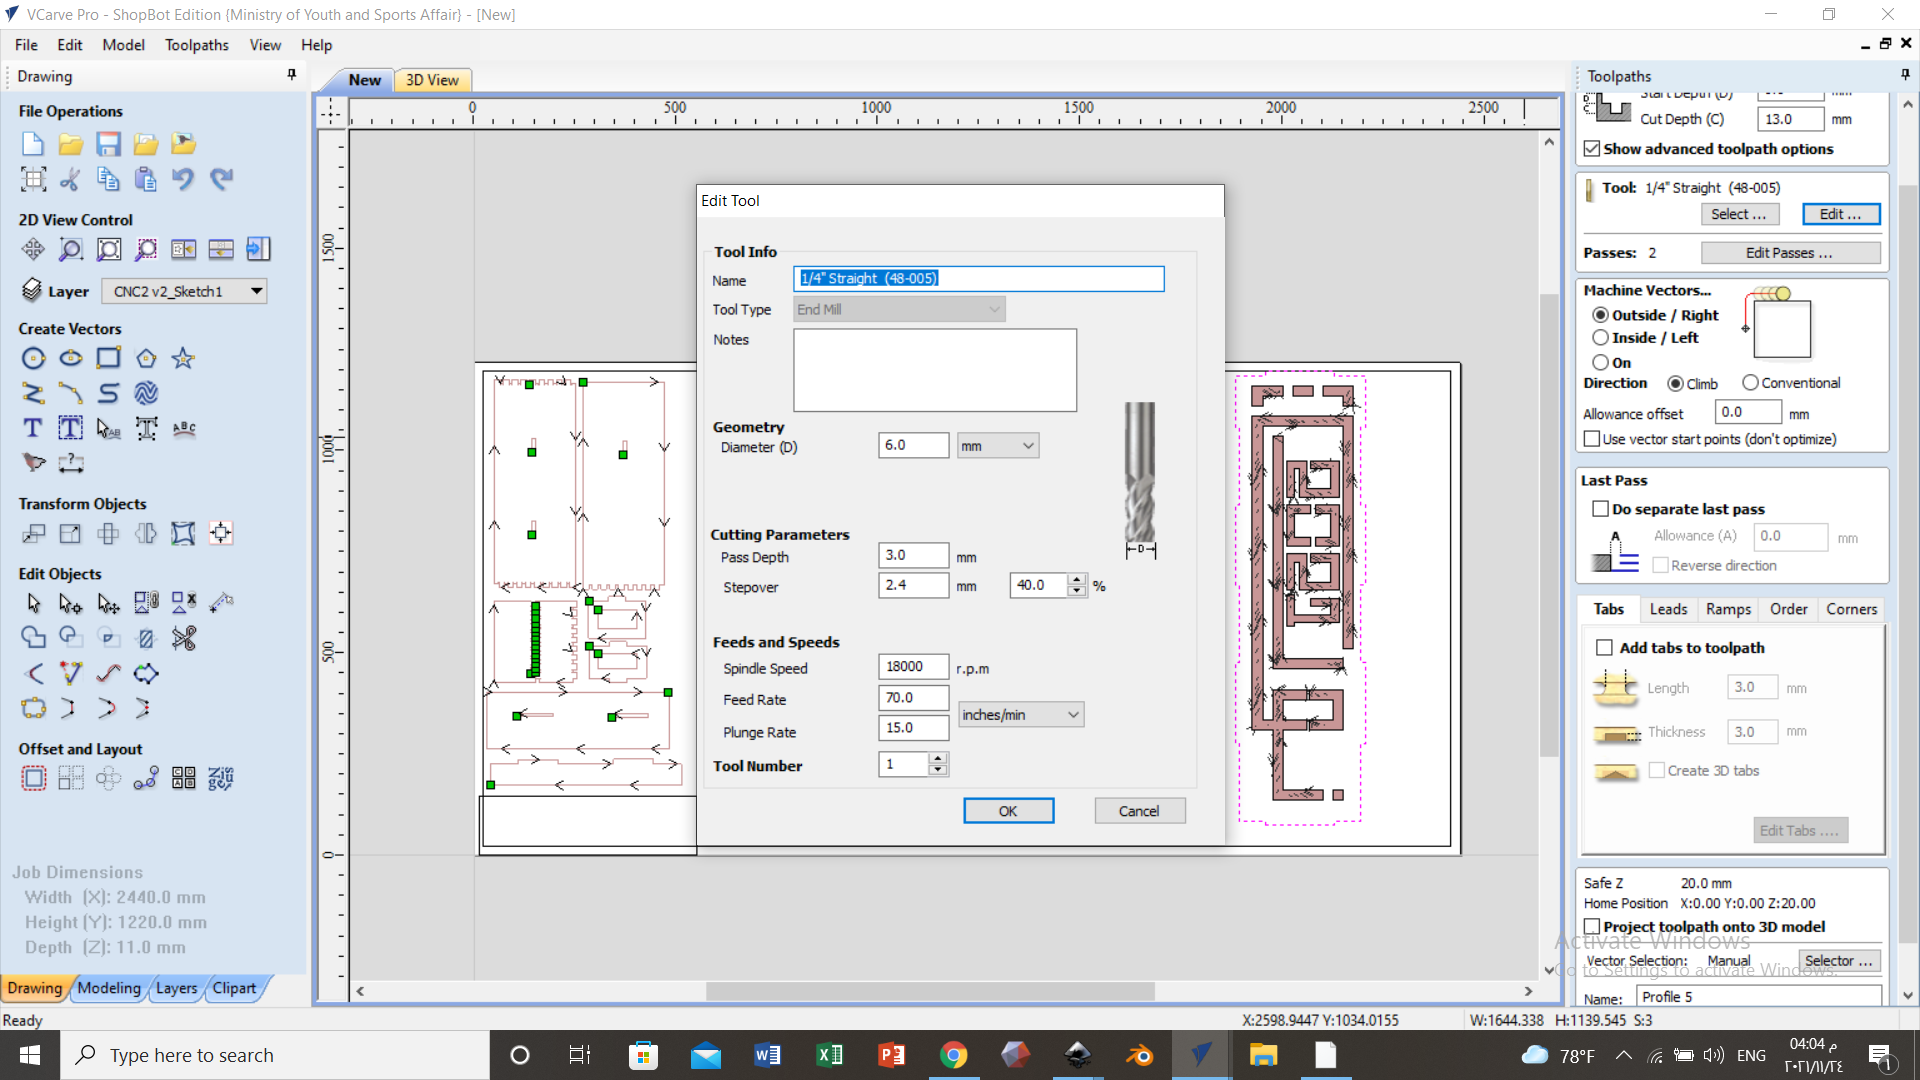
The Spindle Speed was set to 18000 r.p.m, which is the speed that the drill rotates at per minute.
The feed Rate was set to 70, which is the speed that the drill moves with.
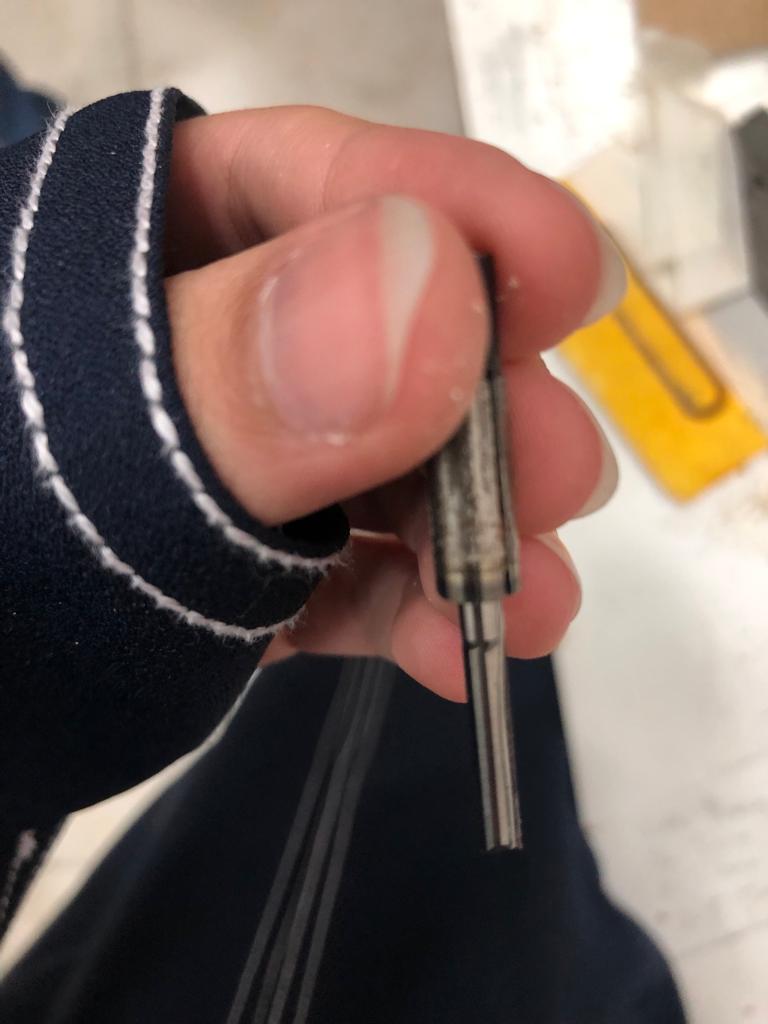
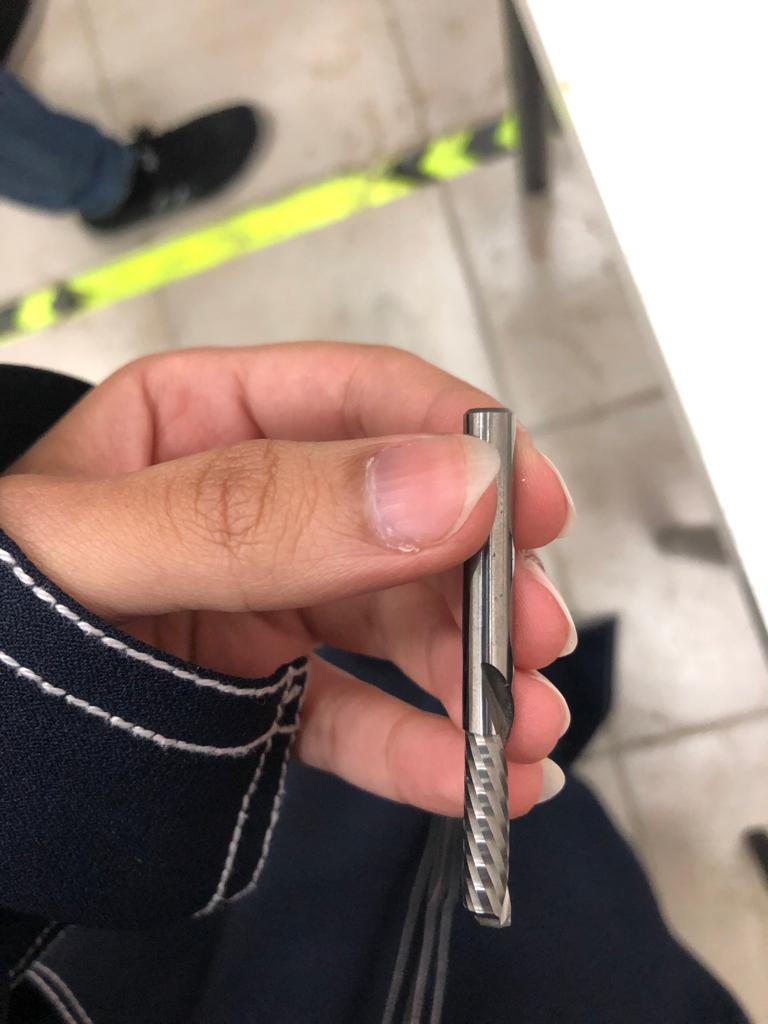
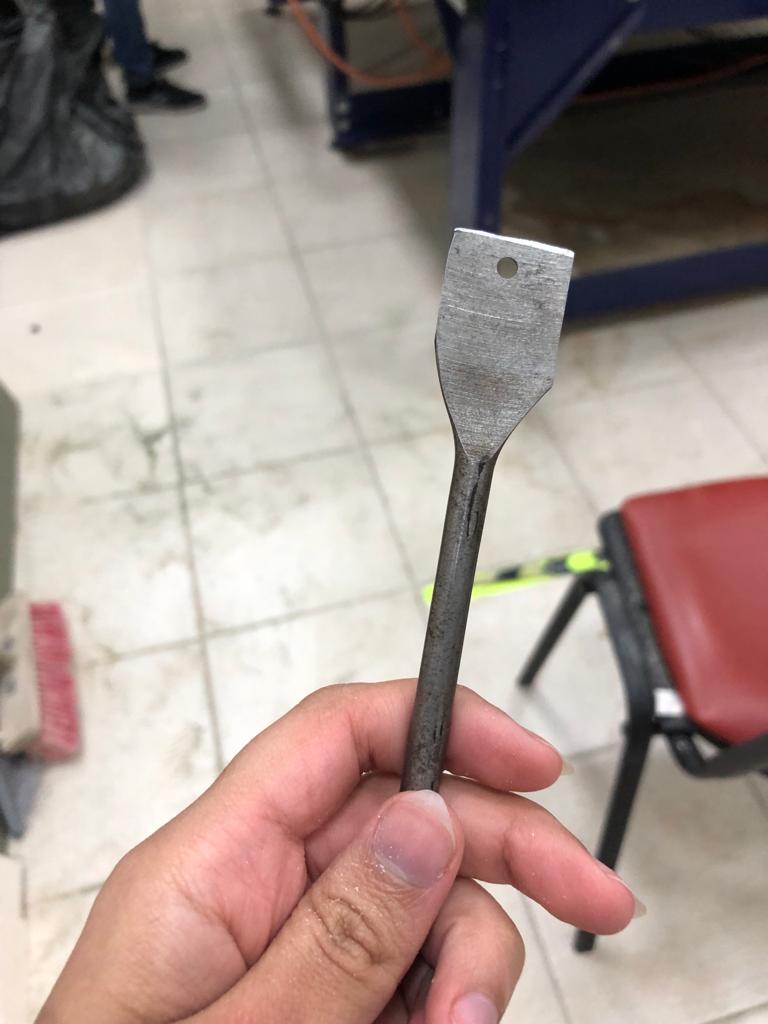
Because the pocket will take a long time, It is better to change the tool from 3mm to 6mm. This is the smaller drill.
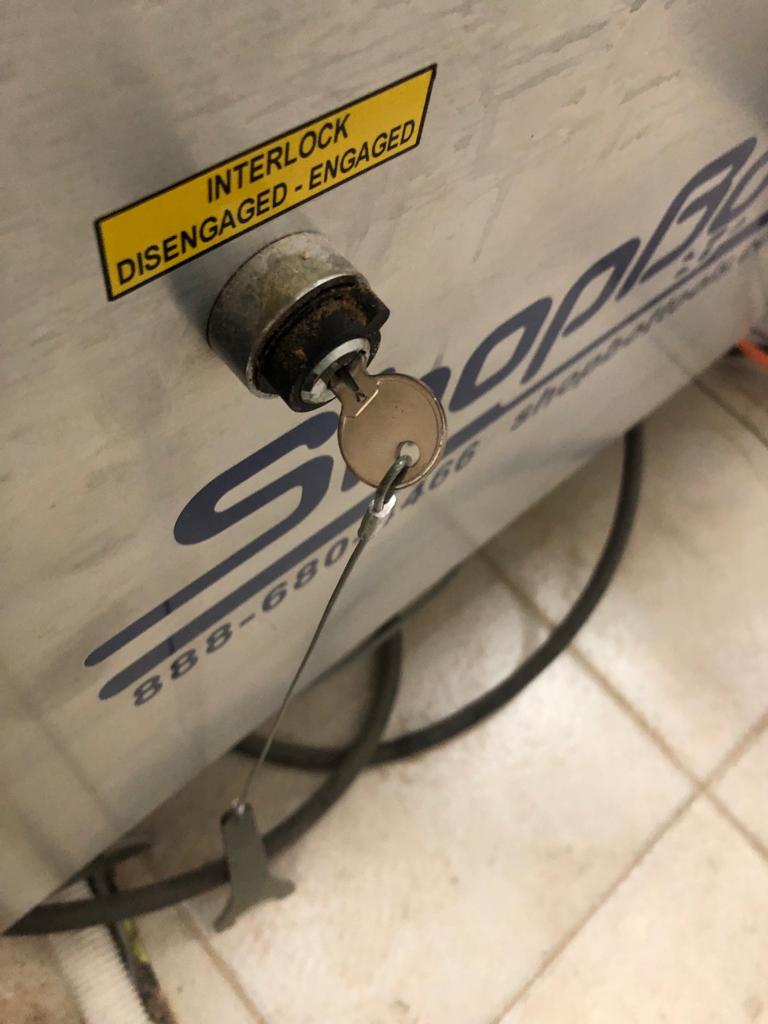
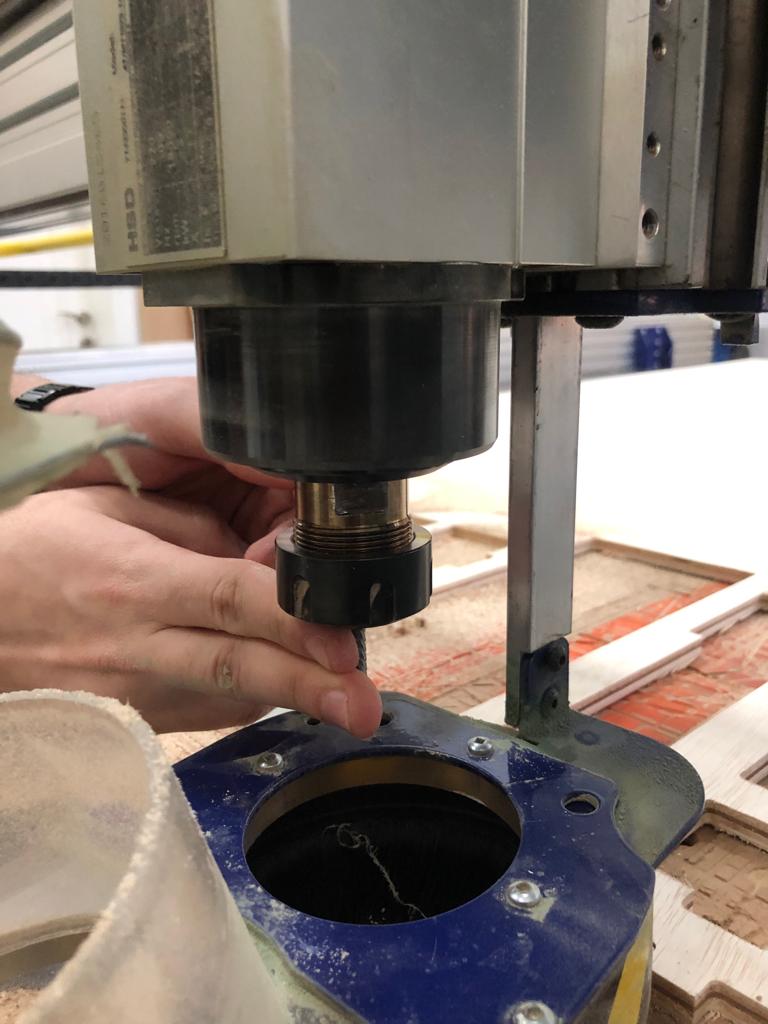
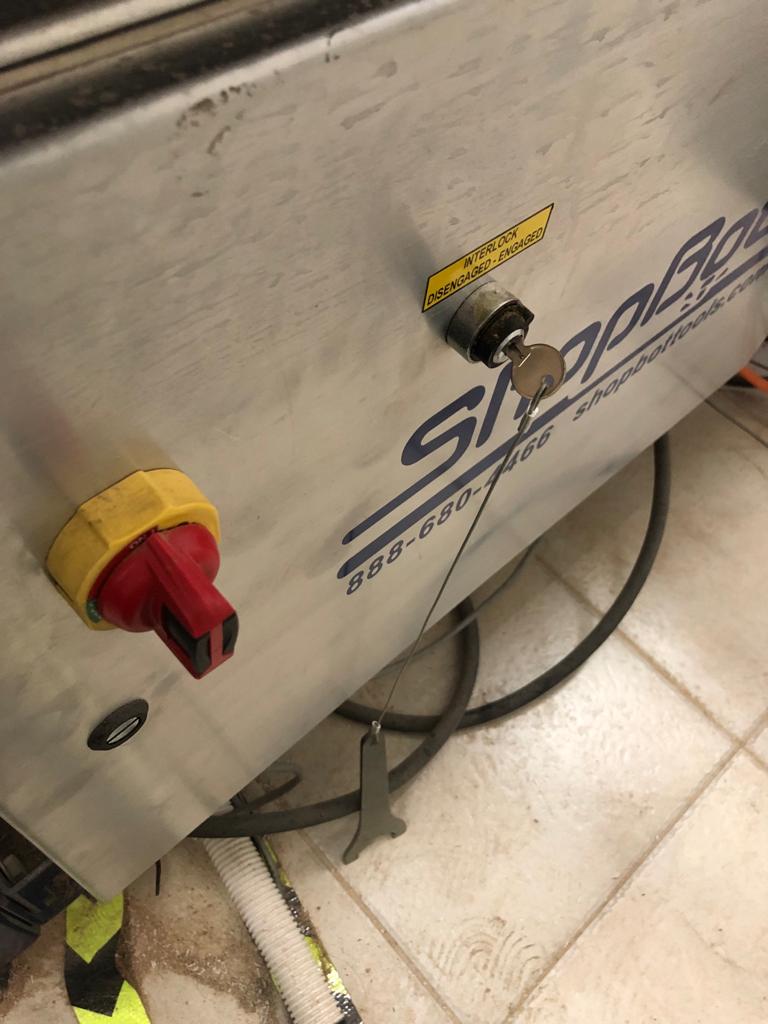
To change the drill, make sure that the machine is turned off from the key.
This is the bigger one that we used. It reduced the time of the process.
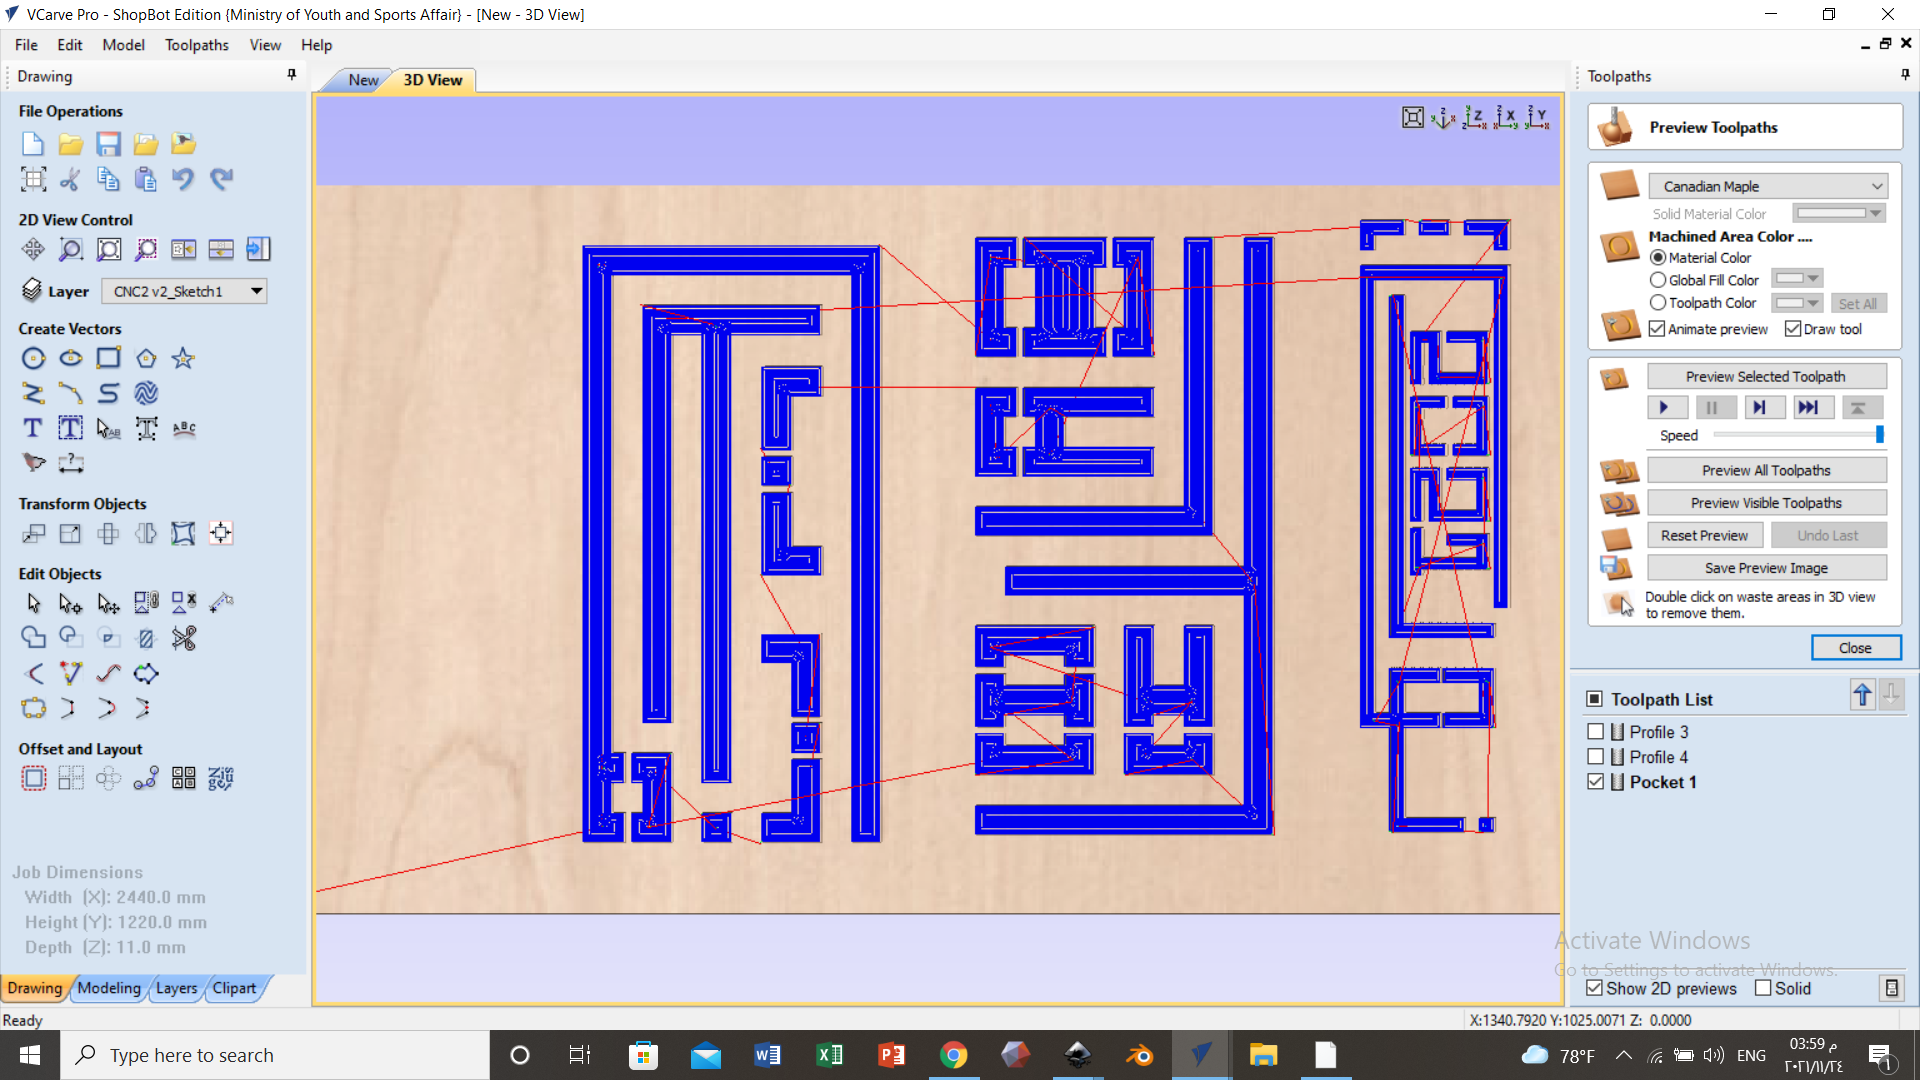
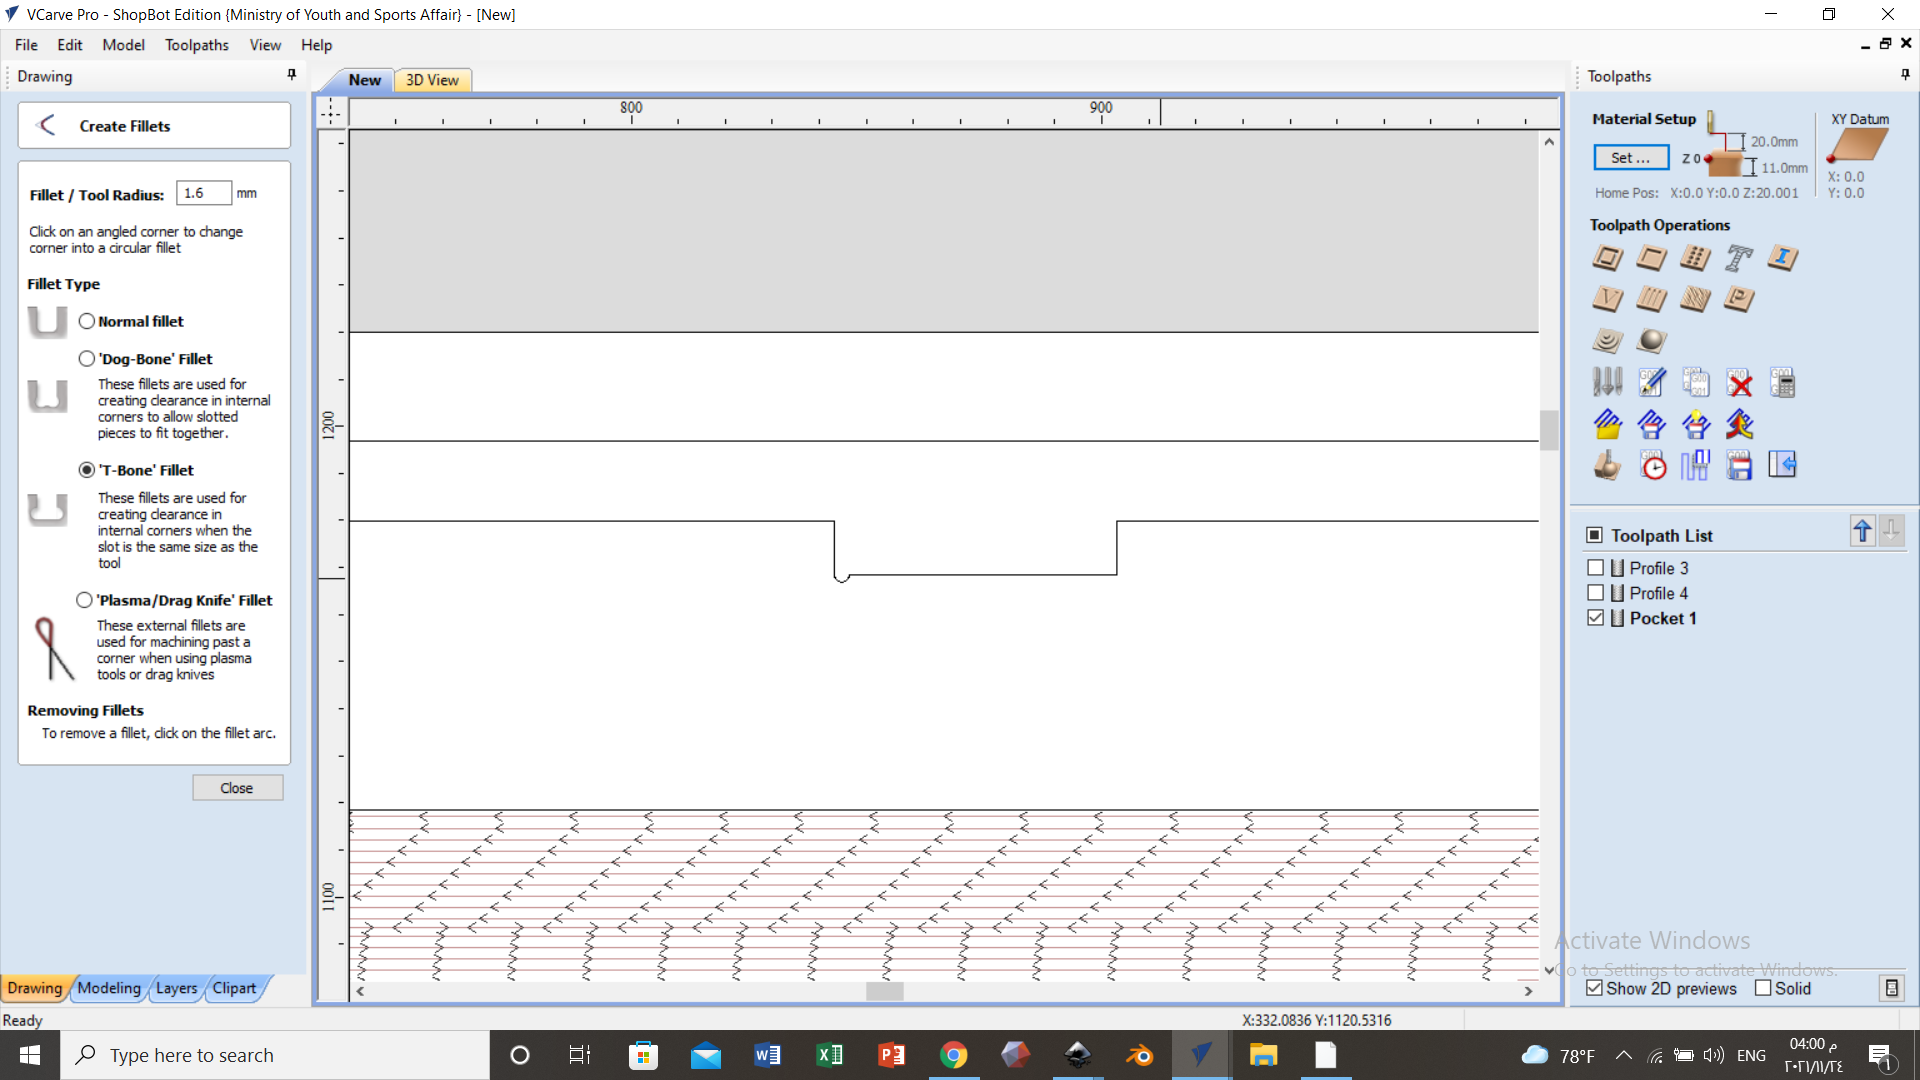
I used the T-bone on the joints.
Then download the toolpath to the machine.
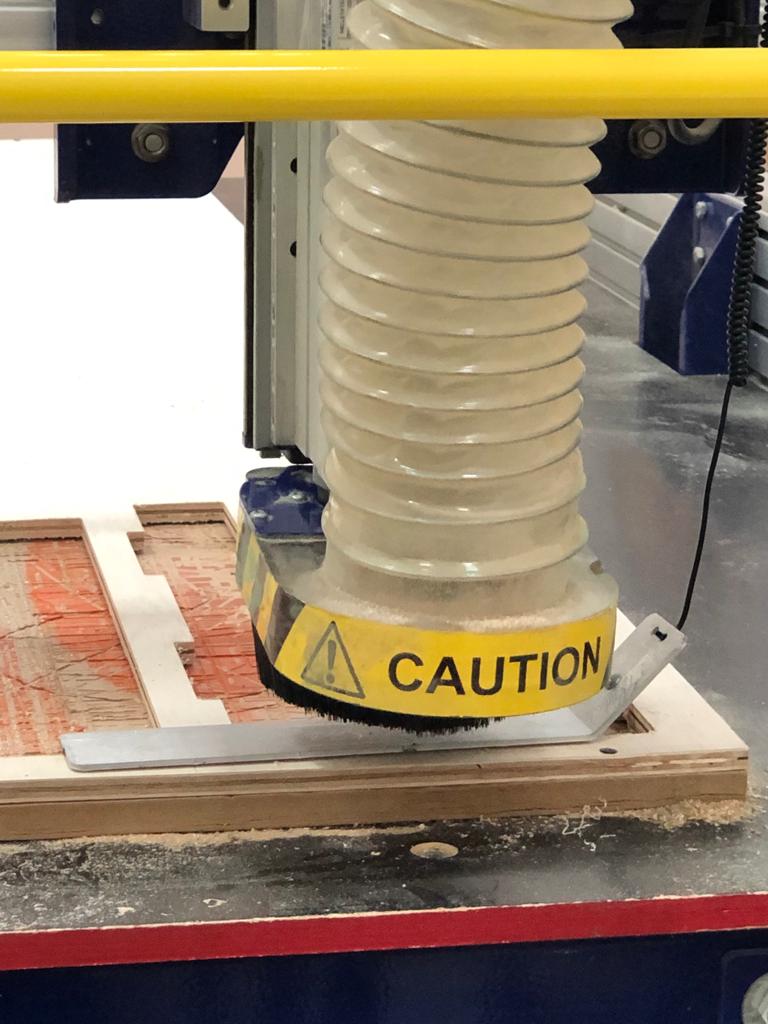
There are safety requirements when using a CNC machine.
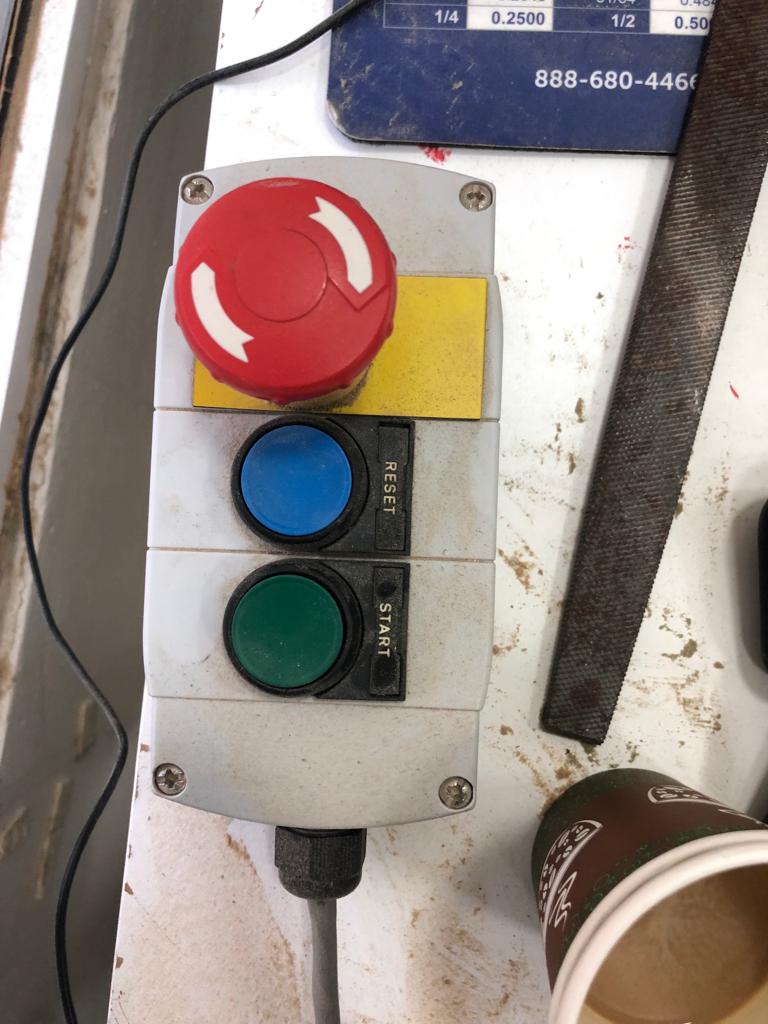
The red switch on the left is for turning it on.
Always be close to the red button to press it when sensing something is wrong.
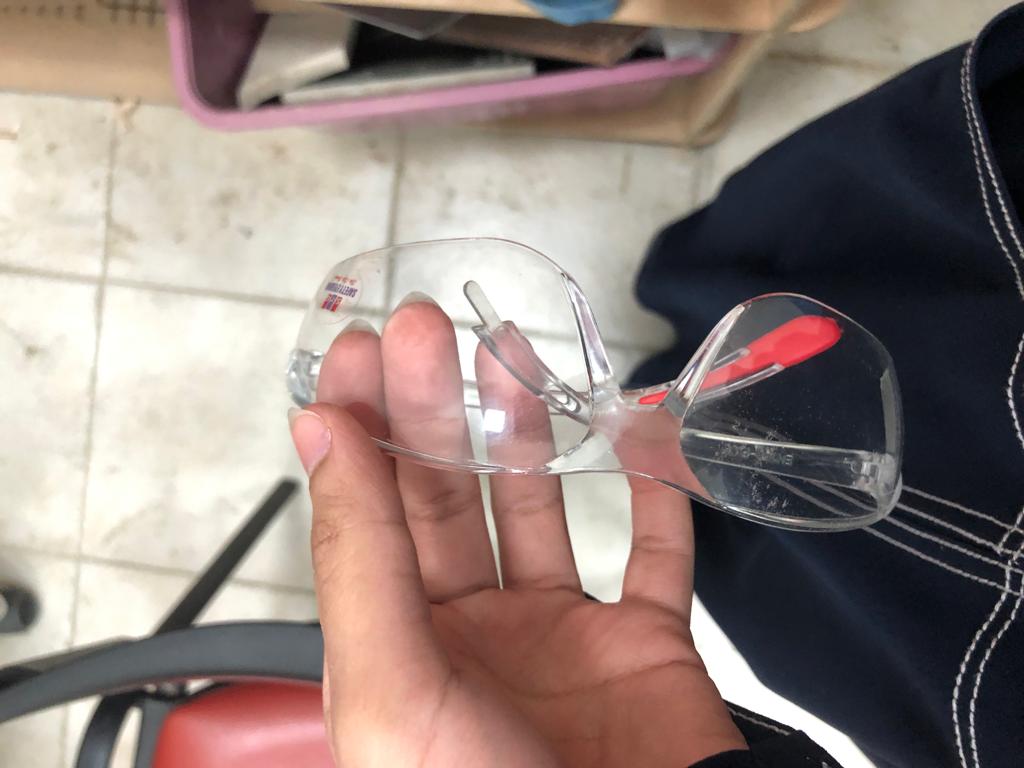
A safety glasses are required at all times.
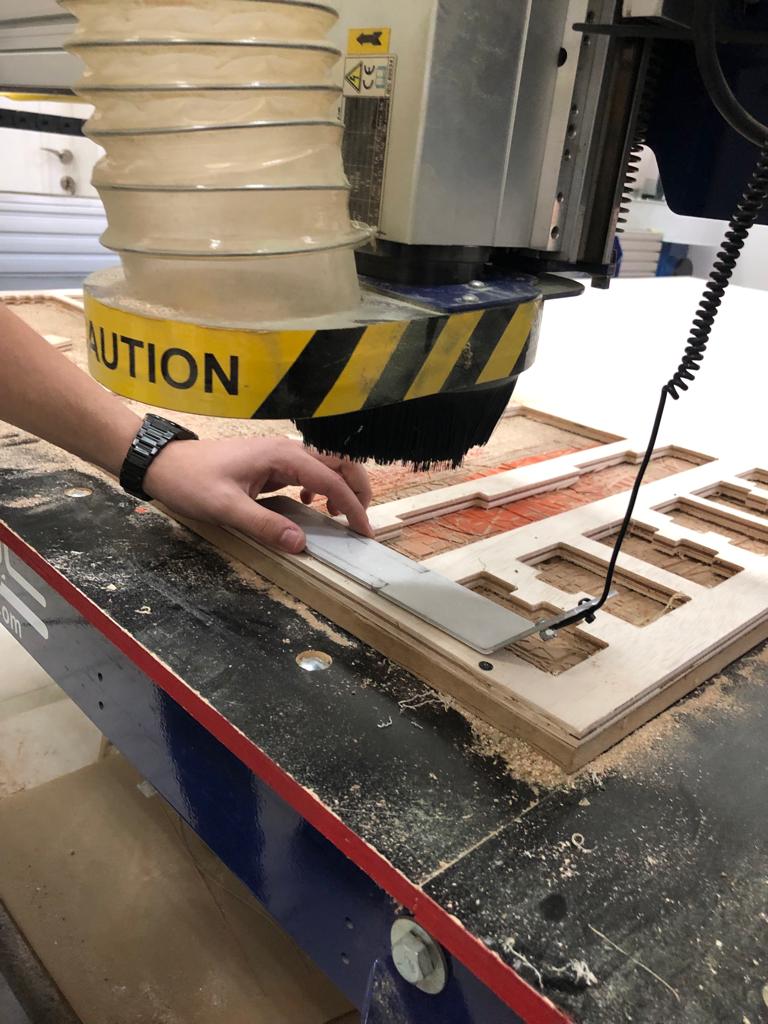
To fix the z-axis, use this tool that is placed on top of the CNC. Put it directly under the drill and use the CNC software to set the z-axis. It makes an electric circuit that the machine can sense.
The process took about 1 hour, even though the drill was changed to a bigger one. This is due to the Pocket which took a long time.
This is how one of the pieces looked like when it was done.
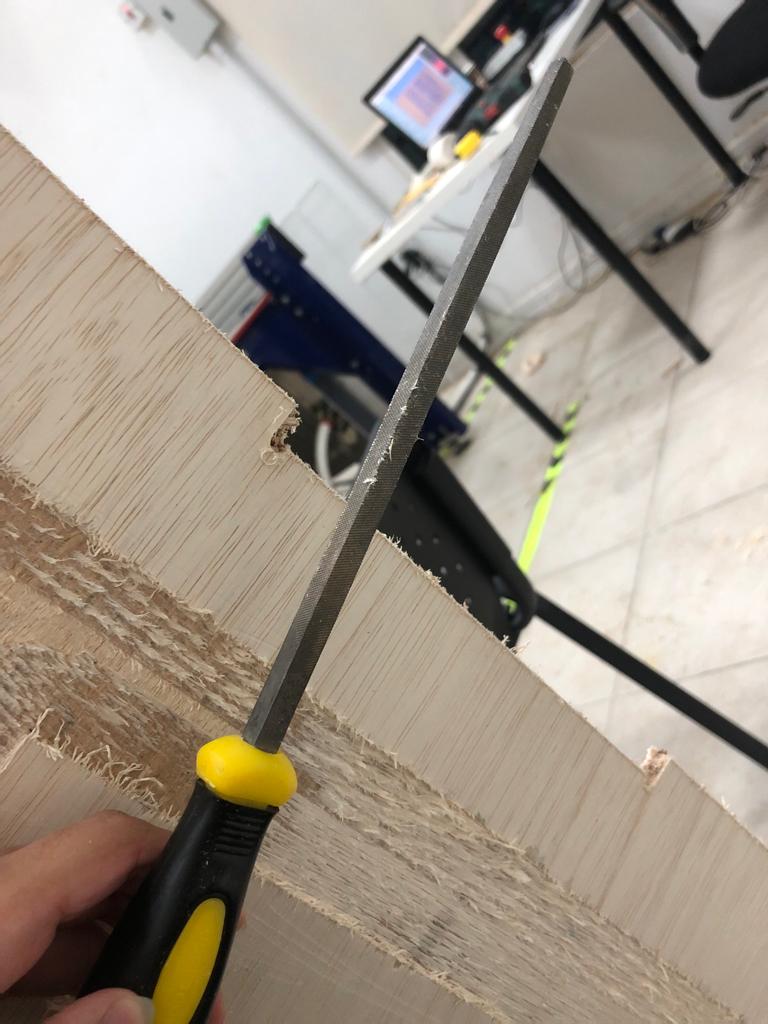
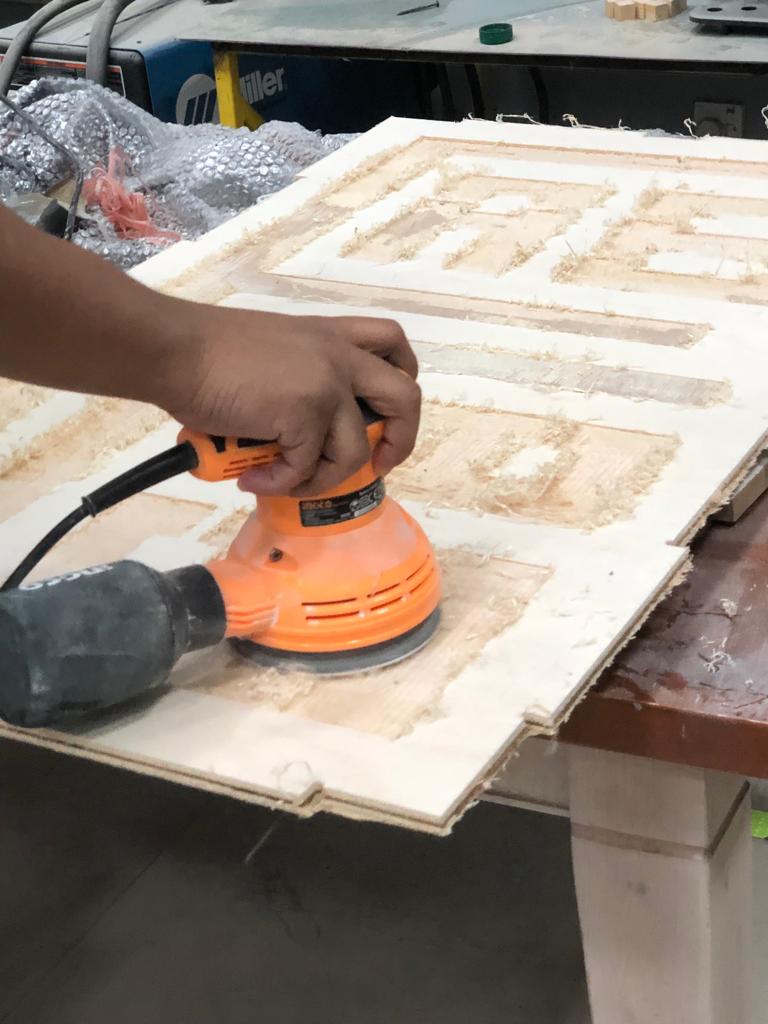
Different tools were used for cleaning.
A sanding machine was used to make the pieces smoother.
The pieces looks so much better.
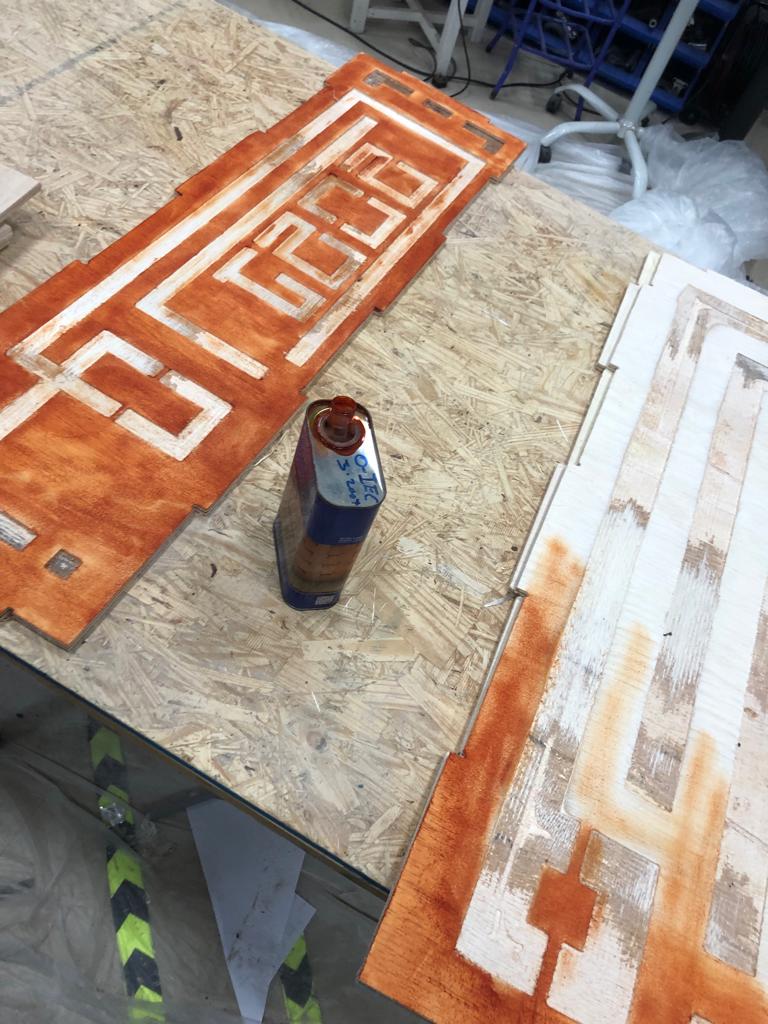
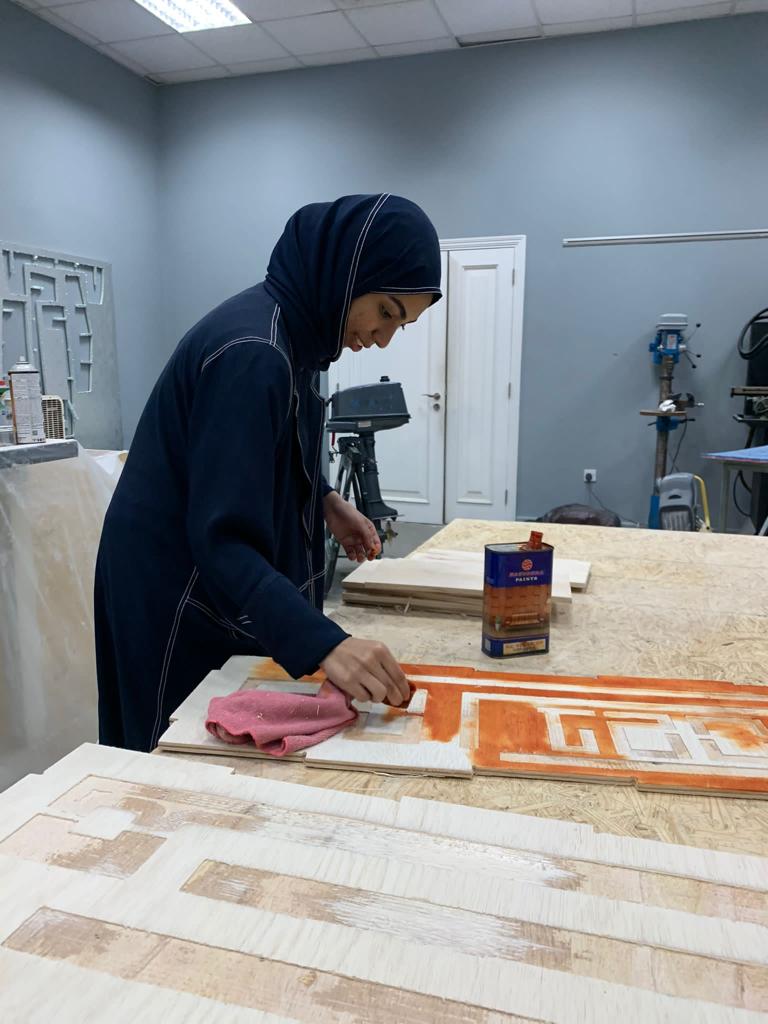
Them I started coloring them using wood stain.
An Obstacle
I made a mistake of not trying out the pieces before sanding or coloring them.
The design did not work out when I tried it. The finger joints were supposed to be aligned in a better way than I did and the joints on the bases were not in place.
What I did is that I fixed the finger joints with a nails-gun to hold the sides on place, but for the bases I had to recut them so that the joints are in their position.
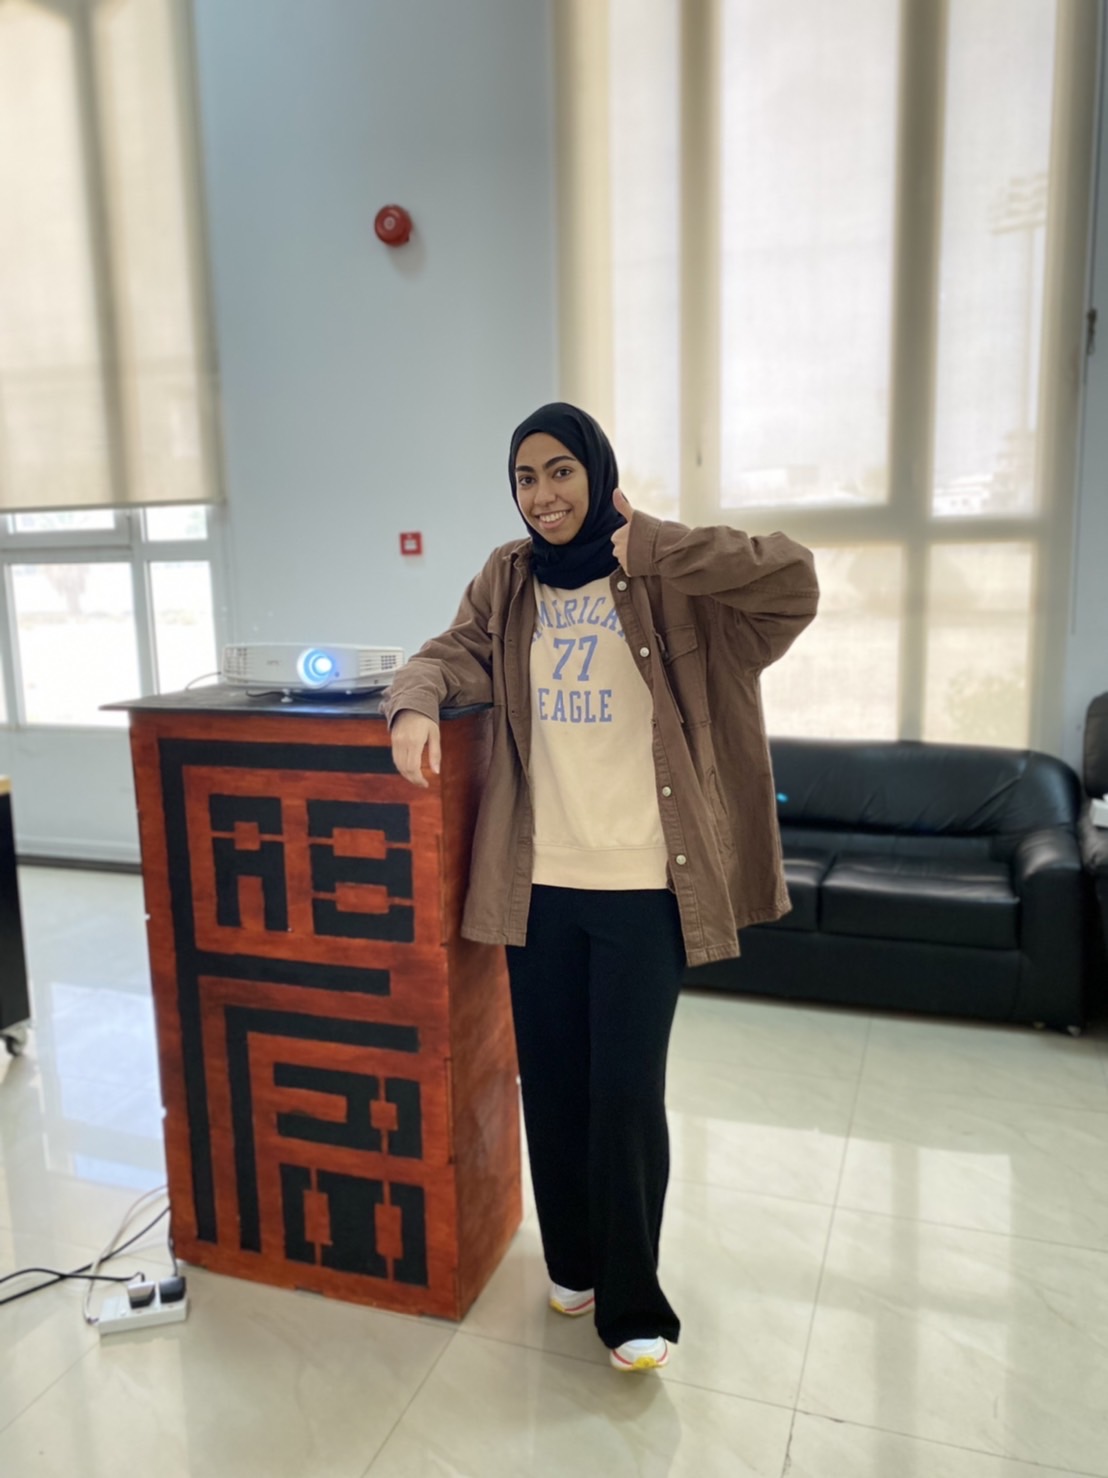
After all this fixing, The final product was there!
Here is a video of the Bukhoor stand with some Bukhoor in it XD.
Get in touch
Feel free to check my social media or email me for any discussion
I am active on Instagram, TikTok, and I check my email regularly.