3D Scanning & Printing

Overview

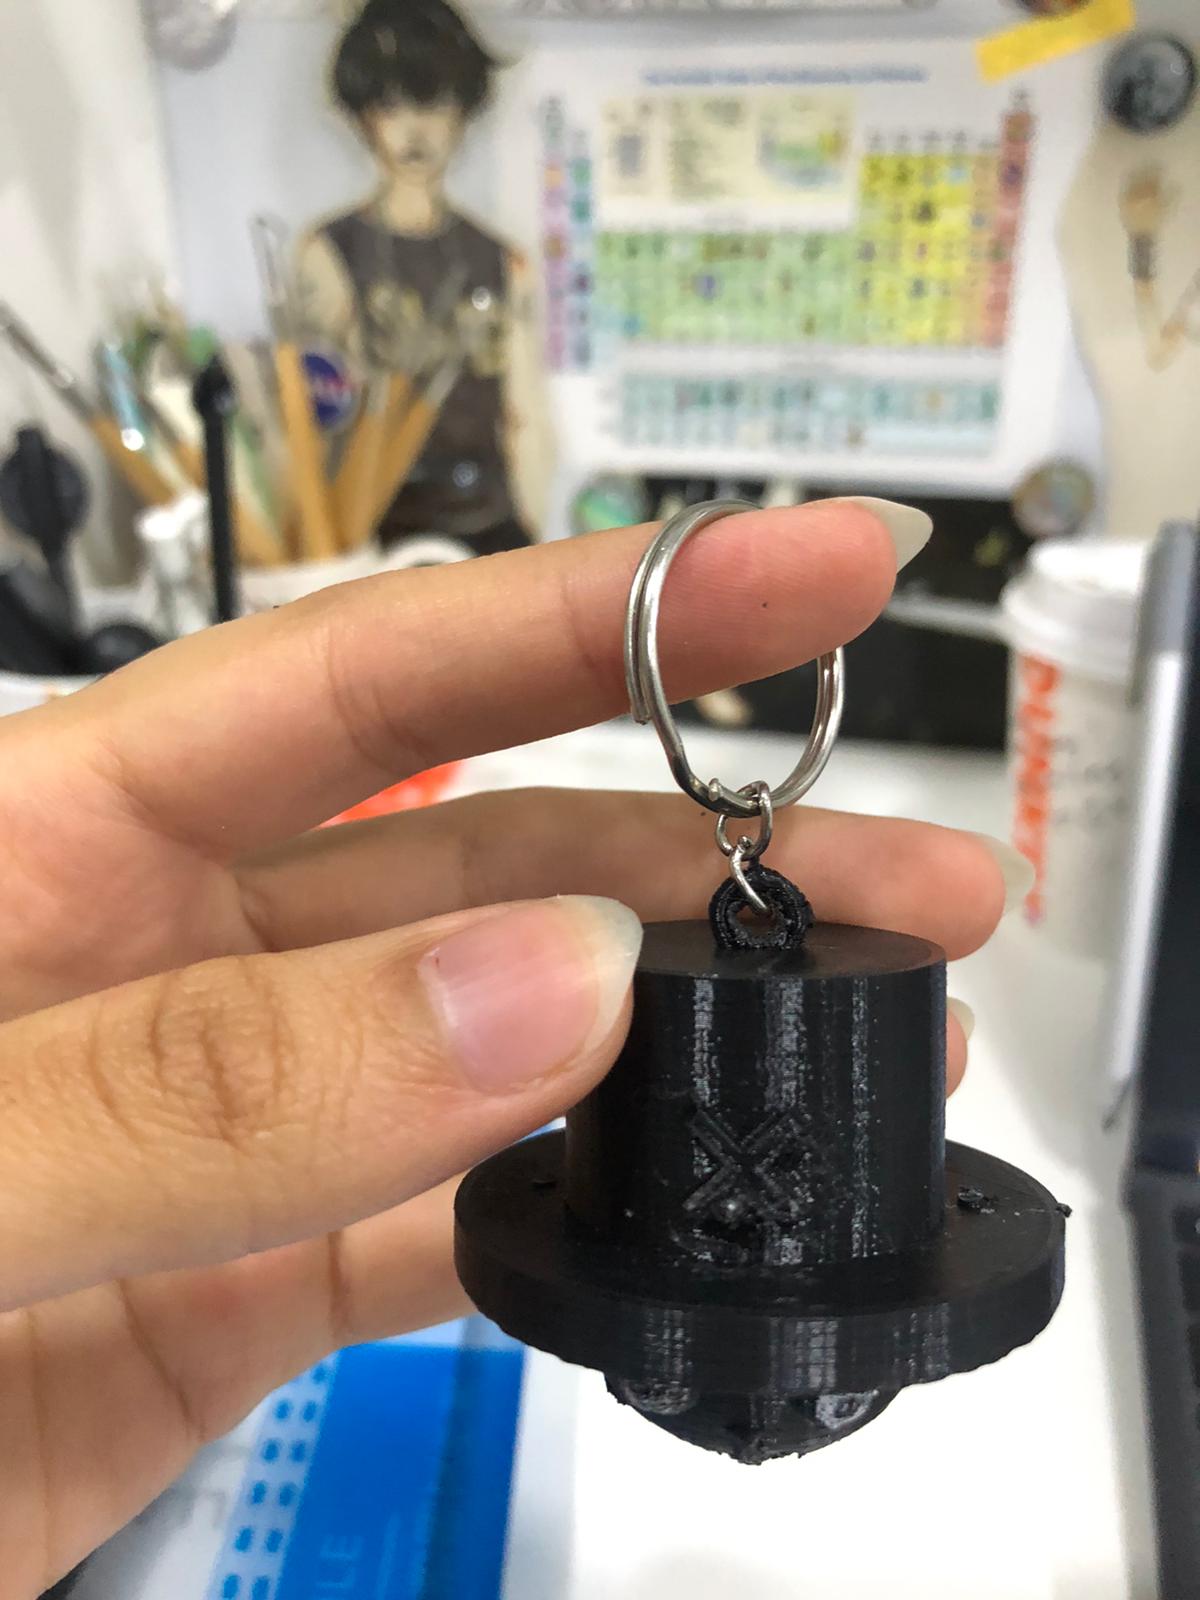
This week I worked on 3D scanning and 3D designing and printing.

3D Scanning

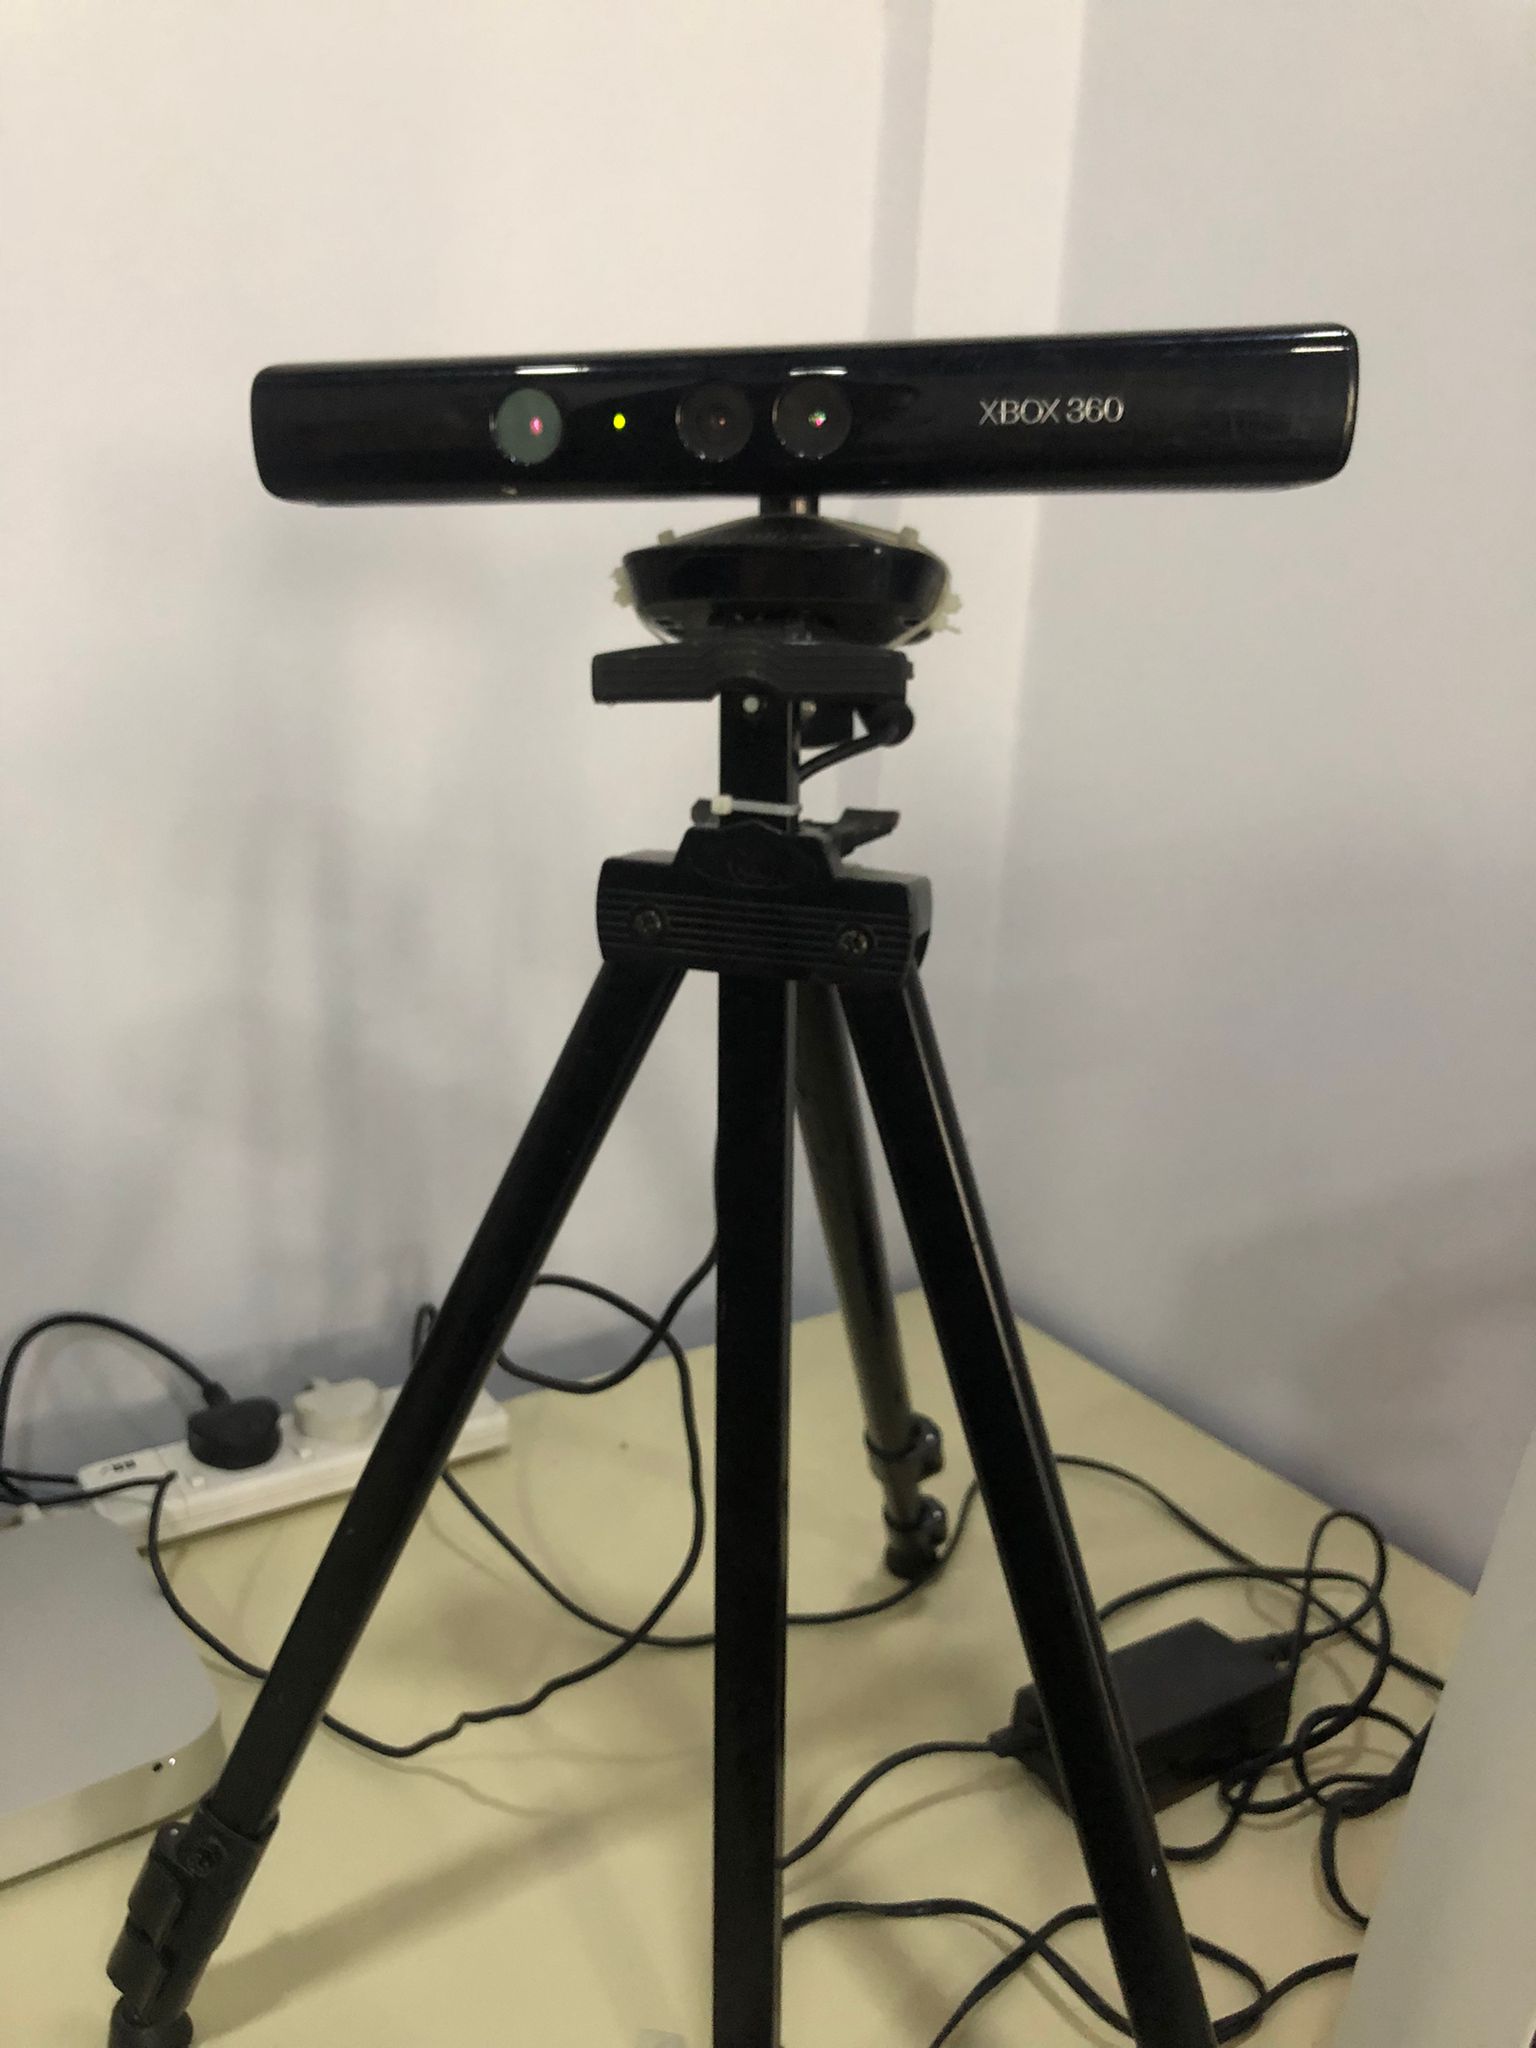
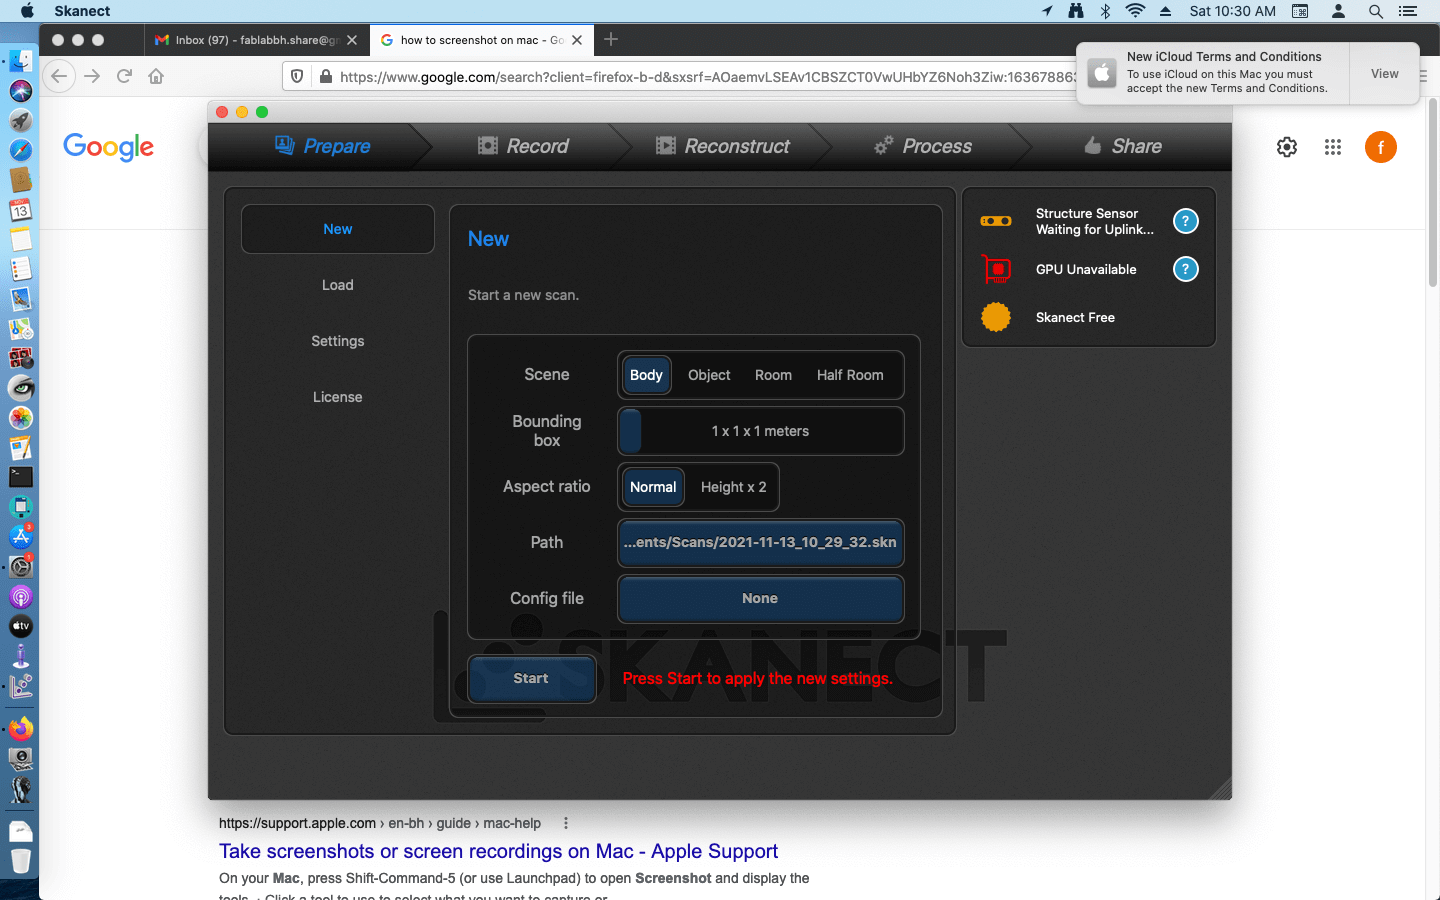
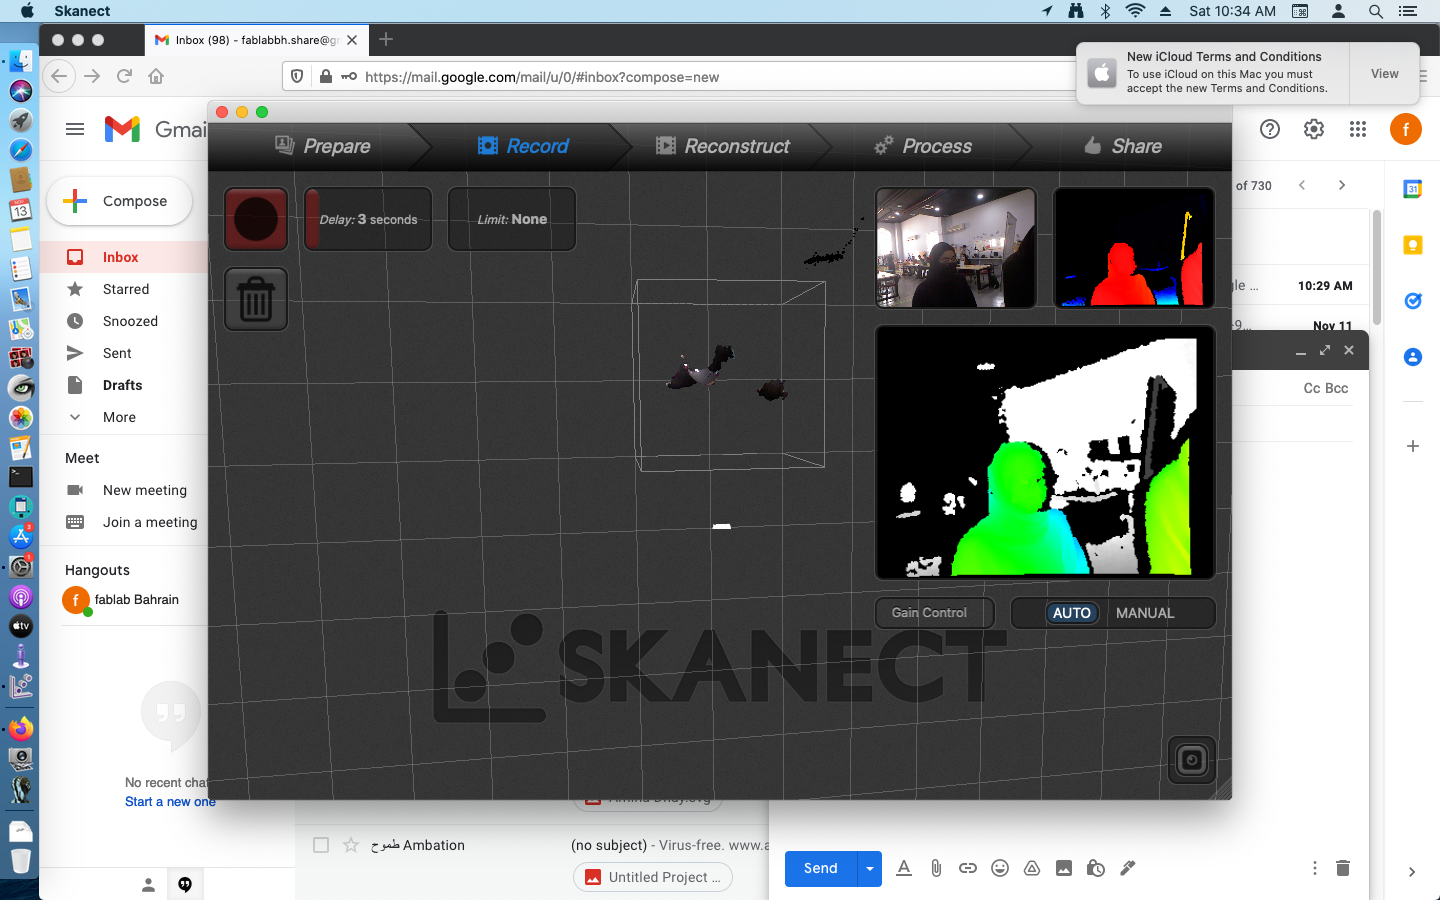
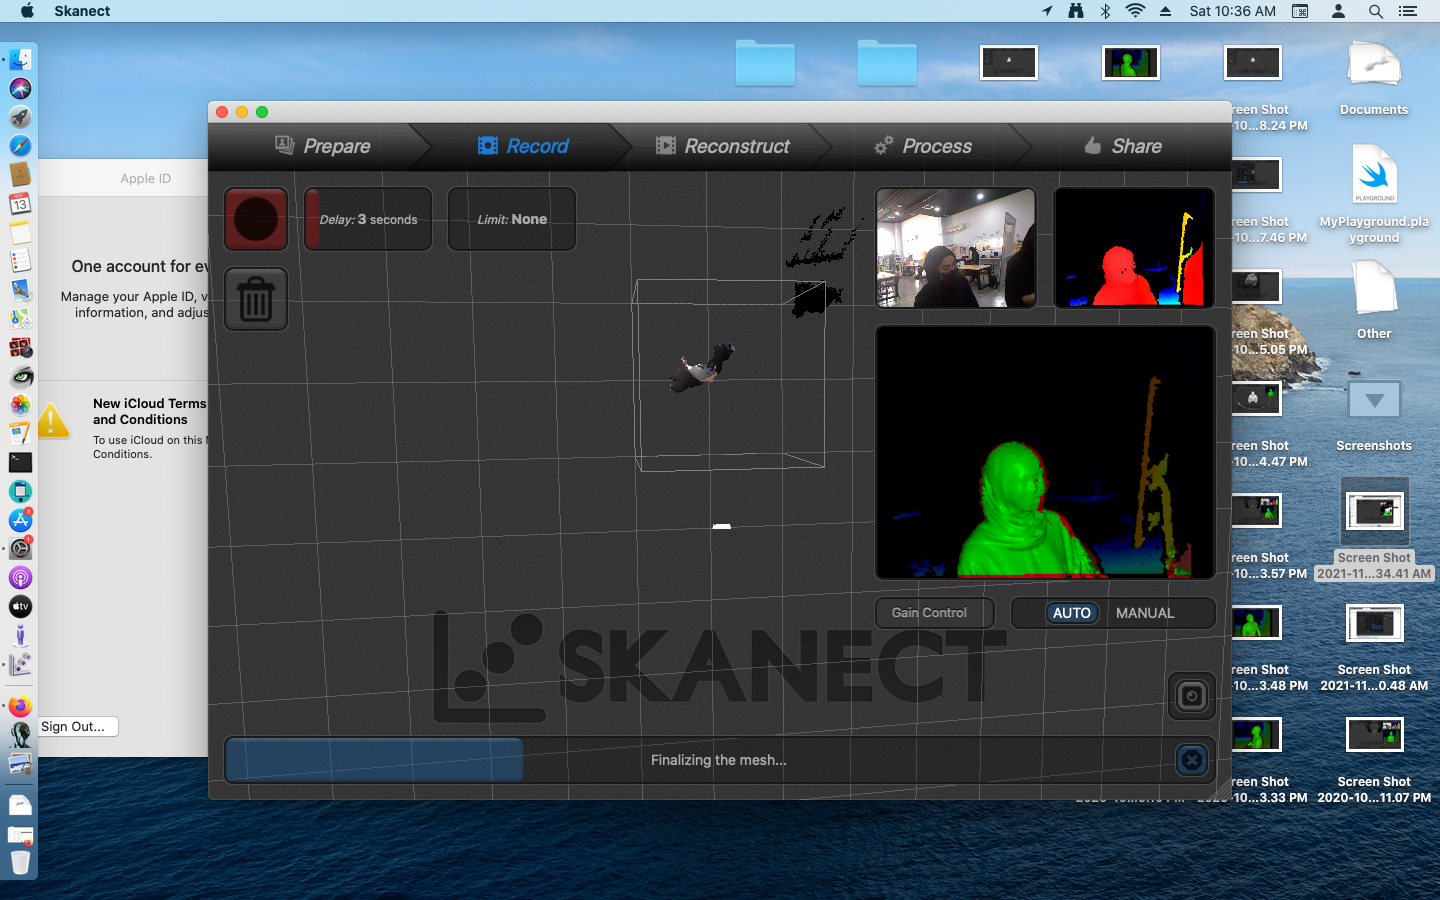
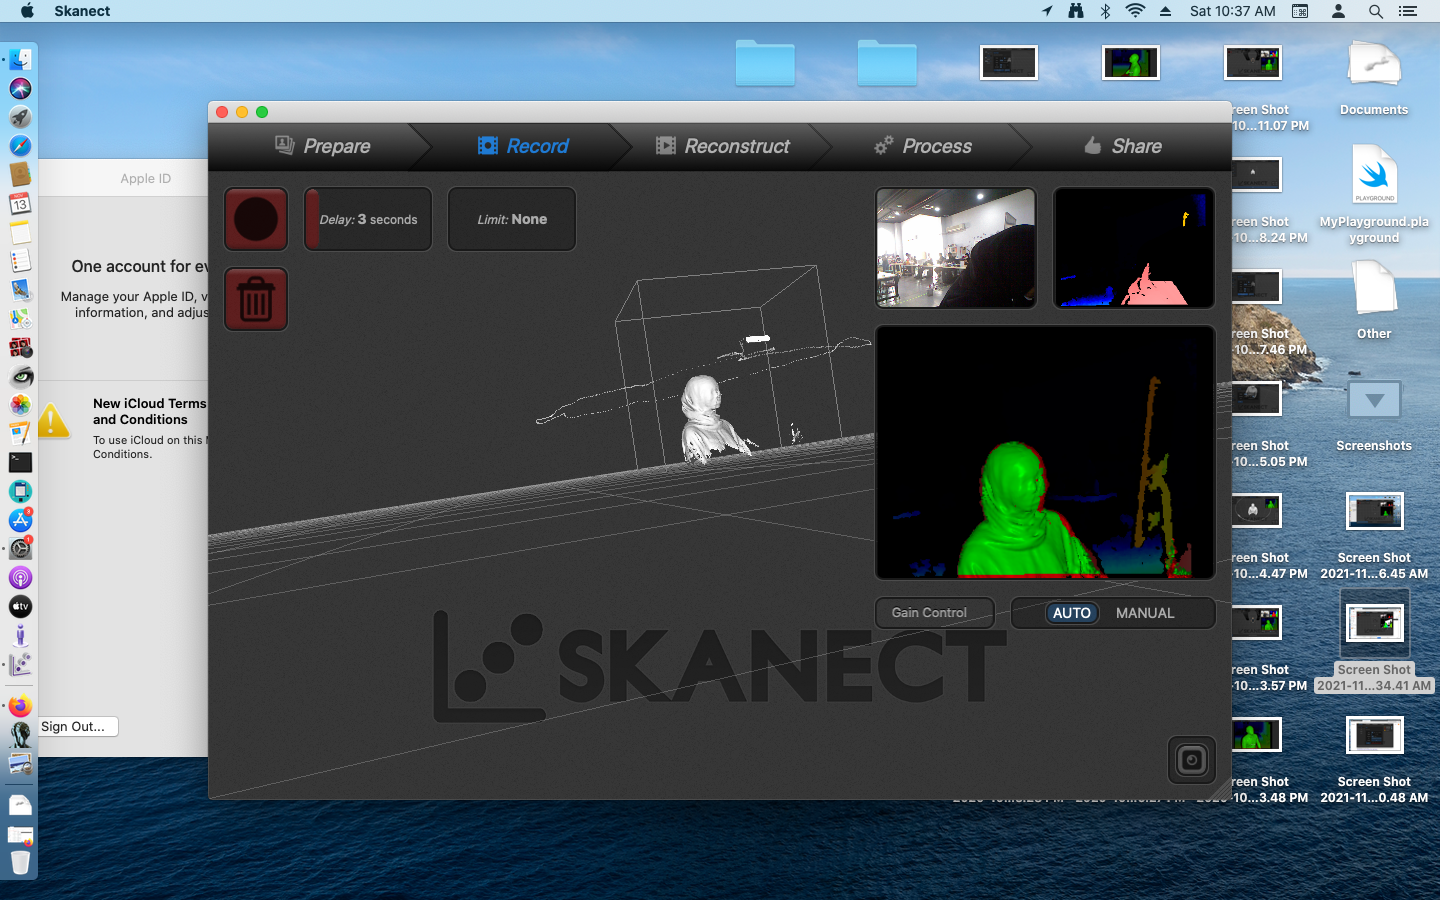
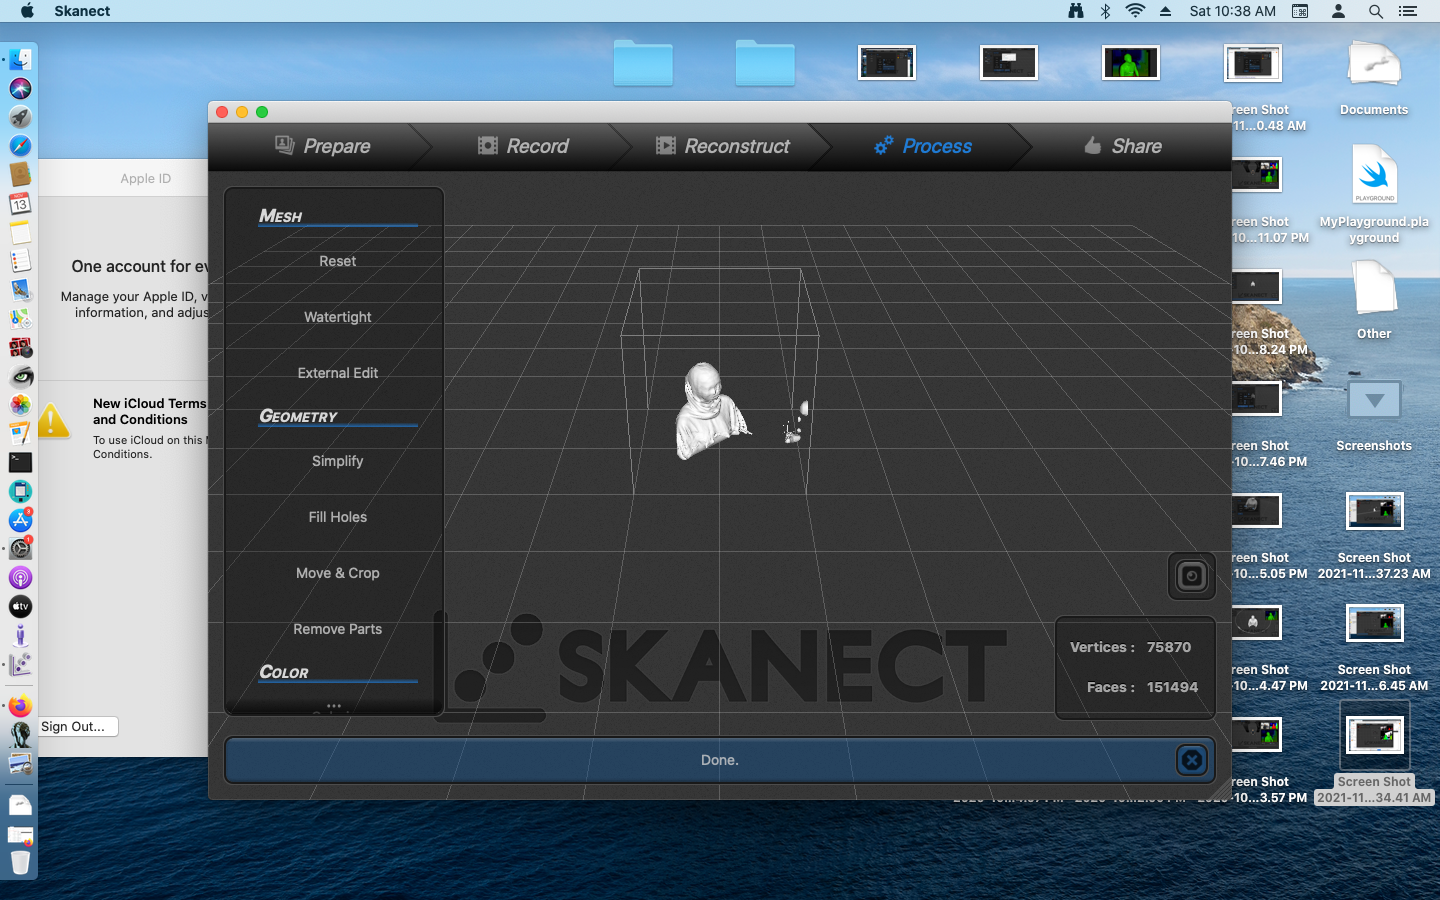
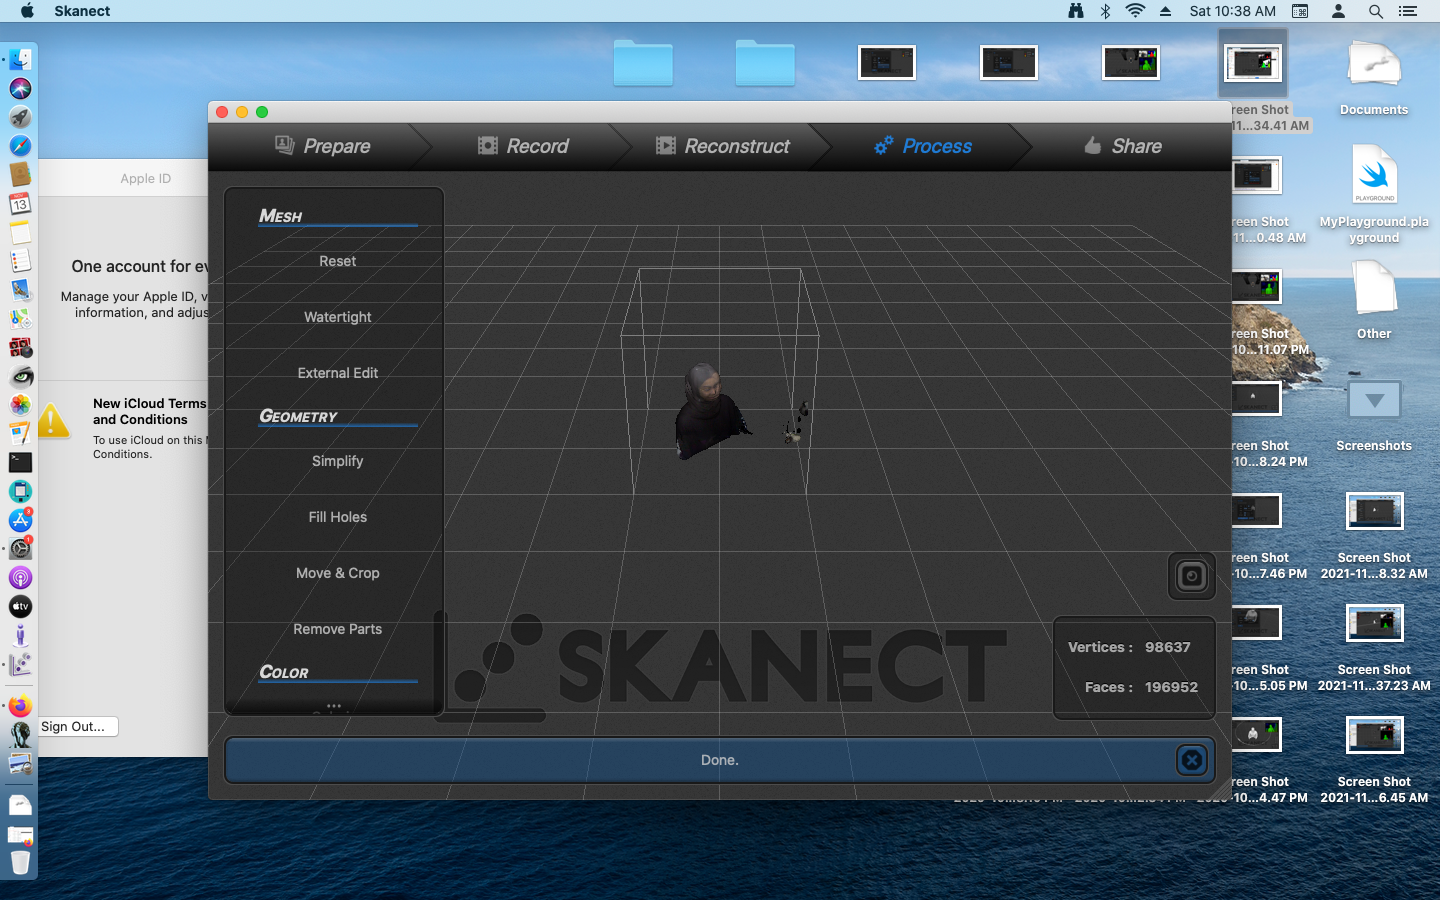
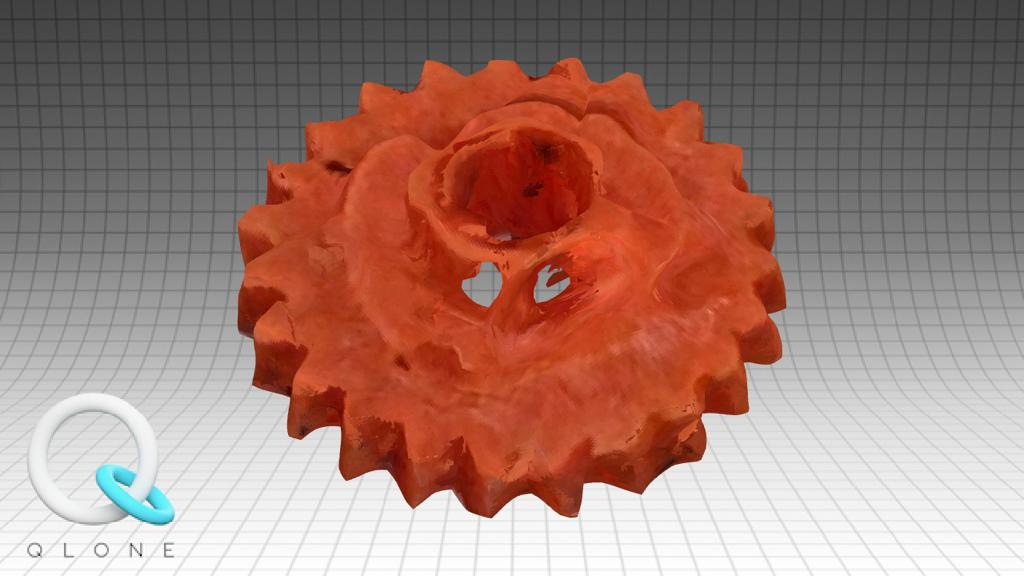
In 3D scanning, I used two methods. one by a mobile app and the other by Skanect.

Skanect

  • Skanect is a software used for 3D scanning.
  • from their official Skanect Website:

"With Skanect, capturing a full color 3D model of an object, a person or a room has never been so easy and affordable. Skanect transforms your Structure Sensor or Structure Core depth sensor into a low-cost 3D scanner able to create 3D meshes out of real scenes in a few minutes."
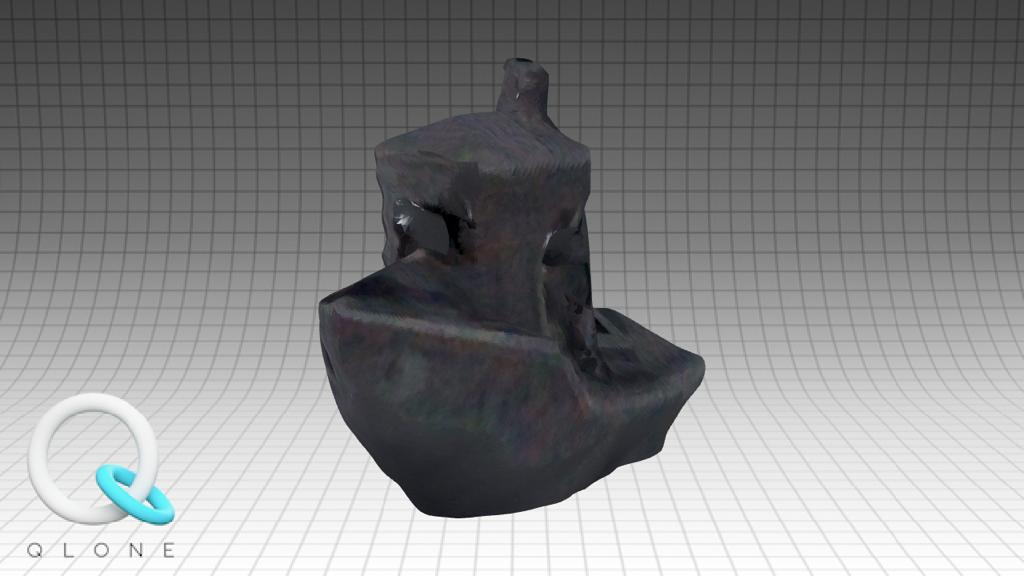
  • Skanect is easily used to scan rooms, objects, bodies, I used it to scan a human body, myself.

  • The scanner used is XBOX360 Kinect, which has a camera, and an infrared camera used to calculate the field of depth of and around an object.

  • The two cameras are good to calculate depths.

  • Prepare After connecting the scanner with USB to the computer, open Skanect, which will show the prepare page. You can choose the scene scanned and other sitting. then press Start.

  • Record It will begin detecting the body based on the sitting, and will start recording. I moved myself 360 degrees using a rotating chair. The body scanned needs to be green in the cube shown in the screen.

  • Reconstruct After finishing, it will show the full scanned body.

  • Process In the process, you can see the colored scanned object, and fix the missing scanned parts like the top of my head, and the down edges from Geometry > Fil Holes


To Download the stl file:


Qlone

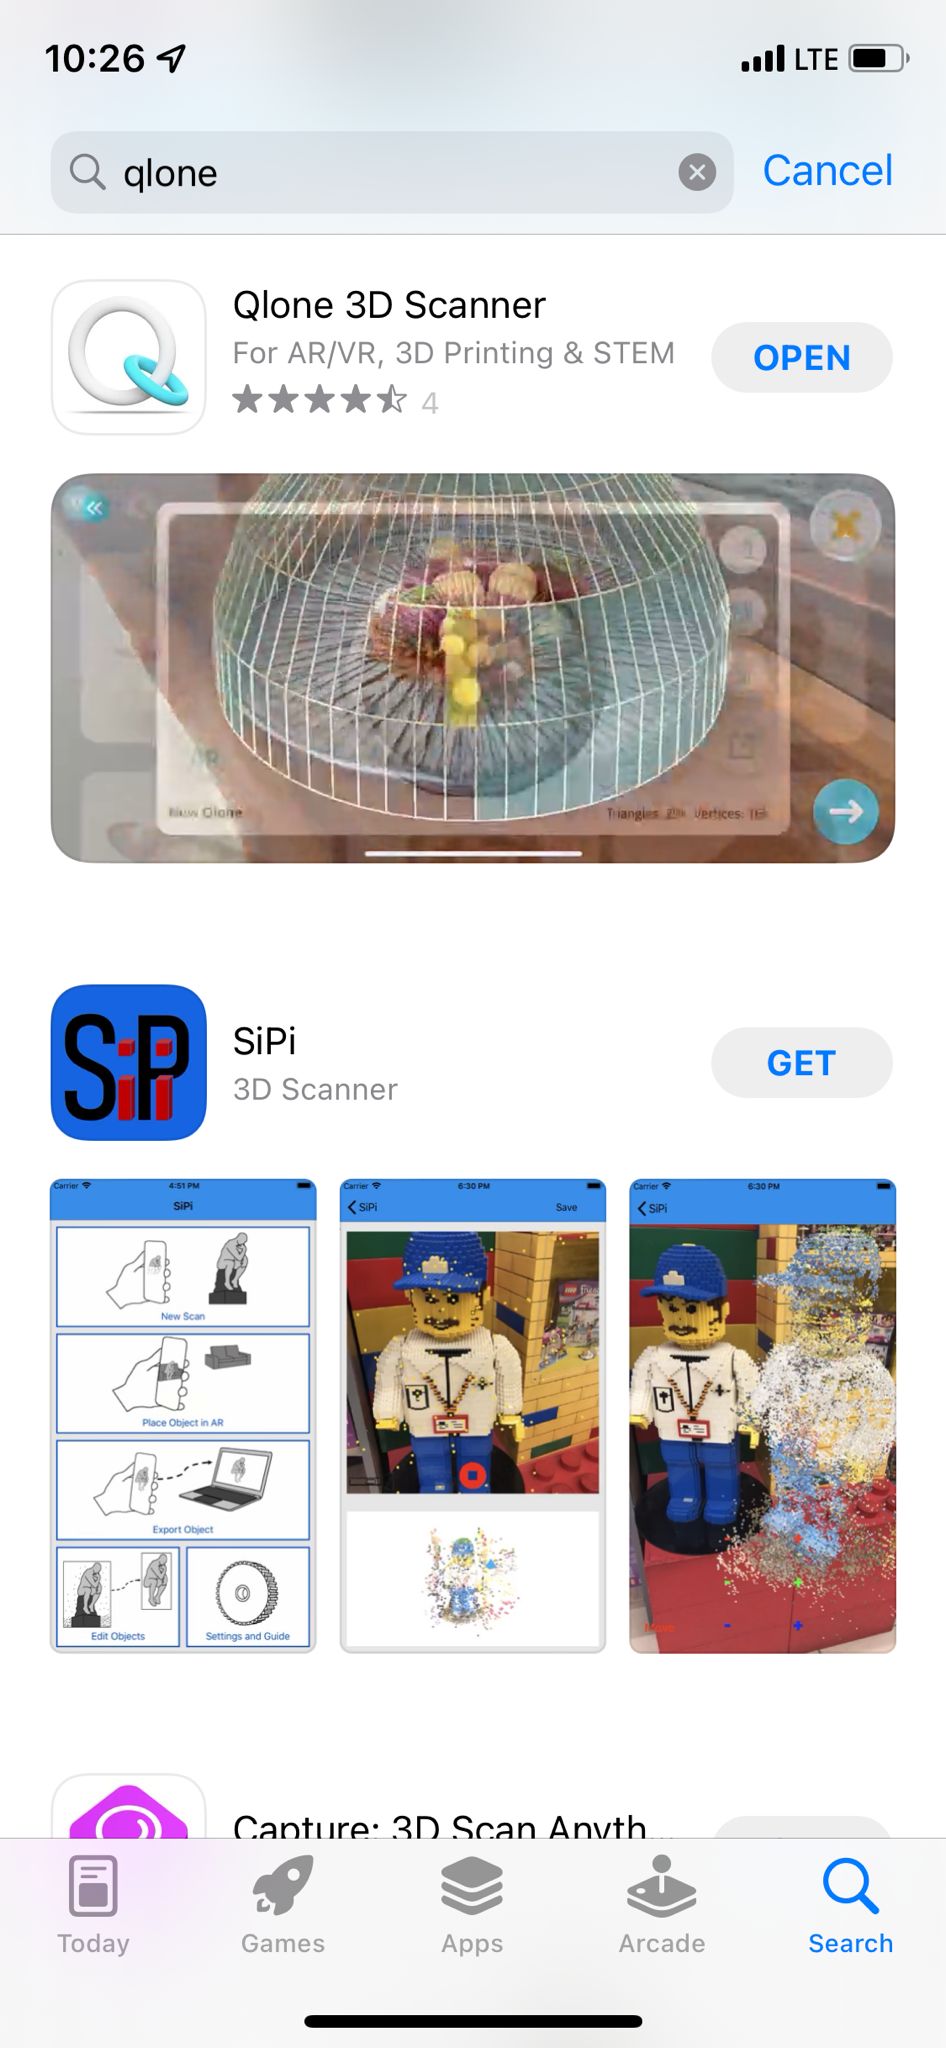
  • Qlone is a mobile app that uses the phone's camera for 3D scanning.

  • I downloaded the app from the App Store on my iphone X.

  • After downloading the app it goes with you on a tutorial on how to use it.

  • You will need to print a mat that you can download from their website, the mat is useful for the app to detect directions of the object scanned.

  • Object can be scanned without the mat.

1st Attempt

  • First, I tried to scan a boat that was previously printed using a 3D printer, this is the boat on the mat.

  • A dome will appear, it is supposed to be blue and not red.

  • move the camera, or the object all around the dome till it is all clear.

  • The result was as seen, the details and windows of the boat were not scanned right.

2nd Attempt

  • Then I tried to scan this tower.

  • The results were way better than the 1st attempt. The depth between the two towers was scanned, it also scanned the details such as the lines on the towers.

3rd Attempt

  • Then I tried scanning this object.

  • The process looked pretty good as I was moving the camera all around the object.

  • But the results were something else. The object was so deformed and out of shape, even the outer edges were not good. A good thing is that it scanned the hole in the middle because the mat appeared under it.

4th Attempt

  • Then I tried scanning the 3D printed Pikachu.

  • The processing was not giving me hope of a good result.

  • But it was better than expected, and comparing it to the previous attempt it is excellent.

5th Attempt

  • Finally I tried canning an object that was not 3D printed before, my Airpods case.

  • On a first look it appears to alright with all the colors and shapes.

  • Rotating it was a shock, it looked like a different character.


Evaluation the limitations

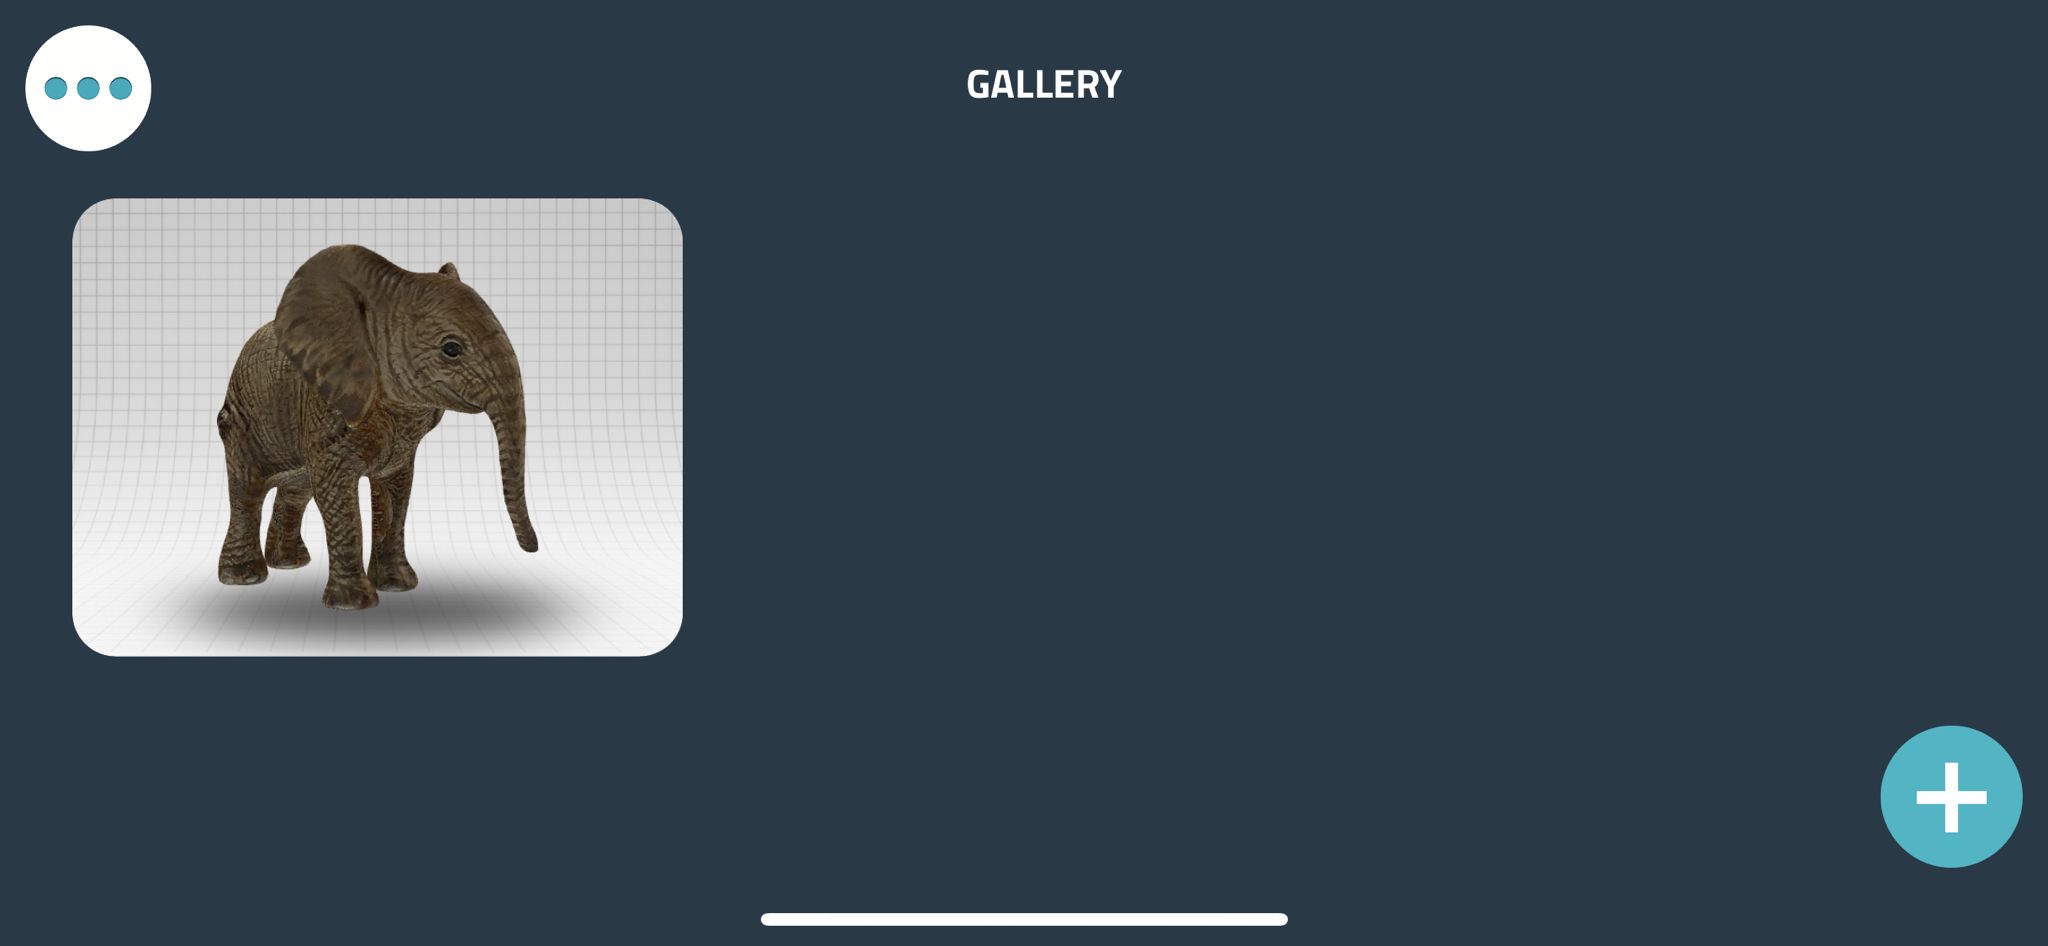
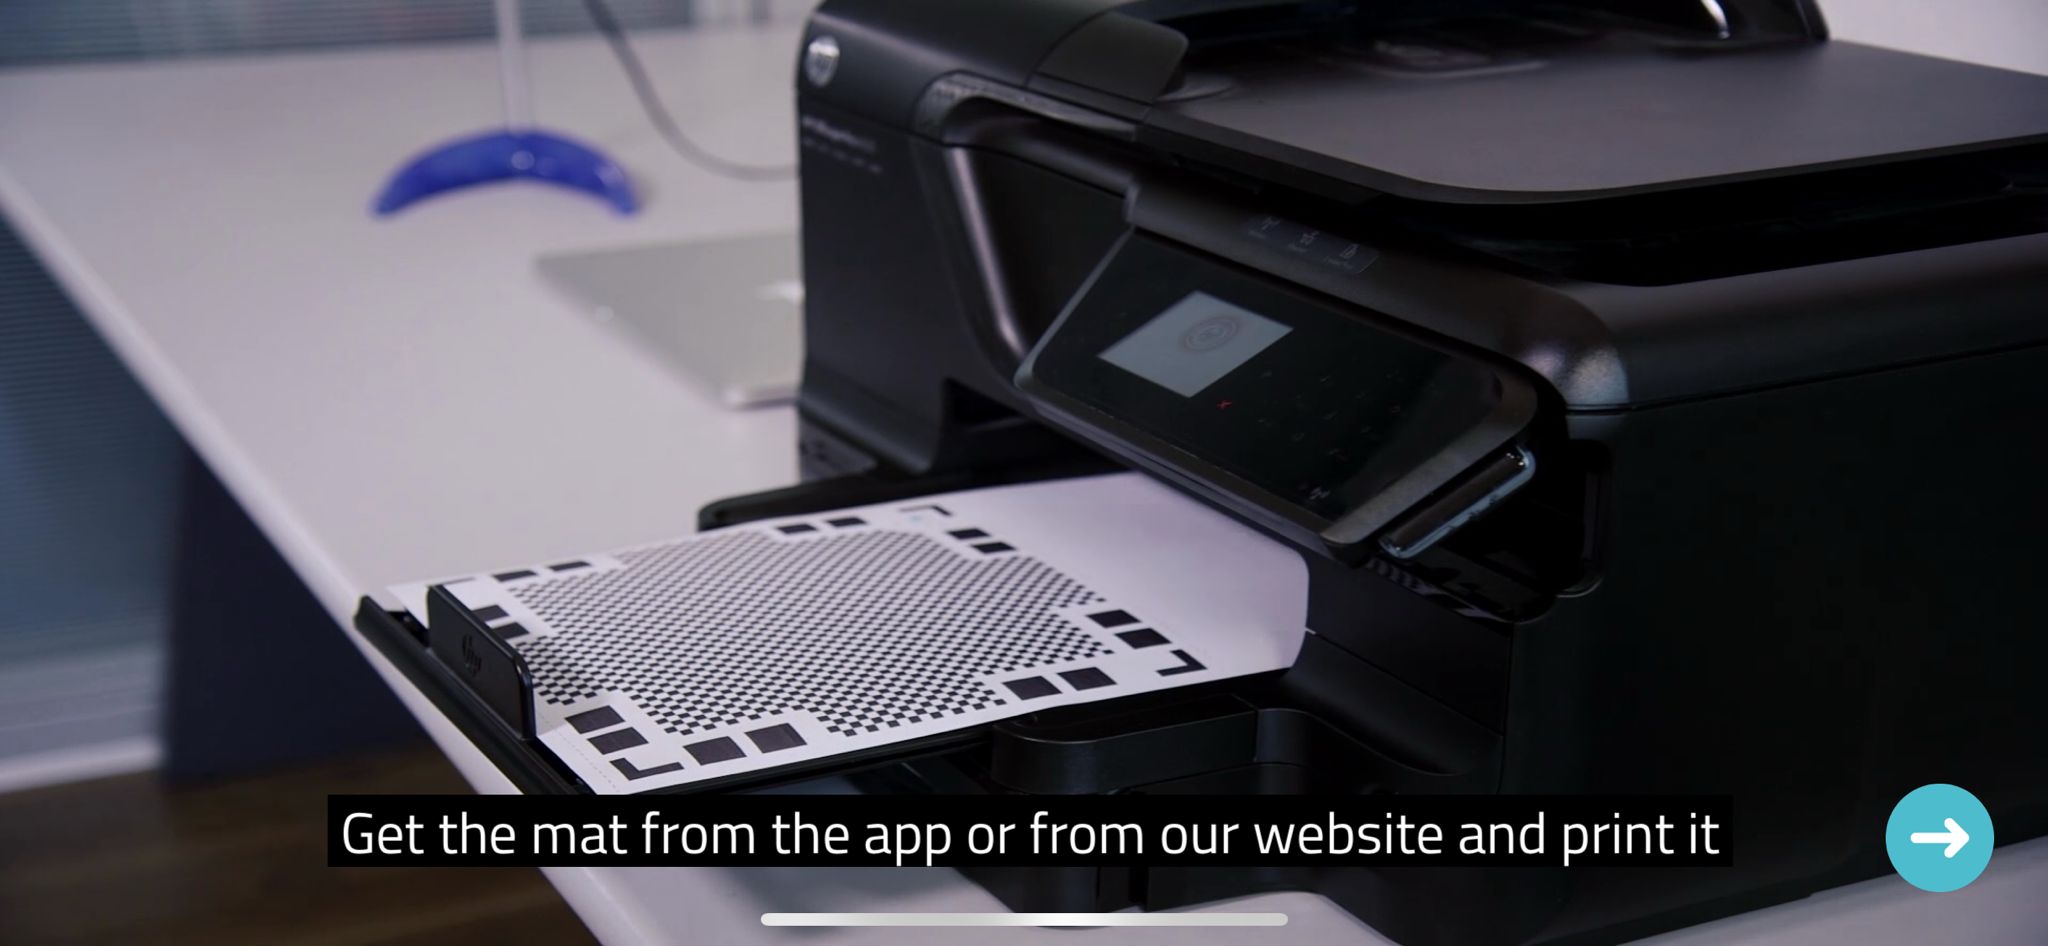
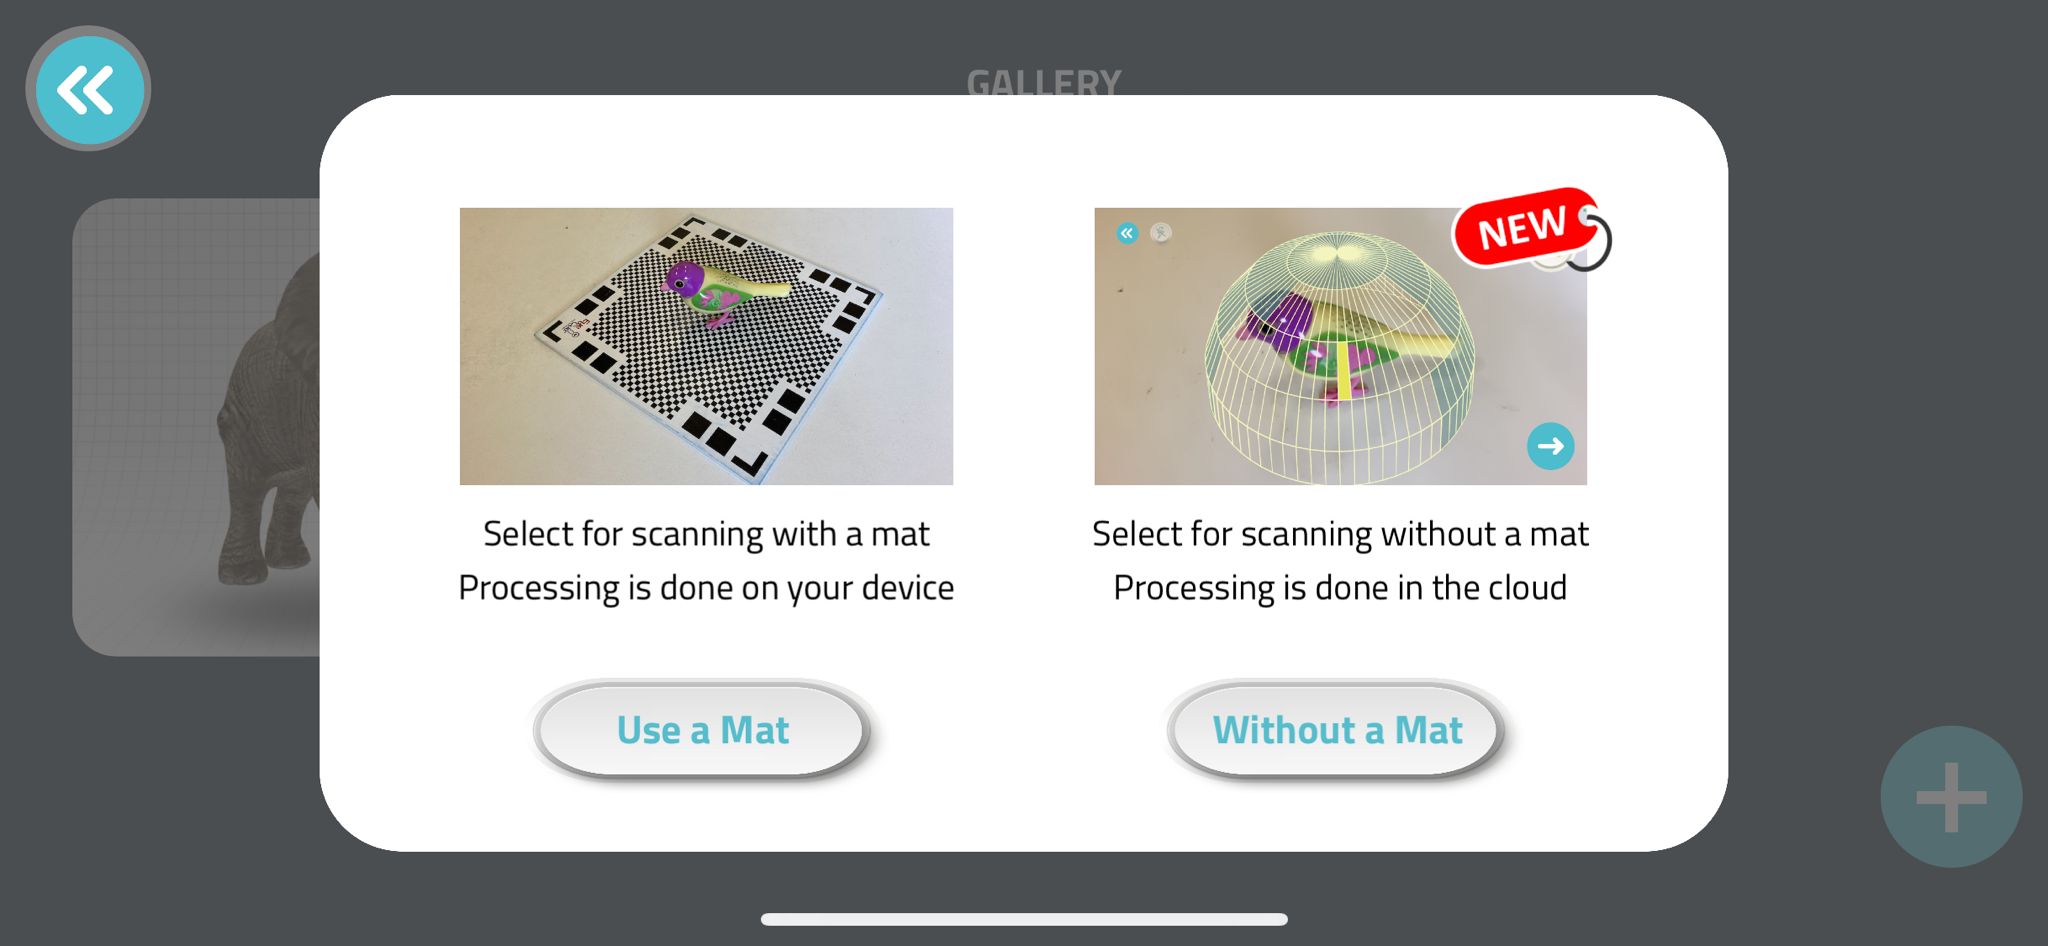
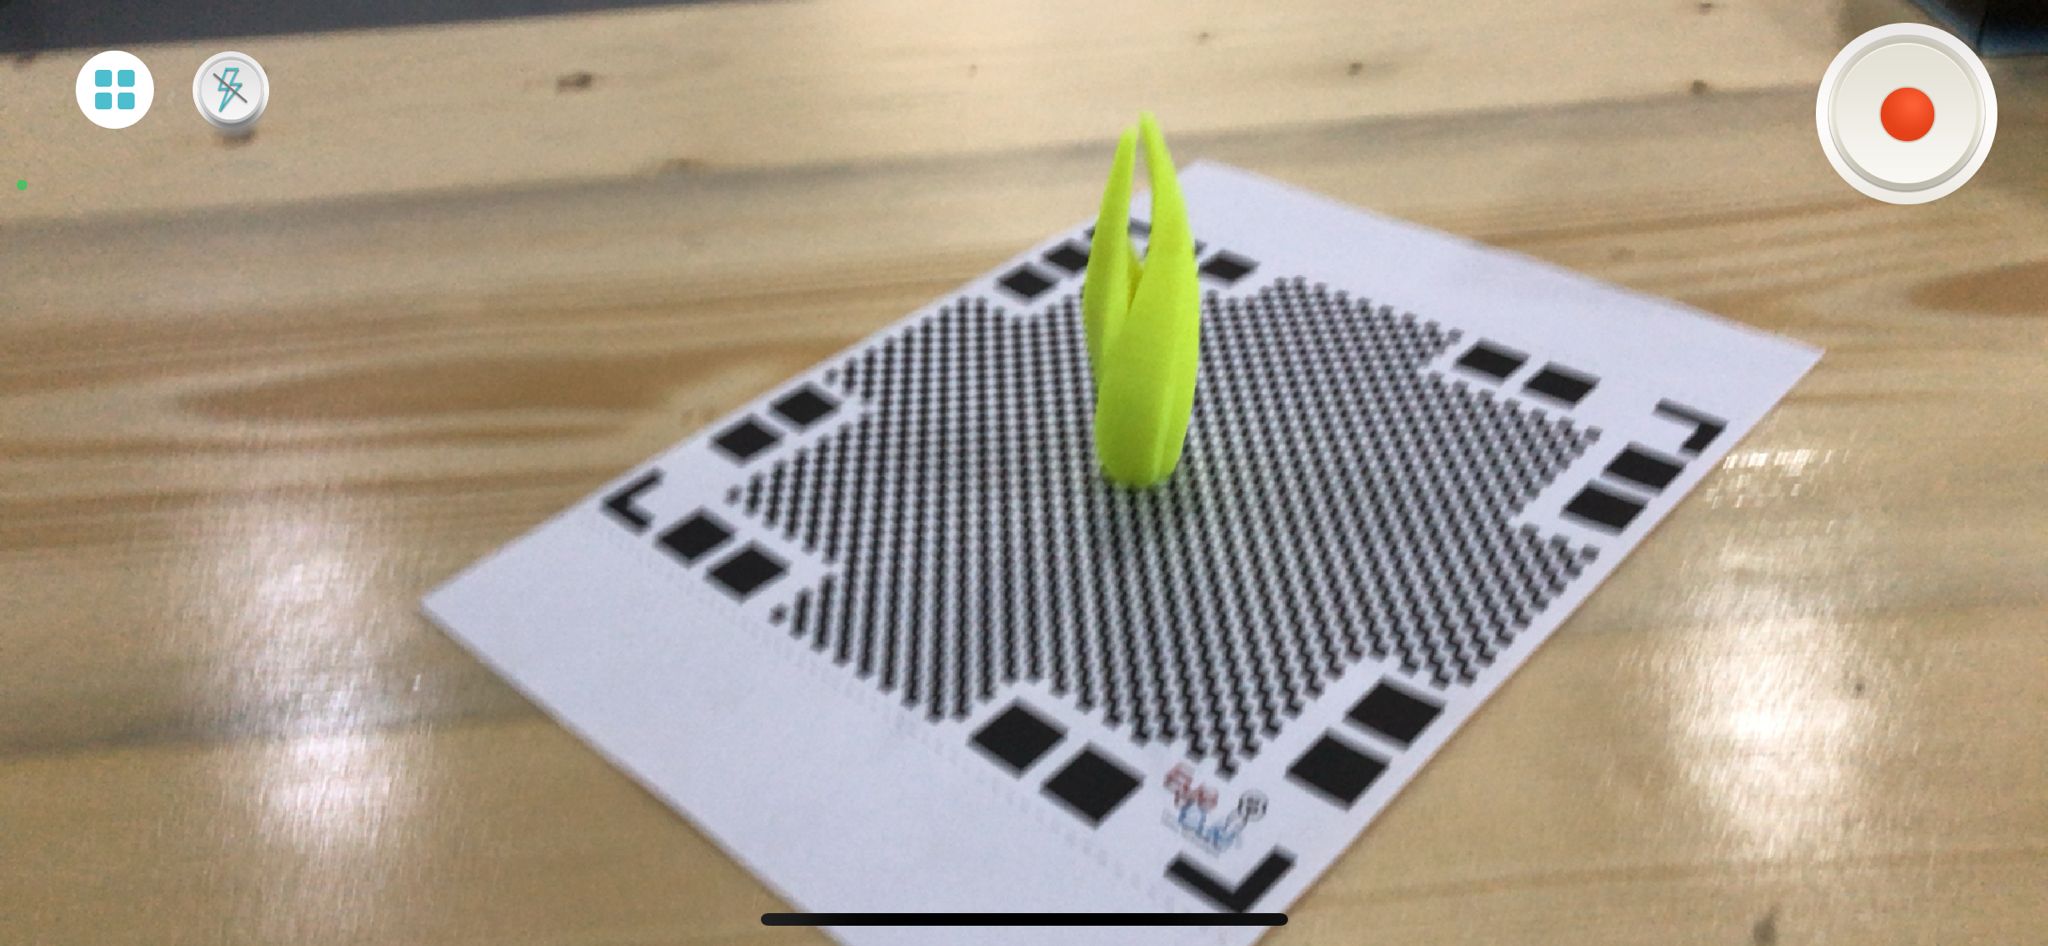
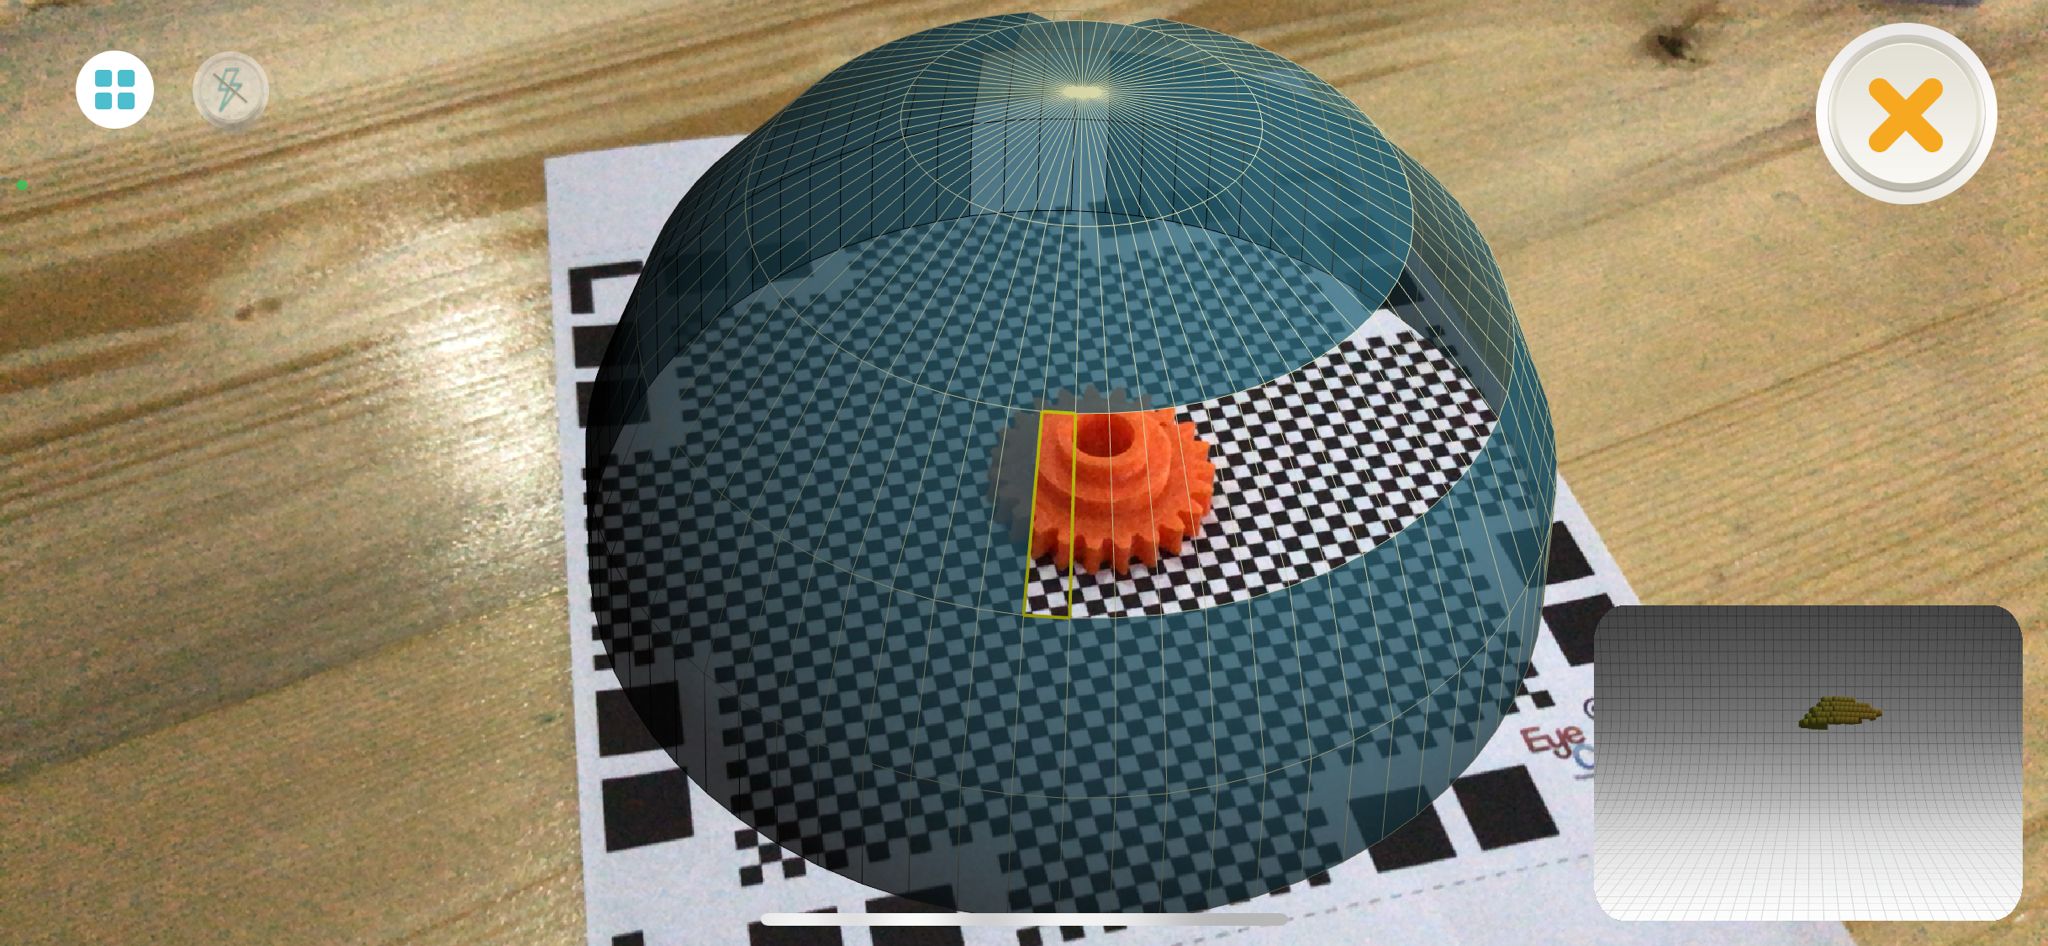
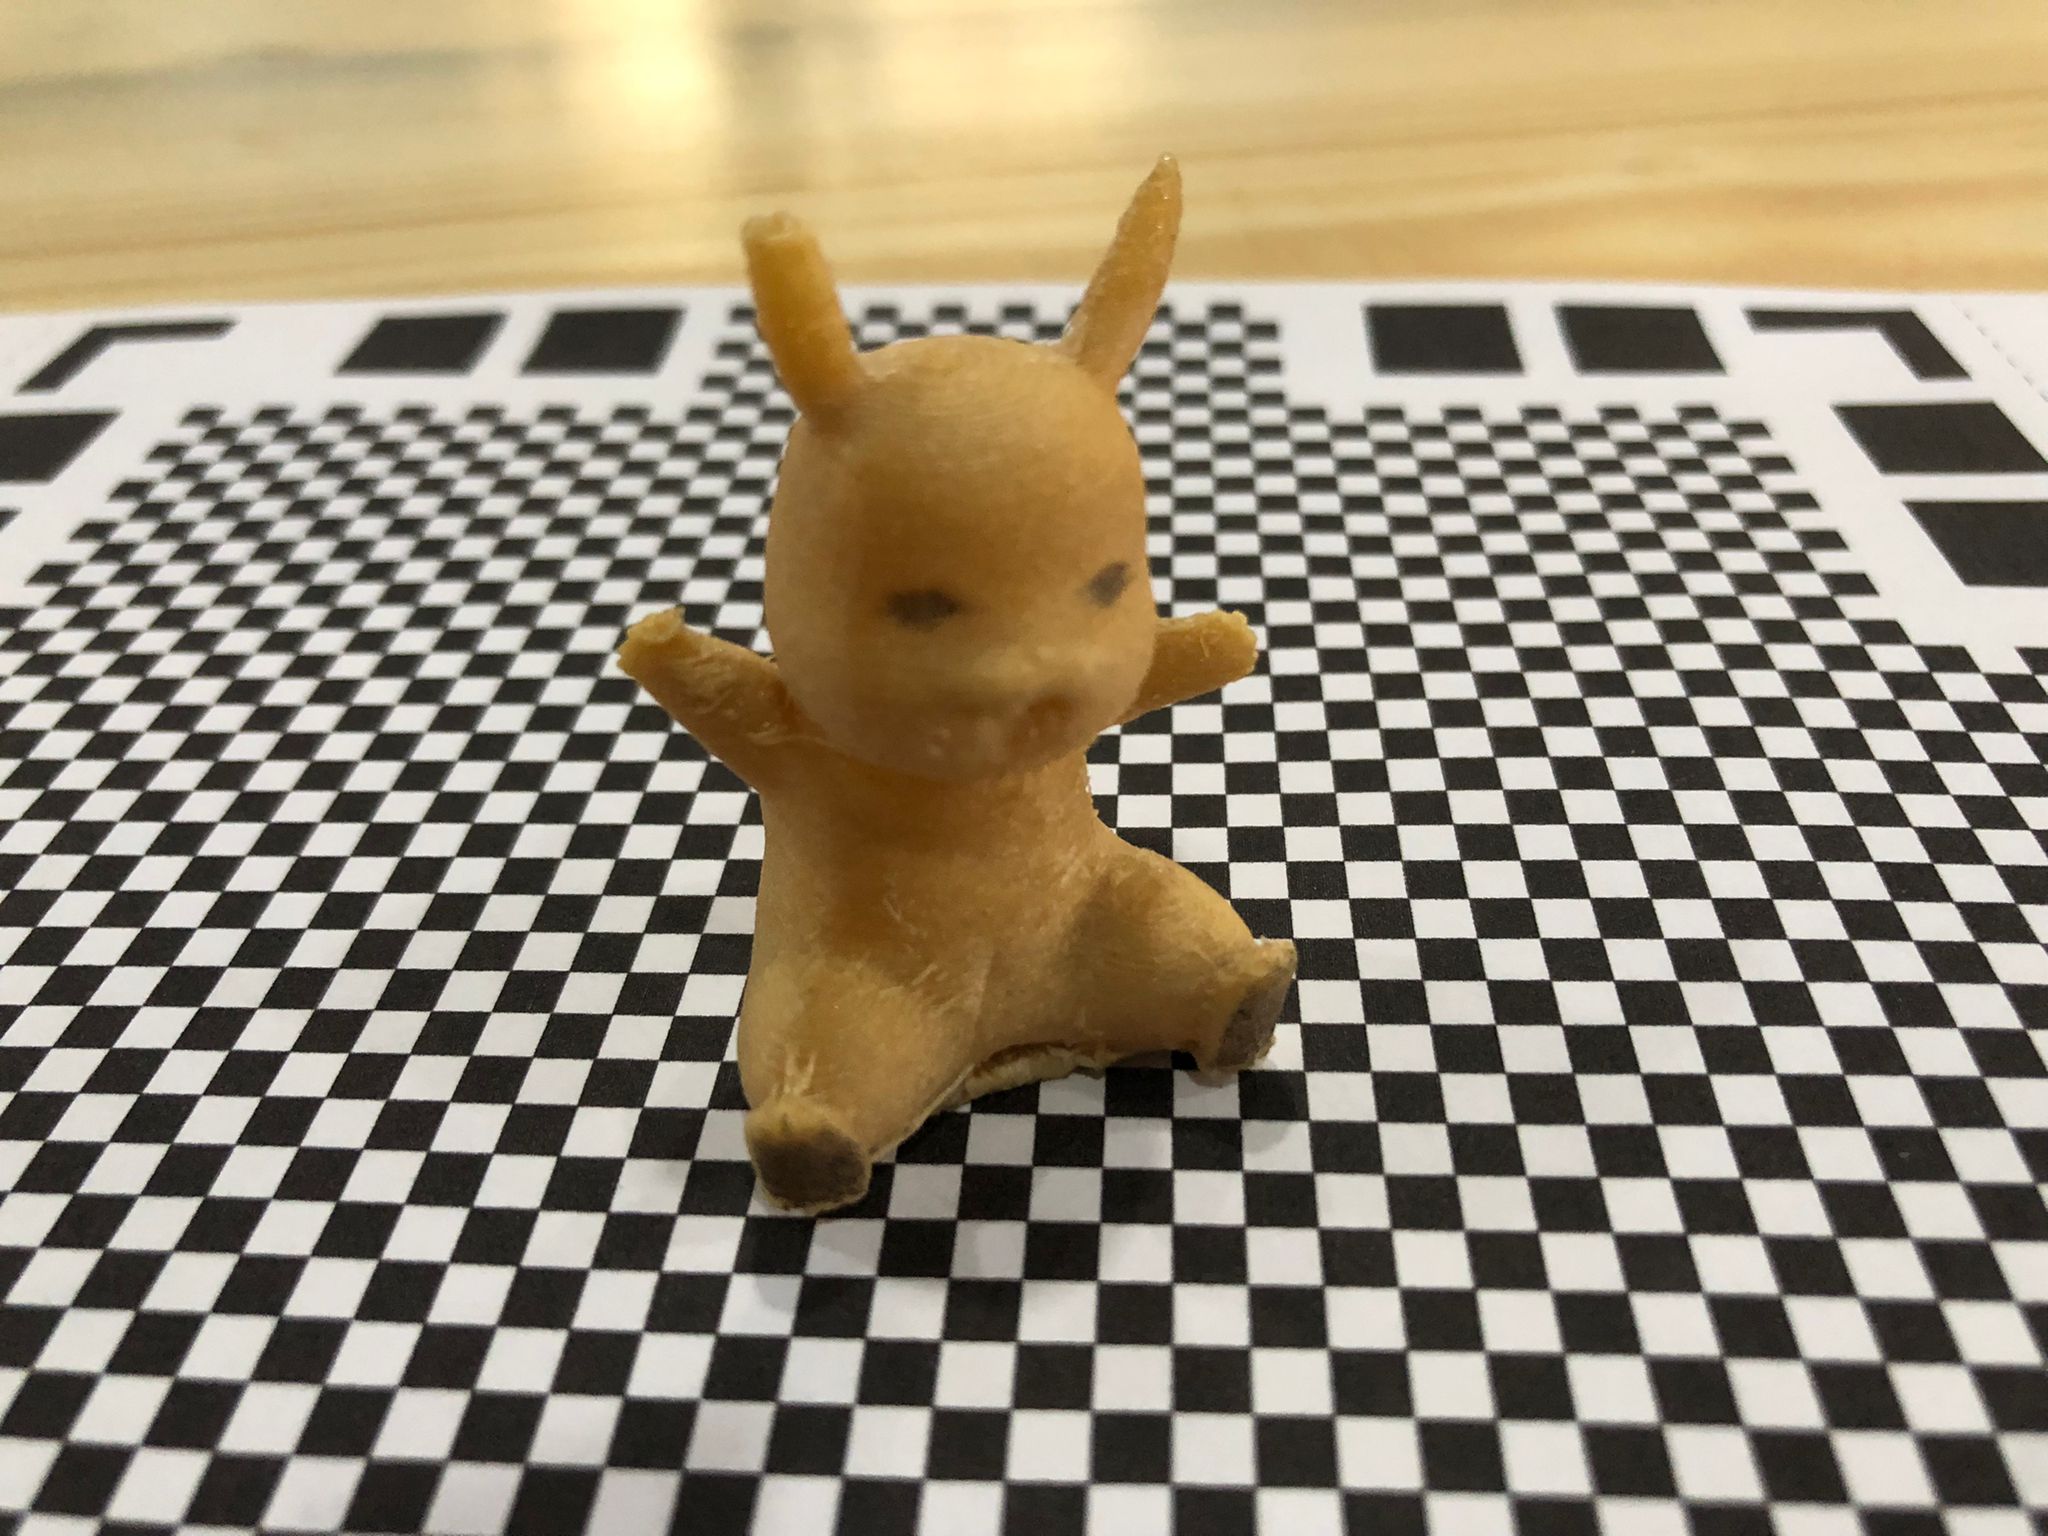
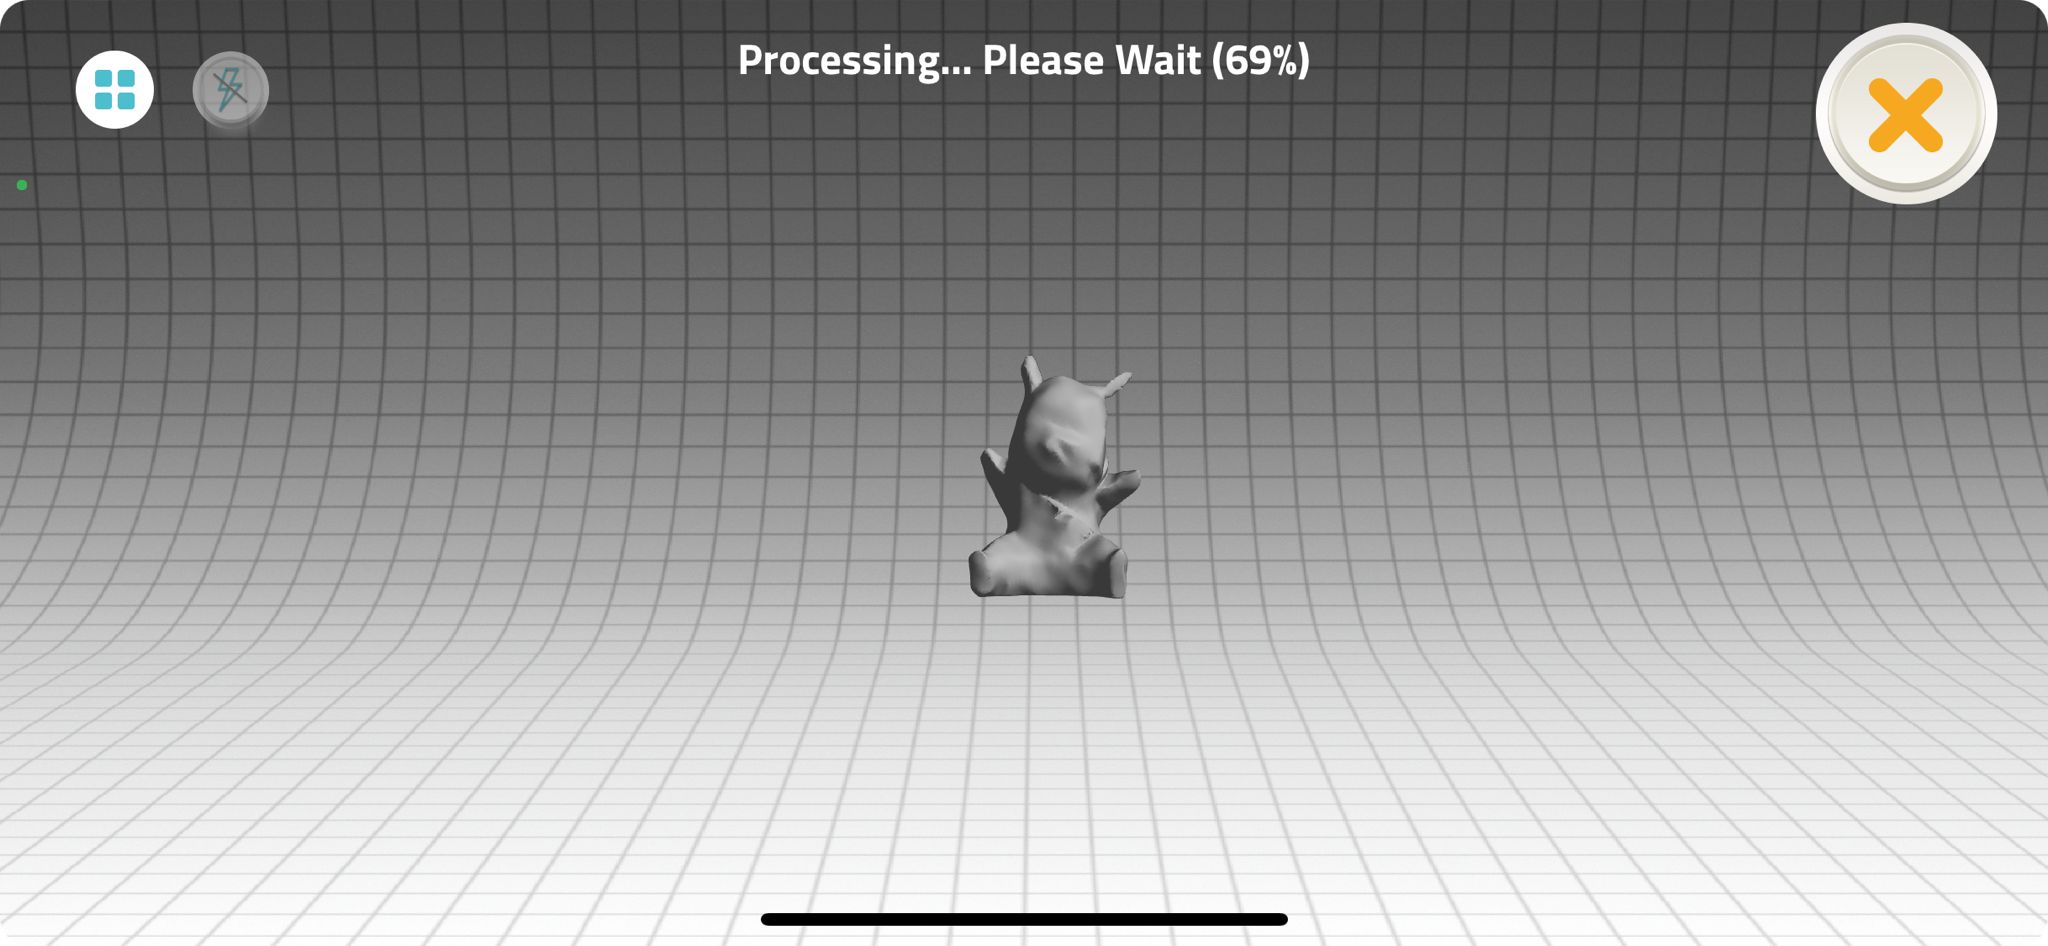
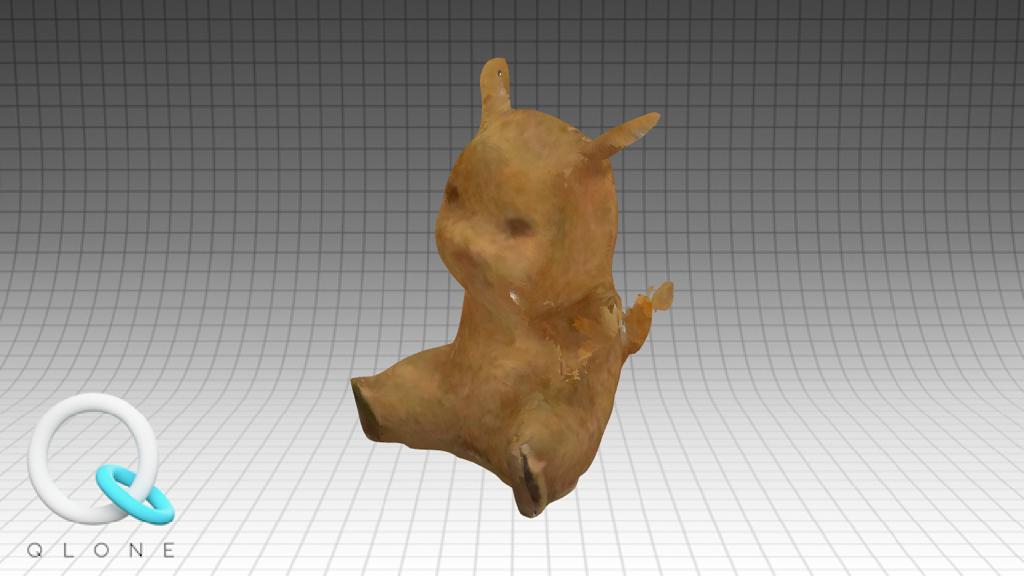
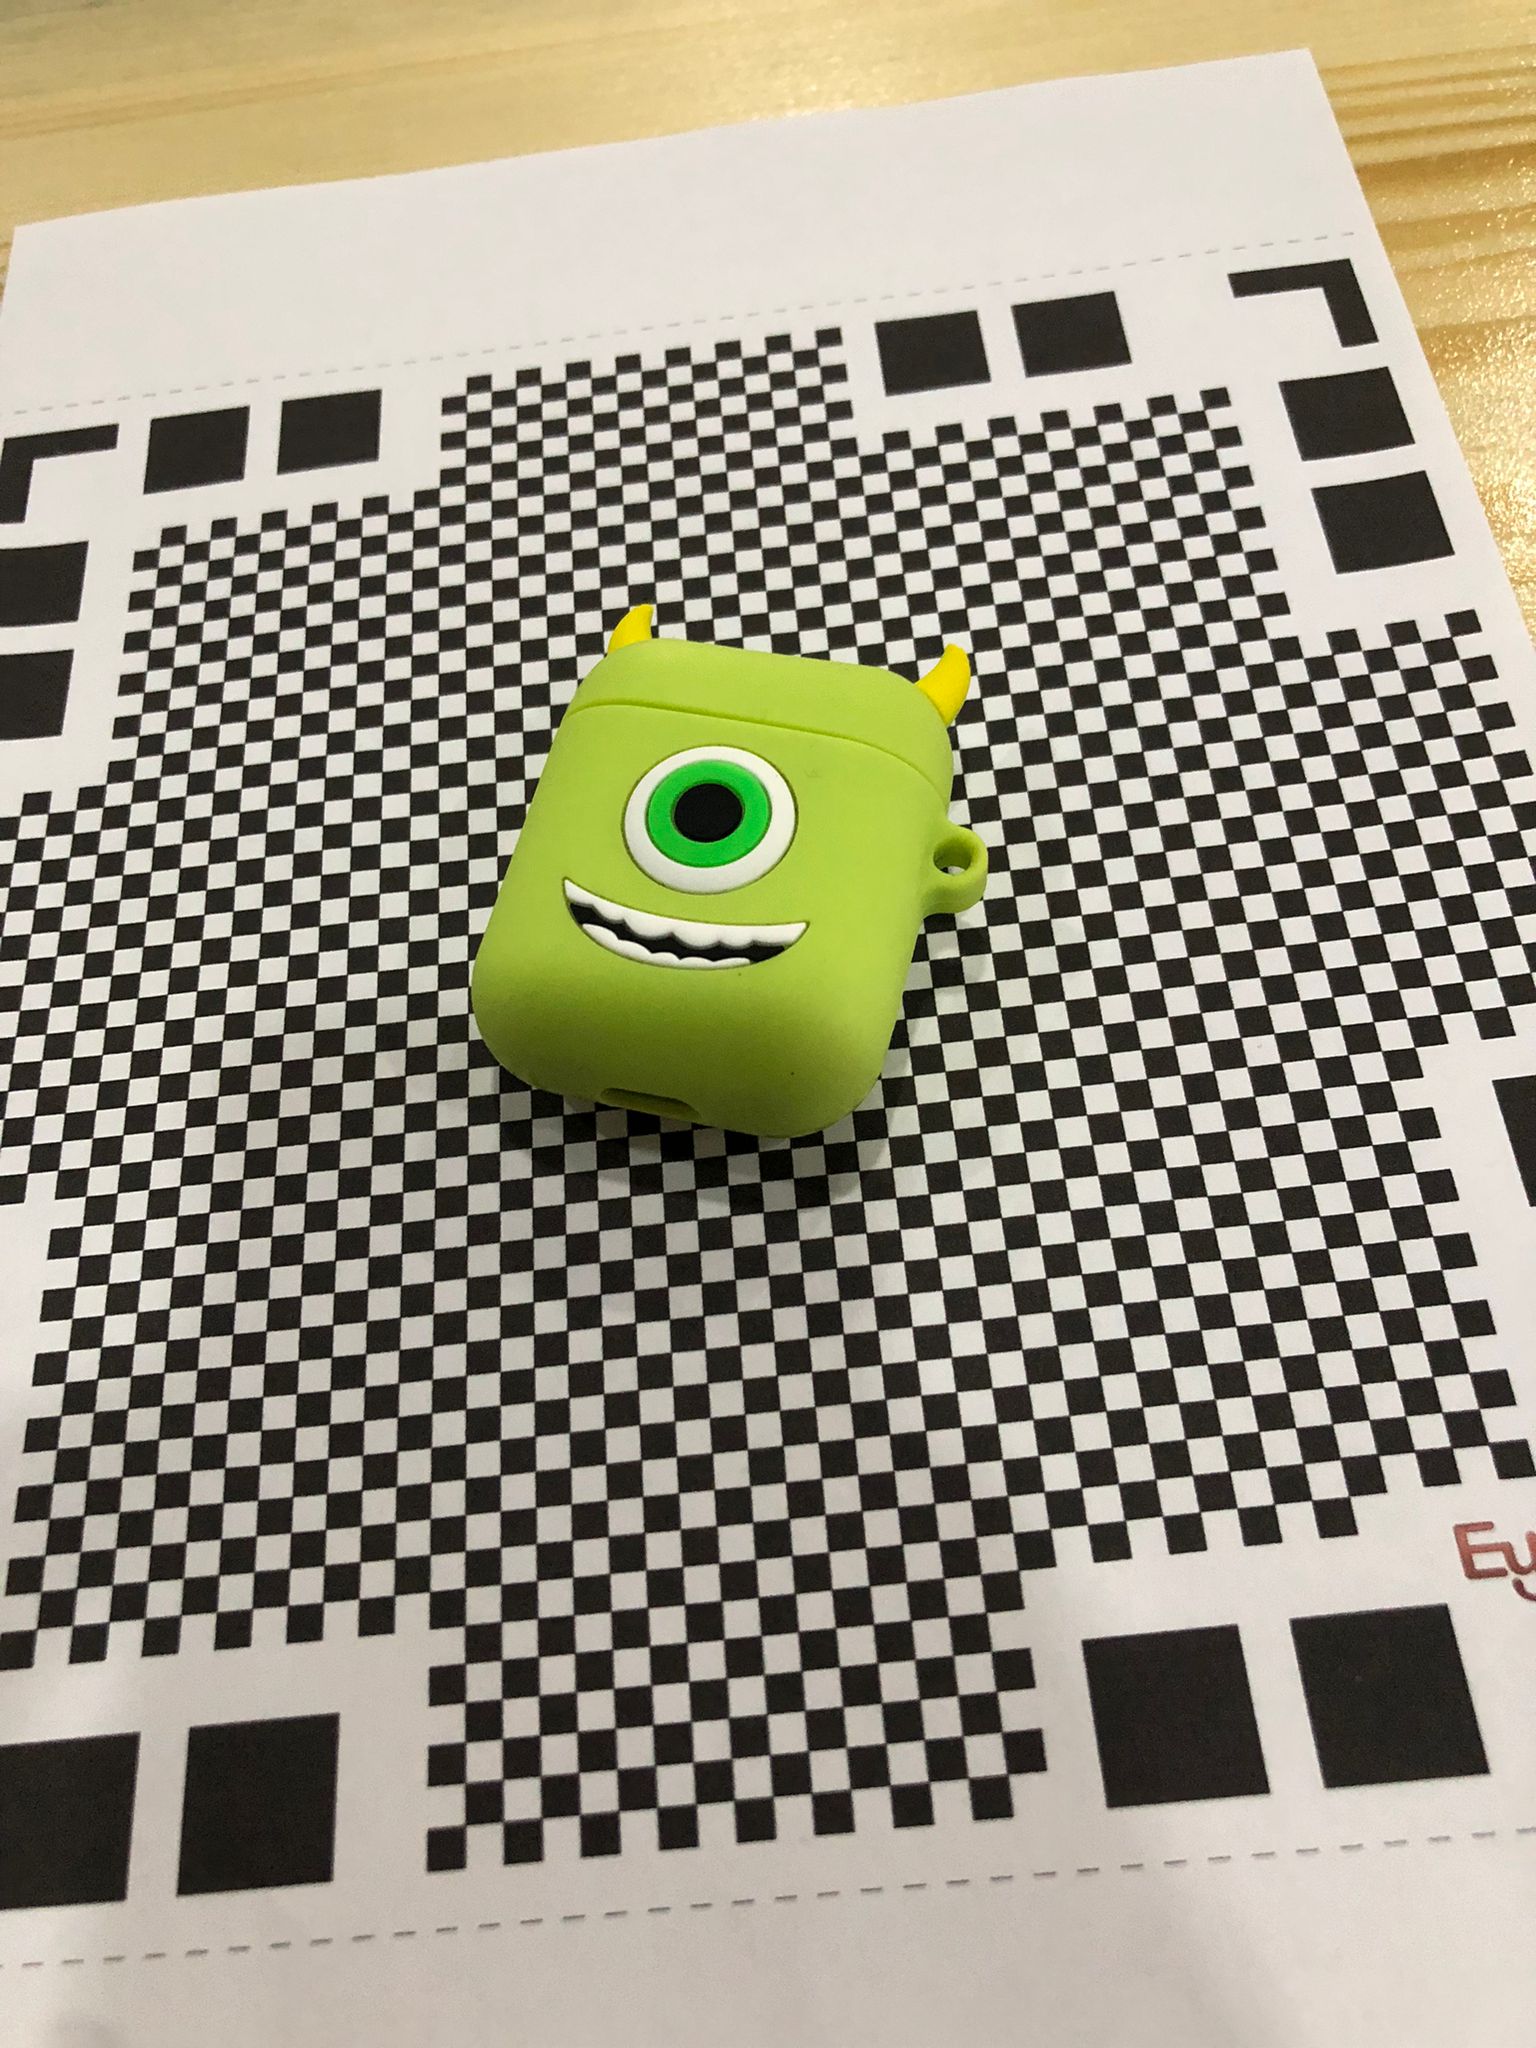
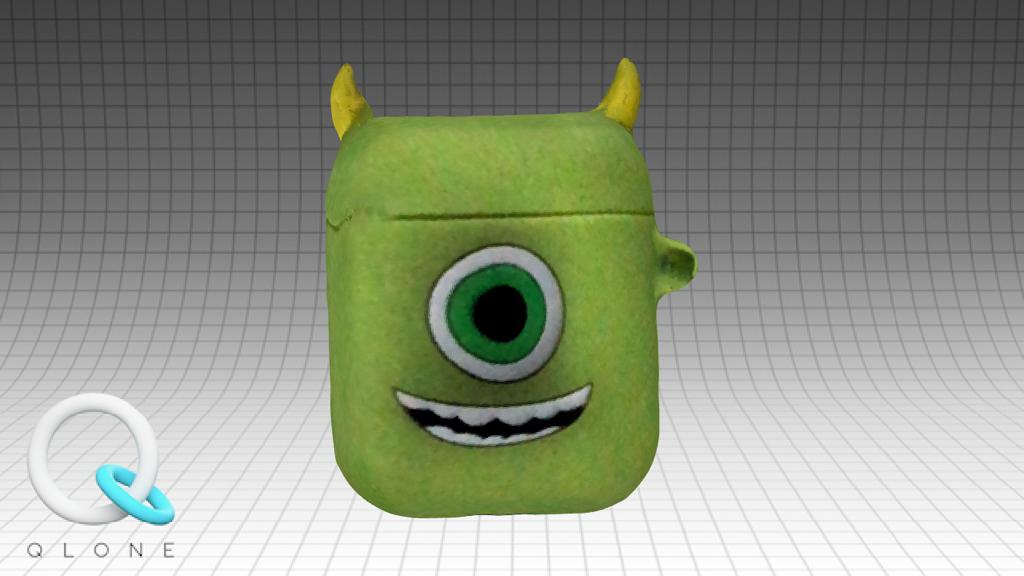
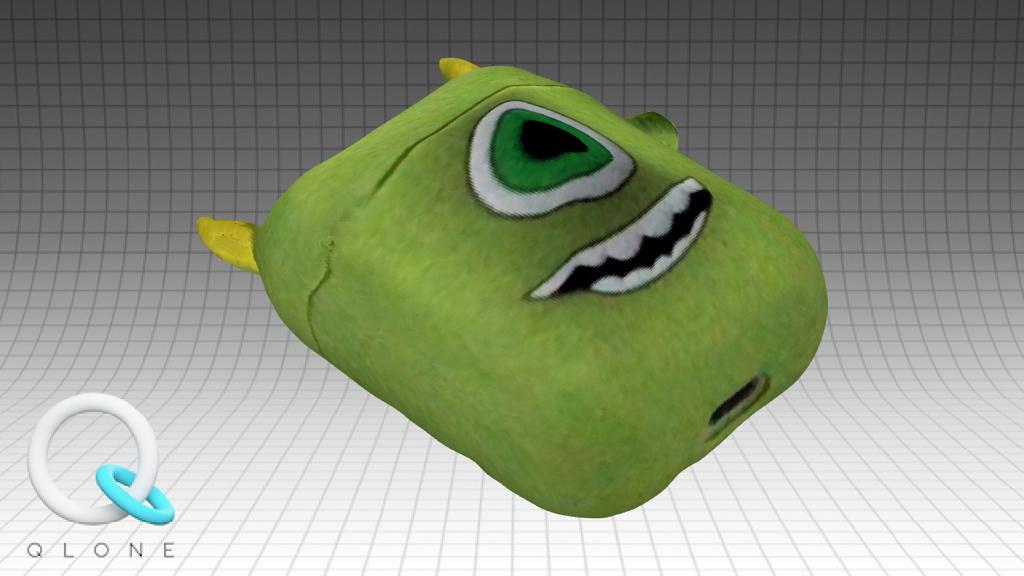
  • Qlone is a fun app to use, however it is not so good with depths scanning. It can detect outer shapes, objects that don't have highs and lows details but not an object with different heights details. It is also limited to scanning objects, I tried it for small bodies becuase the mat I have is a small one. Mats can be printed bigger but however, it is still limited. It is also not a useful tool to scan rooms.

  • Skanect can scan rooms added to bodies and objects. Nevertheless, scanning with the Kinect will limit the objects scanned as it is connected by wires to the computer and it is not always easy to rotate objects 360 degrees. On the other hand, scanning with Skanect gives better results in general.

3D Printing

  • In 3D printing, there was a group task and an individual task.

Group Task

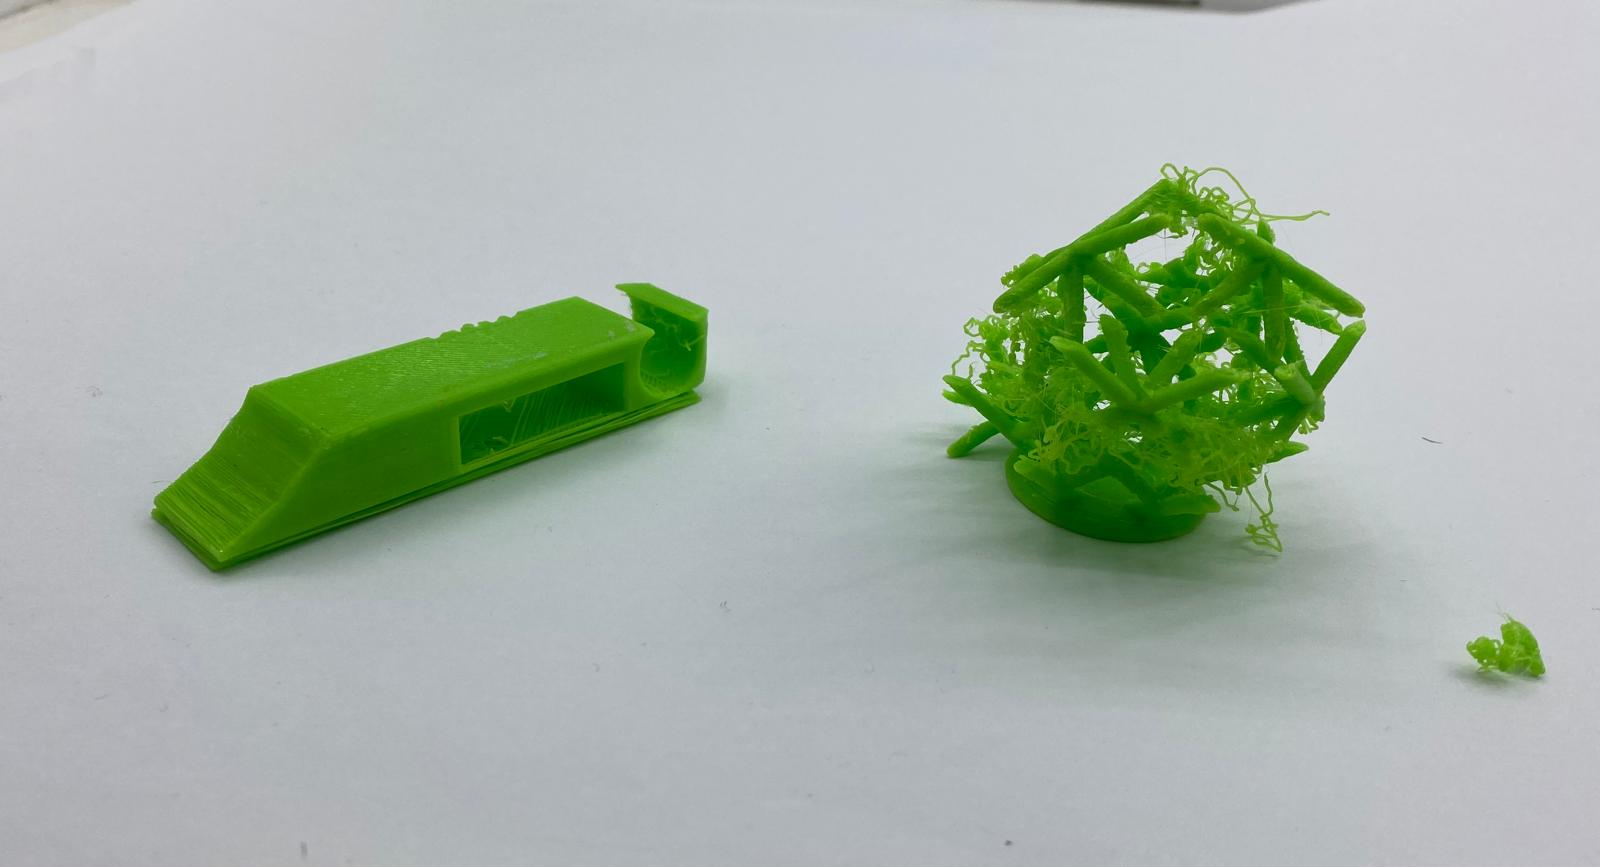
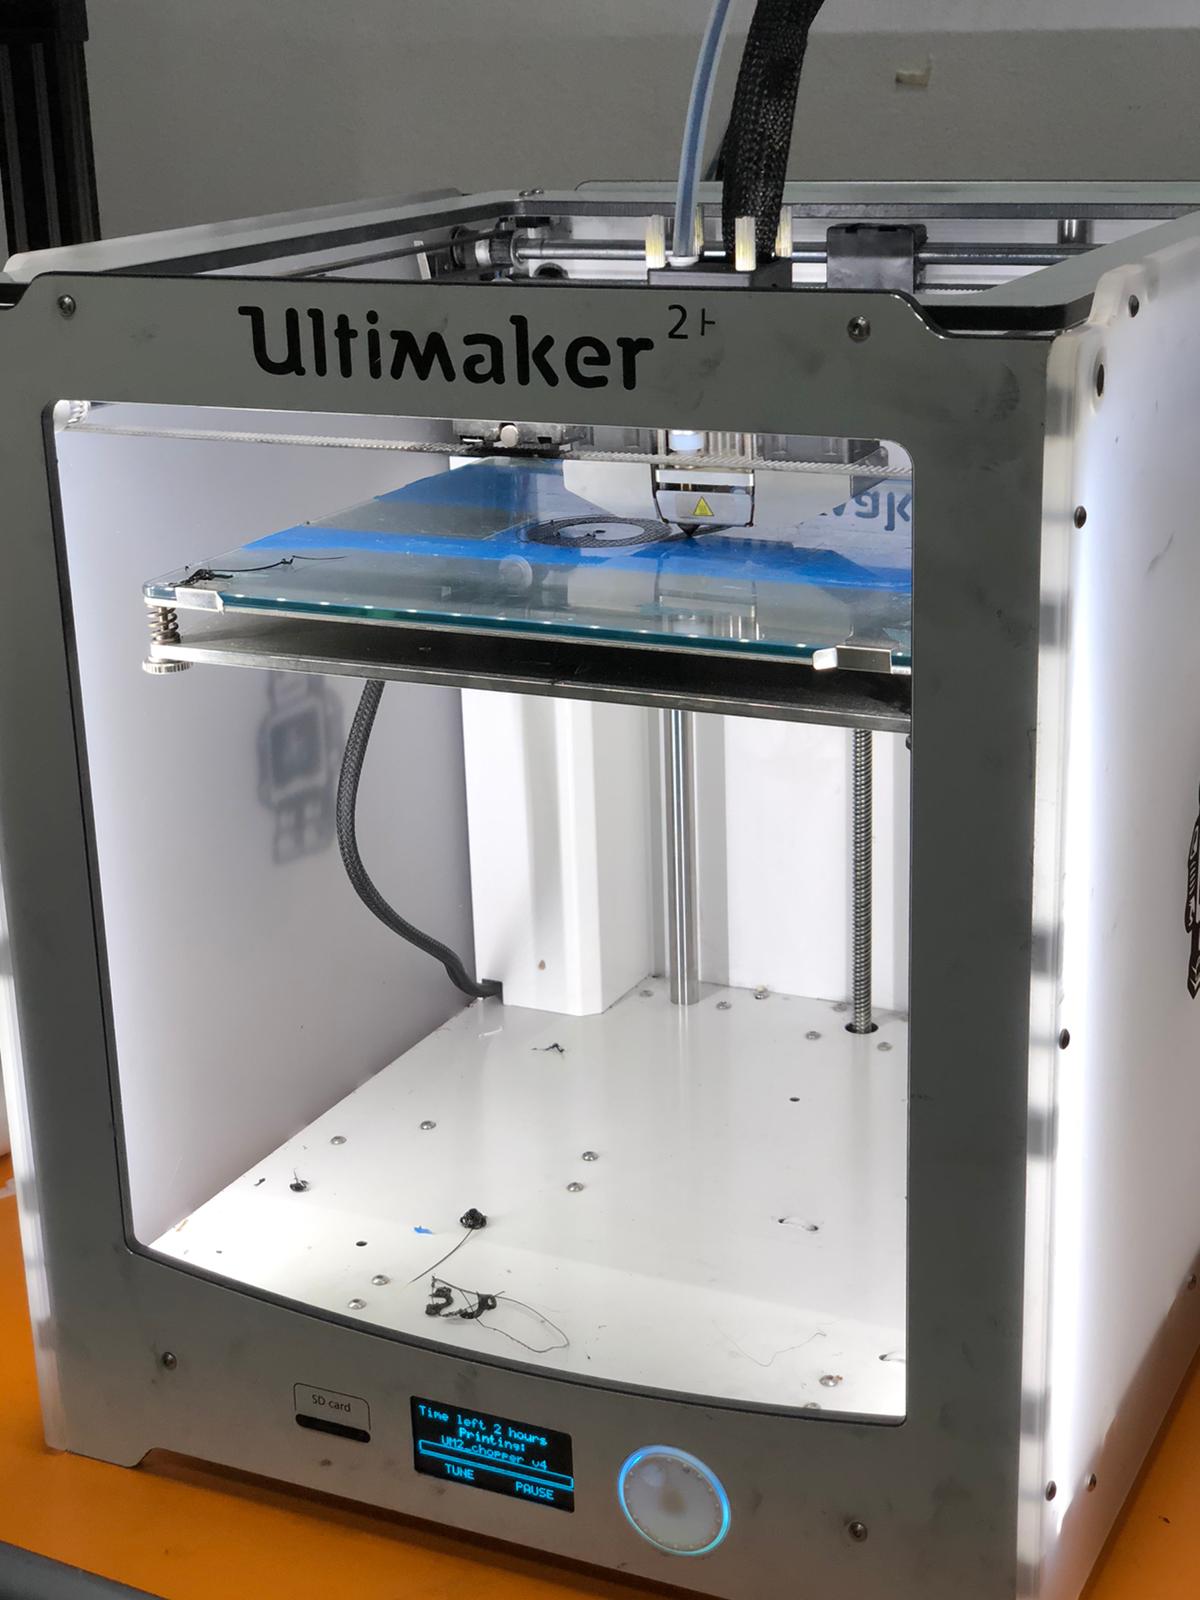
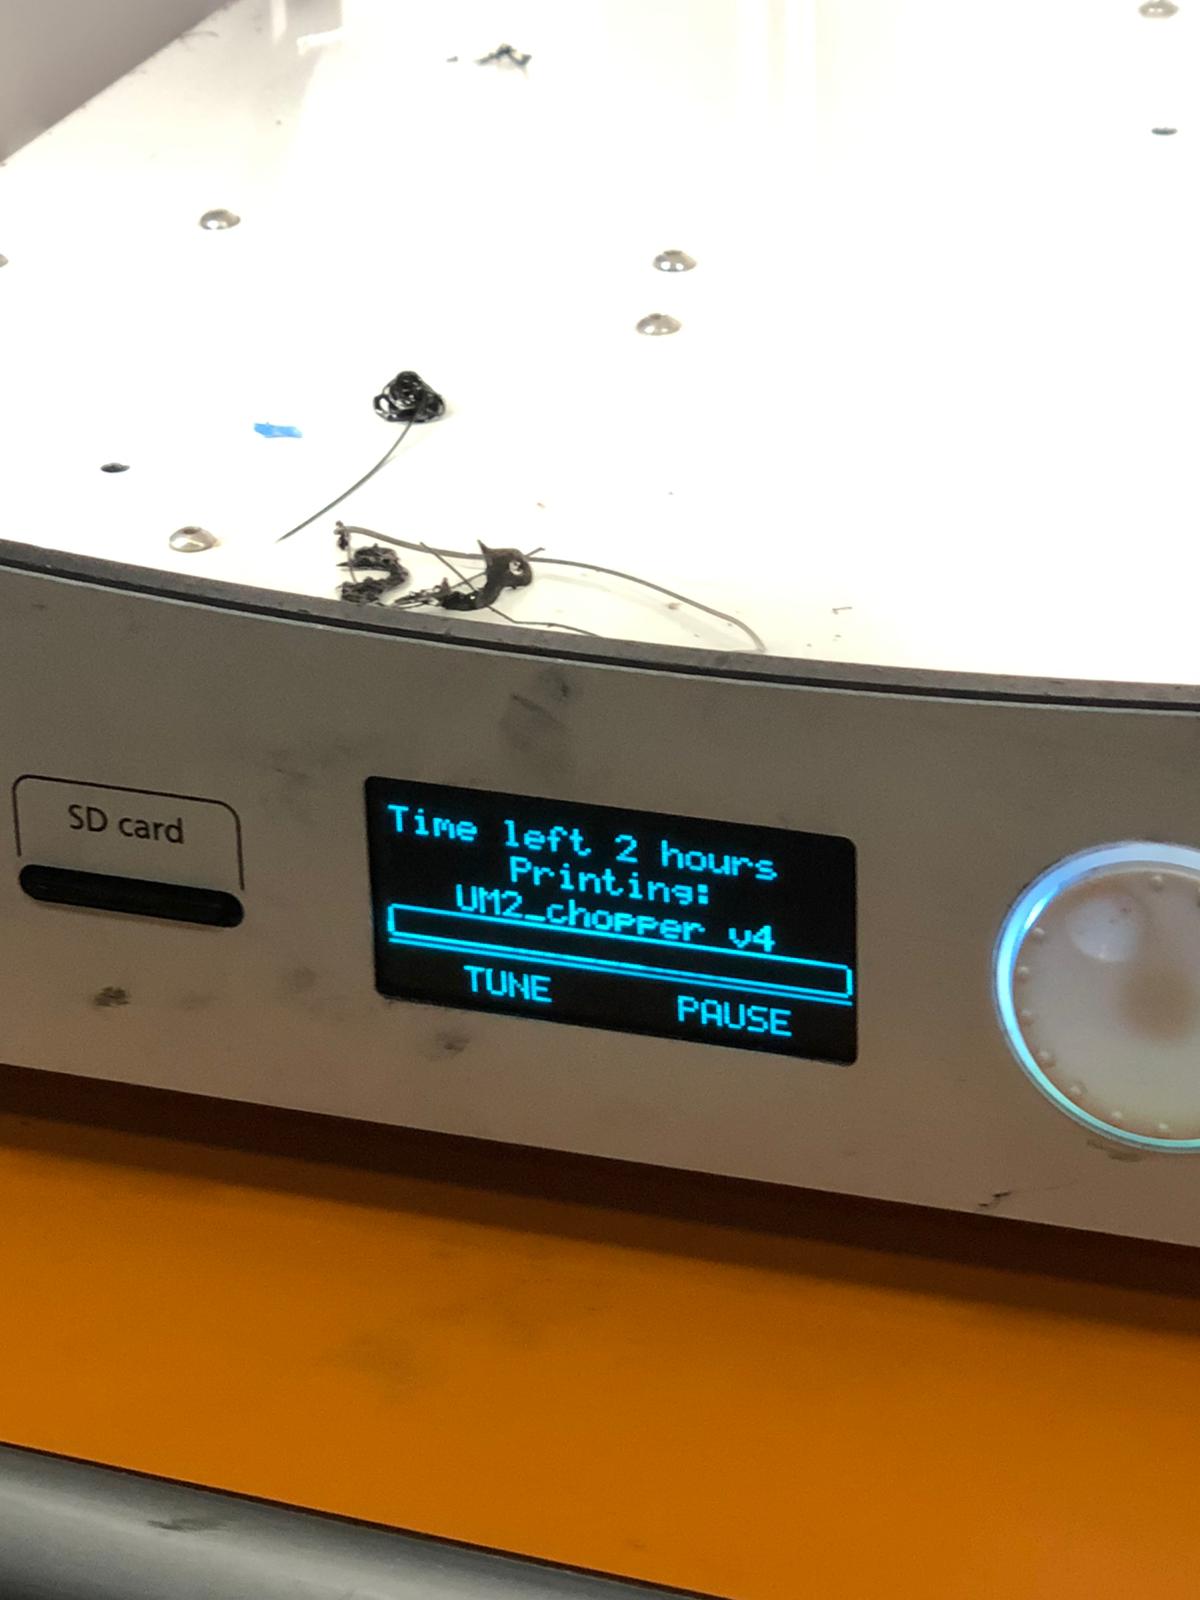
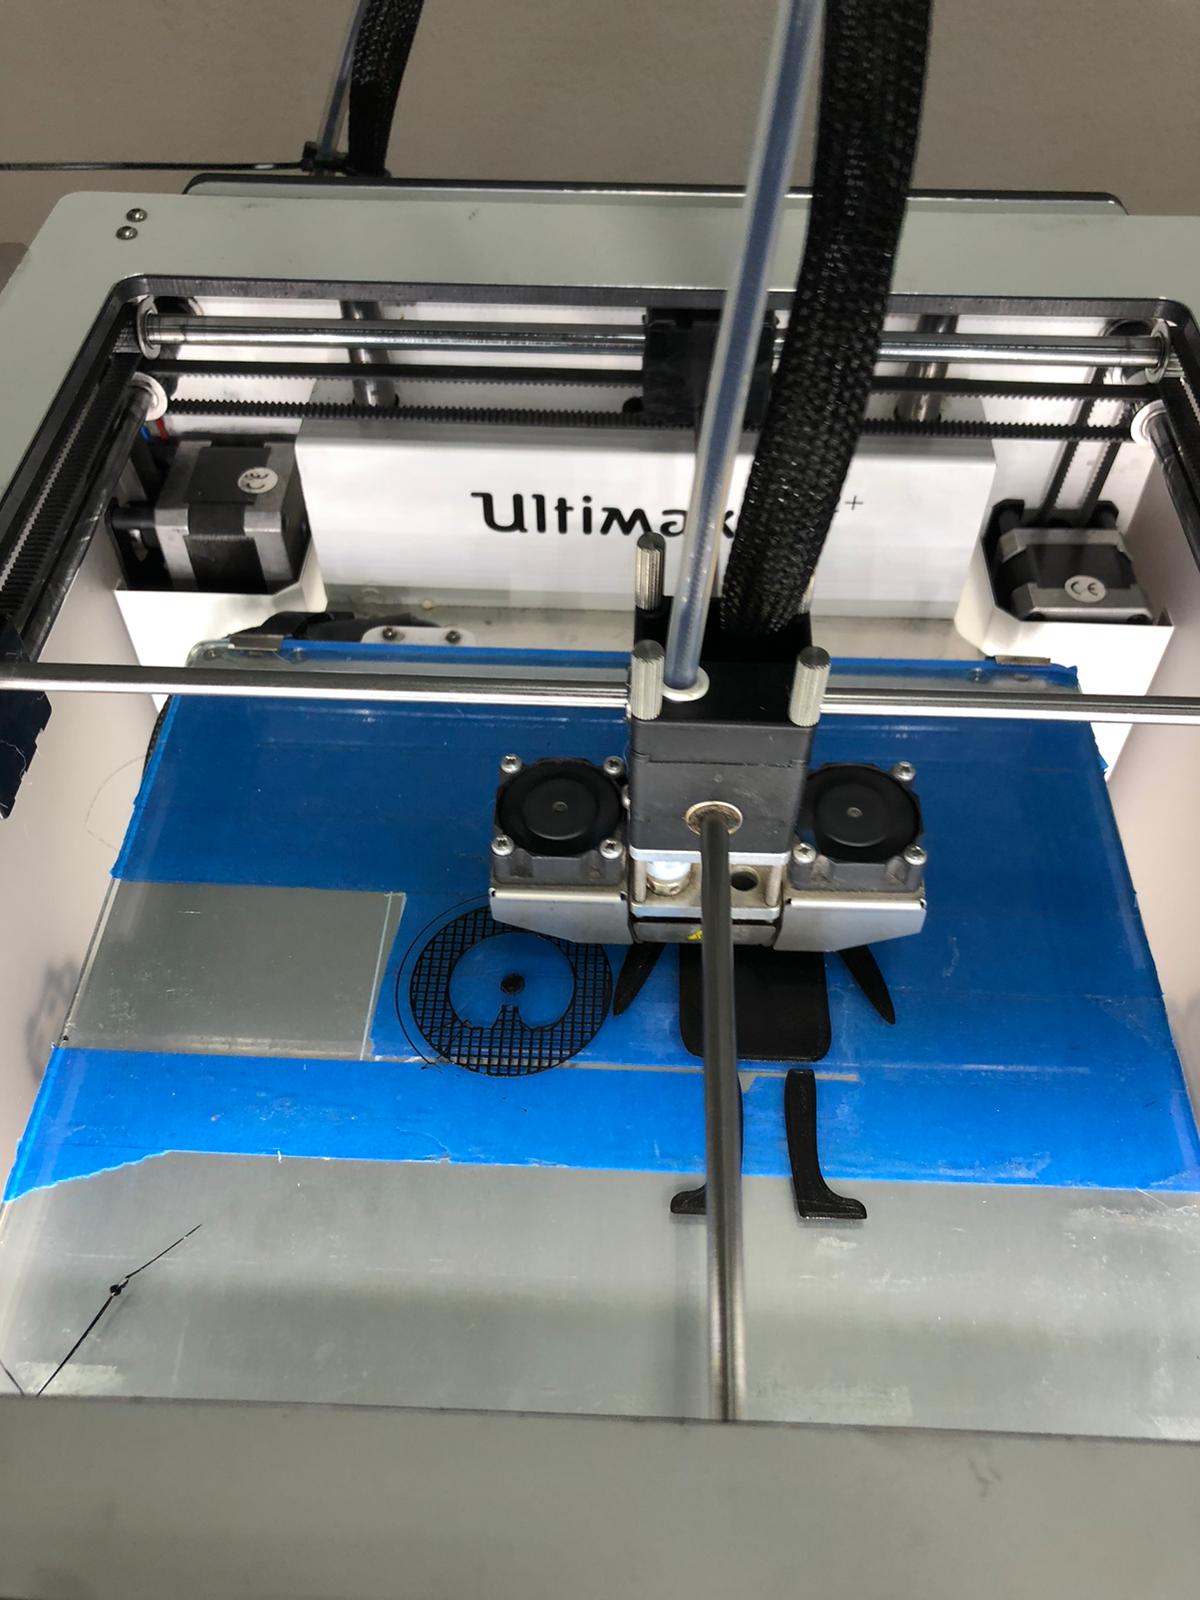
  • The Group task is to find a test for the 3D printers we have and print it, we divided into two groups and each chose a test to print.

  • Choosing our test, we picked a 3D design from thingiverse:

  • The design is of a lattice cube by lazerlord.

  • The design test has multiple shapes, this is the simplest one. It is a lattice Cube on a base.

  • However, the designer stated that it was a fail for his printer.

  • So we went for the next design, which is two lattice cubes on a base.

  • We had great hopes for this one, as the designer said it worked for his printer.

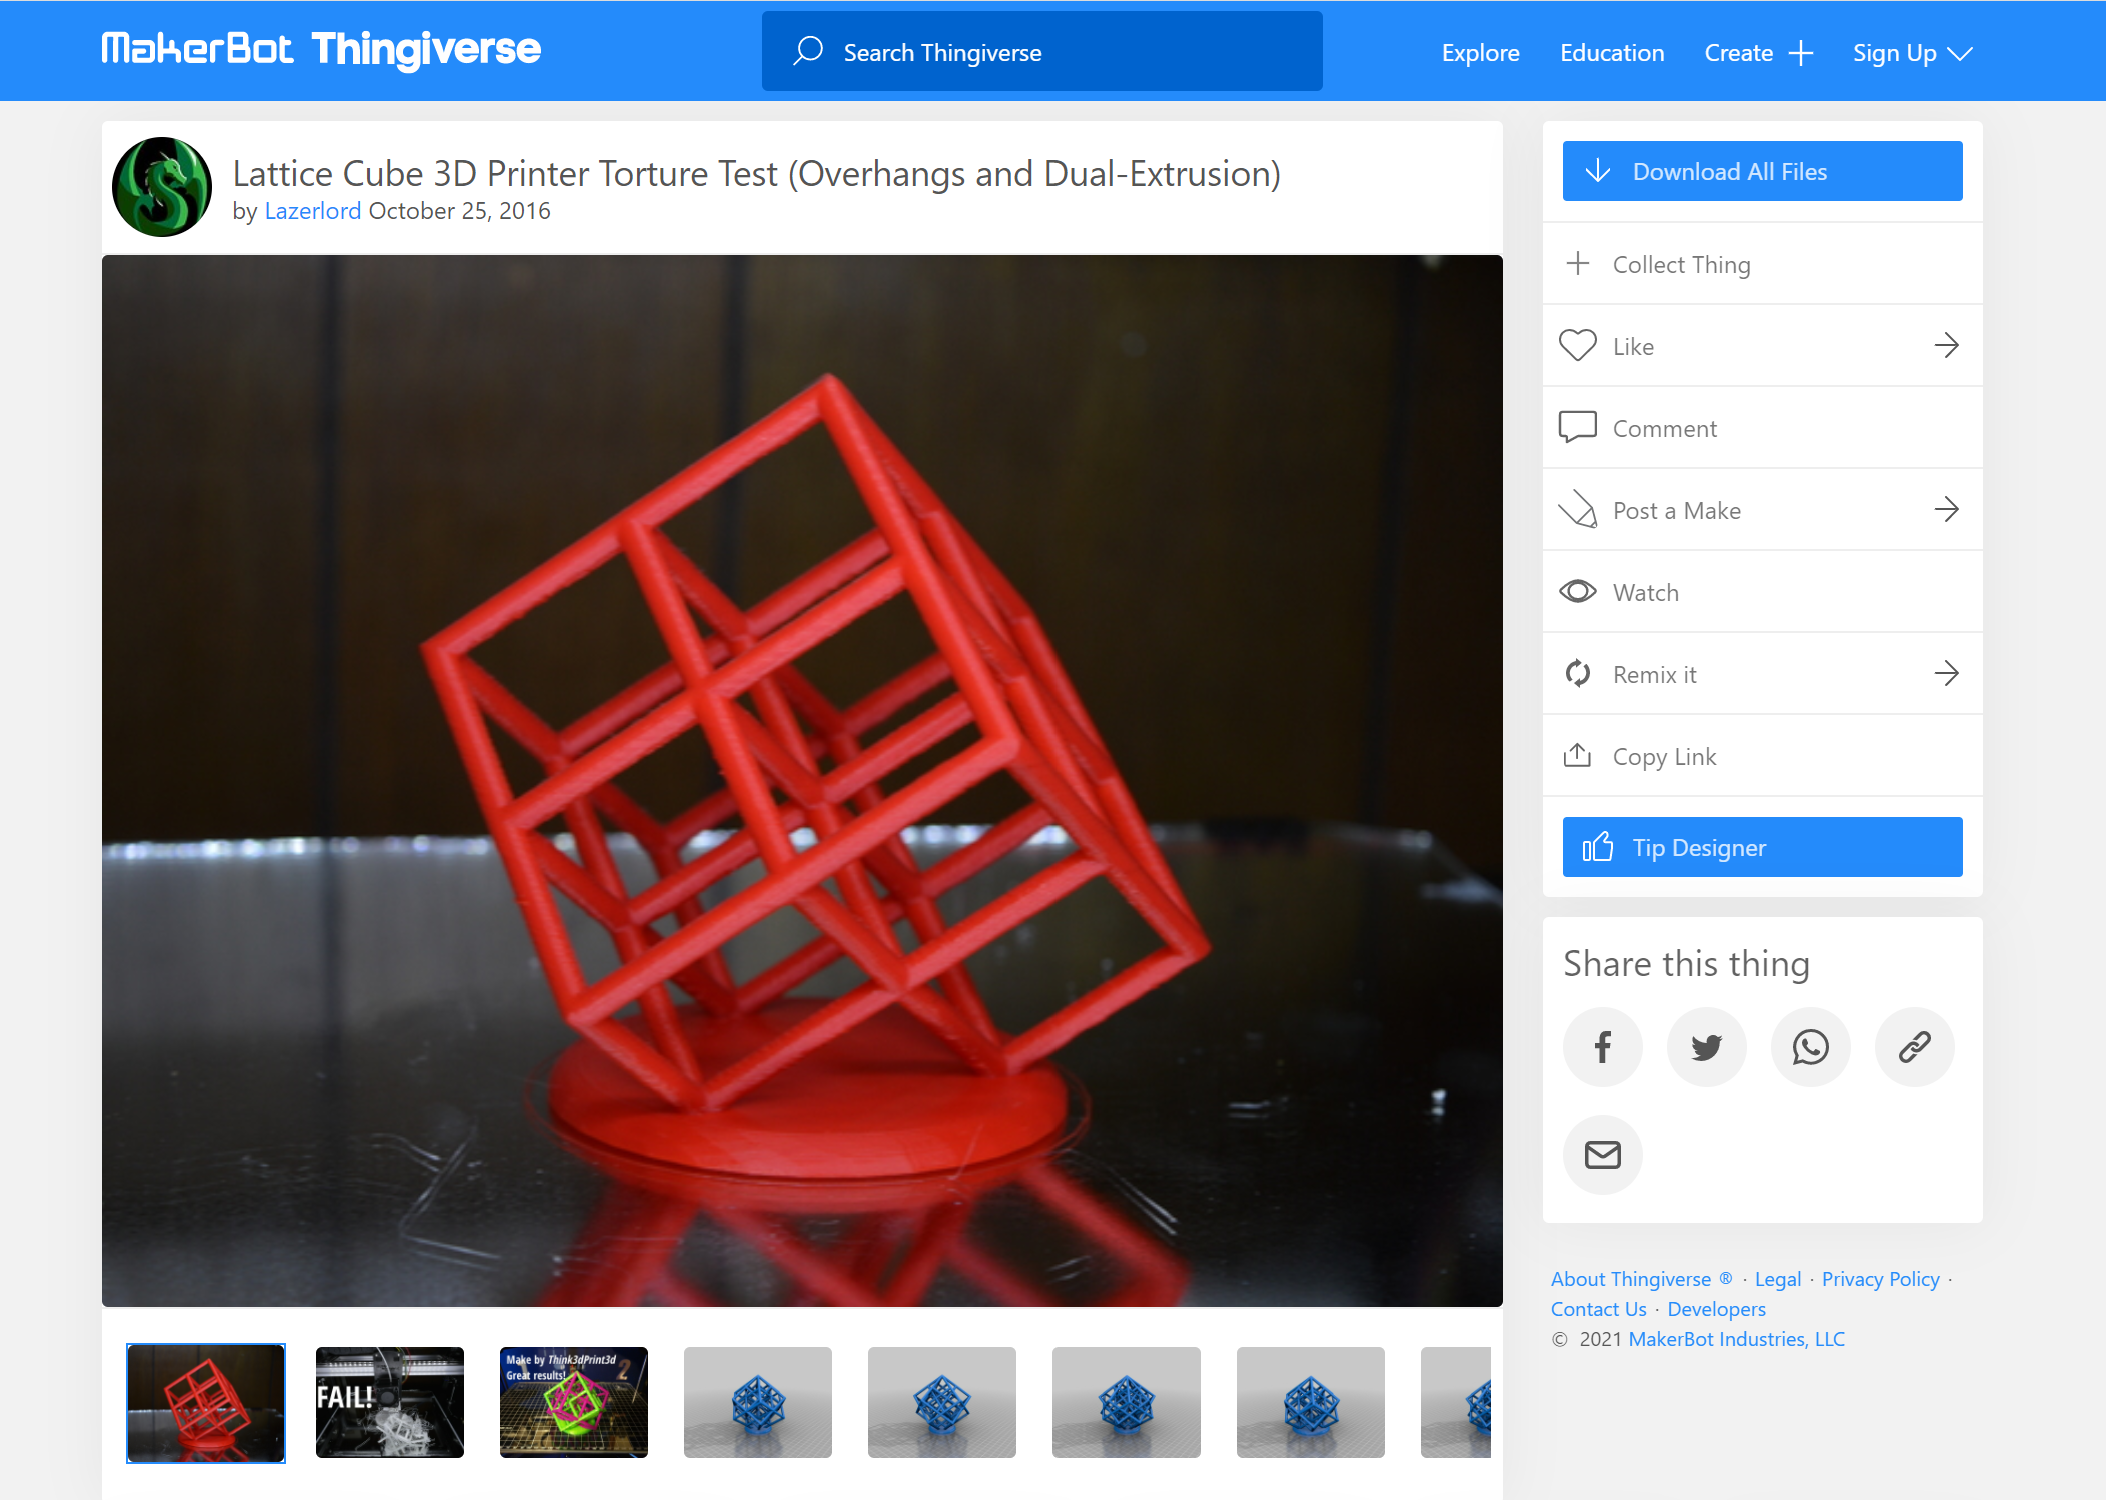
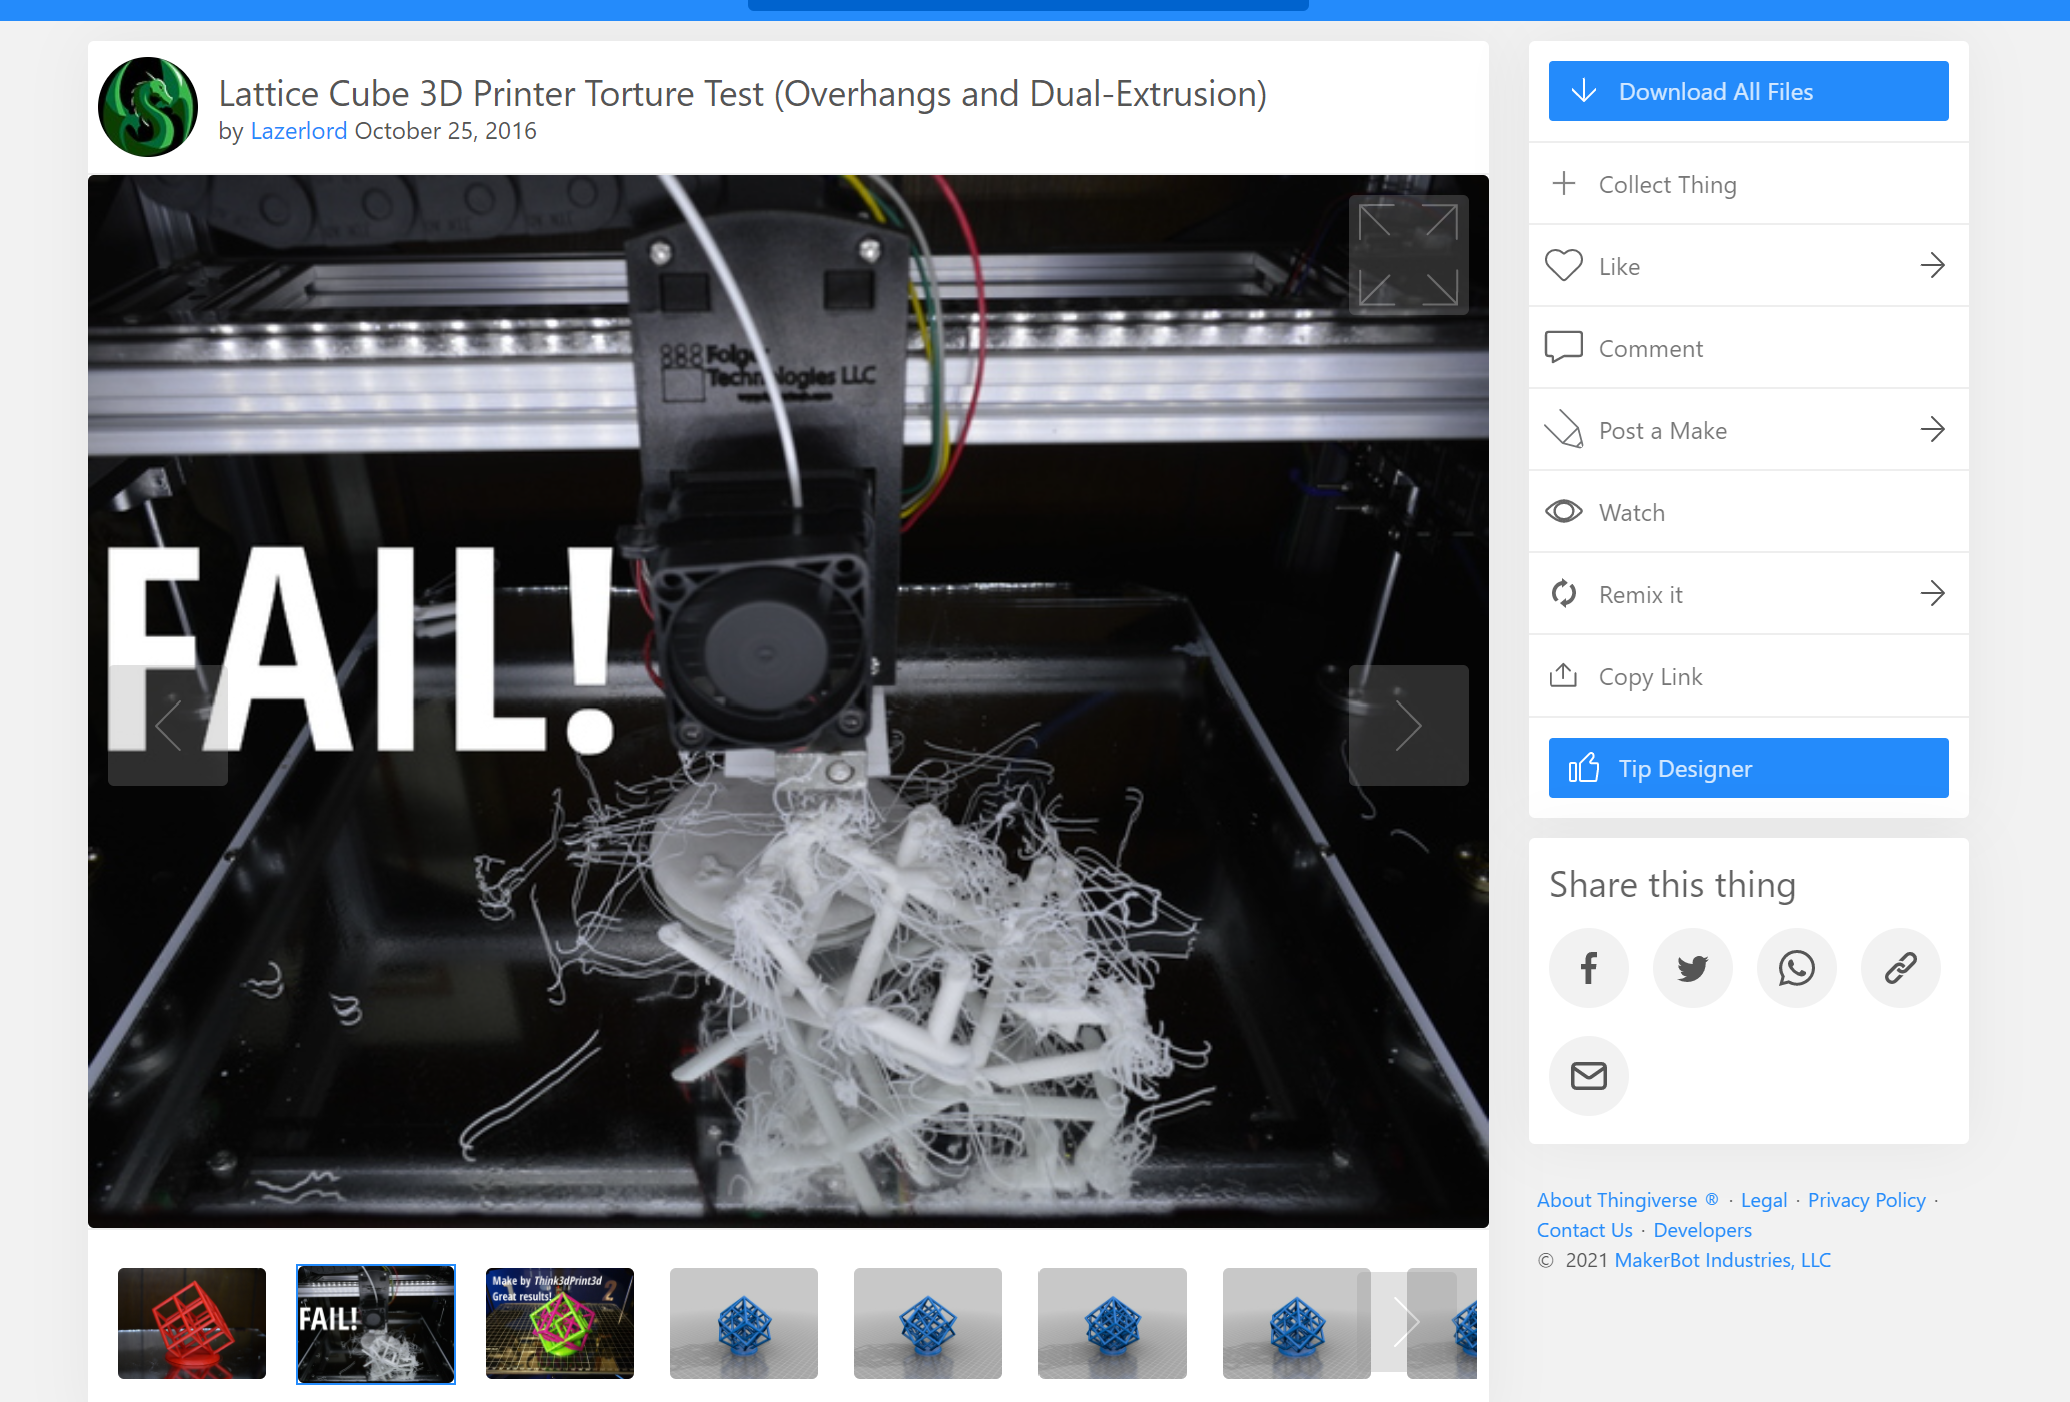
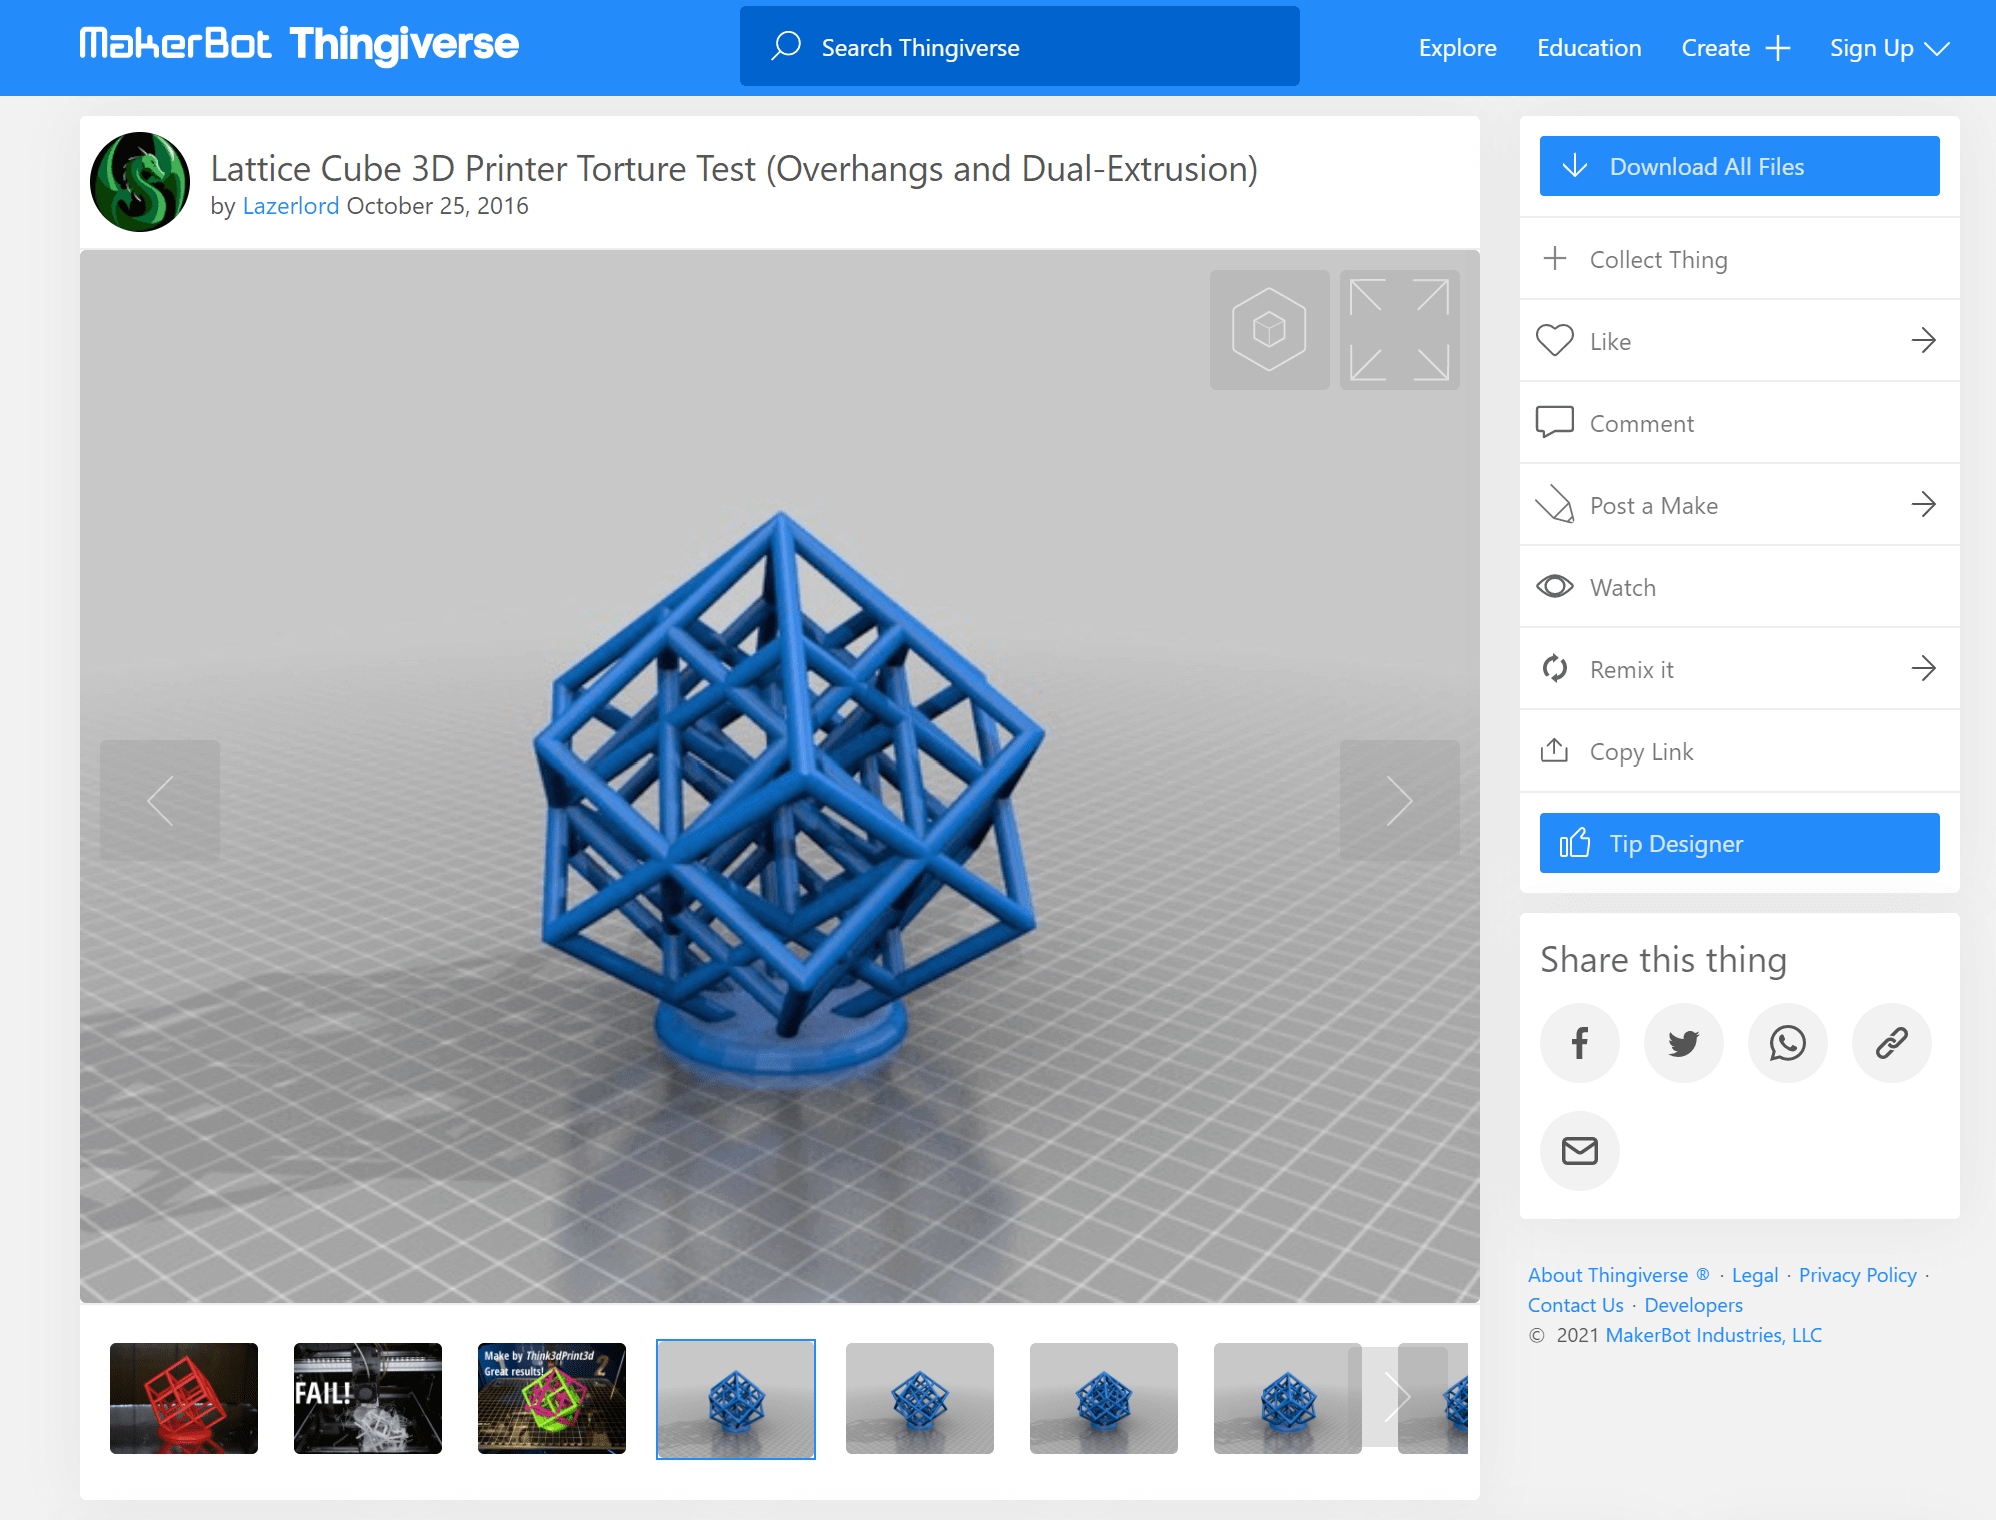
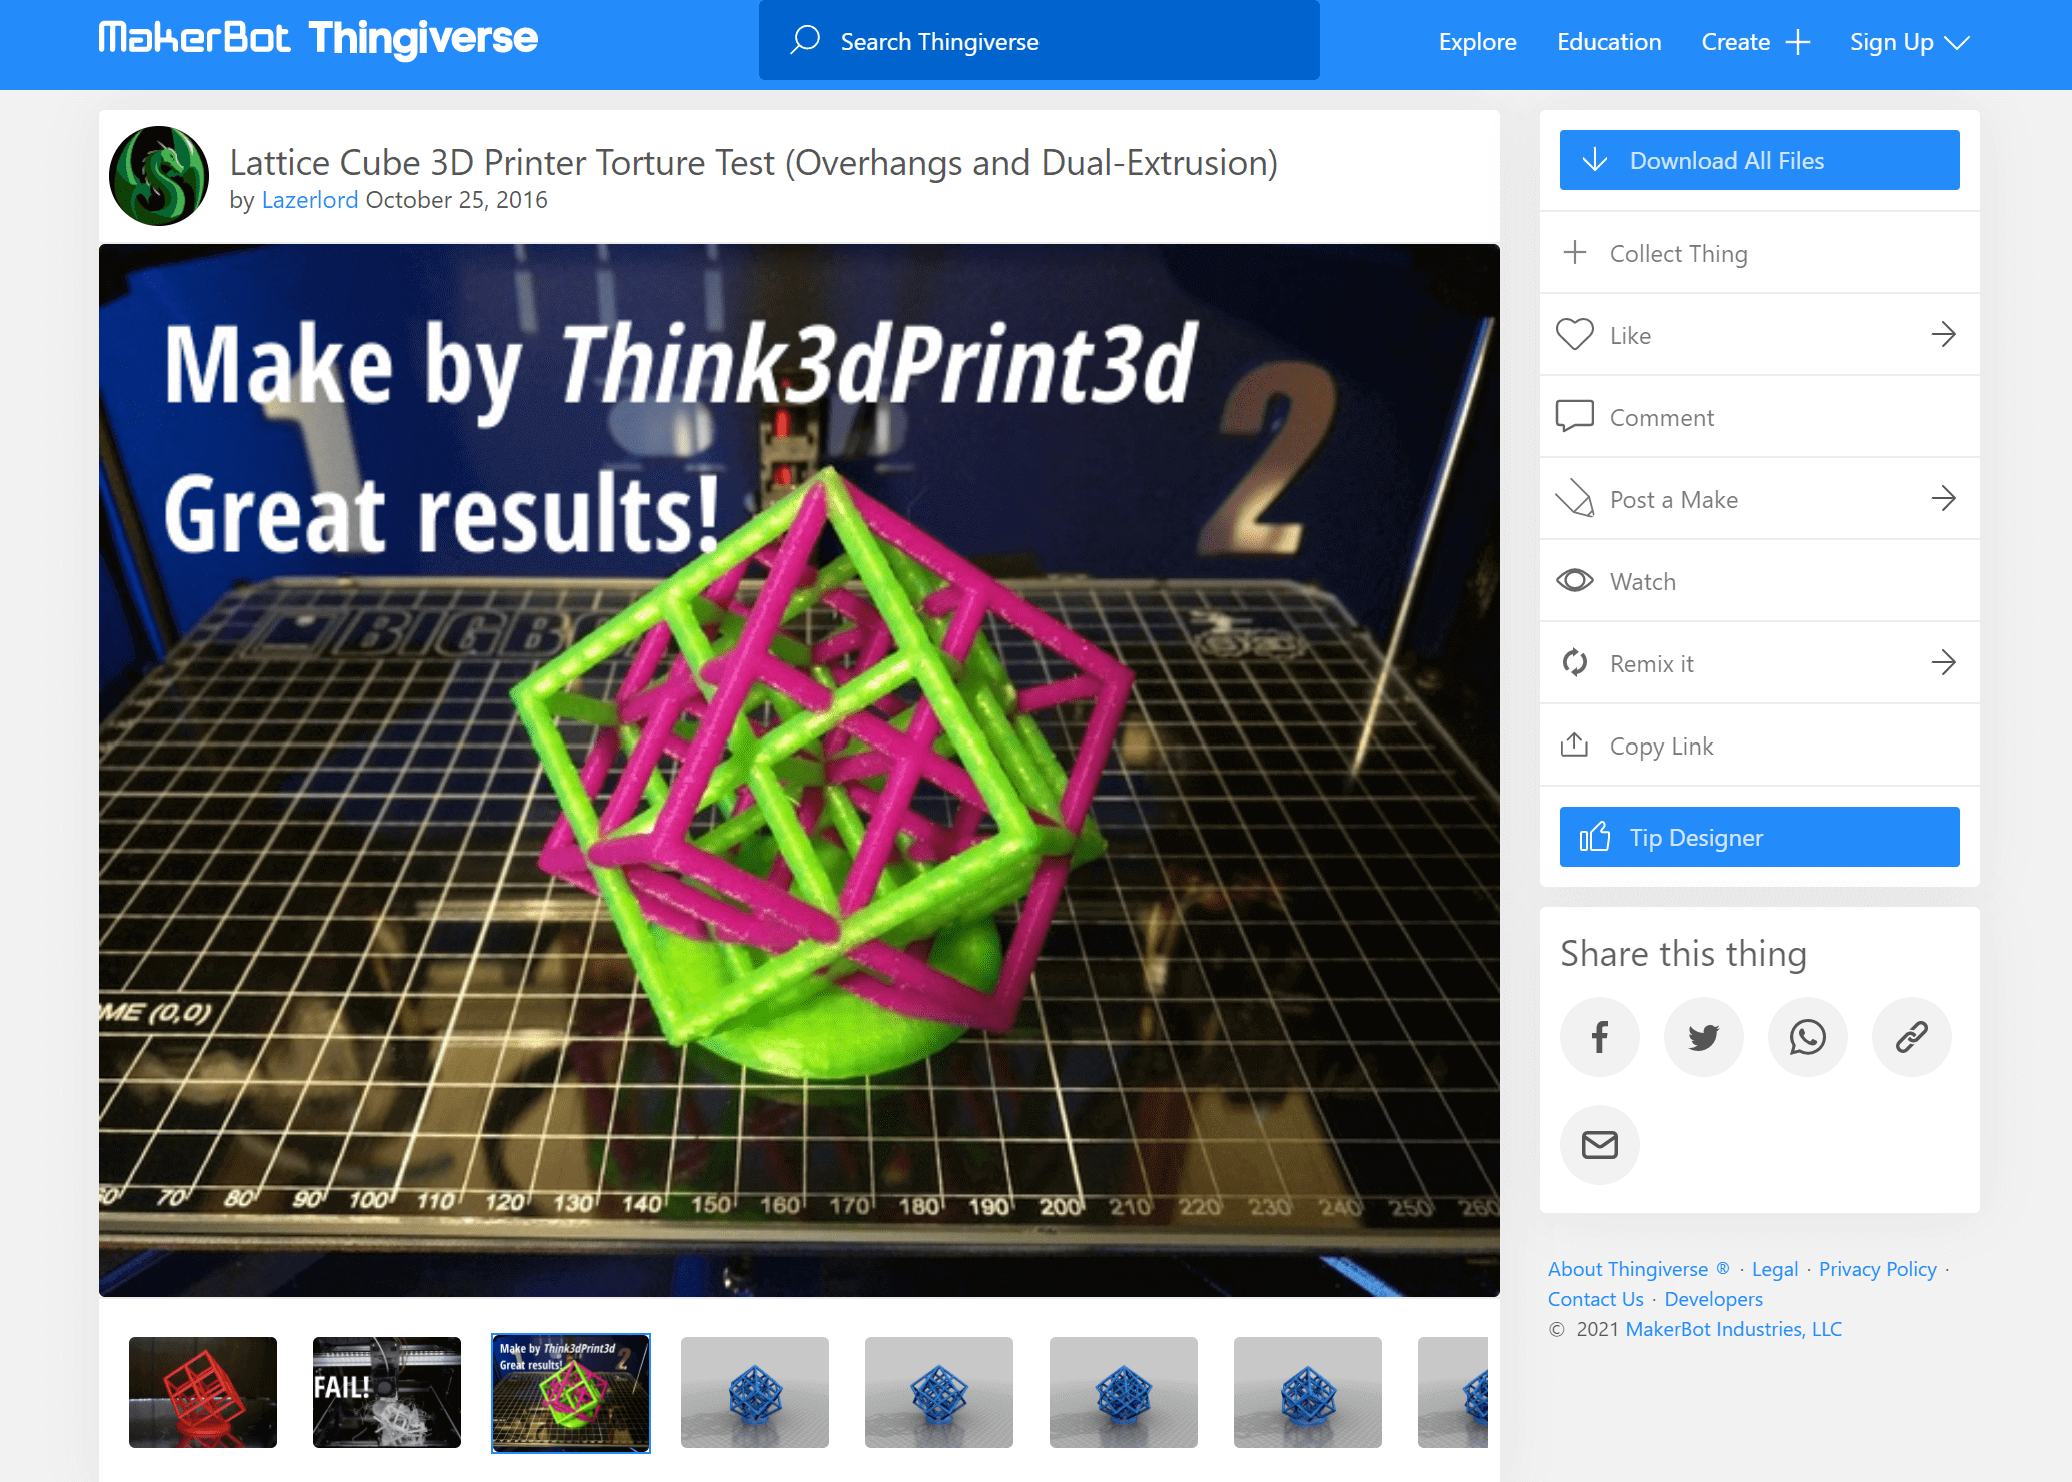
  • The design is supposed be a Torture Test (Overhangs and Dual-Extrusion)

  • However, when we left the printer and came back it was printing in the air and the filament was not going out of the extruder.

  • This might be due to the low temperature around the printer that made the filament cool down faster.

Individual Task

Design

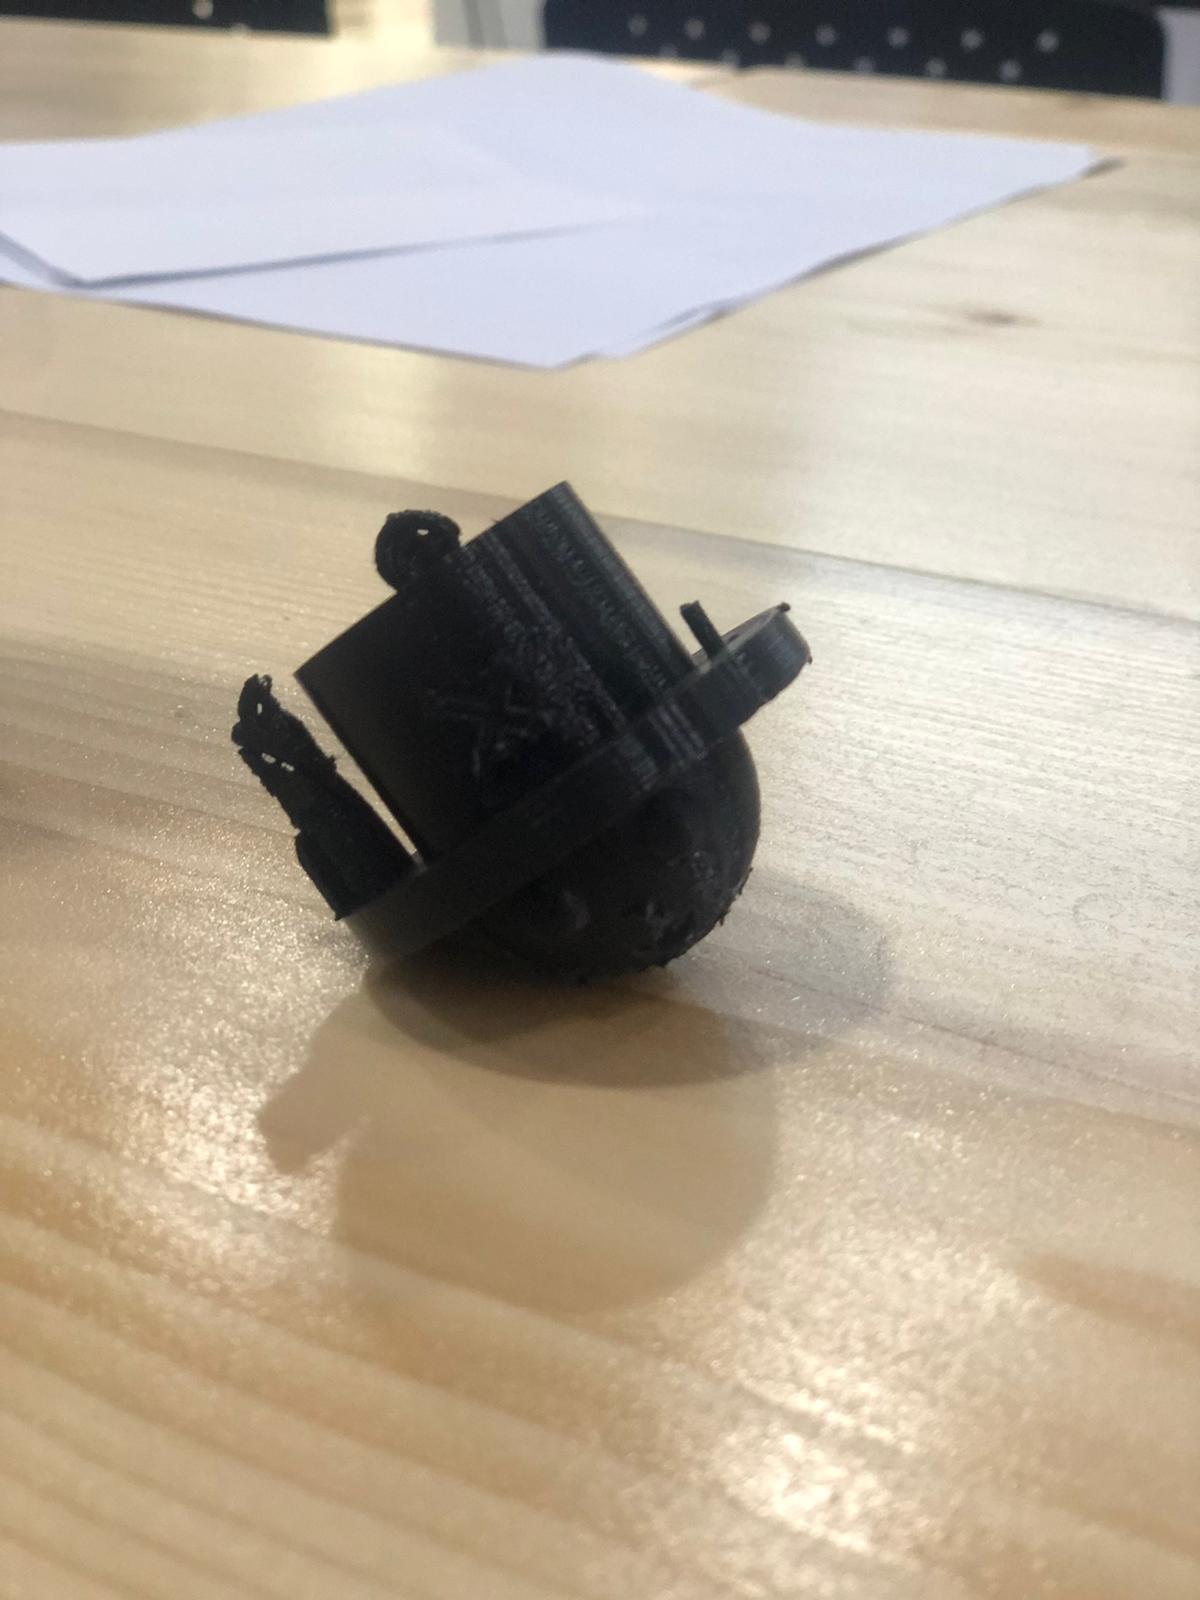
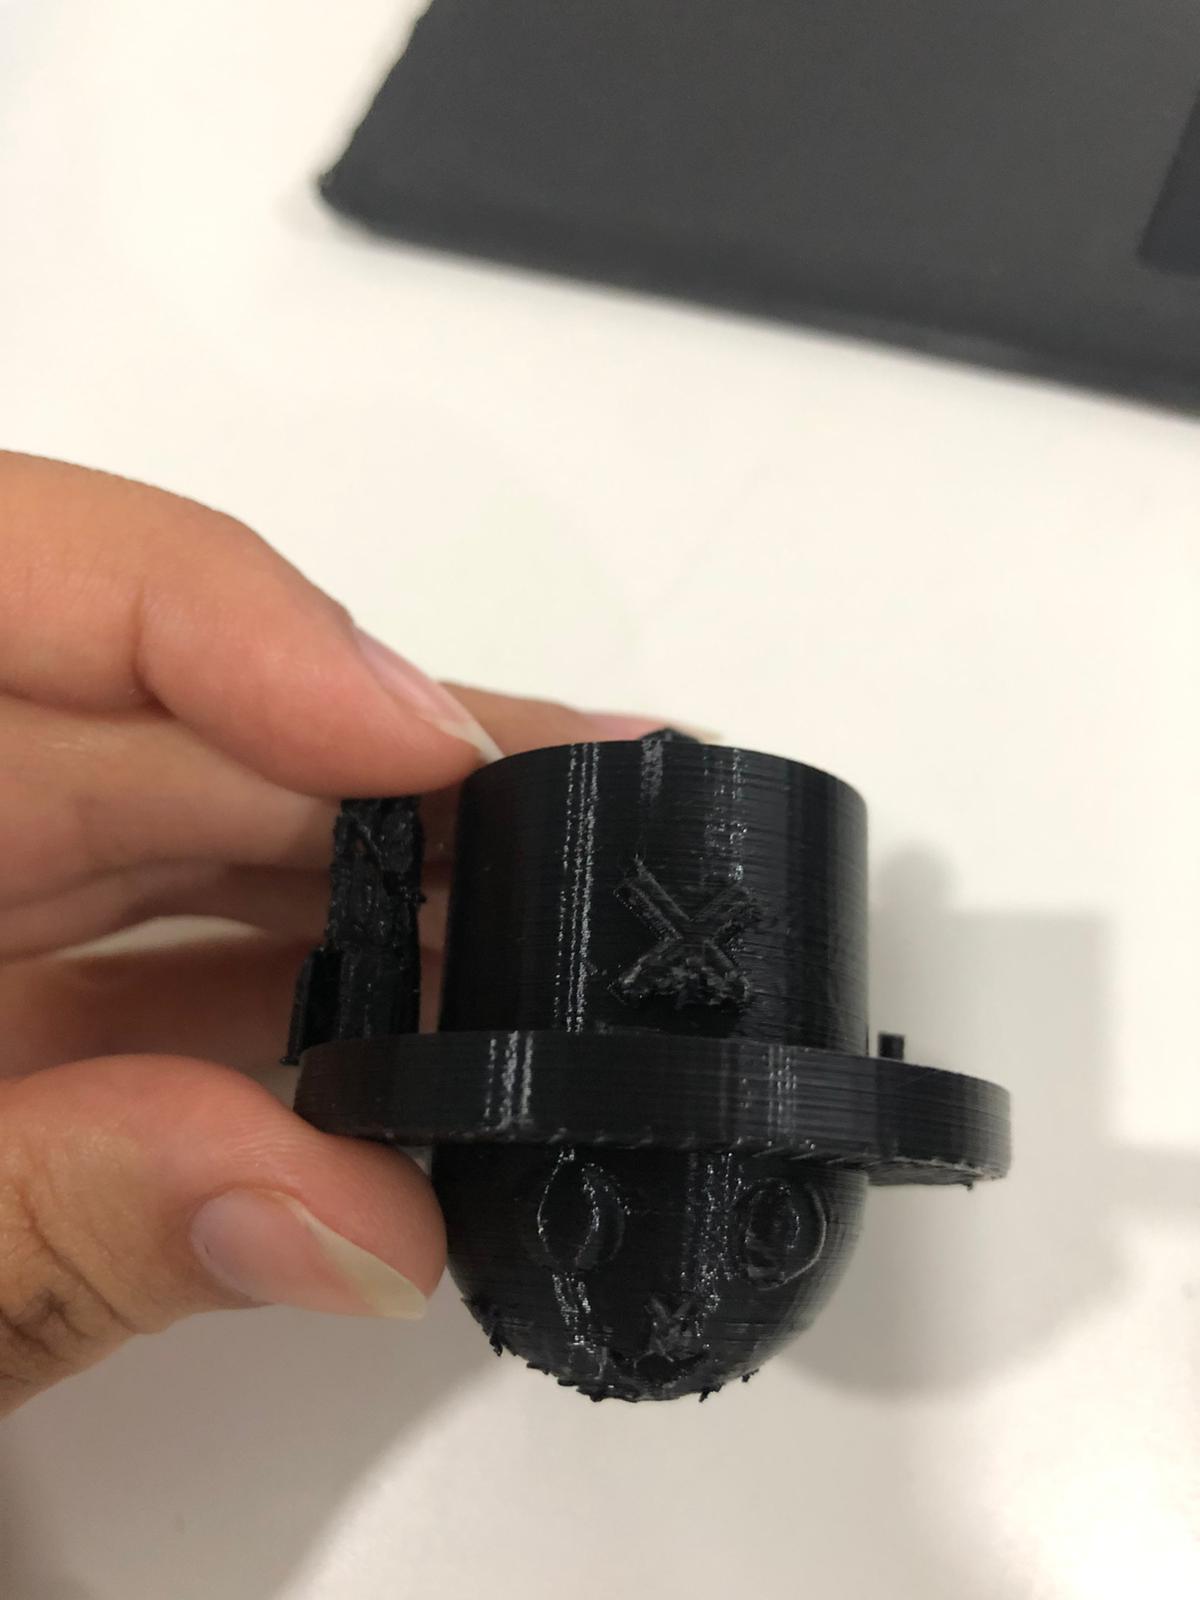
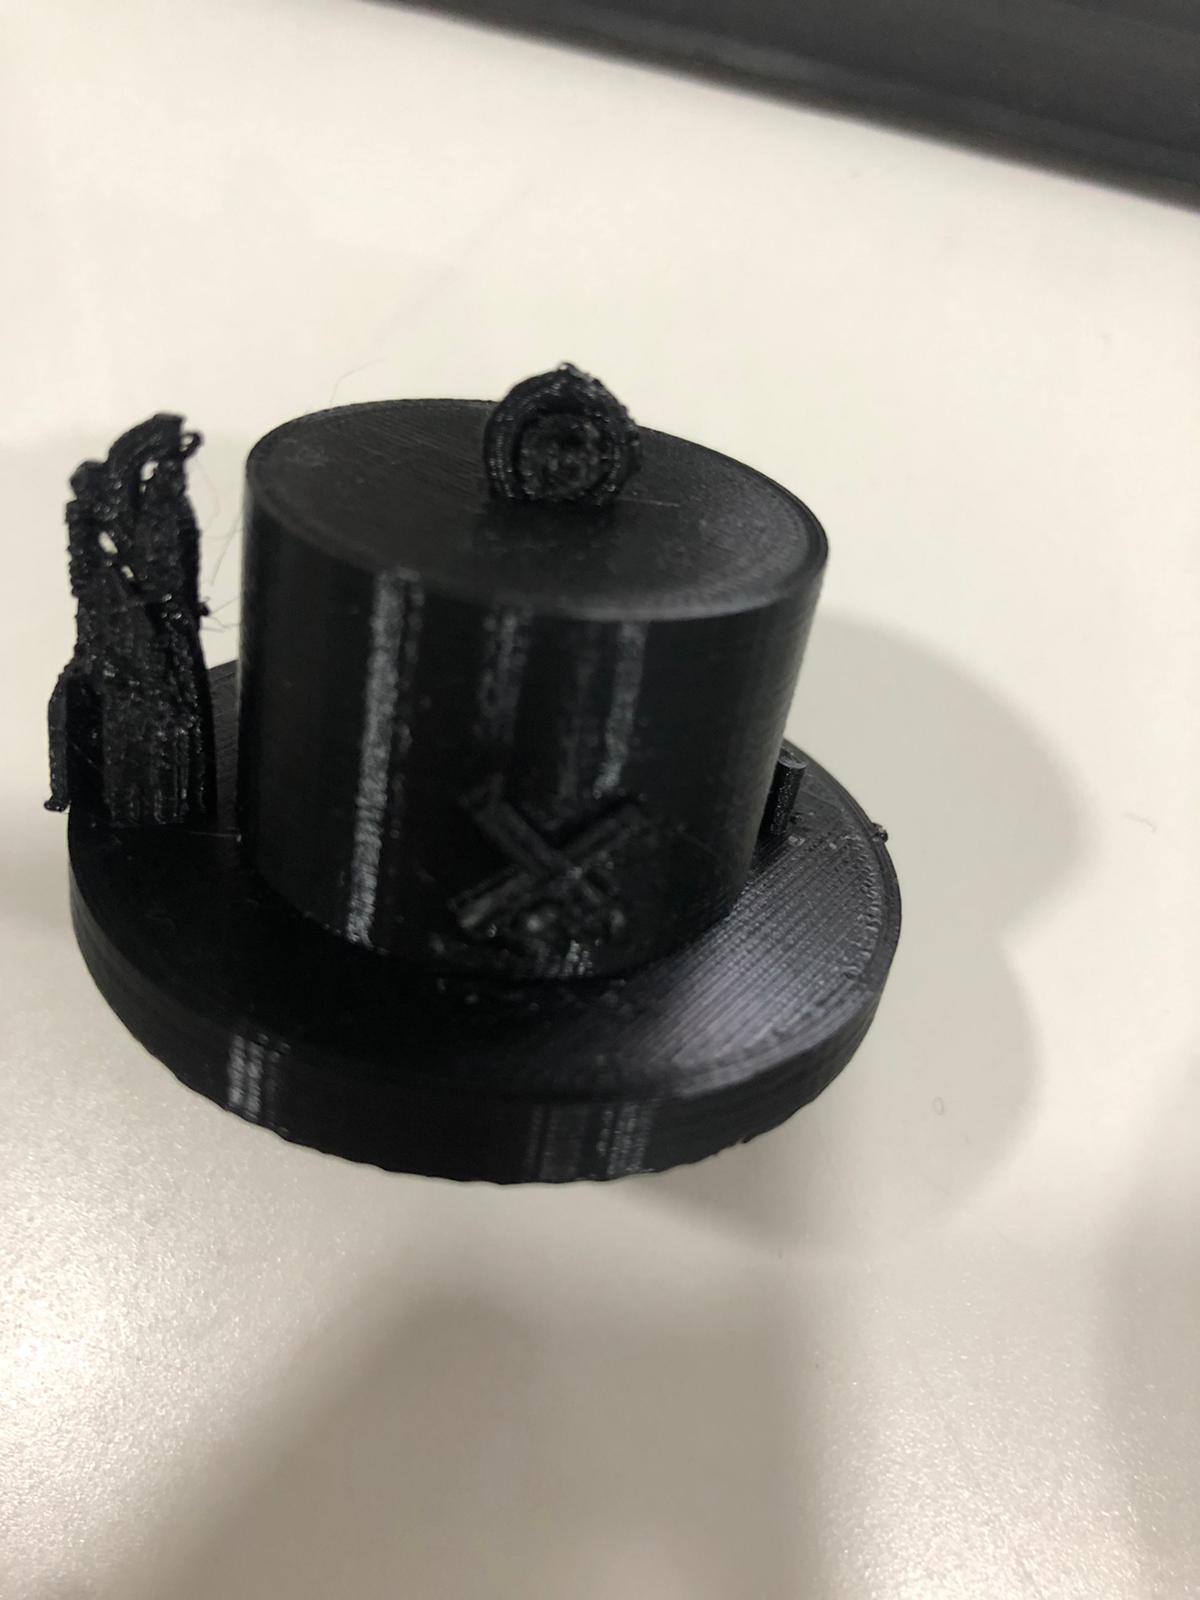
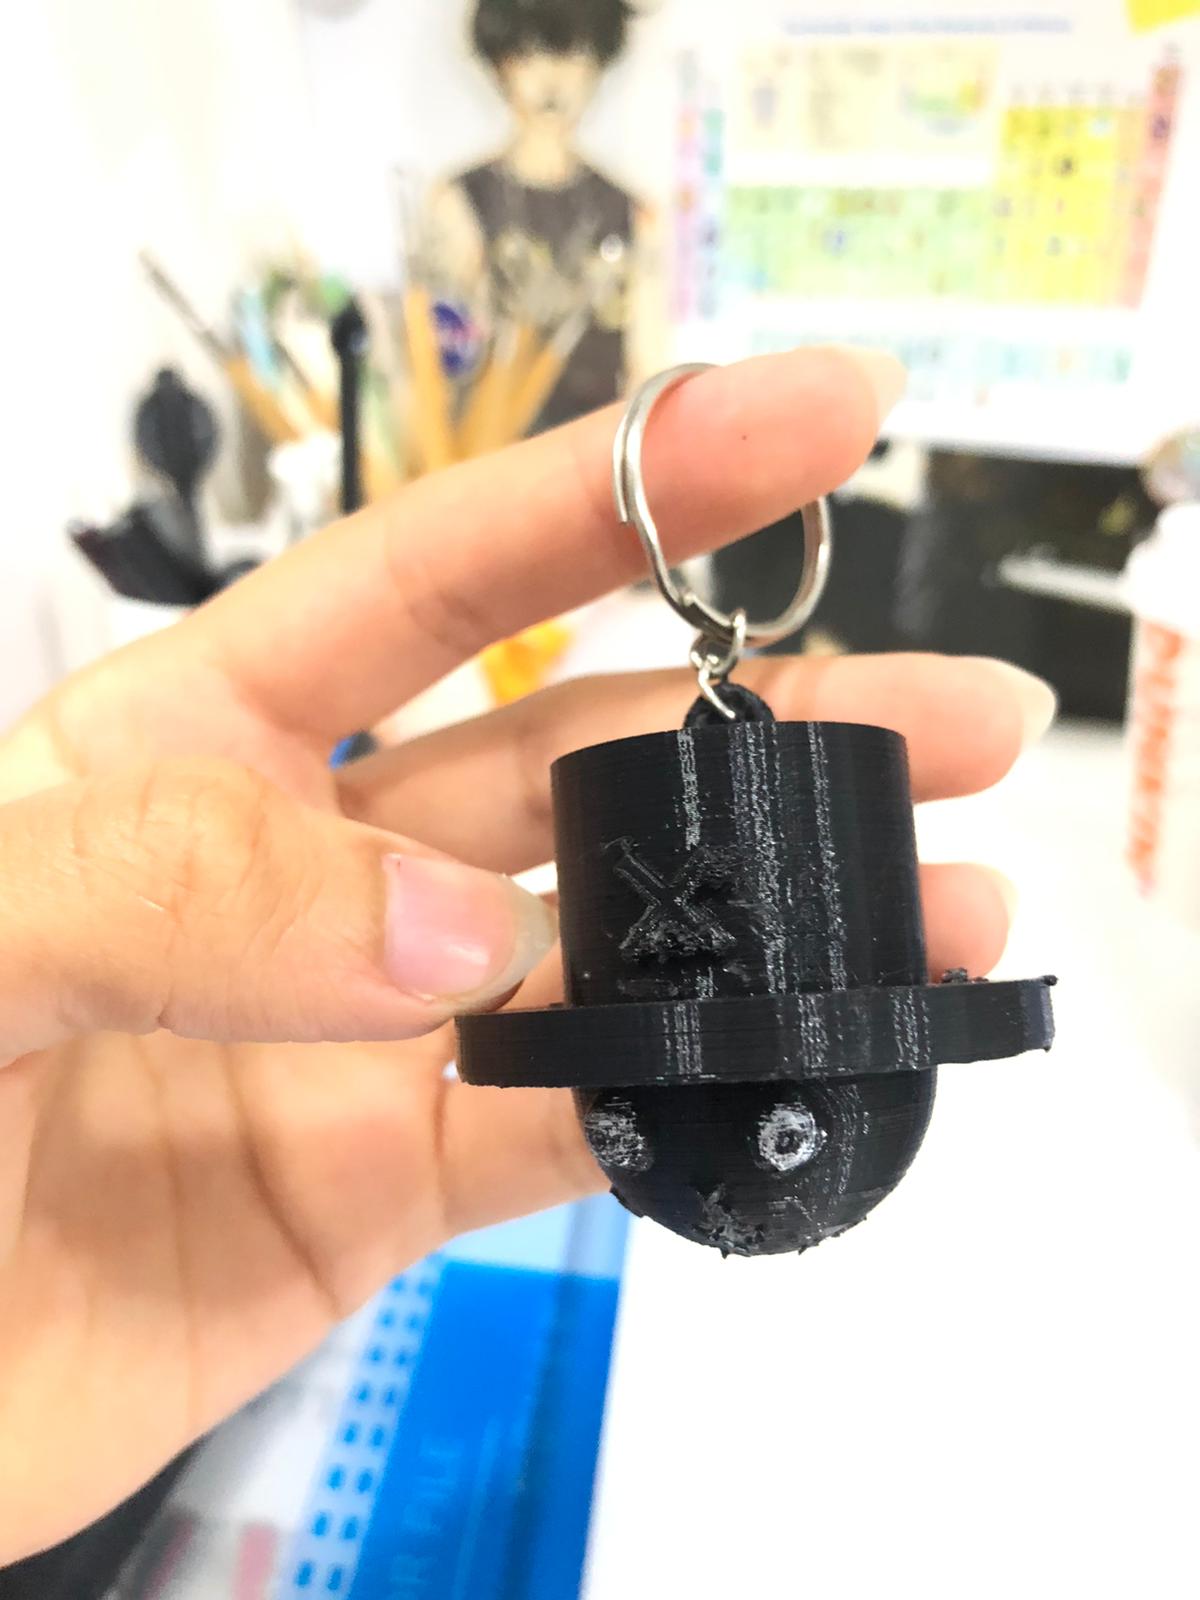
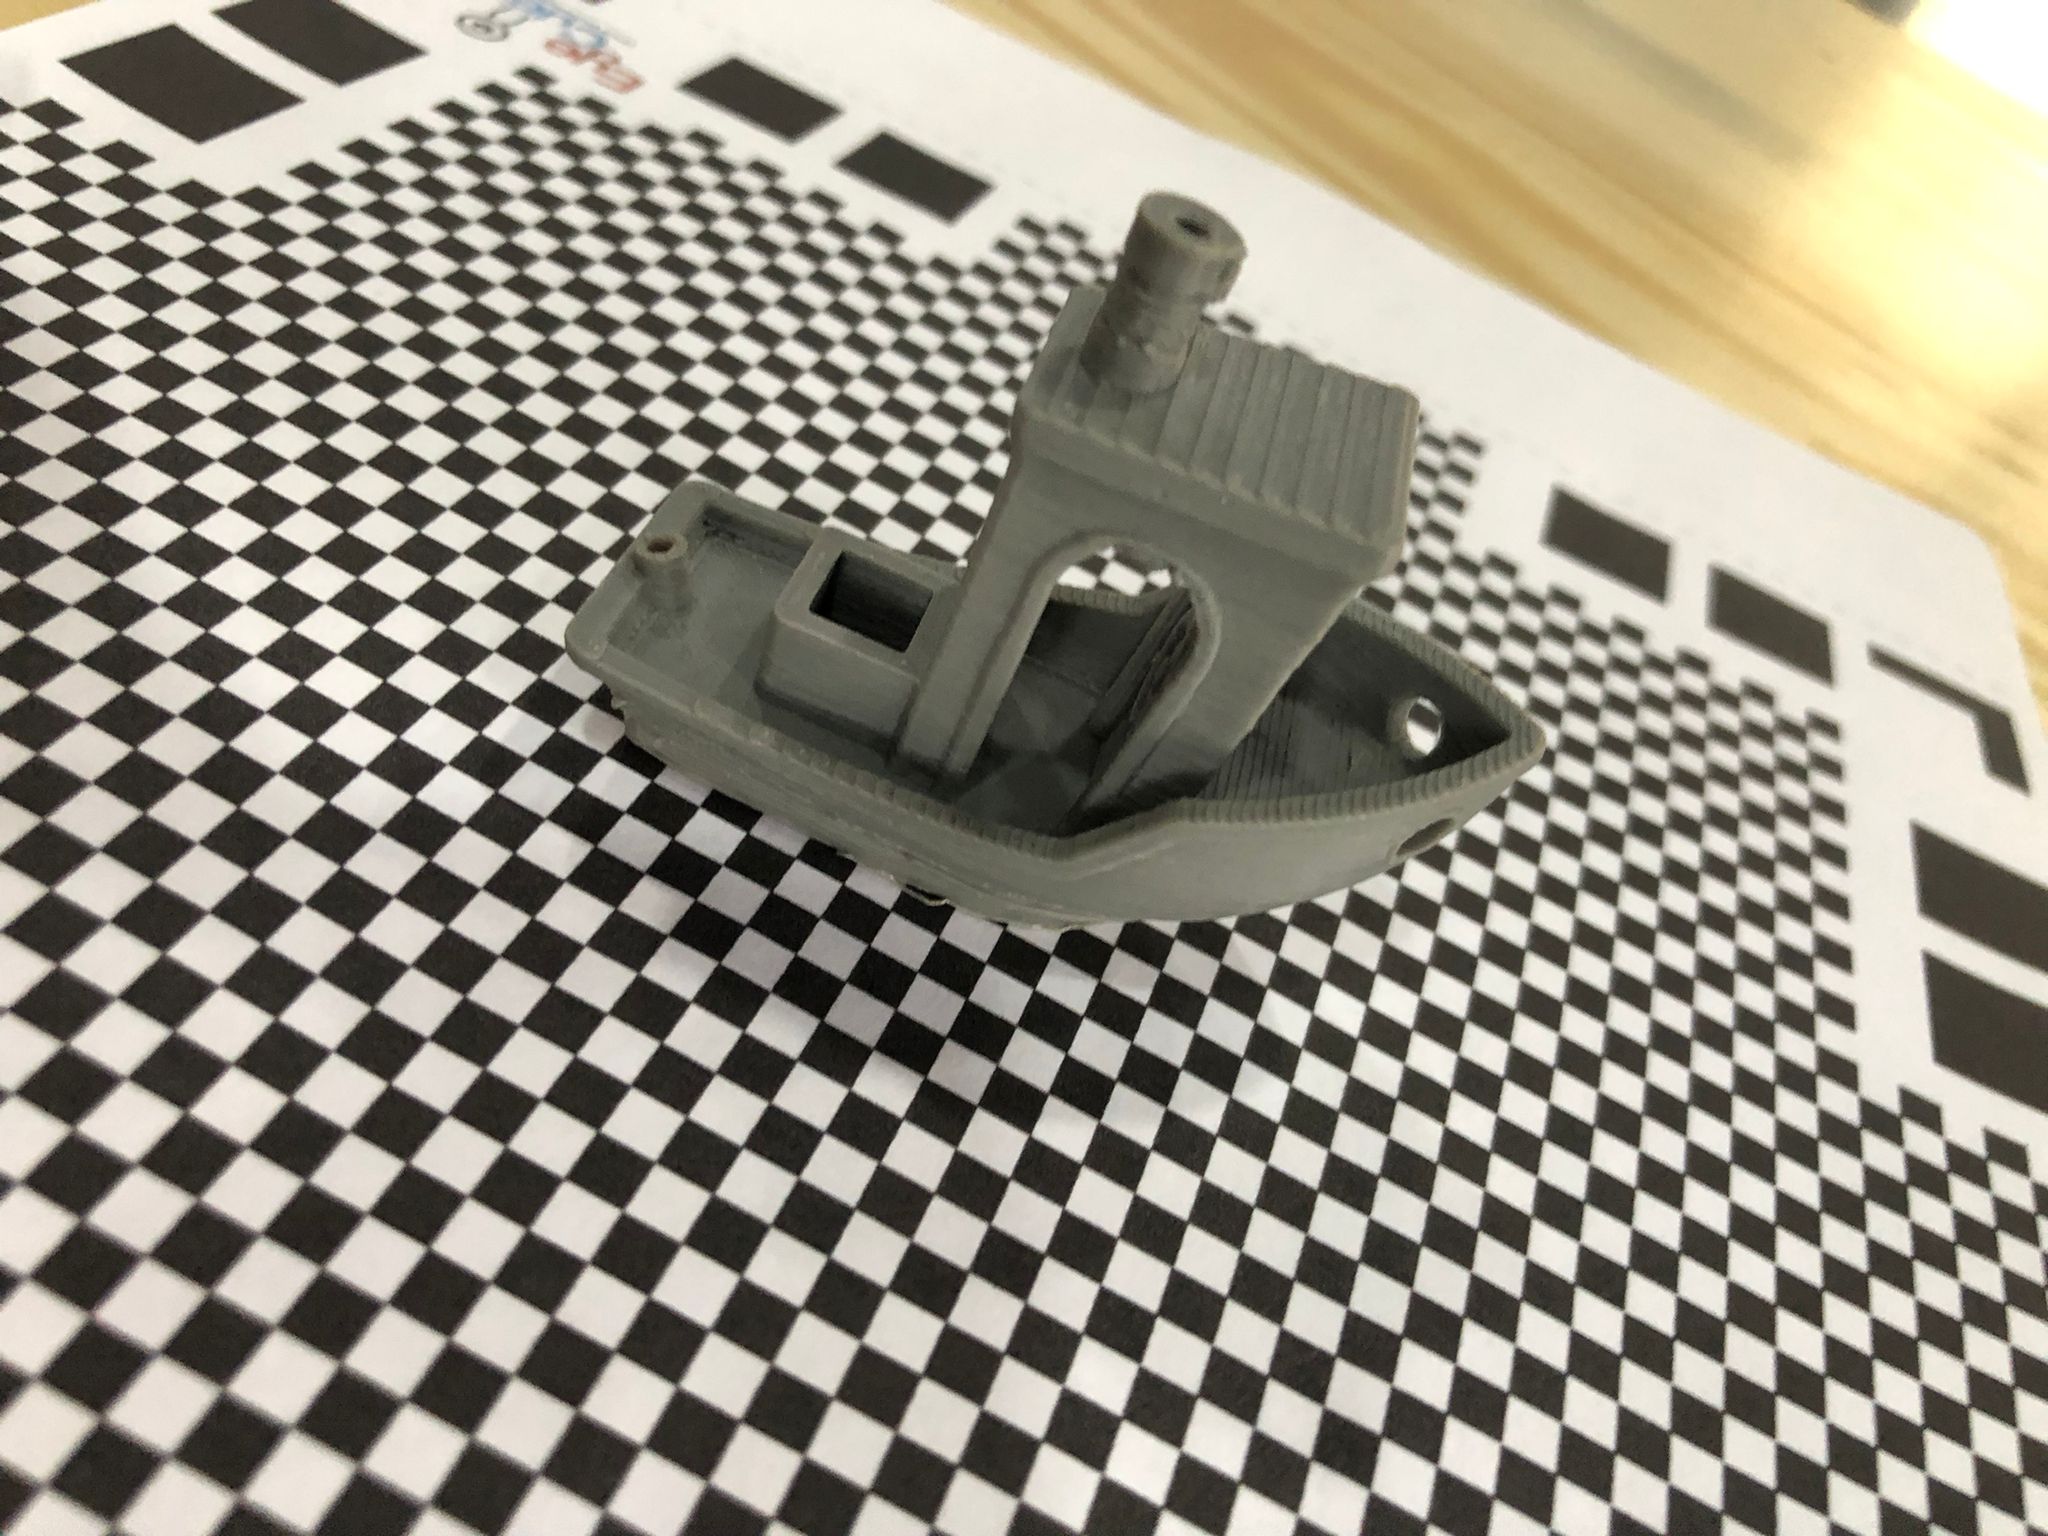
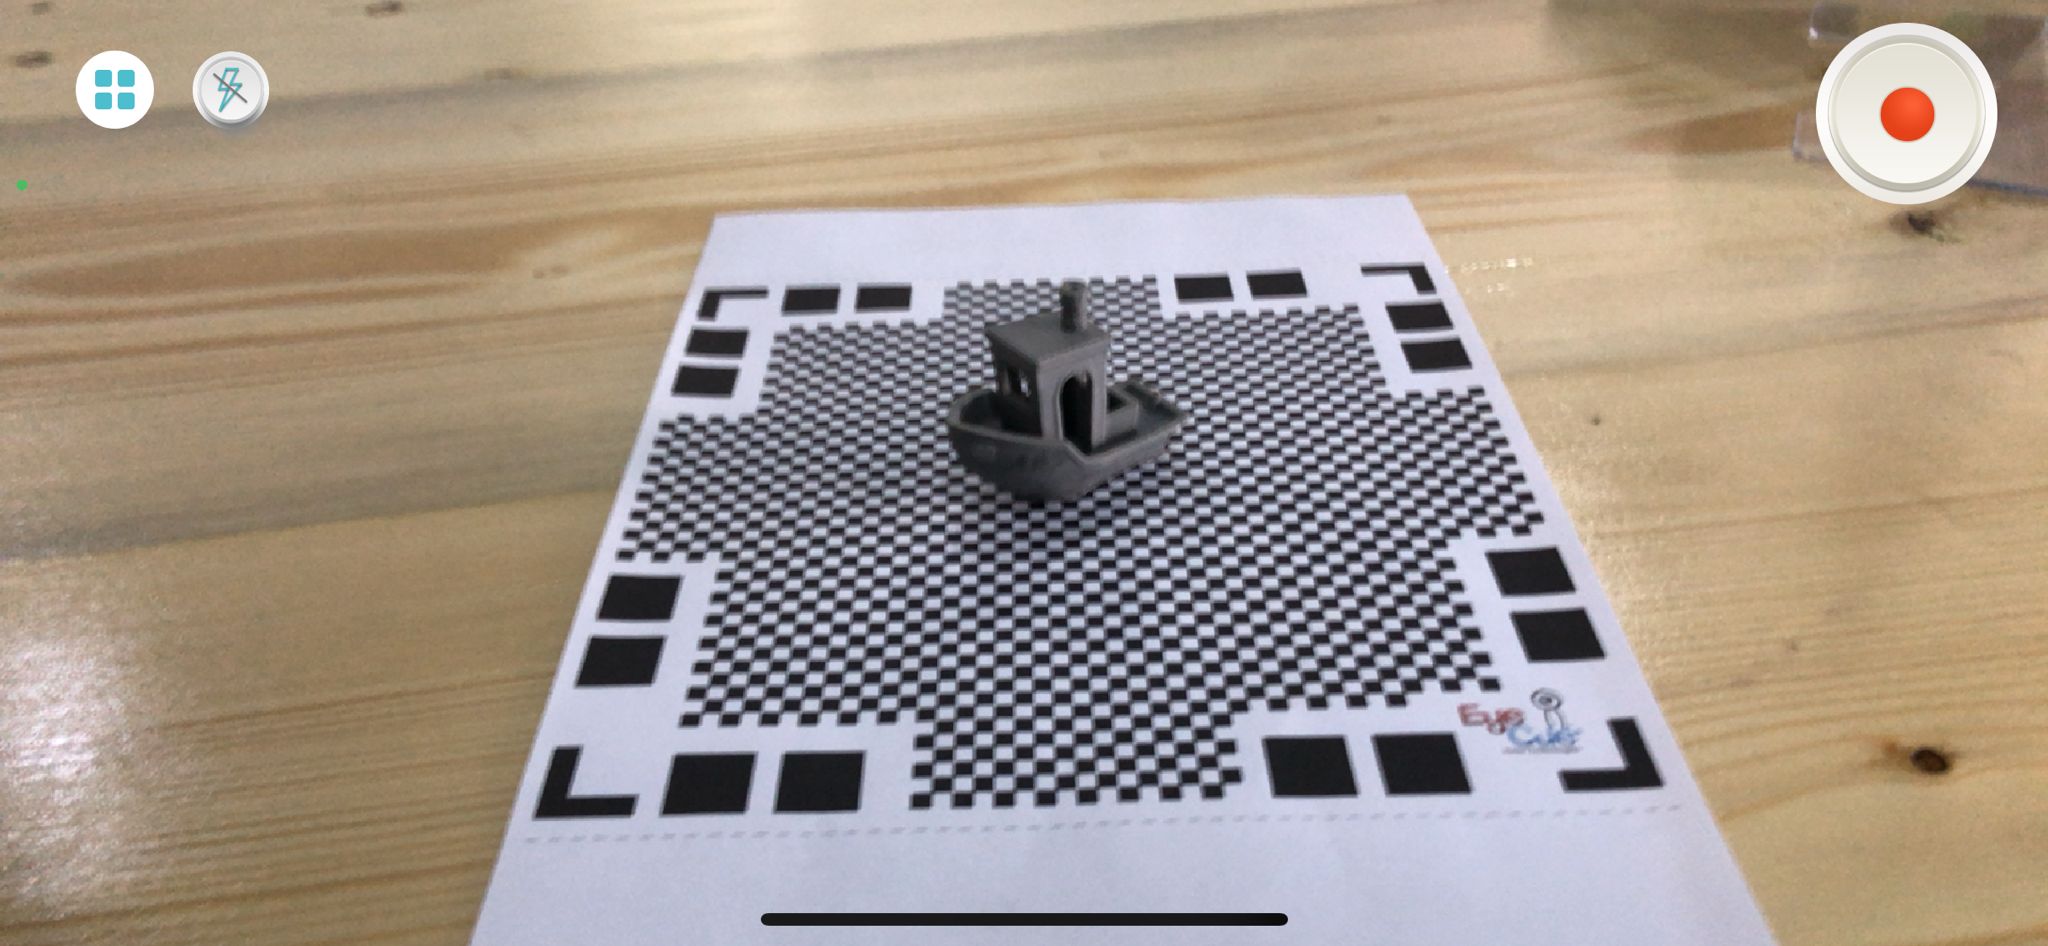
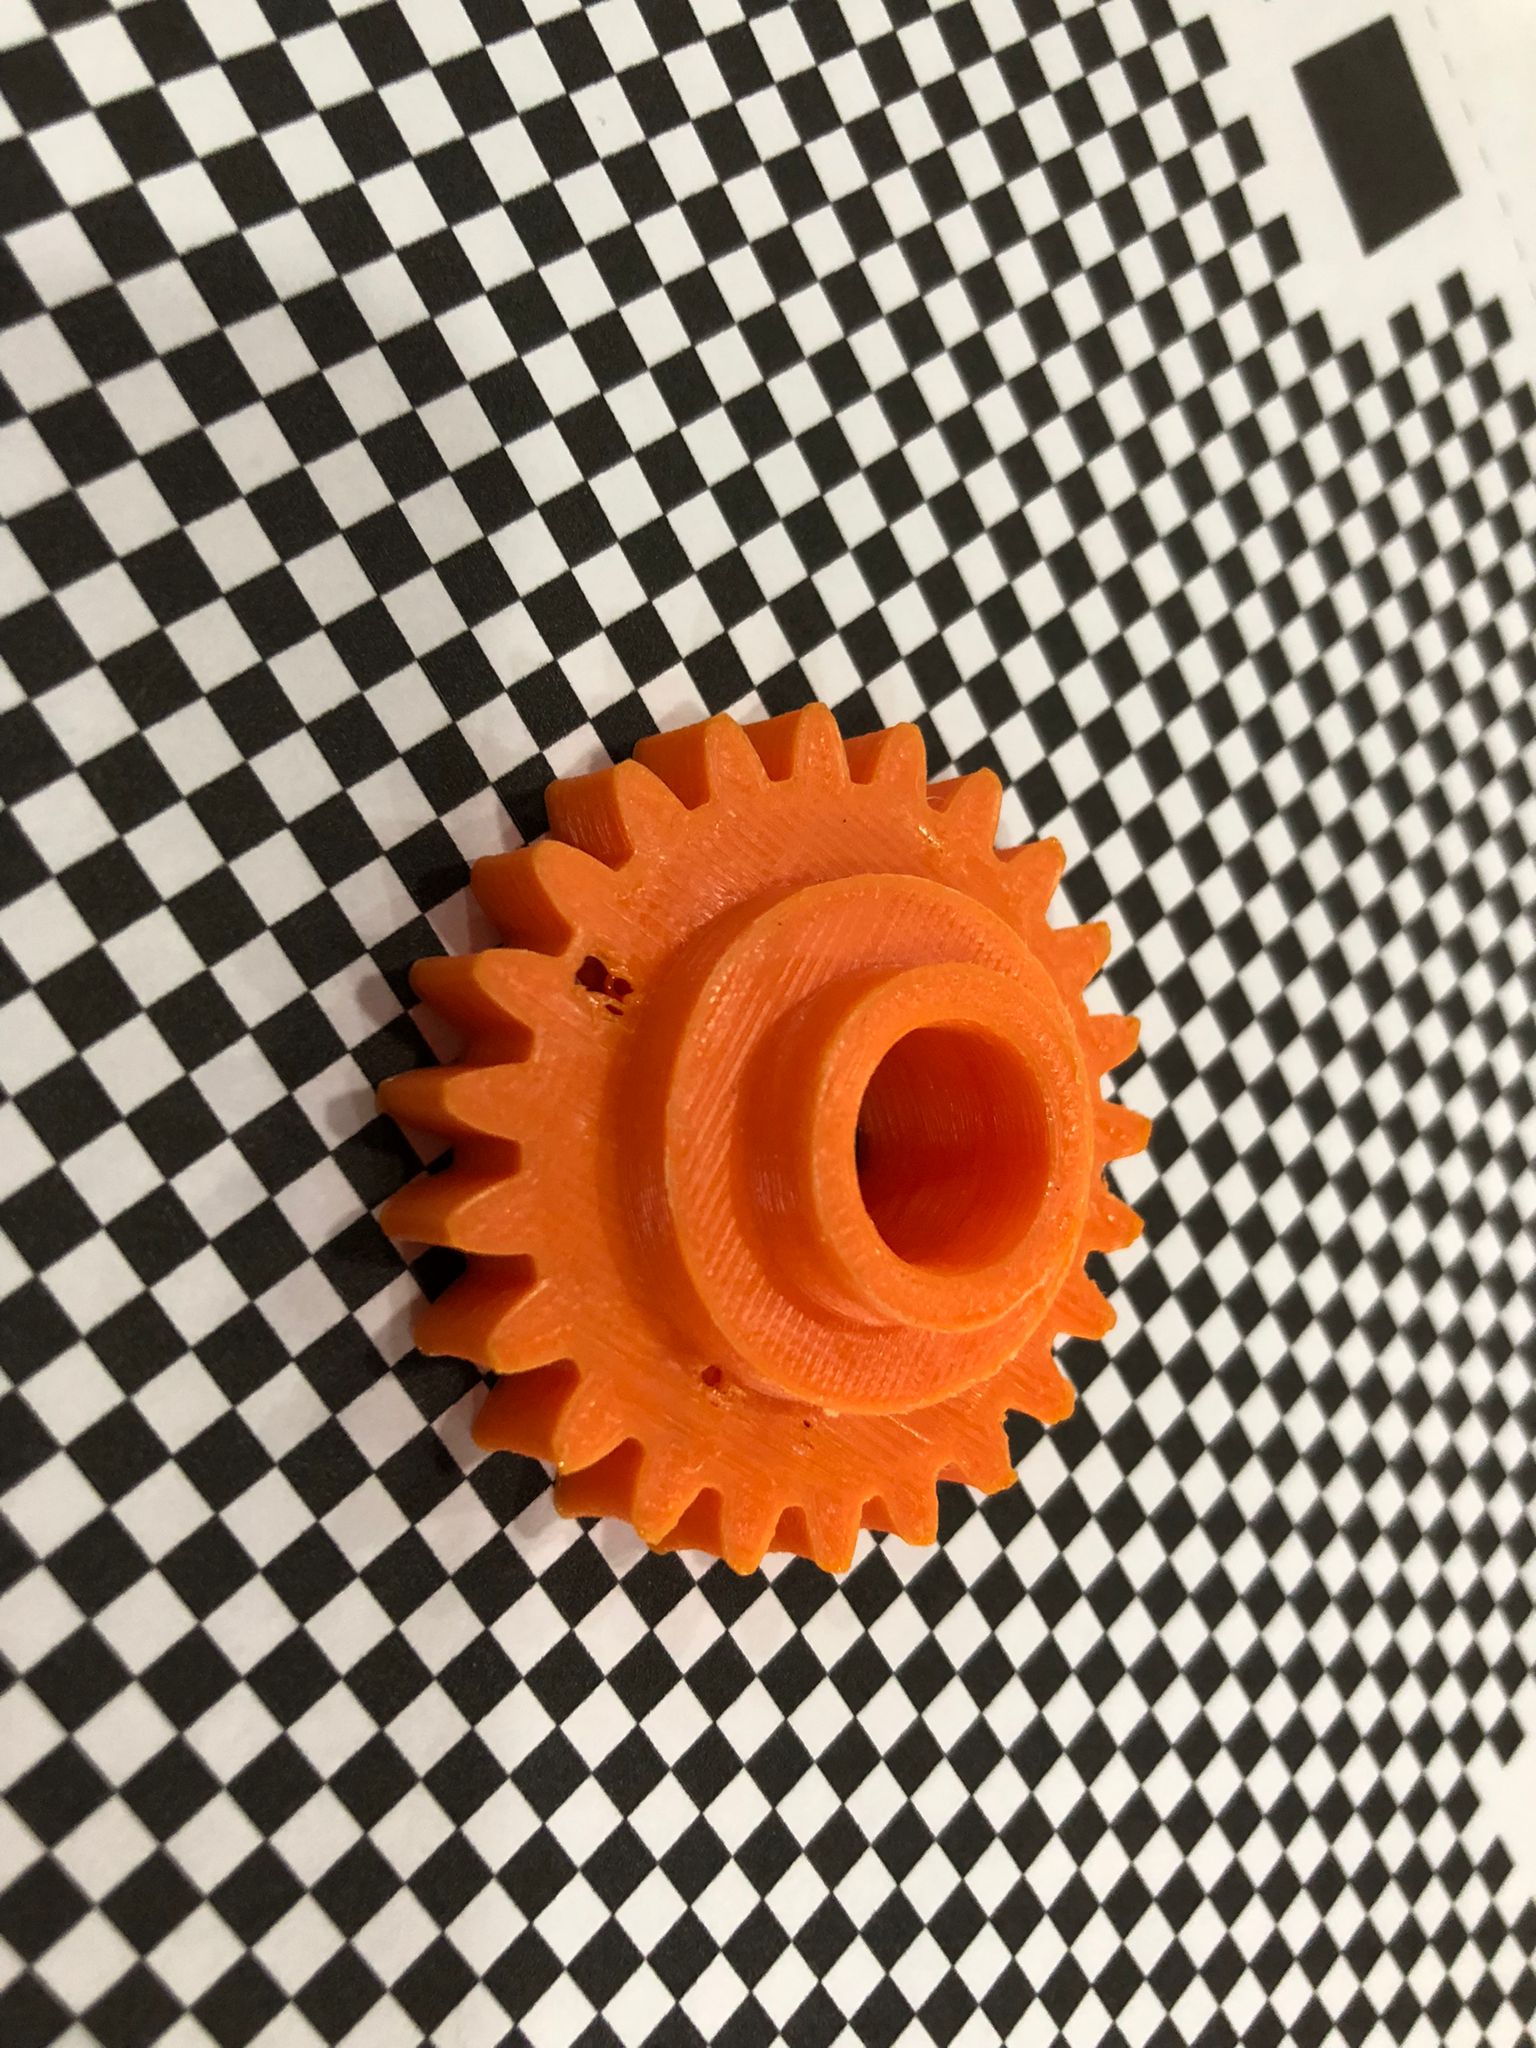
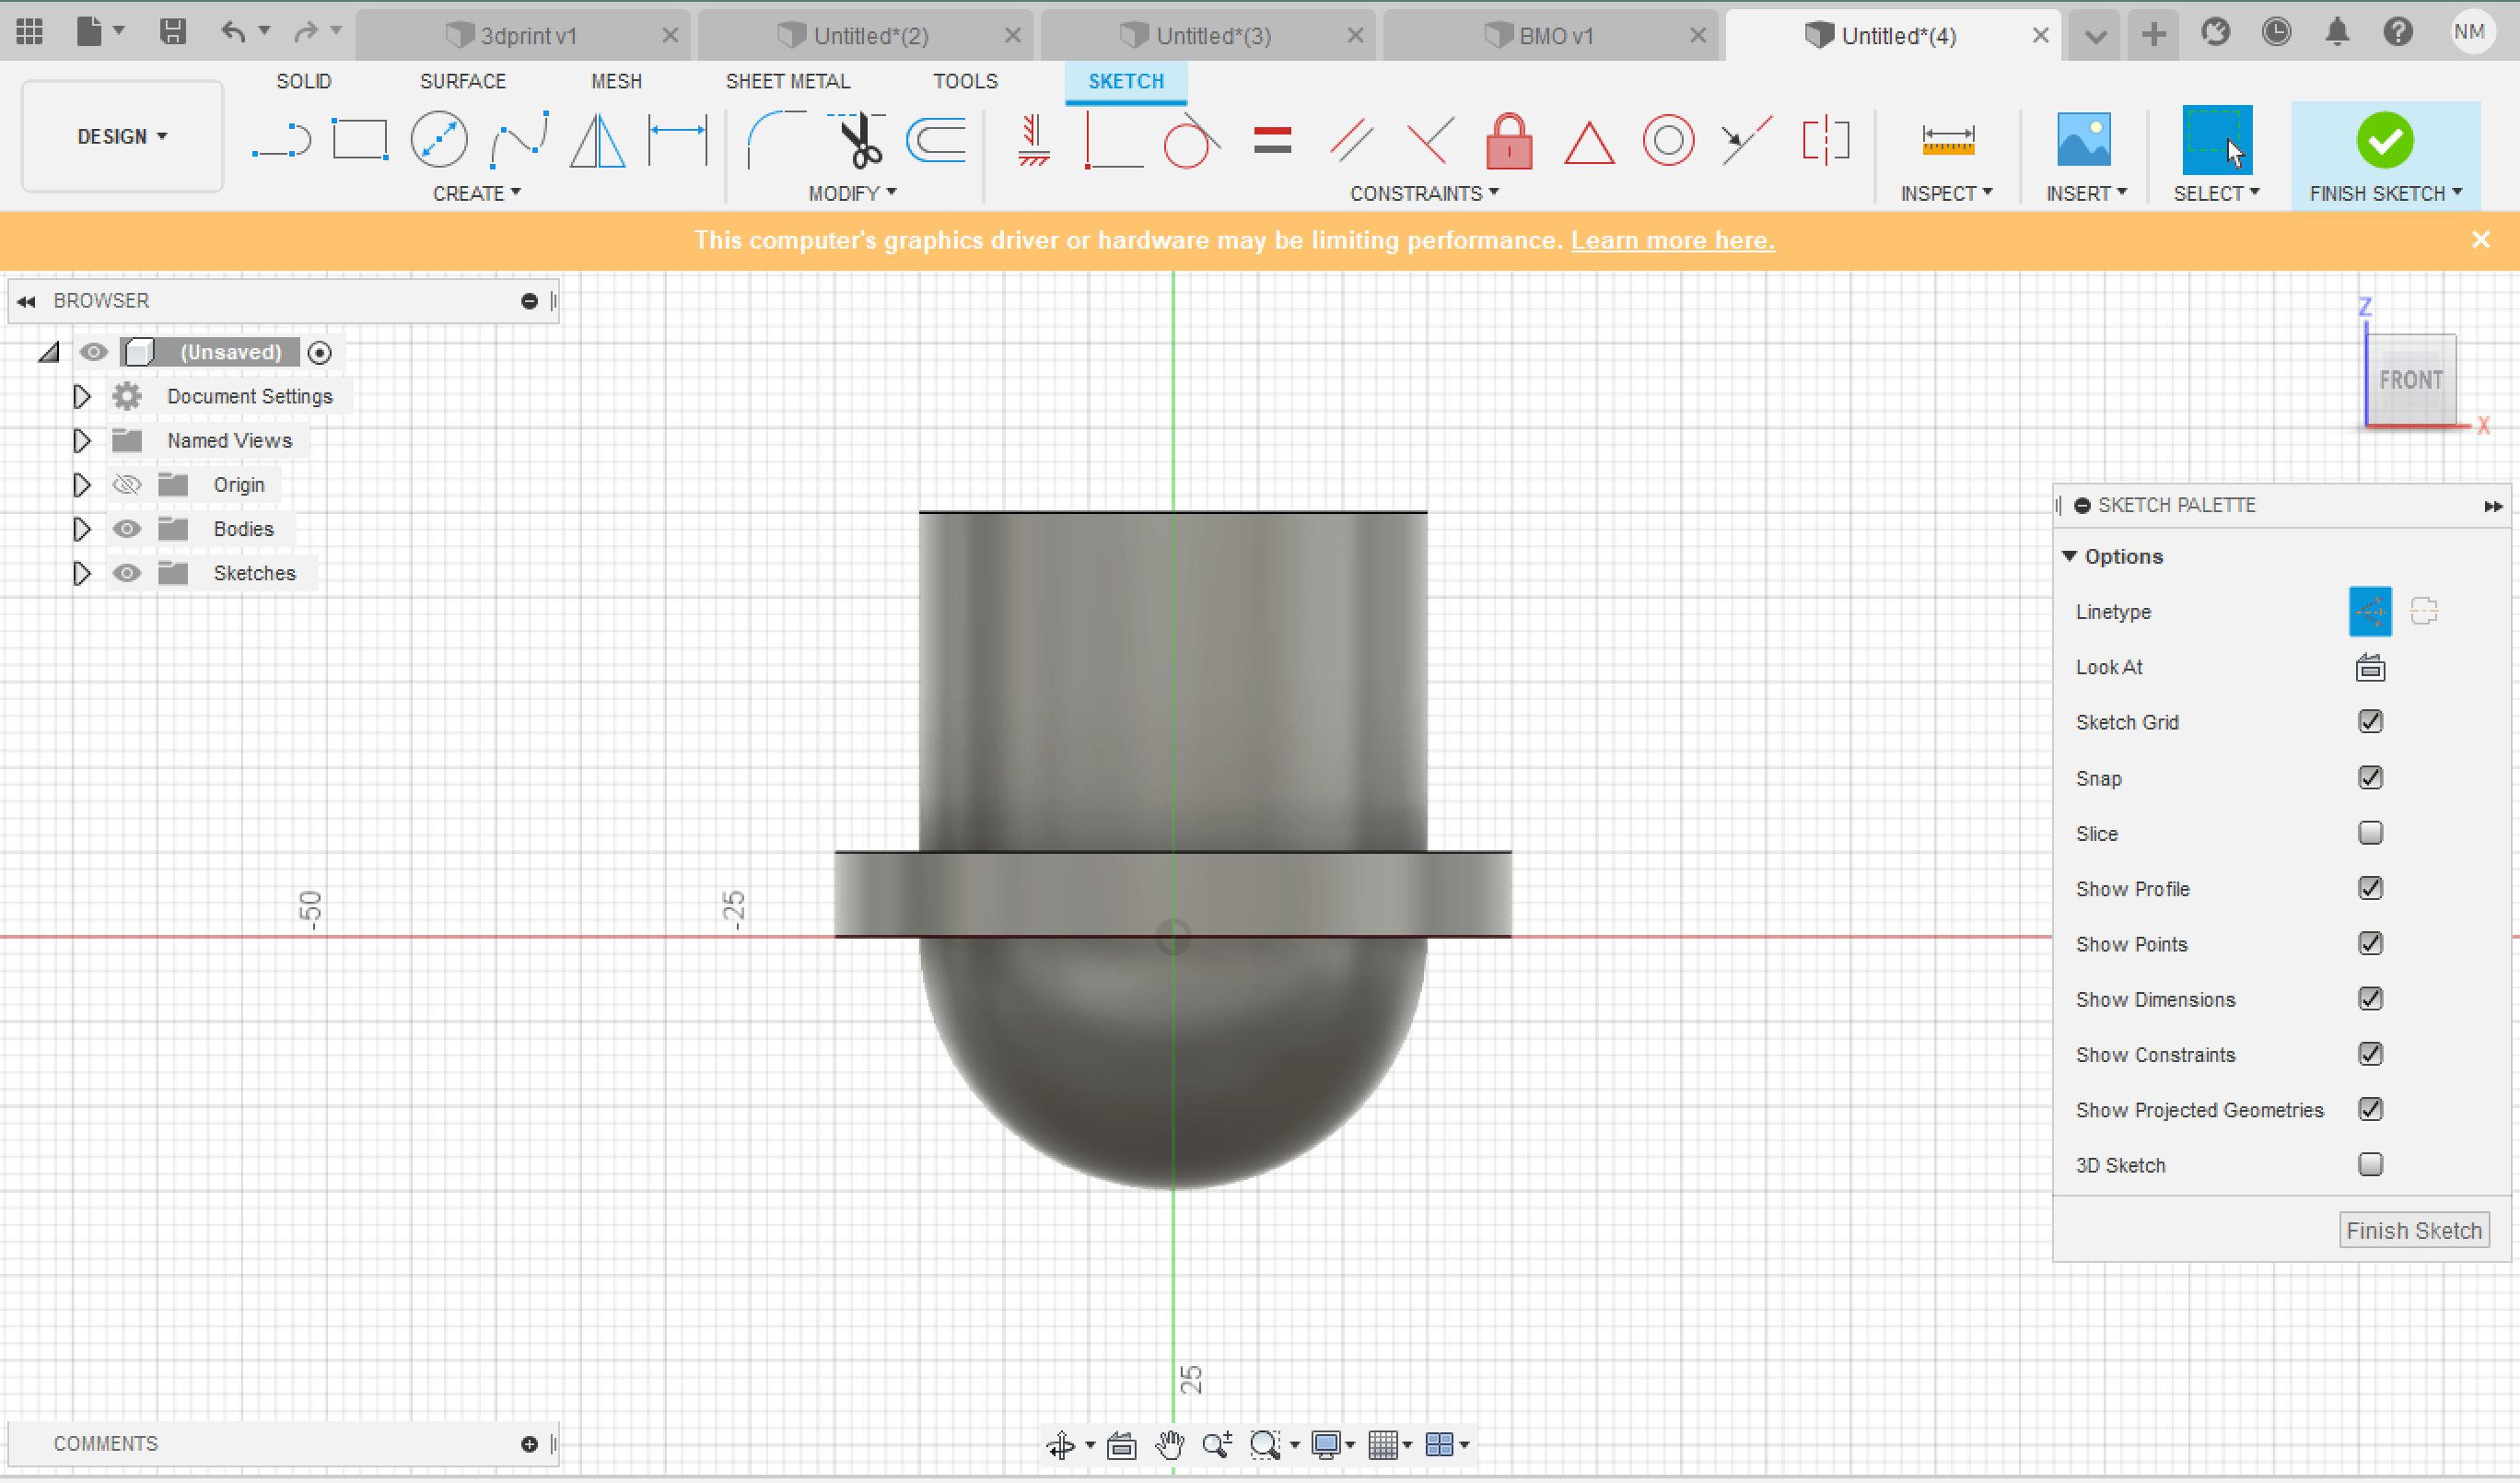
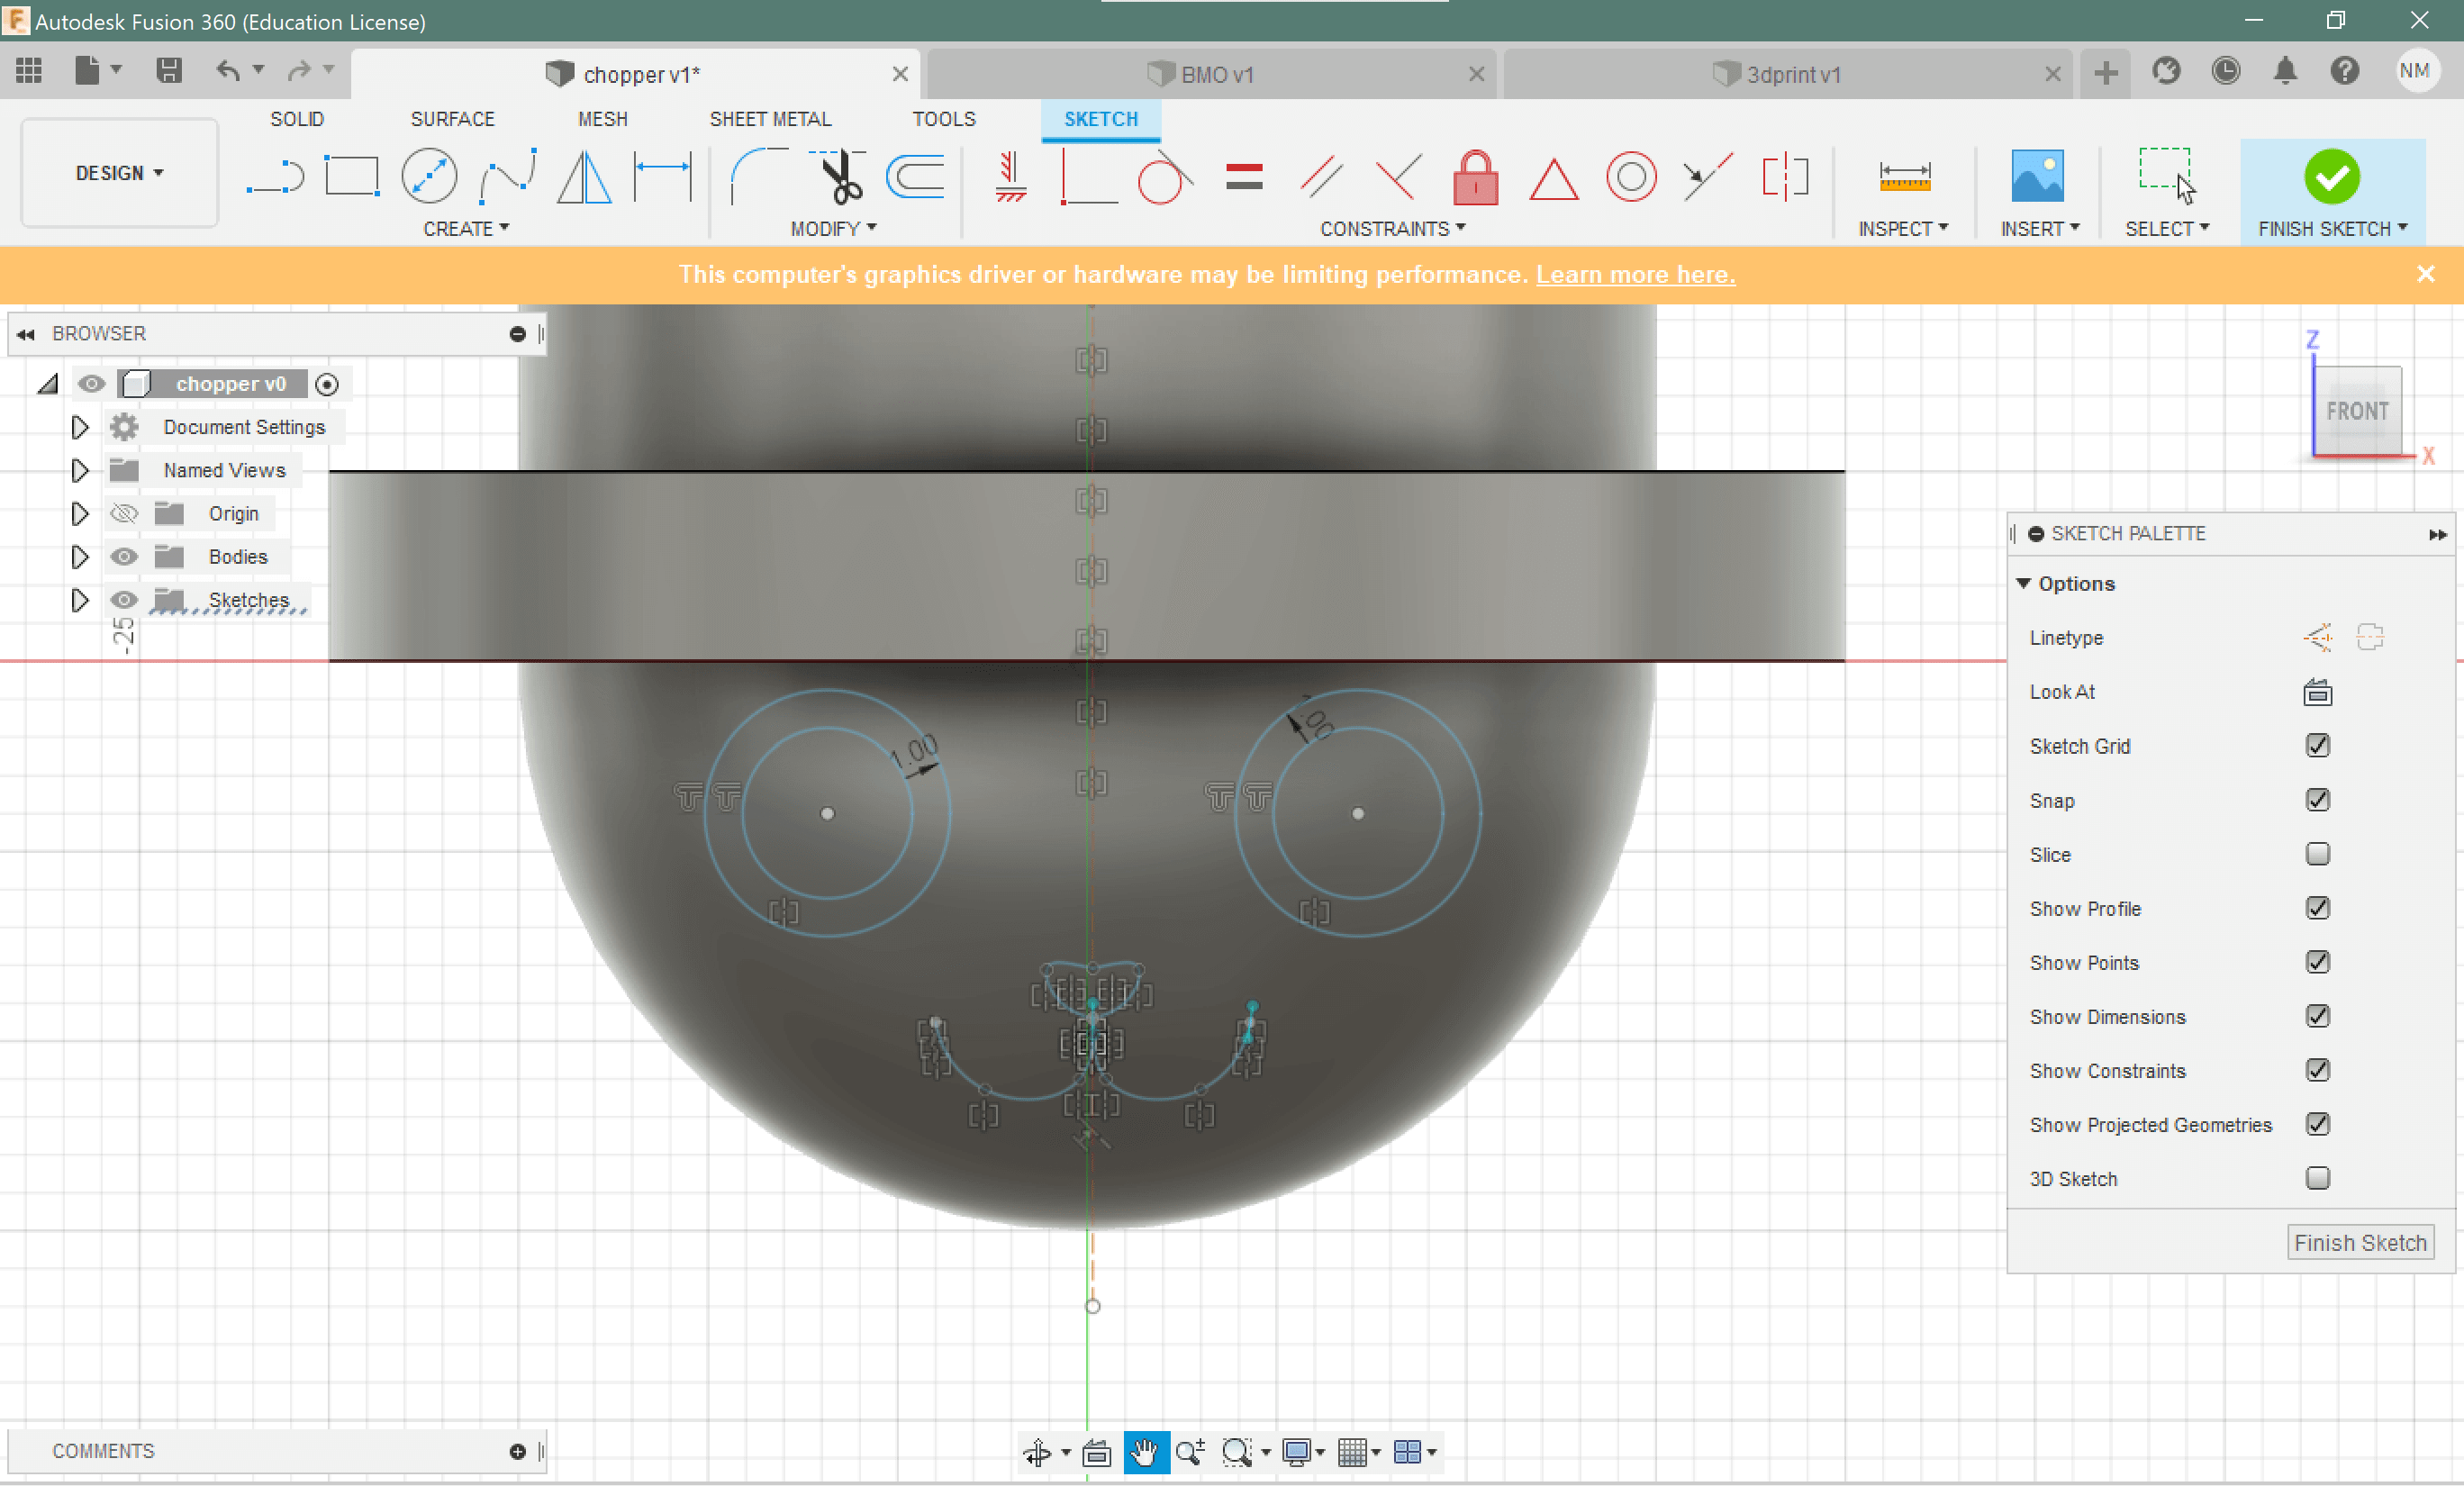
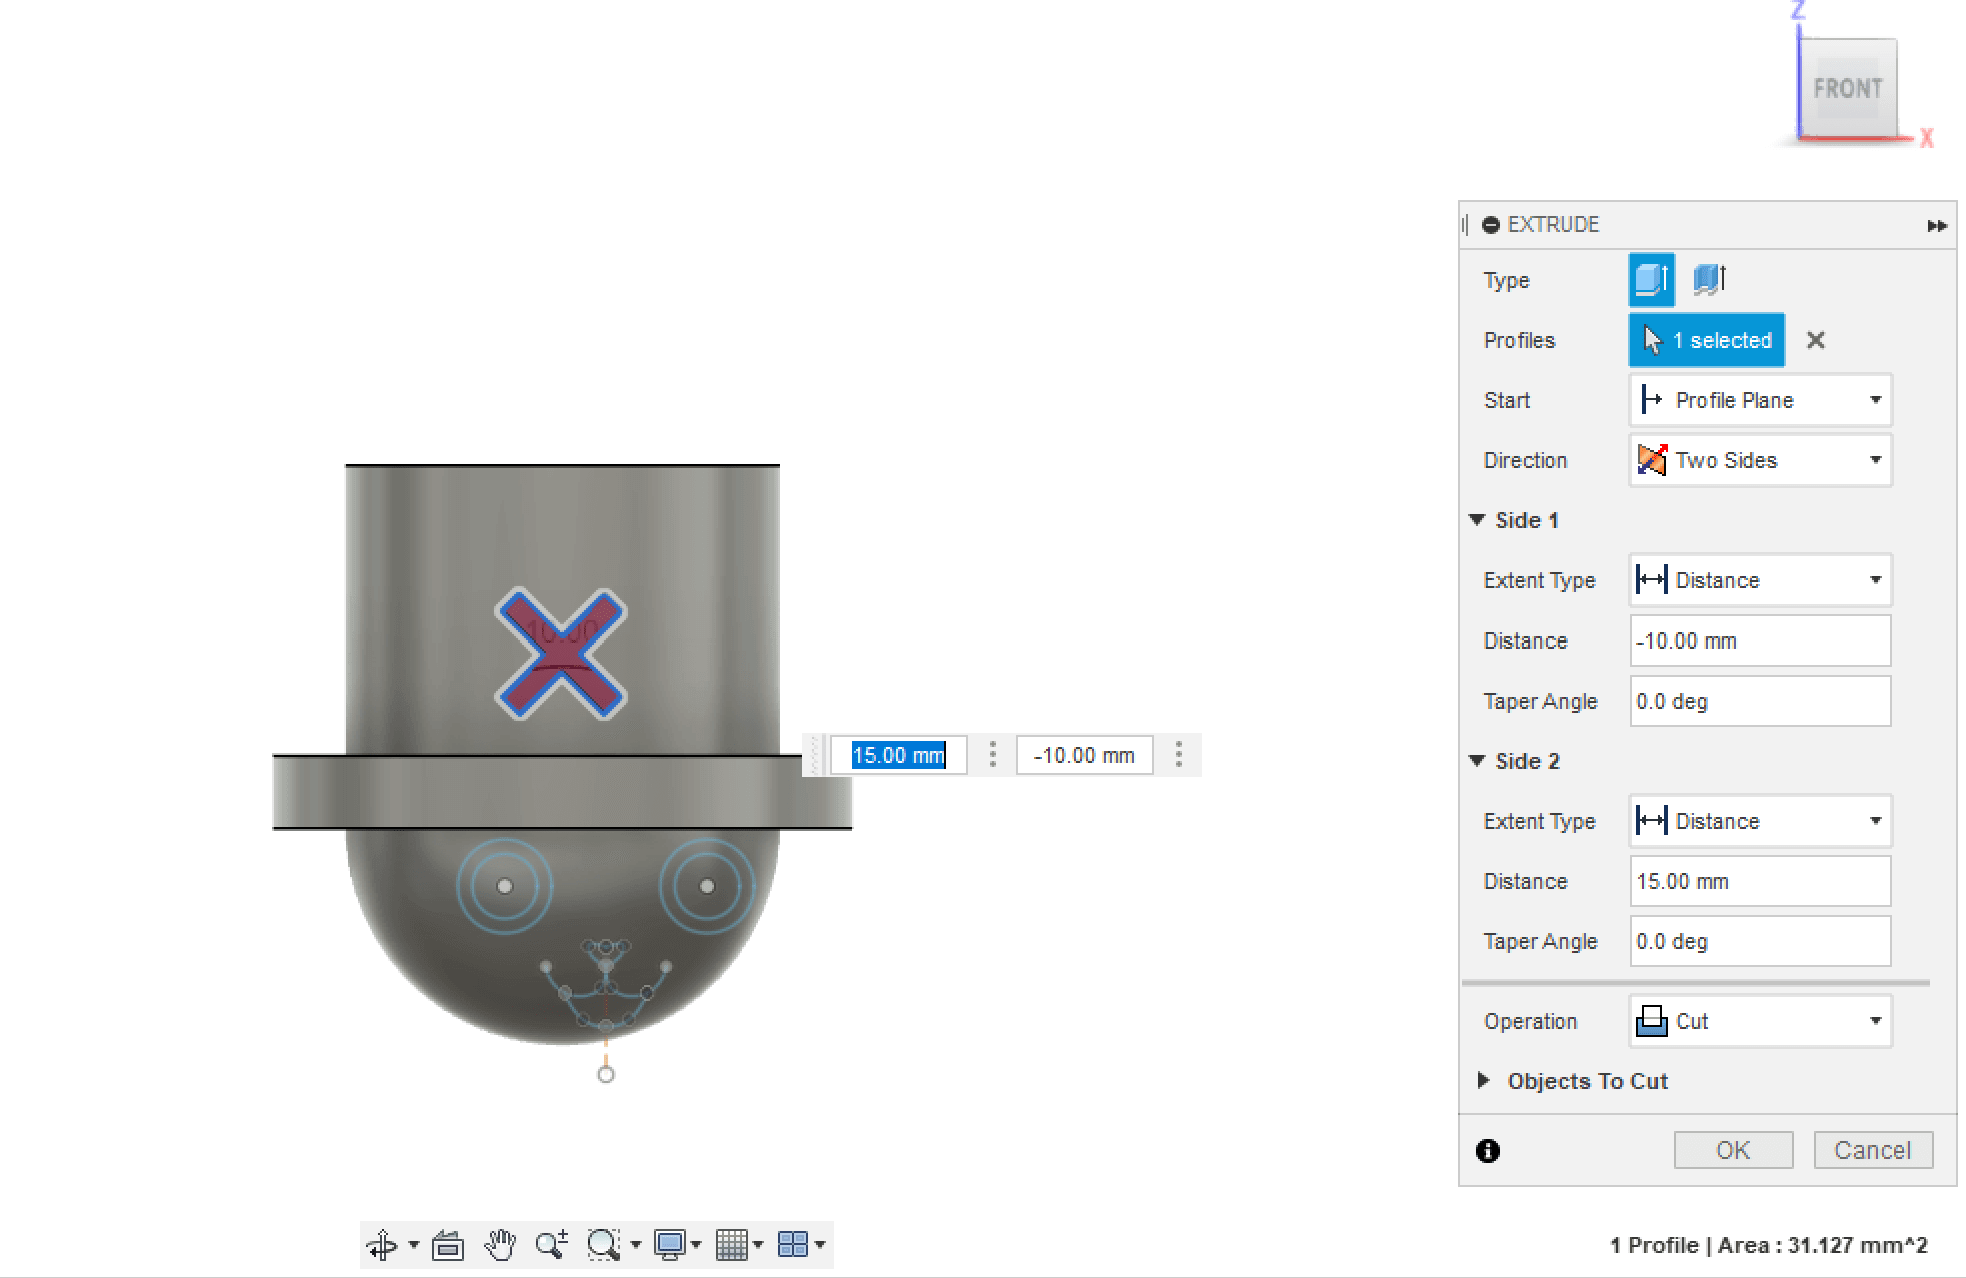
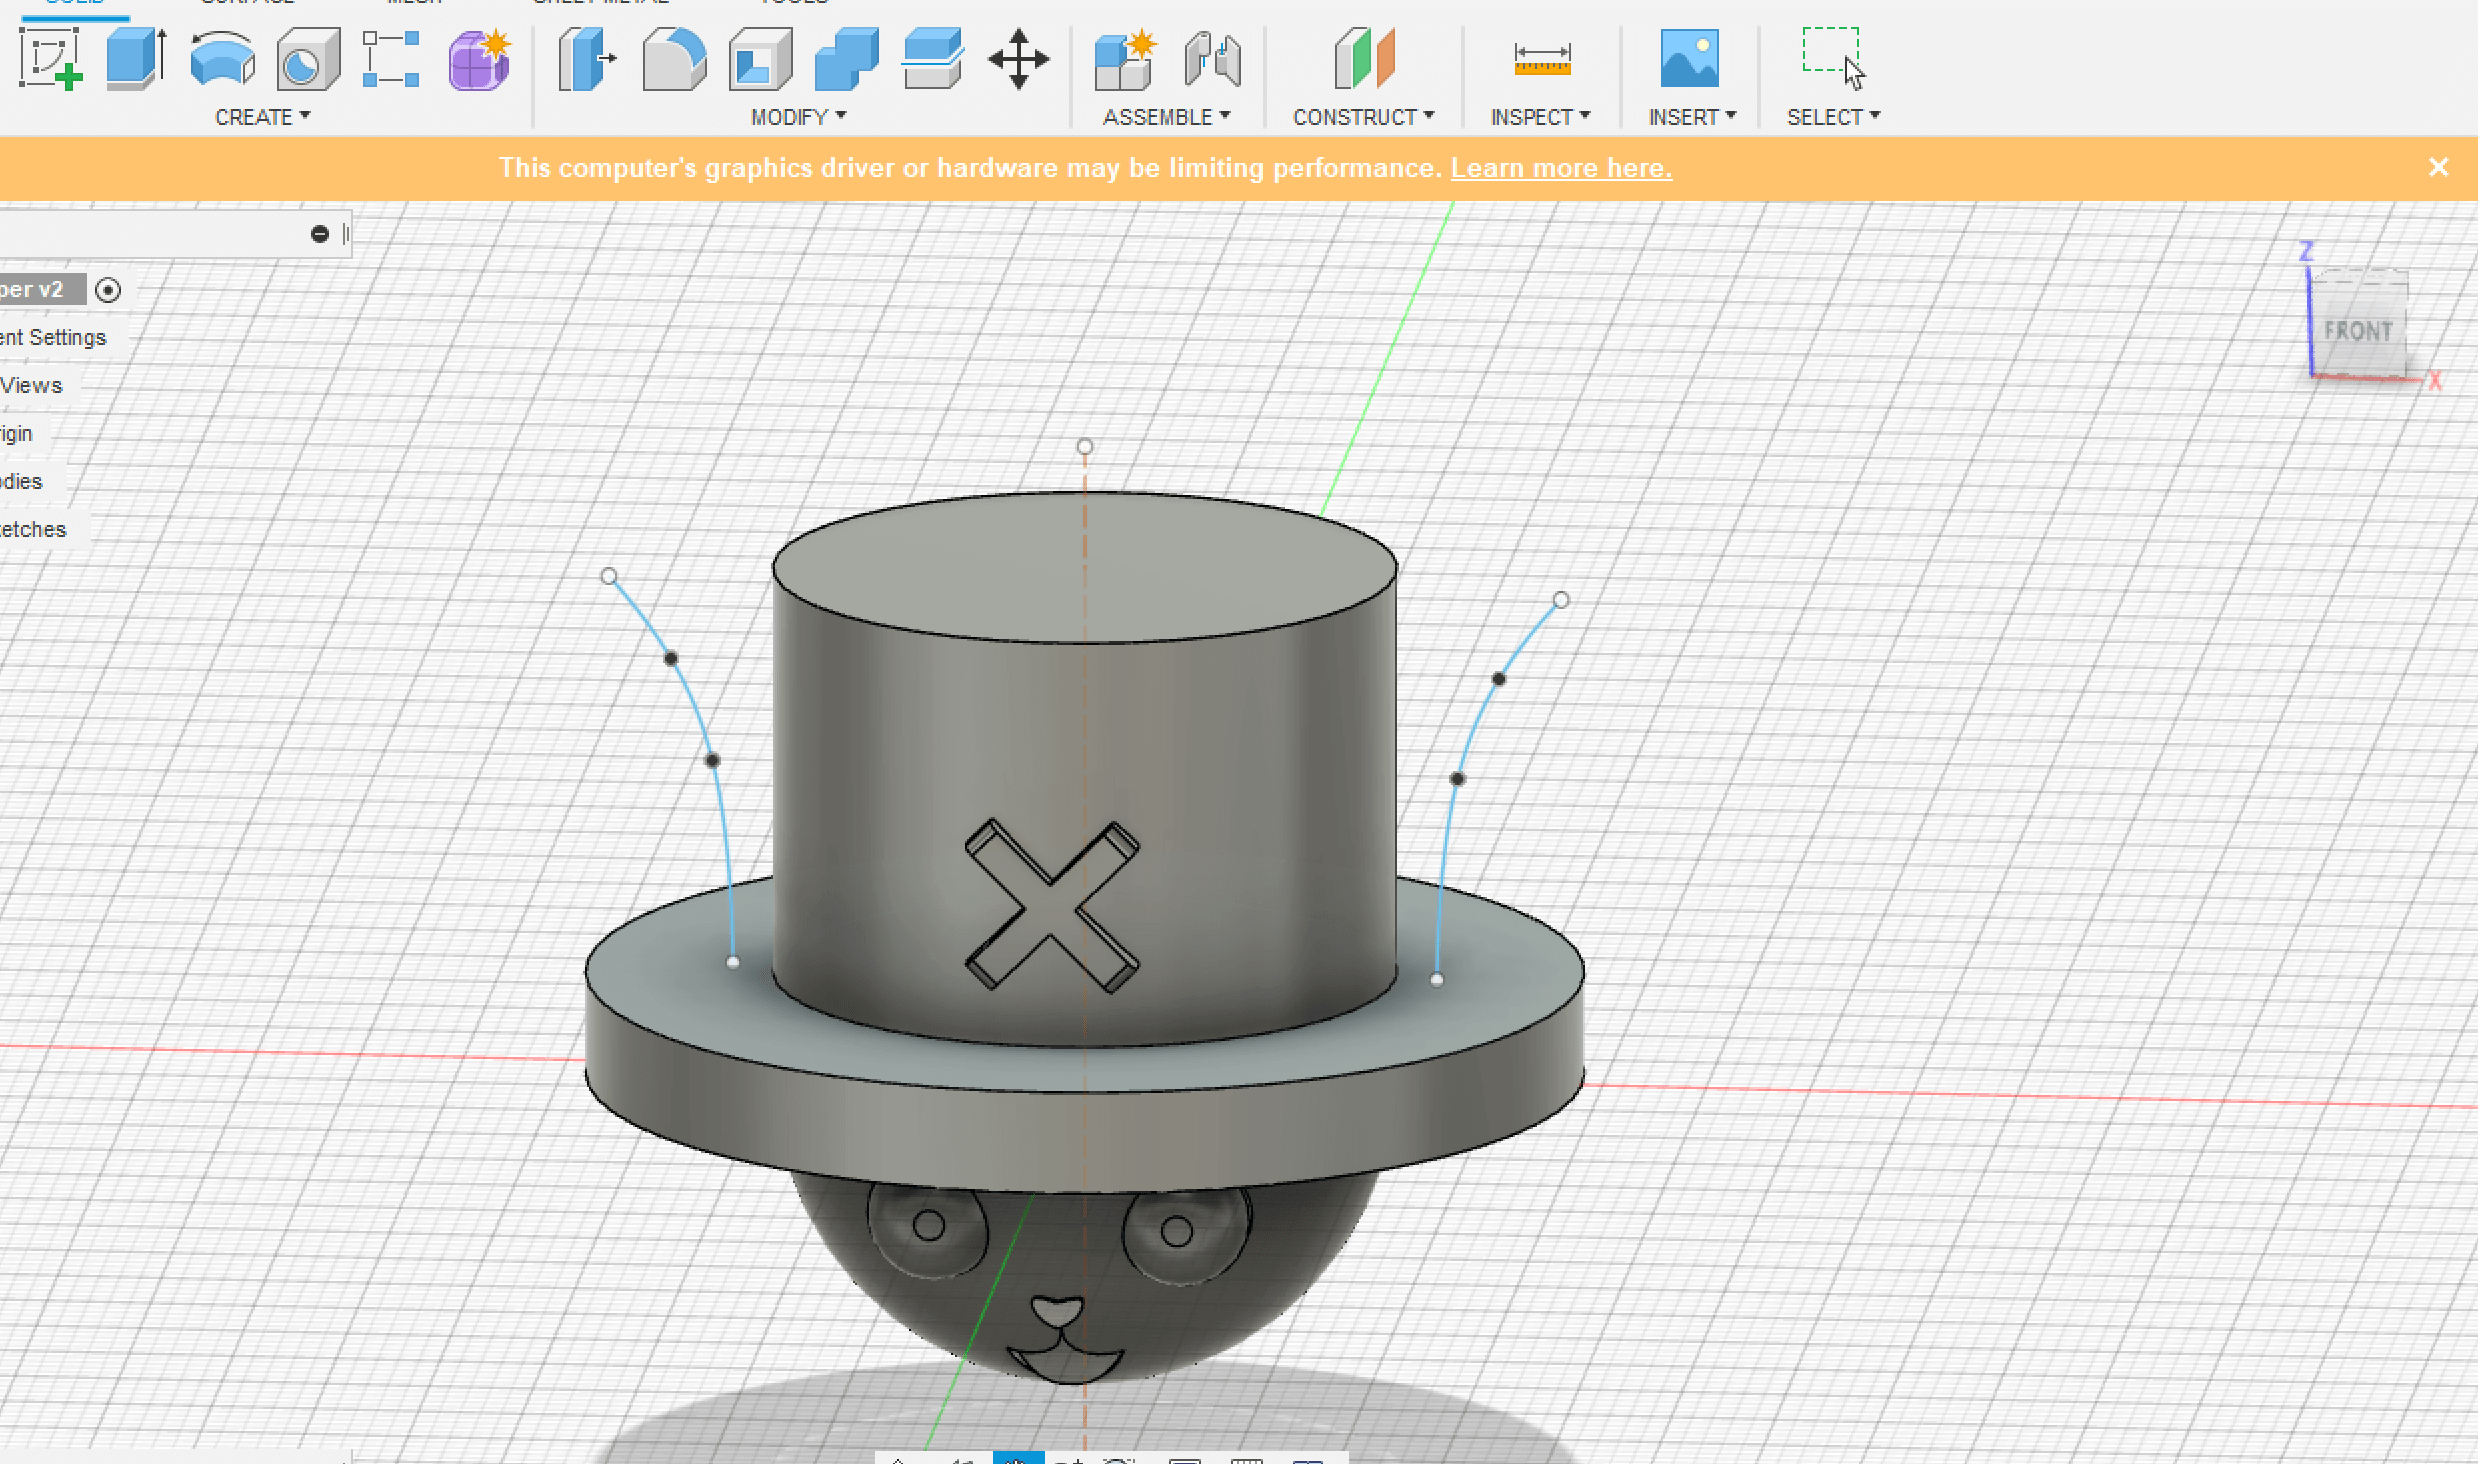
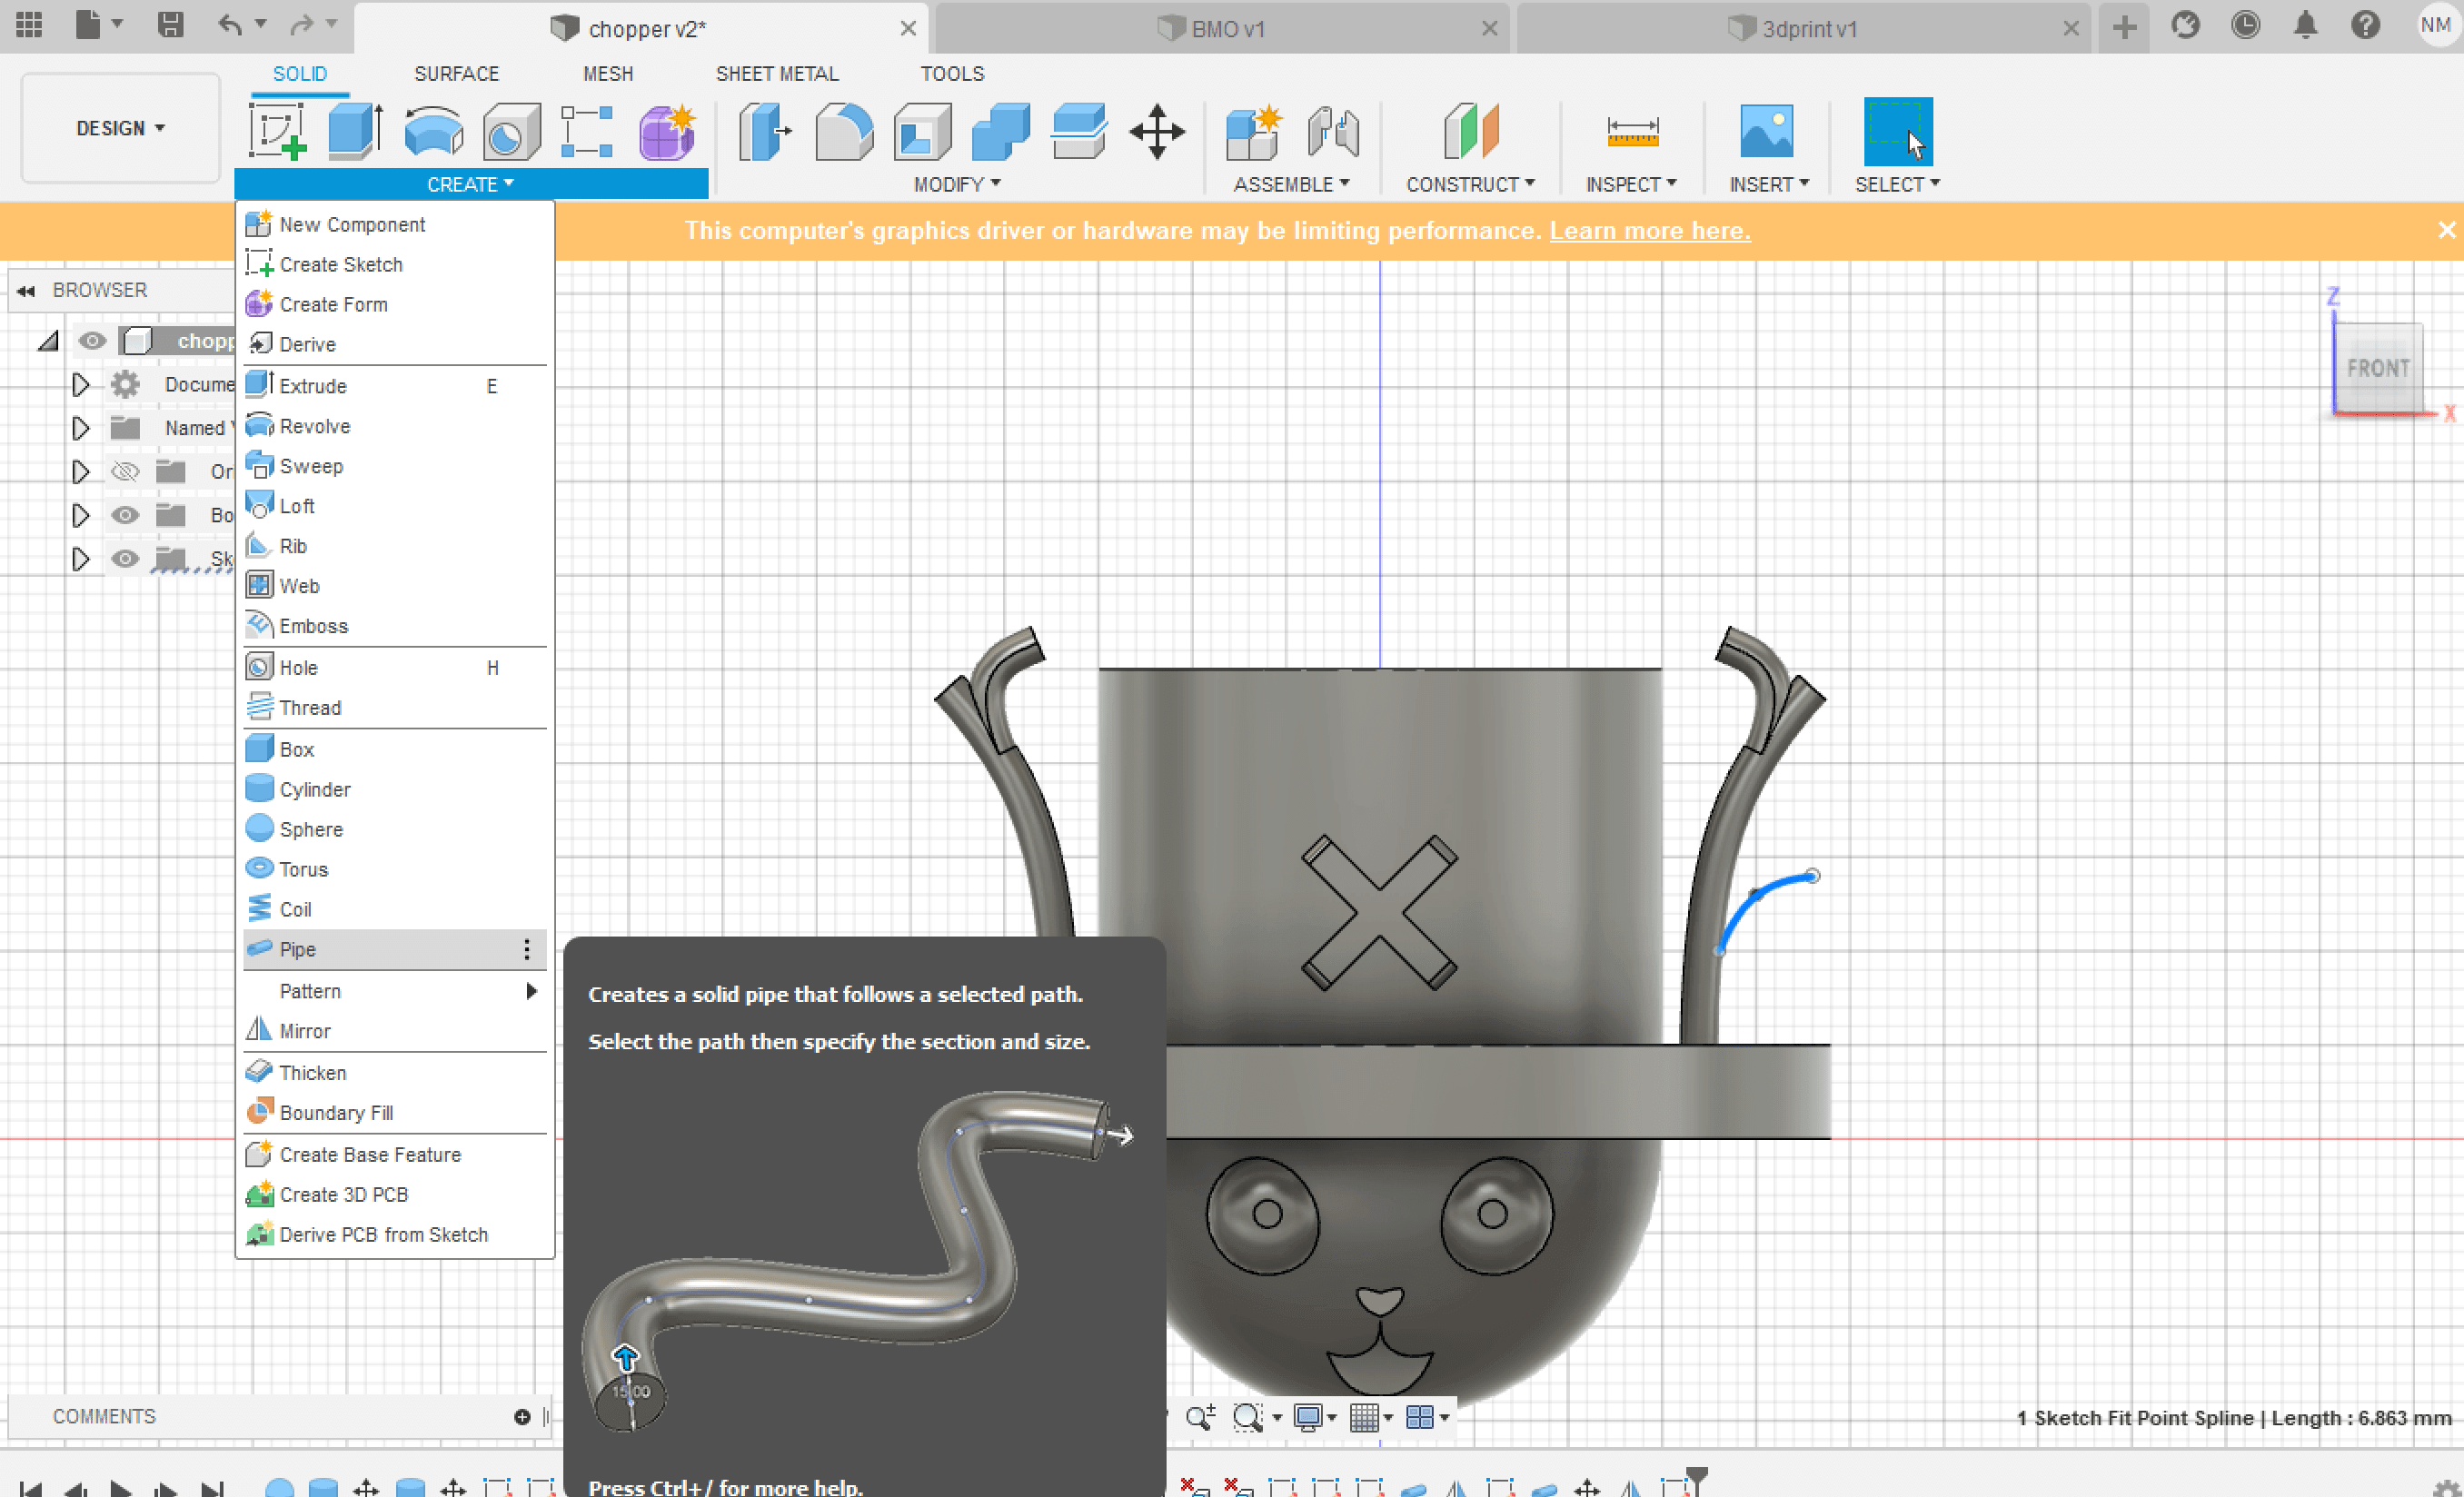
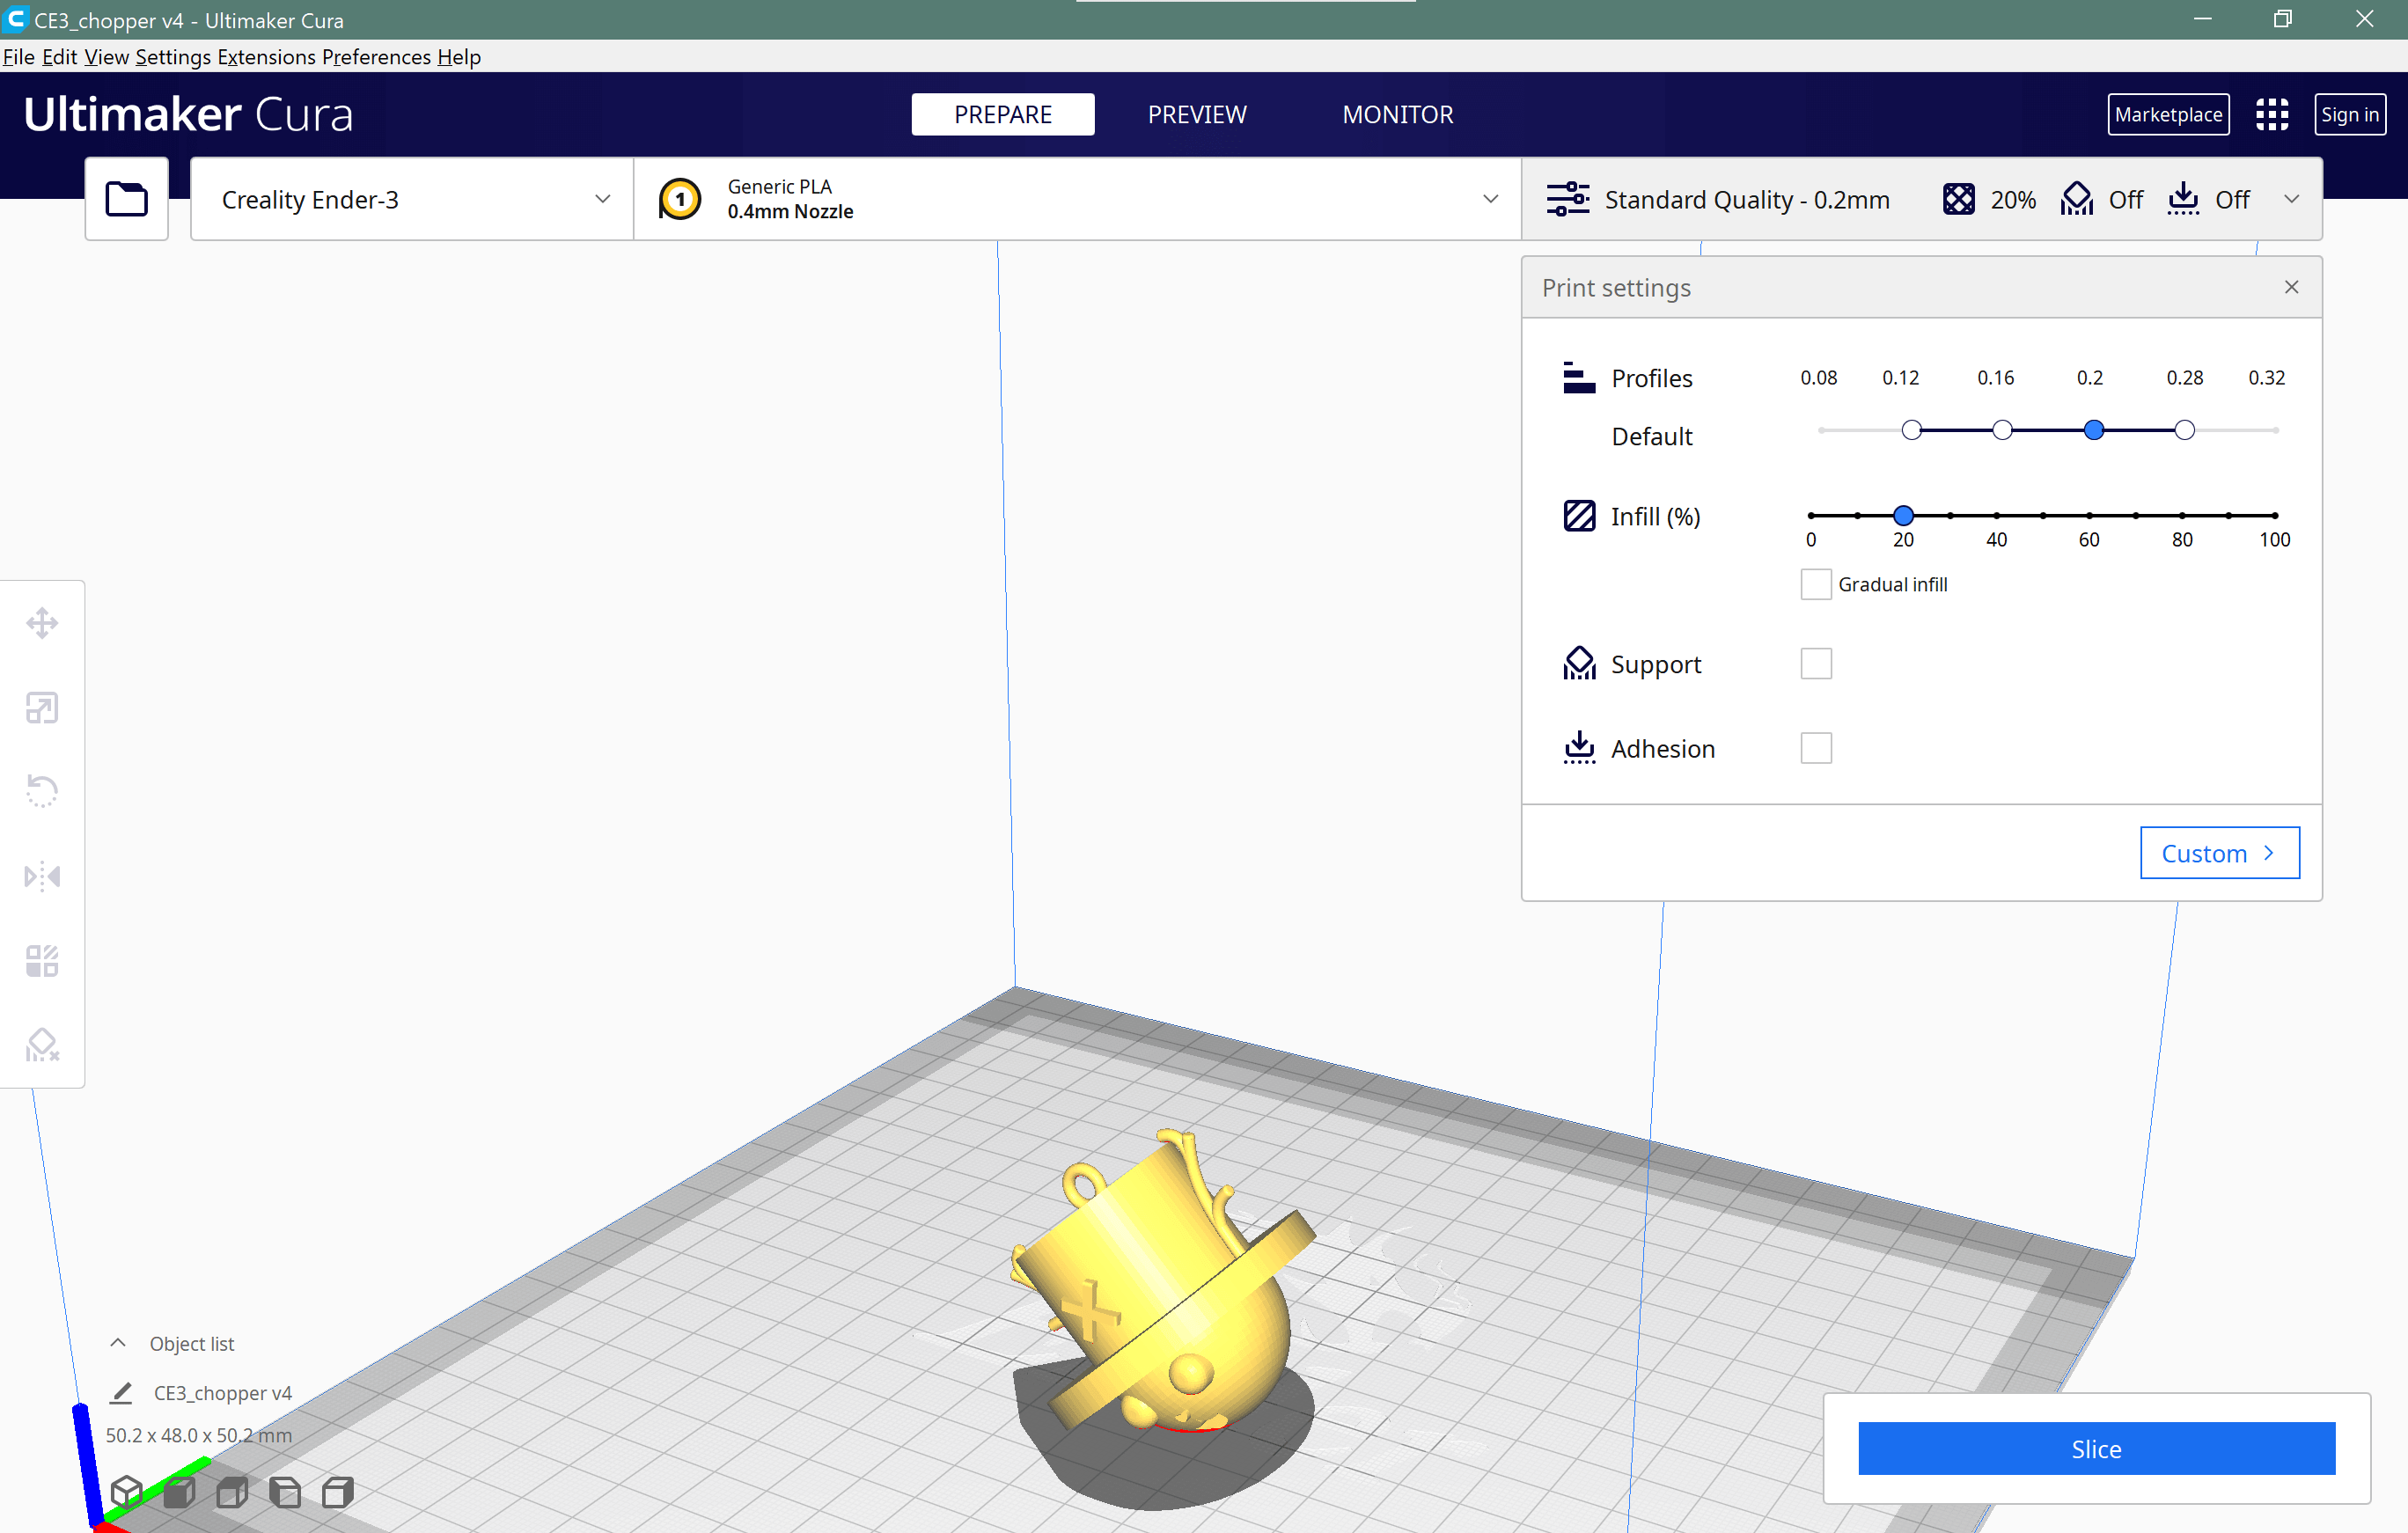
  • The individual task is to design and print a 3D object, I did the design in Fusion 360.

  • Started with a design of a character, and by looking at reference photos:

  • Started with a sphere and two cylinders to make the head and the hat.

  • Then I made a sketch with the face details (eyes, mouth and nose) and the cross on the hat.

  • finish sketch and then extrude the sketches in suitable heights.

  • then I made another sketch with polylines for the antlers.

  • I used the pipe on the sketches lines I made and added more antlers. I used mirror tool so everything will be symmetric.

  • The final design is as seen.

  • This design could not be done easily subtractive because as seen it is not flat. The main shapes were 3D as a sphere and cylinders.

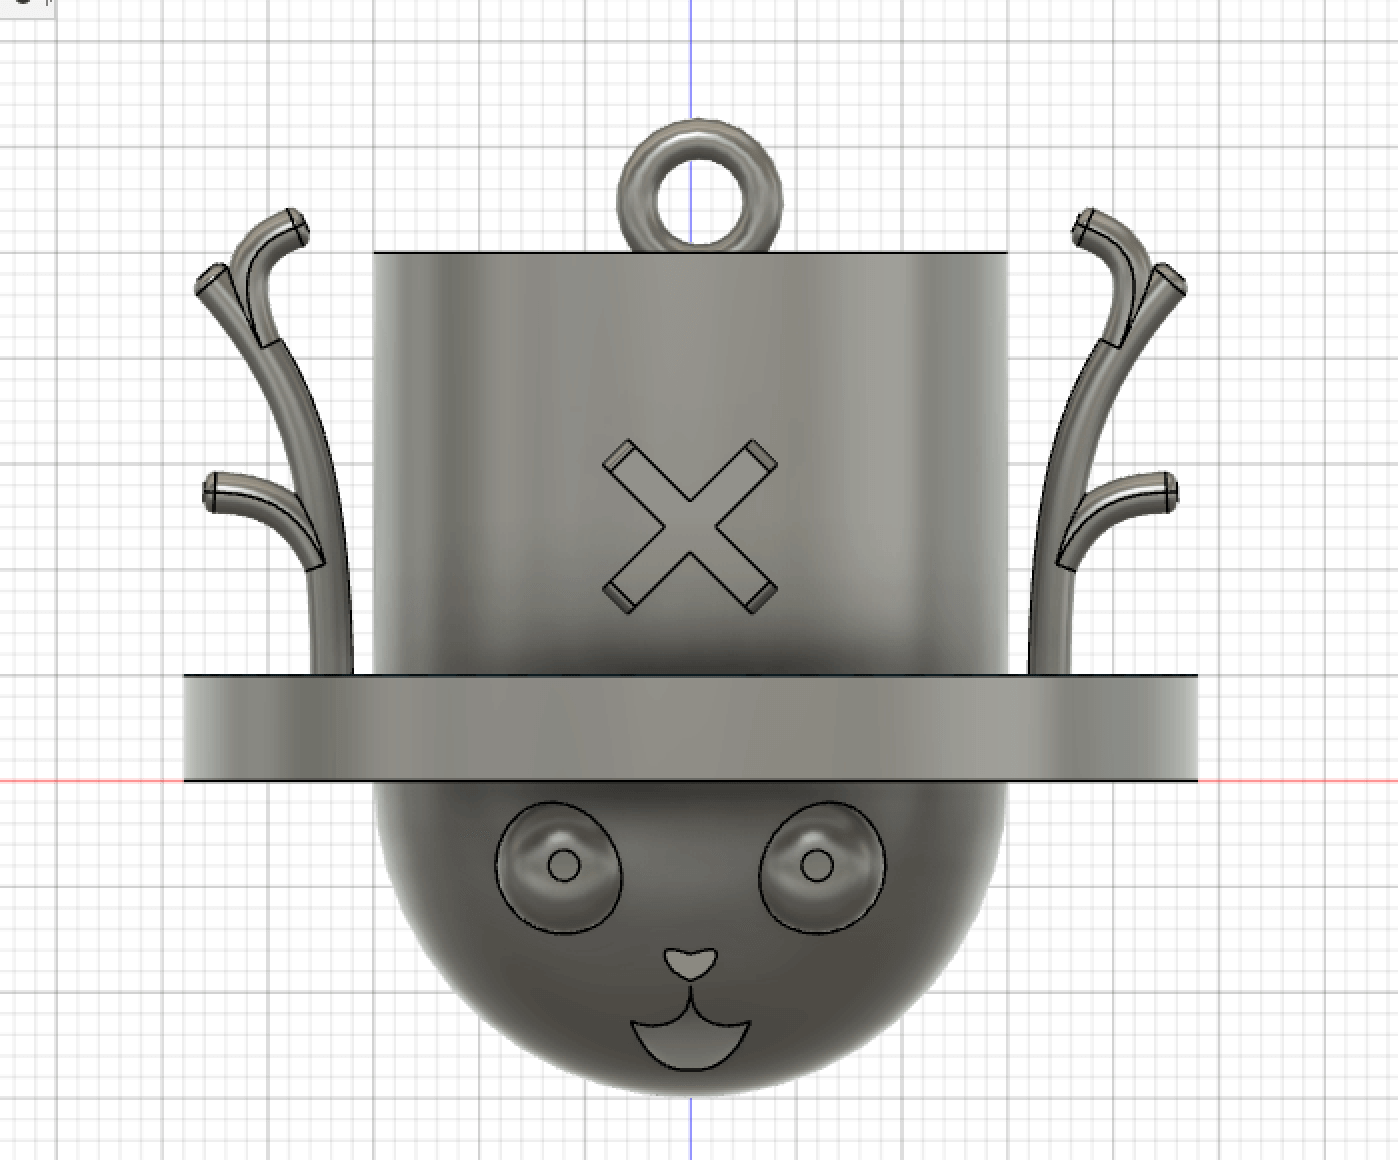
To download the file:


Slice

  • After finishing the design I exported it as stl file to do the next step which is slicing.

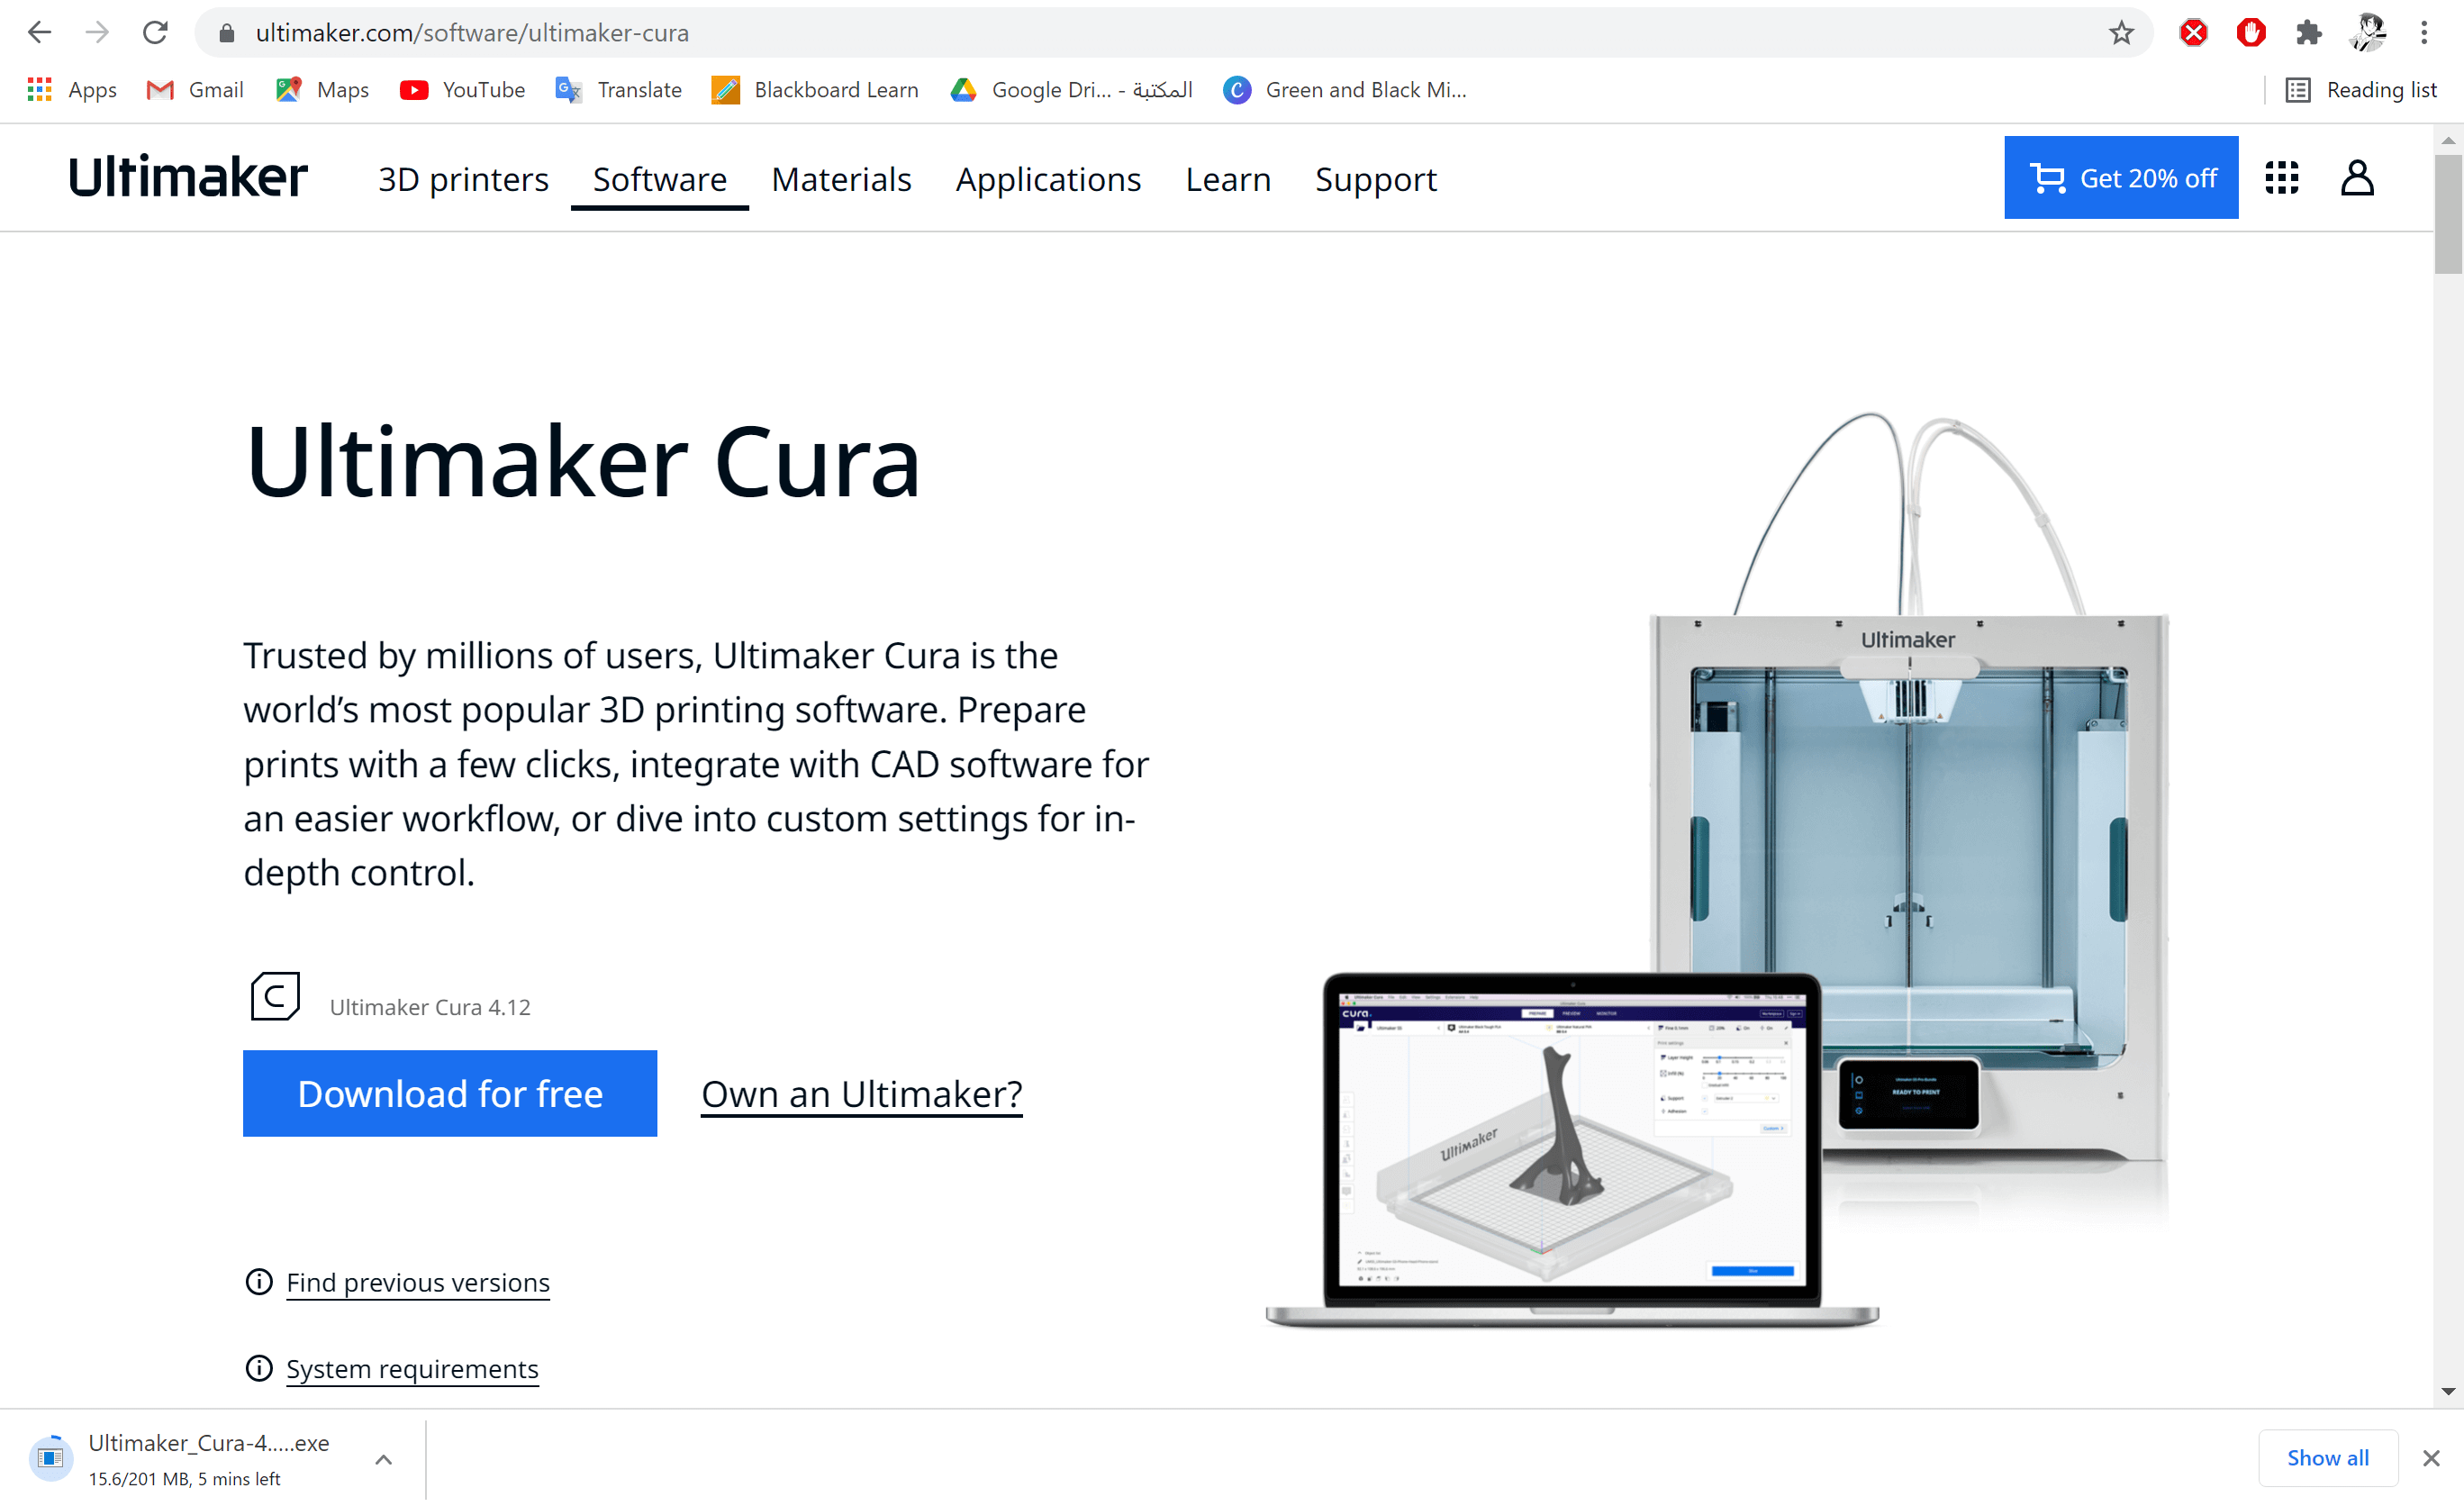
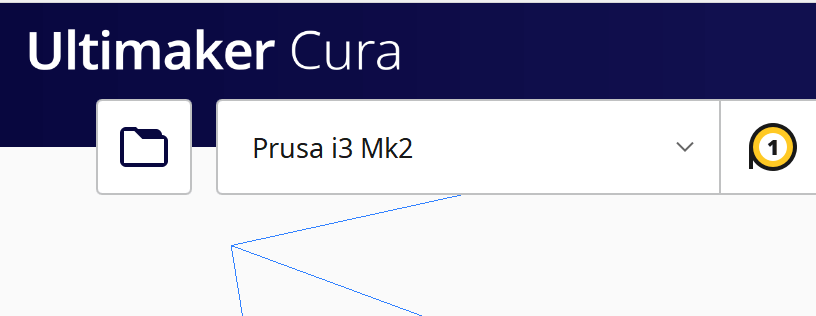
  • I used Cura, which is an open-source slicing engine. it turns the stl file into gcode for the 3D printer to print it.

  • After downloading it, you have to add the printer. The one I used is Prusa i3 Mk2

  • Then I uploaded the design's stl file and adjust it to be laying on the xy plane for it to need less support.

  • Then I adjusted the setting as seen: -- printing Temperature: 217 -- Plate Temperature 60 -- speed 60 -- and support everywhere for over 70 -- and the build plate as skirt -- other settings are as default

  • Then Press slice.

  • Then the estimated time will appear.

  • As seen the blue parts are for the support.

  • A preview of the printing process could be seen.

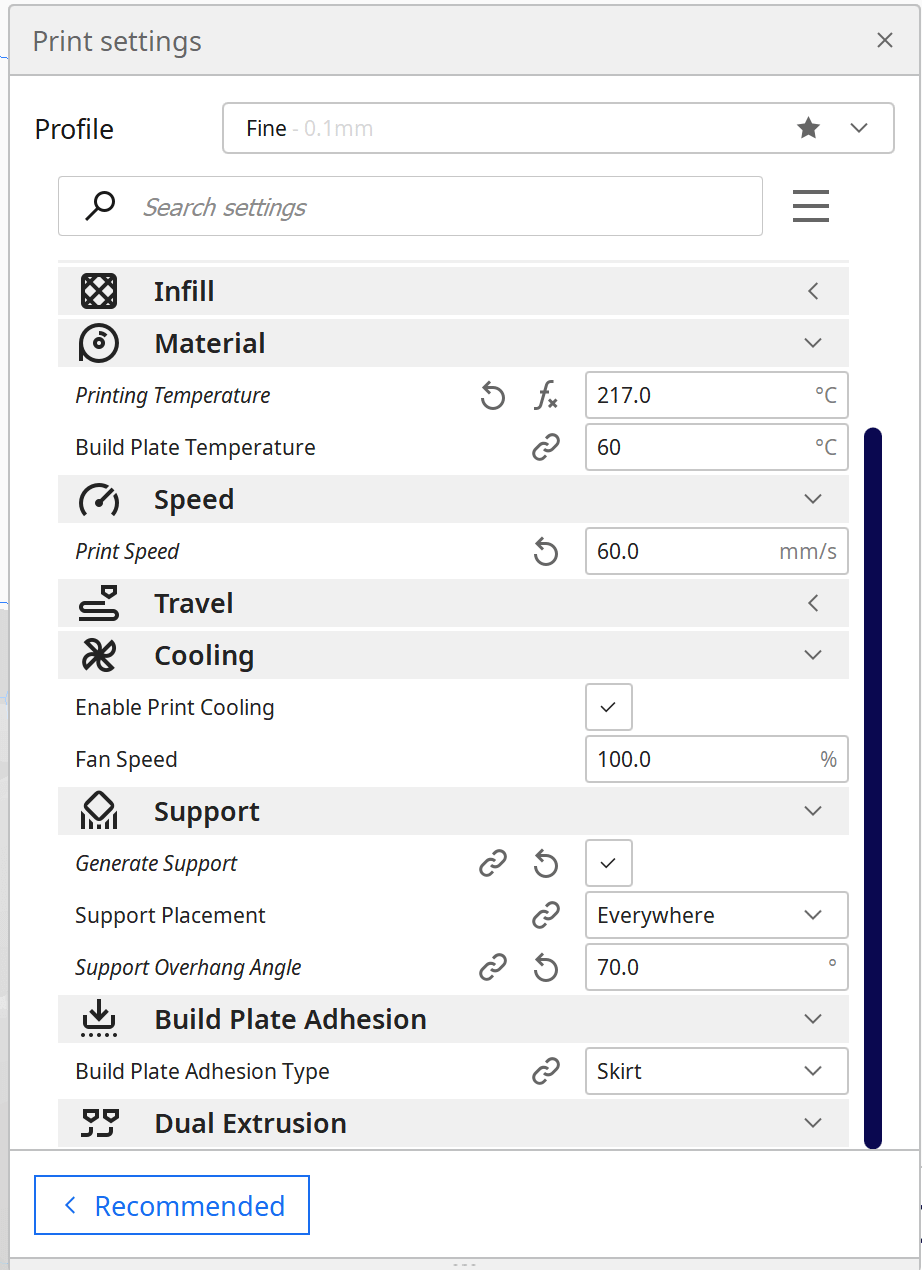
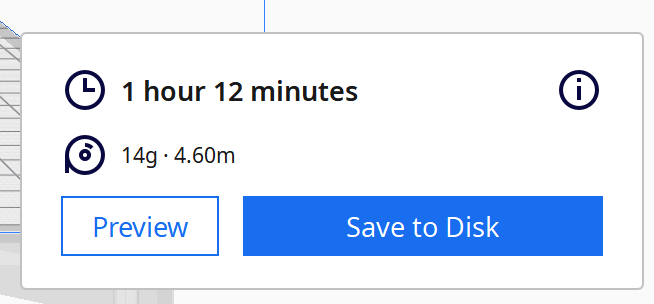
To download the gcode file:


Print

  • To print I uploaded the gcode file in SD card and insert it in the 3D printer.
  • There were many obstacles in the printing process.

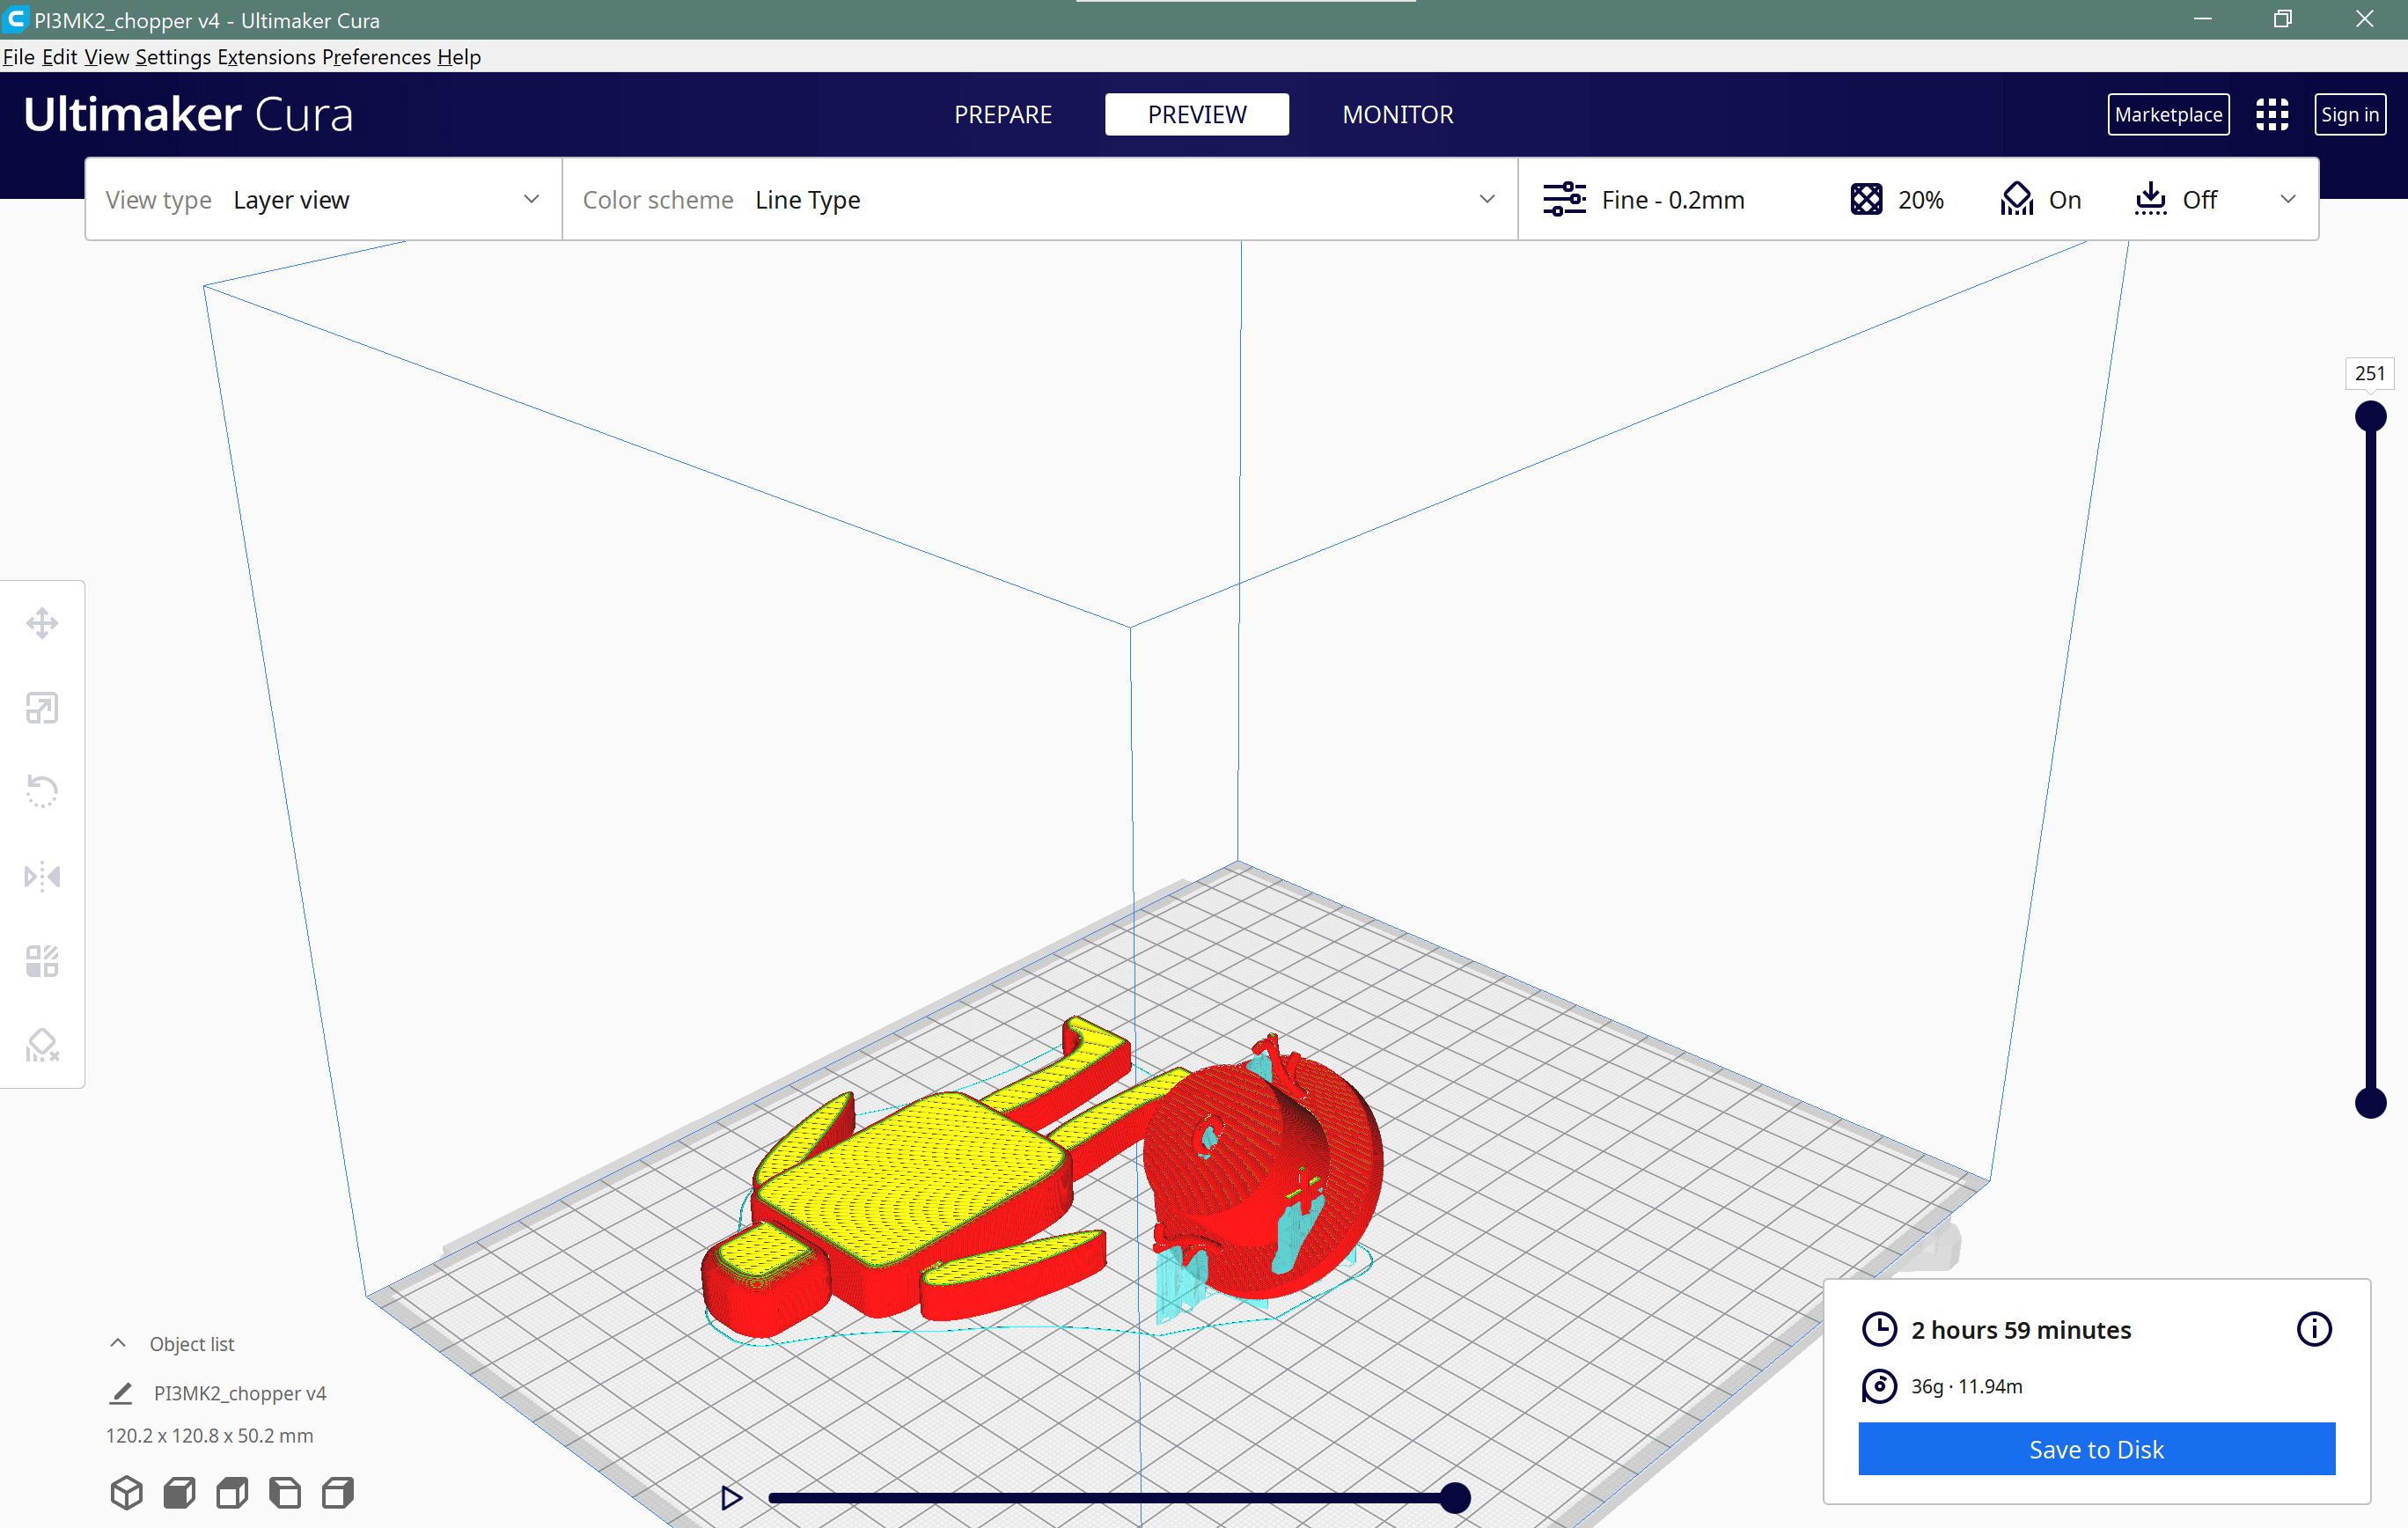
  • The first printer used was Prusa i3 MK2.

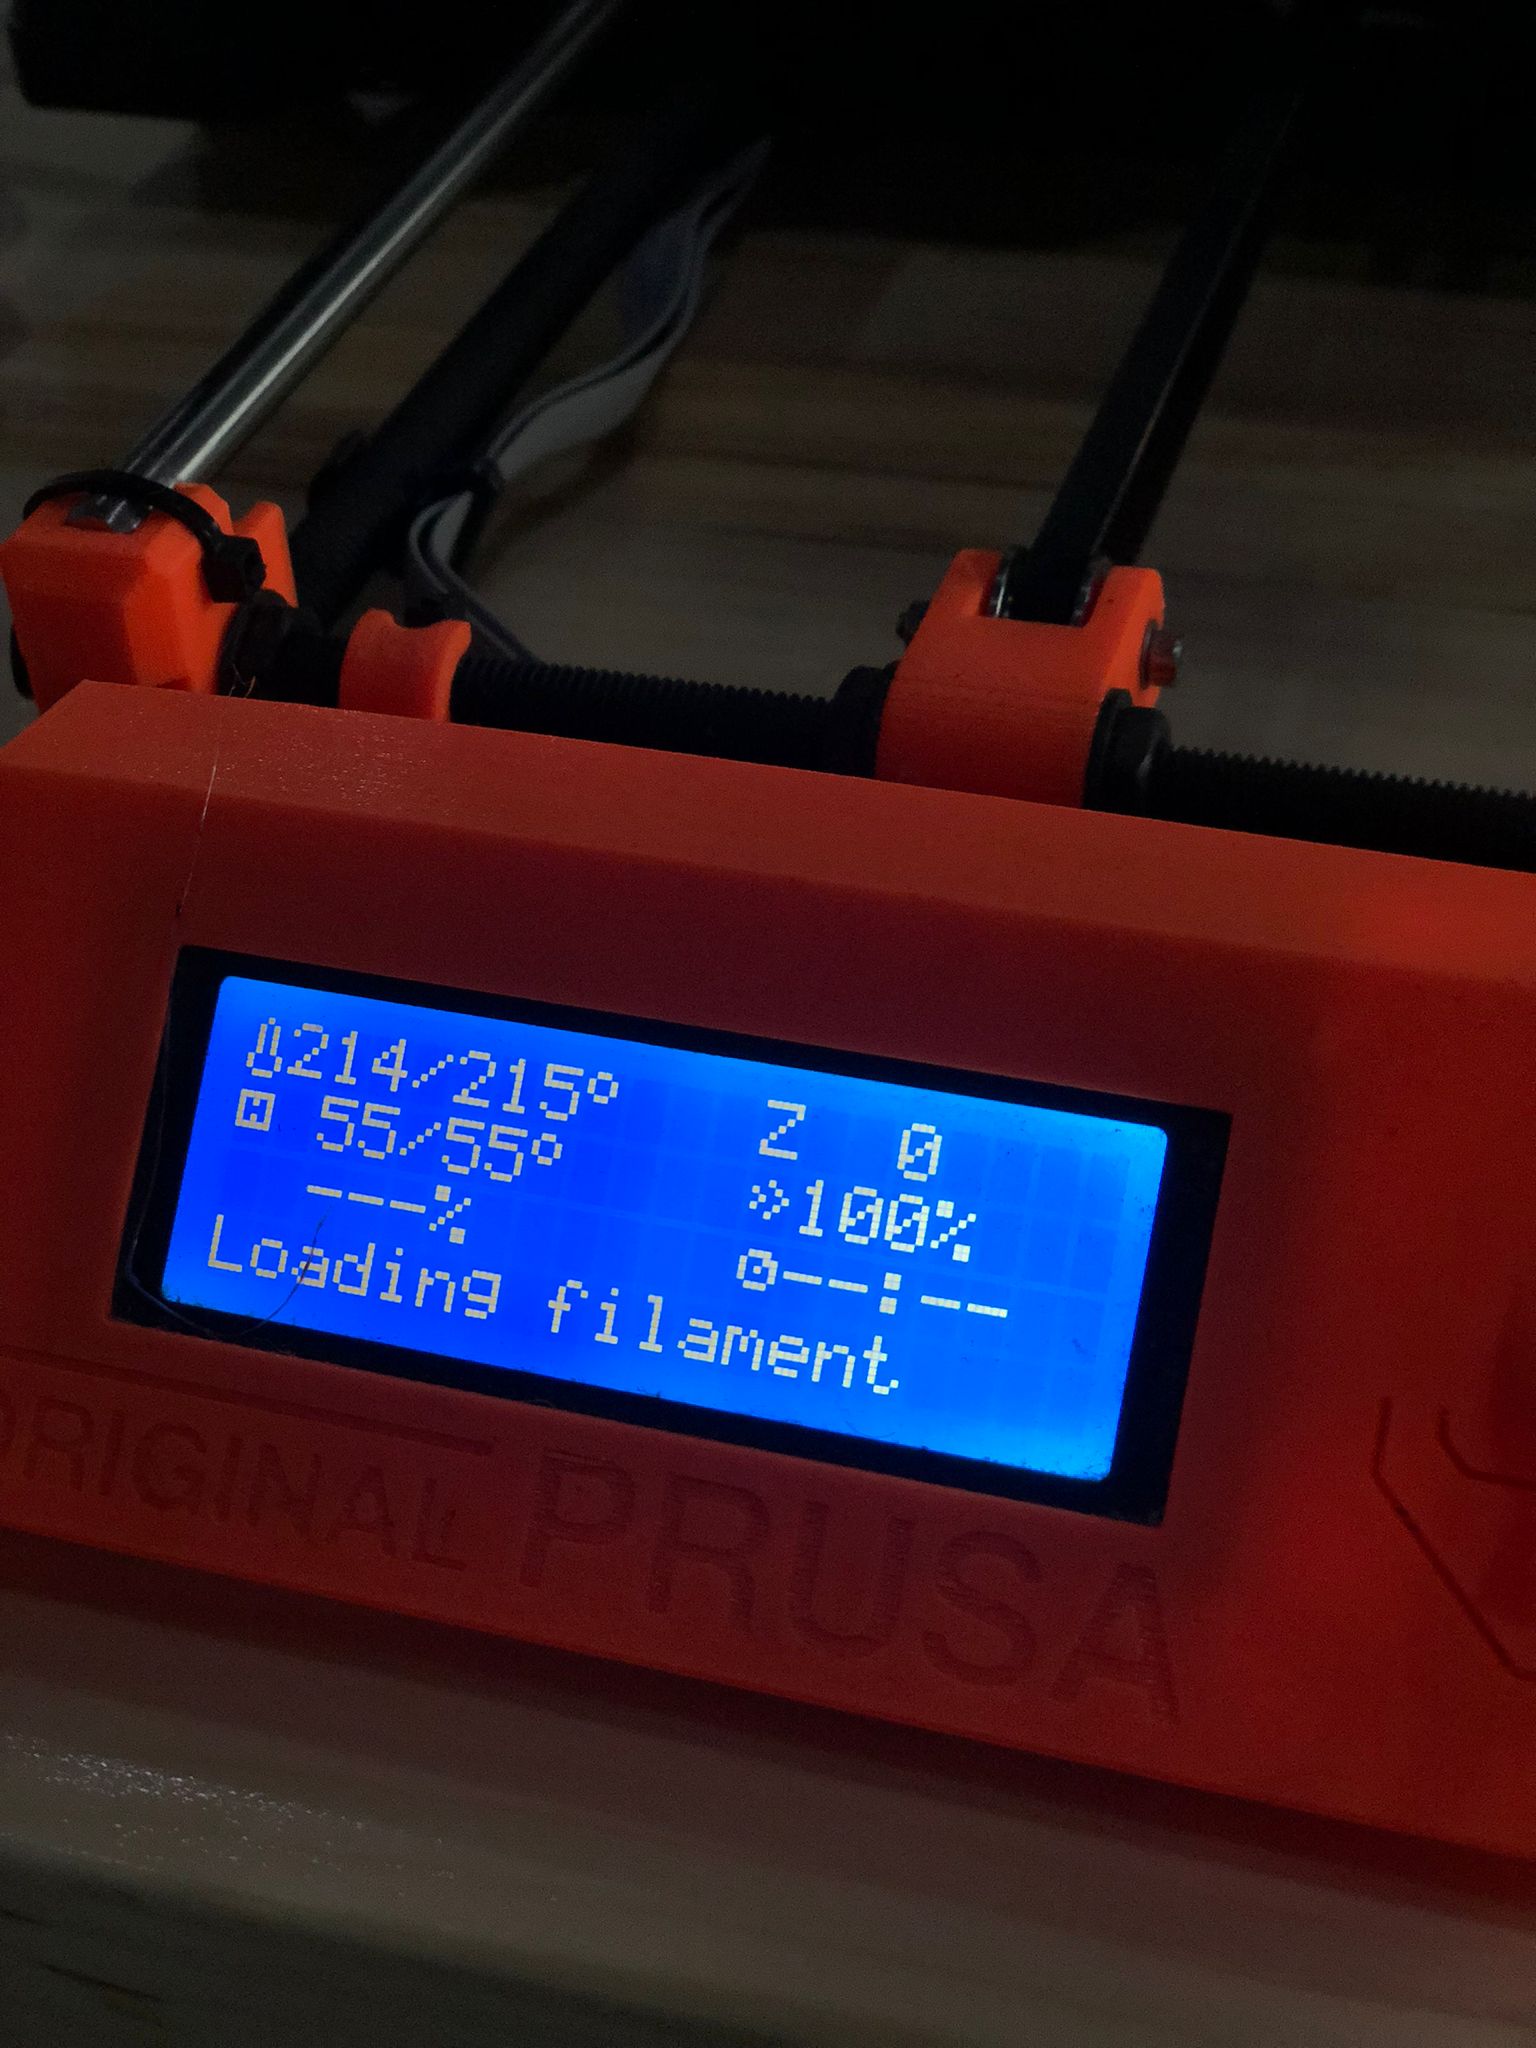
  • The gcode first was saved to an SD card, which was then put in the 3D printer.

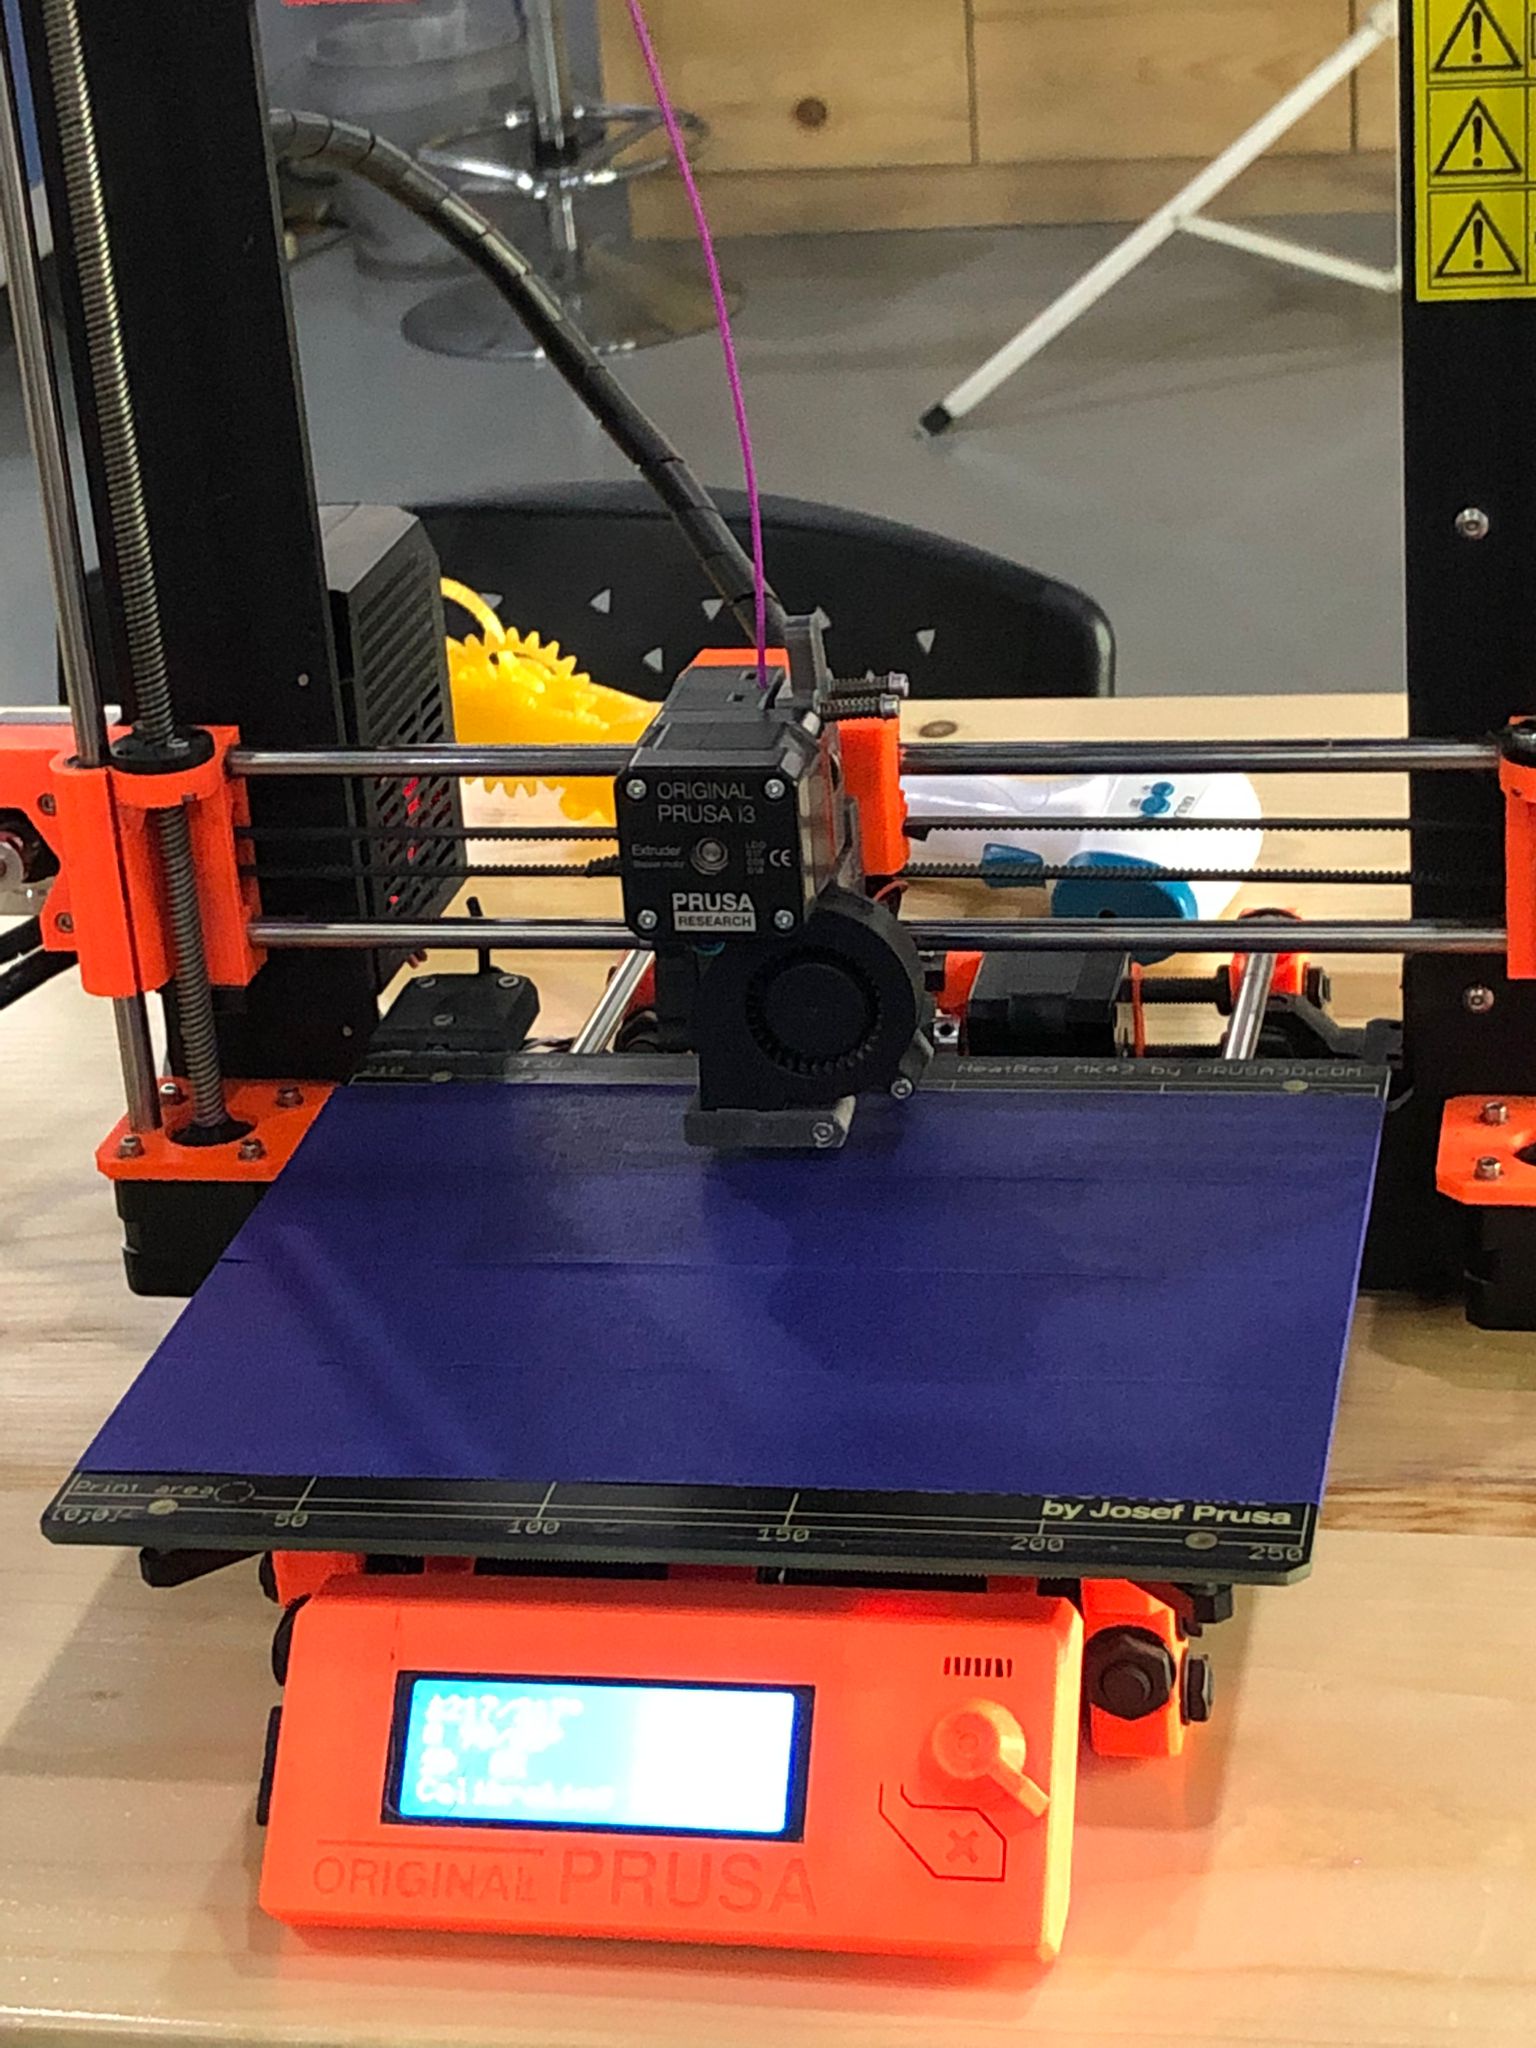
  • After that the file is loaded, and the filament was installed in the printer.

  • After starting the printing process, the estimated time for the printing to finish appears.

  • At first everything looked great and we were waiting for the printing to finish. Unfortunately, the printing stopped widway and did not complete.

  • This might be due to an error in loading the file in the 3D printer.

  • Then, another printer was used. It was Ultimaker.

  • Same steps was done. Loading the file and loading the filament.

  • Similarly, everything looked perfect at first, until the same problem repeated itself.

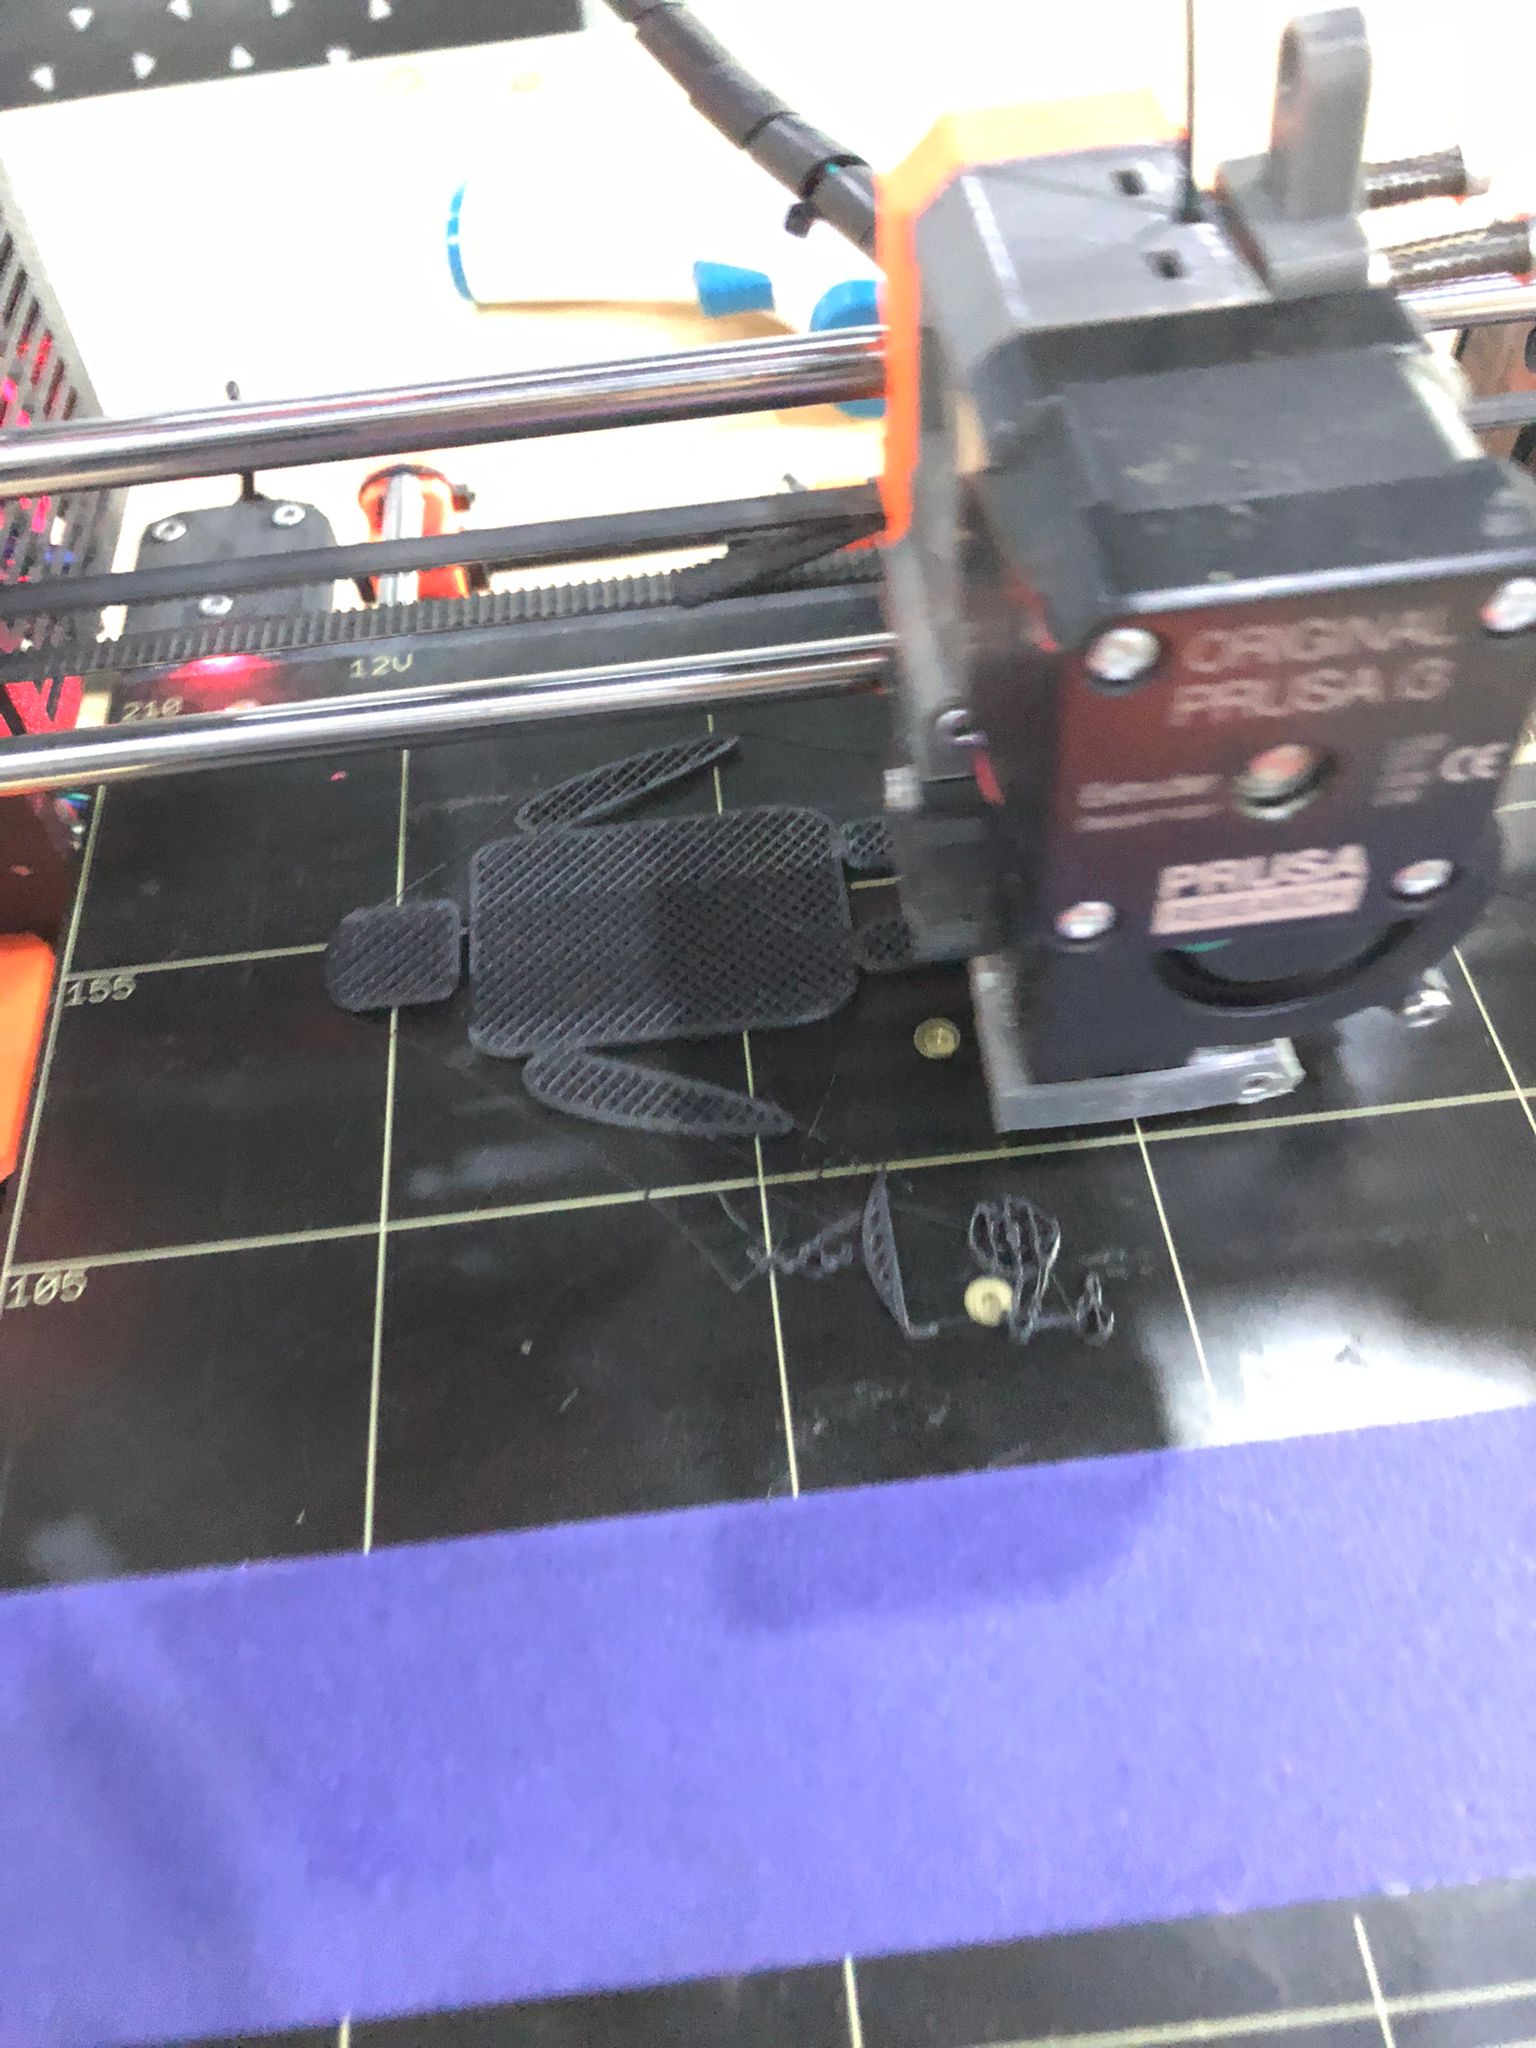
  • After probably loading the file, the printing finally finished.

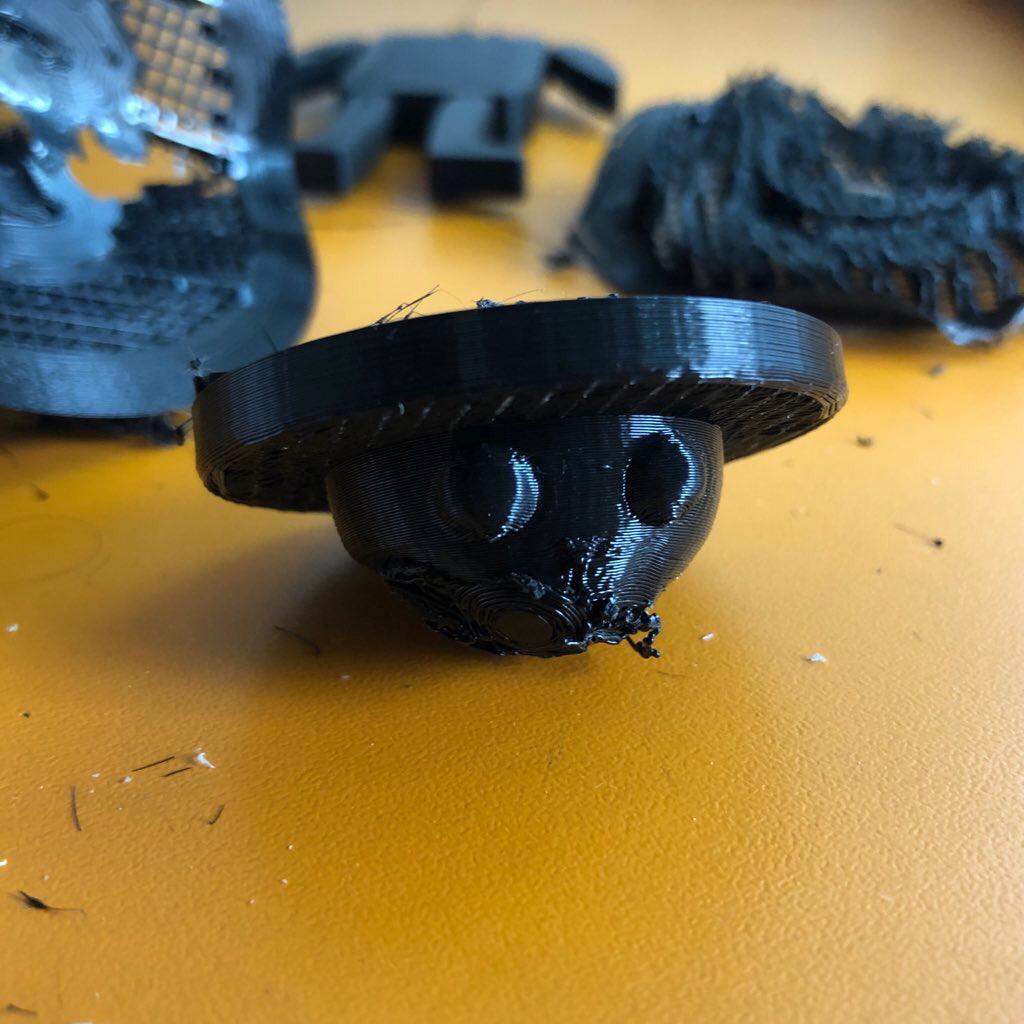
  • The final result does not look that appealing, which was due to the deer antlers. they did not print well even with support.

  • Beside that one of the antlers fell down, the other one was not so good looking so I removed it.

  • And there was a support in the hole that is supposed to be for the chain.

  • After removing all the extra parts, and adding some colors and the chain, this is the final result.

  • It is still quite creepy but it could be seen as cute :).