This page shows two different 2D cutting processes, one using a vinyl cutter which I used to cut some stickers, and the other is a laser cutter, which became my favorite tool at the lab.
Vinyl Cutter
To get to know how to use a vinyl cutter, I made stickers for my laptop and my water bottle.
What is a vinyl cutter
A vinyl cutter is an entry level machine for making signs. Computer designed vector files with patterns and letters are directly cut on the roll of vinyl which is mounted and fed into the vinyl cutter through USB or serial cable.
A vinyl cutter is used for thin material like papers or stickers. A vinyl cutter looks like a normal printer and also connects to the laptop with a USB.
Steps
Steps on the desktop
started with downloading CRICUT app for the desktop, which is for the vinyl cutter I will be using.
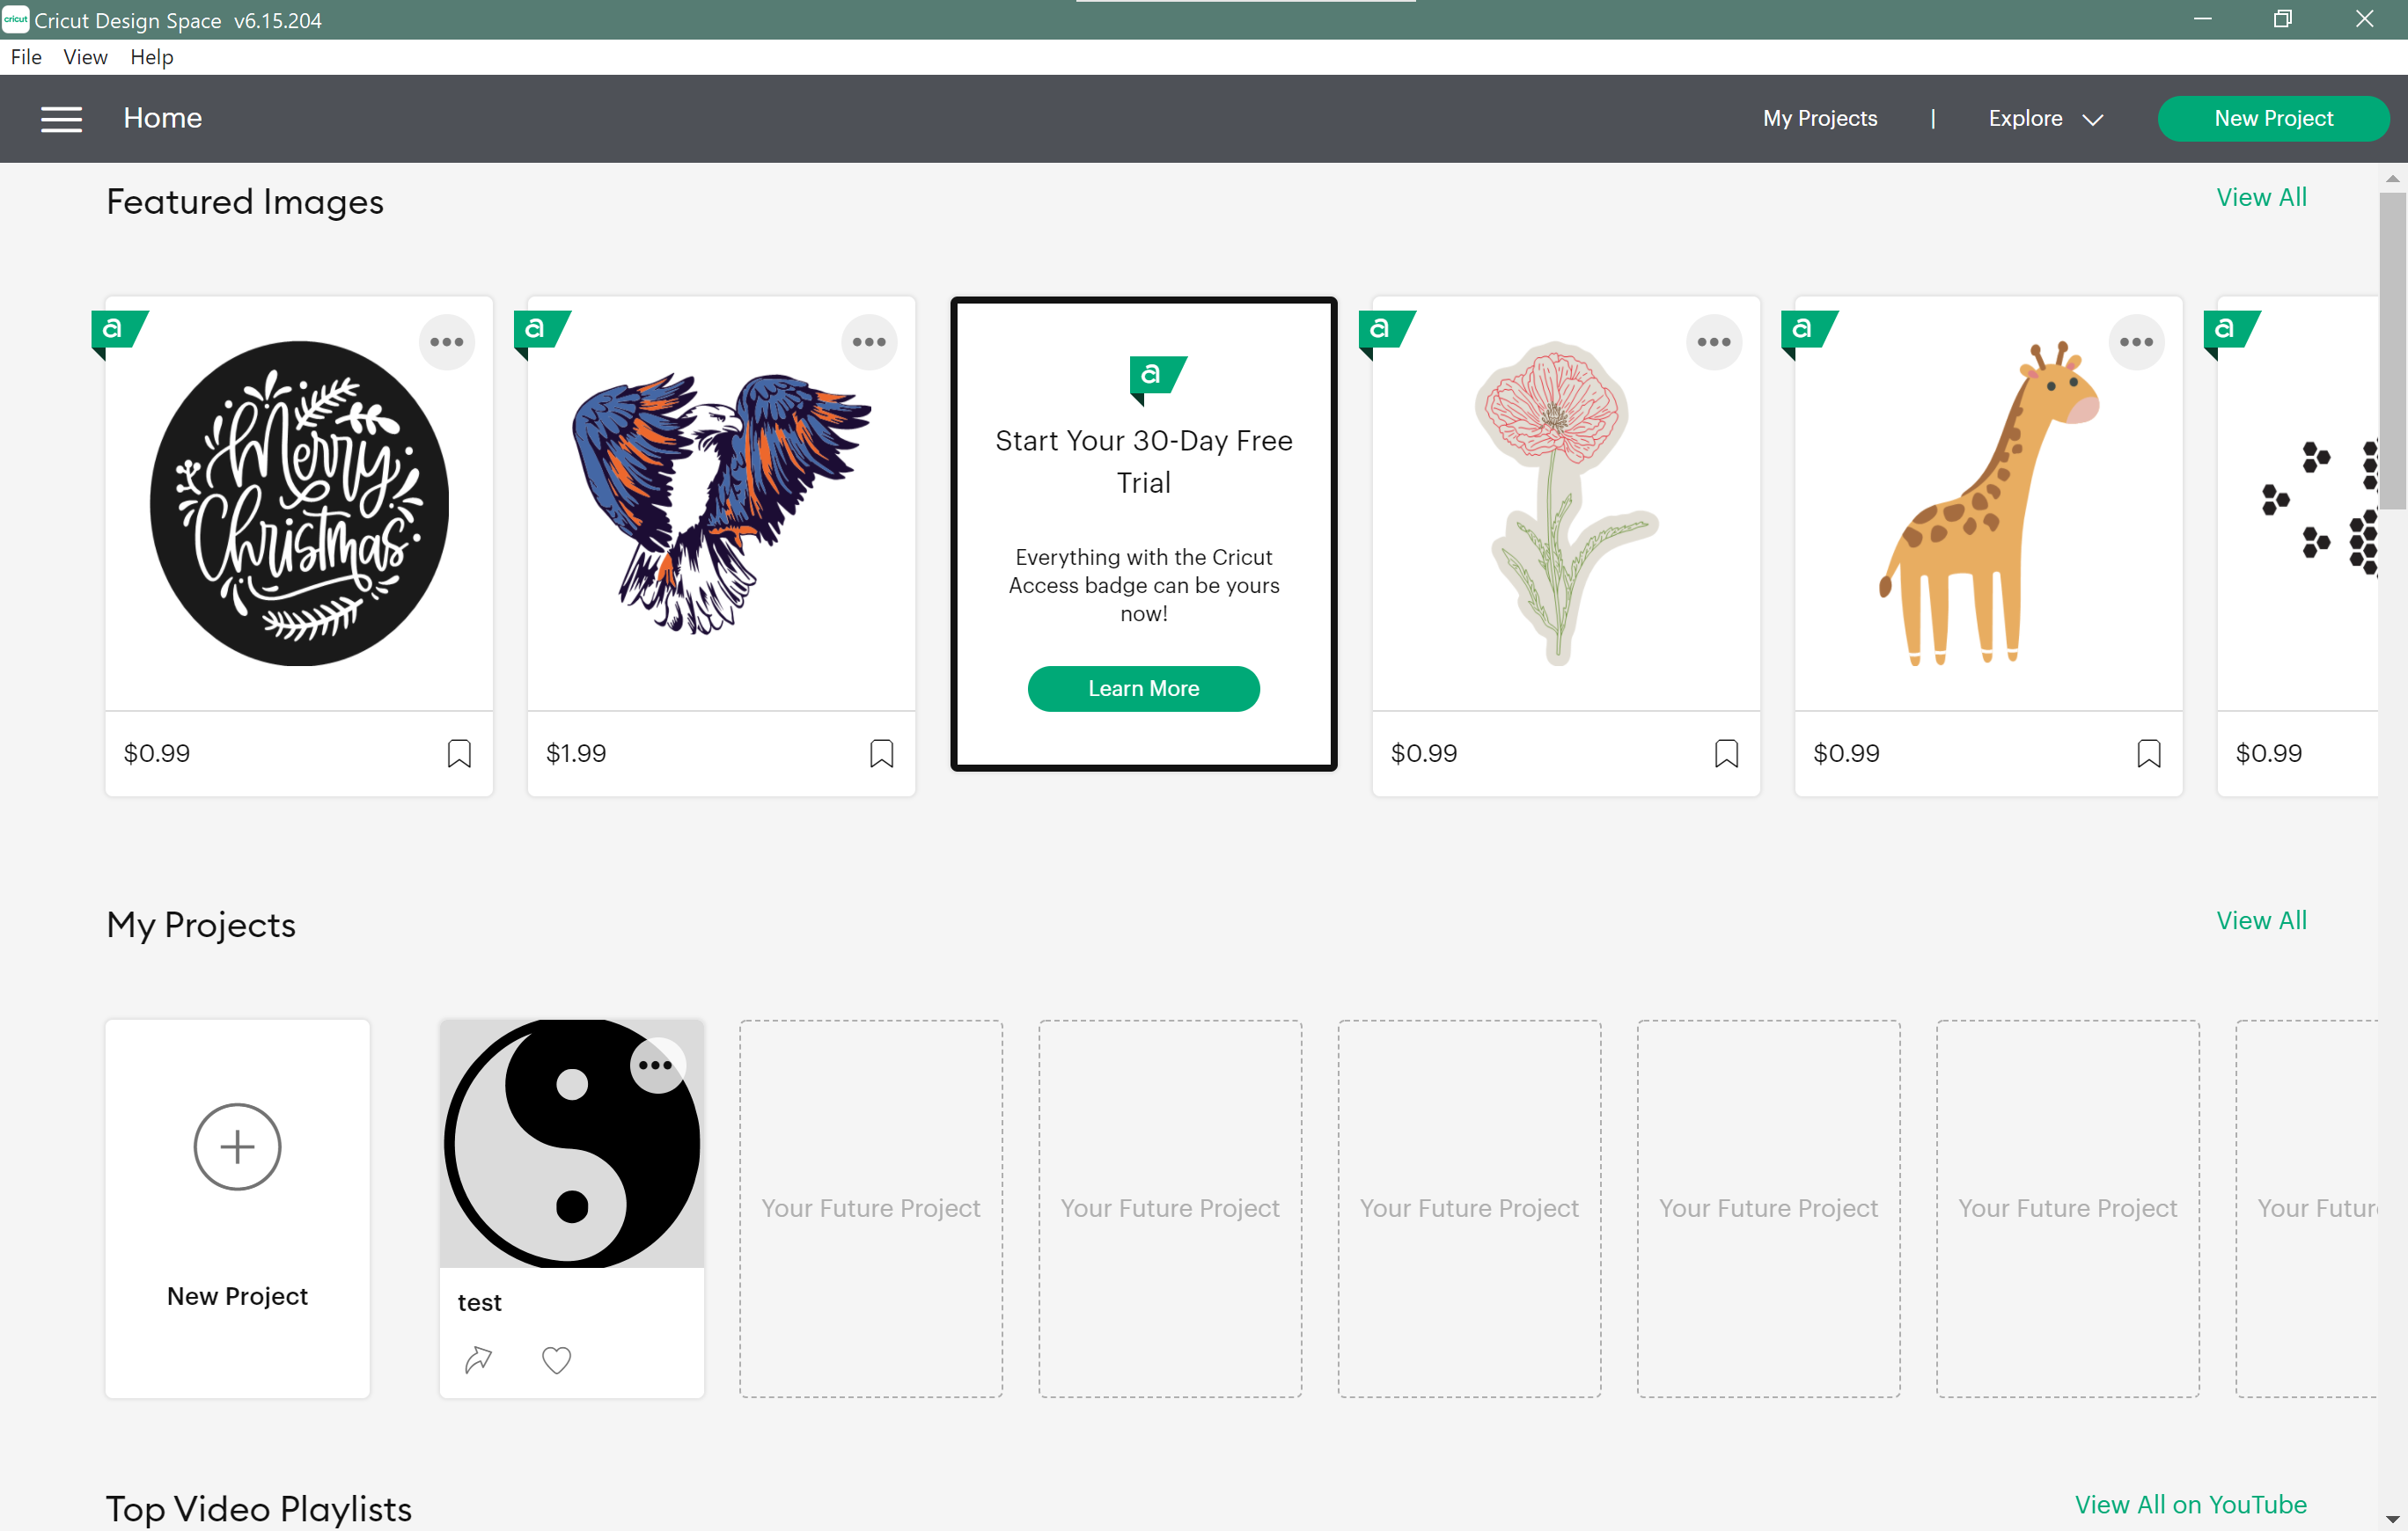
The interface of the program looks like below.
Note that you will need to make a new account if you don't have one. The account is useful as a cloud to save all the edits and uploaded projects on Cricut .
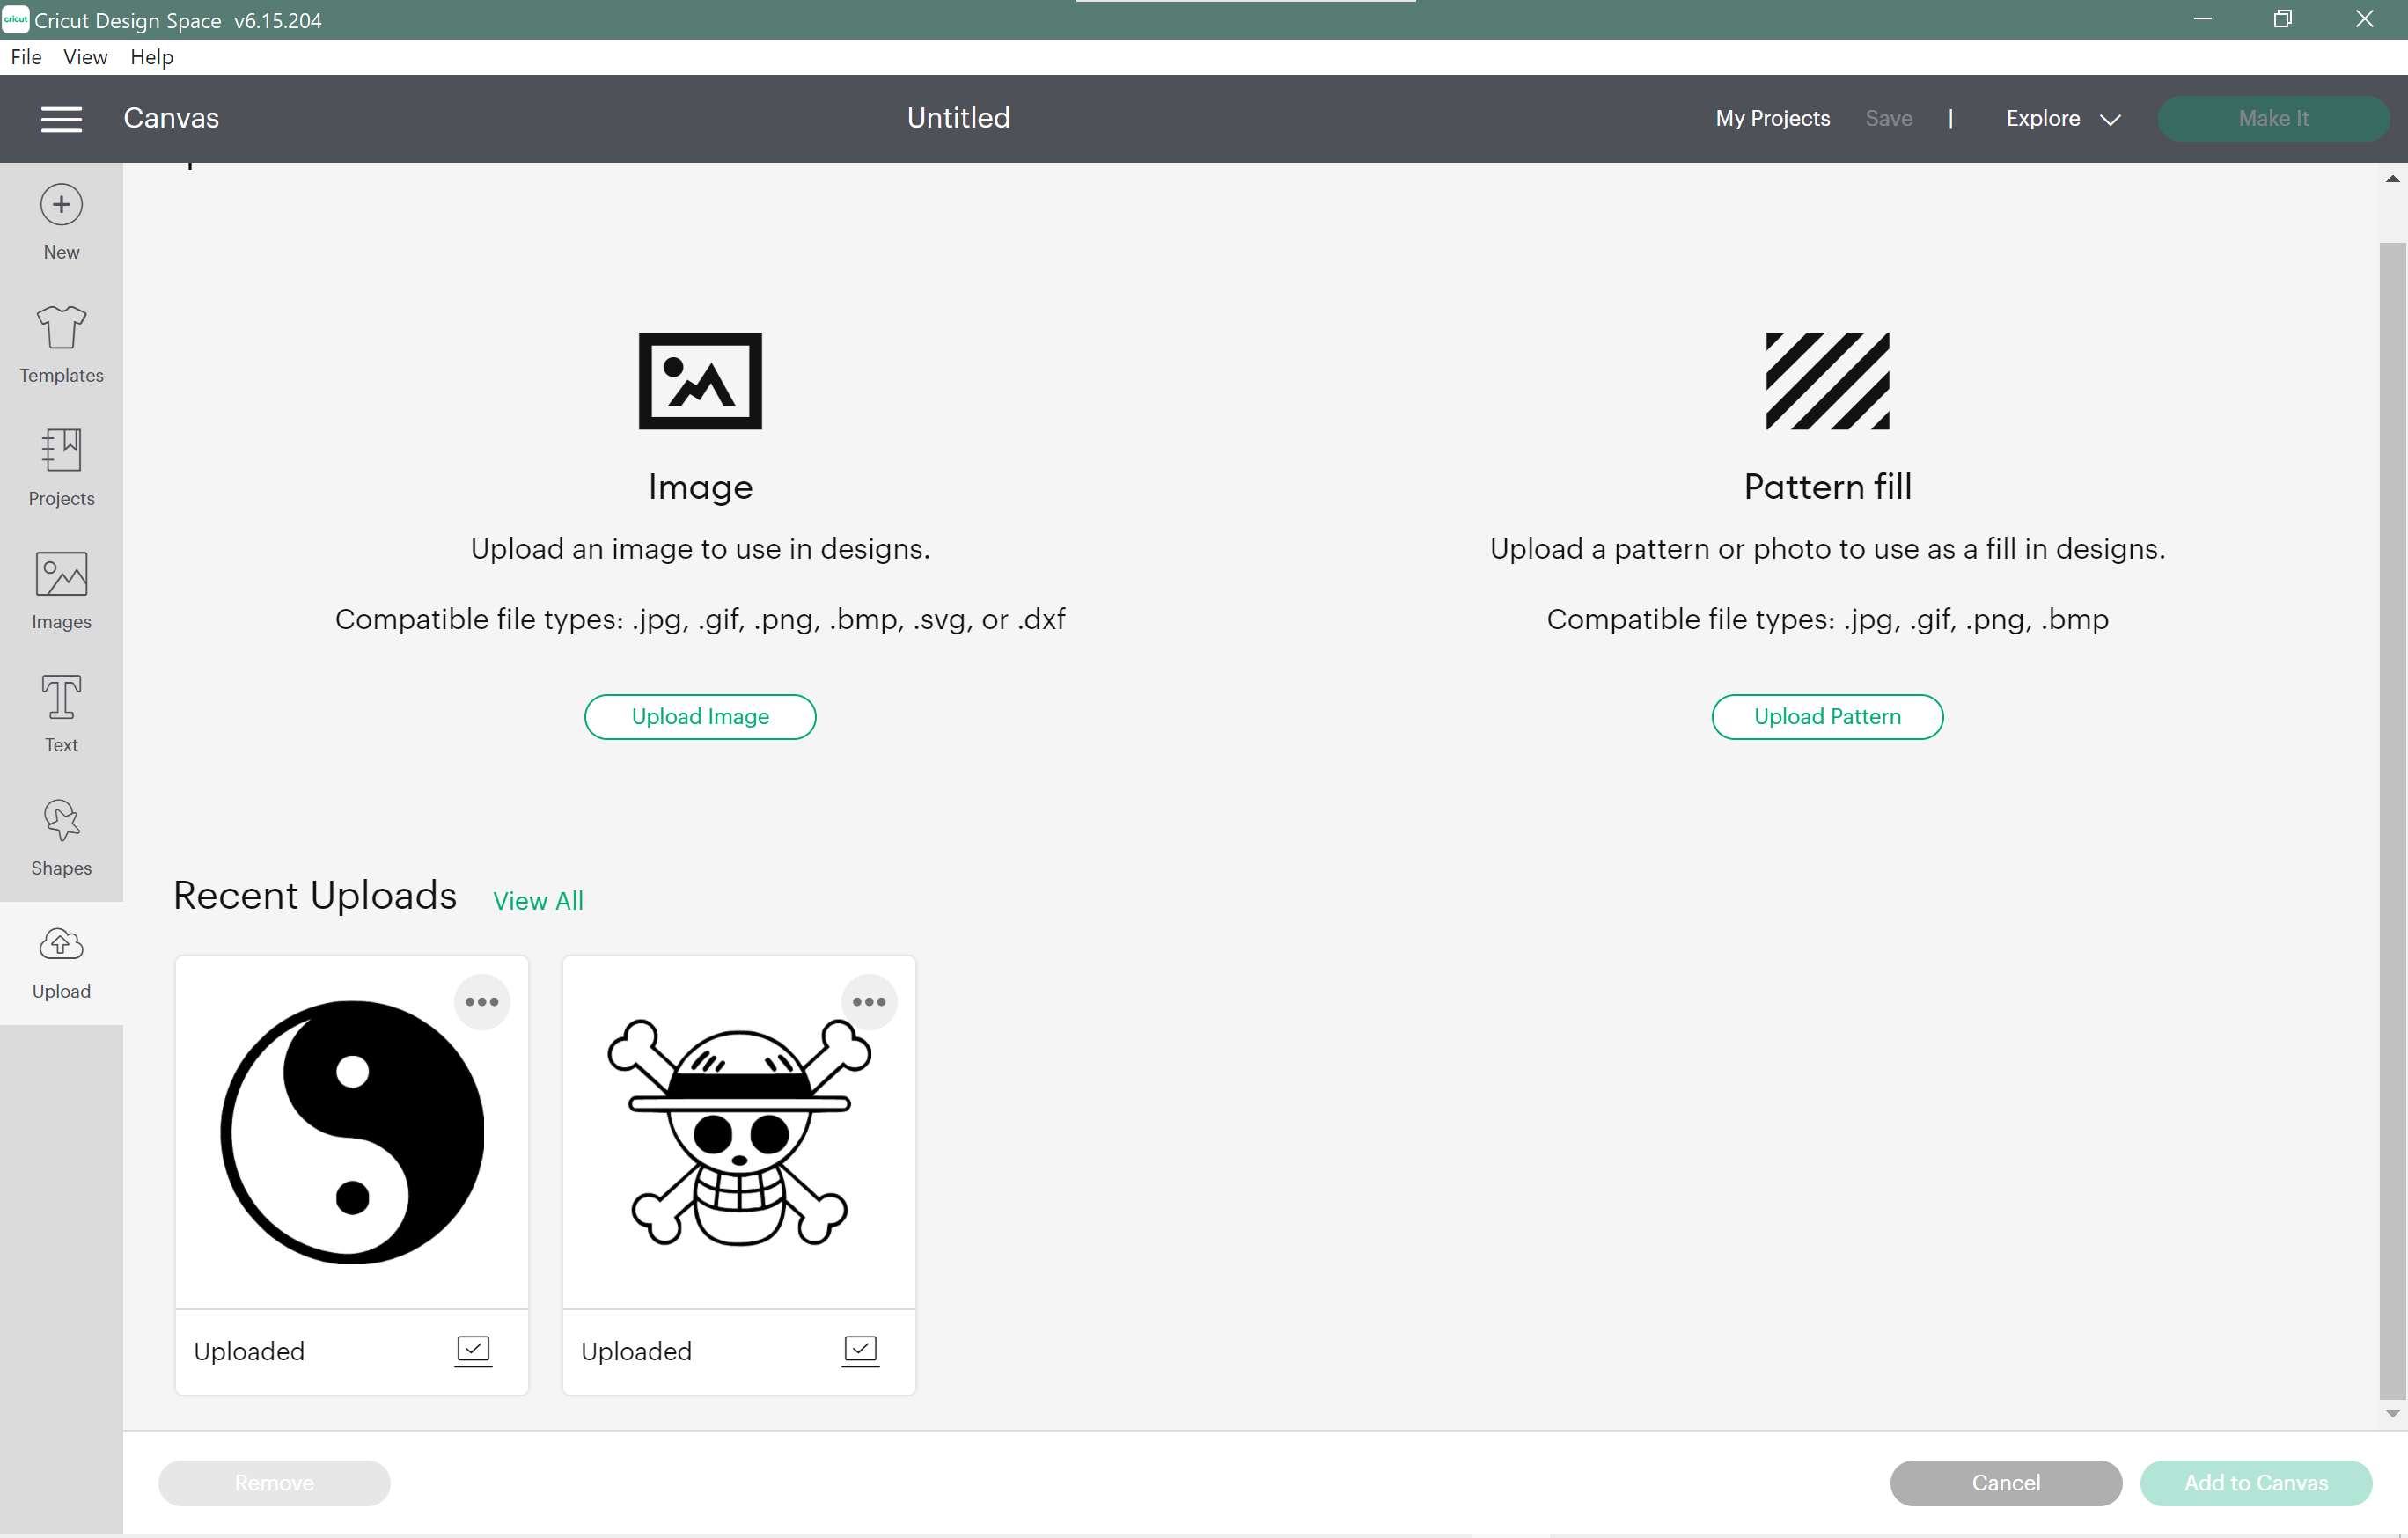
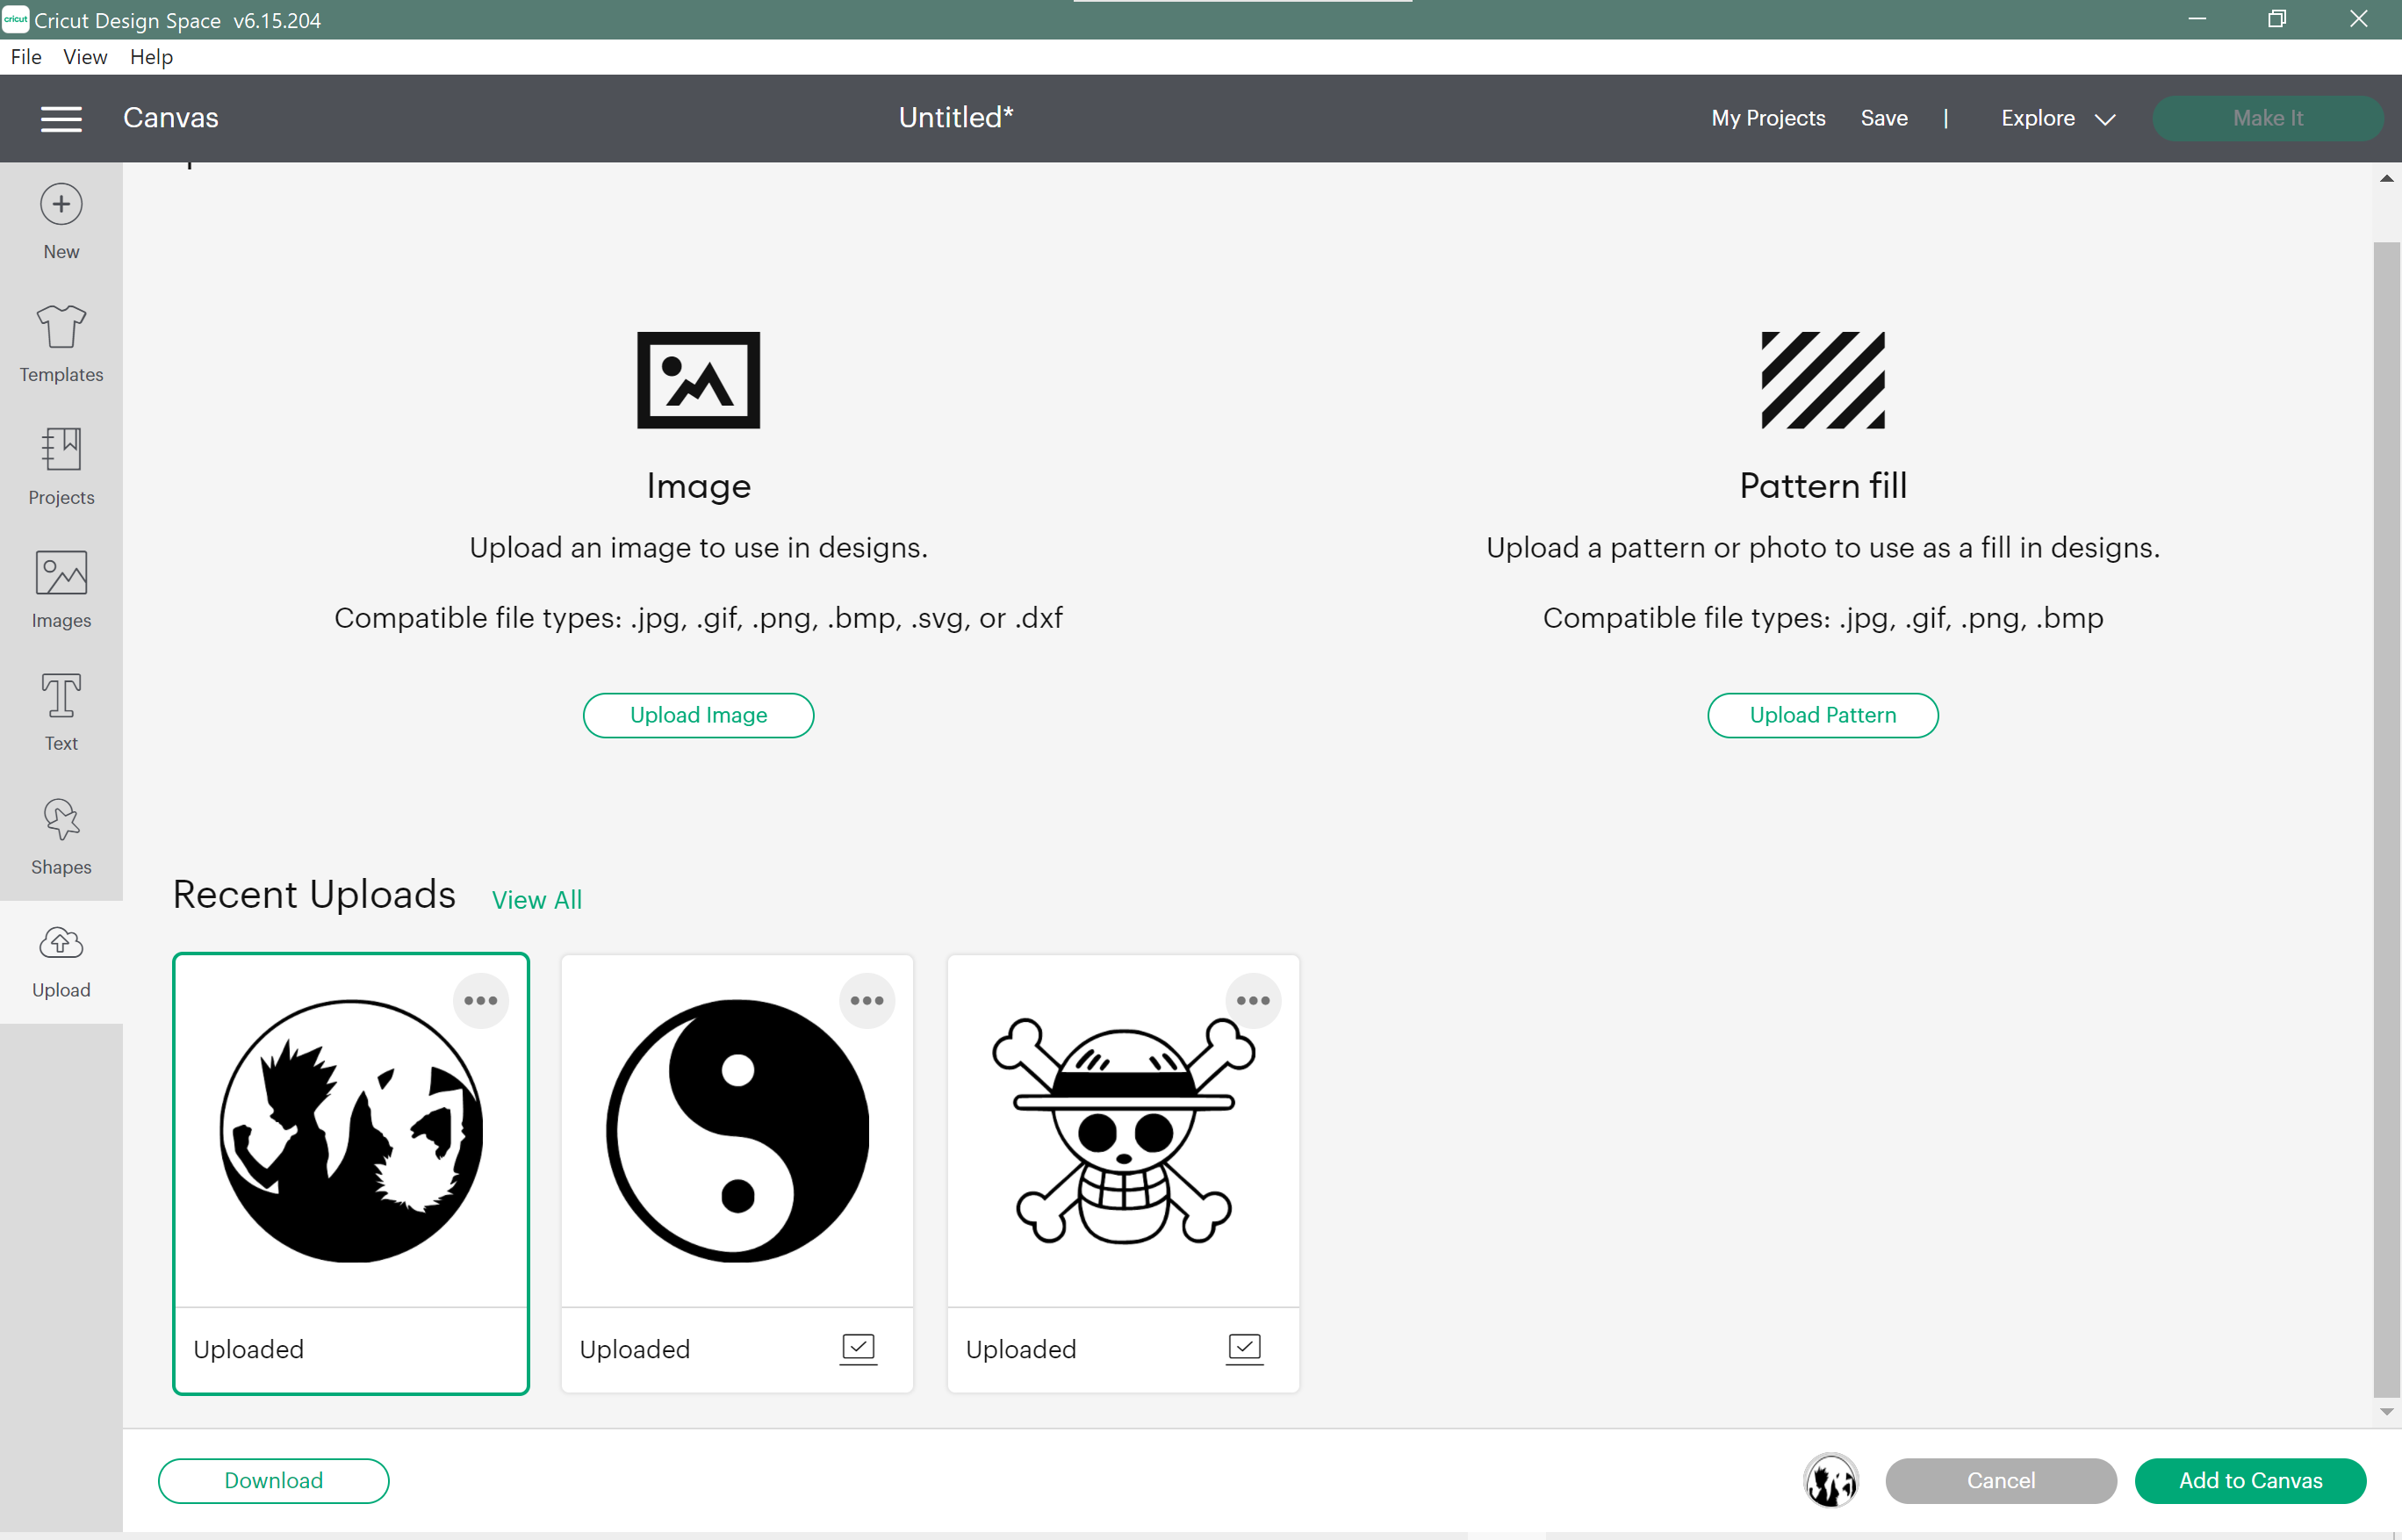
Start with a new project, then press upload to upload your design.
Note that your previously uploaded designs will appear in Recent Uploads.
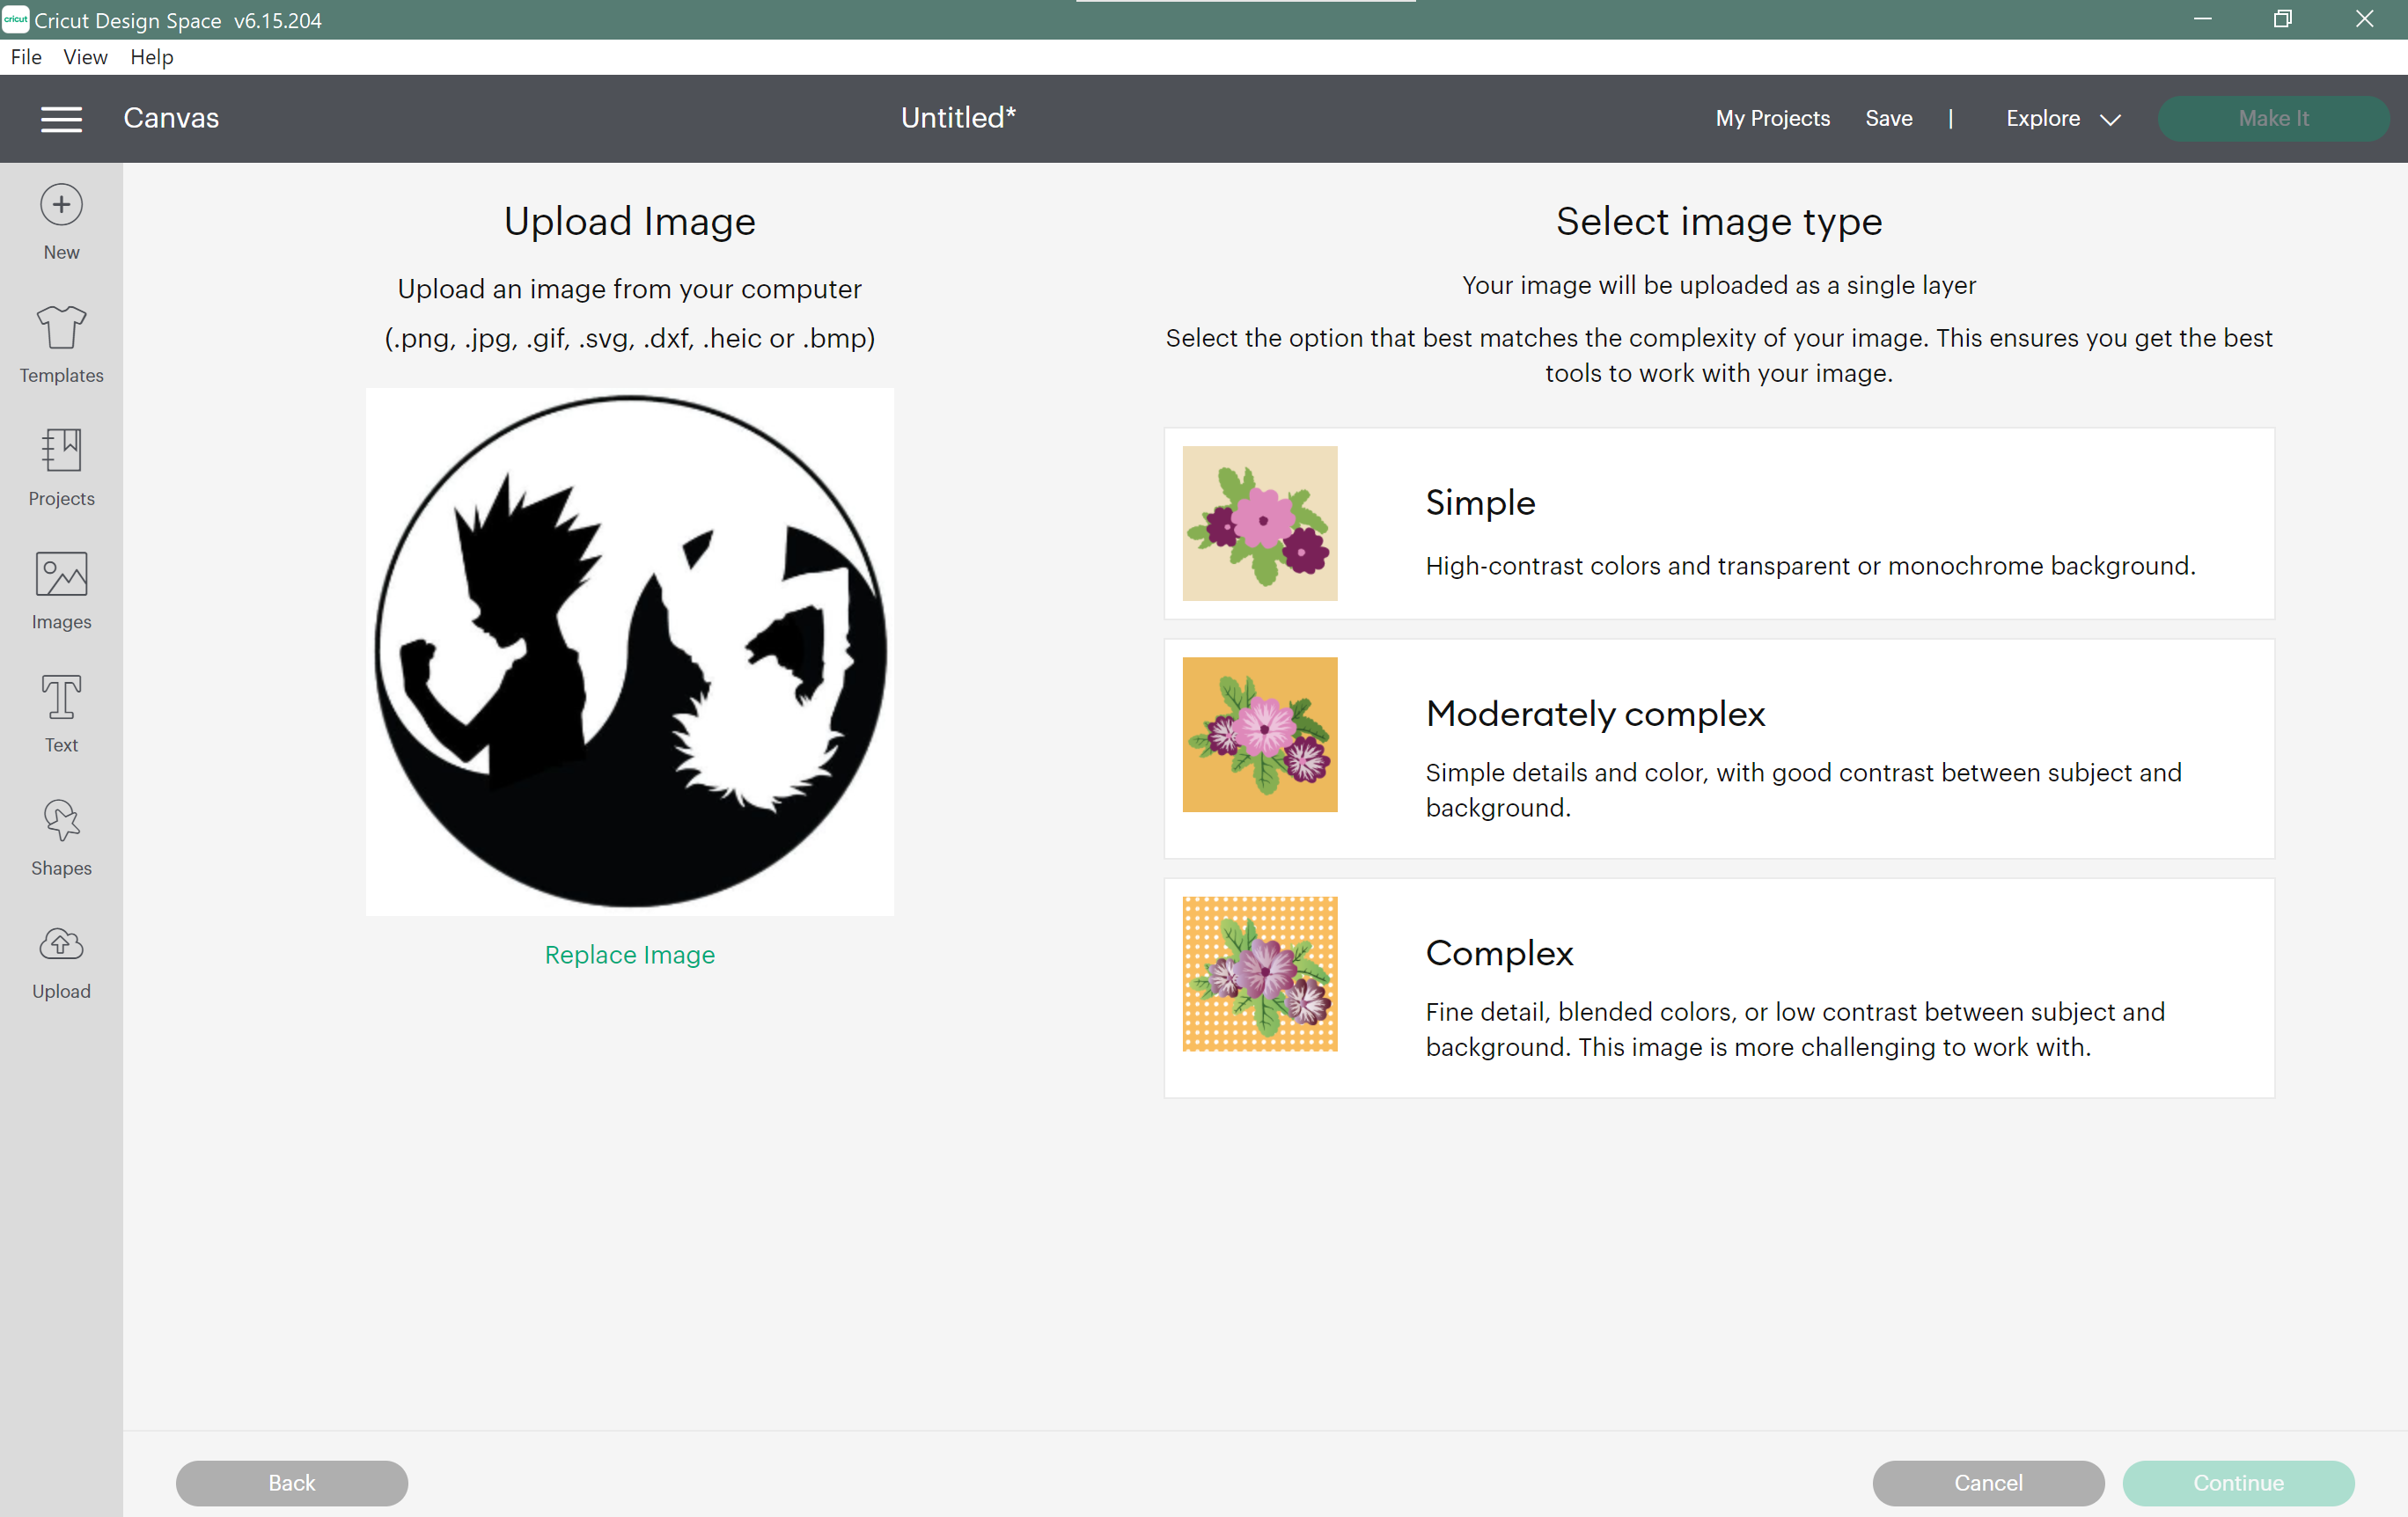
After uploading the design, specify the image type wither it is Simple/ Moderately Complex or Complex:
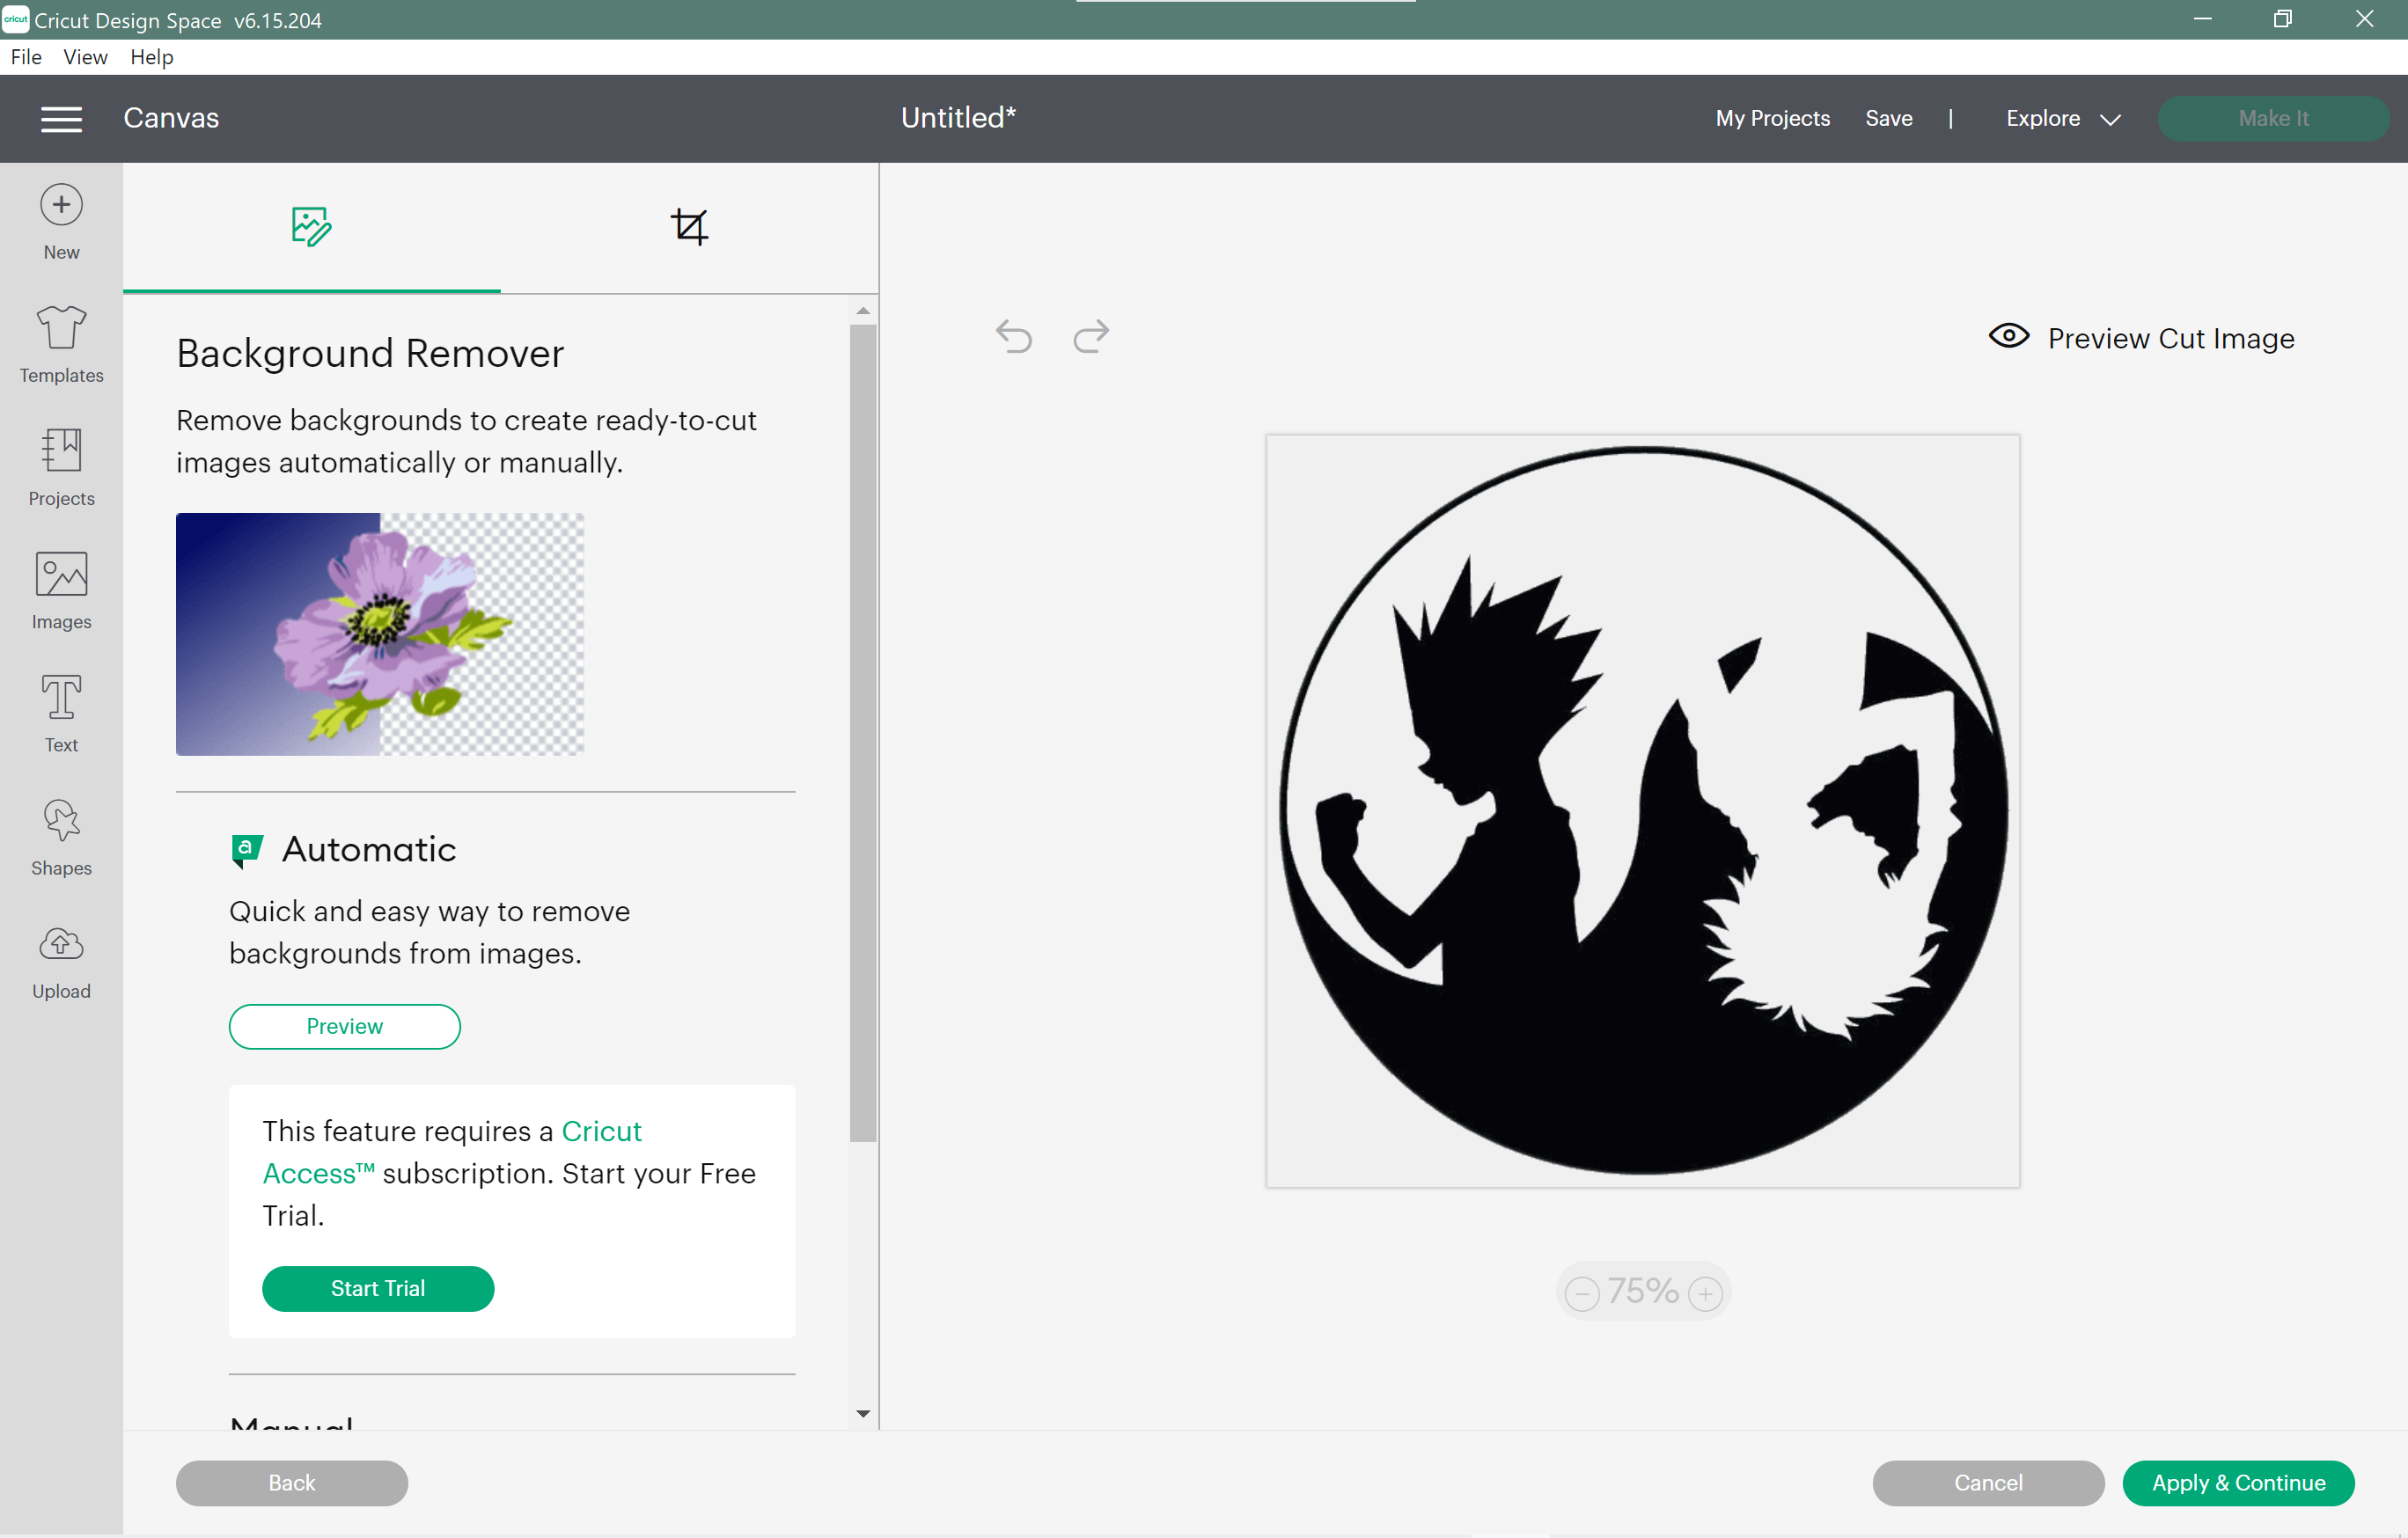
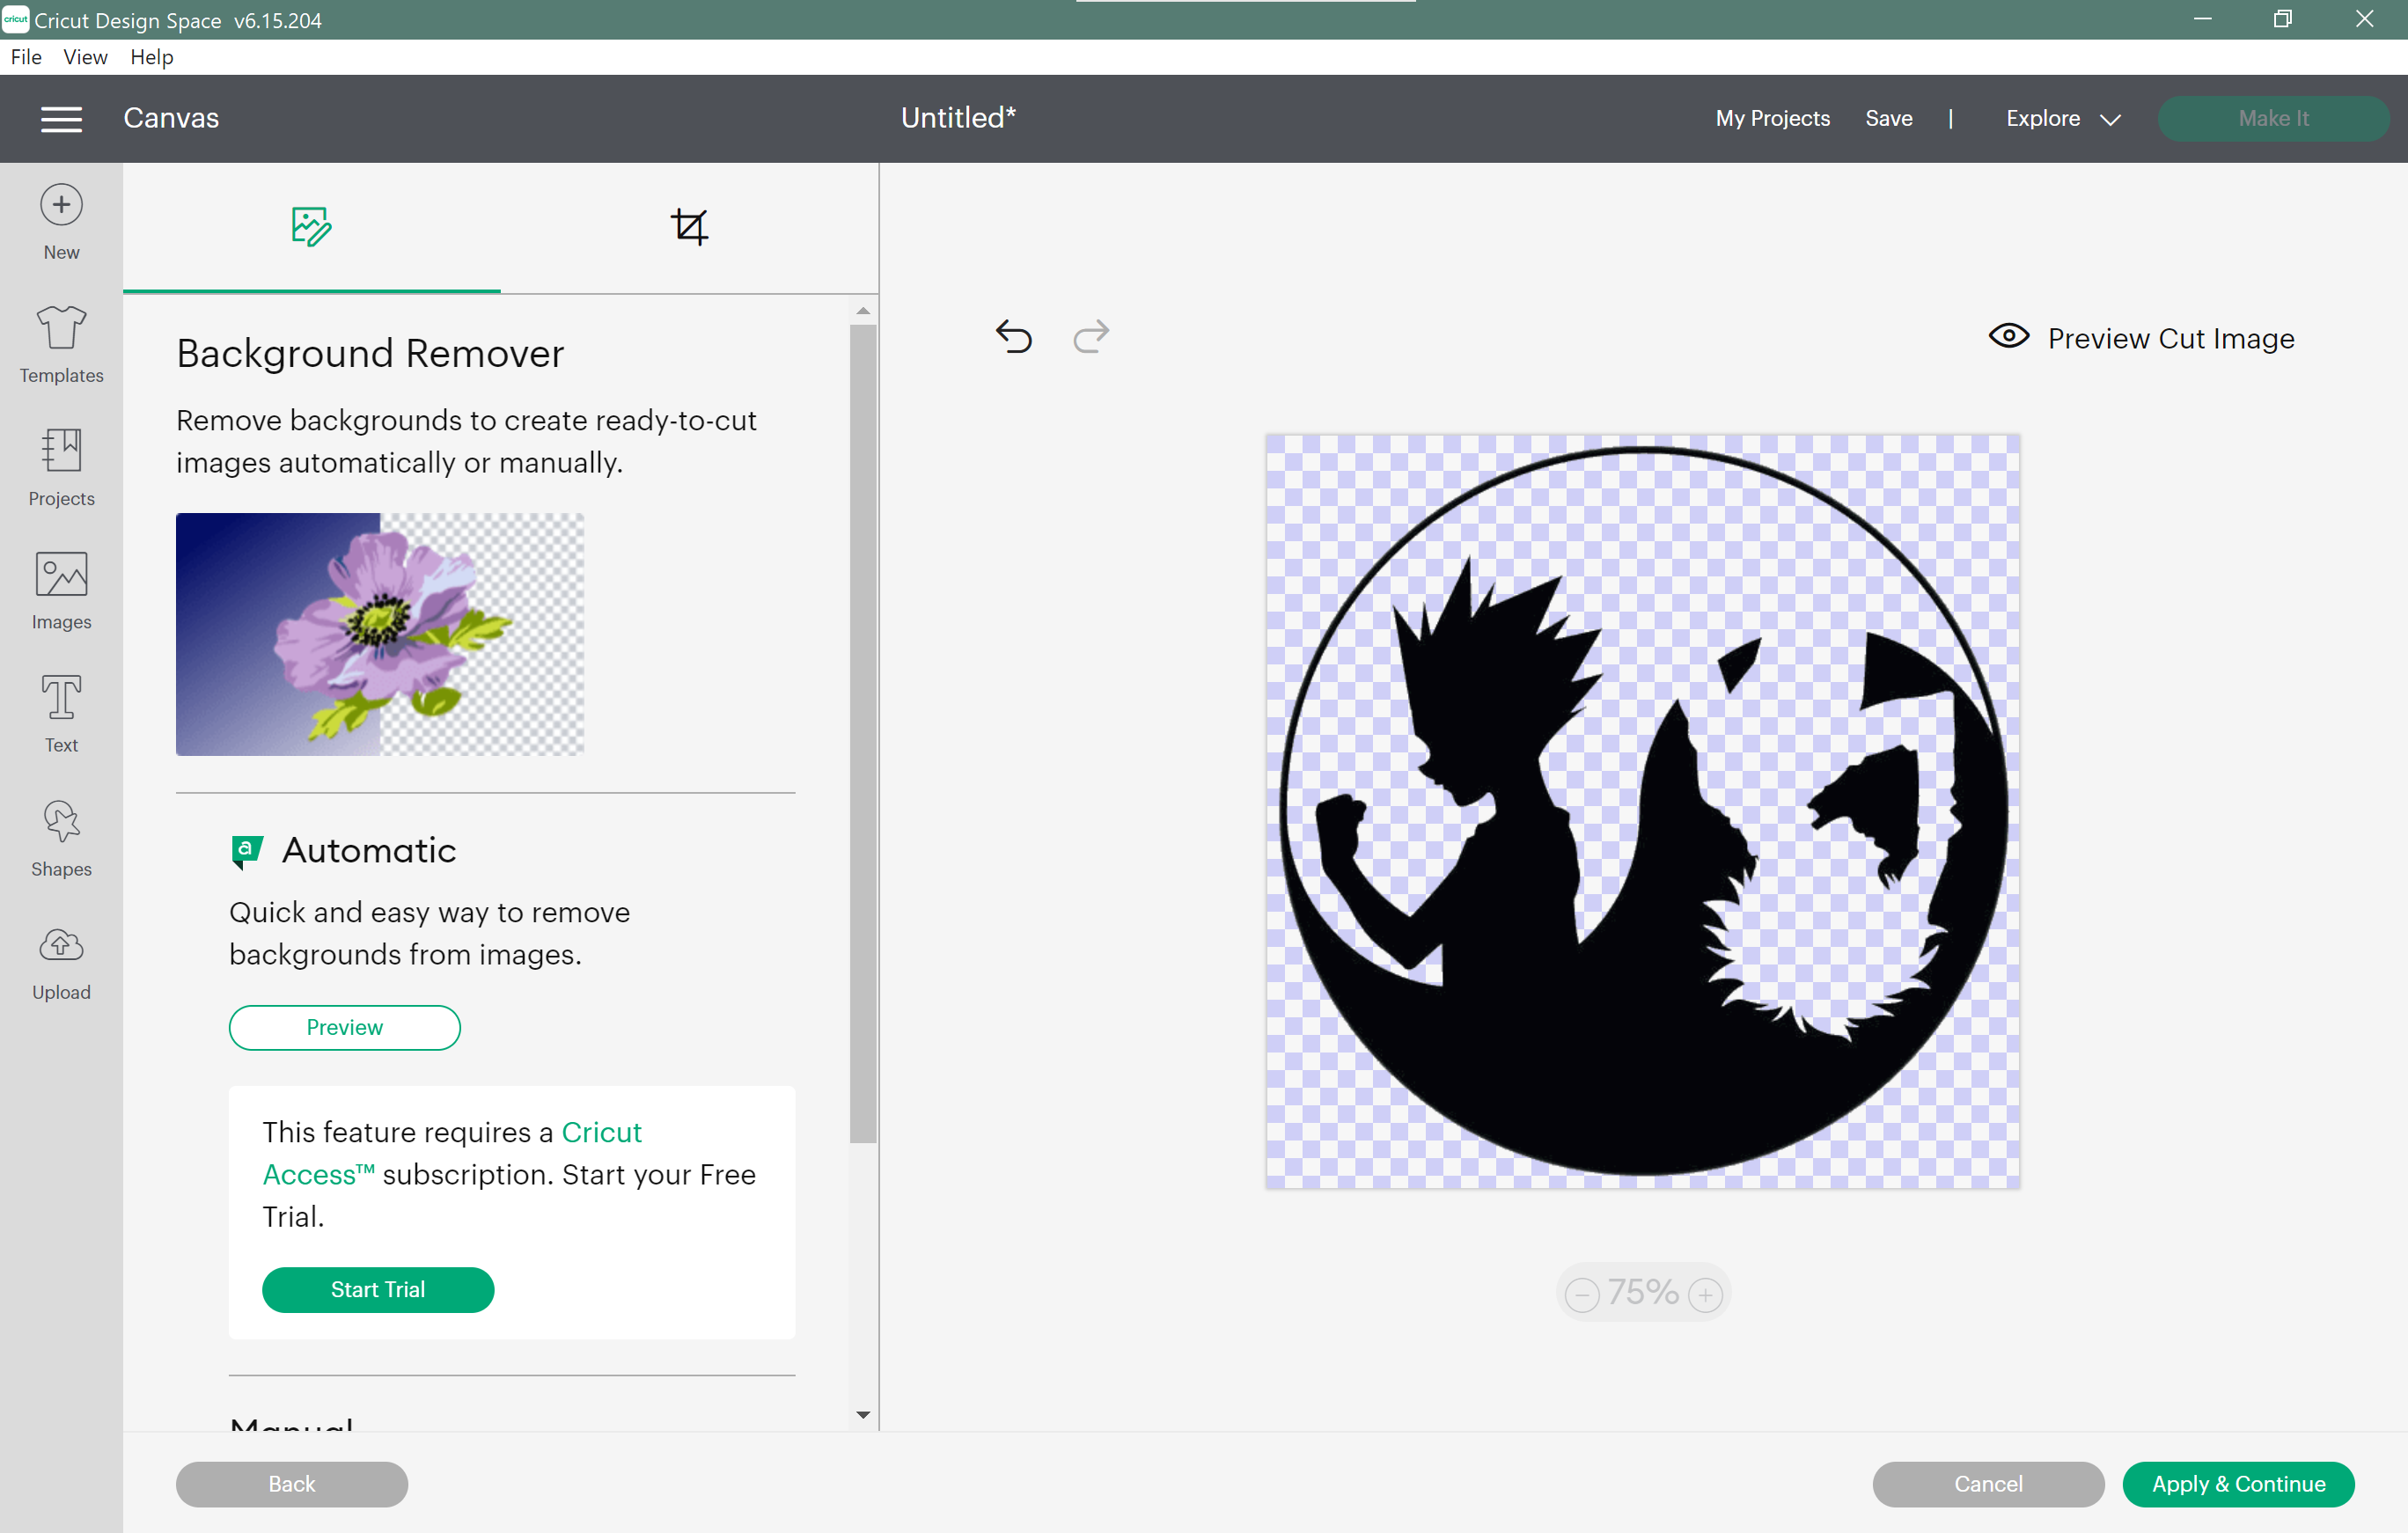
After that you can edit your uploaded design; remove background, crop, erase:
Note that there are limited editing tools, so it is better to edit your design in a different editing app then uploading it.
I used the background remover tool:
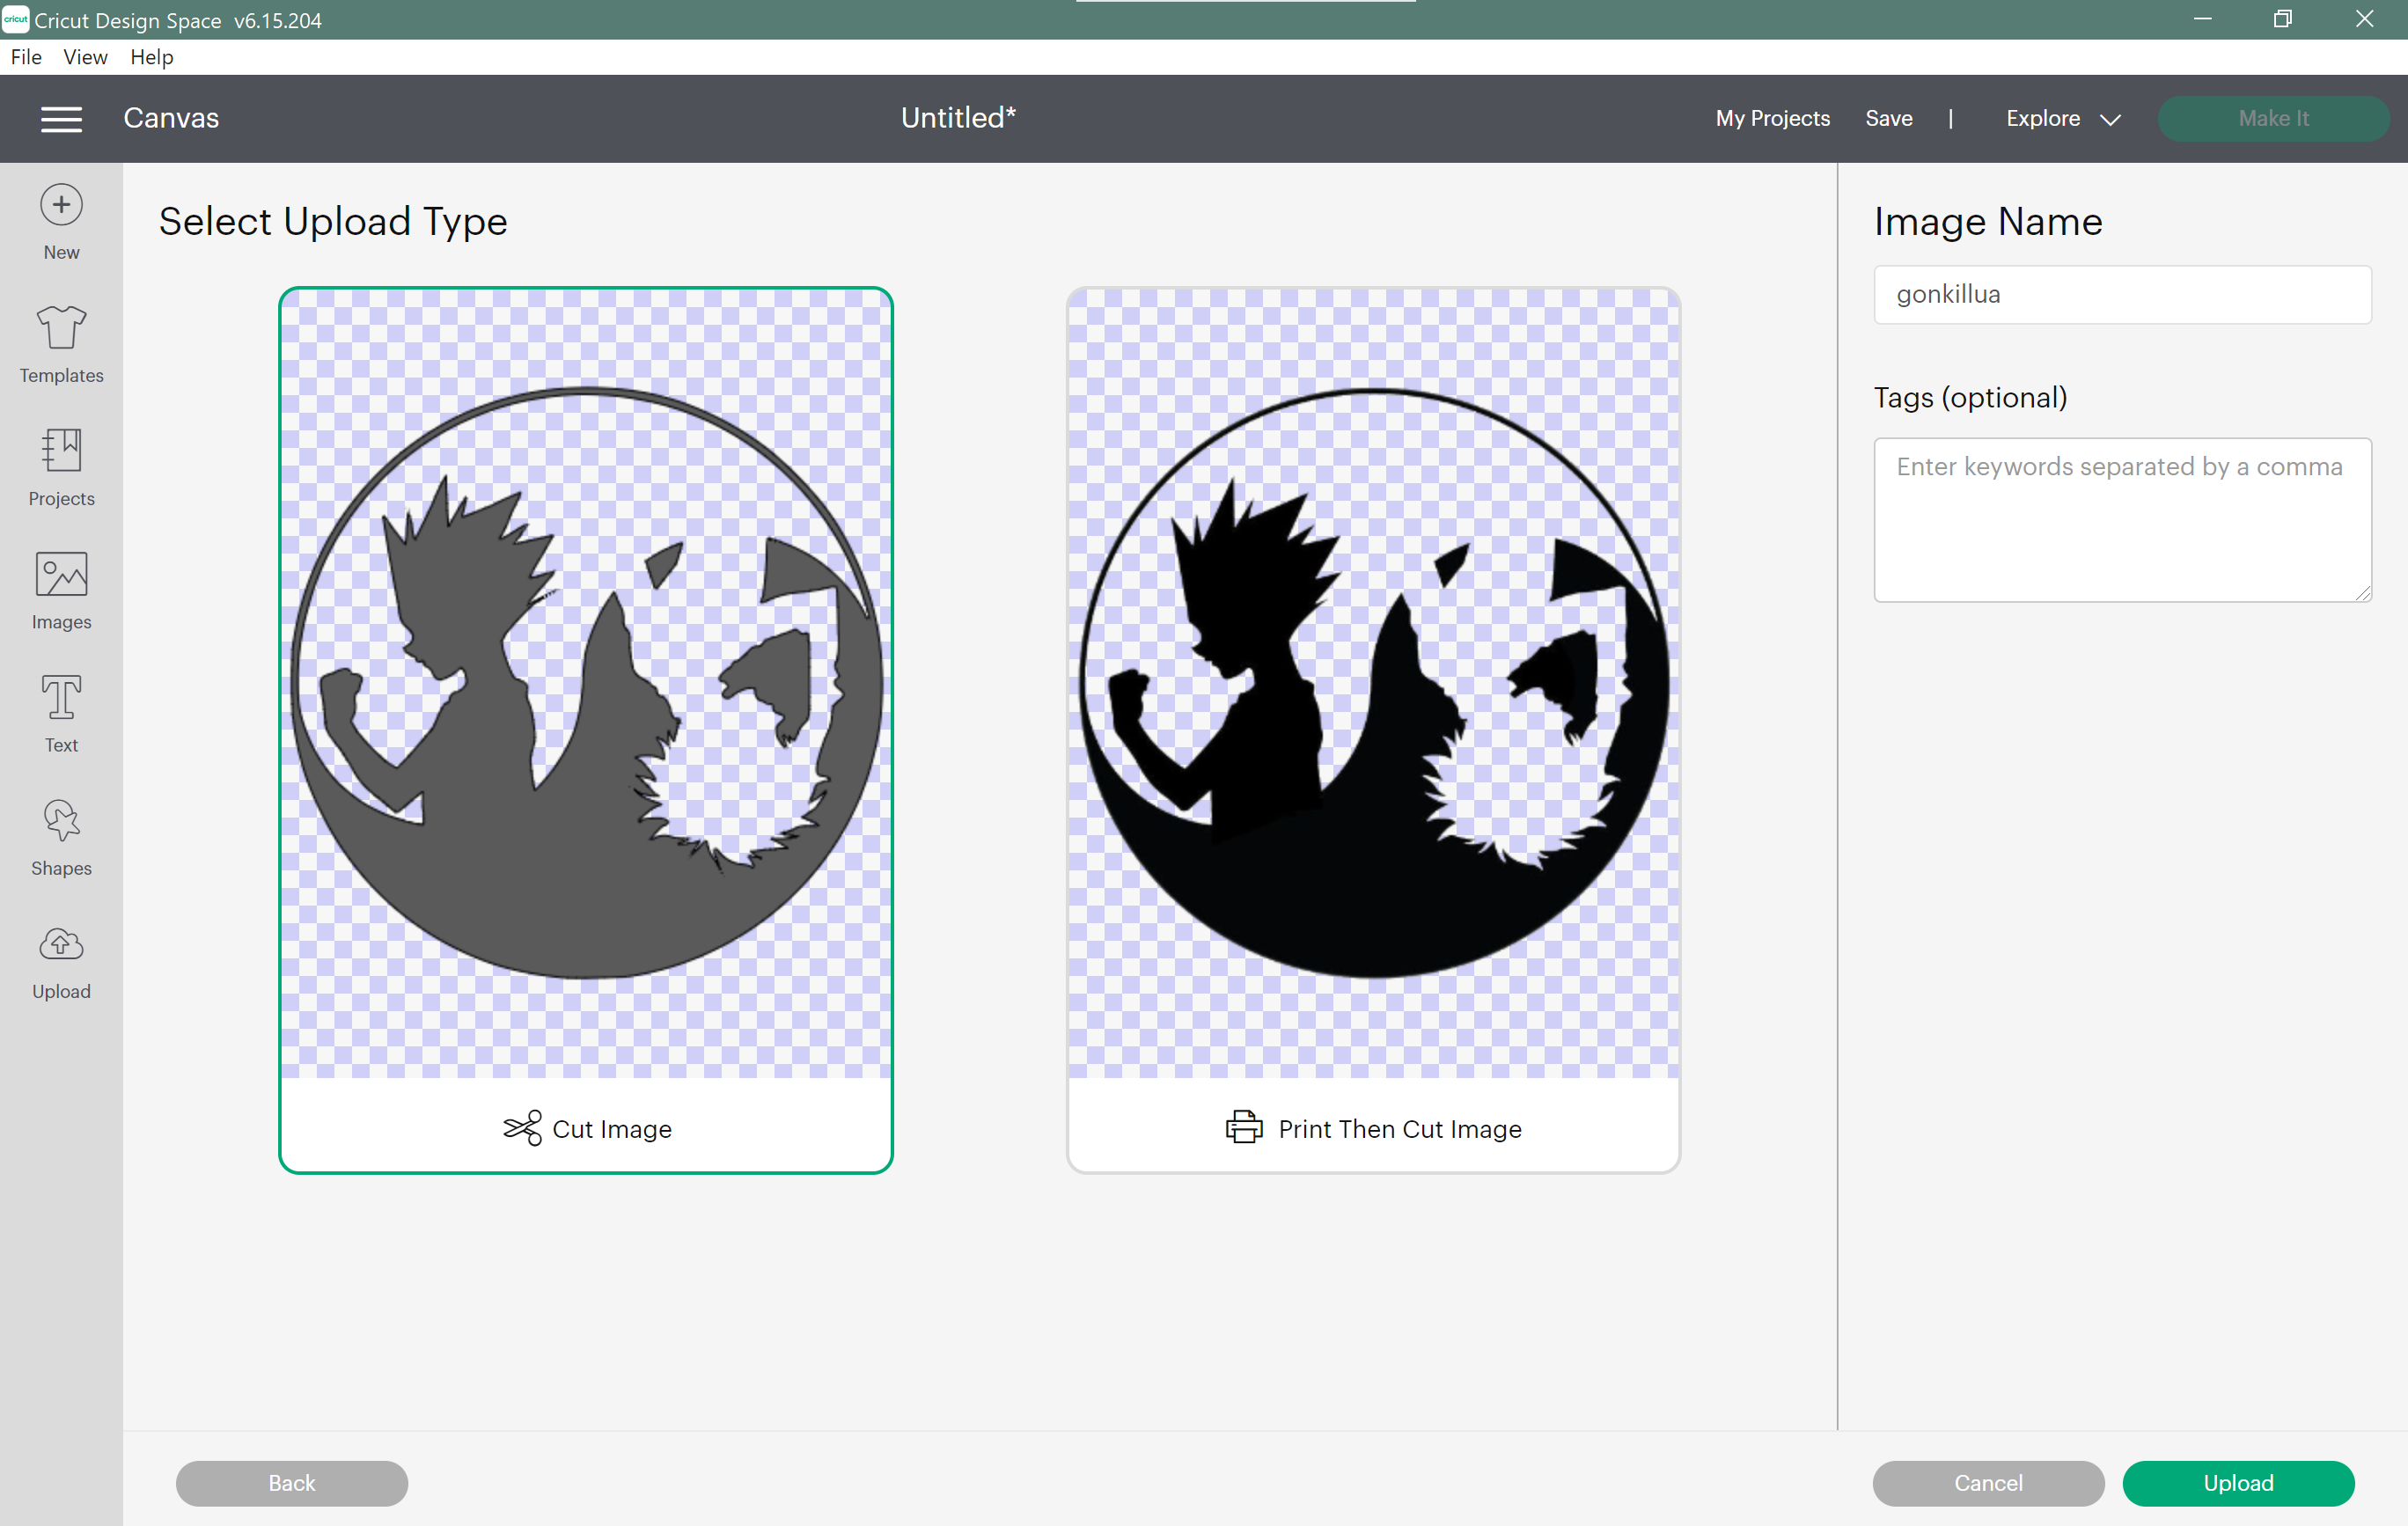
Press Apply & Continue then you will need to specify the upload type, I choose Cut image.
The newly uploaded design will appear with the recent ones.
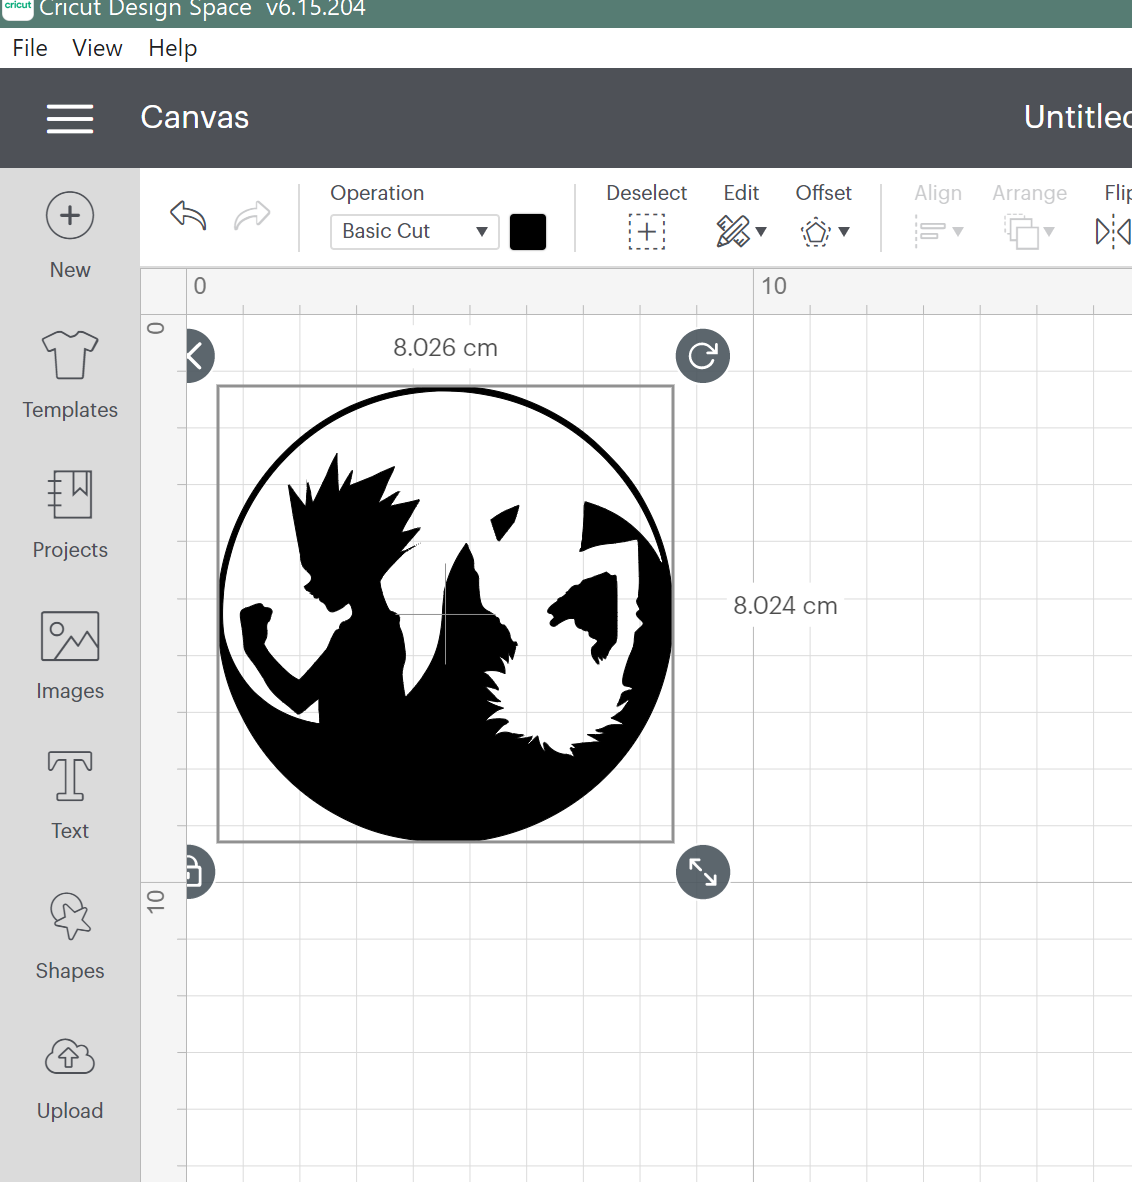
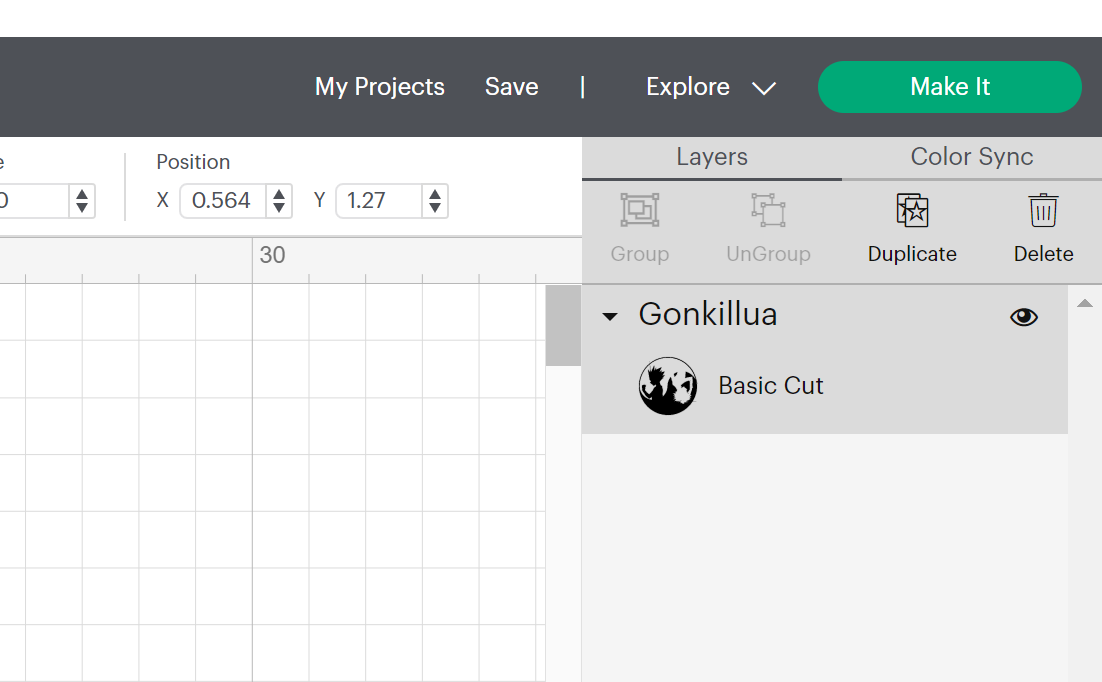
Press Add to Canvas and then specify the size of the design and the place of it:
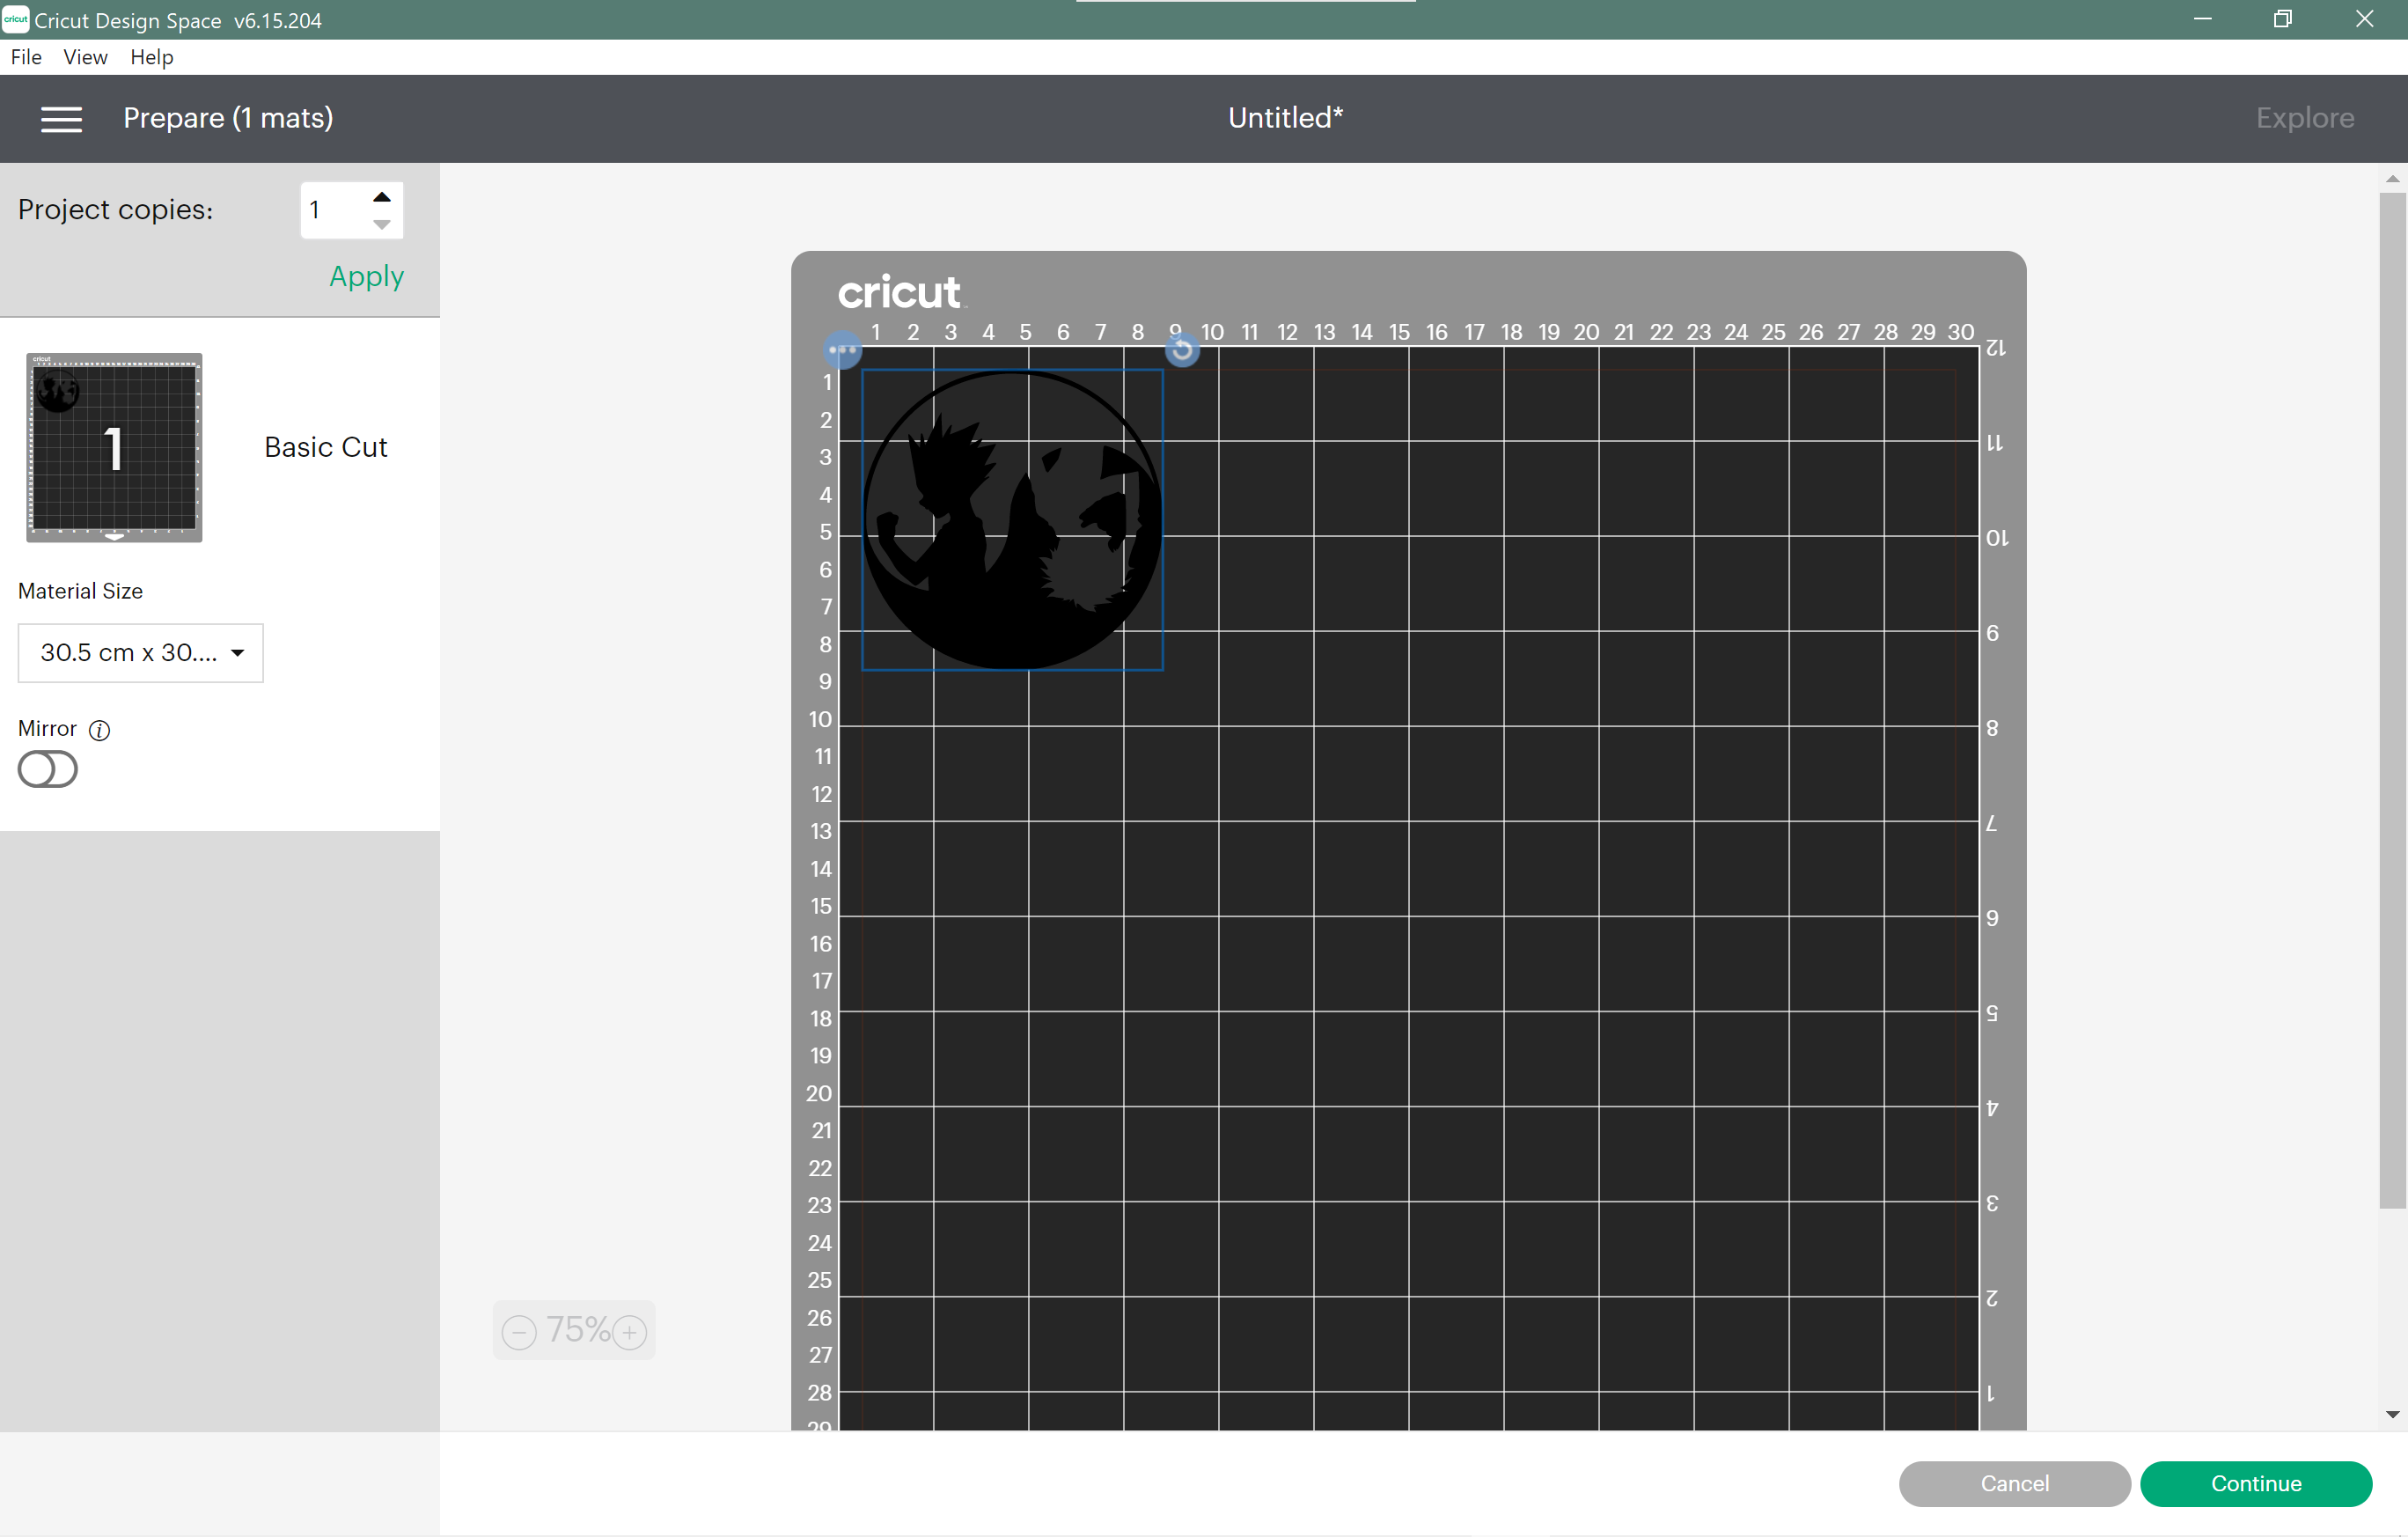
On top right press Make it:.
you will be able then to see how the design will be cut, press Continue::
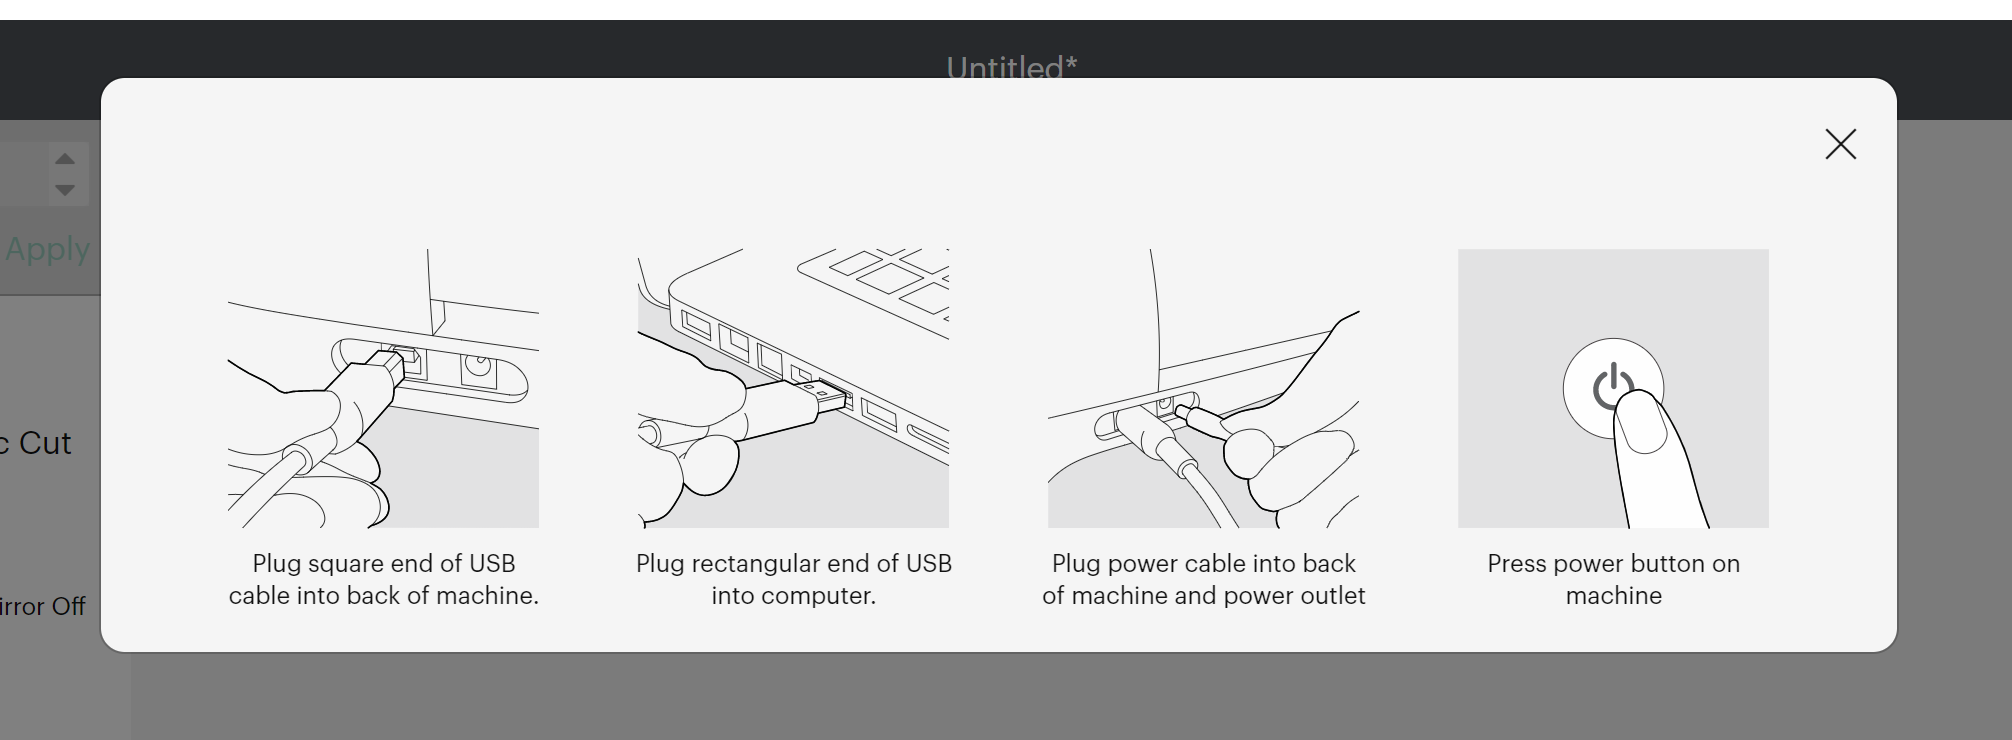
A guide will appear then, follow the steps:
Steps on the vinyl cutter
first make sure that the laptop is connected to the cutter with USB.
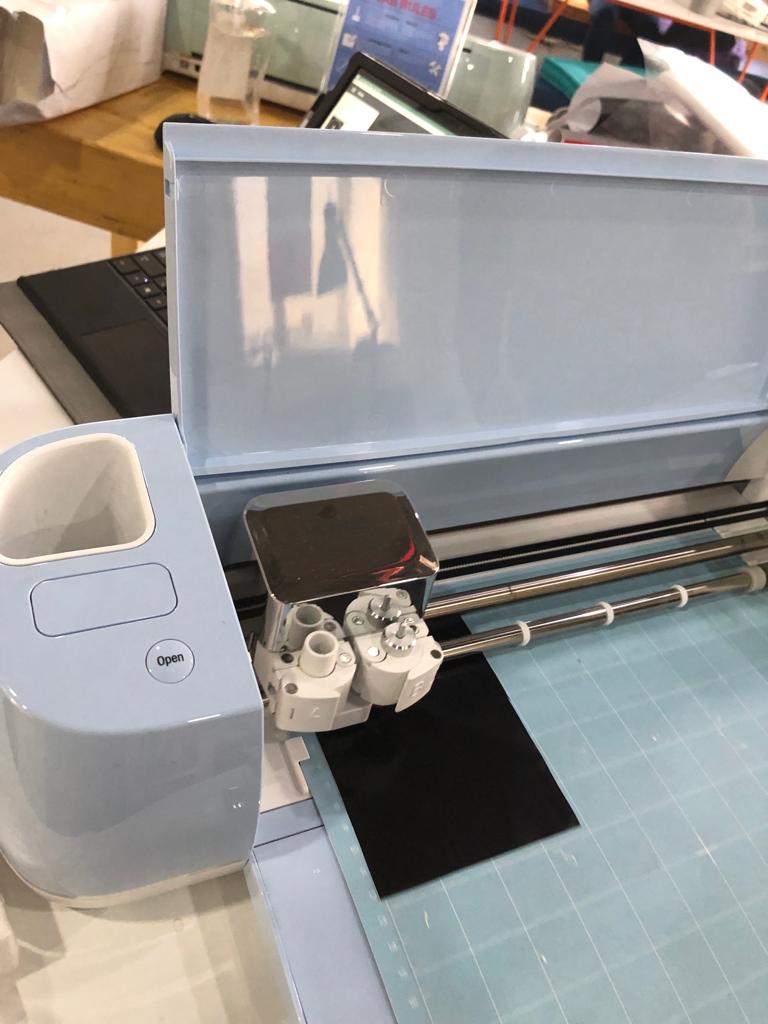
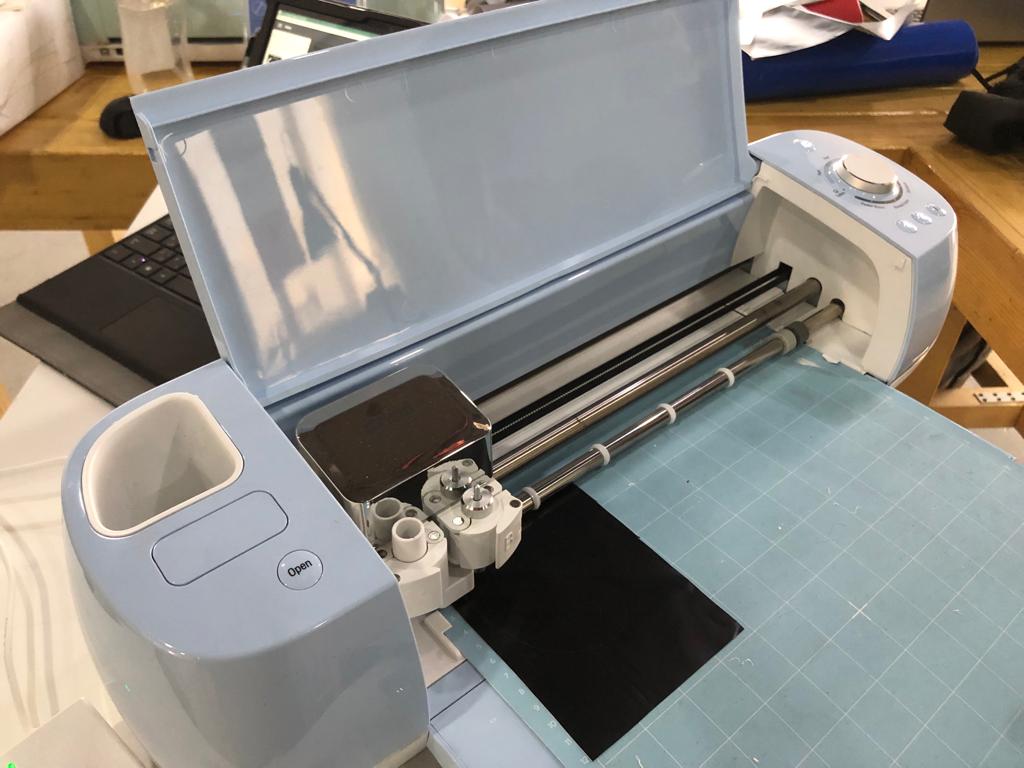
Press open for the vinyl cutter to open, then put the material to be cut on a sticking board.
Note make sure the material is placed the same place the design is placed in the canvas on the Circut app.
Press the two arrows sign for the board to be placed and fixed in the cutter.
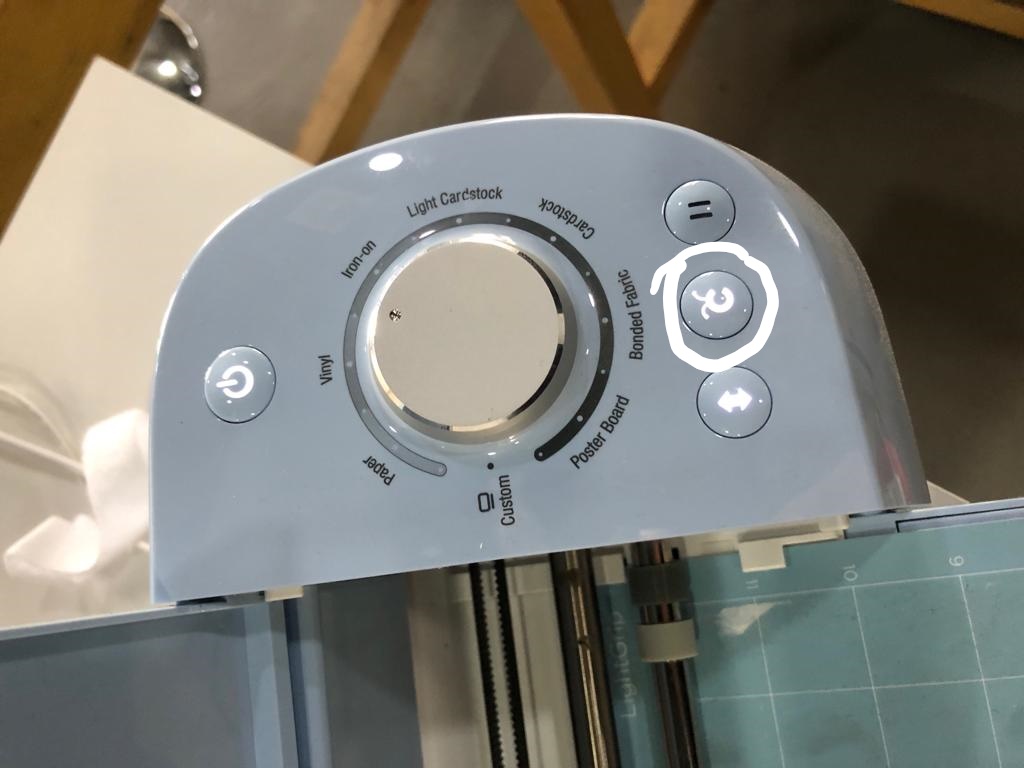
Note that you can change the cutting settings from the cutter.
After making sure everything is in place, start the cutting by pressing the button with the letter C:
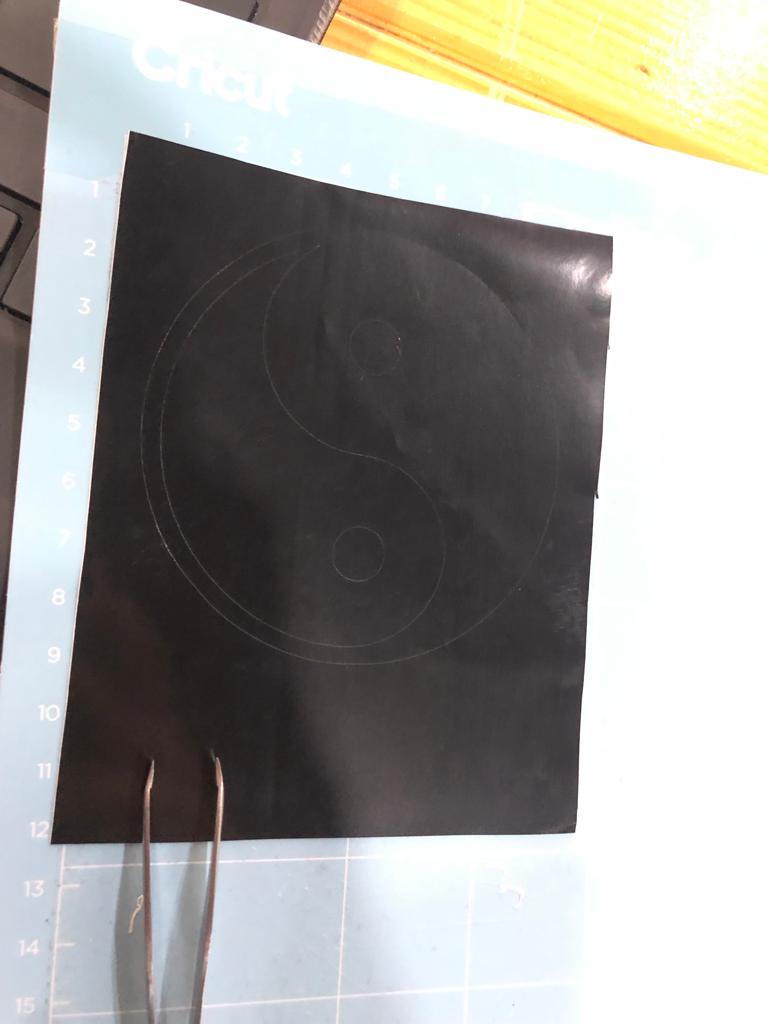
I cut the yin-yan design to stick it on the laptop. cut was done, the extra parts need to be removed.
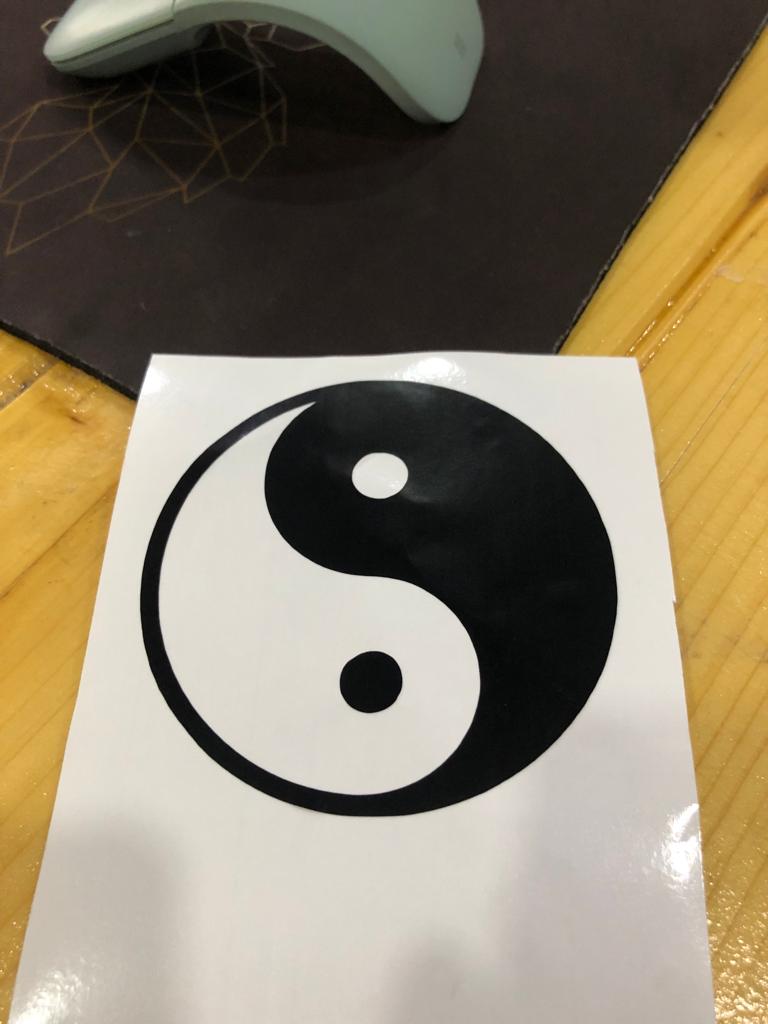
The sticker is ready to be used:
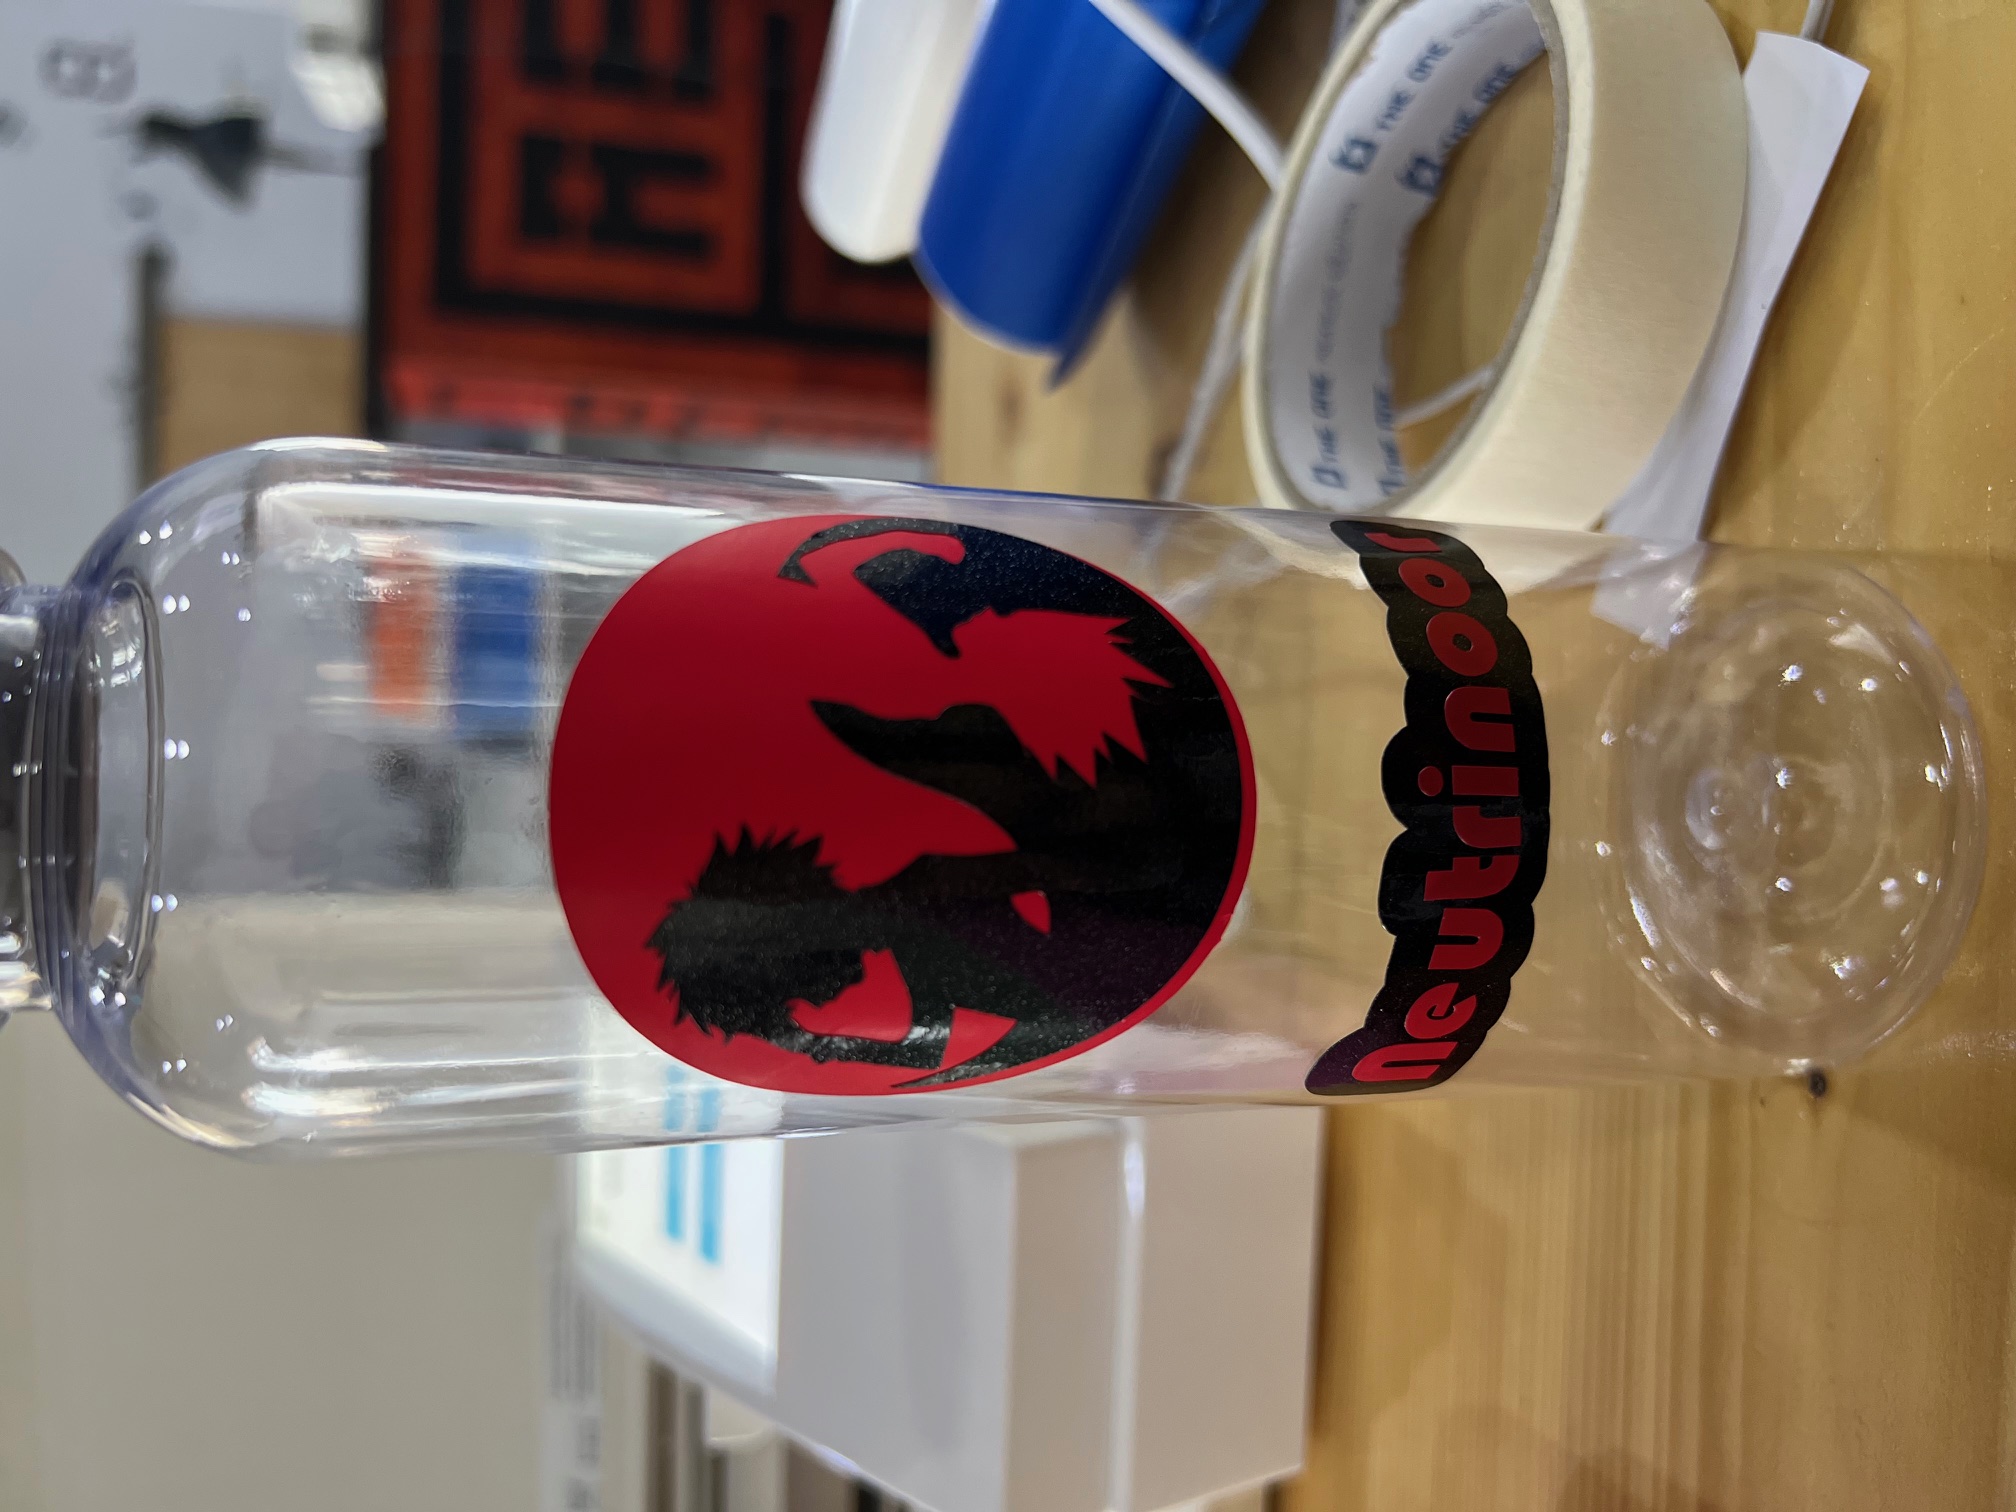
By doing the same steps, I cut the other Killua-Gon design on black sticker, and a red circle for contrast, and put it on a water bottle:
Laser Cutter
What is a Laser cutter
Laser cutting is a technology that uses a laser to vaporize materials, resulting in a cut edge.
A Laser cutter is one of the most useful tools as it cuts from thin papers, cardboards to MDF wood.
Our work in laser cutting was divided into two parts, a groupwork part and an individual part.
Physics Project
In my Laser Physics course that I took in university, I made a project describing the physical characteristics of
the laser cutter, if your are interested you can check it along with other projects related to the physics of laser.
The group assignment for this week is to perform test to identify the most suitable characteristics
used to cut with the laser cutter. The finding from the test were then used to make the individual assignment:
For the individual work, the task was to design a parametric press-fit design and then cut it using the laser cutter.
I started with an idea of a tree, where the leaves are press-fit and their design is parametric.
Press-fit means that the pieces could be assembled in different ways.
Parametric means that the design could be changed just by changing one parameter.
Steps
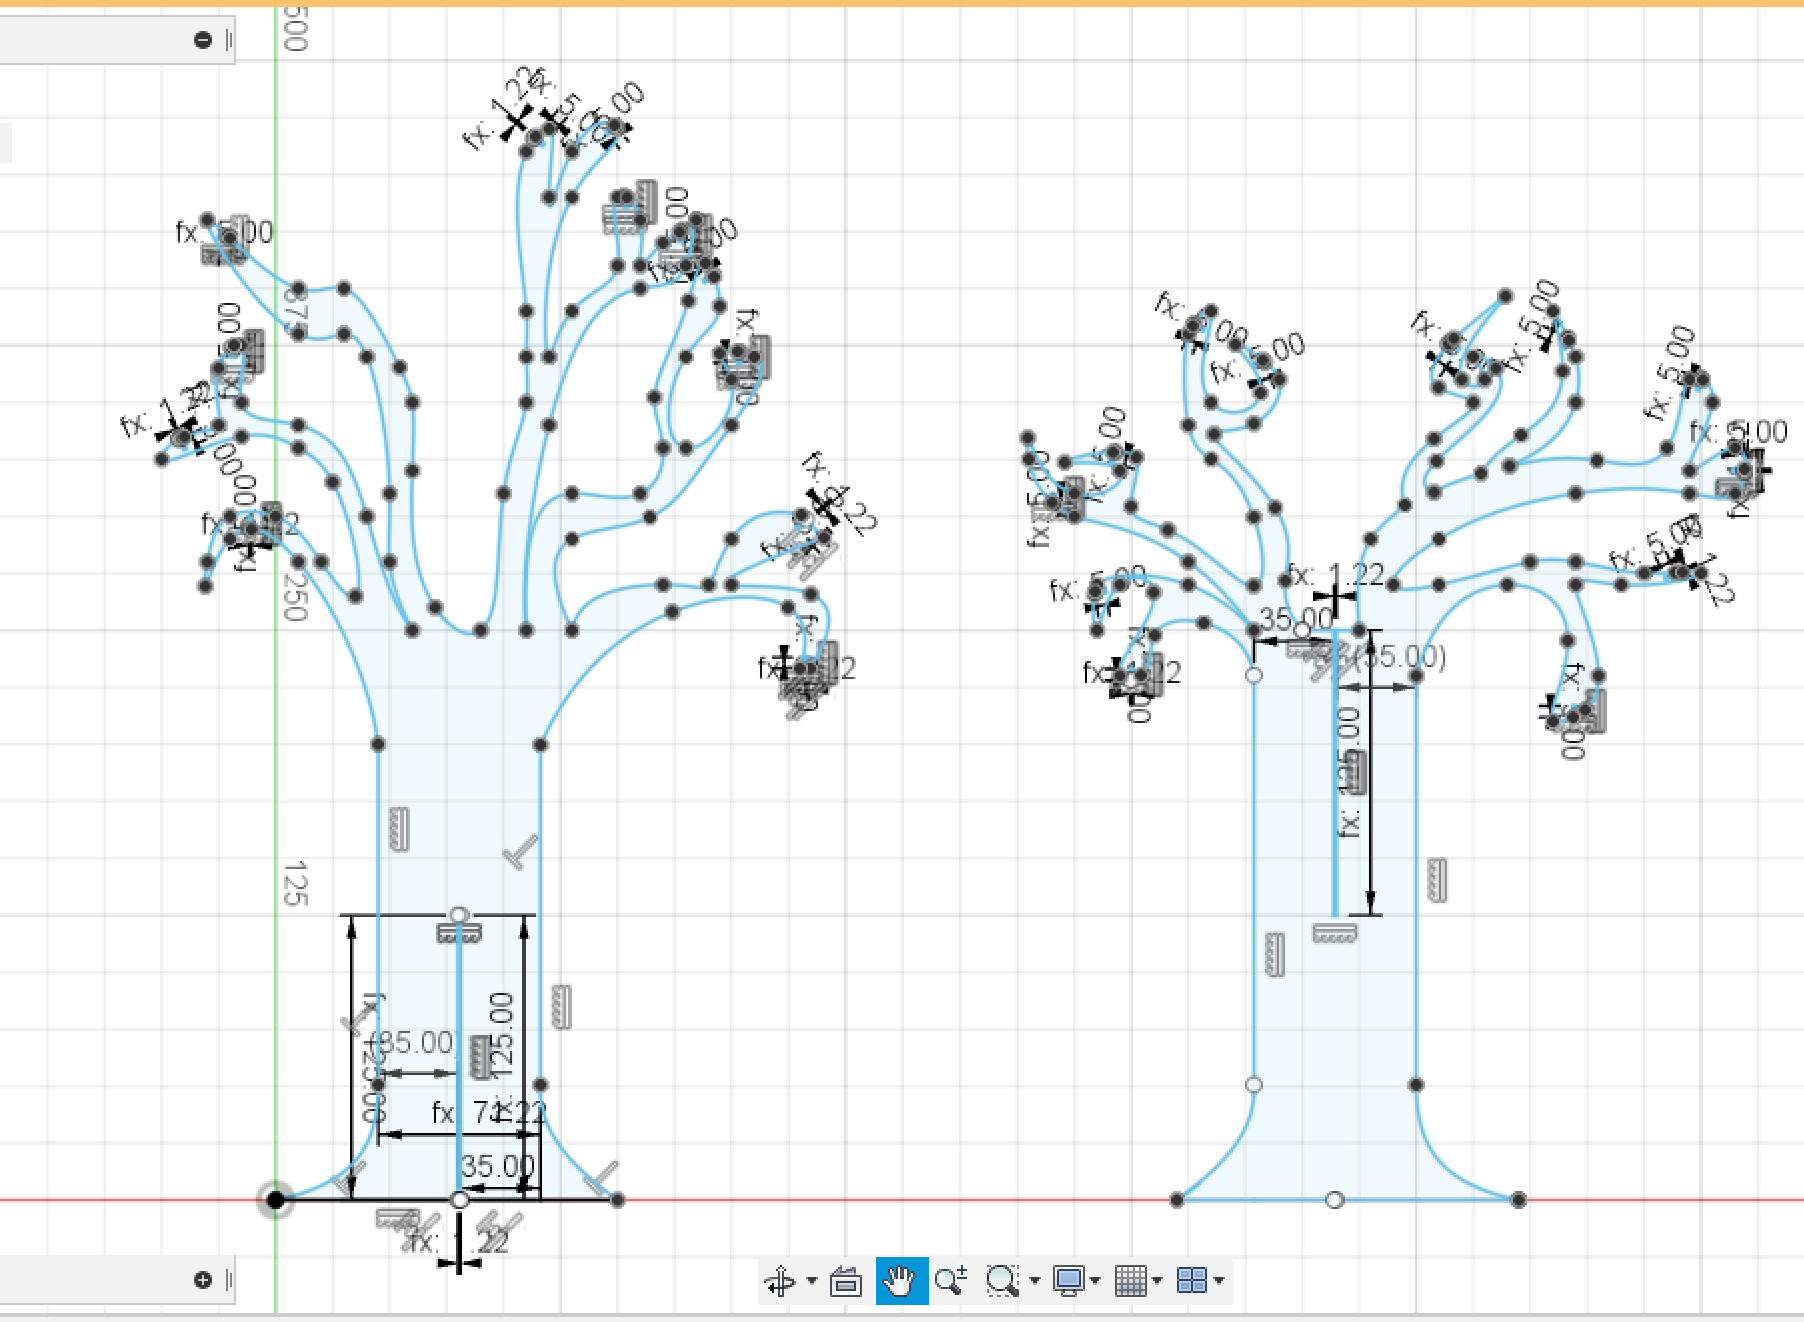
I used Fusion 360 to do my design. Opened a new sketch, then I started by designing the tree trunk starting with a rectangular.
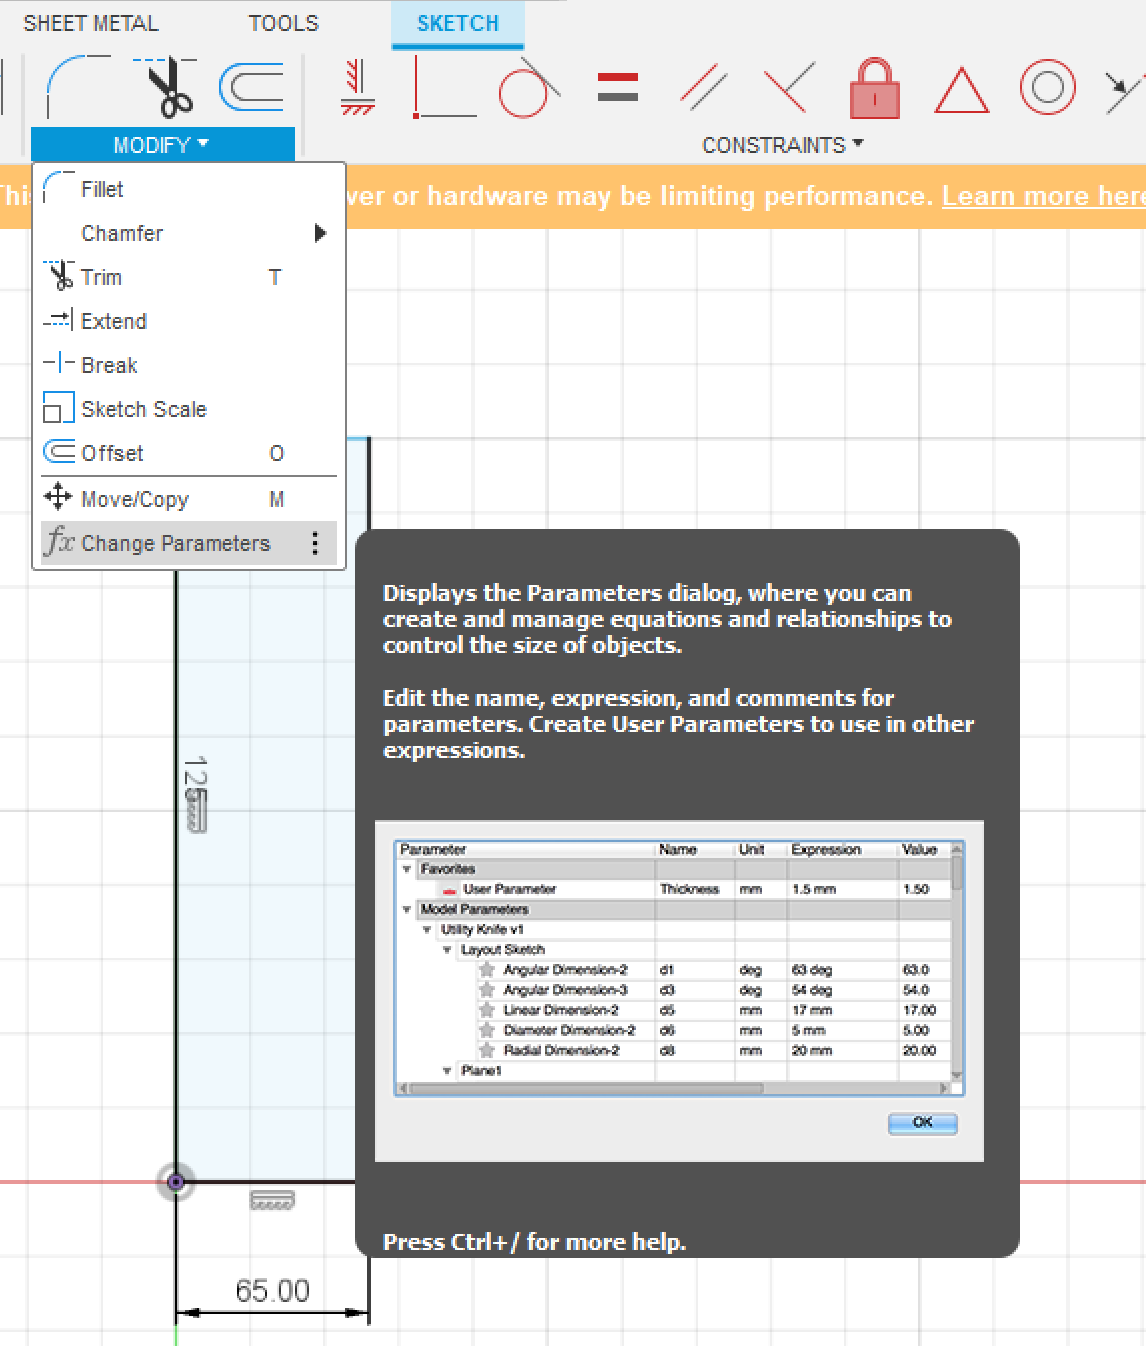
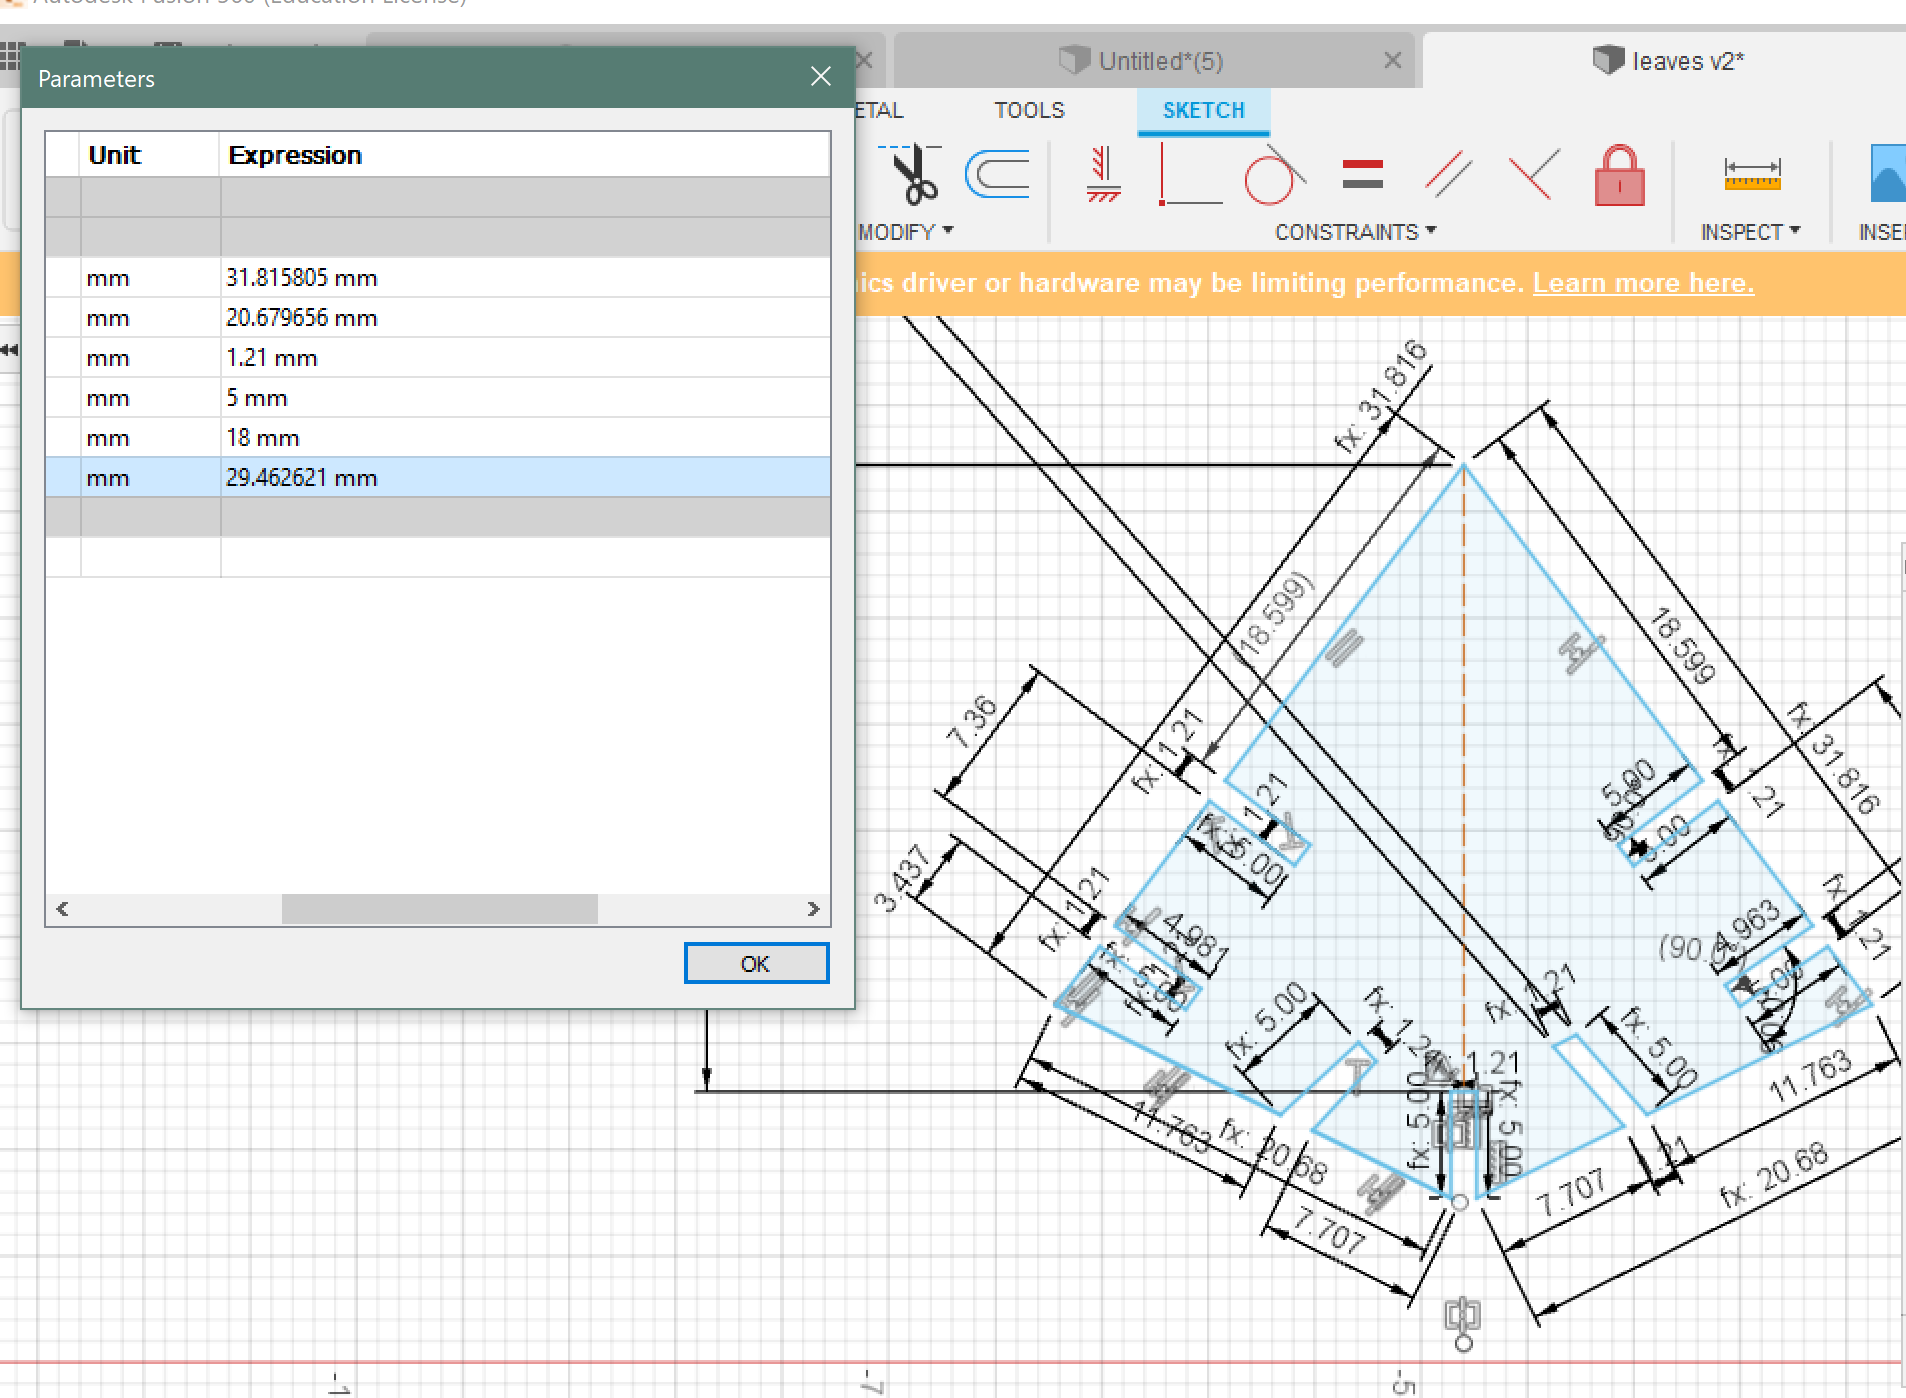
To make the dimensions Parametric go to Modify then press Change Parameters.
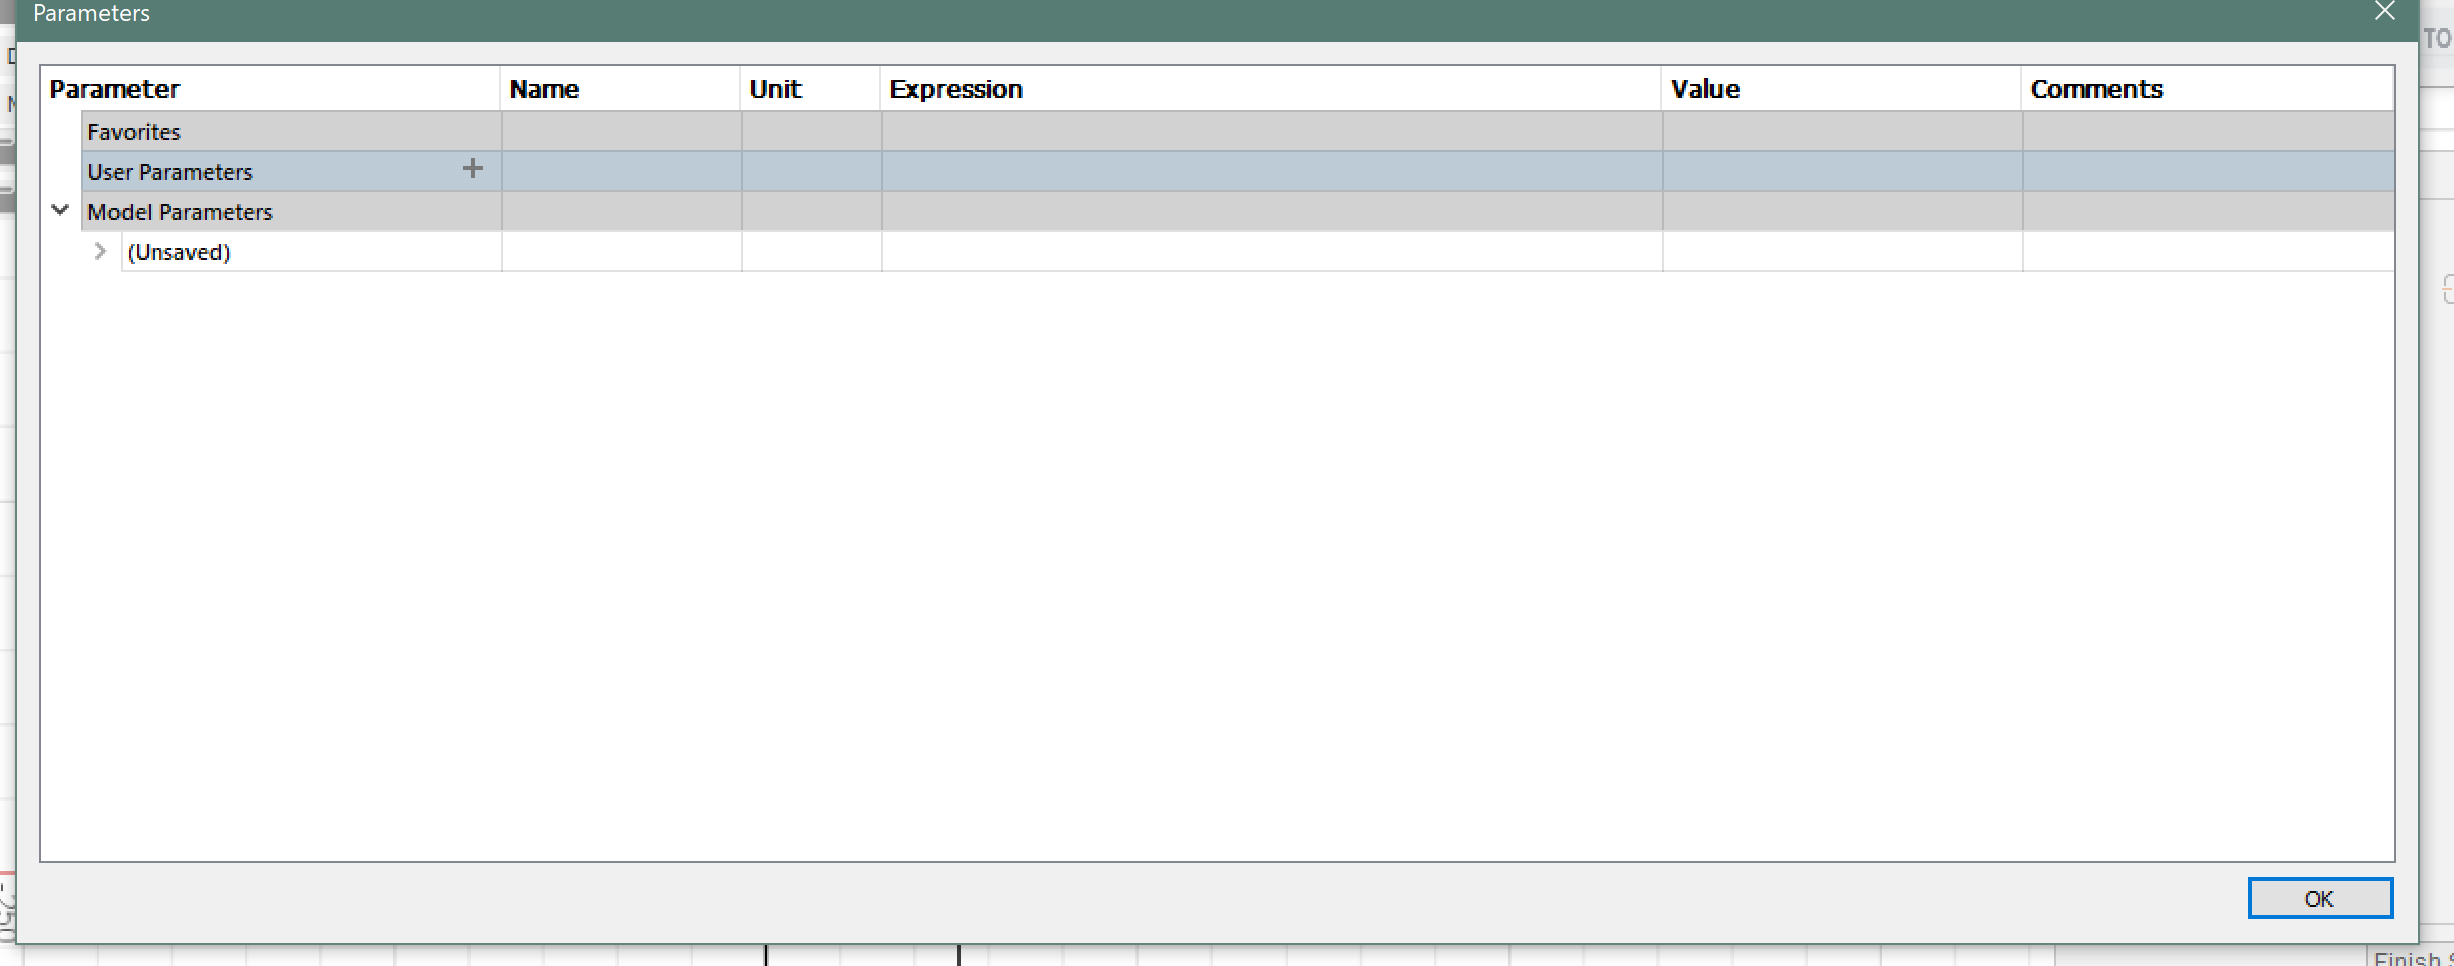
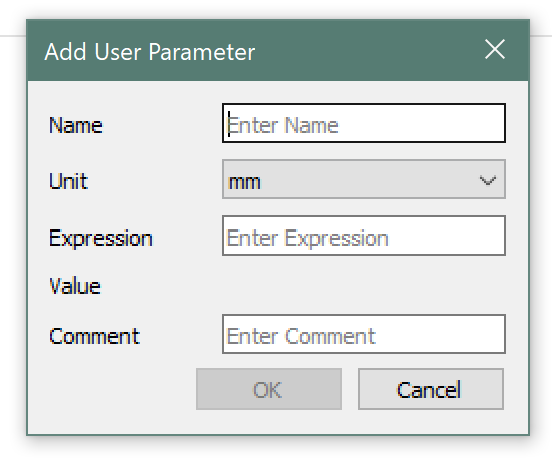
A new window will open, press + to add new parameter.
Another window will open where you will have to specify the Name of the parameter, the Unit and the Value.
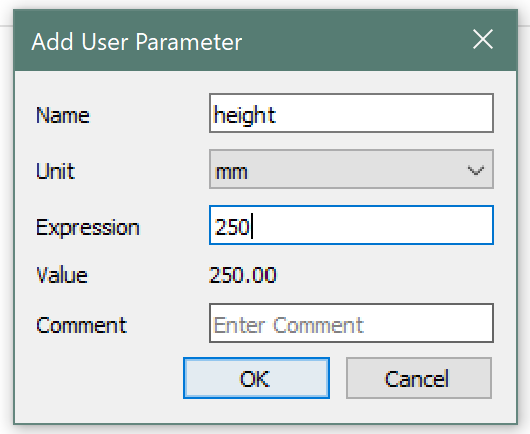
I just wanted to test how parameters work, so I add a new parameters for height, width and cut.
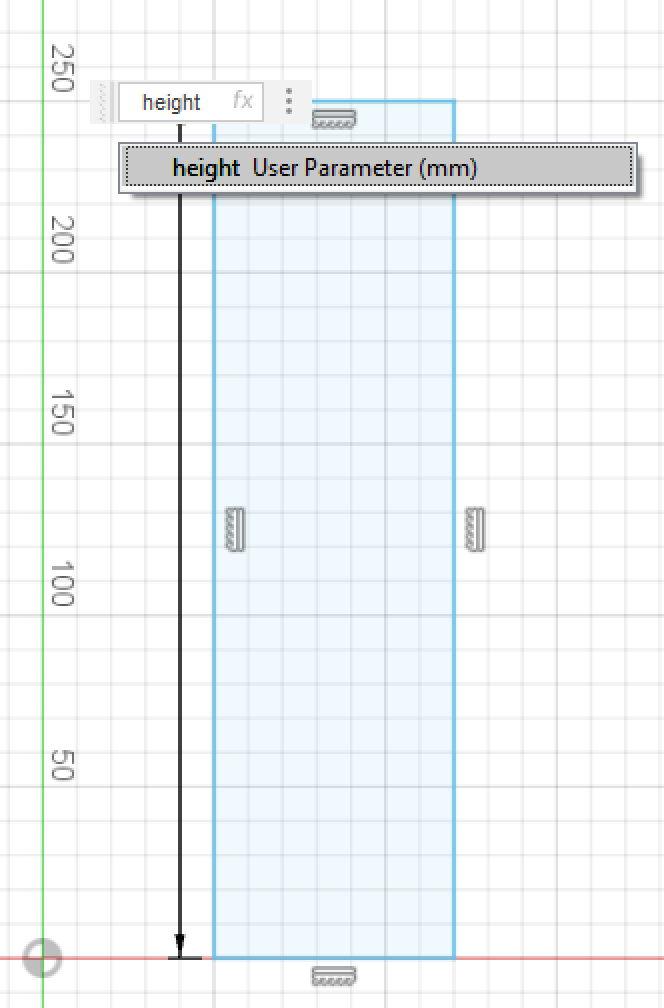
I used the set a dimension for the height of the rectangular representing the tree trunk and then changed the value to height.
Done the same for the width.
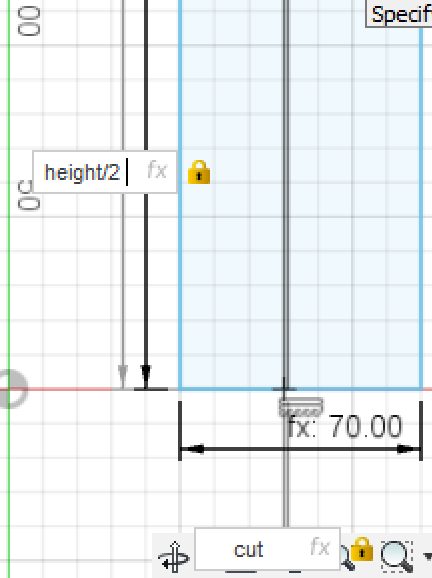
Note Dealing with parameters is the same as dealing with functions, I could easily type height/2 to get exactly half the value I specified for the parameter height.
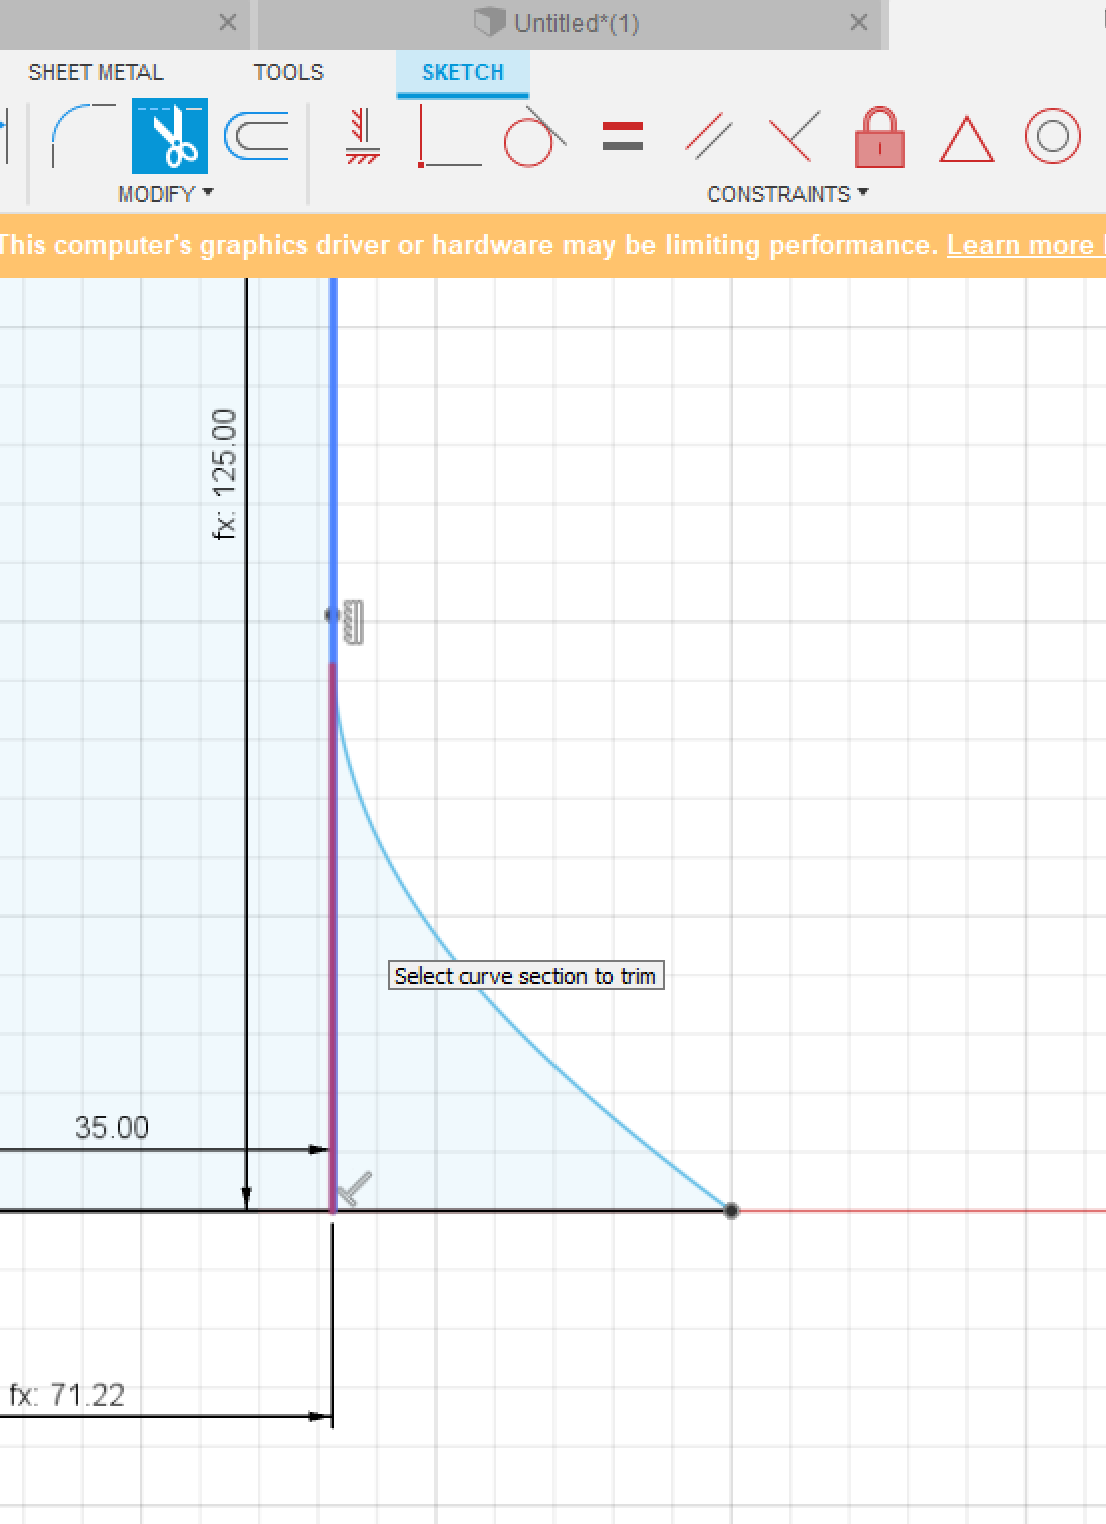
I used Spline tool to make the branches and roots of the tree, used the trim tool to delete the extra lines from the sketch.
I then specified values for the cut, which is the value we found in the group work that make the cardboard material we are using to fit perfectly.
Note Cuts are made using rectangular placed inside the sketch then the upper part was deleted using the trim tool.
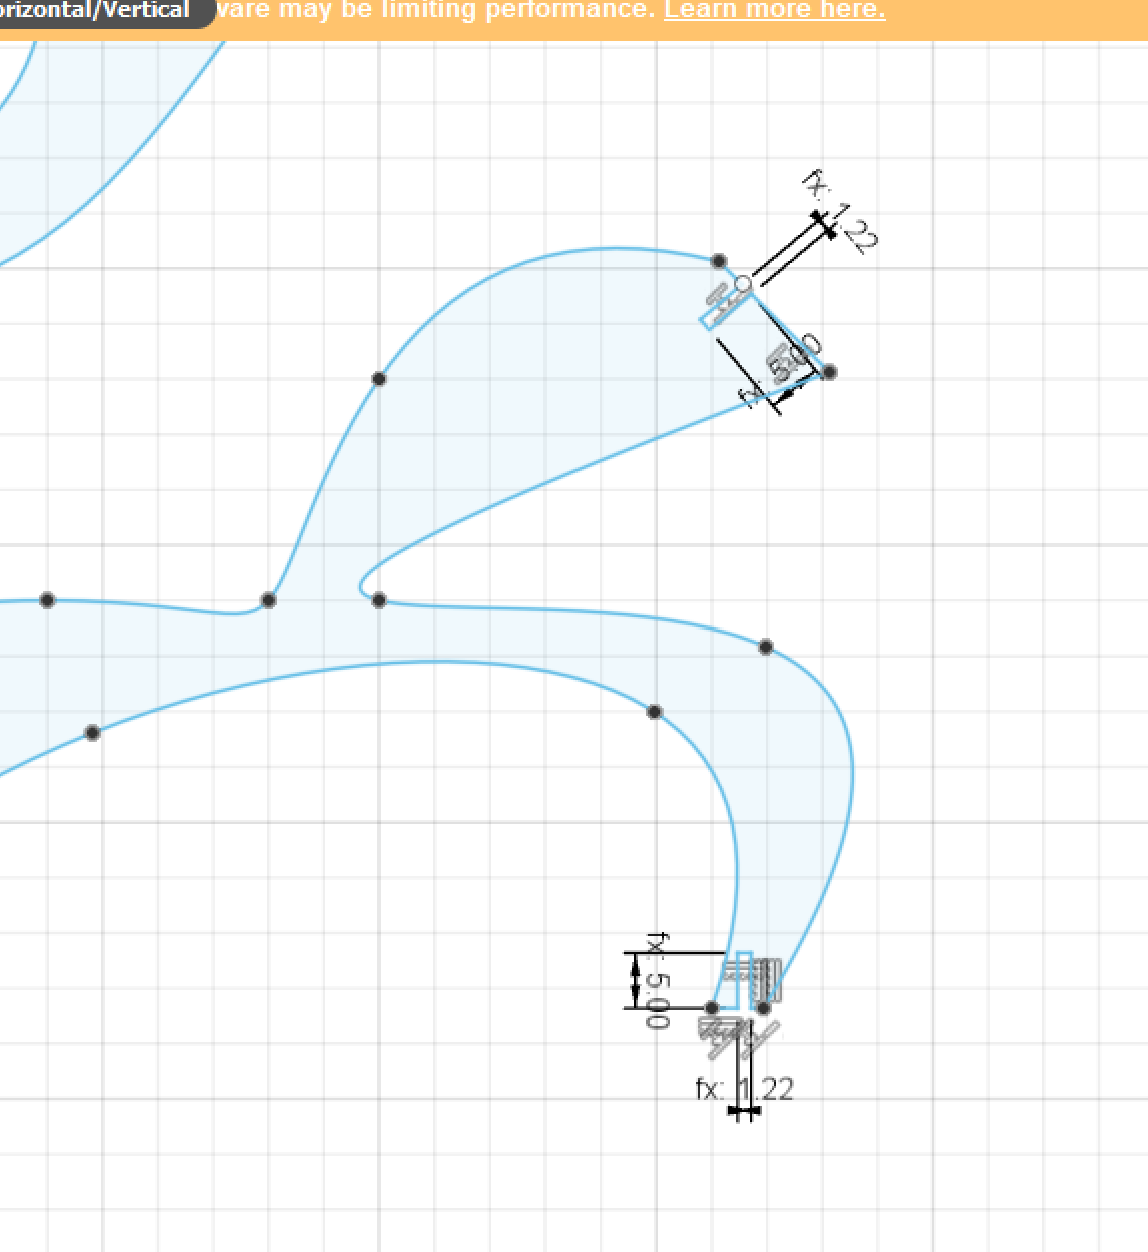
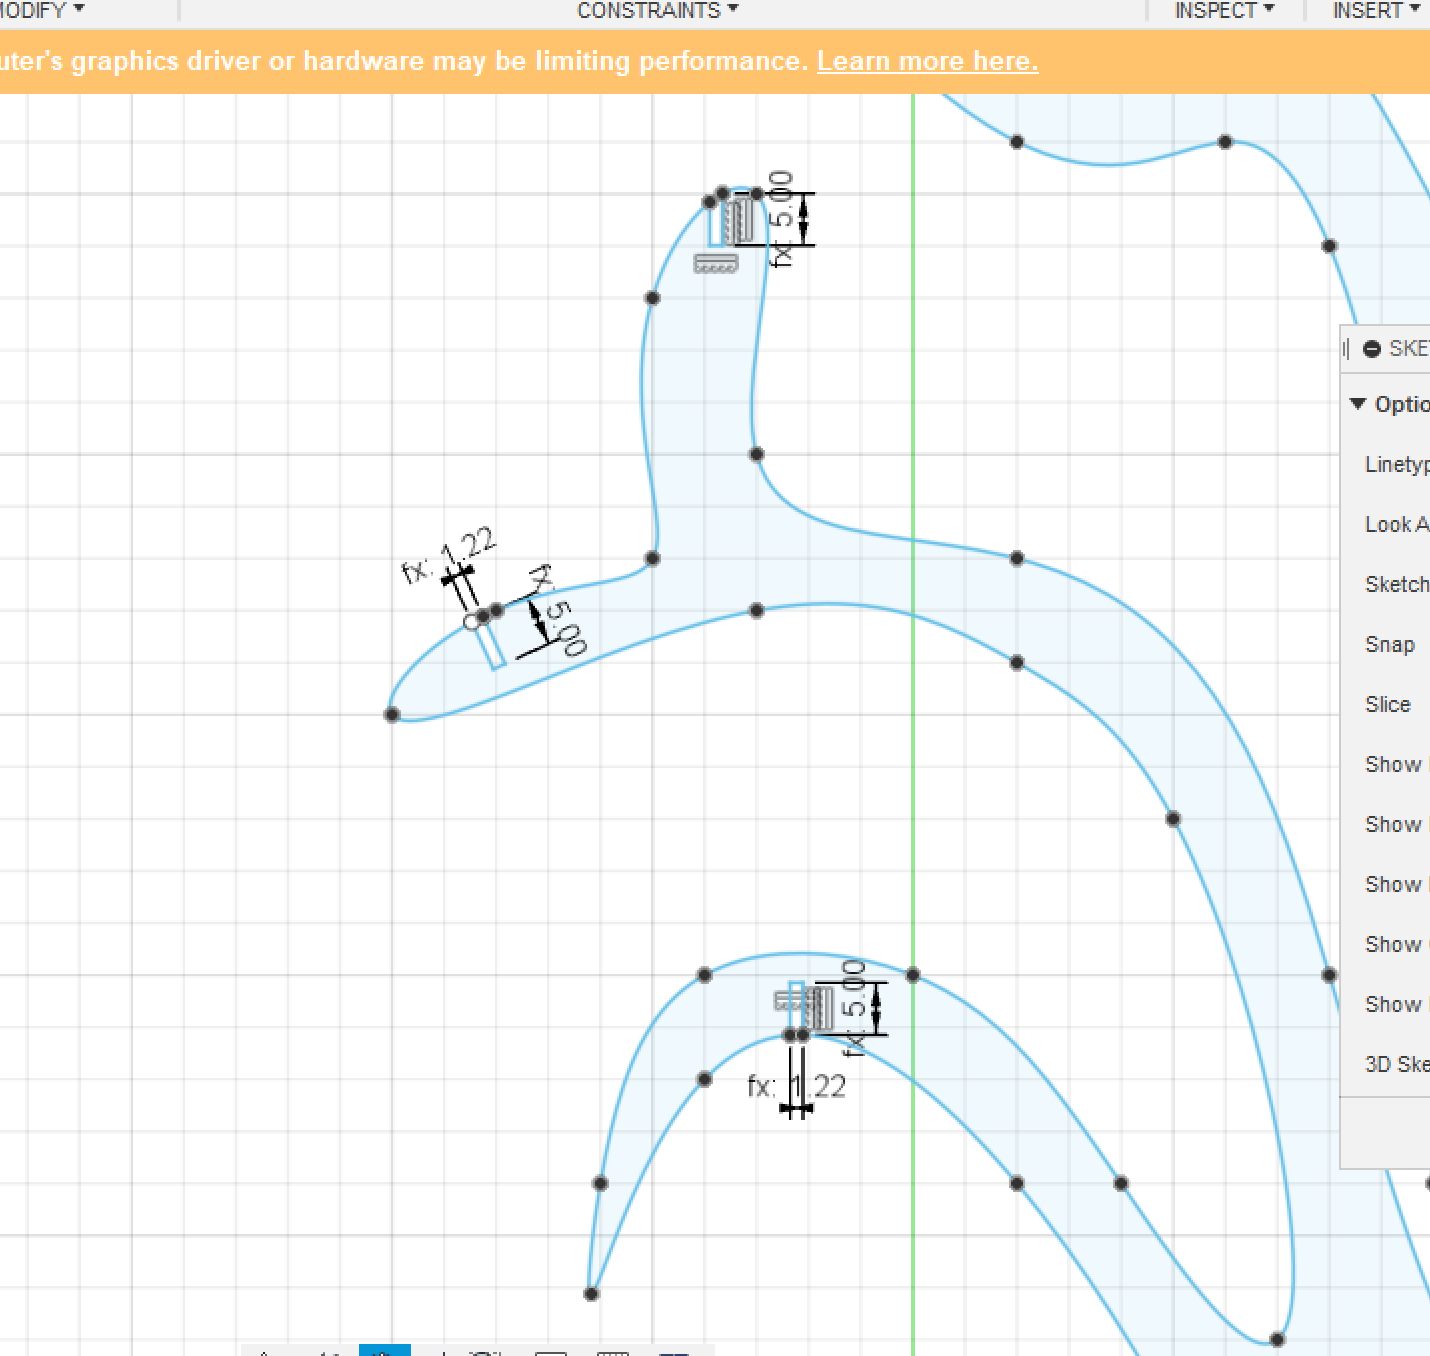
The cuts were all around the branches for the leaves to fit in them.
I made another piece of the tree with similar steps, except that it has a cut from the top to be fit in the first part which has a cut from the bottom.
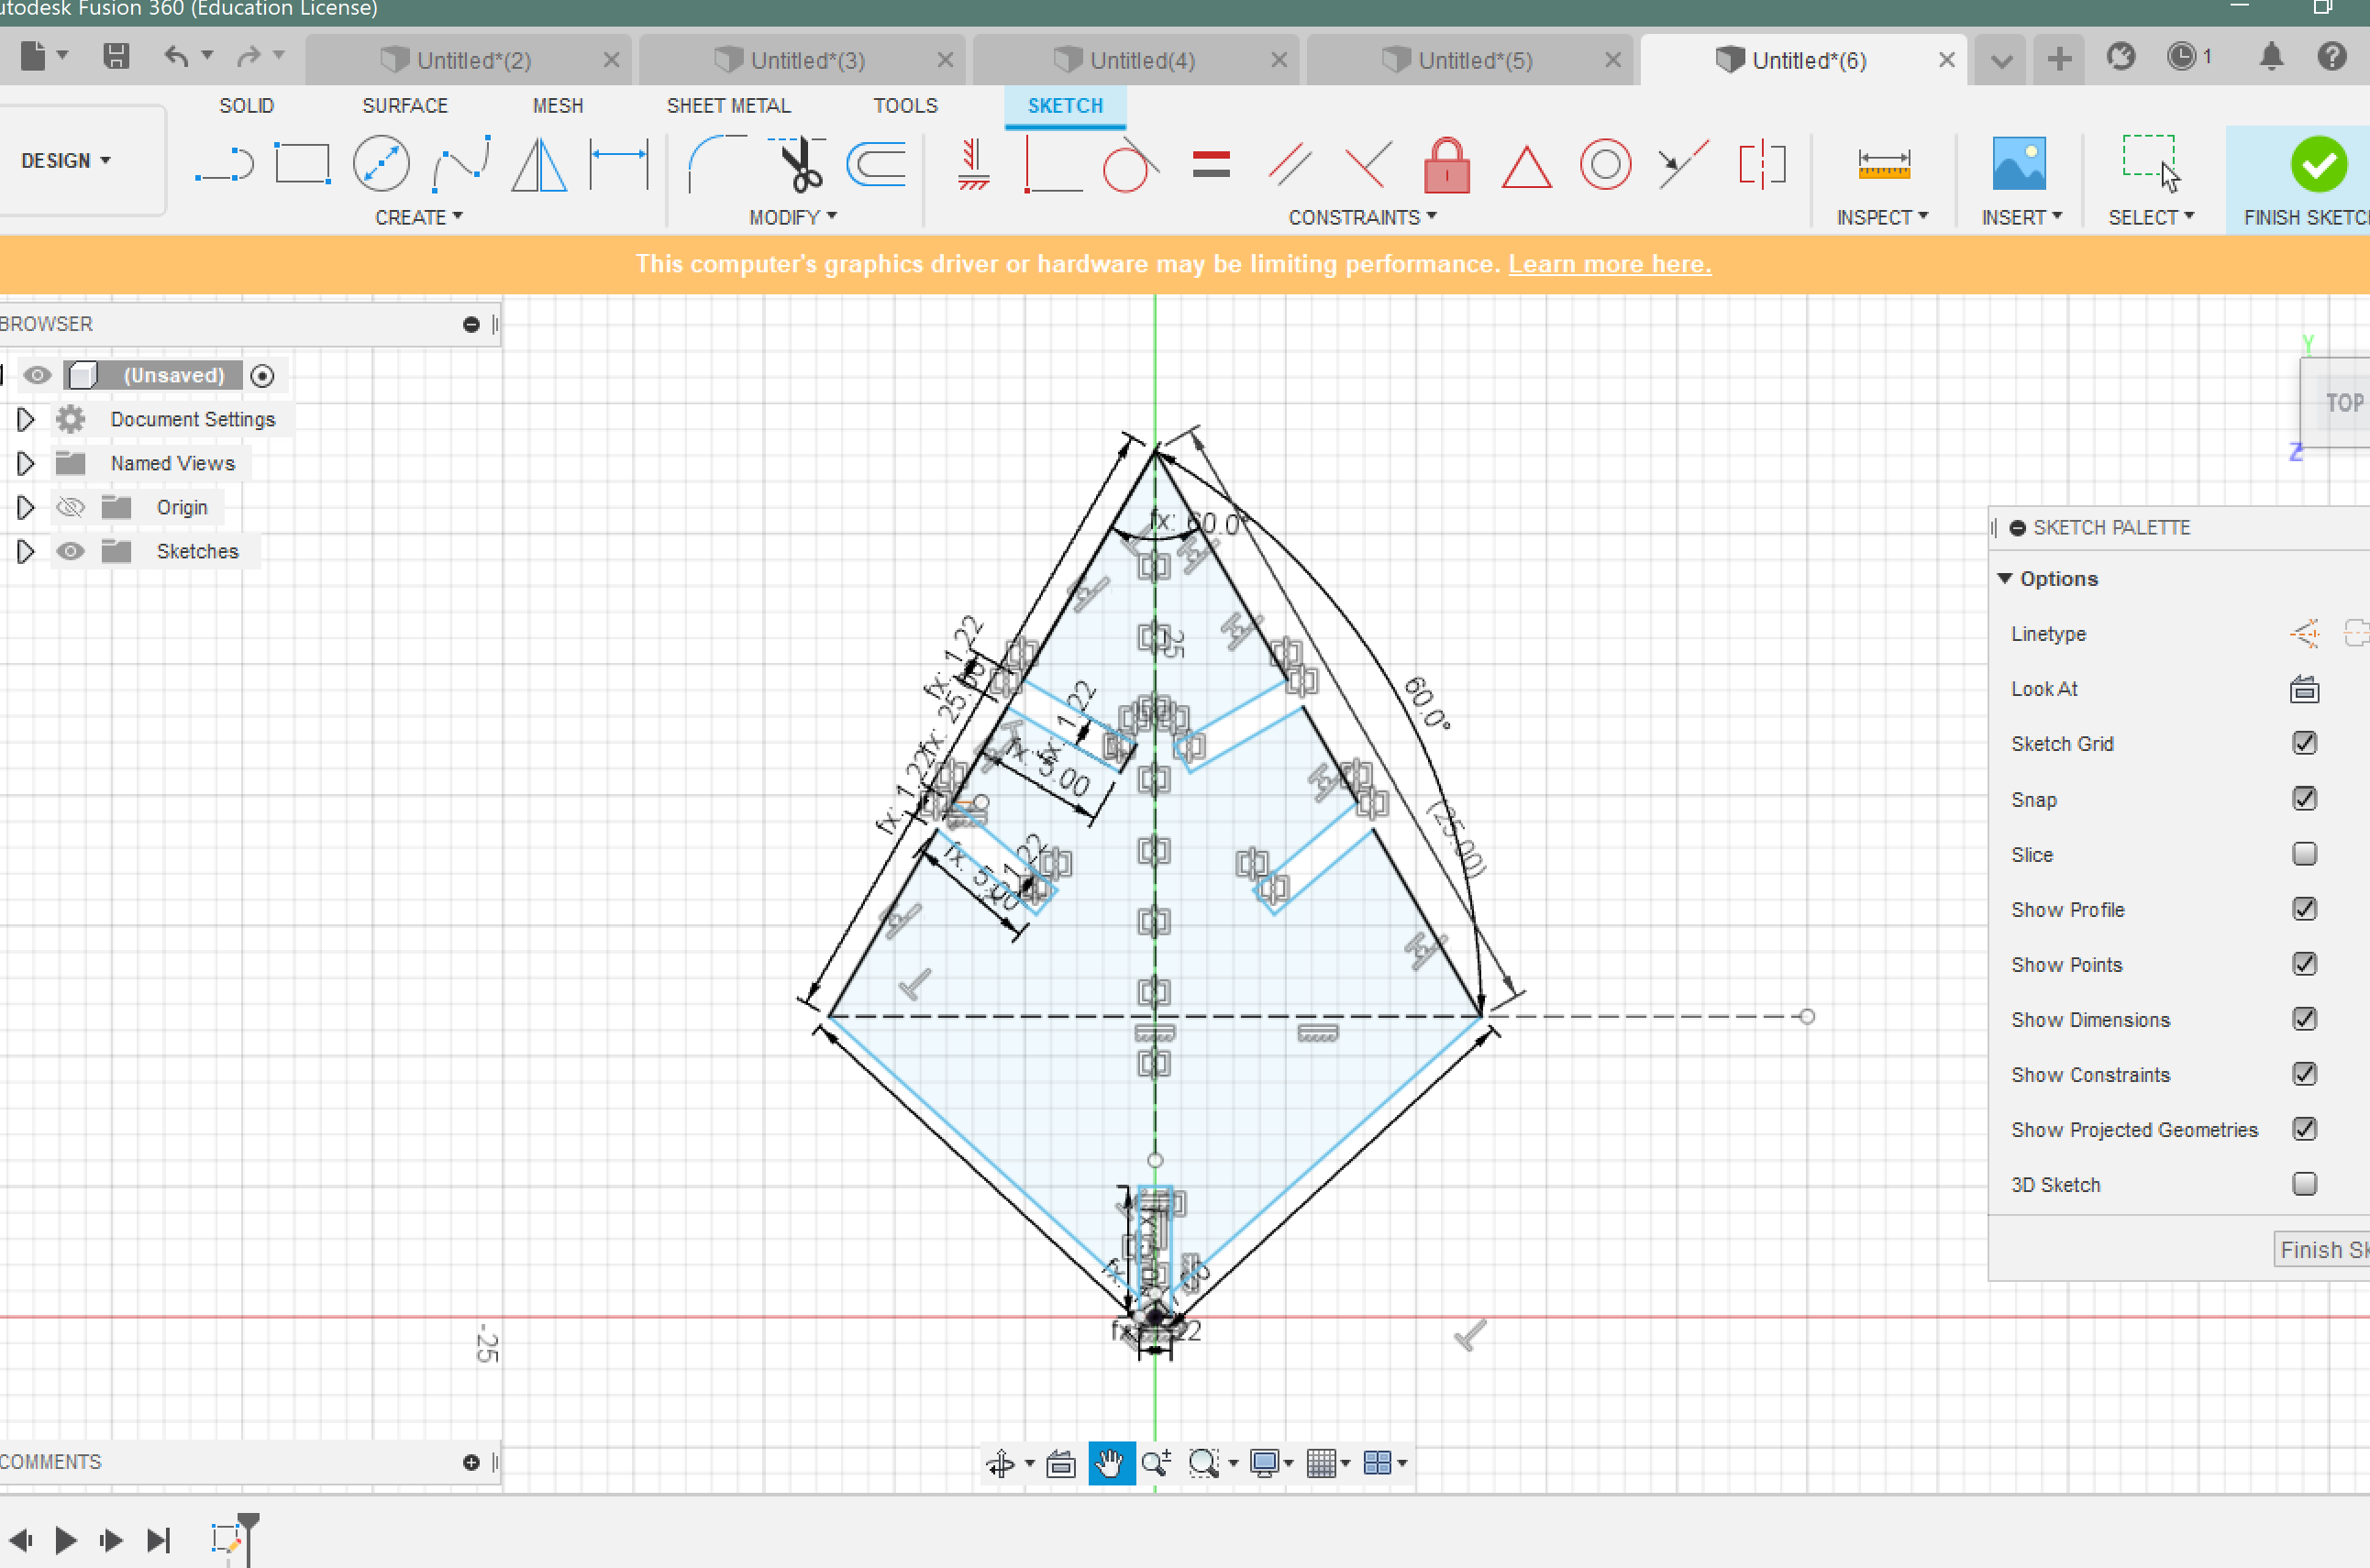
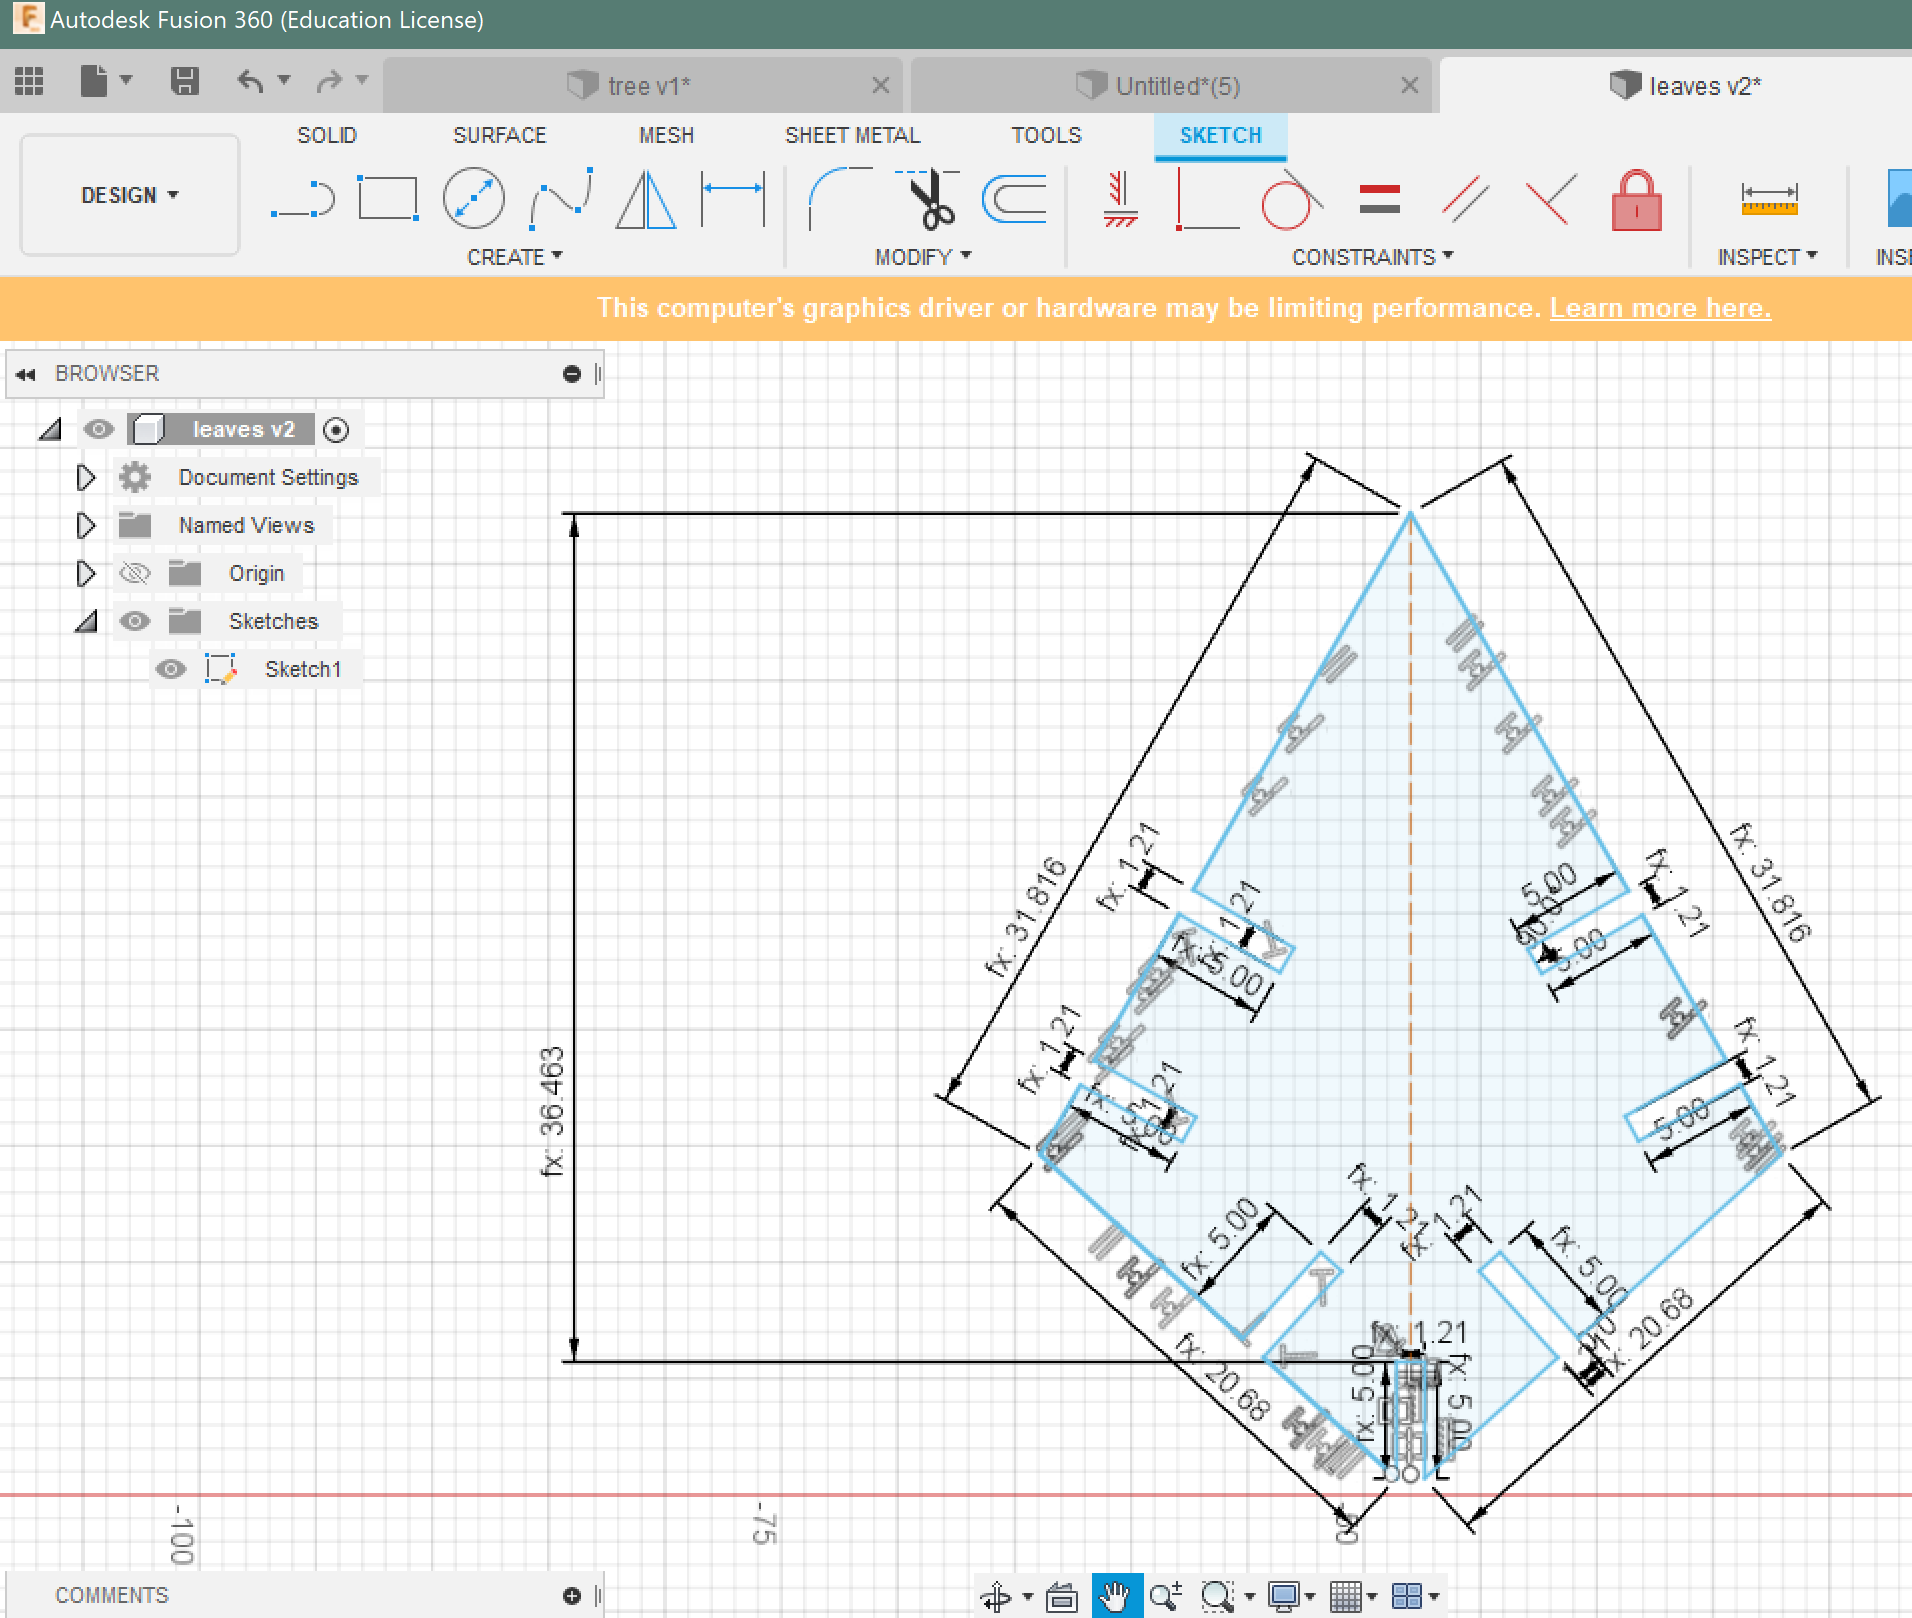
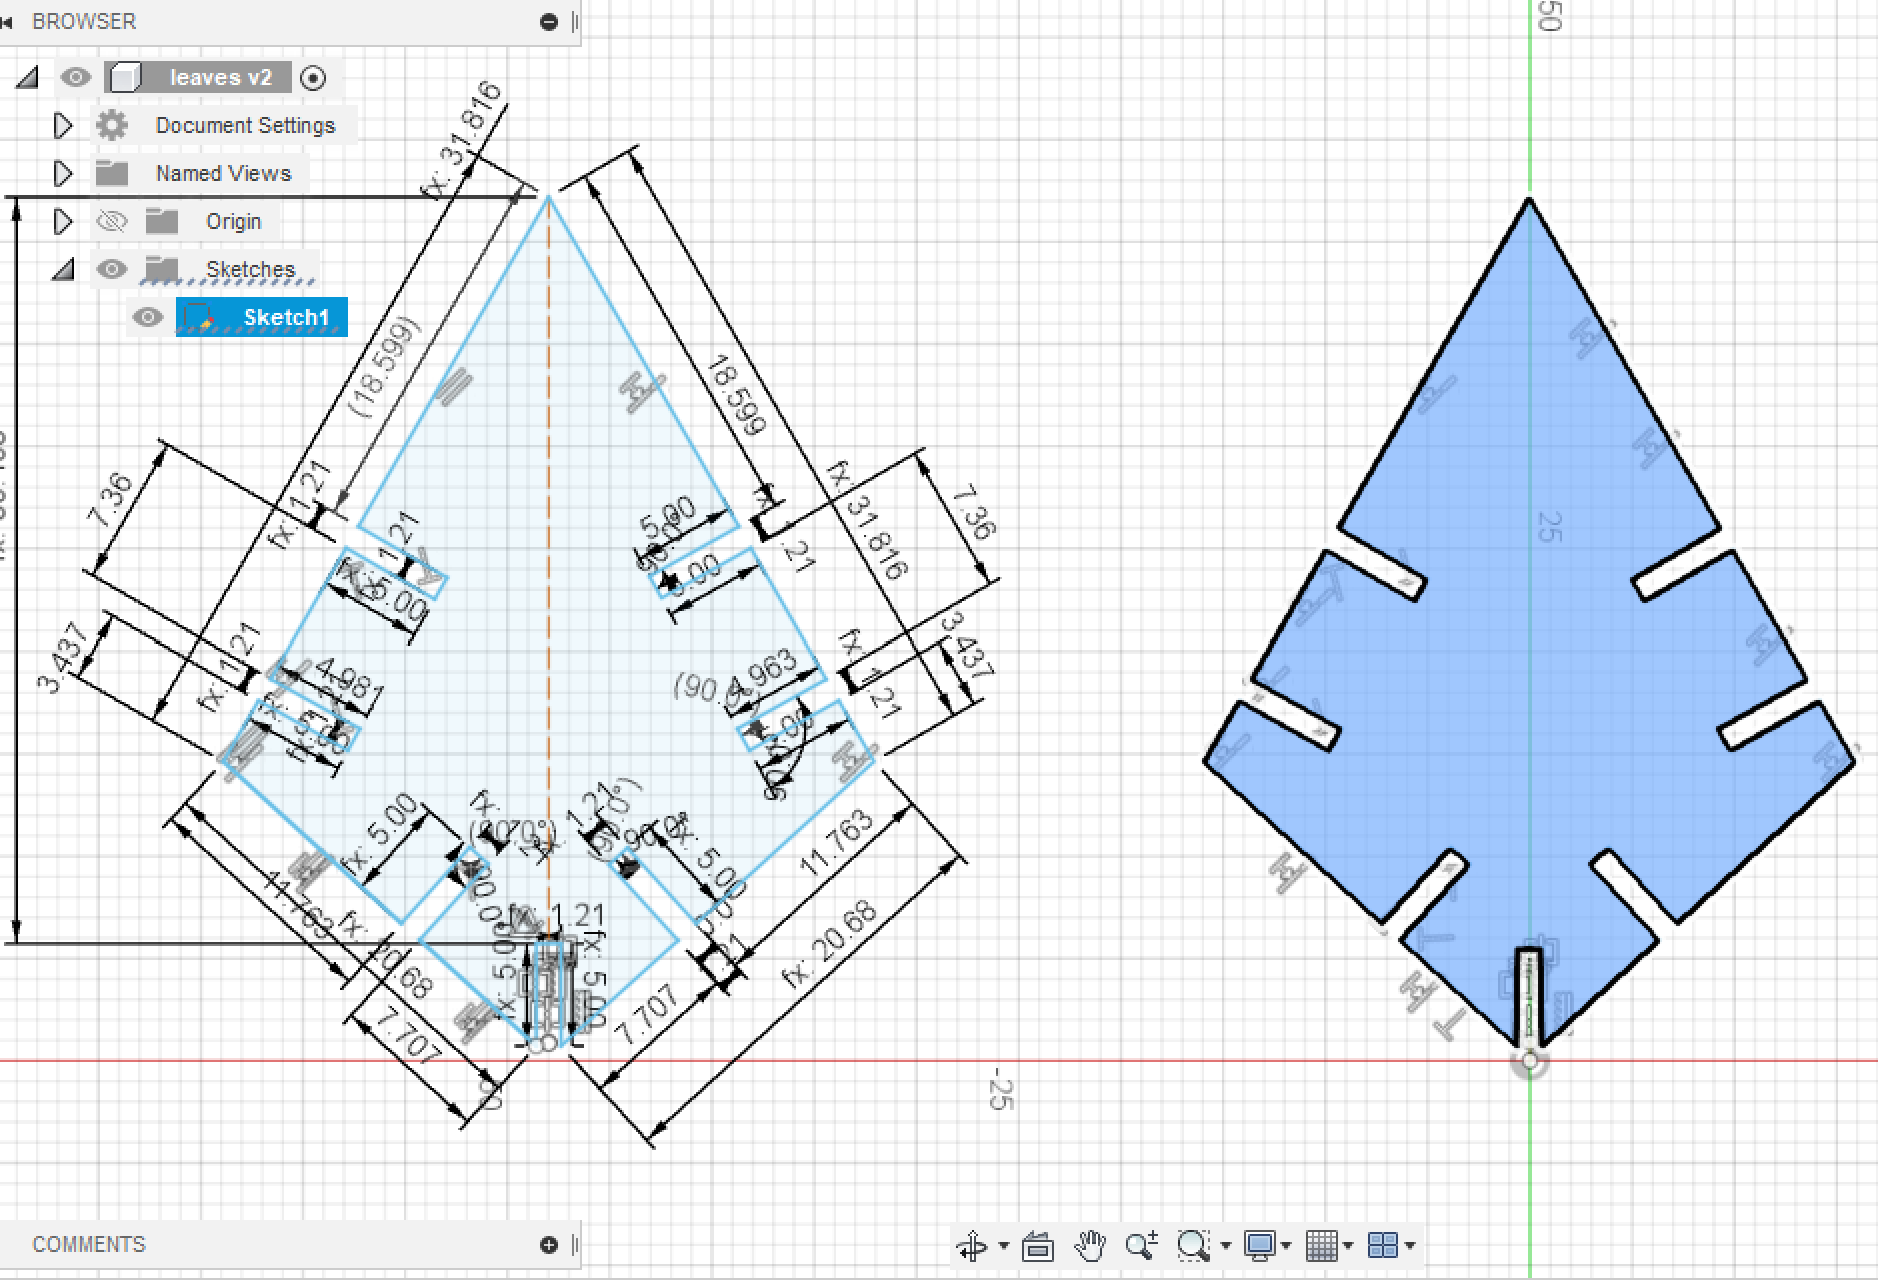
After that I started designing the leaves, which I used a more geometrical shape to do using lines. Used the mirror tool for the leaves to be symmetrical.
I placed one cut at the bottom of the leave which will allow it to fit on the branches-cuts.
Now to make this design parametric and test it, the first thing is the cuts, they are parametric for that if we are using another material we can easily change the value of them to the one suitable for the used material.
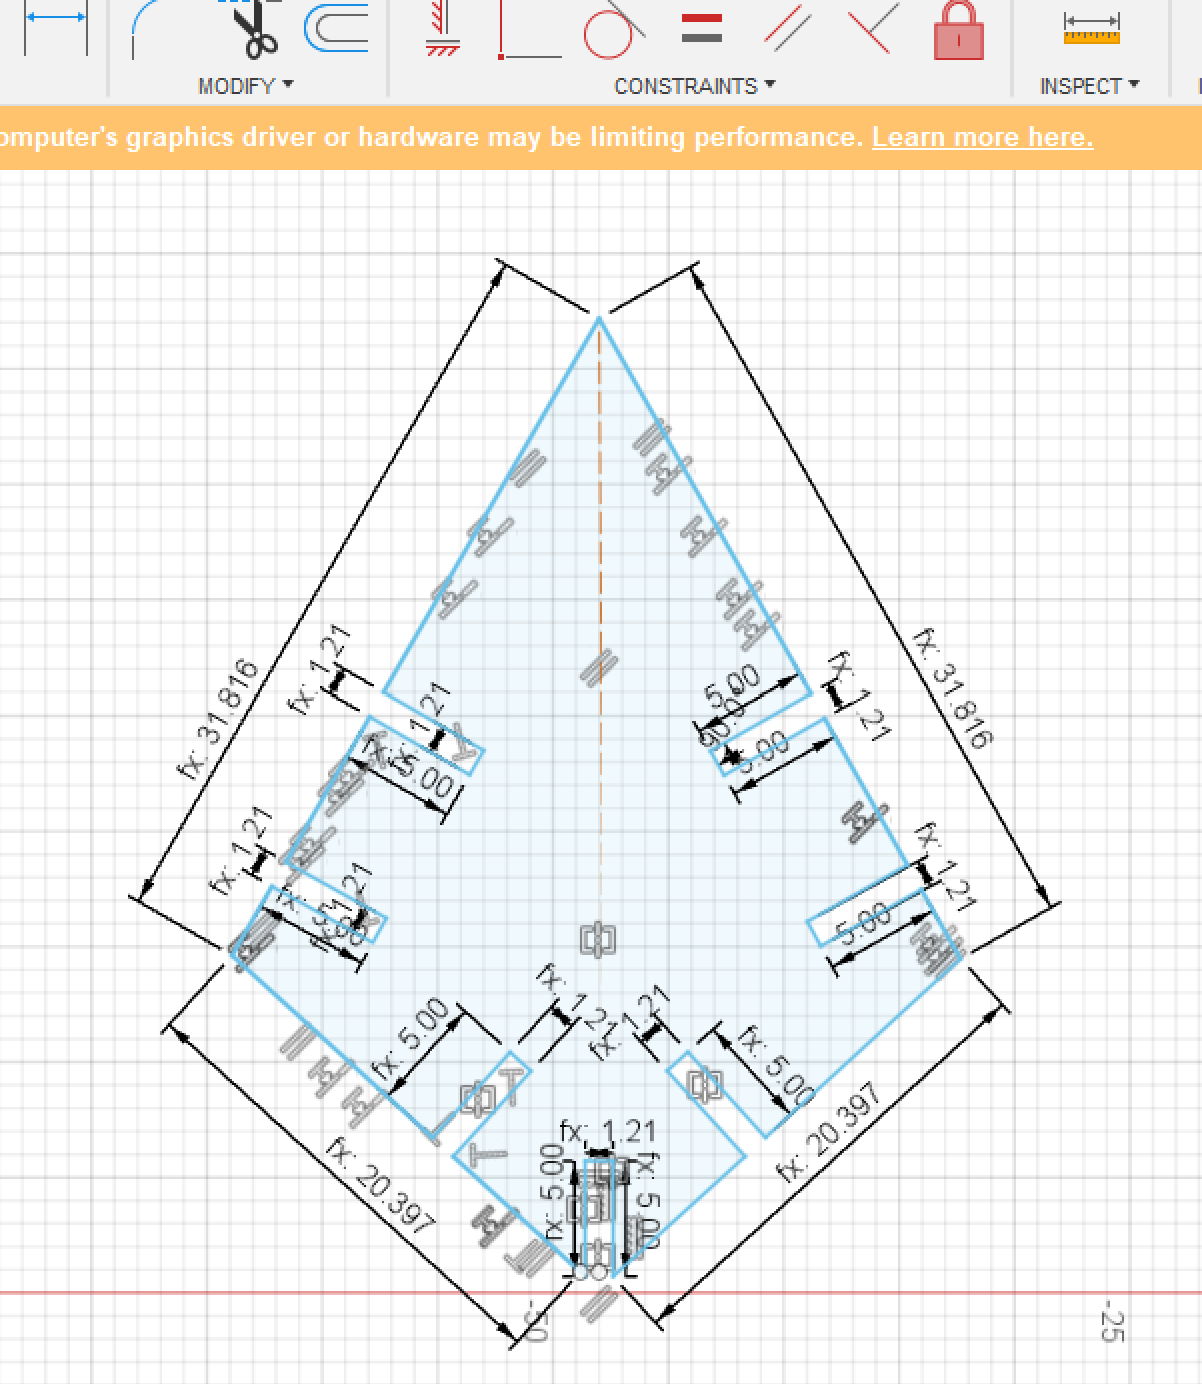
Another parametric dimensions are the top-length of the leave and the bottom length.
I increased the top length to ~35 which made the leave sharper.
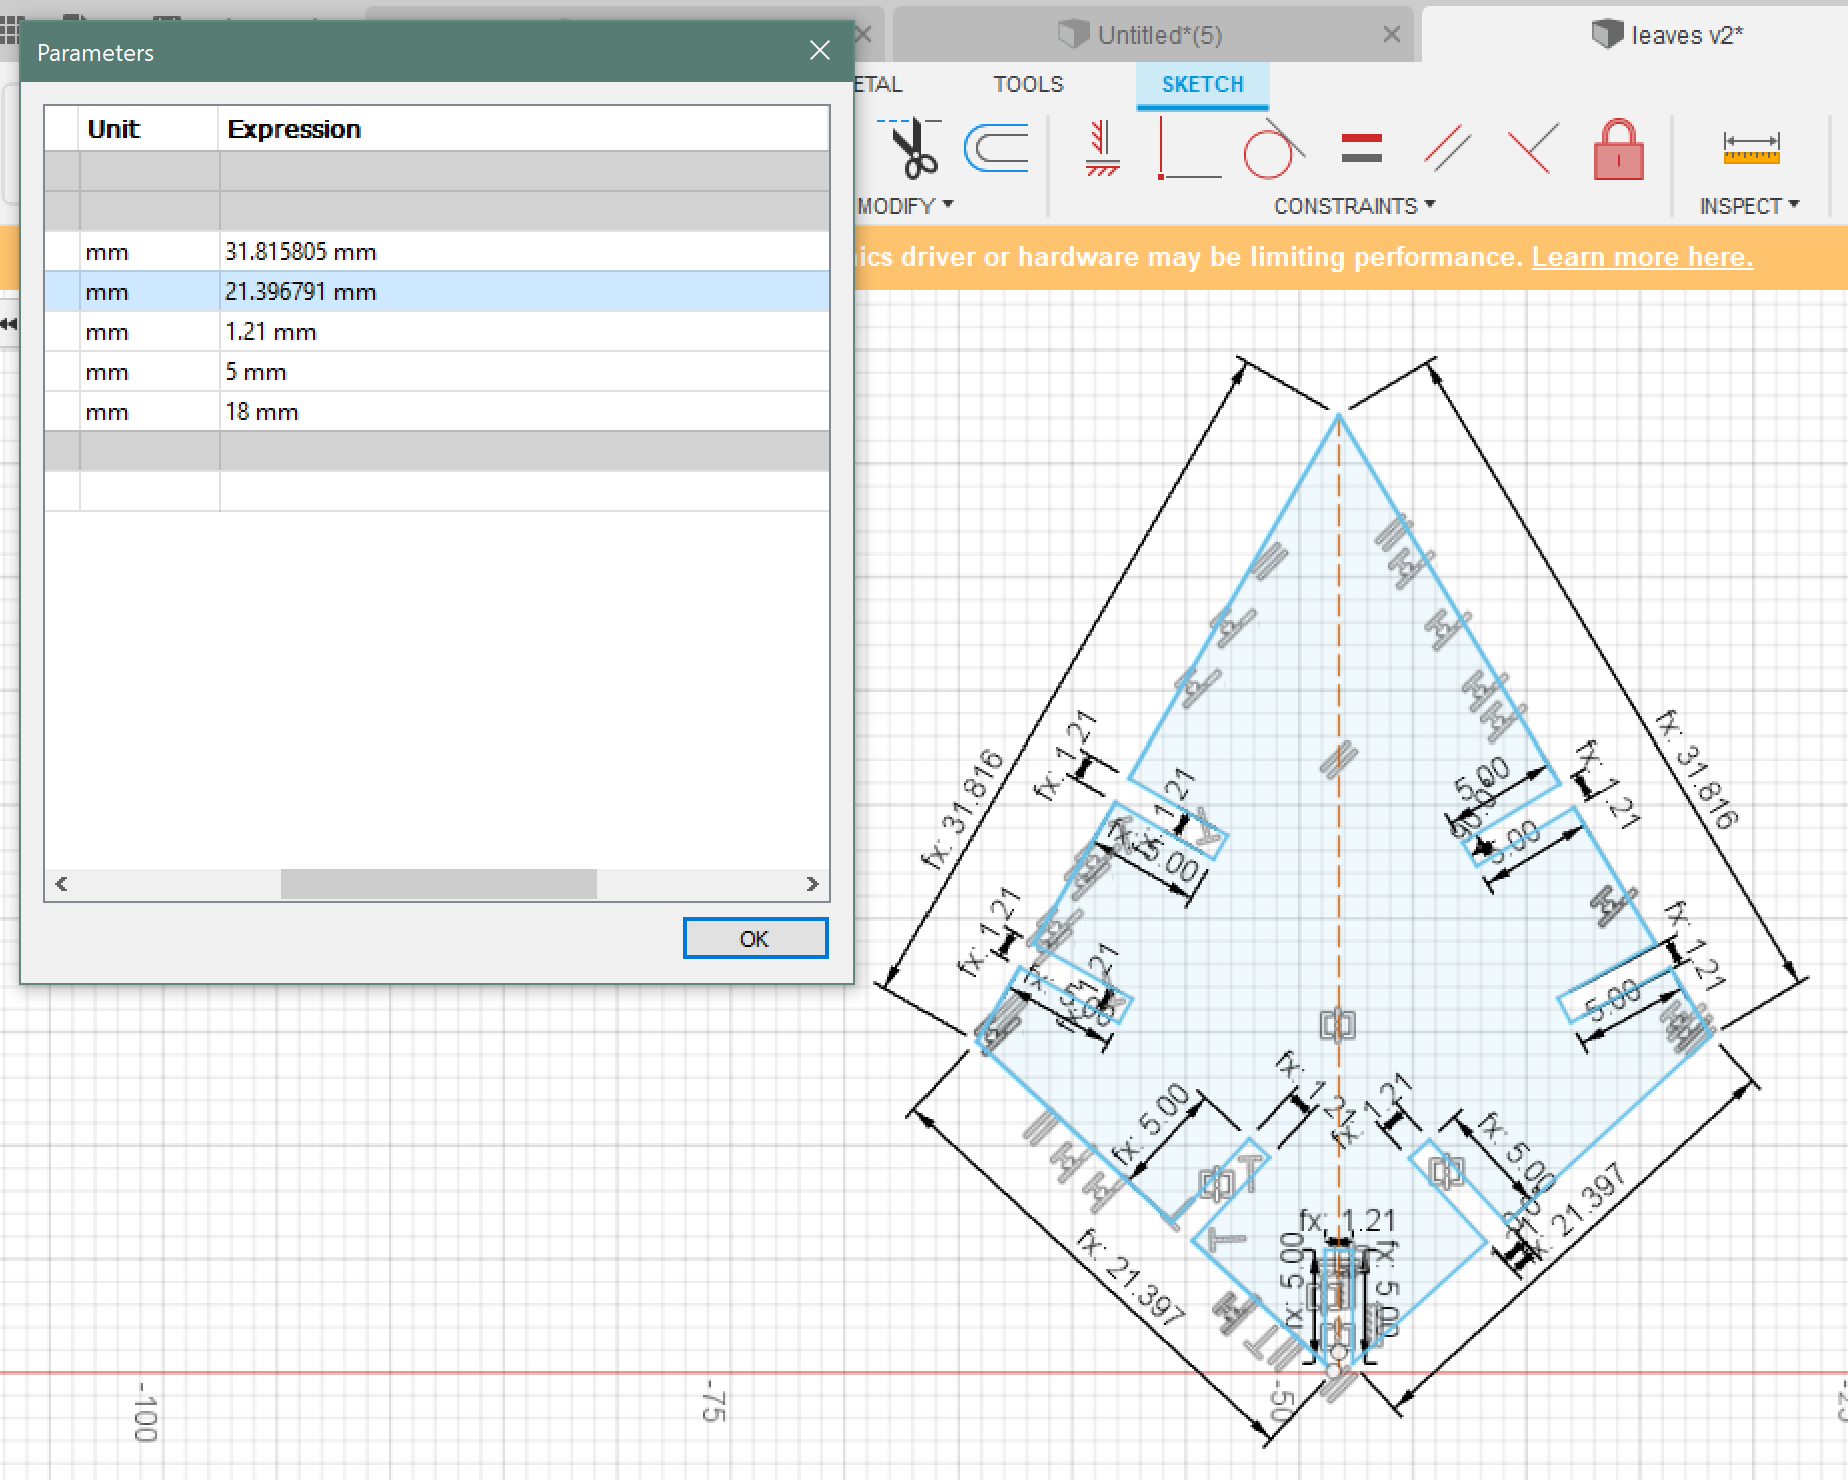
Increasing the bottom length of the leave to ~ 21 made the leave look wider.
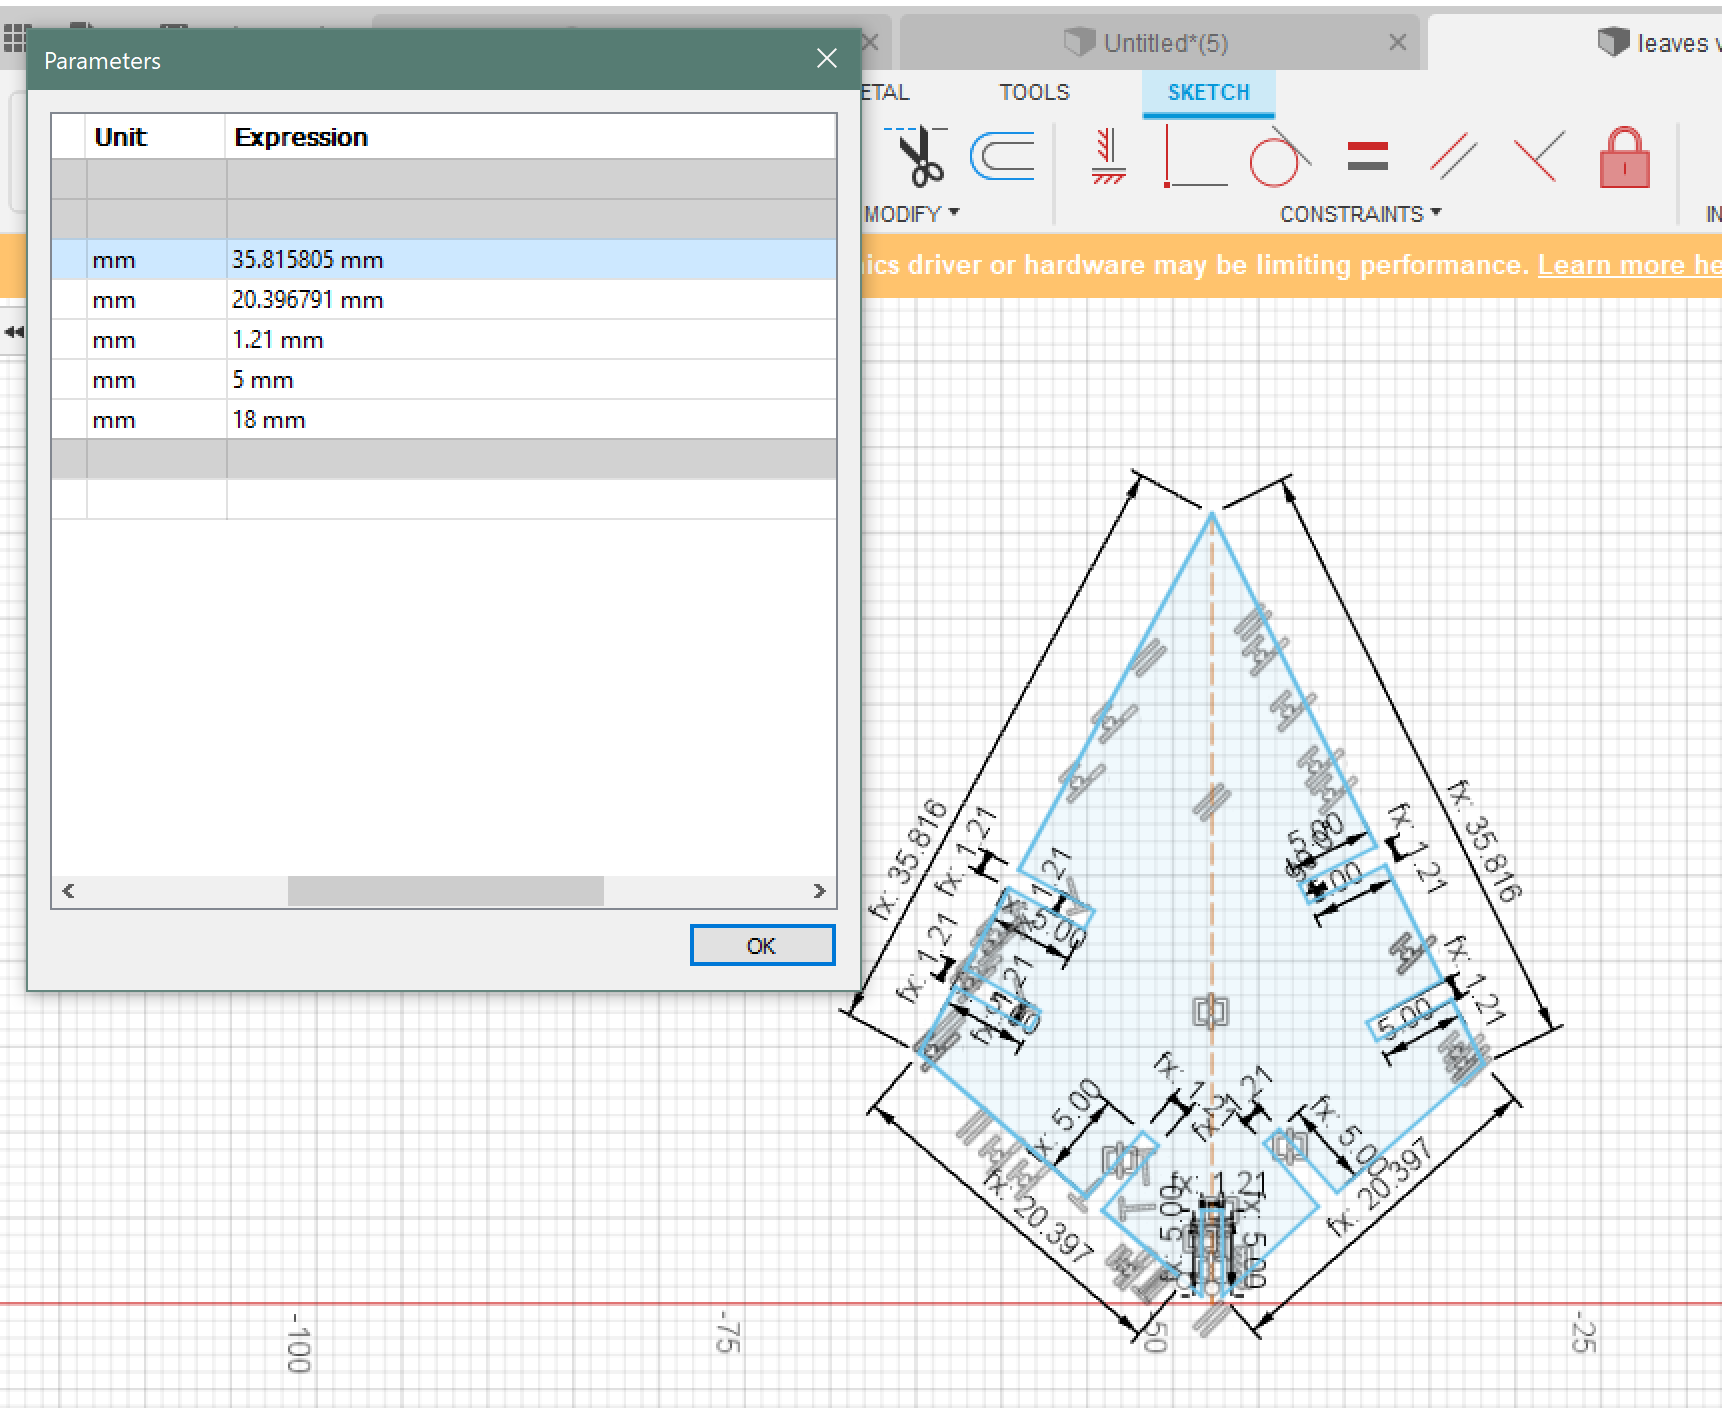
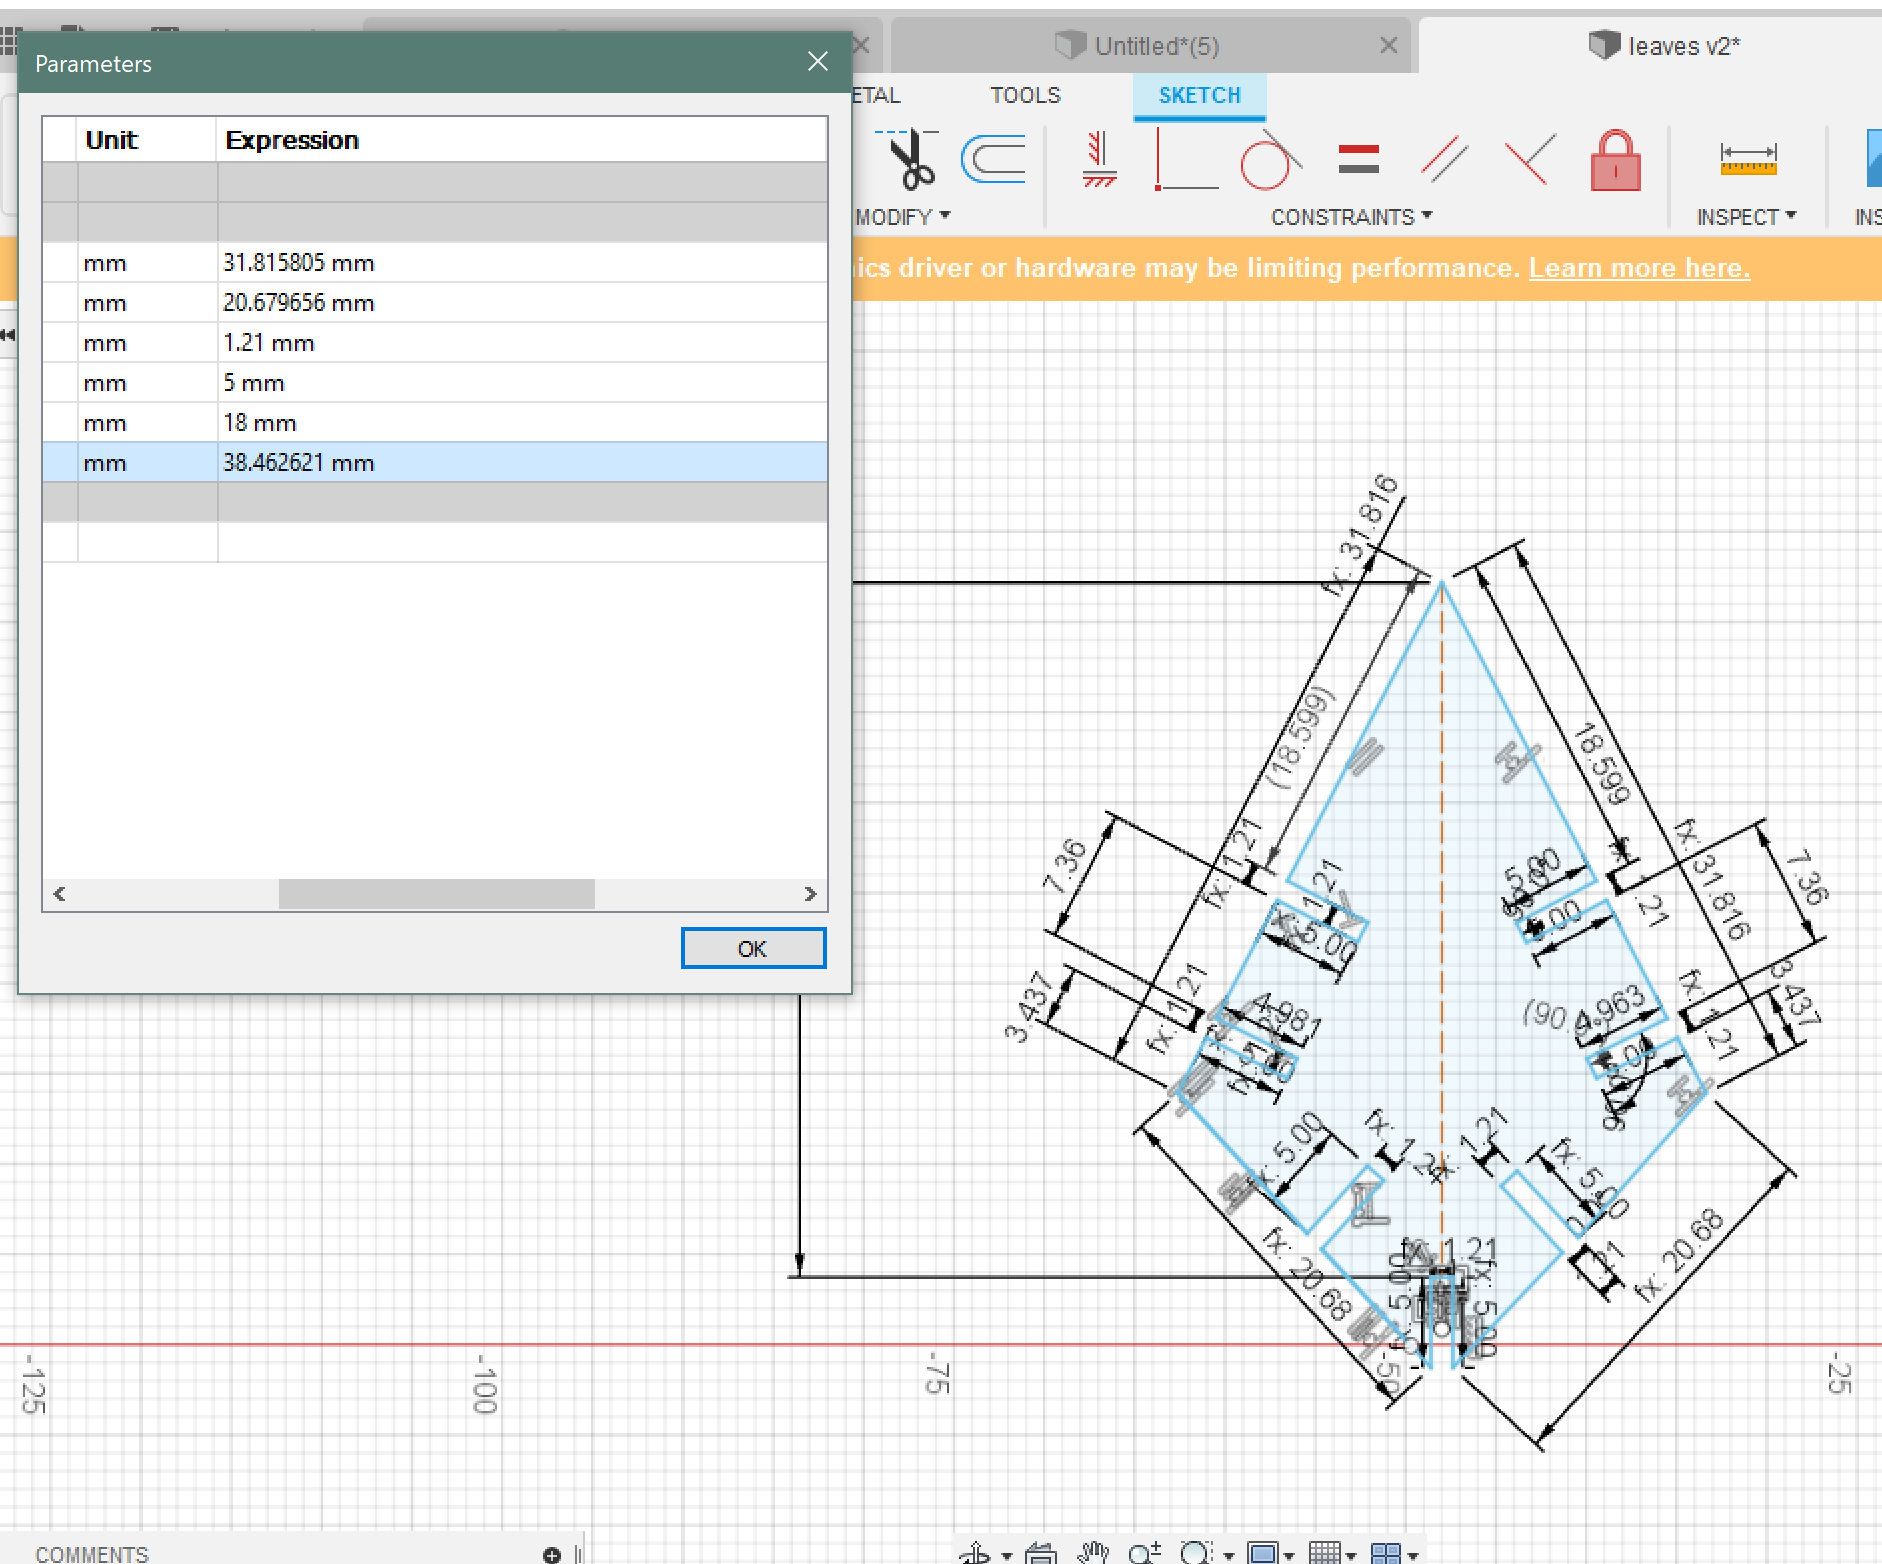
I then specified another parametric dimension, which is the diameter.
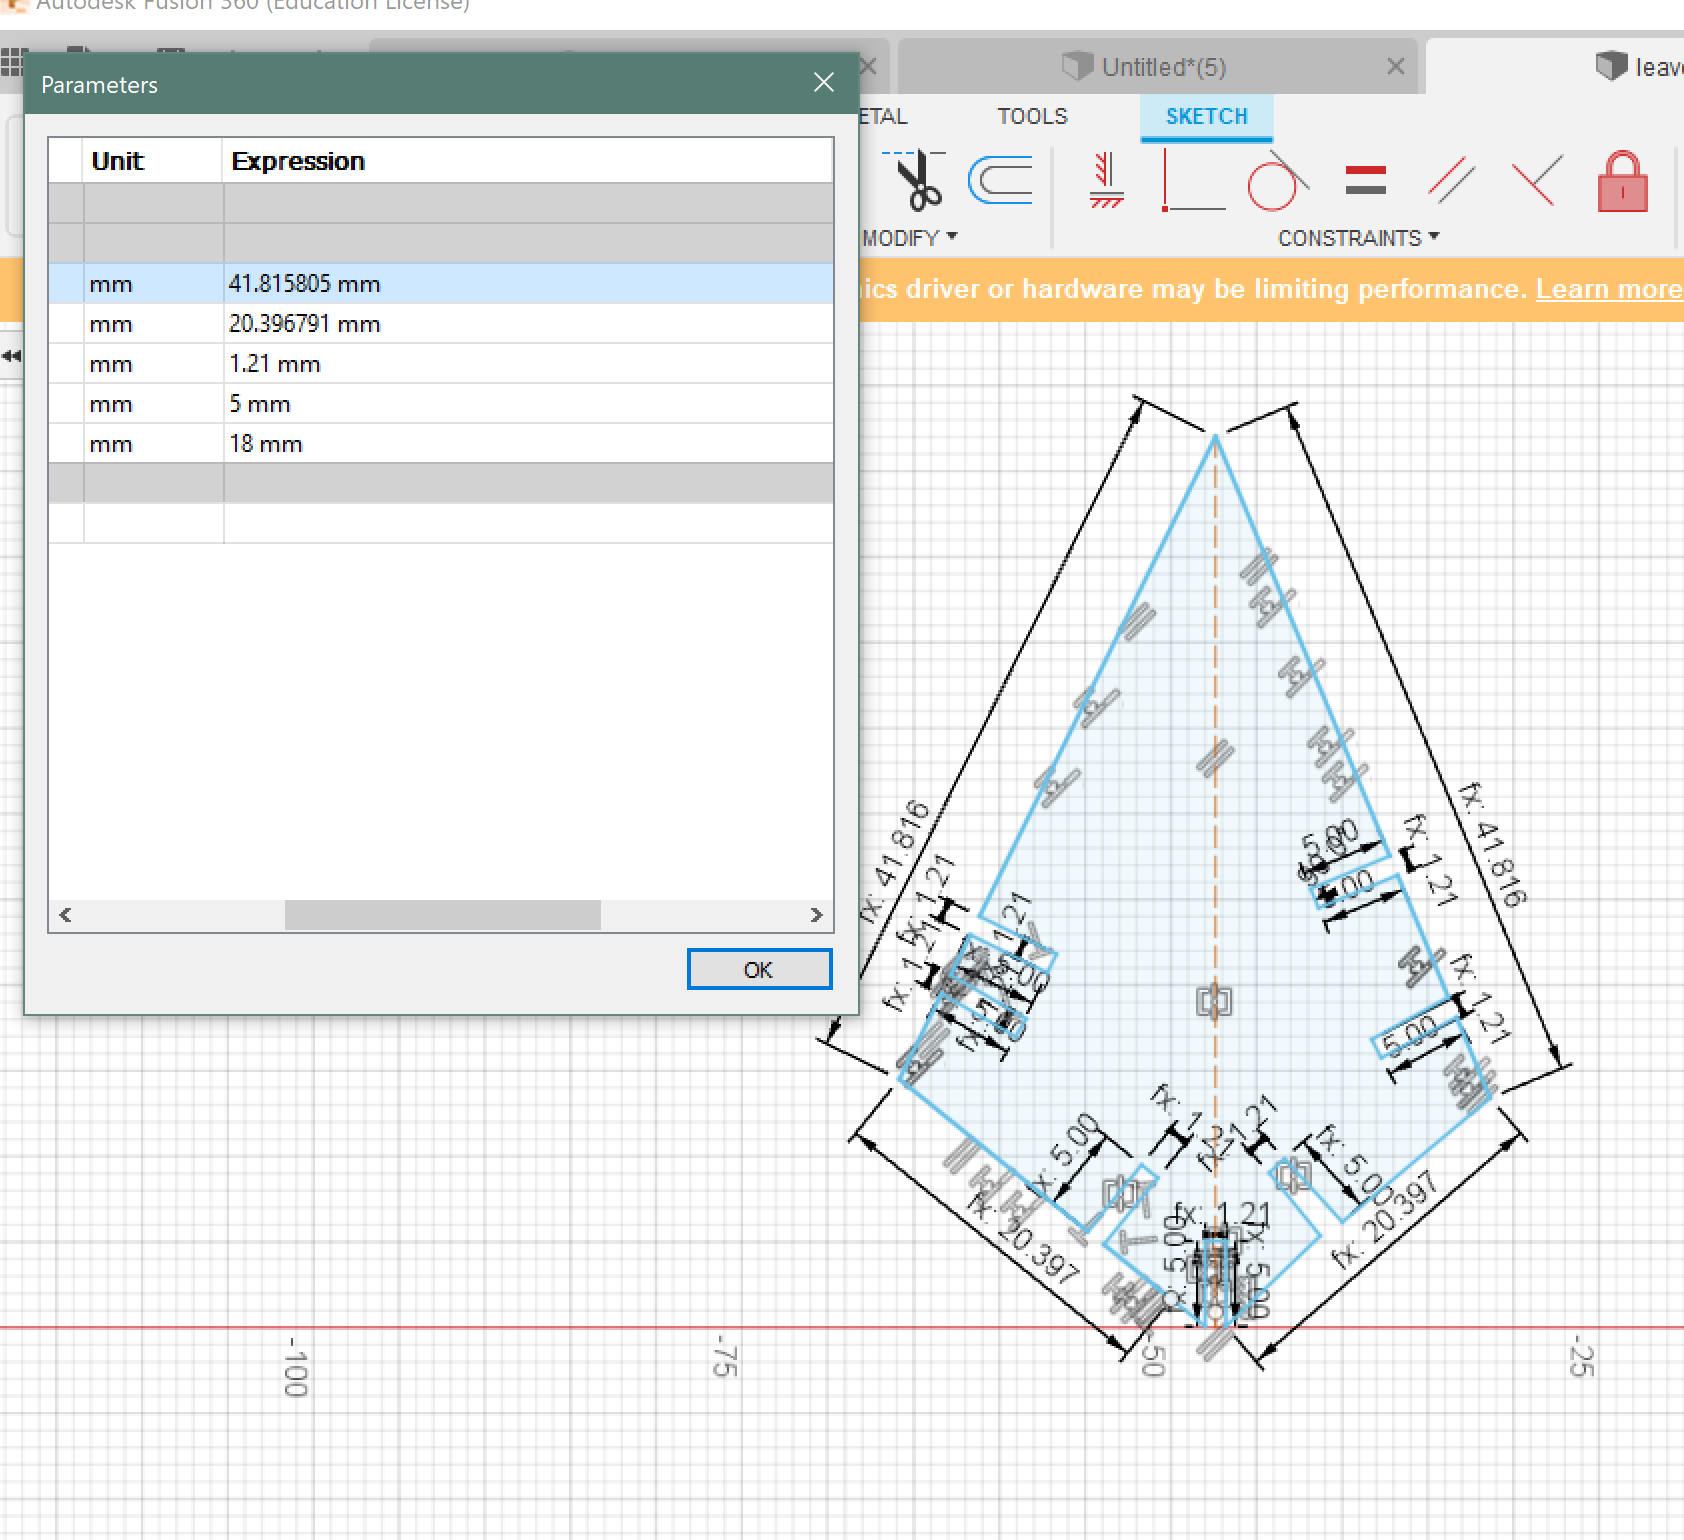
Increasing the diameter to about ~42 made the leave look longer and sharper.
Increasing it to ~40 made it look thinner.
Increasing it to ~42 made it look even thinner and sharper.
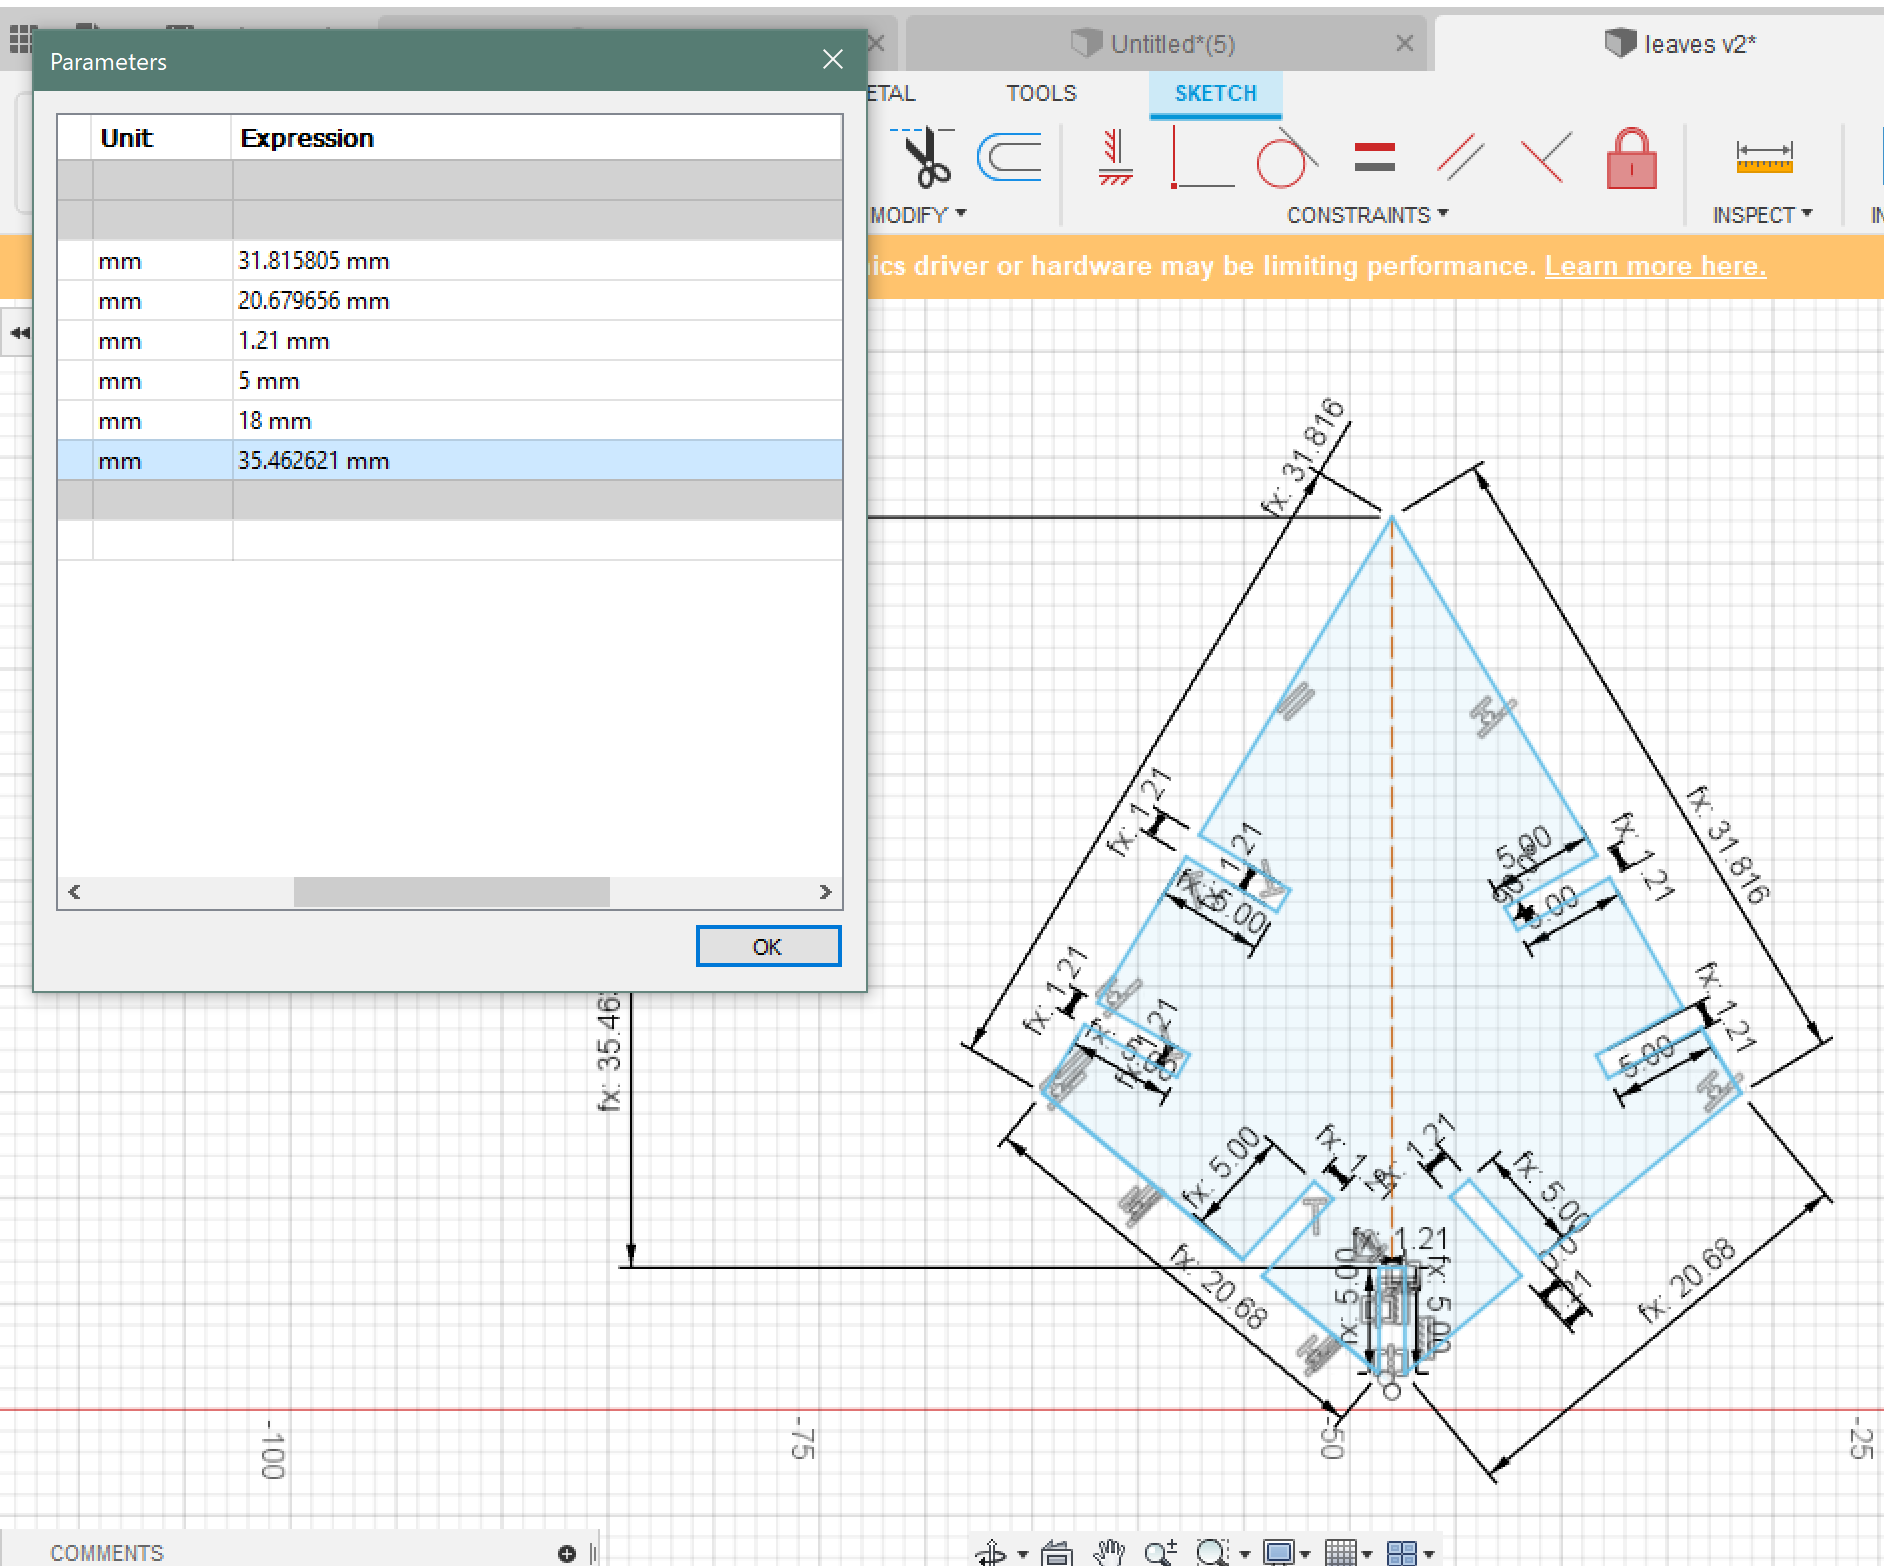
Now I tried decreasing the diameter, when the diameter is about ~35 the leave is wider.
decreasing it more to ~ 29 made the leave even fatter.
I then choose the perfect shape I need for the leave which was ~ 36 for the diameter.
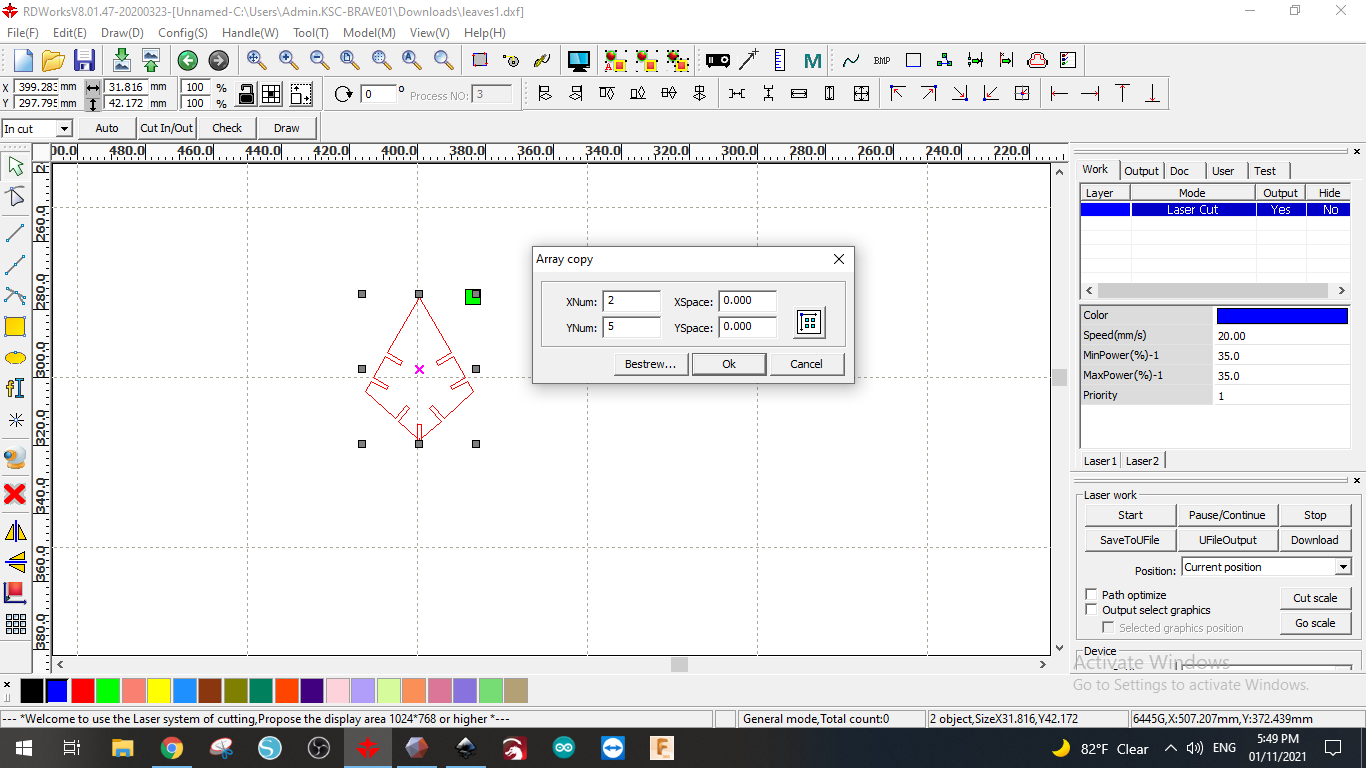
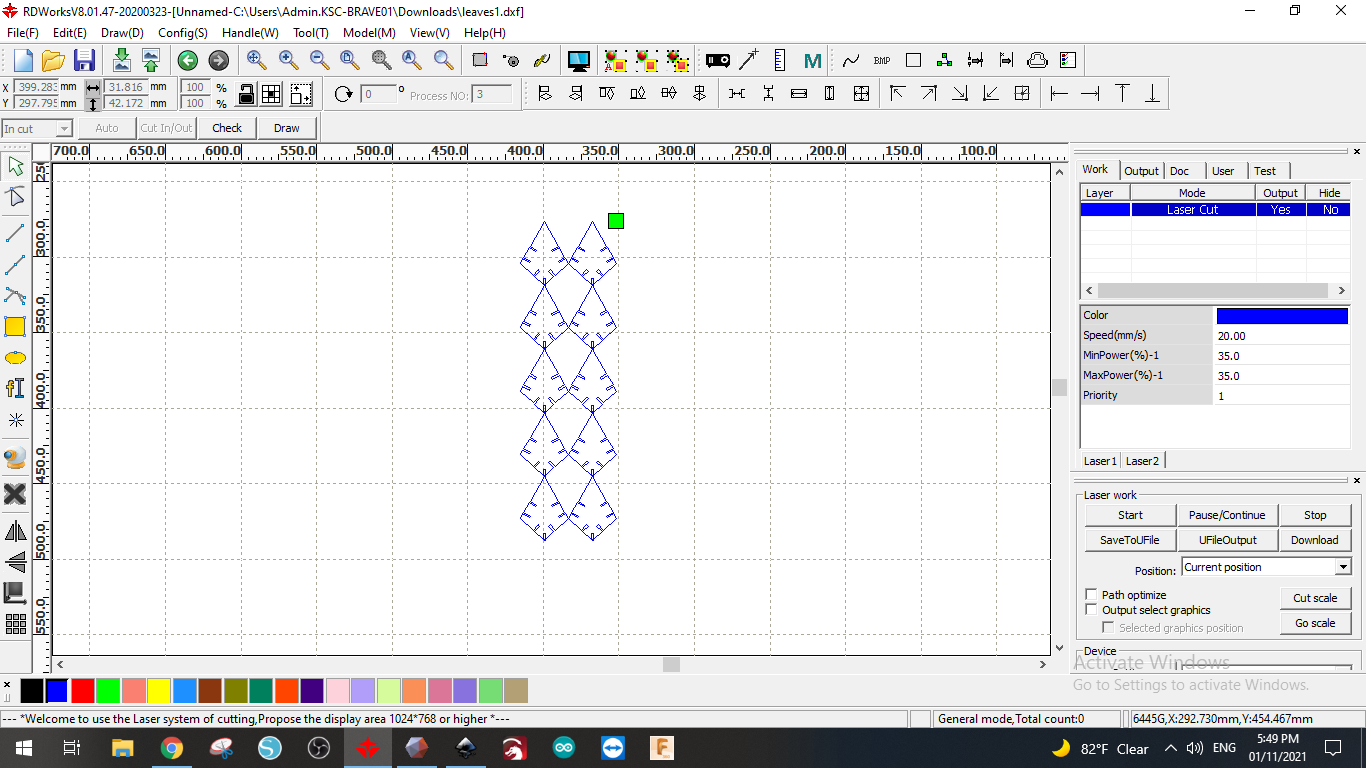
I then saved the file as DXF and opened it in the computer connected to the laser cutter.
I made a pattern of the leave design to print 10 pieces of it.
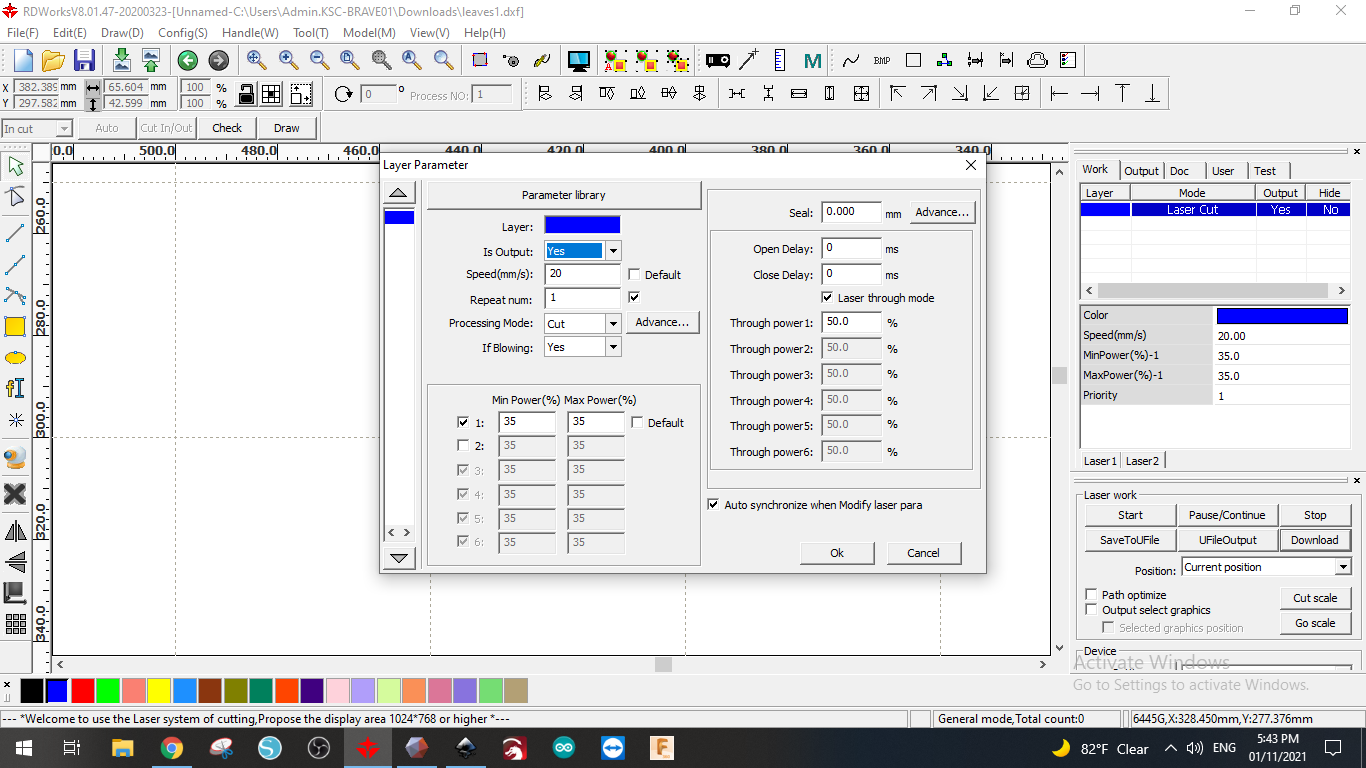
Then I specified the speed to 20 and power to 35, which are the valued that we found perfect for the material we are using.
Then press Download to download the design in the laser cutter.
press file on the cutter and then chose the file we just uploaded.
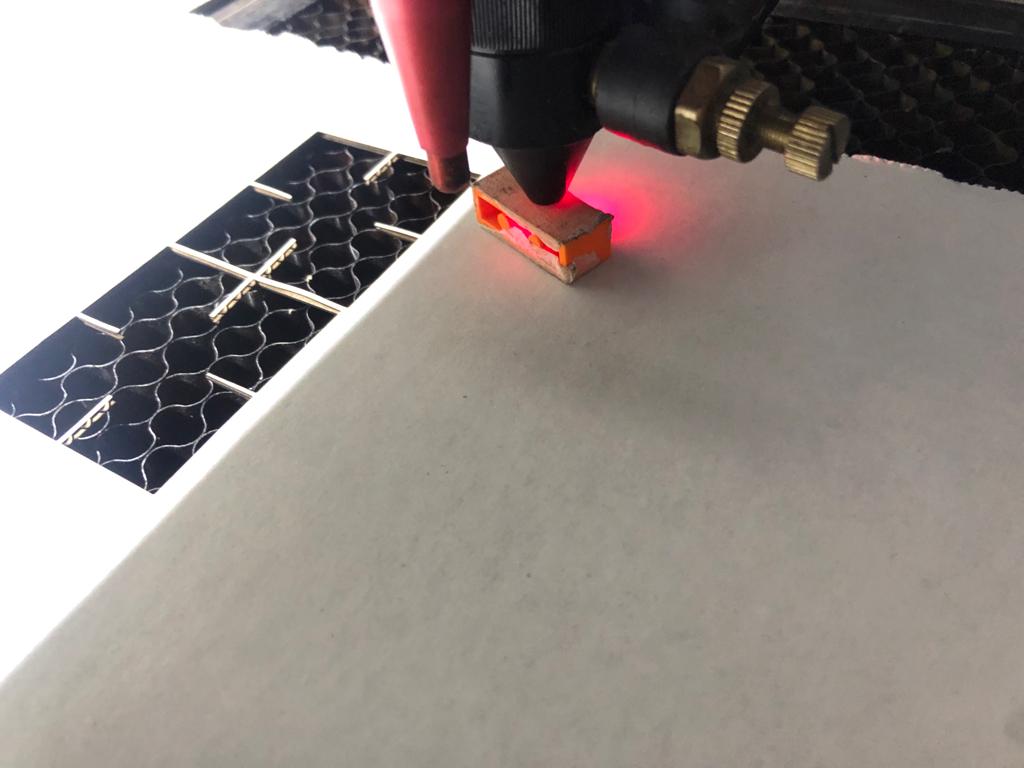
To adjust the focal point, use the block to make sure the laser is at a suitable distance.
After that, place the laser-beam where aspired and press origin then press frame to check where will the laser exactly cut on the material.
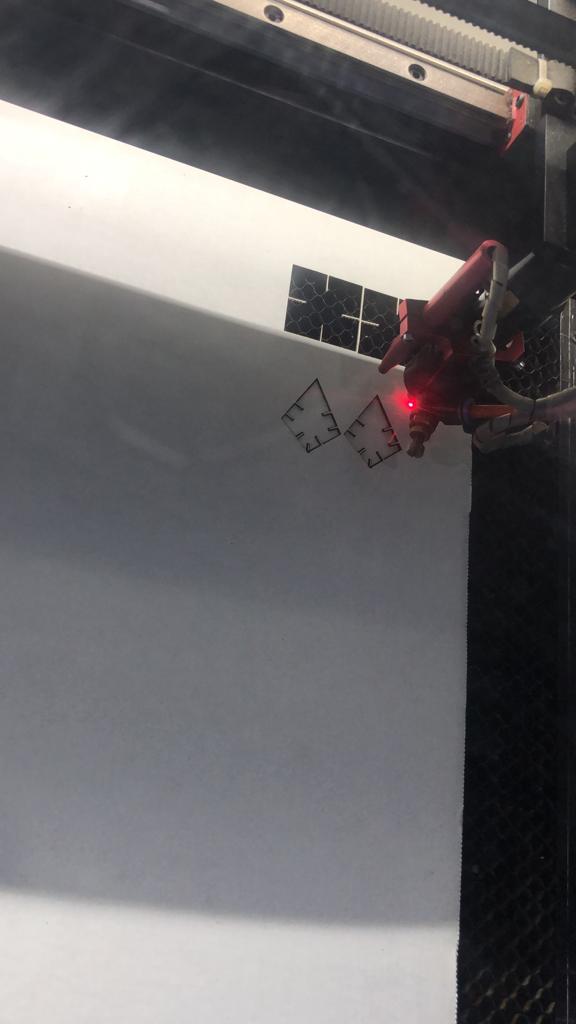
then start the cutting by pressing start, the laser will then start to cut.
After the machine is done cutting, wait few minutes before opening it so that the smoke does not come out at once.
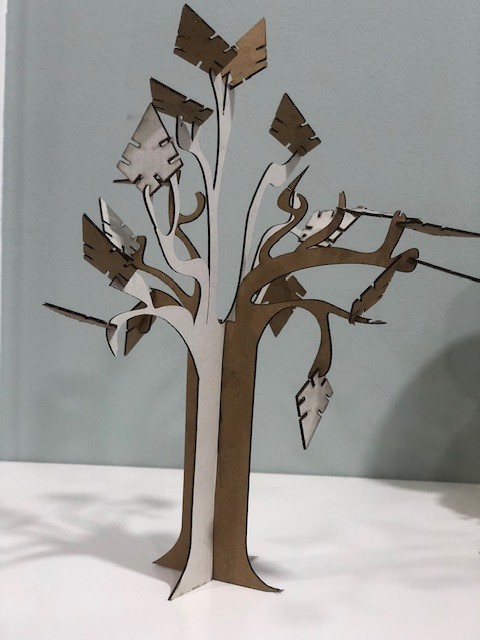
I then adjusted the cut pieces into a press-fit design.
after cutting the tree trunk and adjusting the leaves on it, here is the final result.