5. 3D PRINTING AND SCANNING
This week I have been introduced to 3D scanning and printing.
3D Scanning
I was introduced to a mobile 3D scanning software called Qlone. This software allows the user to scan objects as long as they are placed on a special printed mat and are scanned from a suitable distance from which the object and the mat are both within the field of camera. The camera should be rotated around the object to cover every part of a virtual dome placed above the objects as shown below:
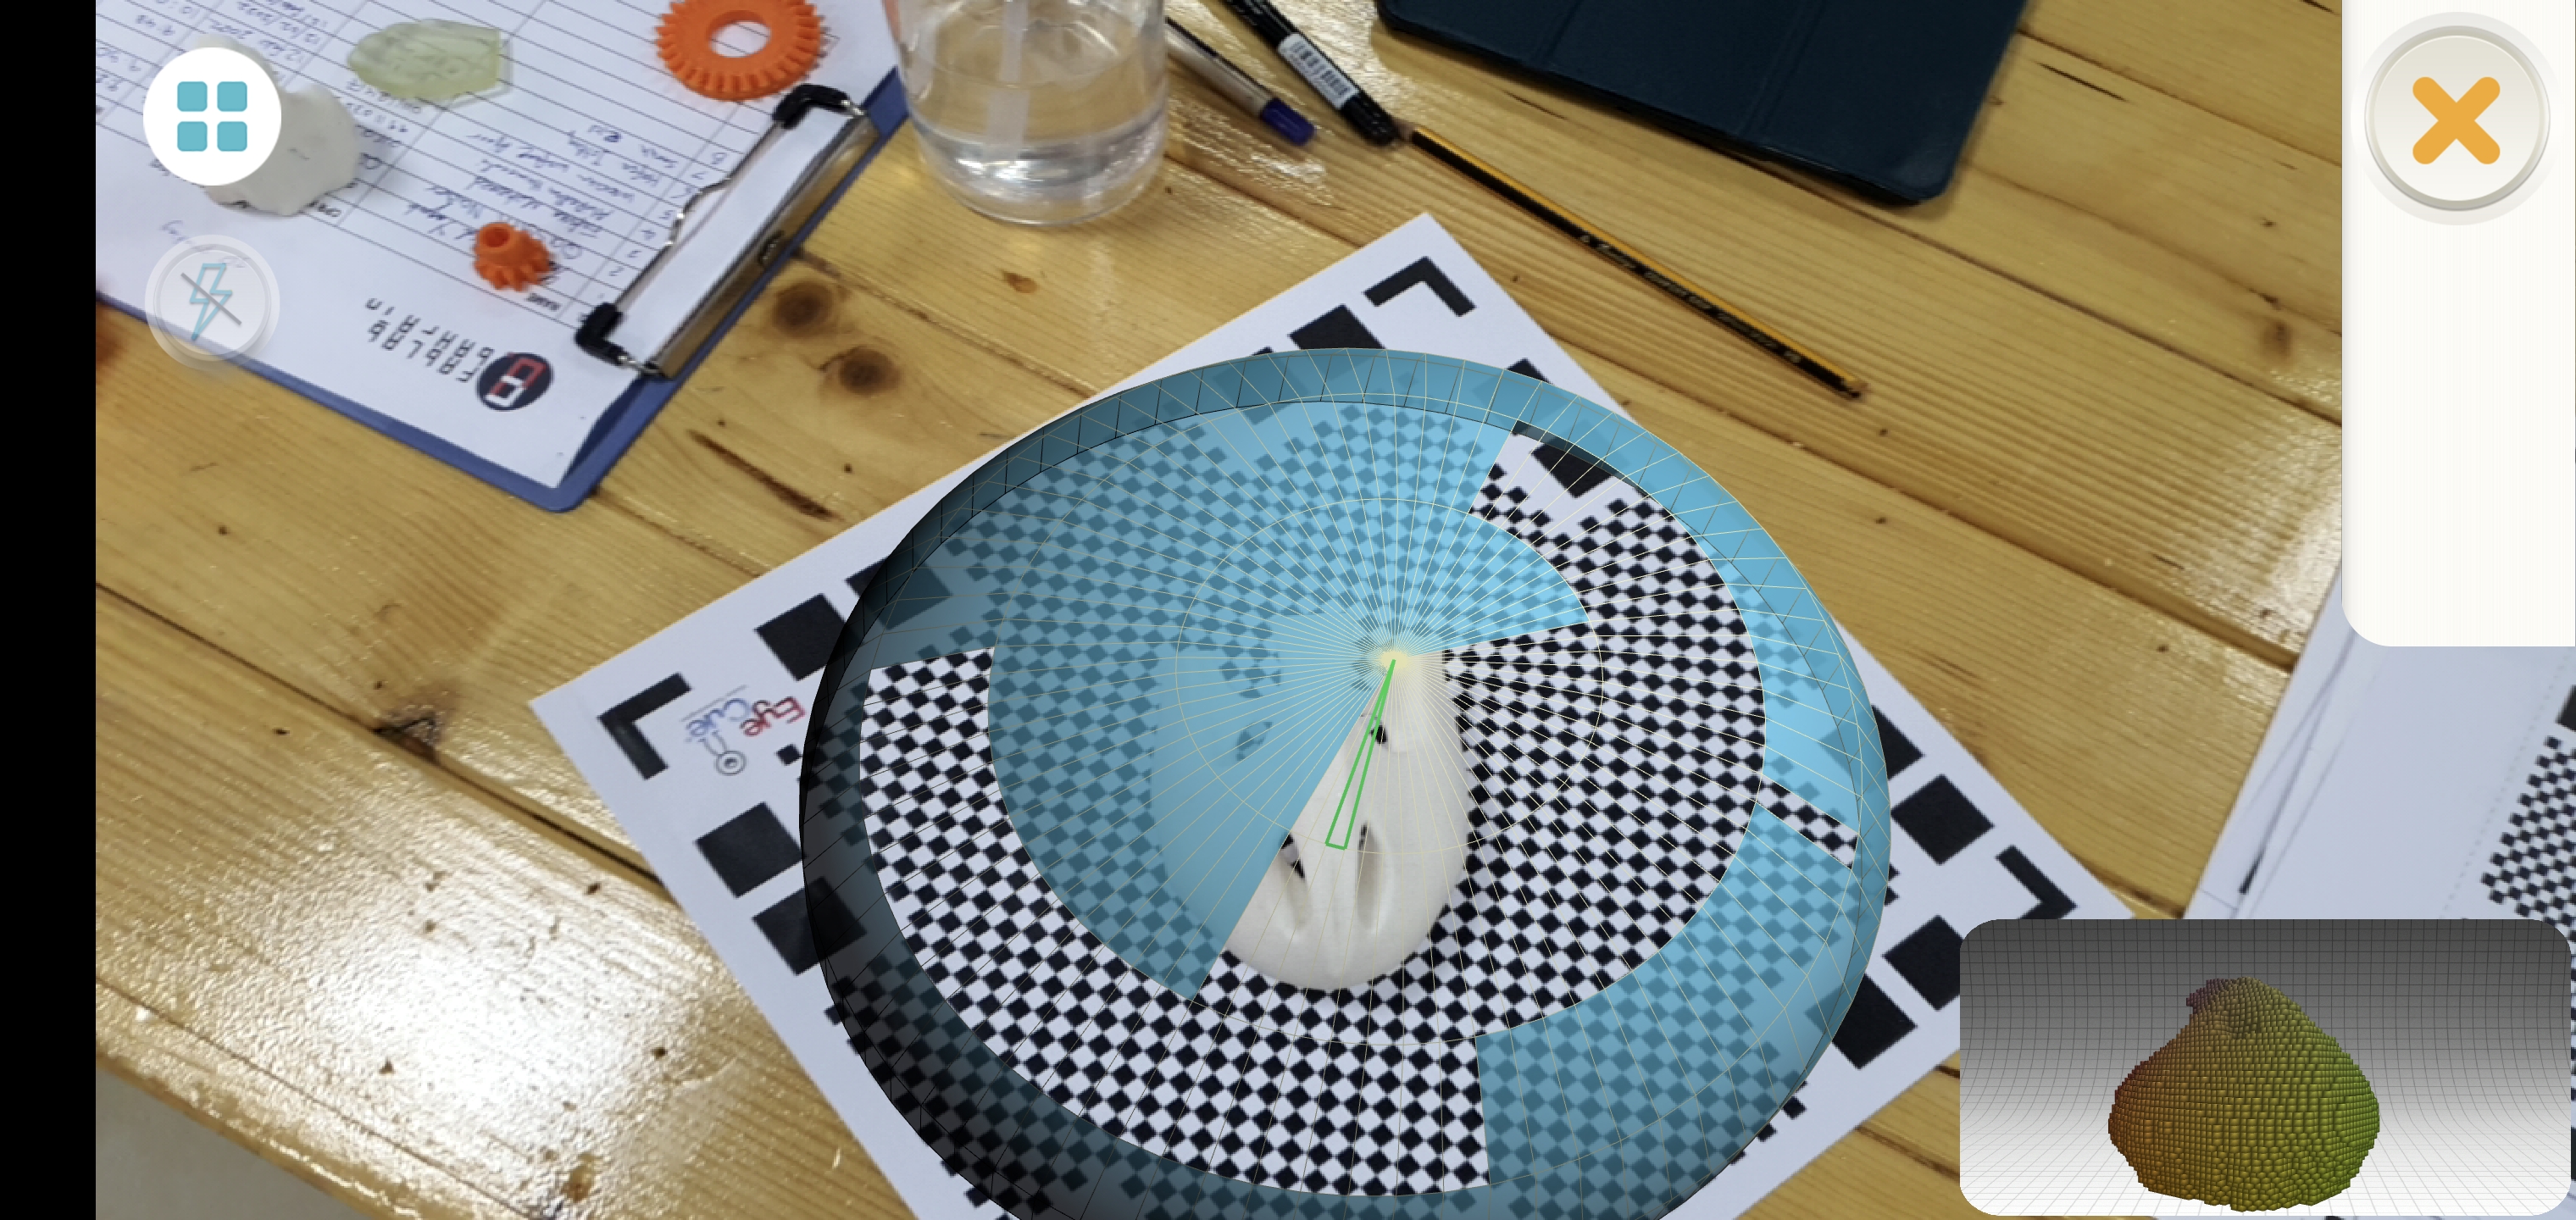
Here are some objects I scanned:
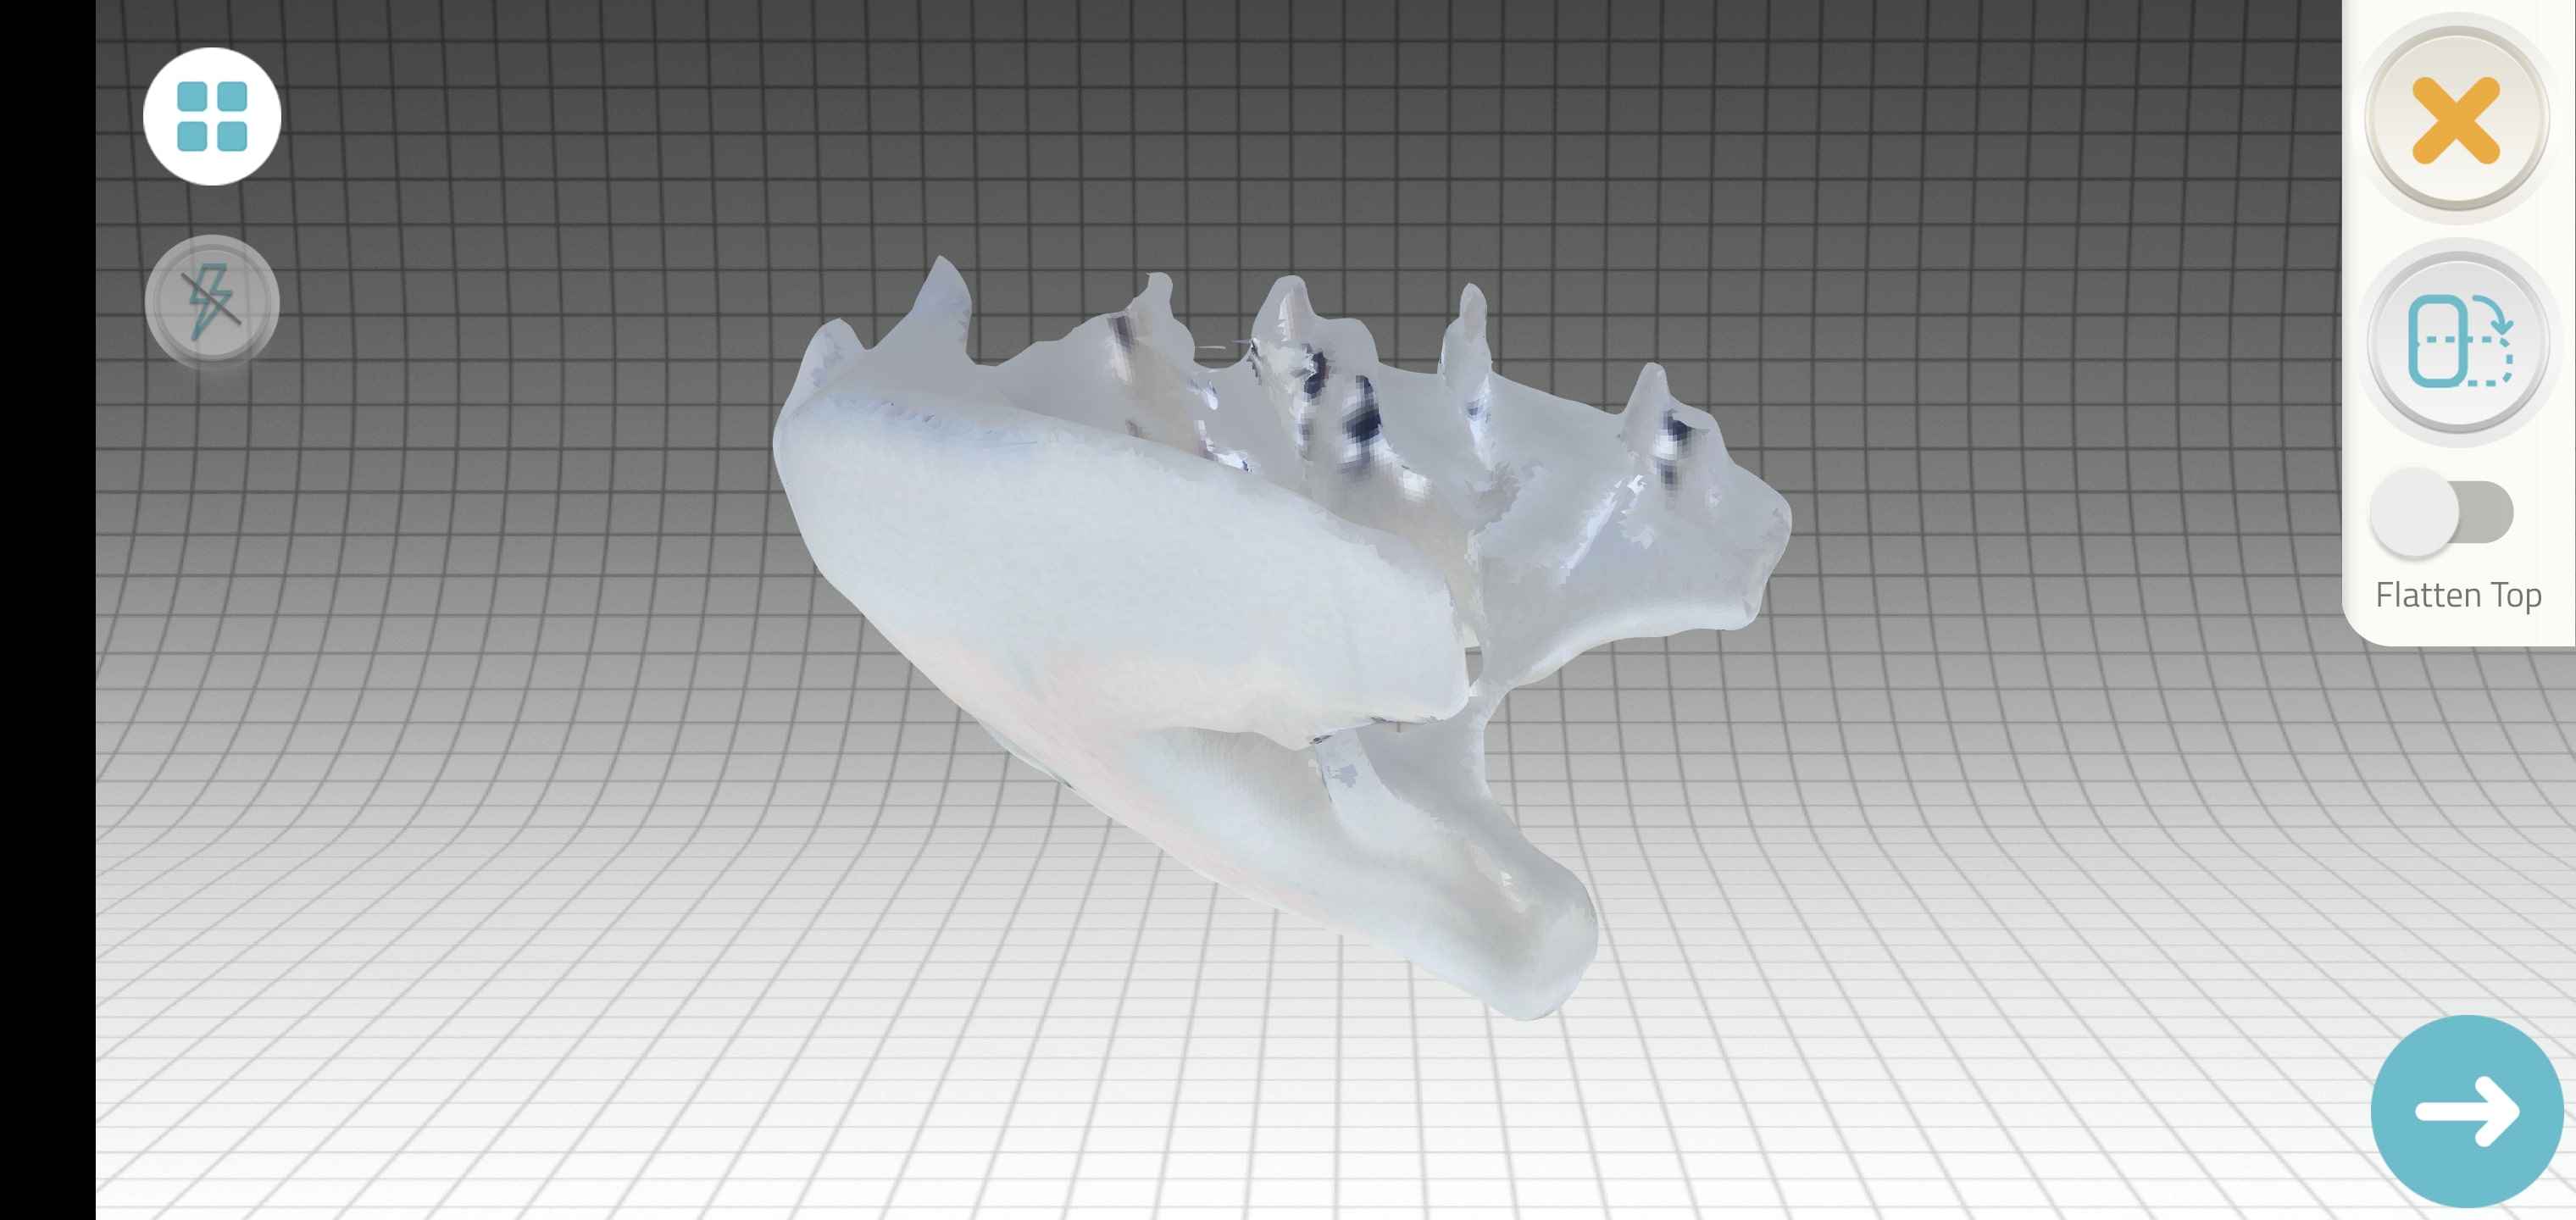
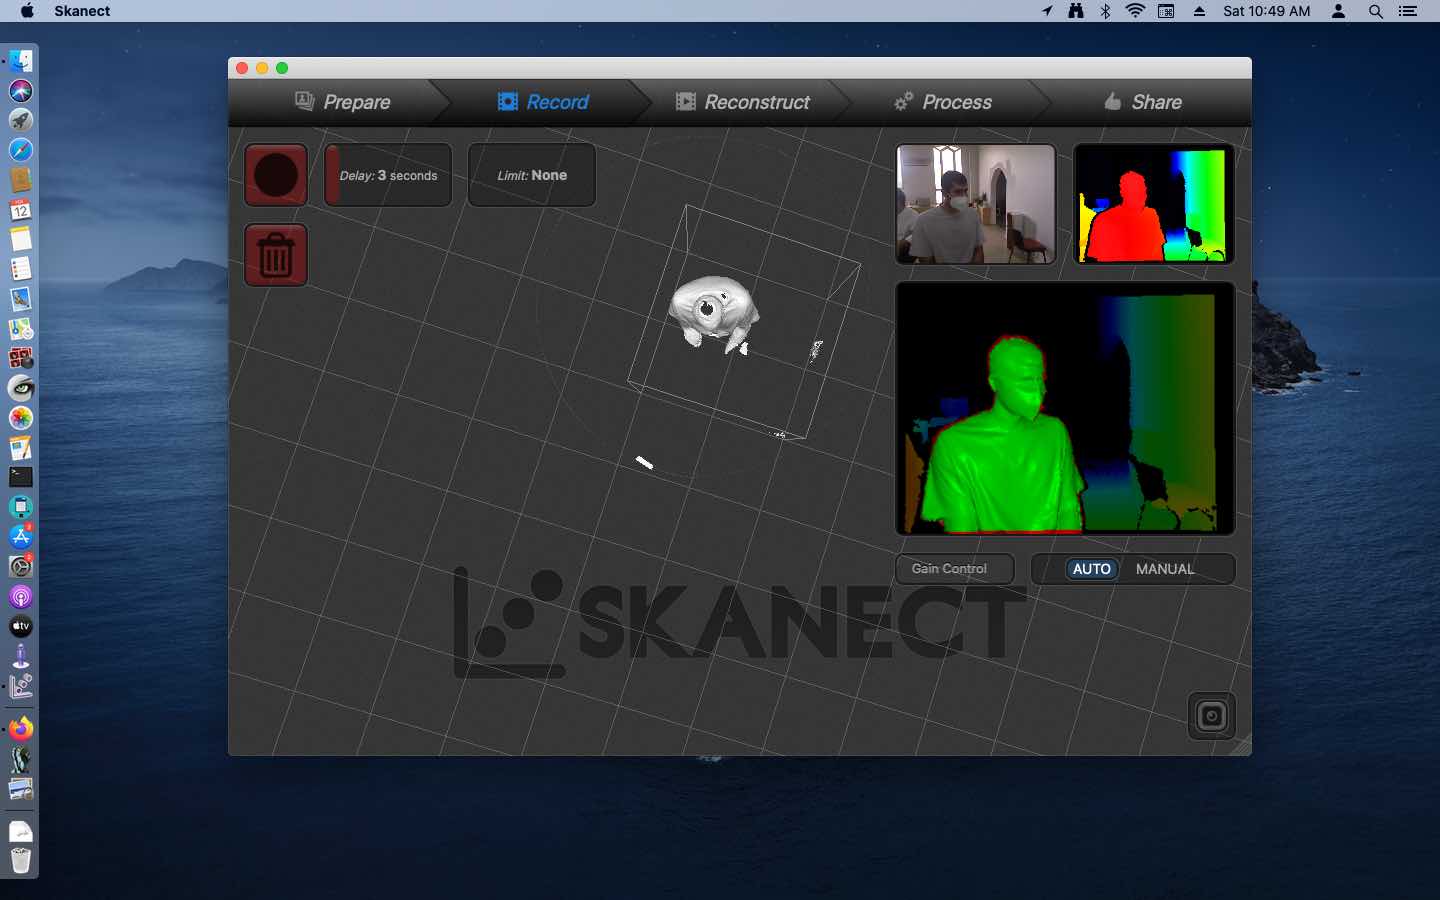
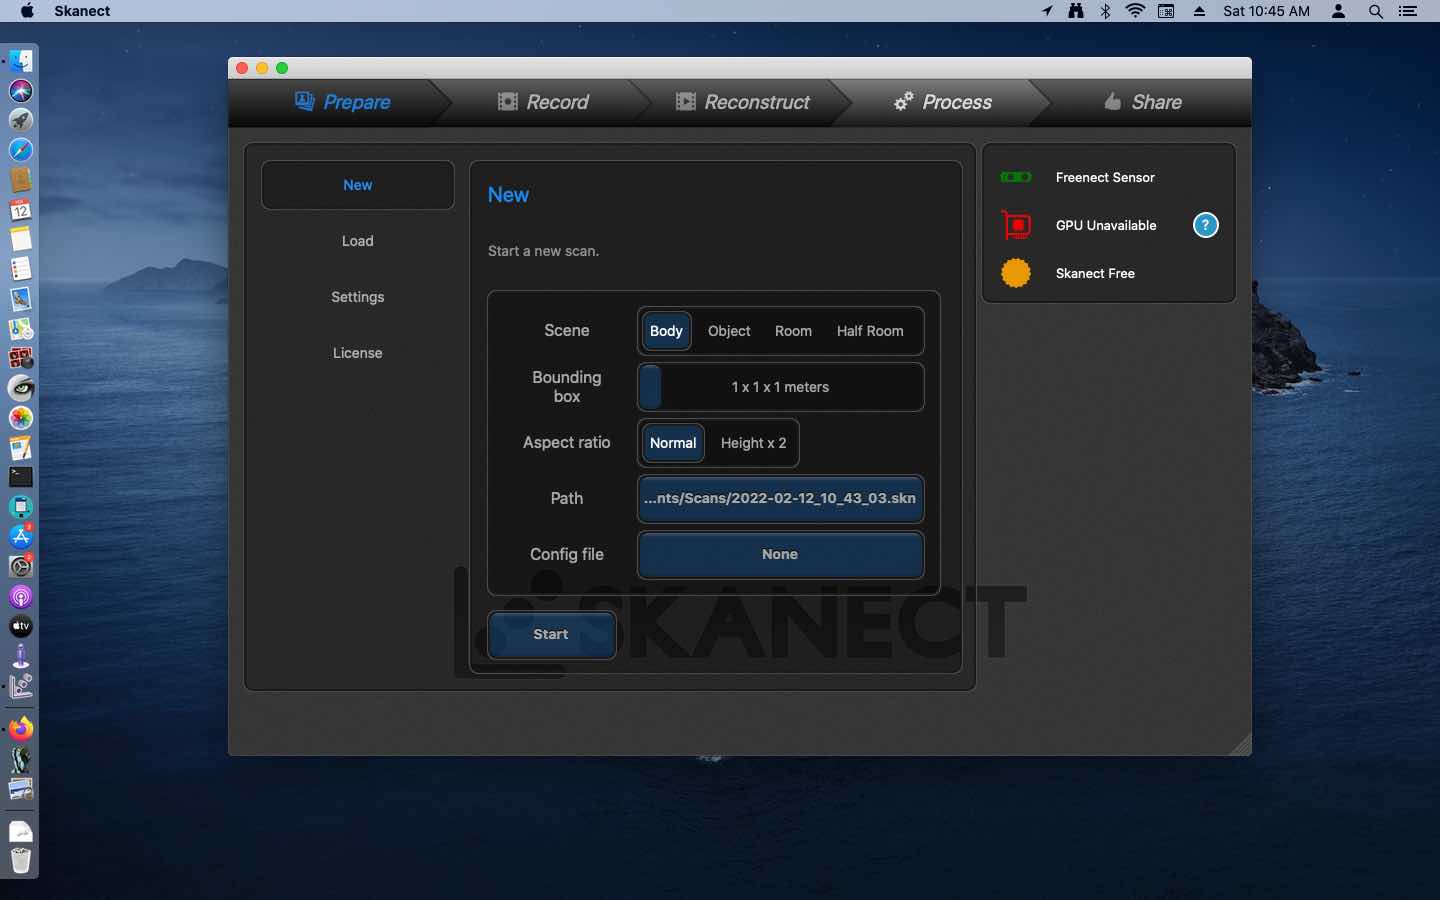
After scanning the above objects, I had the opportunity to scan myself using the xbox connect.
I had to adjust my seat to a height that puts most of my body within the field of camera and then rotate myself slowly so that I get scanned from all angles.
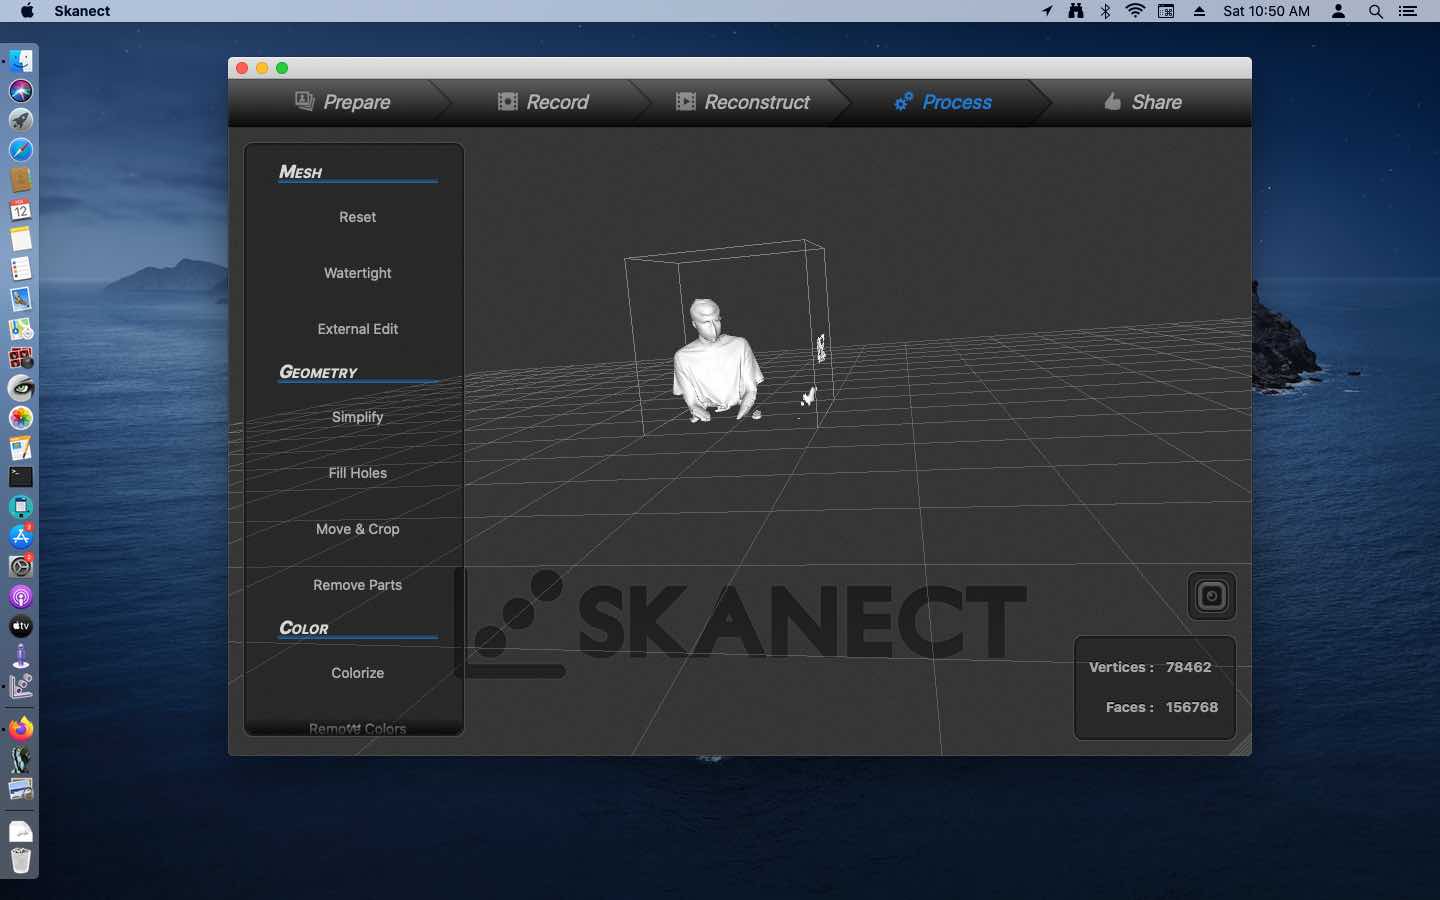
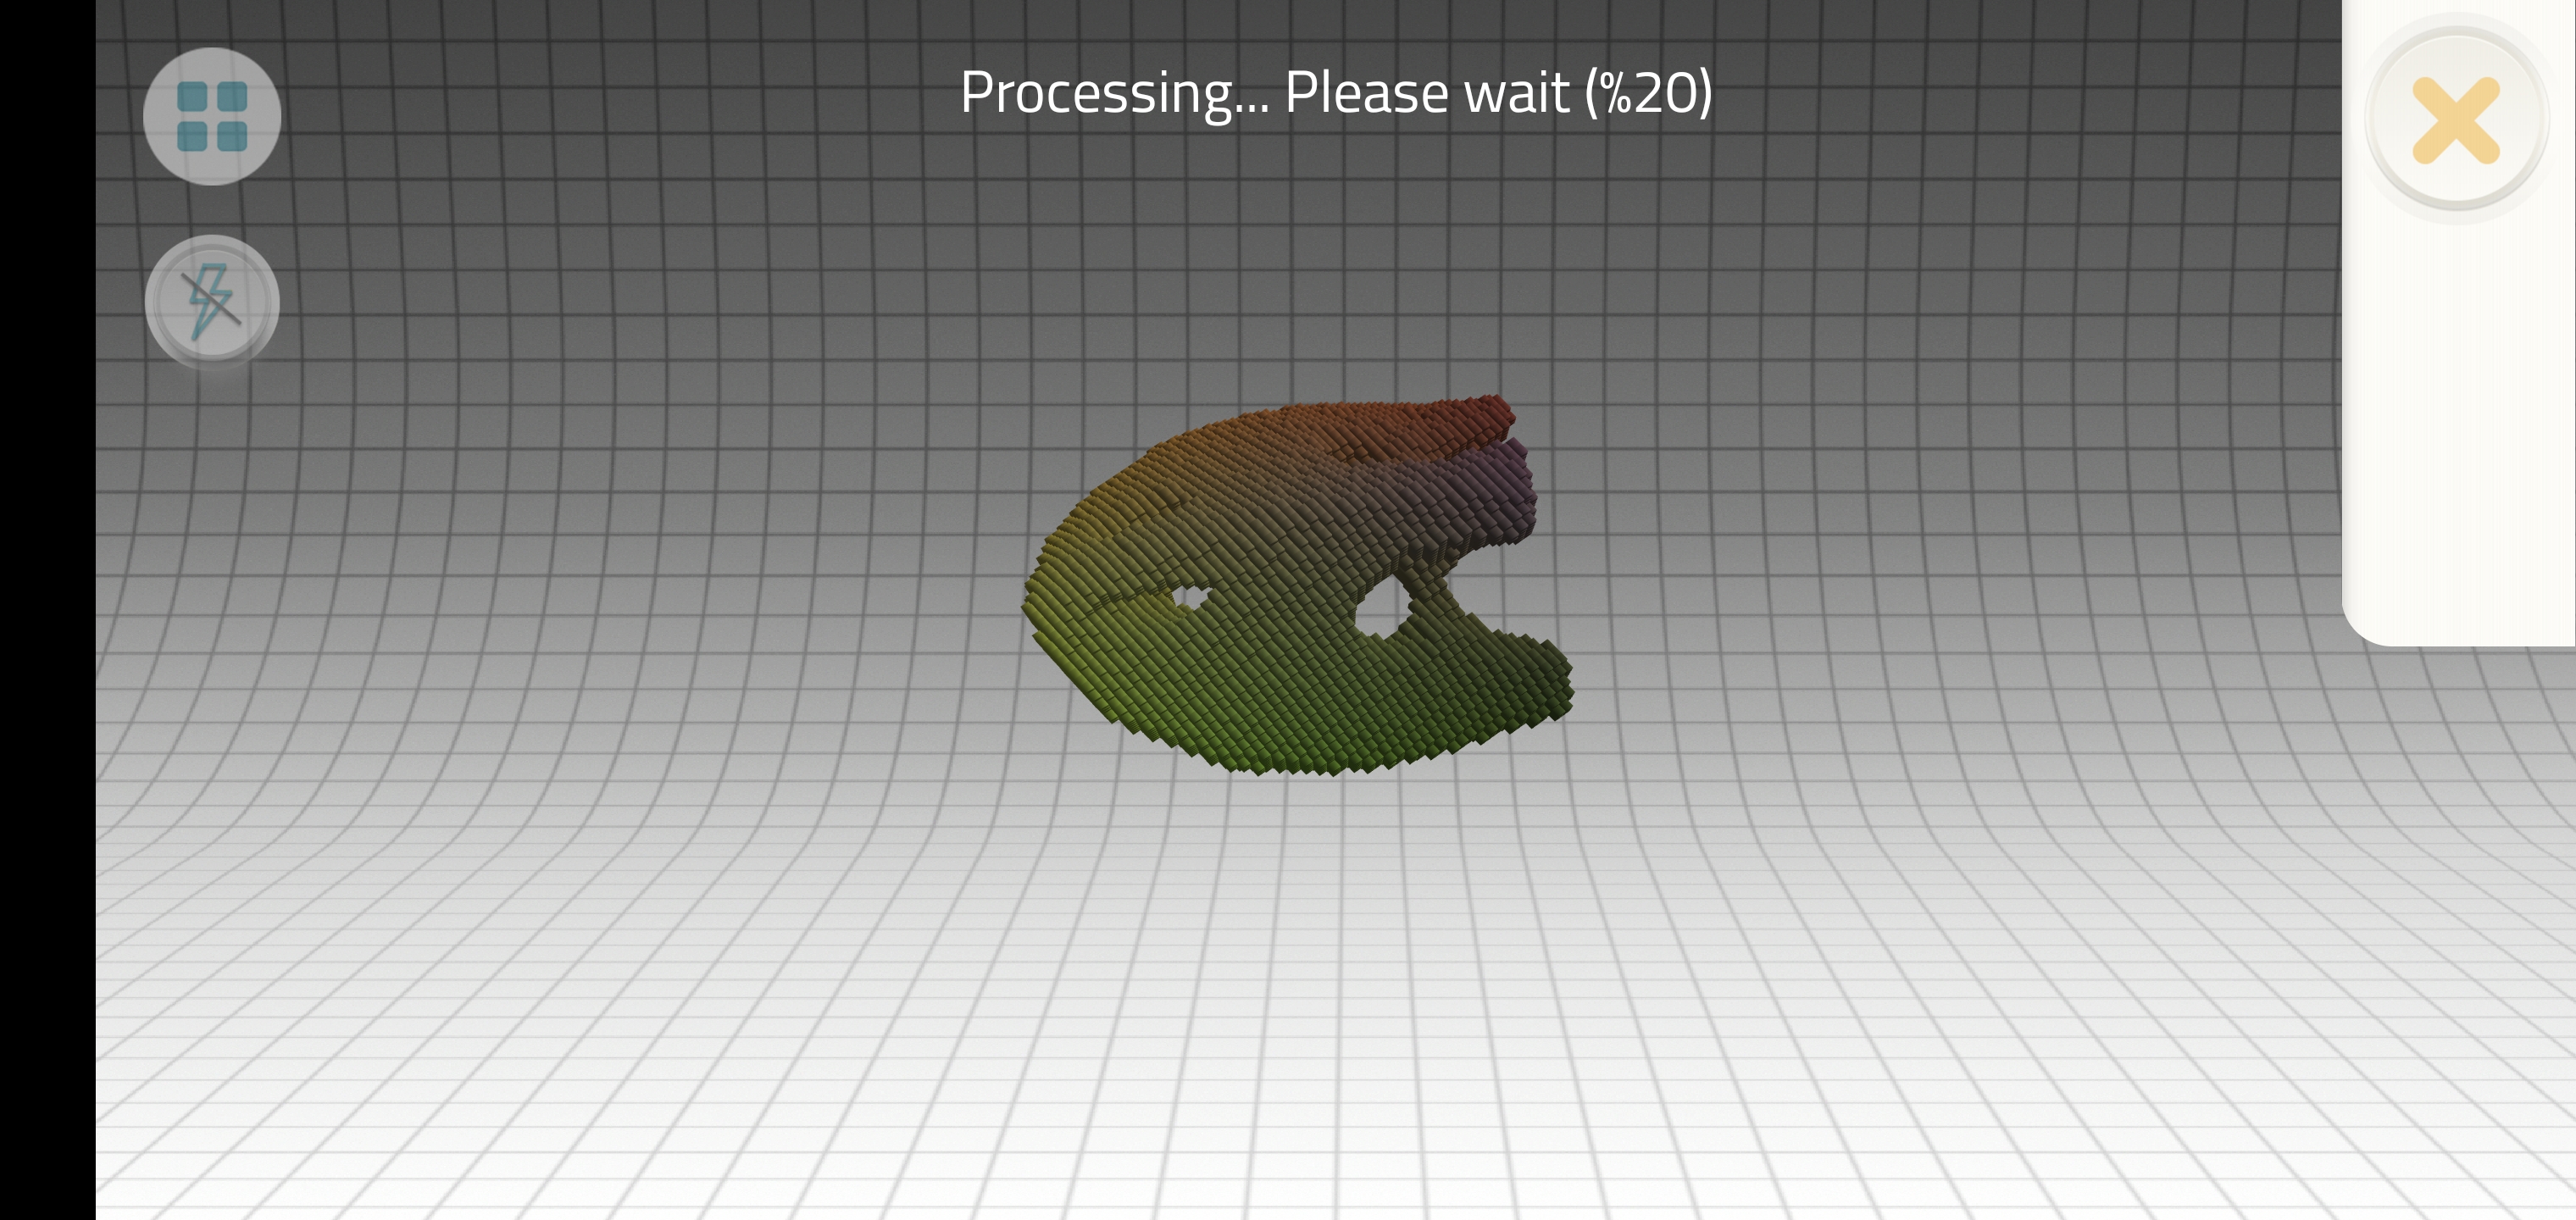
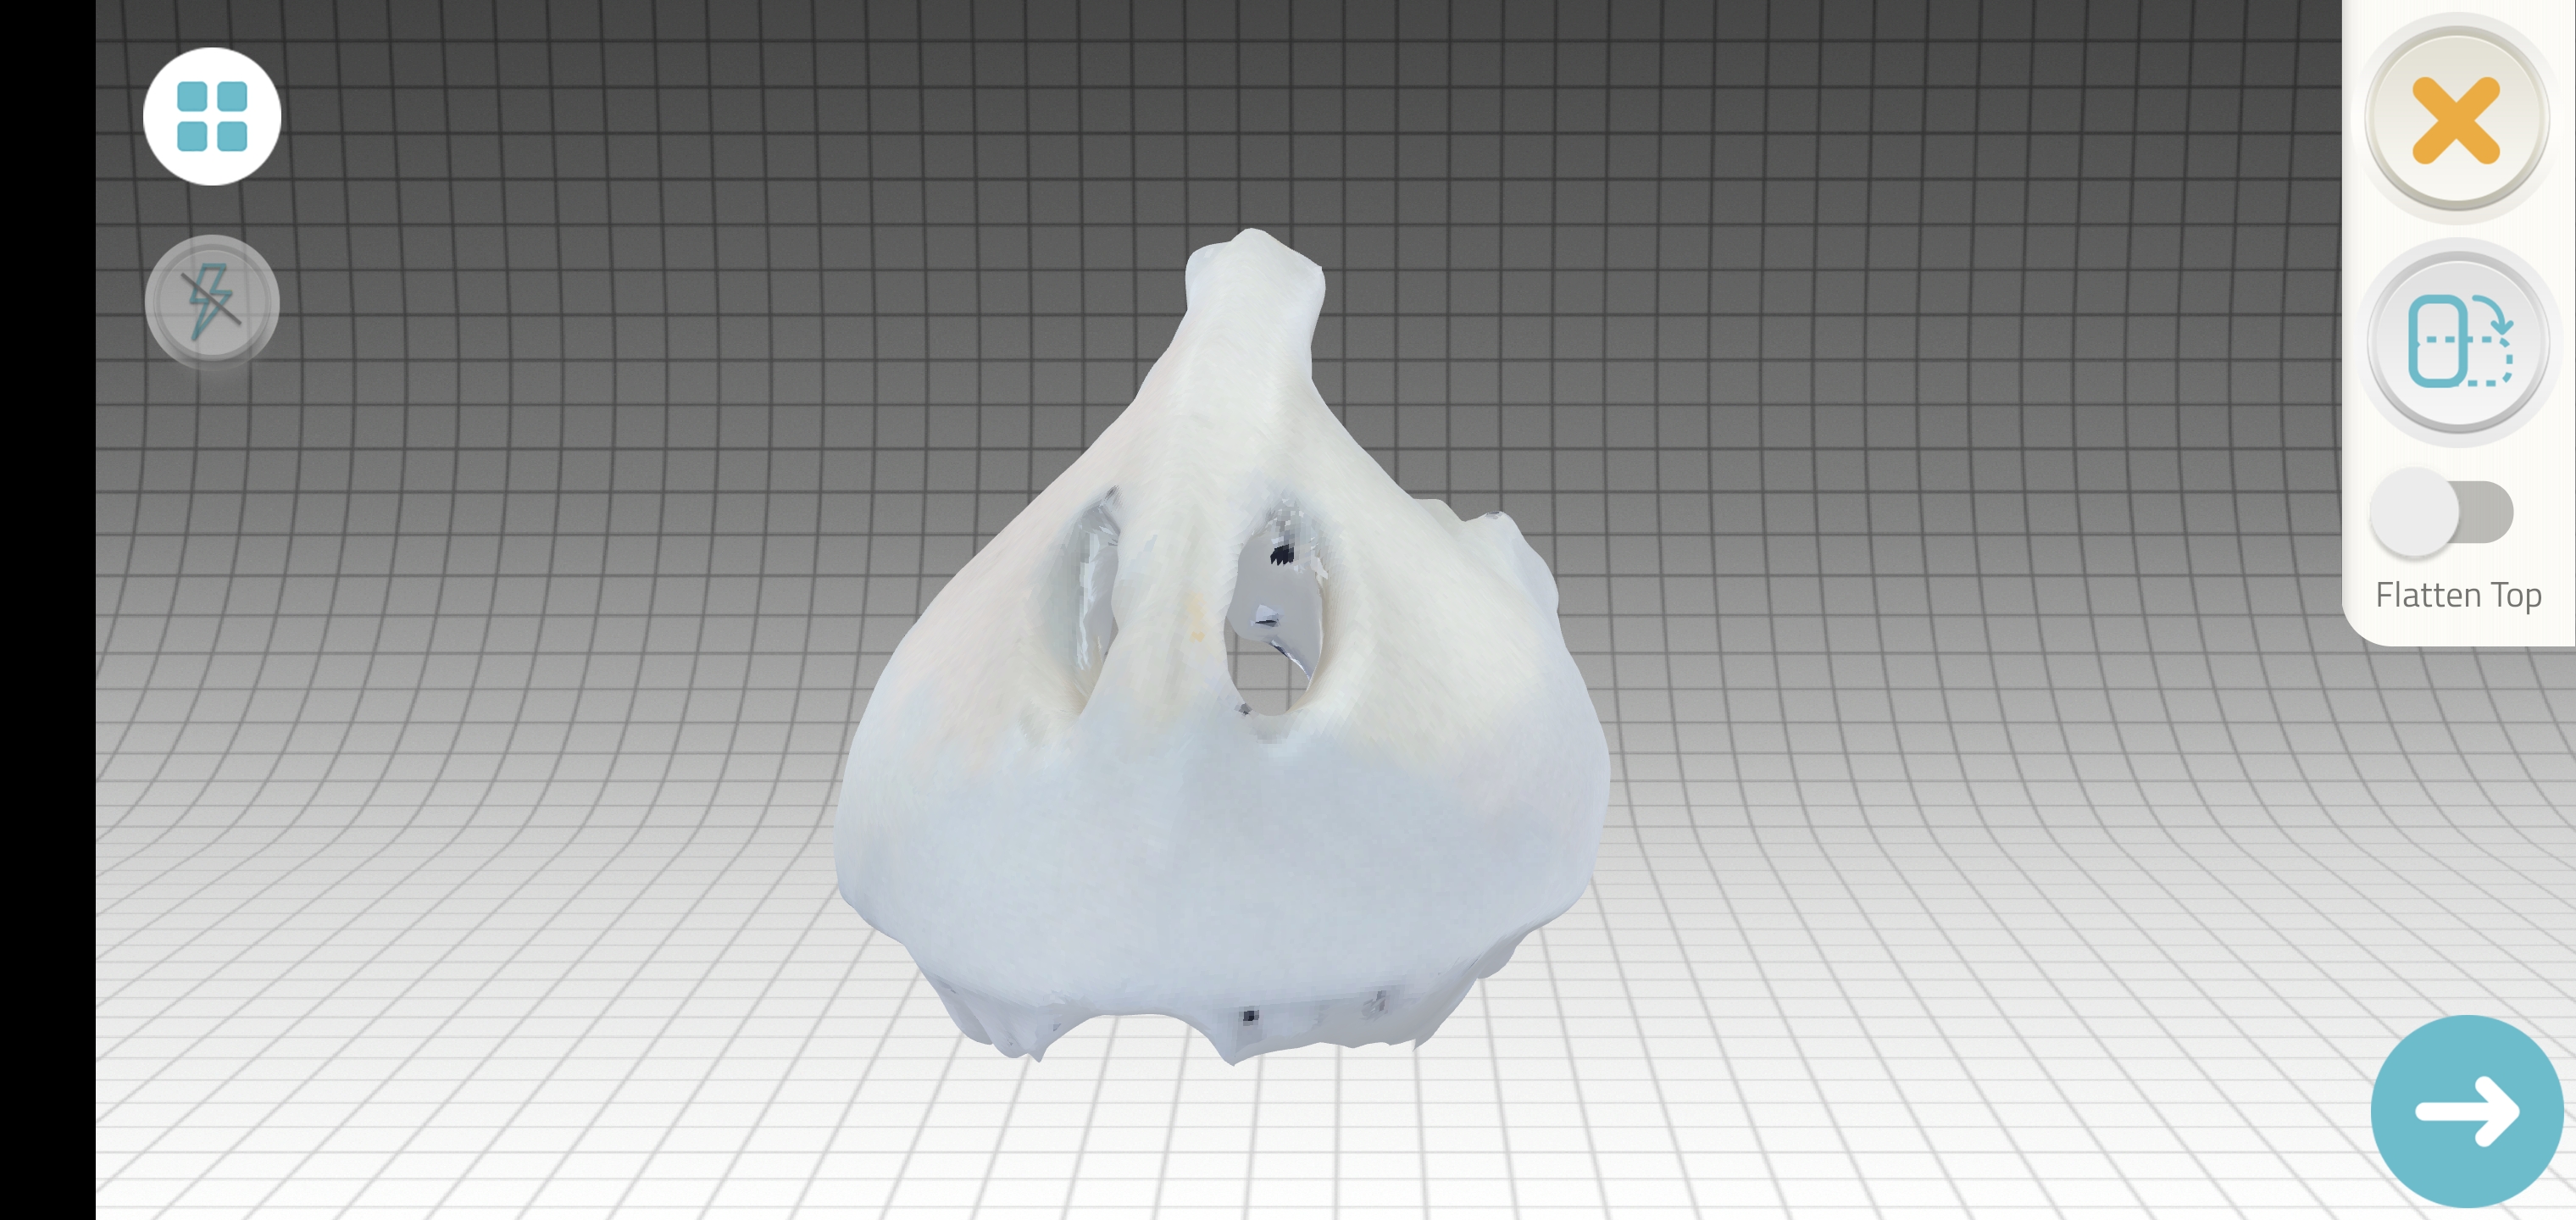
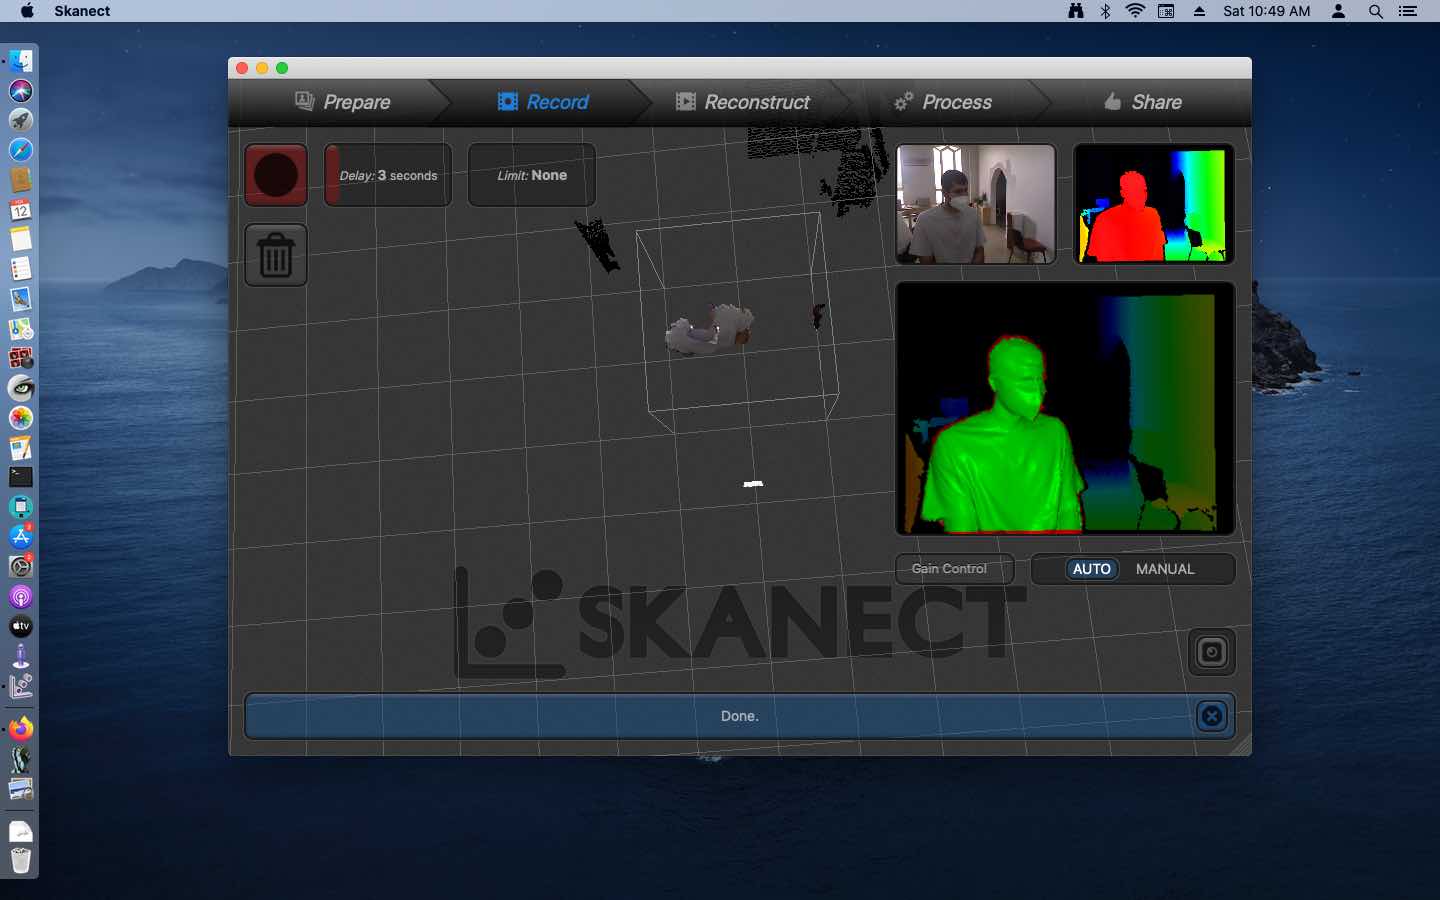
This was the result during the recording process. I have noticed that the top part of my skull was messing because the camera was unable to detect it so I had to select “process” and then a built-in option called “fill holes” to fill every unscanned spot.
The next step was to select the color and adjust my position to keep my virtual self within a virtual box.

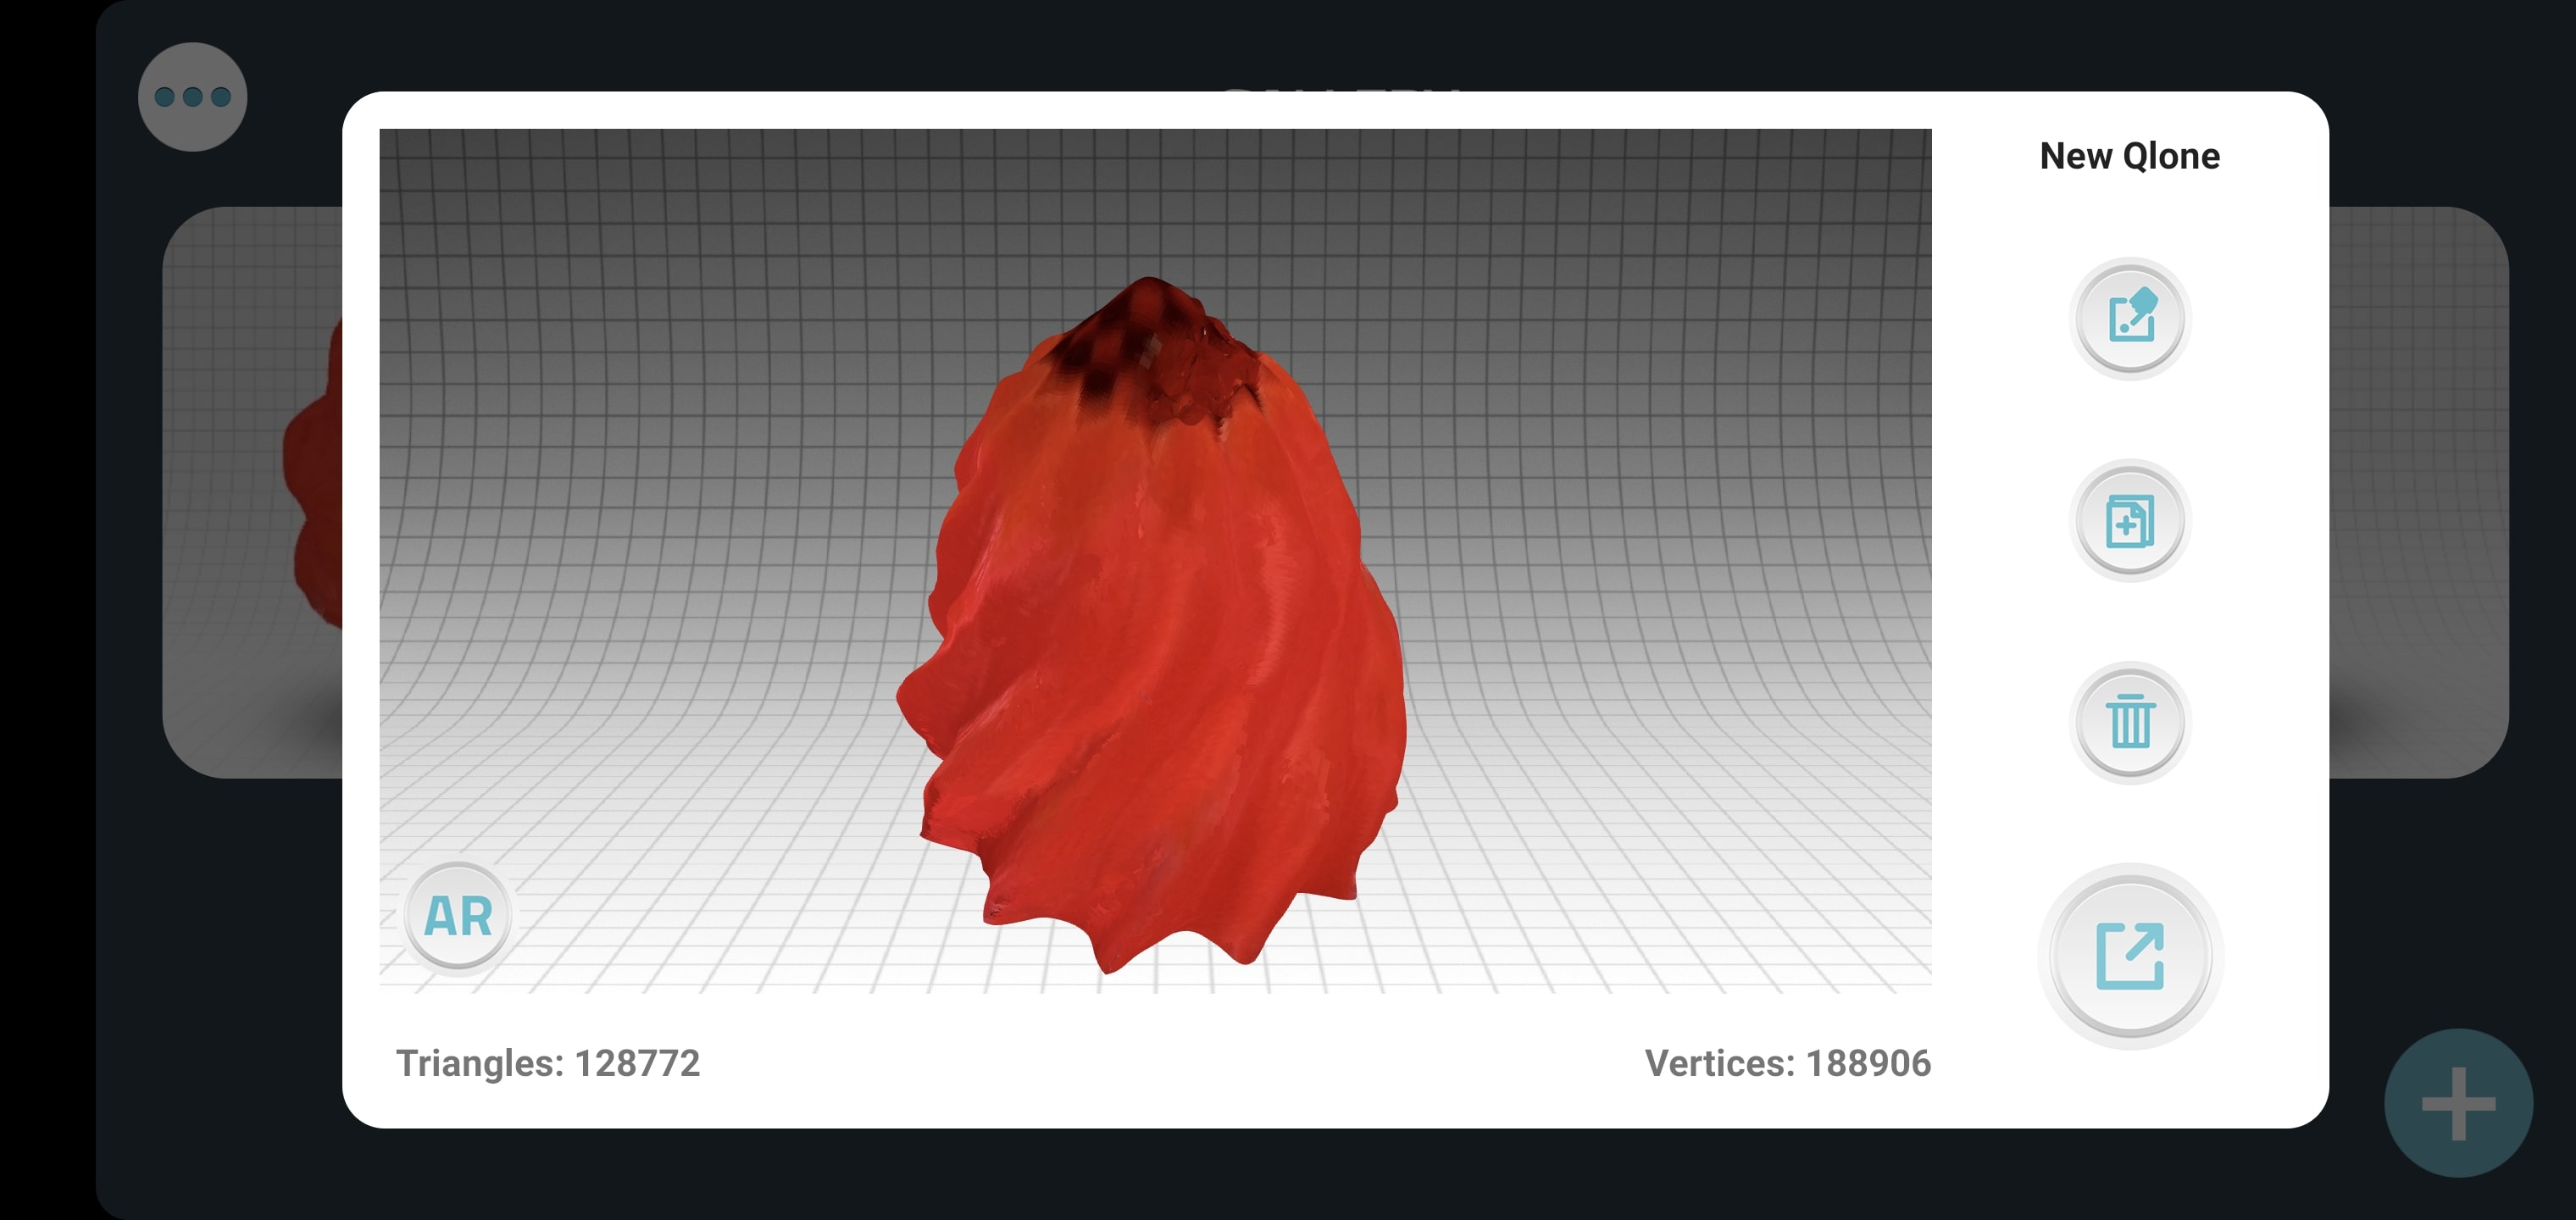
Finally, I had to export my own 3D model to an STL format which can be recognized by 3D printers.
3D printing
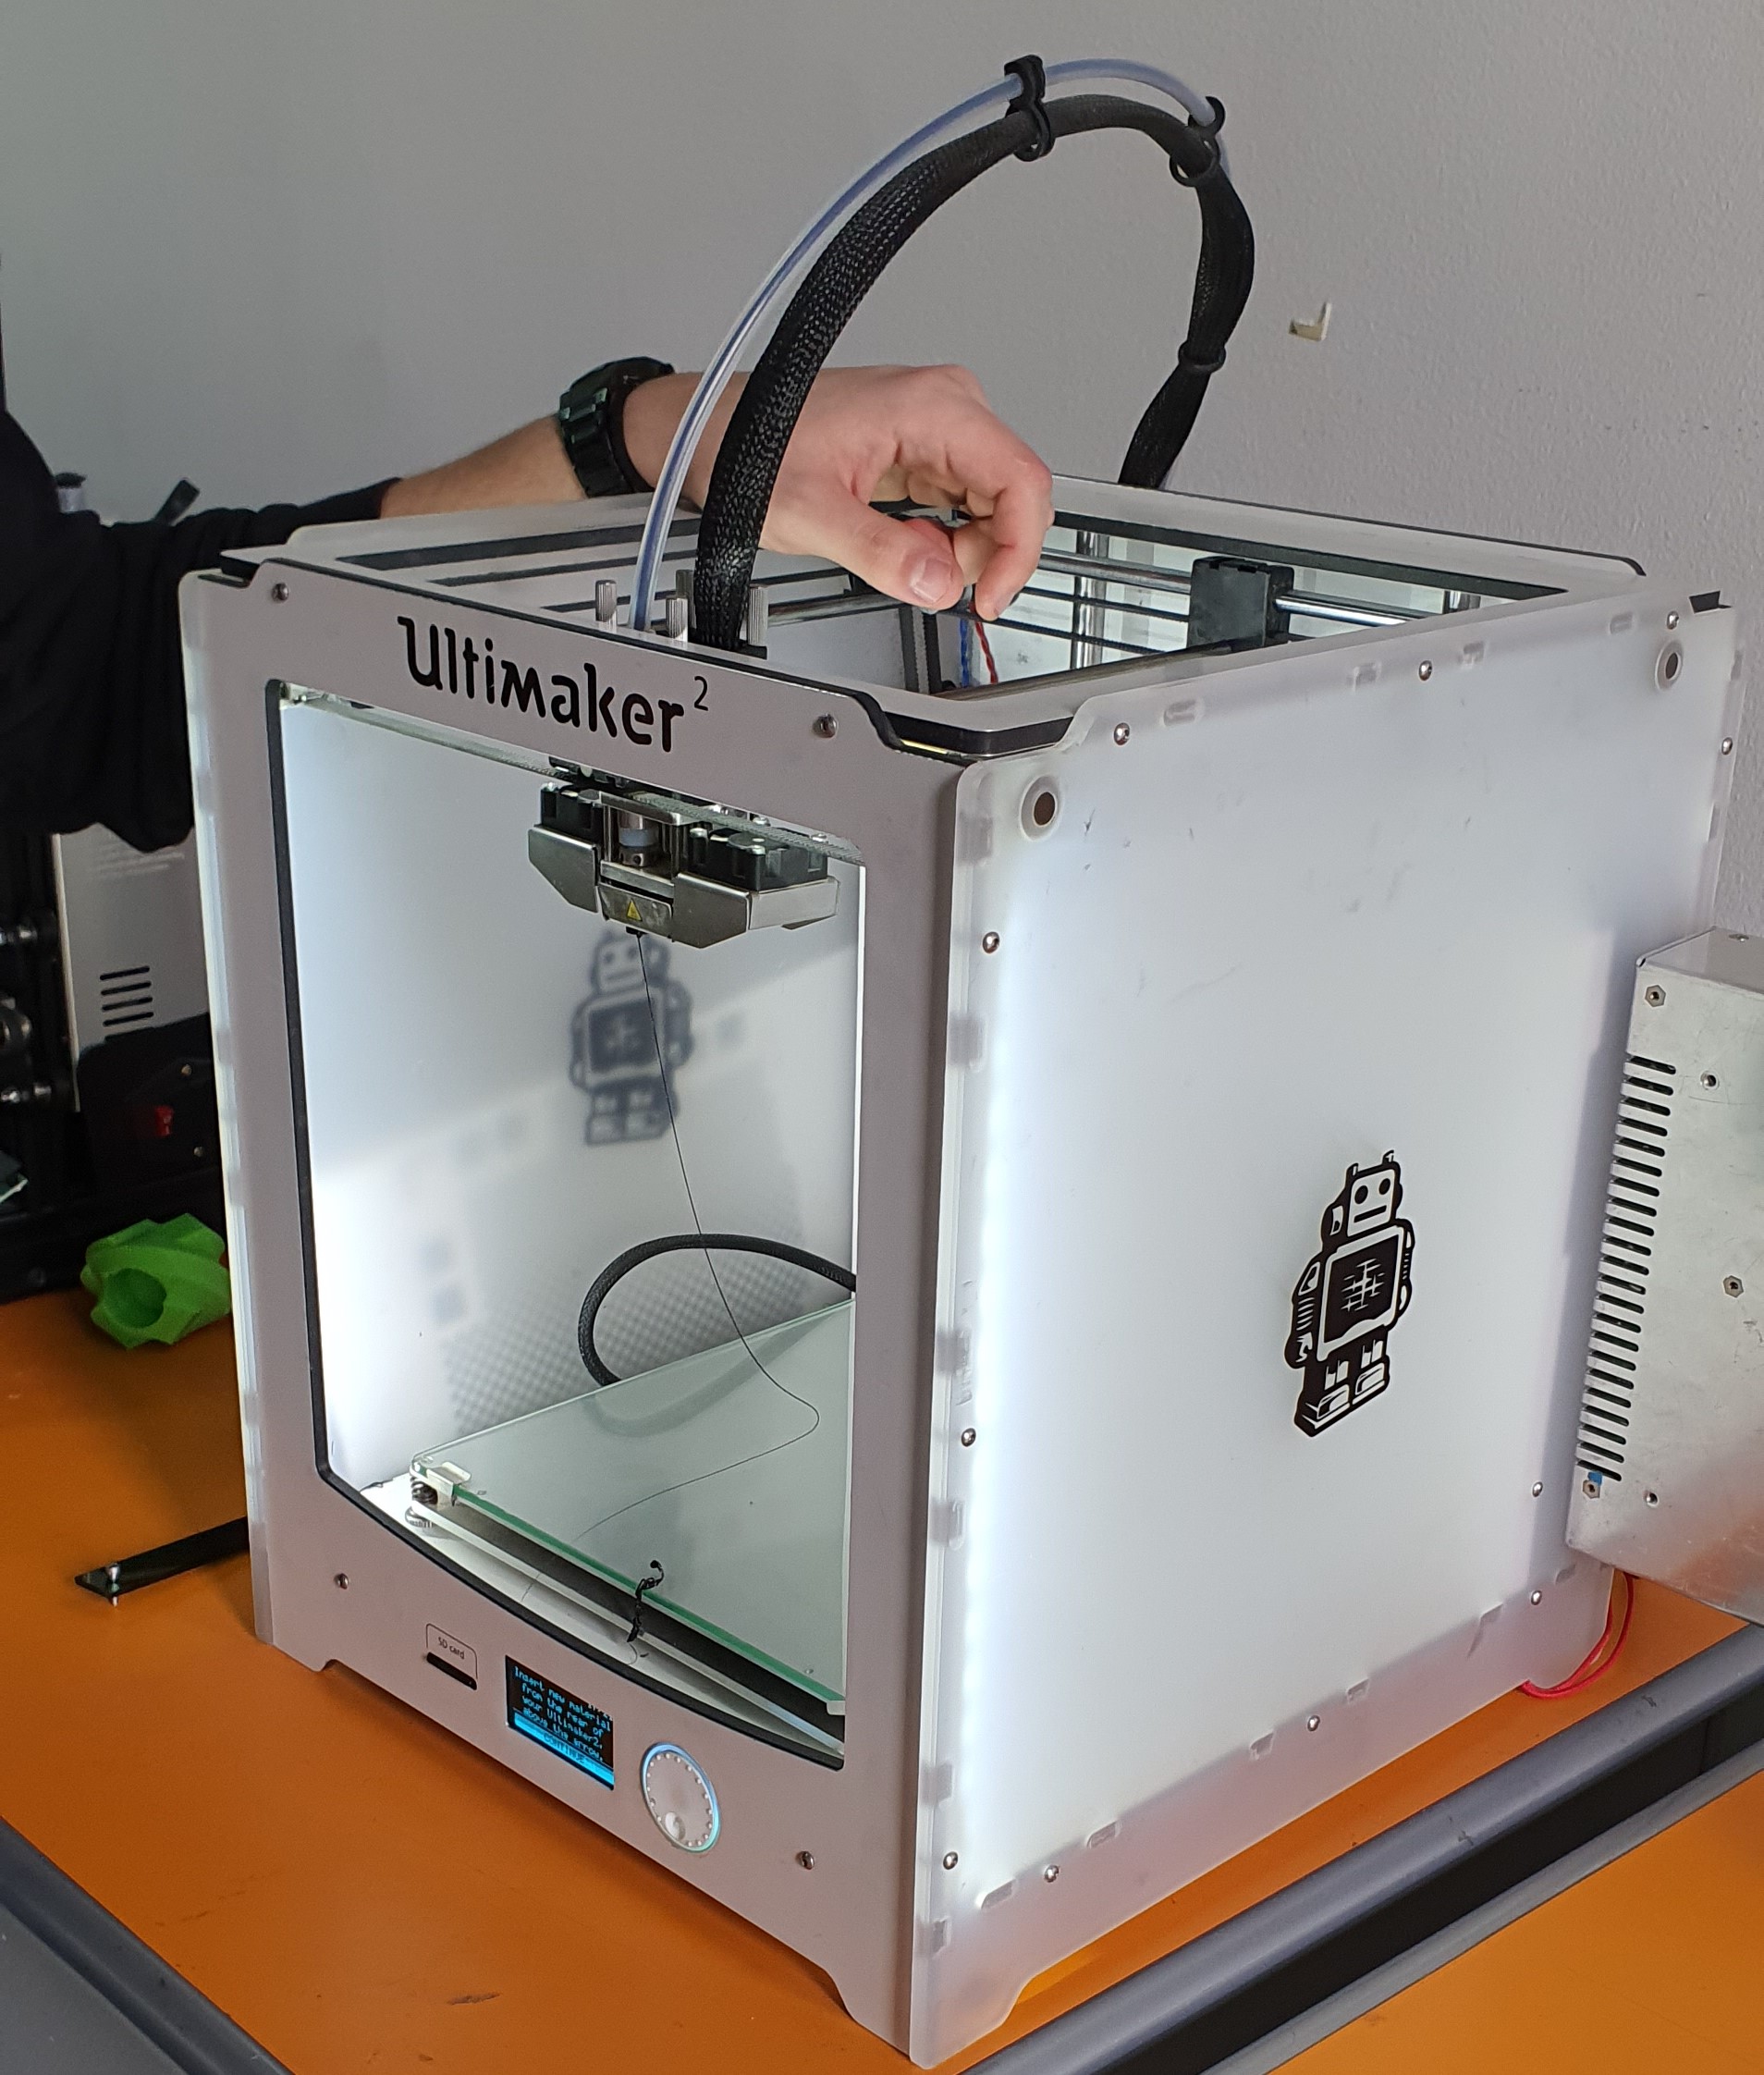
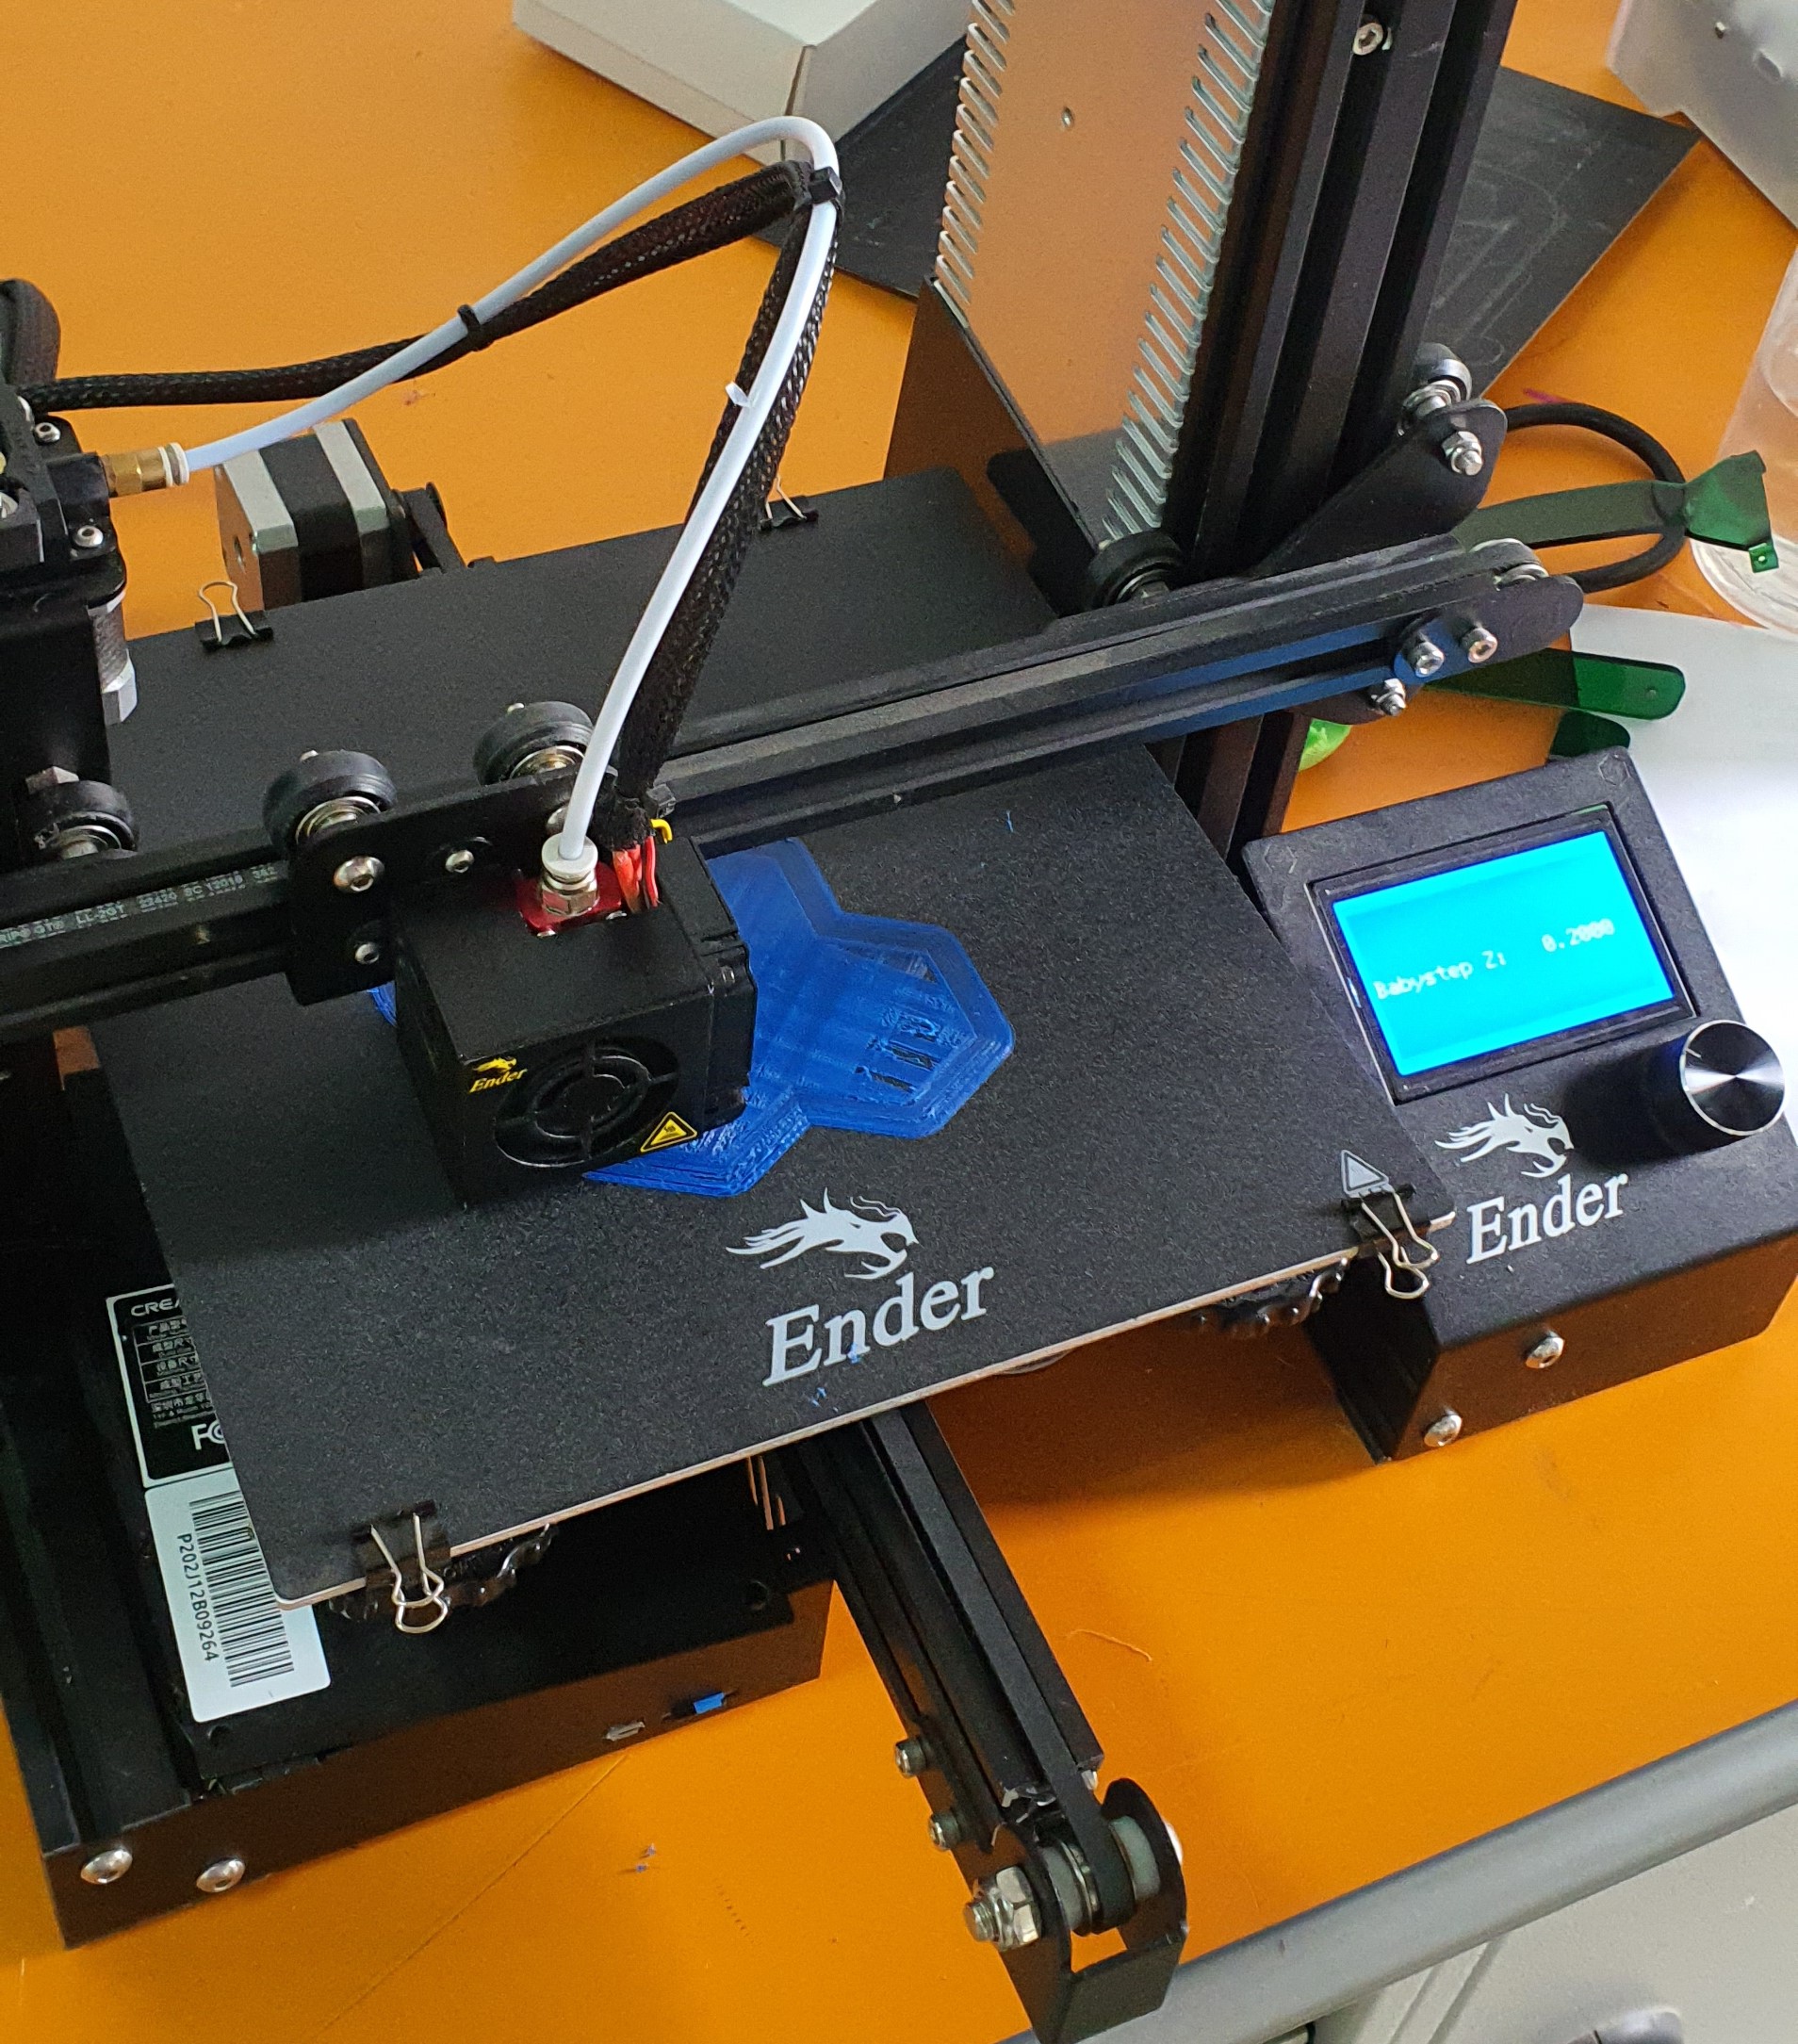
Also, I was introduced to 3D printing and two different 3D printers, Ender and Ultimaker. even though both can use the same type of material for printing, the way they operate is a bit different. From what I have noticed, the printing bed and the hot end on Ender move together perpendicular to one another in order to complete the printing process. On the other hand, The hot end can move in both x and y directions while printing.
Designing And Printing 3D Objects
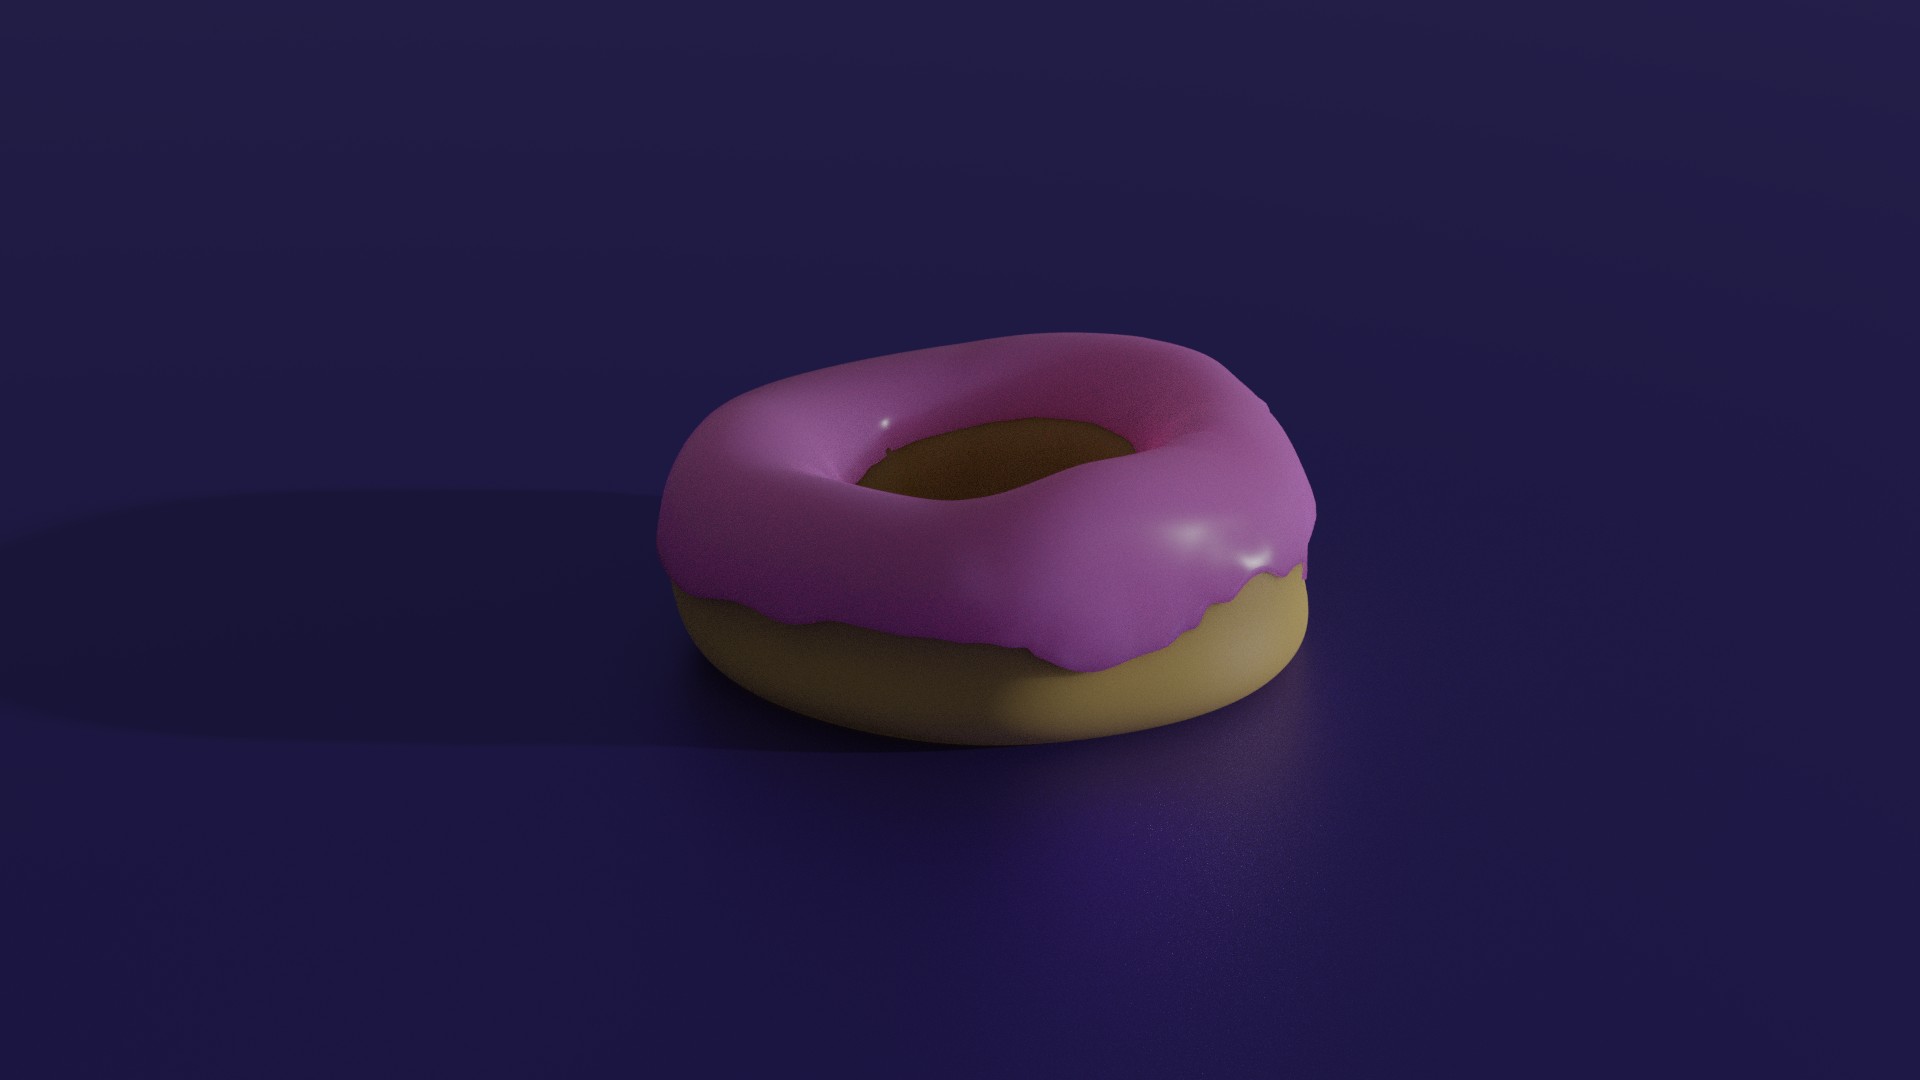
I used blender to design a 3D donut. I followed a tutorial on youtube. the process is a bit complicated so you can watch the steps from here. you need to watch all parts to understand how I did it.
After finishing it, I exported it to a format (stl) that can be recognized by Cura which is a software used for setting required parameters and properties of the objects that we want to print.
This was the original donut design:
And this is the stl format of the file opened in Cura:
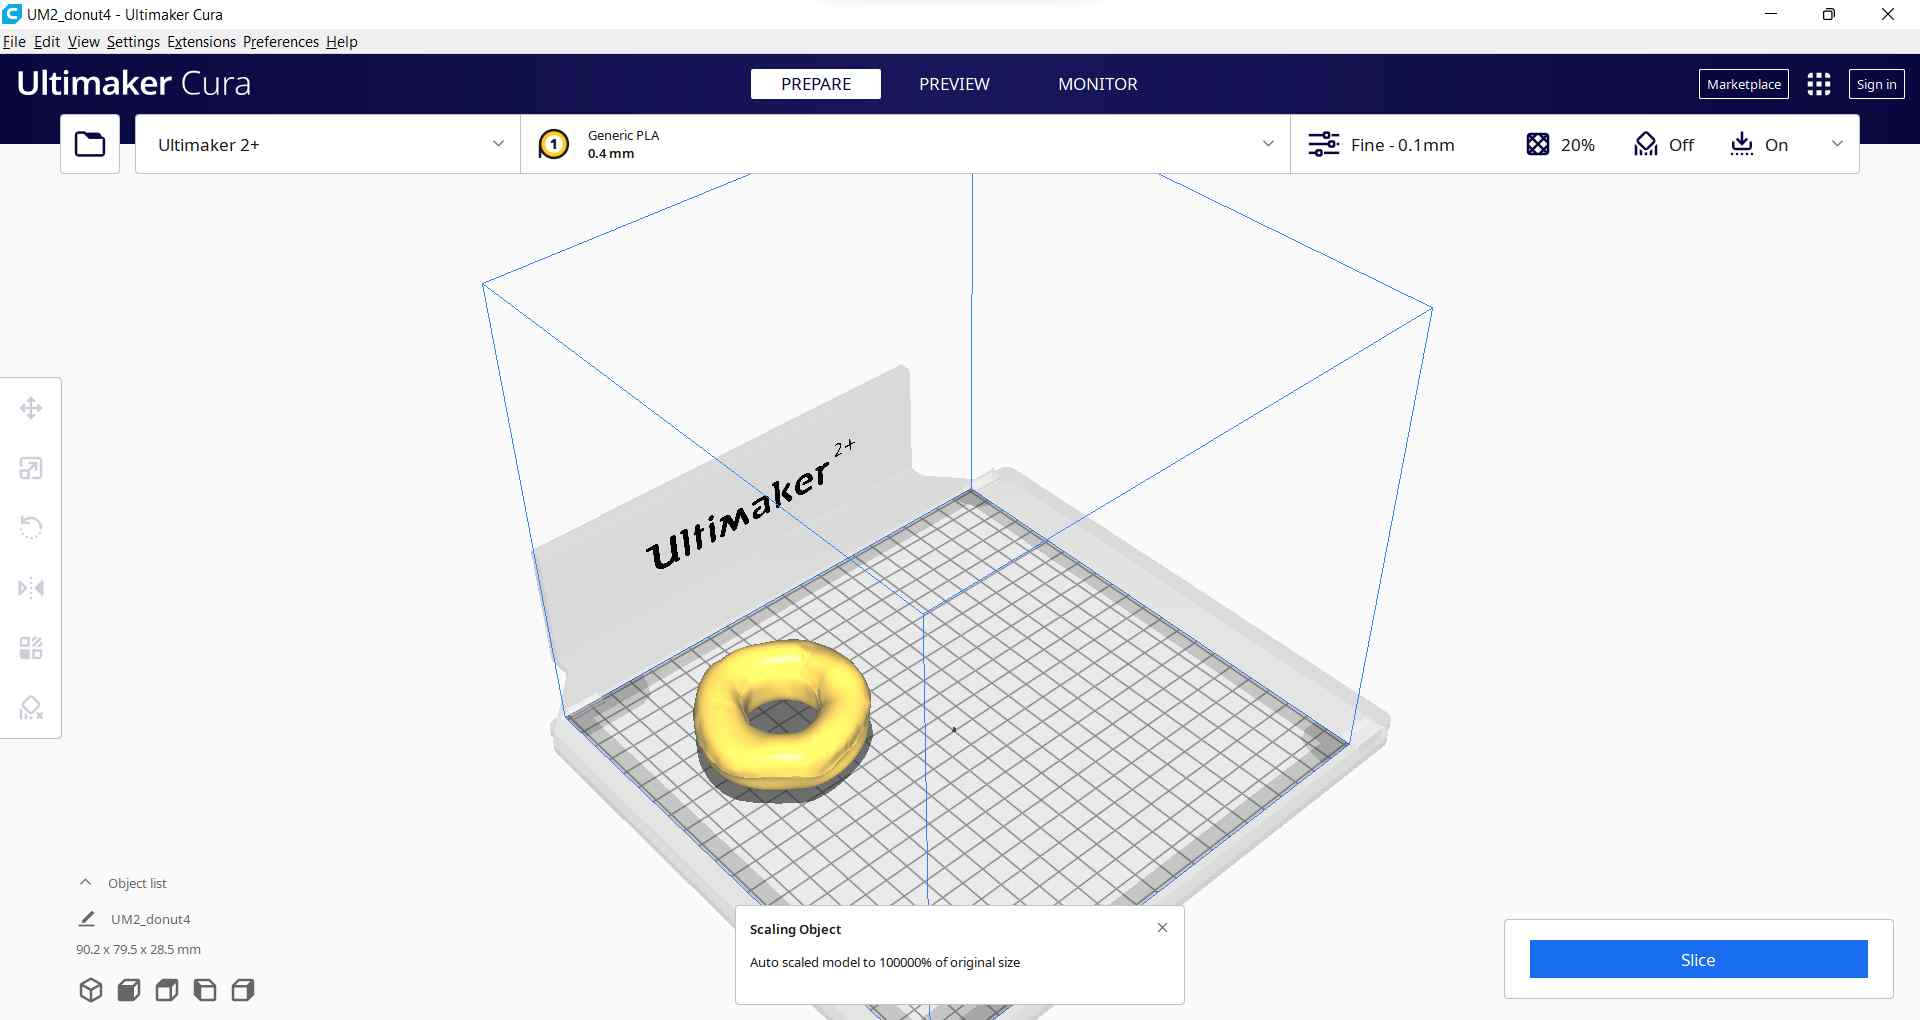
Cura needs to be linked to a 3D printer in order to print the desired objects. Cura has multiple settings that can be modified such as Layer height, Infill density and pattern (lines, Grid, Triangles and etc…), Printing temperature, speed and Build plate adhesion(Brim, Raft). These setting must be set in a way that produces desired results in optimal time and prevents various forms of deformity. The scale and position of objects can also be modified. The Brim is selected to act as a support for objects.
The designs made by Qassim and Fatima were also added to be printed alongside mine:

The settings were chosen as follows:
Layer height: 0.15mm
Printing temperature: 215C
Infill density: 30%
plate temperature: 60C
Infill pattern: Lines
speed: 60 mm/s
Support placement: everywhere
Support angle: 85
Build plate adhesion type: Brim
With the above settings, the printing time was revealed to be 19H and 21 minutes.
required filament weight: 189g
required filament length: 23.86 m
The video below demonstrates the settings we chose:
Useful links
3D Models
I added an environment effect, shadow effect and lighting.
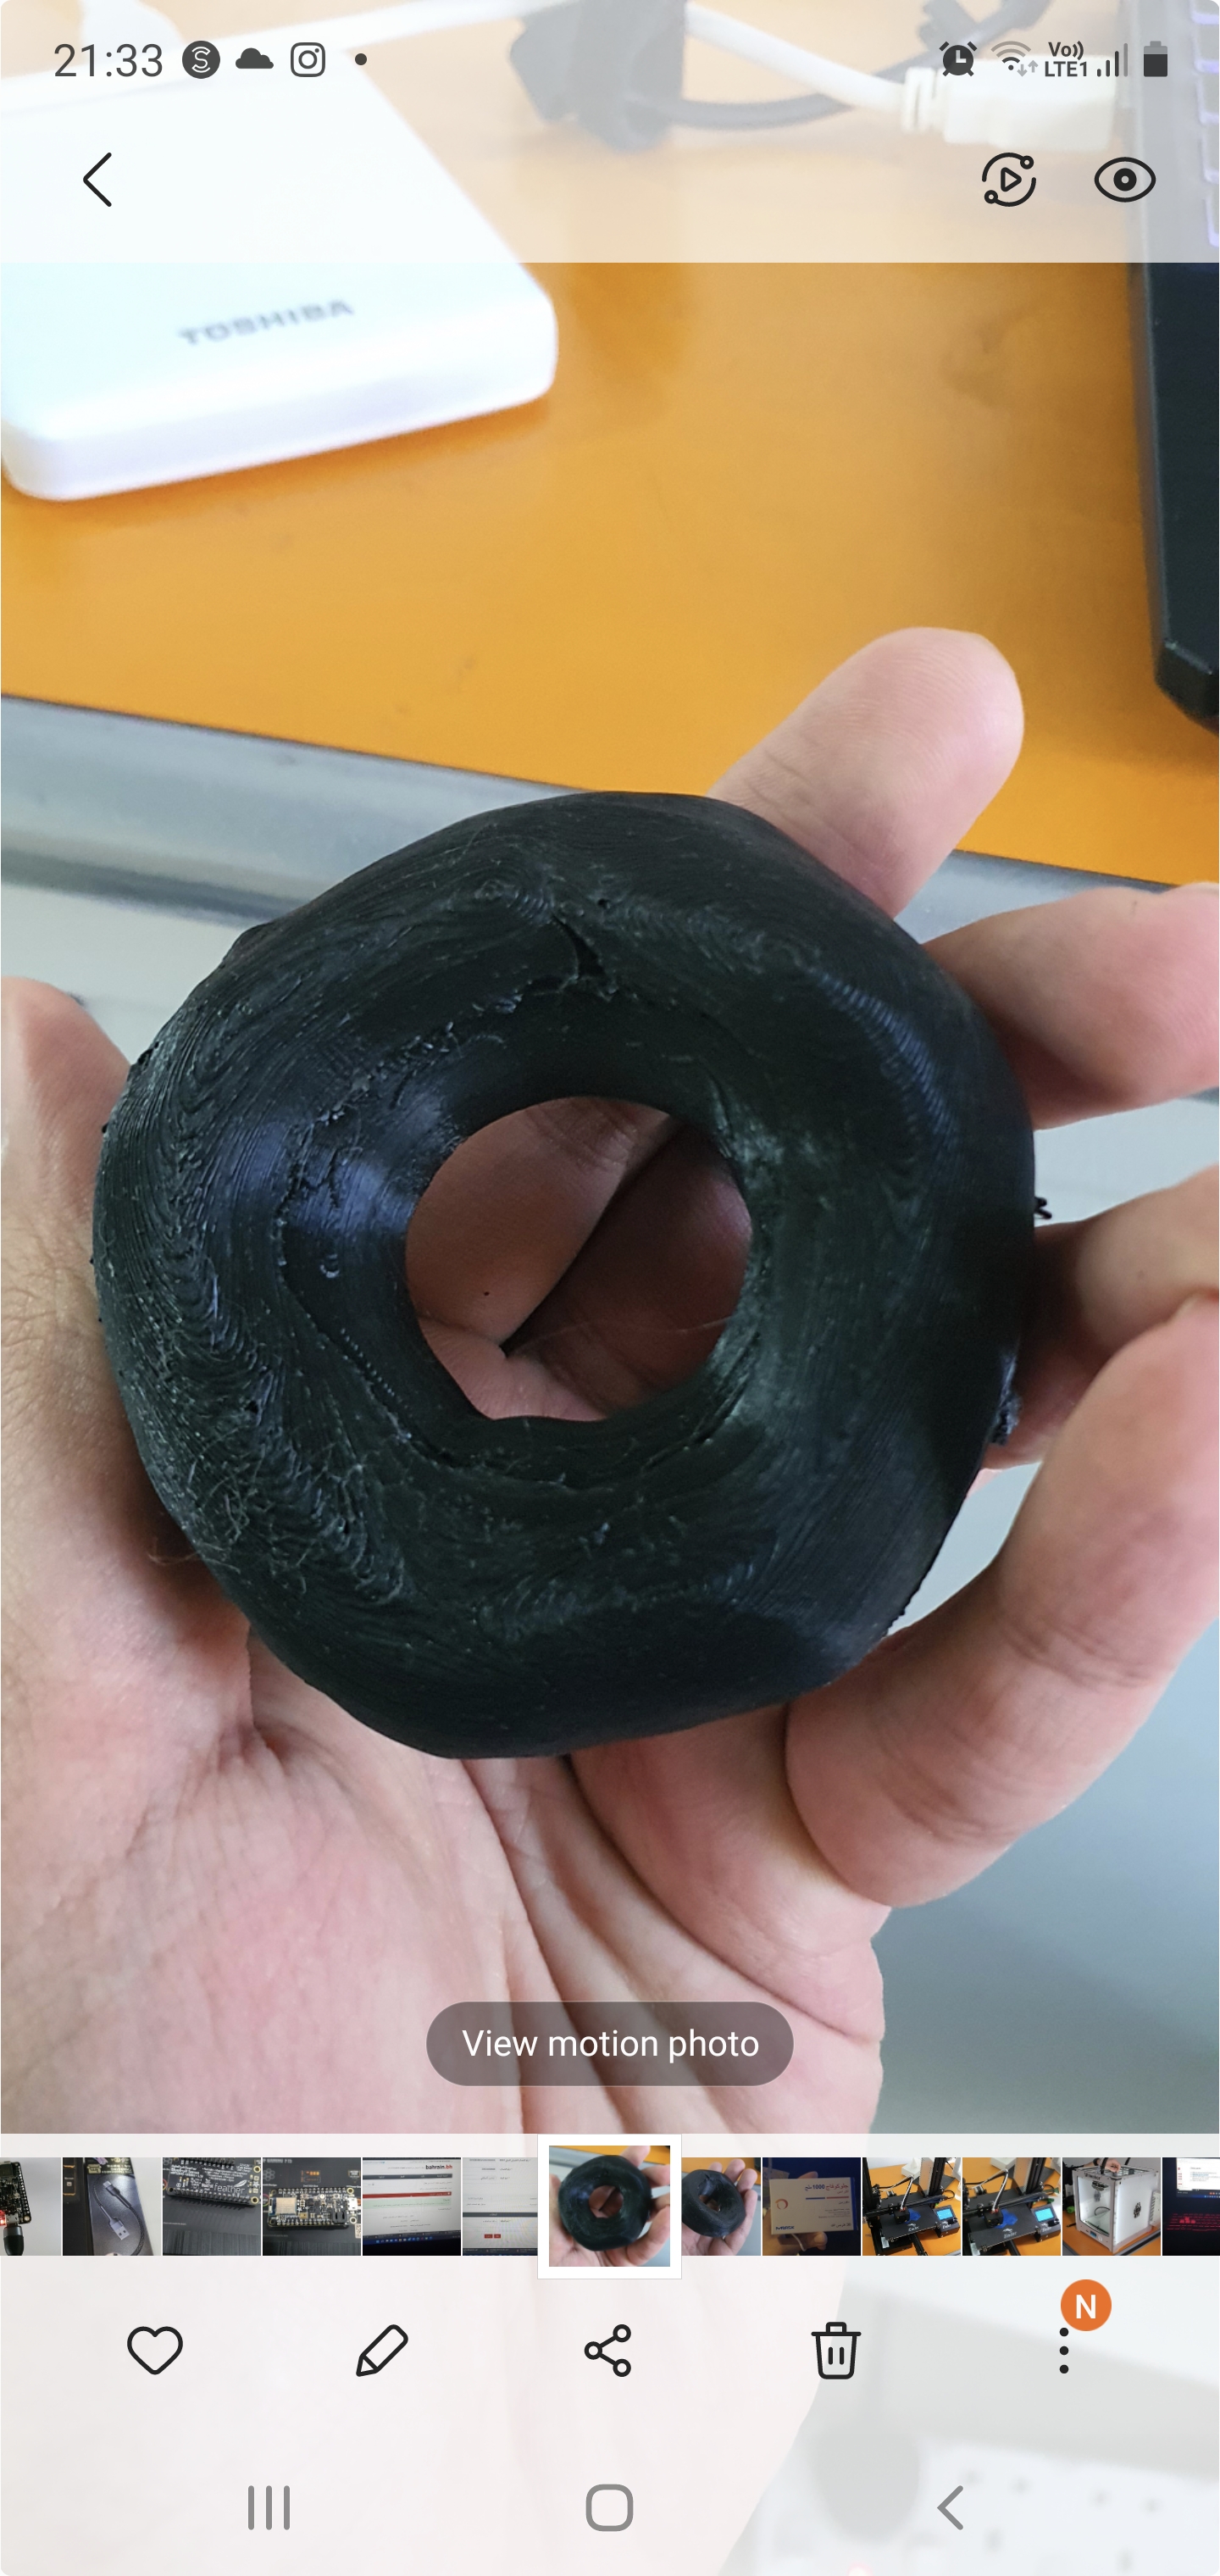
this is the result:
you can download the design file from here
you can download the blend version from here
This specific 3D shape is very hard to replicate using normal tools because the layers have a certain thickness and the shape itself has a lot of features and details. Plus, it is hallow which renders any manual and subtractive process nearly impossible.
Group Assignment
To view the group assignment, you can check out Weeam’s website.
Things I learned from testing 3D printers
1) there are many types of printers that operate a bit different from one another
2) They can only print stl format files
3) 3D printers print layer by layer until the object is fully printed so it is a slow process.
4) we use ultimaker to adjust the settings for our desired 3D objects and then we transport the file to the printer and choose it for PRINTING
5) There are different patterns to which the hot head can move and build up the layers
6) the material is a sort of plastic and its very hot when it comes out of the hot head
7) the bottom plate is also heated to reduce temperature varitions that can deform the object during printing process