5. 3D printing and scanning
This week I learned and tried 3D printing a testing object alongside one I personally designed. Additionally, I used 3D scanning to scan a real life object into a soft copy of its 3D design on my smartphone.
Group Assignment
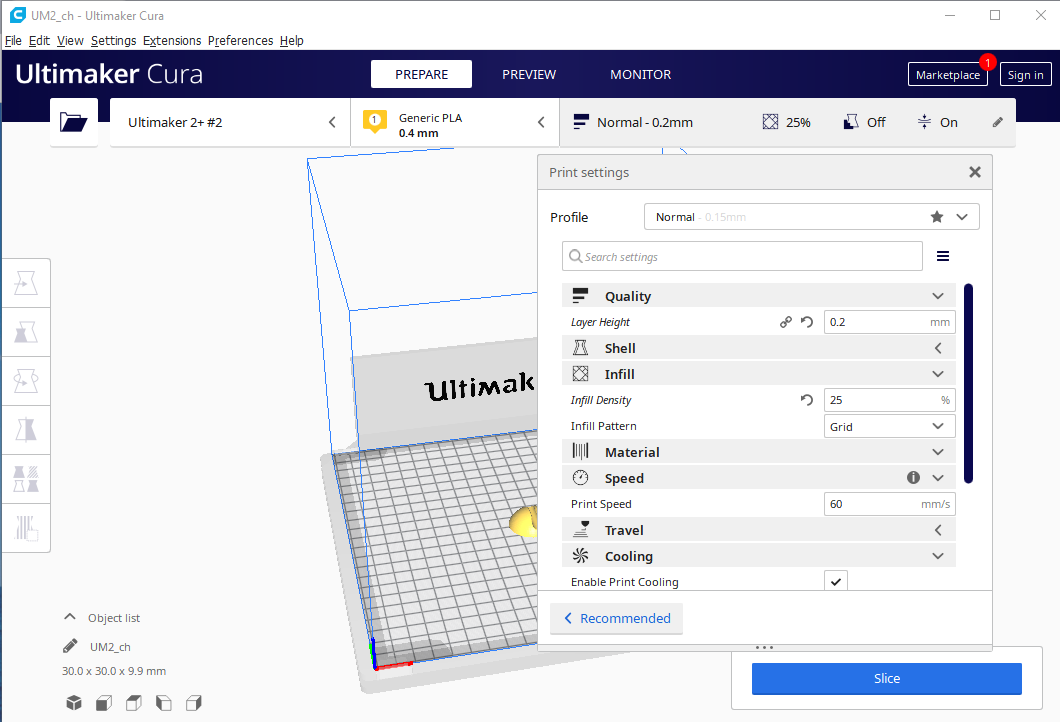
We were instructed to install Cura, then access Thingiverse and download this file, which was named Prusa i3 MK2 for our designated 3D printer. I opened the file, changed the quality to 0.15, the infill to 30, the print speed to 50, the material to 215 and the cooling speed to 30, then checked the design preview before saving the design to an SD card to be printed. The printing process took about one hour and thirty minutes.
The group project can be viewed in Kawthar’s website below:
What have been learnt from testing the 3D printers: -
-
Different speeds and melting points can substantially extend your printing time while still giving you the most structurally solid design.
-
The material used by a 3D printer depends greatly on what the intended application of the design is.
- There are many different types, sizes, and pricing of parafilms.
- When exporting a design for 3D printing, ensure that it is in gcode format.
- PLA is the most often used material for printing.
Individual Assignment
3D Printing
For the individual assignment it was required to design and 3D print an object that cannot be easily cut or done in alternative printing approaches like laser cutting. I thought of something that will have some complex extrusion, while it being in handy for myself. I decided to design and print a cable holder that can be fixed anywhere using a double sided tape.
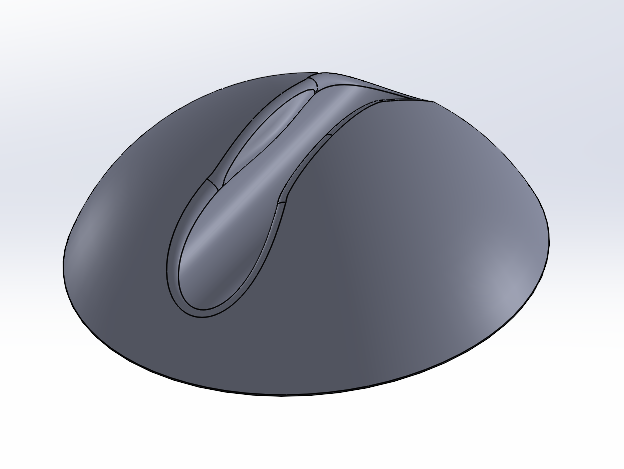
I used SOLIDWORKS to design the part as it is my favorite designing software. The way I did it is by having a small circular extrusion at the bottom followed by a dome on top of it. The dome then was cut cylindrically with an open gap at the top. To make sure that the cable will not fall out. A rectangular extrusion was made to form an open top with flat surfaces. The flat surfaces had then a dome extruded on them as seen below showcasing the cable holder. Sharp edges then were filled with material to make them round and smooth with a final design shown below. This design cannot be done subtractively because it has many fillet and hollow inner dimensions with an open end that cannot be done with subtraction.
3D model
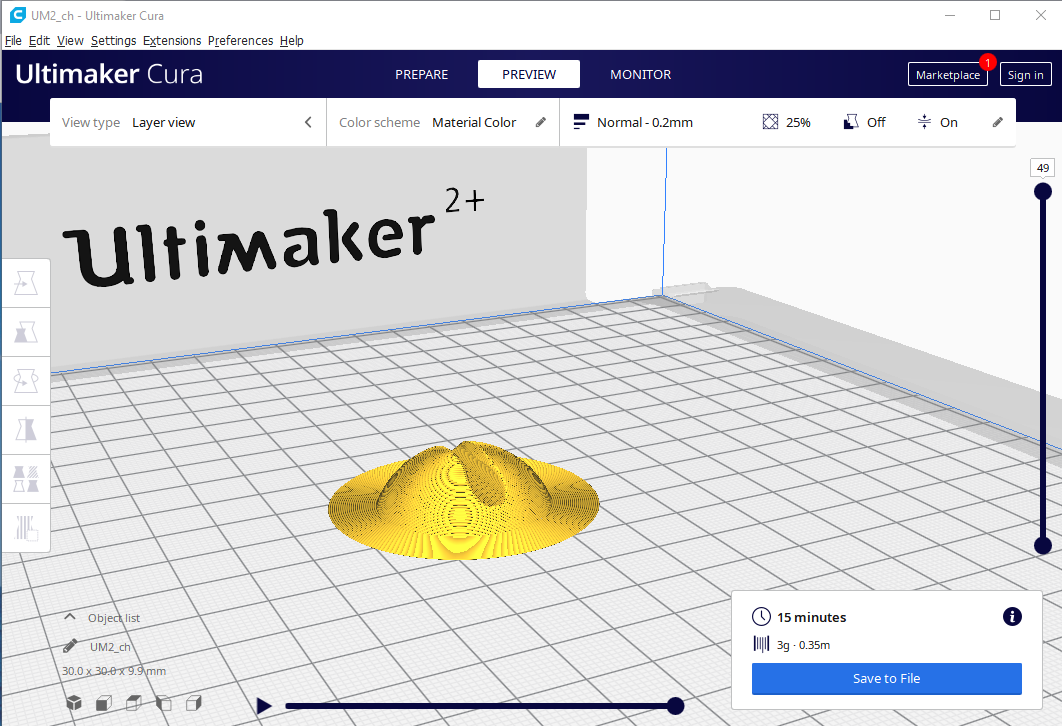
Cura Steps
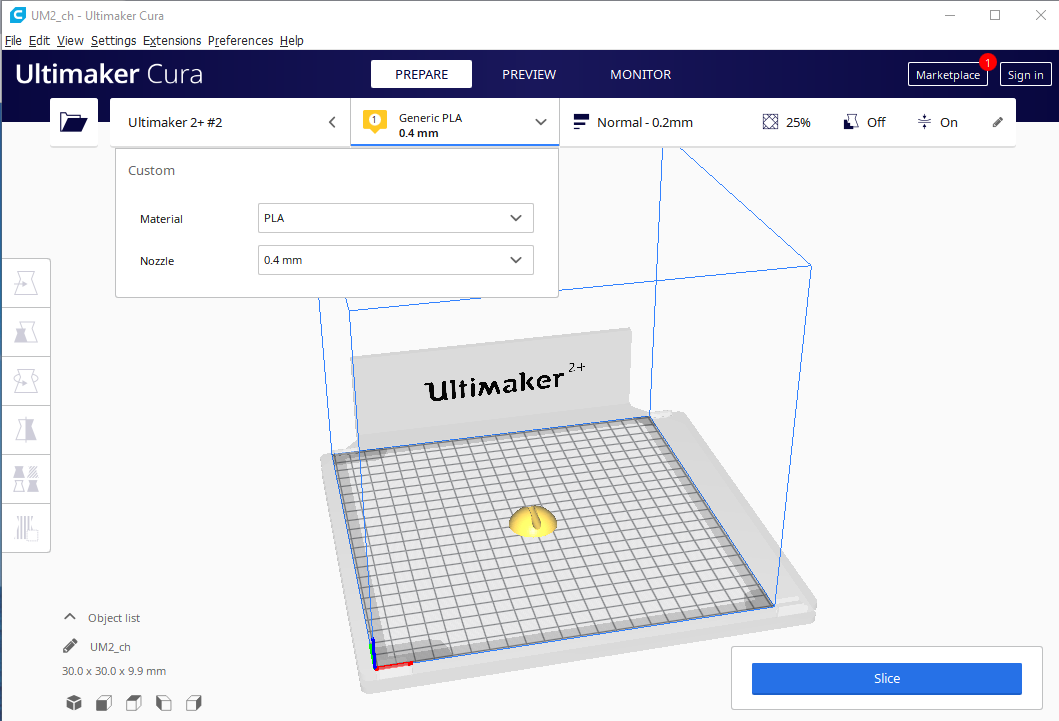
Cura was used to set up the CAD design on the 3D printer for it to start printing following the below steps shown in pictures.
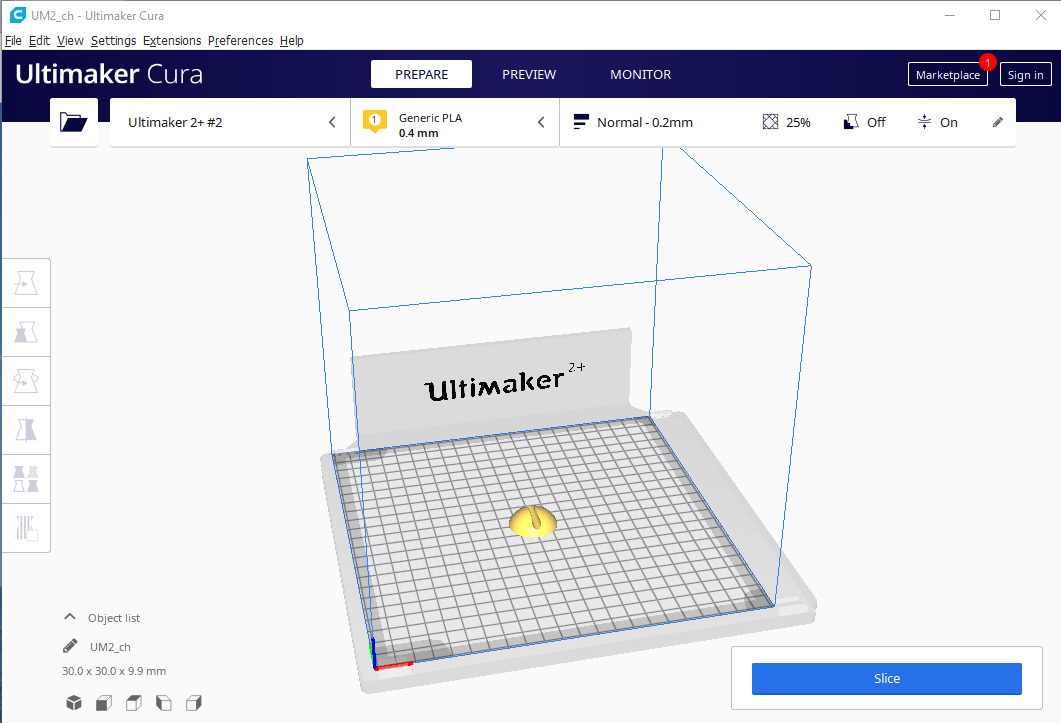
Click Slice
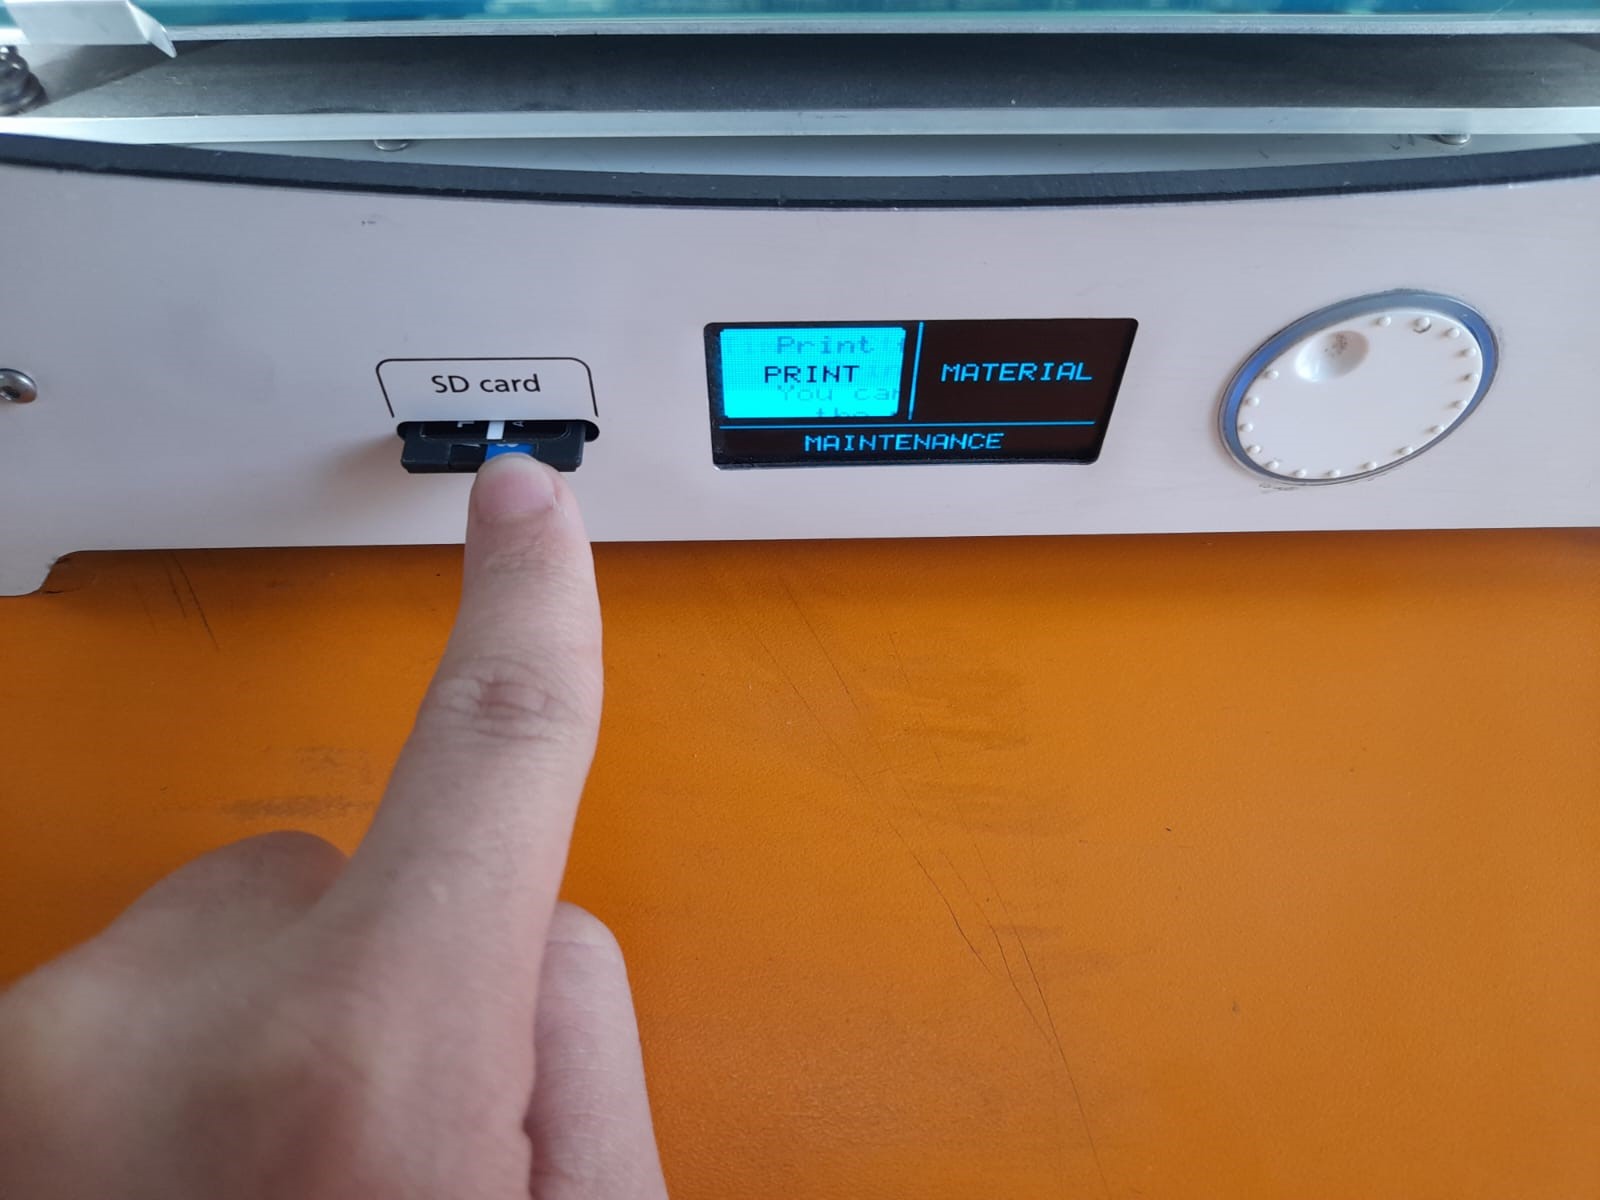
Insert the SD card
Original files
Click to Download SOLIDWORKS file
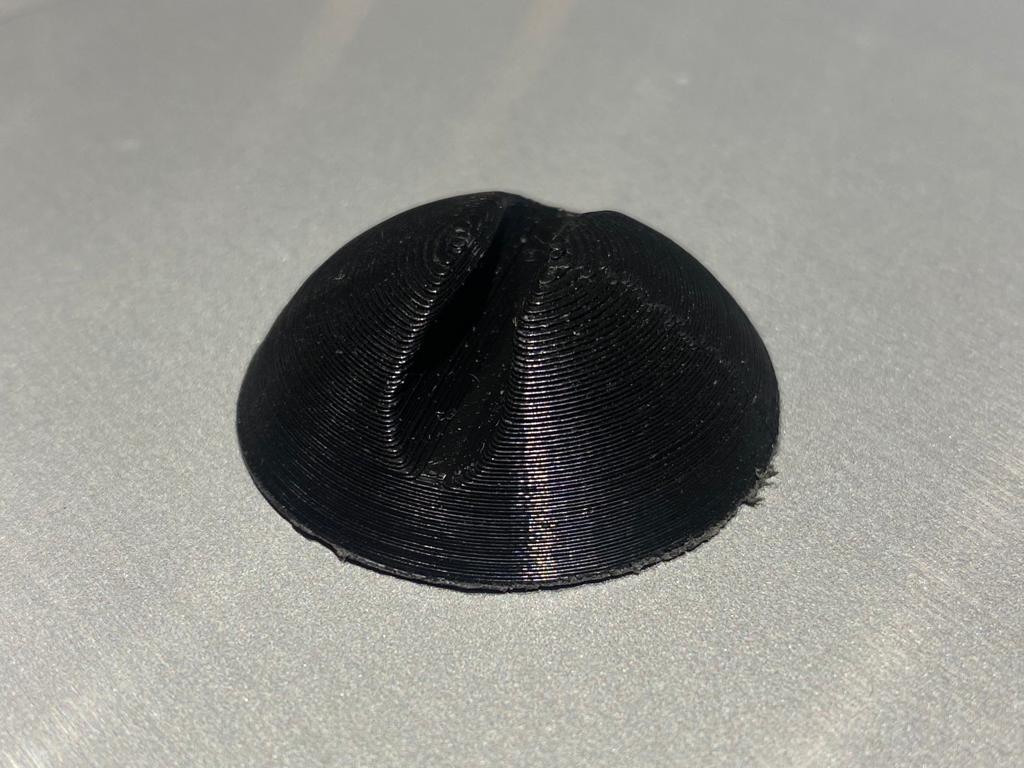
Hero Shots

3D scanning
3D scanning was done as we waited for our 3D drawings to be produced, which turned out to be much simpler and laid back than it seems. All we had to do was to download a program, which is Qlone, and aim our phones’ cameras at various things; the rest was quite self-explanatory. The 3D object I scanned was my personal laptop mouse.
Very user-friendly program. The desired object was placed on a mat that was very similar to paper with a QR code on it, and the mat was spun on top of a spinning chair until the software indicated that the scanning was complete.

The major challenge with this program is that you have to move your phone extremely carefully because even a small distance might screw up details during scanning and distort your scan.
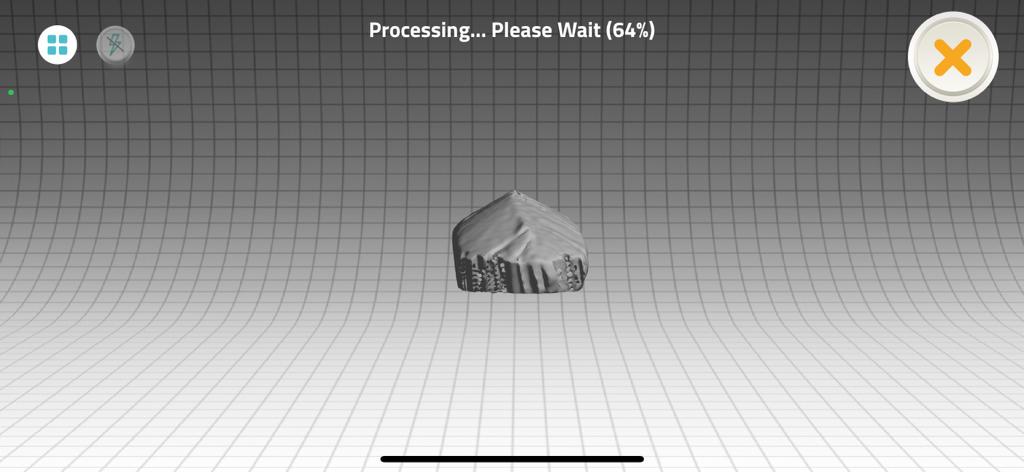
Hero Shots
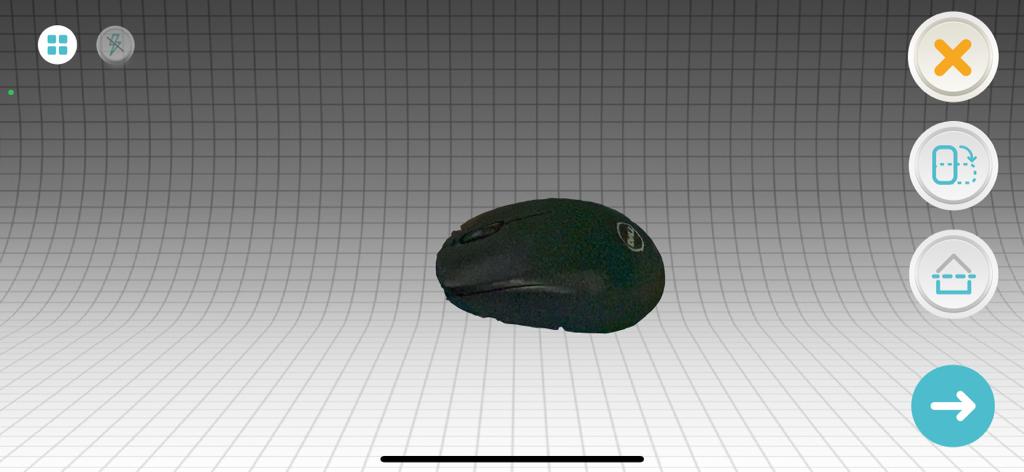
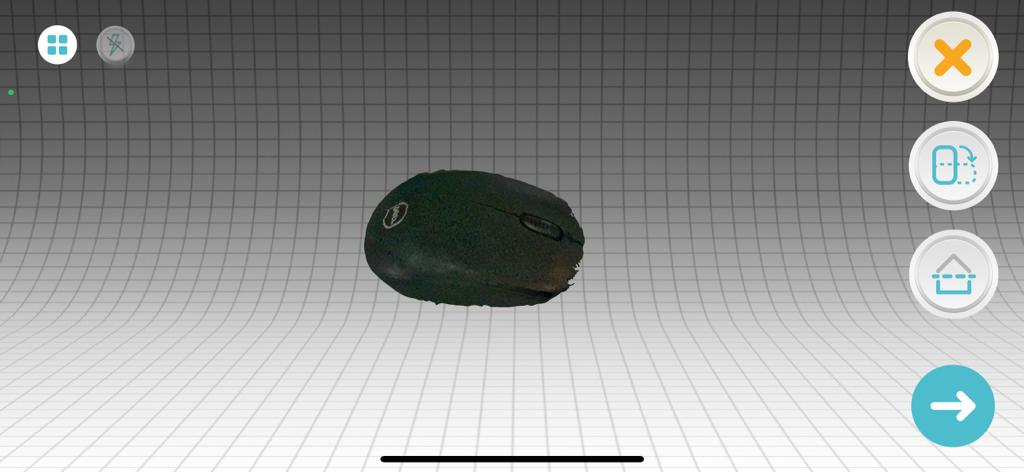
It did replicate the actual mouse with the correct colors, yet there were imperfections in the scanning but it was predicted since the used software was just an application on a smartphone.