6. Large format CNC (computer controlled Machining)
This week we used a large form of controlled subtractive cutting to develop a wooden assembly that can be used by children. The nice thing about this week is its purpose. The designs and assemblies are to be used for a children’s charity.
A wonderful example of a subtractive cutting is a CNC. Safety is thus a top priority when operating and handling the machine. From household furnishings to architectural structures, CNCs are used. We’ll be utilizing end mill bits this week. Particularly for 3D printed pots and components, curved parts are employed. By drilling a material (with these bits), the CNC machine physically consumes the preset design.
Feeds define how fast the cutting is moving around, while speed in rpm is the rotation of the bit. For various feeds and speeds, we anticipate varying outcomes. High speed and large chips go in hand. A great way to gauge a machine’s speed is by sound. Feeds and speeds are often estimated using calculators or online charts. However, we’ll be using trial and error to test out those features for the group task.
We expect different results for different feeds and speeds. Large chips and fast speeds go hand in hand. Sound is a fantastic technique to determine a machine’s speed. Calculators and online charts are frequently used to predict feeds and speeds. For the group job, we’ll try out those features through trial and error, though.
Group Assignment
We had to test the CNC’s feeds and speeds, alignment, and tool paths (cutting and pocket) for the group assignment. The work done can be found below.
Individual Assignment
For this project I wanted to make something that can be useful for kids while at the same time have a childish design and not just a basic one. I came up with the idea of making bookshelves with engraved letters on each side for the kids to practice those letters while using the assembly for their books. I used Fusion360 to draw the sketch used.
The bookshelves have 4 parts in total
first part
The side of the shelves where the engraved letters are there. The height and width were based on standards taken online. The gaps made for the joints were 11.6mm because the wooden sheet’s thickness is 12mm so all female joints should be 0.4mm less according to standards from the instructors to allow a tight fit of the male joints.
The inclined holes are for a different part than the horizontal ones. Two copies are needed from this part.
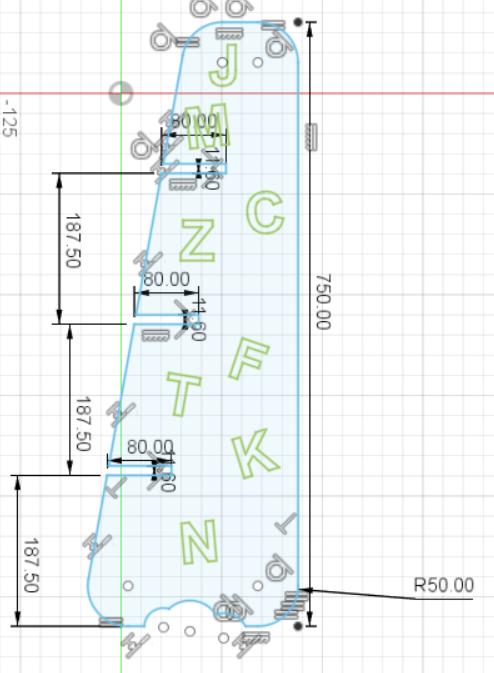
and the extrusion looks something like this.

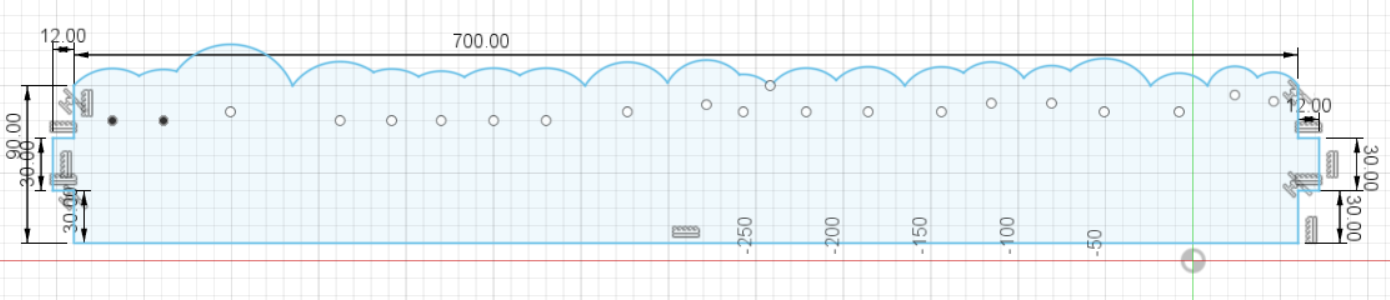
second part
this part was where the books will have their back laid on and a shape of clouds was made just to make it look more pleasing for kids.

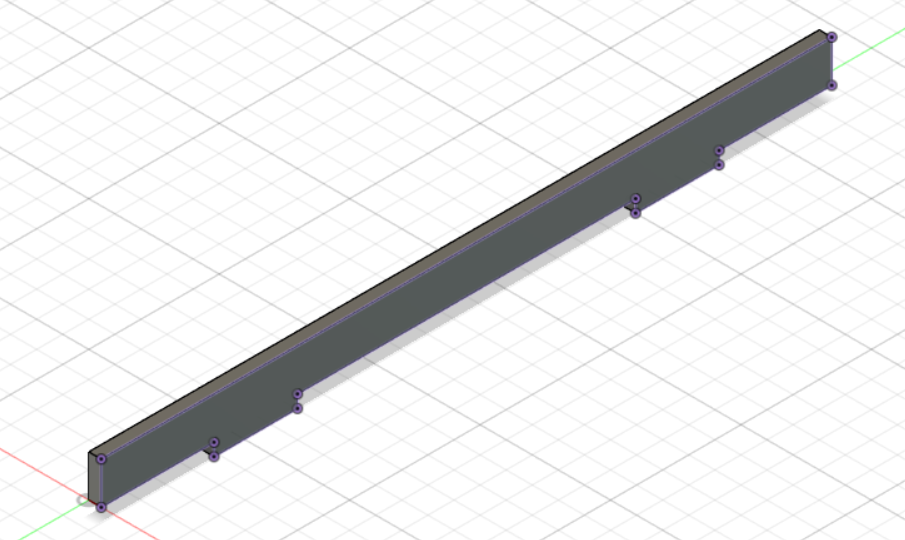
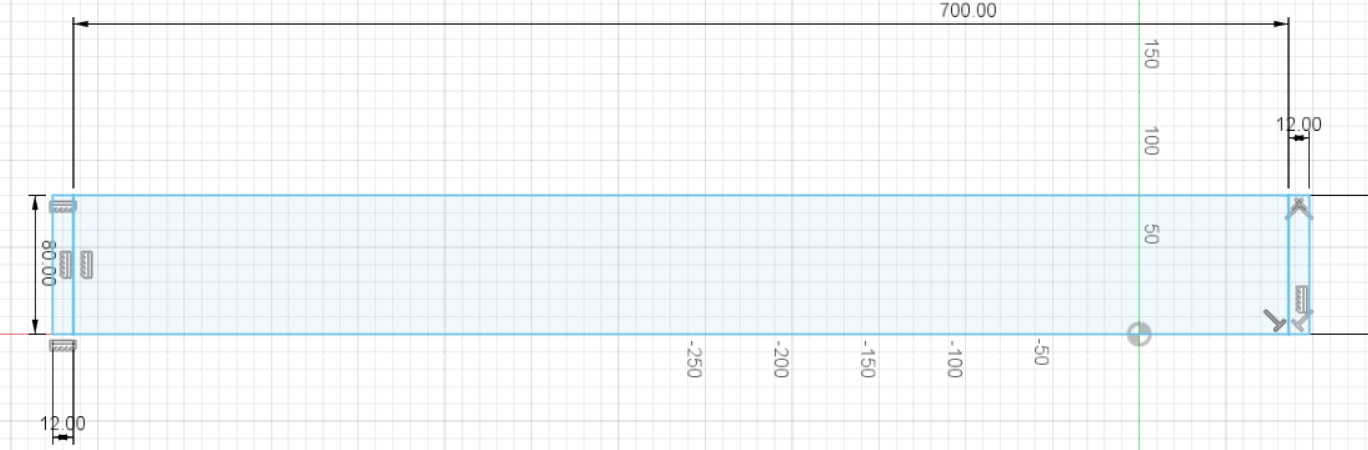
Third and forth parts
This is the base where the books will stand on with a forth part making sure that no books can fall off.


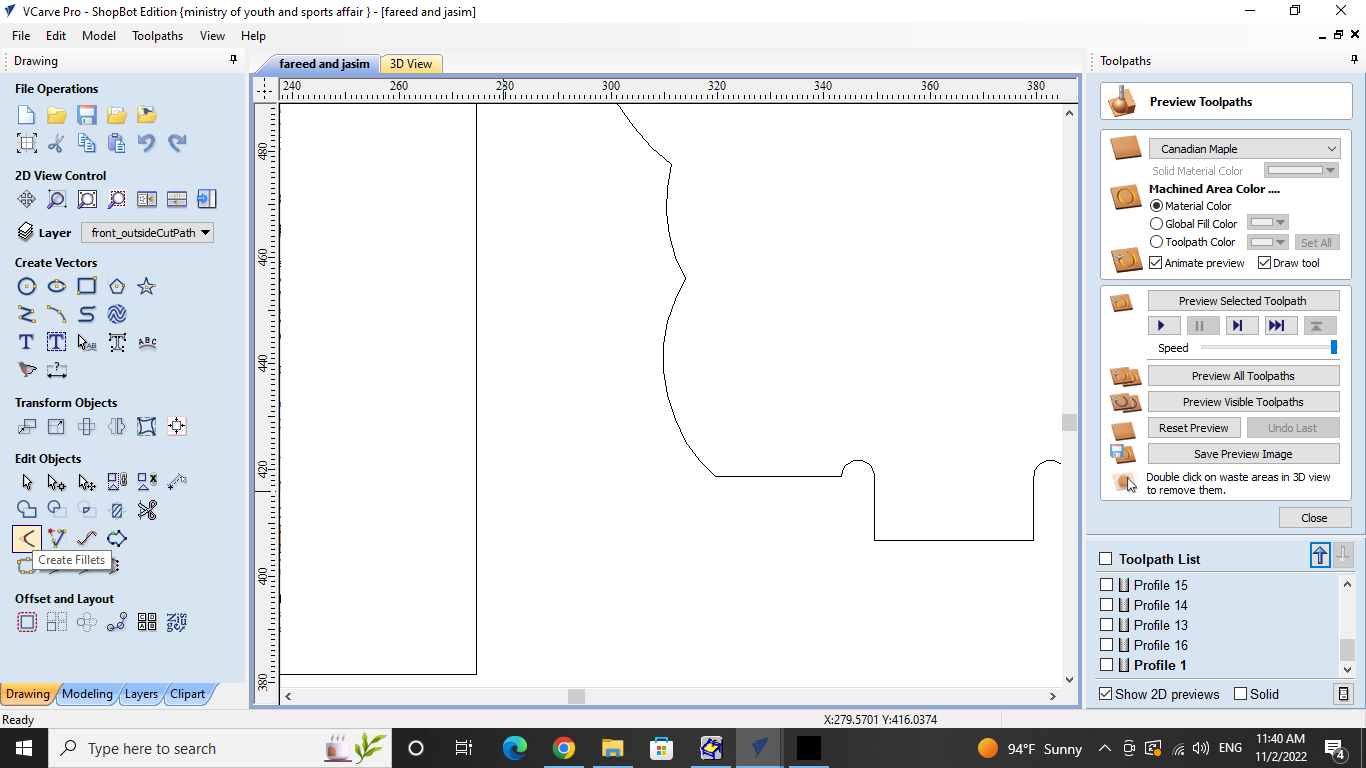
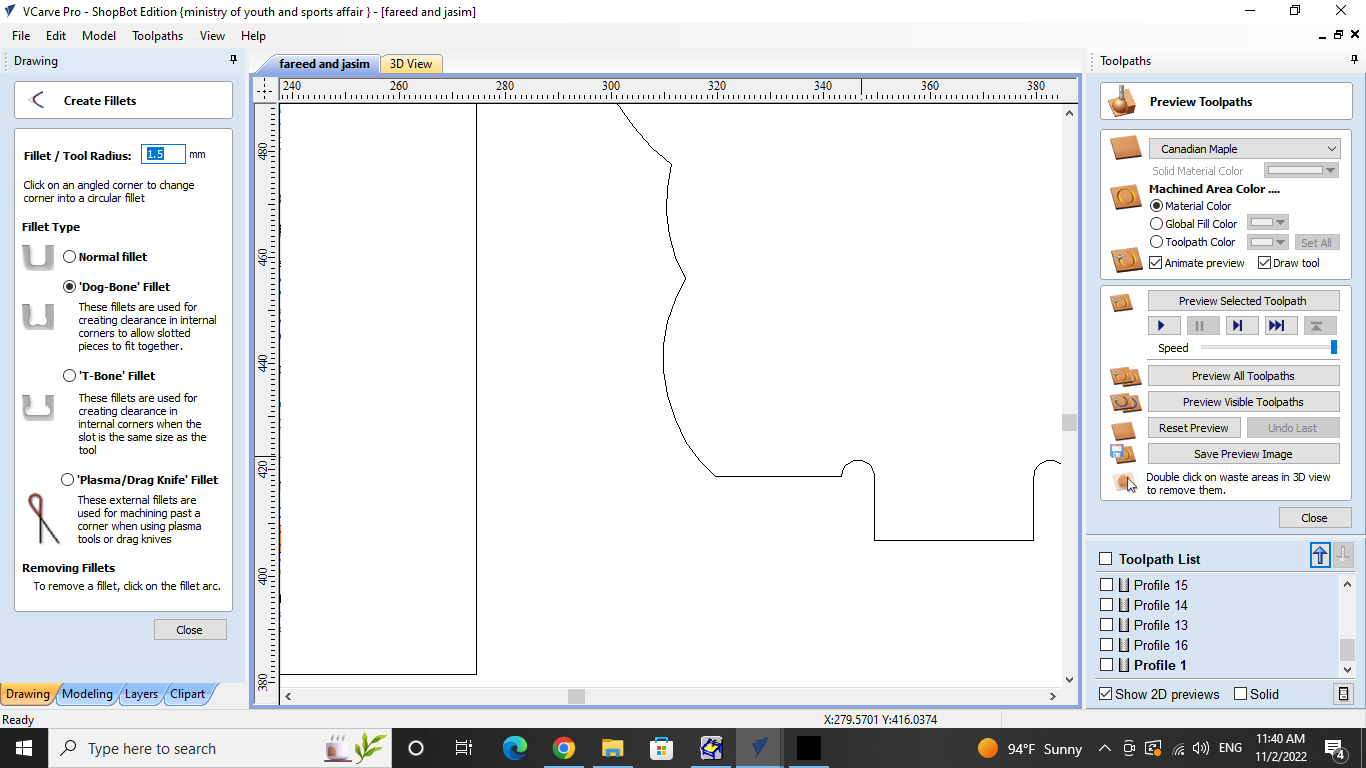
Tool Path and feed speed steps
Below is an illustration of the CNC tool path and feed speed setup.
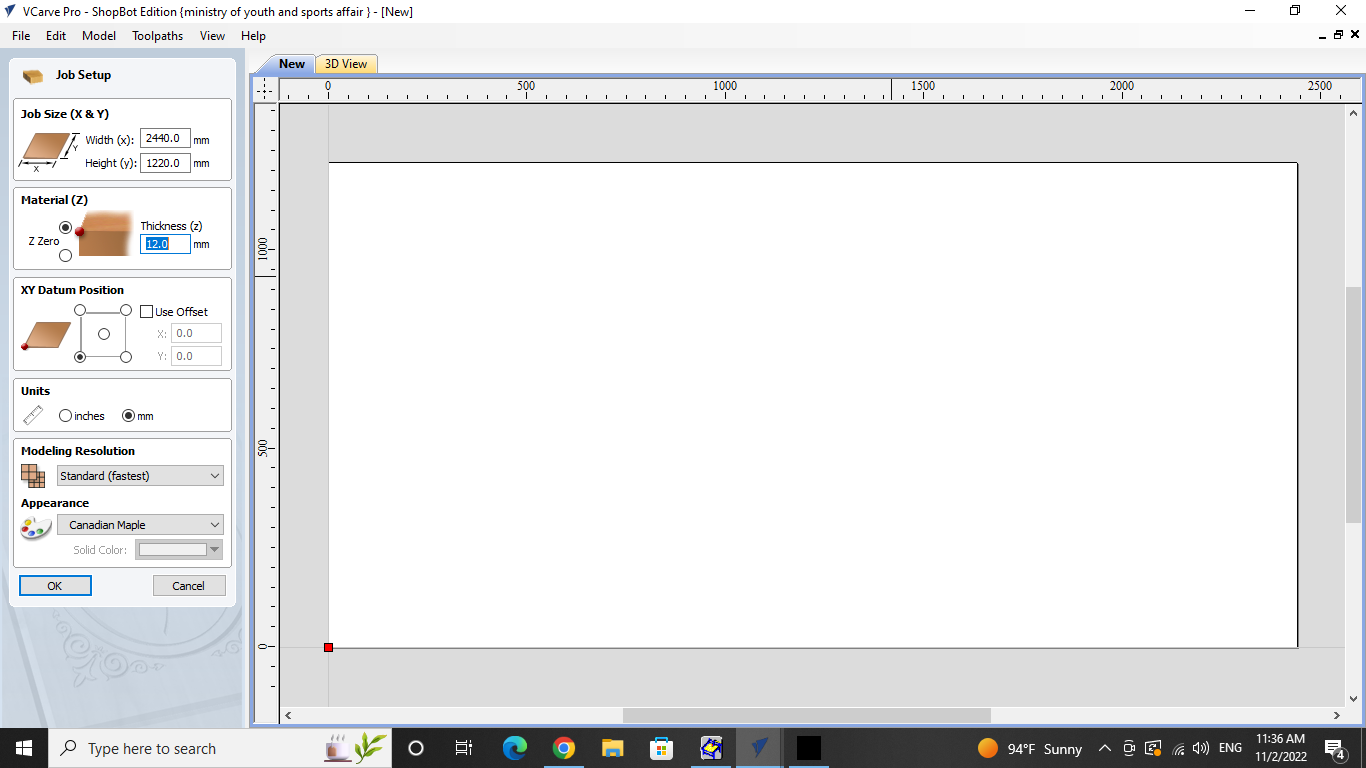

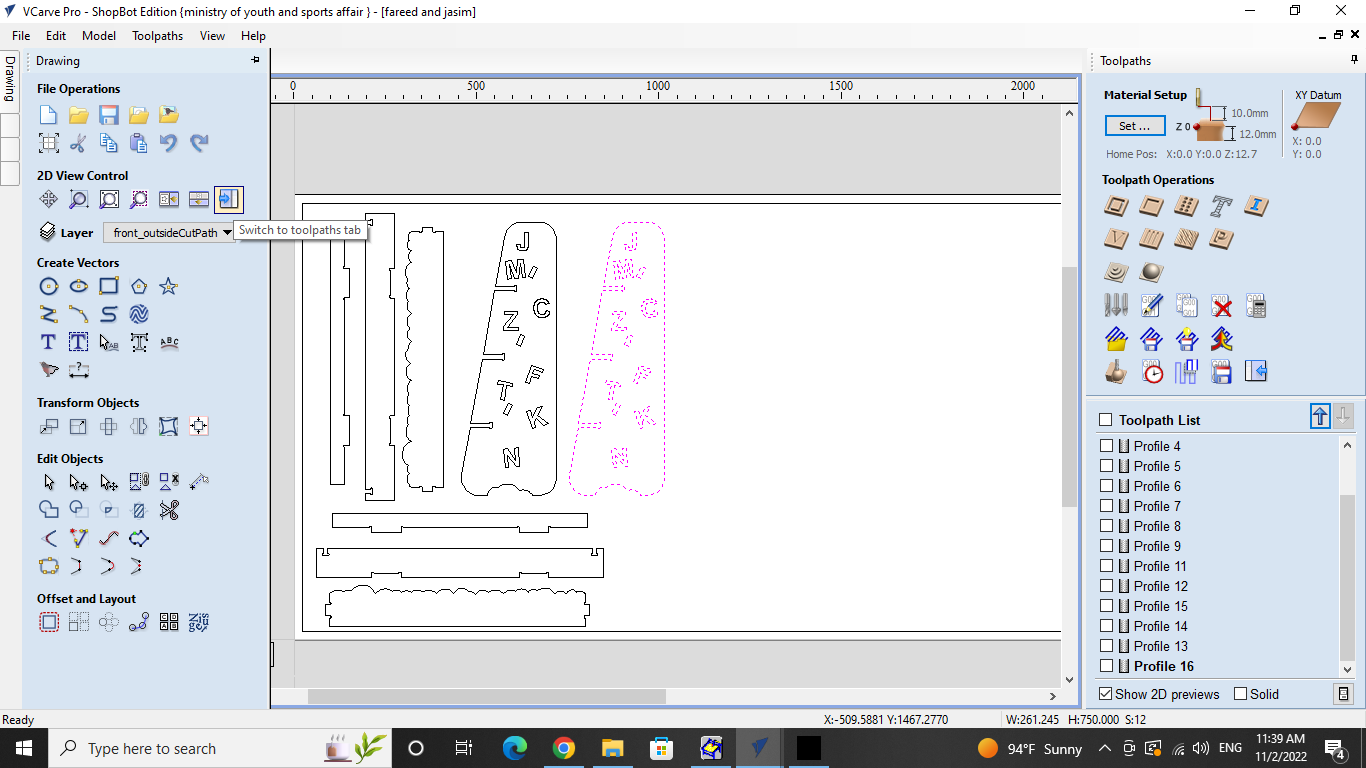
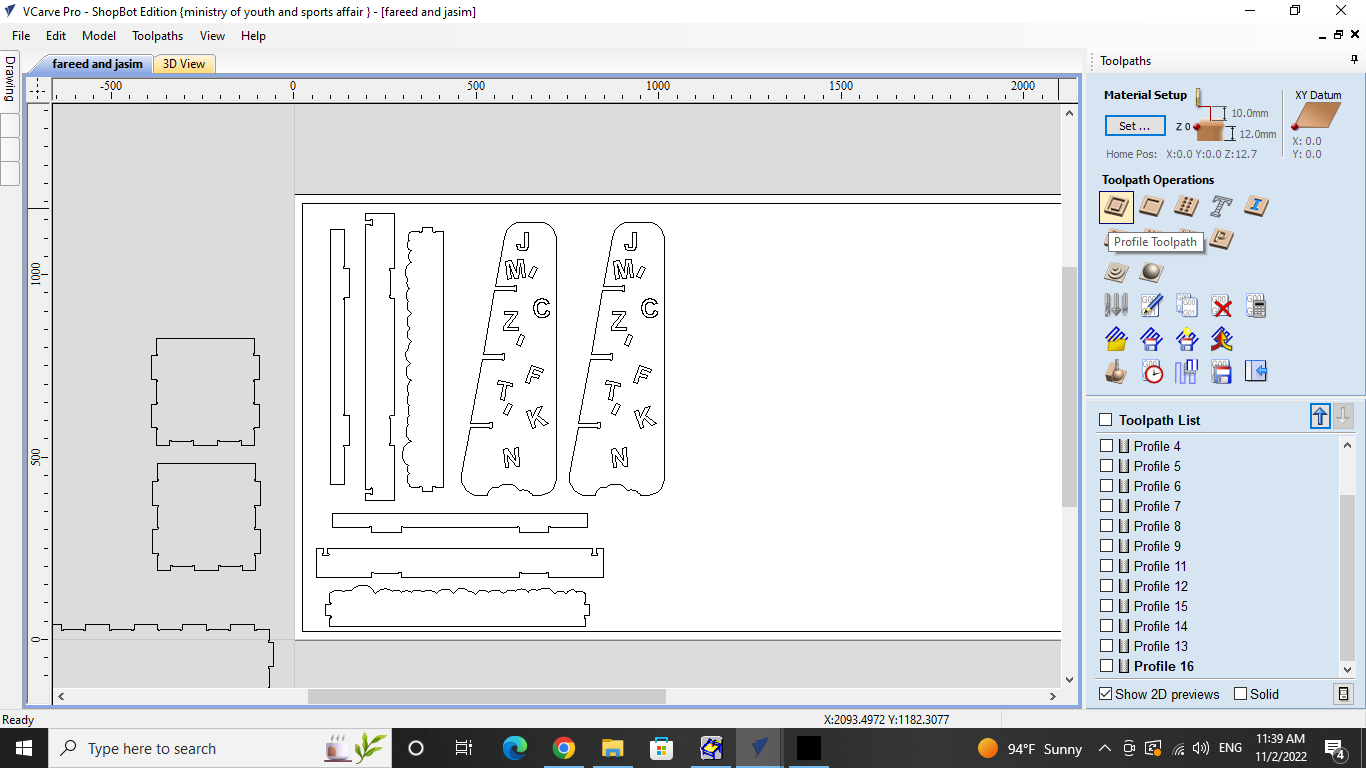
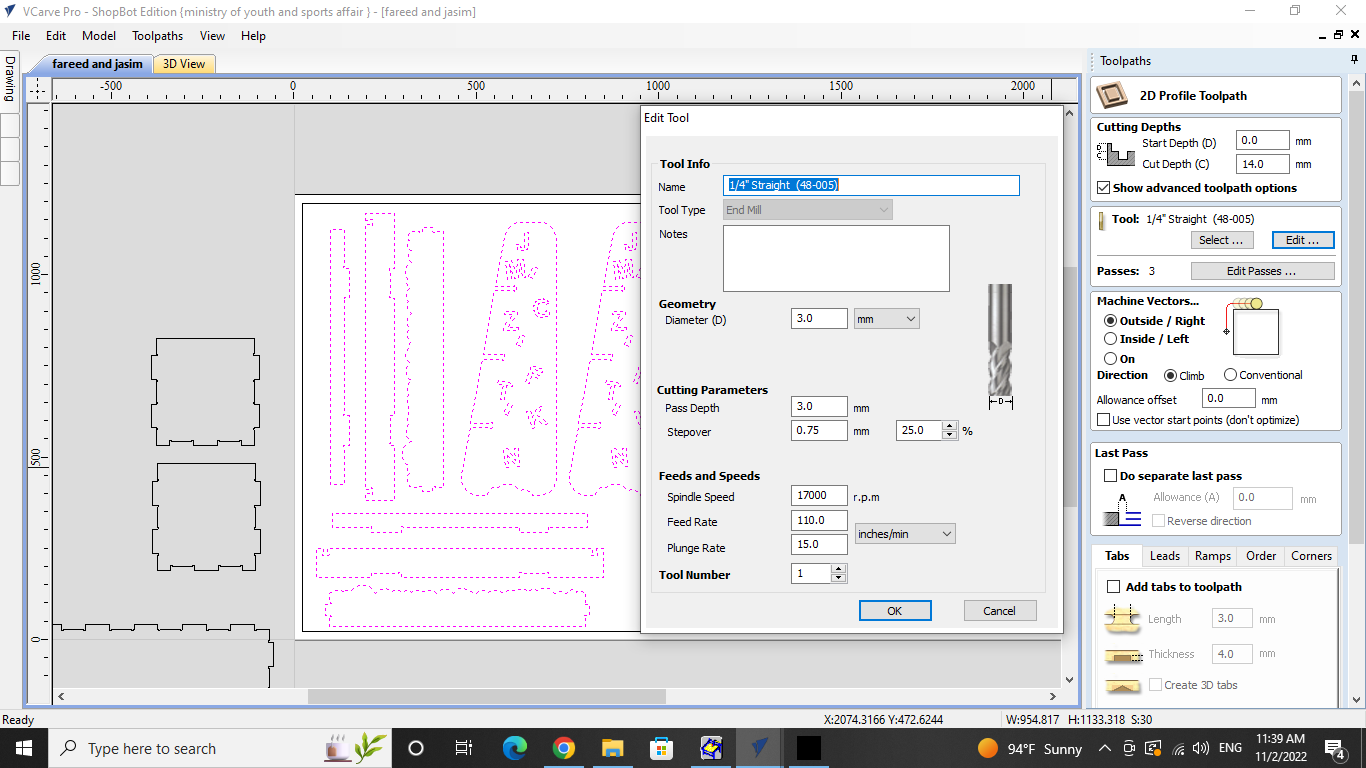
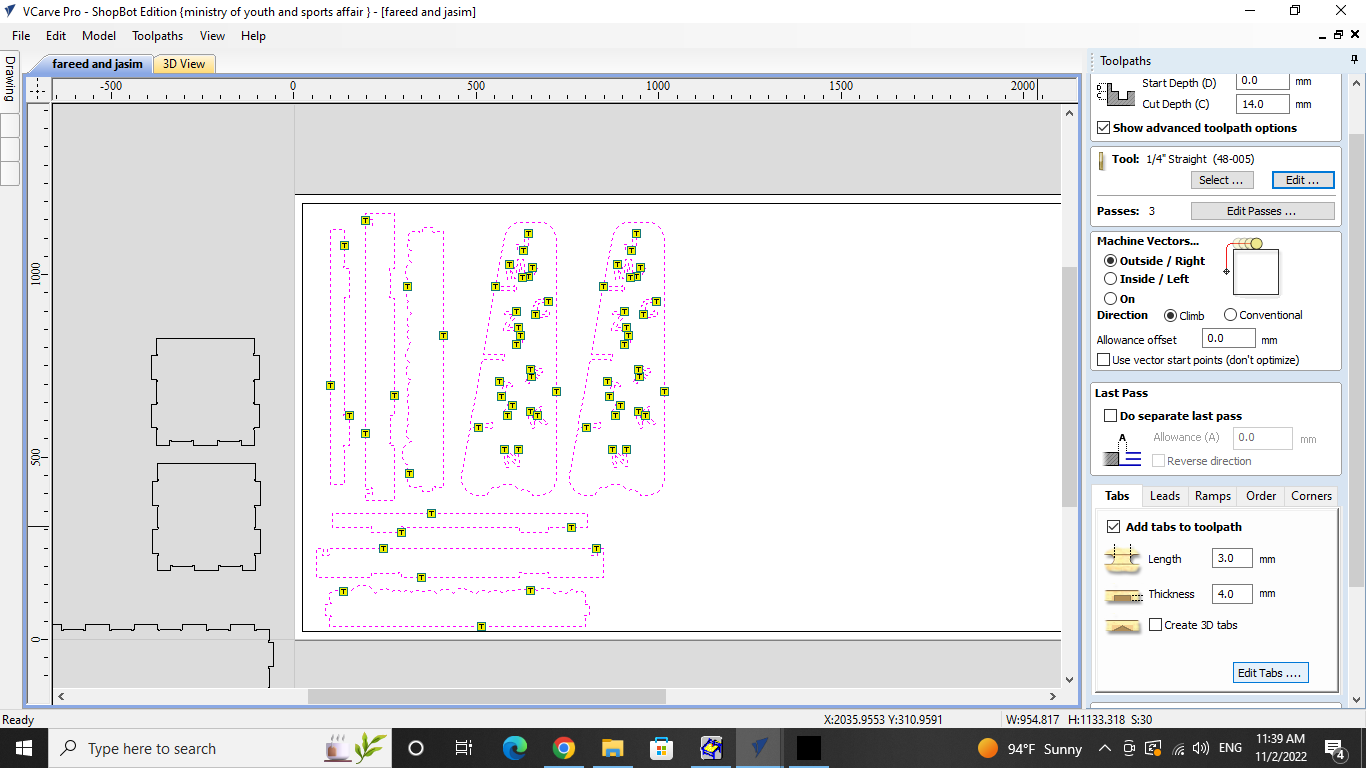


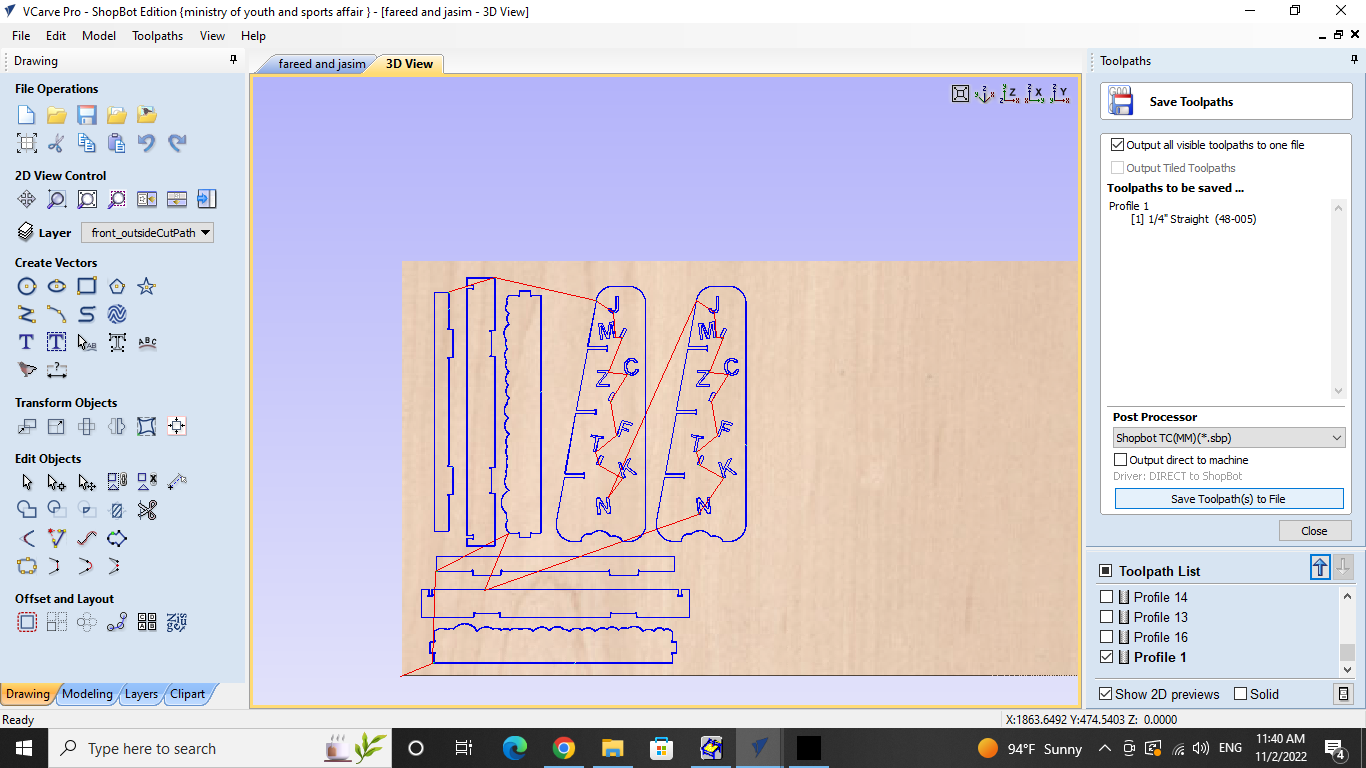
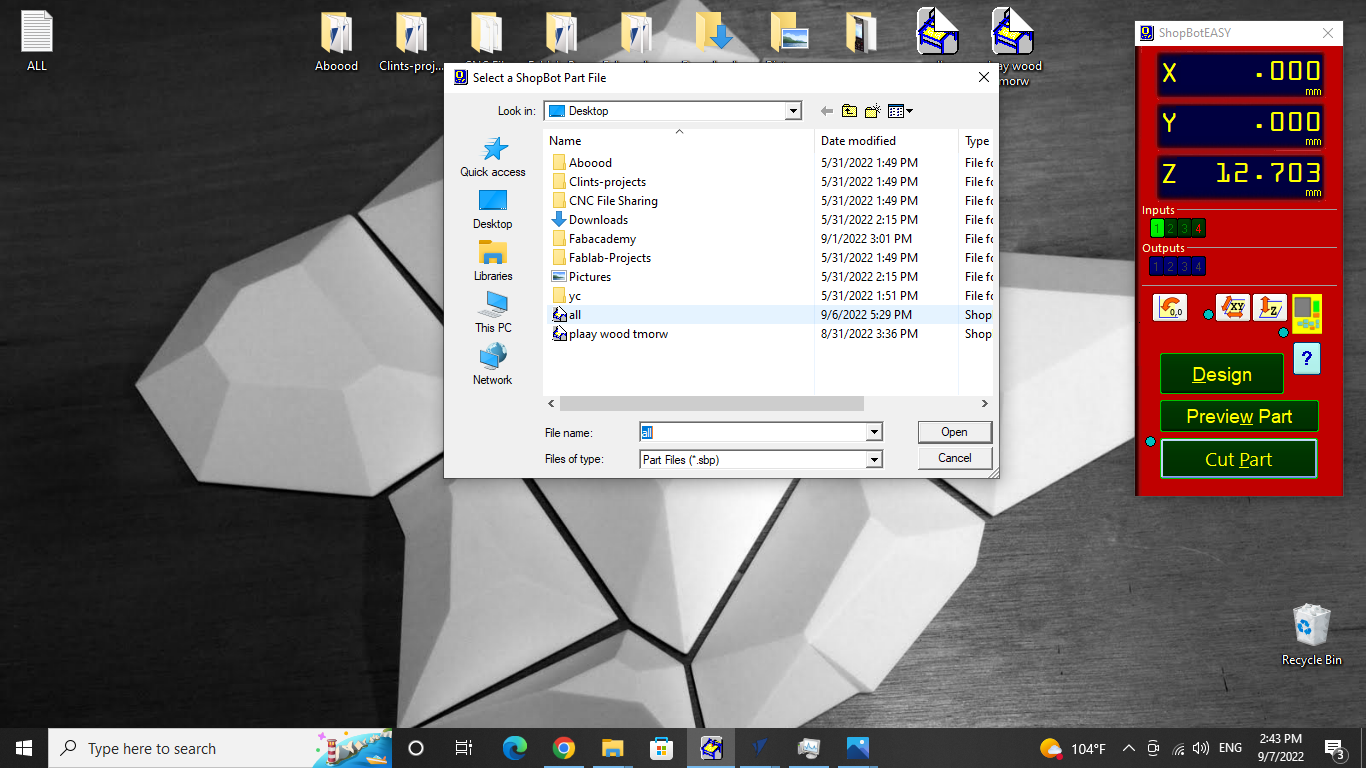
cutting
Now the parts were taken as a dxf file for the cnc software to recognize them and cut them. the settings were set based on the type of wood used, its thickness and type of bit used.
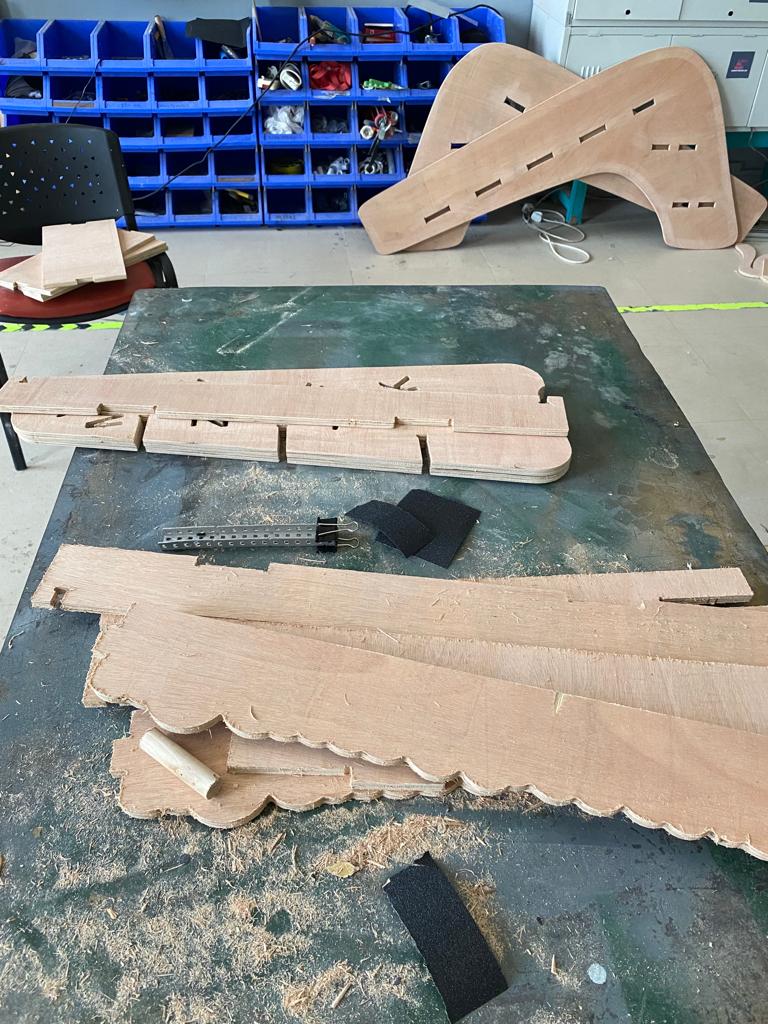
The parts were then cut but with a lot of wooden shrapnel on their edges so they had to be removed using sand paper. The sand paper used was grade 60 first as it is rough, followed by grade 100+ to smoothen the surface.
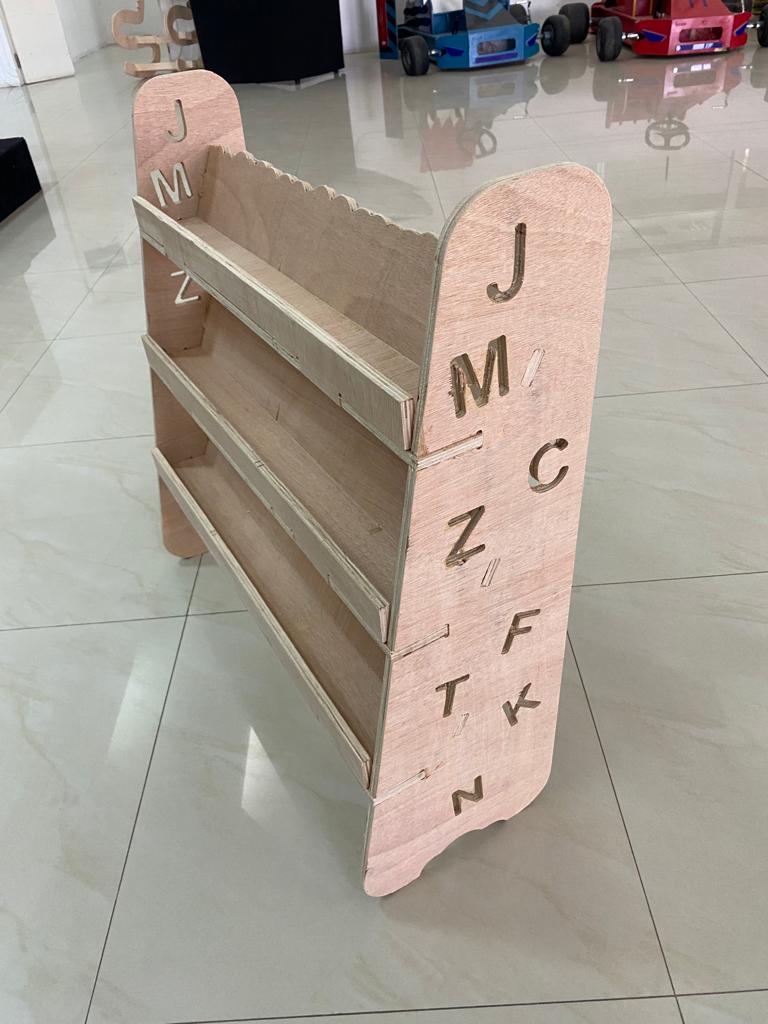
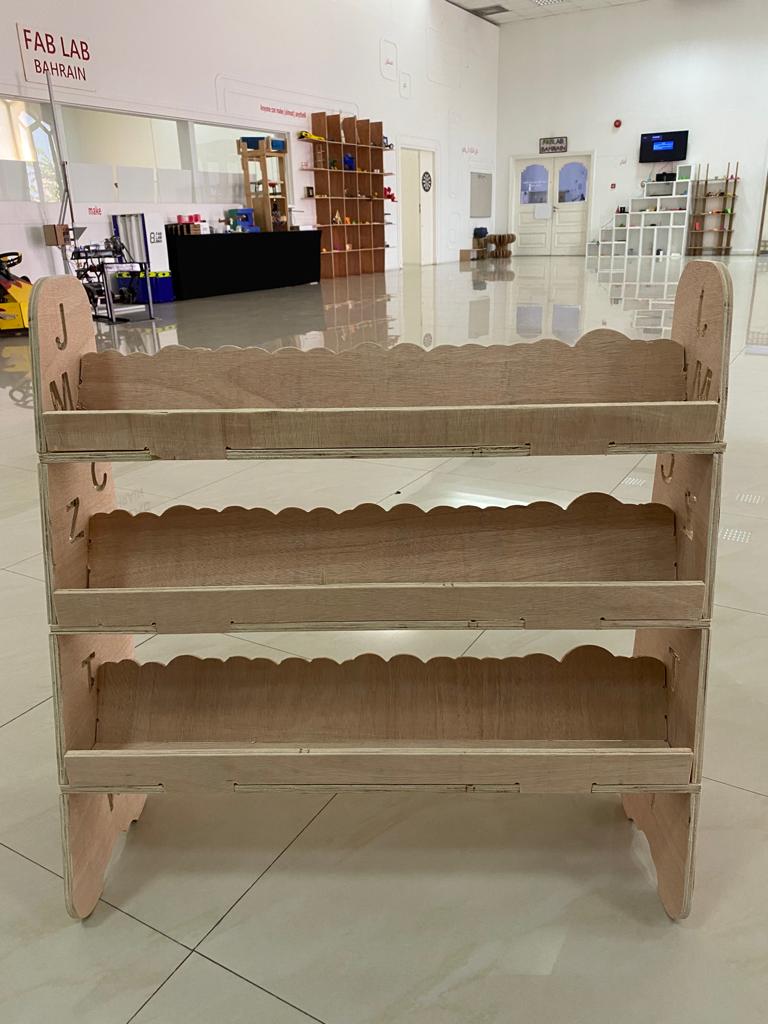
Hero Shots
Then the parts were assembled together using a rubber hammer with the following as the final output.