1. Project management
In order to work on the documentation, I downloaded Atom, a very easy software that helps to document my work, in collabroation with the git ID.
Task Overview
-
Build a personal site describing you and your final project.
-
Upload it to the class archive.
-
Work through a git tutorial.
Introduction
Before we move into the details of atom and Gitlab site, the 2 concepts that we need to know first are as follows:
What is GIT?
Git is a free and open source distributed version control system designed, for tracking changes in any set of files, usually used for coordinating work among programmers collaboratively developing source code during software development. Its goals include speed, data integrity, and support for distributed, non-linear workflows (thousands of parallel branches running on different systems). It enables users to track the changes made to the files and revert specific versions when needed. With Git, every time you commit, or save the state of your project, Git basically takes a picture of what all your files look like at that moment and stores a reference to that snapshot. Git software doesn’t need internet connection for it to work.
What is MkDocs?
Our sites work using a generator called MKdocs.
MkDocs is a fast, simple and downright gorgeous static site generator that’s geared towards building project documentation. Documentation source files are written in Markdown, and configured with a single YAML configuration file. It’s written in the Python programming language, and has a number of themes available.
1. Atom
I started by downloading the software from the following site:
click here to download Atom app
After opening the app, I started linking my documents from the Gitlab site to Atom.
It is very simple. To do this, I went through the following steps:
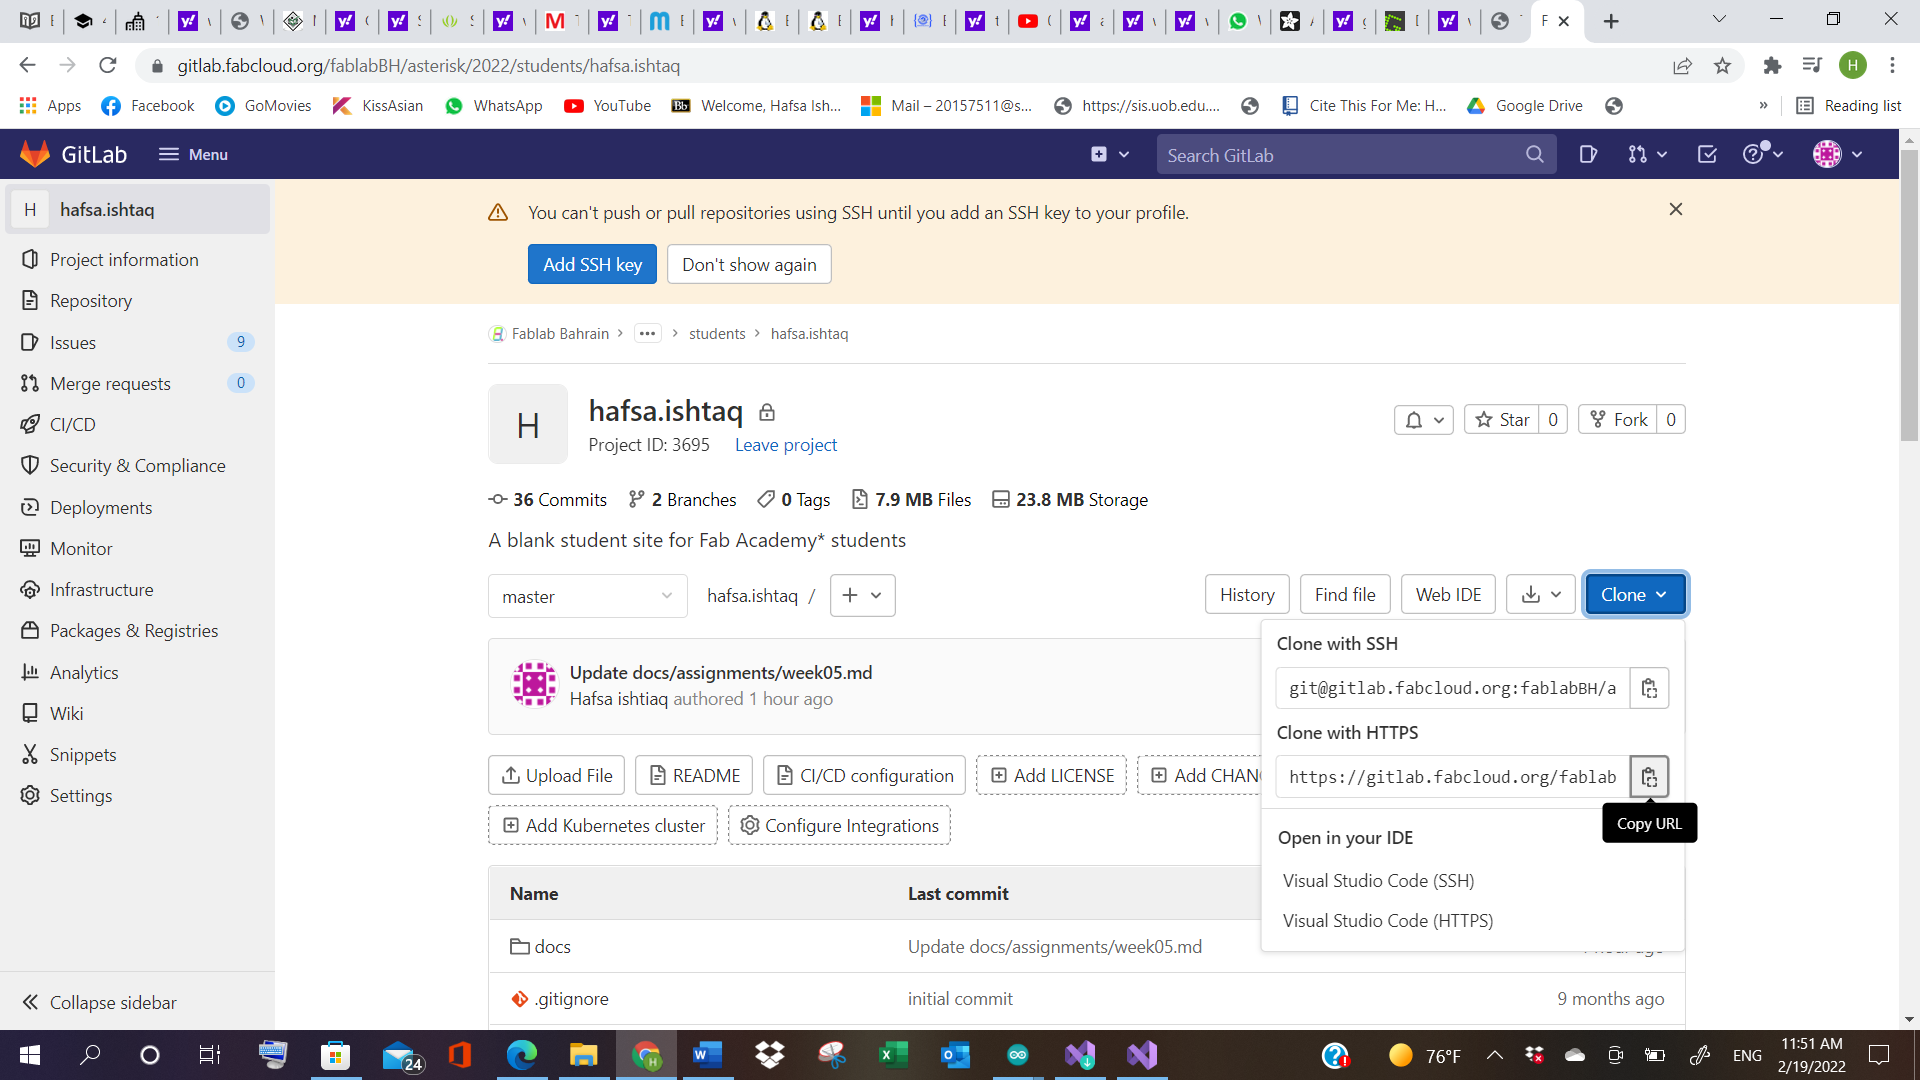
1- Open the Gitlab site.
2- Go to Clone, and copy the “Clone with HTTPS”.
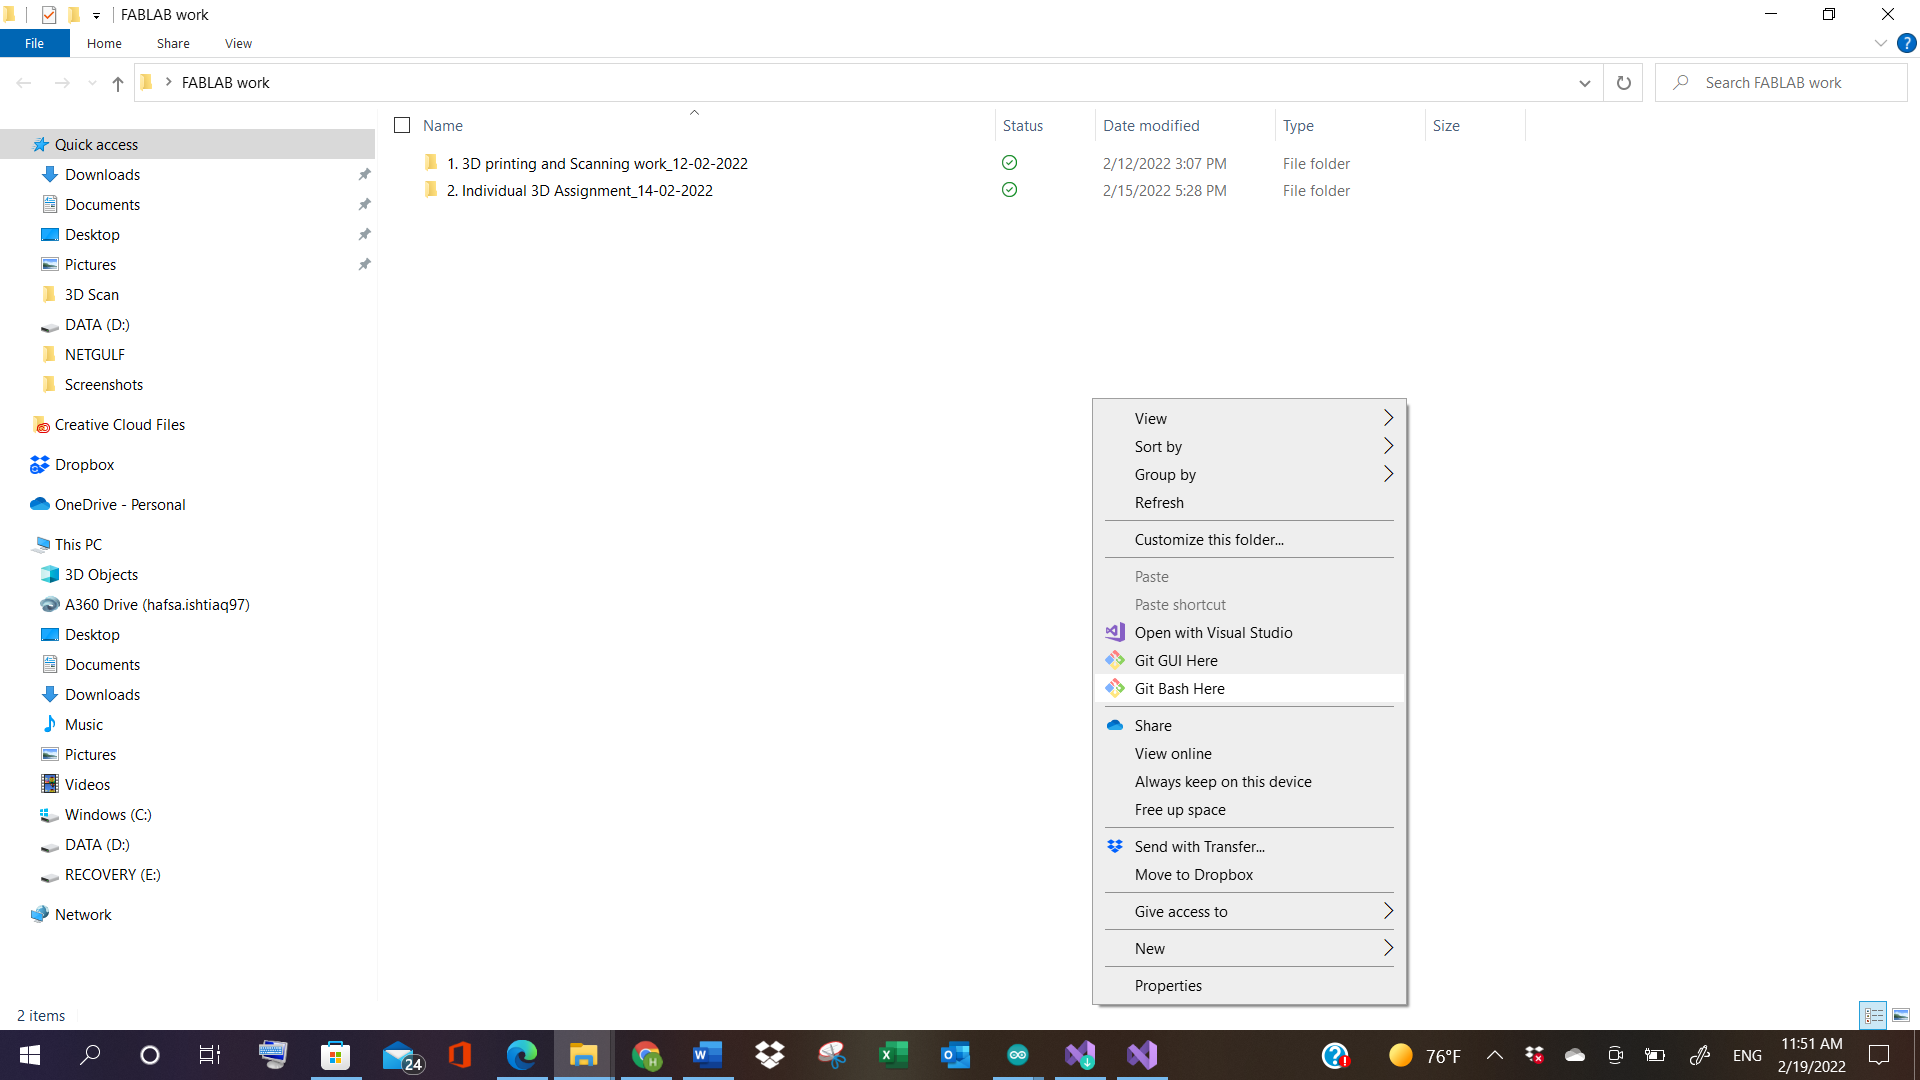
3- Go to the desired folder and select “Git Bash Here”.
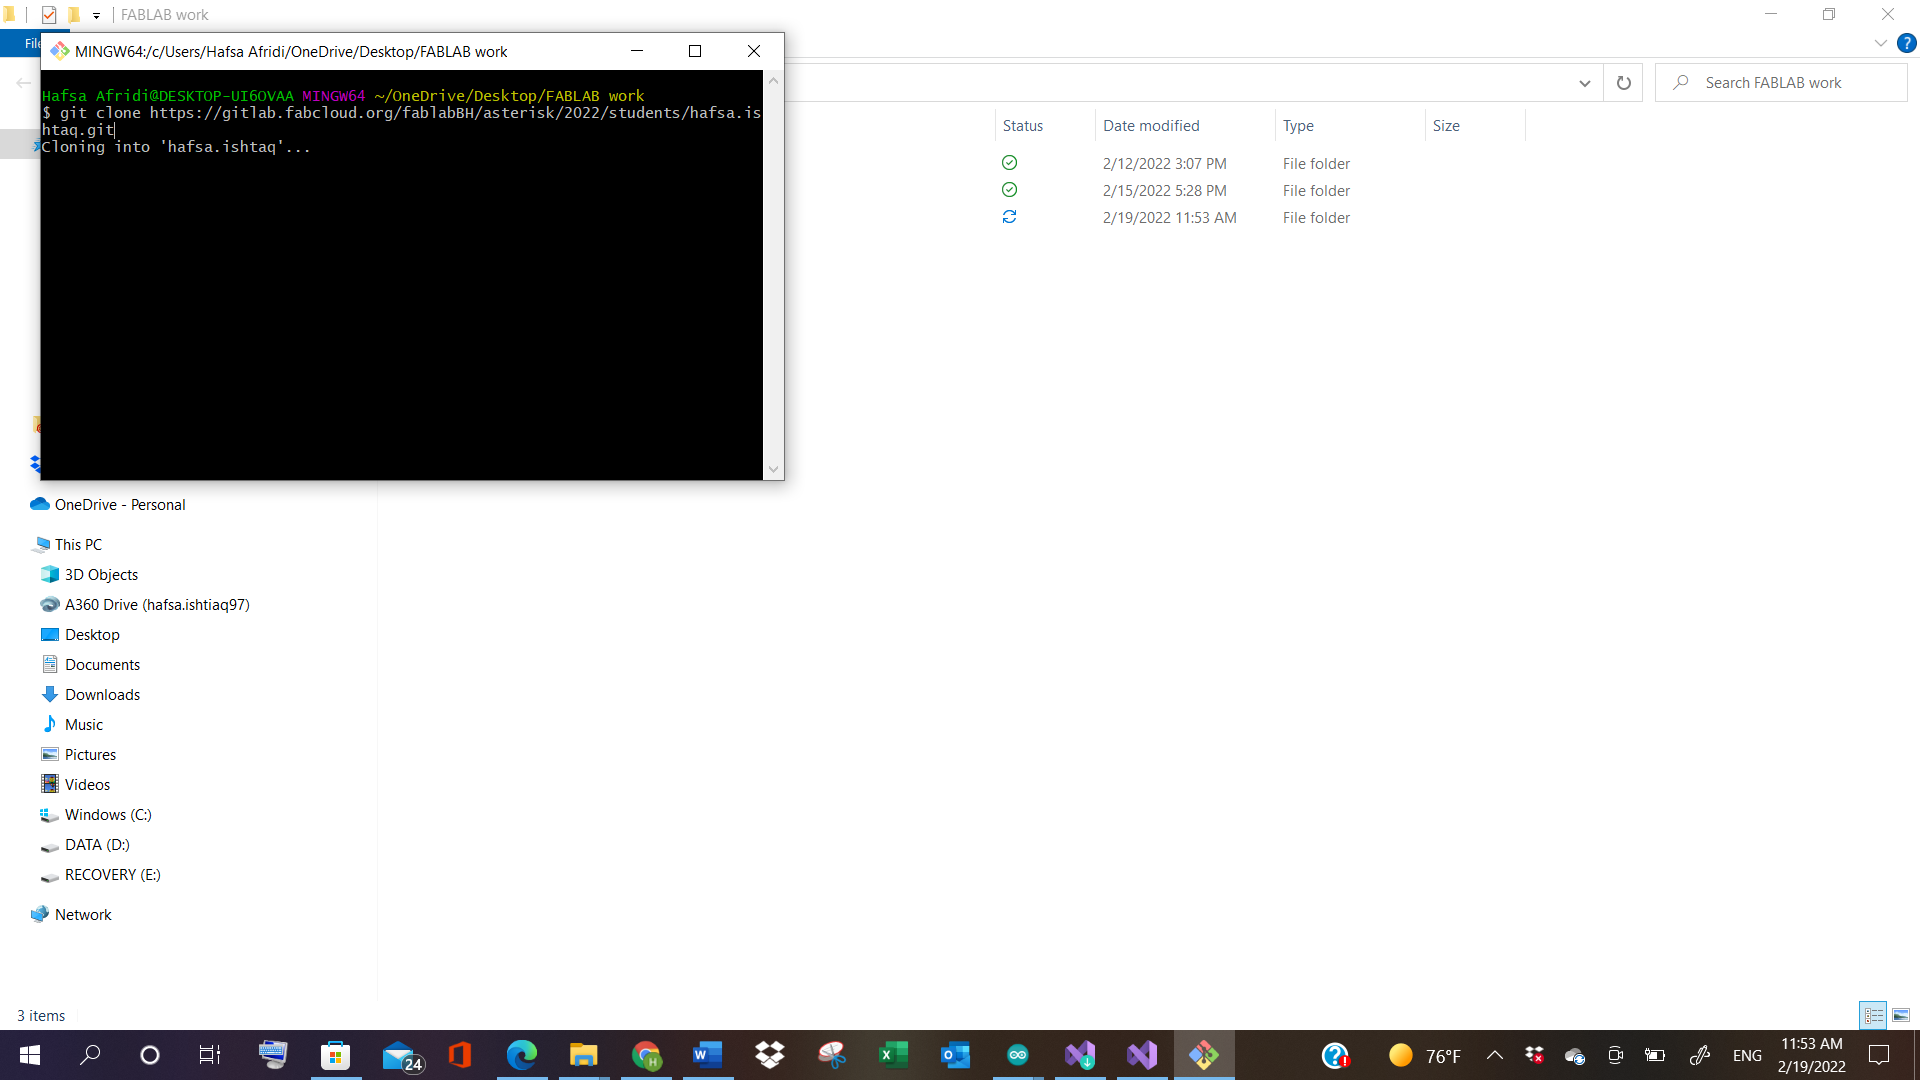
4- A window will appear, now add the copied Clone https in that window, and wait for it to upload the documents.
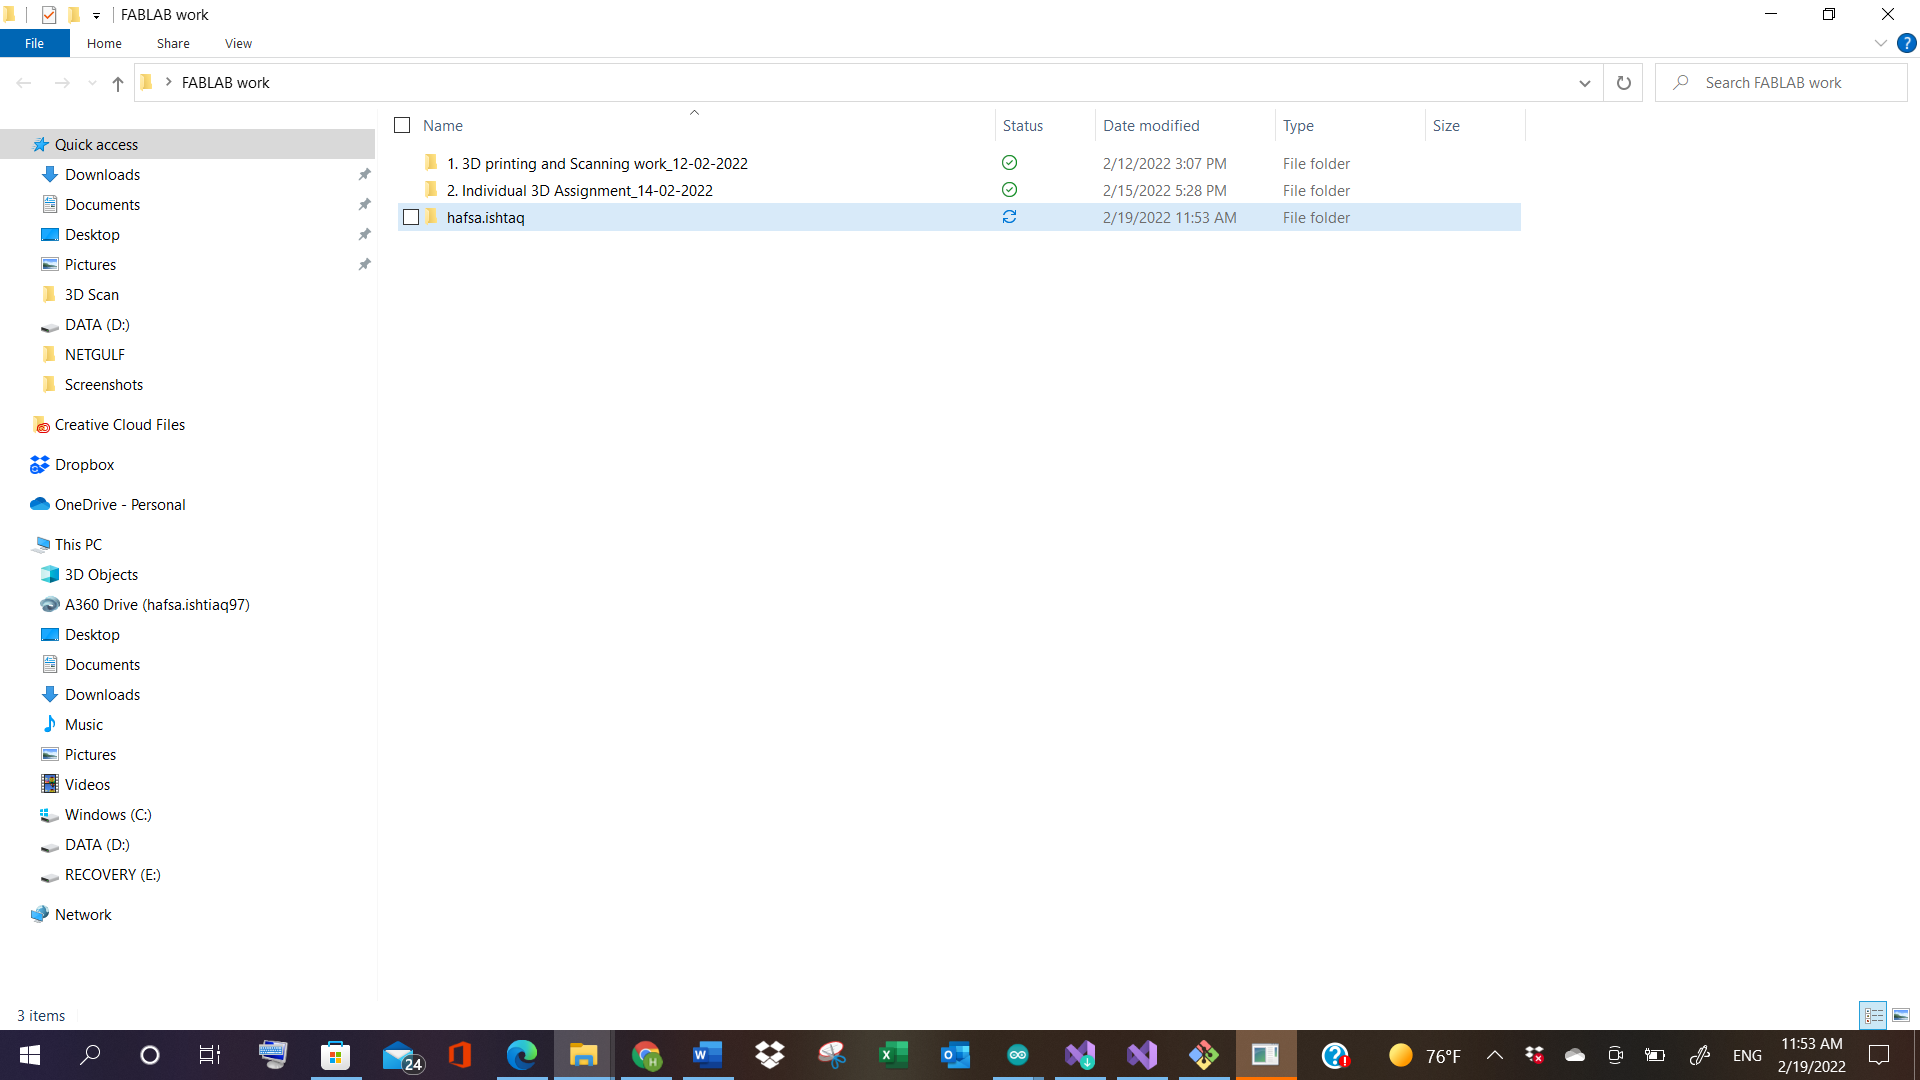
5- After that, the document folder with my name “hafsa.ishtaq” will appear, which will contain all the documents.
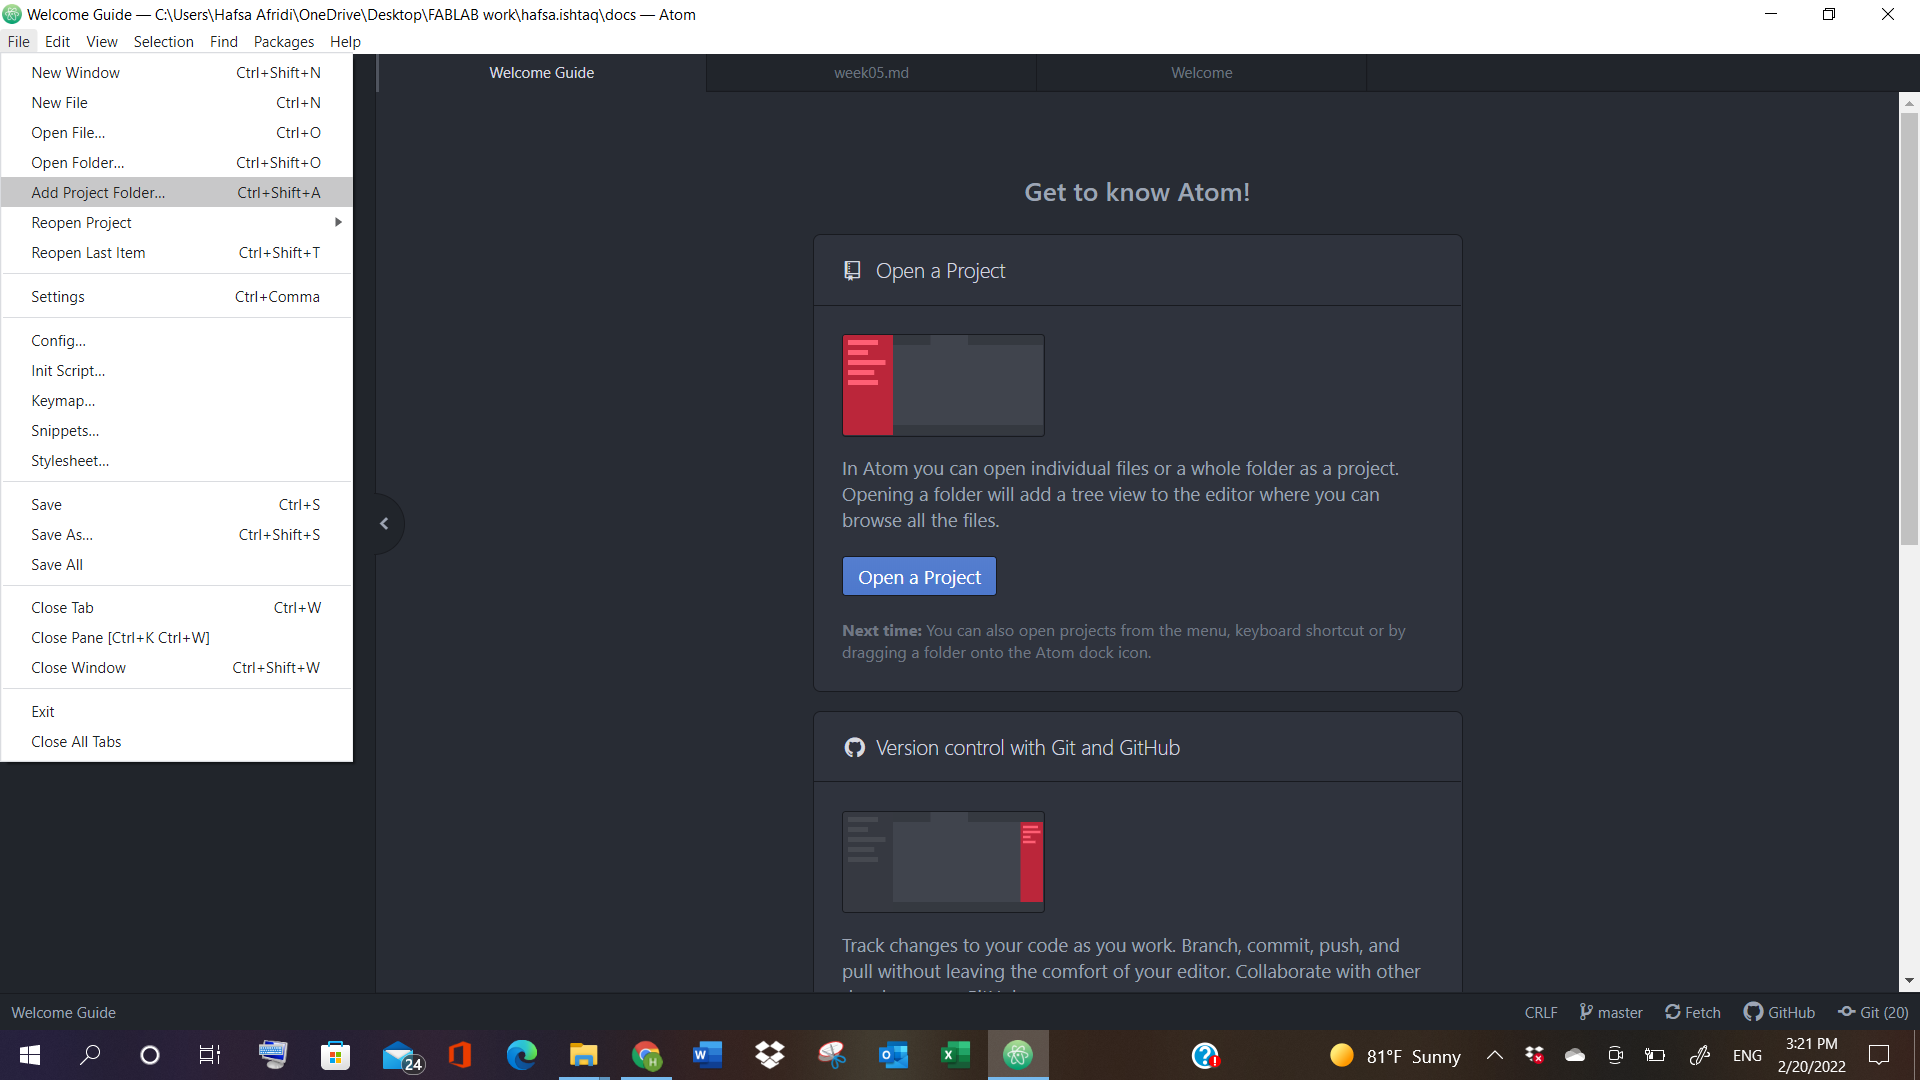
6- Next, open the Atom app.
7- Go to Files.
8- Click on Add Folder.
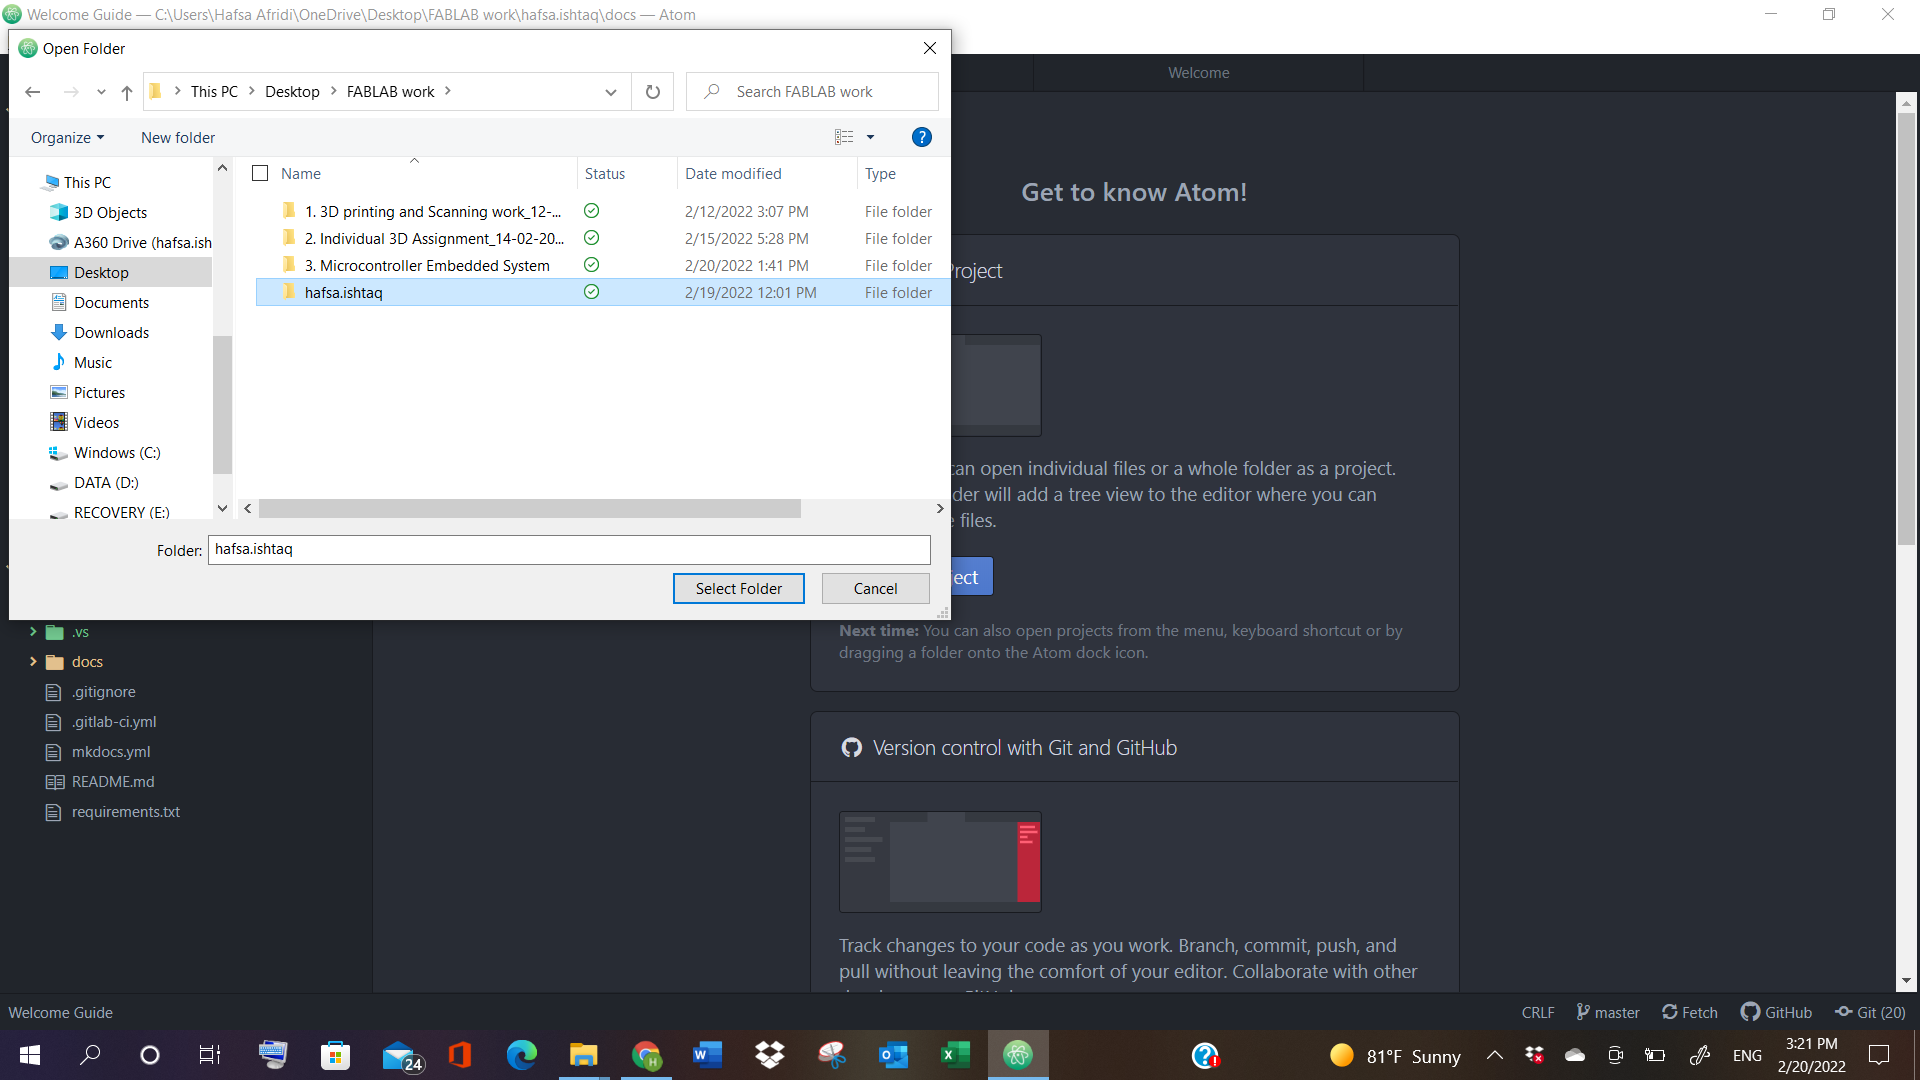
9- Select your name’s folder. For me, it was “hafsa.ishtaq”.
10- All my folders will appear on the left side, and then double click on the assignment and week’s contents, and now I can do changes in the app, that upon pushing (committing), can directly link with my gitlab website.
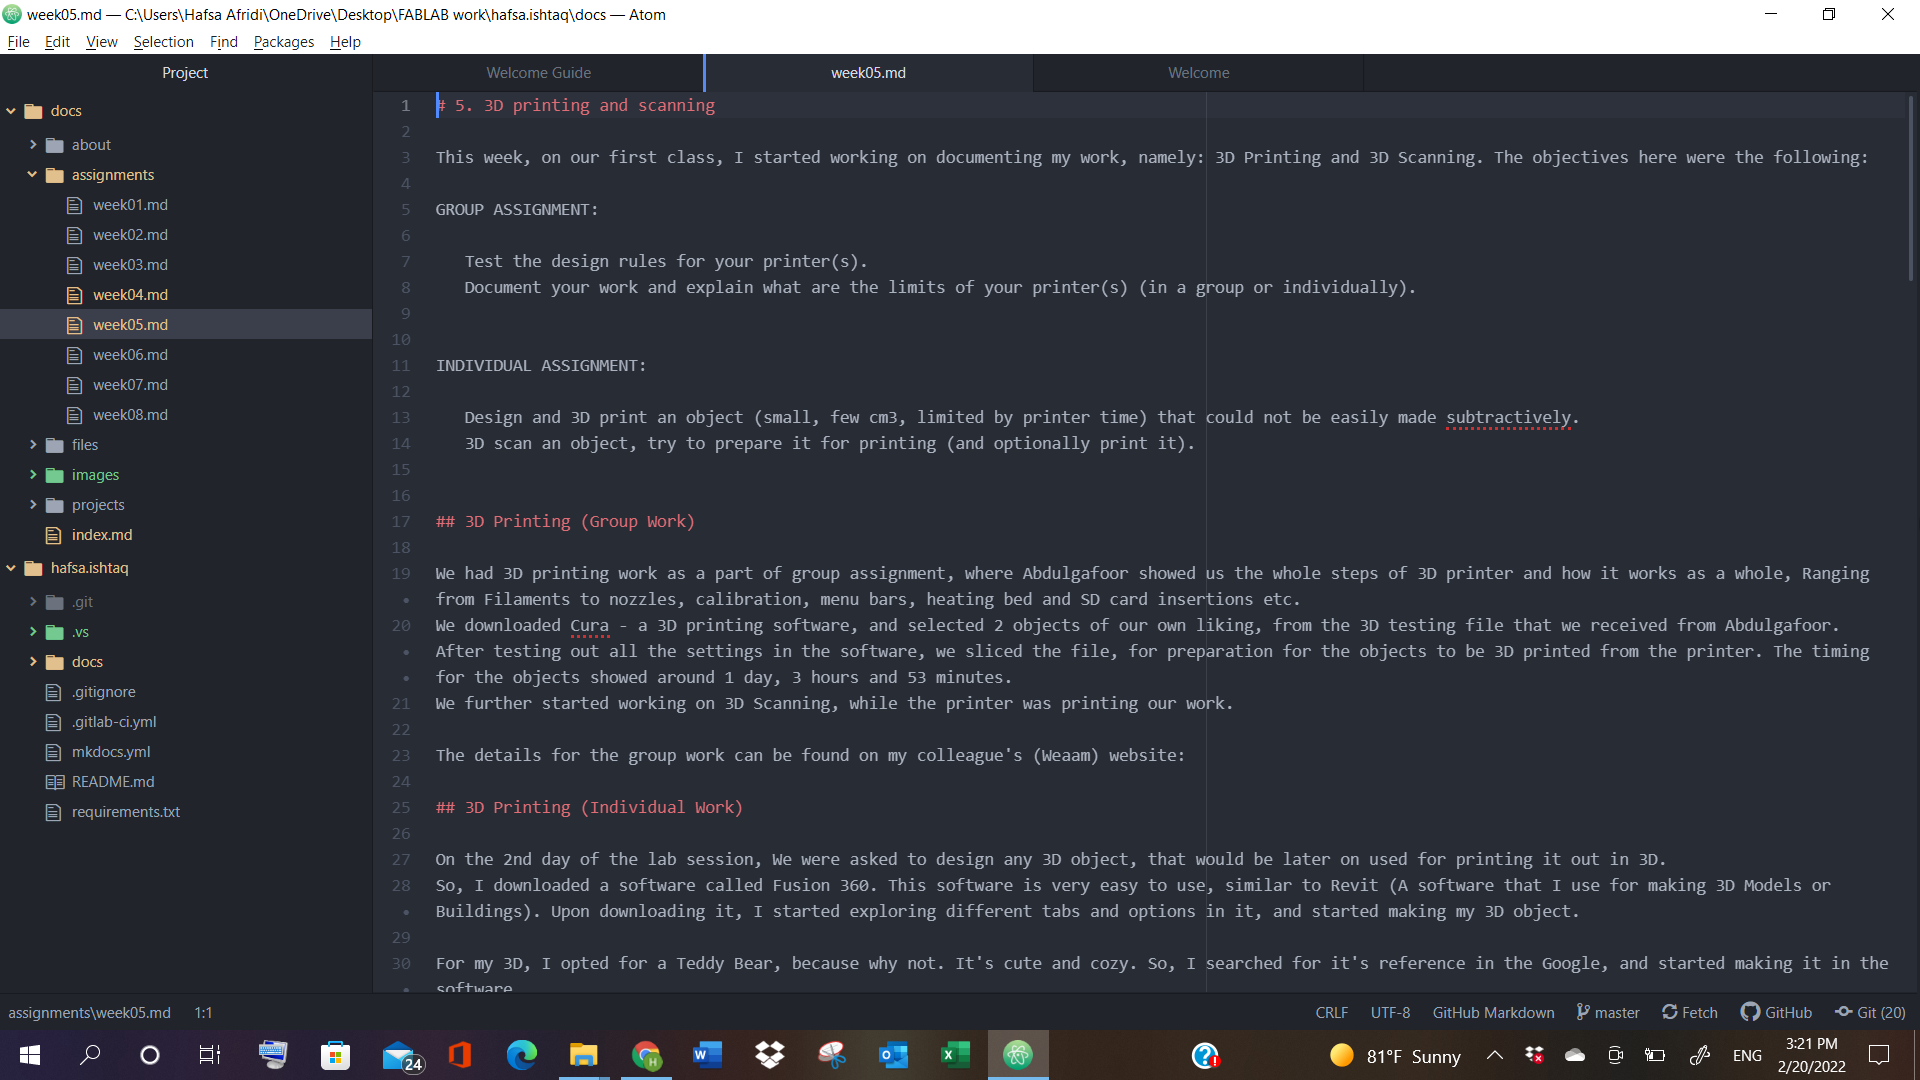


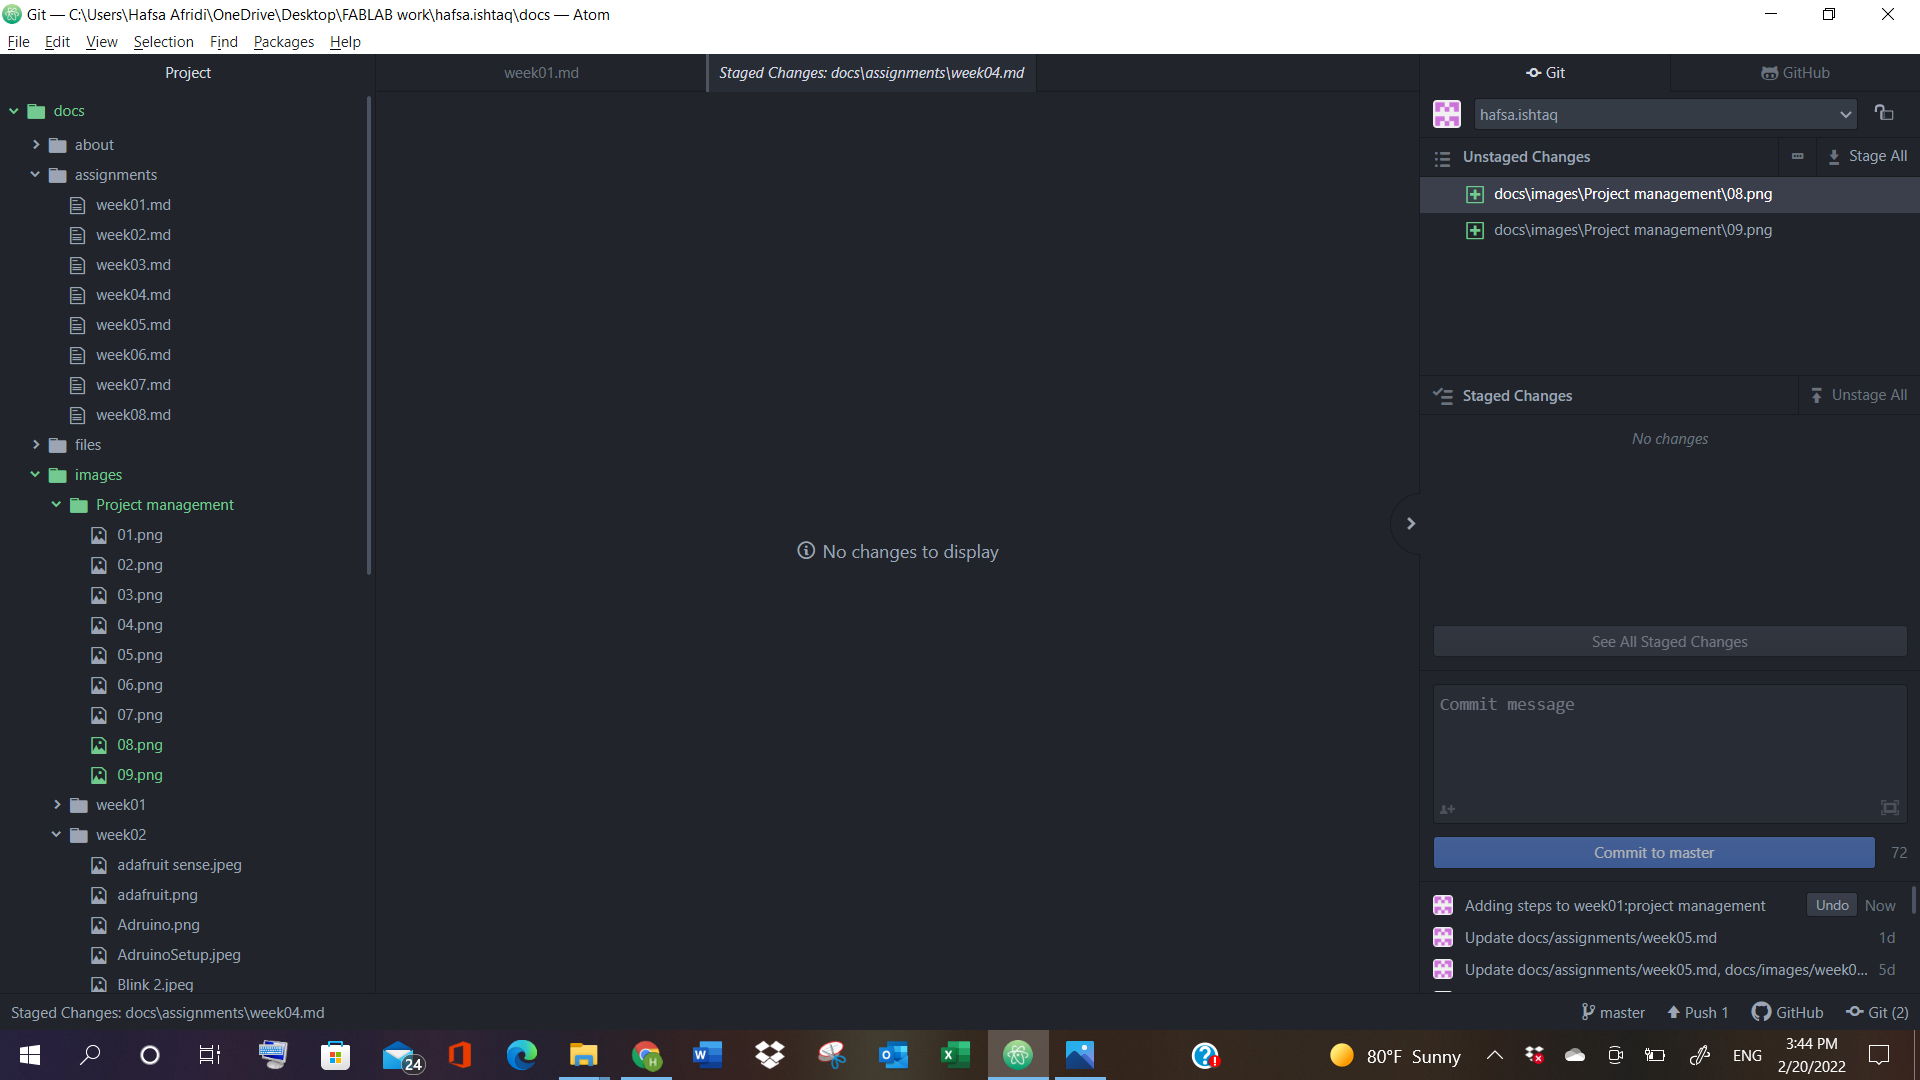
After going through all the steps, I then selected Push option, and all my work was sent to “Masters” tab, and could be seen easily in the gitlab website.
2. Gitlab.fabcloud Website
Another easy way, which I have used throughout my whole assignments’ documentations, is the gitlab.fabcloud website.
Sign In, Settings etc.
In this website, we just have to sign in to it, and the other steps are straight forward.
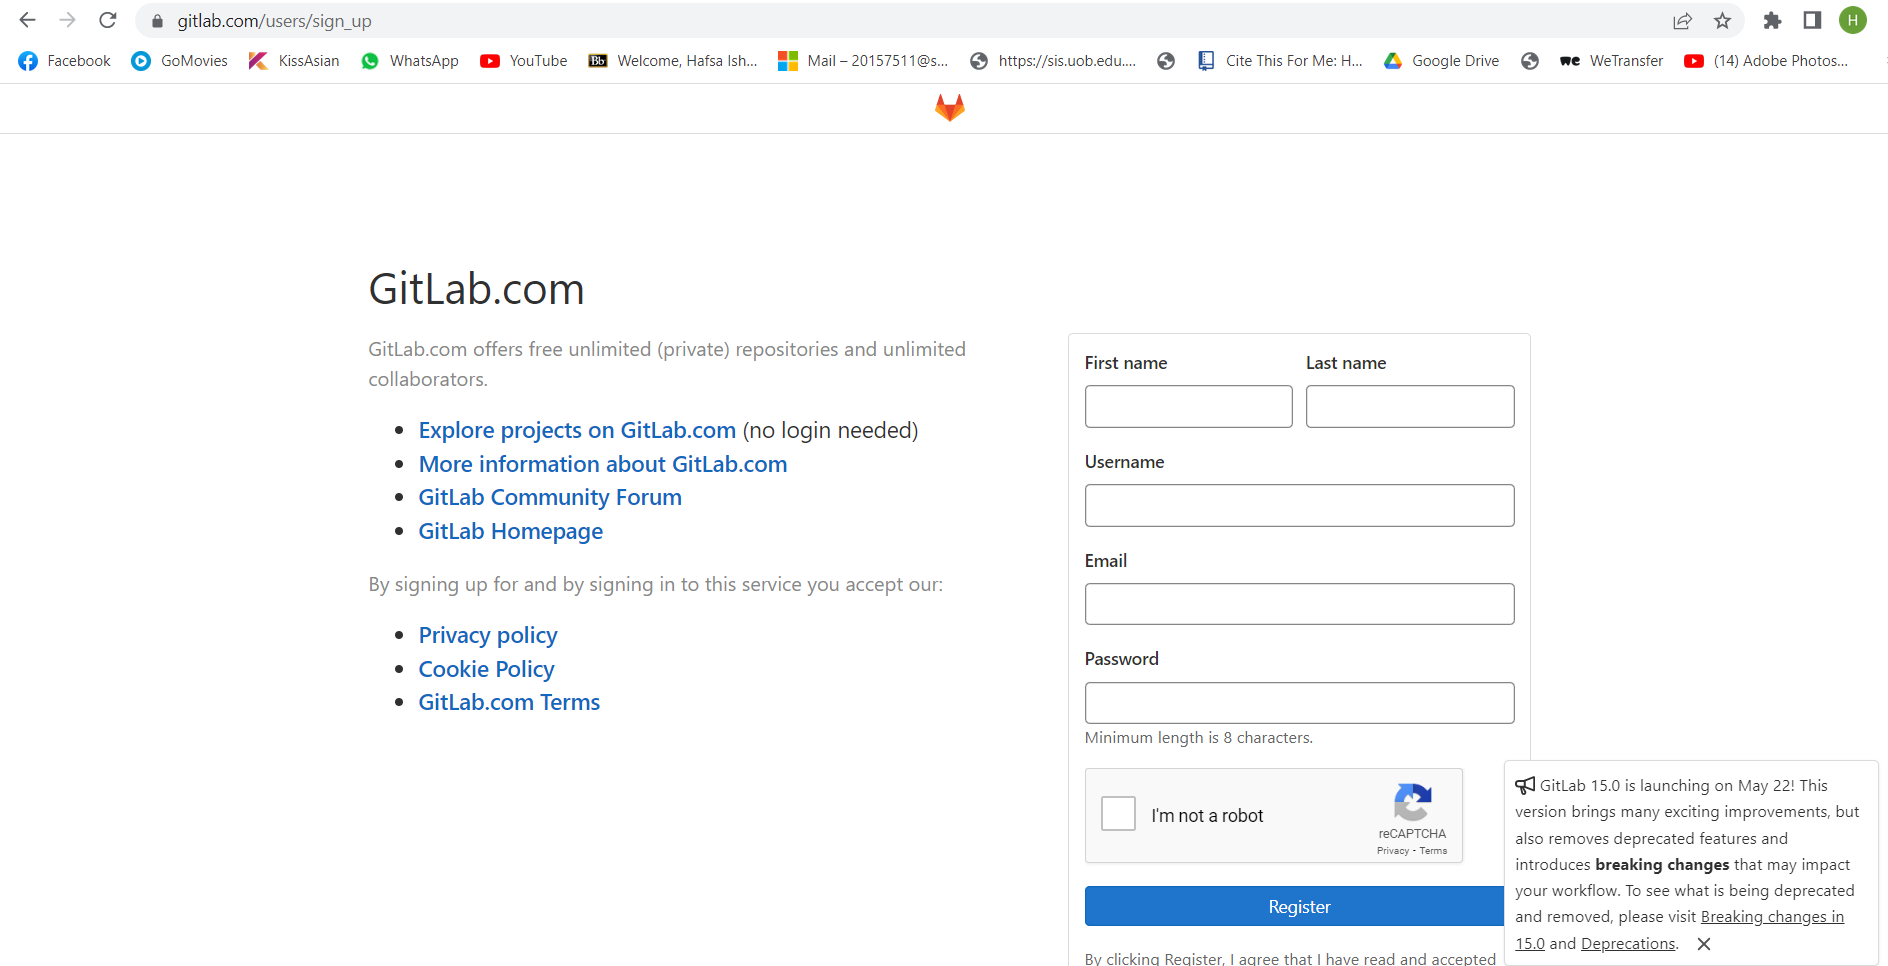
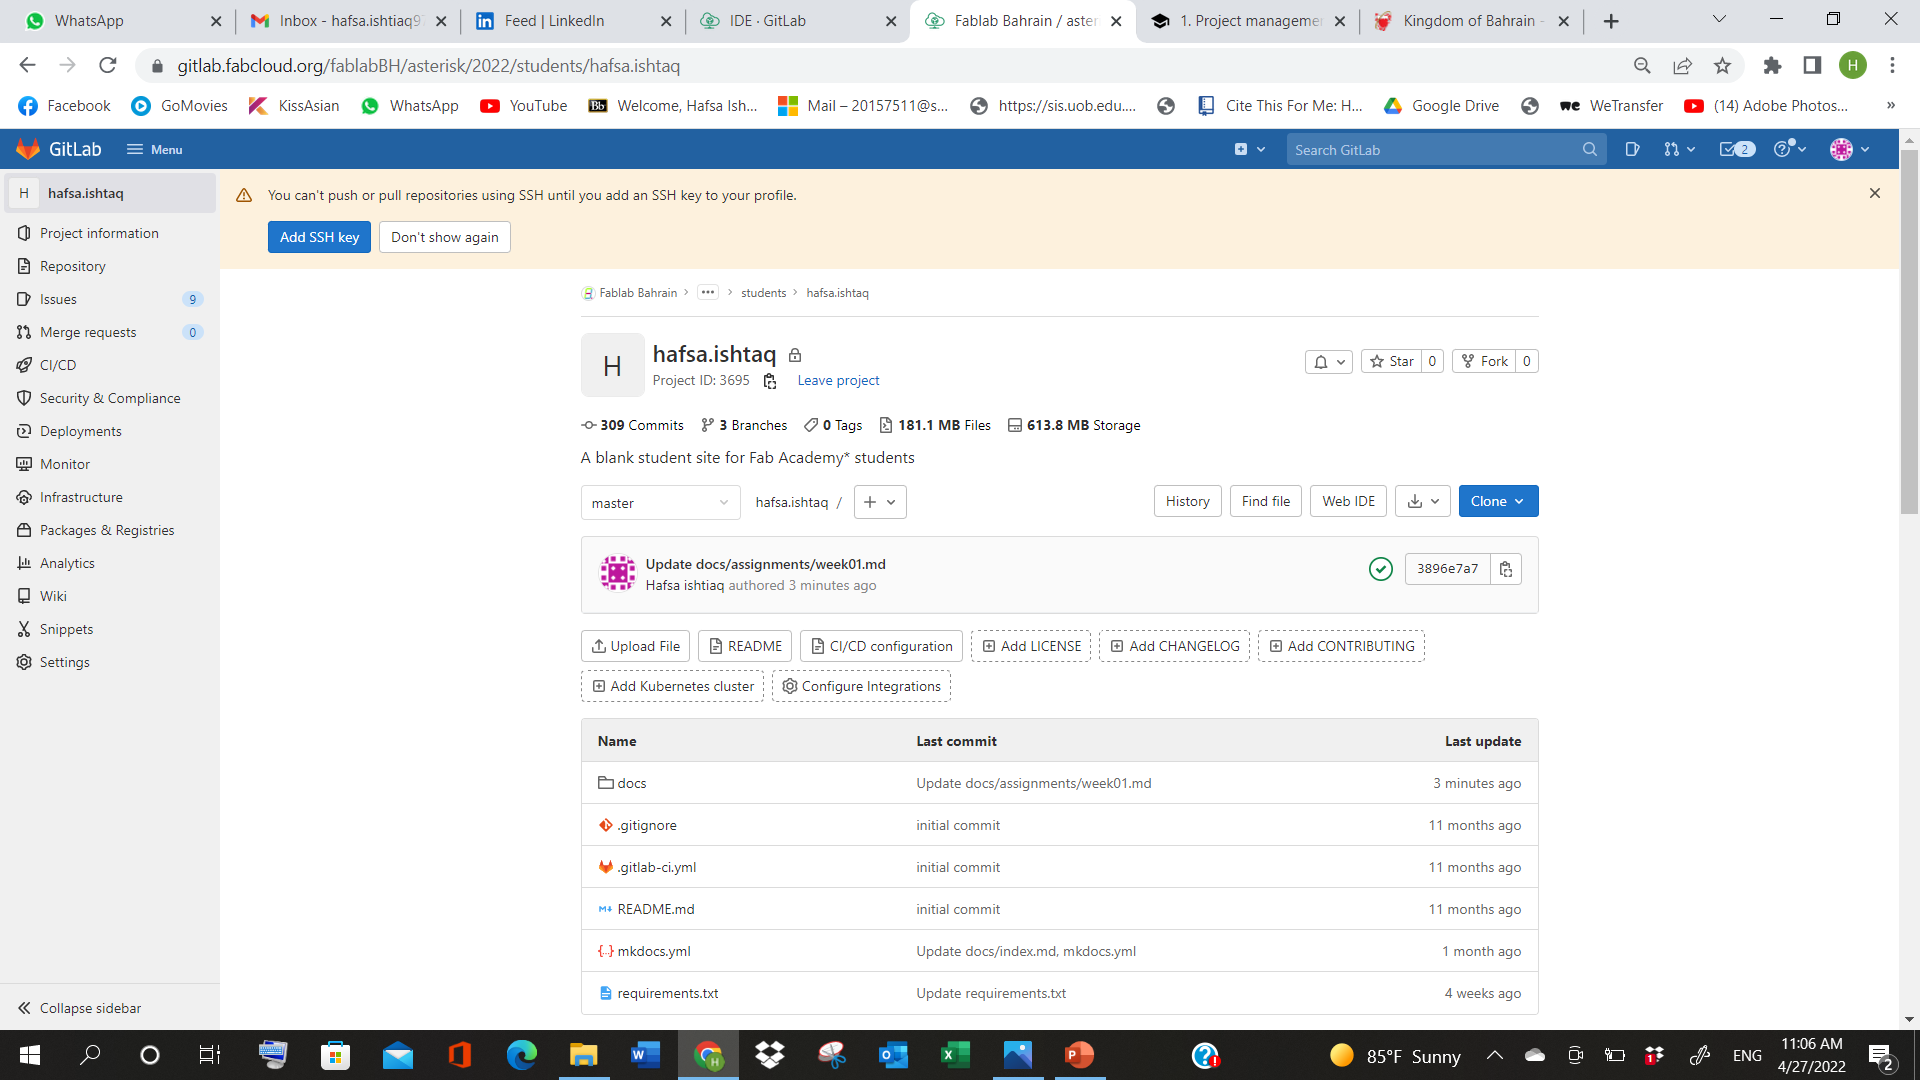
Once logged in, we will see our registered name in the site, and then we can proceed onwards towards editing or making our assignments’ documentations.
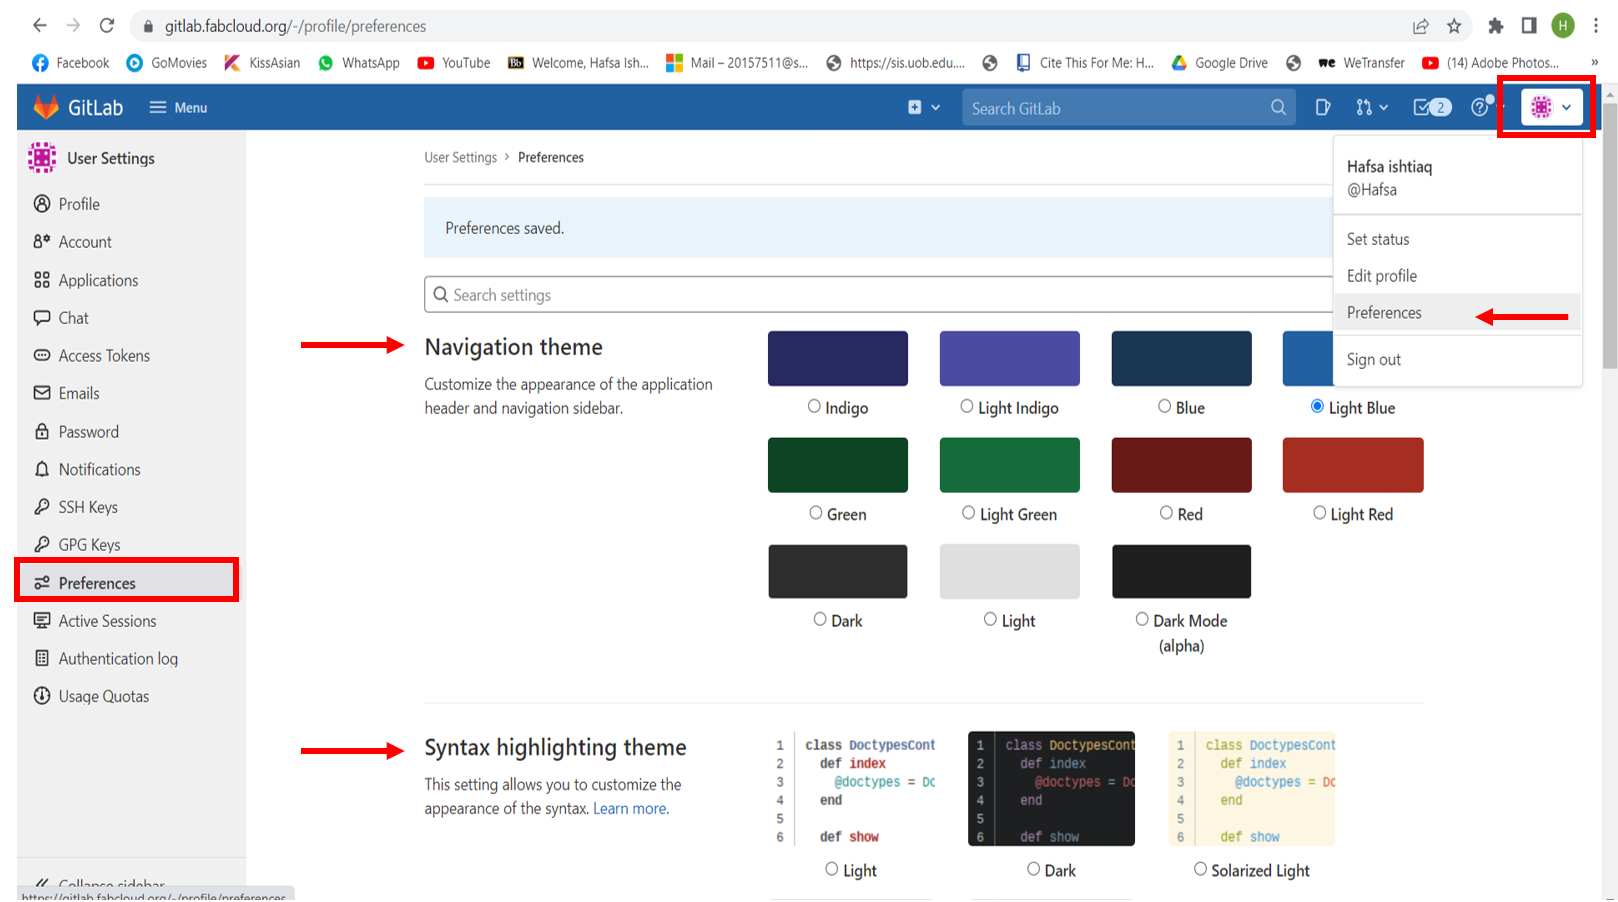
We can even change our preferences, by simply clicking on our profile name, and selecting the Preferences options, and choosing from it, to our own liking. By changing the default settings to my own preferences, as seen in the picture below, we can clearly see the difference betwee the default settings and the new one.
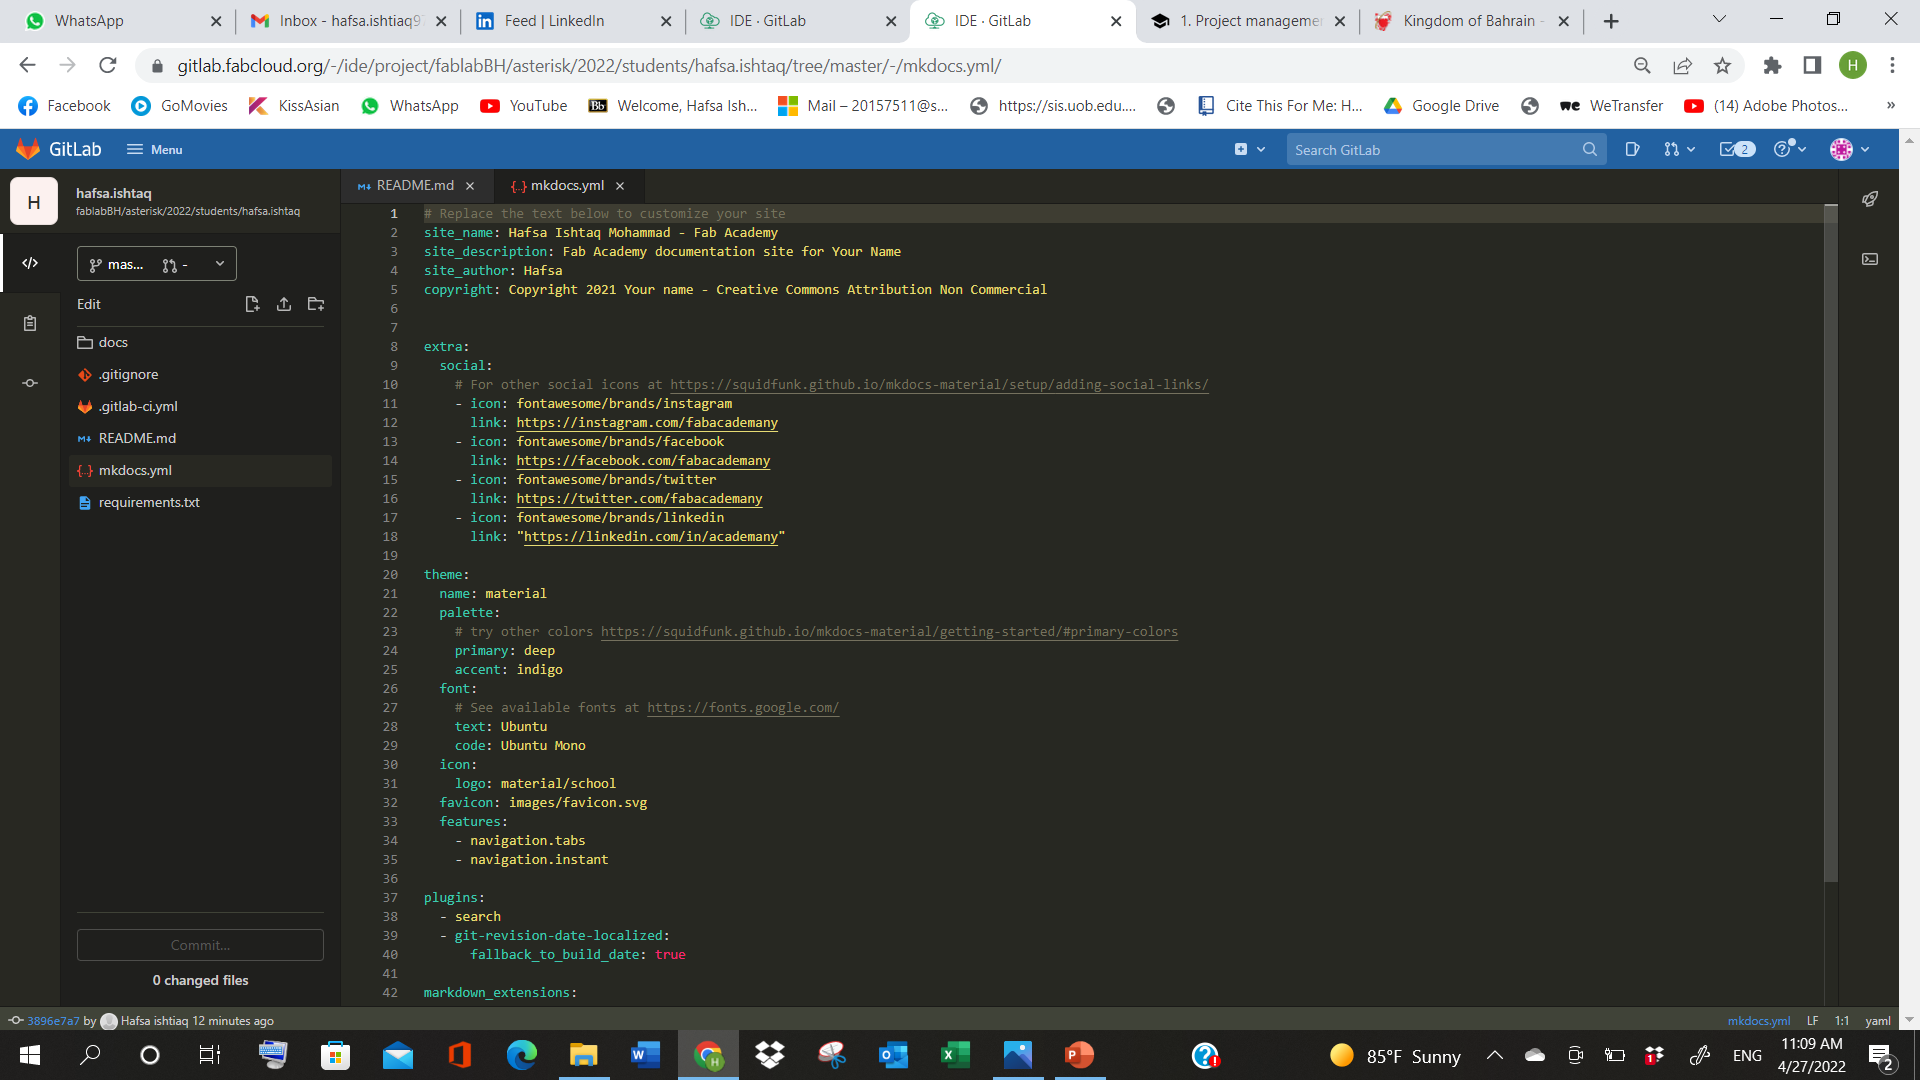
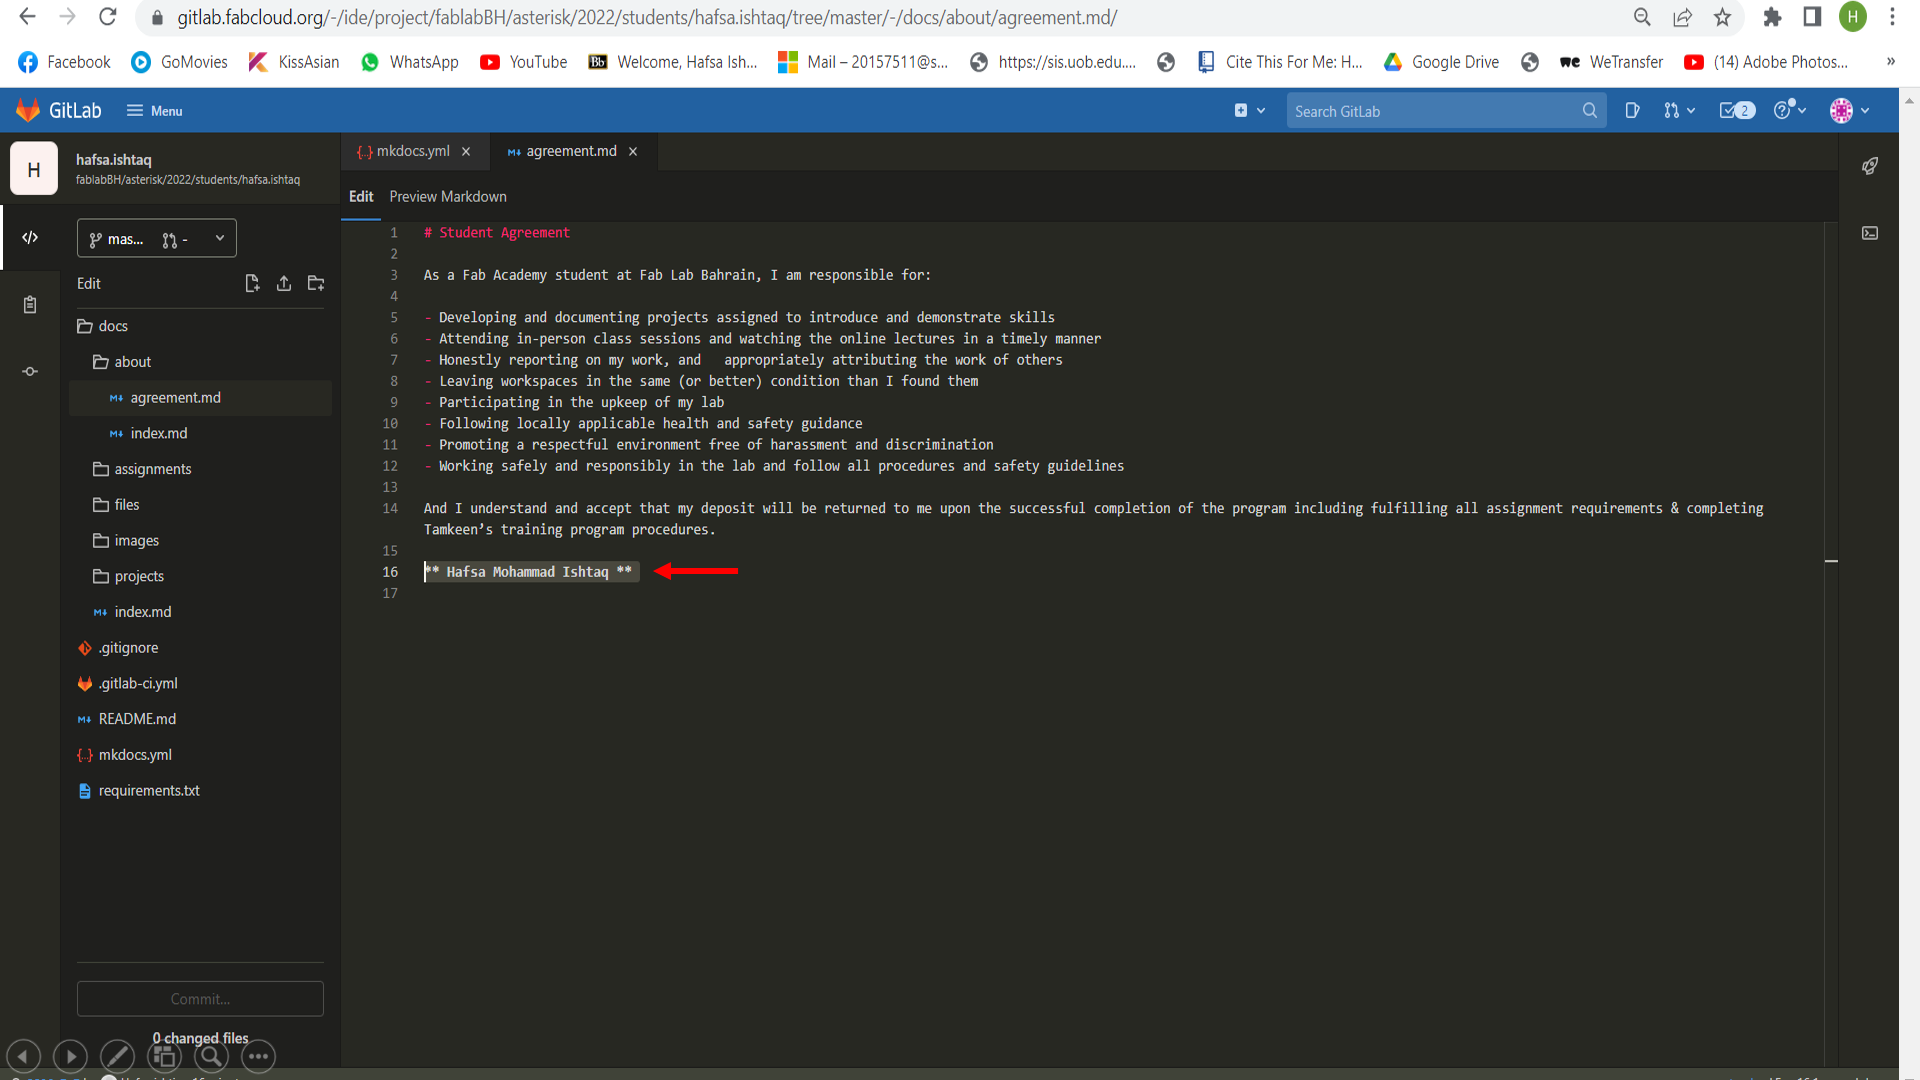
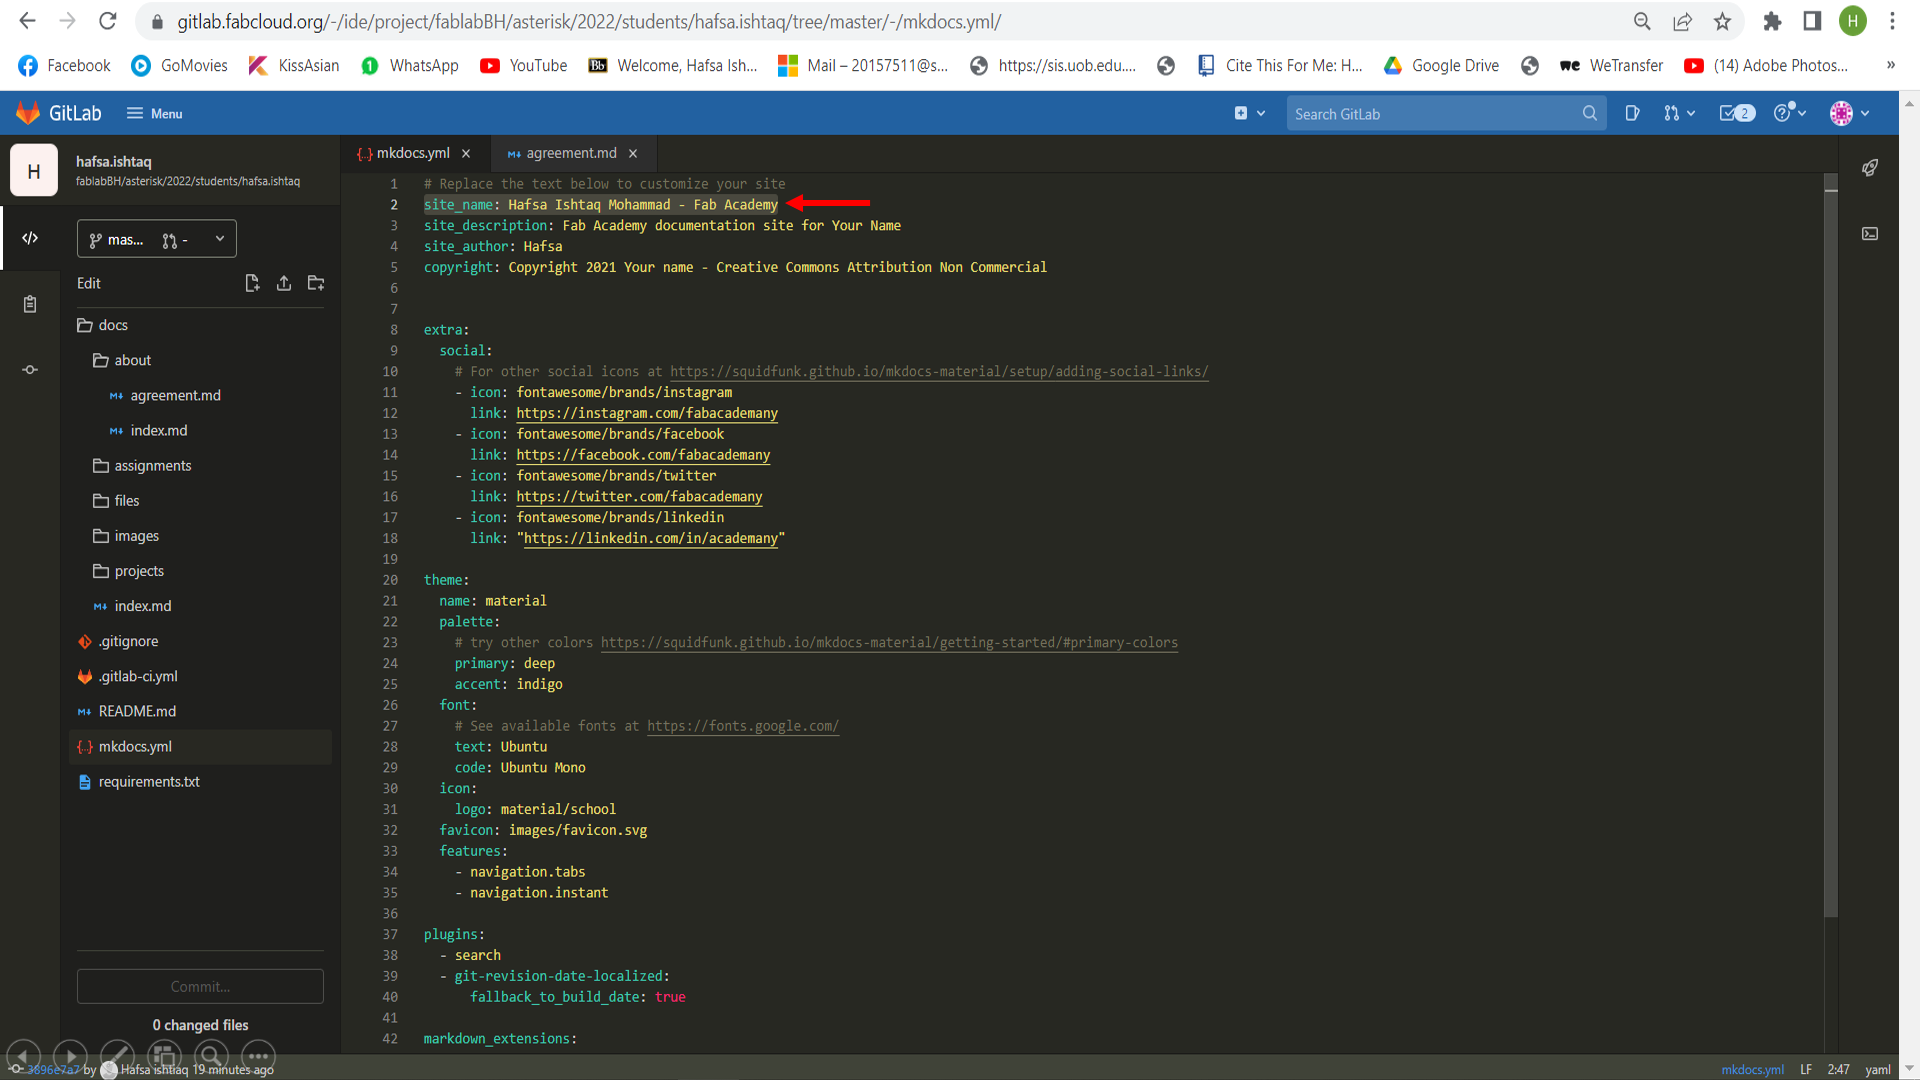
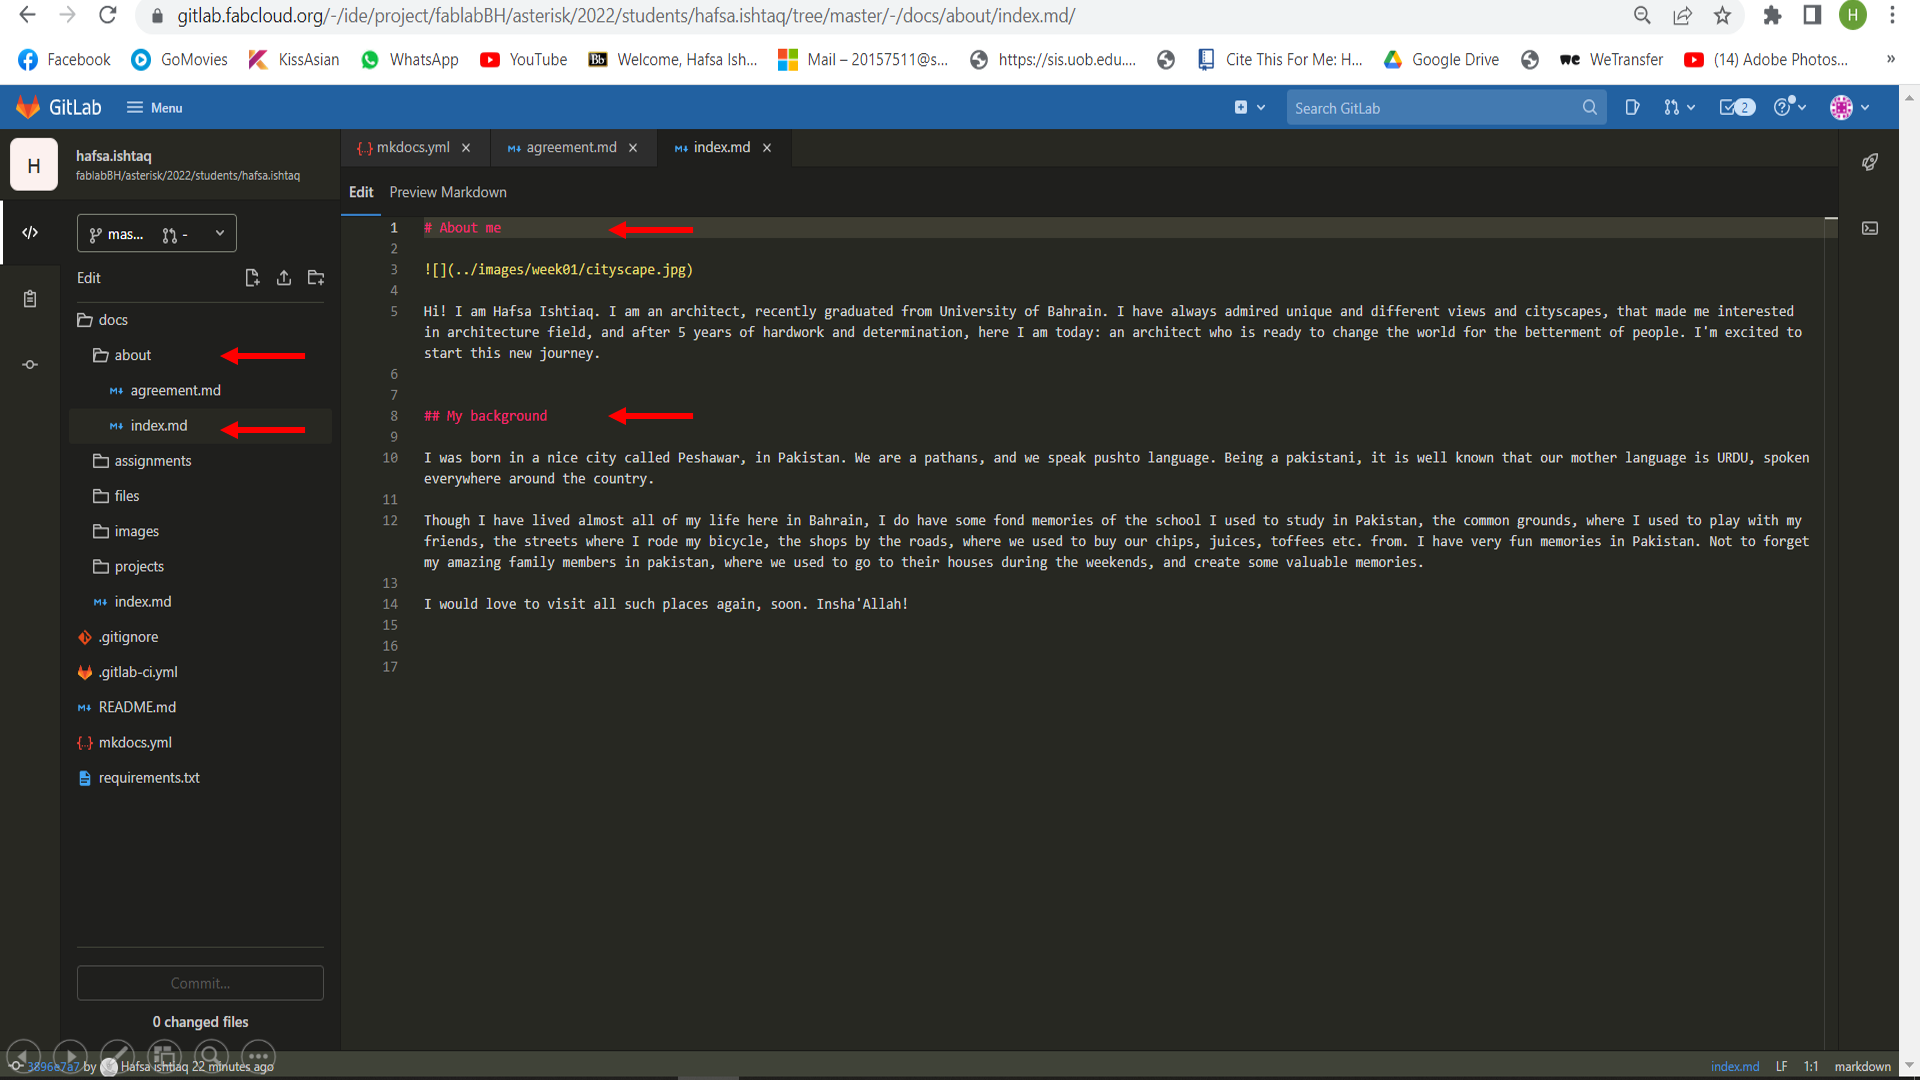
For further works, we can change our names and upload to the gitlab site by simply clicking on “mkdocs.yml”. Here, we can change or edit our site name. Also, we can go to “docs” option, and select “Student agreement” option, to sign our student contract.
Similarly, we can update our information by going to another subfolder from “docs”, named as “Index”. Here, we can update and edit our information about ourselves.
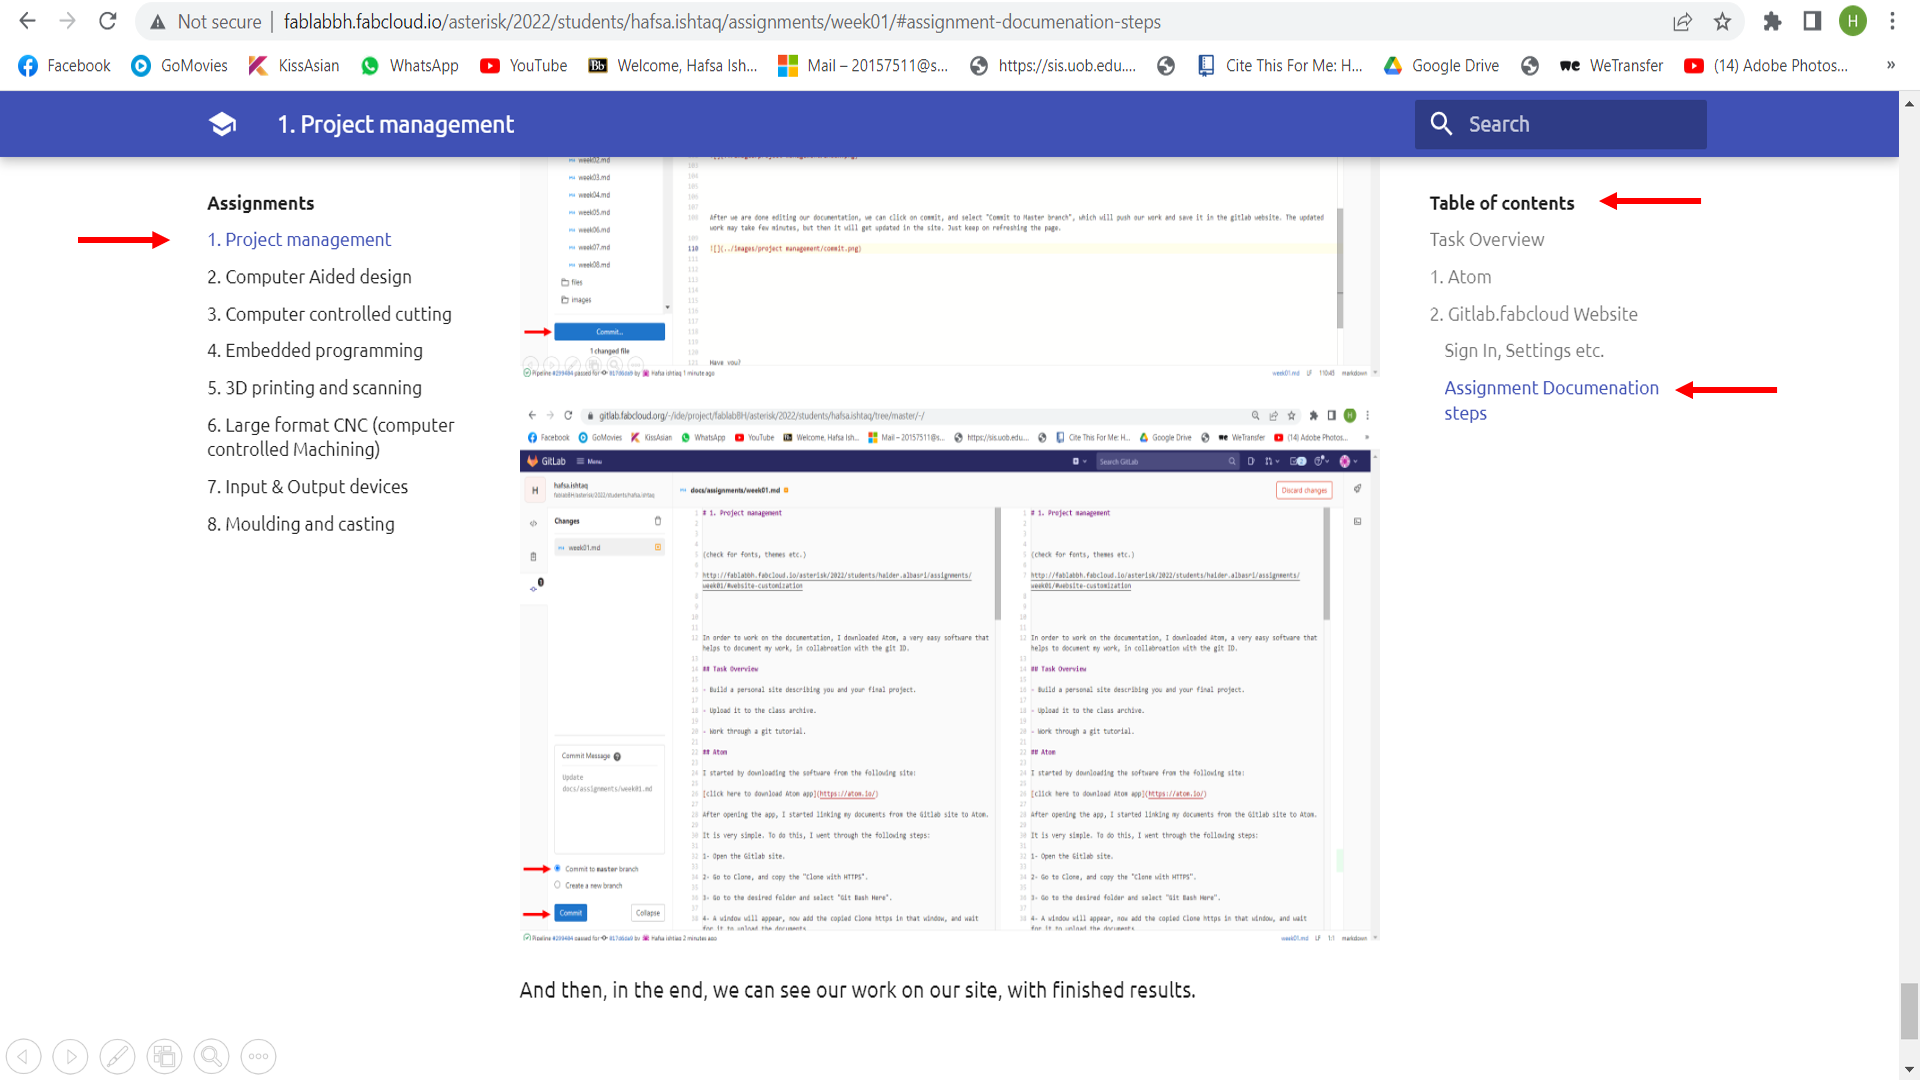
Assignment Documenation steps
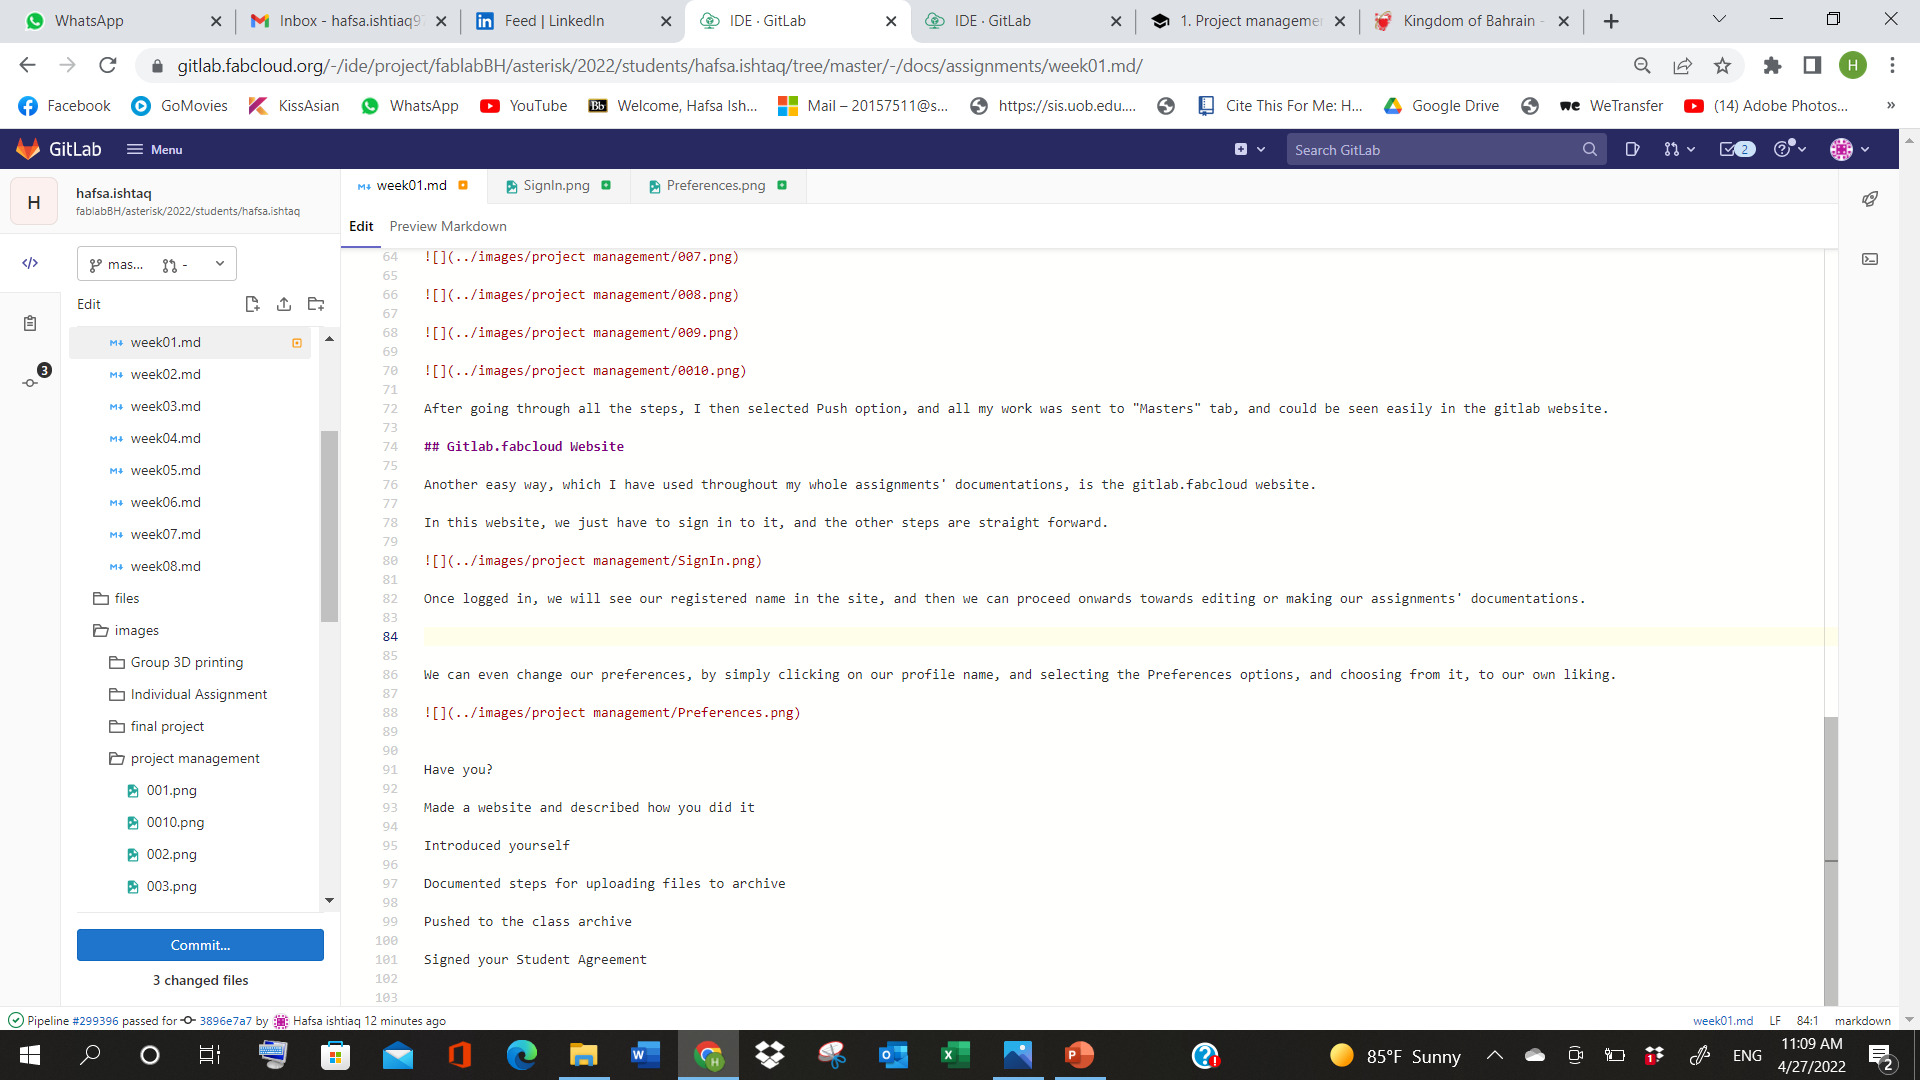
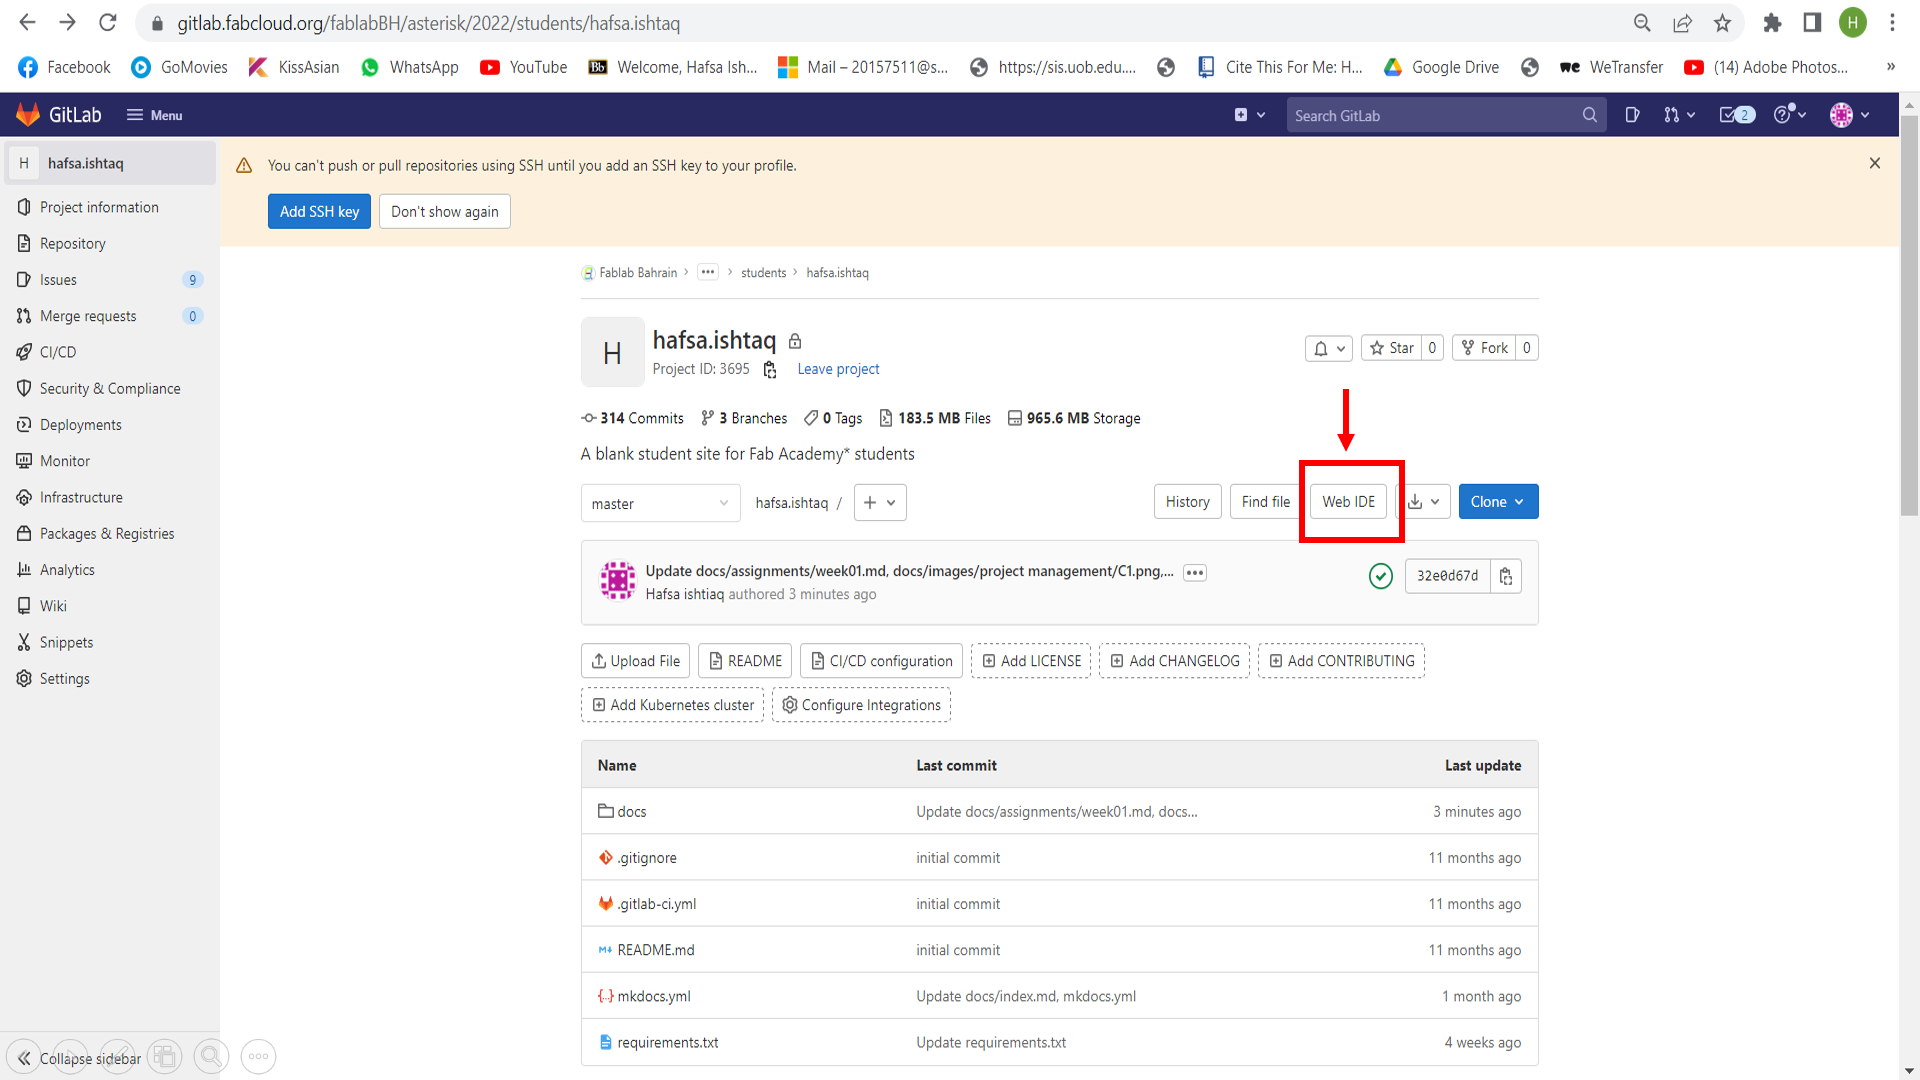
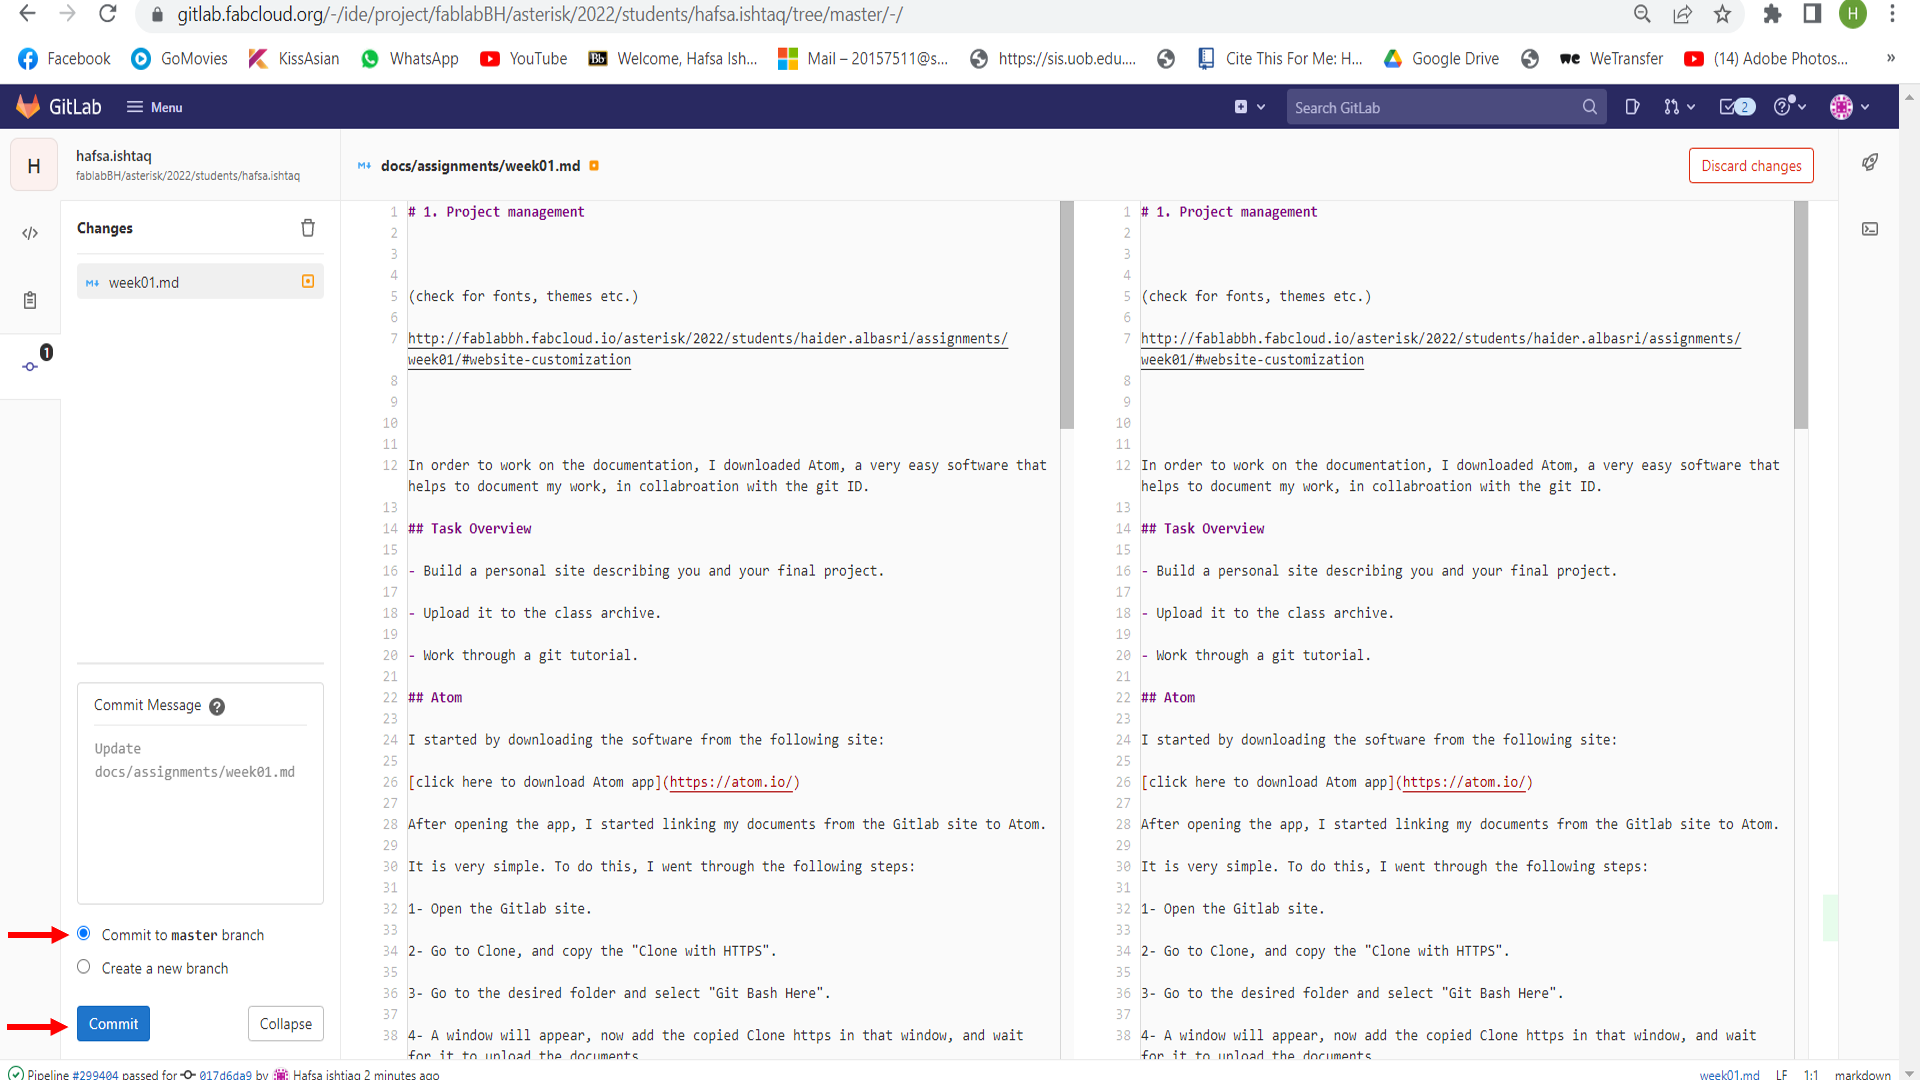
We can edit our work by going to our profile, and clicking the “WEB IDE”. Web IDe is an easier way to update all our asignments and documents in a same place, instead of opening docs and selecting each assignment one by one.
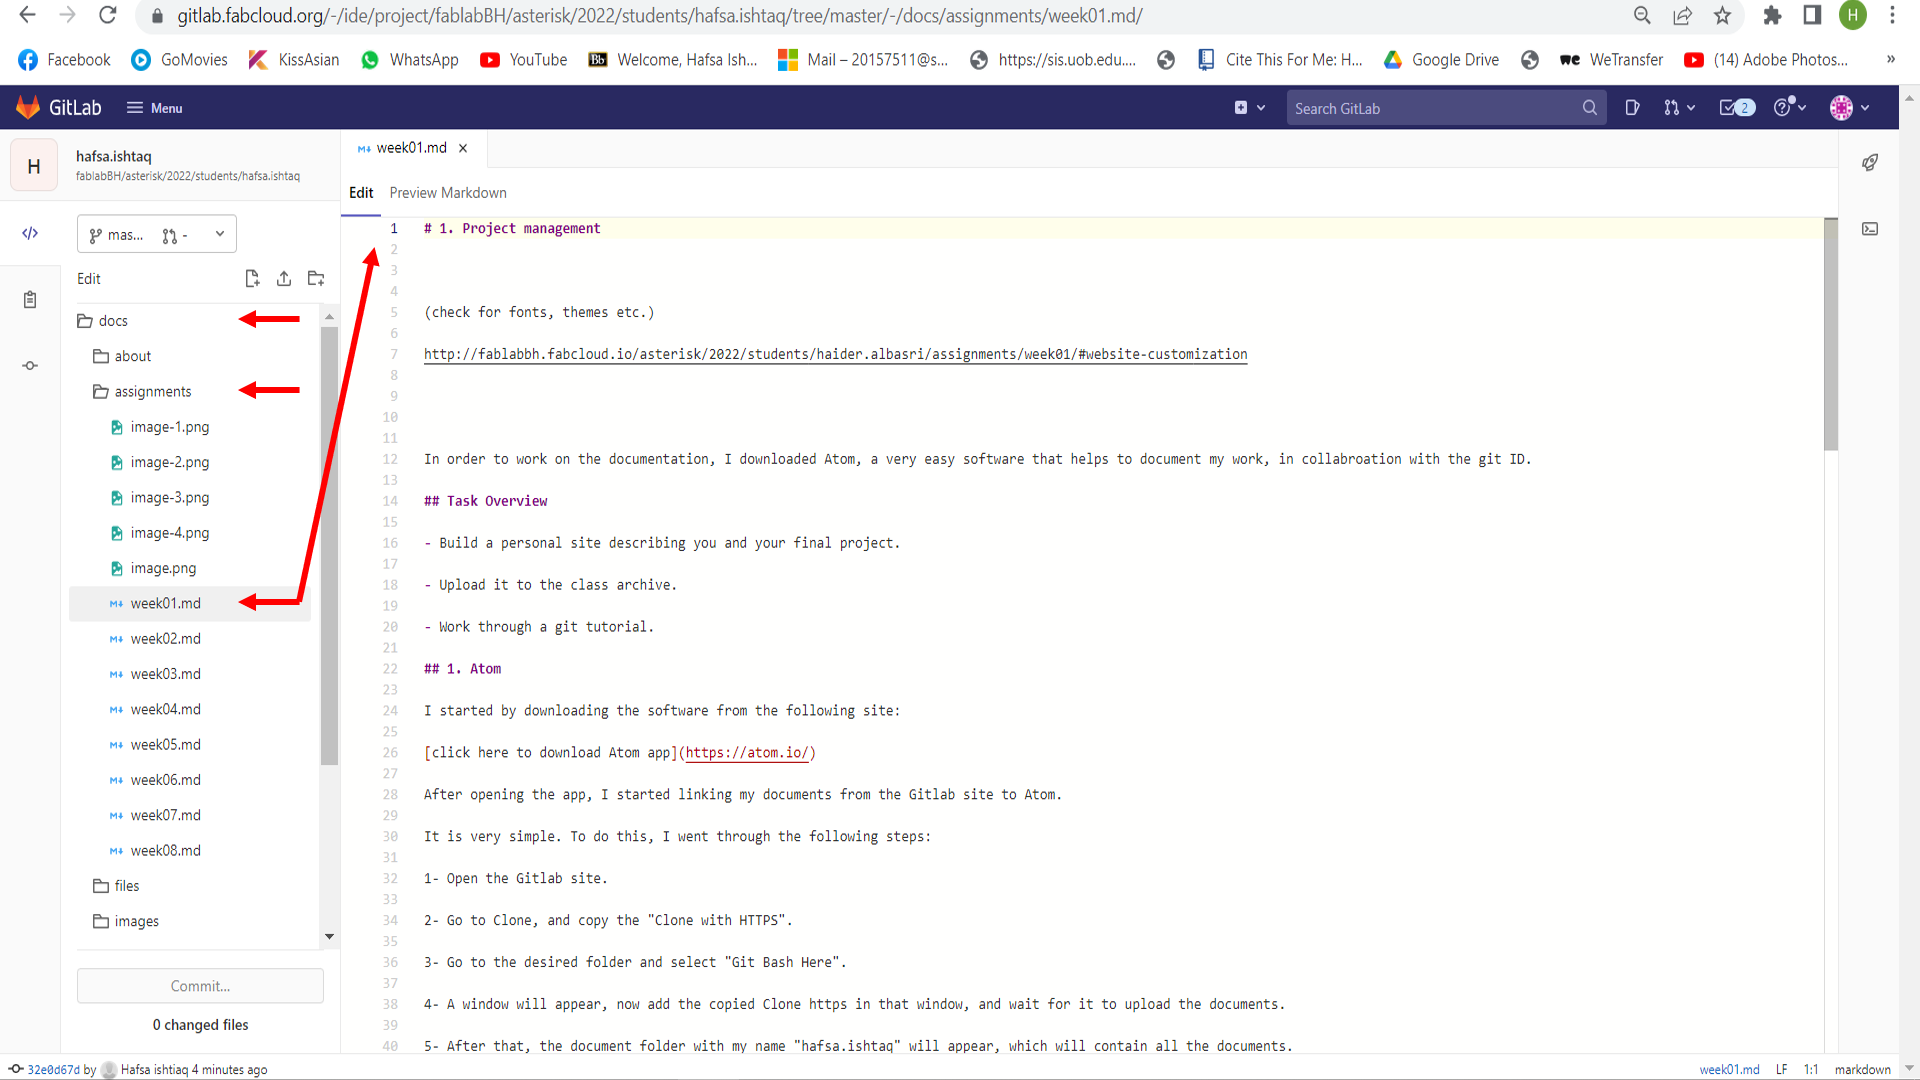
After selecting the WebIDE, a new page opens, that has all the tabs such as docs, Index, images, projects etc. in one place. Here, we can easily edit our work now.
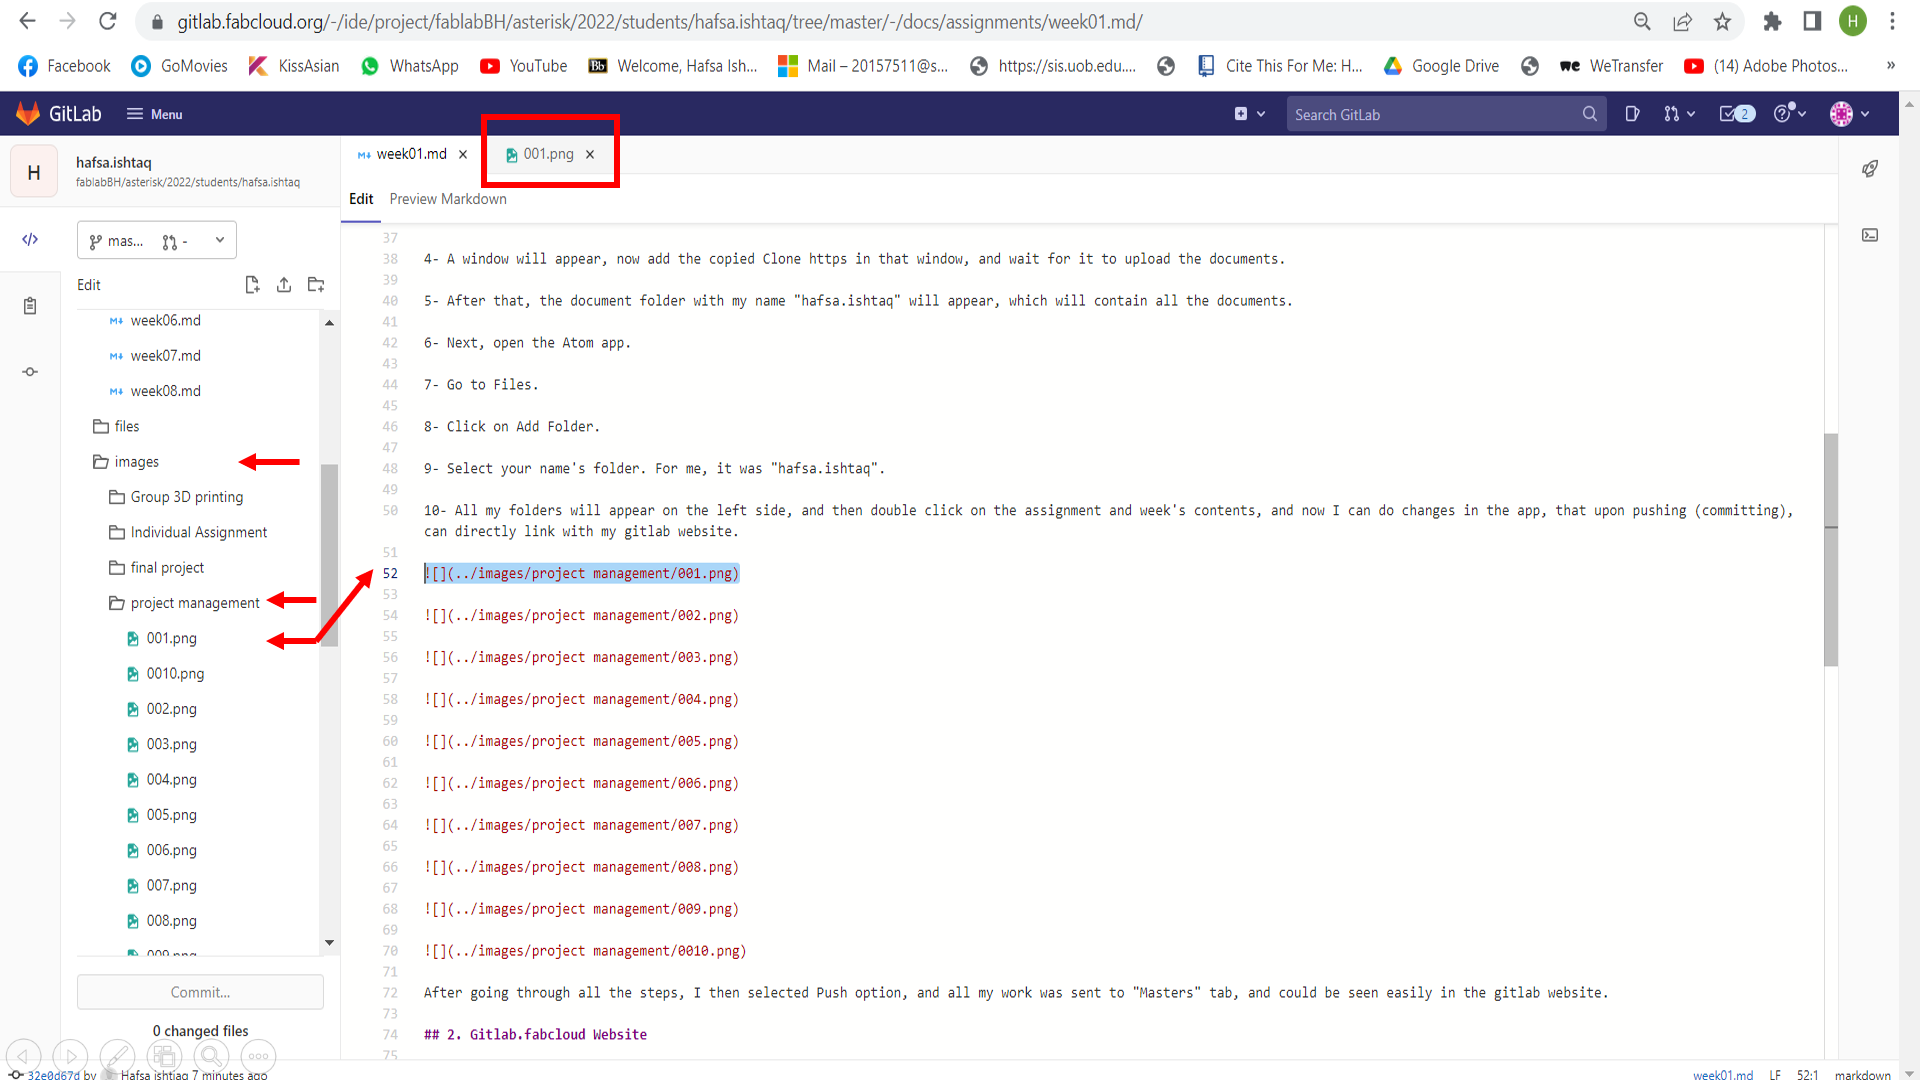
Also, the images could be uploaded in the “image” section, and can have separate subfolders such as “project management” for week 01. The file path for images is as seen in the pictures.
After we are done editing our documentation, we can click on commit, and select “Commit to Master branch”, which will push our work and save it in the gitlab website. The updated work may take few minutes, but then it will get updated in the site. Just keep on refreshing the page.
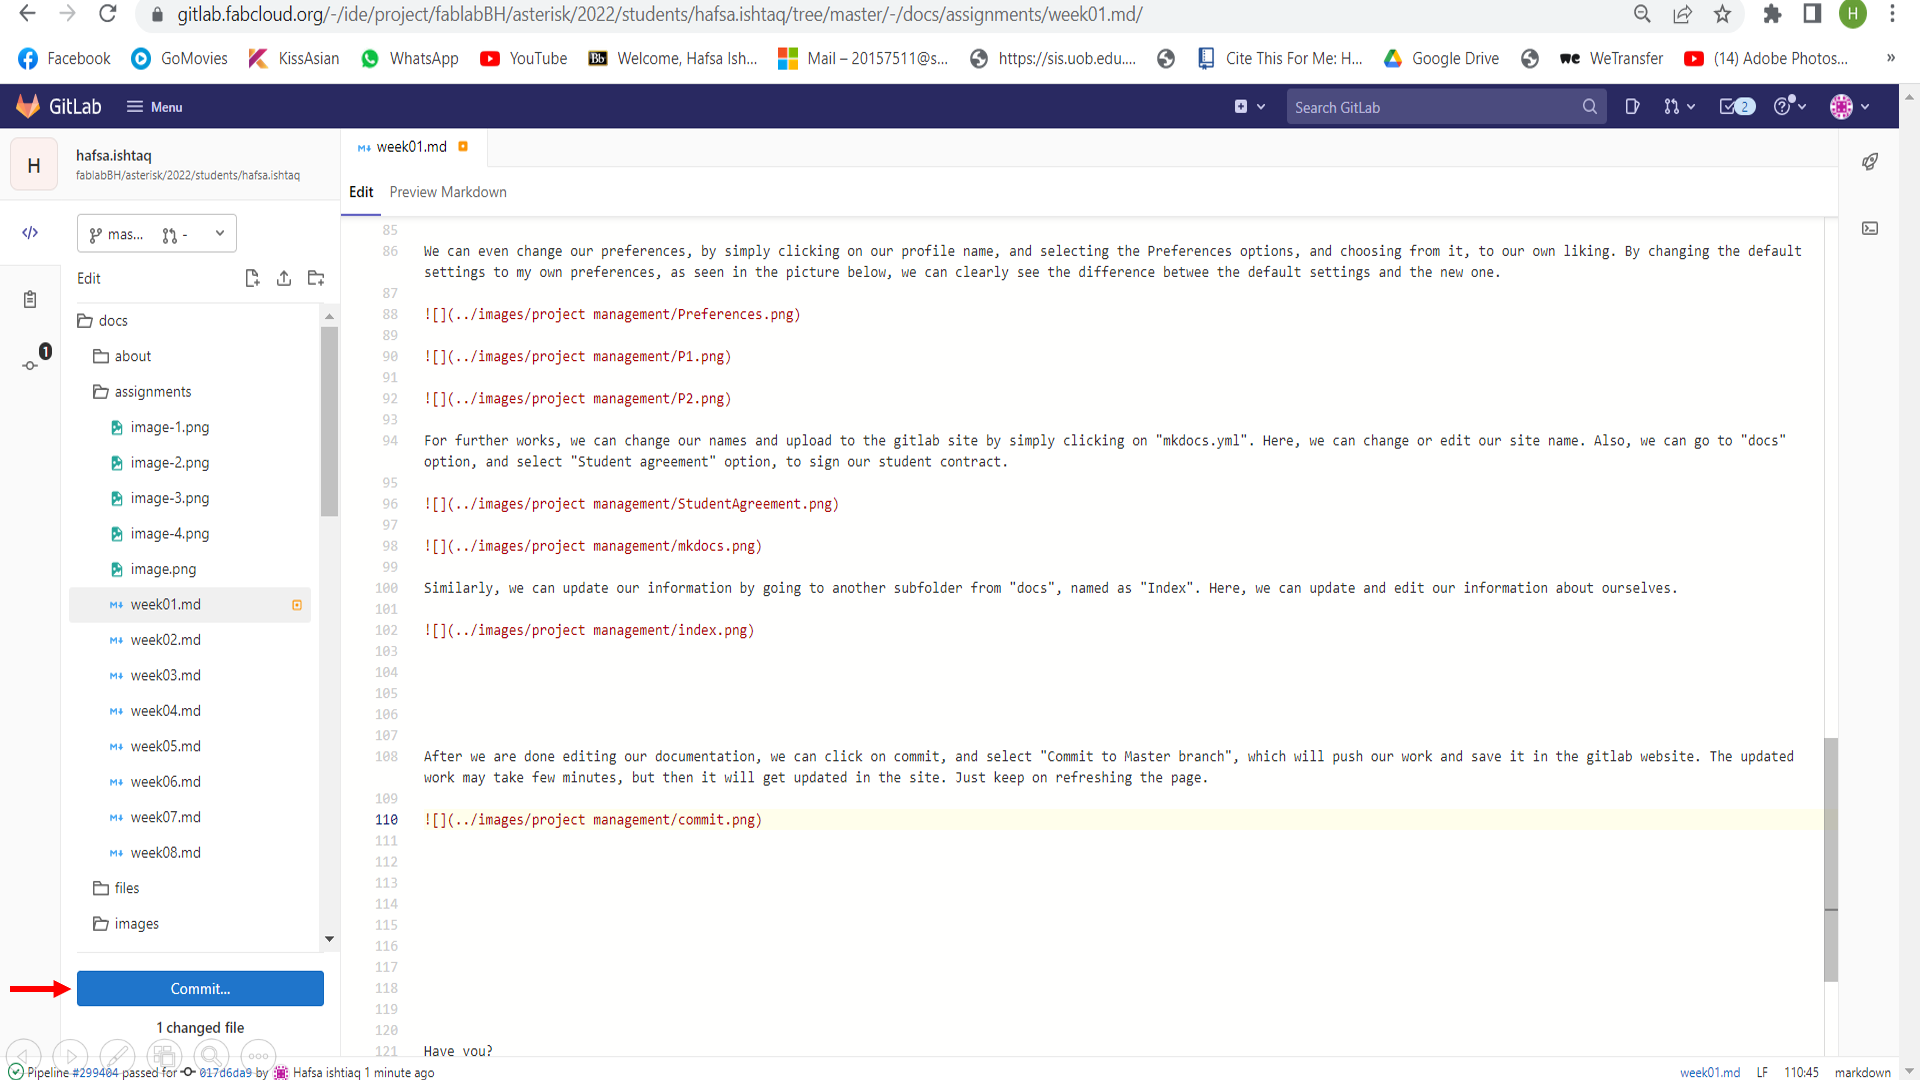
And then, in the end, we can see our work on our site, with finished results.