2. Computer Aided design
This week I worked on defining my final project idea and started to getting used to the documentation process.
Task Overview
- Model (raster, vector, 2D, 3D, render, animate, simulate, …) a possible final project, compress your images and videos, and post it on your class page
3D Design
FUSION 360
Click here to download Fusion 360
This software is very easy to use, similar to Revit (A software that I use for making 3D Models or Buildings). Upon downloading it, I started exploring different tabs and options in it, and started making my 3D object.
LET’S START MODELLING!!
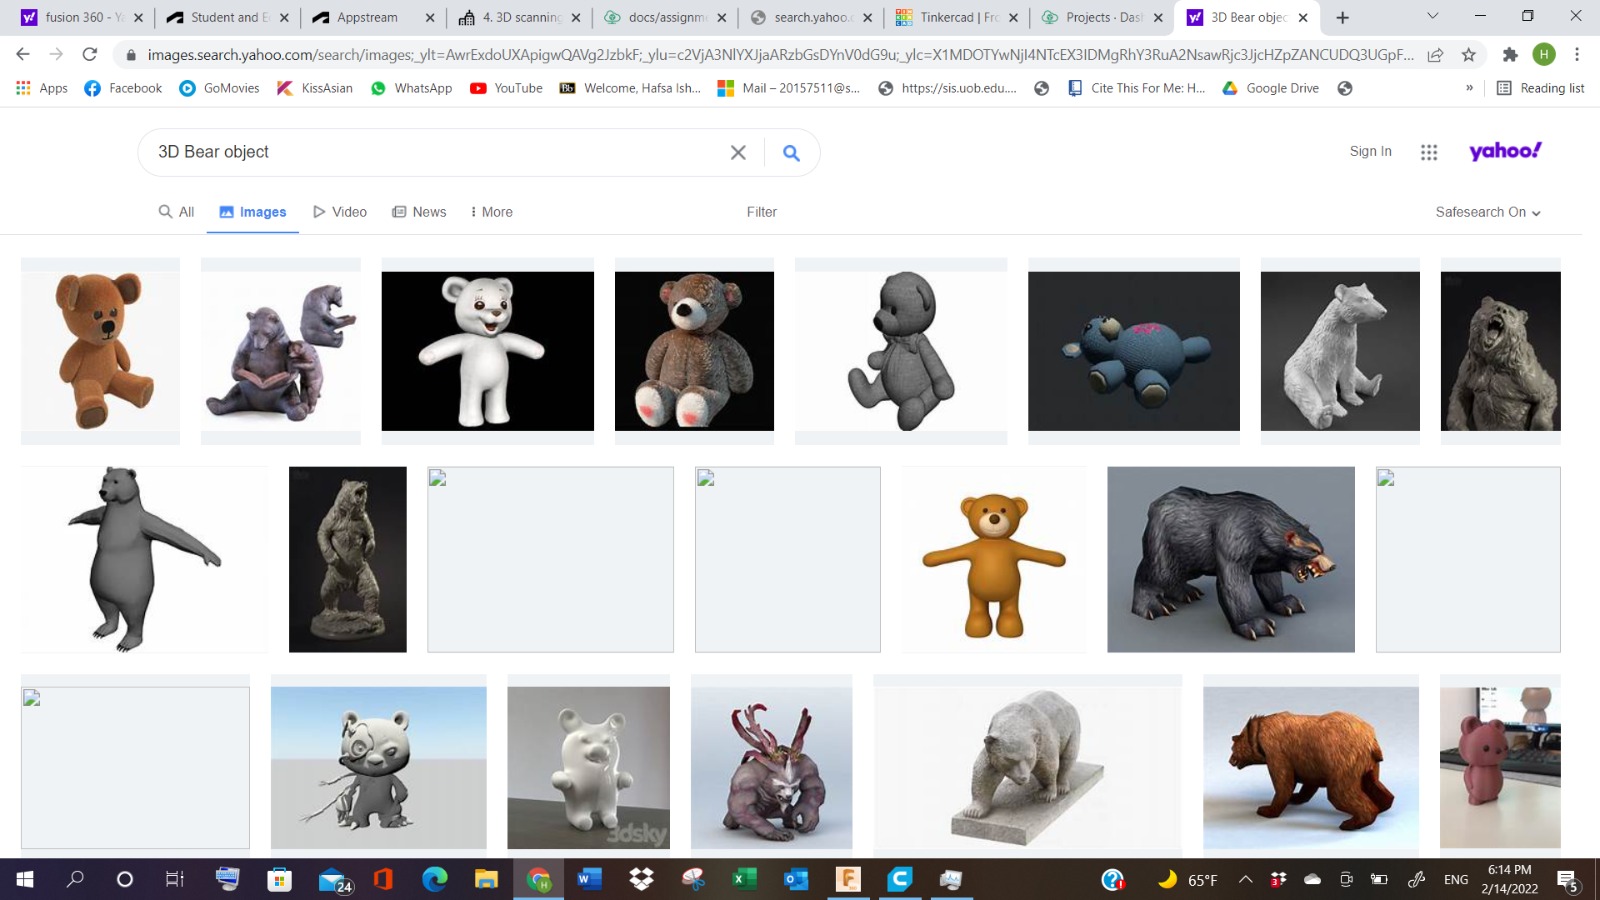
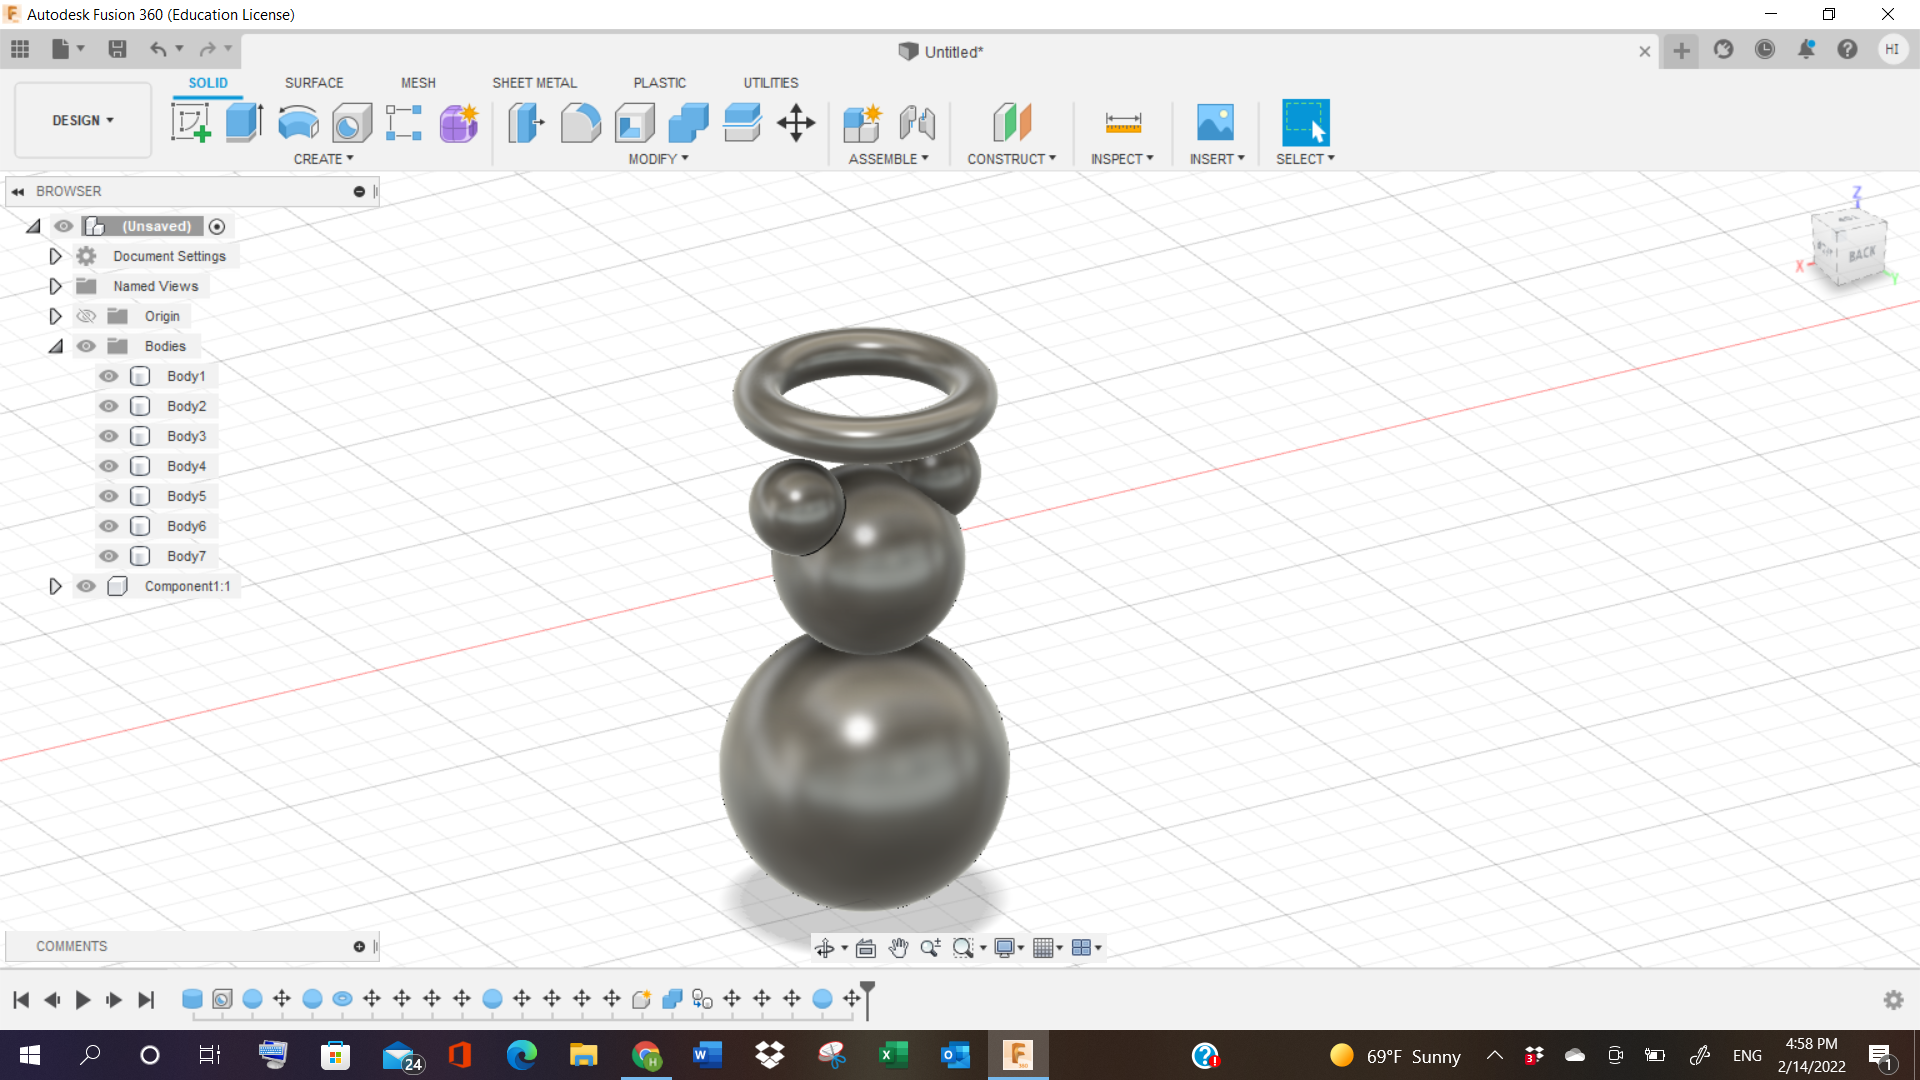
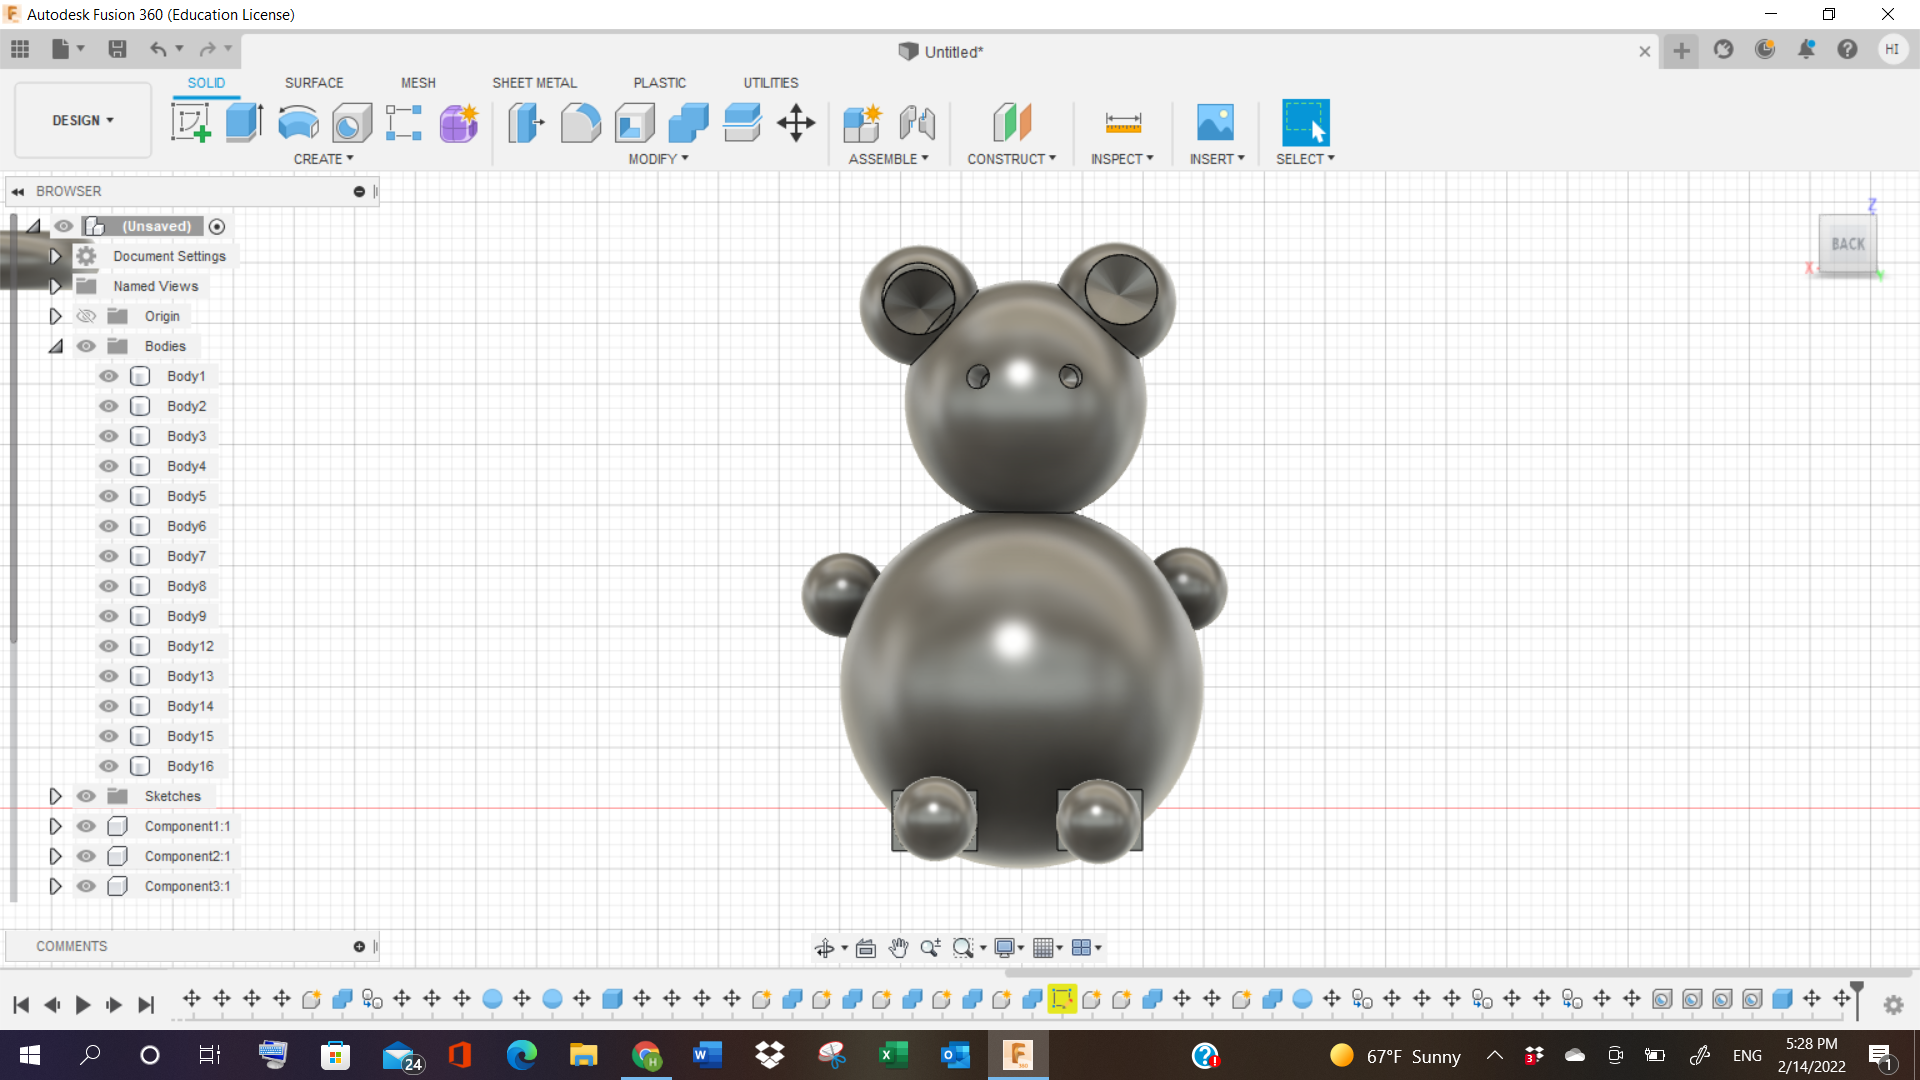
For my 3D, I opted for a Teddy Bear, because why not. It’s chubby and cute. Also, because it has many rounded spheres, which urged me to work on it, so I could see the limitations or the performance of the 3D printer, in terms of objects having holes, or round corners or edges to them. So, I searched for the bear’s reference in the Google, and started making it in the software.
I started making Spheres in the software, that would represent the teddy bear’s head and ears, with a little halo on top.
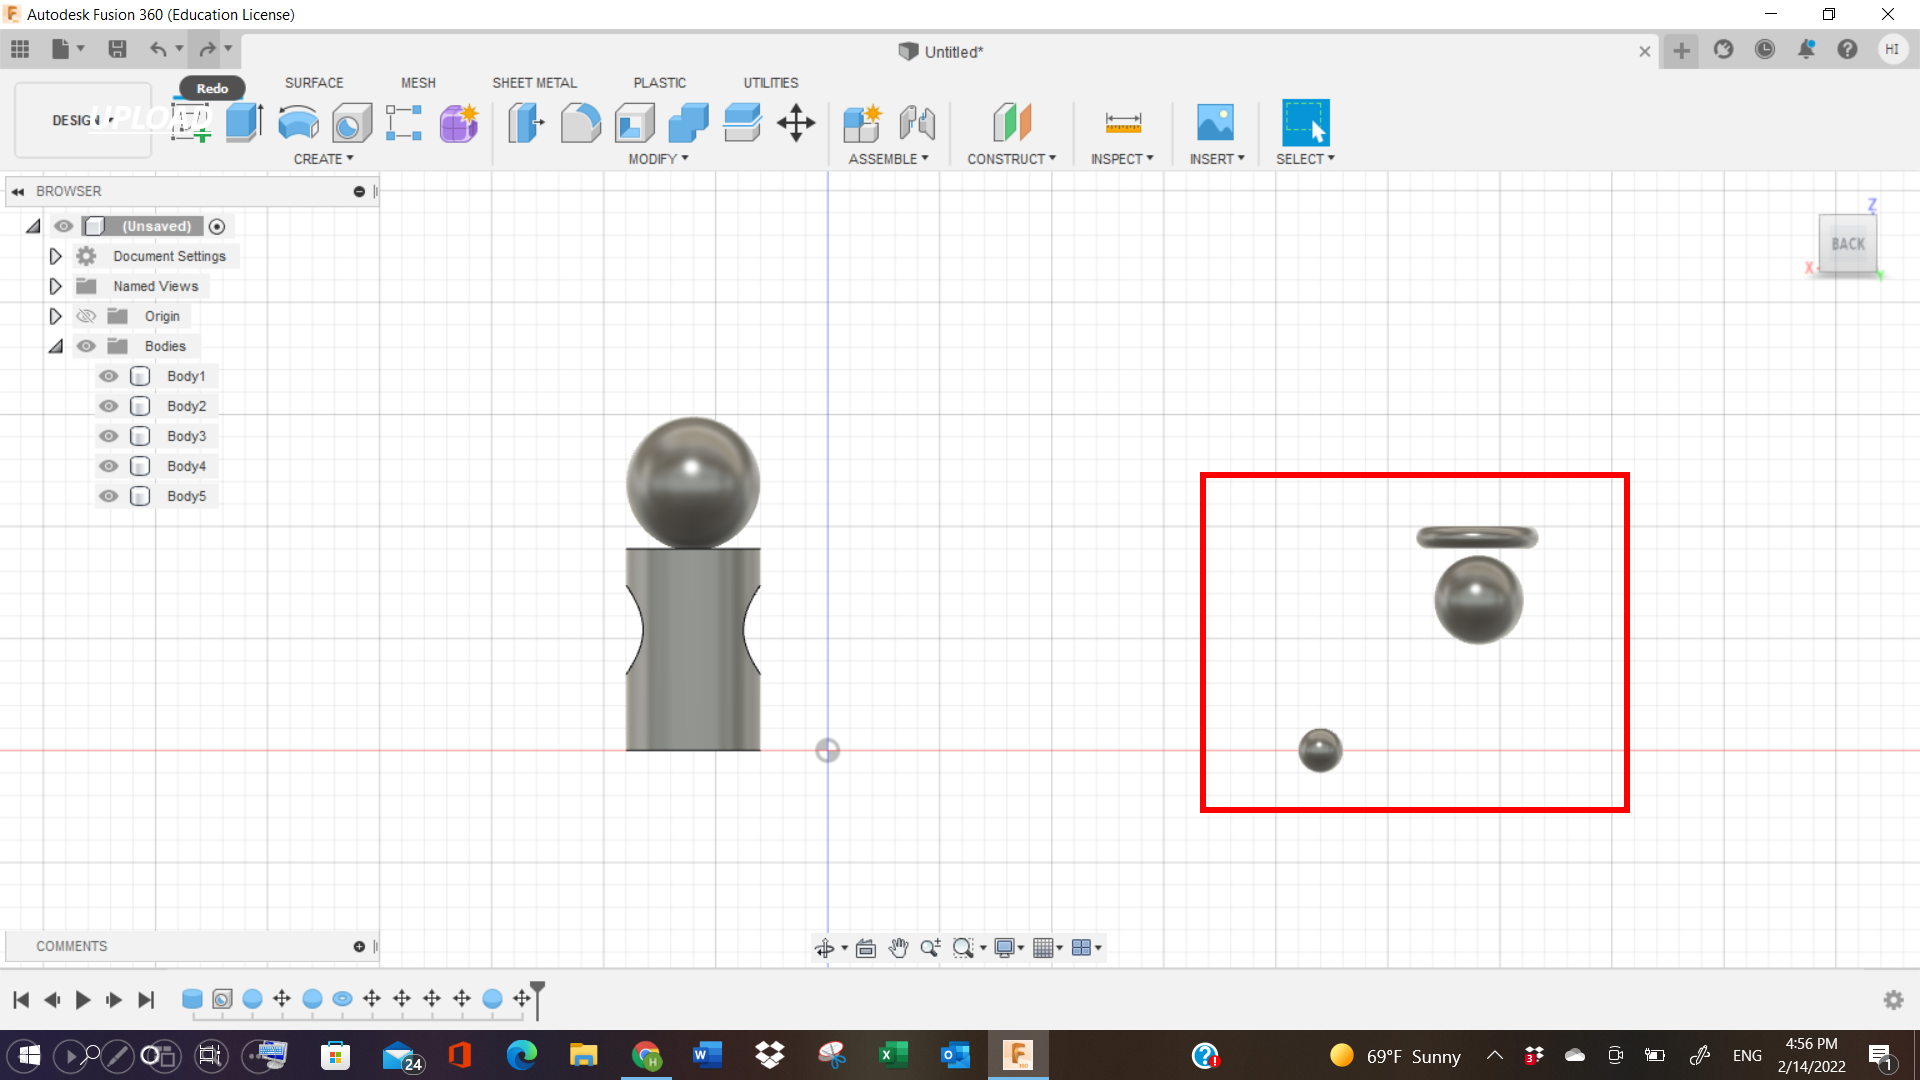
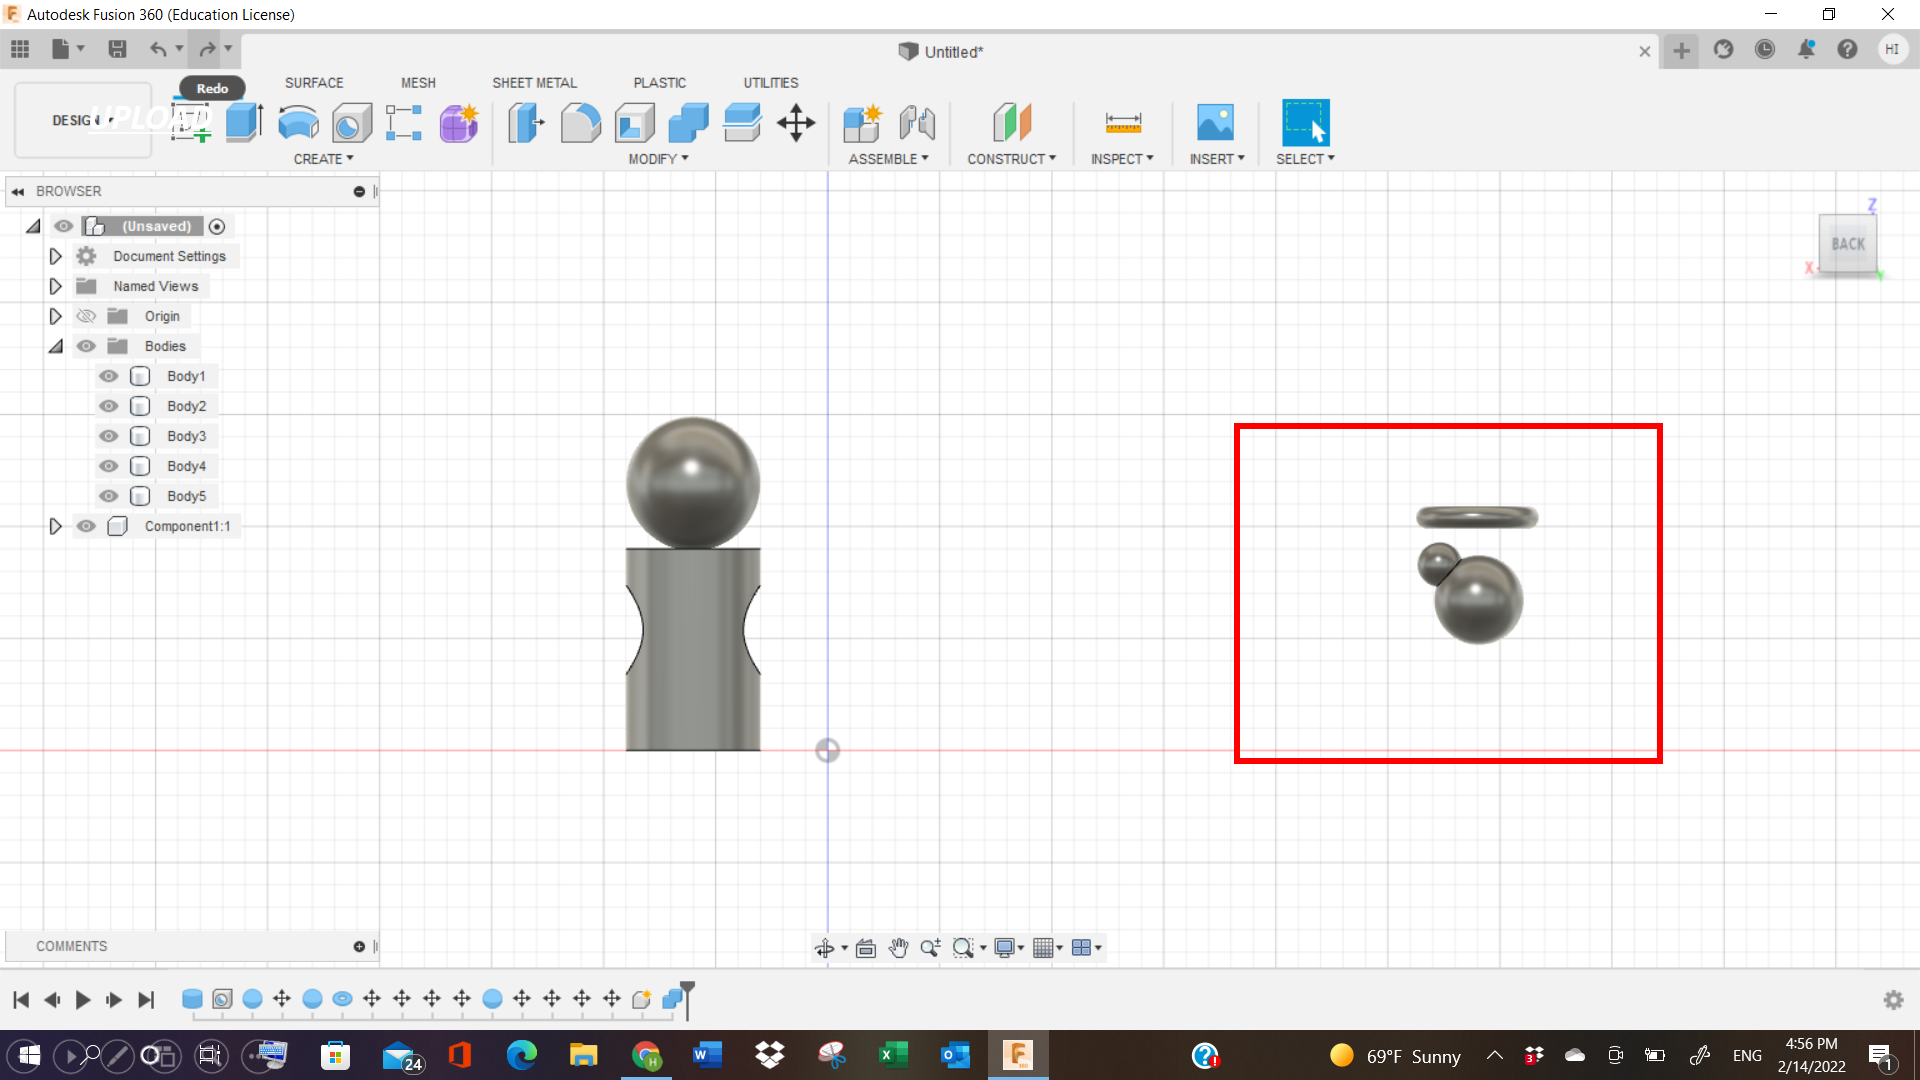
Then I copied the ear on the left side, and attached it to the right as well. Furthermore, I attached the main body of the bear, and combined them all together.
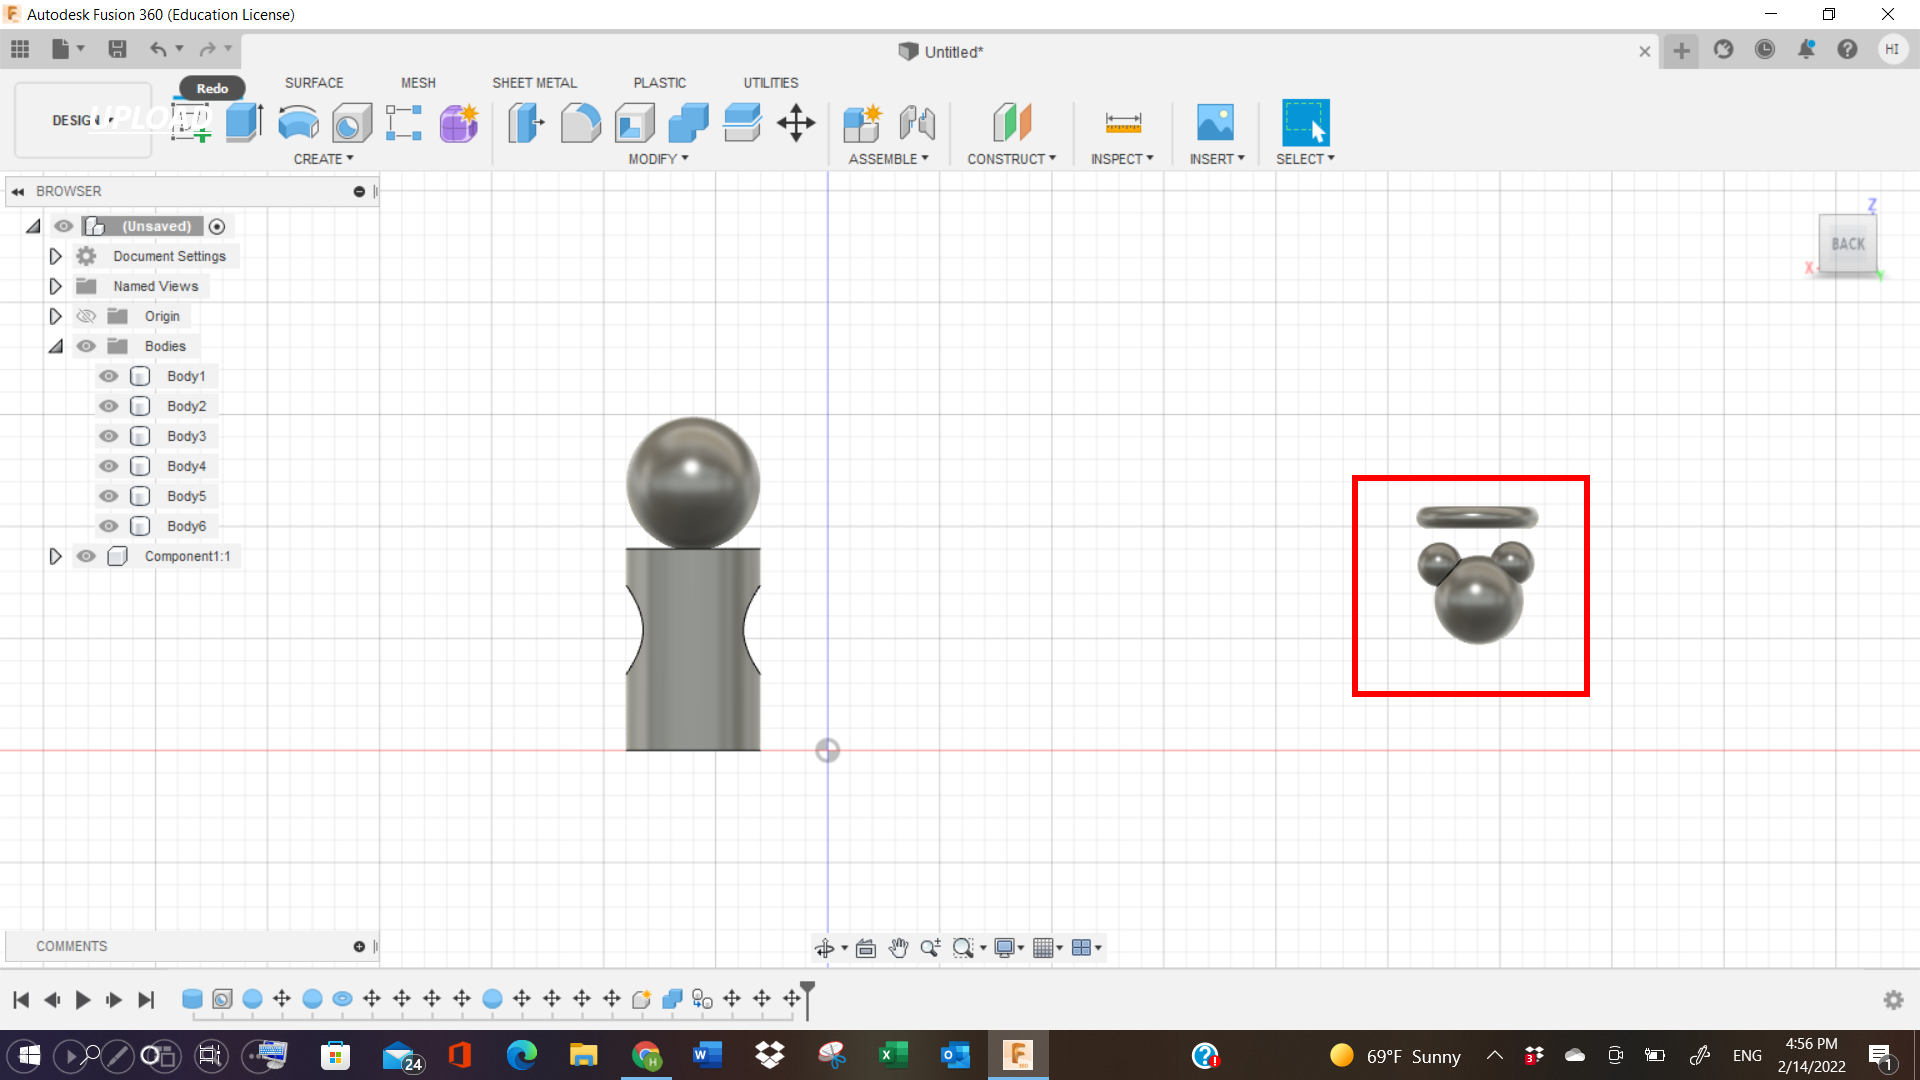
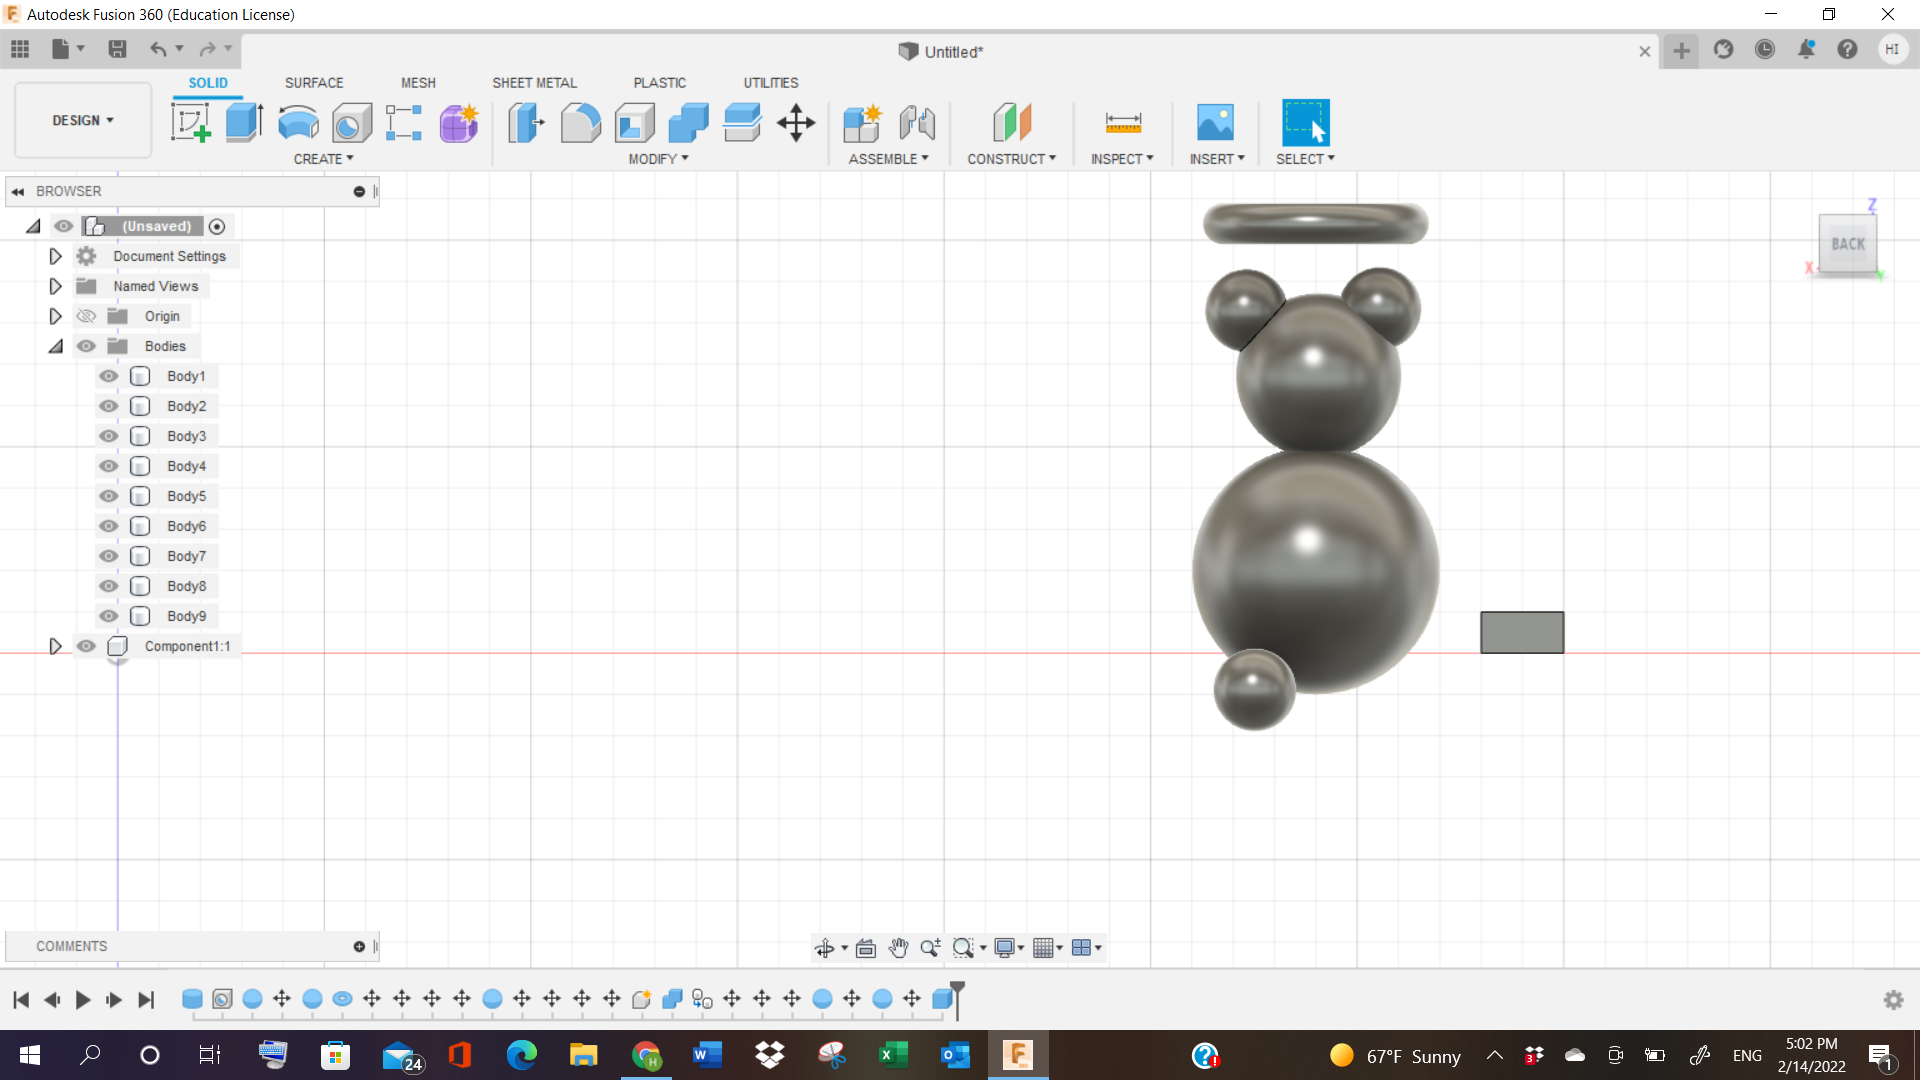
Here, I started adding small little spheres to represent the feet of the bear, in an abstract way. Because I’m new to this software, so I’m still learning. Later, I copied the feet, and pasted on the right part, so as to represent the full bear here.
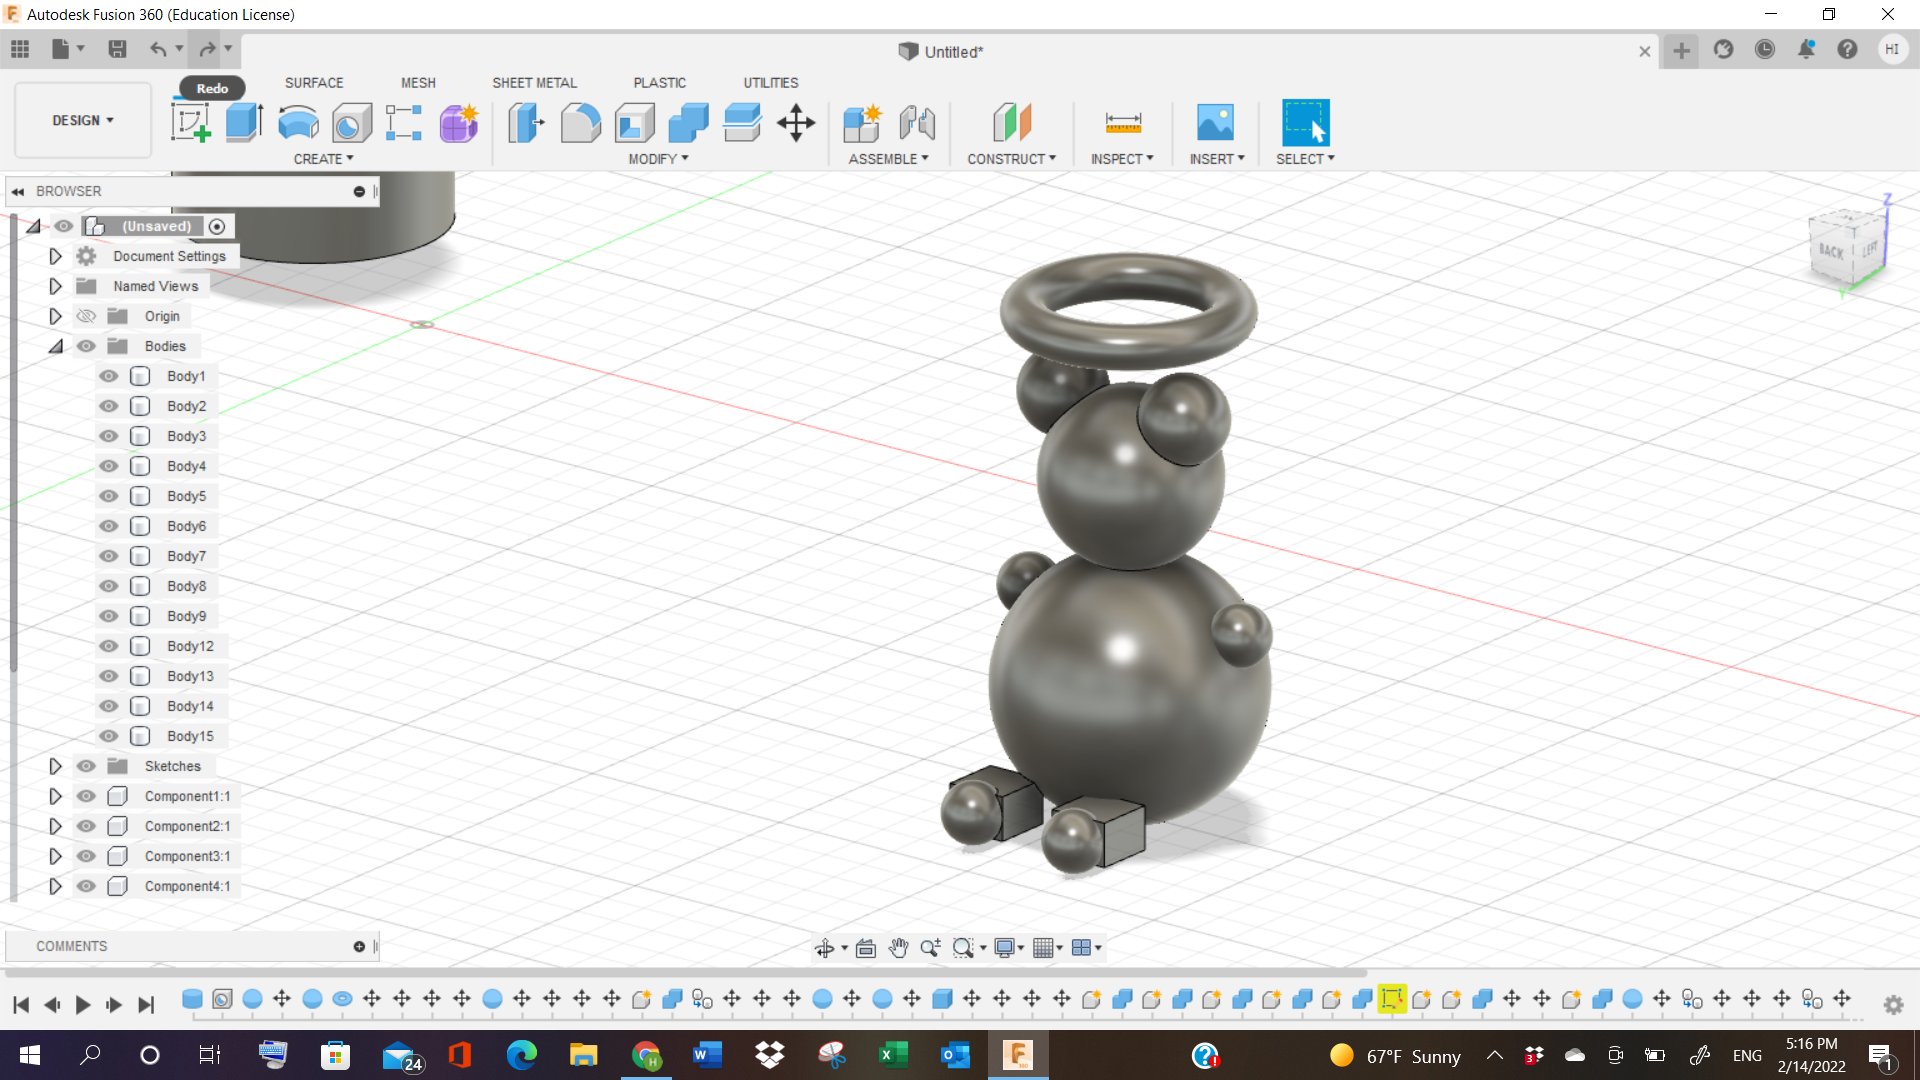
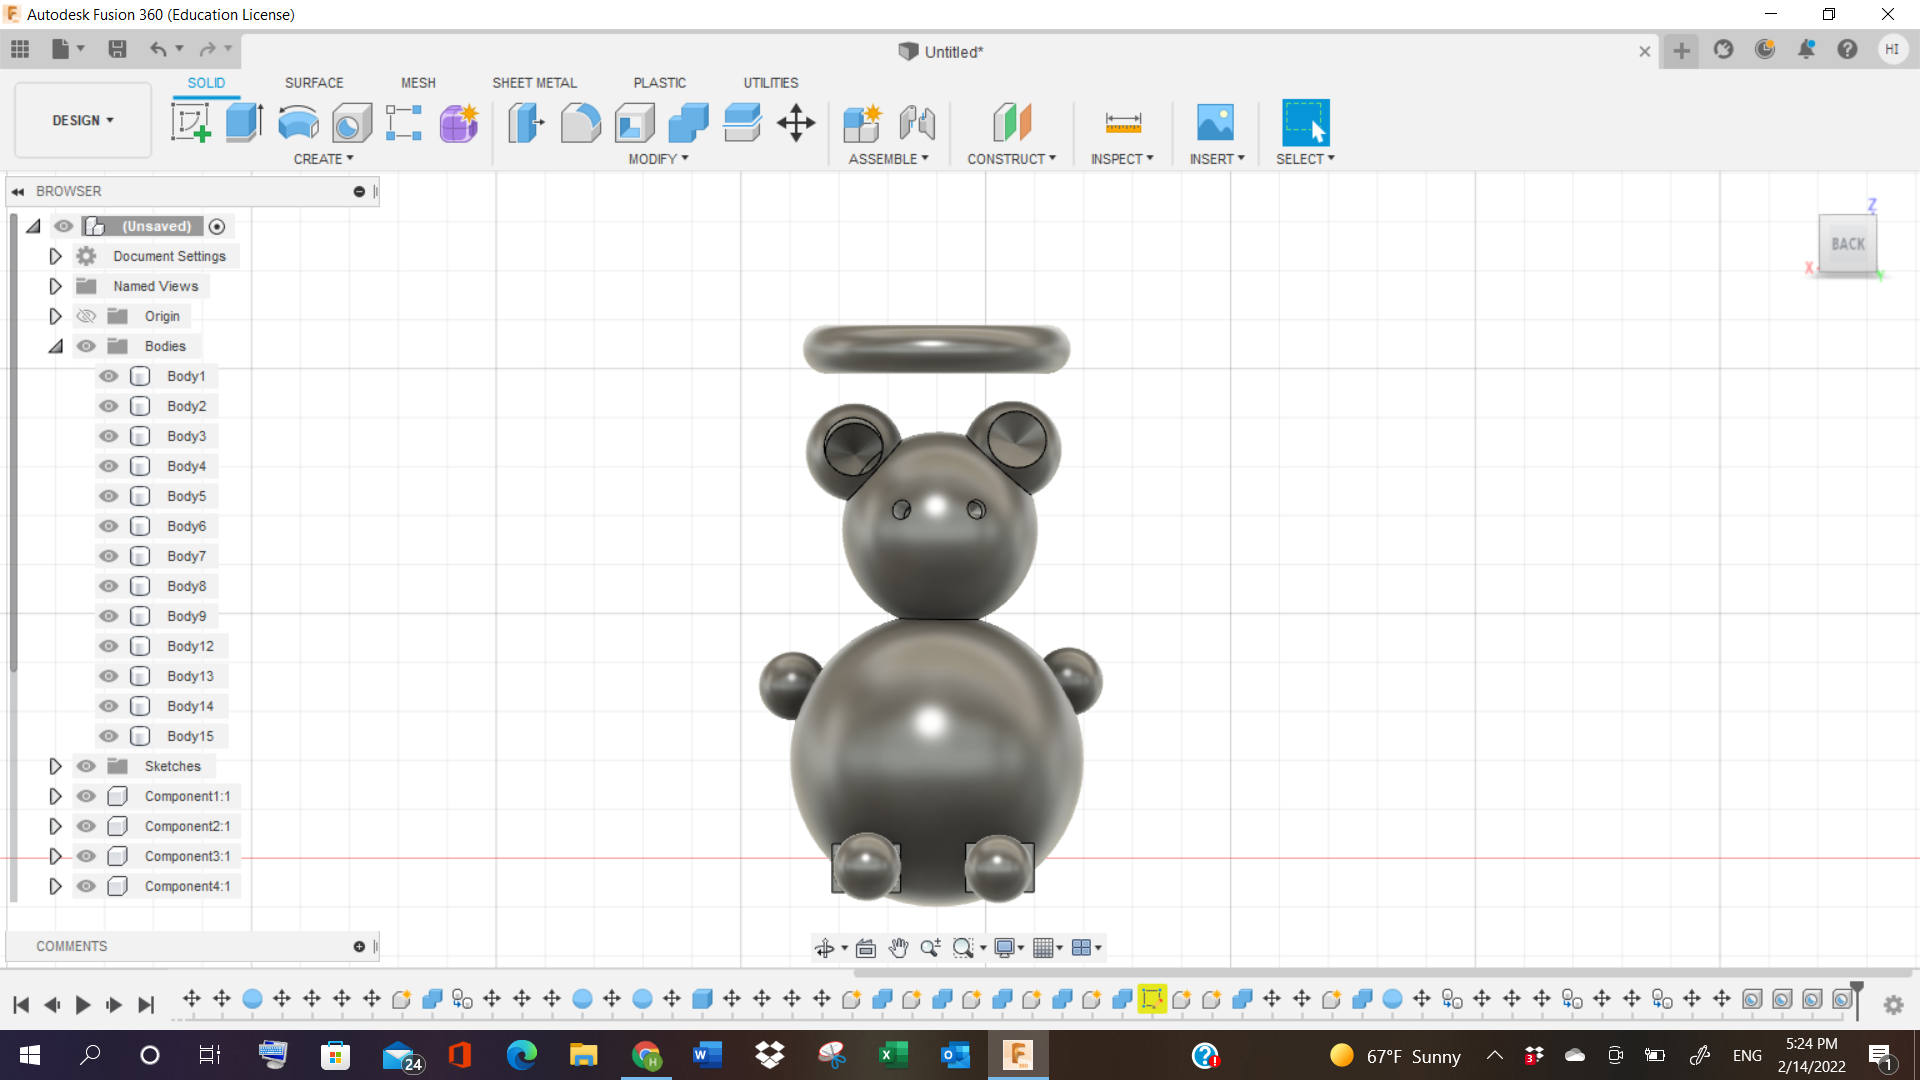
I removed the halo on top, because it was a separate component, so I just focussed on the bear. Next, I tried adding holes, to represent the eyes and the mouth part of the bear.

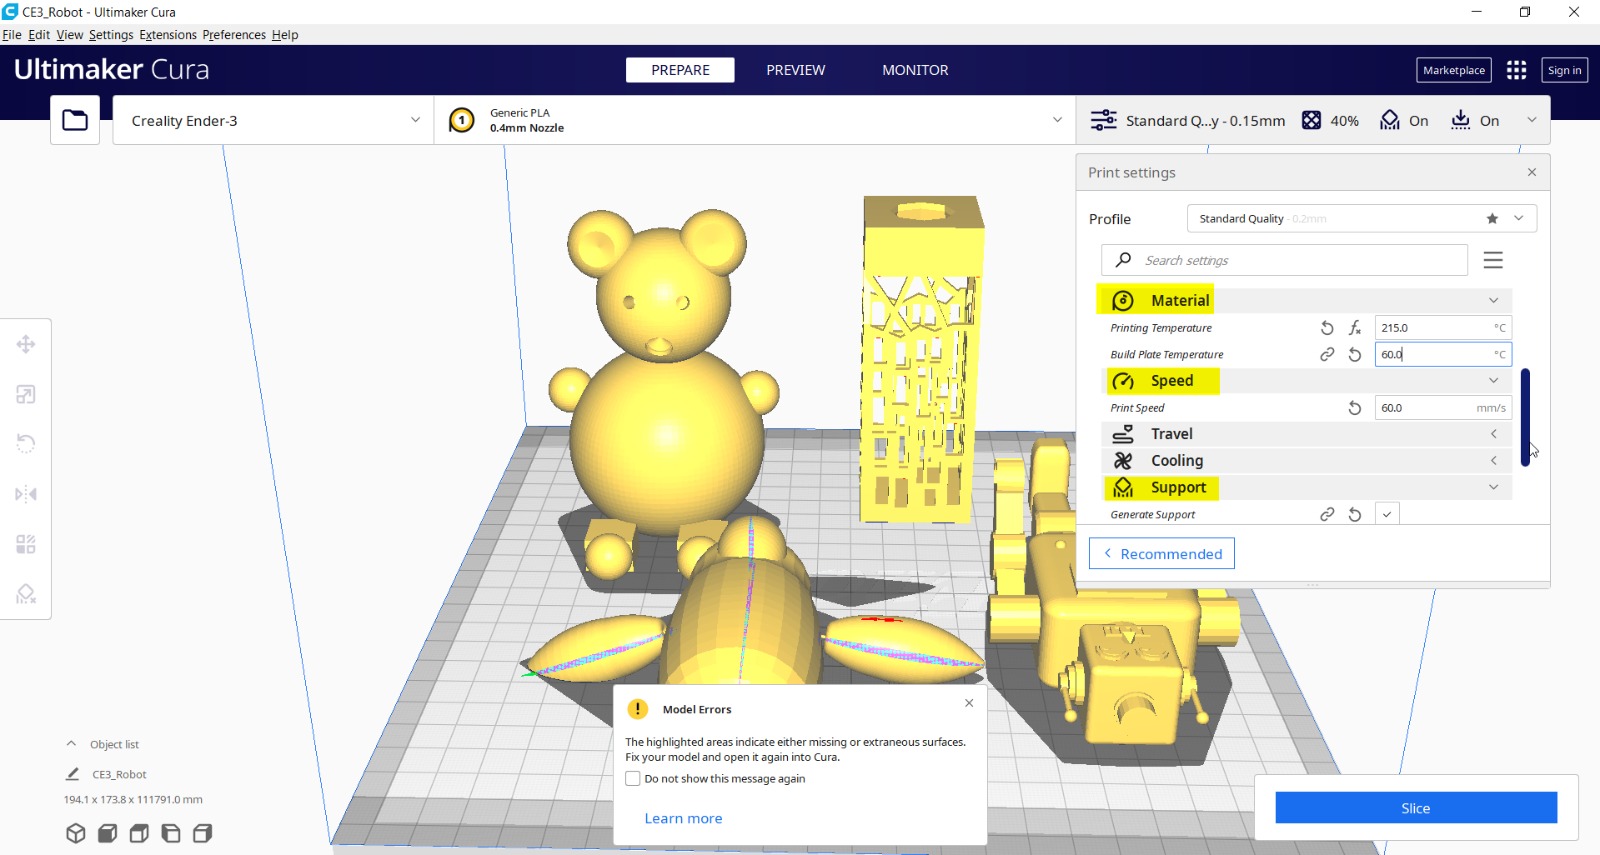
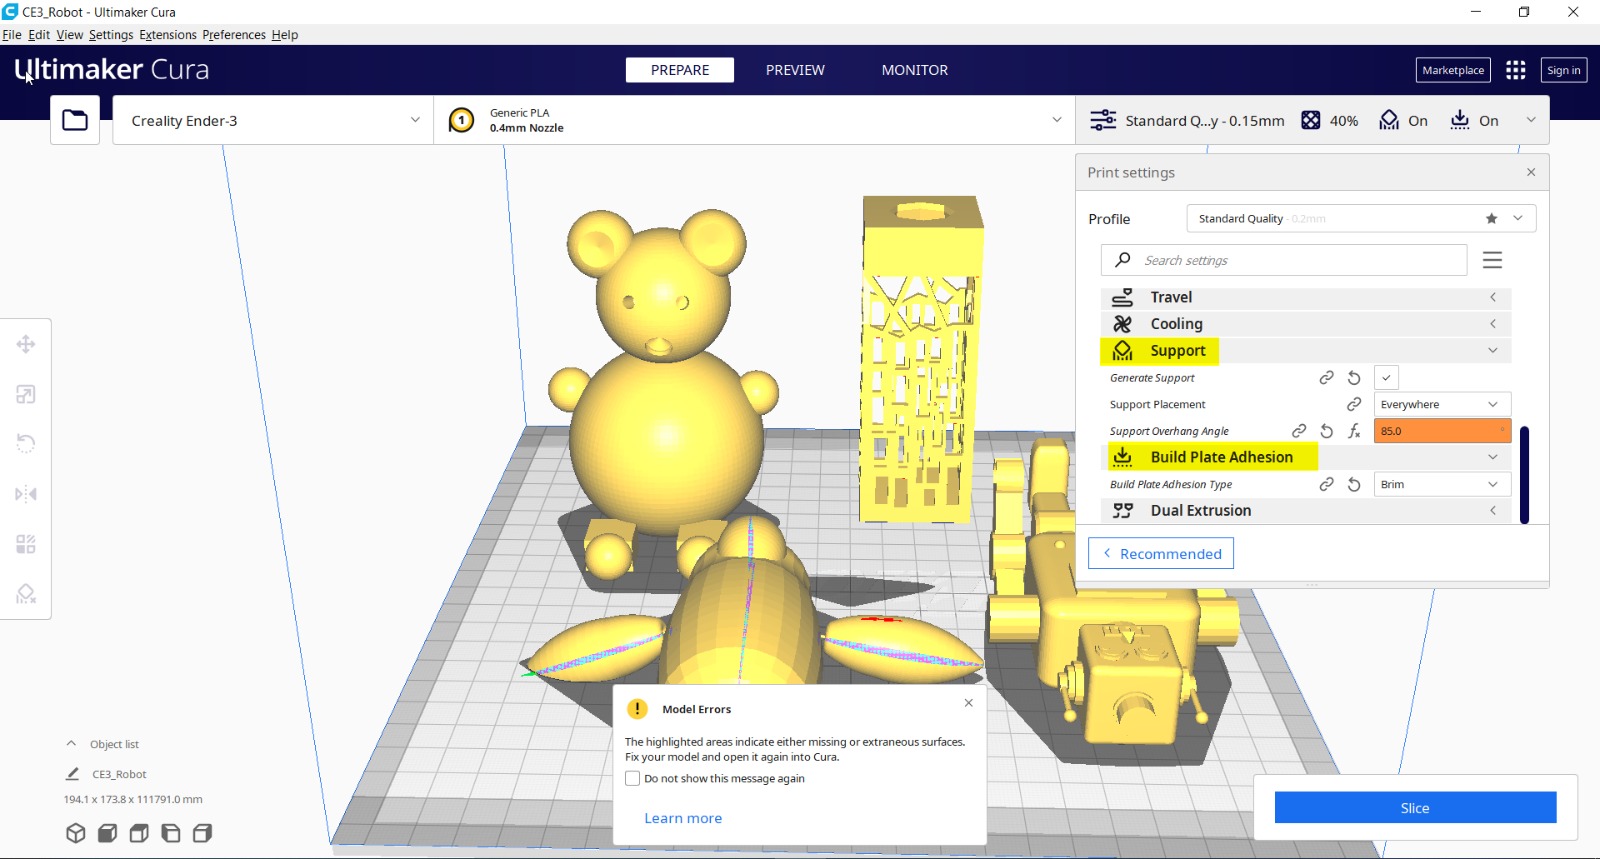
Then I exported the file to STL format, and gave to my colleague Weaam, who joined our files together, and made changes in Cura Software’s Settings, and prepared it for slicing. The total time showed 1 day, 5 hours for the project to be completed.

3D Teddy Bear
2D Design
FUSION 360
Let’s Design!
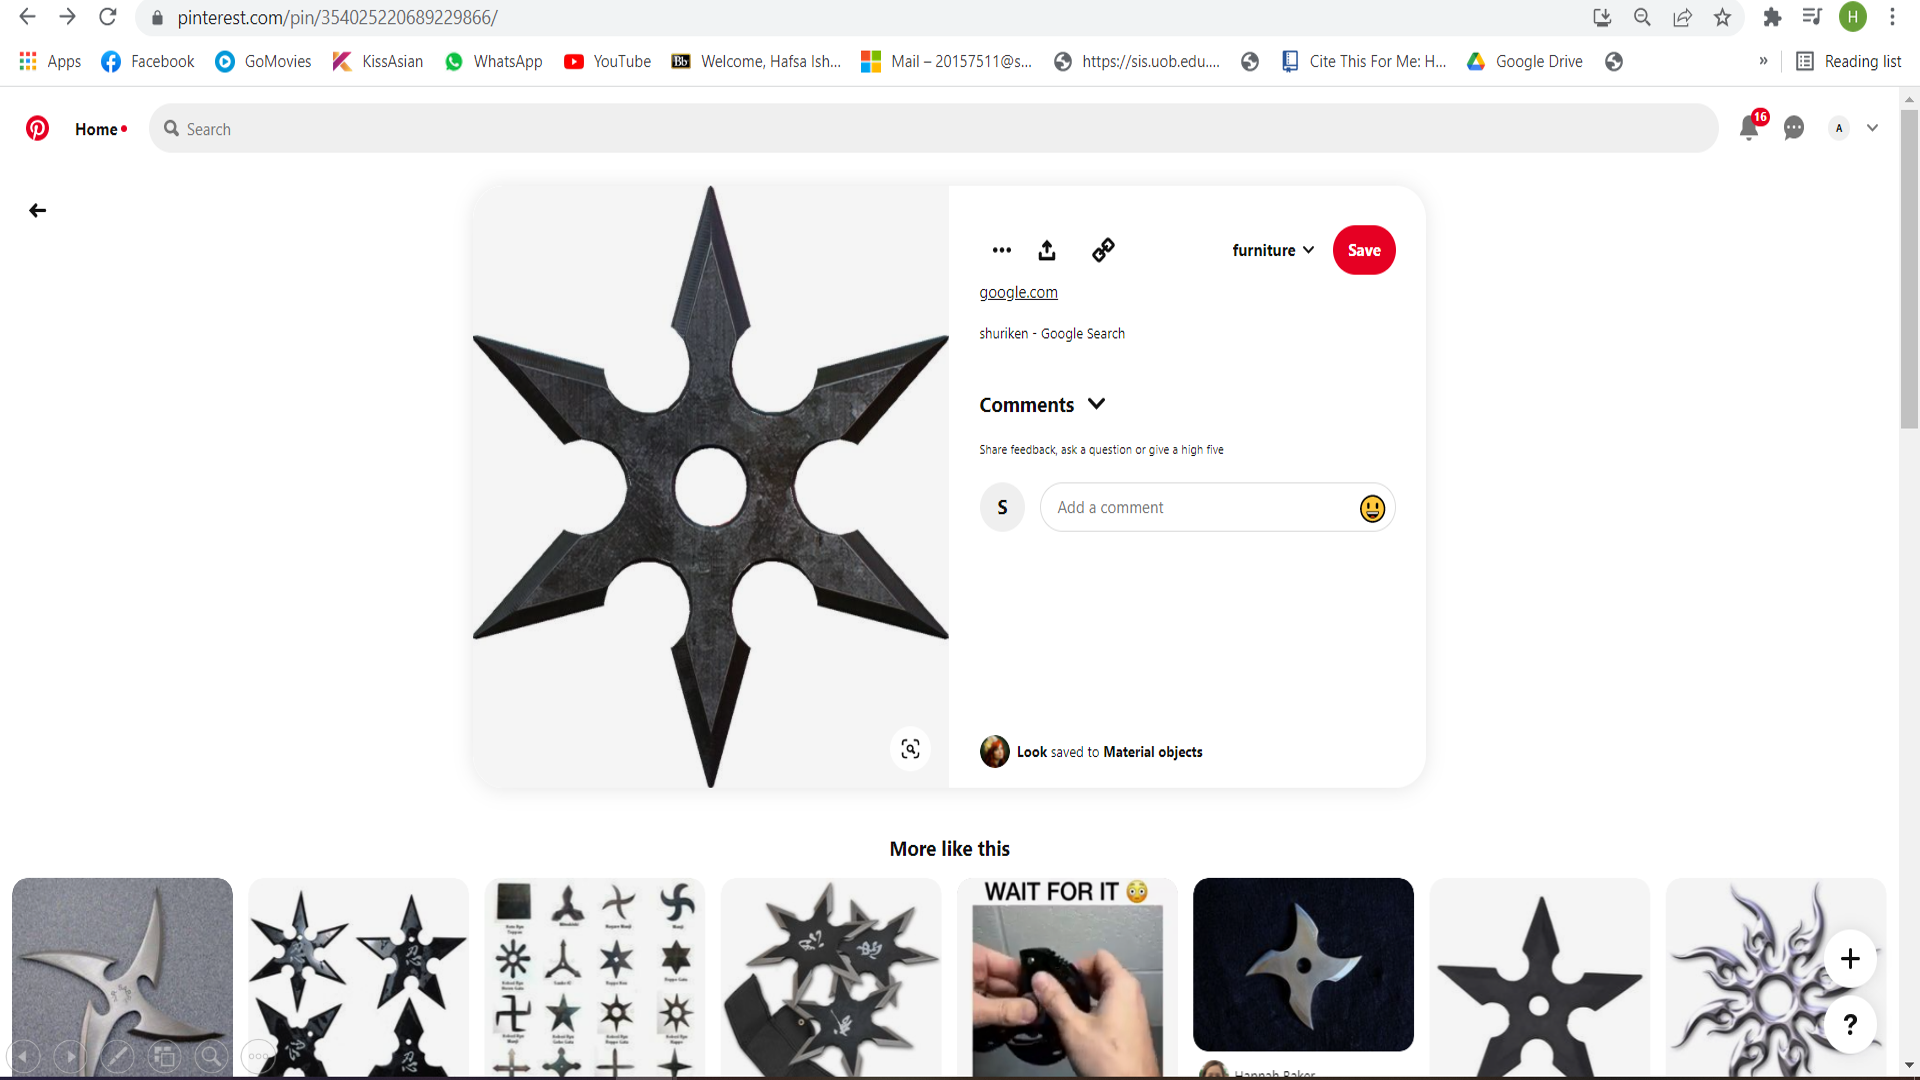
In order to start working on the design, I started searching for different things, ranging from Heart to Diamond shapes, to stars, house designs and 2D cartoon figures etc. etc. But in the end, as I have watched many Japanese Animes, so I settled for a “Shuriken”. It’s a ninja tool, that is mostly used for training purposes, or Assassinations in animes or movies.
Here is a site reference, from where I took the design inspiration: Shuriken Design
I started making the design in Fusion 360.
1- First, I sketched the main outline dimensions of the molded wax (7cm x 9.5cm x 1cm) and made them in the software, to make sure that I don’t go outside the limited boundary lines.
2- Then I started making the shapes, such as circle being the origin point.
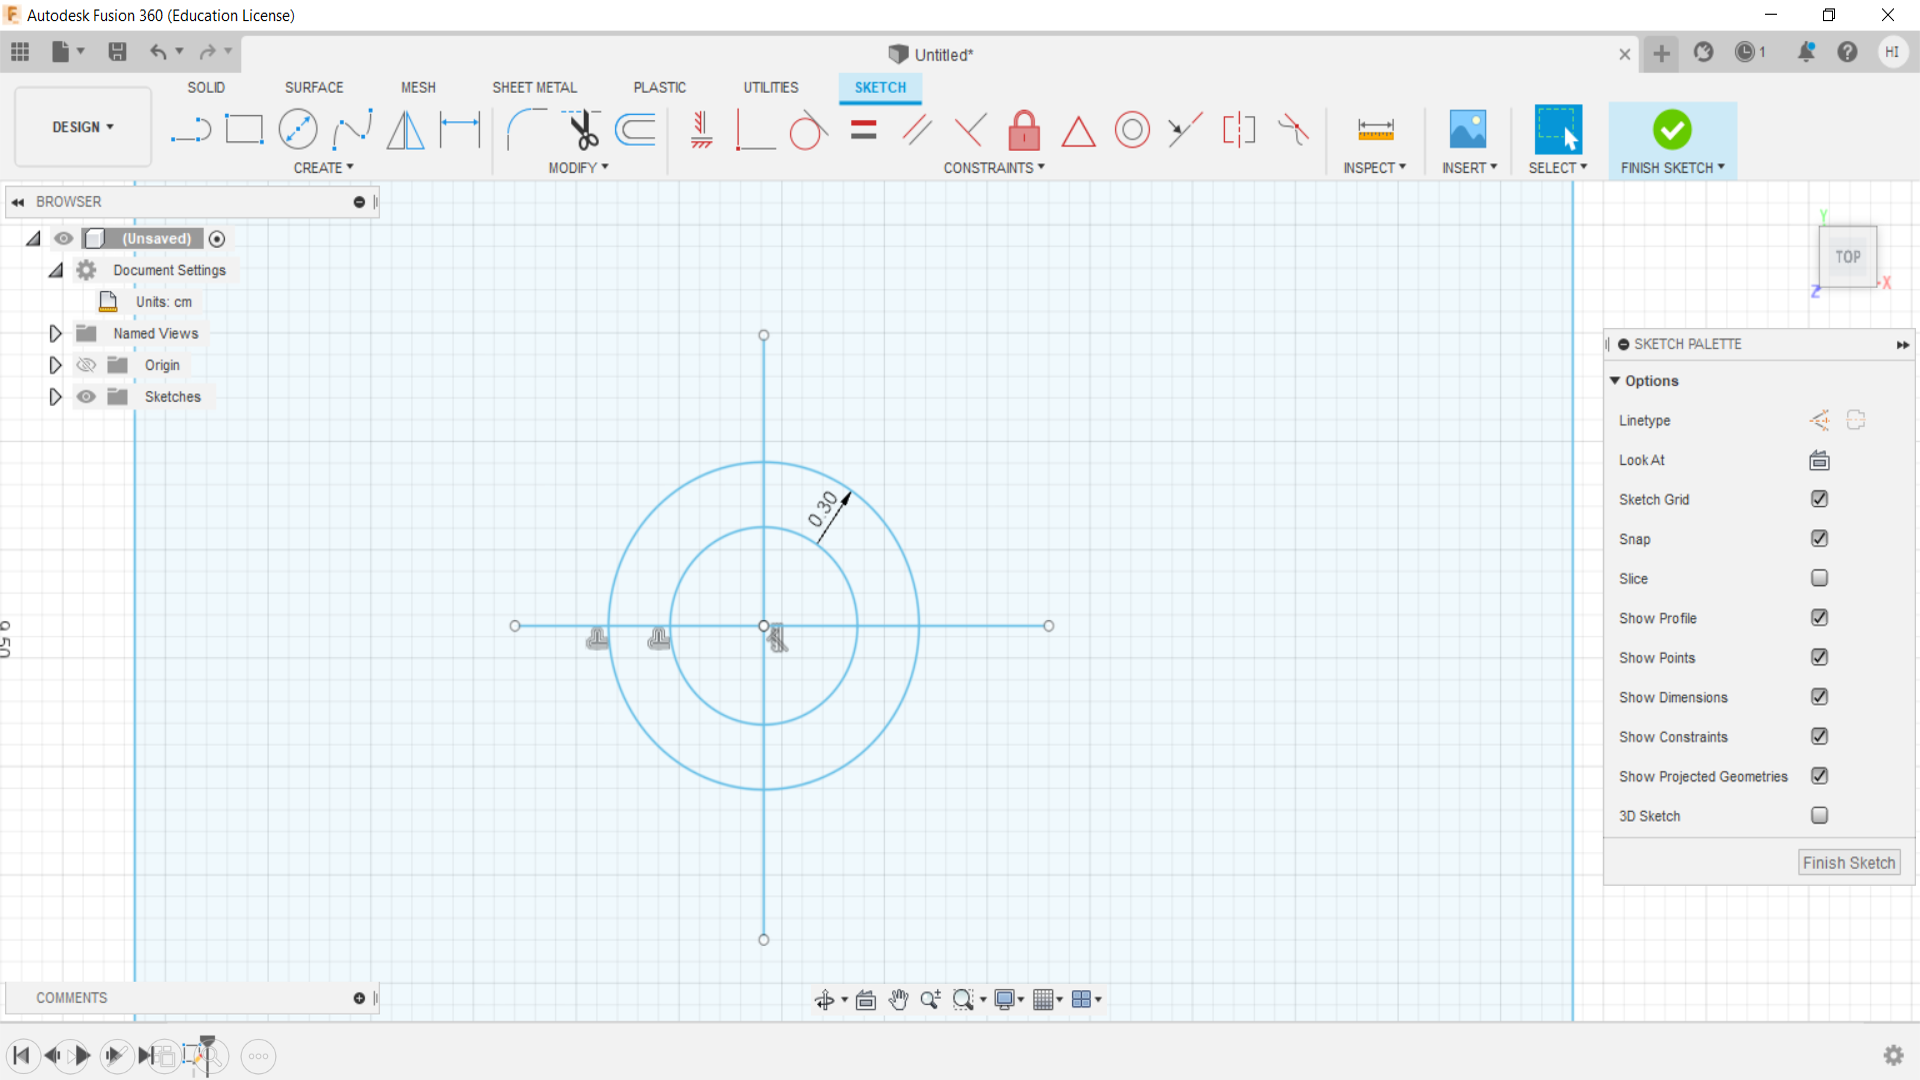
3- After that, I started making small little circles, which would help me in making the curved arcs on the sides.
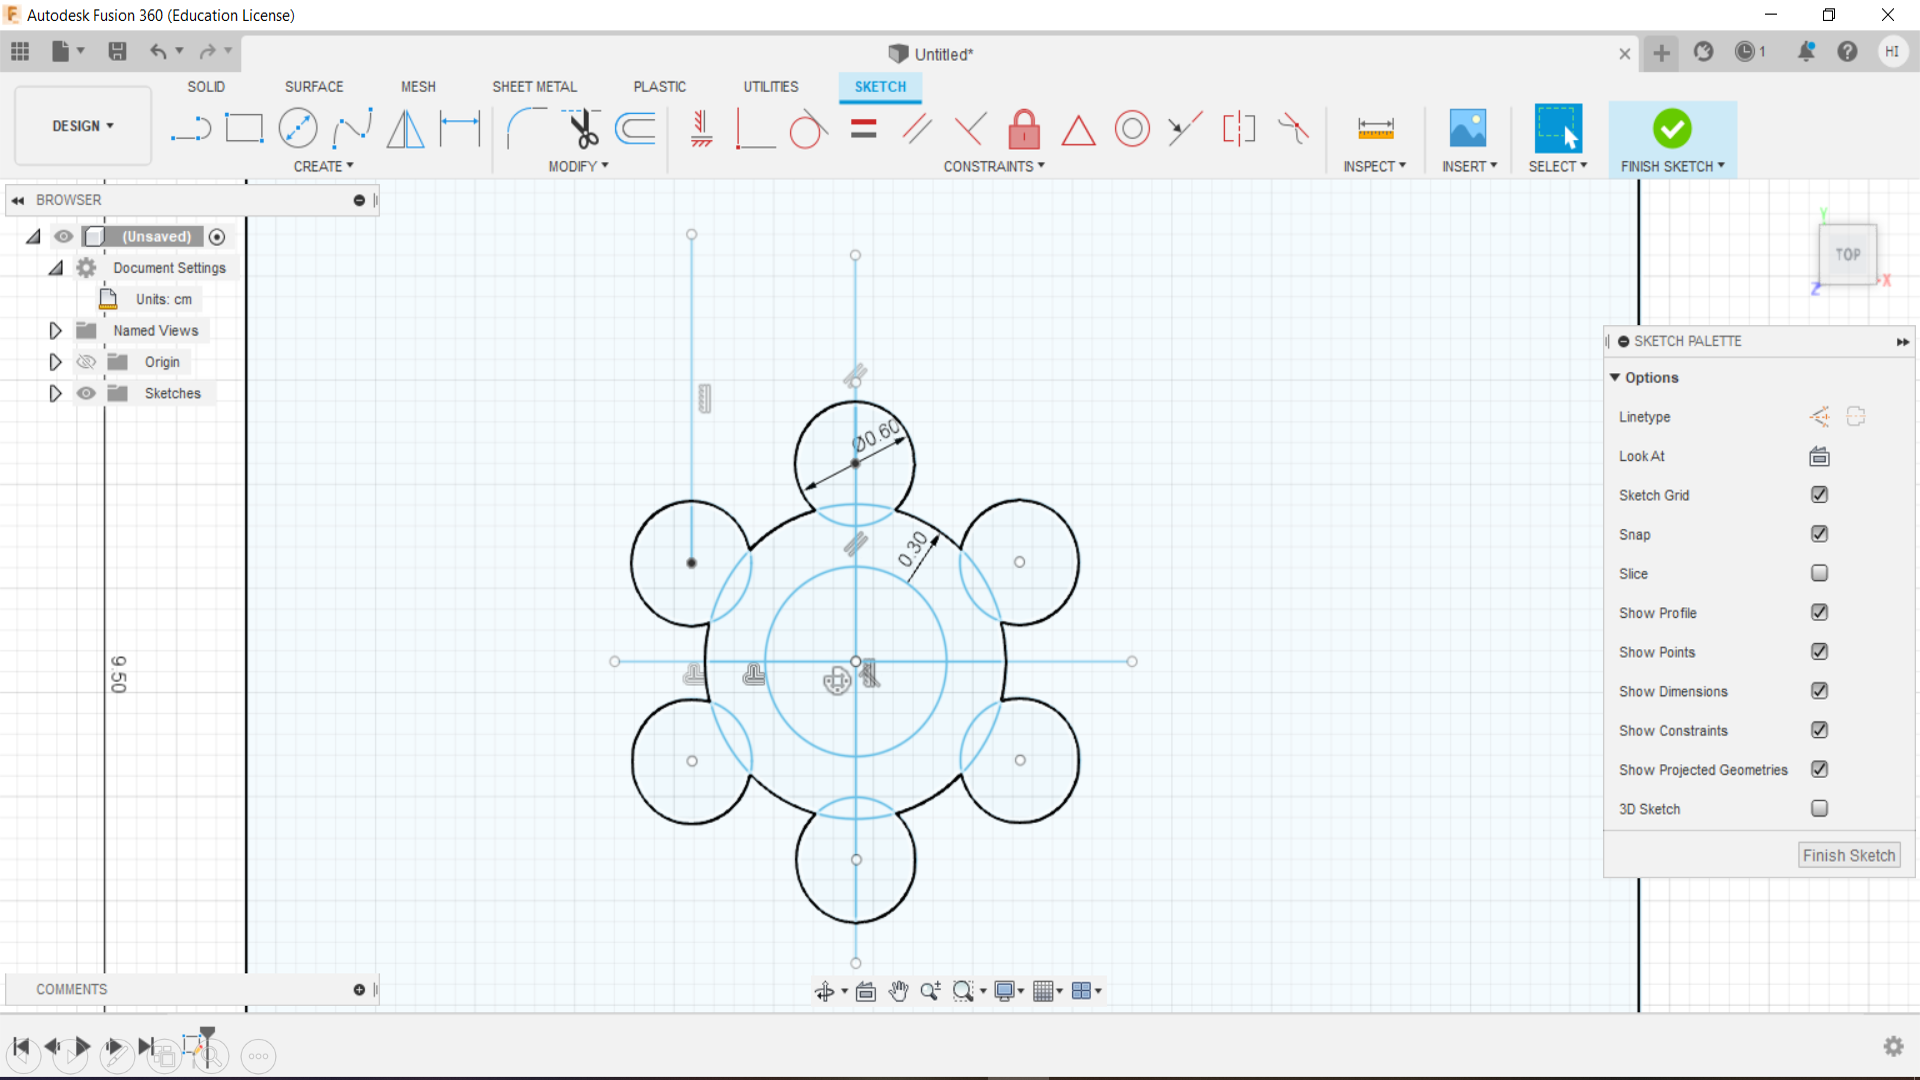
4- After making the curved arcs, I proceeded further to making the triangular shapes, that are the pointed shapes of the shuriken, as seen in the images.
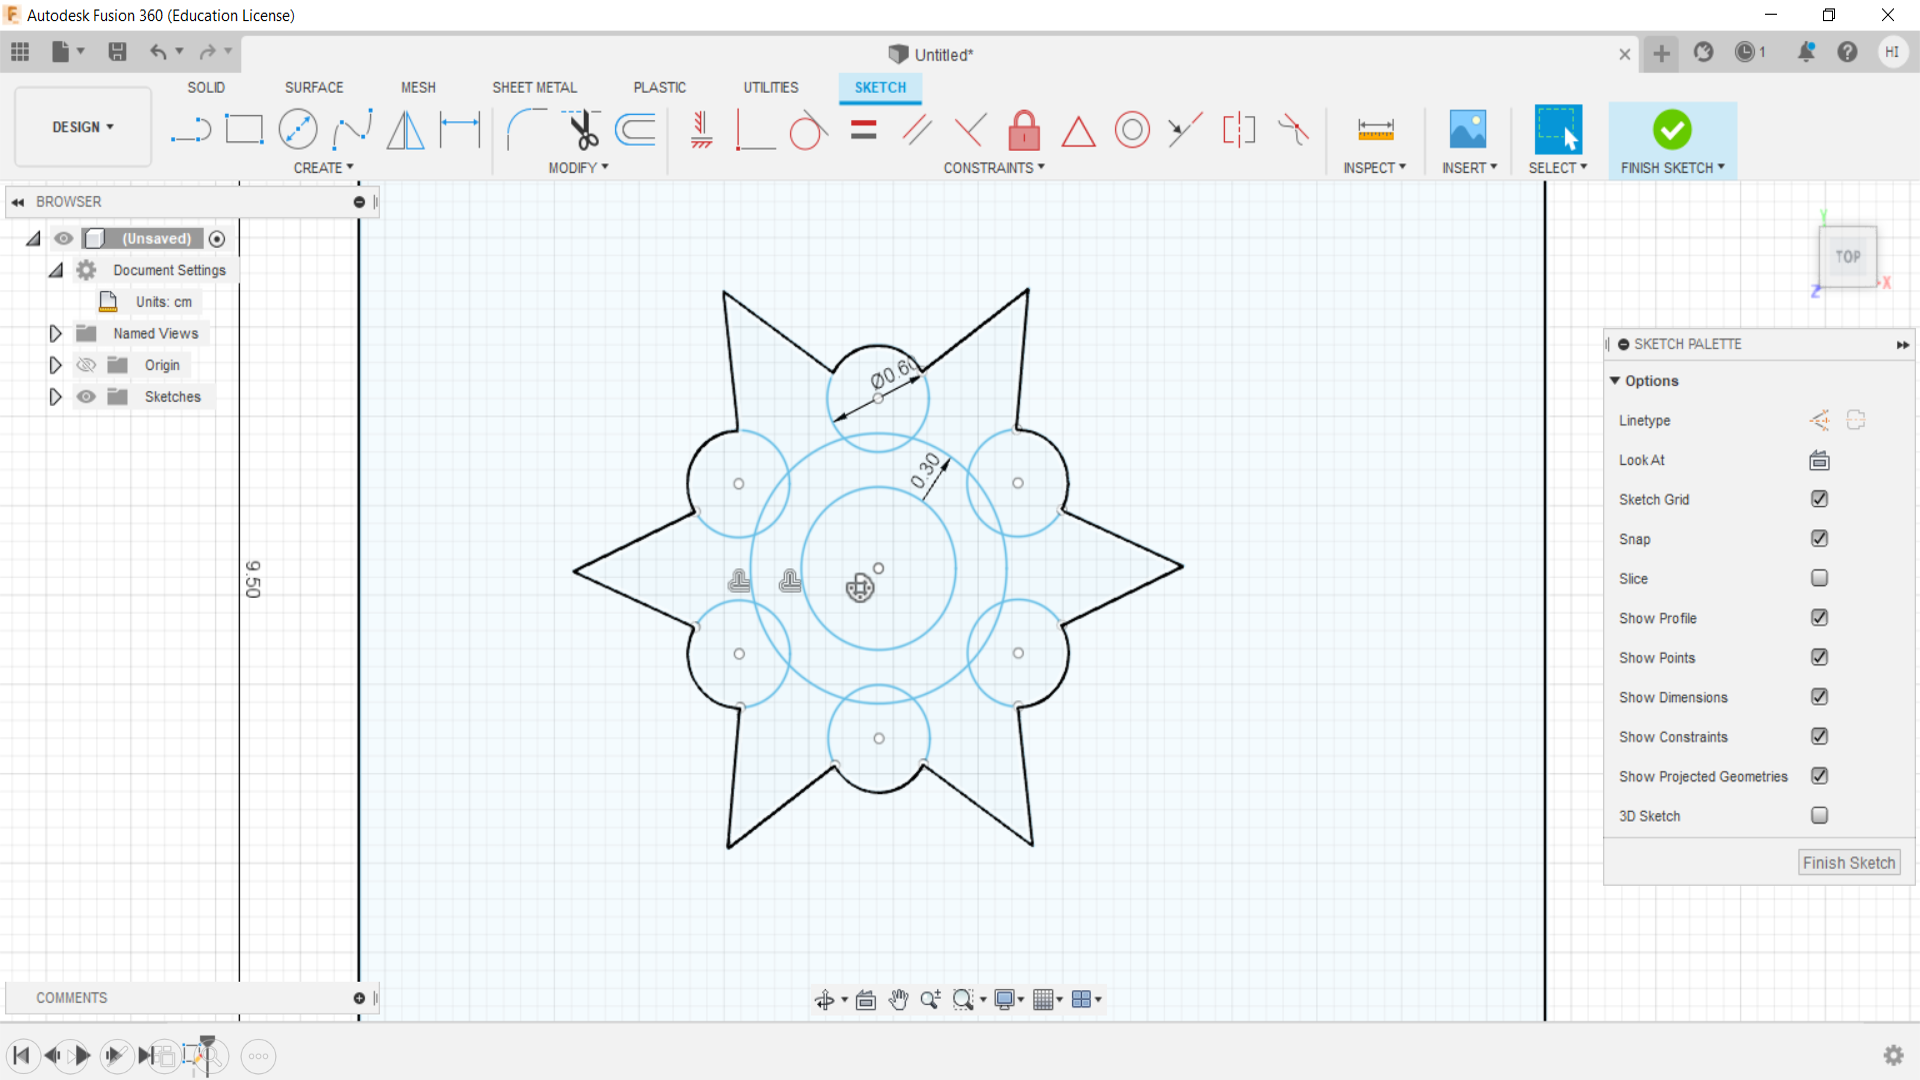
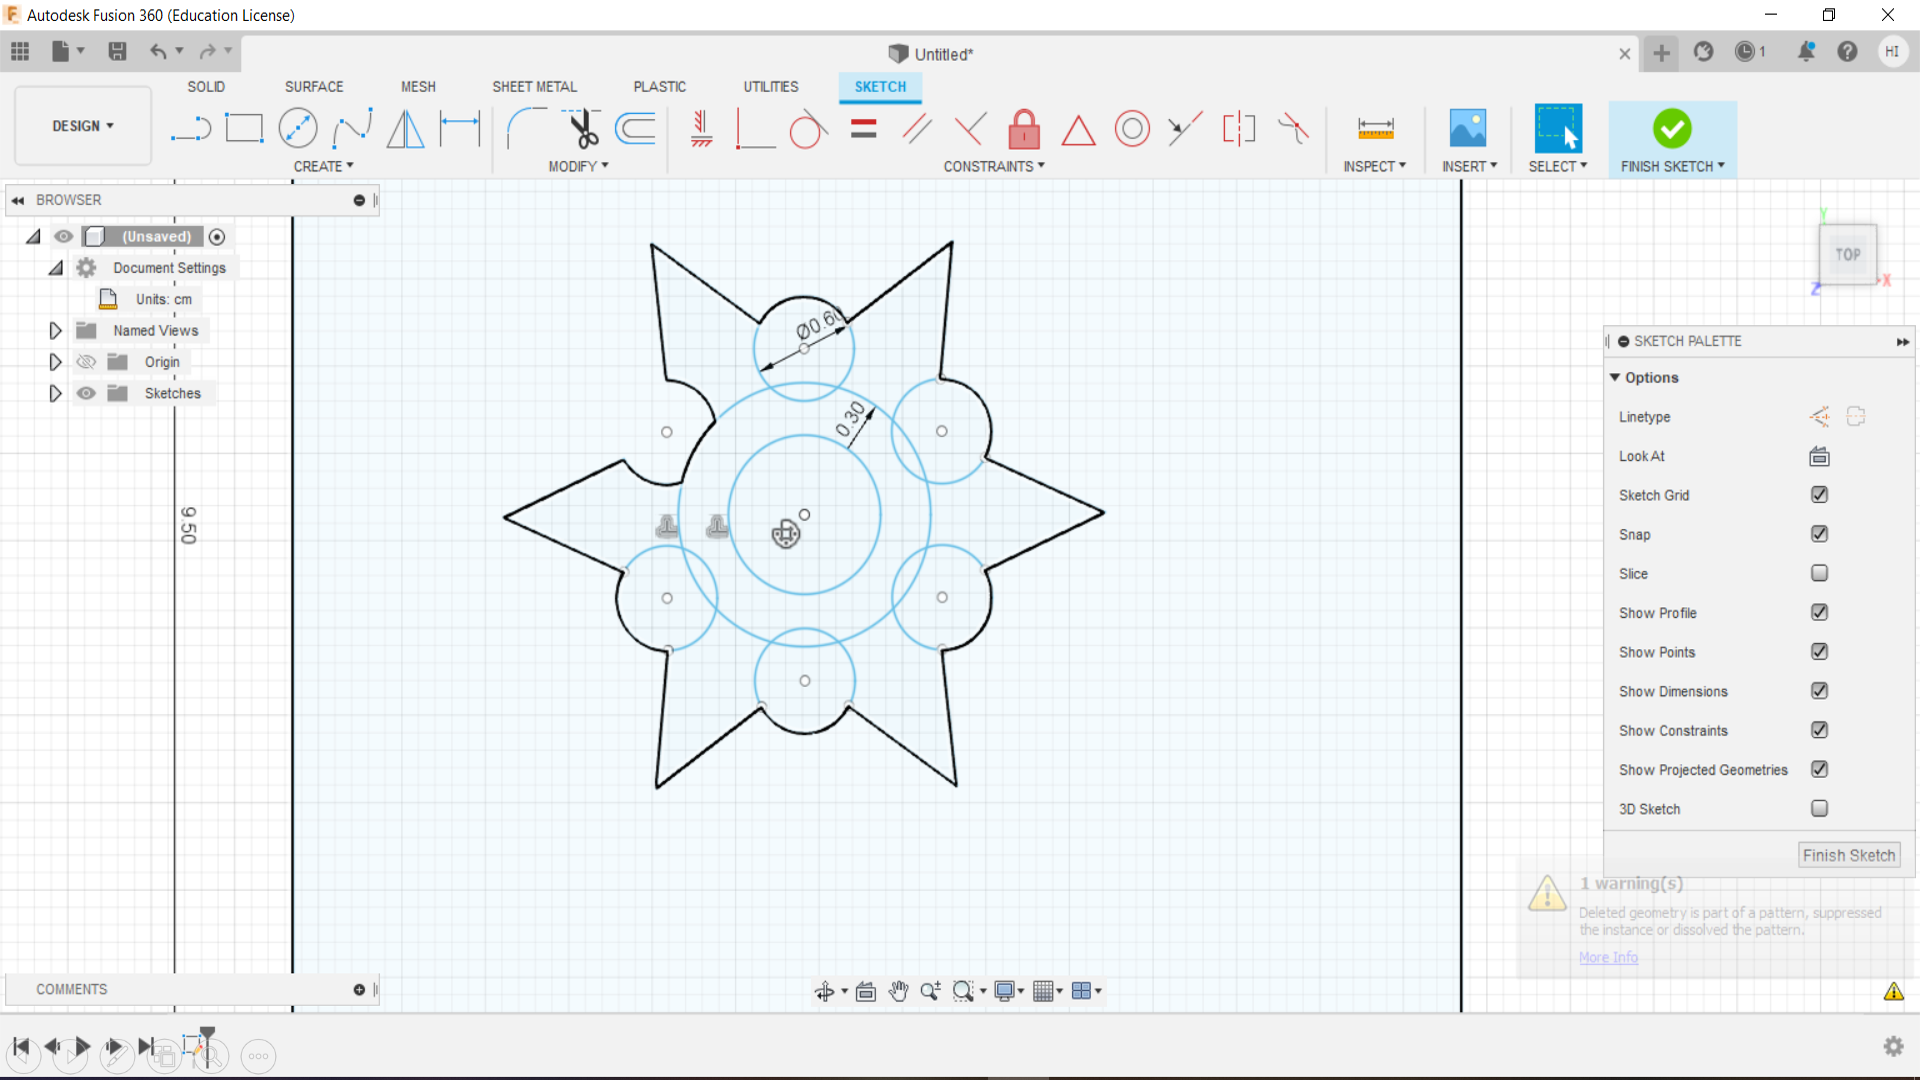
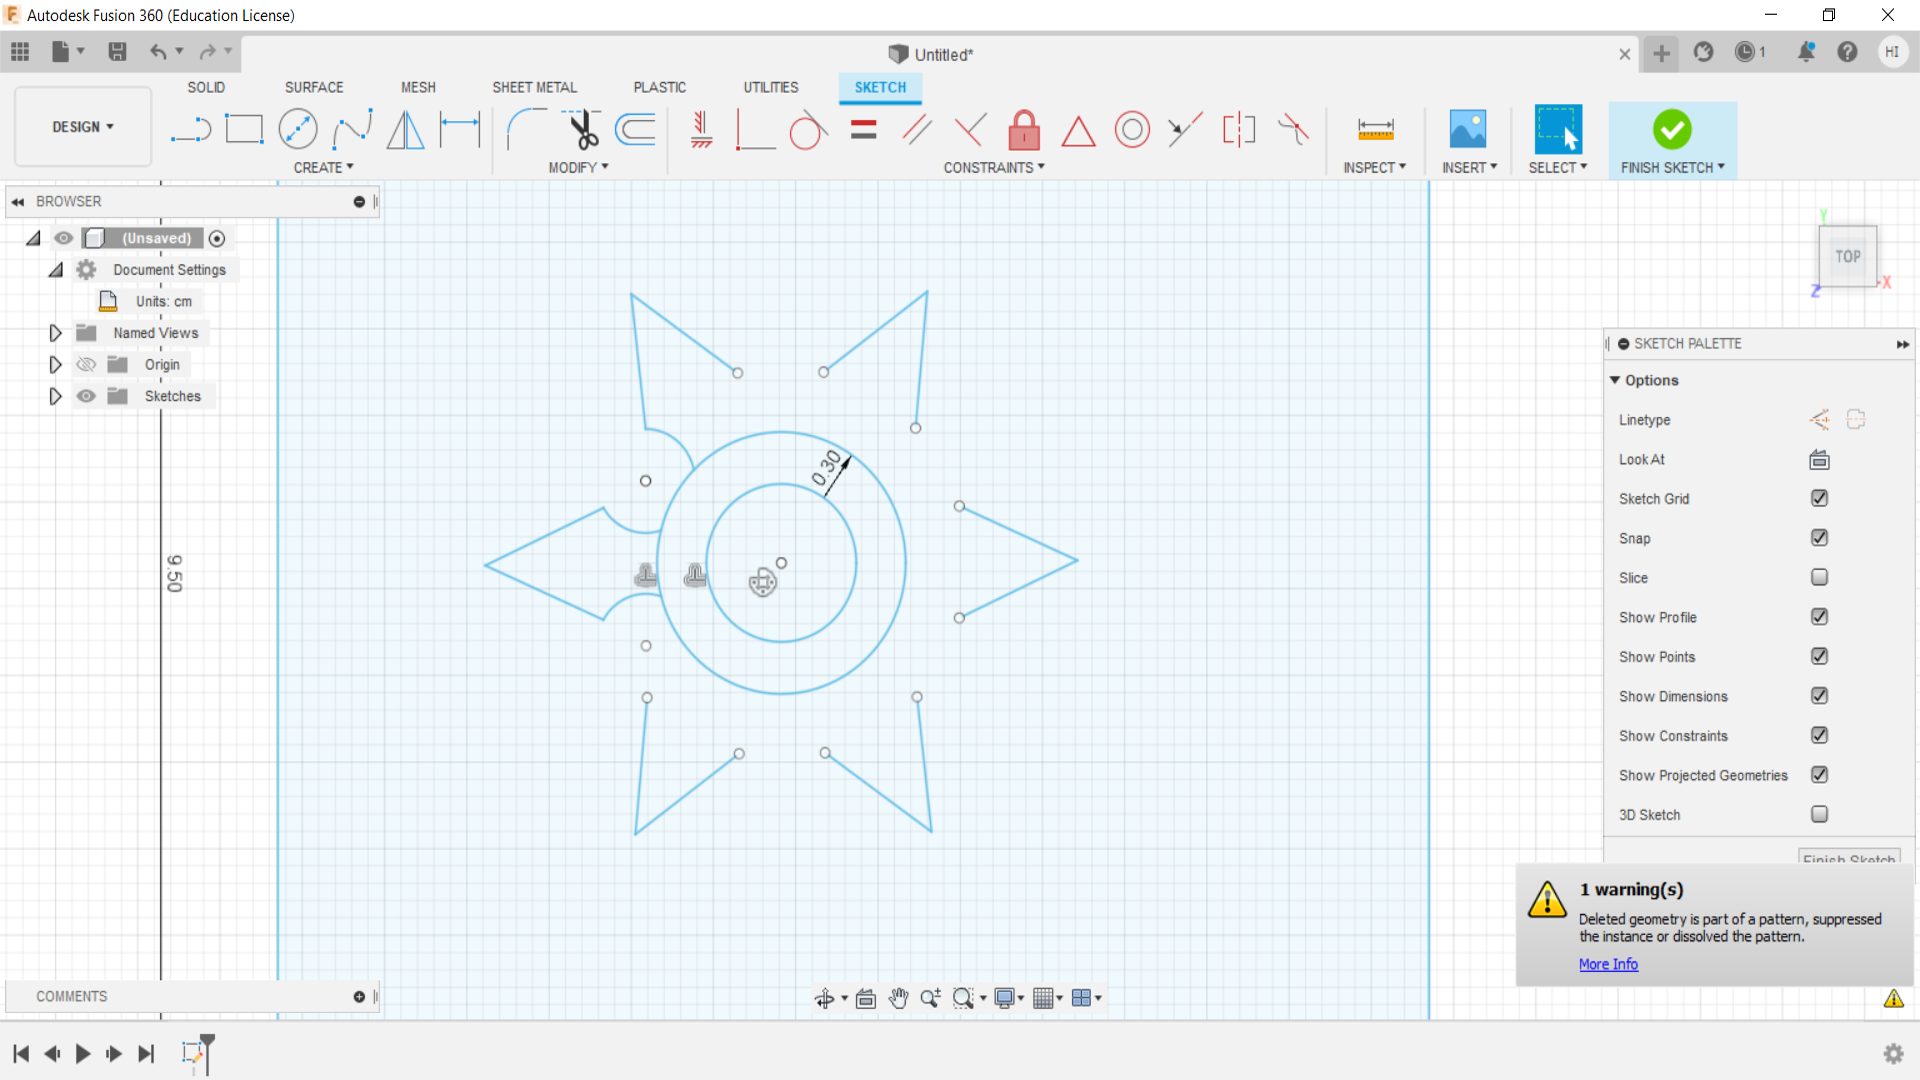
5- They looked little bit smaller in size, so I increased the length of them, and selected “Circular patterns” and copied it on all sides.
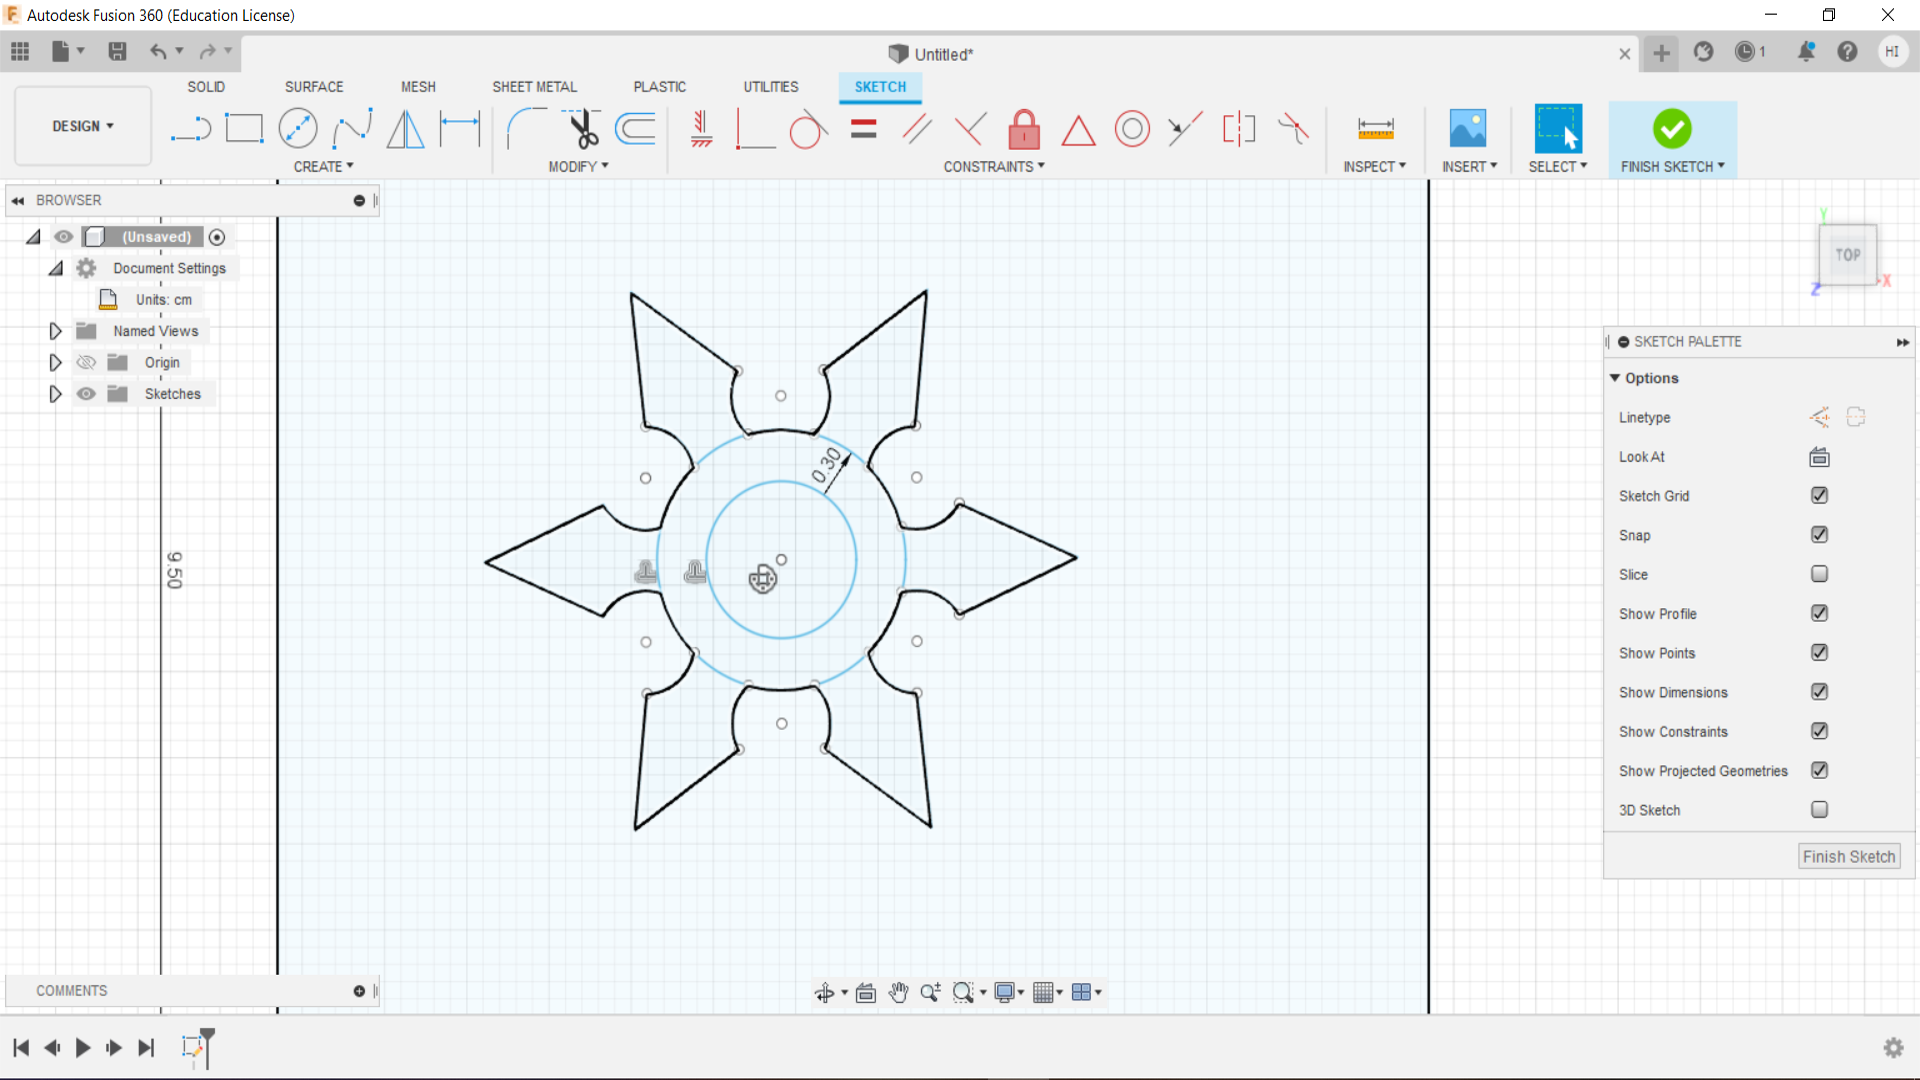
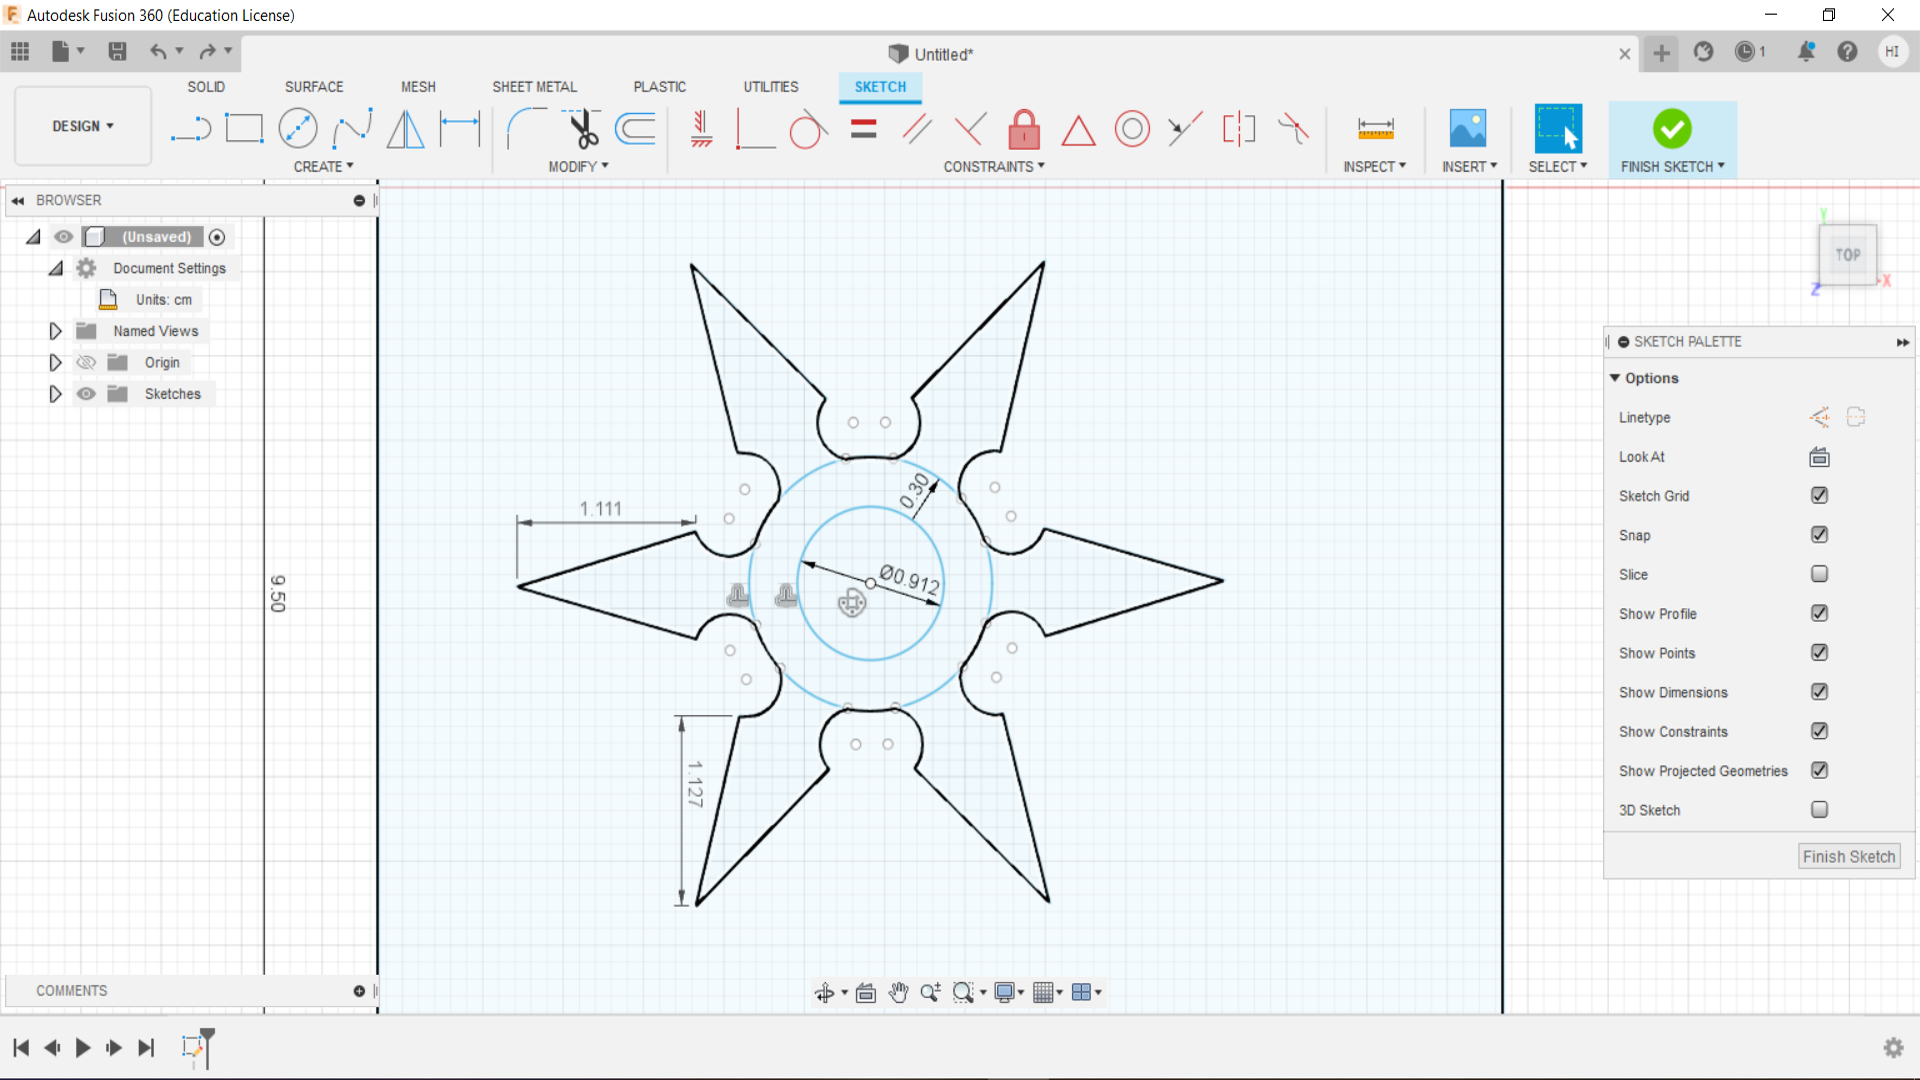
The shuriken design is now ready!
3D Design
TinkerCad
TinkerCad is a 3D modelling program, where aside from it’s 3D designs - circuits and codeblocks are also programmed and designed in it.
Click here to see TINKERCAD site
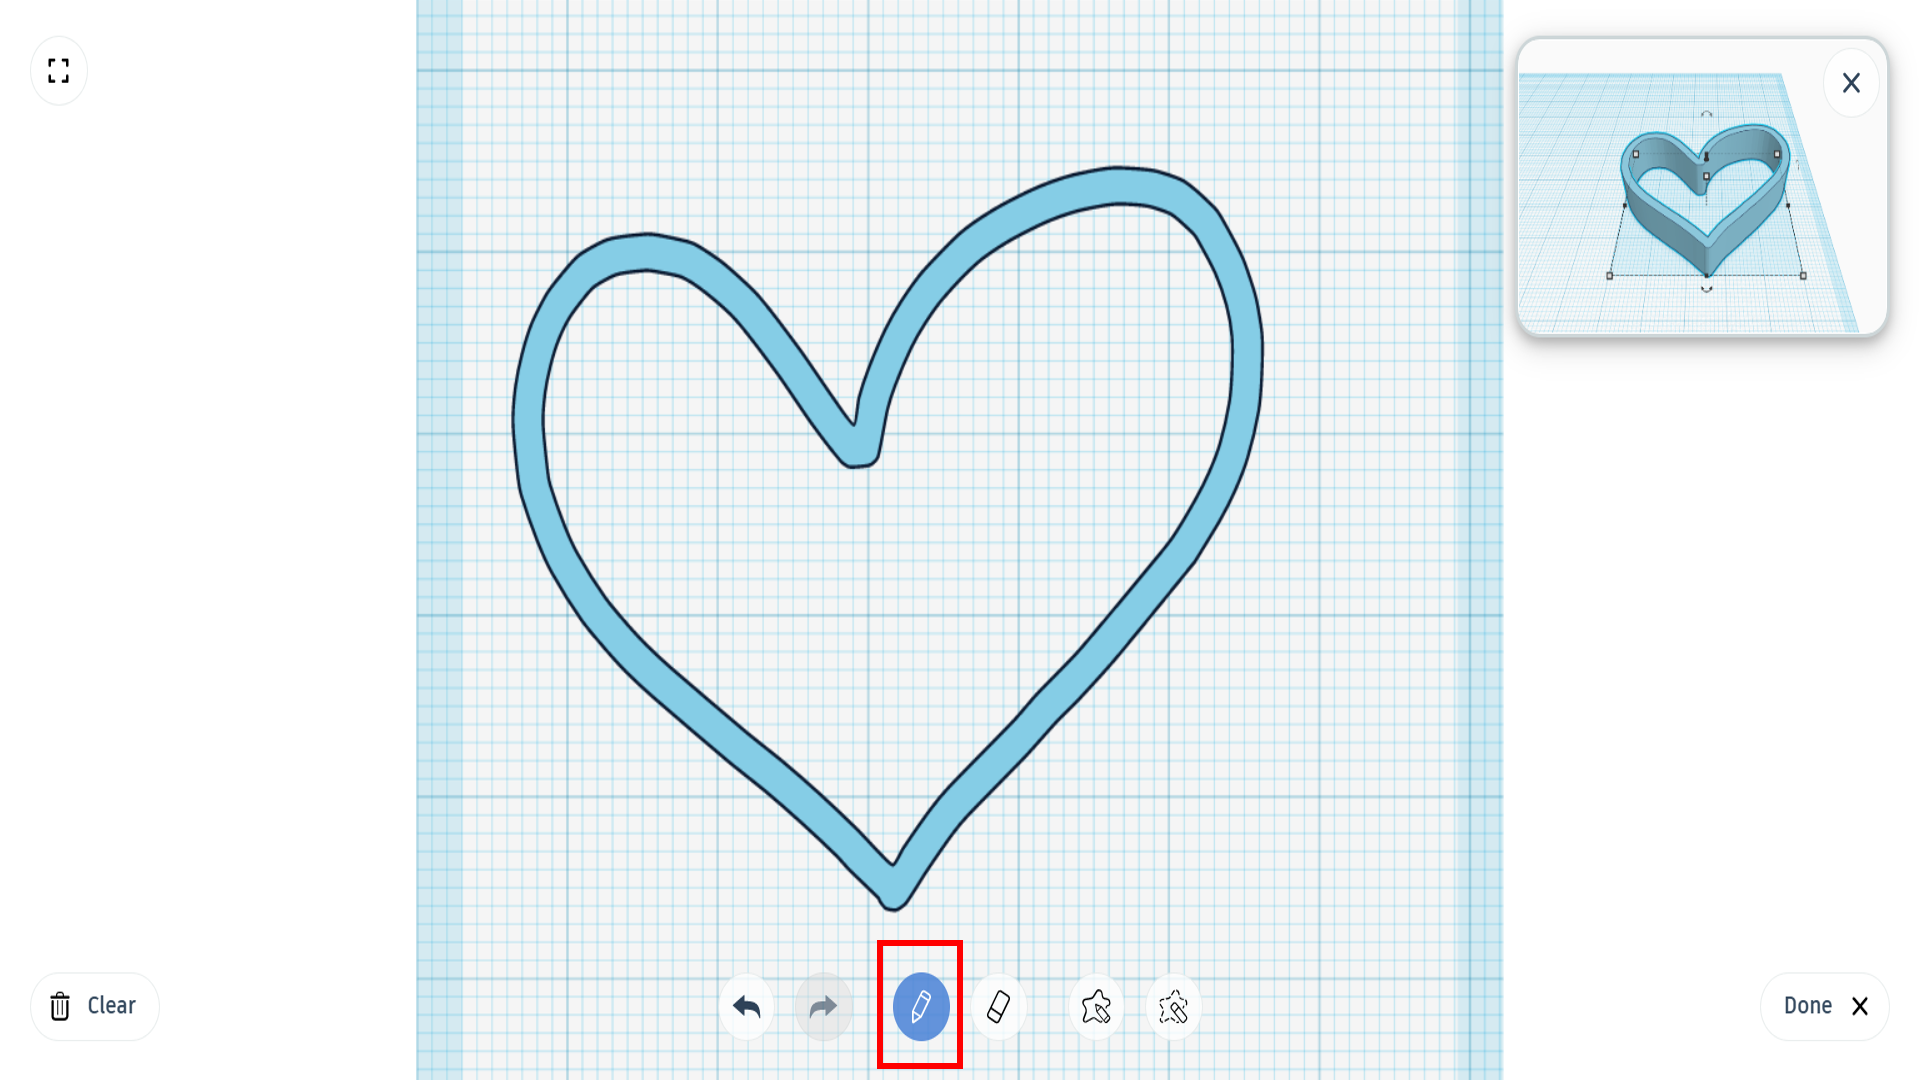
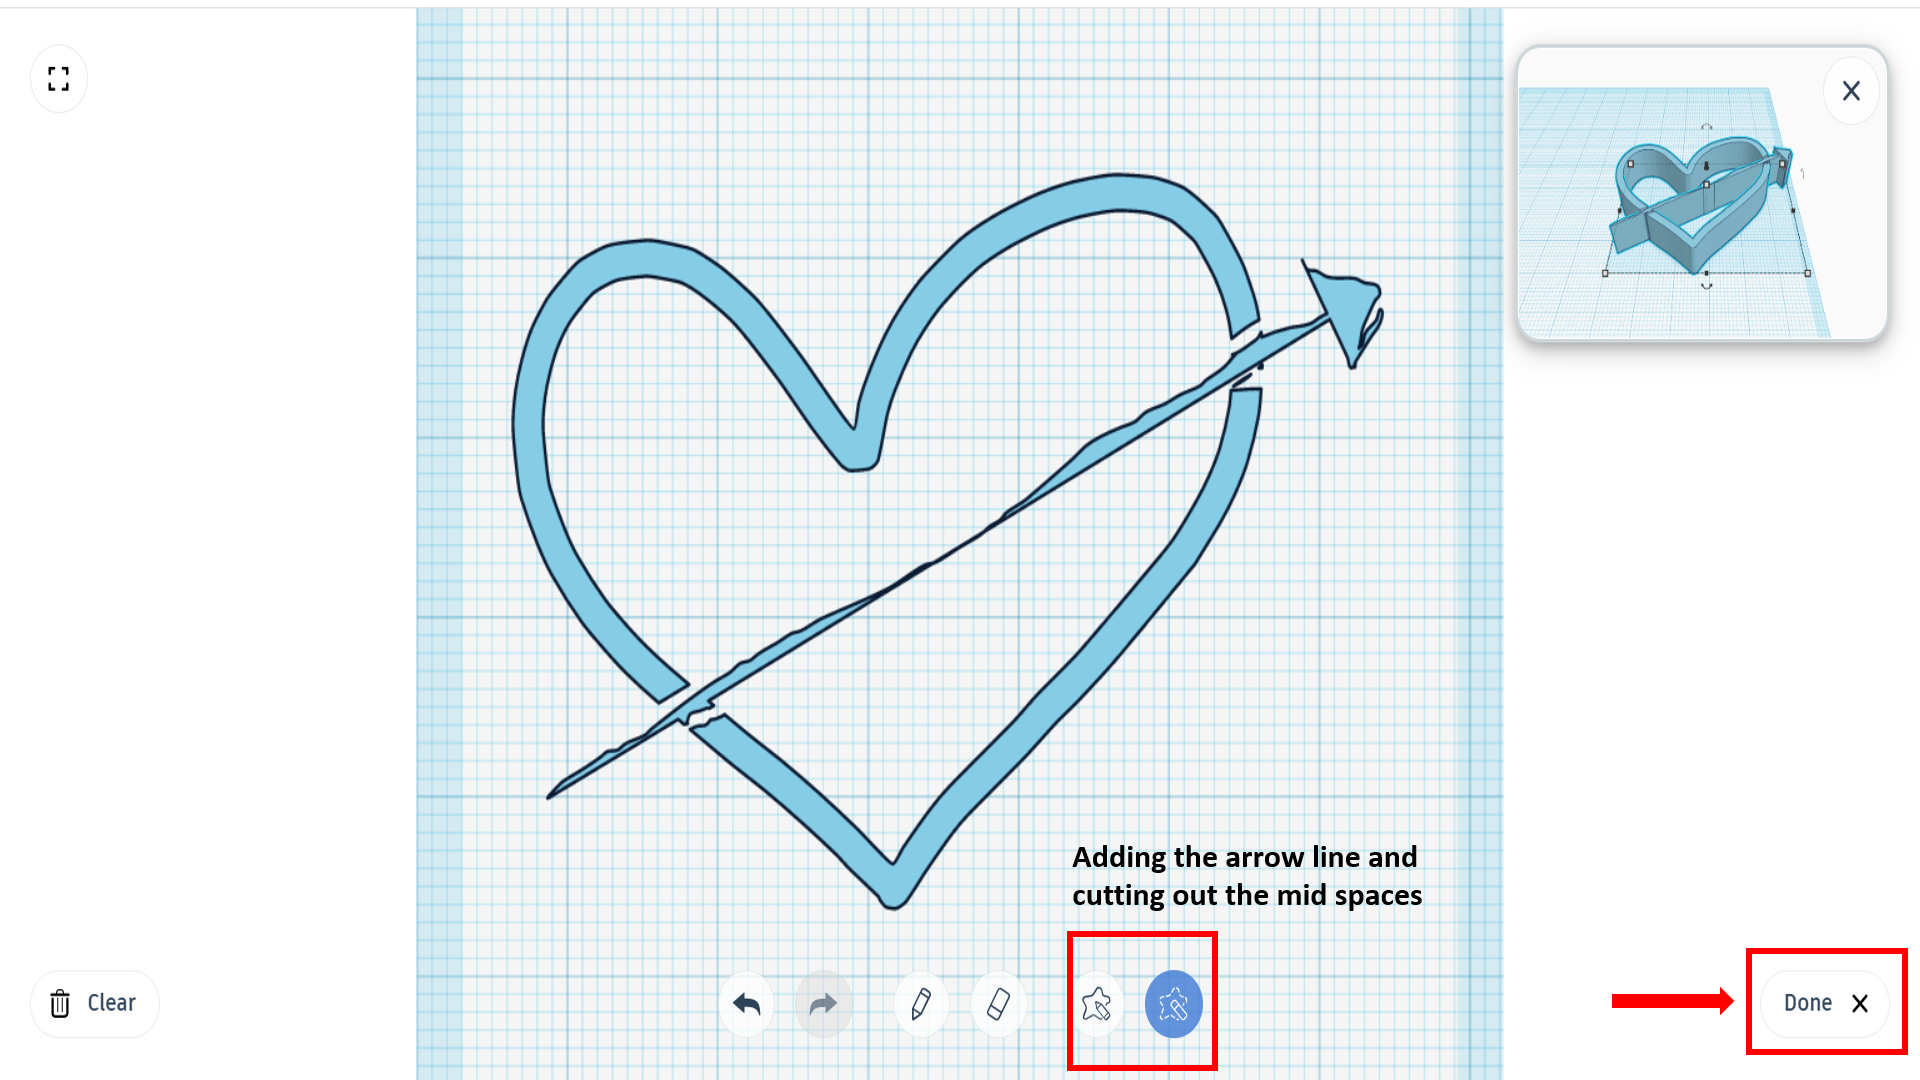
Upon starting, I clicked on “3D designs” and selecting “Create new design”. After that, I clicked on “Scribbling” icon, and started making a heart shape on a flat surface.
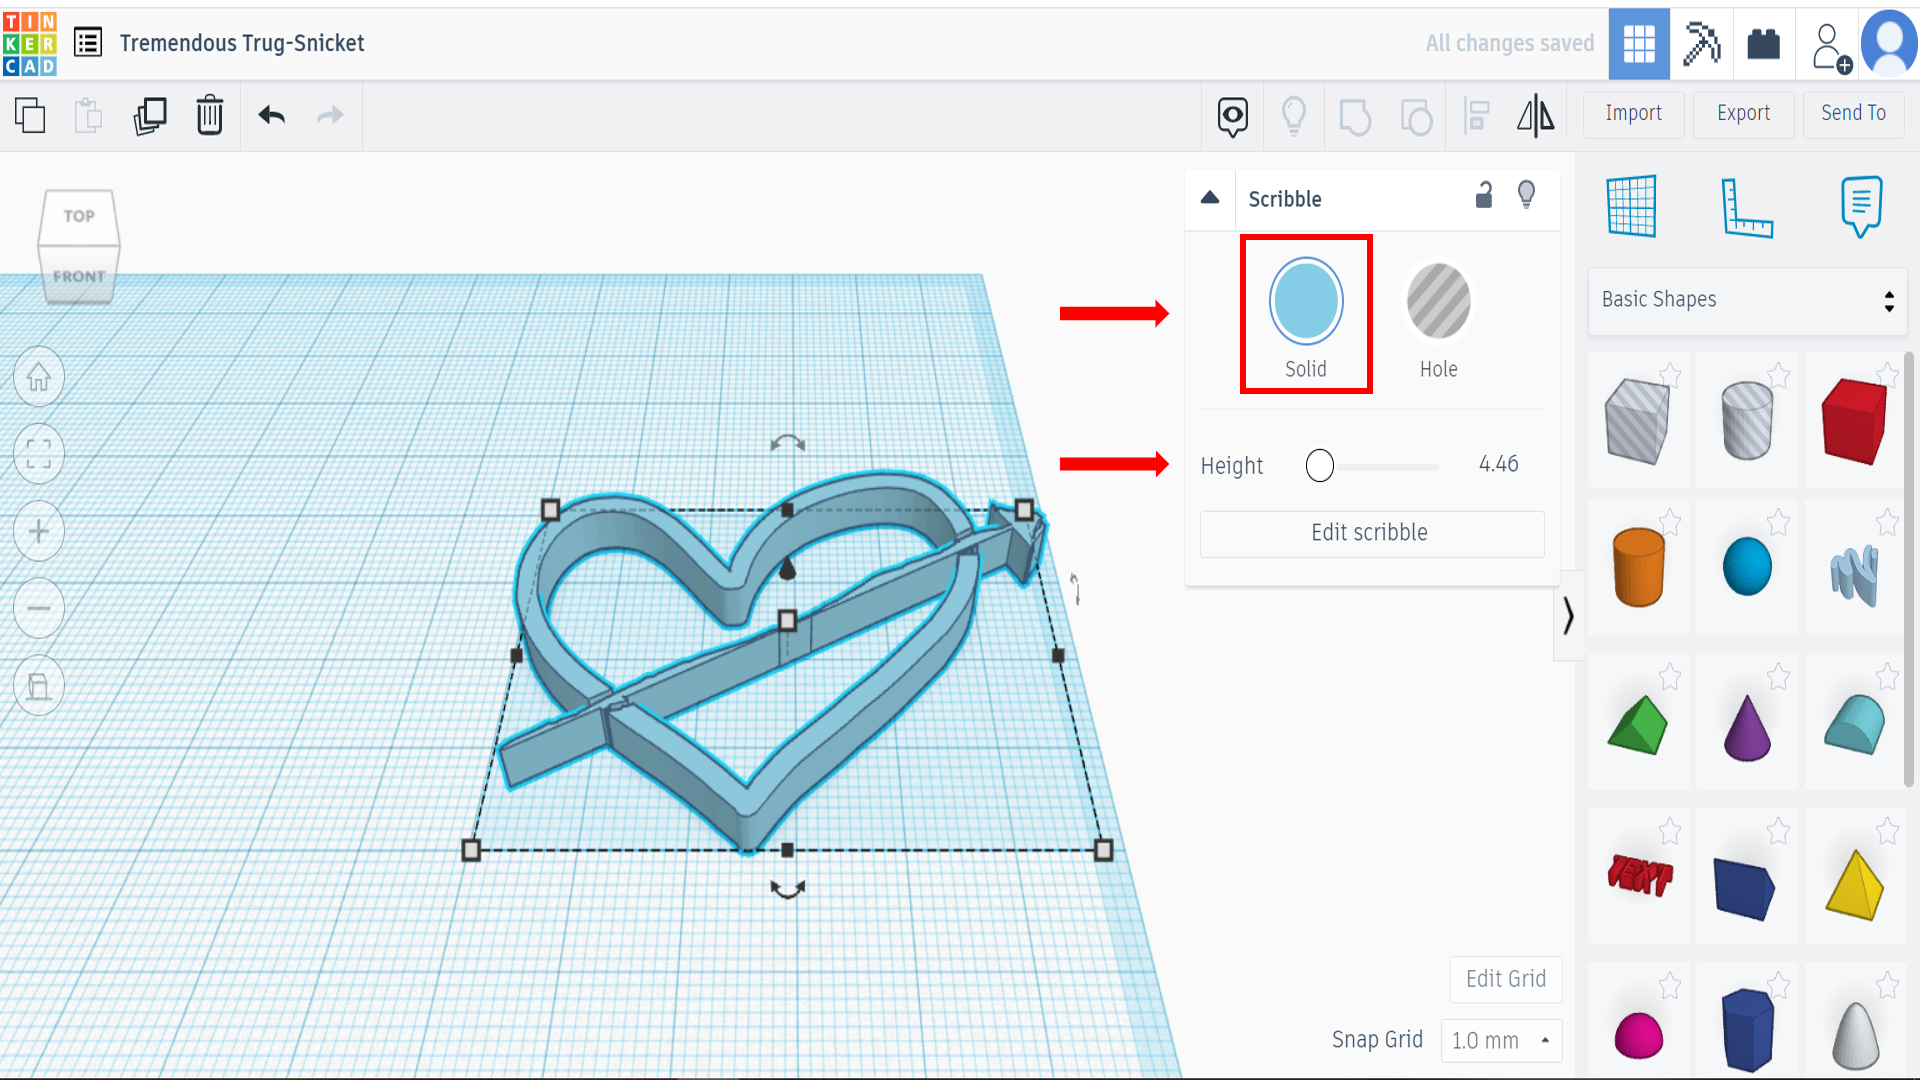
Then I added an arrow in the middle of the heart, by adding the arrow line using “Draw shape” tool, and erasing the nearby arrow line areas using “Erase with shape” tool, and clicked on Done. The height of the heart can be changed by clicking on the edit tool options.
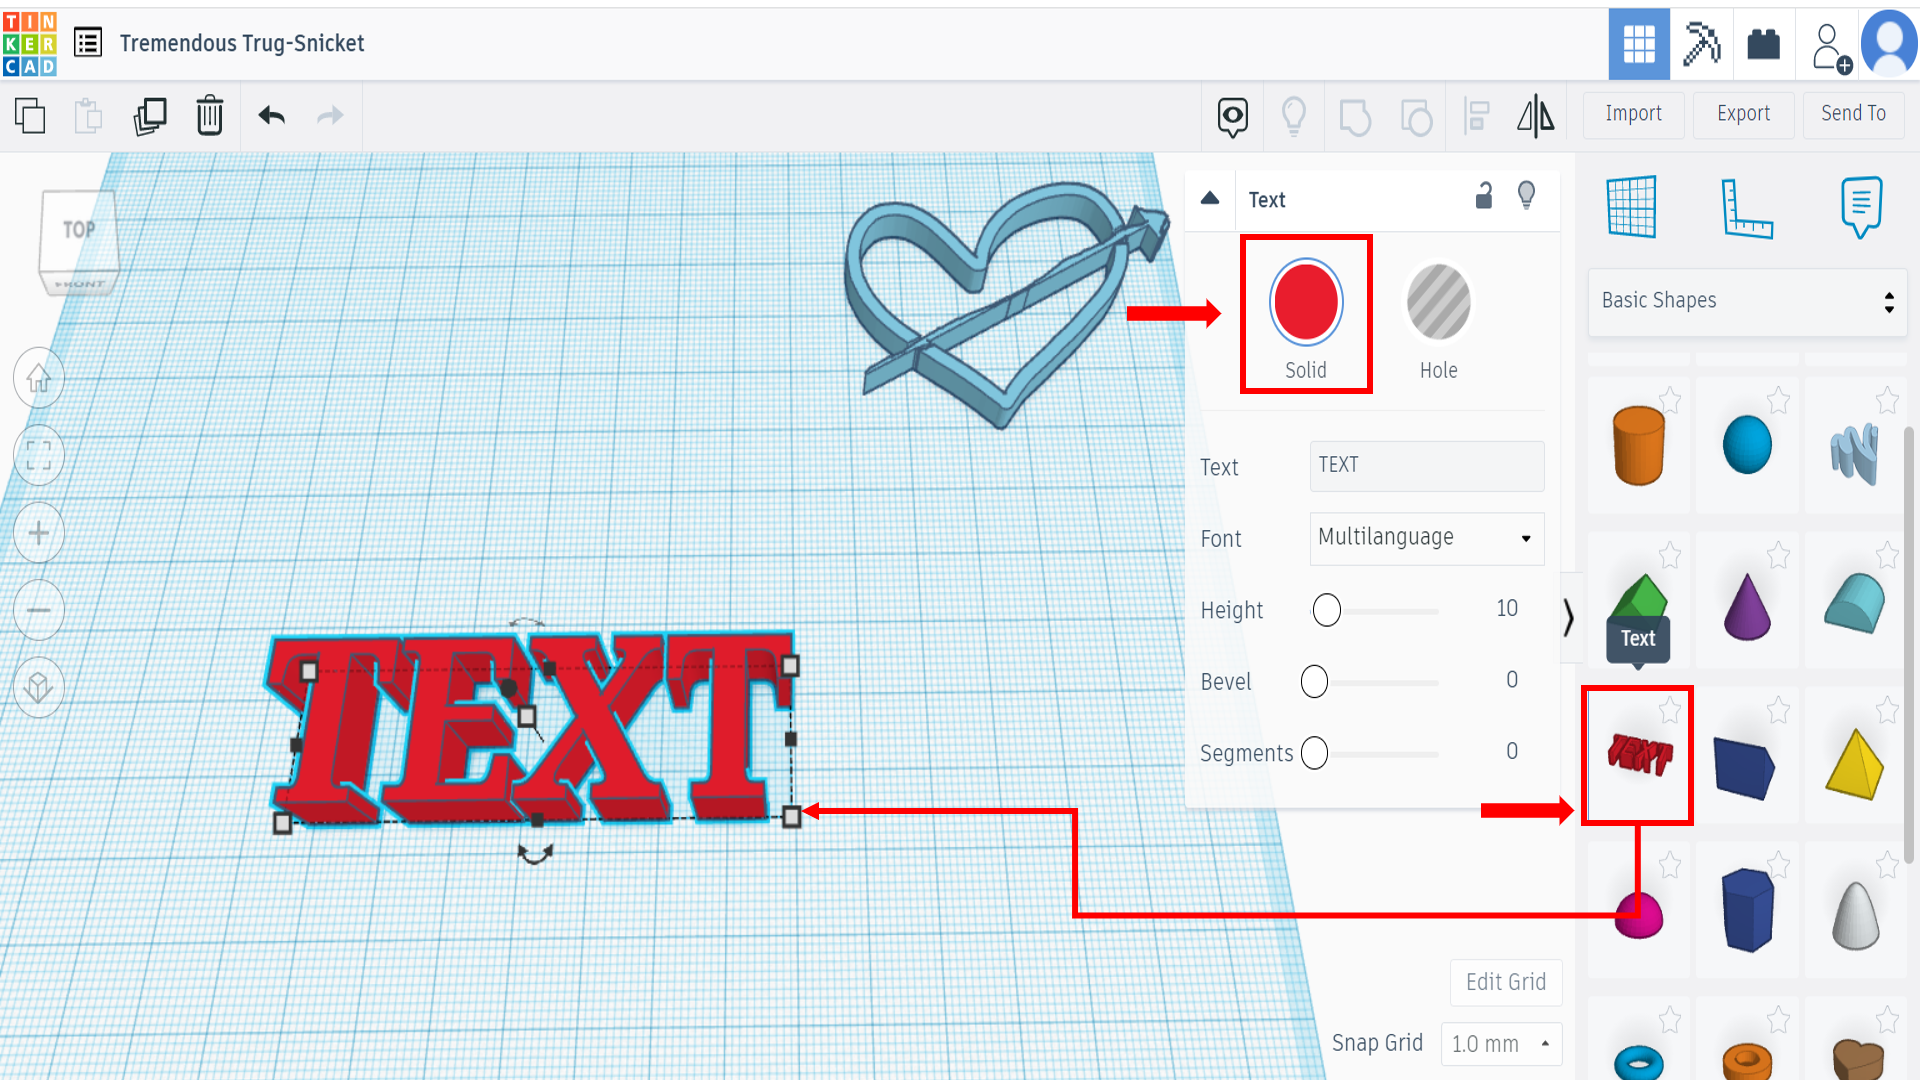
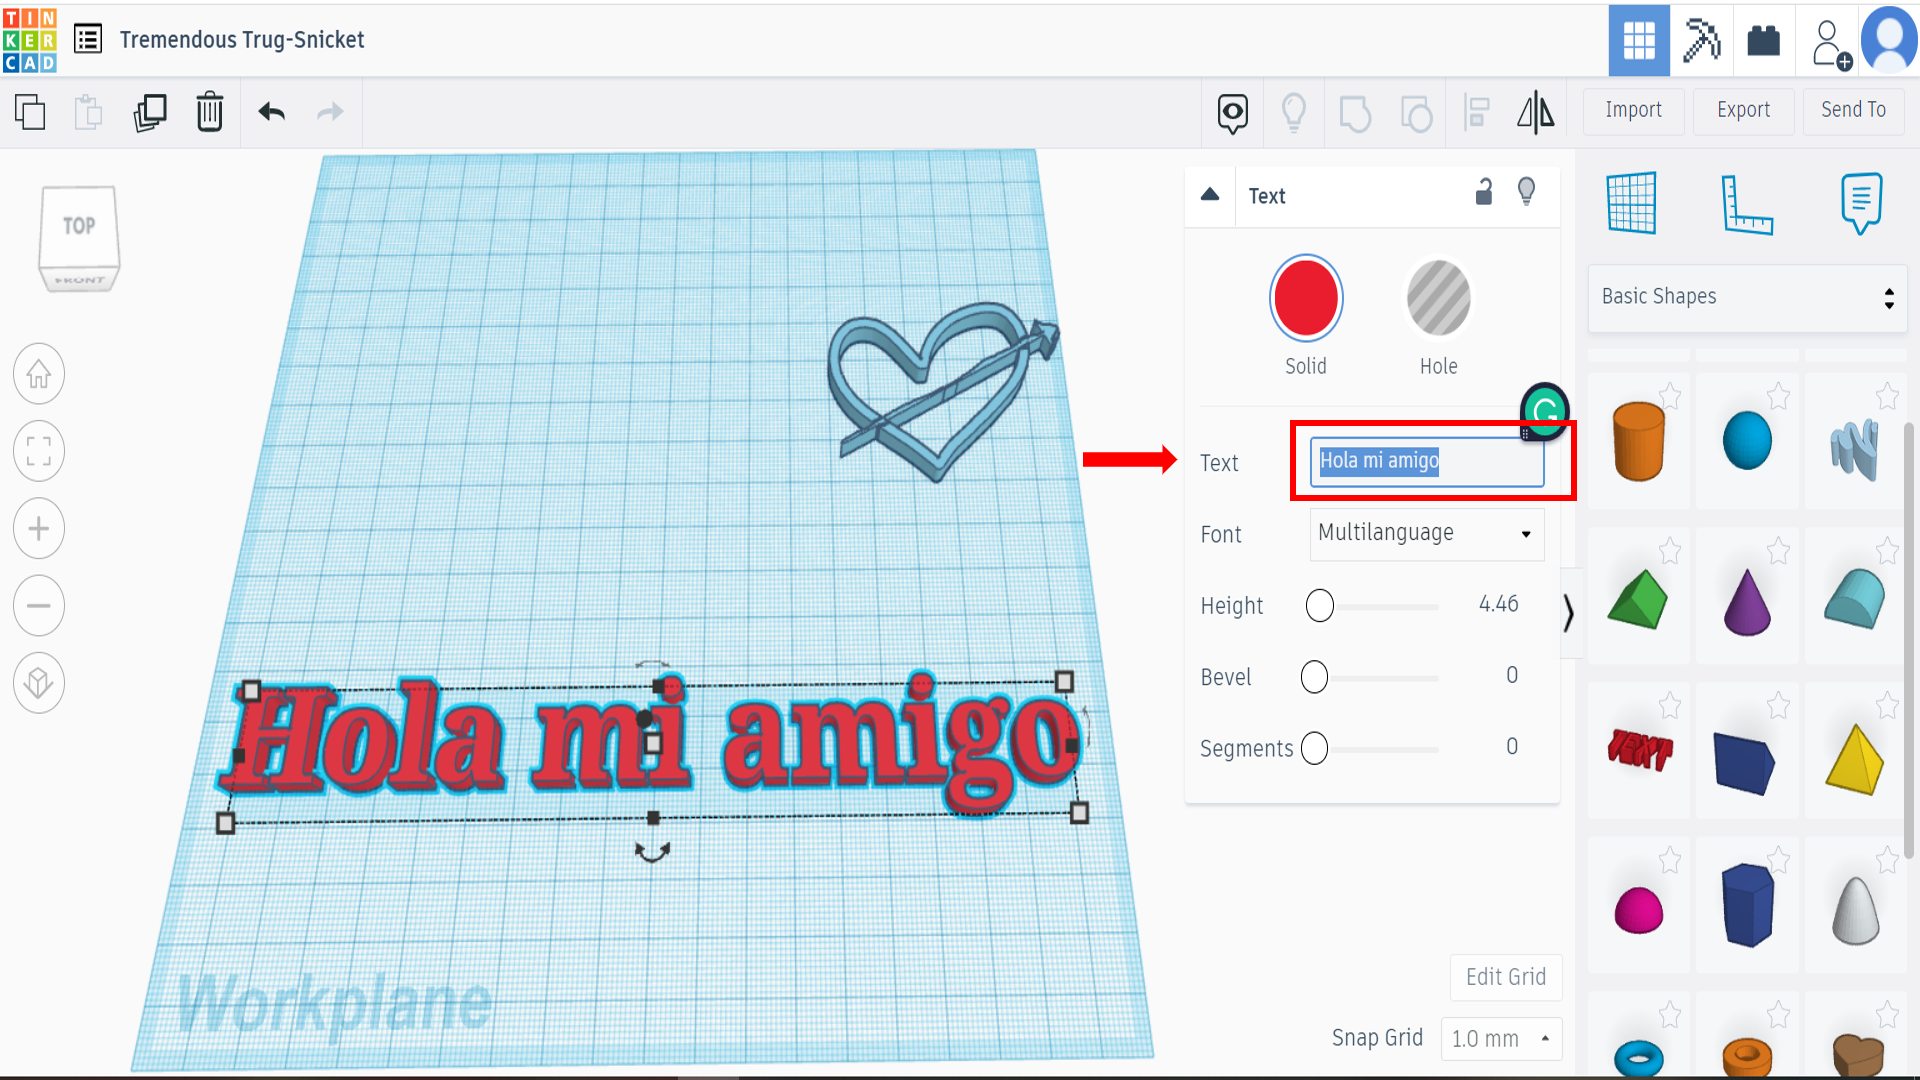
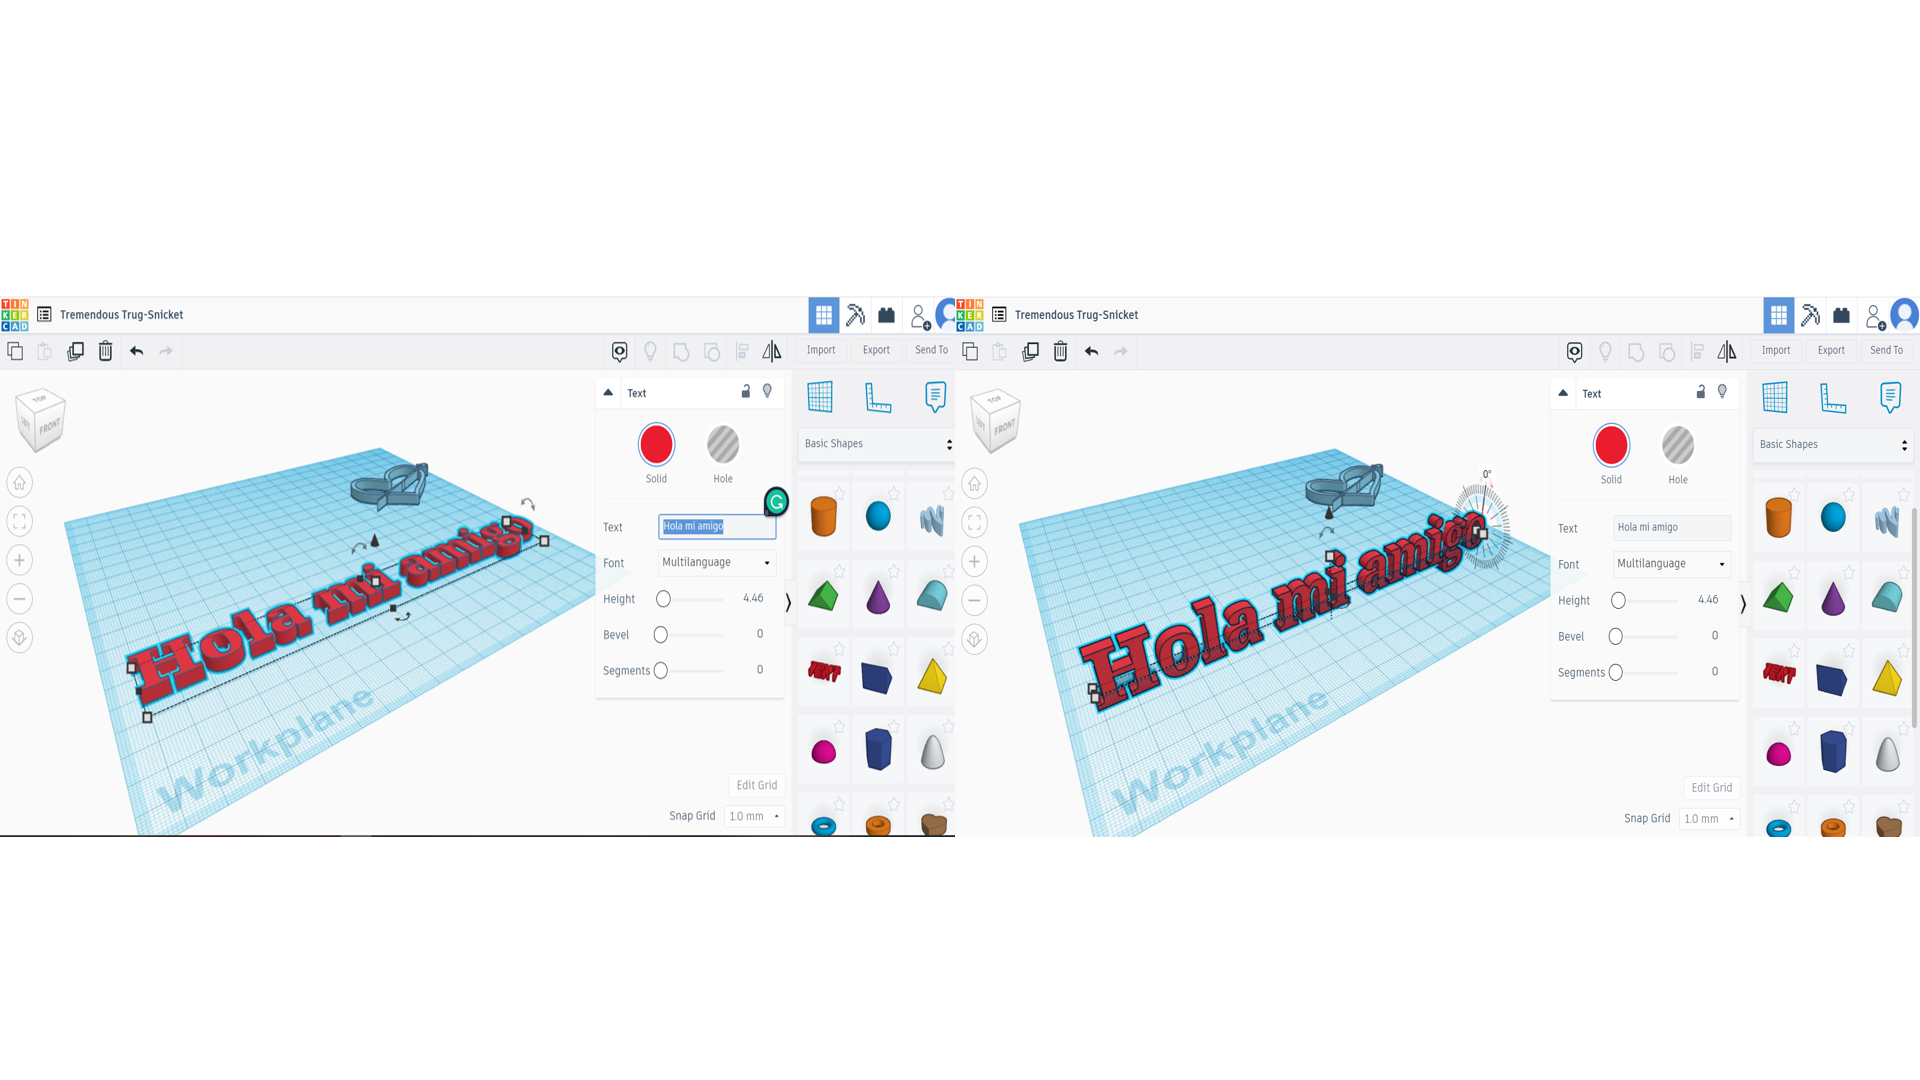
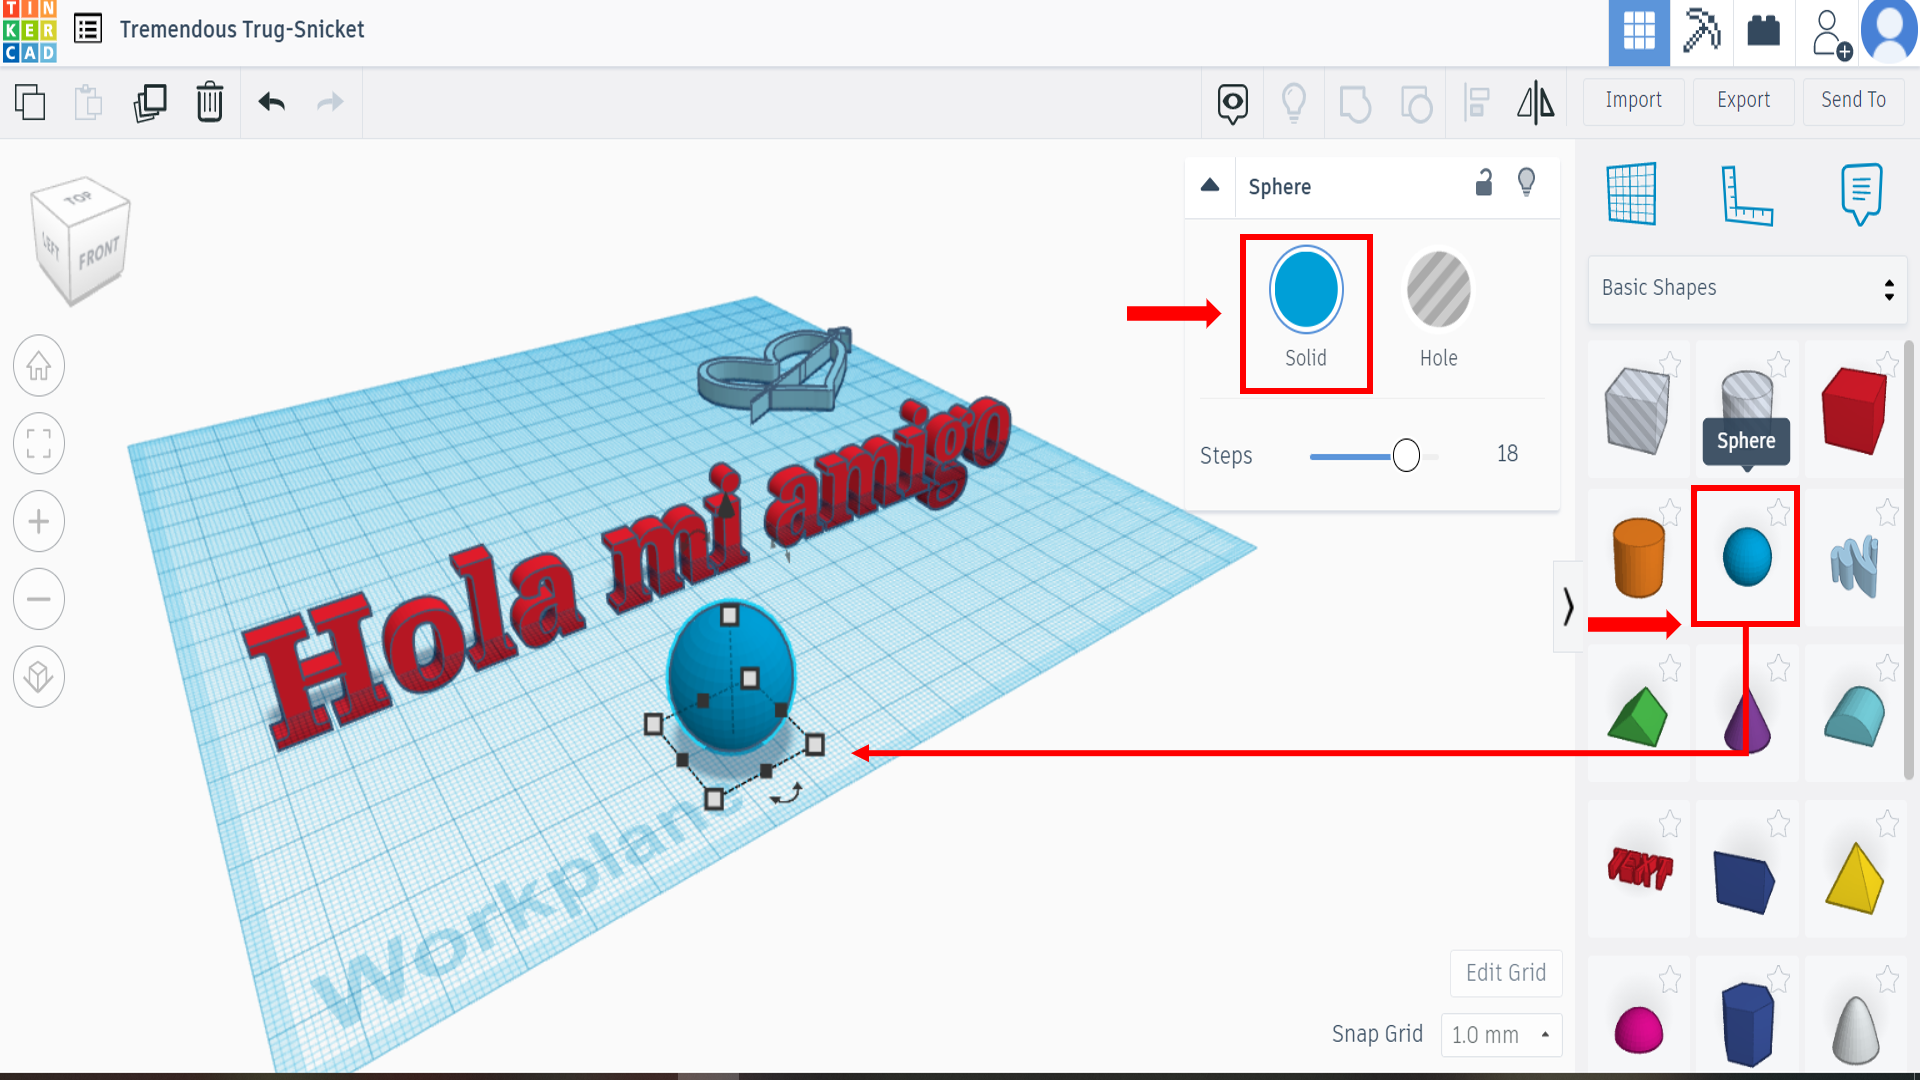
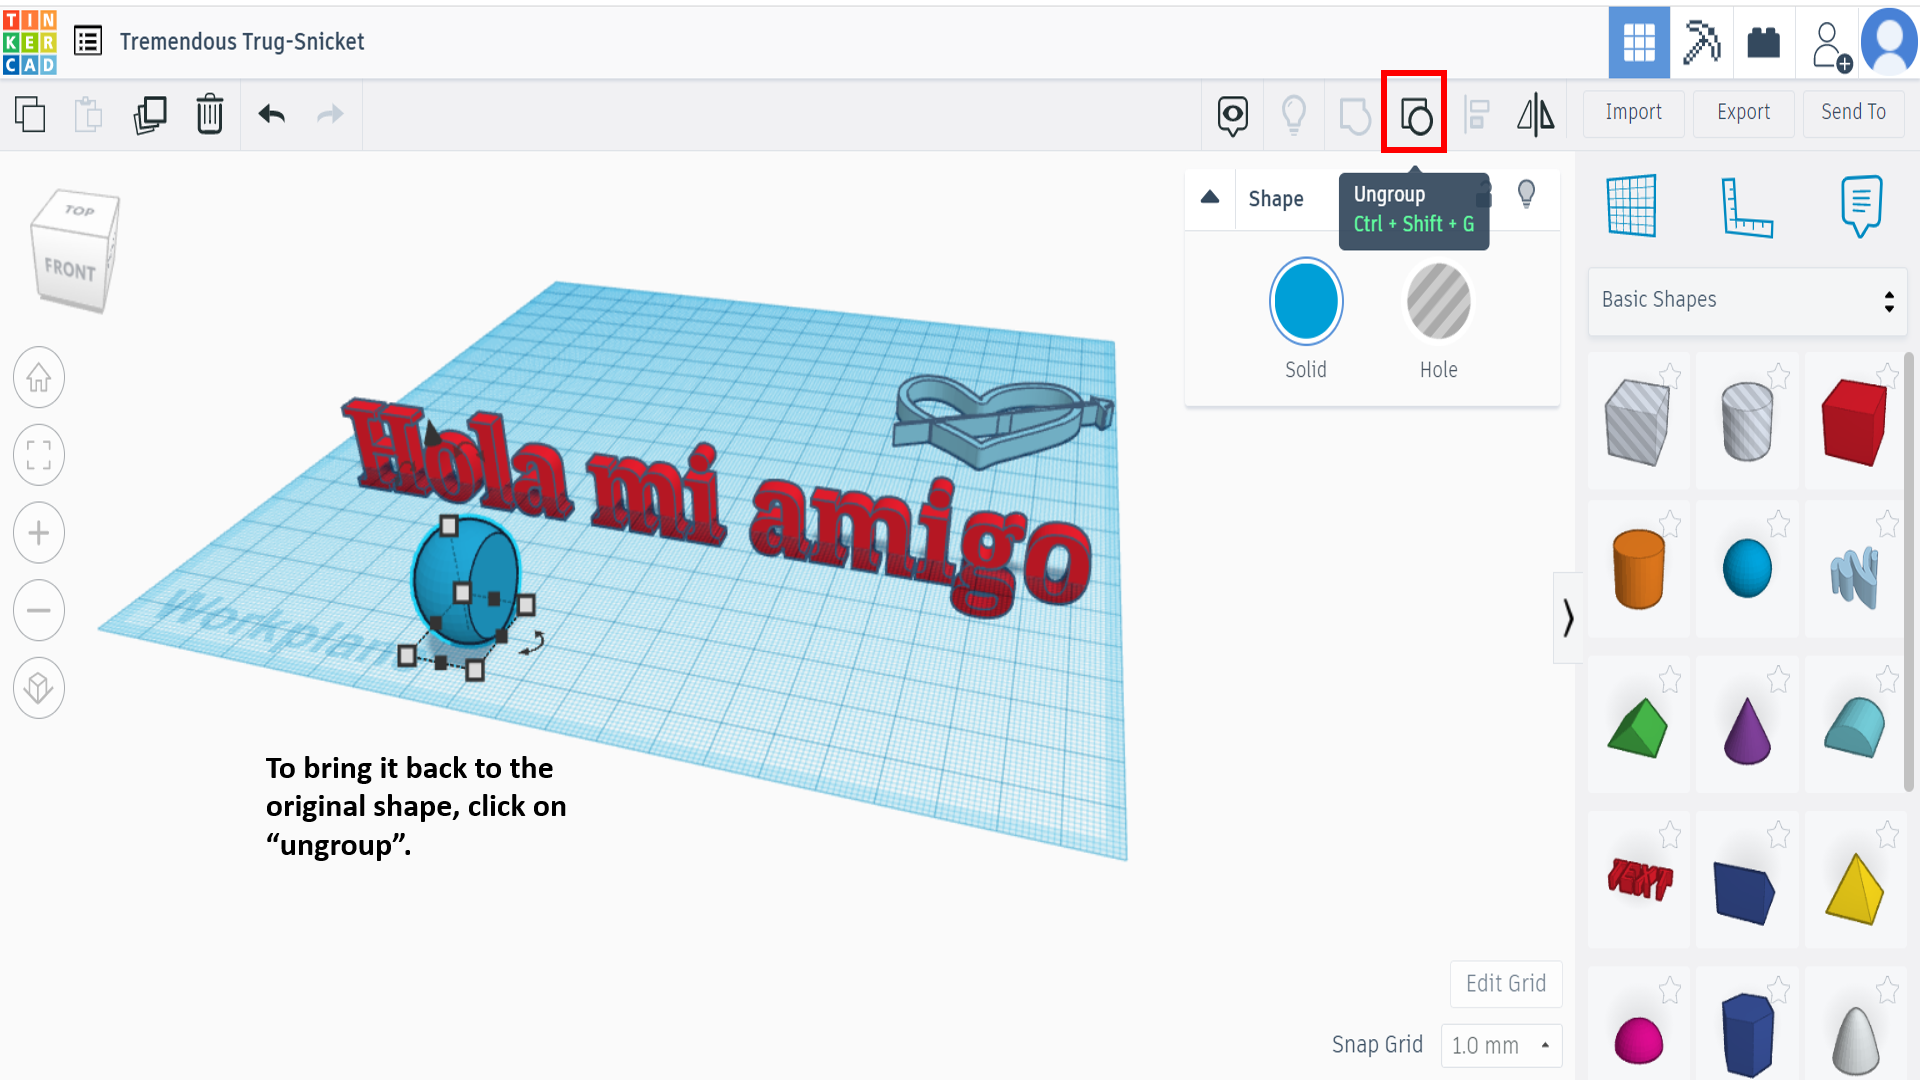
Next, I tried other shapes and features, such as “Text”. By clicking on text, drag it on the surface platform, and start editing it. I wrote a random word, which is “Hola mi amigo”, meaning “Hi, my friend”, and started rotating and resizing the text dimensions, and rotated it vertically.
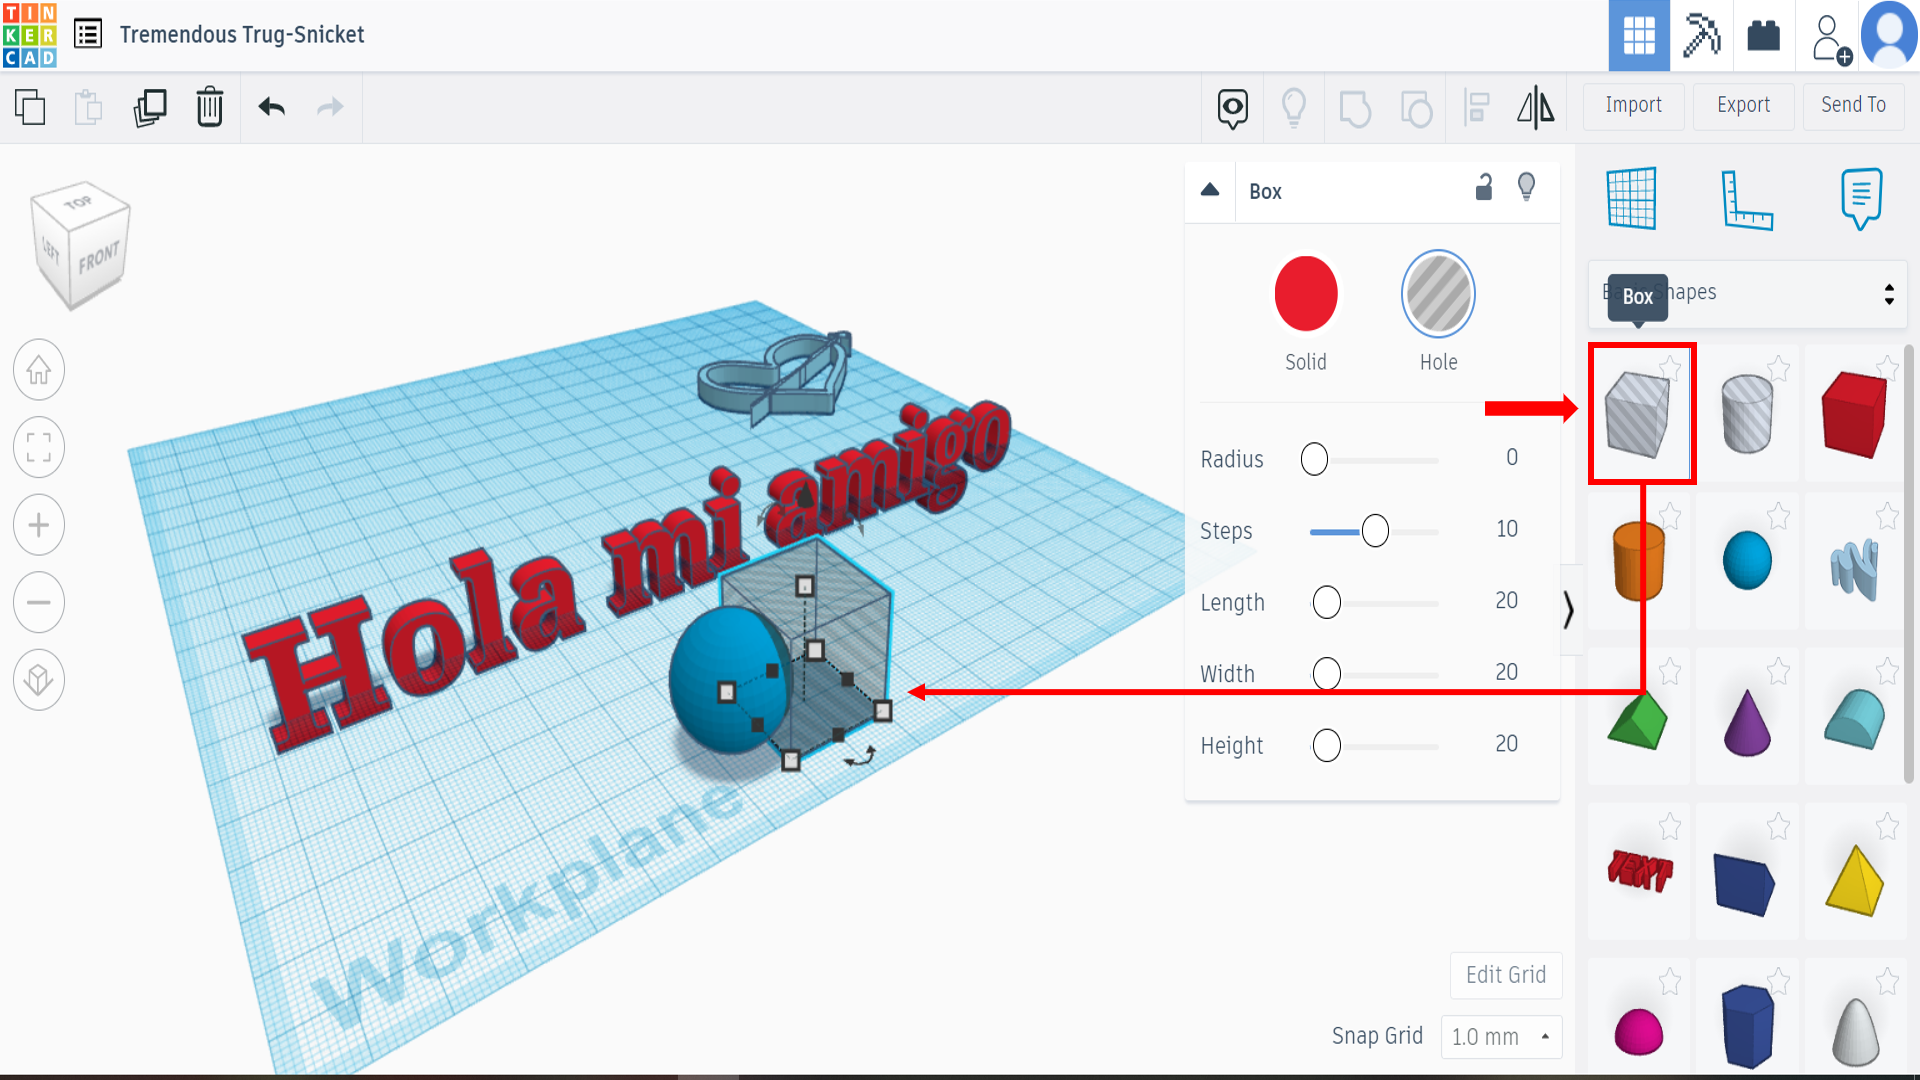
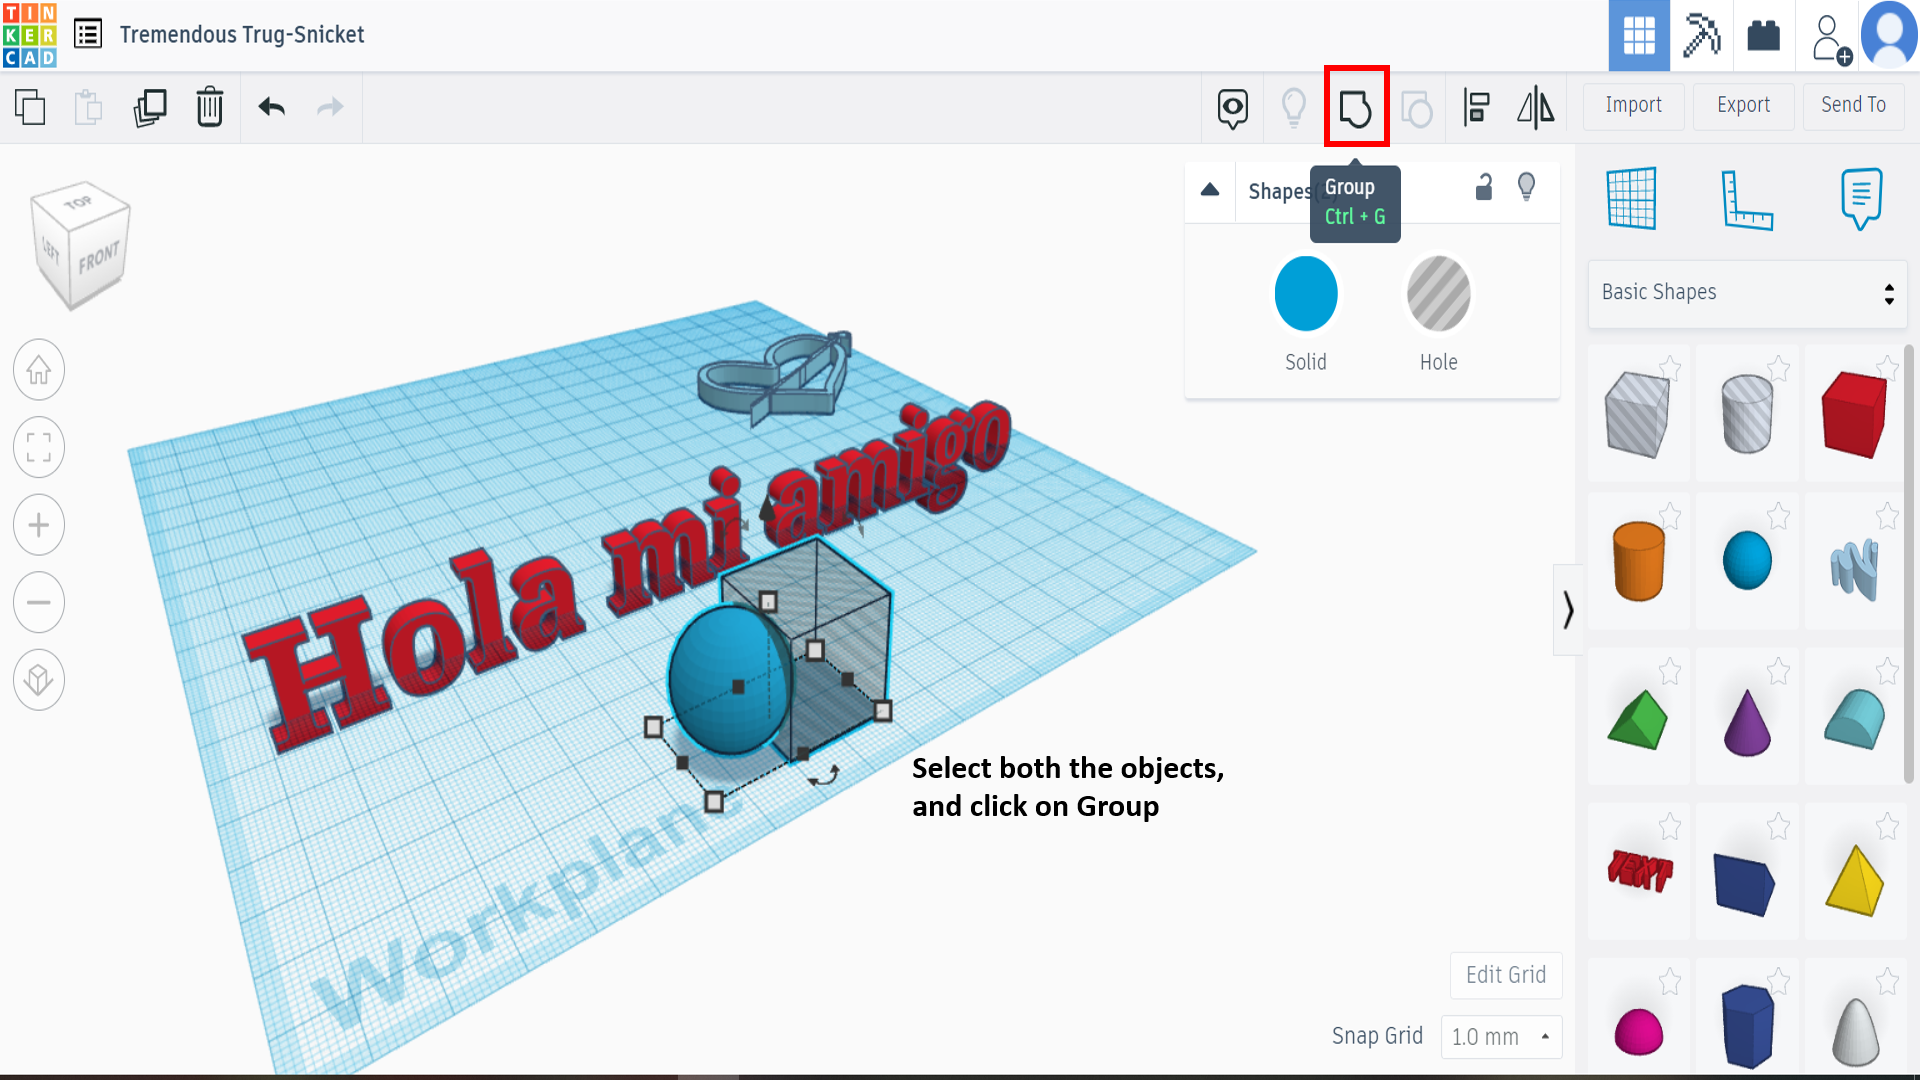
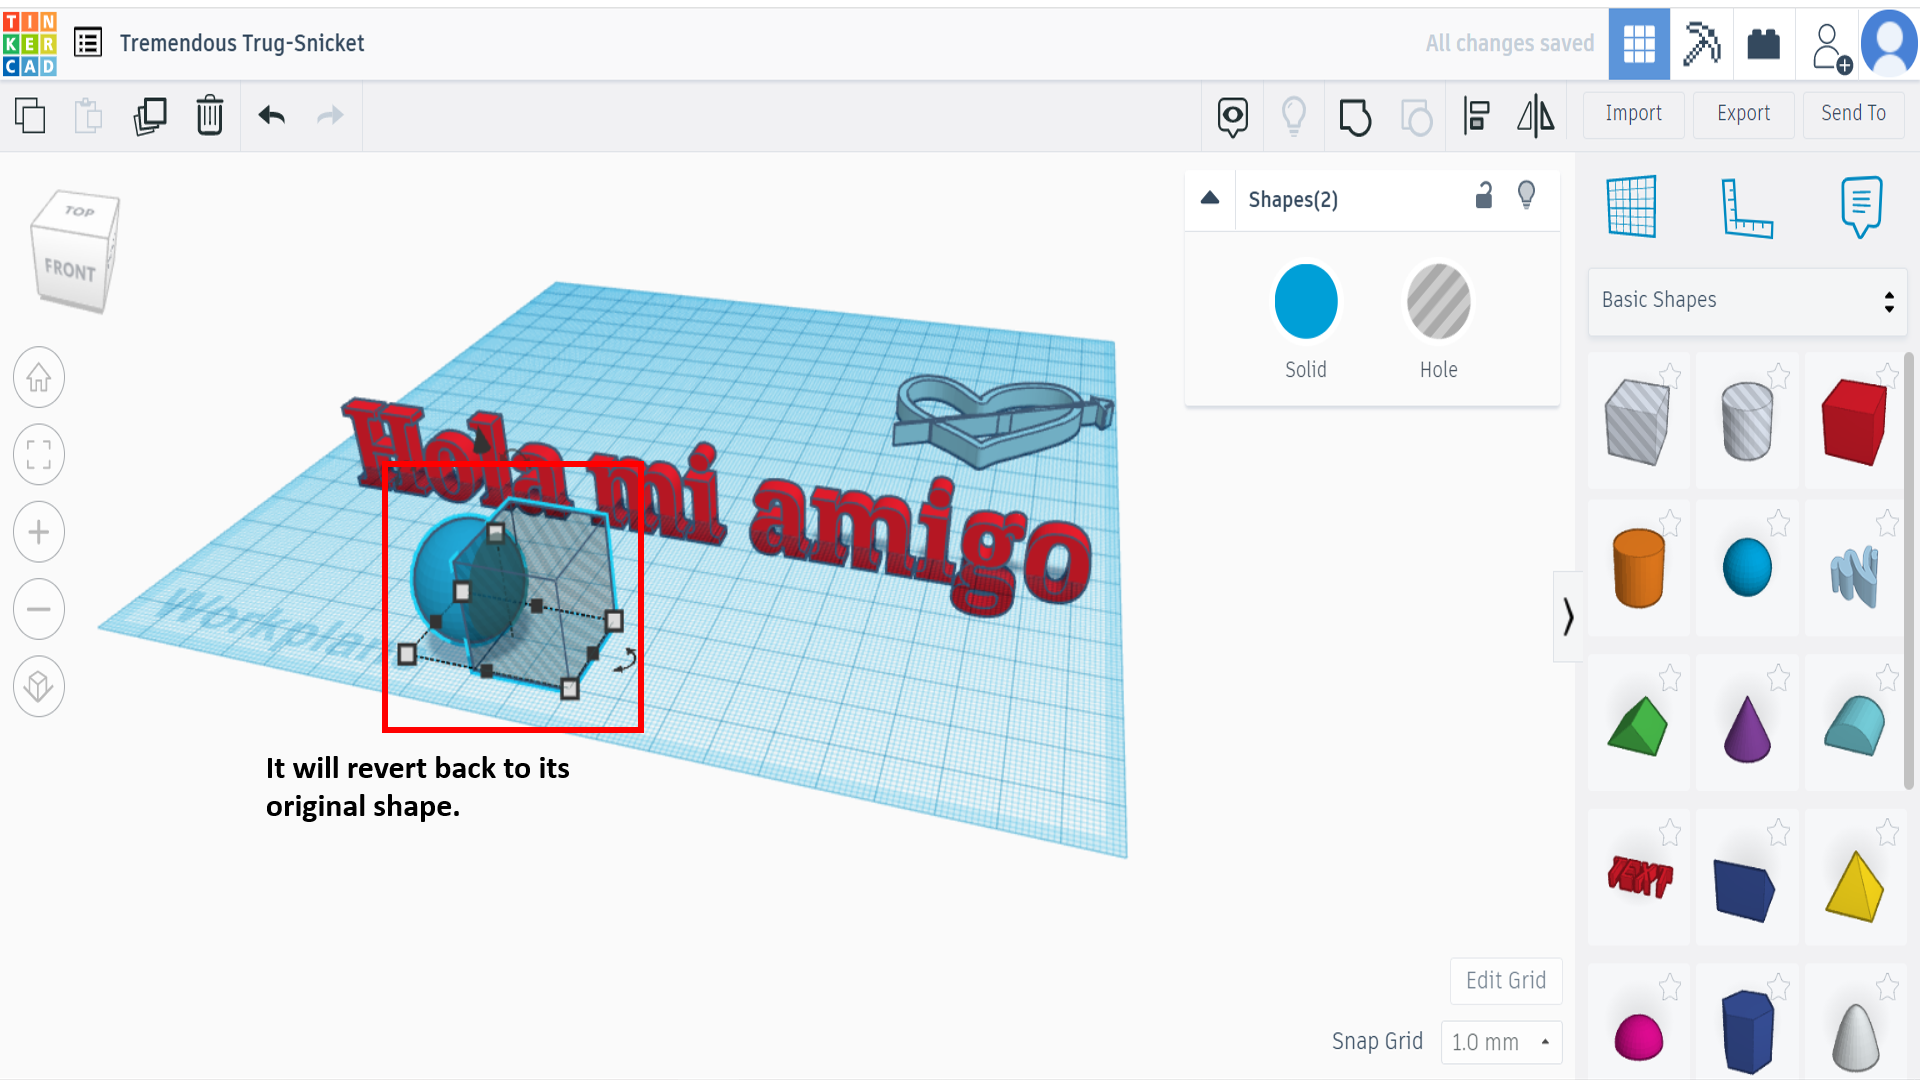
Then, I tried adding some shapes to the platform view. I dragged the circular shape outside, and added another square box shape next to it, and selected both of them together. By selecting them, I clicked on “Group”, which made them cut each other out, and the final shape is a circle with its smaller part having a hole cut through it, indicating the joined yet cut-out area. To make it come back to it’s original shape, I clicked on “ungroup”, and it reverted back to it’s original form.

3D TinkerCad Design
2D Design
Inkscape
Click here: Inkscape to download the software.
Inkscape is a free and open-source vector graphics editor used to create vector images, primarily in Scalable Vector Graphics (SVG) format. Other formats can be imported and exported. Inkscape can render primitive vector shapes (e.g. rectangles, ellipses, polygons, arcs, spirals, stars and 3D boxes) and text. These objects may be filled with solid colors, patterns, radial or linear color gradients
Let’s Start!
After downloading the software from the above-mentioned website, now it’s time to start exploring the software.
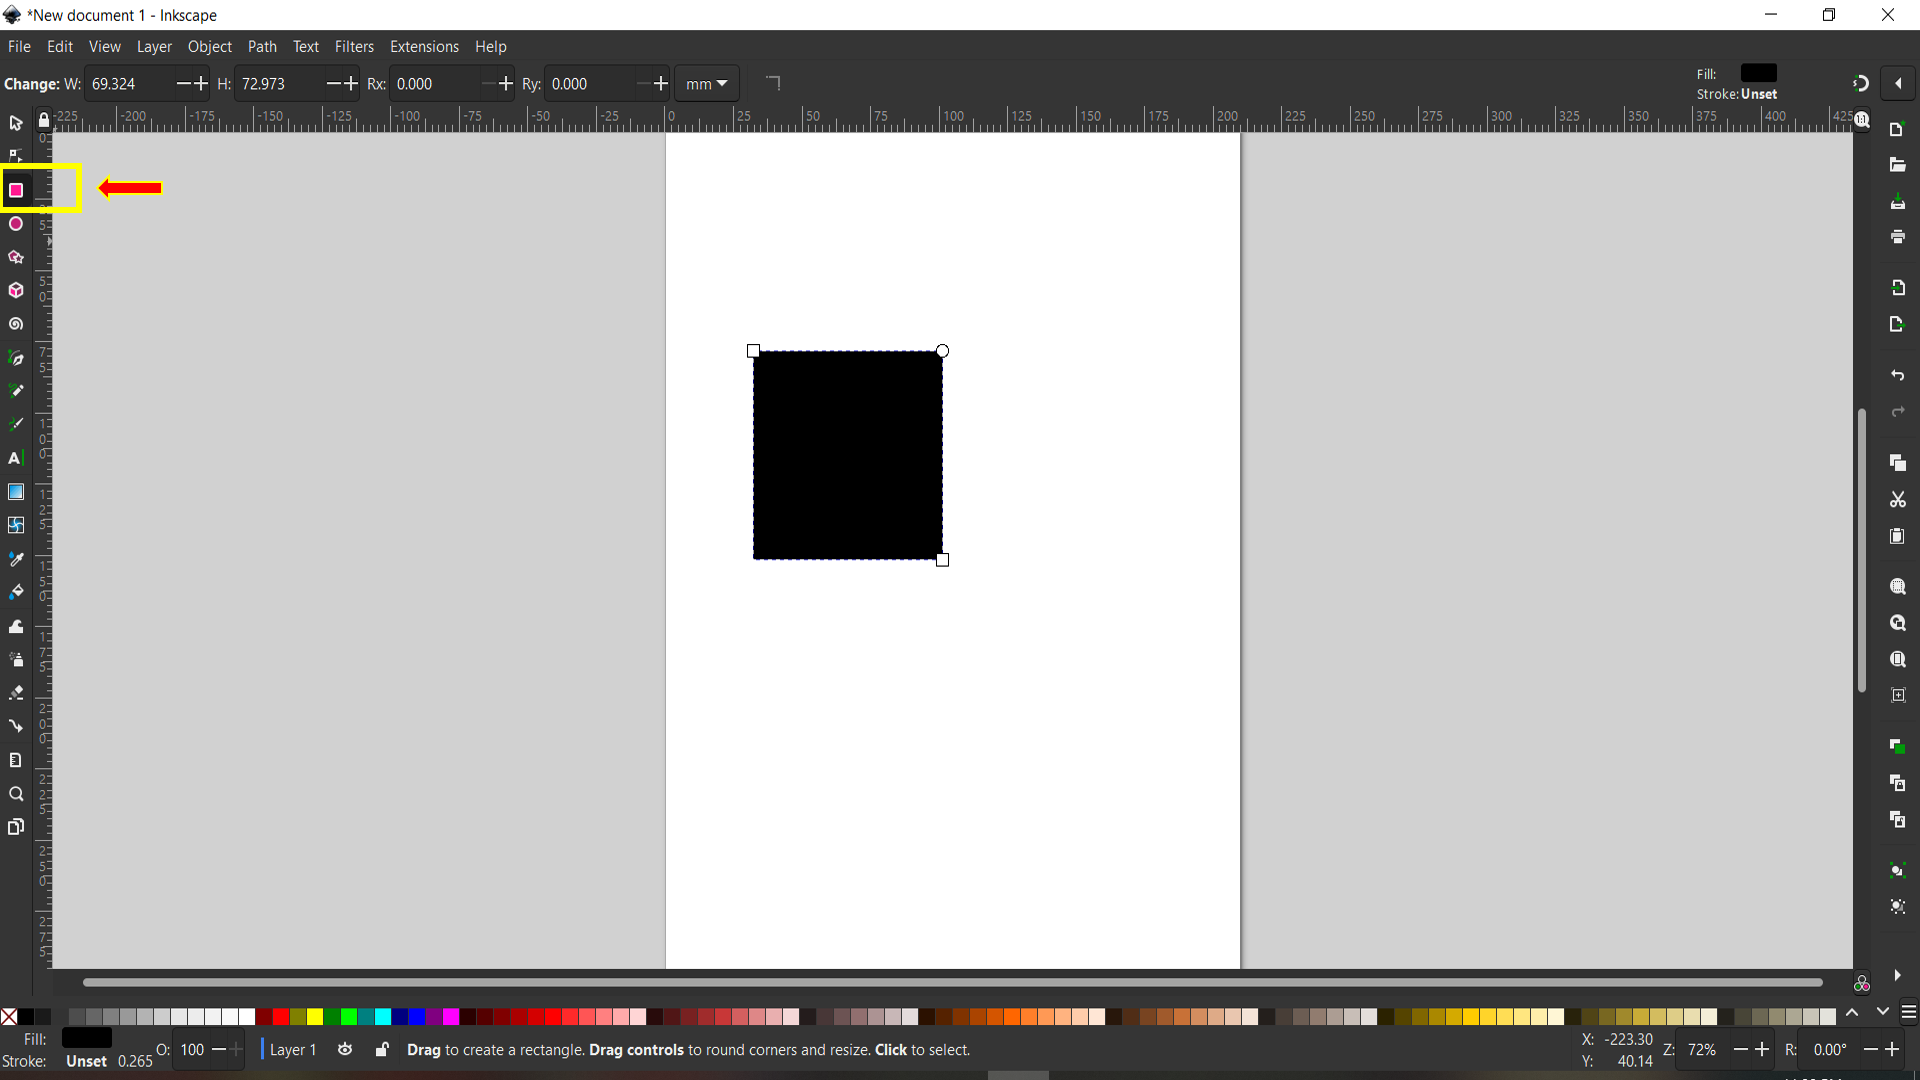
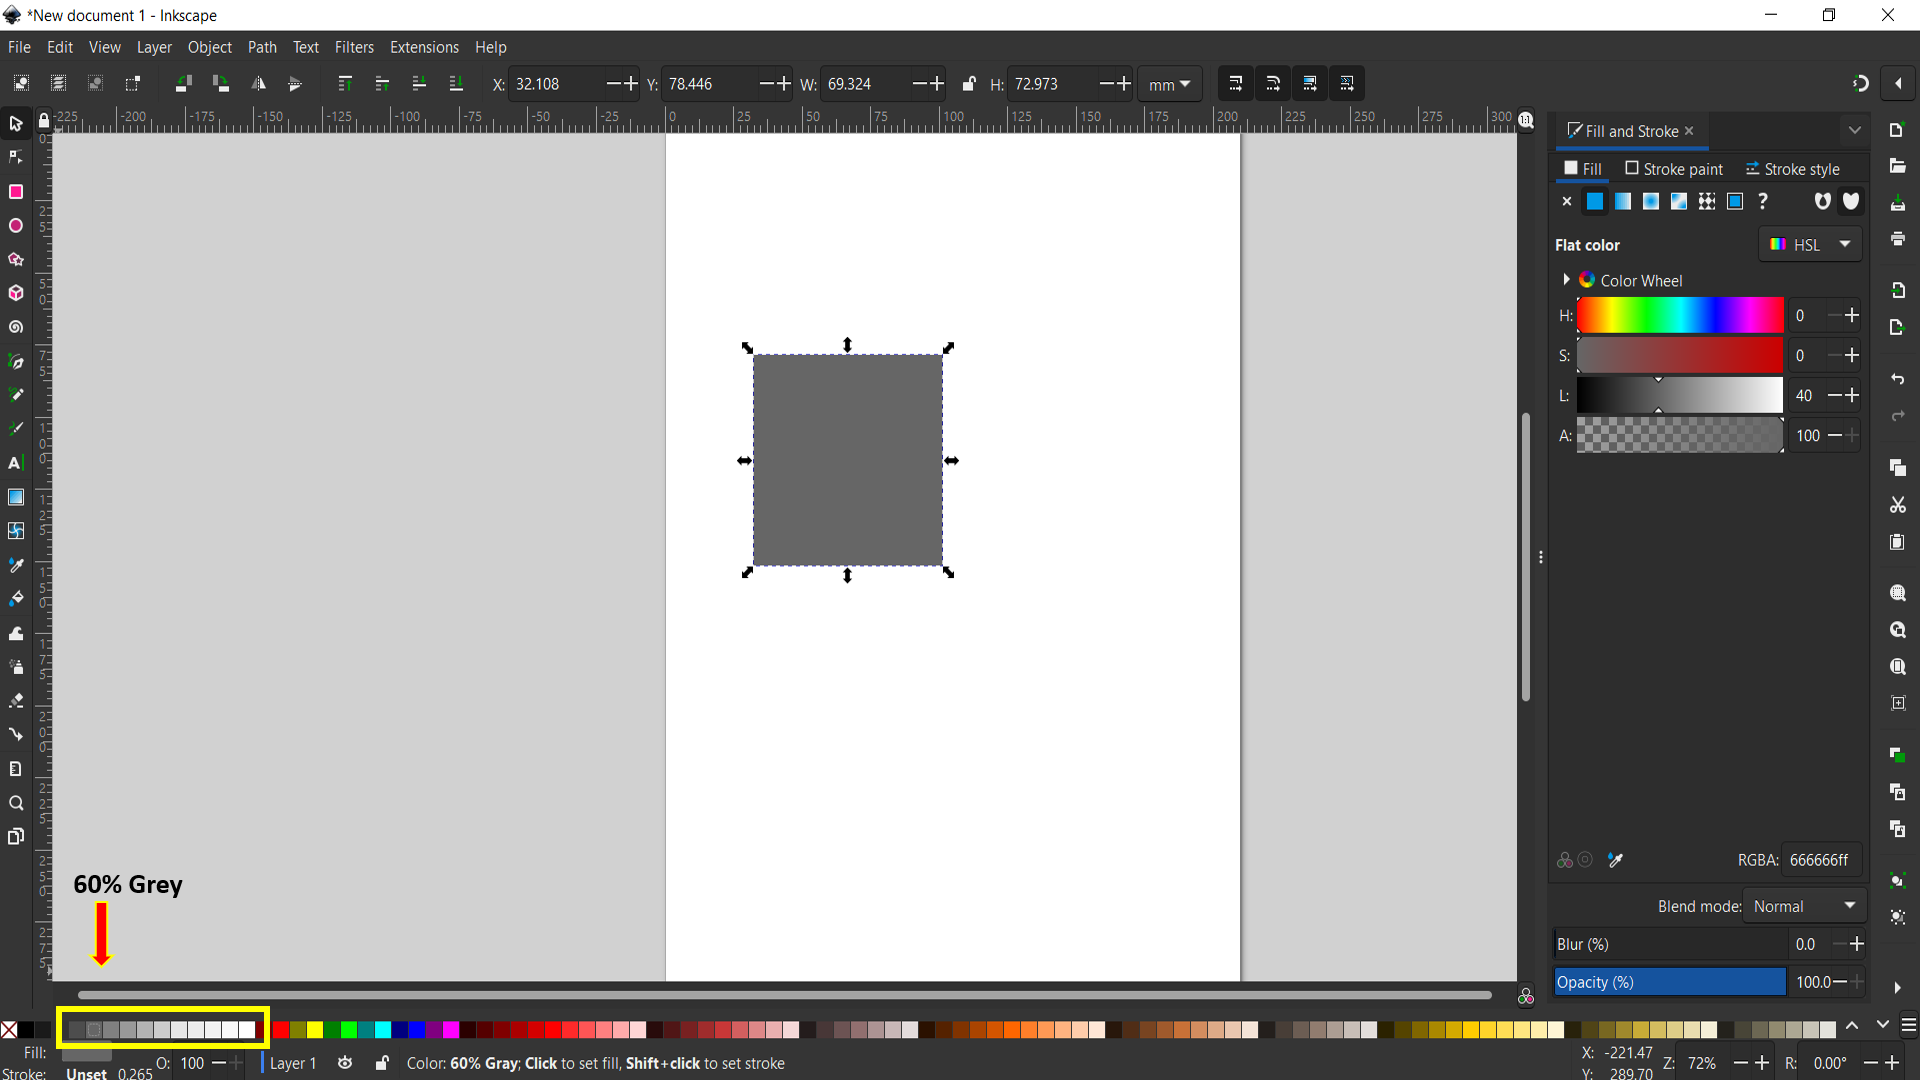
I started by clicking on the “Square” icon on the left-side of the window, and started making a square shape in the window. Then I started editing its color tones.
Note: “Fill” is the internal color of the shape. “Stroke” is the external color of the shape.
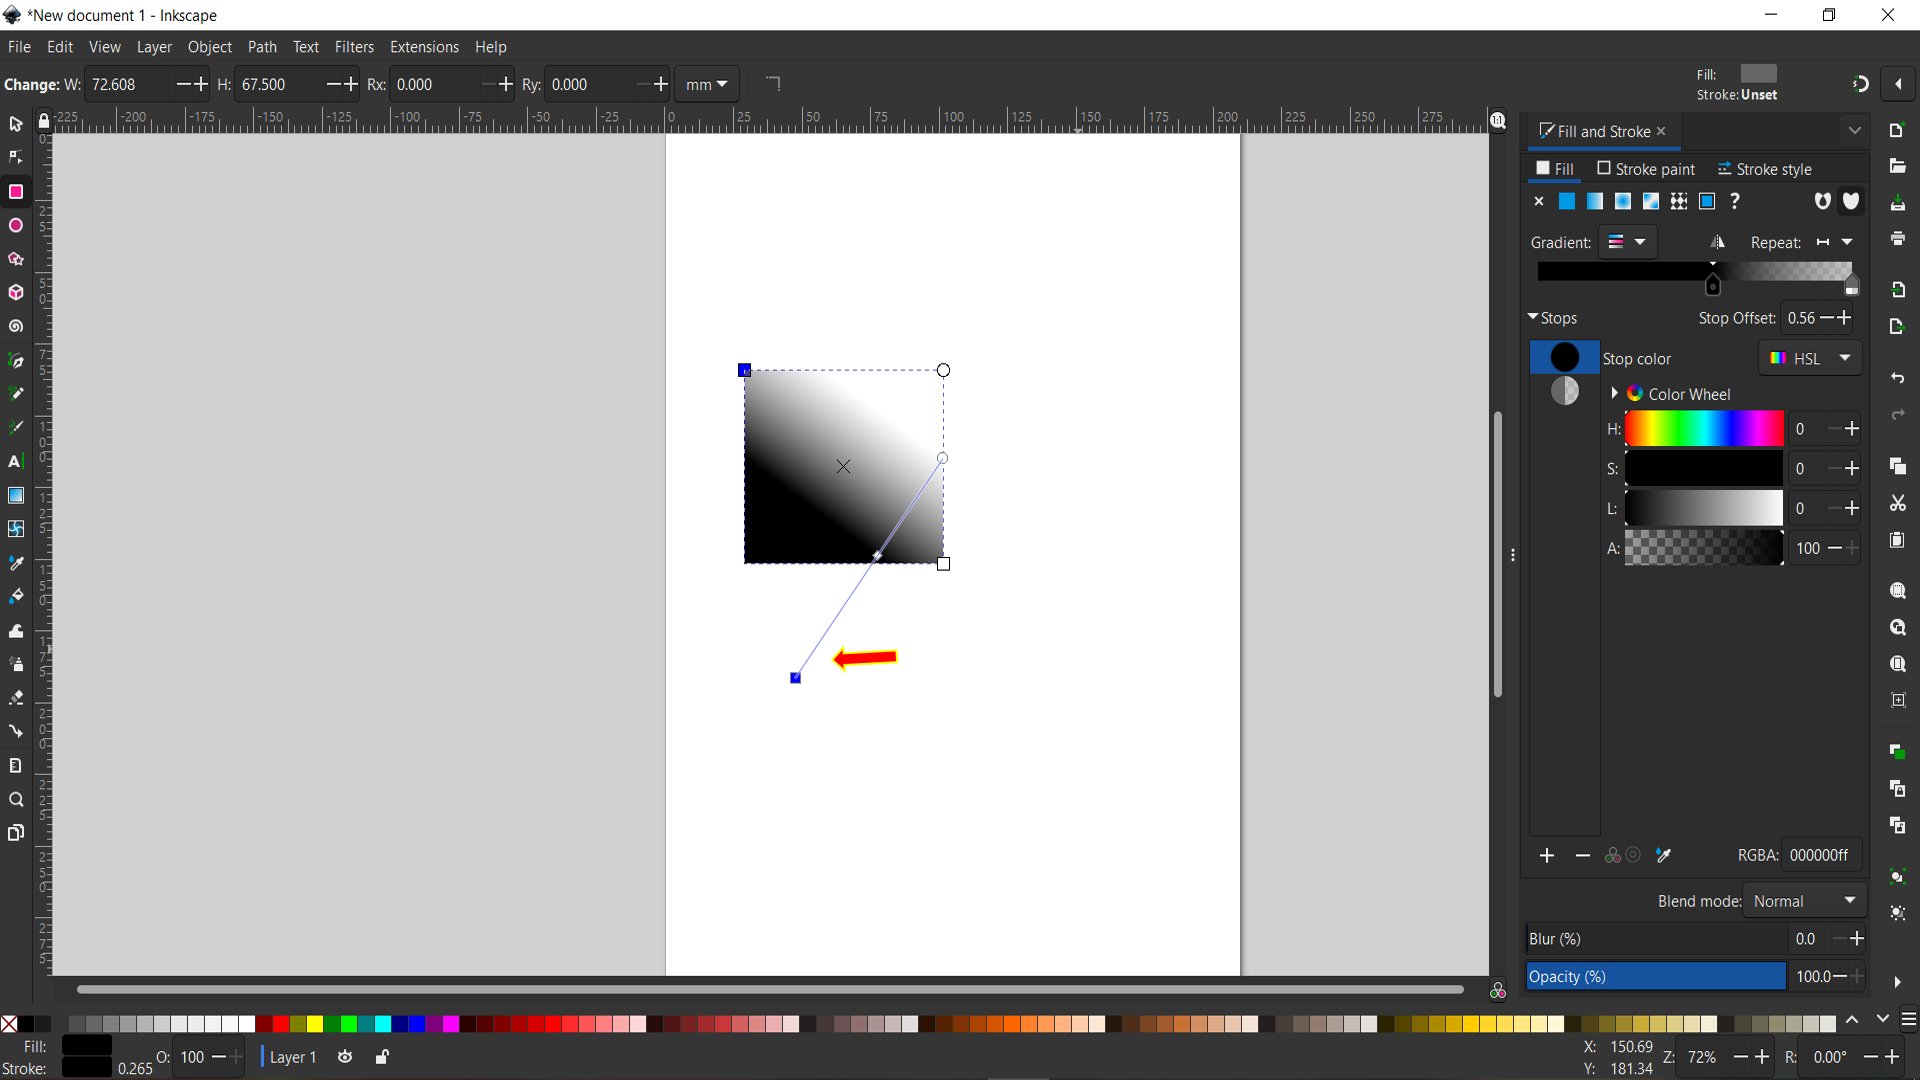
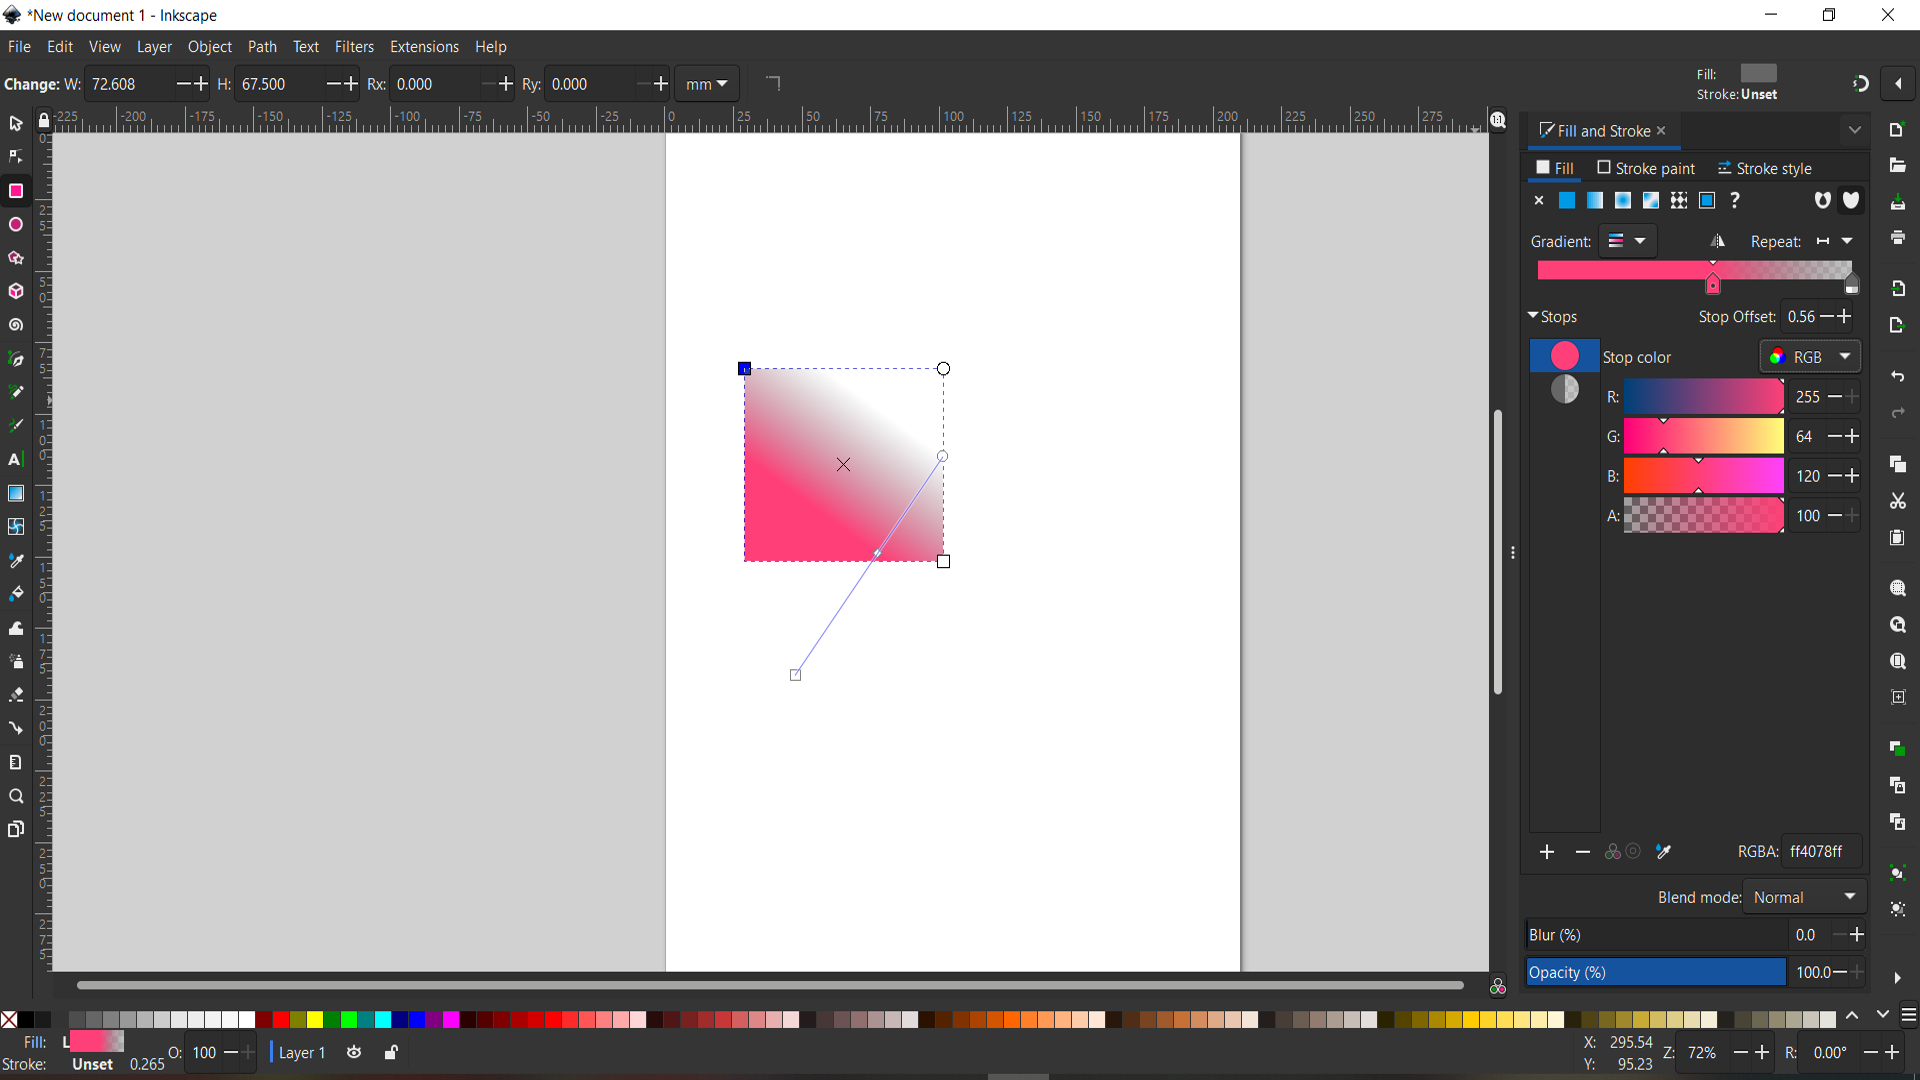
Now the gradient range of the square can also be changed. Double-click the square shape, and once the circles appear on the sides, start by clicking on the “Linear gradient” tool, and changing the gradient by dragging the arrow towars the right or left side.

Also, the middle line in the square can change the gradient direction too. For example, if we move it upwards or downwards, it will change the gradient direction. We can also change the color type, and move the color wheel cycle according to our own wish.
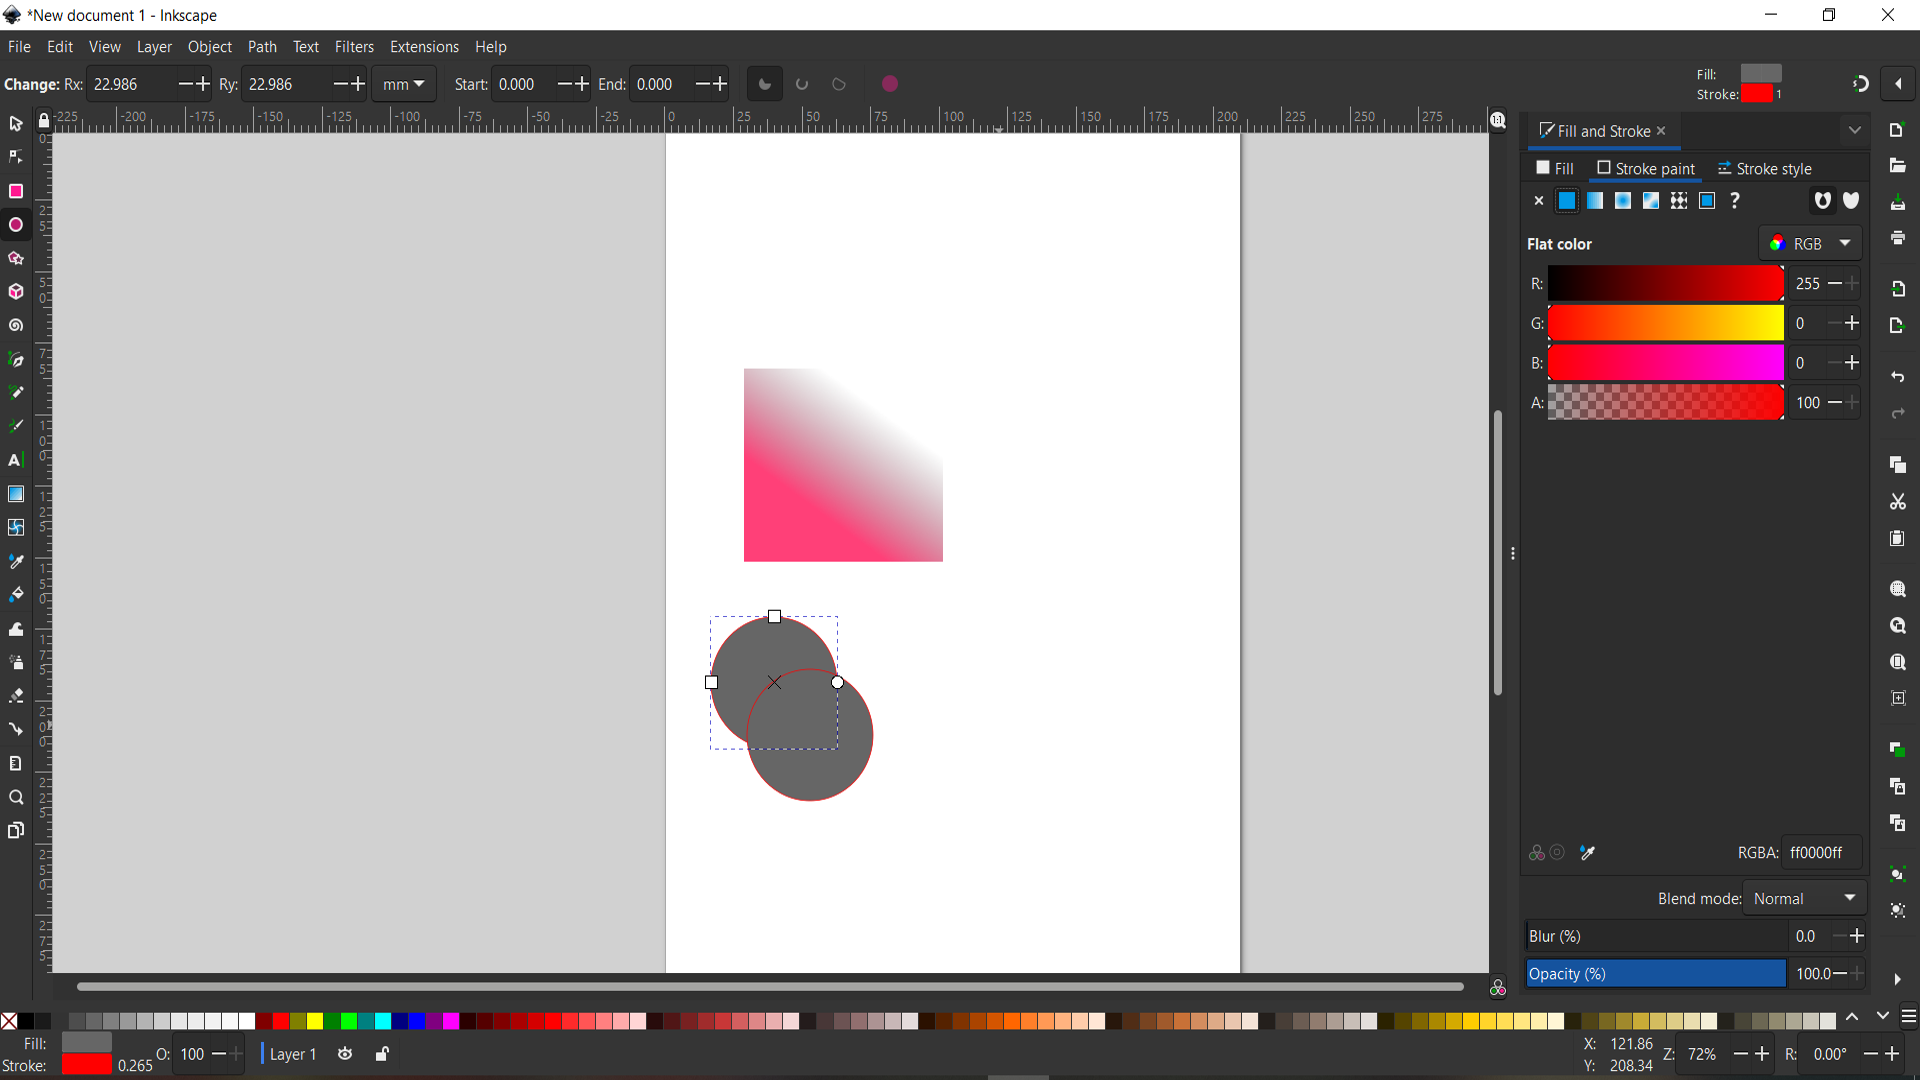
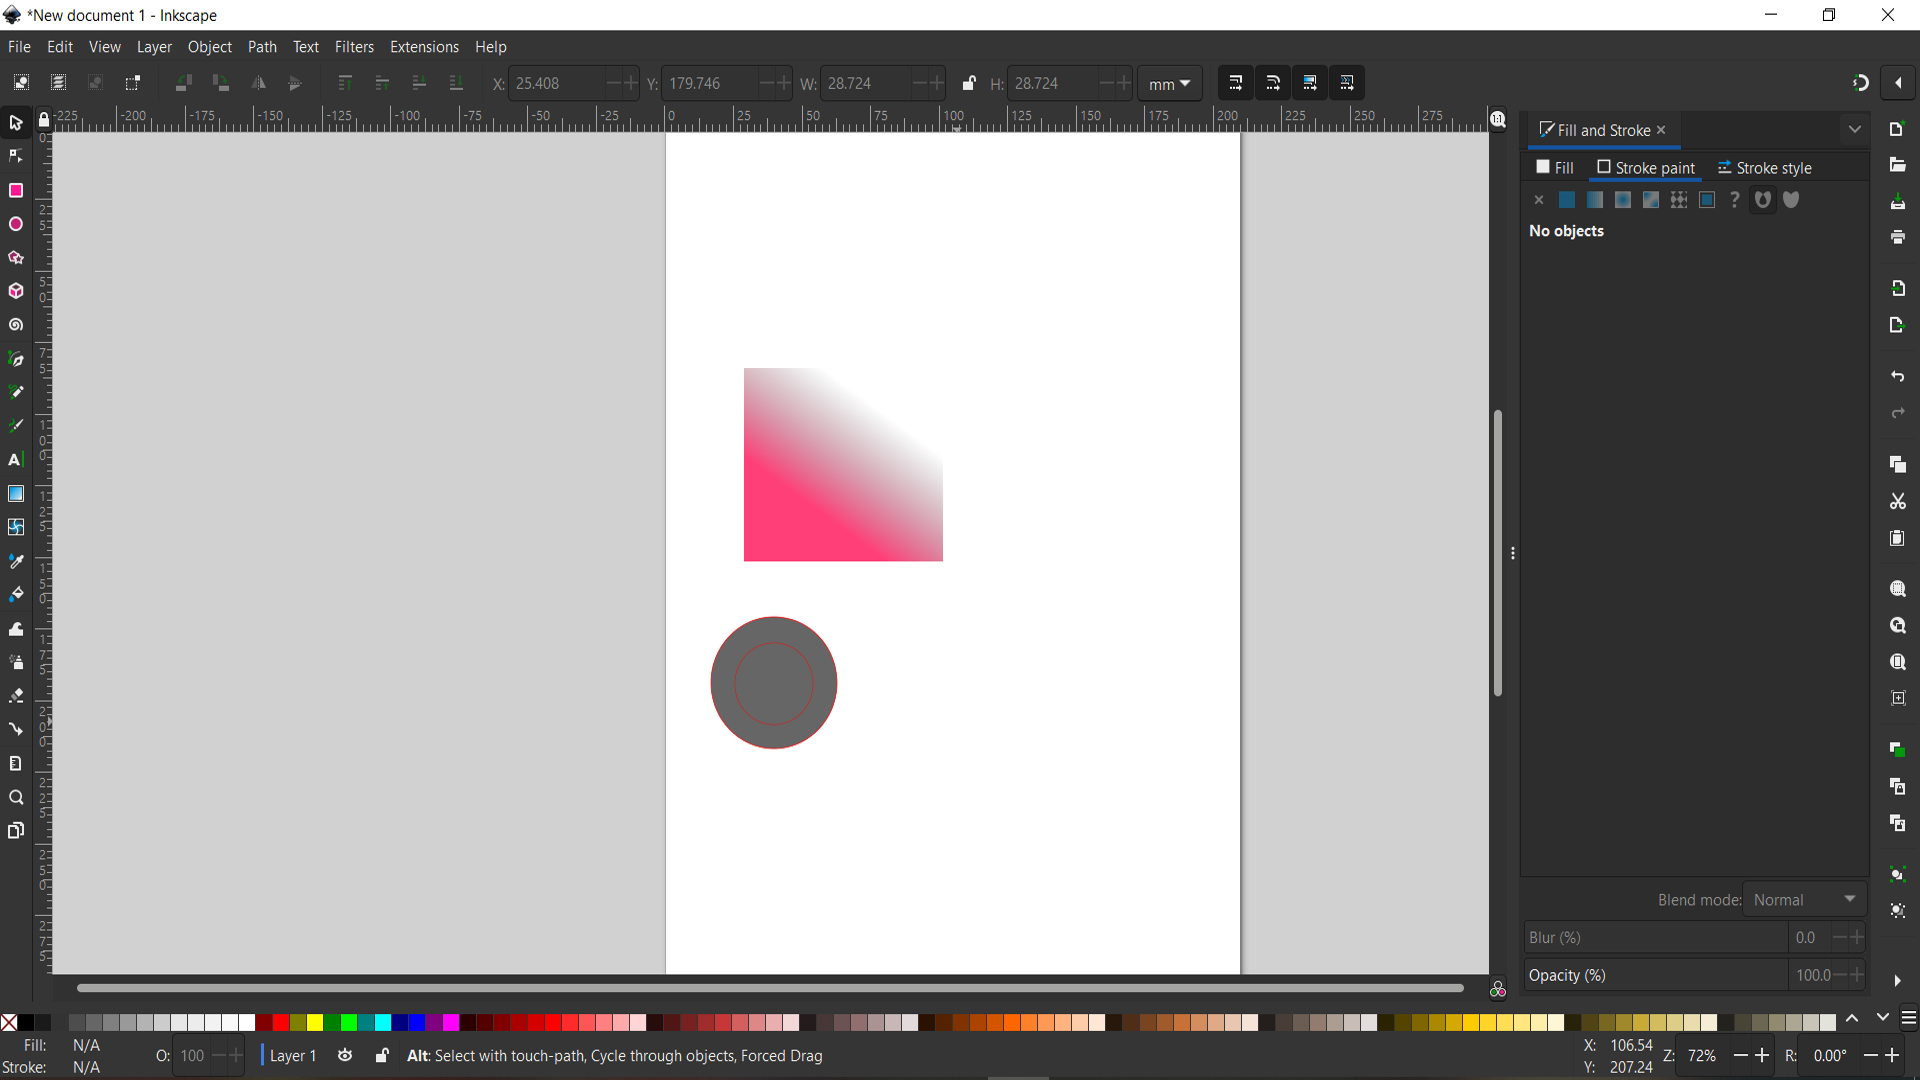
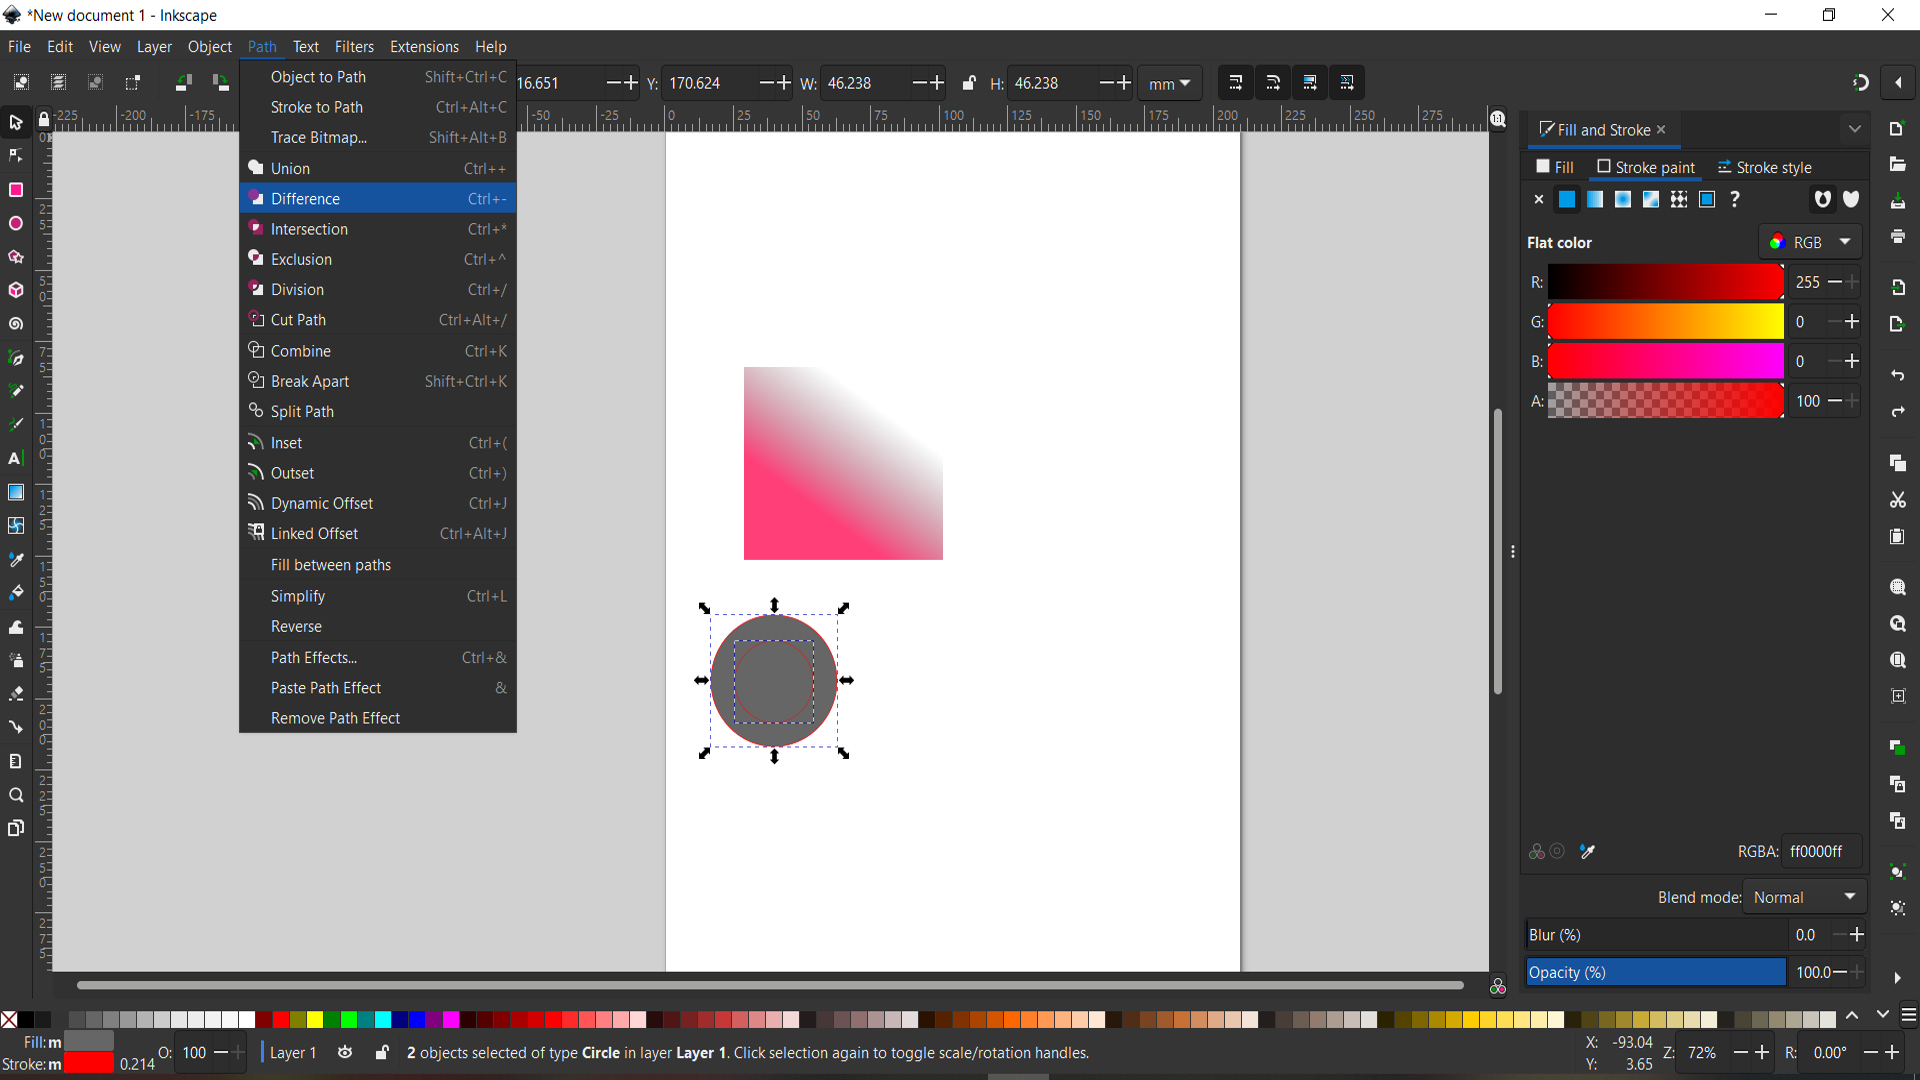
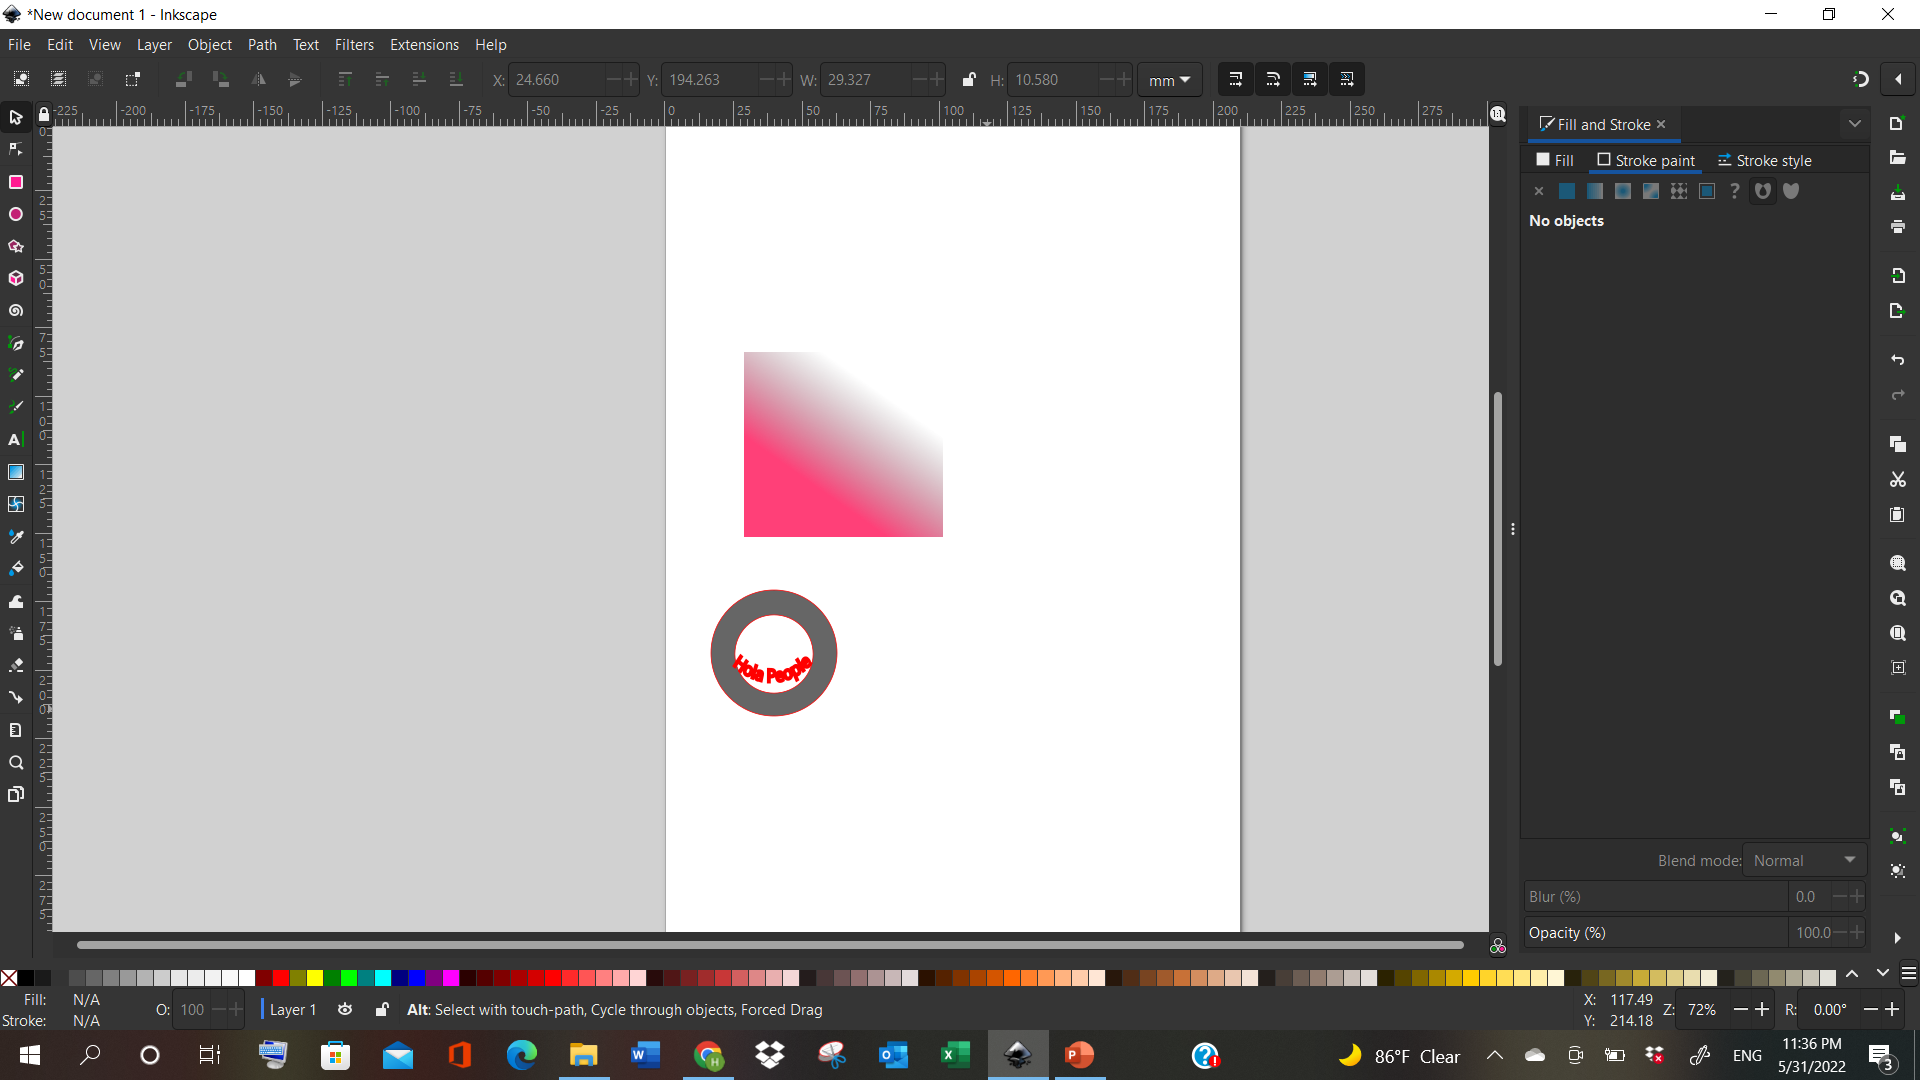
Now, I started by adding another shape to the window. This time, I added circular shape, and copy pasted it on each other. Then, I resized the circular shape, and fit it within the previous circular shape.
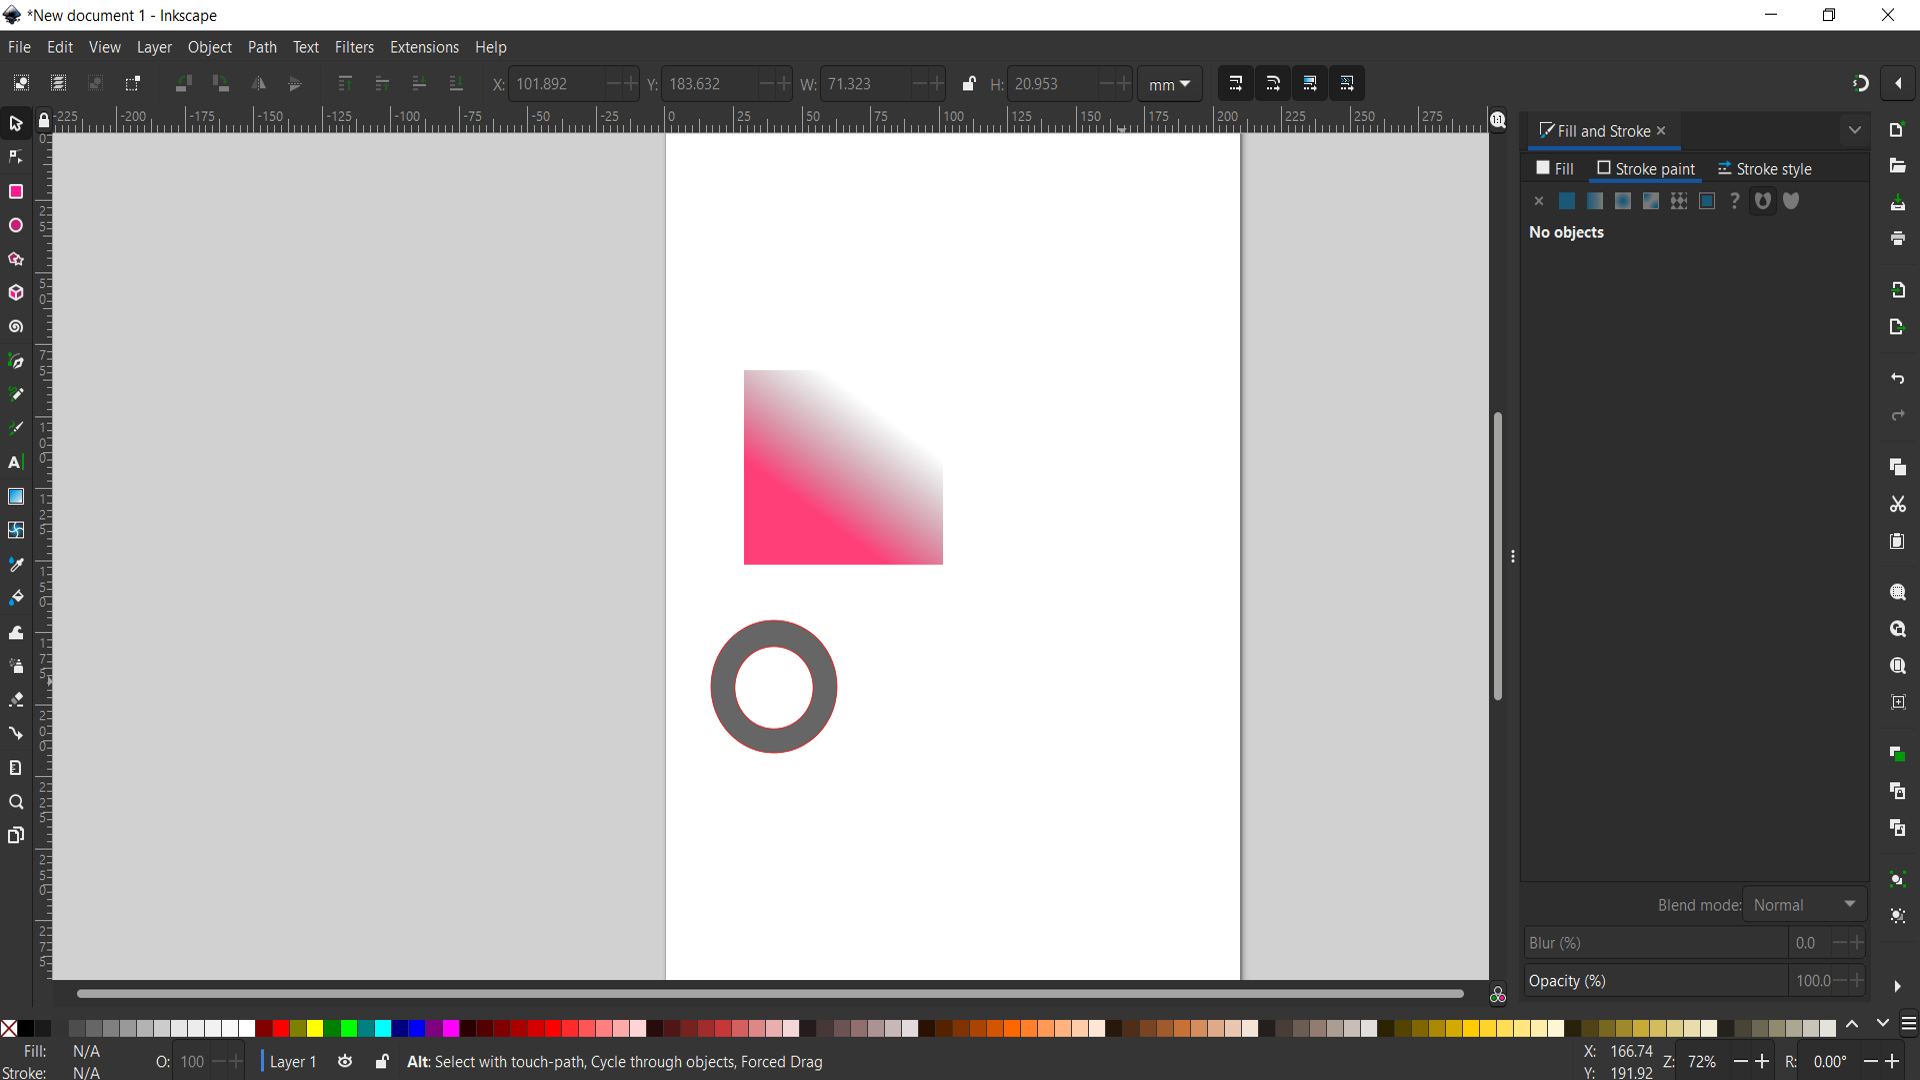
Next, Select both the circles together, and go to “Path”, and click on “difference”. It will cut out the middle excess area.
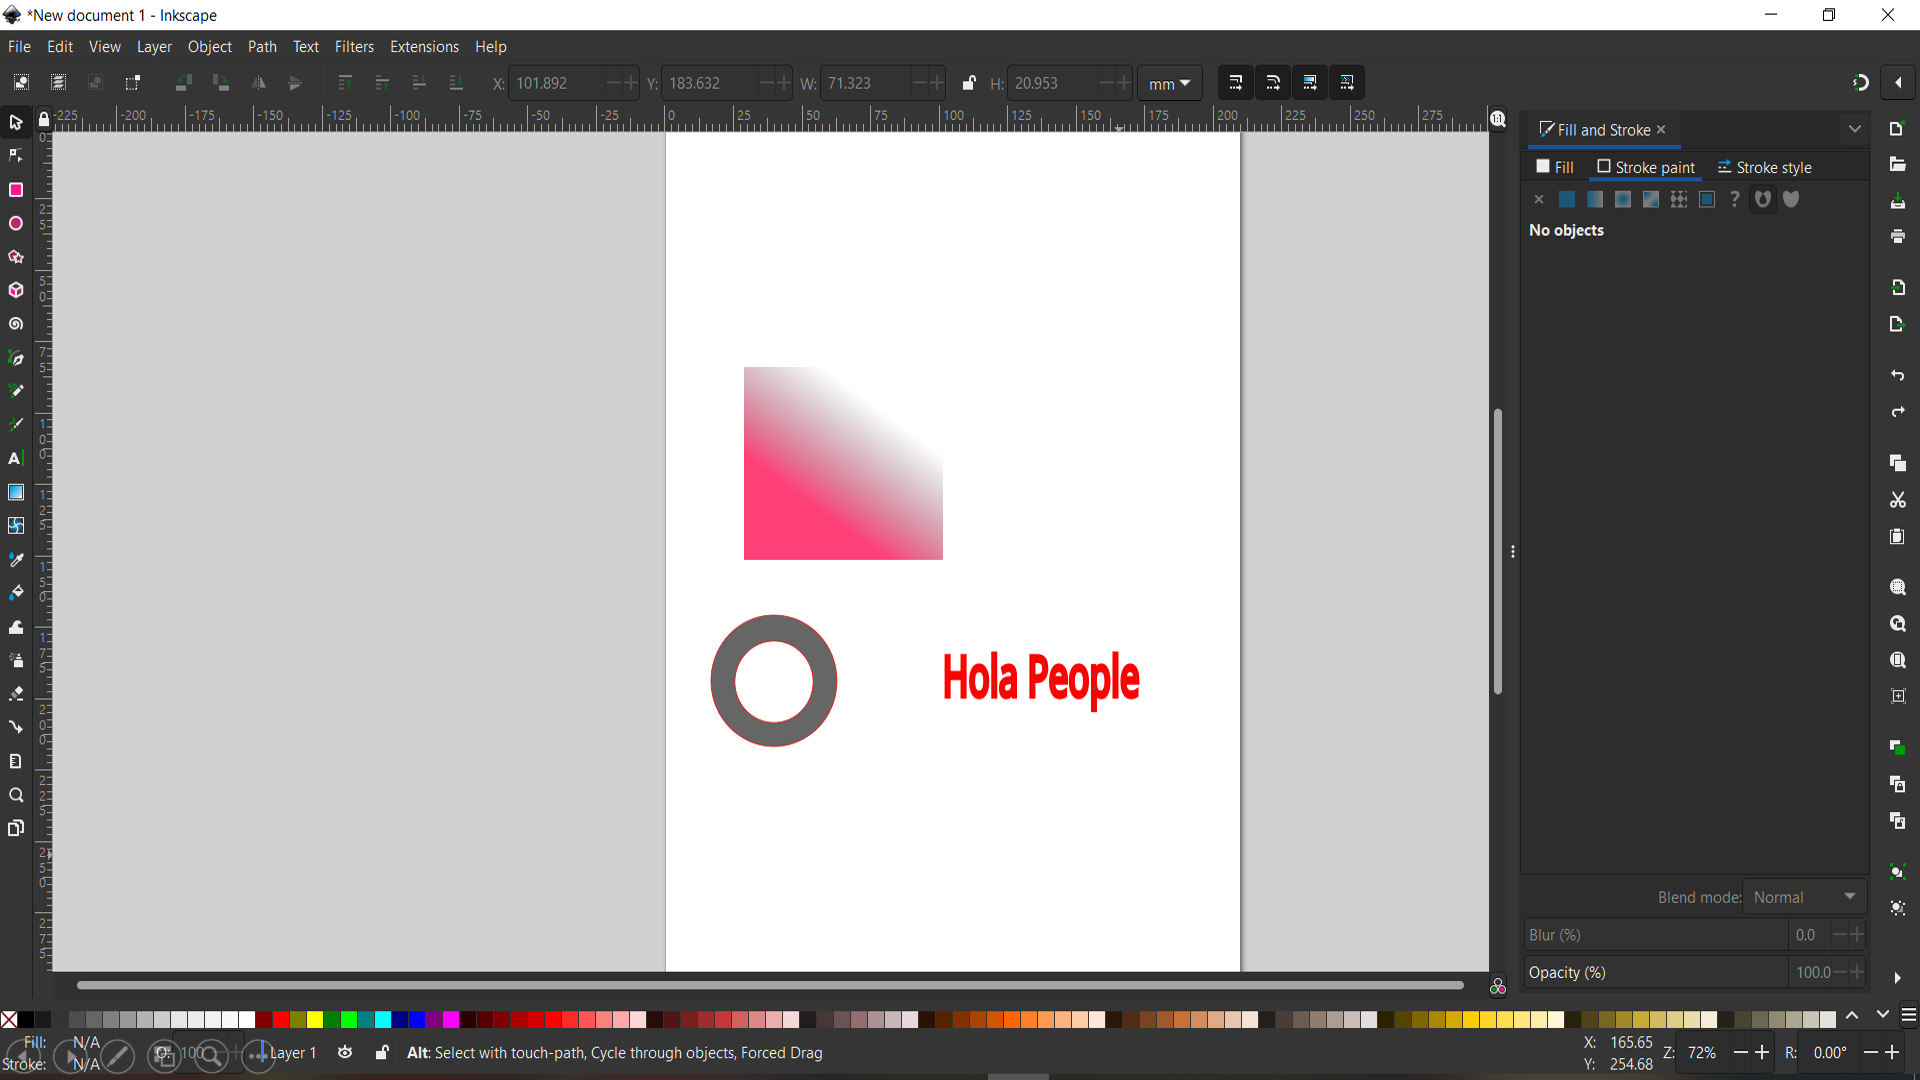
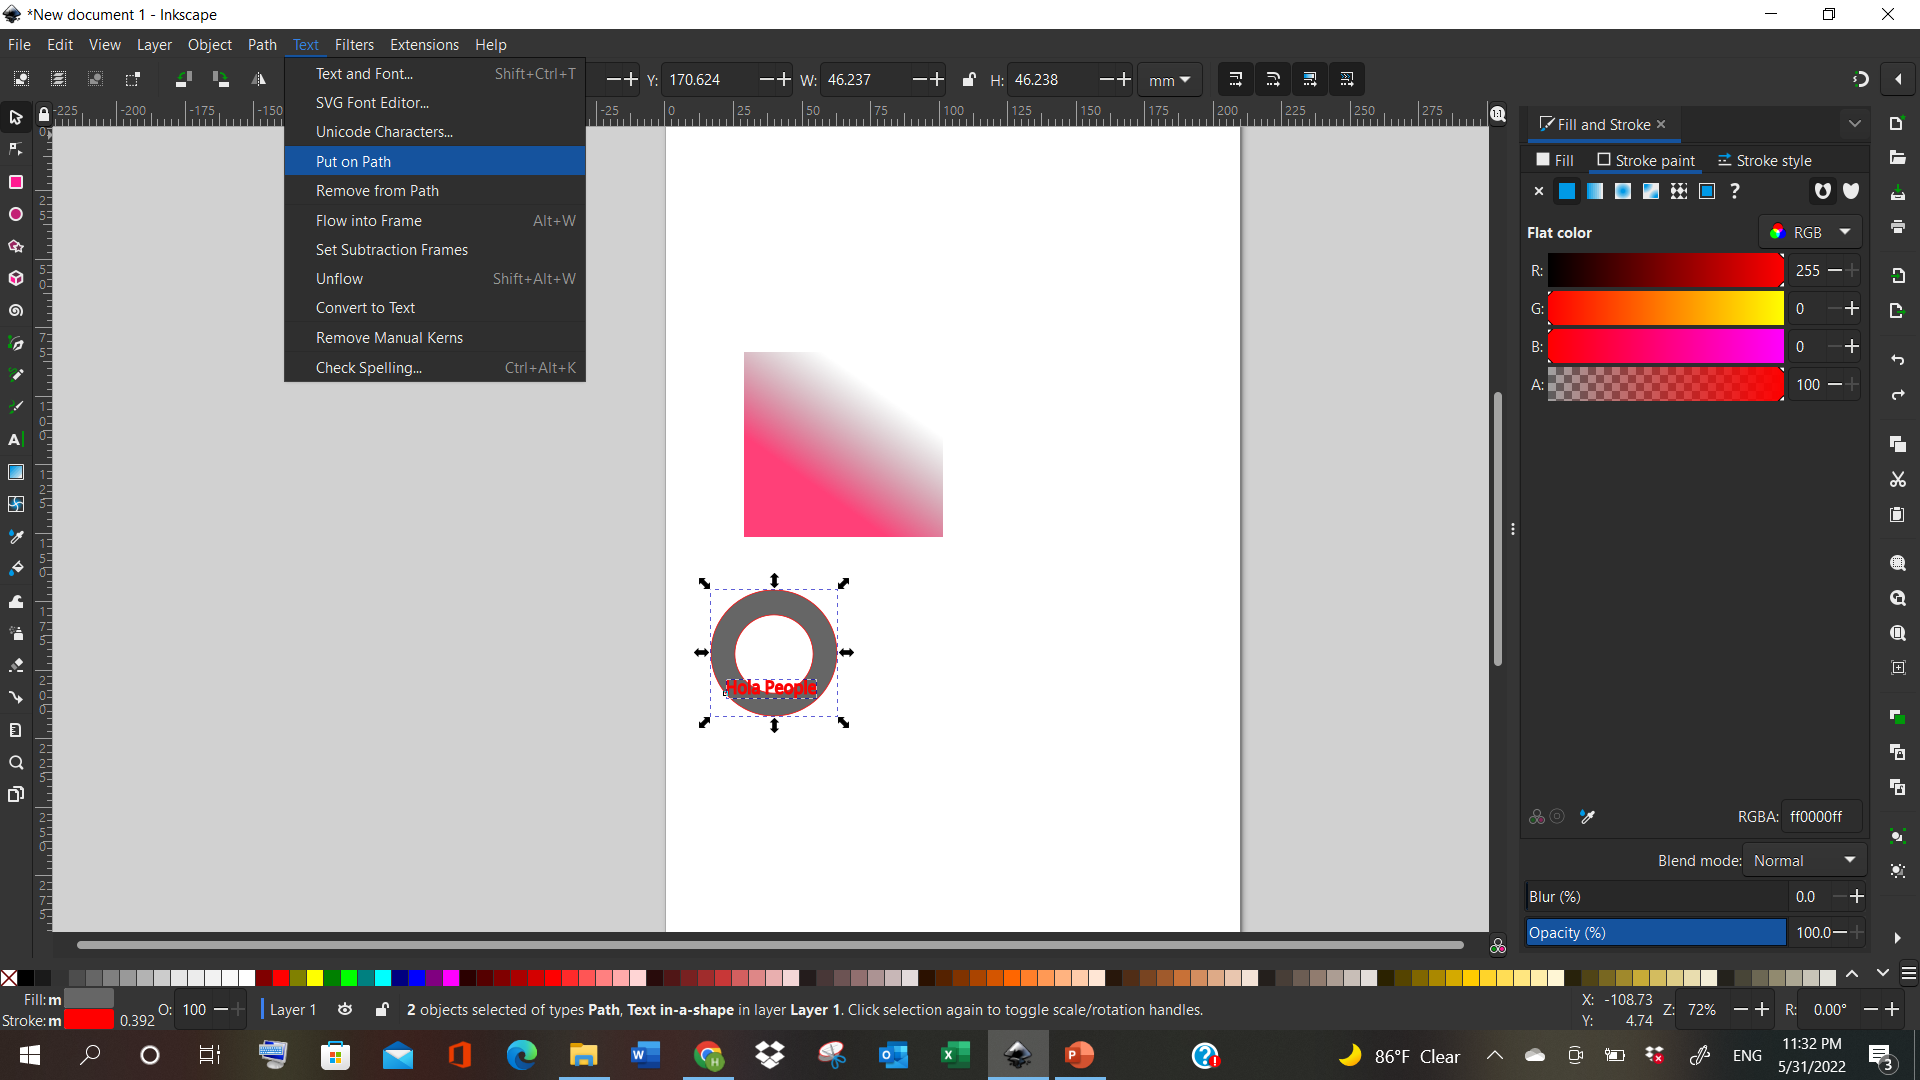
Now, we add text into the window. It can be done by clicking on the icon shown on the left-side and writing the text in the window.
Then, we can put the text on top of the circles, and select them all together. Now, Click on “Text” in the upper tab, and select “put on path”. It will automatically come on the circle’s path.
STL Design files
Click to download the STL design files
Fusion360 Design files
Click to download the fusion360 design files