5. 3D printing and scanning
This week, on our first session, I started working on documenting my work, namely: 3D Printing and 3D Scanning.
Tasks Overview
The objectives here were the following:
- GROUP ASSIGNMENT:
1- Test the design rules for your printer(s).
2- Document your work and explain what are the limits of your printer(s) (in a group or individually).
- INDIVIDUAL ASSIGNMENT:
1- Design and 3D print an object (small, few cm3, limited by printer time) that could not be easily made subtractively.
2- 3D scan an object, try to prepare it for printing (and optionally print it).
3D PRINTING (Group Work)
We had 3D printing work as a part of group assignment, where Abdulgafoor showed us the whole steps of 3D printer and how it works as a whole, Ranging from Filaments to nozzles, calibration, menu bars, heating bed and SD card insertions etc.
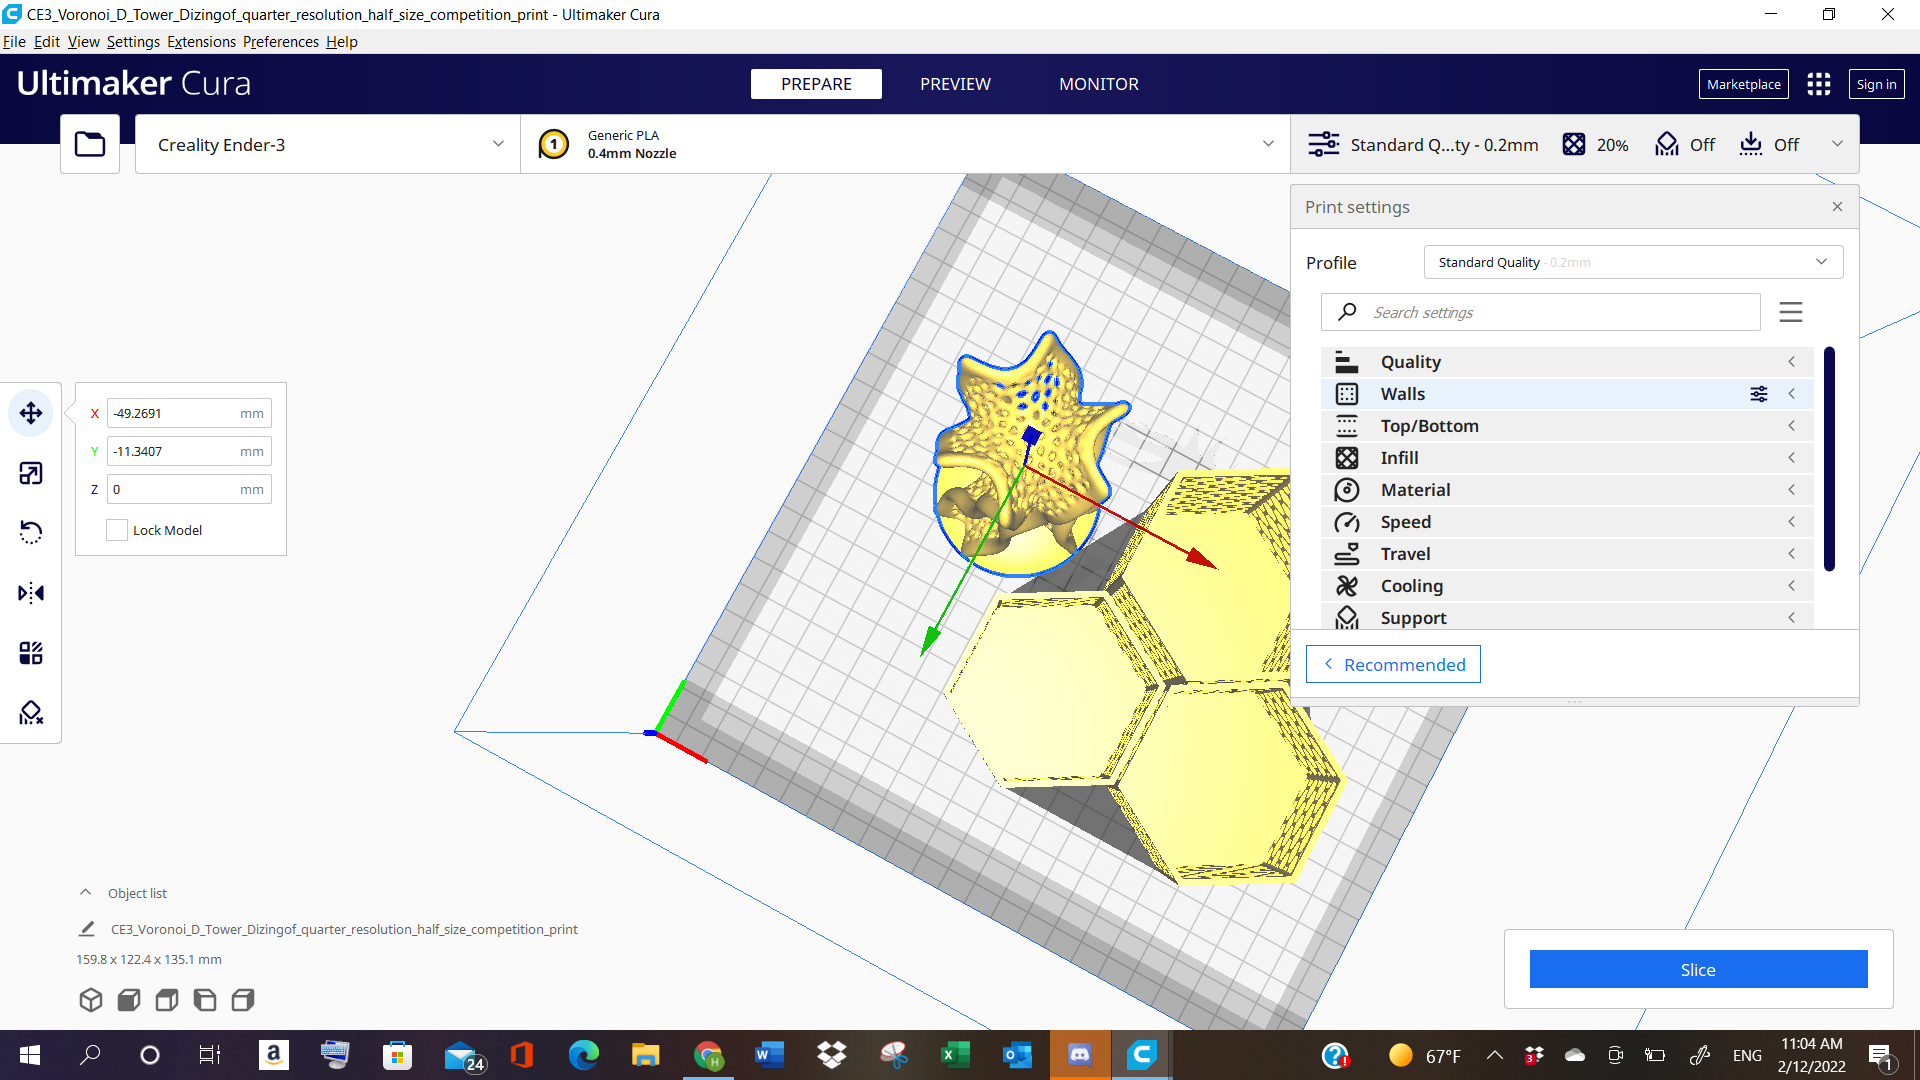
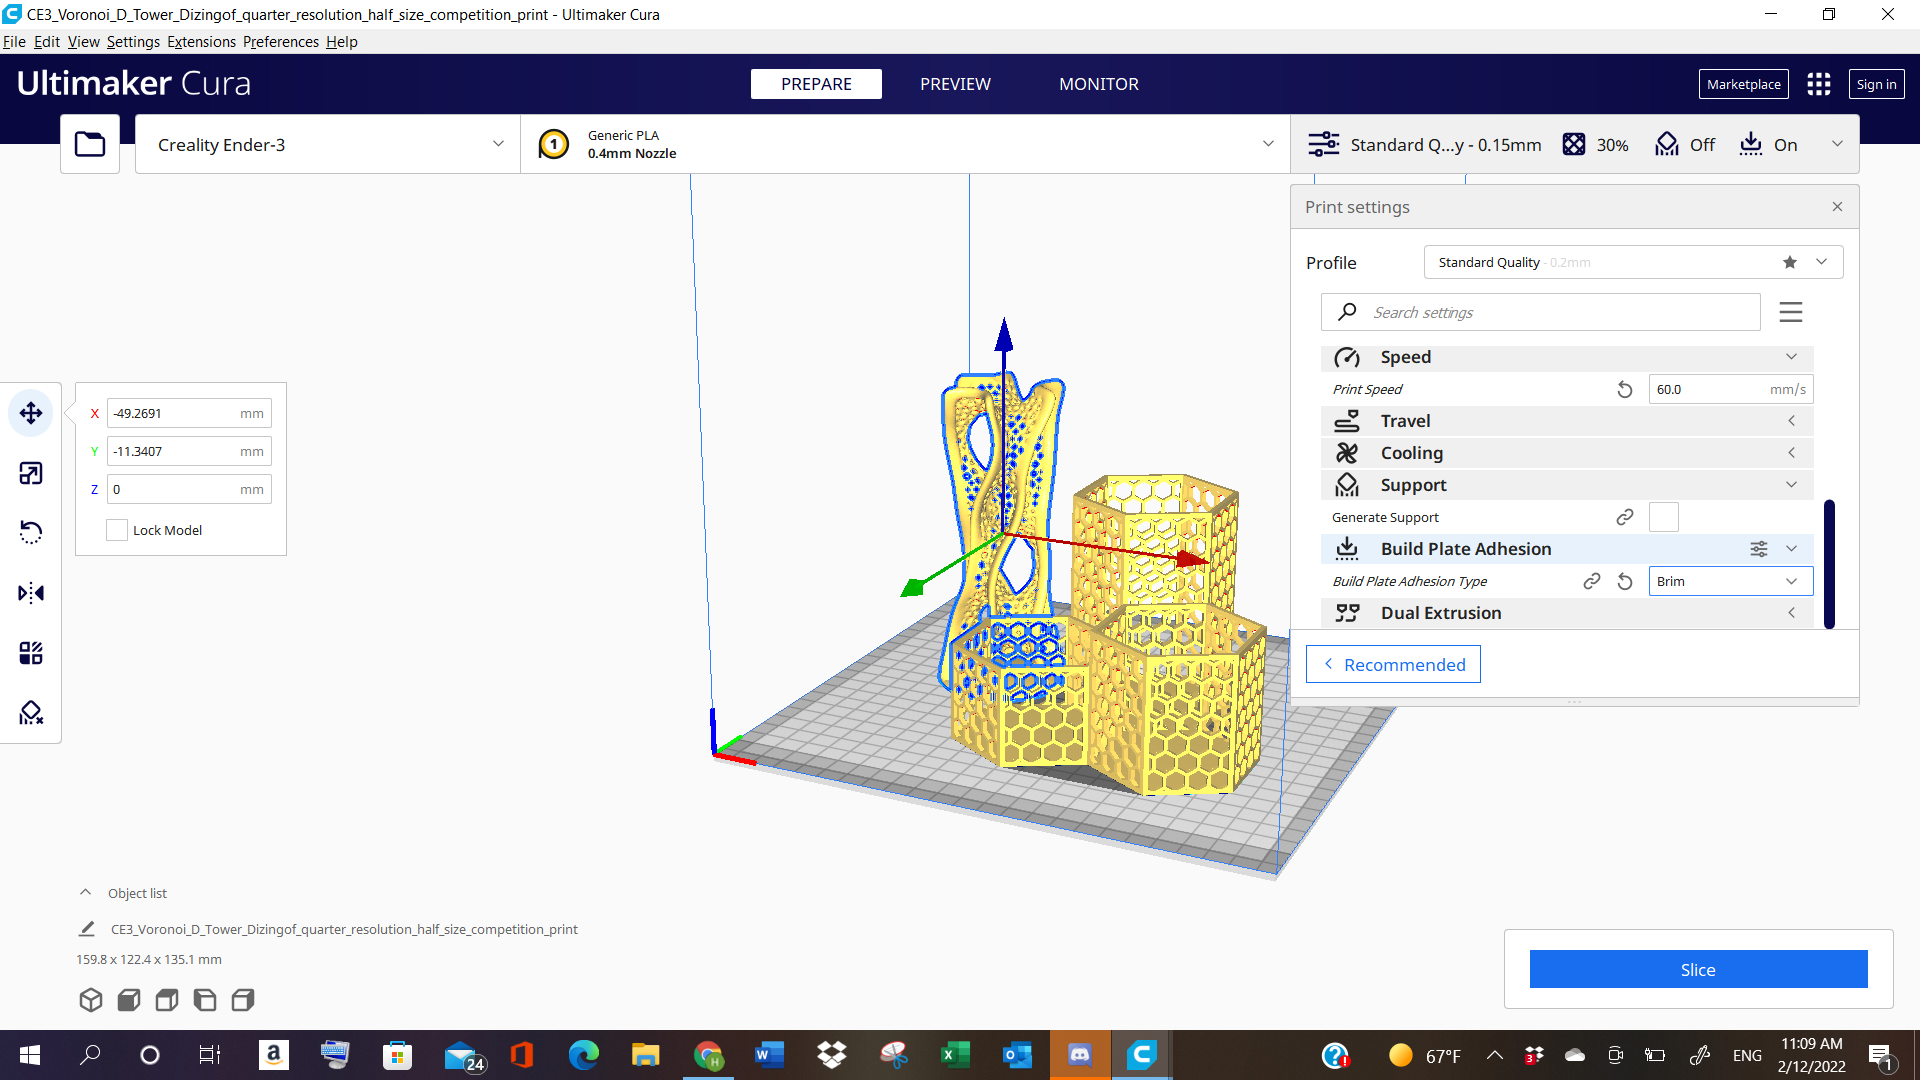
CURA Software
Cura is a 3D software, that is used for slicing the objects, and sending the files as STL to the memory card, which would then be inserted in the 3D printer.
Click to download Cura Software
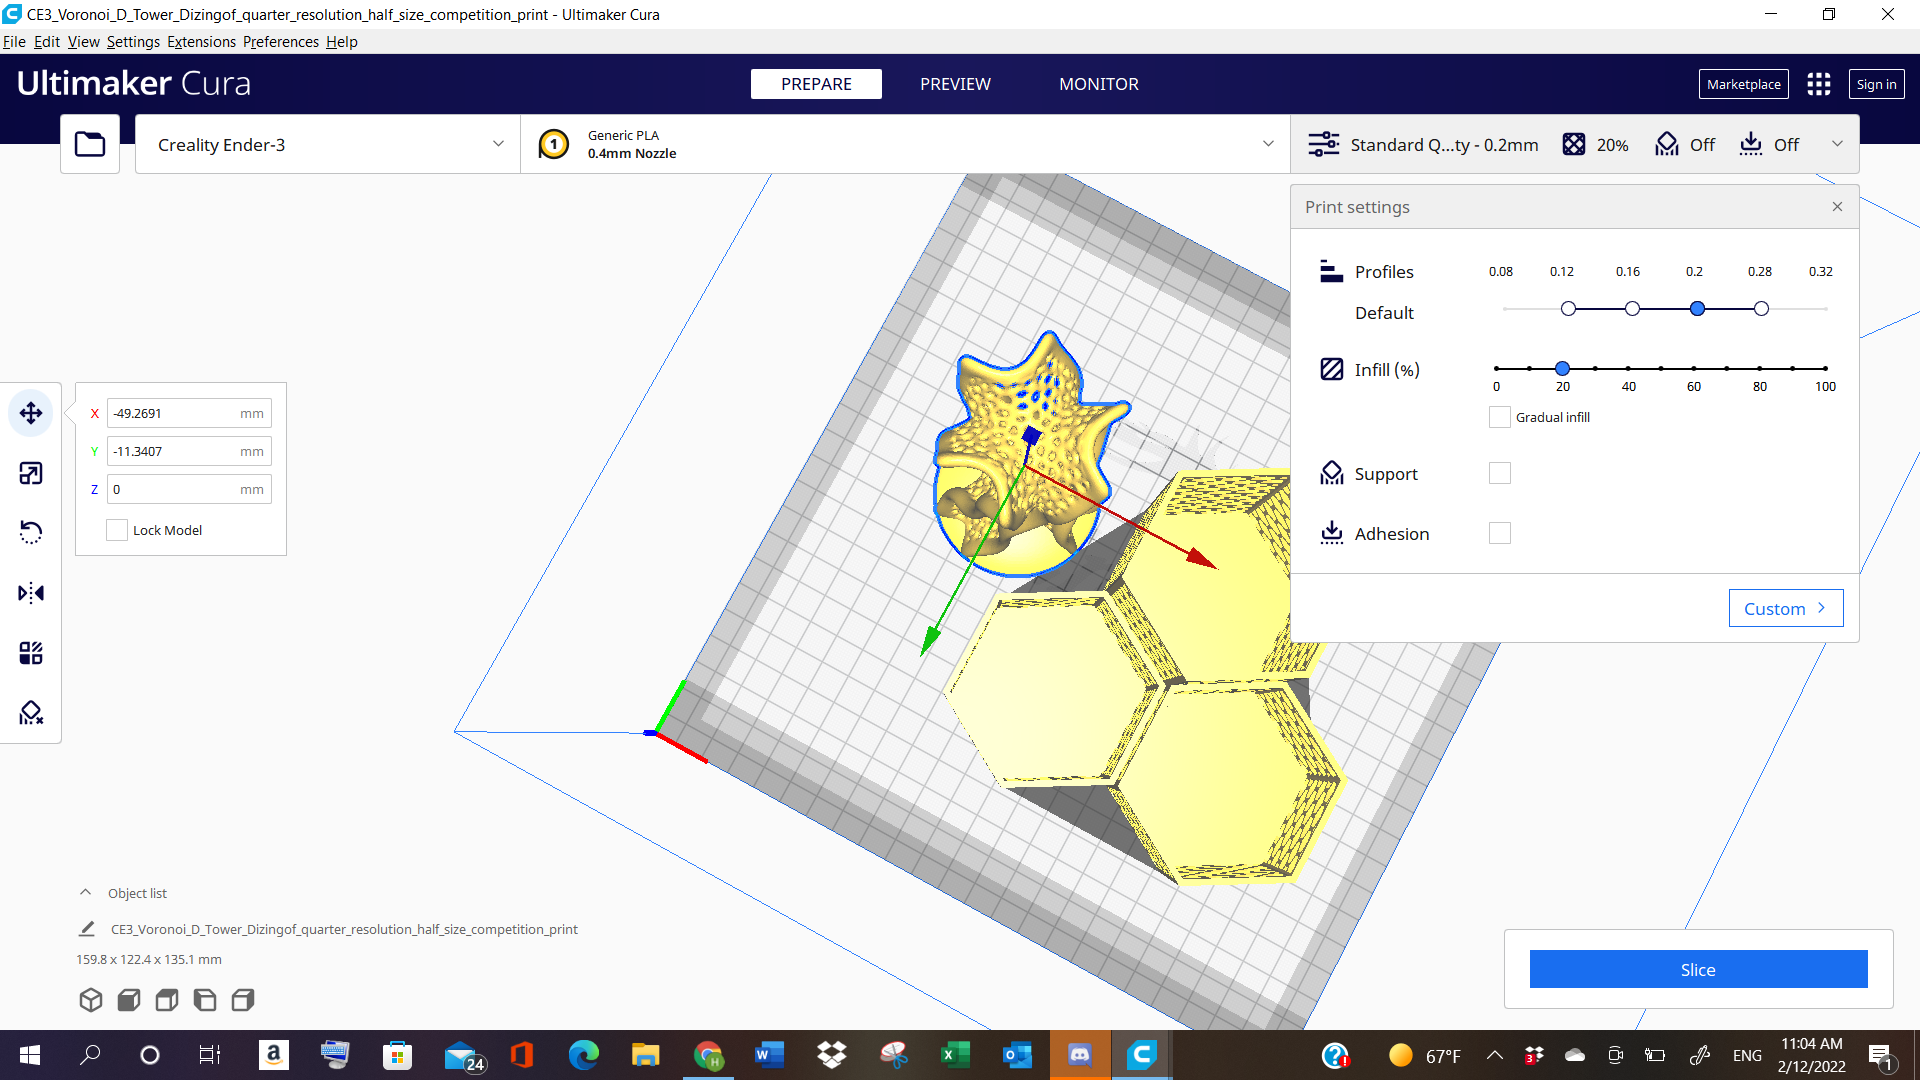
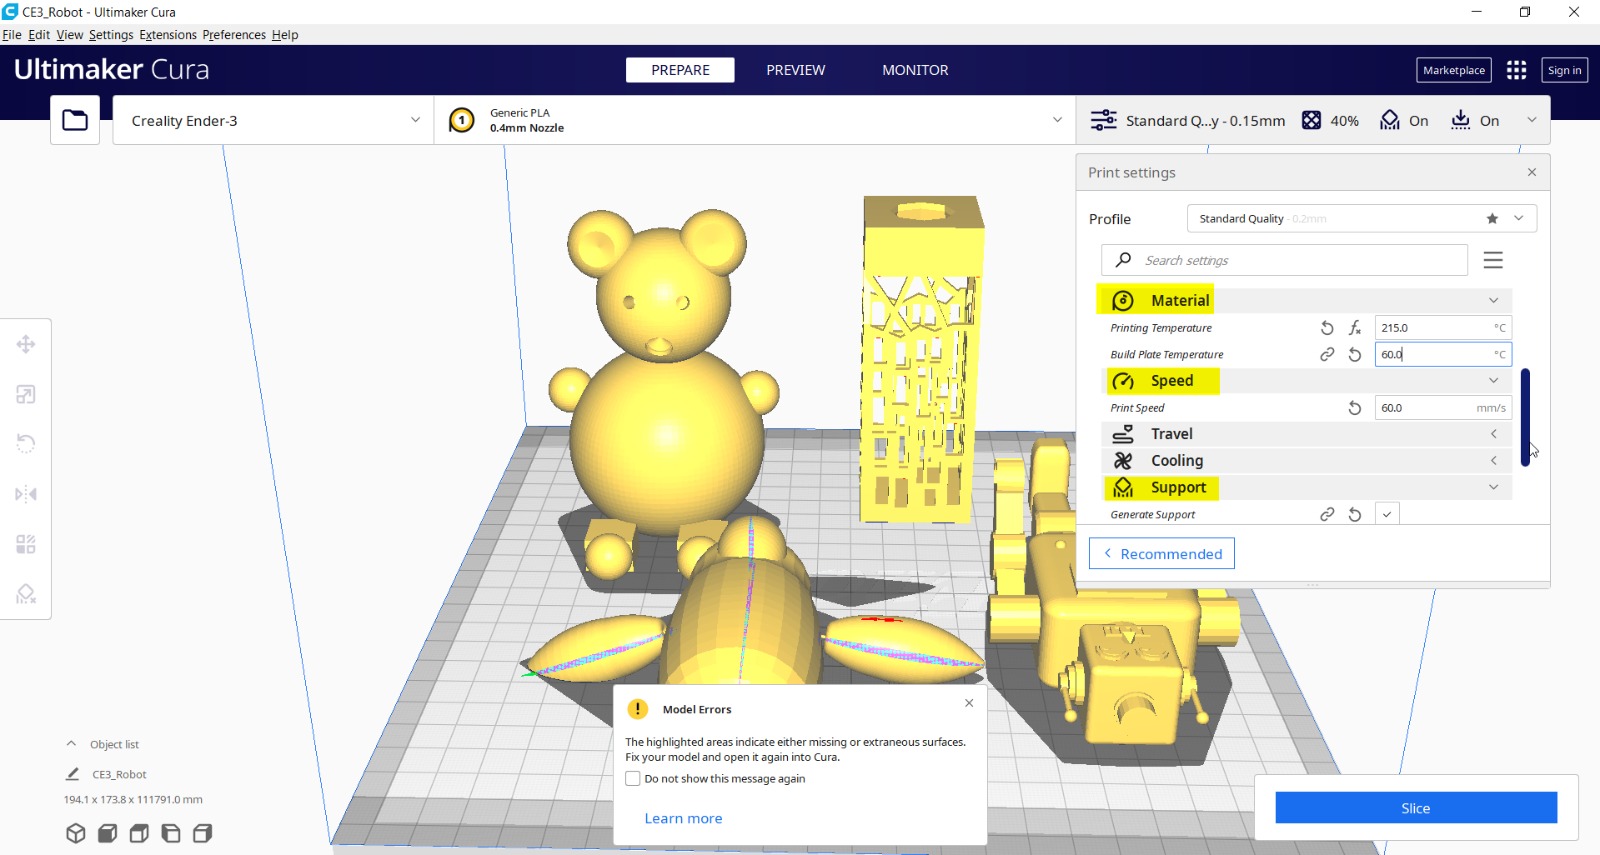
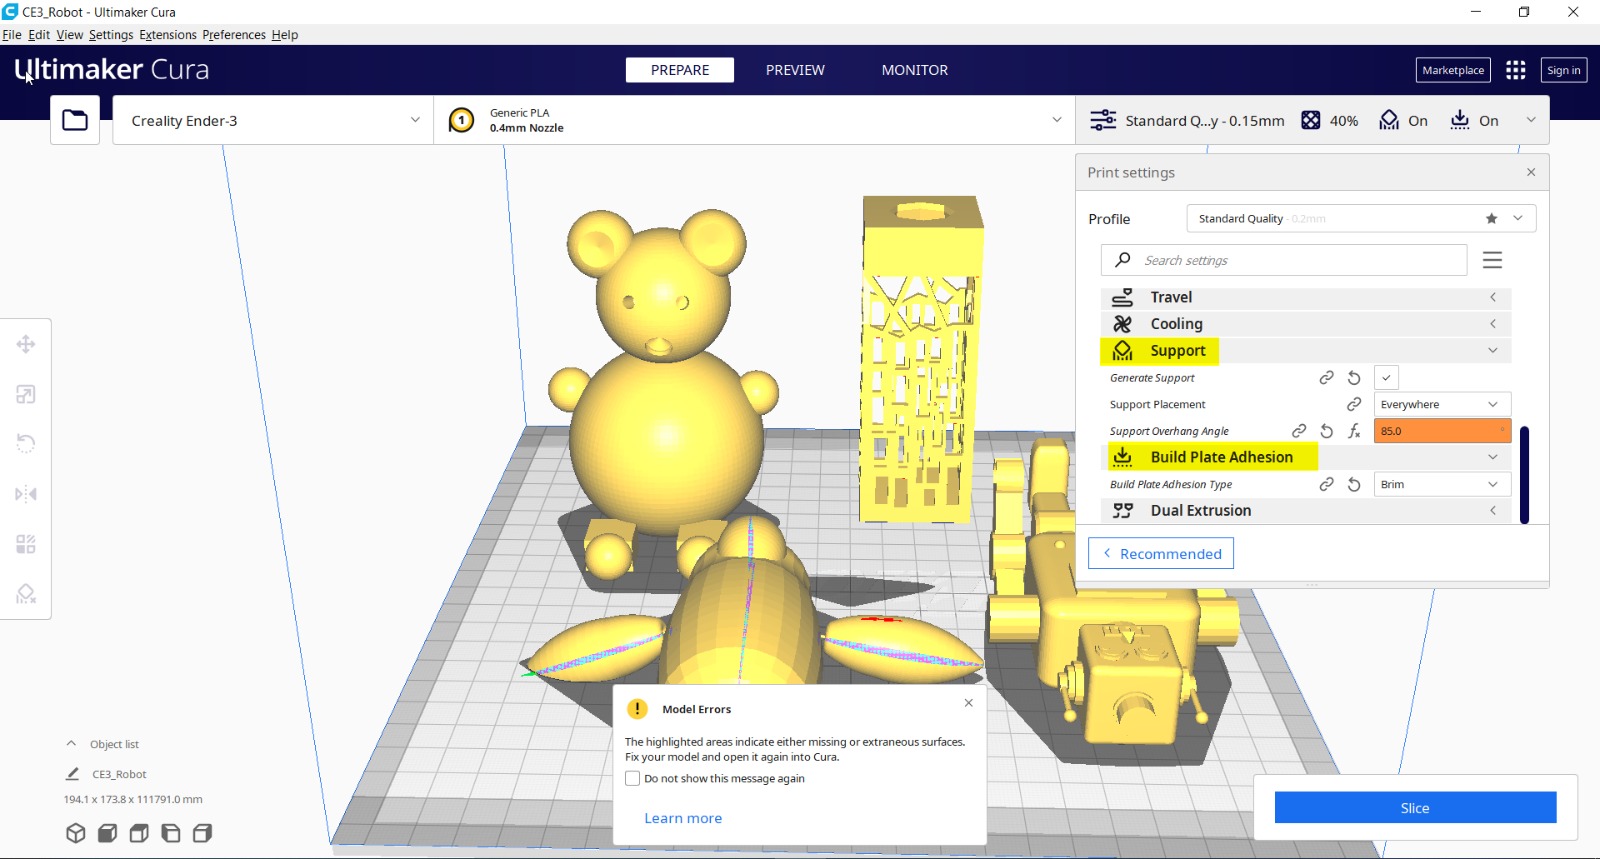
Hence, We downloaded Cura - a 3D printing software, and selected 2 objects of our own liking, from the 3D testing file that we received from Abdulgafoor. After testing out all the settings in the software, we sliced the file, for preparation for the objects to be 3D printed from the printer. The timing for the objects showed around 1 day, 3 hours and 53 minutes.
Group Work Link
The details for the group work documentation can be found on my colleague’s (Weaam) website: Weaam Ajoor’s Website
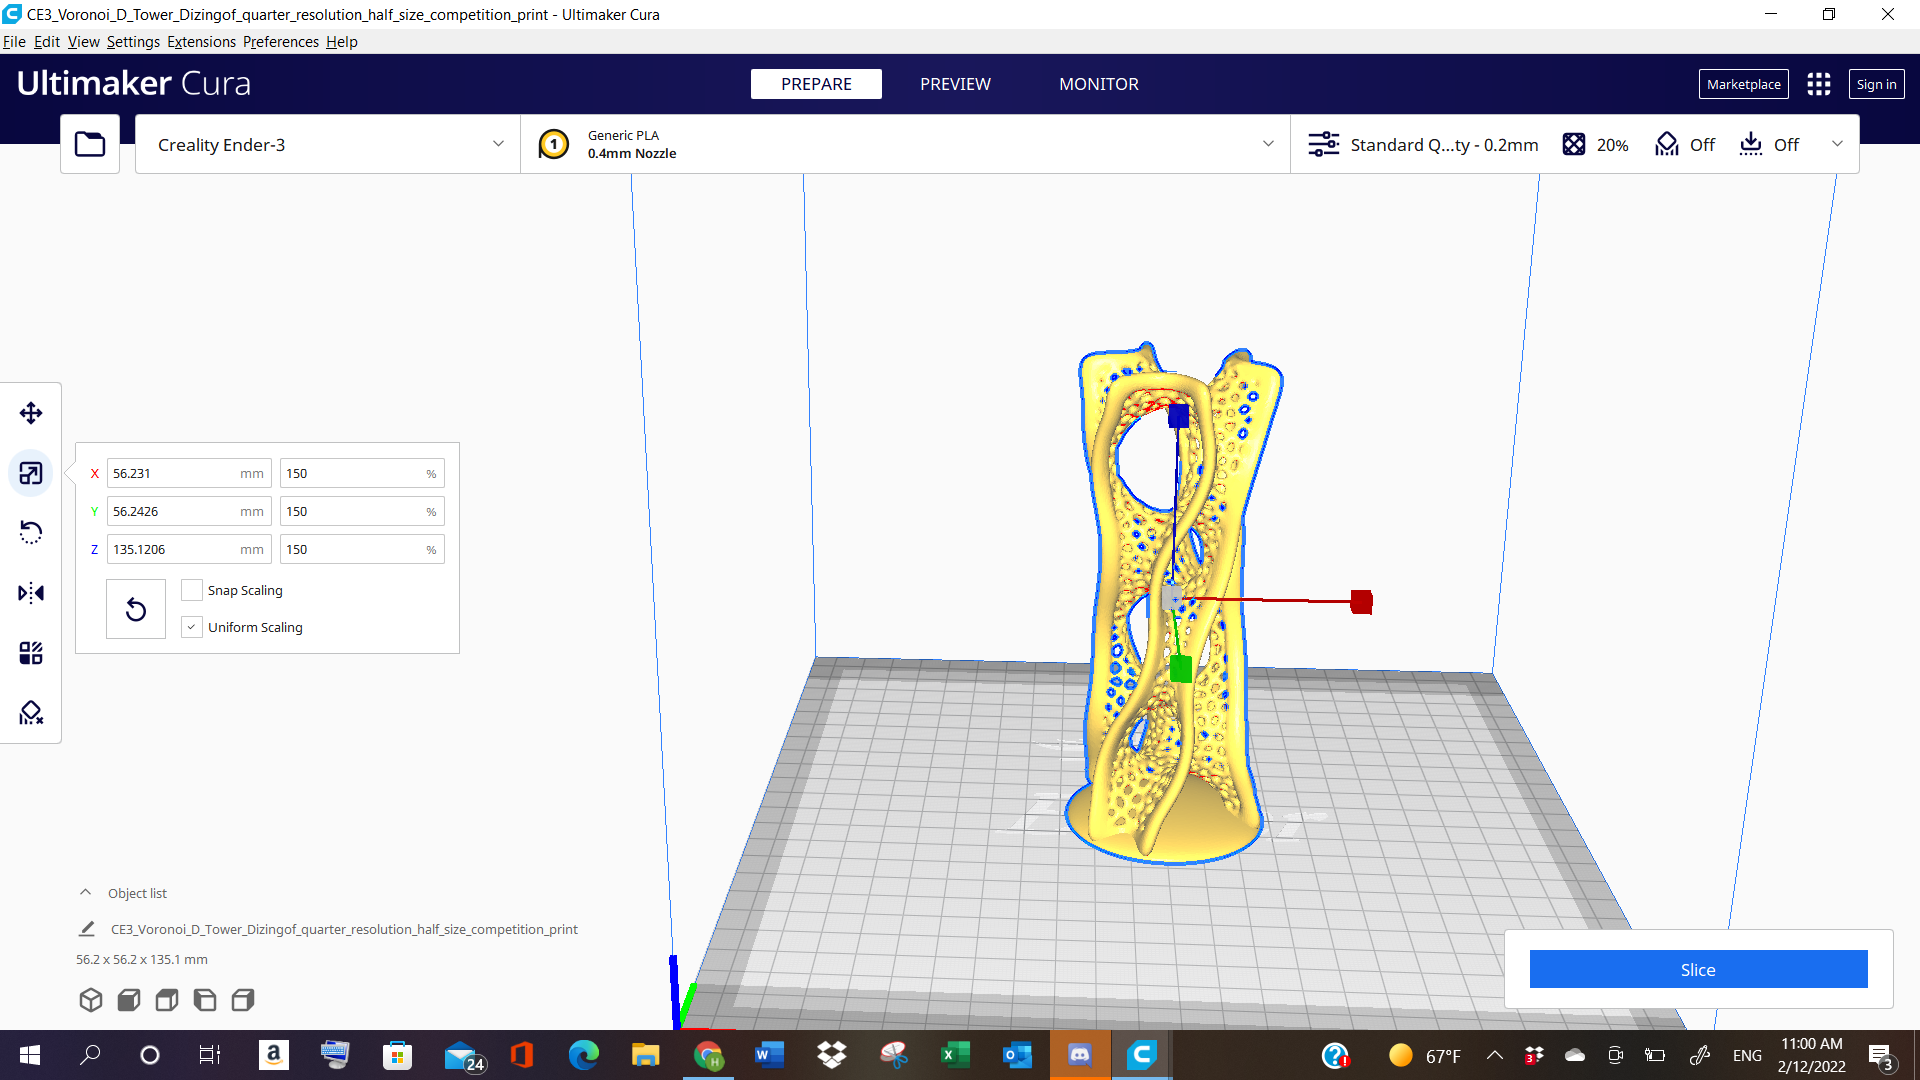
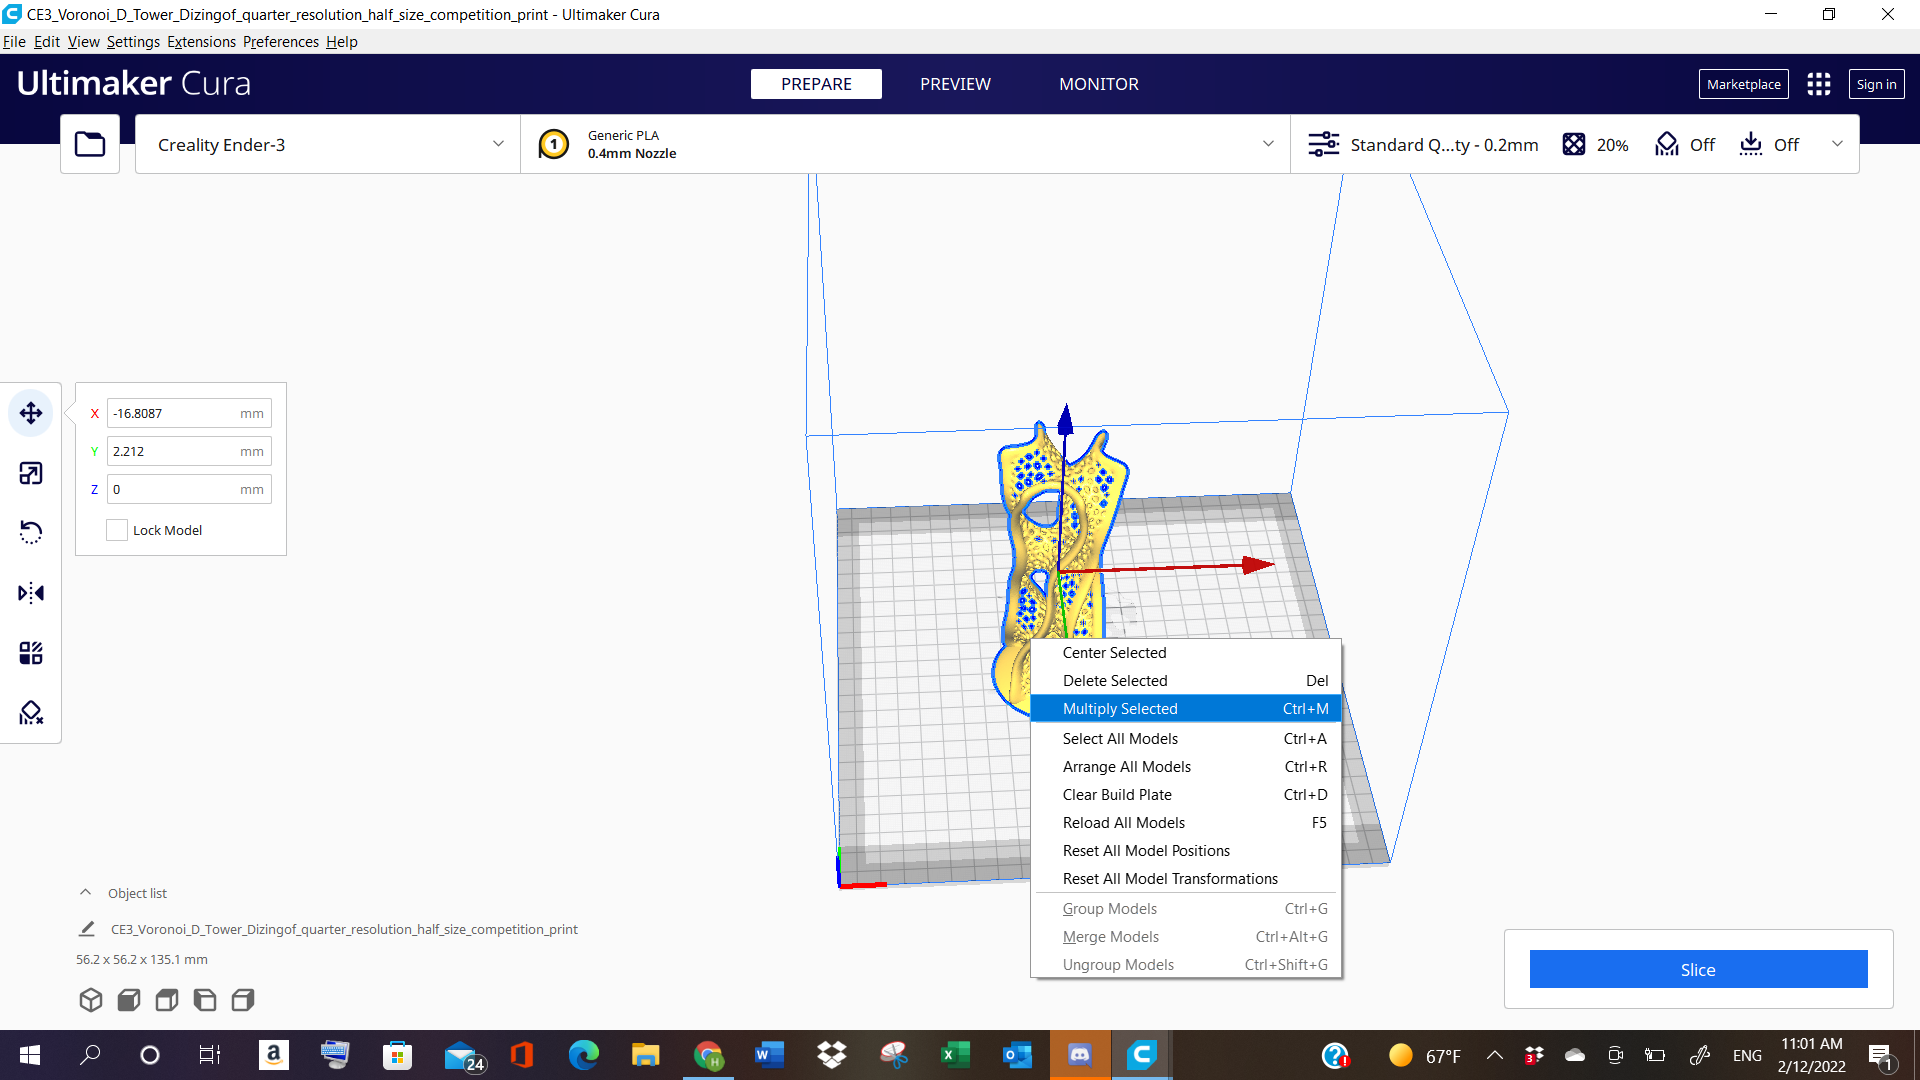
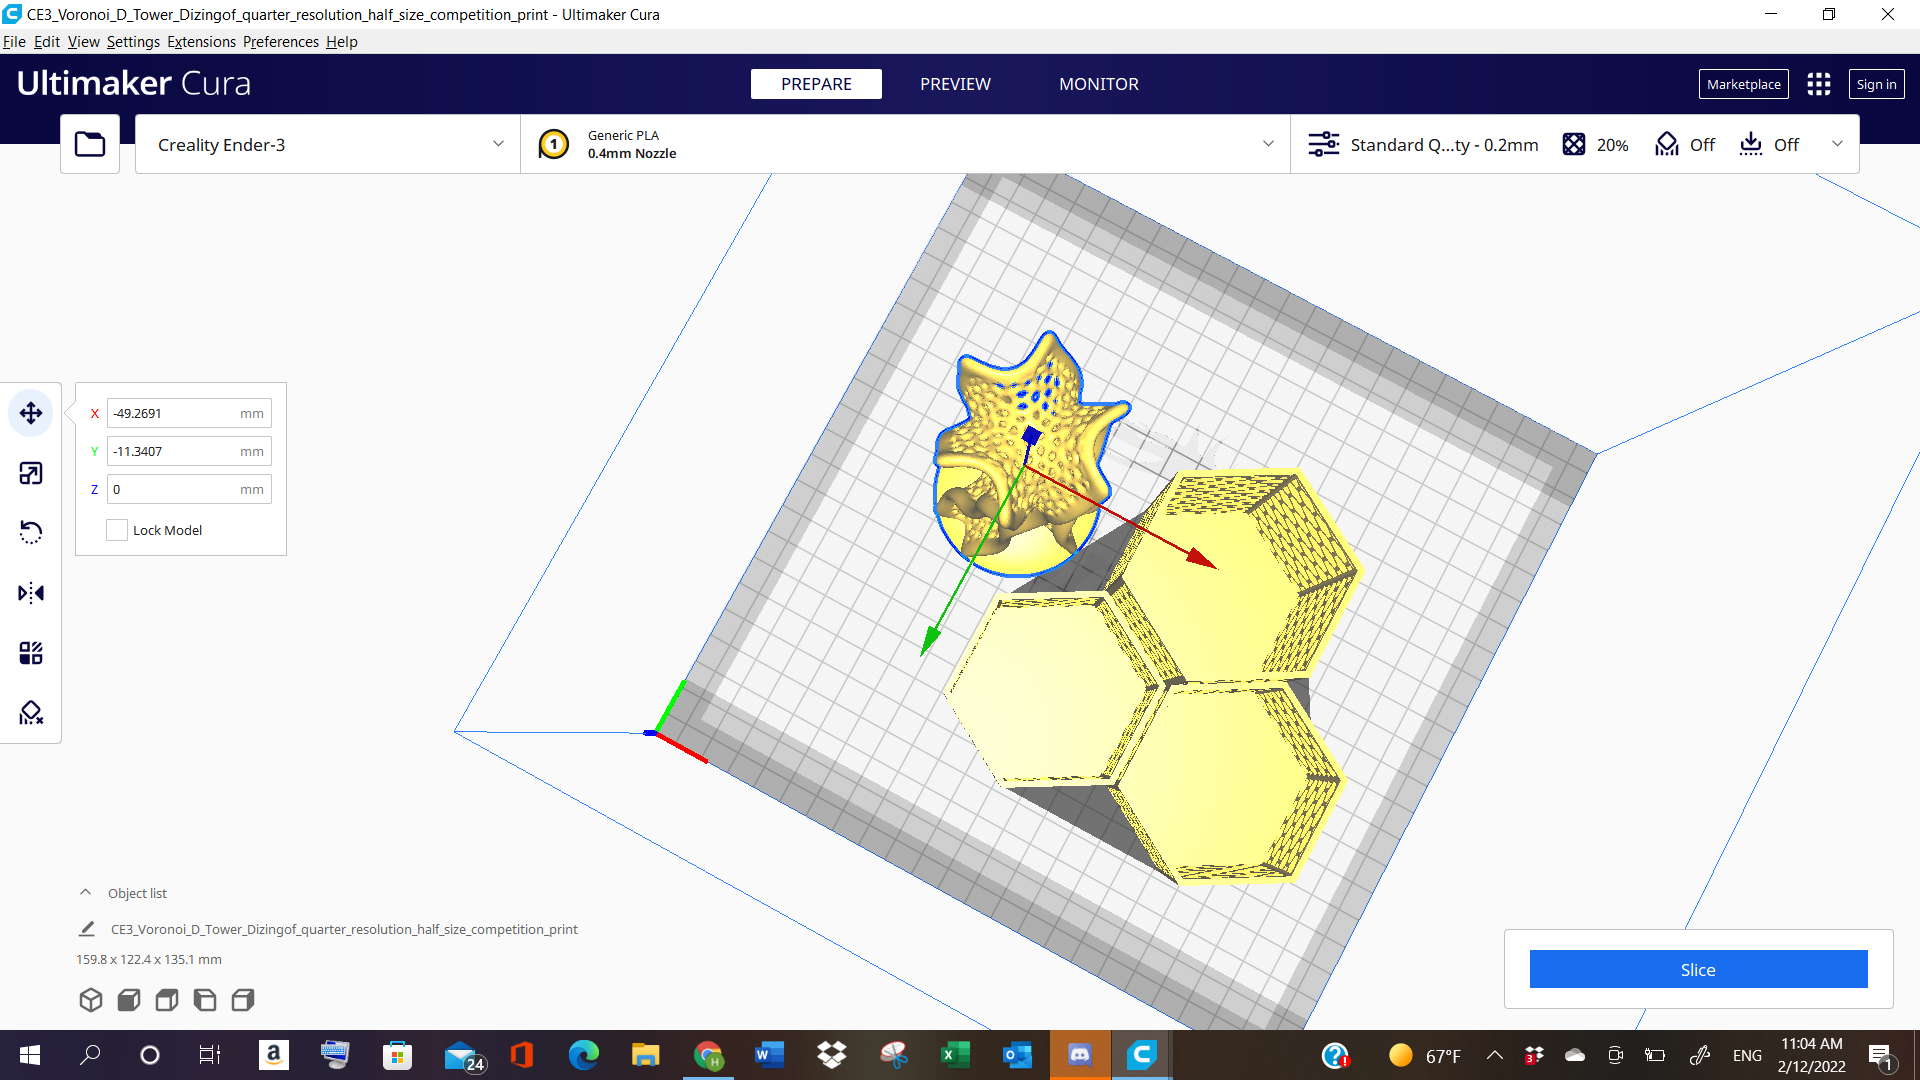
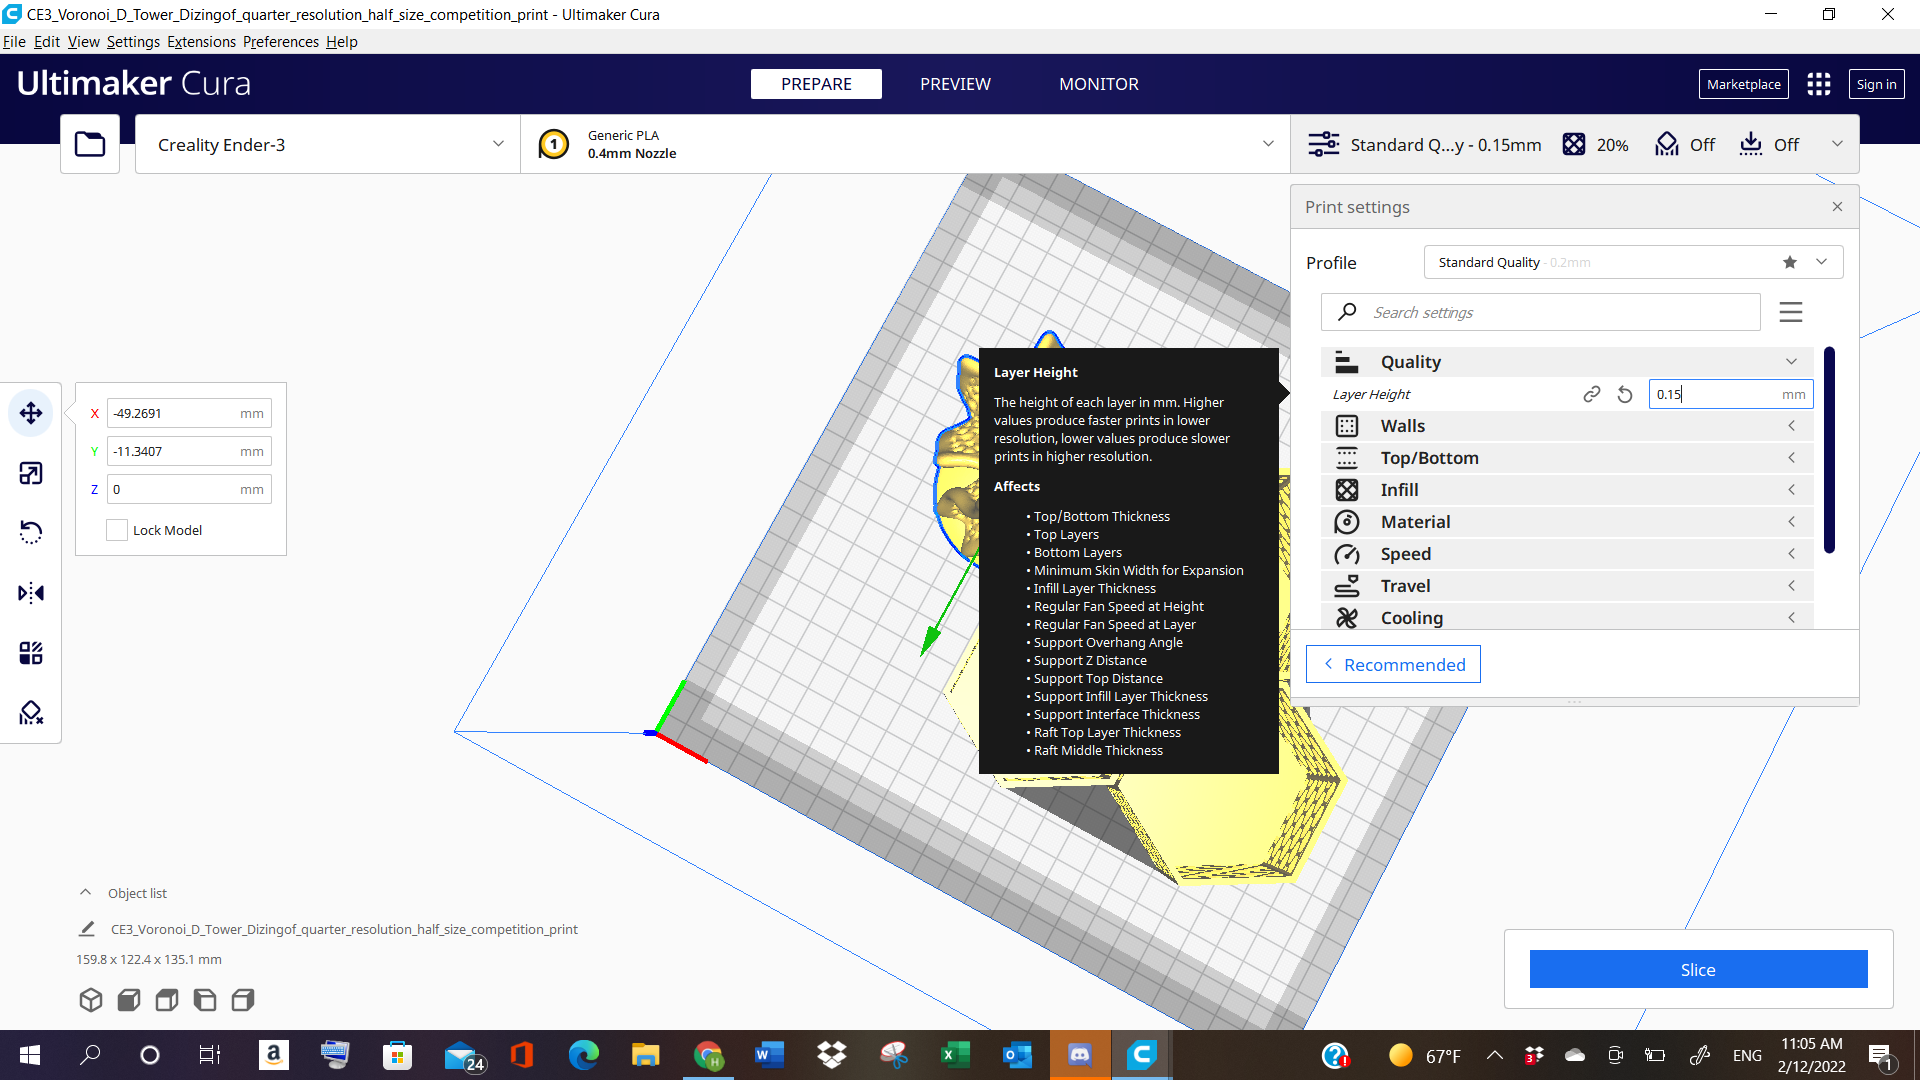
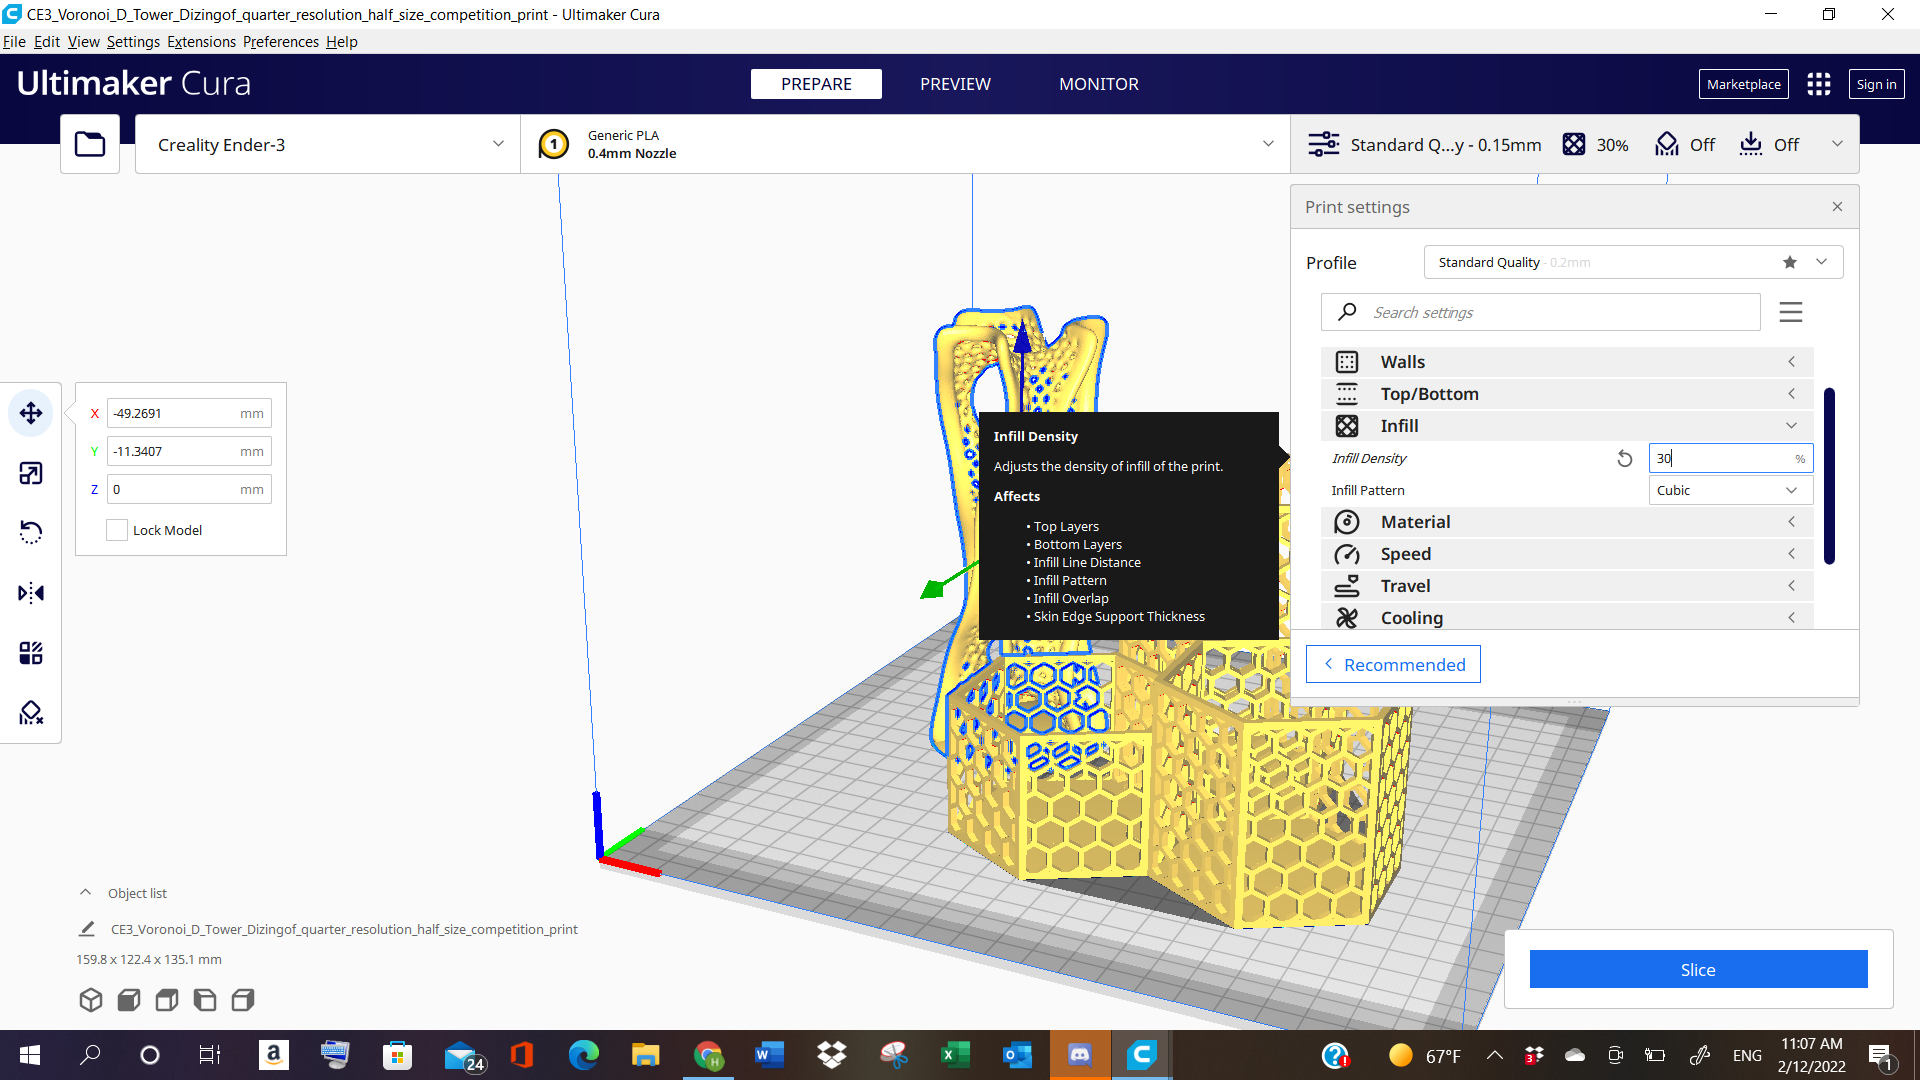
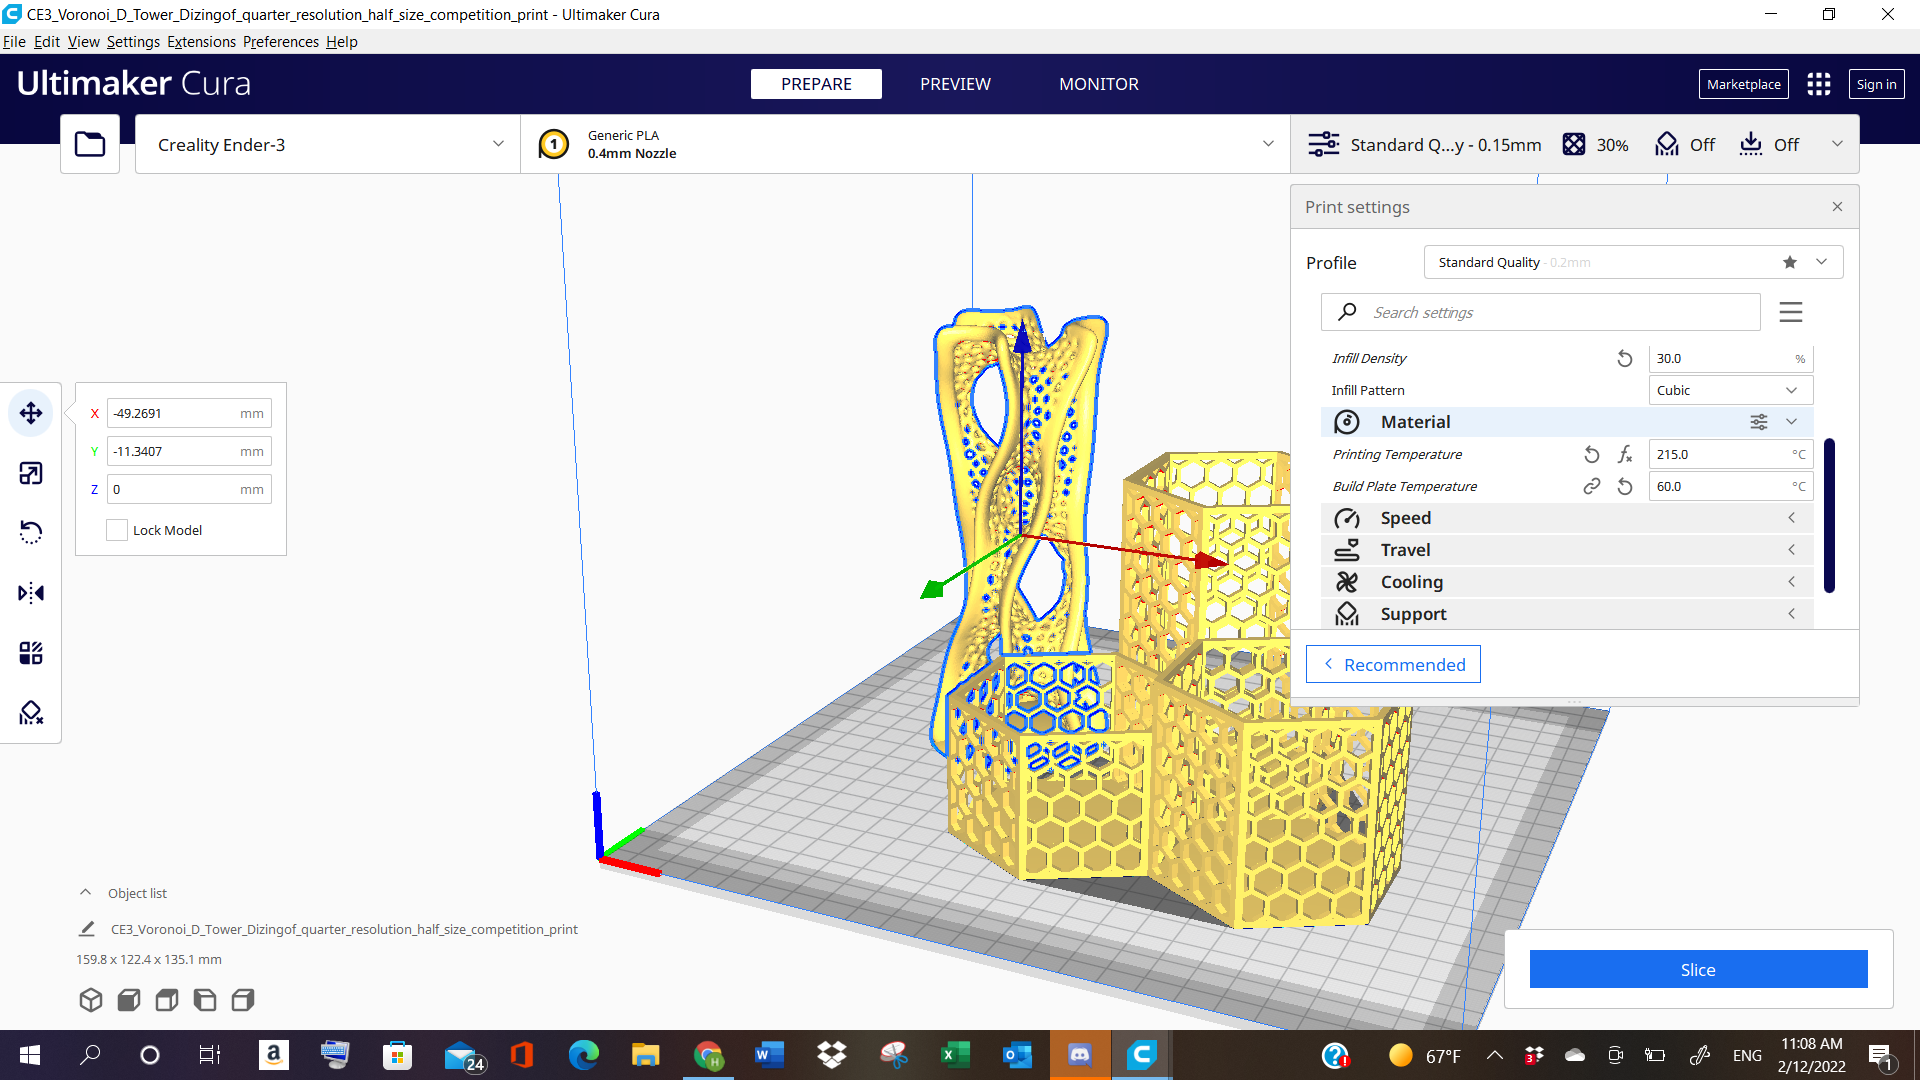
Slicing Process
The following shows the slicing preparations for the 2 objects we had selected.
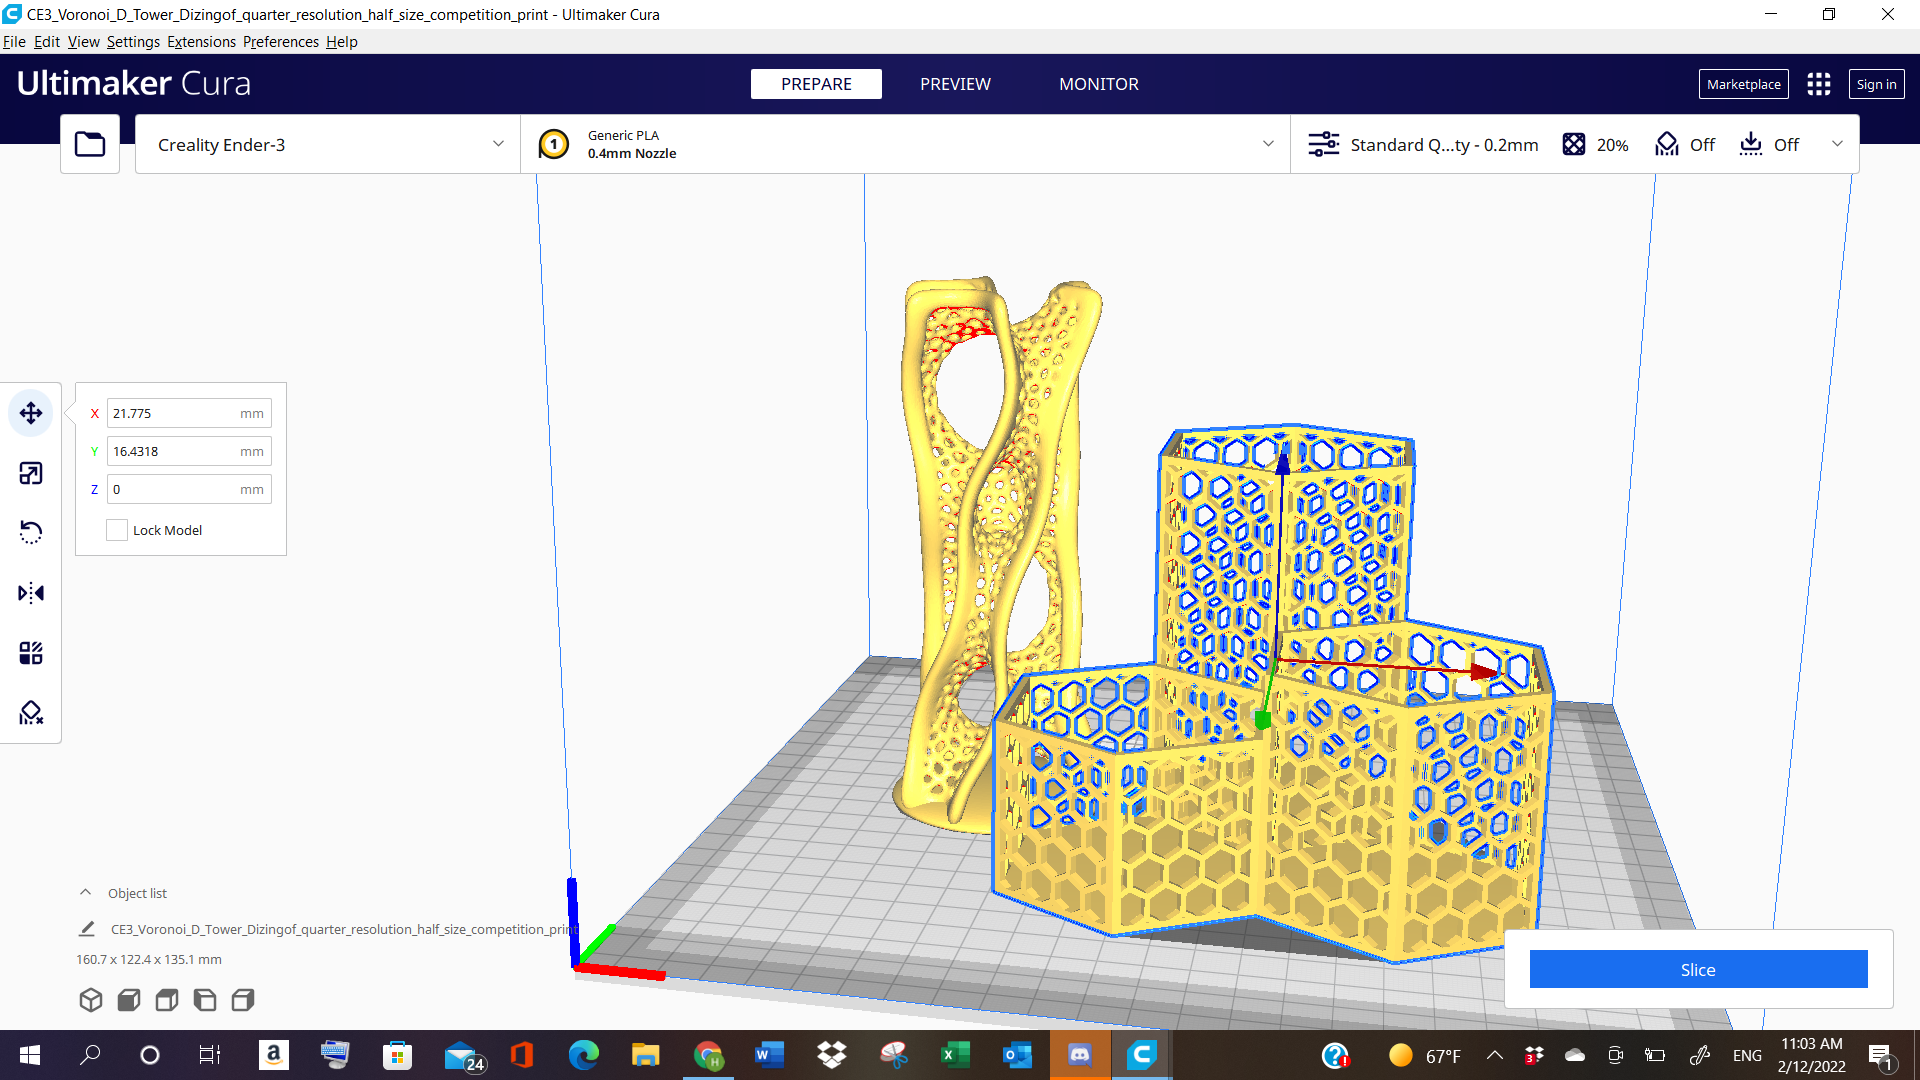
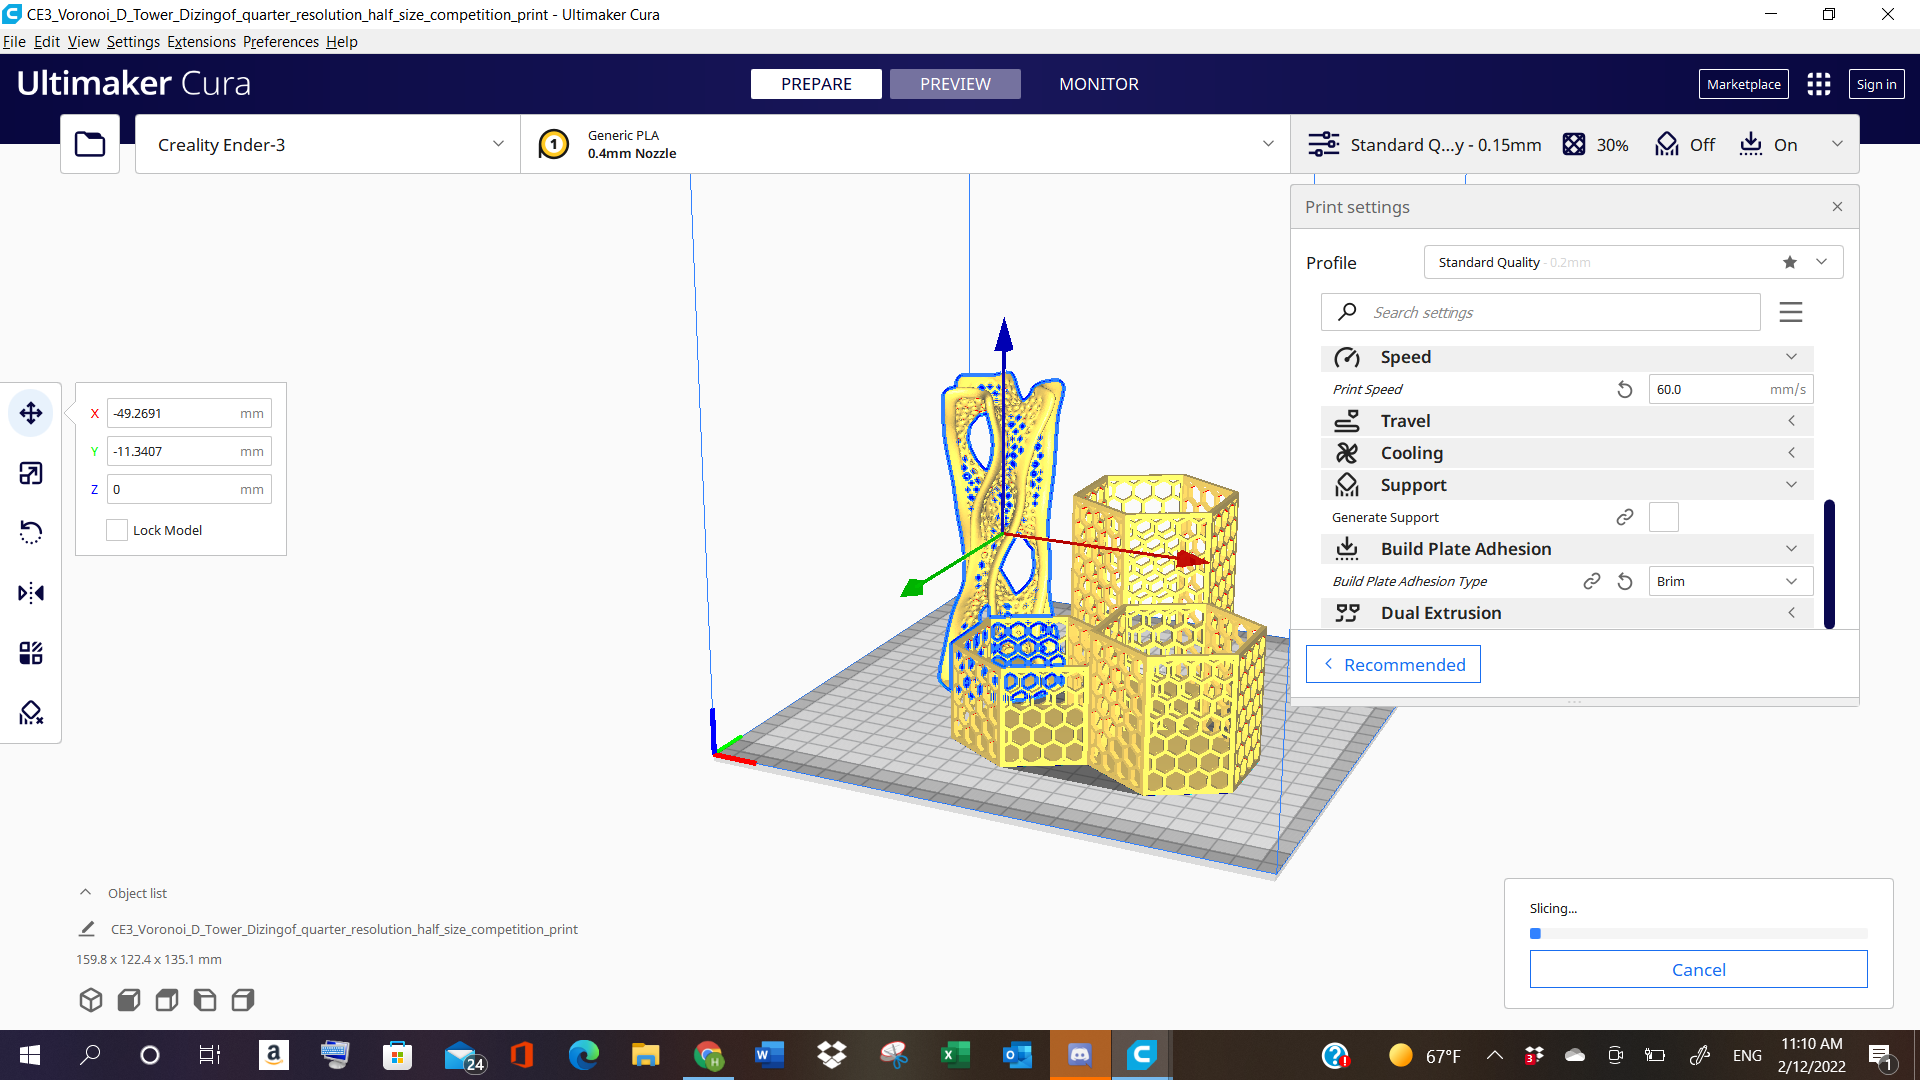
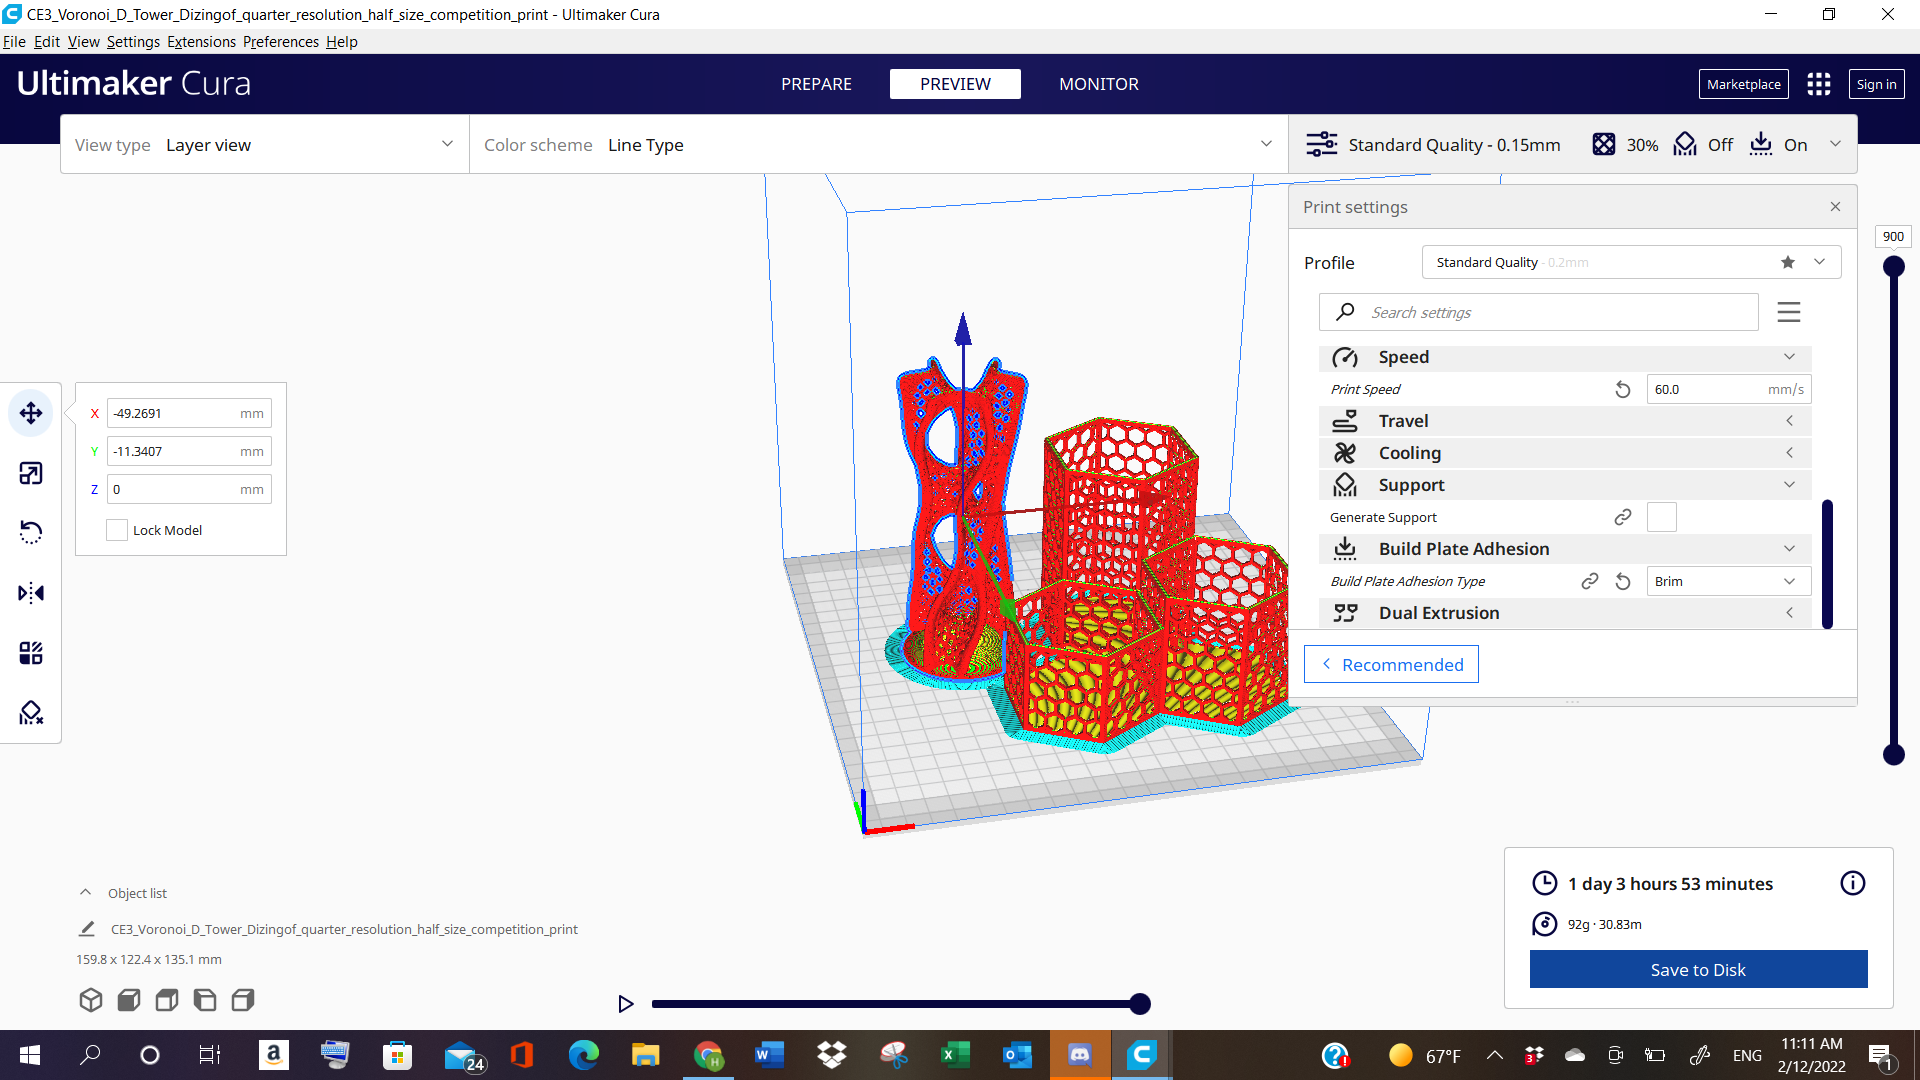
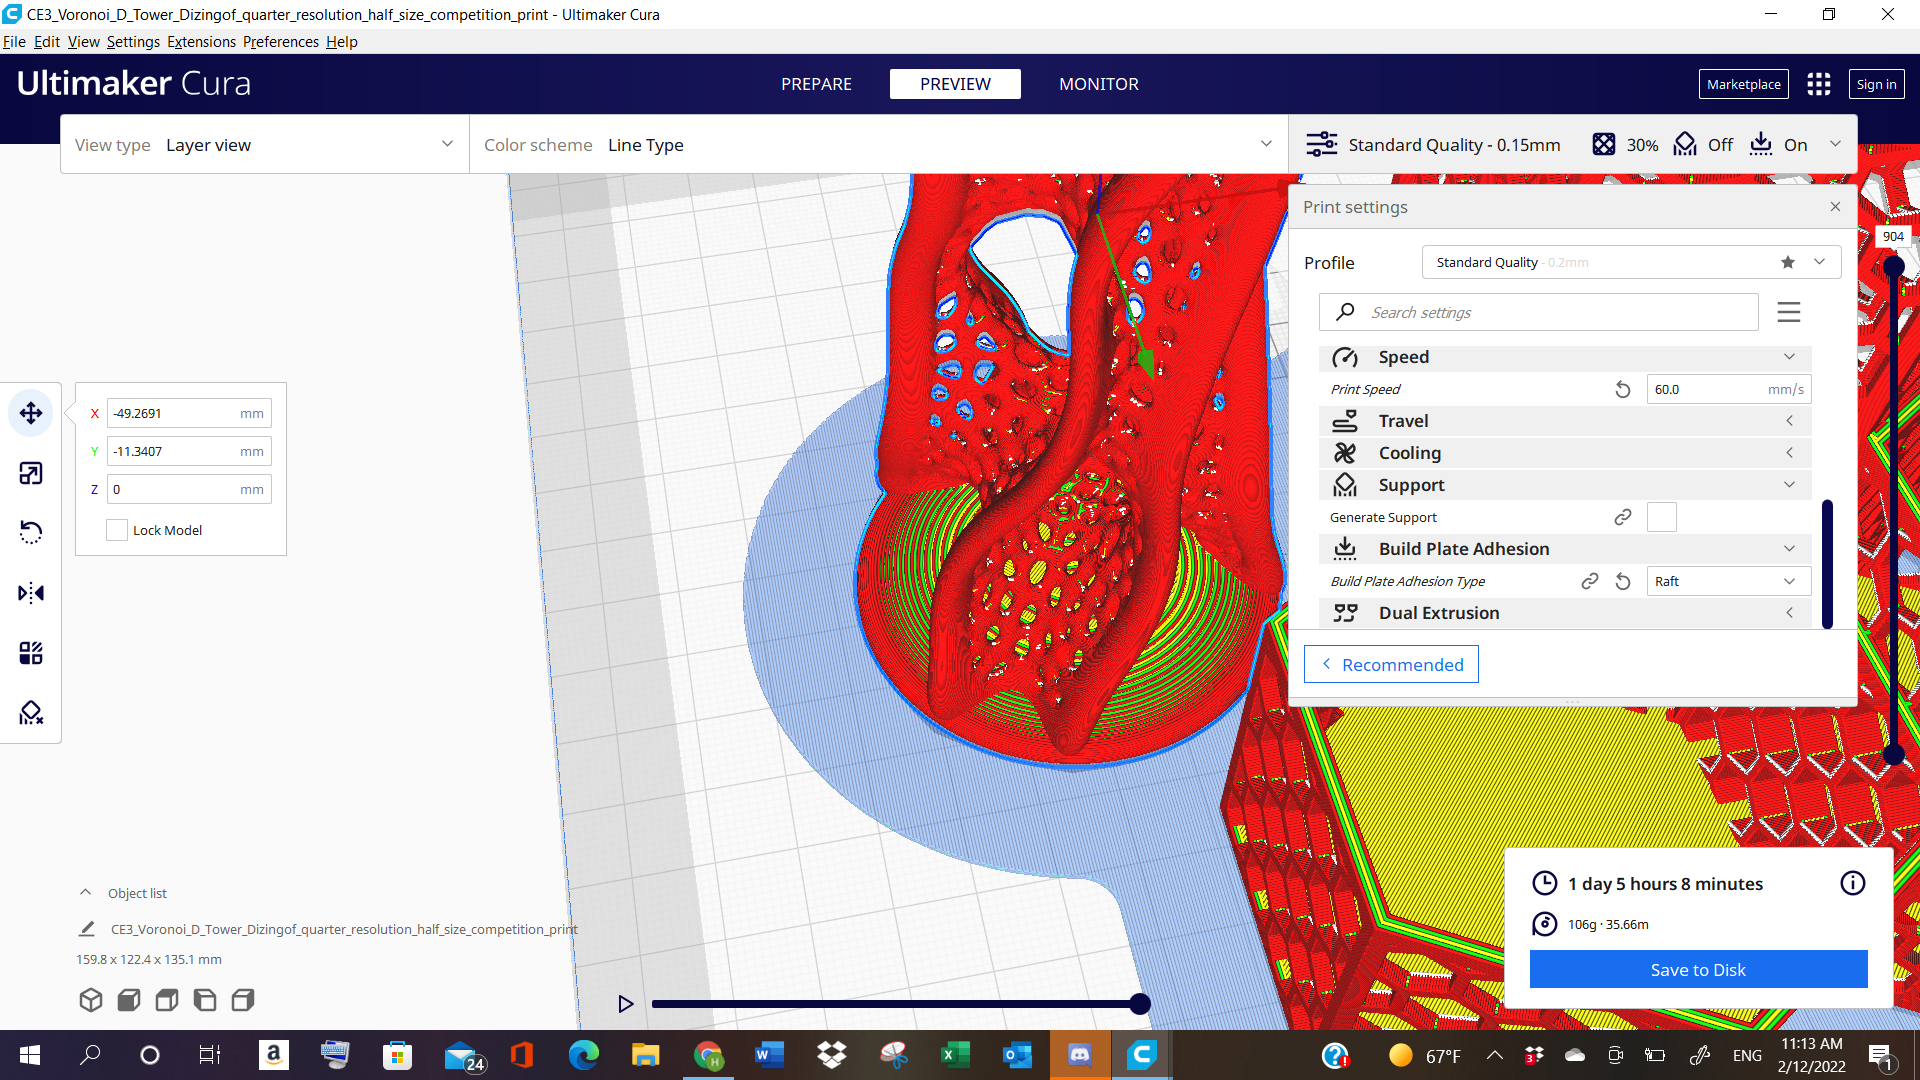
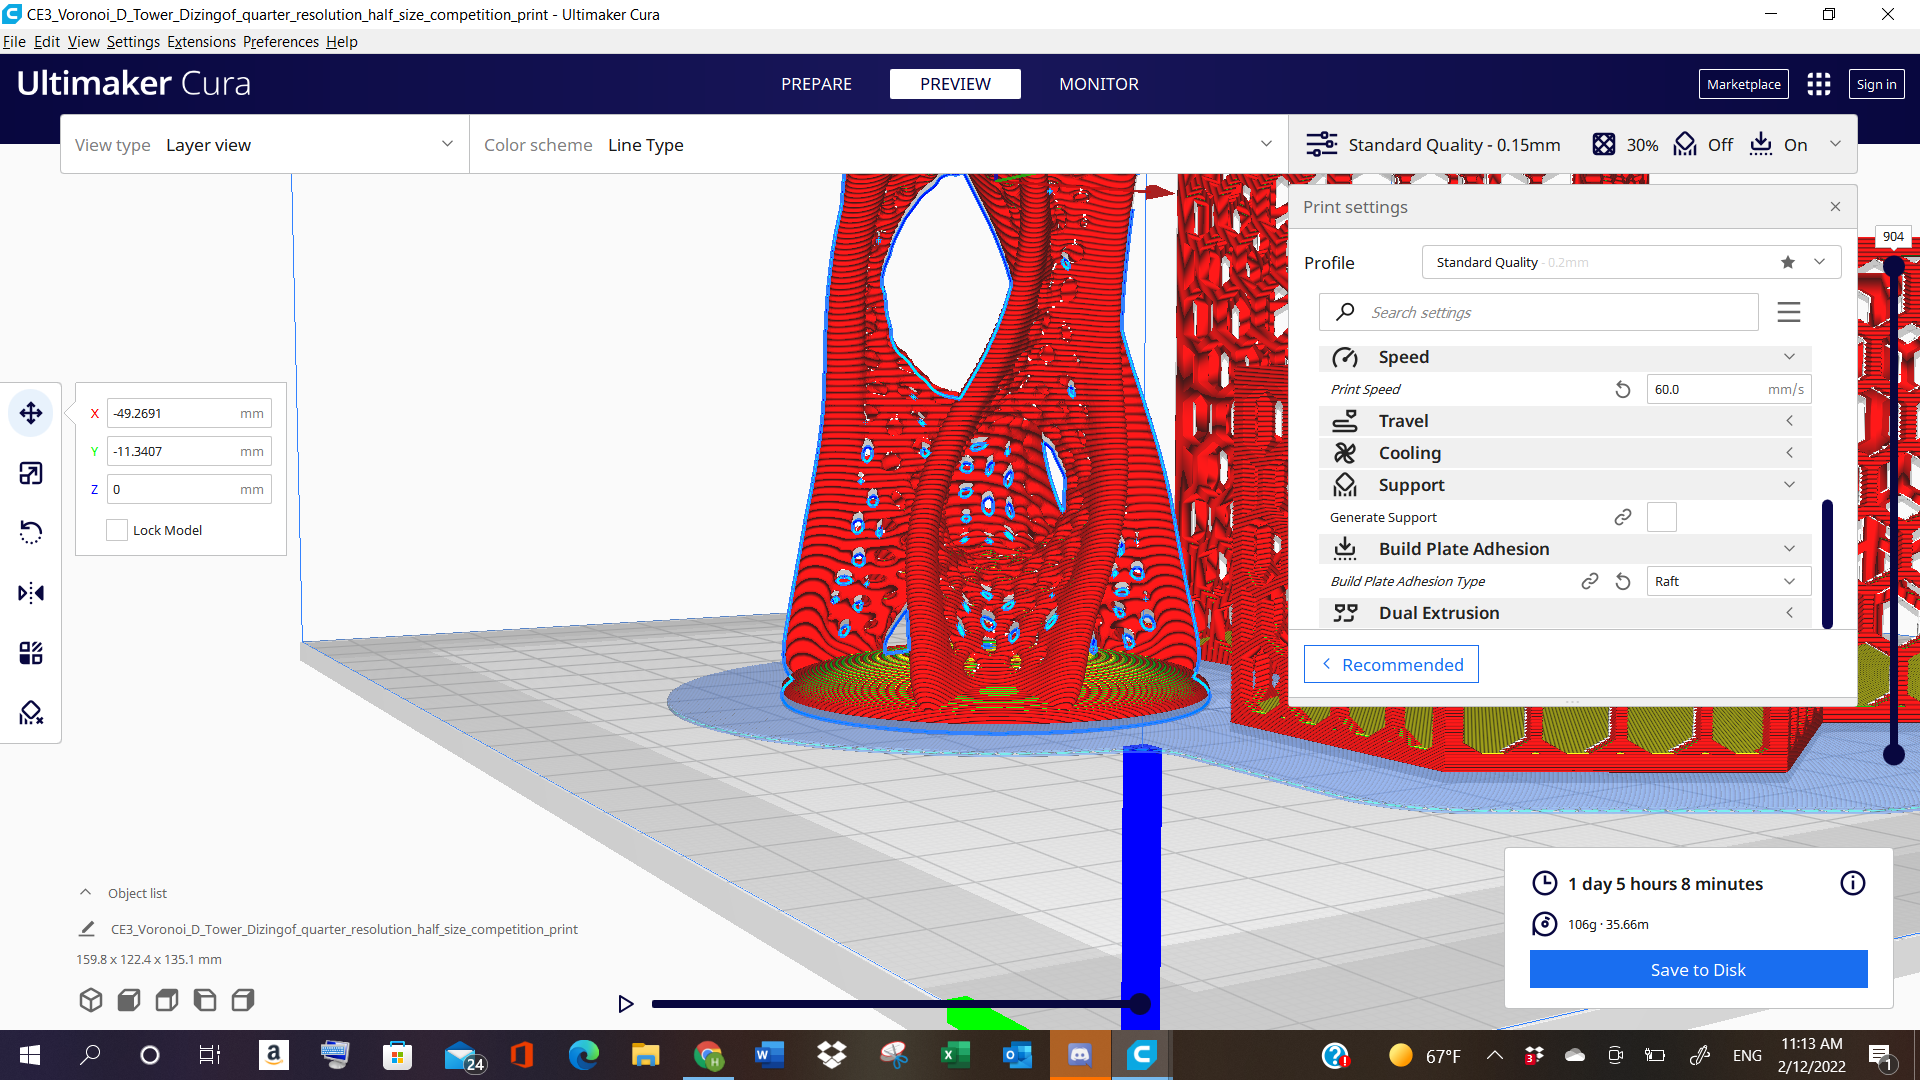
Finally, the file is saved as g-code file and saved to the Memory card.
The final result showed errors in the vertical tower object, whereas the the enclosed vase came out fine.
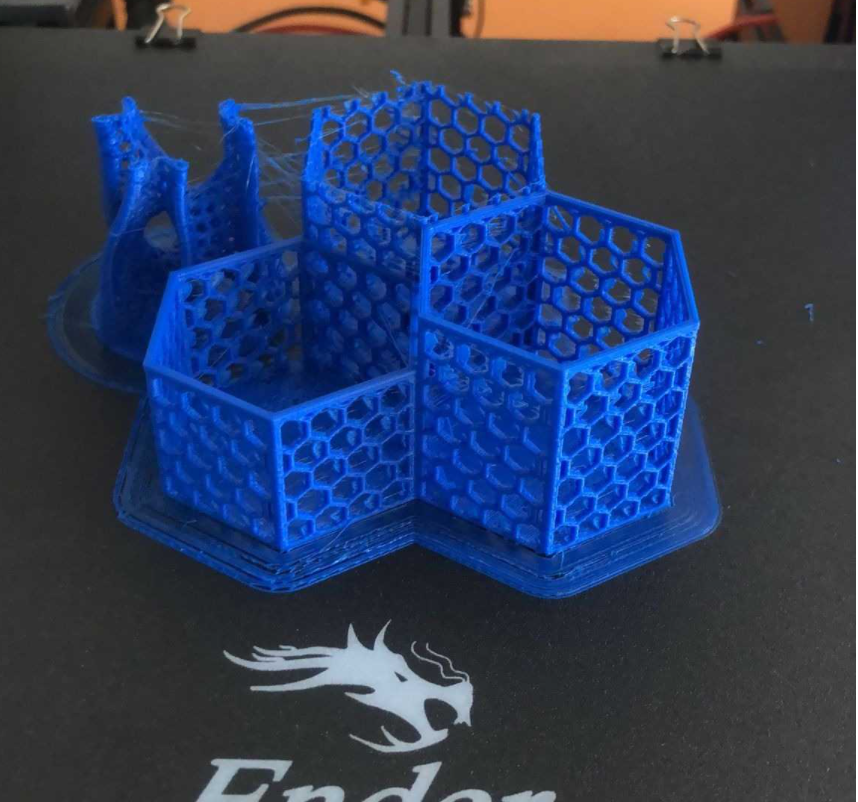
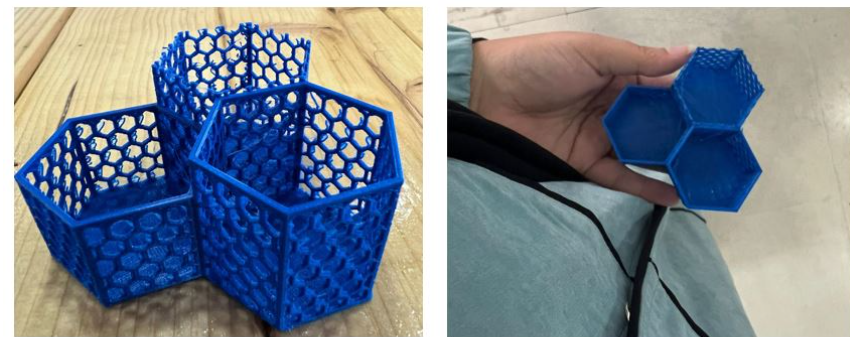
It is reduced in size, as compared to the original measurements, hence the reason why the objects look like they are cut in half.
Final 3D: Group Work
For 3D objects to be uploaded, go to the following Website: SketchFab
3D PPRINTING (Individual Work)
On the 2nd day of the lab session, We were asked to design any 3D object, that would be later on used for printing it out in 3D. So, I downloaded a software called Fusion 360.
FUSION 360
Click here to download Fusion 360
This software is very easy to use, similar to Revit (A software that I use for making 3D Models or Buildings). Upon downloading it, I started exploring different tabs and options in it, and started making my 3D object.
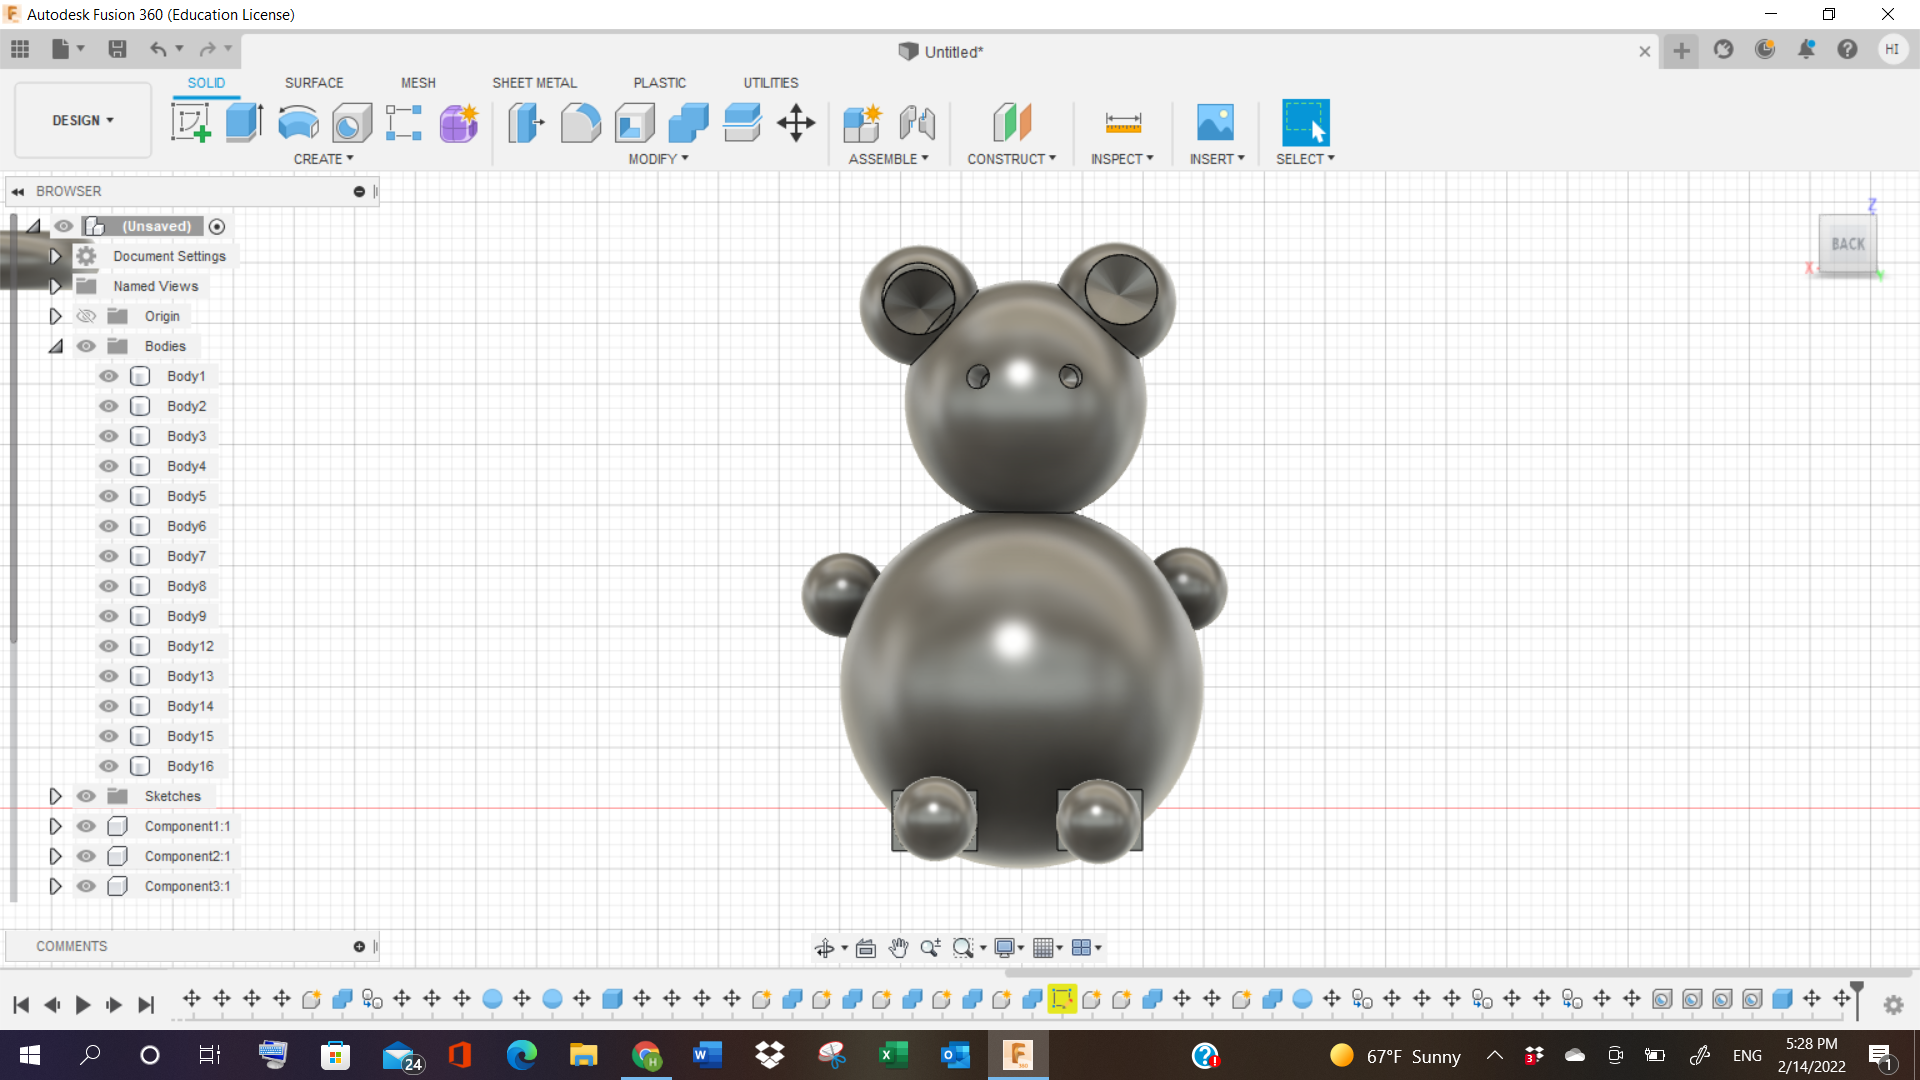
LET’S START MODELLING!!
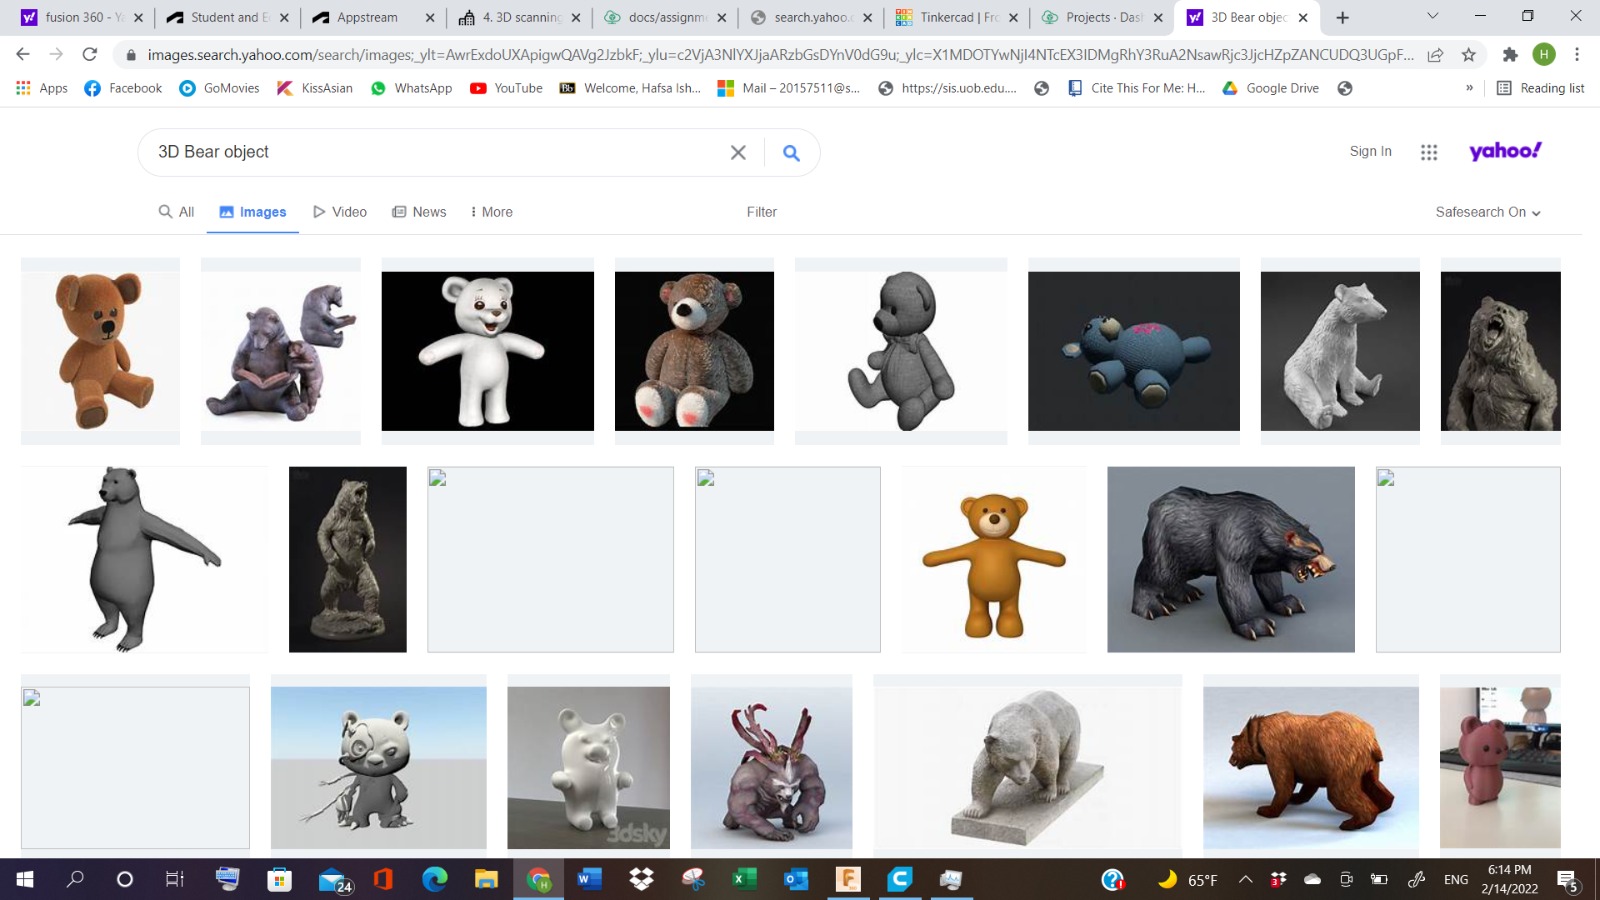
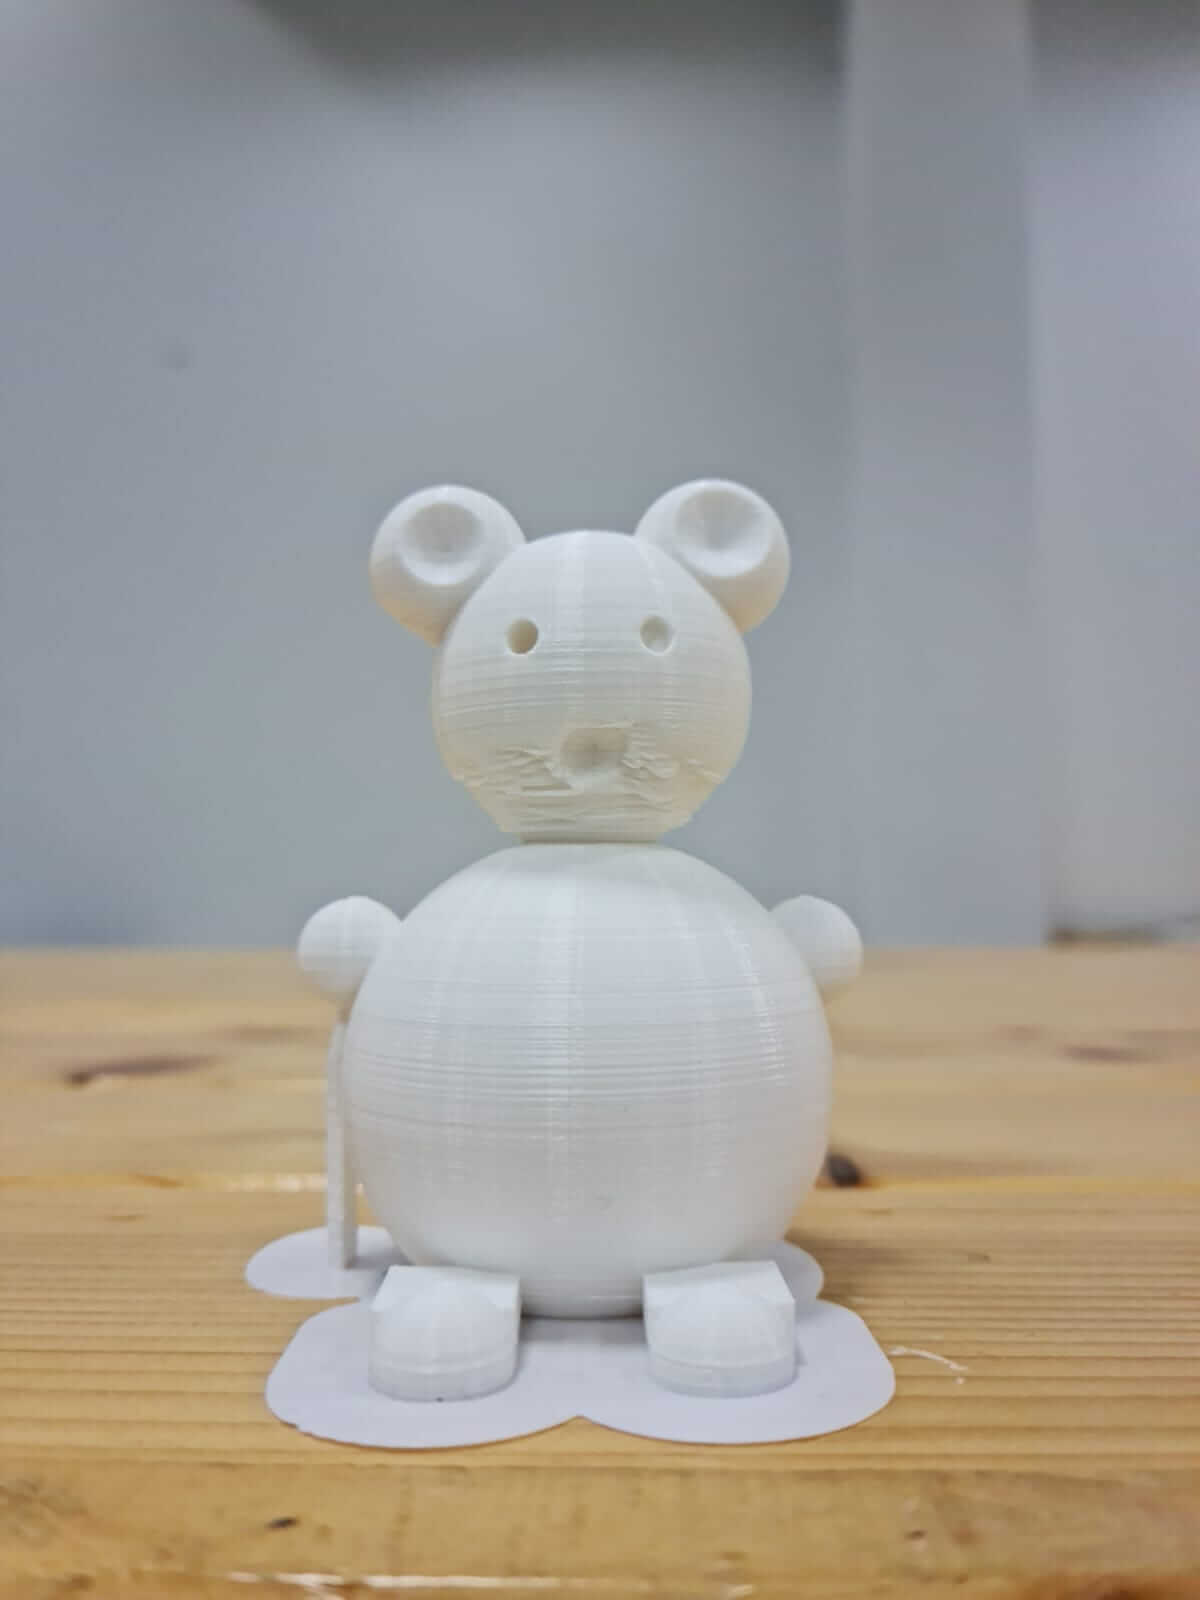
For my 3D, I opted for a Teddy Bear, because why not. It’s chubby and cute. Also, because it has many rounded spheres, which urged me to work on it, so I could see the limitations or the performance of the 3D printer, in terms of objects having holes, or round corners or edges to them. So, I searched for the bear’s reference in the Google, and started making it in the software.
I started making Spheres in the software, that would represent the teddy bear’s head and ears, with a little halo on top.
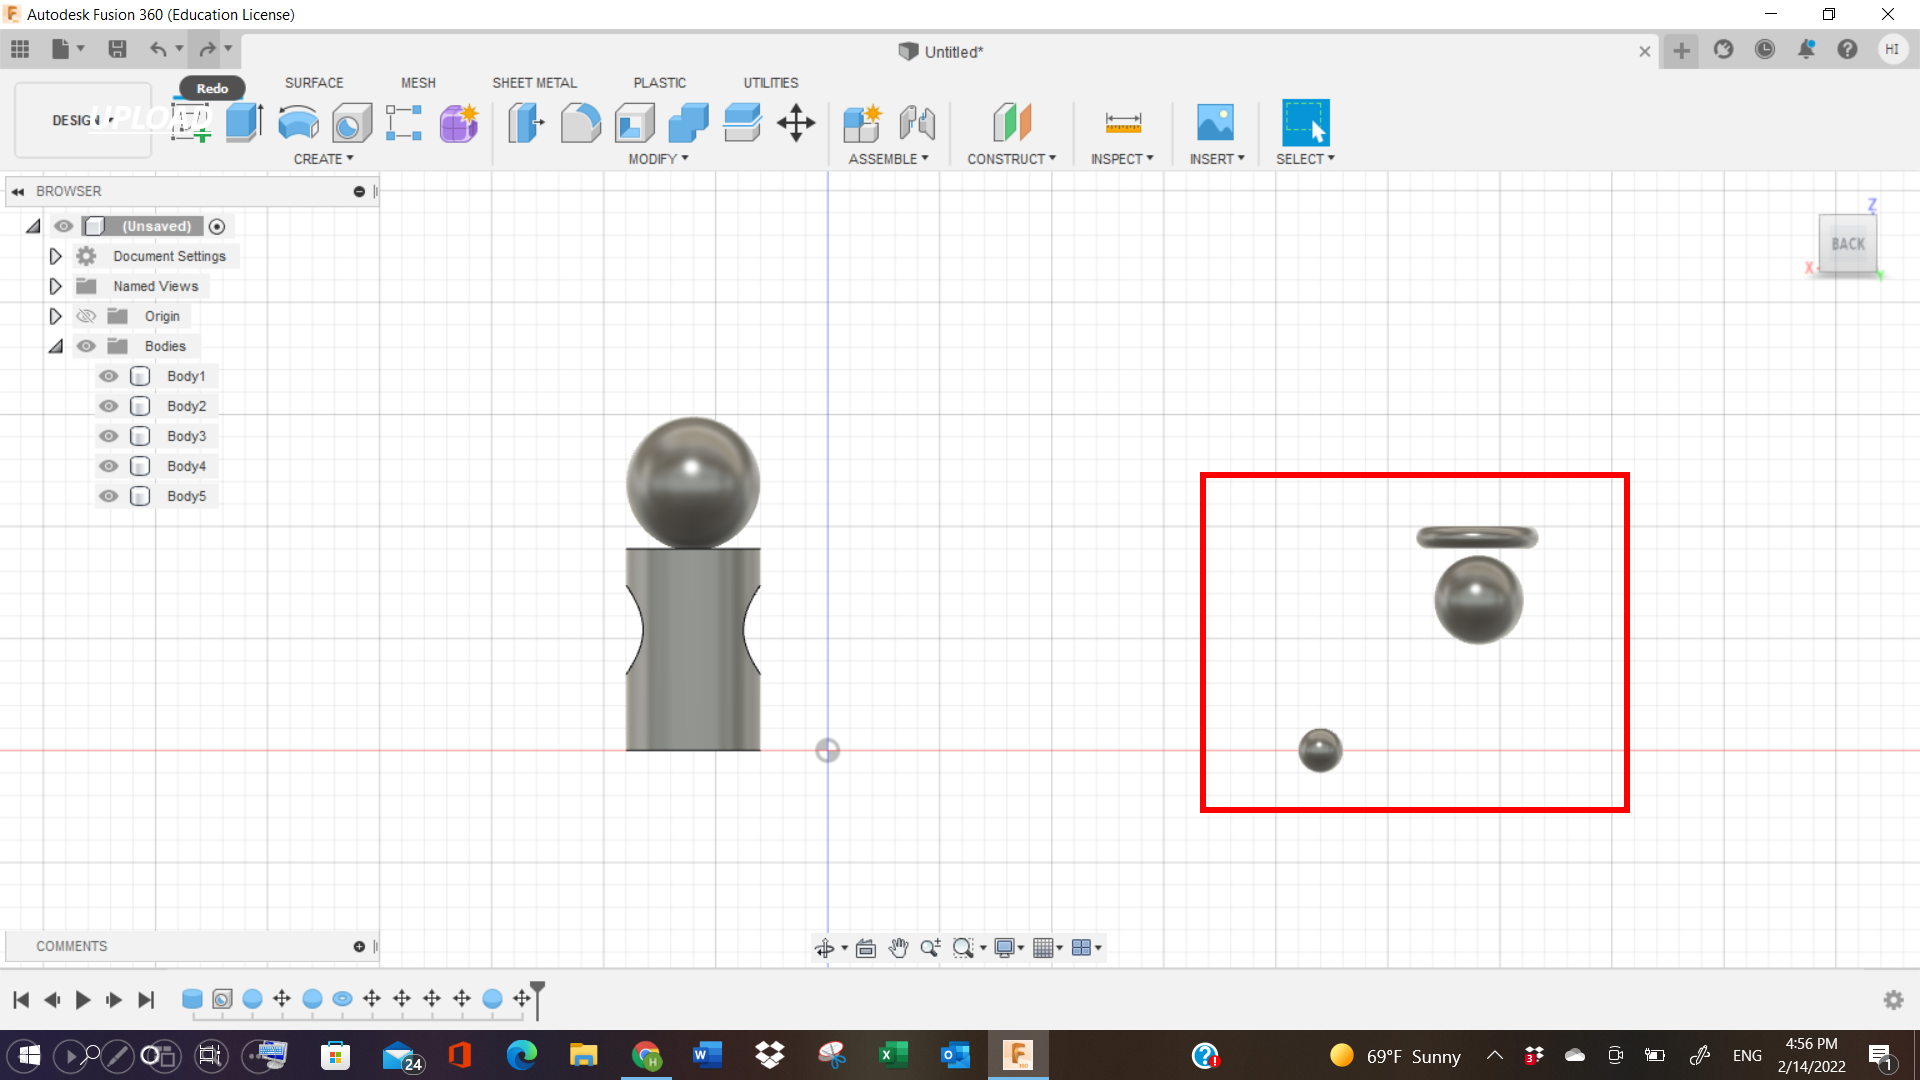
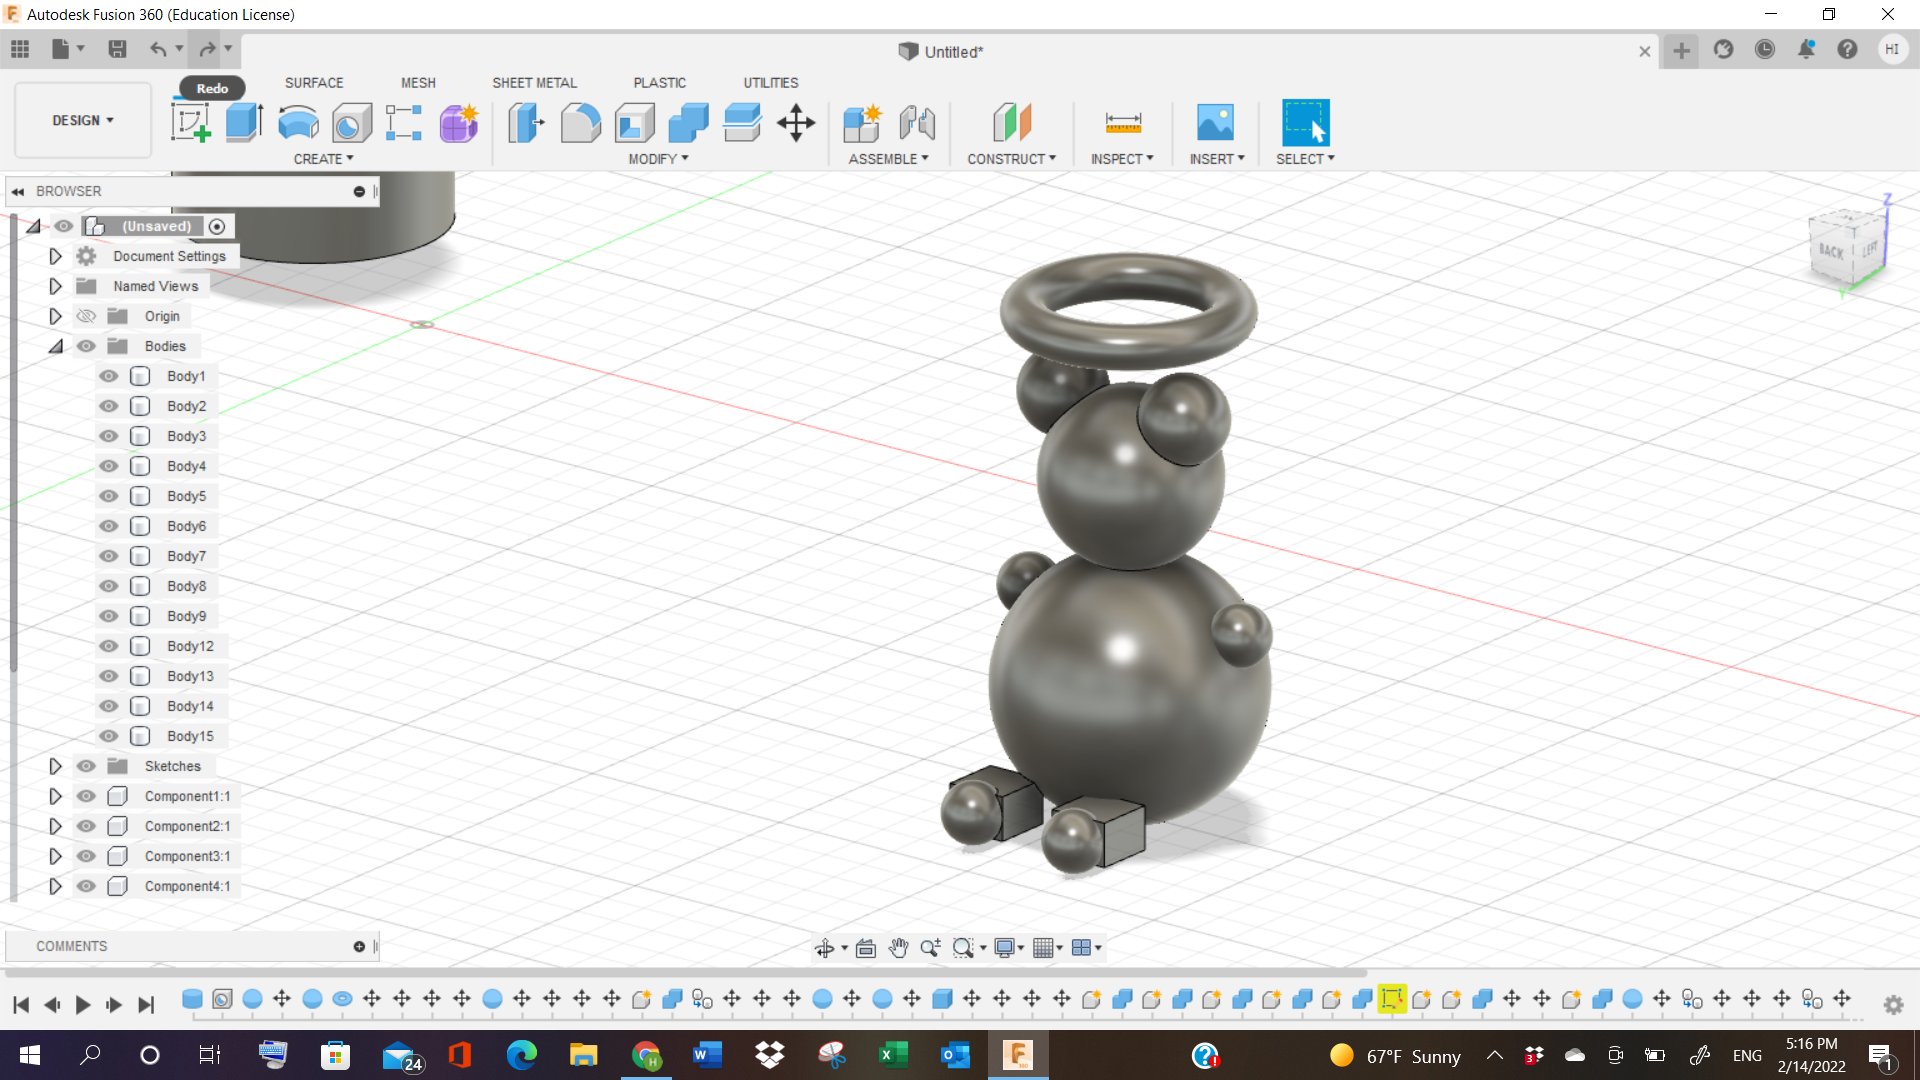
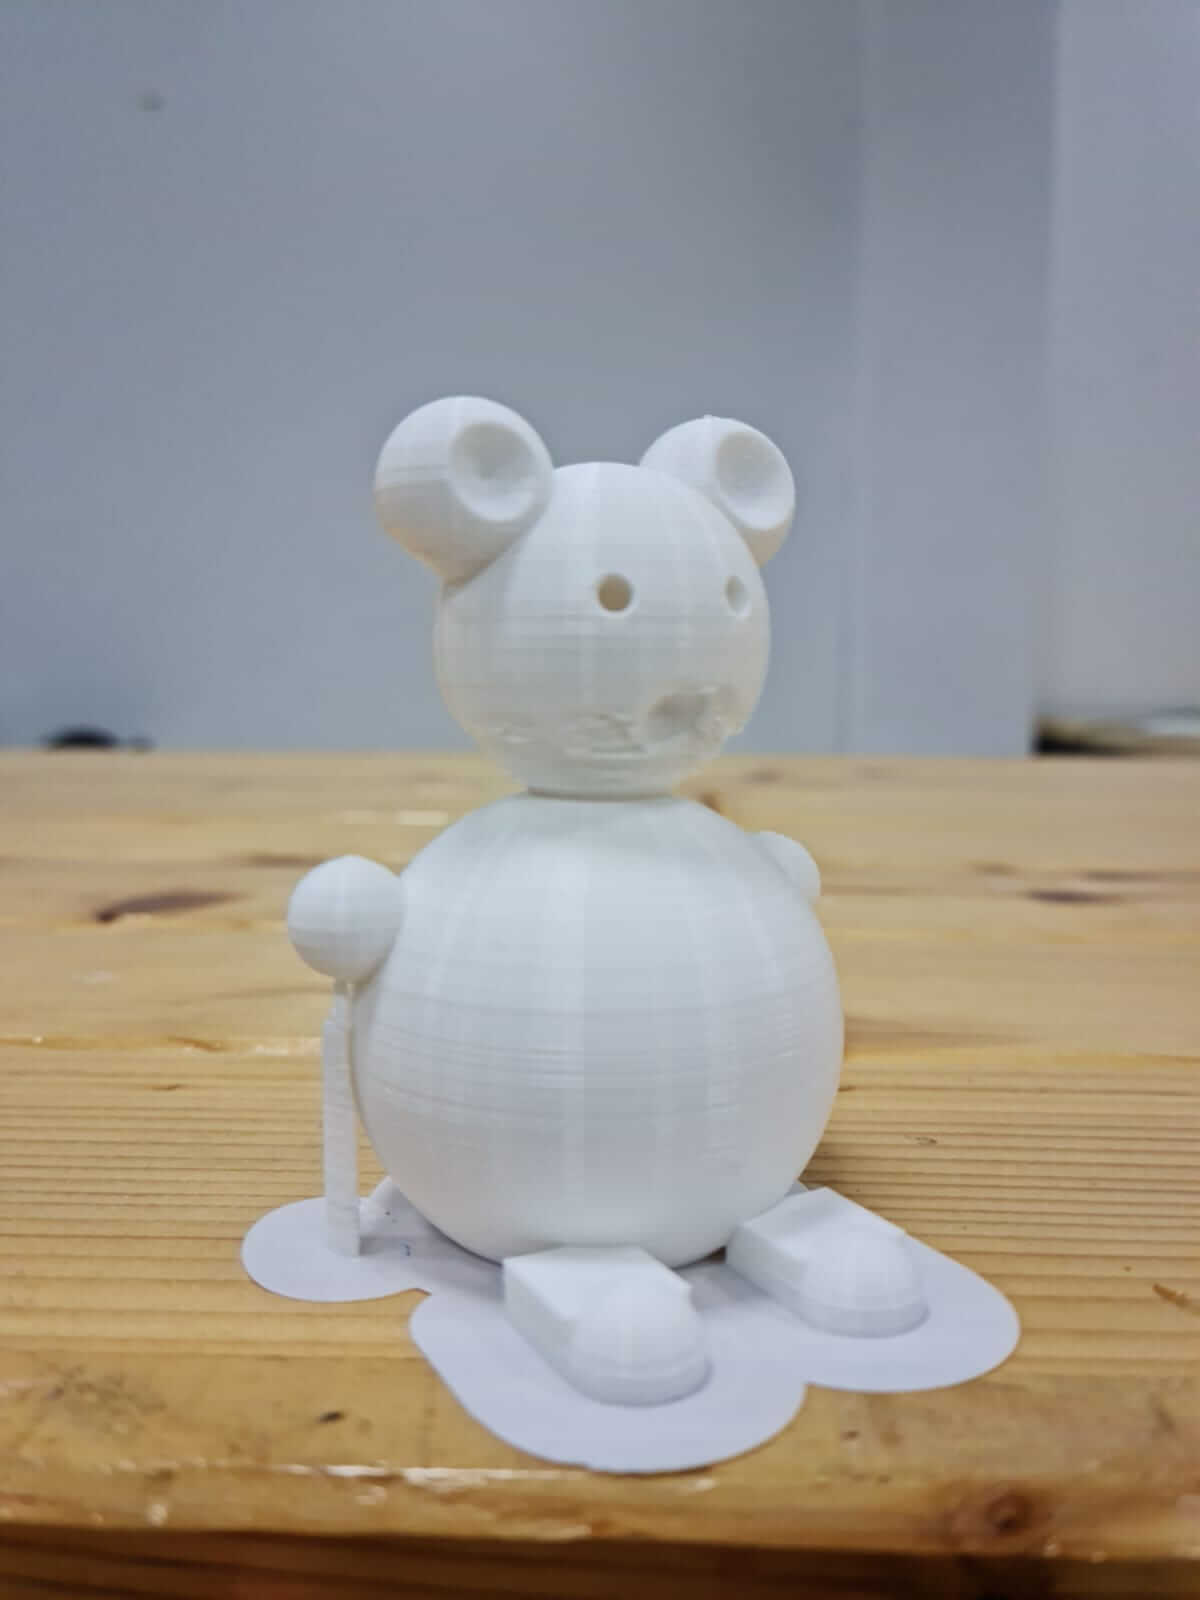
Then I copied the ear on the left side, and attached it to the right as well. Furthermore, I attached the main body of the bear, and combined them all together.
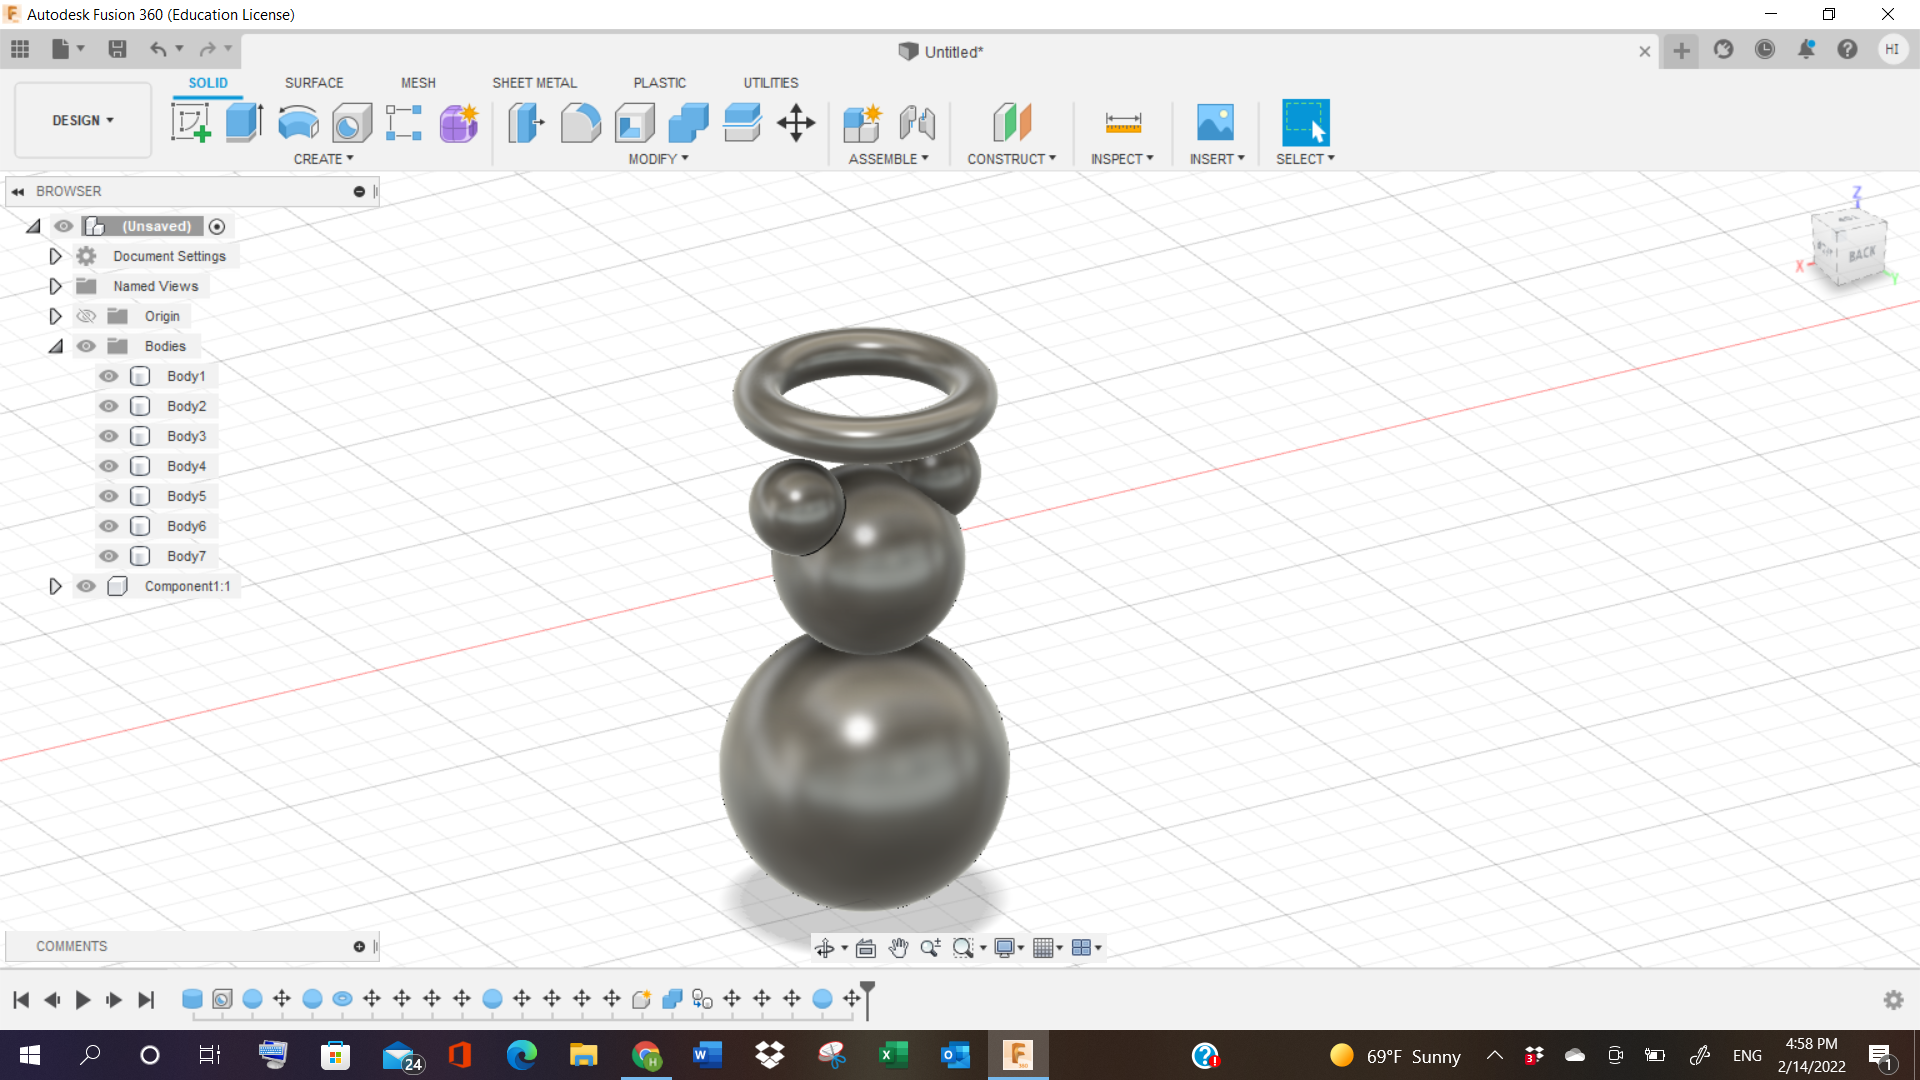
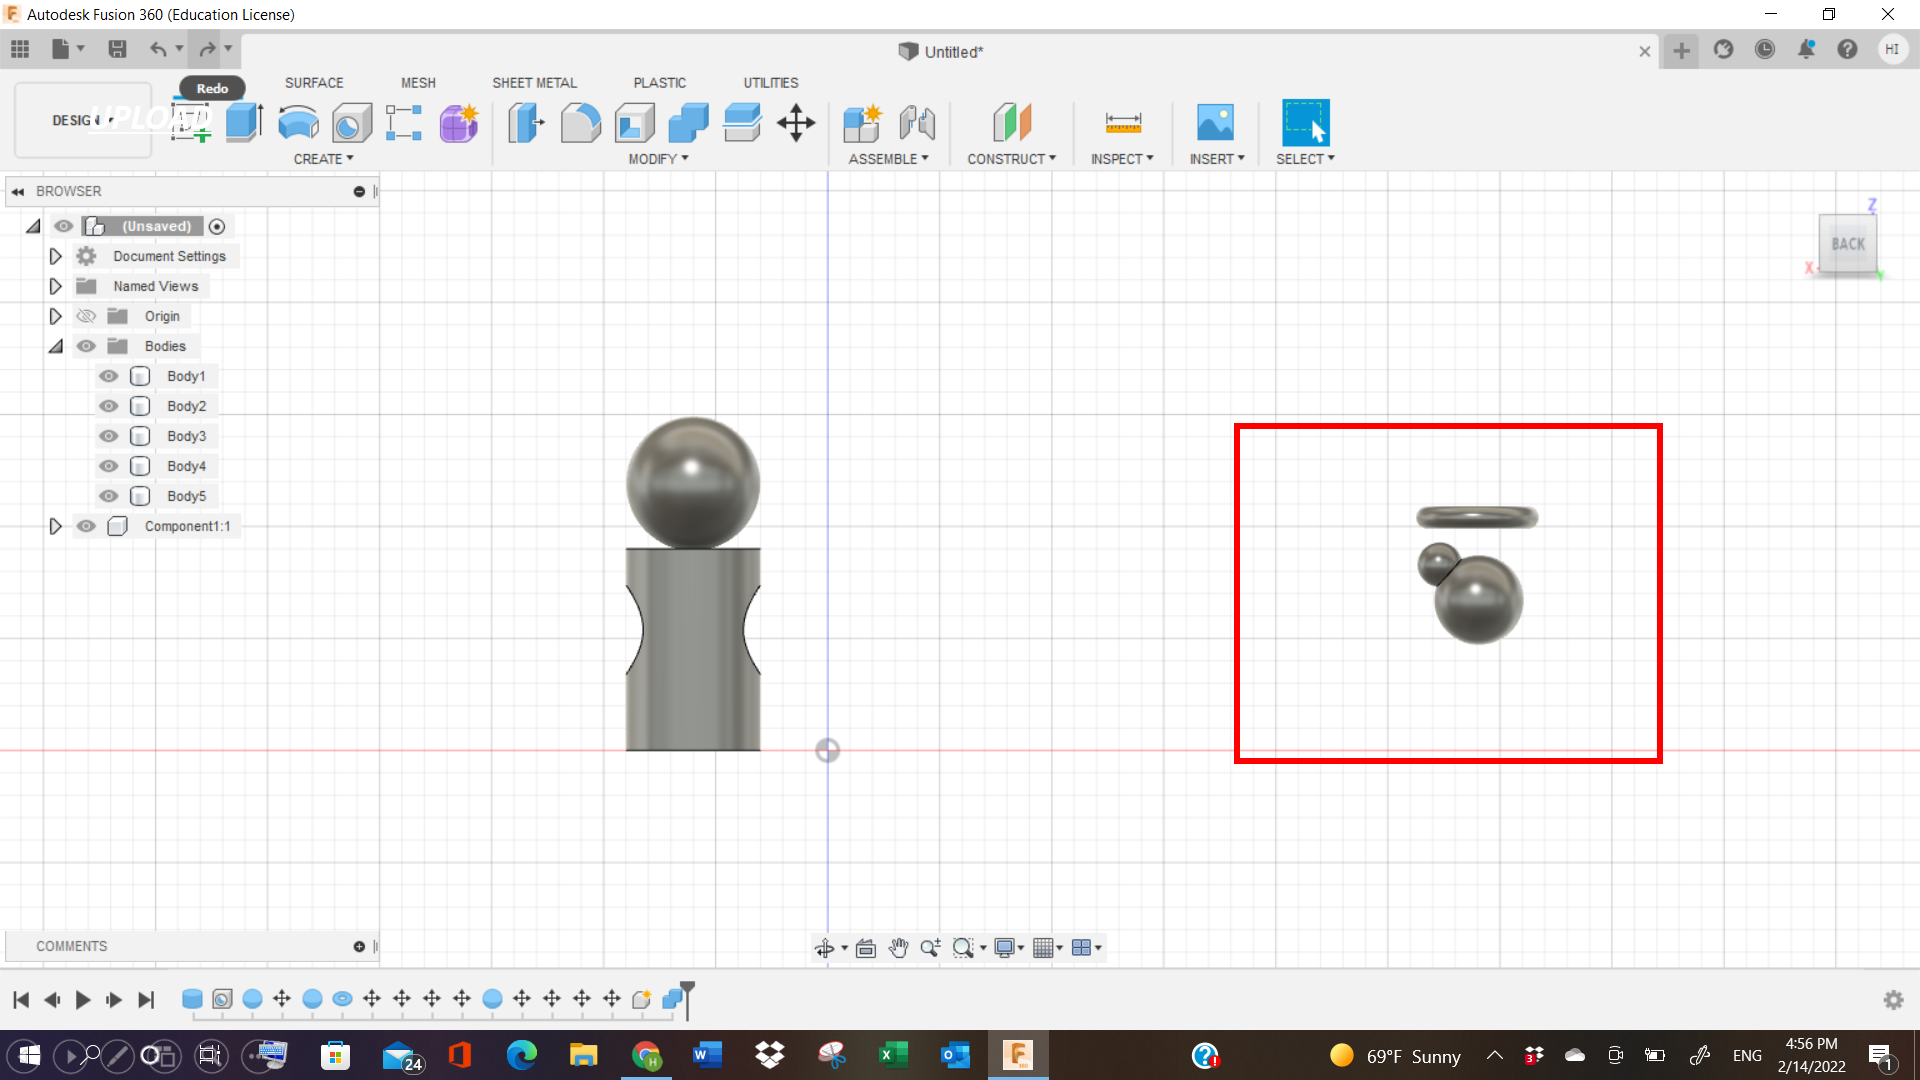
Here, I started adding small little spheres to represent the feet of the bear, in an abstract way. Because I’m new to this software, so I’m still learning. Later, I copied the feet, and pasted on the right part, so as to represent the full bear here.
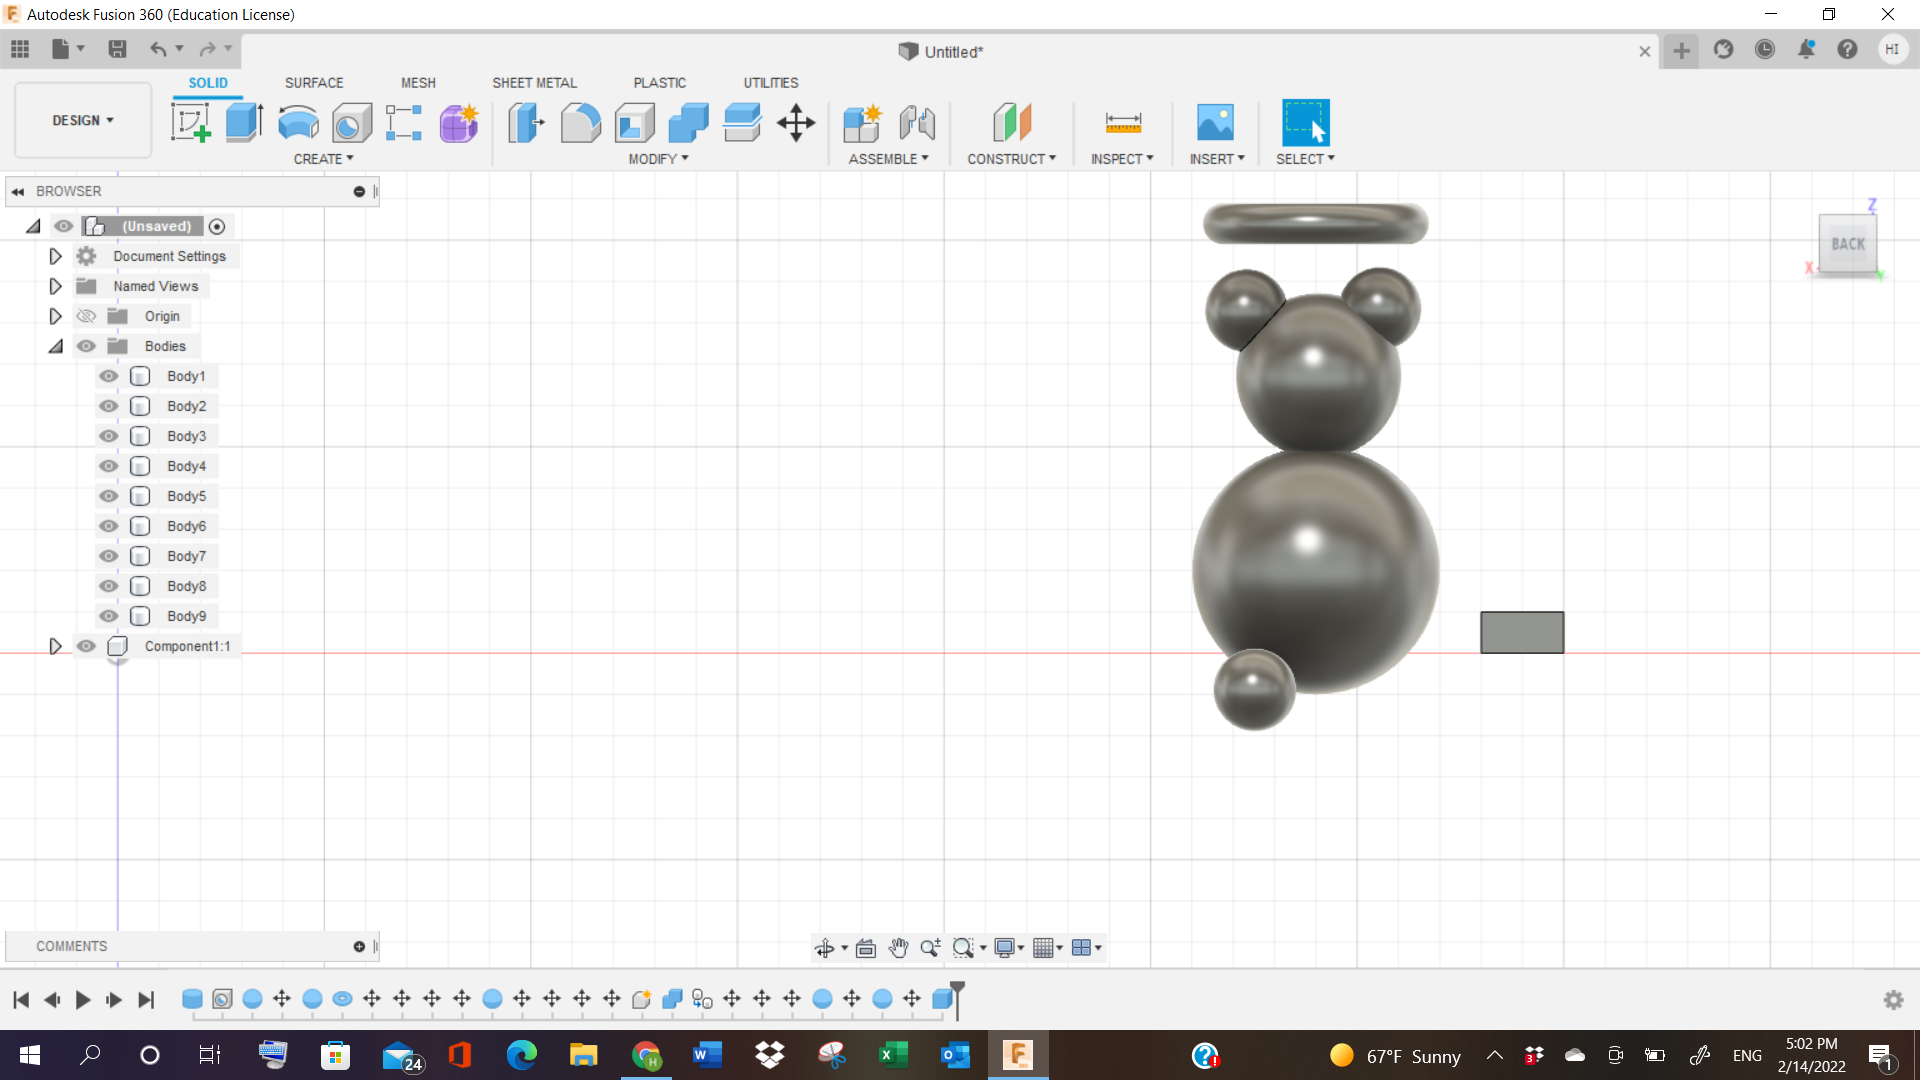
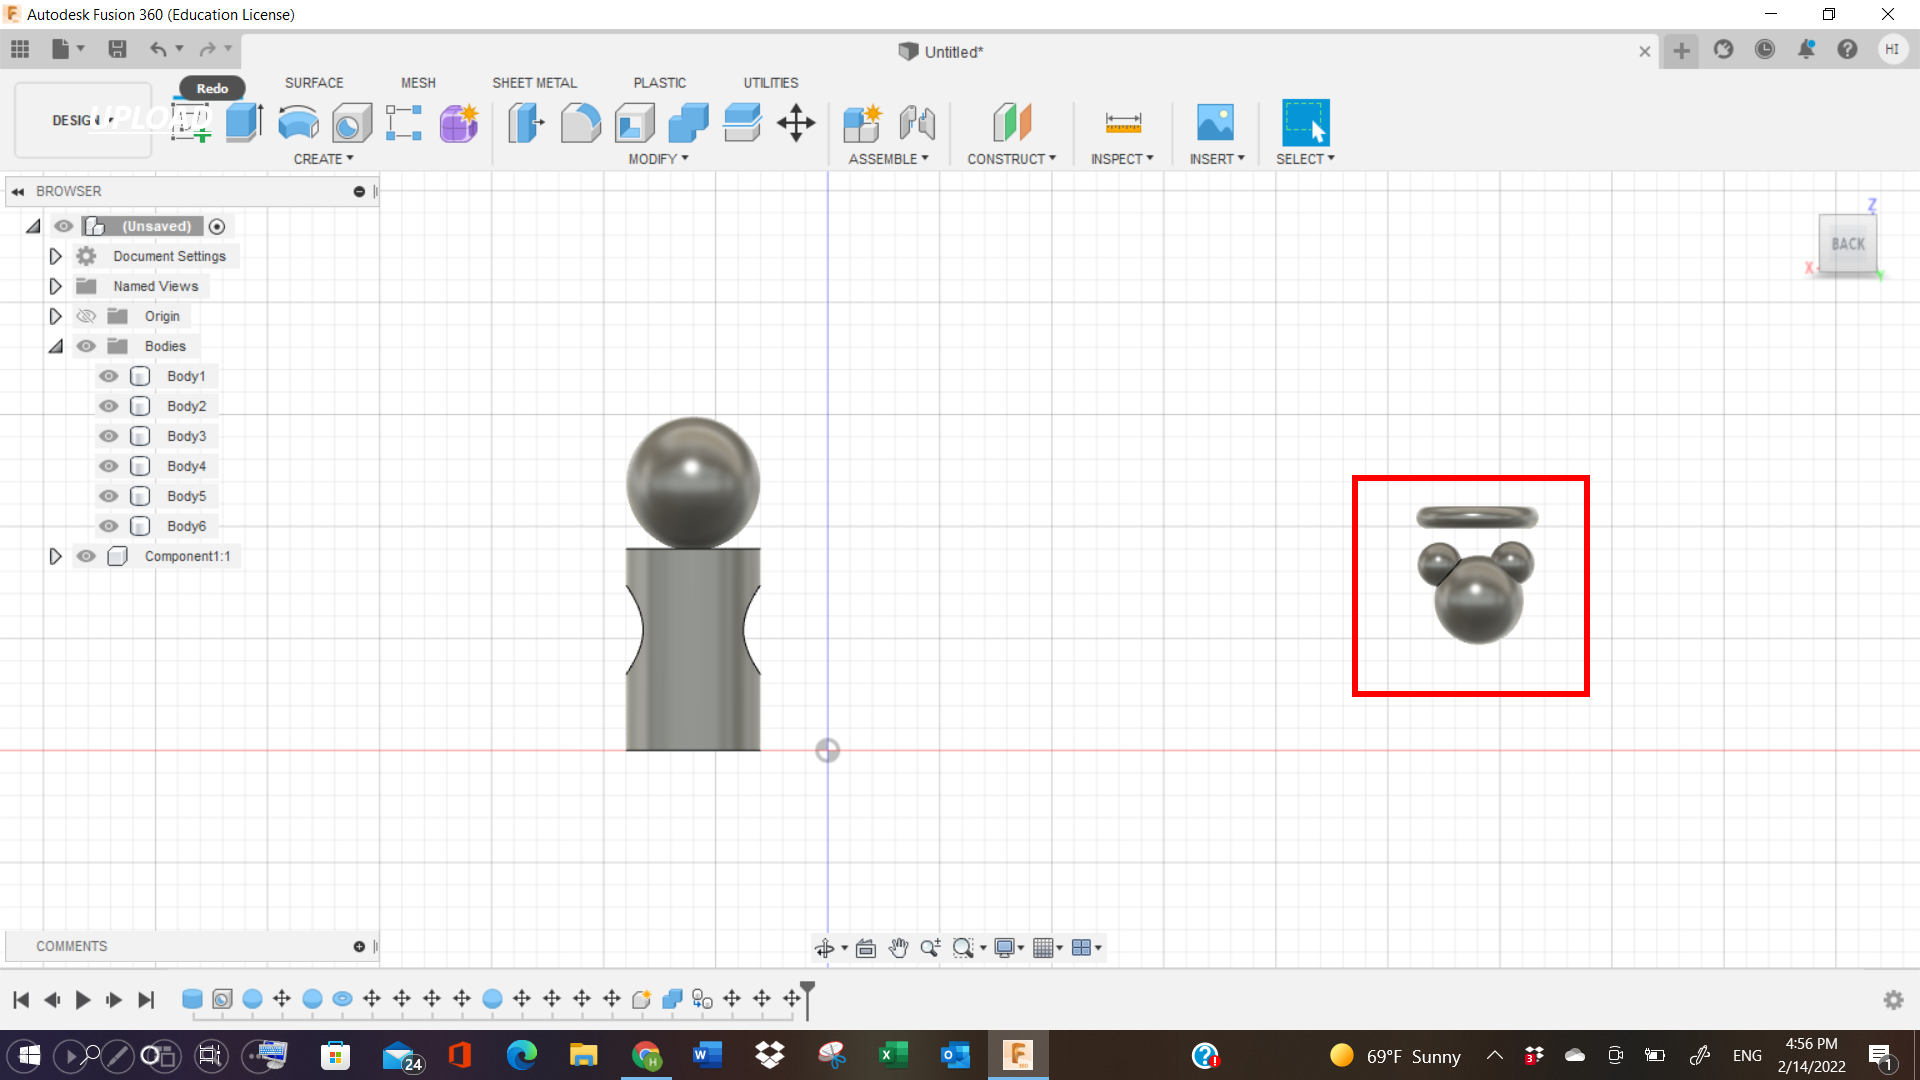
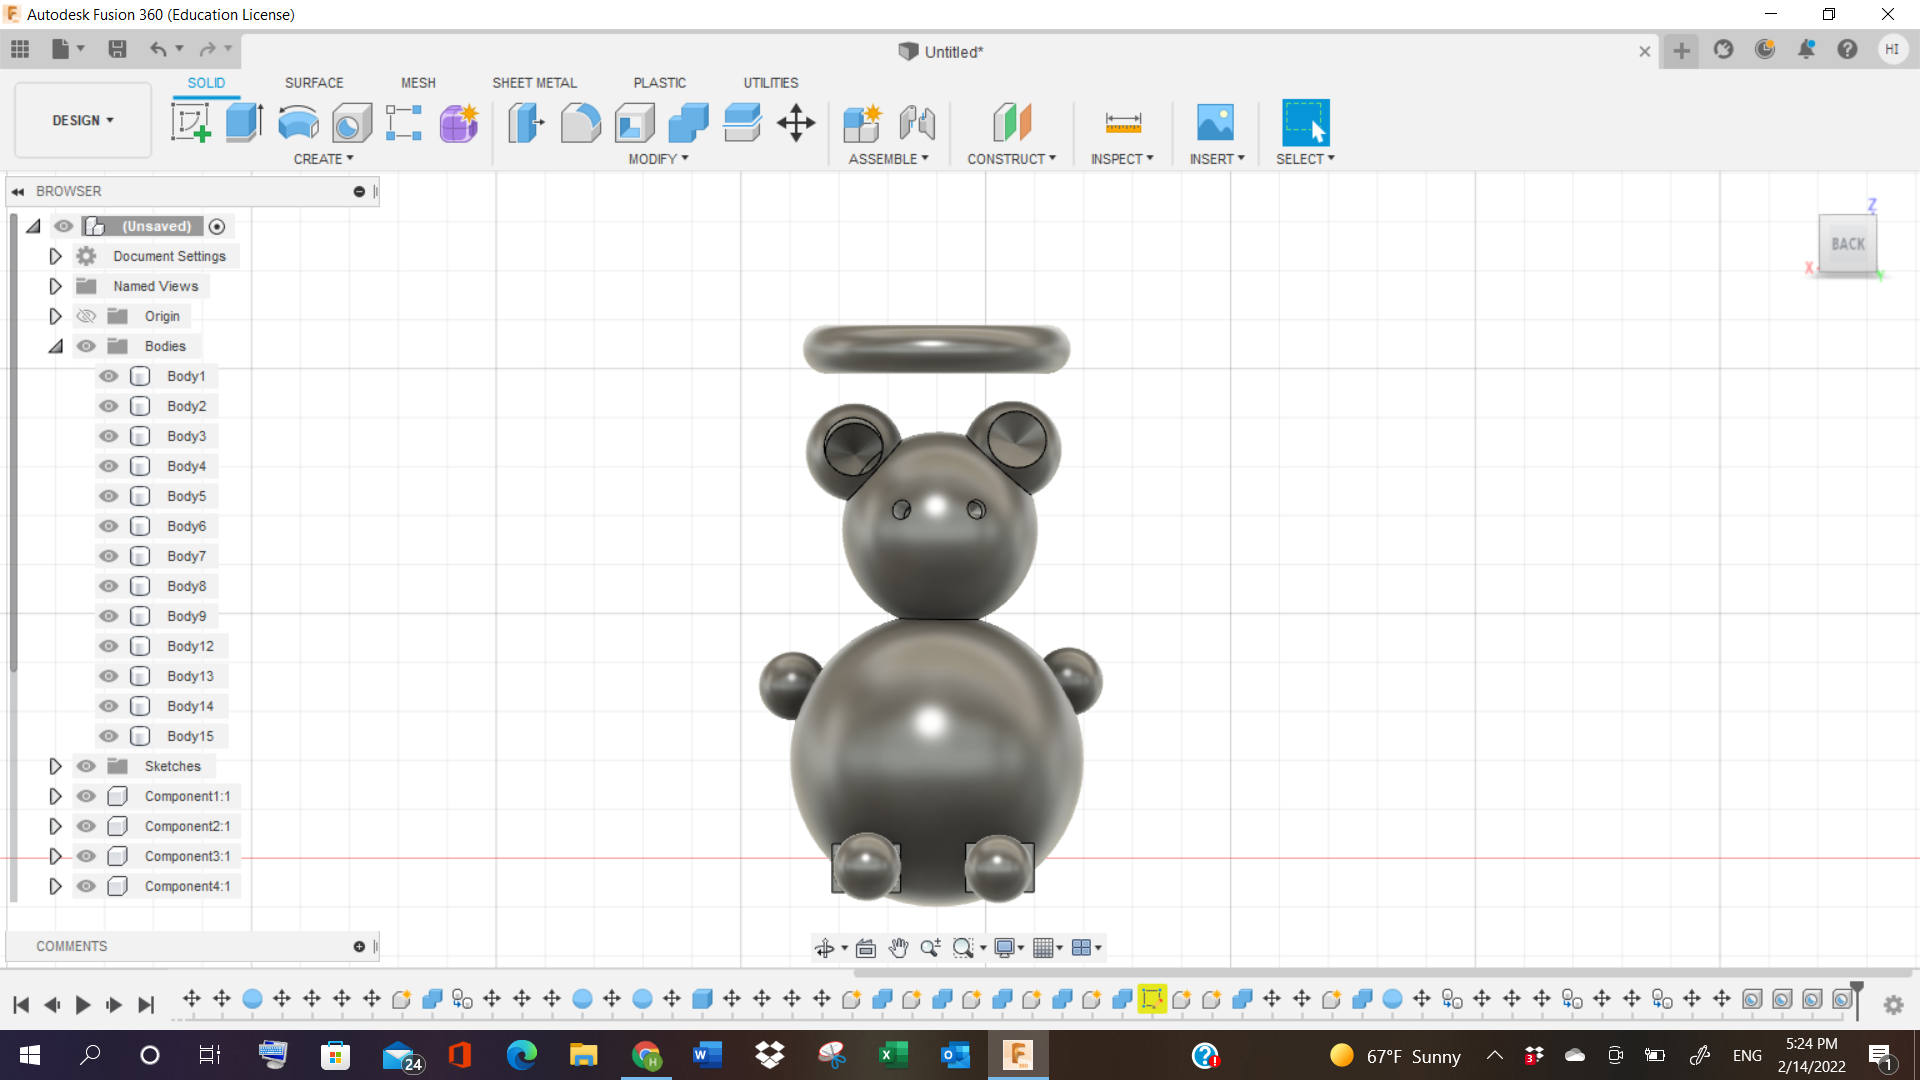
I removed the halo on top, because it was a separate component, so I just focussed on the bear. Next, I tried adding holes, to represent the eyes and the mouth part of the bear.

Then I exported the file to STL format, and gave to my colleague Weaam, who joined our files together, and made changes in Cura Software’s Settings, and prepared it for slicing. The total time showed 1 day, 5 hours for the project to be completed.

I left the lab then, and I will check the result on Wednesday, 16th February, 2022.
UPDATE:
I came to know that the electricity was going on and off in the lab, due to which our project wasnt modelled. So, we waited few more days for it to model.
FINAL RESULT:
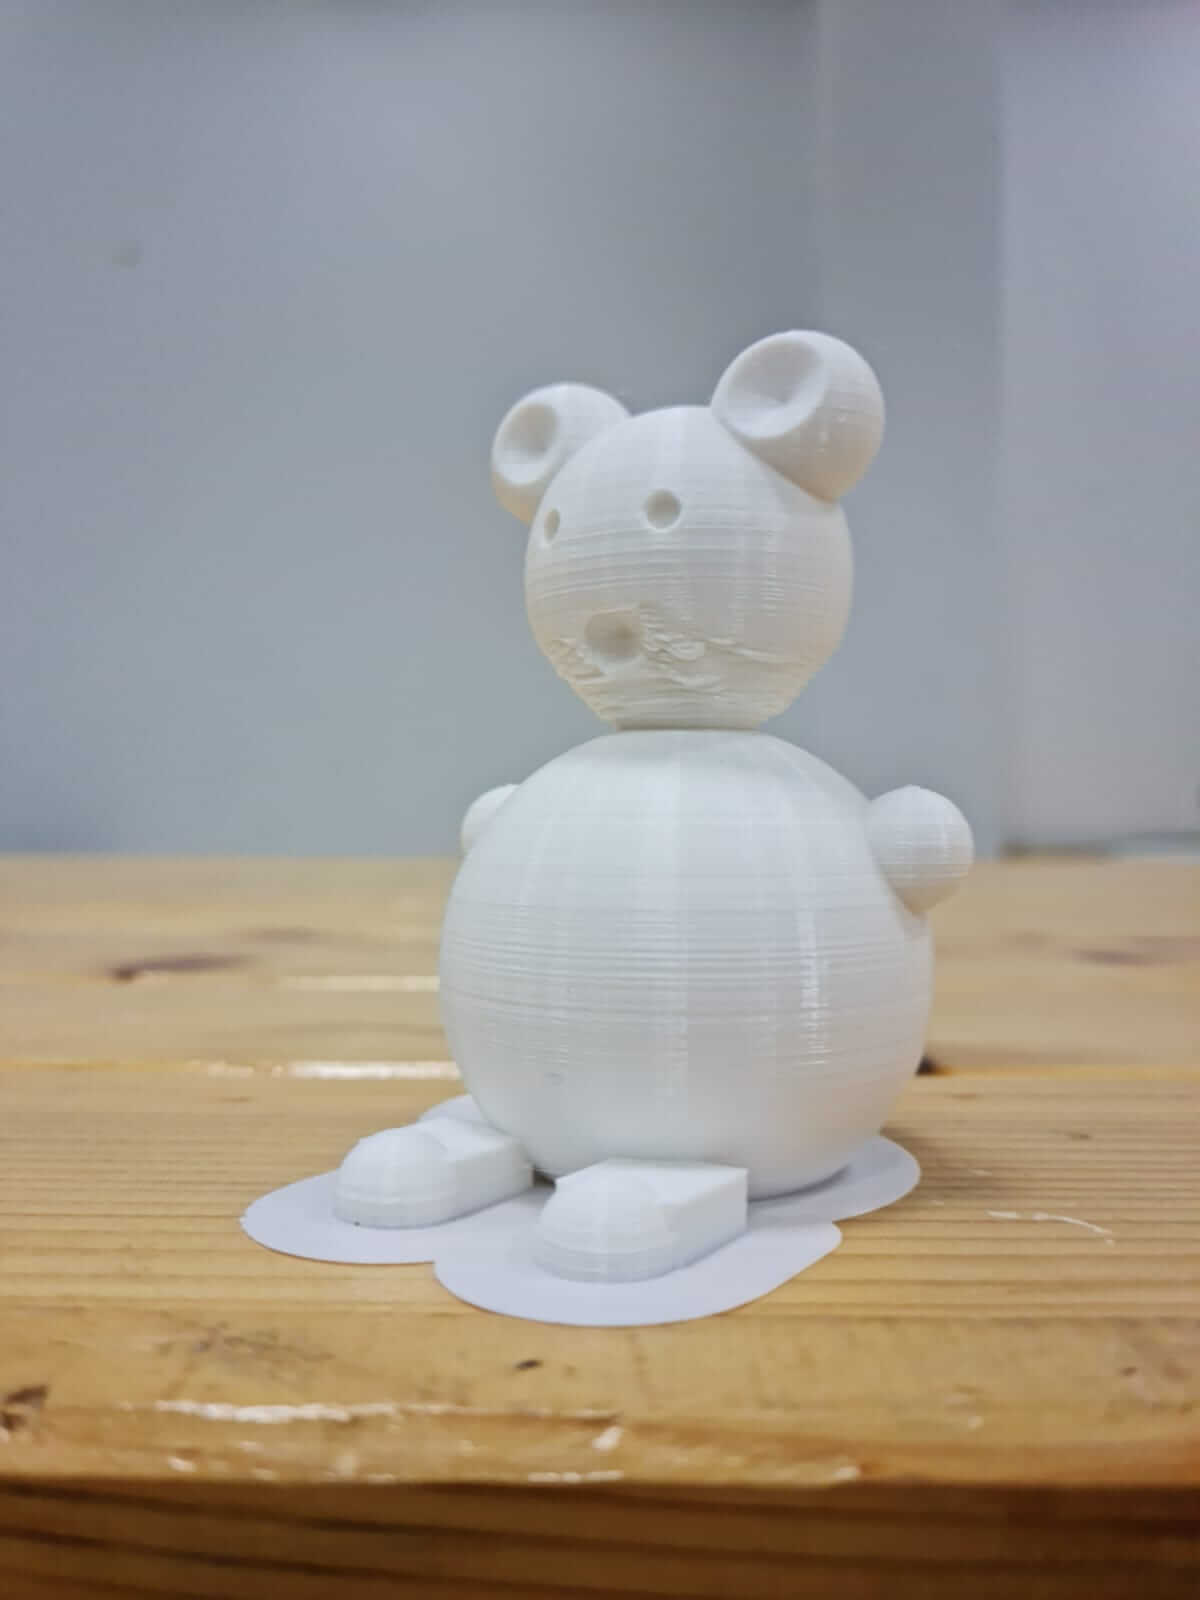
3D Teddy Bear:
WHAT I LEARNED FROM 3D PRINTER:
3D printing is a process that takes objects in digital format, from a digital file and makes 3D solid objects.
After using the 3D printer, I came to know that this printer is able to print objects that have curves or holes or anything subtractive present in objects. It is affordable, it has infinite geometry and shapes that can be printed, it is fast etc. etc. However, it has a limited height capacity. It is used for small scale purposes.
3D SCANNING
LET’S SCAN!!
After completing the 3D printing steps, We started working on 3D Scanning.
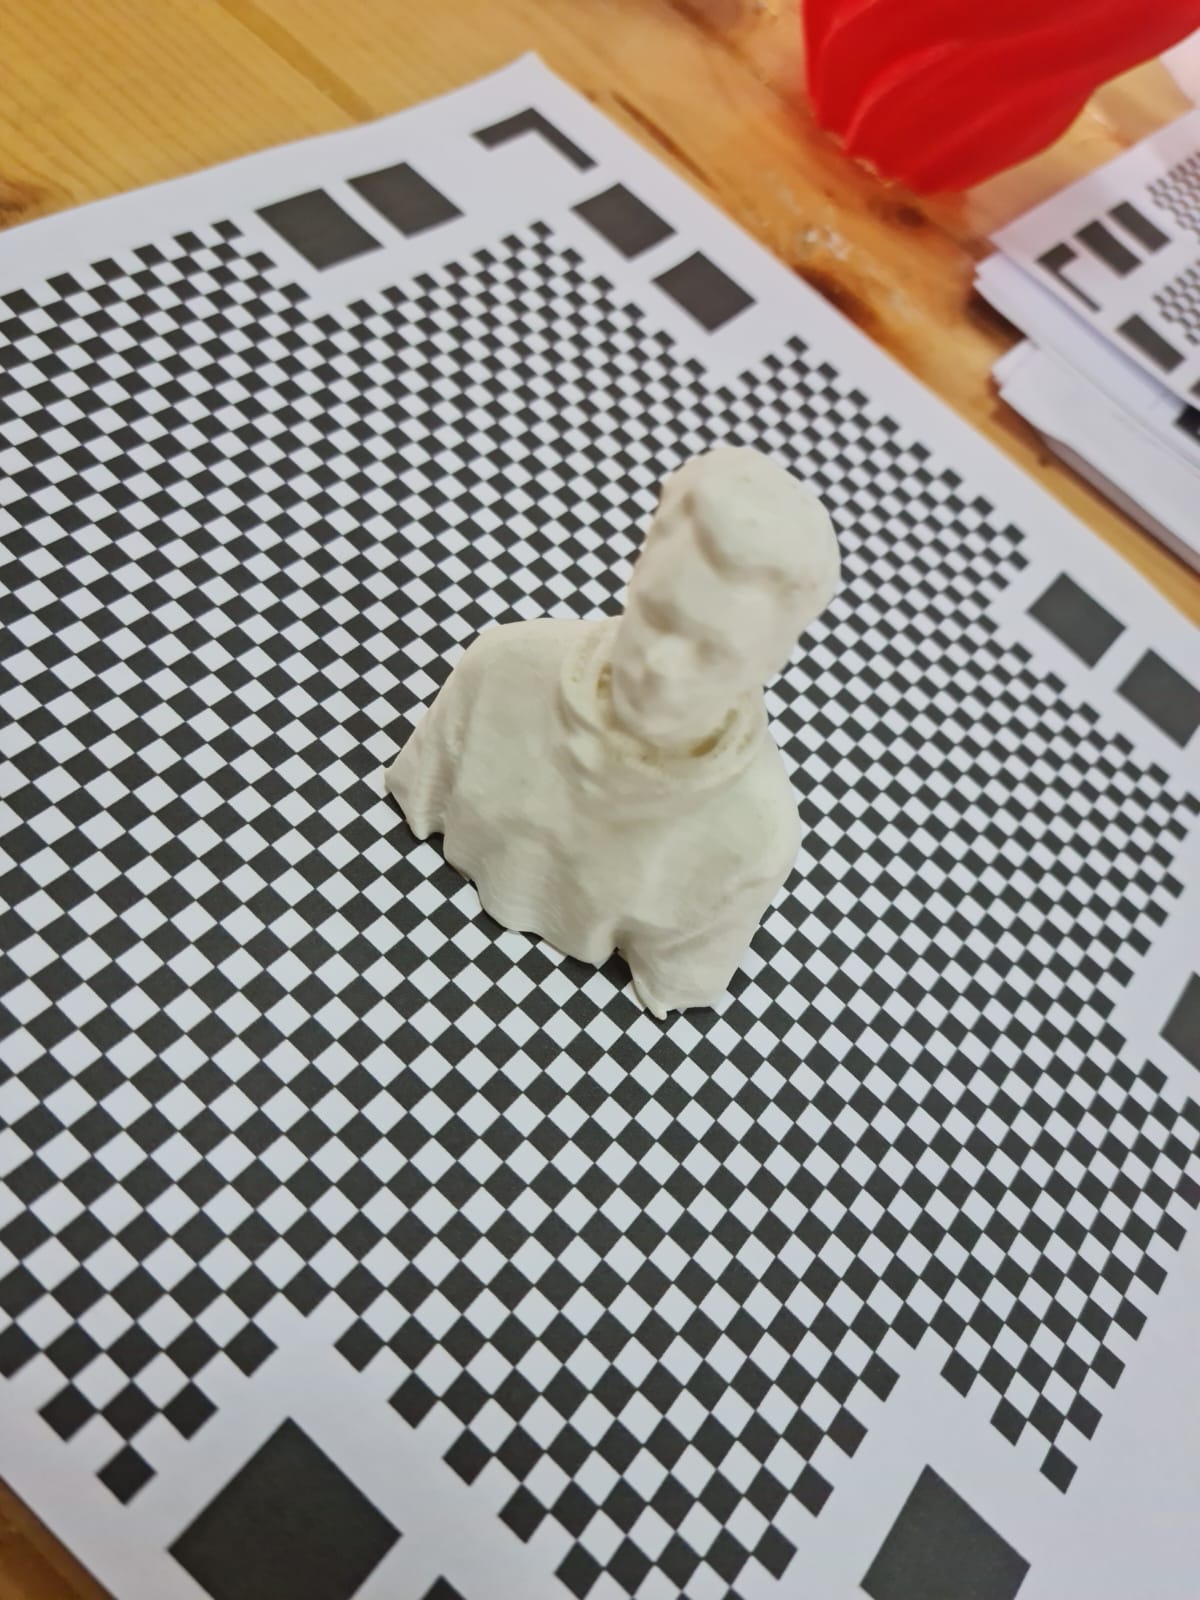
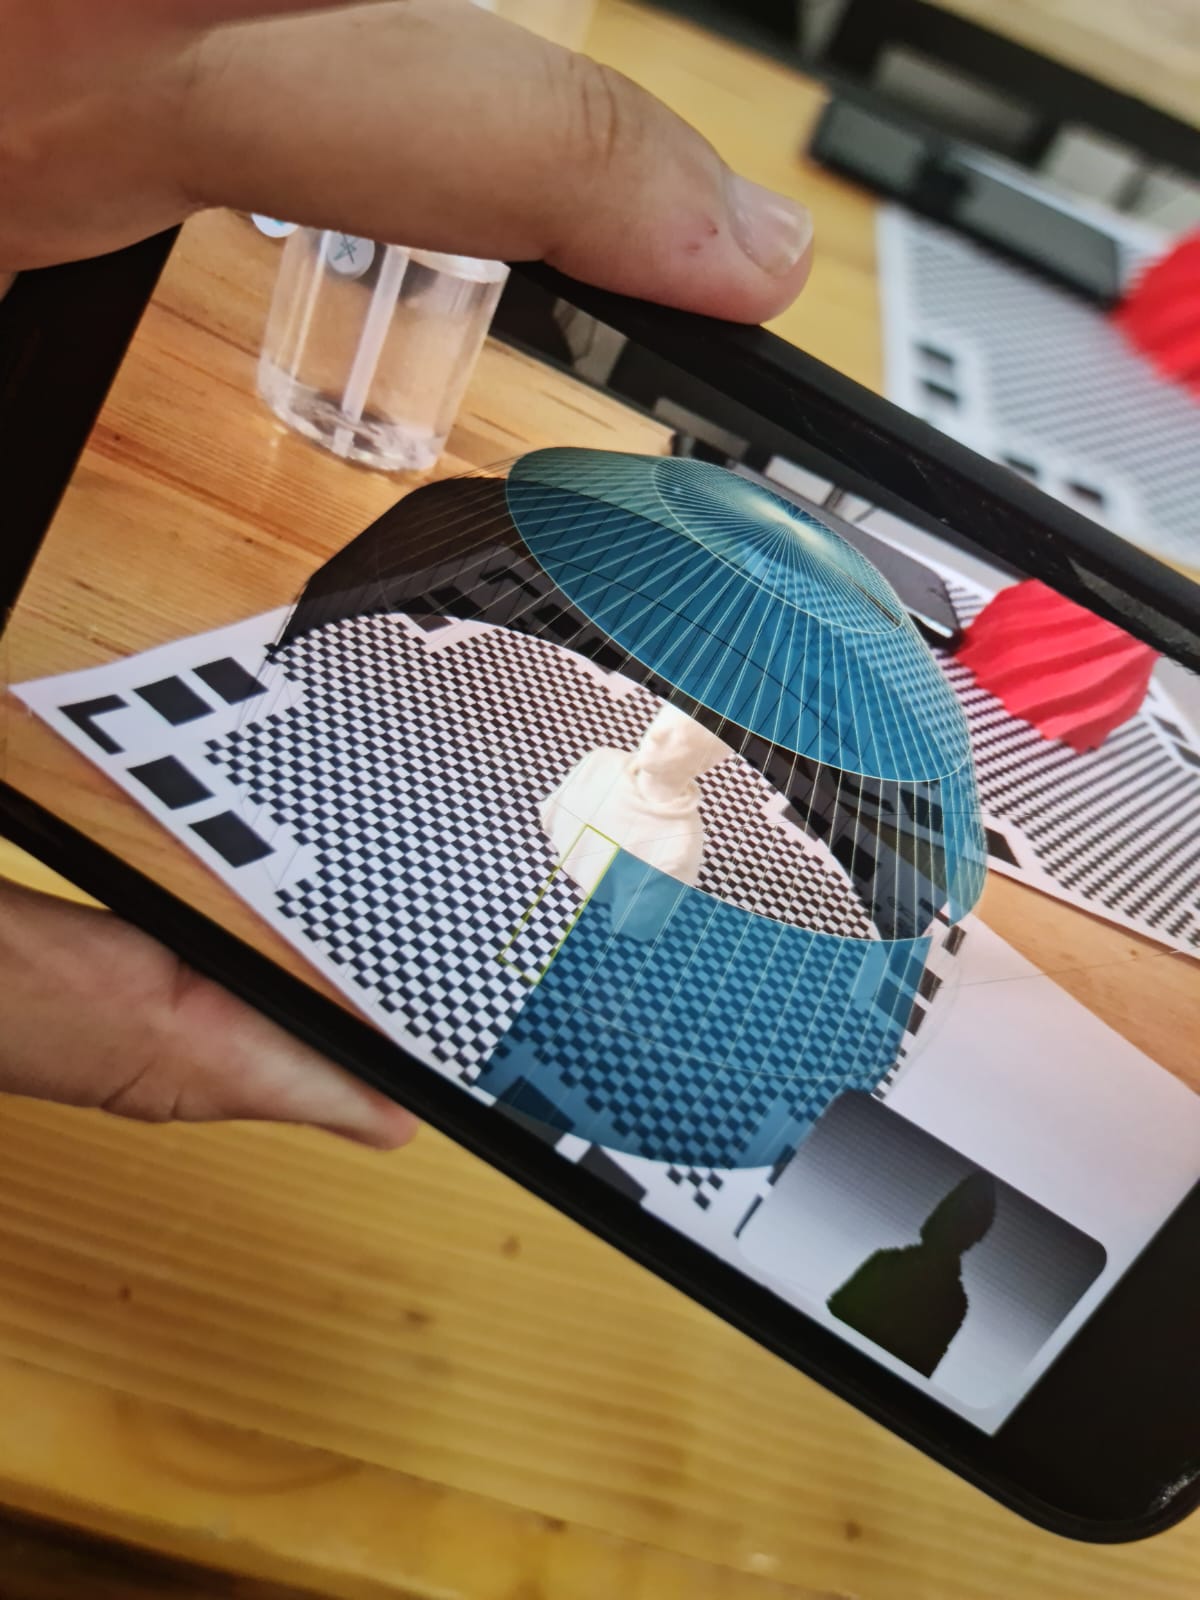
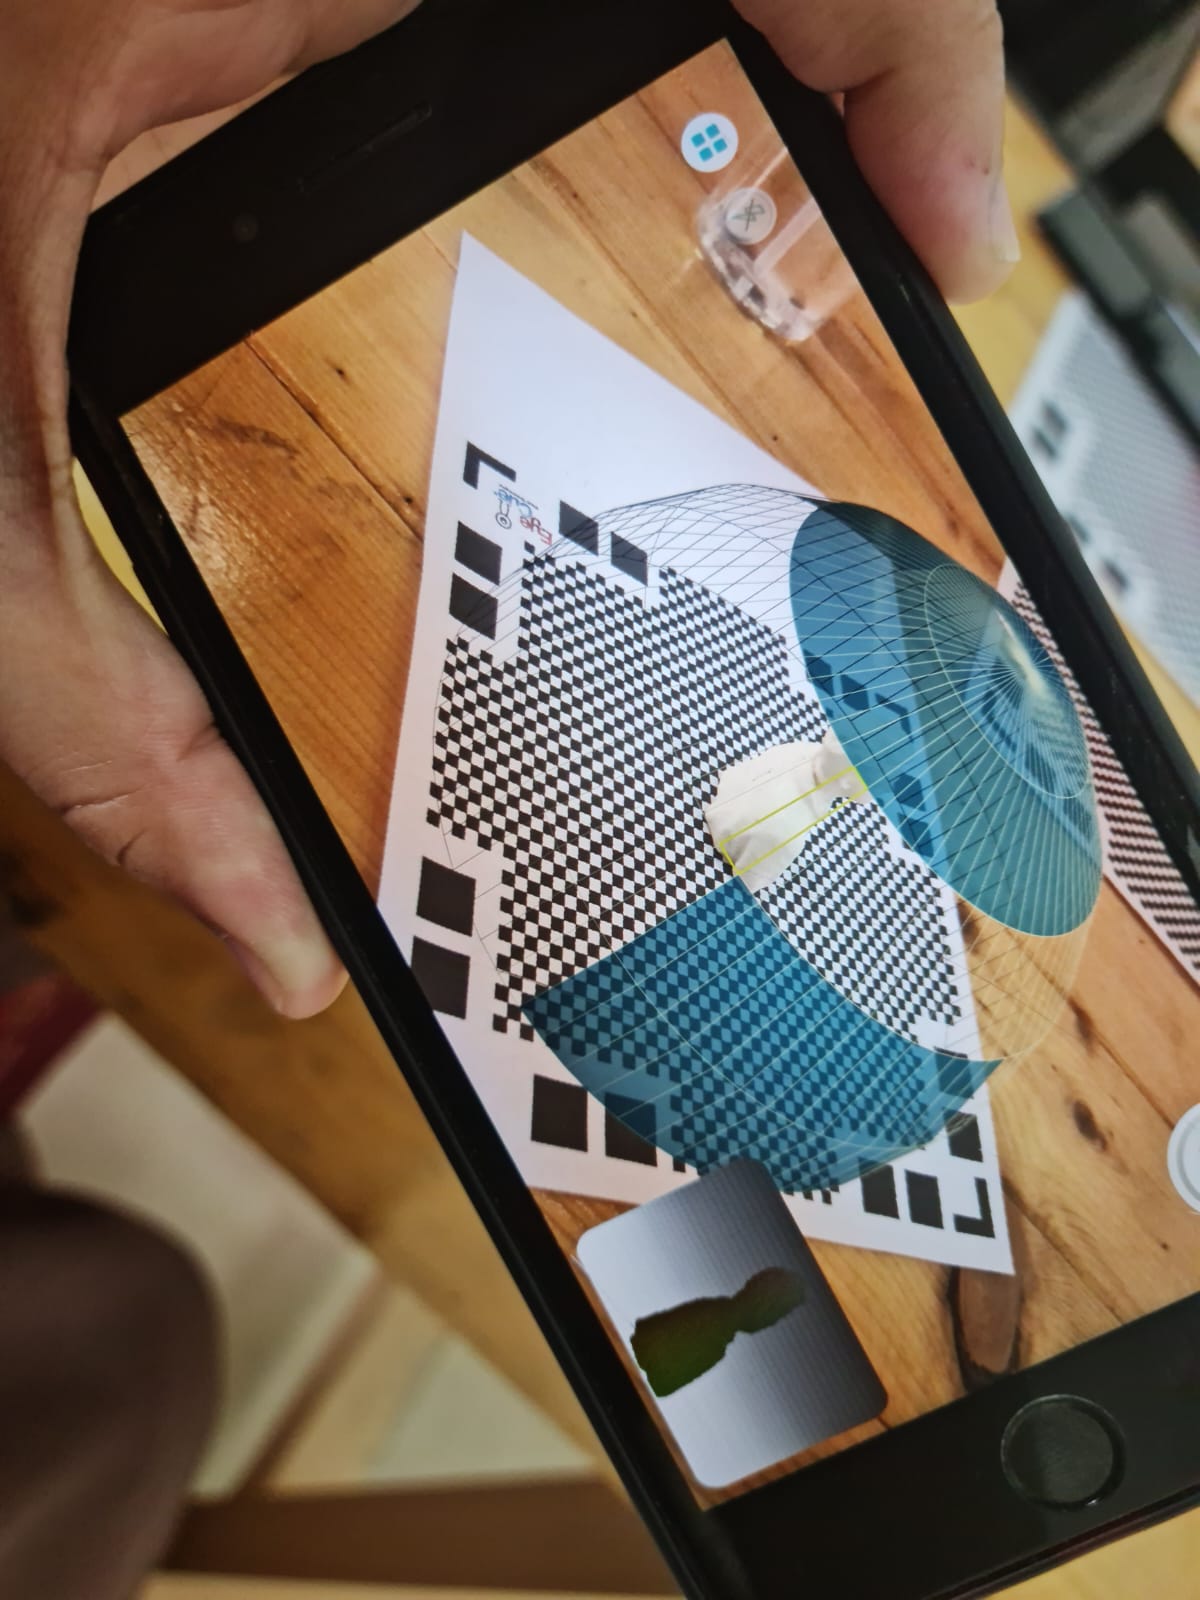
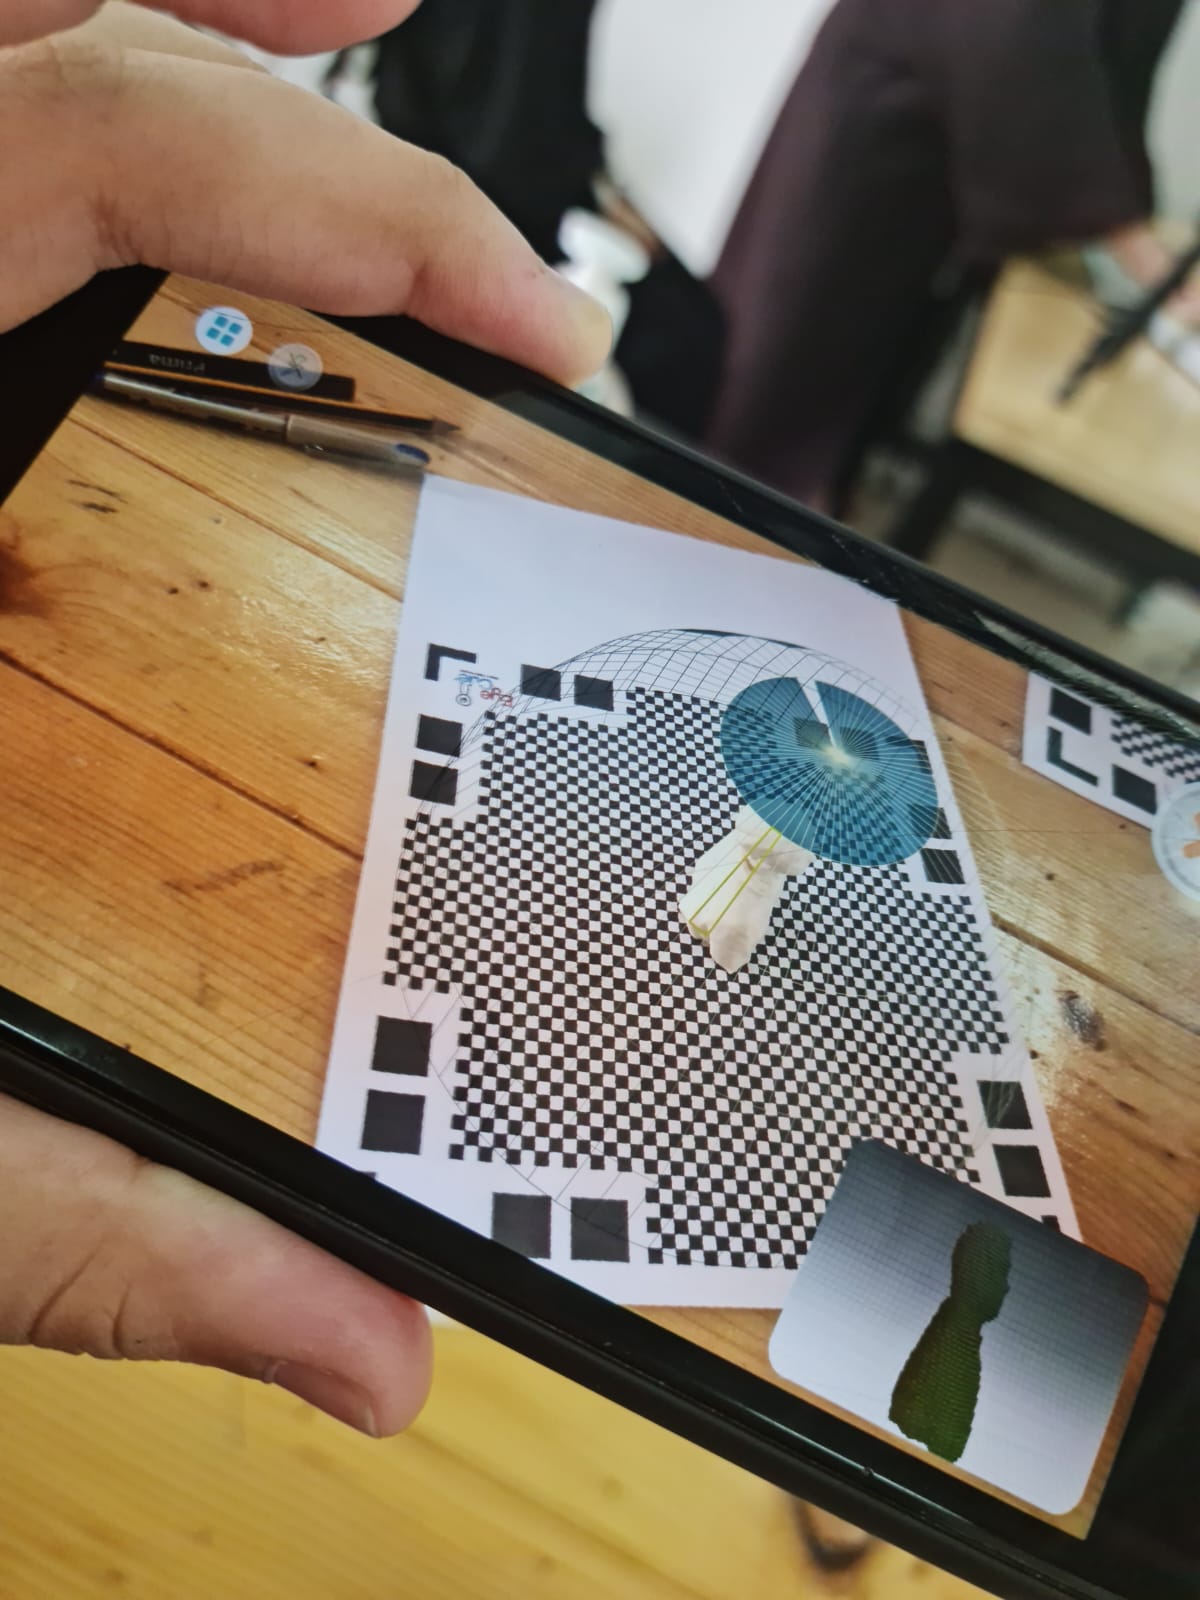
Our instructor Duaa introduced us to the topic of 3D Scanning. We had to download a mobile app called Qlone, which is used for scanning objects, that could be later on printed. In order for the scanning to start in this app, we placed our objects on a scanning mat, which is used especially for Qlone application.
HOW DOES IT WORK?
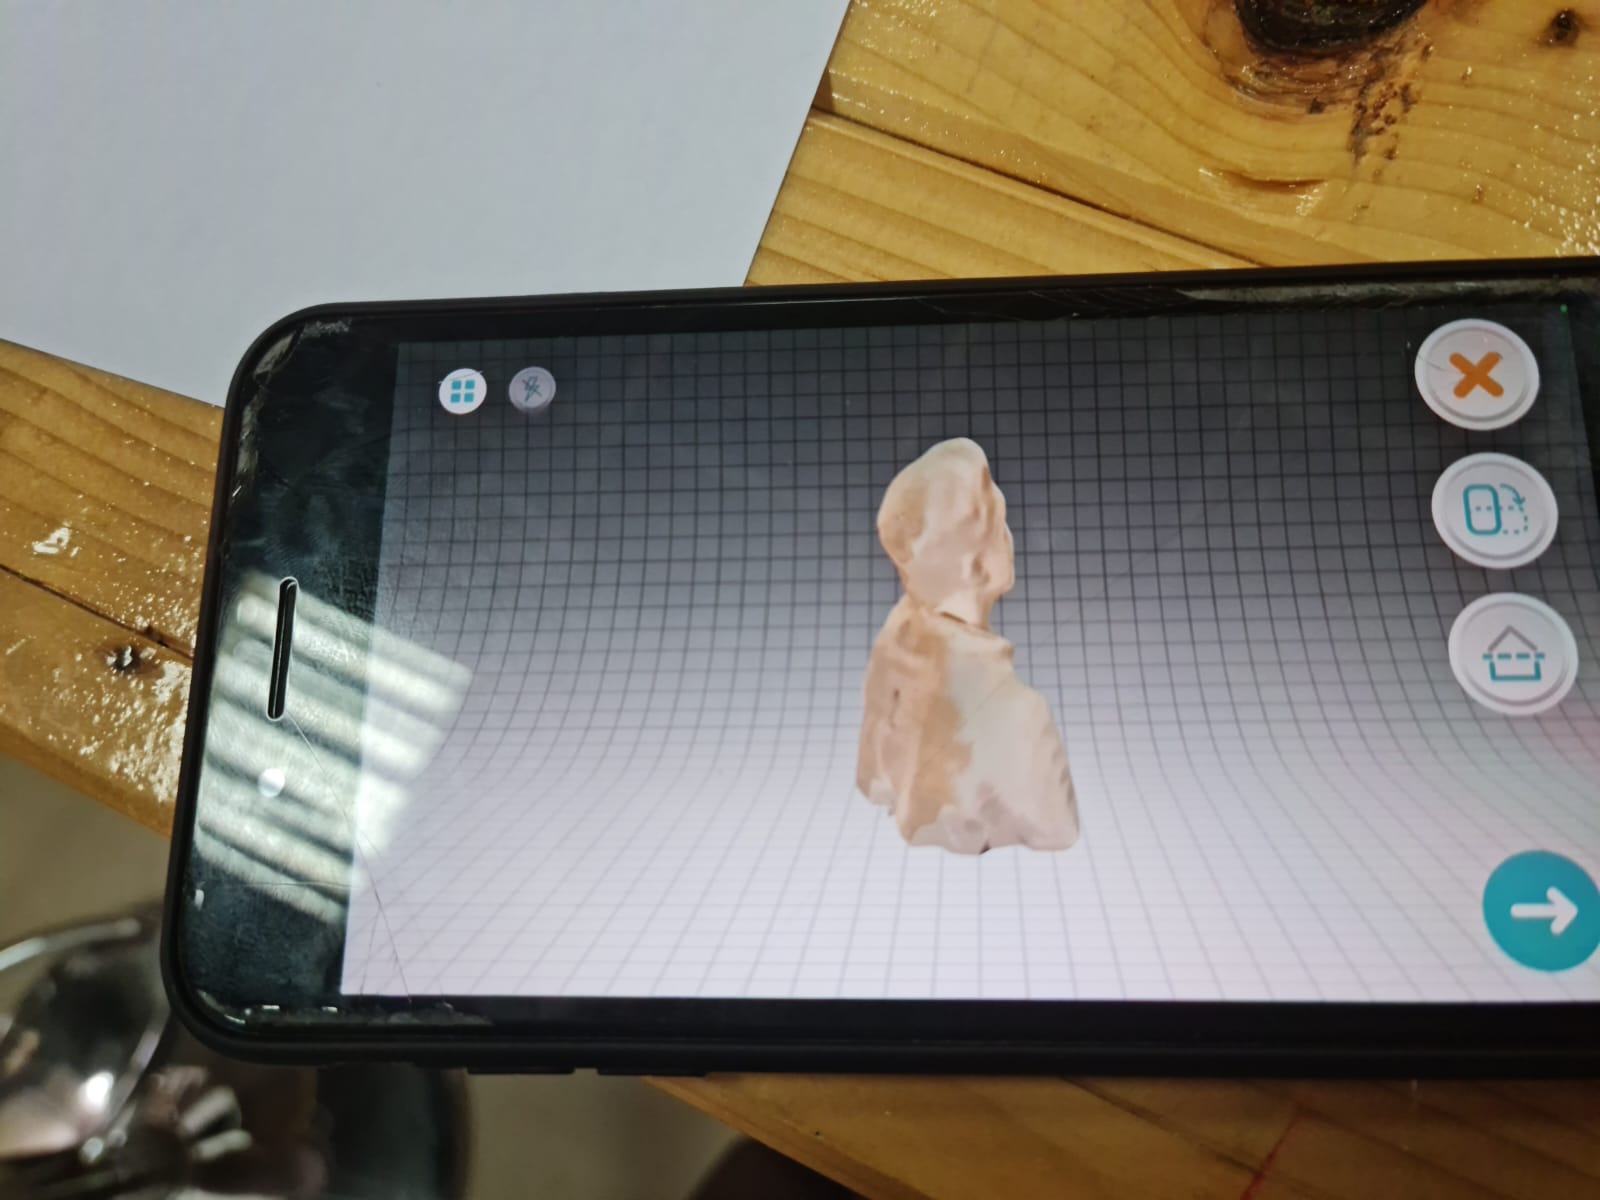
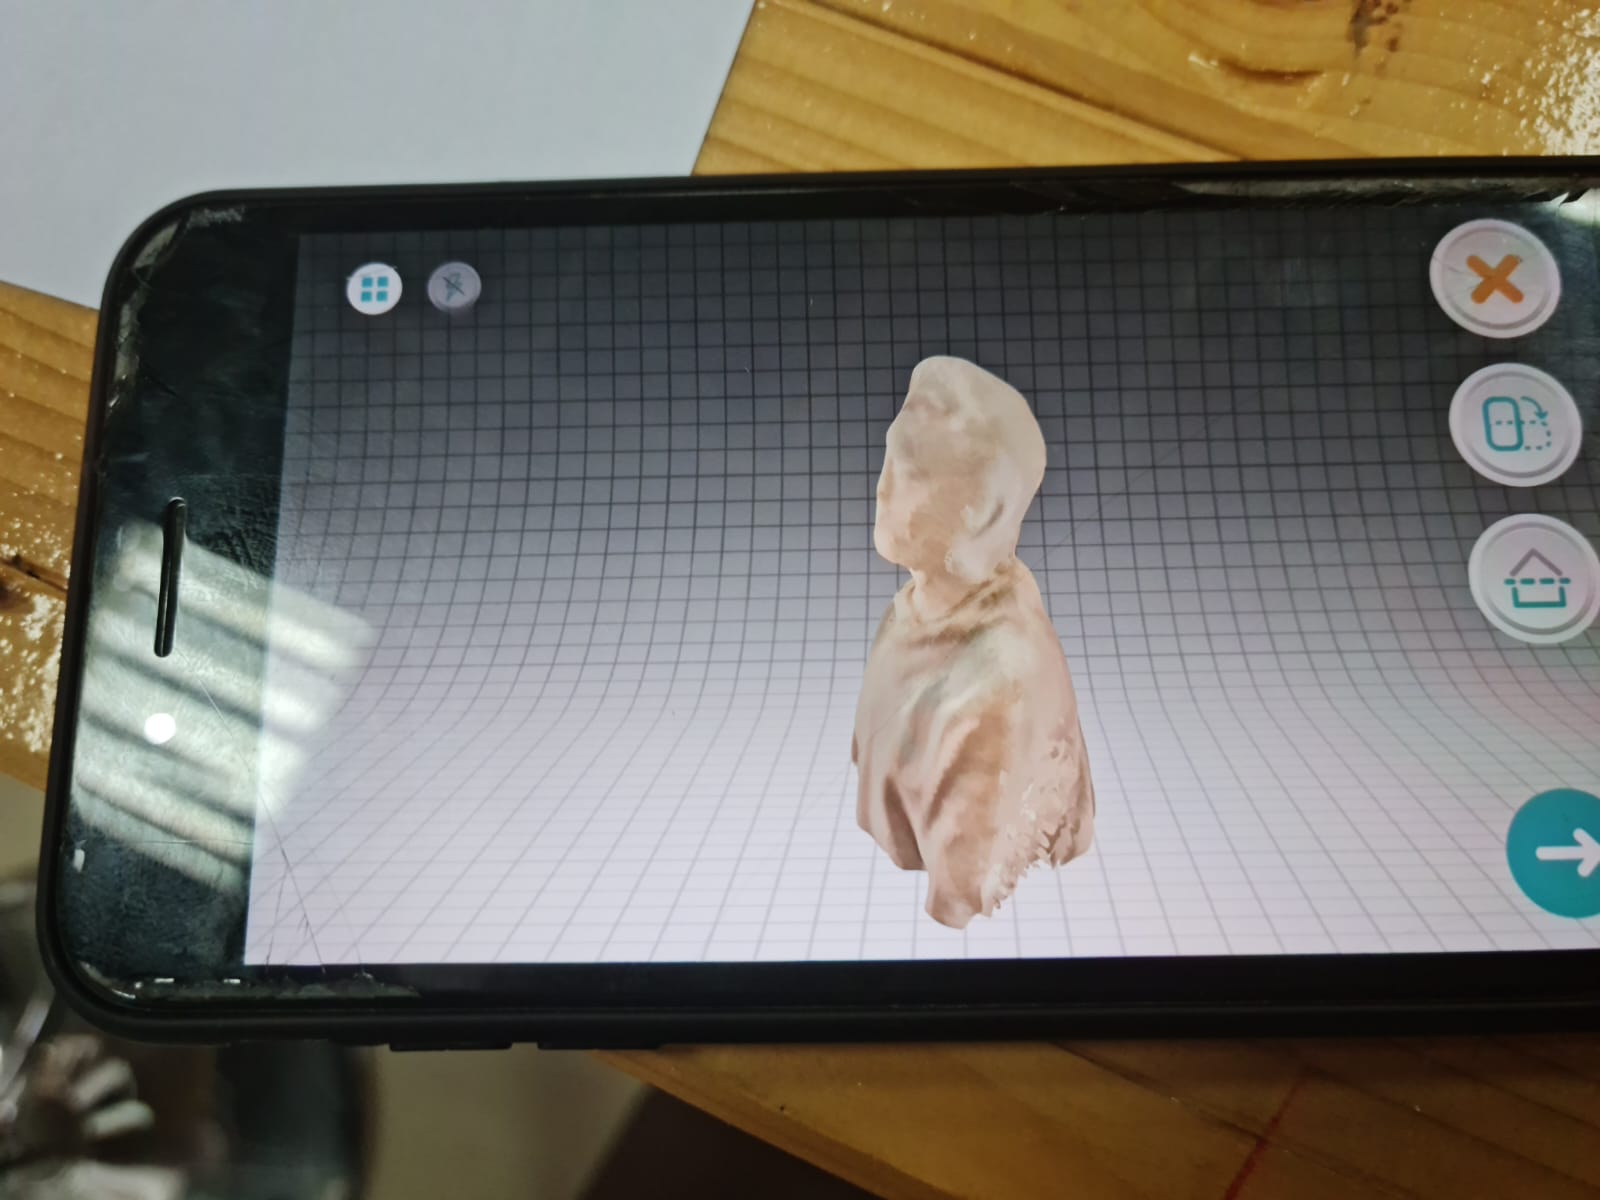
The object is placed on Scanning Mat, and with the help of Qlone app, the camera starts detecting the mat by forming a globe on the app. The following images show my work process for the mini-human 3D object, placed on the mat.
WHAT ARE THE PROBLEMS THAT I FACED?
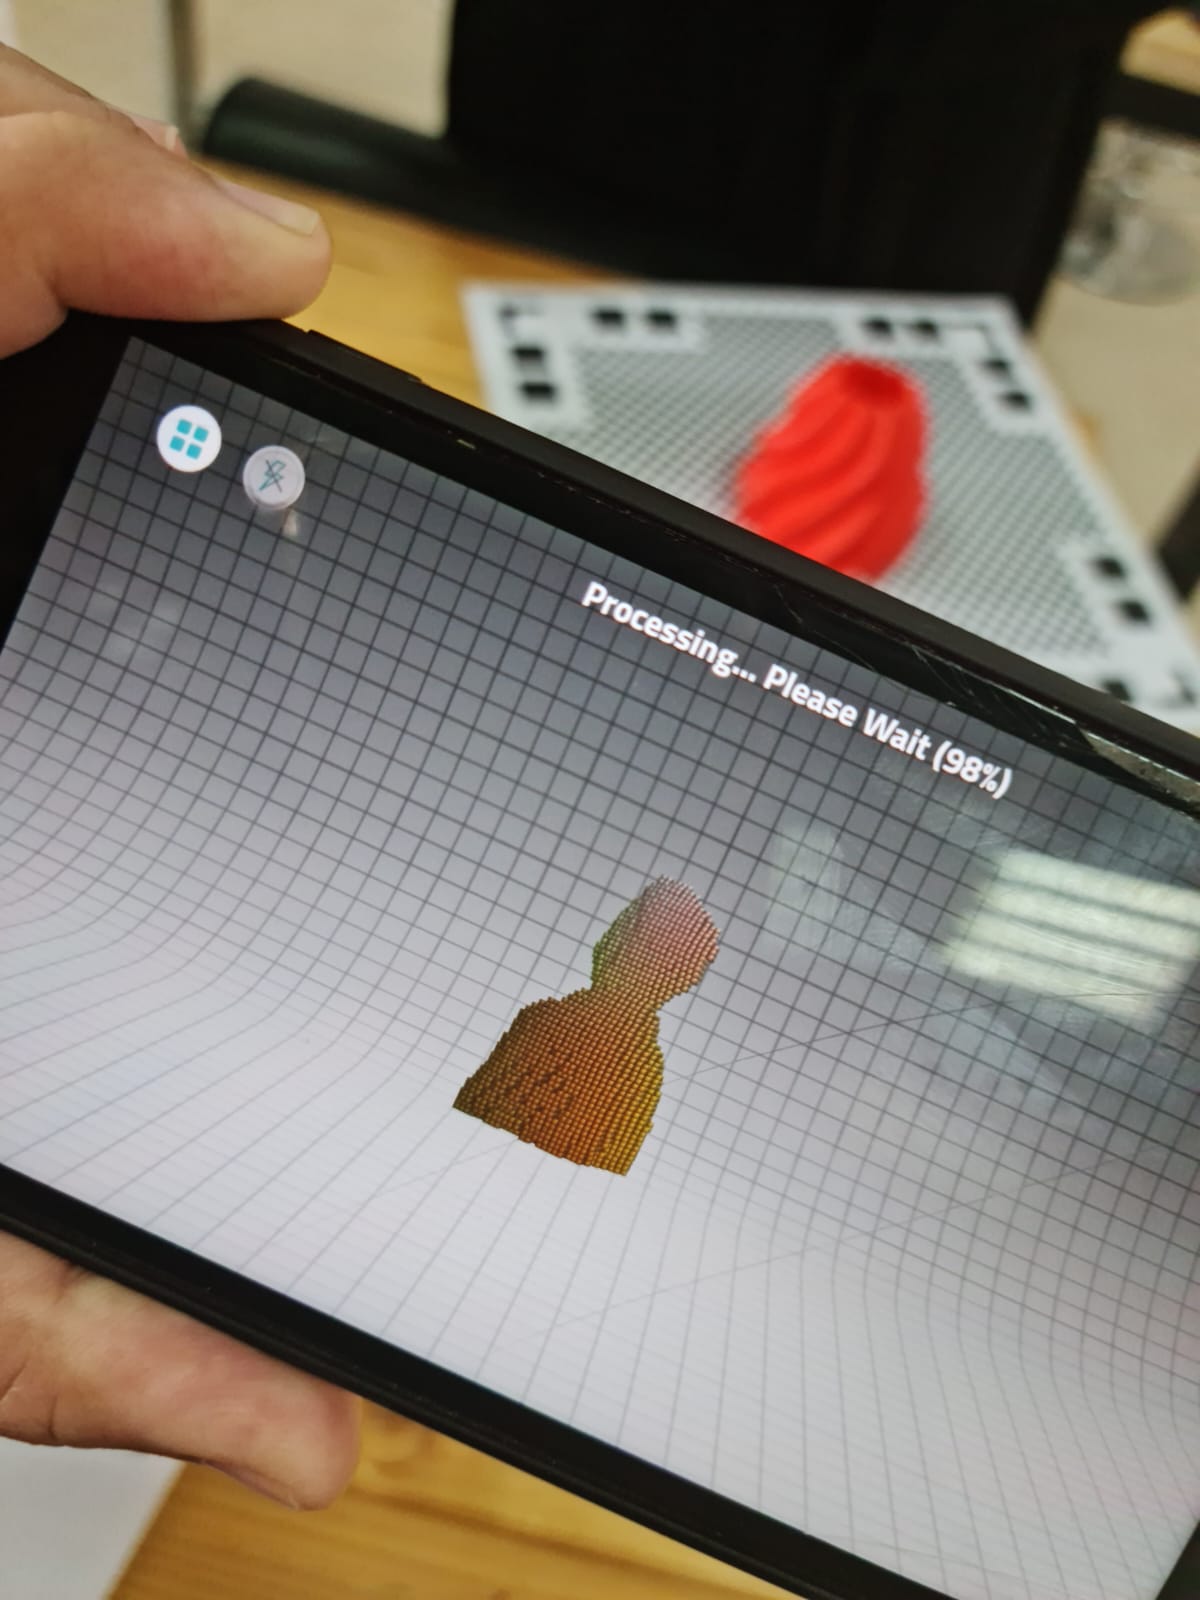
Upon downloading the application in my mobile, and starting the process of Scanning, the app started closing in between the process, resulting in me trying to start the whole process again. It happened for 3-4 times, as it stated that the app had some bugs, due to which the application couldn’t run properly. Ms. Duaa was kind enough to lend me her phone, from which I did the whole Scanning process, and took screenshots of my work from my own phone.
WHAT MIGHT GO WRONG WITH THE FINAL RESULT?
As for the final results, some problems or defects that could be seen in the object might be due to:
a. The camera Angle: It might not be able to get a clear view of the object and hence results in distorting figure of the object.
b. Transparency: If the object is transparent, then due to light effects and camera angles, the Scanner might have an issue in detecting the proper surface of the object.
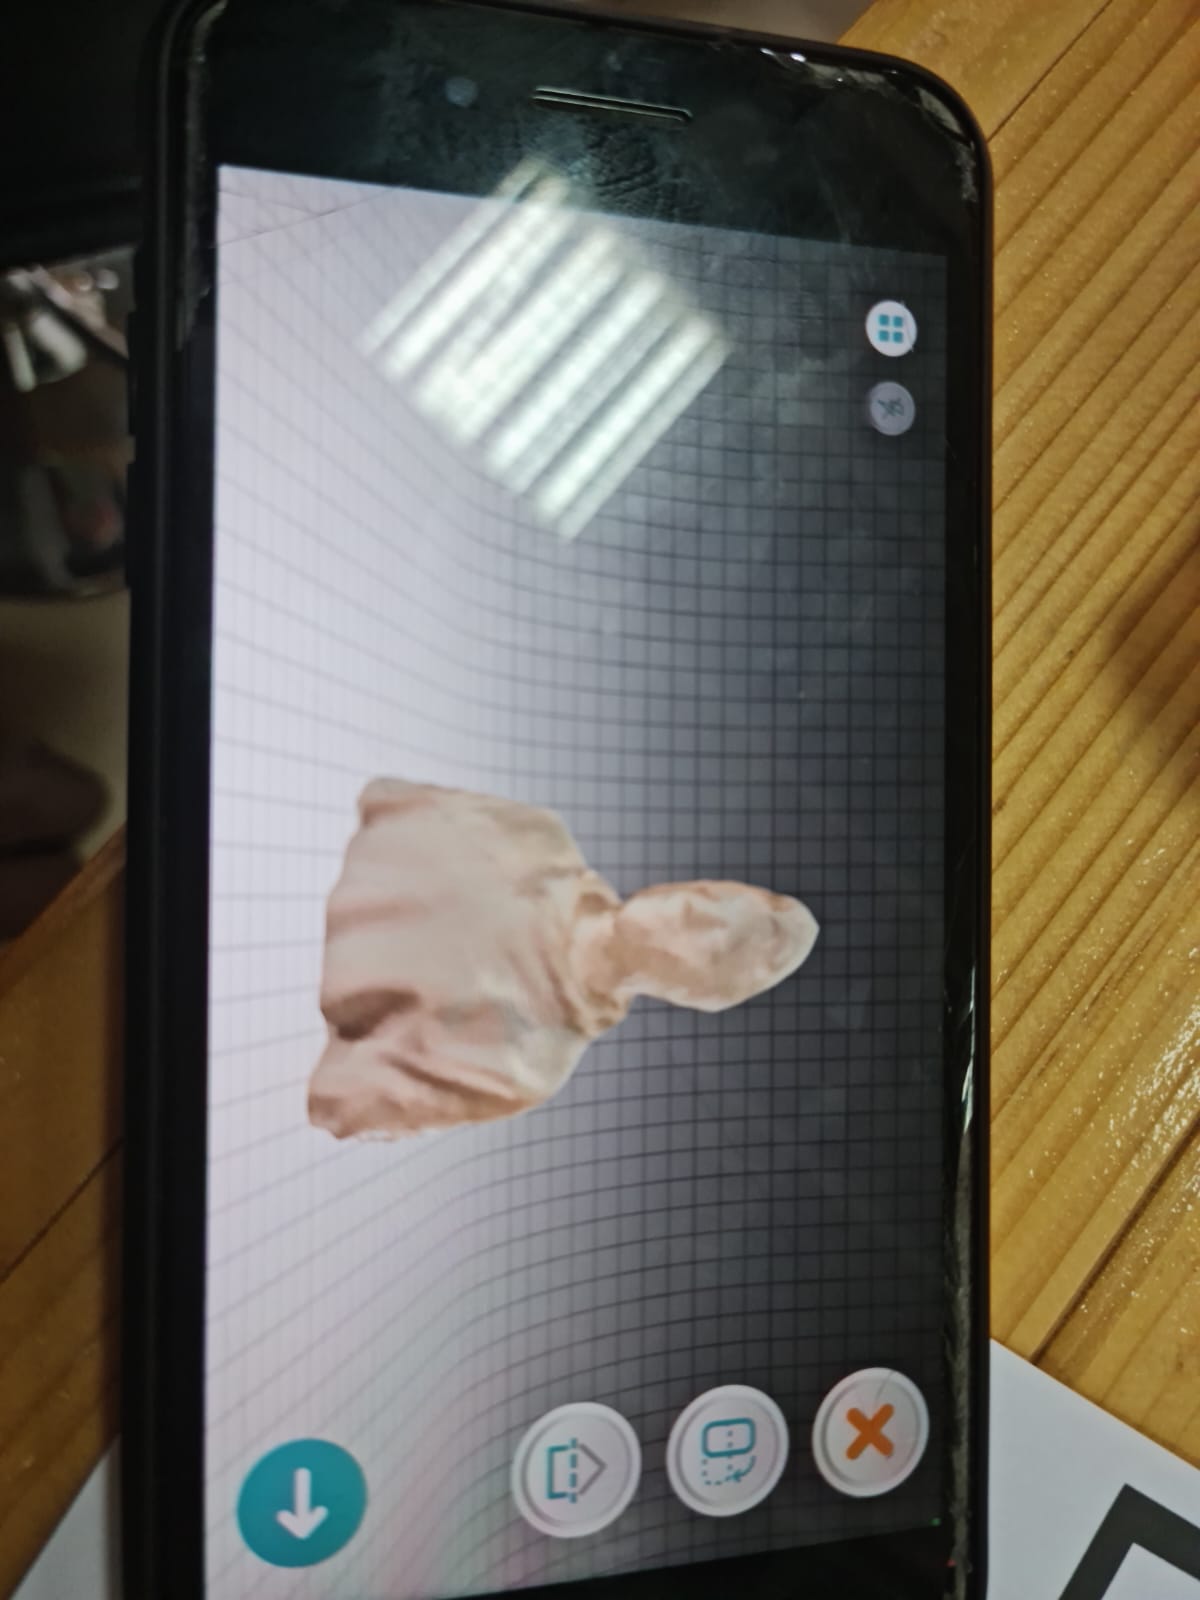
MY FINAL 3D SCAN RESULT:
My final result was pretty good on the 1st try itself, yet it had some small little defects. And these were maybe due to:
a. The camera angle that couldn’t see the edges part of the object properly, so prominent features could not be seen properly.
b. Fast Camera Rotation: Maybe I rotated my phone fast and the object on the mat moved, resulting in contortion or defect in the object.
c. The camera might not be able to detect depressed areas properly.
Video
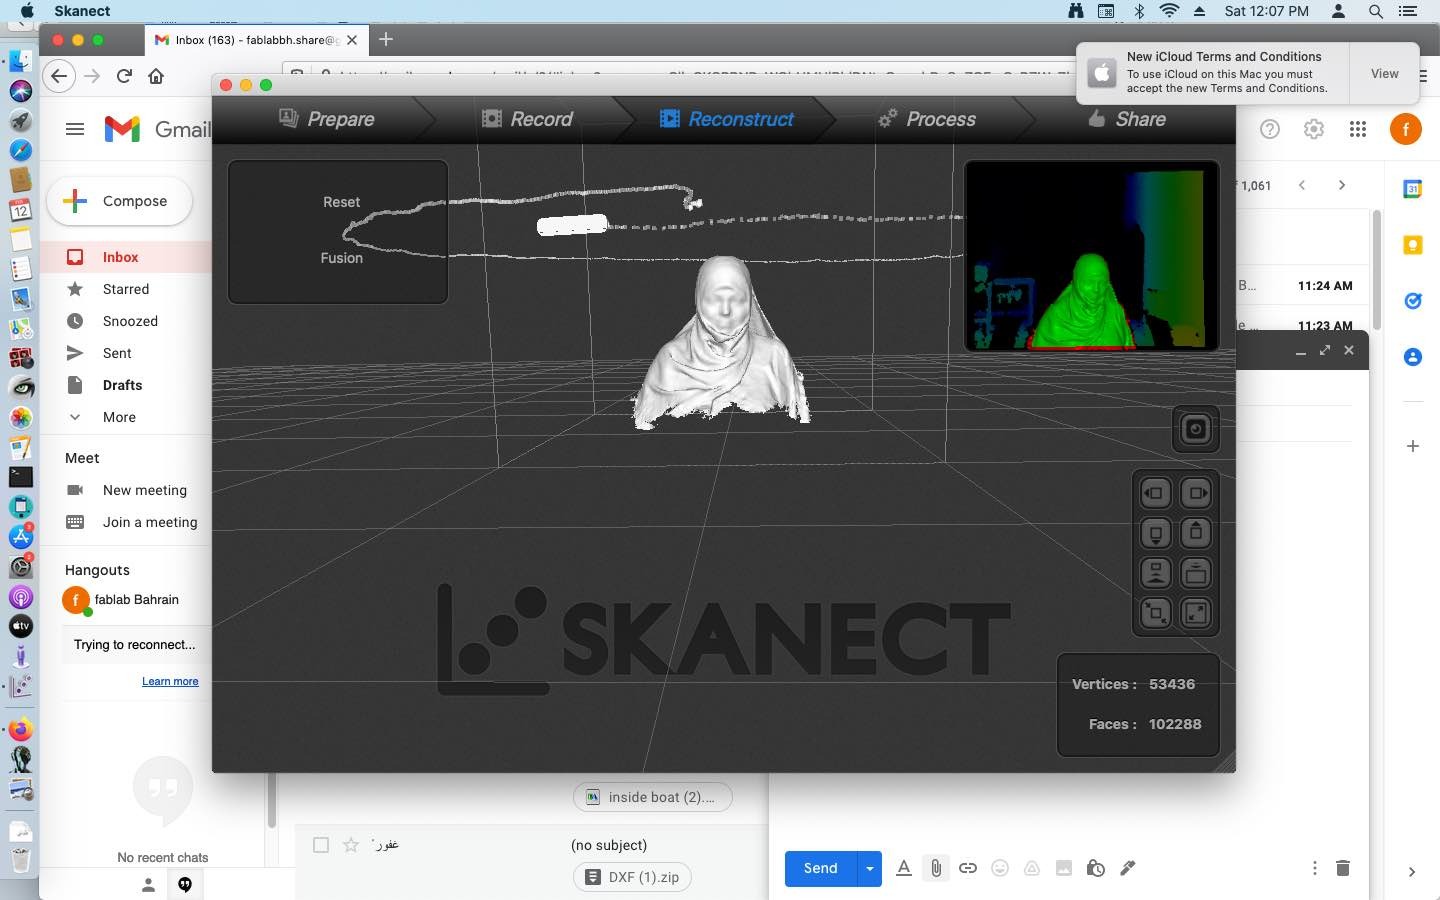
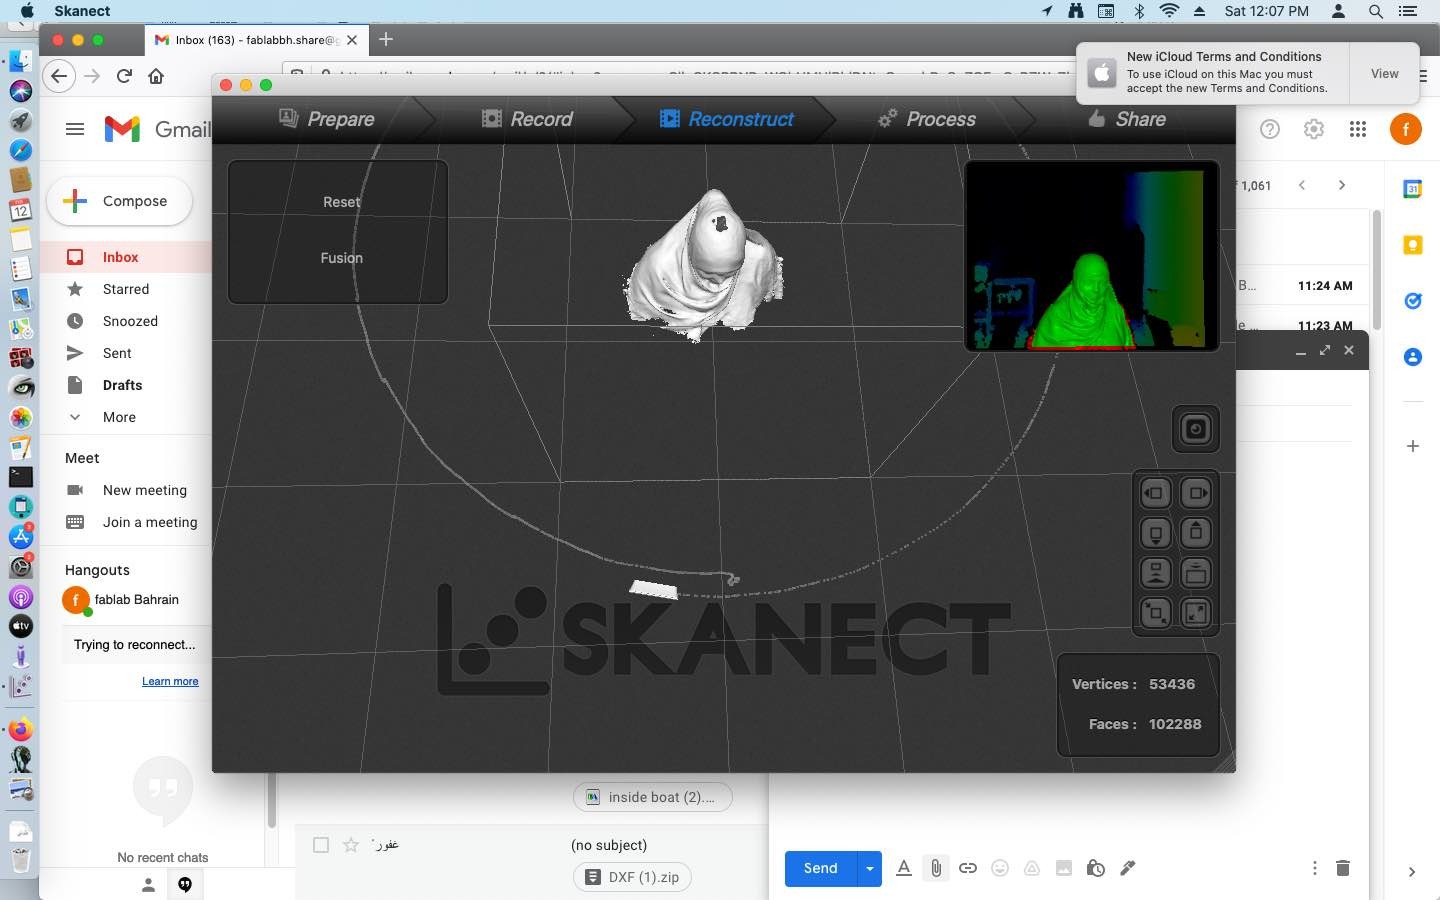
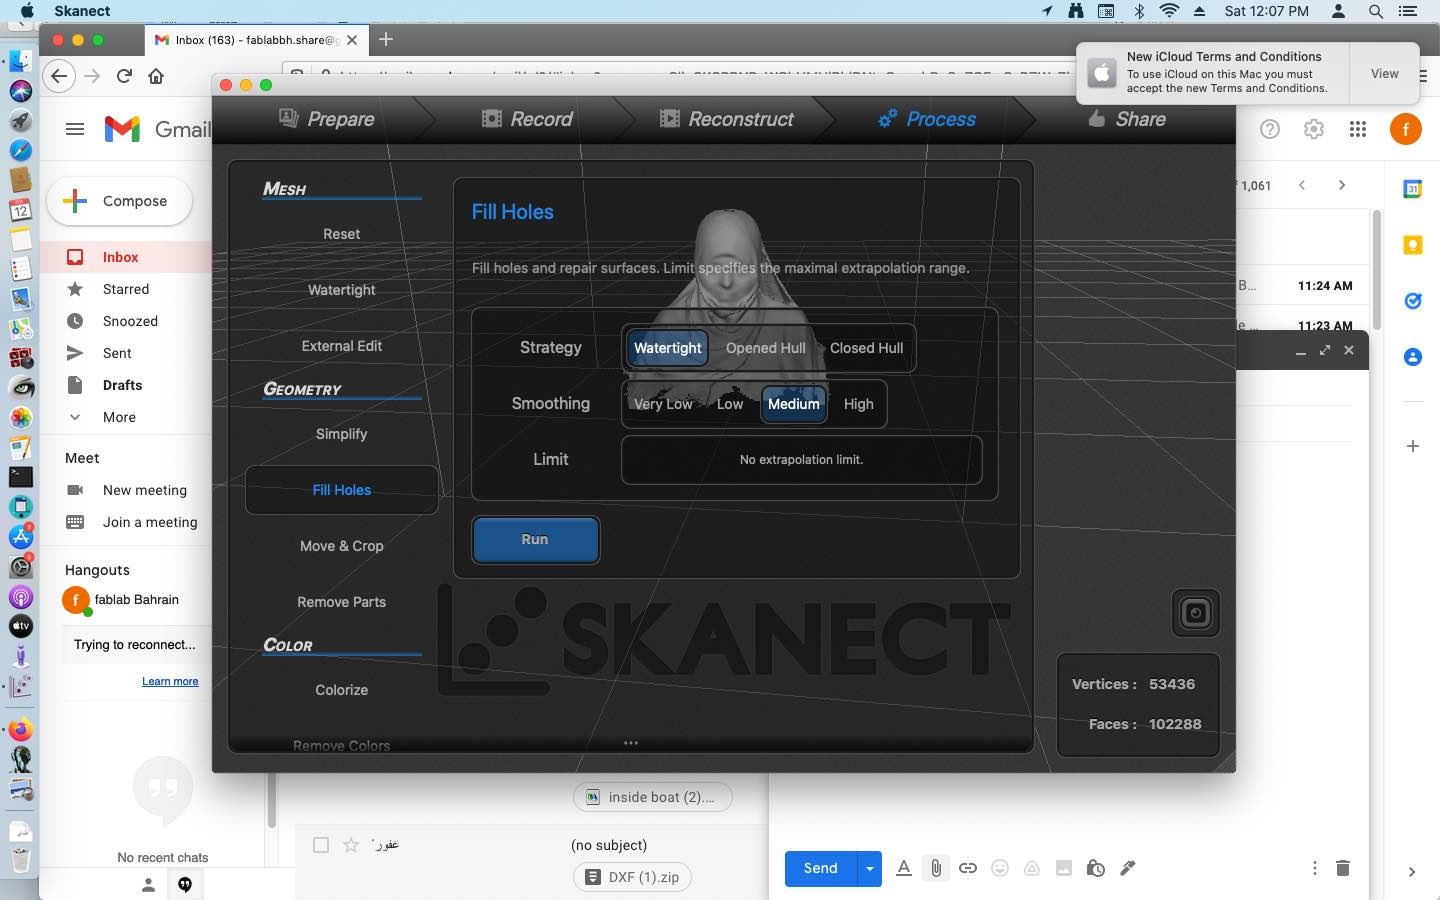
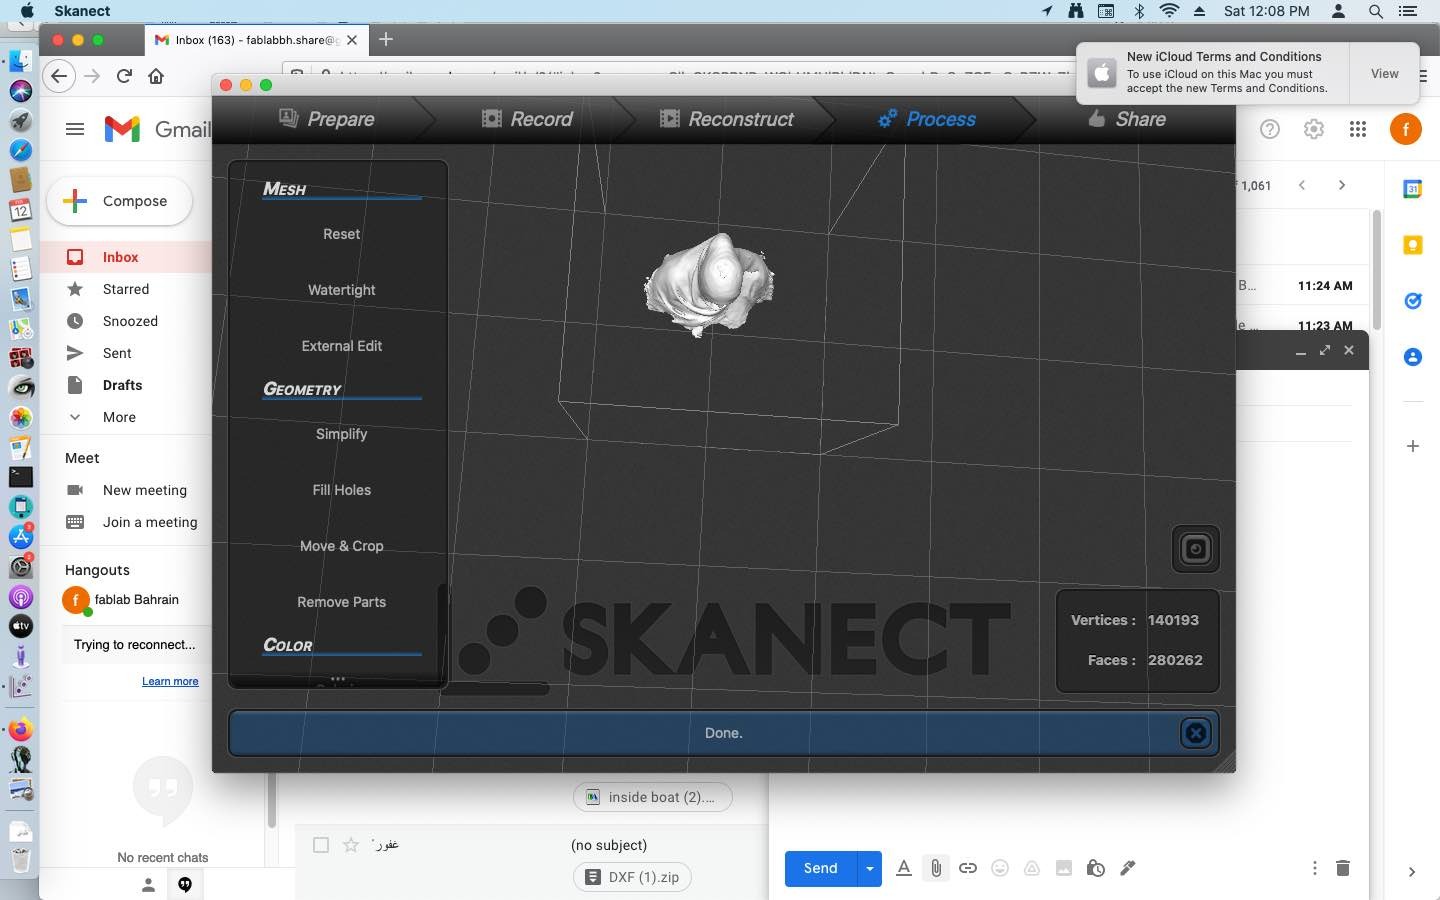
SKANCET
Skancet is a 3D Scanning software, that captures a full 3D model or object, and scans it. It uses XBOX 360, which has RGB camera, 3D depth sensors, for capturing the objects.
Video Representation of Skancet
Here is a small teaser regarding the Skancet software.
MY OWN SCAN
I had started doing my own Scan, with the help of my instructor, Duaa. 360 XBOX was used to set the camera angle, and I was seated and told to rotate very slowly, so the camera can detect my features properly. Here are the final results, but one defect was also seen.
PROBLEM THAT OCCURED:
Because the camera wasn’t set at a proper angle from the top part, the head area is missing some parts, and the scanner shows a depression in that particular area. This was corrected by modifying some settings, such as colorizing and infilling it, and the final results are as follows:
STL Design files
Click to download the STL design files
Fusion360 Design files
Click to download the fusion360 design files