2. Computer Aided design
This week I worked on getting familiar with Fusion 360 and designing 3D models.
Design files
fusion 360
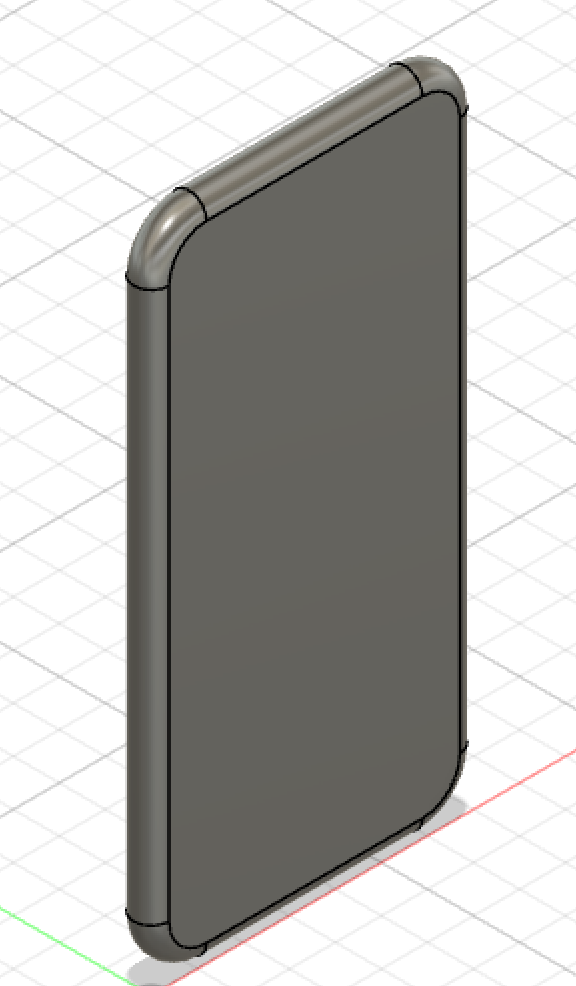
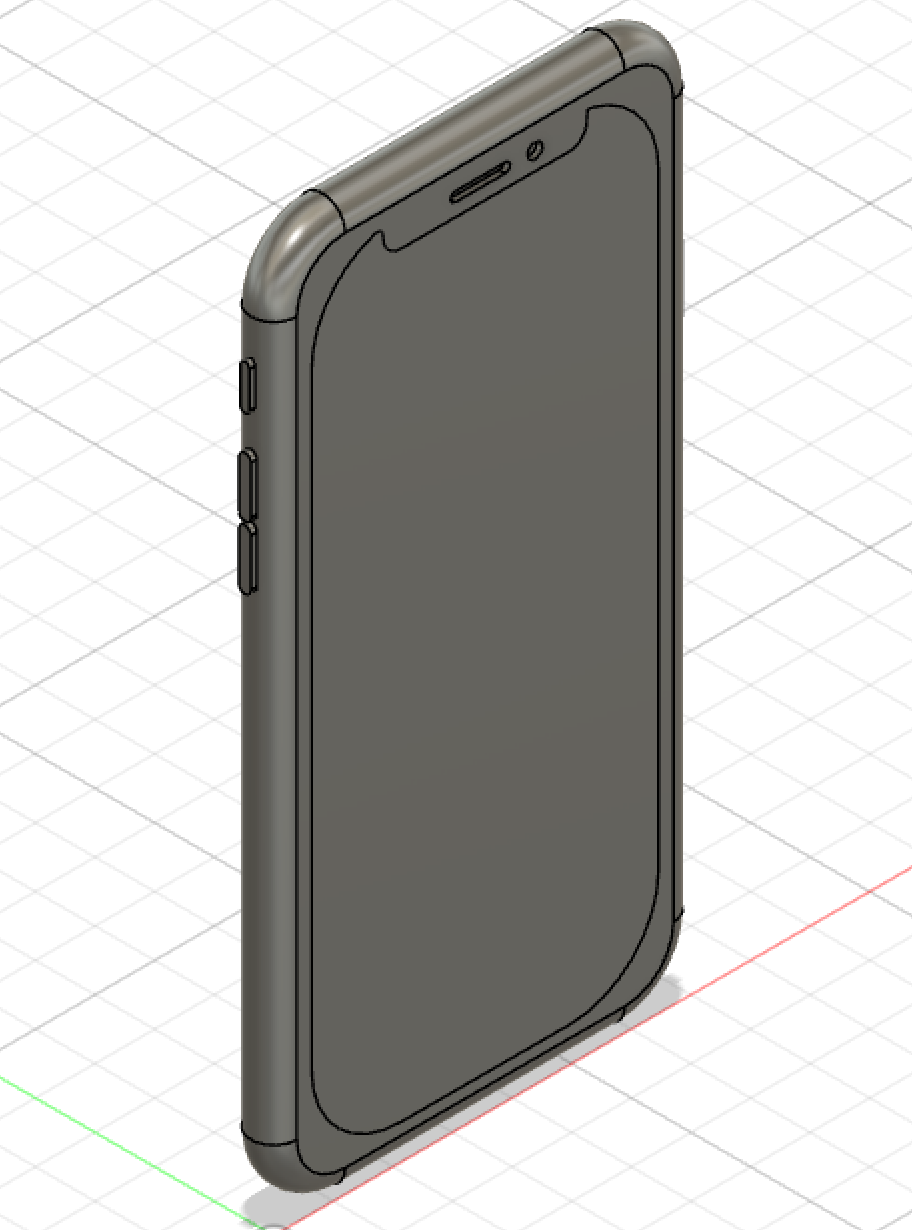
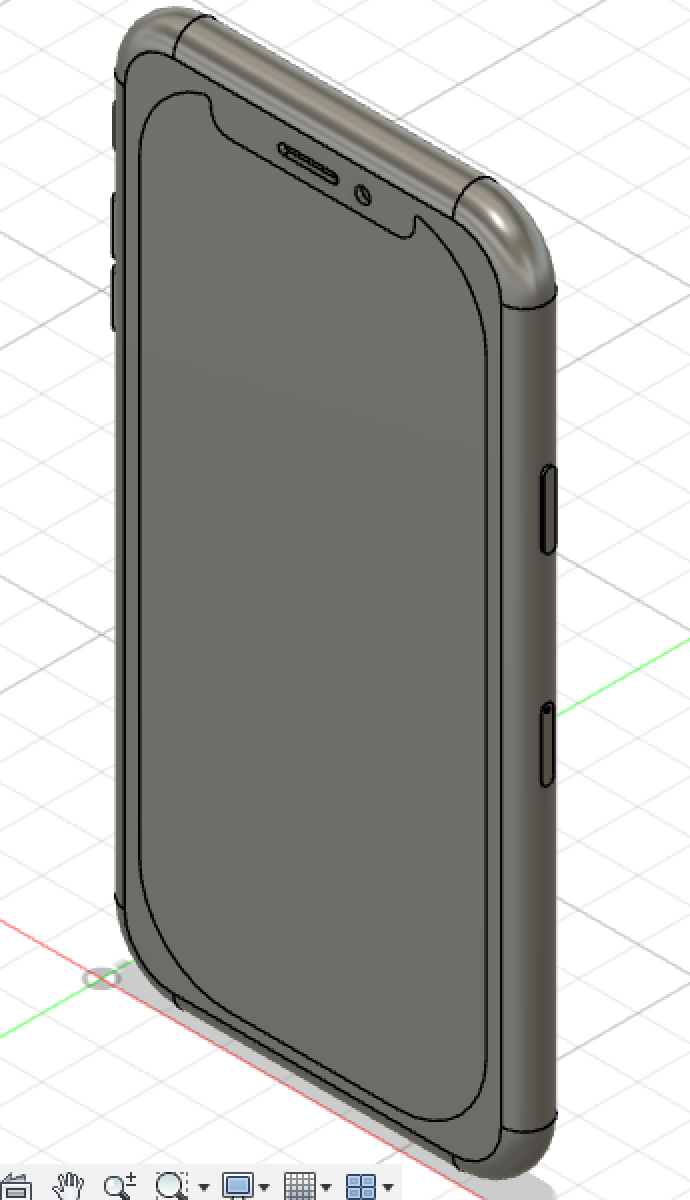
- Step 1: Making the base
1.1 Sketching the base of the Iphone.
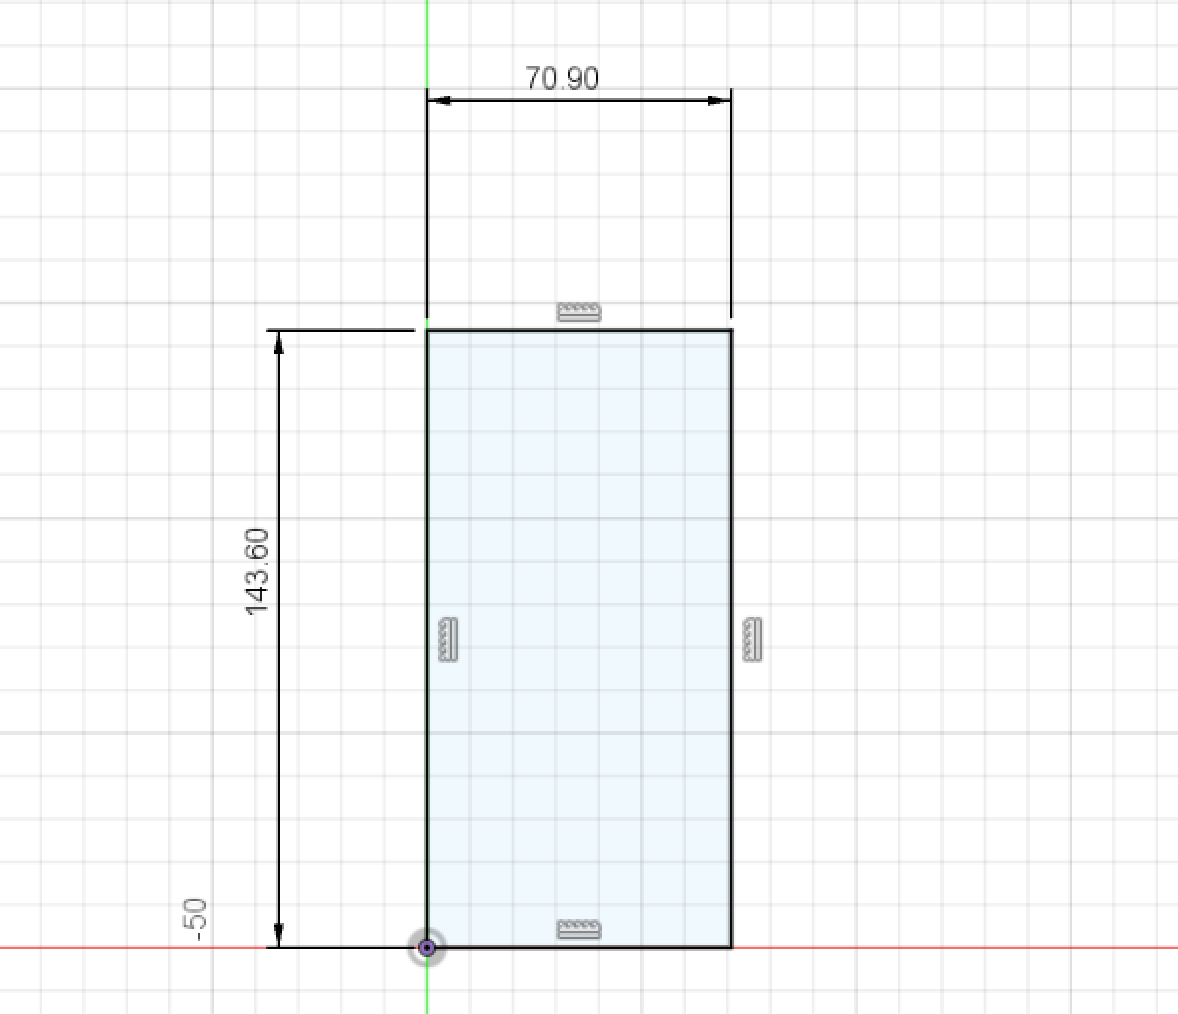
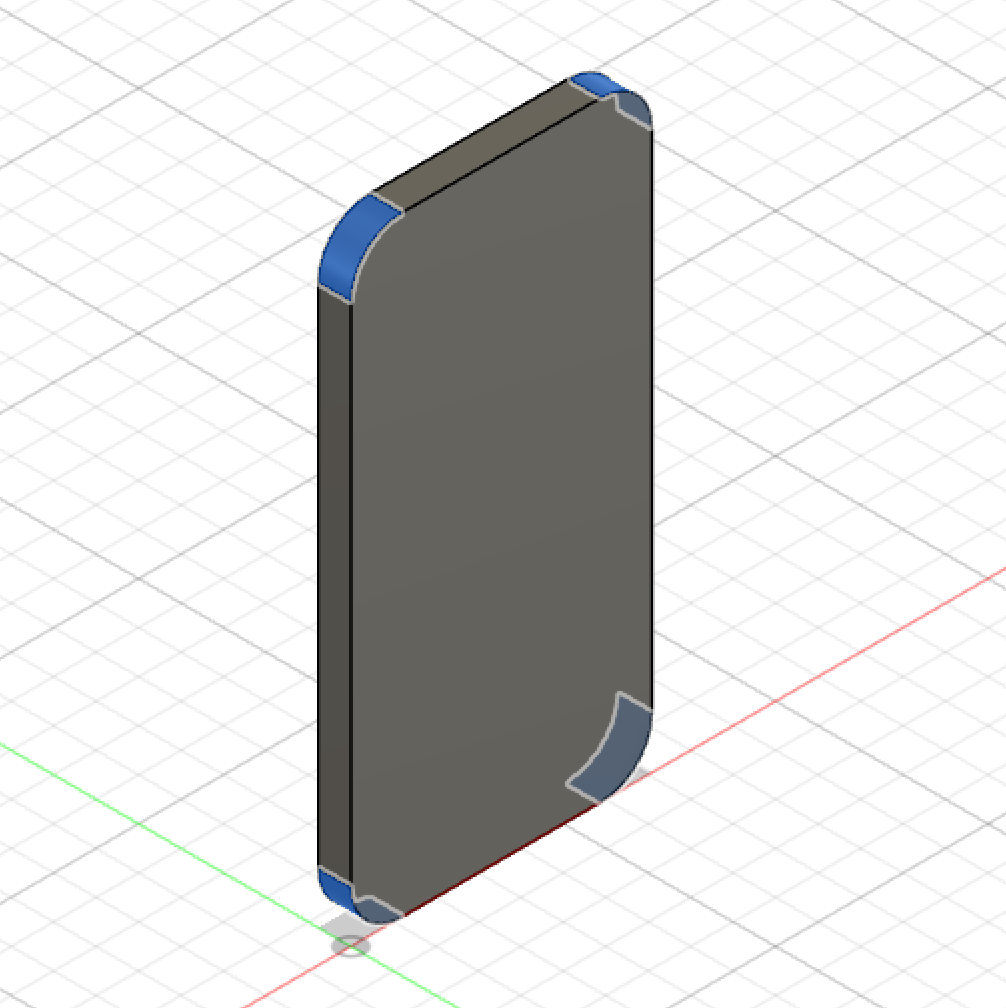
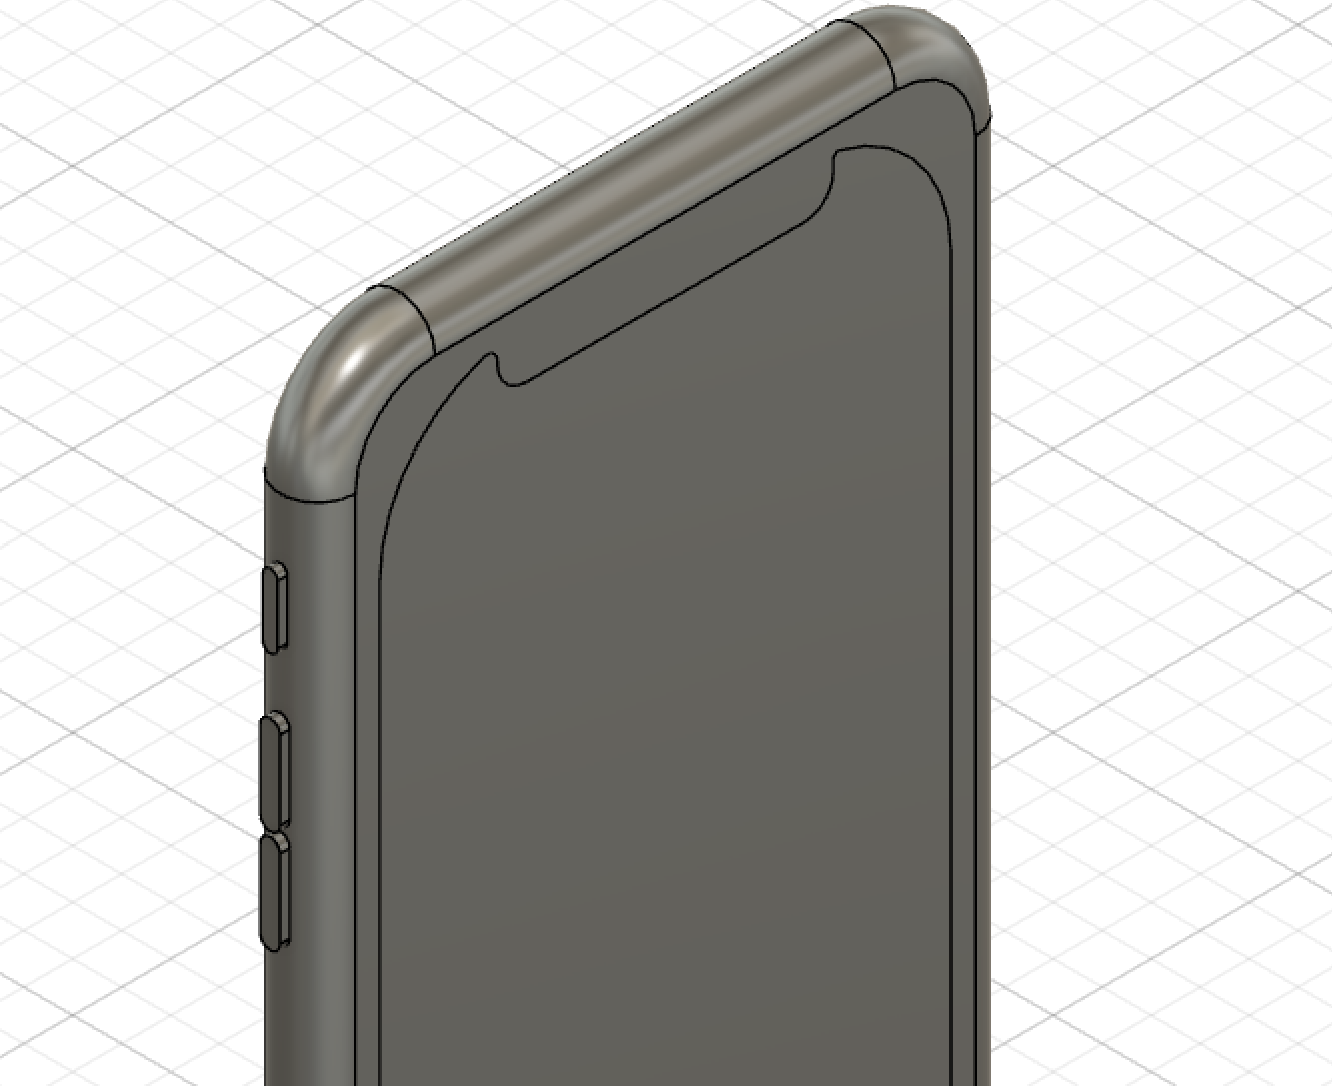
1.2 Using the extrude tool and using the fillet tool to smooth the corners.
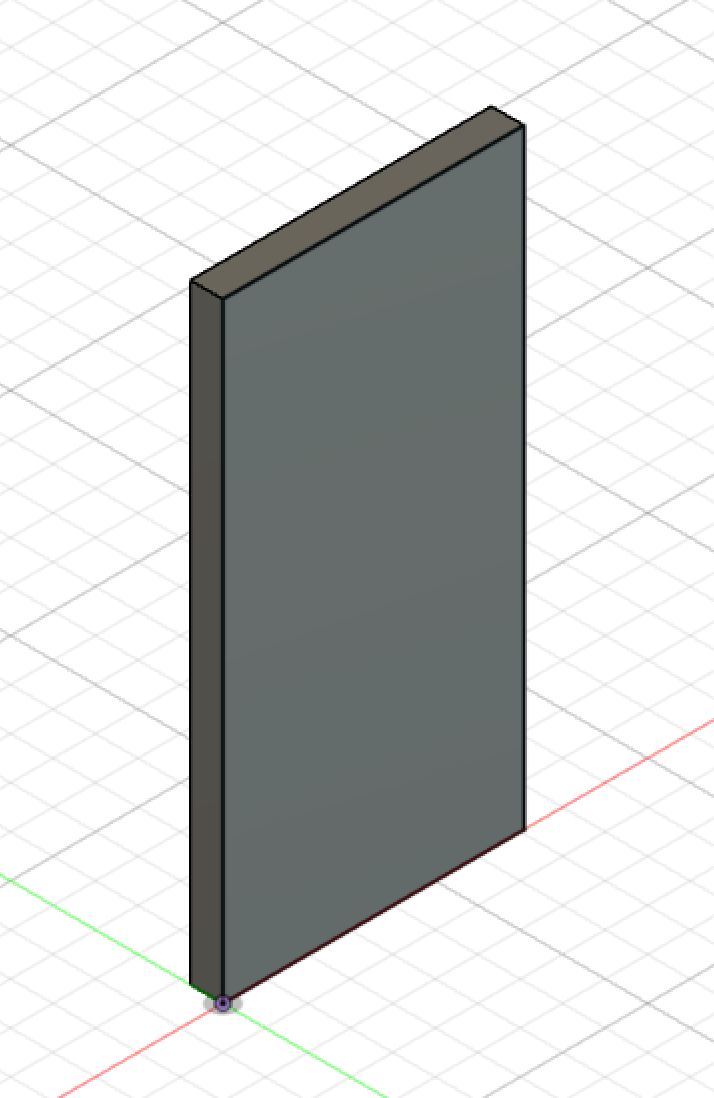
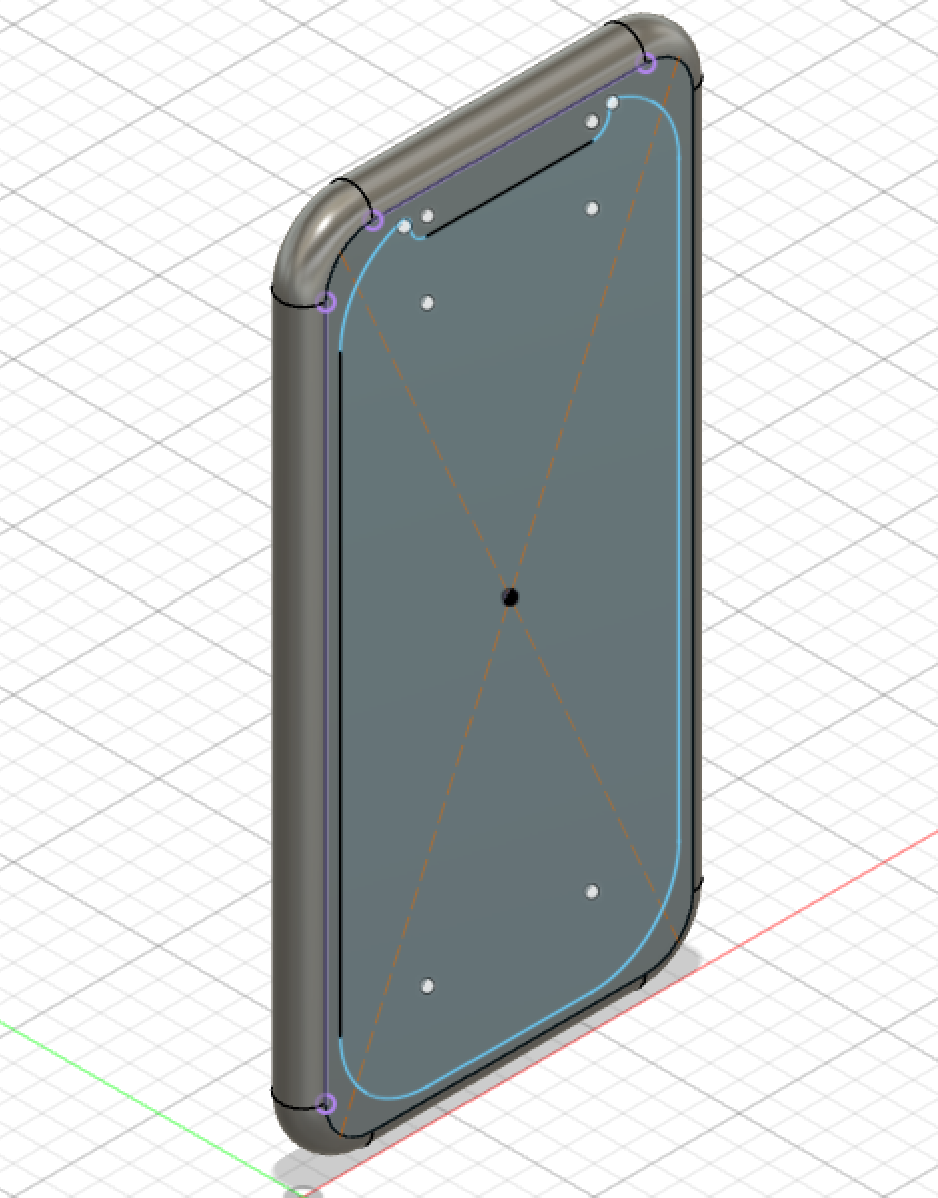
1.3 Sketching the frame of the iphone and using the offset tool to have the sketch in the middile of the phone in order to use sweep tool.
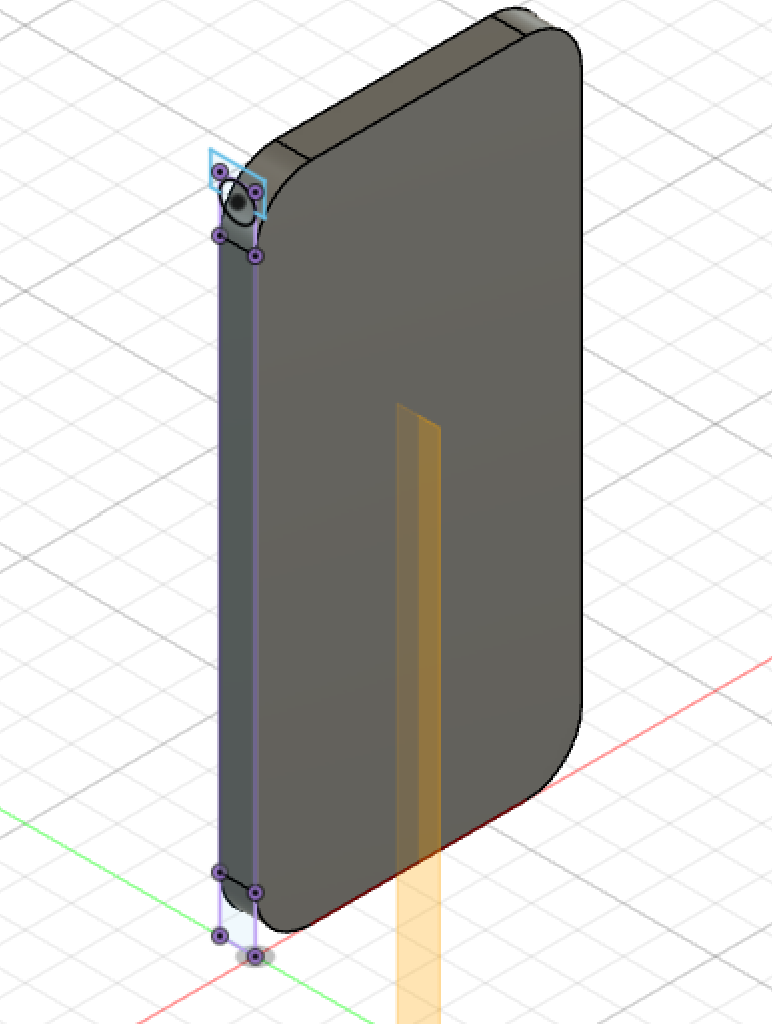
After using Sweep Tool:
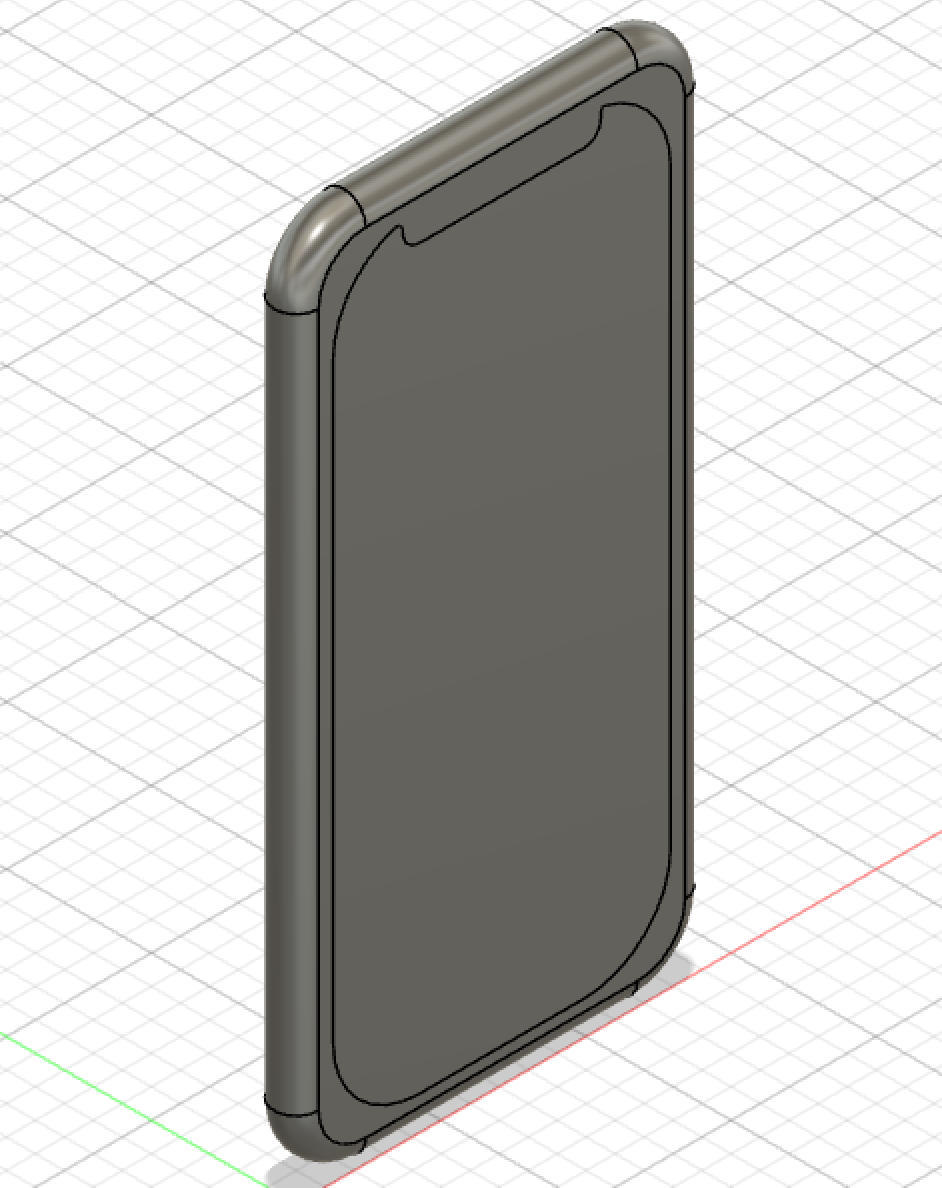
- Step 2: Making the screen.
2.1 Using the center of the phone as a refrence, made a regtangle, used the fillet tool again to smooth the corners, and then removed all the unnecessary lines using trim tool in sketch mode.
2.2 Using the SplitFace tool to seperate it from the base of the phone.
Step 3: Creating the buttons.
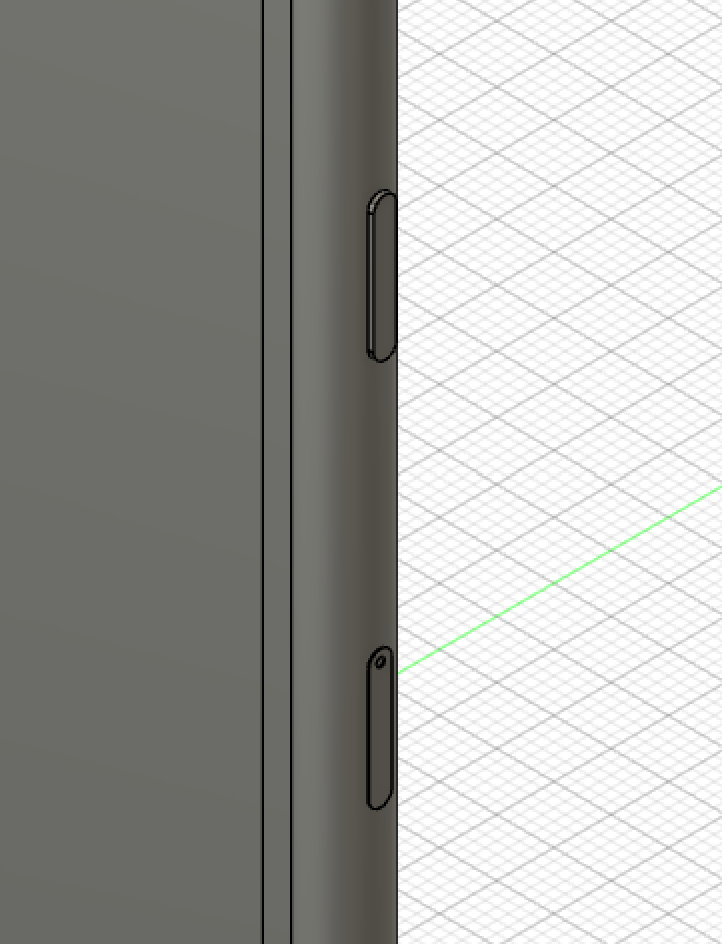
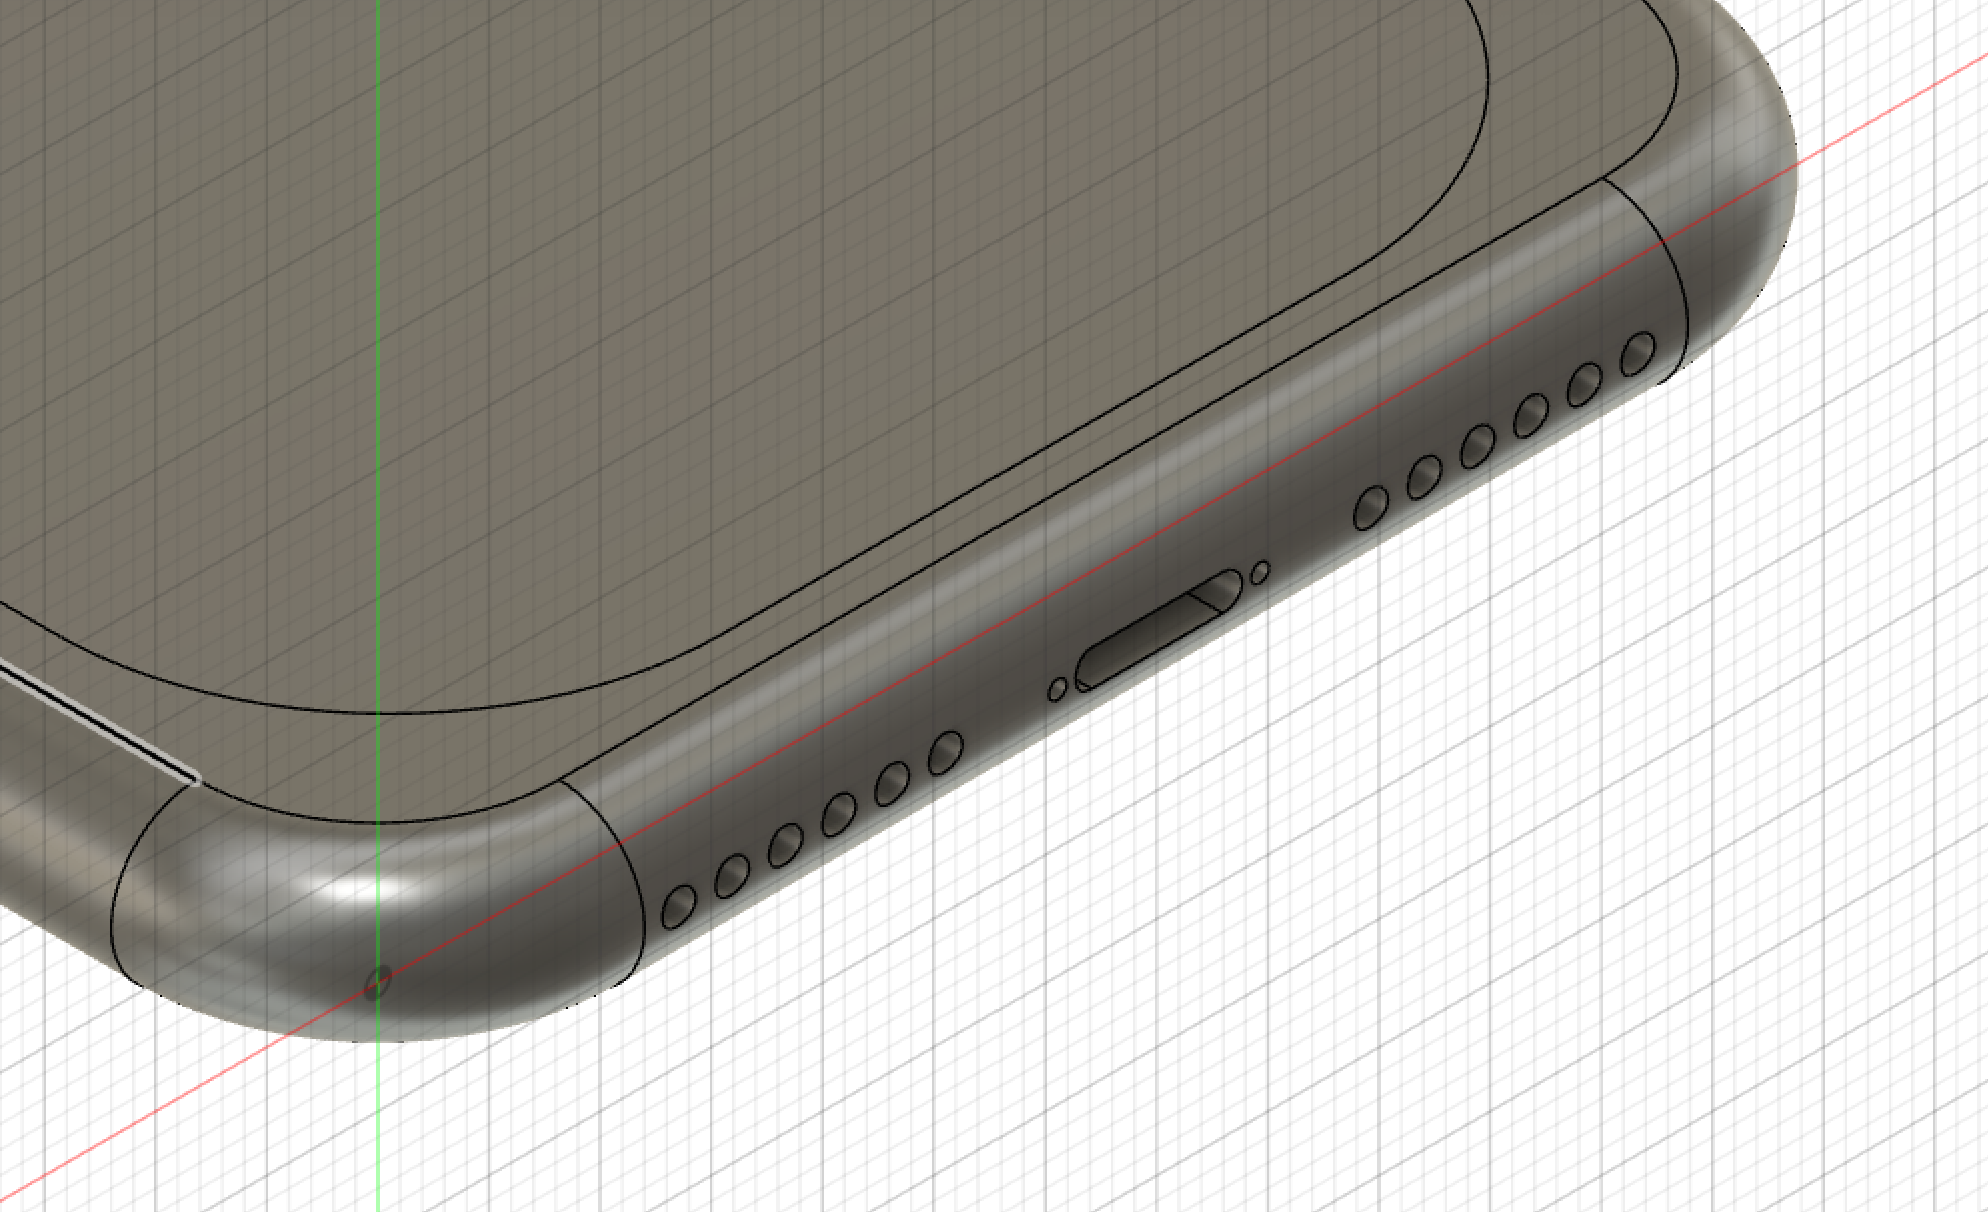
3.1: Volume and Mute buttons. Using the side of the phone as a plane, used it to sketch a slot and then extrude.
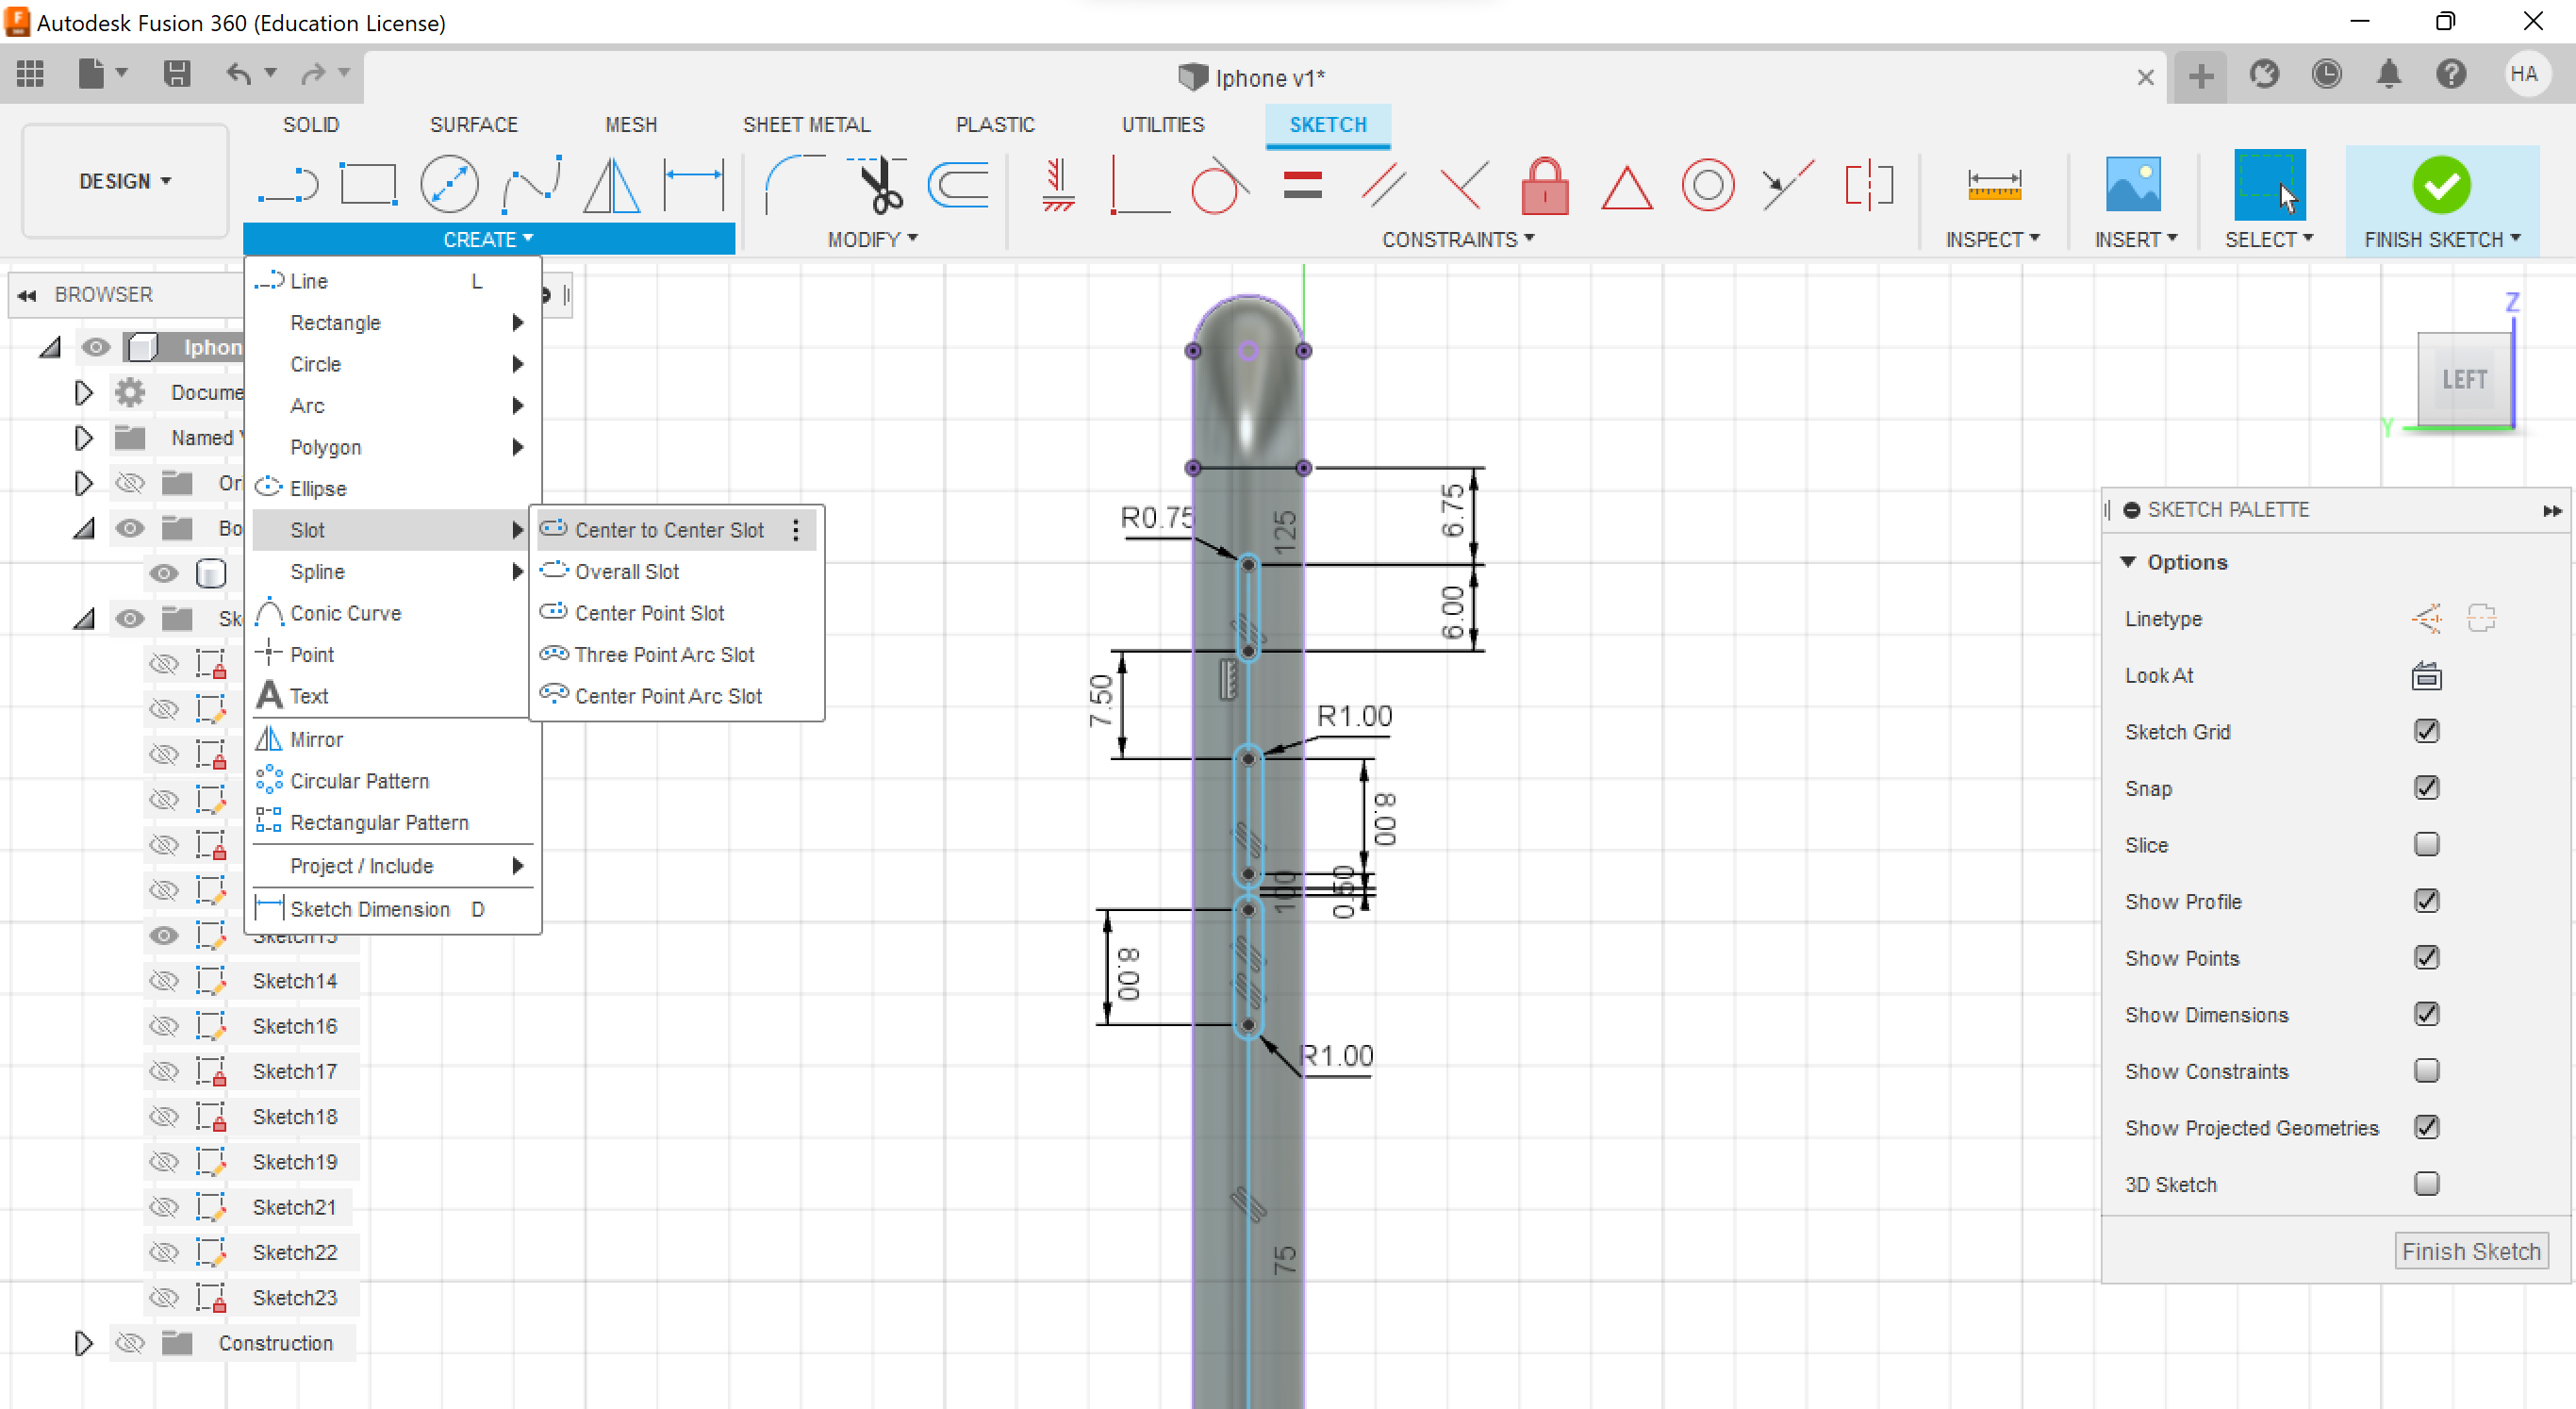
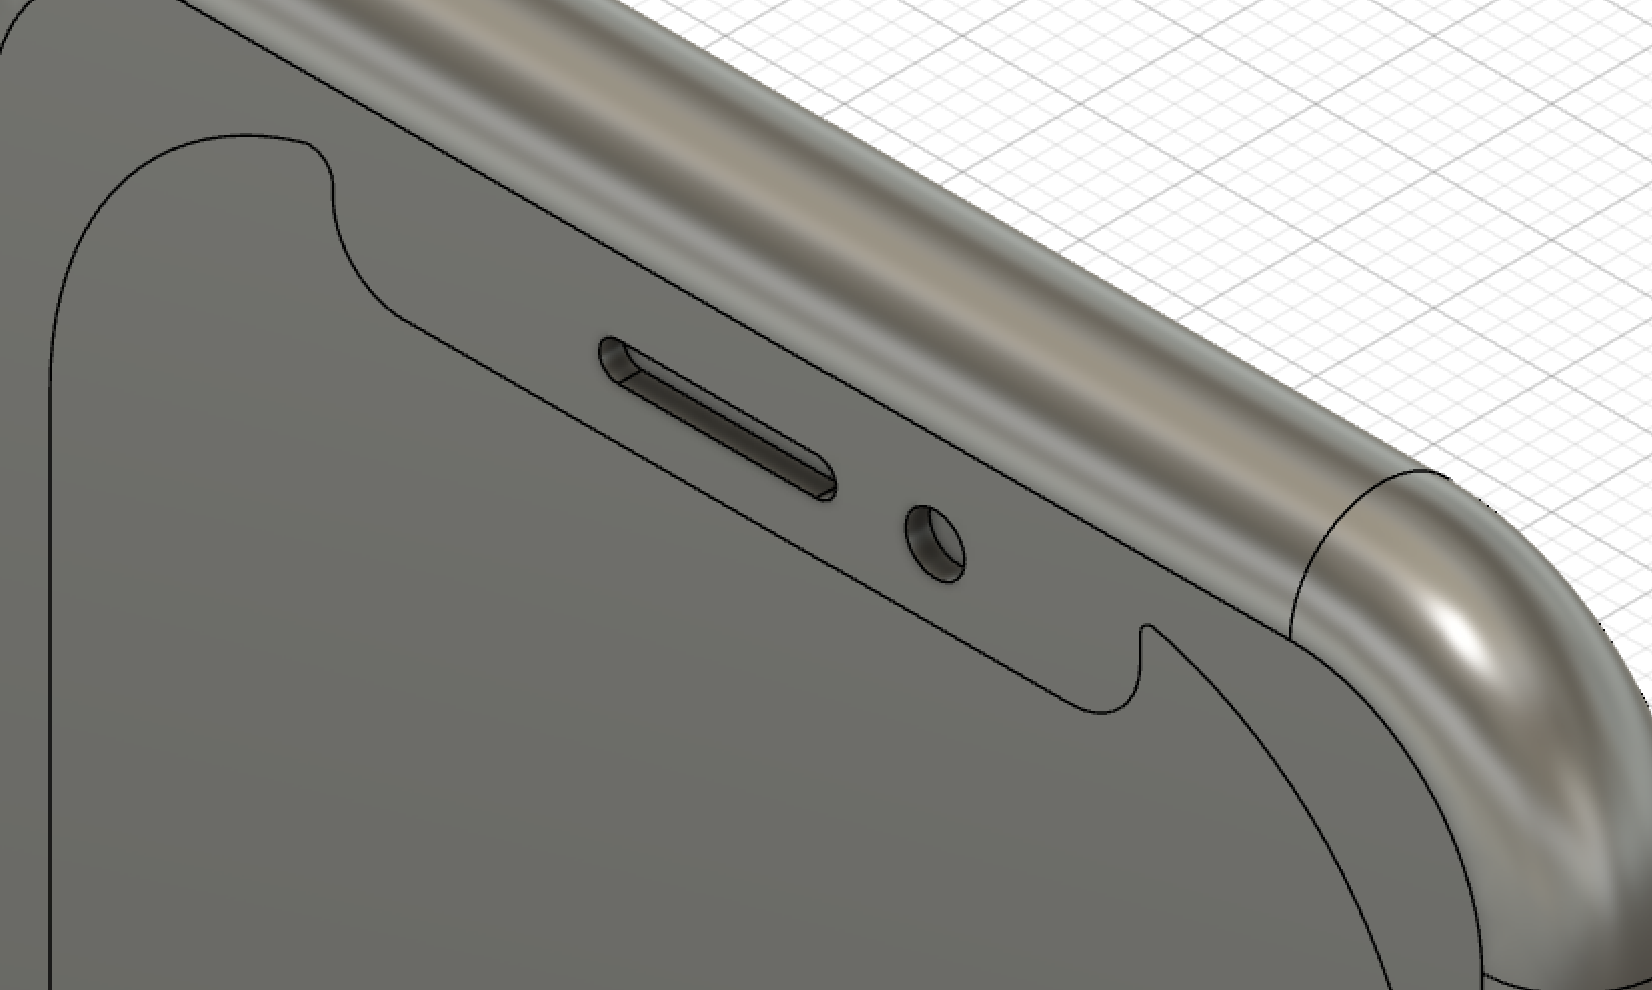
3.2: Lock and Sim card port Used the original plane used for 3.1 and offset it to the other side of the phone which was 70.9mm.
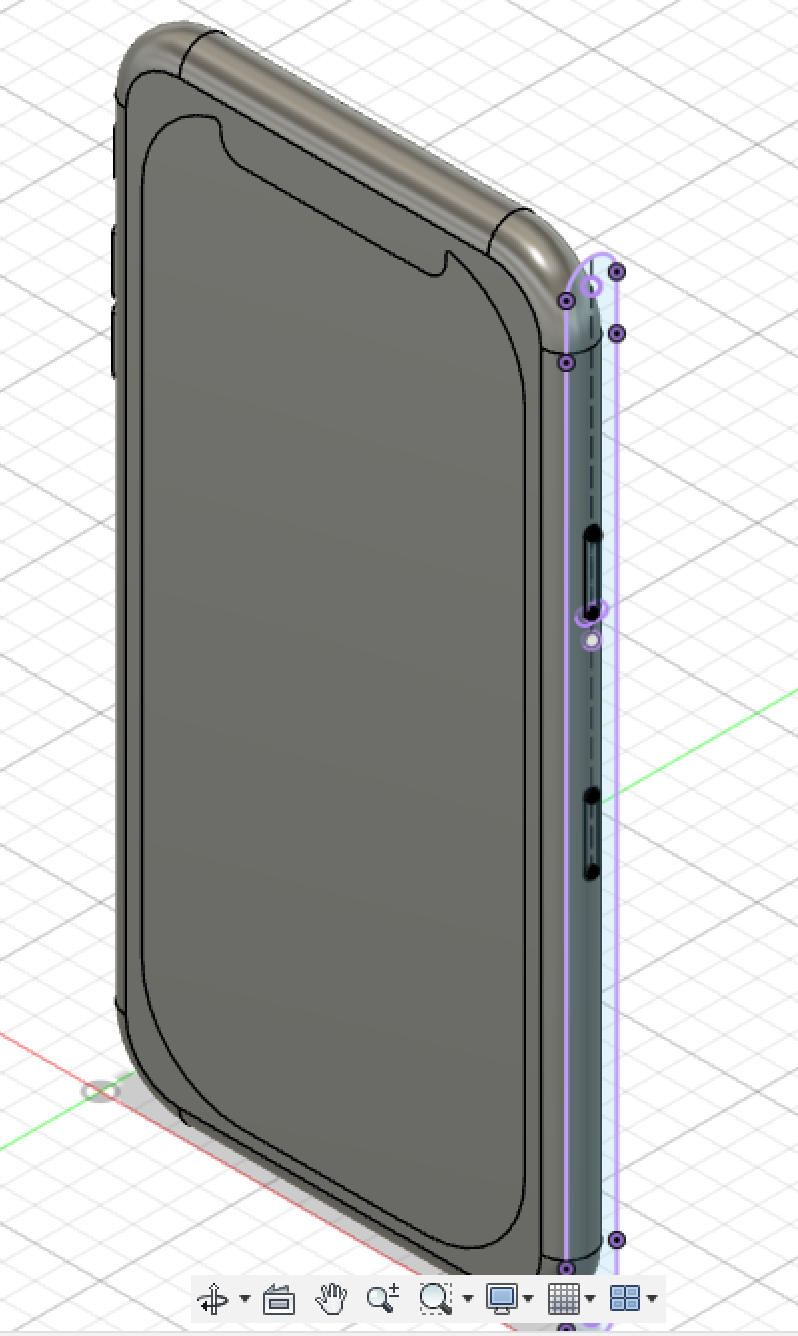
Used the hole tool to make the keyhole for the sim card port
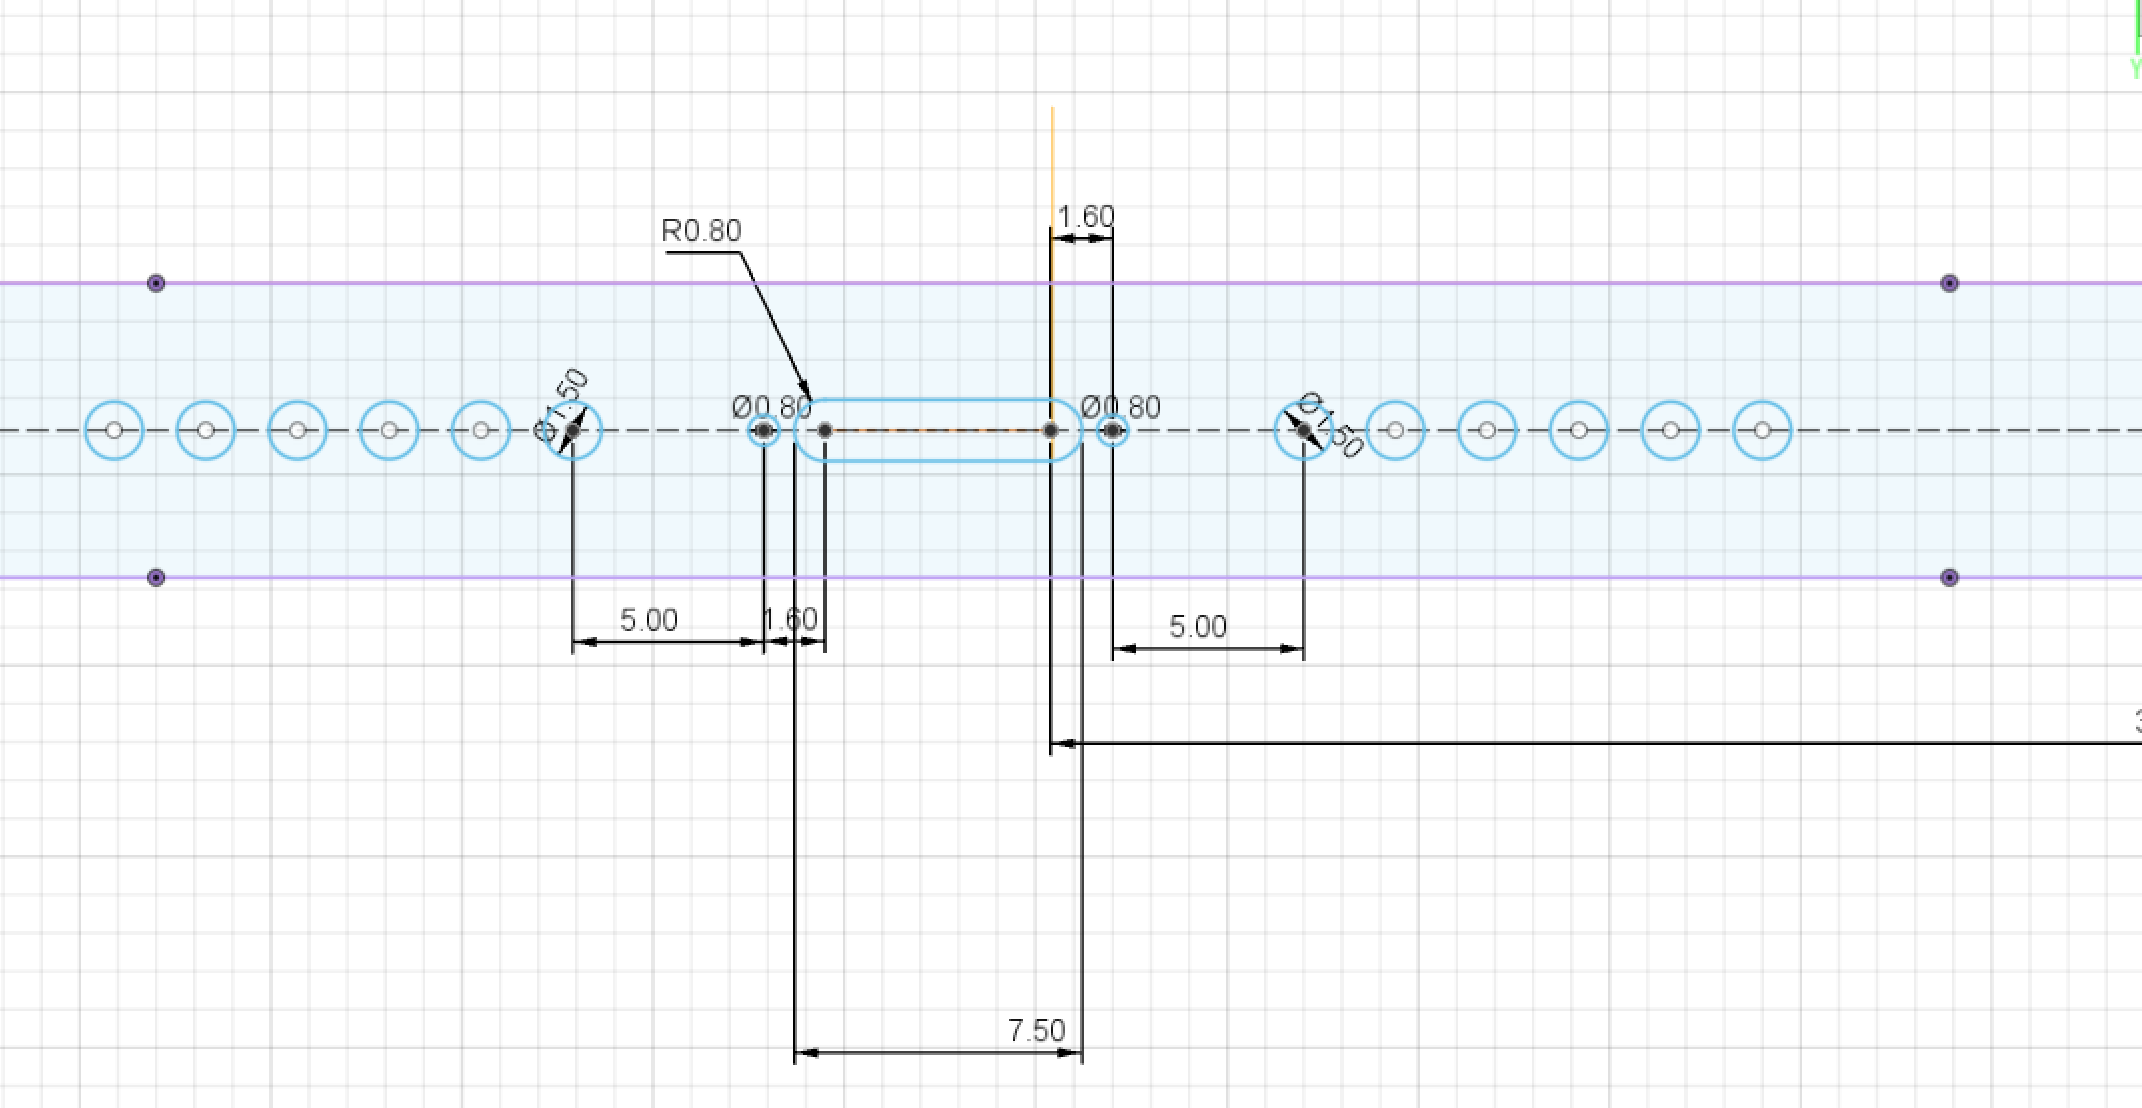
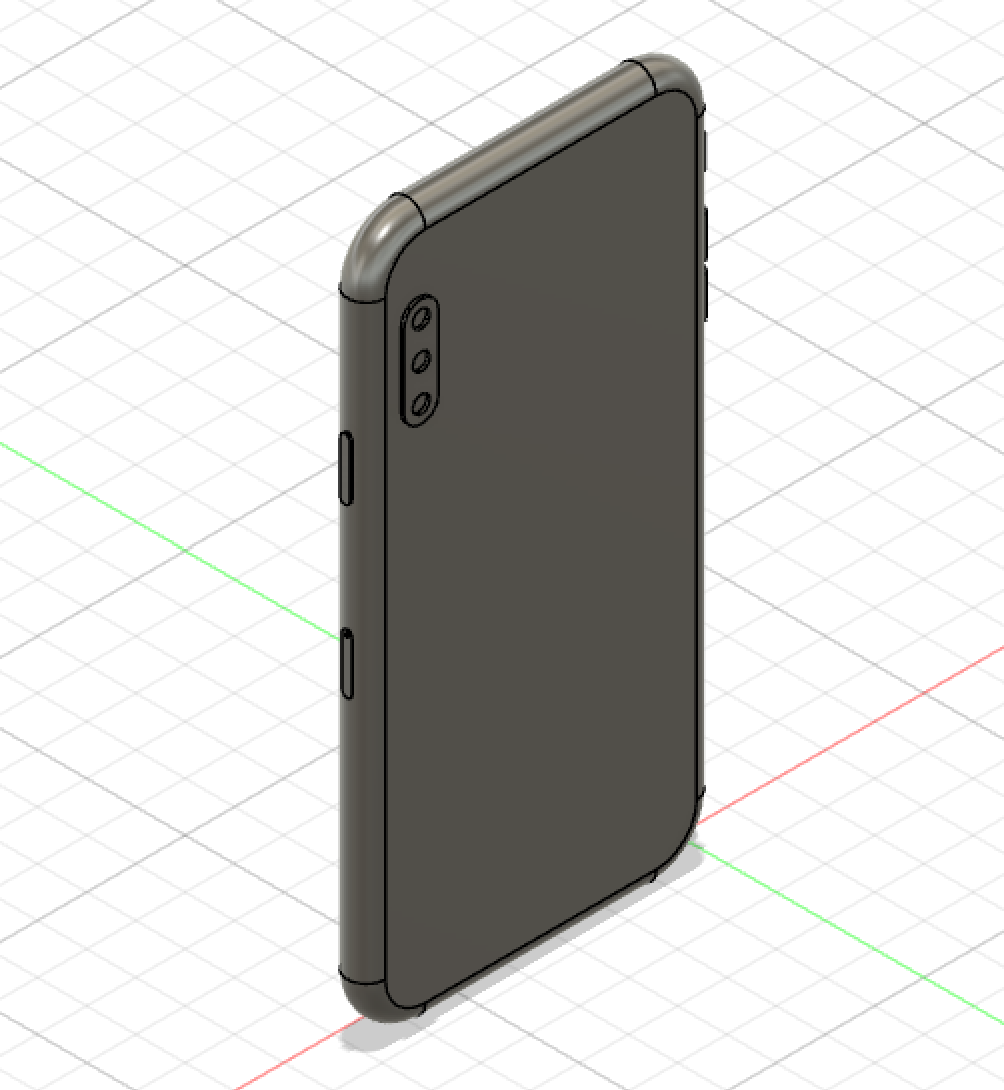
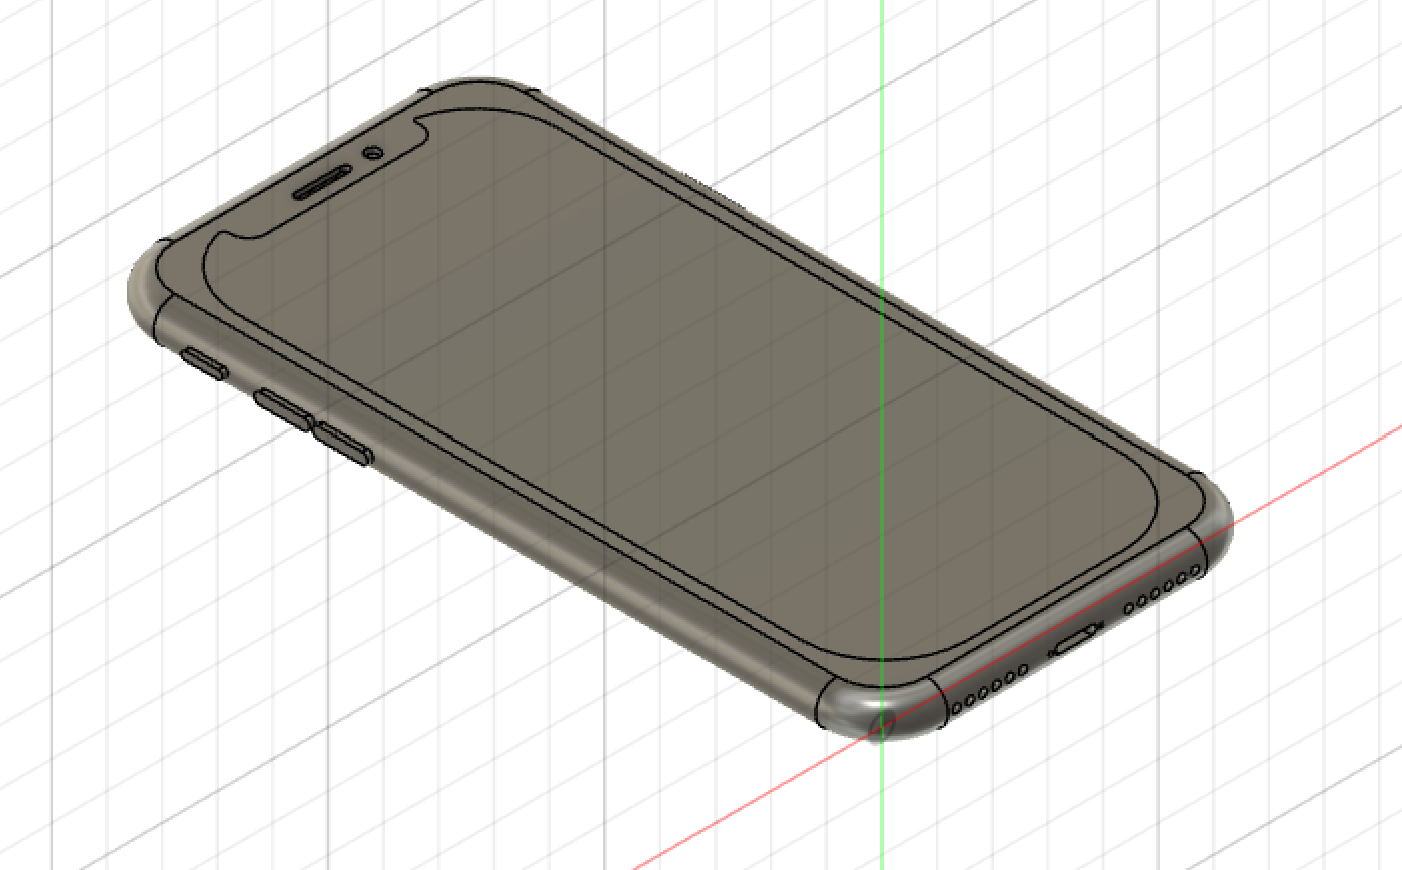
Step 4: Cameras, Speakers and Charging port.
4.1: Front speaker and camera. First thing is I used the phones screen as a plane and sketched a slot and a circle(as the camera).

Used the extruding tool to go in the negative direction
4.2: Bottom speakers and port. Used the bottom as a plane and sketched slots and circular speakers, for the speakers regtangular pattern tool was used.
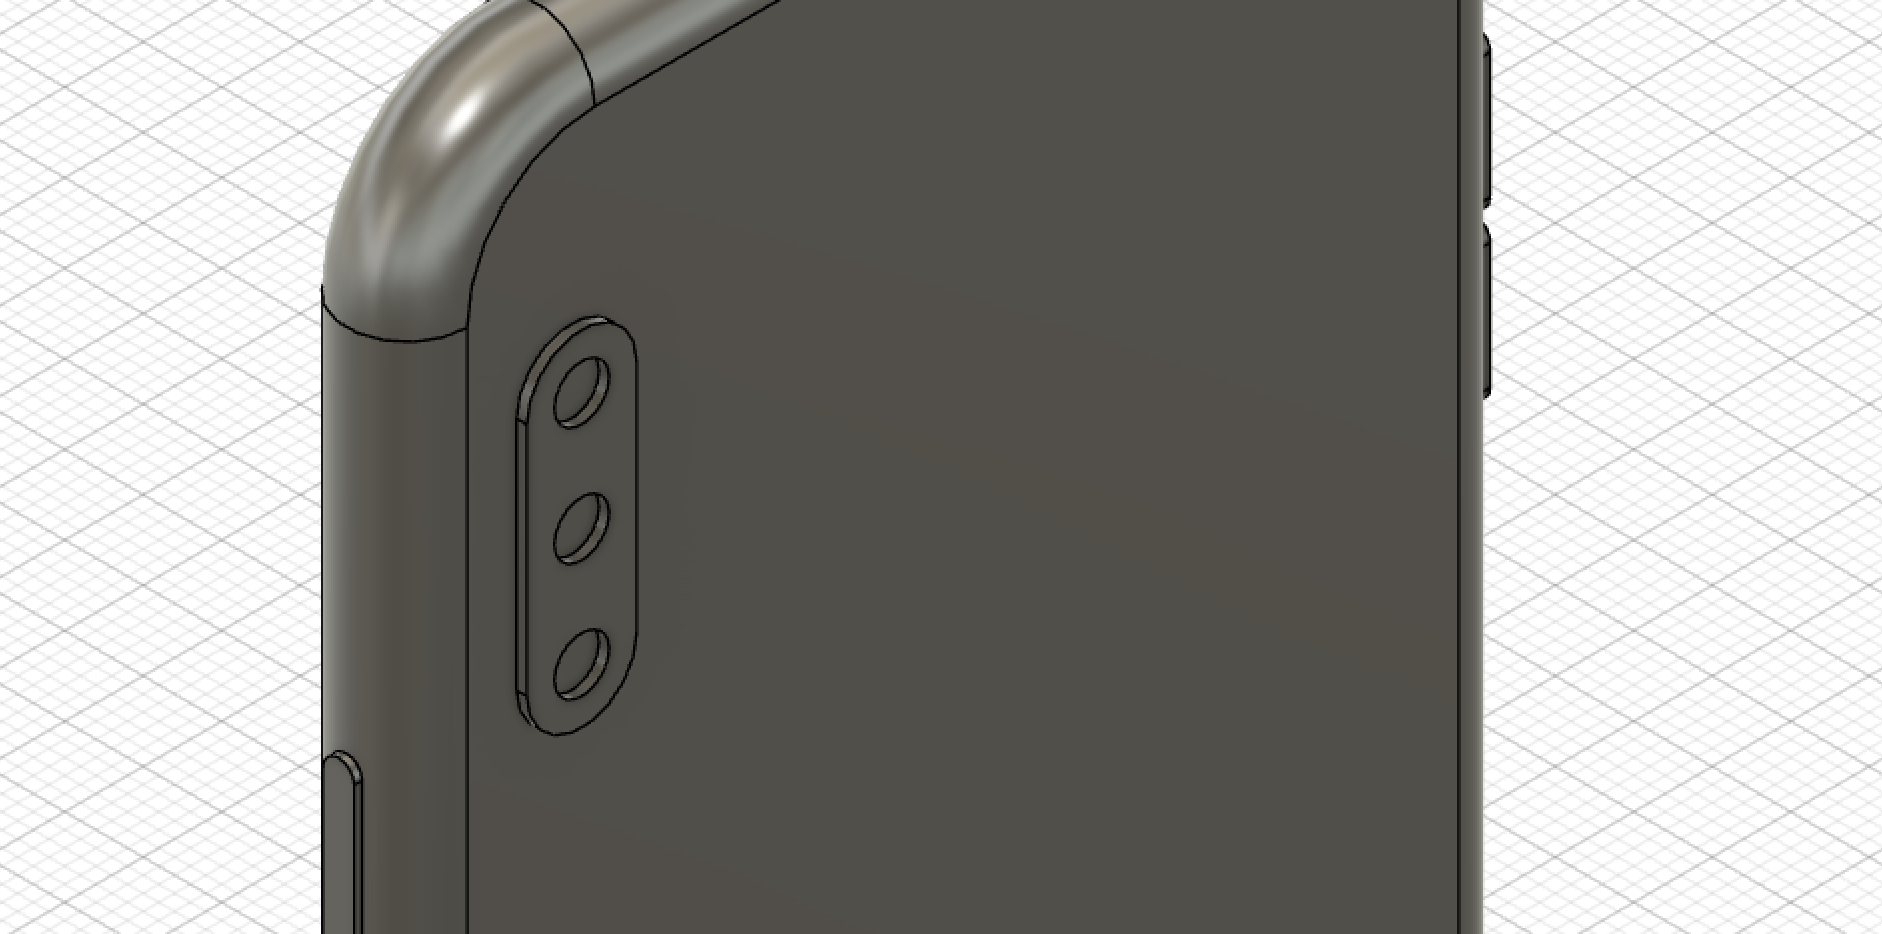
4.3: Back Camera. Used the back to sketch.
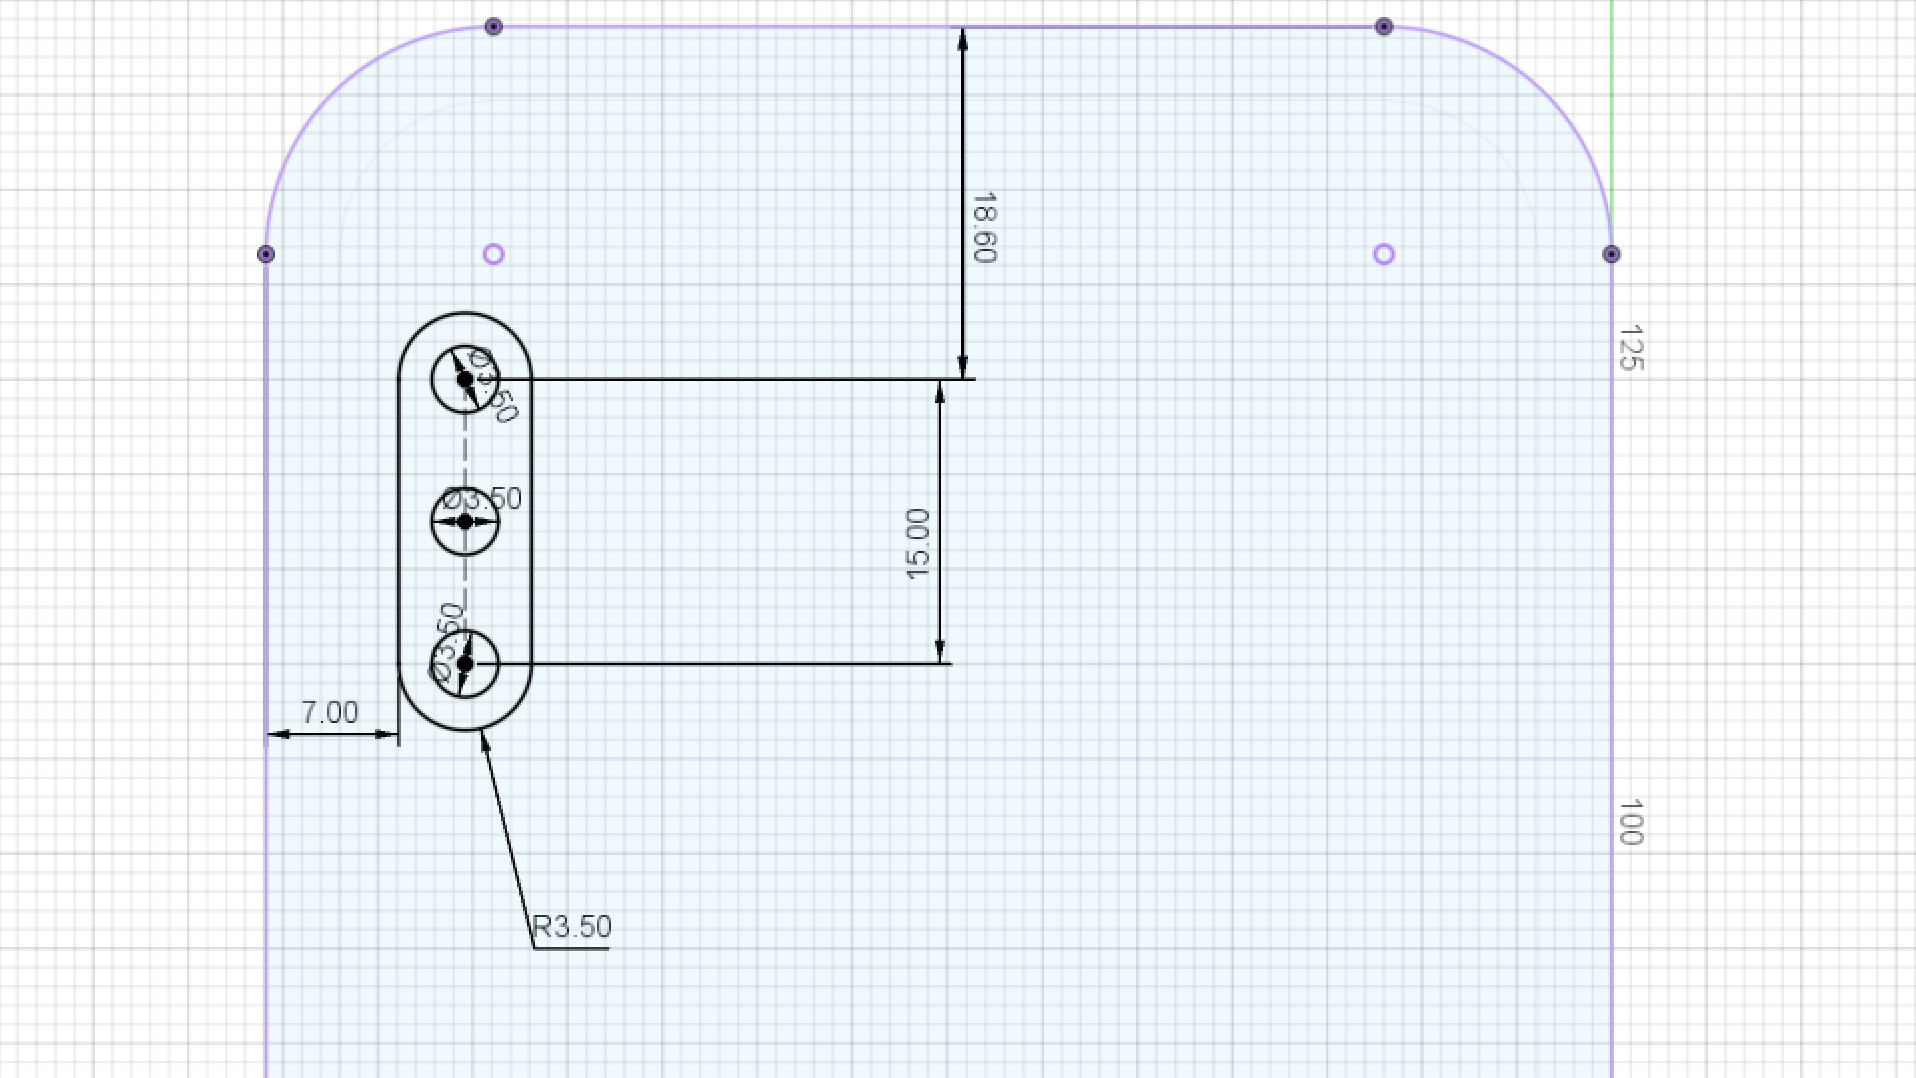
Extude it.
Results
TinkerCad
Creating a first 3D object
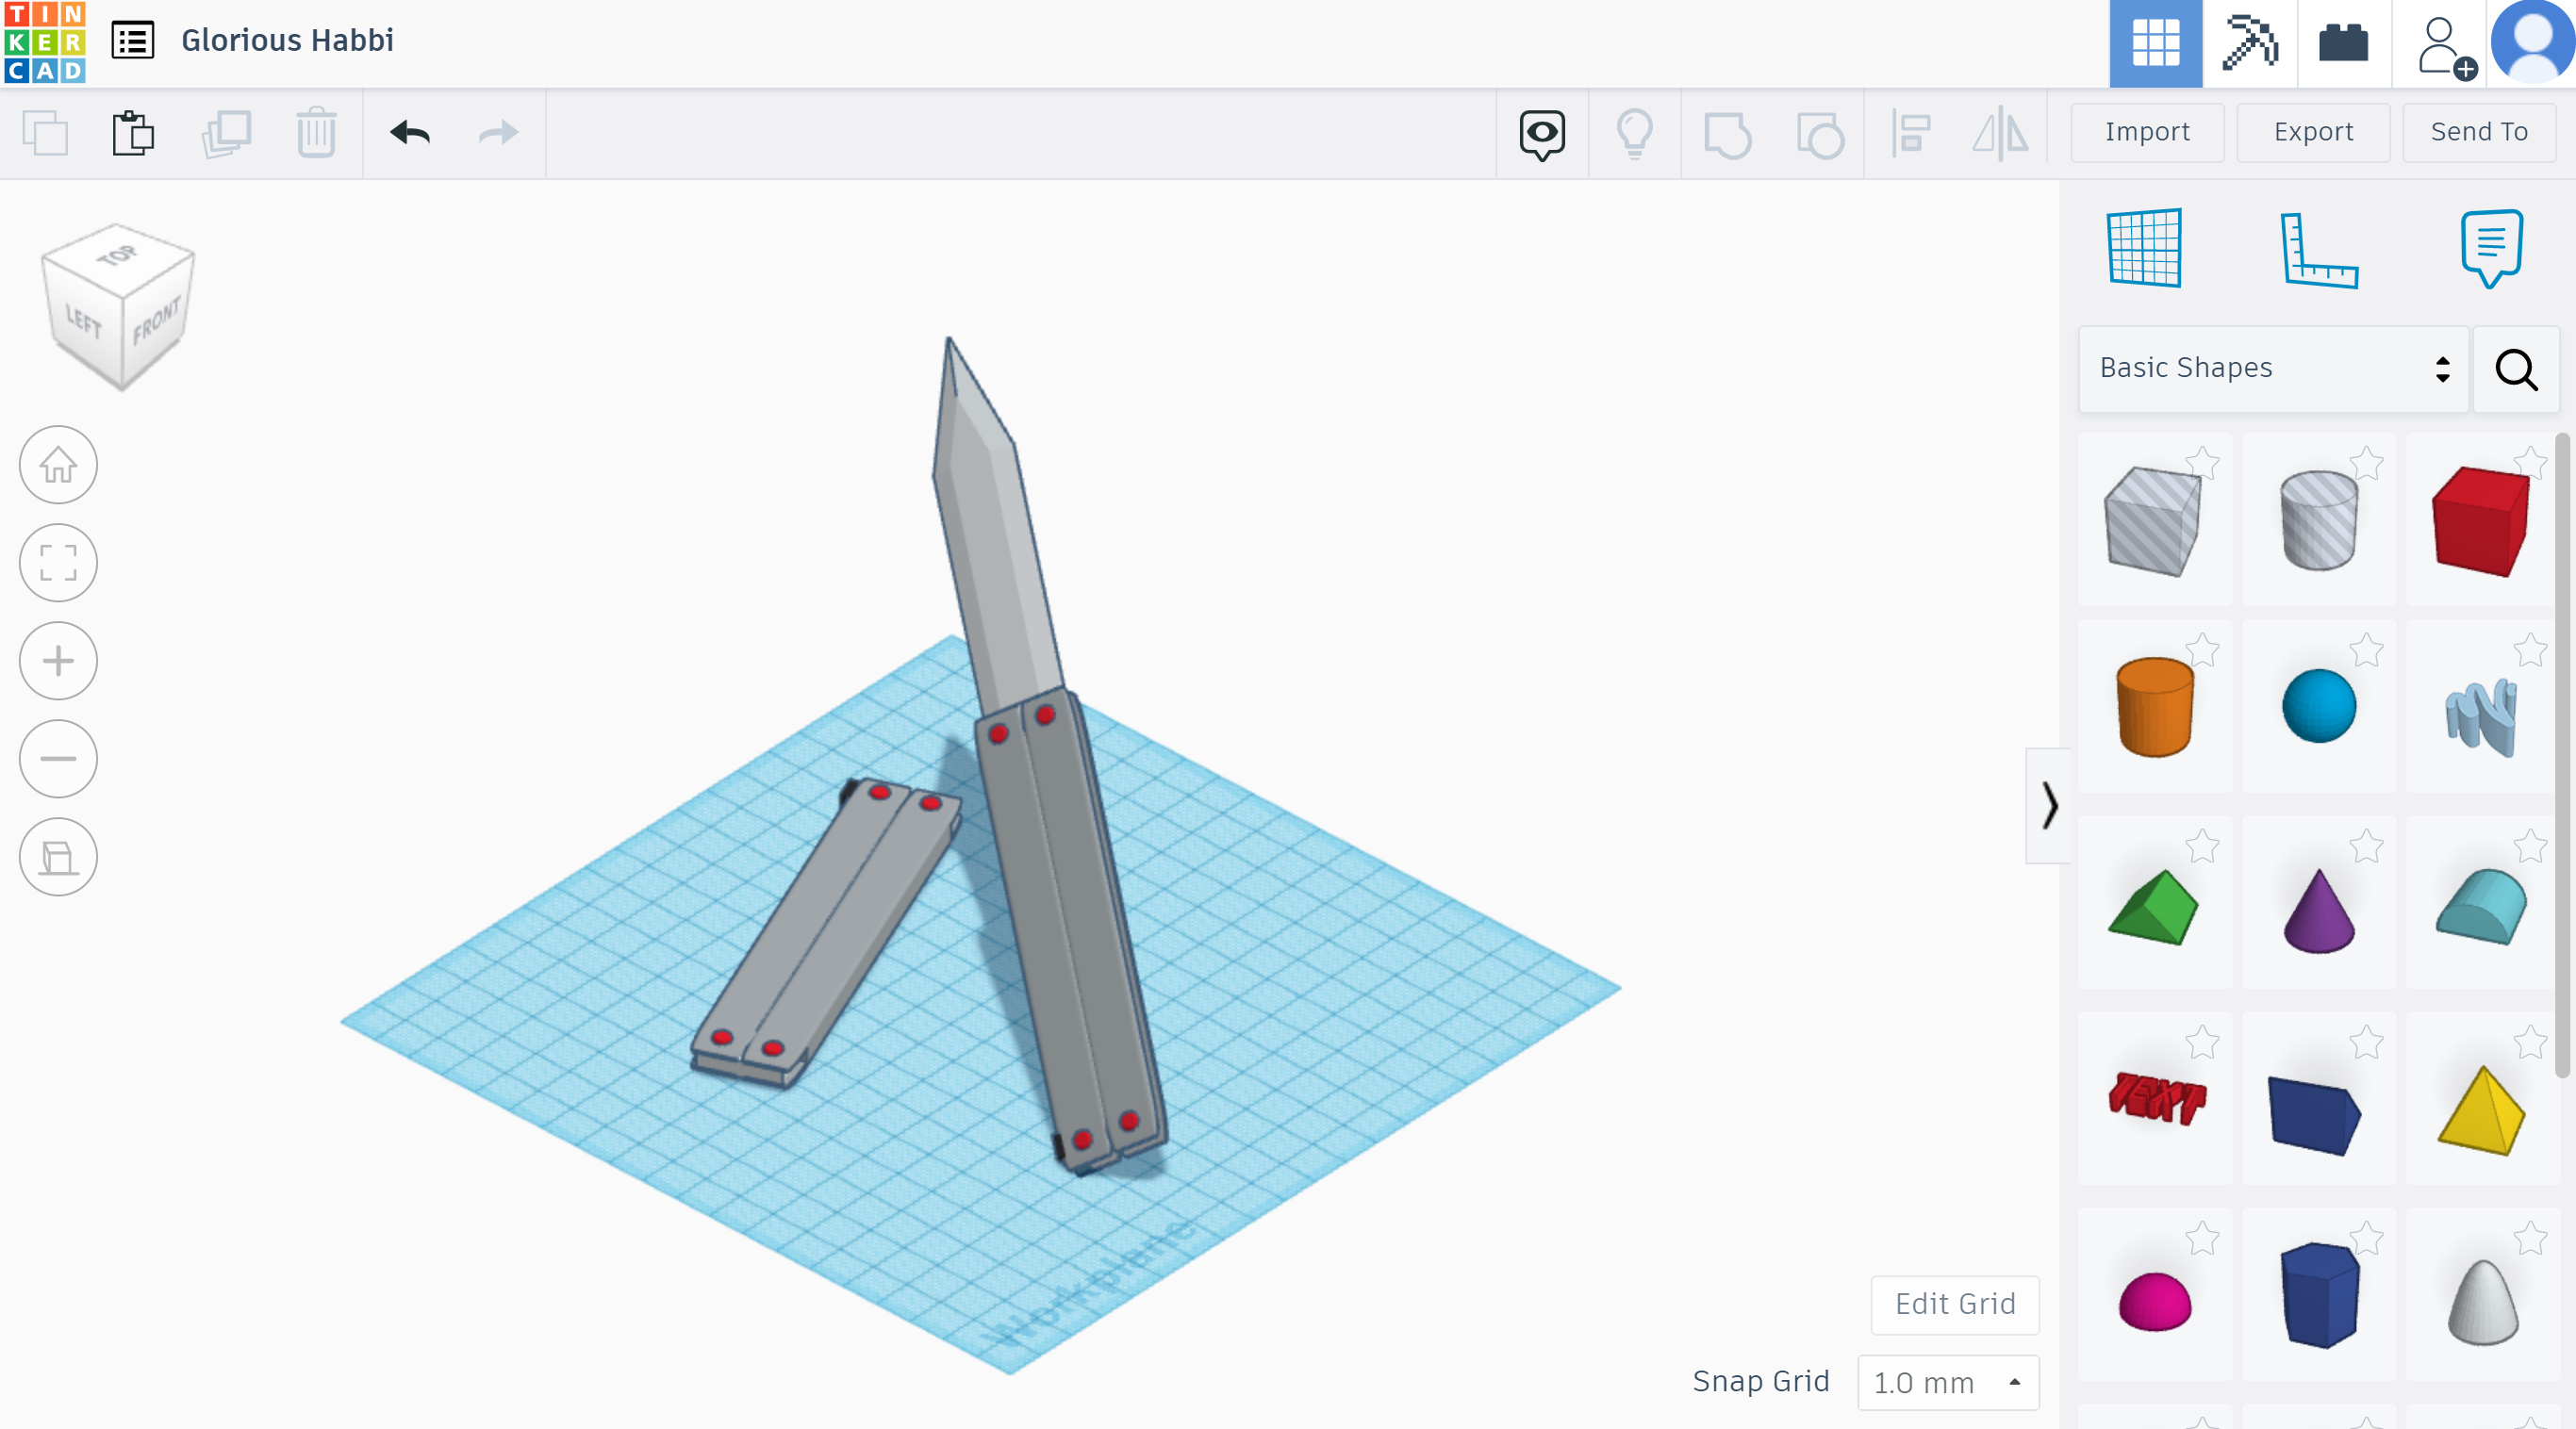
For my first 3D object we have been taught about Tinkercad so I decided to make something I hope I make in our lab, which was a butterfly knife/comb.
I had seen tutorials about the basics and followed them on youtube. Till I saw what I wanted.
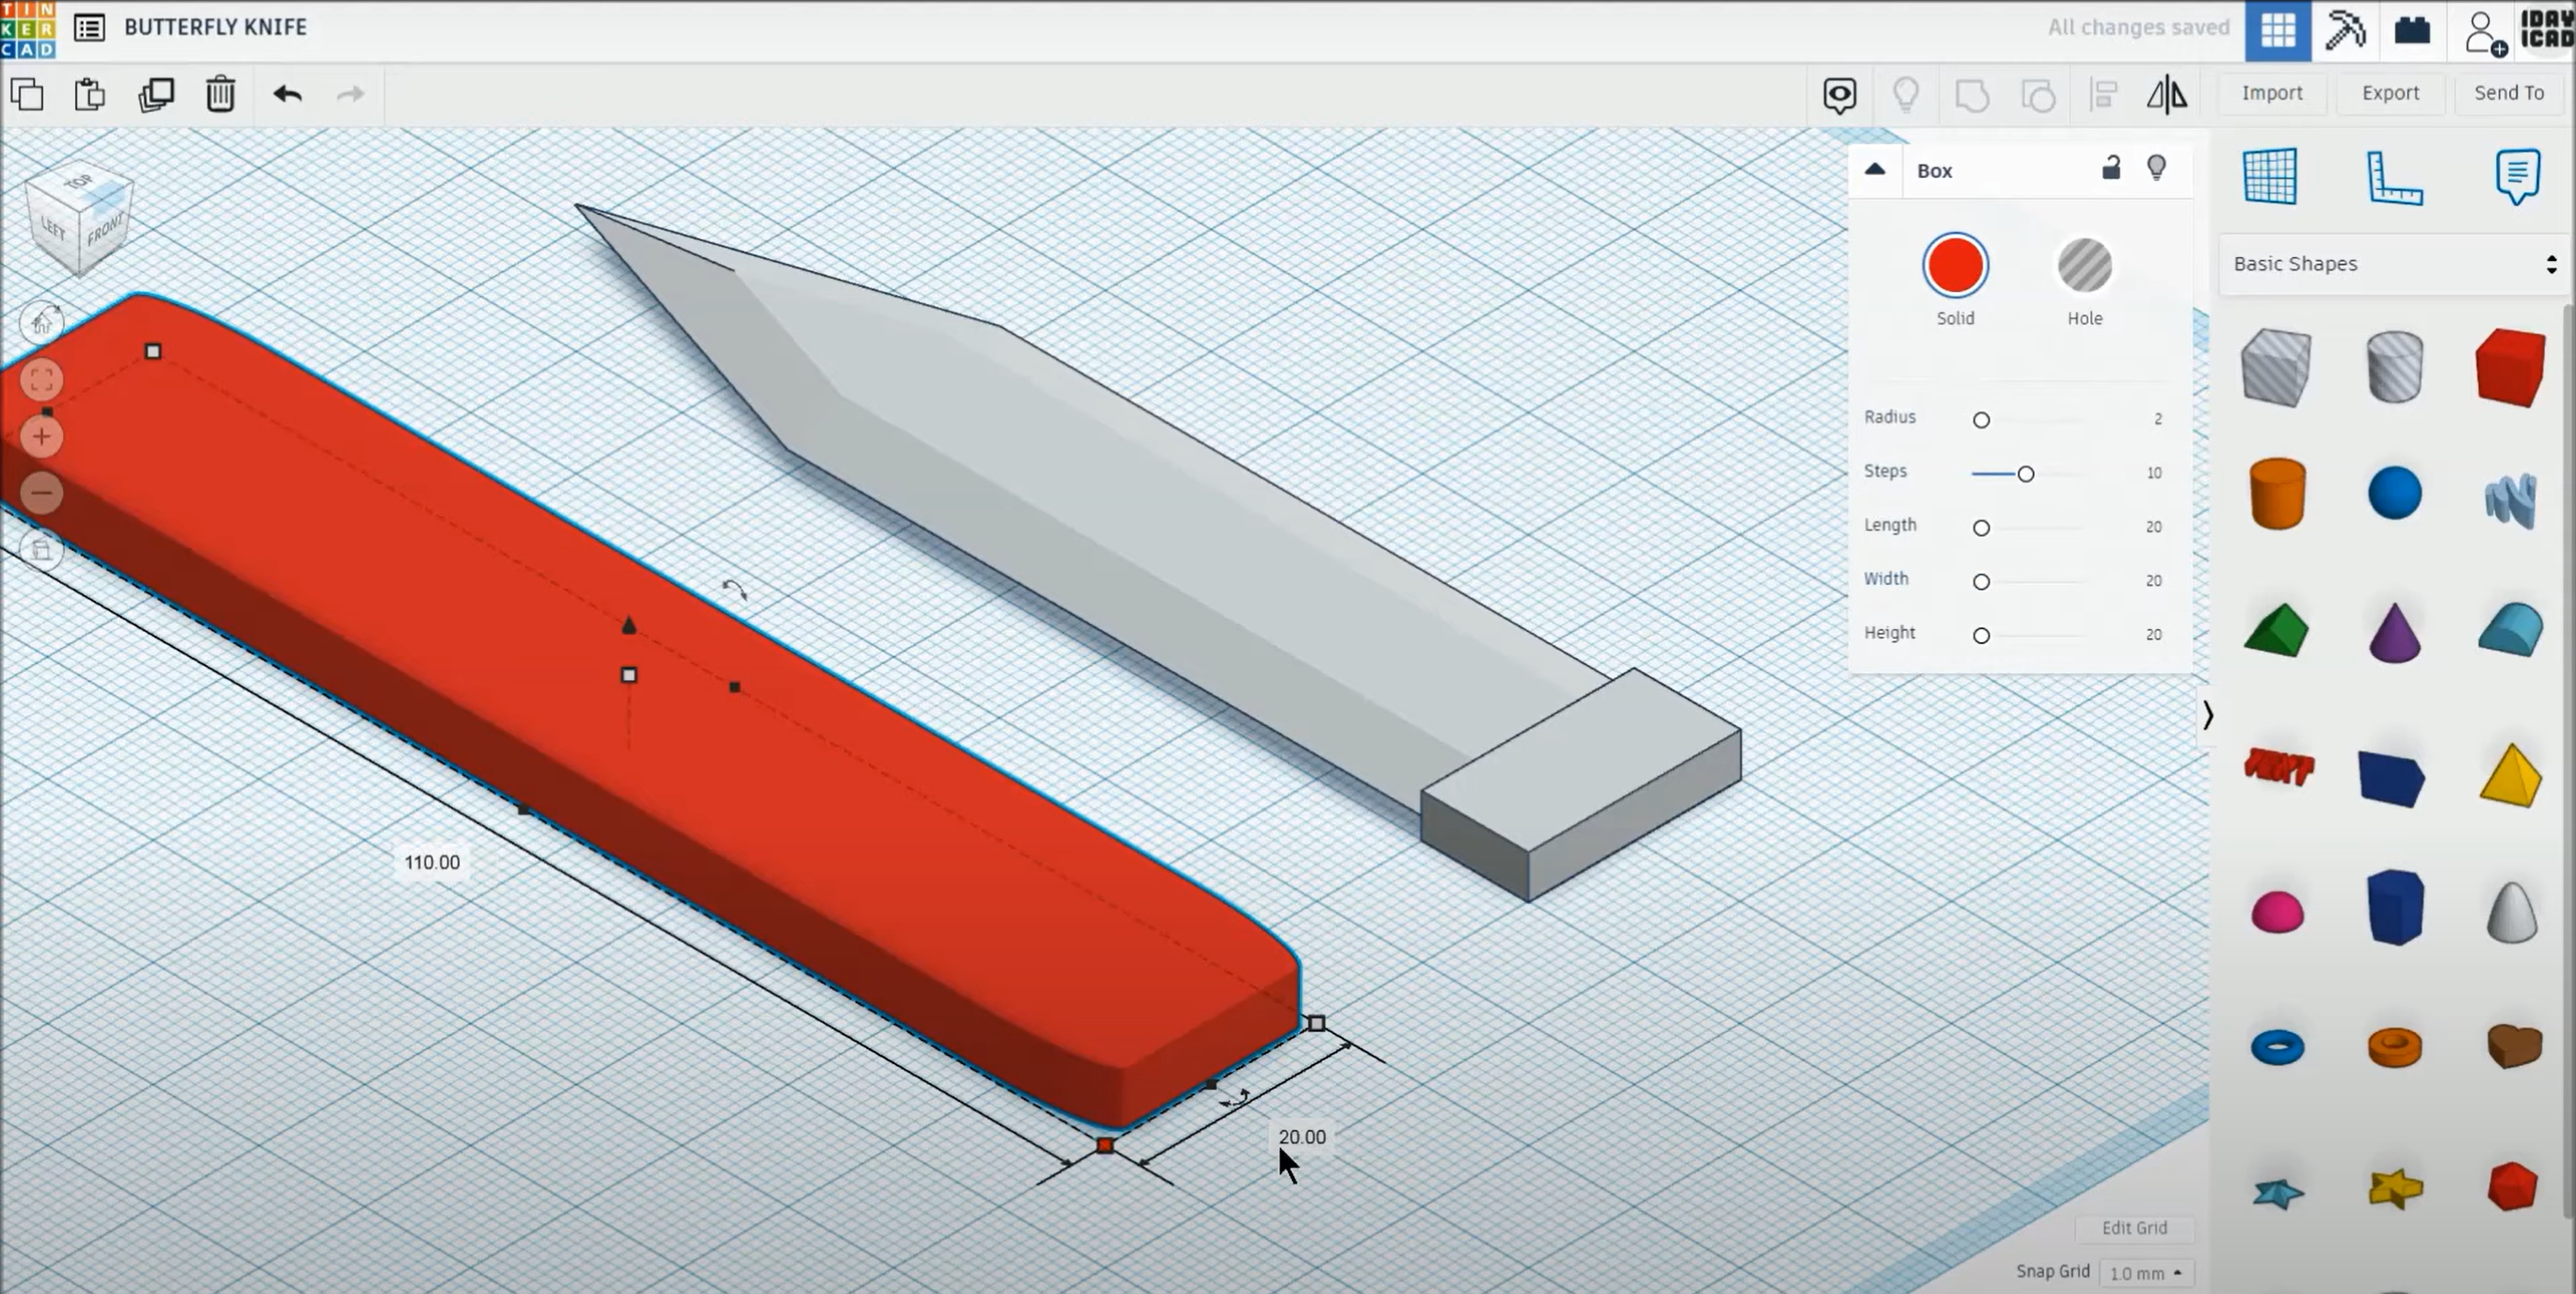
Creation of the blade
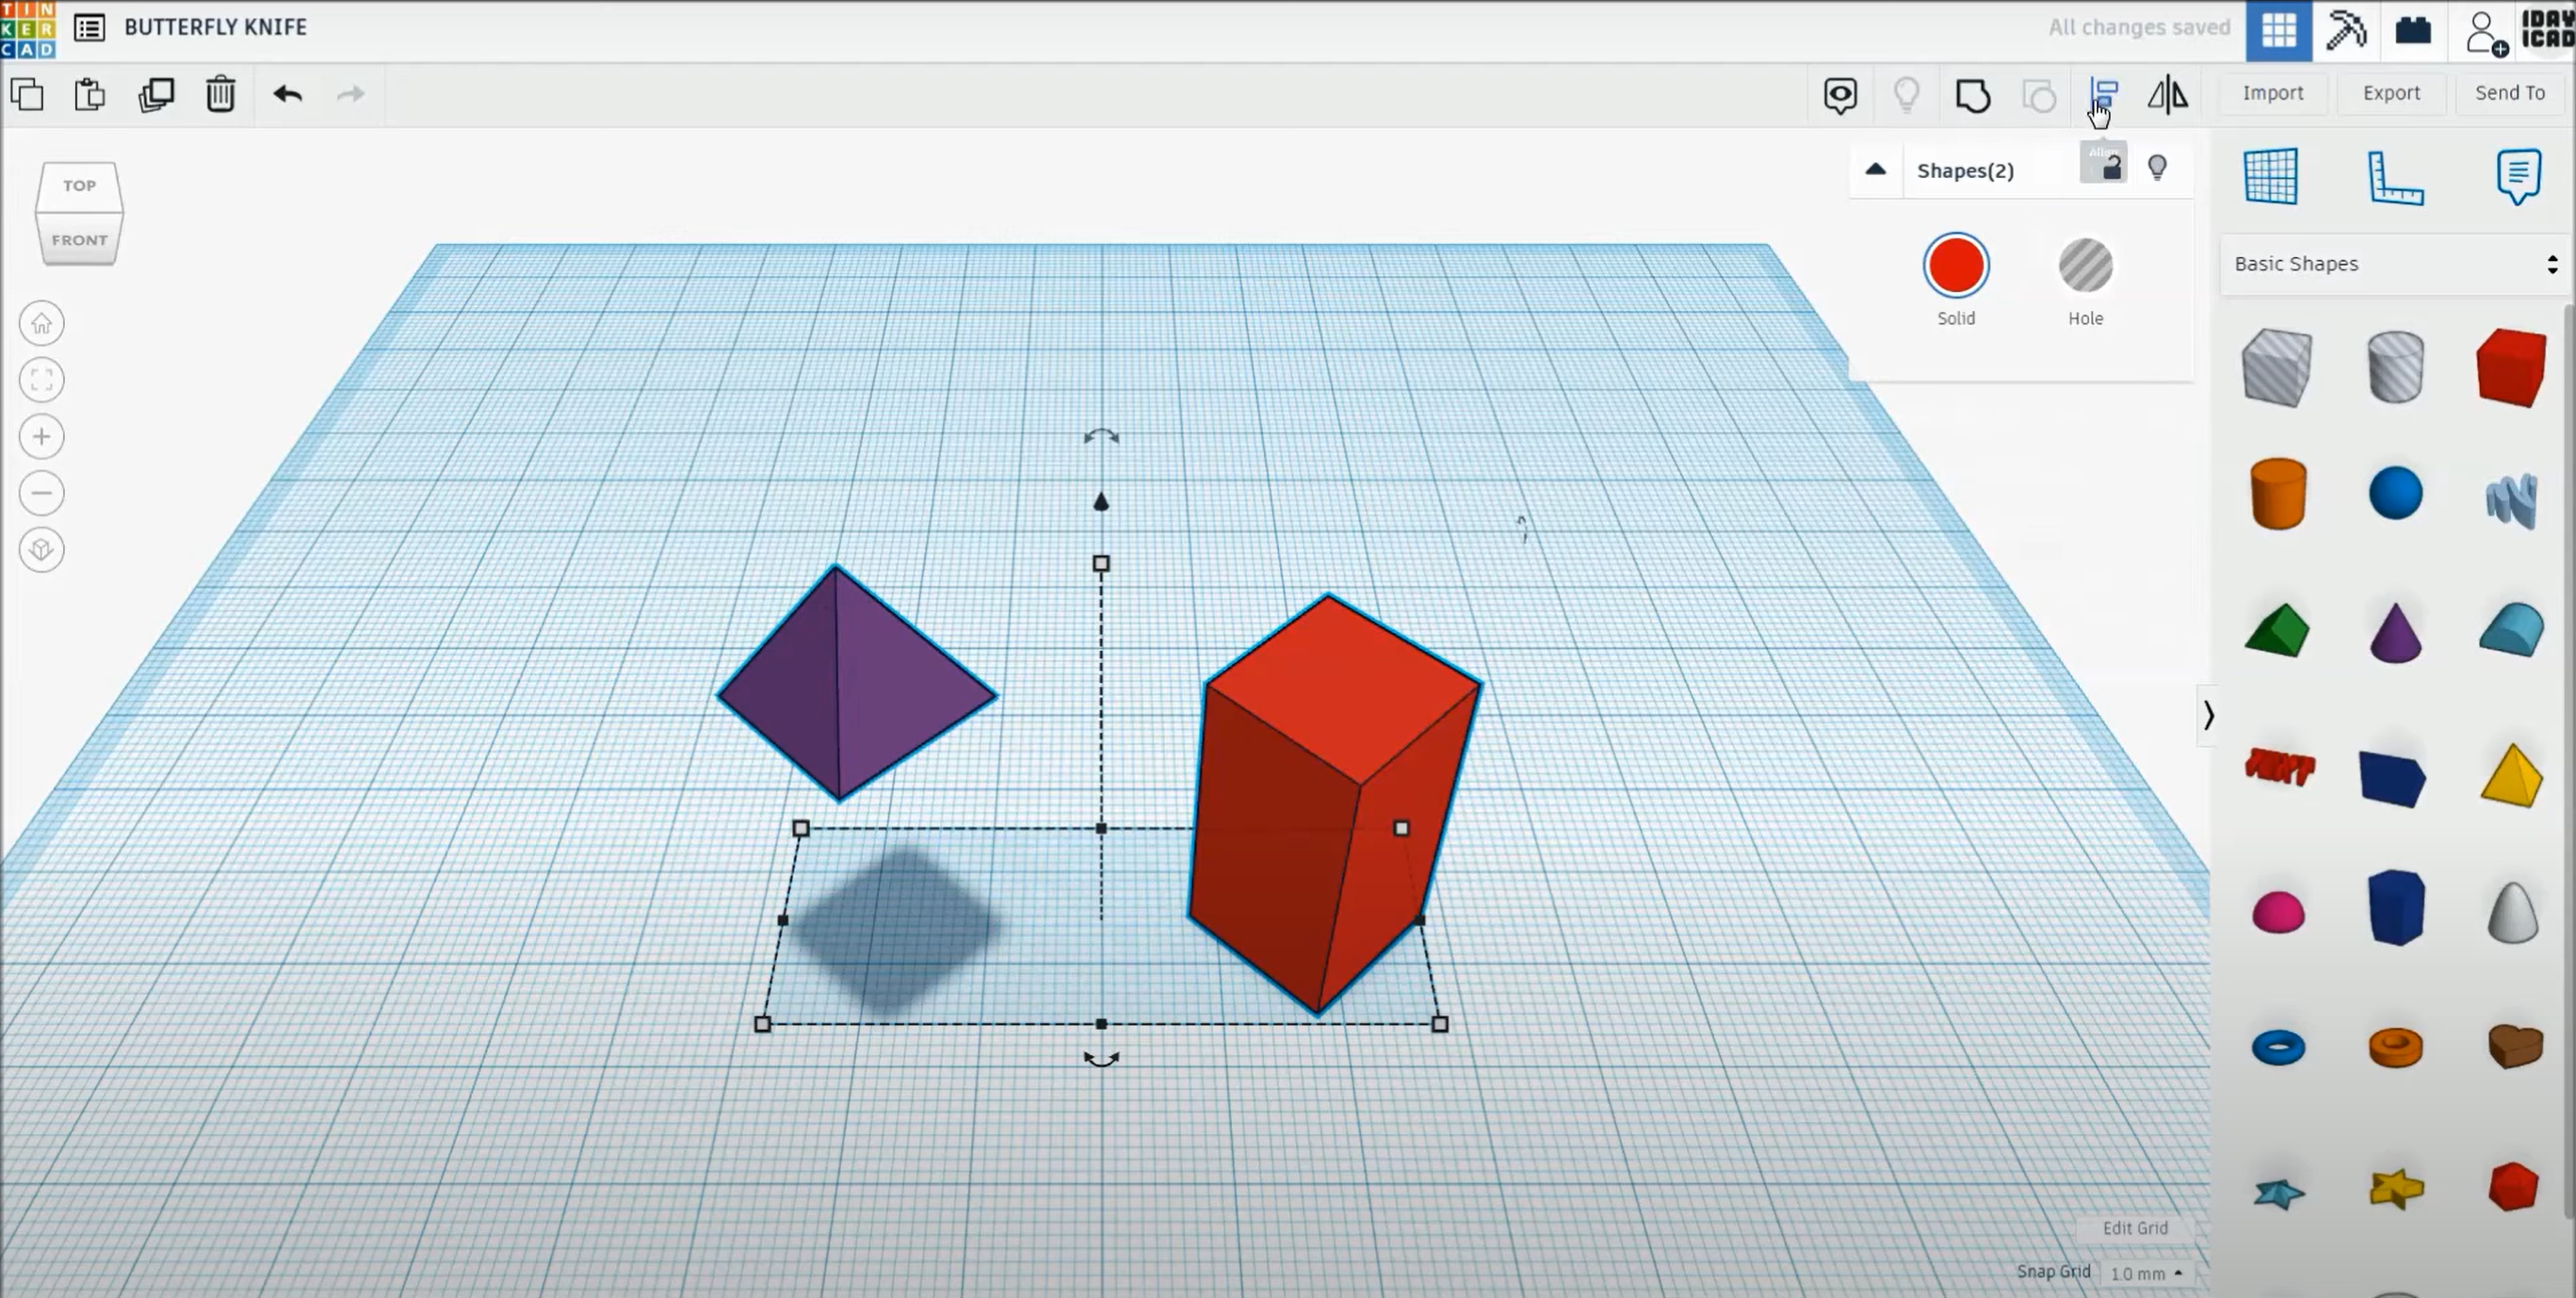
Using the simple shapes, the cube and the cone.
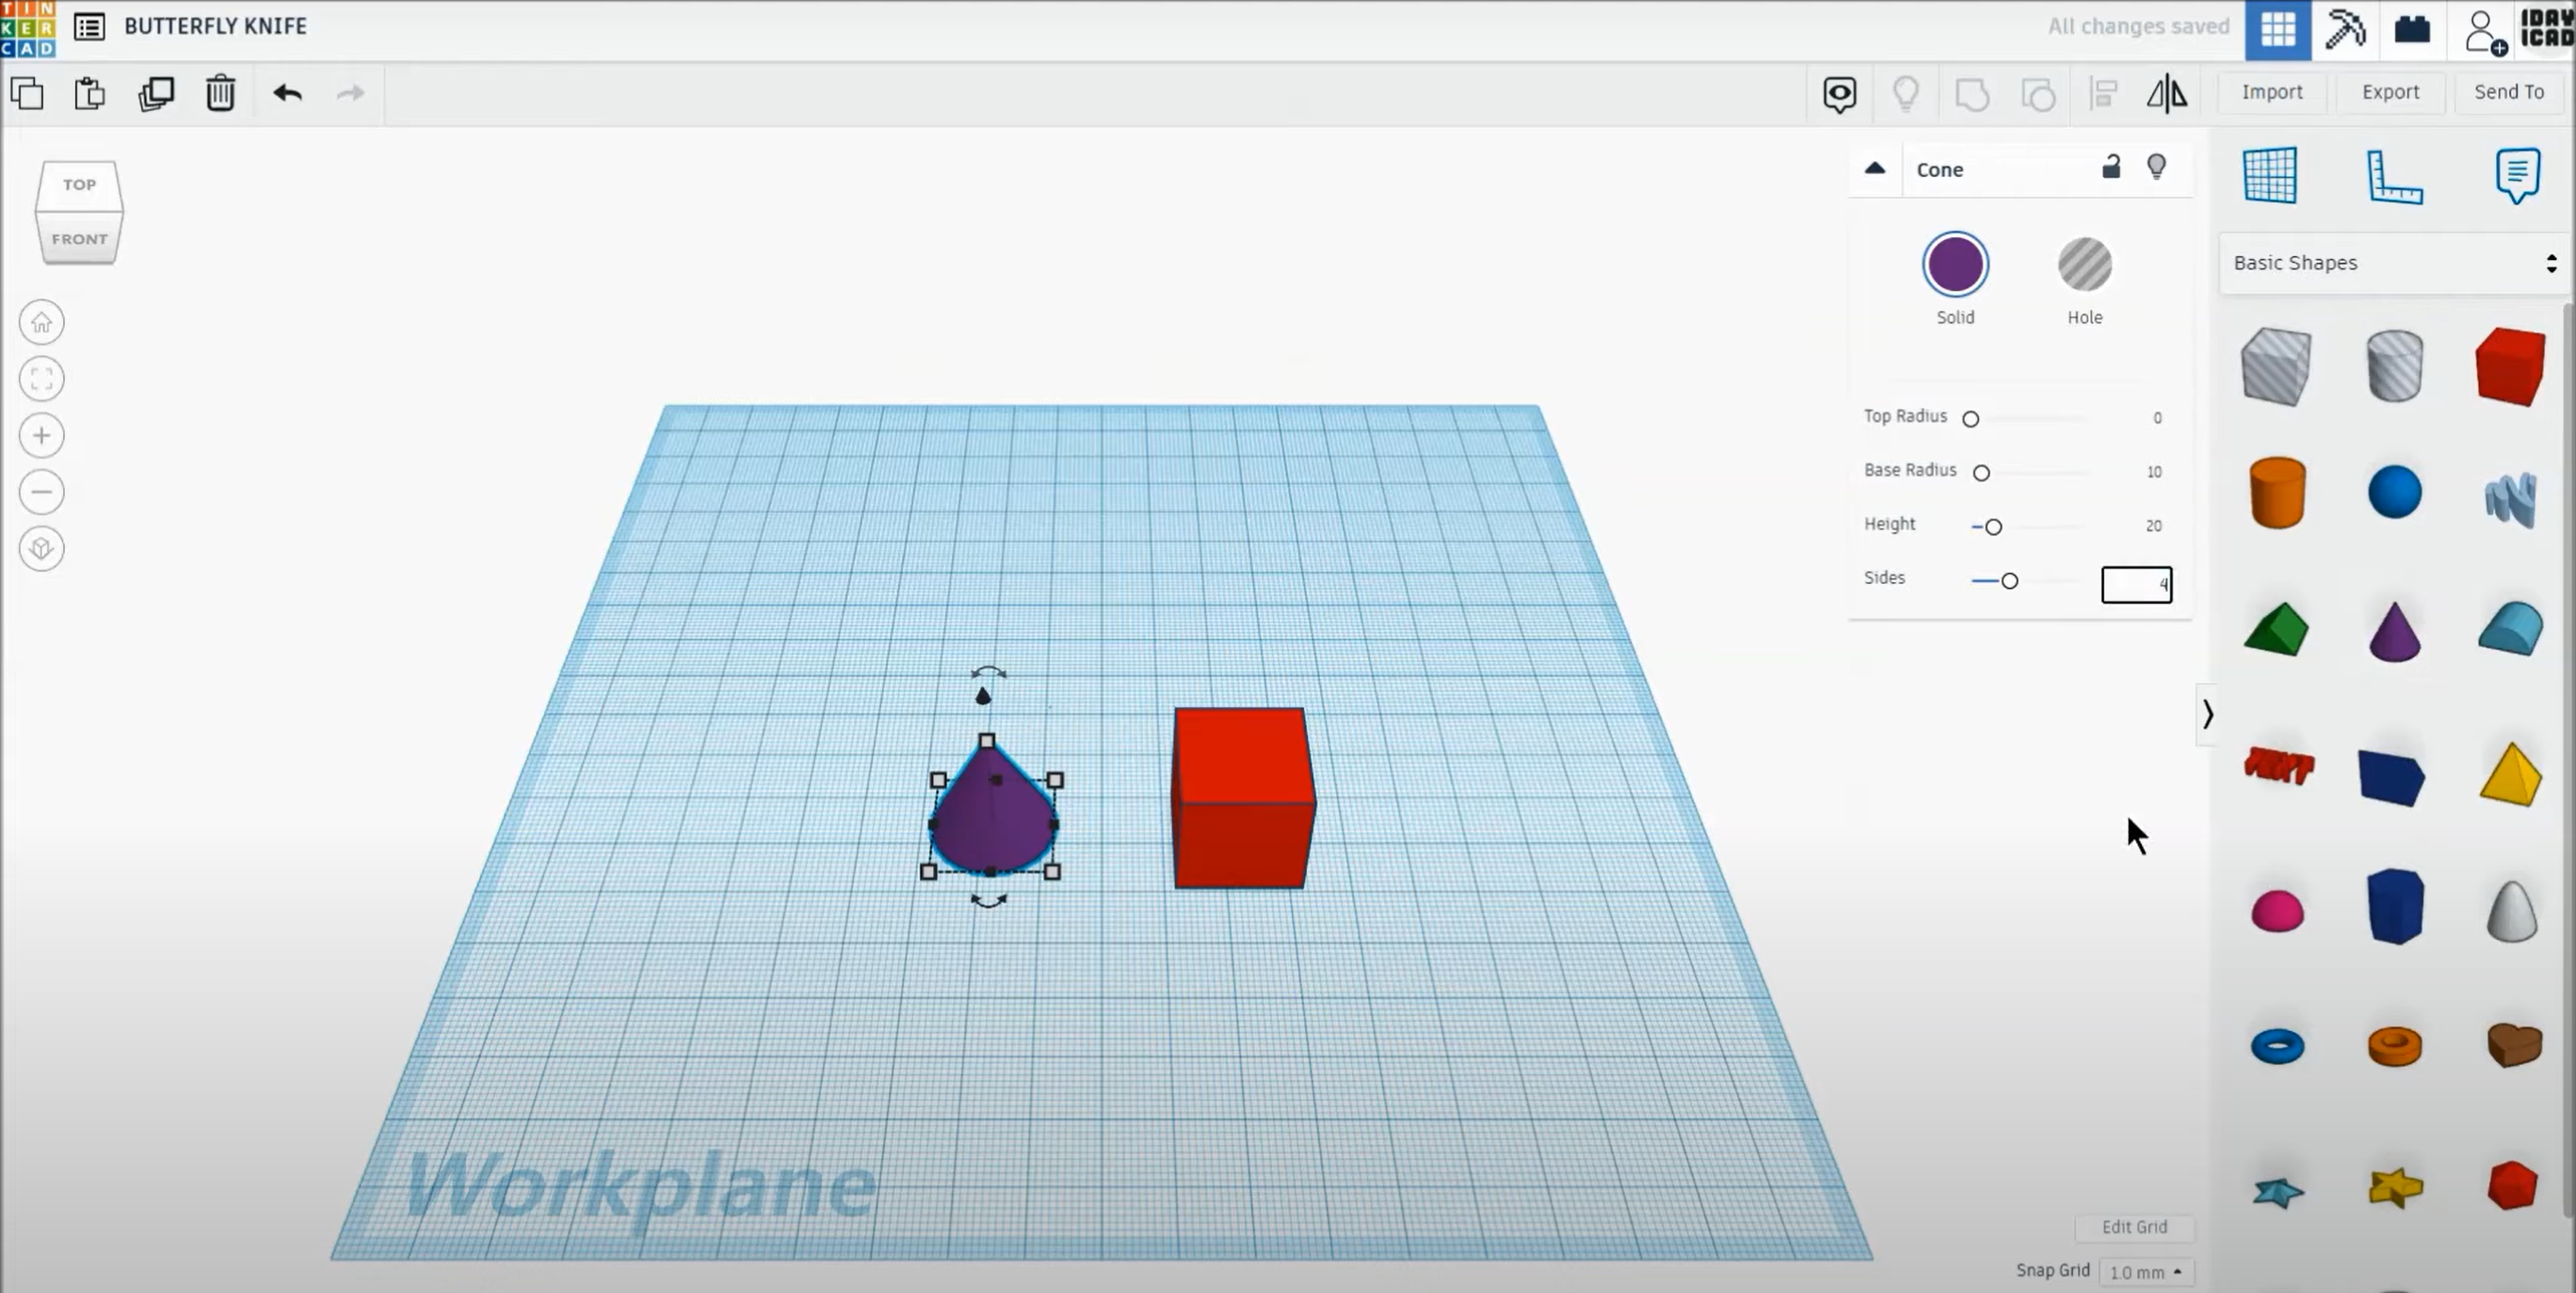
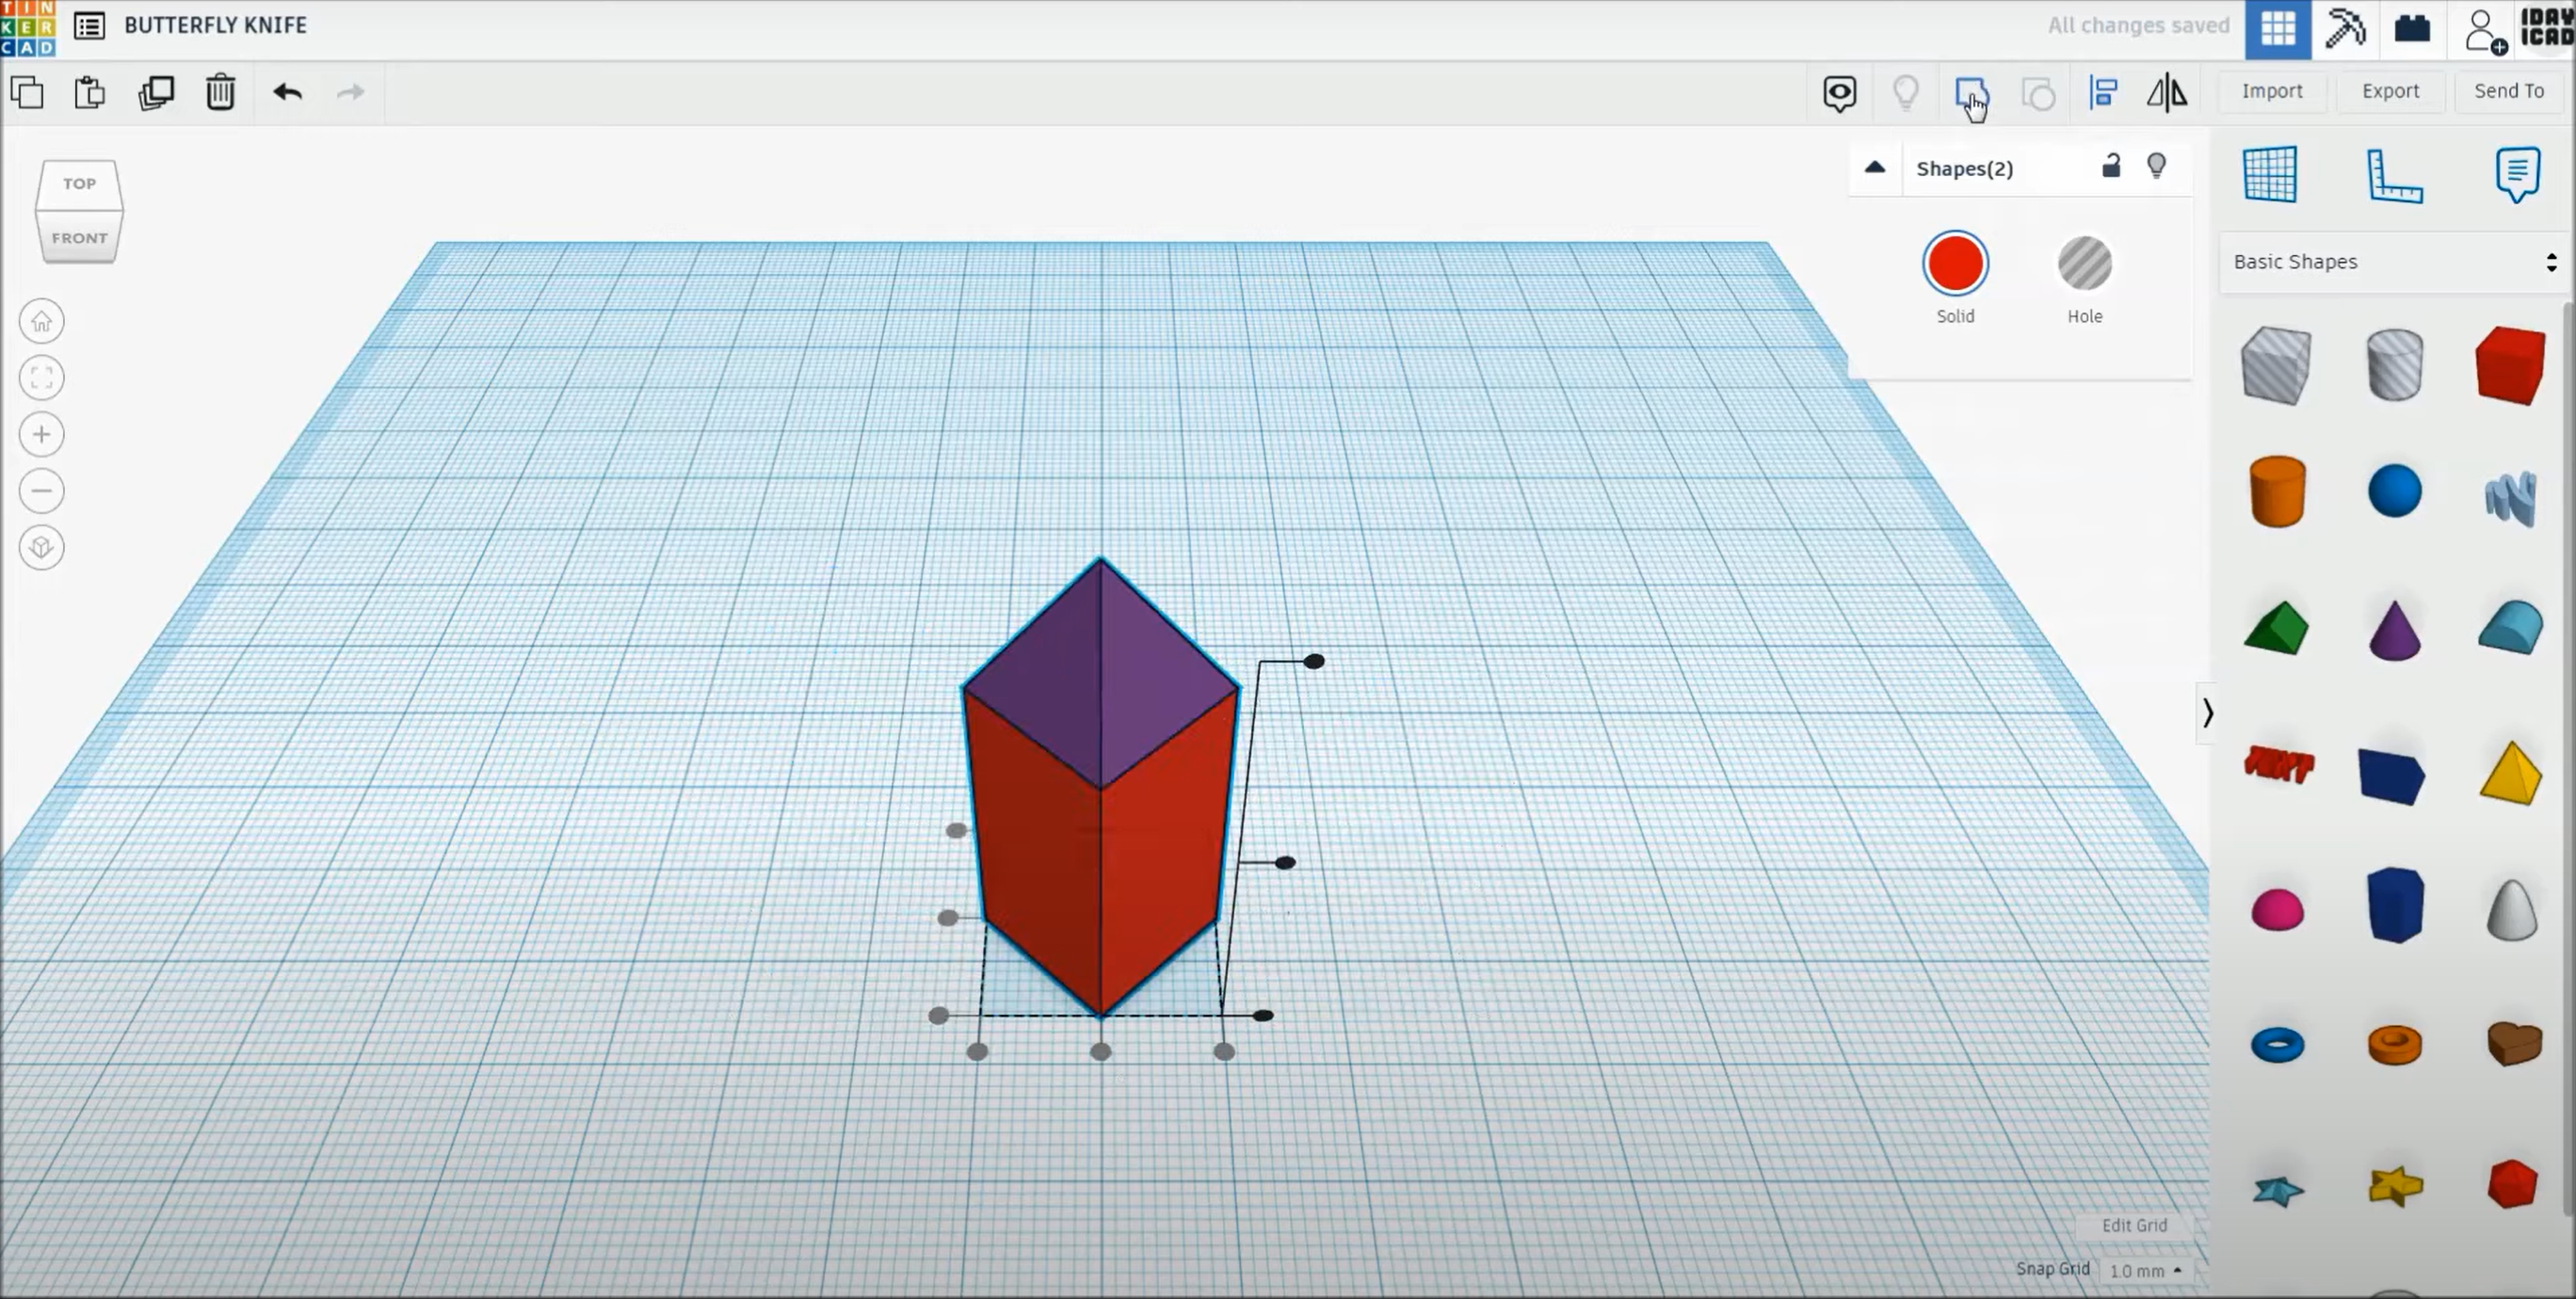
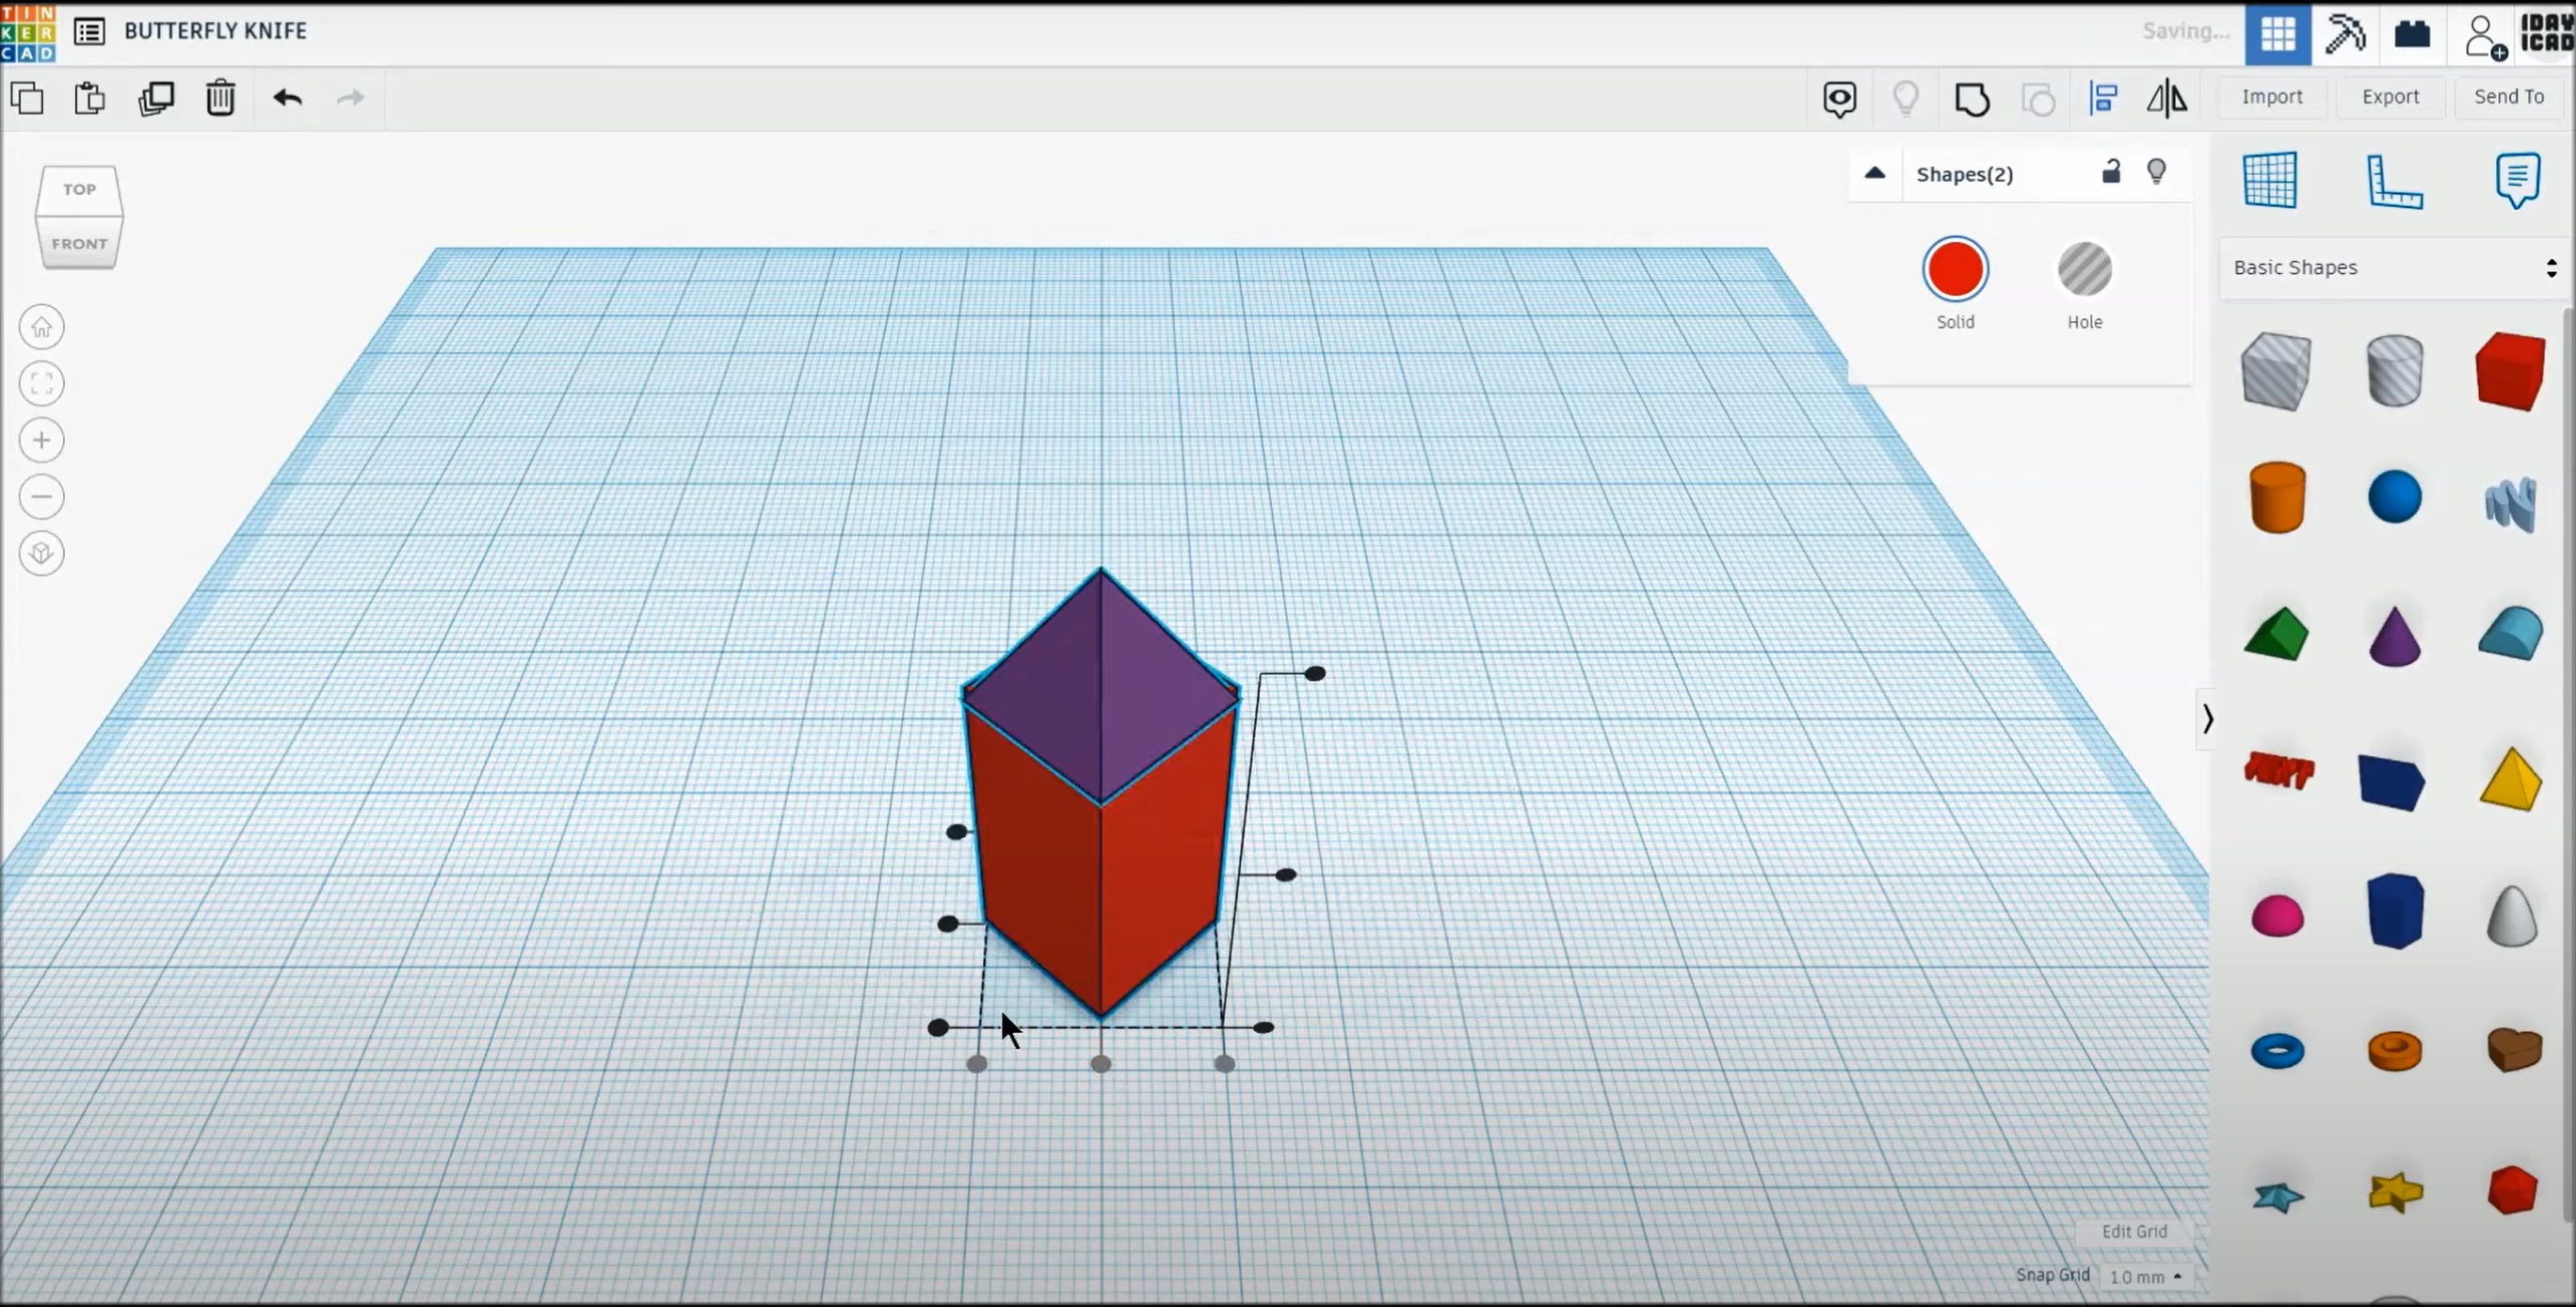
After making both shapes look like the base of the blade, using the alignment function to stack them on the z-axis
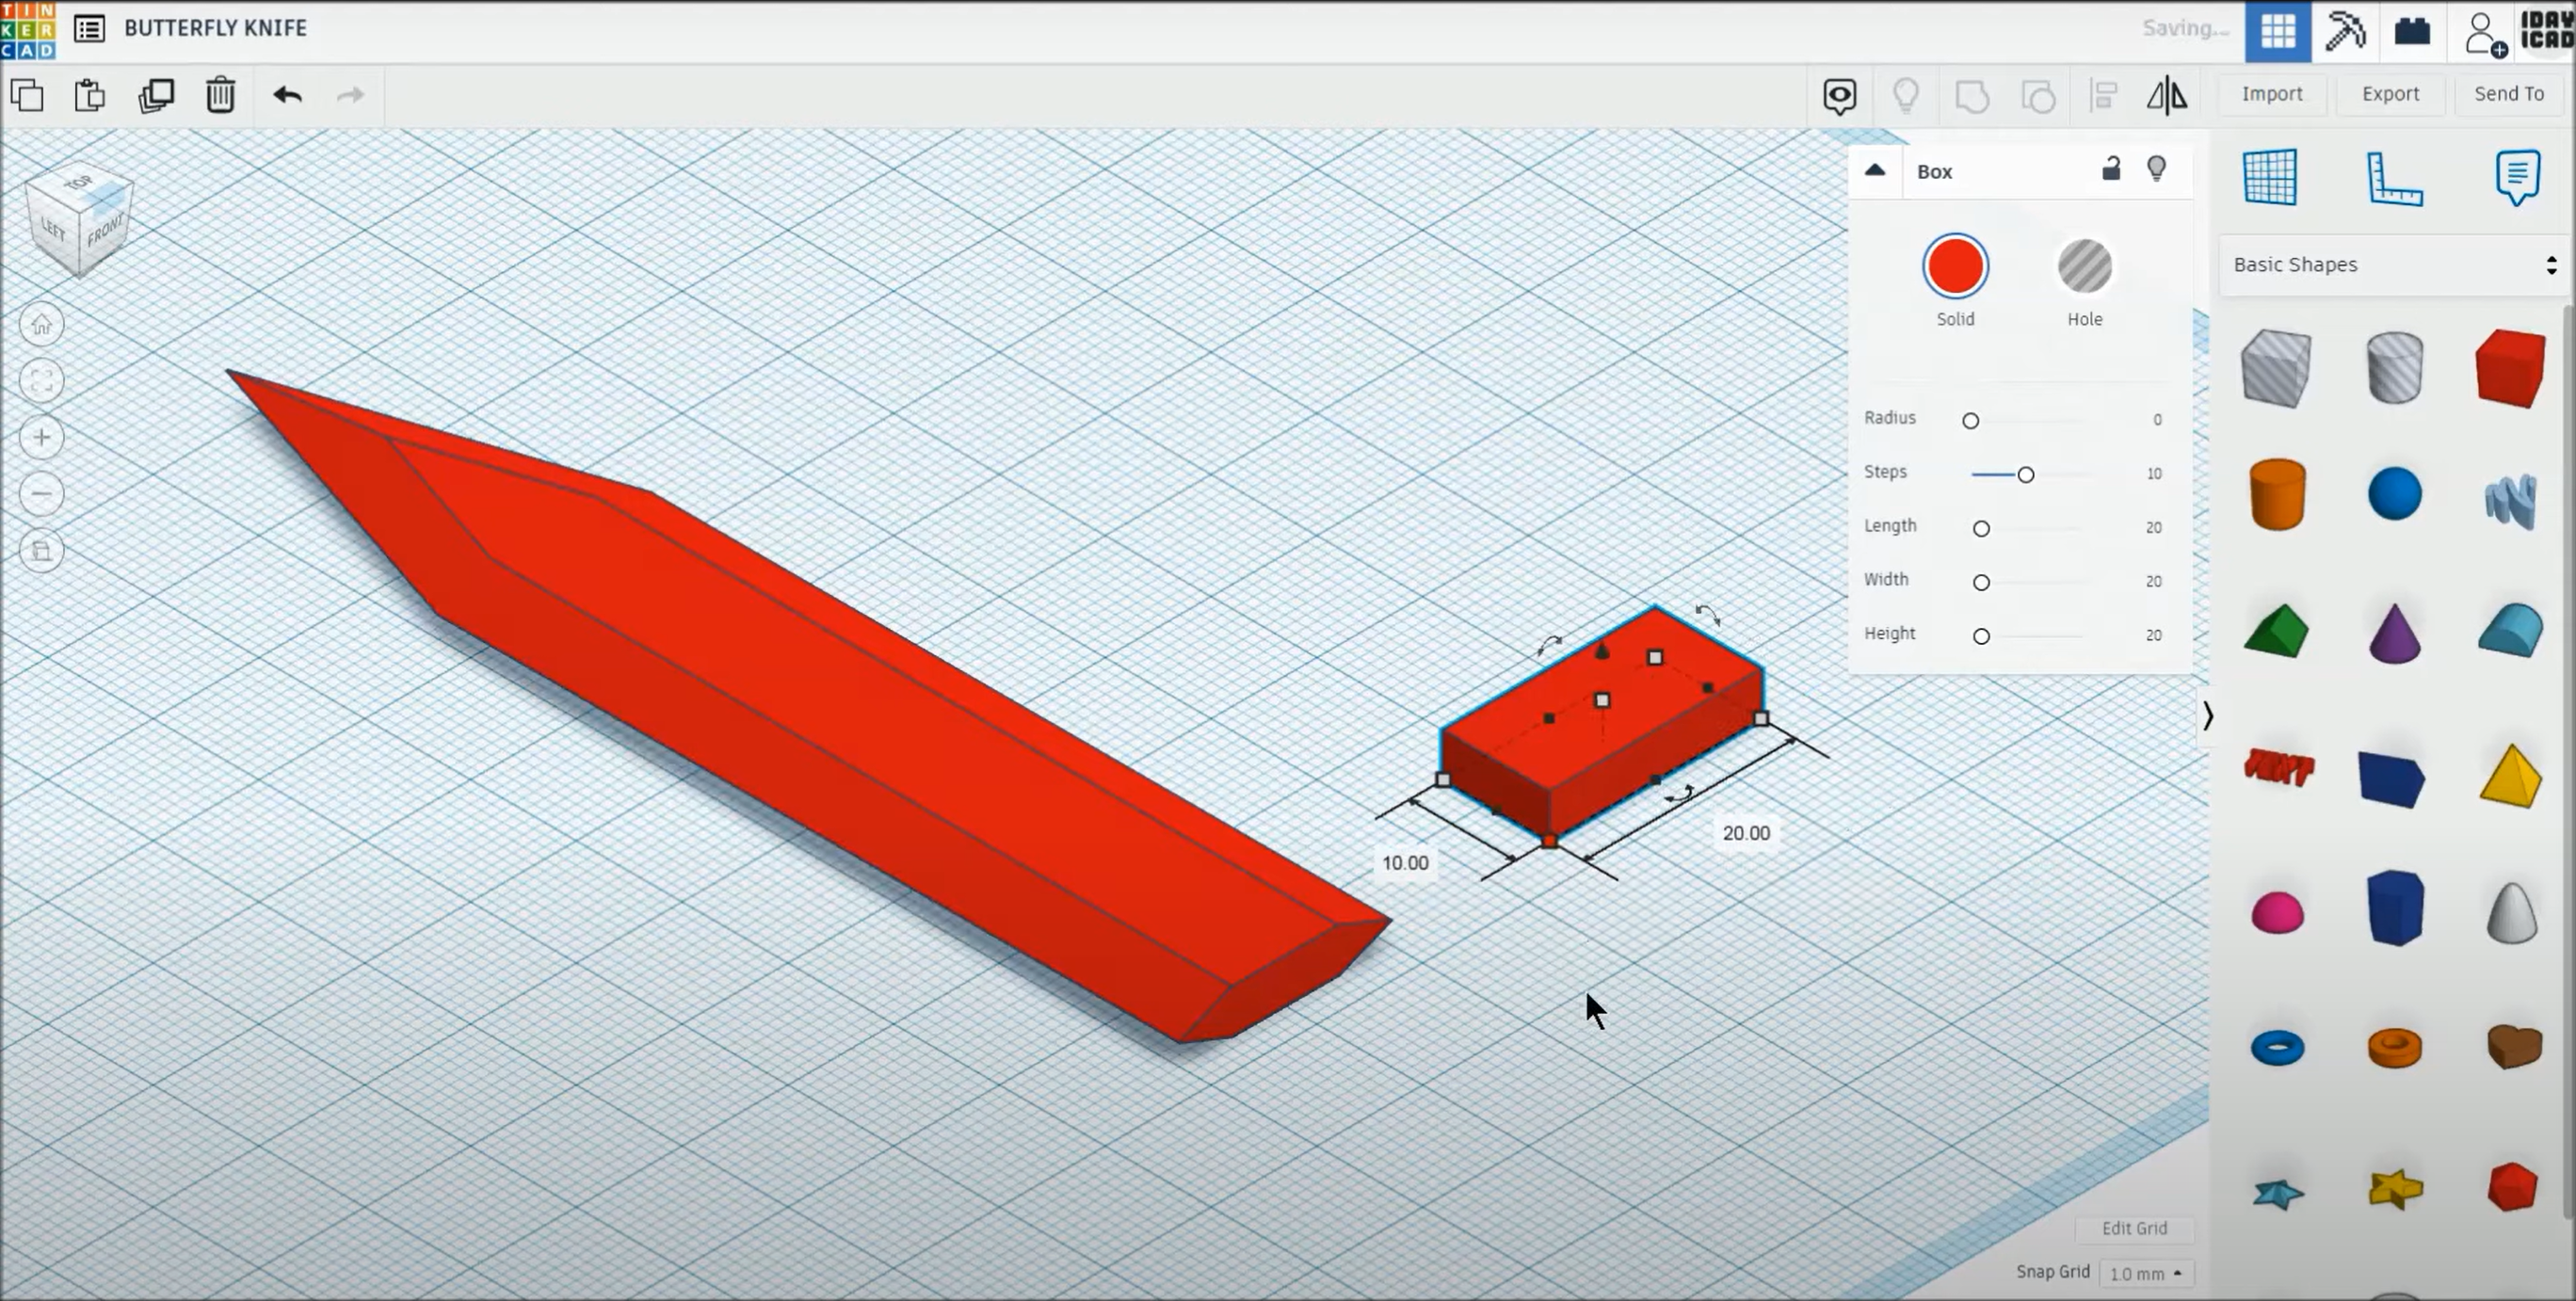
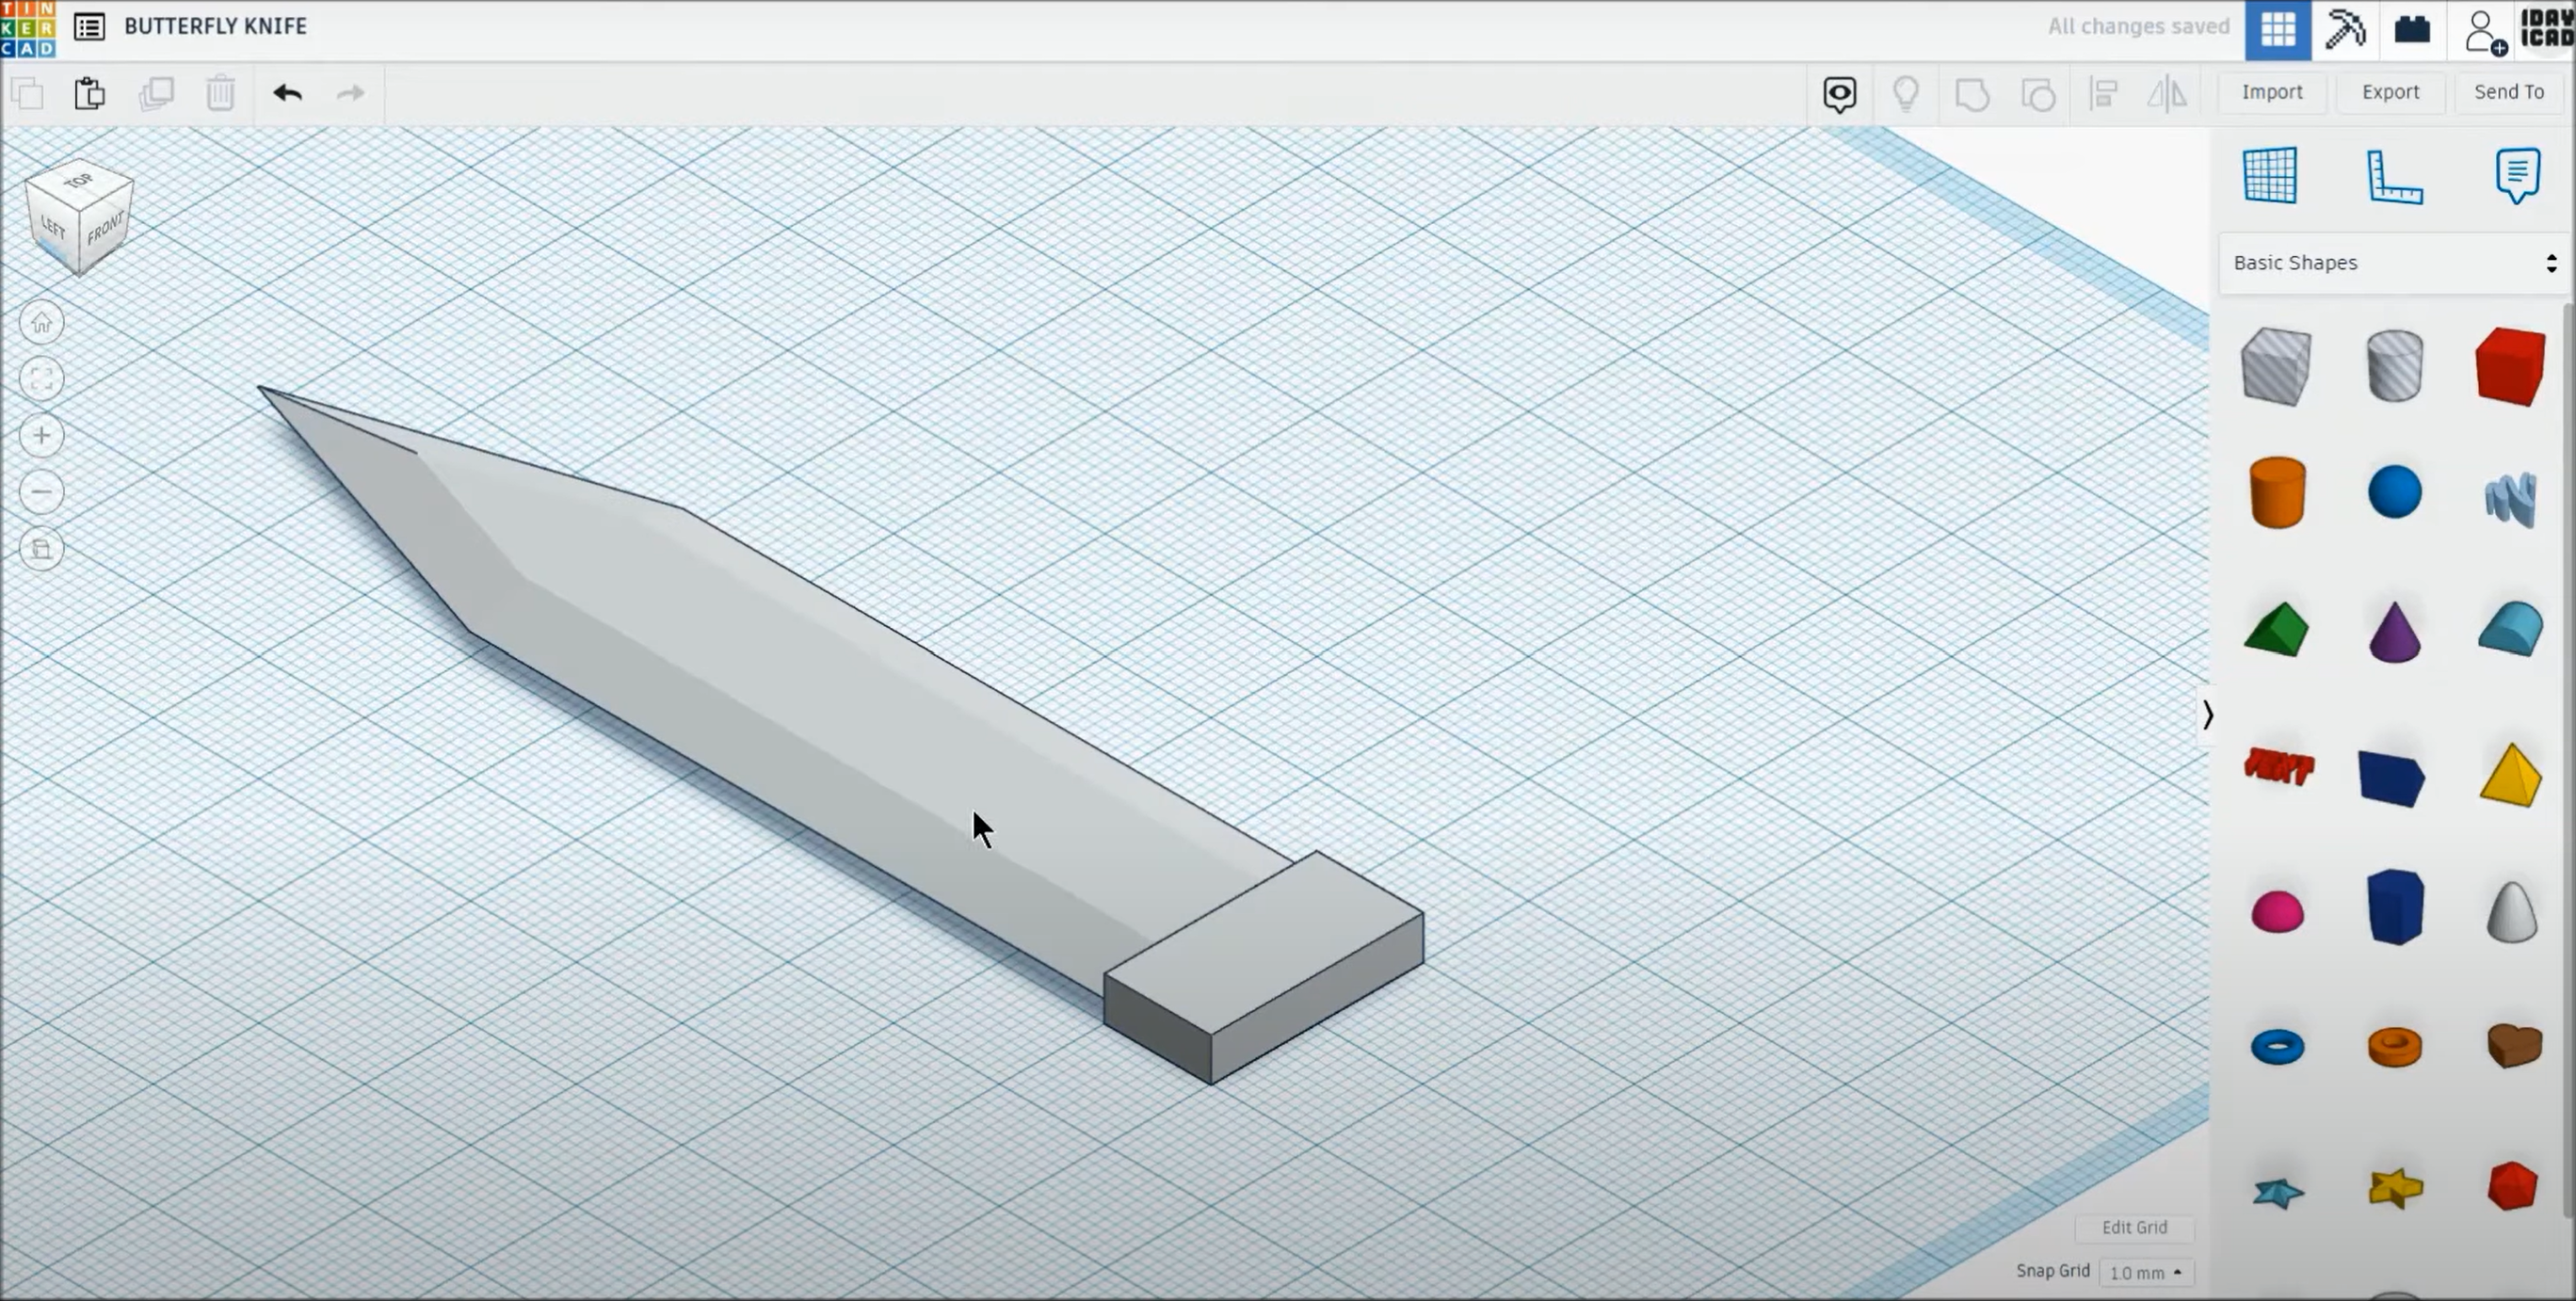
Then wanted to cut the sides for the shape to look like the blade using hole cubes.
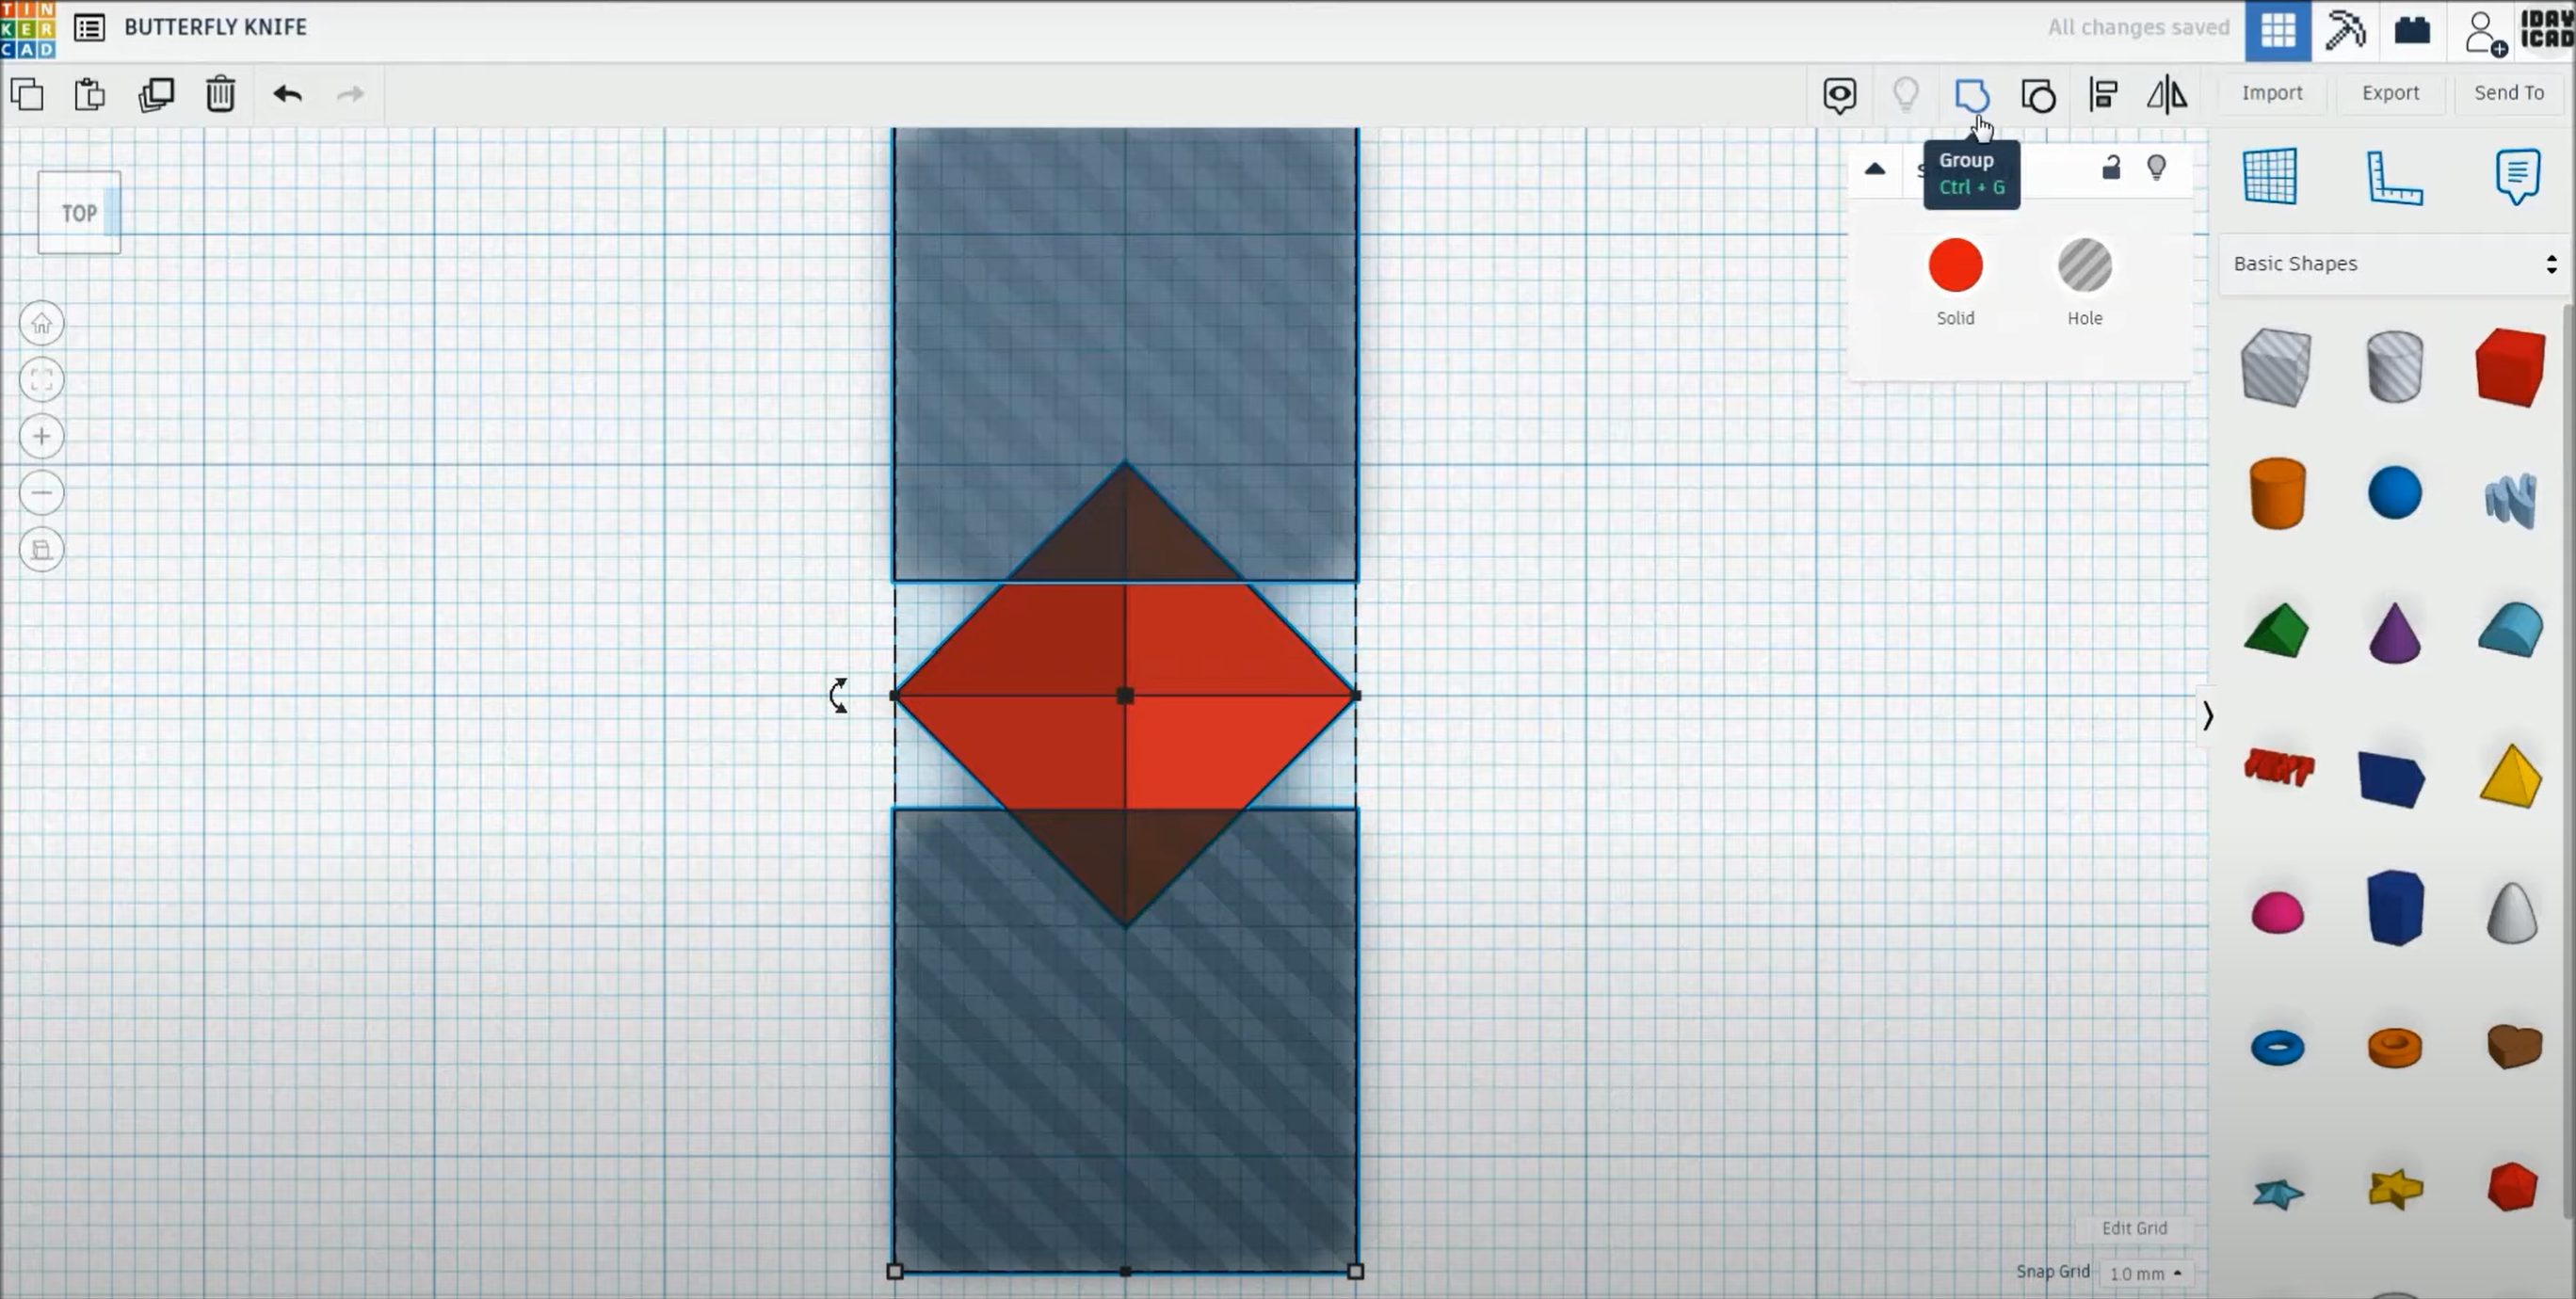
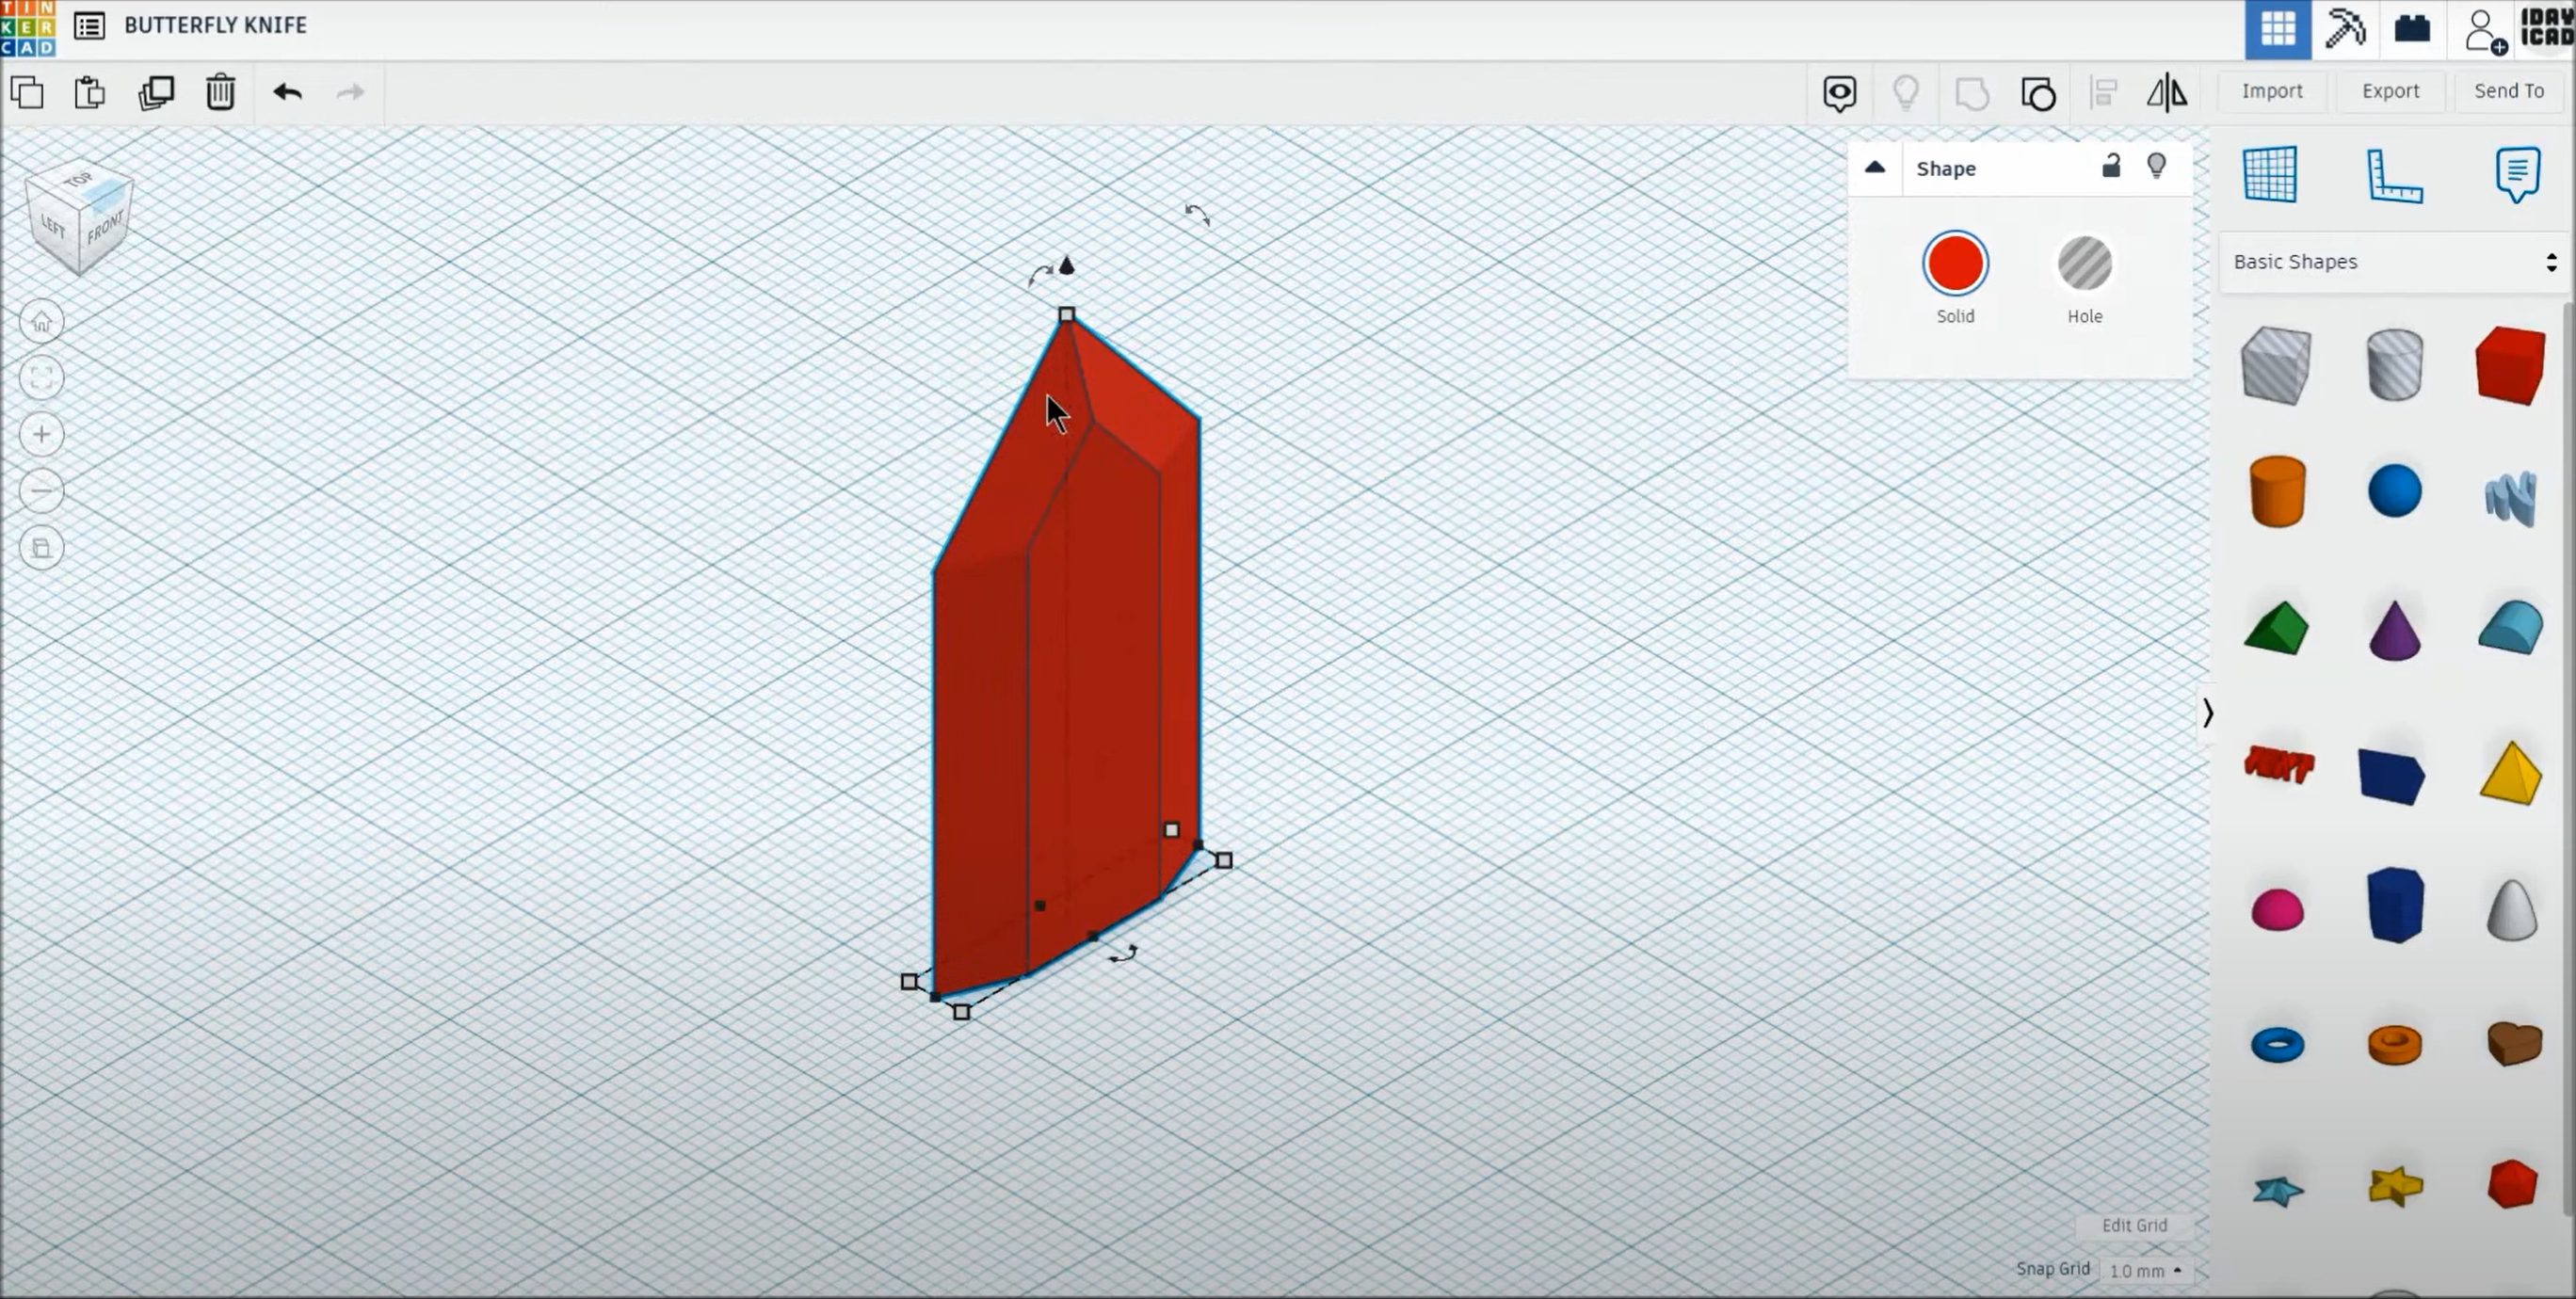
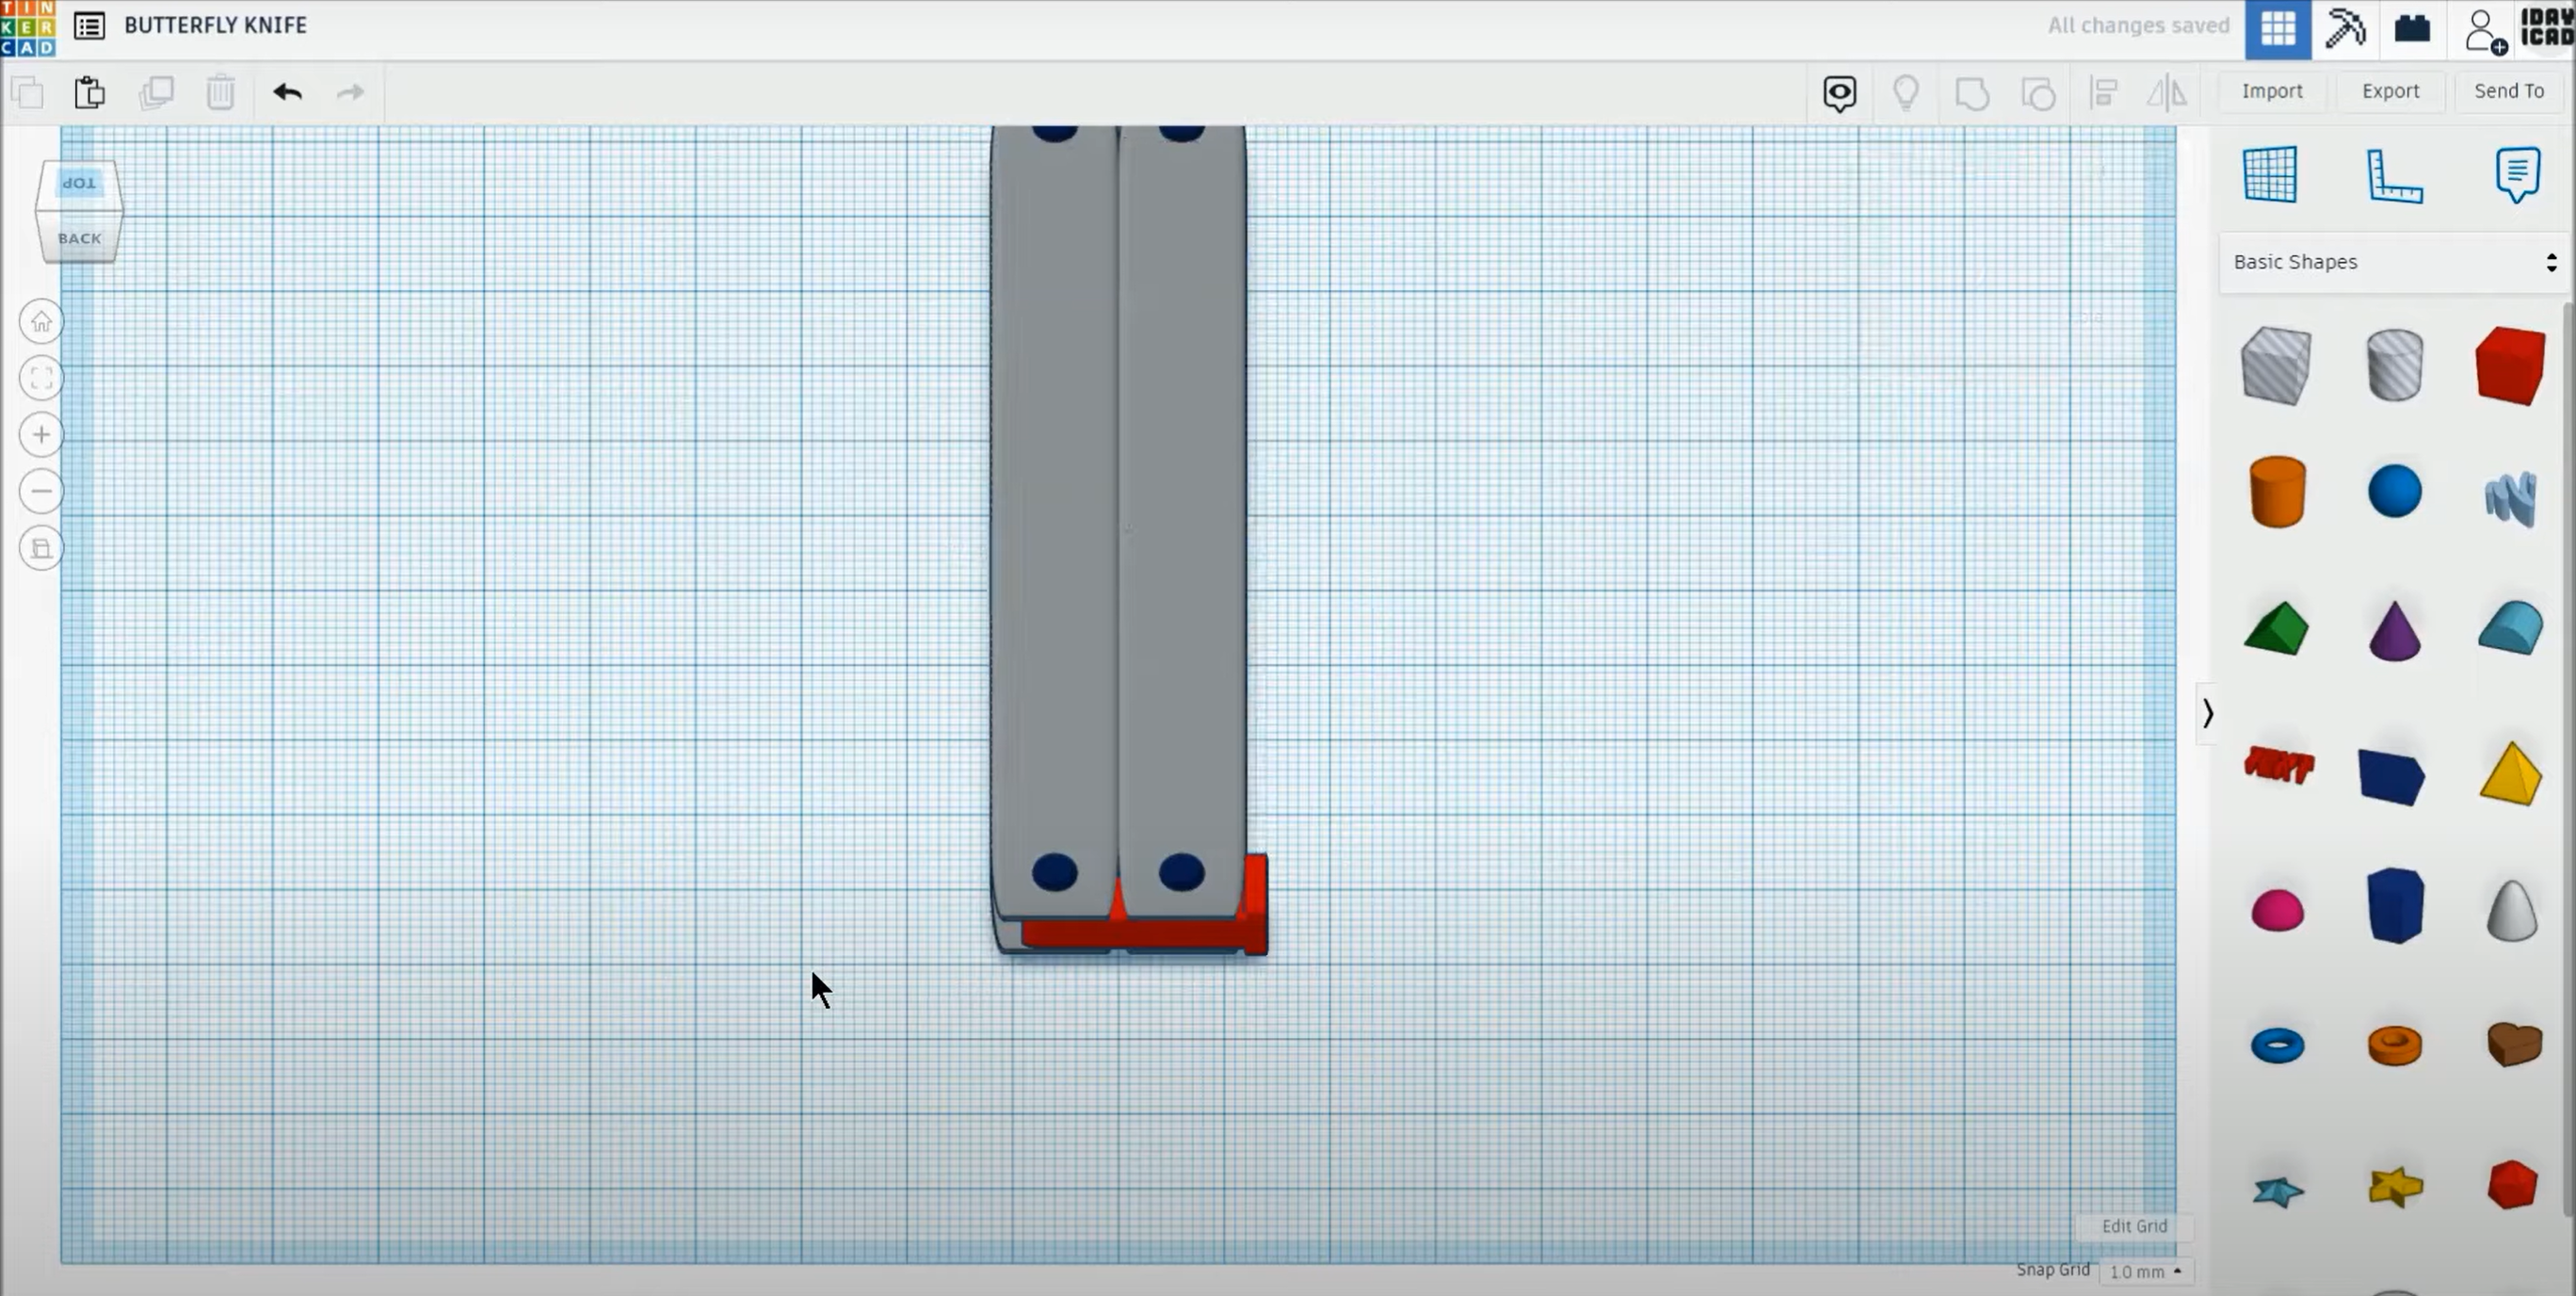
Next thing is to create a base for the blade that would be attached to the covers.
Creation of the cover
Using the basic cube shape and making it into a thin plate to be used as the first layer of the cover.
Using the cube hole feature to make two thin layers so the bald would be between them.
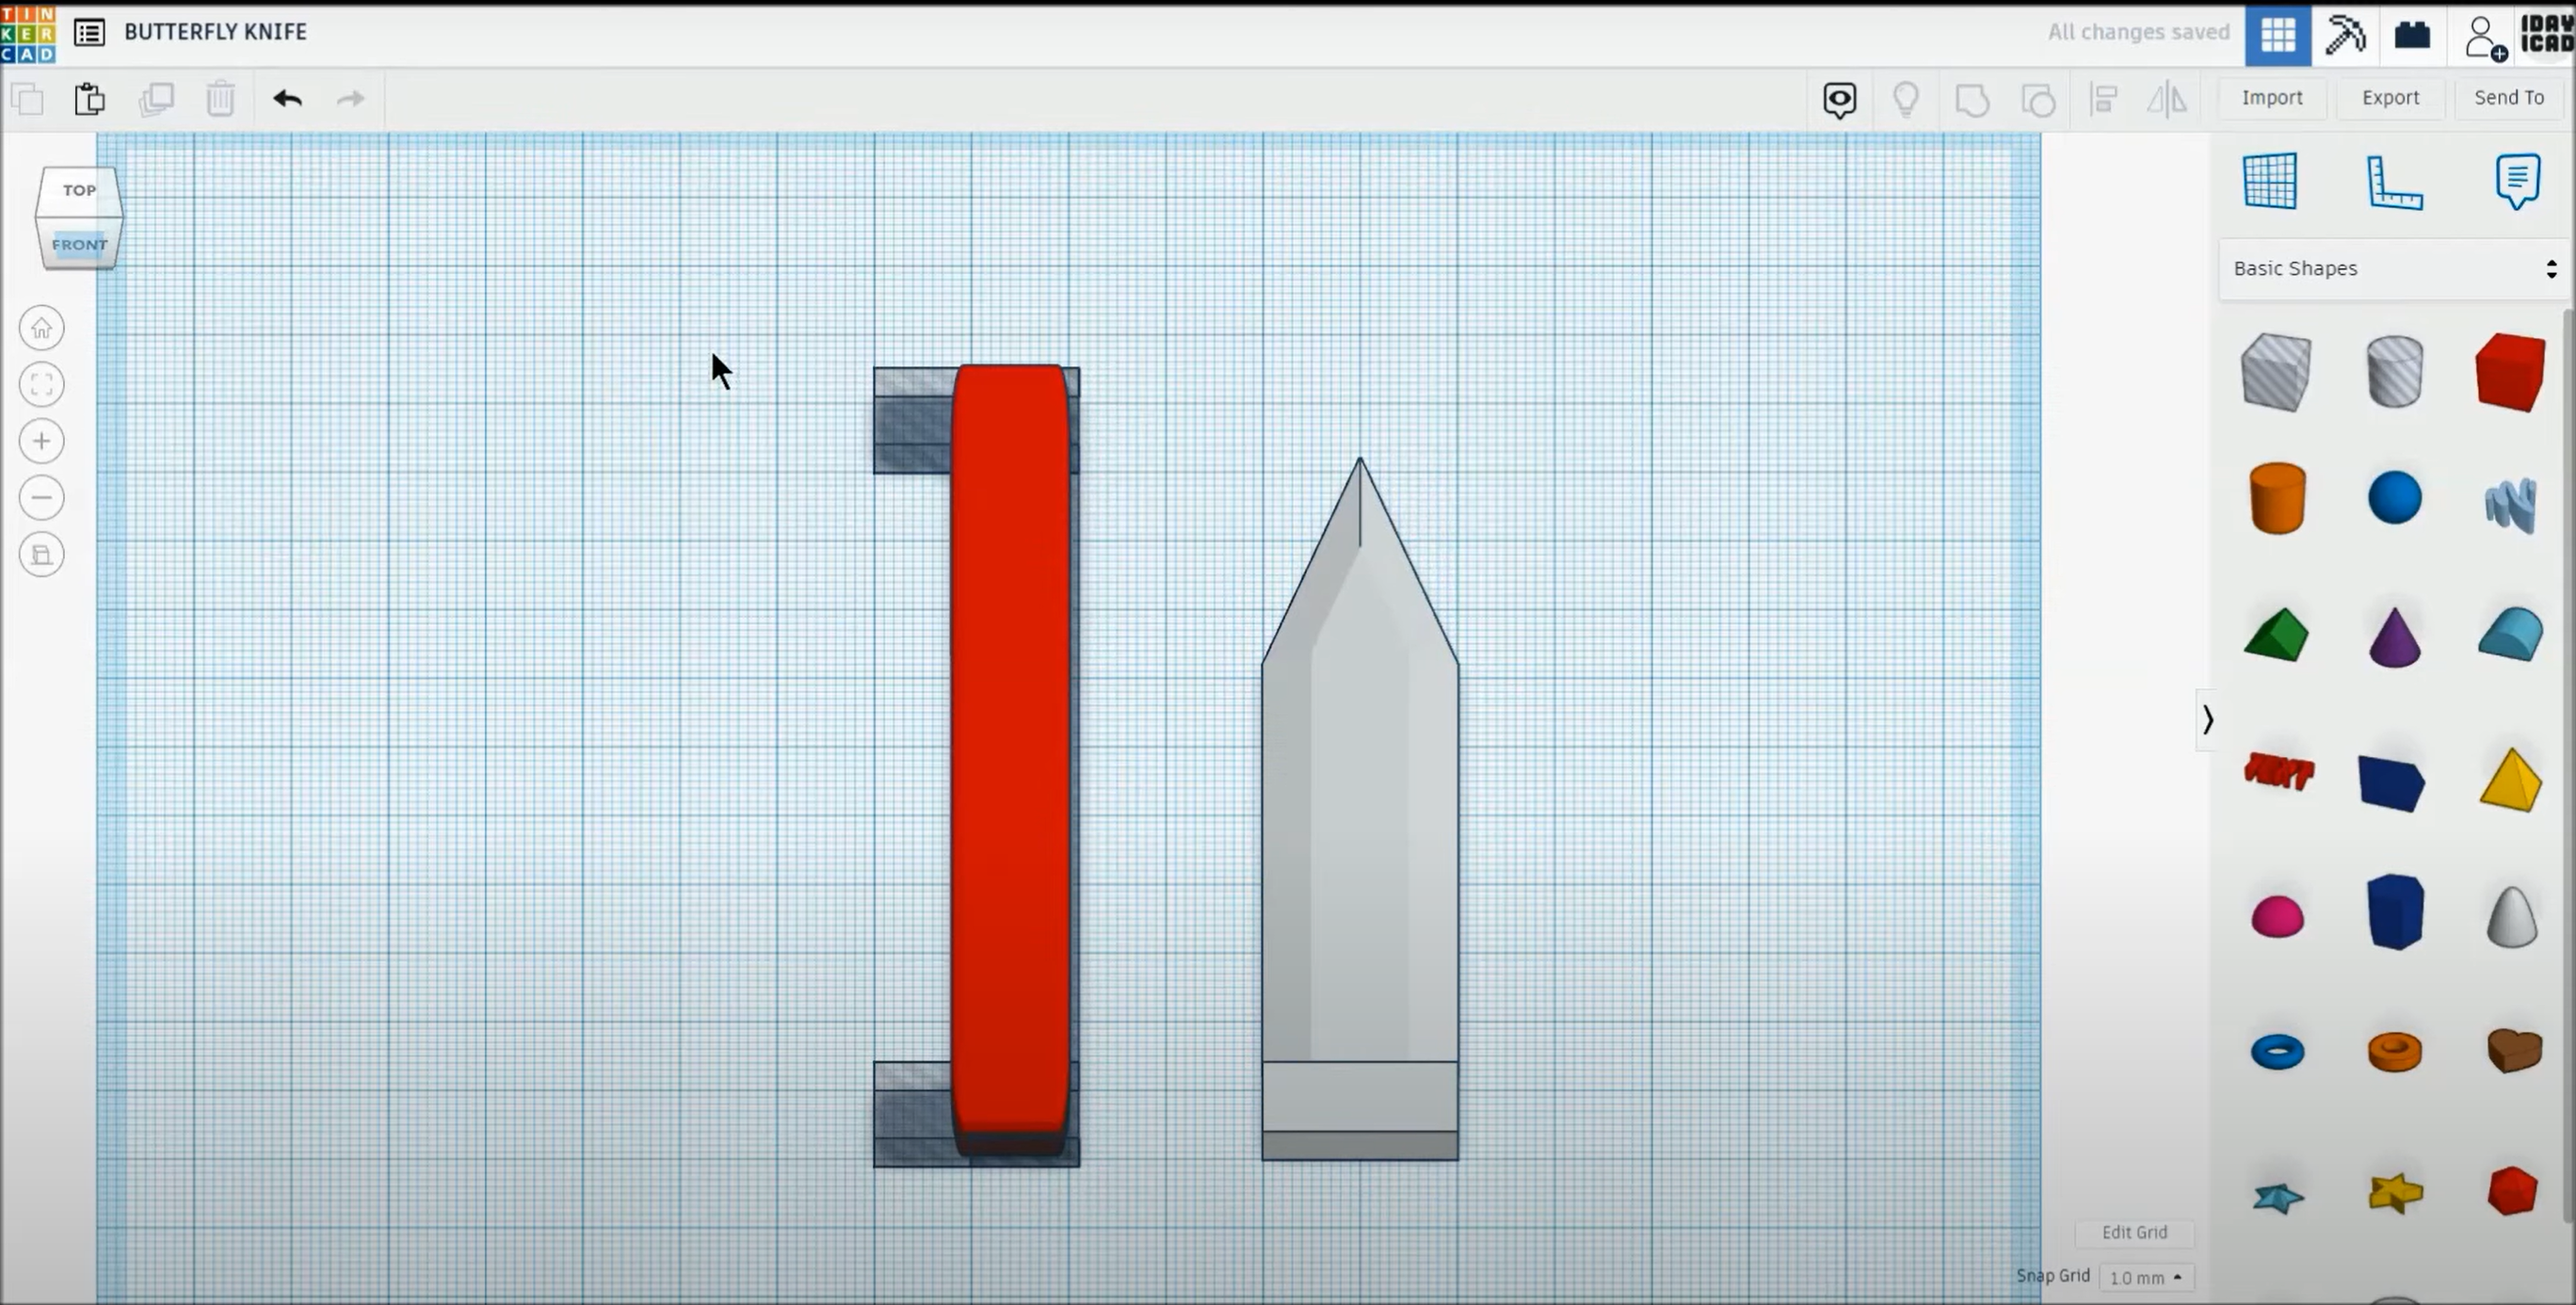
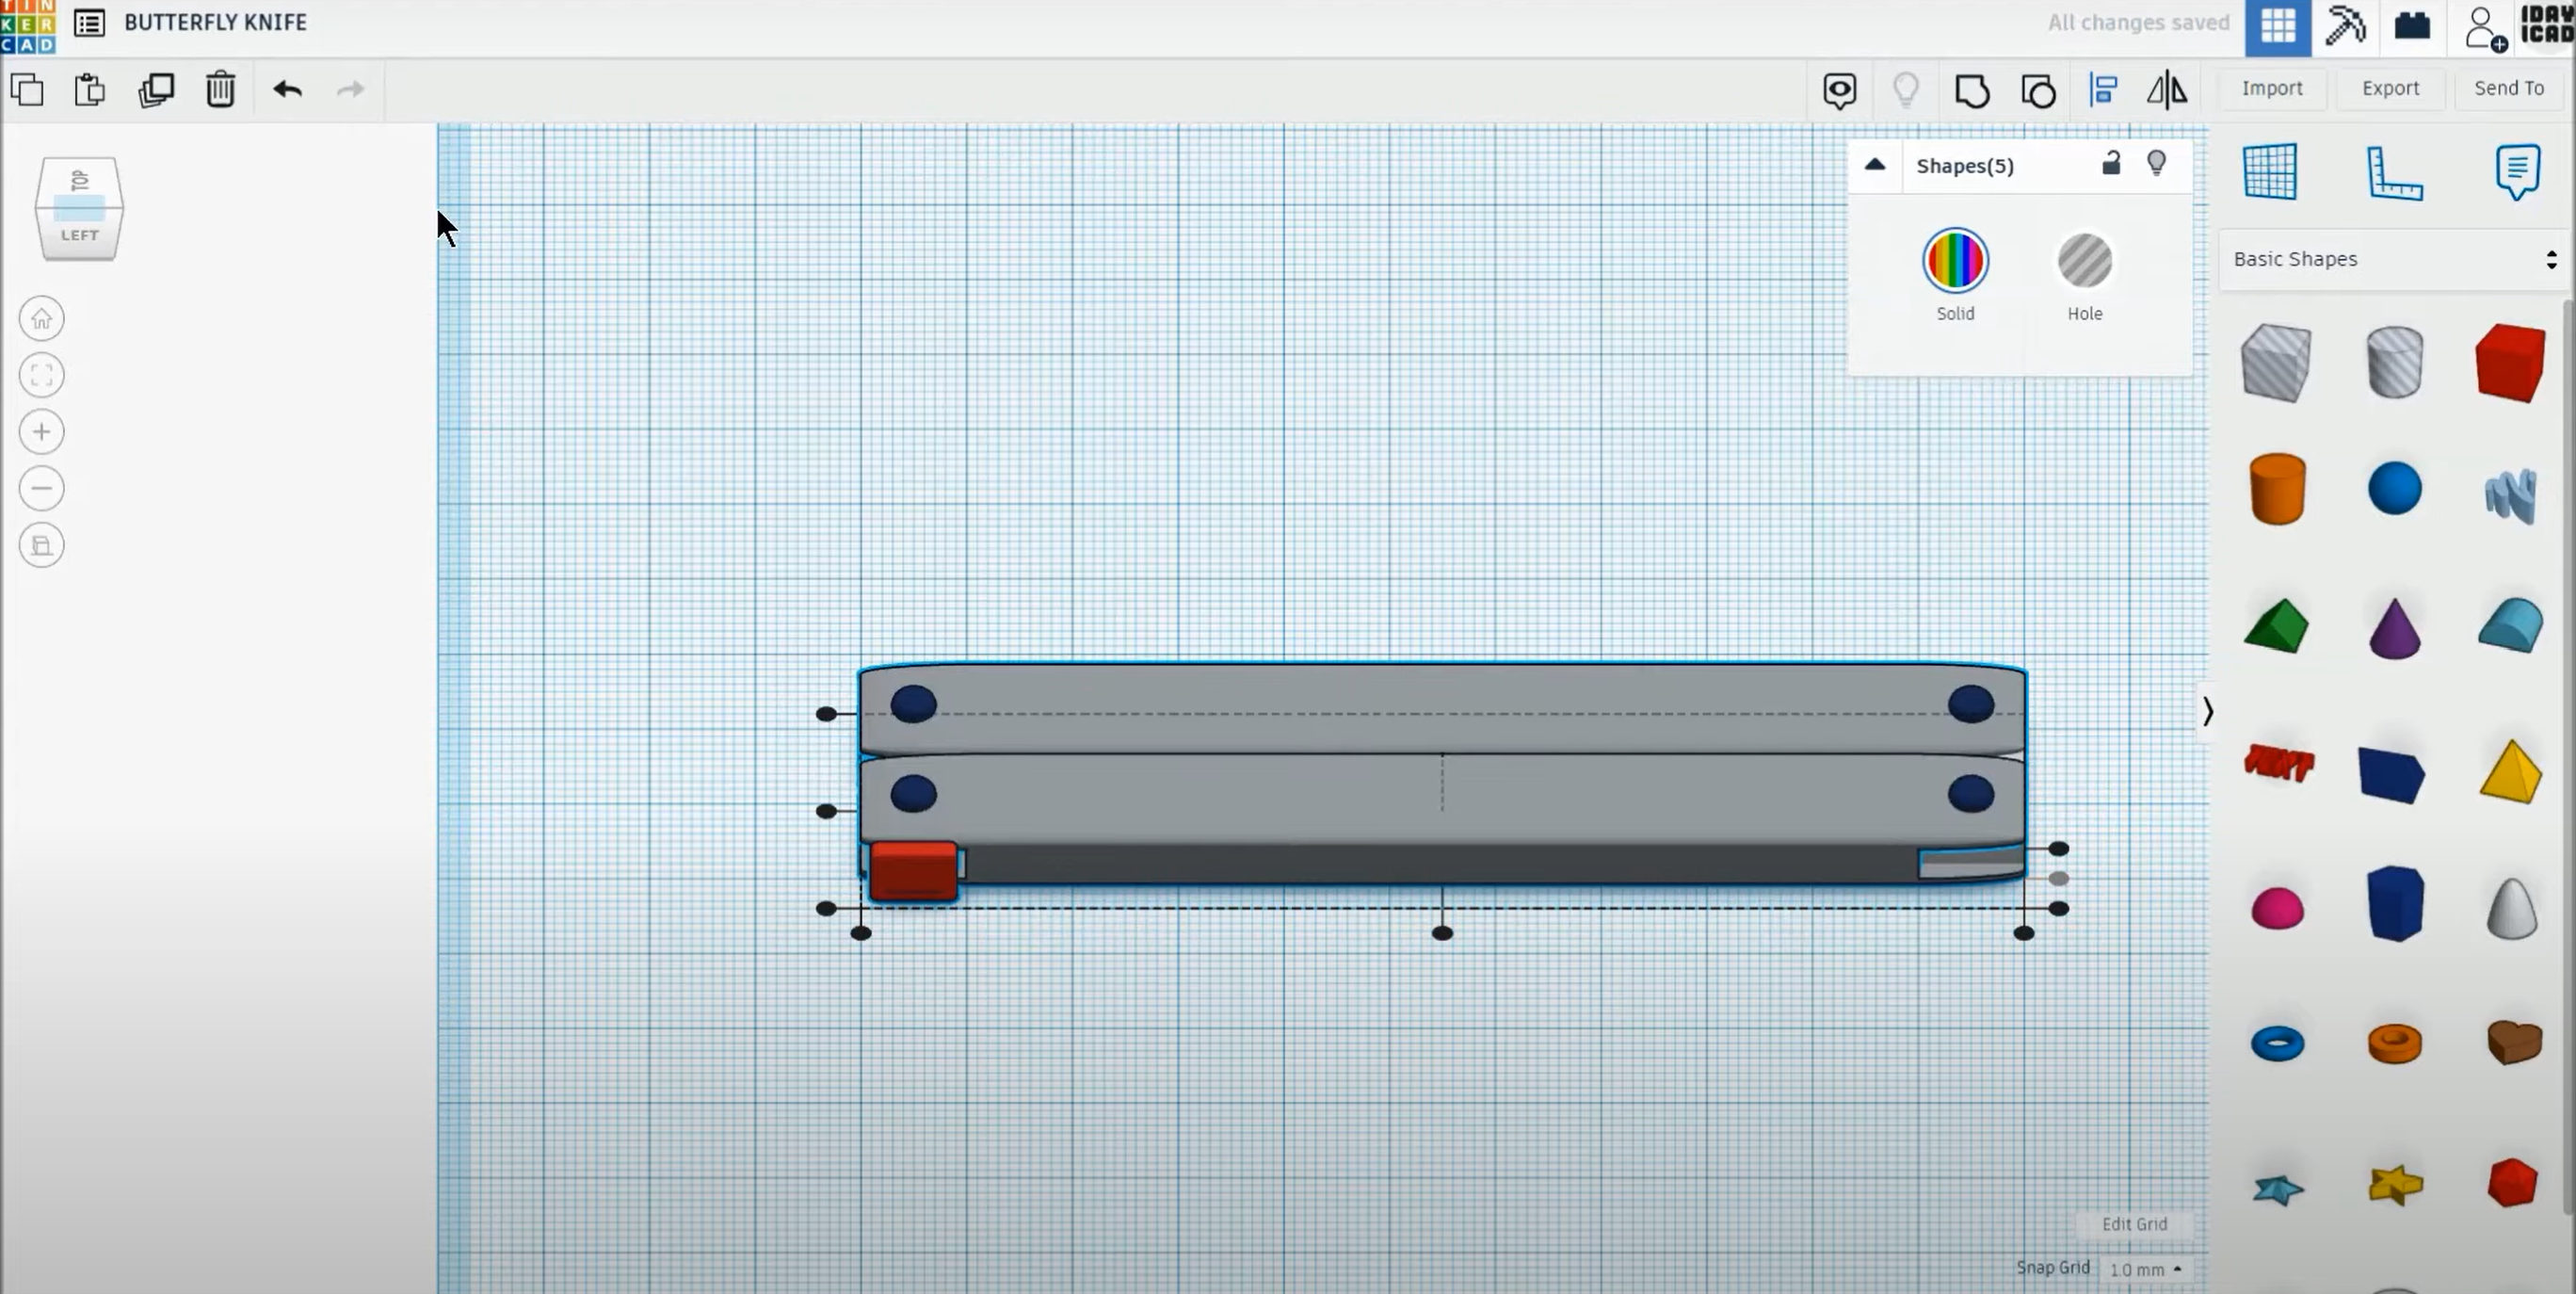
After having the cover hollow we have to have a pin to hold everything together, and after adding the pins her how it looks like.
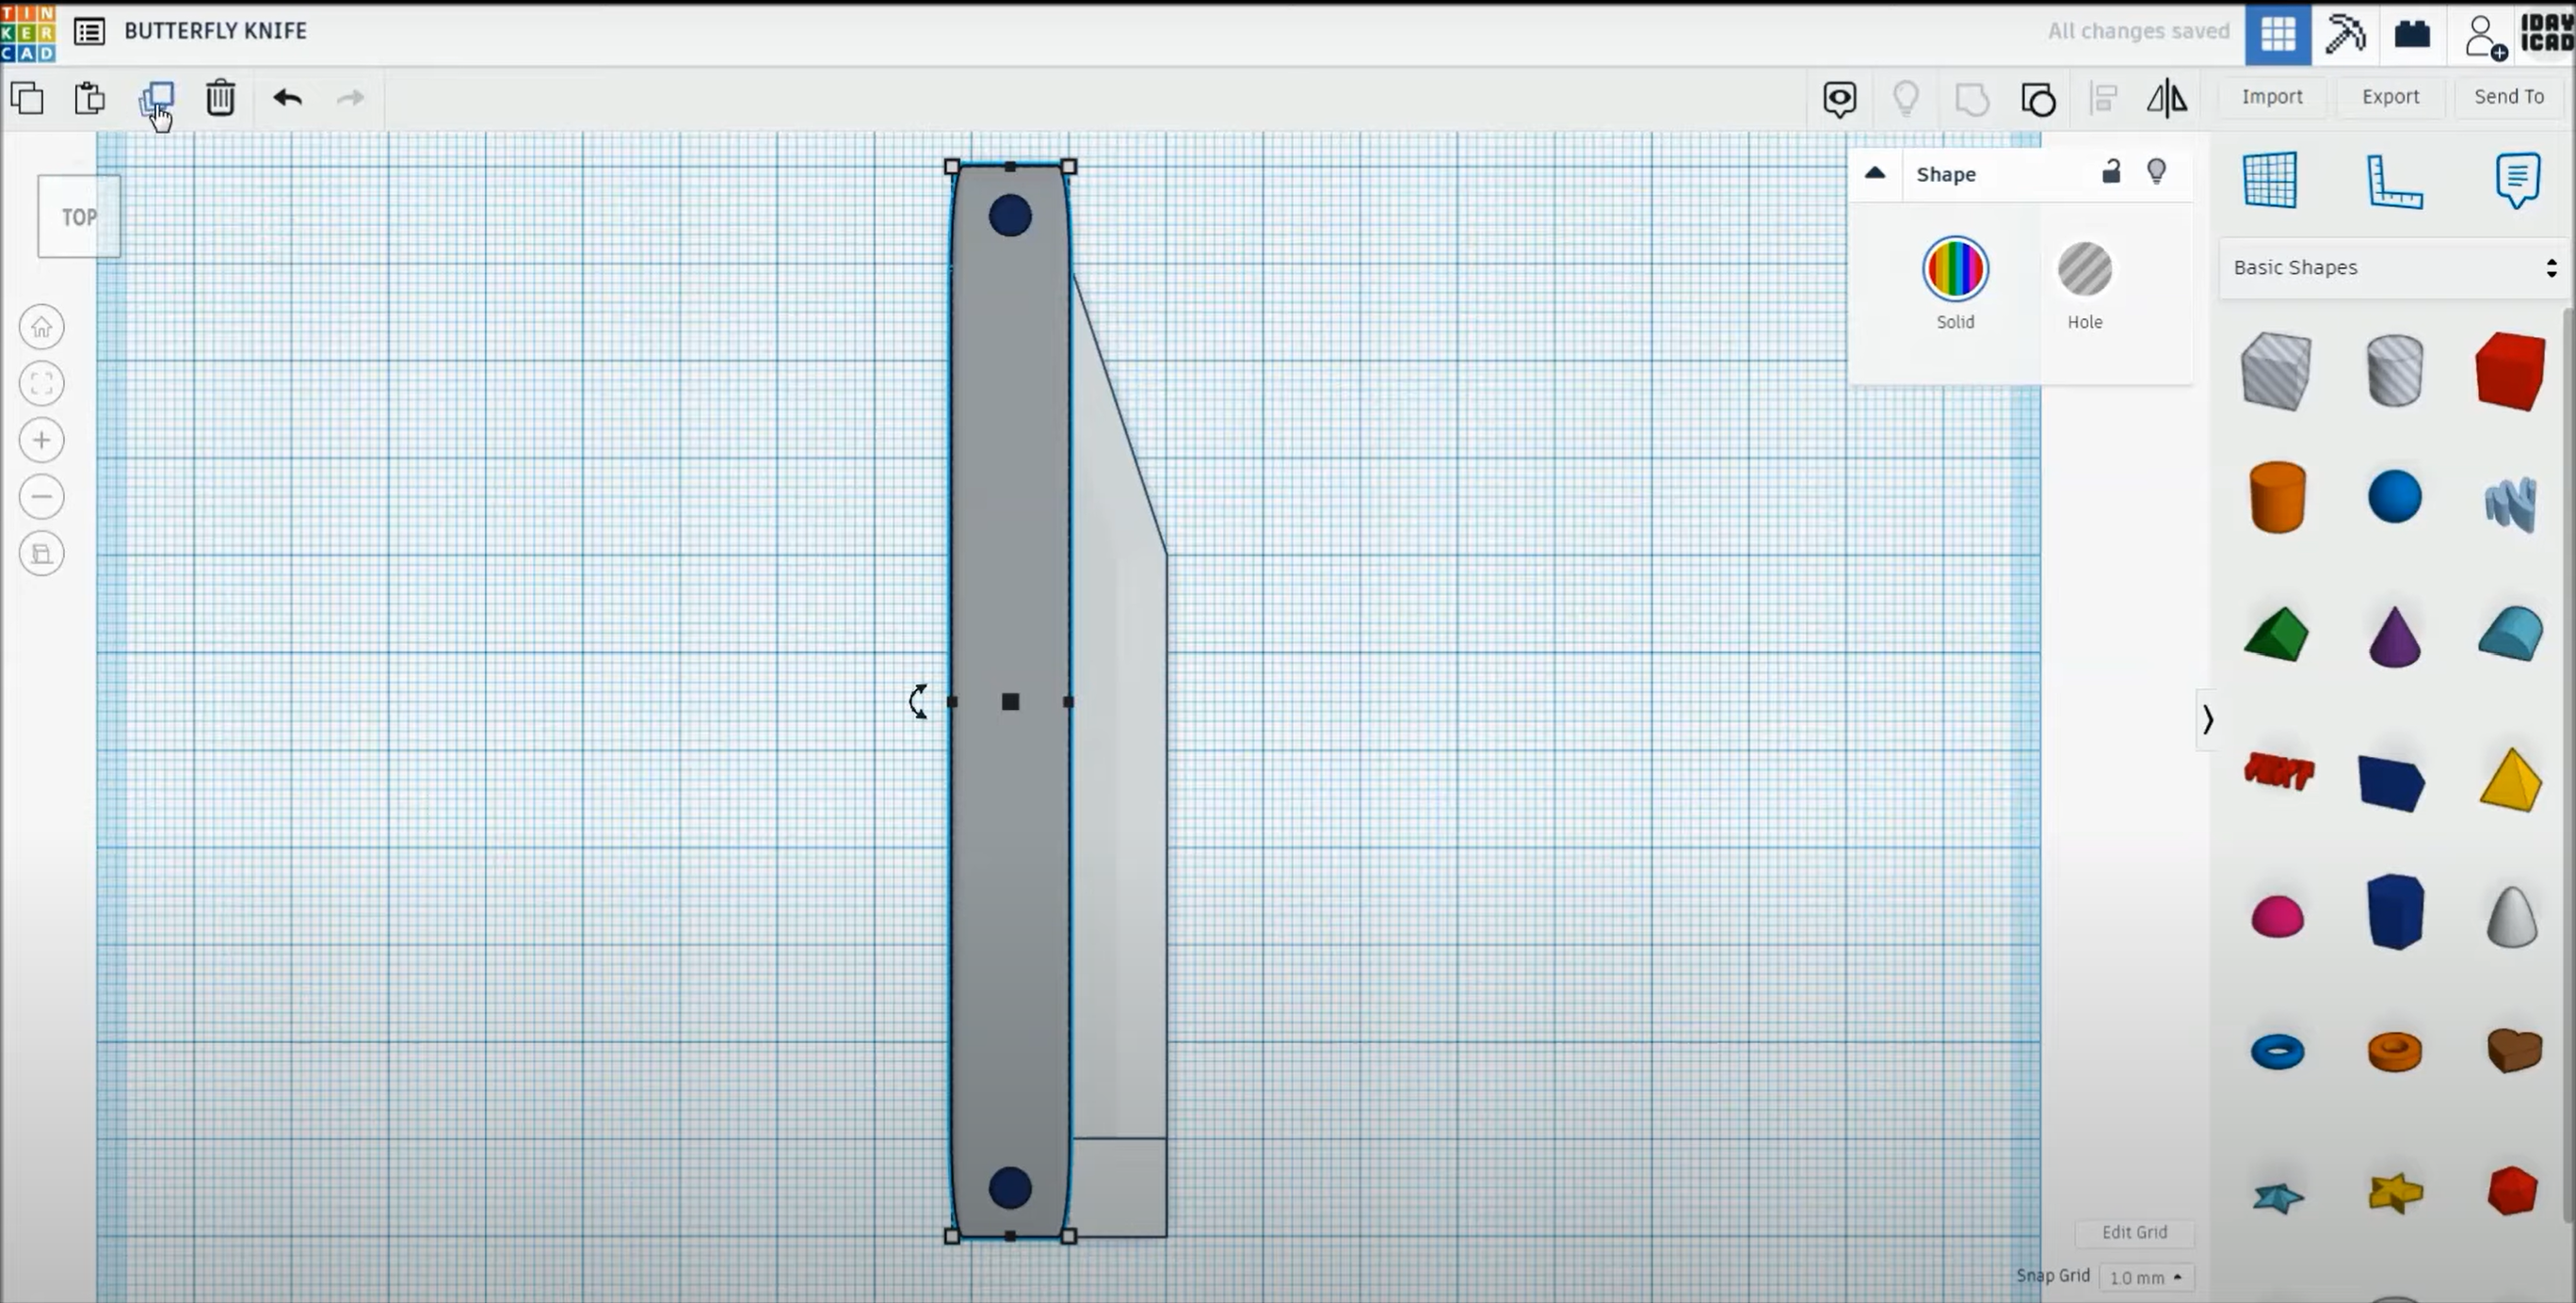
After obtaining one half of the cover we just dupelicate it.
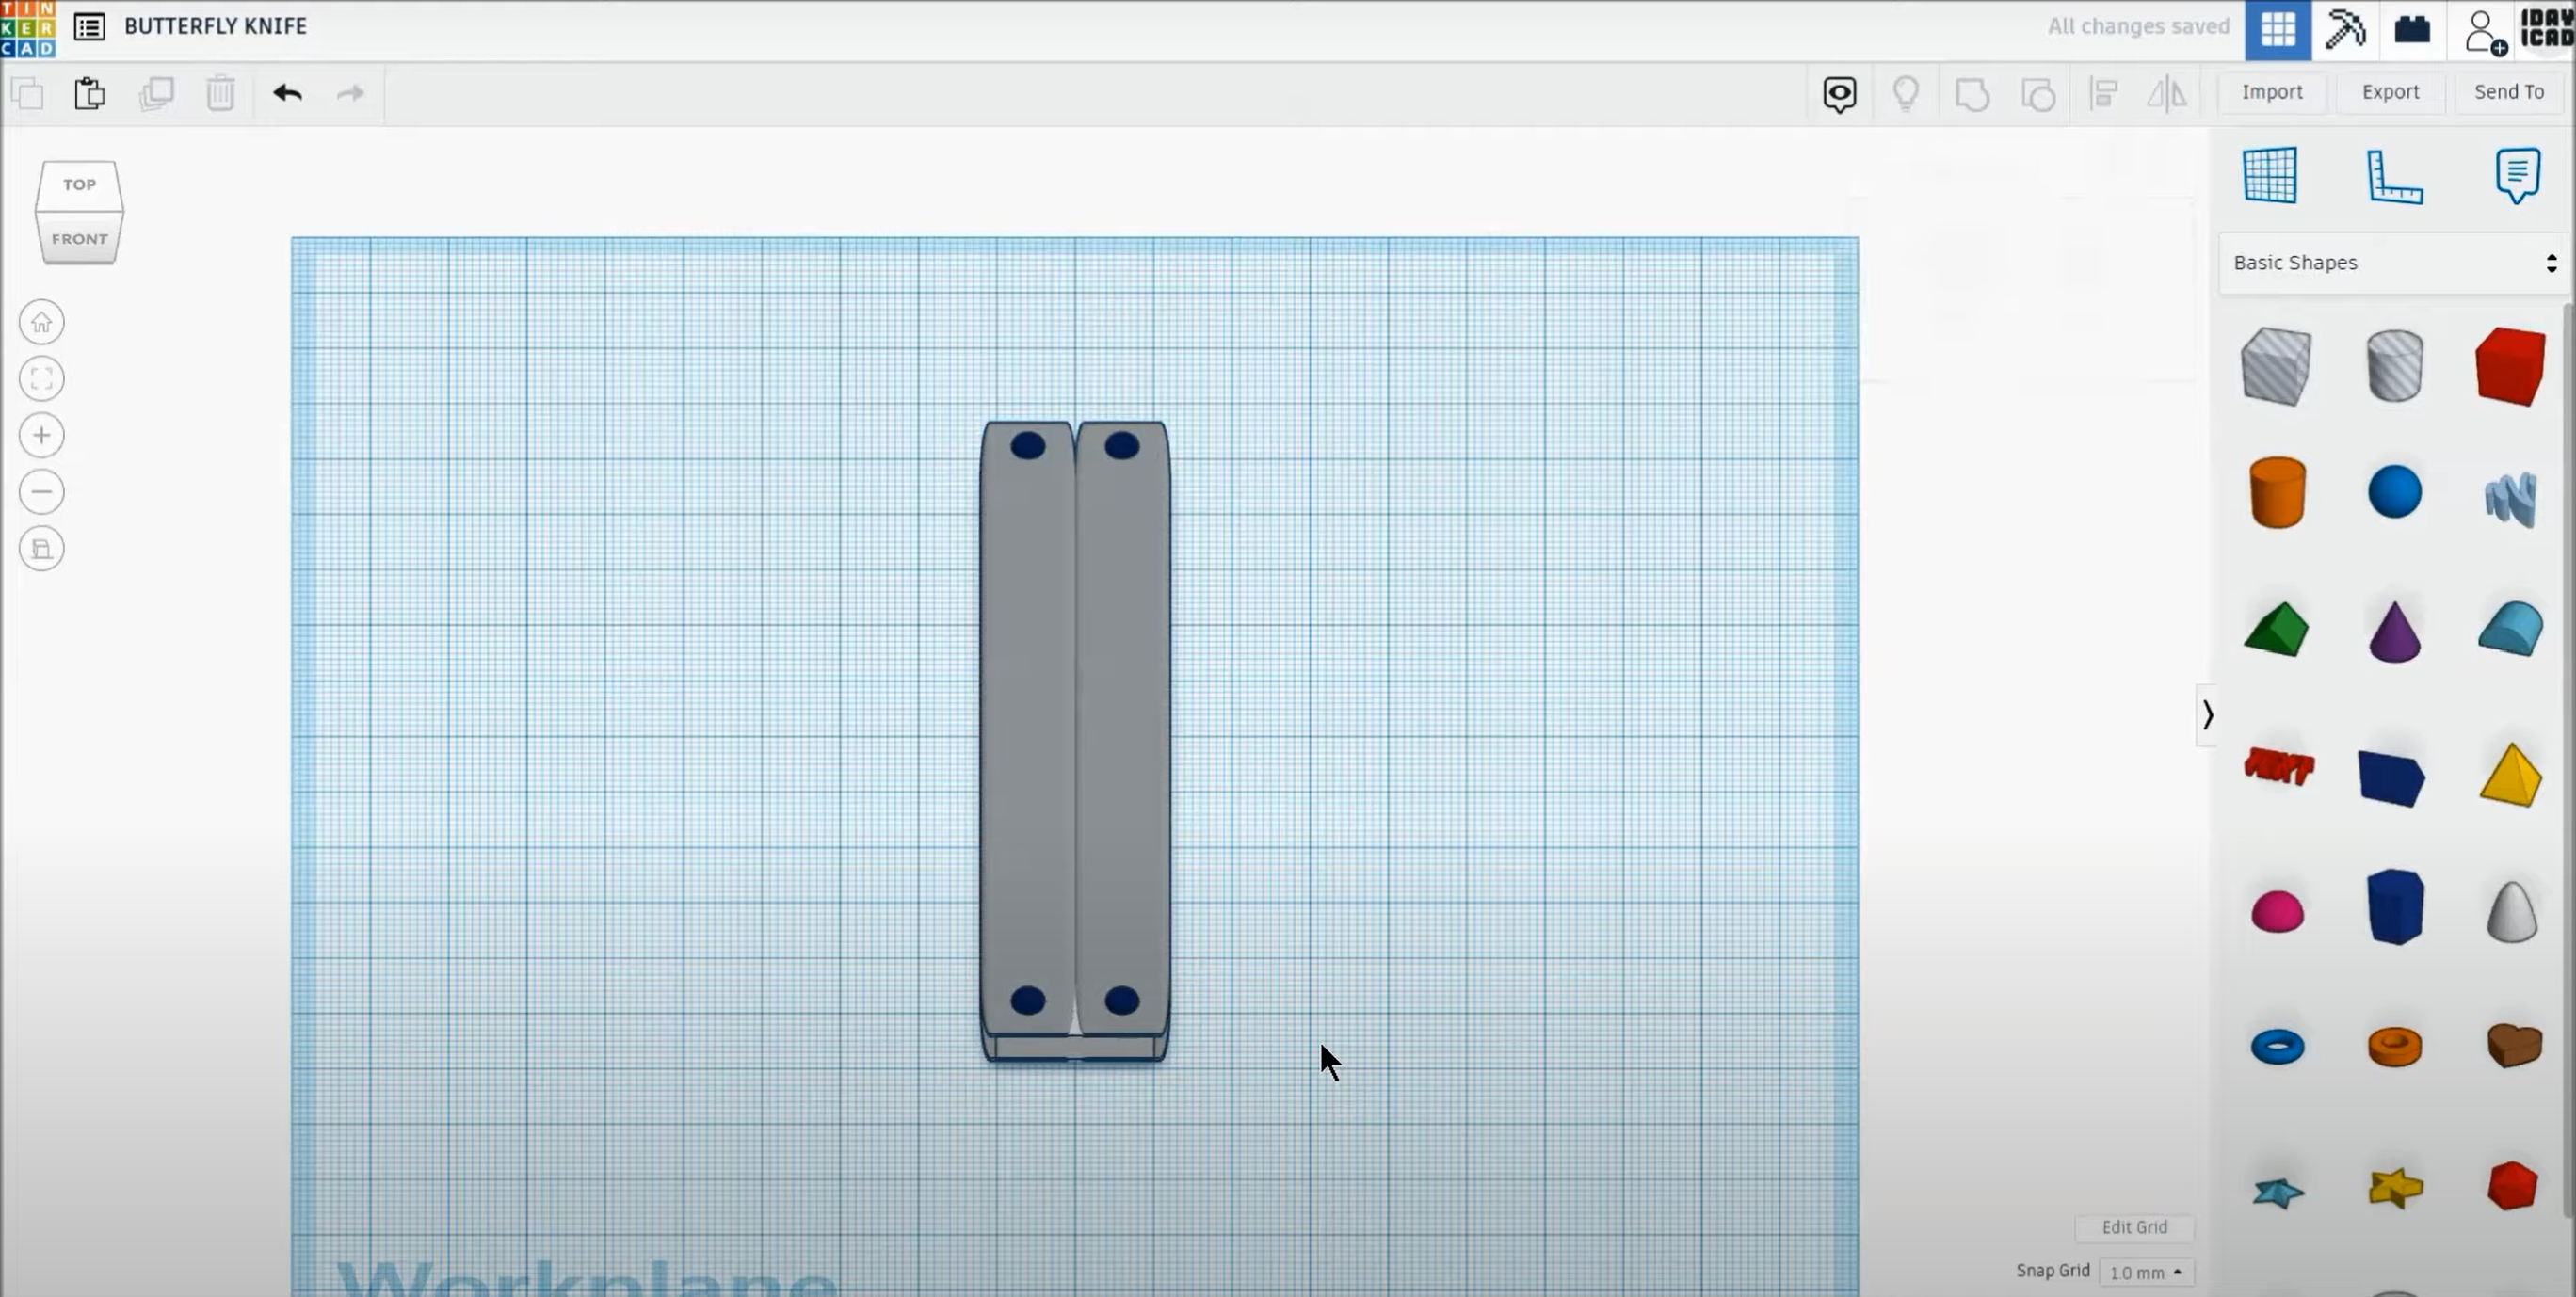
Creating the seal
the seal is the easiest piece to create.
Final Look
The tutorial I followed.
Inkspace
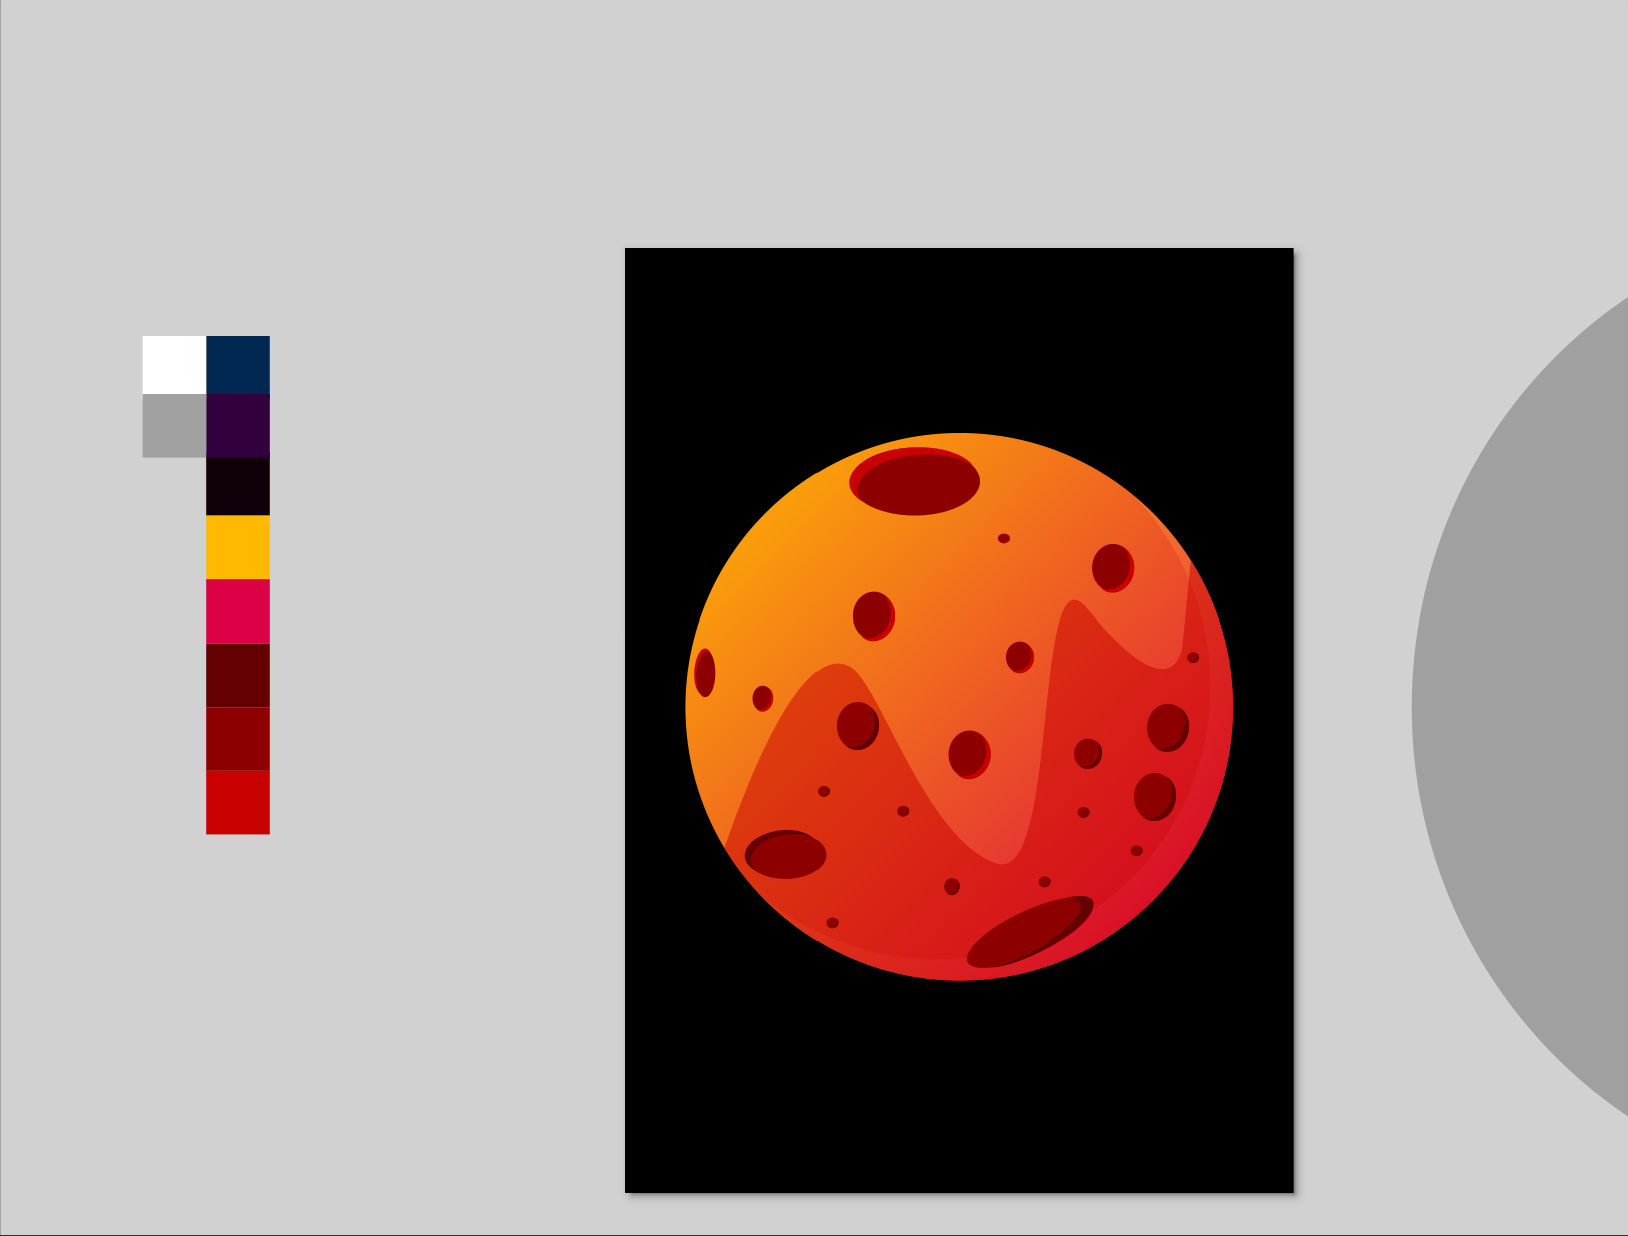
Making planet illustration using inkscape.
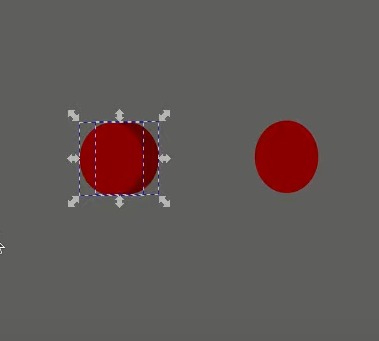
Start with a perfct circle 650 x 650 px
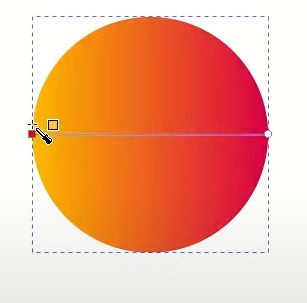
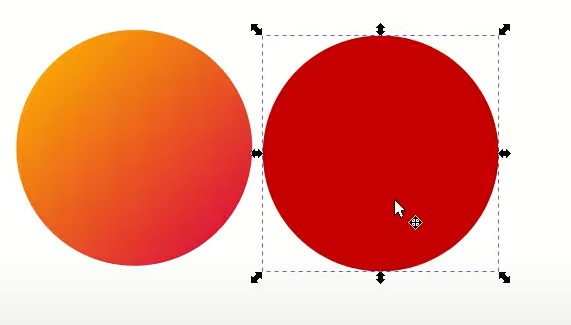
Using gradient function
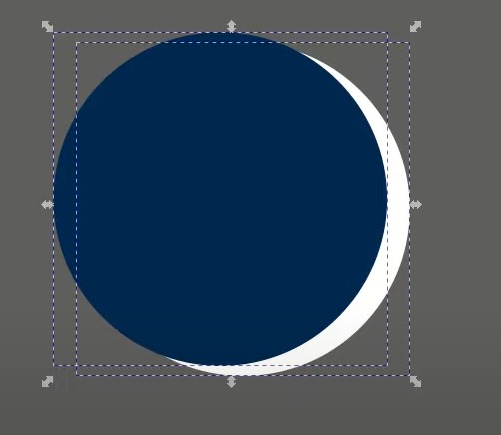
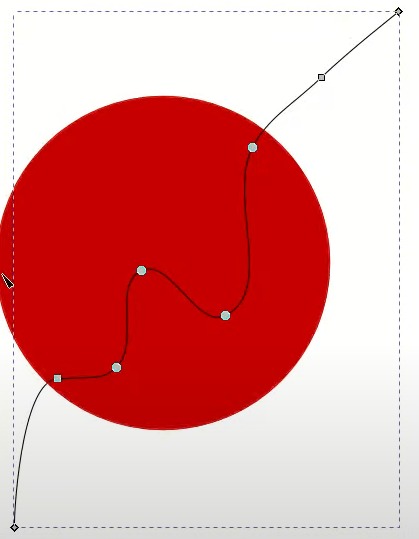
Creating the shadow effect

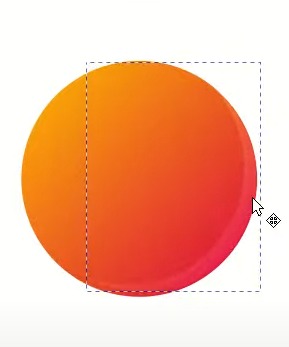
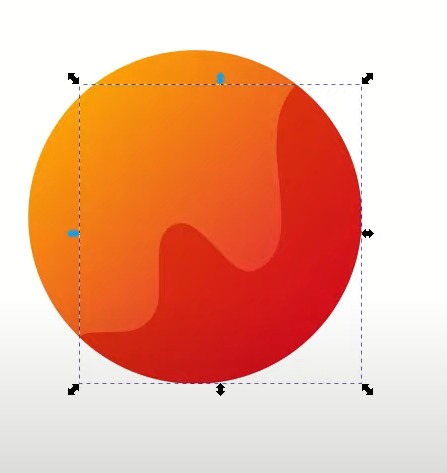
Making the glossy effect
Making the holes

Final Result
Vectr
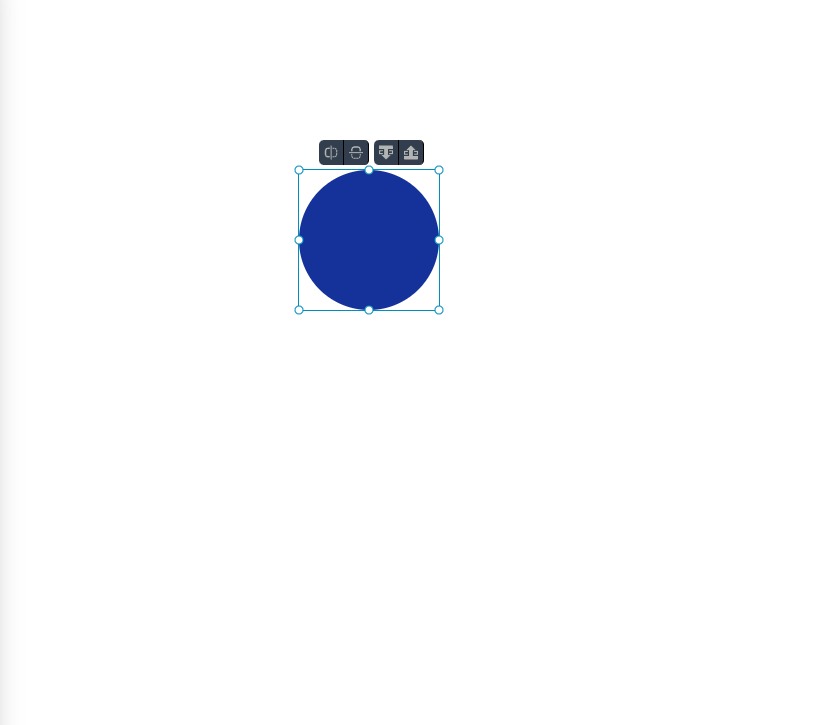
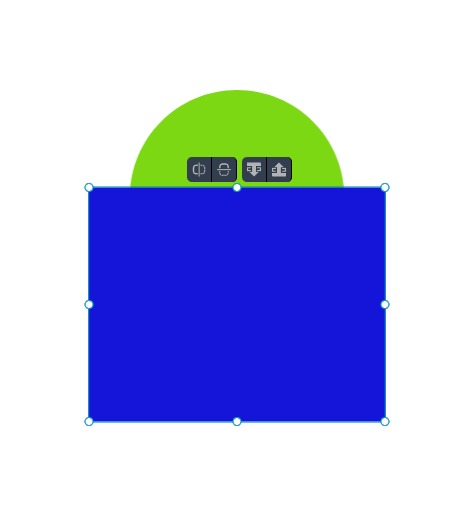
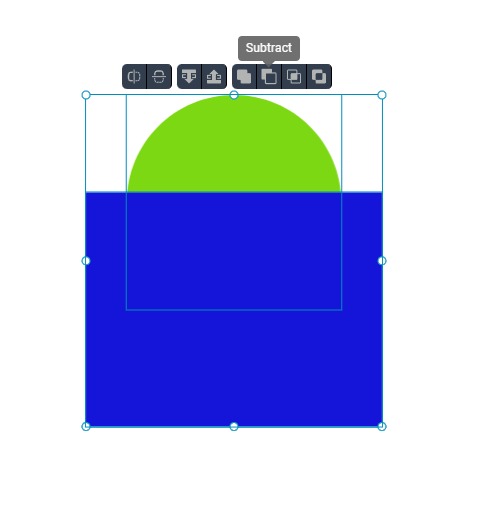
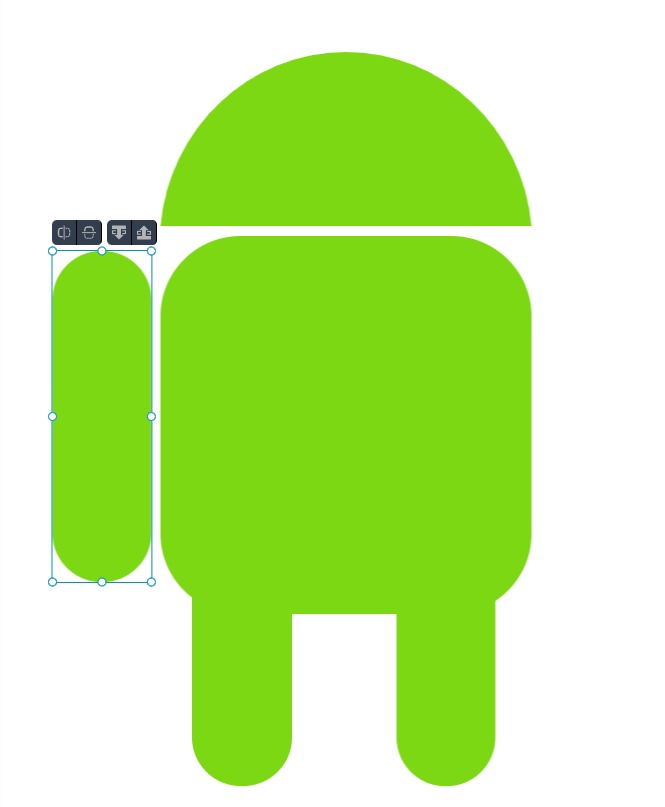
2nd Design Making an android using vectr
Starting with using simple shapes to make the head.
Usiing the square to crop the circle
Using the substract function

Making the body

Adding arms and legs
Final ressult
