8. Moulding and casting
This week I worked on defining my final project idea and started to getting used to the documentation process.
Making the mold
Fusion 360
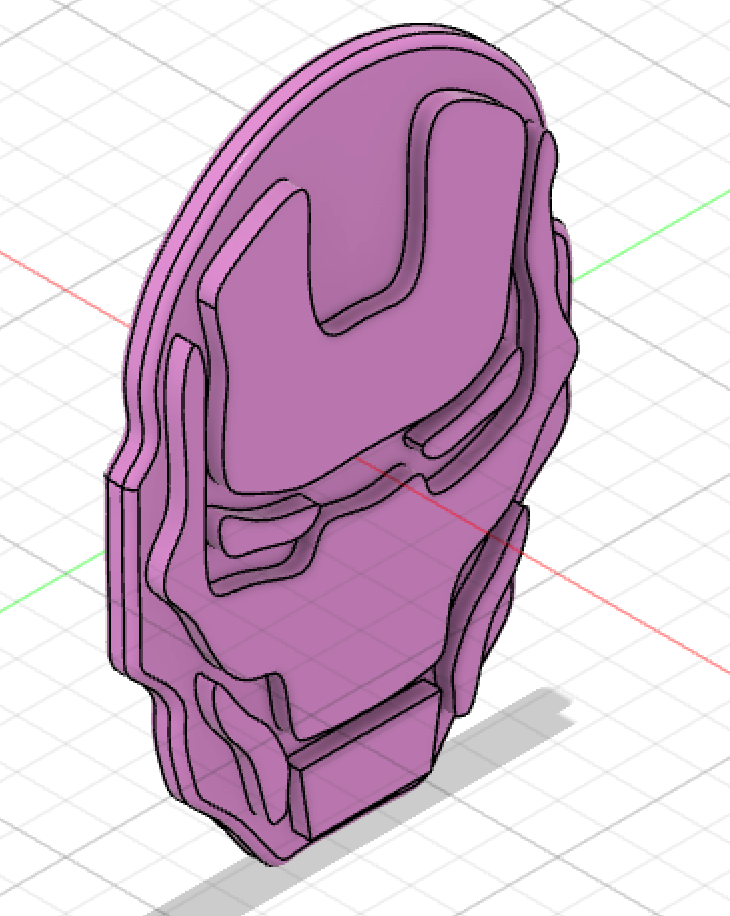
For the mold I wanted to make something a bit complex and cool, I searched for minimal logos that were cool and stumbled upon an iron man logo that I wanted to make.
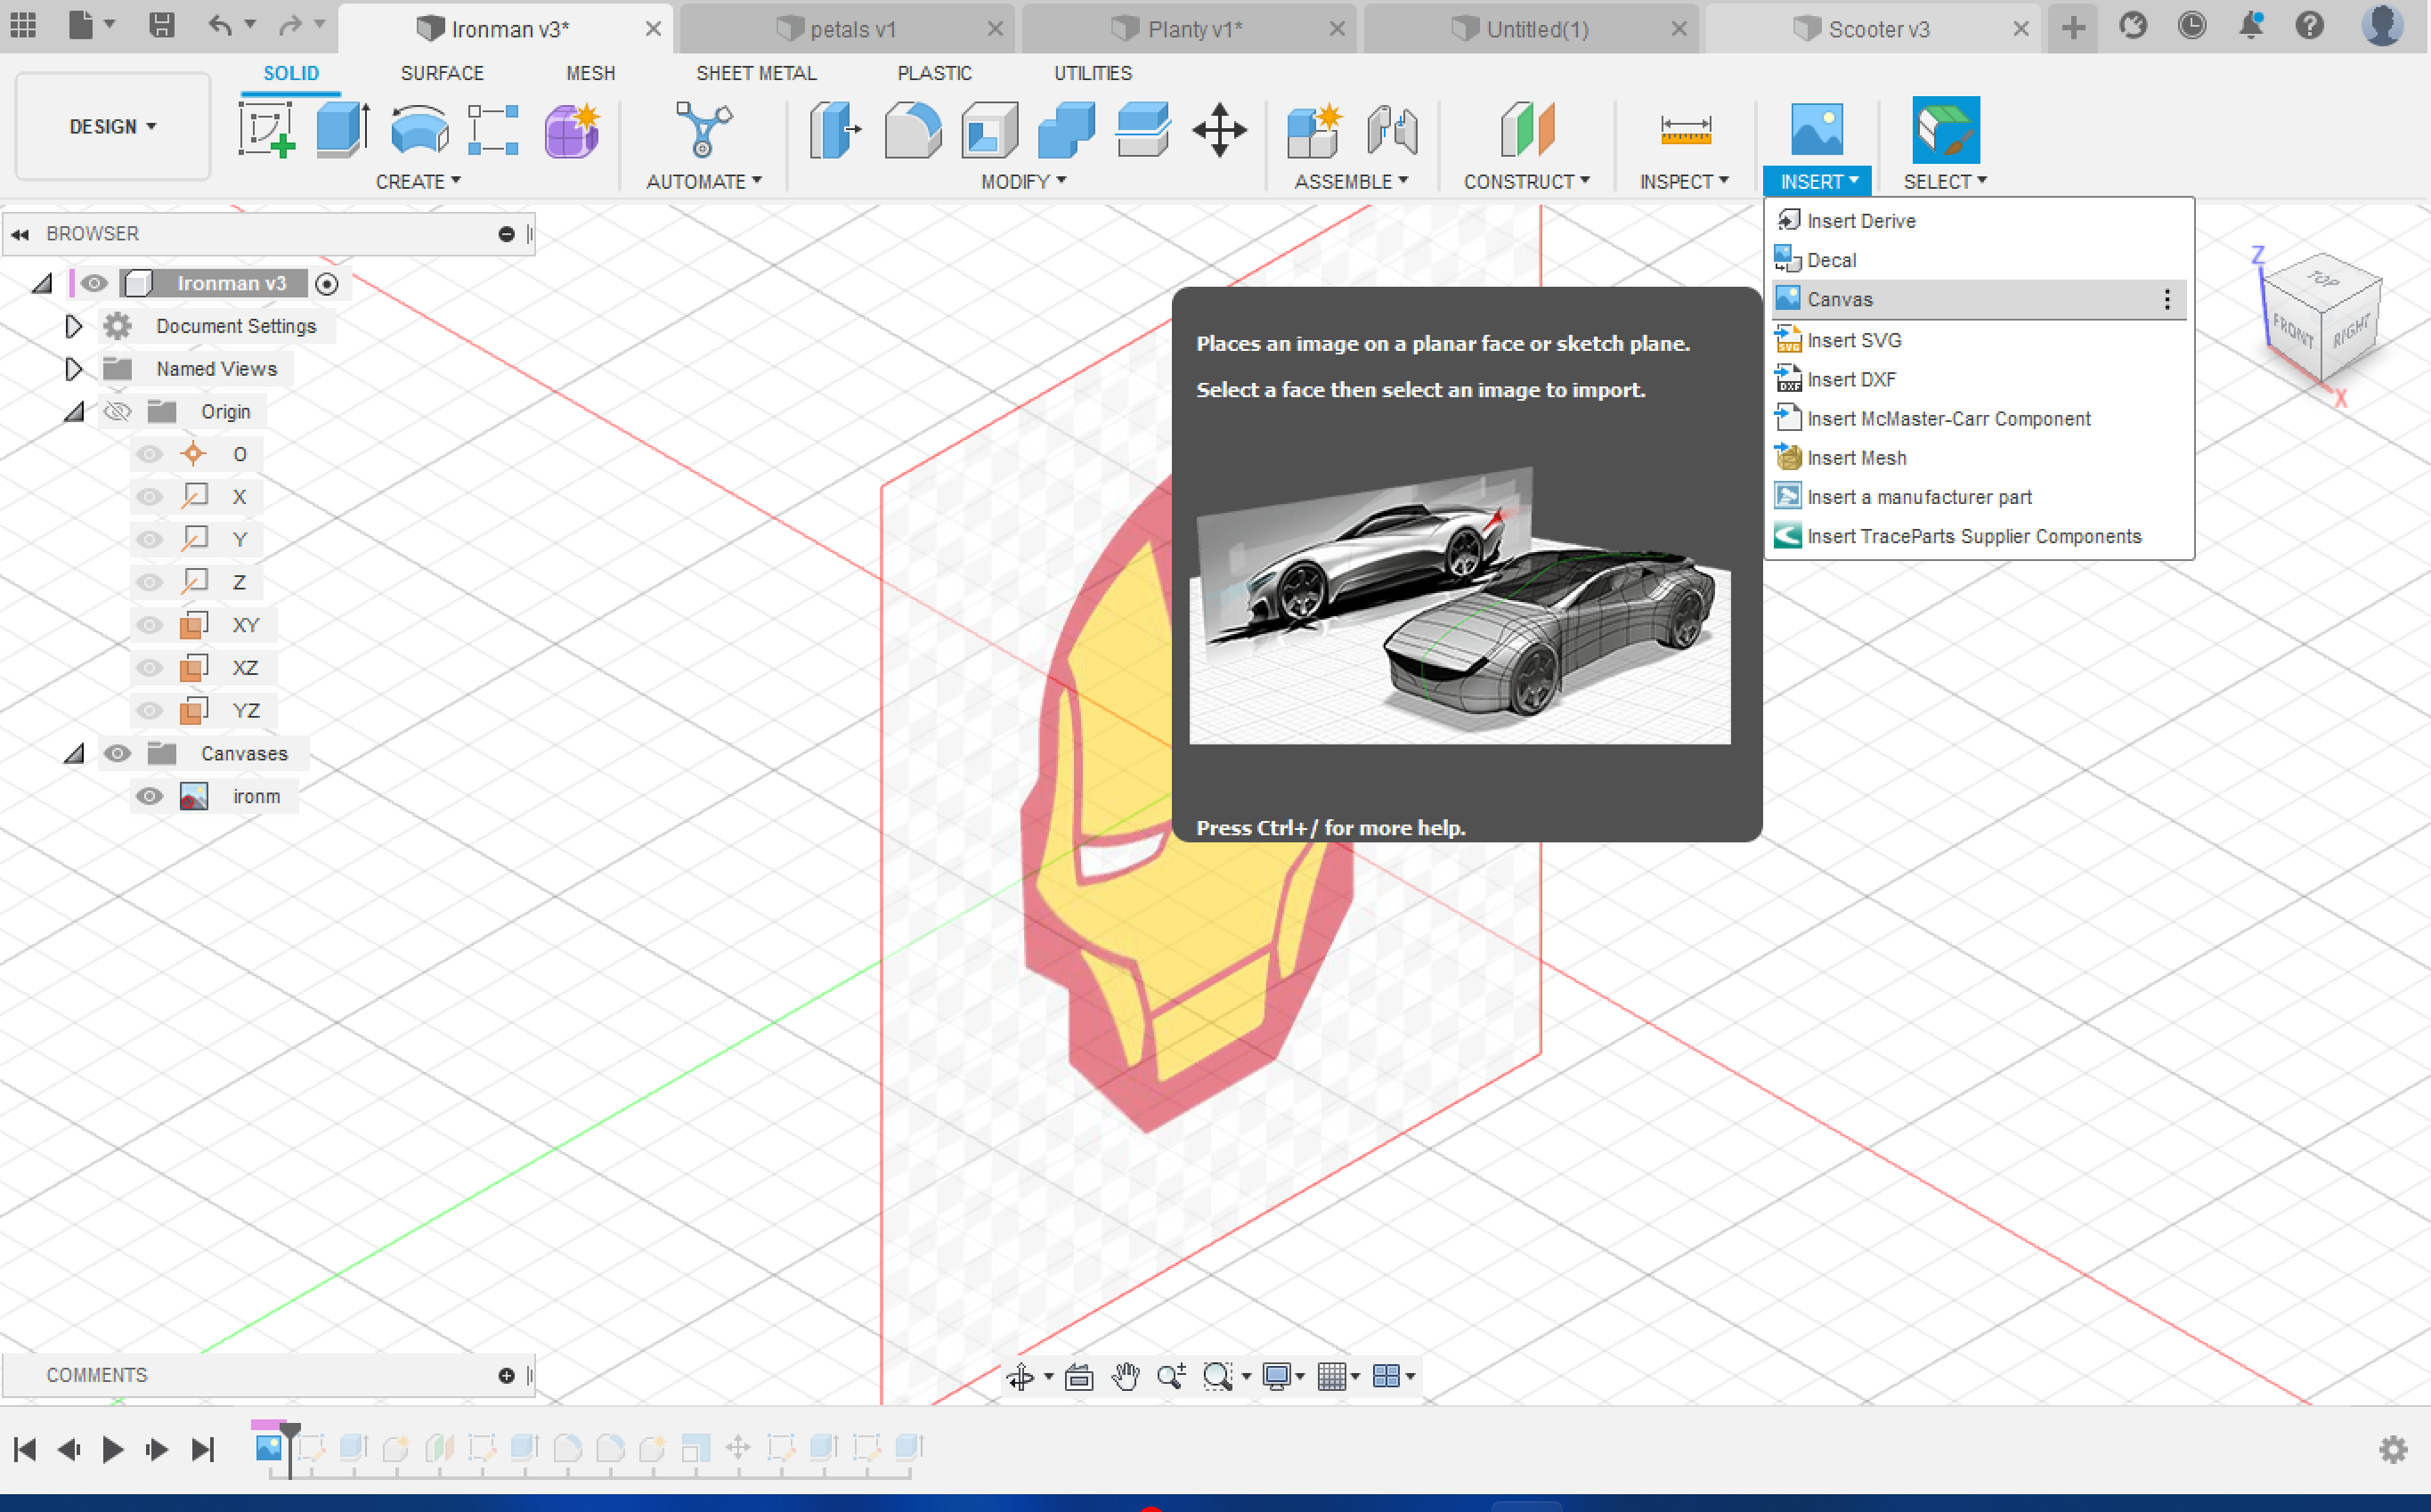
- I used the canvas feature in fusion to trace the lines of the picture
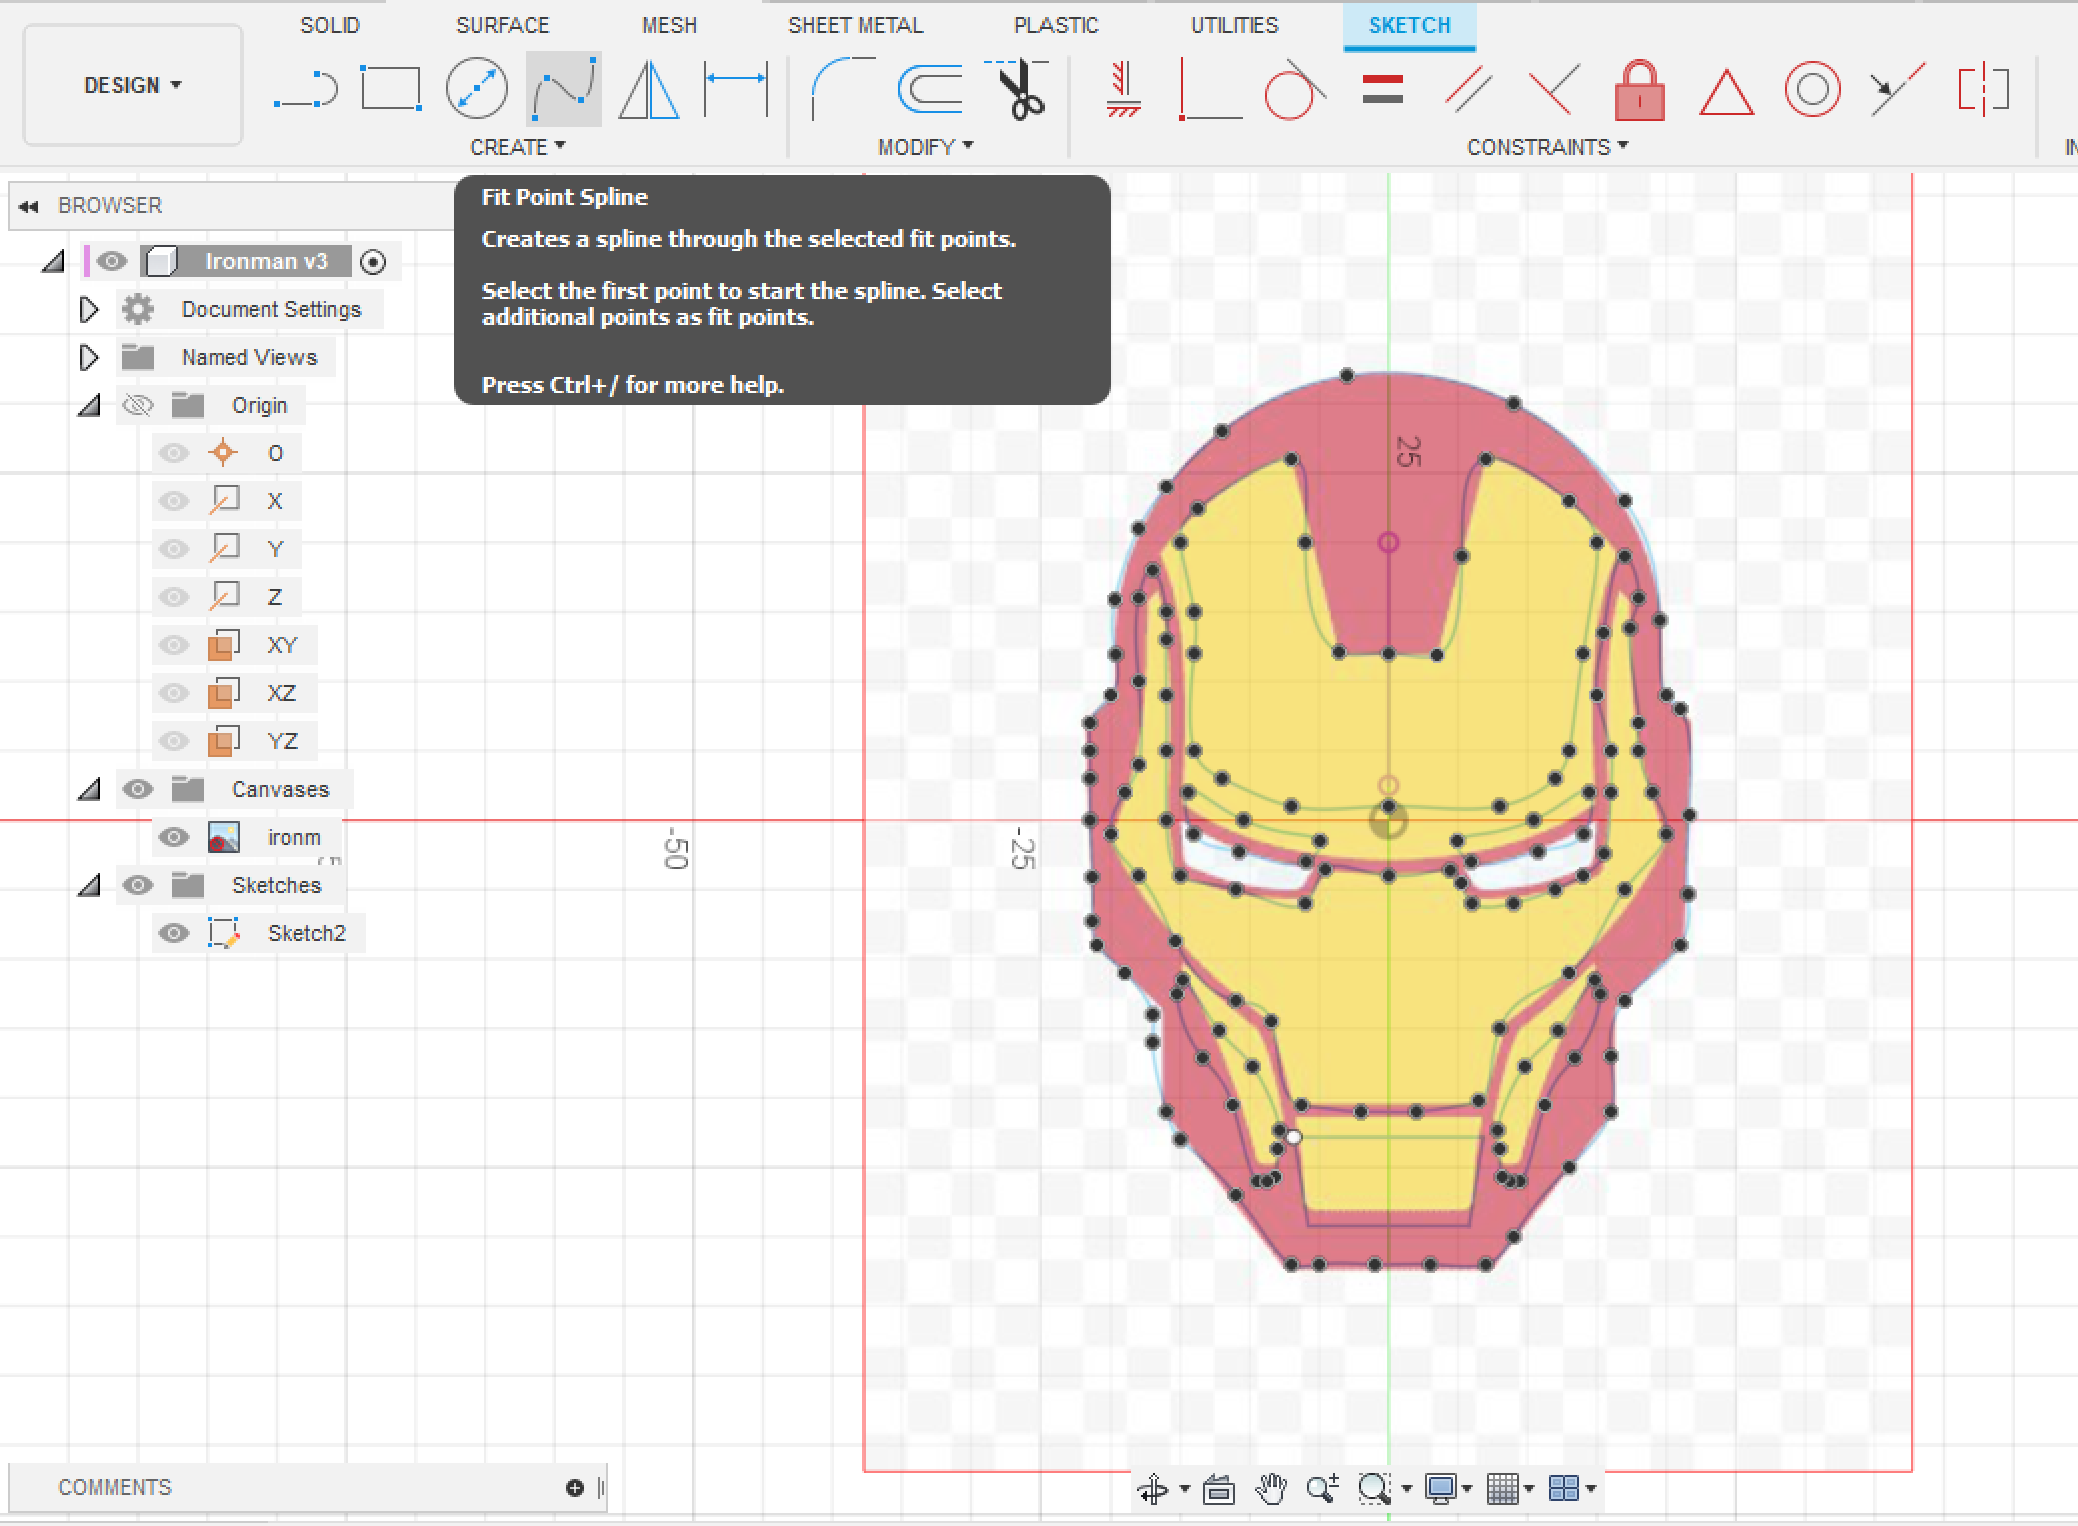
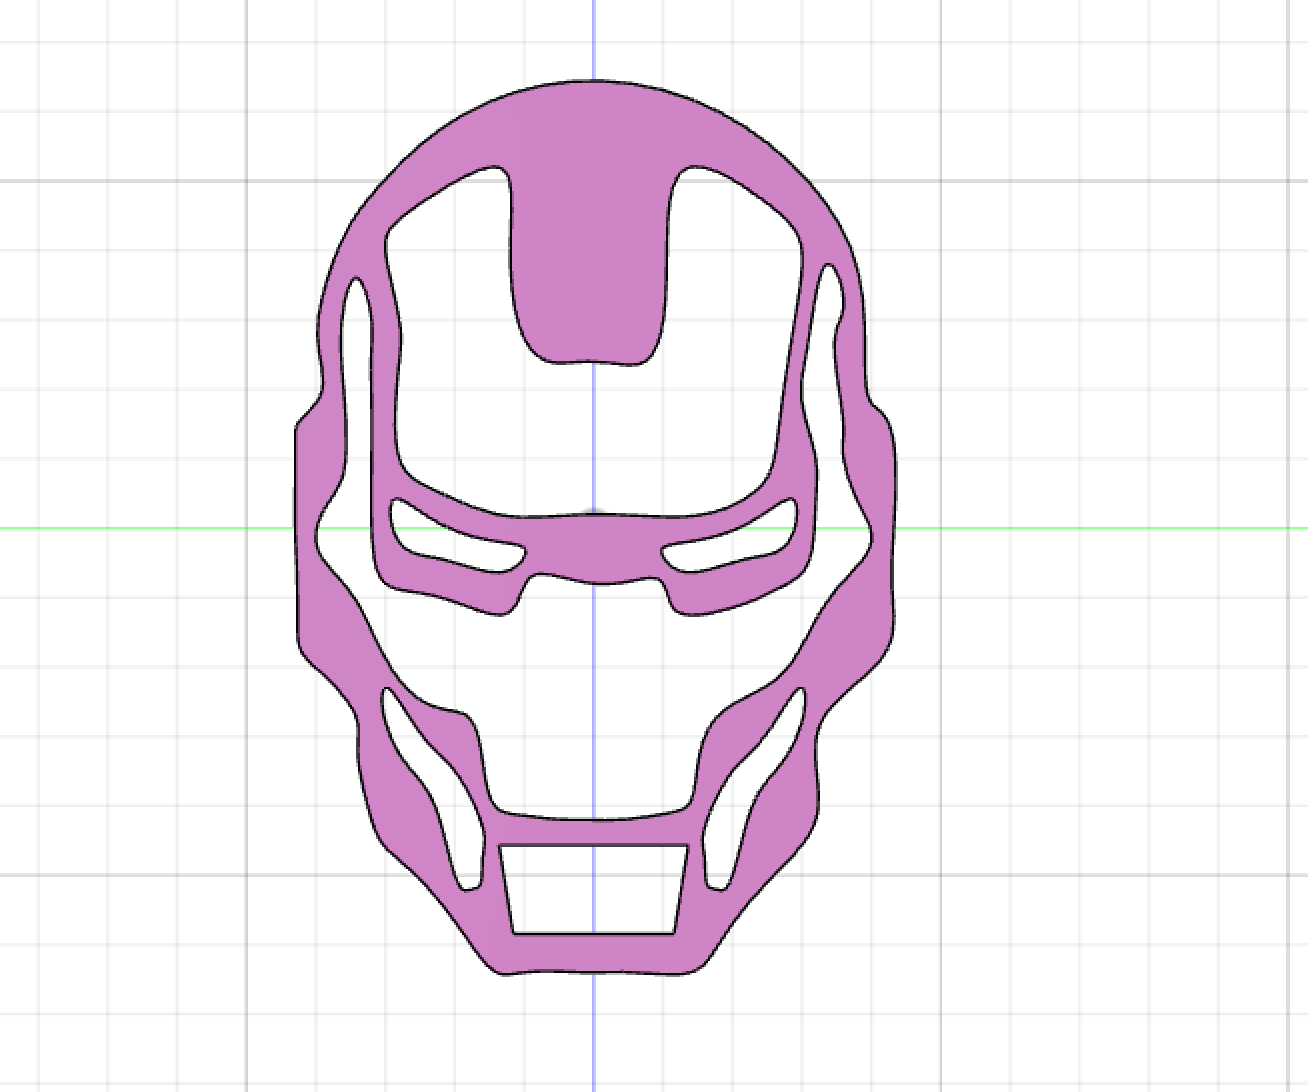
- After that I just had two extrusions for to make two layers for the mold.
Engraving
After Finishing the the design in fusion, I transfered my design to the machine.
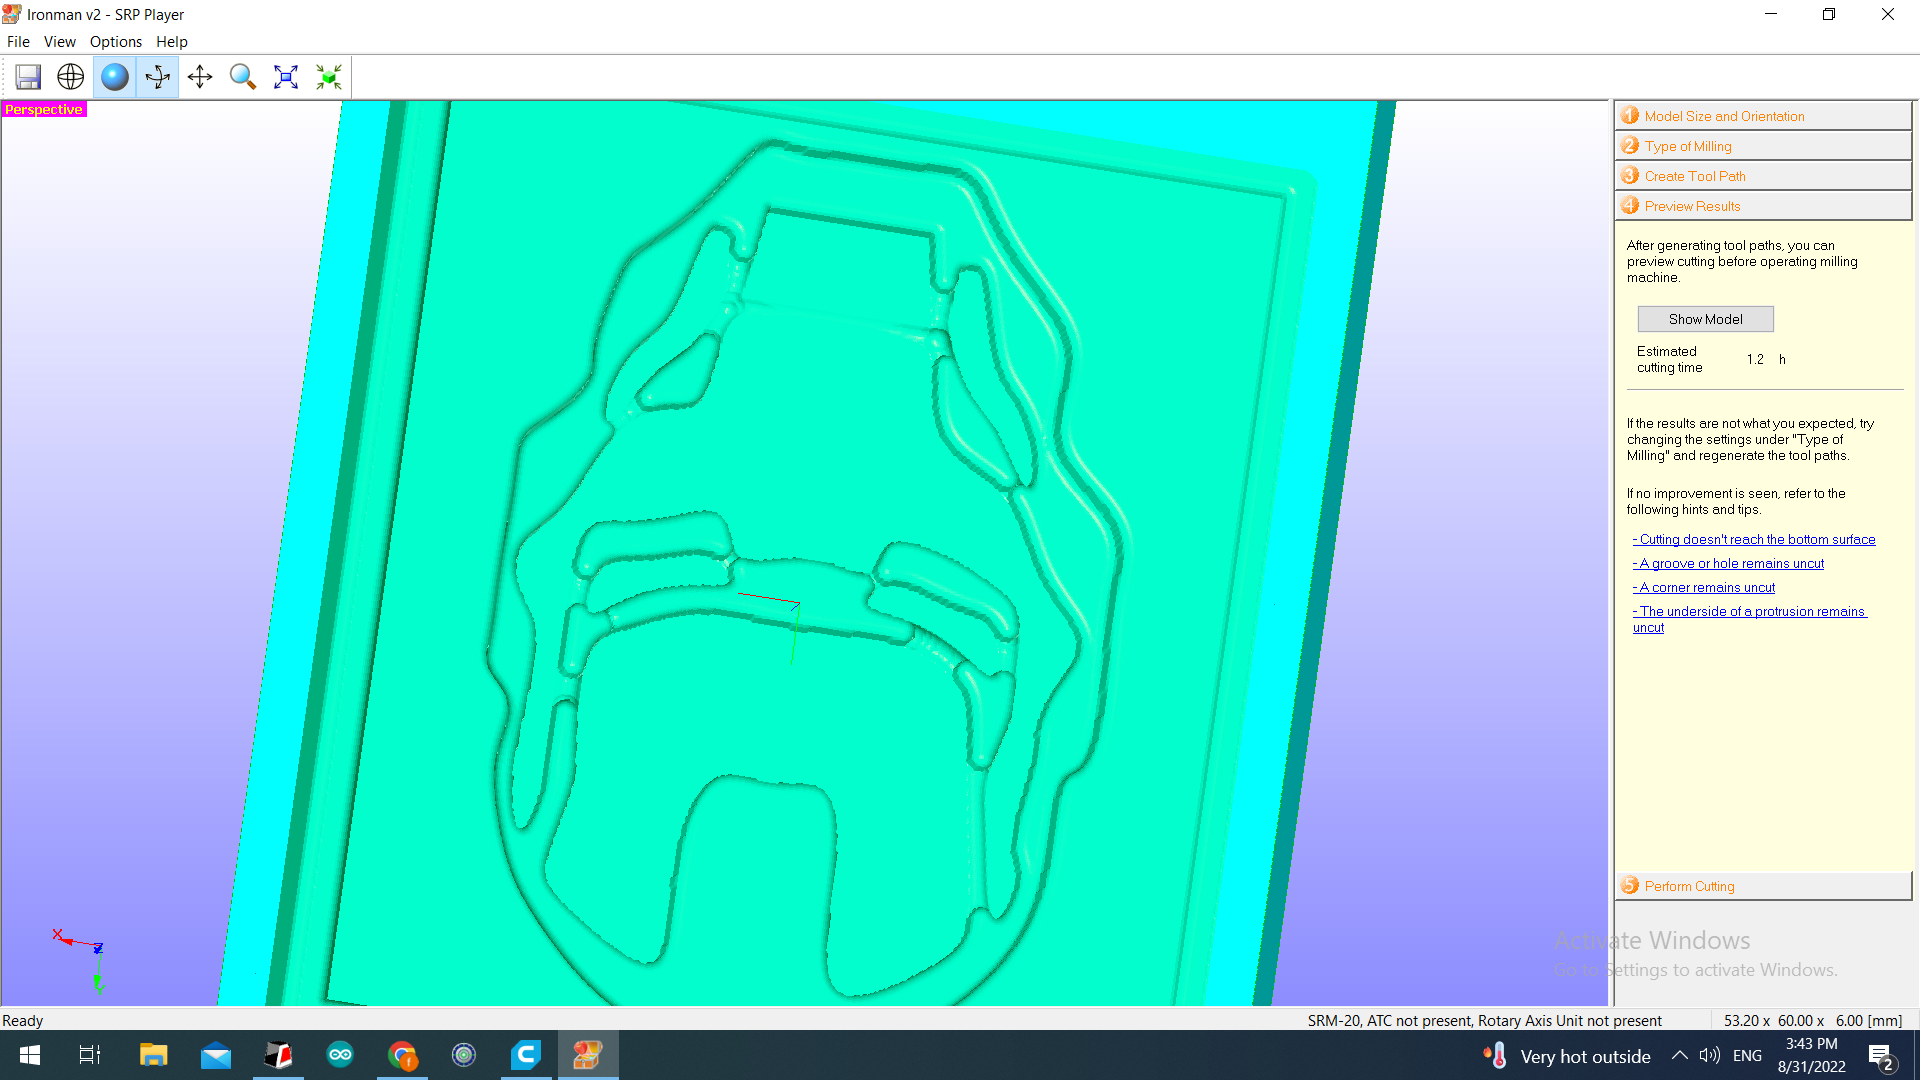
- Setting the orientation of the desing and parameters
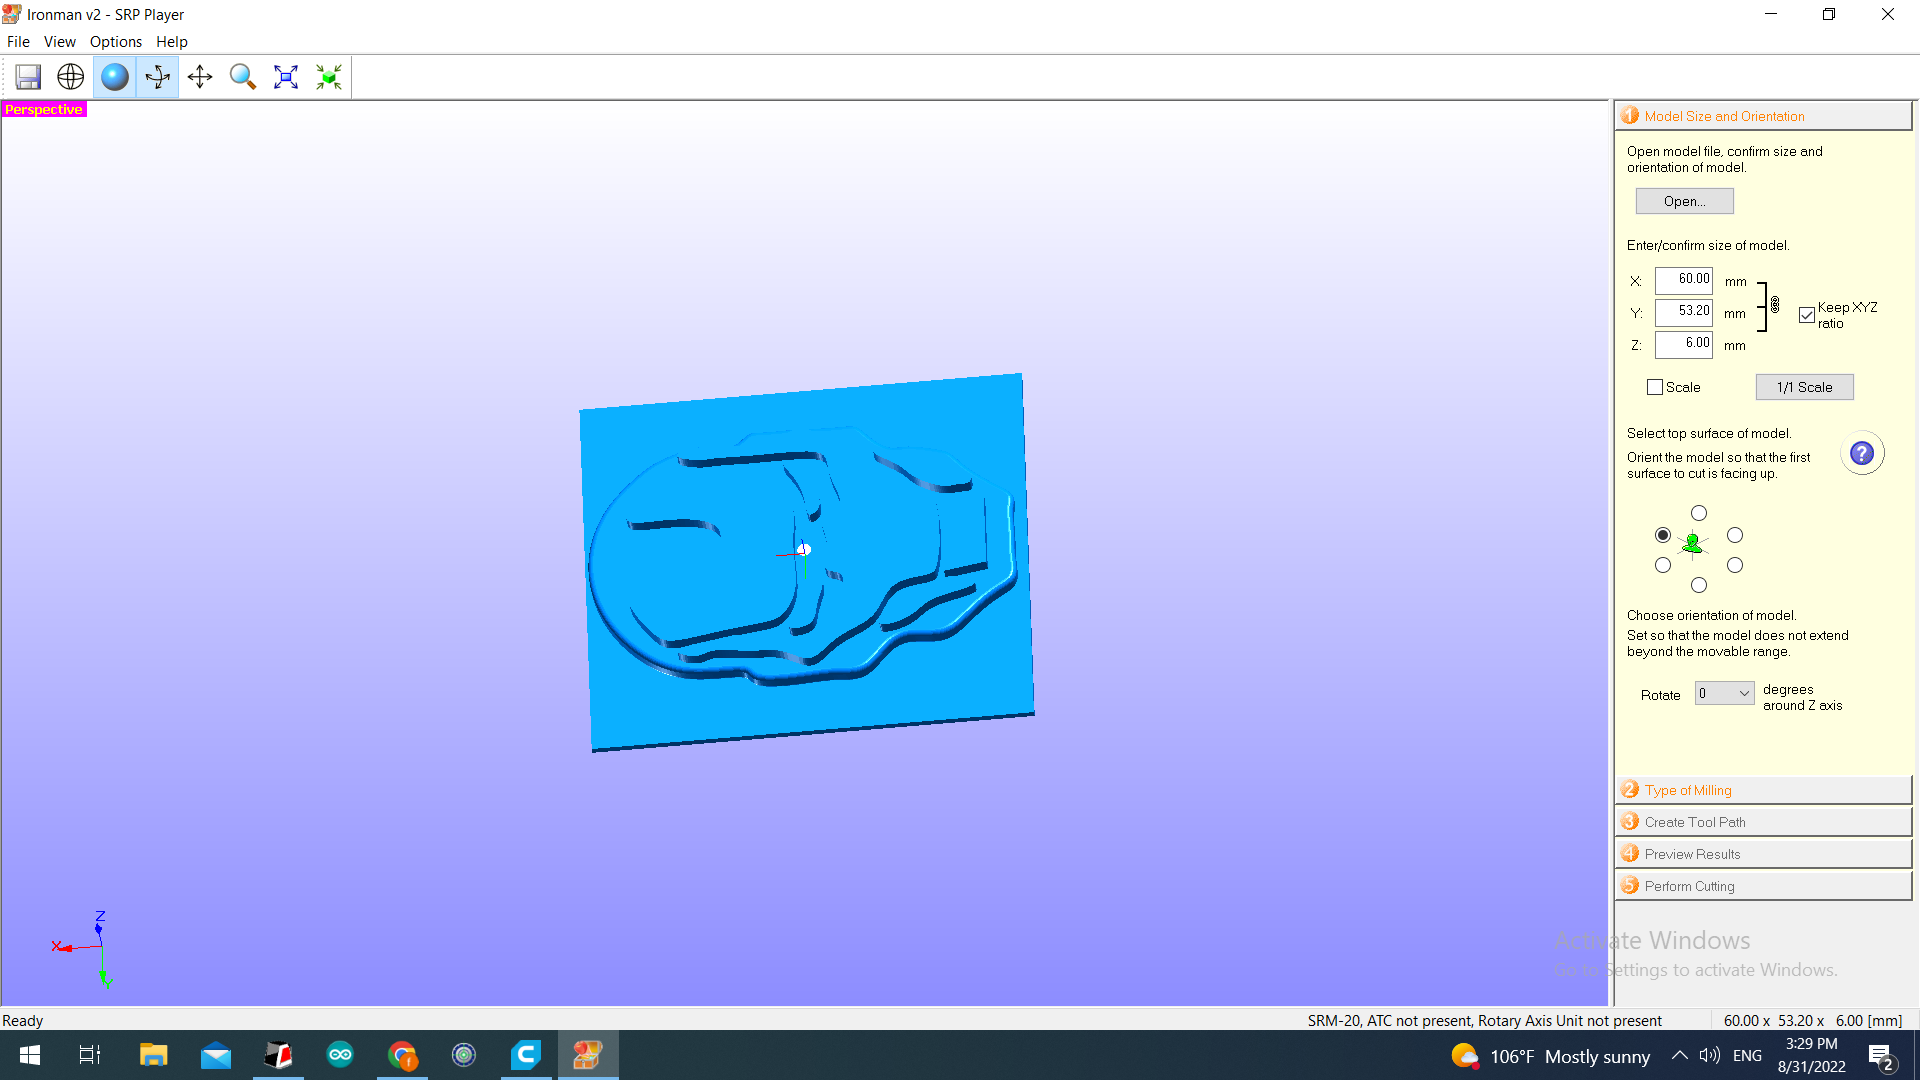
- Setting up the options for the cut
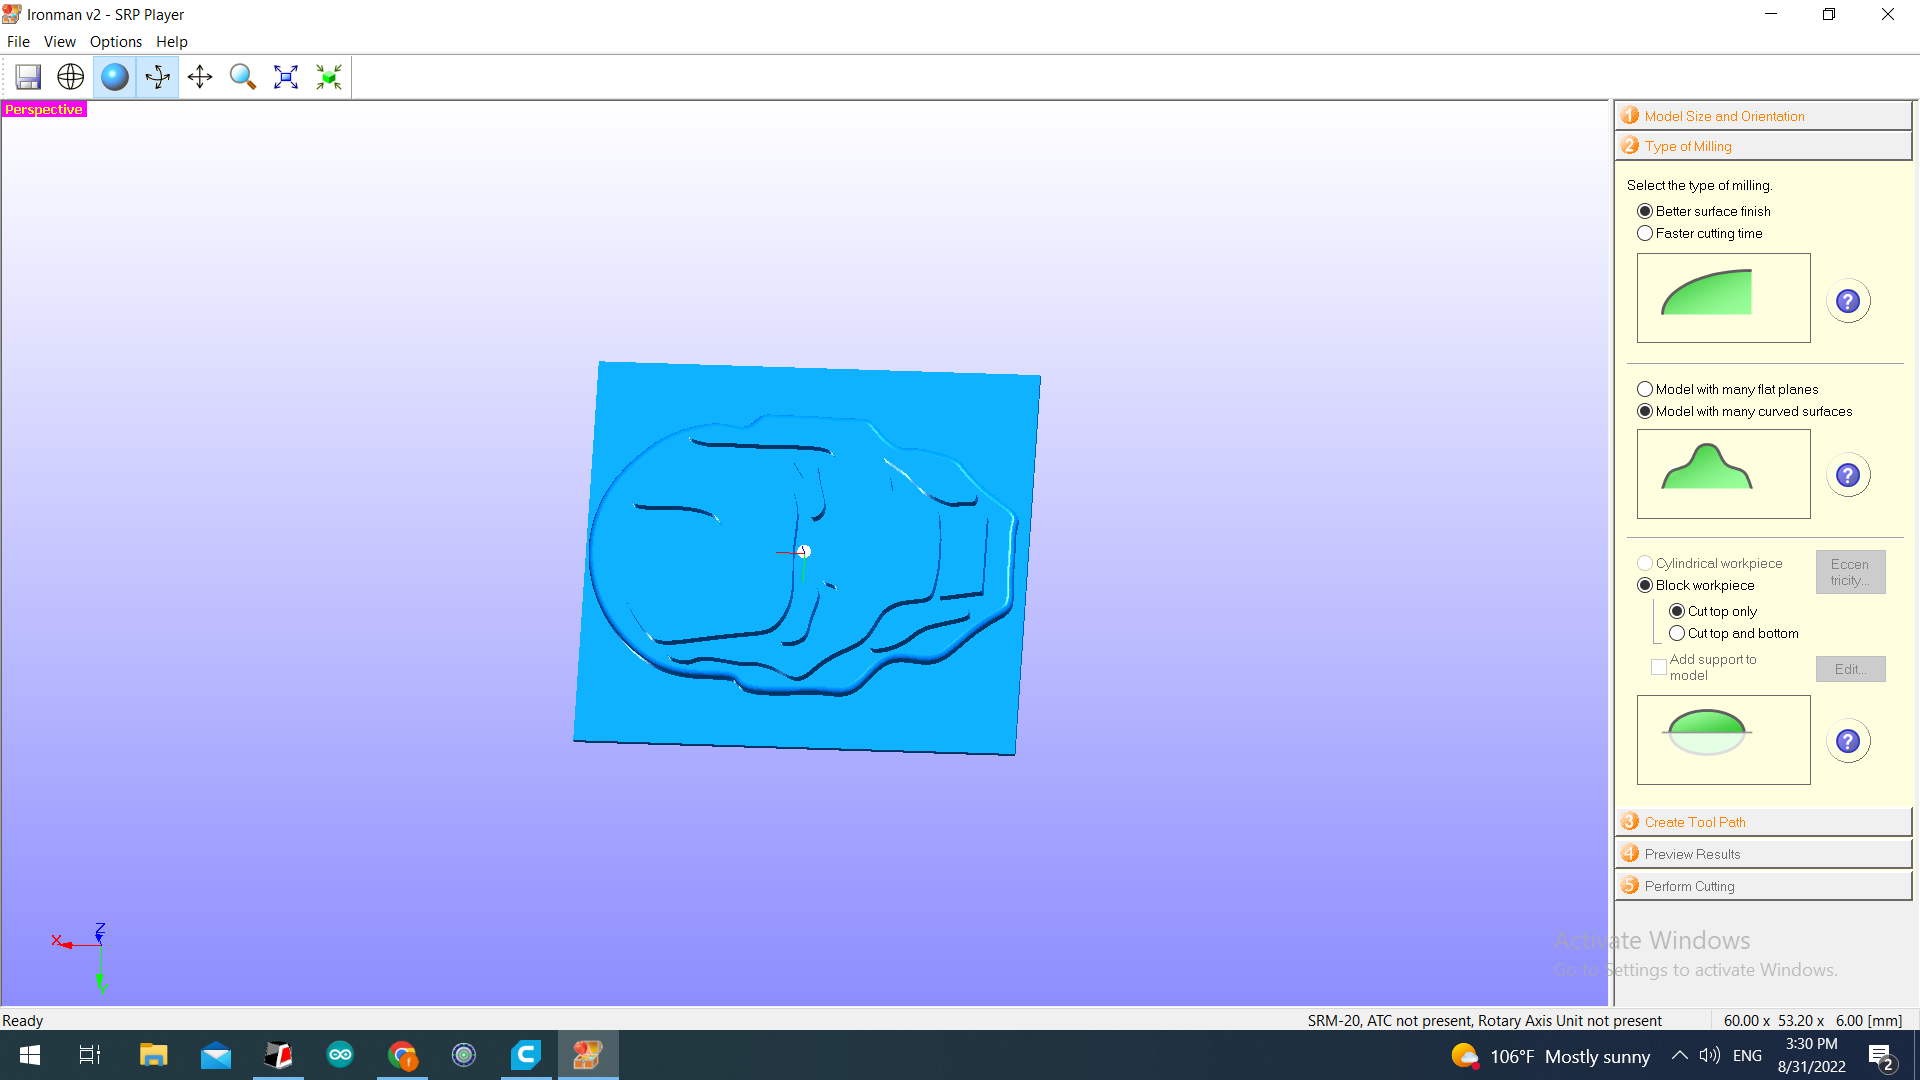
- Setting up the toolpath

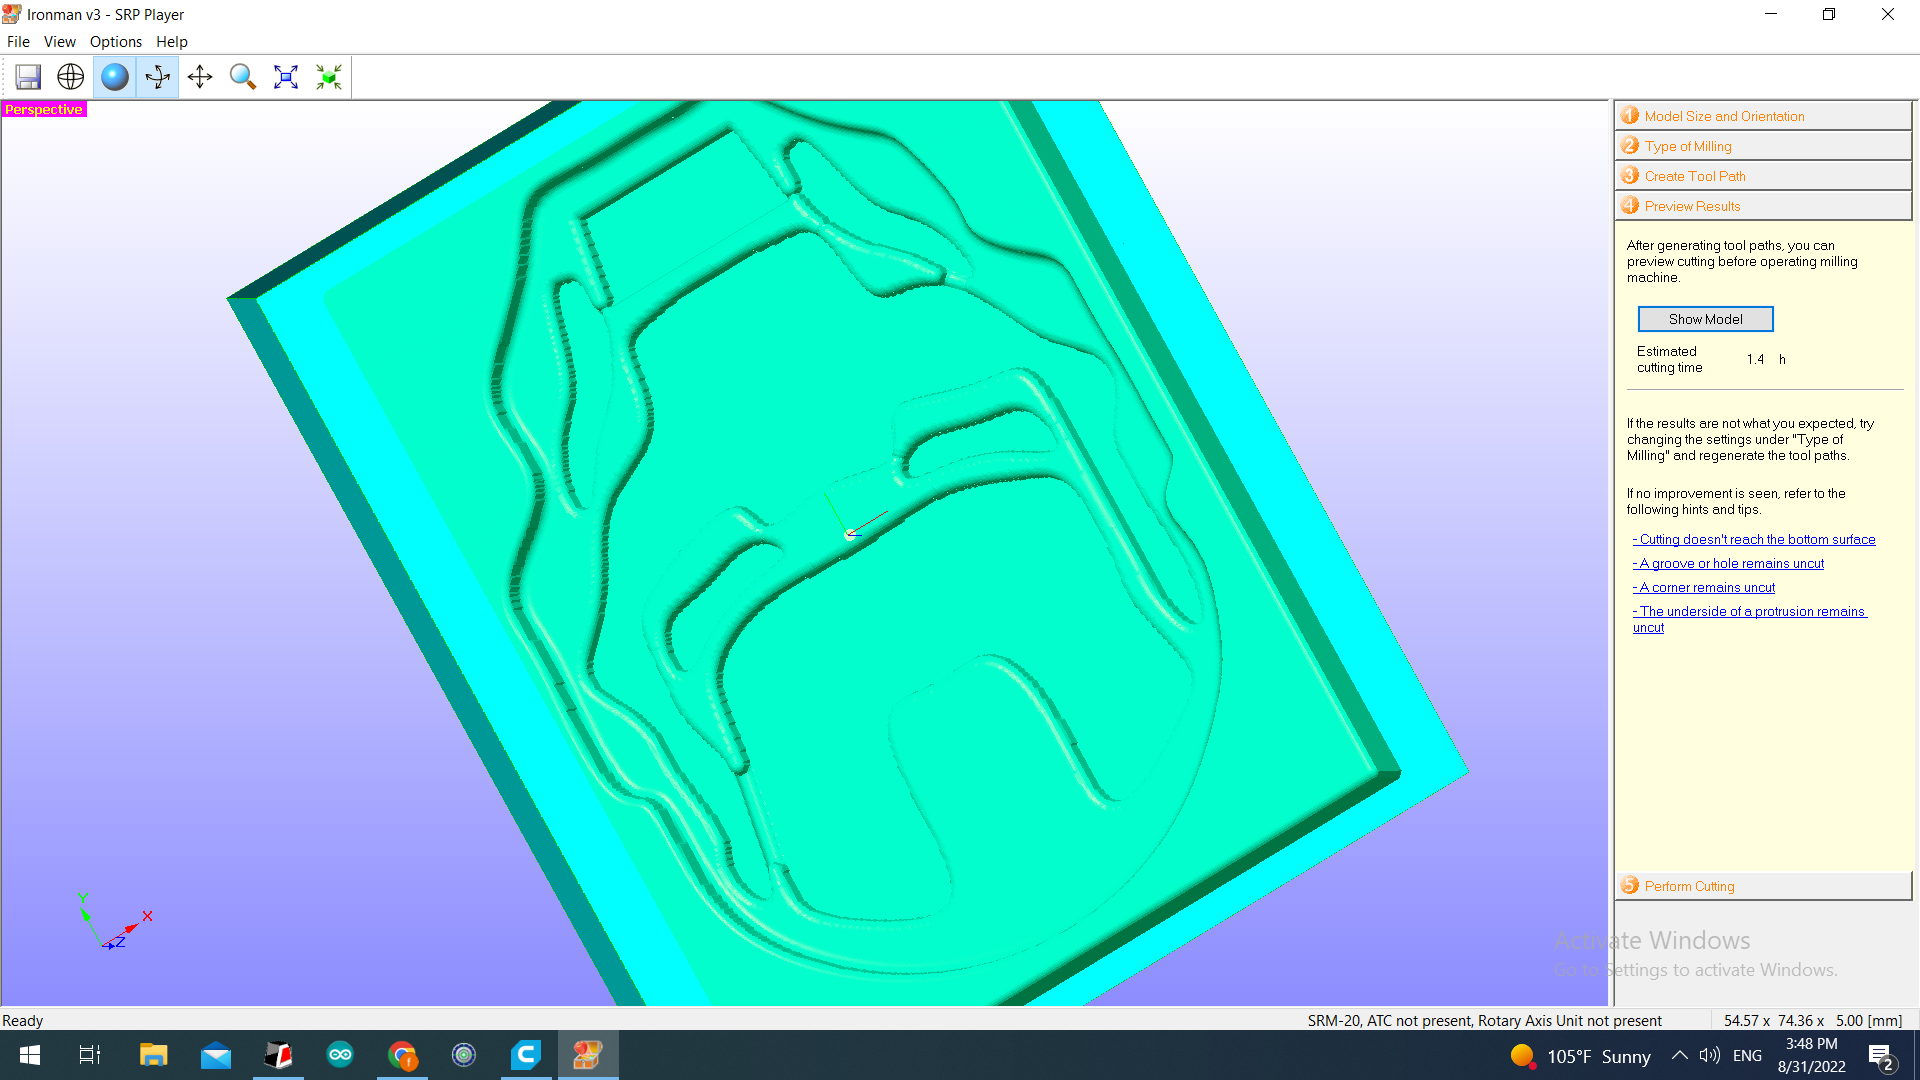
- Here I had a bit of trouble with the design so I had to fix up a few things, mosltly the issue is the the engraving were smaller than the bit.
- Cut preview after fixing the design
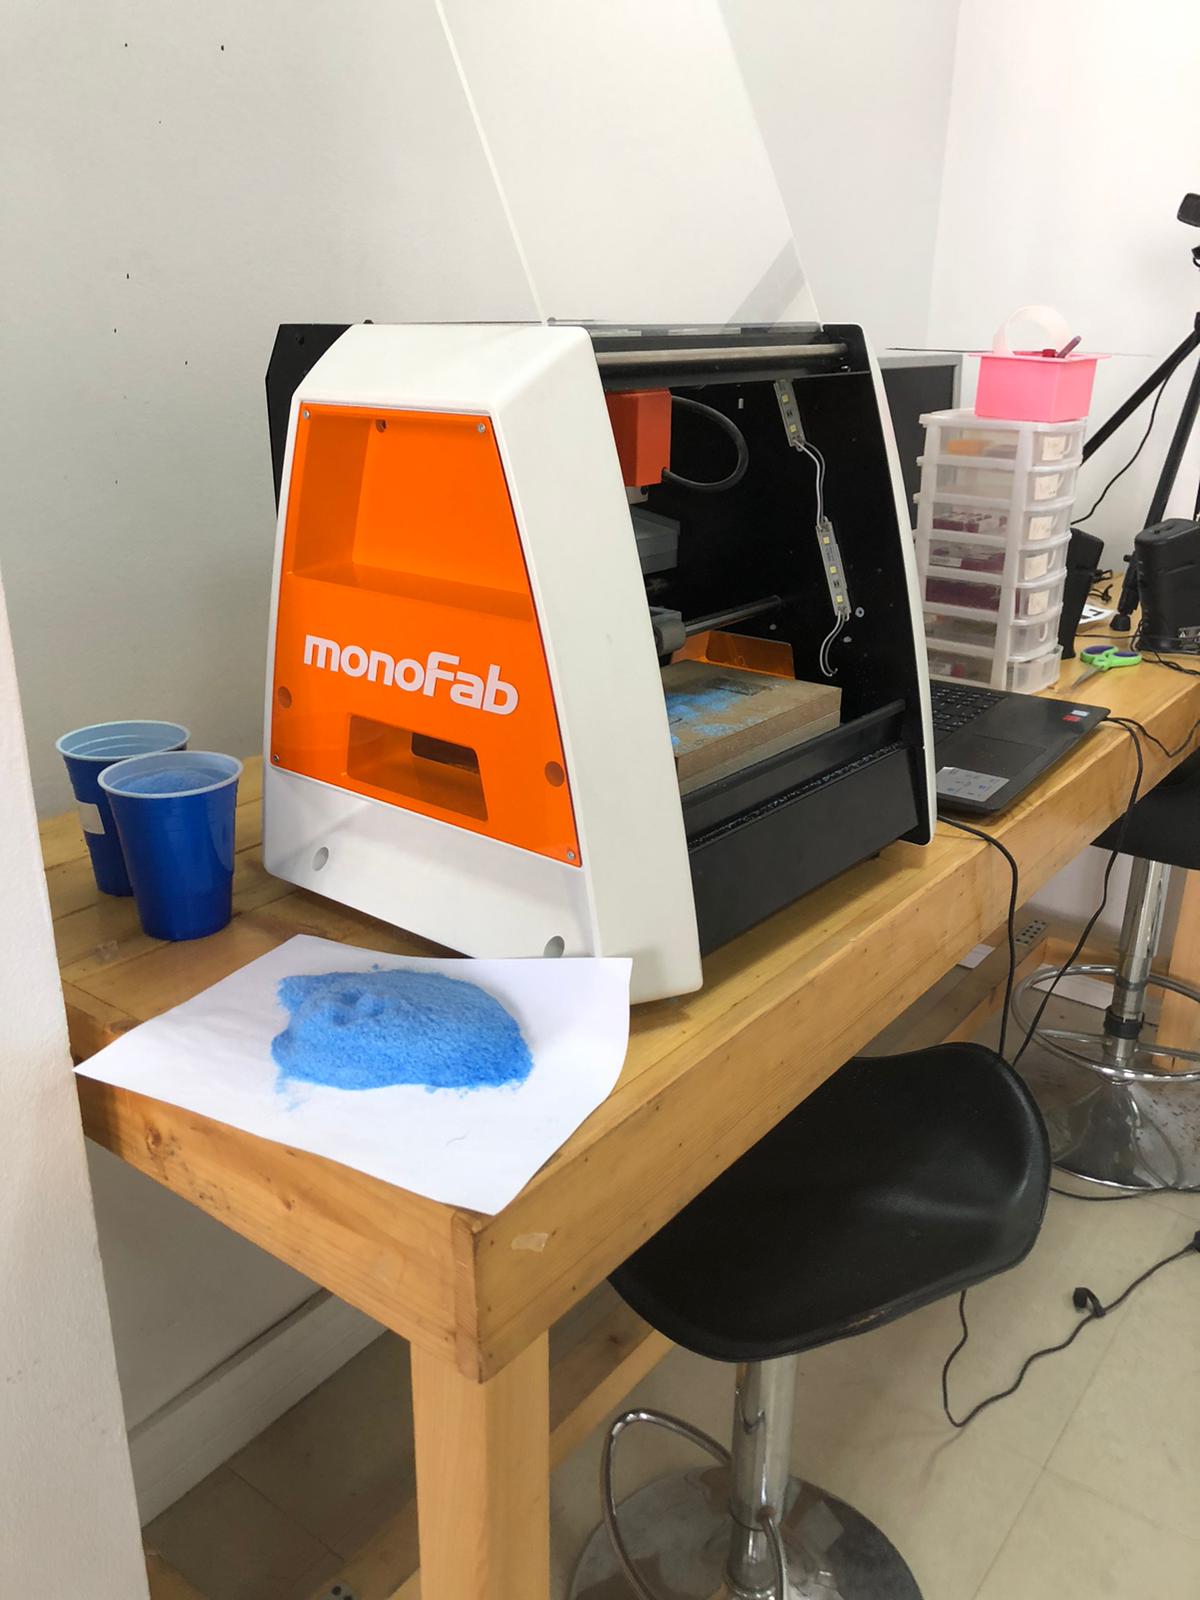
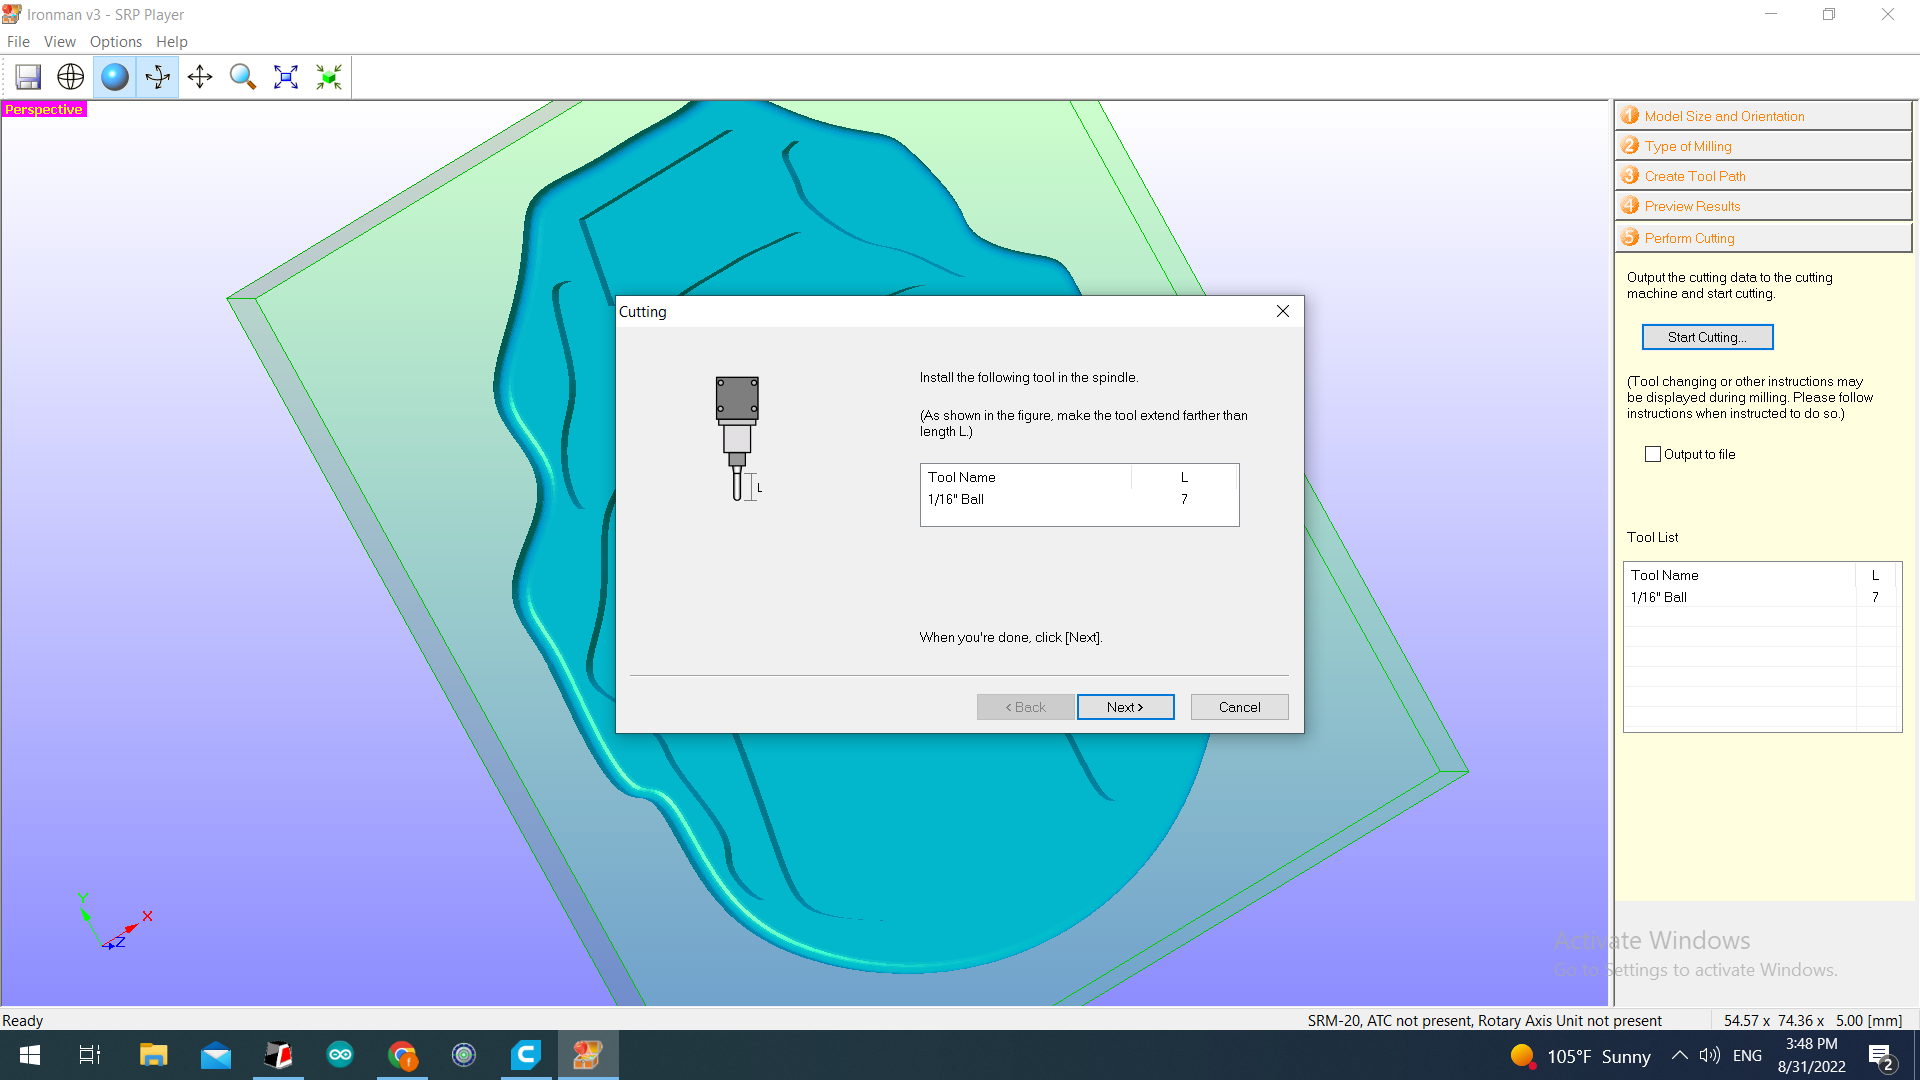
*Choosing the bit (the one we have is 1/16”)
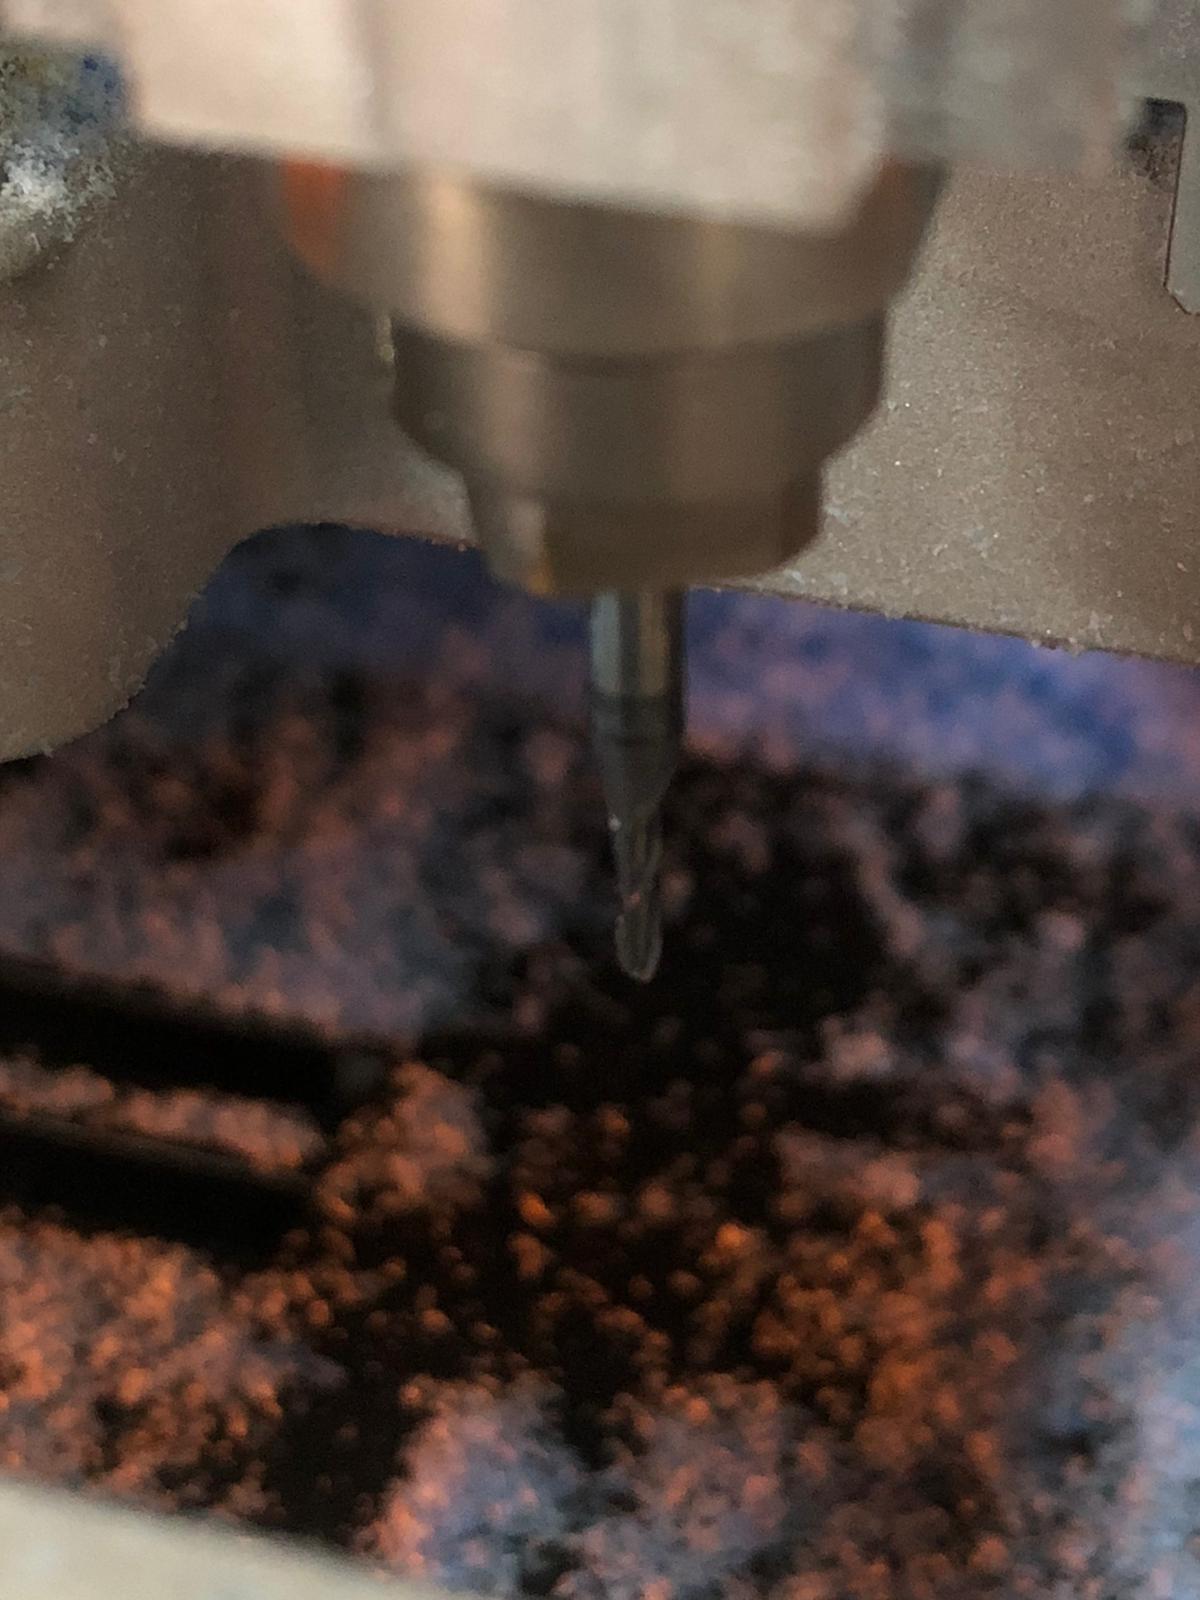
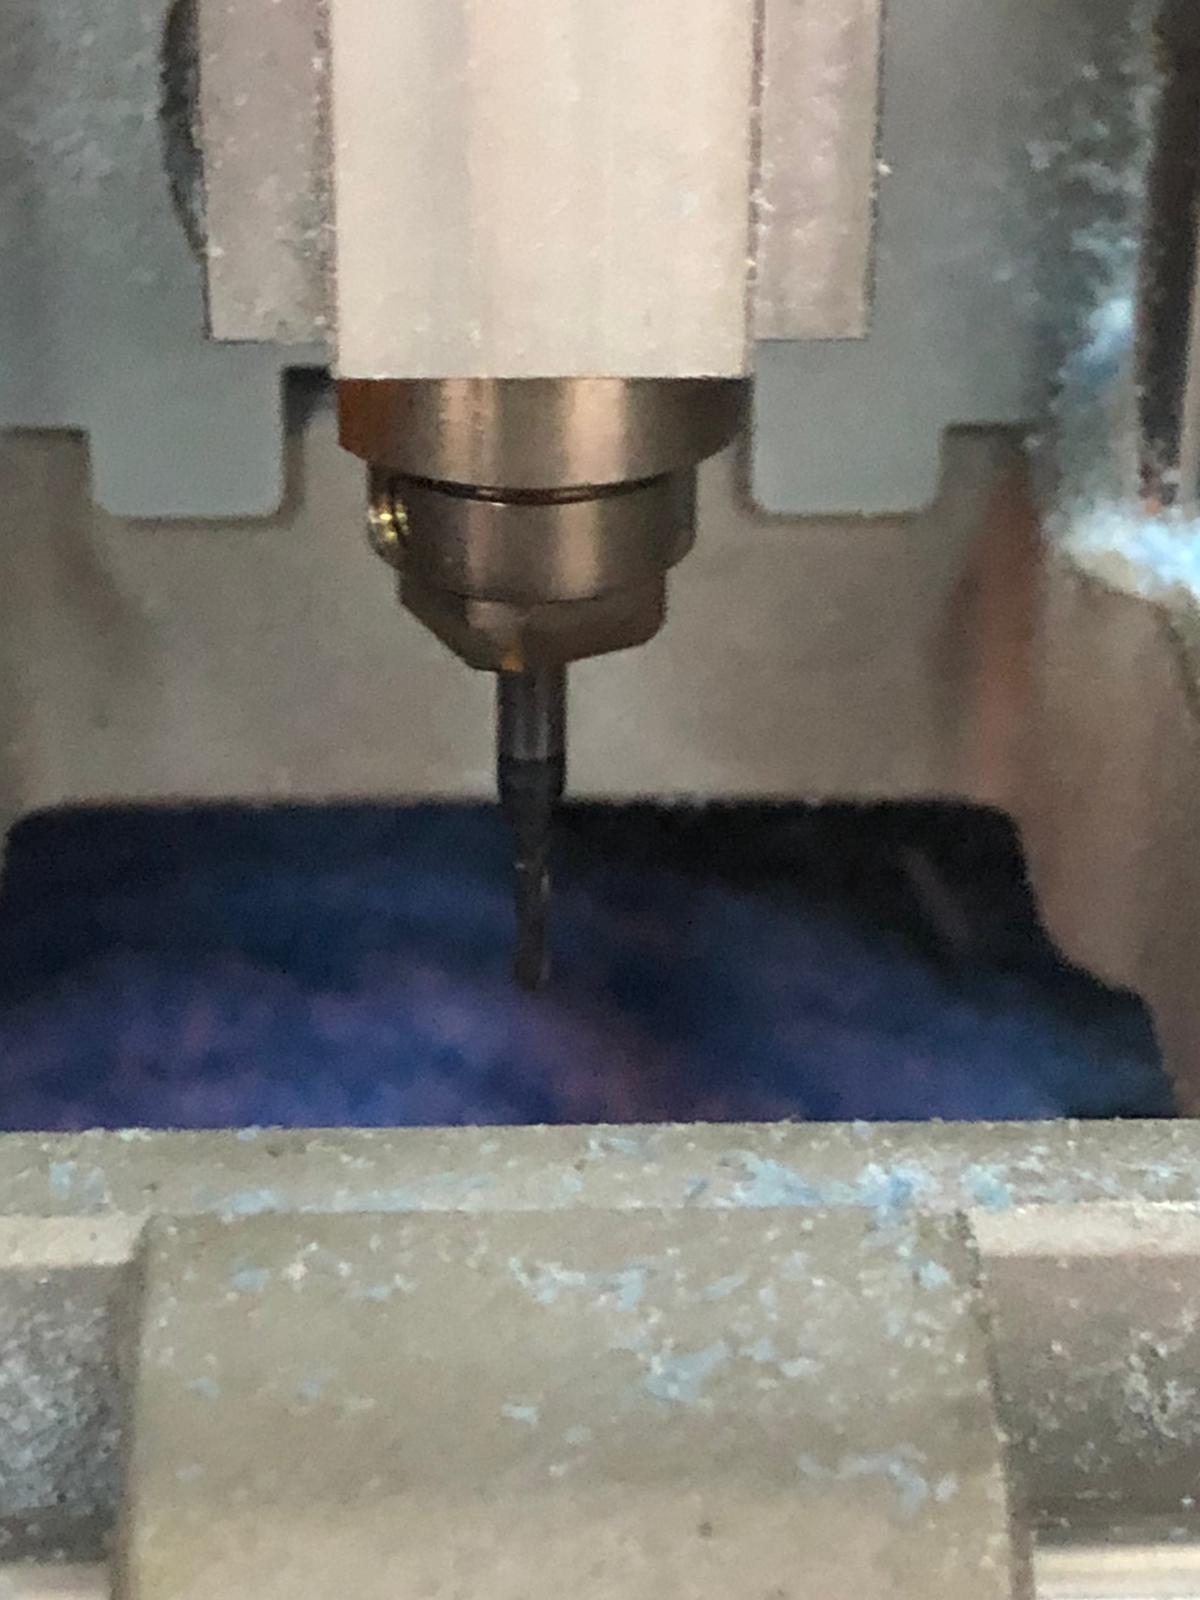
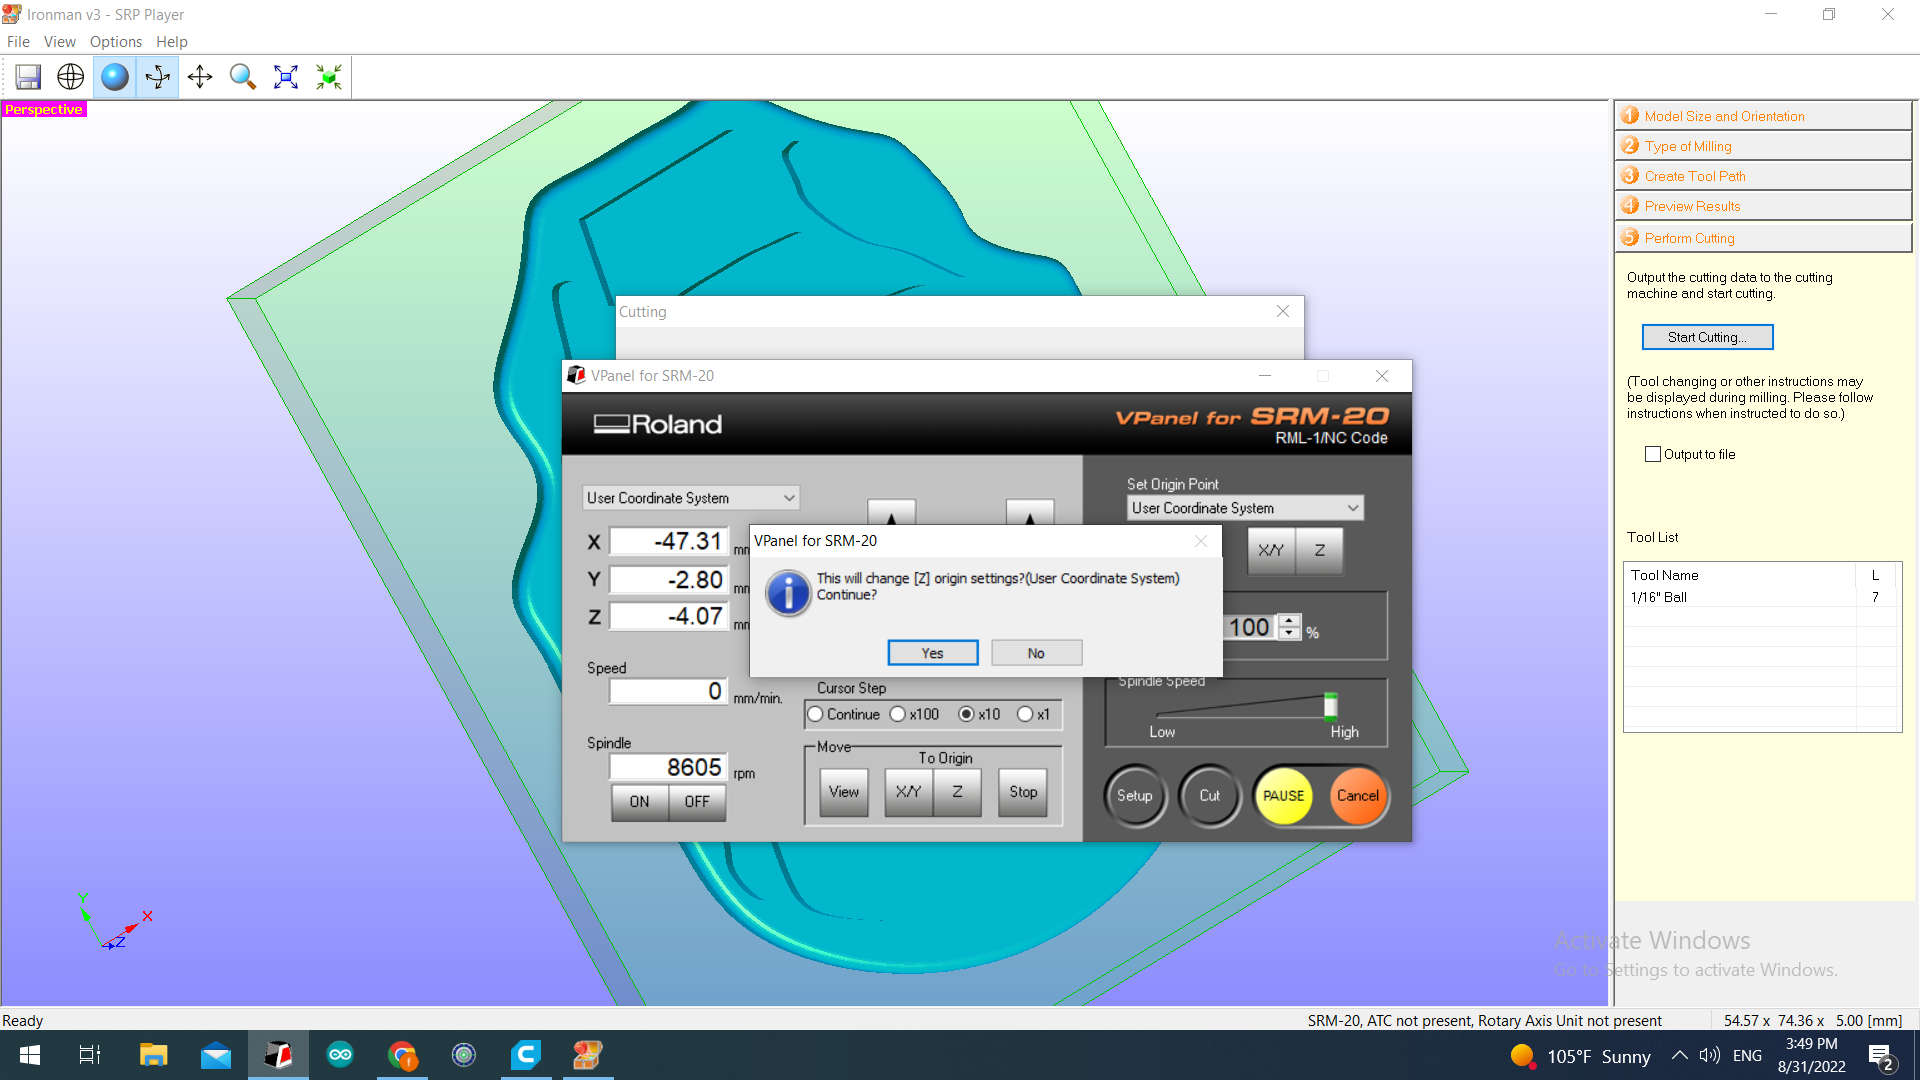
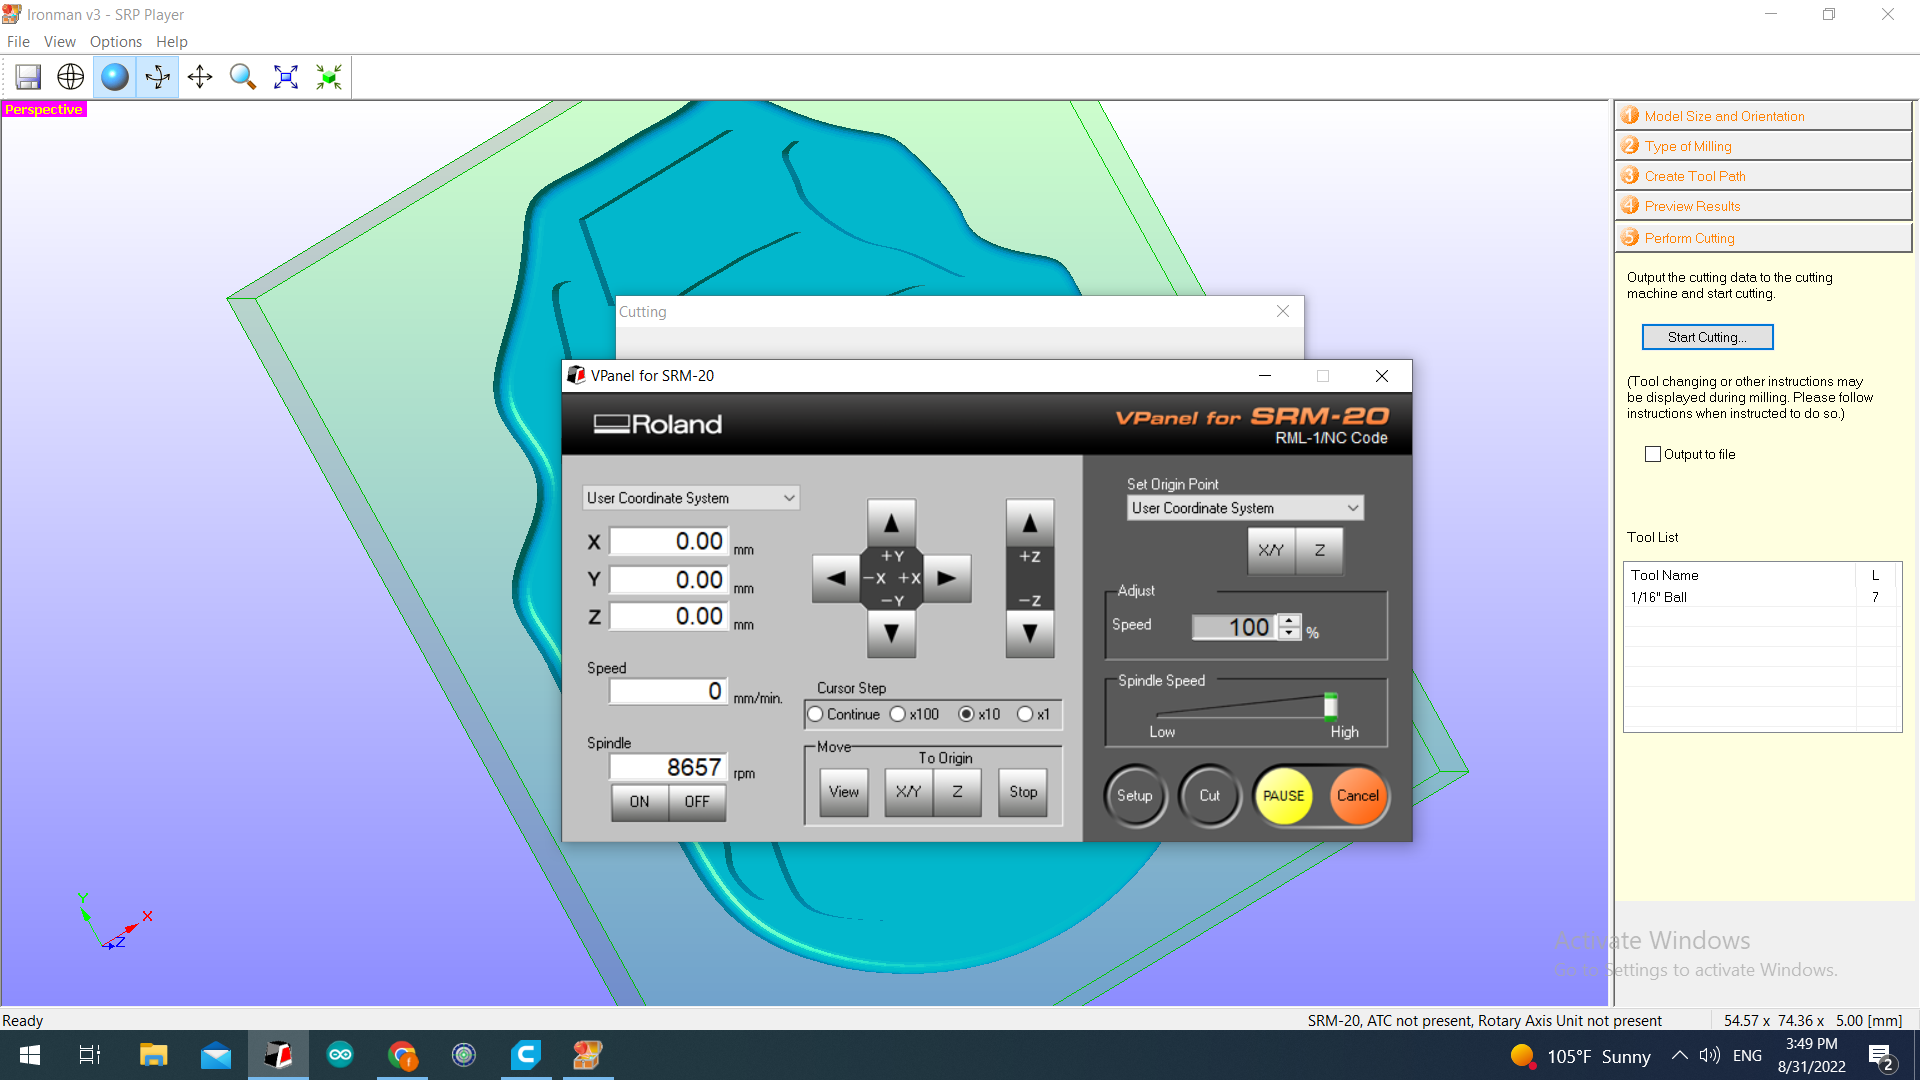
- Adjusting the z axis
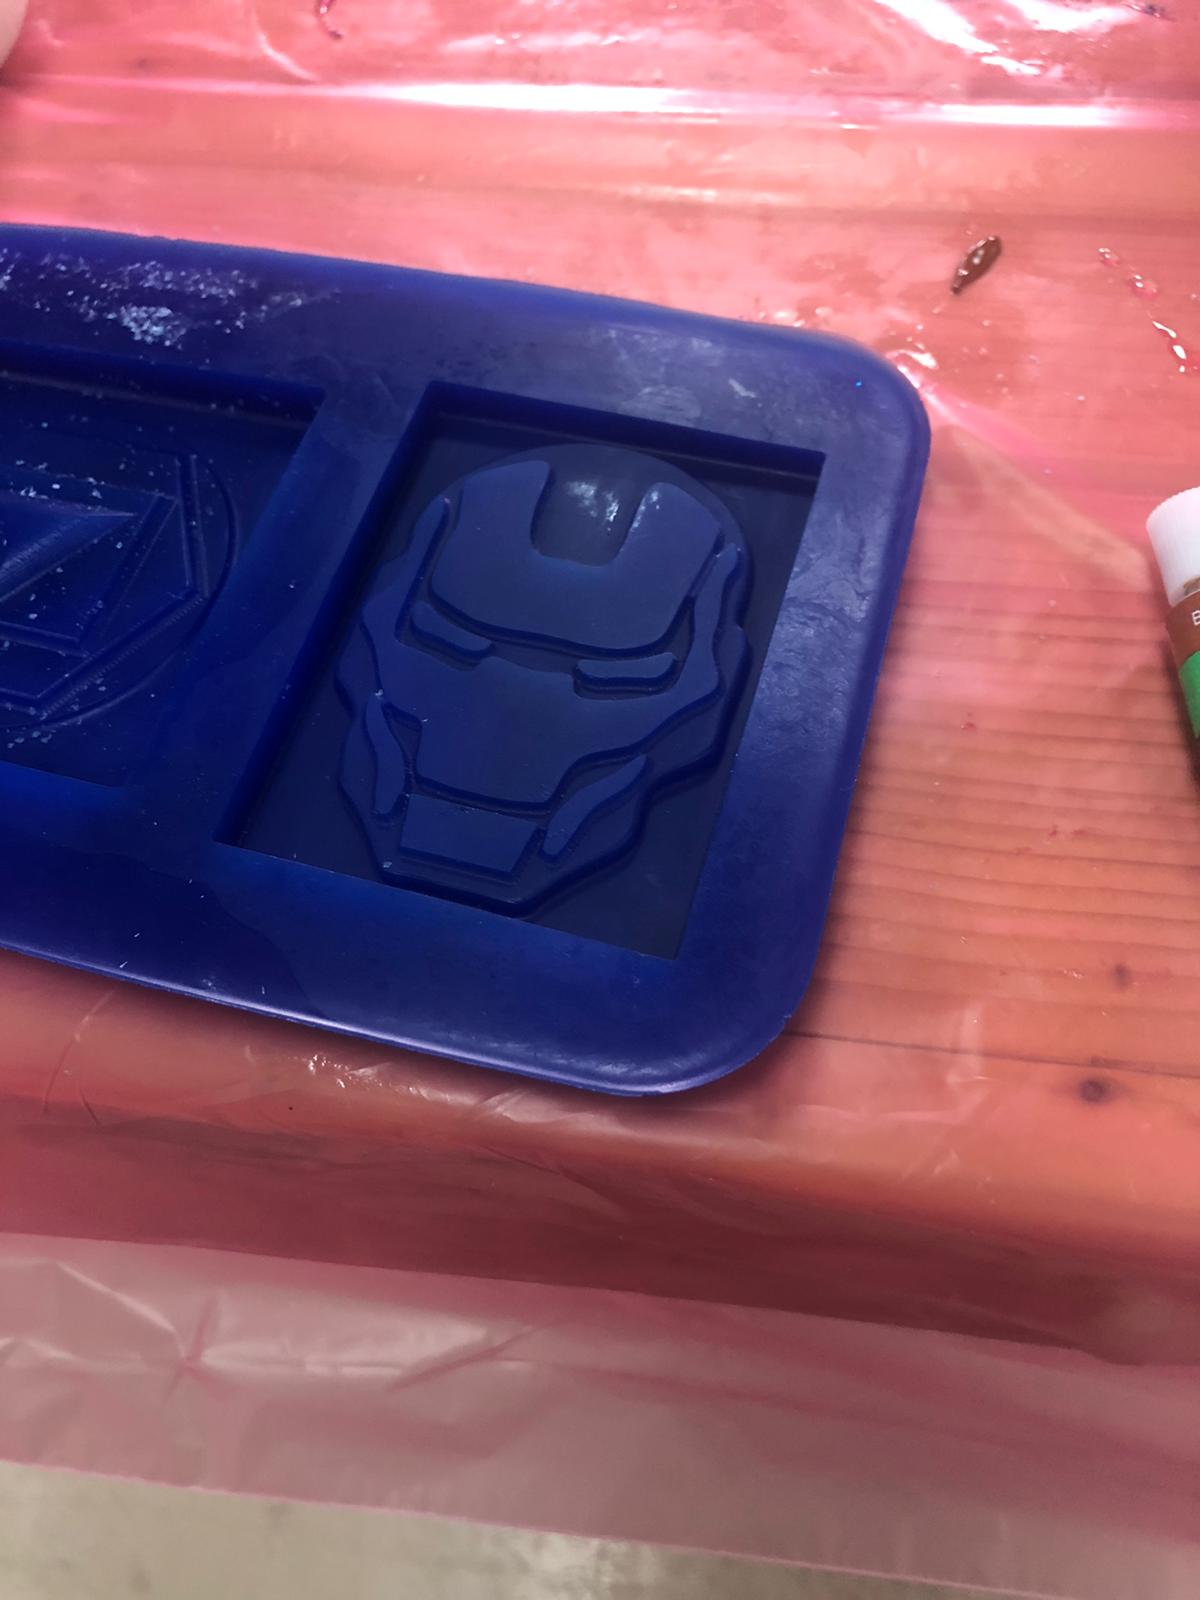
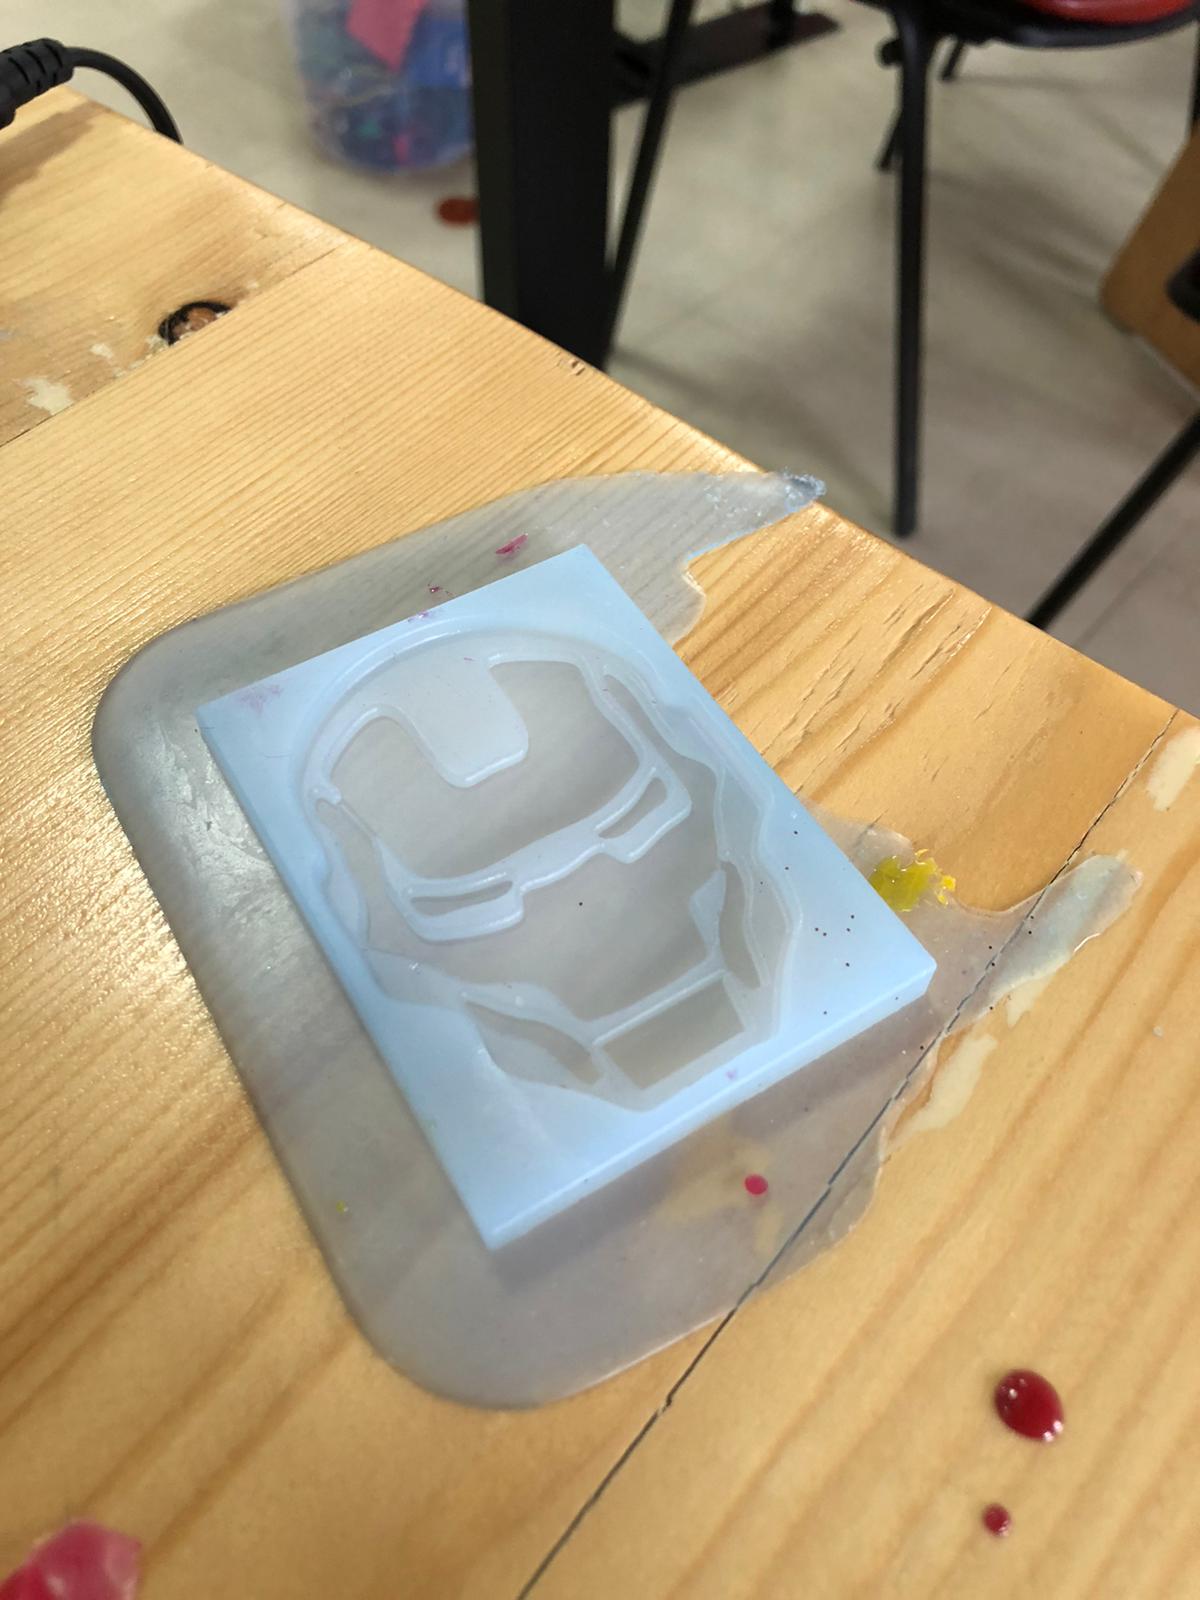
*Finished mold
Making the silicon mixure
Saftey guidelines for silicon
Reffering to our group Assignment.
Don’t ingest, inject and absorb silicone in your body.
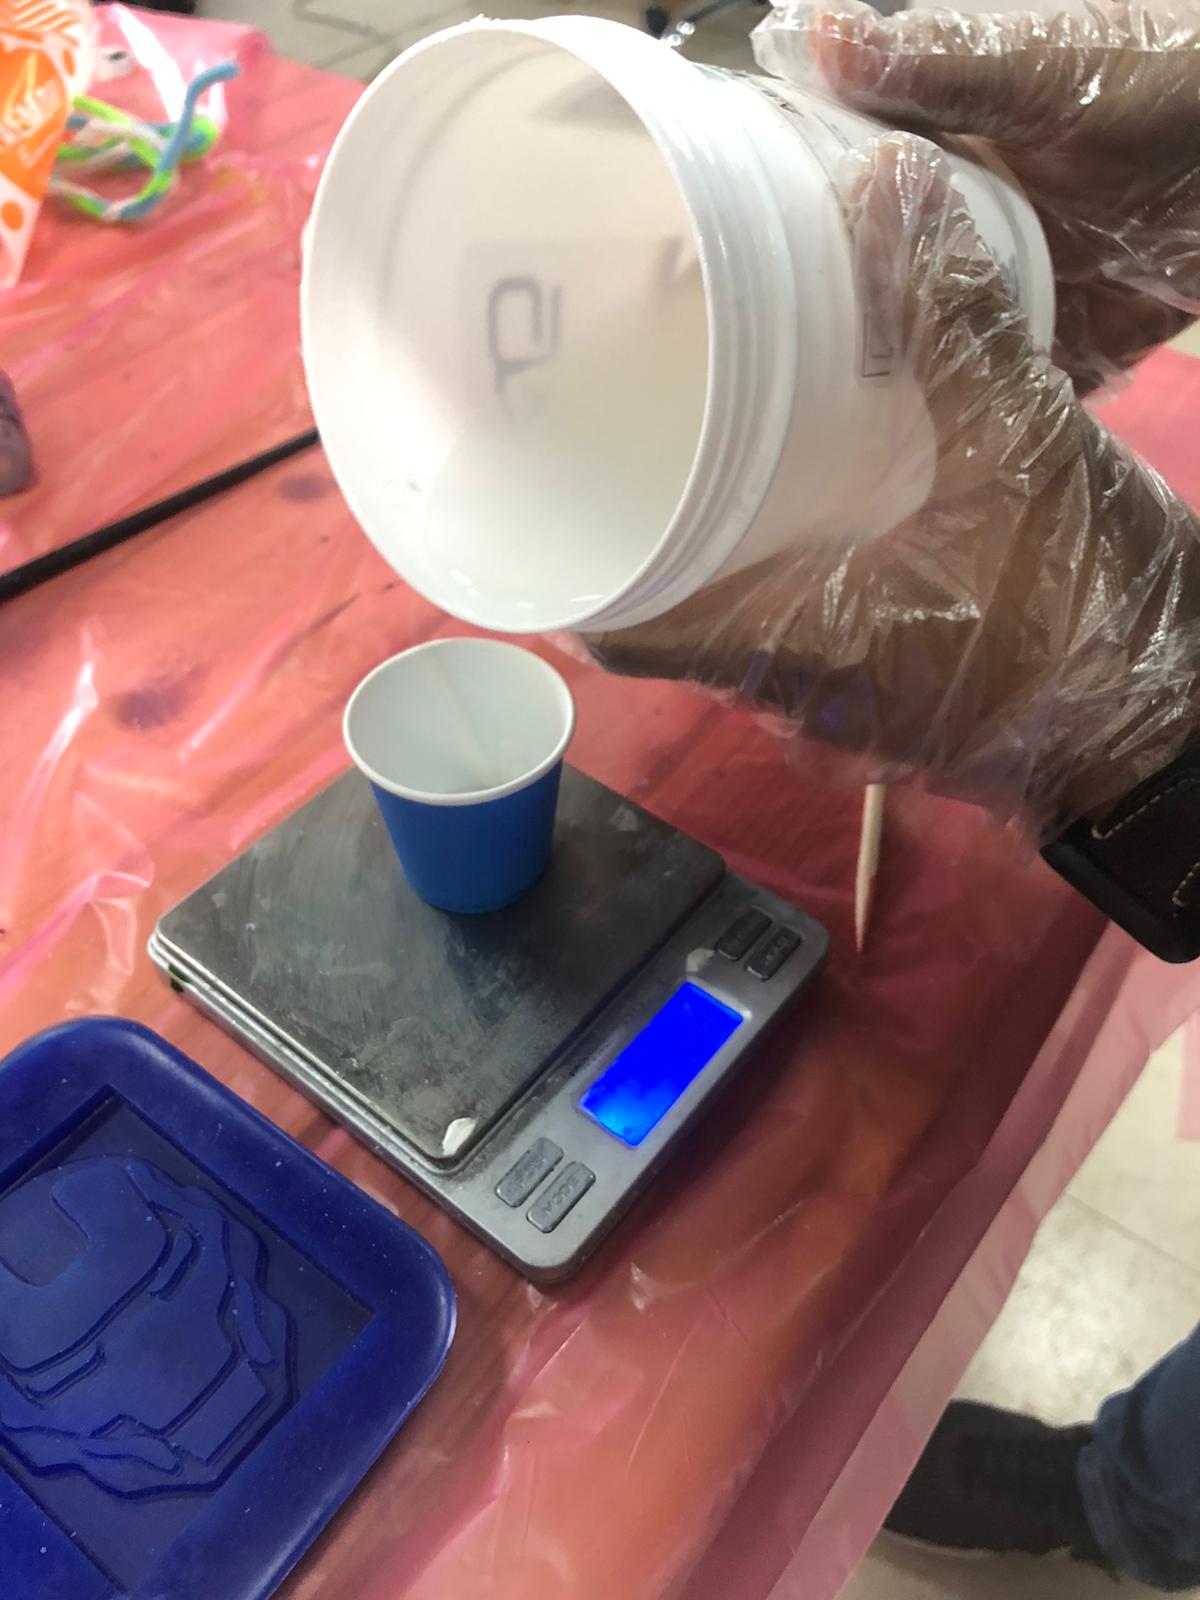
Process steps: Mix ingredients A and B in equal quantities and well.
-
The mixture can be placed in the vacuum to remove air bubbles from the mixture
-
after the air is withdrawn, the mixture is poured into the mold until it dries well.
-
Working time from 30 to 40 minutes, drying from 3 to 12 hours.
-
The drying time after mixing depends mainly on the temperature of the place.
-
The warmer the place, the faster the solidification rate
-
Dryness also depends on the size and thickness of the mold, the higher the quantity Larger and thicker the drying time is less
Mix ratio (if applicable): 1A:1B
Work time: 1 minutes to 30 minutes Cure time: 3 hours to 12 hours Cured material state: Rubber
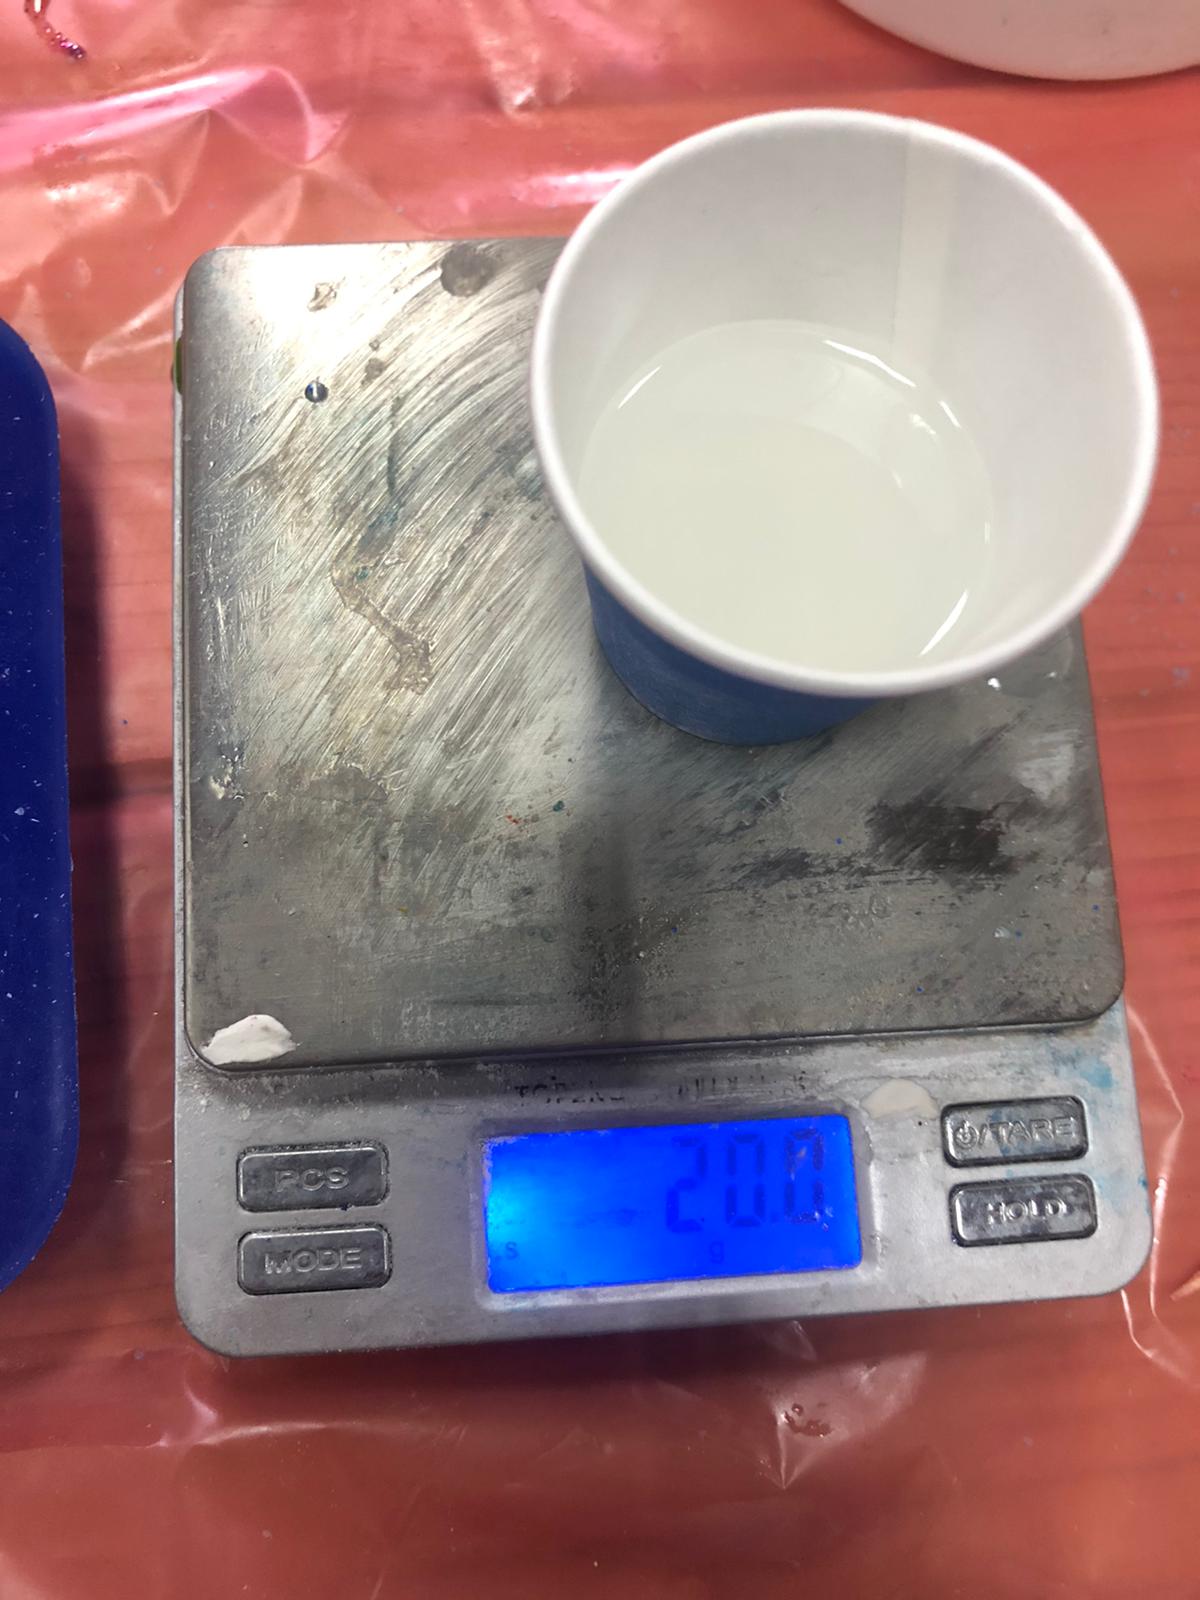
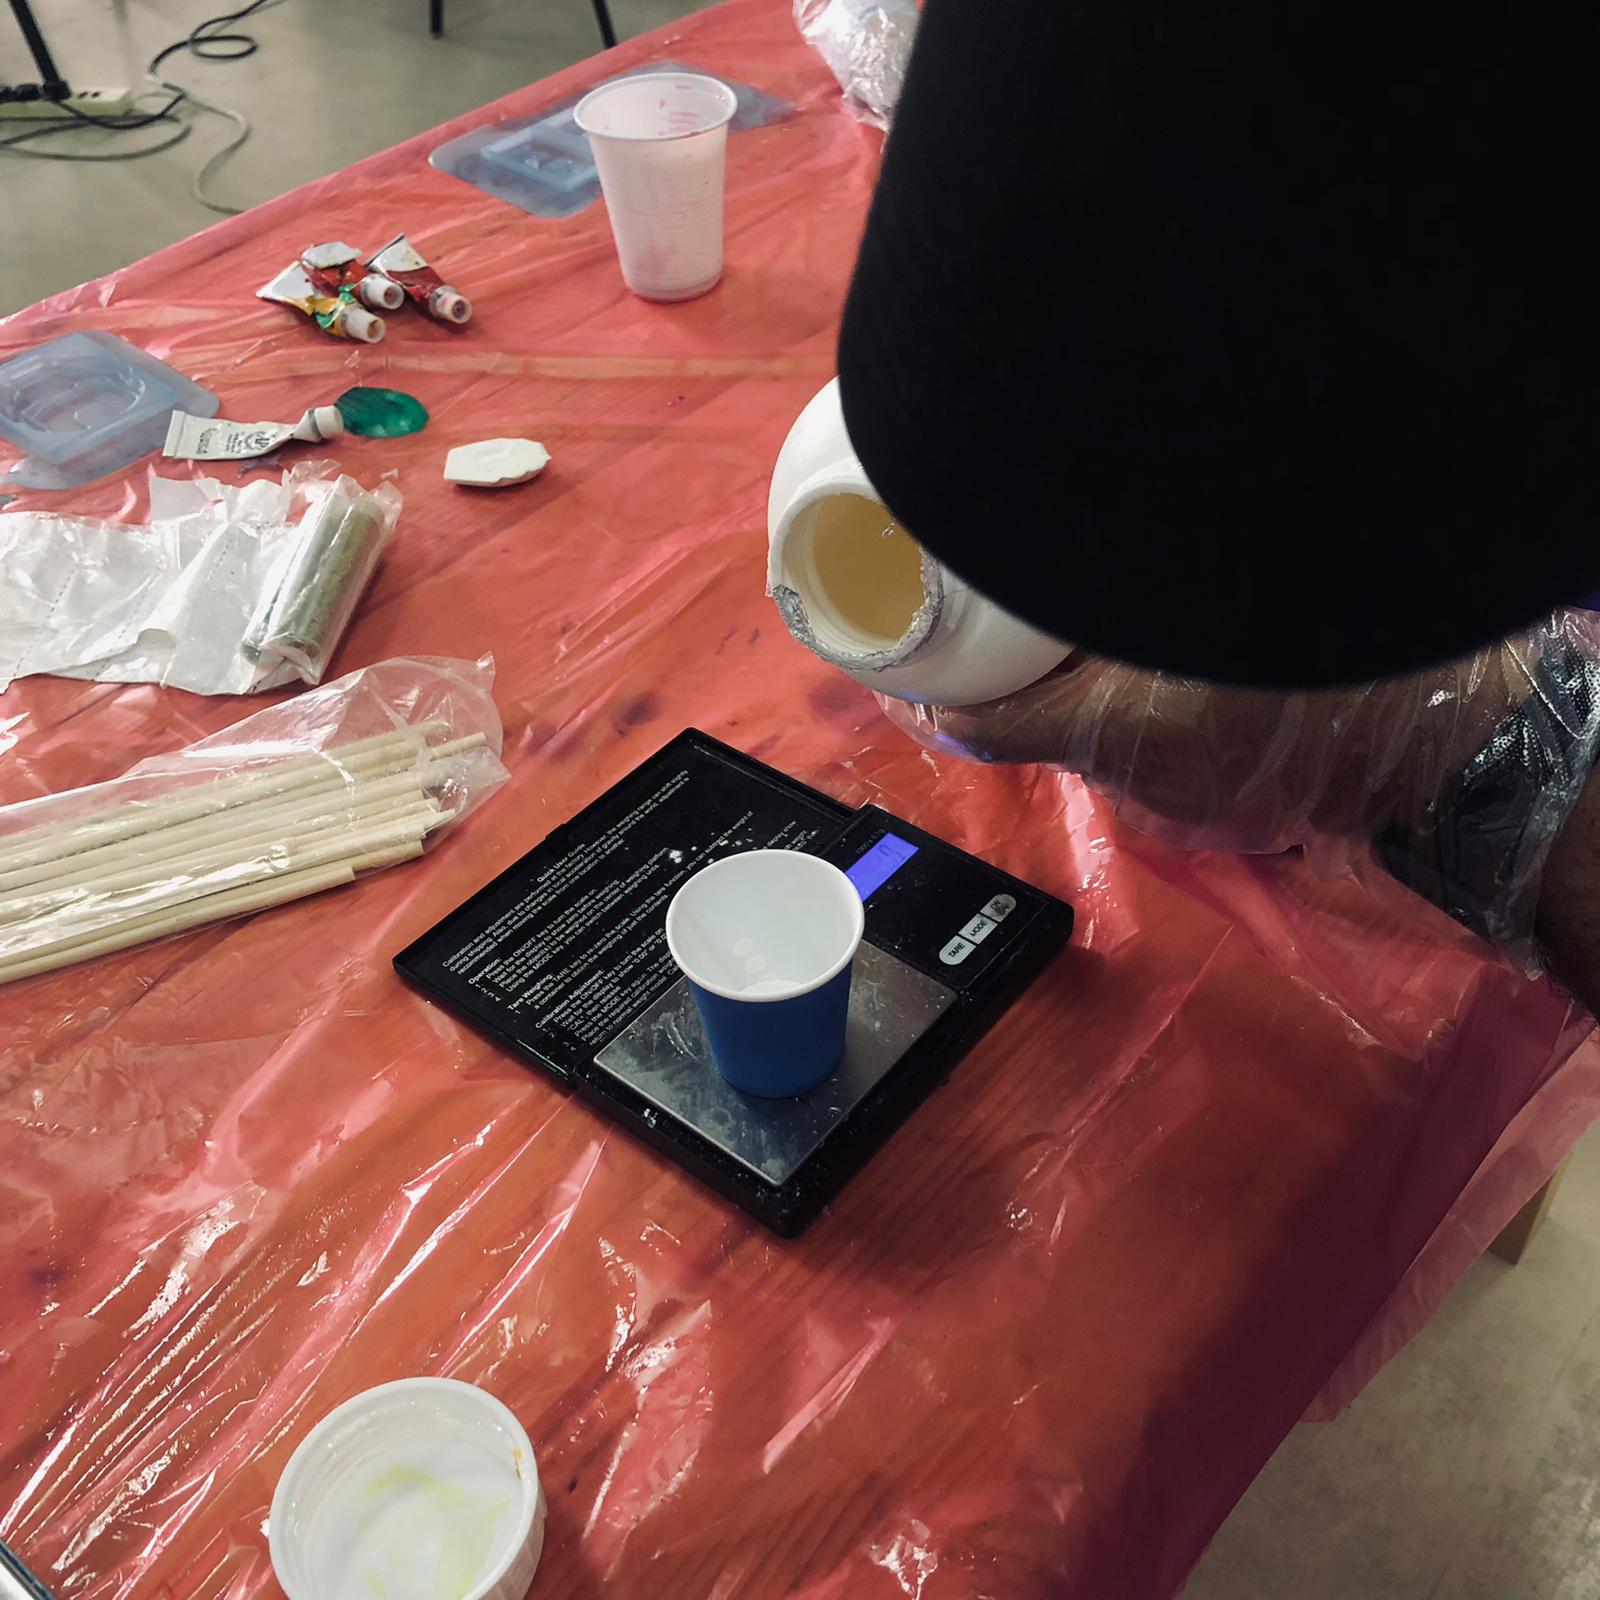
- To get the ratio we need we first have to submerge the cast in water to base our ratio with the weight of it.
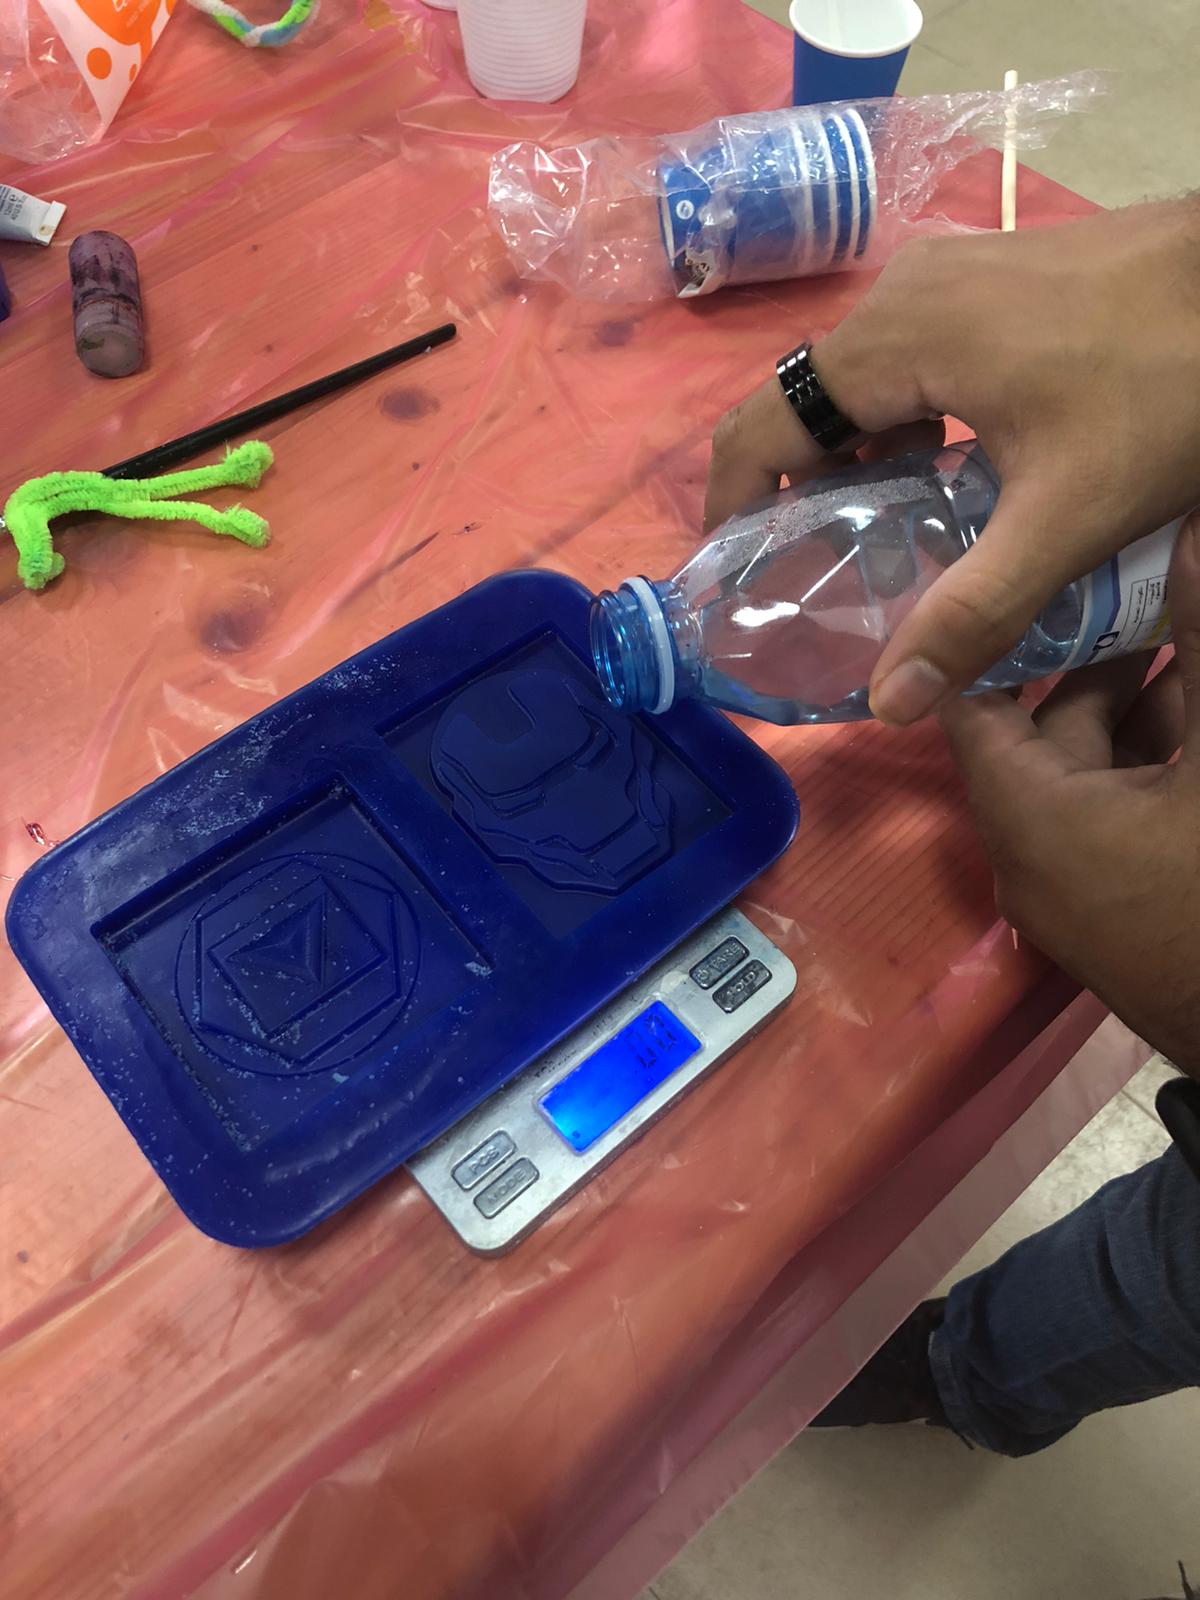
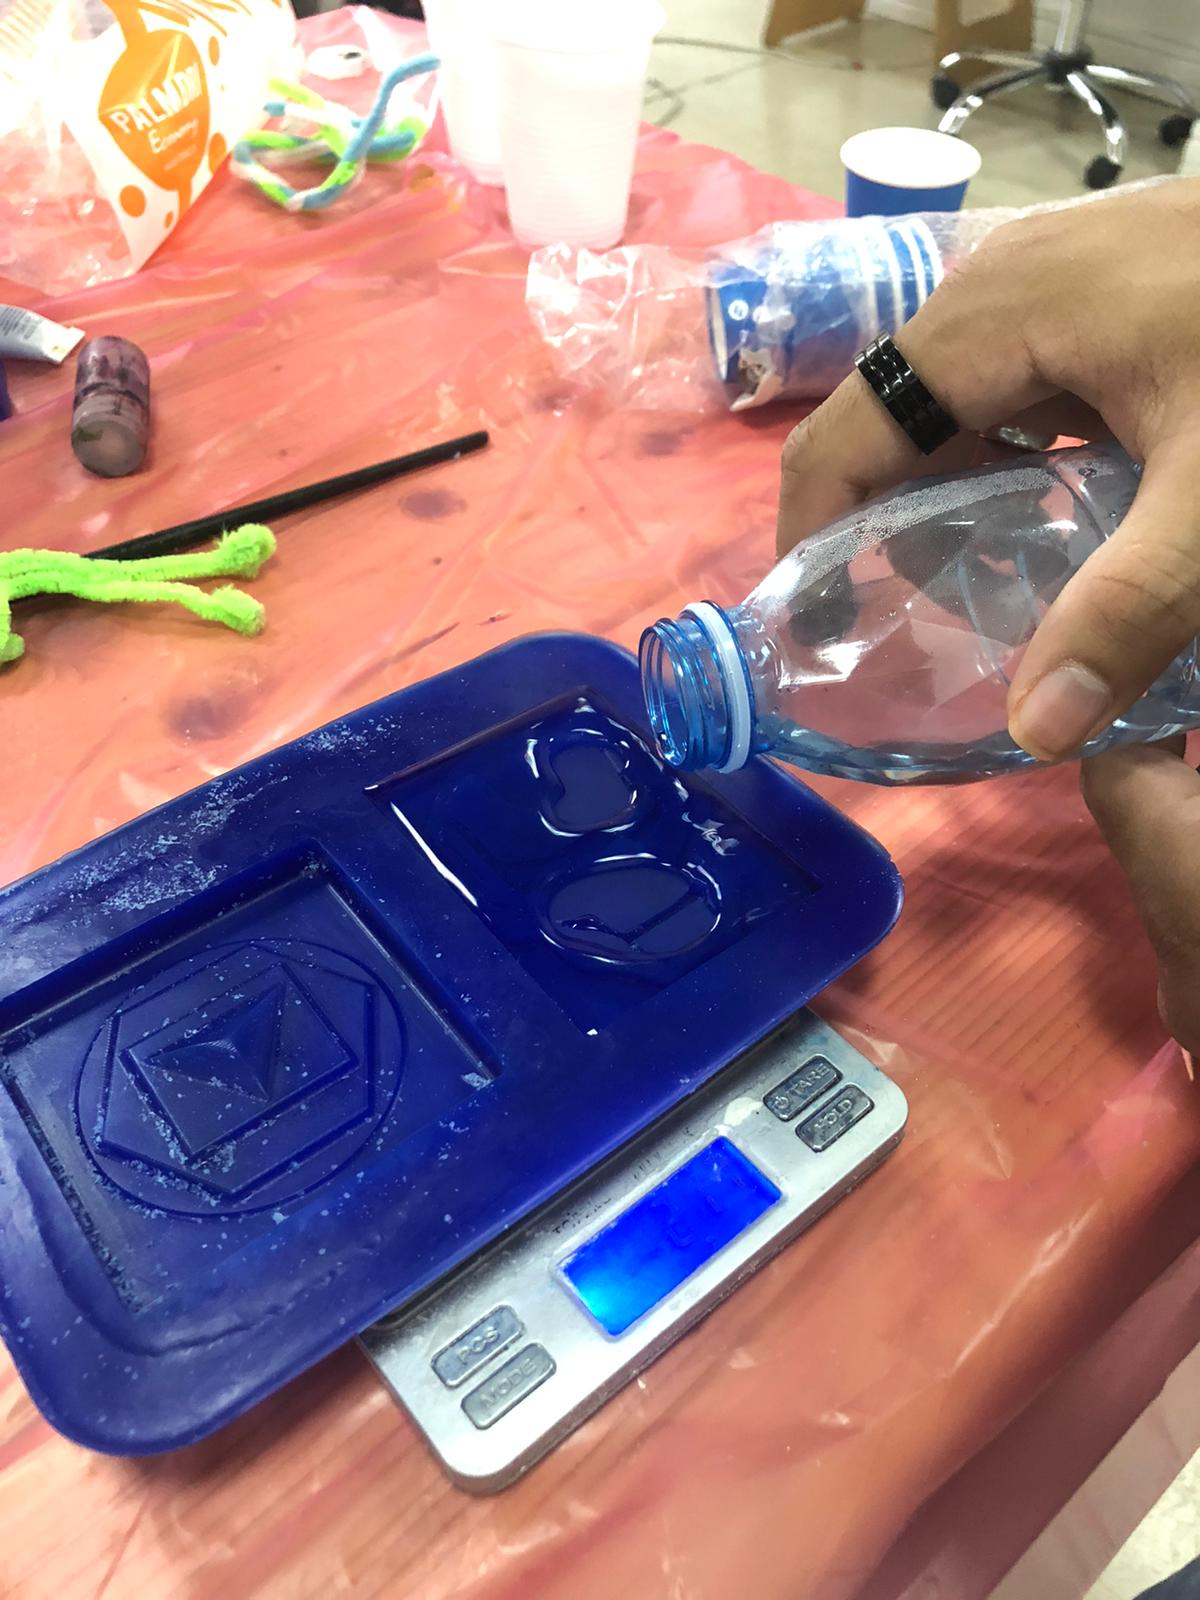
*After getting the result I found that I needed 35g of mixure to make the mold which means pouring 17.5g of both resins
*First half
*Secong half
*Pouring the mixture


*Finished Mold, after waiting a day for it to solidify
Using the mold as a cast for a new mold.
I wanted to make the result colorful and would have the same colors as the picture, that is my reasoning for making it multiple layered.
Making the mixture for the new mold
Safety for using resin
- Make sure to keep away from kids.
- Should be stored in a dry place. Preferably in the sealed original container, at a temperature between 20c & 25c.
- Wear face masks for pregnants when using the product.
- Wear protective gloves when you use the product.
- Do not swallow. If you swallowed the resin, call a doctor immediately.
- In case the product comes in contact with eyes : rinse cautiously with water for several minutes.
- Caution it may cause an allergic skin reaction.
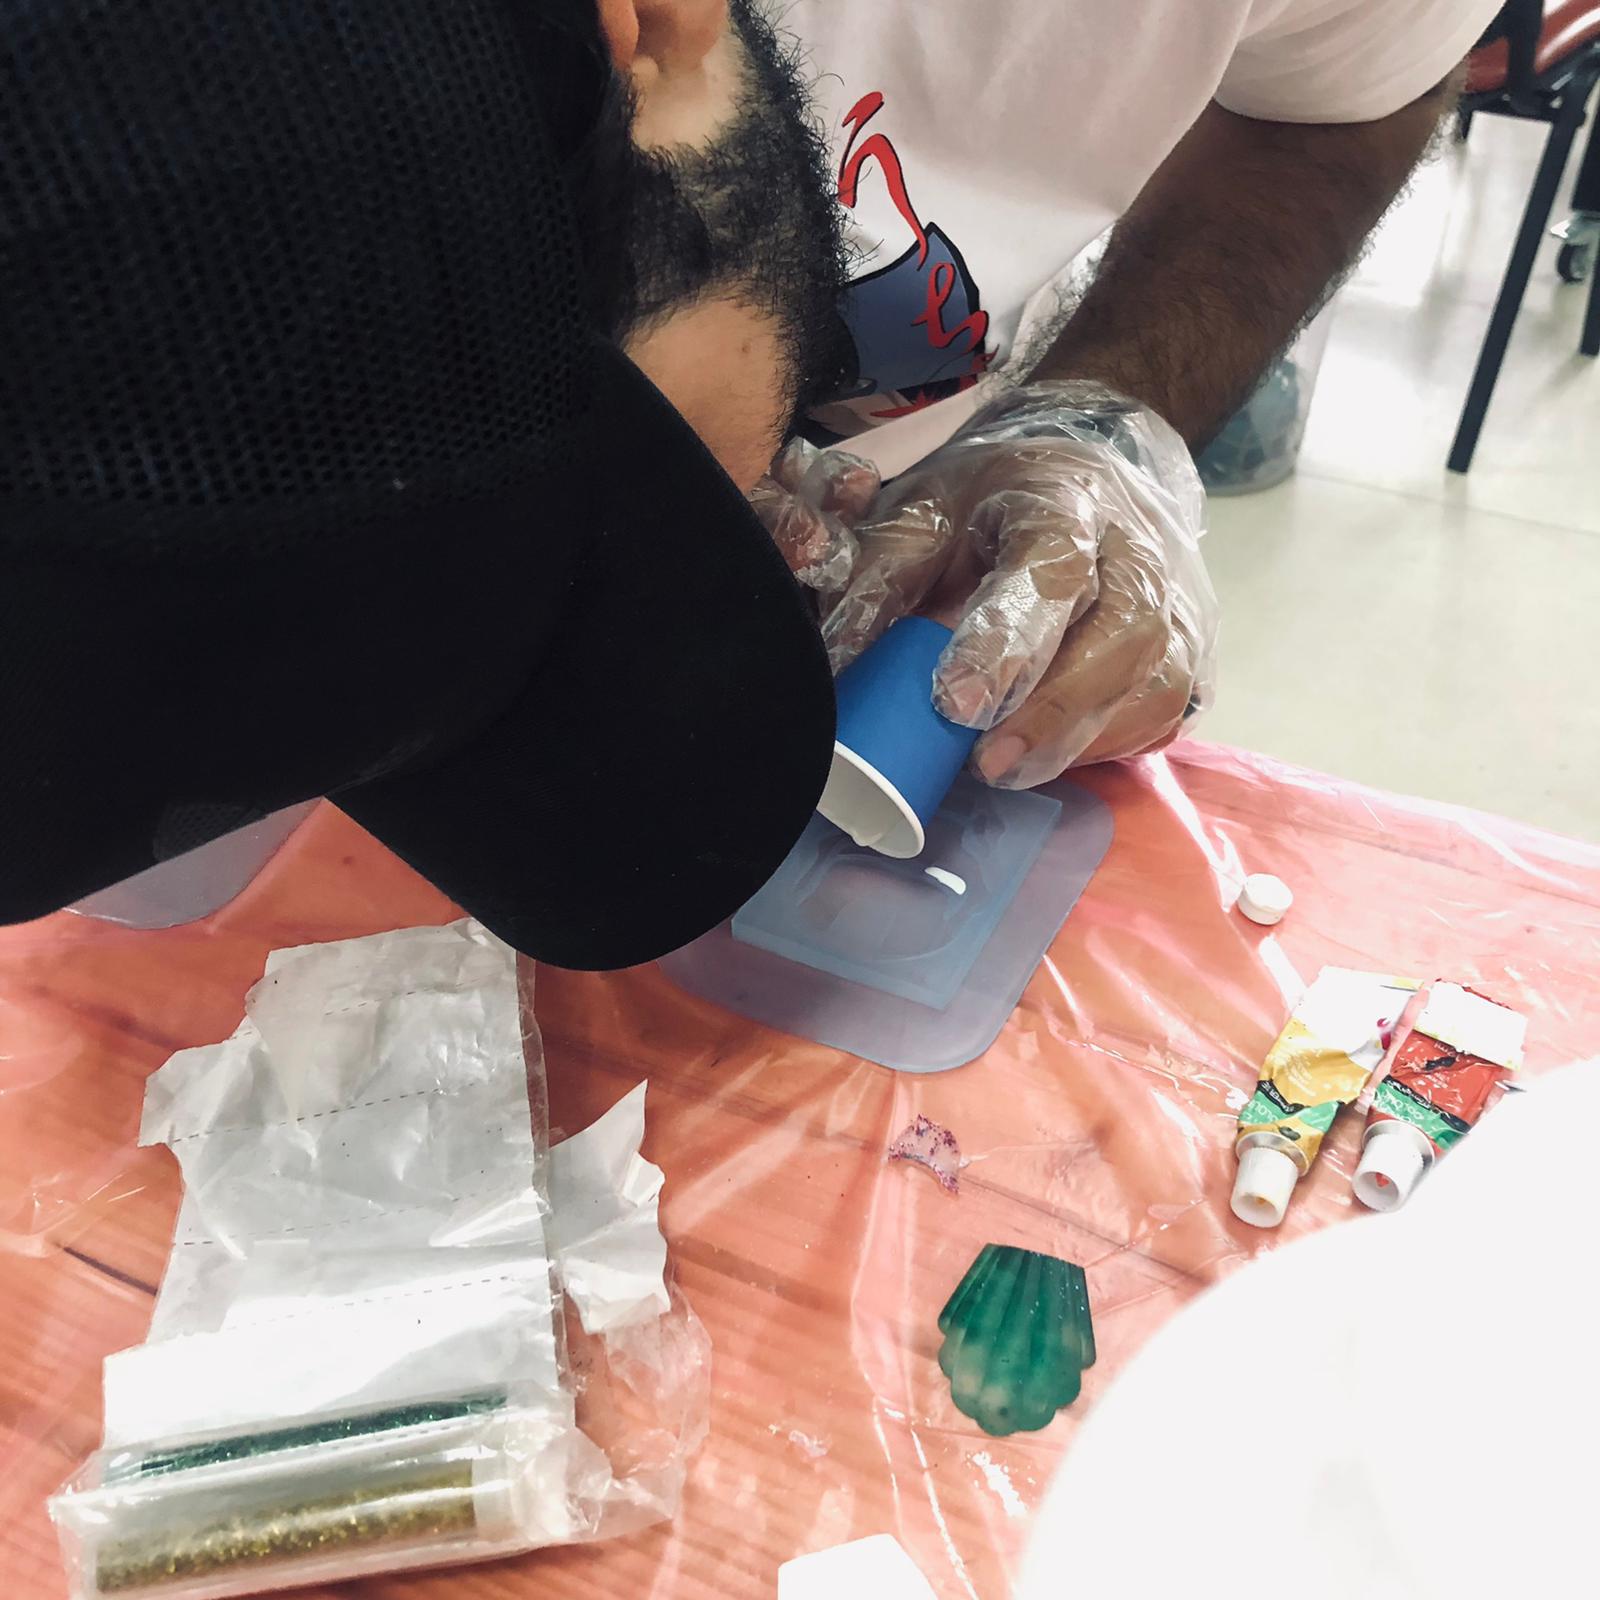
- For this mixture its not 1:1 ratio of the resin and the hardner, we would pour 6g of hardener and 10g of resin then we mix it for 3 mins.
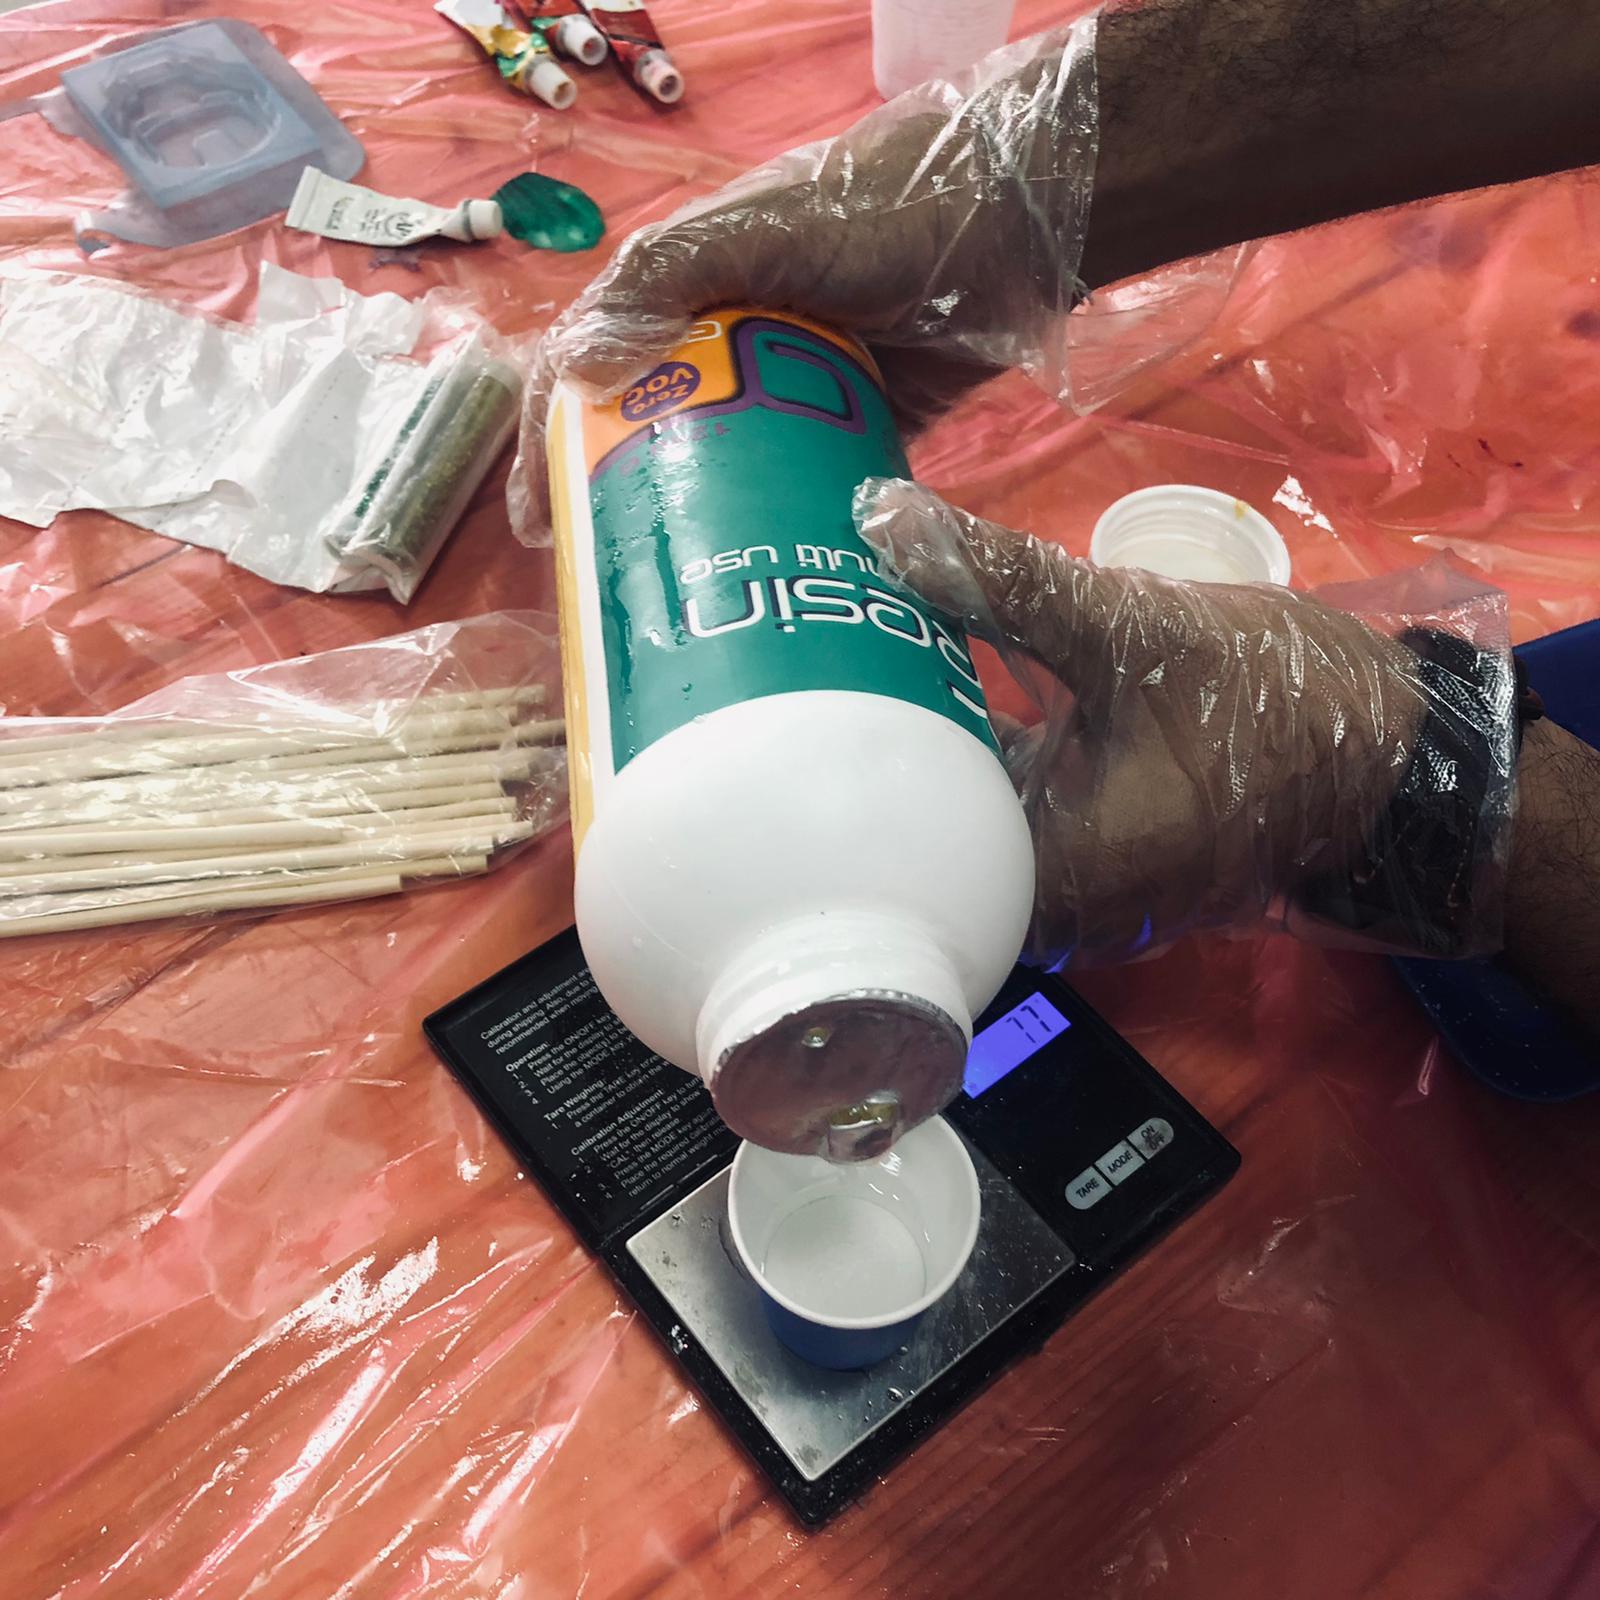
- Pouring of Hardener

- Pouring of Resin
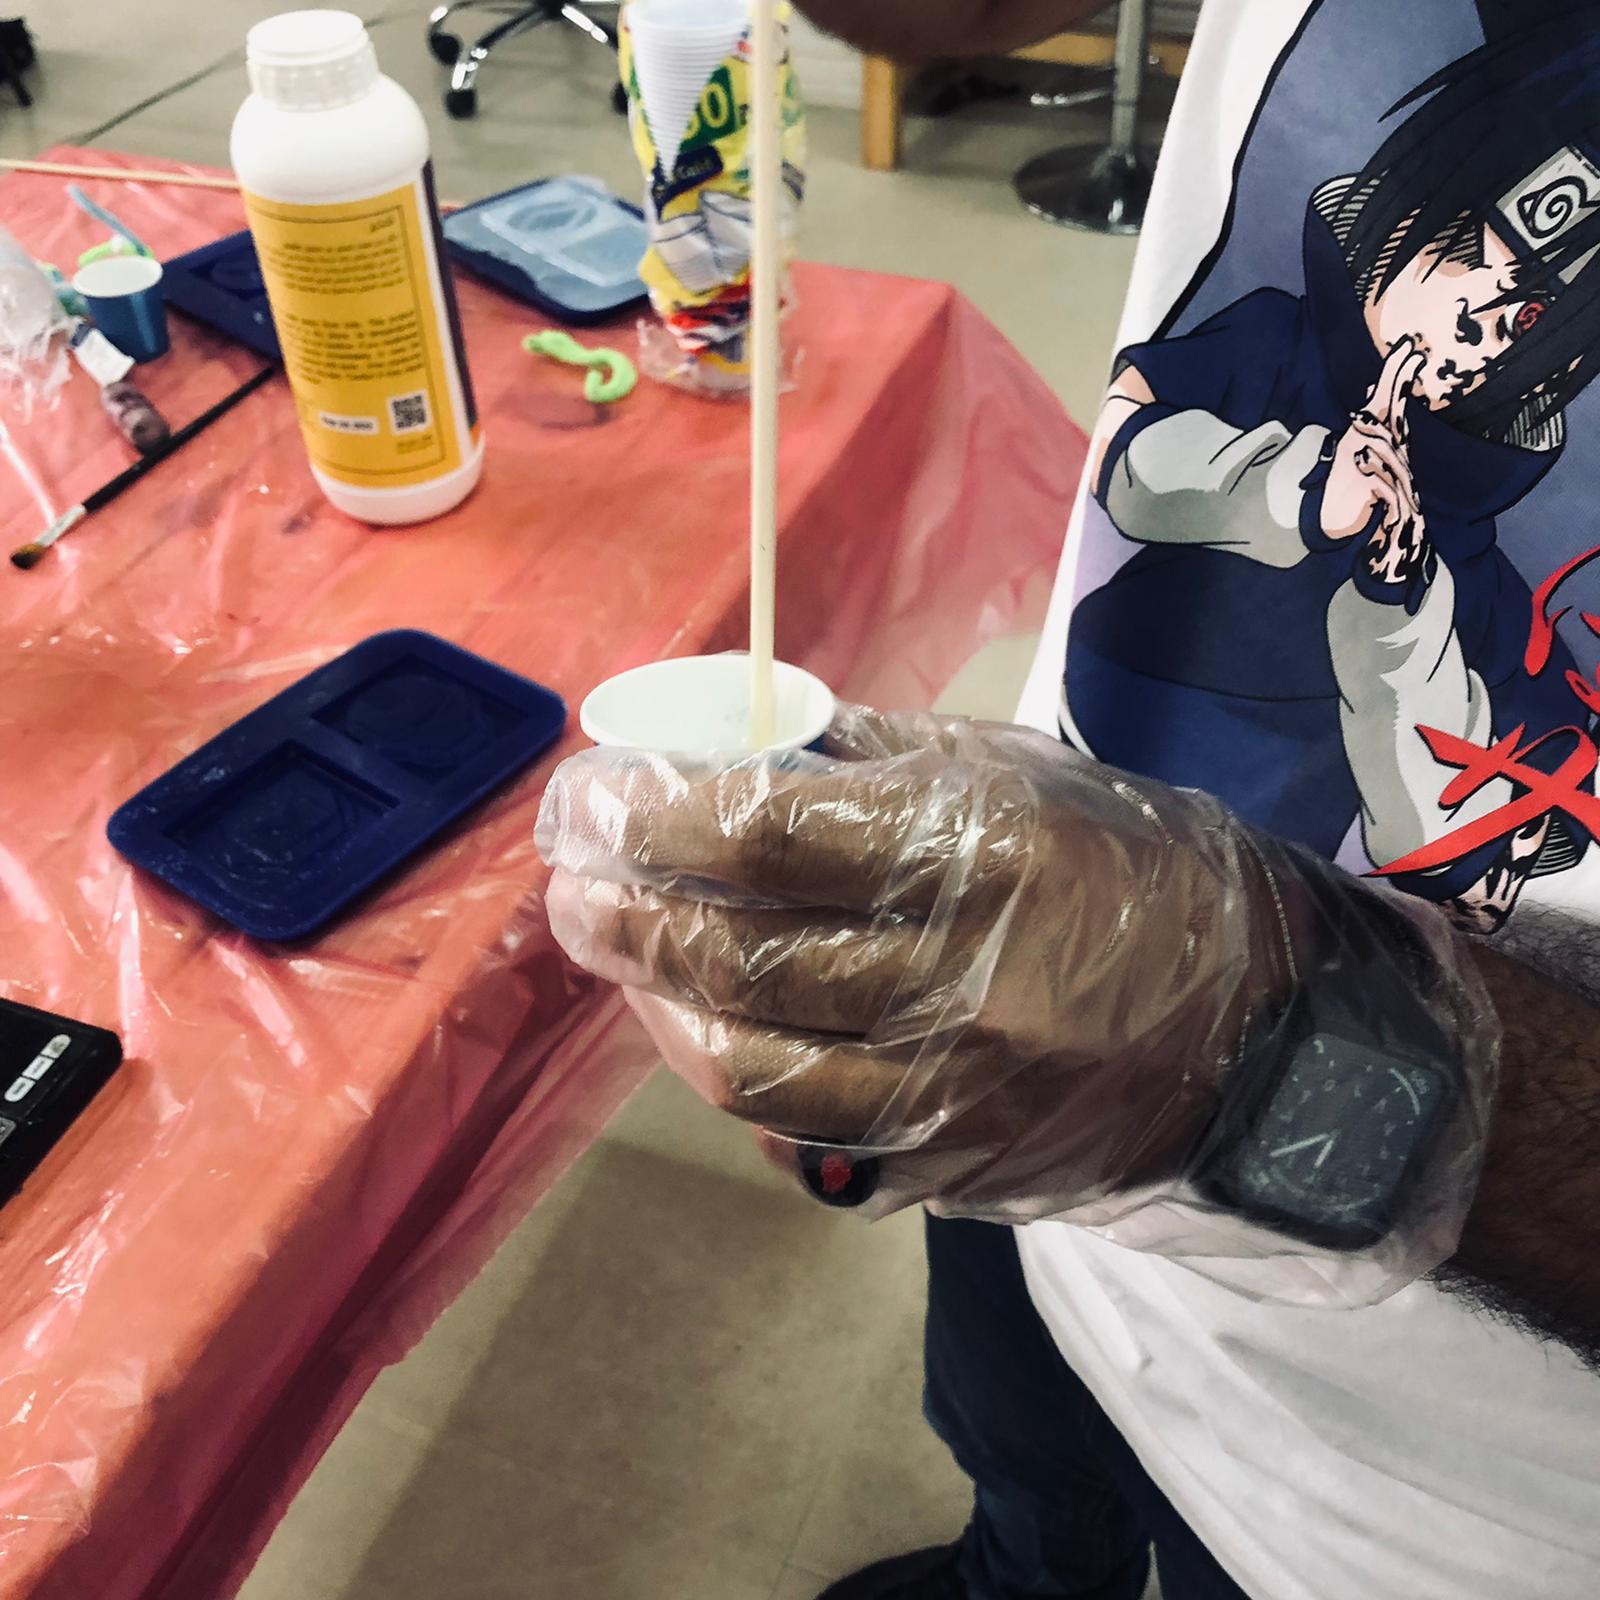
- Mixing process
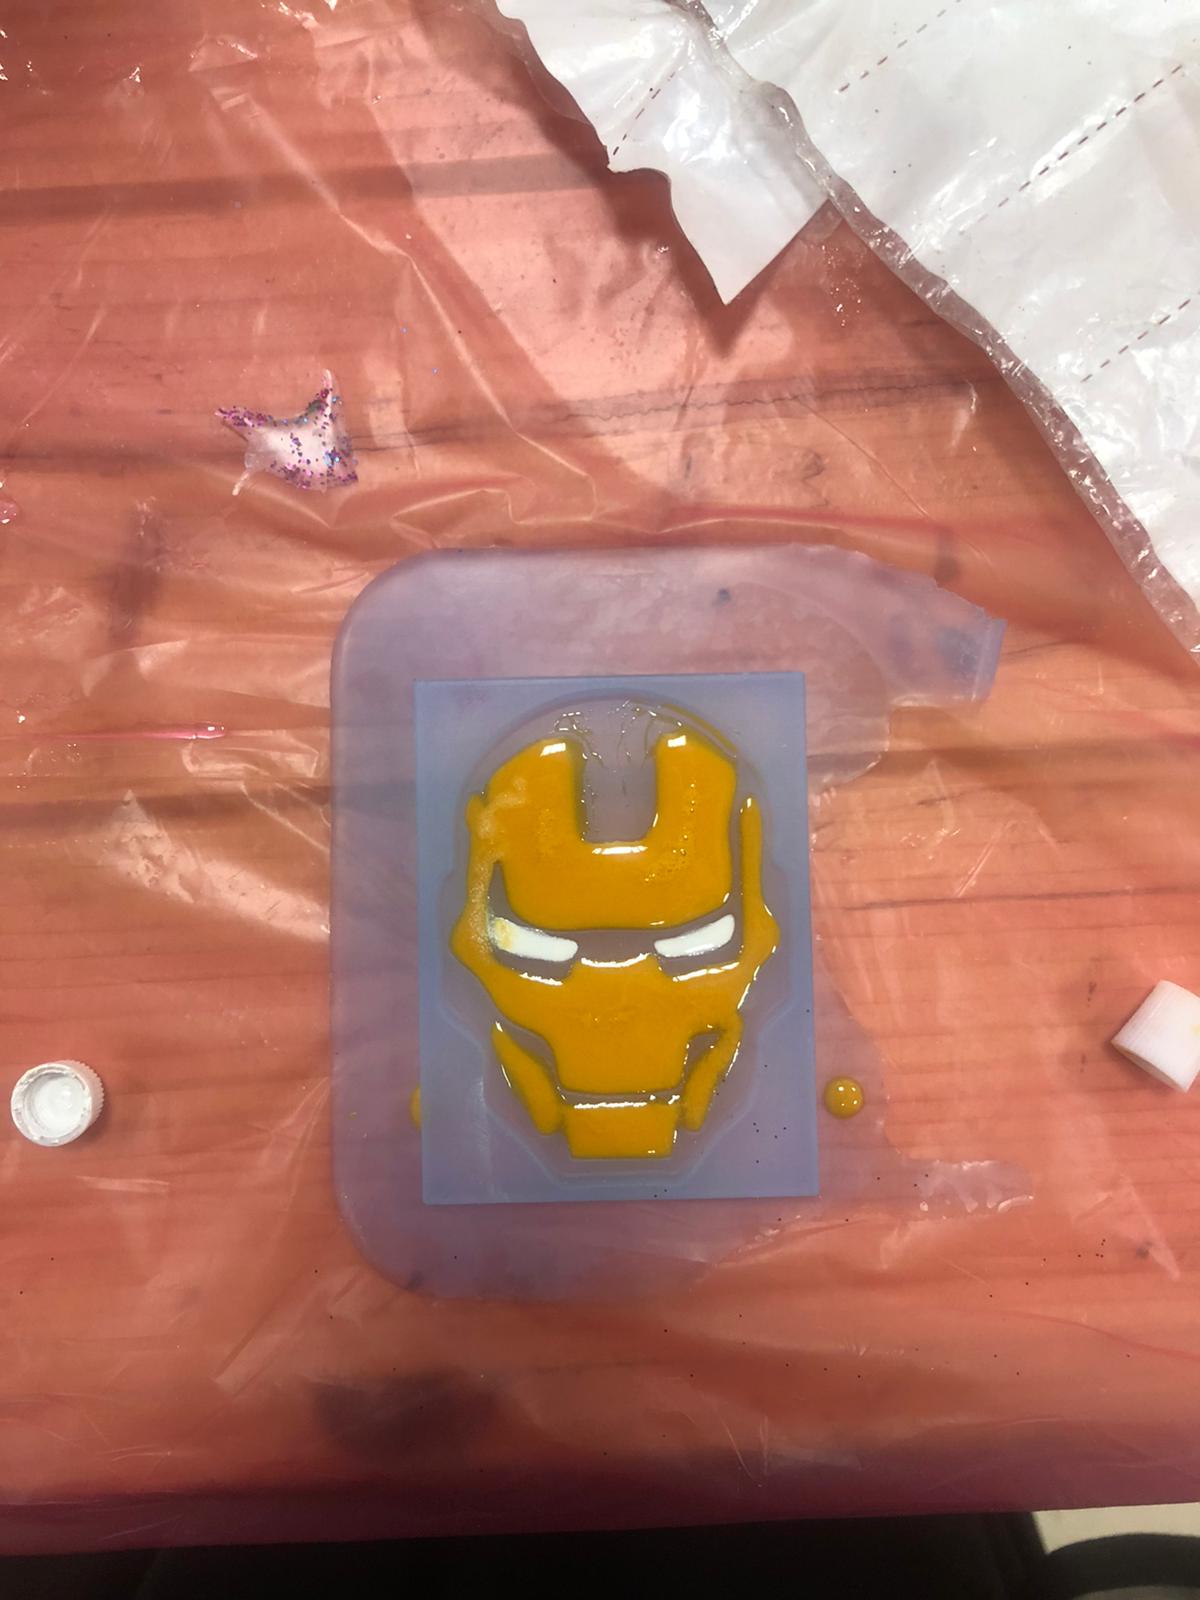
Making it colorful
In my case I had to do it 3 times to make 2 batches for each layer with 3 different color.
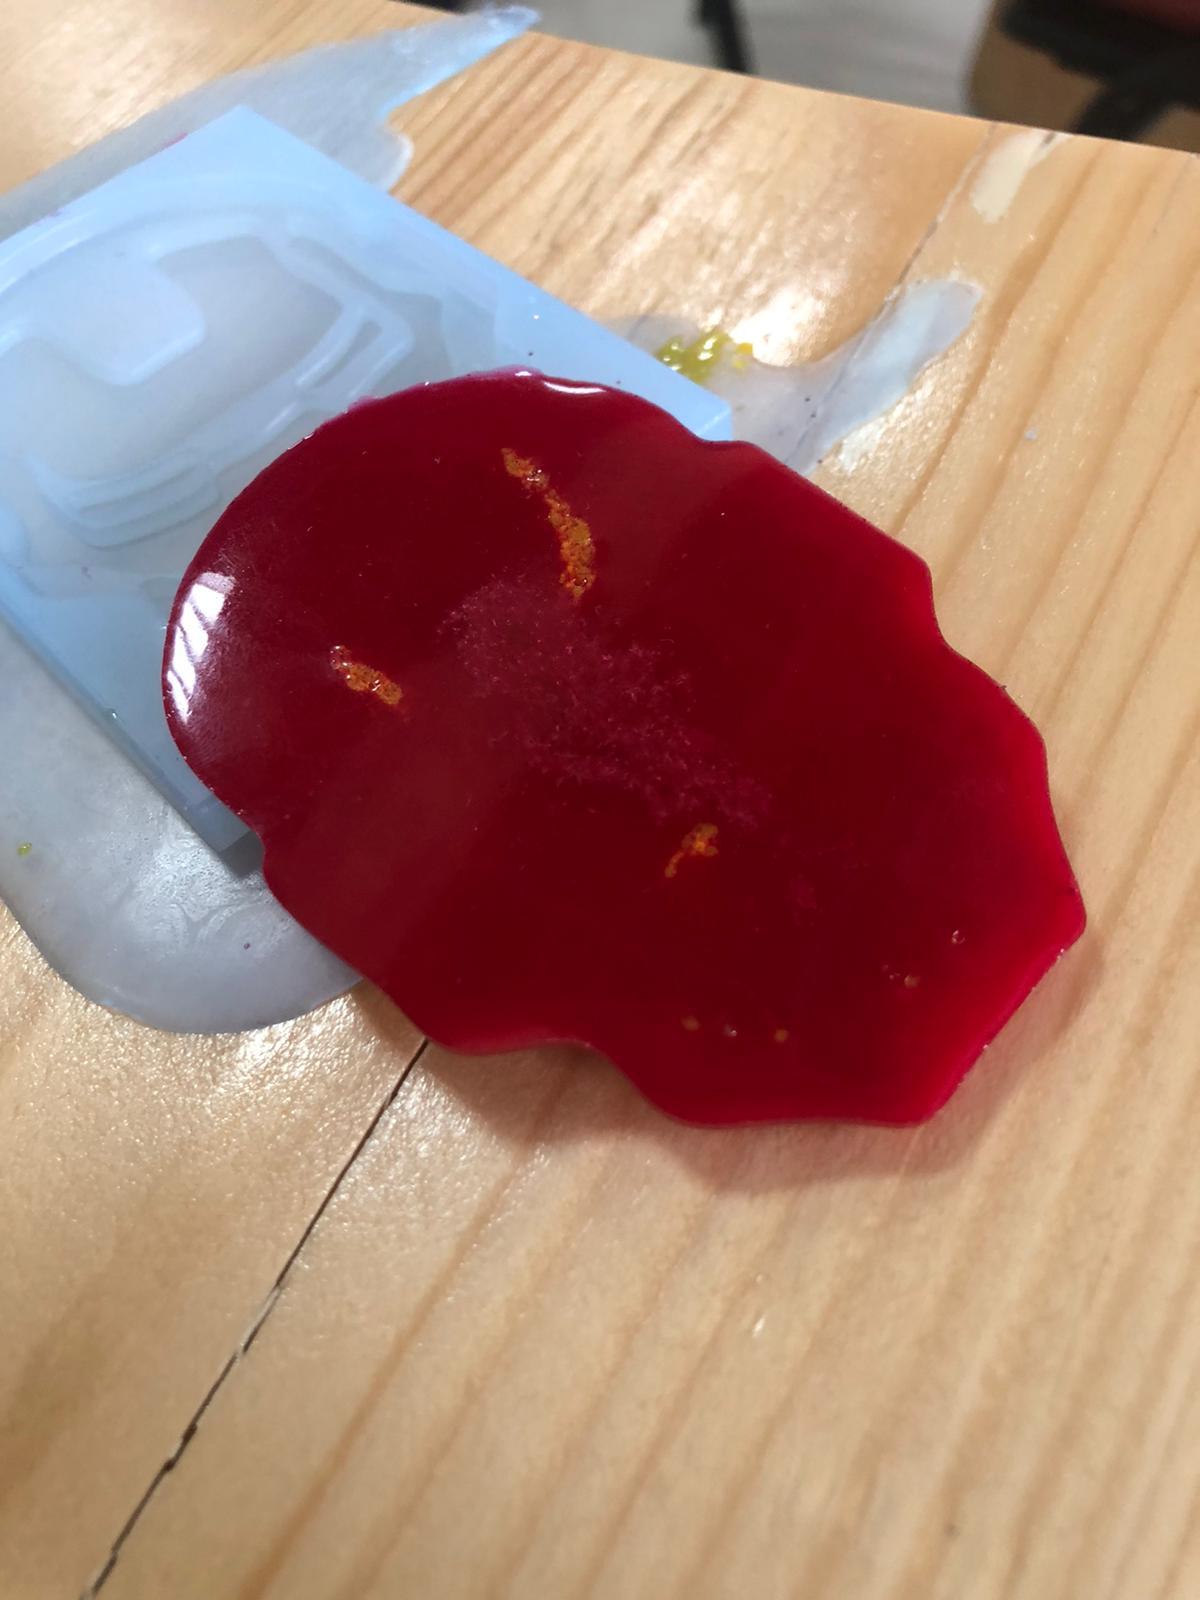
1st layer: white and yellow 2nd layer: red
First layer
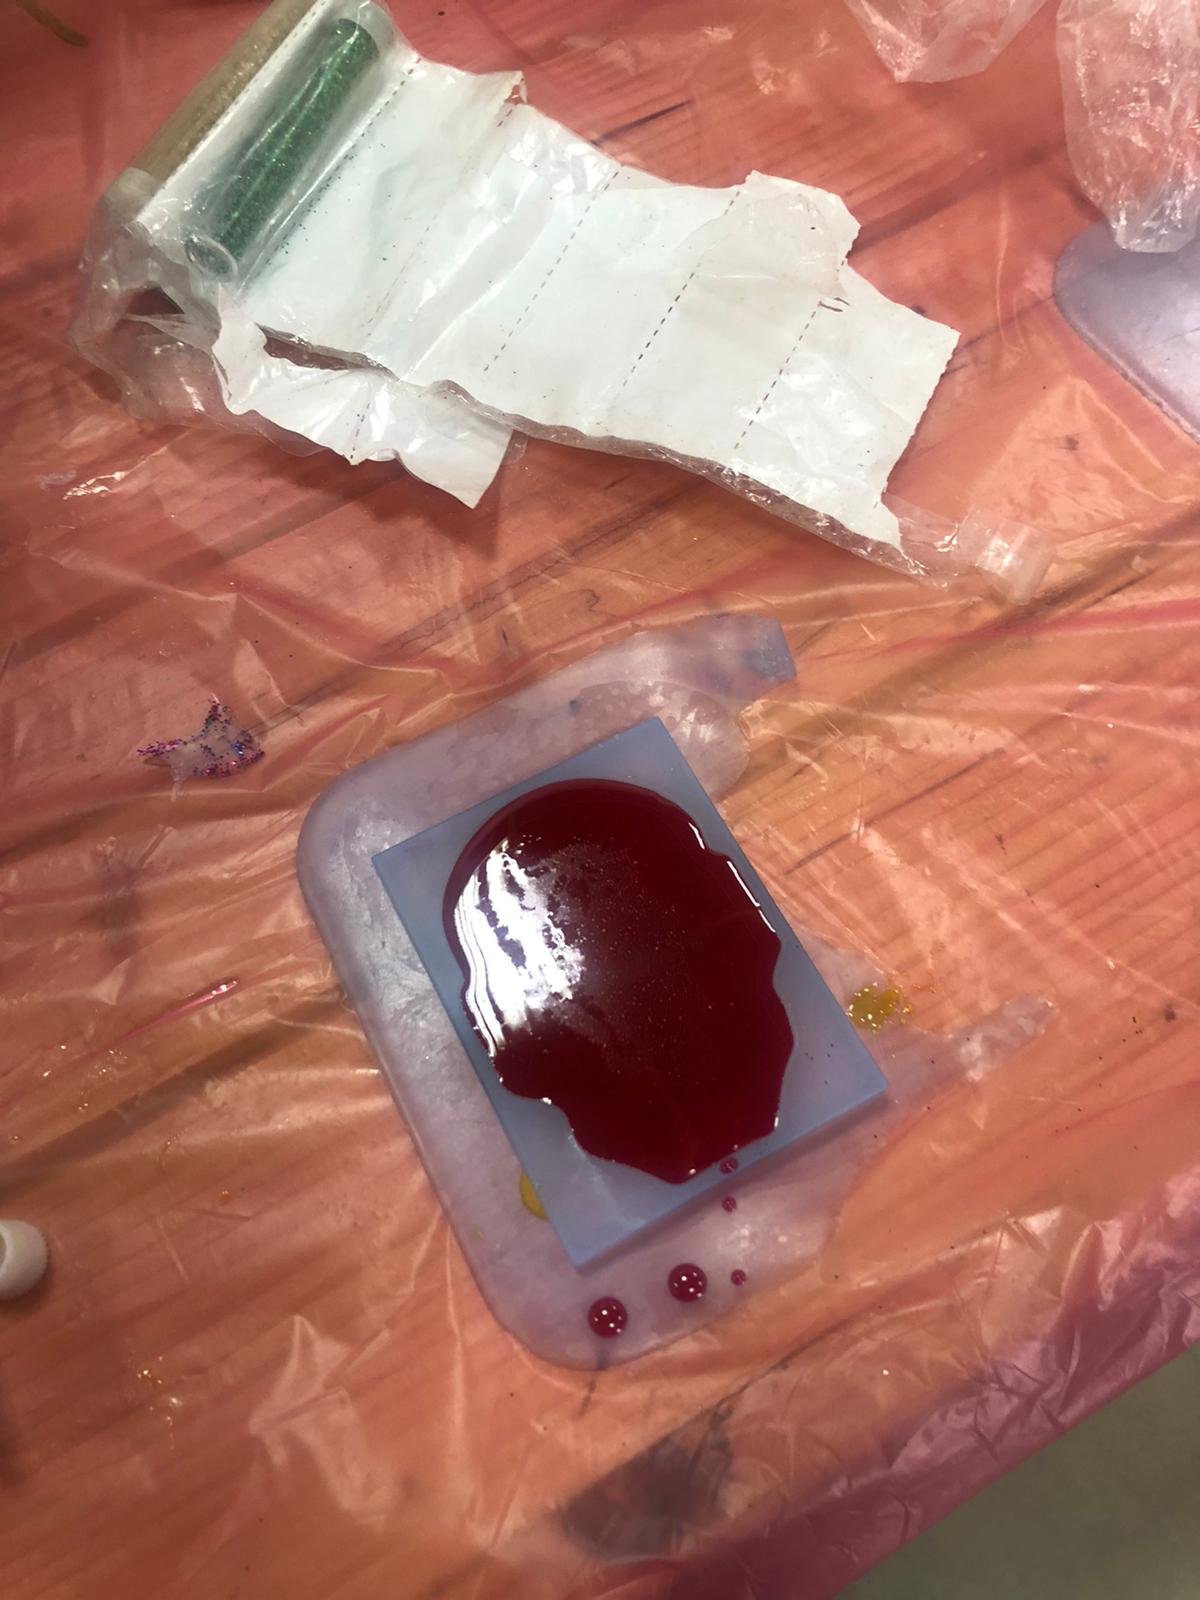
Second layer
After waiting for about one and half hour I poured the second layer
End Results and comments
Hero shot.
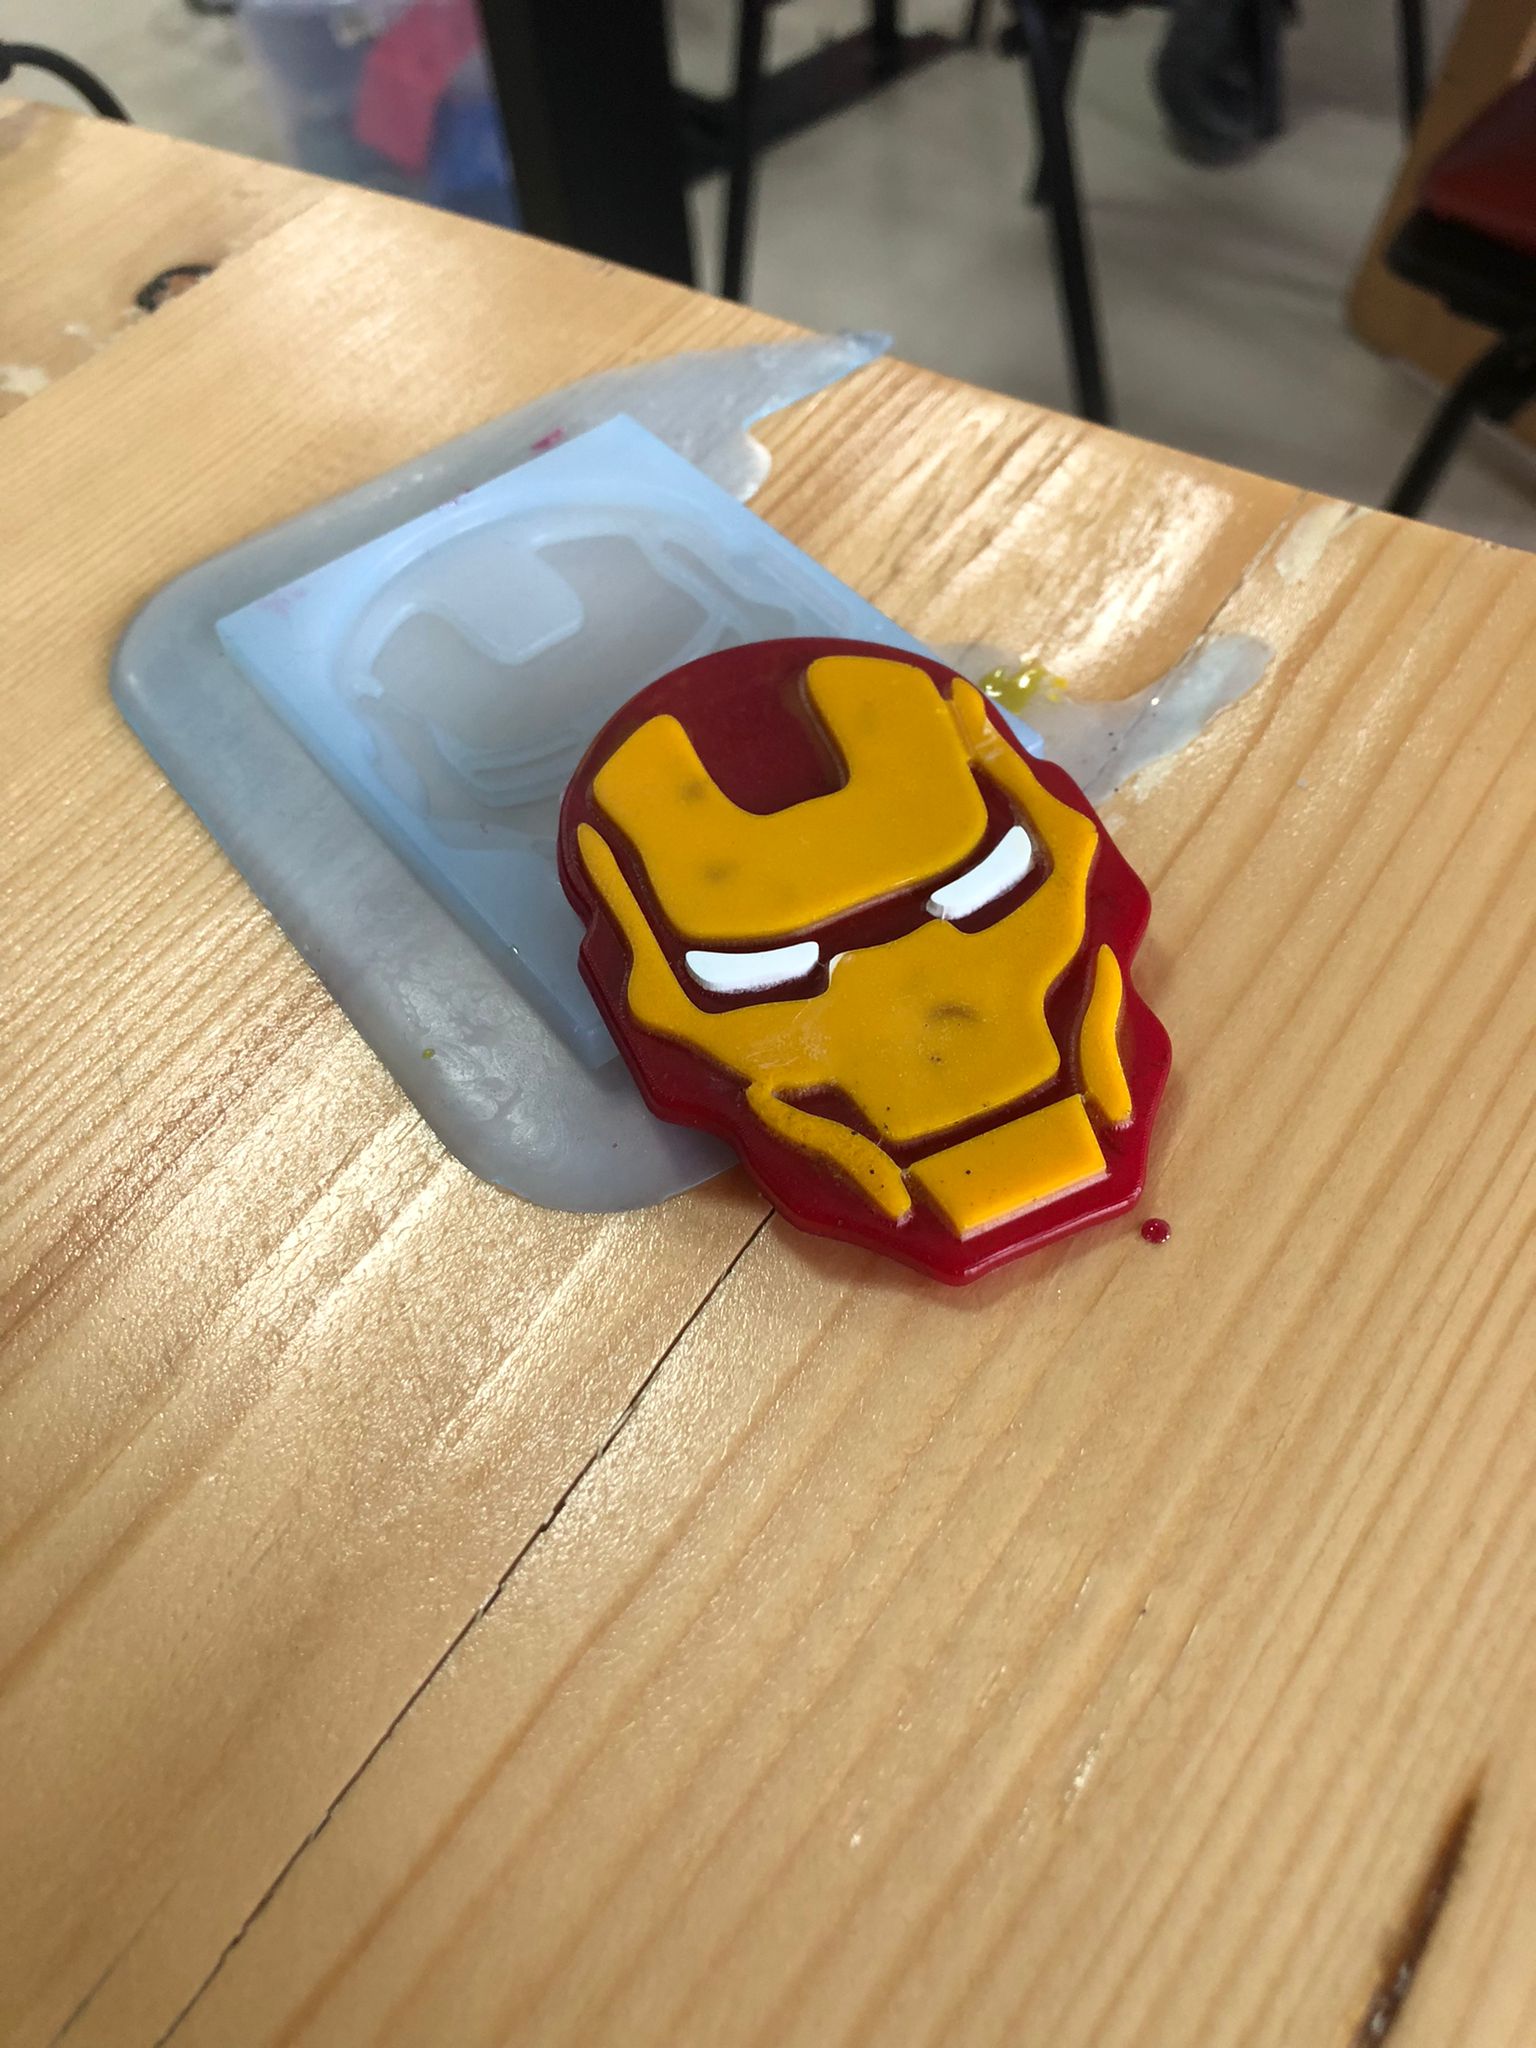
It came out very nicely and I was satisfied with the results but they were few issues that could improve the mold even more.
As a result of making my desing by tracing a picture, that it was dimensionless, the gaps weren’t identitcal which resulted in some of the gaps were smaller the the drill bit.
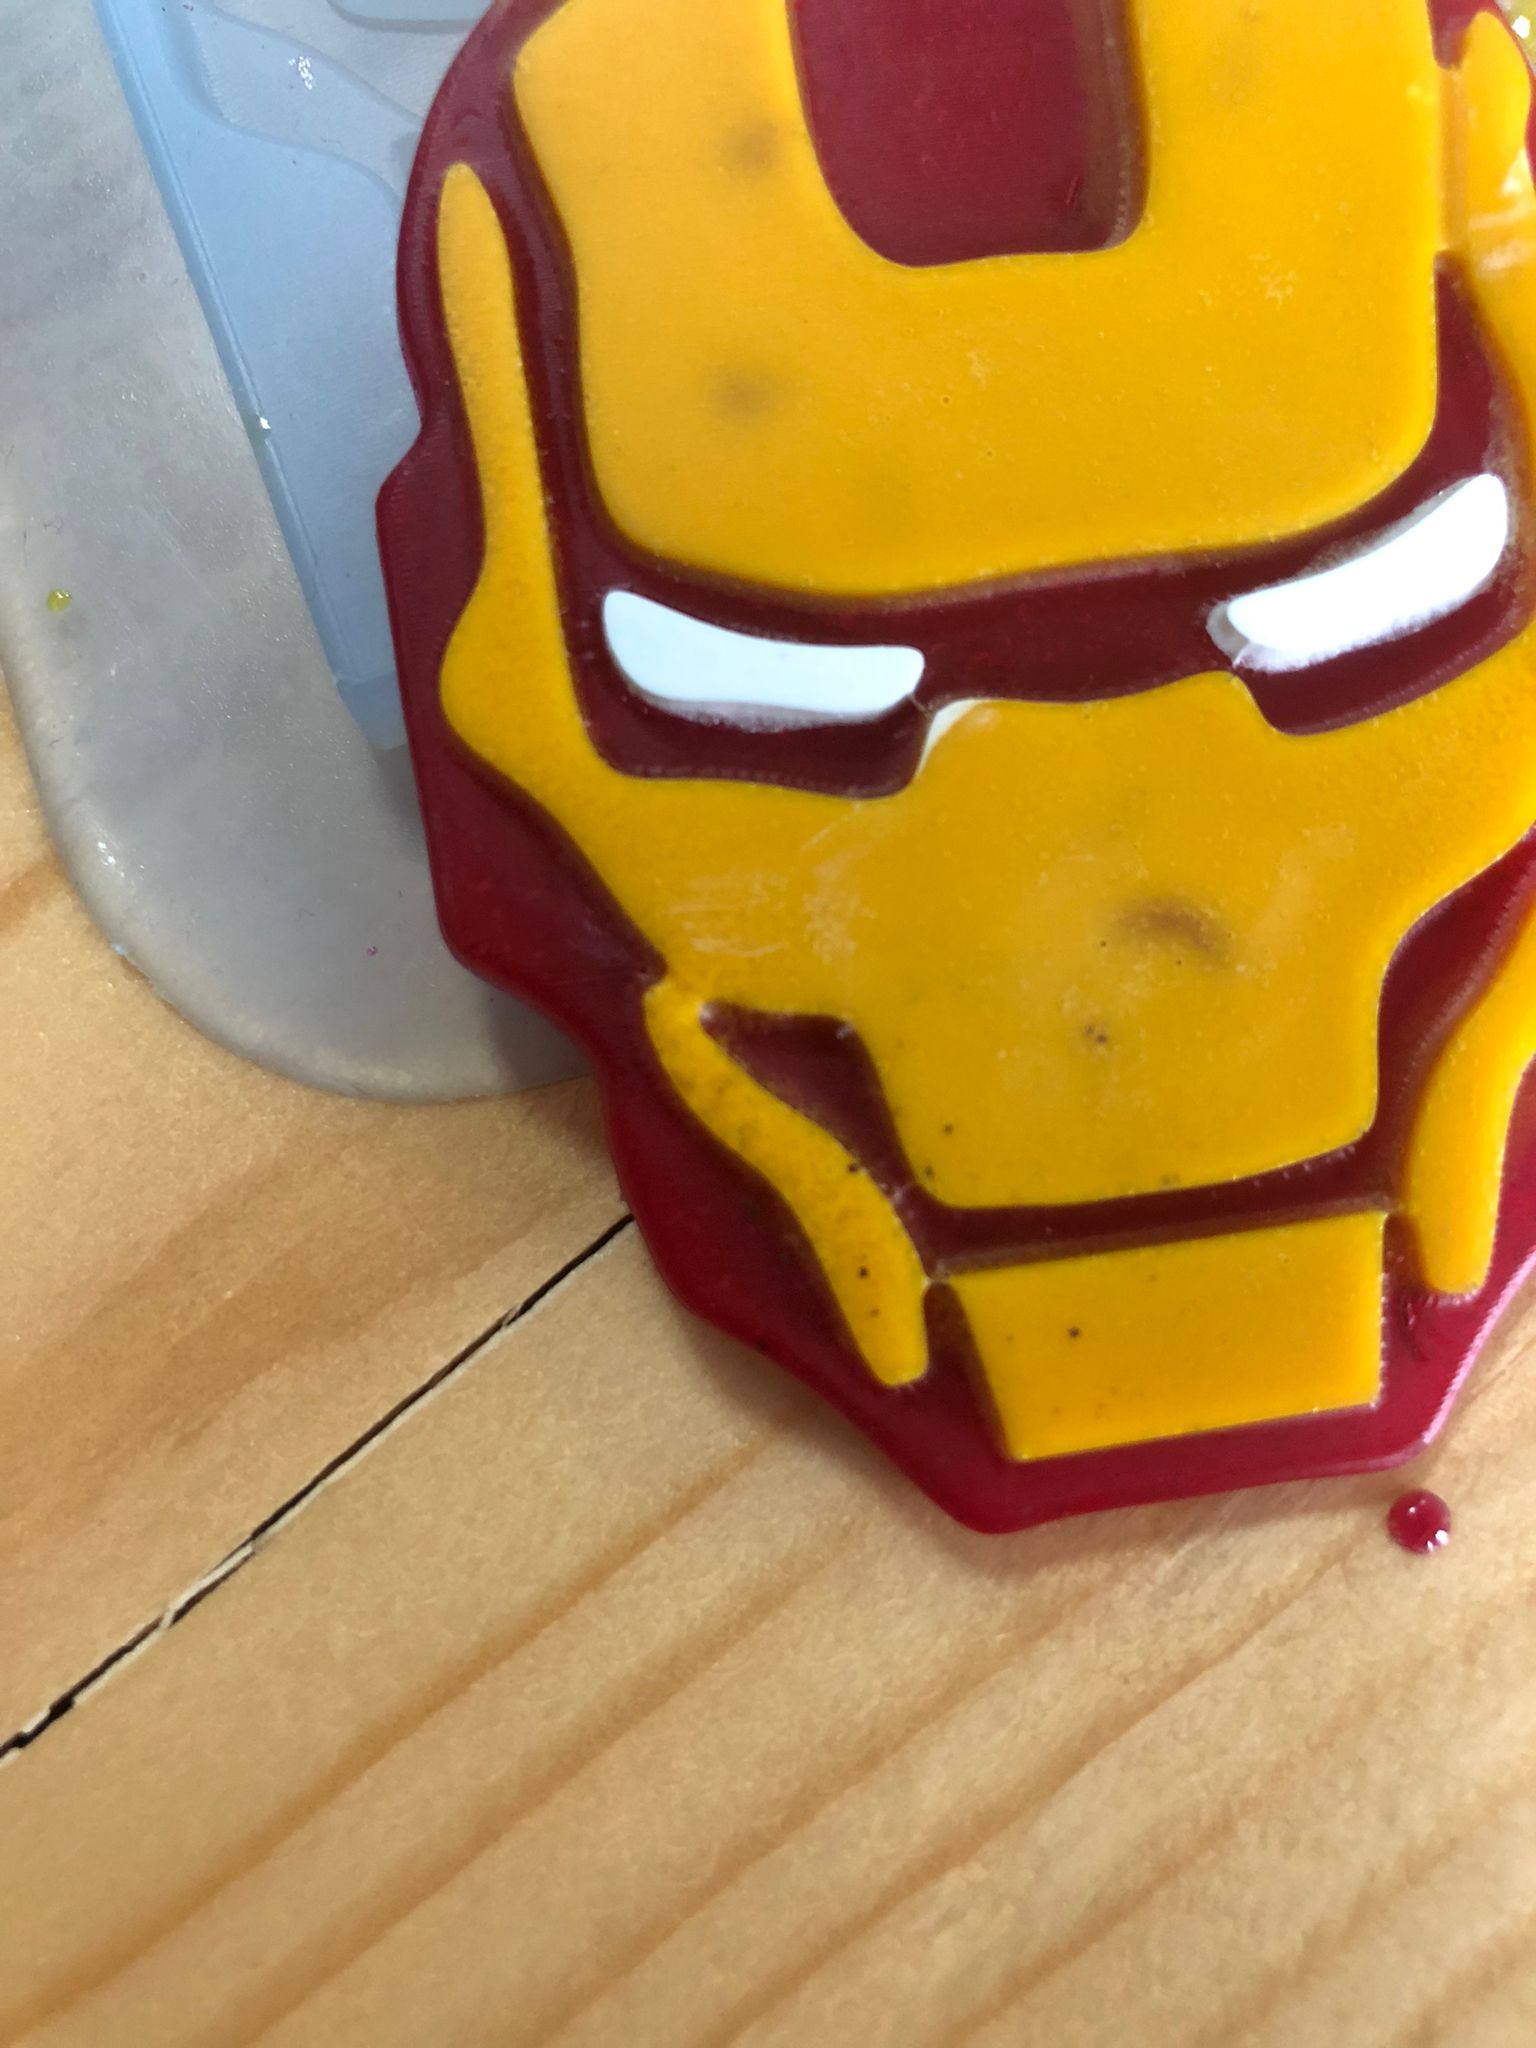
 A way to fix this is just tracing one side of the picture and then mirror it to the other side.
Another issue was the second layer was poured immaturely which resulting in some color mixing amd resurfacing.

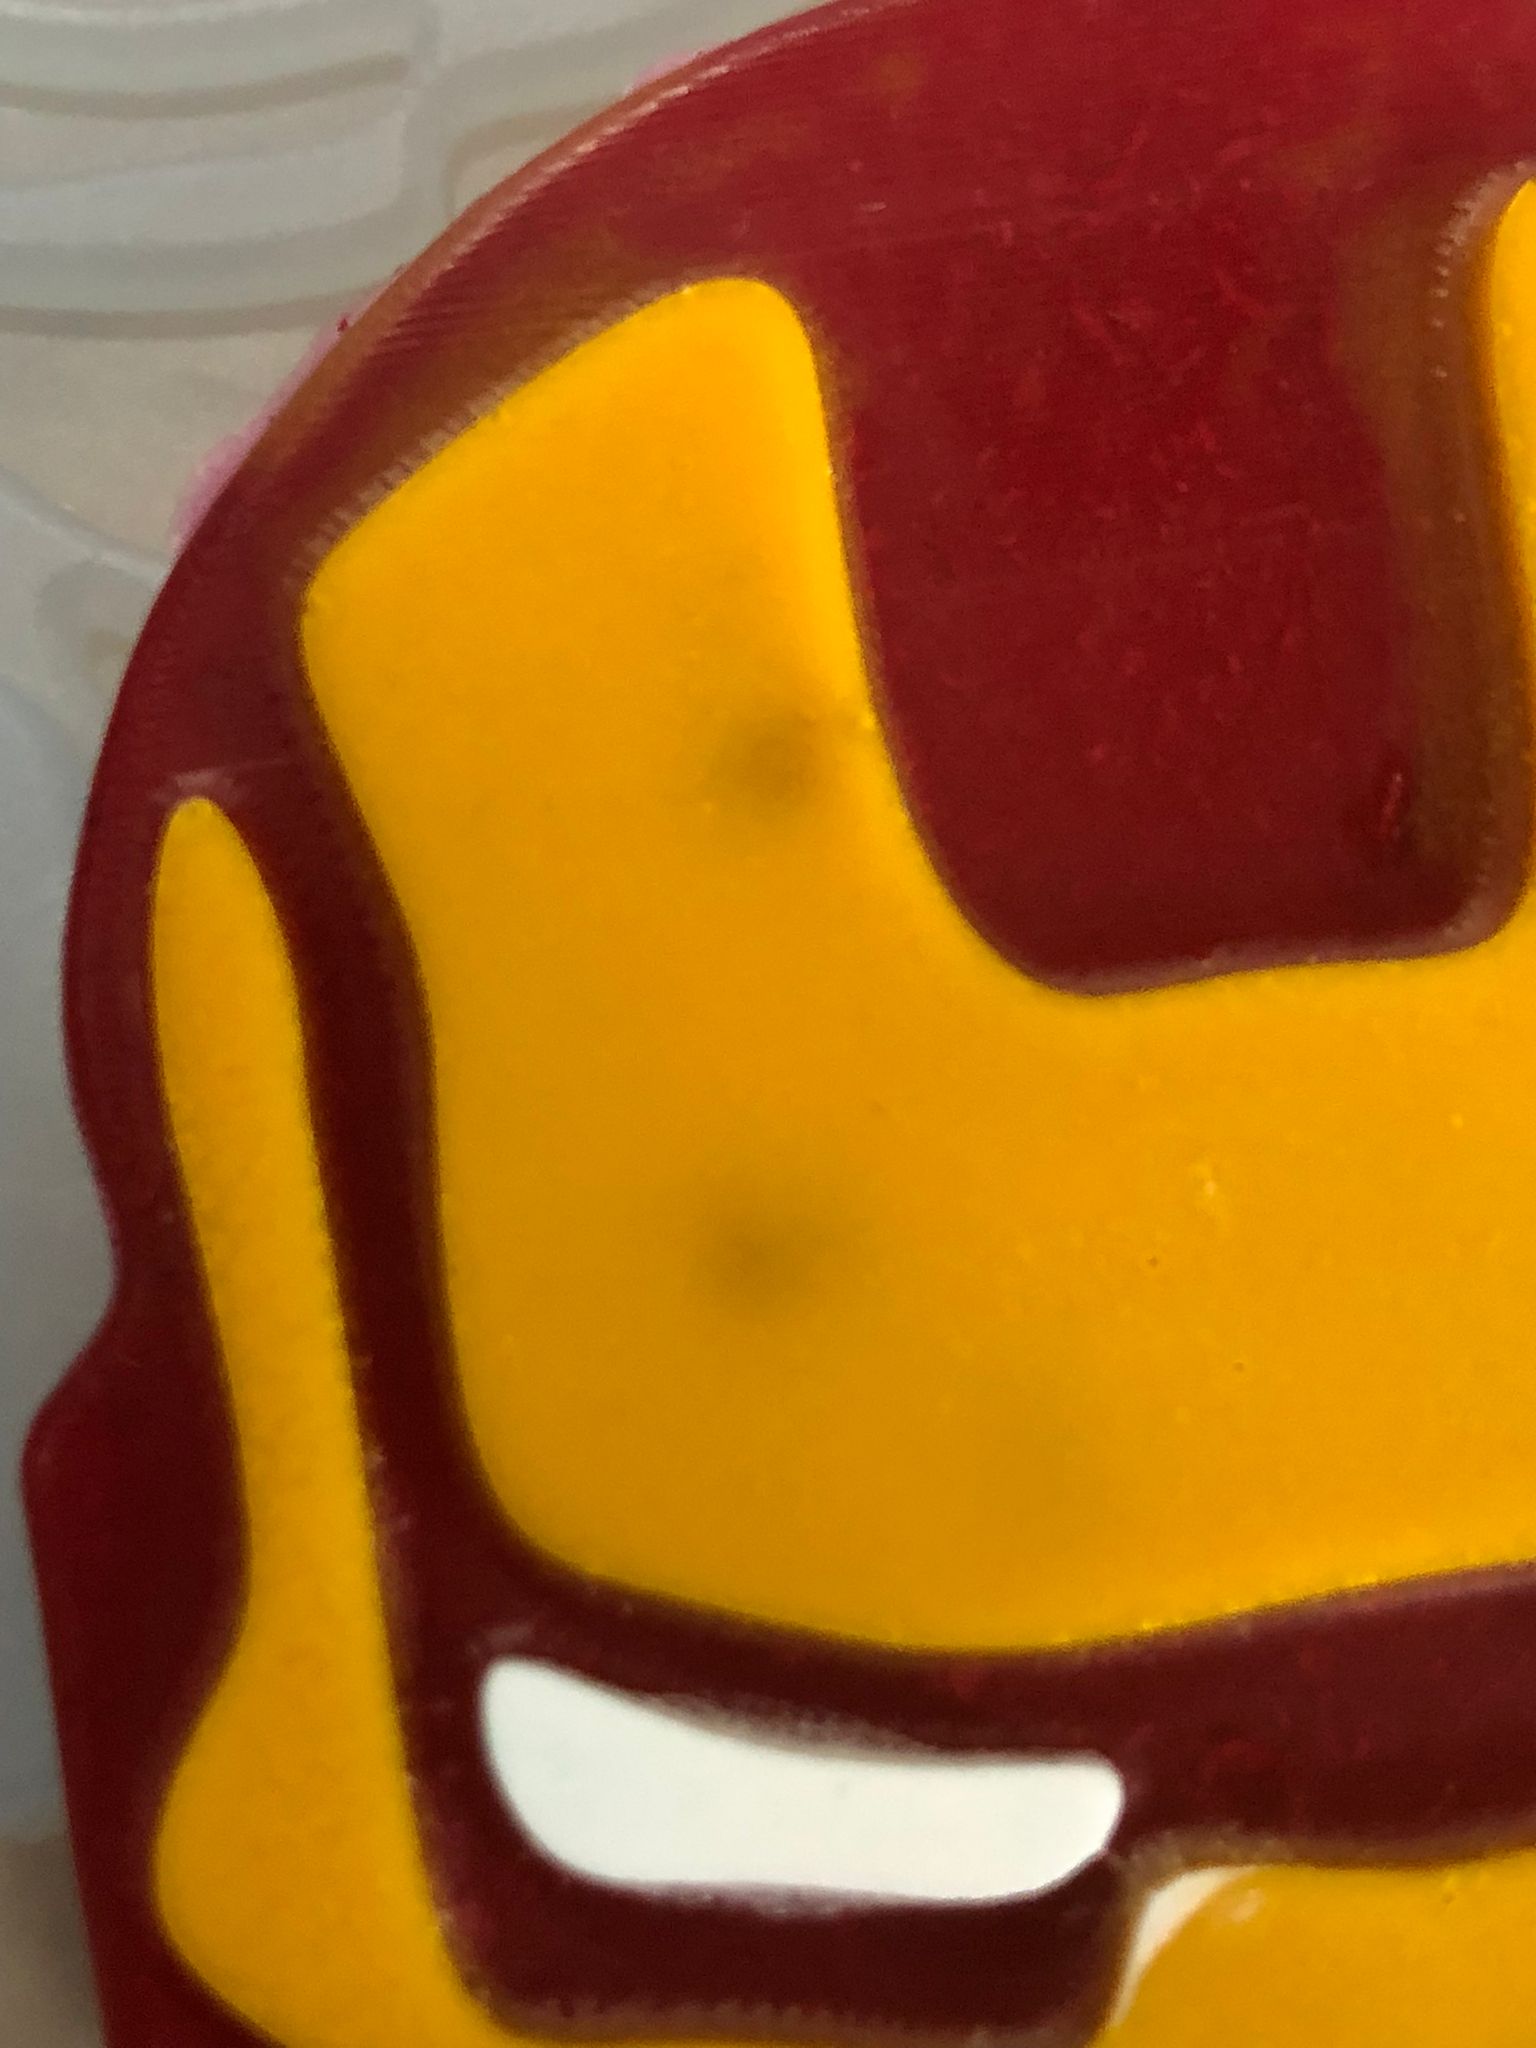
To fix this, it is simple, it is to just simply wait more :) I found that 4 to 3 hours is good.