5. 3D printing and scanning
This week I worked on 3D printing and scanning.
3D Printing
Introduction
3D printing or additive manufacturing is a process of making three dimensional solid objects from a digital file.
The creation of a 3D printed object is achieved using additive processes. In an additive process an object is created by laying down successive layers of material until the object is created. Each of these layers can be seen as a thinly sliced cross-section of the object.
FDM
The most common 3D Printing method is Fused Deposition Modeling
What is FDM?
Fused deposition modeling (FDM) 3D printing, also known as fused filament fabrication (FFF), is an additive manufacturing (AM) process within the realm of material extrusion. FDM builds parts layer by layer by selectively depositing melted material in a predetermined path, and uses thermoplastic polymers that come in the form of filaments.
How FDM works?
Objects created with an FDM printer start out as computer-aided design (CAD) files. Before an object can be printed, its CAD file must be converted to a format that a 3D printer can understand — usually .STL format.
In order to print a 3D model using FDM printer, we have to follows these steps:
1- Design a CAD model and the export the file as .stl
2- Upload the file in a slicer software
The most common slicer softwares: - Cura - For Prusa printers use PrusaSlicer - For Makerbot printers use Makerbot slicer
and since we will use Makerbot printer so , we will download Makerbot slicer
3- Export the file as G-code
4- Transfer the G-code file into the printer
Makerbot Printer
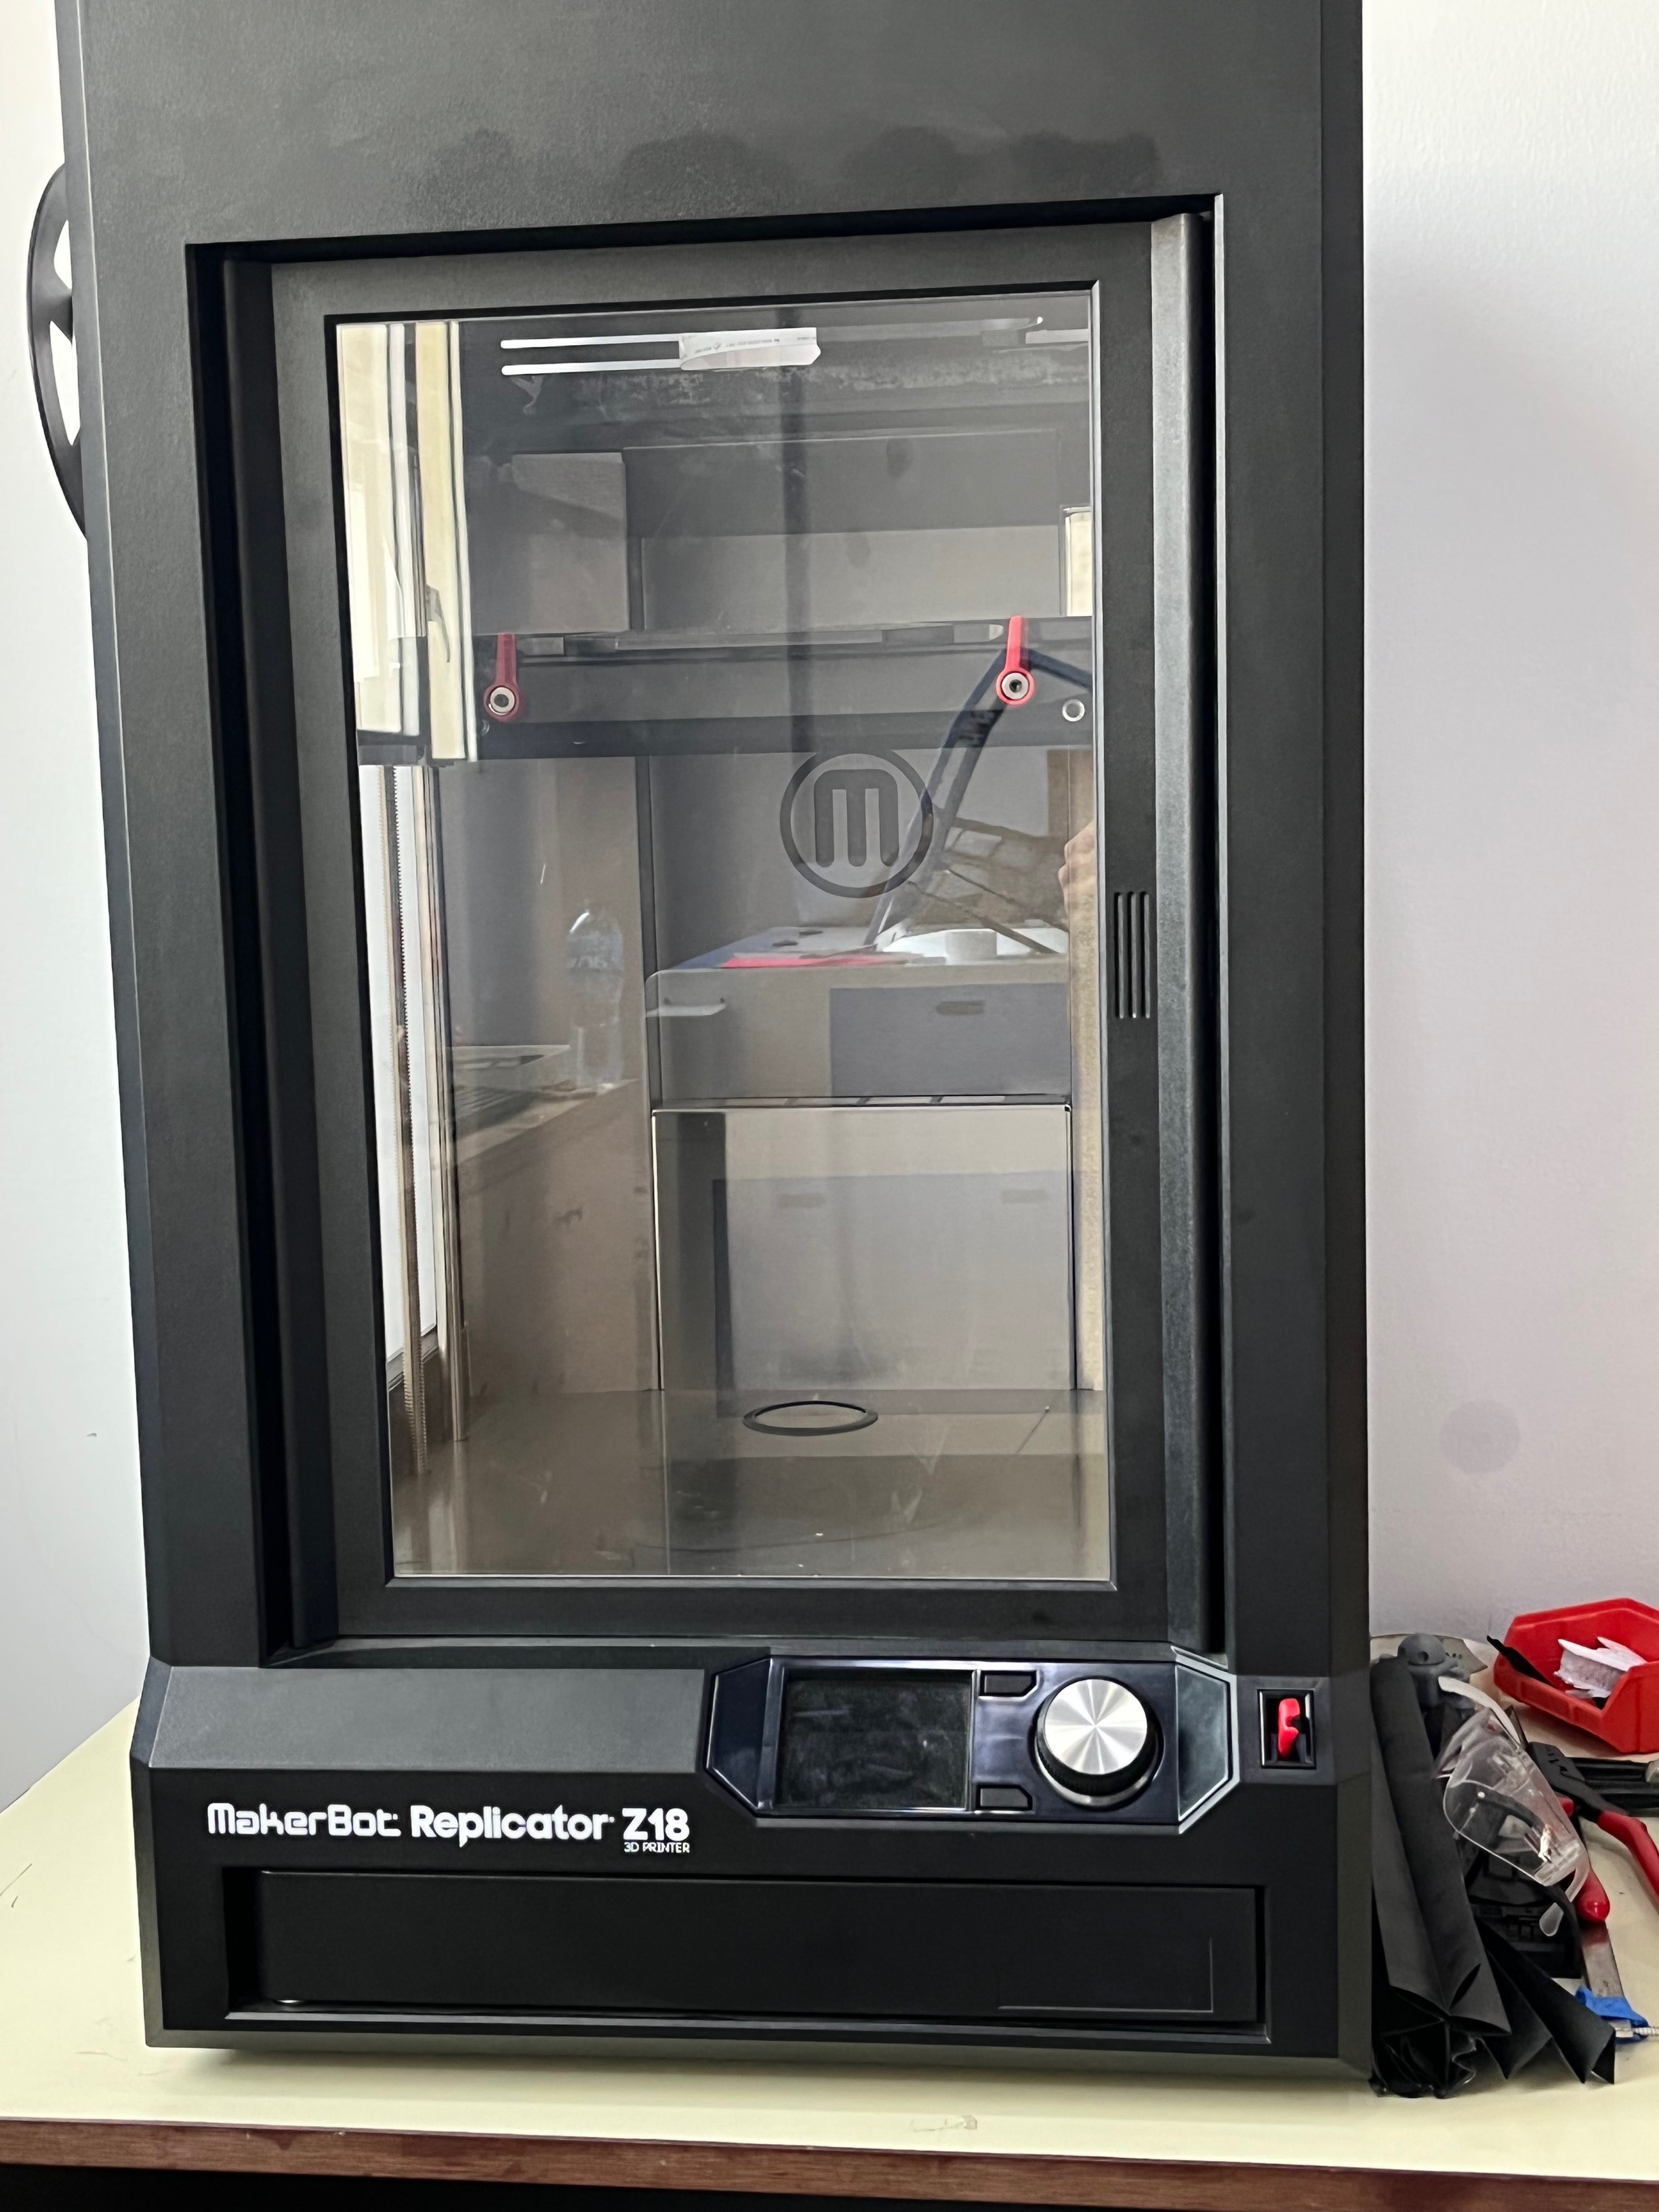
In this assignment I will print my design in MakerBot Replicator Z18.
What is MakerBot Replicator Z18?
MakerBot Replicator Z18 is a device for large-size printing. The name speaks for itself. “Z18” stands for “18 inches in the vertical plane”, which gives a good idea of the true dimensions of the working area. In the horizontal plane, the dimensions are somewhat modest, but they are all equally impressive: 12 inches along the X and Y axes.
Print quality of MakerBot Replicator Z18:
The Makerbot Replicator Z18 can print at 100 microns. The made models are not as smooth as you would get with the more expensive printers, but it is enough for experimenting with printing and even professional use.
MakerBot Replicator Z18 looks like:
PLA Filament
MatterHackers PLA 3D printing filament is easy to print with and always reliable. Industry leading quality control and functional testing differentiates our PLA material, resulting in printed parts that have an outstanding surface finish and are highly precise. PLA (Polylactic Acid) is the most common 3D printing material because it is easy to use and is made from renewable resources and thus, biodegradable.
MakerBot Replicator Z18 Review
- Printing Area: 300 mm x 305 mm x 457
- Layer Resolution: 100 microns
- Supported Filament: PLA
- Filament Diameter: 1.75mm
- Extruders: 1
- Extruders Diameter: 0.4 mm
So, we have to take all these dimensions into consideration when we will print in the makerbot printer.
Now I have to follow the previous steps in order to print:
Fusion 360 Design
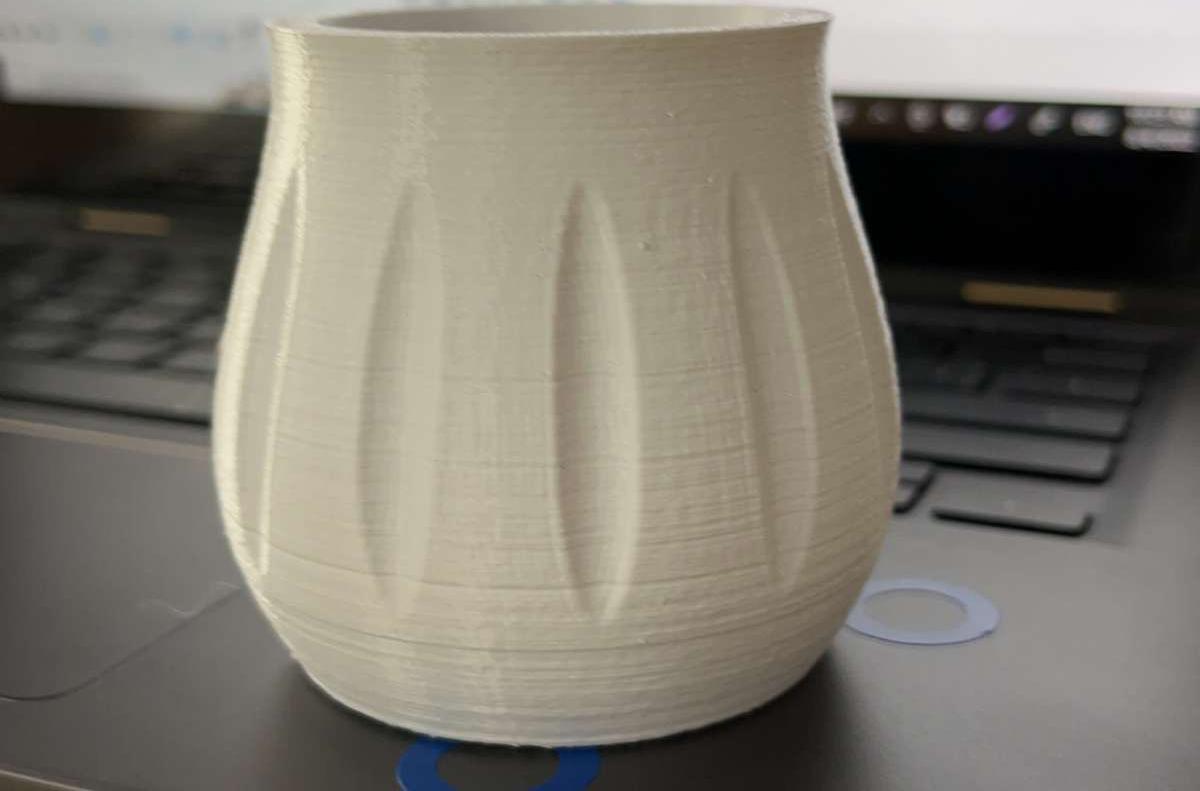
First of all, a distinct design was made that could be only comfortabily constructed using the 3D printer. A vase is designed in Fusion 360, to be then constructed in the 3D printer.
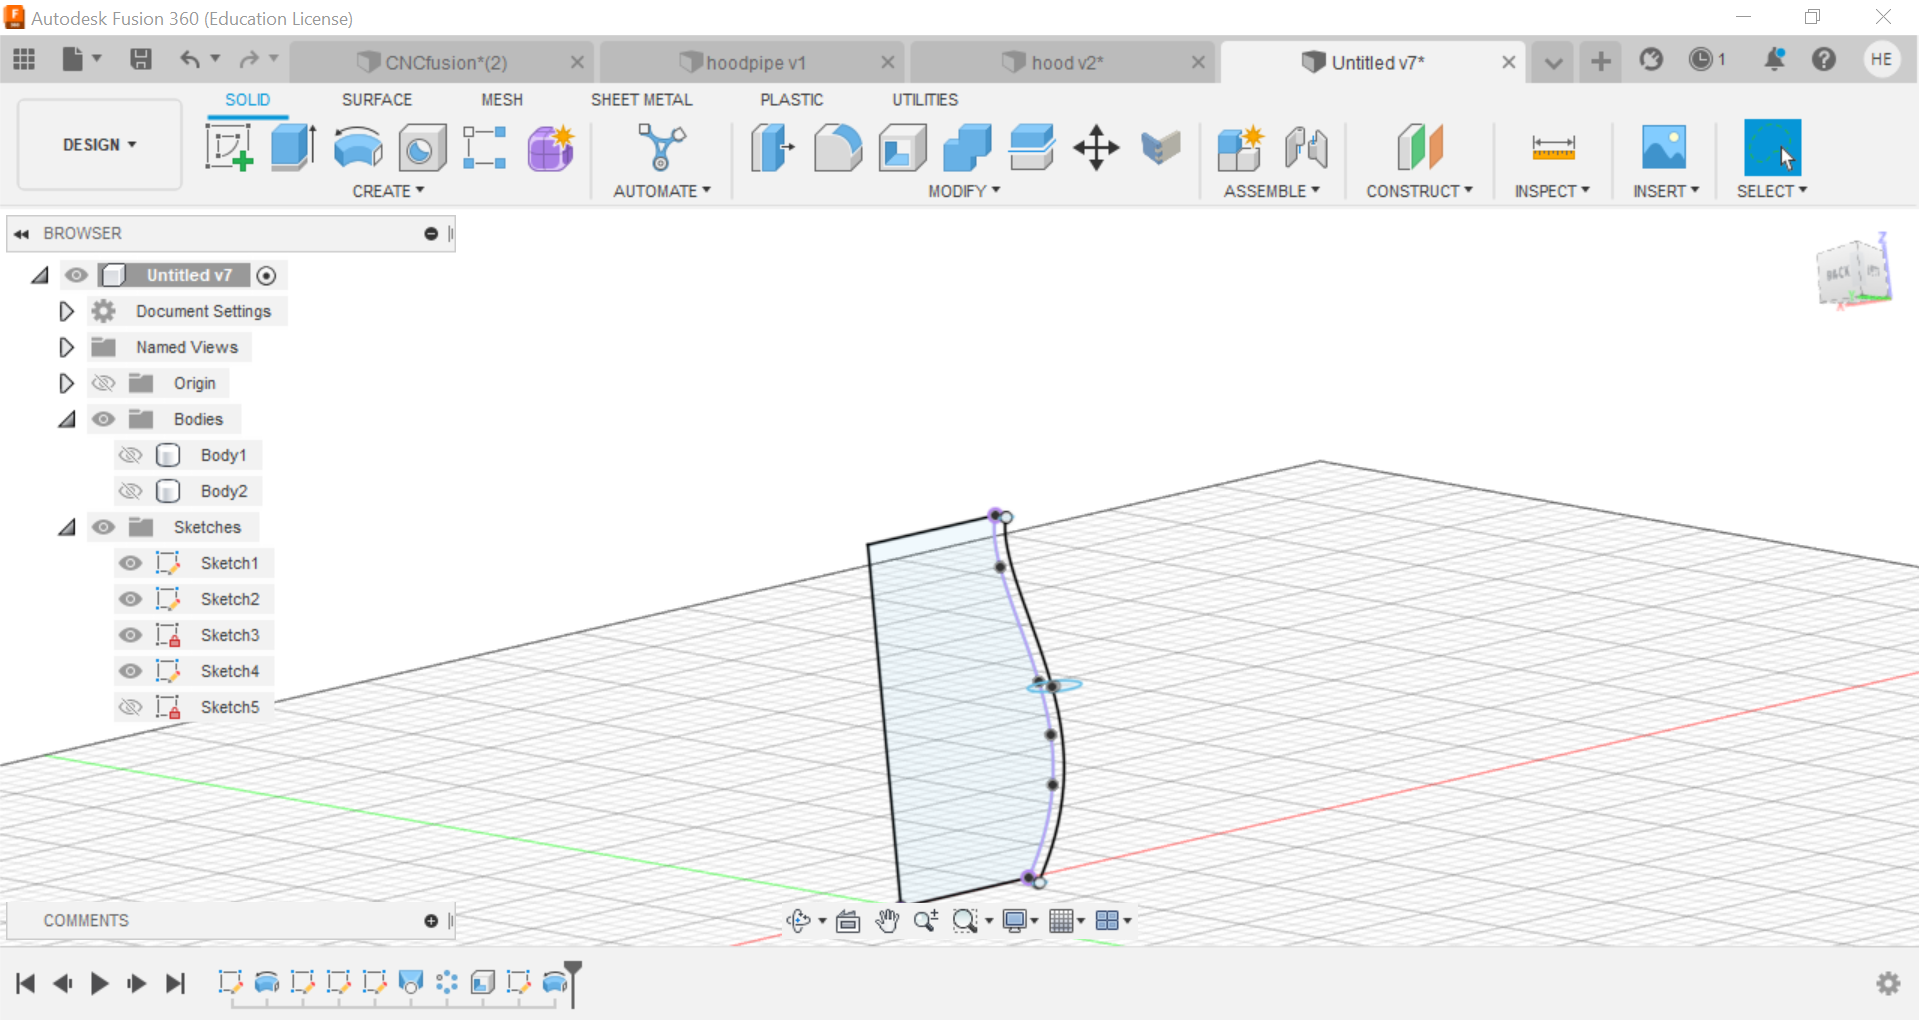
First of all, I created a sketch:
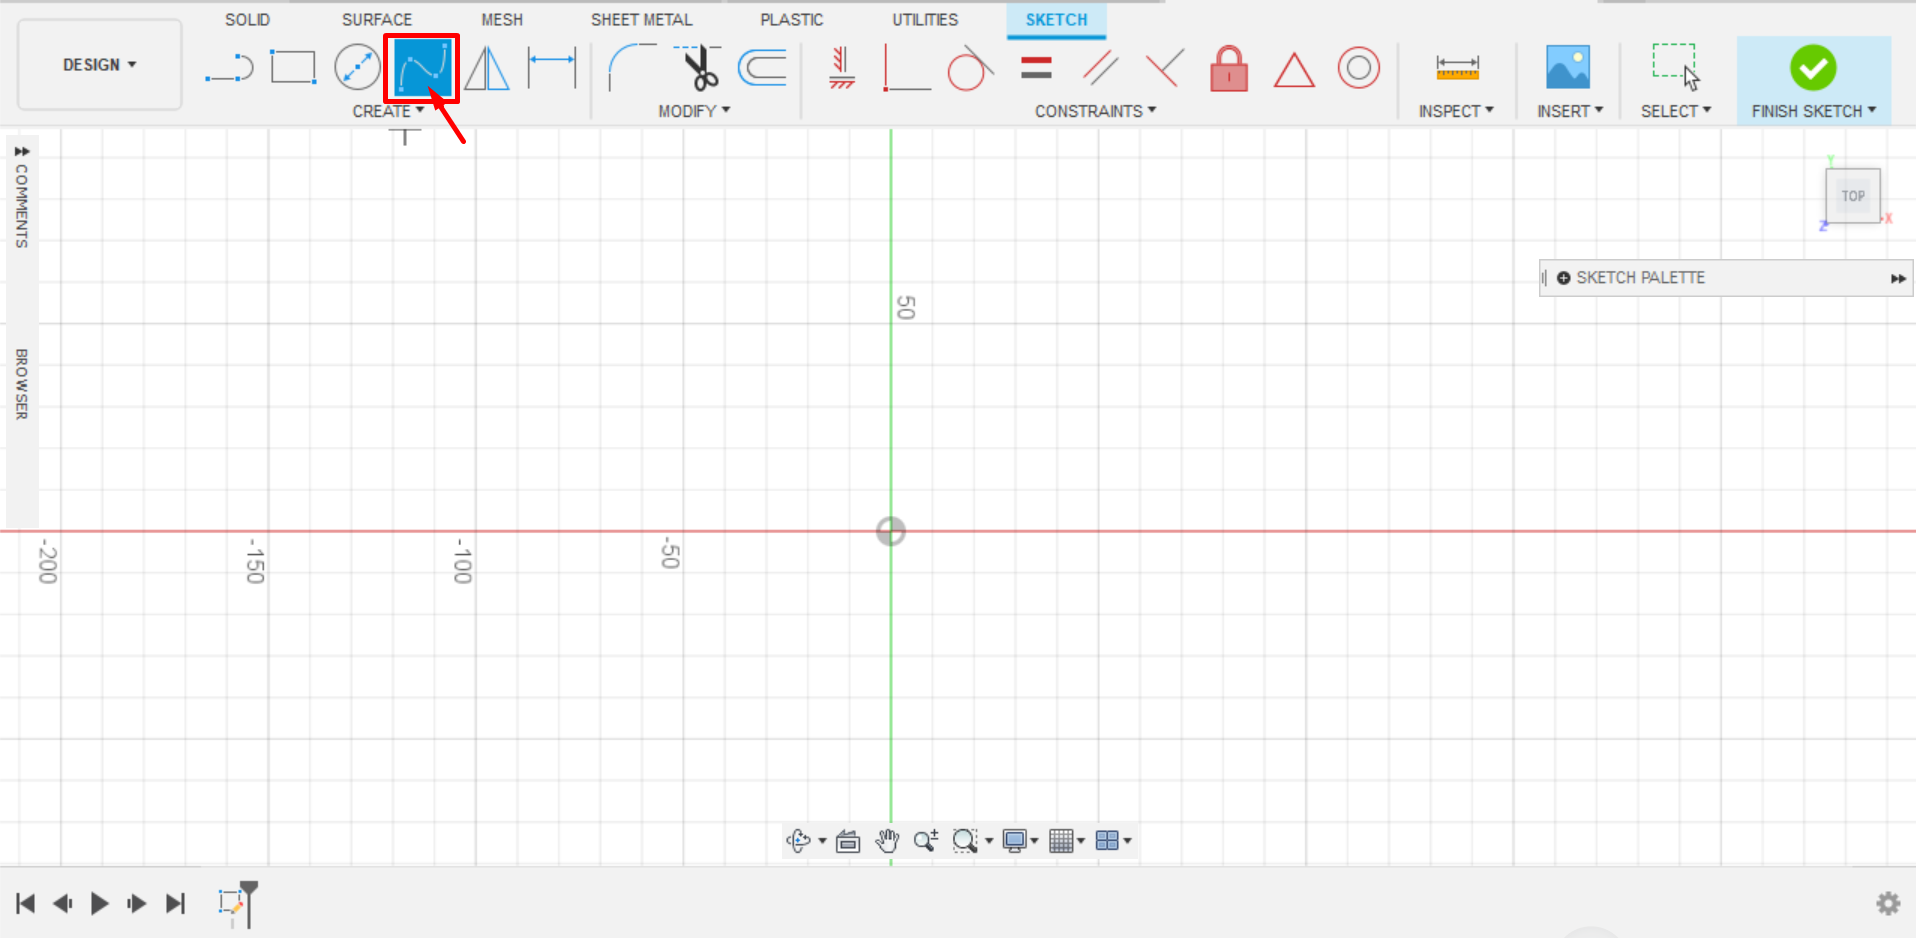
Then, A line tool was used where it will be the center point of the vase:
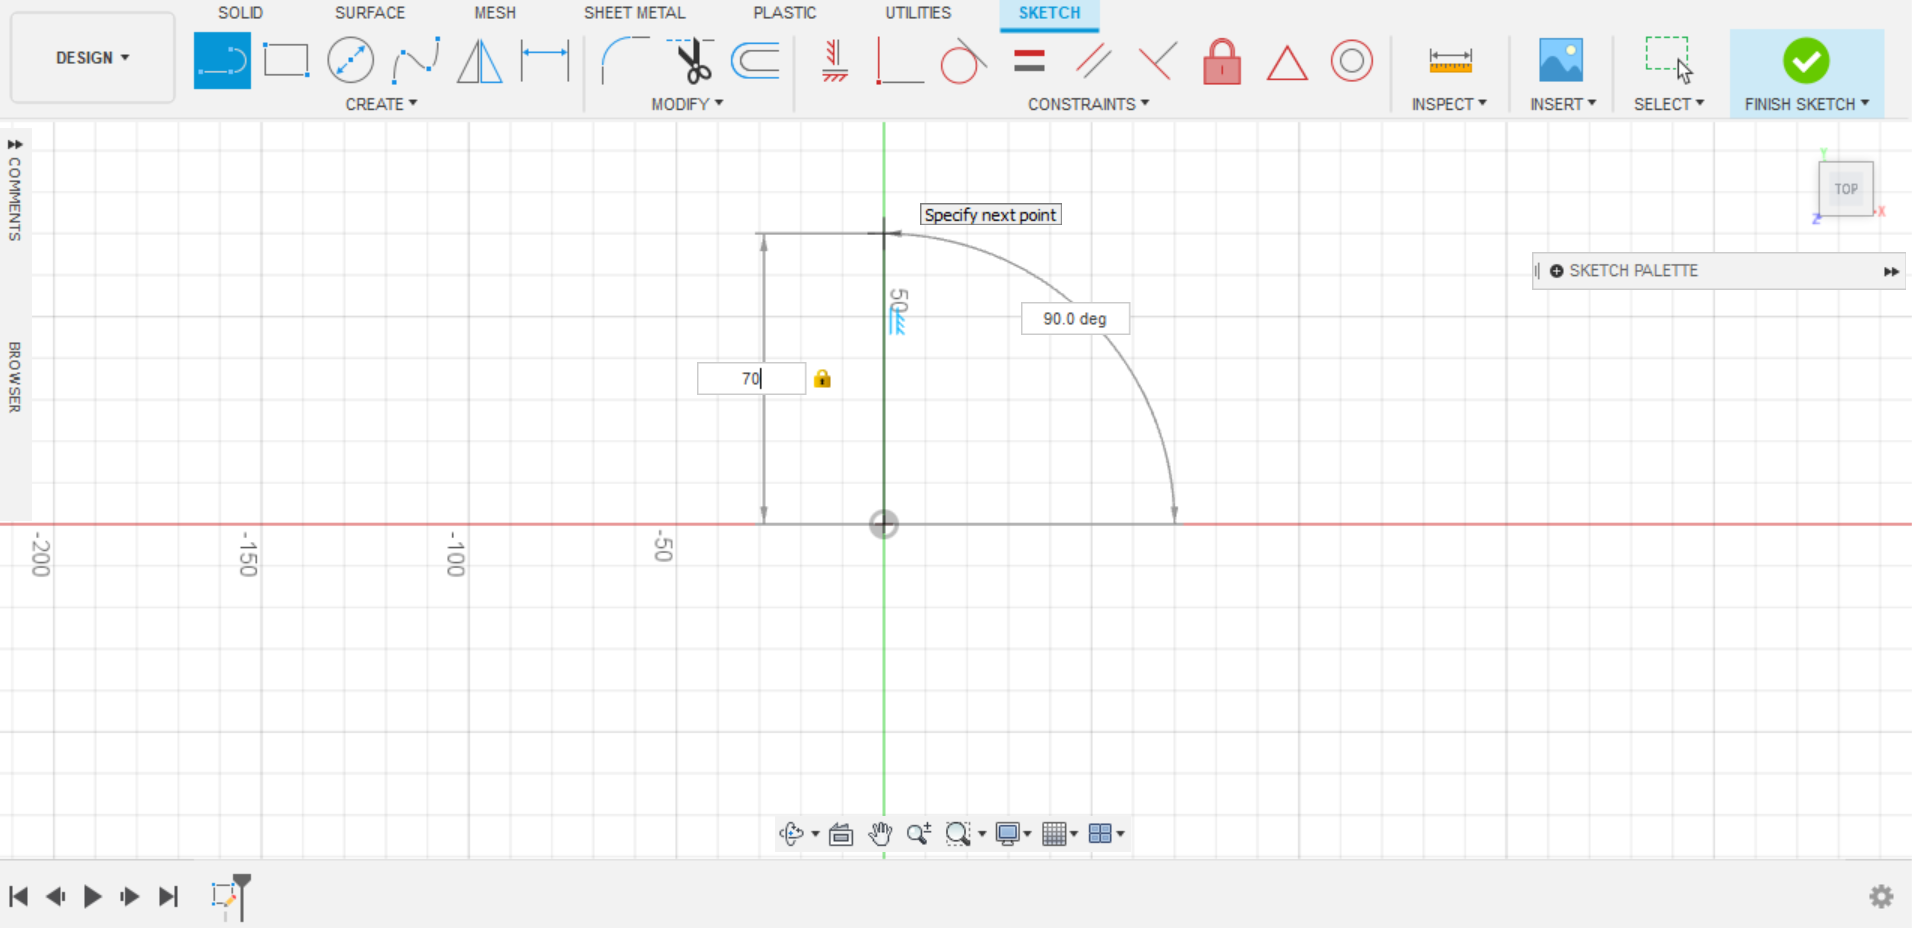
Also another line was used again in order to create the base. After that, a sipline was used to create the body of the vase:
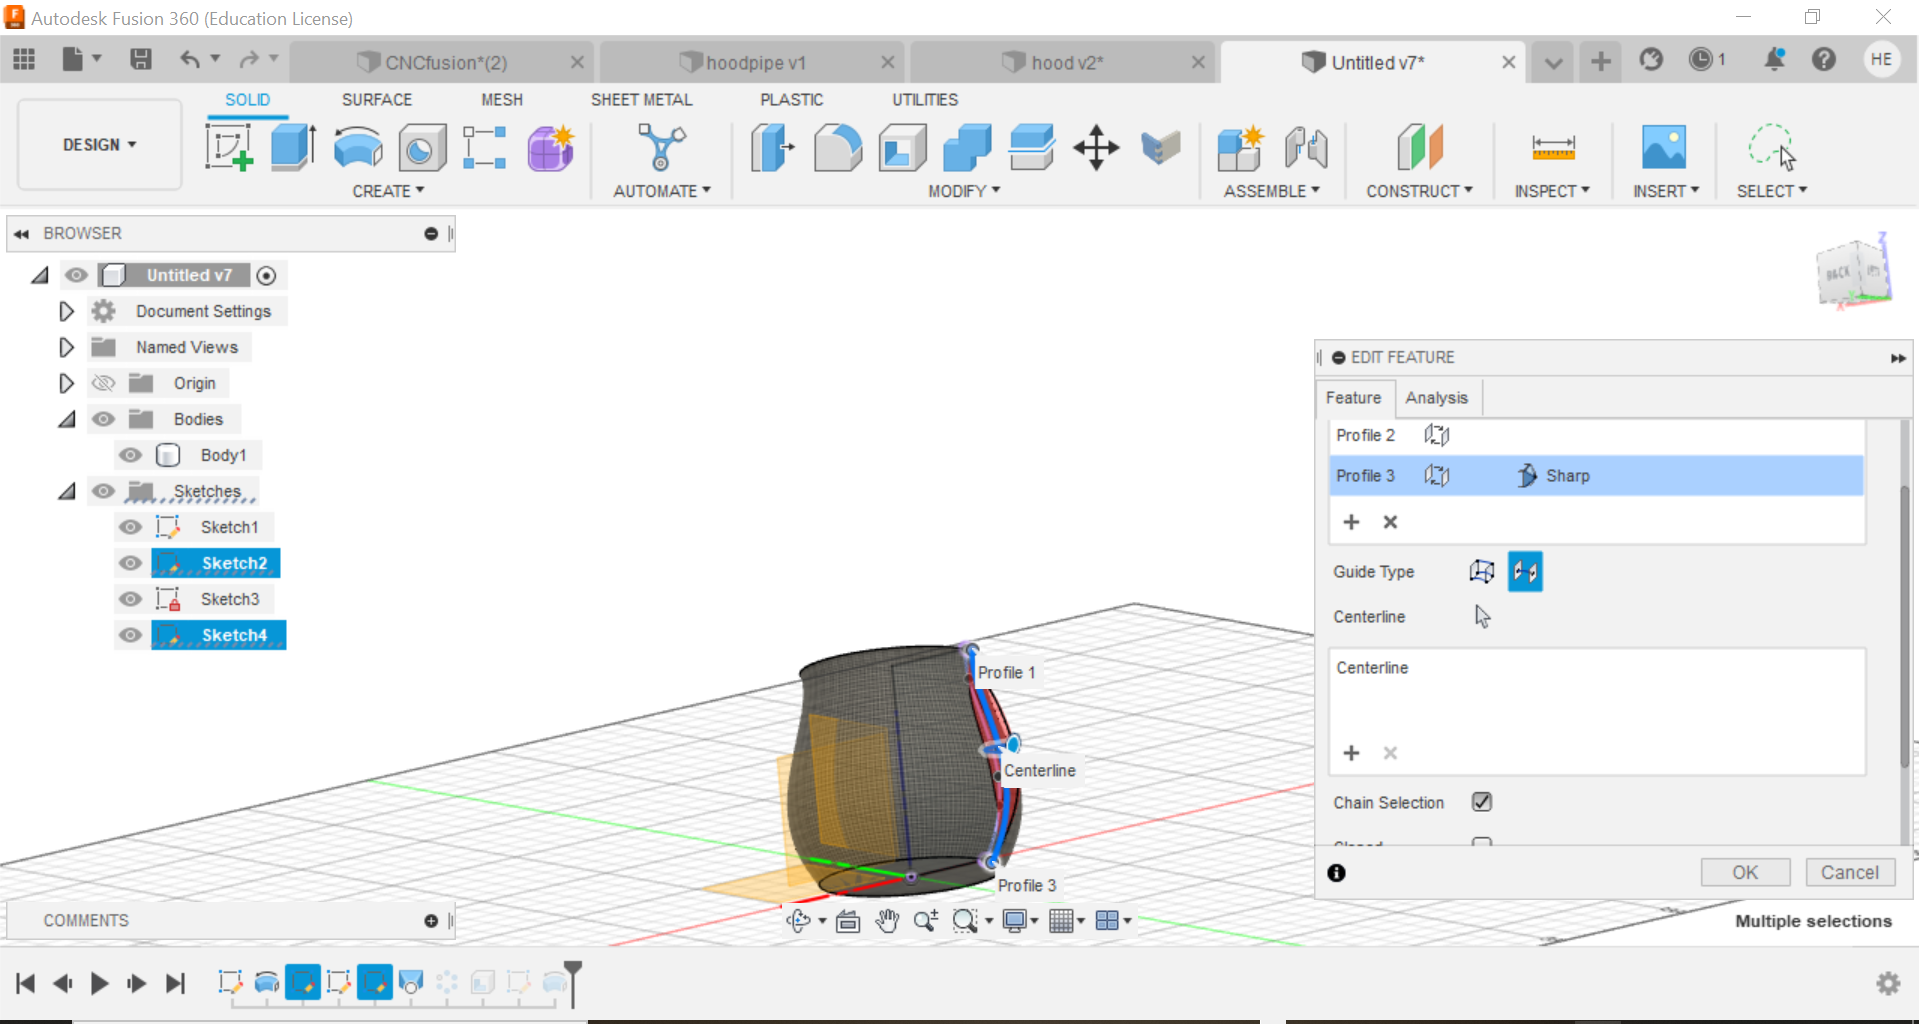
After that, click on (Finish sketch) and then use the CREATE–>REVOLVE tool.
Click on the vase shape as the Profile, the centerline as the axis, as follows:


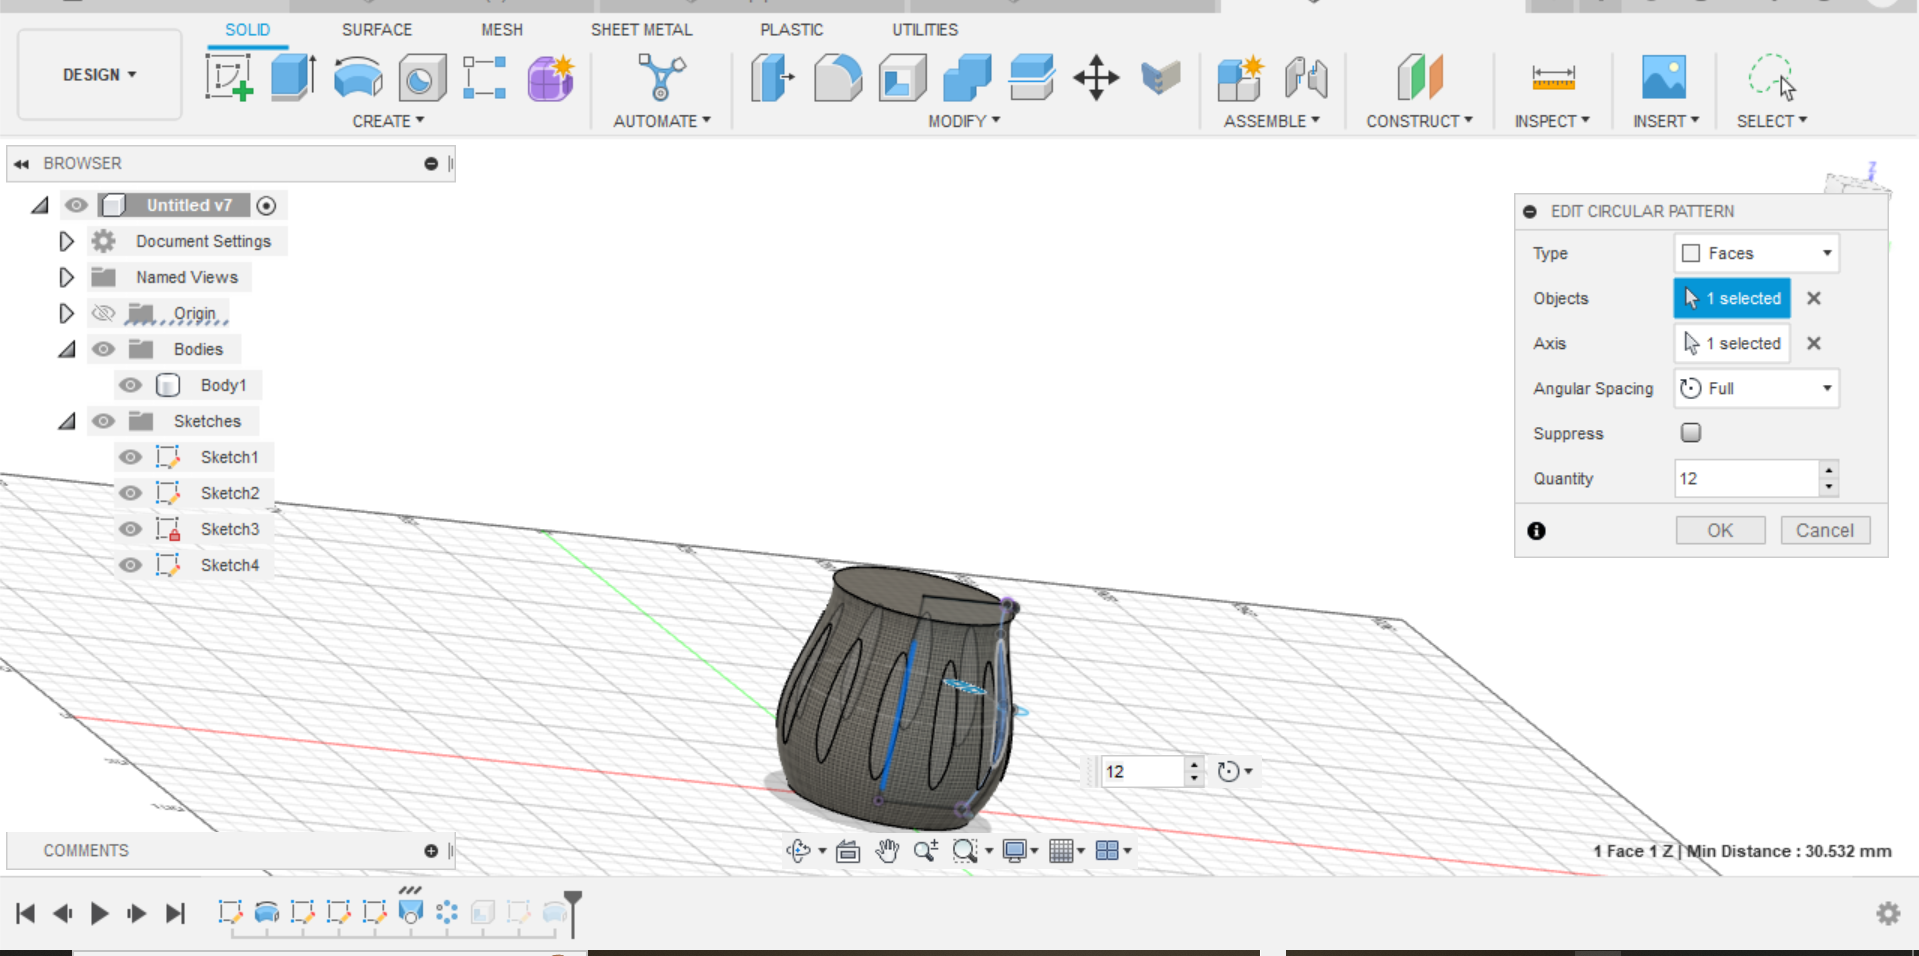
Then, these steps were done in order to design the outside decoration:
After that, the top layer was removed by clicking on modify> shell > and select the target face as the following:
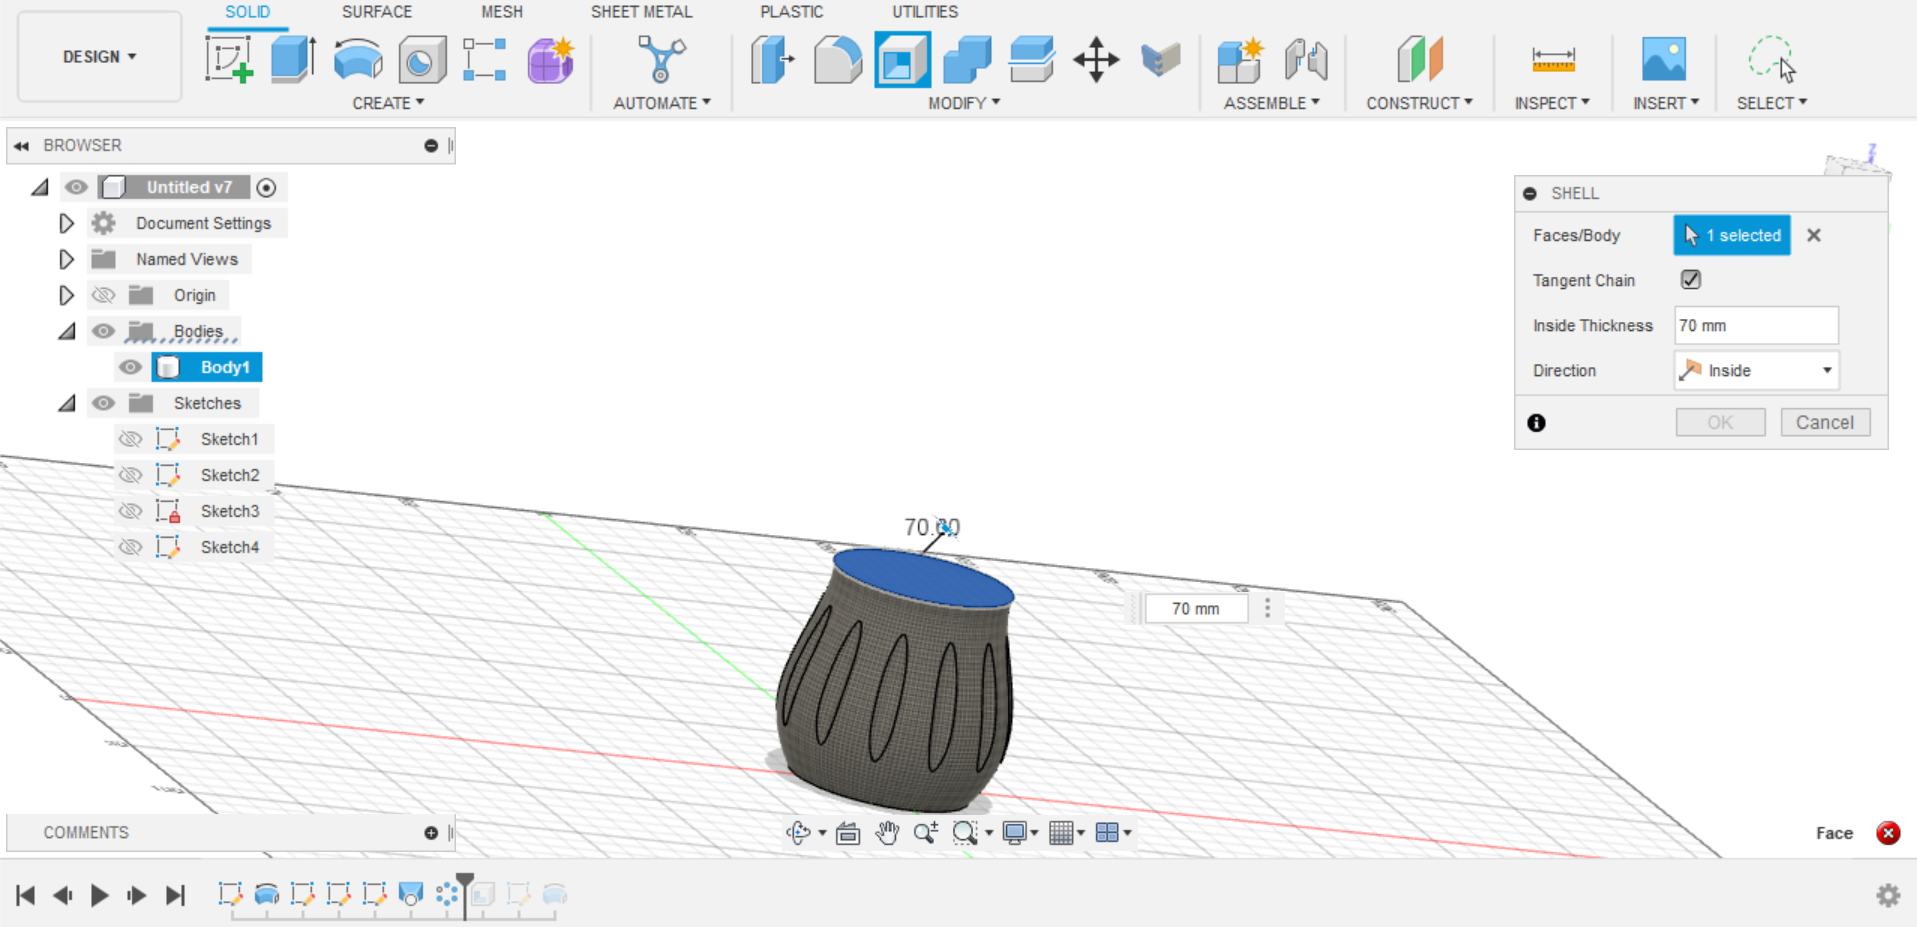
and it will be like:
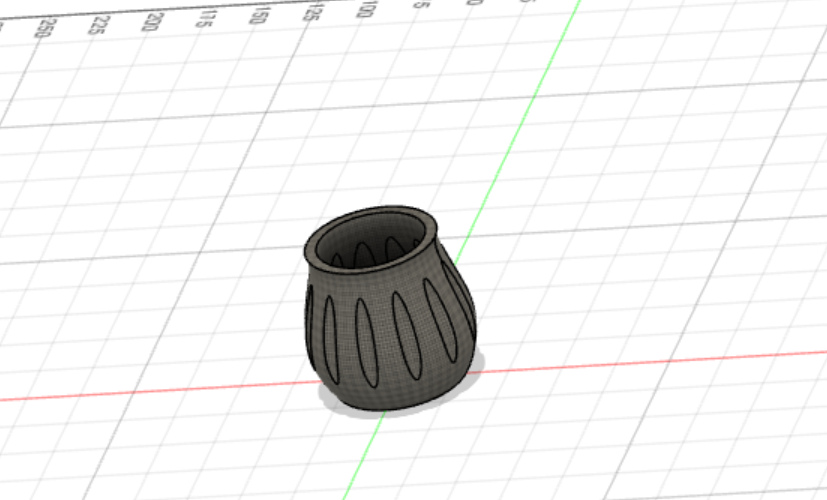
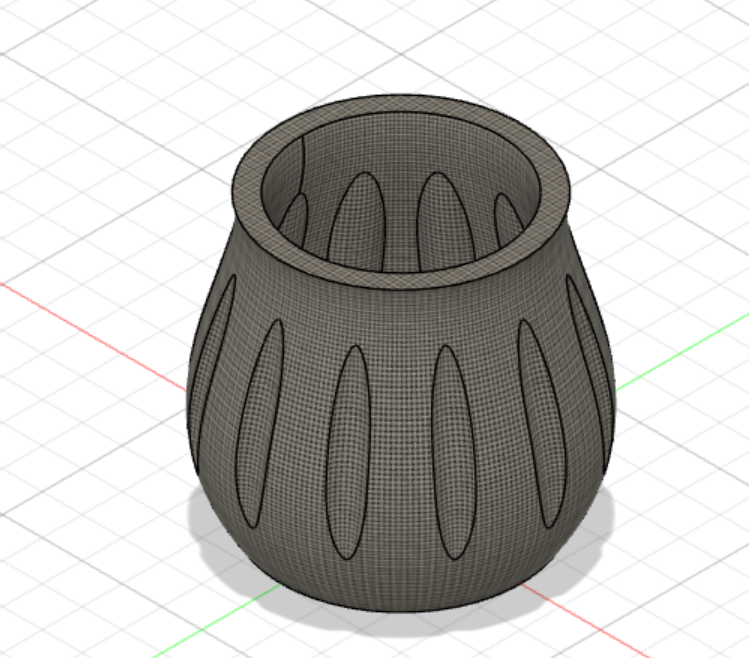
The following figure showcases the final design:
This design cannot be easily made substractively because the object is small ( its size) and it will be done by additive manifacturing which is better because it generates less waste than subtractive processes, since material doesn’t need to be cut away and discarded.
Slicing and Printing
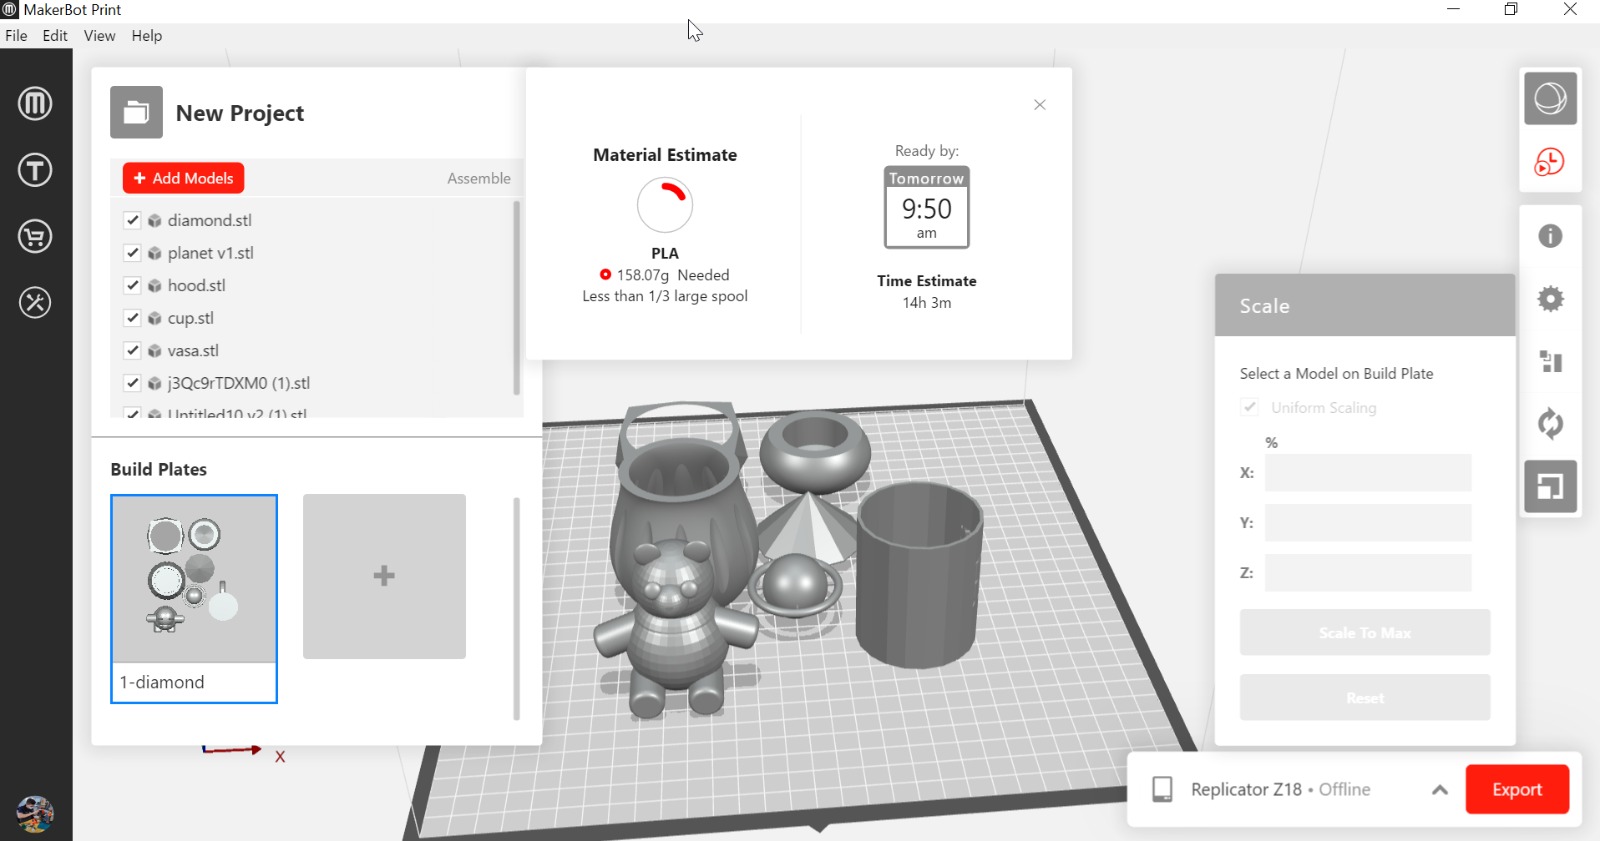
after that, Then the designs were inserted in makerbot program which is the software utilized by the 3D printer and here the designs can be scaled up or down, as shown below:
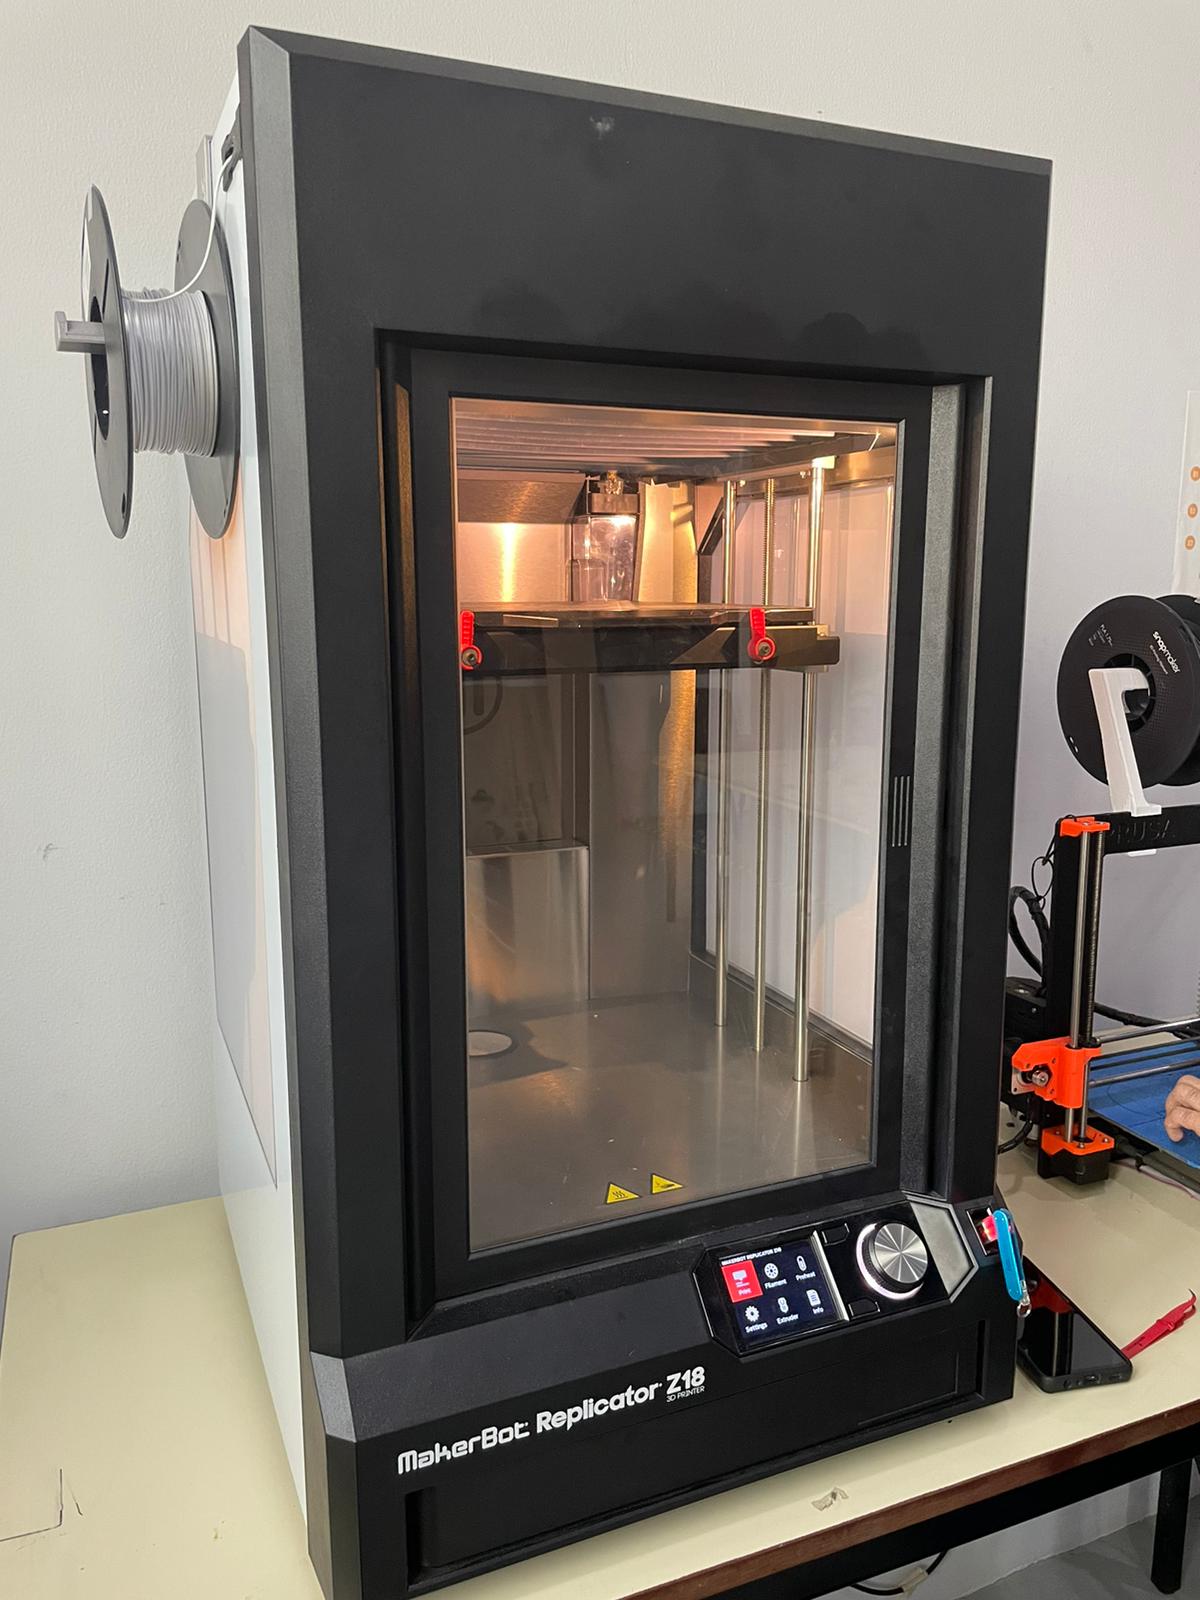
This is what the 3D printing machine (called Makerbot Reblicator) in Fab Lab looks like:
Several tests were made prior to the printing process, to optimize the settings, which are discussed in the group assignment.
Here is a view of the printer printing the design:
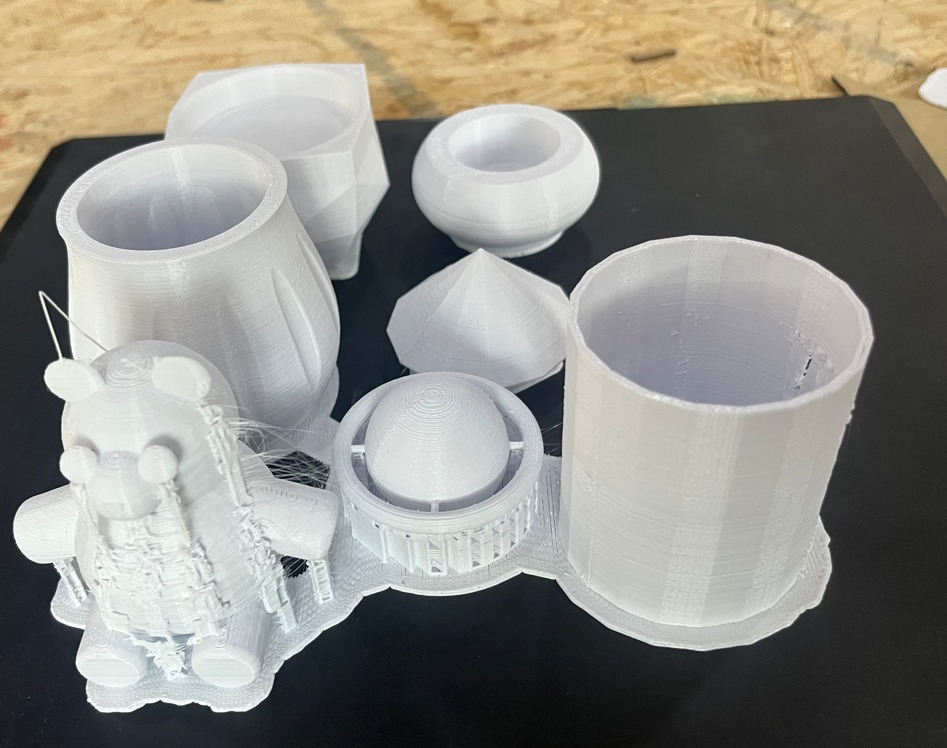
The final design will look like this:
Group Assignment
You can acccess the group assignment from here.
3D Scanning
Qlone
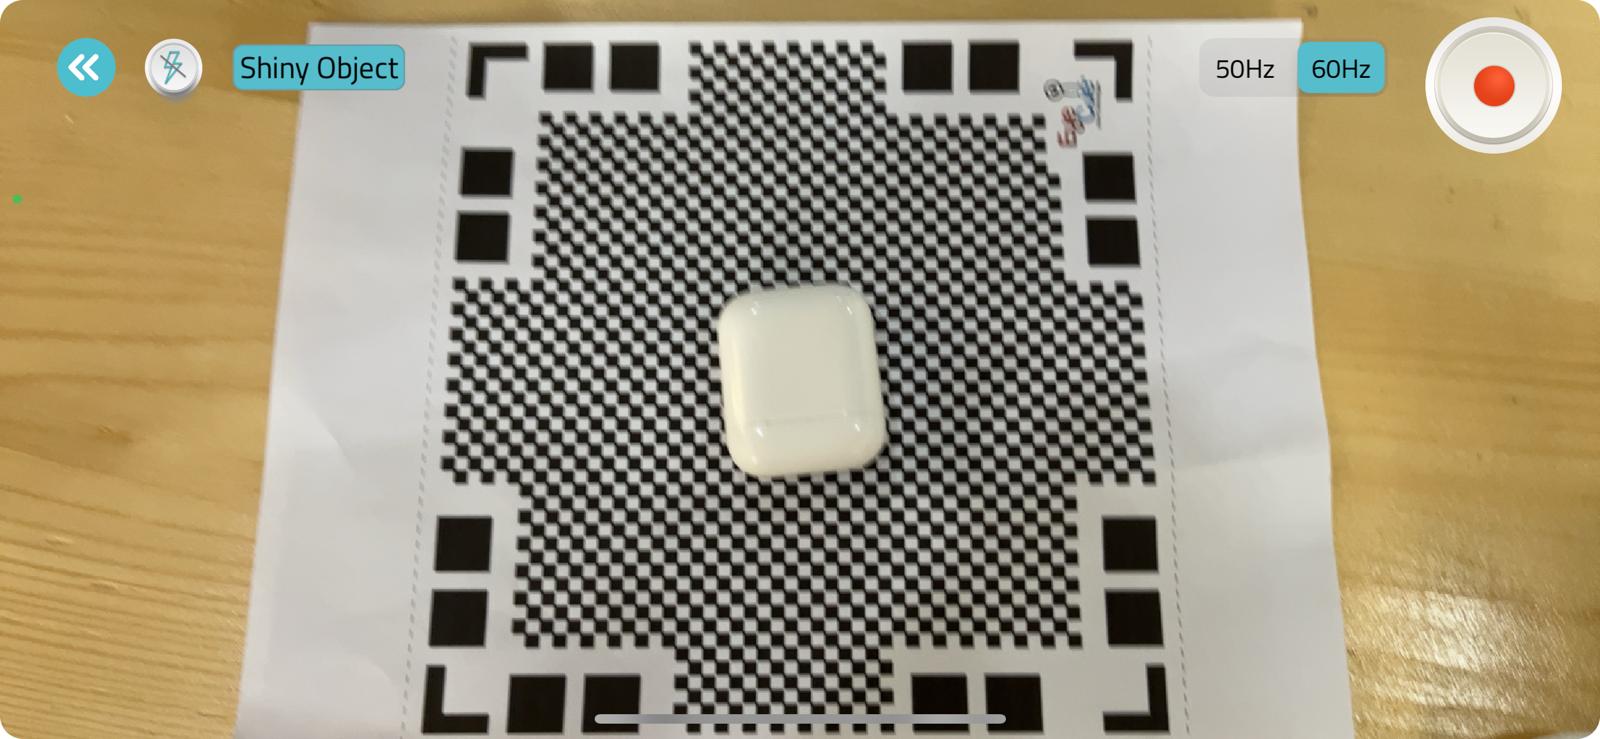
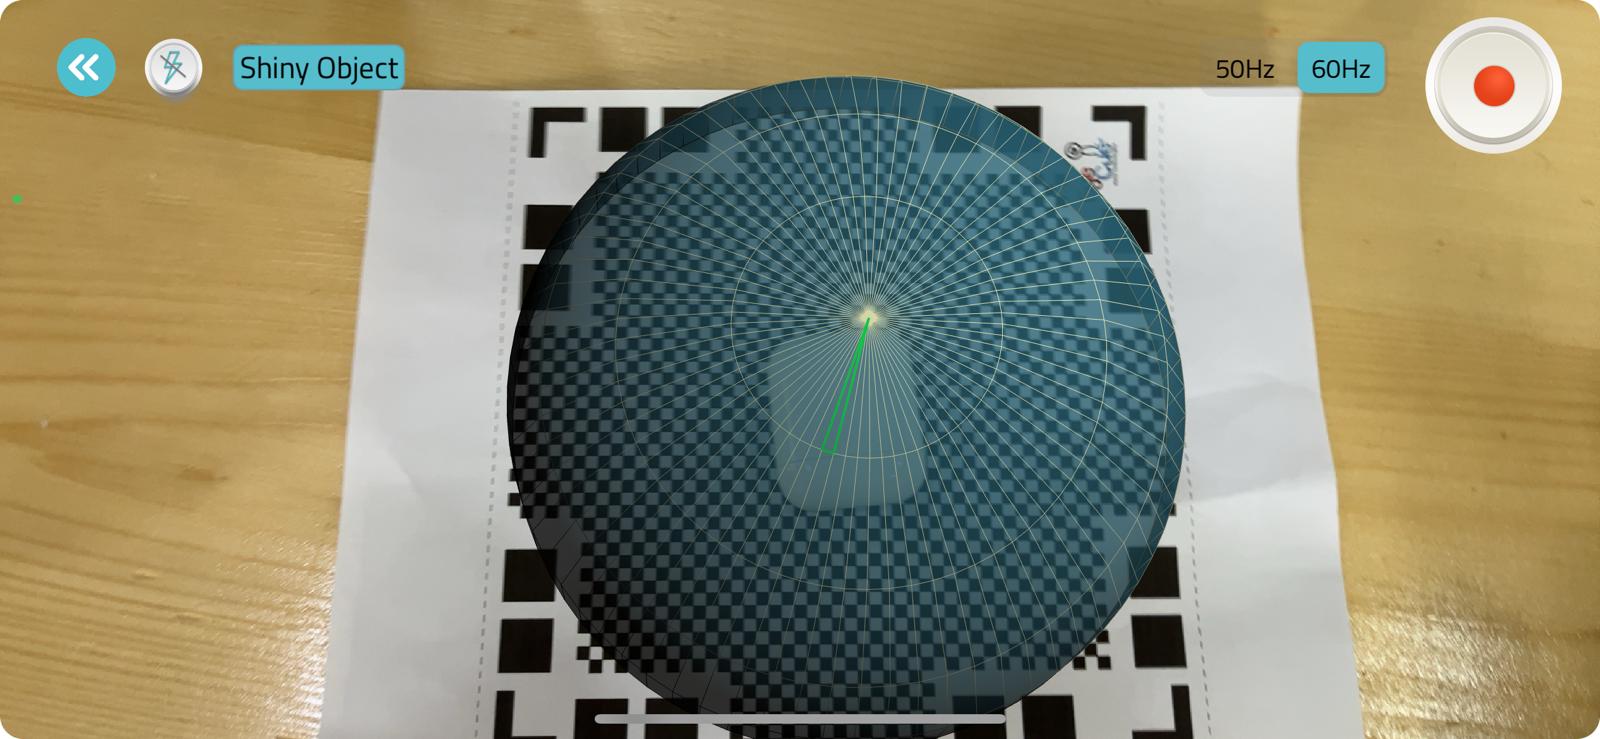
Qlone application was used to 3D scan the object printed in the 3D printer prepared by the kinect. First of all, the Qlone application was downloaded on the mobile device. After the completion of the download, the application was launched and then used to scan the object. However,This needs special paper to scan with the object and the size must be within the paper limits and the program requires you to scan the object from all angles (i.e. in a 360) on specific levels like (low, high, top and in the middle) which is as follows:
Trnio Plus (Failed attempt)
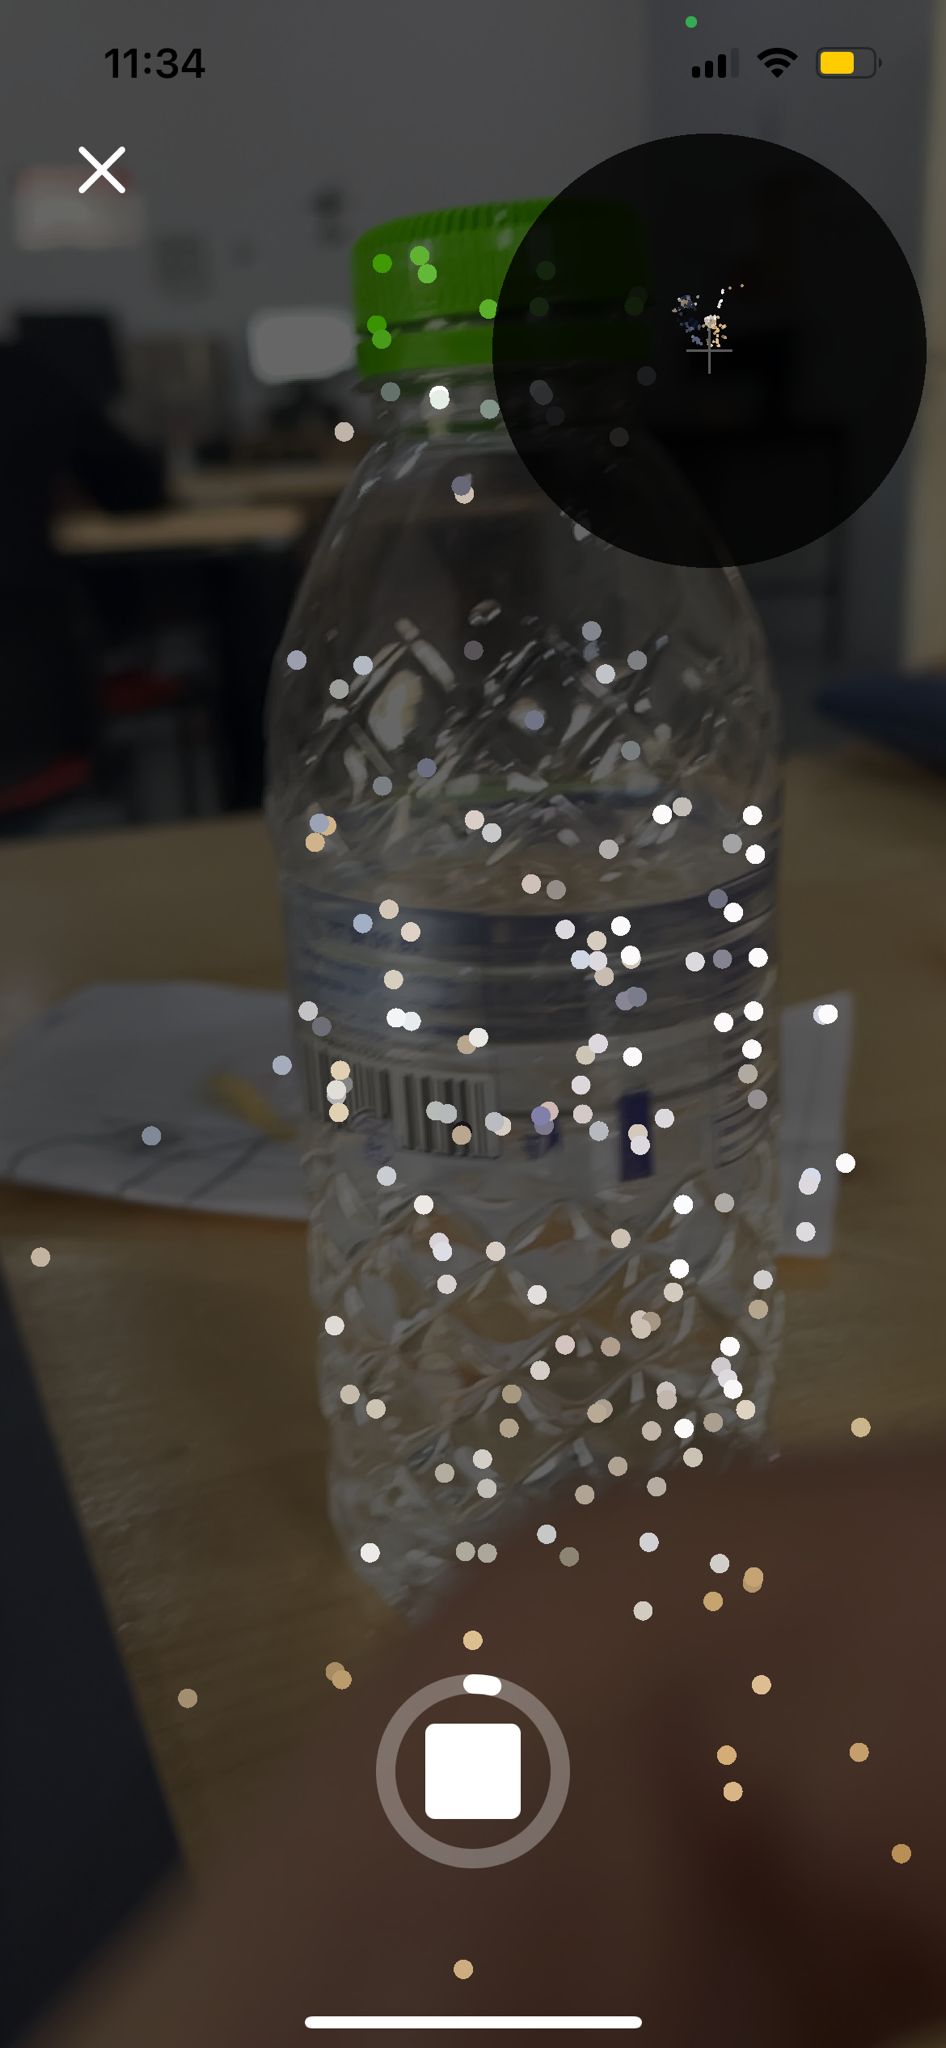
First I downloaded the app from Apple store and I signed up using my gmail account. Then I read the short user guide for the app. I took a picture of a water bottle to begin the 3d scanning proccess:
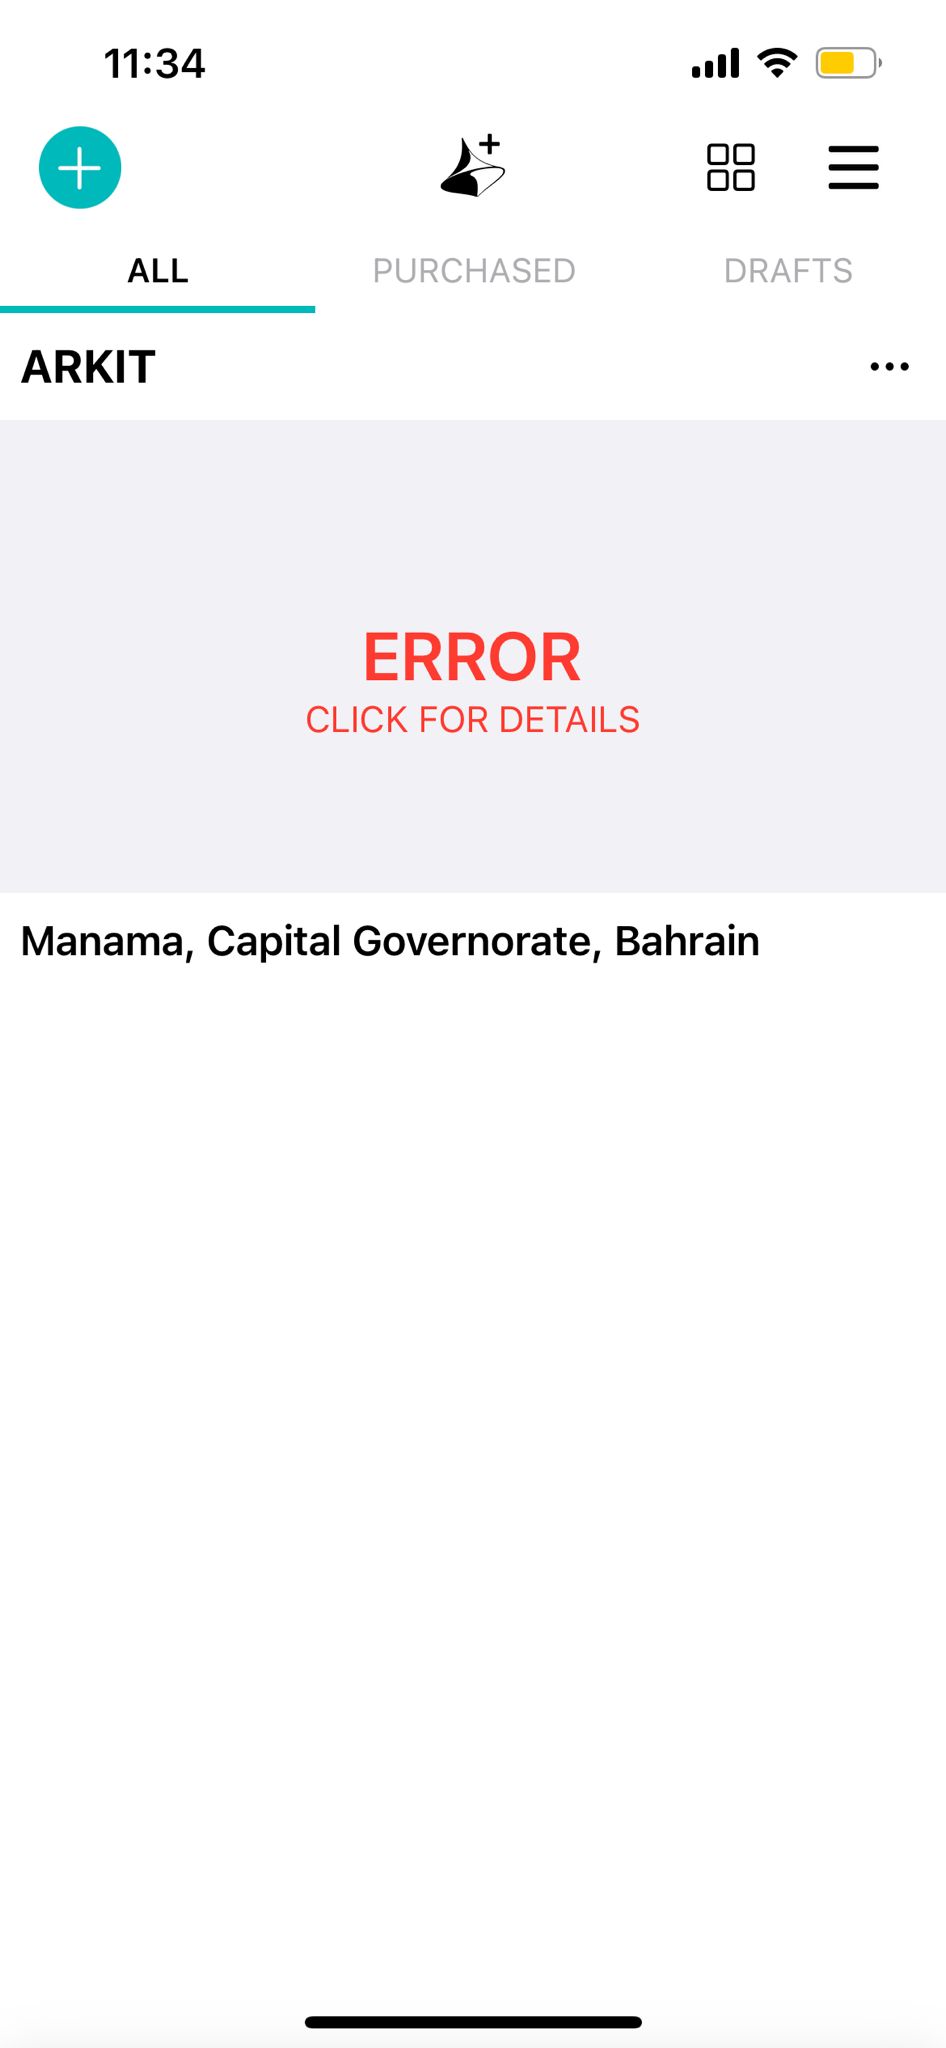
However, For some reason I always recieved this error message (I’ve attempted this several times):
I think in my opinion the 3d scanning by qlone scanning result is acceptable but we cant print it because the applicatio requires to have subscription, because in the free version, we cannot export the files as 3D objects or stl, instead, it lets you export it as a gif.