8. Moulding and casting
In this week we learned how to do molding and casting by using different type of materials and making the milled process by a specific machine for this purpose.
Group Work
The group assignment was about testing different type of materials used for molding and casting where each two of us was asked to choose a specific type of either molding or casting material from the various types available.
Our work along with the materials that we used and the safety instructions can be viewed through this link
Moulding and Casting 3D Design
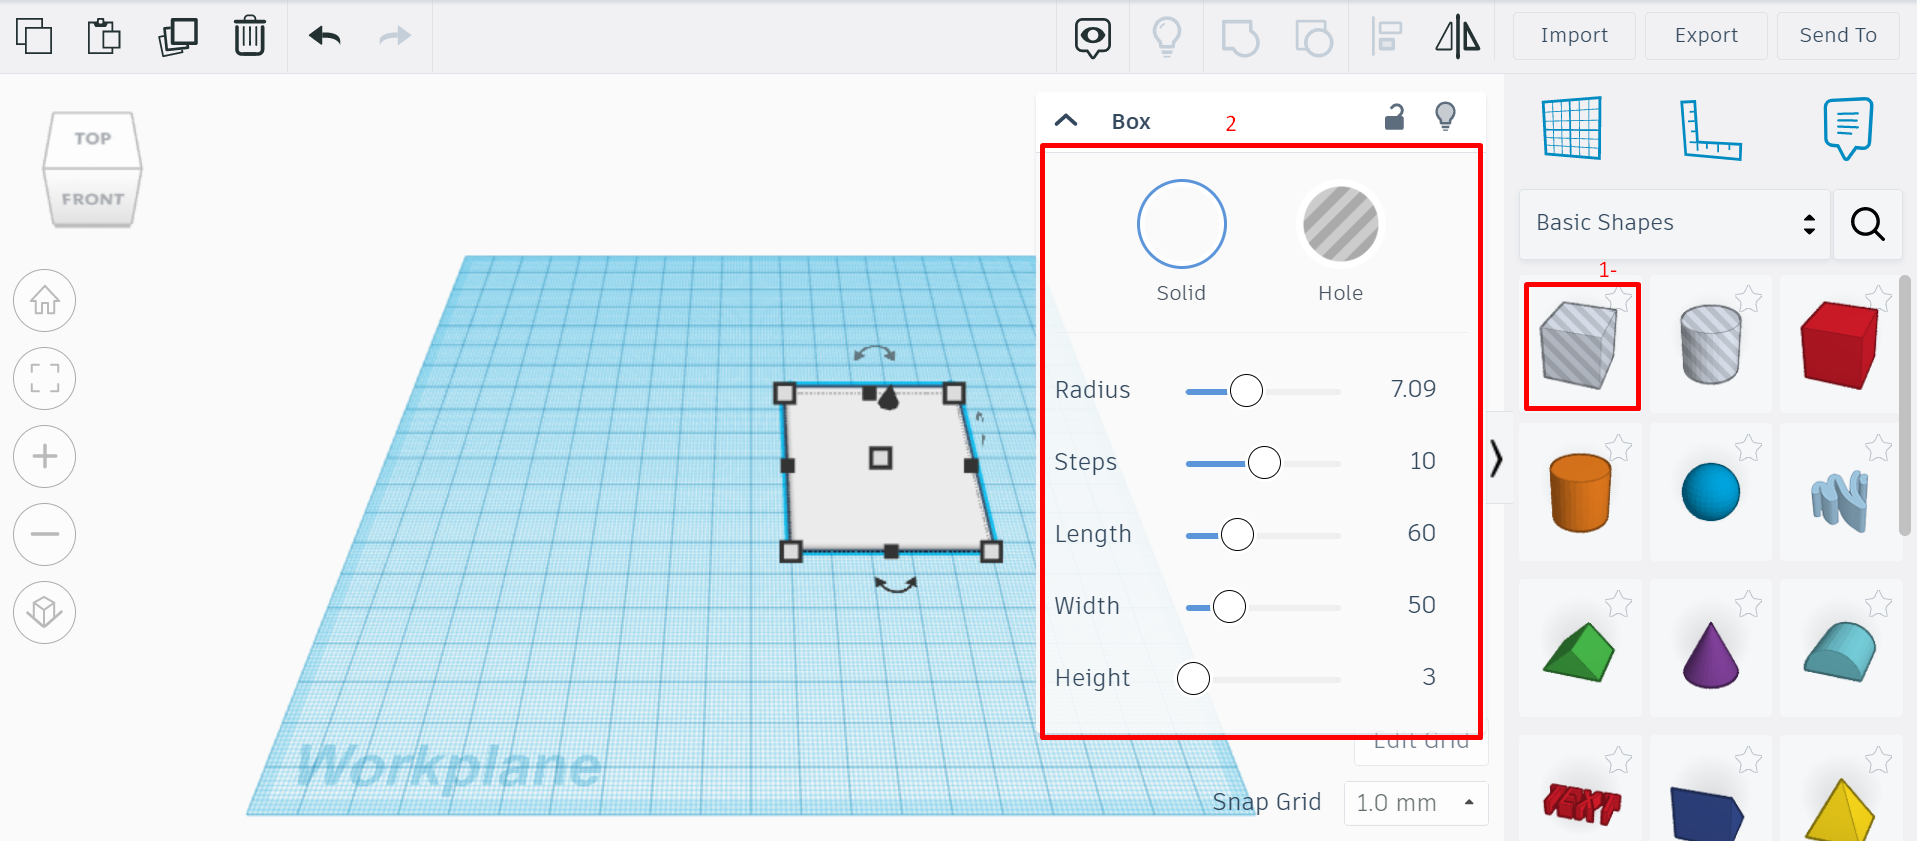
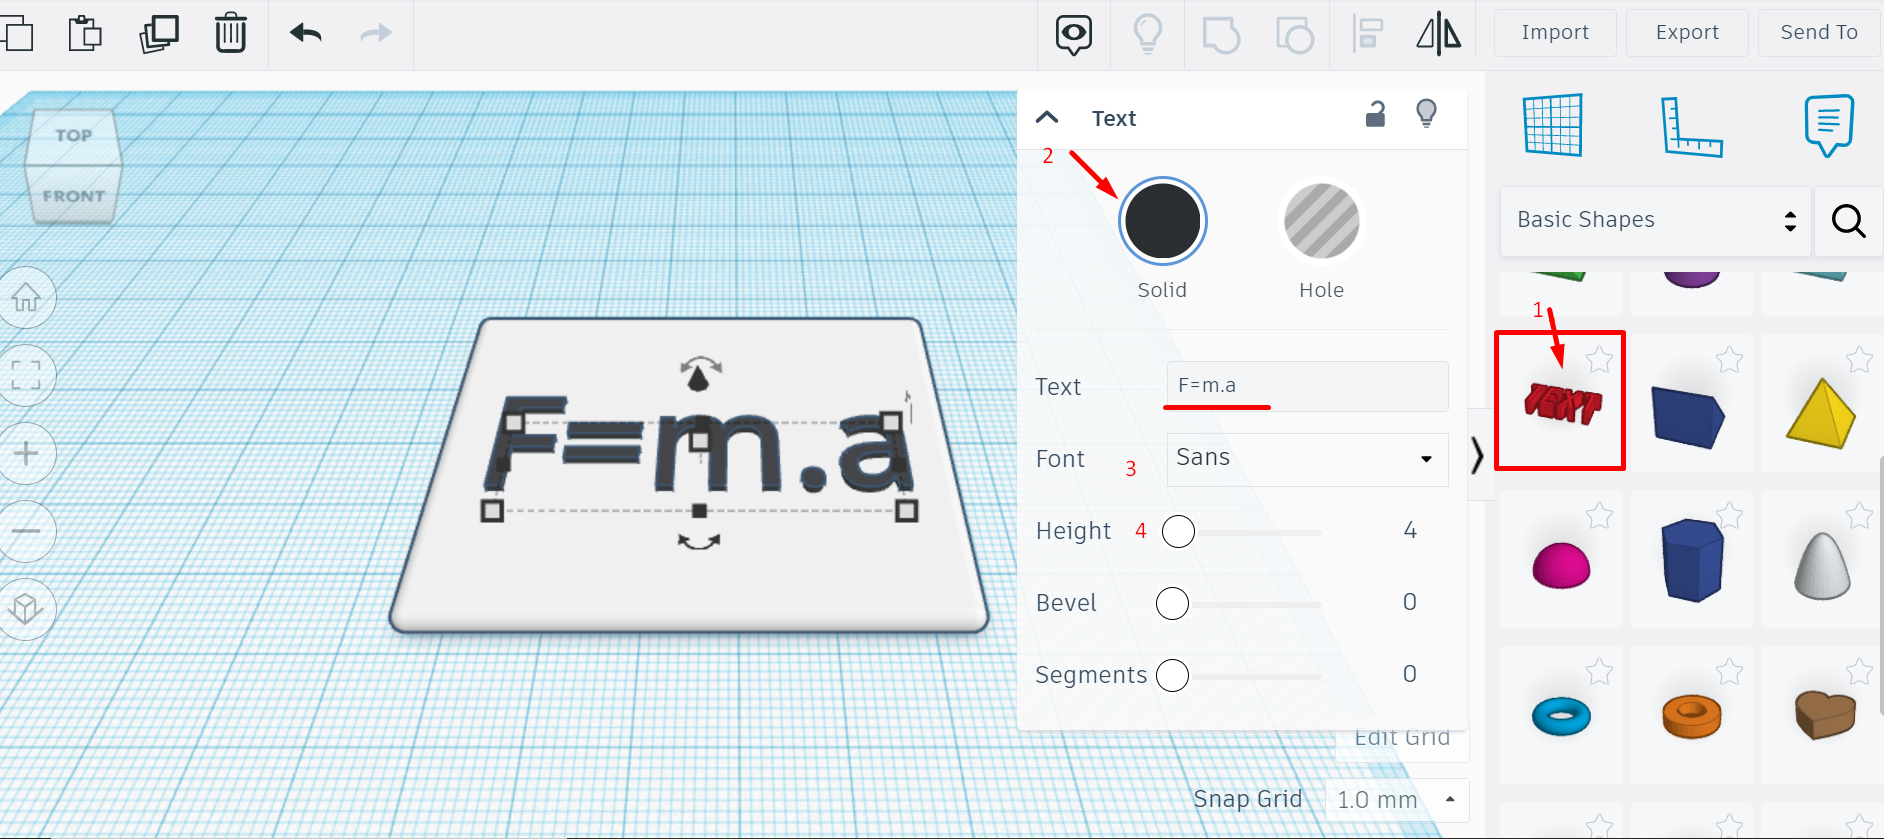
For this assignment, I was asked to create a 3D design and then make it using moulding and casting. I decided to make a medallion with a simplified form of Newton’s second law written on it via TinkerCad.
The limitation of the milling machine was taken into consideration which is 60x60x8 (60 mm length, 60 mm width and 8 mm height)
the steps of the designs:
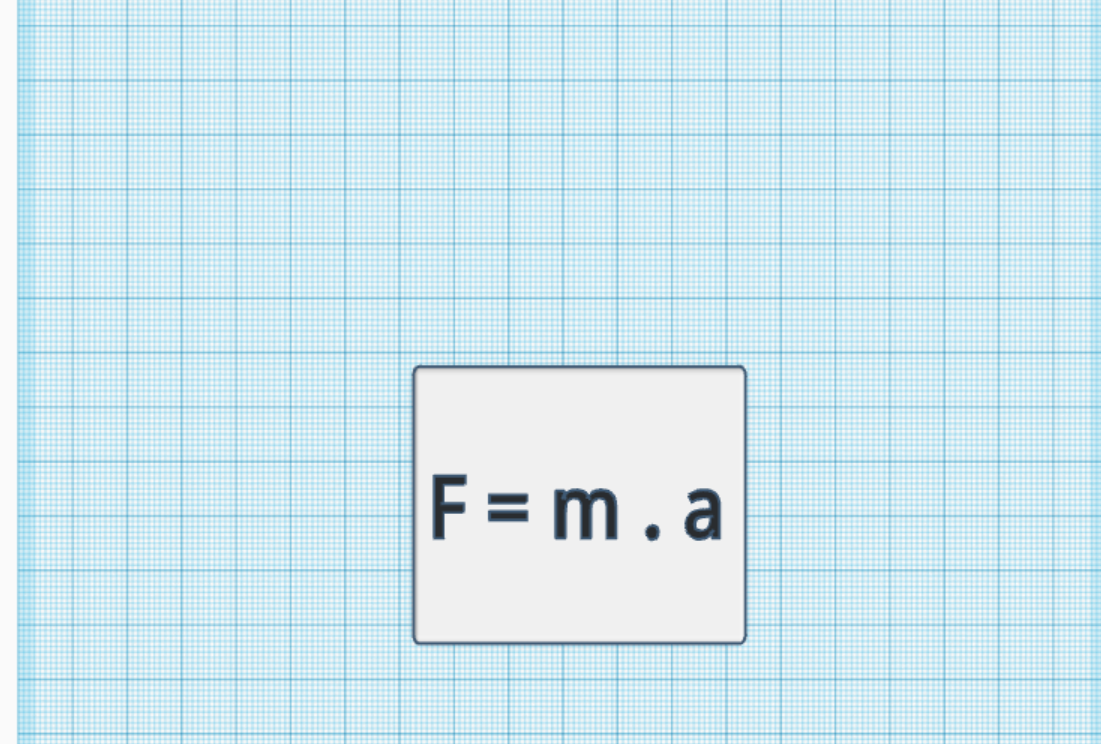
The final result:
CNC milling machine preparation and utilization
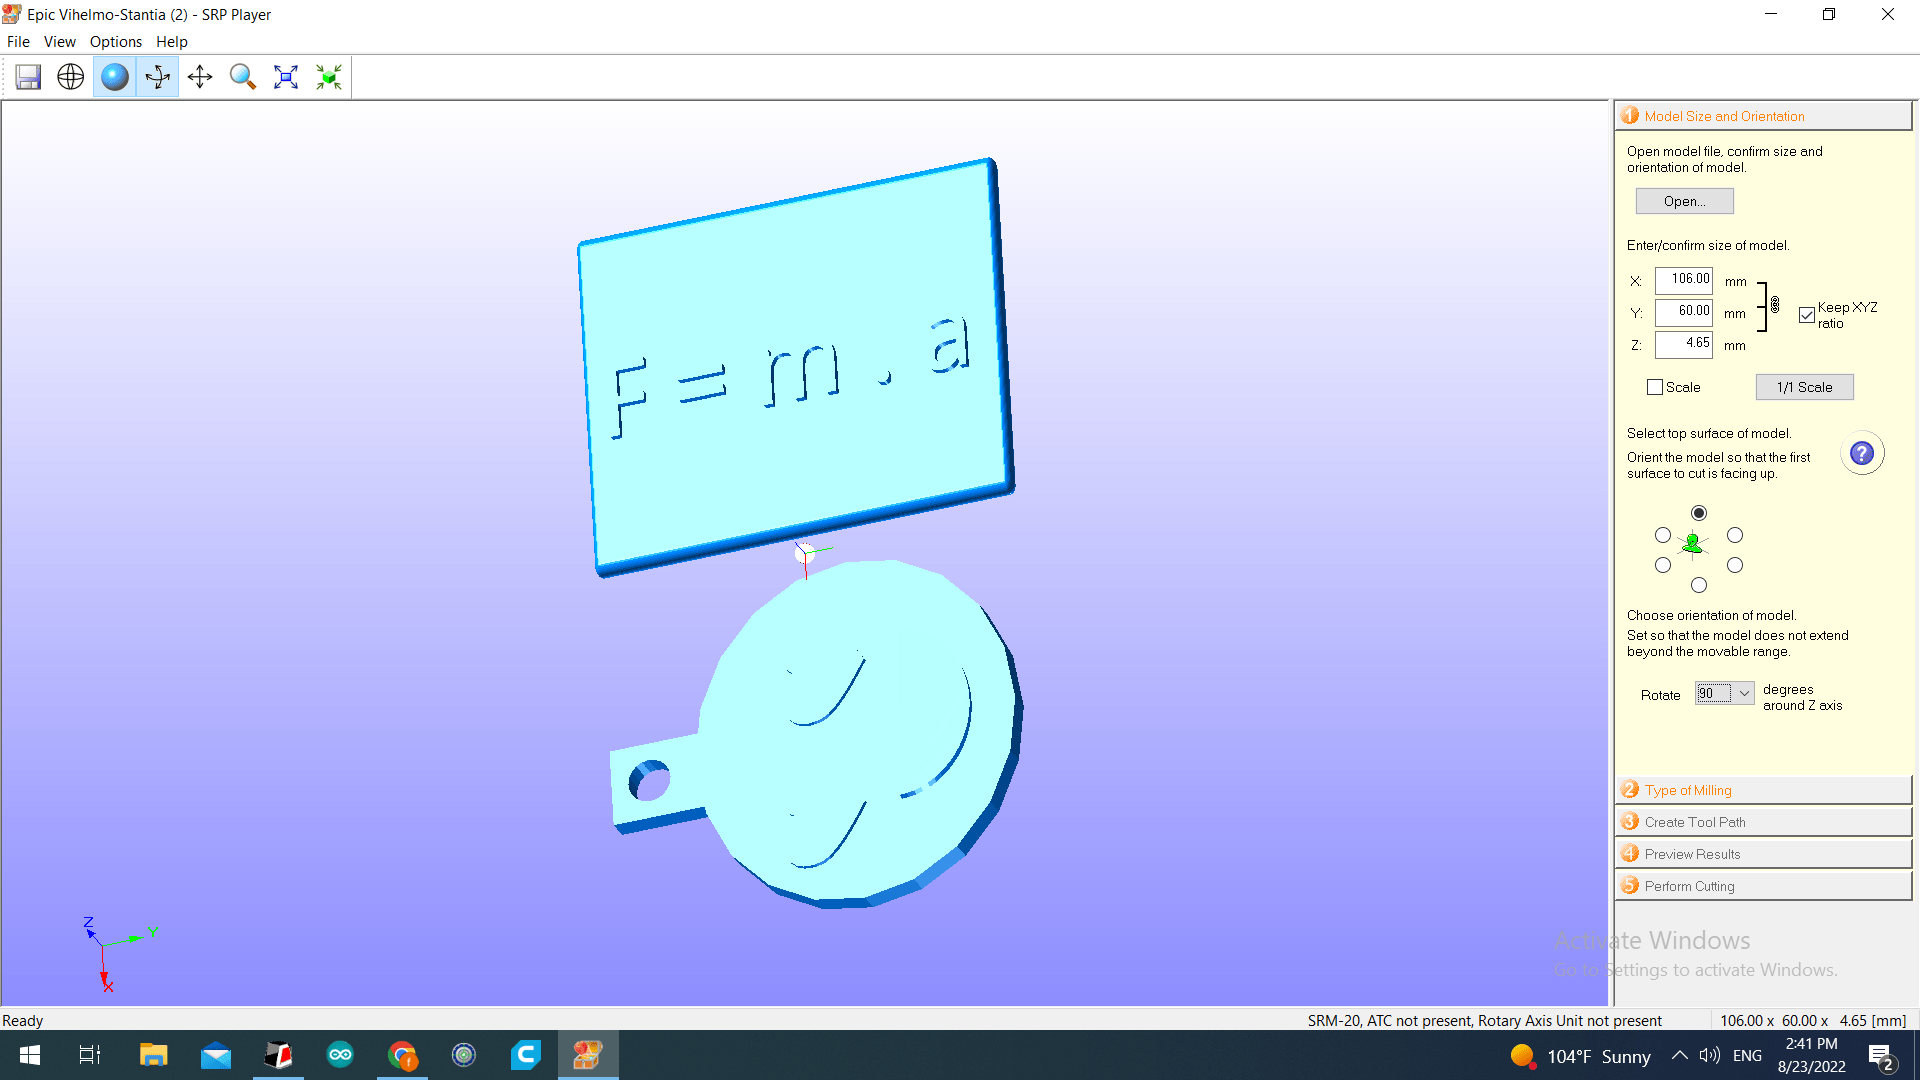
The design made by TinkerCad was transferred in an stl format to the CNC milling machine to be engraved in a wax block which would be later on used to prepare the mold and the cast.
For better utilization of the wax material and conserving the materials available, two designs were made on the same wax block. At the beginning, the stl file containing the designs was imported in the program utilized for the CNC milling machine which is called SRP player, which is used to adjust and modify the settings of the designs for the CNC milling machine.
When the design is imported, the following page will show up indicating the first sector of completing the set up which is the (Model Size and Orientation), where you need to put the dimensions of the design (length,width and height) in the specified sections:
Then, we move to the (Type of milling) sector, where the type of milling is decided on:
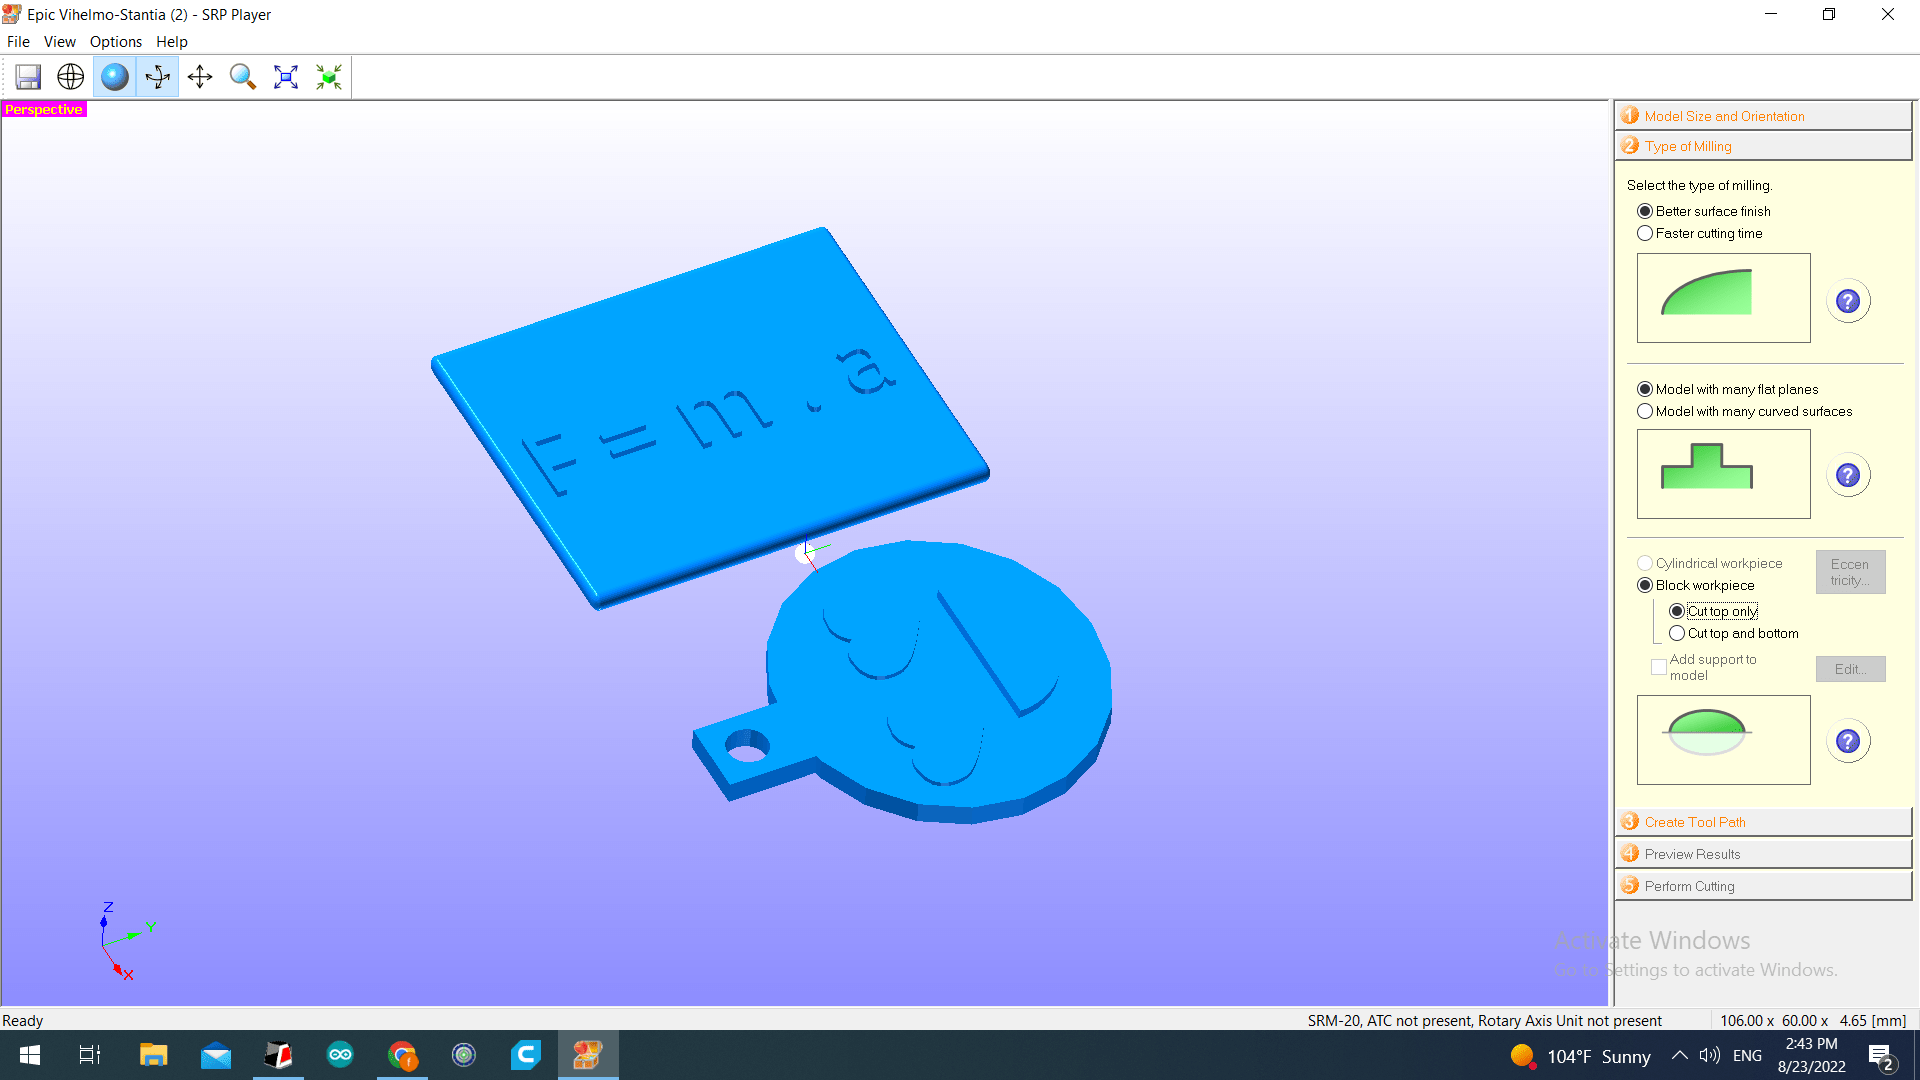
As seen in the picture, the first choice is chosen to be (Better surface finish) to get the most accurate and precise results, as if the faster time cutting choice is taken, this might lead to some inaccuracies and missing some crucial details in the design. Therefore, the first choice is taken as it guarantees better results with regards to the outcome of the milling process. The second choice is (Model with many flat planes). This is because we do not have many curves in our designs. Finally for the final choice, It was chosen as a block workspace with cutting the top only as the wax block is in a rectangular shape, and the top is only cut because we want to prepare the wax to be able to hold the molding material inside to make the mold and not cut the designs separatly from the block, resulting in being unable to contain the molding material as the design is not confined.
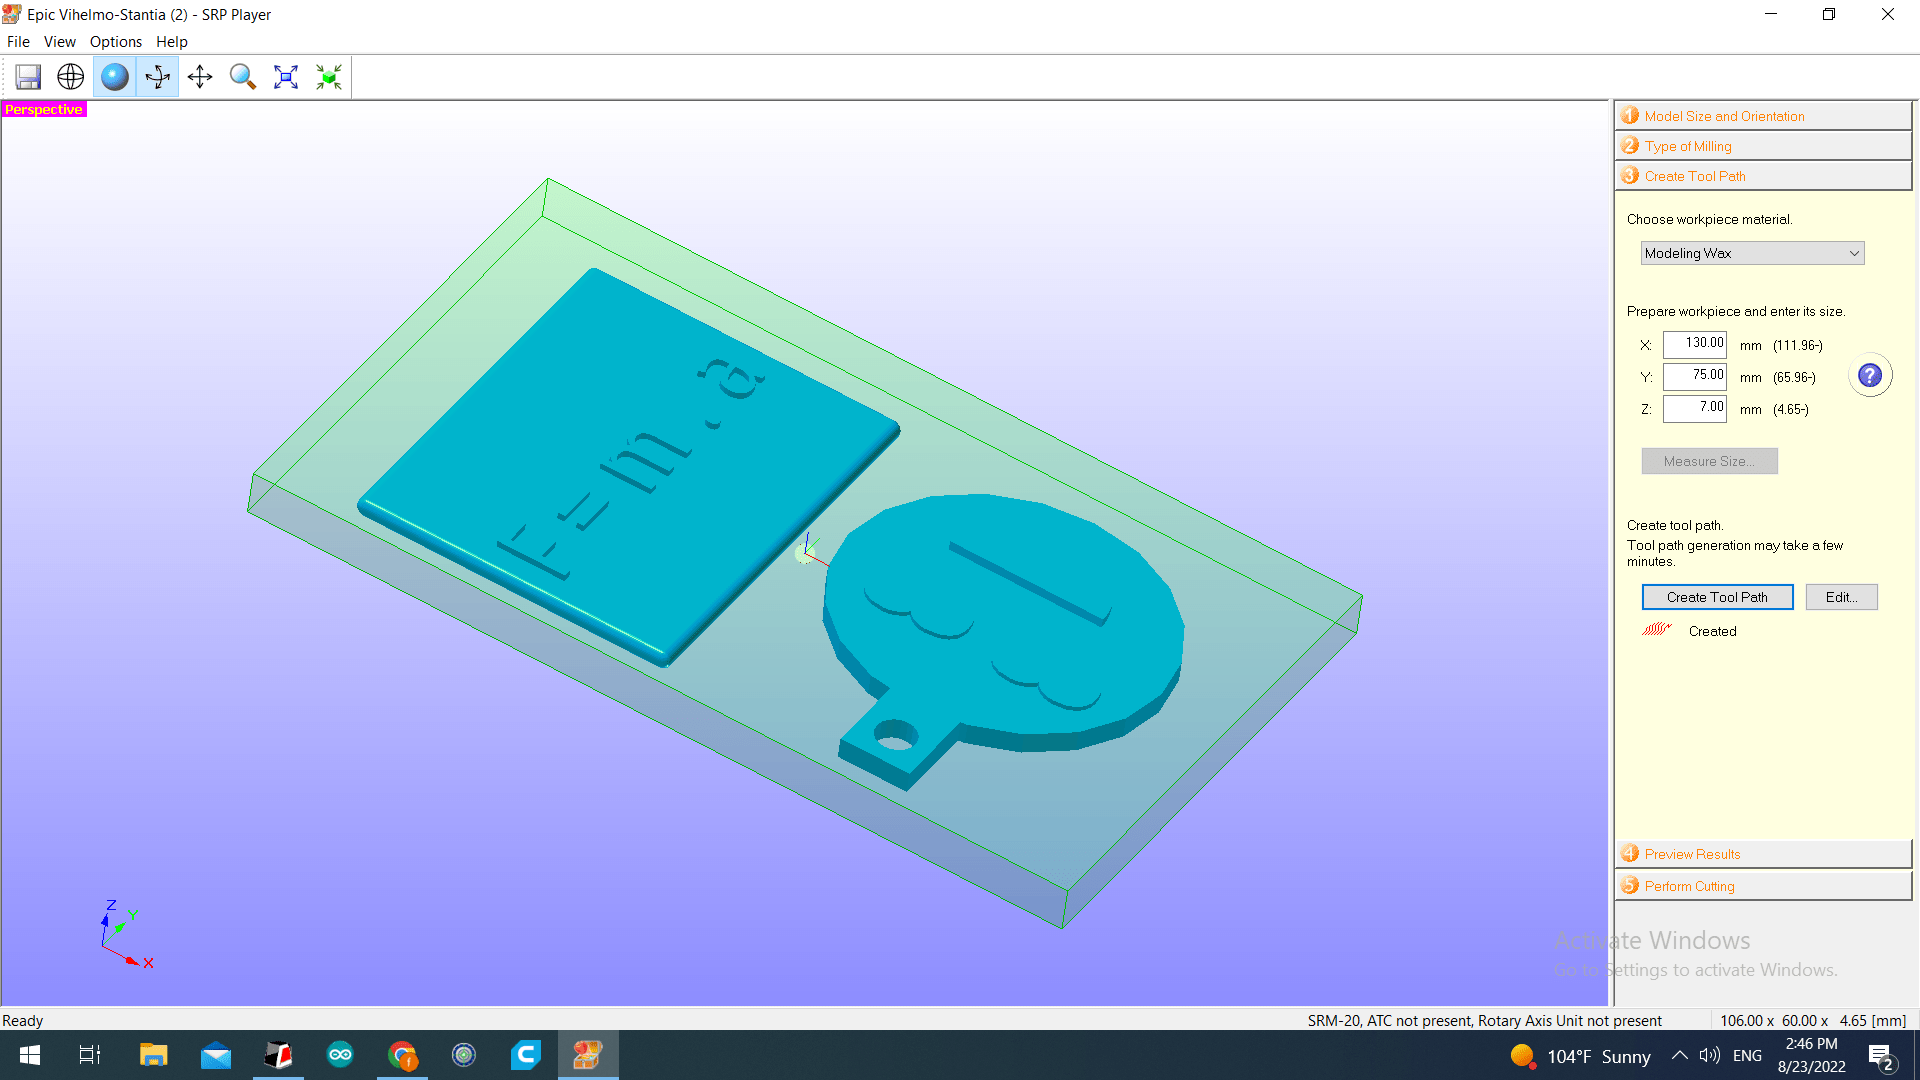
The third step was to enter the dimensions of the workpiece. The workpiece was a block of machinable wax, we indicated the center point of the piece with a pencil, we will put the drill bit exactly on the center of the workpiece later on. I measured the dimensions of the block, it was 130x75x7 mm.
Then we clicked on “edit”, clicked on roughing>ball, and we changed the drill bit size to 3/32 in.
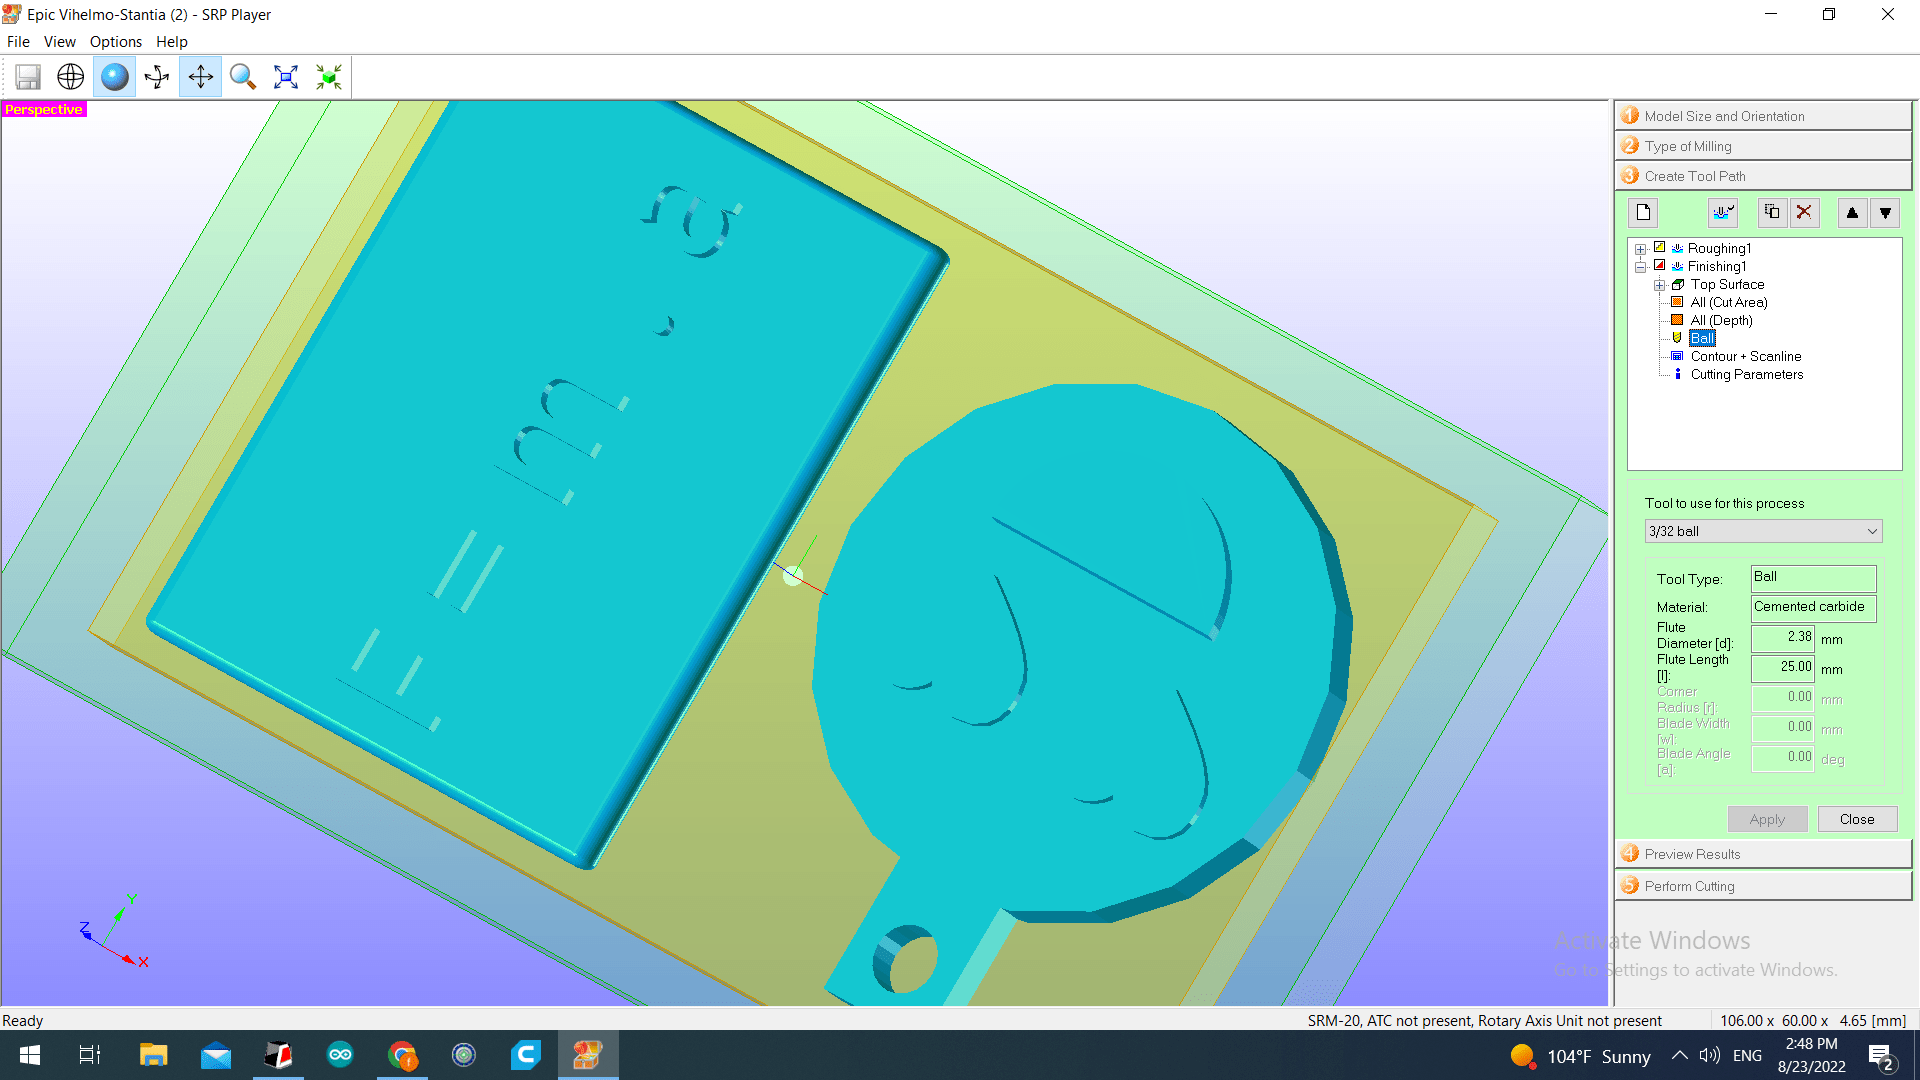
After that, we clicked on create tool path and proceeded to the next step.
The fourth step is to preview results:

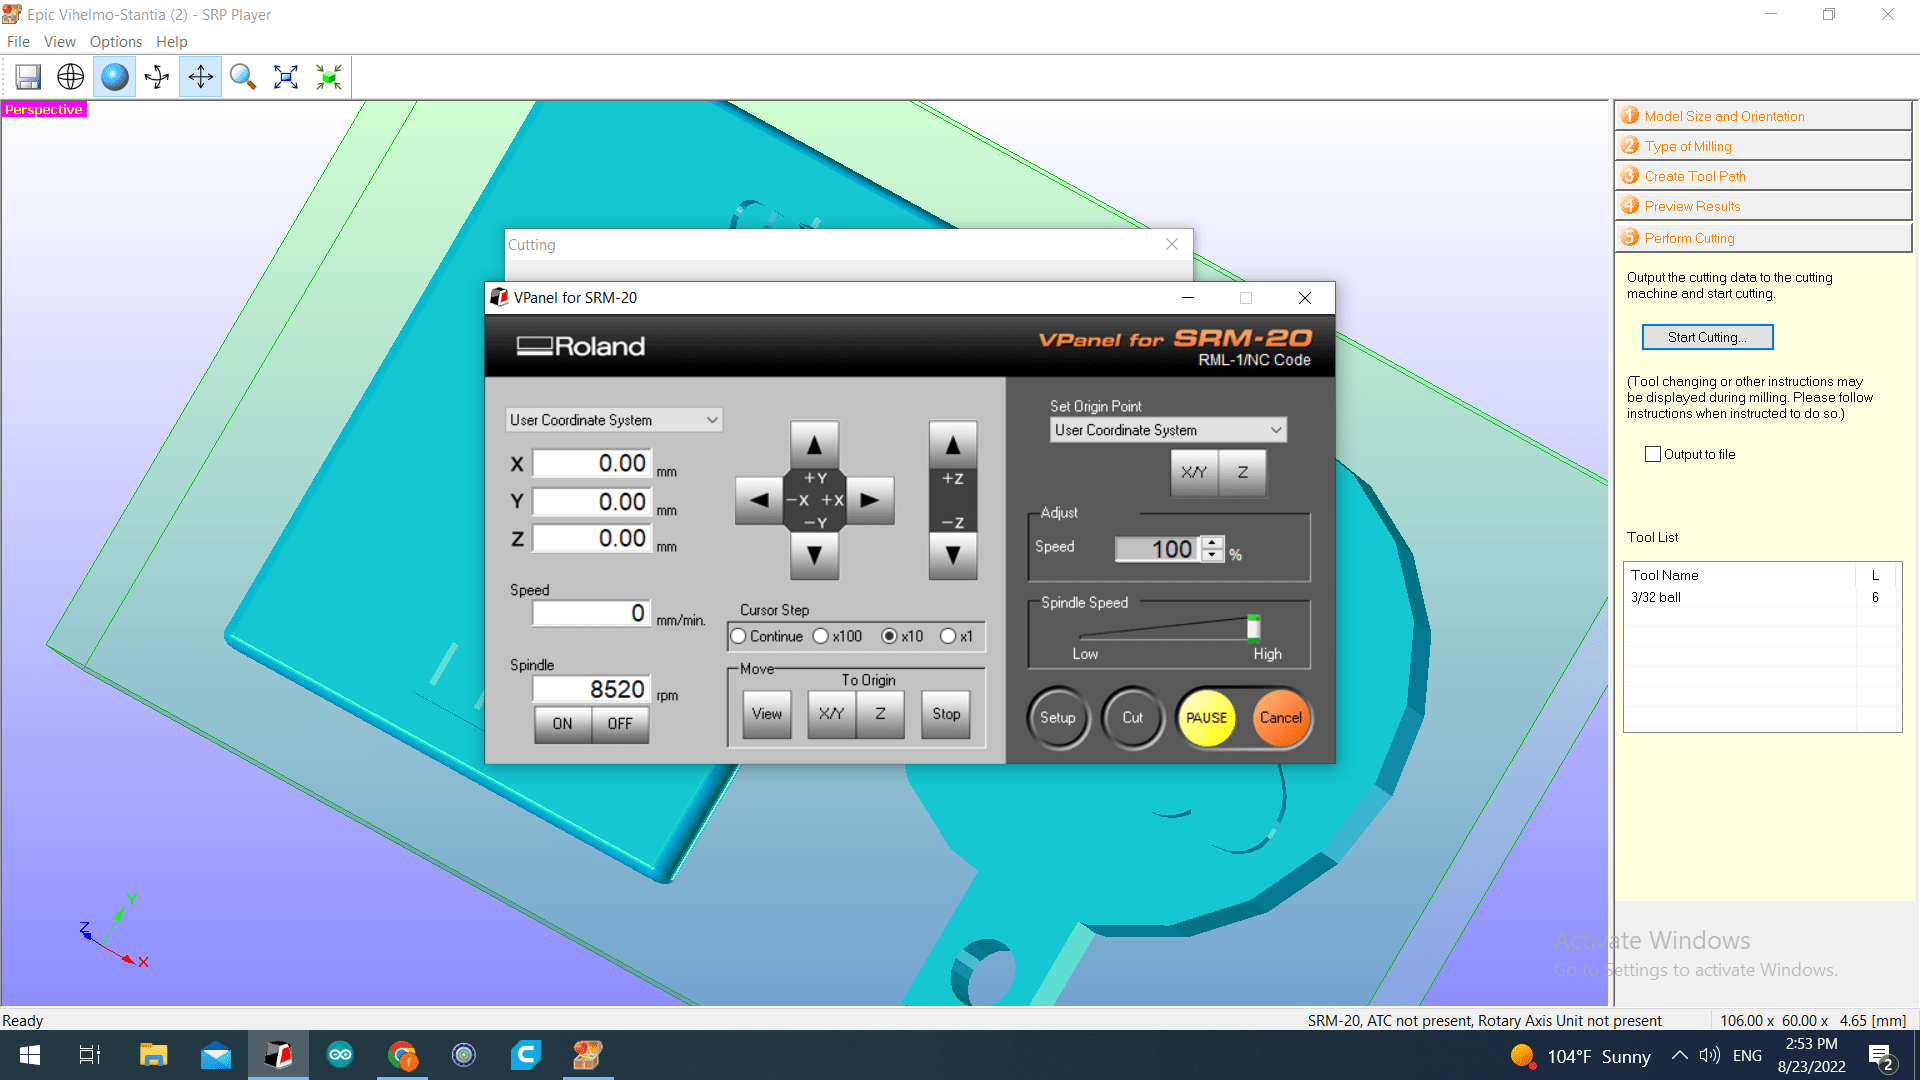
The origin of the of the drill bit was adjusted using Vpanel, where the x,y and z directions are adjusted. The x and y were adjusted in order to be exactly on the mid plane. The z was adjusted to be exactly on the wax board so that the design depth is achieved successfully. The origin program is shown below:
Finally, after complying with the default settings, the time estimated and the drill bit used for the roughing will show as follows:
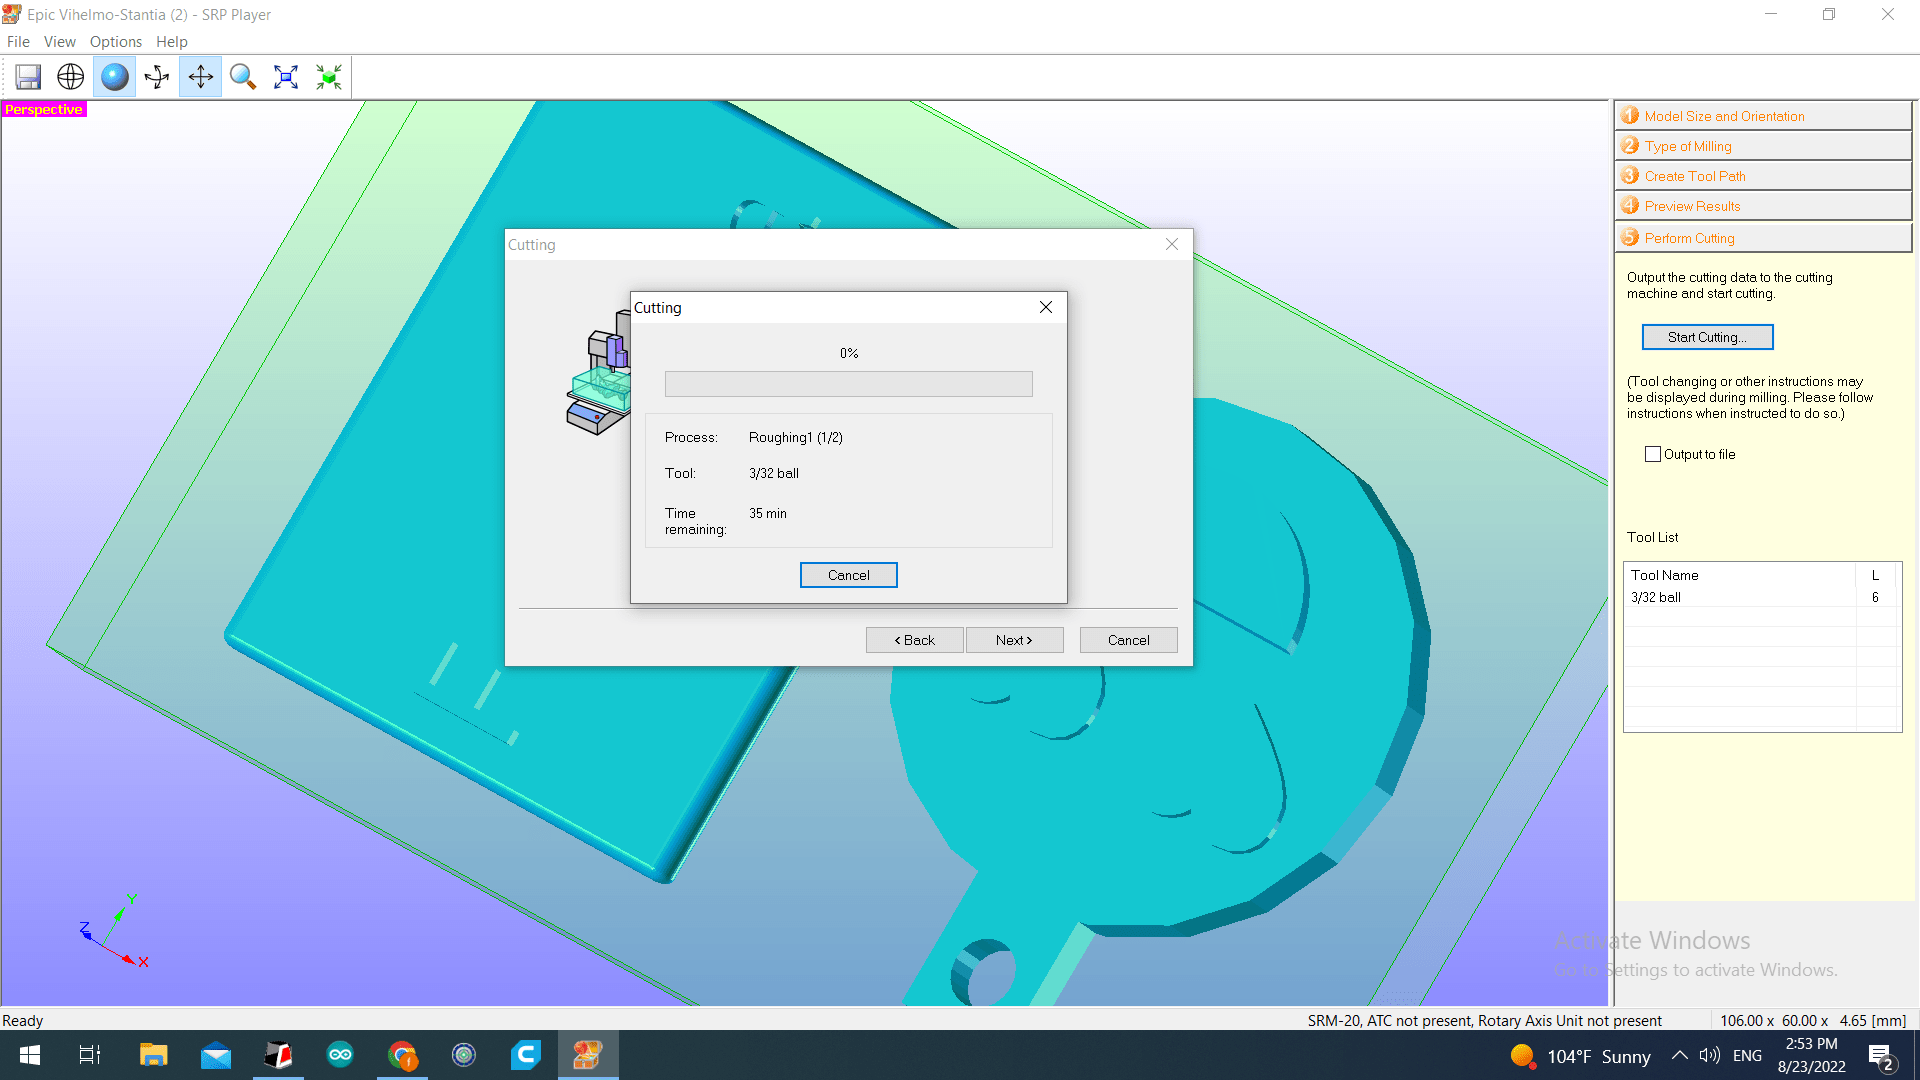
After the milling is done, this is how the wax board will look like:
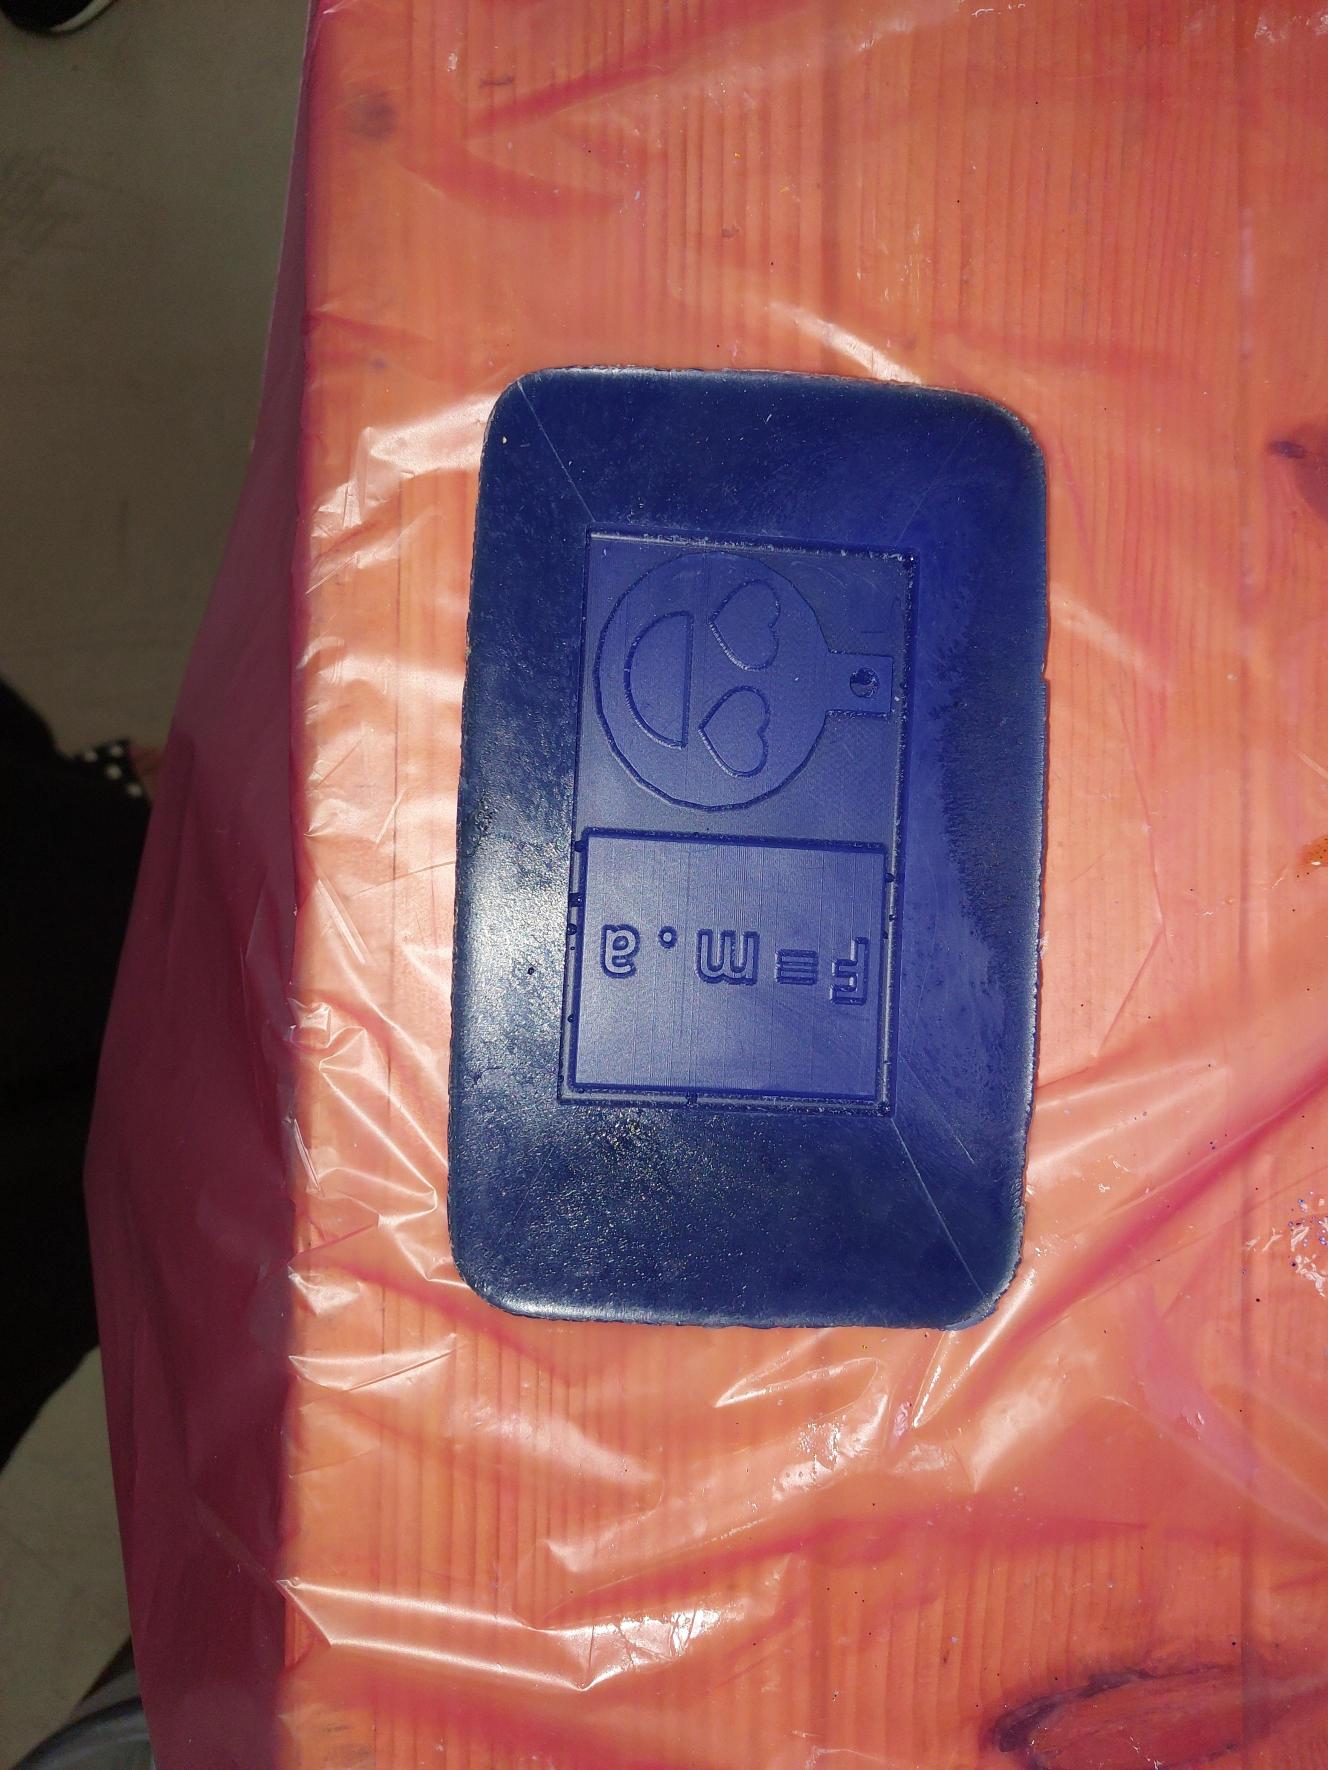
Molding
After we finished the milling process. Now we can start the next step which is molding
For the molding, the prepared wax board was utilized in order to make the mold which would be used later for casting the design. Firstly, a solution that is mainly silicon was prepared by mixing equal proportions of both these two jars in the image below:
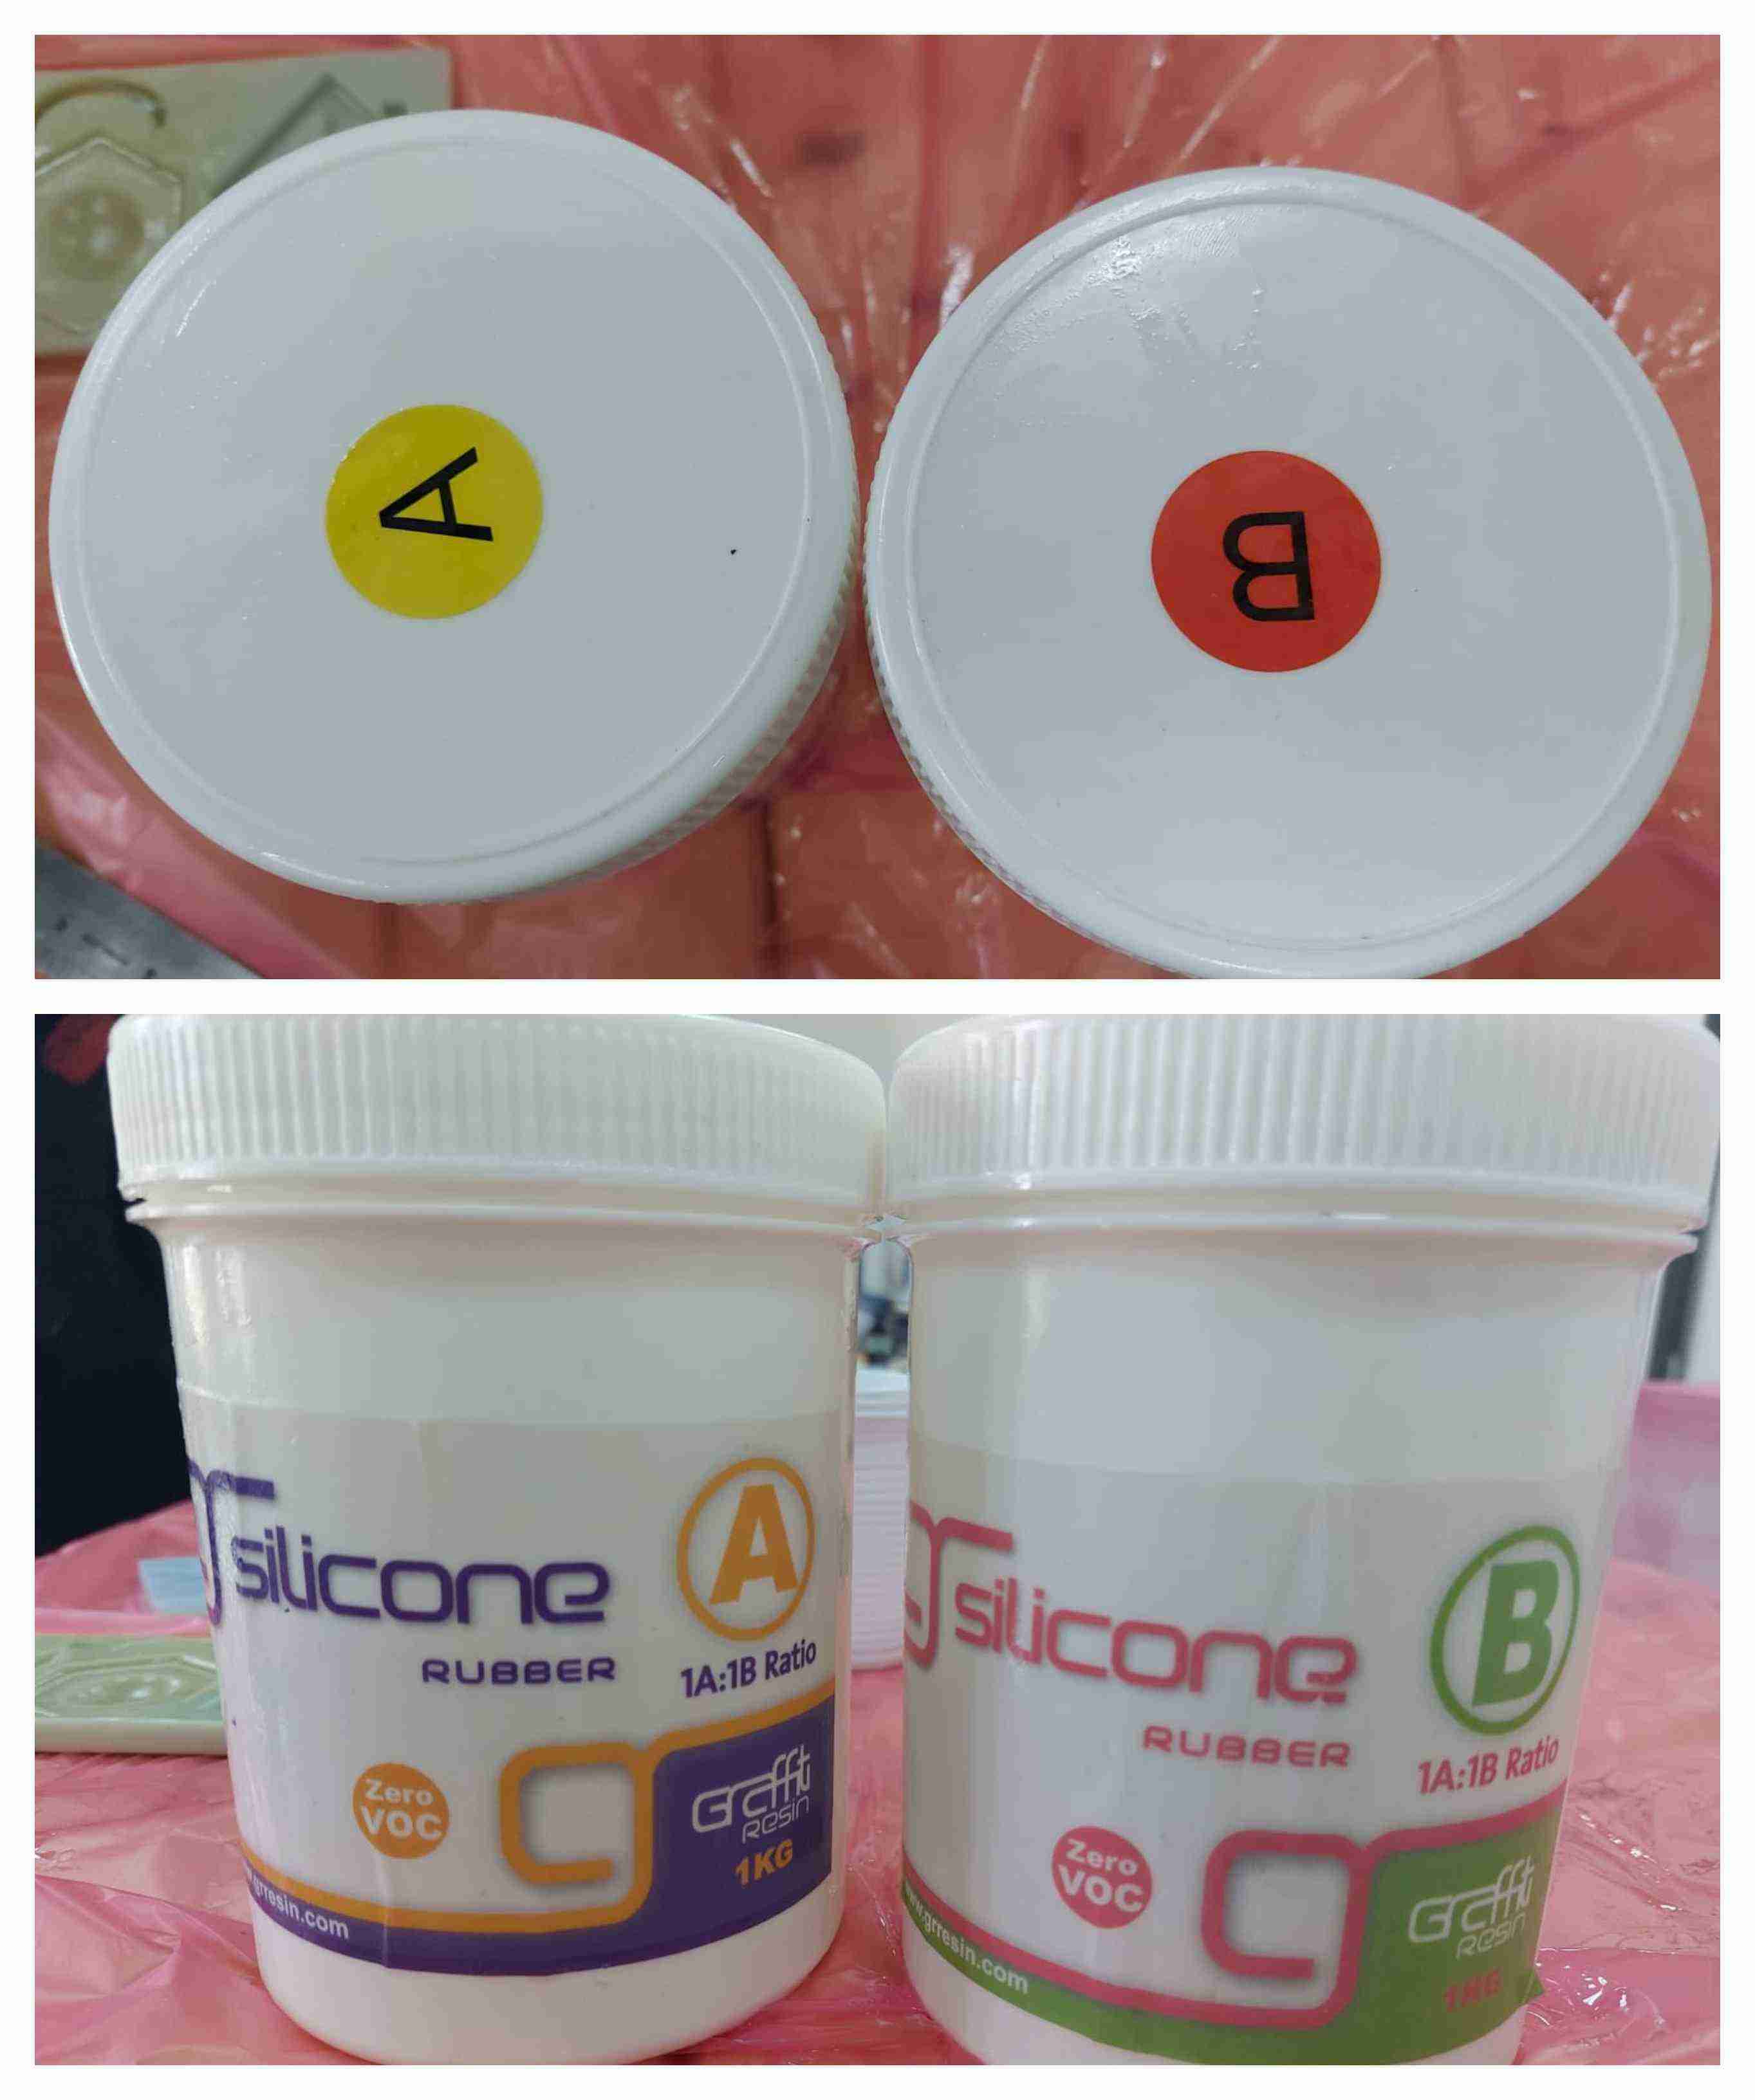 -
- 
I poured material from both jars at a 1:1 ratio then mixed it all together. SO, first I measured each one separately in order to get the required ratio which is 1 to 1, as shown below:
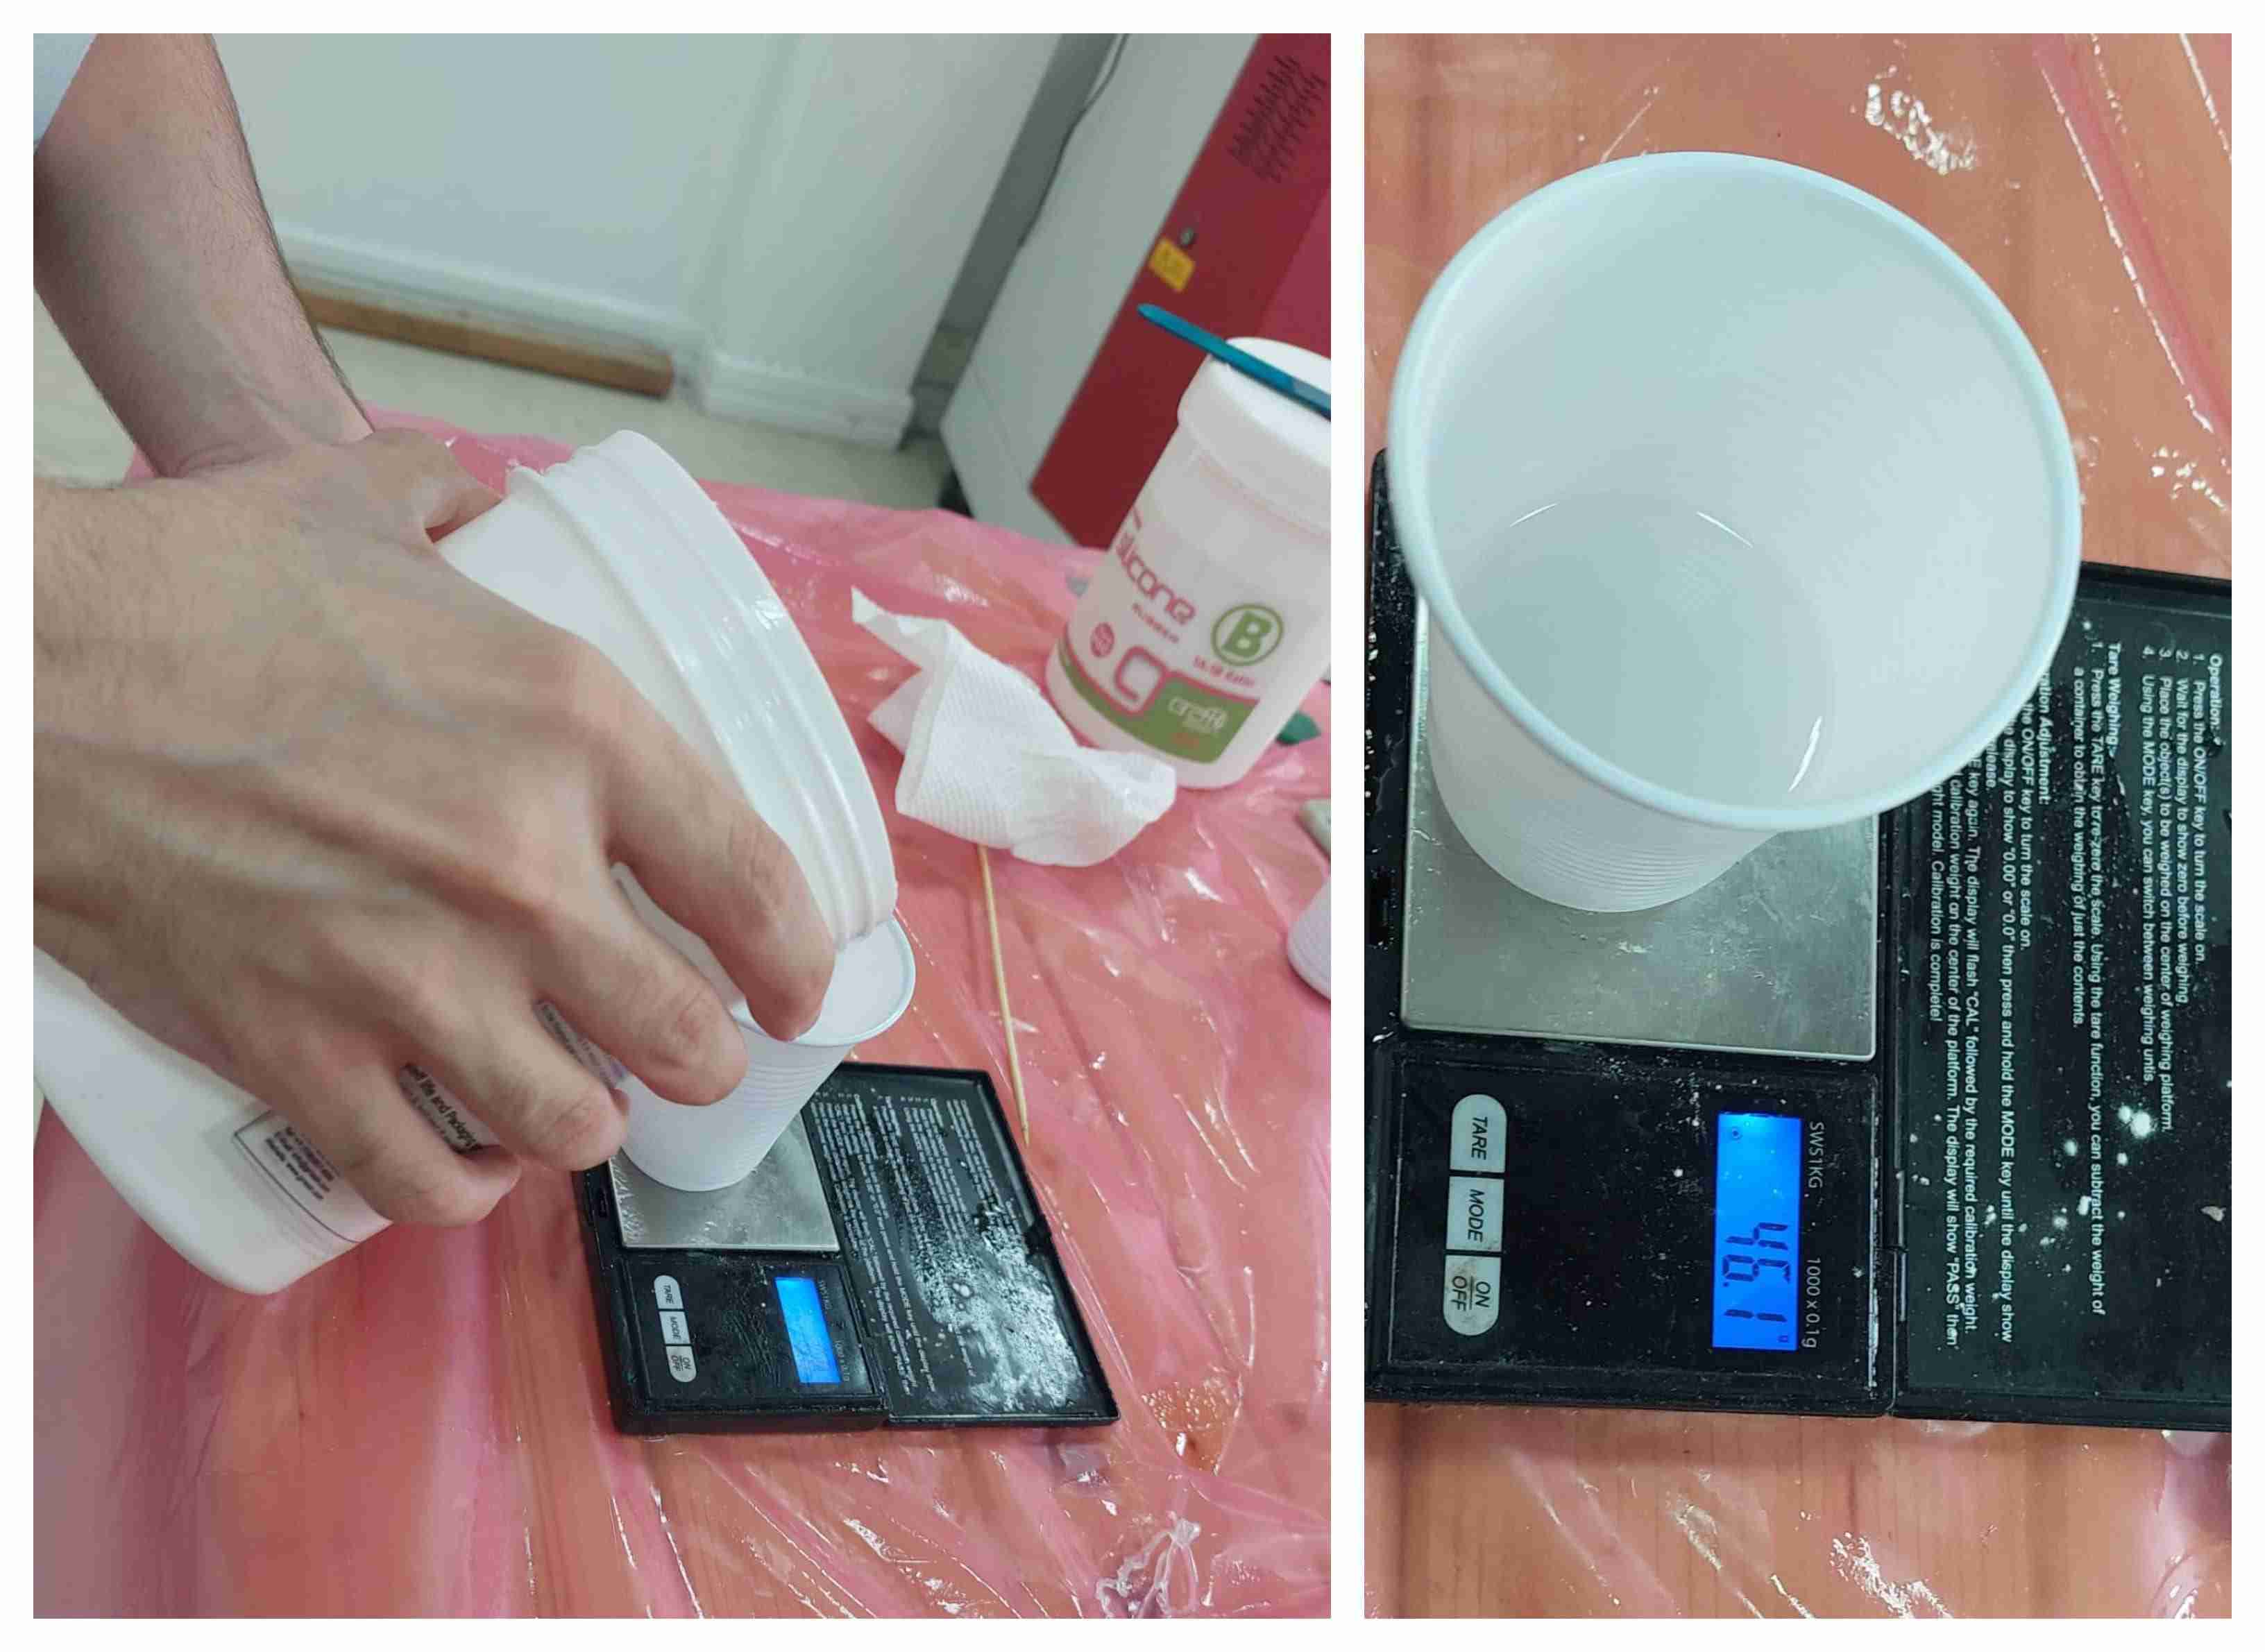 -
- 
 -
- 
After that, we mixed for roughly 10 minutes and then it was poured slowly inside the wax board until it filled the whole compartment:
The mold is left in the wax board for around 1 day and the final result of the mold will look as follows:

Casting
Casting is a manufacturing process in which a liquid material is usually poured into a mold, which contains a hollow cavity of the desired shape, and then allowed to solidify. The solidified part is also known as a casting
For the casting, different material can be utilized to make the casting. I used Resin and I followed these steps:

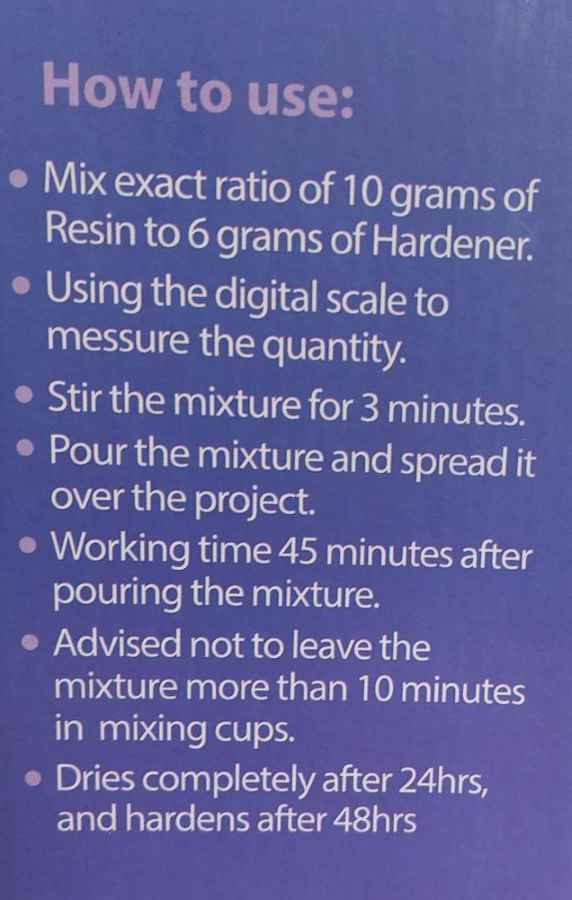


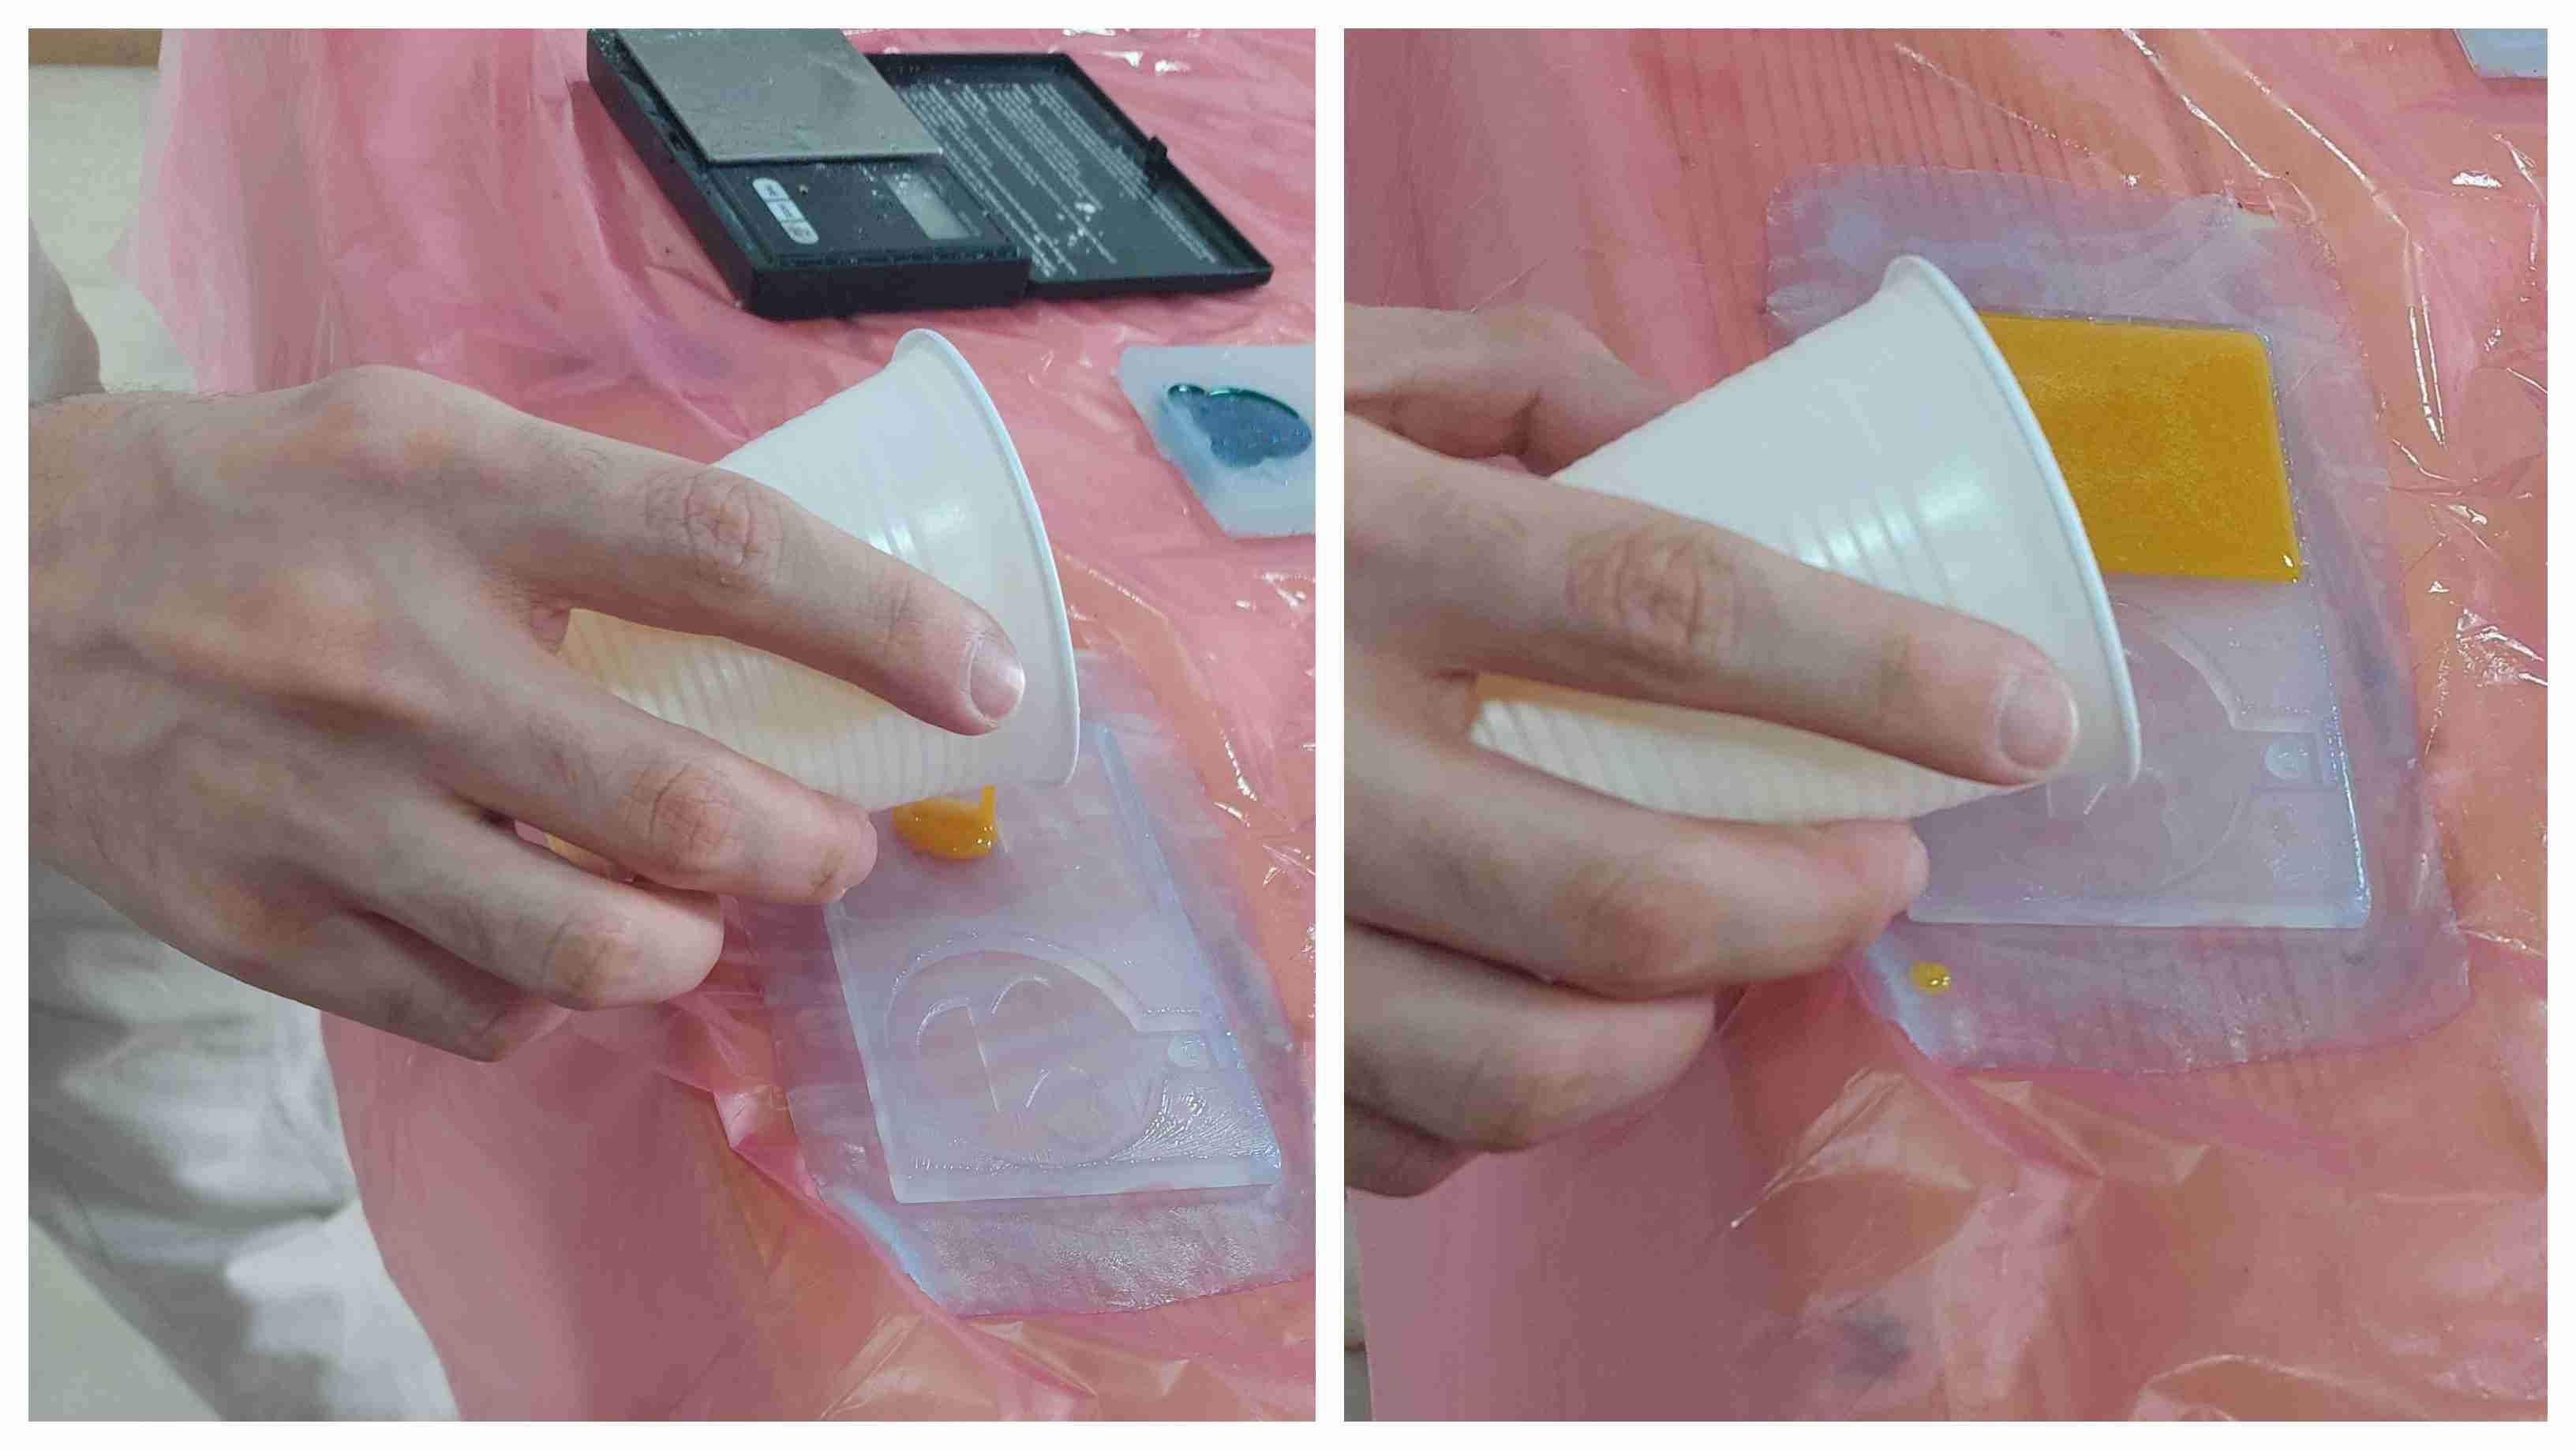 -
- 
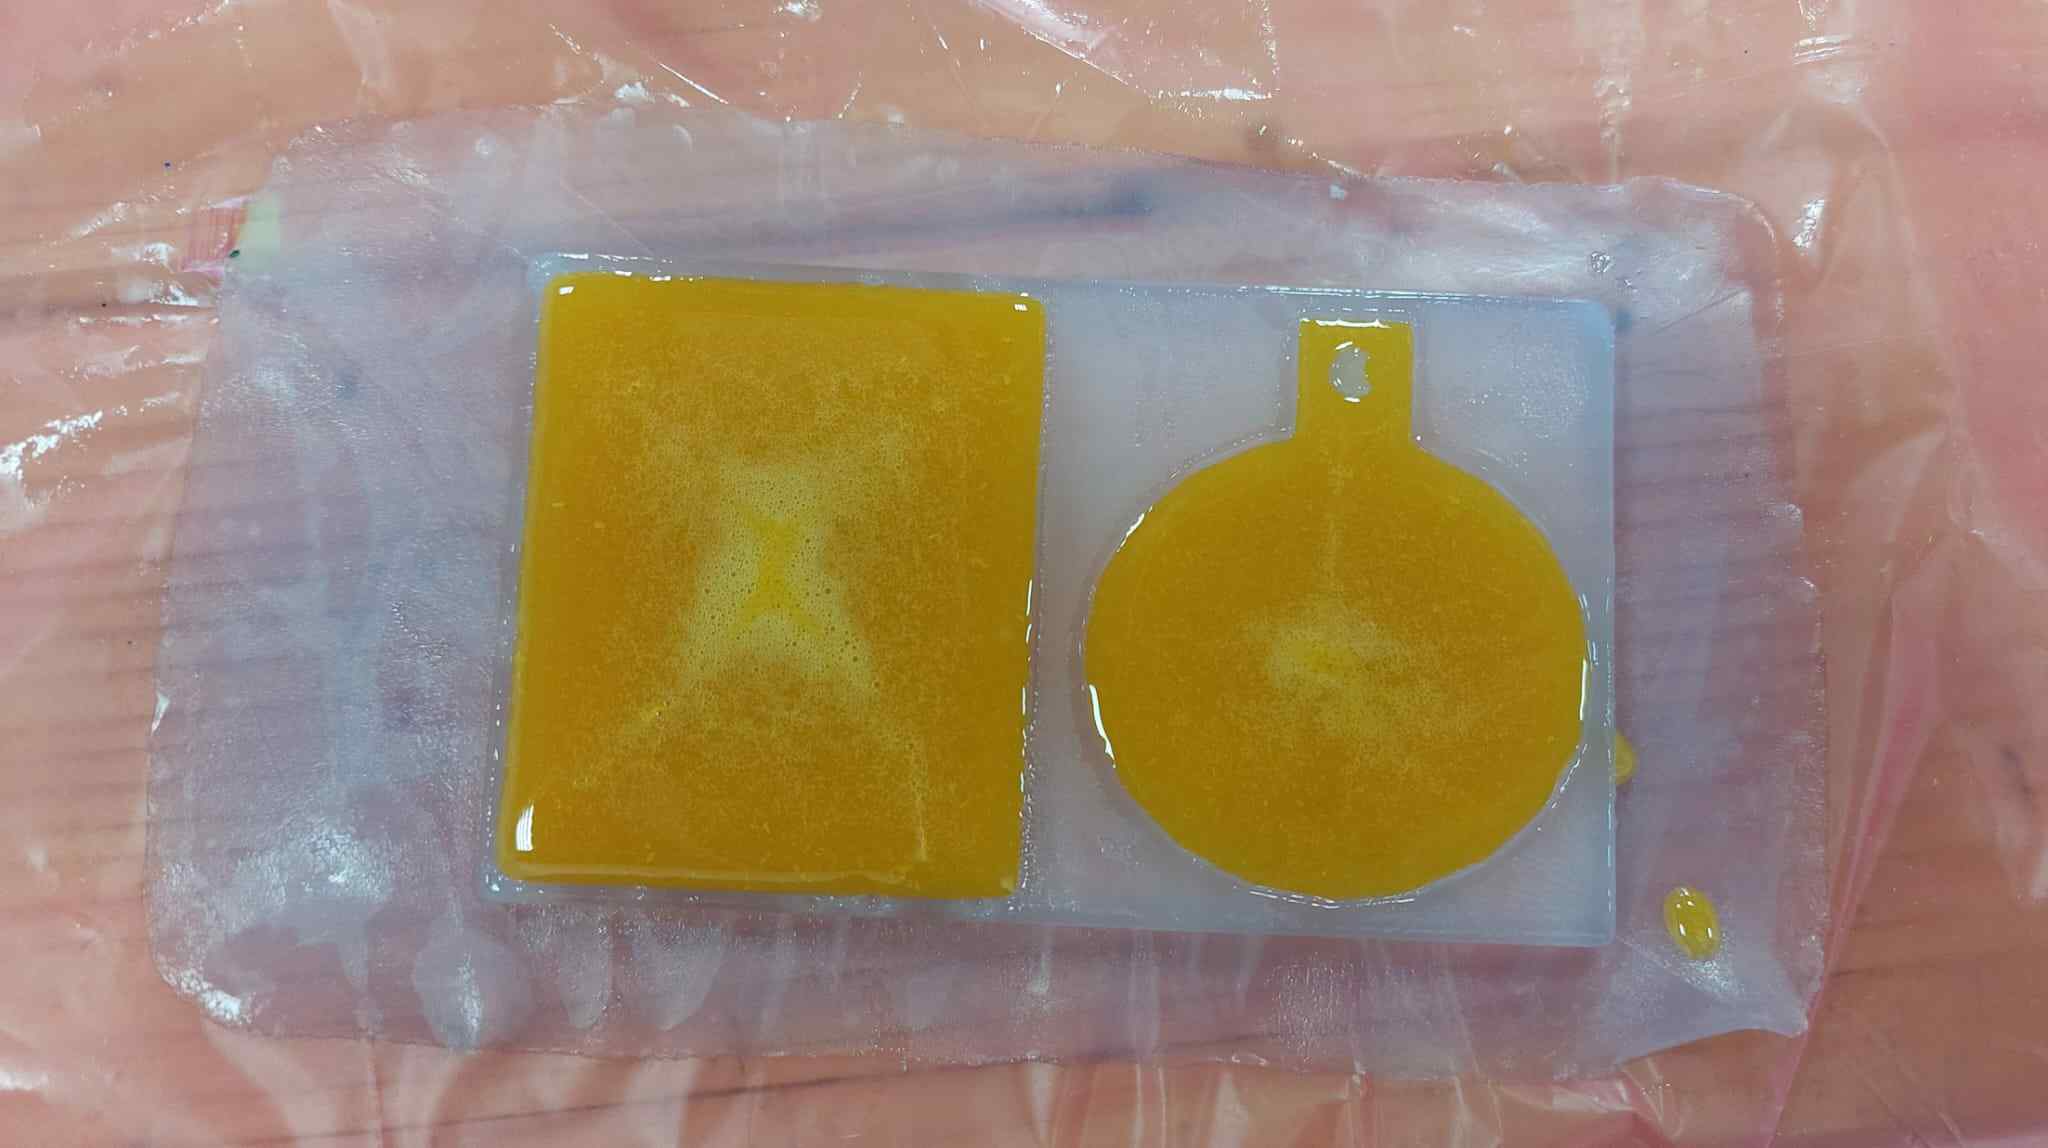
After that, we have to wait for 24 hours and the final result will be as follows: