1. Project management
GitLab Introduction
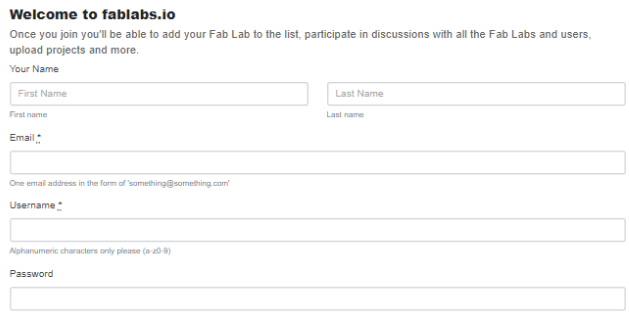
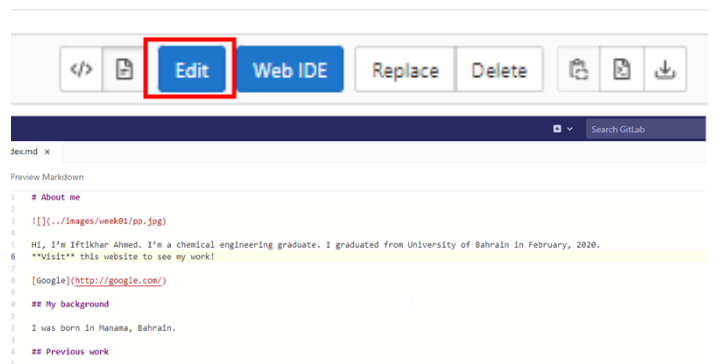
In the first week I was introduced to the Fablab Academy Program. I created my account on the fablab.io and logged in to the Gitlab site shown in Figure 1. I received my own website template to document all my learnings and findings throughout the training period. The text on the website is written in Markdown language which is very simple and easy to understand. The about page on the website was edited on the Gitlab site as shown in Figure 2.
GitLab & Tools
The Gitlab site is dependent on an internet connection restricting your access to work on your website. To overcome this inconvenience, software like “Gitbash” and “Atom” were installed. These software allow you to use the same function as Gitlab on your laptop locally, without any internet restriction. Some of the key terms that you need to understand while using these software are explained below.
Version Control Program (GIT)
GIT is one of the version control software which helps you manage the source code. It keeps record of all the changes (versions) made by the user and can revert back to them whenever required.
GIT Bash
It is a very useful tool which links Gitlab site to the local operating system. A clone of github can be created in a local folder using SSH and HTTPS.
GIT Bash Setup
Firstly, I downloaded and installed the Gitbash from the Website and ran it successfully on my computer.
Some command lines which I used are mentioned in the table below with their functions.
| Commands | Functions |
|---|---|
| pwd | to the know the path of the directory |
| cd | to change the directory |
| mkdir ‘Name of directory’ | to make a directory |
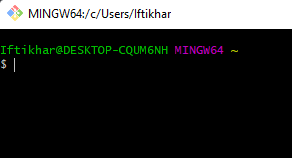
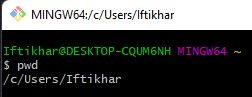
Following image shows the use of pwd command where the current path of the directory can be seen as “c/users/iftikhar”.
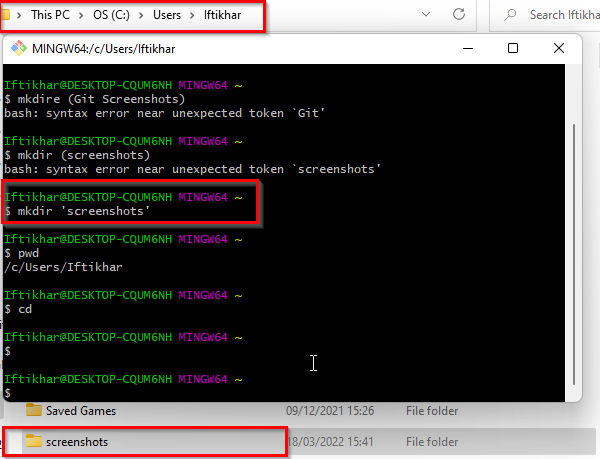
A new directory named screenshots was made using the command line “mkdir ‘screenshots’“
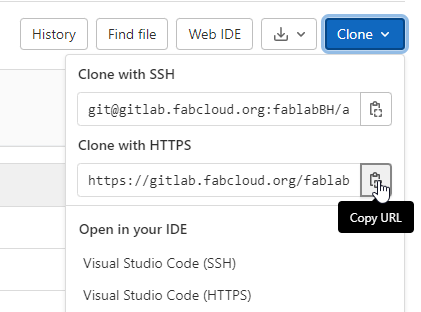
Git repository was cloned to the local folder on the computer using the code ‘git clone “Address”’. The HTTPS link of the git repository was copied and pasted in the GitBash window. Upon running the code mentioned above, GitBash clones the GIT repository on the computer.
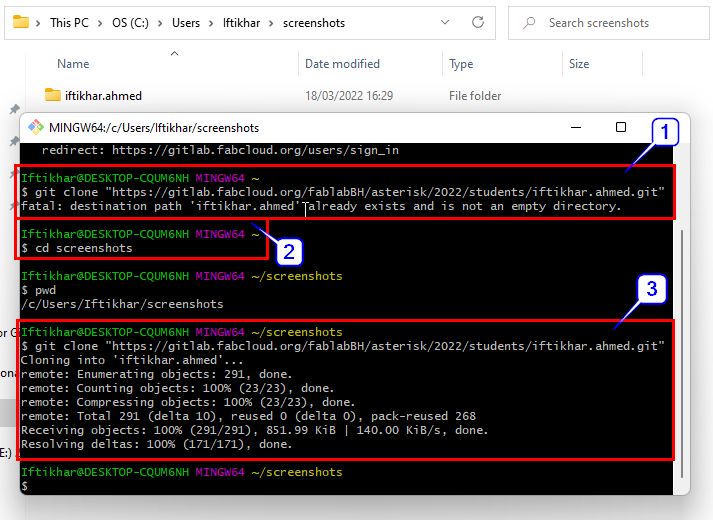
(1) The git clone command was entered in the GitBash window but it says the folder already exists in the current directory as it was created previously. (2) Therefore, I used cd ‘screenshots’ command to change the current directory. (3) Now I was able to run the git clone command successfully and it created the repository copy in the ‘screenshots’ folder.
ATOM
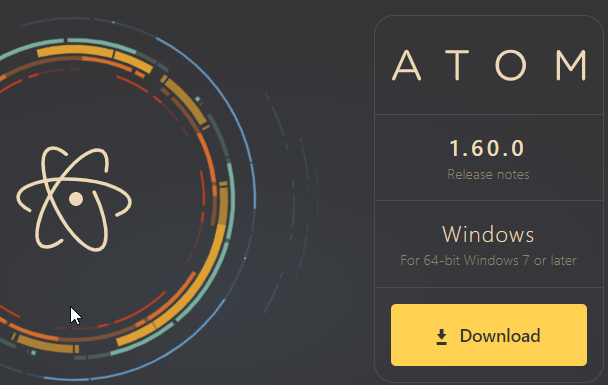
ATOM is a text and source code editor. A user can preview any changes made on the .md files (markdown files) at the same time. Multiple images can be added using this editor with image size being in the range of 100-200 kilobytes. You can download this program here.
ATOM Guide
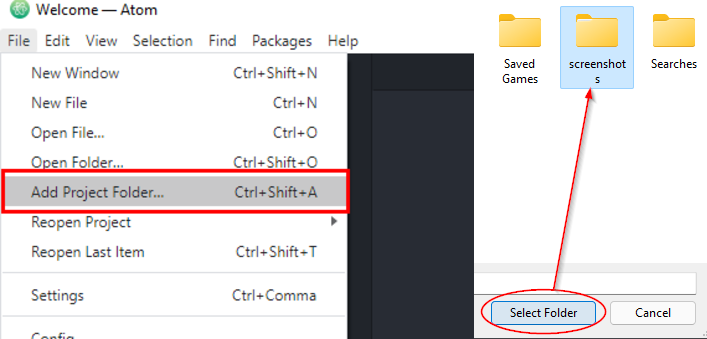
- I started the Atom.exe and opened the repository folder of Gitlab which was created in the GitBash.
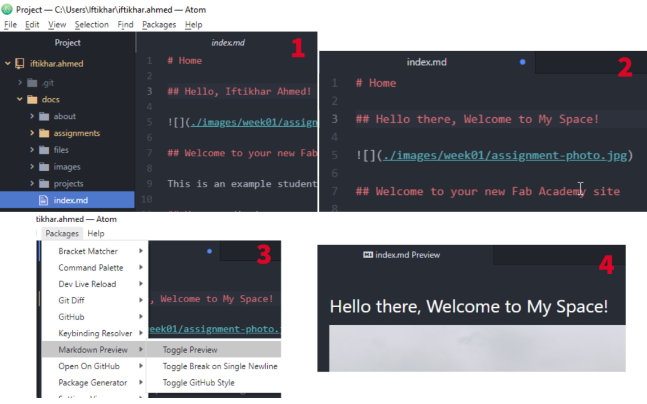
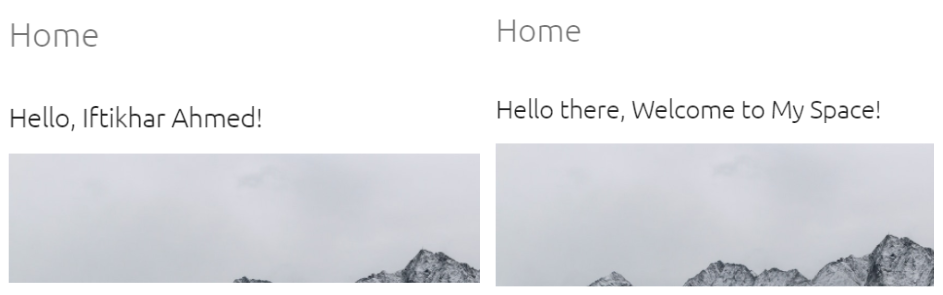
- I opened the index.md file from the ‘docs’ folder and started editing it (1). As an example, I changed the text ‘Hello, Iftikhar Ahmed!’ to ‘Hello there, Welcome to My Space’. The tab detects any changes made in the .md file and a blue dot appears on the tab representing any unsaved changes (2). I opened a preview window for index.md file where any changes made can be previewed prior to pushing them to the Gitlab server (3). Following image also shows that the text which was changed in the .md file highlighted as 4.
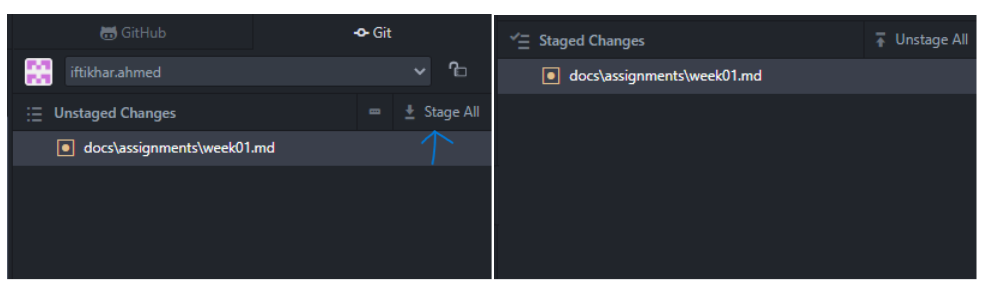
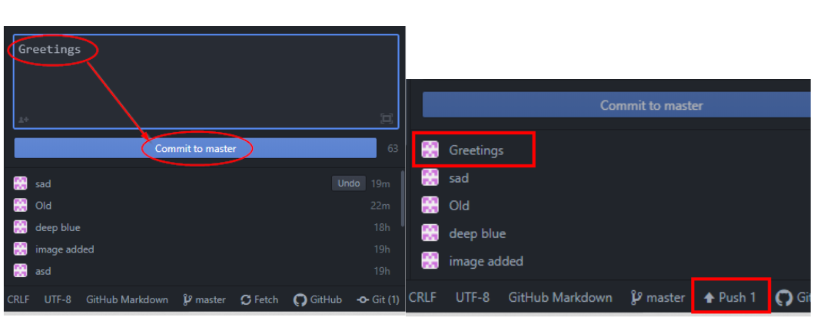
- To make any changes to my website, I saved all the changes made to .md file using keys, CTRL + S. These changes then appear in the ‘unstaged changes’. By pressing the ‘stage all’ changes will shift to the ‘staged changes’, which means they are ready to be pushed to the website.
 Upon adding a comment in the ‘Commit Box’, push button appears at the bottom. Pressing the ‘Push’ will make changes in the ATOM appear on your website.
Following changes were seen on the website:
Mkdocs
Mkdocs is a fast, simple and downright gorgeous static site generator that’s geared towards building project documentation. Documentation source files are written in Markdown (.md), and configured with a single YAML (.yml) configuration file. It is used to change the properties of the website. For more information, follow the link.
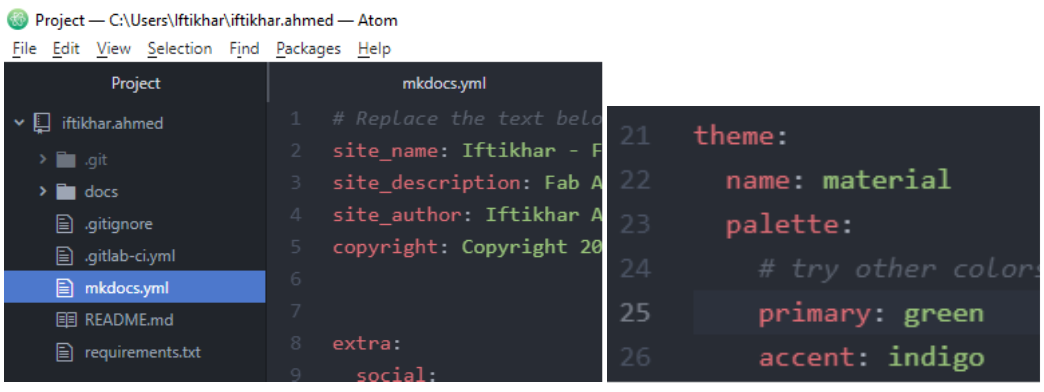
I opened the mkdocs.yml file from the docs repository created in the ATOM. And I customized the website by changing the website name, primary color to green from blue, etc.
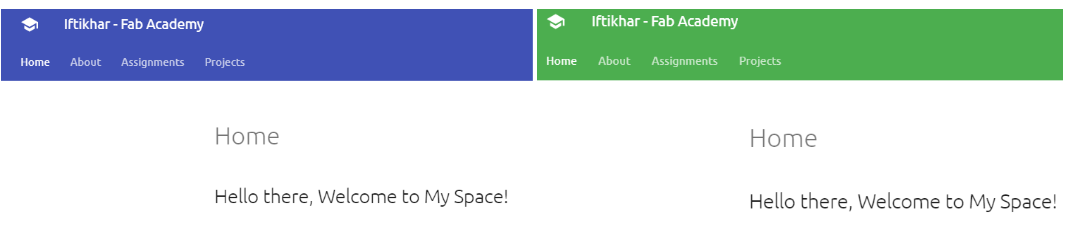
 Changes on the website appeared as:
Adding Images
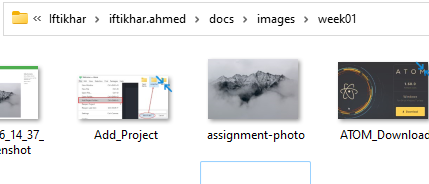
To add an image to the website, firstly image was uploaded to the ‘docs’ folder. Then this link is used in .md file as ‘’. This adds an image to the website. Image link can be created in two ways; either by simply adding the image to the images folder in the repository folder on the computer
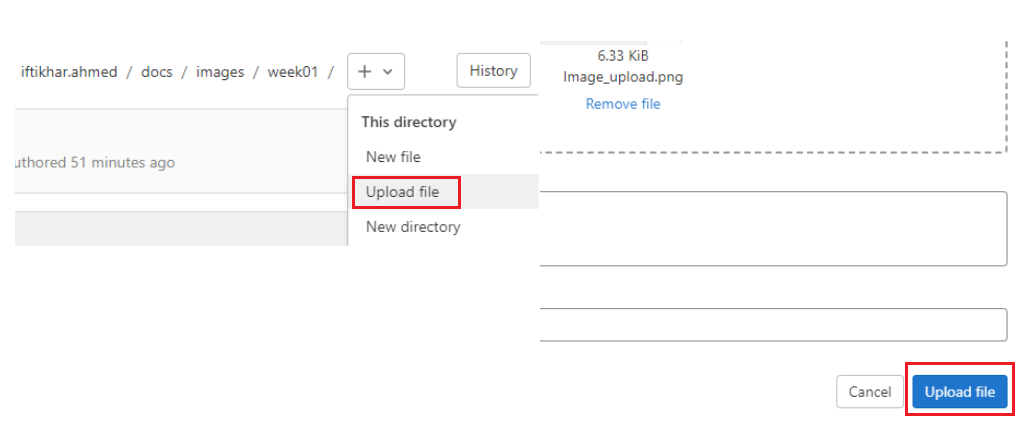
or by uploading the image on the GitLab.
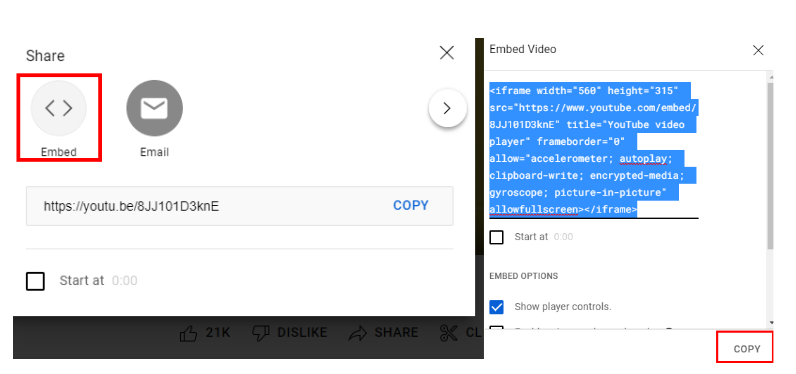
Adding Video
To add a video to the website, copy the embed link of the video and paste it in the .md file. The video will not be shown in the preview but can be seen on the website.