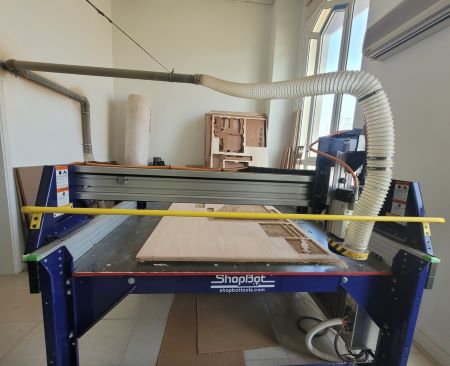
6. Large format CNC (computer controlled Machining)
This week I worked on Computer Numerical Control (CNC) machining. It was the most busy week so far. I learnt a lot of new things which I’ll discuss below. The aim of this week was to design something of a size not less than 75cm in one dimension, cut it using CNC machine and then assemble it. The design I worked on was a book stand with shelves. It was inspired by an image I found on internet.
Click Here for Reference of the Design Inspiration
CNC Machine
CNC machining involves subtractive processes to cut the objects. These processes remove layers of a material to make a specific shape. It requires a software that controls the cutting of the objects. We used vcarve pro software for this purpose. Its free trial is available on vectric website. The CNC machine can cut and draw any shape or patterns. This machine can cut wood material. Its not designed to cut metals or heavier materials.
Some important safety guidelines should be followed while working with CNC machine. When its working: 1. keep a distance of at least 1 metre from it. 2. wear safety goggles. 3. keep on the wear plugs. 4. wear close toed shoes. 5. remove any accessories such as watches, rings, bracelets etc. 6. roll up your sleeves & tie your hairs.
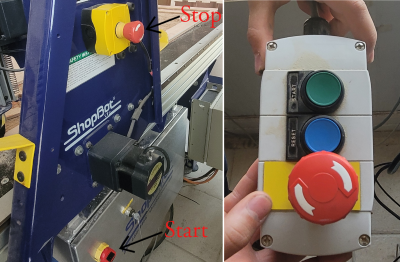
Before starting, adjust the axis where machine will start milling using the software. There is start knob on the right side of the machine. And over the start knob there is an emergency stop button which must be pressed if there is anything wrong while milling.
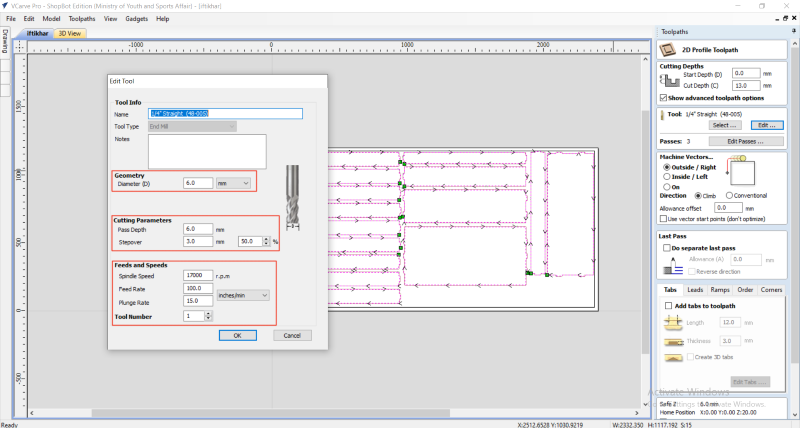
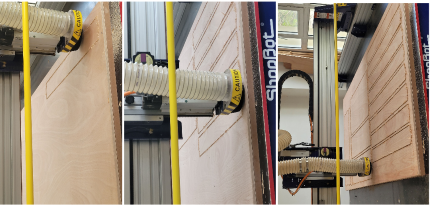
Following image shows the tool that cuts the material into specified design, its called spindle.

Group Assignment
My colleage documented the group assignment here
Fusion360 Design
I started designing book stand in fusion 360. First of all, I specified necessary design parameters. Then I started the sketch of the book stand by adding the side then bottom plane and then the other side and the slabs. The animation video of the design is shown below.
This is the final look of the book stand design.

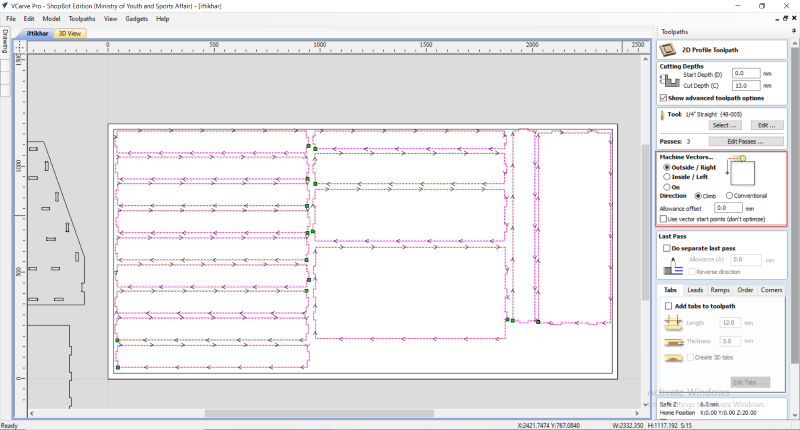
Vcarve Settings
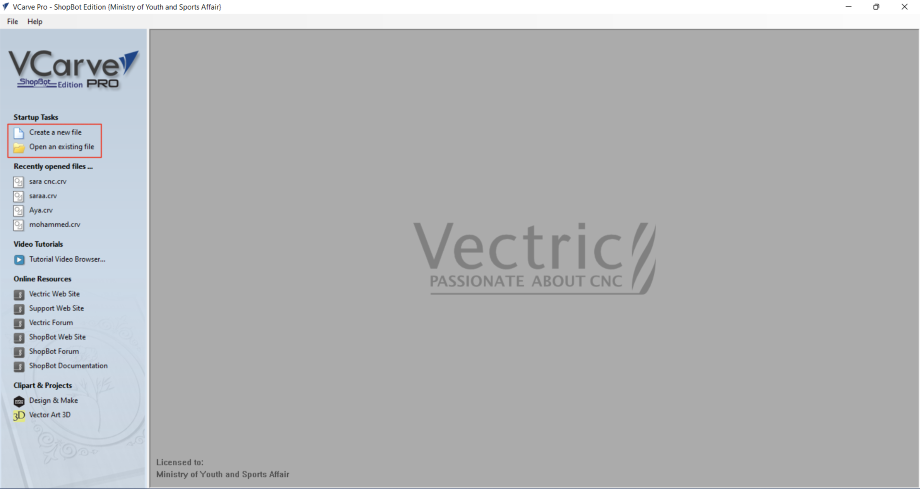
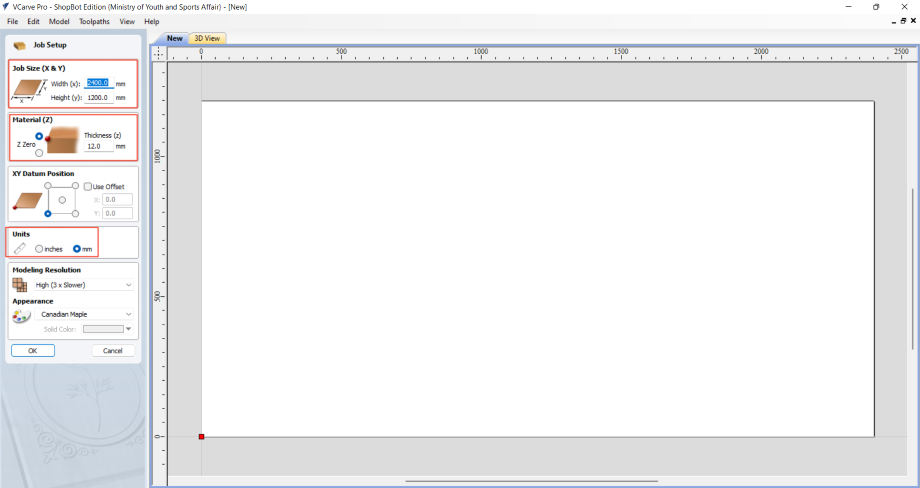
First I opened the Vcarve desktop software, opened the existed fie which was designed in Fusion360. After this I set the job size (width and height) of the material and thickness of the material. I selected the unit of measurement to be milimeters (mm).
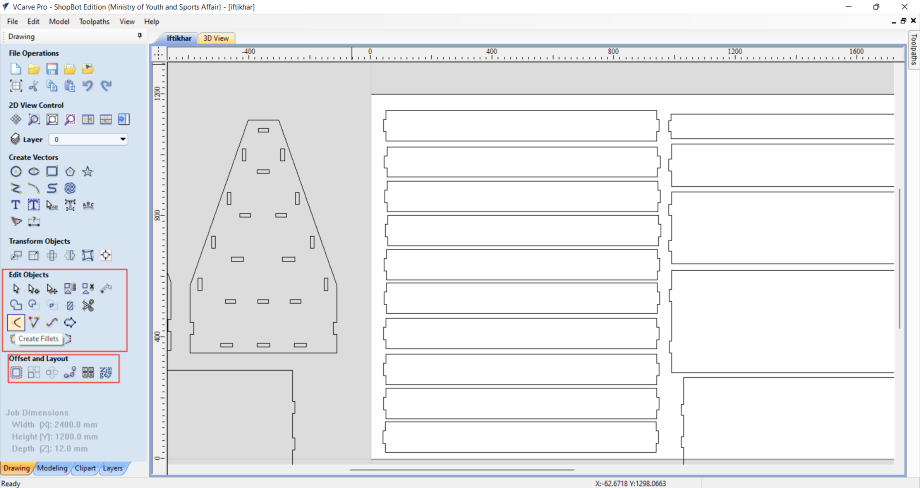
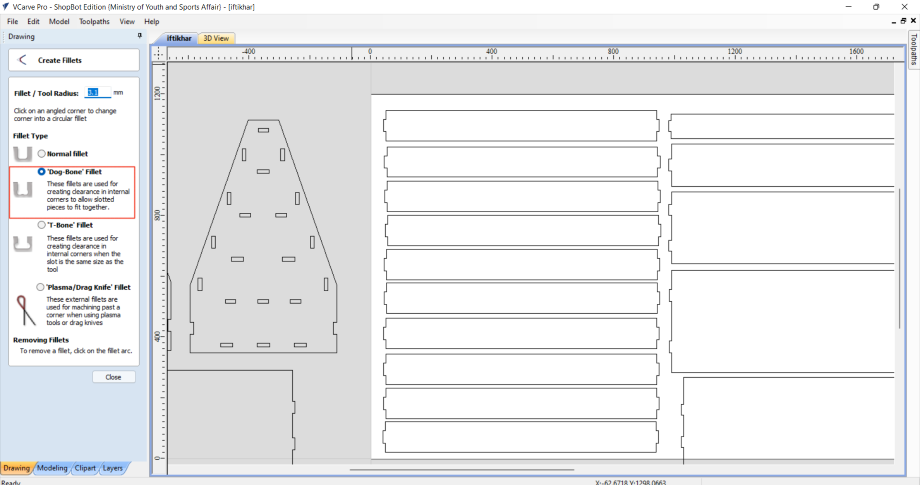
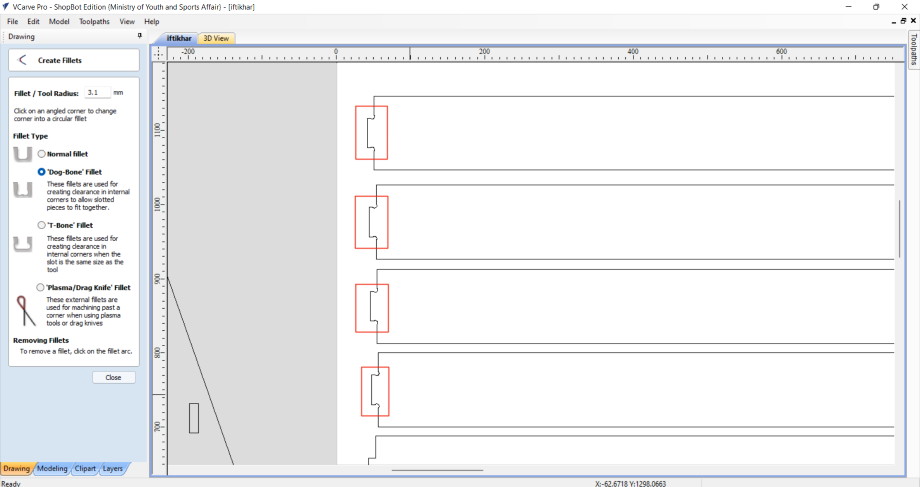
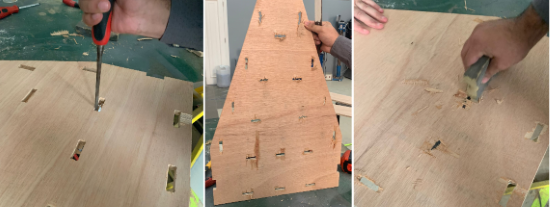
The shapes to be cut using CNC machine were adjusted in one frame. I created dog bone fillets which will help later in its assembly.
Before beginning to cut, the machine vectors, cutting parameters, feeds and cutting speeds were reviewed and adjusted as required for type of material (plywood). The toolpath tabs were fixed to avoid cutting throughout the material which might damage the machine.

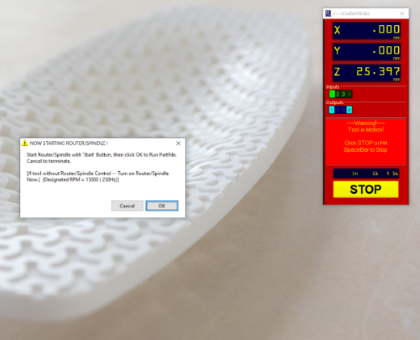
After confirming the above details, I started the cutting process by running the software. The below image shows the cutting progress in the Vcarve.
Cutting, Assembling & Finishing
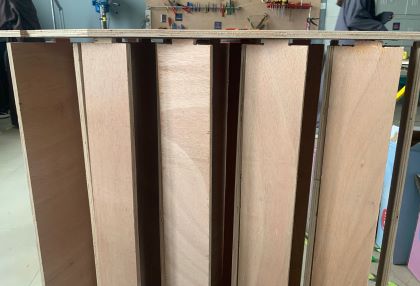
After the machine had finished cutting, the cut shapes were carefully removed from the machine.
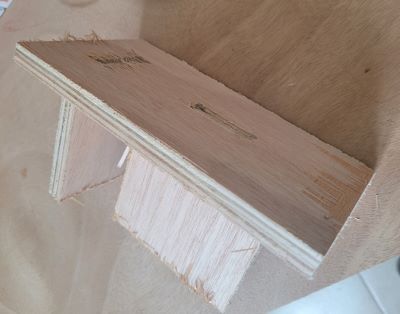
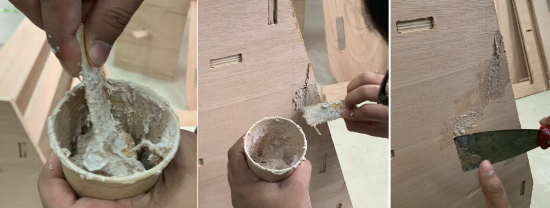
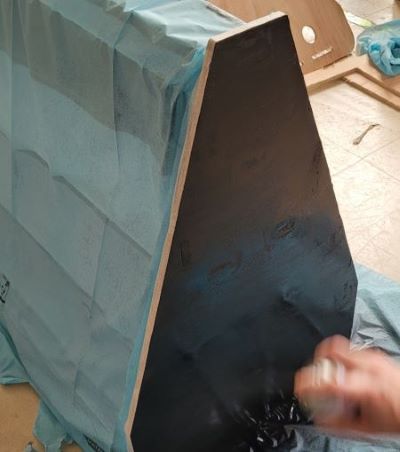
The hard part starts now, which includes smoothening the surface (sanding), spray painting and assembly of the cut parts. The sanding of dog bone fillet required extra care and patience. I closed the fillets from outside to improve its appearance. I wish I could explain more on the efforts put on its finishing.
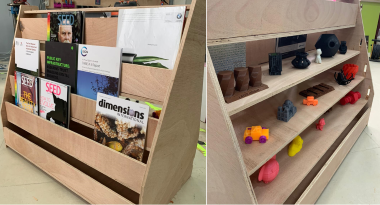
The final look of the design looks like below:
Click here to download the Fusion360 design file for the multipurpose shelves
Click here to download the dxf files
Click here to download the dxf files
Click here to download the dxf files
Click here to download the dxf files
Click here to download the dxf files
Click here to download the dxf files
Click here to download the dxf files
Click here to download the dxf files
Click here to download the dxf files