8. Moulding and casting
Group Assignment
In the group assignment, each of us chose a different material which we casted onto a sample mould. Before starting the casting of the material, we researched about our respective materials, its safety guidelines and the process required to cast and mould it.
Material
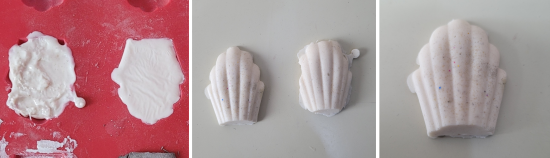
I had PIFITO Oatmeal Melt and Pour soap base to work with. Its a ready-made soap base composed of fatty acids, glycerine, and other natural ingredients. This material is free of any synthetics, chemicals, detergents or lathering agents.
Safety
This material is very safe to handle since it doesn’t have any harmful ingredients which would harm your skin or in any other way. However it needs some careful handling while melting it (temperature of about 80 degree Celsius).
Process
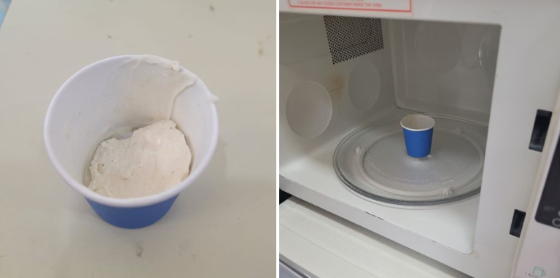
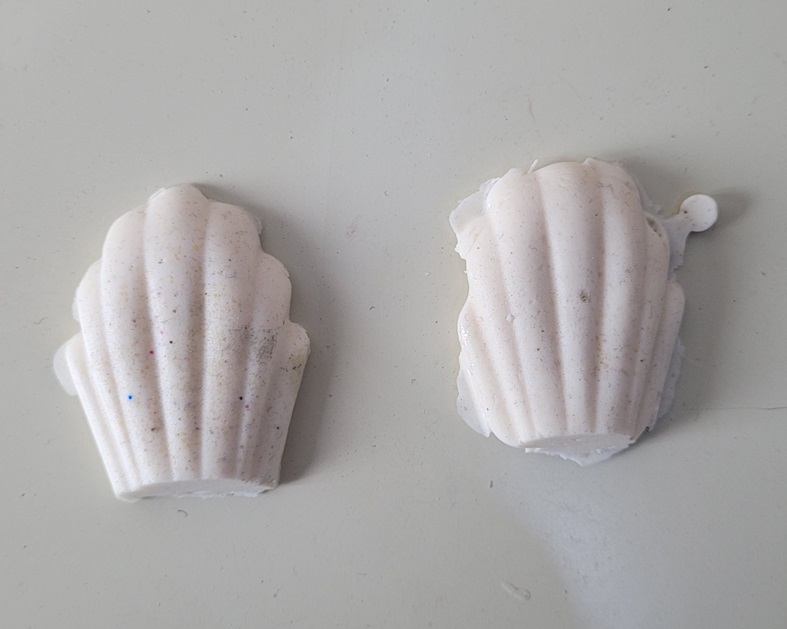
I cut the small amount of the soap base and put it in the microwave for about 10 seconds. Since the amount was very small it melted before than 10 seconds. Then I poured the amount on the mould. It took around 15 minutes for the soap base to dry completely and took the shape of the mould.


My other group members Hussain and Sara used gypsum and cement for casting purpose respectively. The link to their work is given below:
Individual Assignment
Moulding
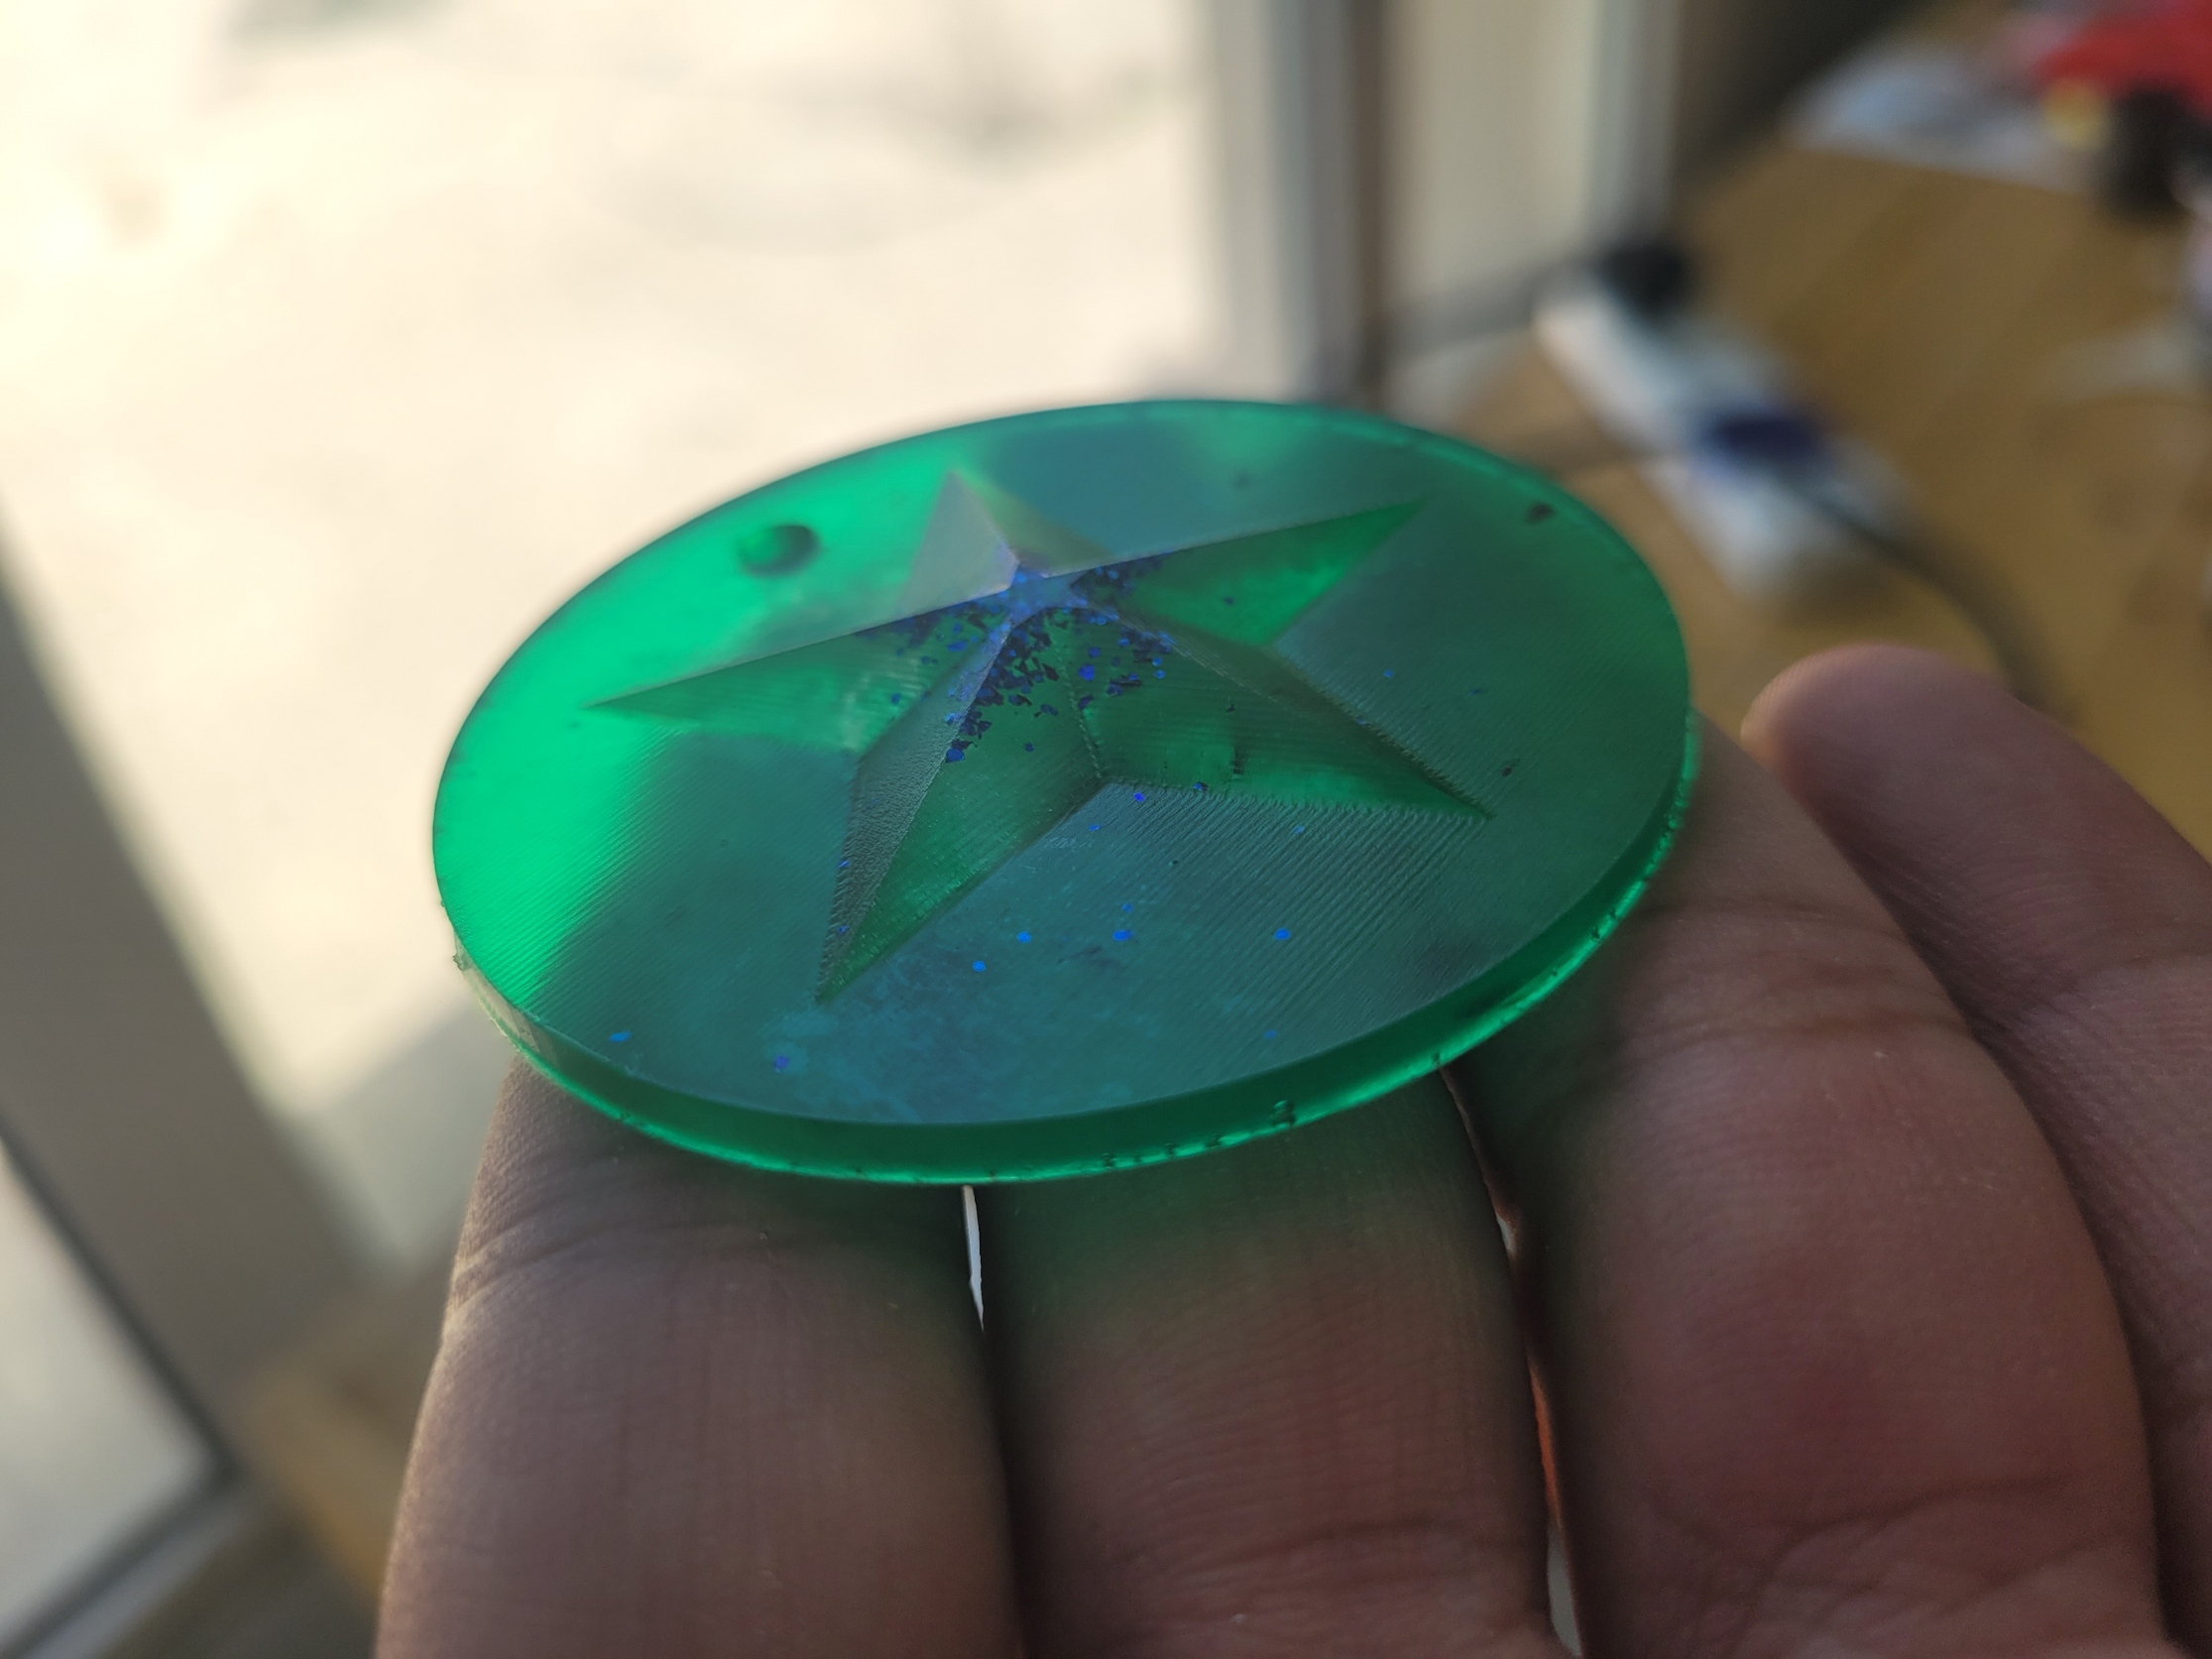
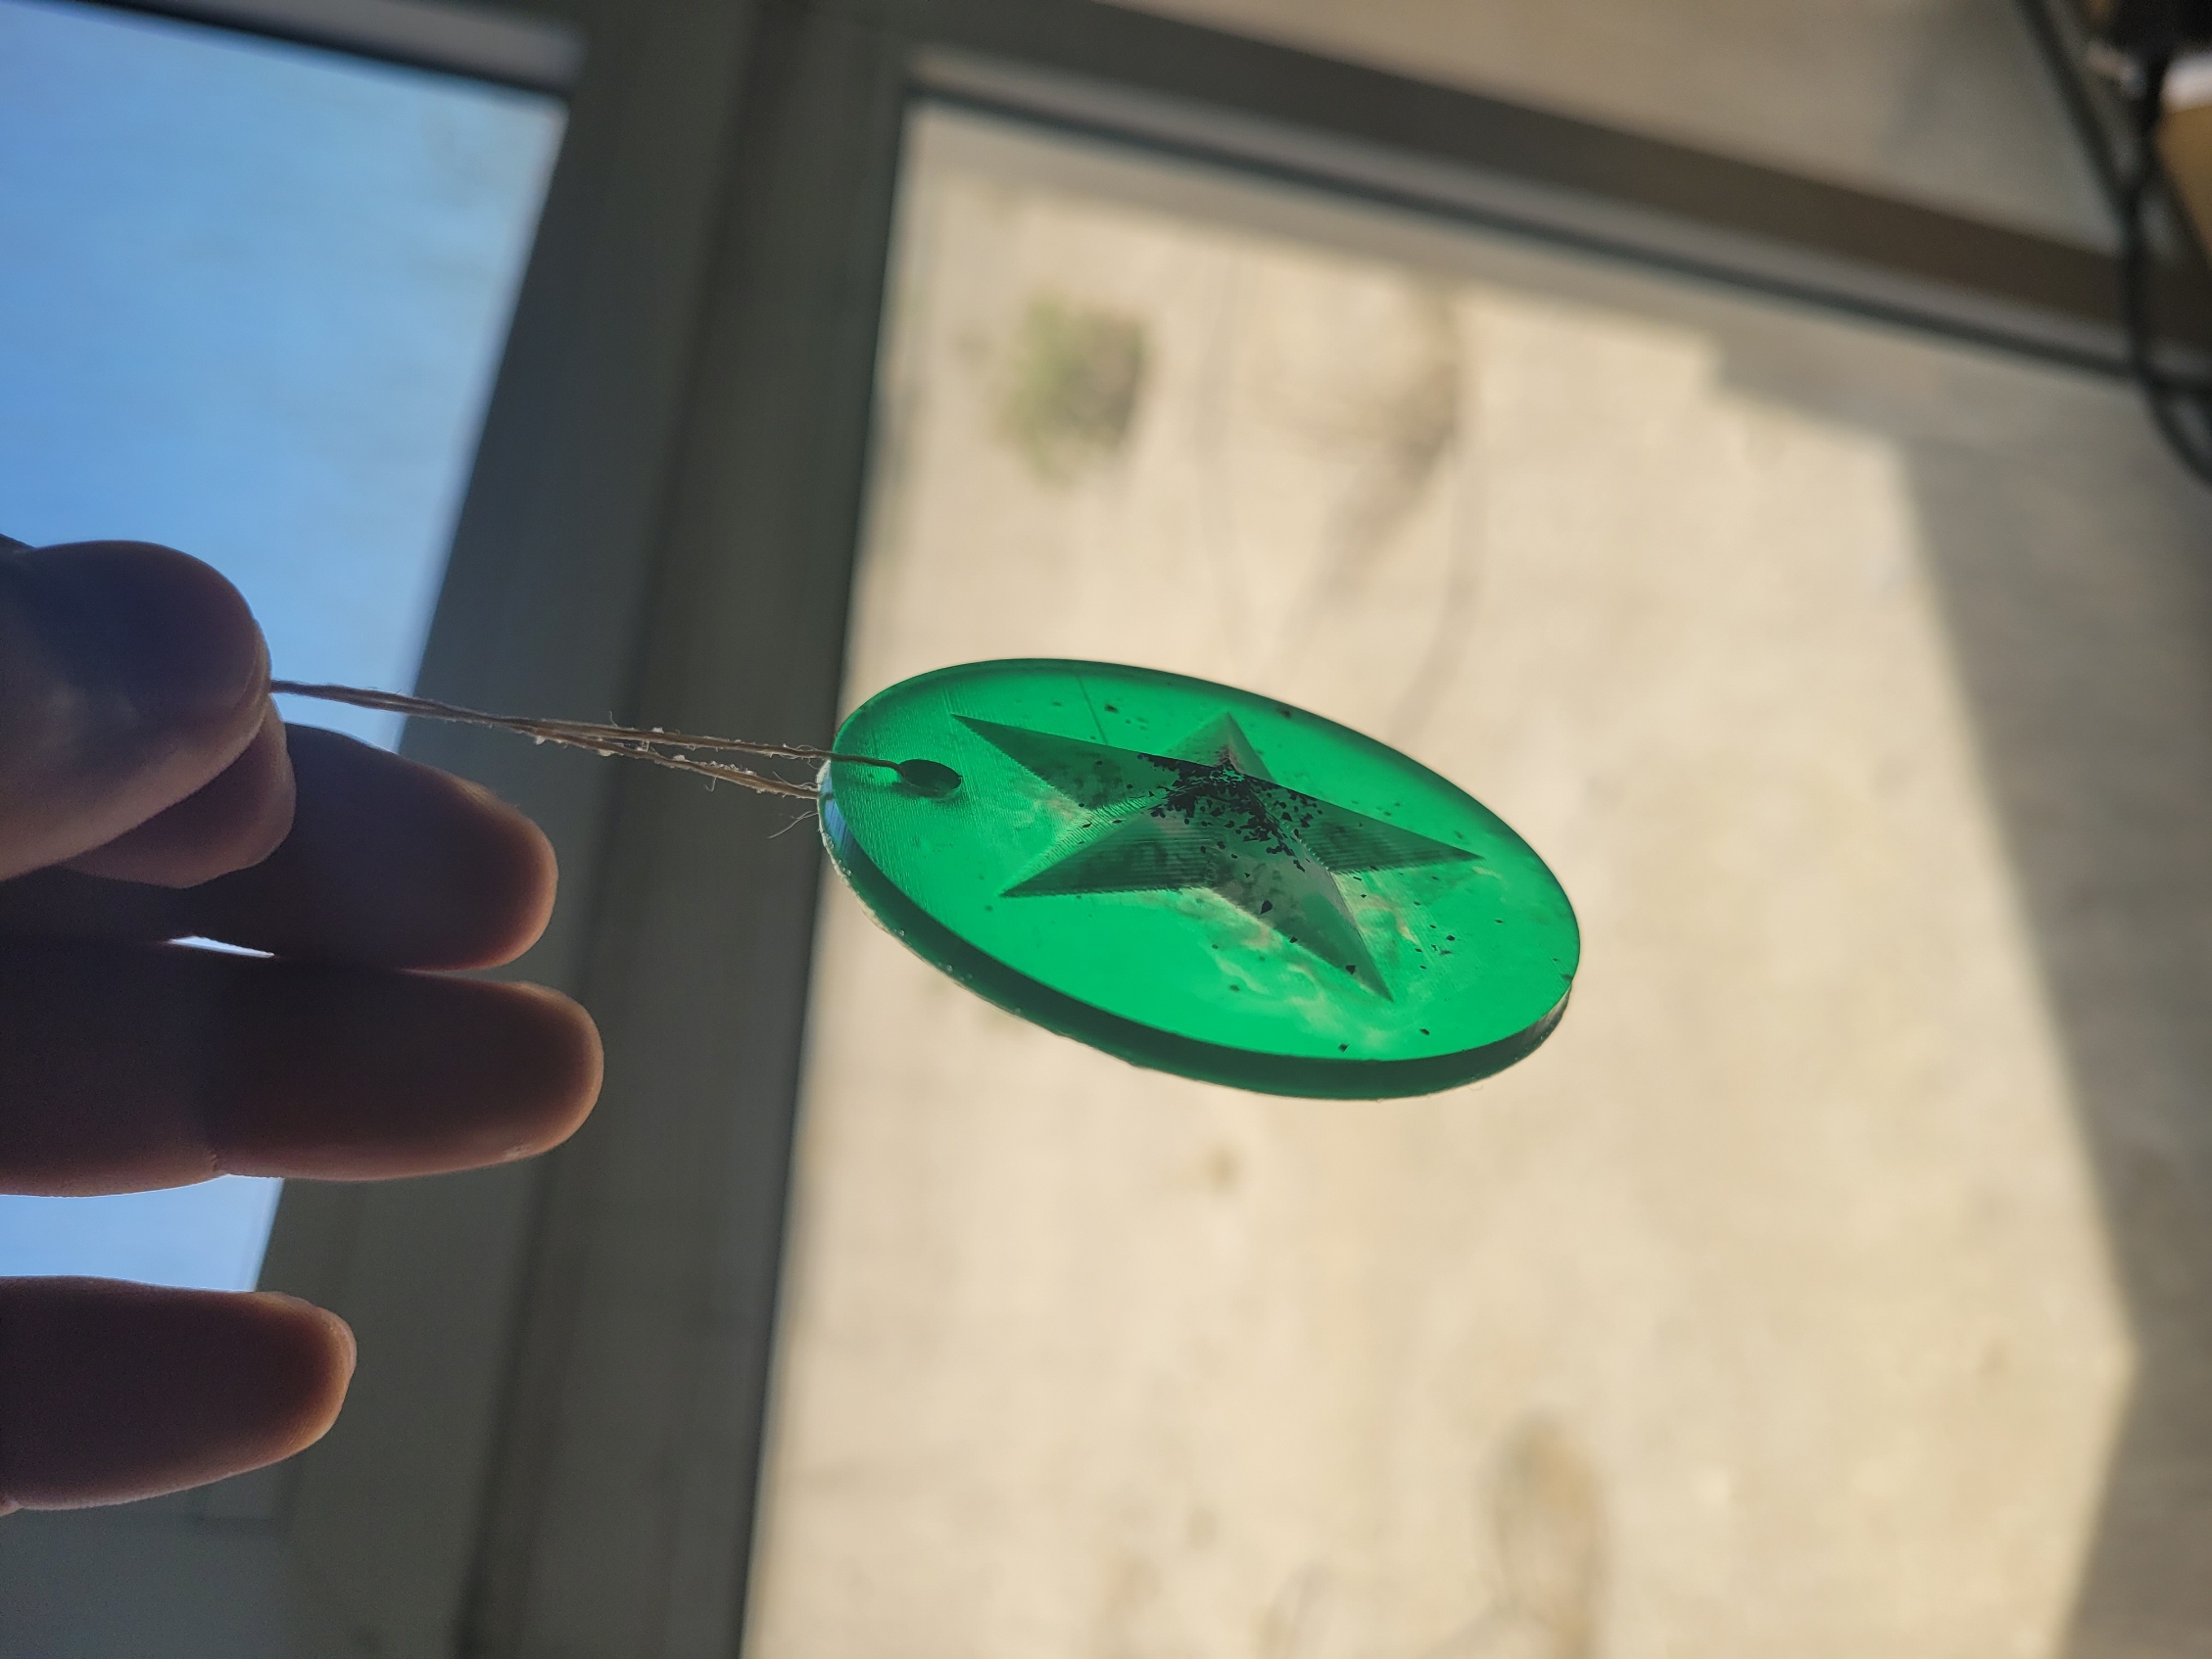
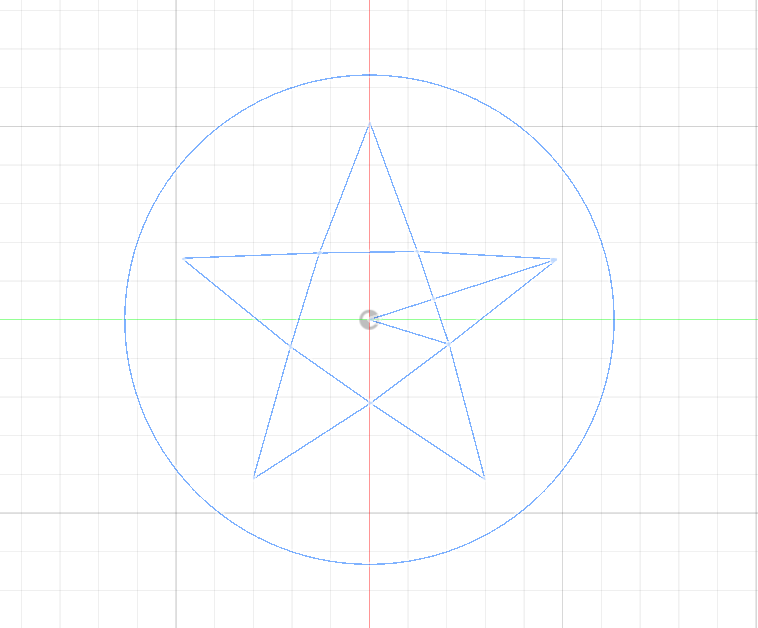
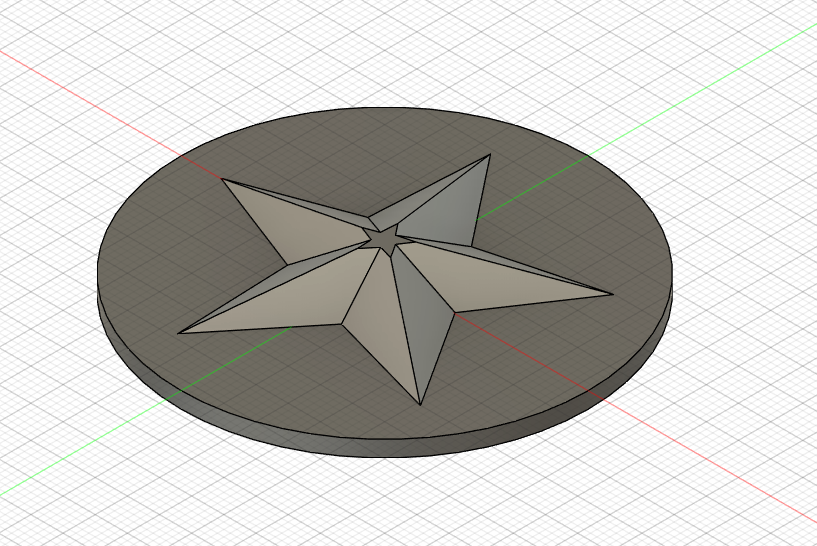
I decided a random shape of star on circle and designed the 3d structure using fusion360.
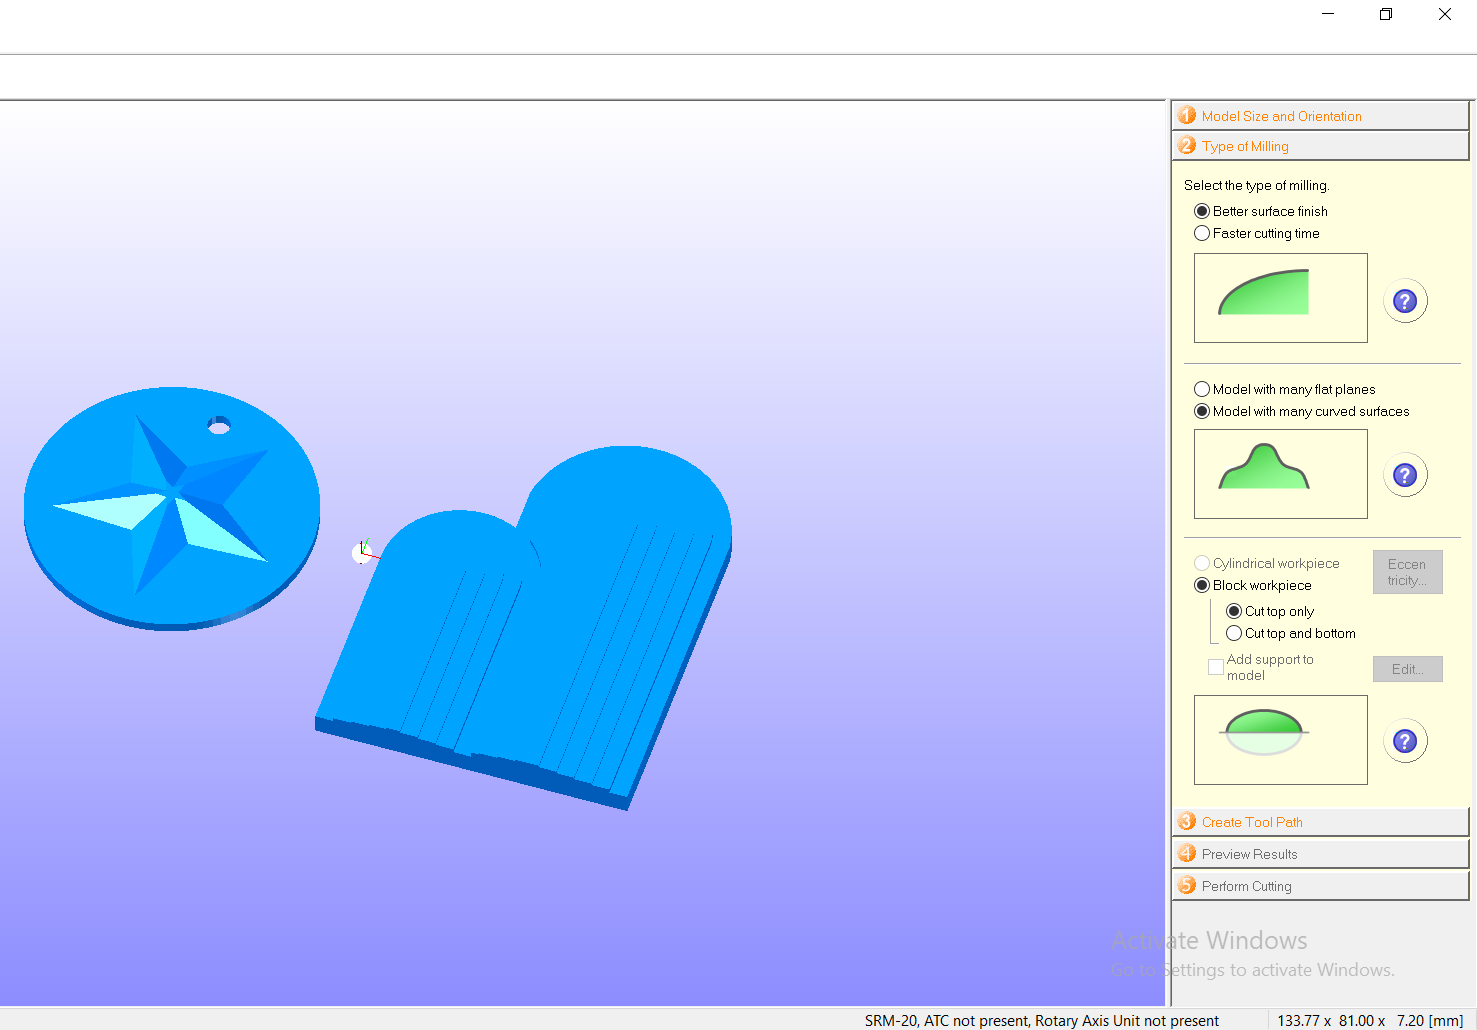
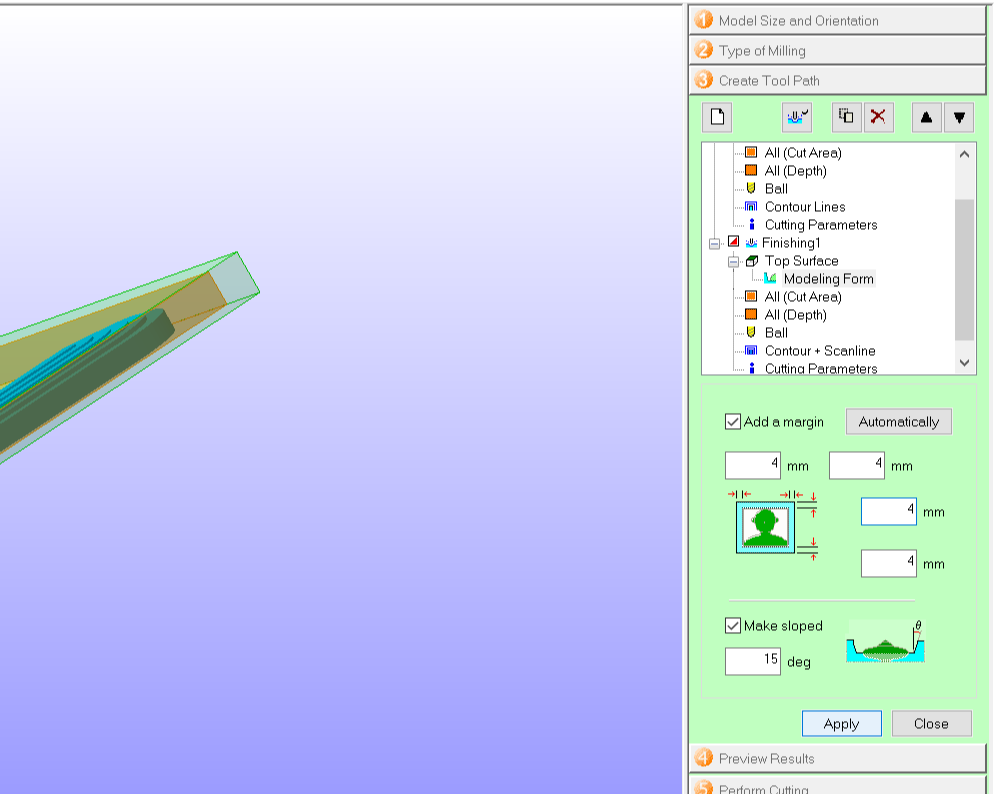
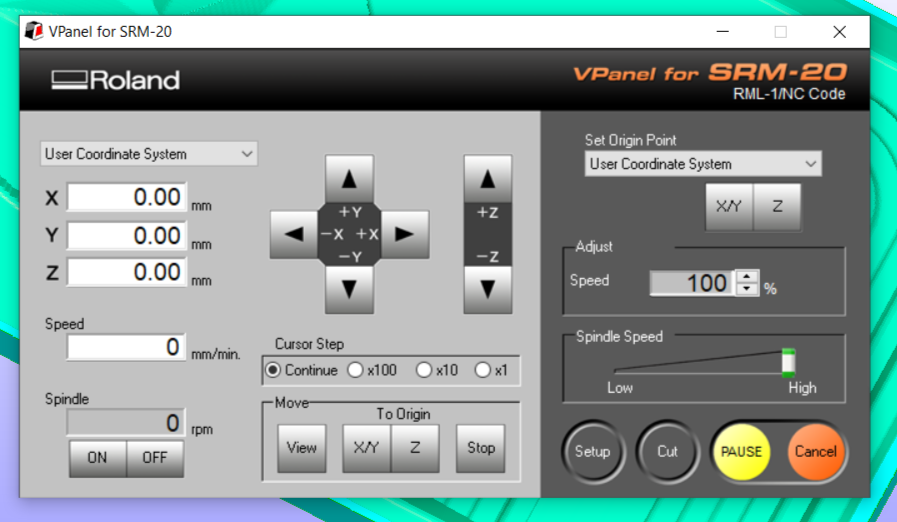
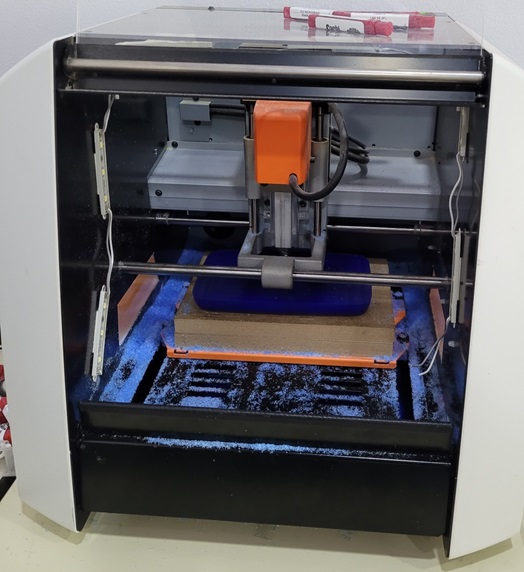
The design file was then transported to the desktop software (smashing robo-albar) which is integrated with fine milling machine (SRM-20). After having the file imported, now is the time to adjust few settings to have the designed shape milled appropriately into a mould.
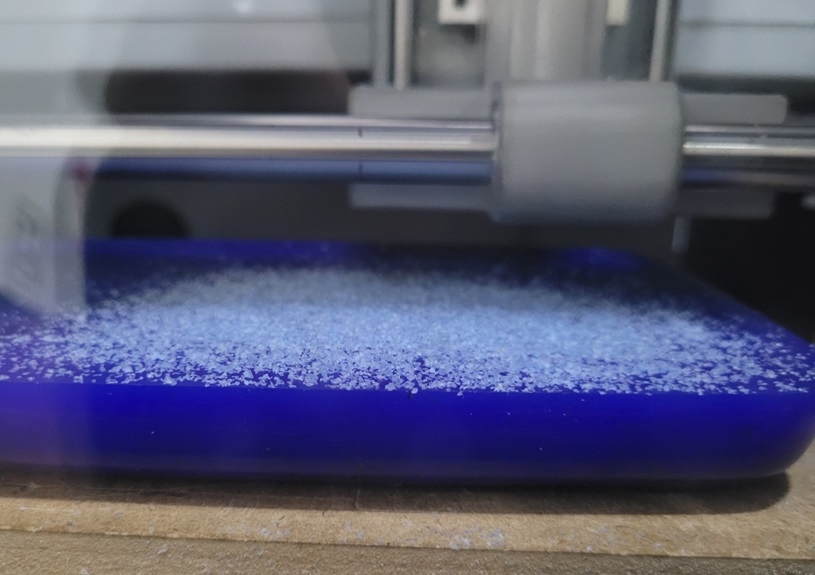
These settings include the type of milling: better surface finish, model with many curved surfaces since it has different surfaces (it mills at right angle to the surface of blue wax material).

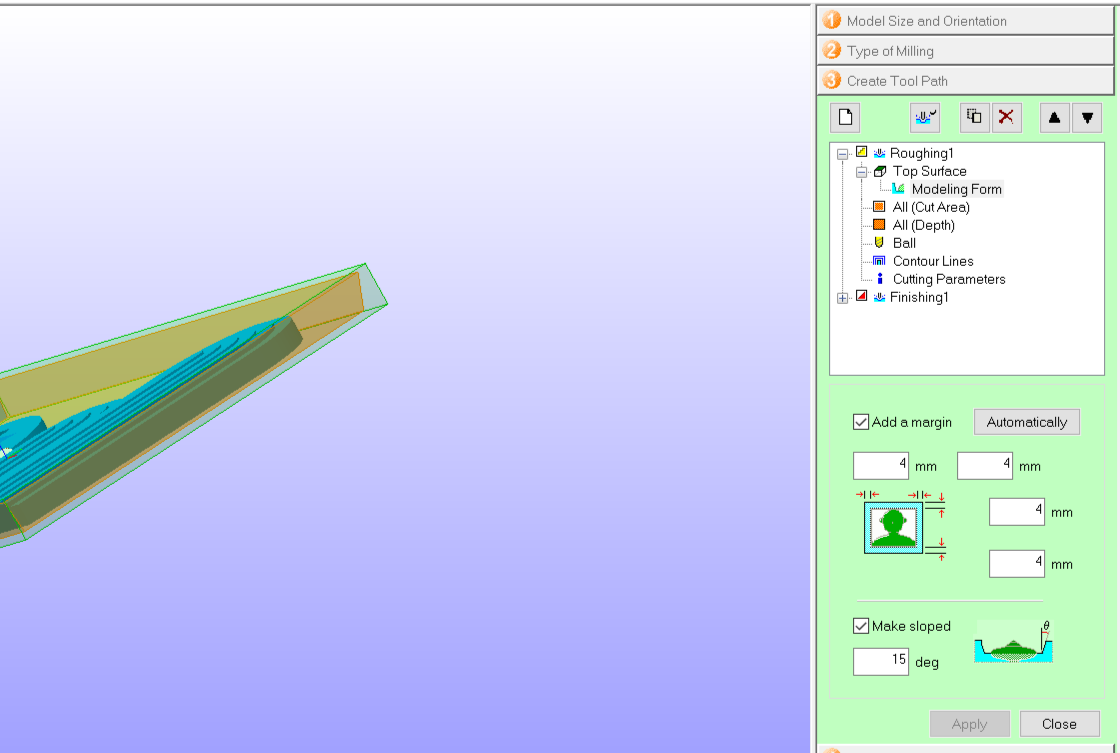
The milling margin was selected as 4 mm and with a slope of 15 degree.
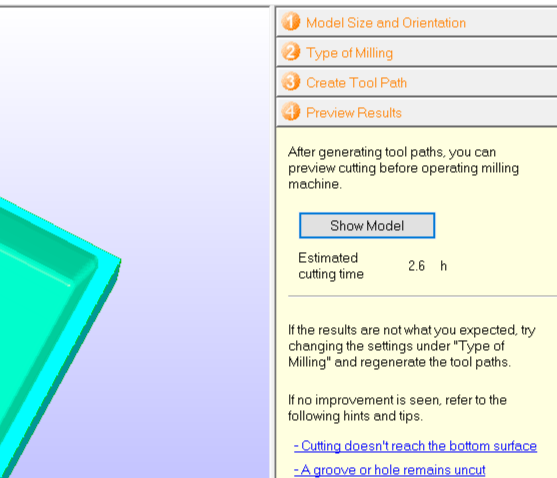
The below image shows the preview of final milled model before it starts milling with the estimated time it will take. This preview helps you decide whether to the finishing of the design is same as you anticipated.
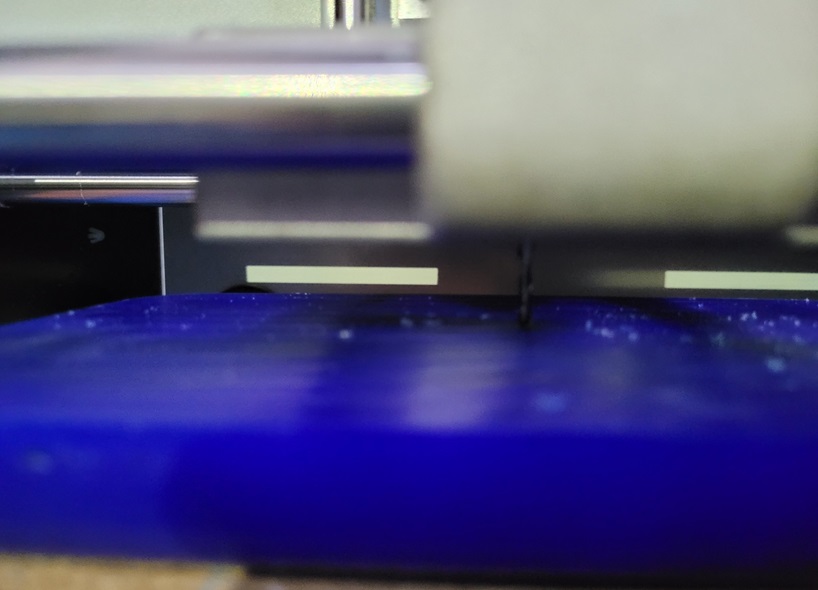
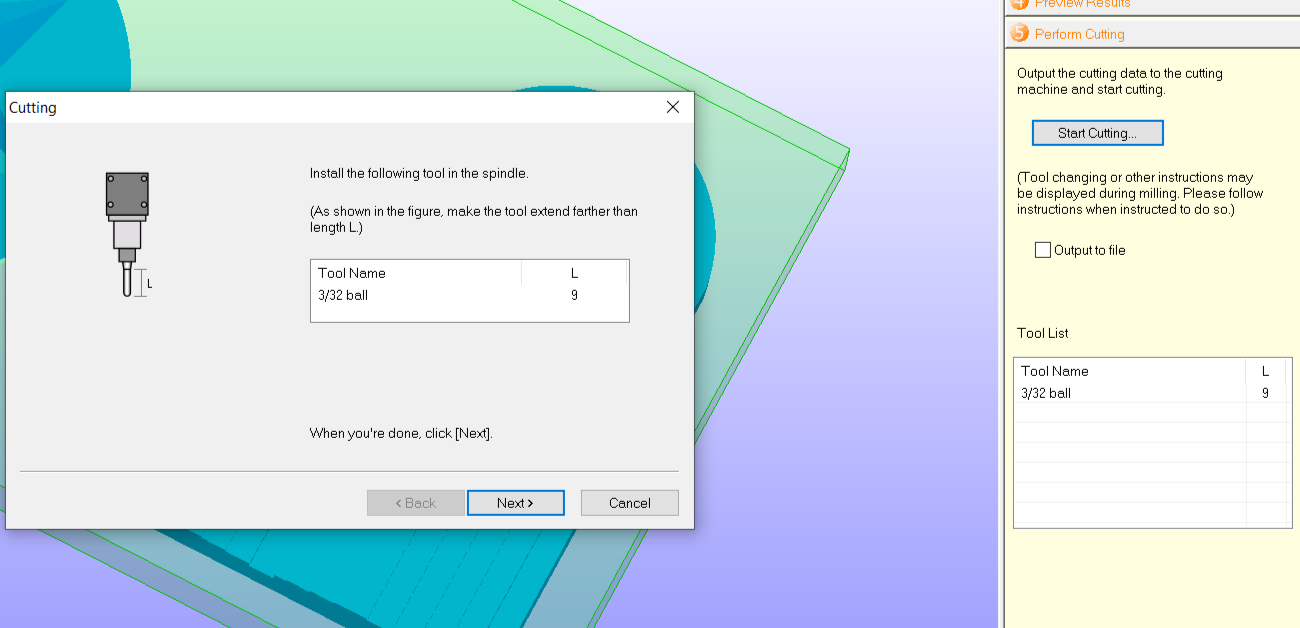
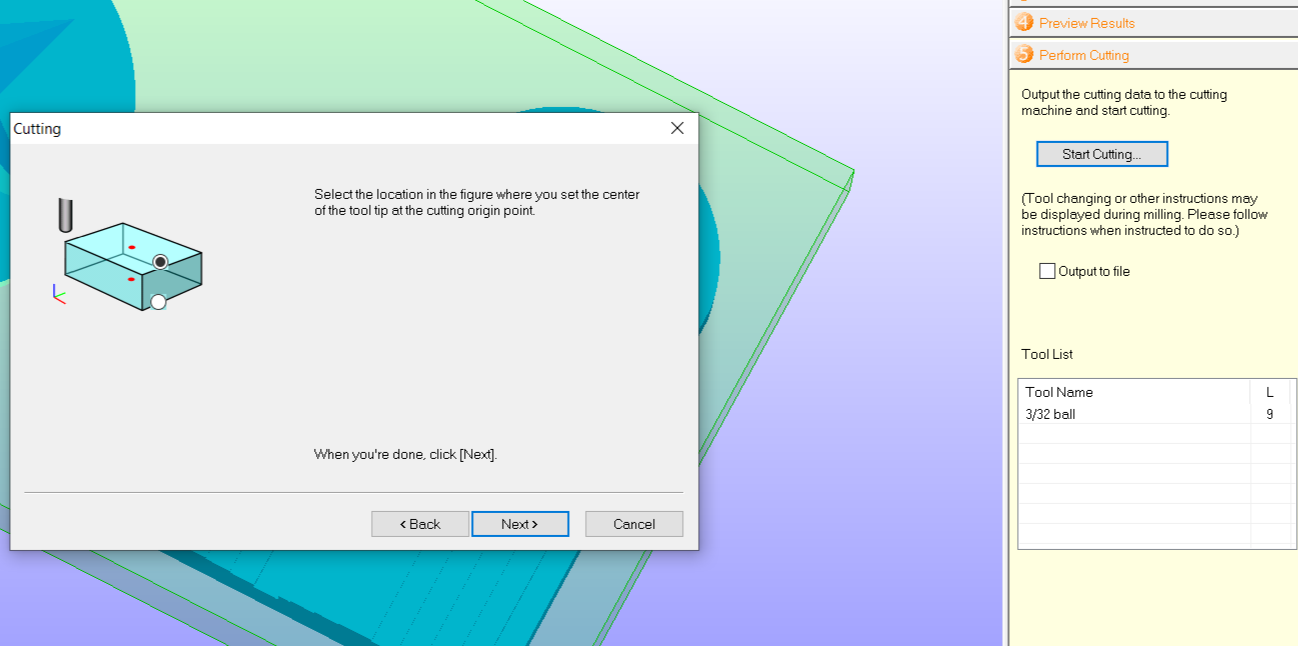
Prior to start milling of the design, I selected the suitable cutting/milling tool to be installed in the spindle. After this, location of the tool was selected from where it starts milling.
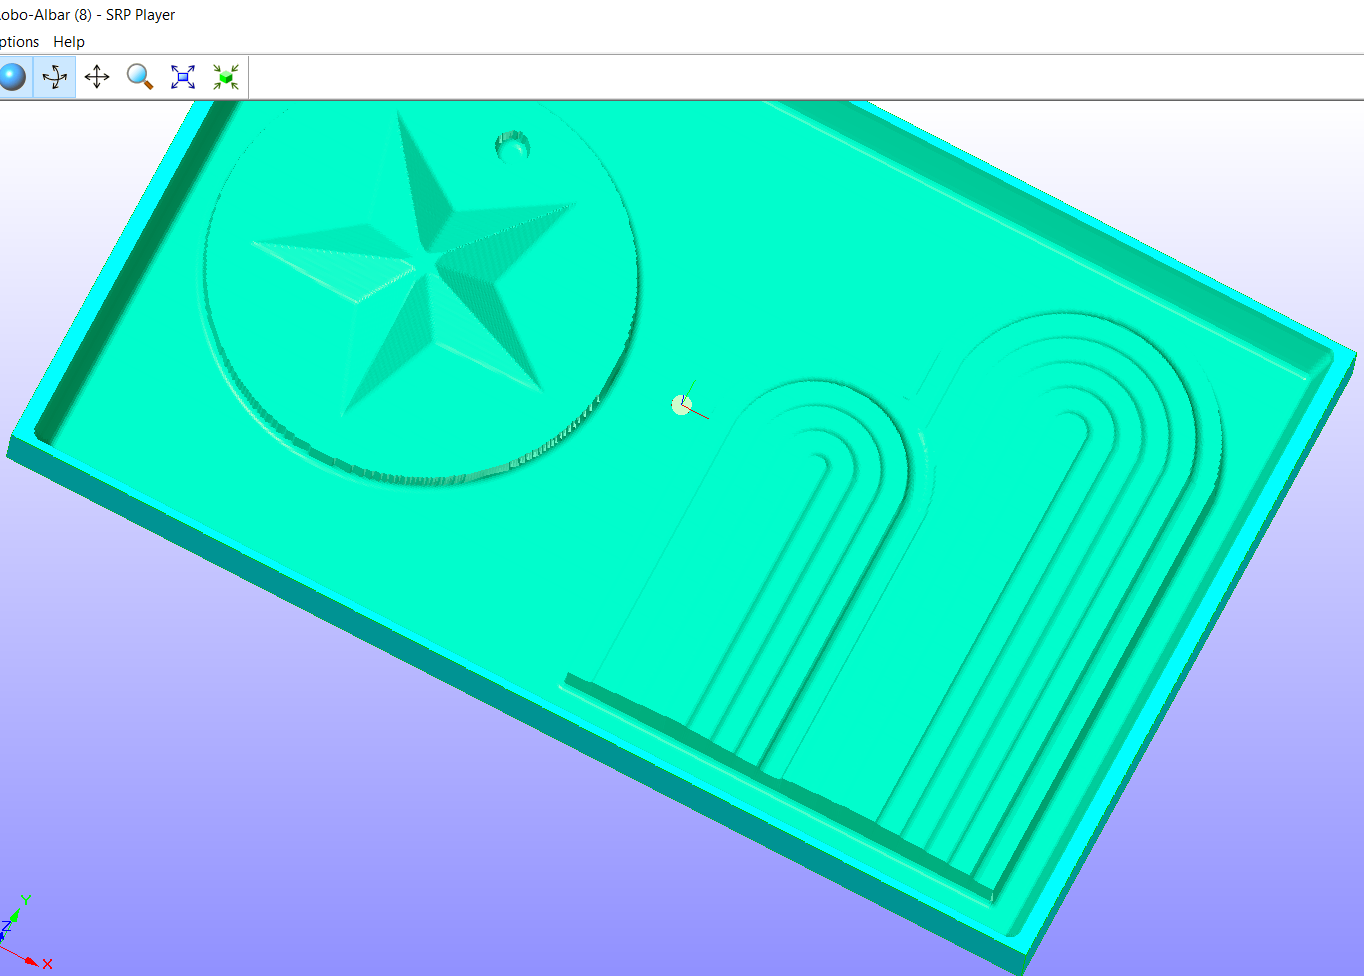
The final look of the mould is as below:
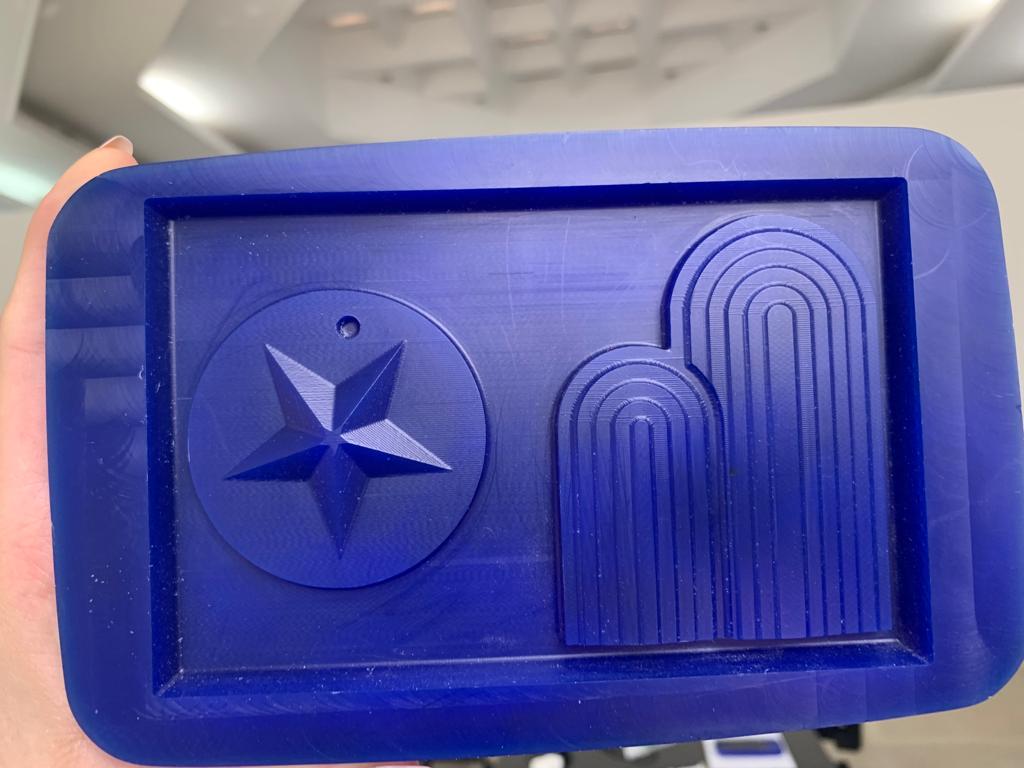
Note: The mould shape on the right is for my colleague, visit Her Website for details.
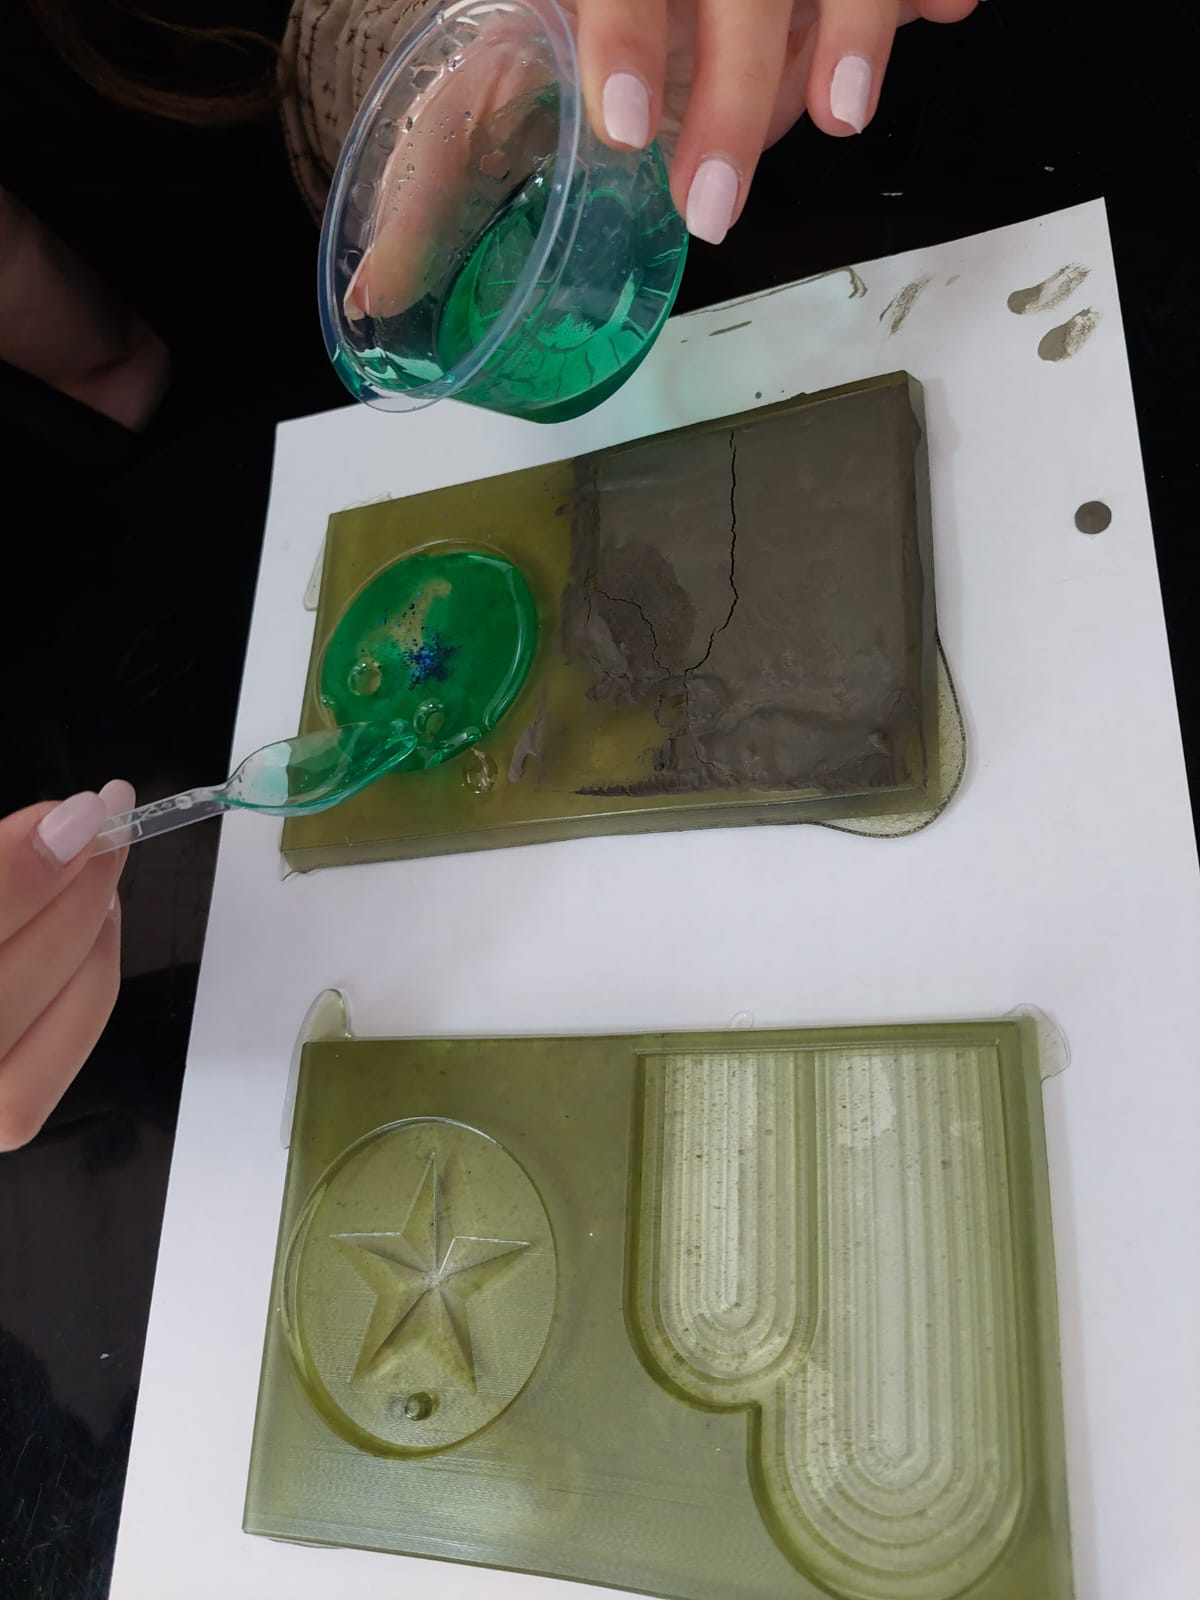
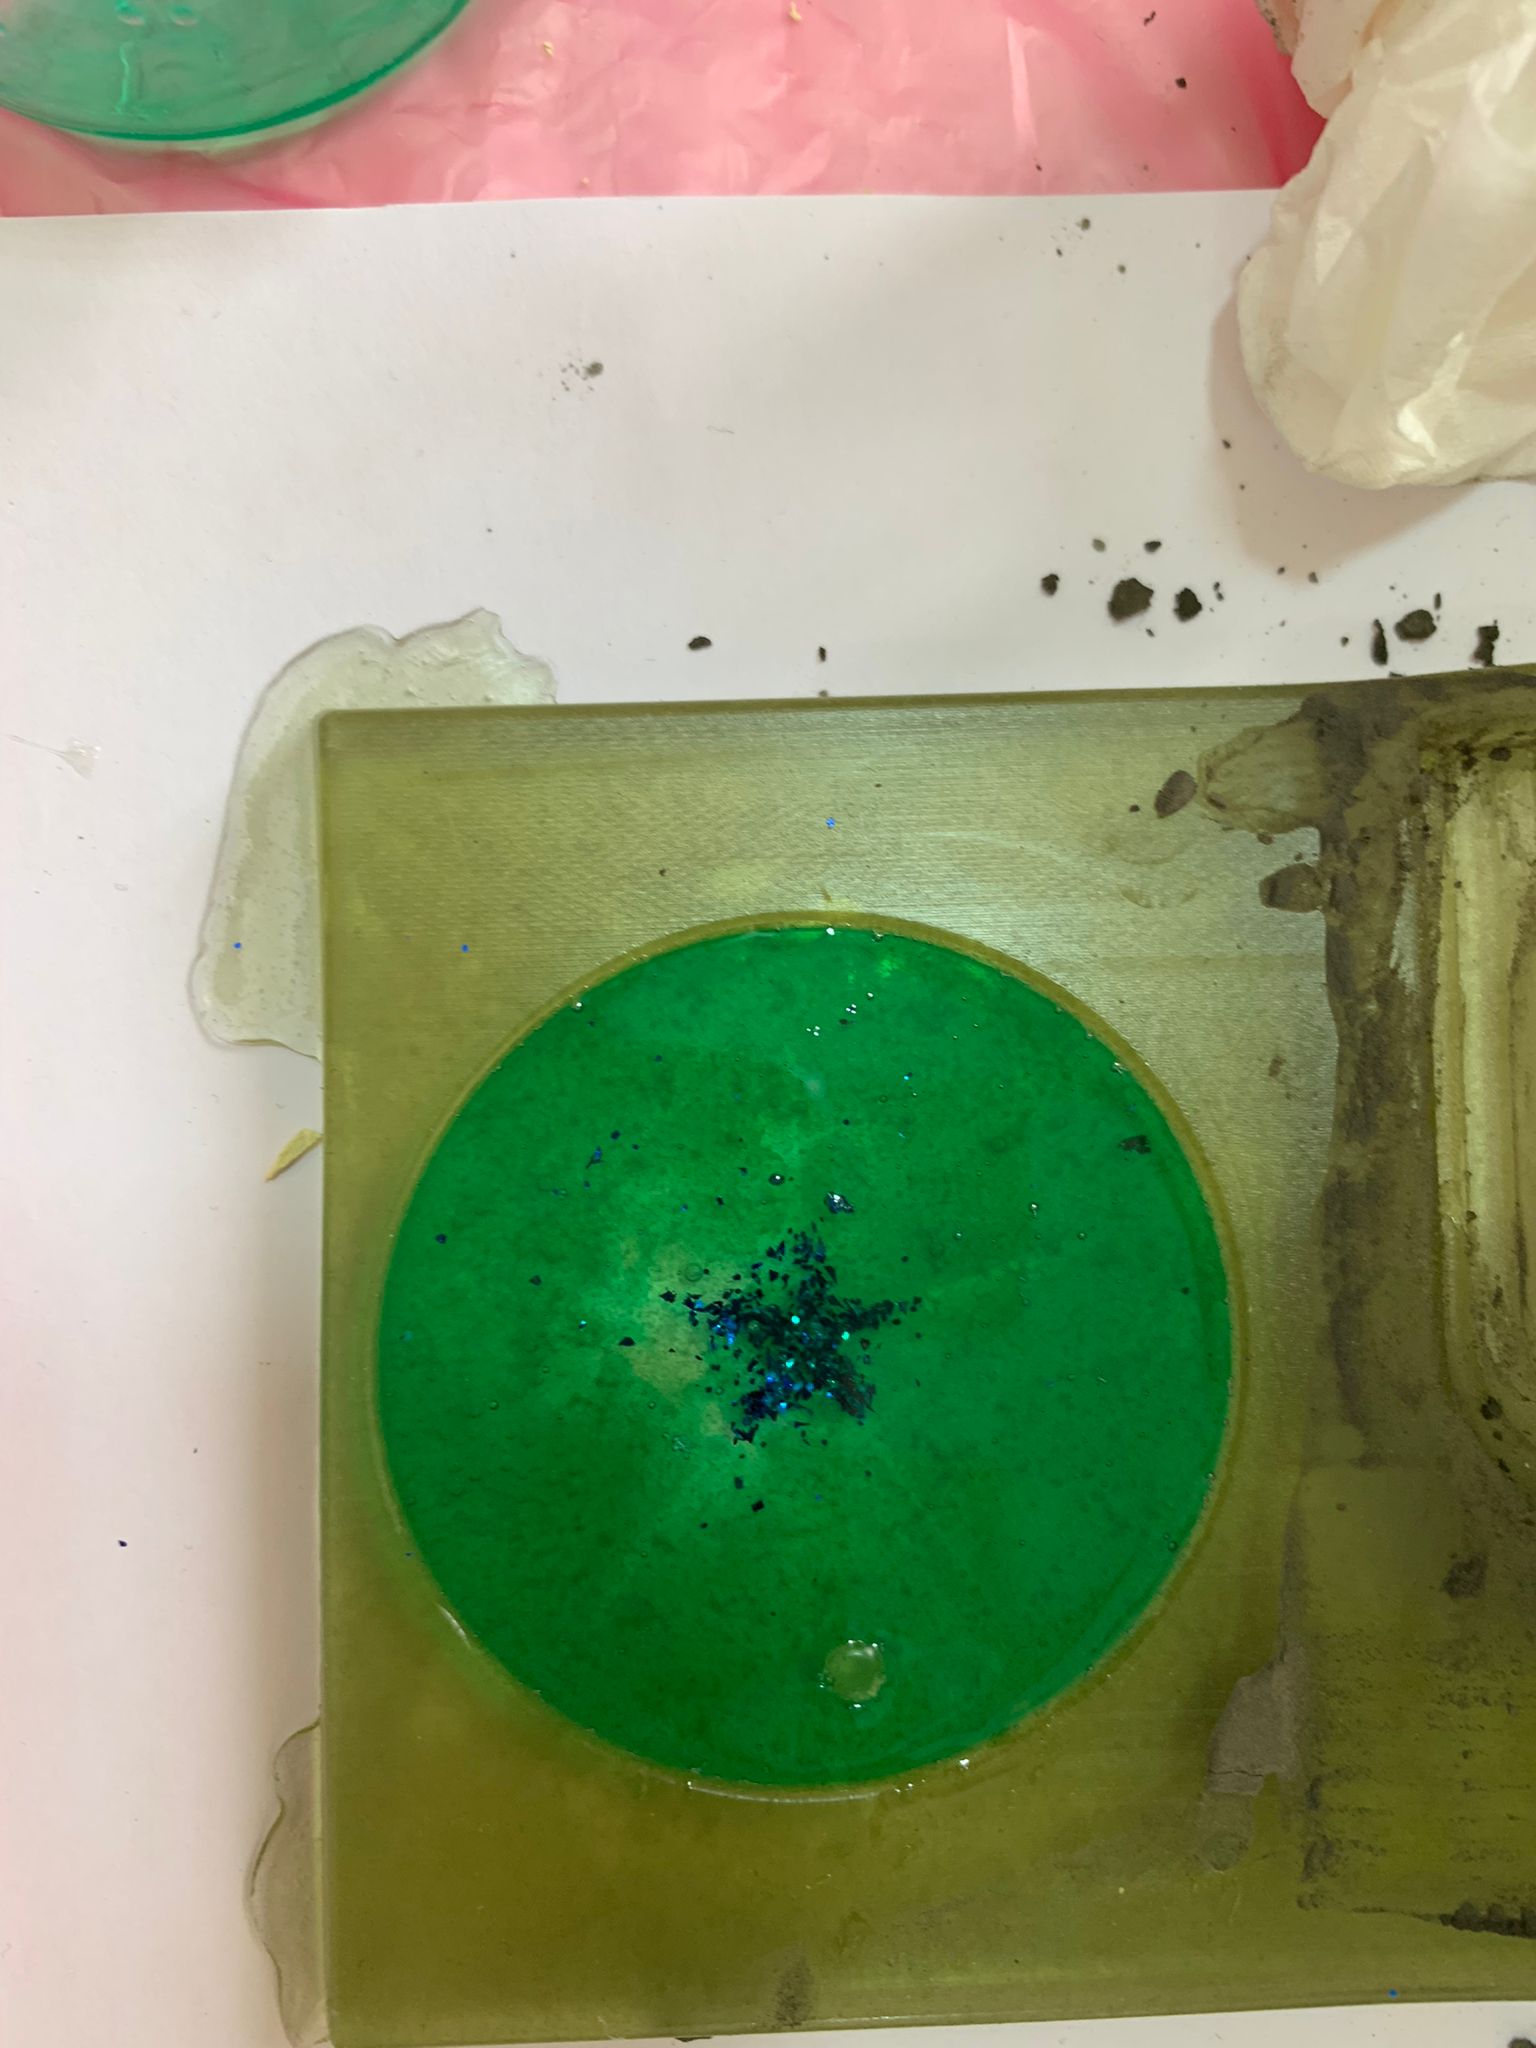
Casting
The milled design was casted with re-usable composite material (to prepare eco-friendly mold) which we prepared earlier in our Sample Project
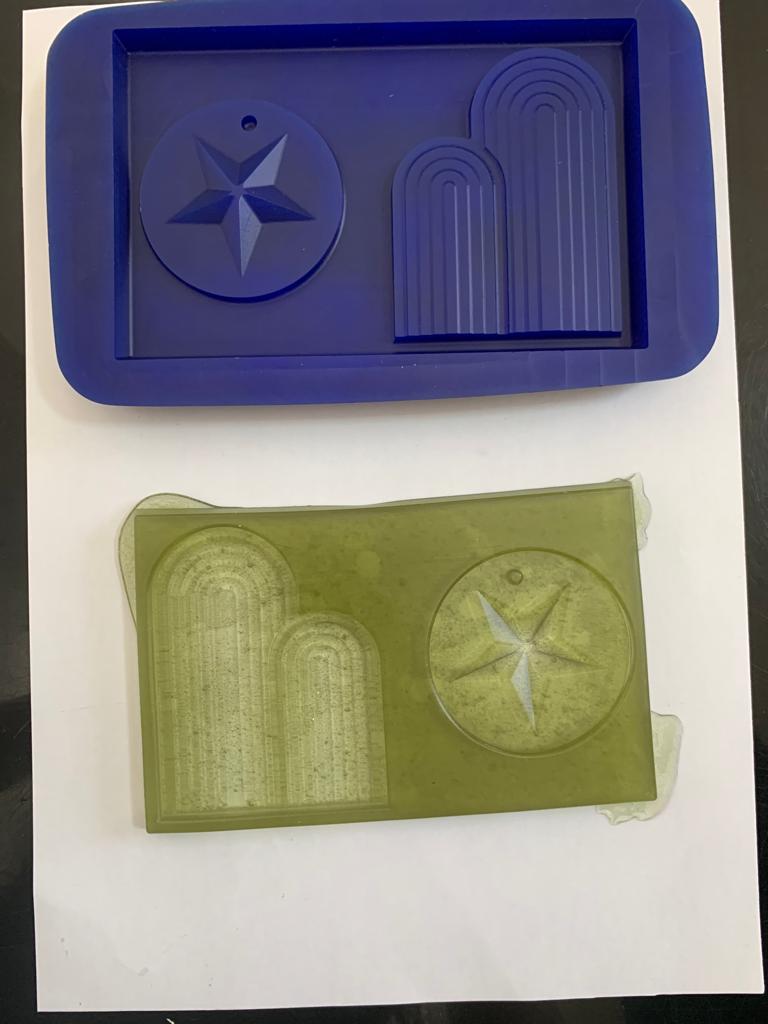
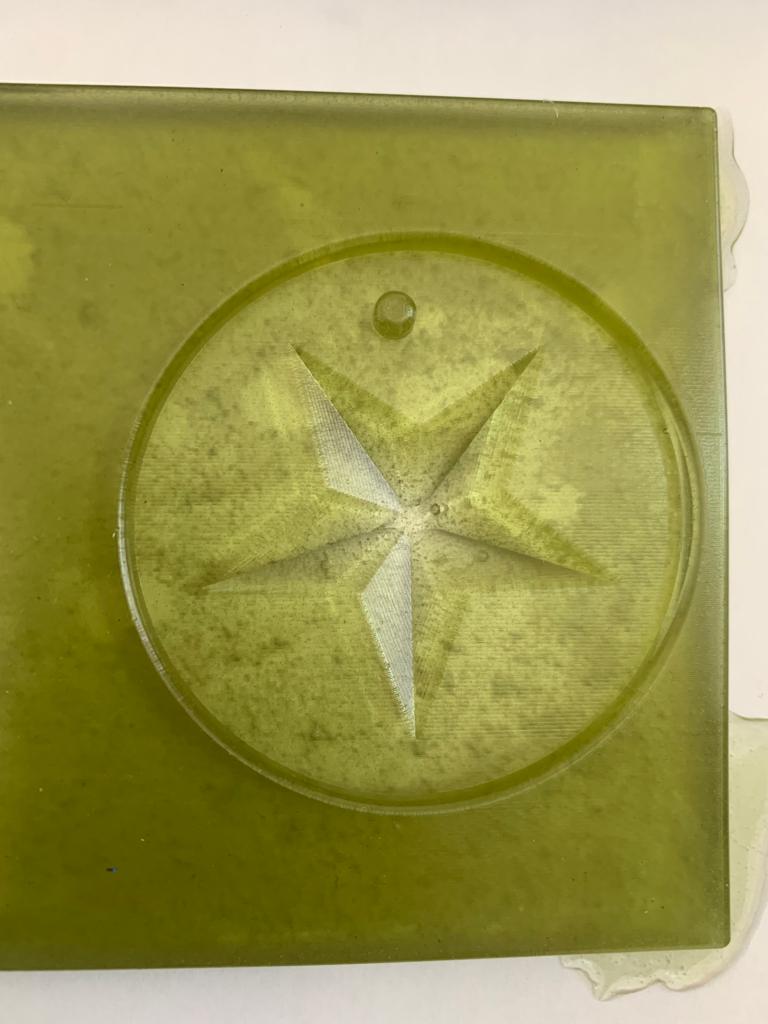
This mold was then casted with resin to get the desired object of keychain