3. Computer controlled cutting
The third weed started by learning the way to use the computer controlled cutting (CCC). In the beginning Ms. Duaa and MR. Abdulla started to explain how and why we are using the CCC, then a group assignment and individual assignment were given to search more about the CCC. After, we start to learn about the vinyl and wat are the main uses of the vinyl. Following, a detailed information and photo for the work done during this week.
Leaser Cutter
Group Project
The given task were to search about the clearance while using the CCC. After completing the task, I wrote the findings and sent to my college Ms. Kawthar. Ms. Kawthar collect all the completed tasks and prepared the group project assignment. To view the final group project please visit this link.
Individual Assignment
The individual assignment was to create a parametric construction kit, which is providing a design that can be cut on the CO2 Laser Cutter as a 2D design then this cut specimens can be assembled to create a several 3D design. To create this design Cuttle.XYZ were used, which is a suitable programme to create 2D designs.
Step 1 Designing:
- New project
- Drag two rectangles
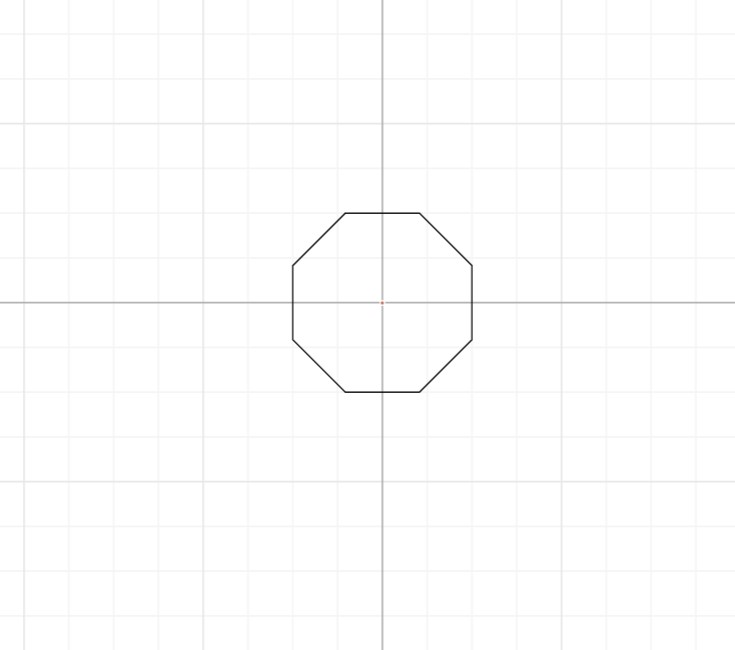
- Rotate the second rectangle by 45 degrees
- Select both rectangles and select Modify then select Boolean Intersect to get an octagon design, as it can be seen in the photo: -
- Save the components, then select create new component
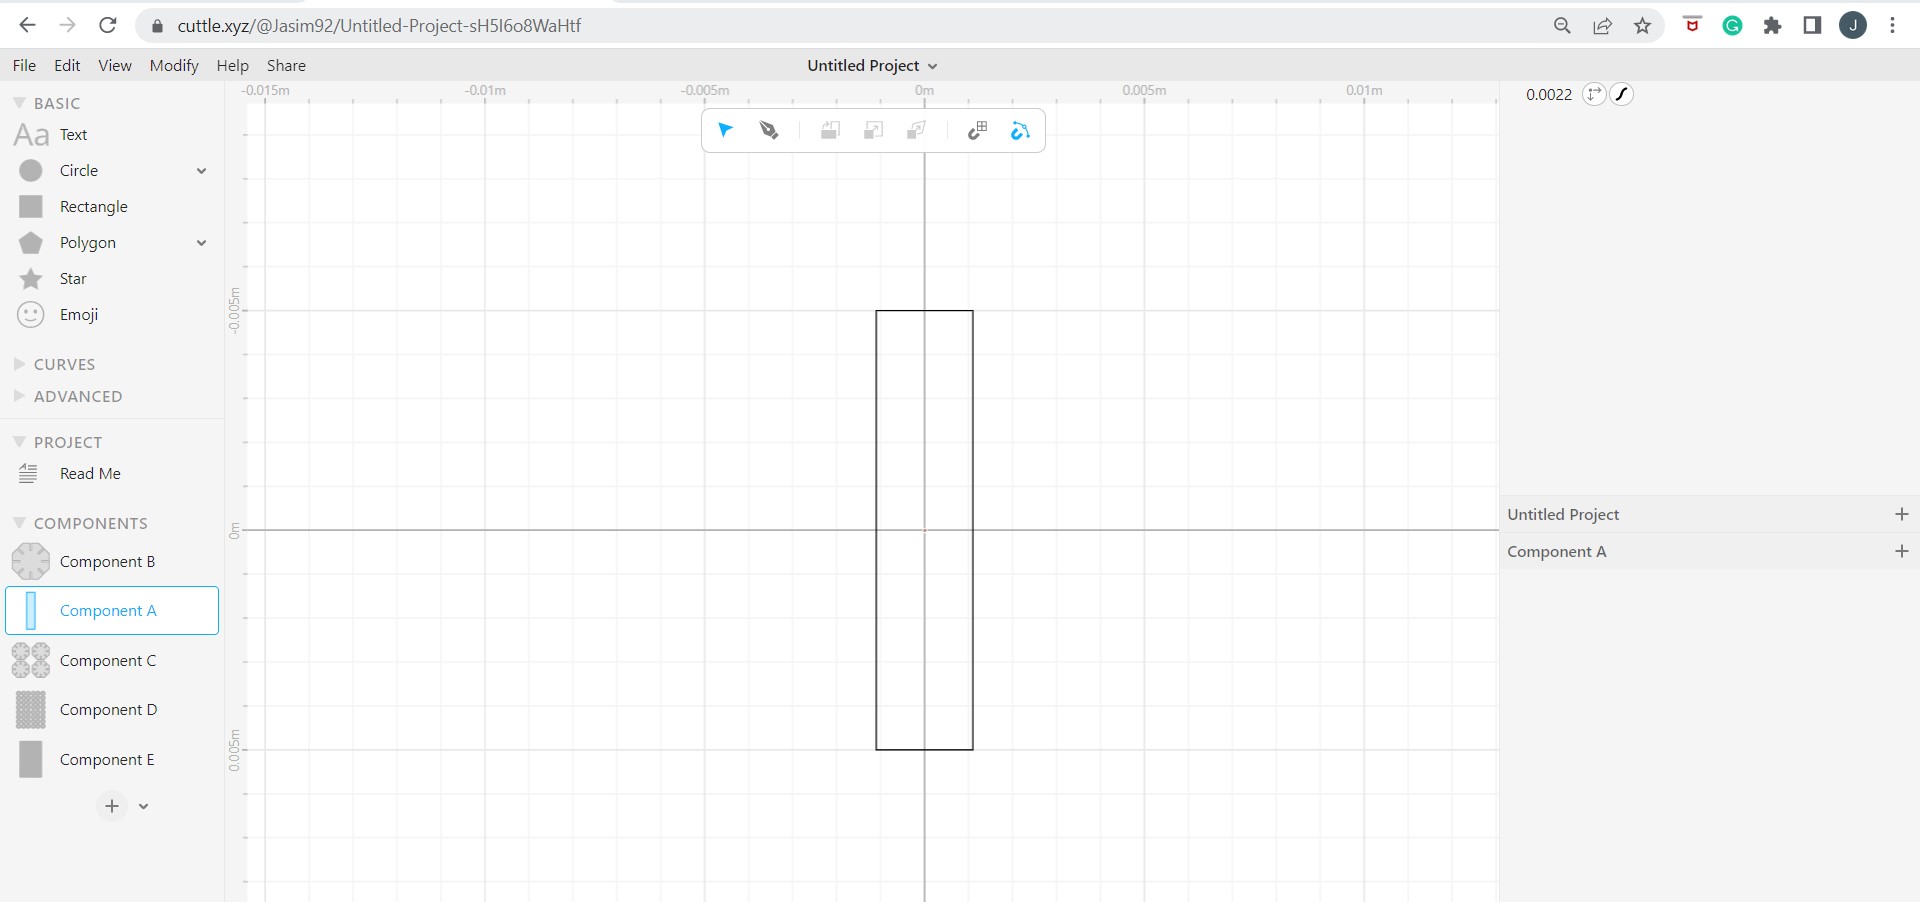
- Drag a rectangular design and modify it to has 2.2mm width and 10mm hight (If the size of this design changed, it will directly change in the final design as well), then save the design as it can be seen in the photo: -
- Return to the first design and drag the new designed rectangle and place it on each side of the octagon
- Select all the components then select Modify and select Boolean Deference to get the following final design: -
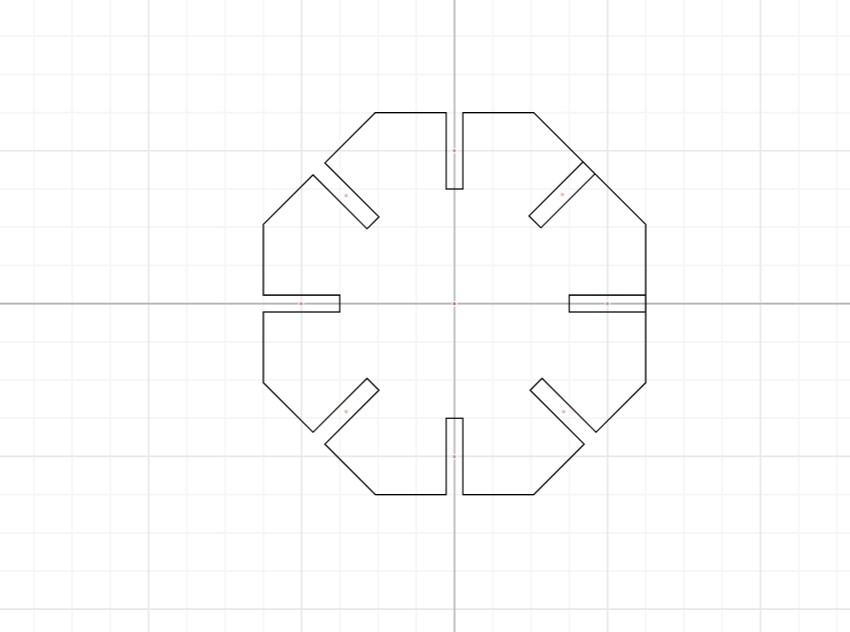
Following the original design:-

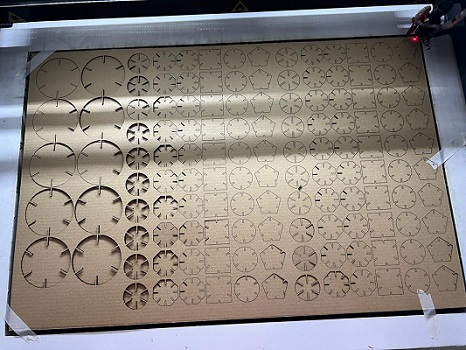
Step 2 Cutting
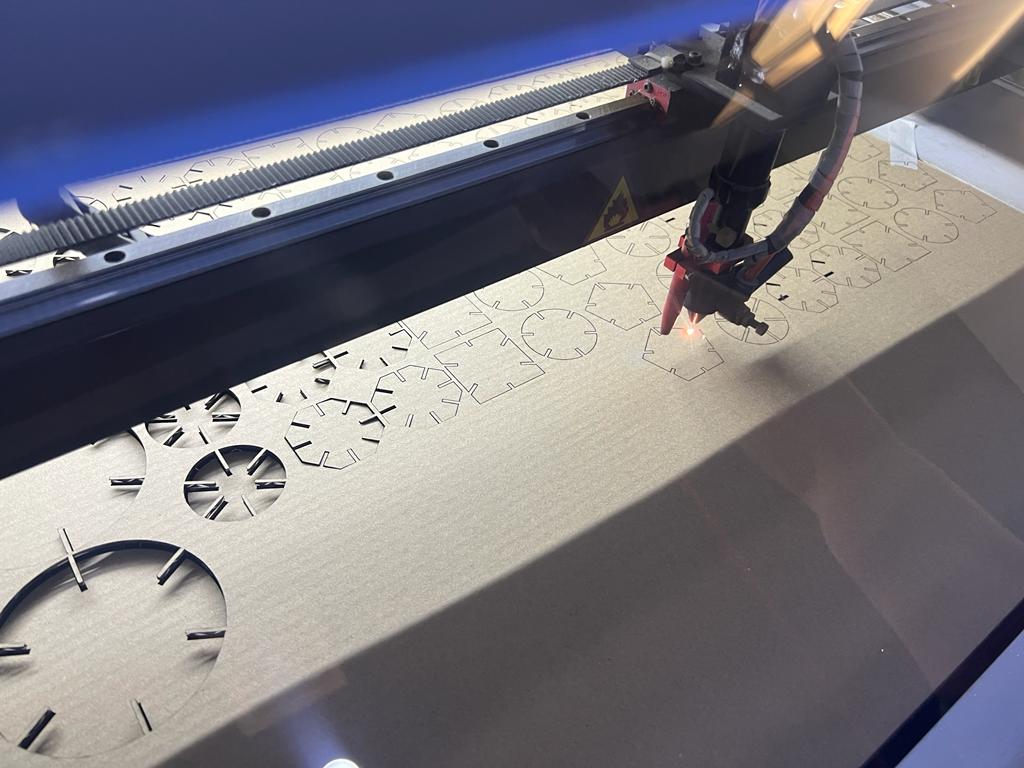
After finalizing the 2D design, the design sent to the computer that connected to the CO2 laser machine. The design double checked to insure that all the dimensions are correct. After, checking the design dimensions a sample cut for to specimens to check the design after cutting to find out if it can be assembled easily or not. By finding that the parts can be fitted together easily, the final cut start by placing a new material in the lazier machine and fix it by using a tape. Then, sending the final design to the lazier machine to start cutting the material, as it can be seen in the following photos: -
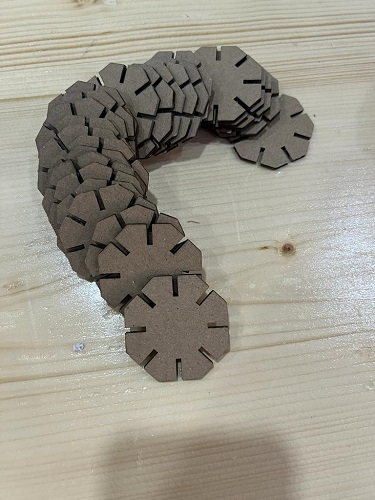
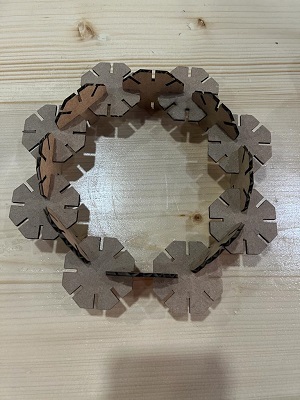
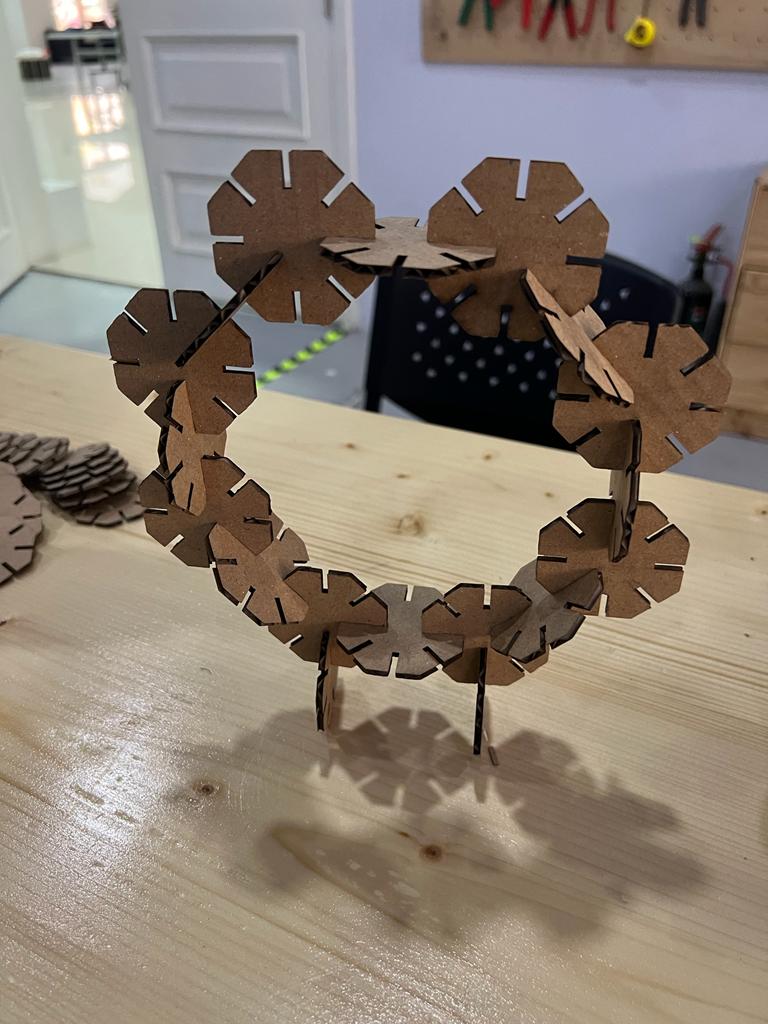
Step 3 Assembling
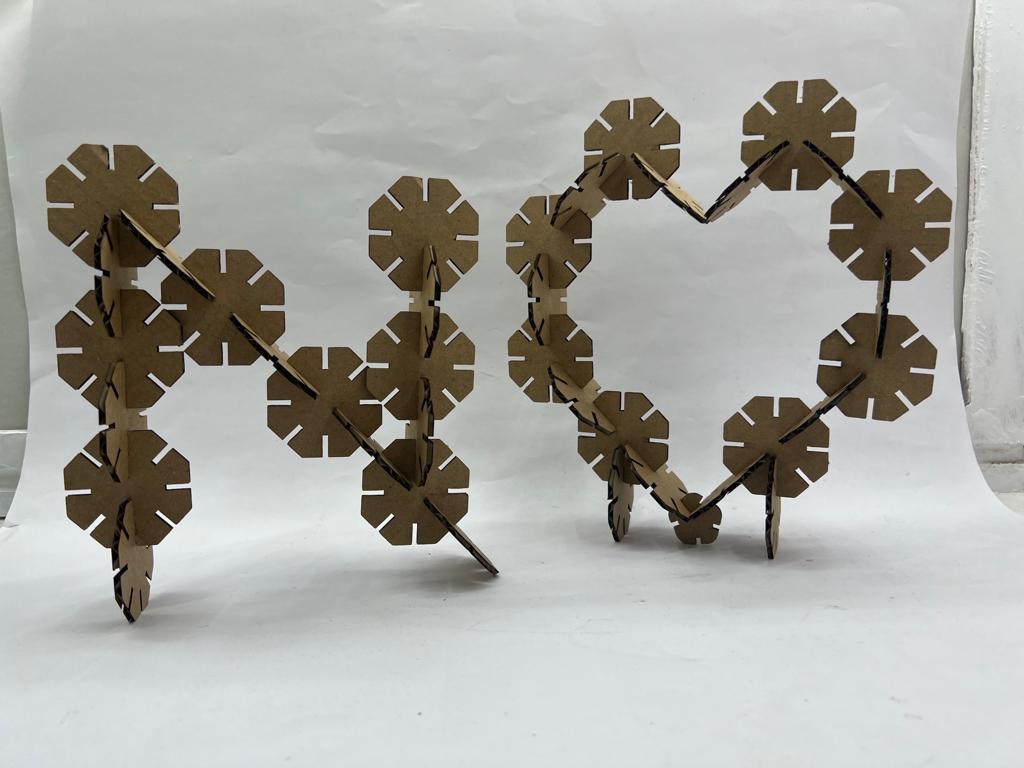
By getting all the parts out from the cutting material, the cut design can be assembled directly to create different 3D designs and shapes as it can be seen in the following photo: -
vinyl
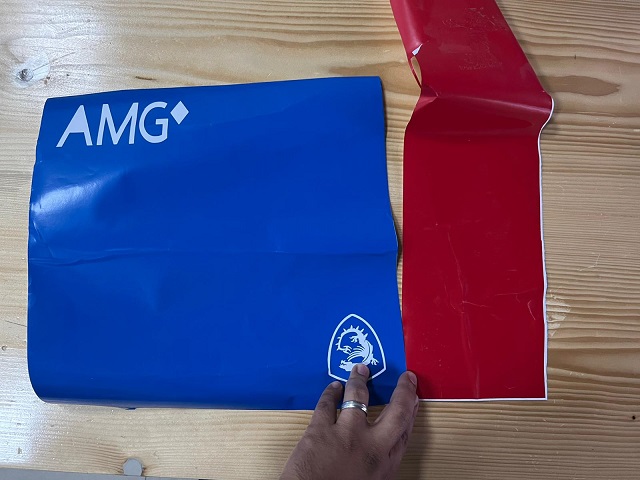
This project were made as a group project between my colleague Fareed Abusaqer and I, to start this project two photos were selected to be converted to a sticker that will be stacked on our final project prototype. The selected photos are Bahrain Polytechnic logo and Fablab BH logo, were both of them were the supervision on our final project and Fablab BH provide us with the needed component to manufacture the prototype.


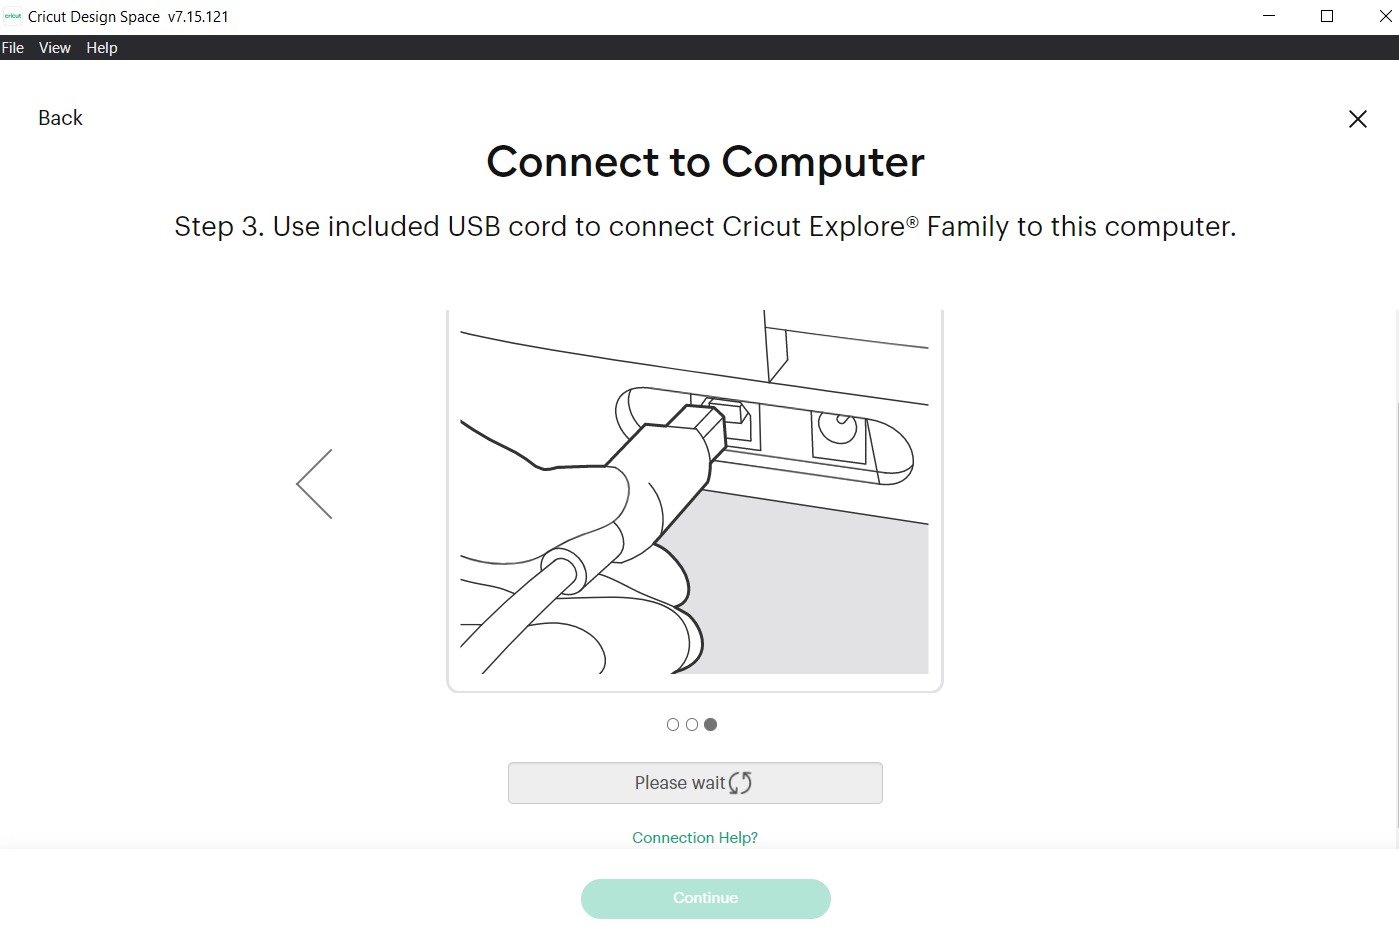
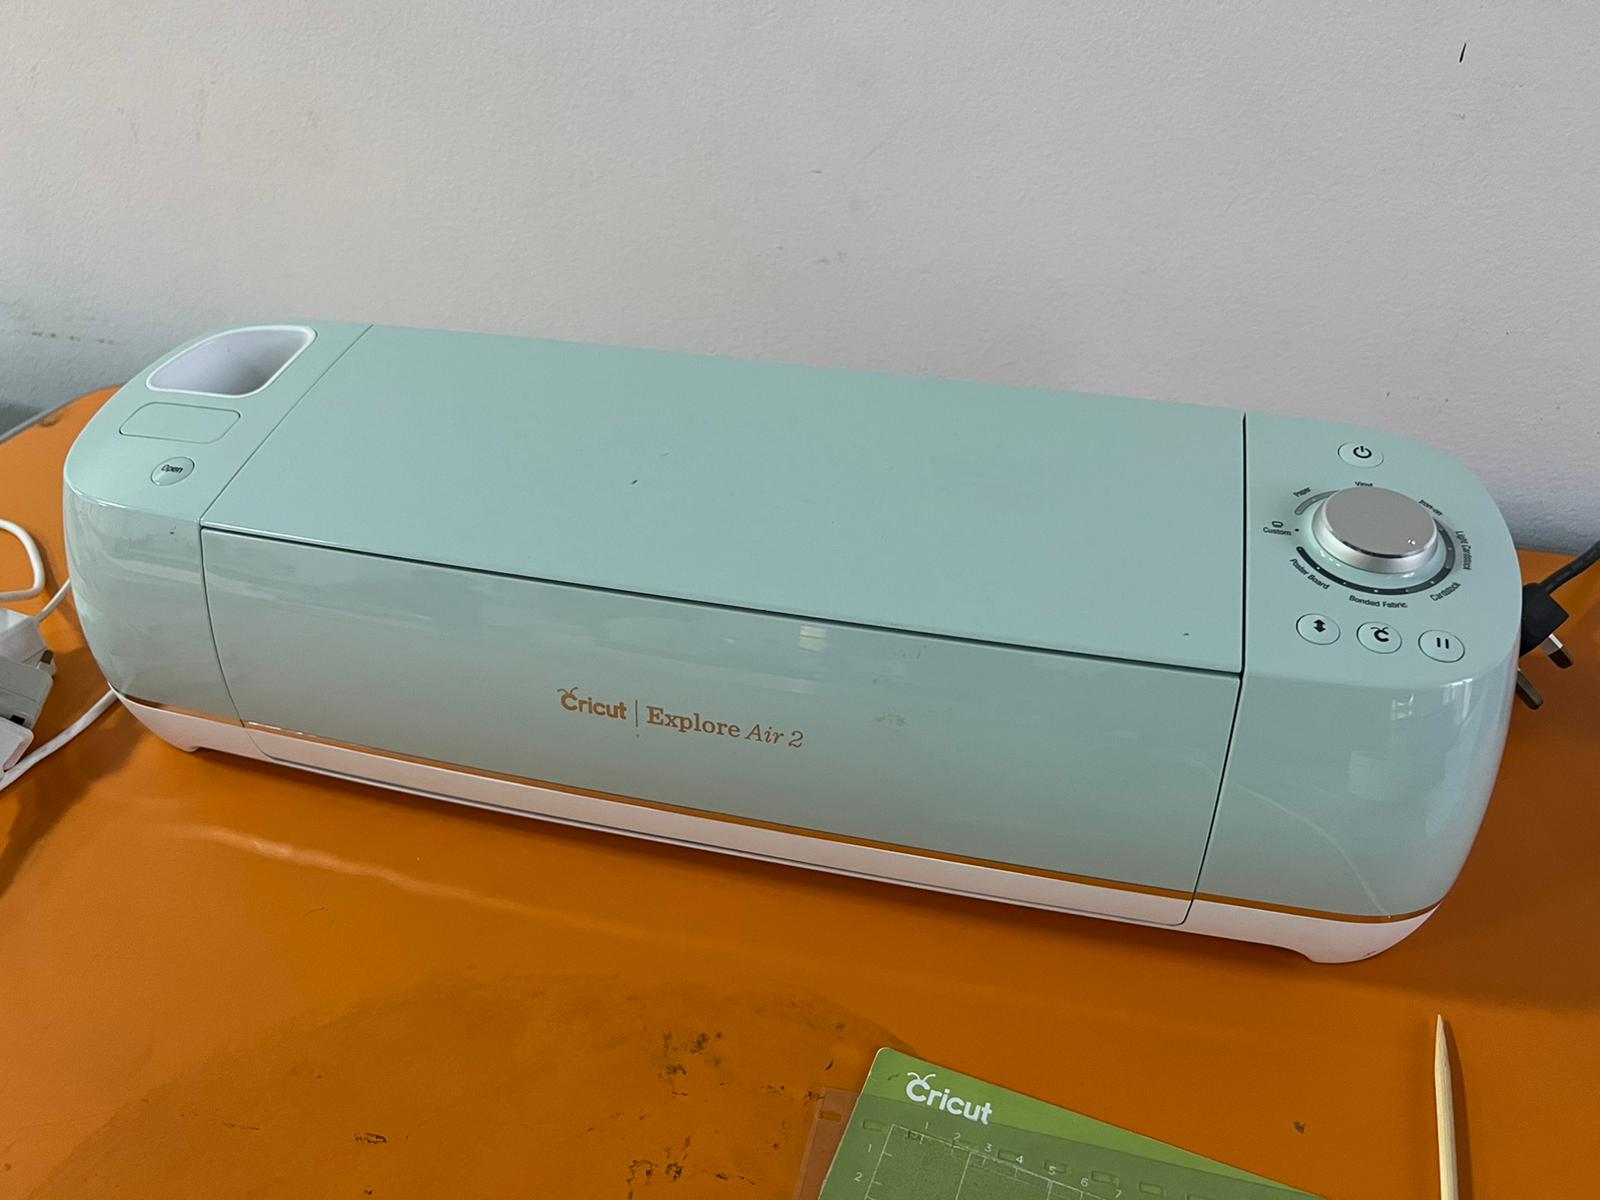
After selecting the photos, the Cricut design programme downloaded to the laptop, the Cricut machine connected to the laptop:-
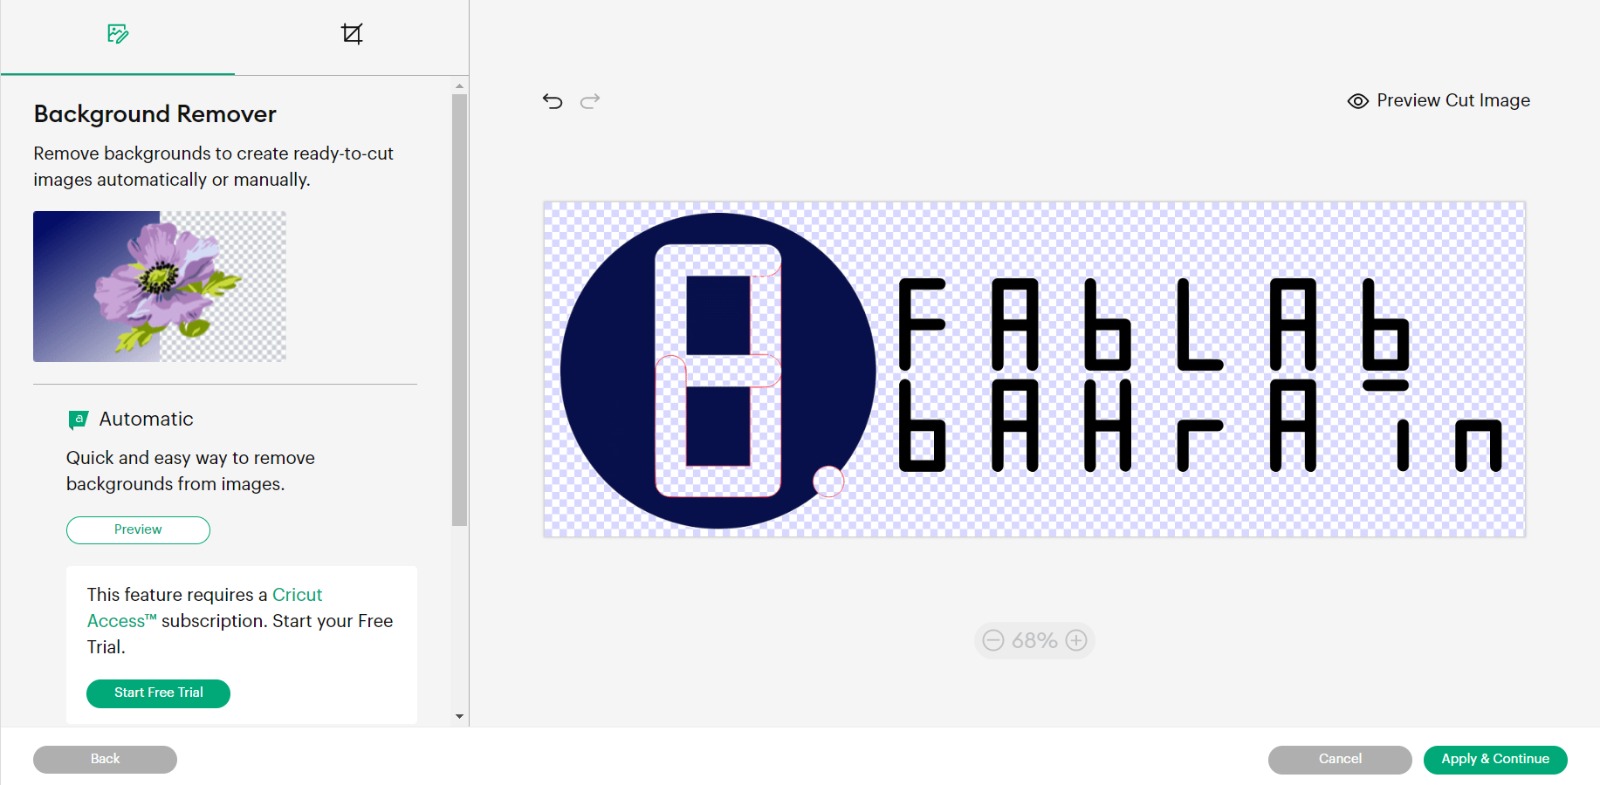
Then, the photos were uploaded to the programme to remove the background and leave the wanted part to be cut:-
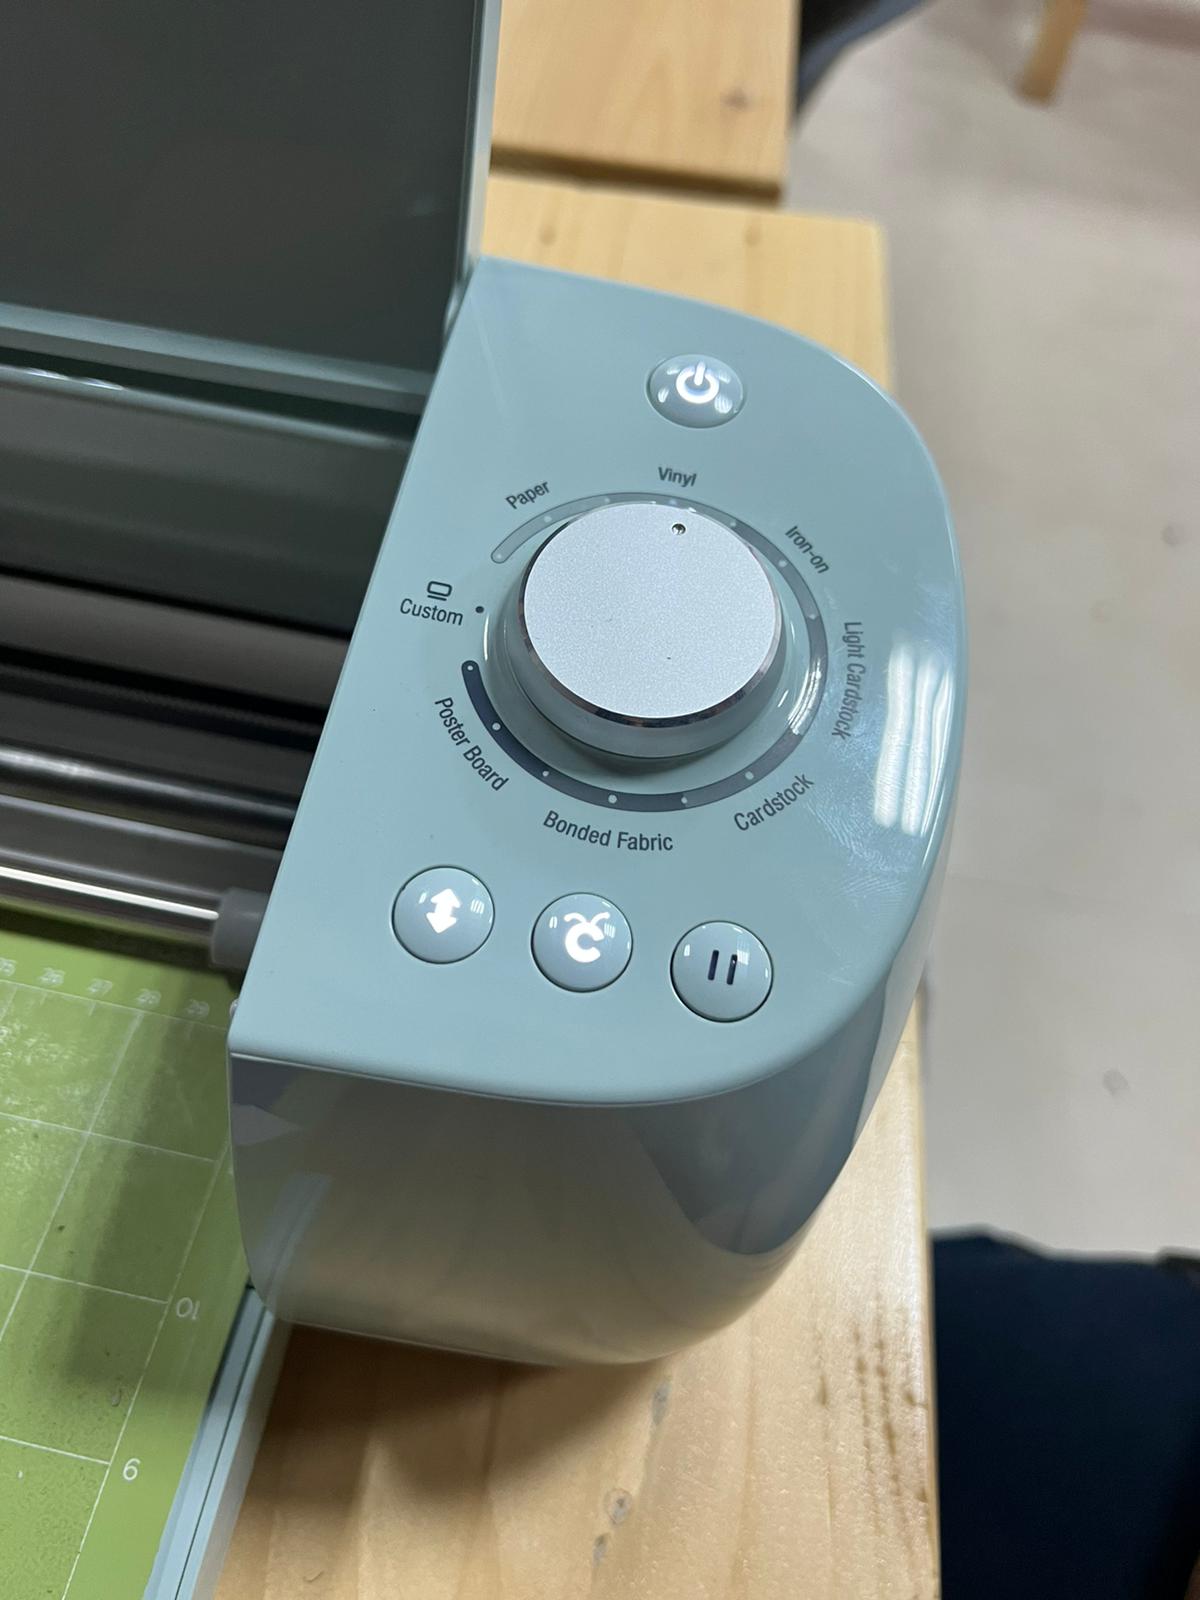
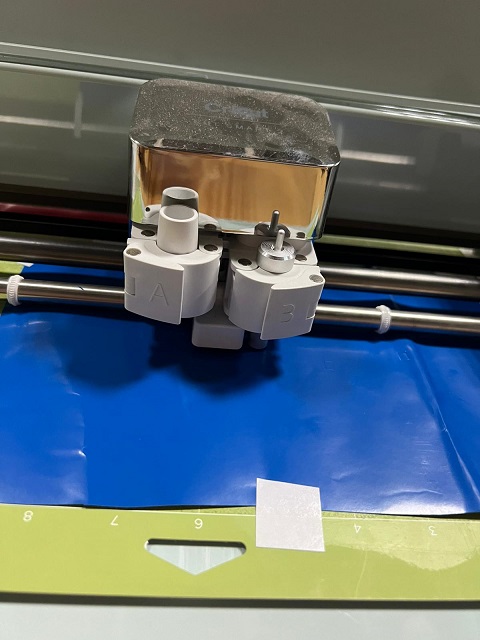
Before start cutting the stickers, we learn more about the machine, were it shows that it can cut different materials depend on the thickness of the material:-
After, selecting the material that will be cut for the sticker which is vinyl, we cut the vinyl and fix it on the printing paper as following:-
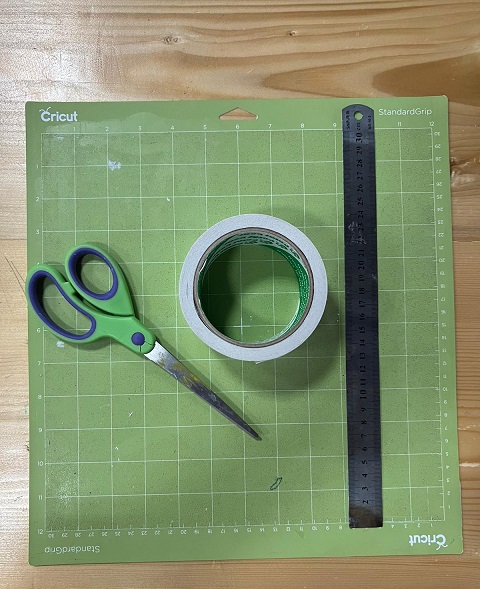
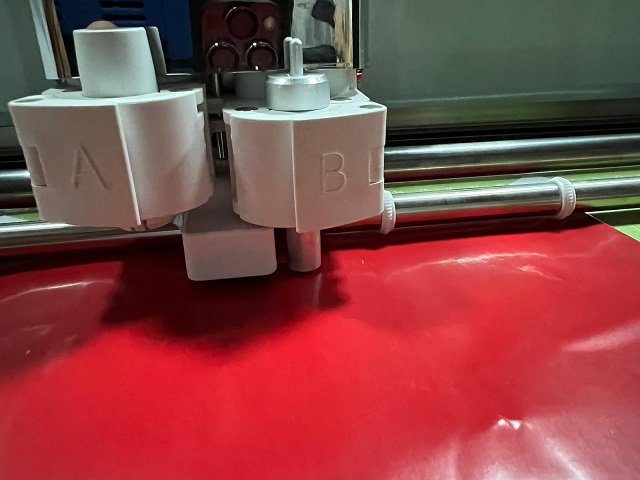
After fixing the materials on the cutting paper, it should be kept on the Cticut machine and be hold it, so the machine can take the cutting paper on it by clicking the start button.
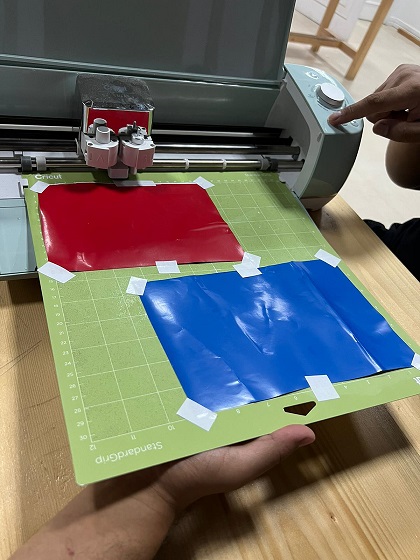
The machine will start cut the vinyl by using a small very sharp blade were the blade can move on X axis and the cutting paper move on Y axis:-
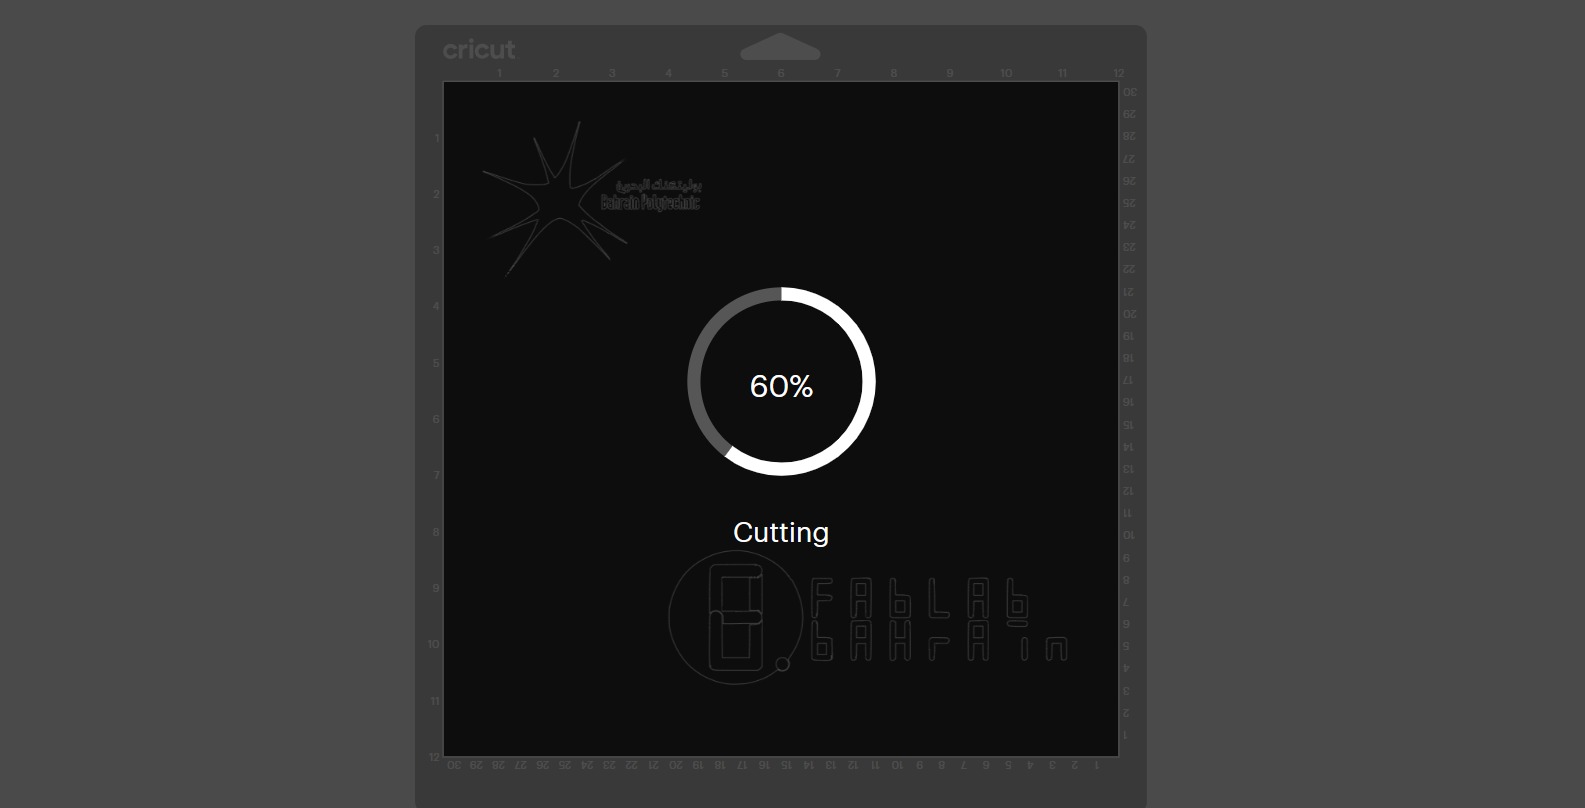
While the Cricut machine cut the vinyl, the Cricut programme will present the progress of the work:-
After completing from cutting the vinyl, a transparent sticky paper used to transfer the cut part to it as it can be seen in the following photo:-

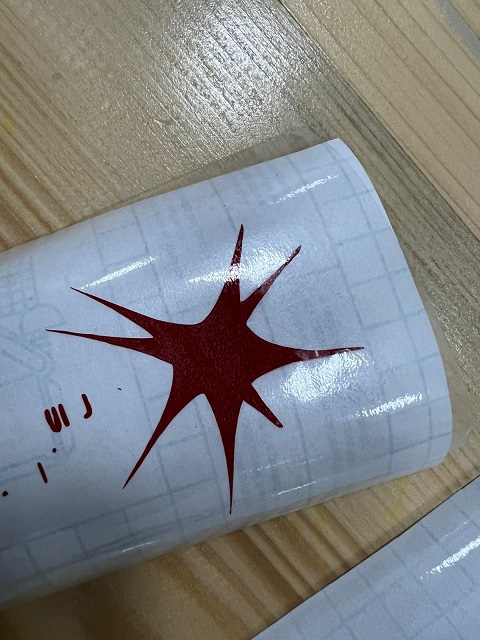 The first sticker that present Fablab stacked very well to the transparent sticky paper, While Bahrain Polytechnic logo did not stack very well due to the small size of the letters. Since the selected place to stick the sticker on it is small and cannot print larger letters, then only the star of Bahrain Polytechnic logo as it can be seen in the following photo:-
