3. Computer controlled cutting
This week we were assigned to work on 2 cutting machines, Vinyl cutting machine and laser cutting machine
Vinyl cutting
On this assignment, we were instructed to take any photo and cut it out of any material using the Cricut vinyl cutting machine
First you need to download the Cricut vinyl cutting machine software that is compatible with the cutting machine you are using, you can find the software here
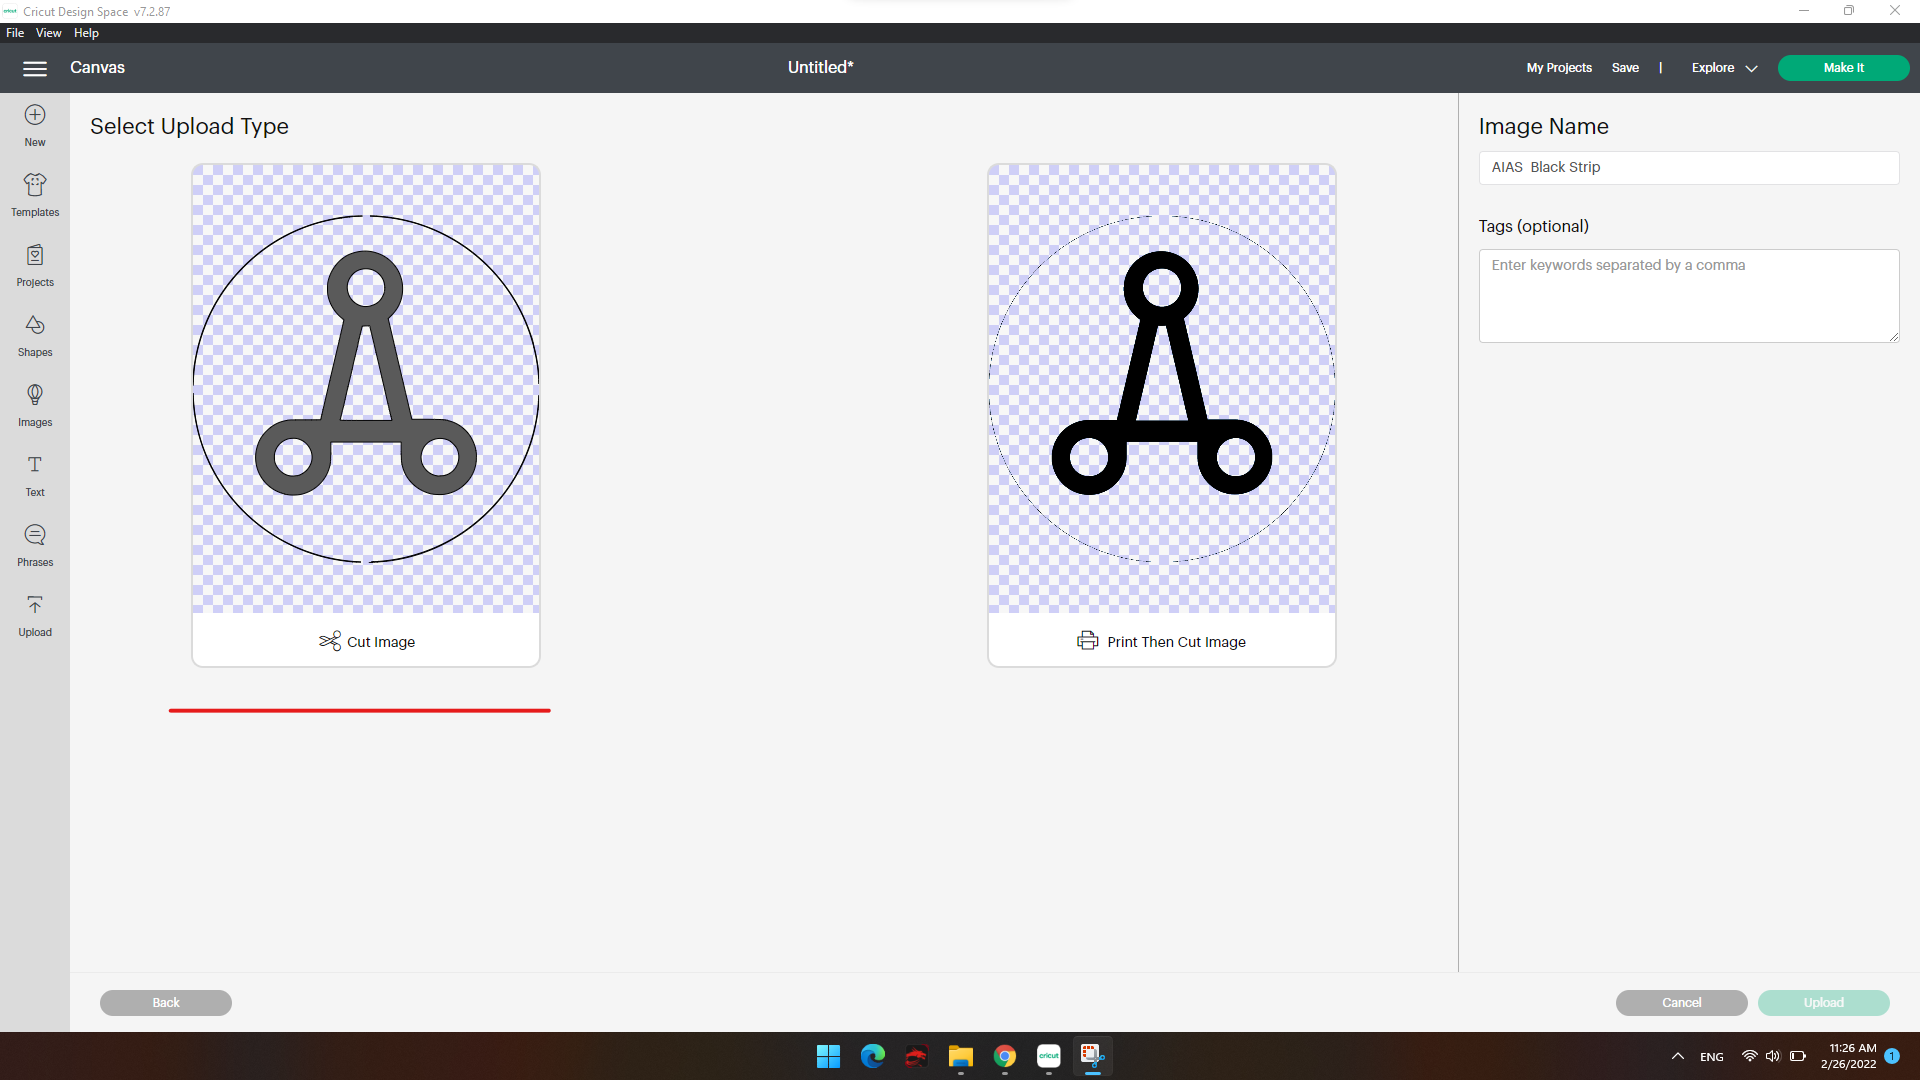
After downloading, start uploading your photo / design
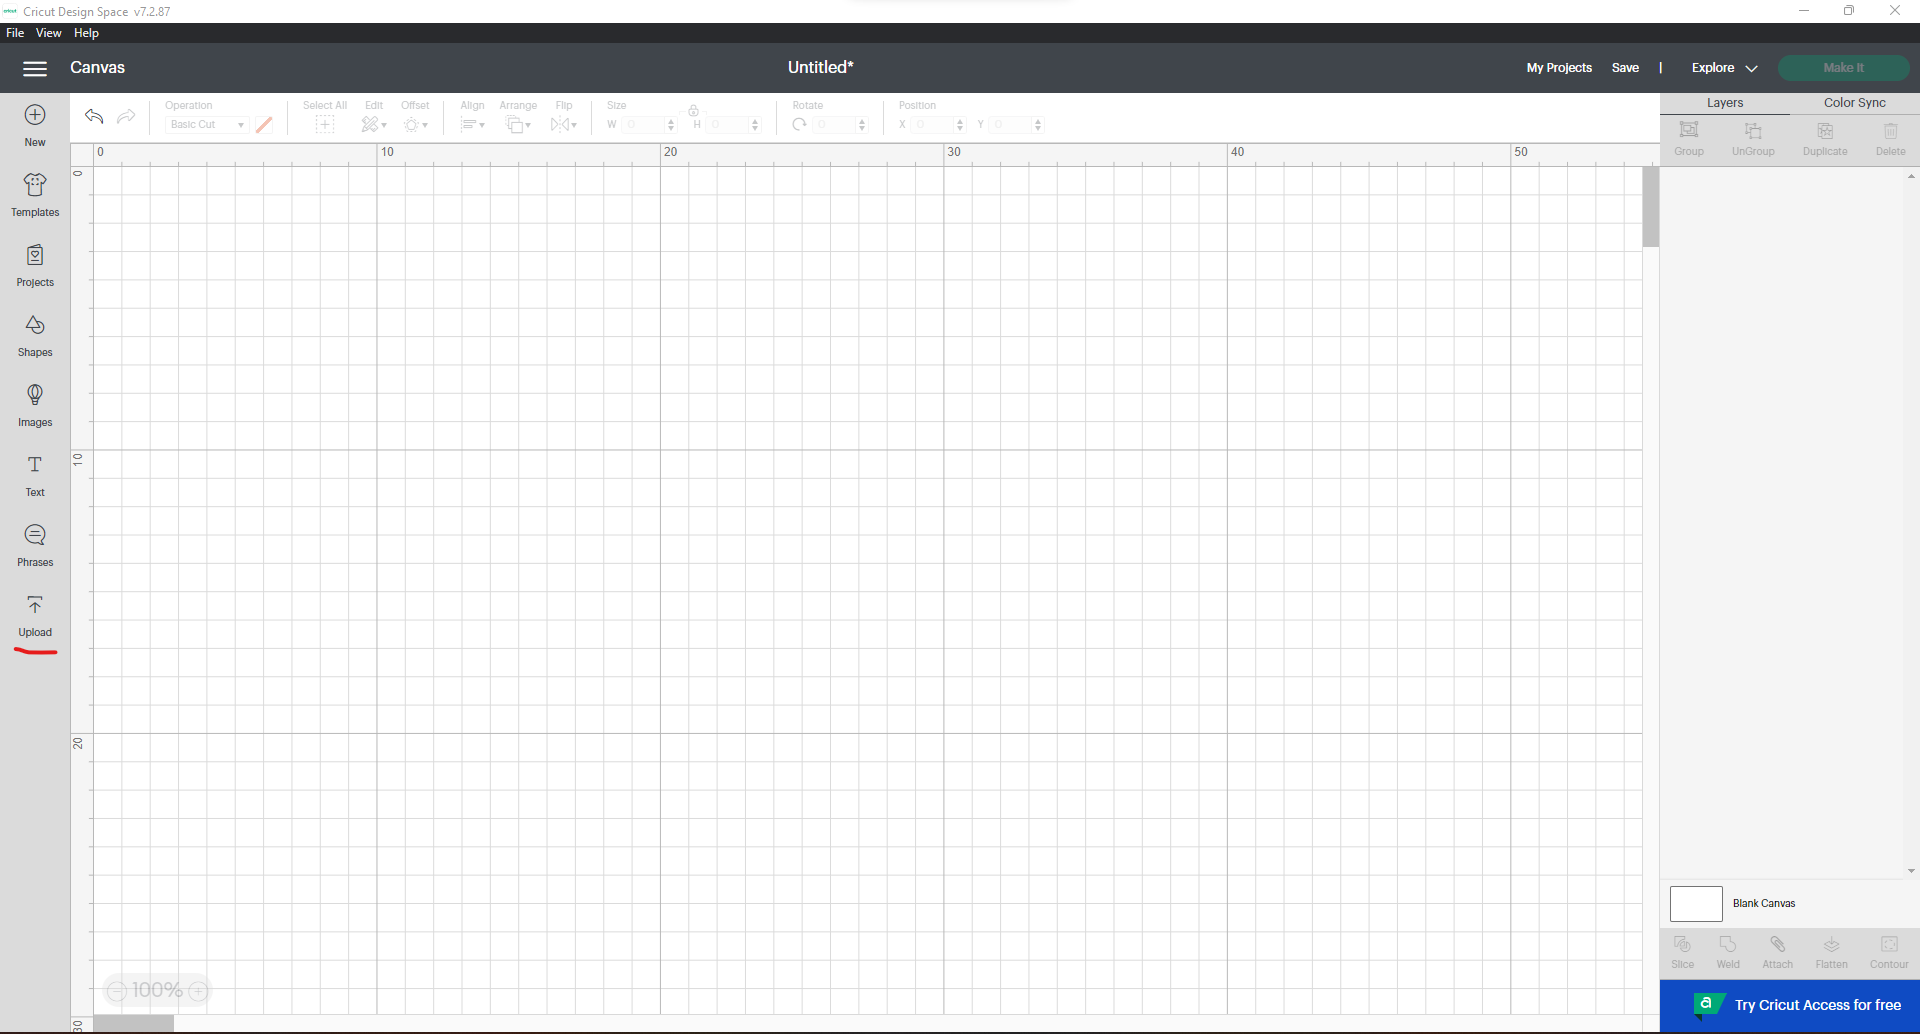
Then, choose image and upload an image of your choice
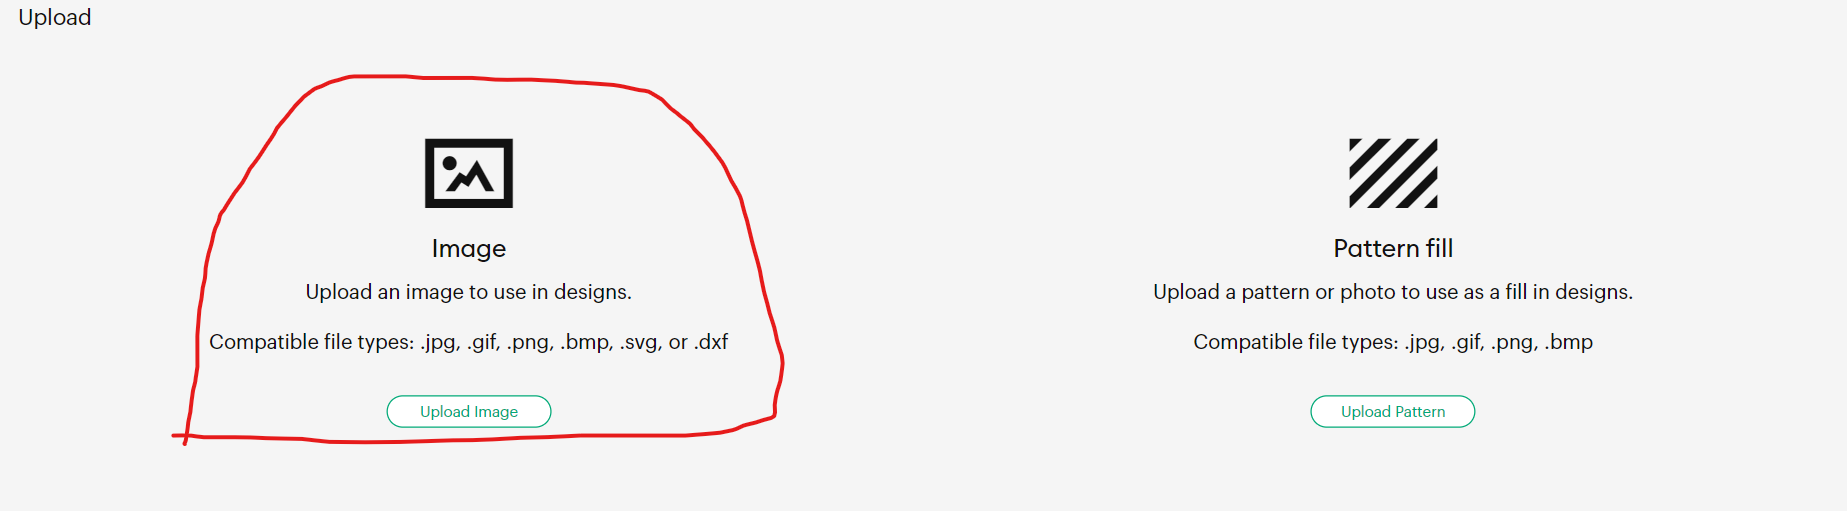
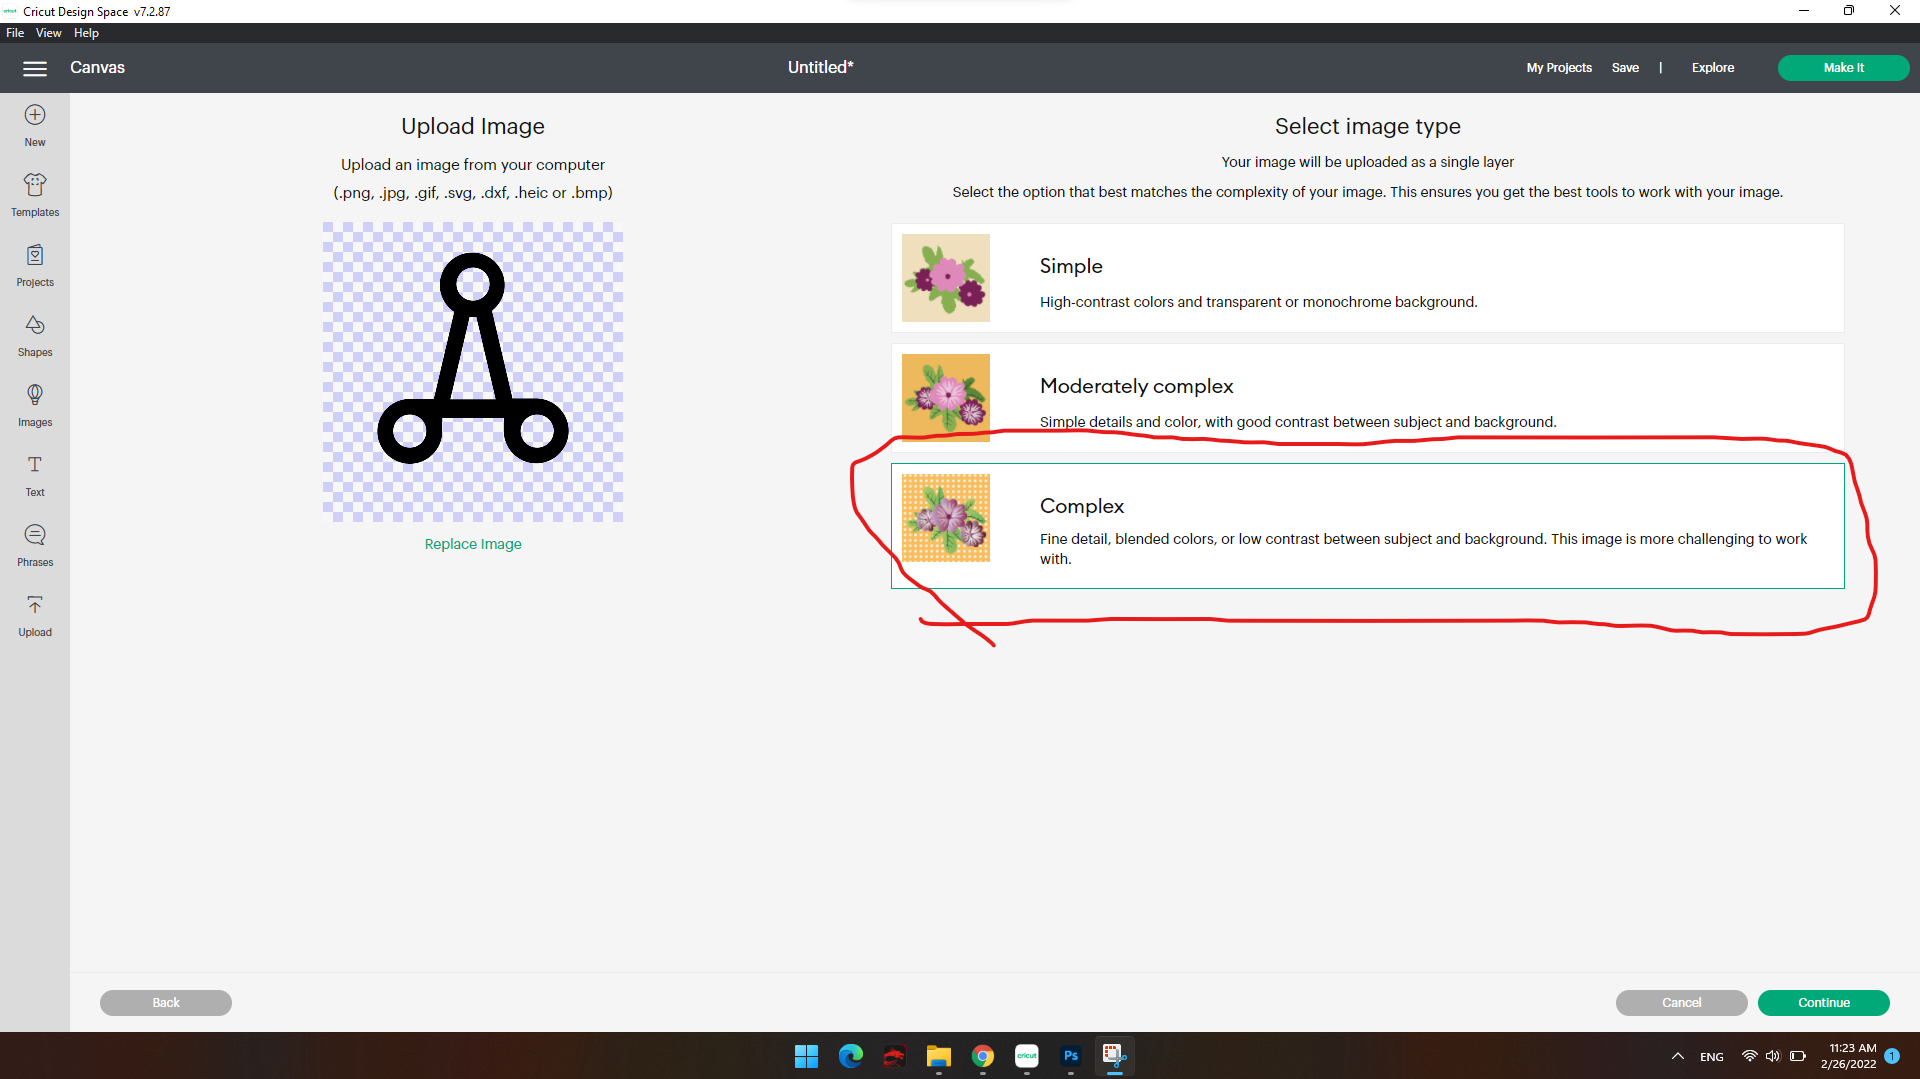
Then, choose complex to showcase the fine details of the design (it is recommended to chose complex even if your design is simple)
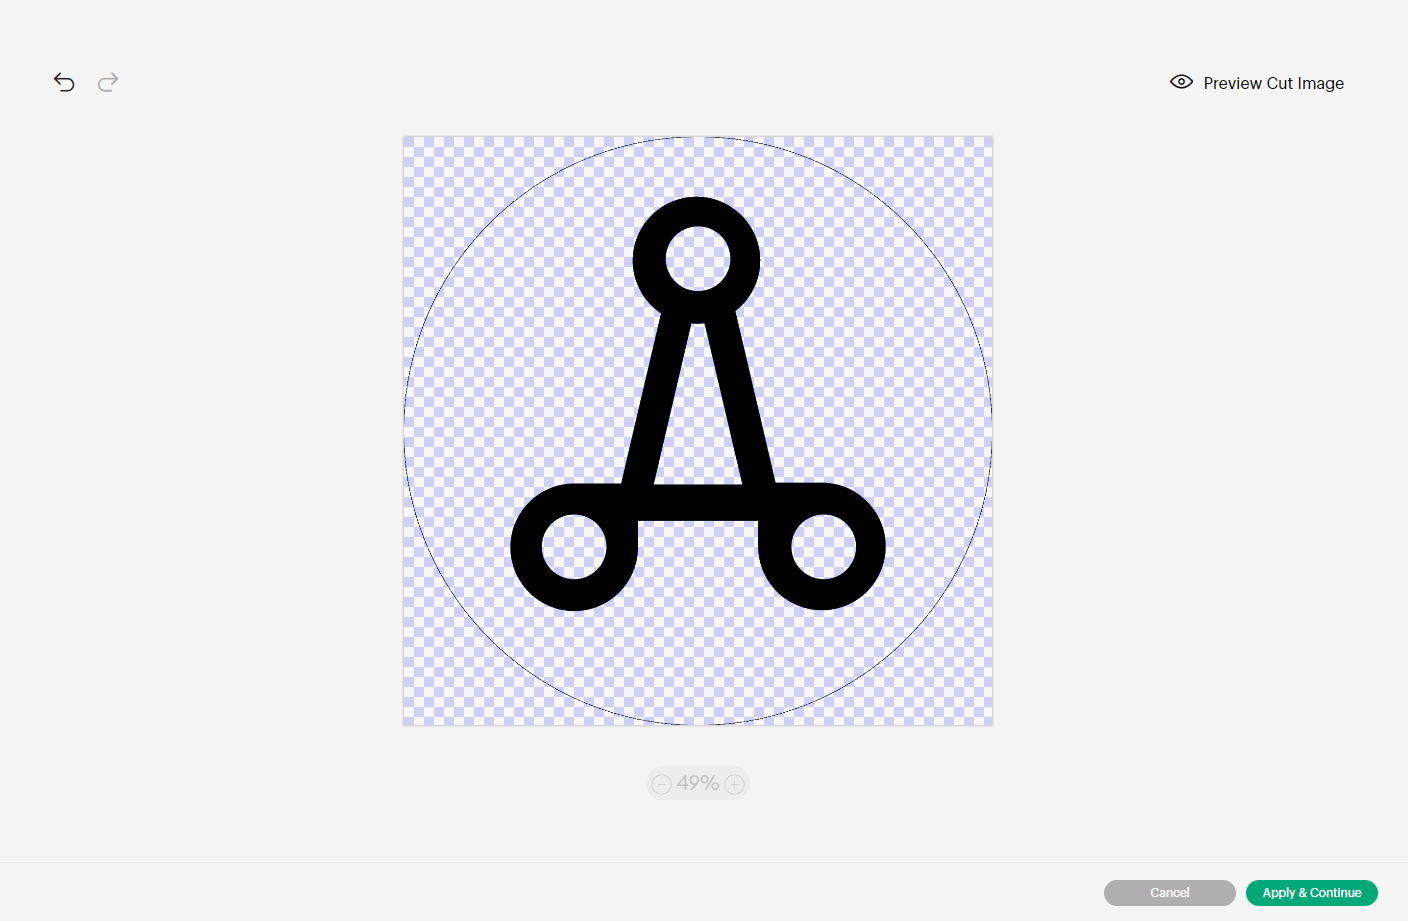
Then, you can select the areas you don’t want and click on them and the software will delete them
Then, choose cut image and upload
Then, choose the design you want and upload it to your work space

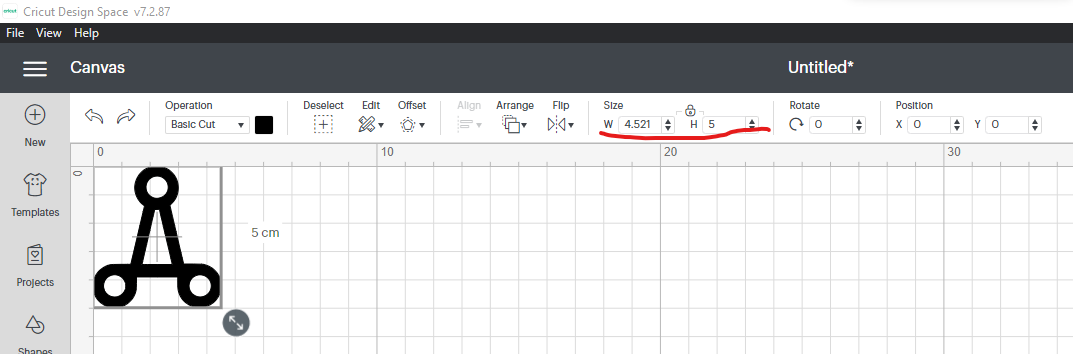
You can change the dimensions of the photo and modify the photo before cutting
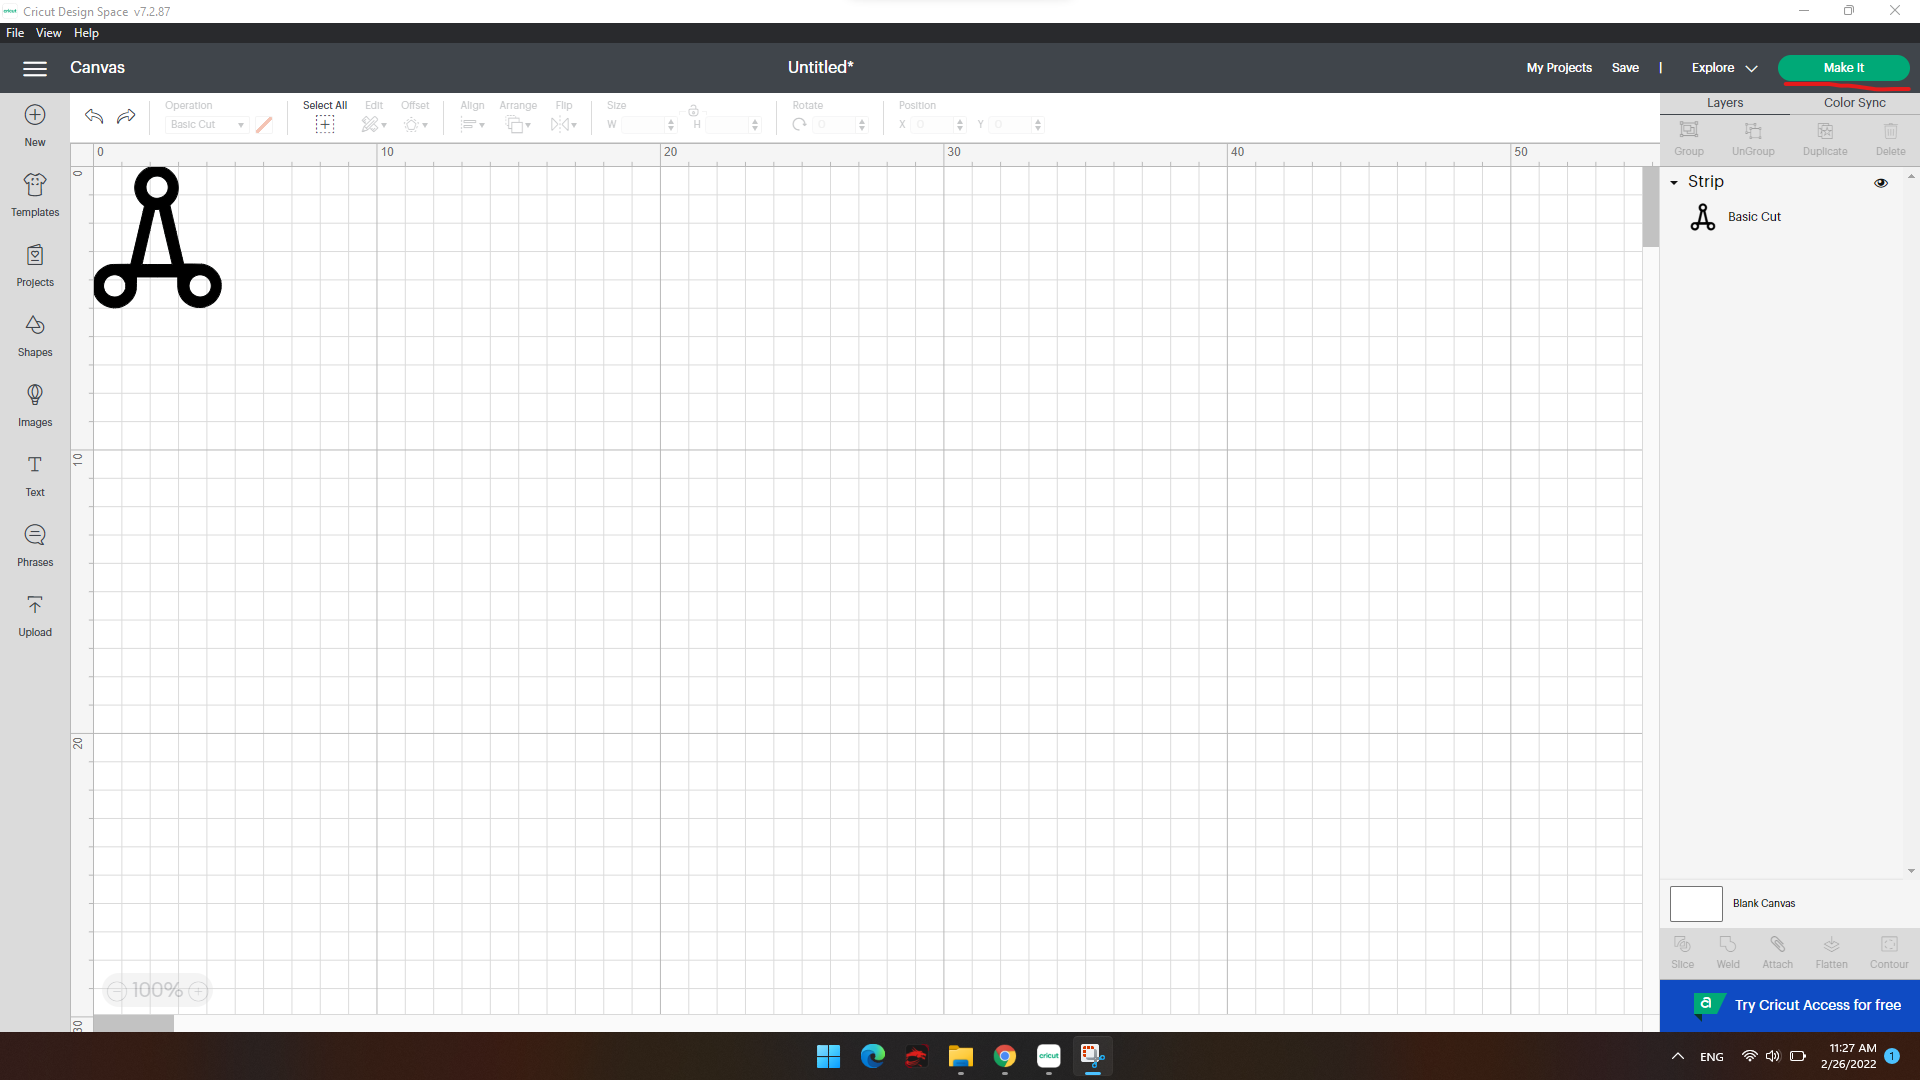
If you are done modifying click on “make it” so it will go to the cutting process
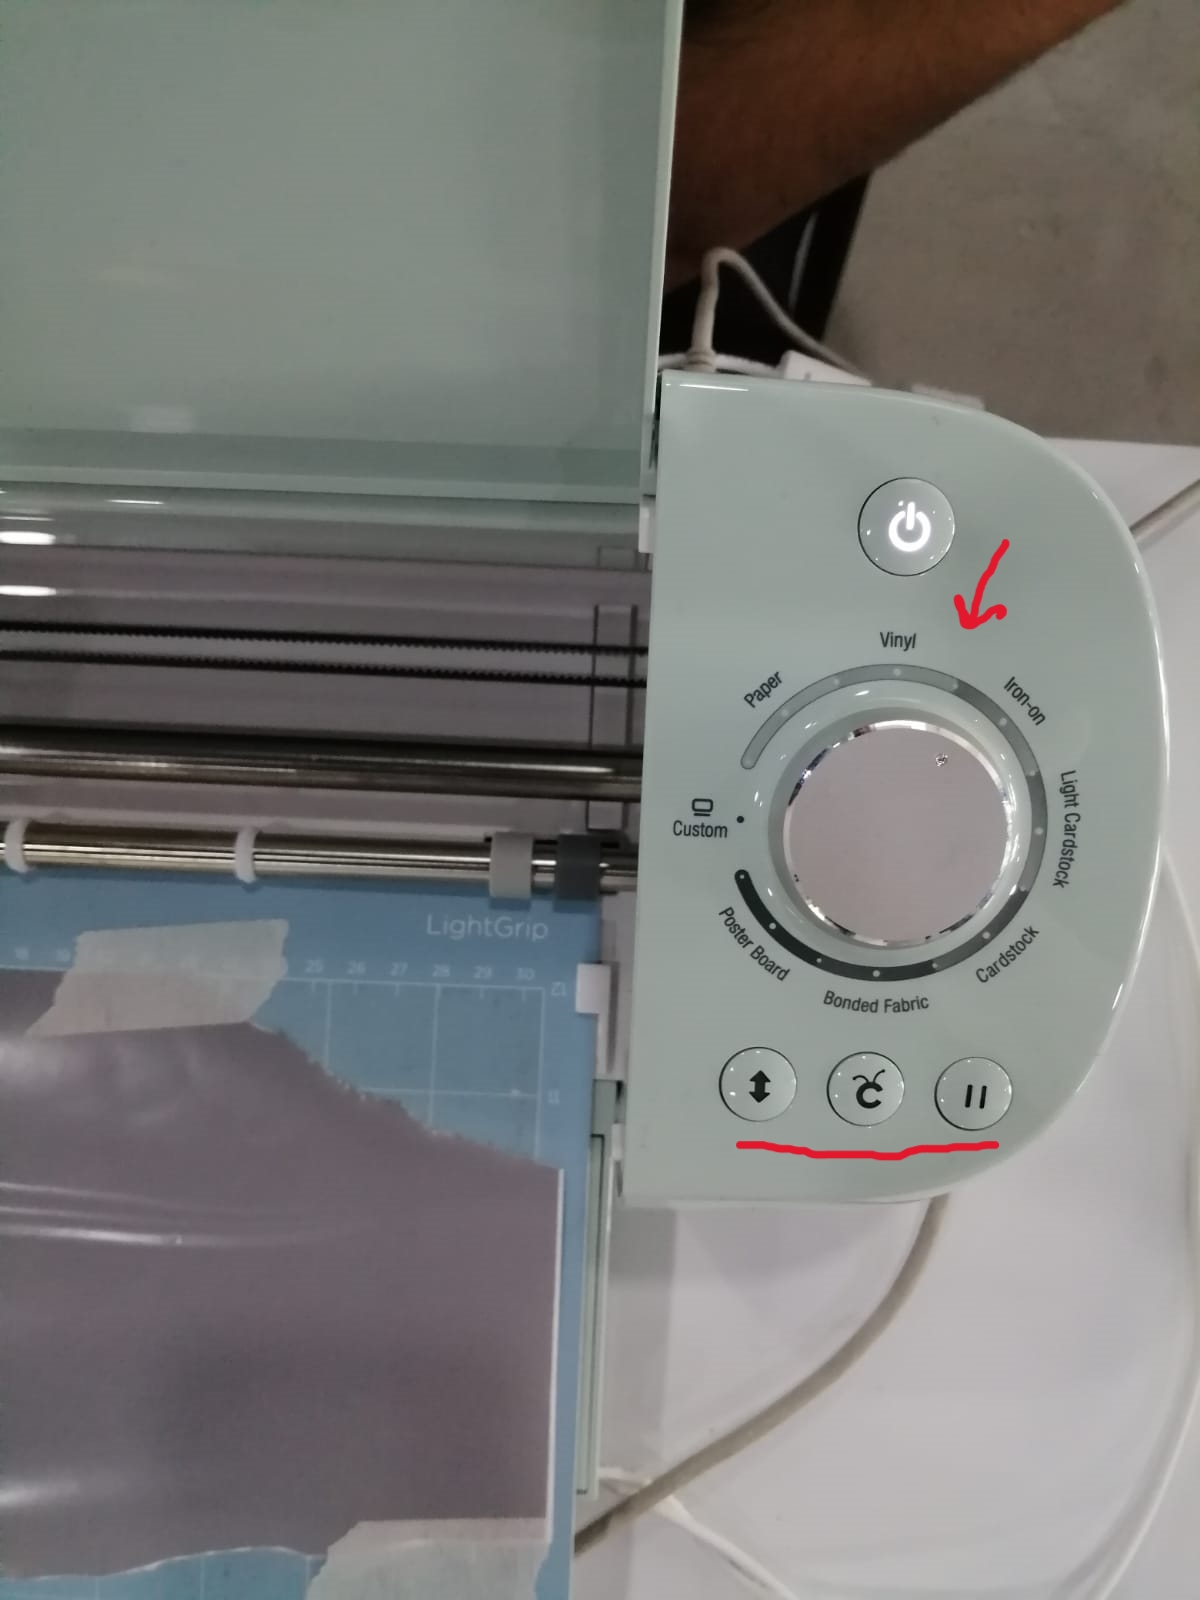
Choose the location on the printing mat and click continue (make sure the printer is connected)

On the cutting mat stick a vinyl sheet (you can use tape if it does not stick well) and make sure that the vinyl sheet covers the cutting object selected on the software on the previous point and vise versa. Then, place the cutting mat to the printer and make sure to slide it under the parts of the cutting machine so it can take the mat and cut the objects
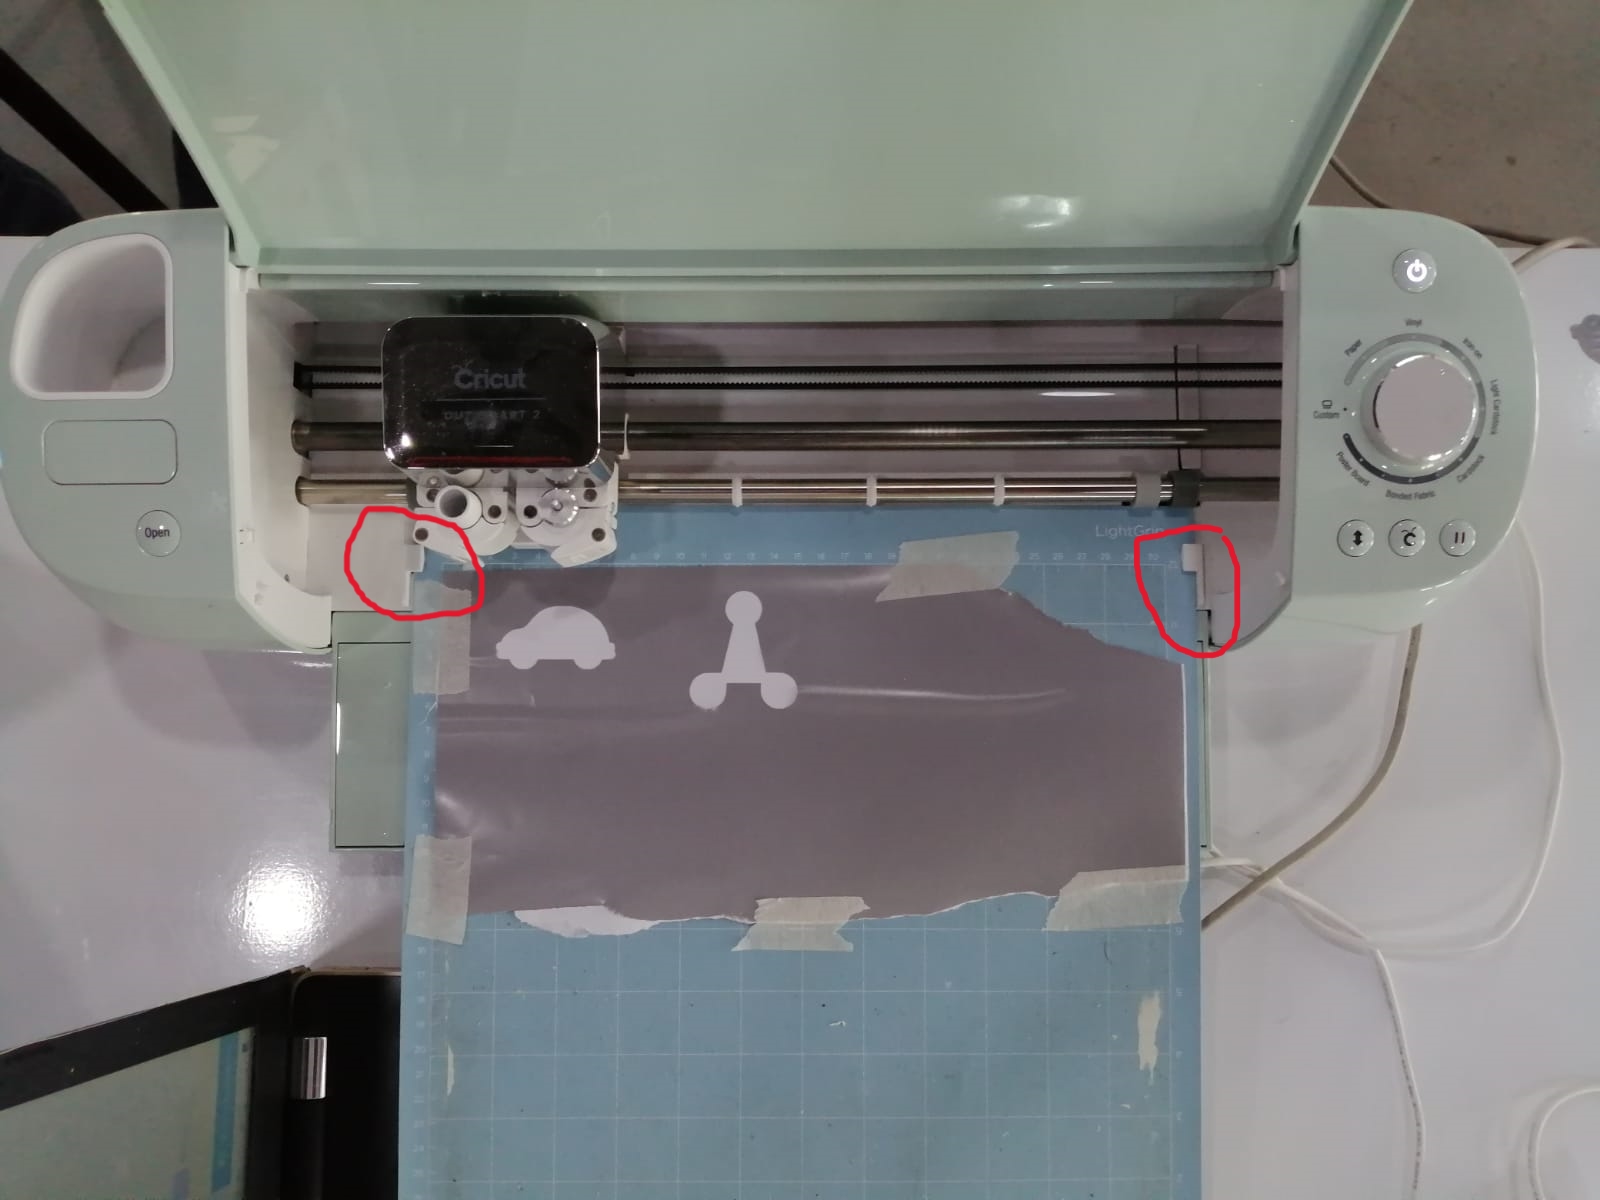
Finally, make sure you set the printer to the correct adjustment to cut vinyl or any other material accordingly, and you will notice that the buttons will start to blink, click on them one by one as they are blinking as you can simply follow the steps that will be shown on your computer screen
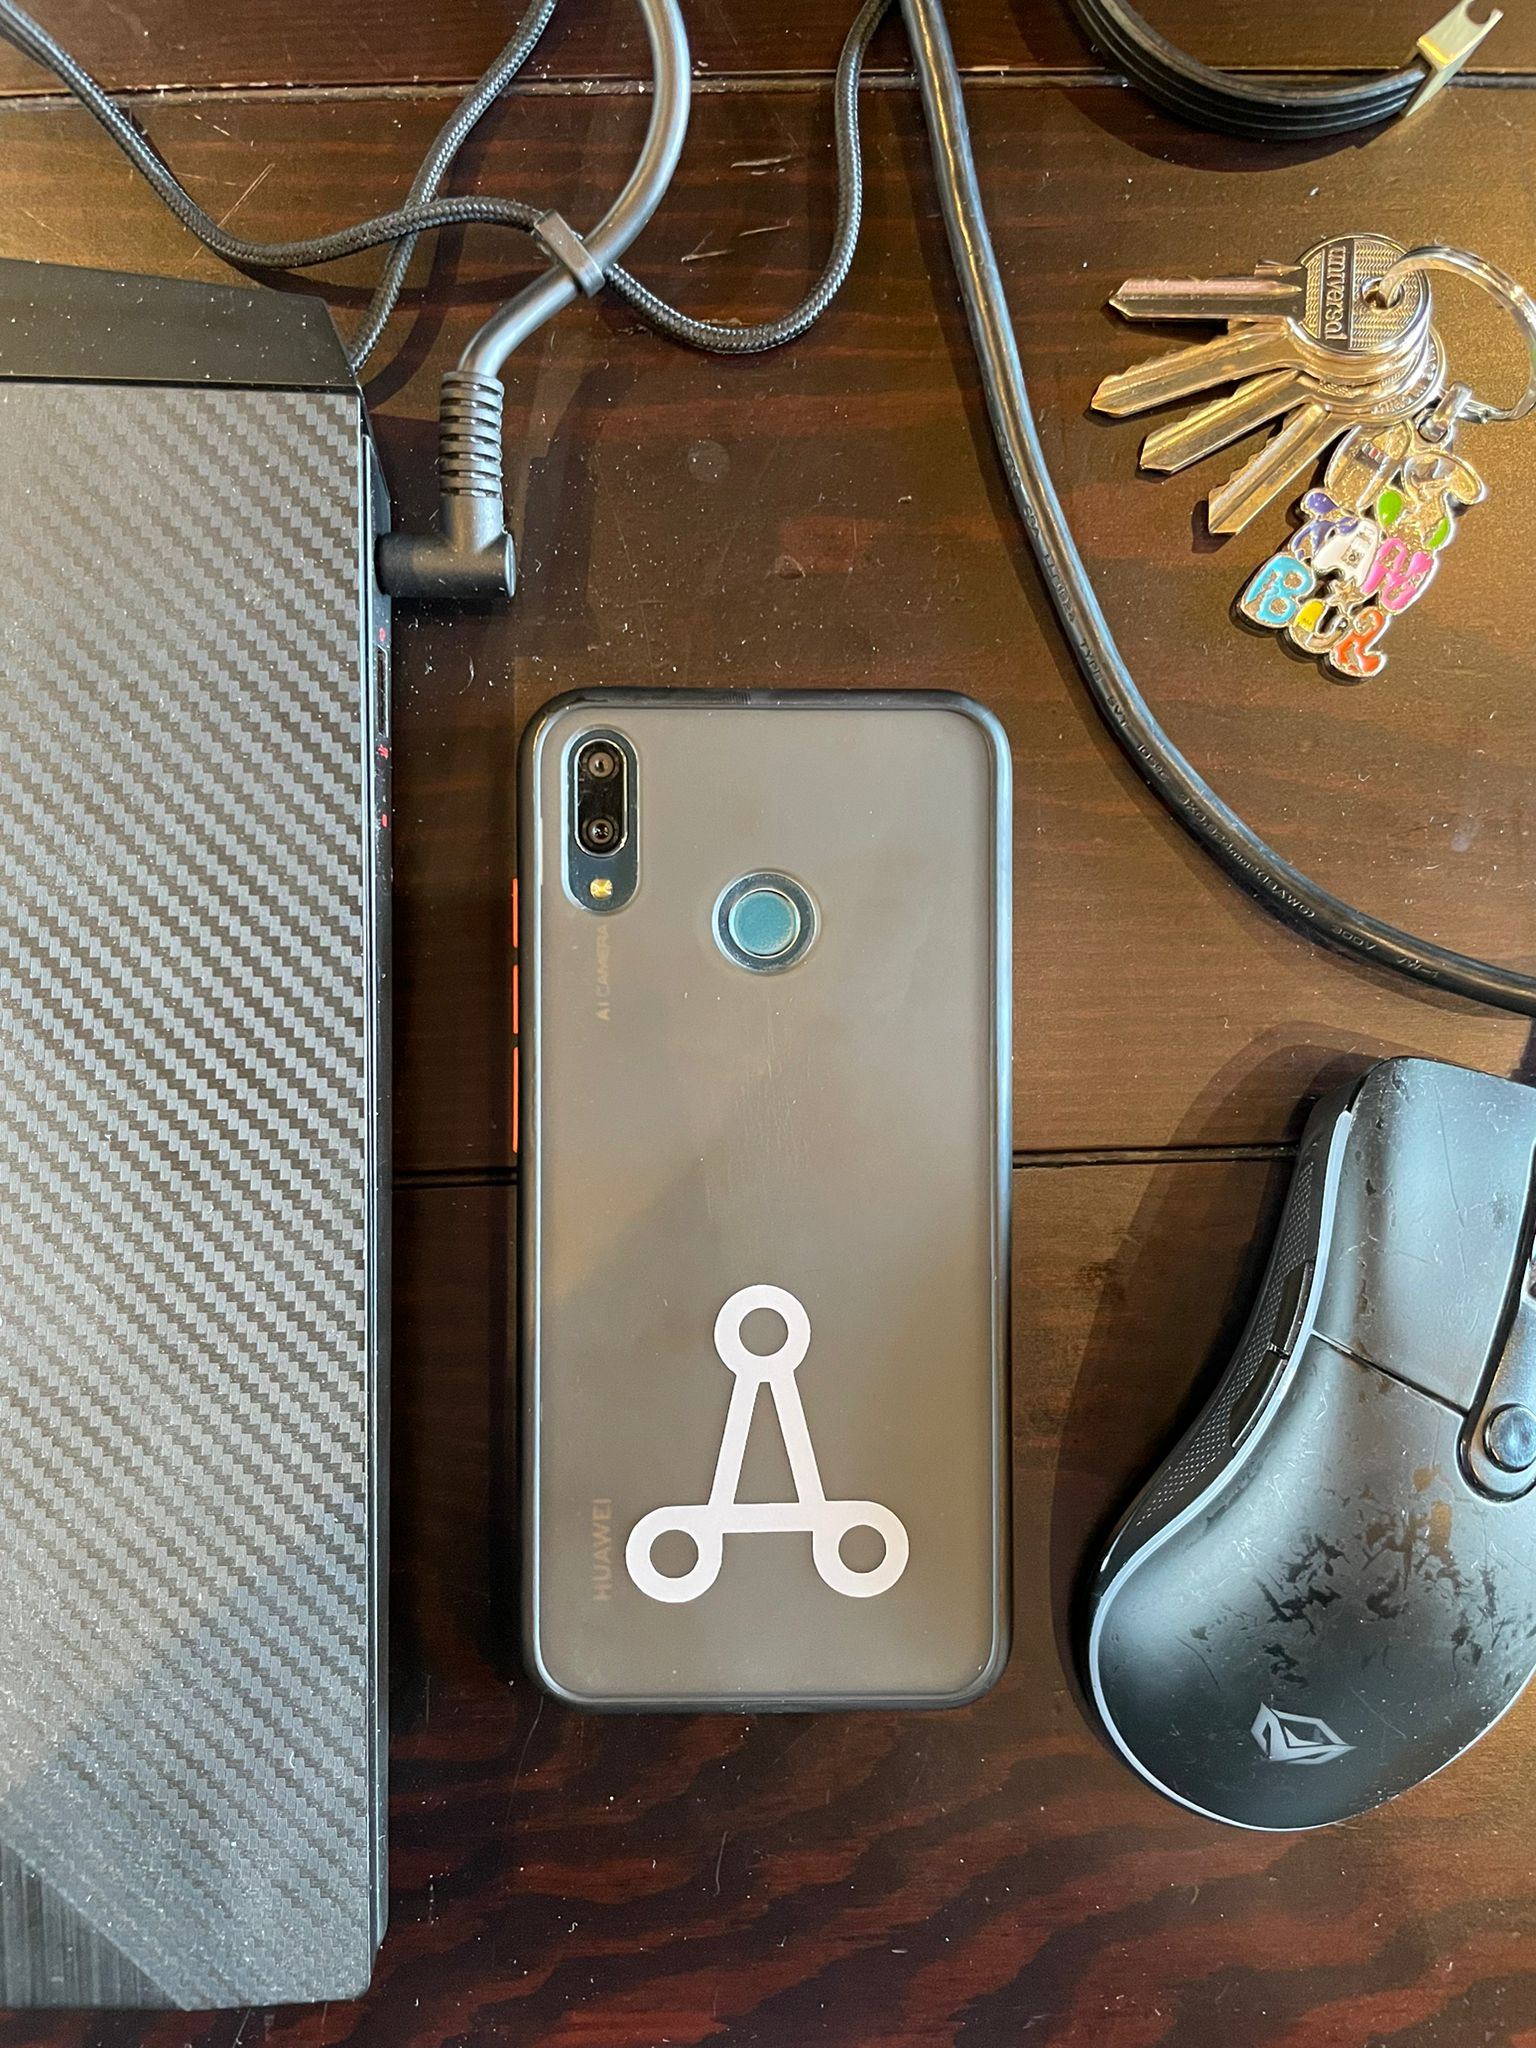
Here is the final result! I placed it on my phone case
Laser cutting Group work
Our group assignment for this week was related to the laser cutting machine. After a series of trials, we were able to learn how to change the sittings in order to achieve the best cutting results. You can Find the Full steps on Mohamed Almoawdah’s Page
Laser cutting
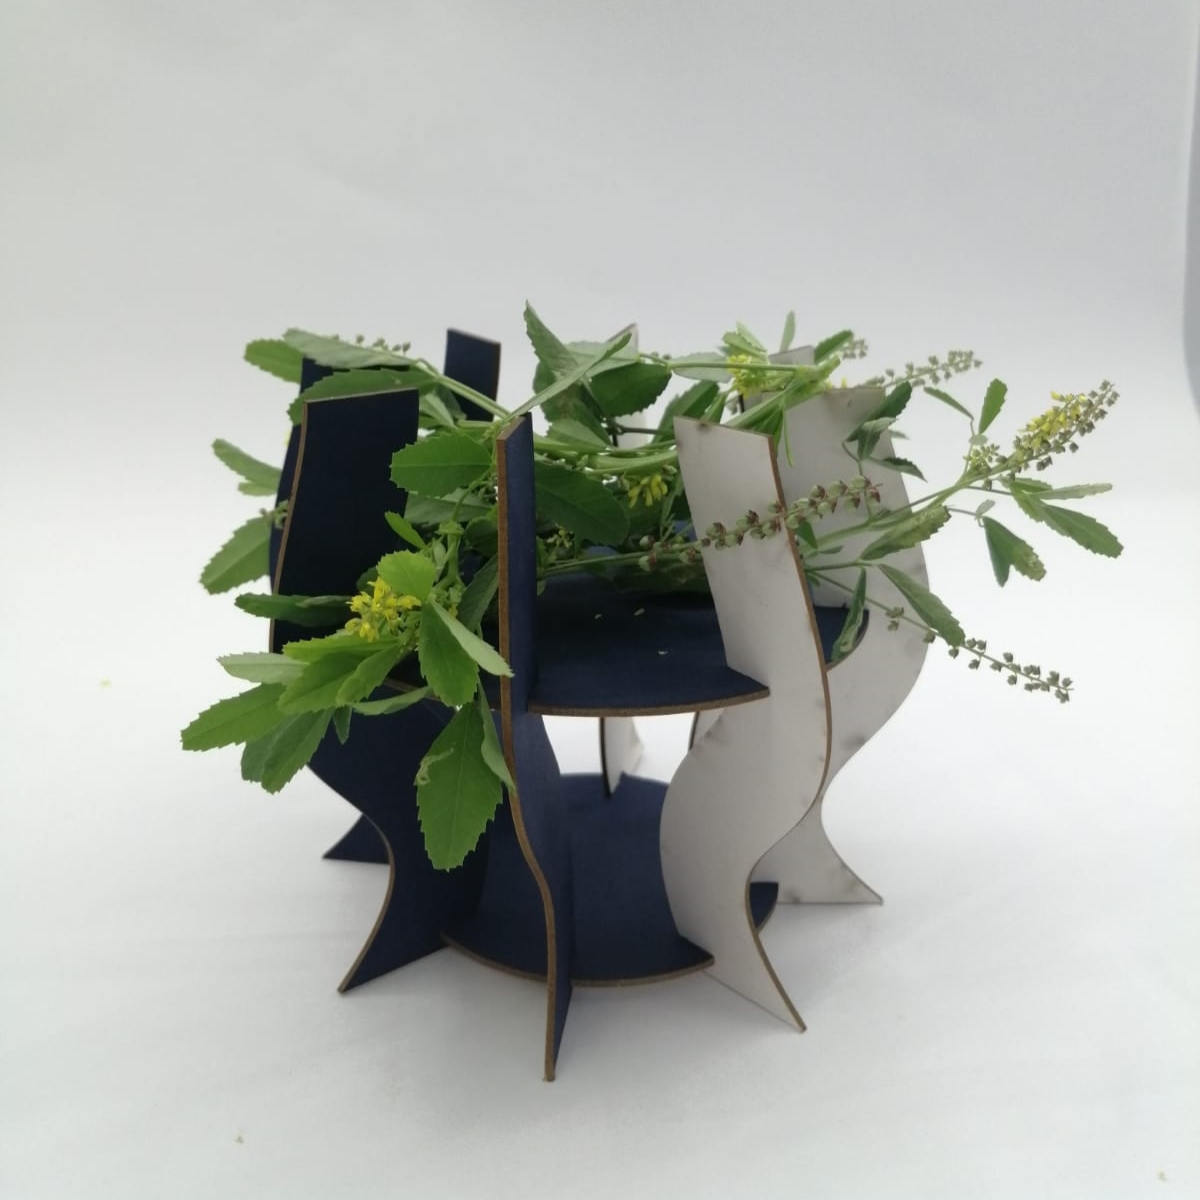
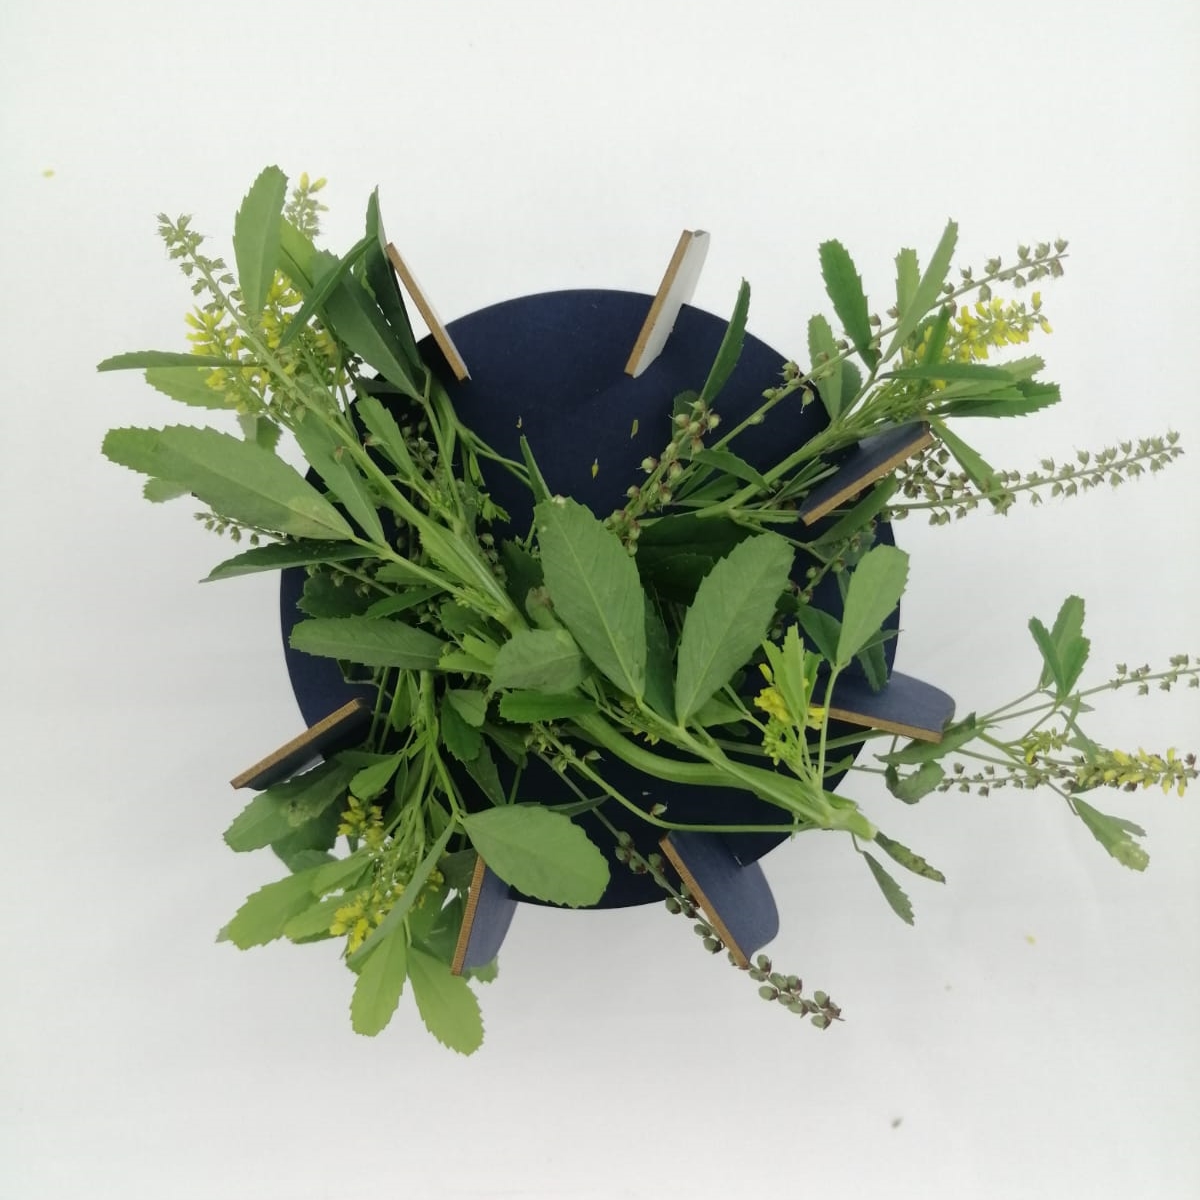
I wanted to create a vase
Using Fusion360 I was able to create the designs
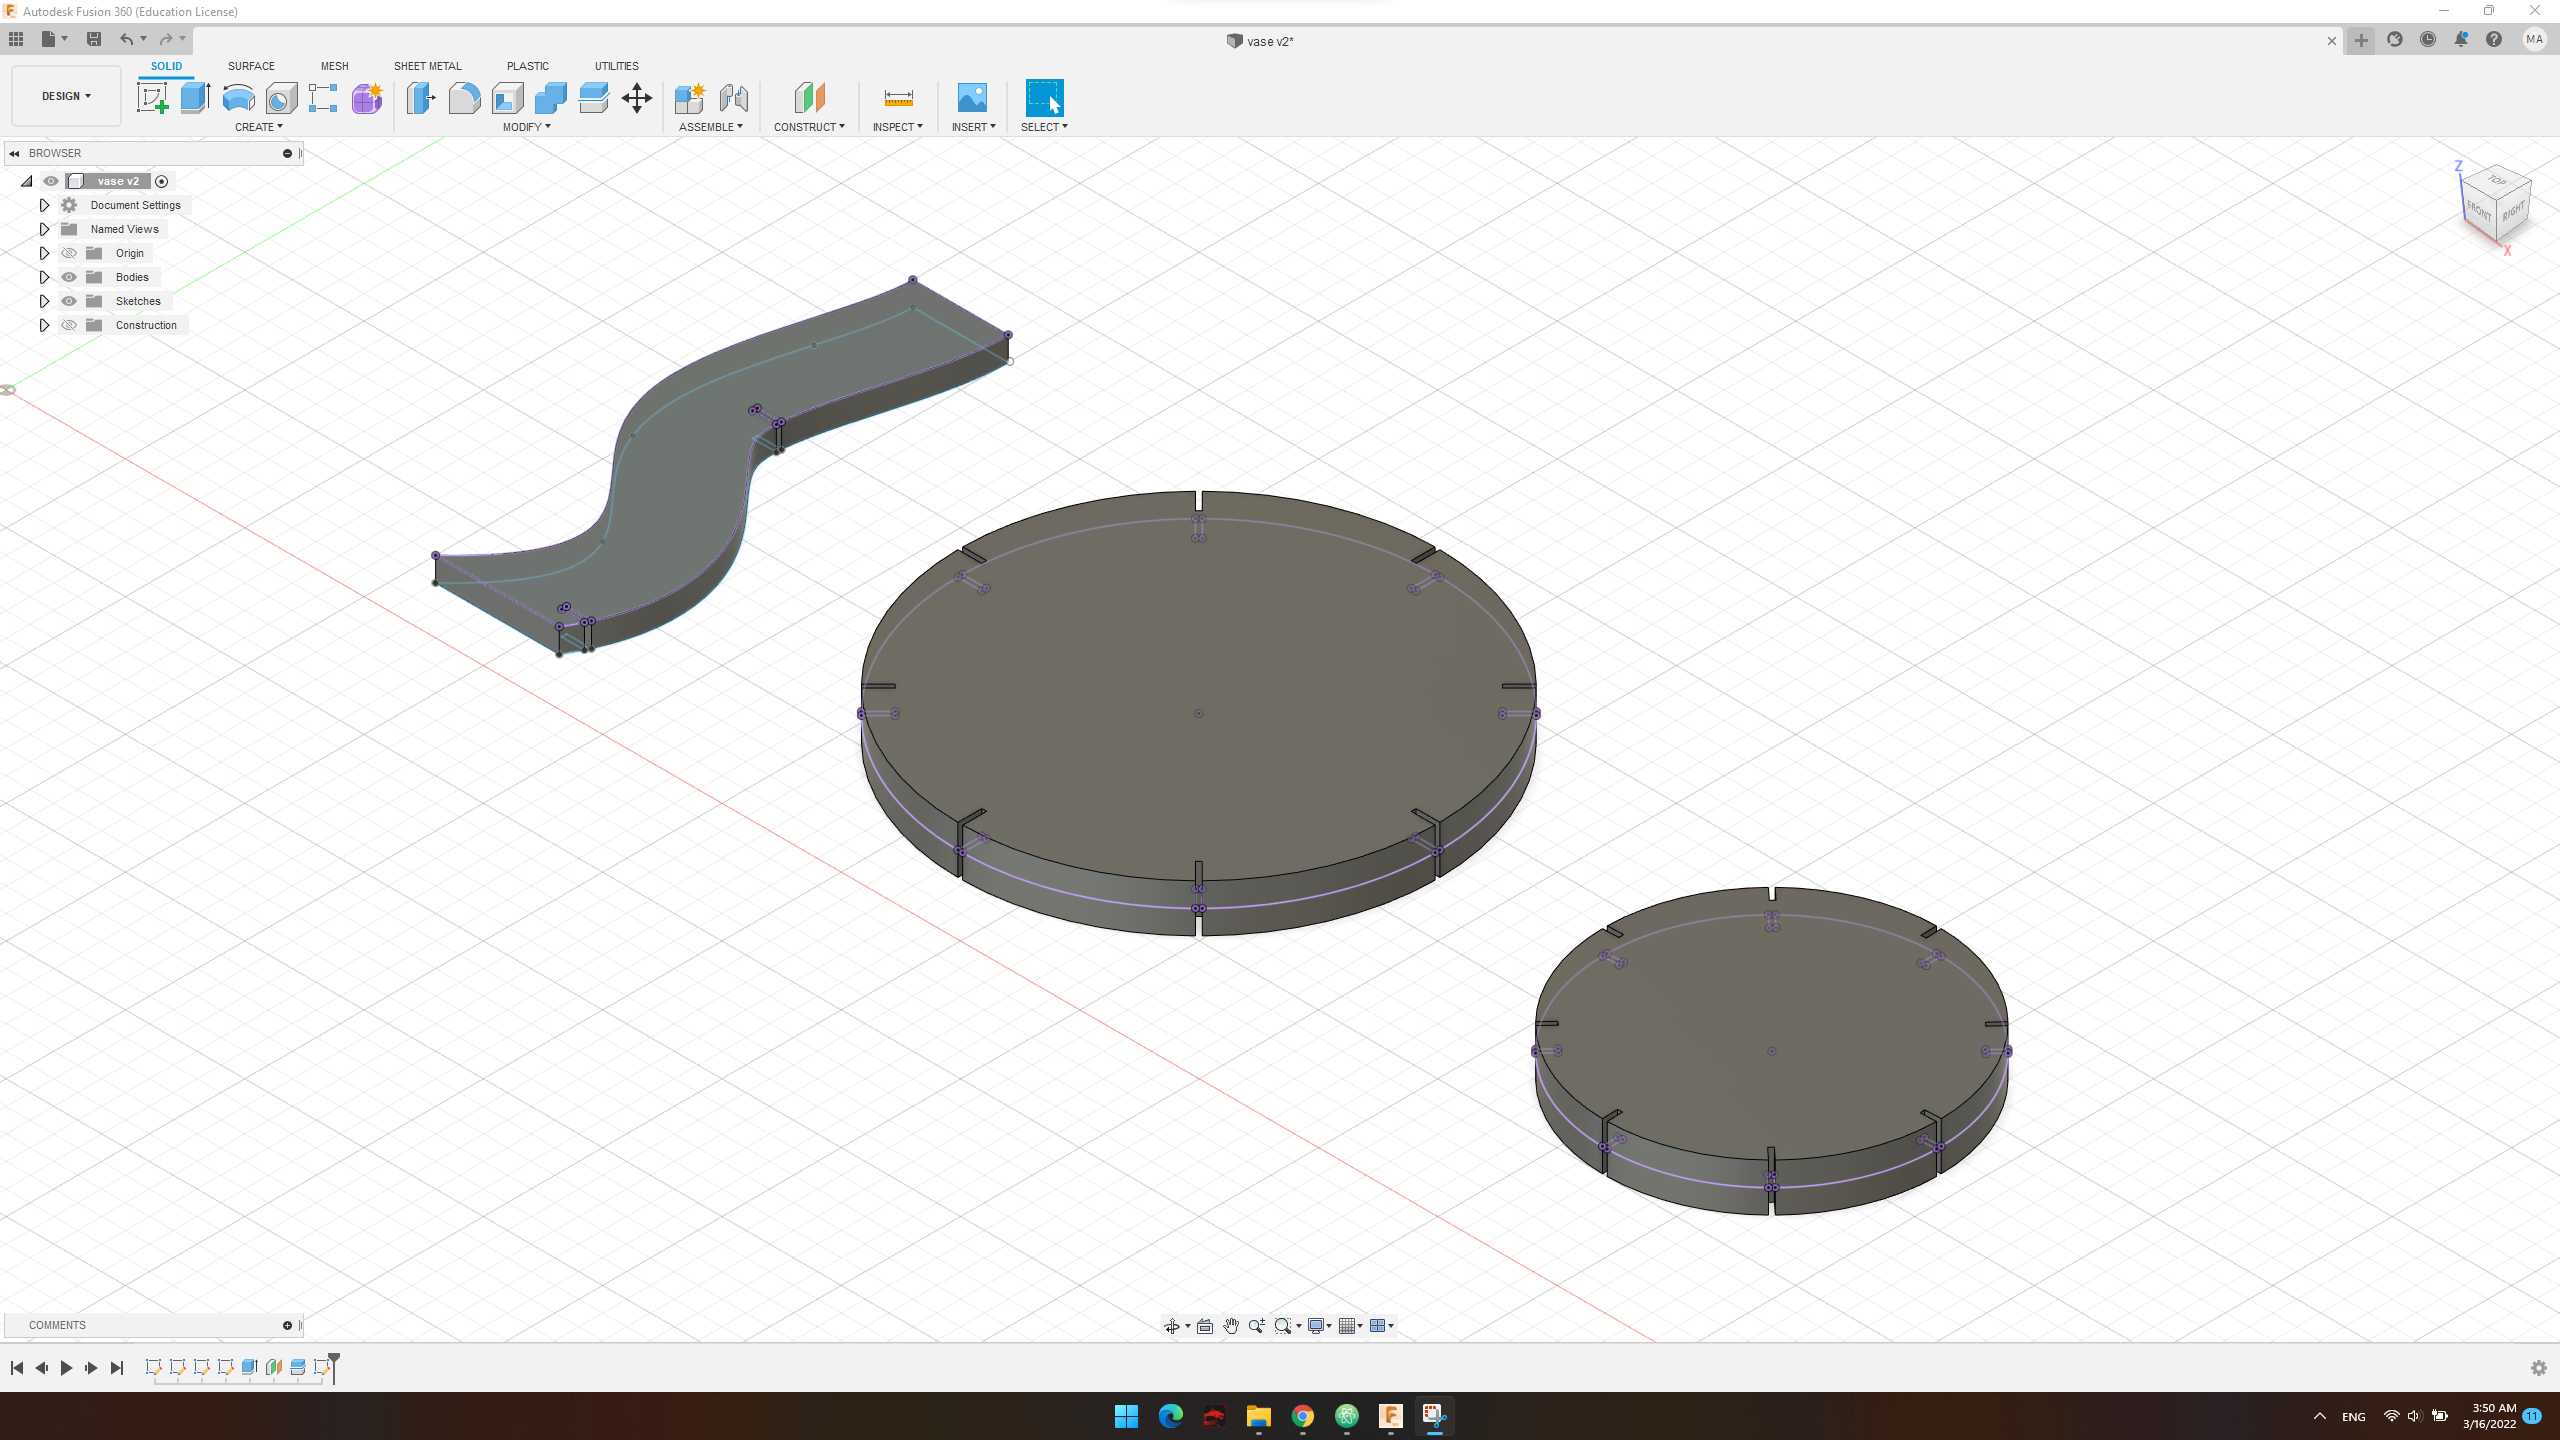
I used parametric modeling to parametrically do the joints
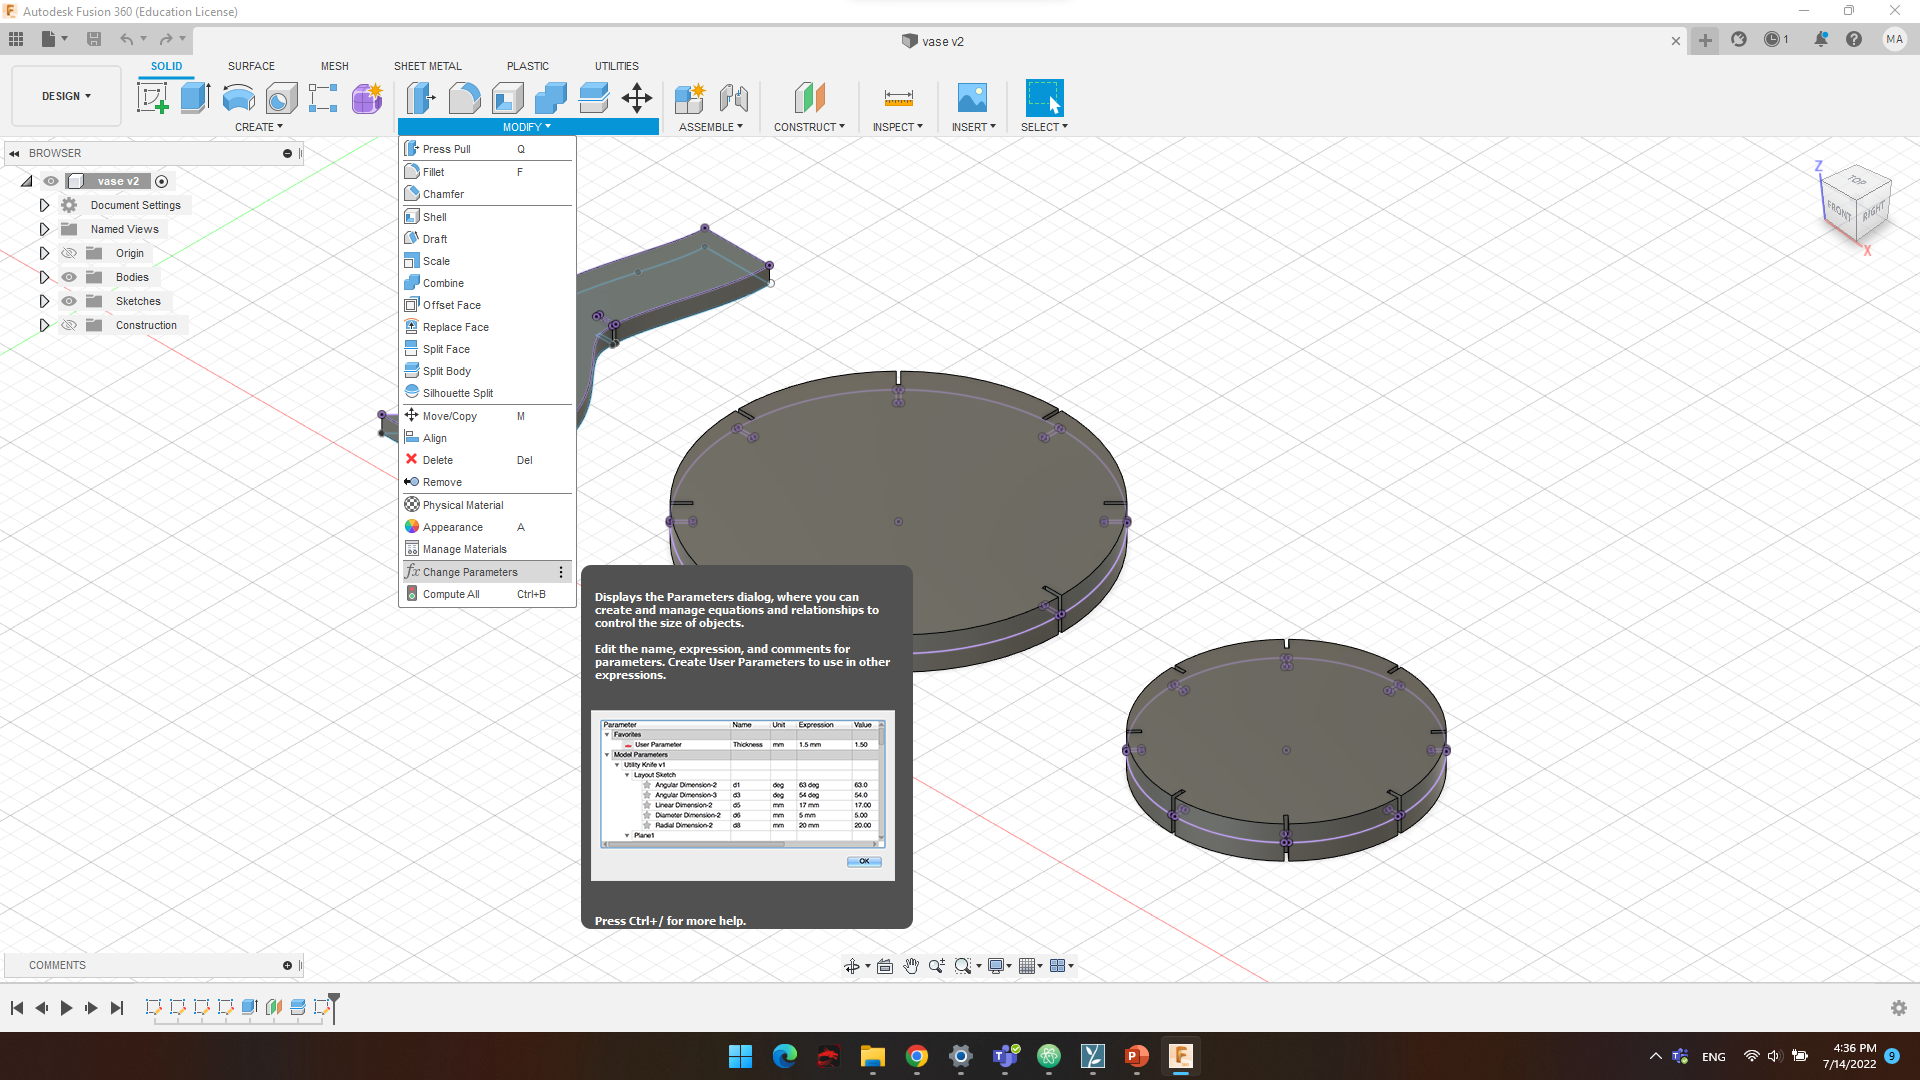
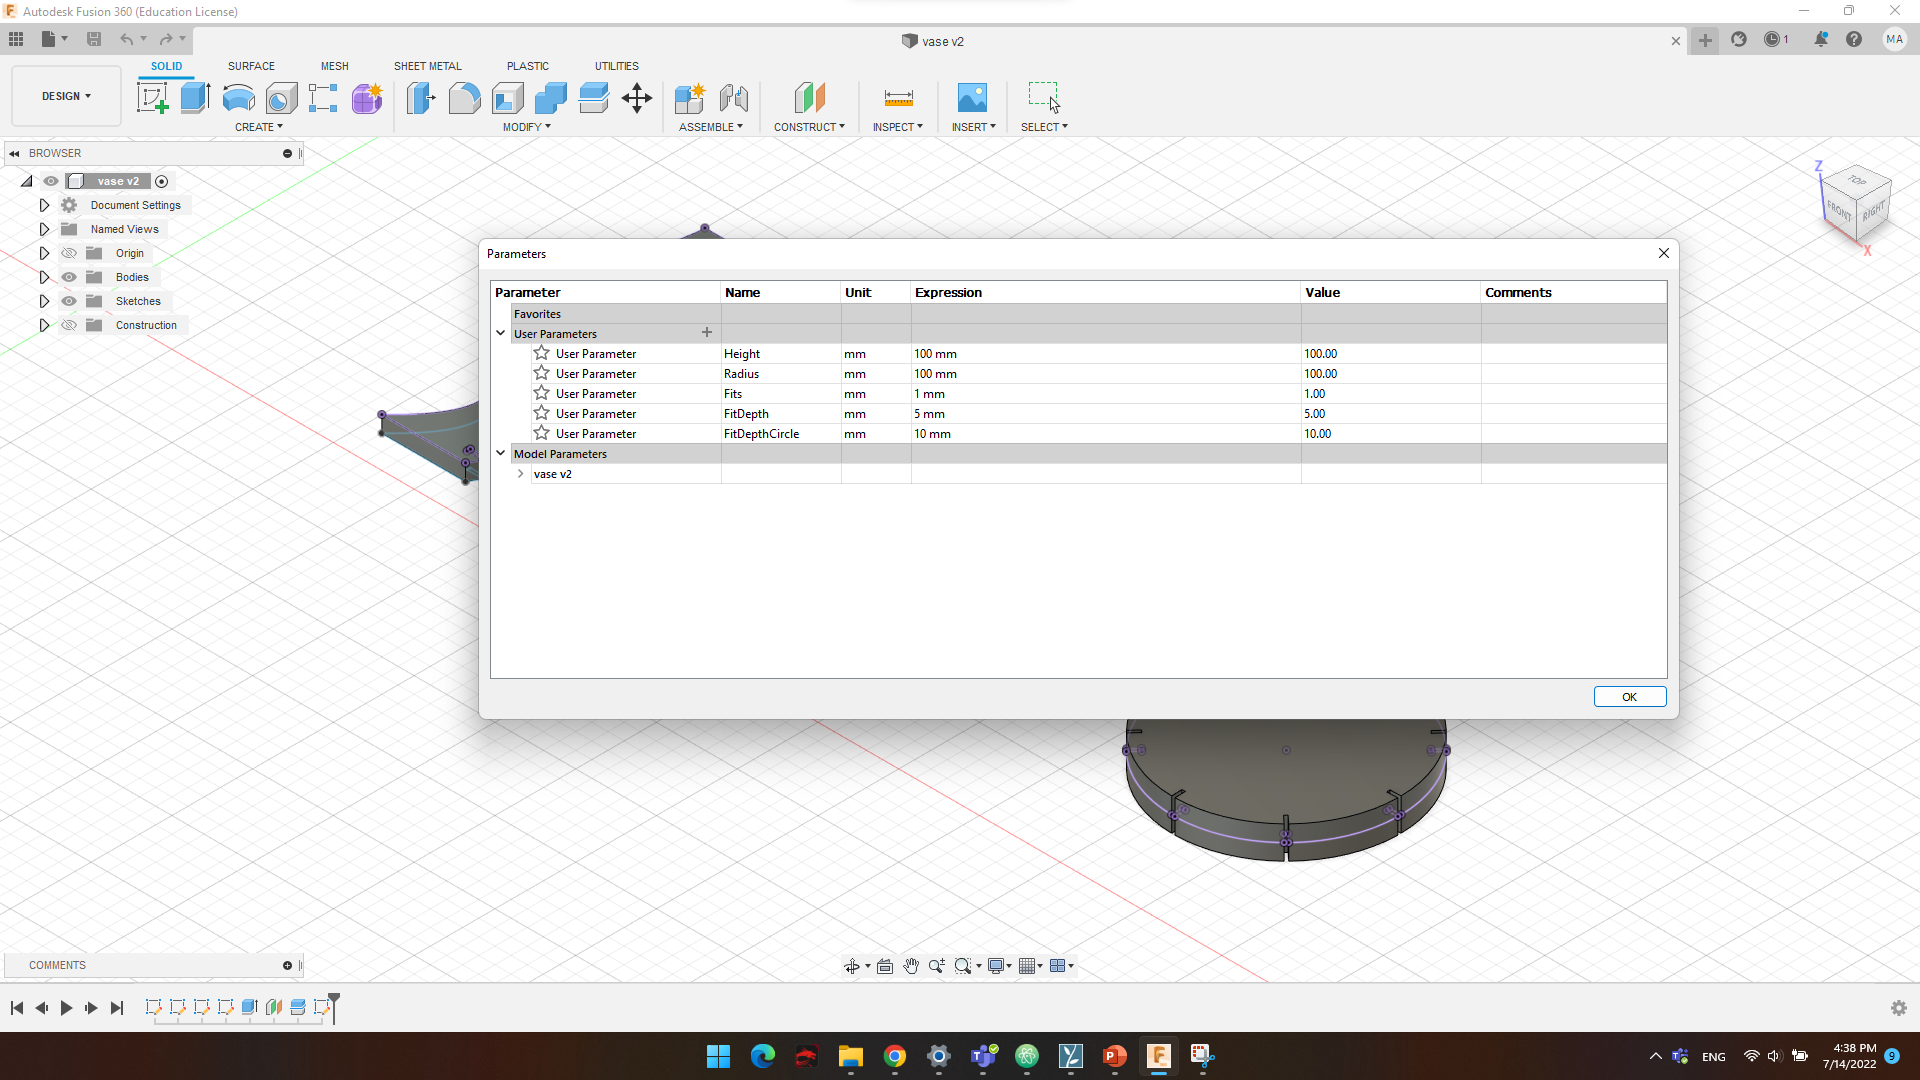
Then I exported the file as a “.DXF” format for the laser cutter to understand the file format
Then by doing the steps explained in the group assignment I laser cut the design
Final result