5. 3D printing and scanning
This week, I learnt how to use a Slicer to upload my 3D models, how to configure the 3D printer so that it prints the model, and how to scan a 3D item.
What is 3D Printing, and how does it work?
Additive manufacturing, often known as 3D printing, is the technique of creating three-dimensional solid items from a computer file.
Additive manufacturing technologies are used to create 3D printed objects. An item is built in an additive technique by laying down successive layers of material until the product is complete. Each of these layers may be viewed as a cross-section of the item that has been lightly cut. Subtractive manufacturing, which involves cutting or hollowing out a piece of metal or plastic with a milling machine, is the total opposite of 3D printing. When compared to traditional production processes, 3D printing allows you to create complicated forms with less material.
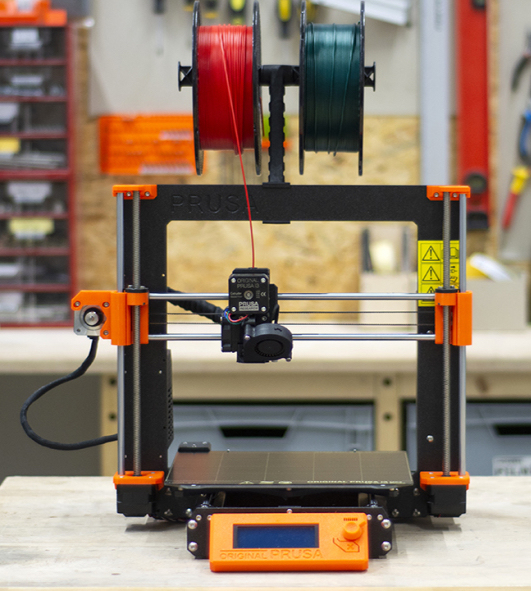
Here is the 3D printer I used to print my tower model, A Prusa 3D printer.
Safety Measures
- Watch Out For Burn Risks: As many people know, 3D printers work with very high temperatures, from the print surface, to the hot end. Filaments that are used with printers are melted to get hardened filament into a property which can be put down layer by layer. The hot end is what heats the filaments up and these temperatures can run anywhere from 190 to 300 C, depending on what material you are printing with.
- Don’t Fall For Pinch Points Injuries: 3D printers have a lot of mechanical movement from the X, Y and Z axis. All this movement gives rise to the risk of you getting pinched from your 3D printer.
- Be Extra Careful With Scraper Blades: A safety rule that several 3D printer users can attest to involves using those sharp, dangerous scraper blades which are used to remove 3D prints after they are finished.
- Avoid Electric Shocks From Your Printer: Sometimes voltage can spill out from your 3D printer to the point where you can feel it throughout the entire frame. It’s important to know what the possible causes of this are, because it can be dangerous for your safety and others.
- Be Aware of Dangerous Fumes From Materials As best as you can, you want to have your 3D printer in a well-ventilated area, away from spaces that you mainly occupy.
Features
- SuperPinda Probe: It features a hiqh-quality sensor for a fully-automatic Mesh Bed Leveling process
- High-Quality Parts: It features an aluminum extrusion Y-axis assembly. Thanks to the milled dural frame, which makes it s stable, rigid, and easy to assemble.
- Power Loss Recovery: The printer can fully recover from the loss of power and continue printing exactly where it left off.
- Filament Sensor: The built-in filament sensor uses a reliable trigger system, which detects whether a strand of filament is inserted into the extruder.
- Mesh Bed Leveling: Mesh Bed Leveling process to compensate for microscopic imperfections of the print sheet, and inconsistencies caused by the assembly and stacking of the manufacturing tolerances of various parts. Achieving a great-looking first layer is quick and easy.
- Support for a wide range of Materials: It is fully compatible with a wide range of various types of materials.
Check out this page to learn more!
A Closer Look at the 3D Printer
How does a 3D Printer print 3D models?
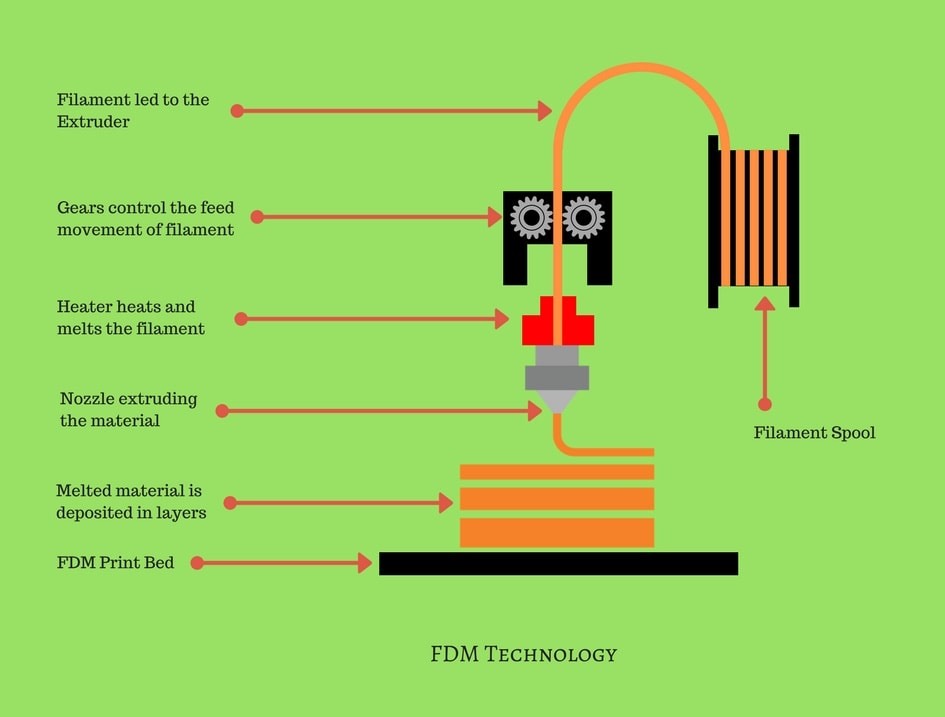
Fused Deposition Modeling, The FDM modeling approach is used to simulate the sedimentation of a material melt. Where the raw material (in this example, thermoplastic) is deposited as compact layers for the three-dimensional printed stereoscopic design. During the printing process, the heated extruder nozzle is supplied with plastic wires, which melt enough to allow the ejector head to be correctly positioned. Below is an image that illustrates the components of FDM technology.
What materials are used by the printer, and why is it crucial to choose the appropriate one?
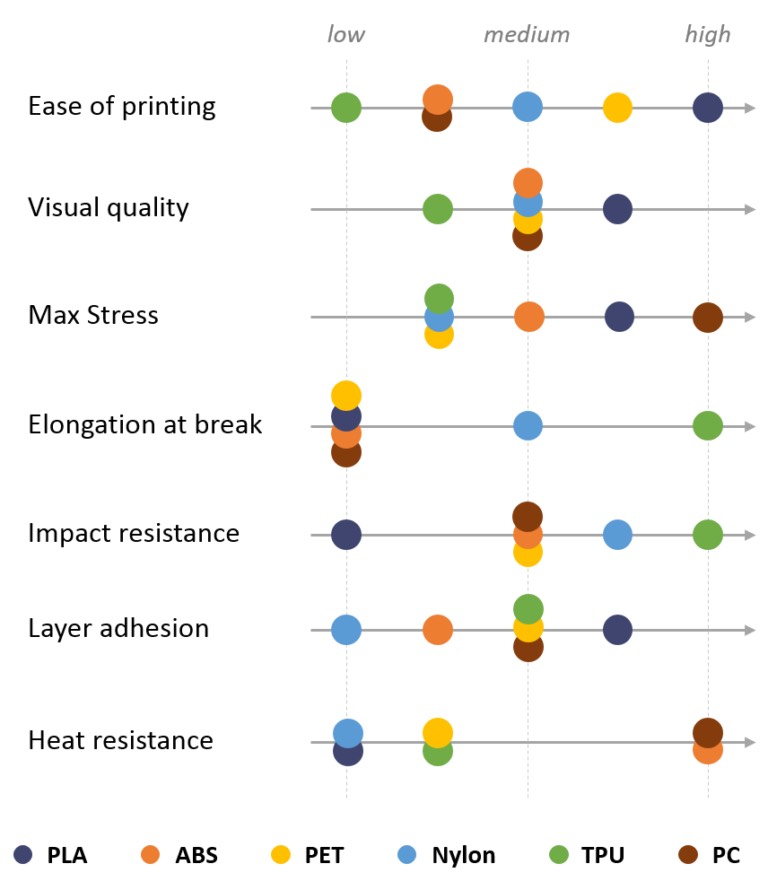
When choosing the right material, there are some aspects to keep in mind like: Ease of printing, Visual quality, Max stress, Elongation at break, Impact resistance, Layer adhesion, Heat resistance
PLA, ABS, PET, Nylon, TPU, and PC are some of the most common materials used to print 3D objects. The graph below compares the mentioned materials based on the distinguishing characteristics. Click here to find out more about different 3D materials.
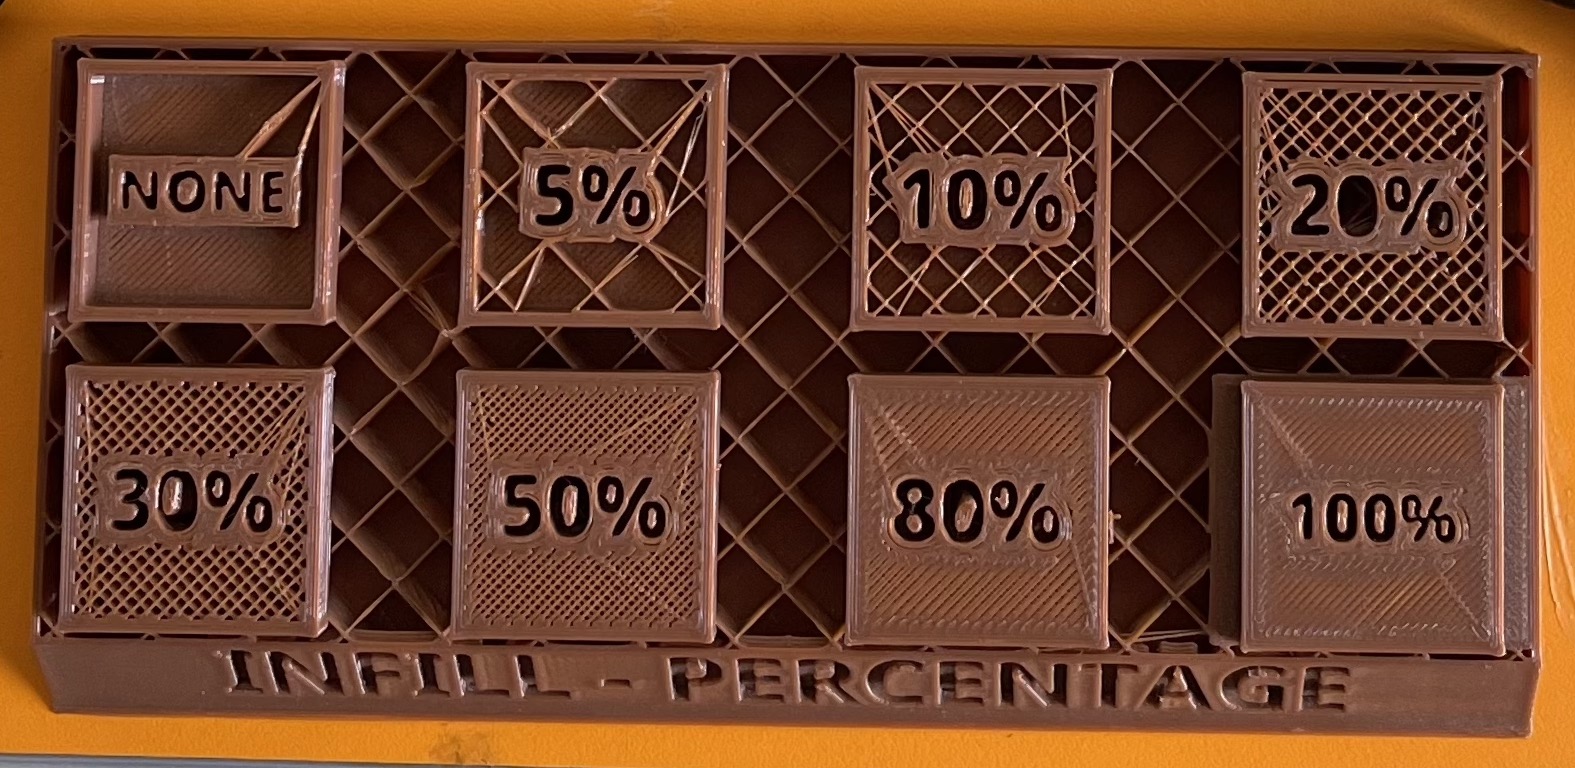
What is infill, and how does it work?
The “fullness” of a part’s interior is defined as its infill density. In slicers, this is often described as a percentage between 0 and 100, with 0 indicating a hollow component and 100 indicating a totally solid section. Scroll down to see how I applied it to my model.
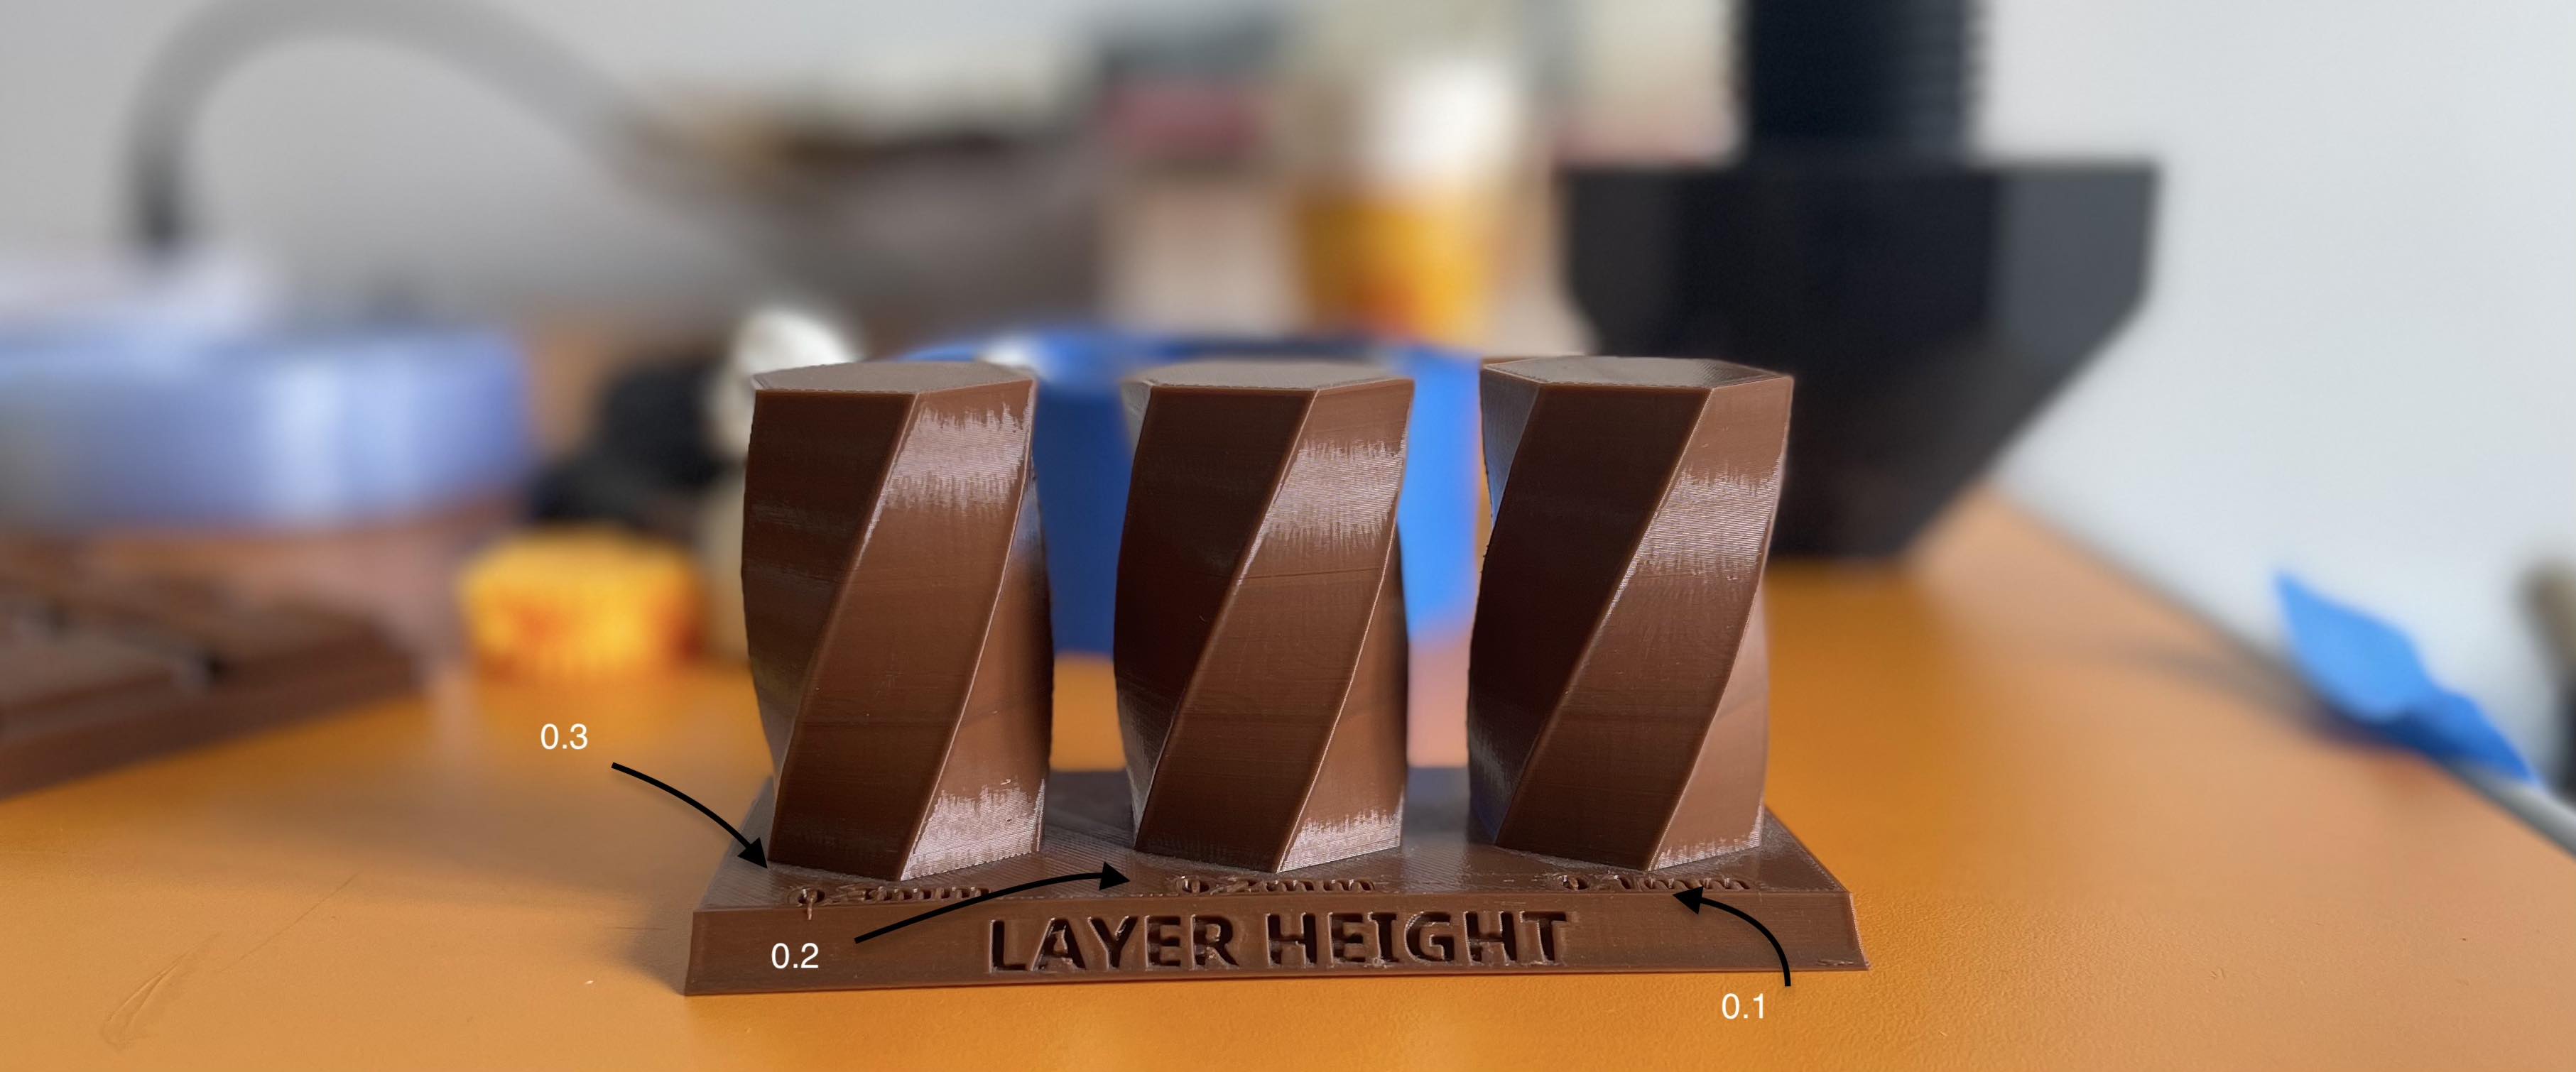
What is layer height, and how does it work?
Simply The thickness of each layer of deposited material is referred to as the ‘layer height. The surface quality of the completed product is related to the layer height, lesser layer heights result in smoother surface finishes Below is a comparison between three different infill settings. Scroll down to see how I applied it to my model.
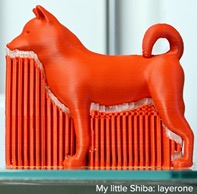
What is 3D printing support, and how does it work?
In some cases, a 3D models needs support in case of an angle it involves extra post-processing effort and has the potential to harm the model’s surface. As a result, effectively getting 3D printing support structures is a critical part of complicated 3D printing models. For example, the dog model below needs support to be able to print it body in the intended way.
Individual Assignment
3D Printing
Why did I use an Additive method instead of a subtractive one?
Considering the model that I’m going to print with all semi-complex forms, angles, and small pieces, which the additive technique is better suited for, Additive technologies are the best alternative. It would be incredibly difficult to make a model that is both compact and detailed if subtractive technology was employed instead. In a nutshell, prototypes and concept models in 3D With plastic additive manufacturing procedures, 3D printers are often more cost-effective and faster to create.
Ultimaker Cura
Fisrt, Using the same computer aided design that I’ve created on week two, I saved it on the computer to start the 3D printing process.
I download my 3D model from TinkerCAD where it was saved as an stl file on my computer.
Find here how i designed my 3D CAD desgin
Click here to download the file.
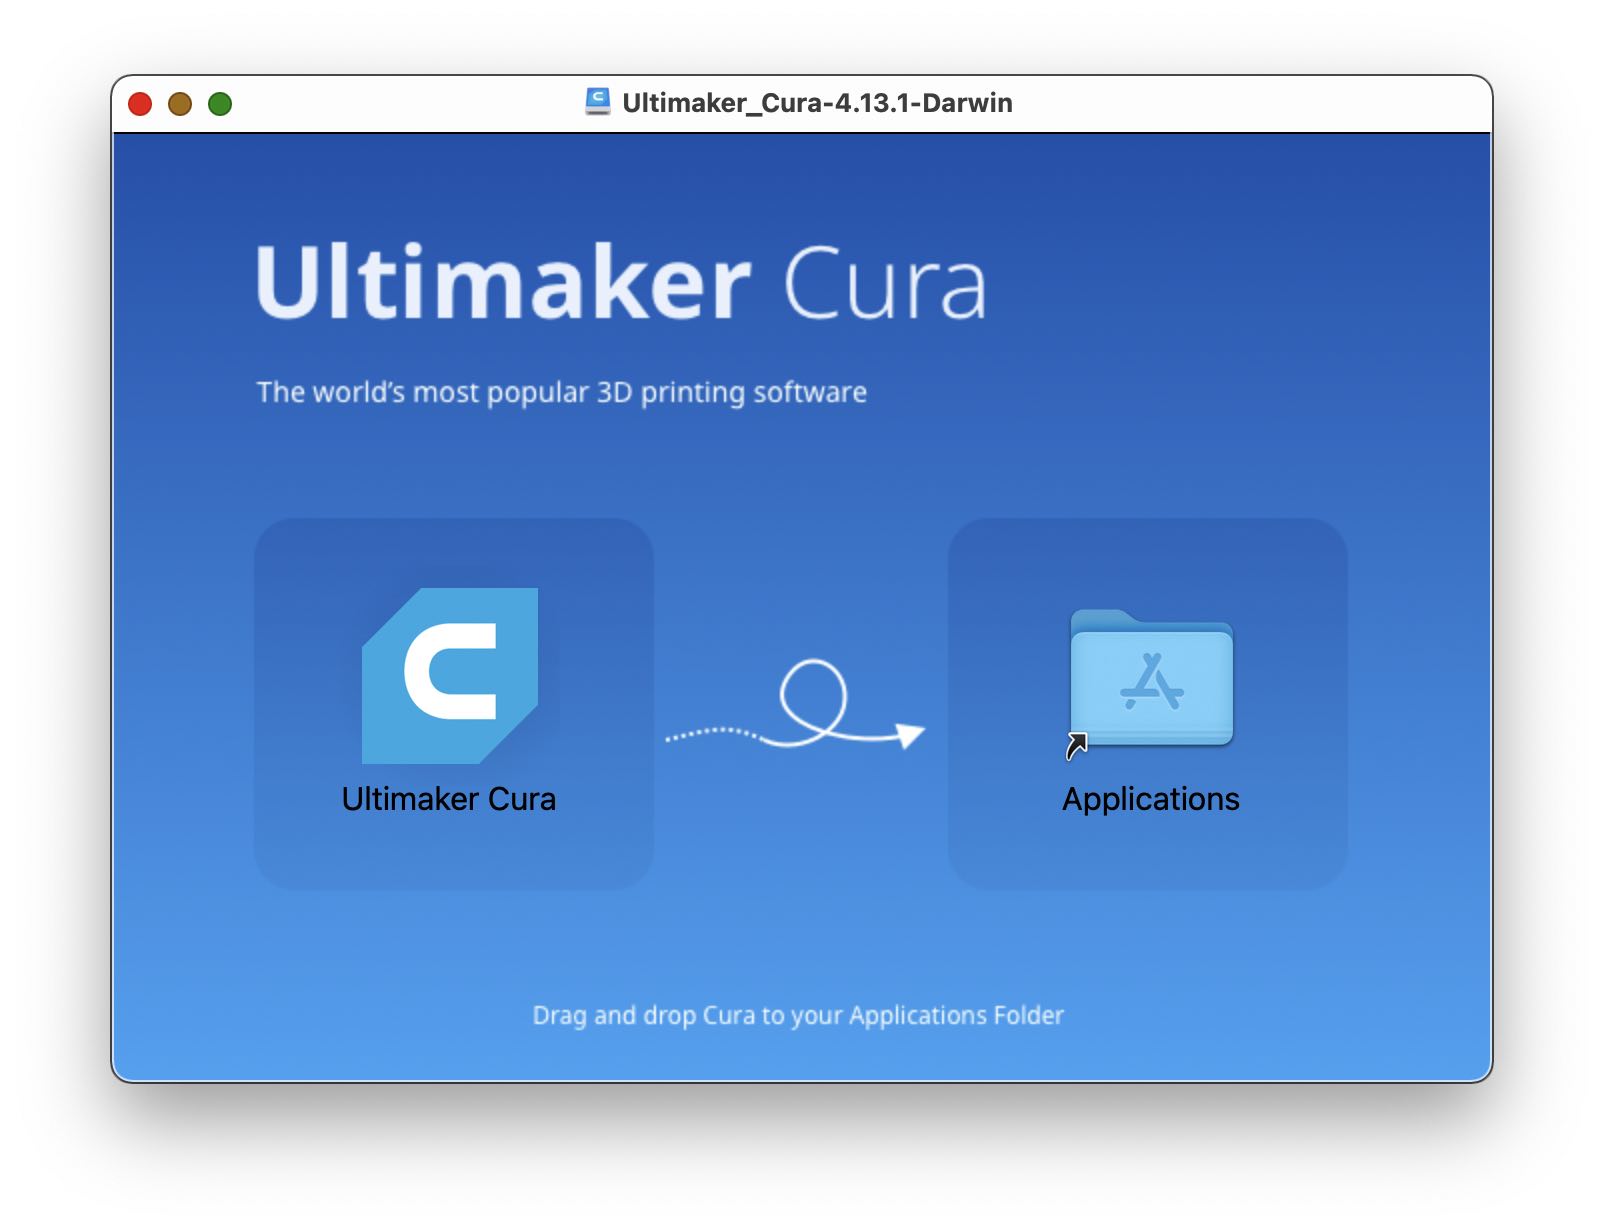
I then proceeded to download Cura Ultimaker, wehre i will edit my 3D model before finally printing it.
On Cura Ulitmaker, I placed my tower 3D model on the mat along with my mates 3D models, which were gonna be printed next to mine at the same time. On the menu, on the left of the screen I set my 3D model measurements to the ones I had in mind.
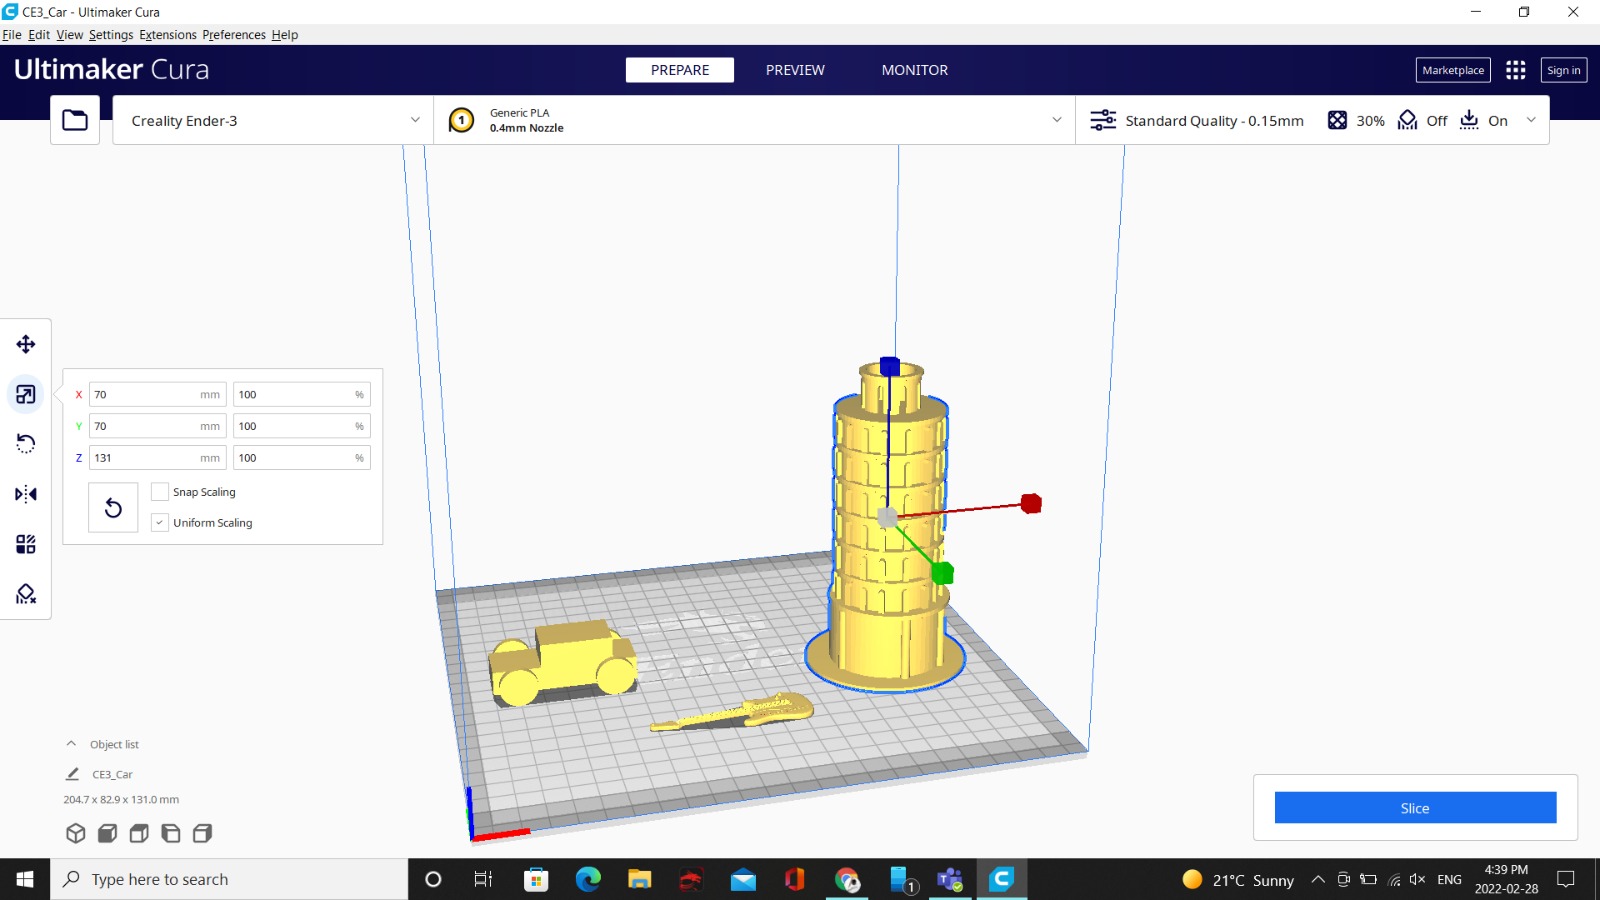
On the right panel, where I had a lot more options, I first set the layer height to 0.1 which determined how smooth my 3D model will print. See above layer heights comparison. Next, I set my infill to 30 and its pattern to cubic based on the readymade 3D model at the lab that showed how infill worked and how three different infills setting can change your 3D model in terms of overall quality, hardness and flexibility, material amount, and printing period. See above the infill comaprison graph. Afetrwards, I set the printing temperature to 215 degrees, and the build plate temperature to 35 degrees, both of which were recommended by the lab instructors based on the material we were using, it was important to keep the build plate at a certain temperature to allow the thermoplastic to cool down slowly. Lastly, I set the speed of the printing as recommended by the lab instrutors.
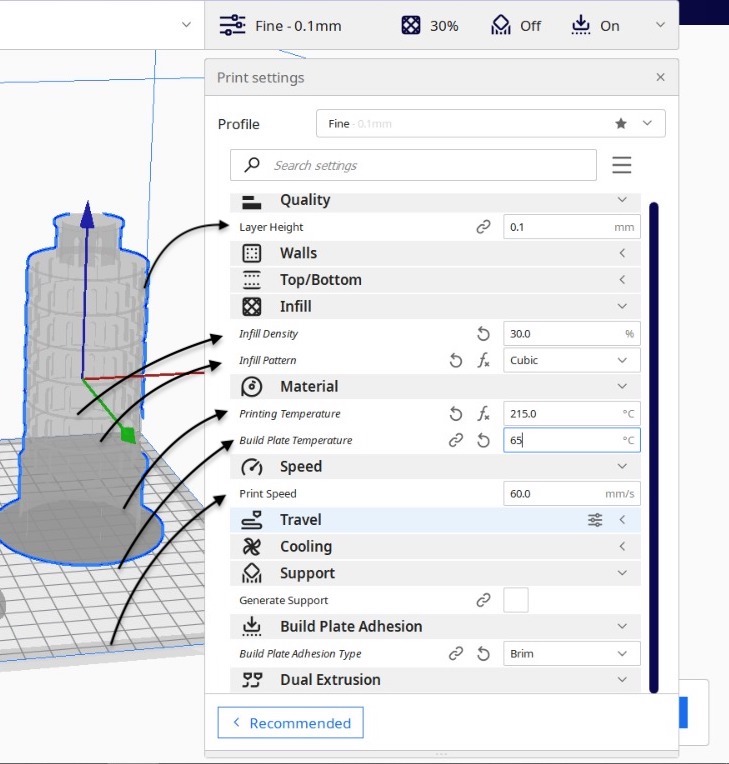
I chose not add support, as the tower didnt have that many angles that required support to print.
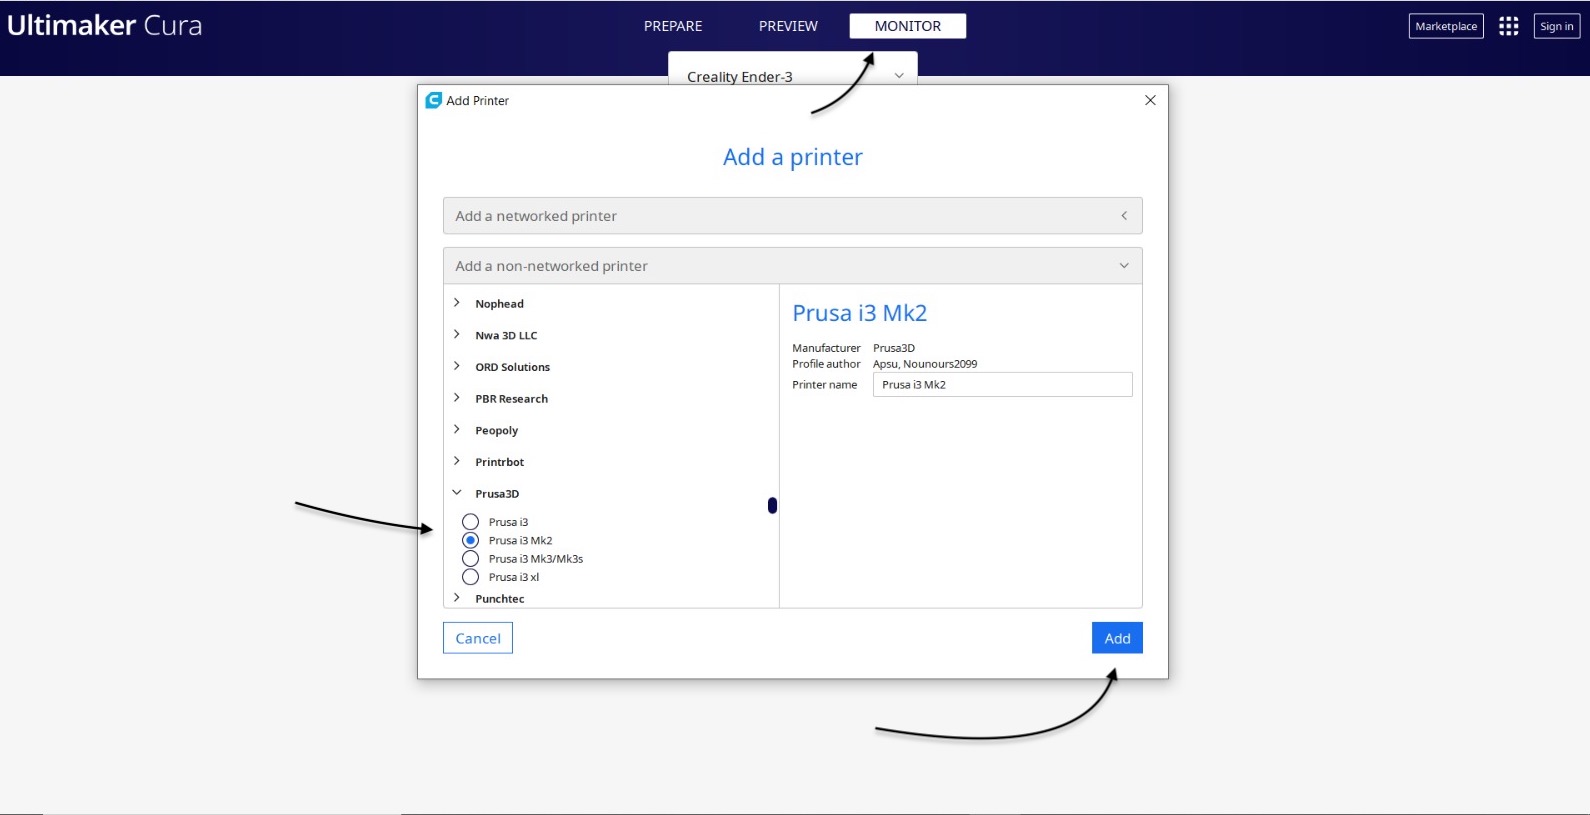
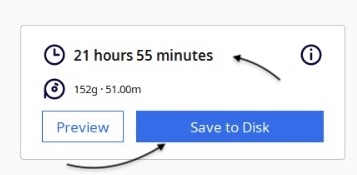
Finally, after finishing from the settings, on top of the screen I clicked on Monitor> Add printer> Prusa i3 Mk2> Add and saved the file on a SD card, where it also shows an estimation of how long the 3D printer will take to print the model.
Prusa i3 Mk2
Moving on to the printing part, I inserted the SD card where I saved my stl file on.
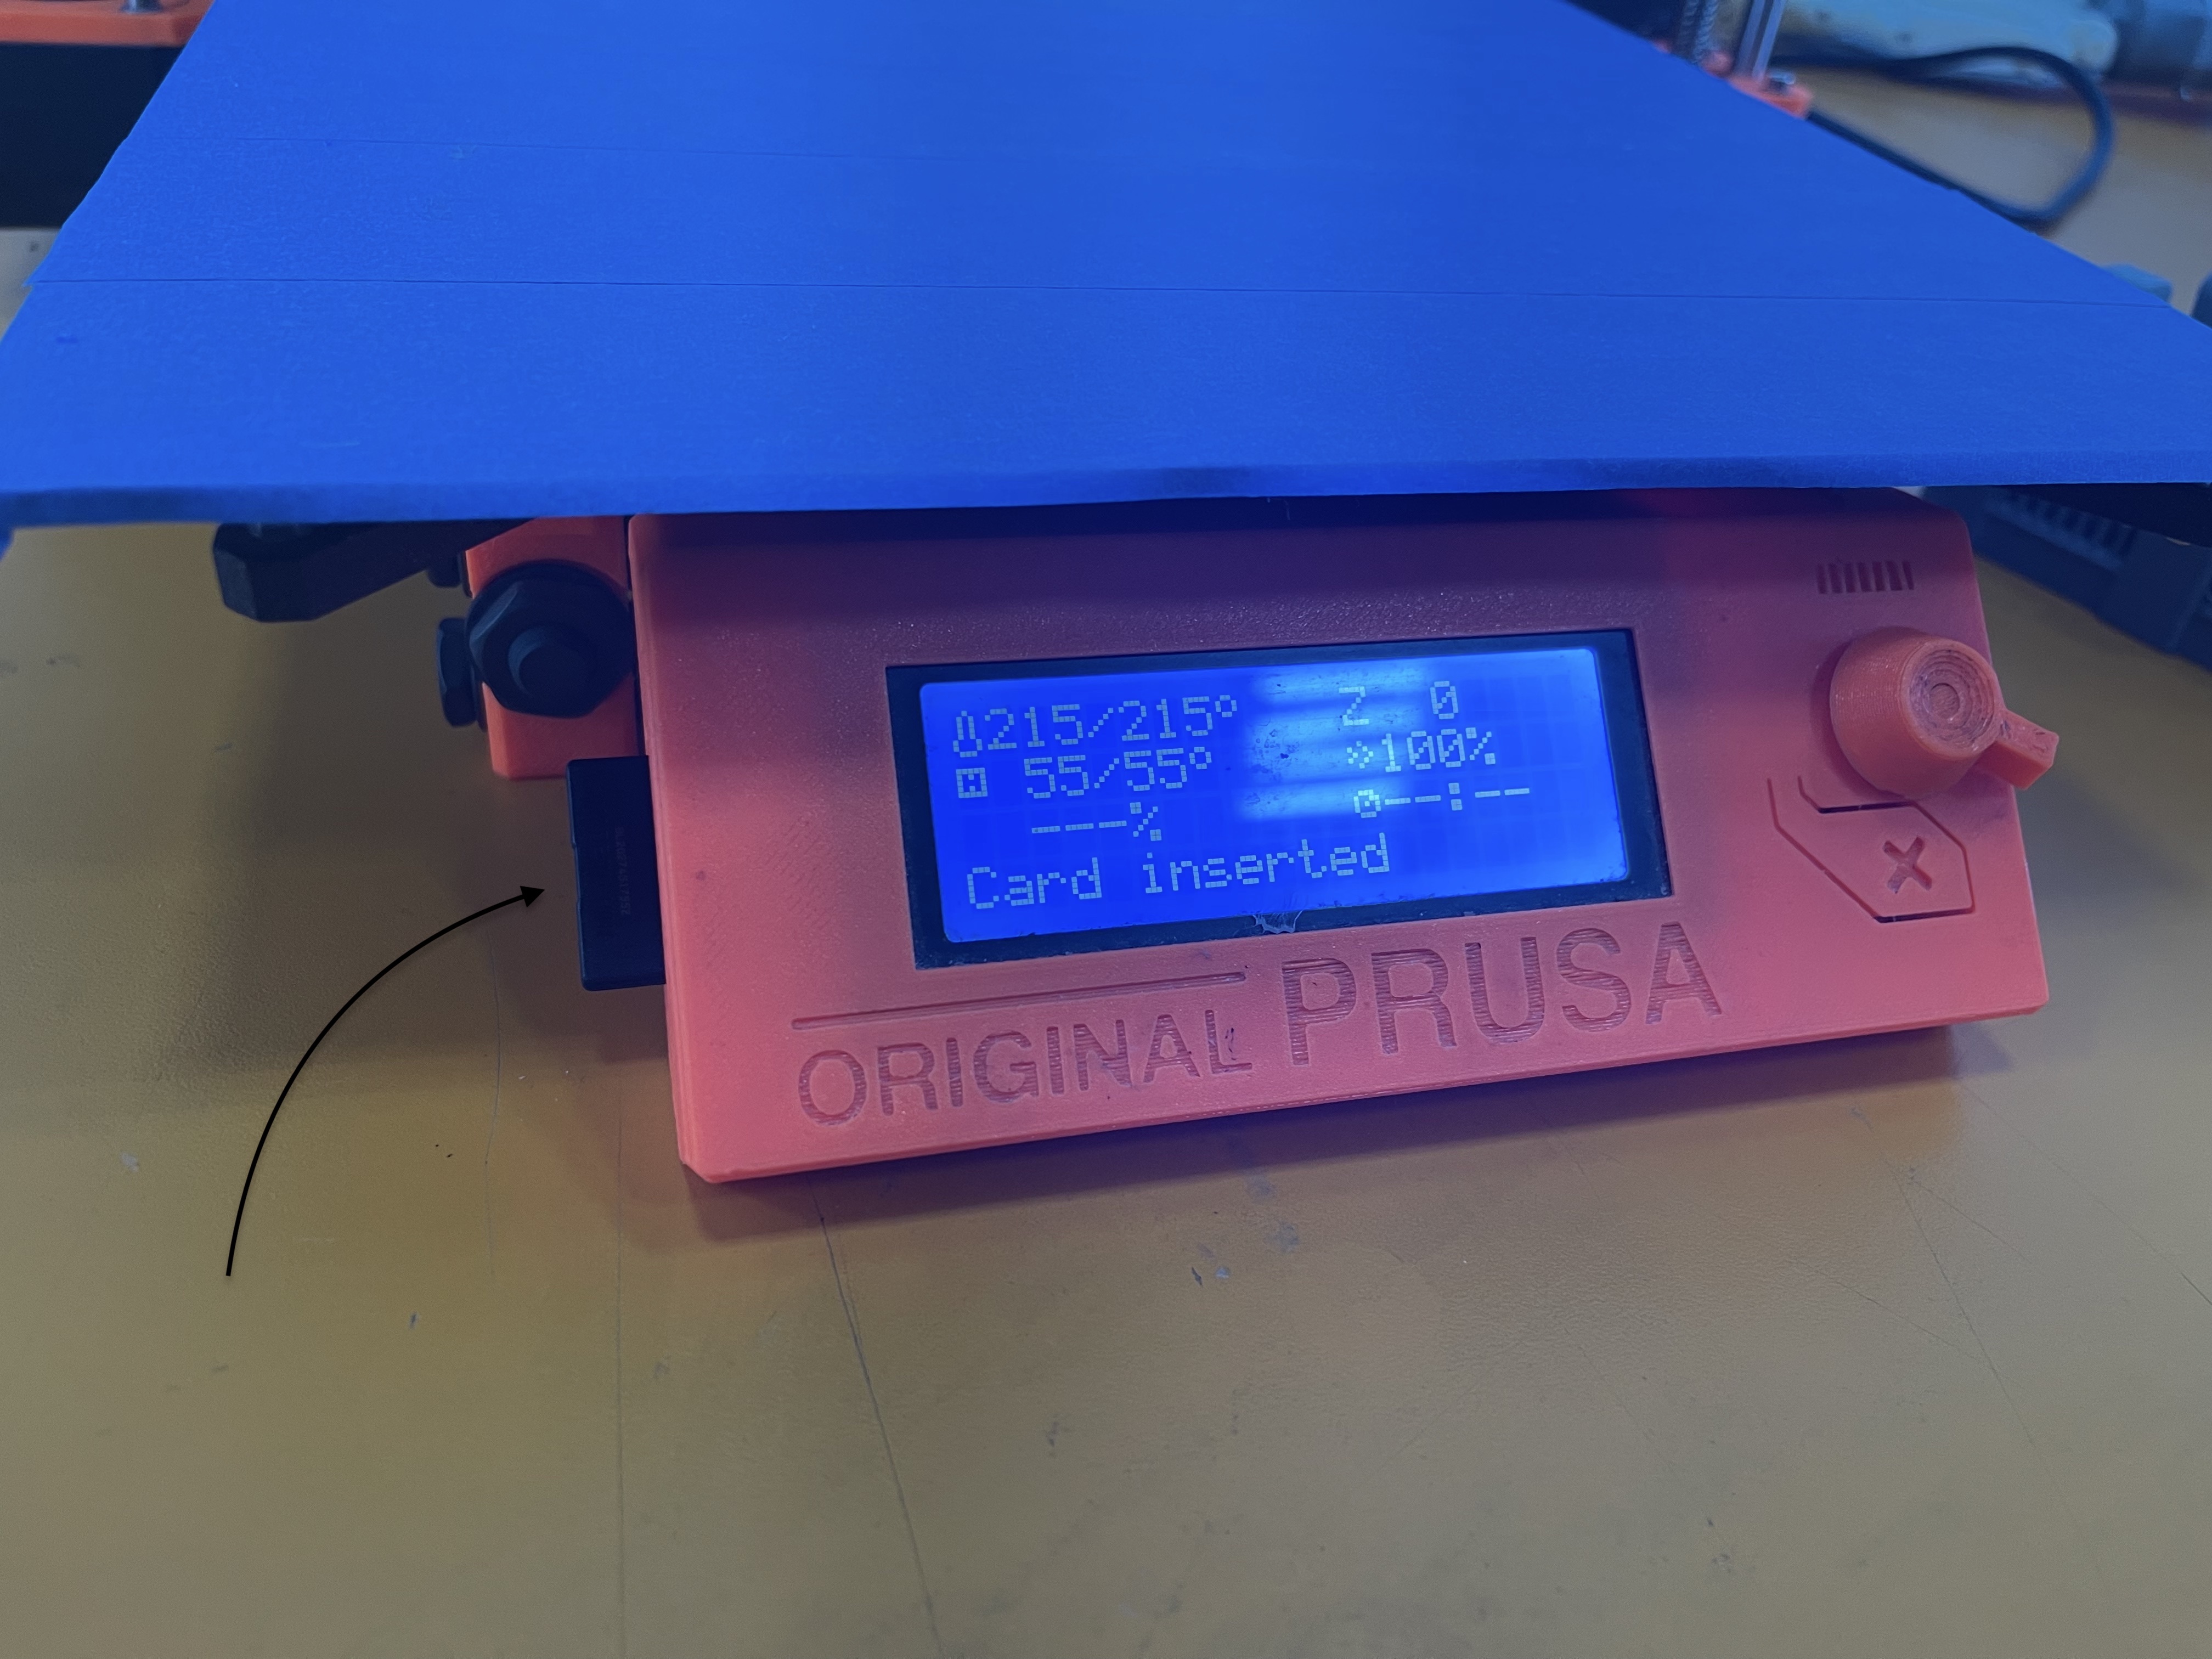
Next, using the knob turner I pressed Print form SD
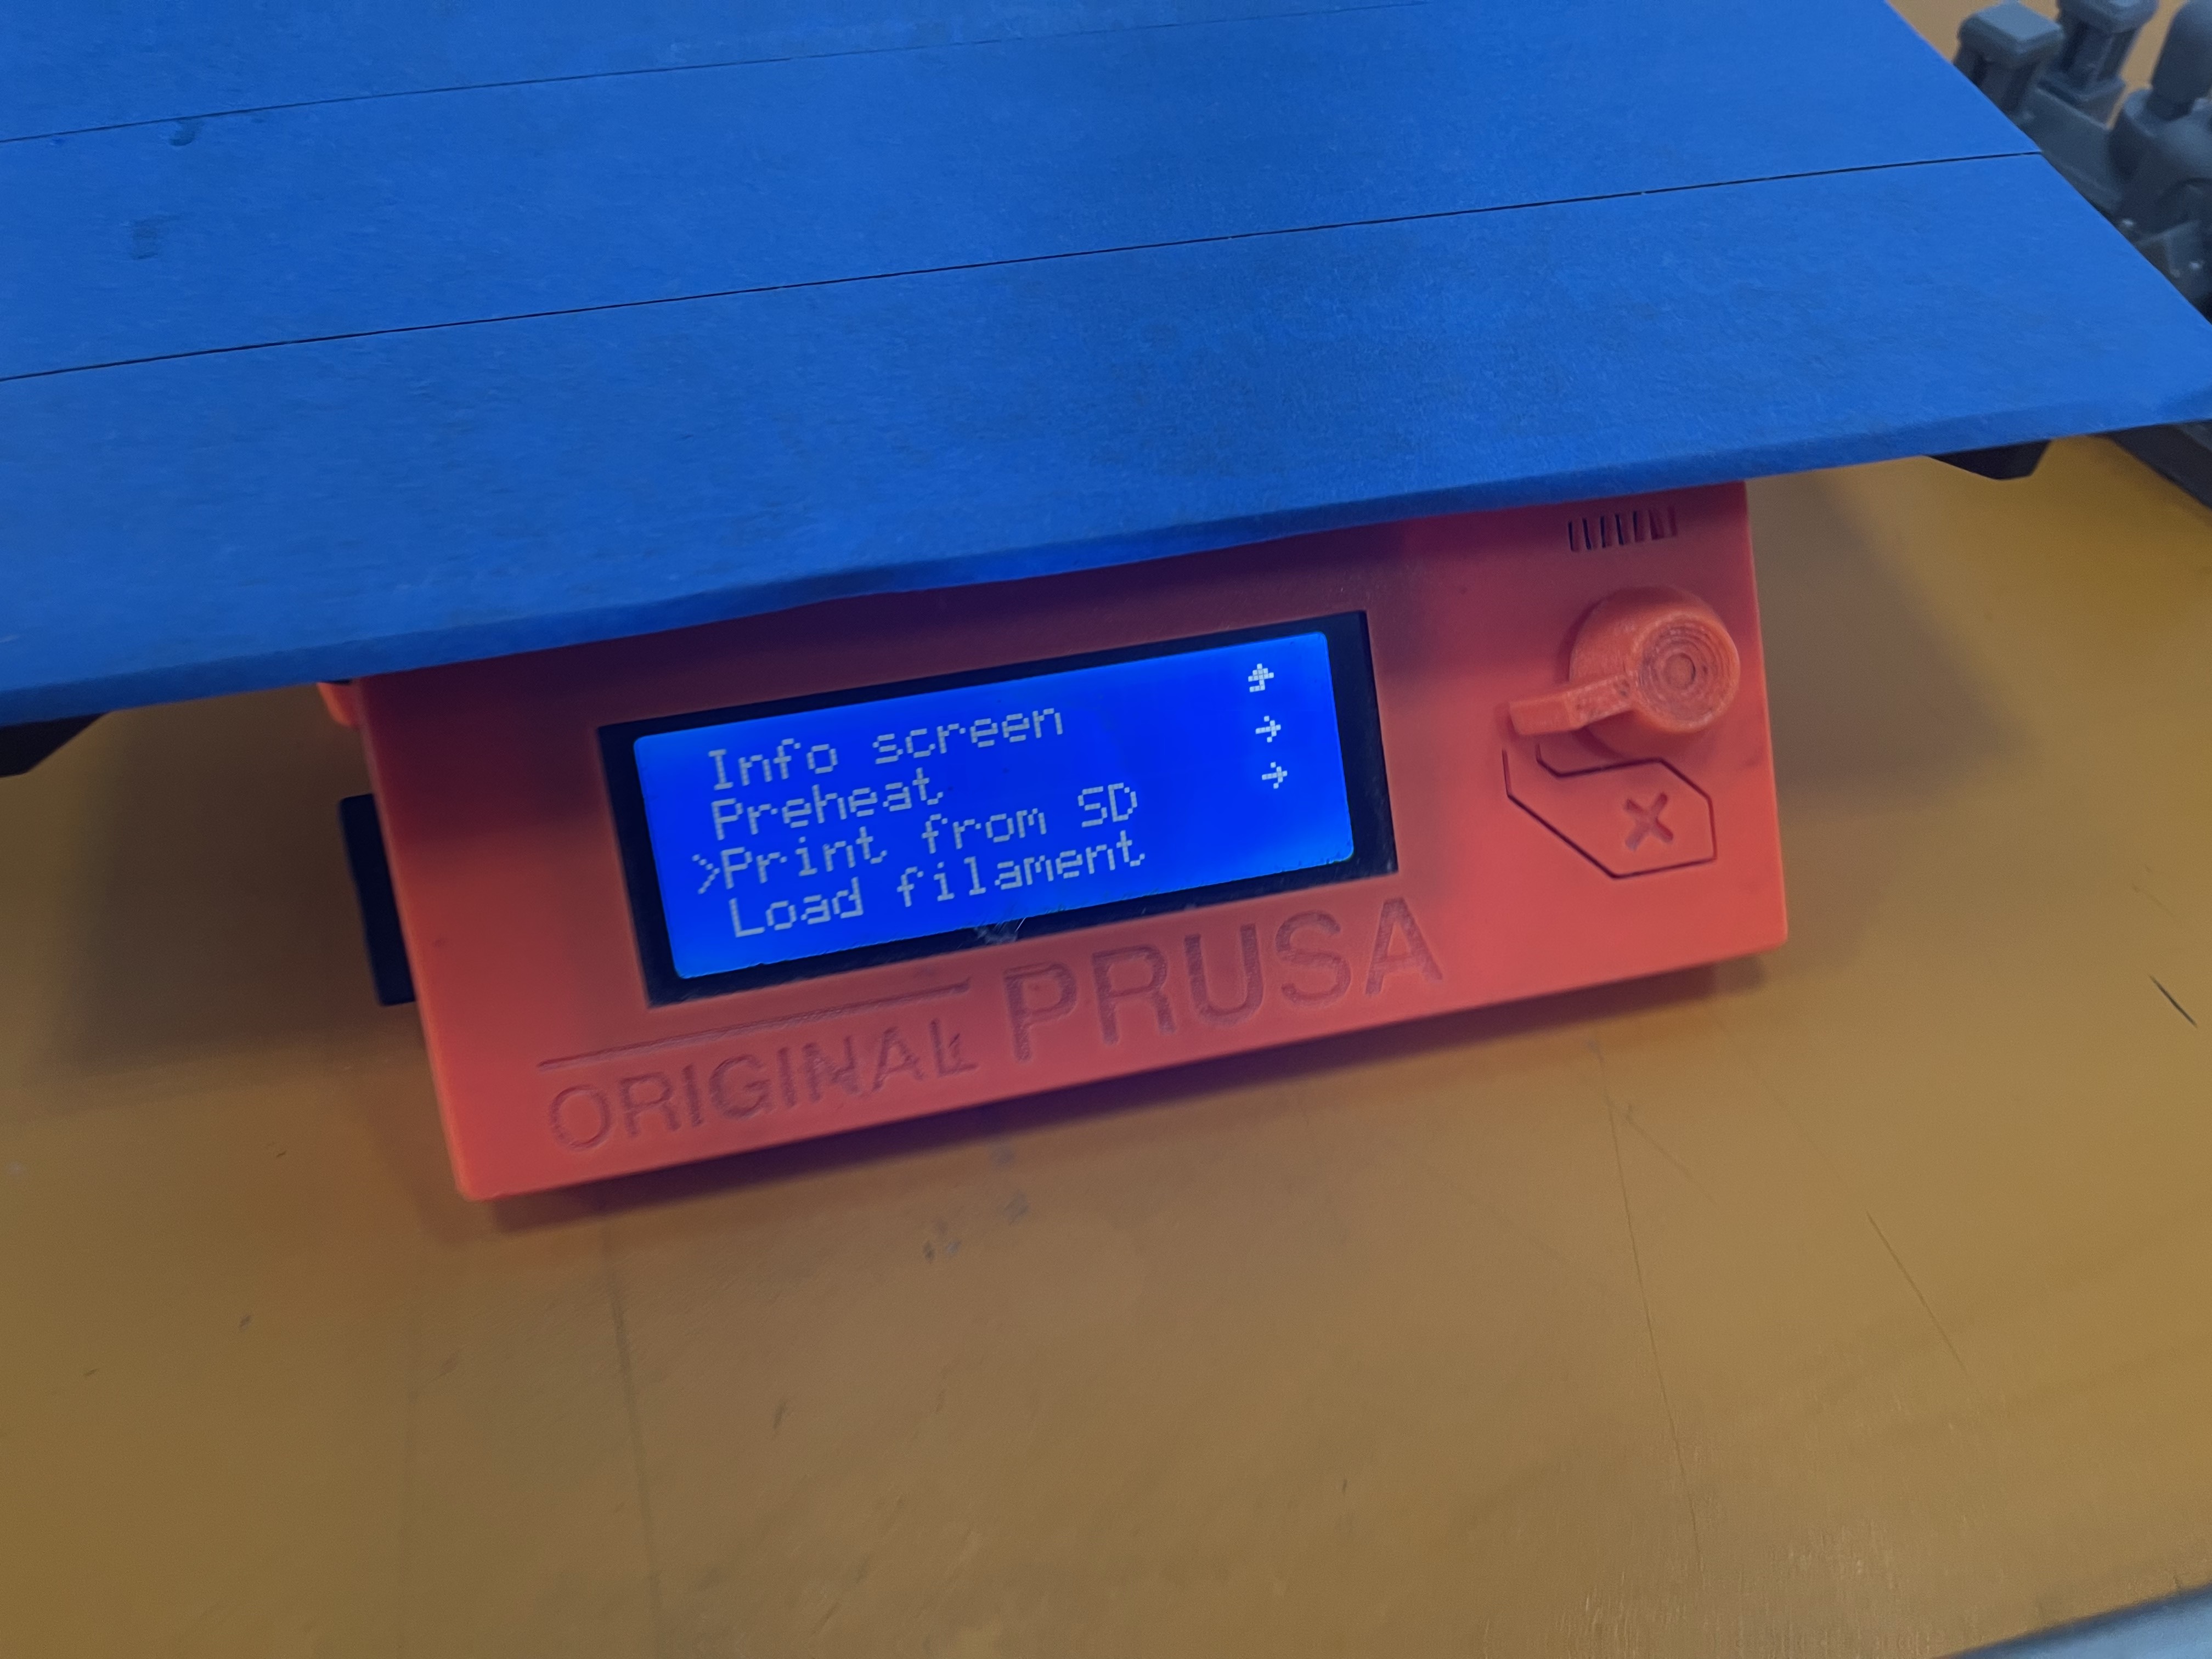
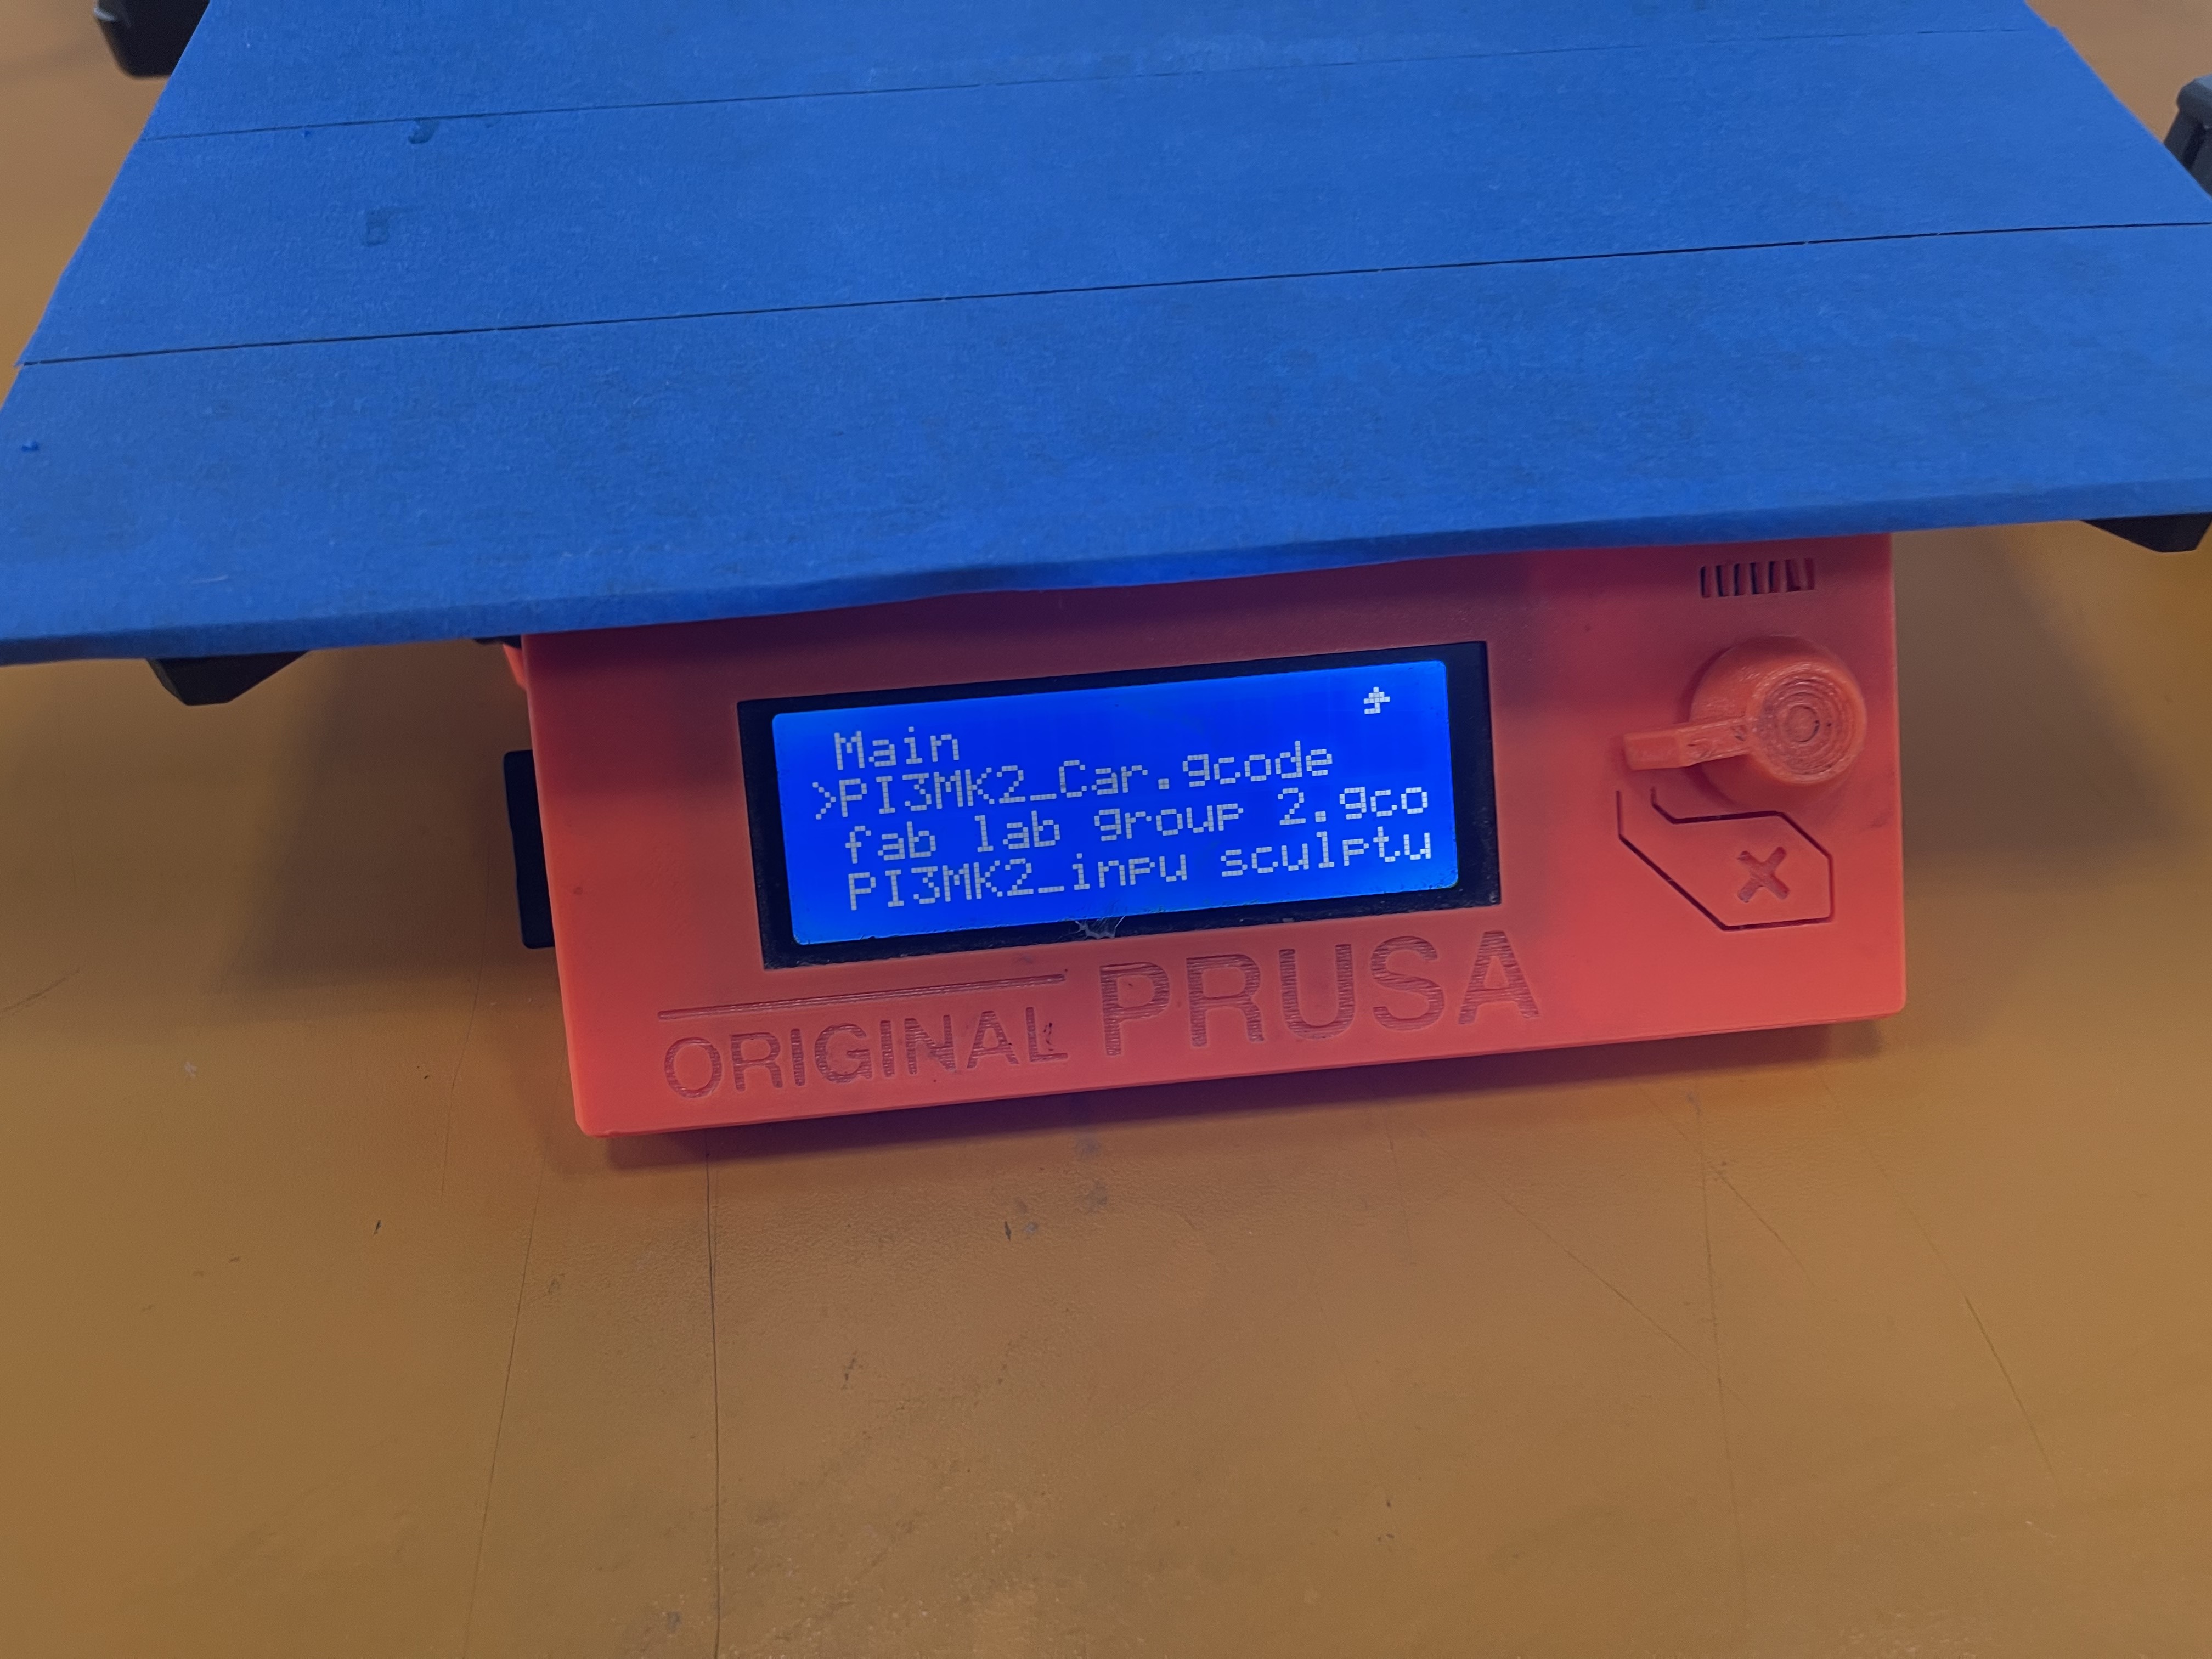
Now, I chose the file and made sure it was the correct one, and started the prining process.
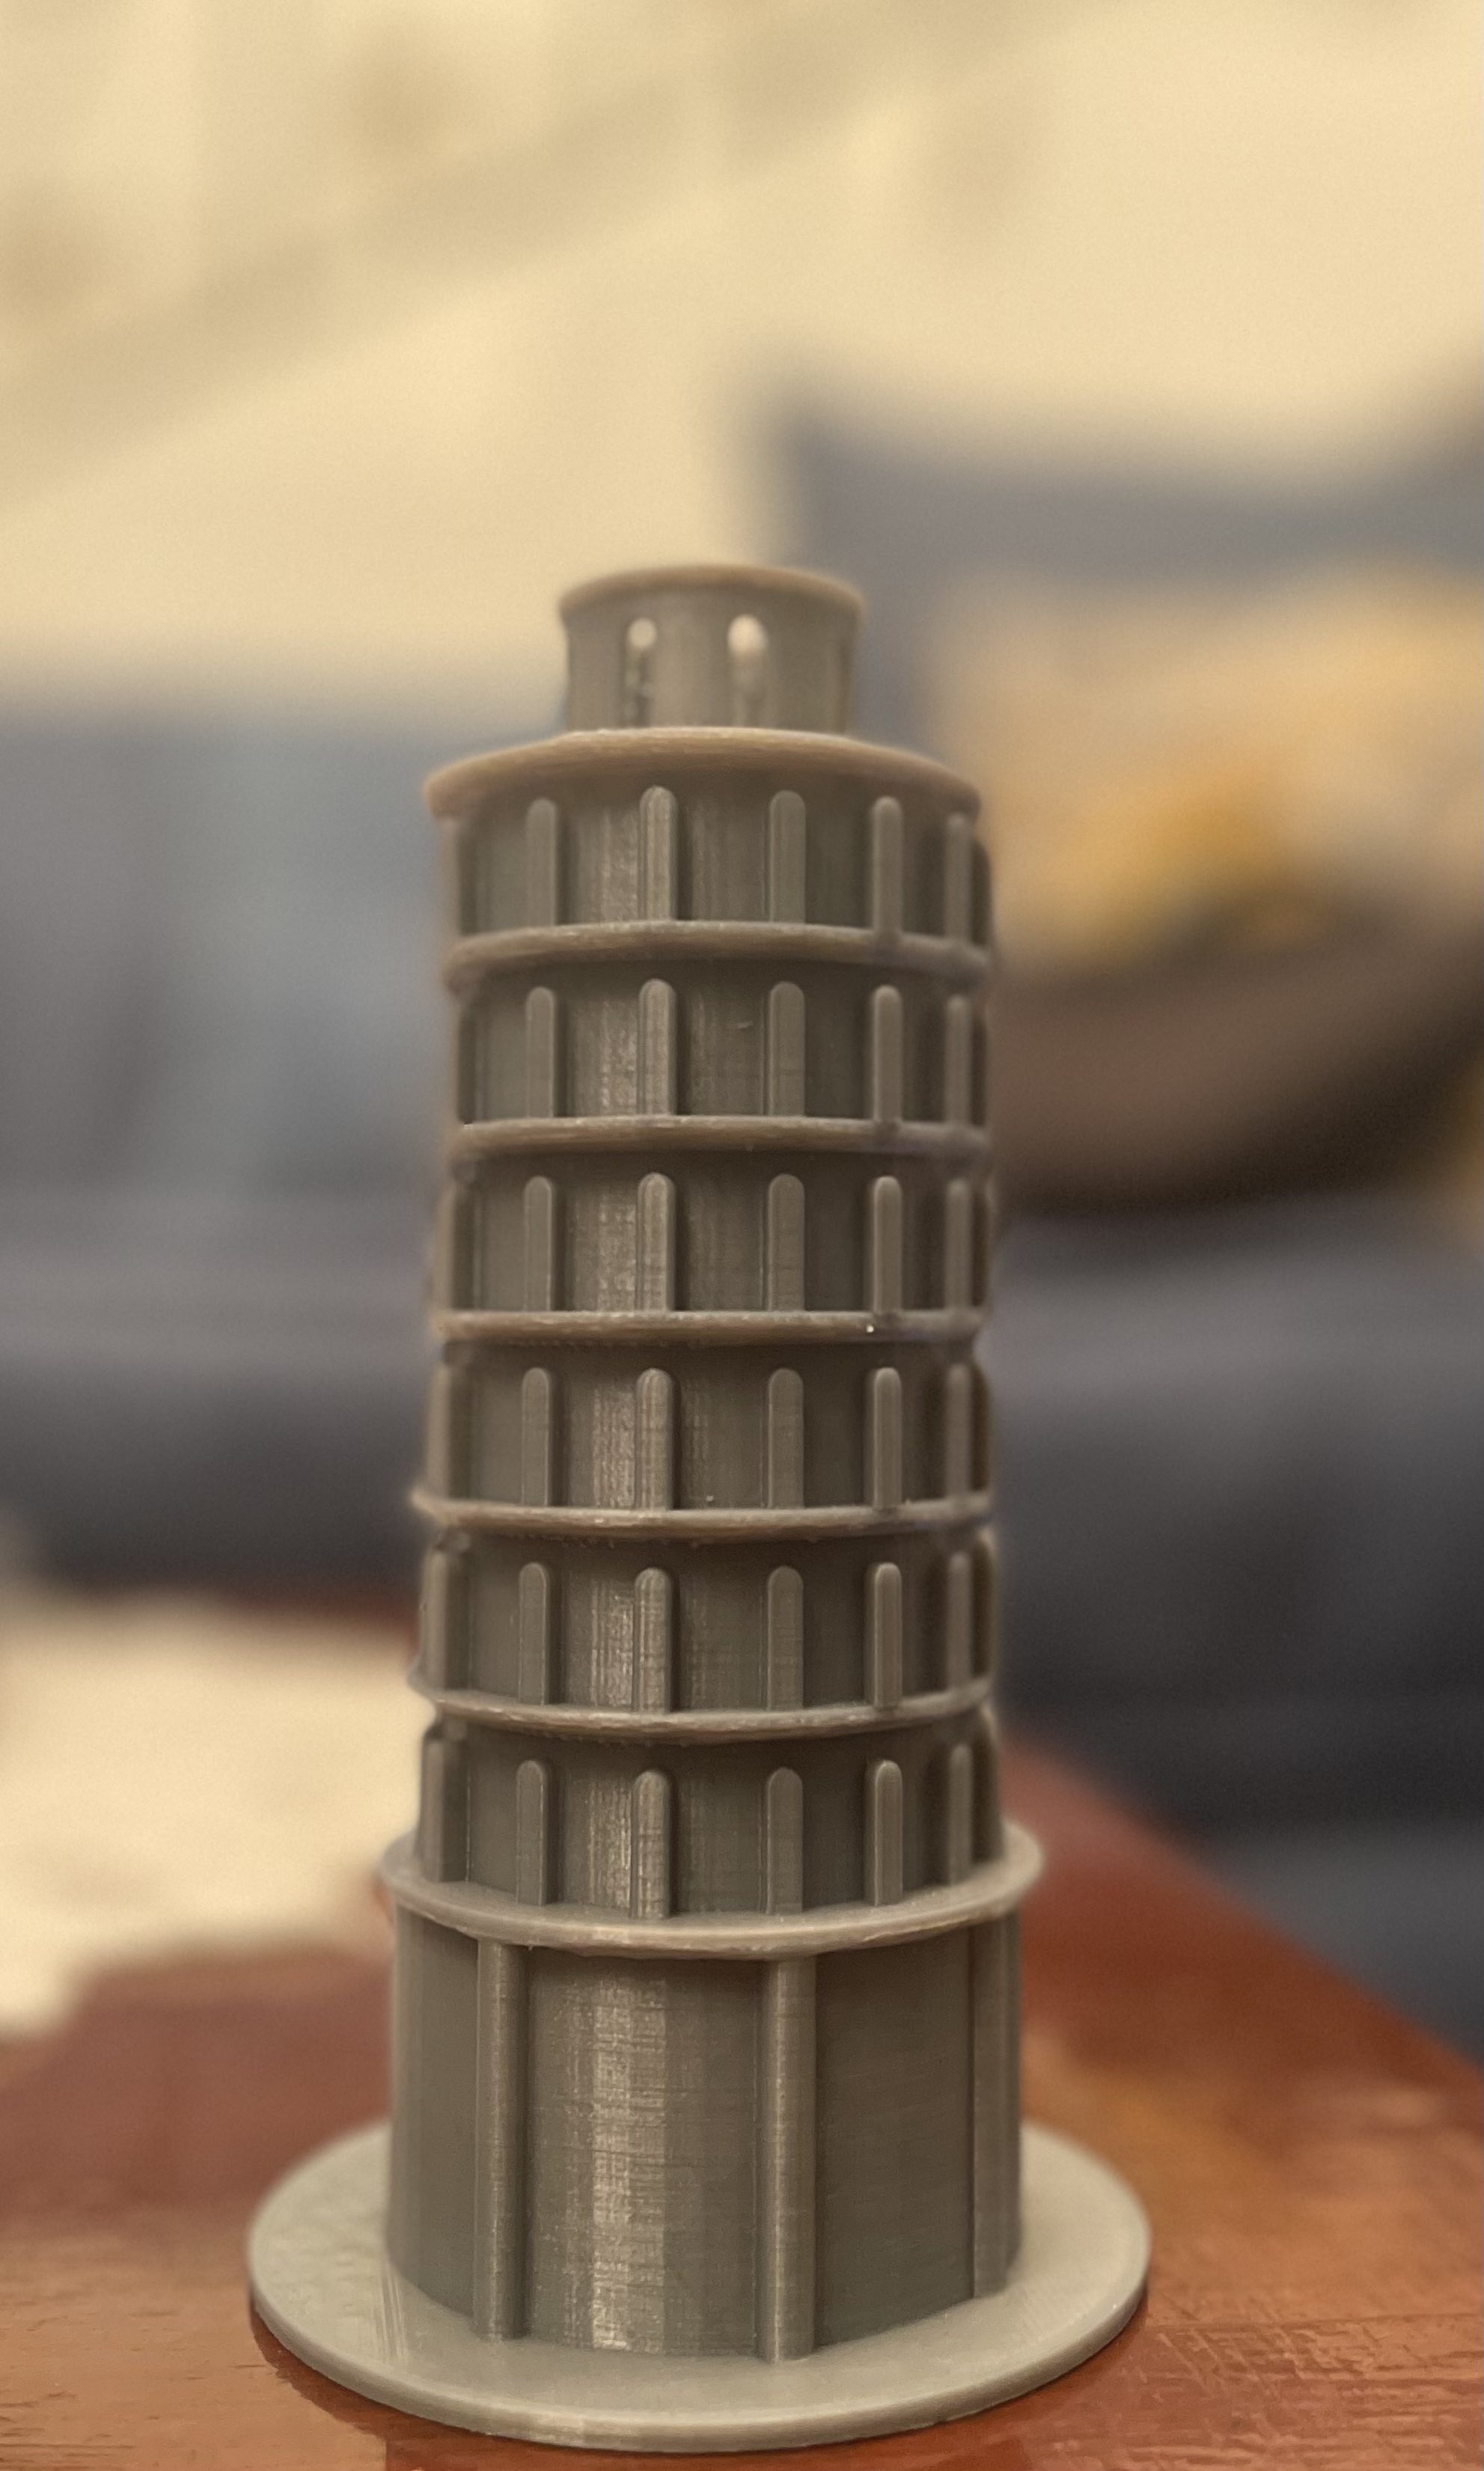
Final Results
3D Scanning
What is 3D scanning?
The act of analyzing a real-world object or environment to acquire data about its form and perhaps appearance is known as 3D scanning.
I started by installing the Qlone app for my phone, which is a 3D scanner application that scans a 3D model using your phone’s camera, rotating around the object to capture all dimensions. According to its official website, Qlone is a 3D scanning smartphone app created by EyeCue Technologies. The EyeCue iPhone 3D scanner software offers near-real-time 3D scanning and provides results locally rather than via a cloud platform.

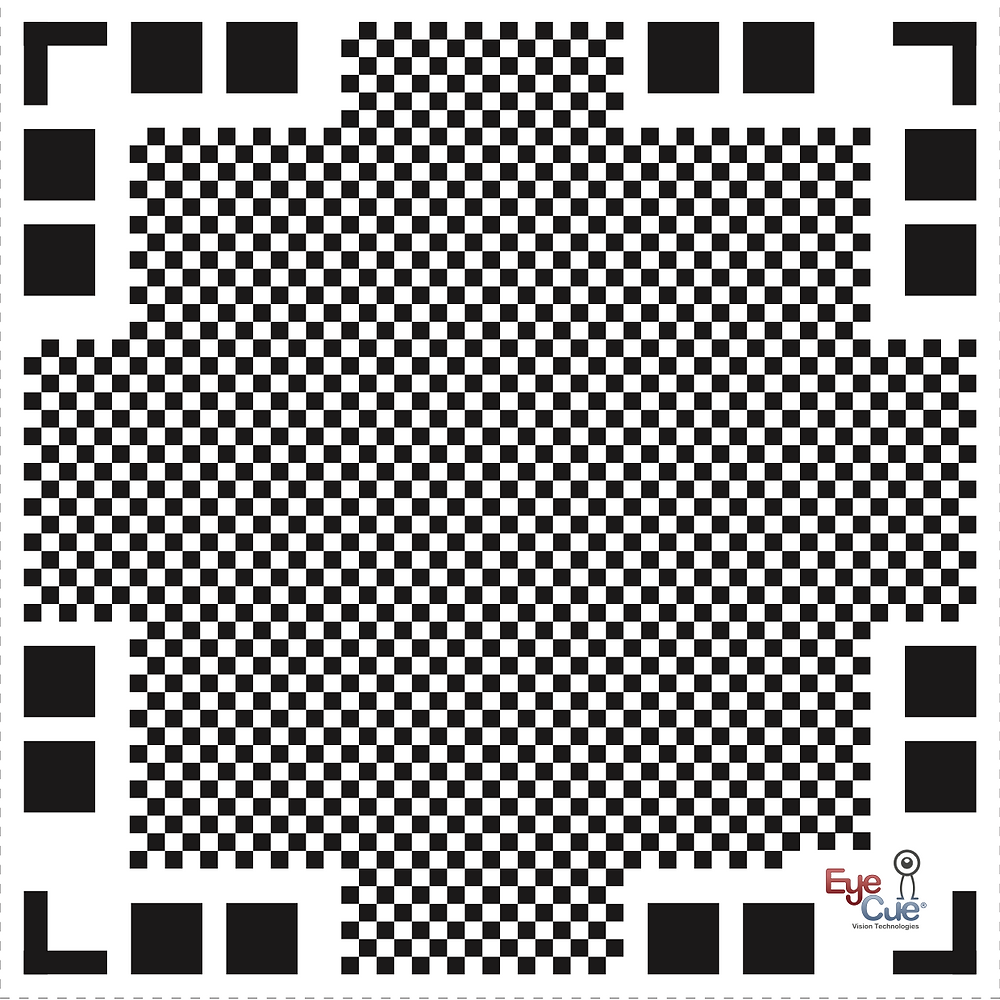
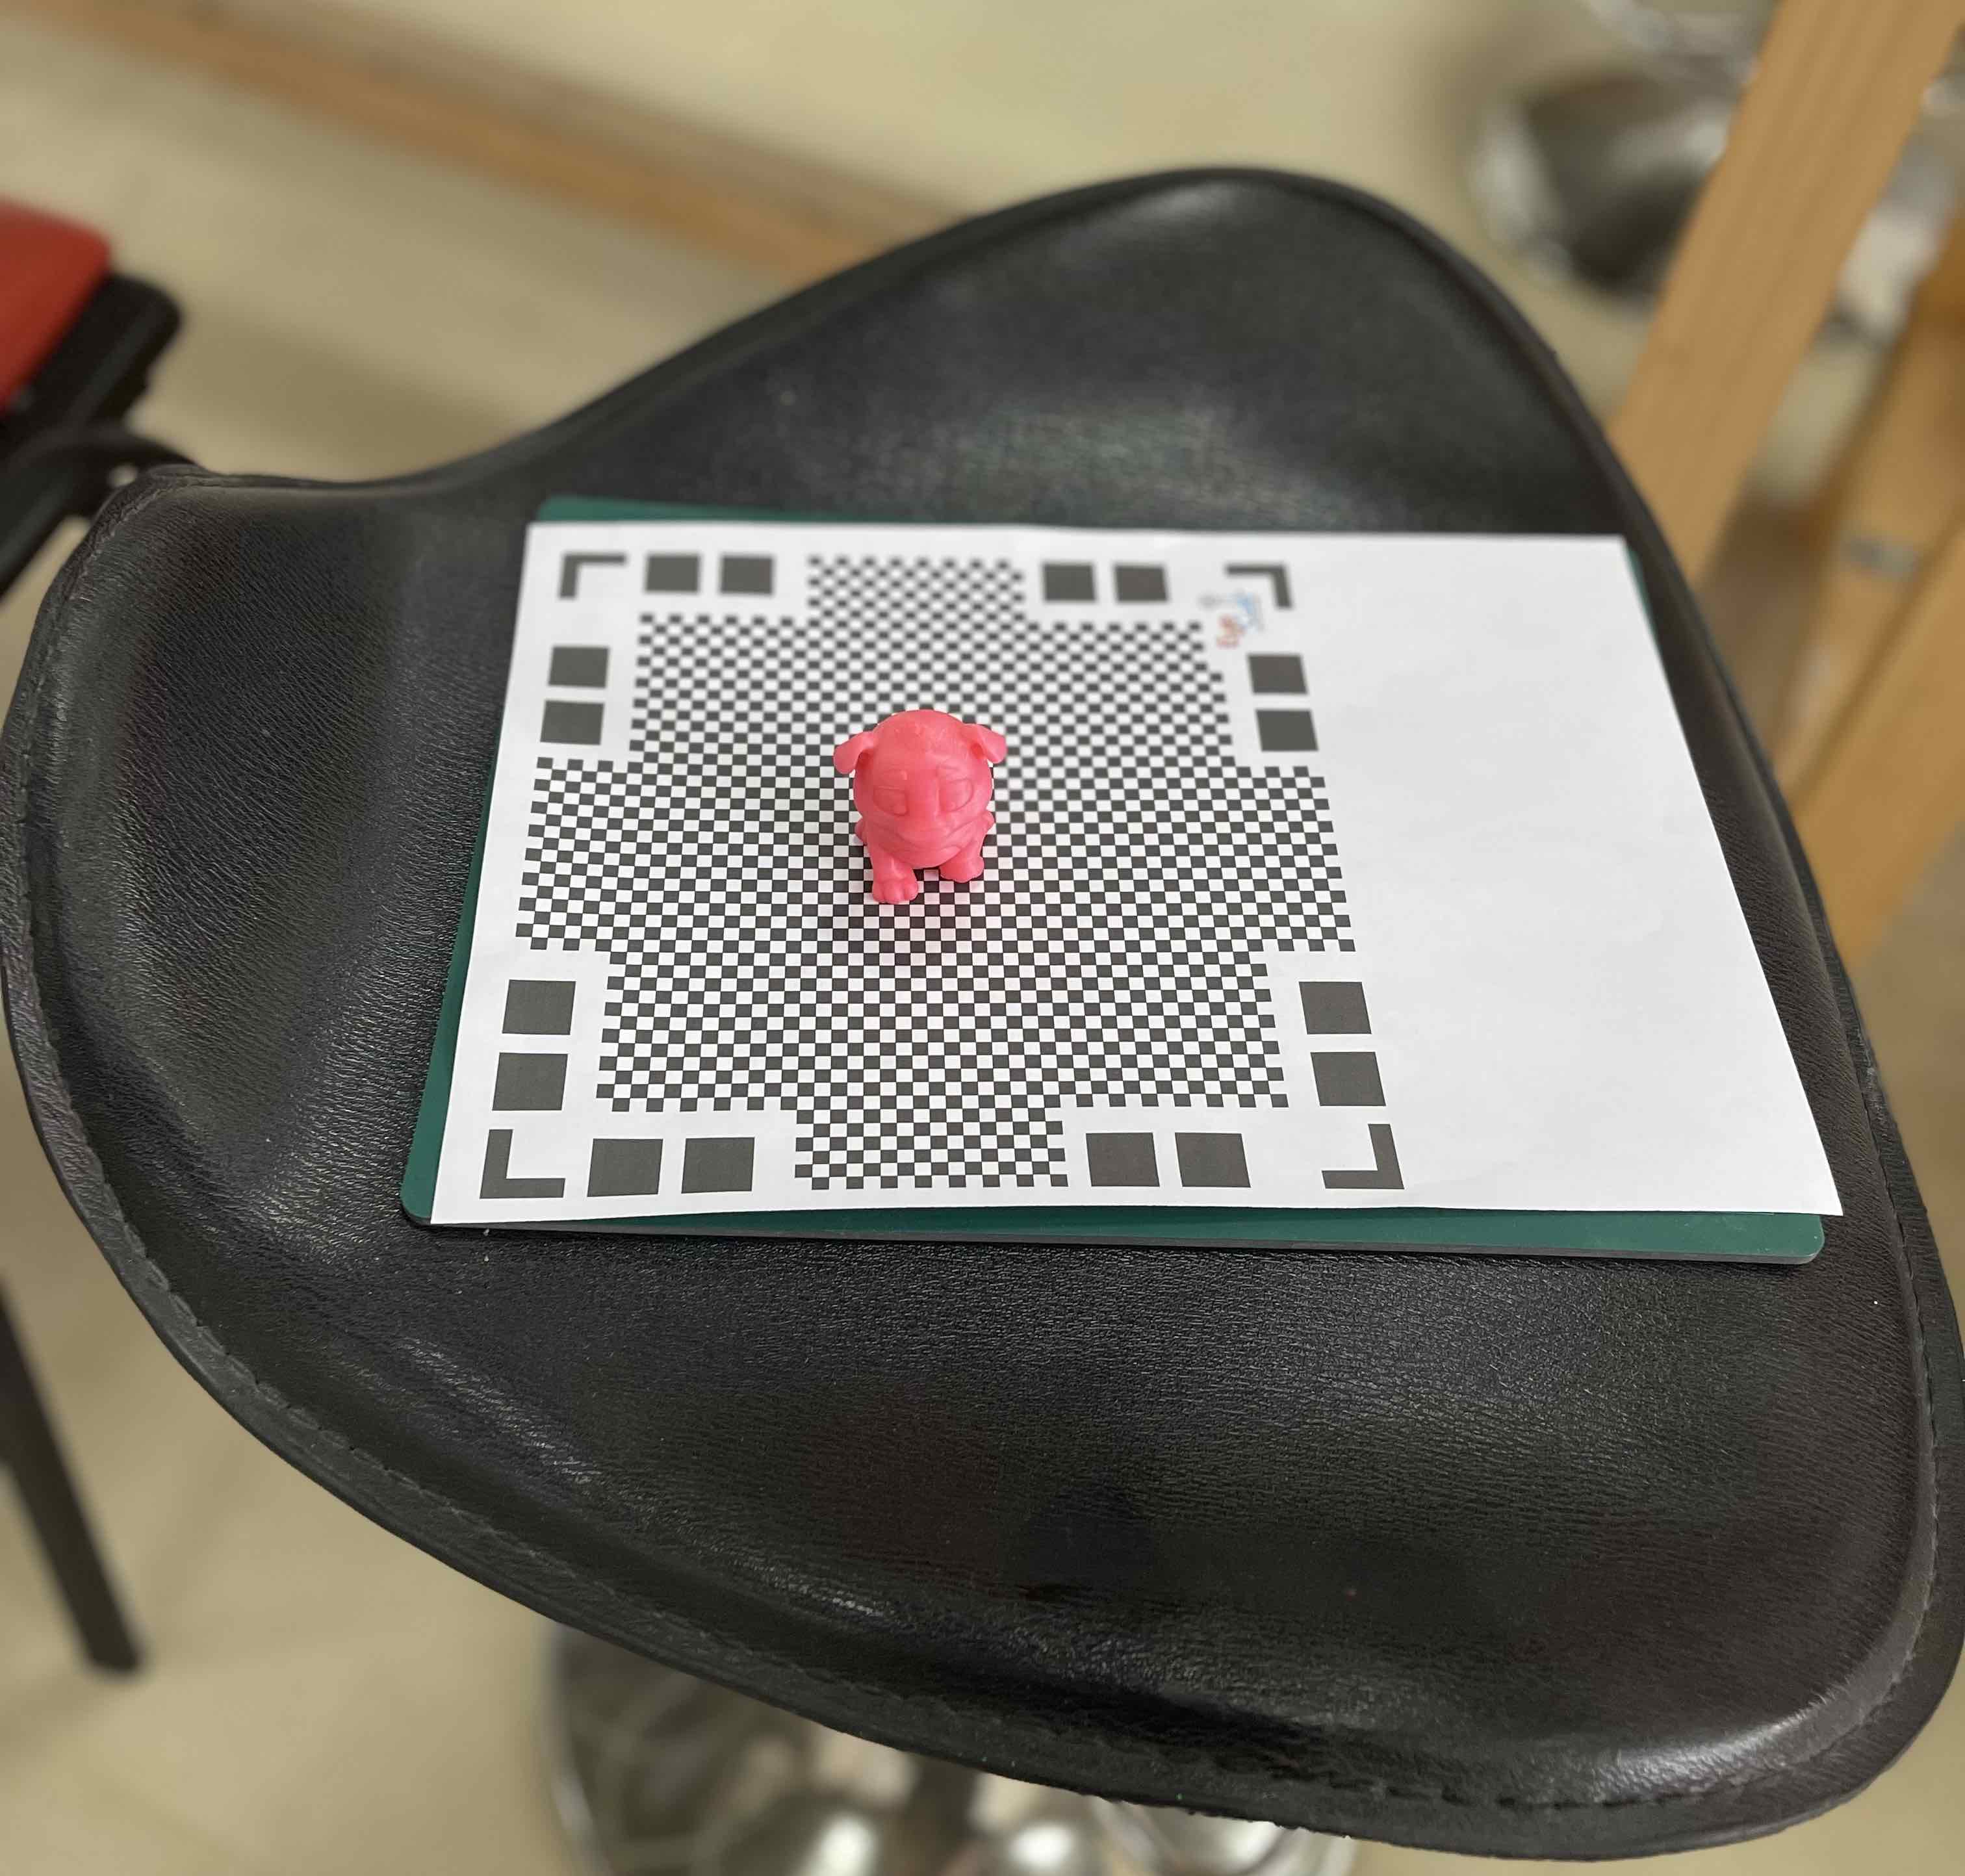
3D scanning provides the user with extremely accurate measurements and the ability to fully utilise, visualise and modify data with CAD. The ability to rapidly capture high accuracy information means vast savings in productivity and time, which of course is important when delivering results to a client, this can be achieved with the help of of mat that the 3D model is placed on, that looks something like this.
Following that, I placed the 3D model on the mat, on a revolving chair, to help rotate the item while holding the camera and spinning the chair.
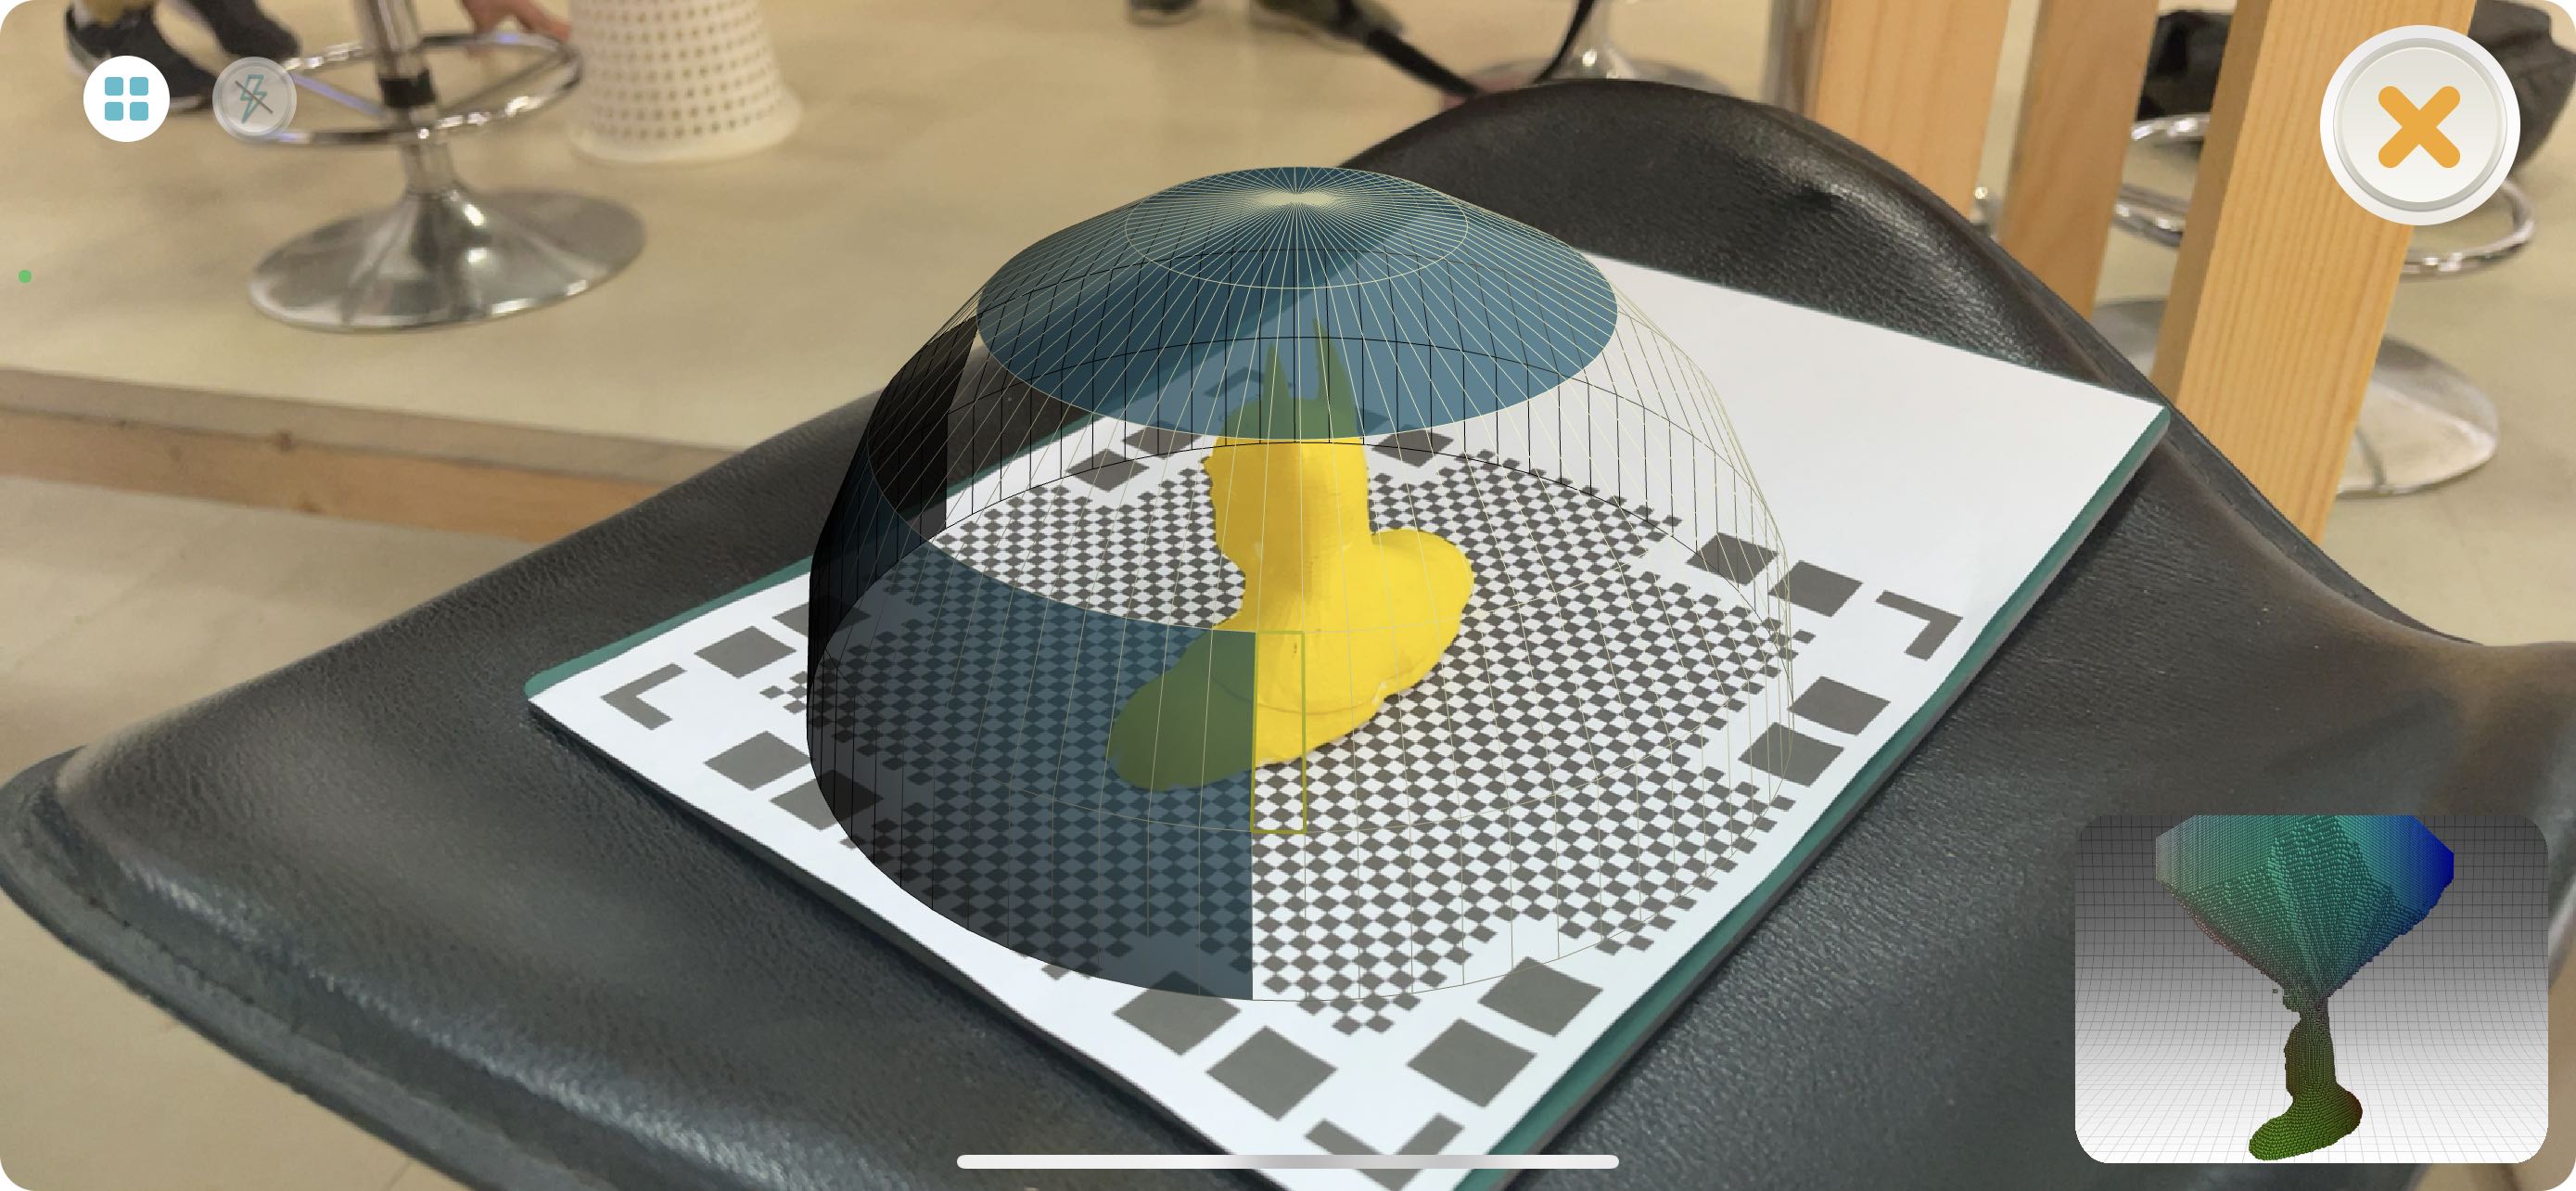
In this sped-up video, you can see how I scanned the 3D model by first placing it on the mat, then waiting for the dome to appear on my phone screen on top of the 3D model, and carefully aligning my camera with the vertical rectangles I need to move along in order to scan, as shown in the video below.
Final Results
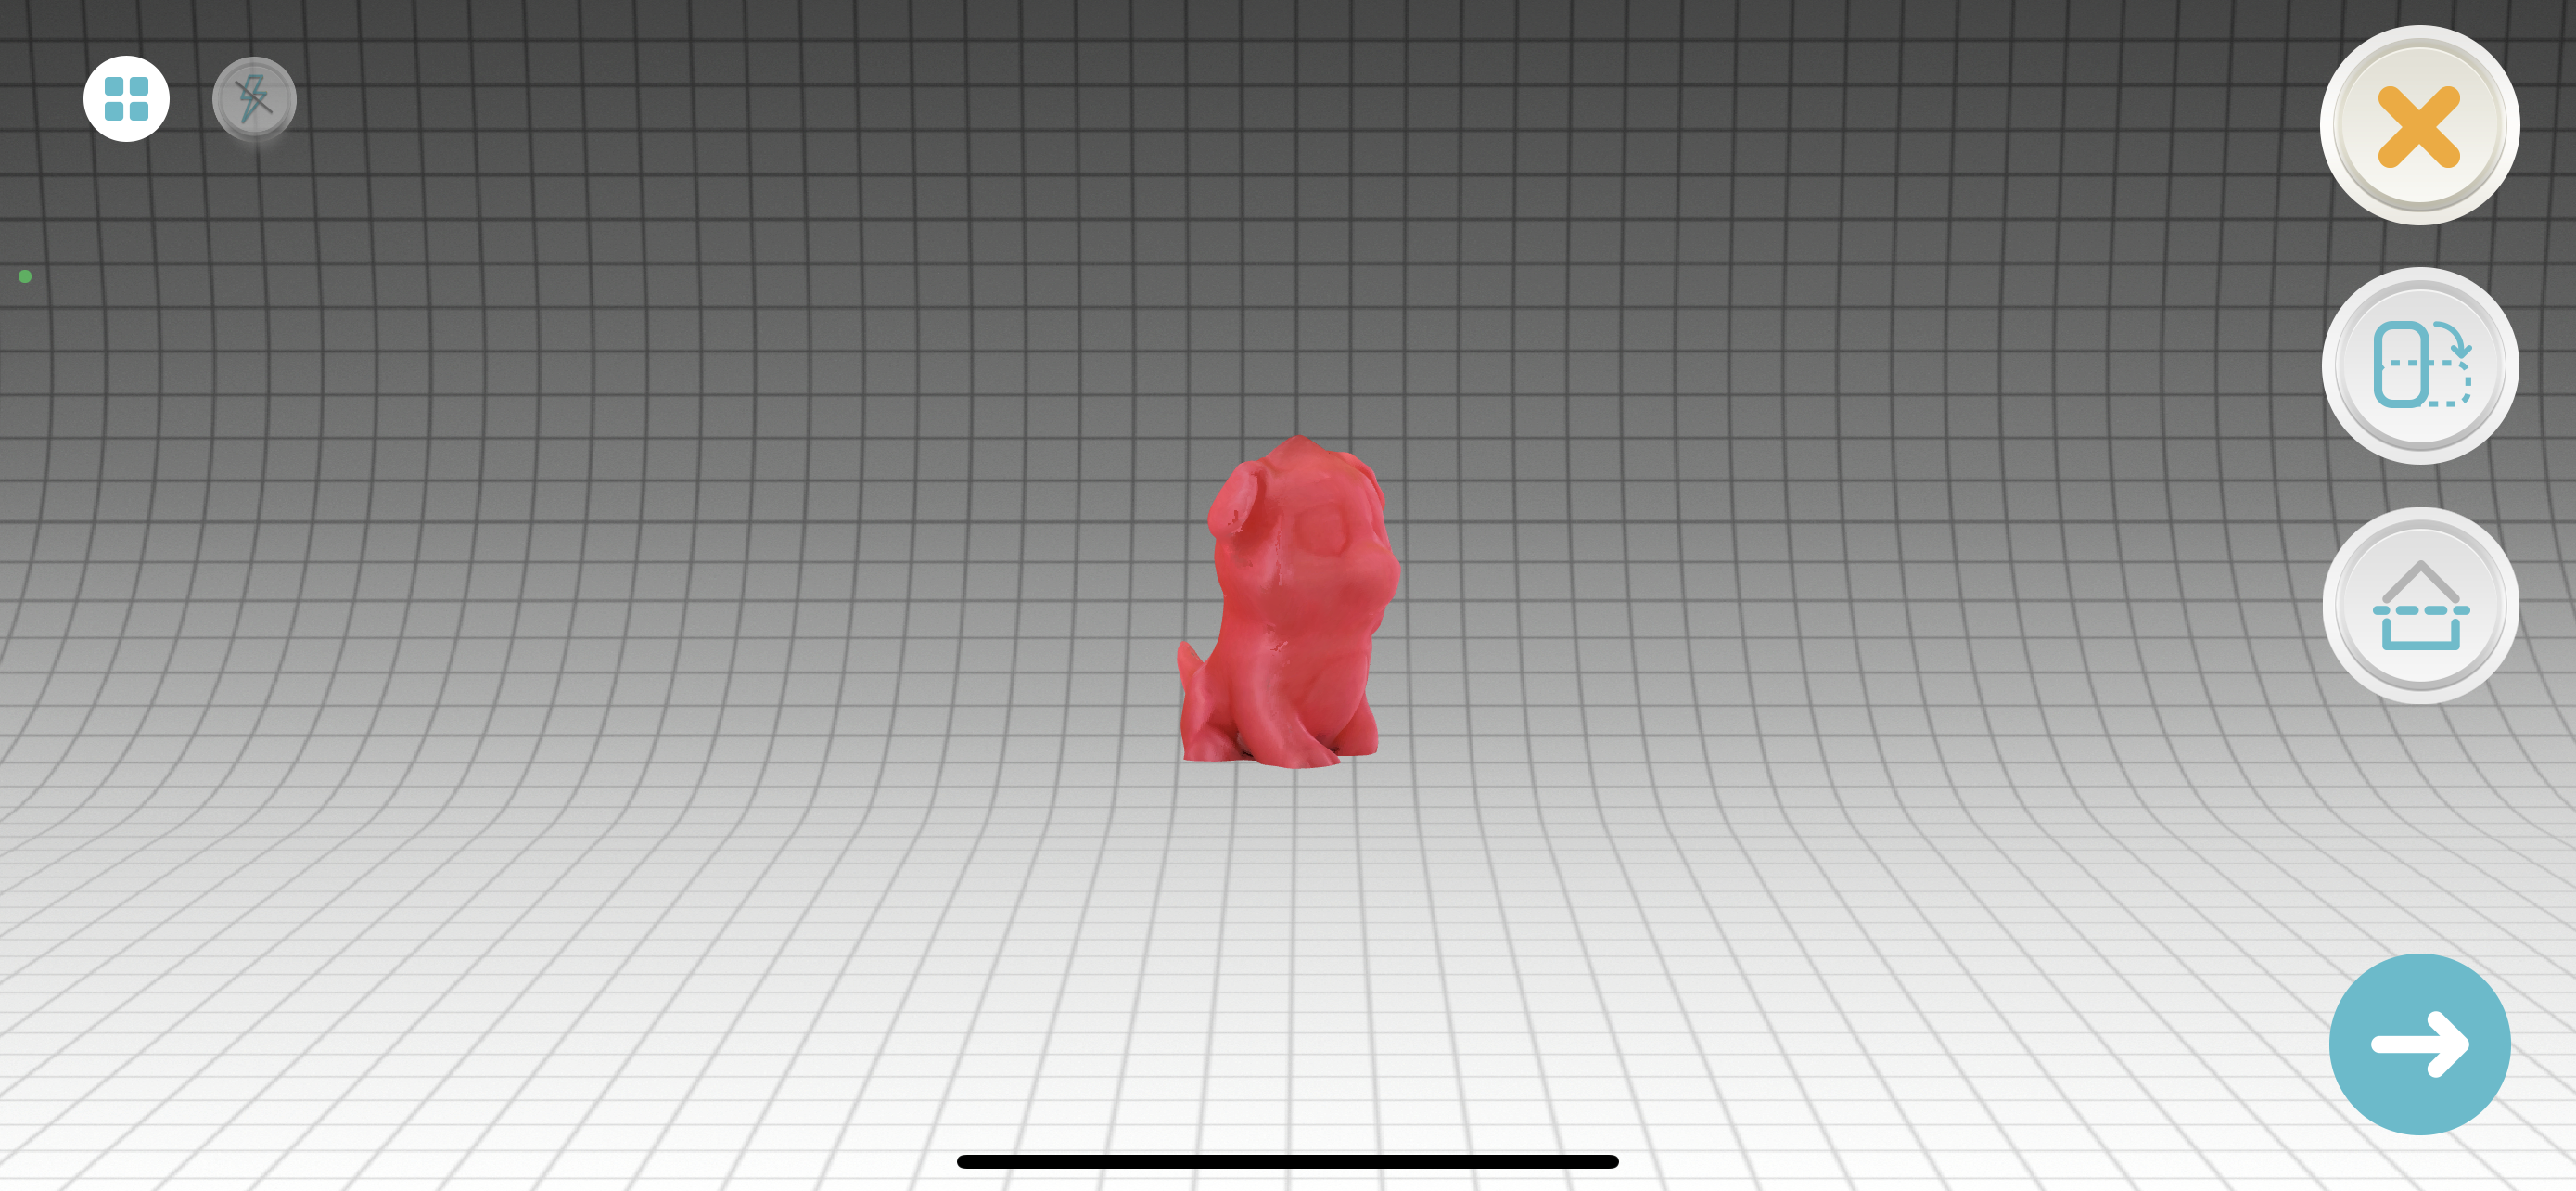
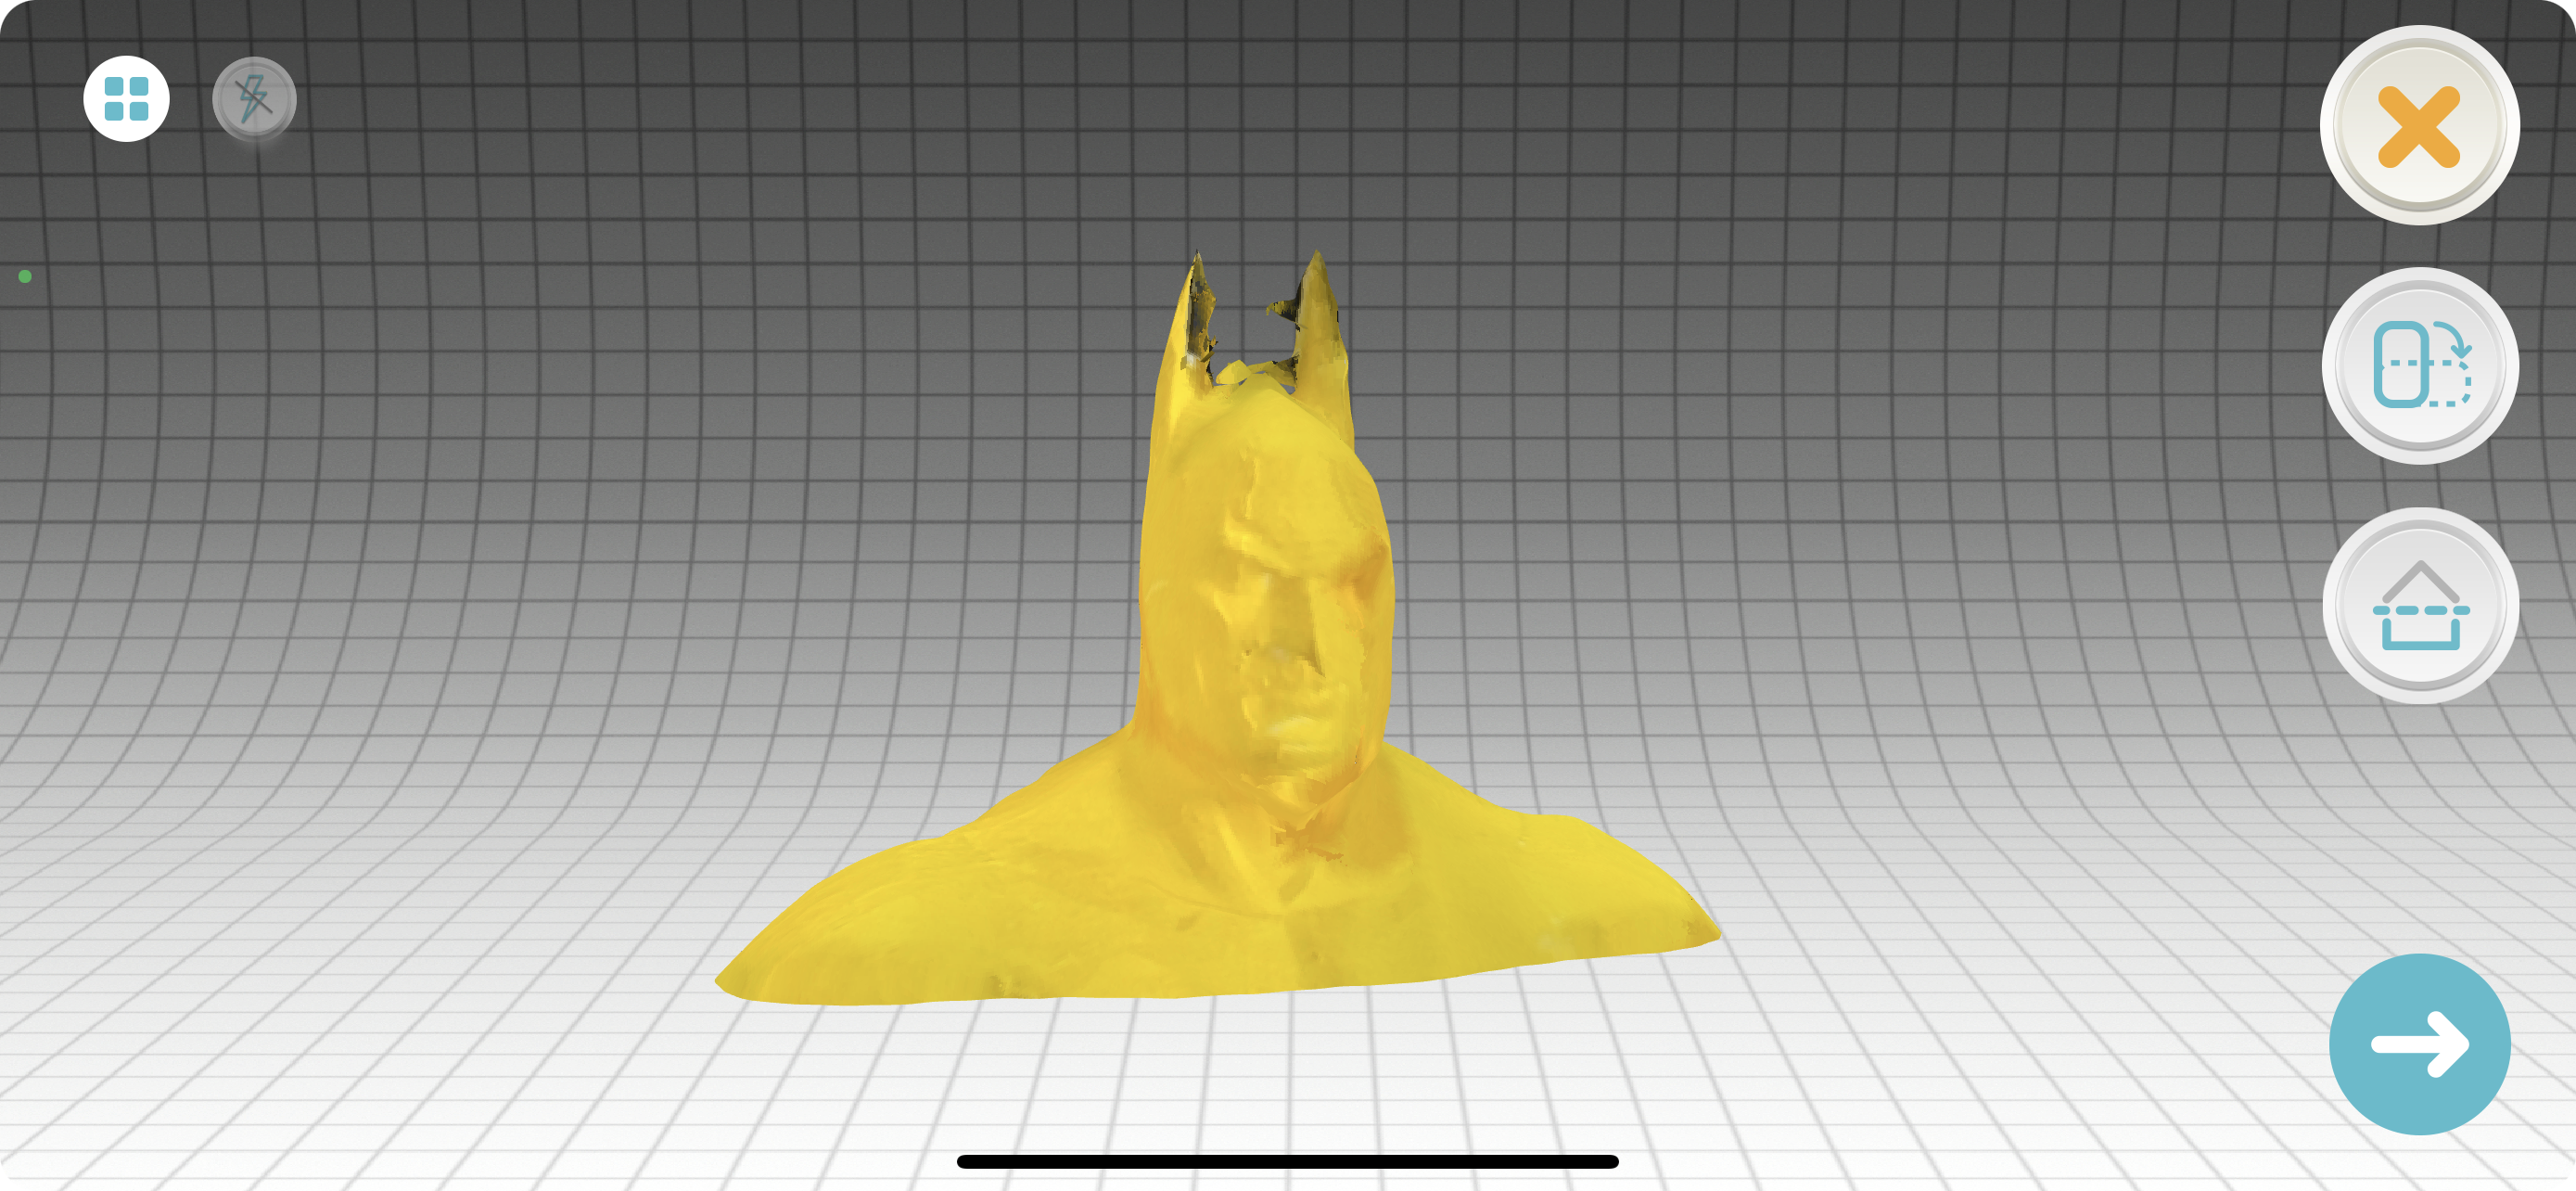
Here is the final results of the 3D model I scanned.
I went through the same steps to scan another 3D model.
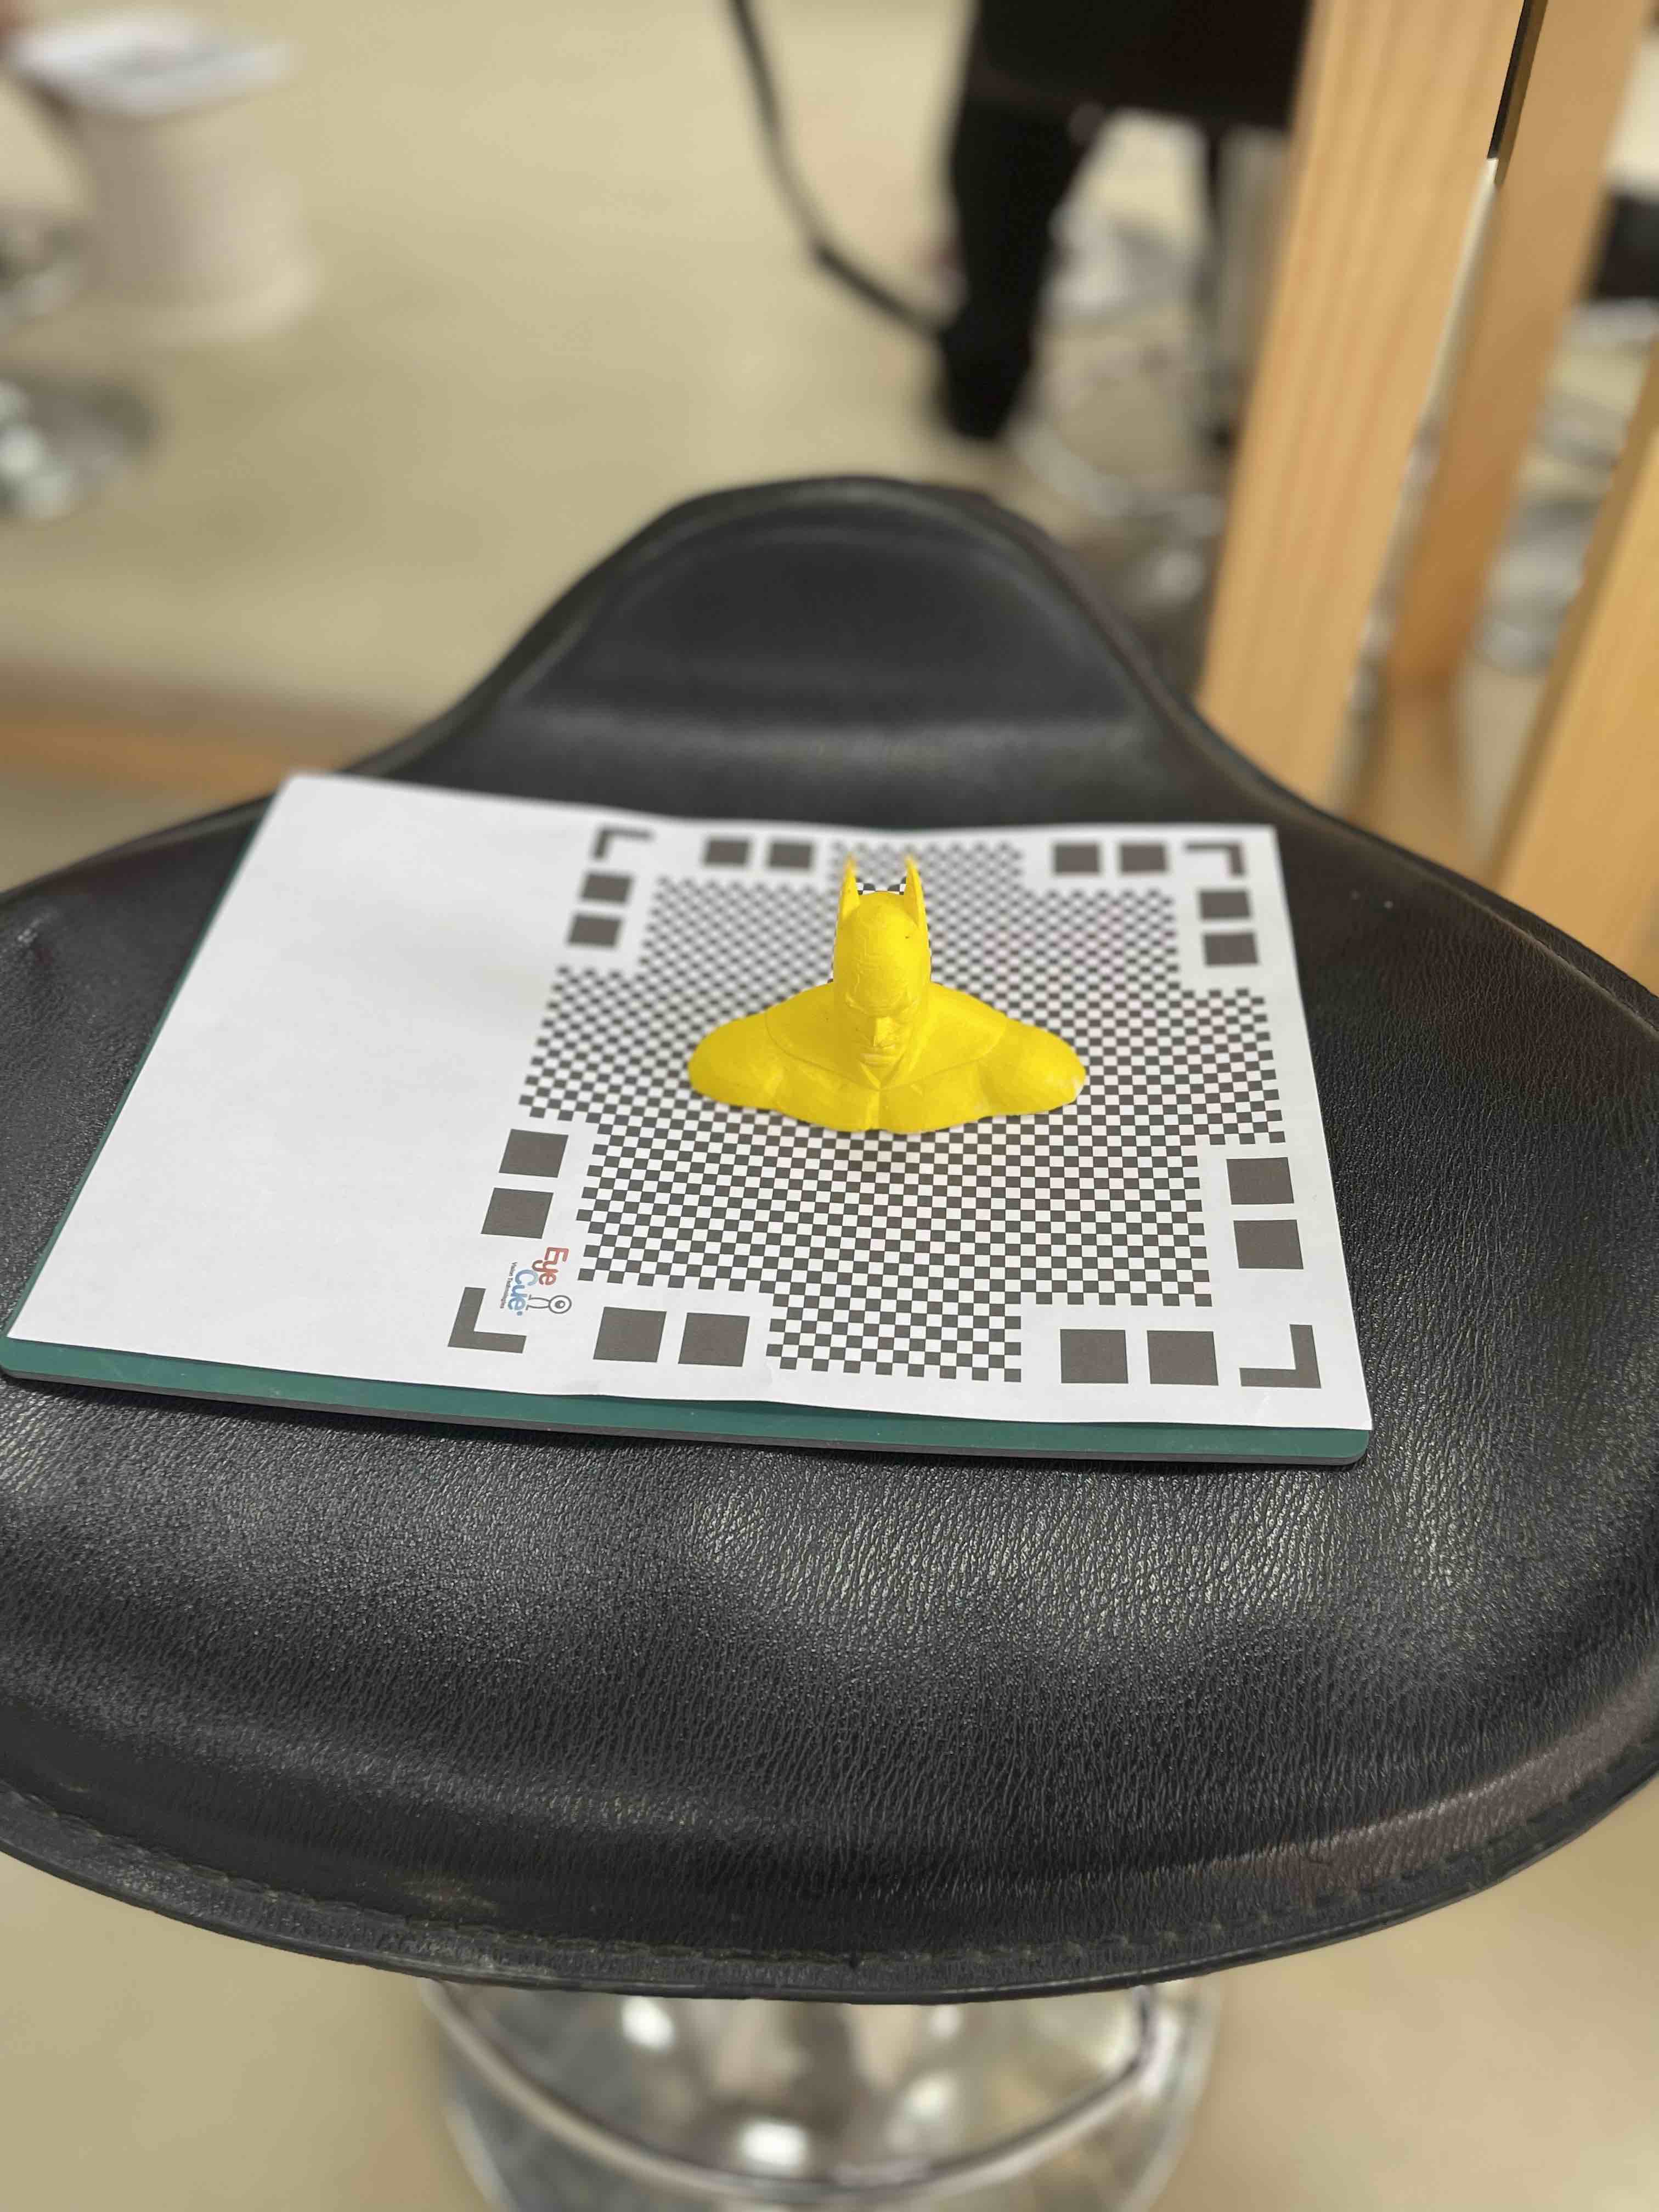
Part of the process
Final Results
Given that the entire form is the same color, my assumption is that it viewed the ears as a whole extending out piece, but when I rotated the item, the program detected that there is some kind of space that defines those ears which probably got it to recover itself and modify the scan, resulting in a not very accurate scanning.
Group Assignment
The group assignment is documented in Sayed Husain’s website