4. Embedded programming
This week we learned about MICROCONTROLLER.
WHAT IS A MICROCONTROLLER??
A microcontroller is a small computer on a single VLSI integrated circuit chip. A microcontroller contains one or more CPUs along with memory and programmable input/output peripherals.
- Different types of MICROCONTROLLERS.
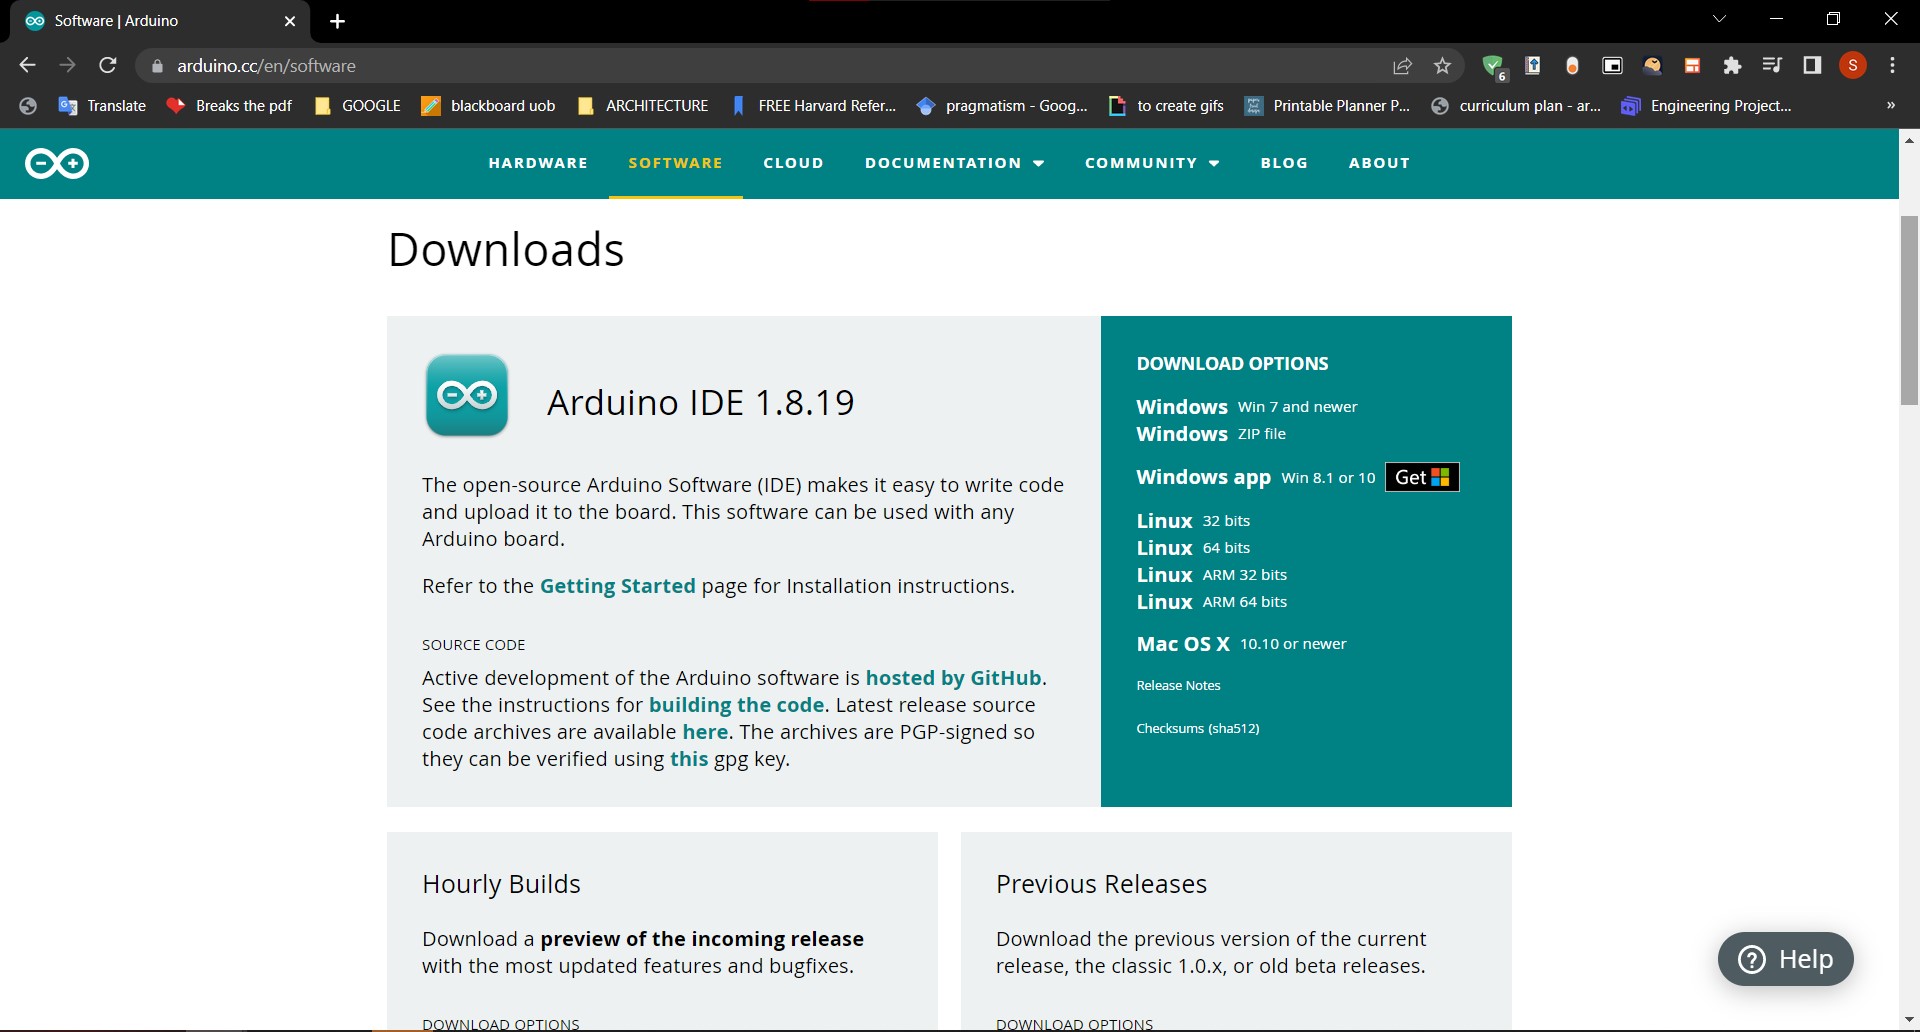
USING ARDUINO IDE
The ARDUINO IDE is an open-source software, which is used to write and upload code to the Arduino boards.
- Downloading “Arduino IDE” .
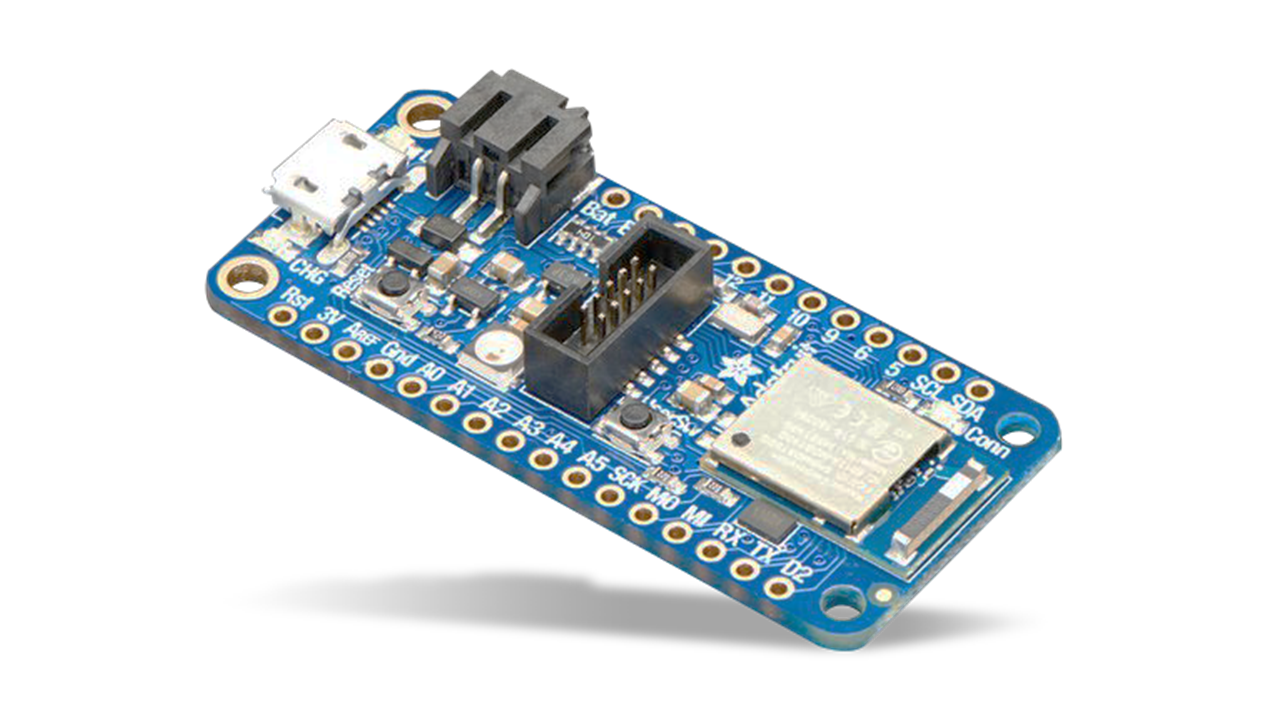
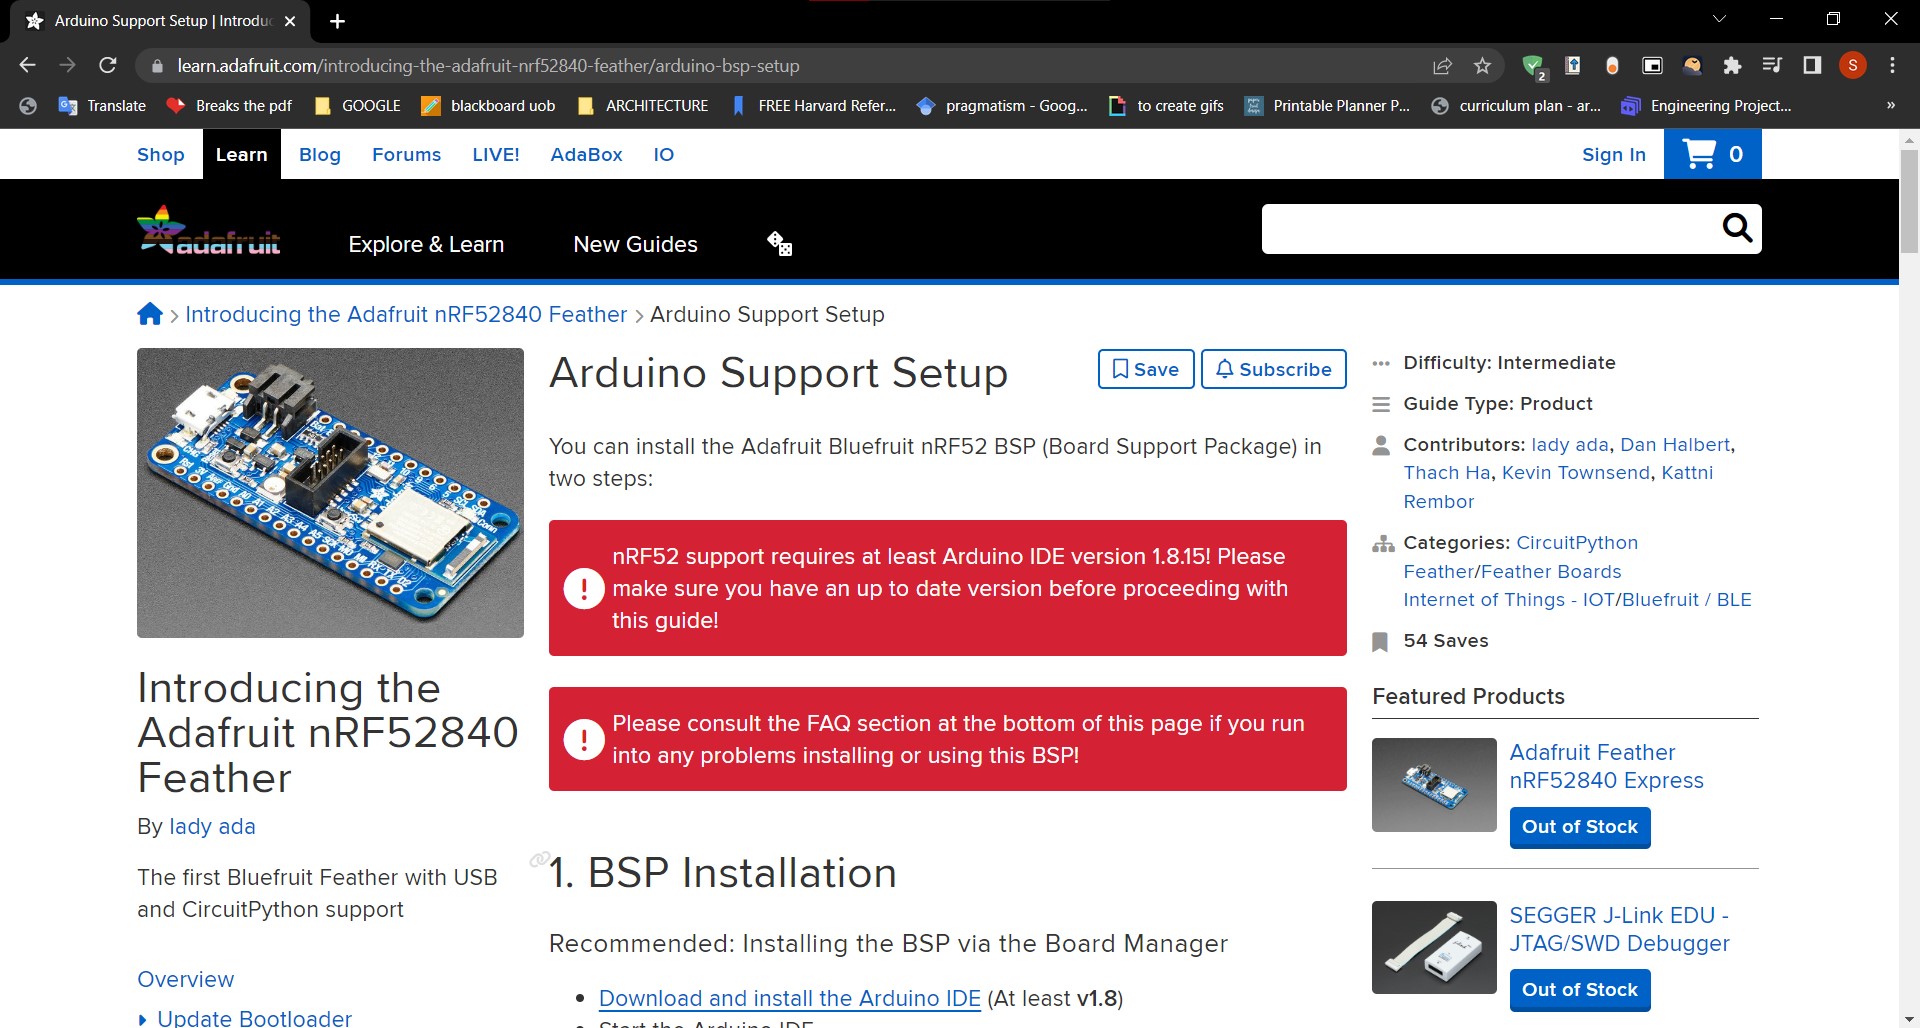
- We will be using “Adafruit Feather nRF52840 Express” microcontroller.
- set up the Program for the microcontroller we will be using . followed the steps provided in Adafruit Website.
BLINK
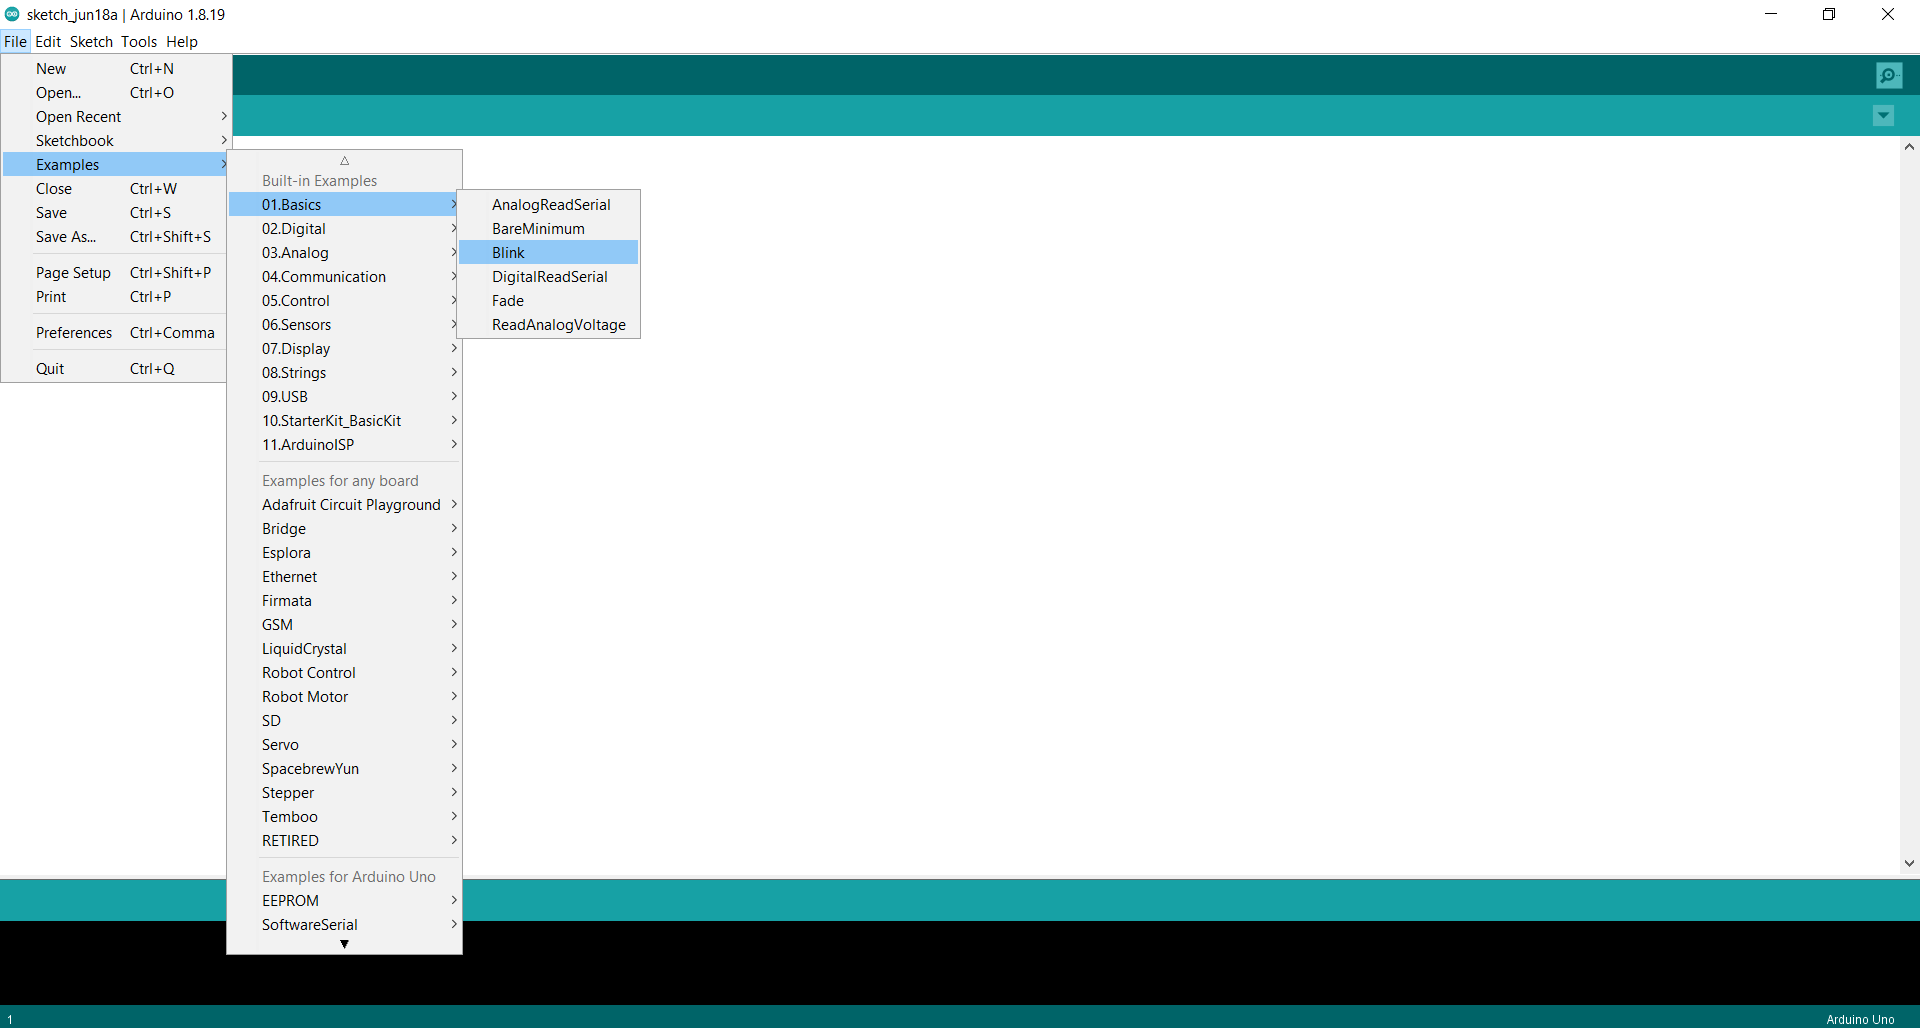
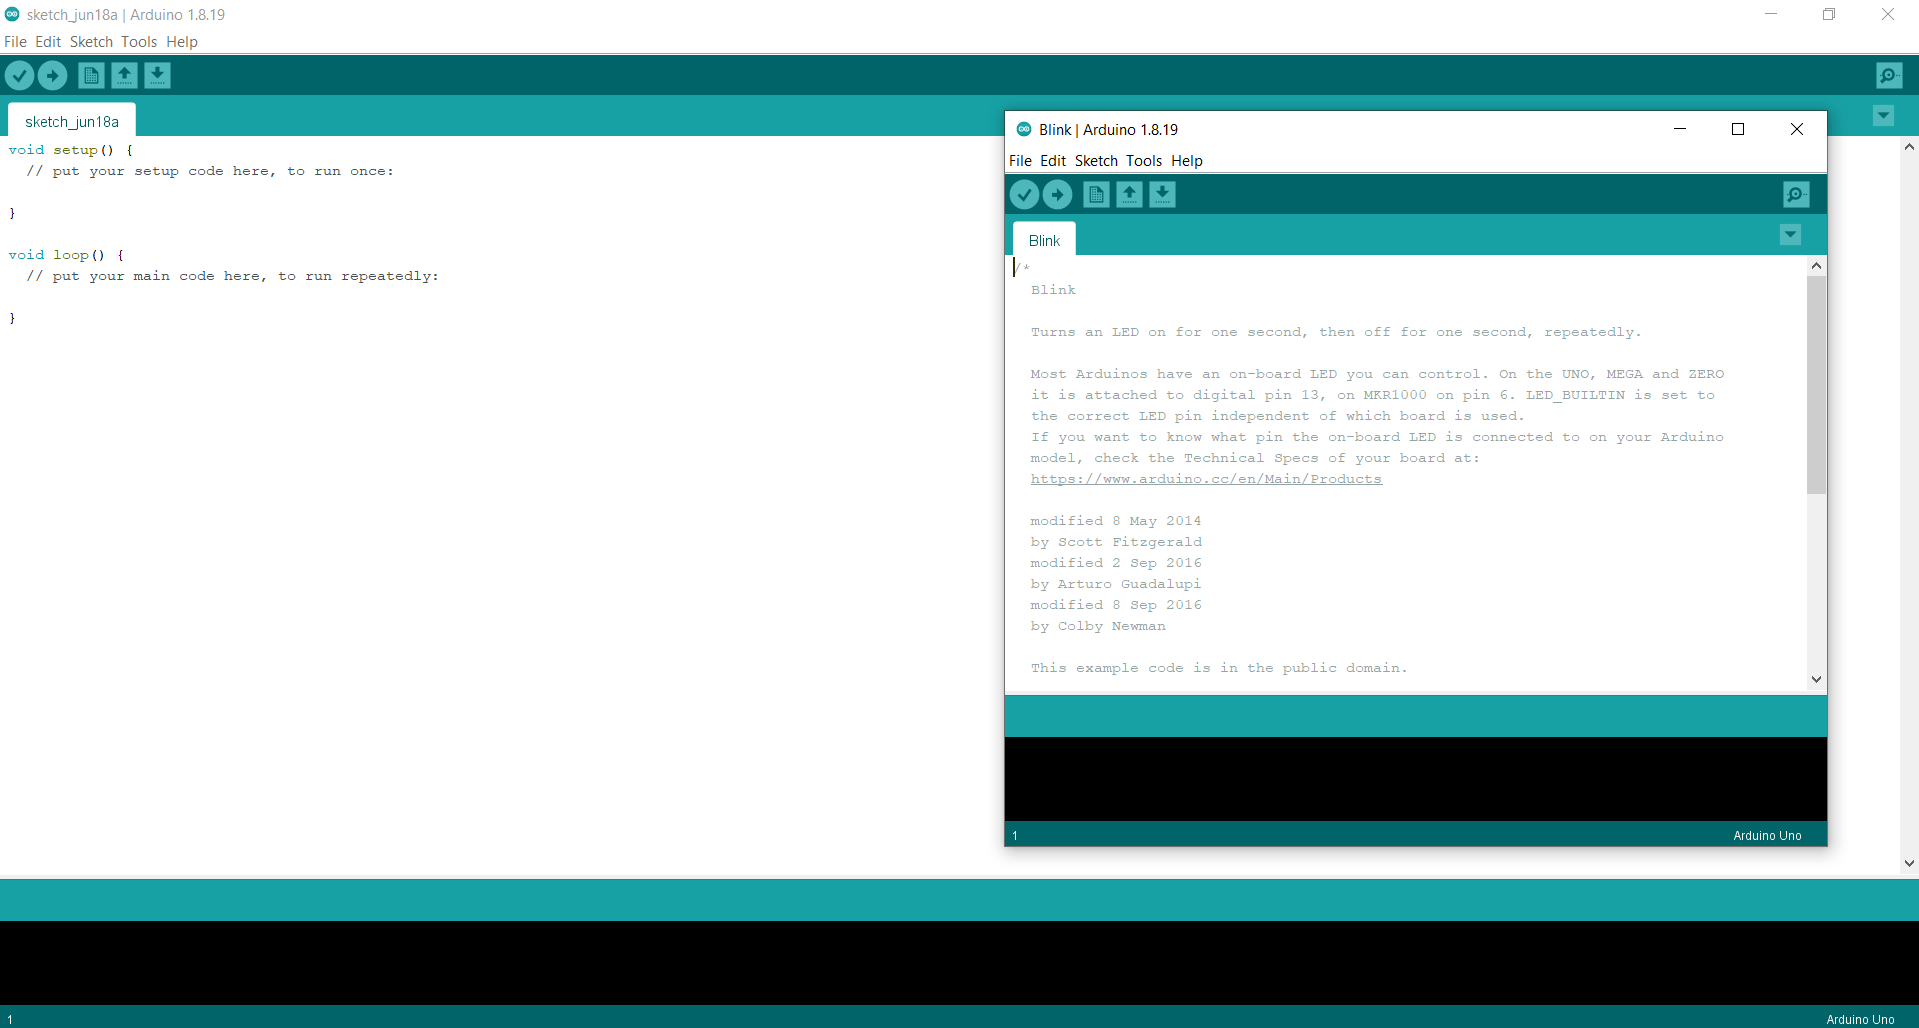
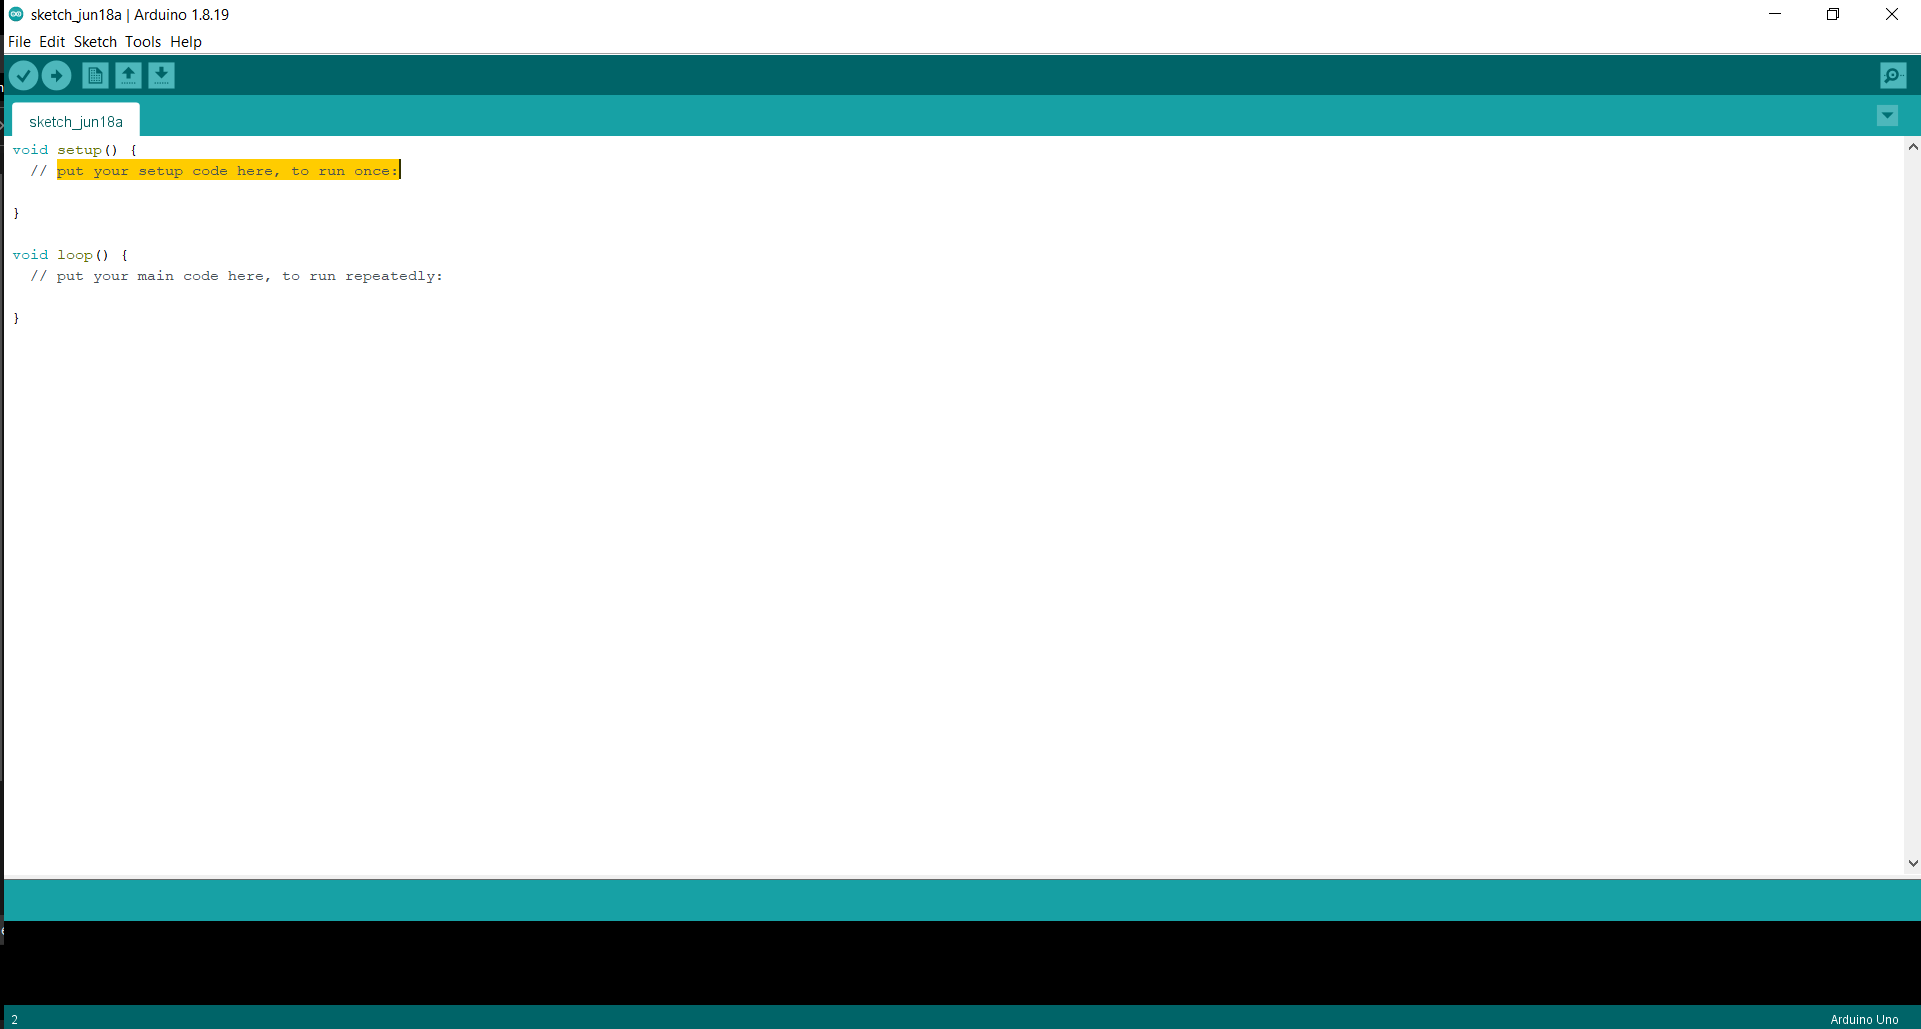
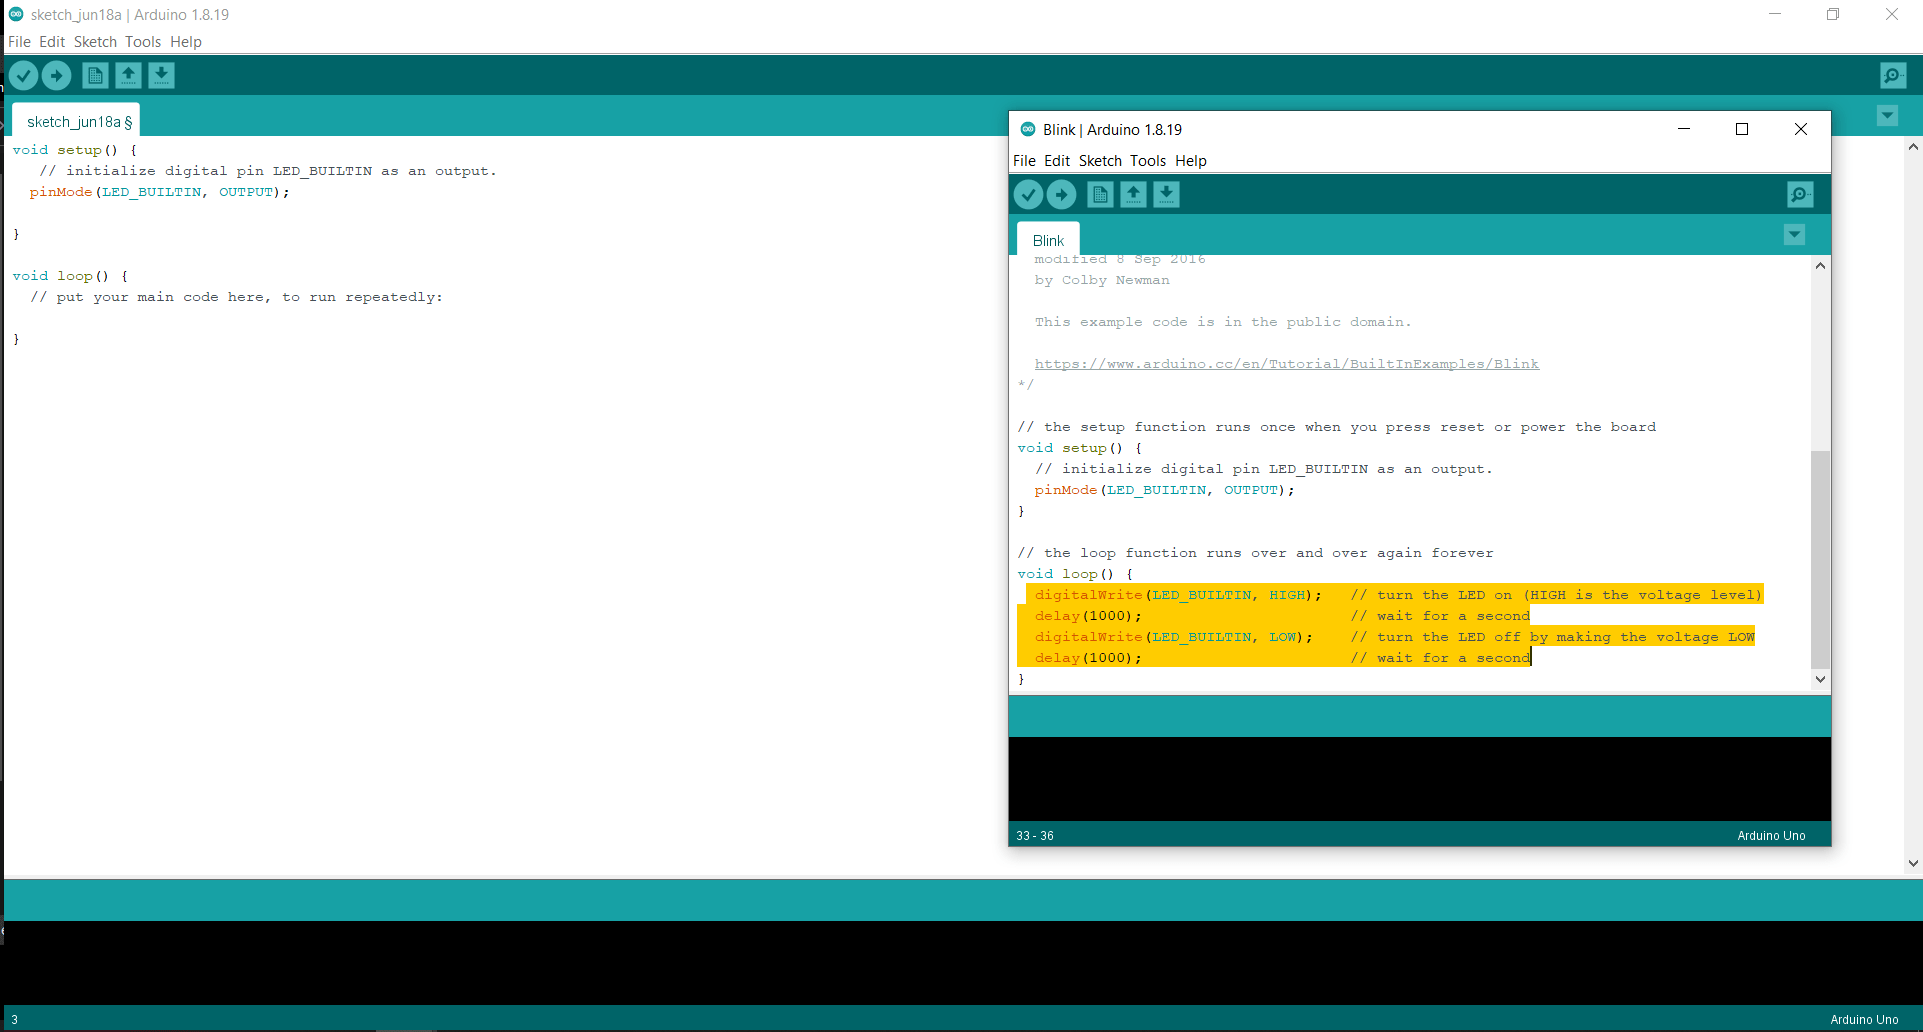
- First, We opened the BLINK example file. File-> Examples-> 01.Basic-> Blink
-
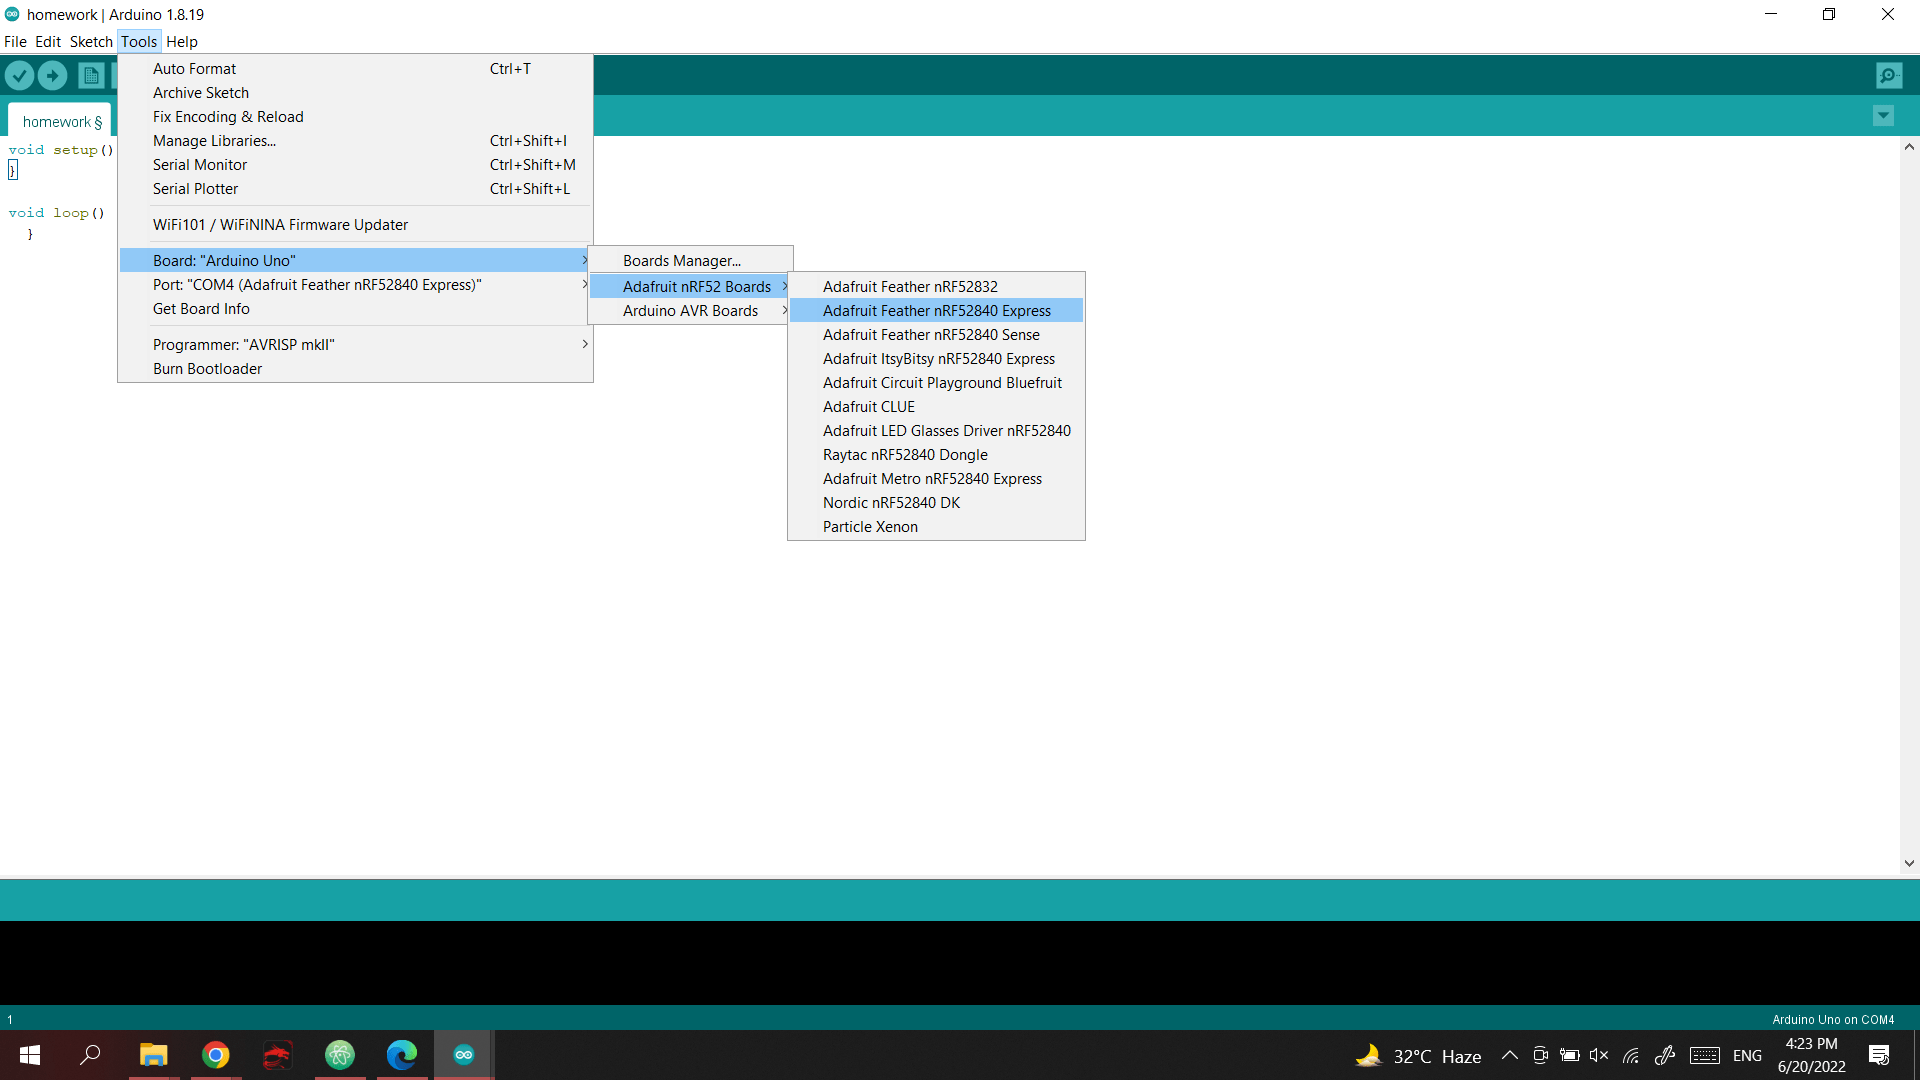
Then, We continued the SETUP to make sure it is connected to the microcontroller.
-
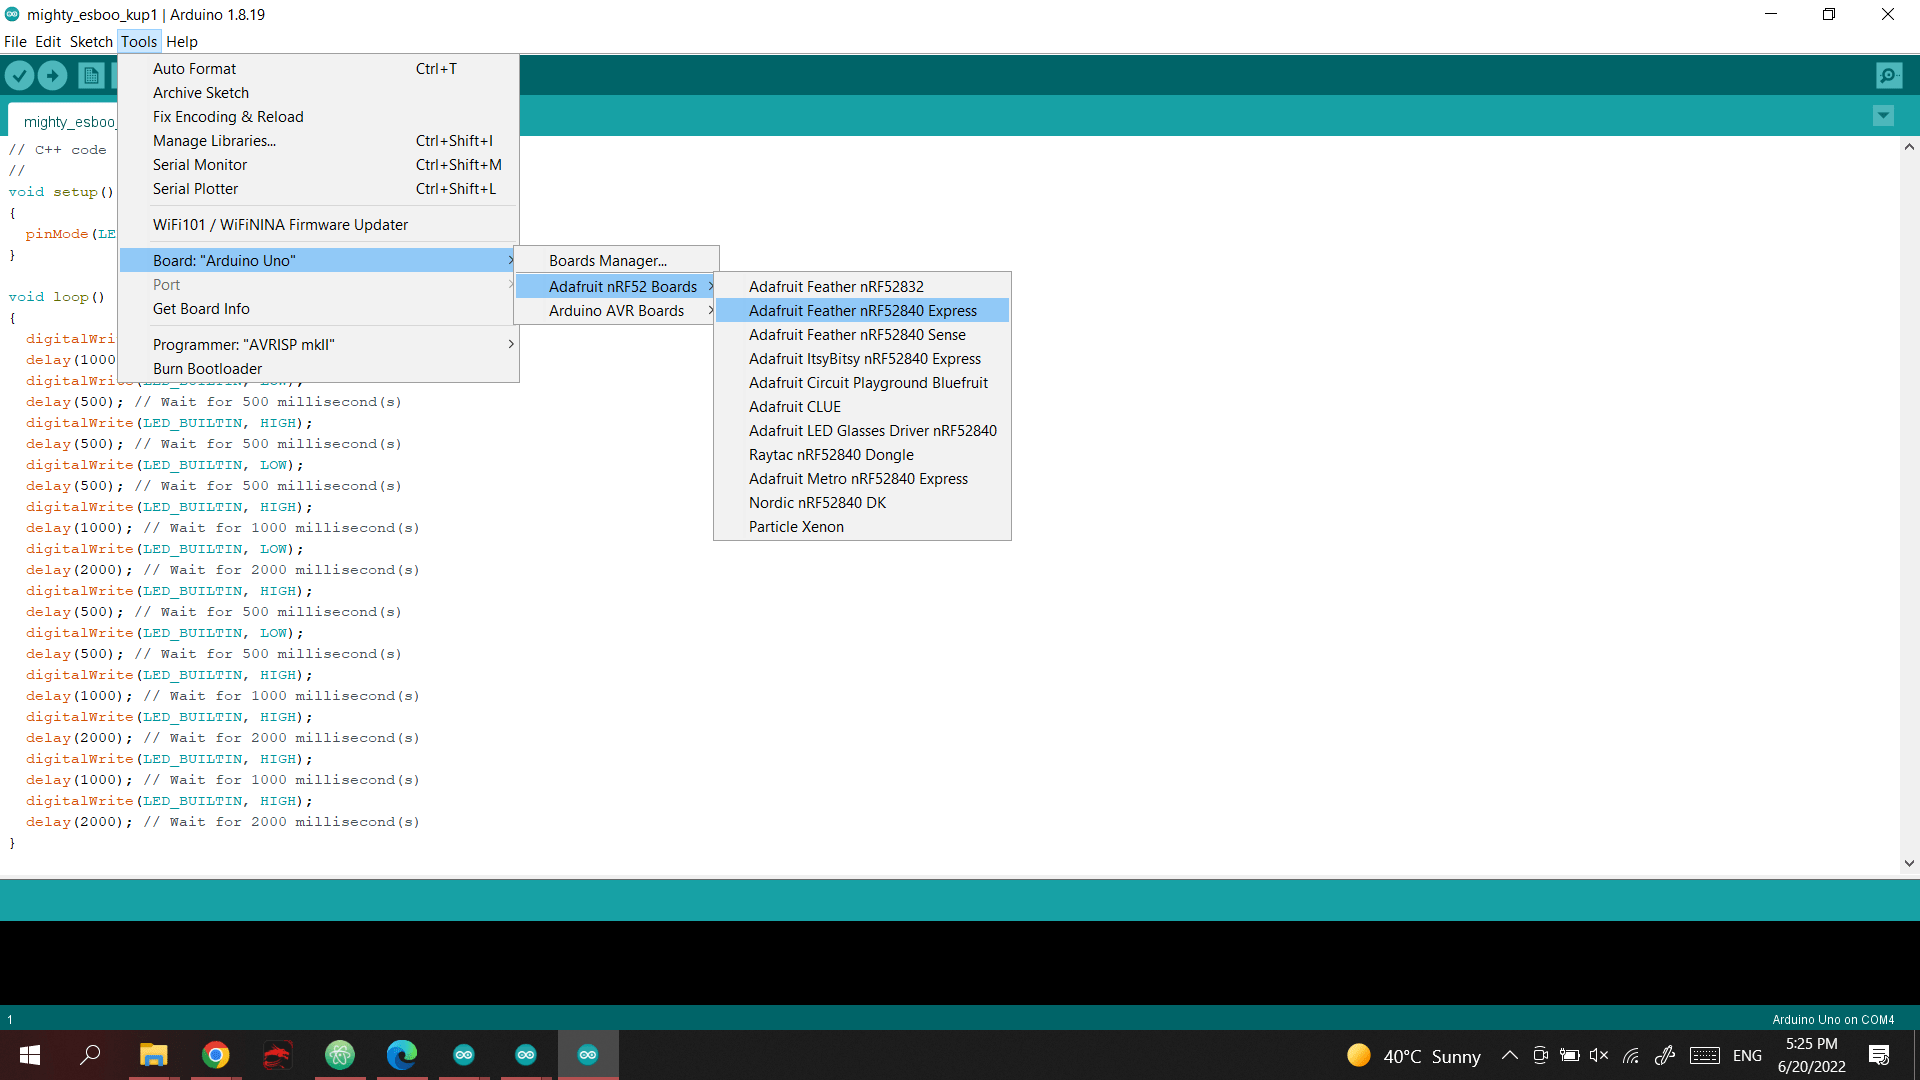
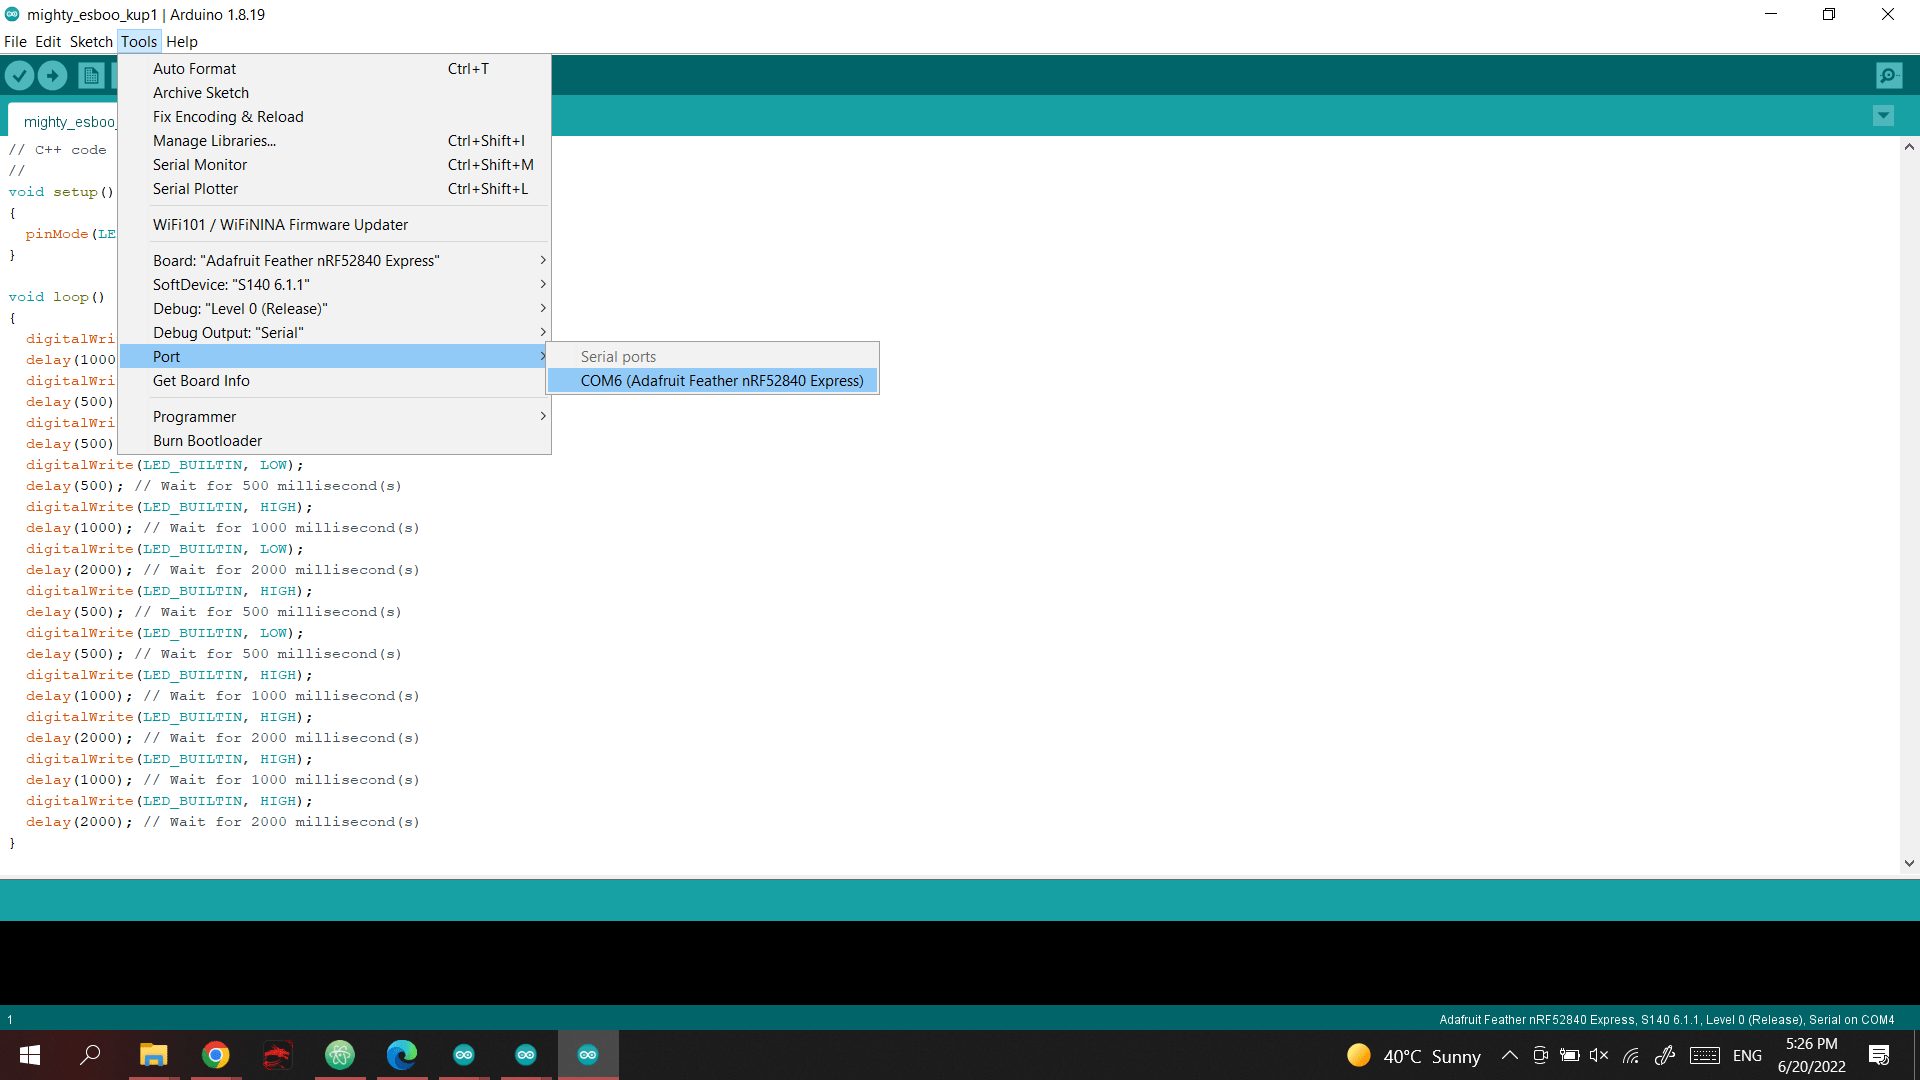
Tools-> Board ->Adafruit nRF52-> Adafruit Feather nRF52840 Express
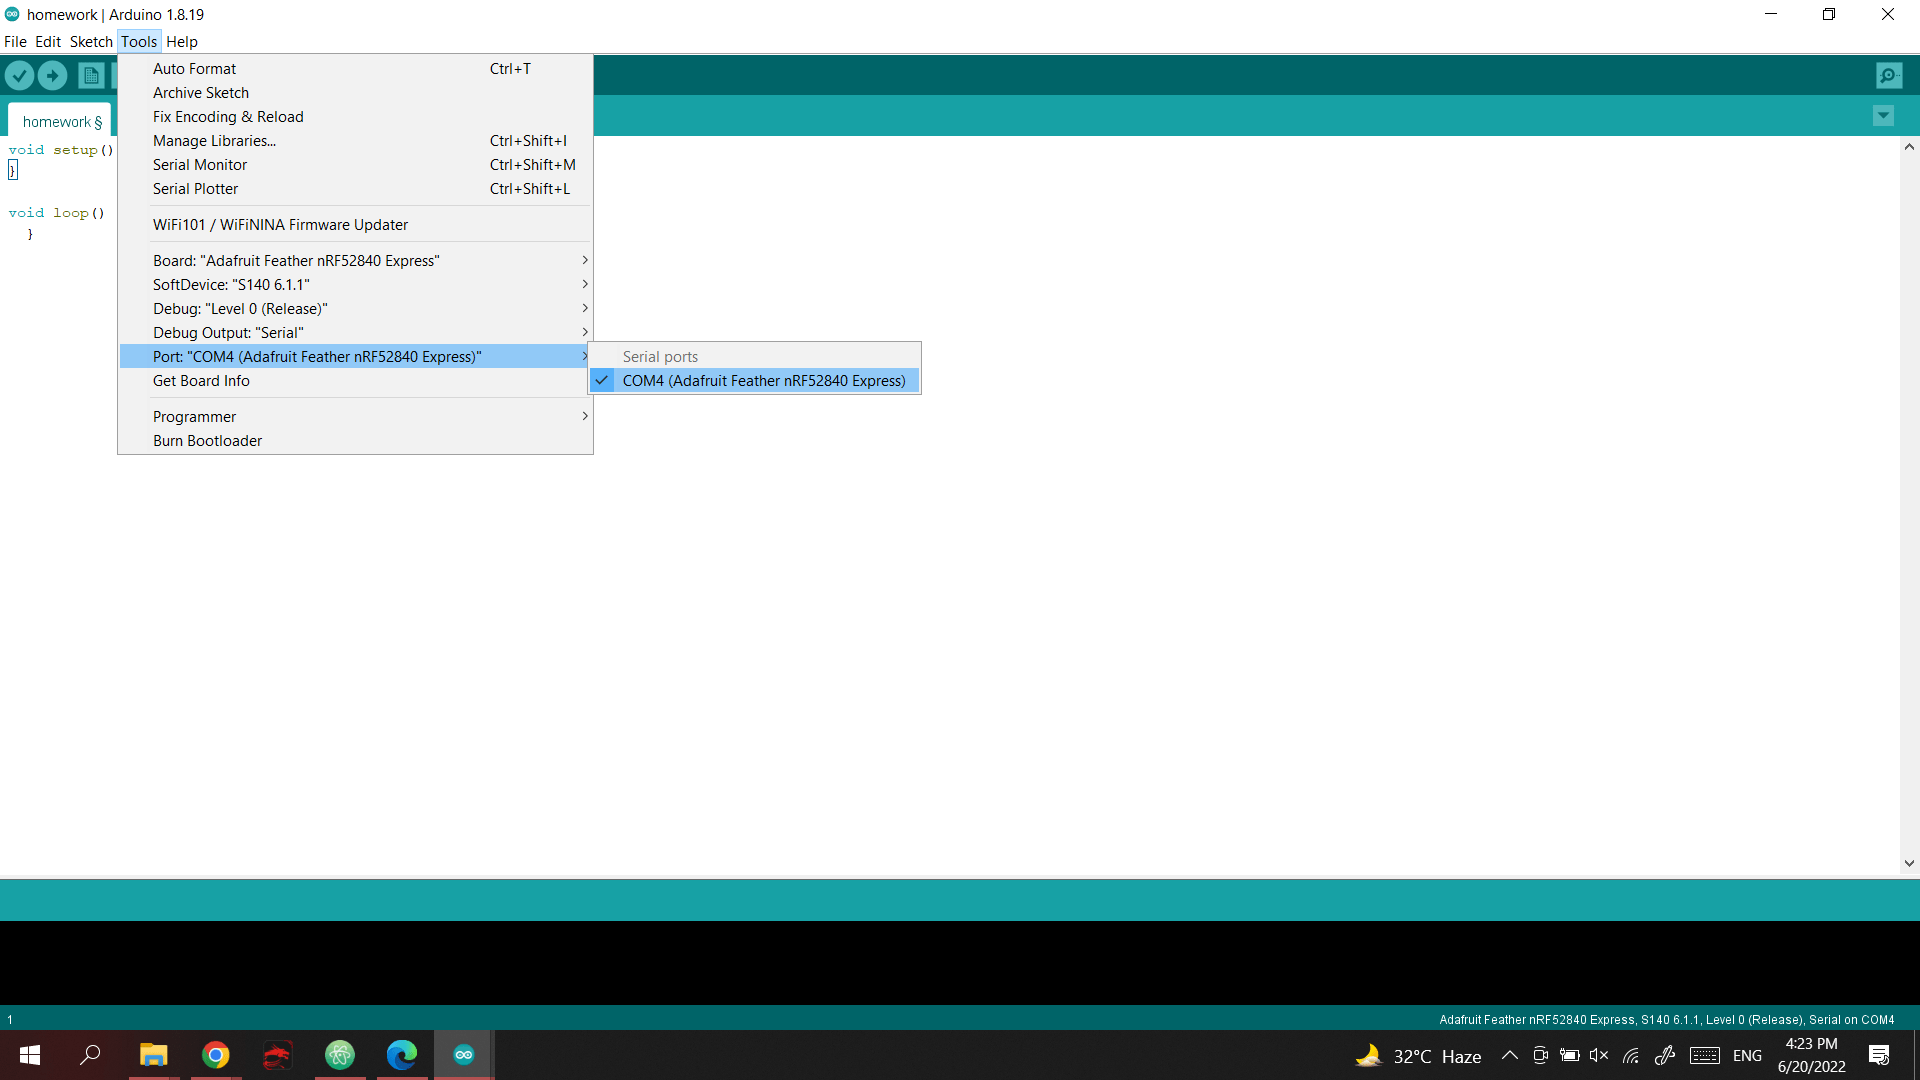
- Tools-> Port
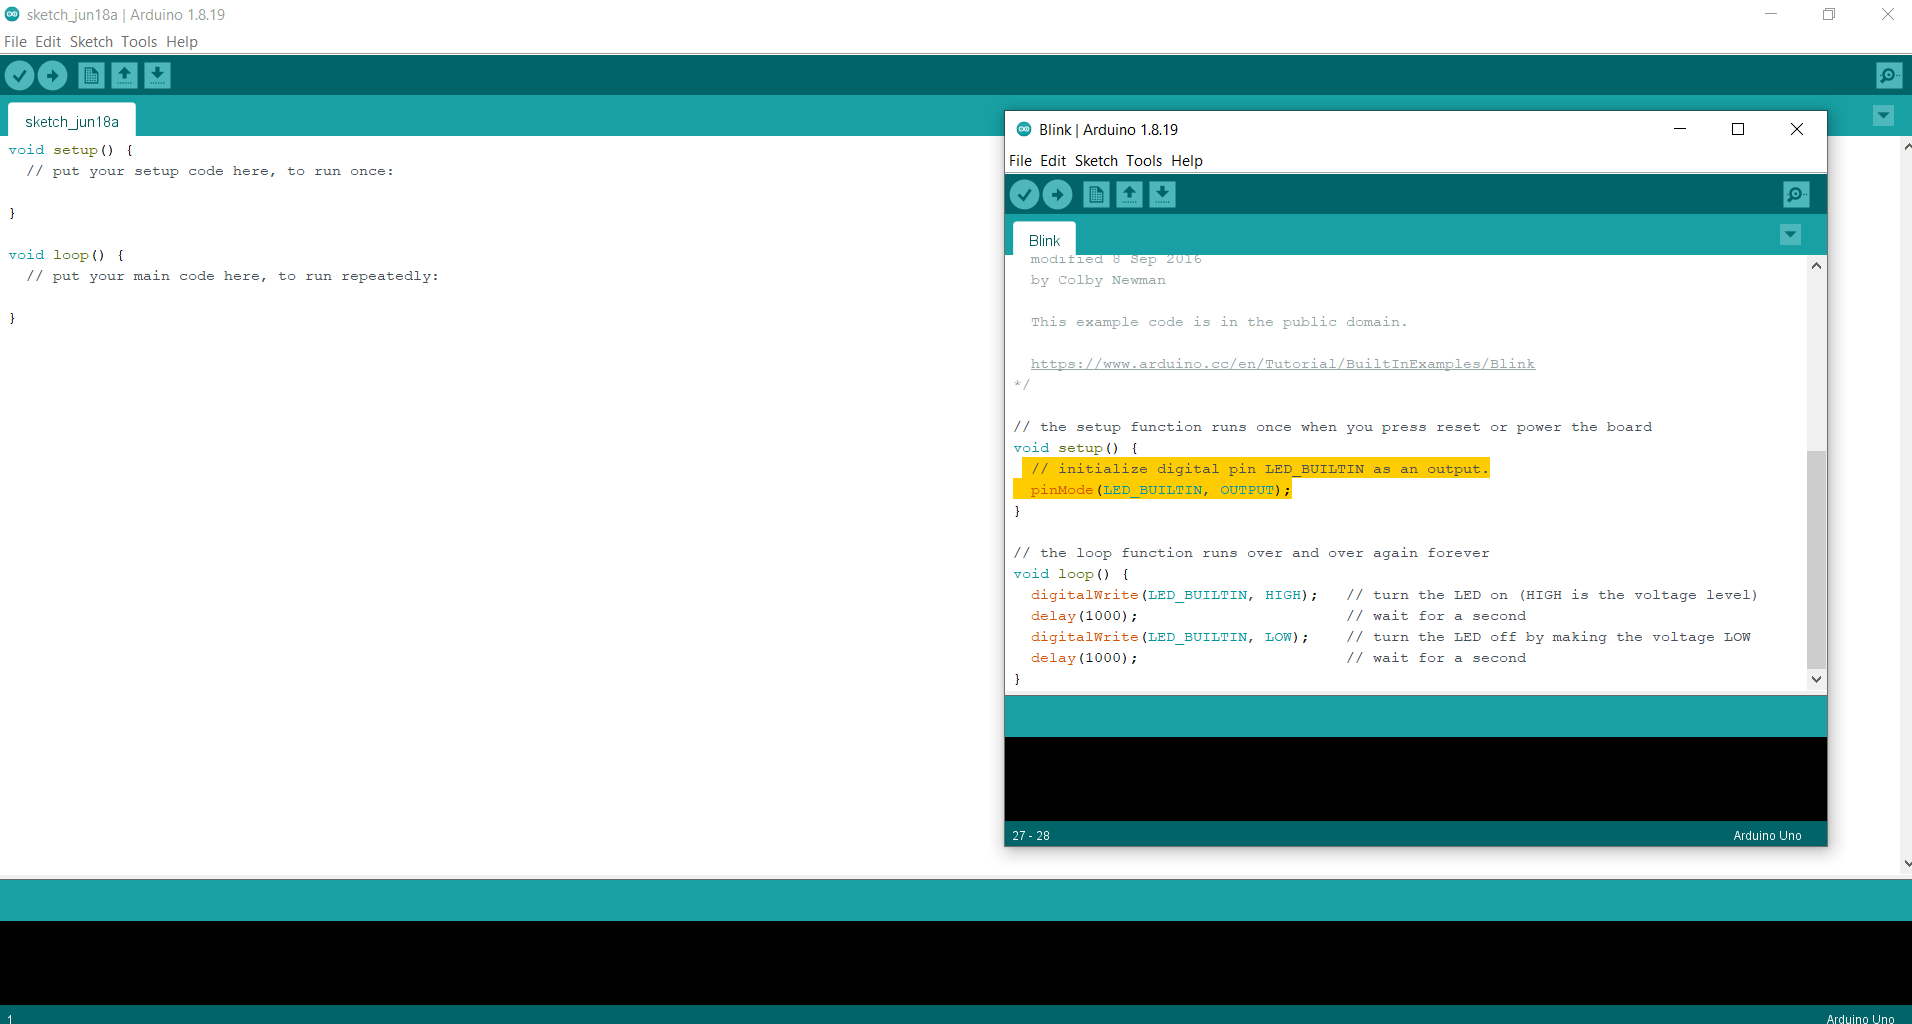
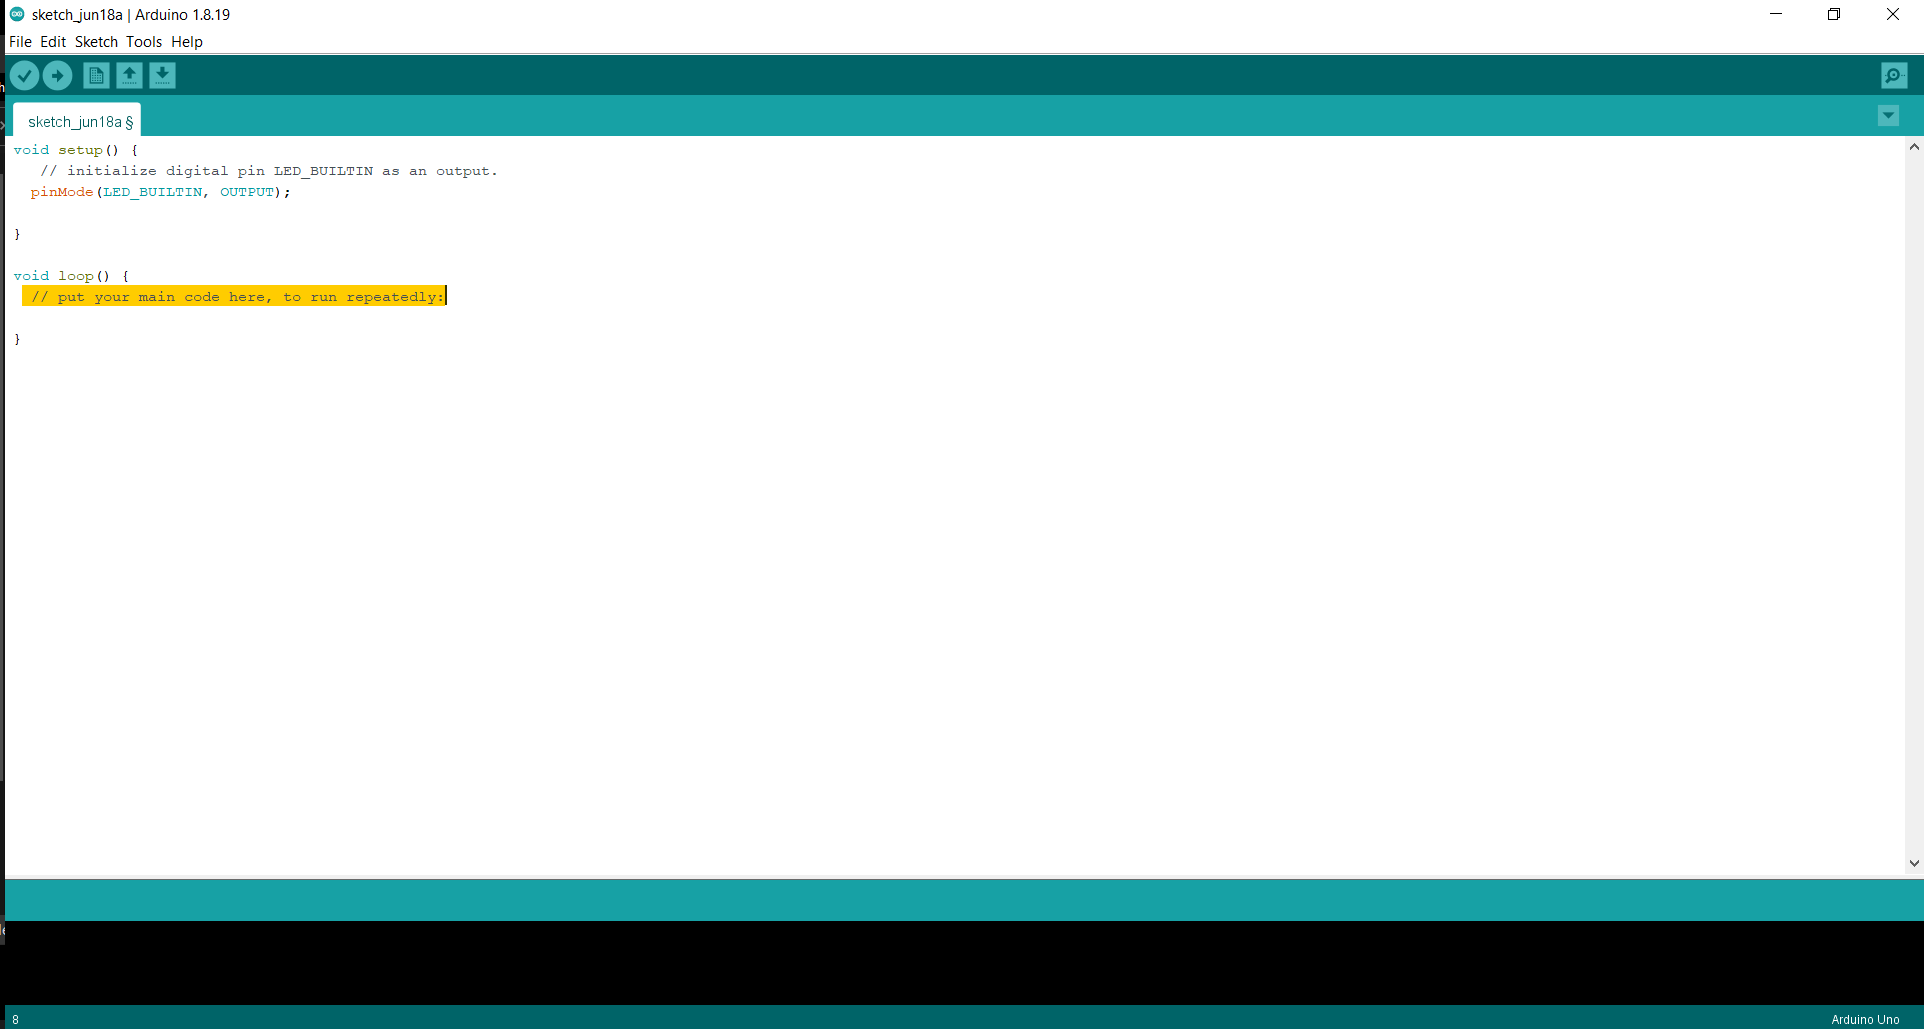
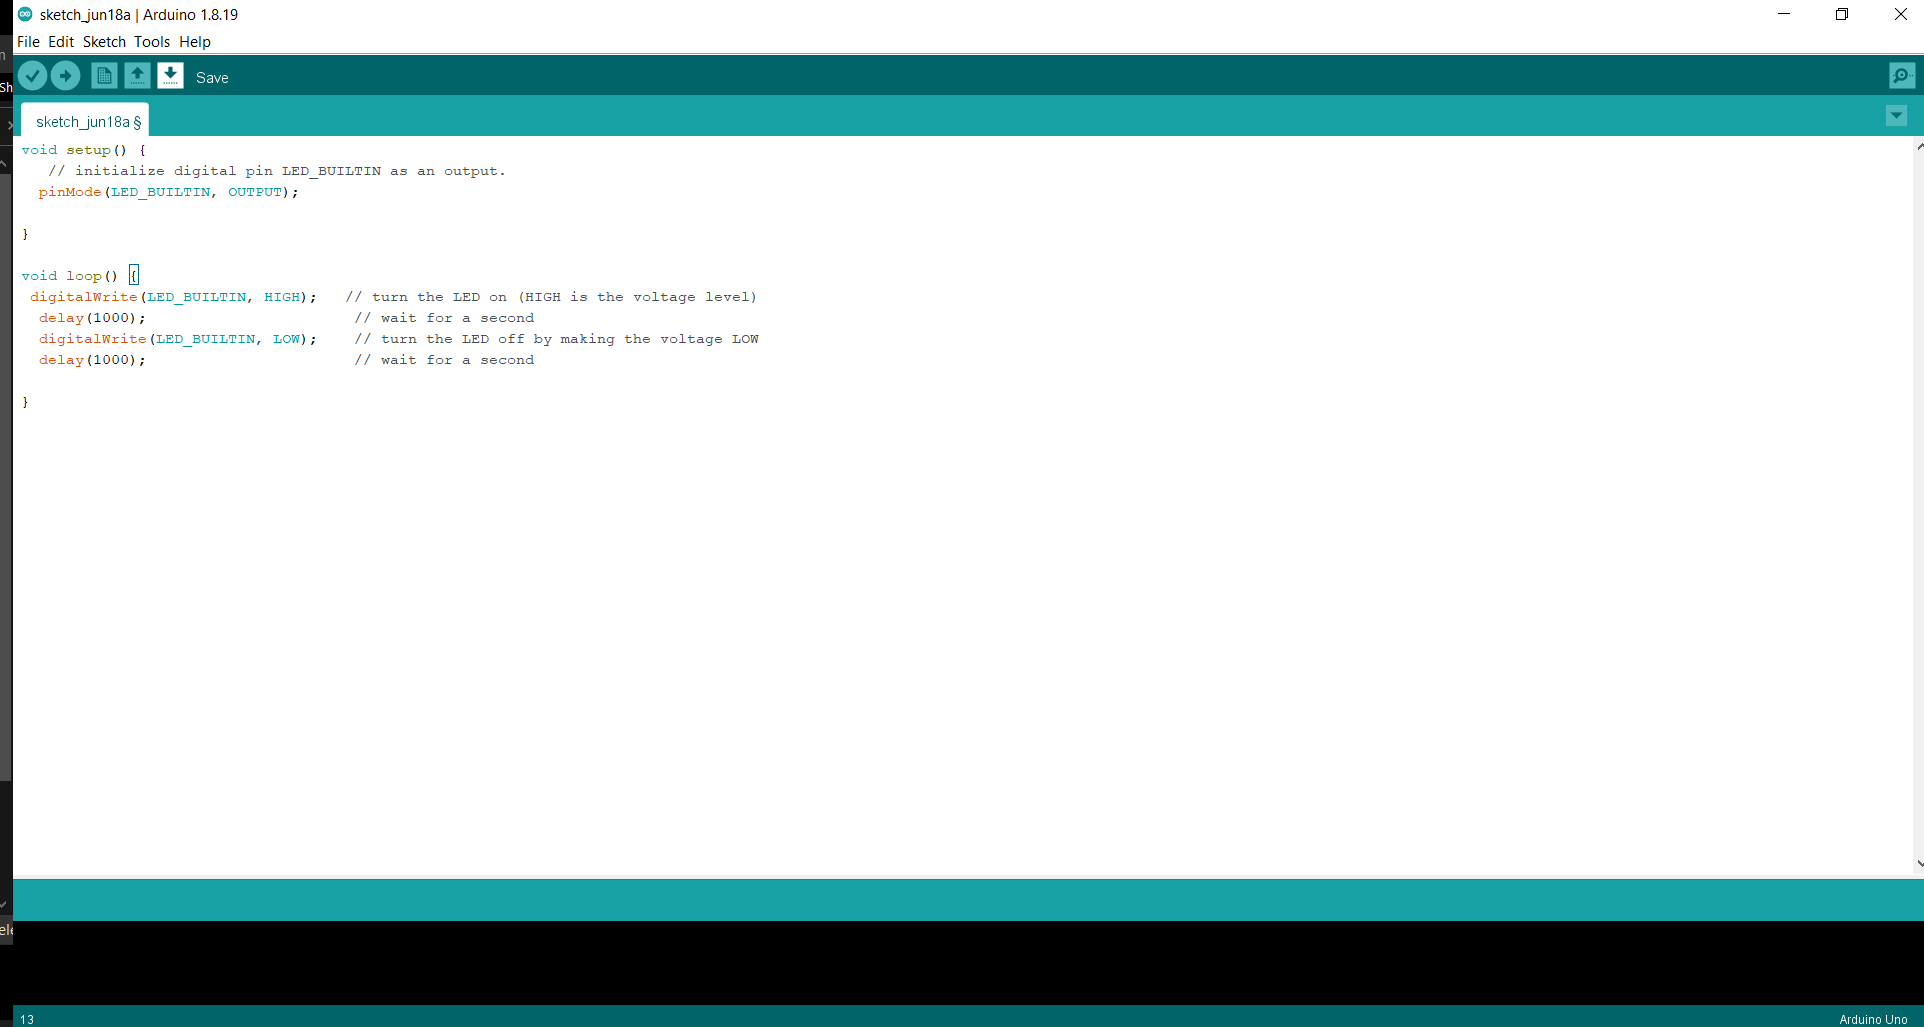
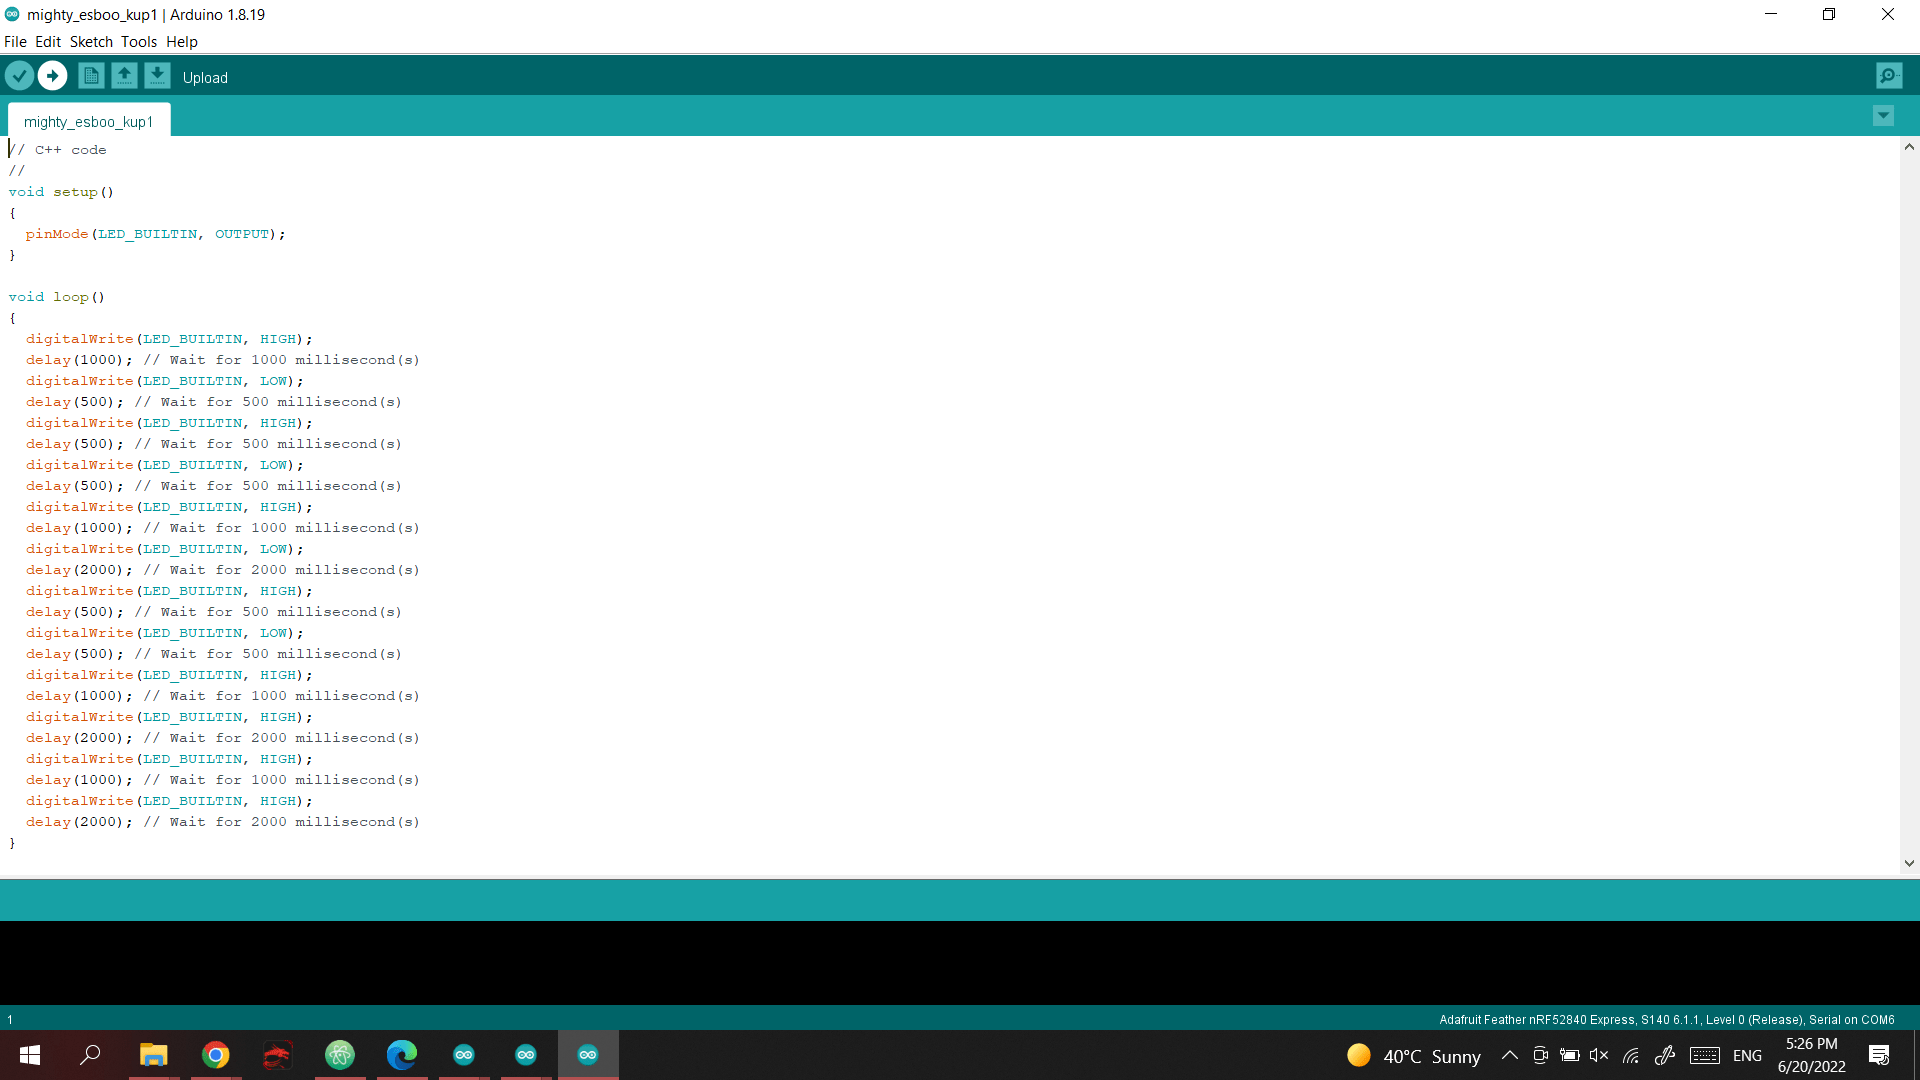
- after the setup, I copied the commands from the Blink sheet.
- Then upload to the microcontroller
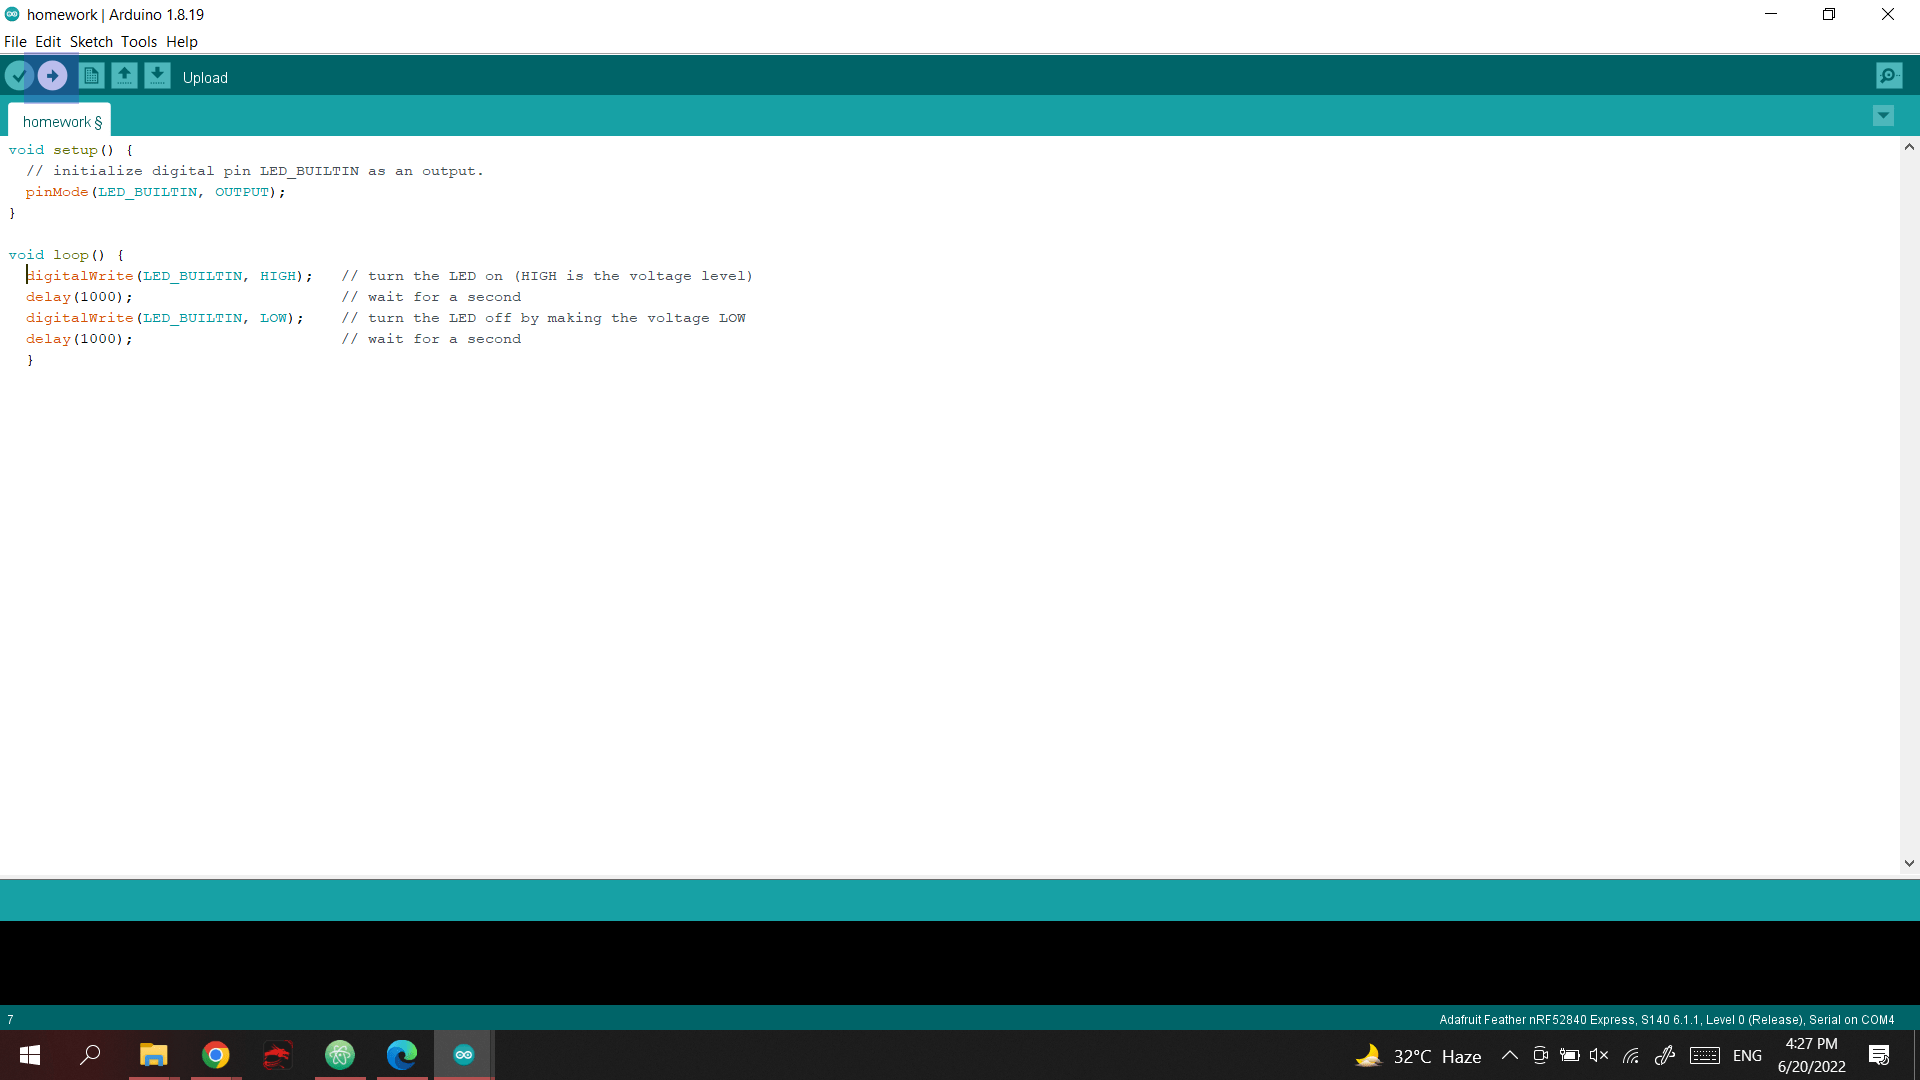
- when its done uploading it will be writen in the tab as well as the change hapening in the microcontroller
CODE
void setup() {
  // initialize digital pin LED_BUILTIN as an output.
  pinMode(LED_BUILTIN, OUTPUT);
}

// the loop function runs over and over again forever
void loop() {
  digitalWrite(LED_BUILTIN, HIGH);   // turn the LED on (HIGH is the voltage level)
  delay(1000);                       // wait for a second
  digitalWrite(LED_BUILTIN, LOW);    // turn the LED off by making the voltage LOW
  delay(1000);                       // wait for a second
}
VIDEO
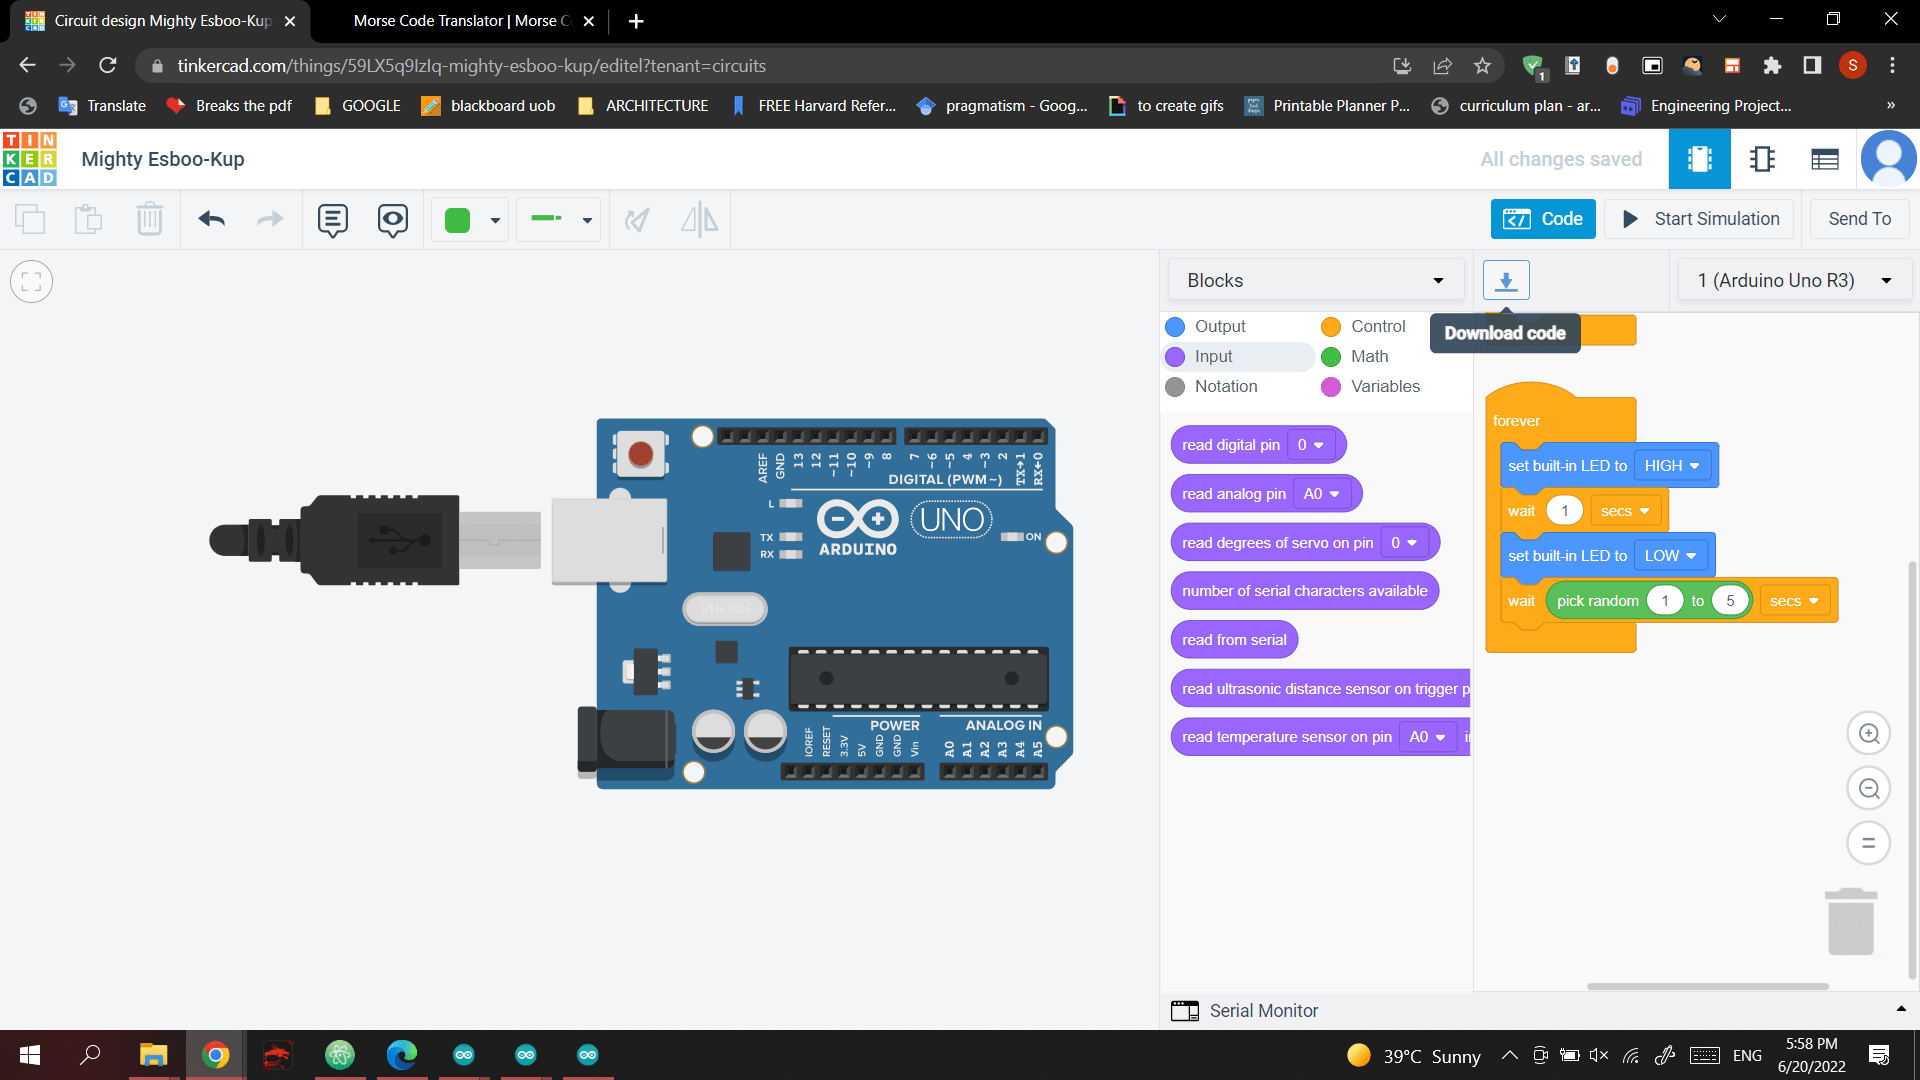
TINKER CAD
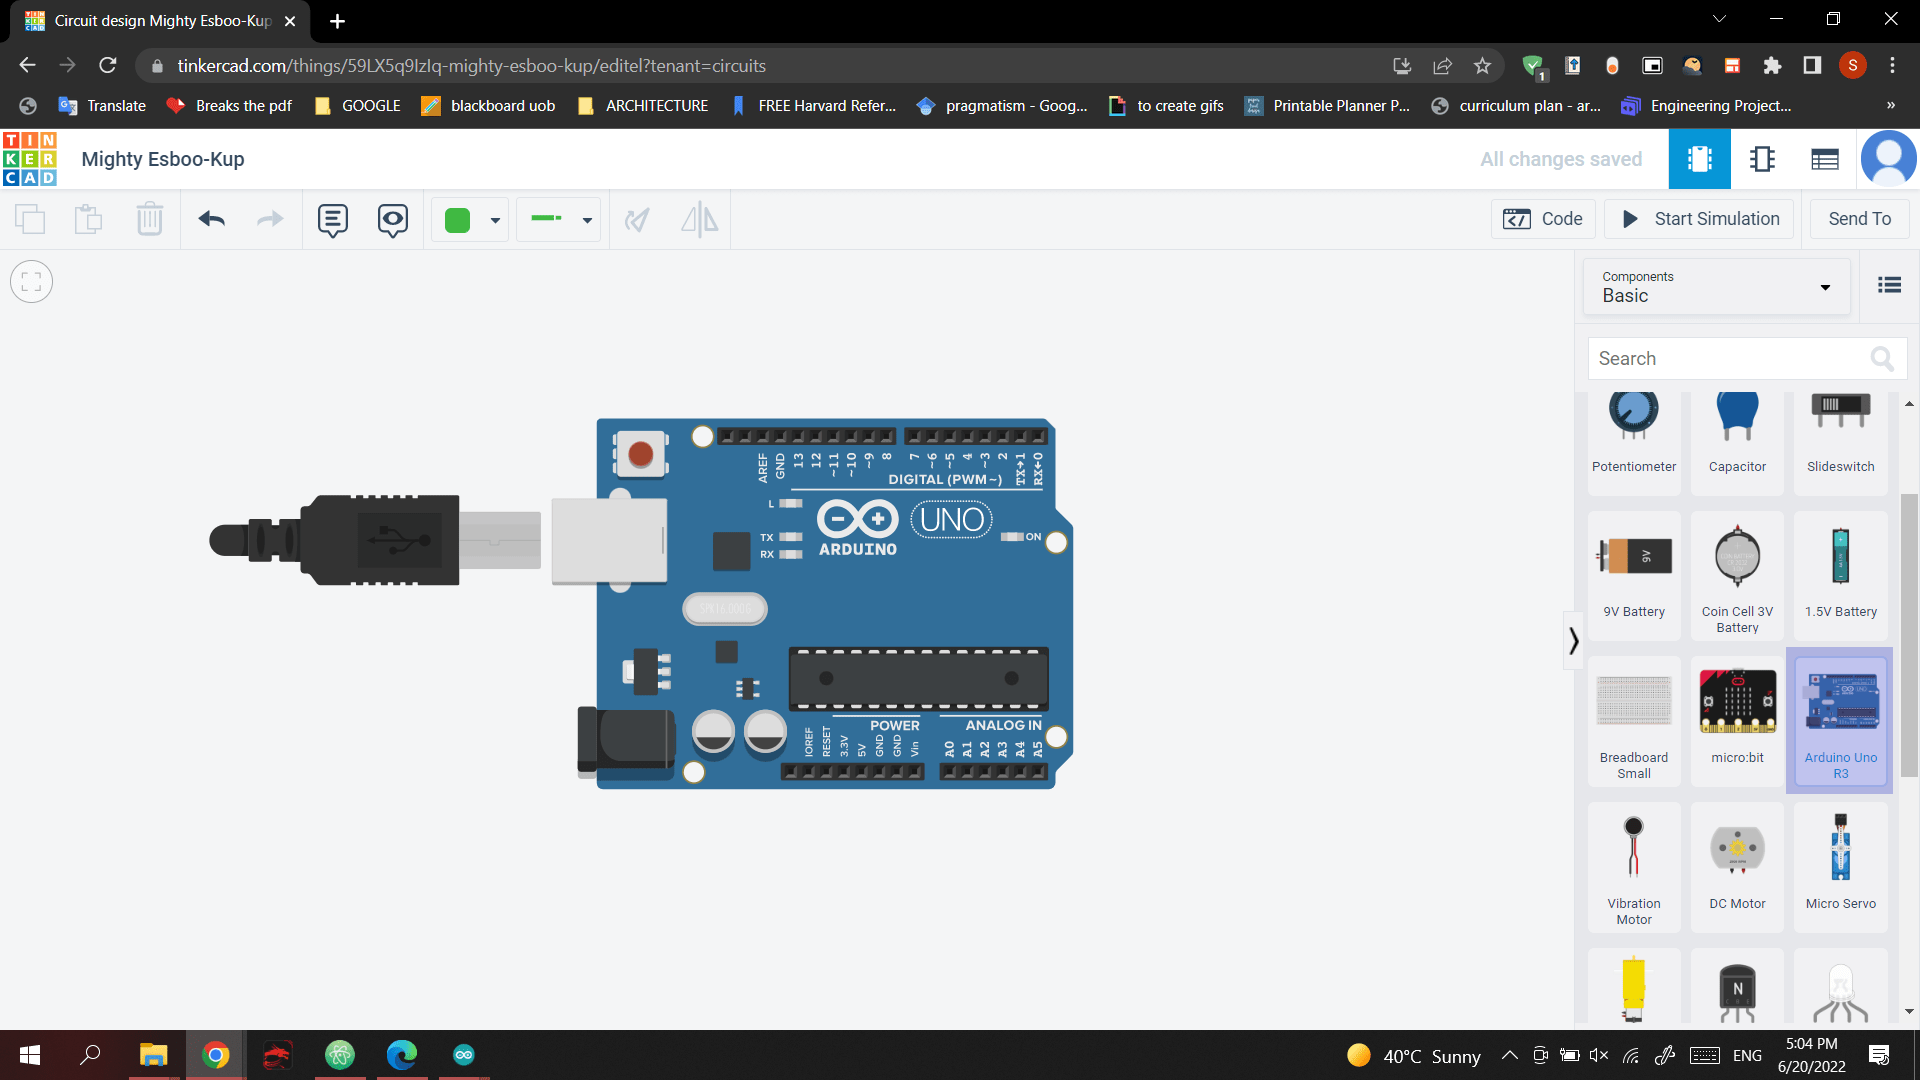
Open Tinkercad website .
- circuits -> new circuits.

- Drag and Drop the “arduino uno” component.
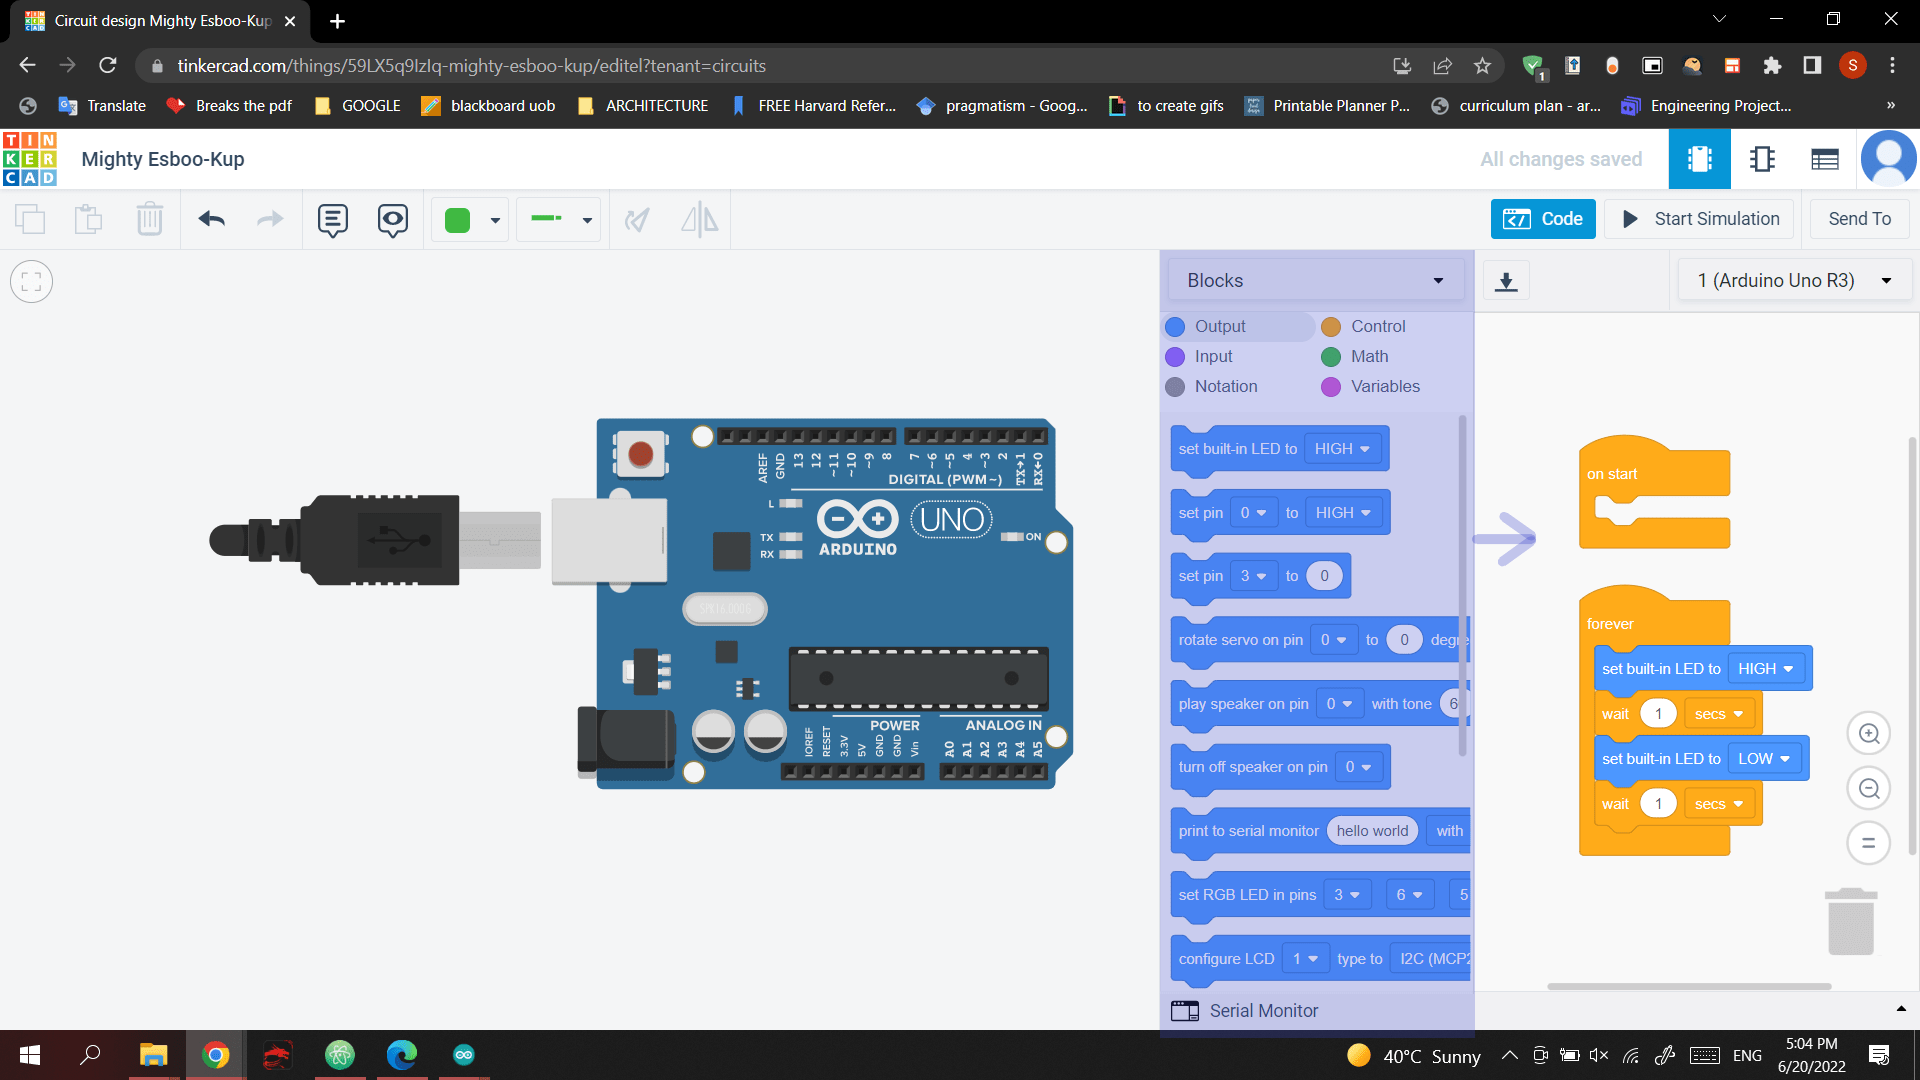
- Chose the code editer to strart the programing .

- From the highlighted bar we drag the command we want to use in programing and drop it in the second bar.
MORSE CODE
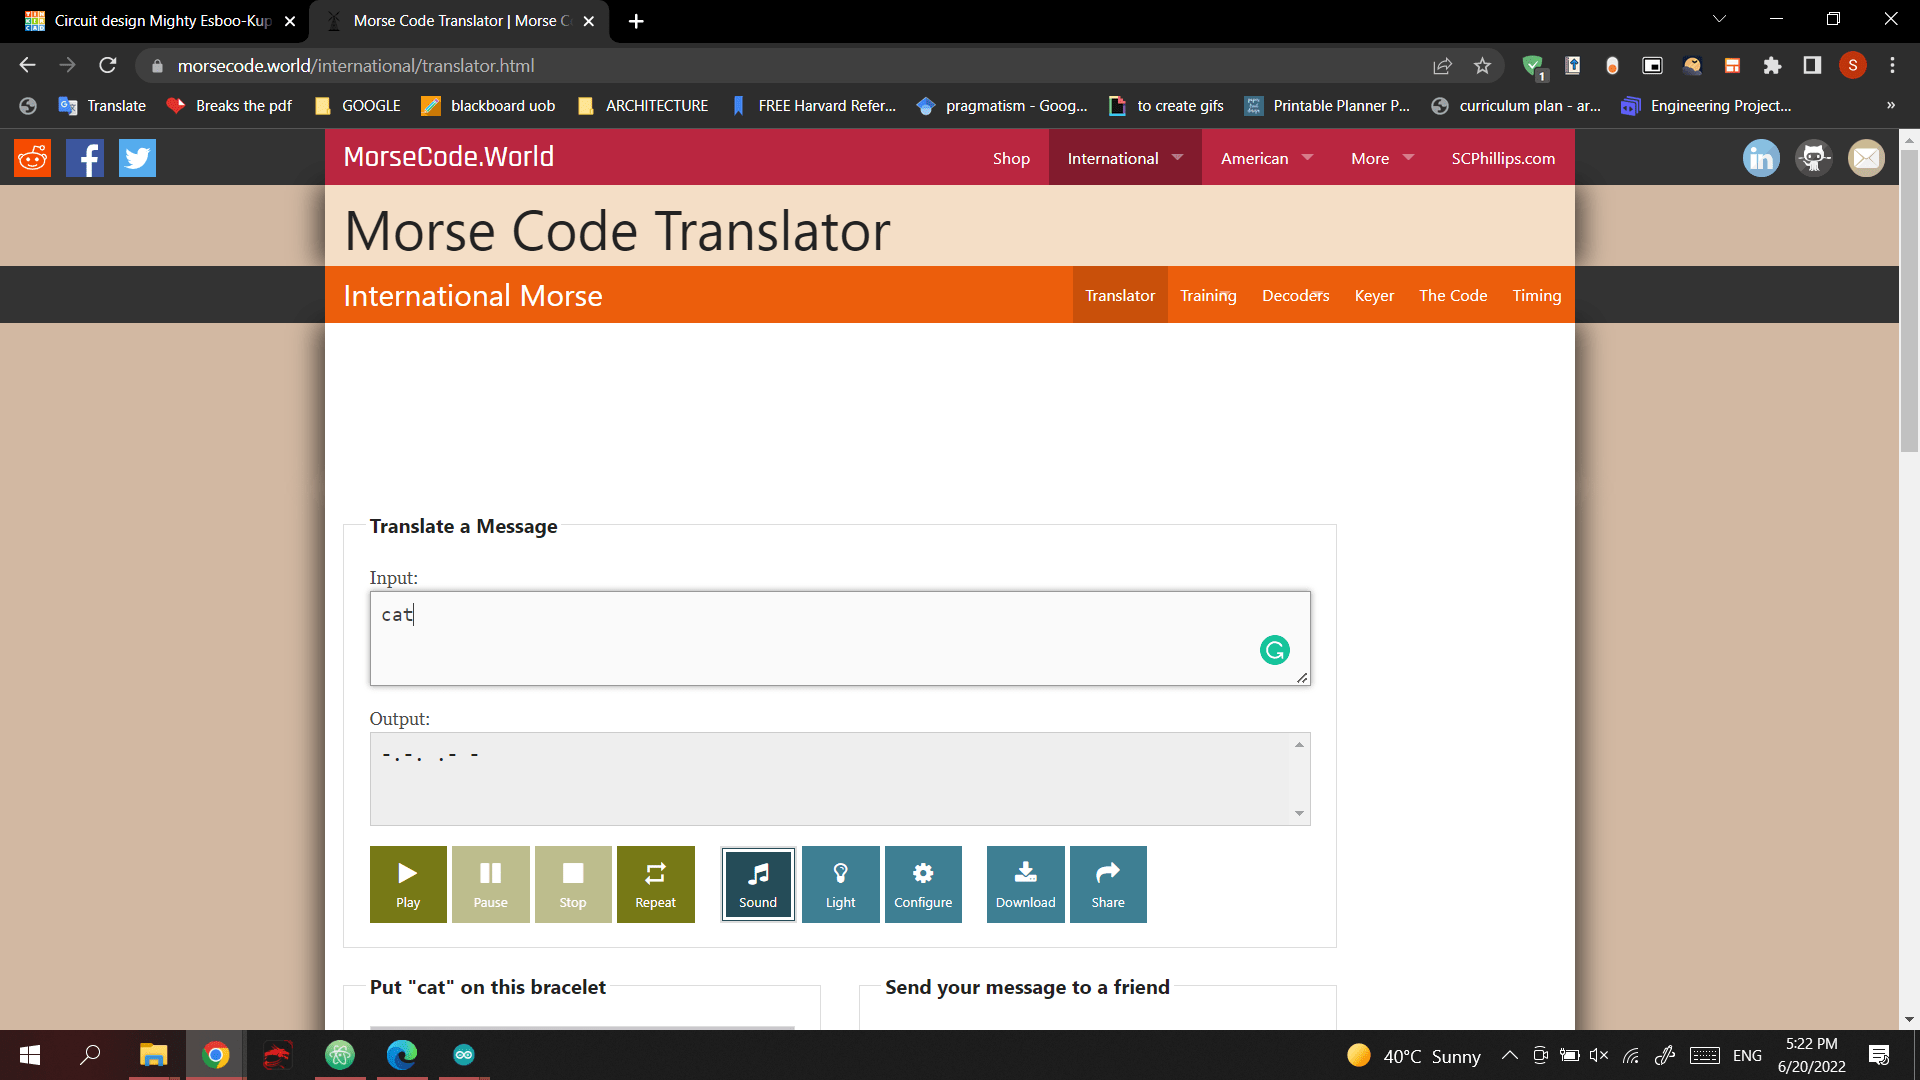
The first thing I did using the Tinker Cad is the blink by using morse code.
- To Transulate the word into a morse code I used Morse code trasulater.
I chose a short word “cat”.
- created the code in Tinker CAD

- download the file from tinkercad and open it in aduino ino .

- SETUP the program
- Tools-> Board ->Adafruit nRF52-> Adafruit Feather nRF52840 Express.
- Tools-> Port
 - UPLOAD
CODE
void setup()
{
  pinMode(LED_BUILTIN, OUTPUT);
}

void loop()
{
  digitalWrite(LED_BUILTIN, HIGH);
  delay(1000); // Wait for 1000 millisecond(s)
  digitalWrite(LED_BUILTIN, LOW);
  delay(500); // Wait for 500 millisecond(s)
  digitalWrite(LED_BUILTIN, HIGH);
  delay(500); // Wait for 500 millisecond(s)
  digitalWrite(LED_BUILTIN, LOW);
  delay(500); // Wait for 500 millisecond(s)
  digitalWrite(LED_BUILTIN, HIGH);
  delay(1000); // Wait for 1000 millisecond(s)
  digitalWrite(LED_BUILTIN, LOW);
  delay(500); // Wait for 500 millisecond(s)
  digitalWrite(LED_BUILTIN, HIGH);
  delay(500); // Wait for 500 millisecond(s)
  digitalWrite(LED_BUILTIN, LOW);
  delay(2000); // Wait for 2000 millisecond(s)
  digitalWrite(LED_BUILTIN, HIGH);
  delay(500); // Wait for 500 millisecond(s)
  digitalWrite(LED_BUILTIN, LOW);
  delay(500); // Wait for 500 millisecond(s)
  digitalWrite(LED_BUILTIN, HIGH);
  delay(1000); // Wait for 1000 millisecond(s)
  digitalWrite(LED_BUILTIN, LOW);
  delay(2000); // Wait for 2000 millisecond(s)
  digitalWrite(LED_BUILTIN, HIGH);
  delay(1000); // Wait for 1000 millisecond(s)
  digitalWrite(LED_BUILTIN, LOW);
  delay(5000); // Wait for 5000 millisecond(s)
}
VIDEO
Challenges
Easy mode
we had to program the LED blink to be randomized from 1-5 sec

CODE
void setup()
{
  pinMode(LED_BUILTIN, OUTPUT);
}

void loop()
{
  digitalWrite(LED_BUILTIN, HIGH);
  delay(1000); // Wait for 1000 millisecond(s)
  digitalWrite(LED_BUILTIN, LOW);
  delay(1000 * random(1, 5 + 1)); // Wait for 1000 * random(1, 5 + 1) millisecond(s)
}
VIDEO
CIRCUIT PYTHON & MU EDITER
DOWNLOADED CIRUIT we
Last update:
August 16, 2022