8. Moulding and casting
This week we learned how to make molds using “” machine.
GROUP ASSESMENT
For the group assessment we experimented with different materials using silicon molds to see the results or the finish of the materials.
INDIVIDUAL ASSESMENT
we were sked to design a fridge magnet.
DESIGN
I decided to go with a simple design and that is a flower.

I made the design using FUSION360 following a simple tutorial.
Saved the file as an STL file.
Fabricating the Mold
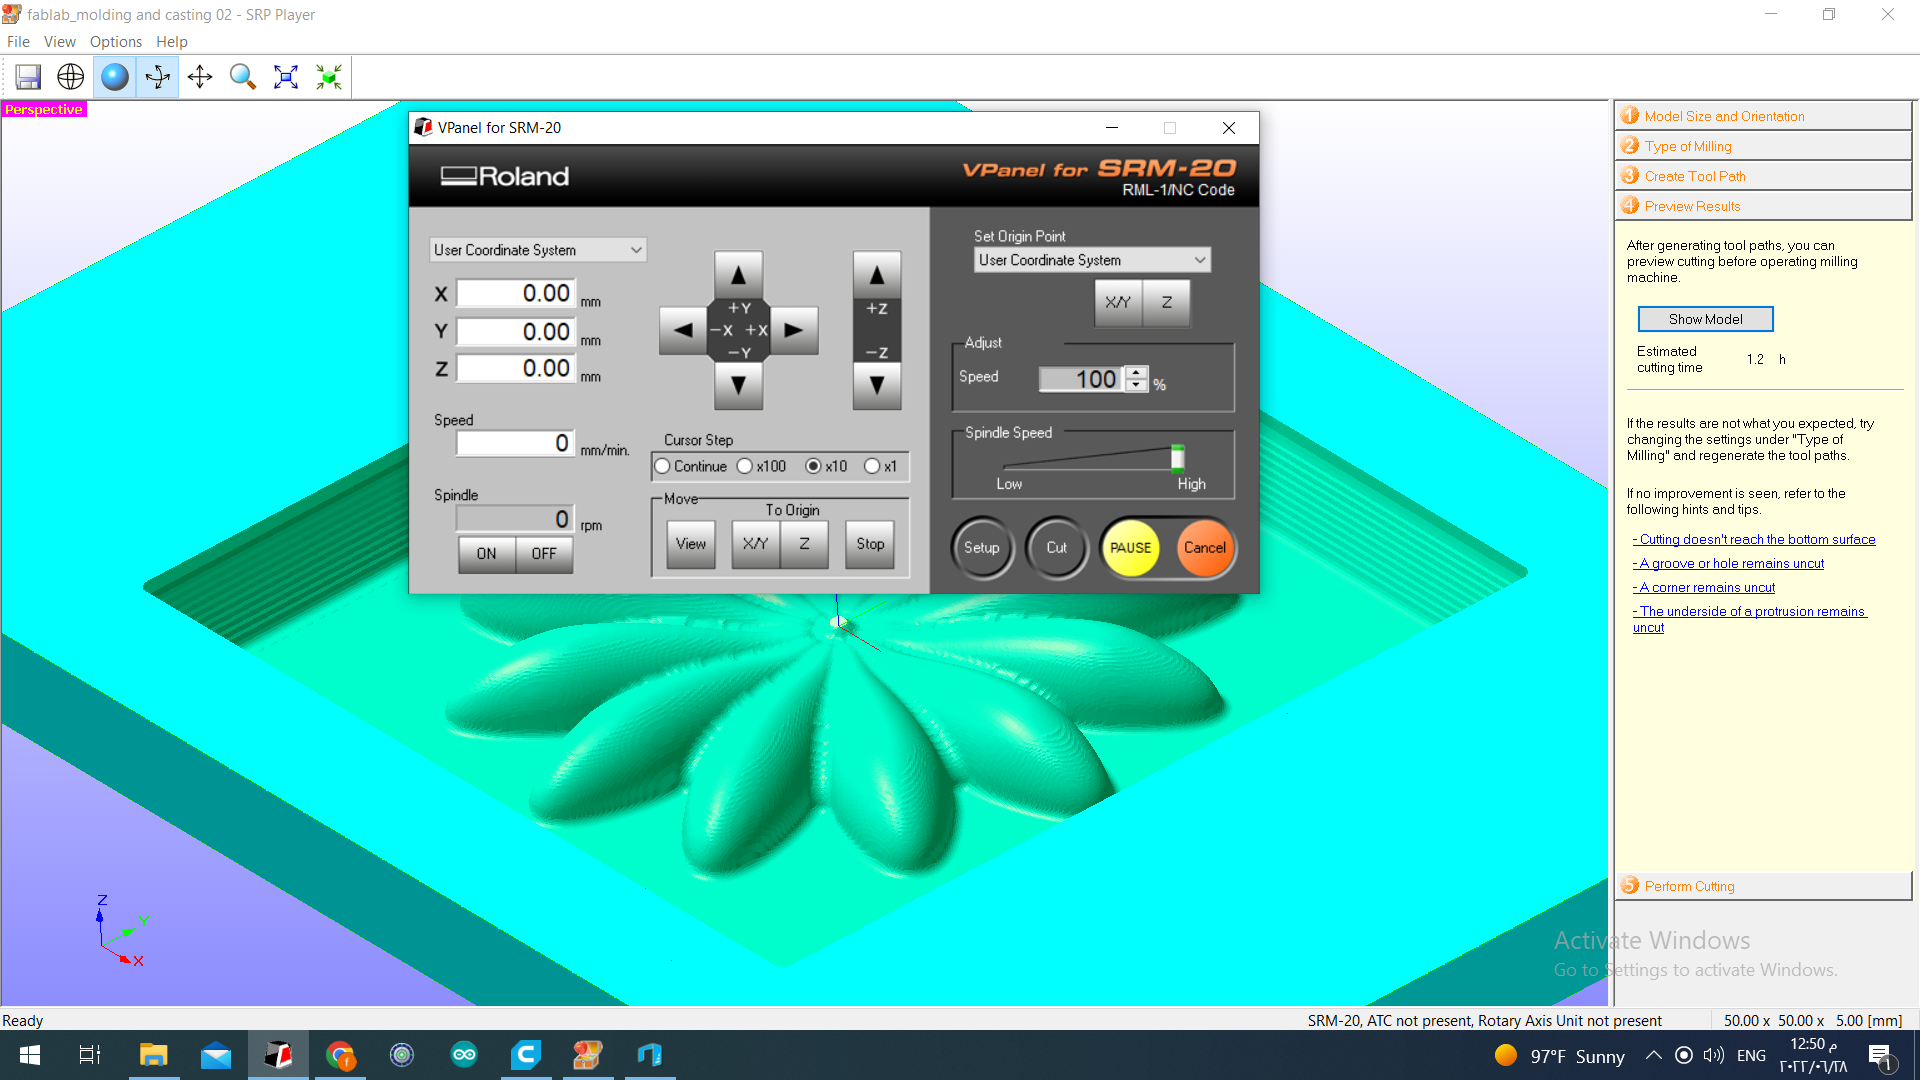
----- The program we will be using to set up the design for the machine is “SPR SOFTWARE”.
Set Up in SPR player
- Upload the design file
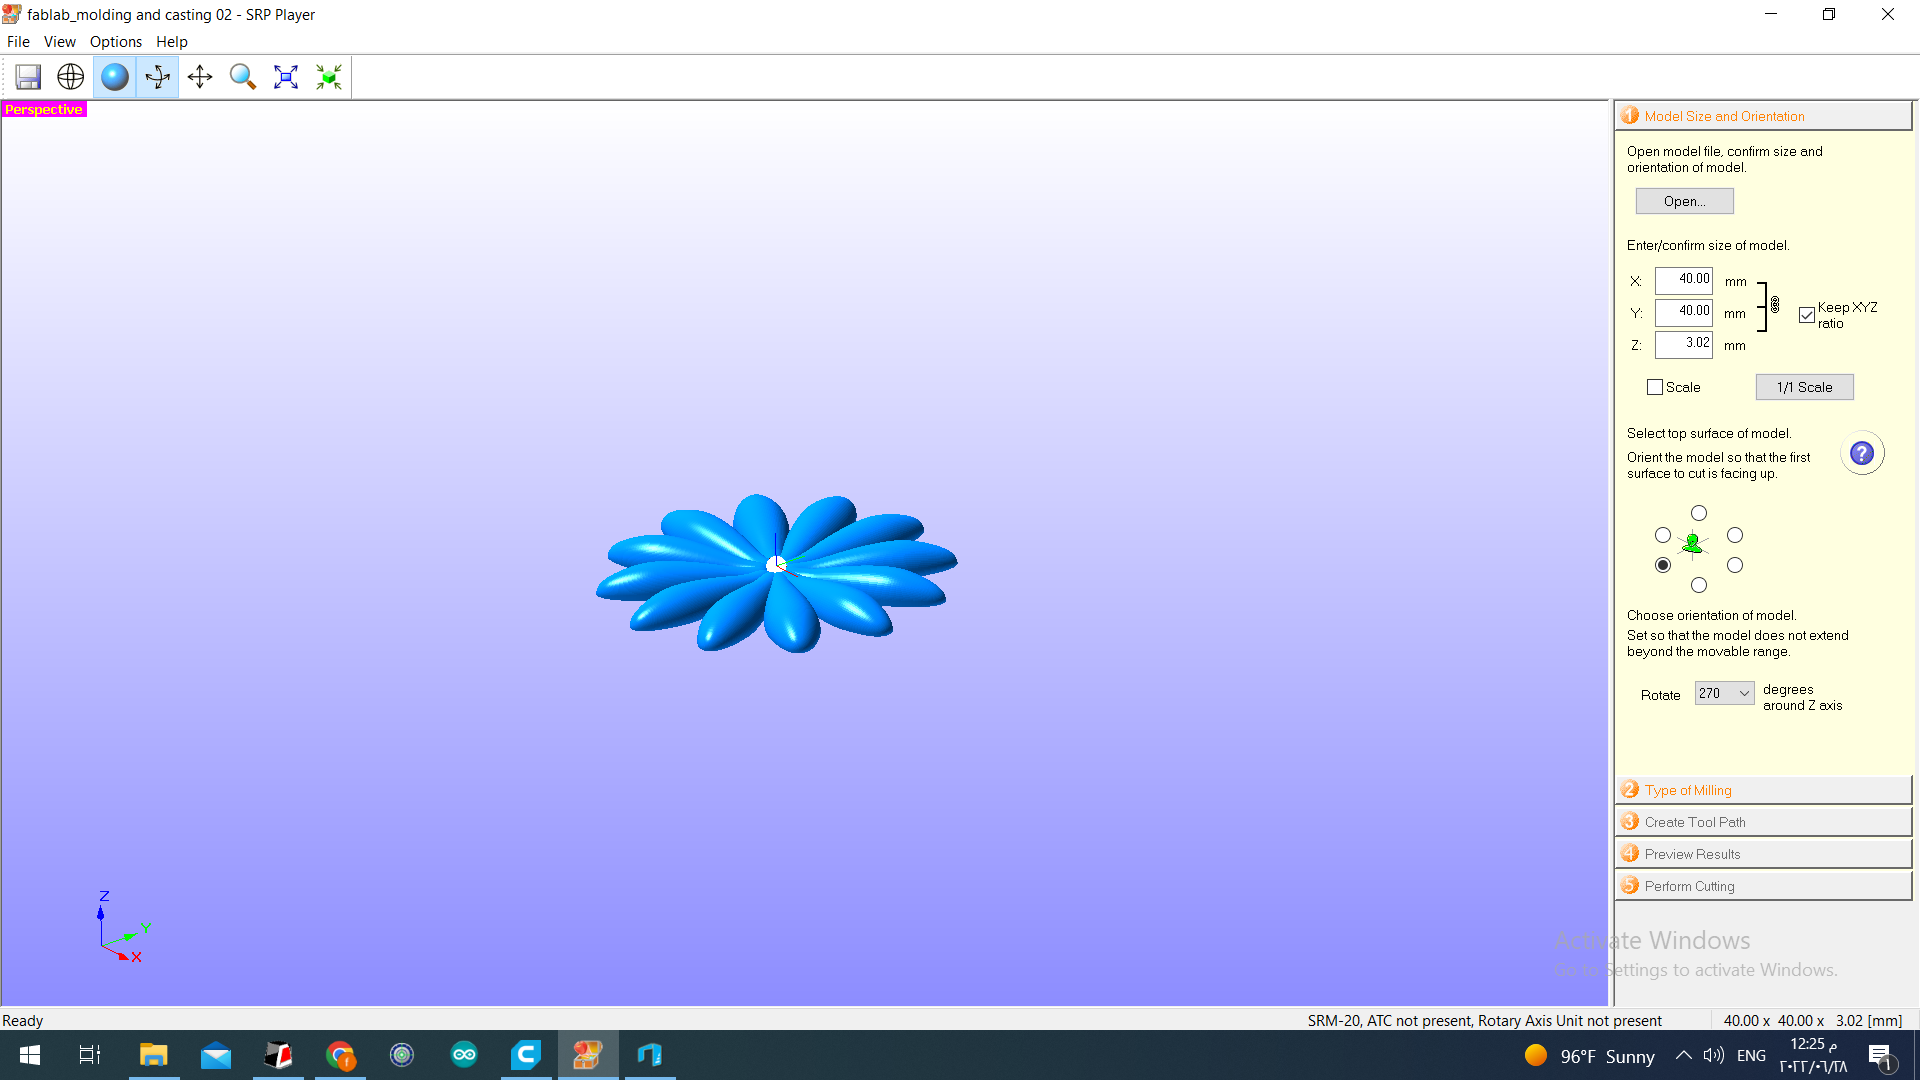
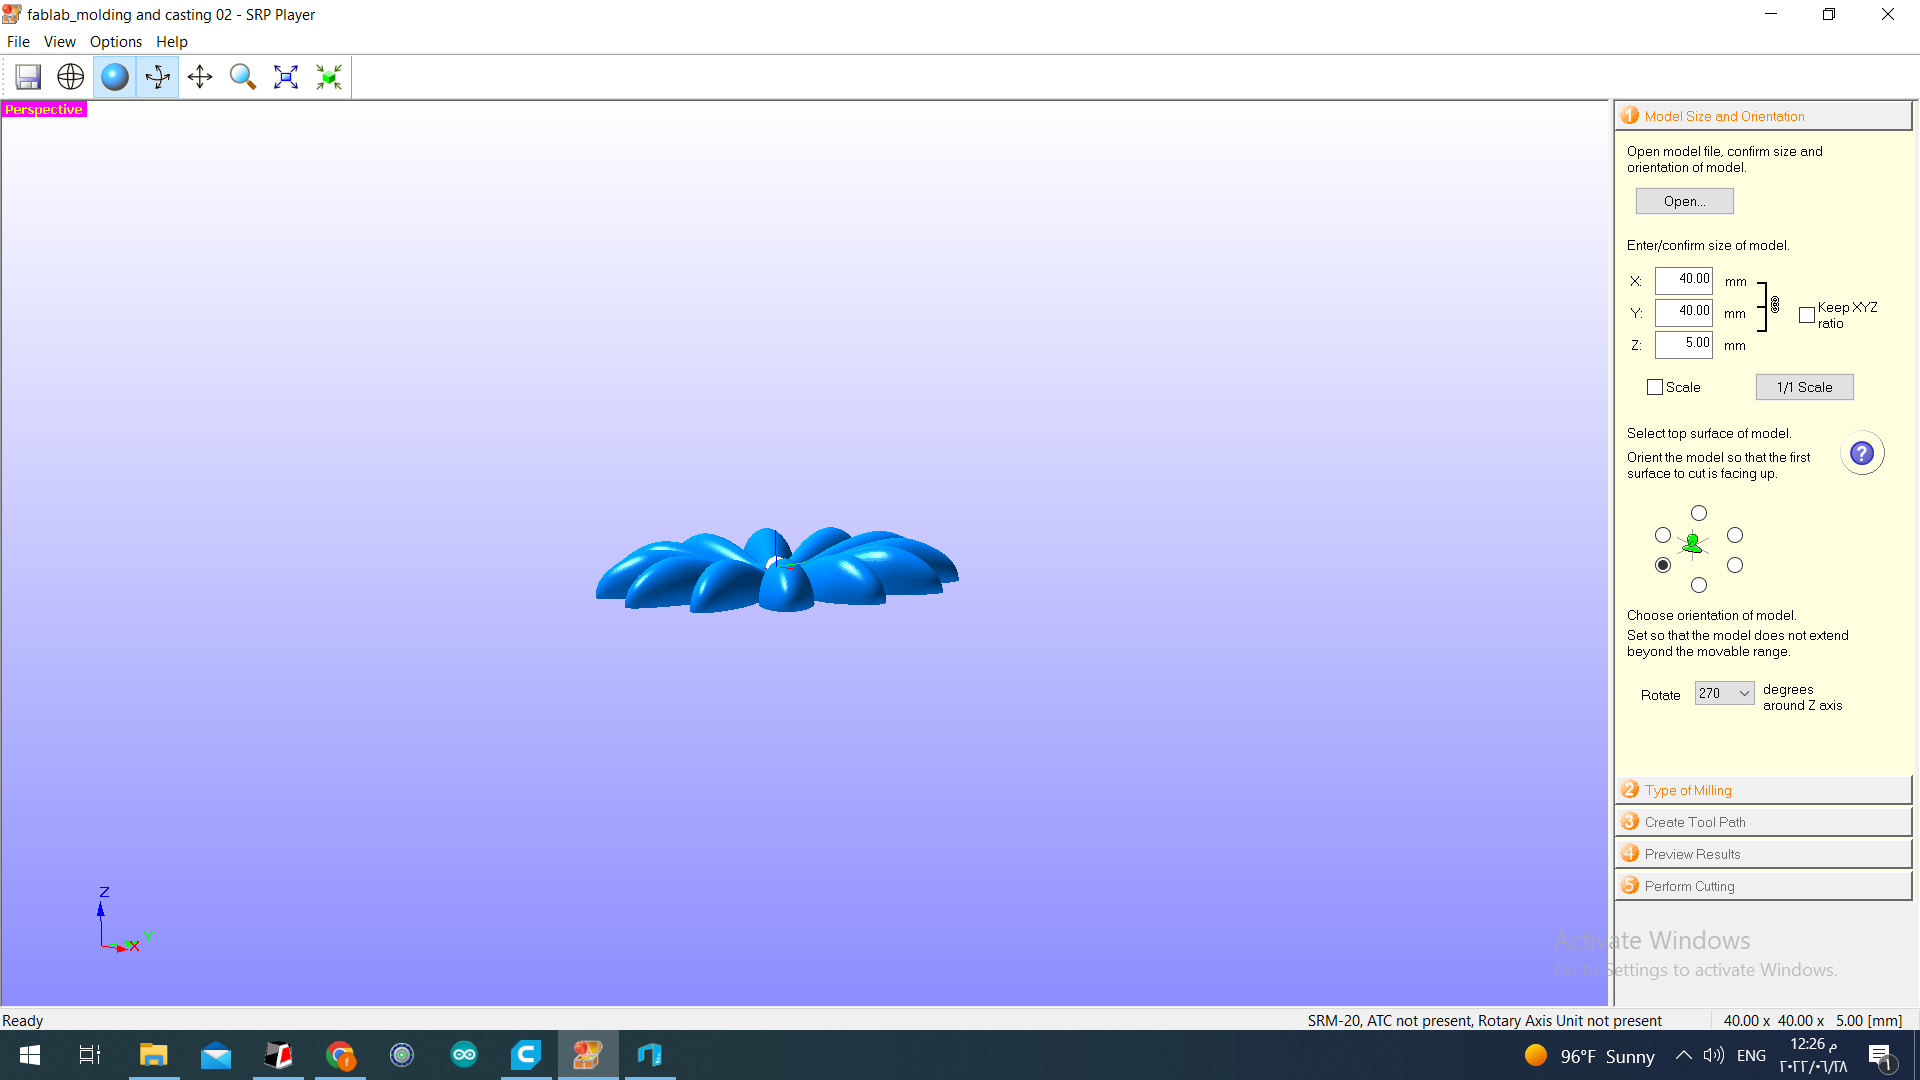
- we Changed the “Z axis” value, as the design was too small and flat.
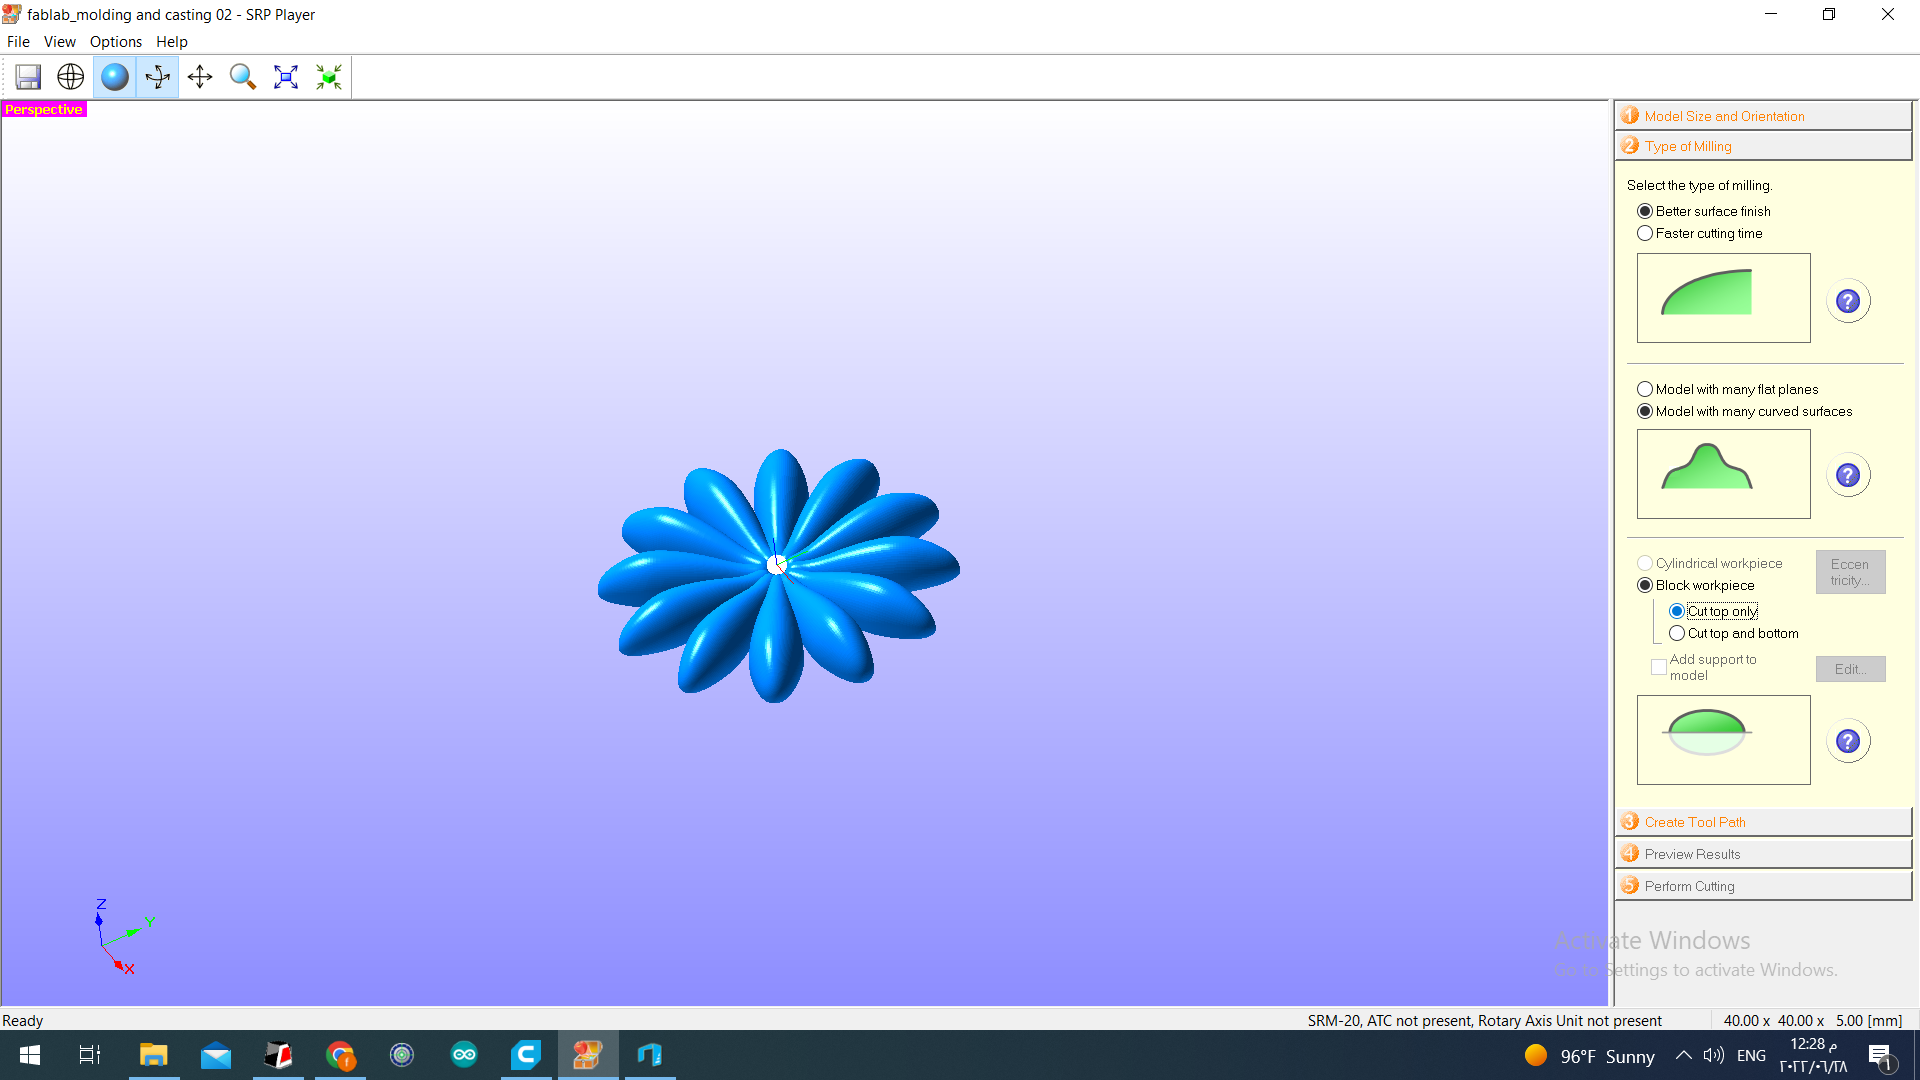
- Changed the setting to a better surface finish + model with many curved surface.
- Measure the size of the block “Hight” “Width” “Length”.
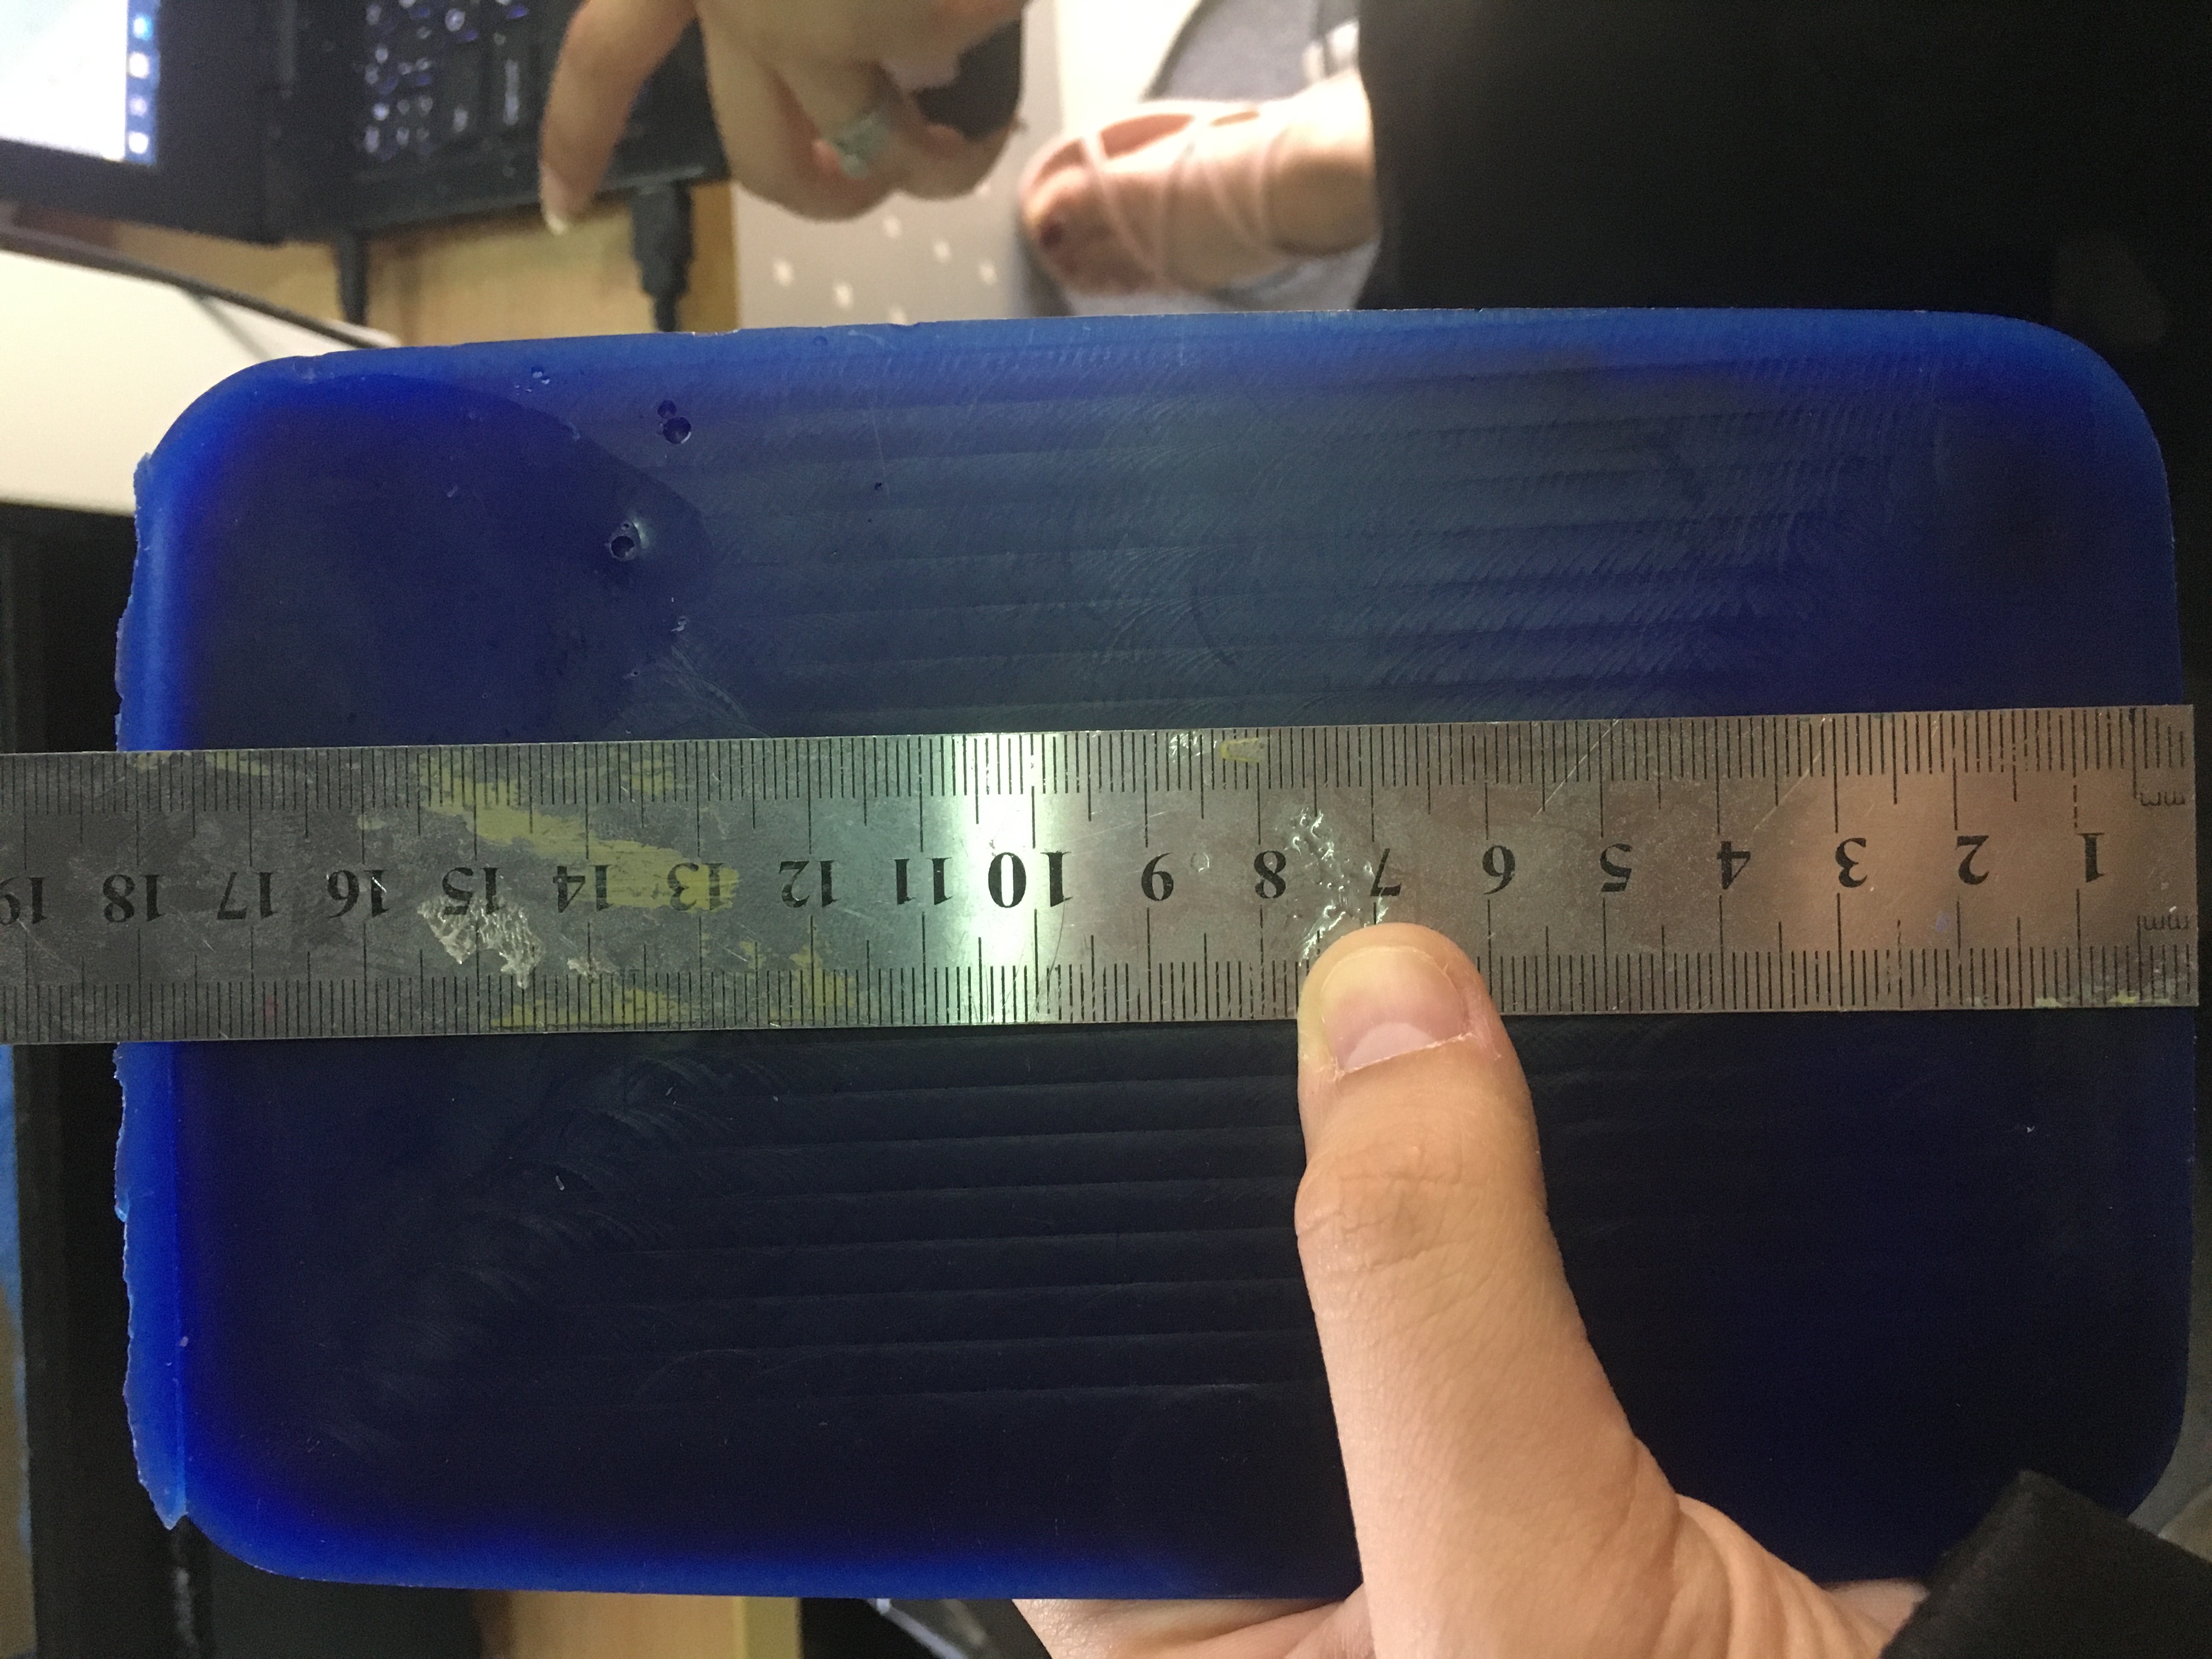
- Add the Measurements to the program with an offset
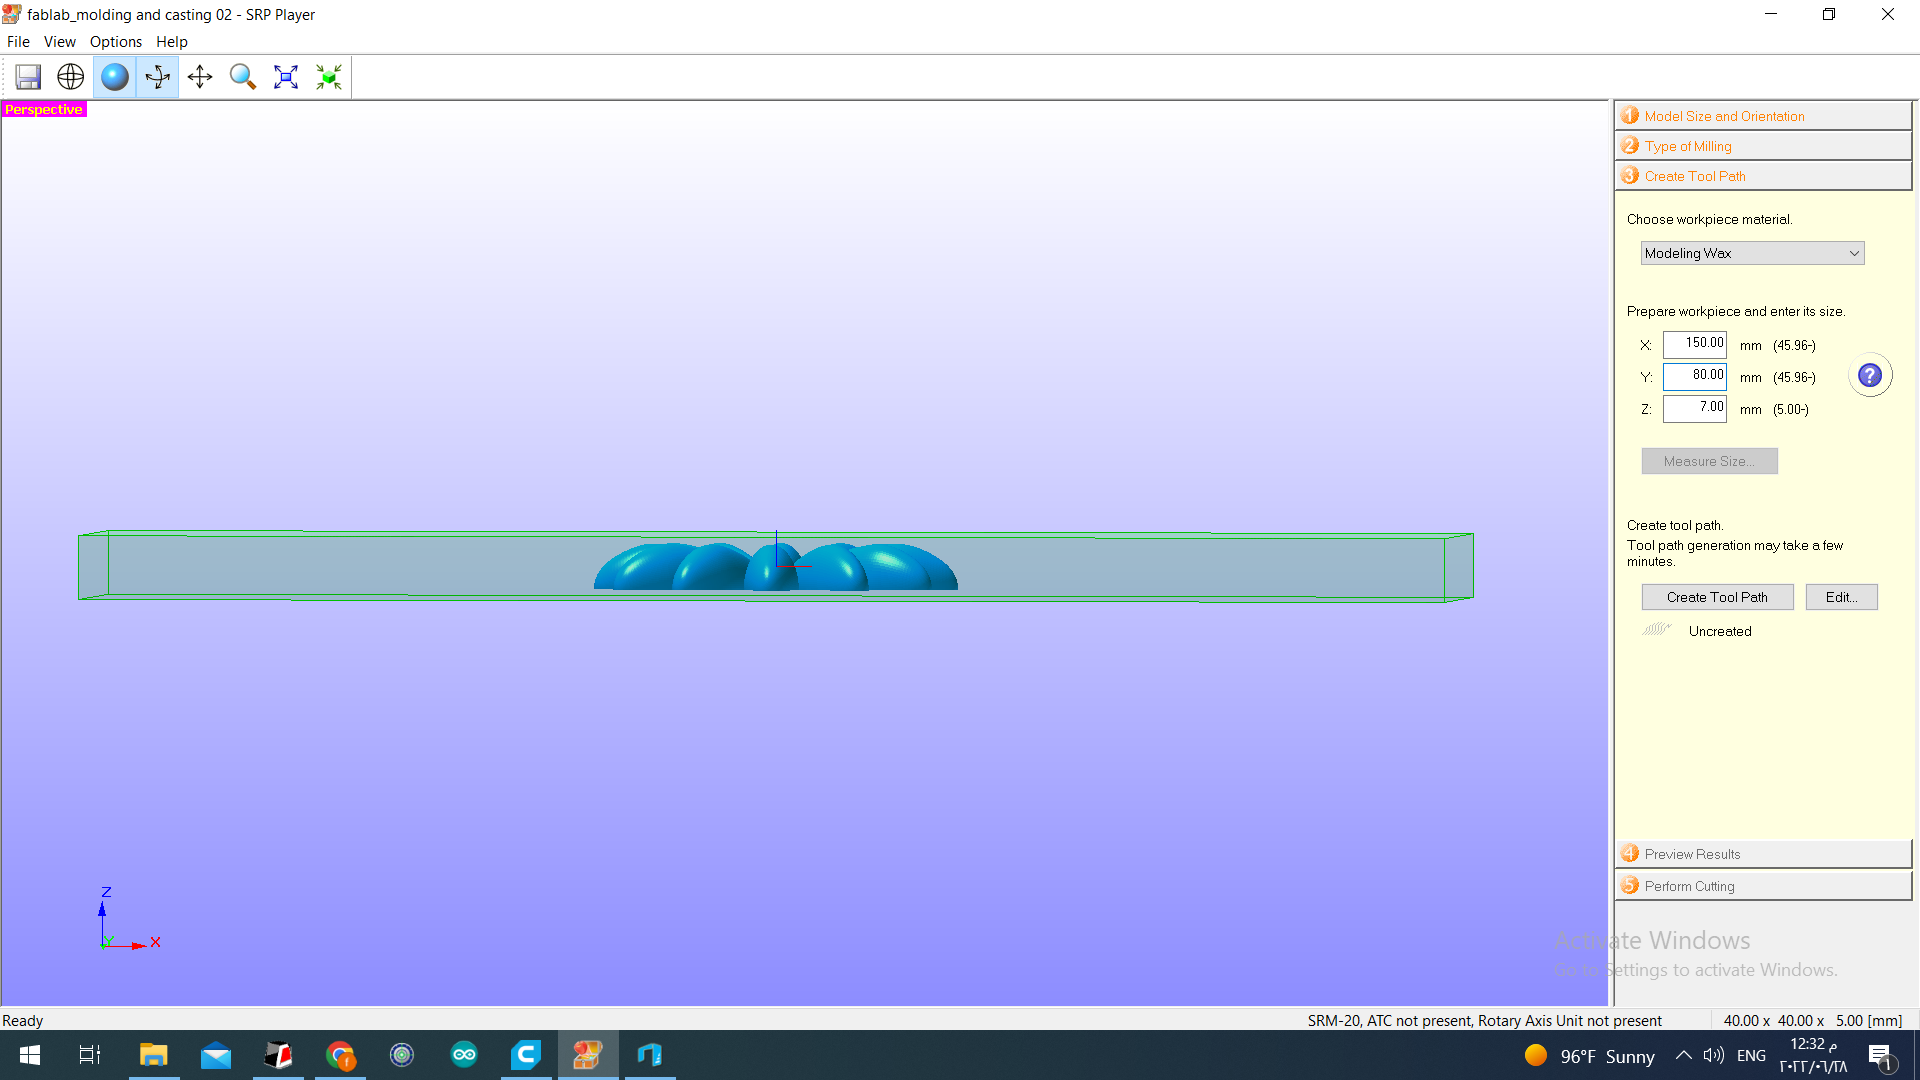
- we chose a smaller bit than what the program recommended so the design took around one hour and 30 min to be done
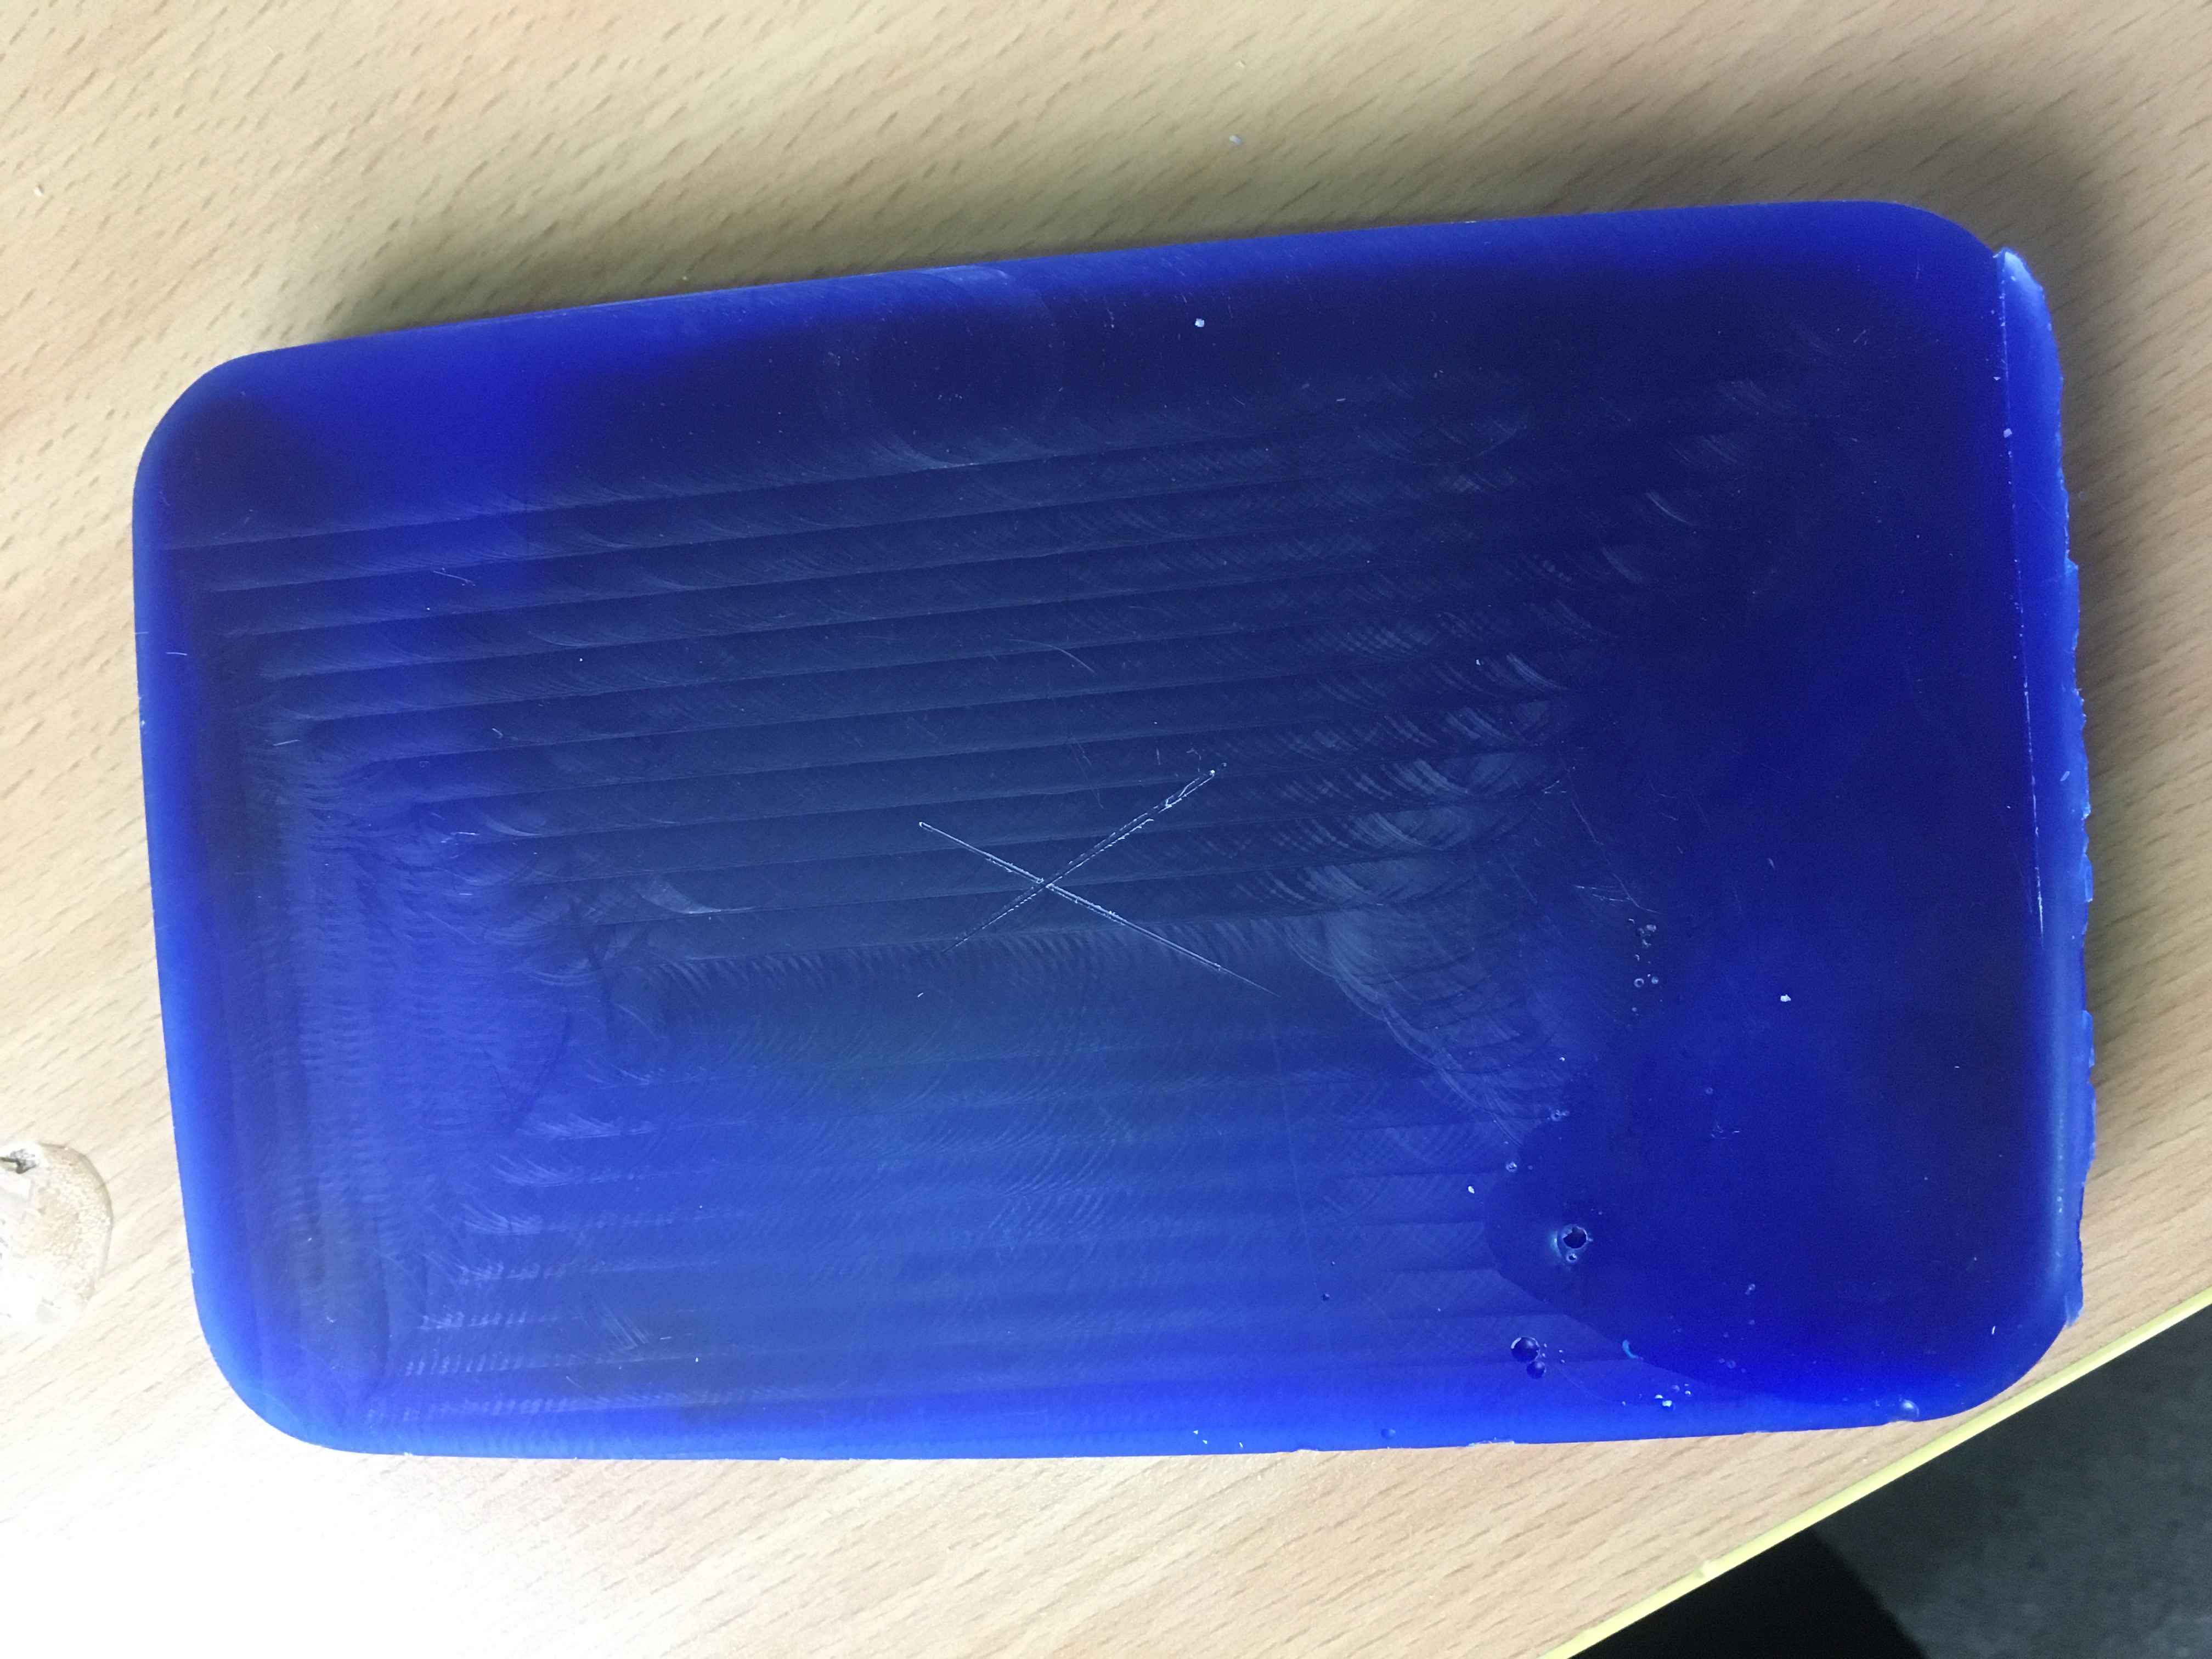
- Before milling we need to fix the wax block to the wooden bed a double tape works Well .
- Added this X in the front to make sure the material is fixed in the center of the machine
 - Set up the Y + X axis of the MACHINE from the program
- Setting up the Z axis Manually works better.
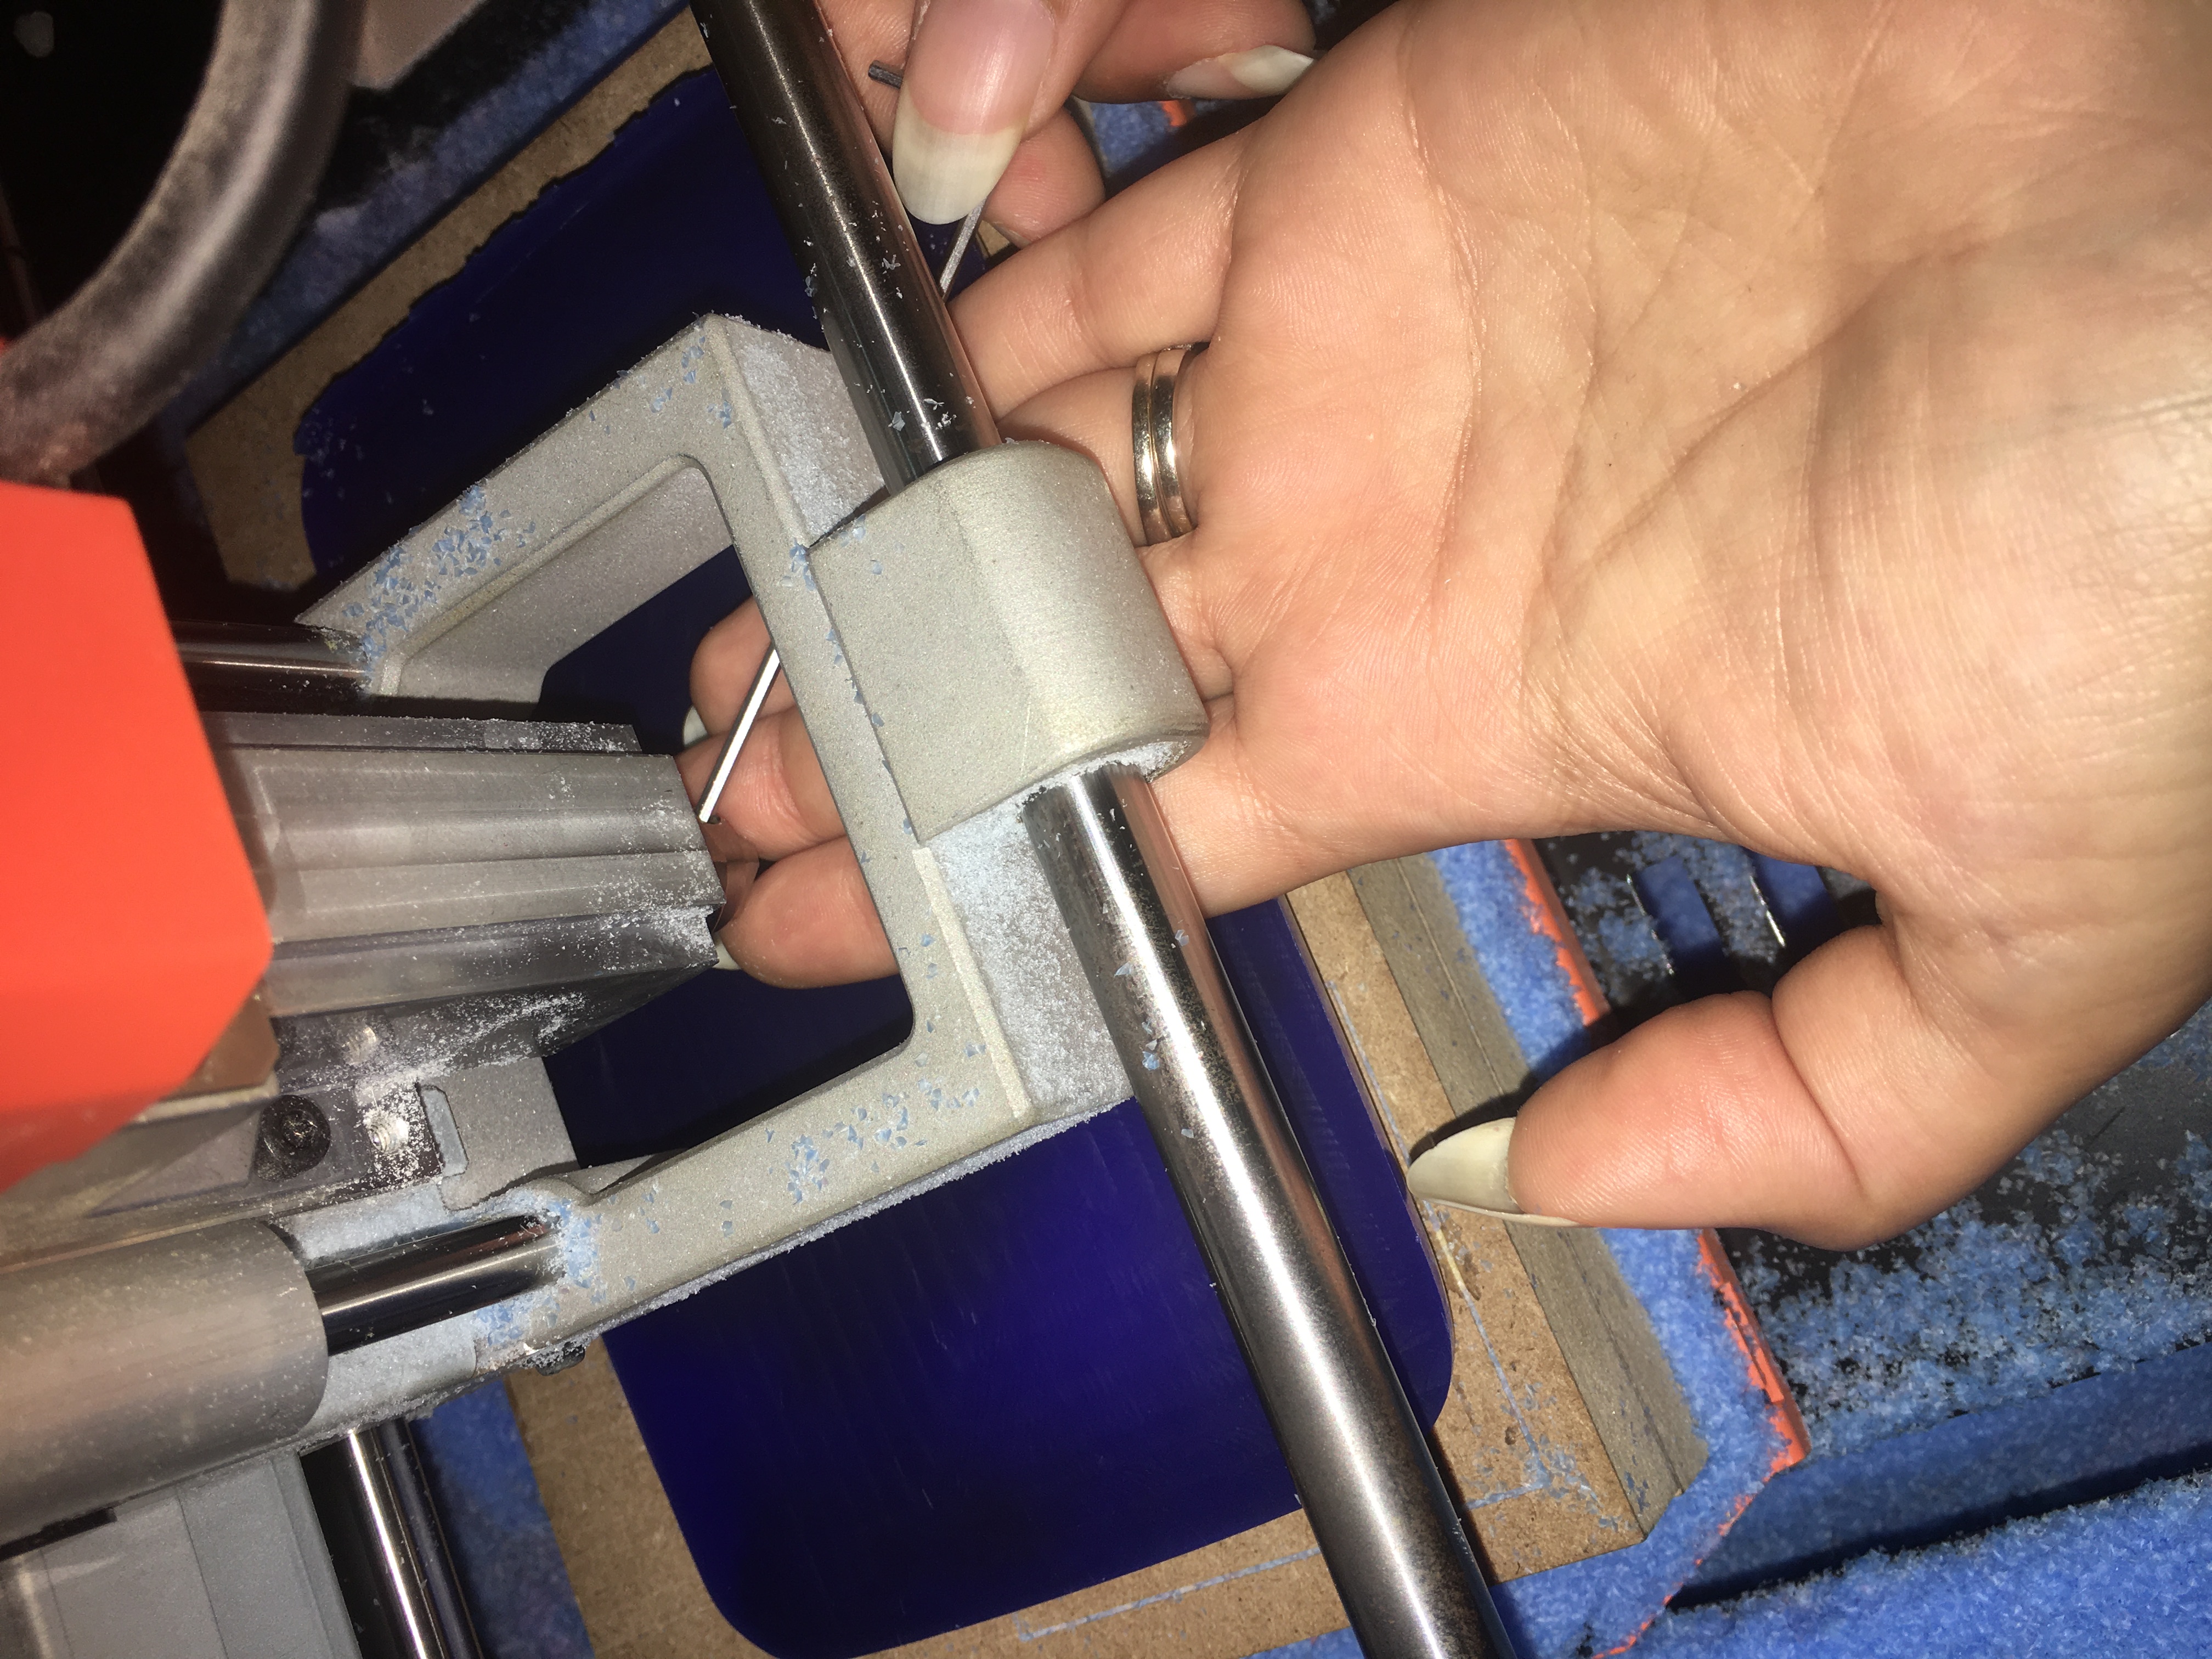
- After that make all the axis Zero as this is the ORIGIN
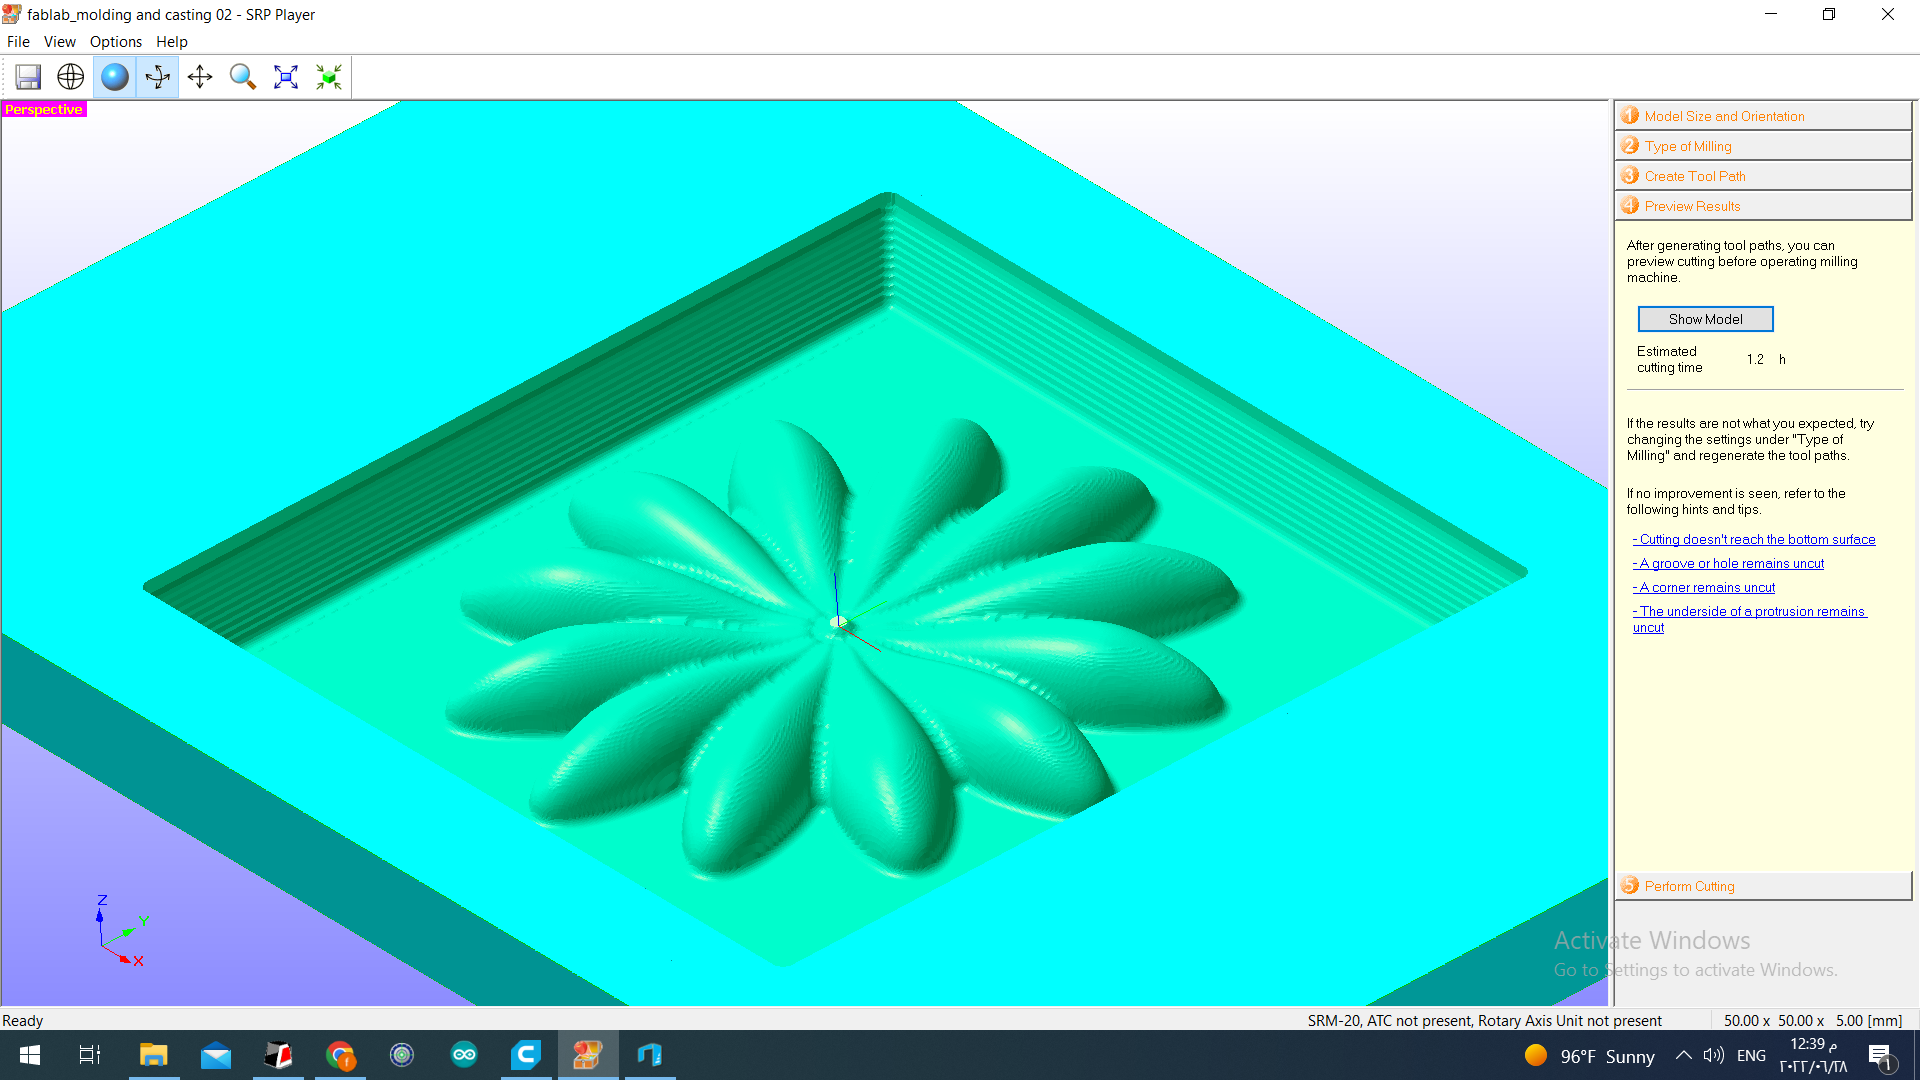
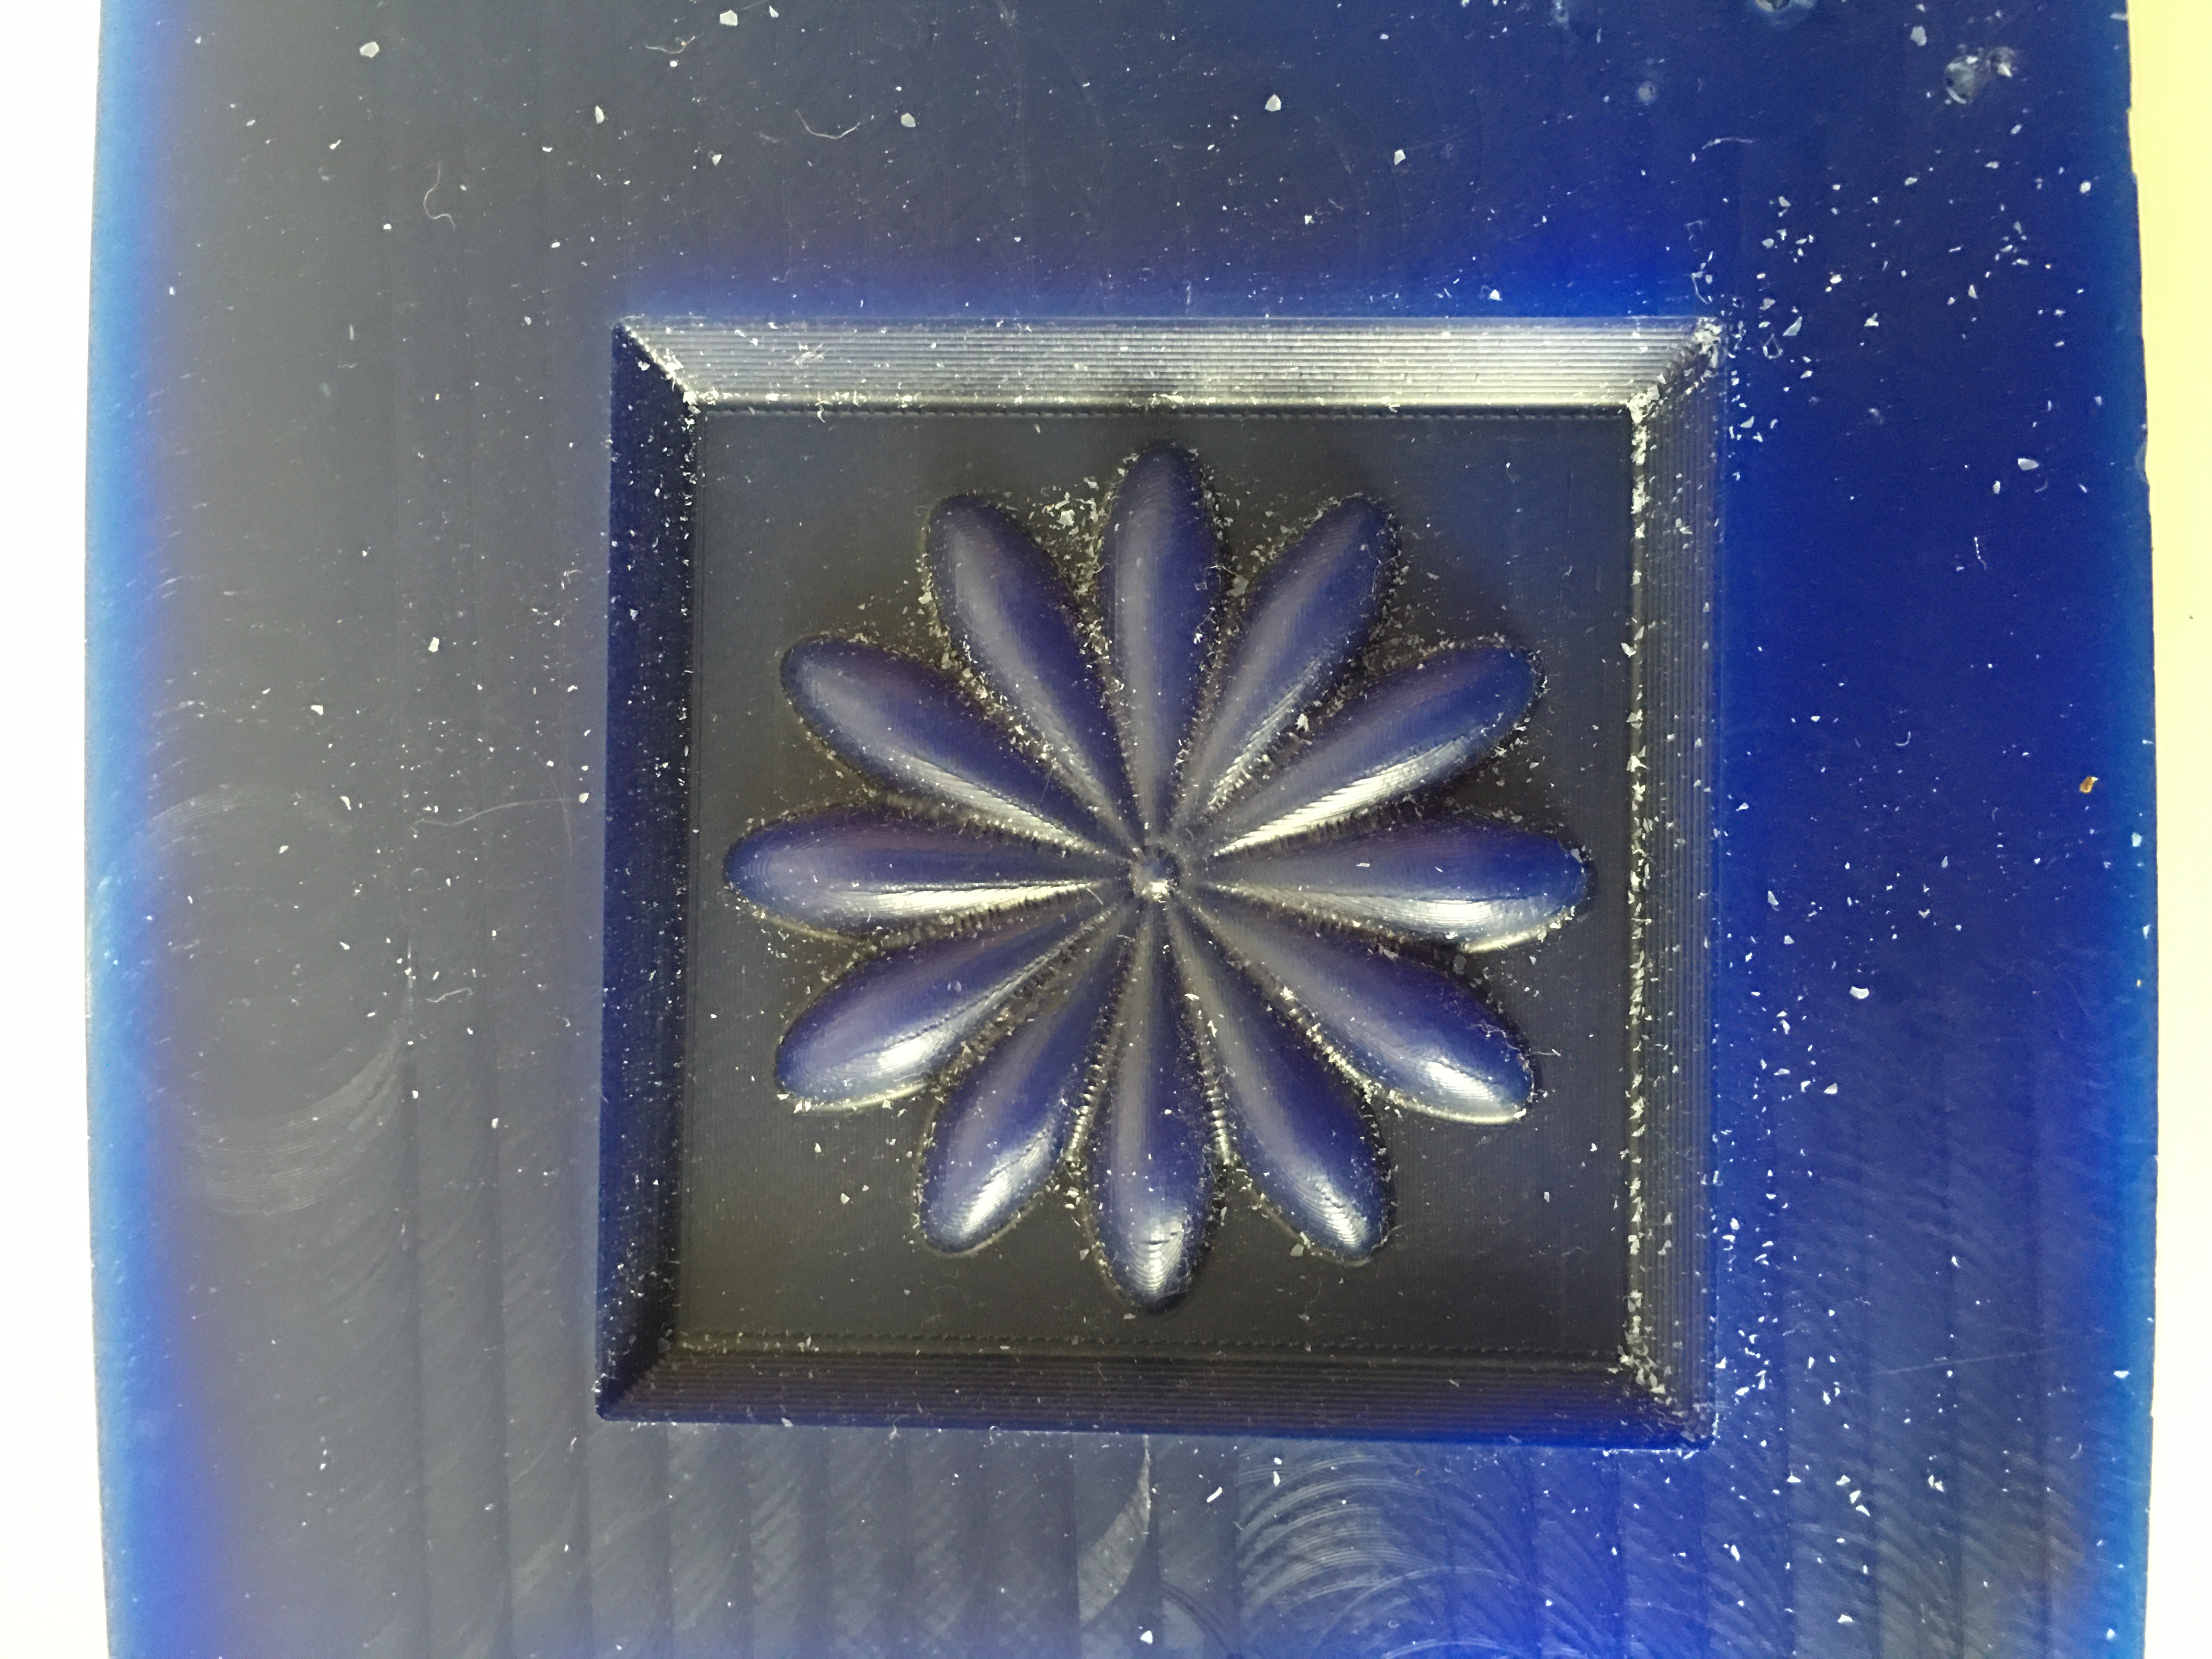
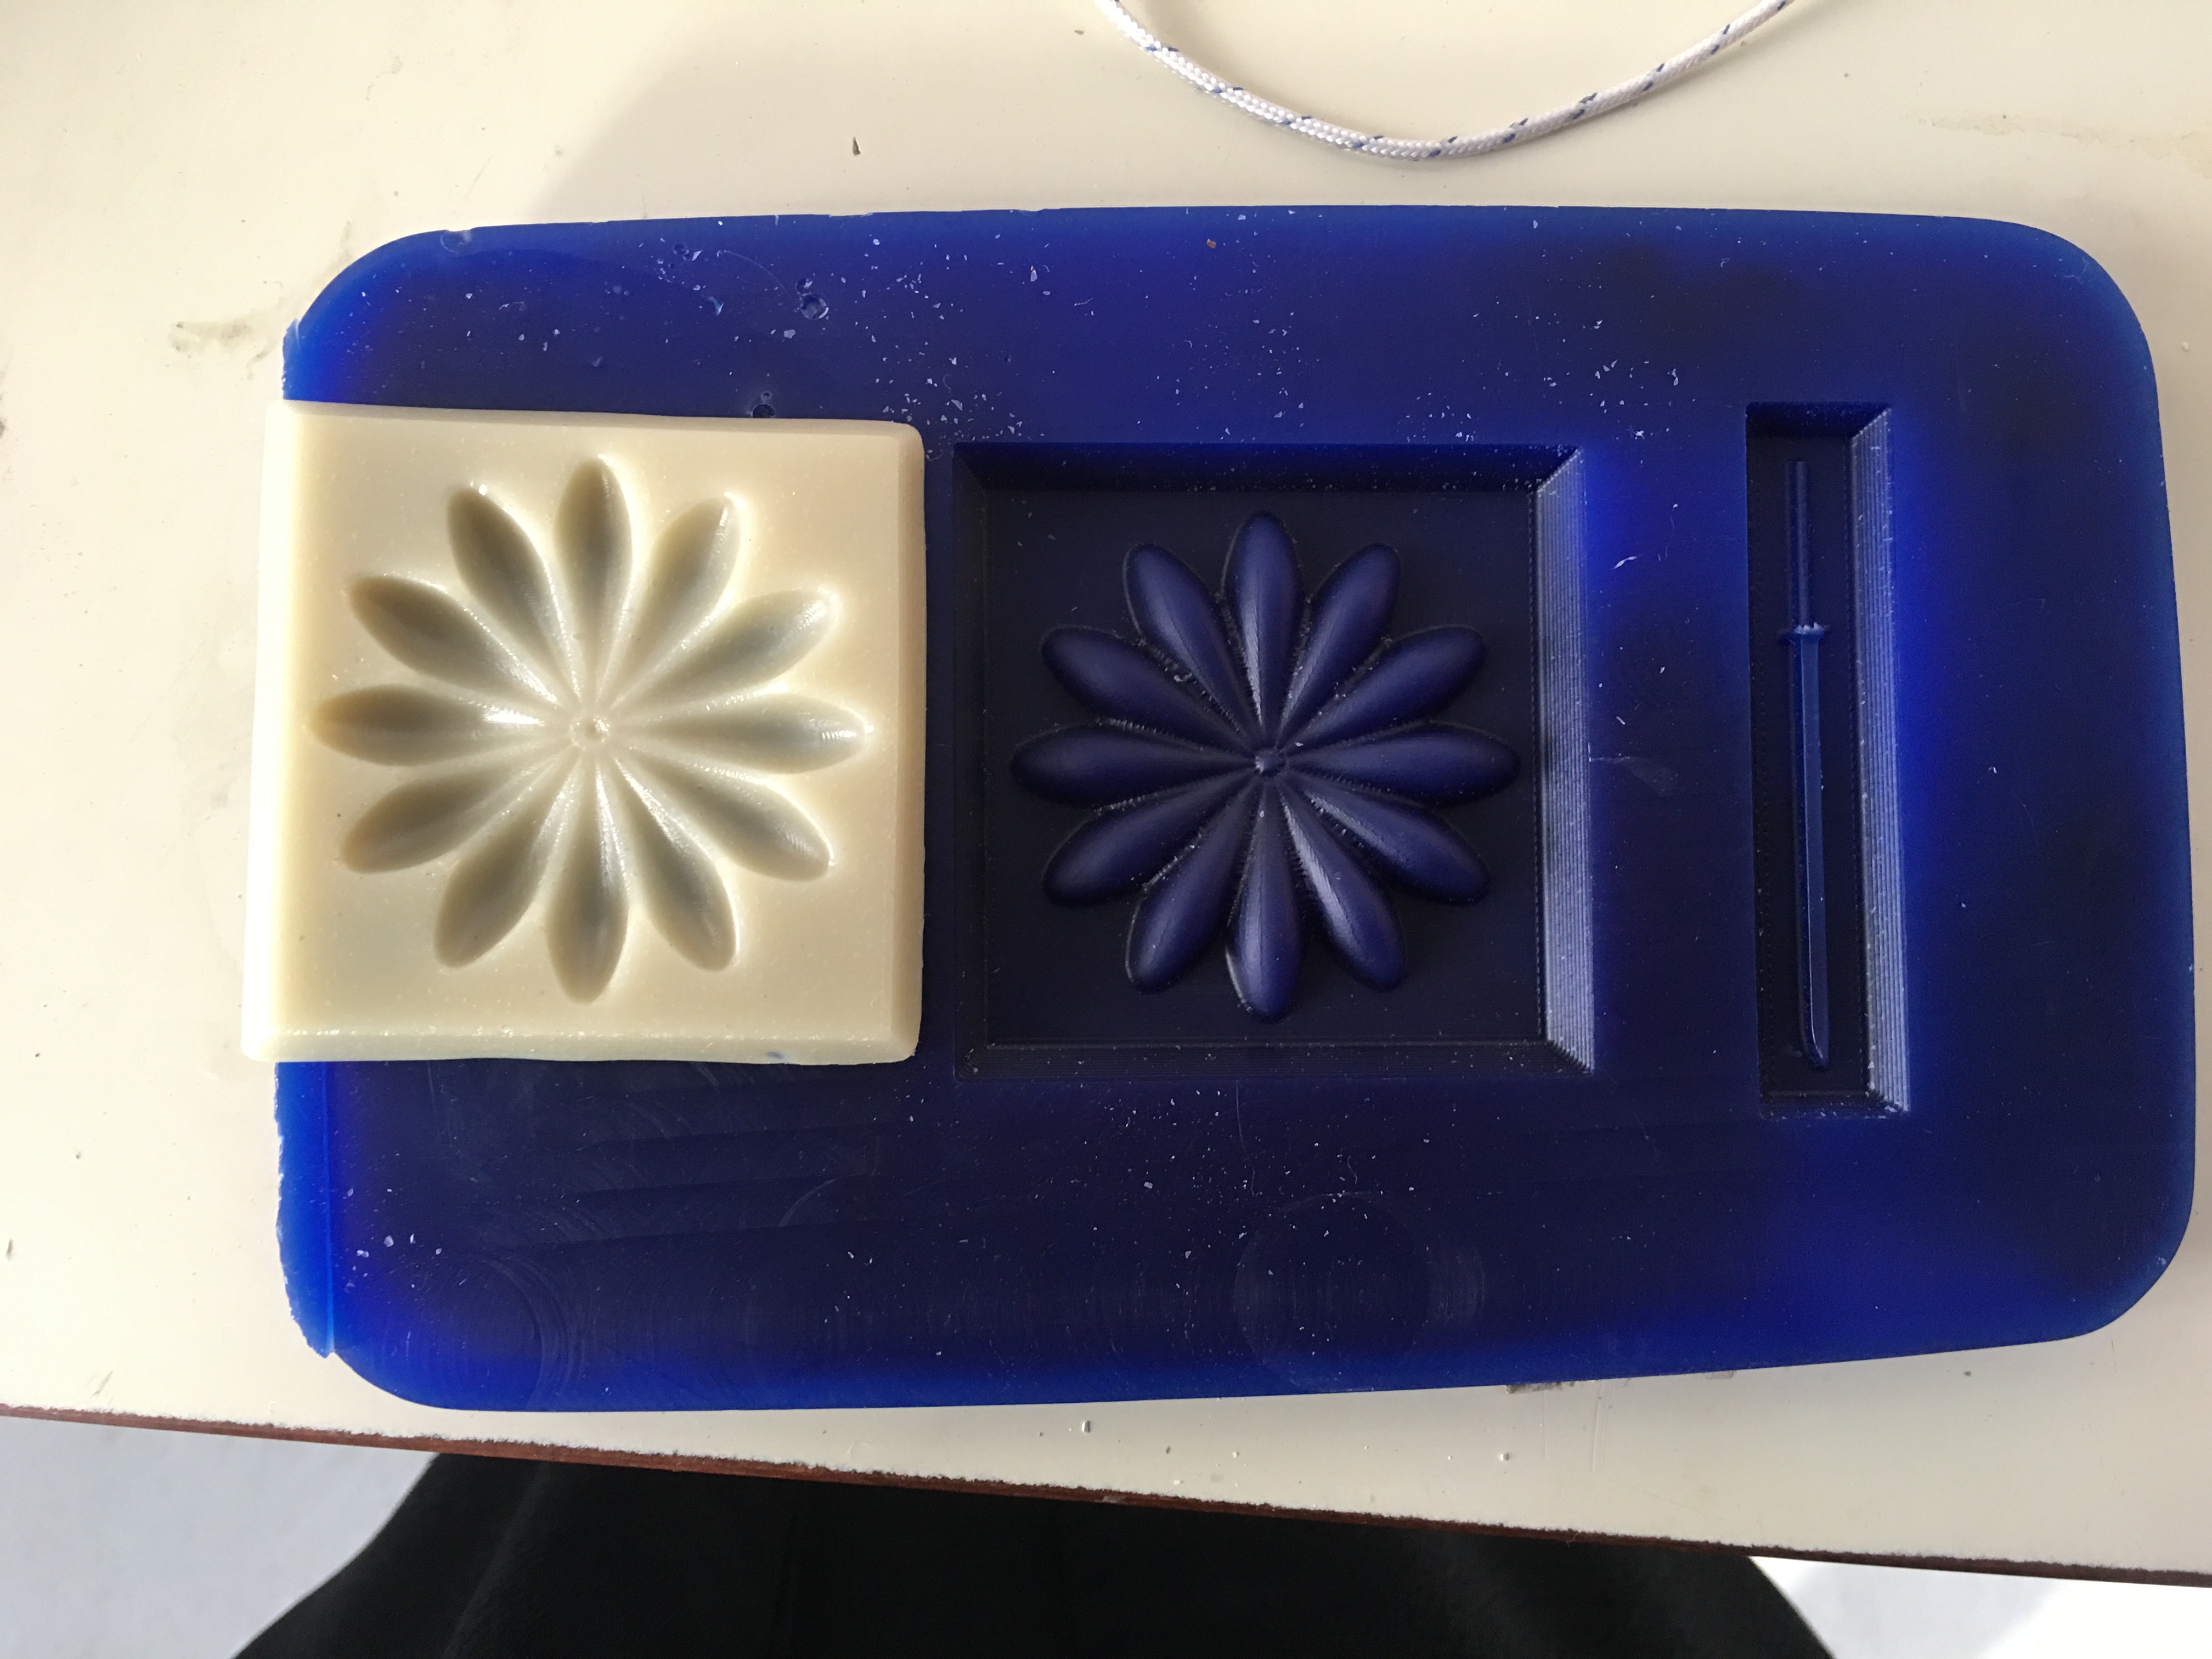
RESULTS
Making the silicon Mold
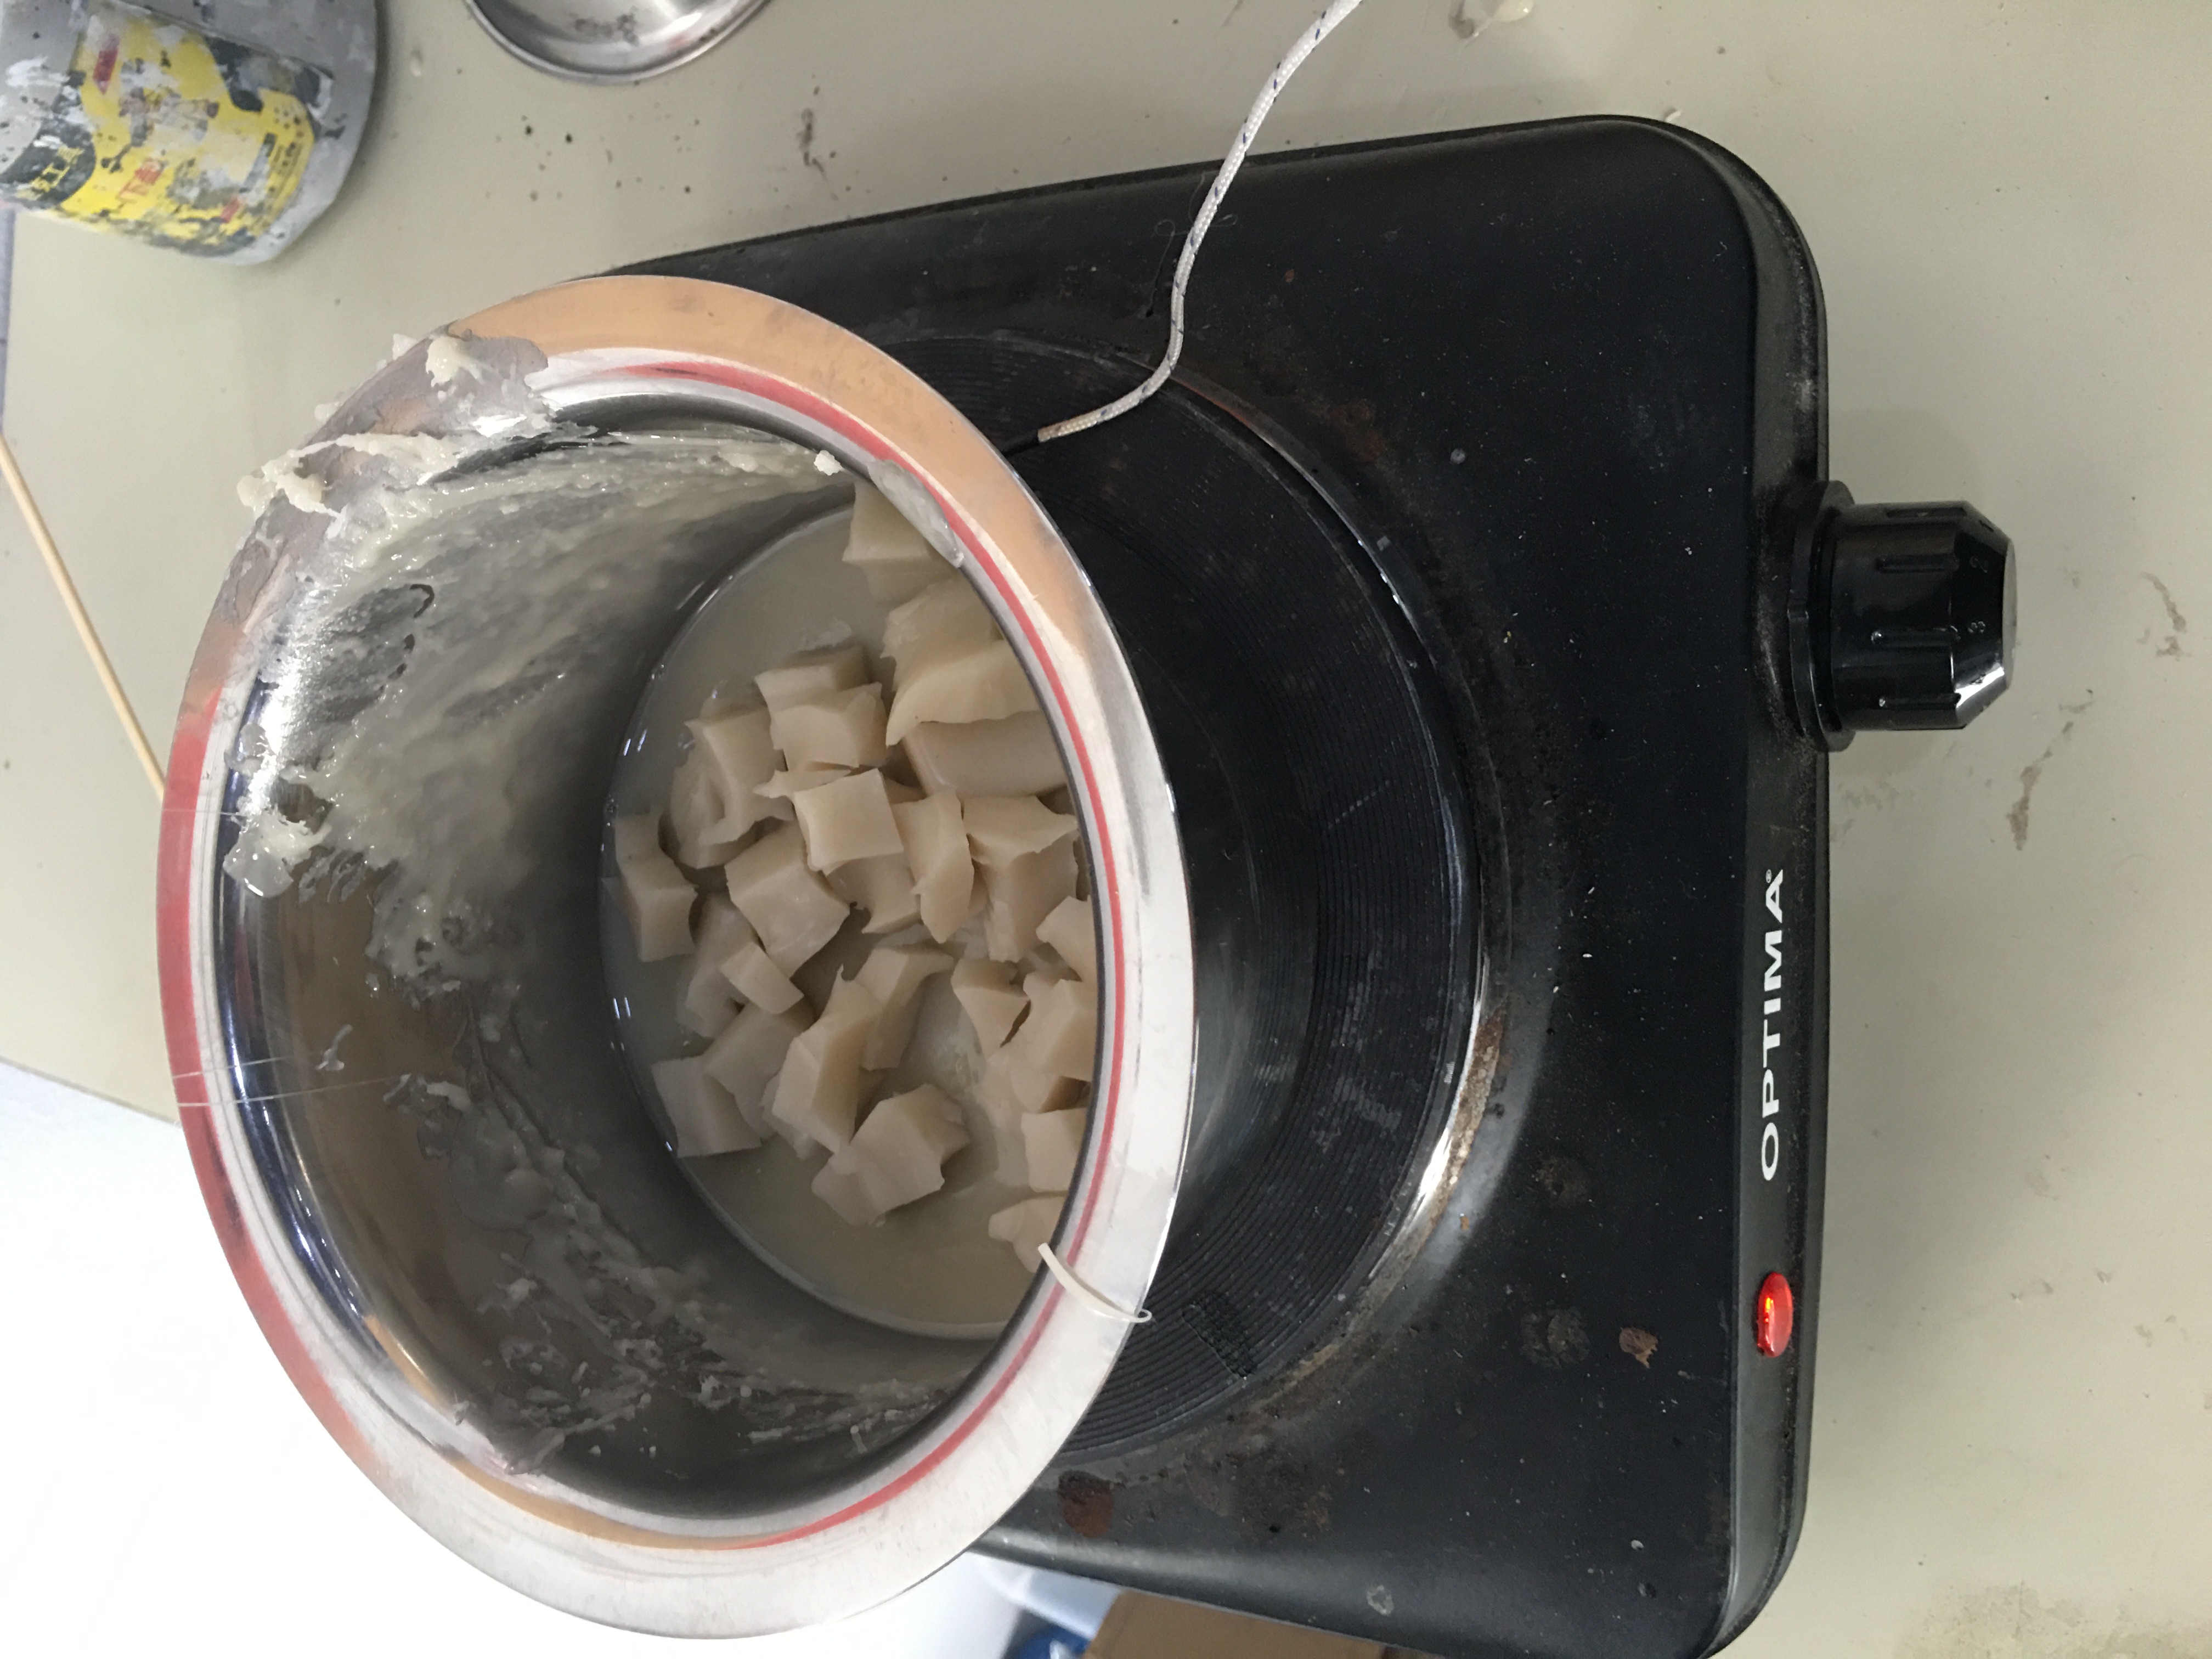
- Wear gloves and mask and start cutting the silicon into small cubes
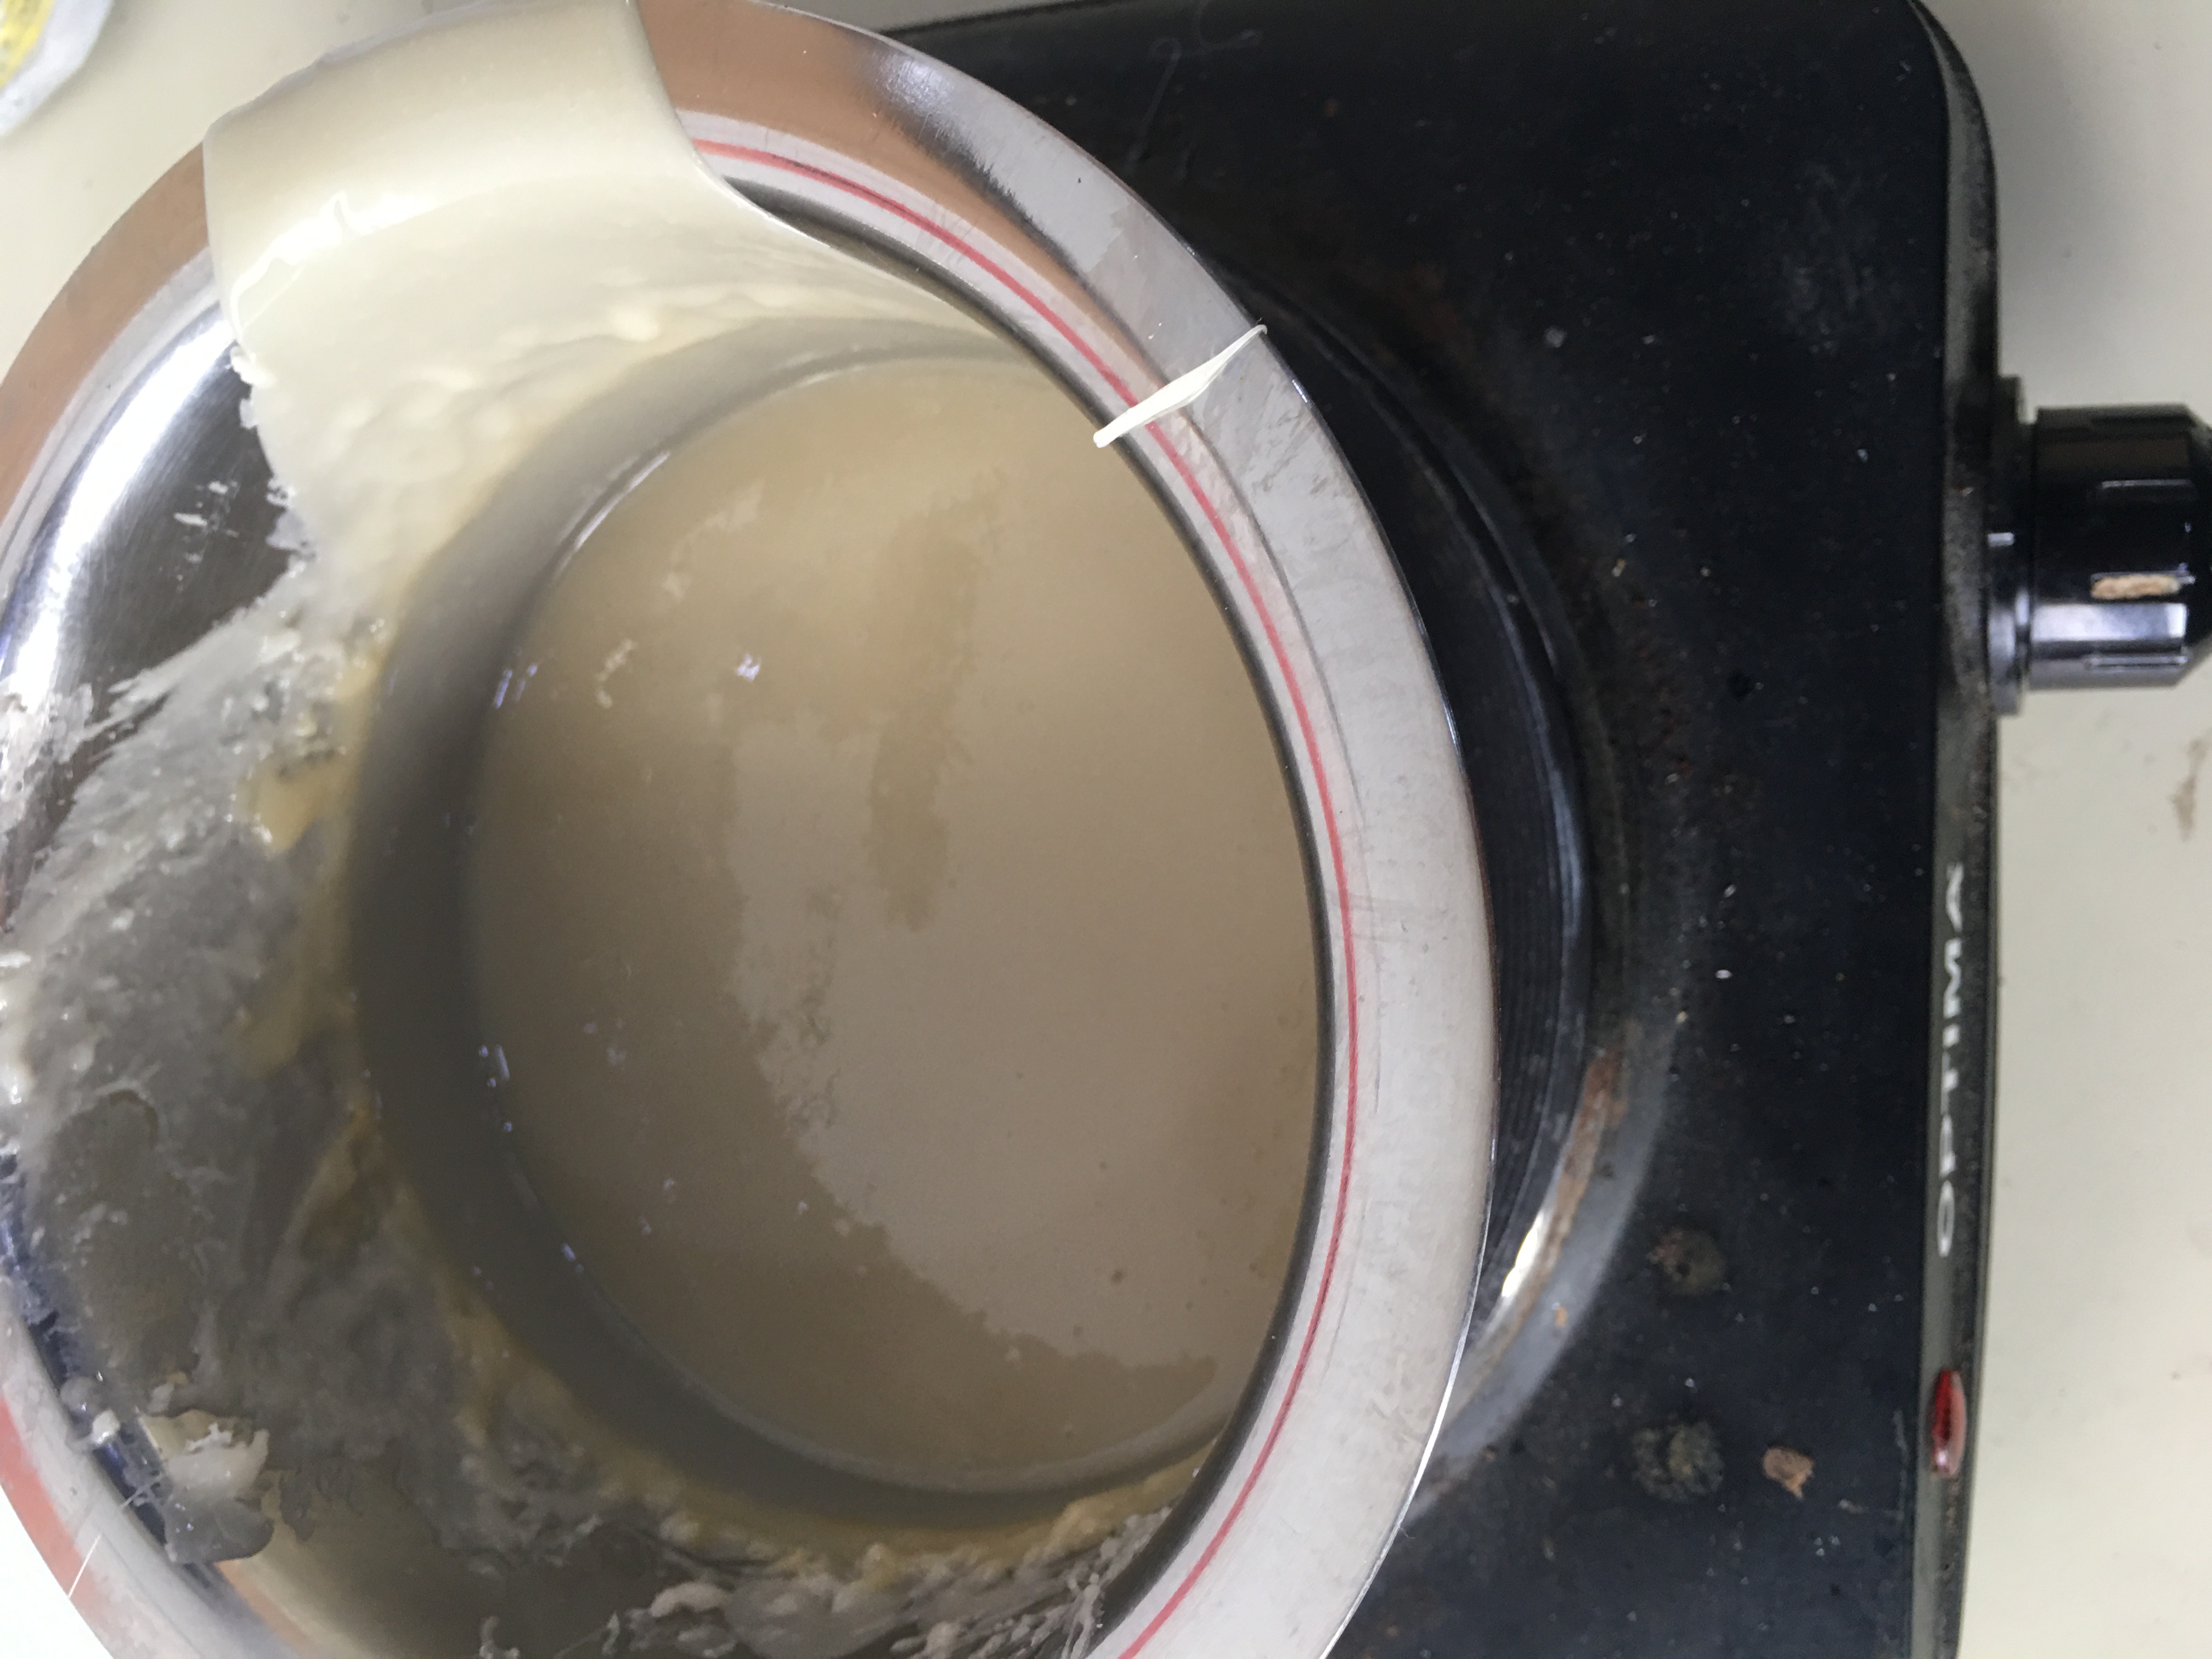
- Wear the heat resistance gloves and start heating the to 200 degree then start mixing the silicon until it melts.
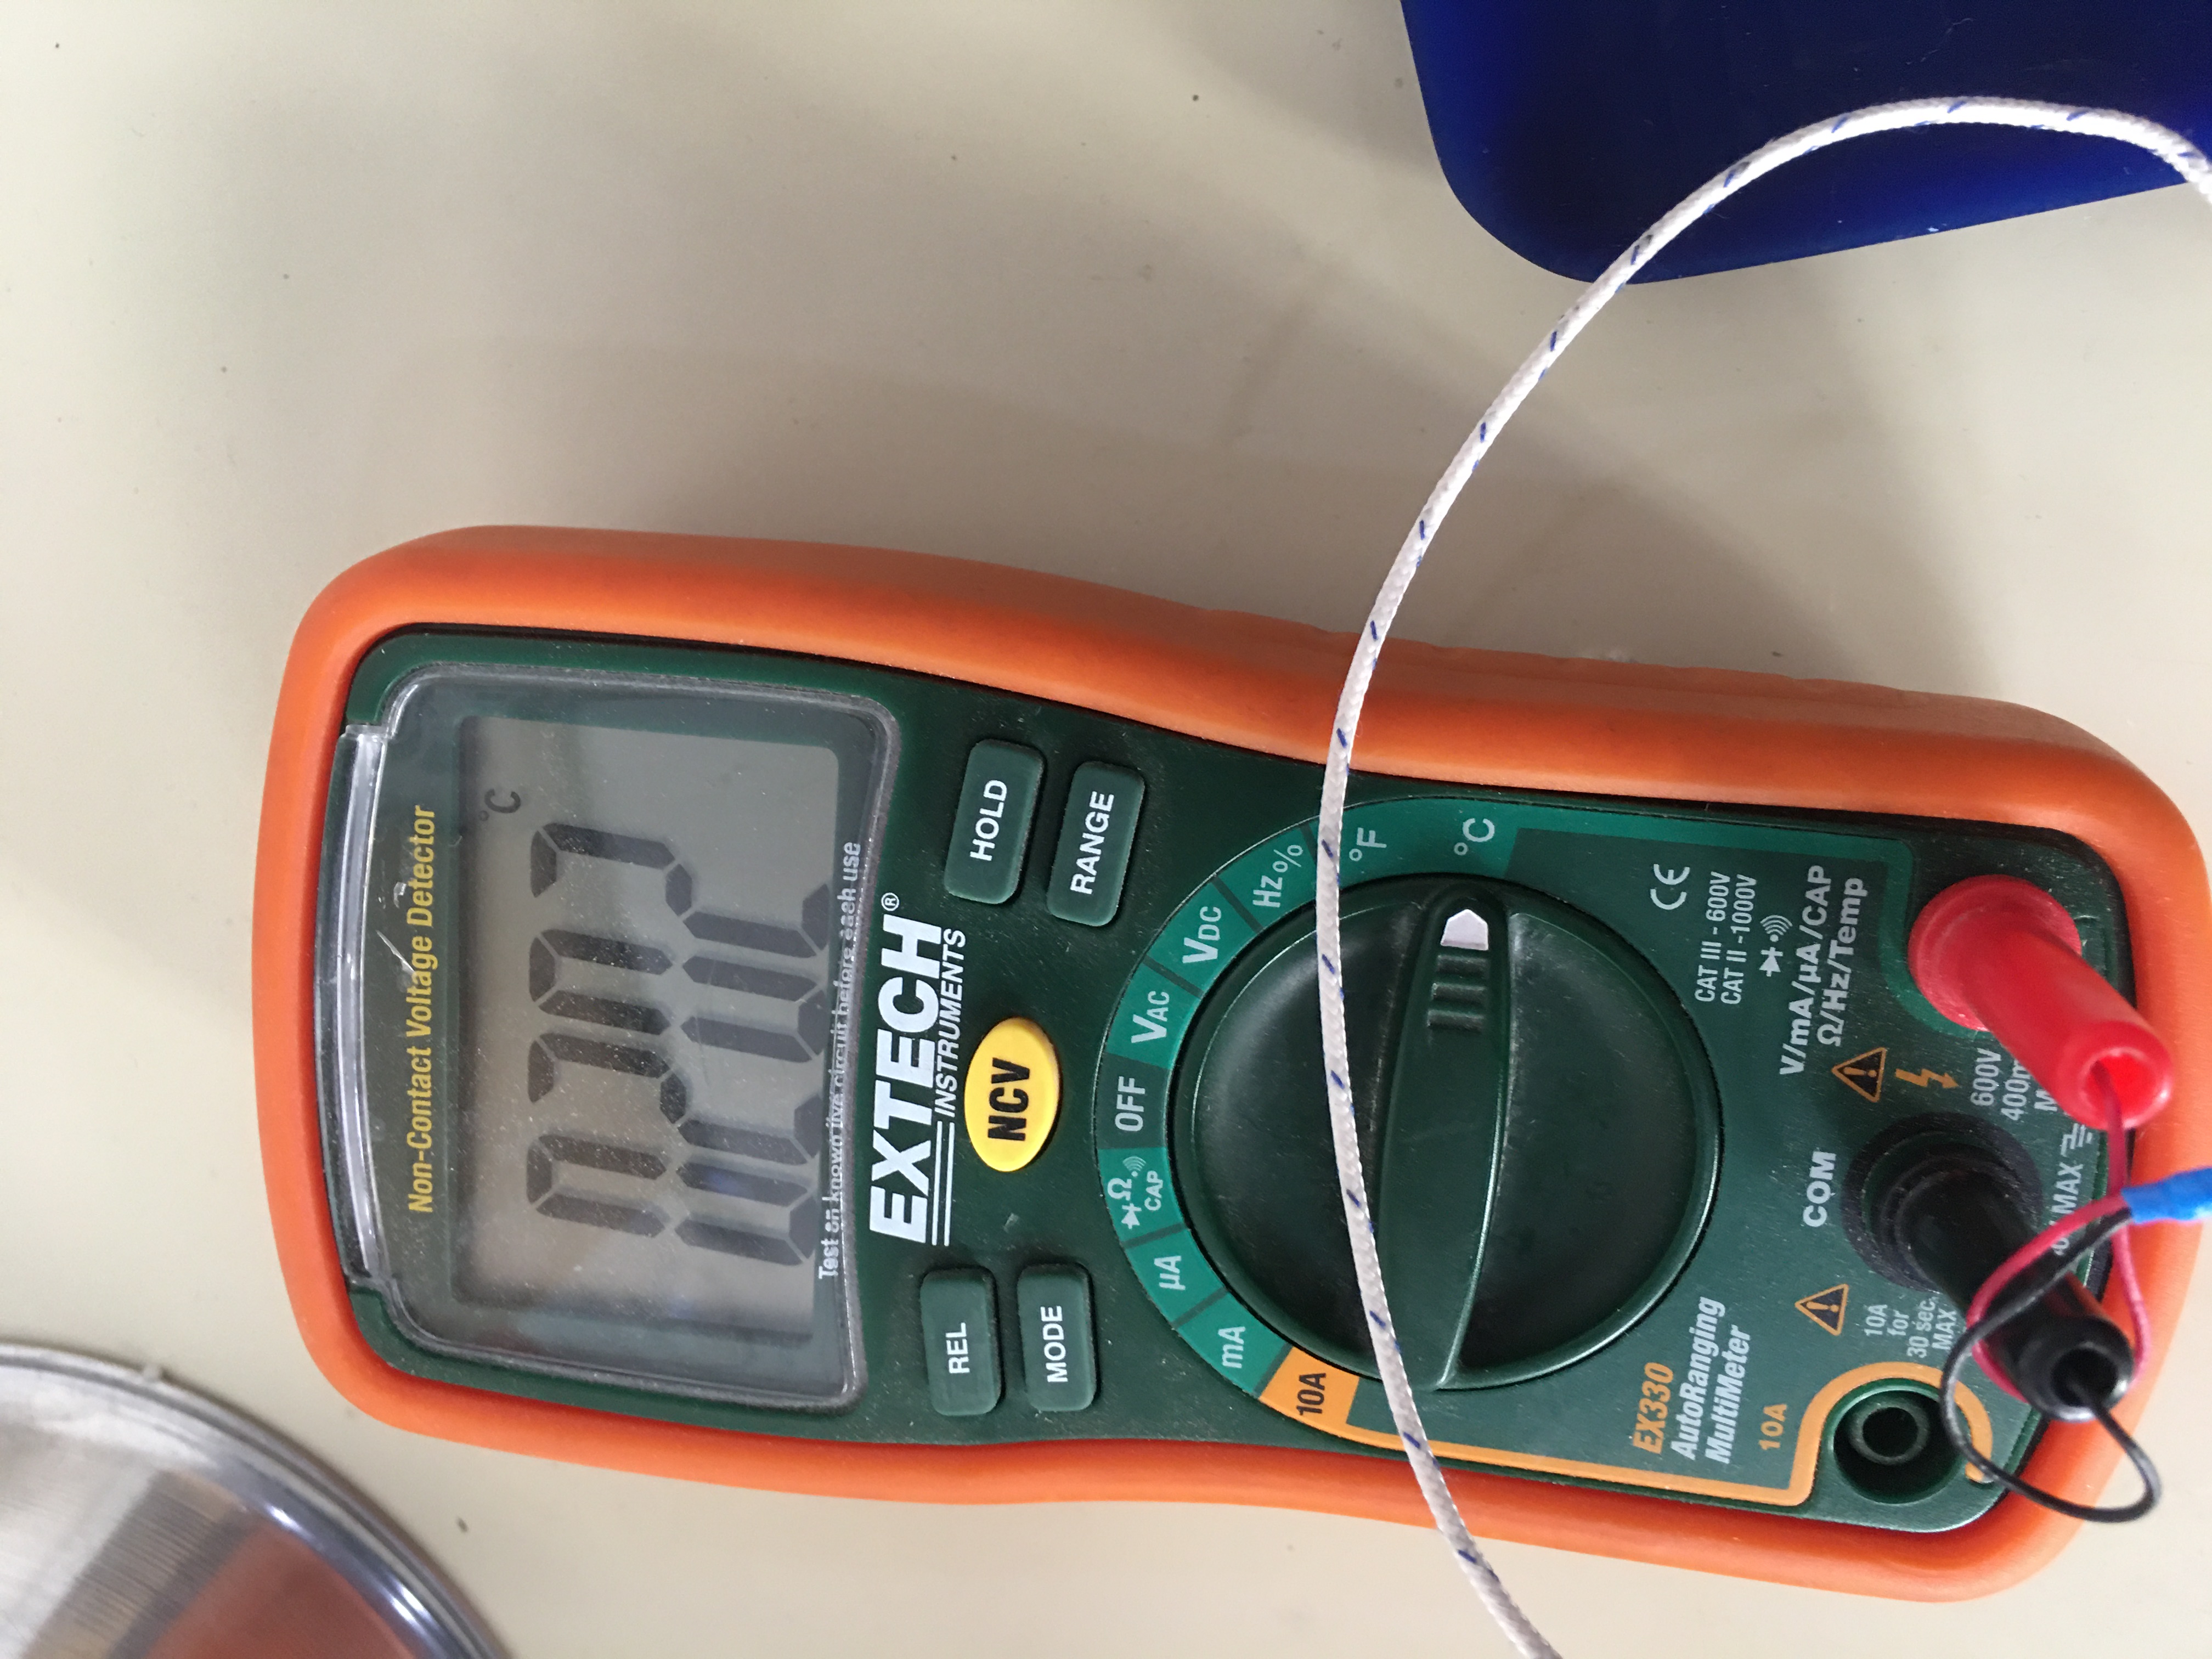
- after it melts close the and keep on stirring until the heat gets back to 200 degree, once it gets back to 200 degree pour the melted silicon on the wax.
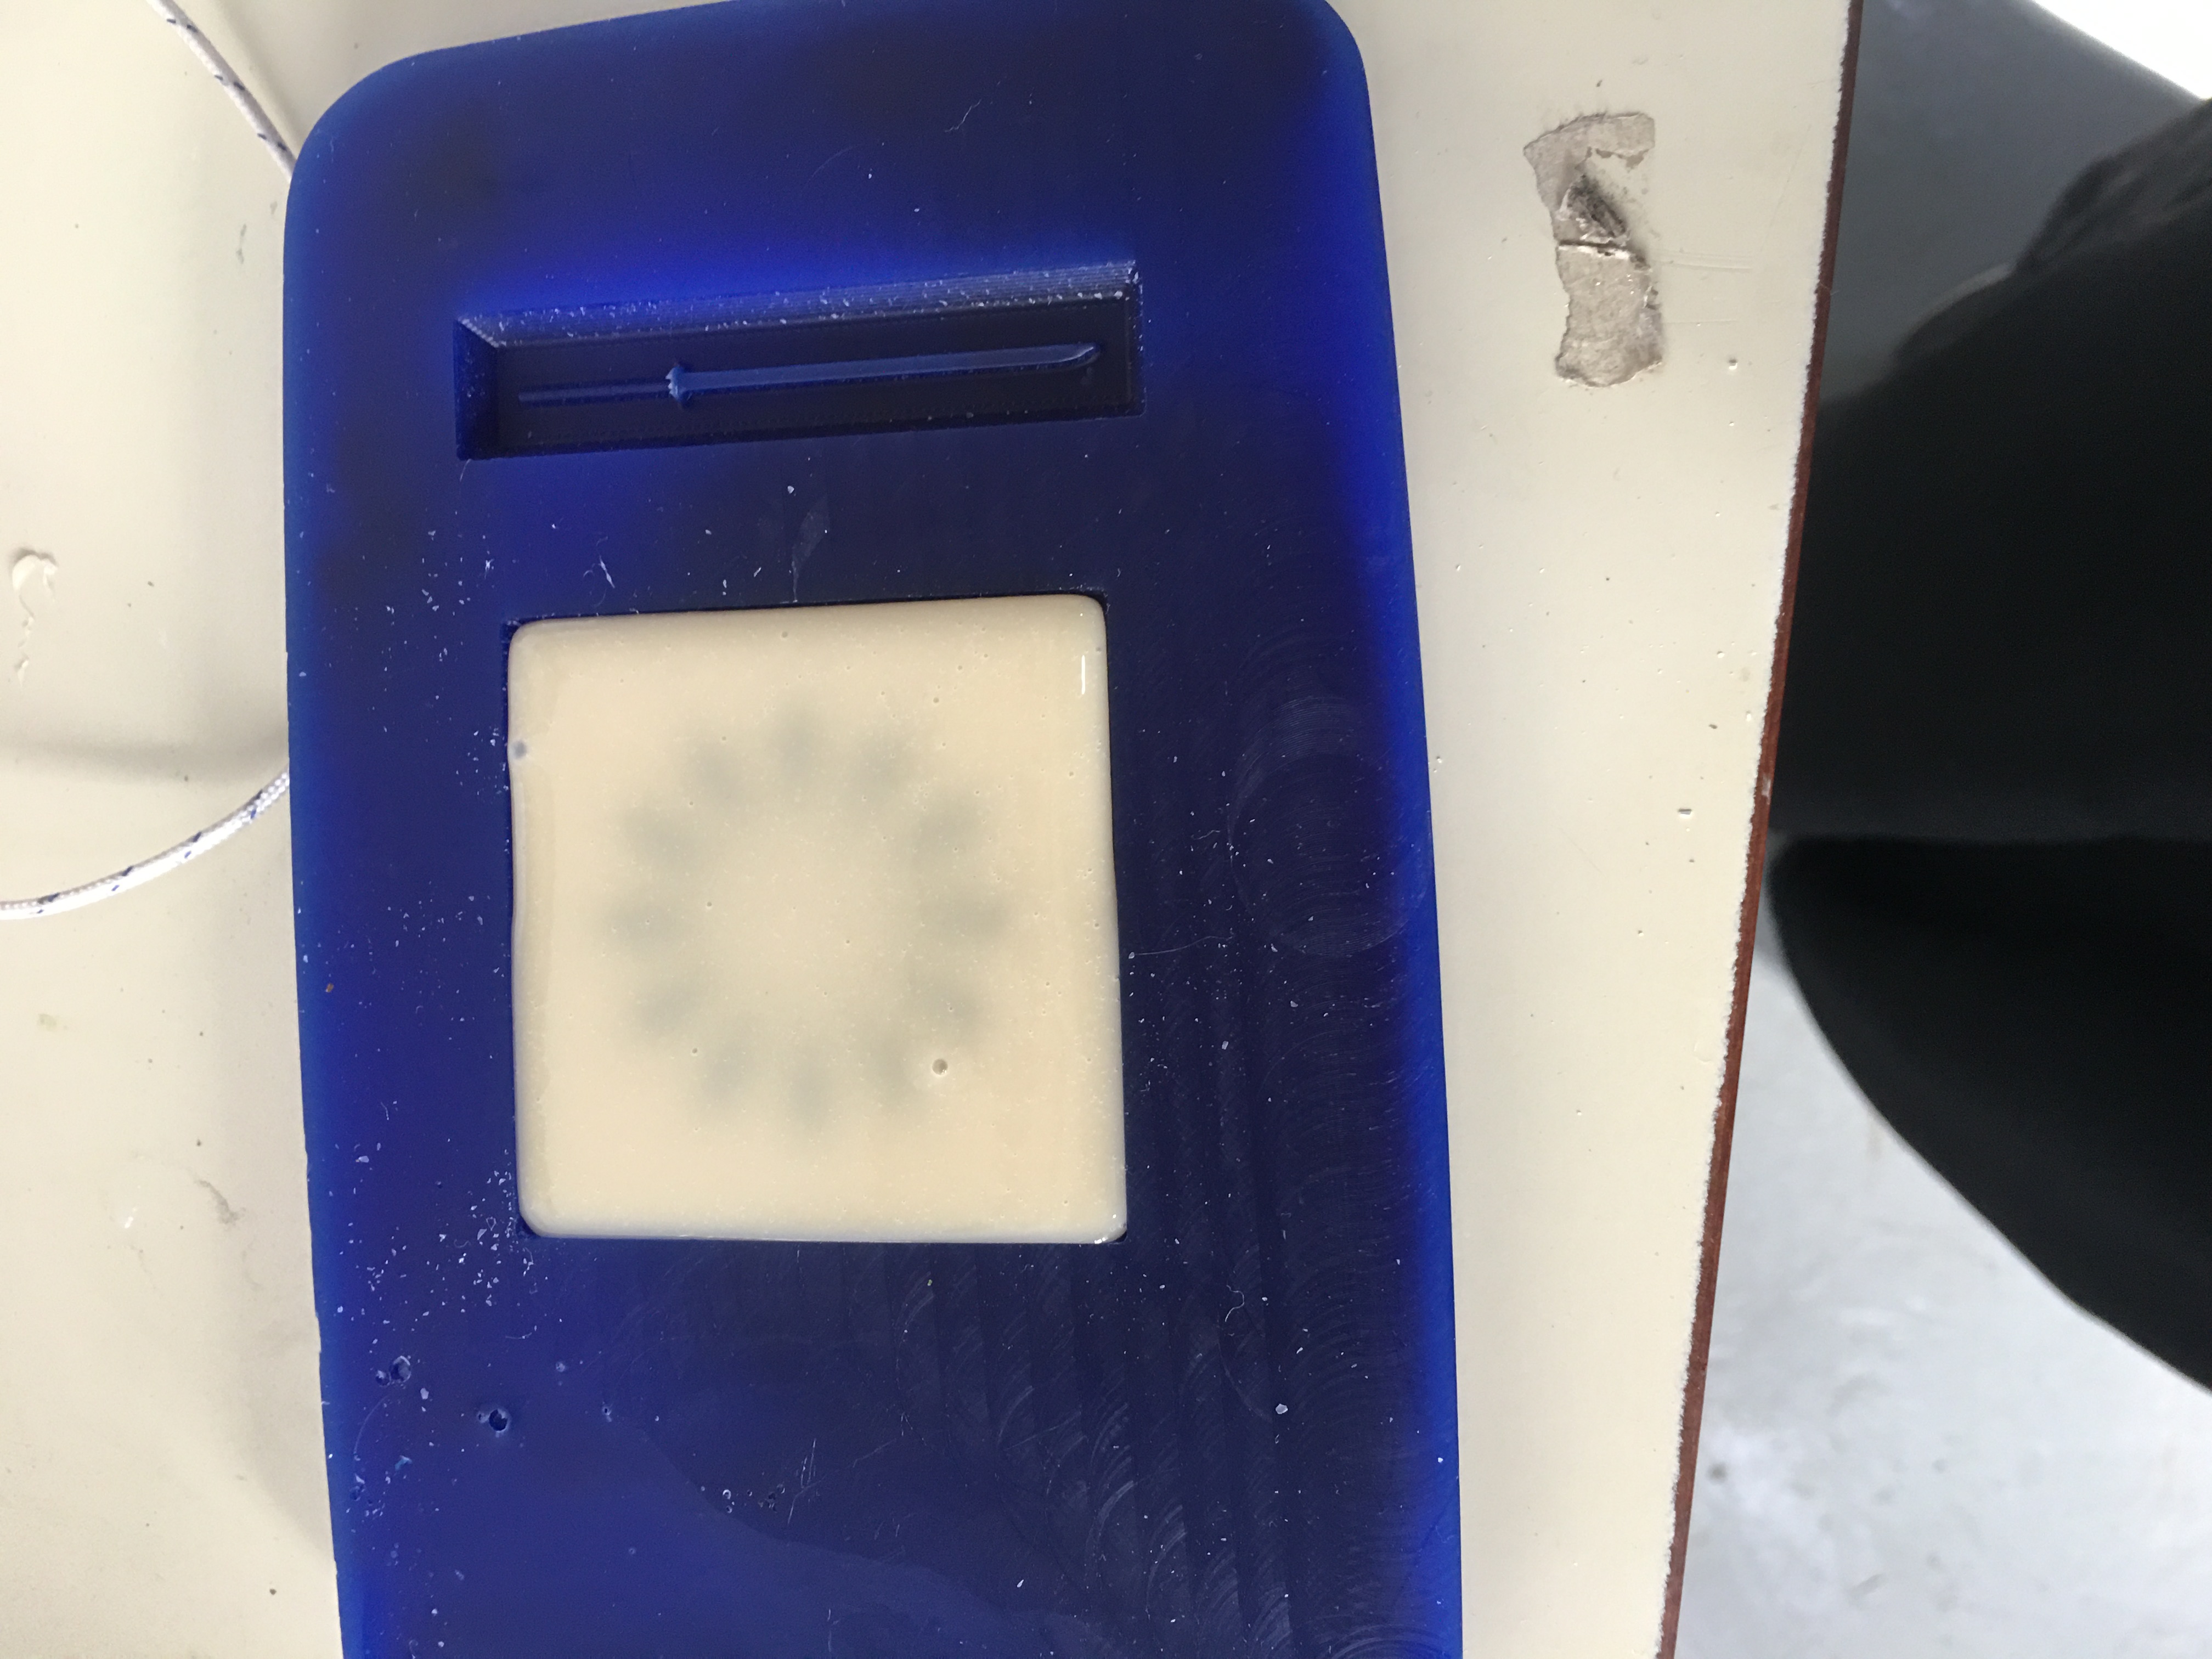
- It took around 40MIN to cure.
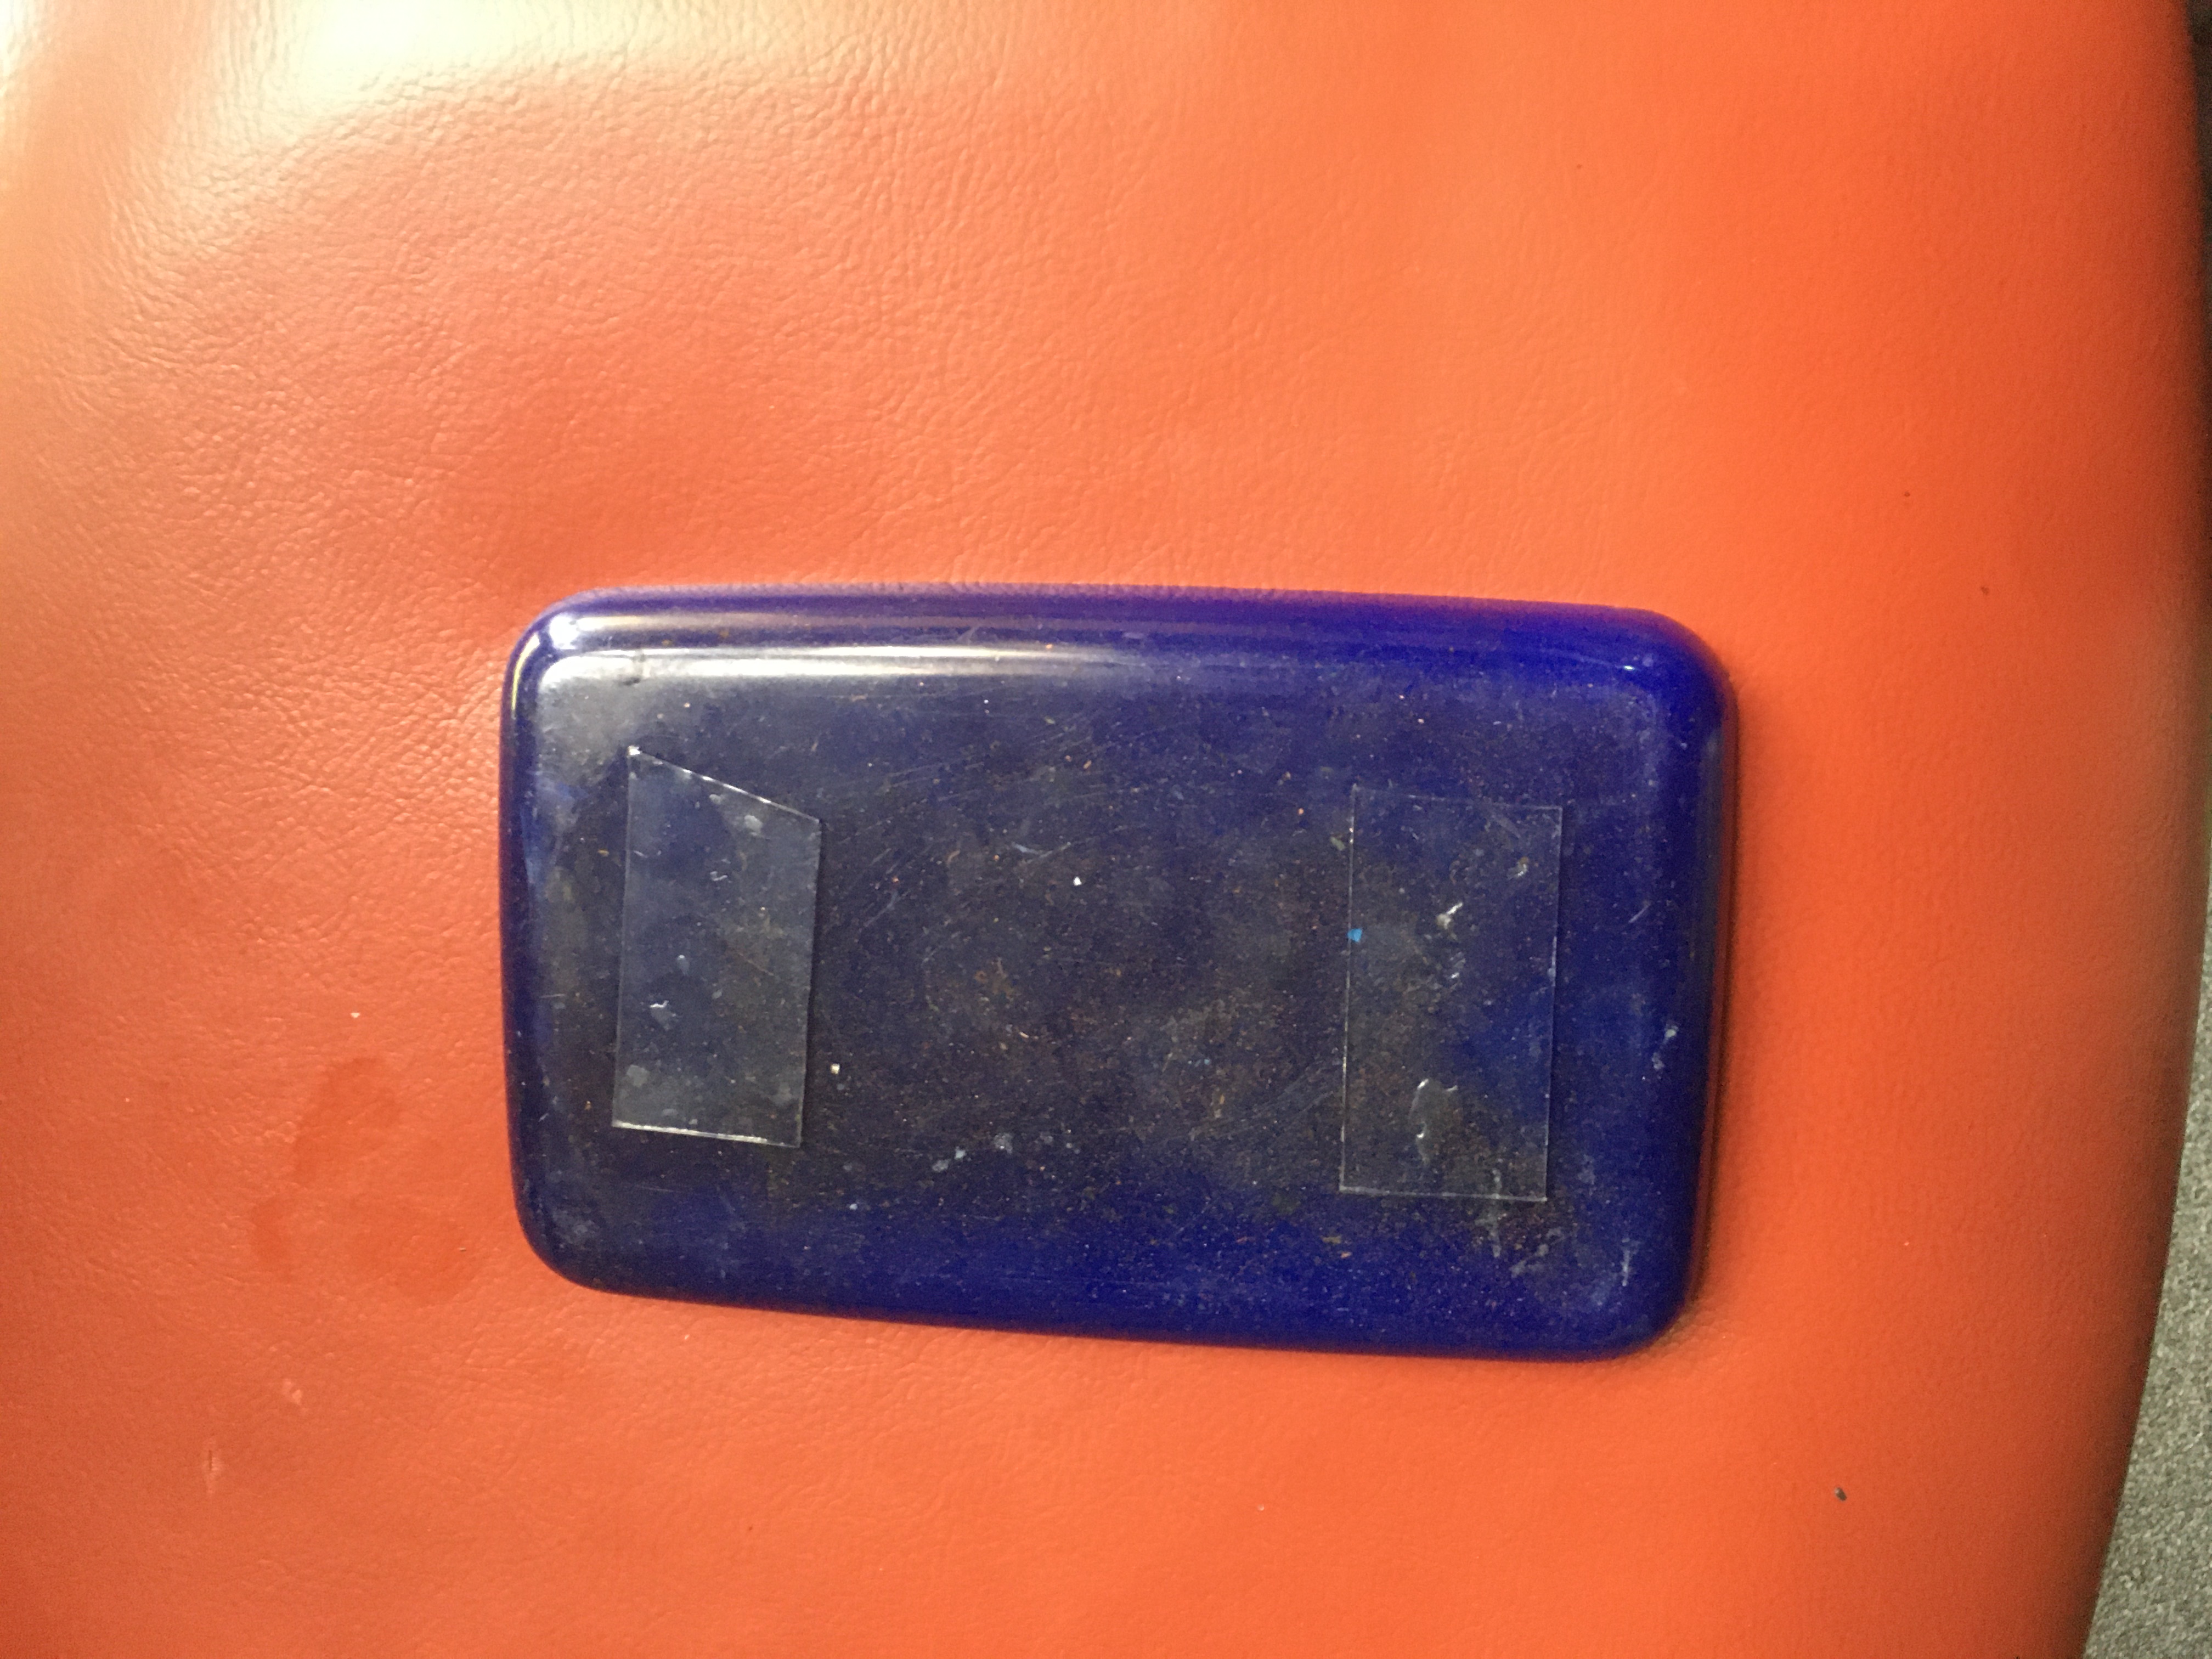
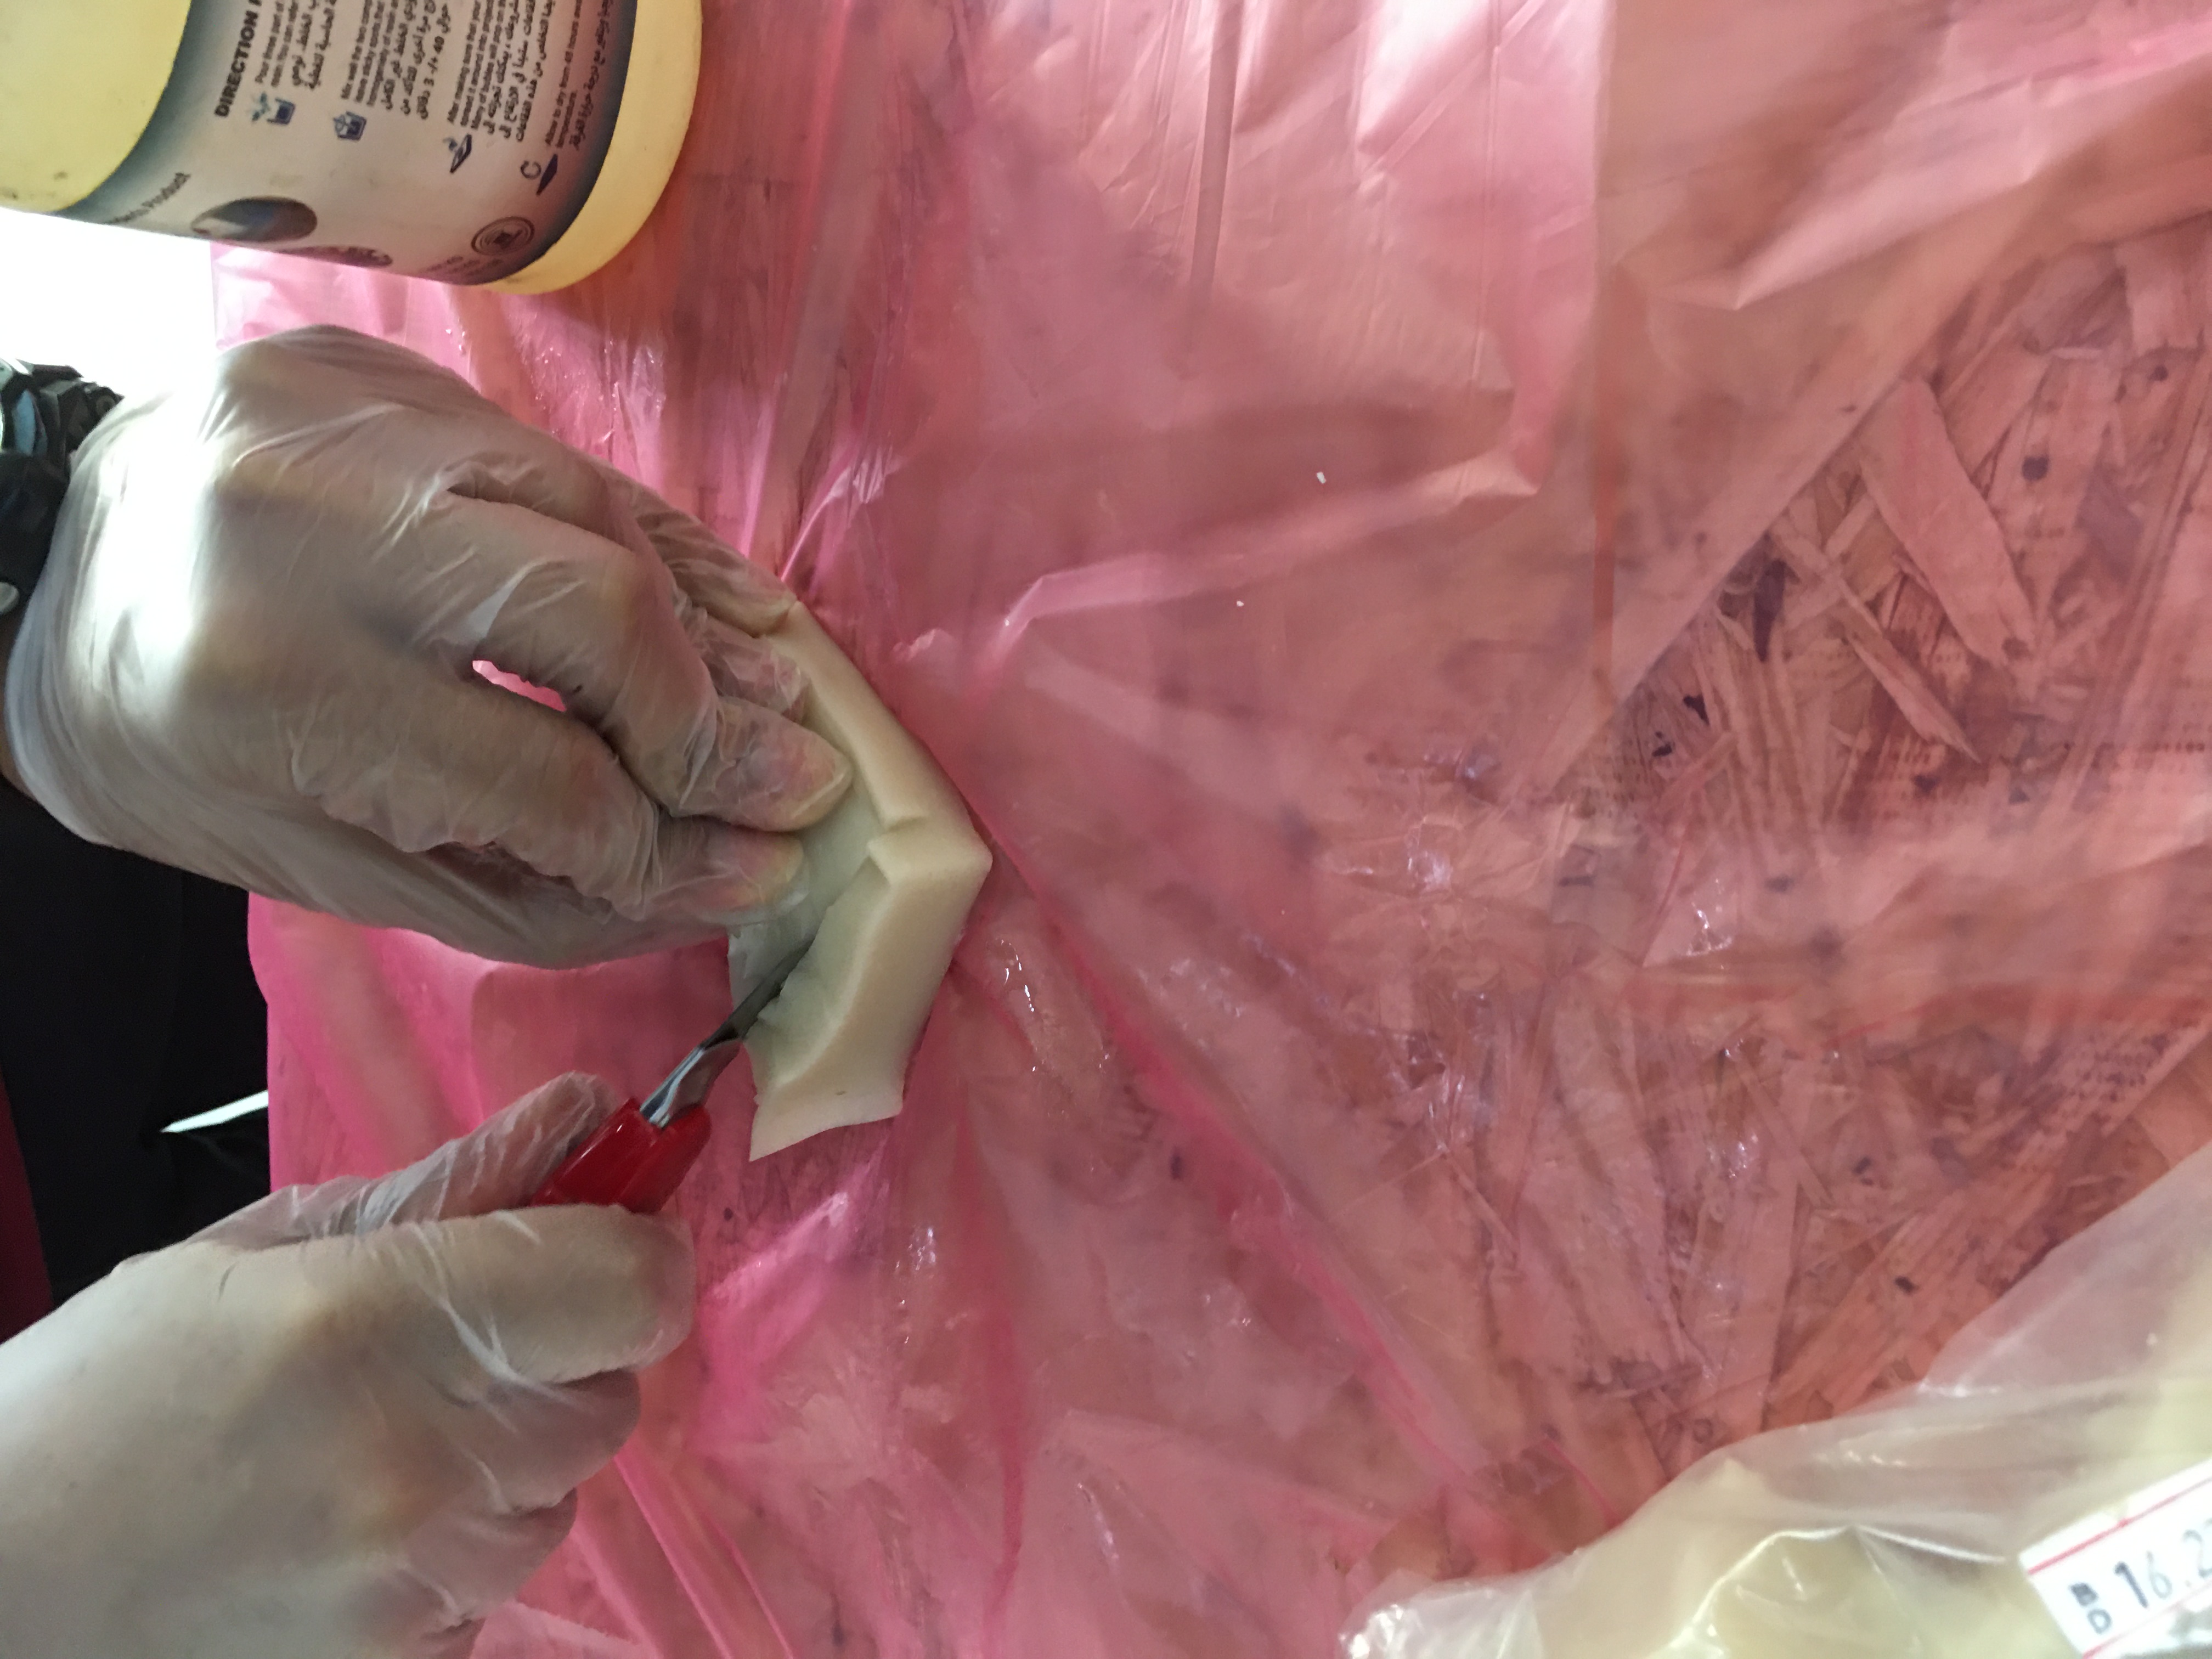
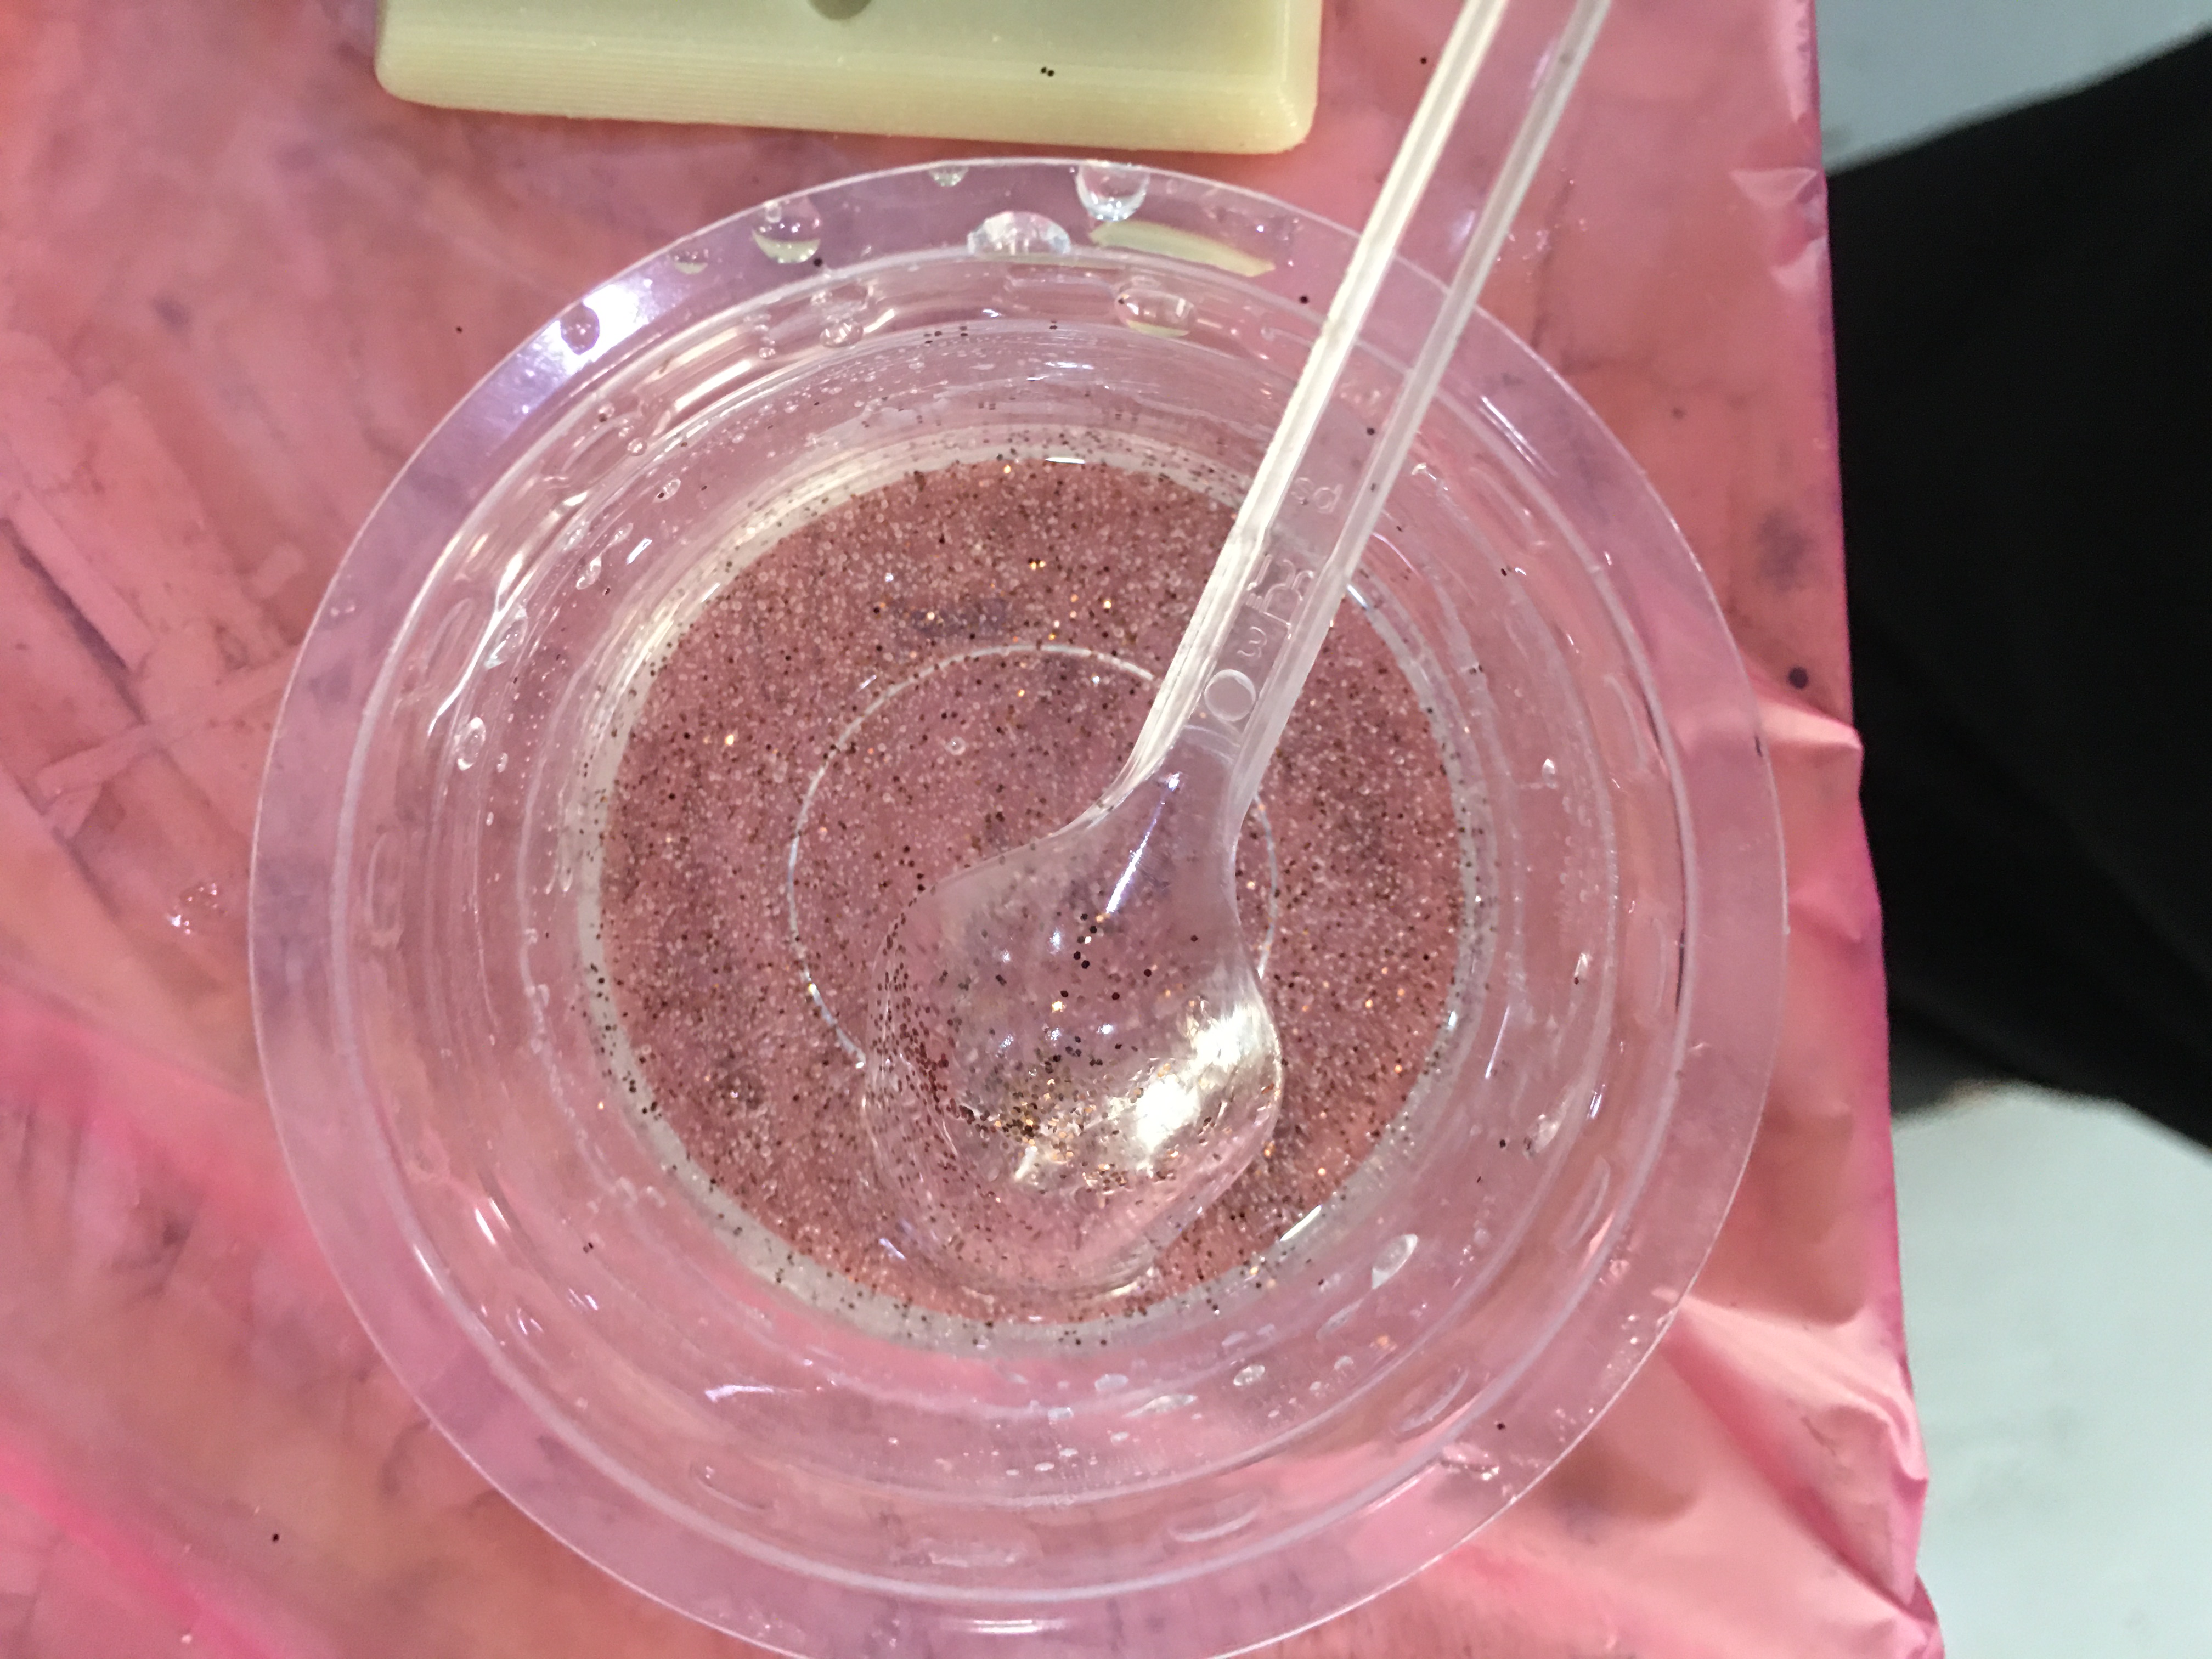
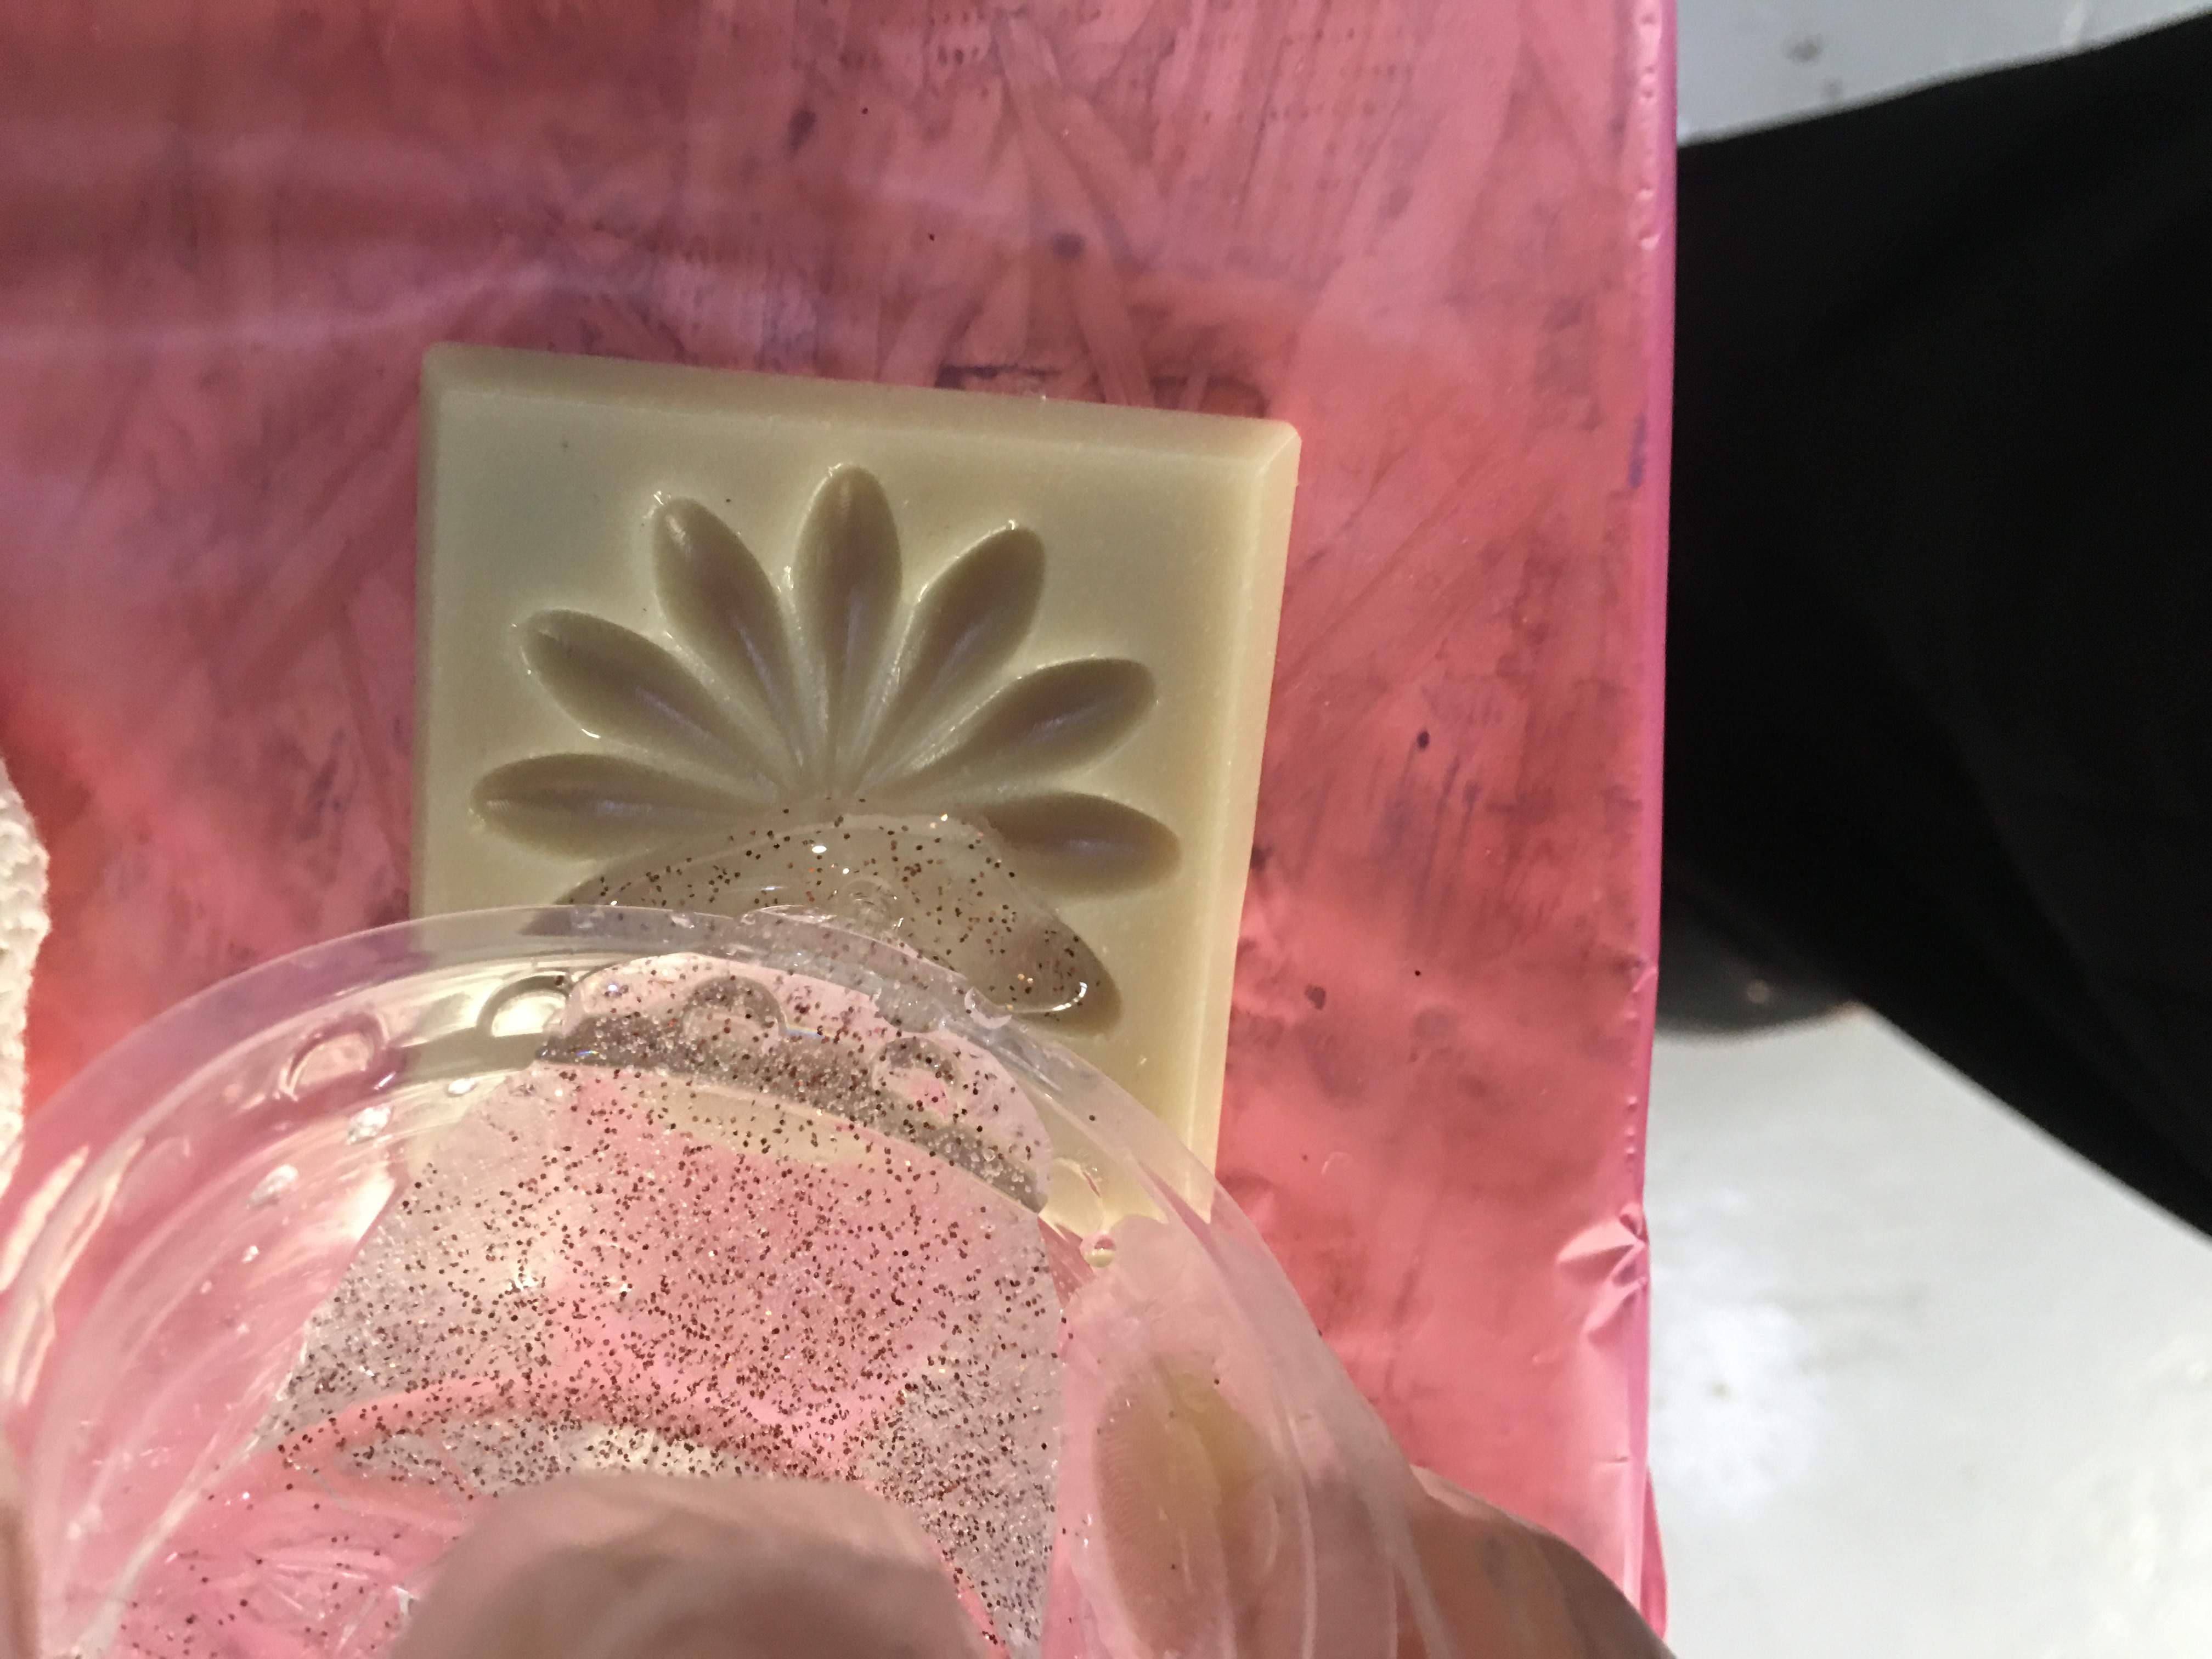
Casting
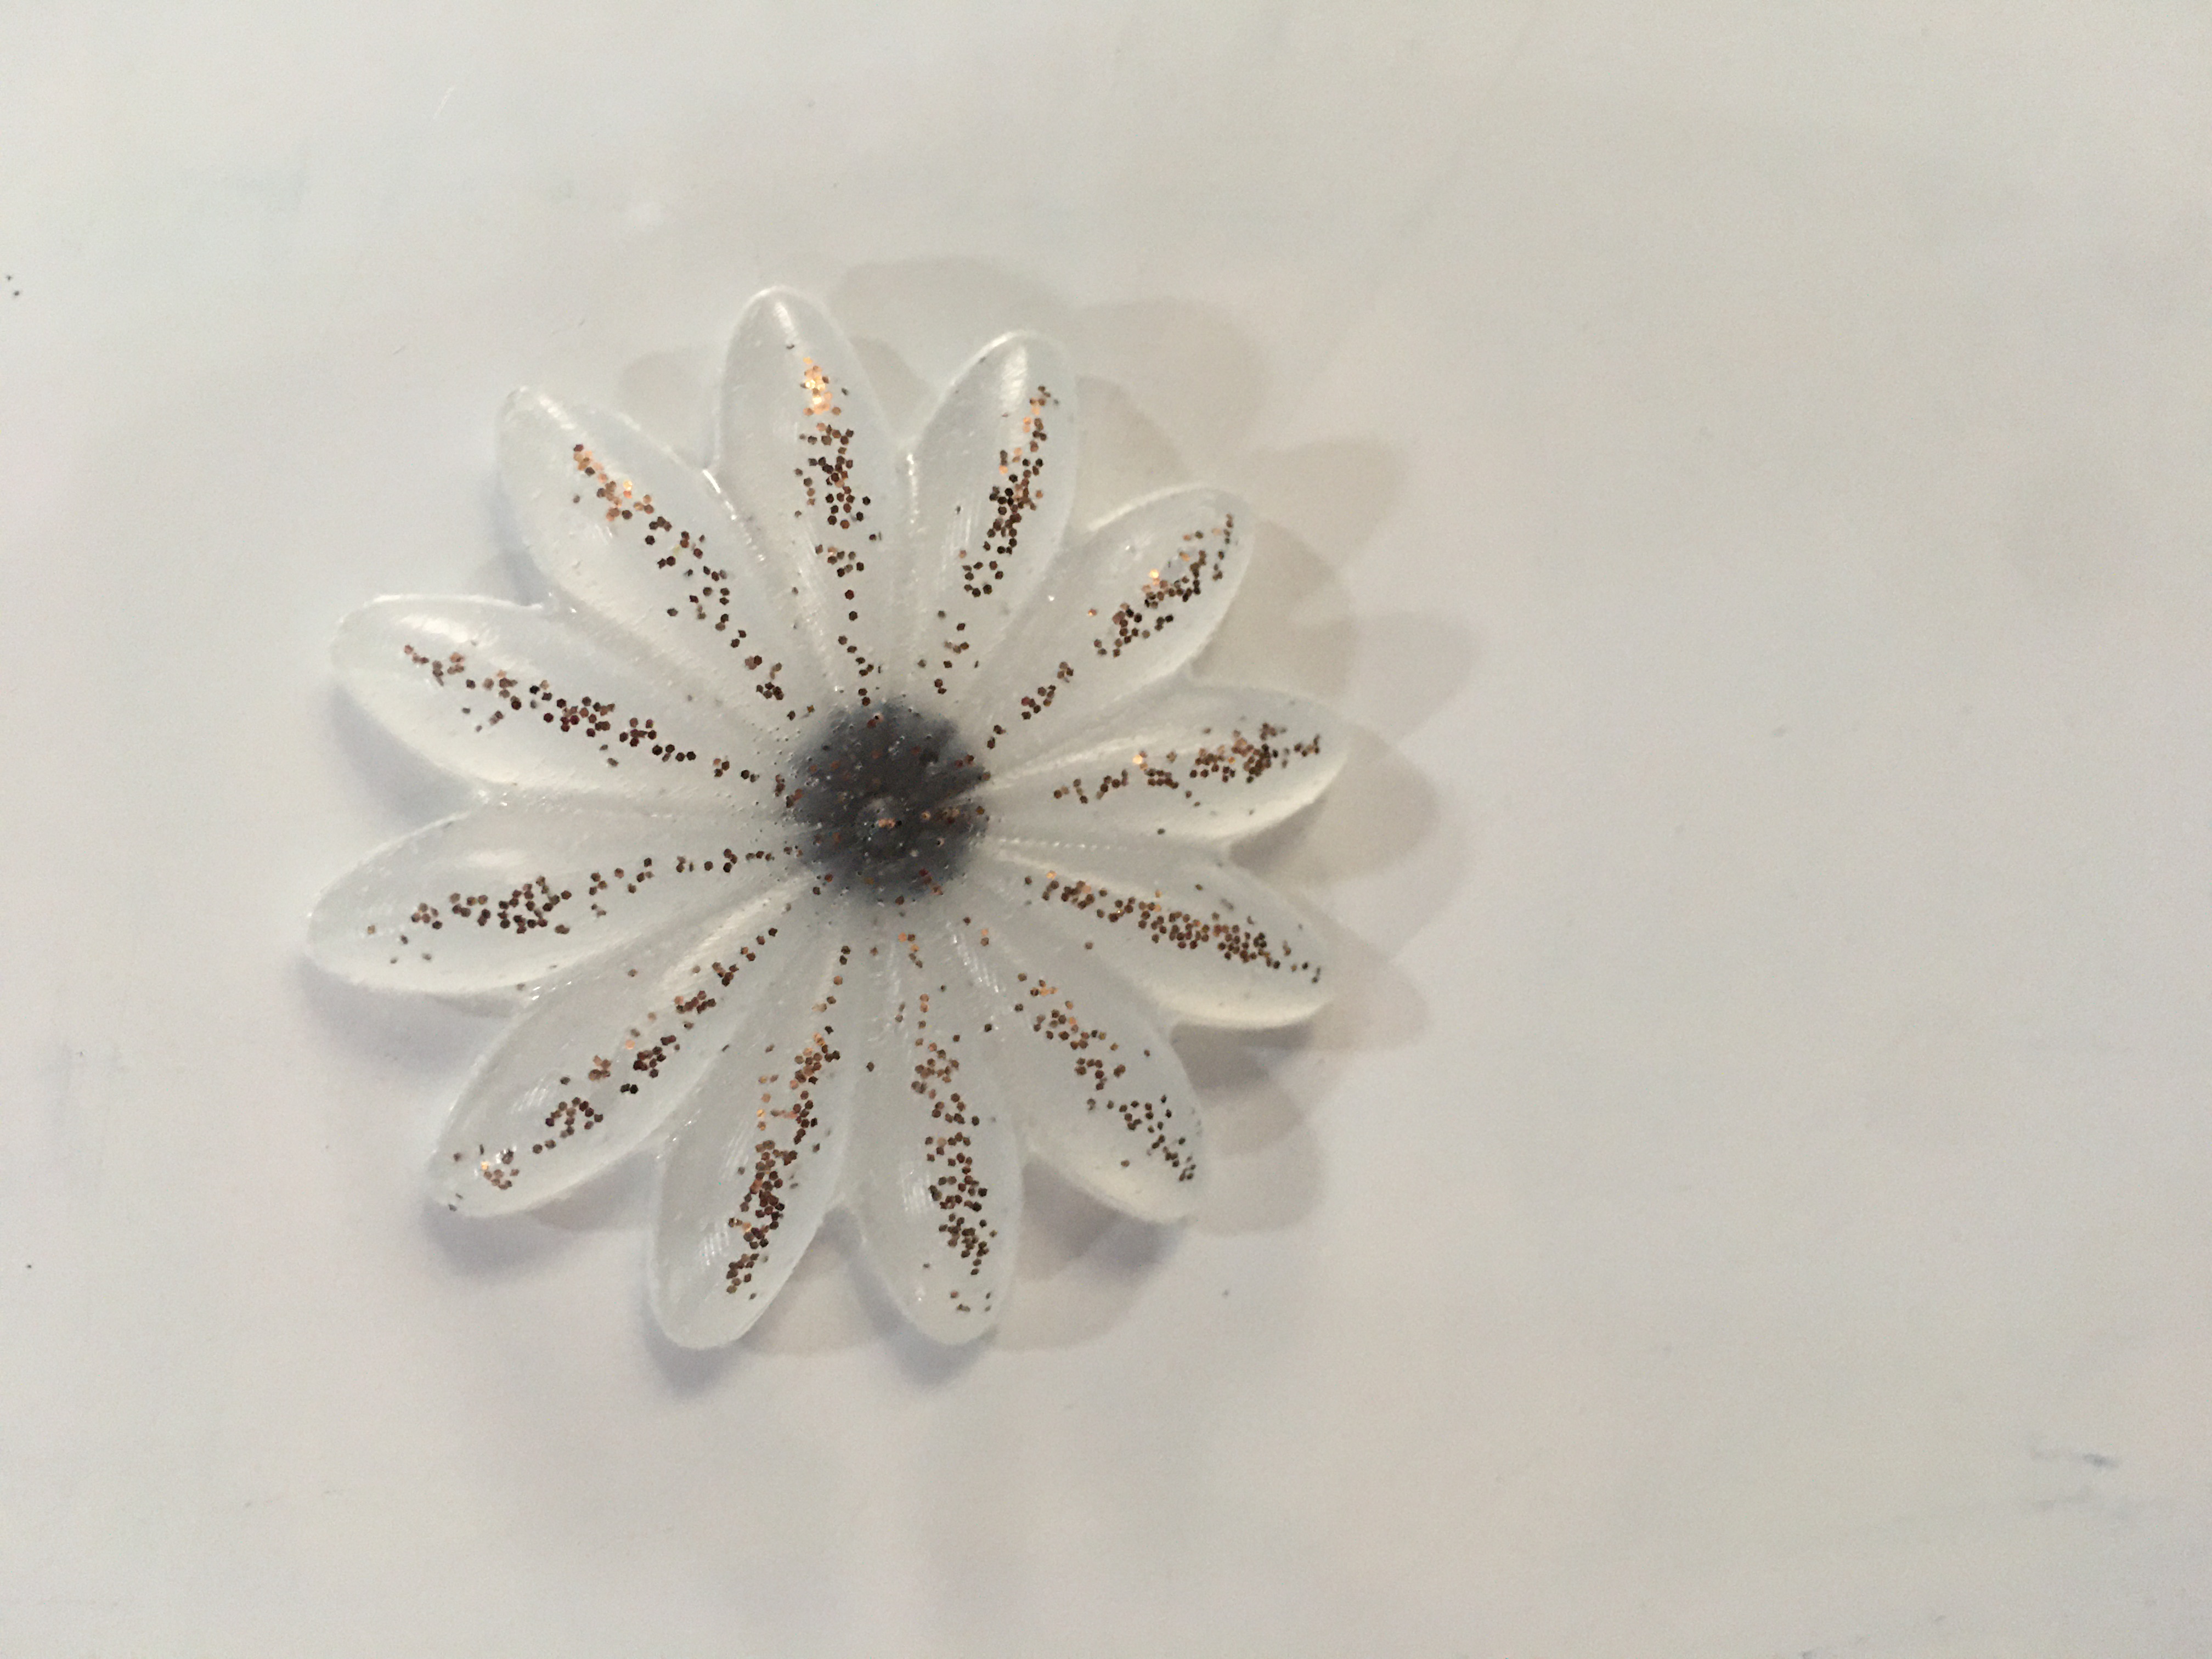
- I decided to chose resin for creating the model mixed the Resin according to the steps in the group assessment table and added glitter to the resin as well.
- After a Day the Model was ready
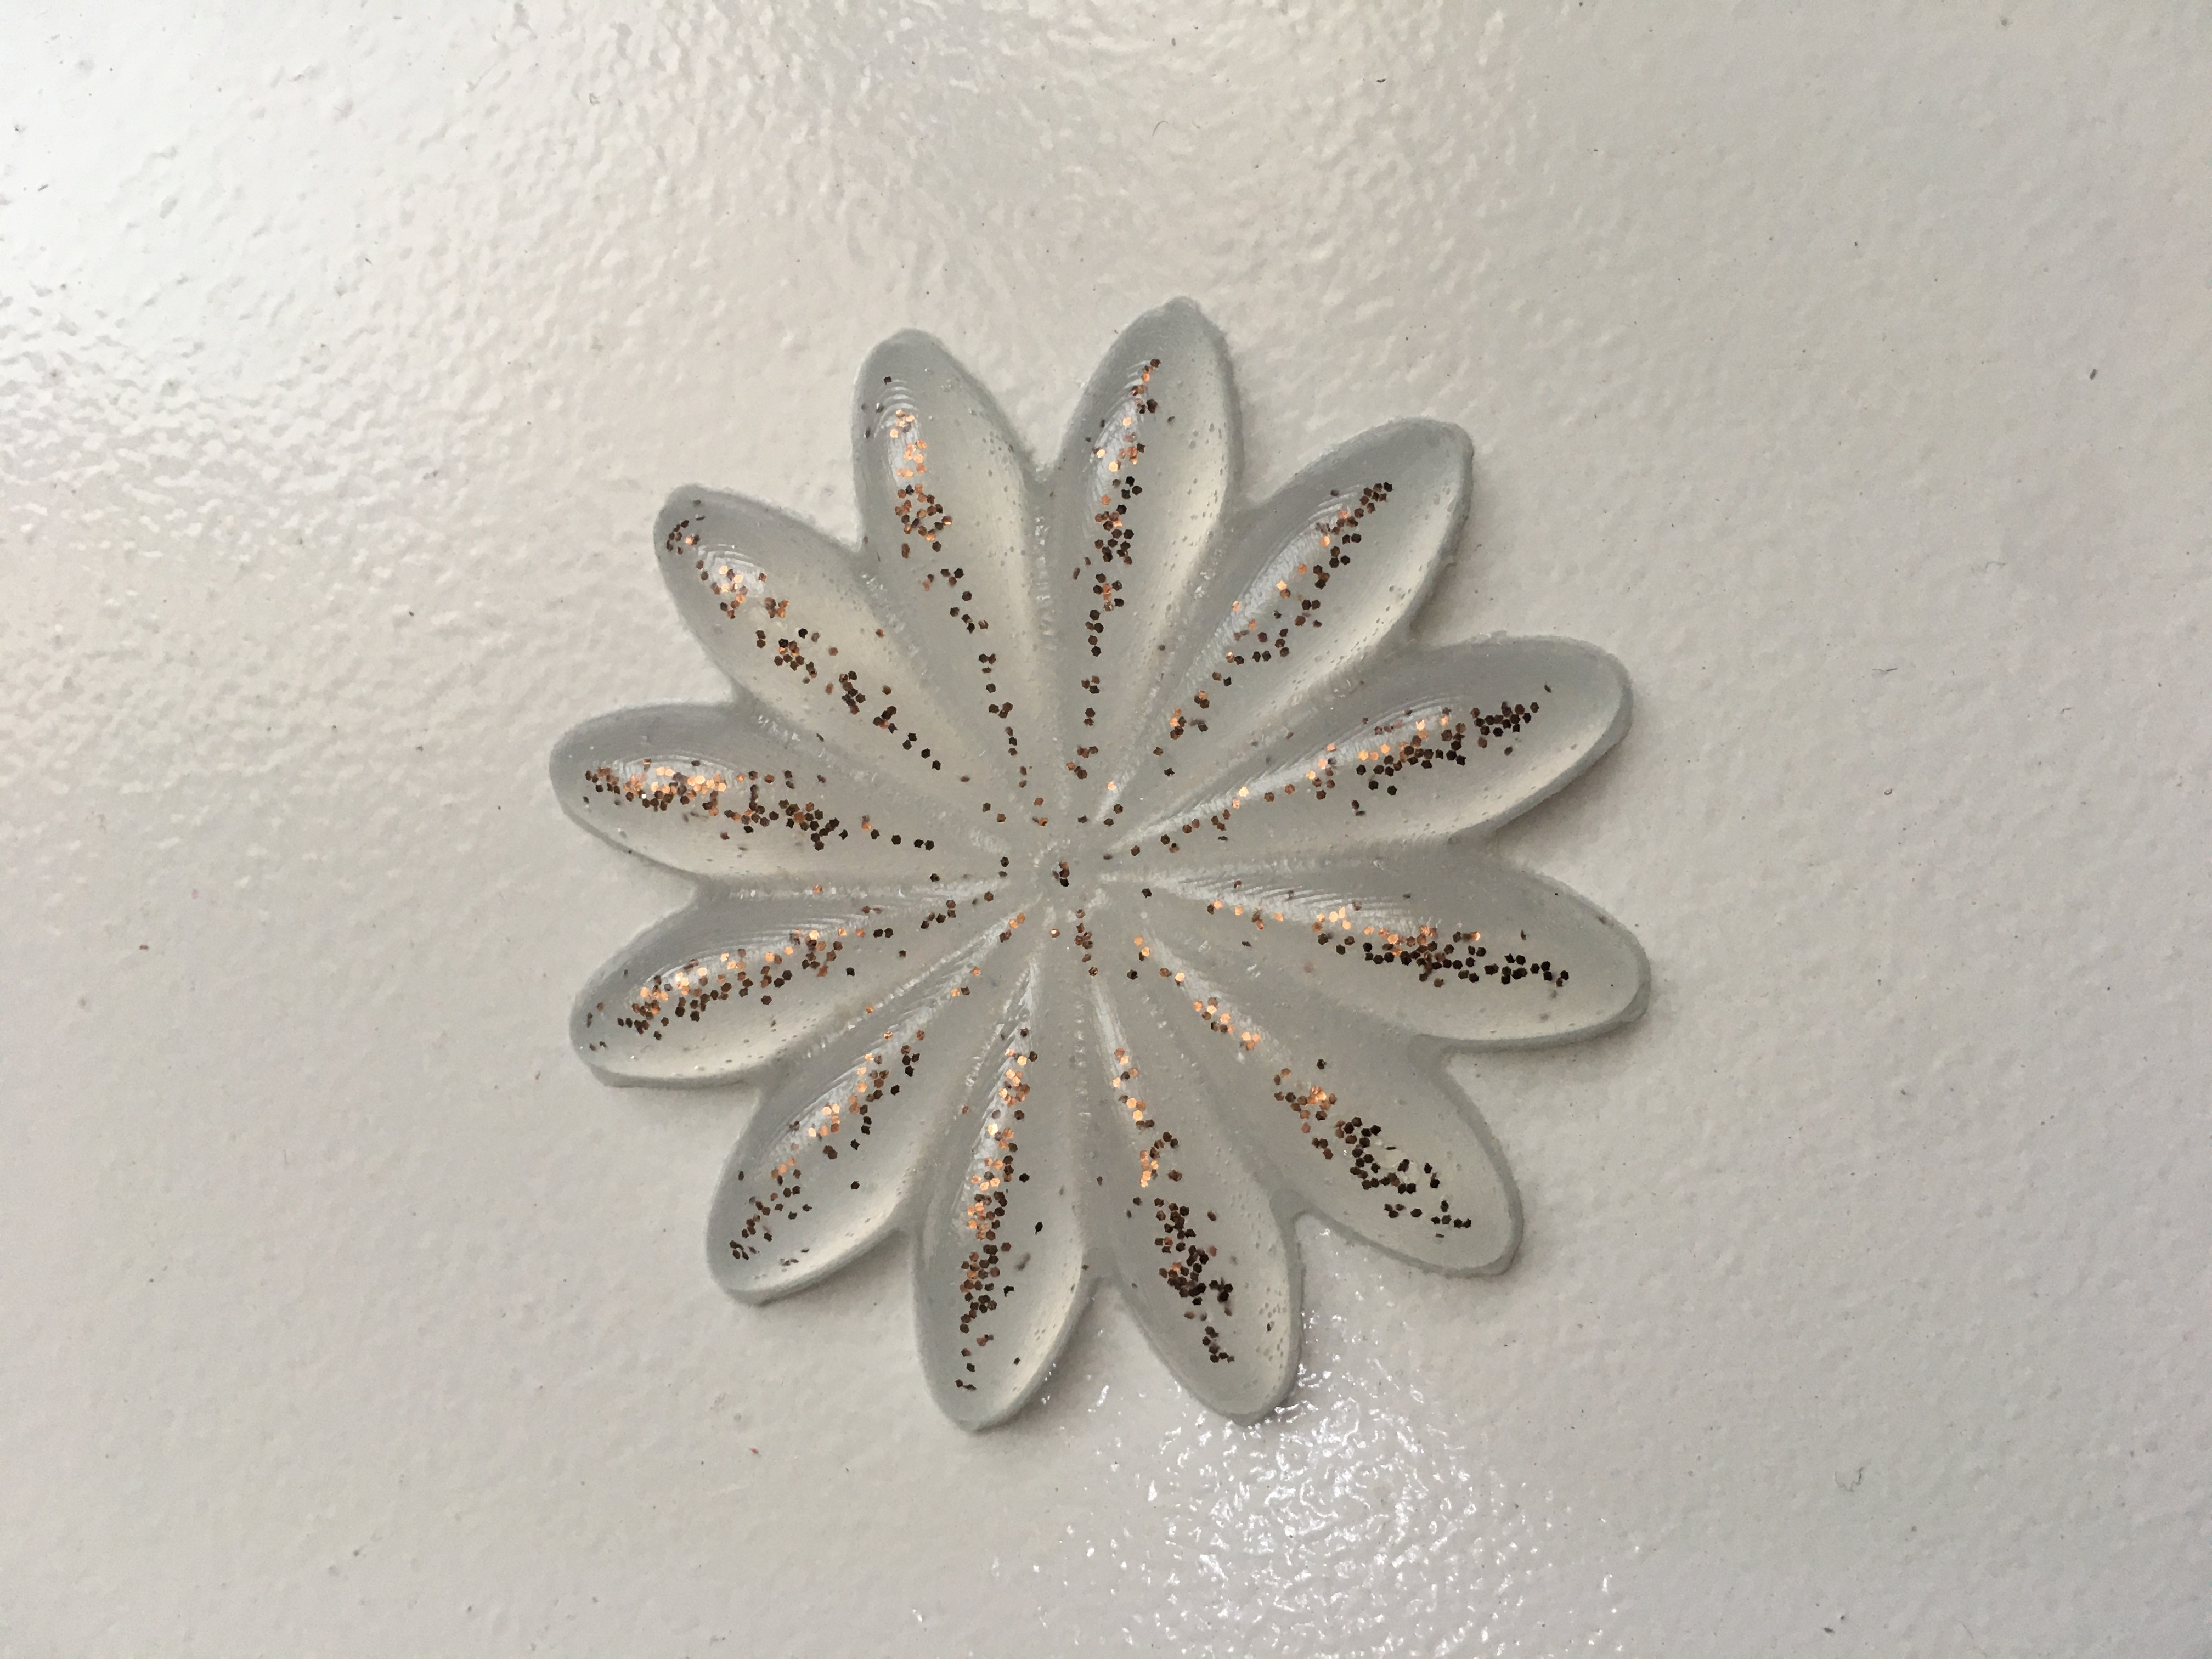
** I wanted the design to look transparent but it didn’t work out after a little research I found that the resin was cold that’s why it came out looking frosty either way I liked it too.
- Last step was adding the magnet. used super glue to stick it to the design.
DESIGN FILE
Last update:
August 18, 2022