5. 3D printing and scanning
In this week we Learned about 3D printing , 3D printing machines , 3D scanning and The apps we can use for 3D scanning.
3D PRINTING
3D PRINTING is done by using a 3D PRINTER which is an additive manufacturing machine. It produces three dimensional solid objects from a digital file.
3D printing machines
There are two types of 3D printing Machines
-
SLA
SLA 3D printers use a laser to cure liquid resin into hardened plastic in a process called photopolymerization.
-
FDM
Fused deposition modeling (FDM) 3D printer Extrudes a filament through A heated nozzle , melts the material and start building the form Layer By Layer.
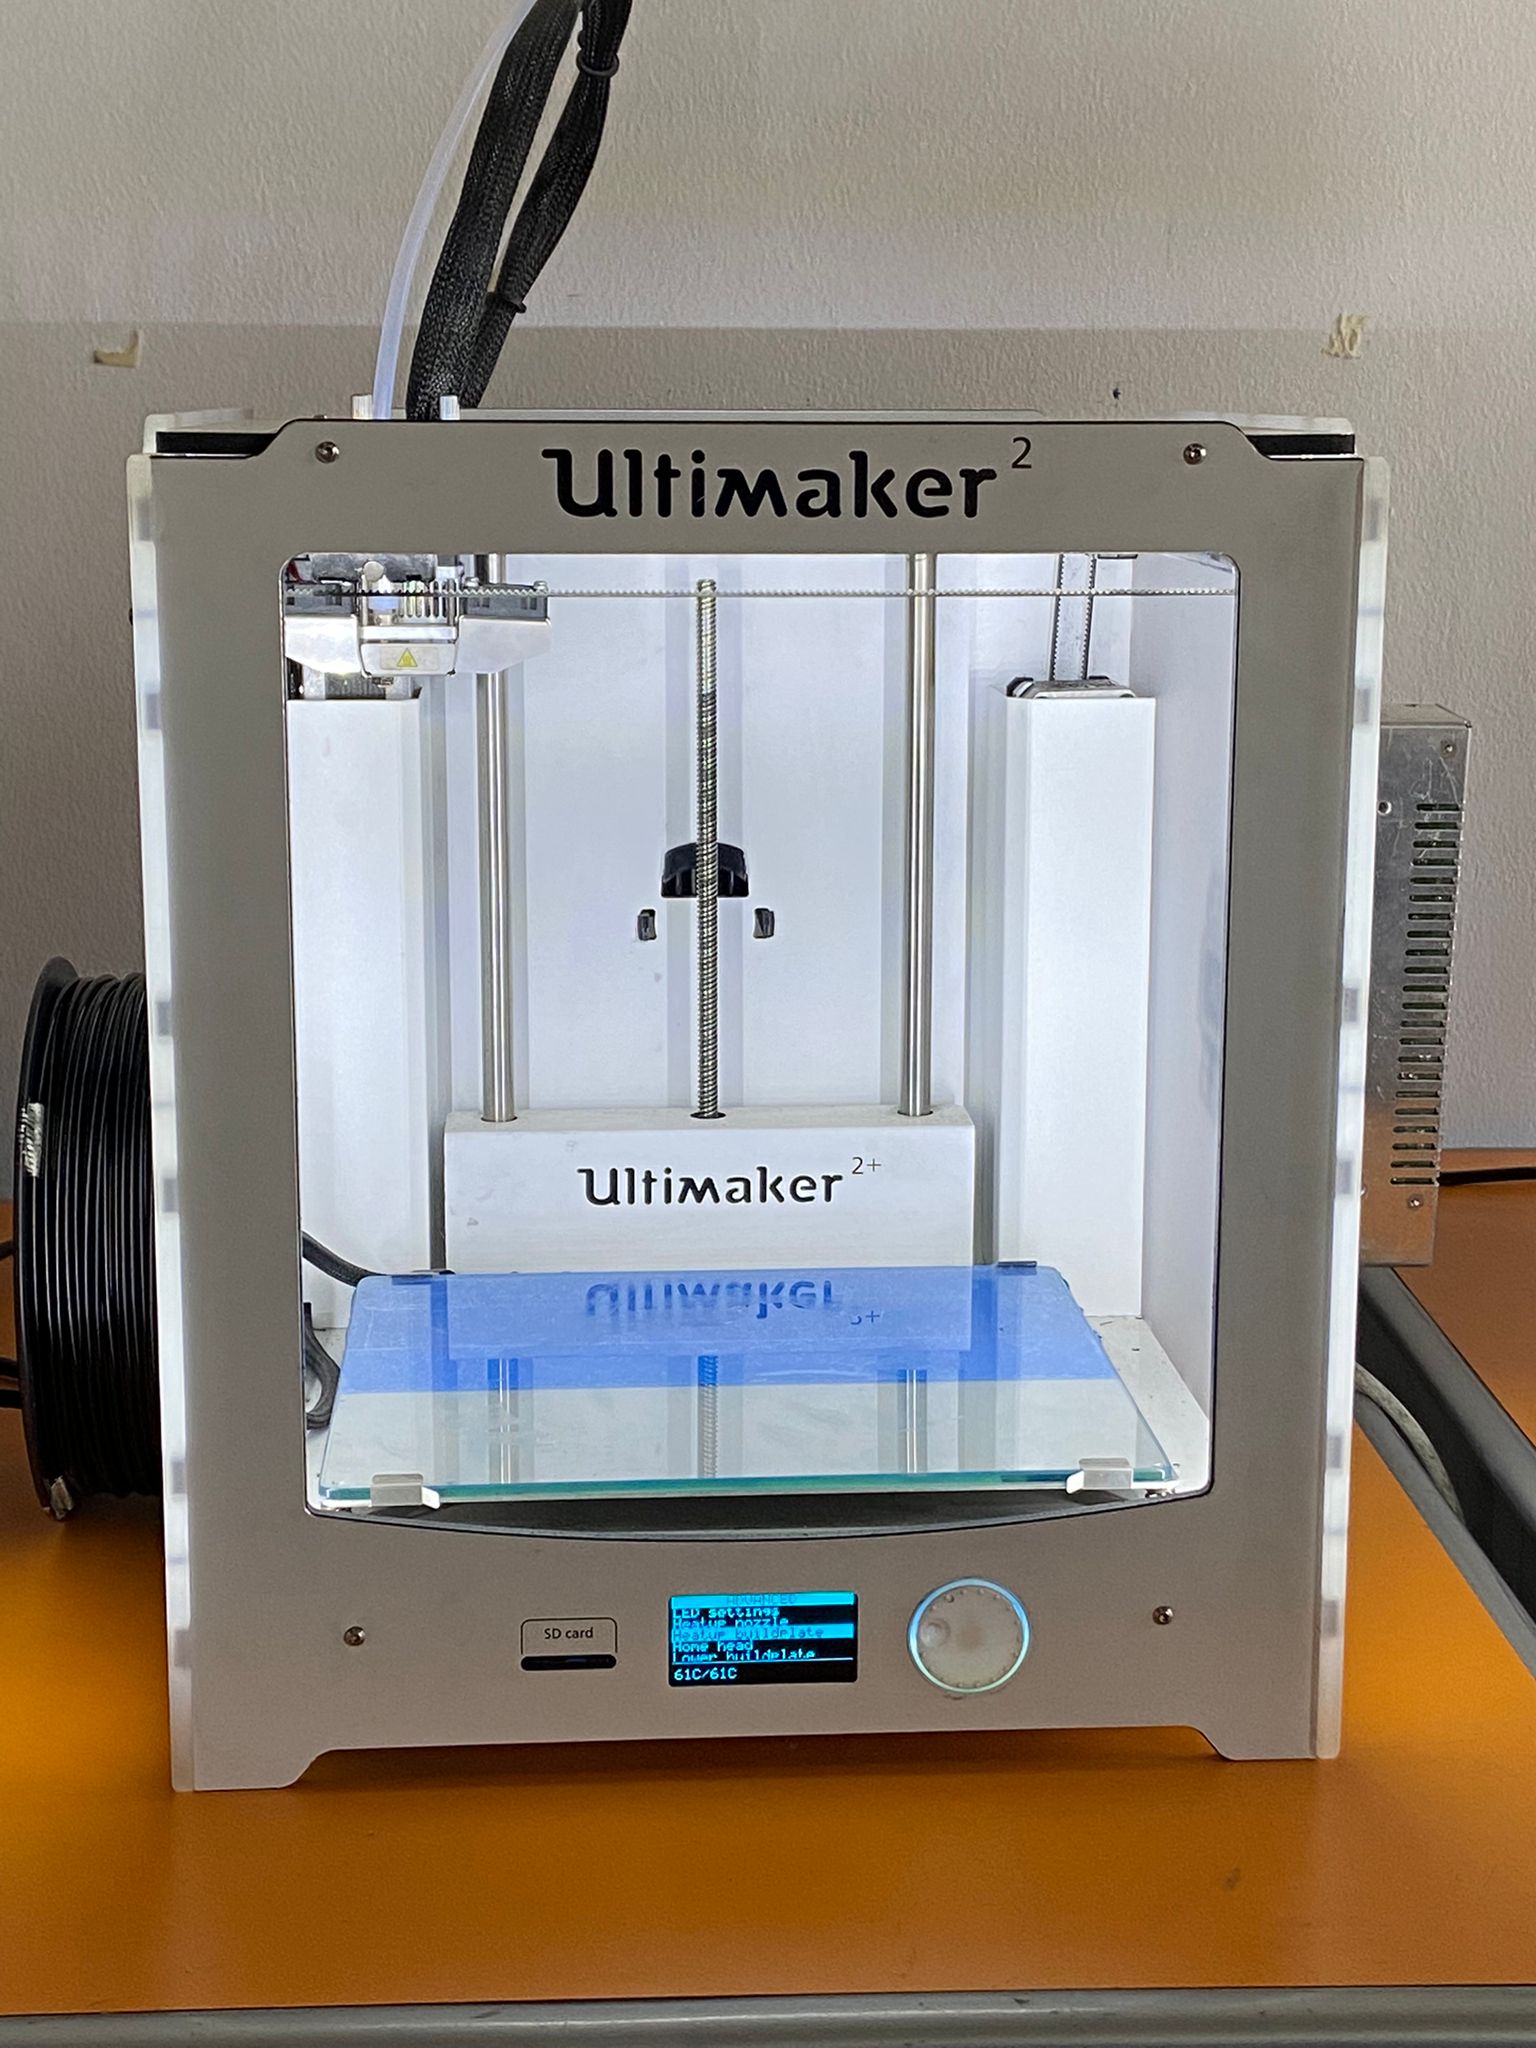
we will be using one of the FDM machines in the lab
- Ultimaker
- Prusa
- Ender
Materials used for FDM 3D Printing
- ABS ()
- PLA ()
- Nylon (PA) ()
- TPU ()
- PETG ()
- PEI ()
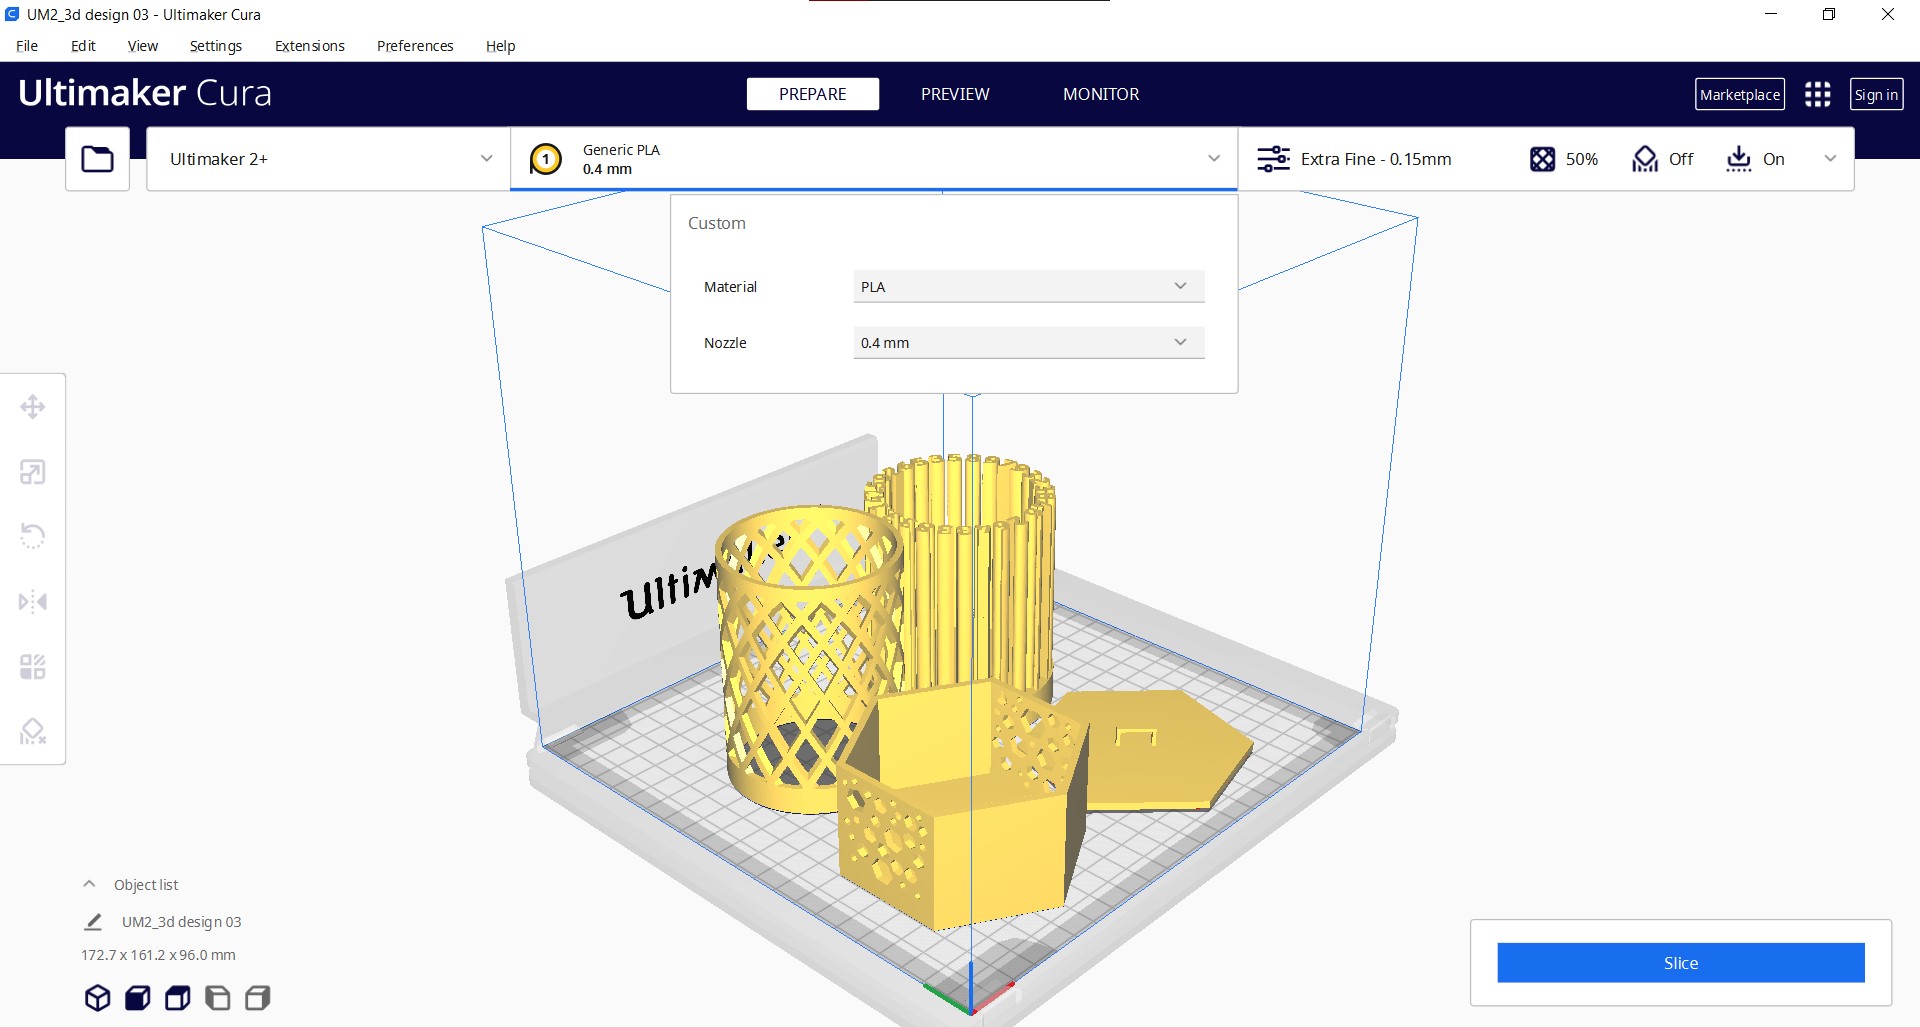
In order for us to be able to use the 3D printing machines we downloaded “cura”.
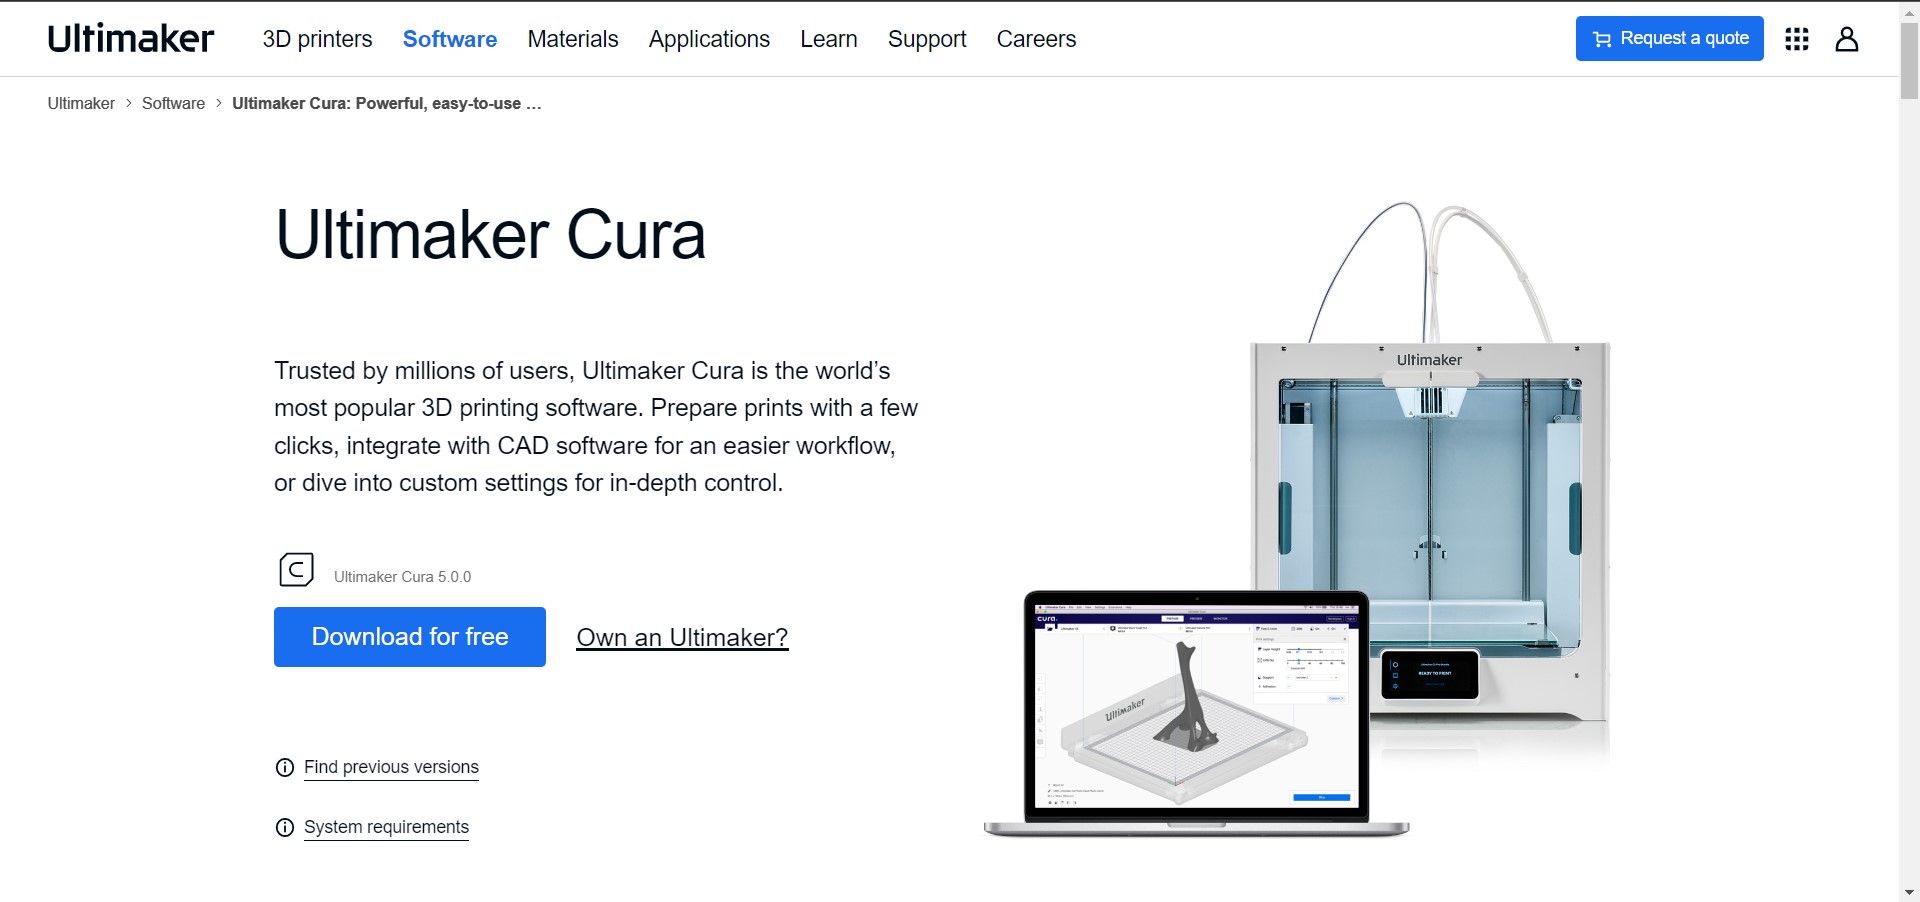
What is cura??
Cura is an open source slicing application for 3D printers.
**Although each machine has it own program , we decided to download cura since it has all different Types of 3D Printing Files.
Group Assessment
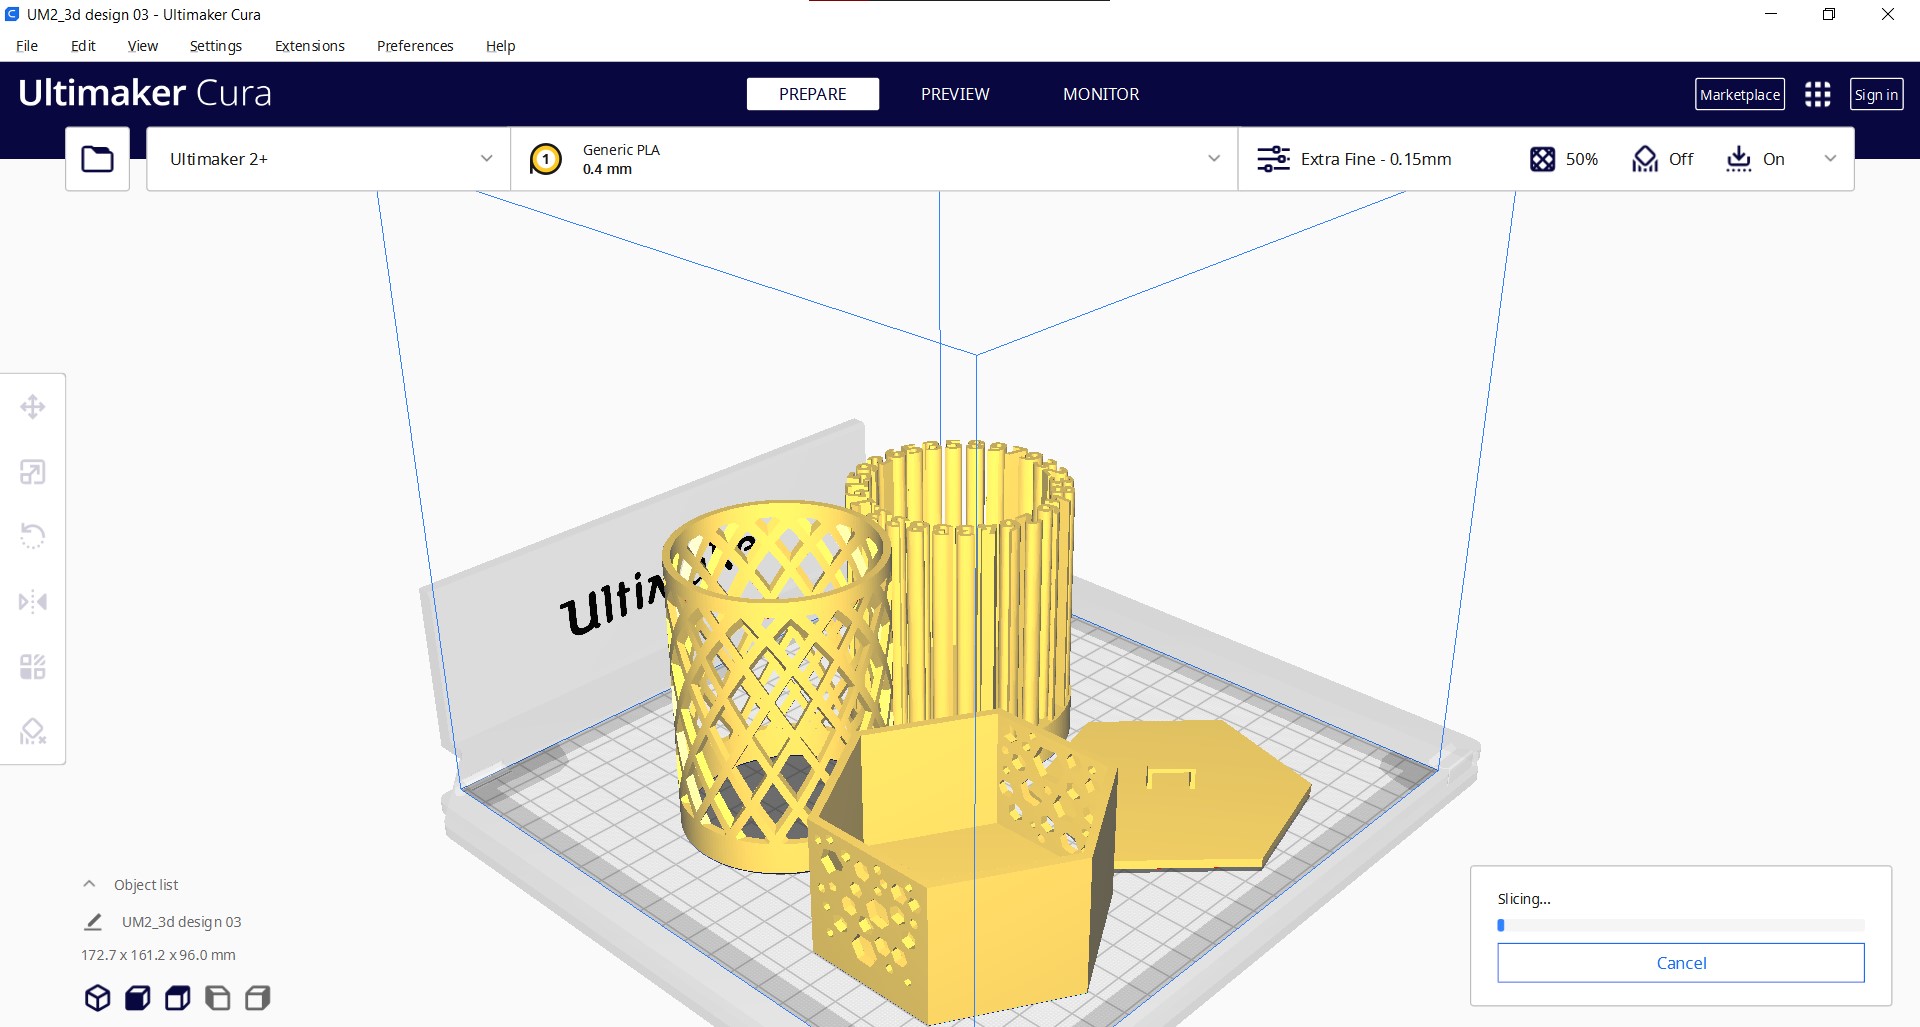
For the group assessment we learned how to use Ultimaker.
In order to test the machine We Downloaded the Design from the website “thingiverse” .

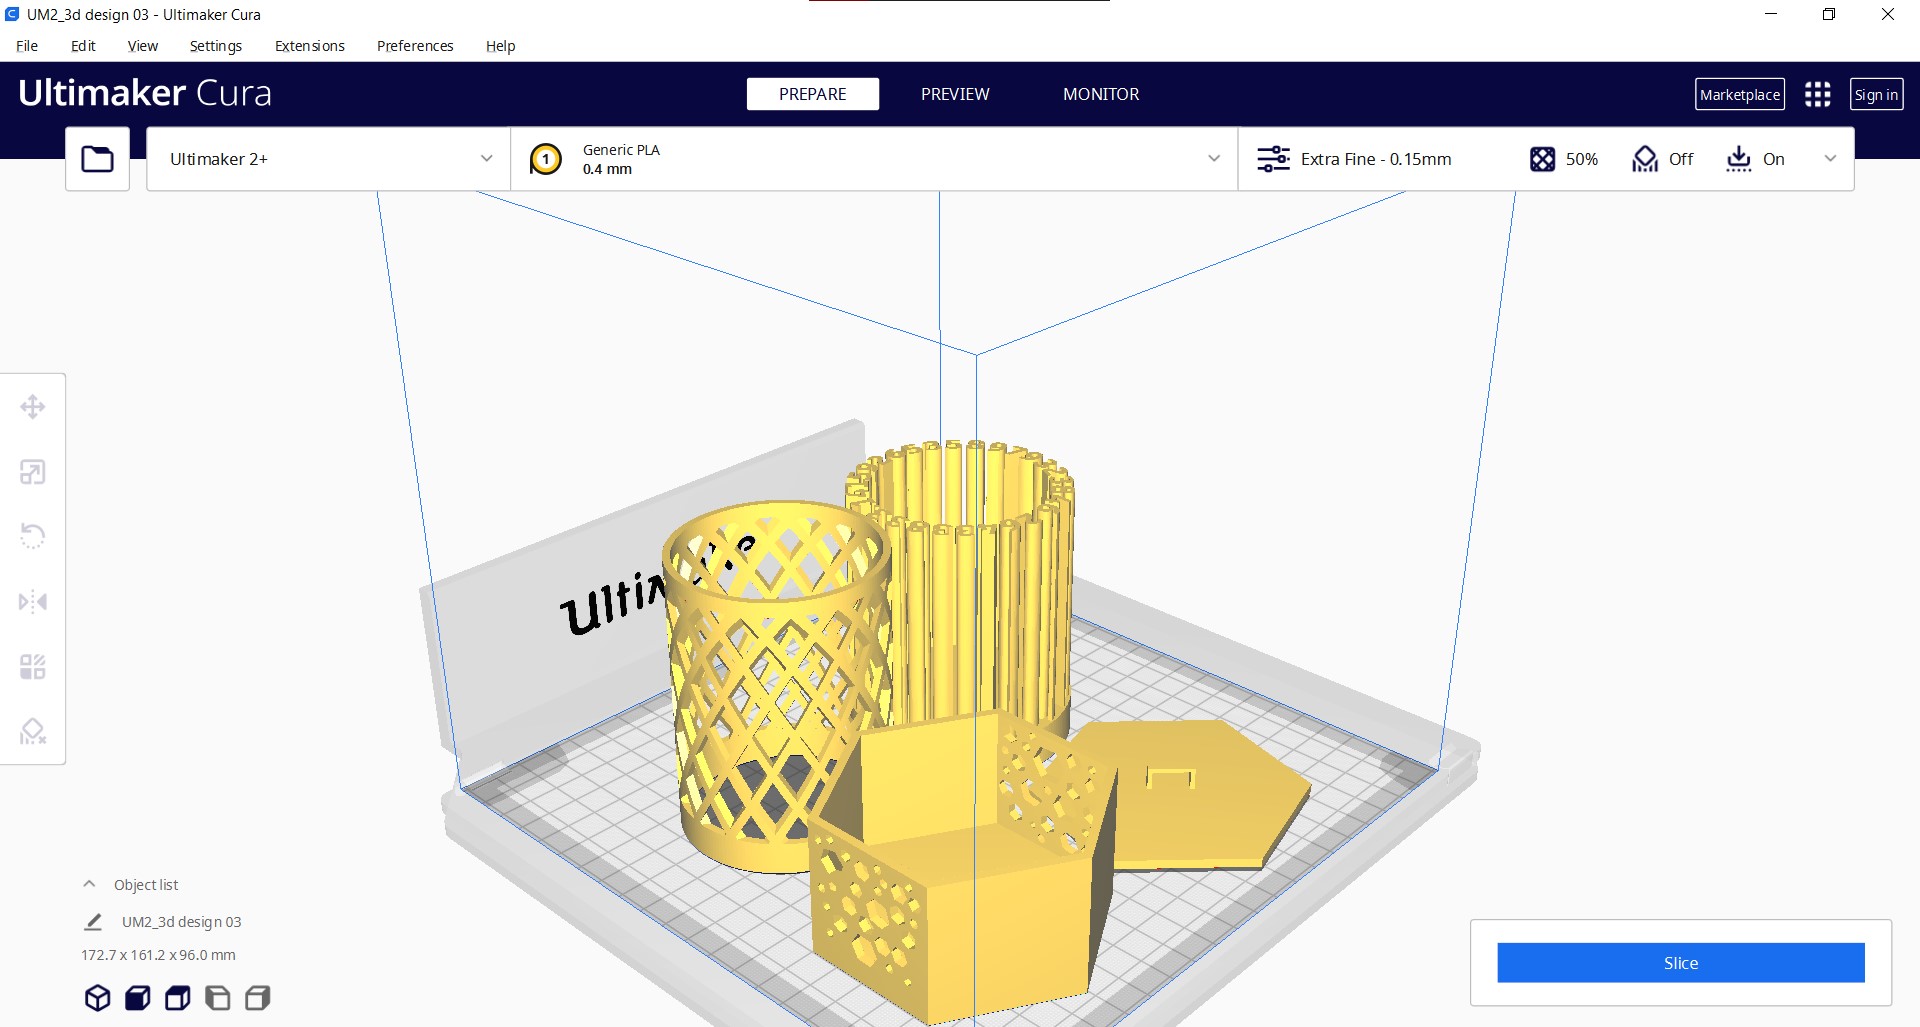
We Opened The Downloaded folder in “CURA”.
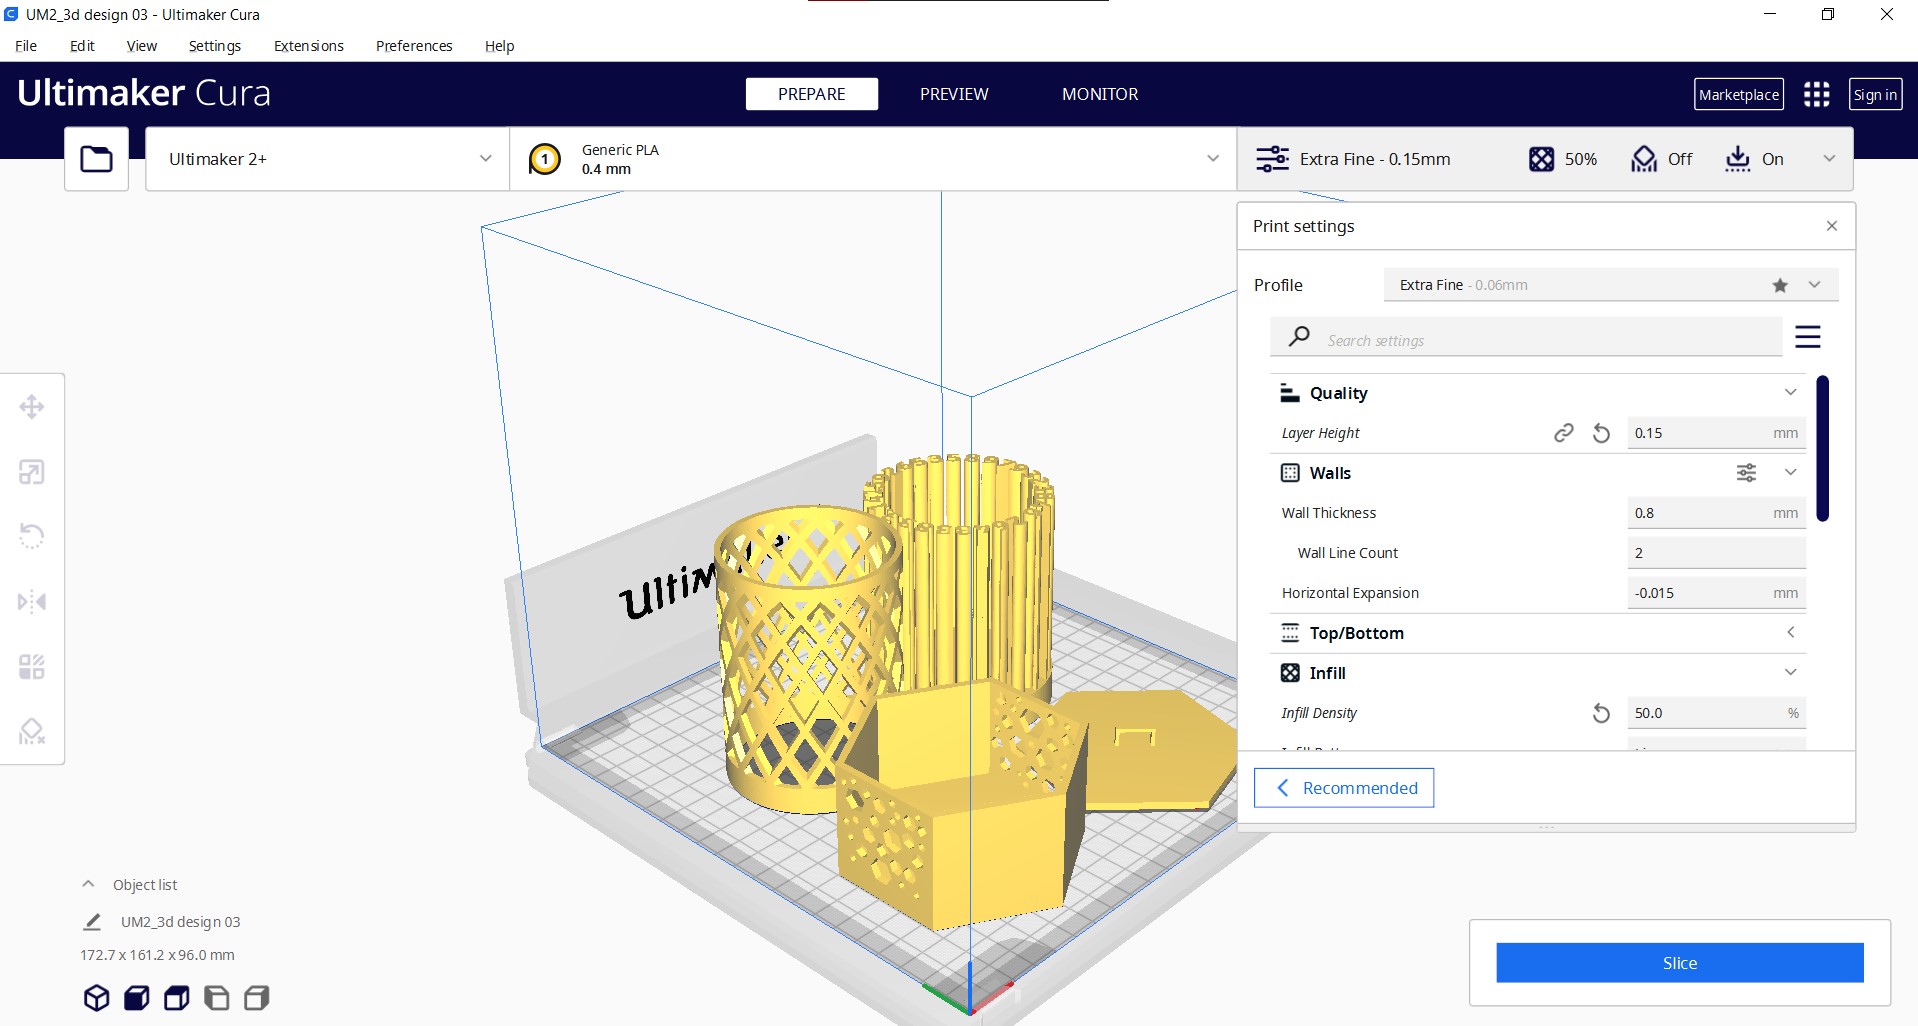
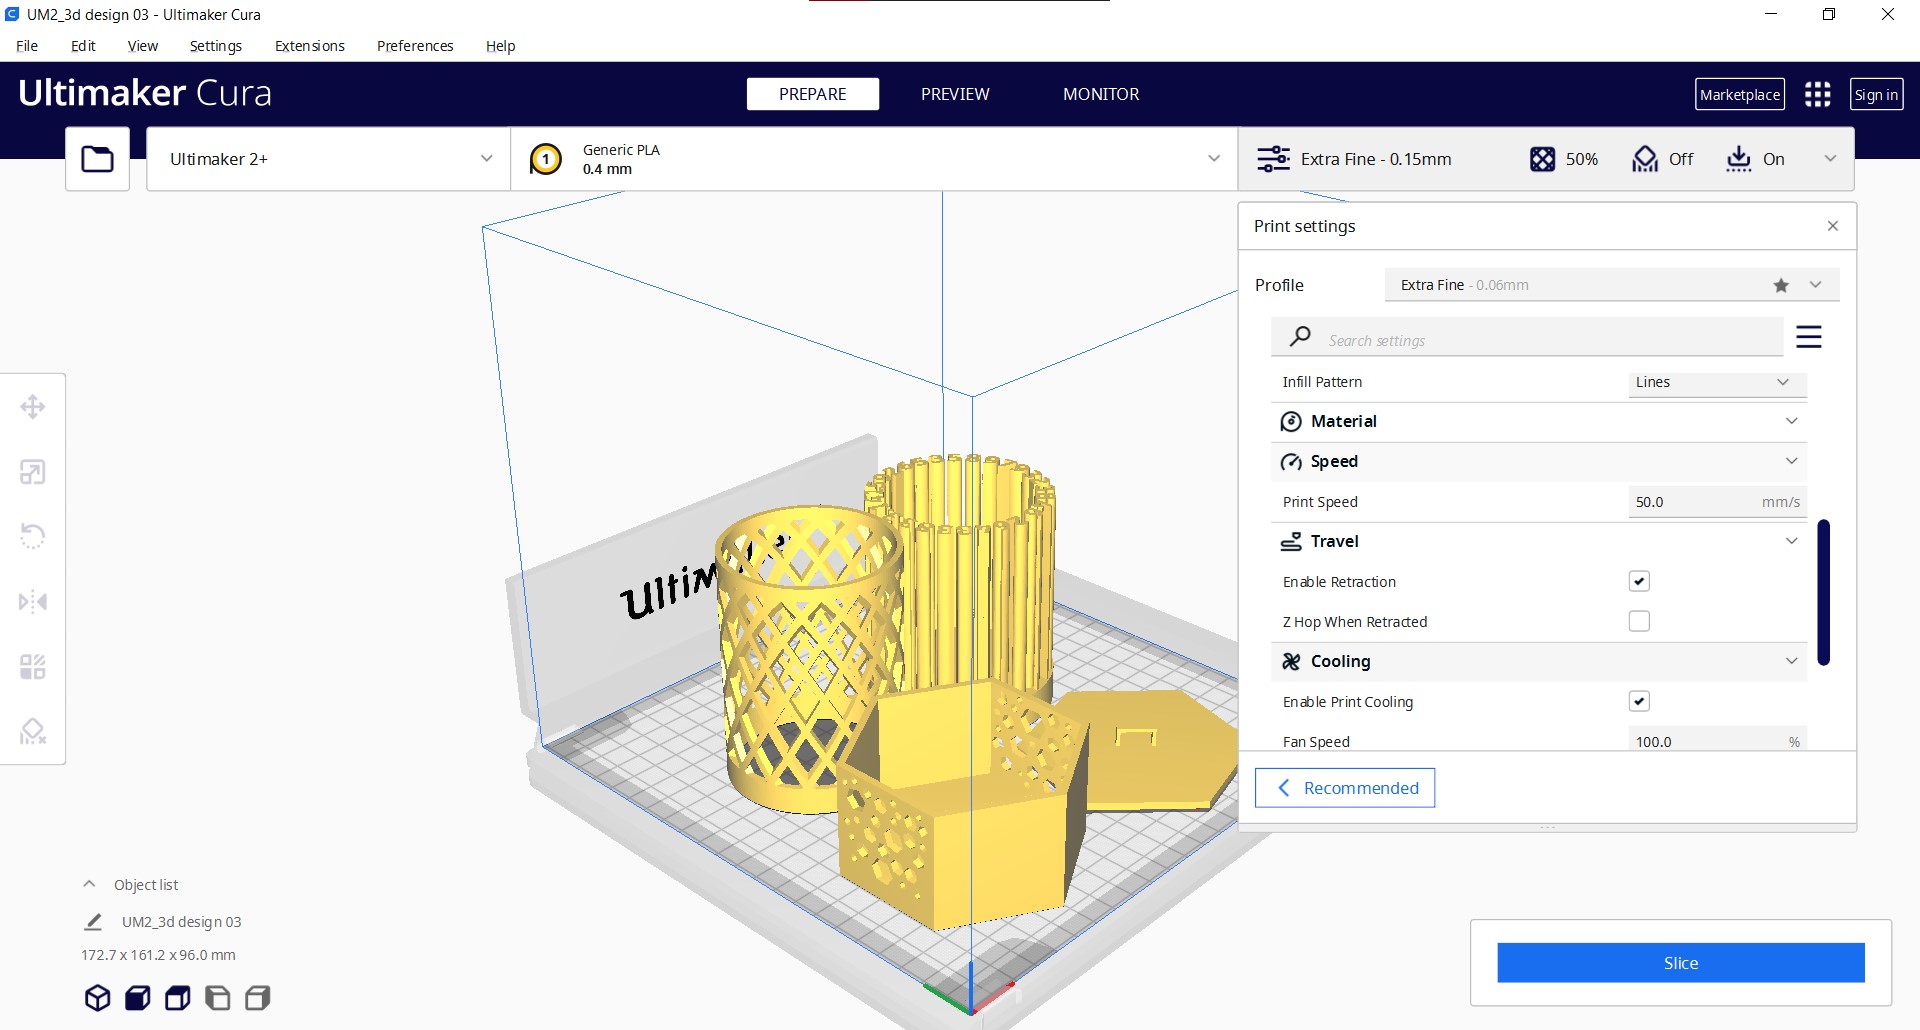
As we Are Using “PLA material” we Fixed The Setting TO PLA 0.4MM
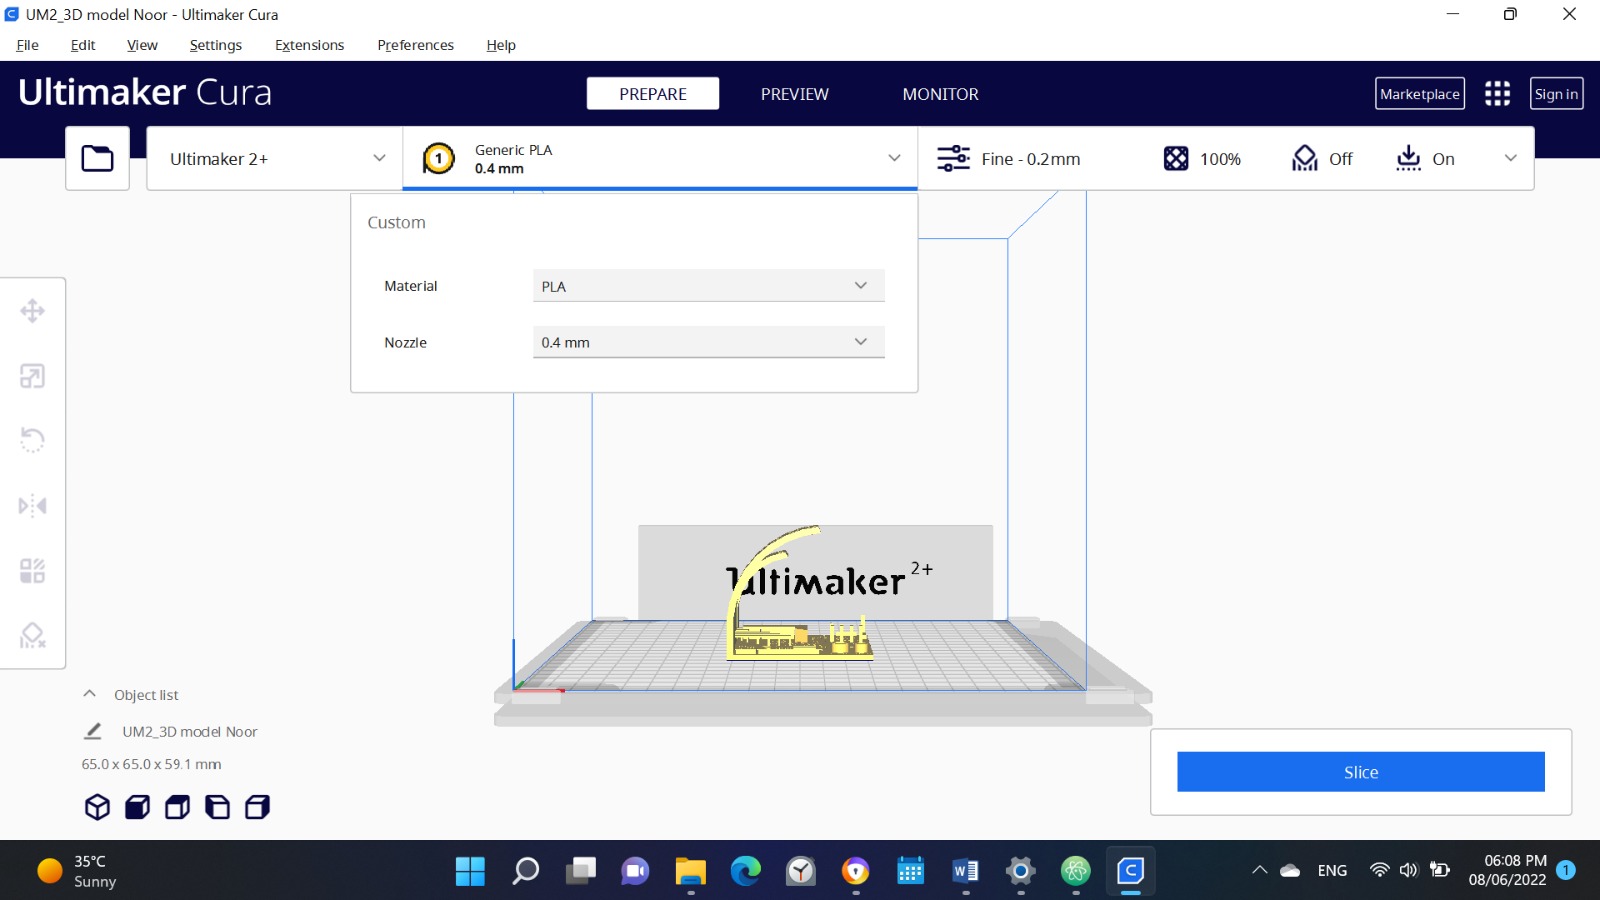
Changed The Quality TO (O.2MM)
Print Speed (50MM/S)
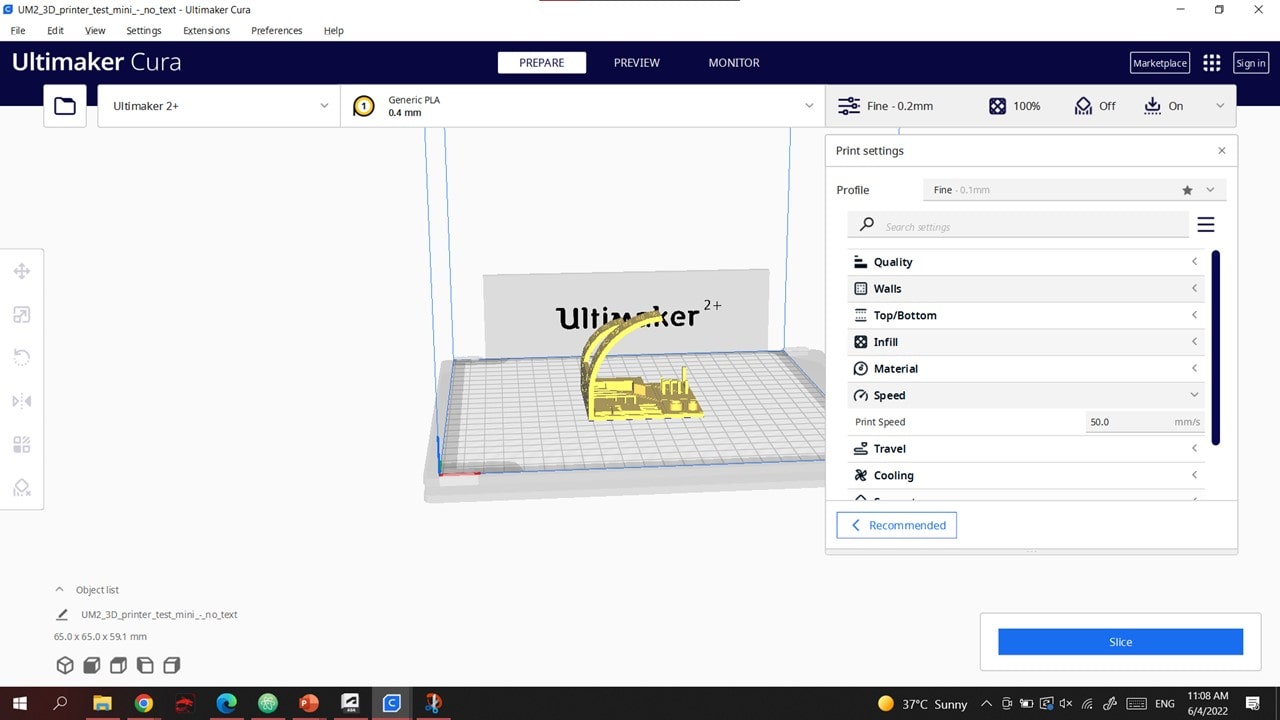
click “slice”
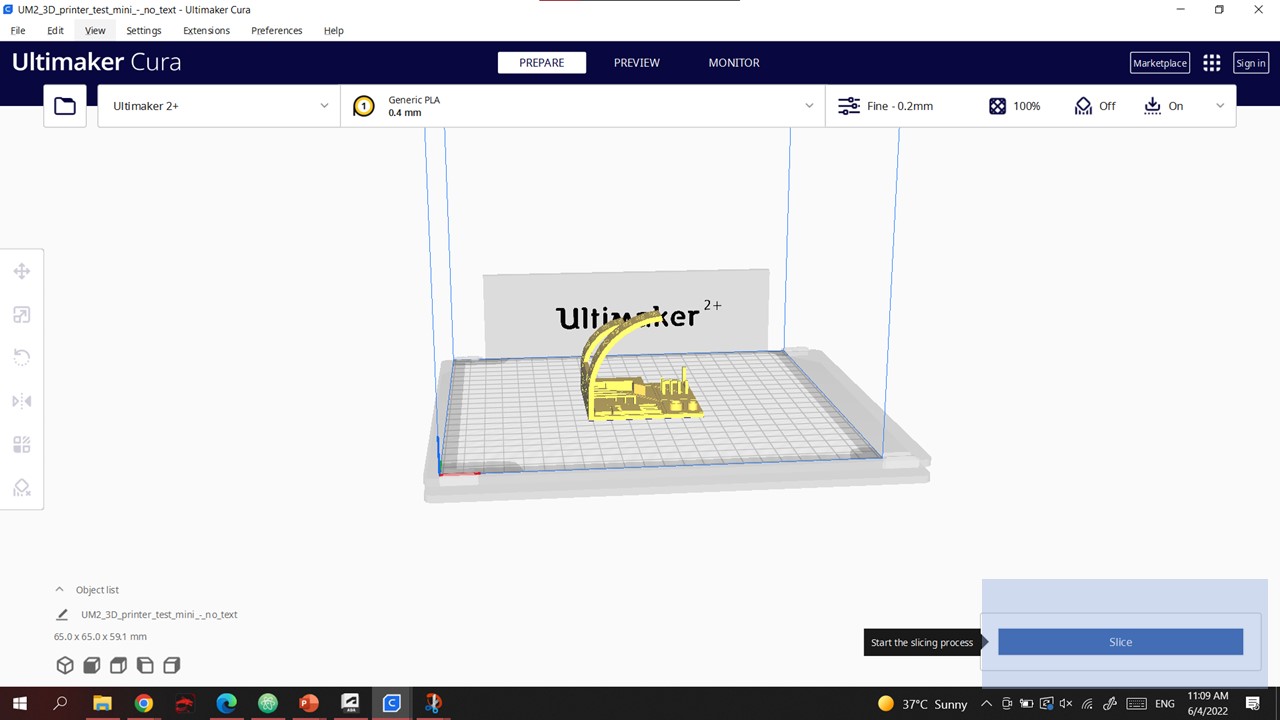
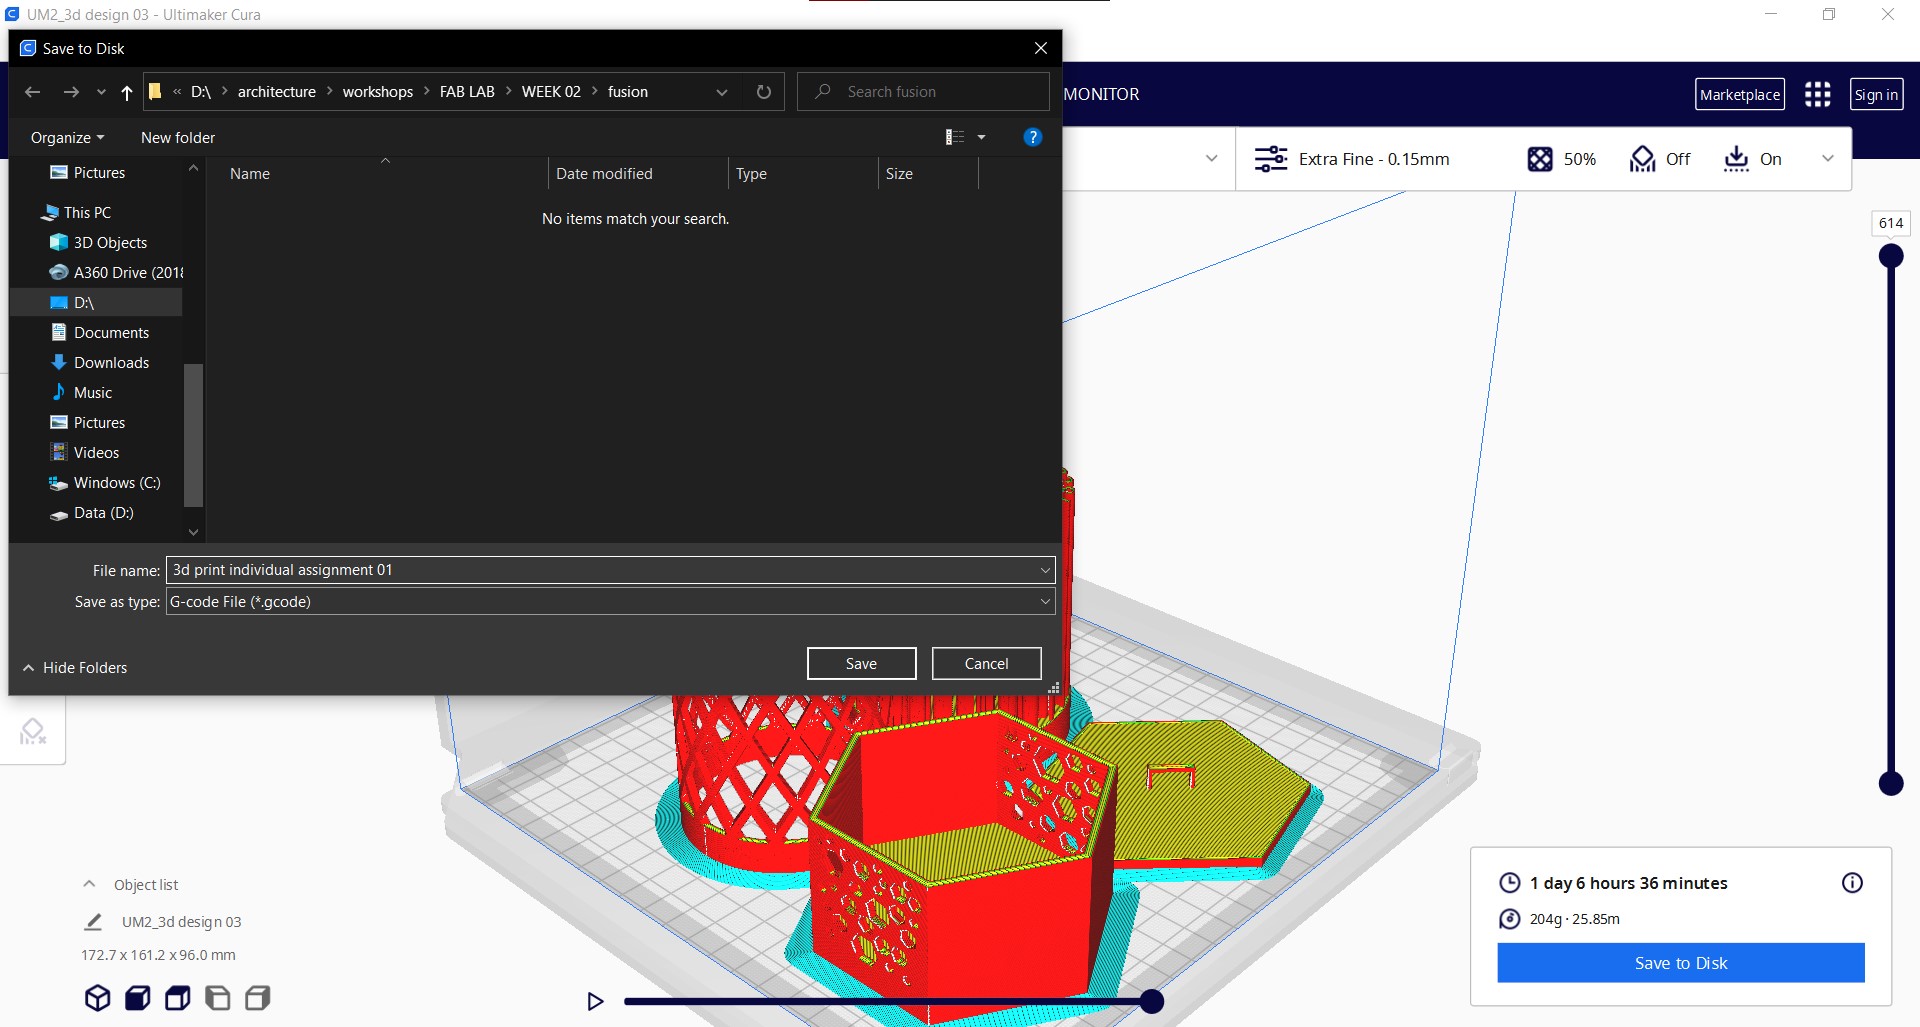
Save to disk
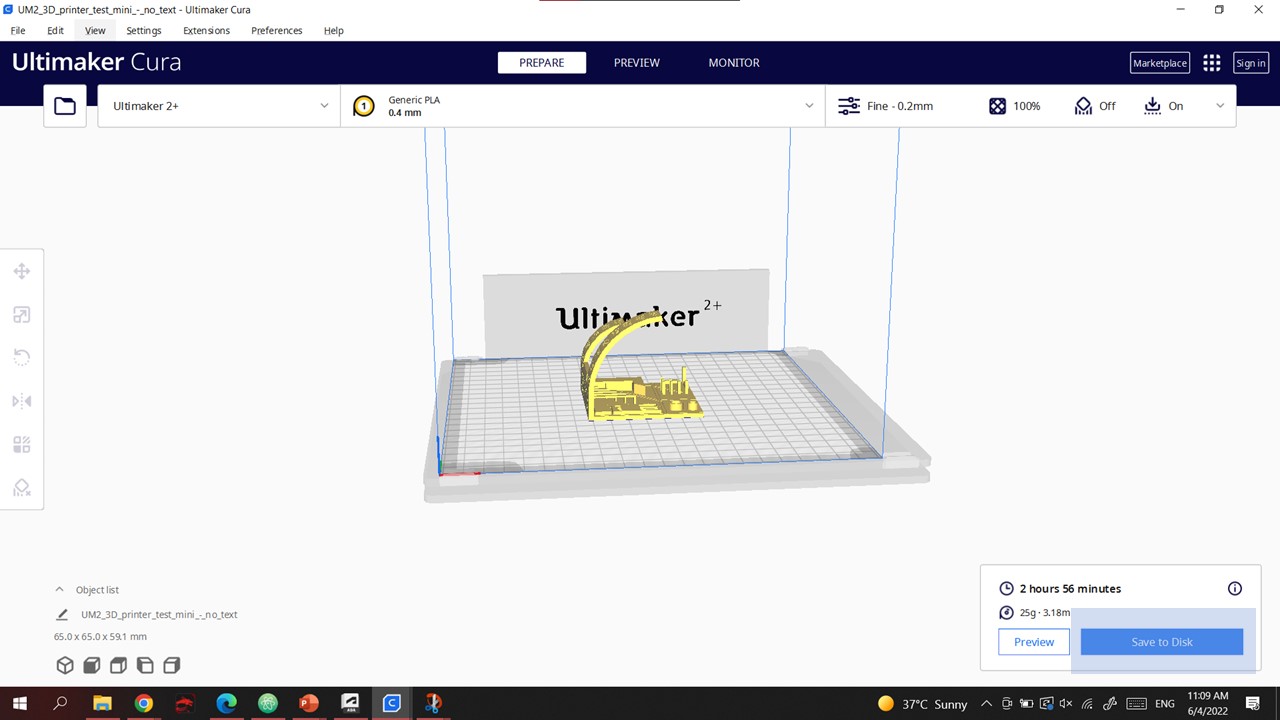
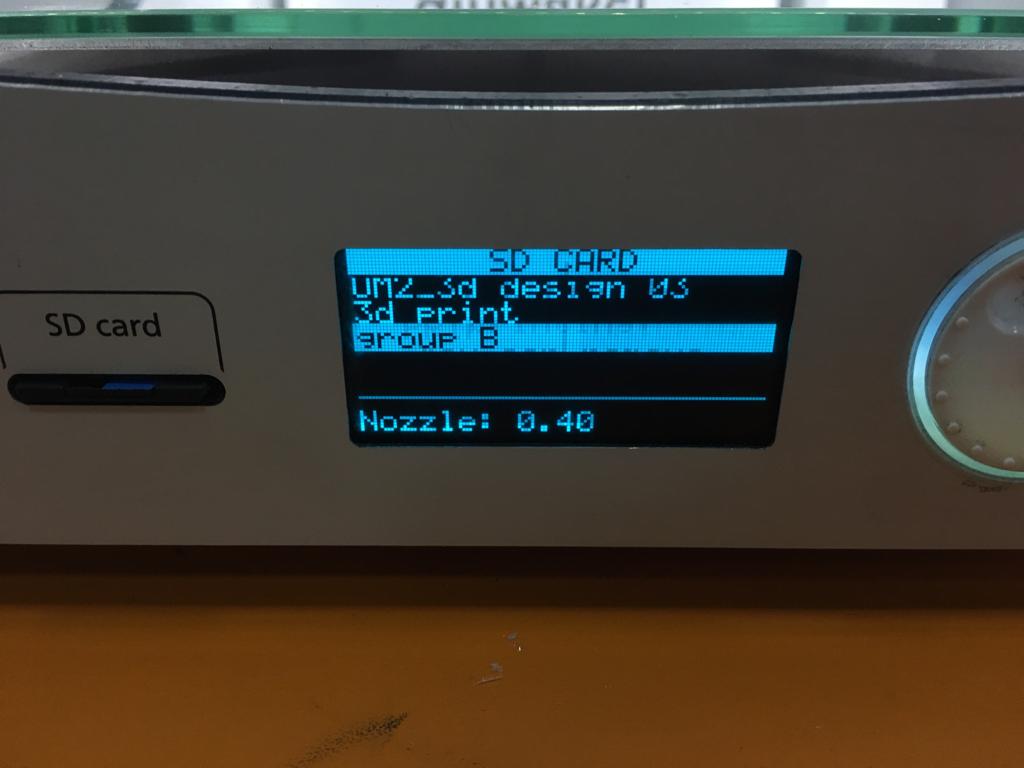
Then we saved it in the SD CARD
PRINTER SETTING
Raise the Printer Temperature to 220C
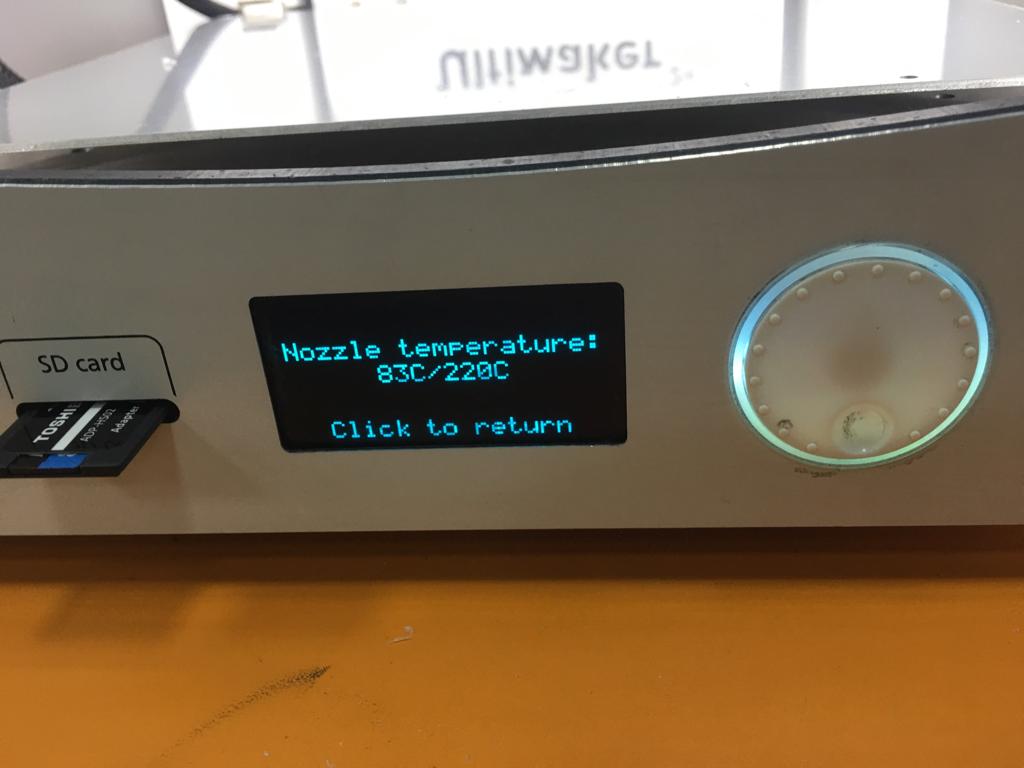
and the bed Temperature to 60C.
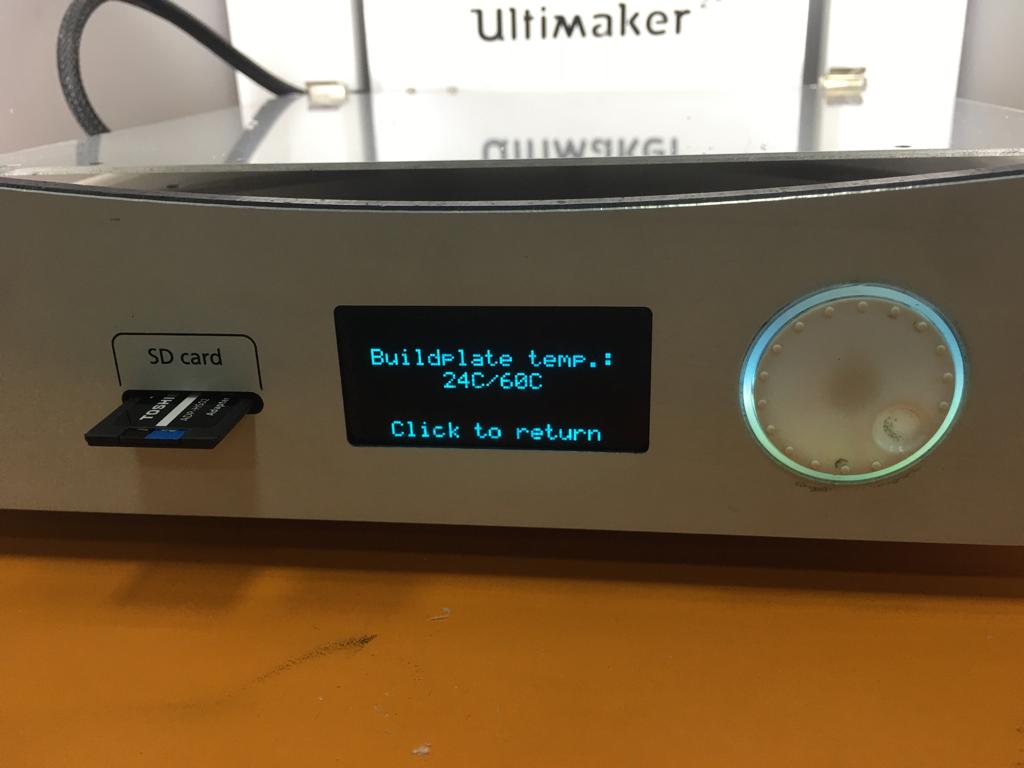
As the bed is made out of glass , we need glue for first layer Of the print to stay on the bed.
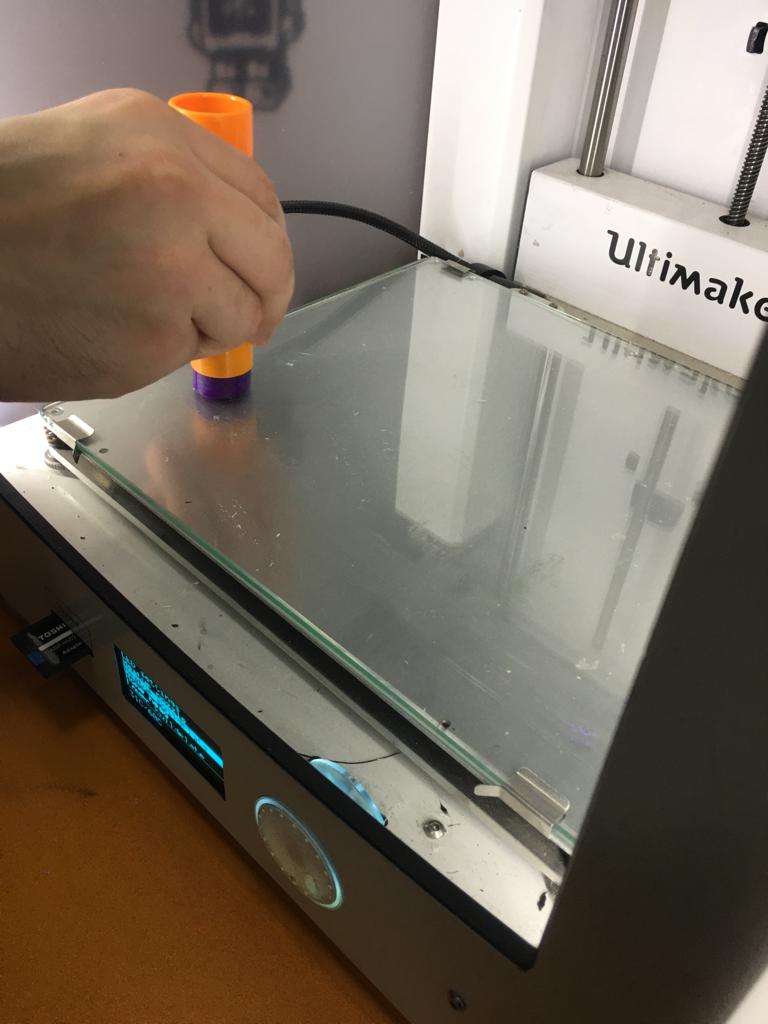
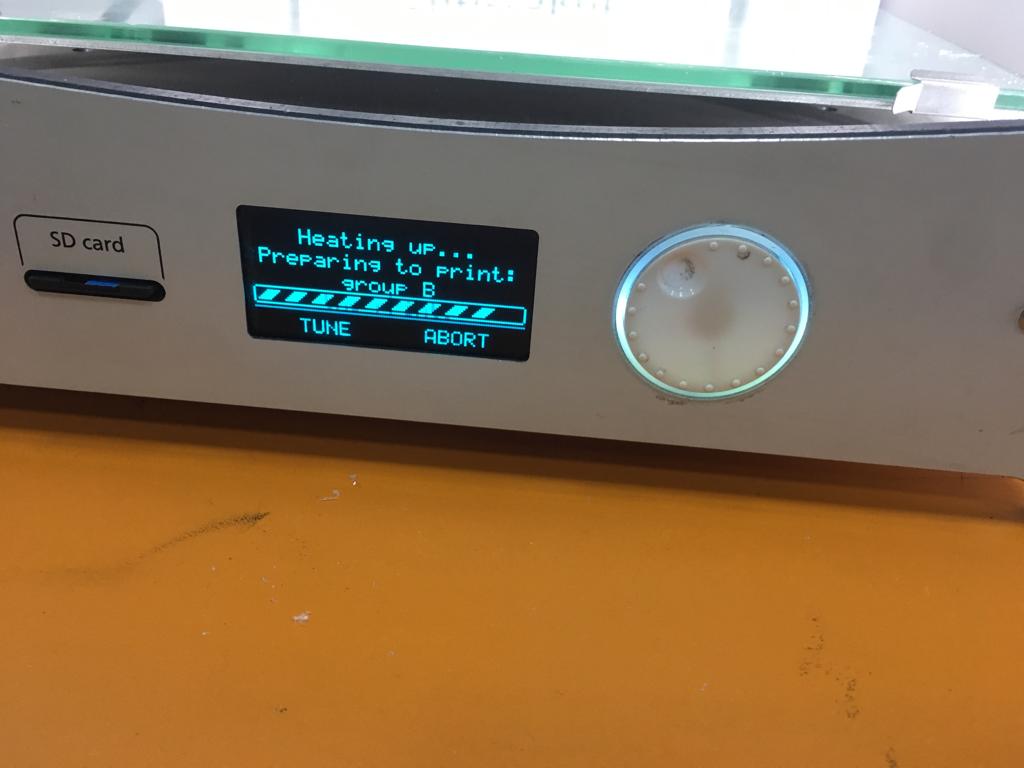
PRINTING
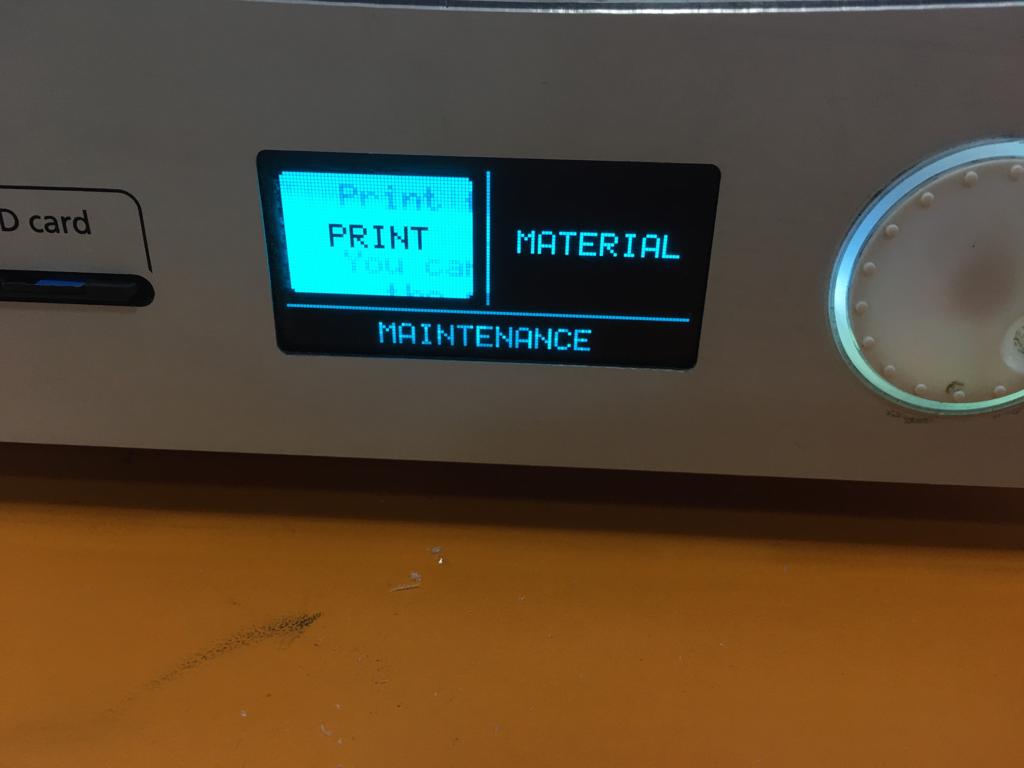
Place the SD Card in the PRINTER
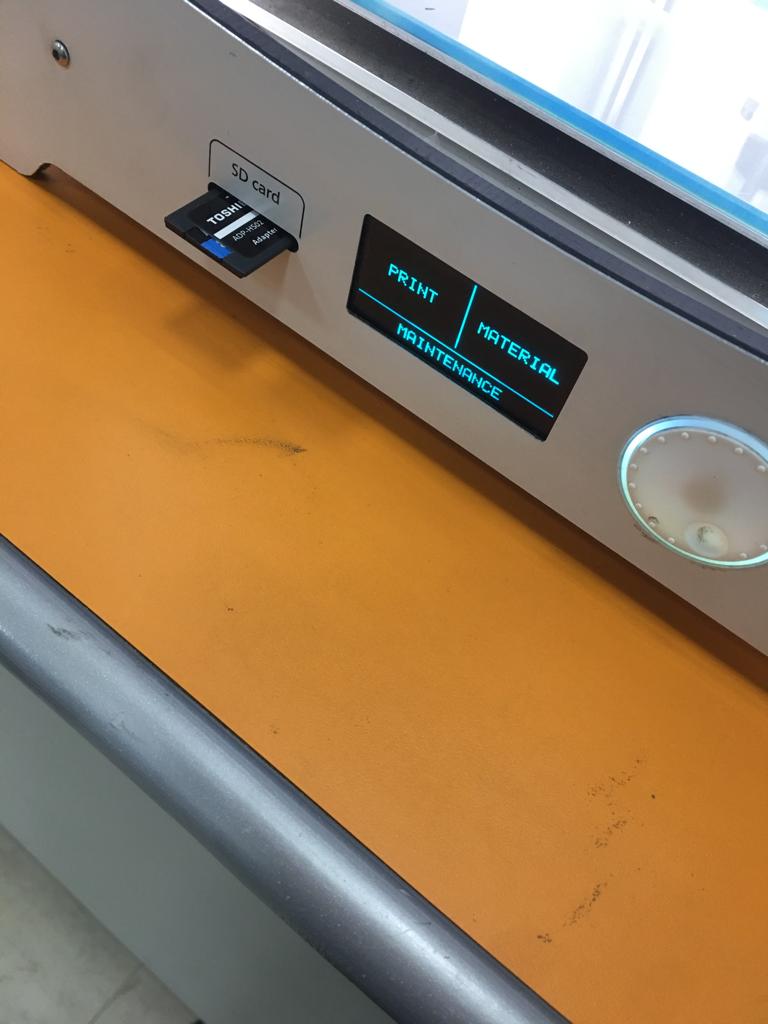
We chose the file from the card
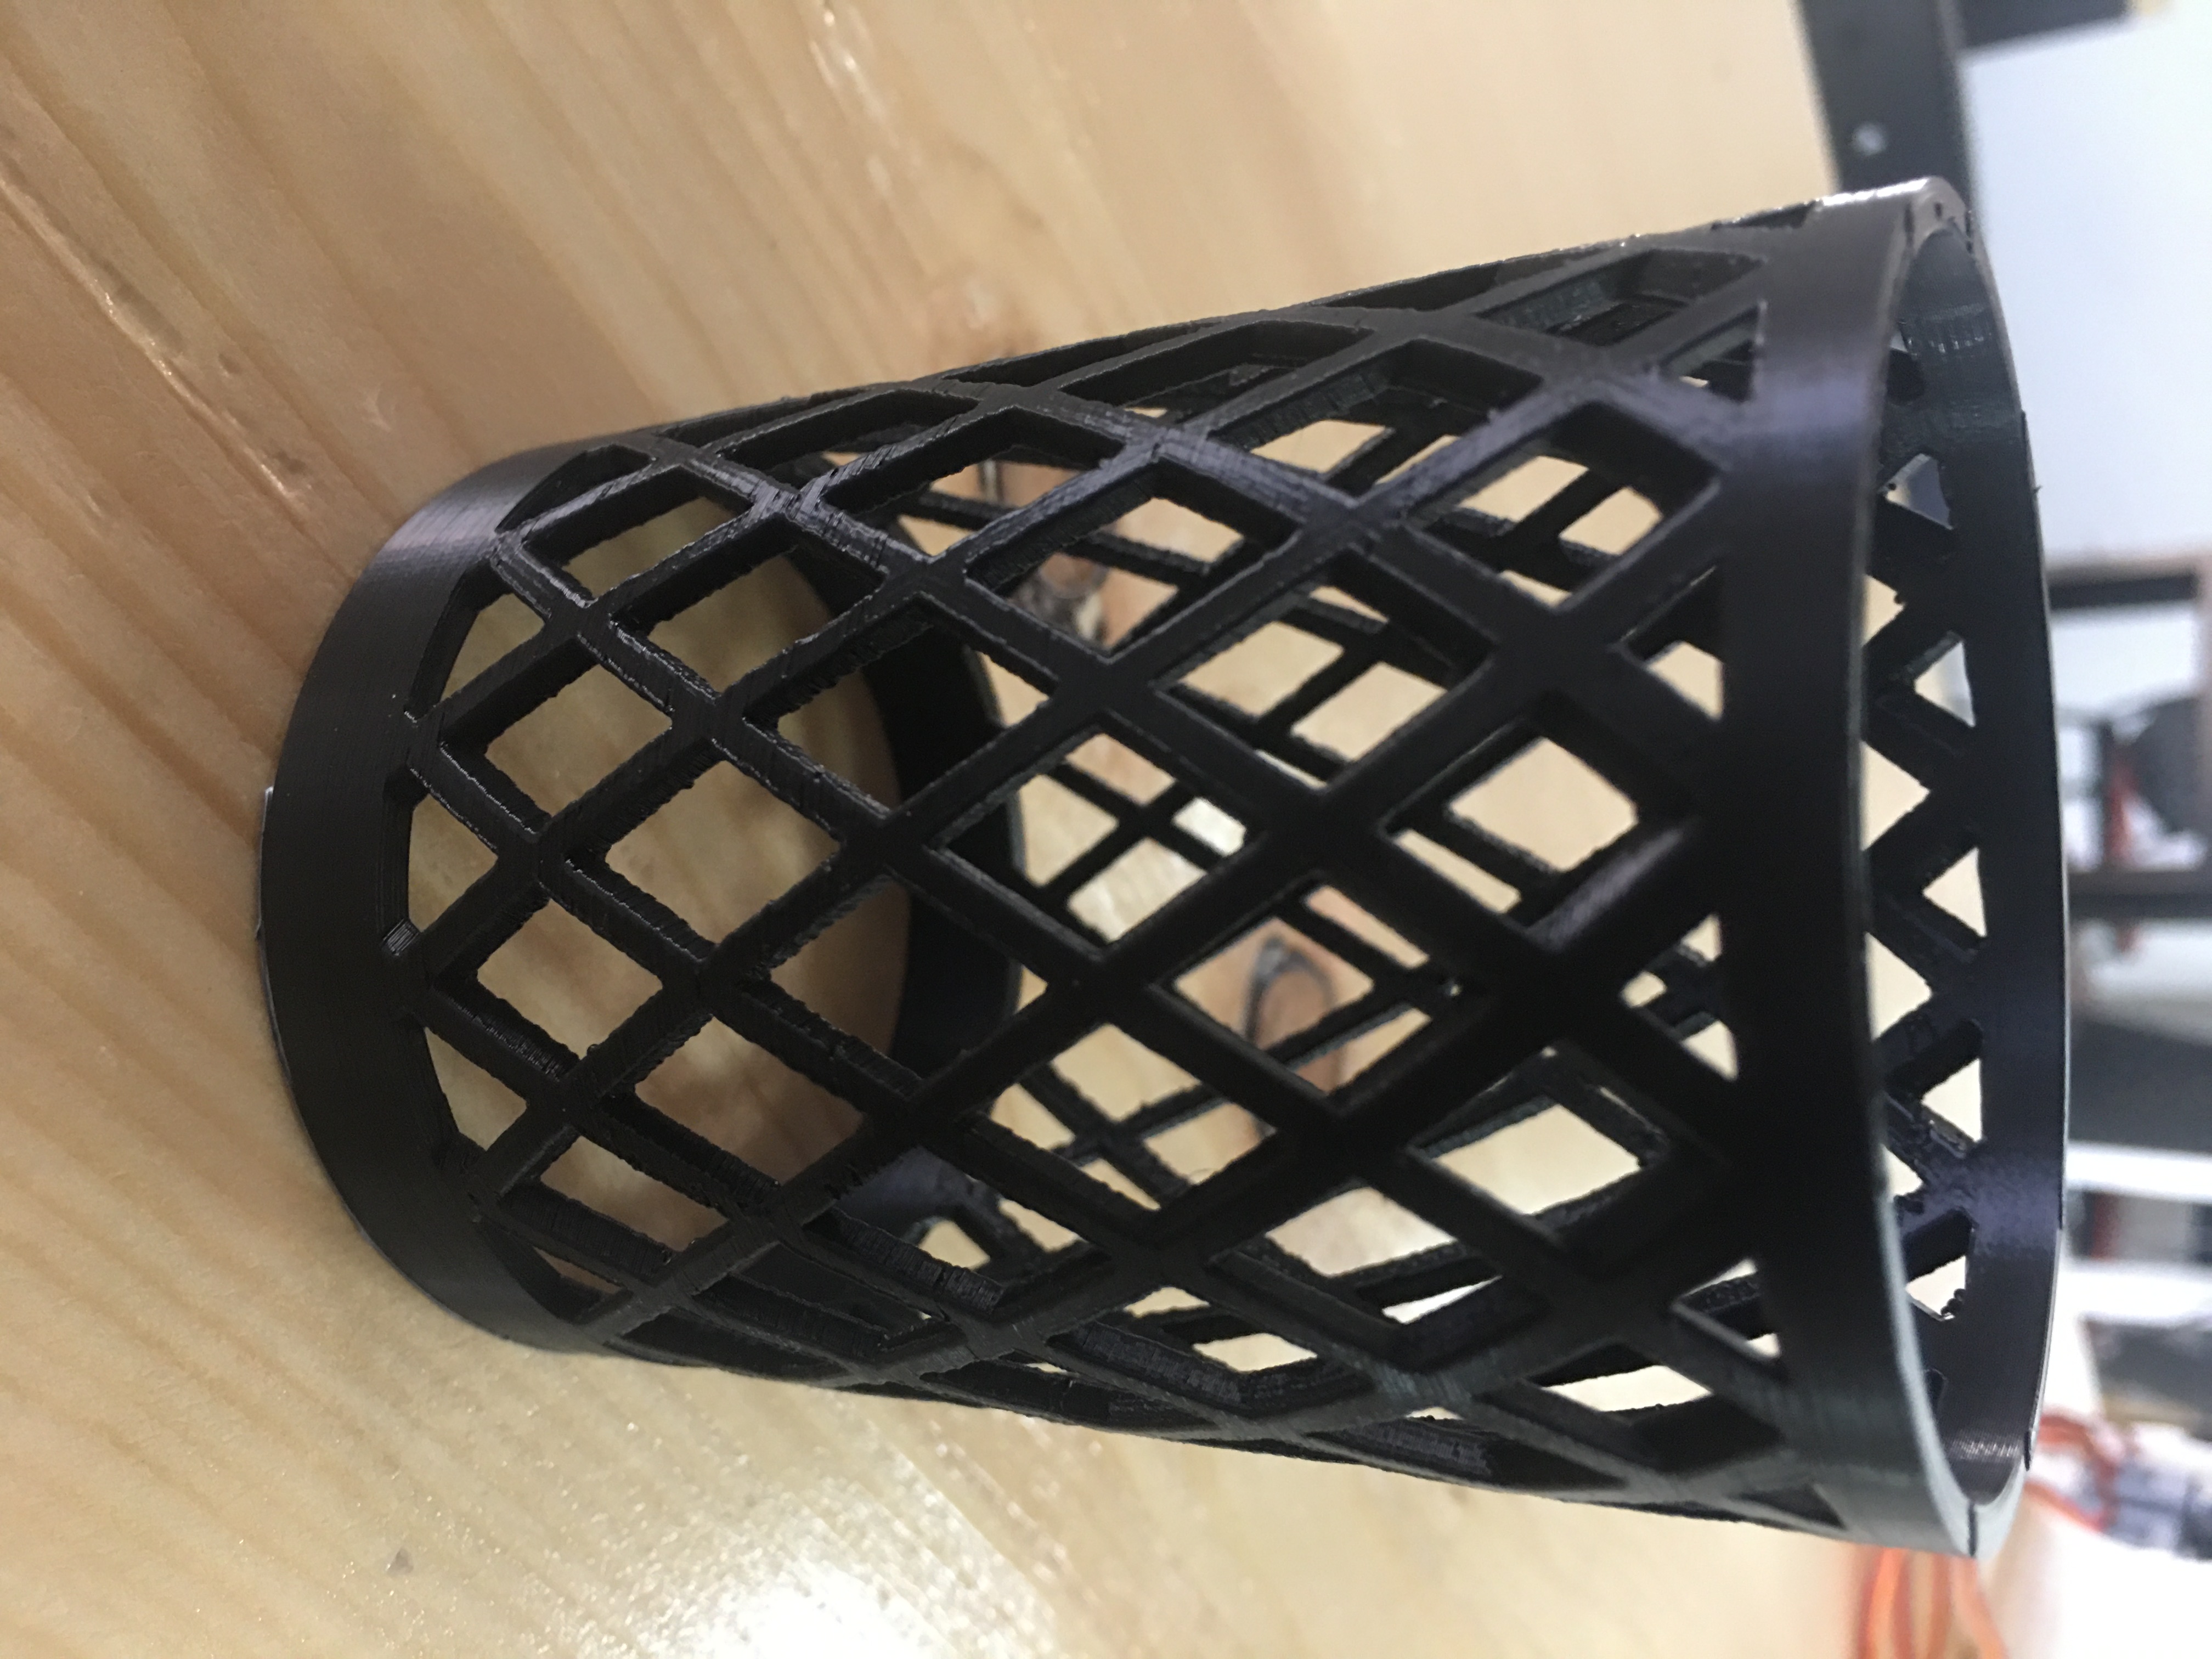
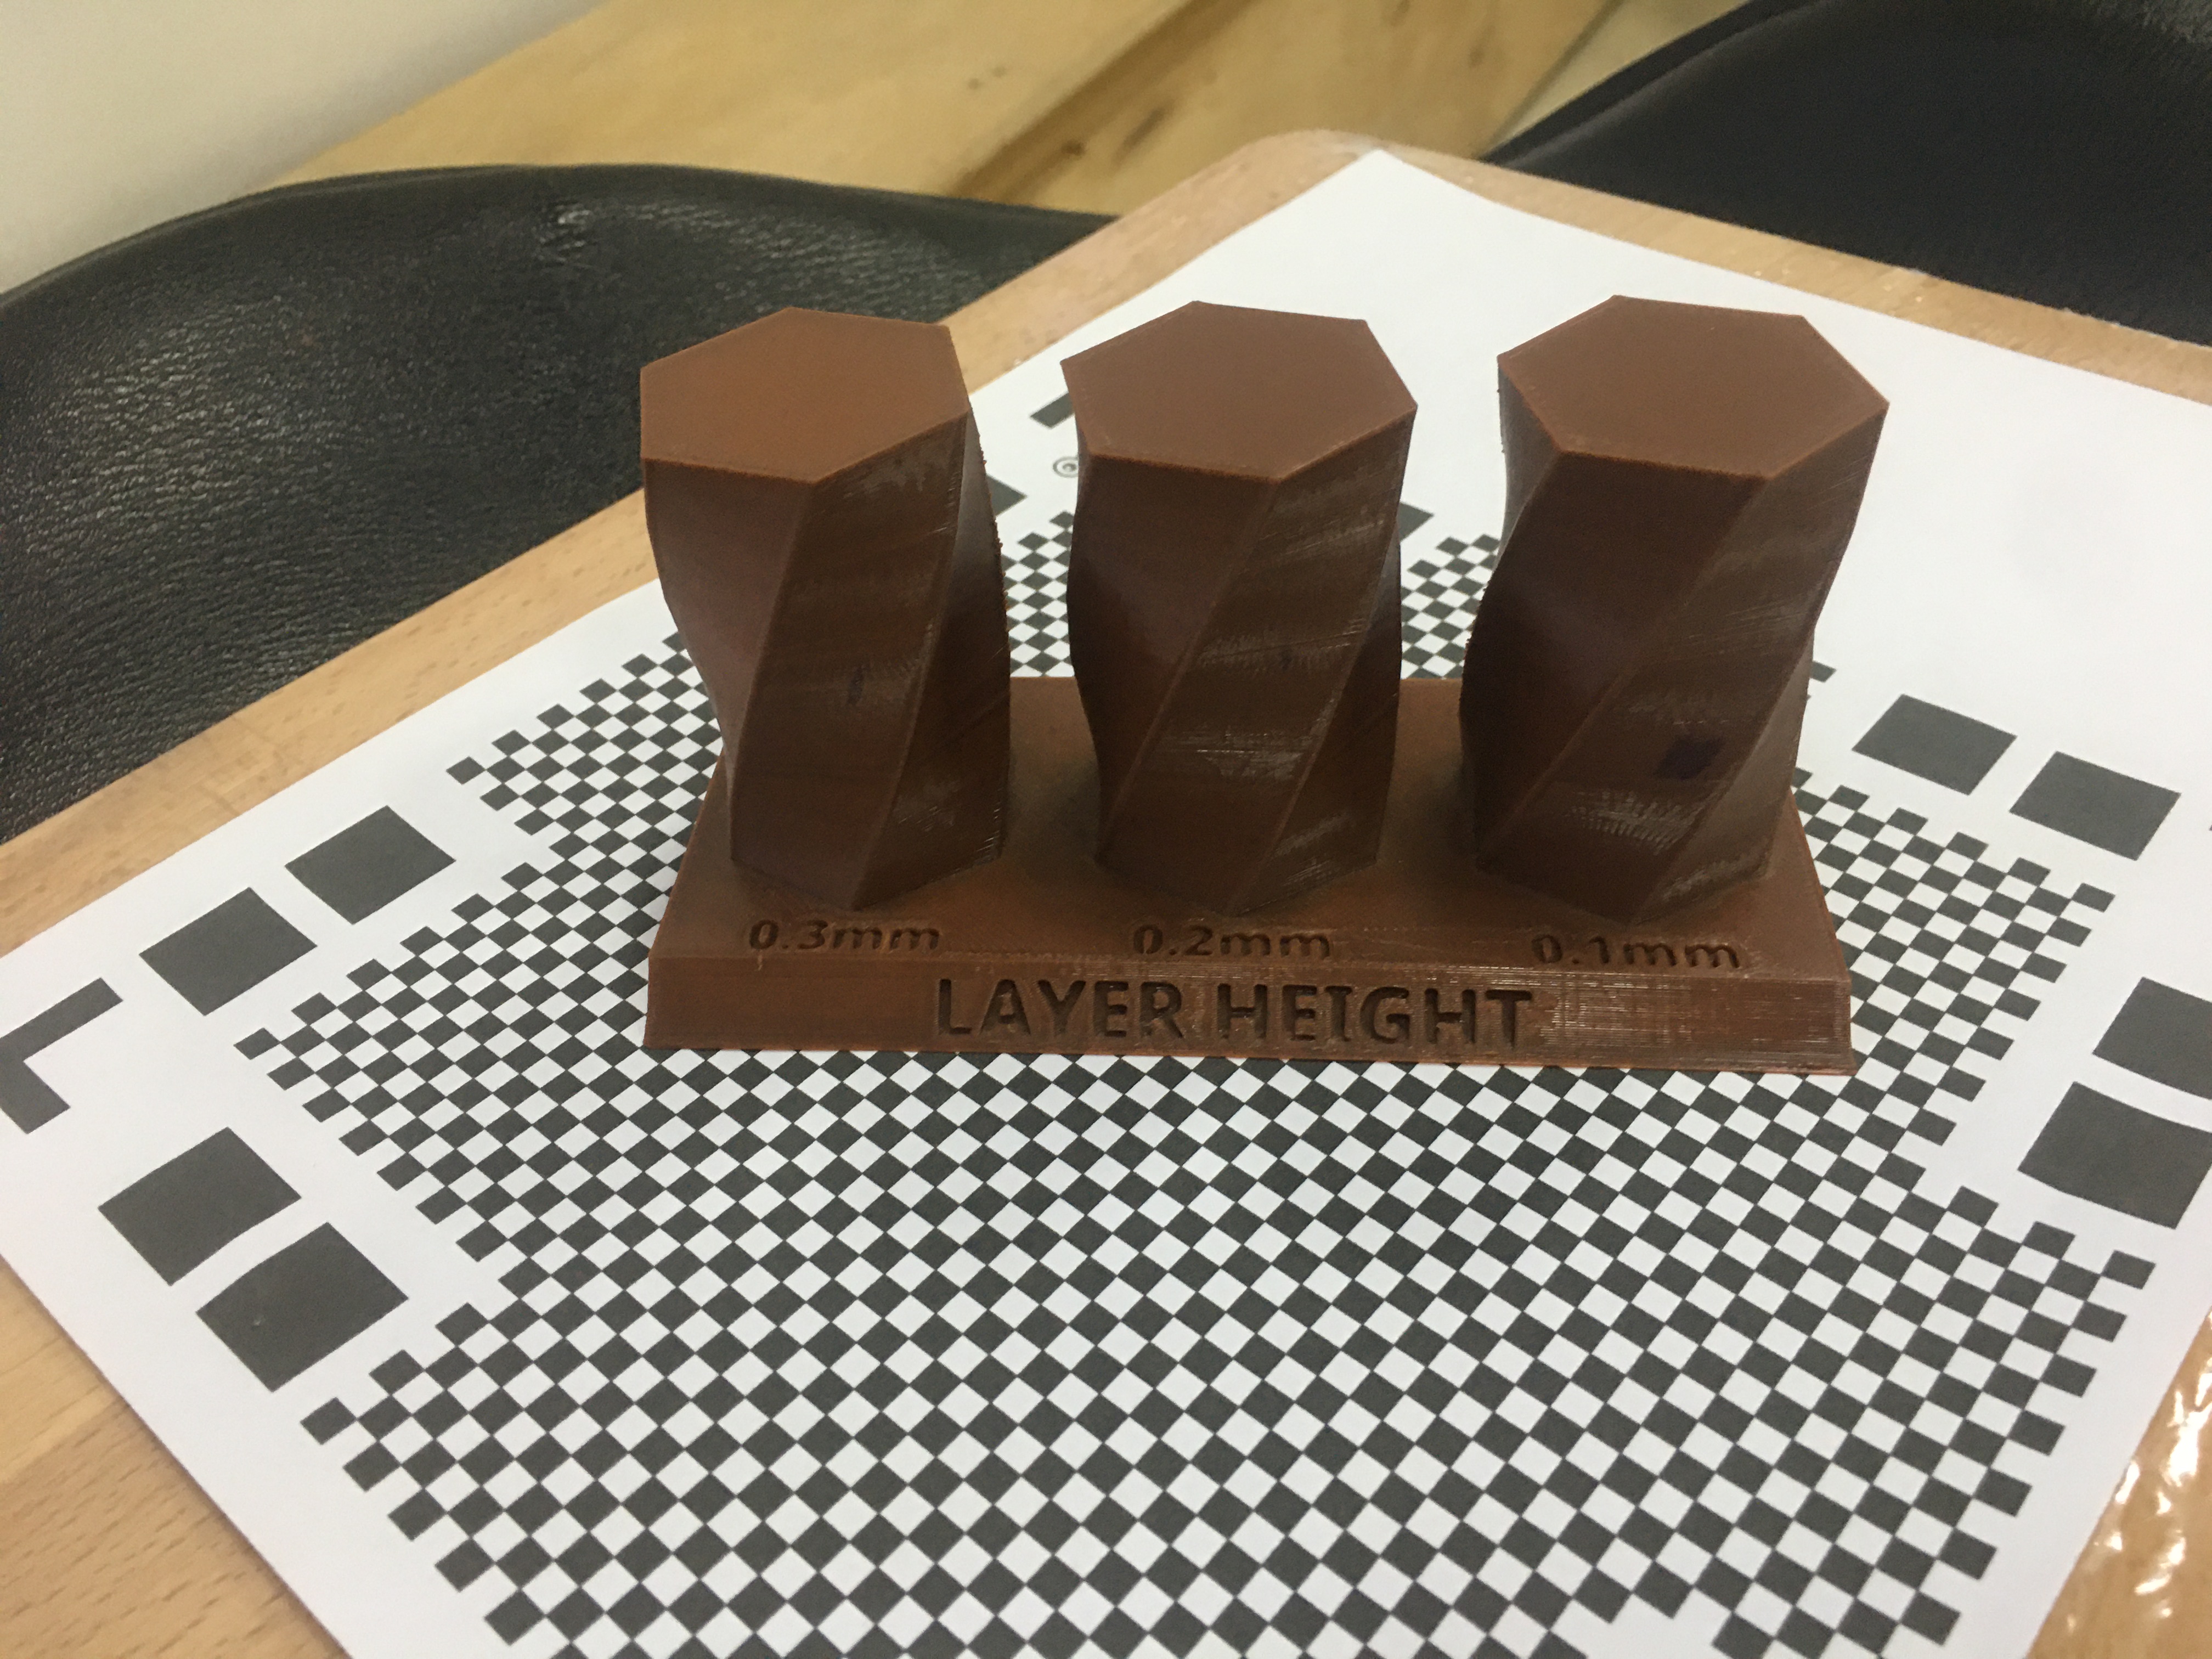
RESULTS
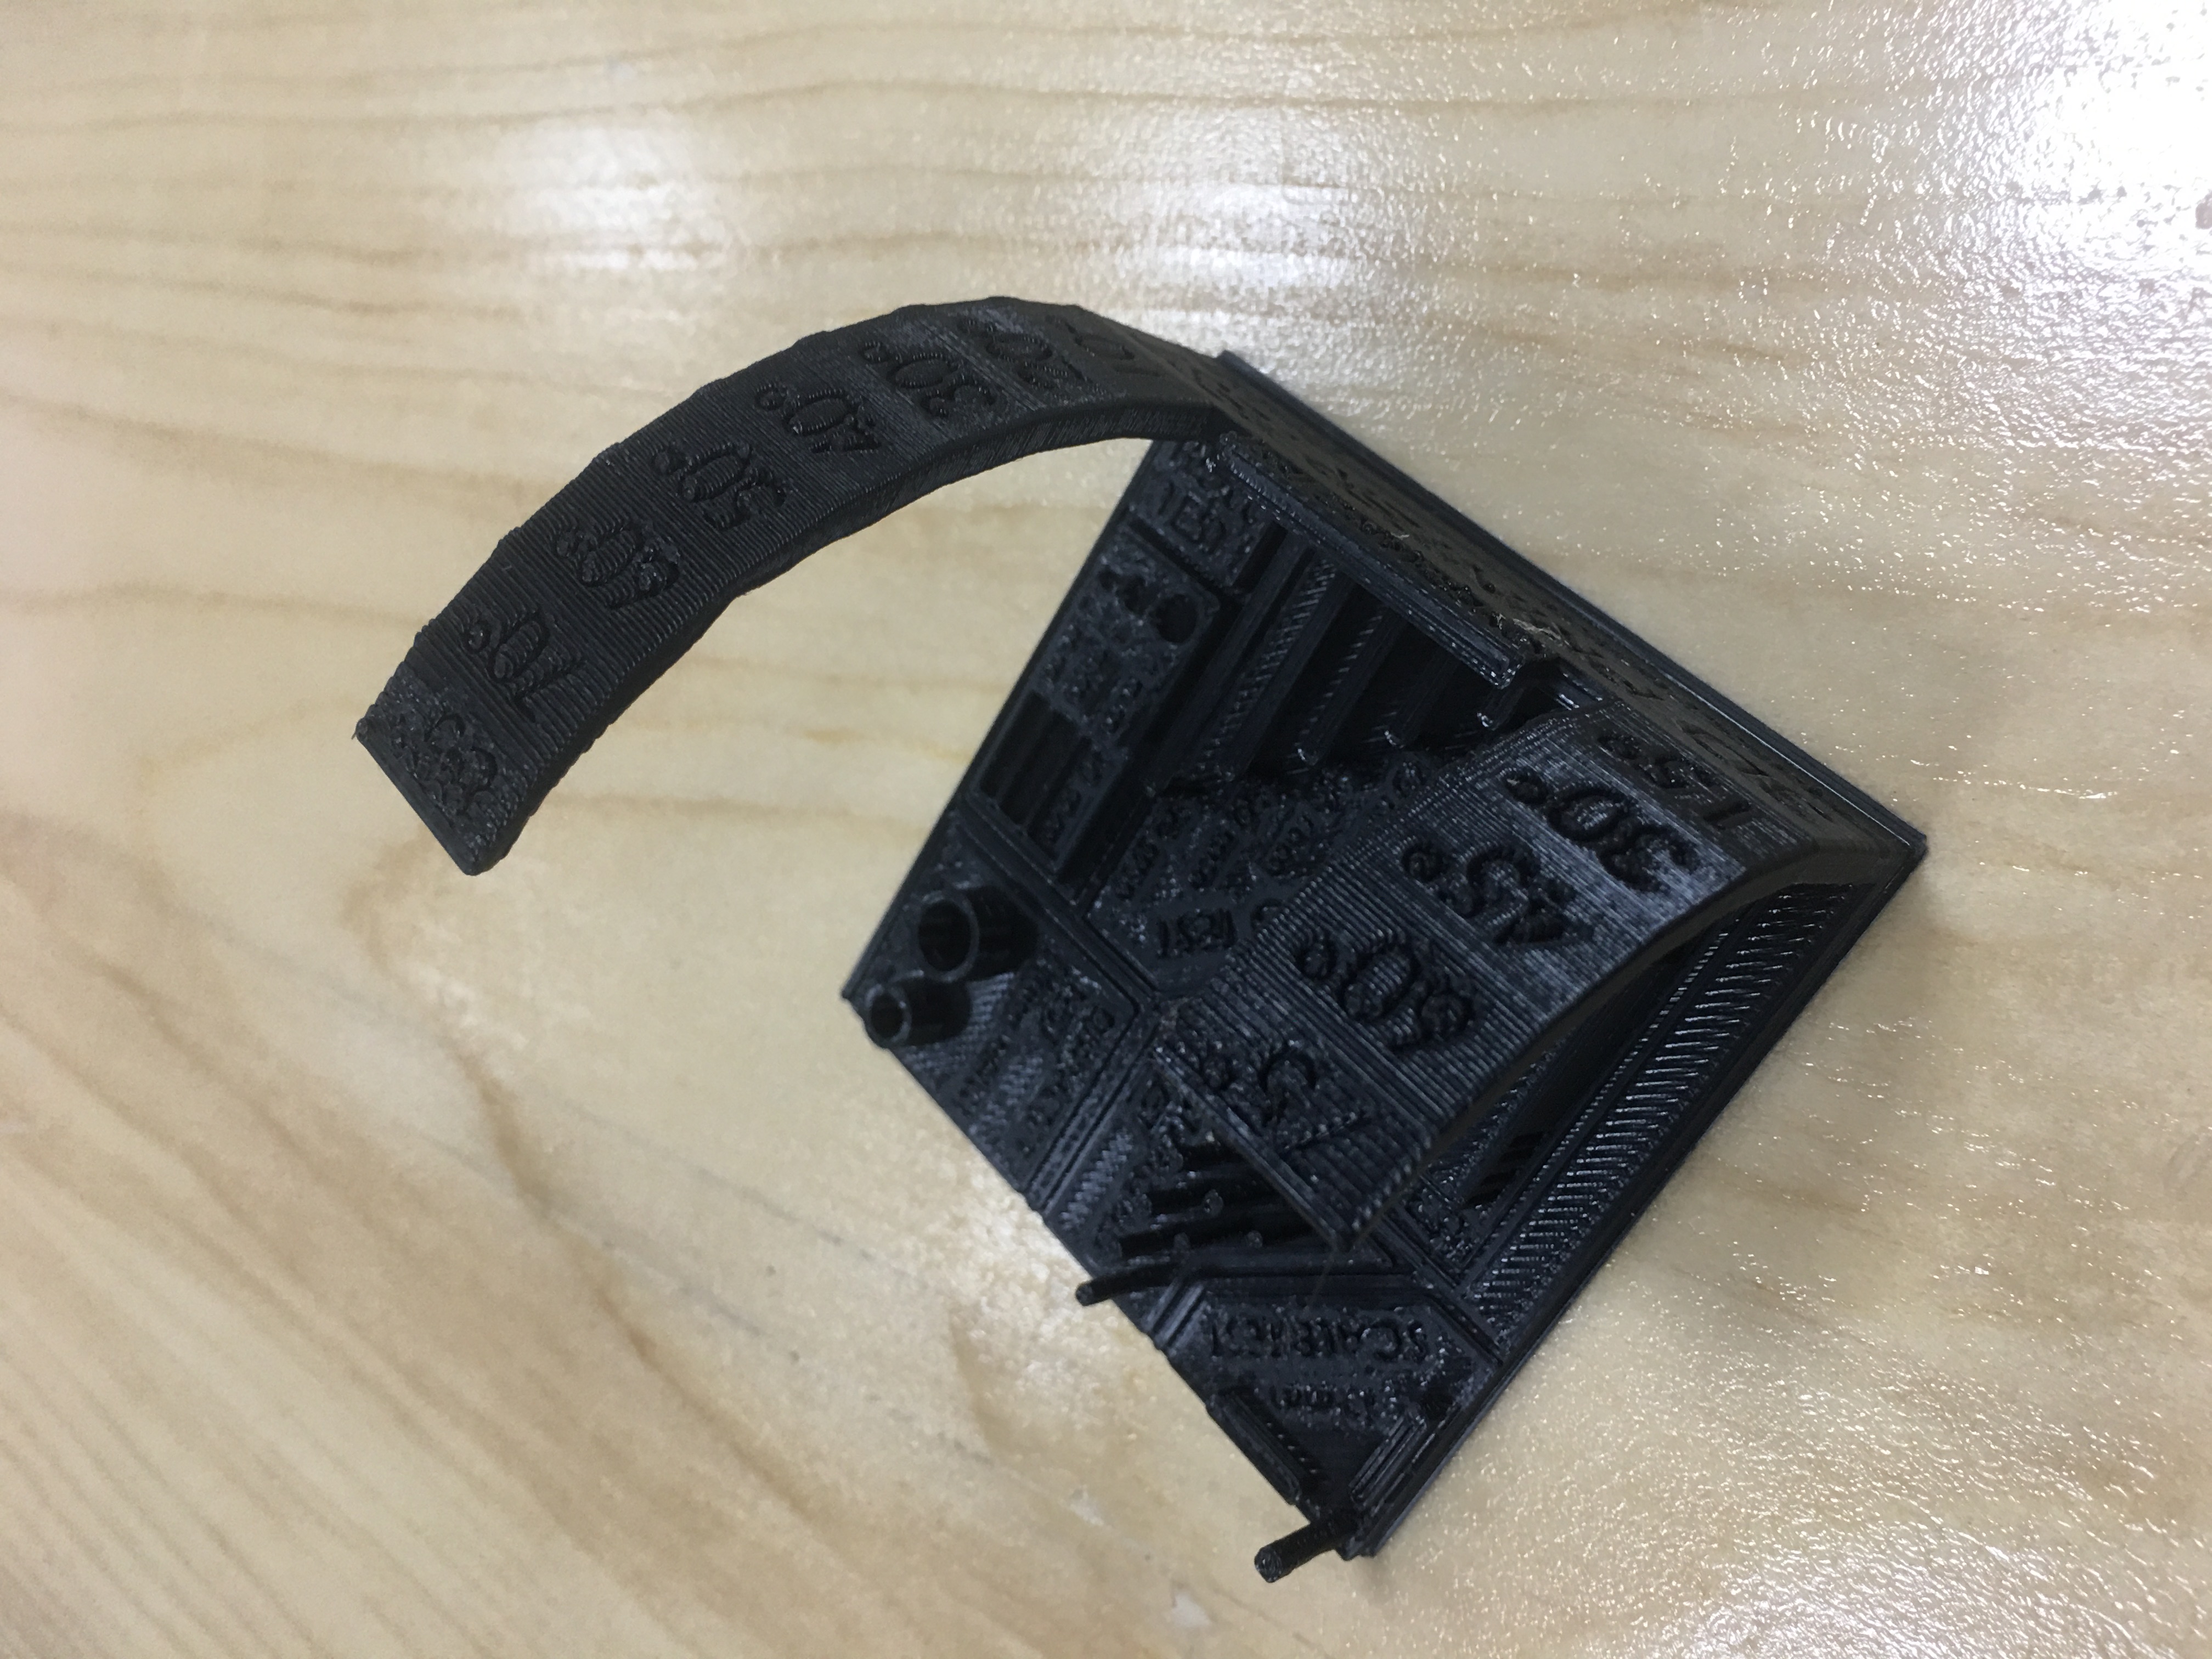
from the tree 3D printers. the ULTIMAKER results where more solid than the others showing the heat control of this machine is better than the other two but in terms of the clean finish the ULTIMAKER was a bit lacking.
INDIVIDUAL ASSESMENT
design steps
STEPS IN CURA
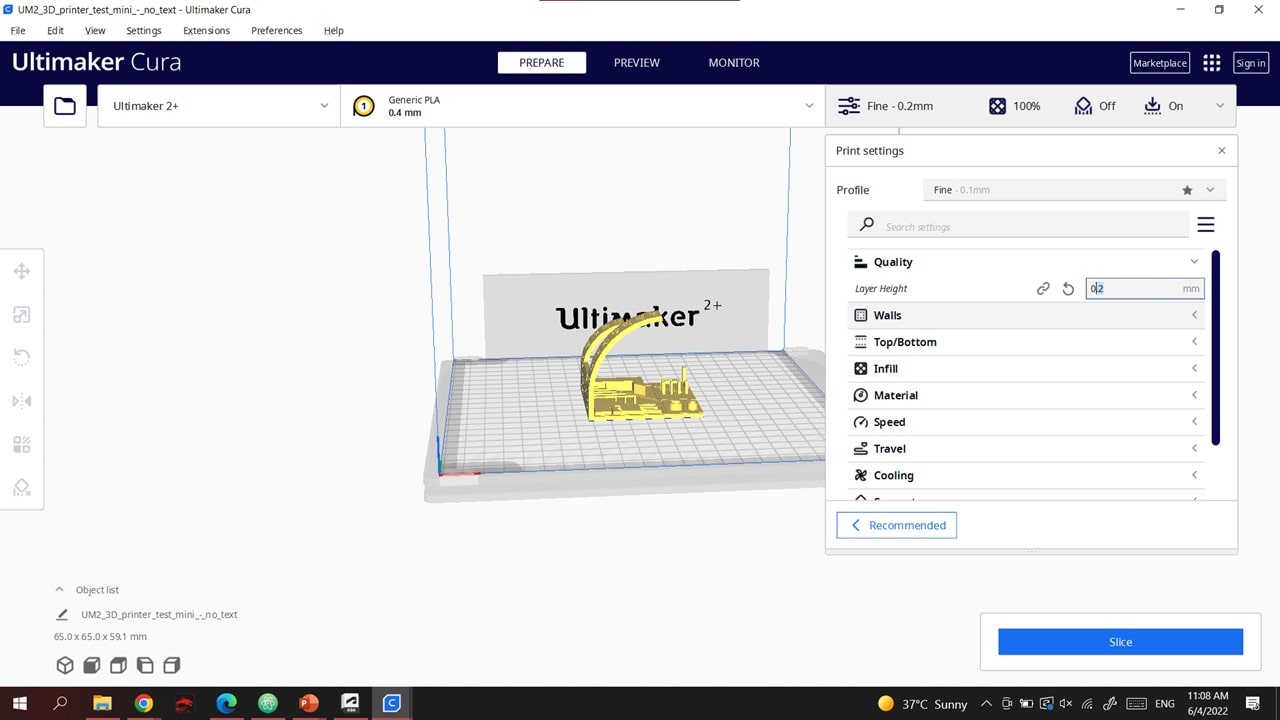
Set CURA to the printer you will be using.
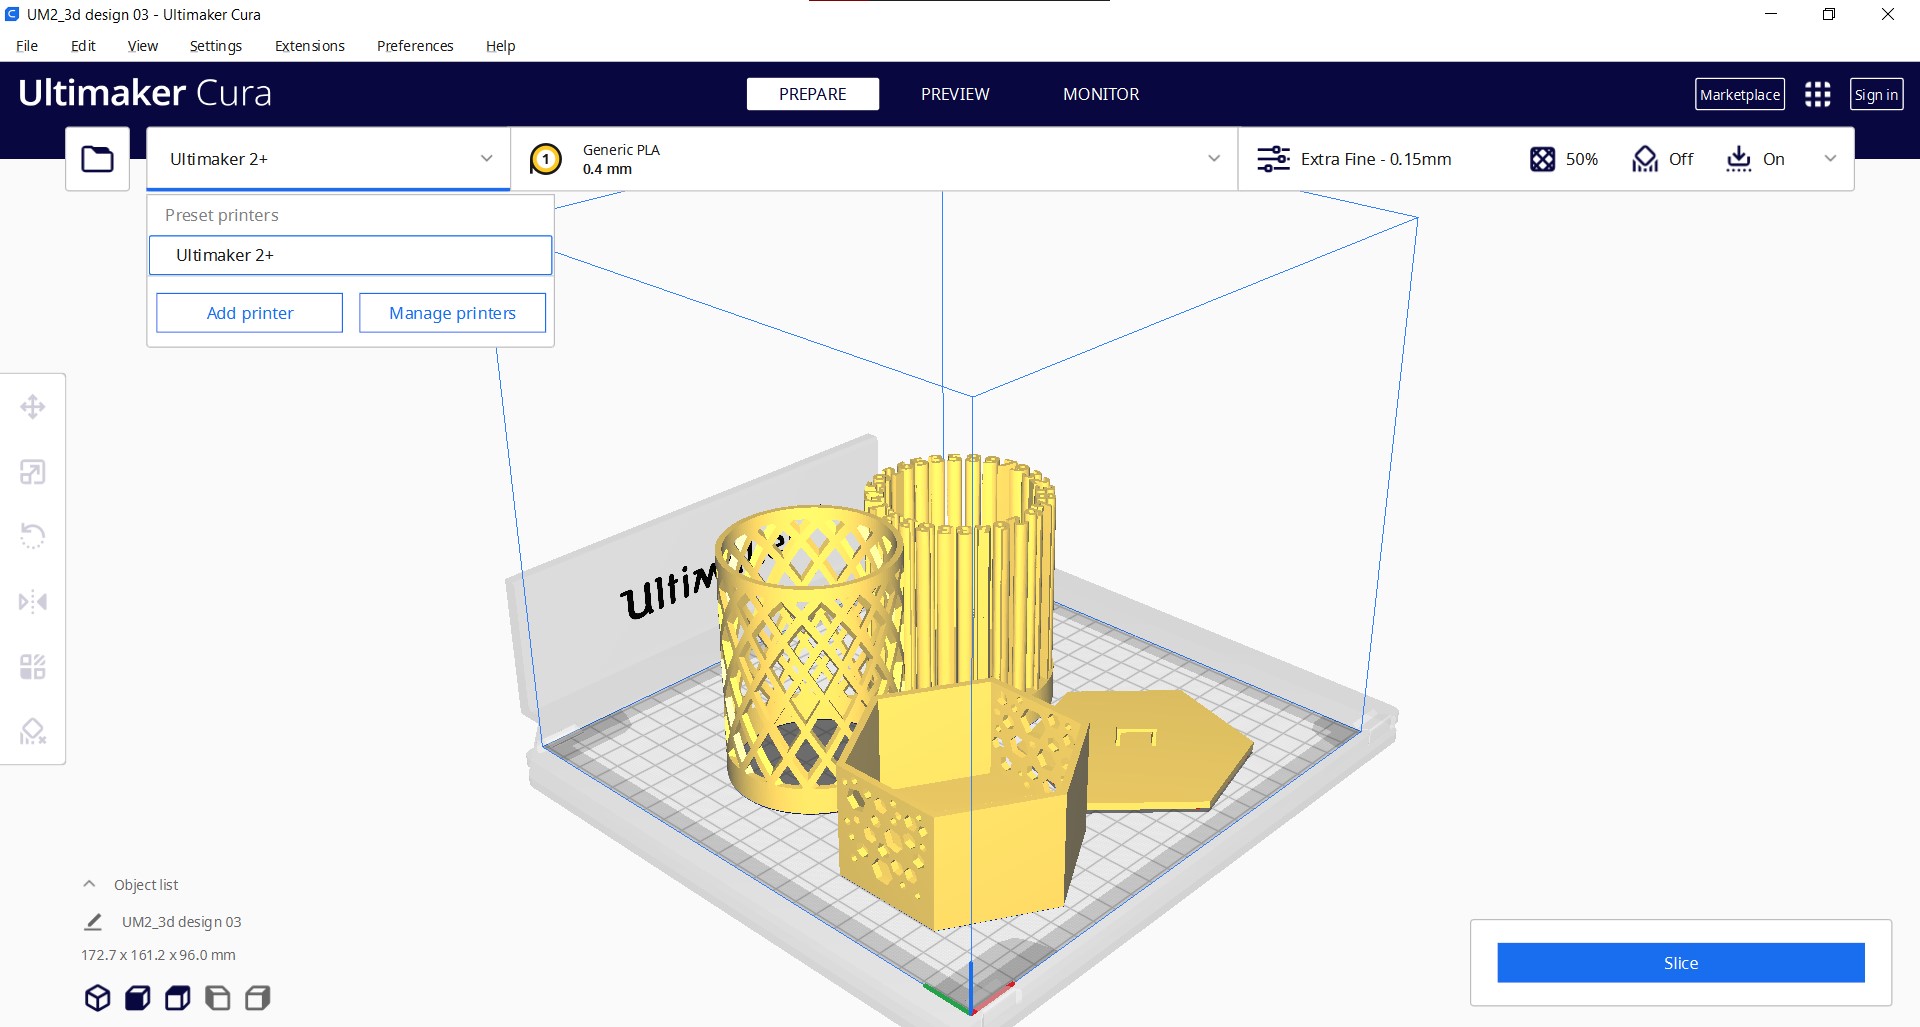
Set the material you will be using . I will be using “PLA material” so the settings will be PLA 0.4mm.

Click on slice.
Estimated time it will take for printing all the shapes.
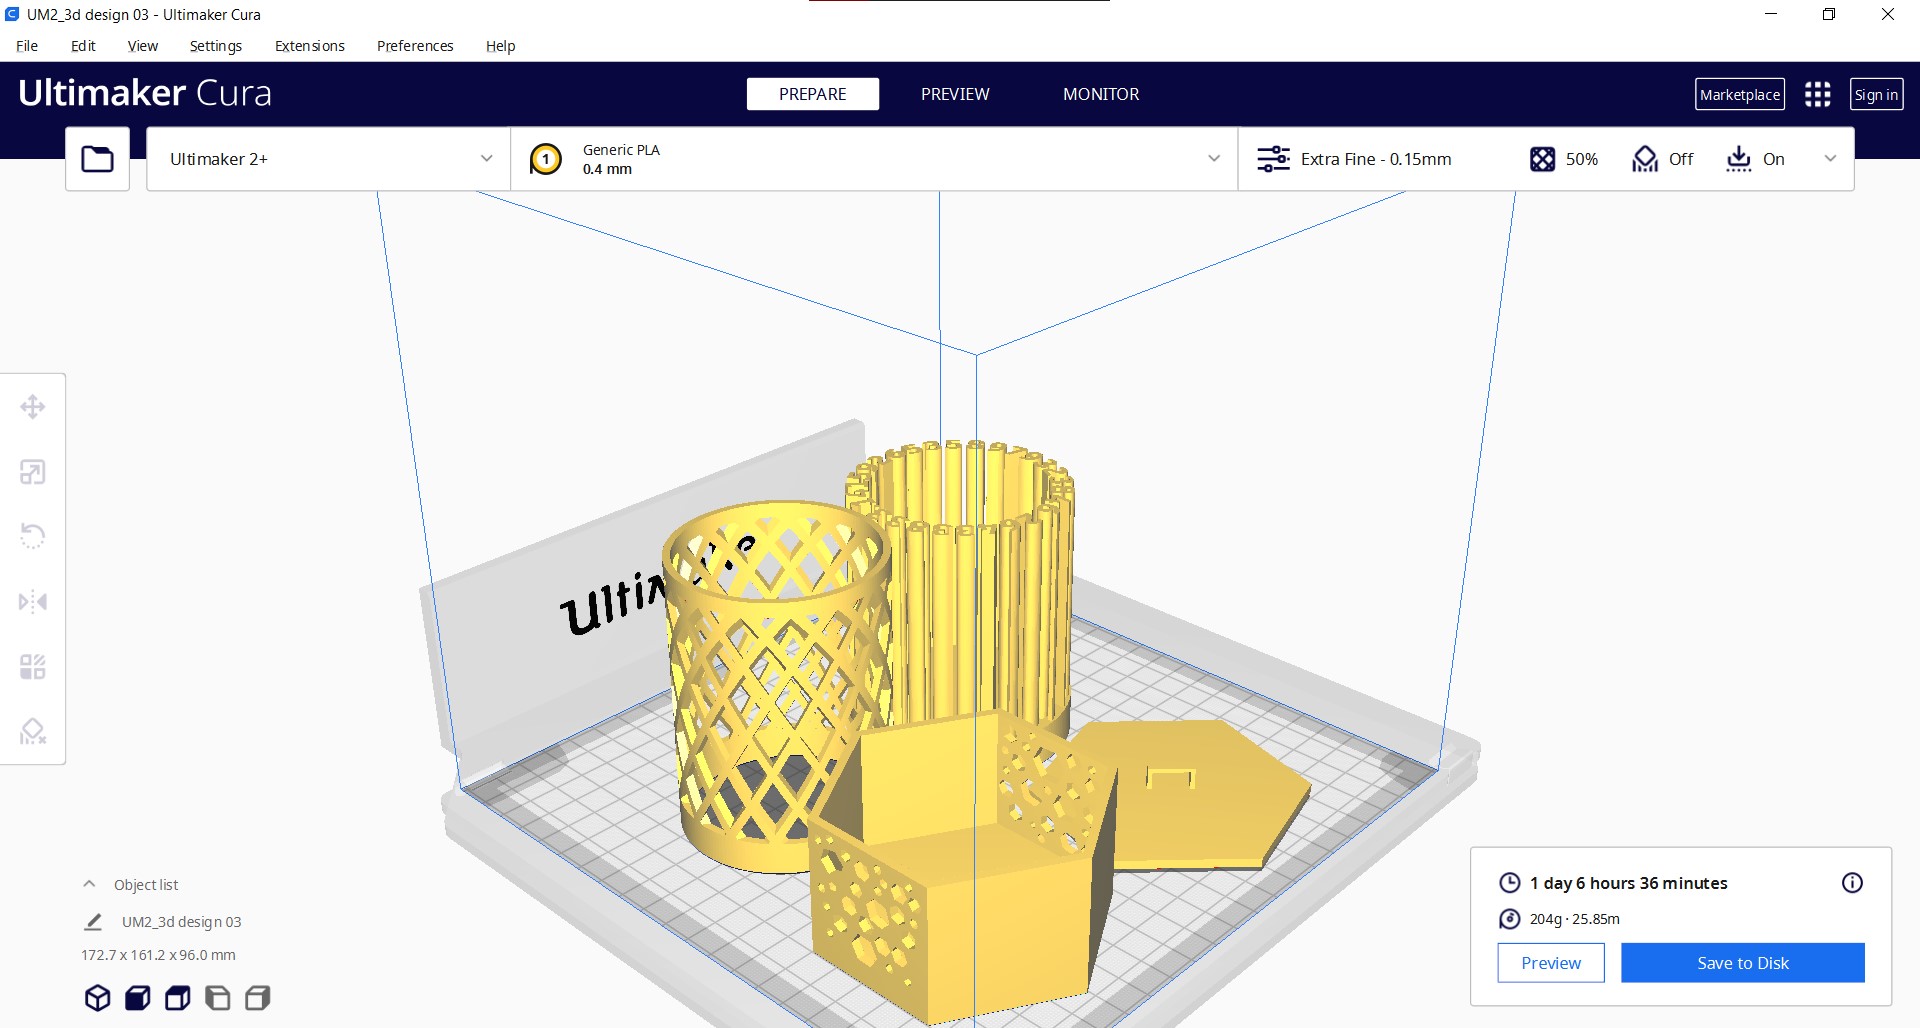
Save the file on the computer to move to the SD CARD .

RESULTS
3D SCANNING
We had to download either both or one off the apps and test it out.
QLONE
The app was very easy to use. All we had to do was set the 3d model on a bed , which was a paper with something printed on it that looks similar to a QR code.
WE had to go around the shape to scan it from all directions
in our case we used a rotating chair to make the process easier
The Dome shown in the picture helps in scanning the shape layer by layer , it also indicate how much been scanned , and if the four edges of the paper are not within the frame it will change to Red .
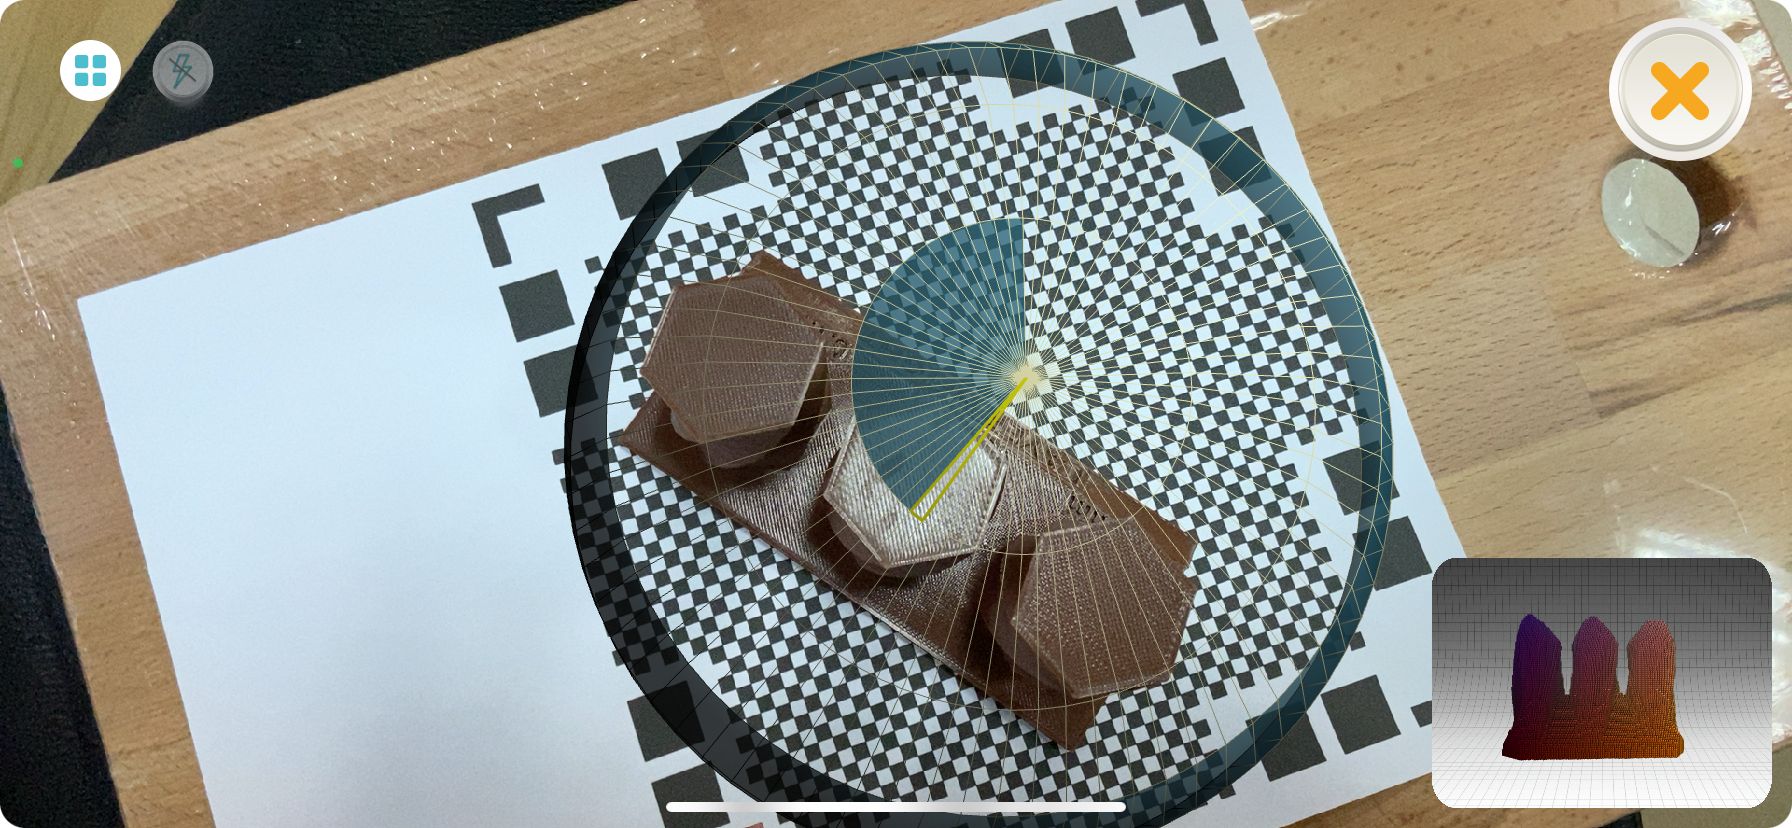
Once you are done scanning it will show up like this in the program.