6. Large format CNC (computer controlled Machining)
In this week we learned about the CNC and how to use the machine. We also learned how design on a bigger scale .
What is CNC ??
CNC stands for Computer Numerical control which is the automated control of machining tools by means of a computer.
A CNC machine is a subtractive machine it processes a piece of material to meet specifications by following coded programmed instructions and without a manual operator directly controlling the machining operation.
GROUP ASSESSMENT
For the group assessment we tested the machine to get the best settings for the material we will be using.
INDIVIDUAL ASSESSMENT
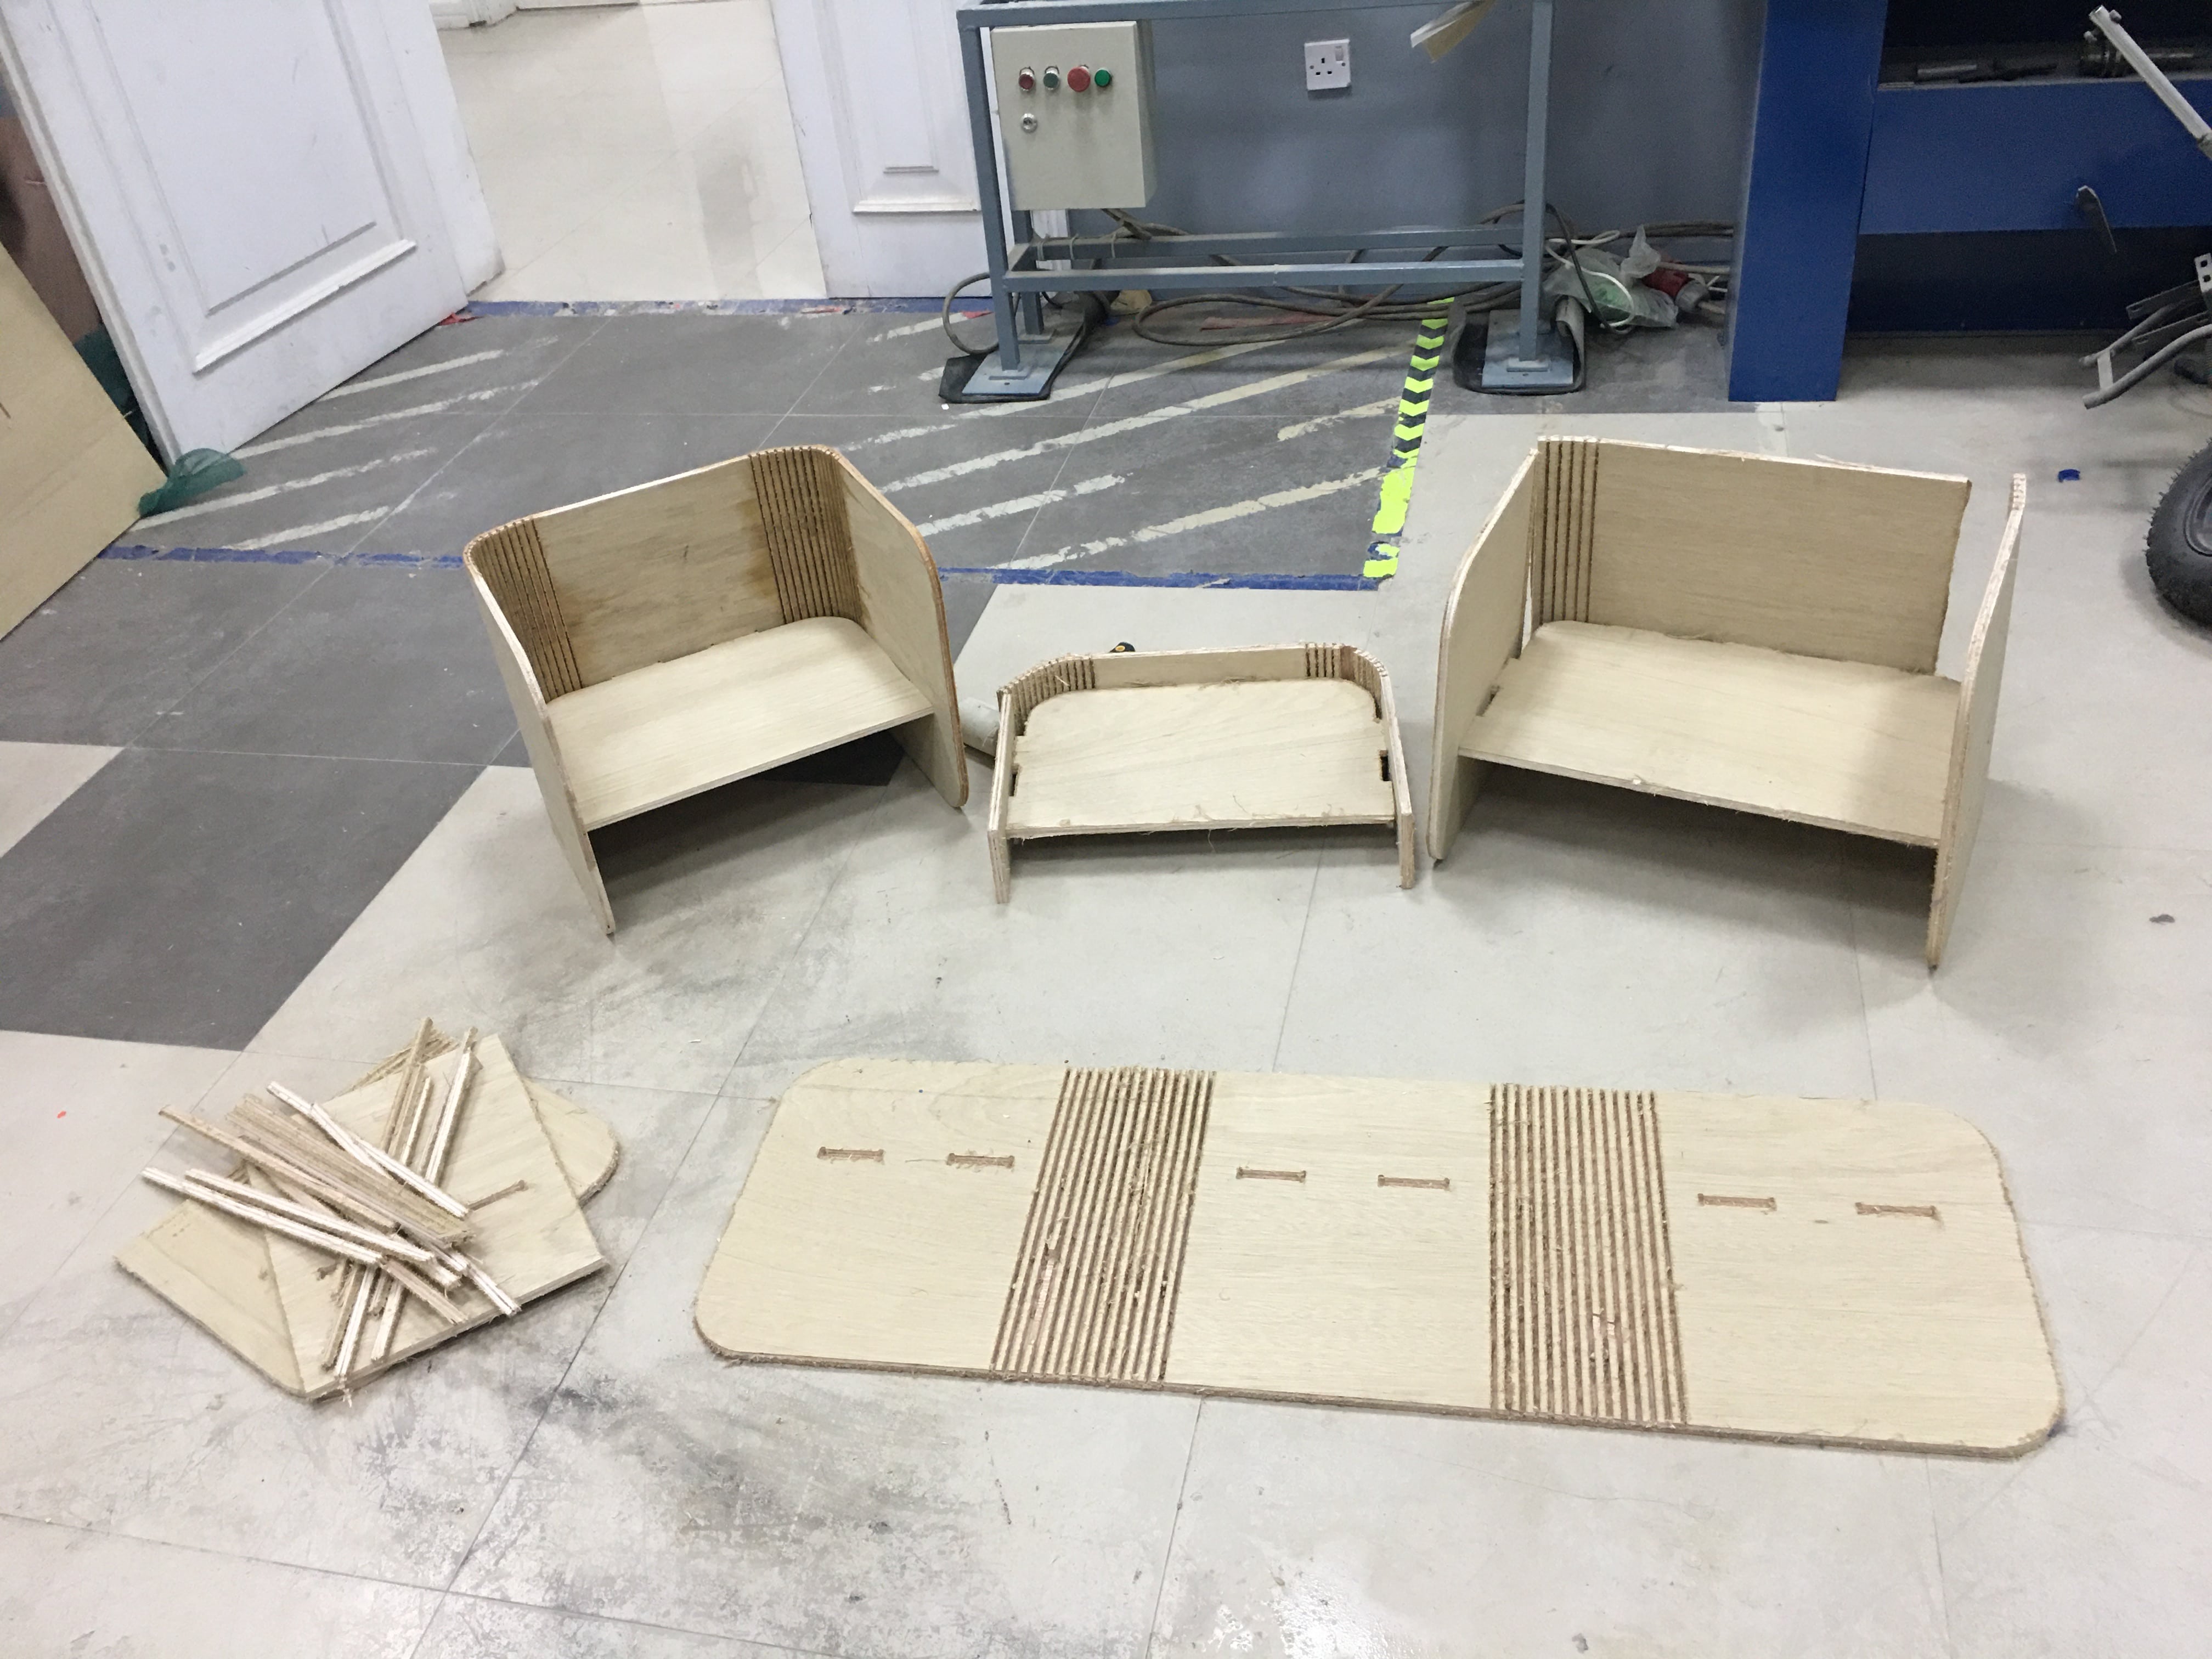
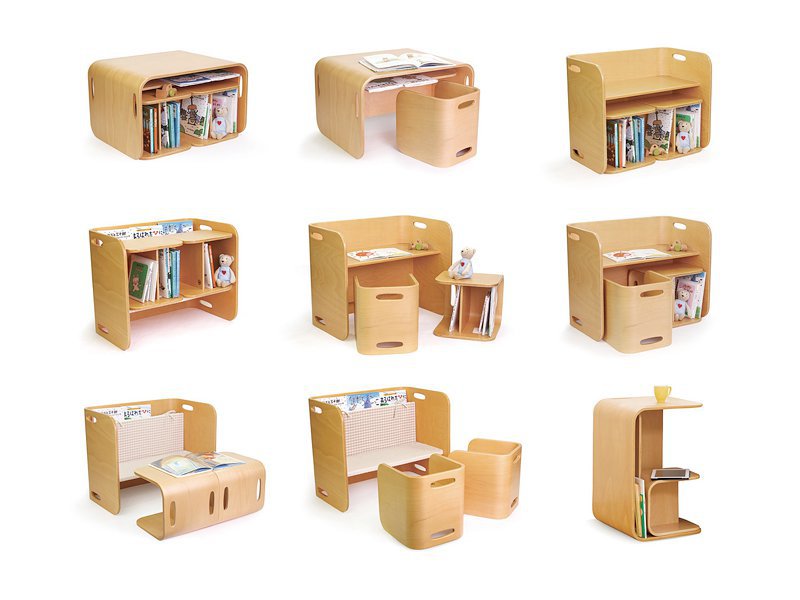
For the individual assessment we were asked to design a furniture for children use.
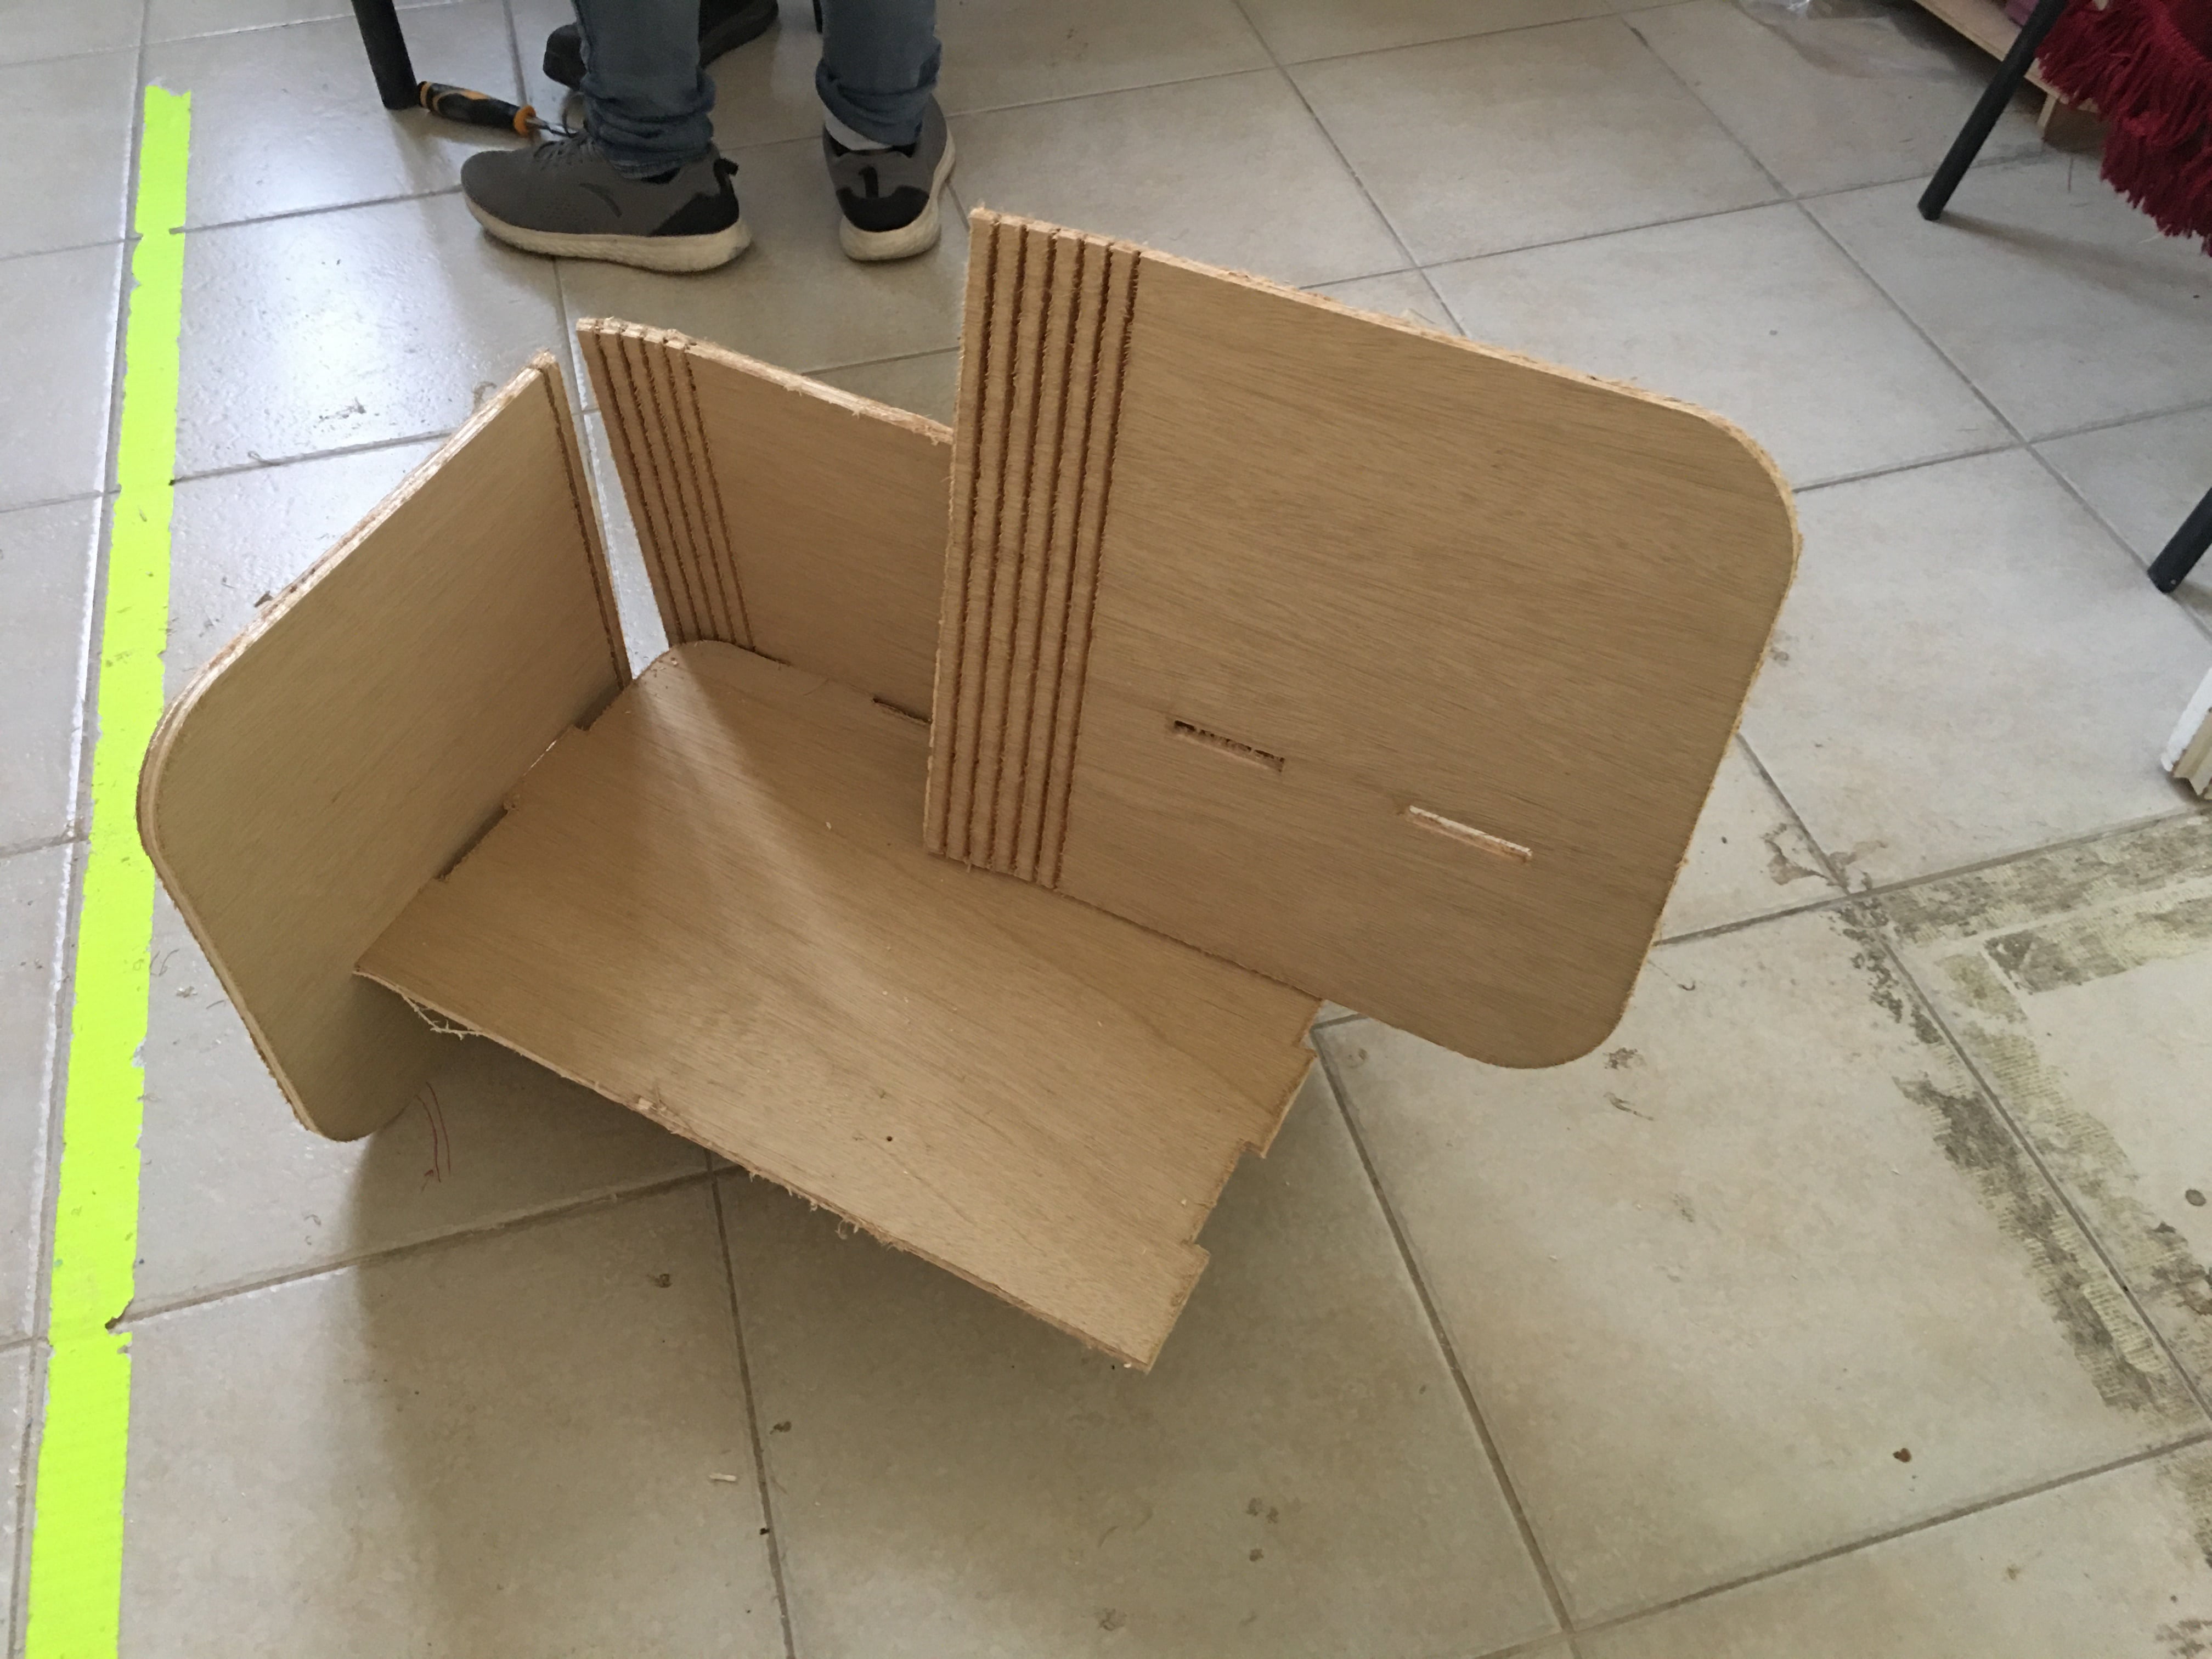
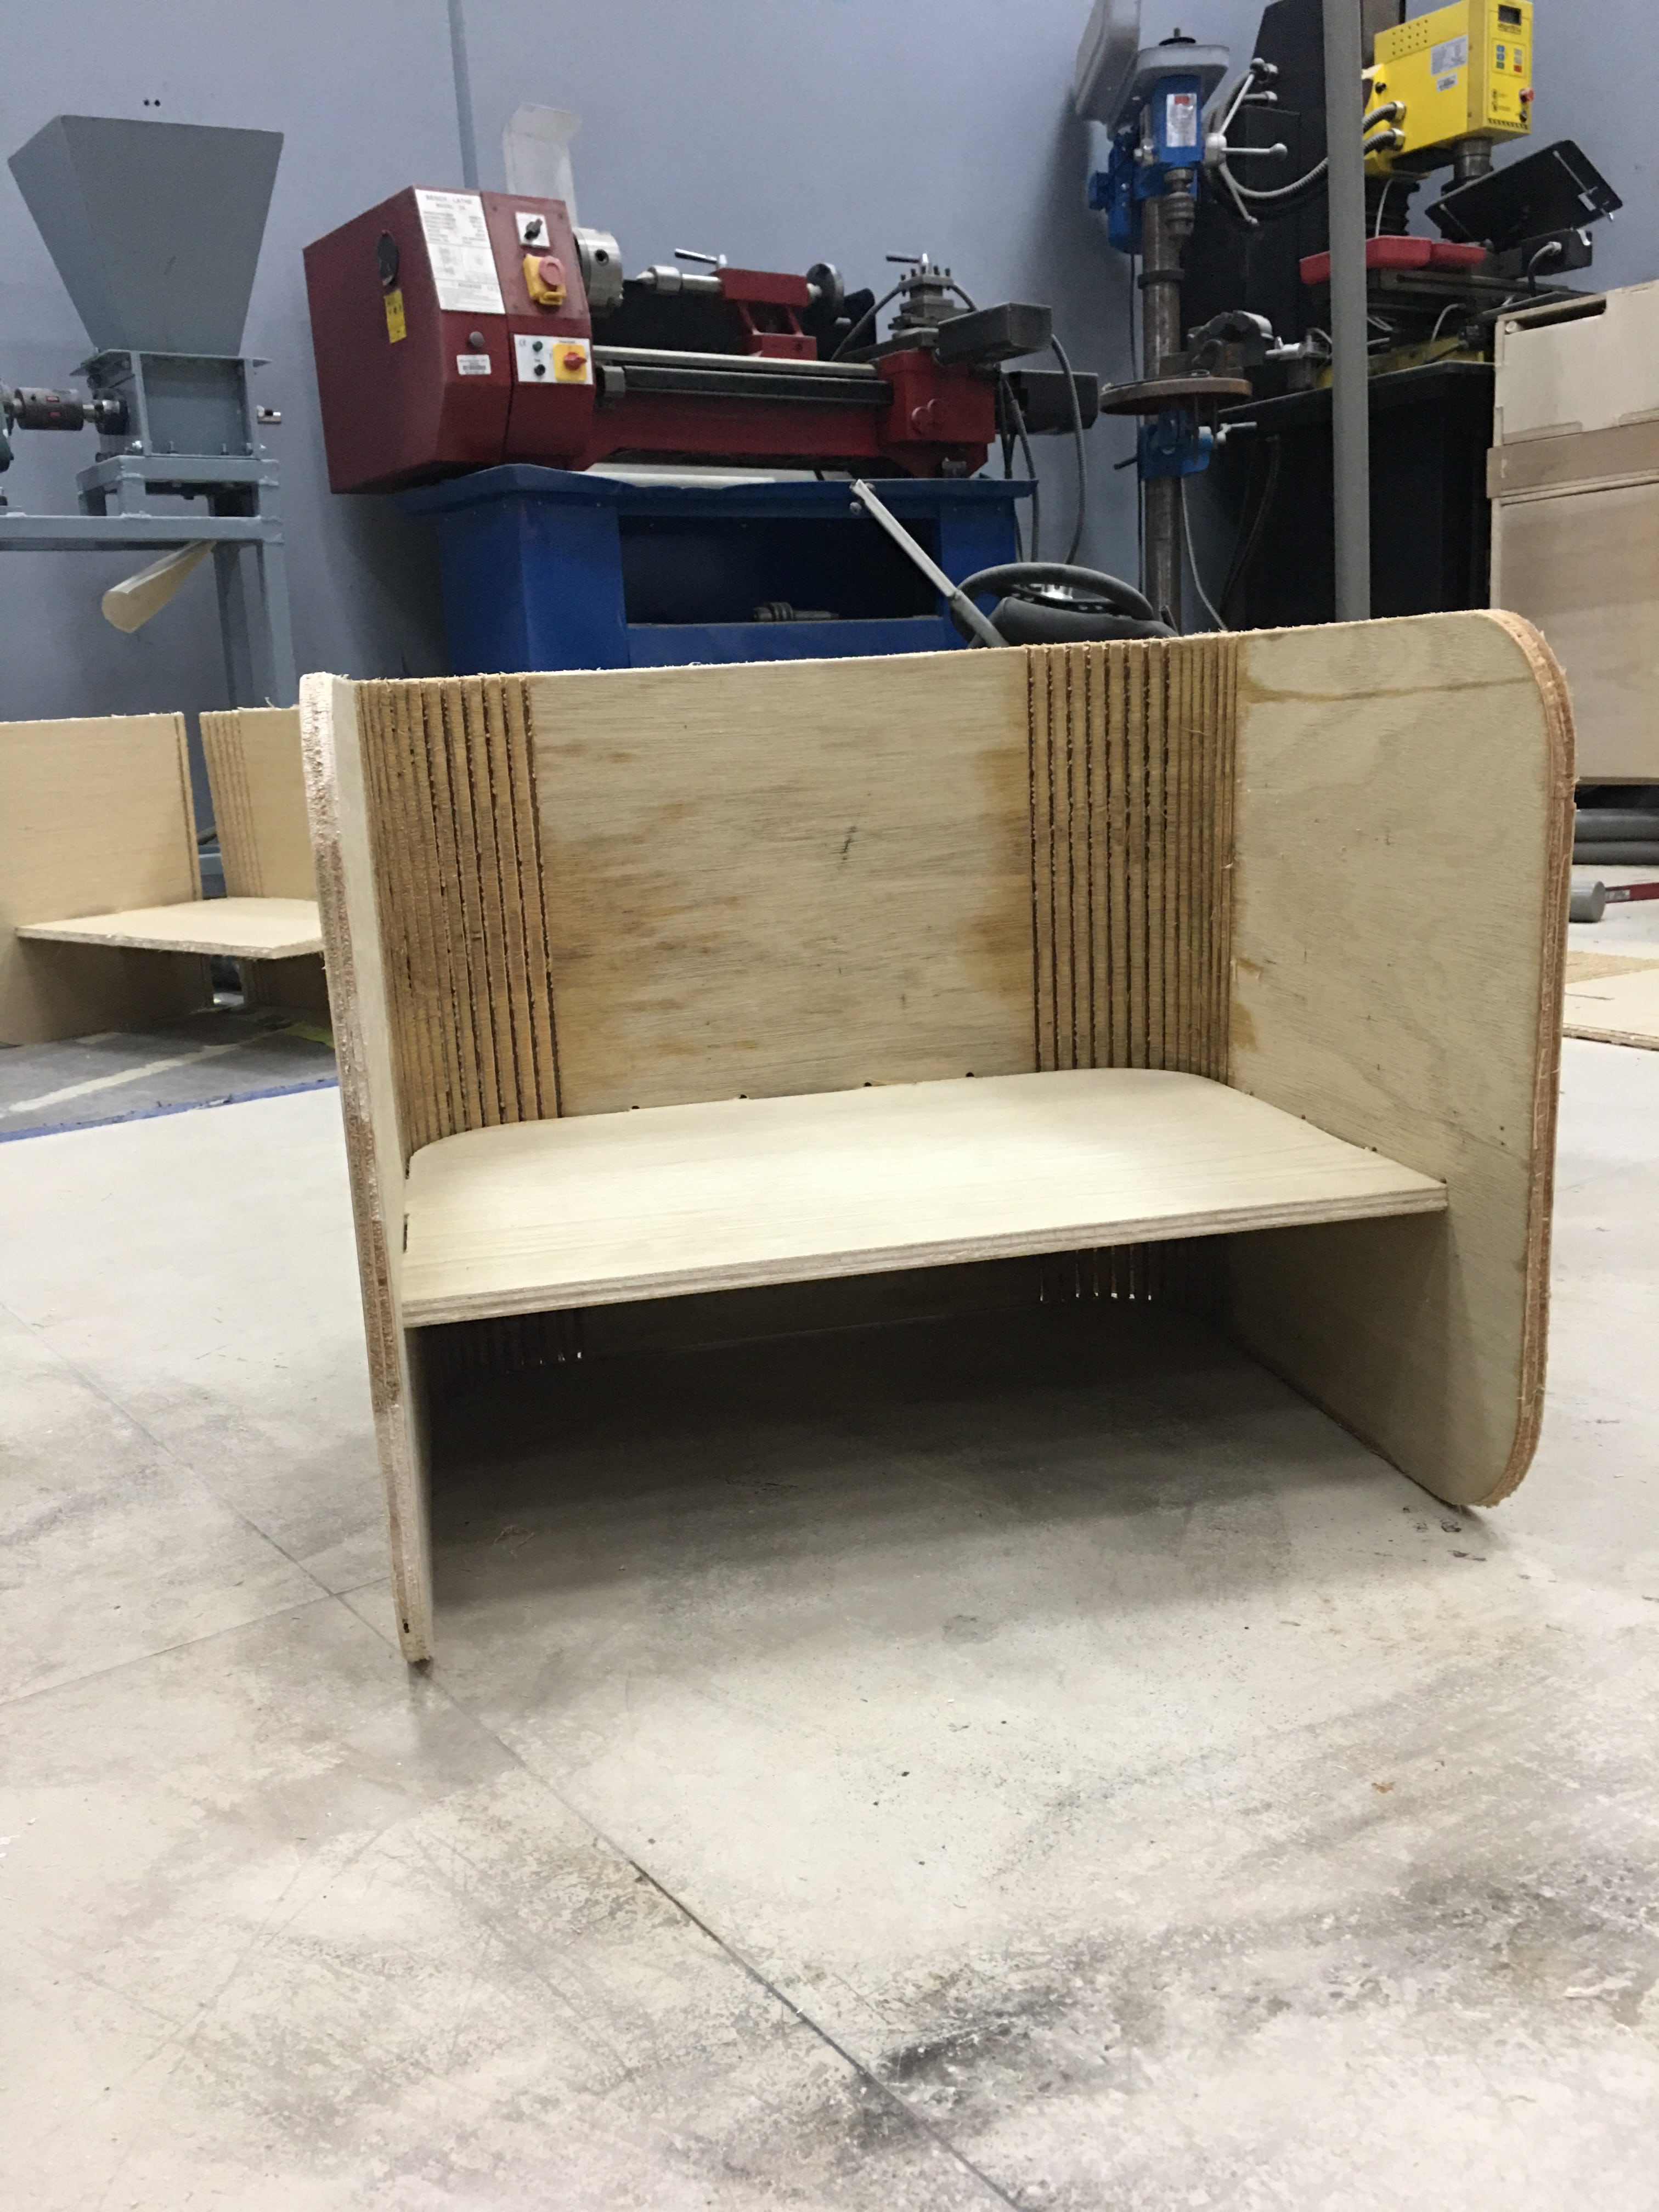
I decided to design a multitasking furniture, where it can be used as a table or as a shelf or a chair.
I started designing using fusion after researching about the suitable dimensions for children use.
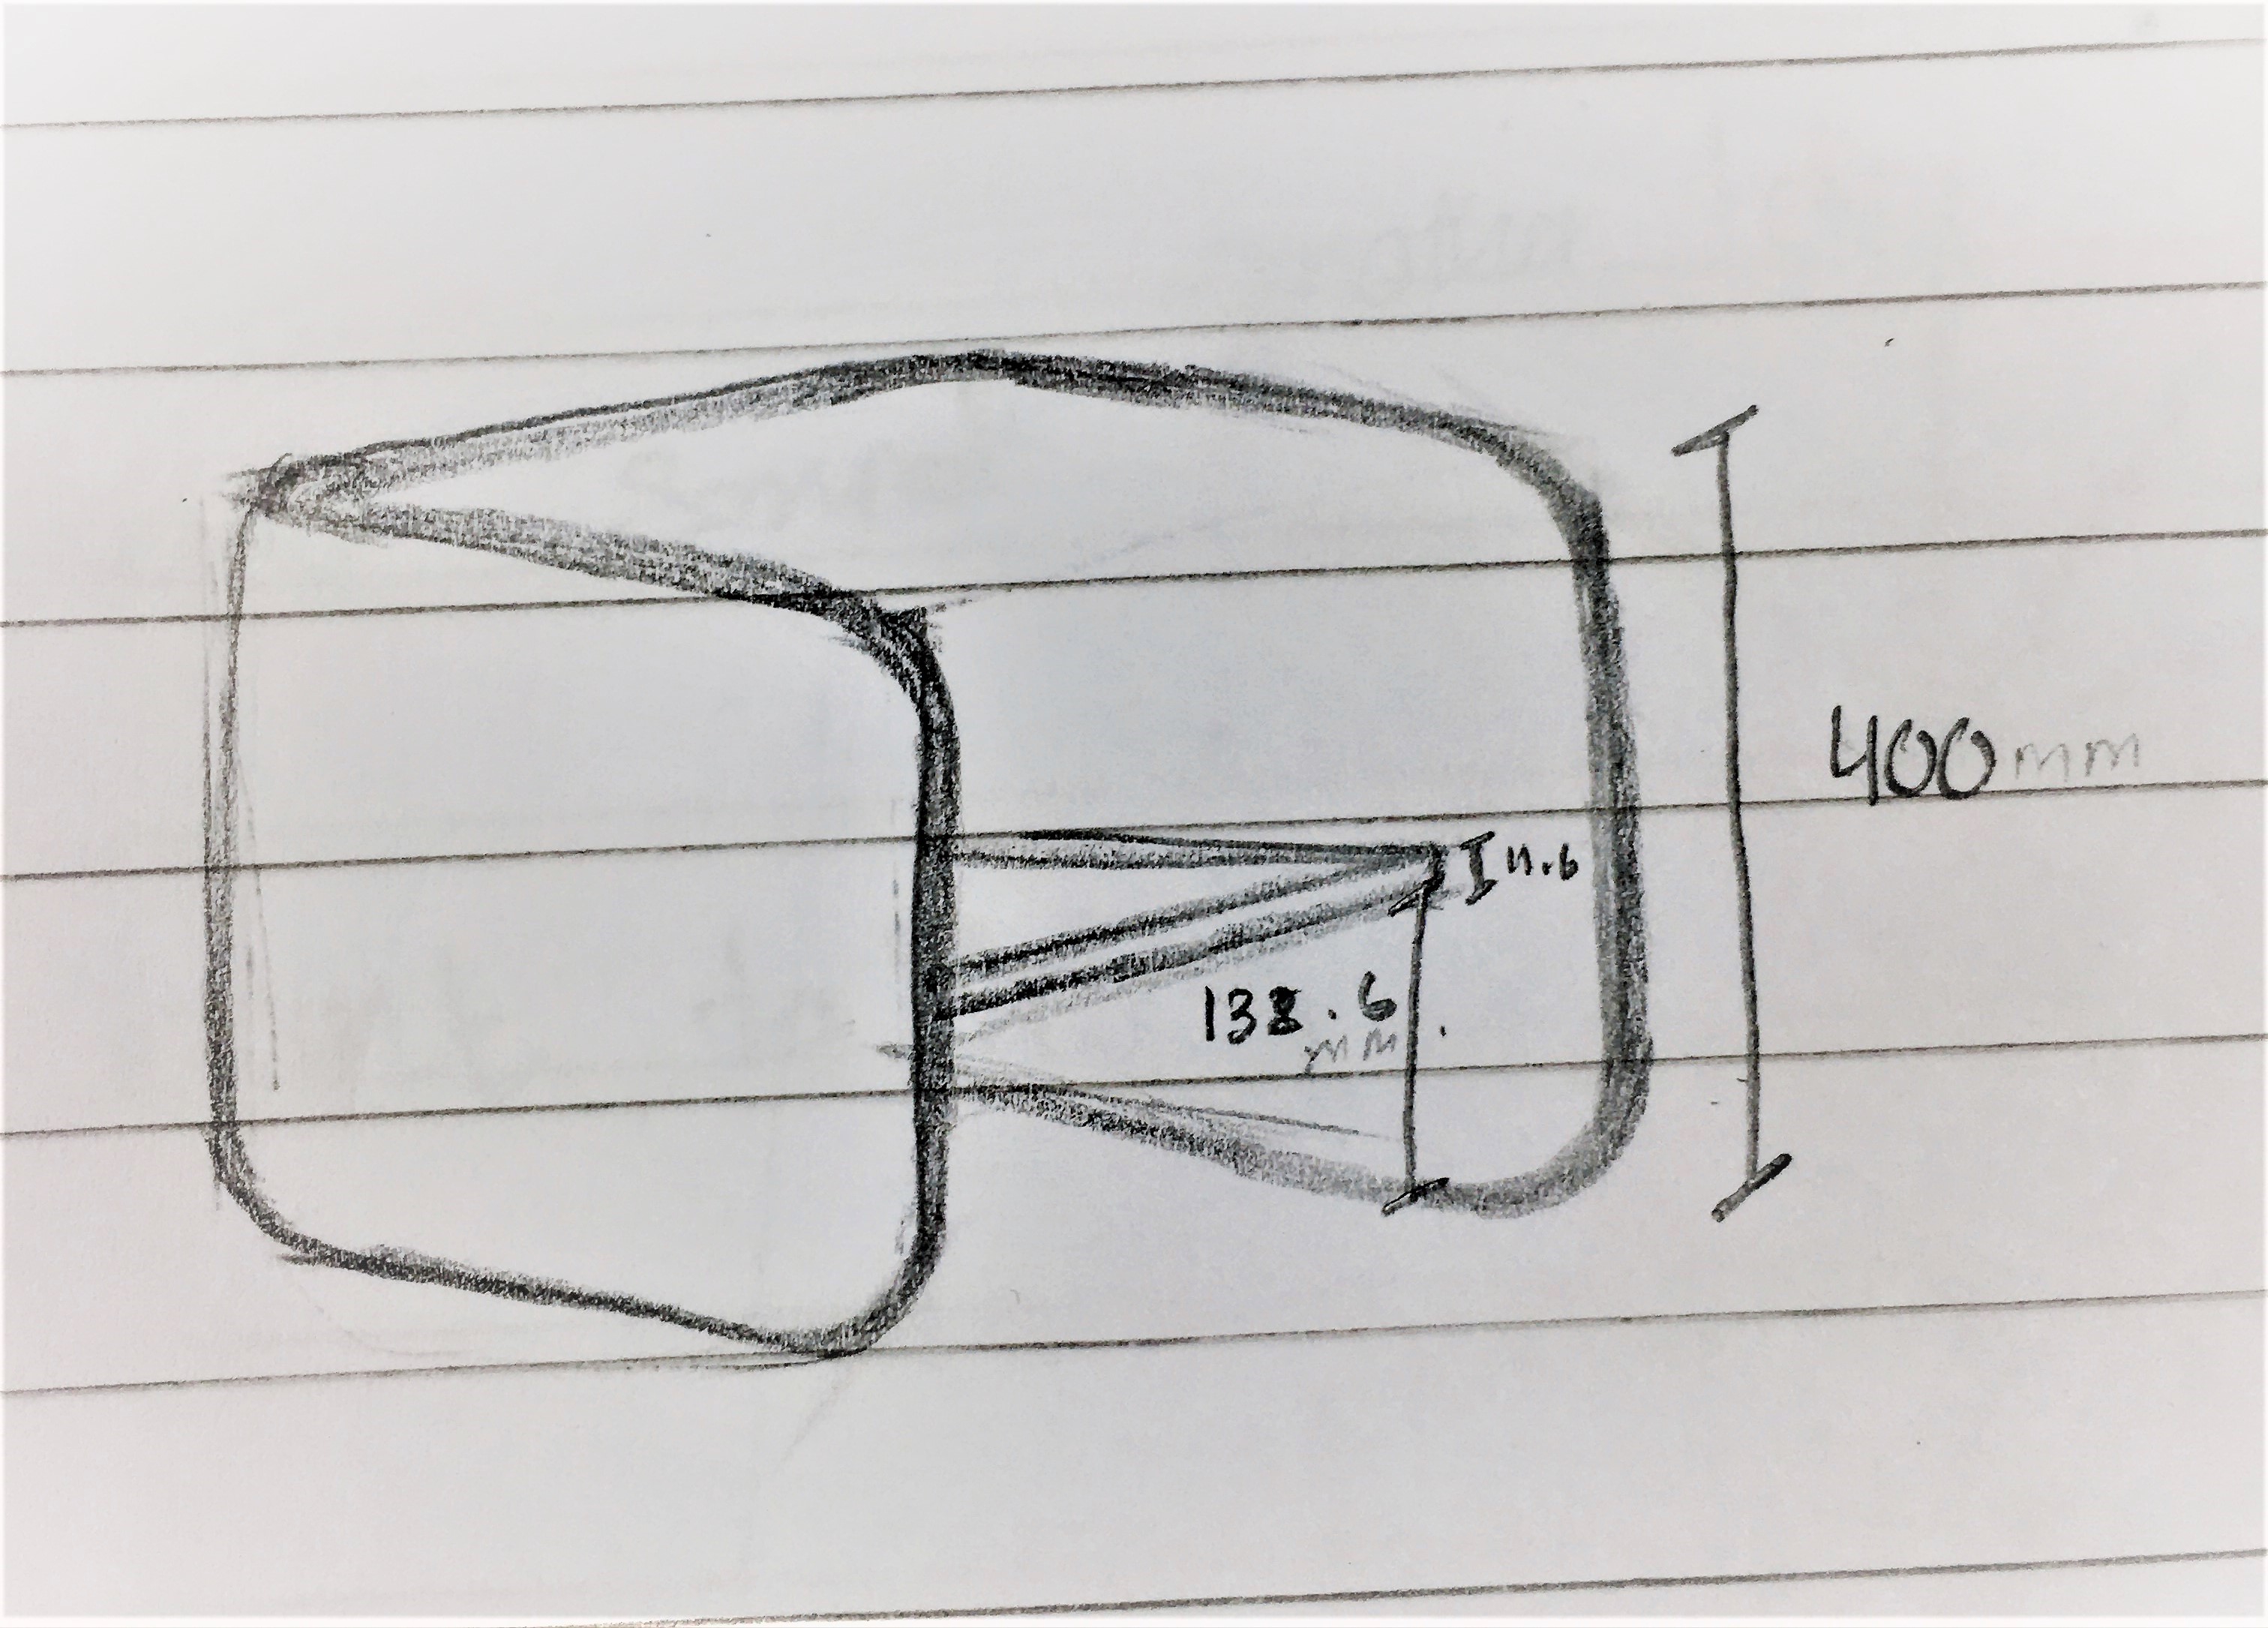
First I designed the Seat so That I can design the frame based on the sizing of it.
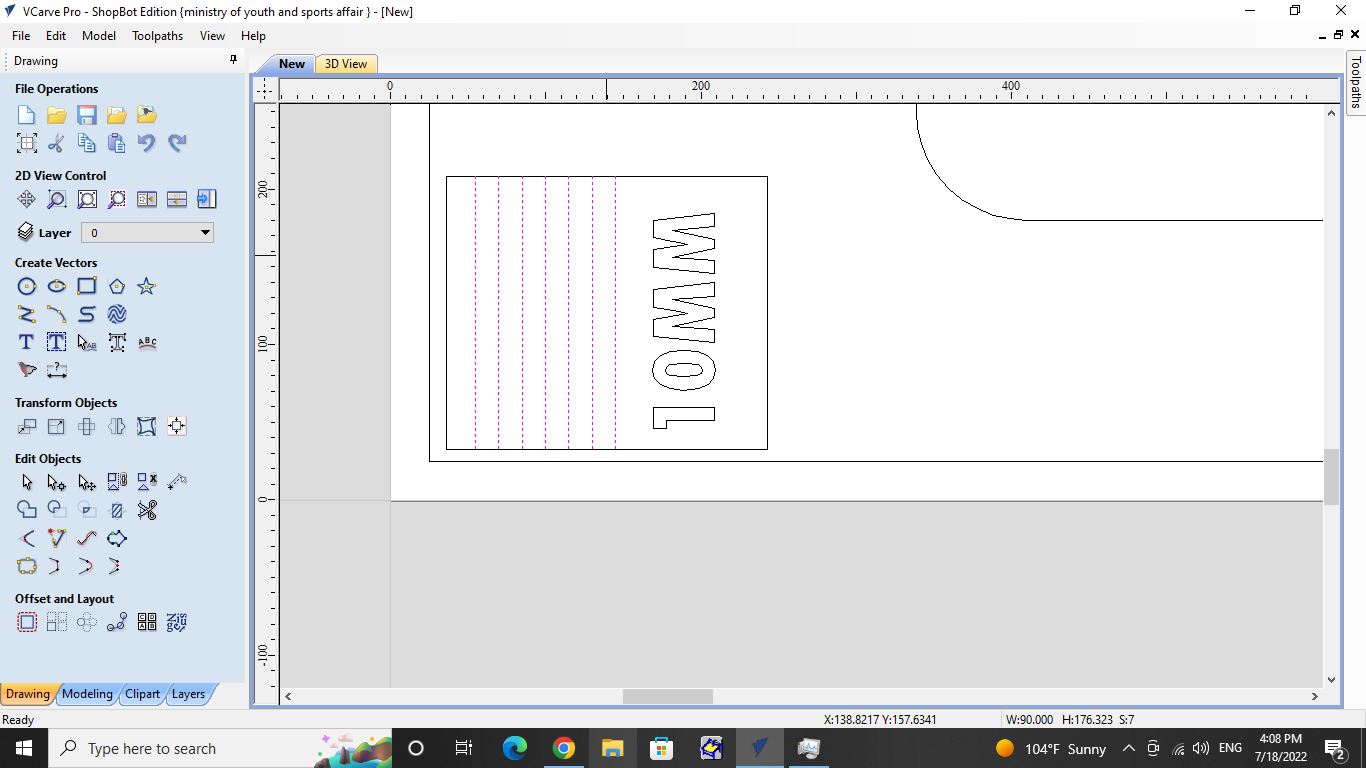
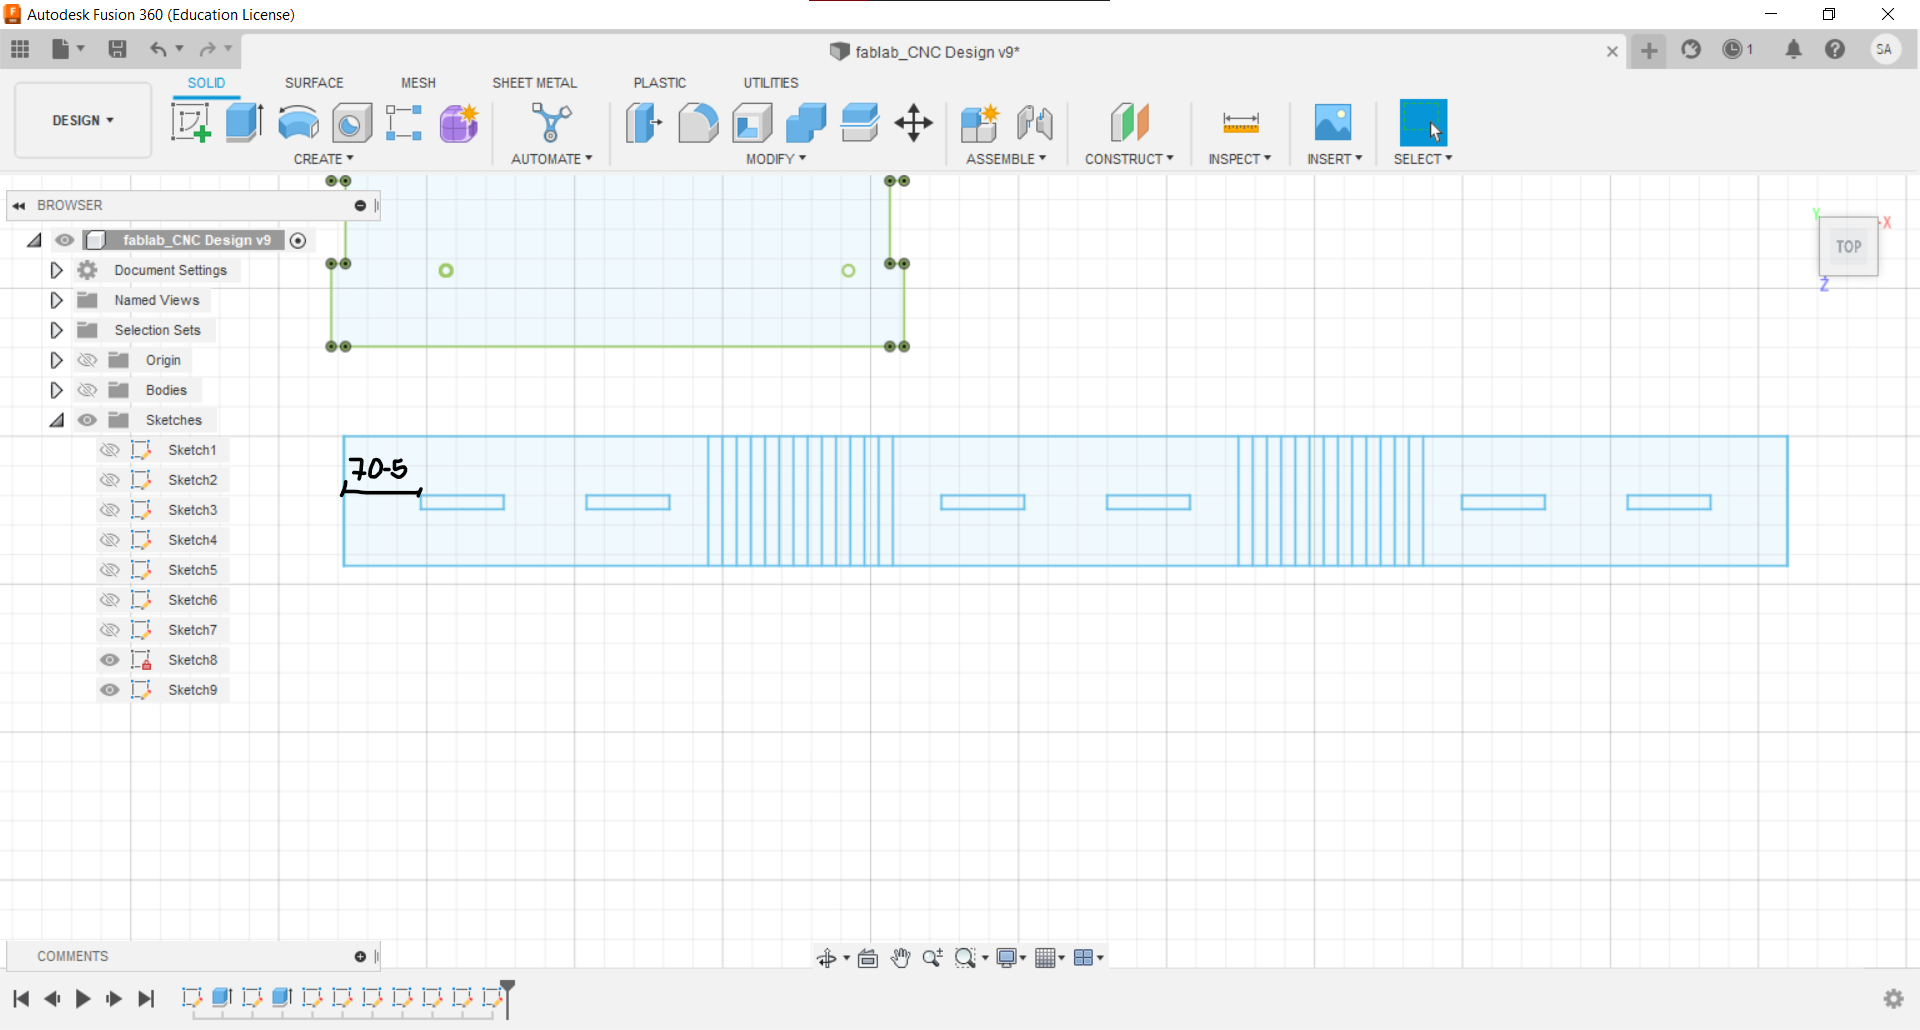
VCARVE
We Used VCARVE to indicate how each line should be cut as.
-
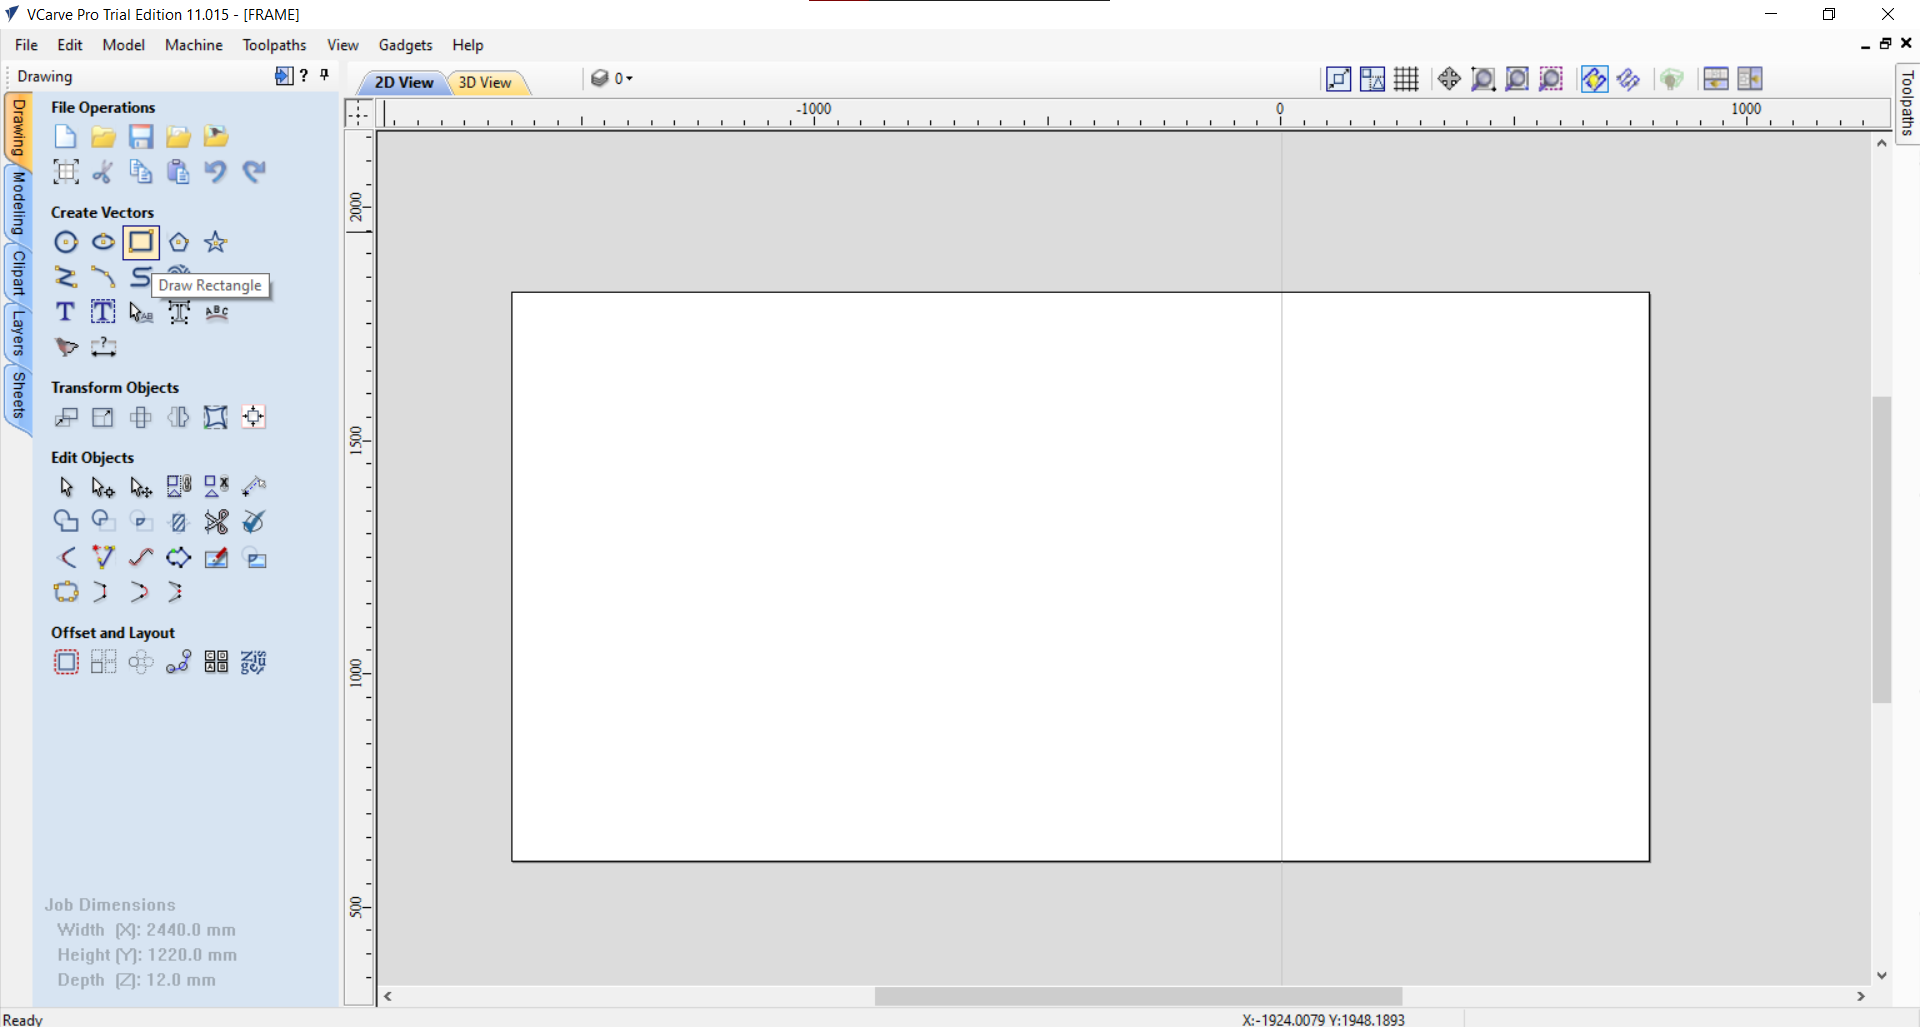
Open V carve -> New
-
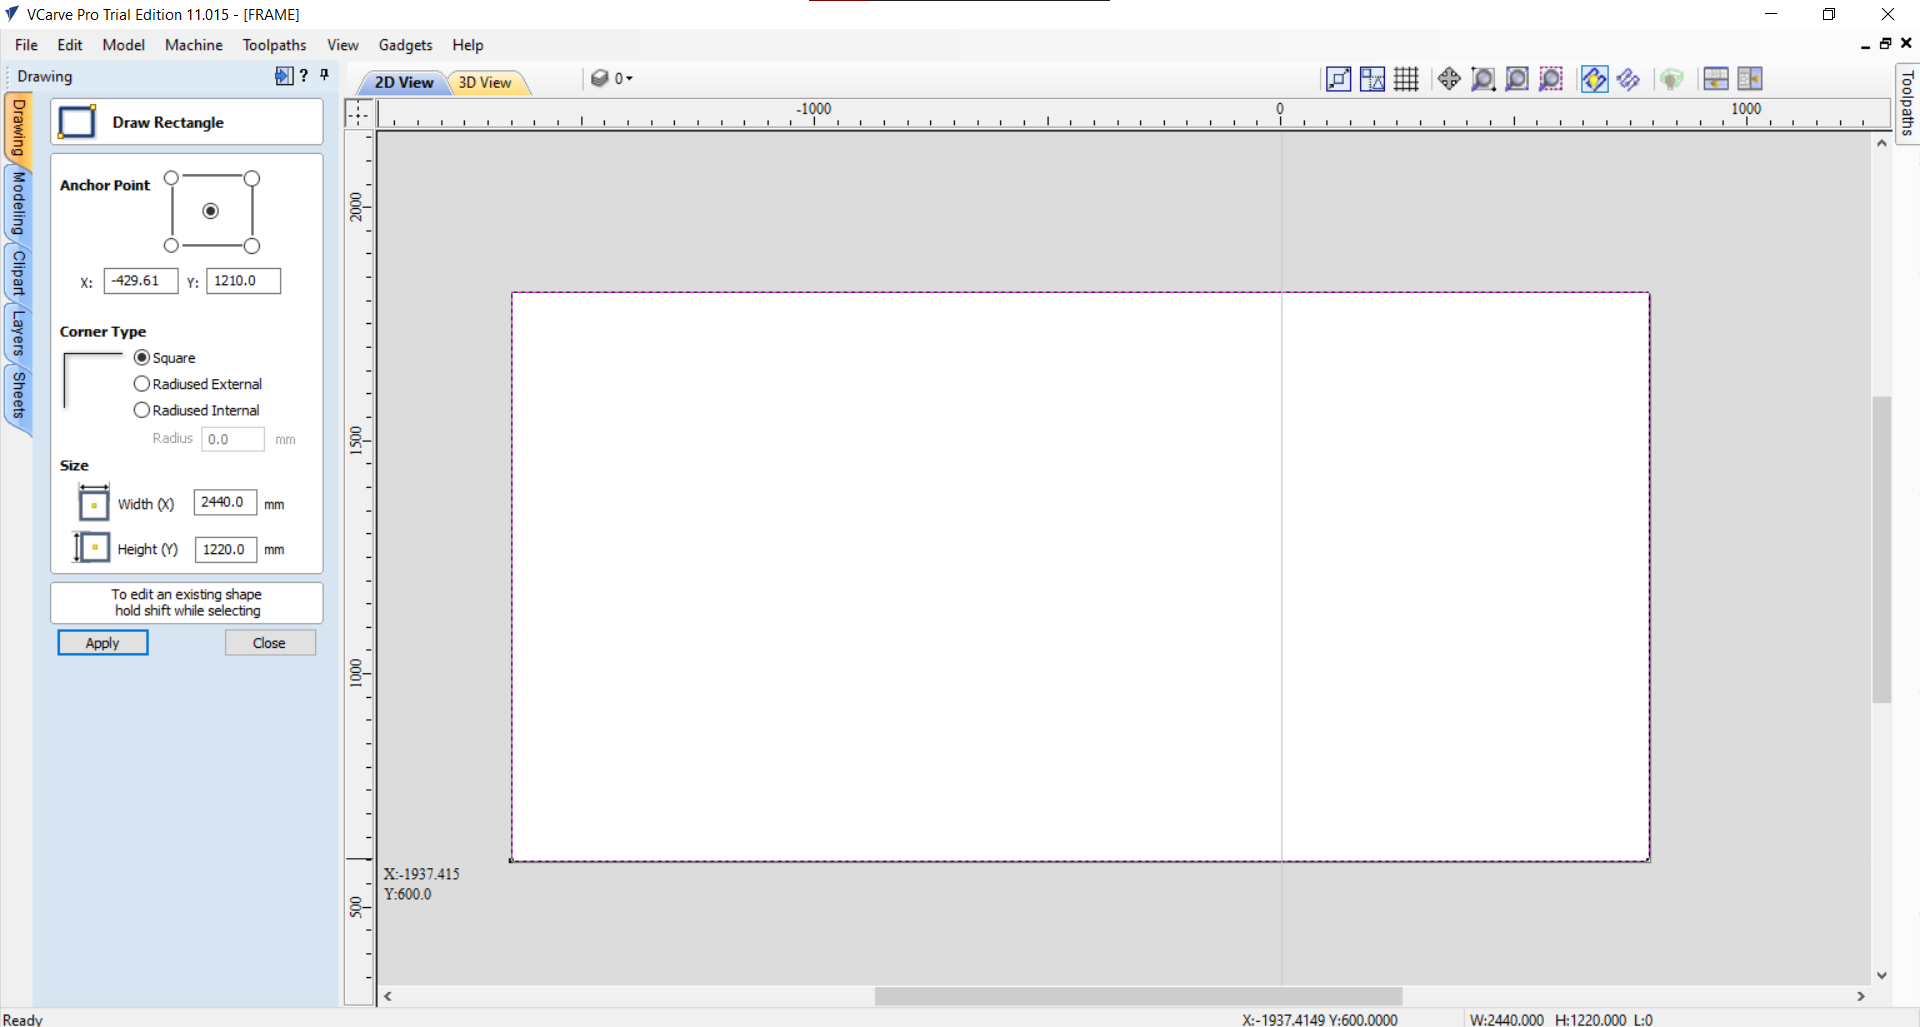
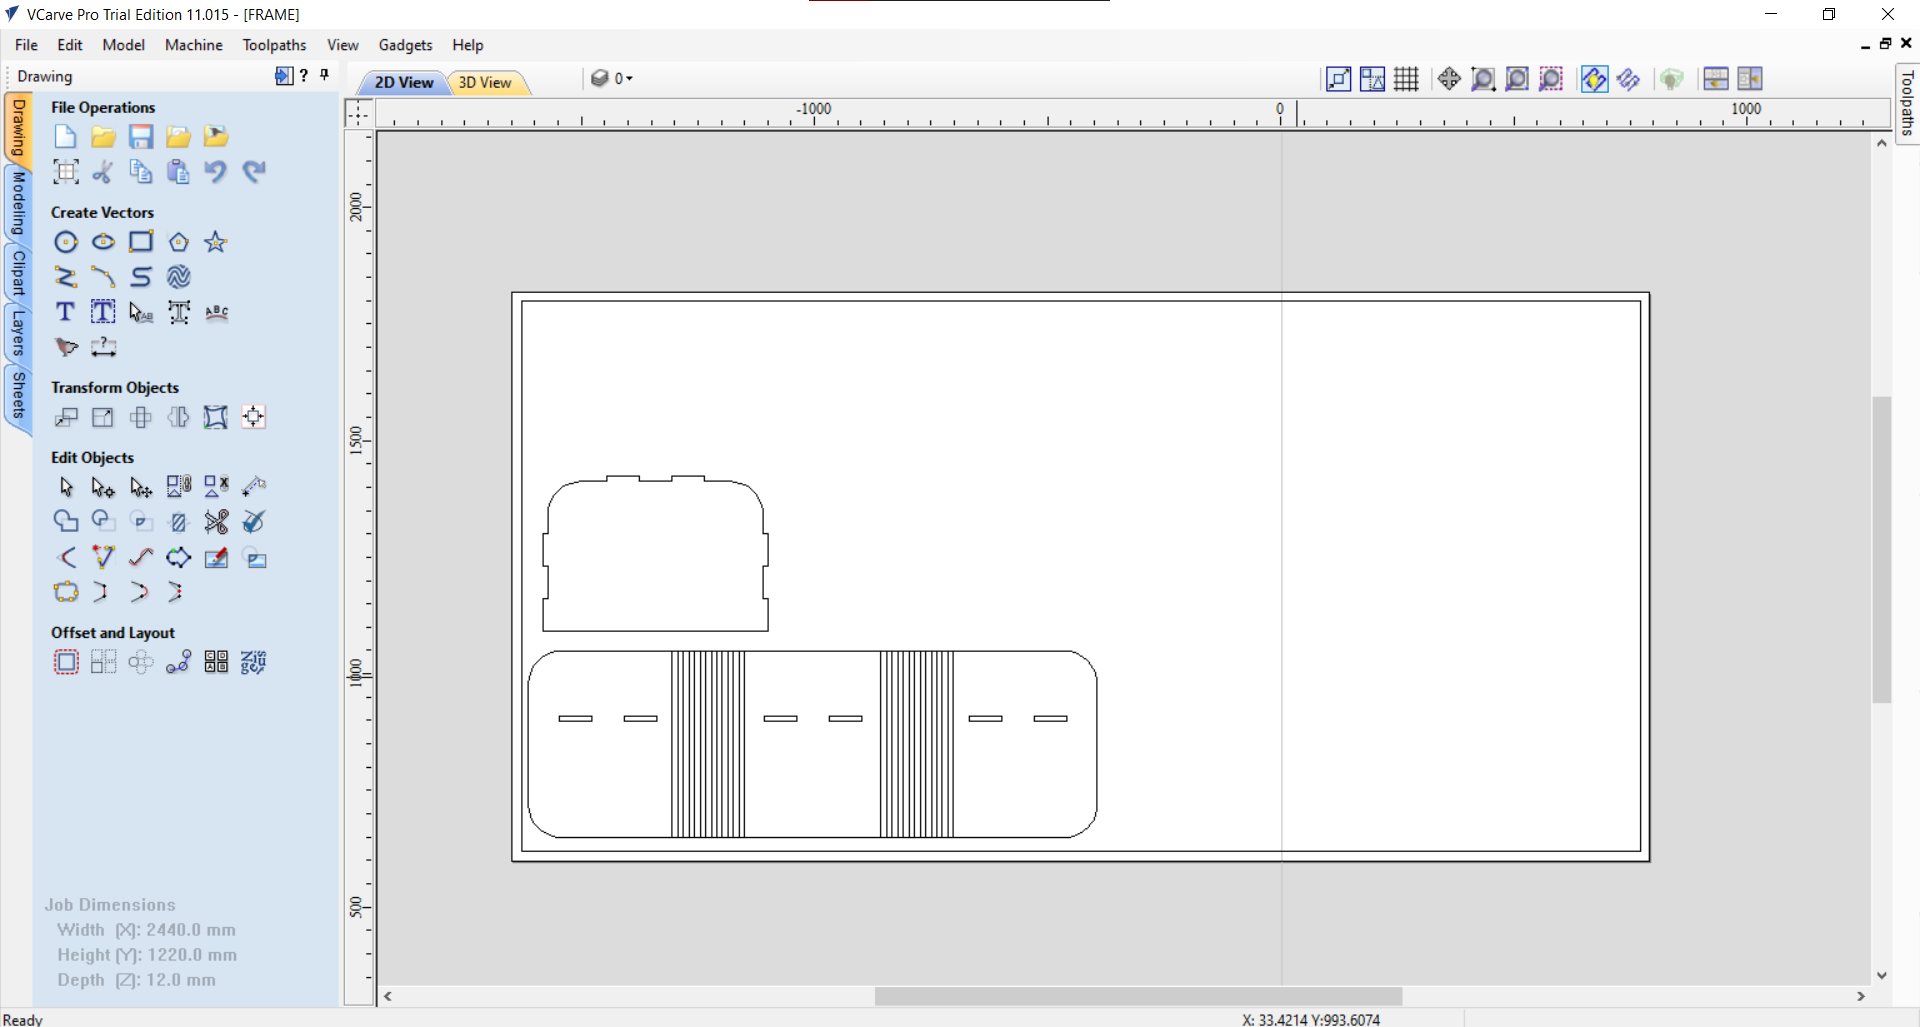
write down the wood sheet dimensions after doing so you will open this Page.
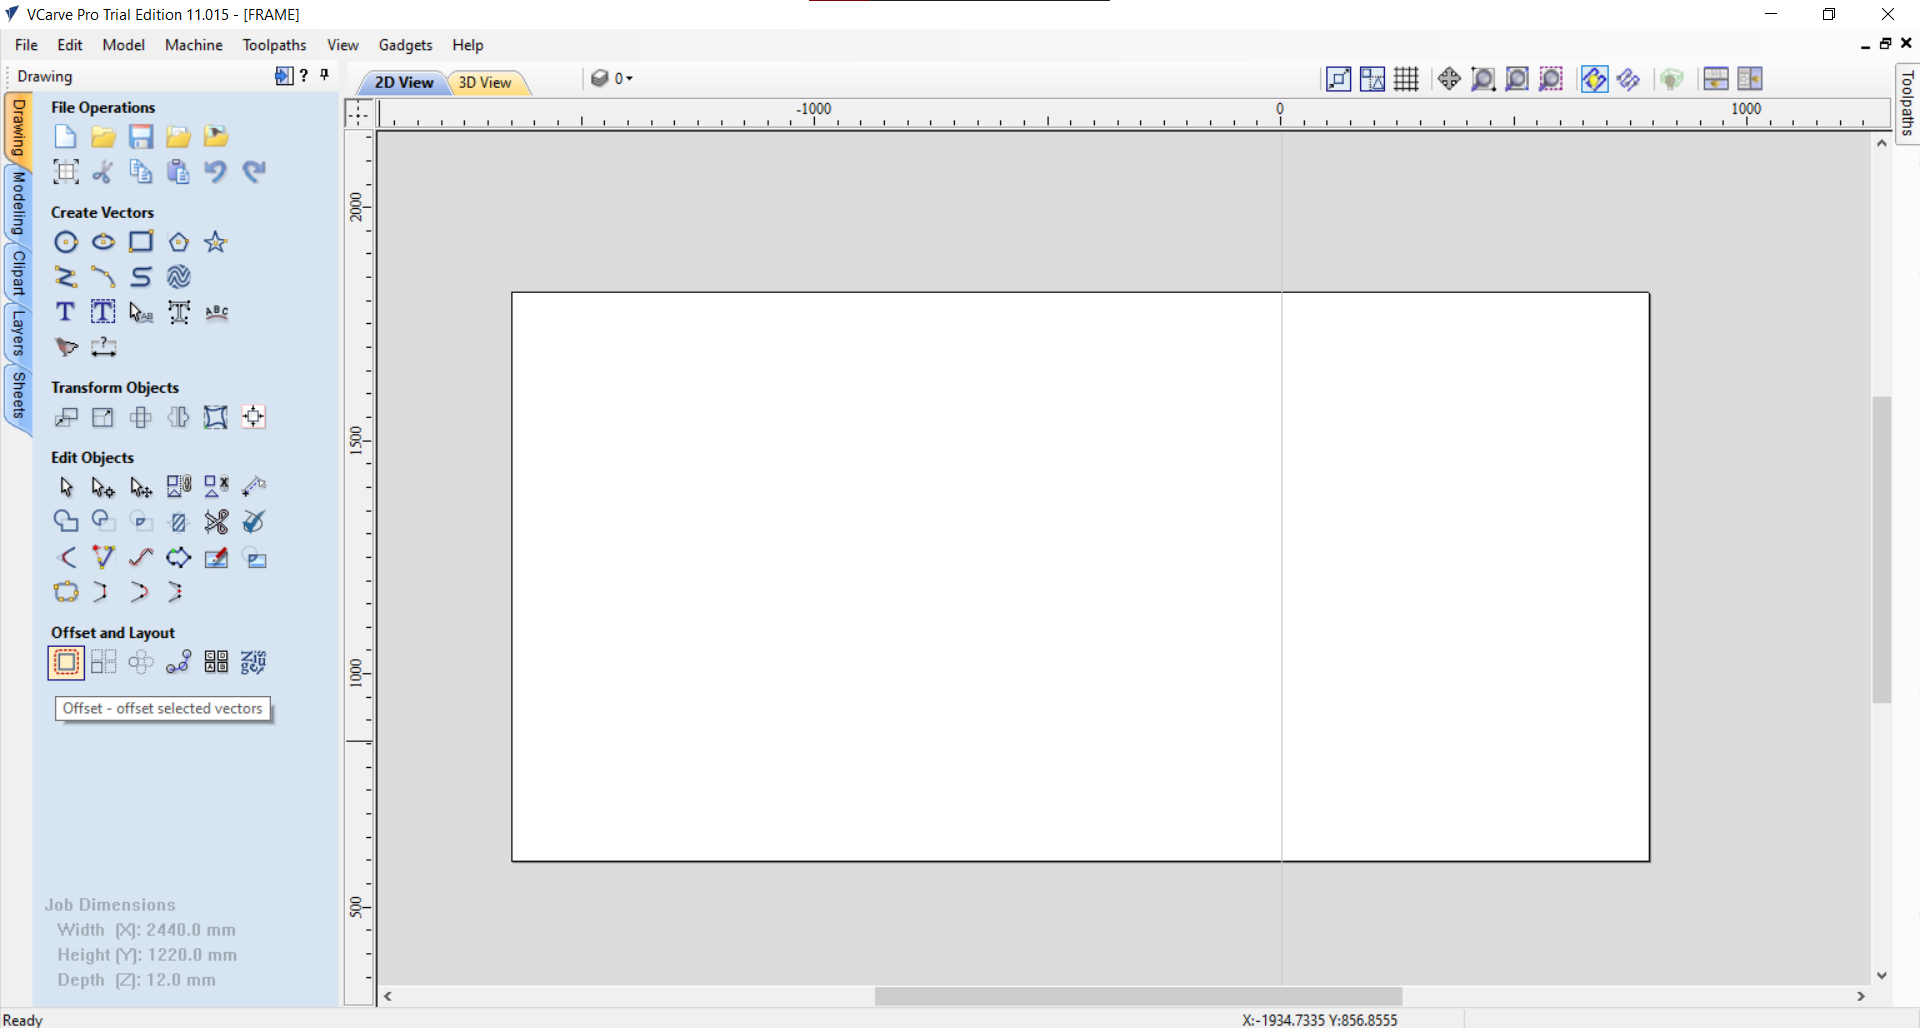
- First we need an offset -> draw rectangle.
- tap on the offset -> rectangle we just made -> right down the offset you want.
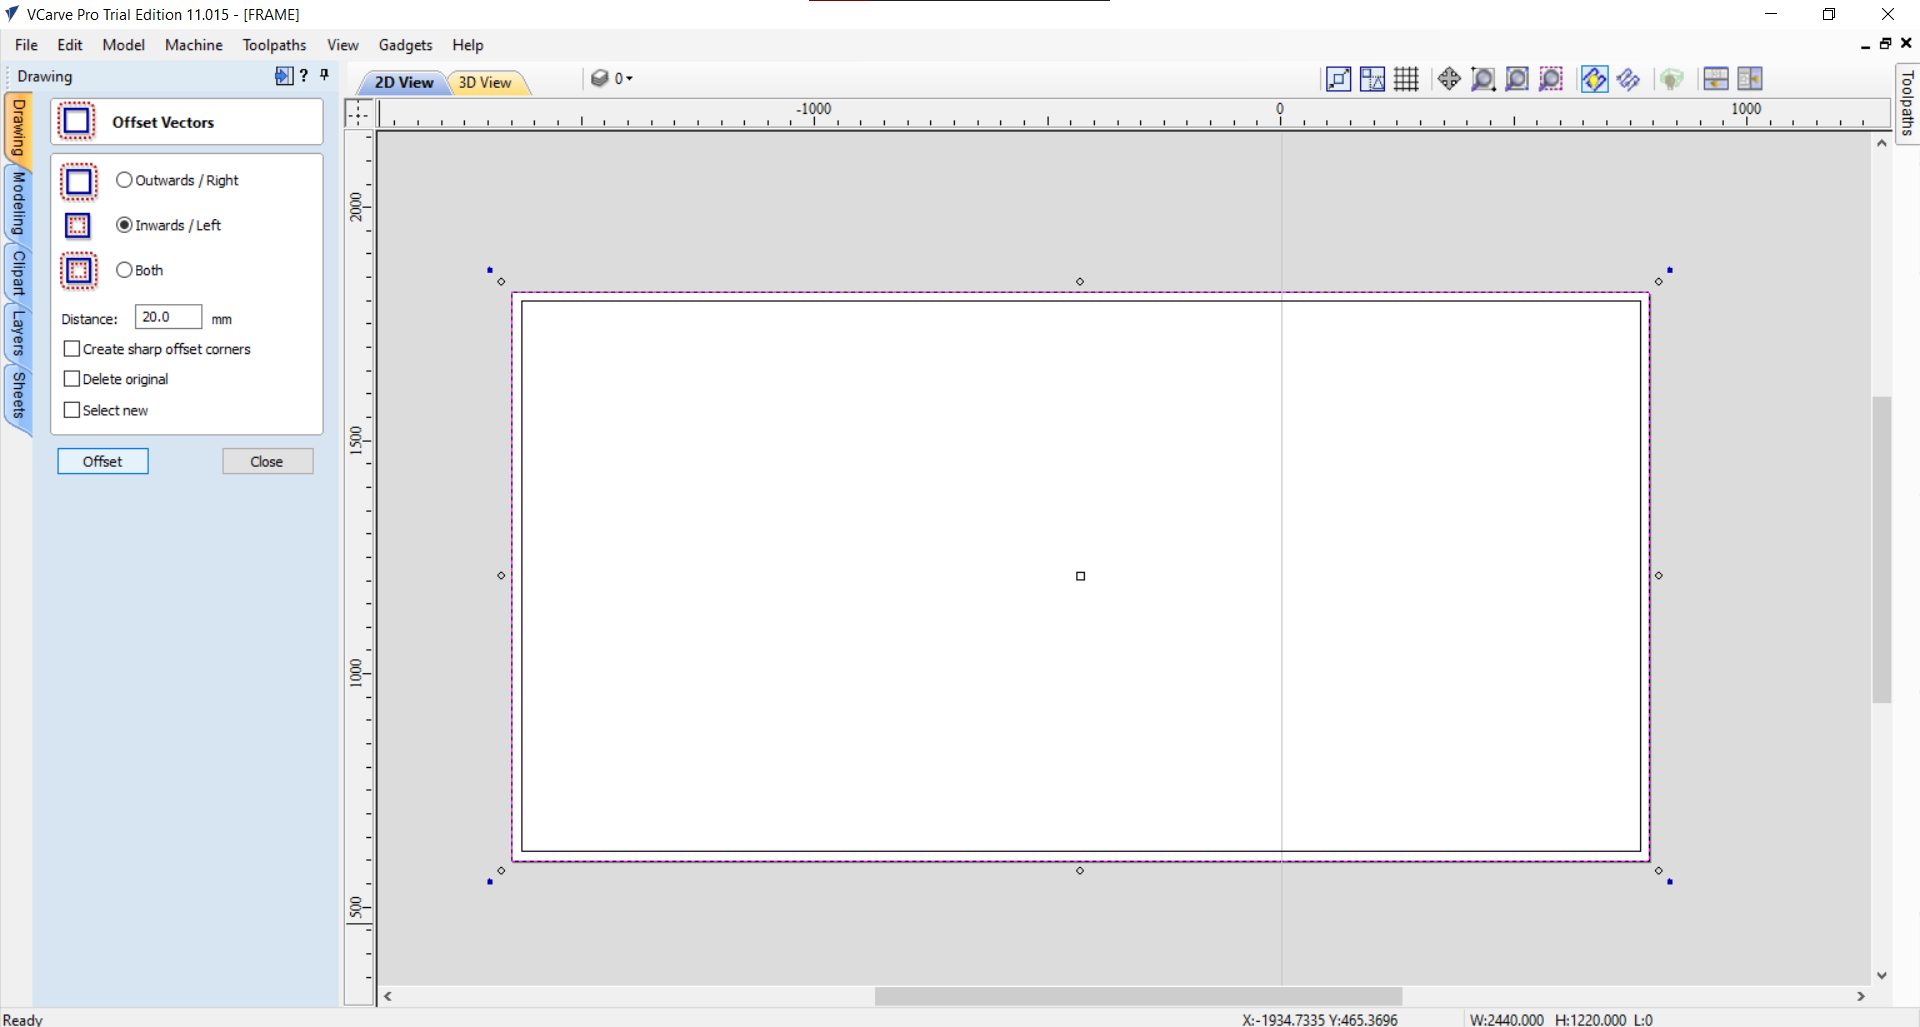
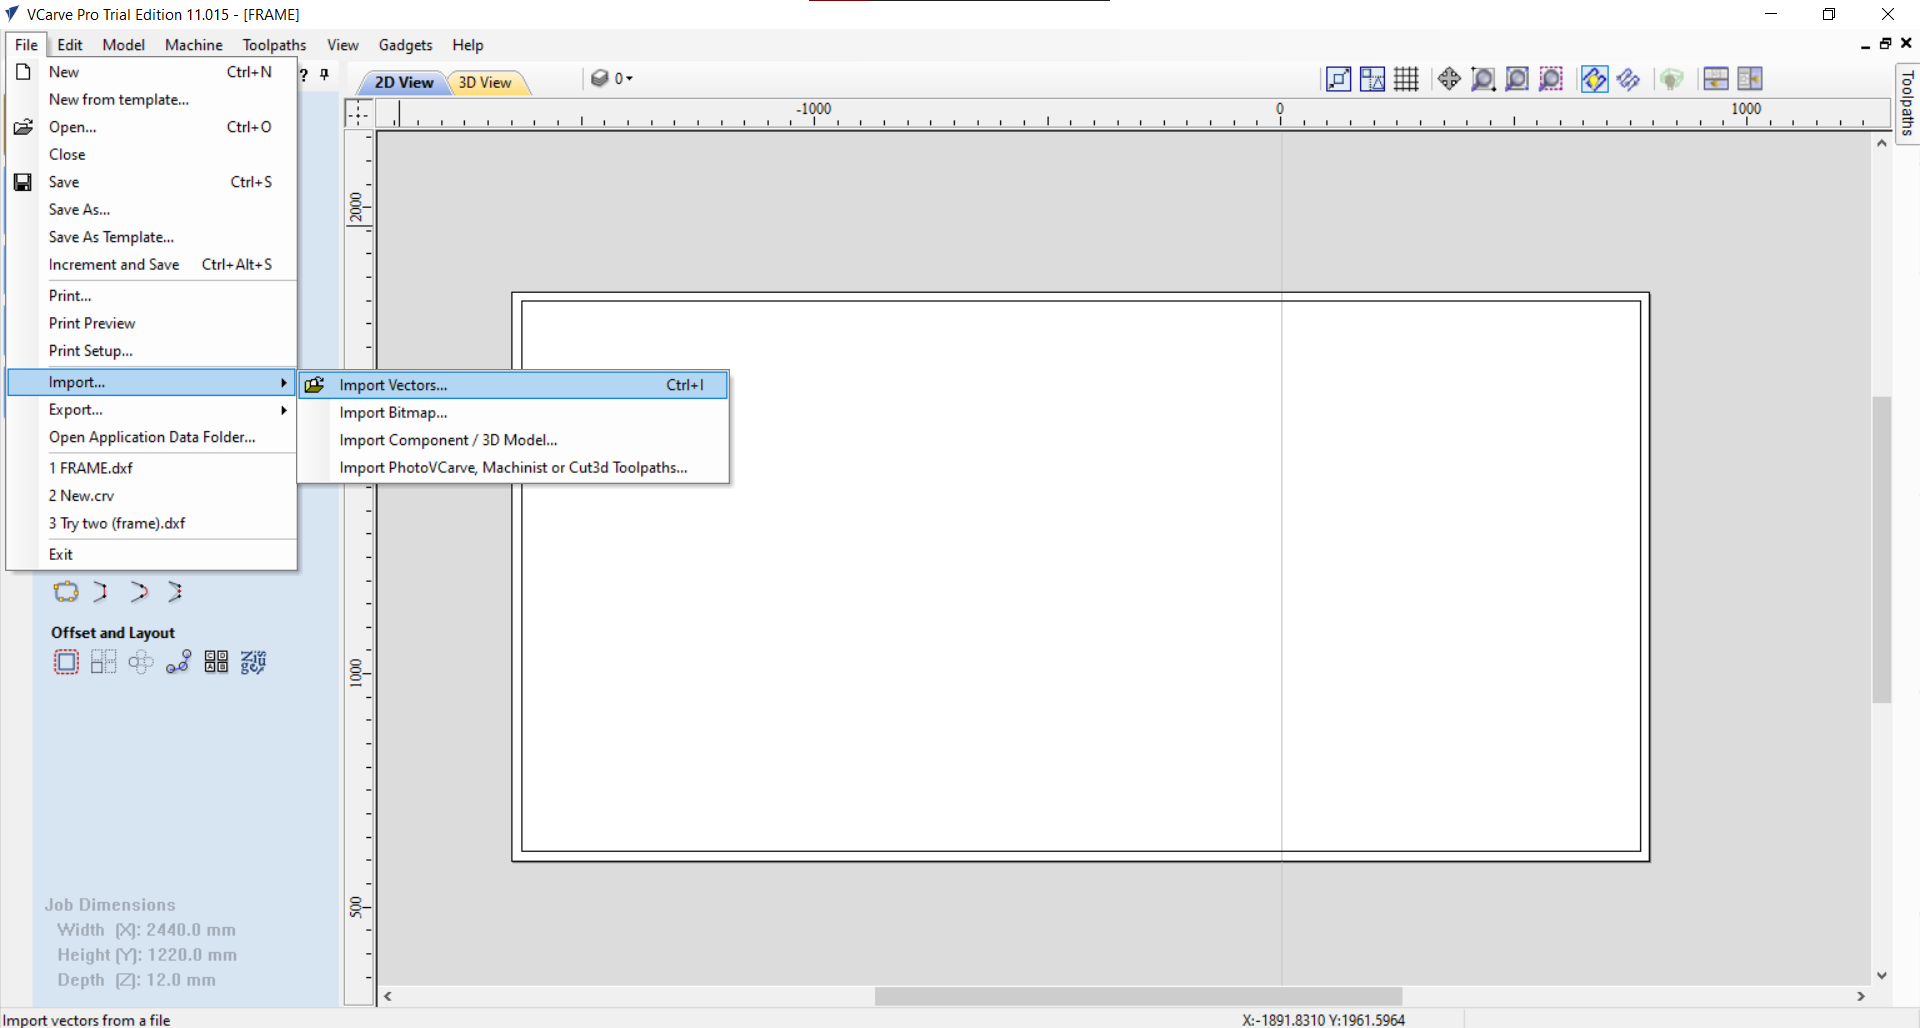
- Now we need to bring the design to V carve.
File ->Import
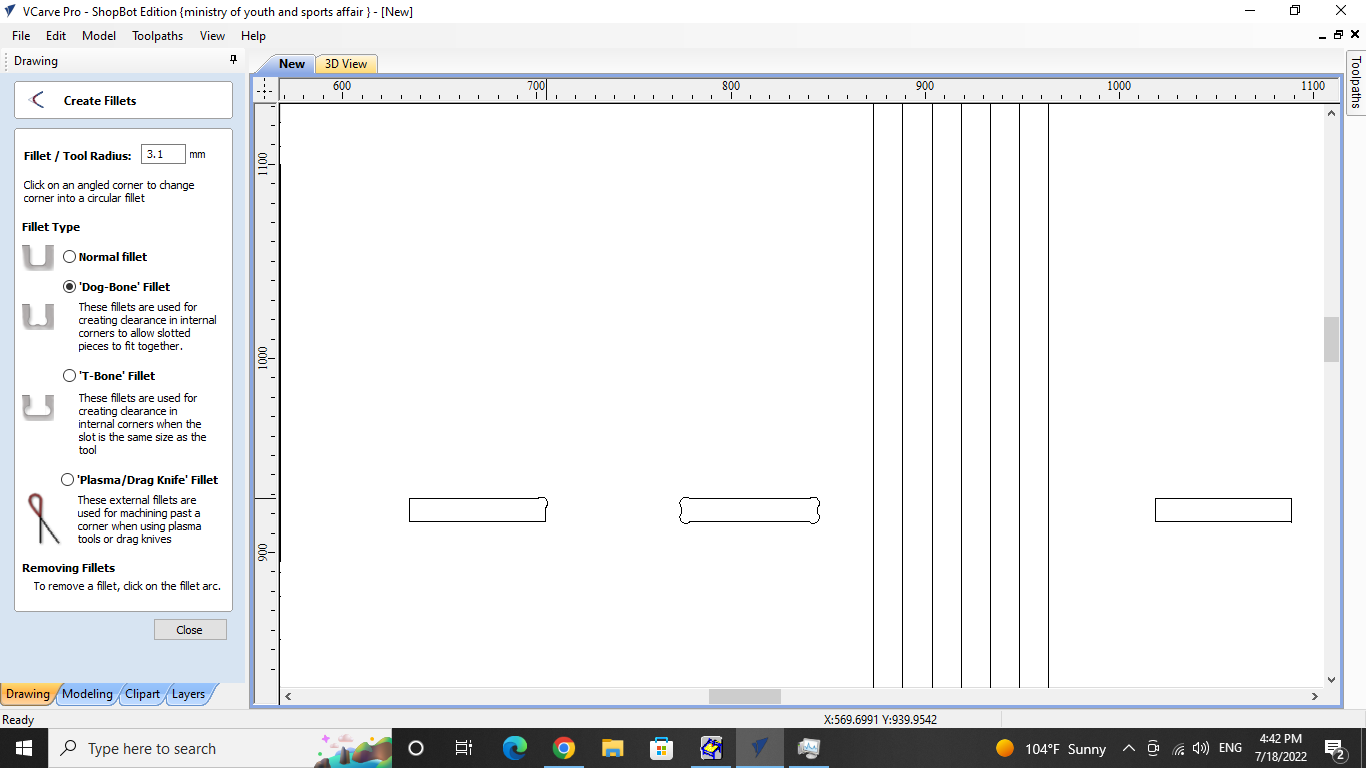
- Then we have to add the fillet Pockets
- Moving to the toolpath

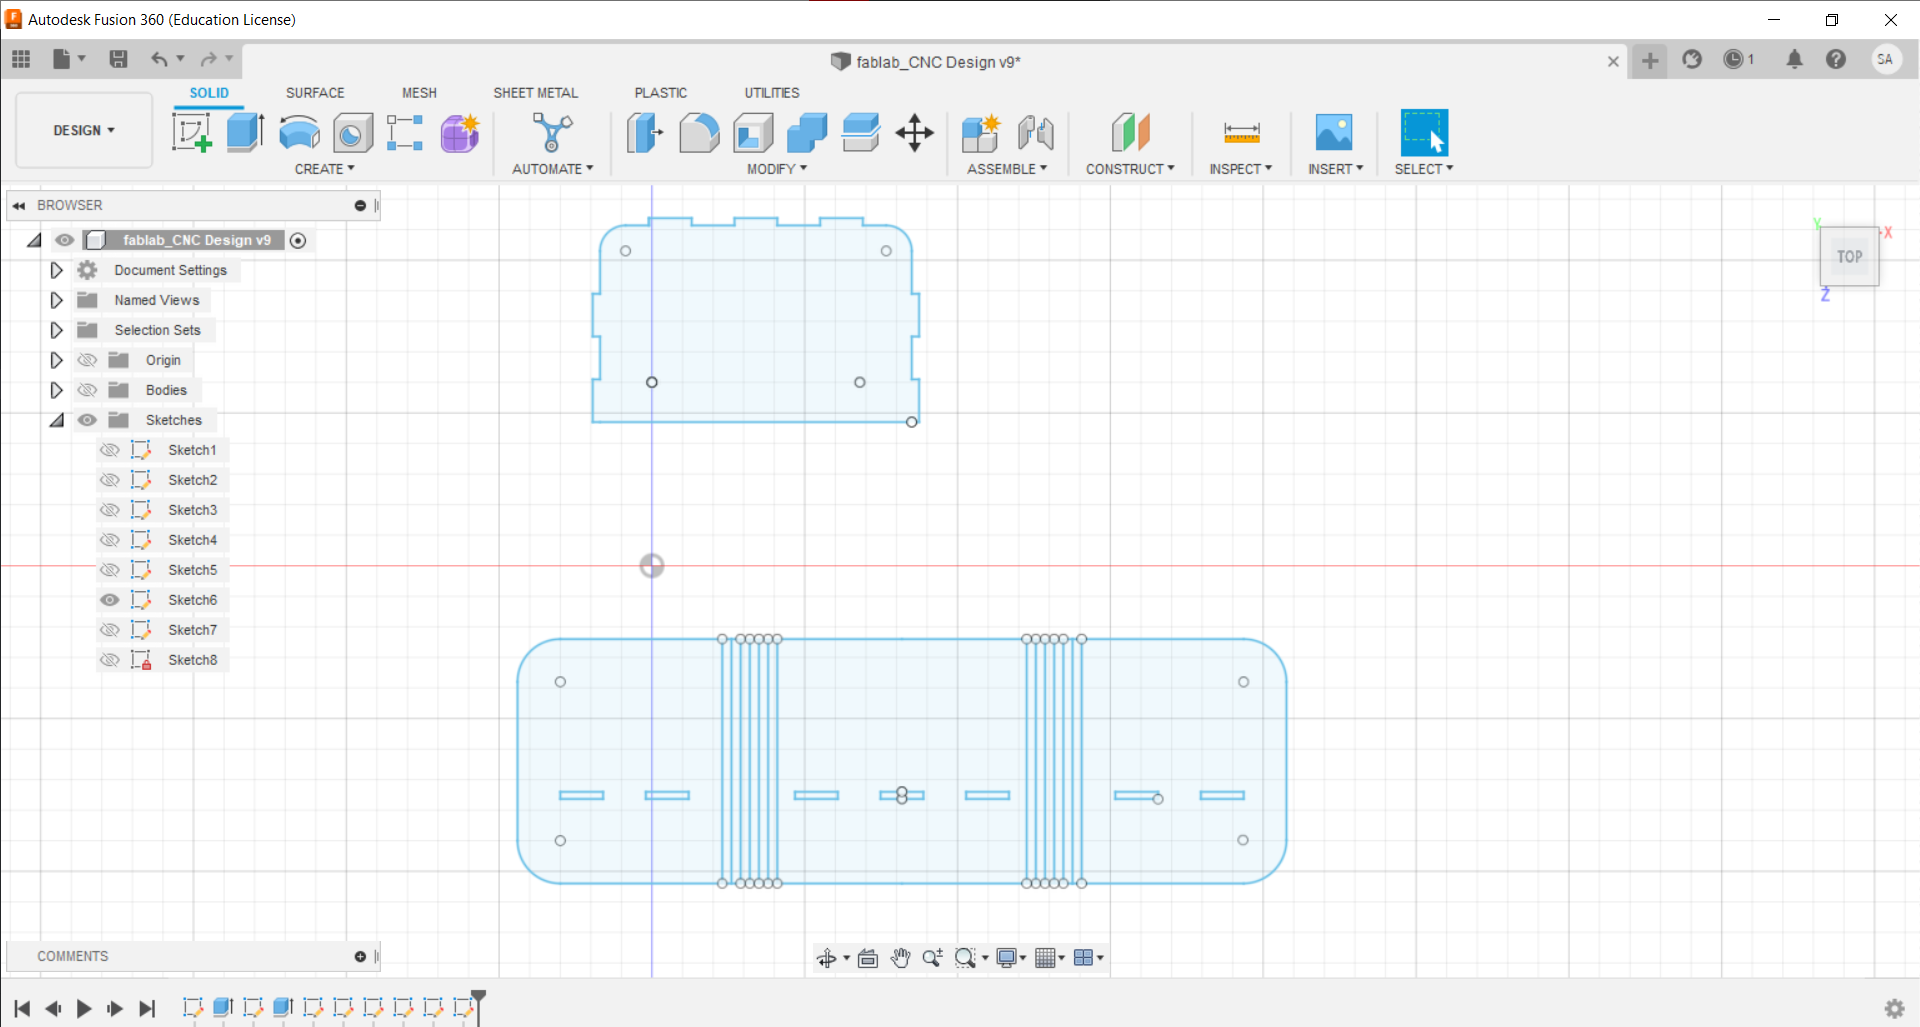
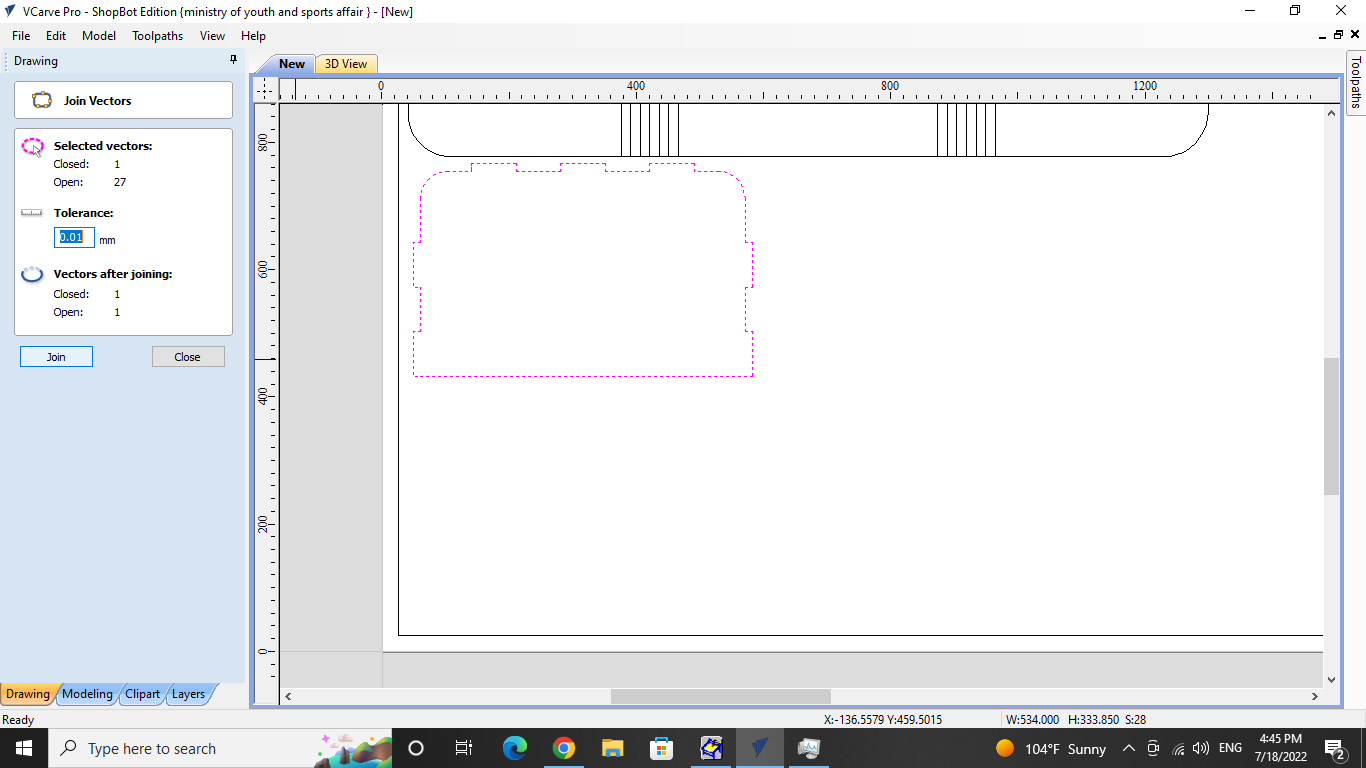
Before I made the toolpath I found that my design is not one line rather lines joined together so I had to join them to create one continues line.
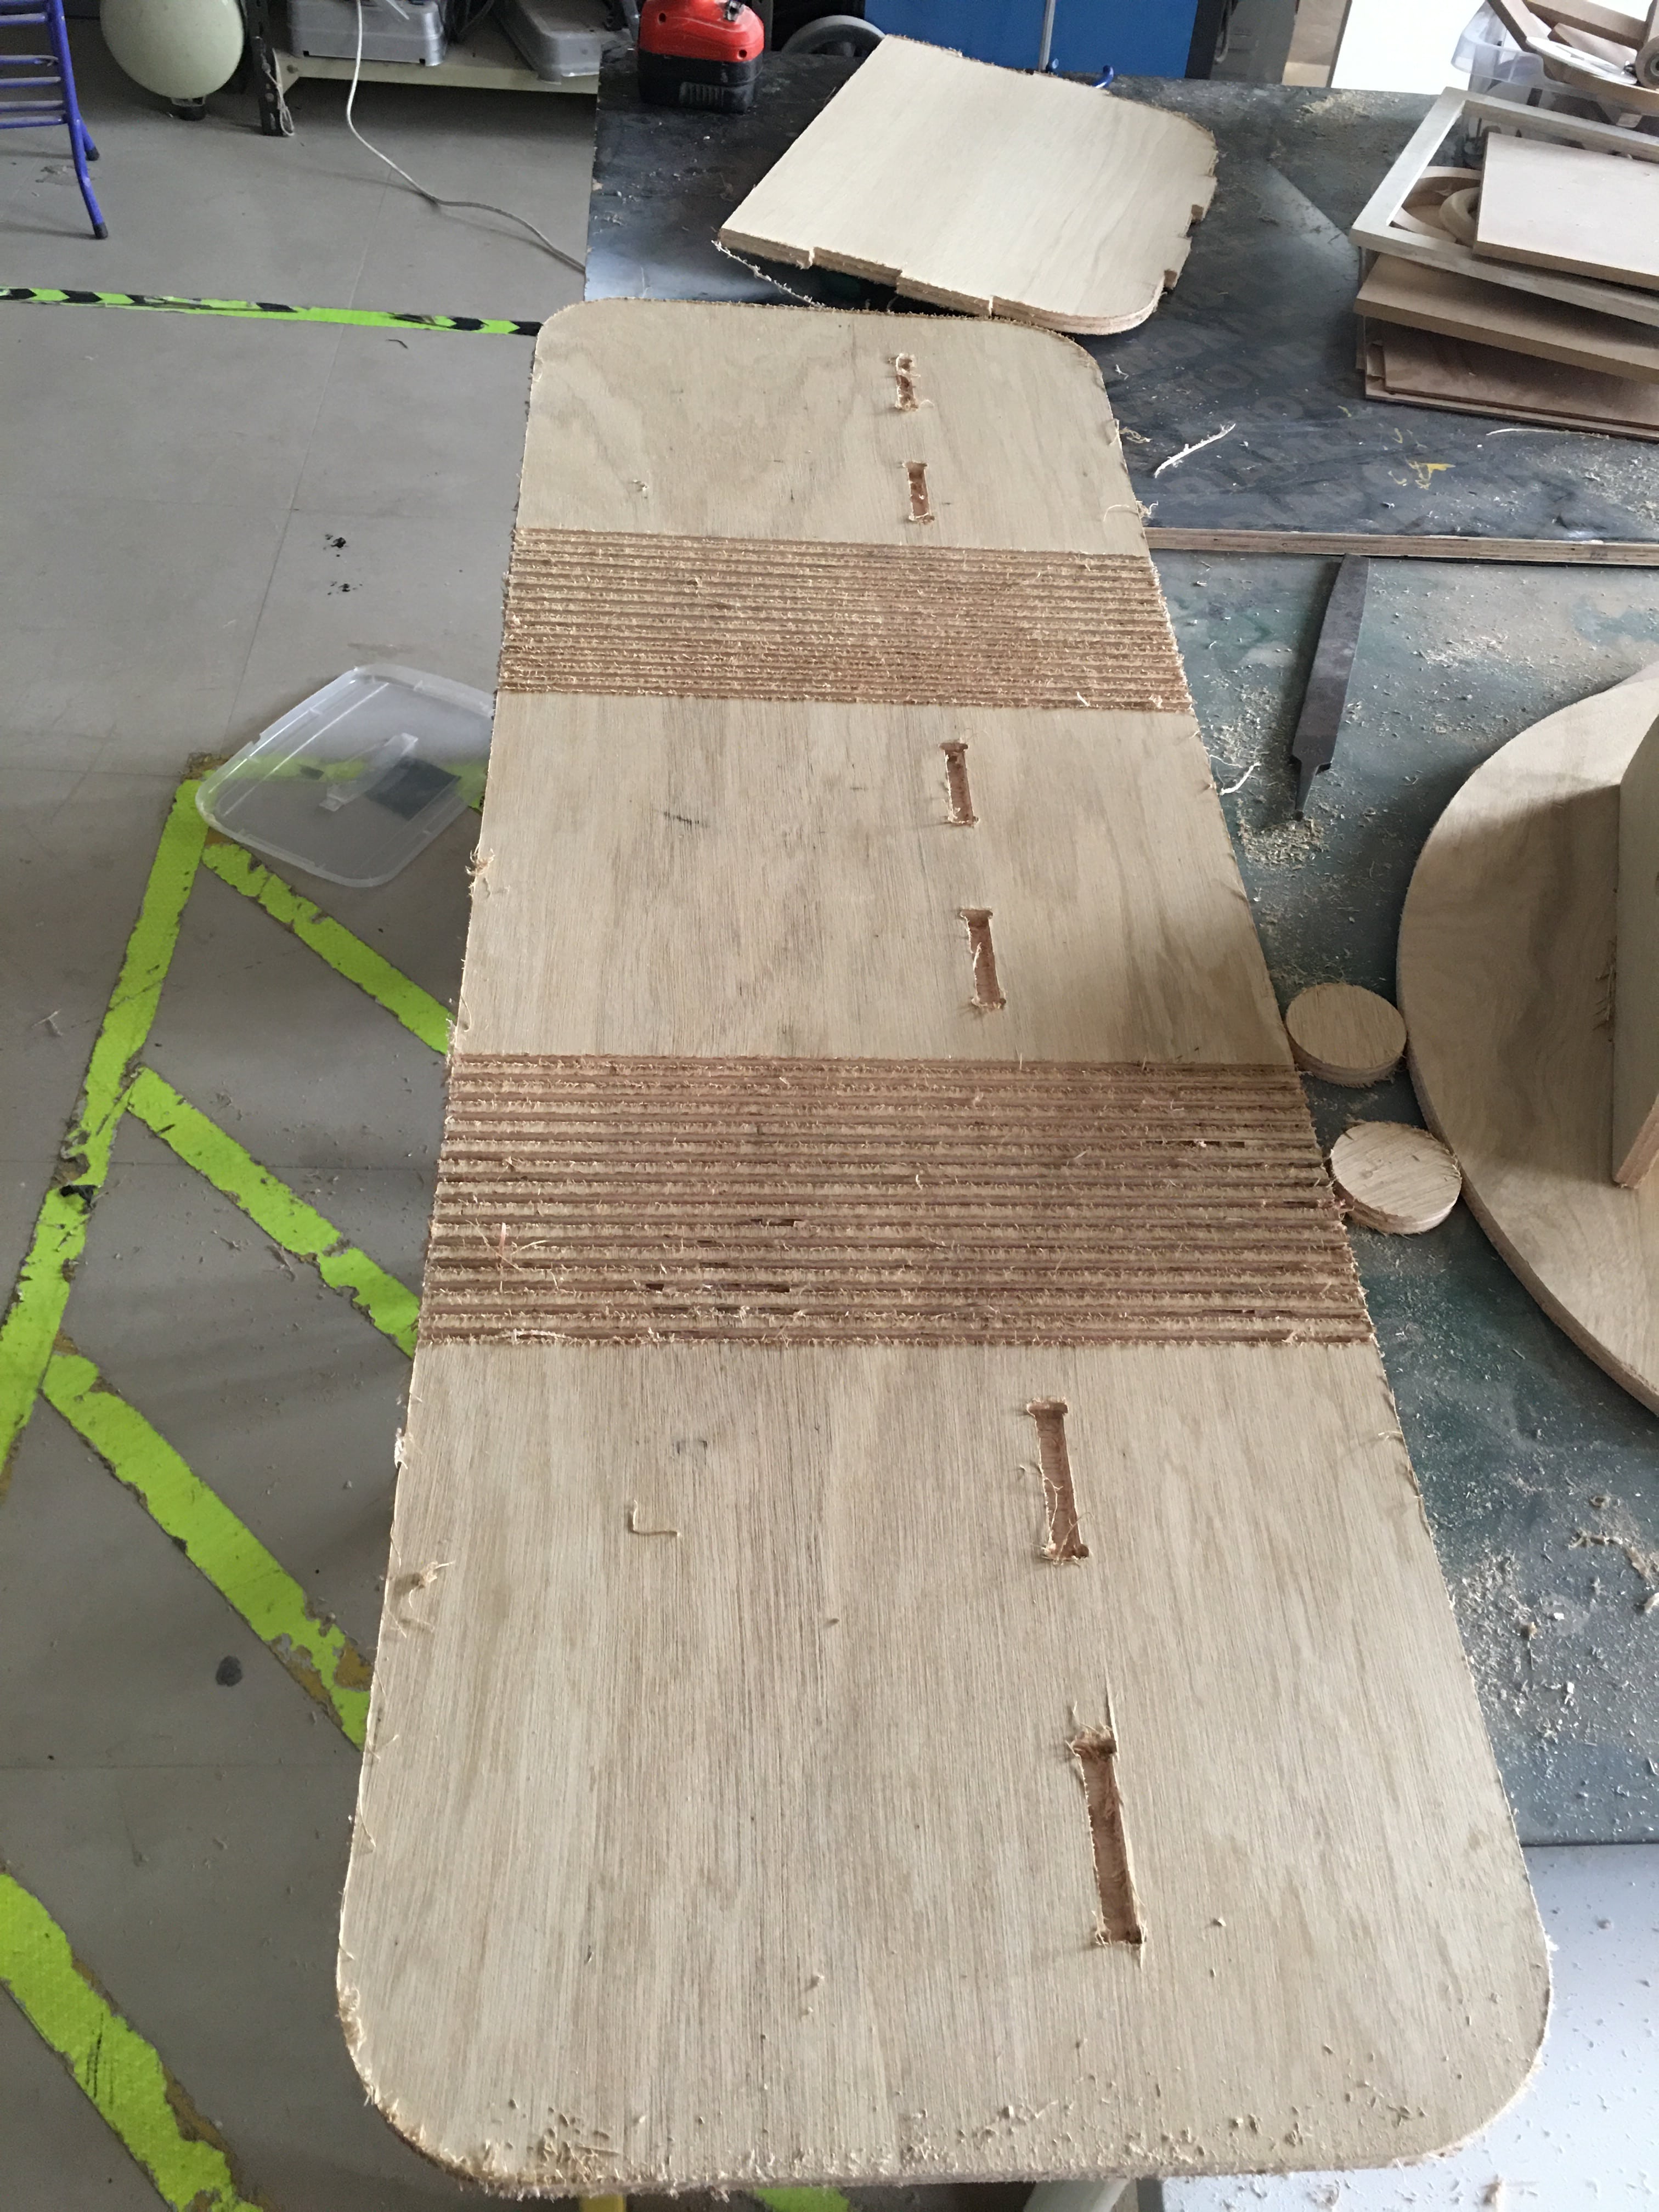
My design needs two types one the profile and the other is the pockets for the kerf and the joints in the frame.
- when we set the toolpath we also edit the speed of the machine from tool -> edit.
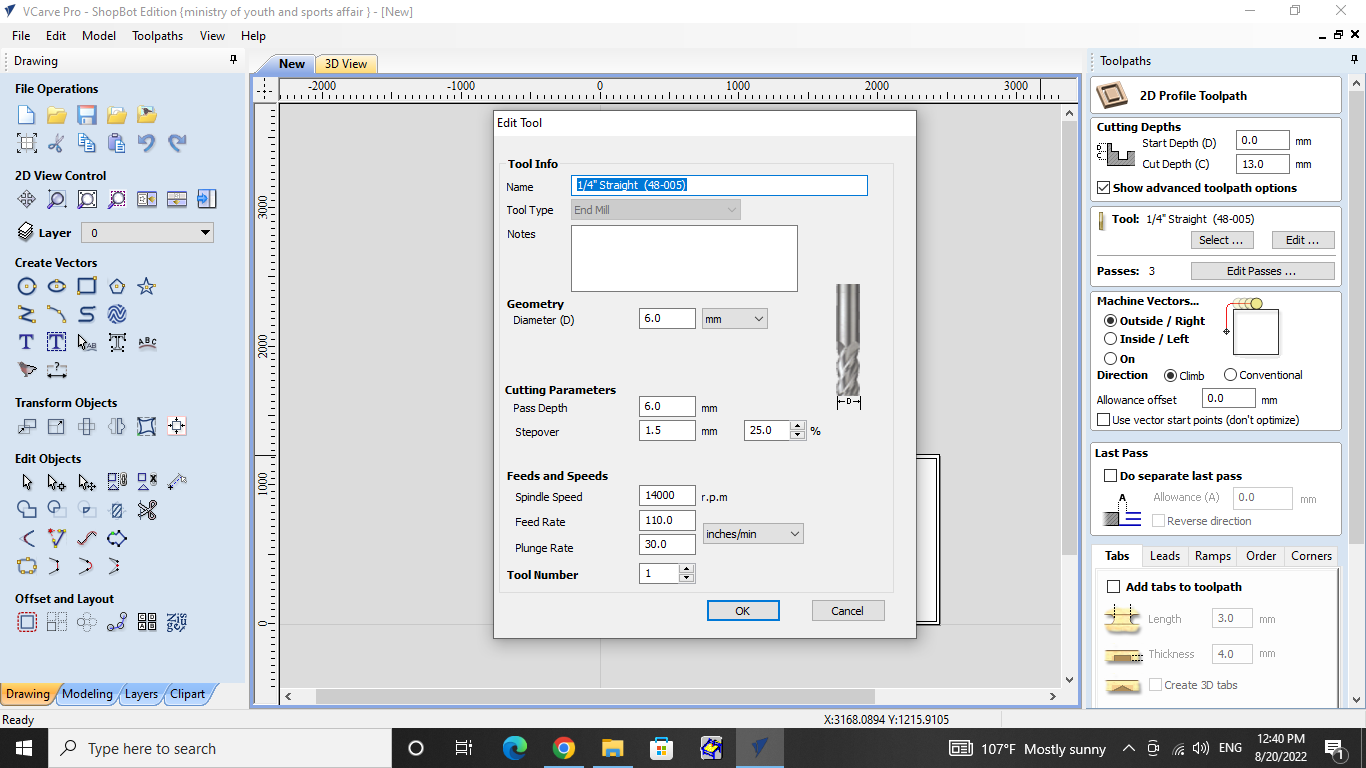
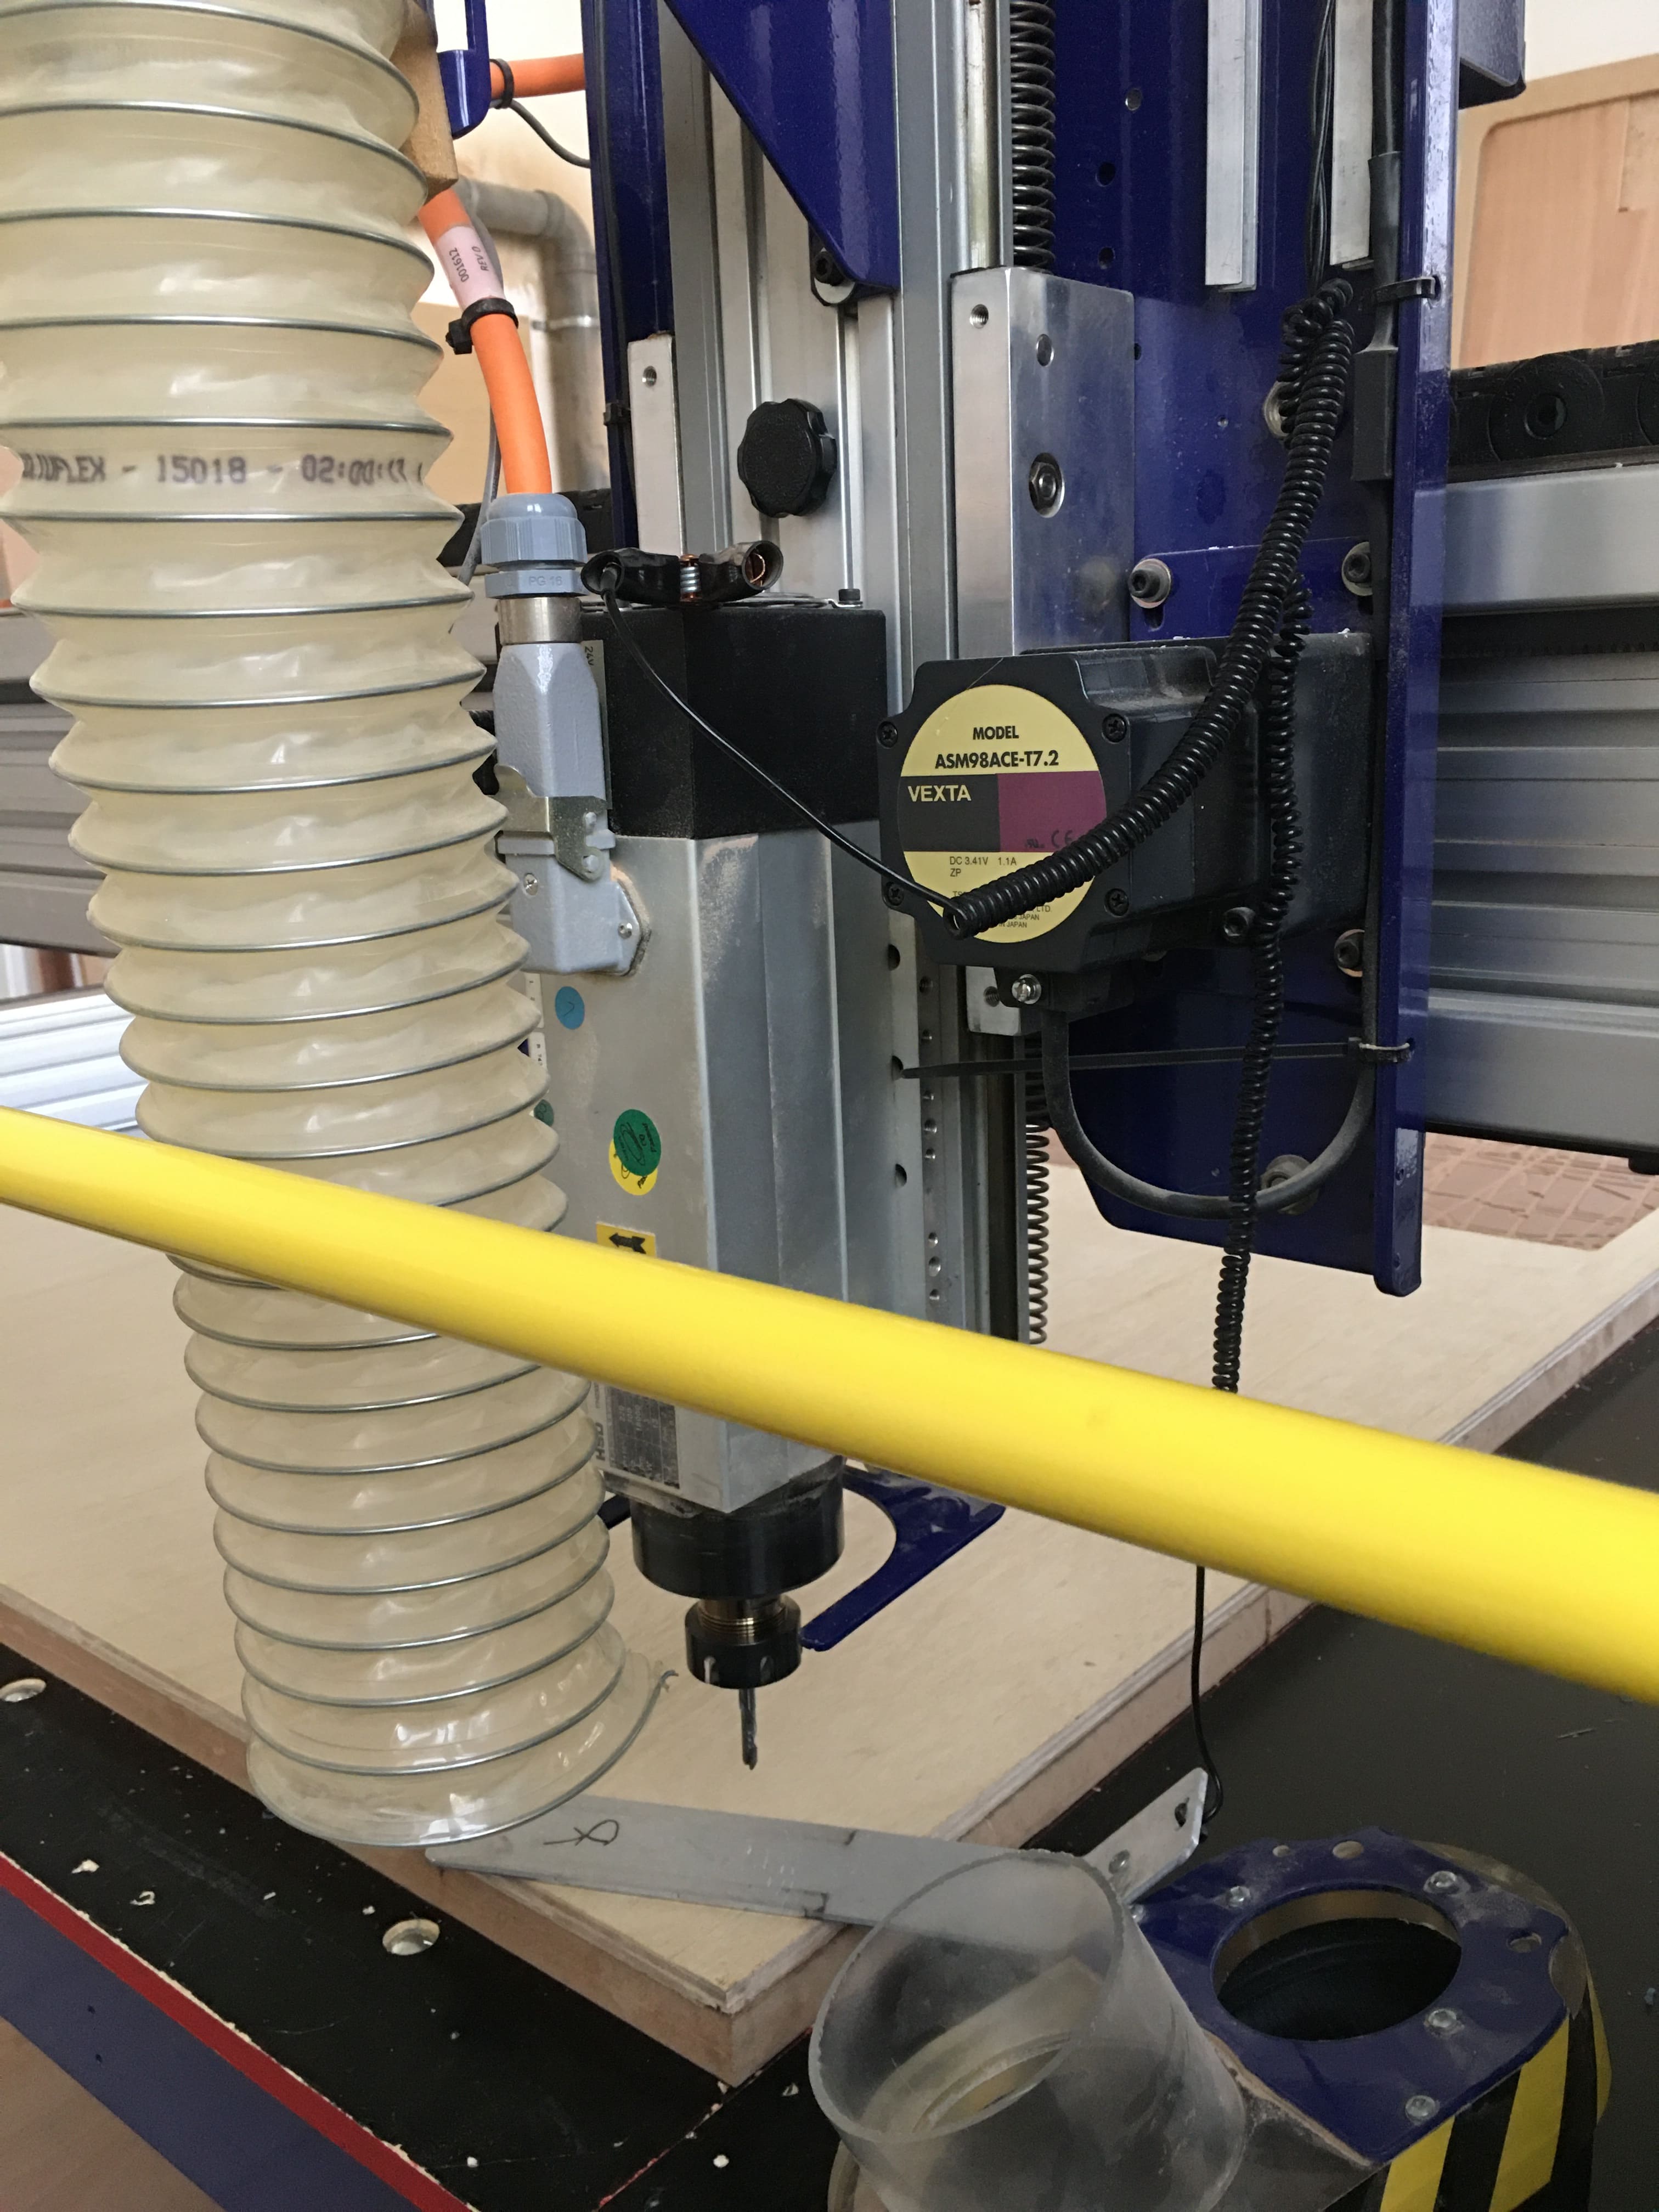
SETTING THE CNC MACHINE
- first we changed the bit to the bit we will be using.
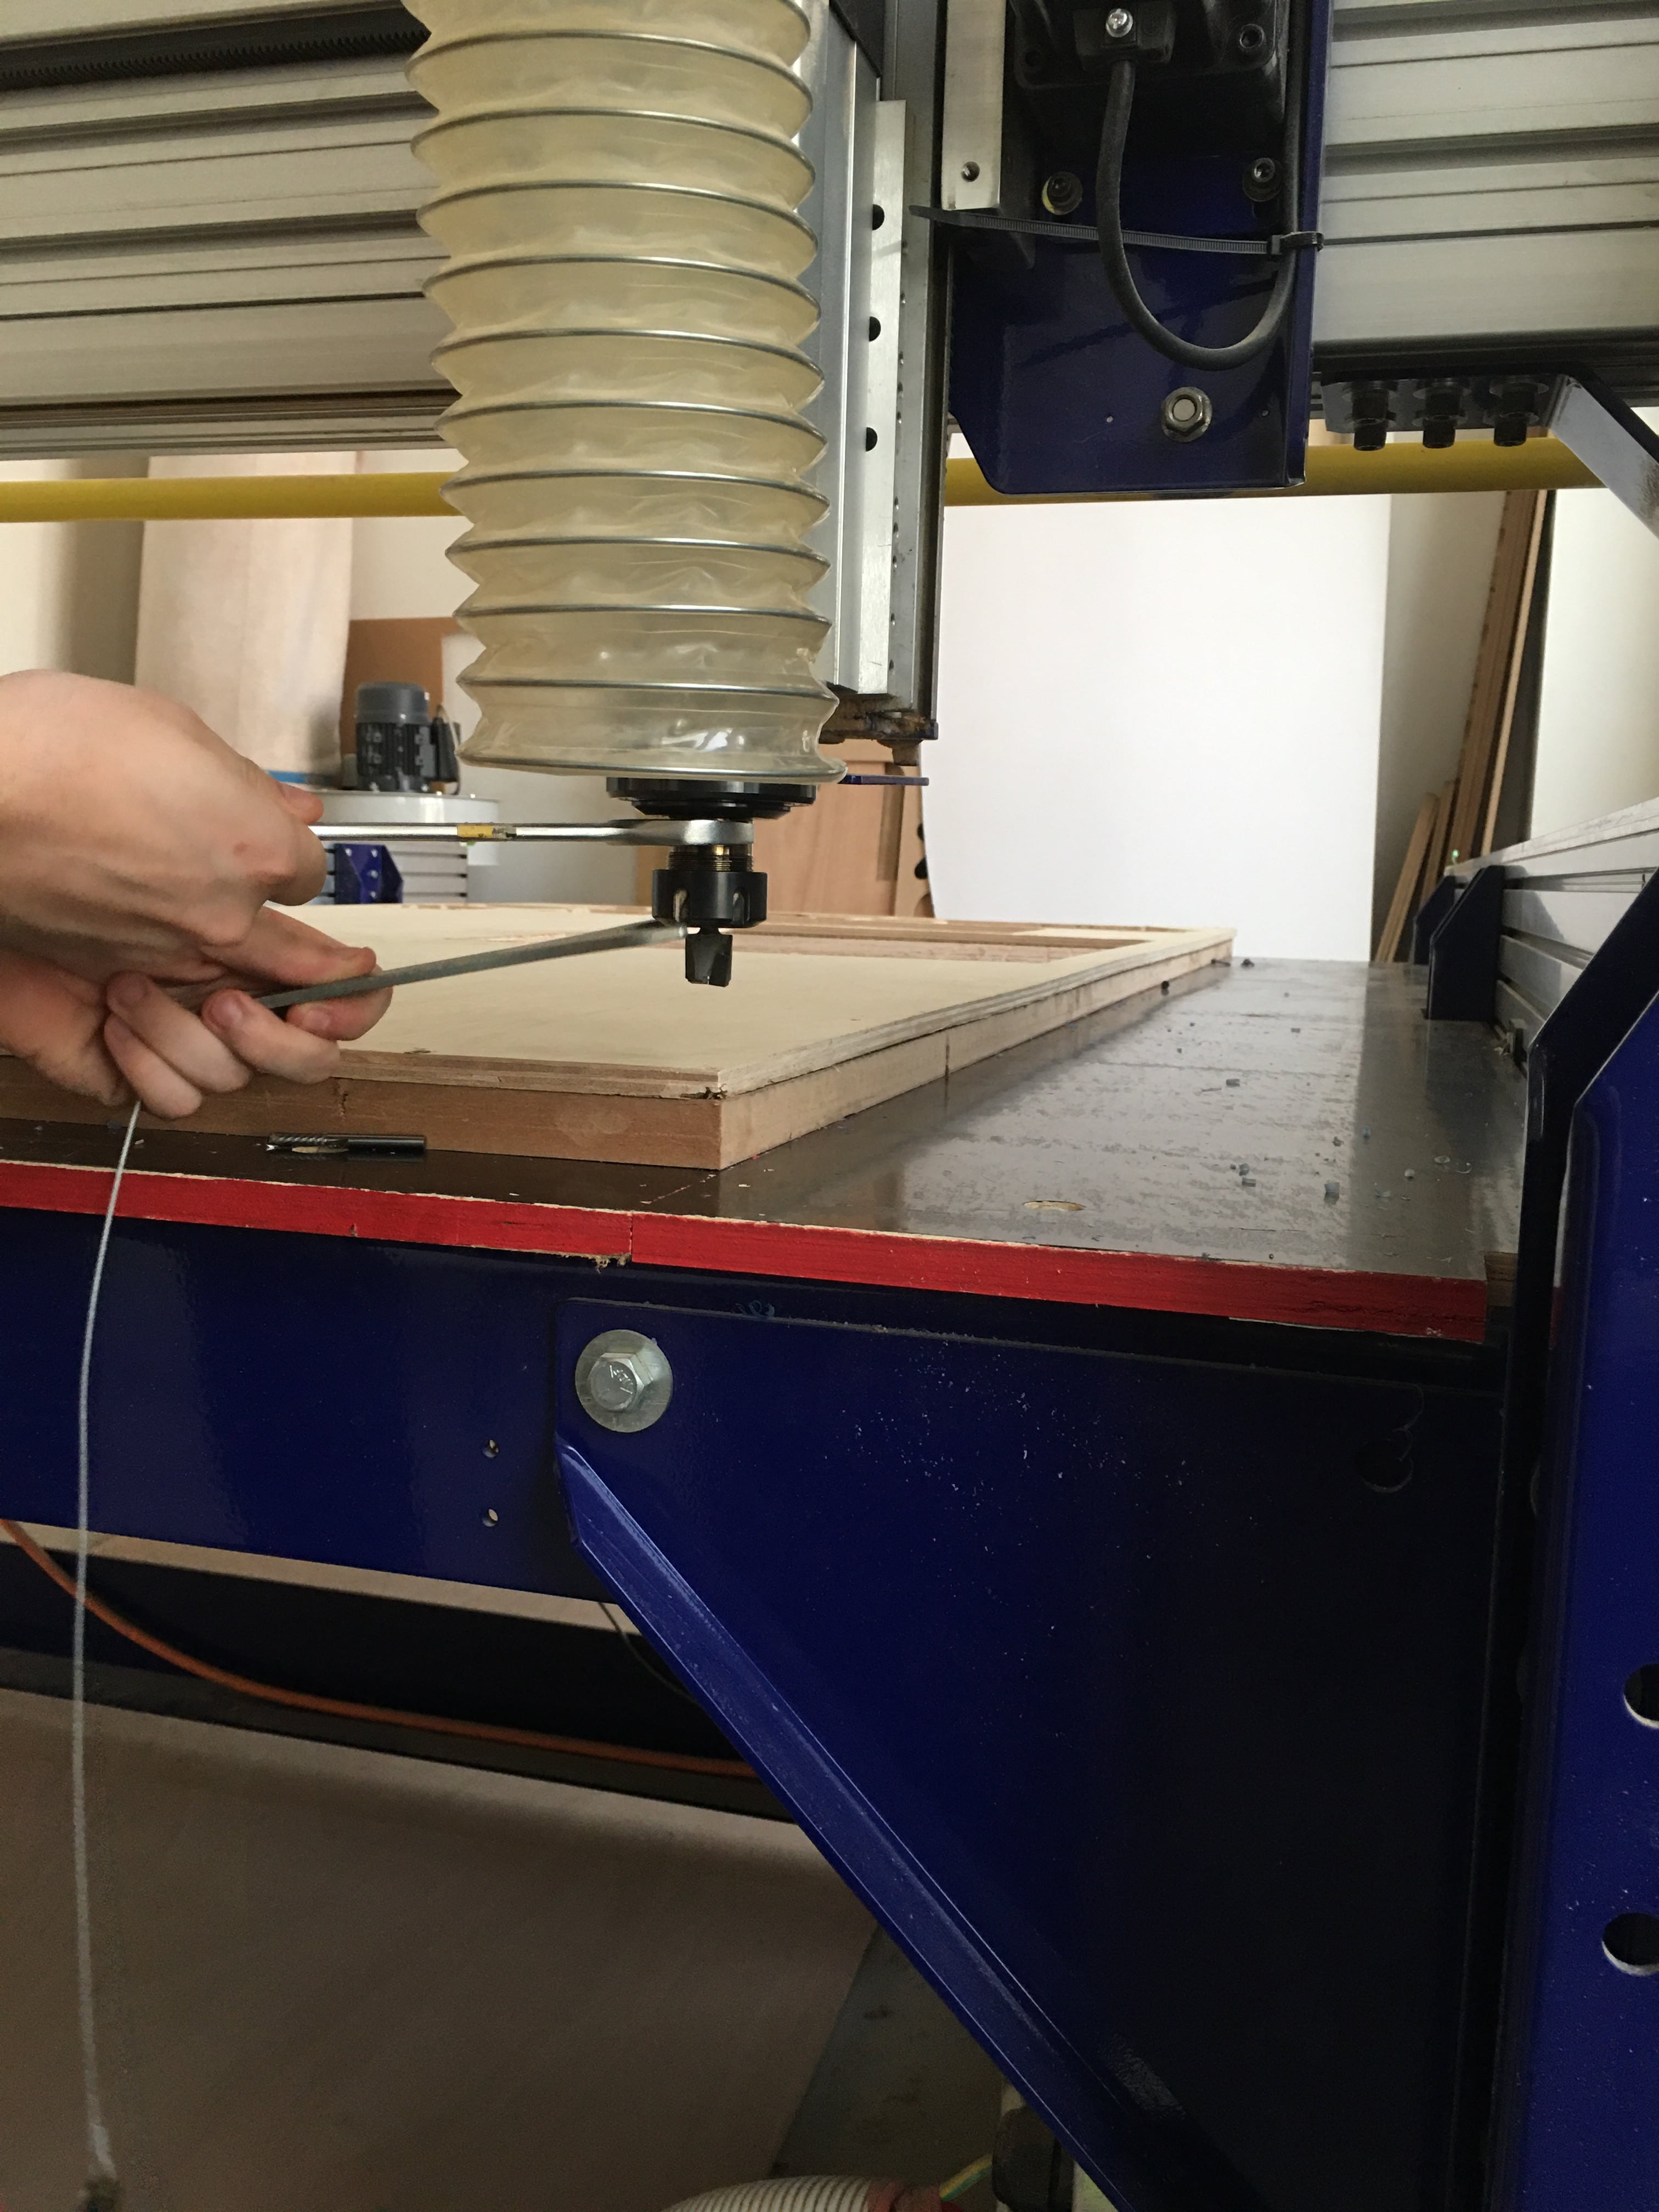

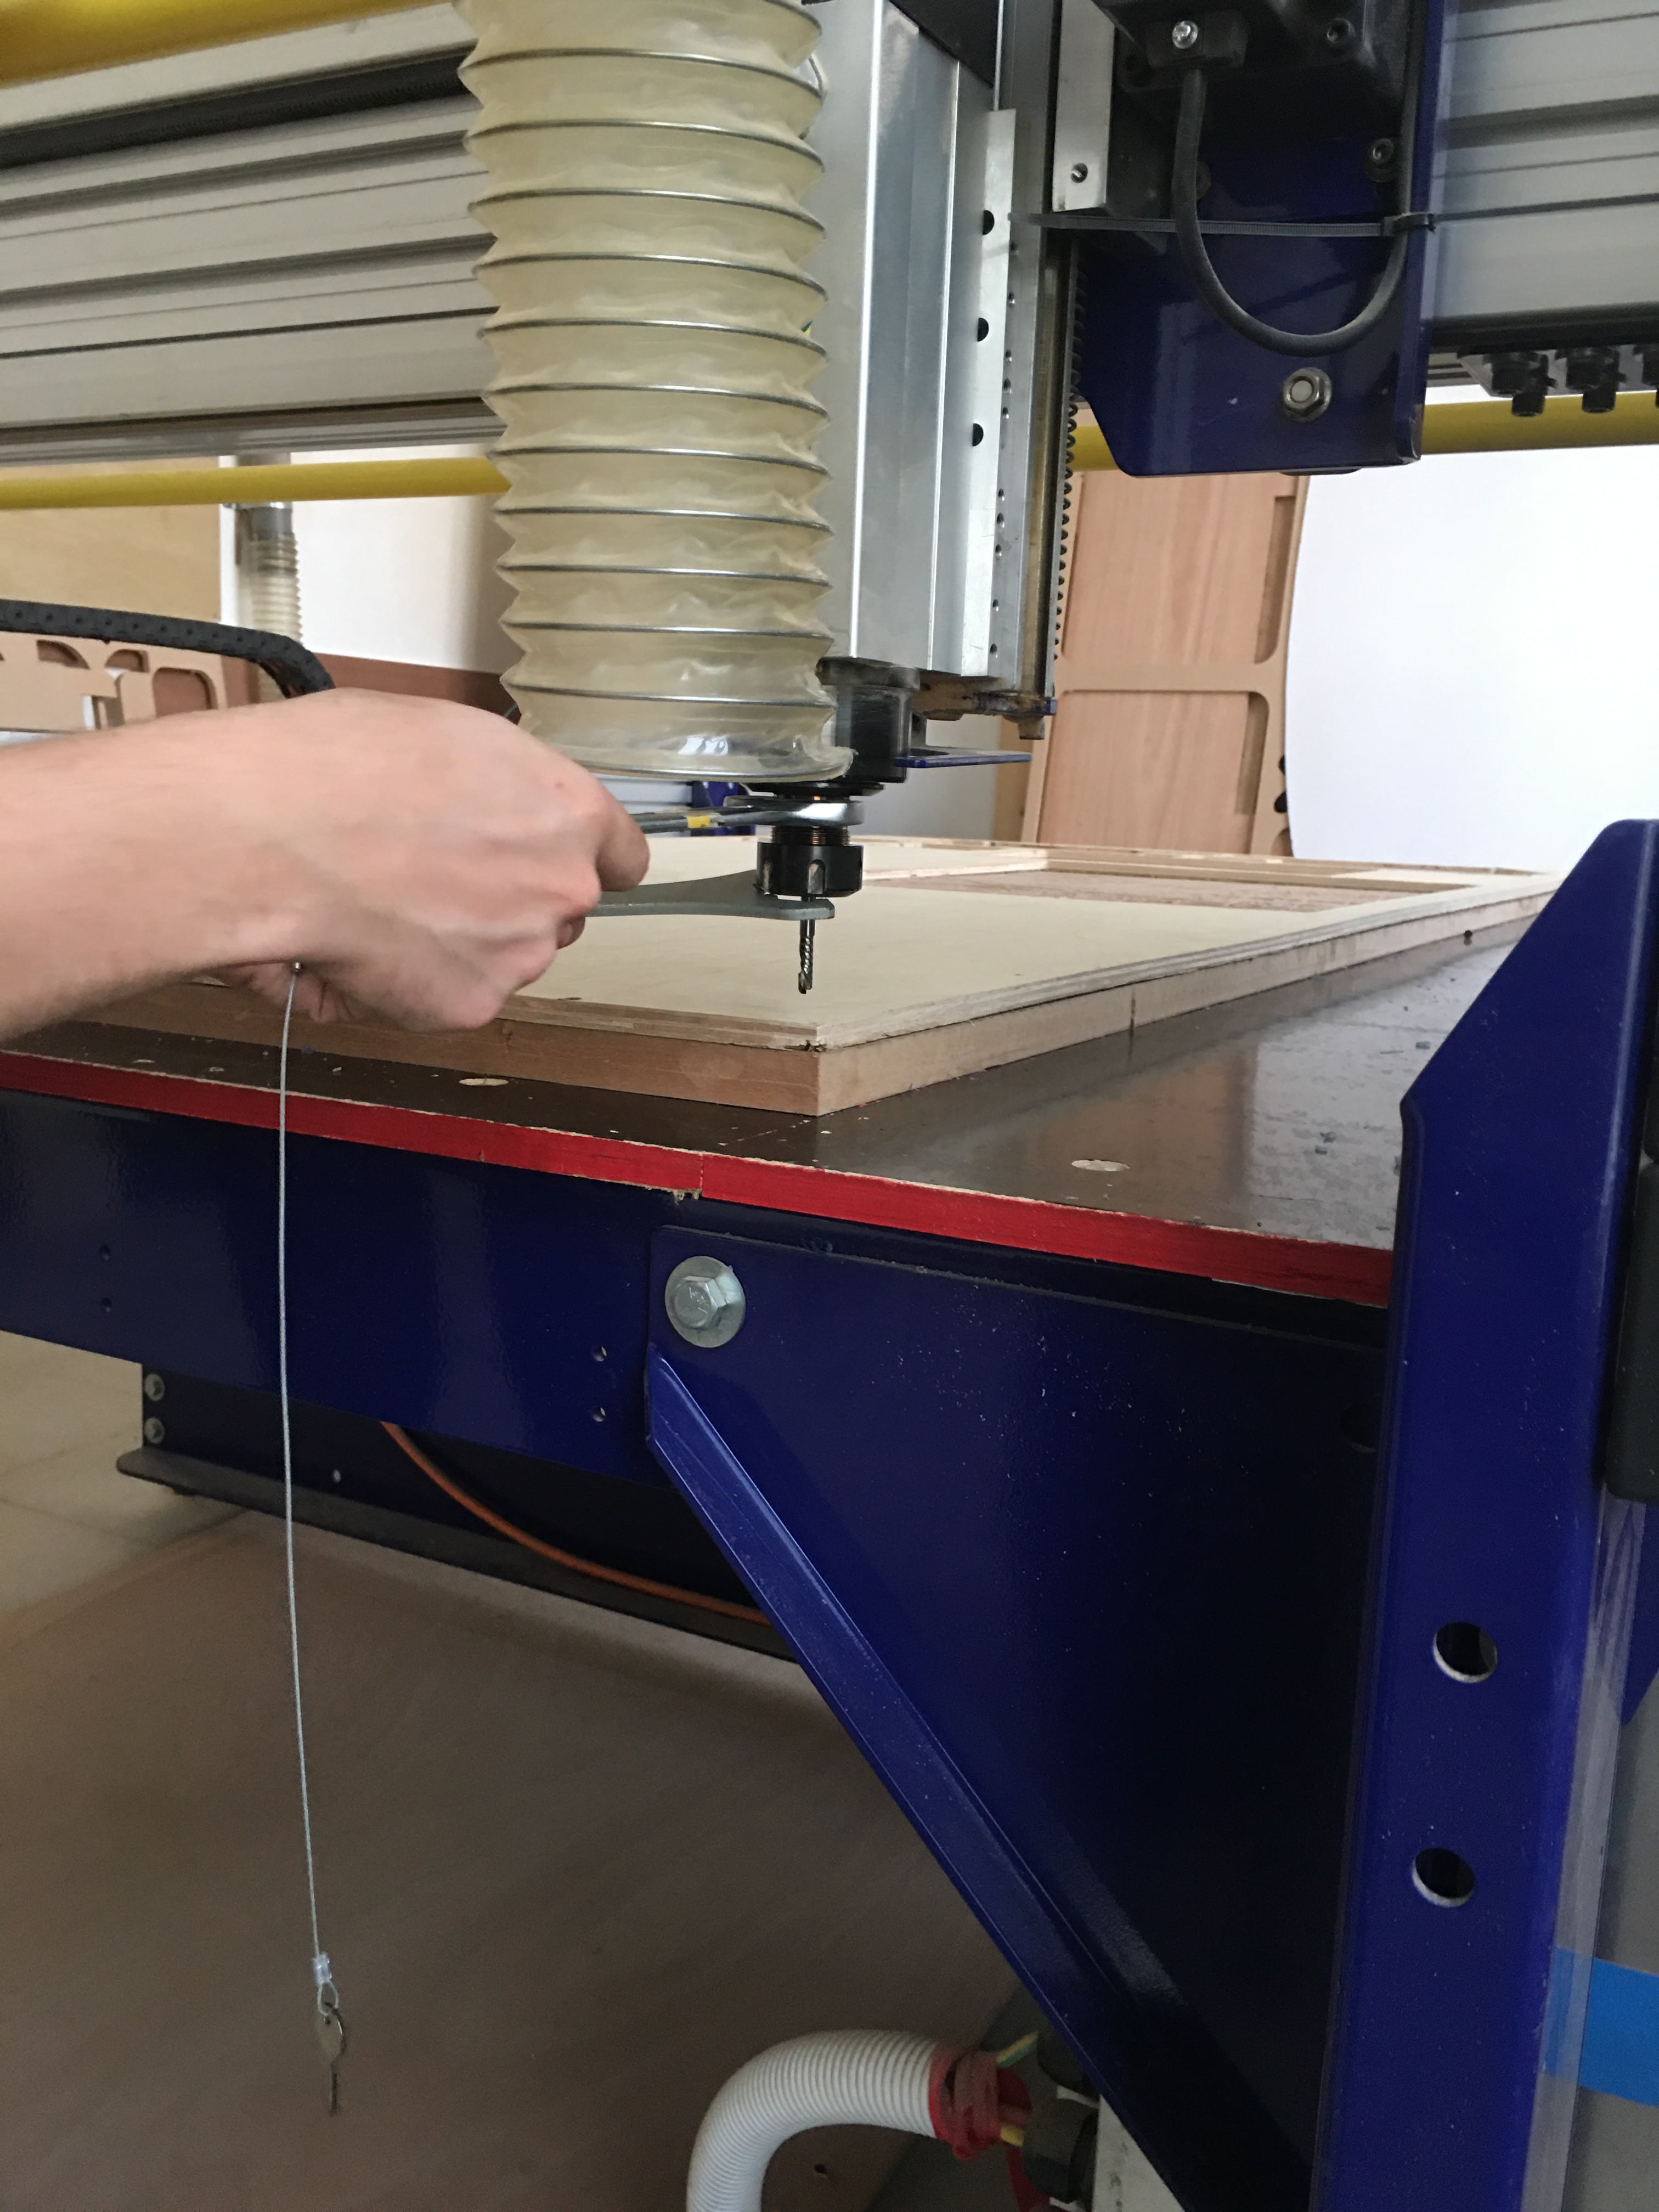
- we set the Axis of the Machine.
X,Y axis from the computer
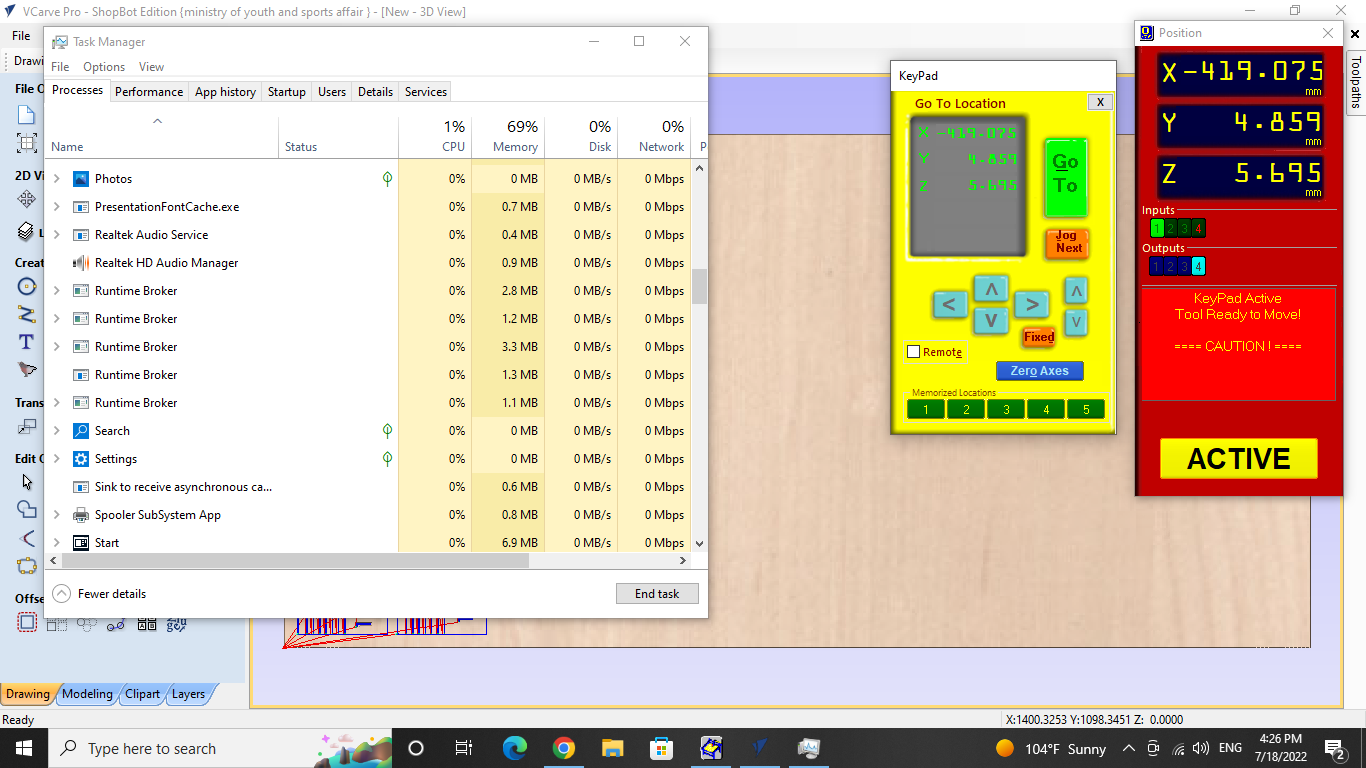
- while the Z Axis was by completing the circuit keeping our hand on the emergency button incase of a problem and letting the machine do the rest.
- Before we cut the piece we made two tests so that we decide how deep should the bit cut in the kerfs side.
one 11mm and the other one was 10MM
- 11mm
Had more flexibility But, since we are using plywood which is typically layers of wood. it kind of broke the last layer of the wood so it did not have a smooth finish.
we decided to go with the “10mm”
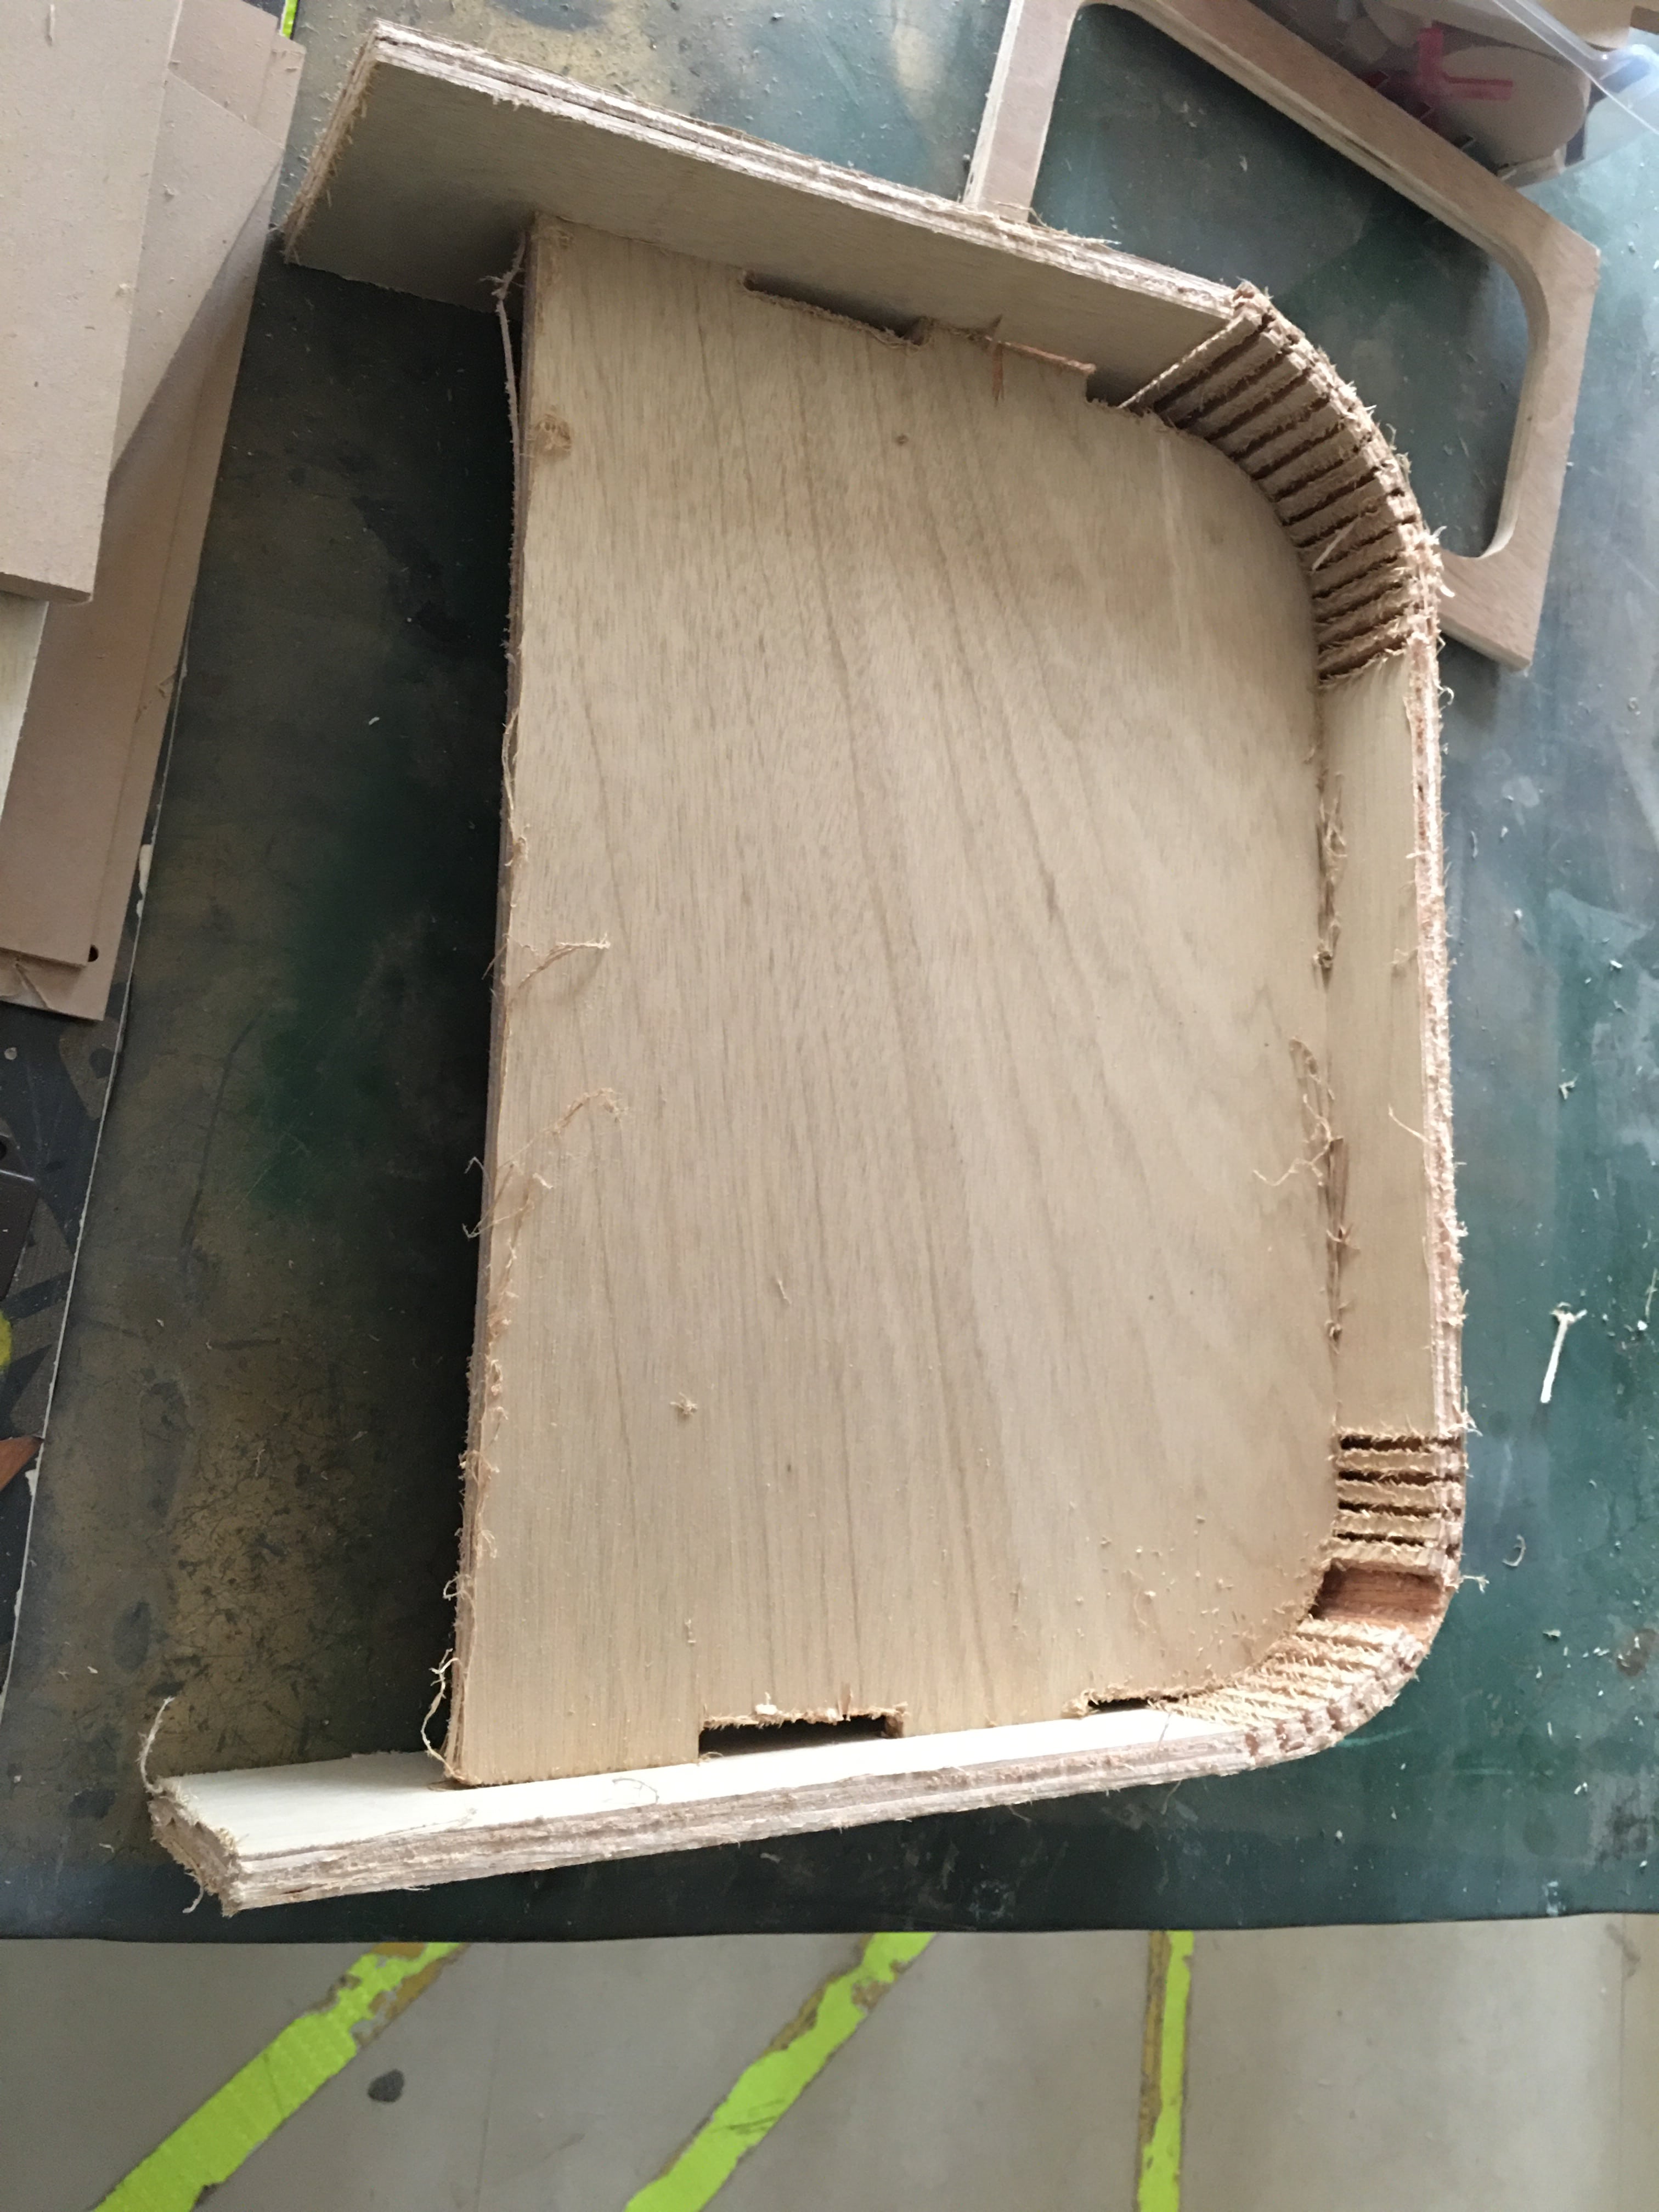
First try
**In this try the designed failed.
-
The Kerf cut as 10mm in depth was so strong for a 15mm width it was hard to curve the piece it broke immediately .
-
we also found that the curve was so strong almost a 90 degree angle which will put more pressure on the piece lowering its durability.
DESIGN TWO
-
IN the first design as I worked on the seating dimensions first to calculate the right size I will need for the frame especially kerf length where I had measured the curve in fusion BUT what made the frame shorter than what we needed was that I forgot the material thickness which had an impact on the kerf length.
-
for this design I fixed the seating dimentions especially on the curved parts.

- after figuring the seat dimensions I offset the line by 12mm and measured it the curve length to use it on the frame kerf part.

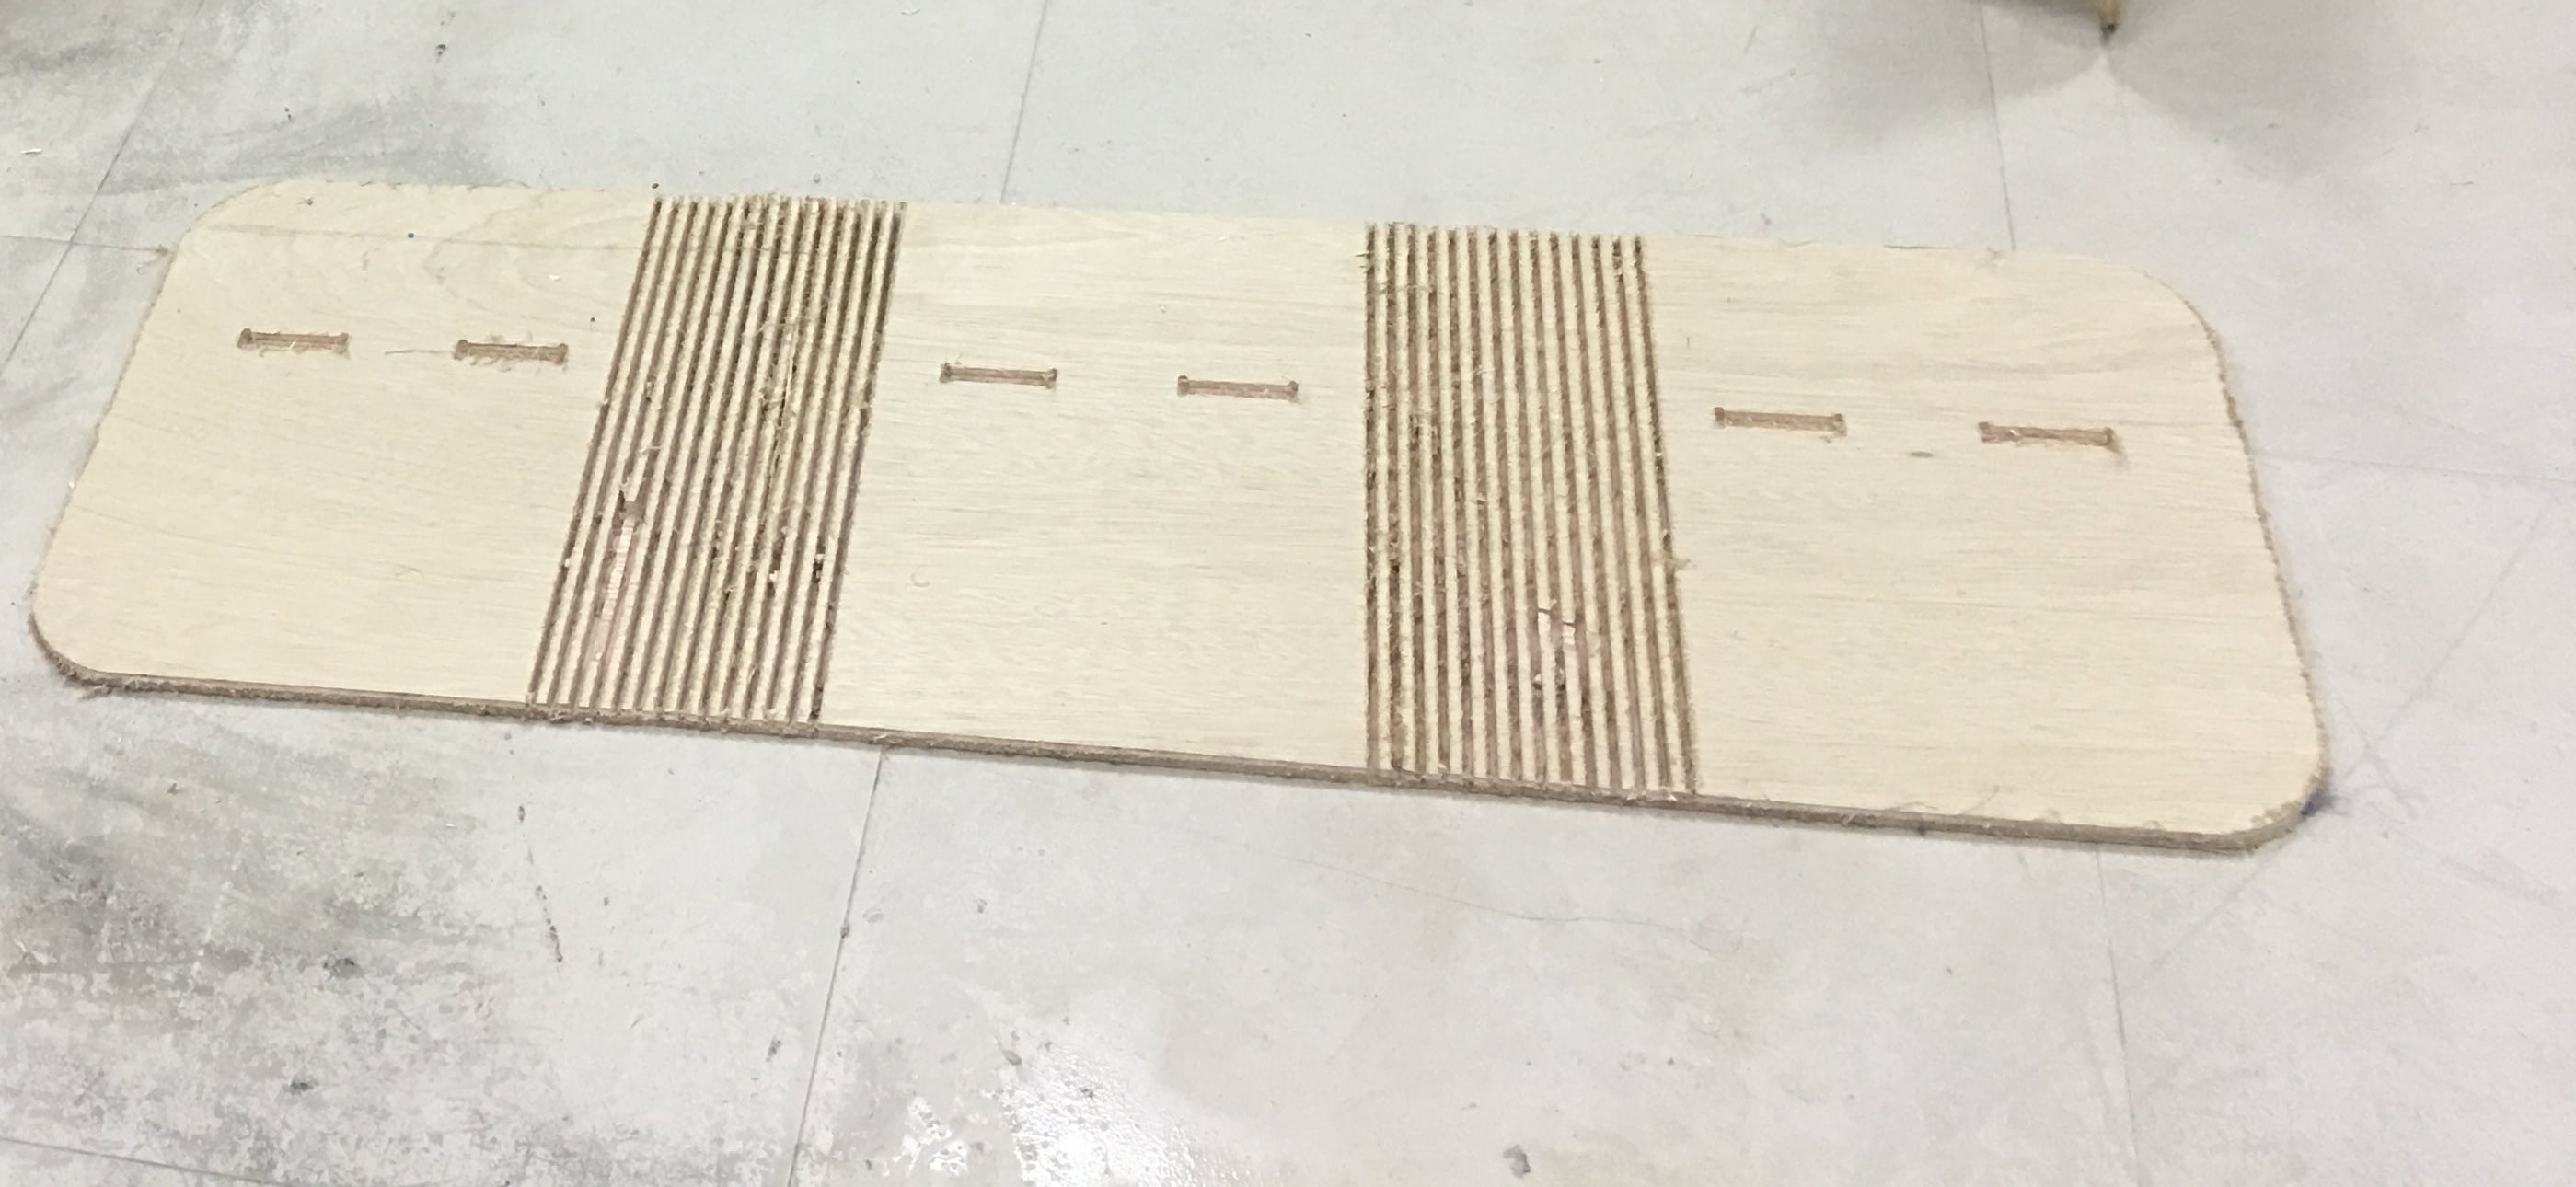
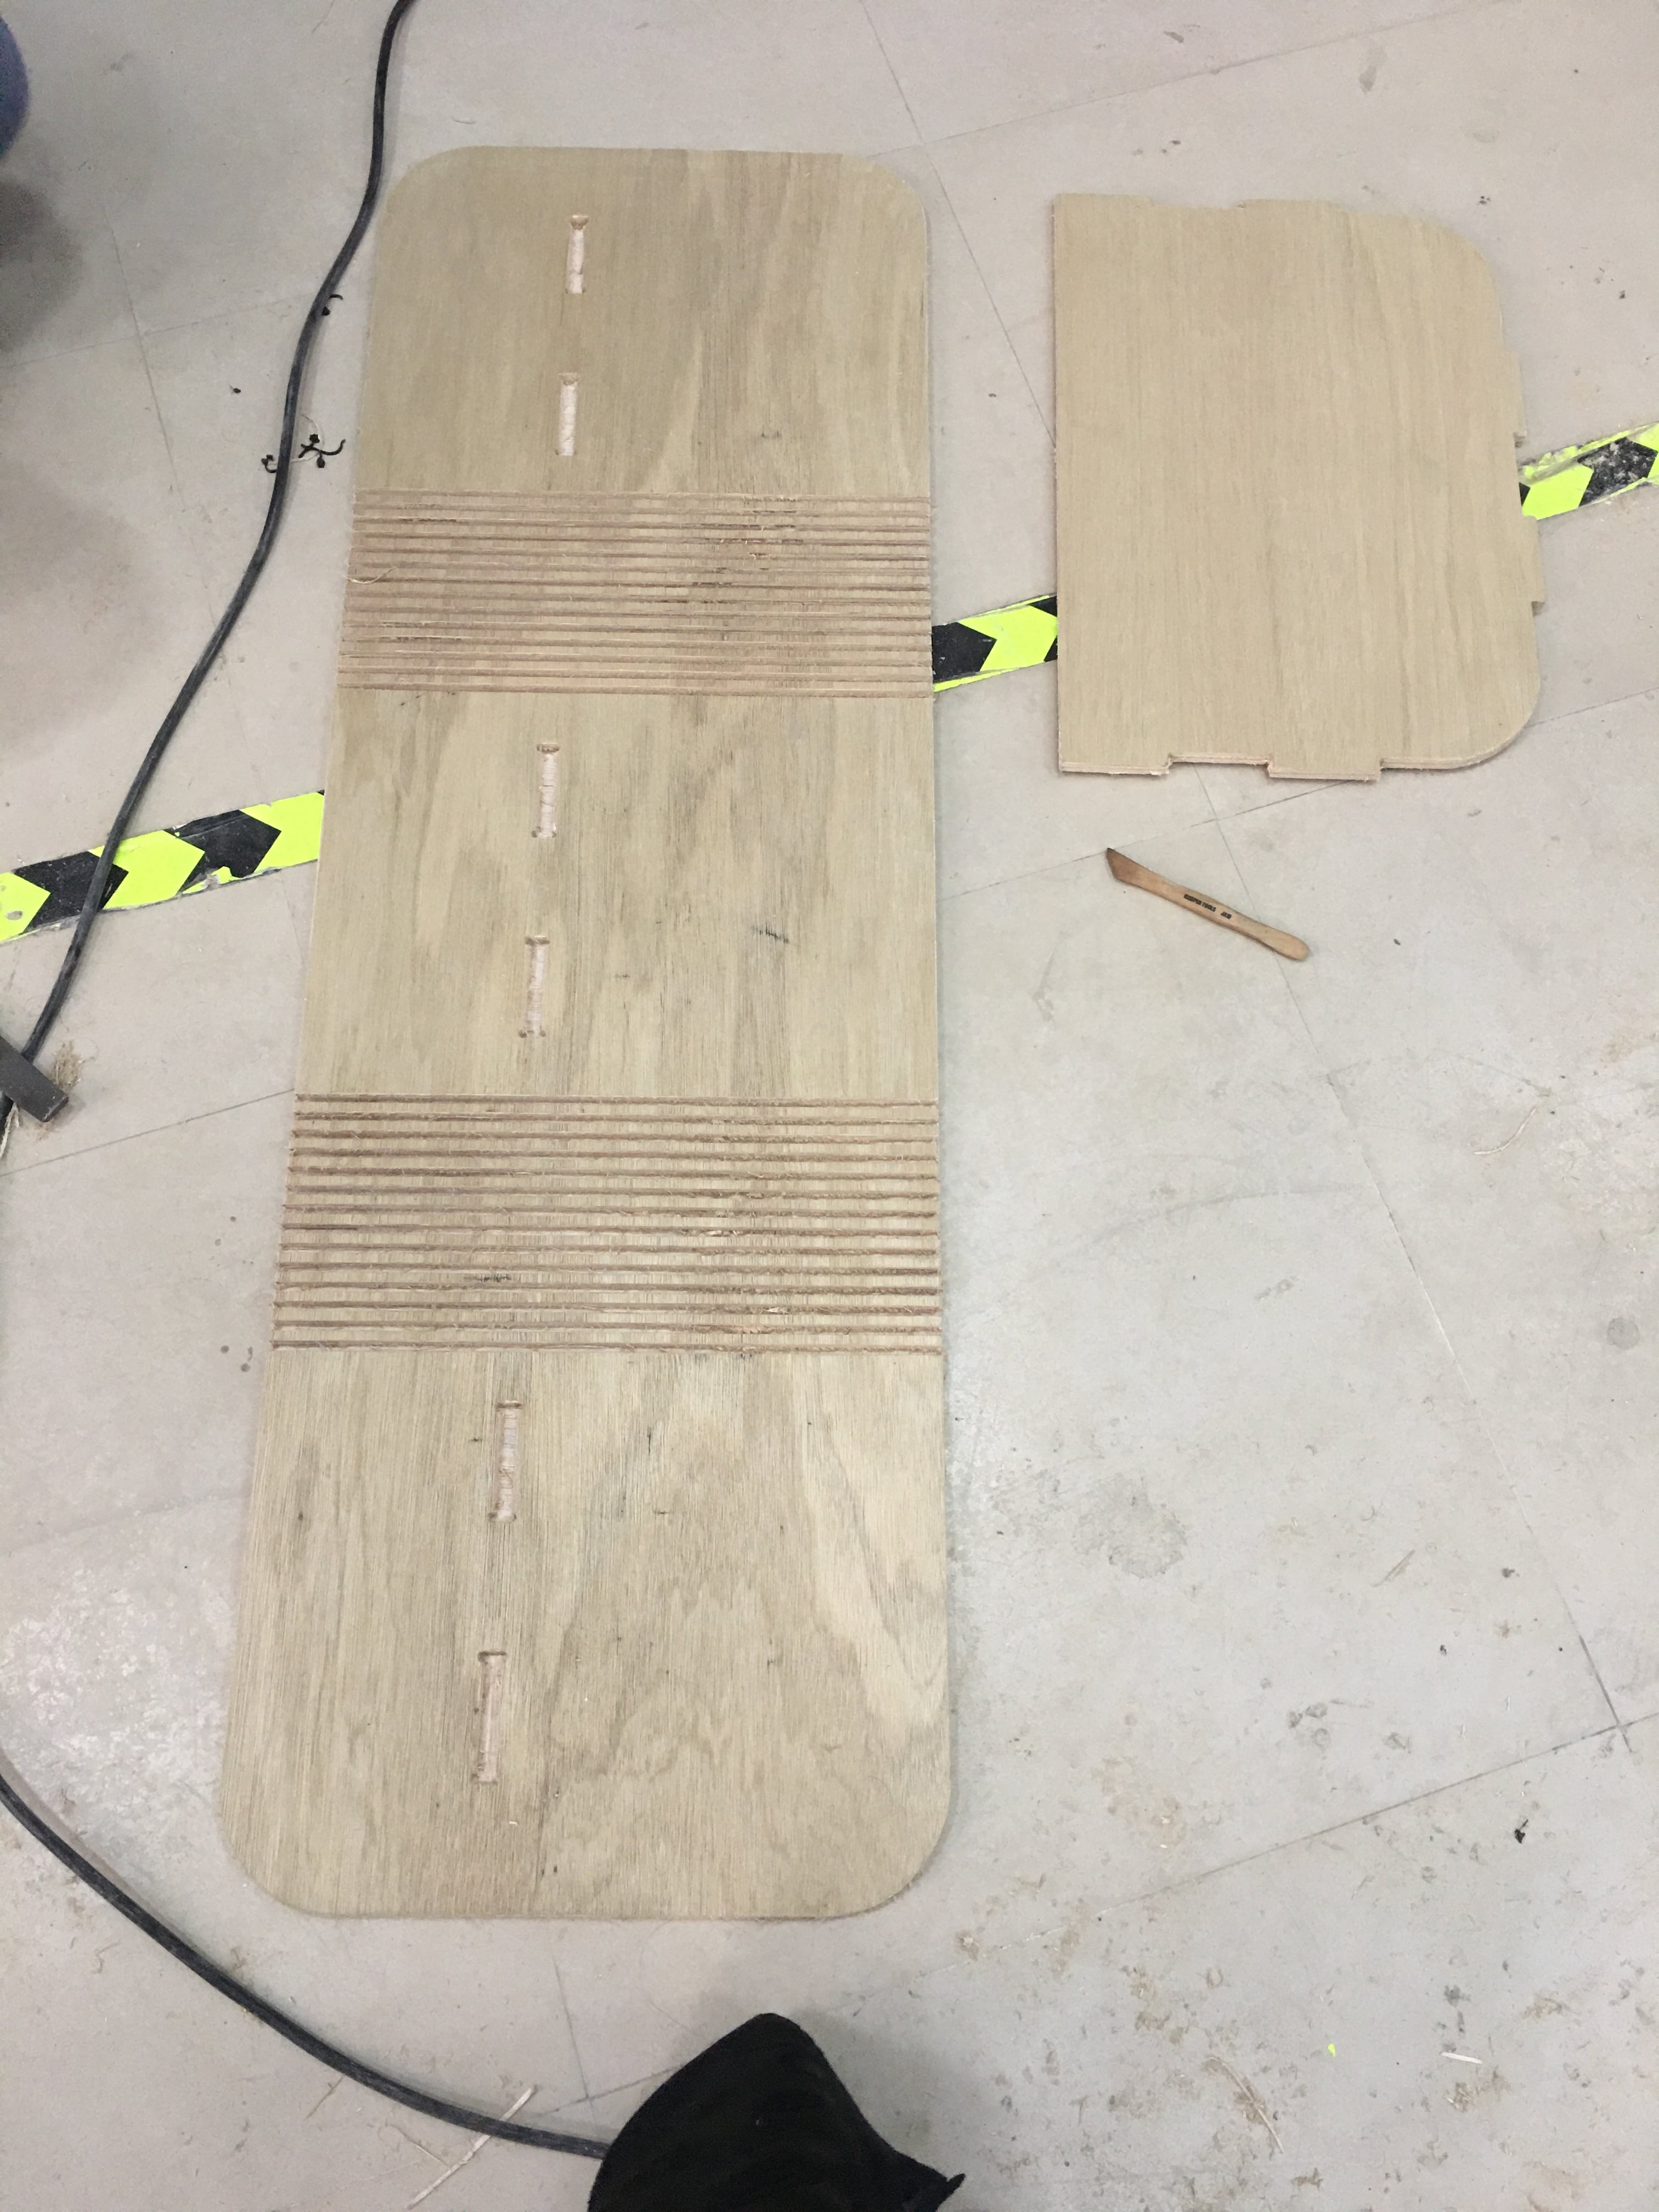
- I also worked on the distance between the lines in the kerf in design one was 15mm I made it 12mm for this one.

- For the pockets This time we decided to go in between by going to 10.6mm

Second try
- For this try we cut a small part of the design were the joints are to not use a big amount of the material.
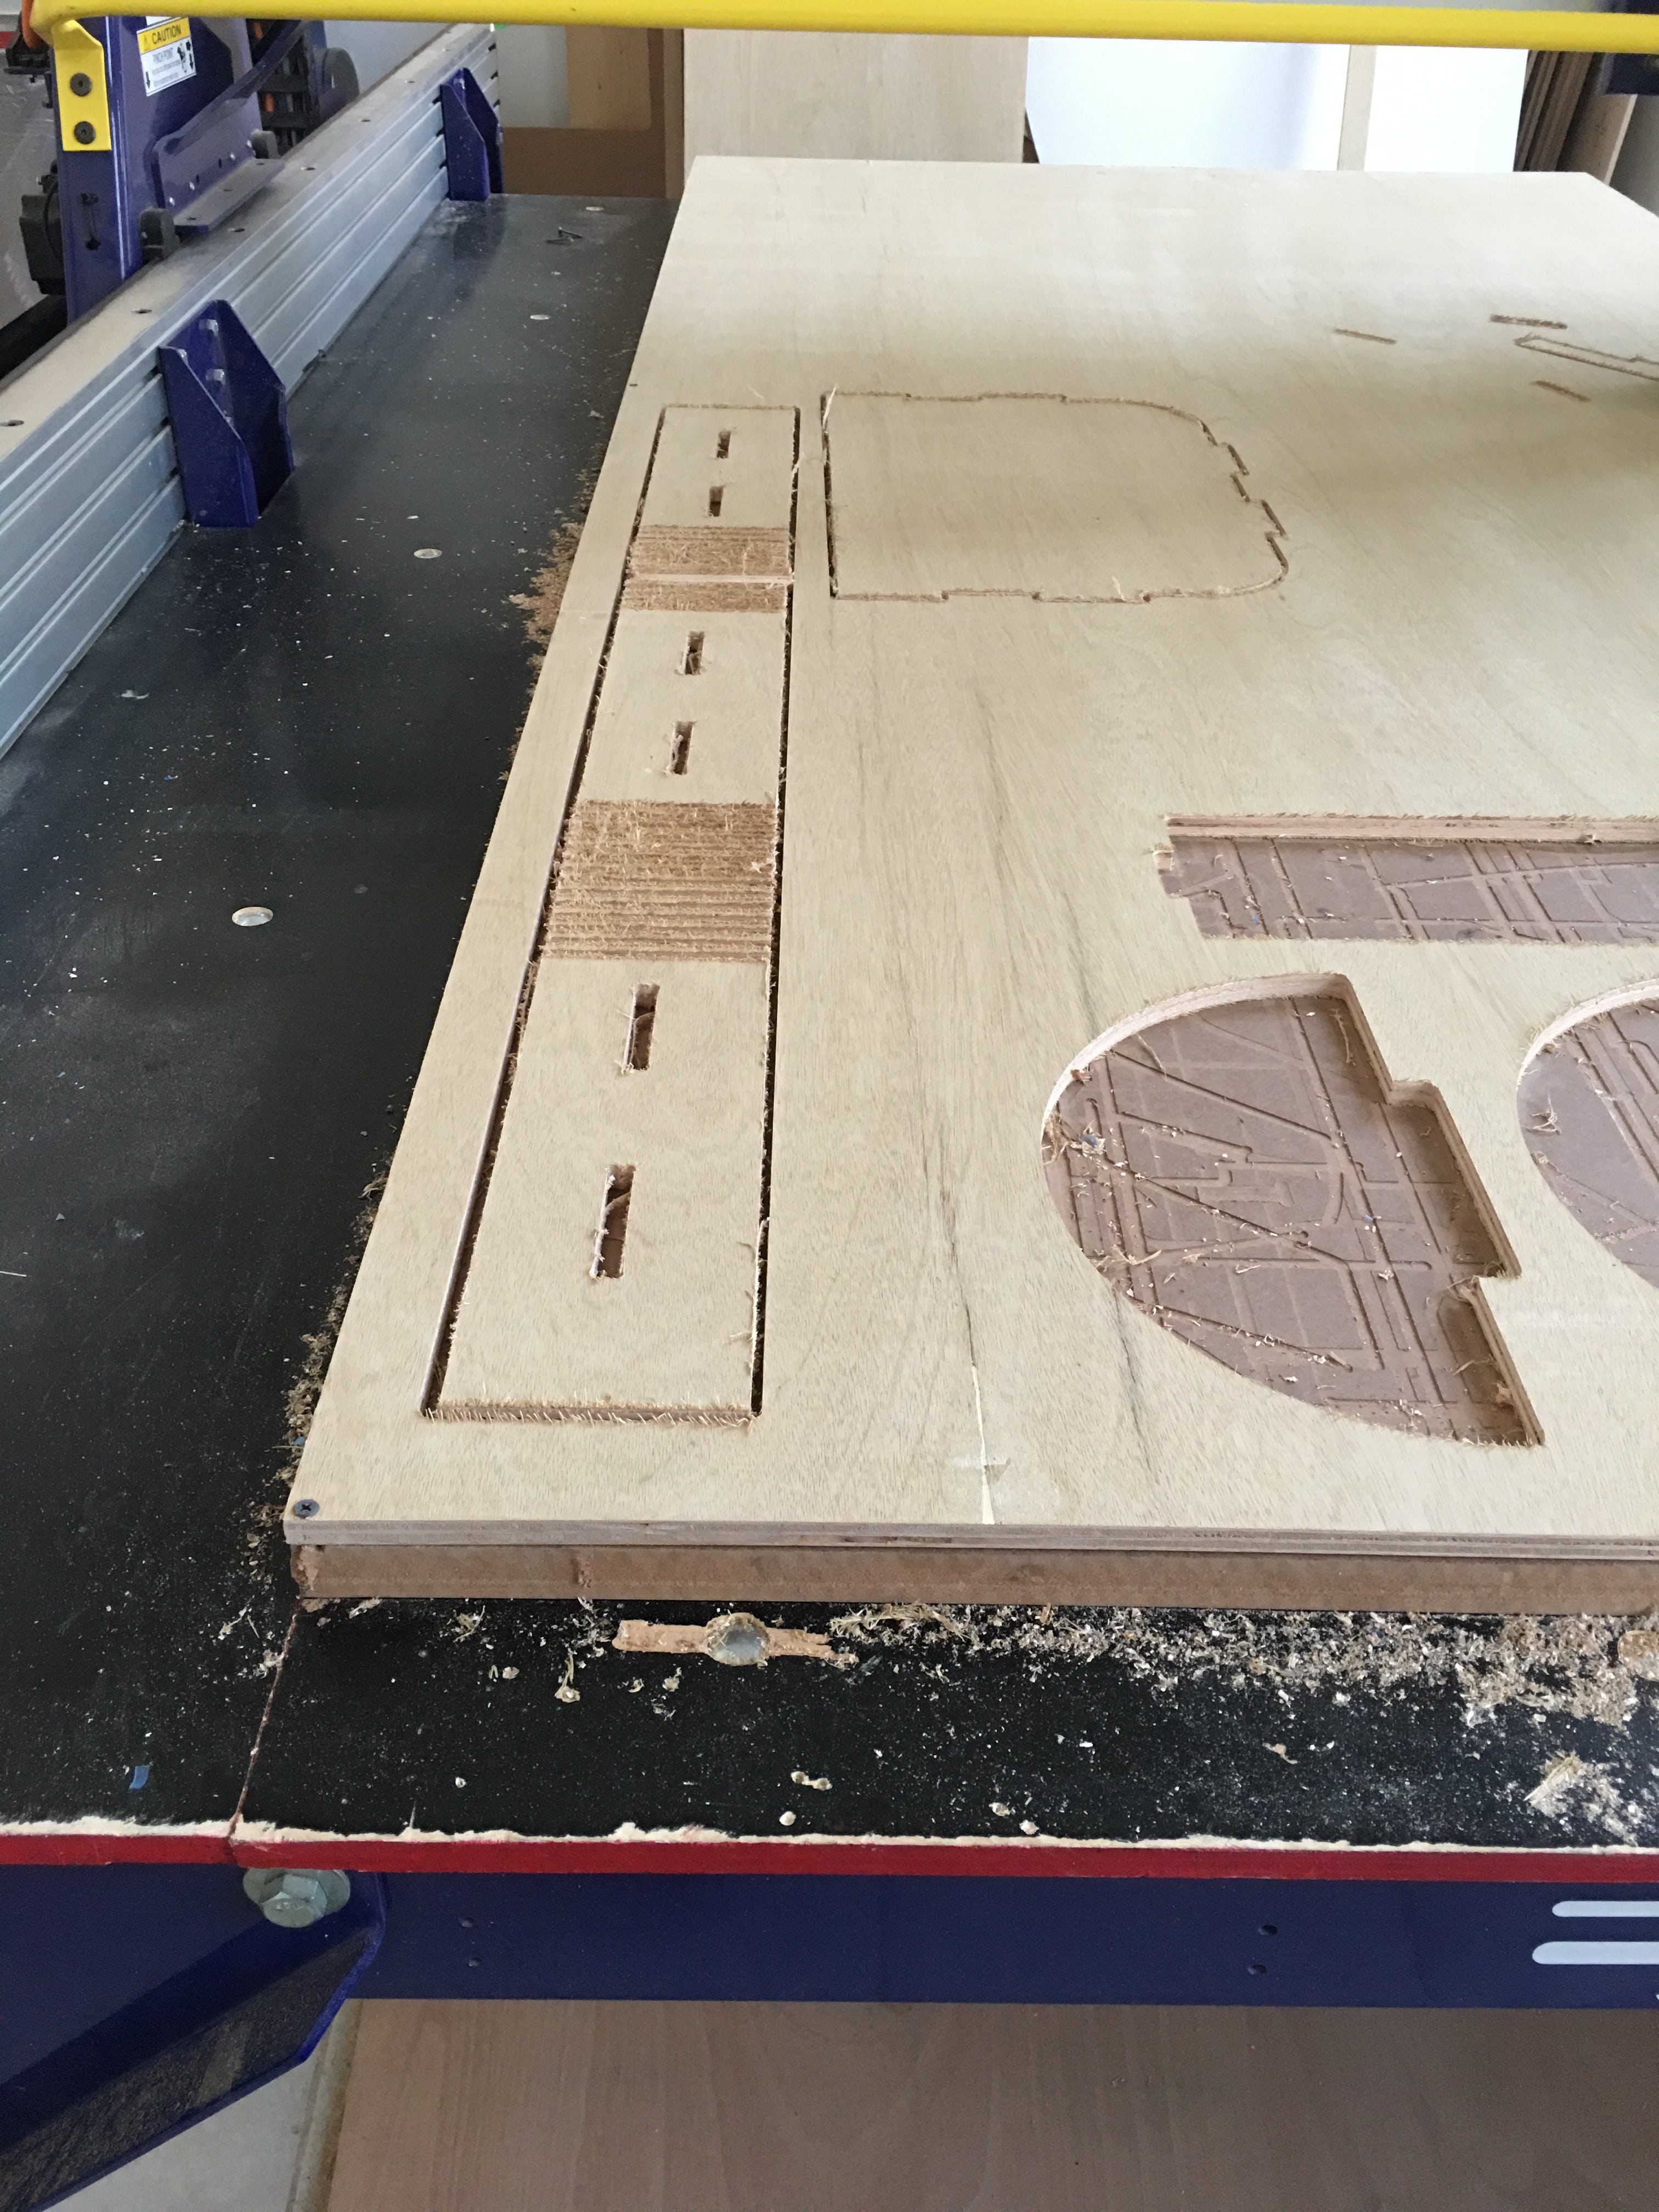
- Everything worked fine in this try except I had to fix the joints 5mm to the side .

Design fixing
Third try
Although 10.6mm depth worked on the small test it didn’t work on the big one the wood broke.
Might be because of how we fit the wooden plate or because they are longer lines so we decided to go back to 10mm
Fourth try
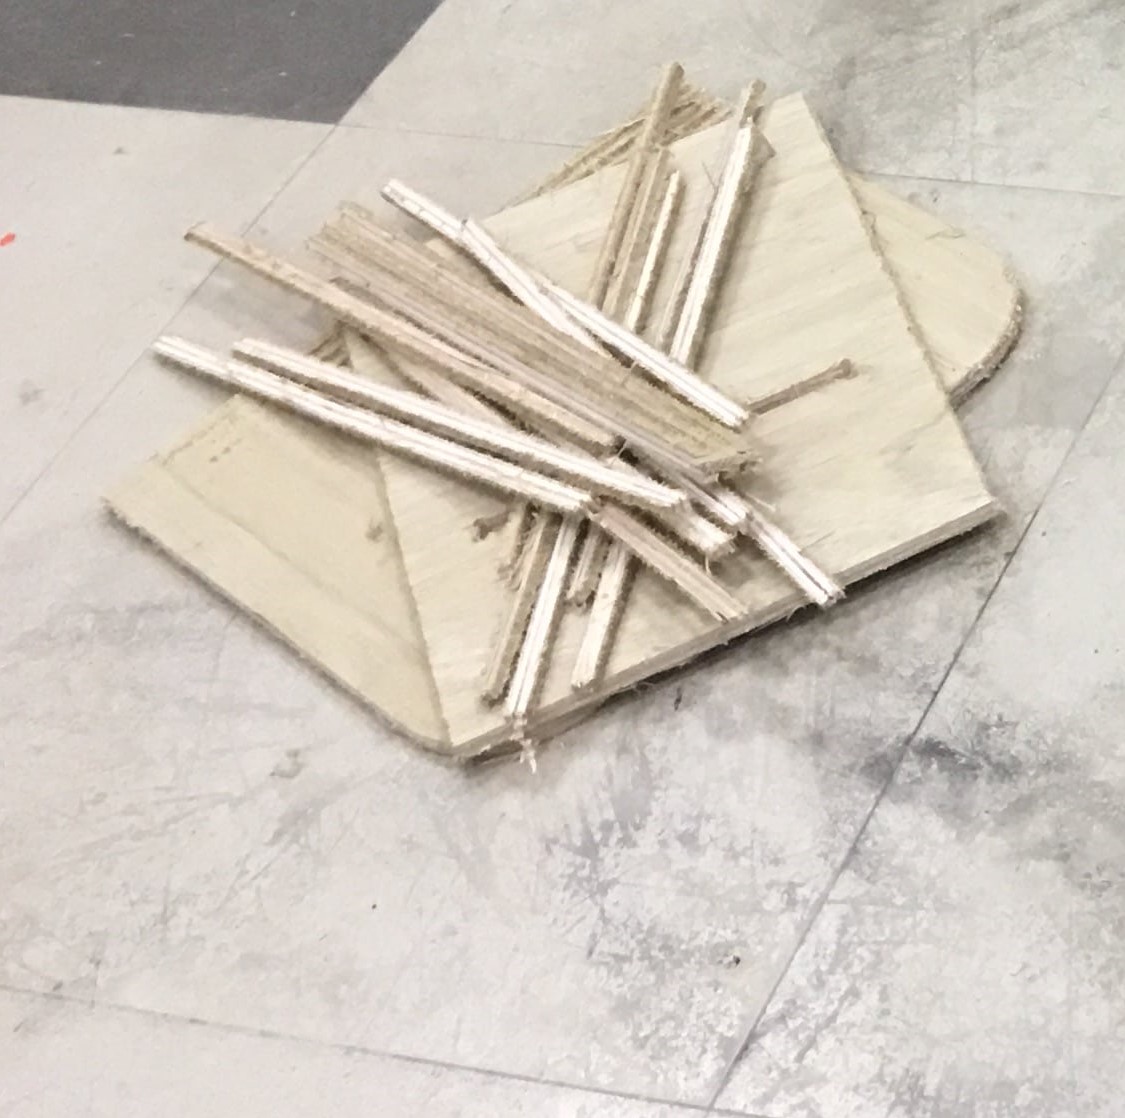
the wooden piece was not drilled right in one part it was not fixed well, which made the wood cut 1mm deeper which totally destroyed the piece. or There might have been a problem in the machine axis as well.
Fifth try
In this try we fixed the Axis again and the wooden plate and it was done the way we wanted.
SANDING
Before fixing the piece we have to sand it.
FIXING
-
As 10MM depth is strong we didn’t want the design to break again like the first time.
-
we decided to use hot water which might help in curving it easily without breaking .
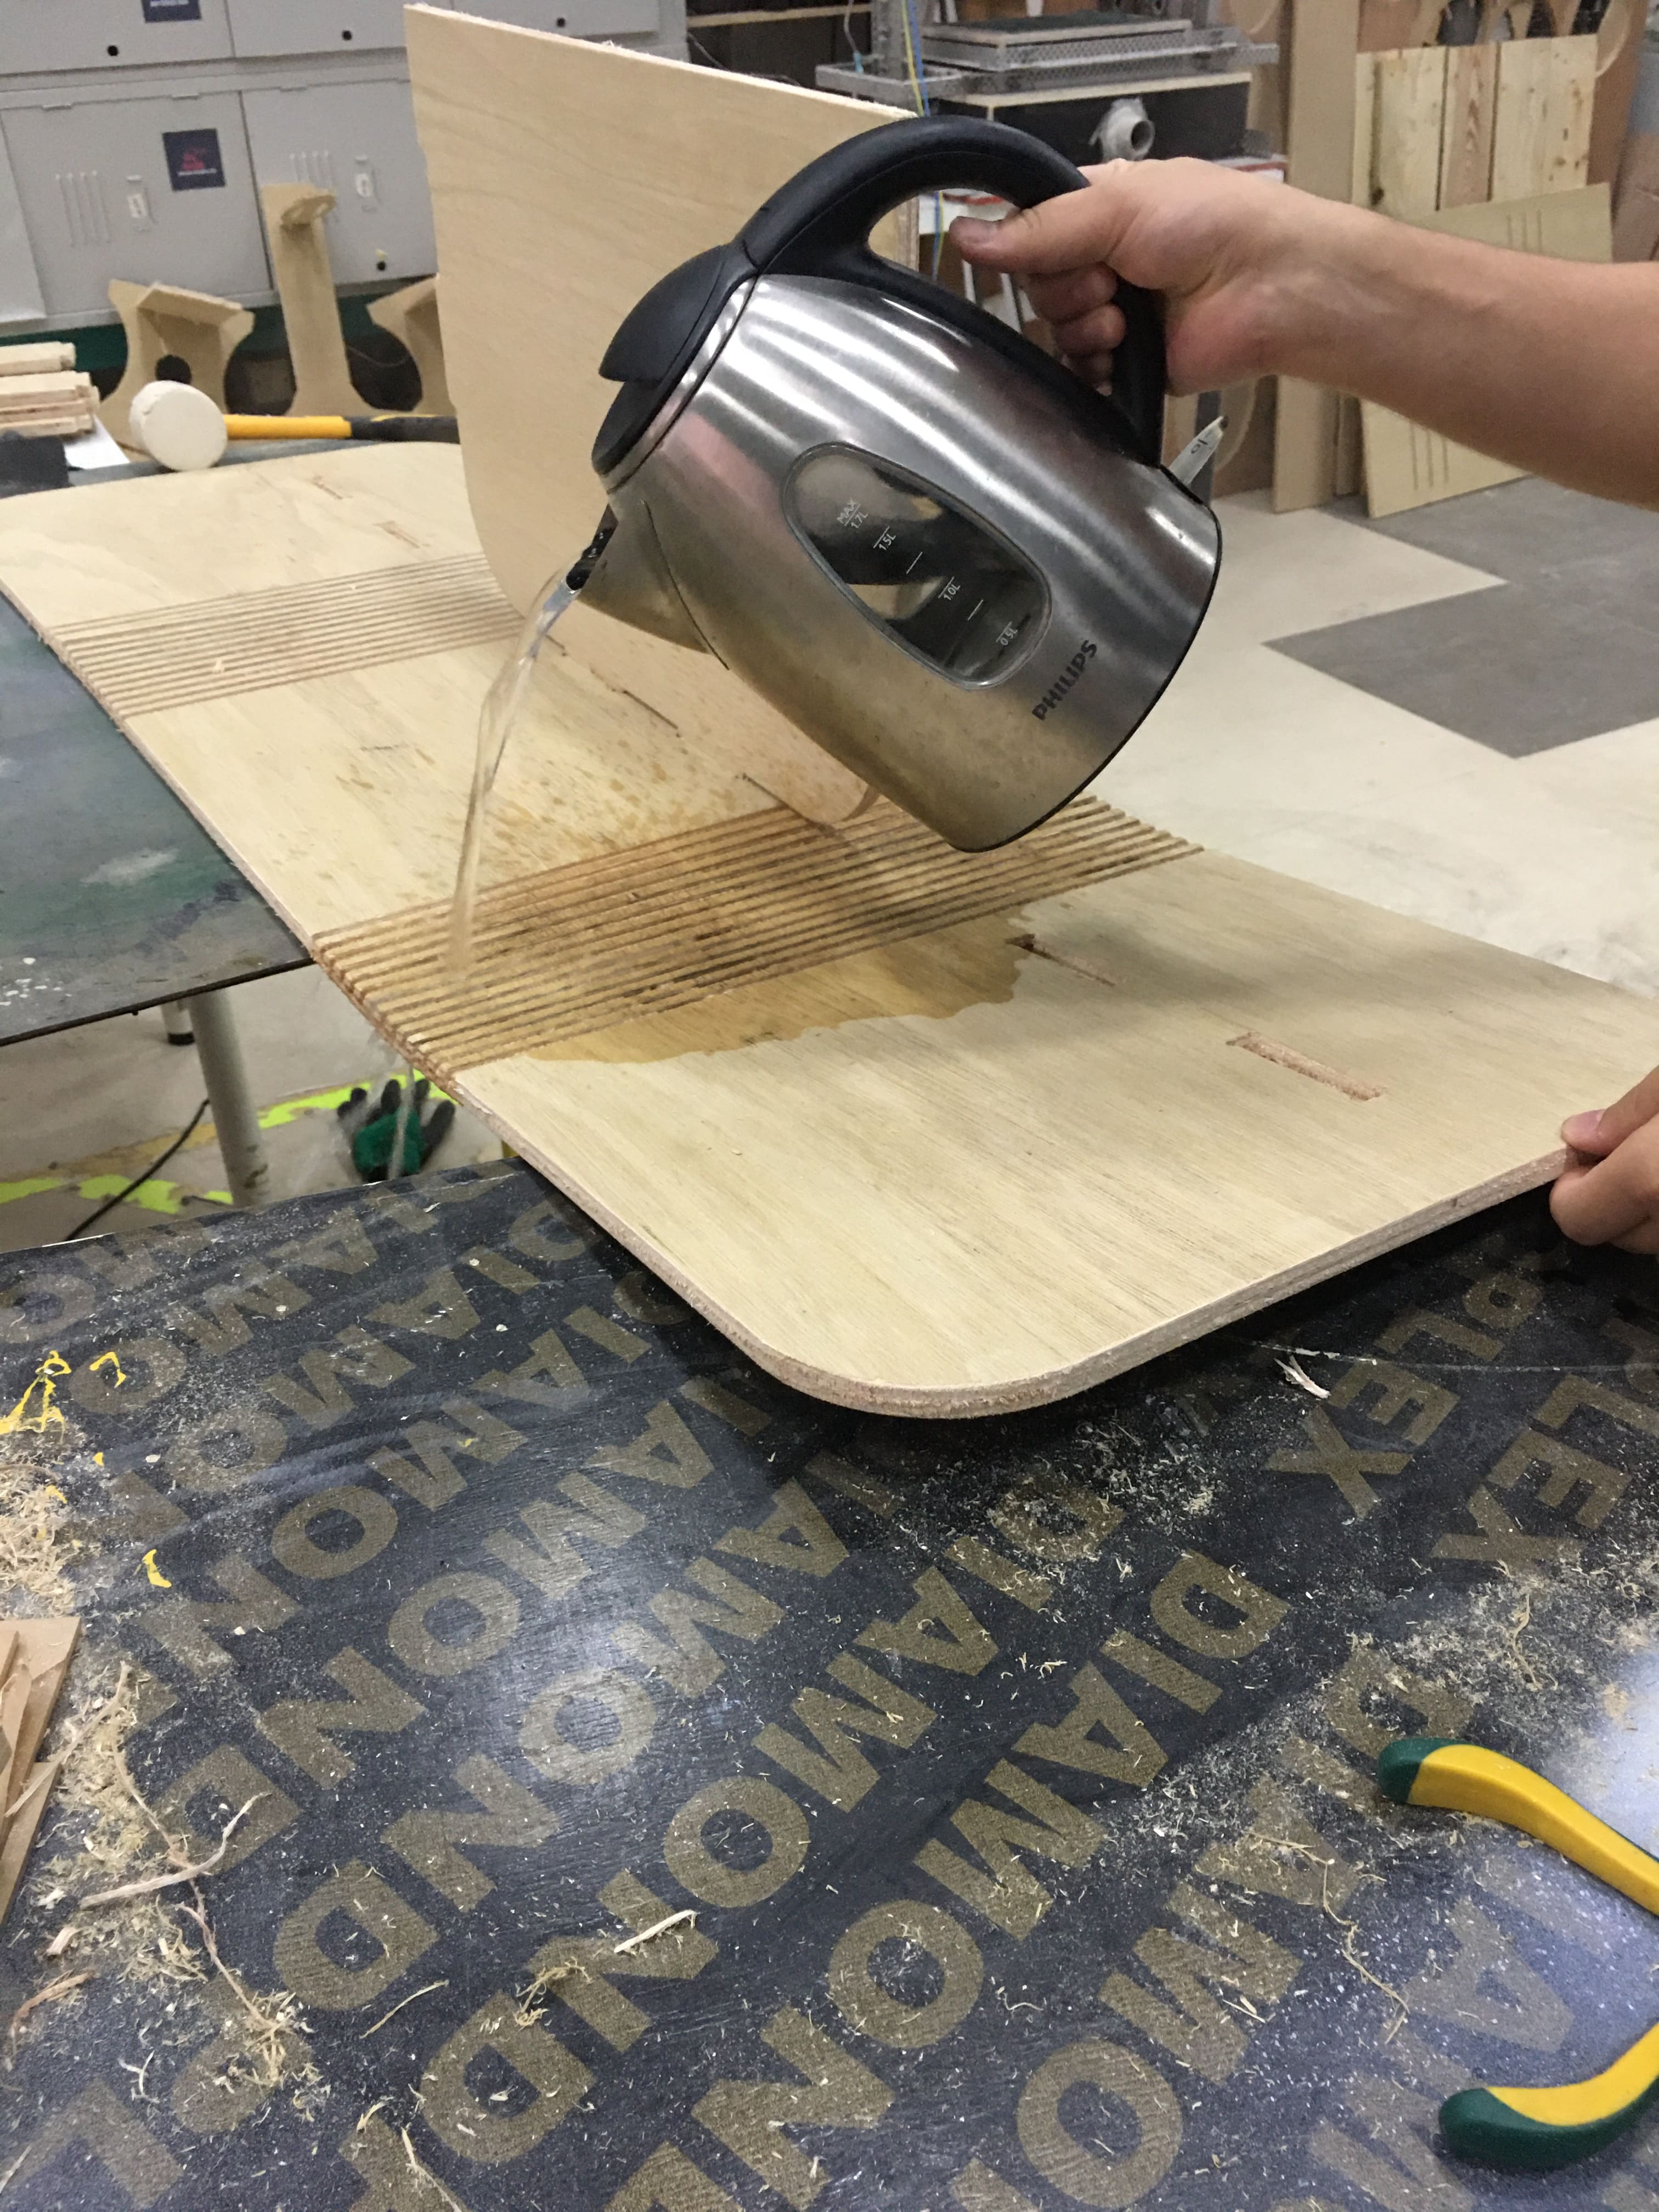
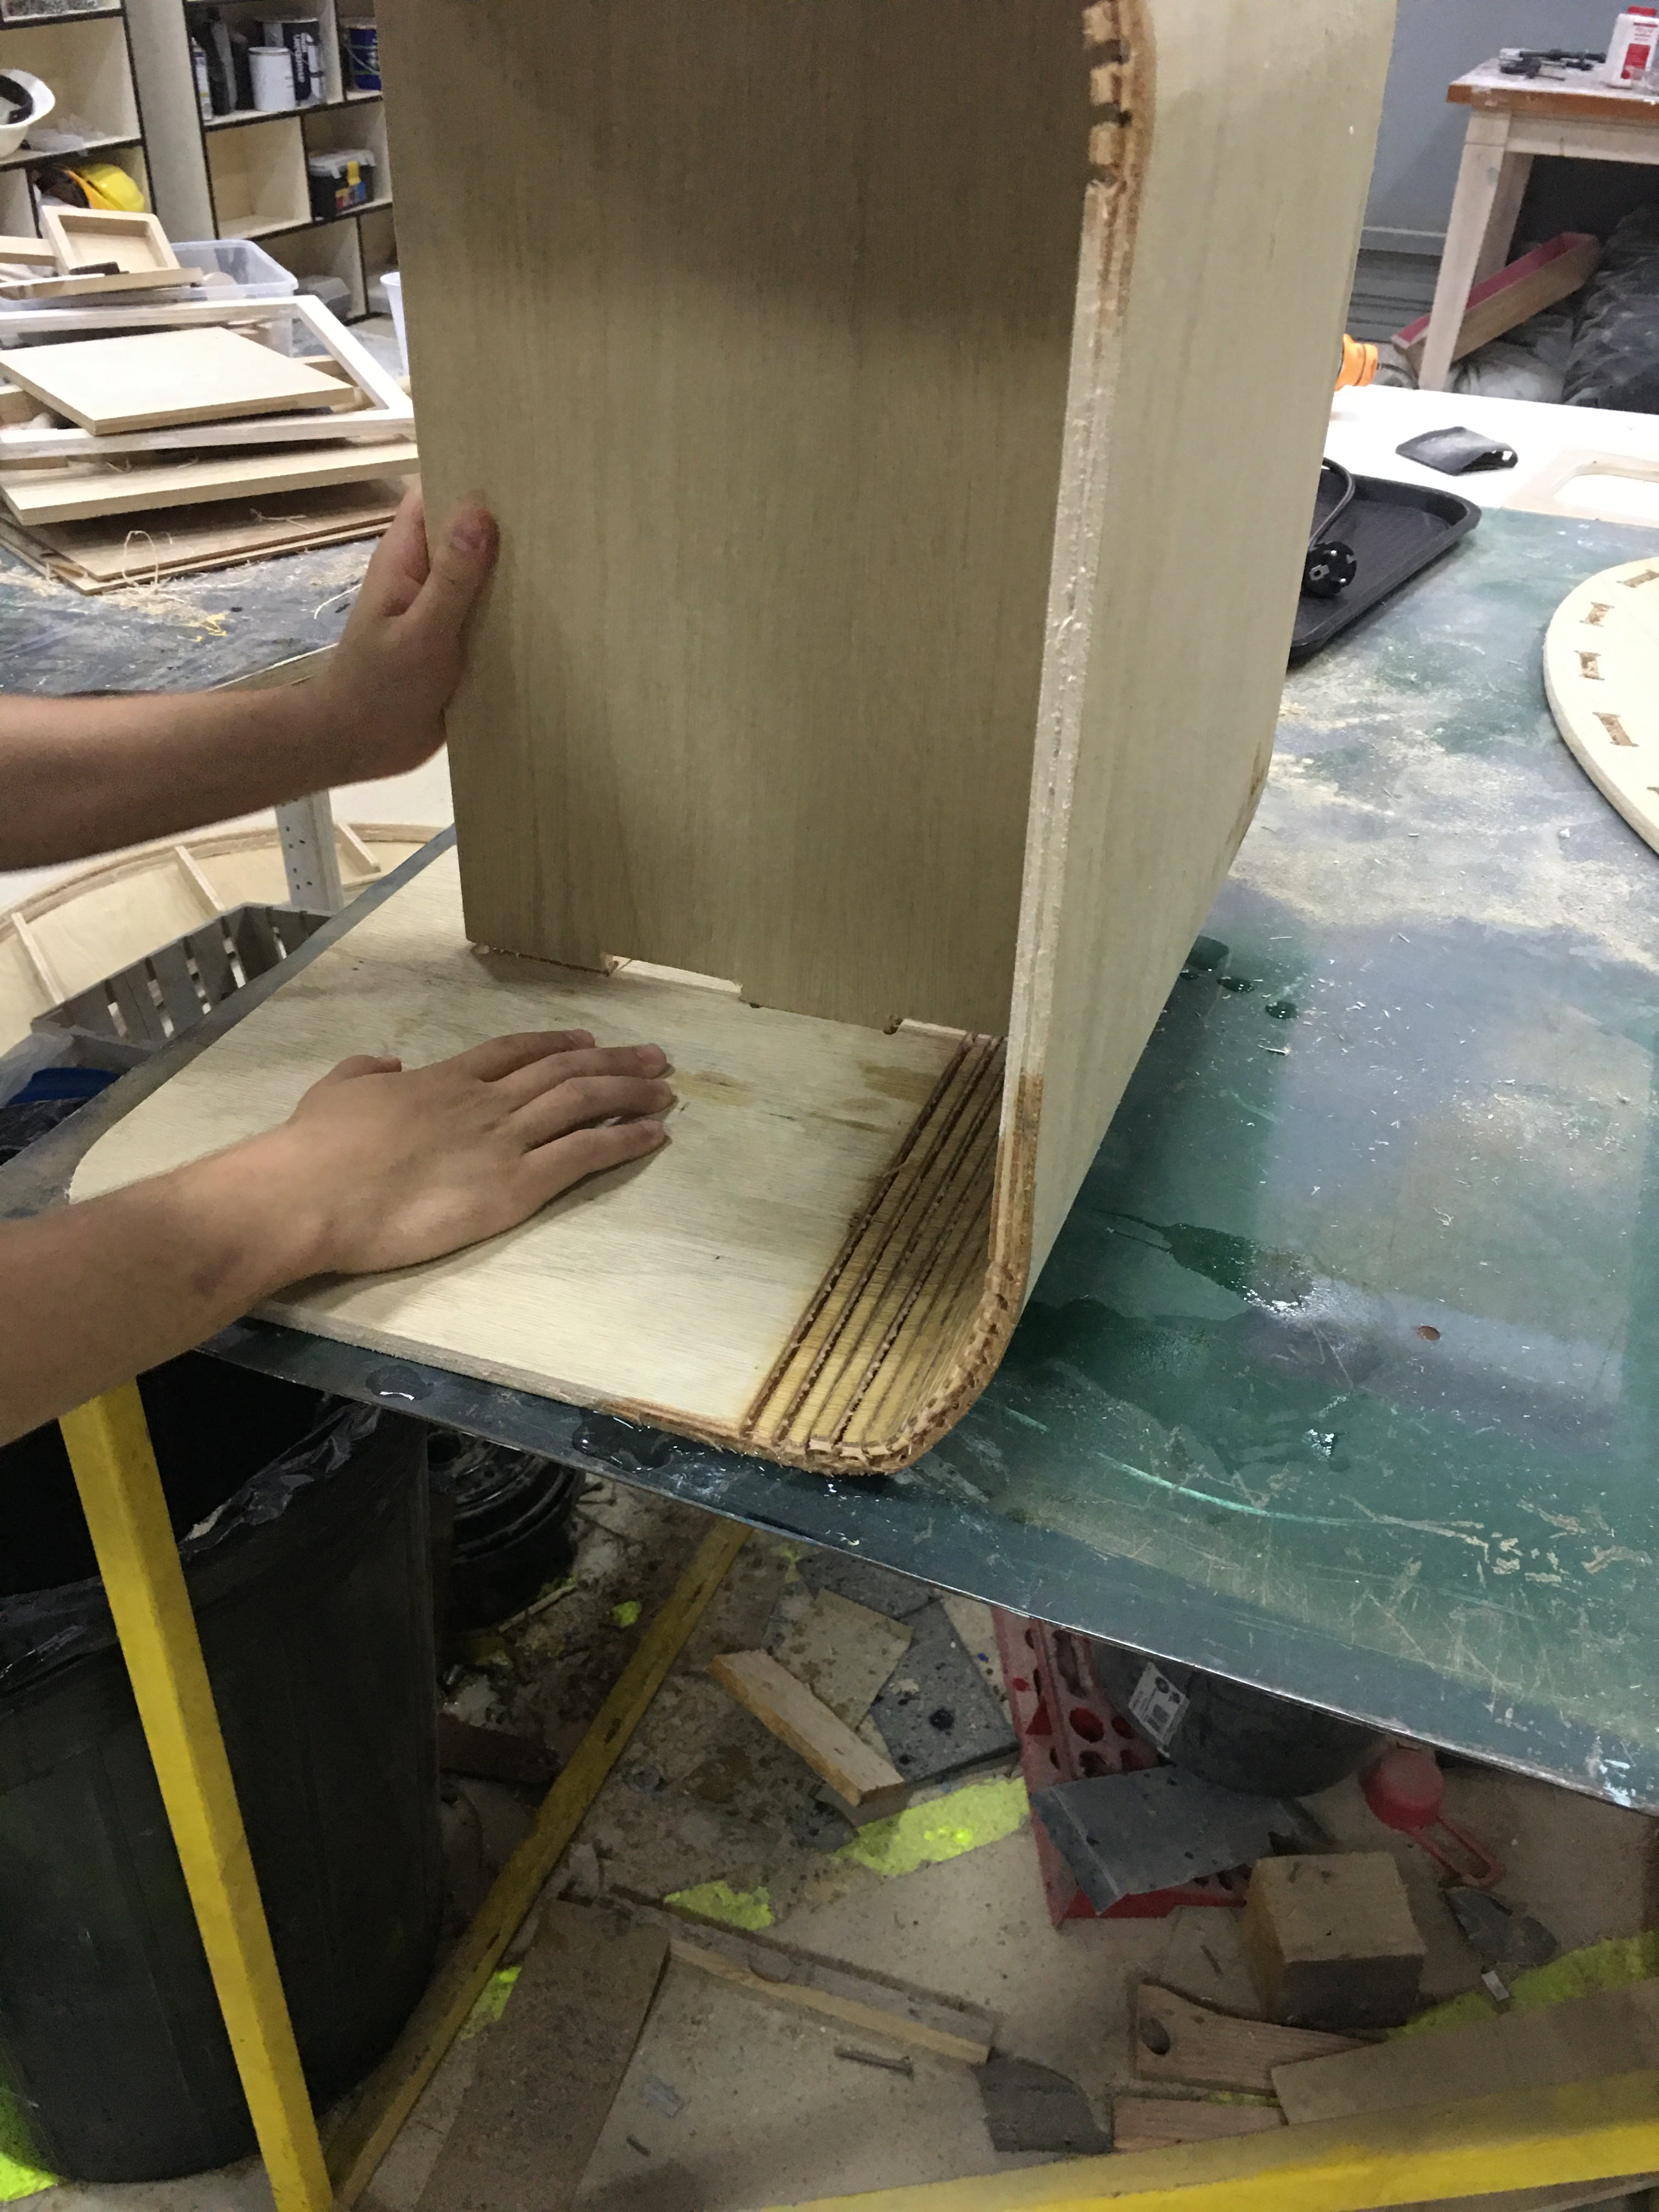
and finally the piece was done.
DESIGN FILE
**on a side note I still feel it should be curvier as it feels like it is still putting a stress on the material.
Finally this design was a big challenging especially the curved part but the good thing it worked at the end and I was able to exprement more with the CNC and learn more about it.