3. Computer controlled cutting
This week we learned about LASER CUTTING and how to use the LASER CUTTING MACHINE and “vinyl cutting” .
LASER CUTTING
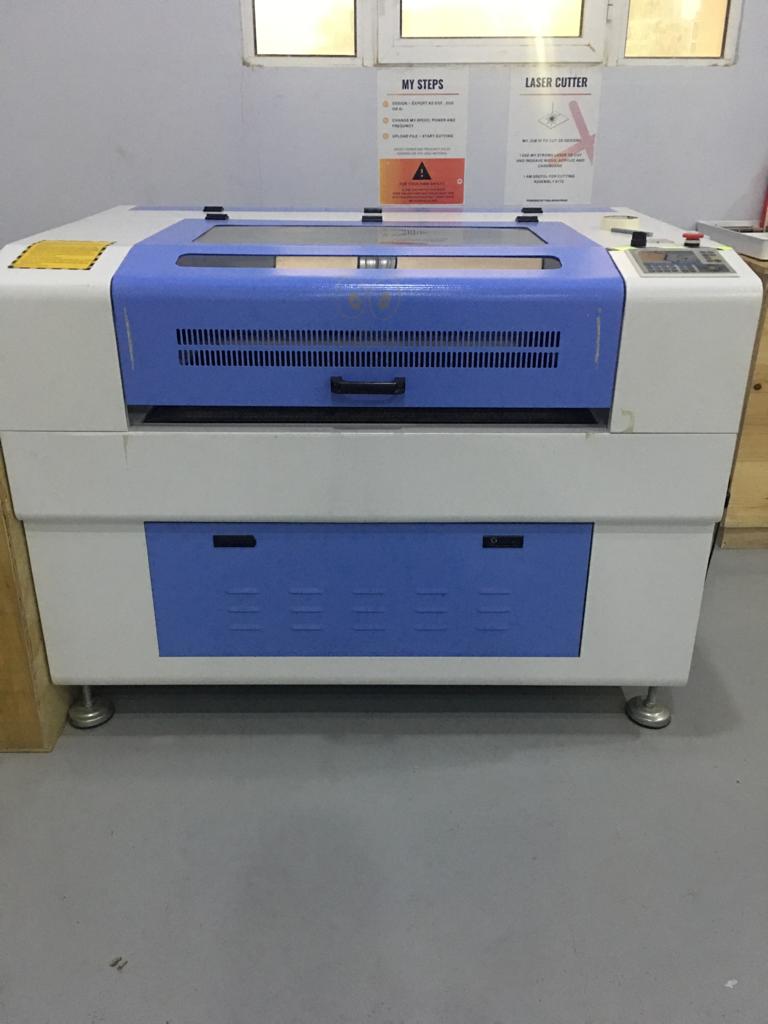
The machine we will be using is “”
GROUP ASSESMENT
In the group assessment we tested the laser cutting machine to check the right set up for the material we were using
LINK TO THE GROUP ASSESMENT PART 01
LINK TO THE GROUP ASSESMENT PART 02
INDIVIDUAL ASSESMENT
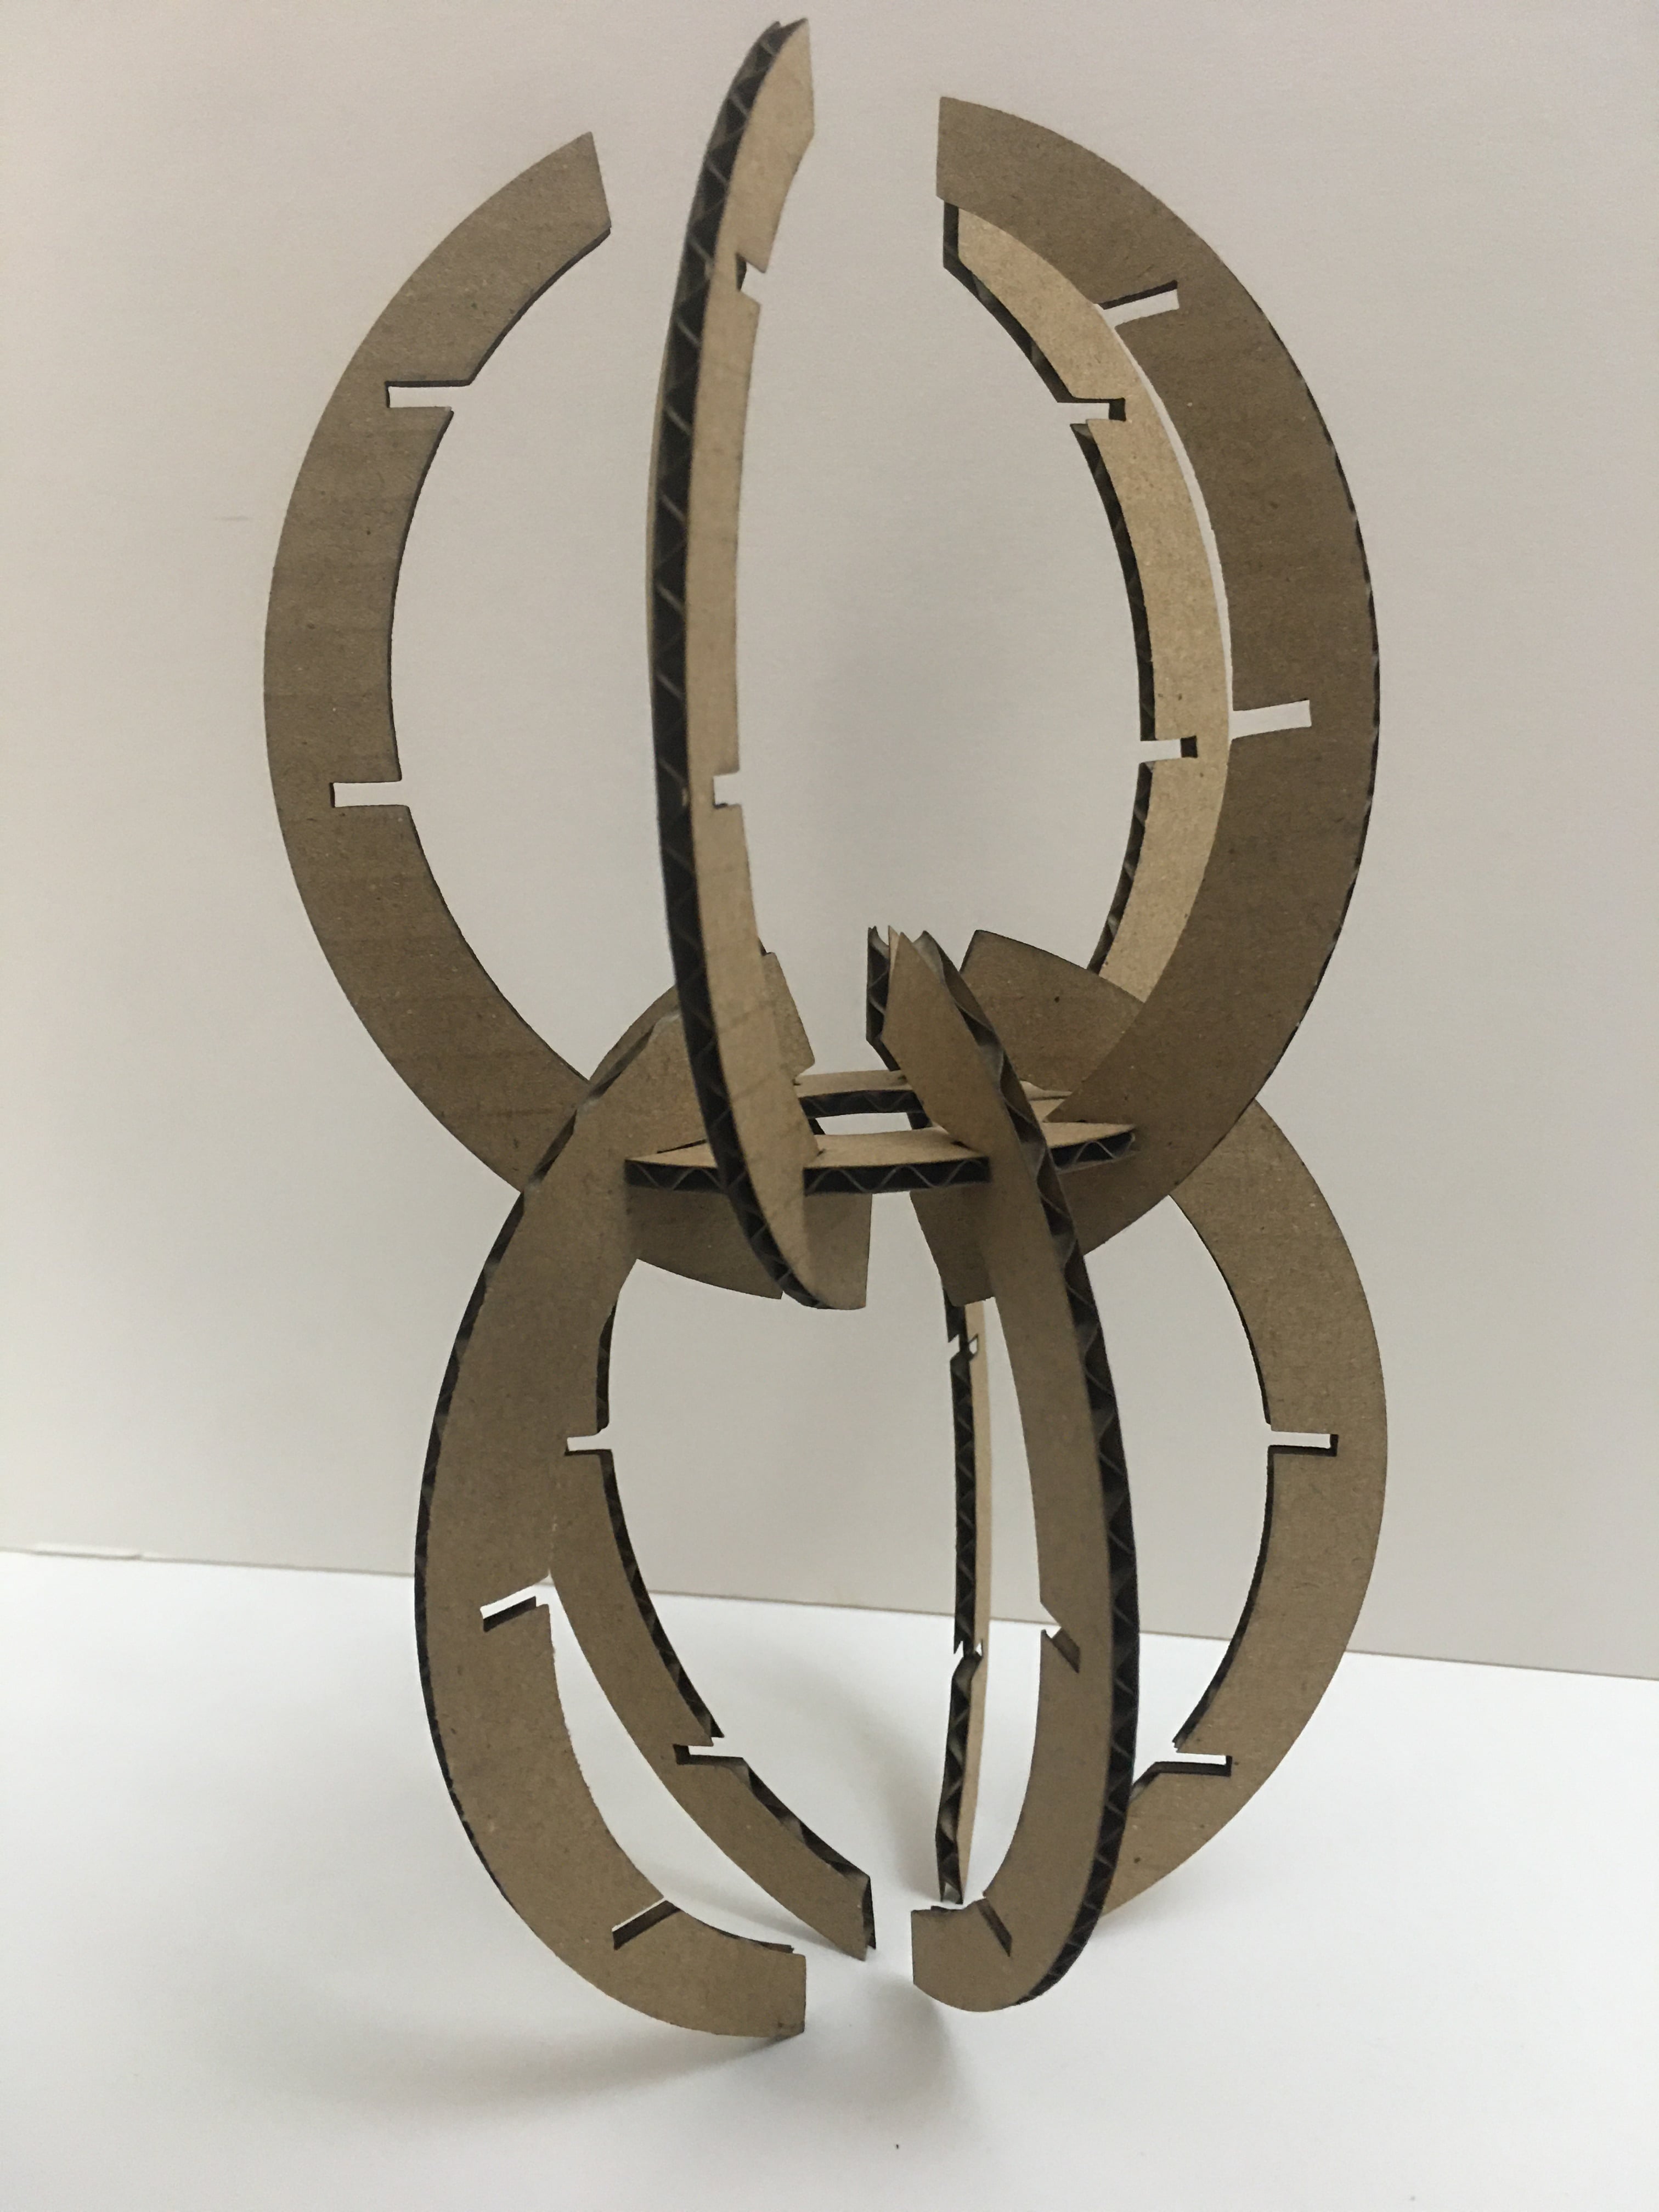
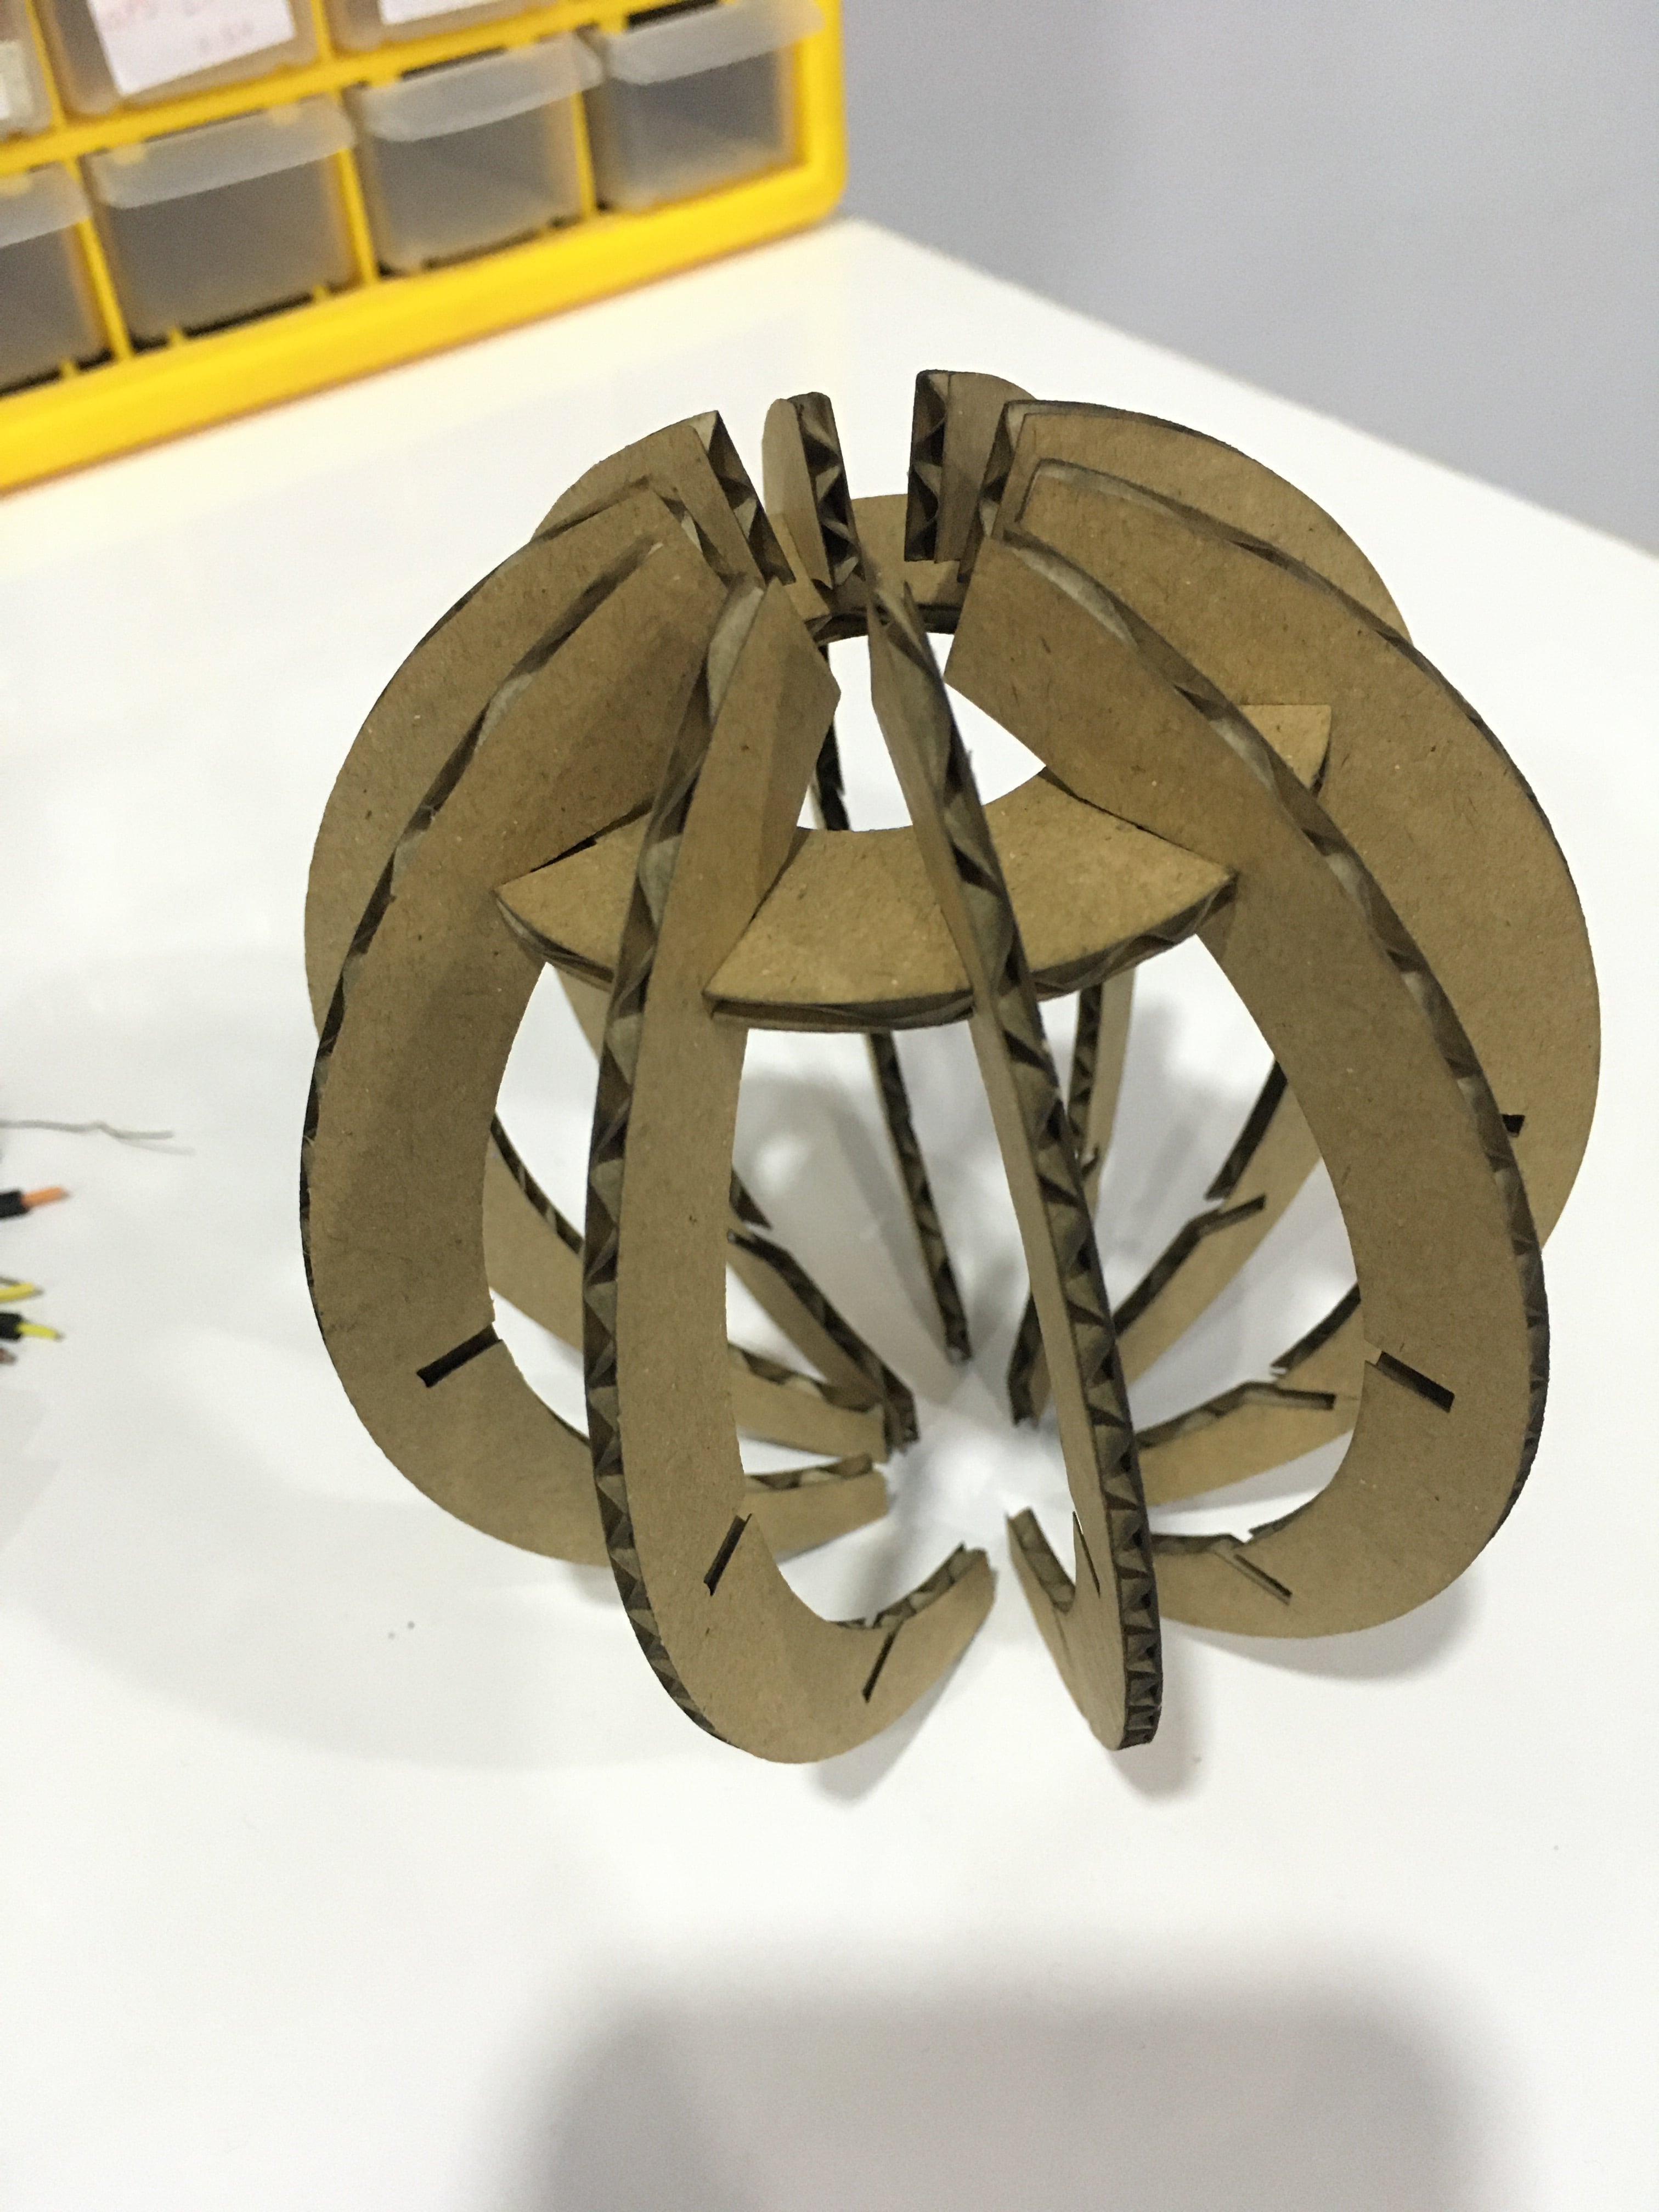
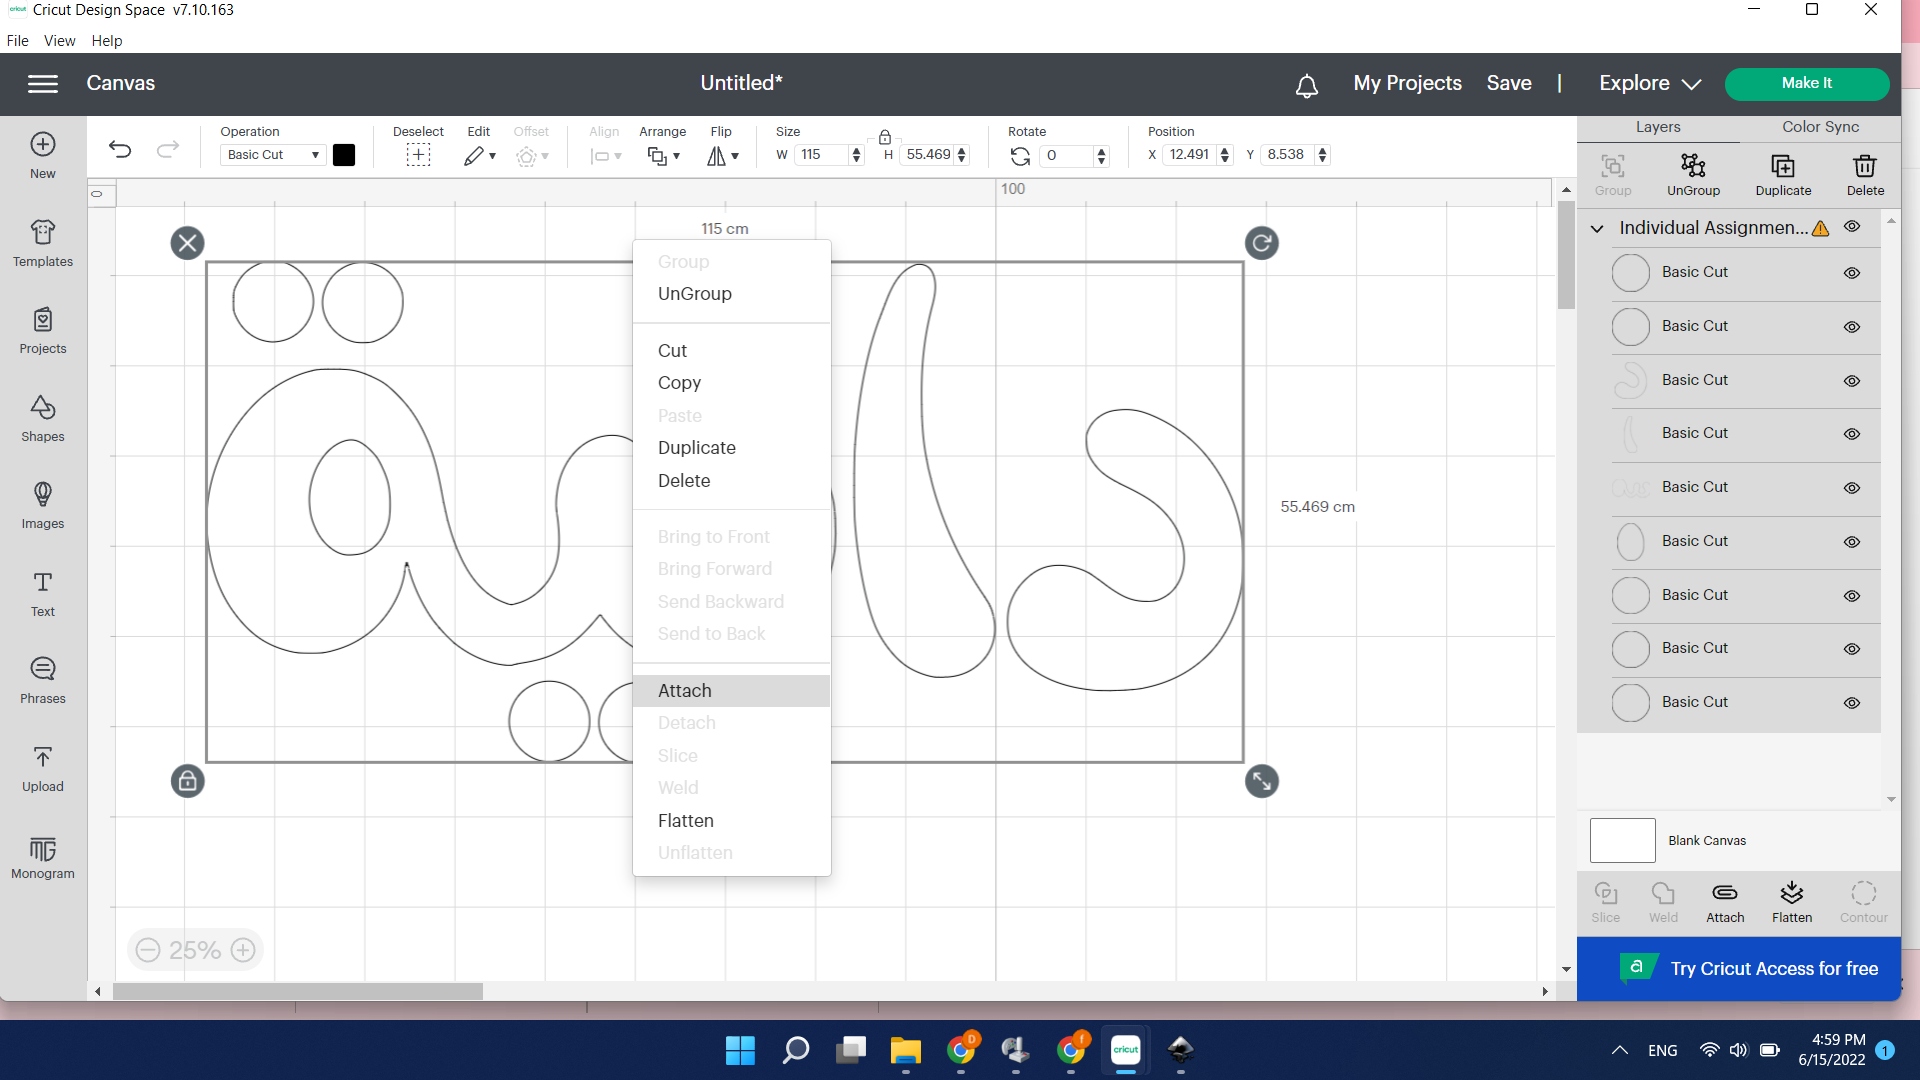
We were asked to do press fit design using the laser cutting machine.
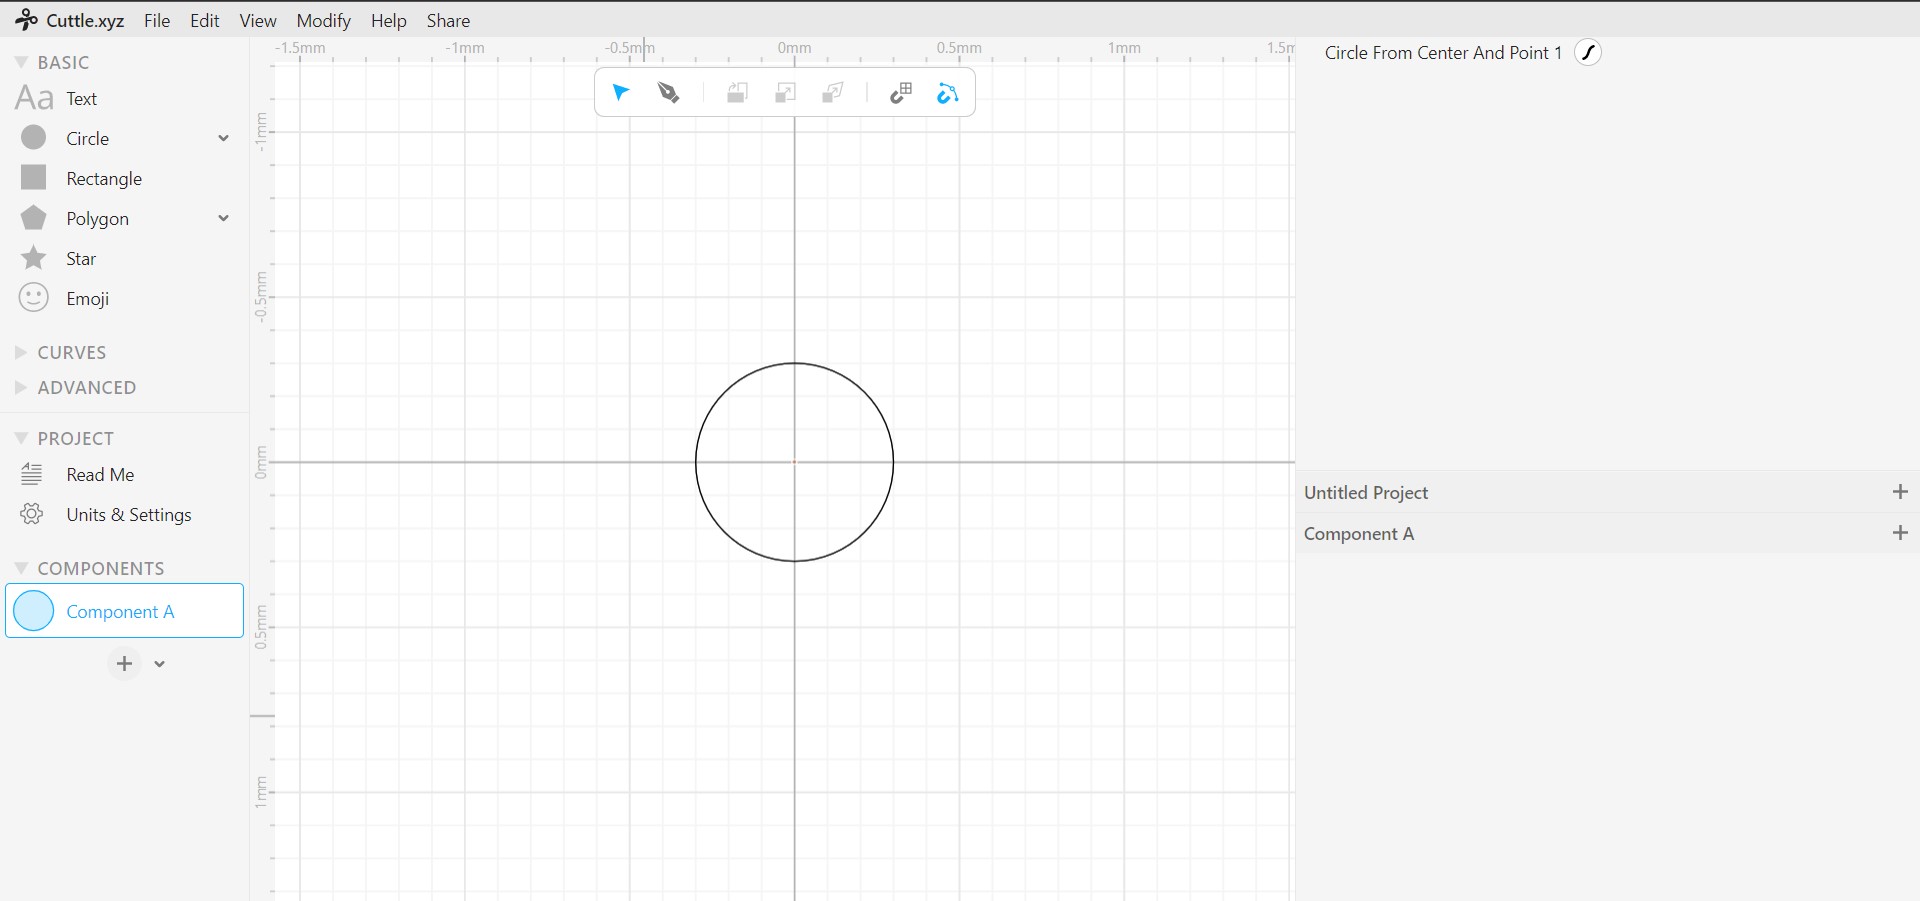
I used “Cuttle website” to create my design.
- I draw a 30mm circle and then a 80mm circle.
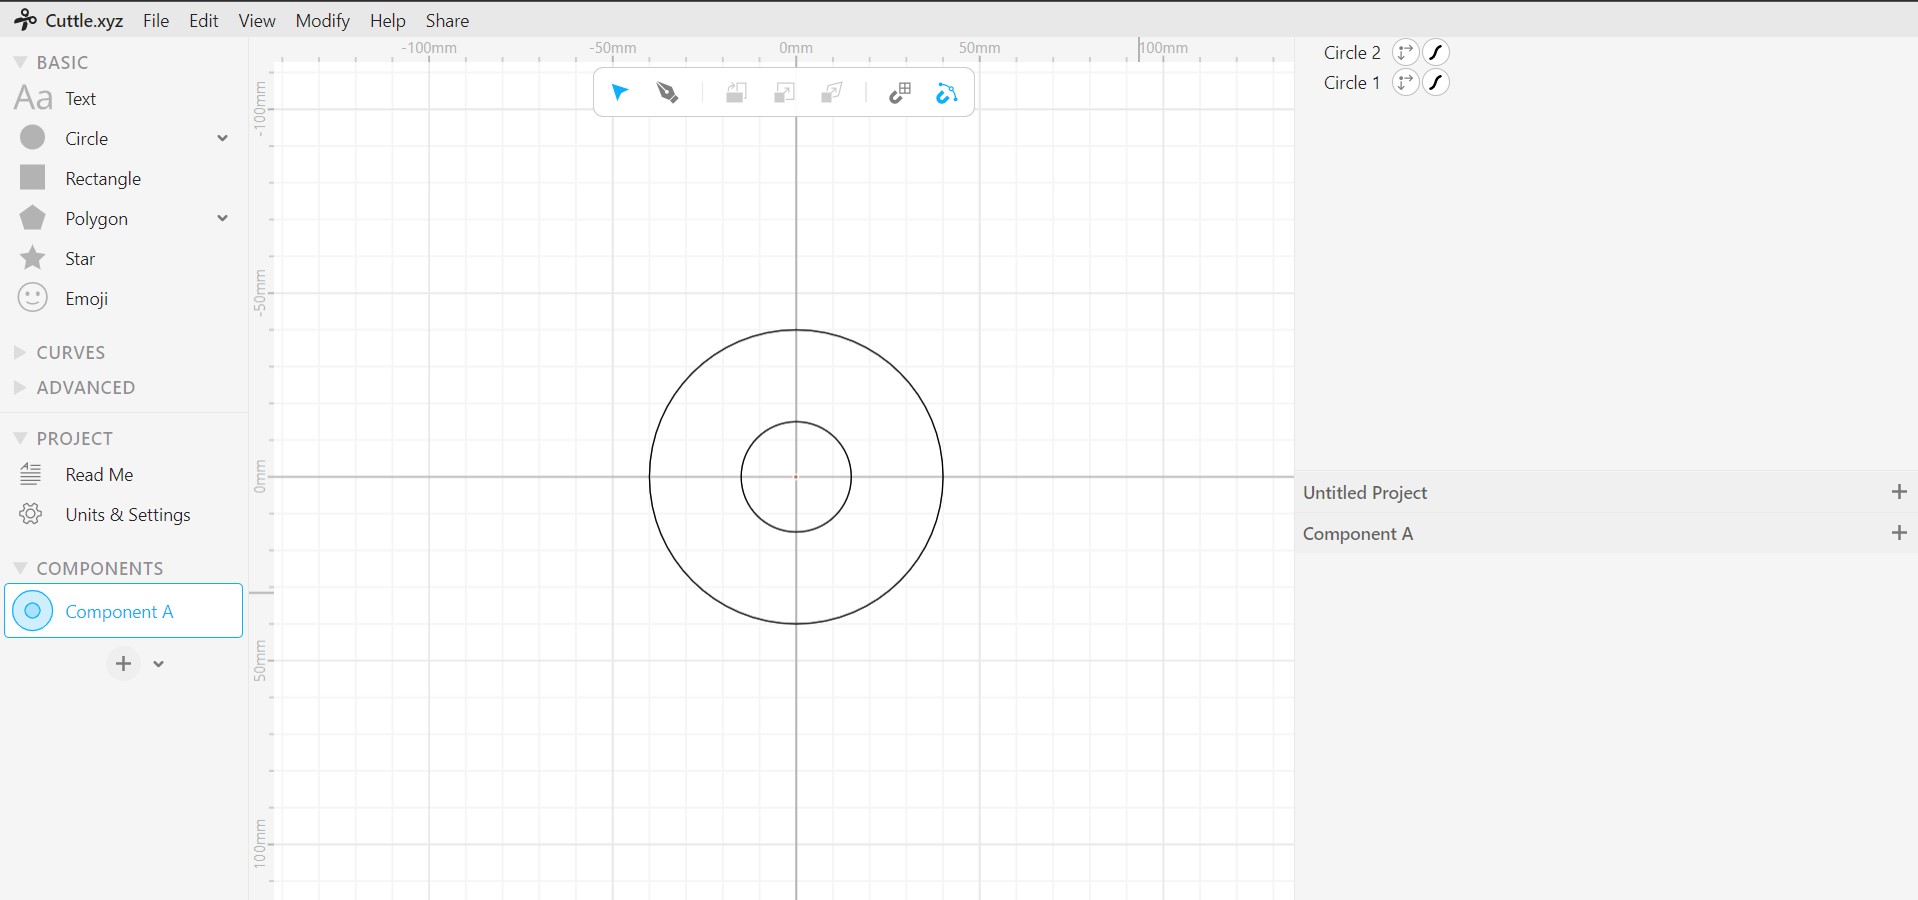
- Added another component from the left bar for the joints and the size of the joint was according to the tests we made in the group assesment.
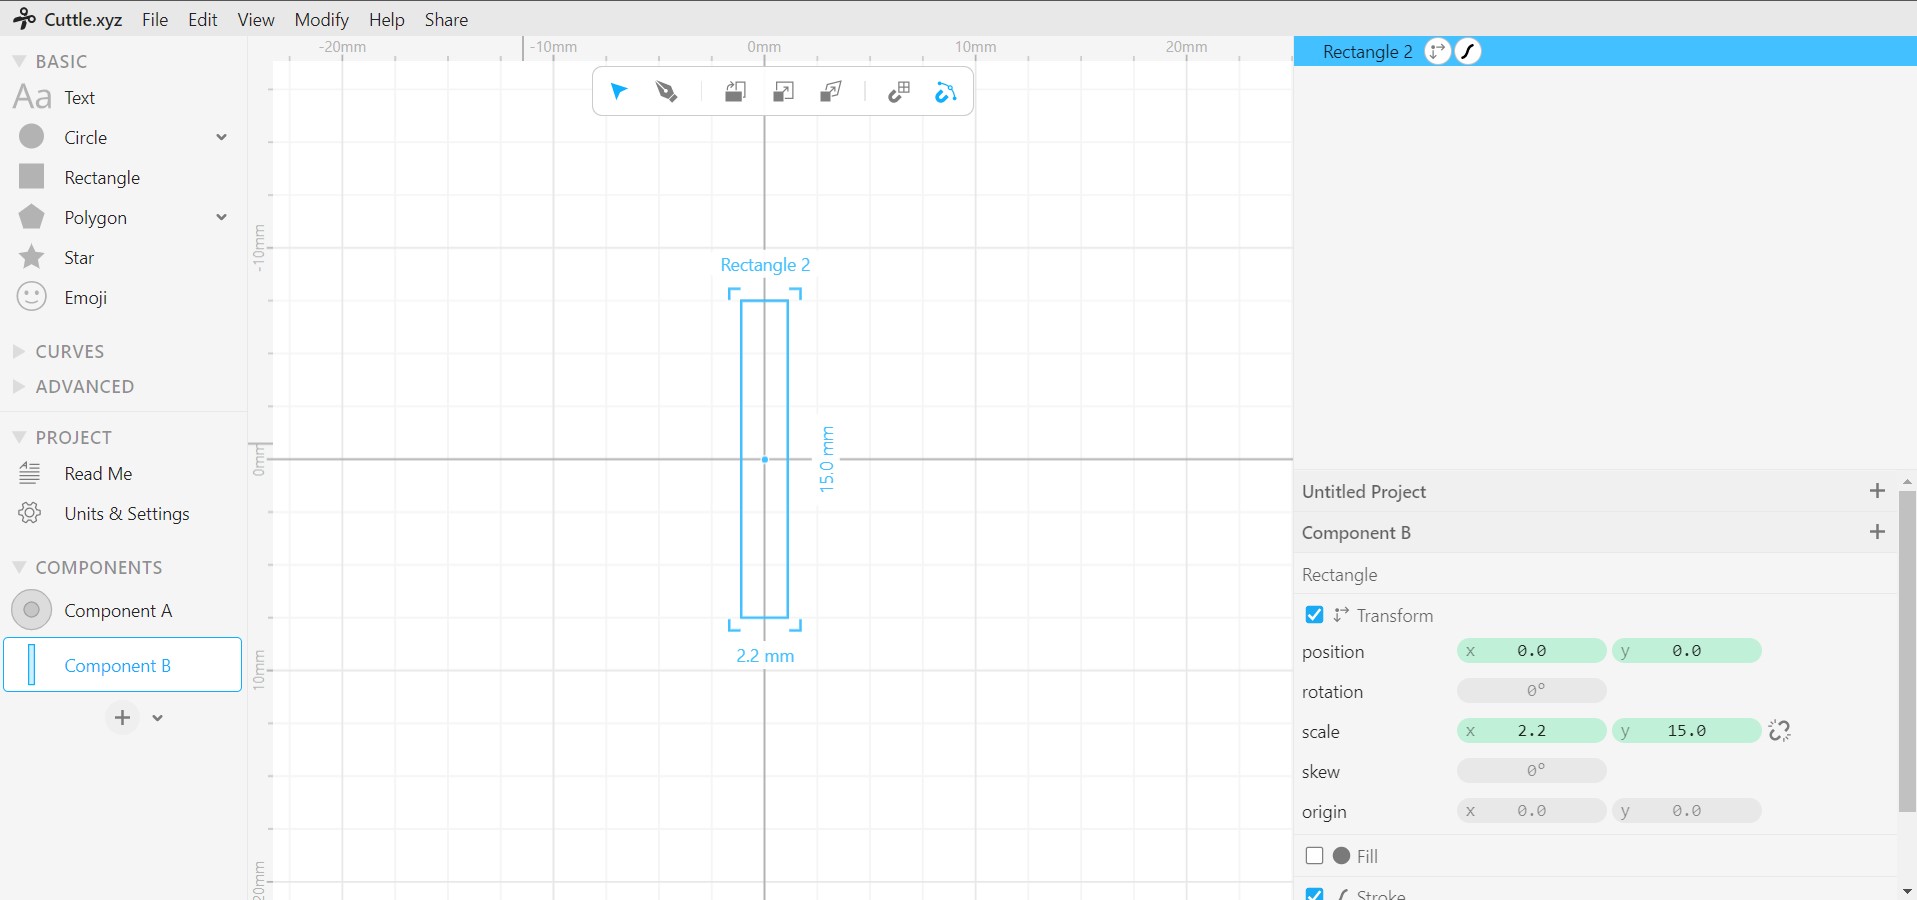
- I designed the shape using an “ARCH from three points”
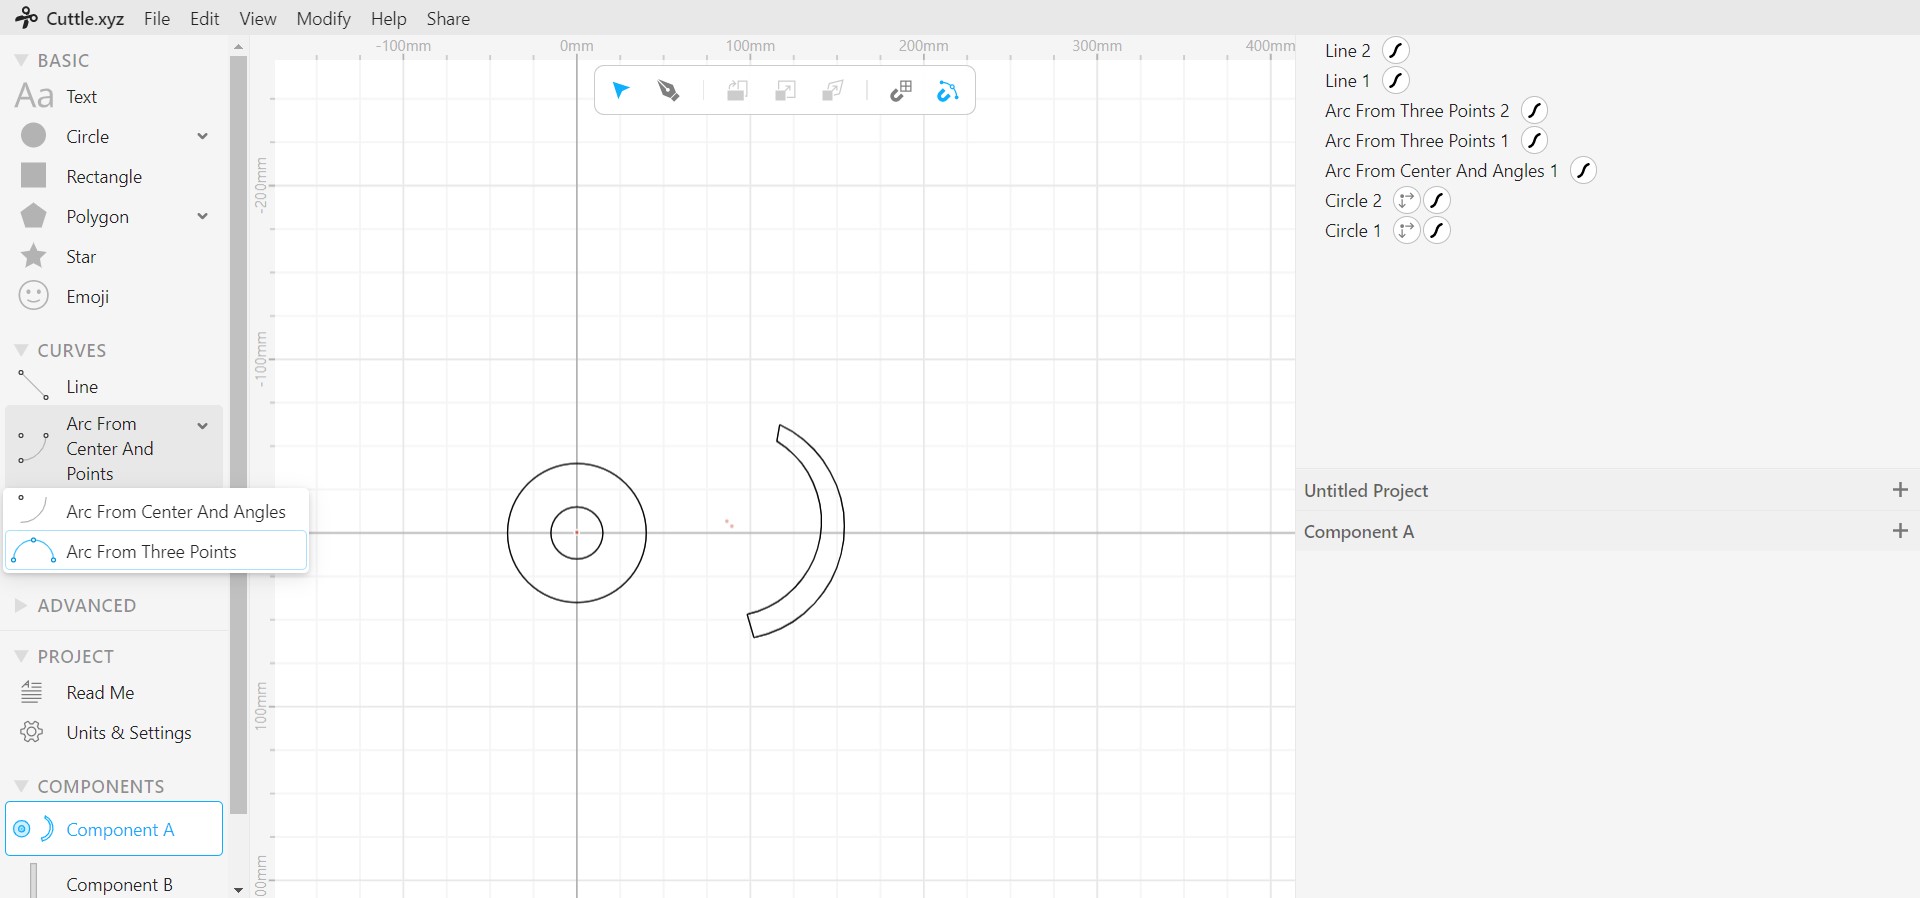
-
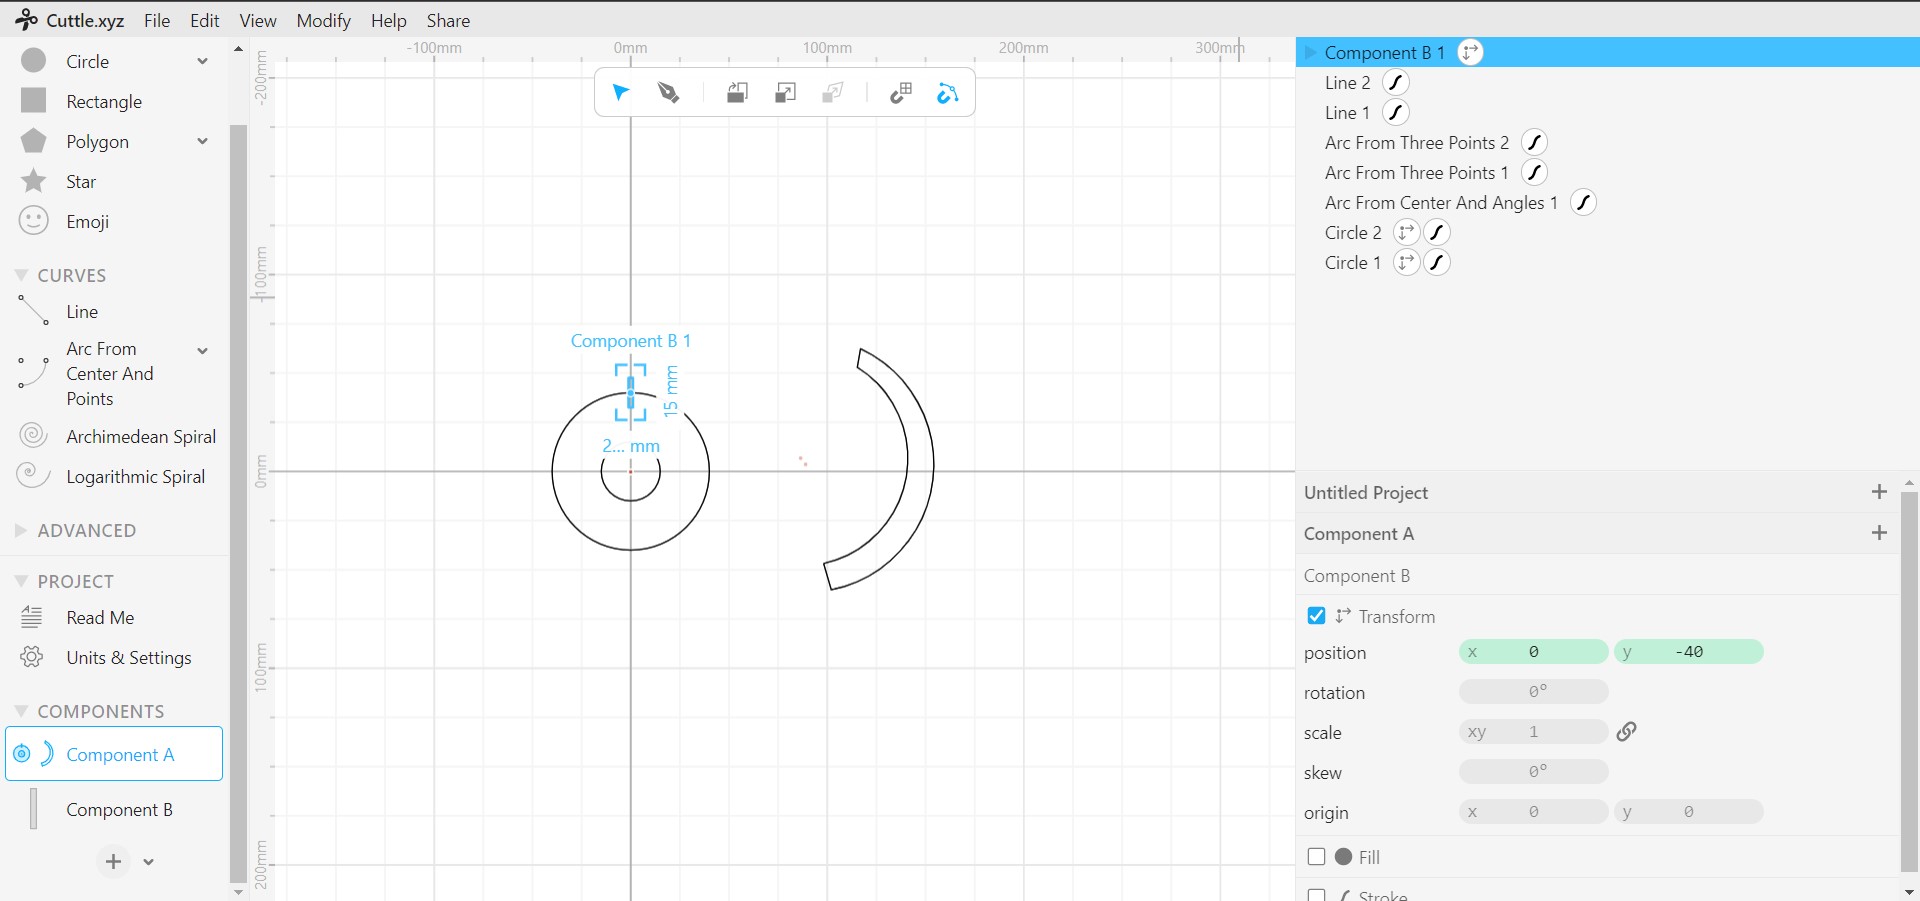
with this as the main parts is complete I dragged the joint component to this sheet and started by placing it where I need in my design.
-
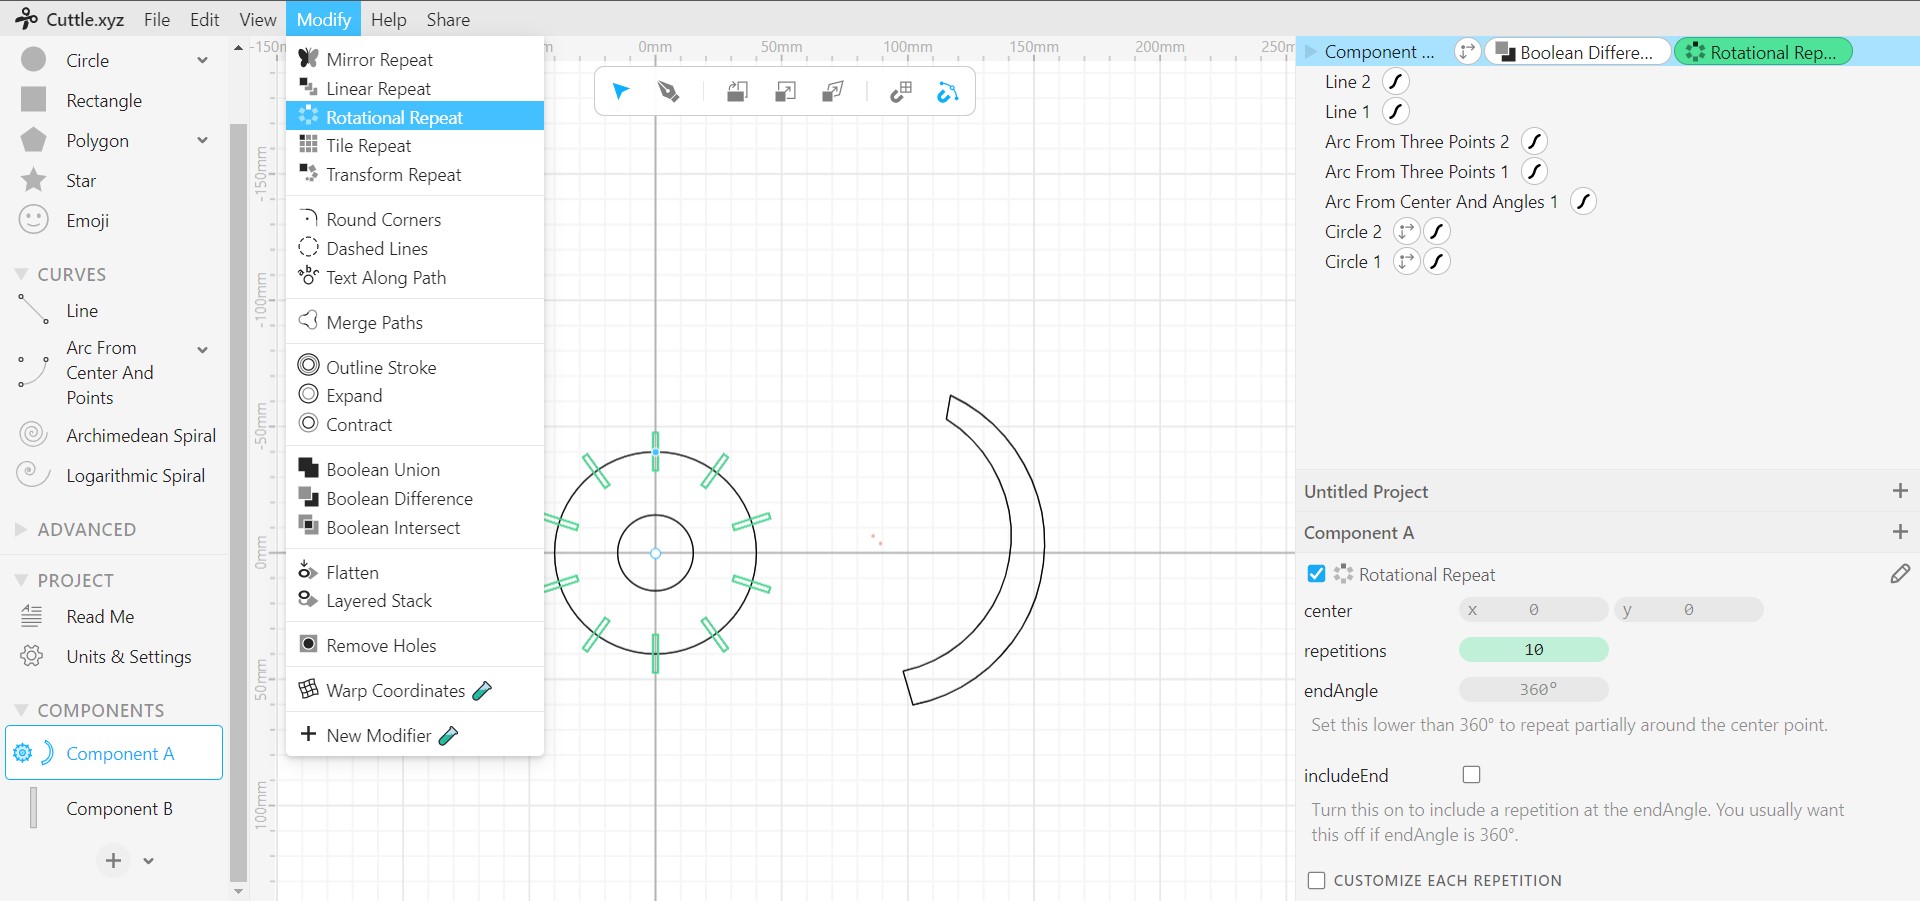
first on the circle where I needed it to hold the design. chose the circle and the joint -> boolean diffrence -> Rotational repeat
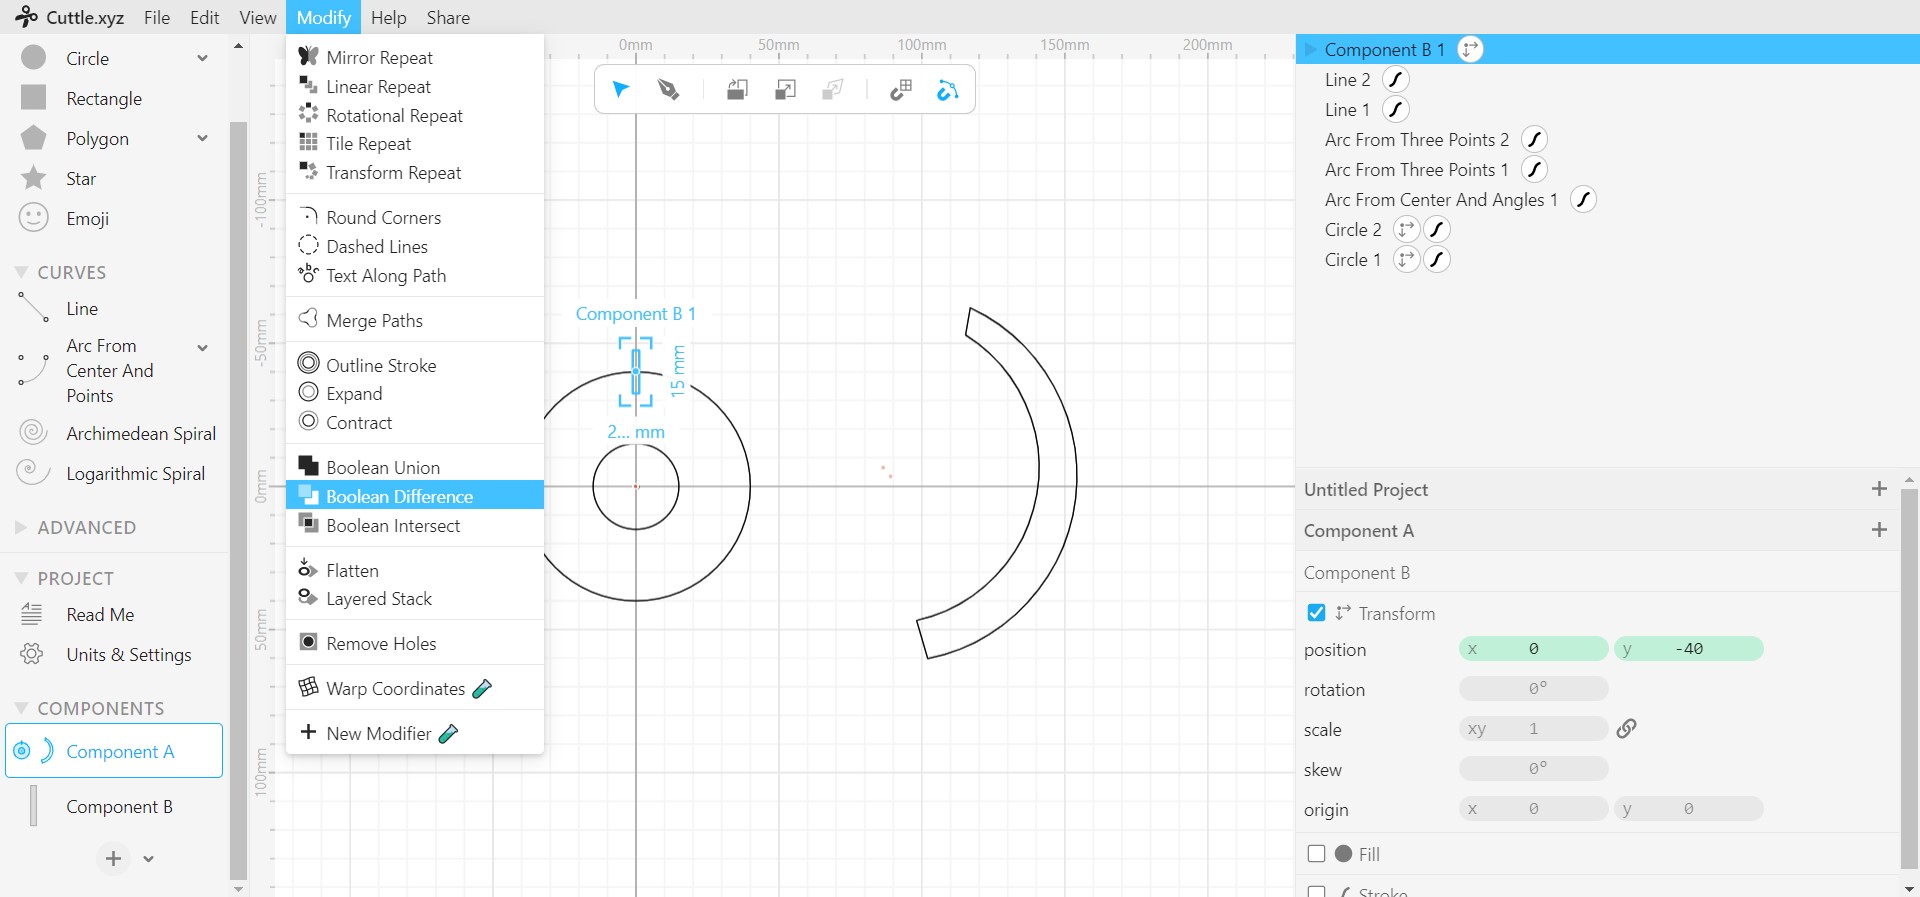
- as for the design I decided to make three openings to be able to change the design shape easily.
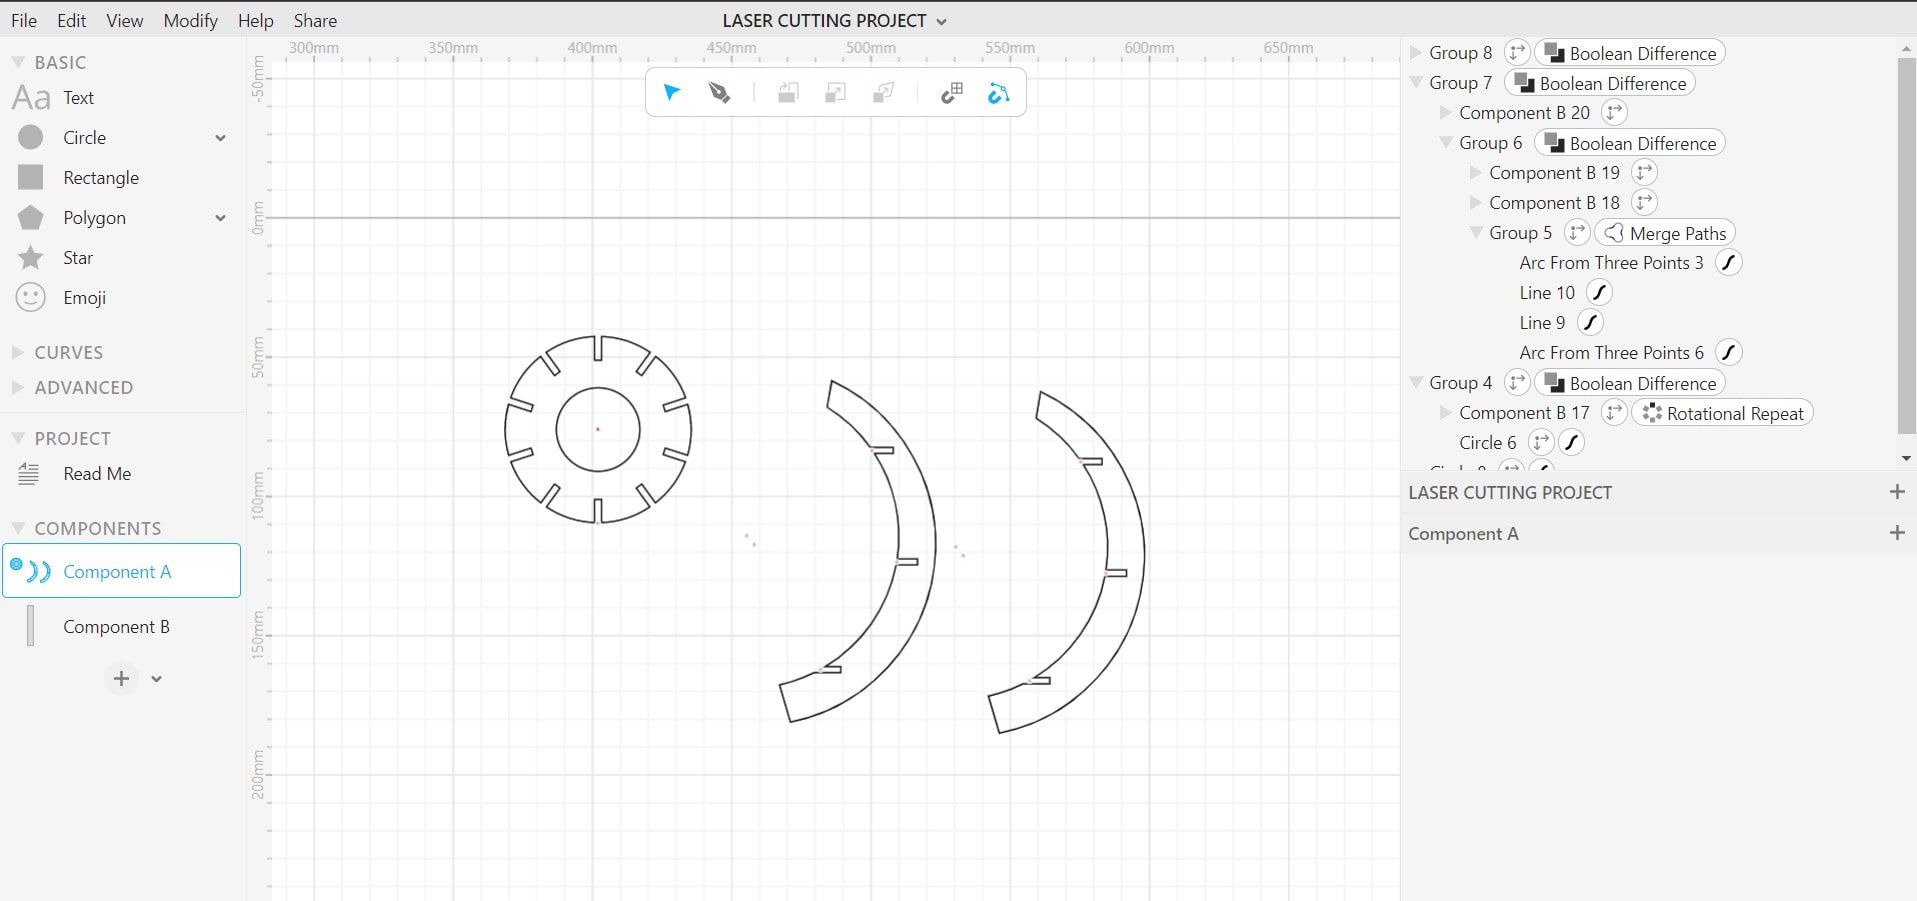
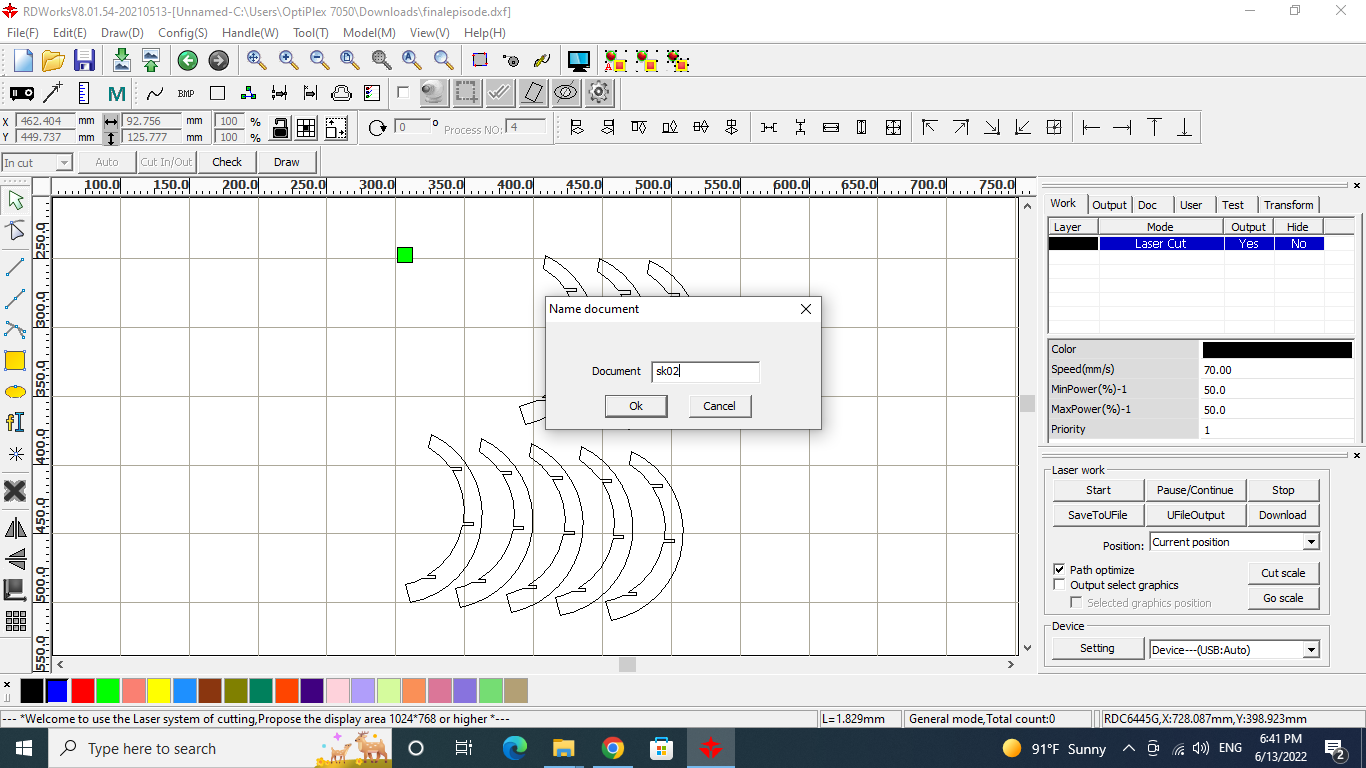
Export the Cuttle file as an “SVG”.

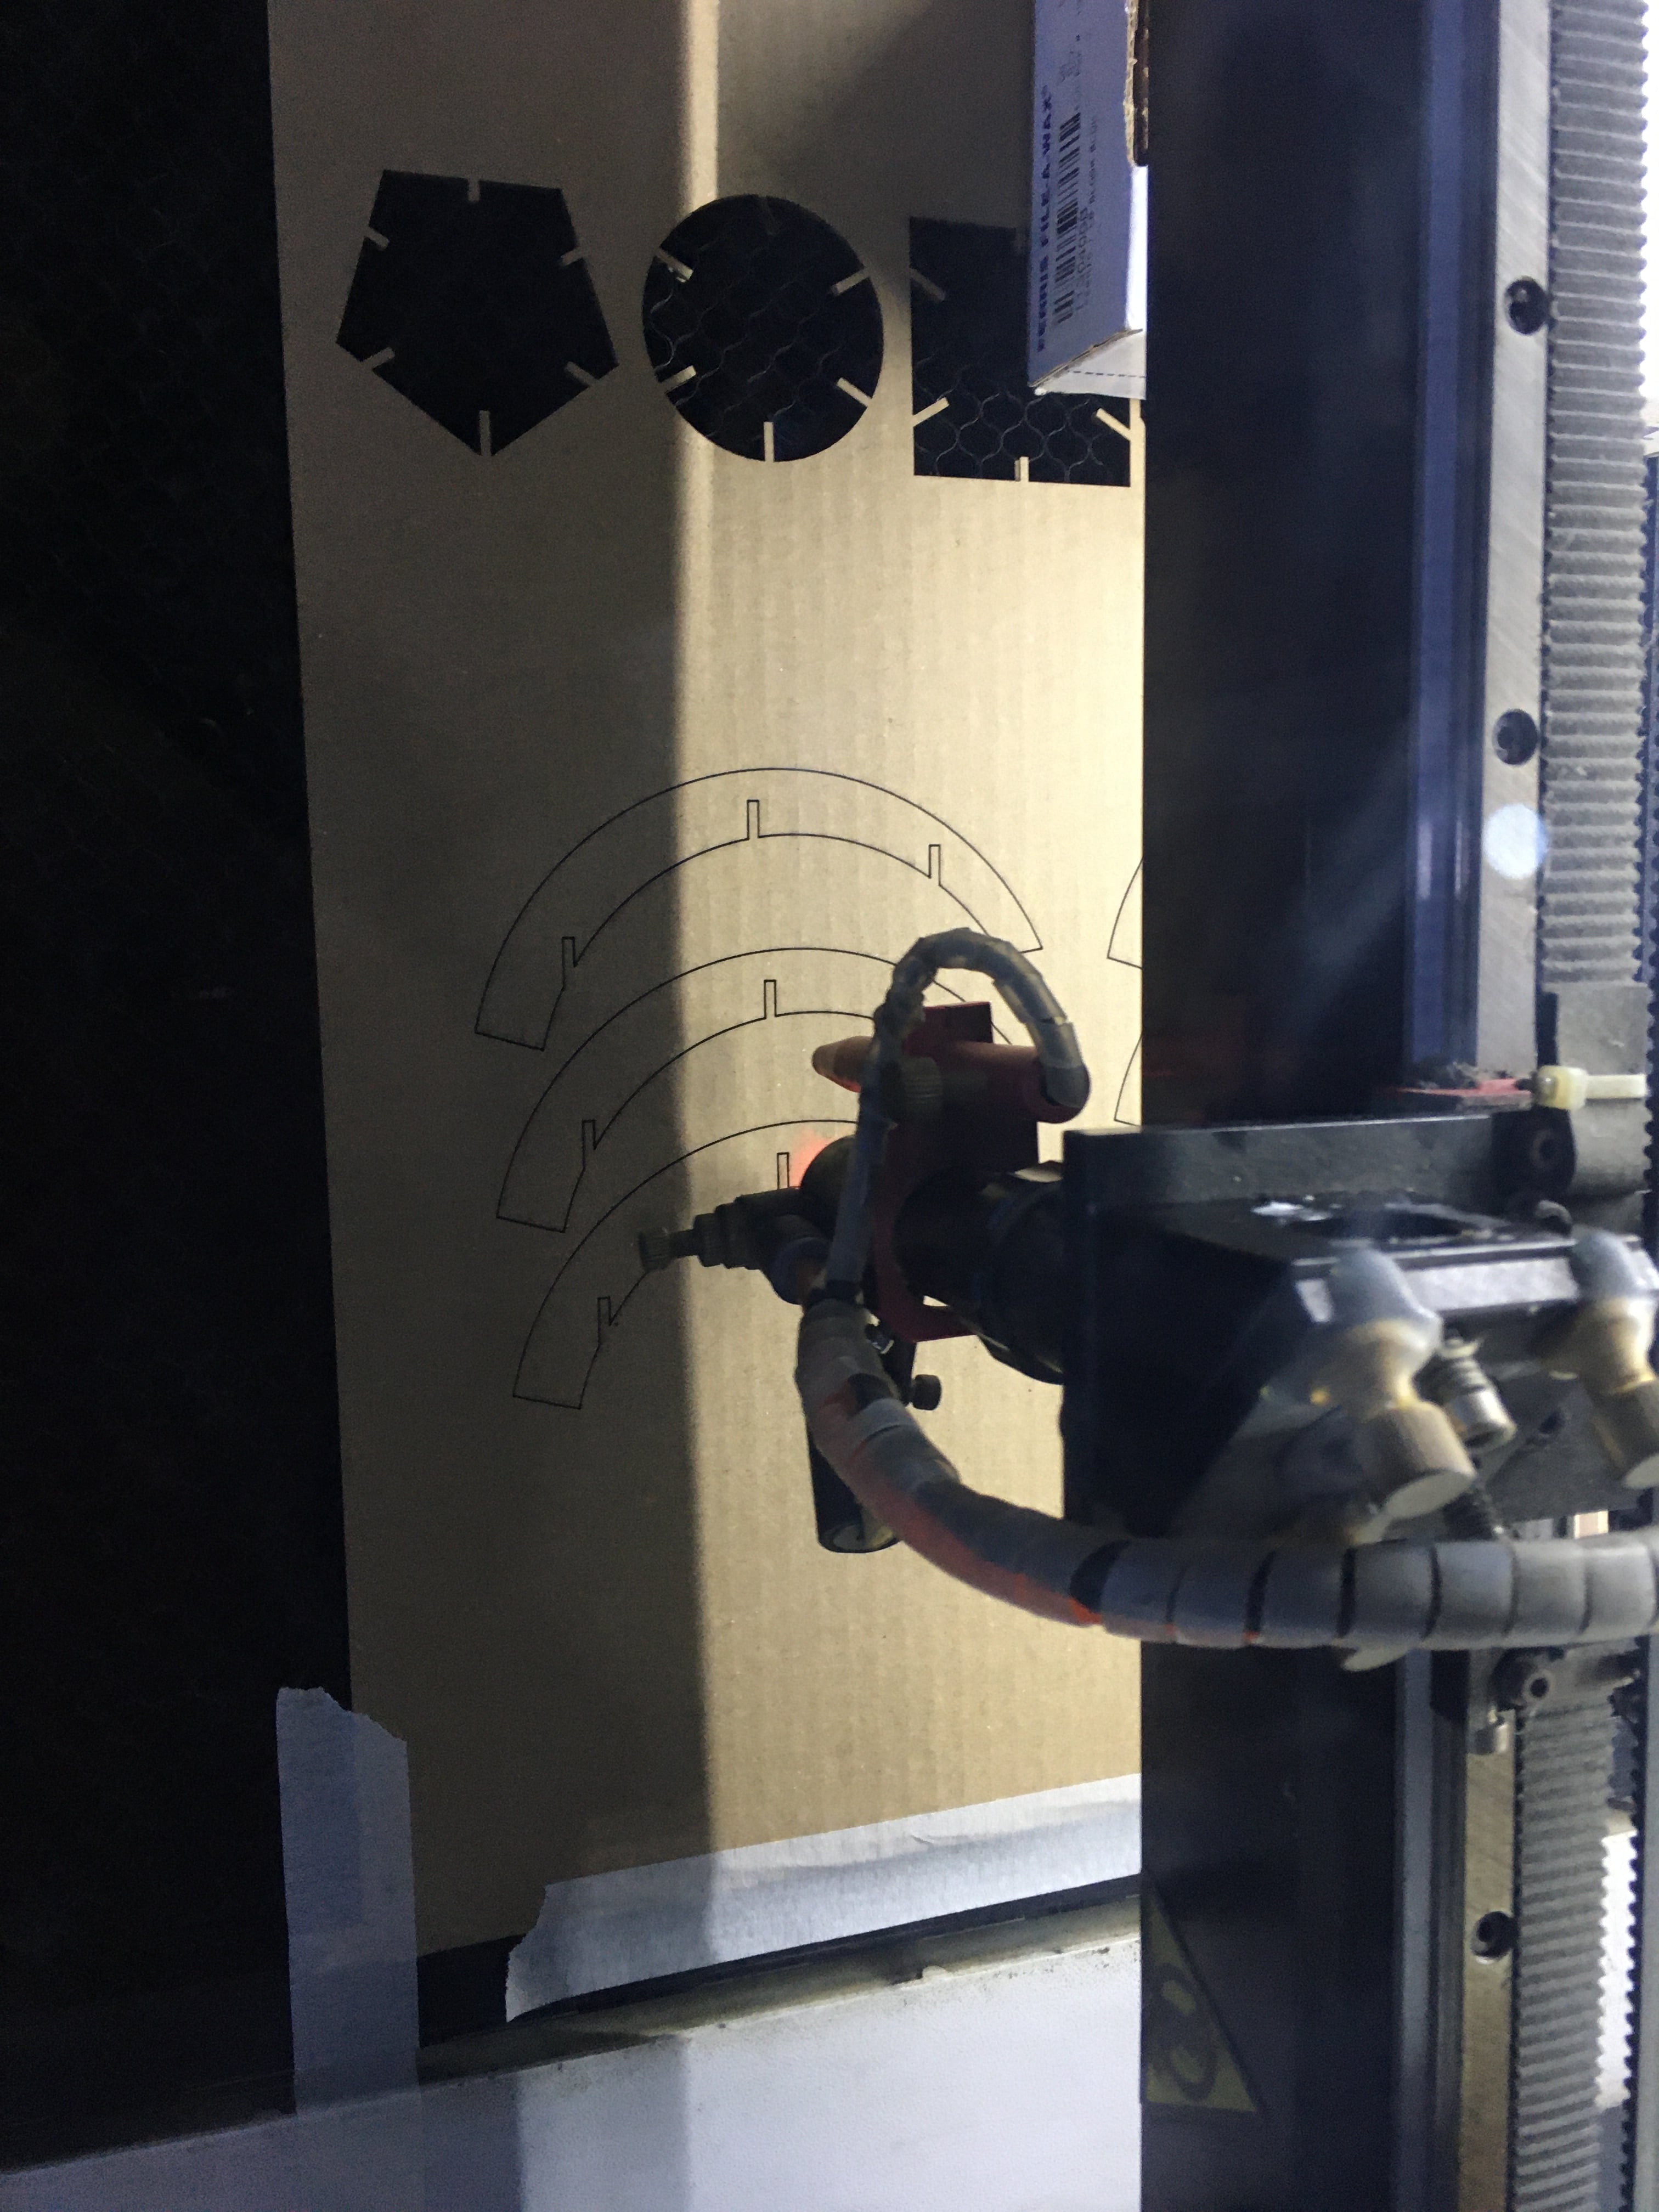
Fabricating Steps
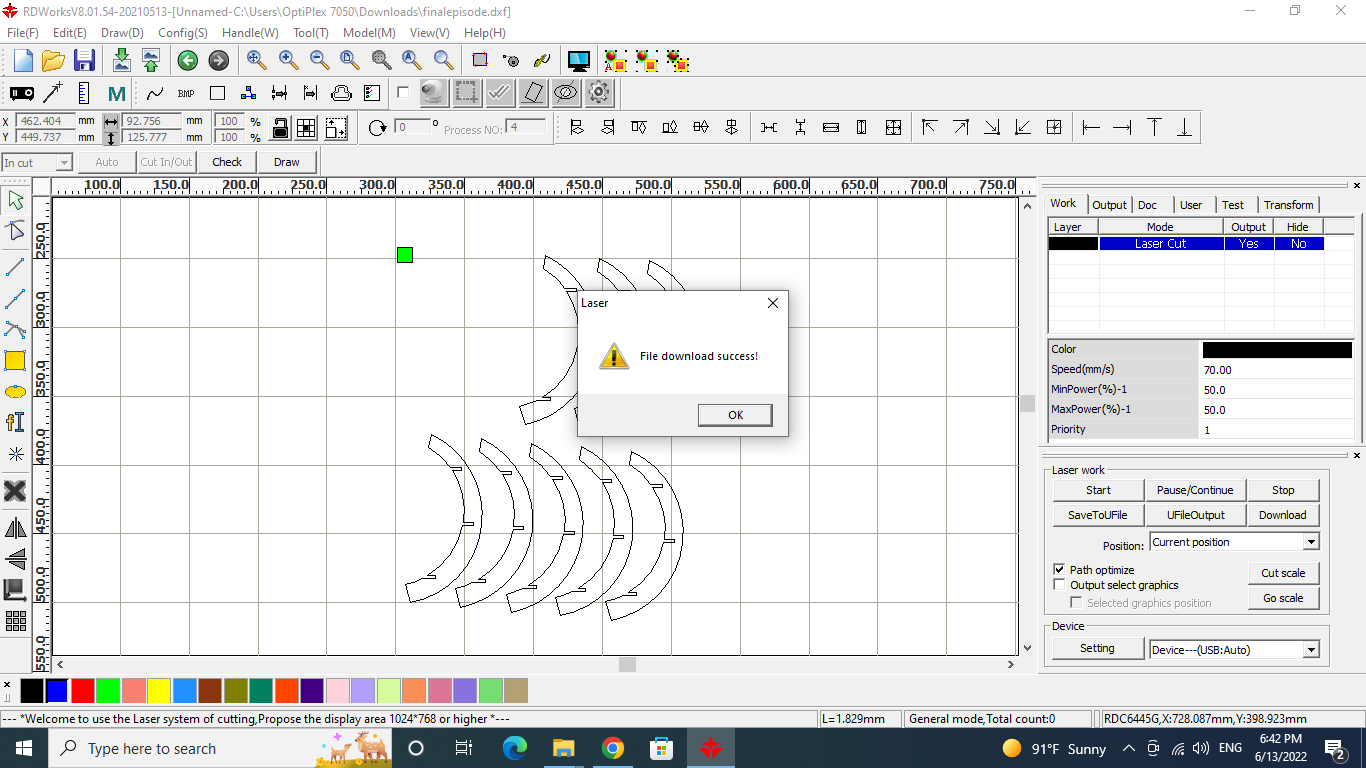
- after Uploading the design file, Make sure of the set up in the program, for me I used what we got from the group assessment .
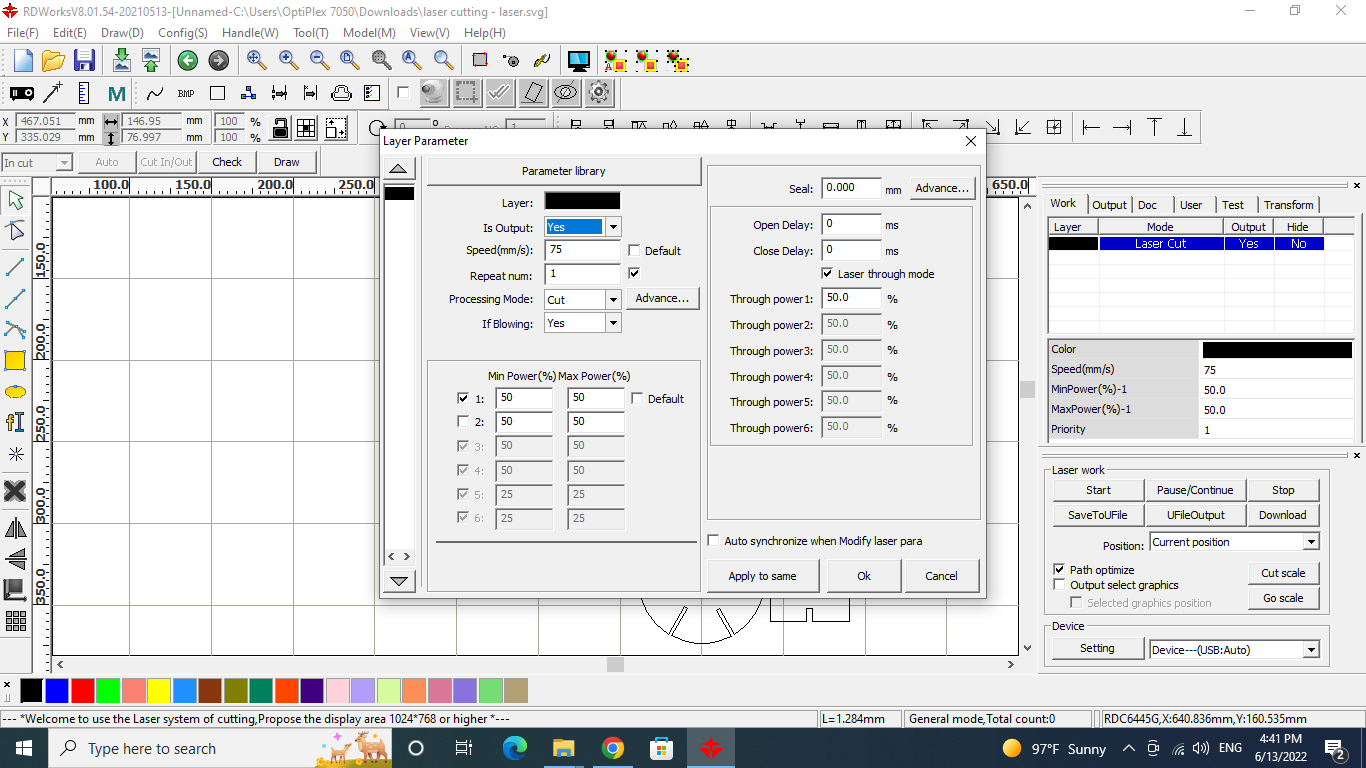
- DOWNLOAD the design file from the machine program to the machine.
Machine
- Place and fix the material sheet in the machine.
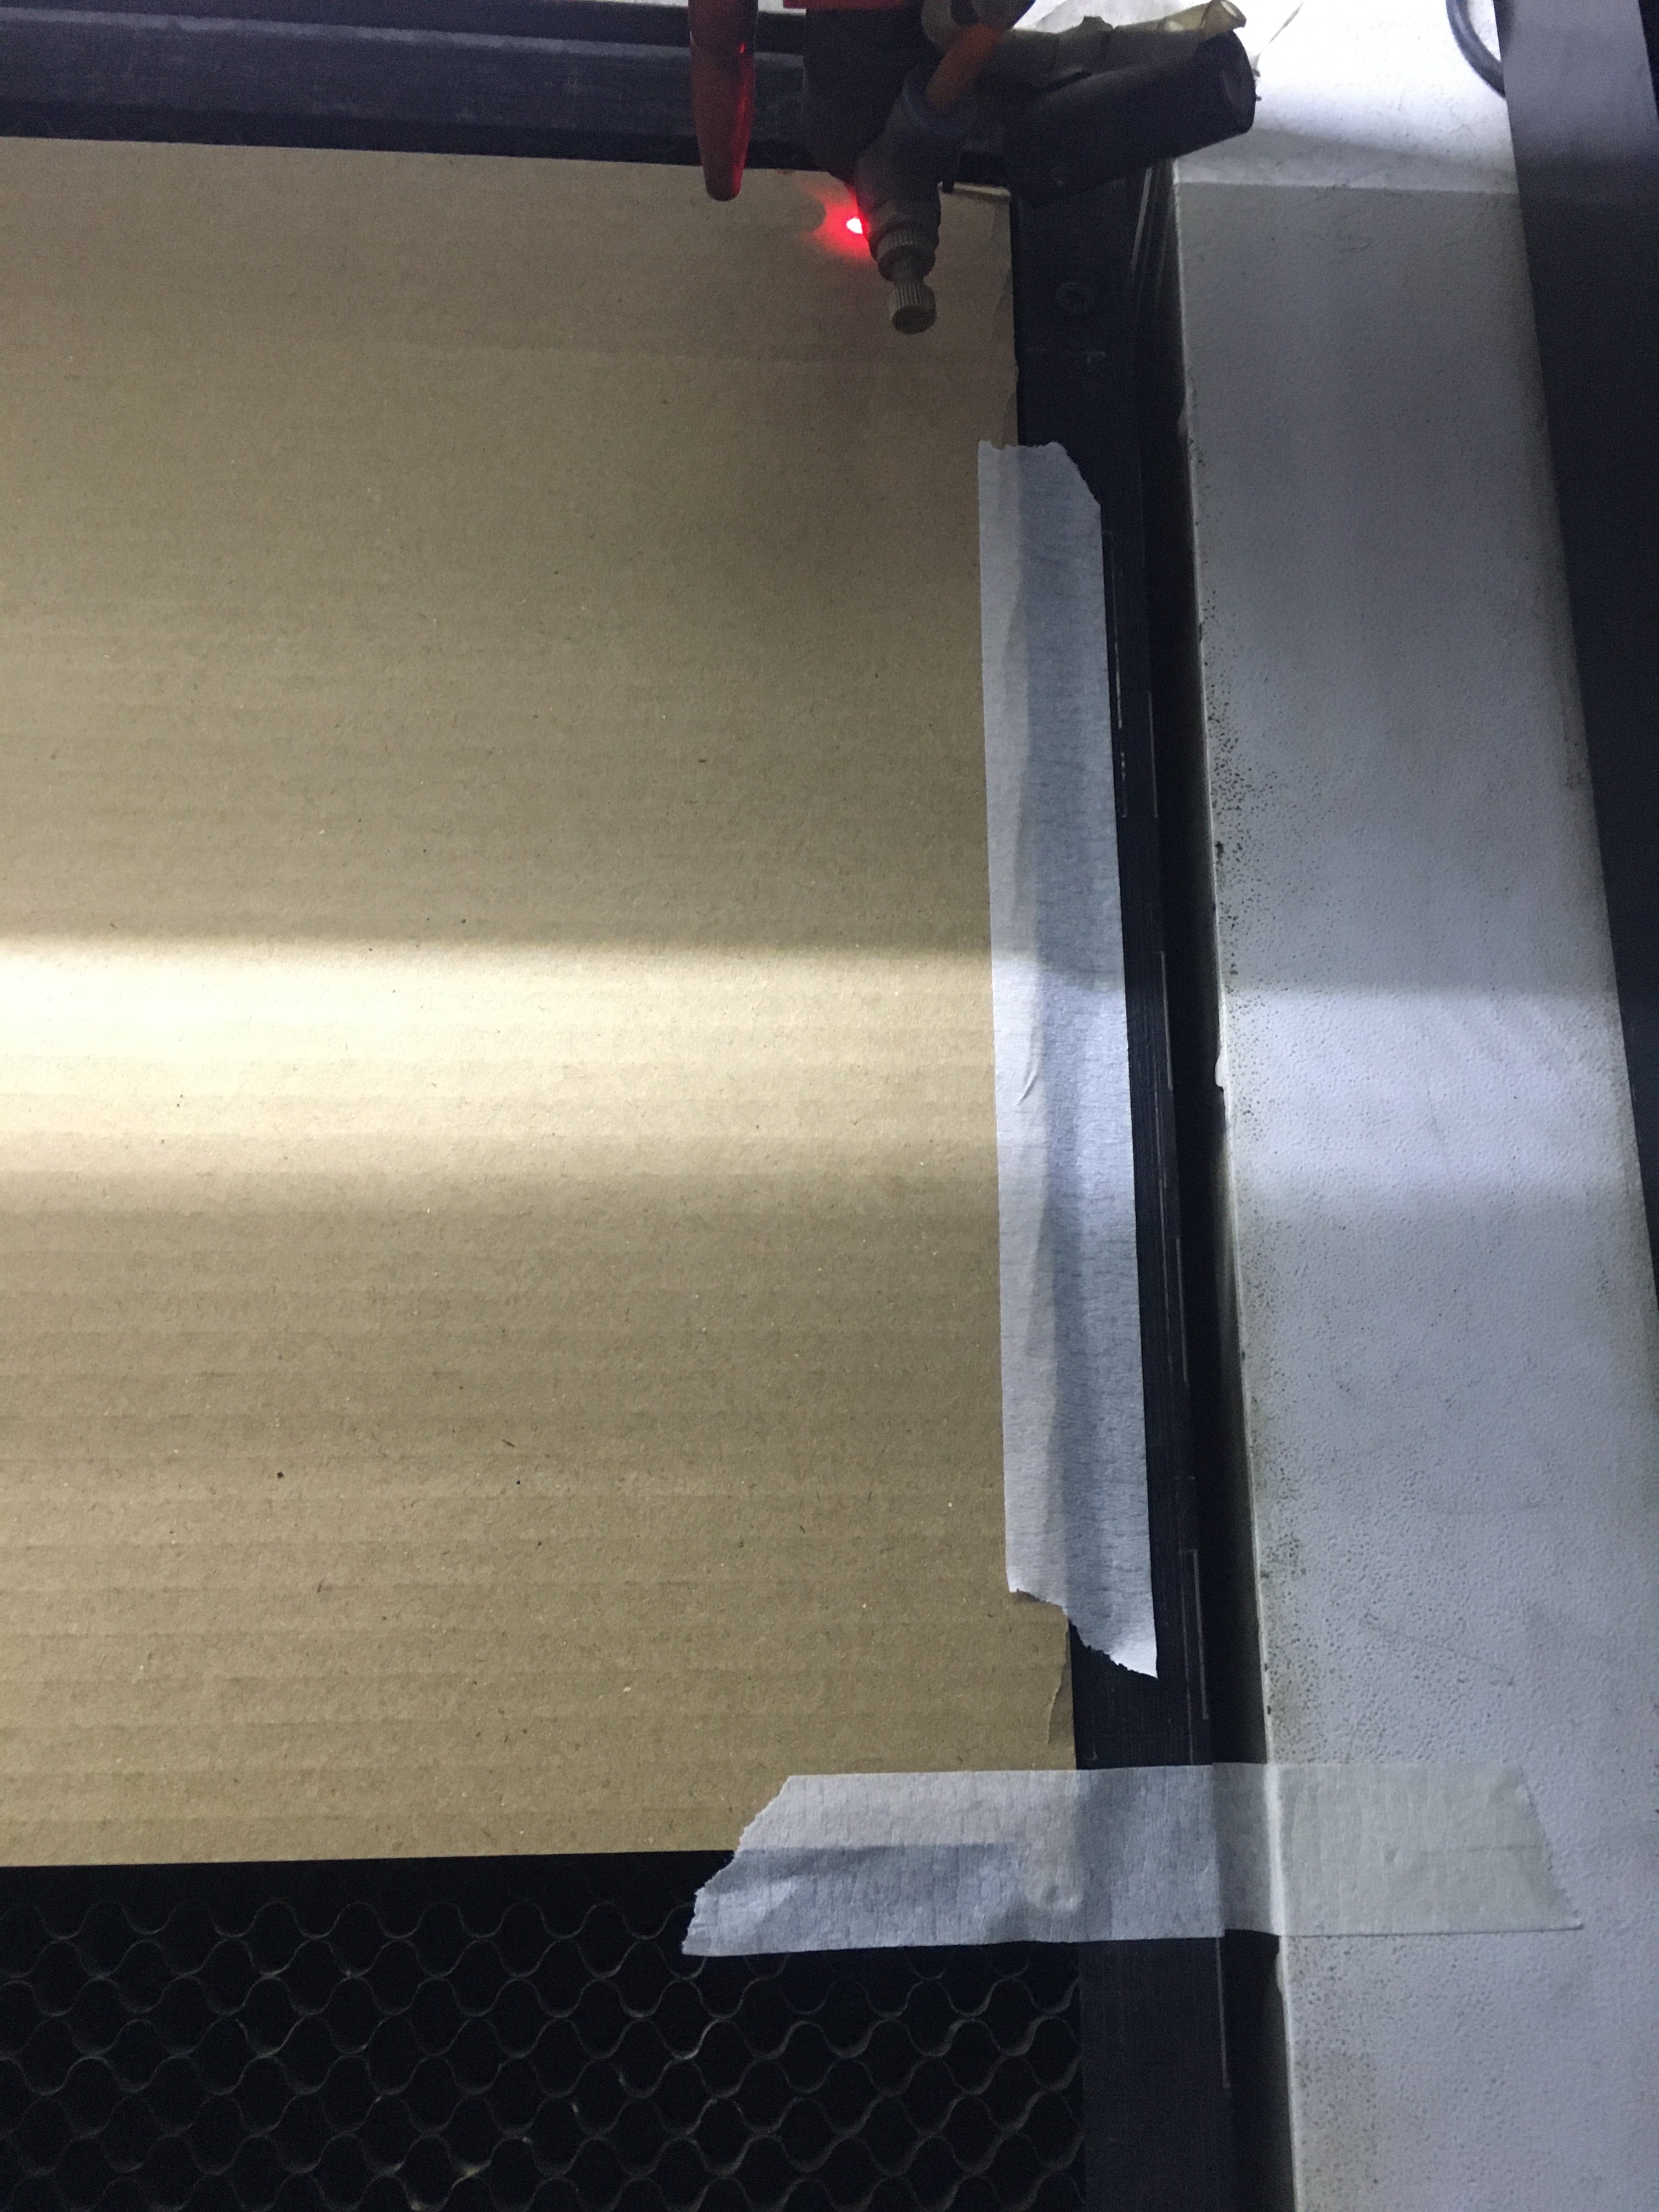
-
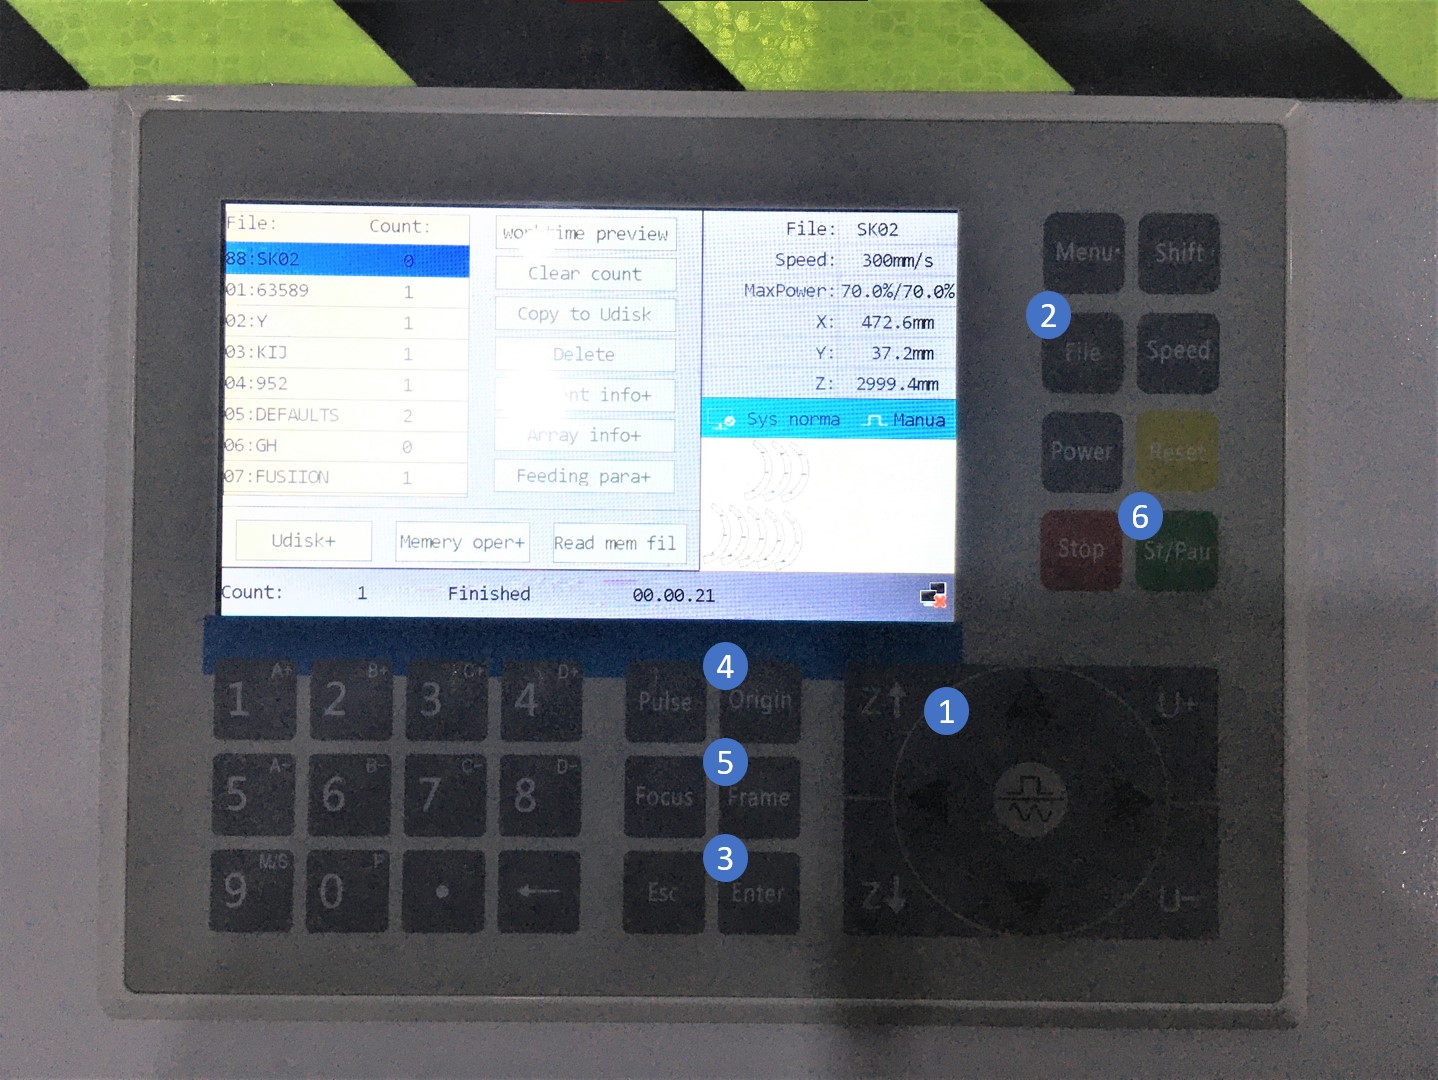
fix the laser high from the material to 8mm using the arrows in the set up board in the machine.
-
press FILE-> search for your file and choose it by pressing Enter
-
Then Press ORIGIN -> FRAME to see where exactly your design will be done.
-
After making sure everything is fine press the GREEN button.
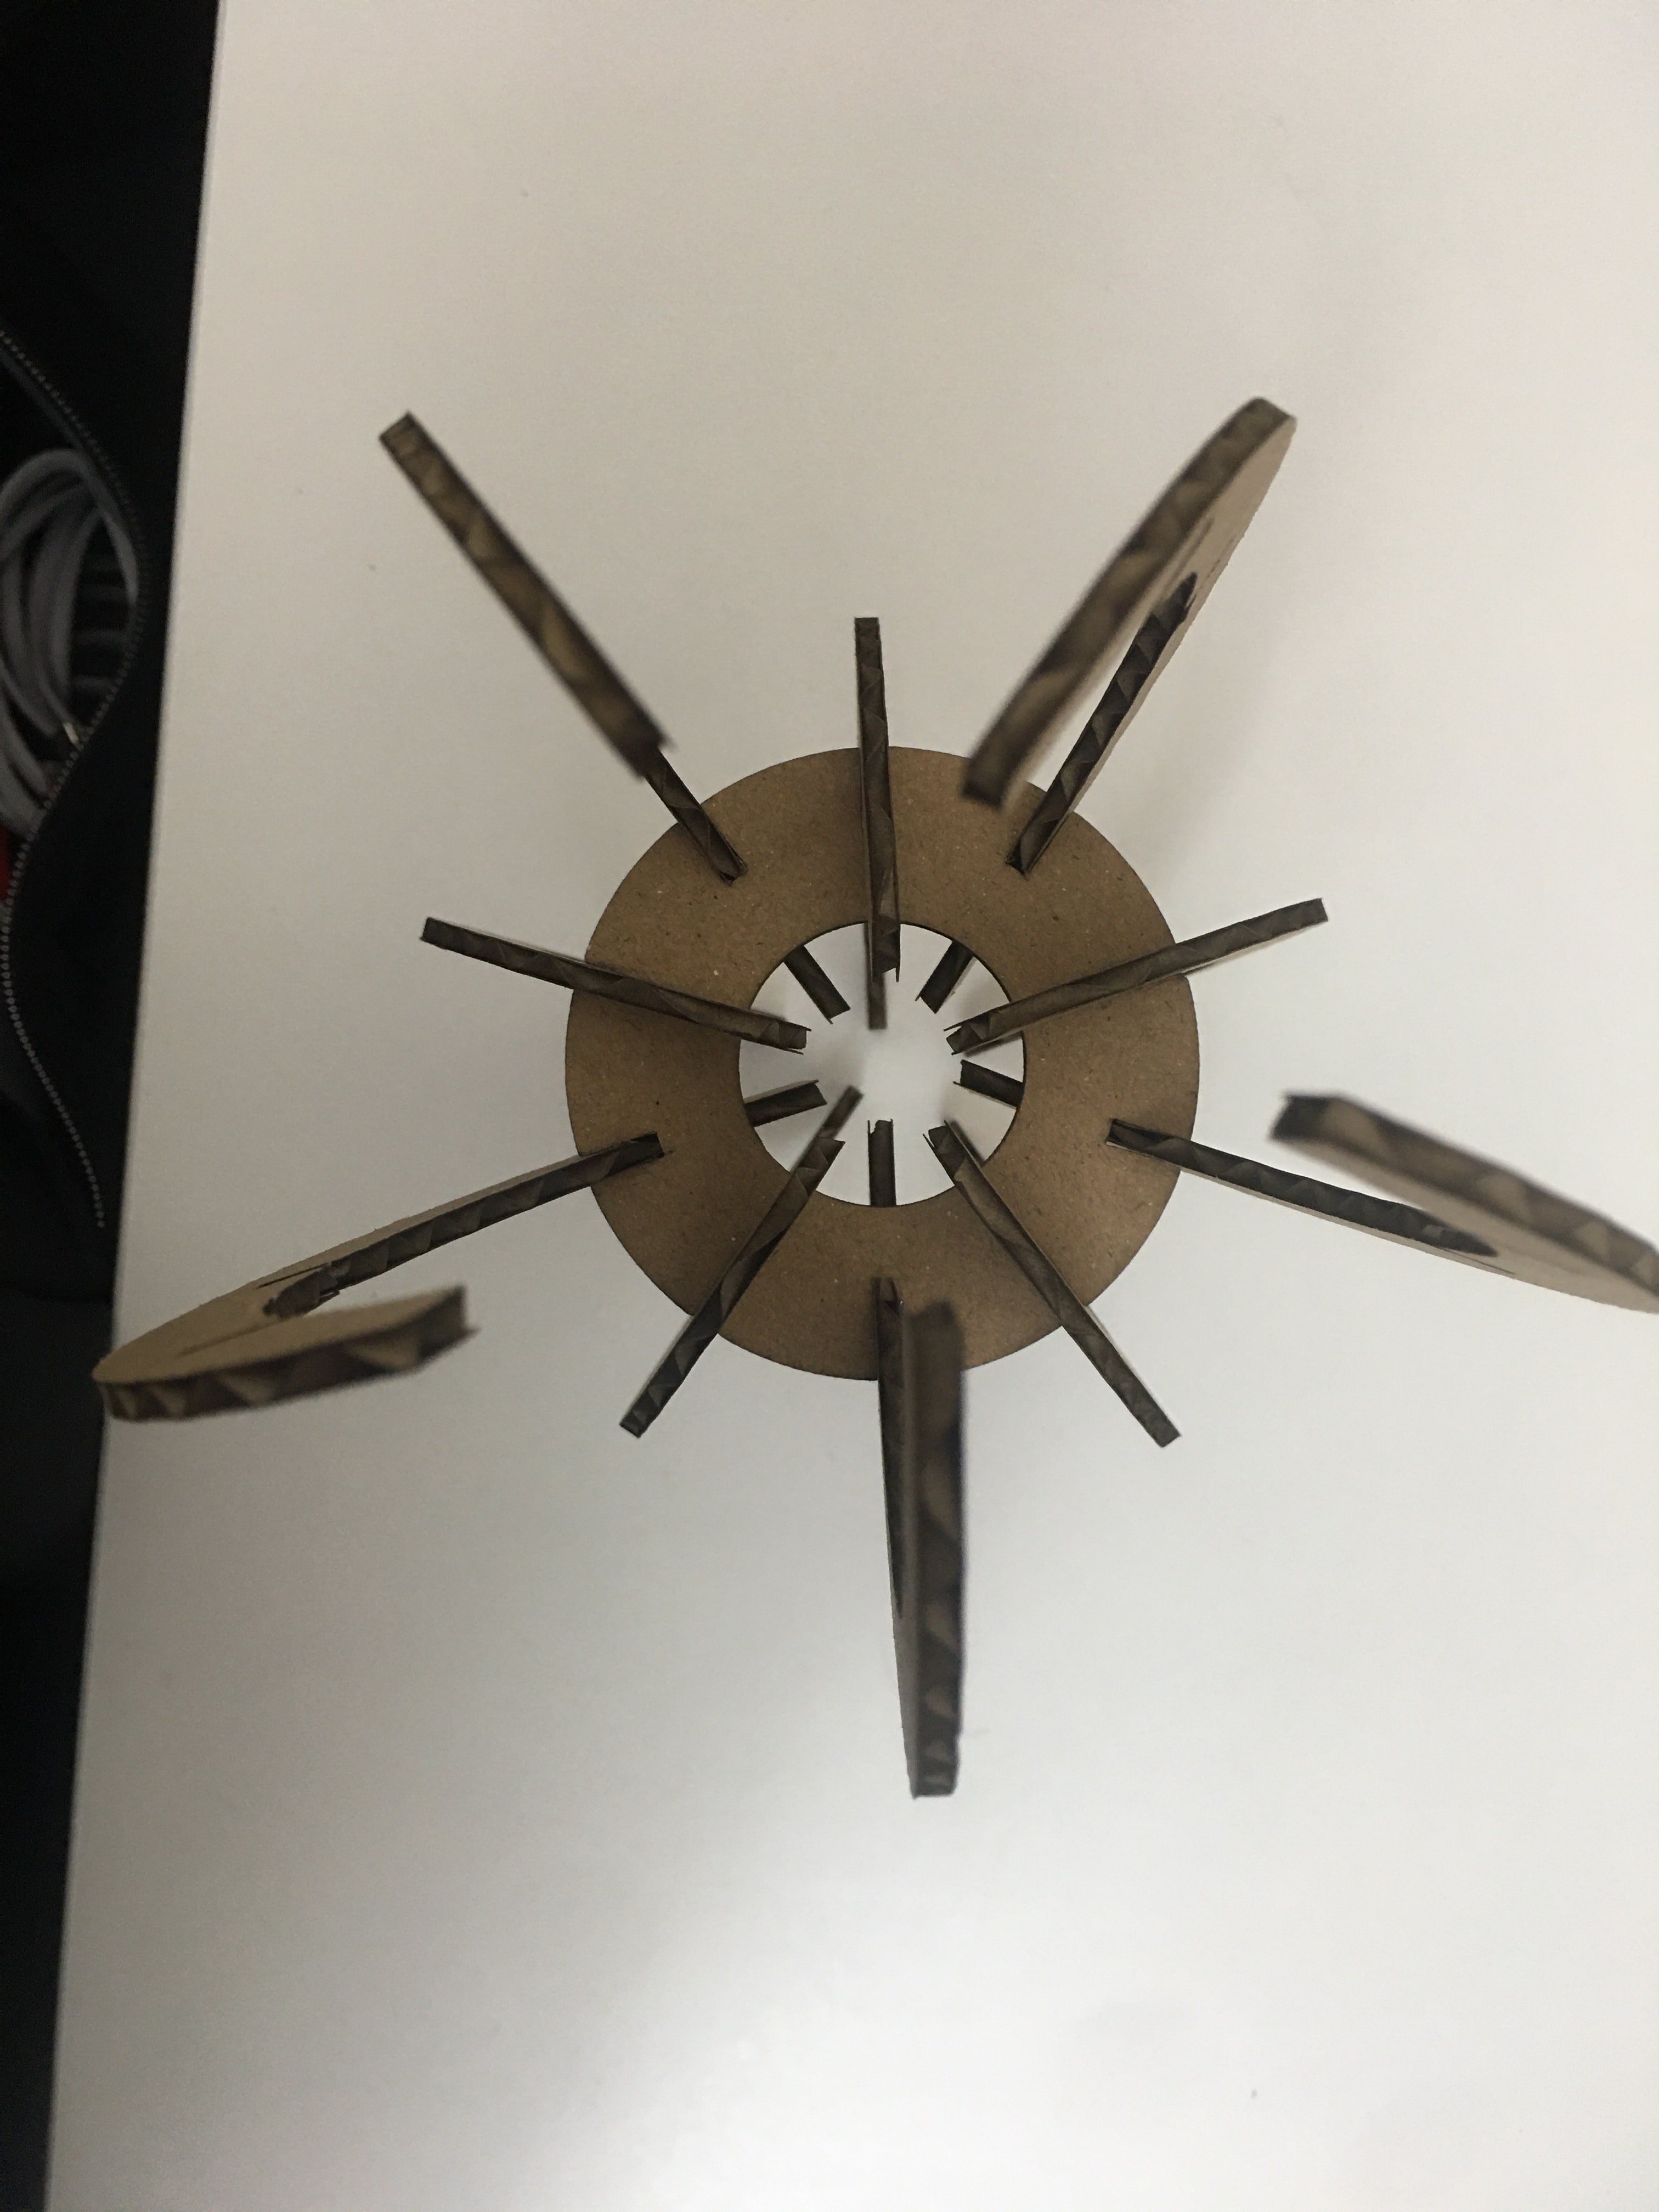
RESULTS
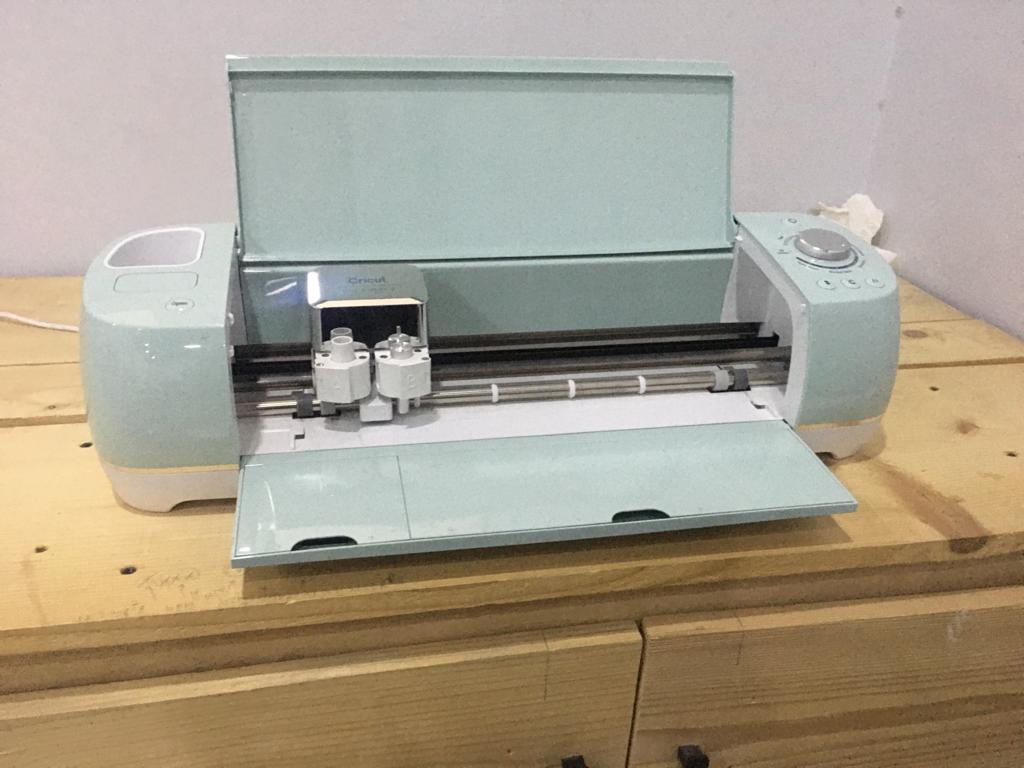
VINYL CUTTING
For Vinyl cutting I will be using the machine “Cricut”
DESIGN.
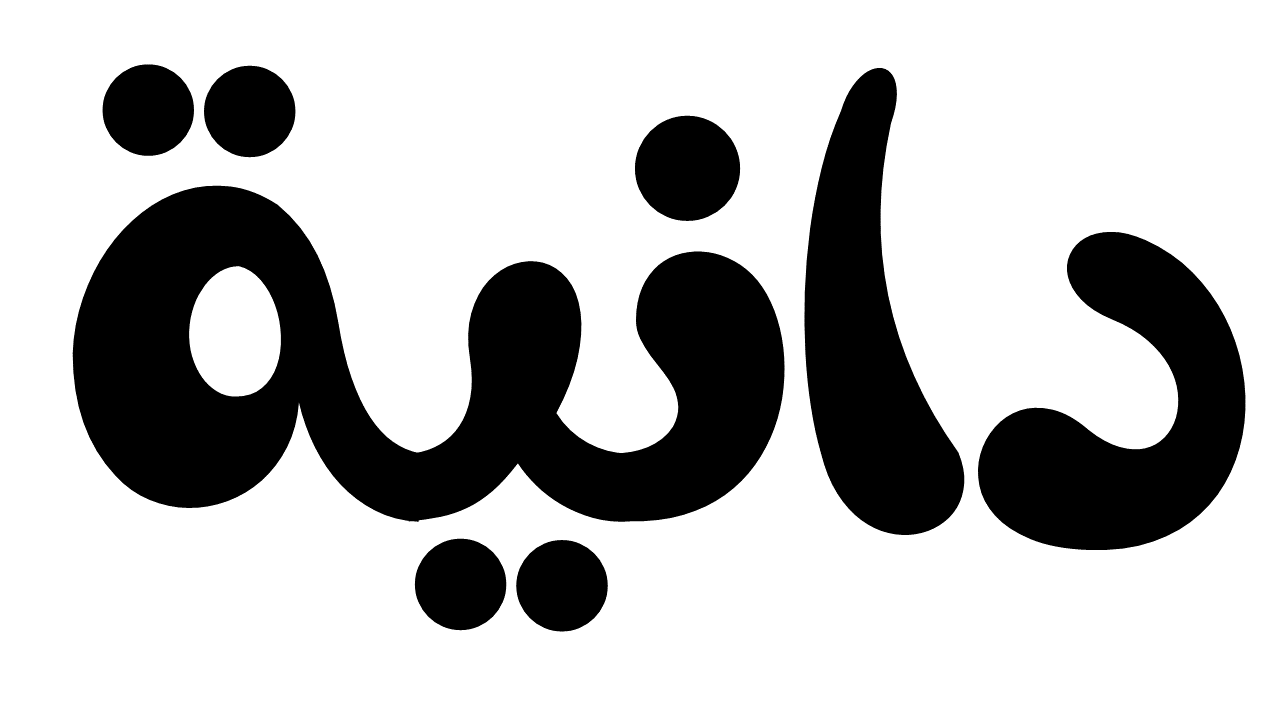
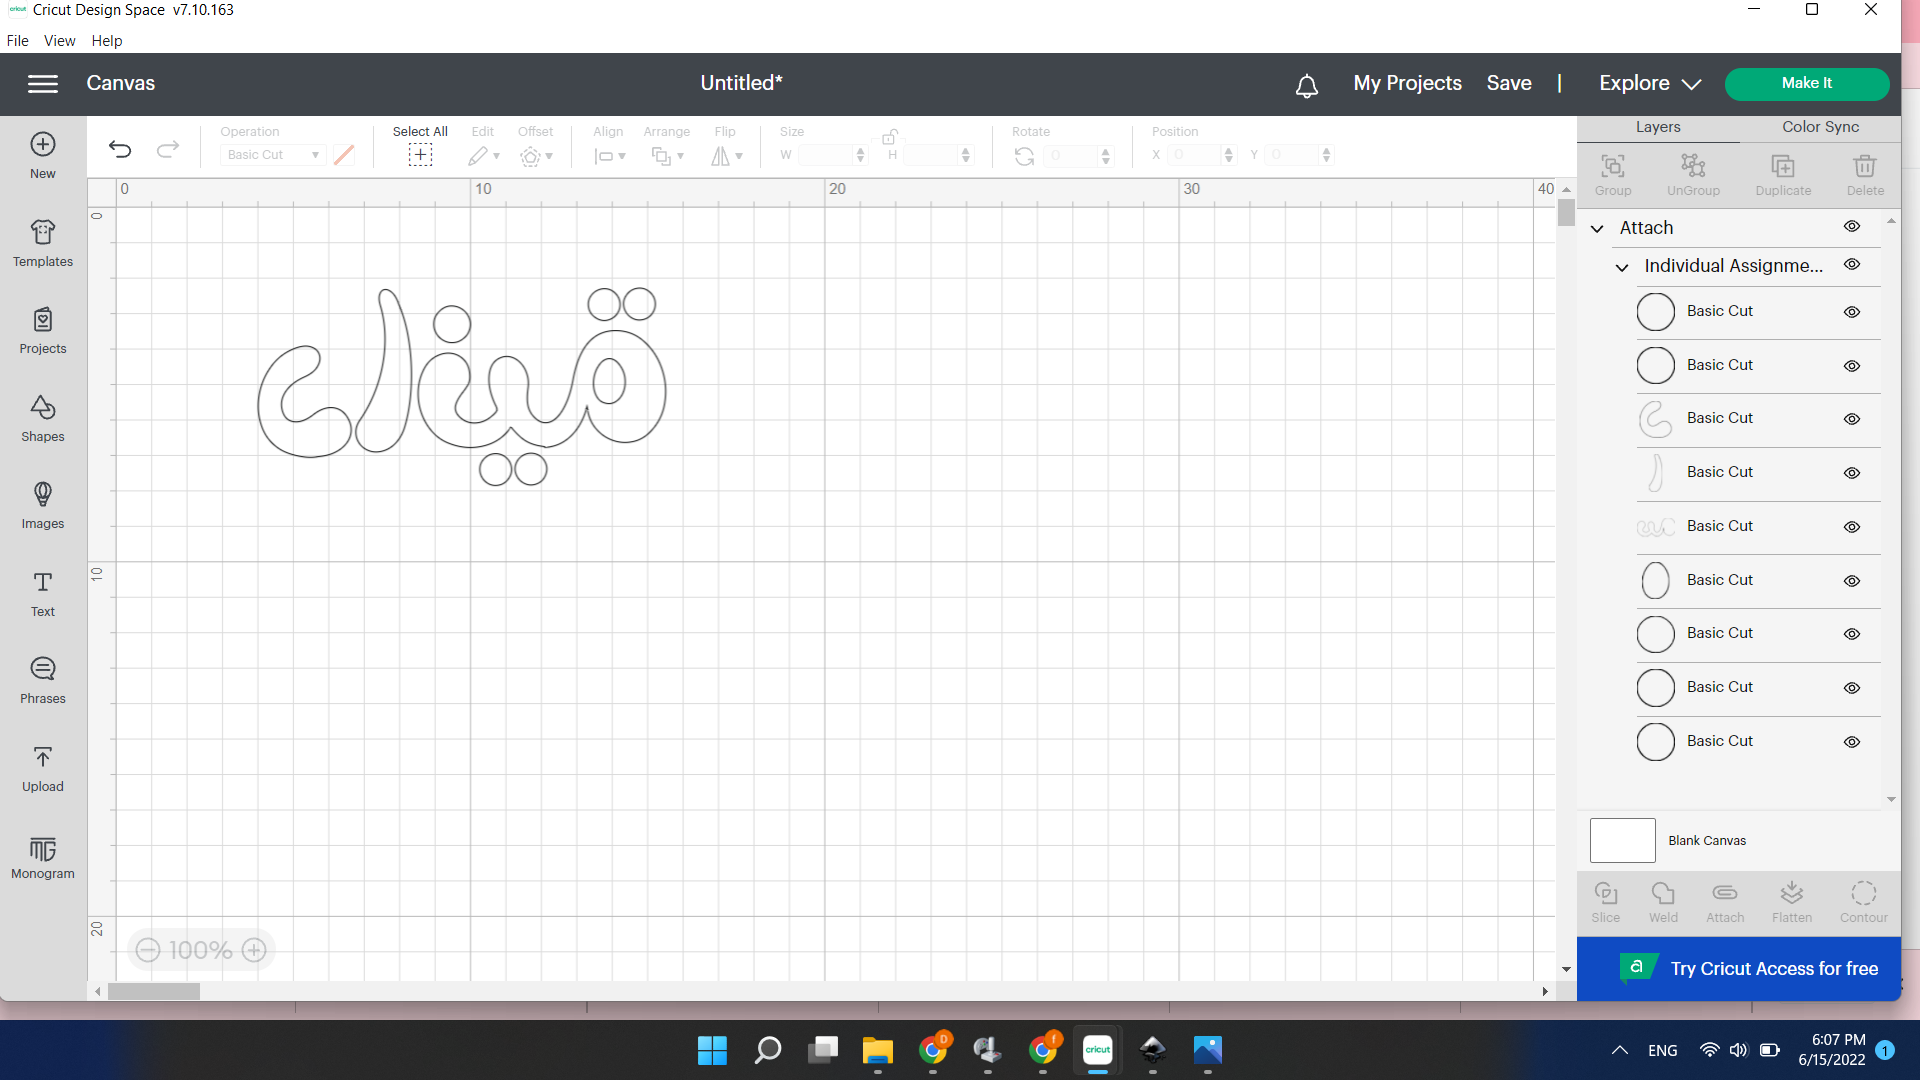
My design was simple as I wanted to test how the machine works with text.
I searched the internet for a thick nice font that can be used for children.
I chose “Blabeloo MagdySoliman” font .
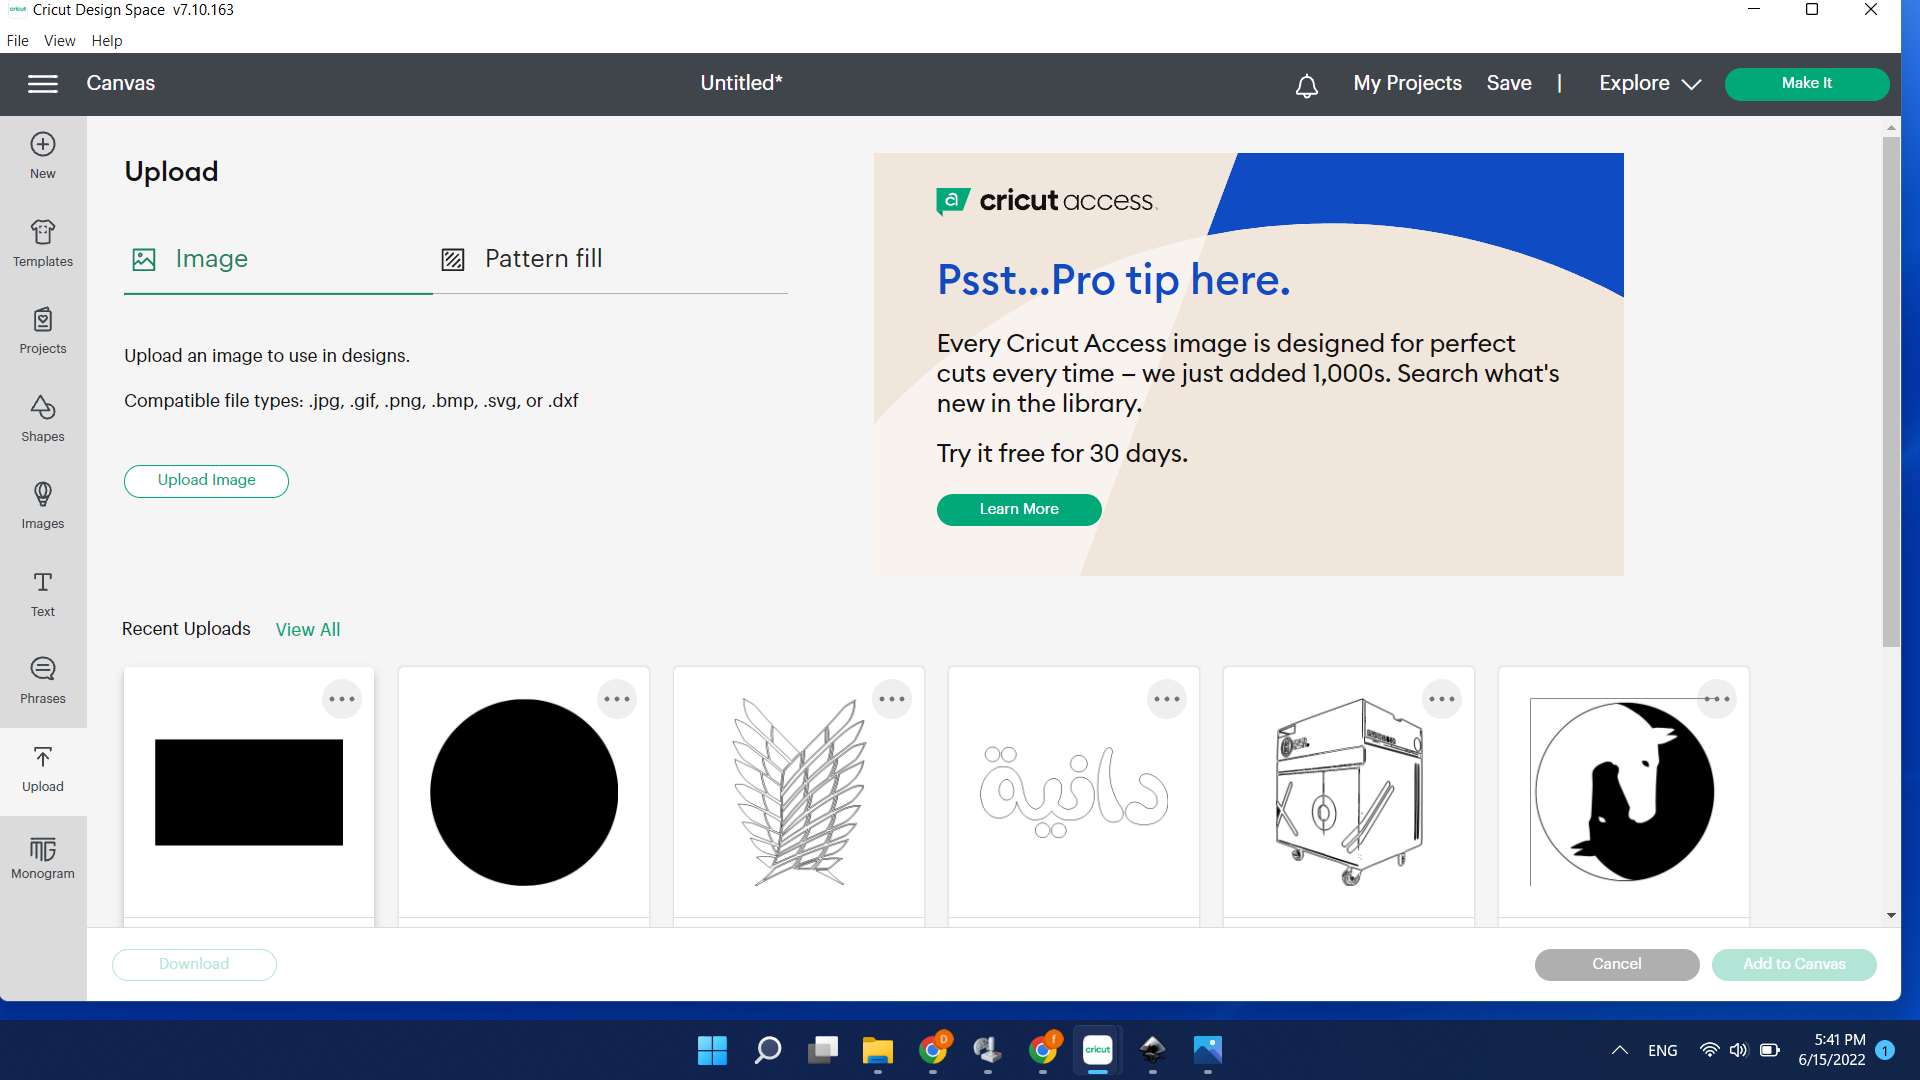
After uploading the font I opened ppt and wrote a name.
And saved the design into a PDF and png as according to “circuit program ” it should accept these two formats.
the design
for some unknown reasons the program didn’t accept the format I had to use “INKSCAPE” to change the file format to “DFX”.
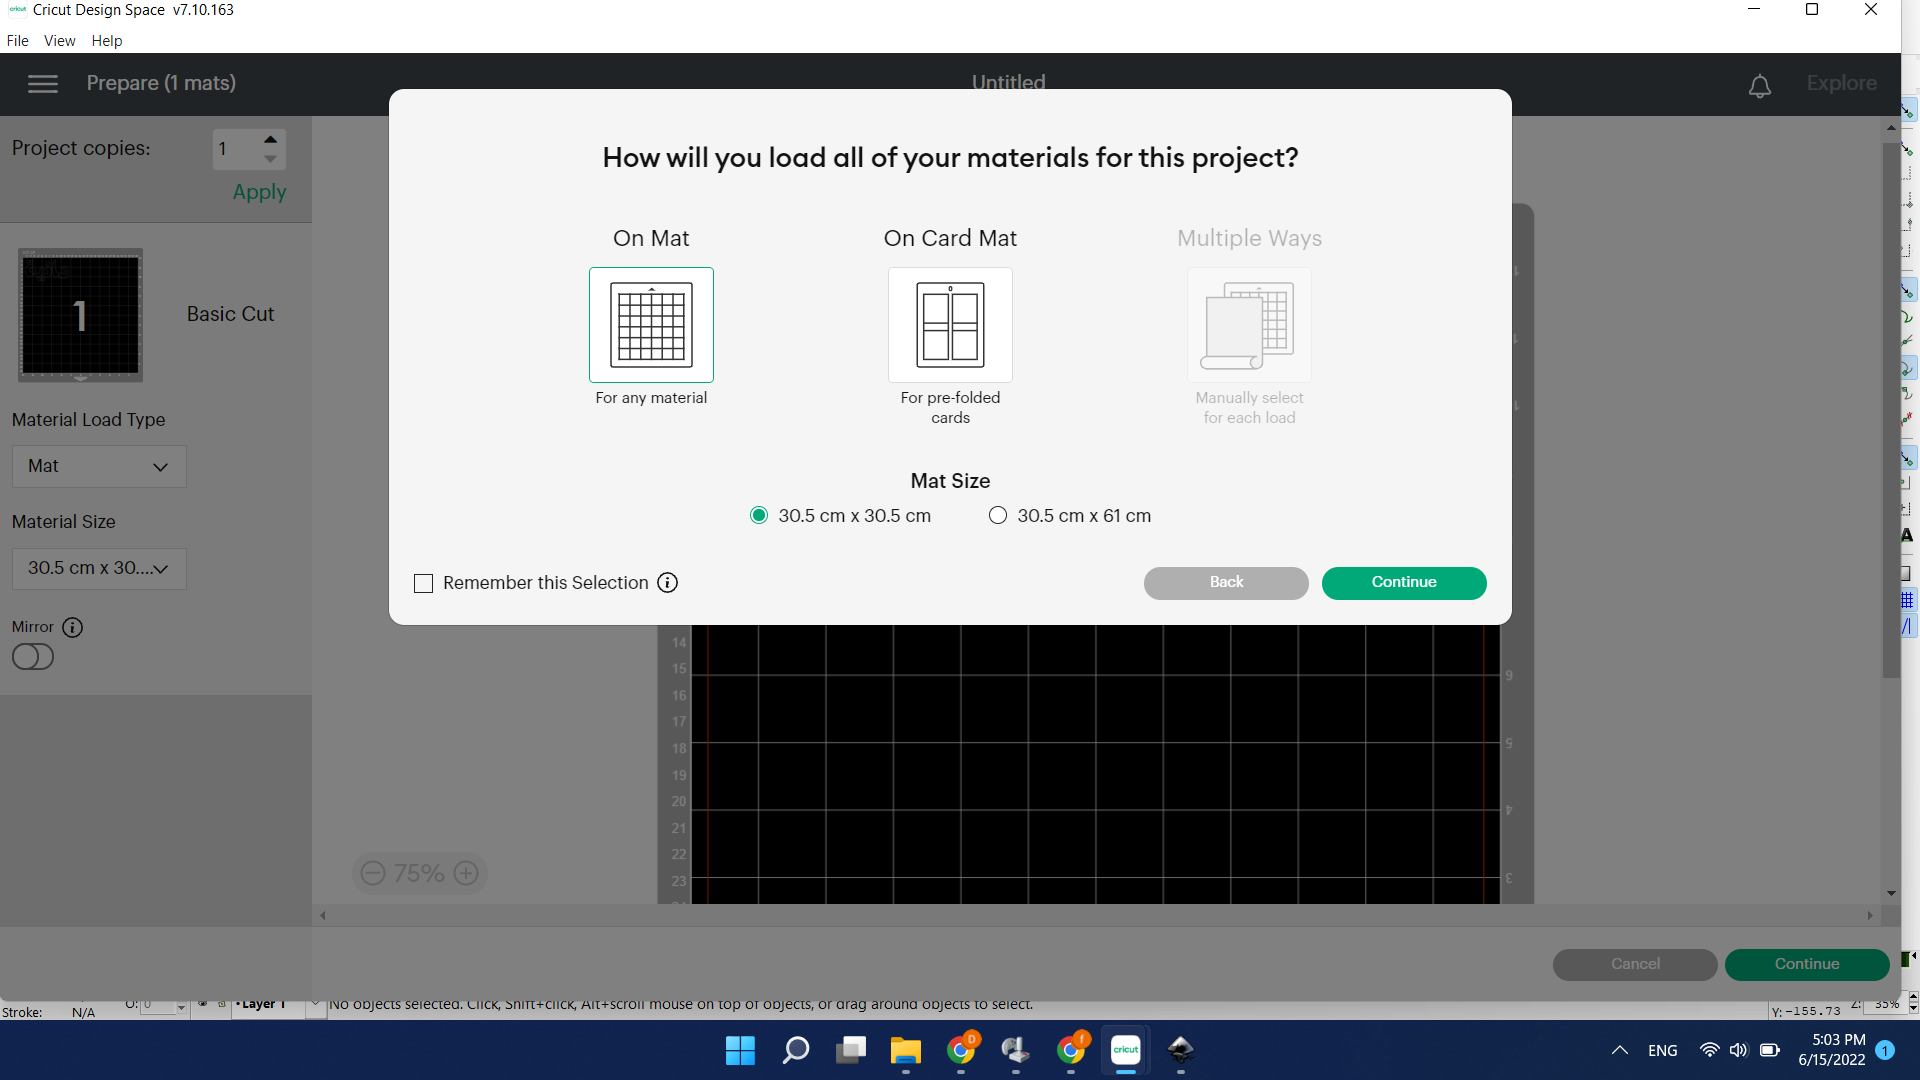
Steps in “CRICUT”
-
Open the file in “CRICUT”
-
upload
- Attach
- Mirror
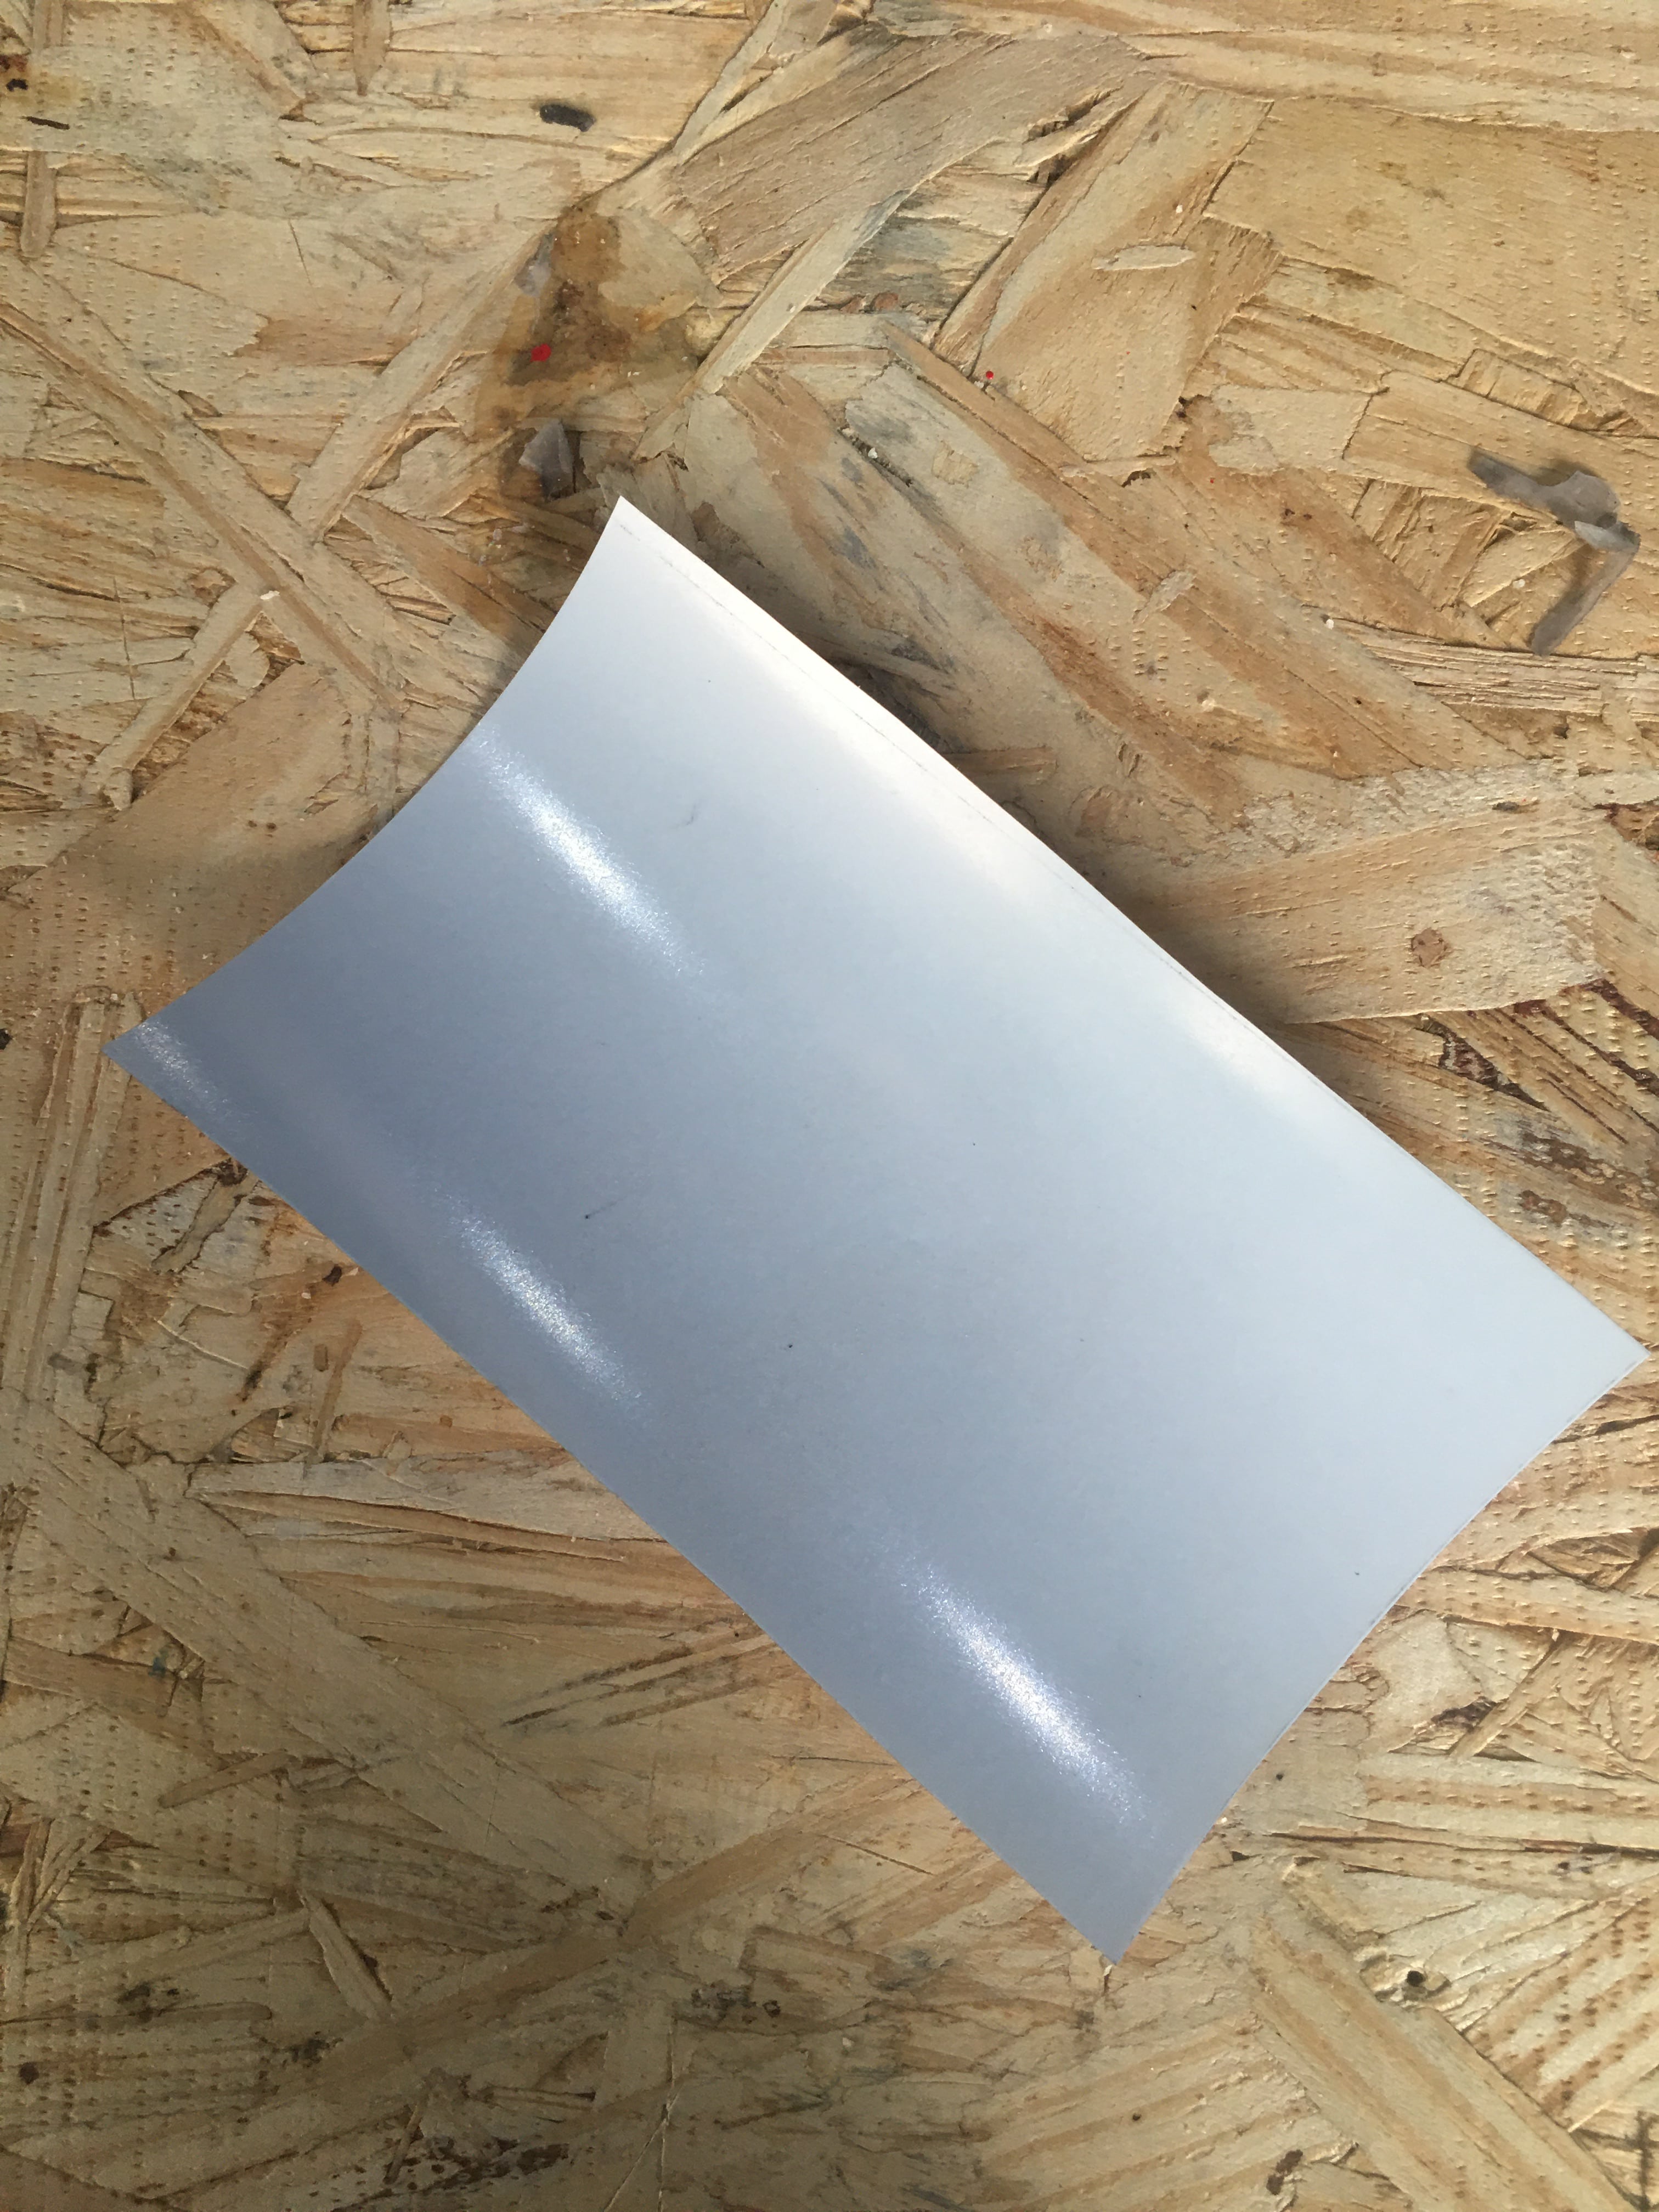
- I will be using a material that can stick on fabric .
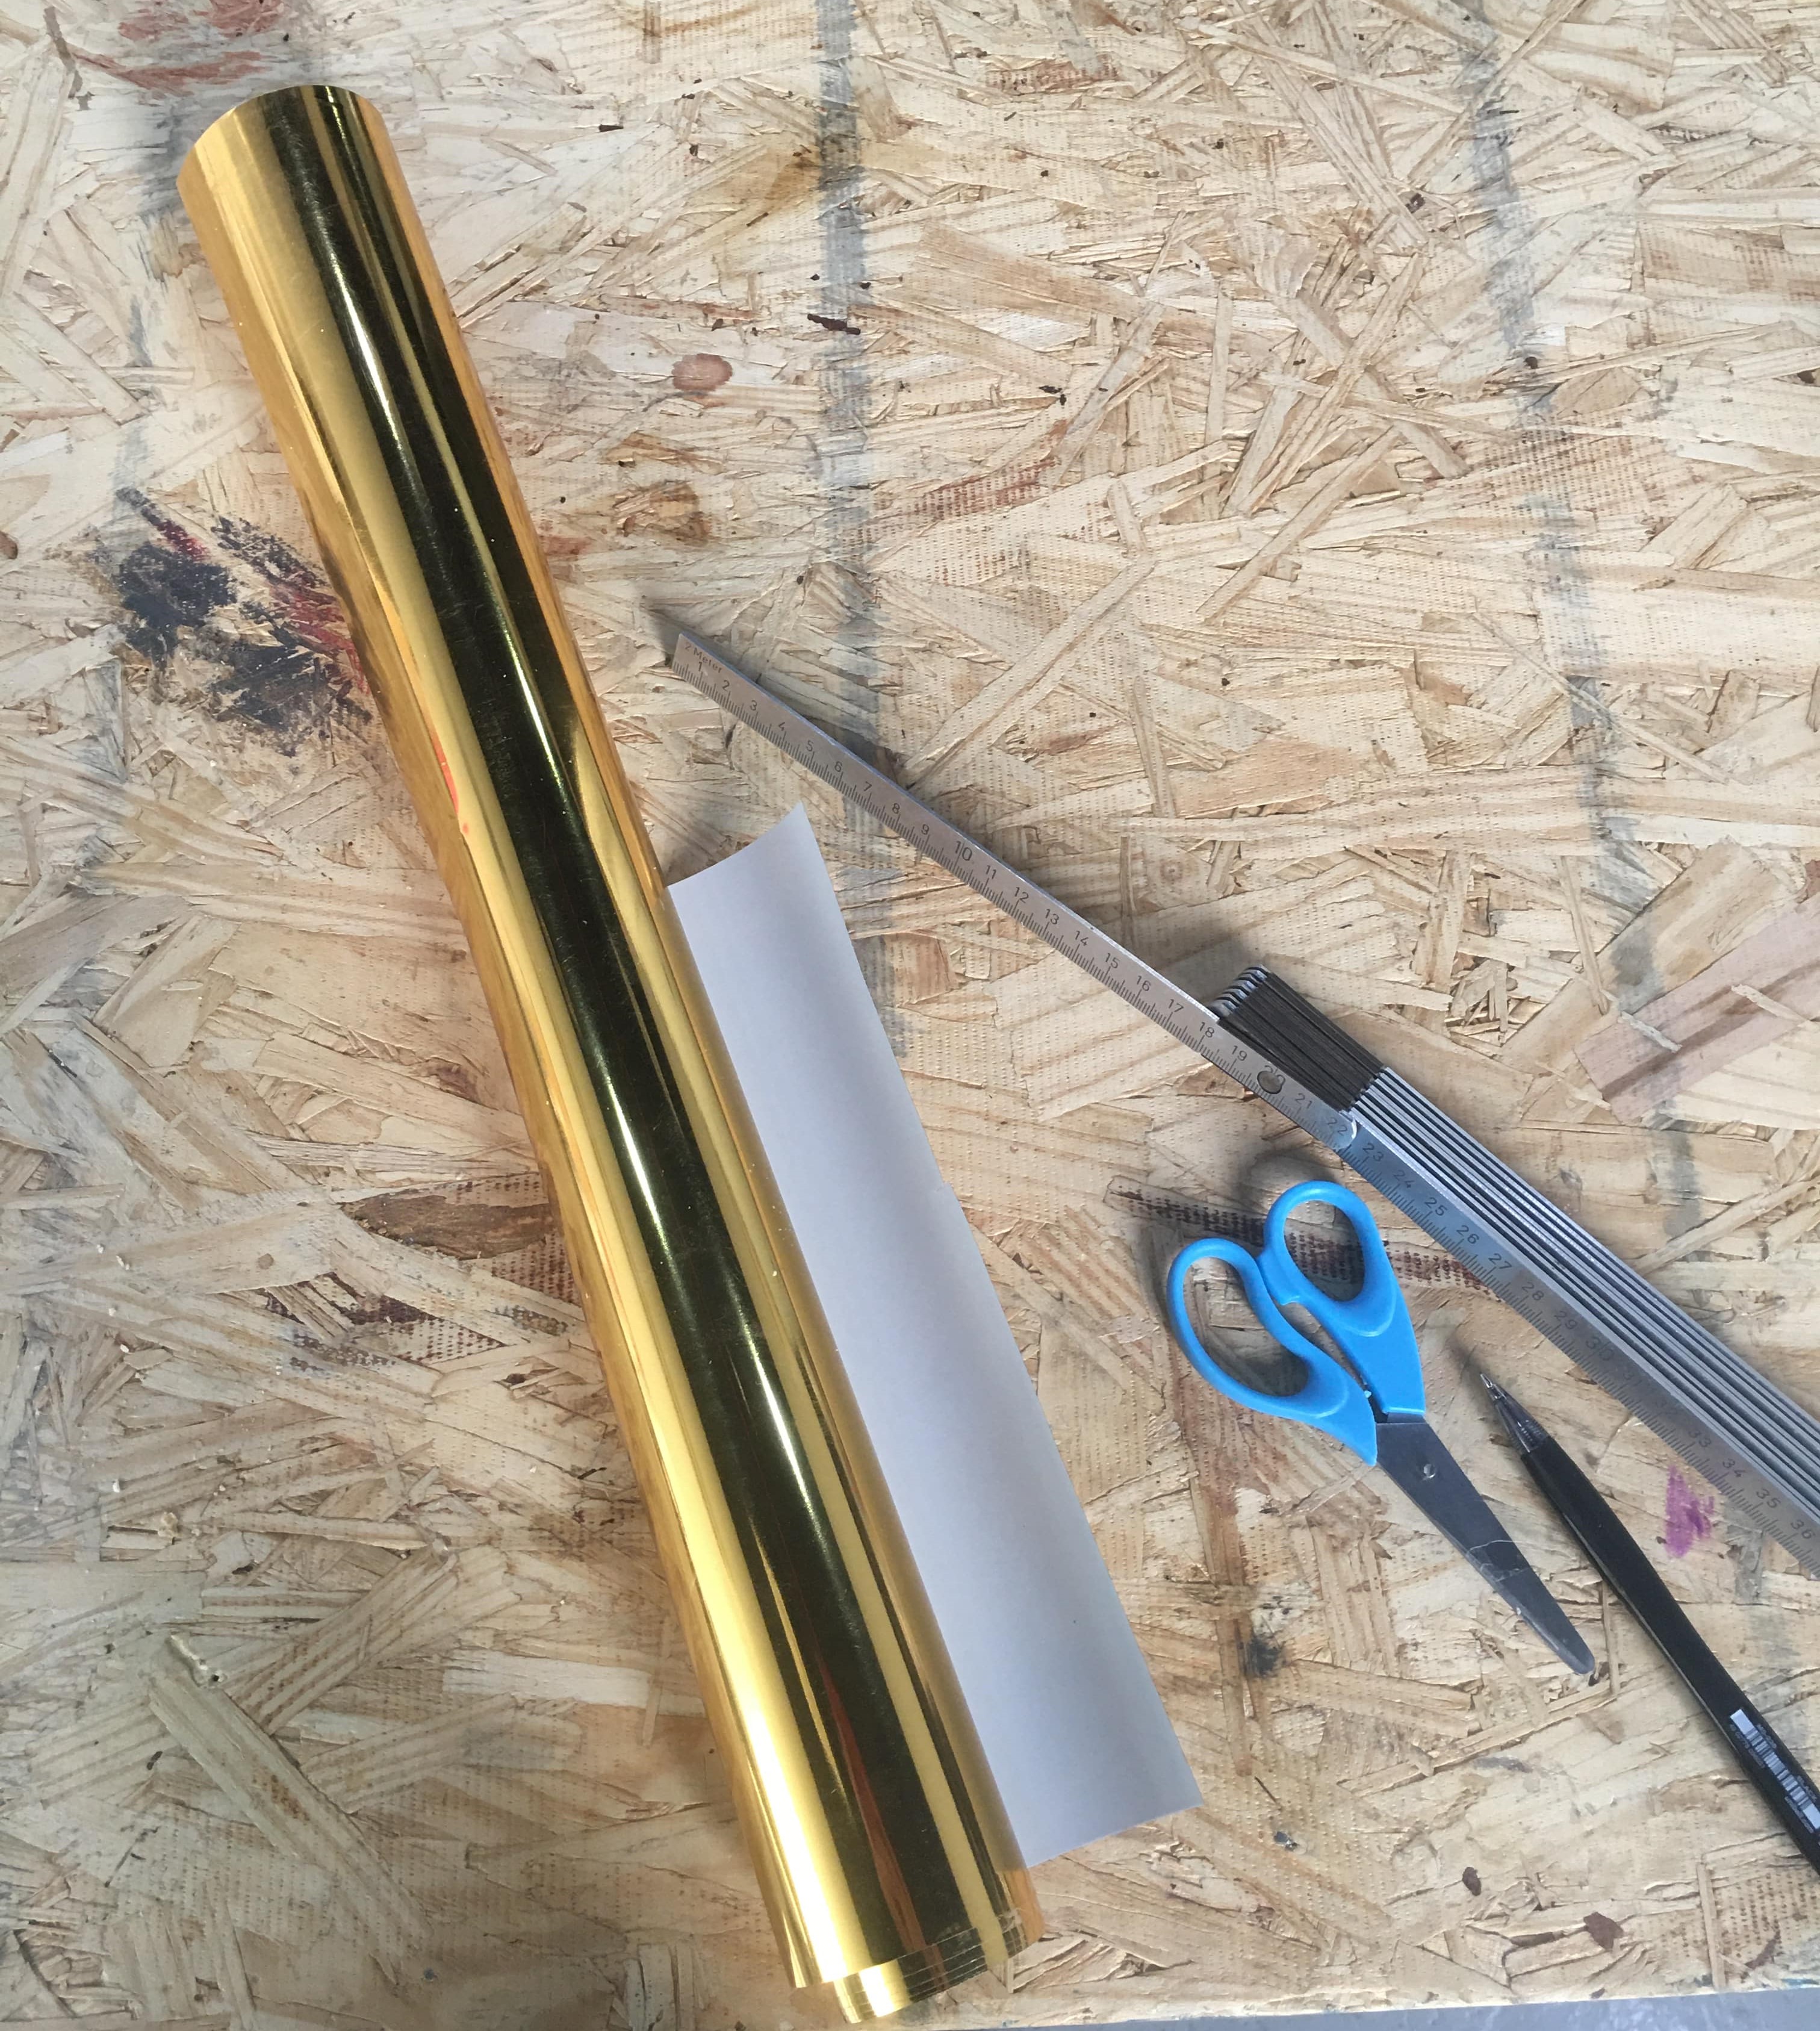
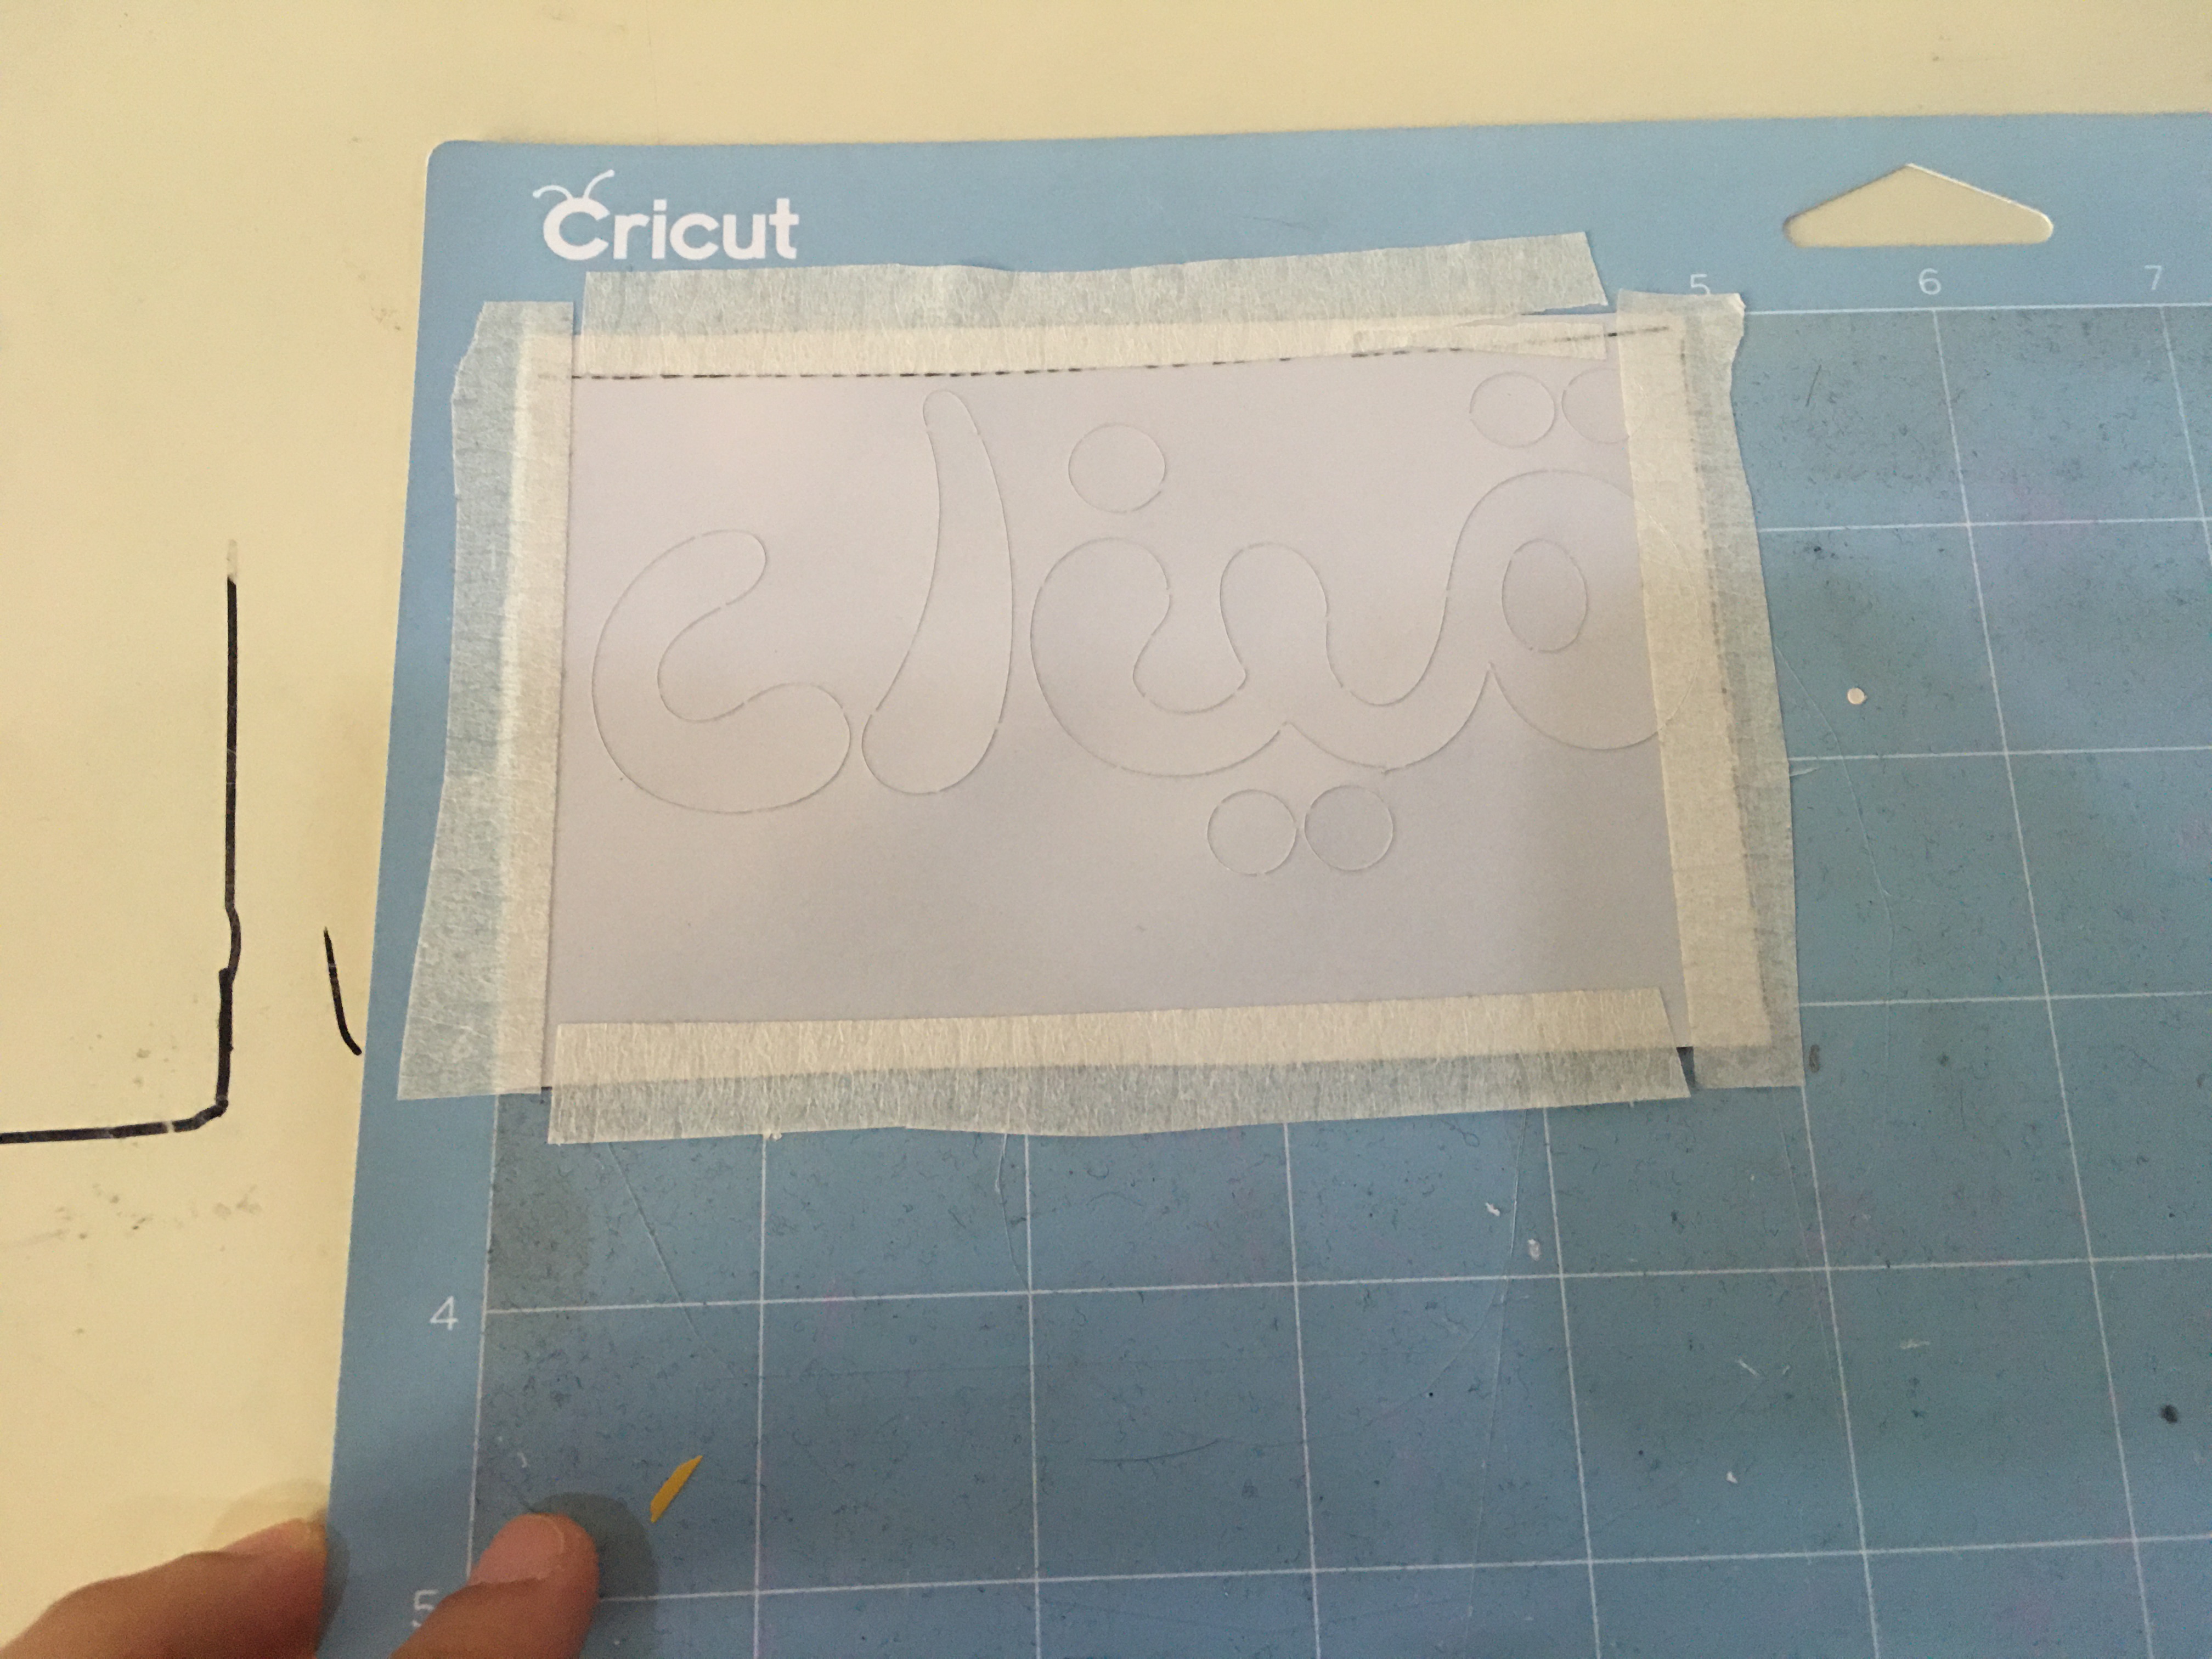
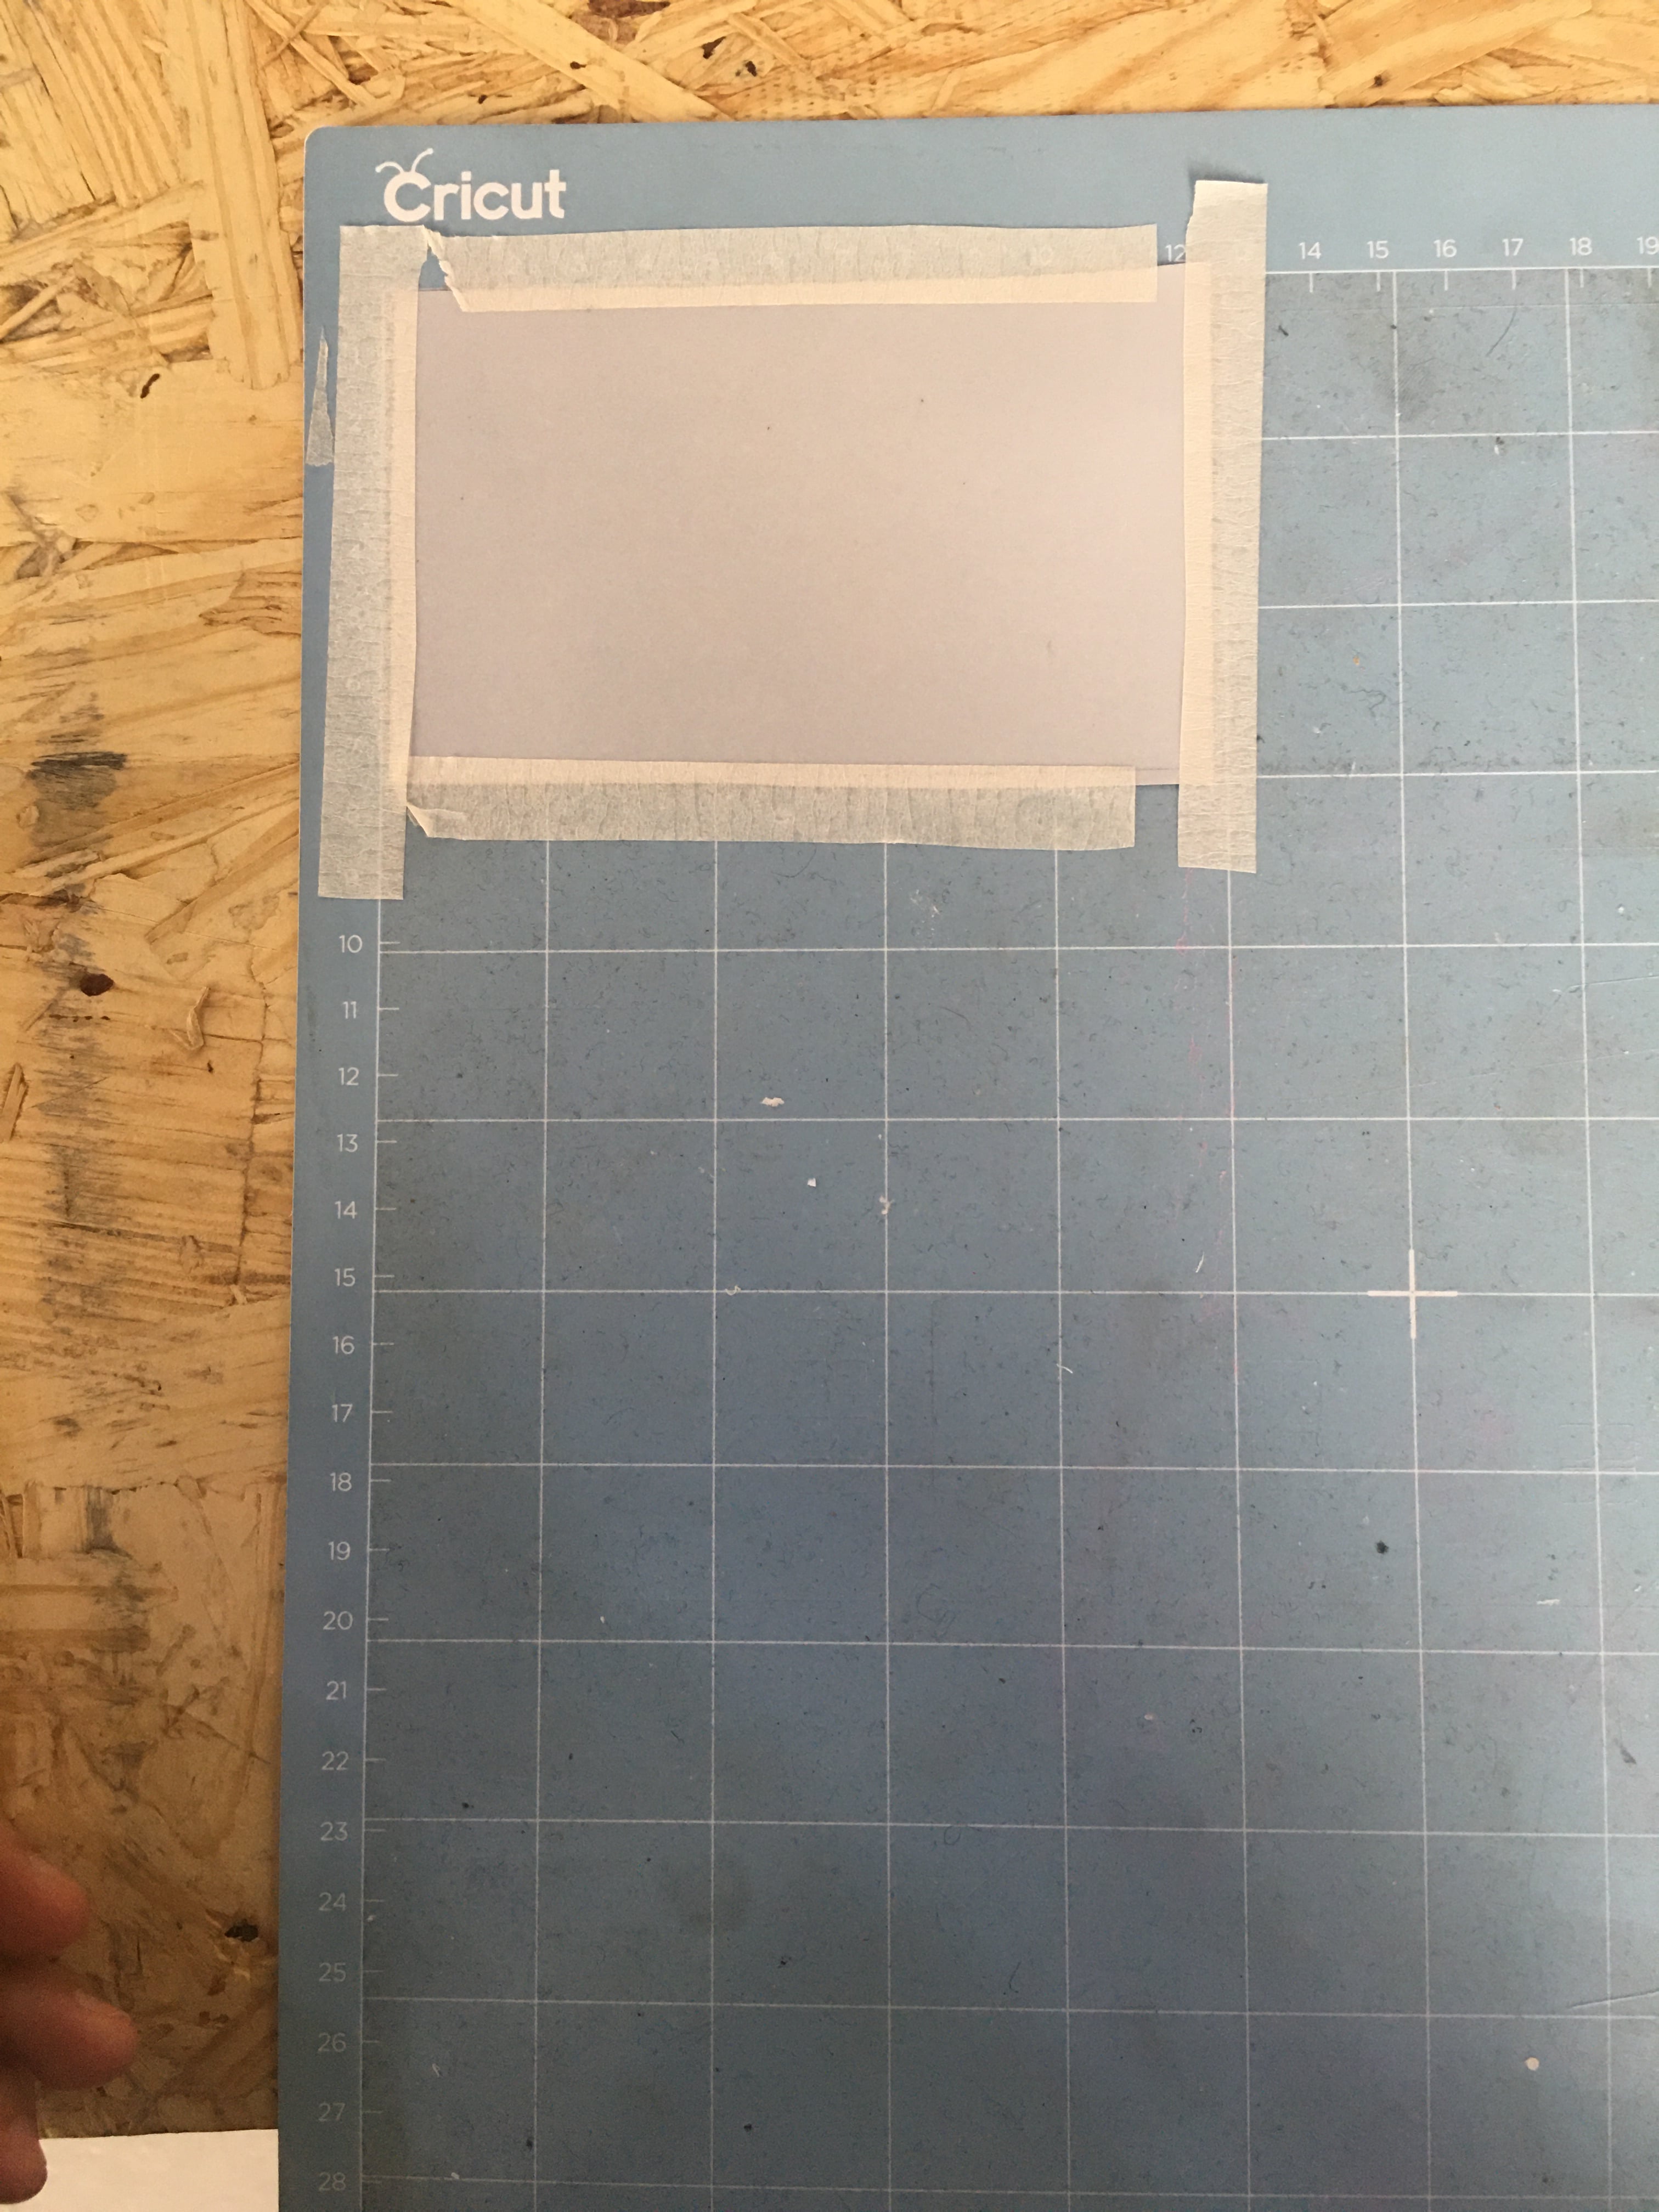
- I cut the piece a little bit bigger than the design.
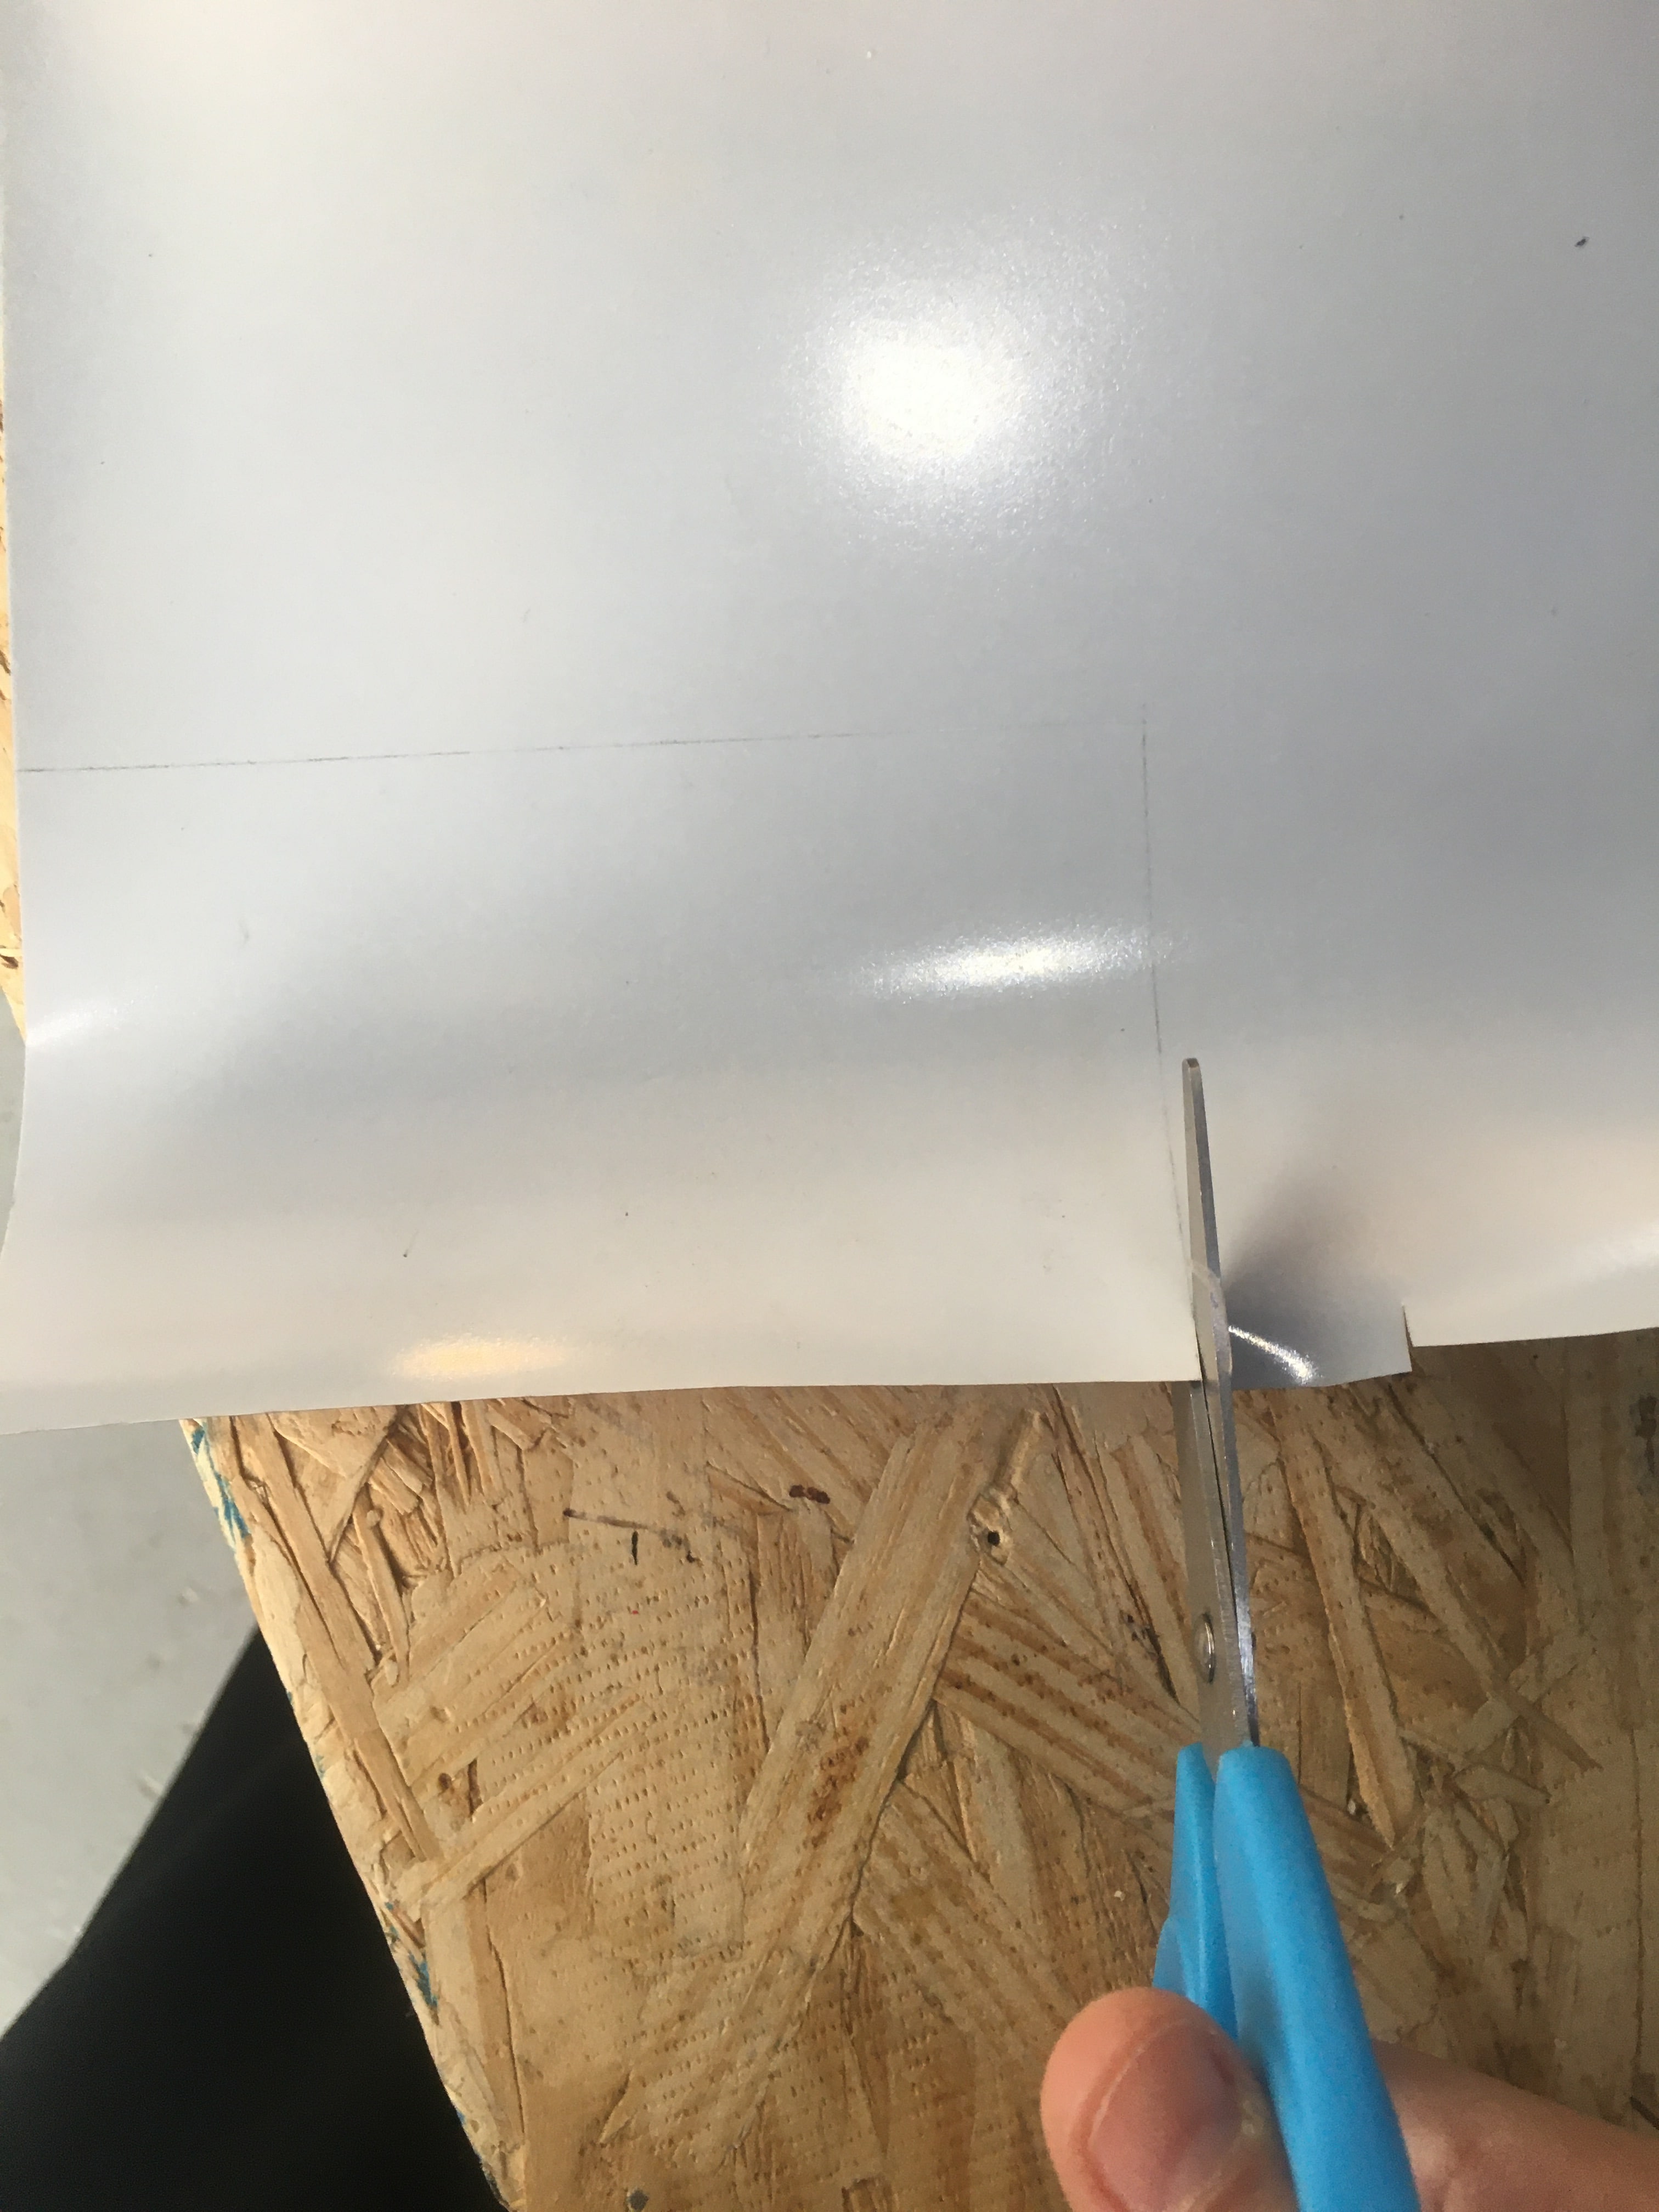

- stick it with tape to the “circuit” Mat.
-
I fixed the MAT in the machine.
-
put the bed on the machine
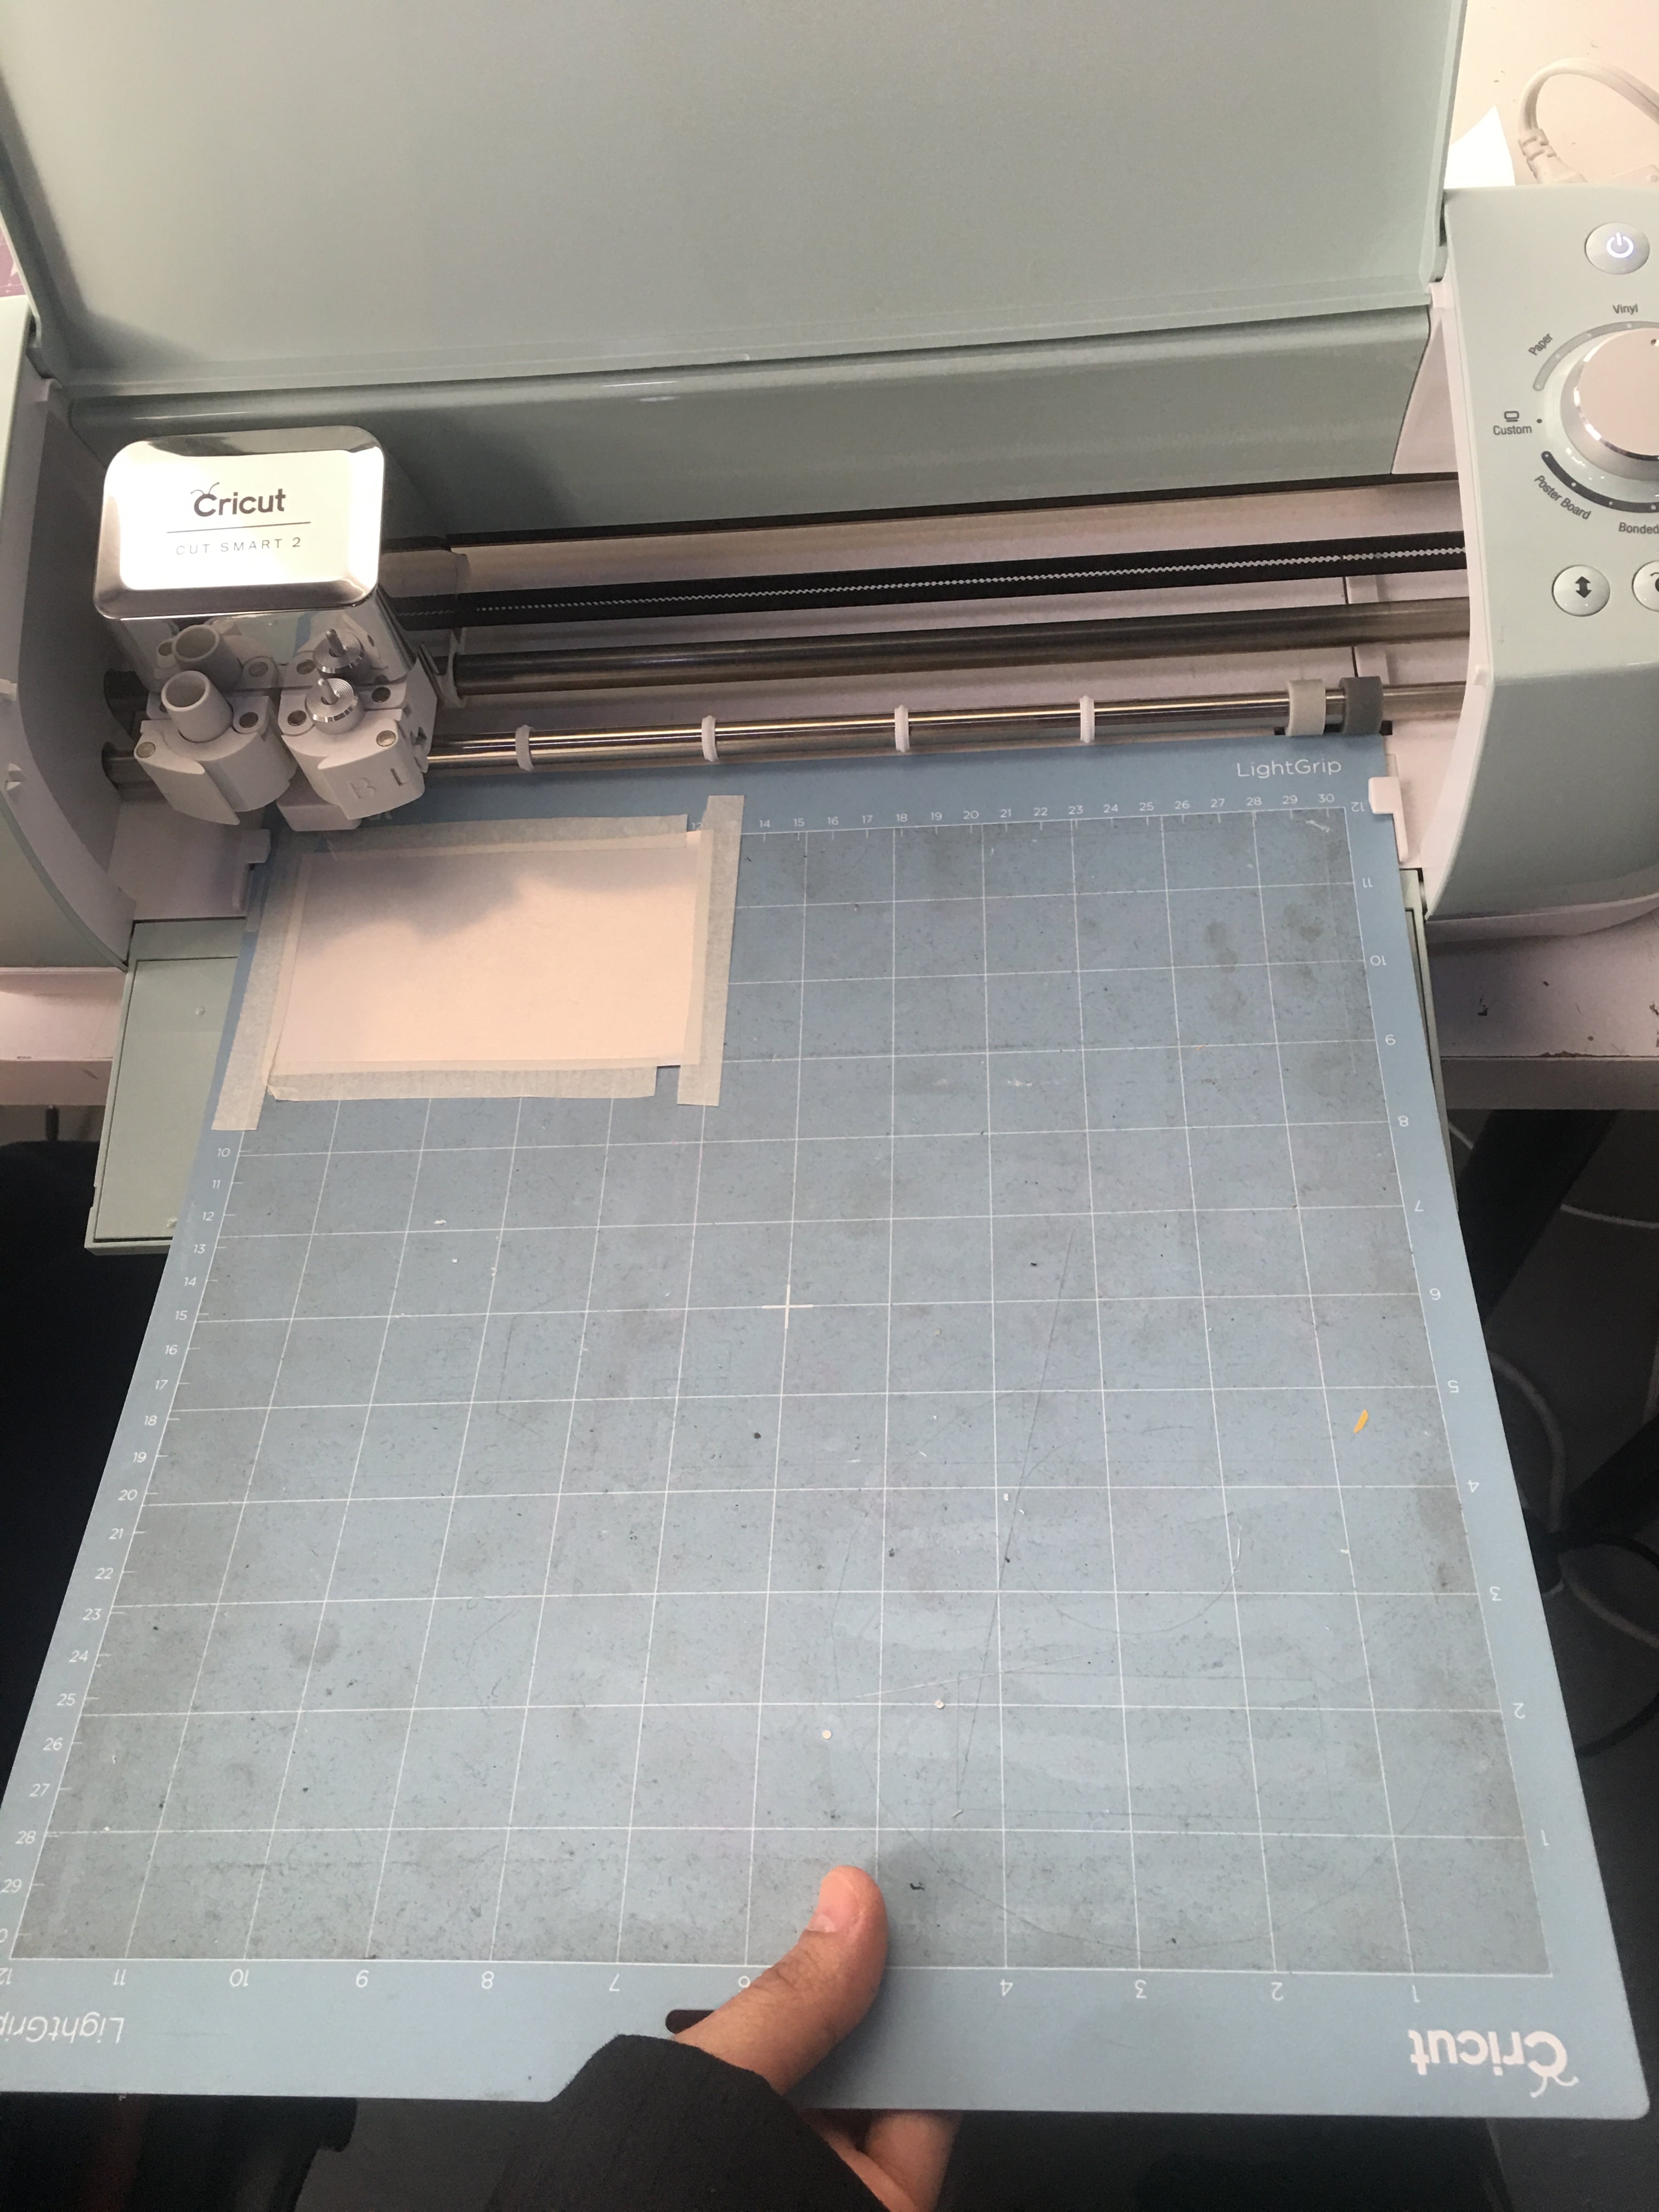
- press the arrows
like this the machine will hold the bed.
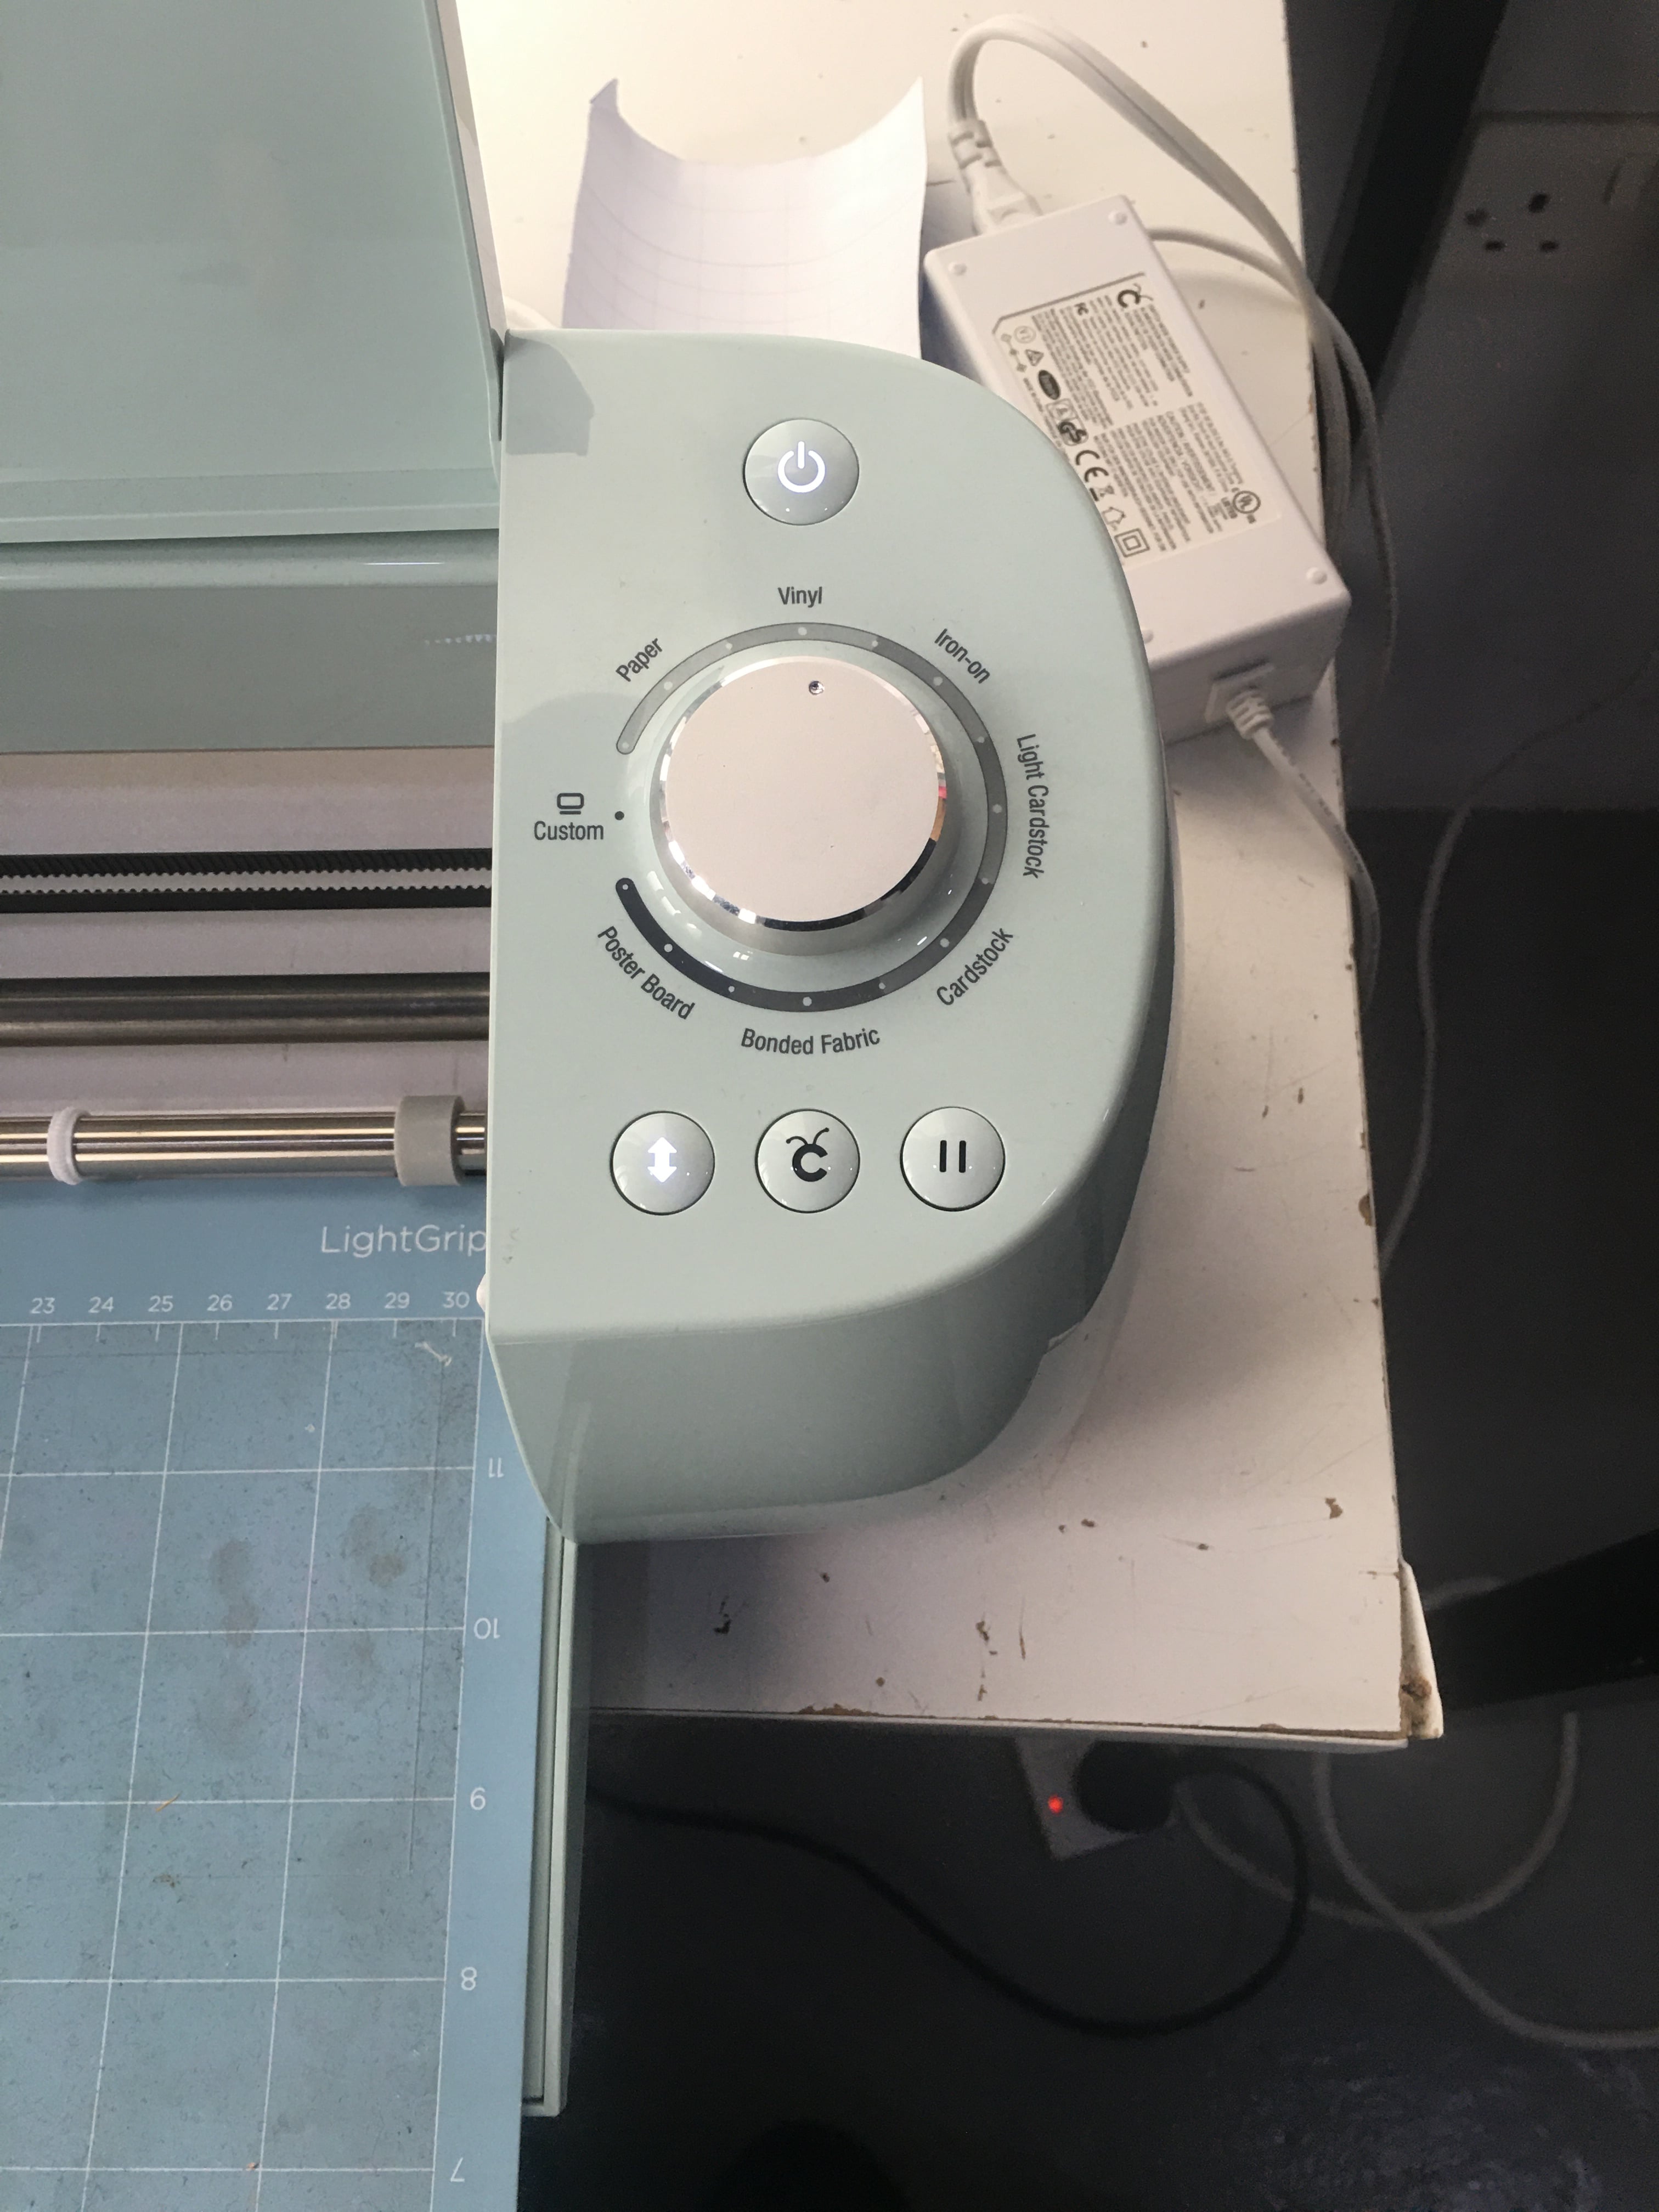
- chose the setting “depends on the material you are using”.
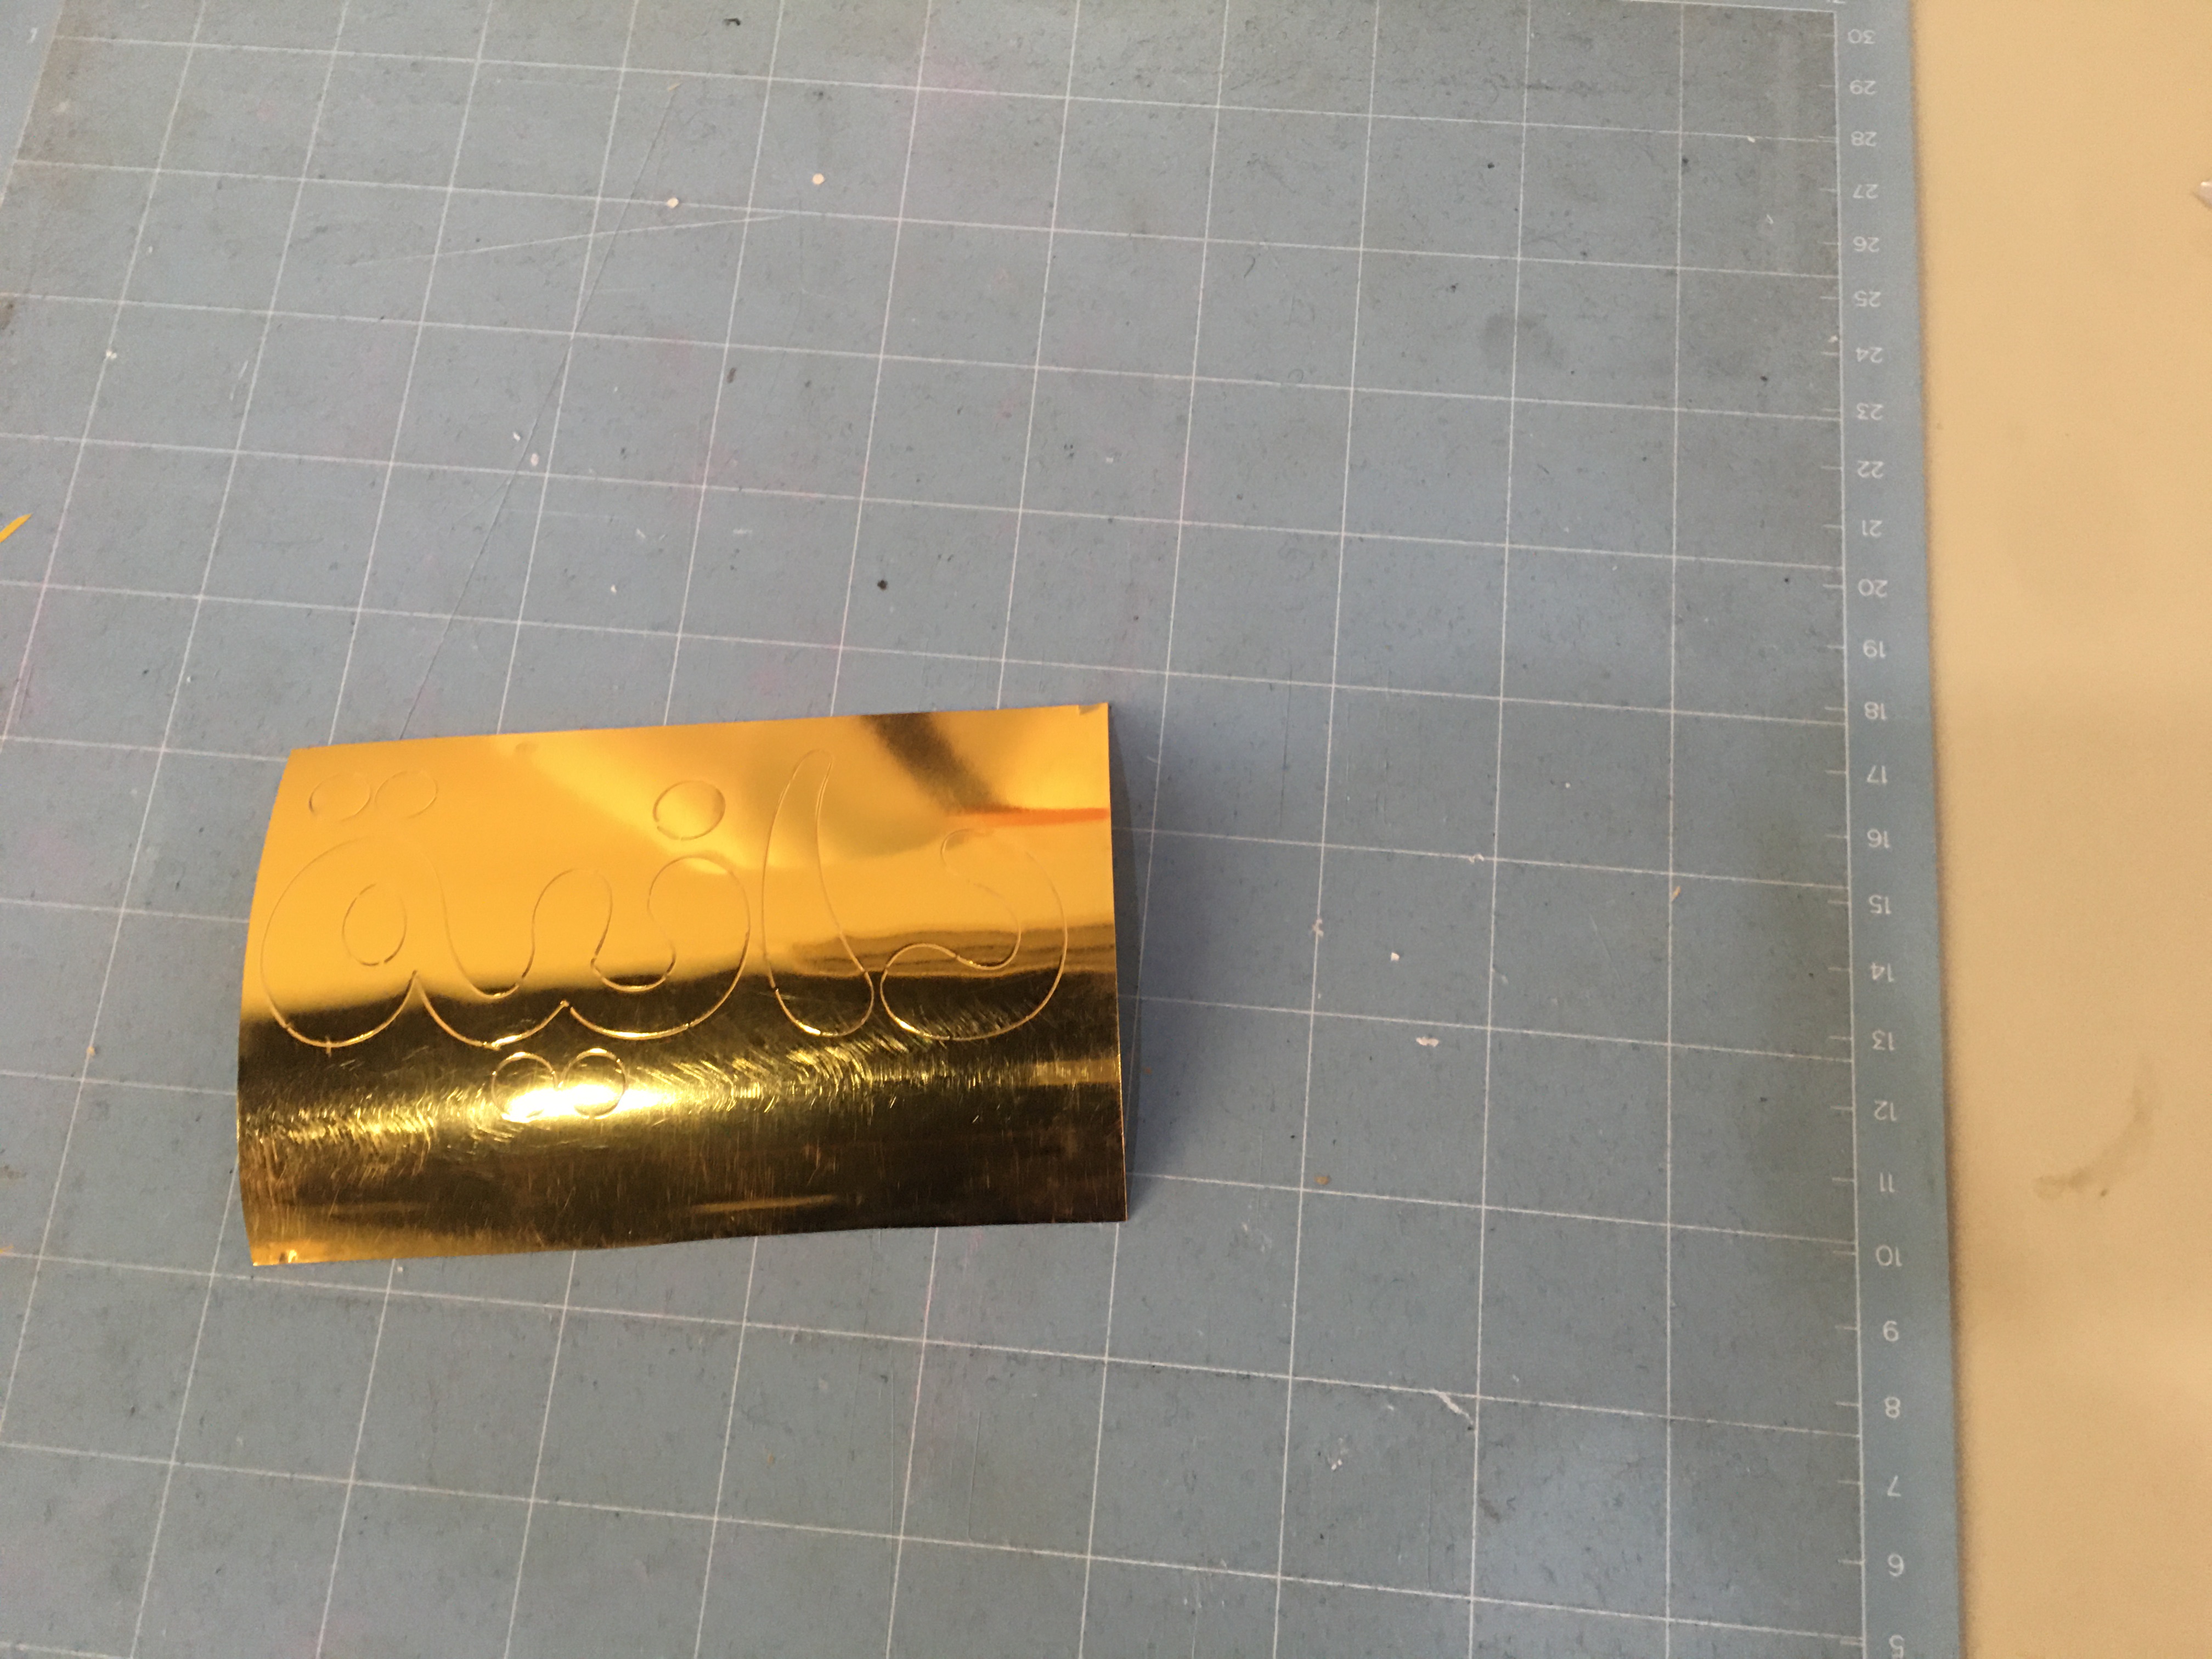
and the machine started cutting “it had to go 2 times over the design” it seemed the set up we chose didn’t work with the material well.
Result